

As it reads above, I have been very busy recently with pre-production for a number of up coming projects, one of which is with Screen Subtitling Systems!
Screen is creating new branding for sales and online, and to go with that I've been set the task of producing a number of animations for them. I've done plenty of research into Screen, and have a great relationship with the marketing team, which means we have very good communication.

Tip No.1: build relationships from the outset of meeting someone.
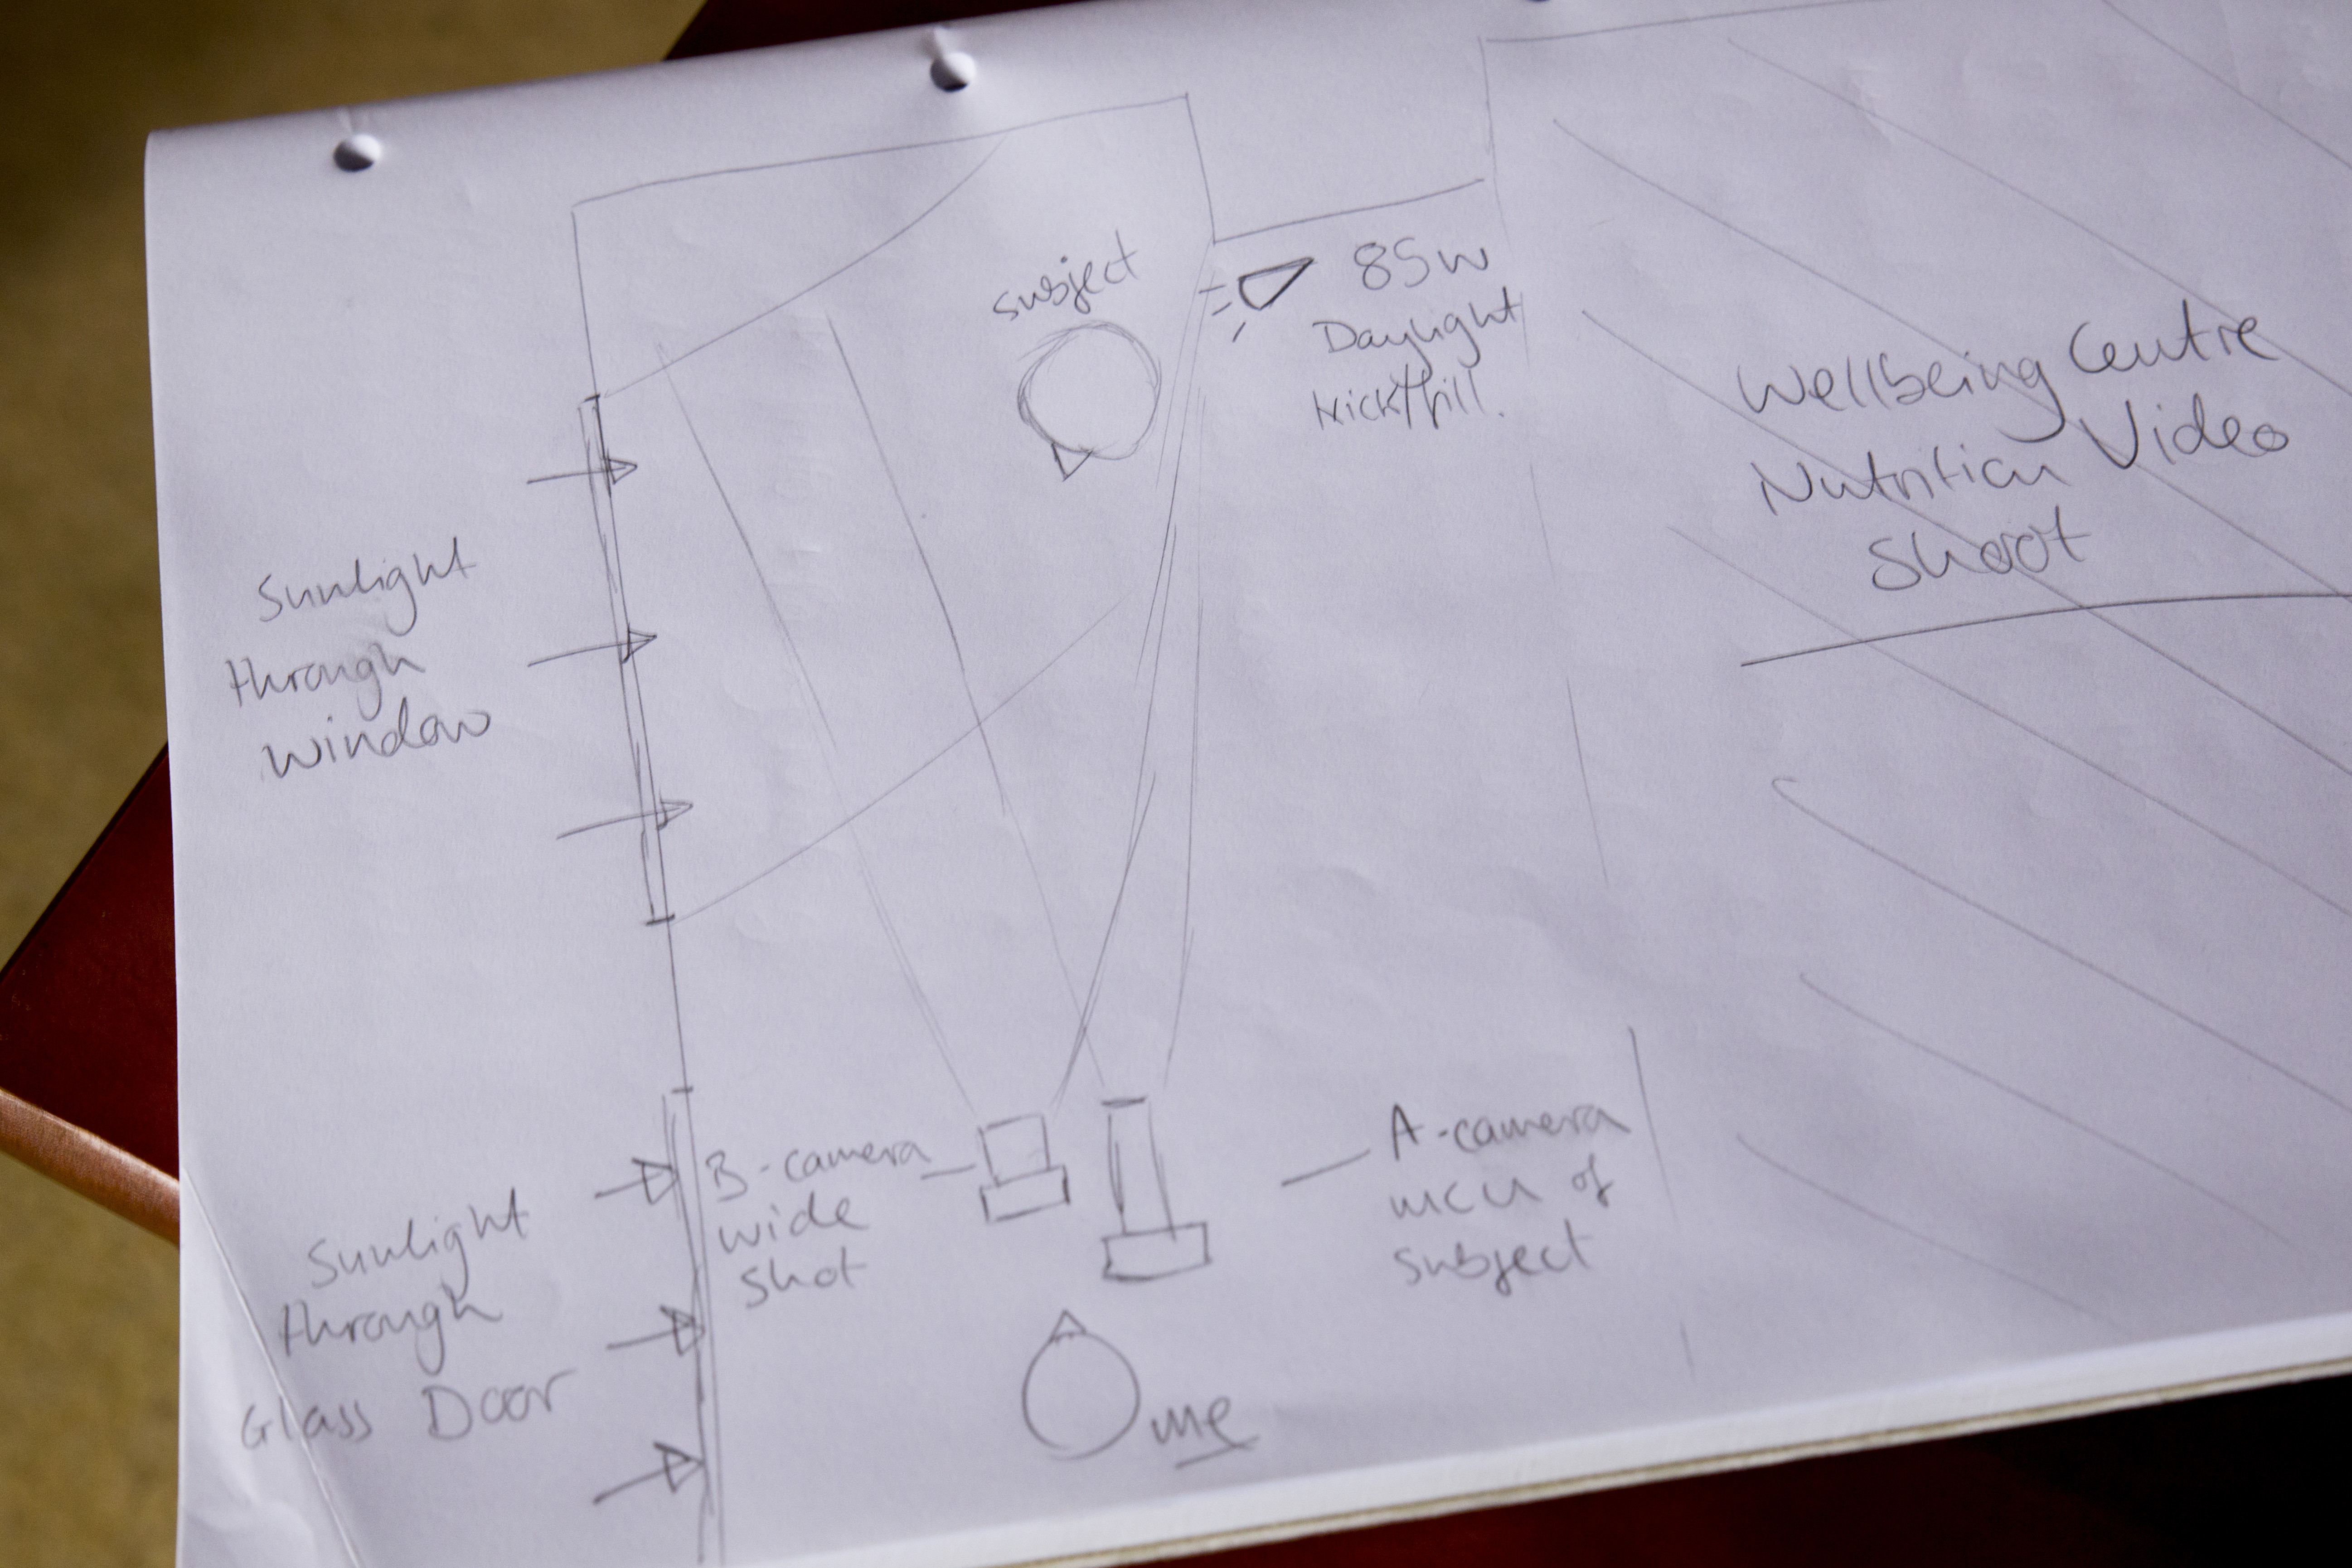
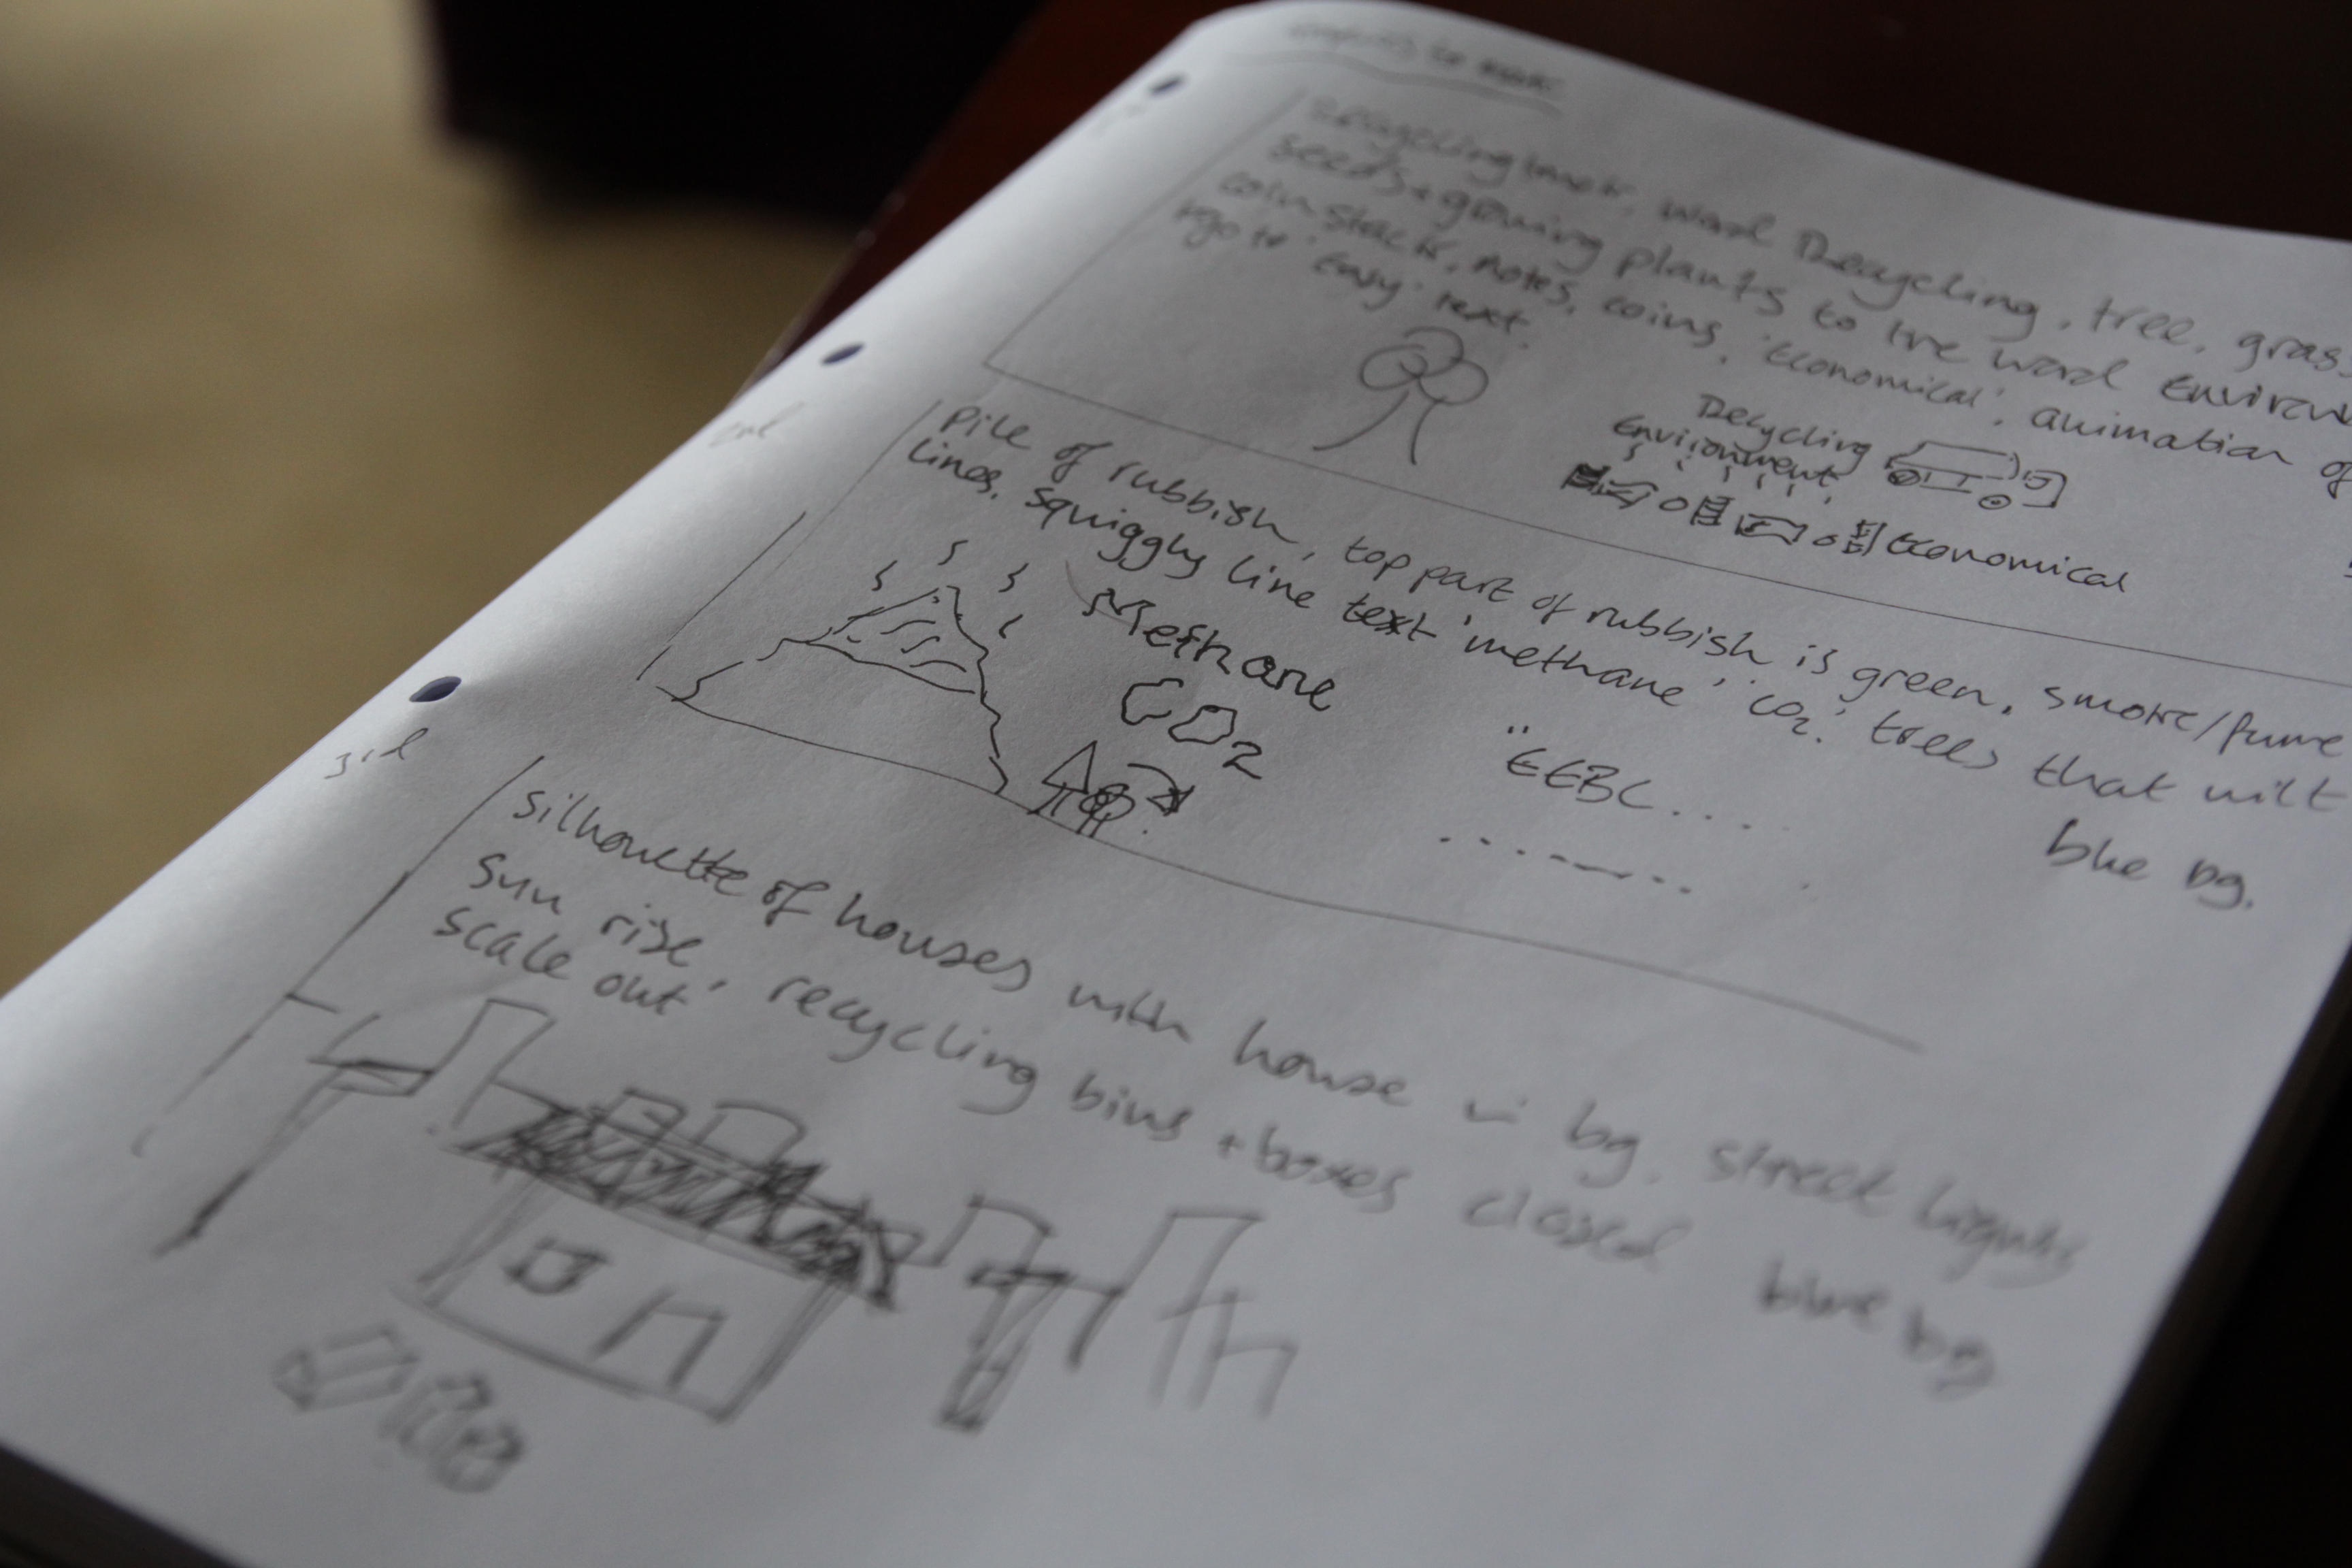
Since our last meeting, I've developed a number of mood boards and narrative/VO ideas of the script/dialogue and a storyboard to go with it to represent the animations on screen. After drawing a number of ideas and storyboards I managed to narrow down the content for the first animation, and the graphics as well. I've then worked this into an After Effects storyboard with still images for preparation for a presentation.

Tp No.2: preparation and planning what you are going to do, for when, any why is really important. In terms of the animations I'm working with, that means producing mood boards, storyboards, sketches and basic designs, building into digital mock ups. These can then be used as elements in the animations!
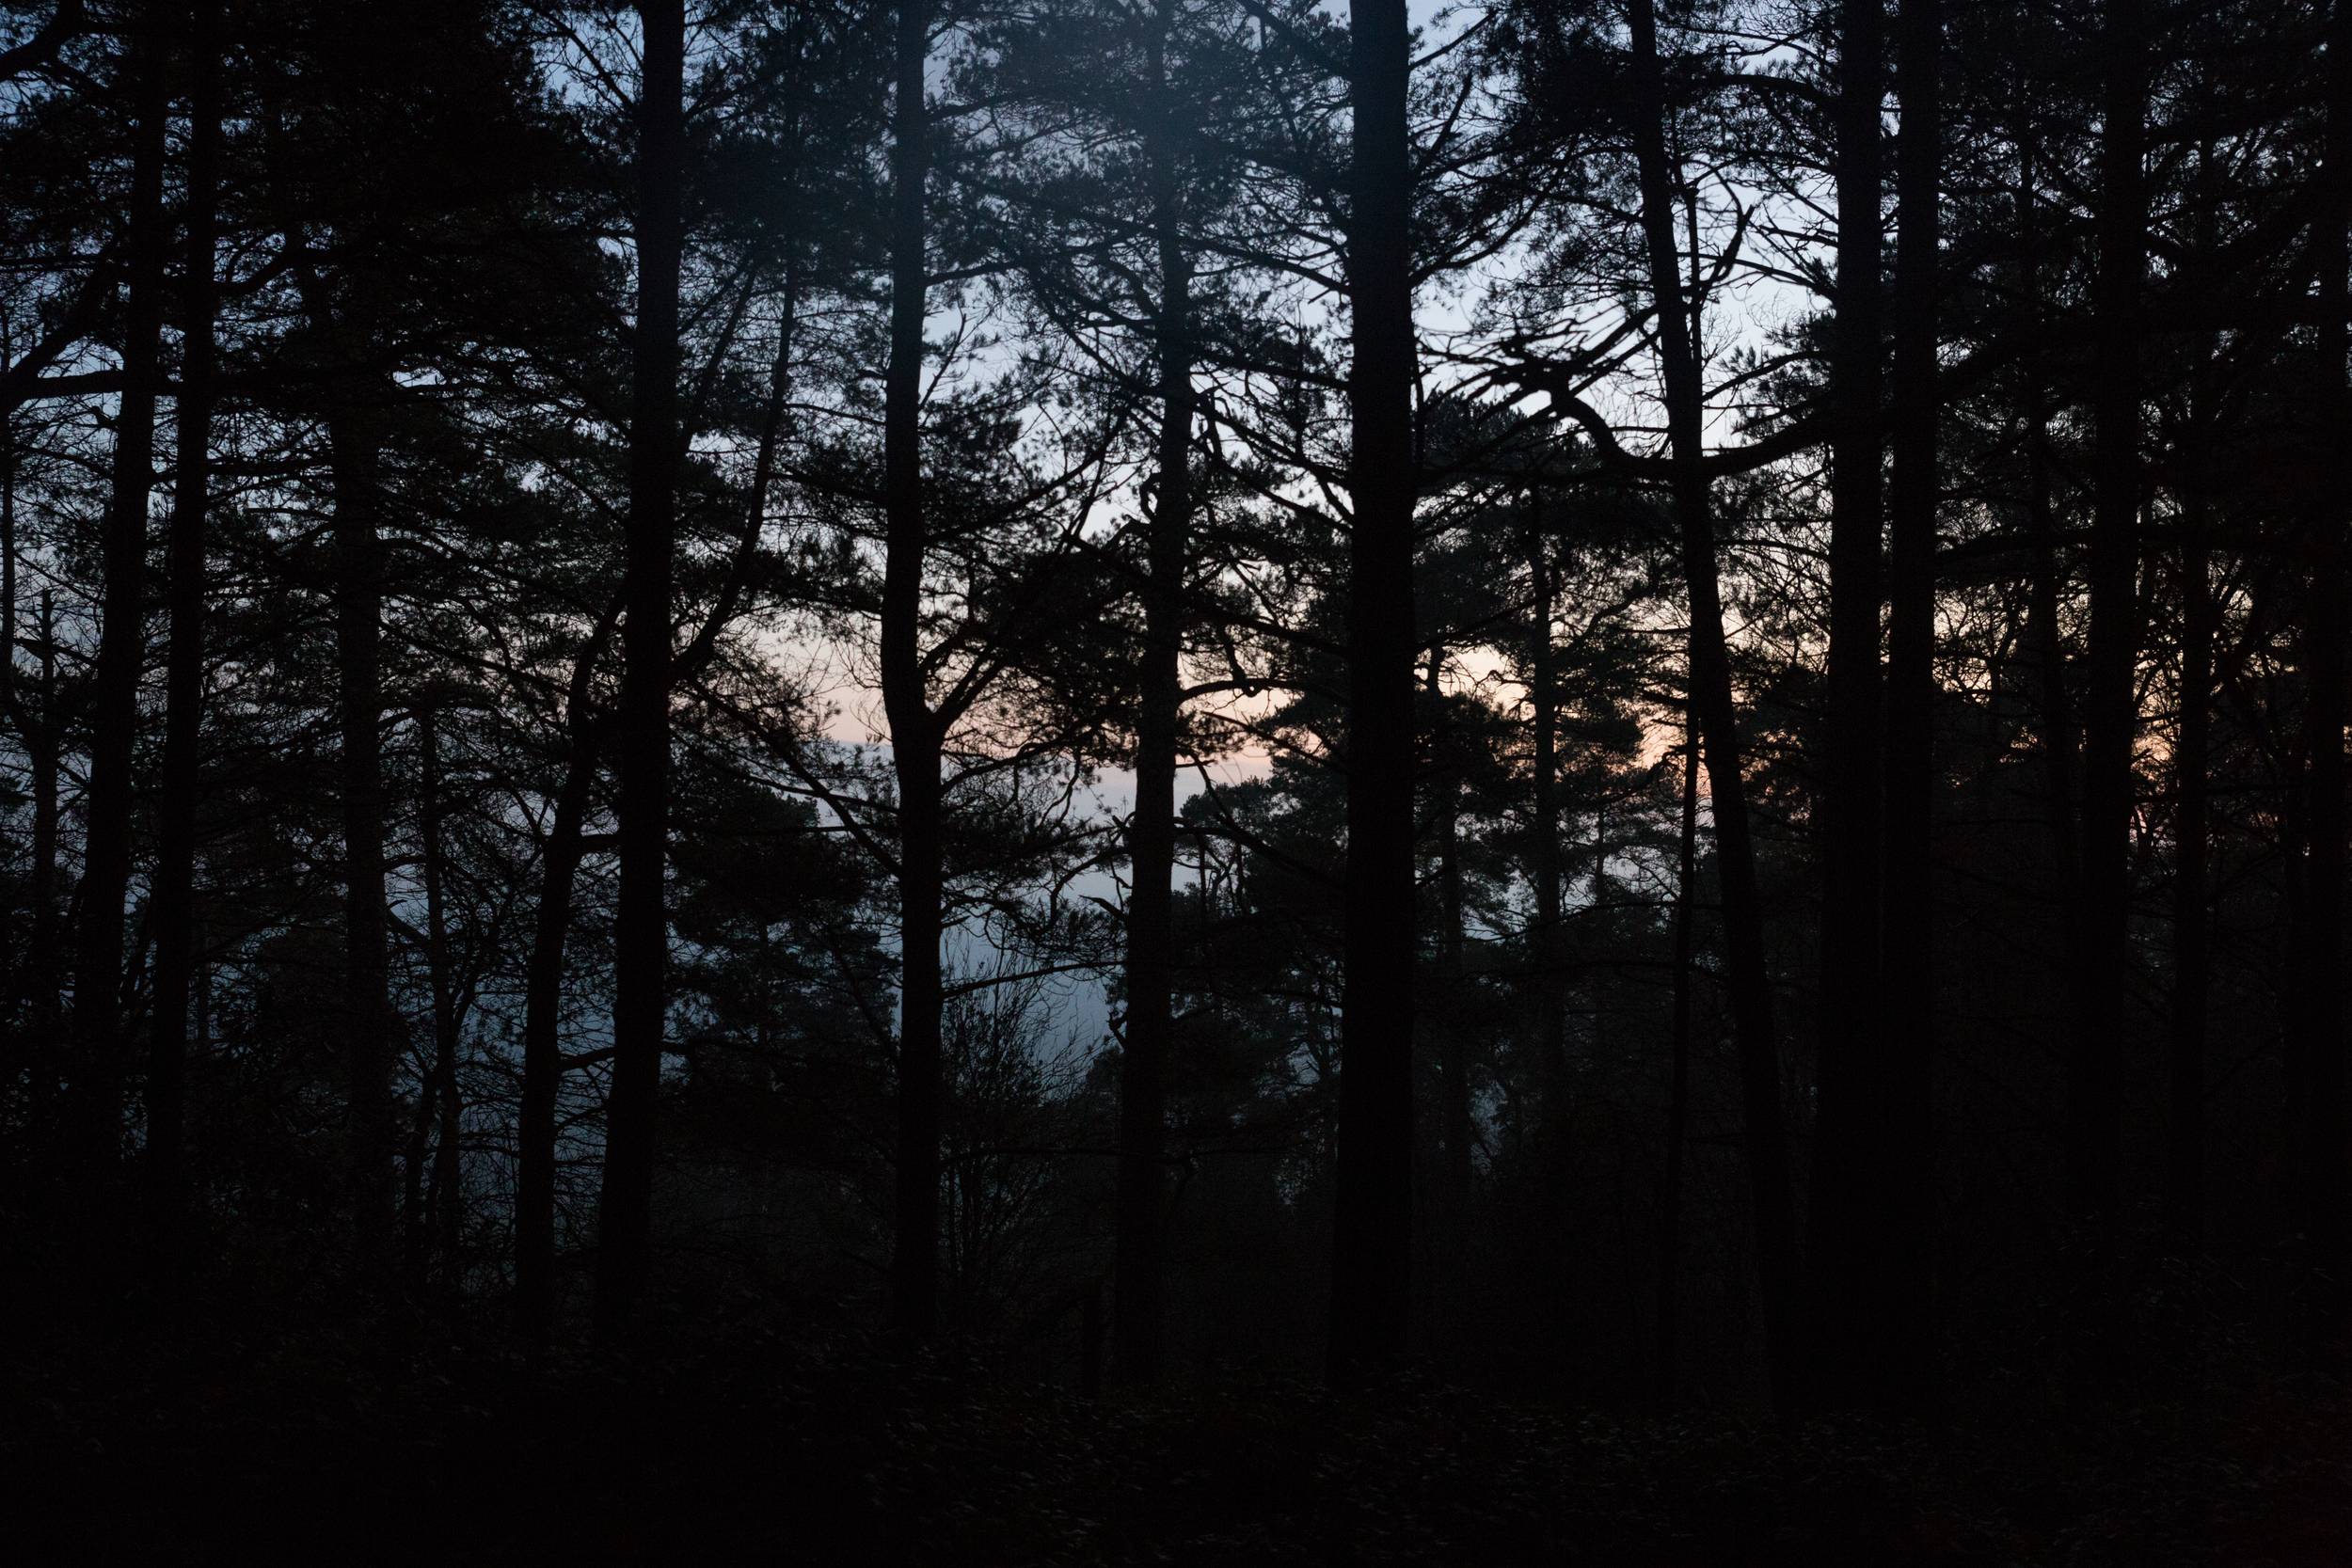
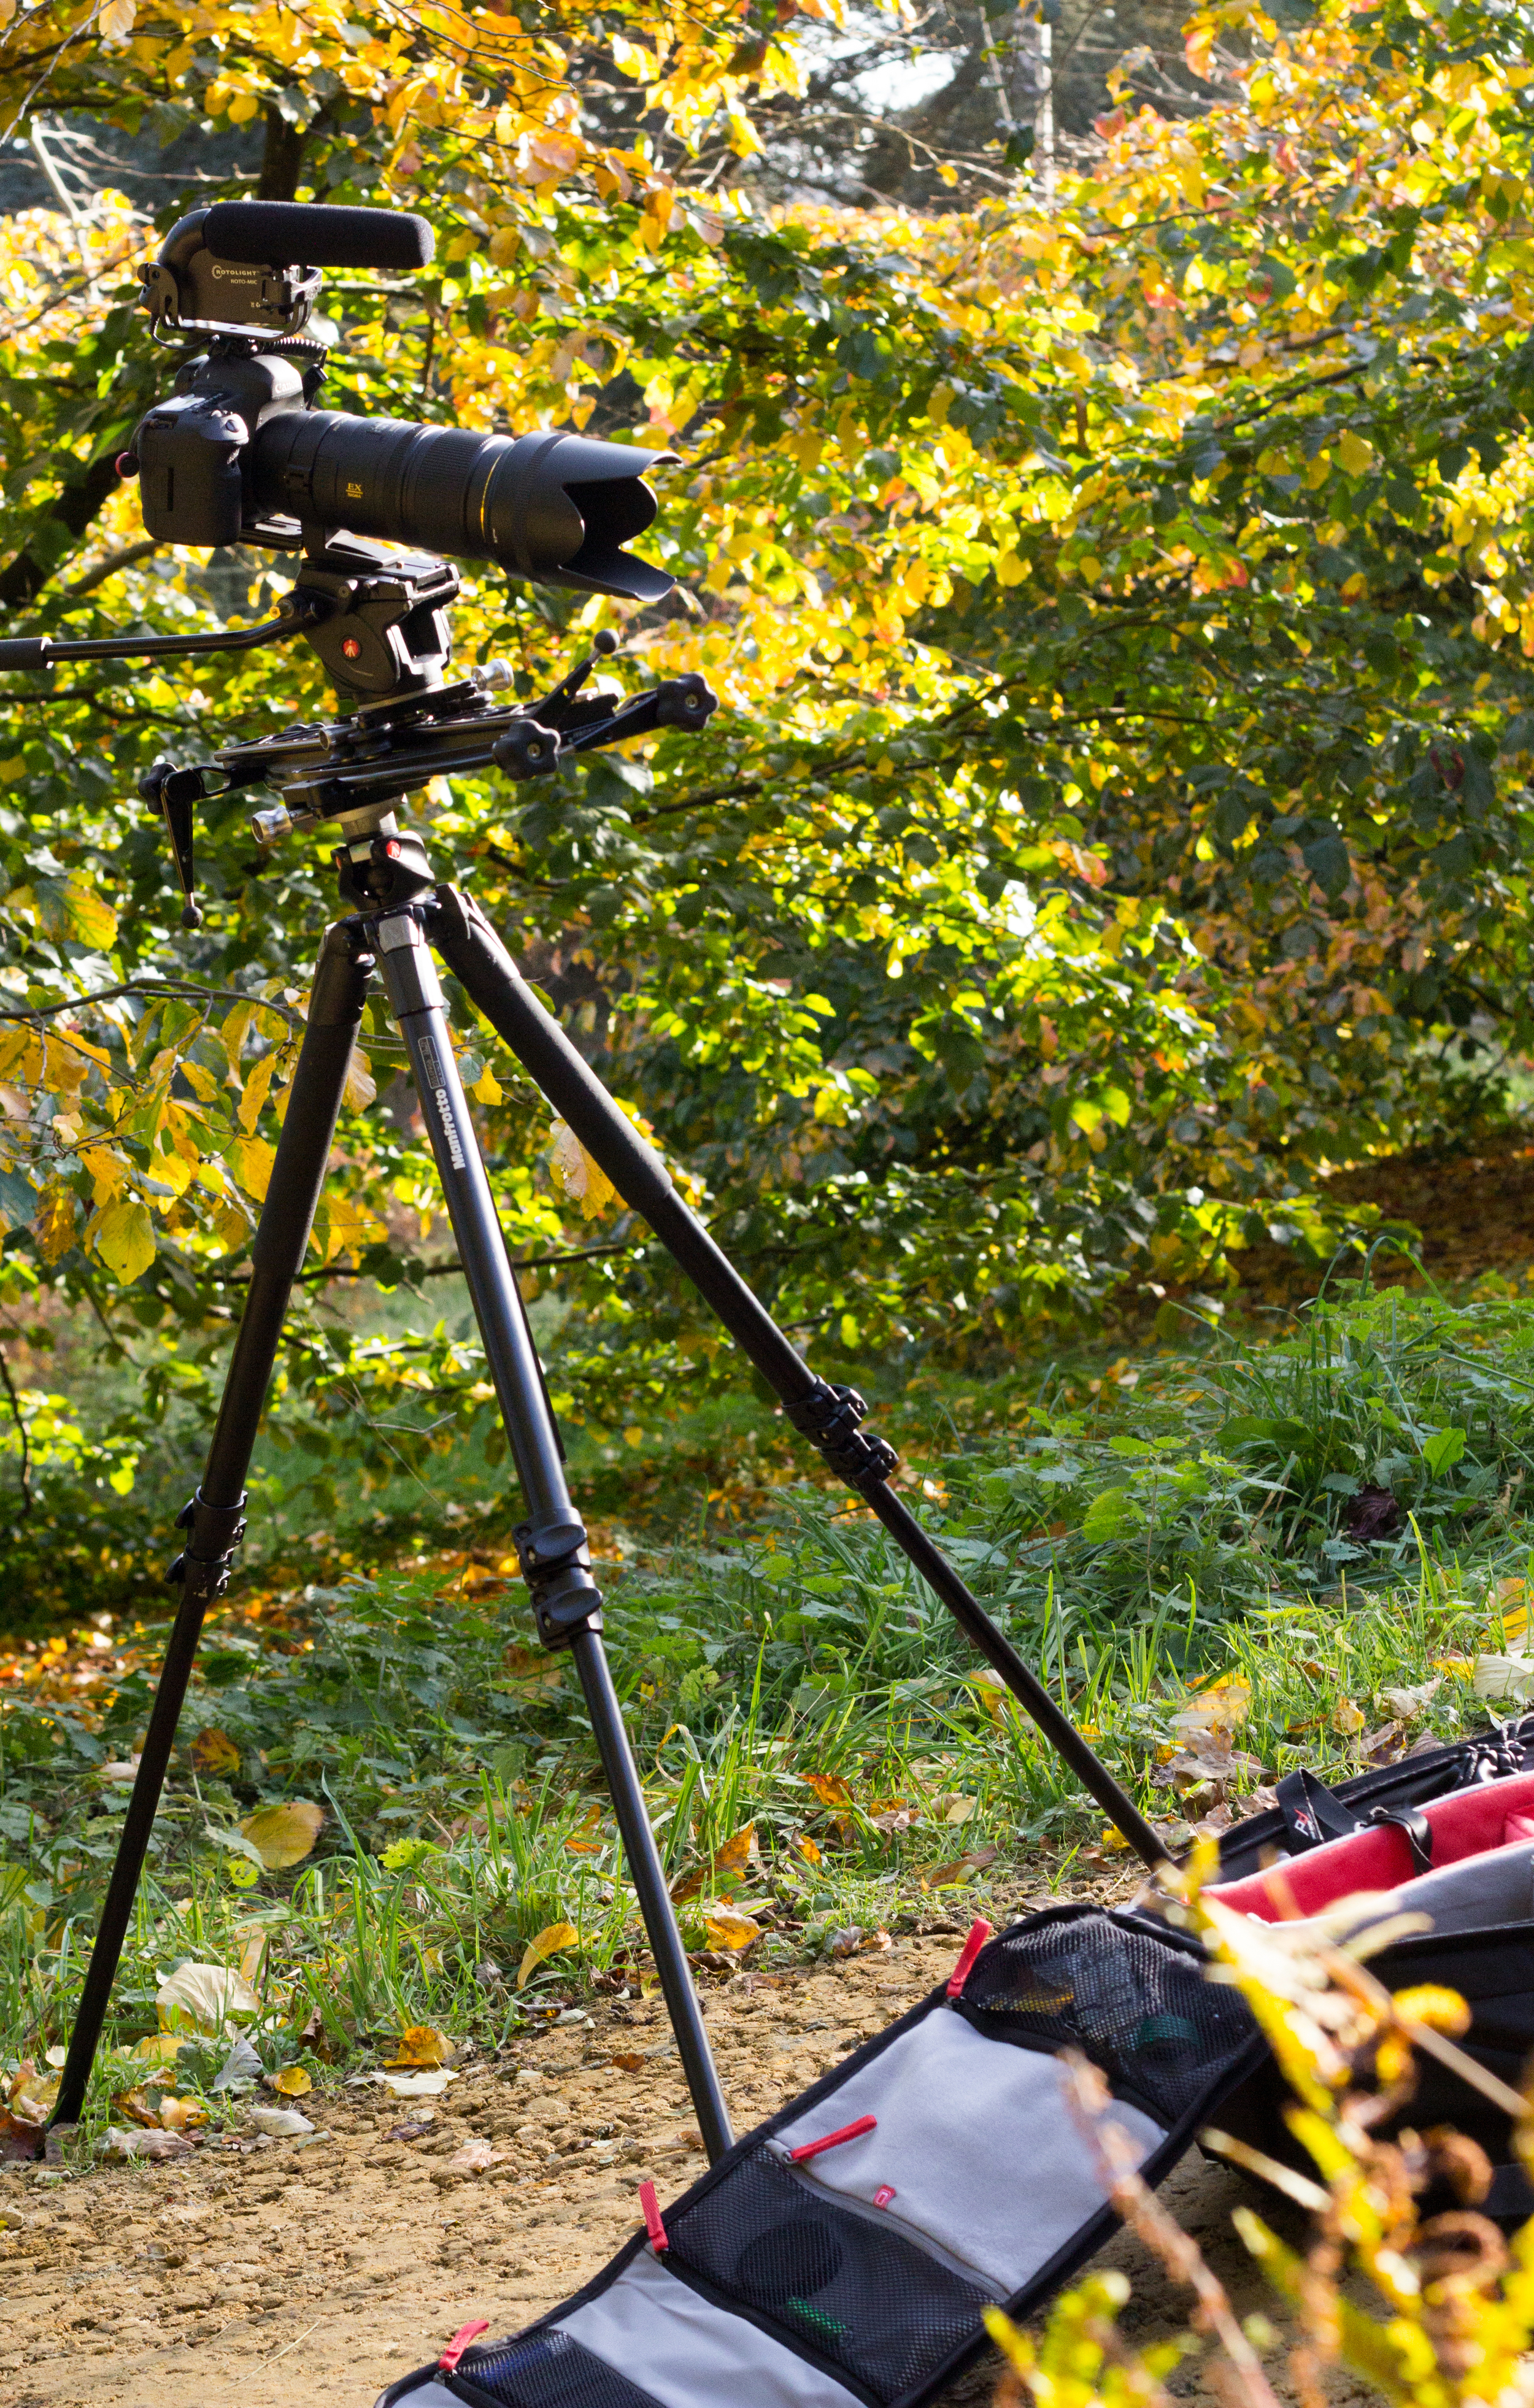
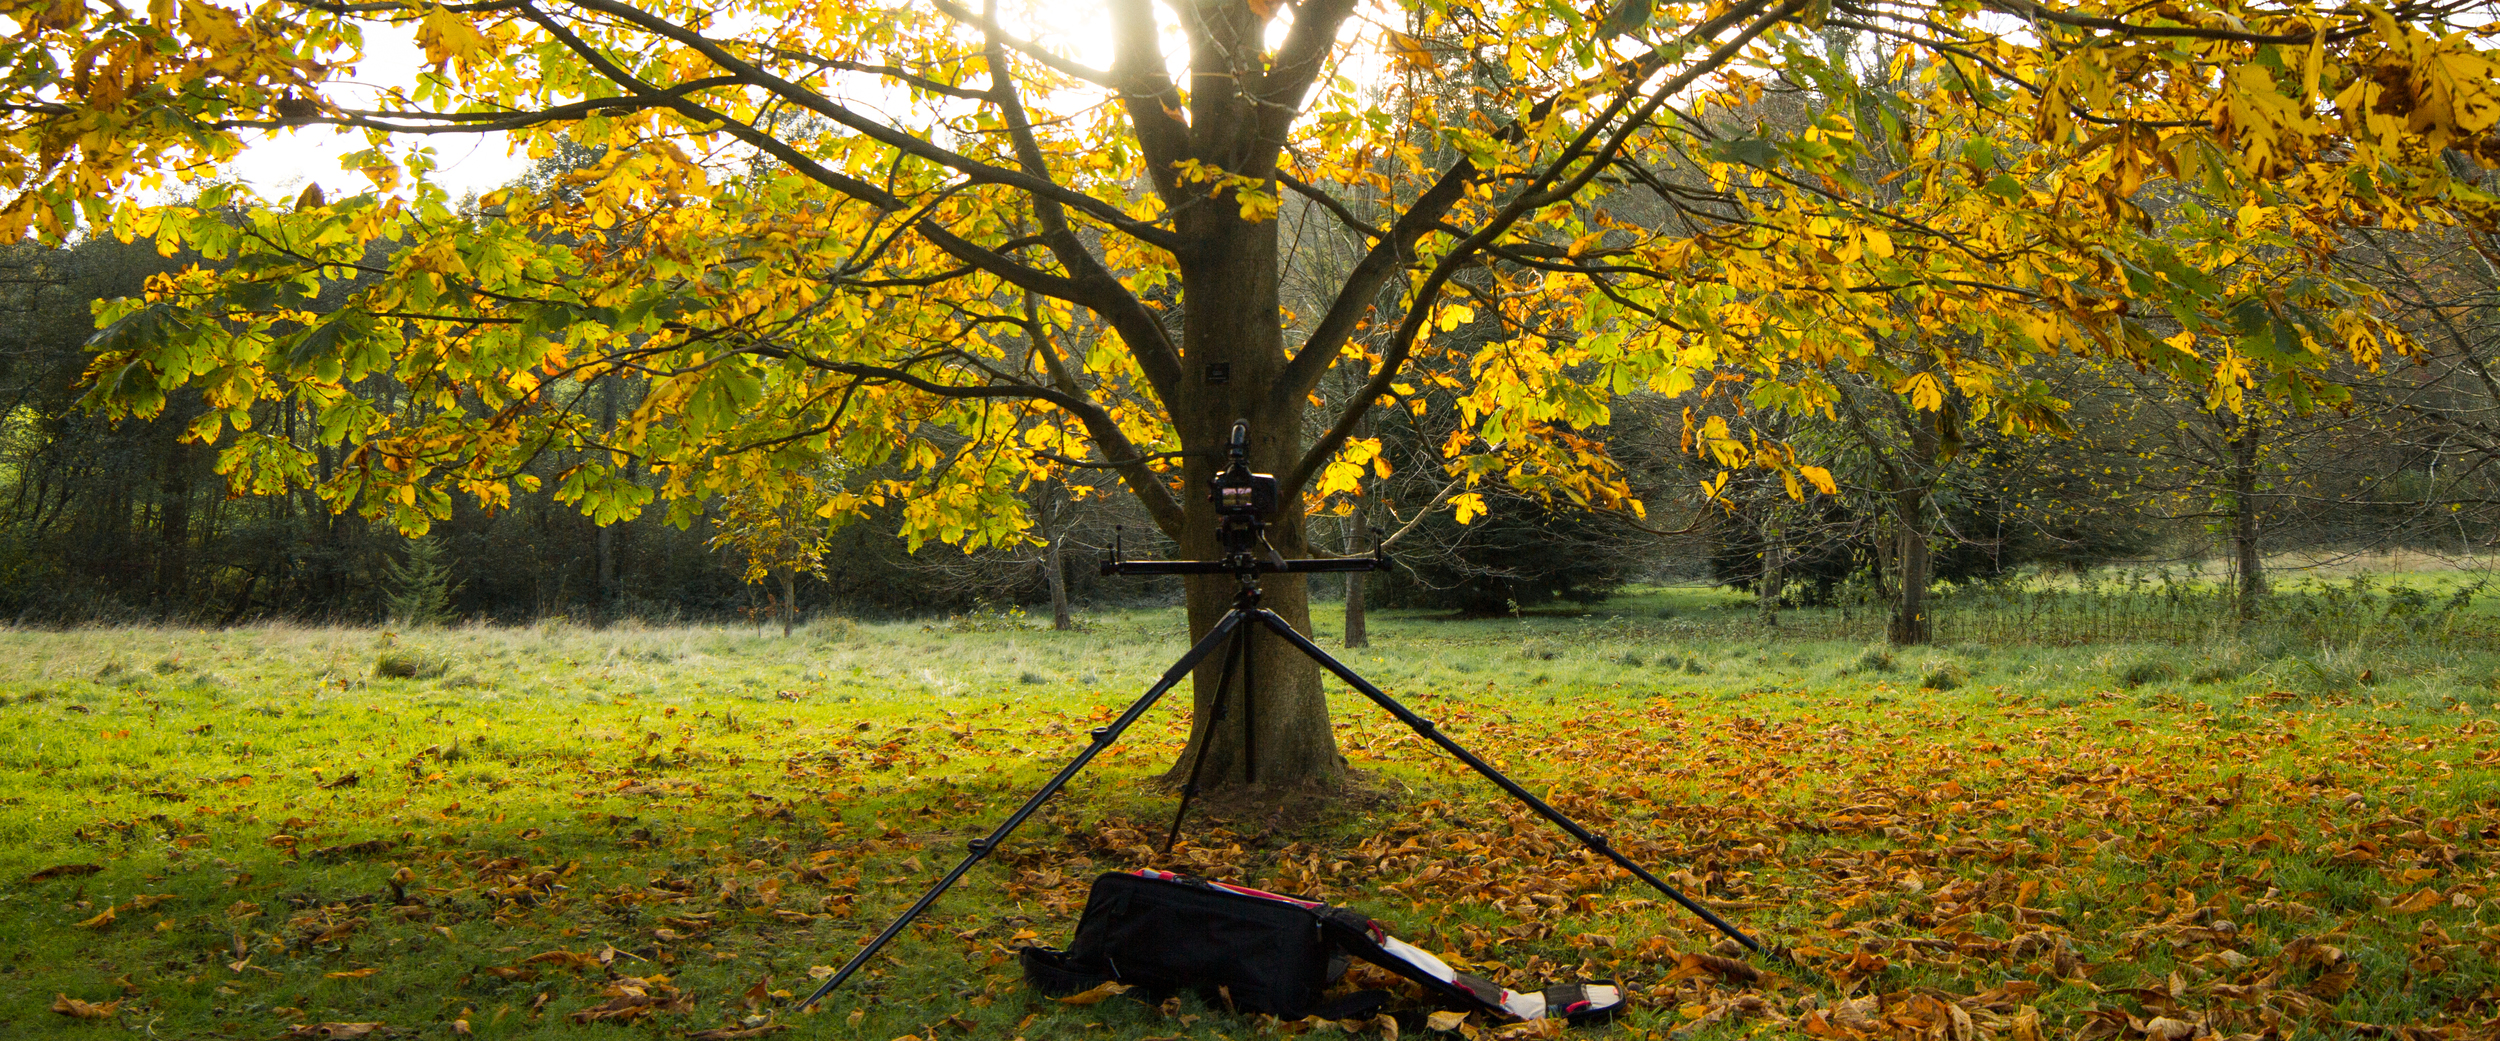
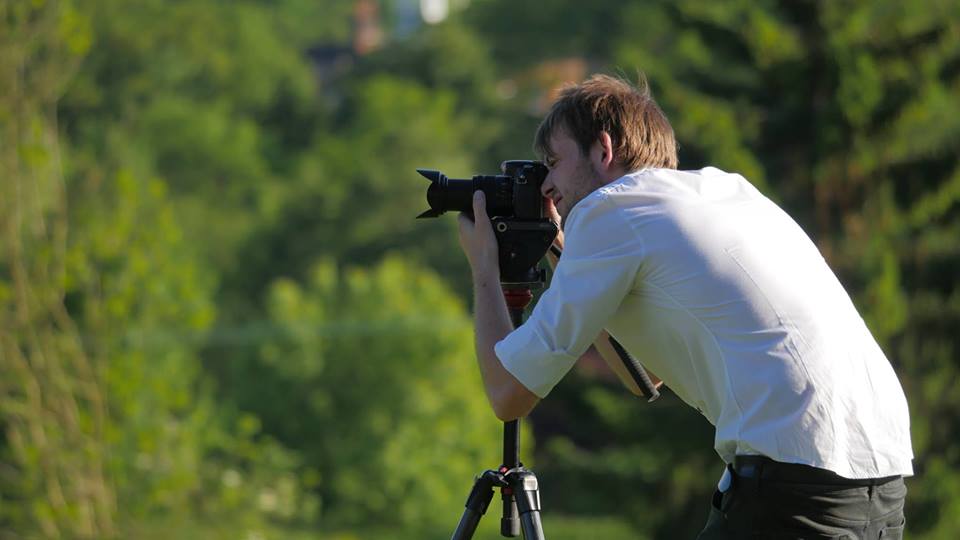
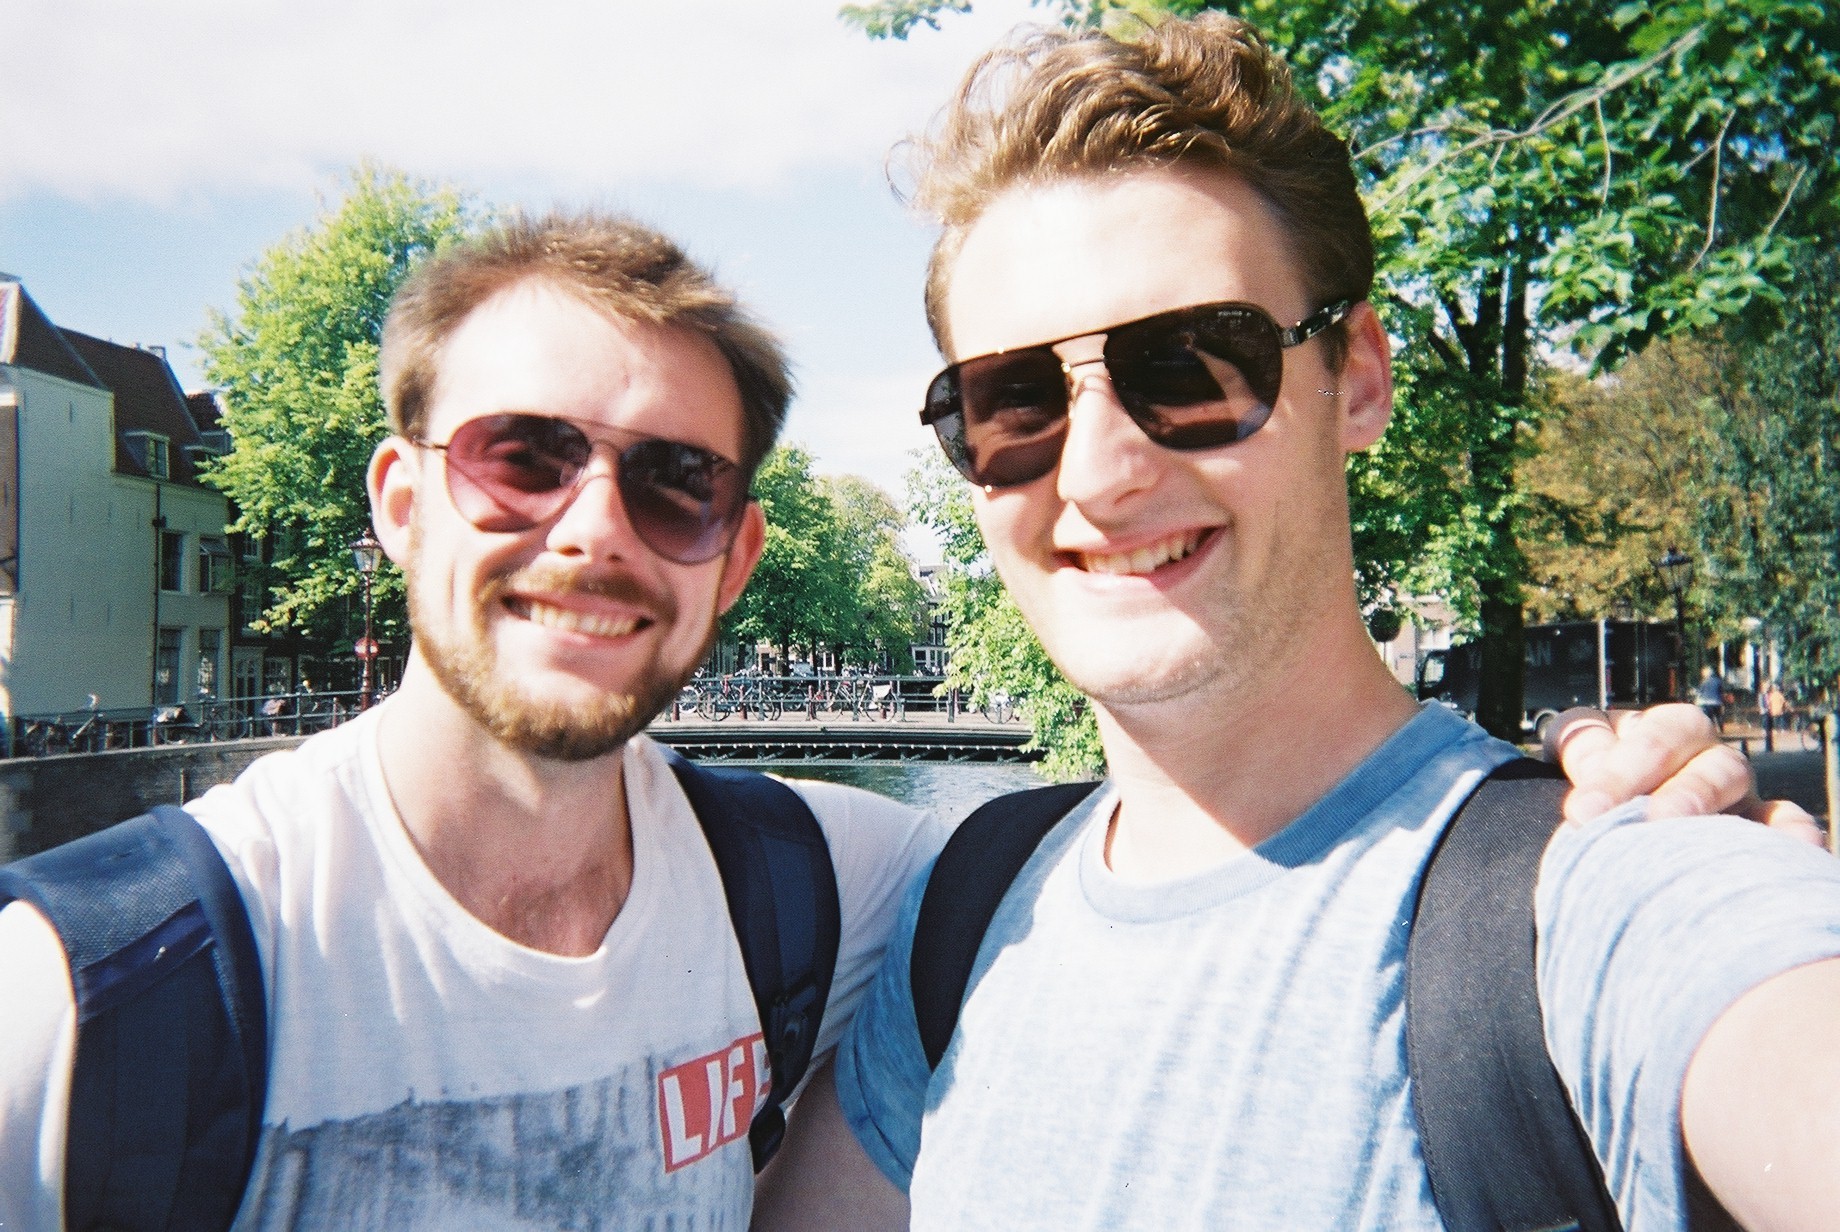
I've also been out with Glen, we had a walk around Leith Hill a couple of weekends ago, I took the 24-70 and 100mm L on the 5D mk III. The hill was so high up that we were in cloud, combined with a constant beautiful golden hour made for beautiful photos. Glen took his film camera with him, and captured some gorgeous shots. Here's some of mine..


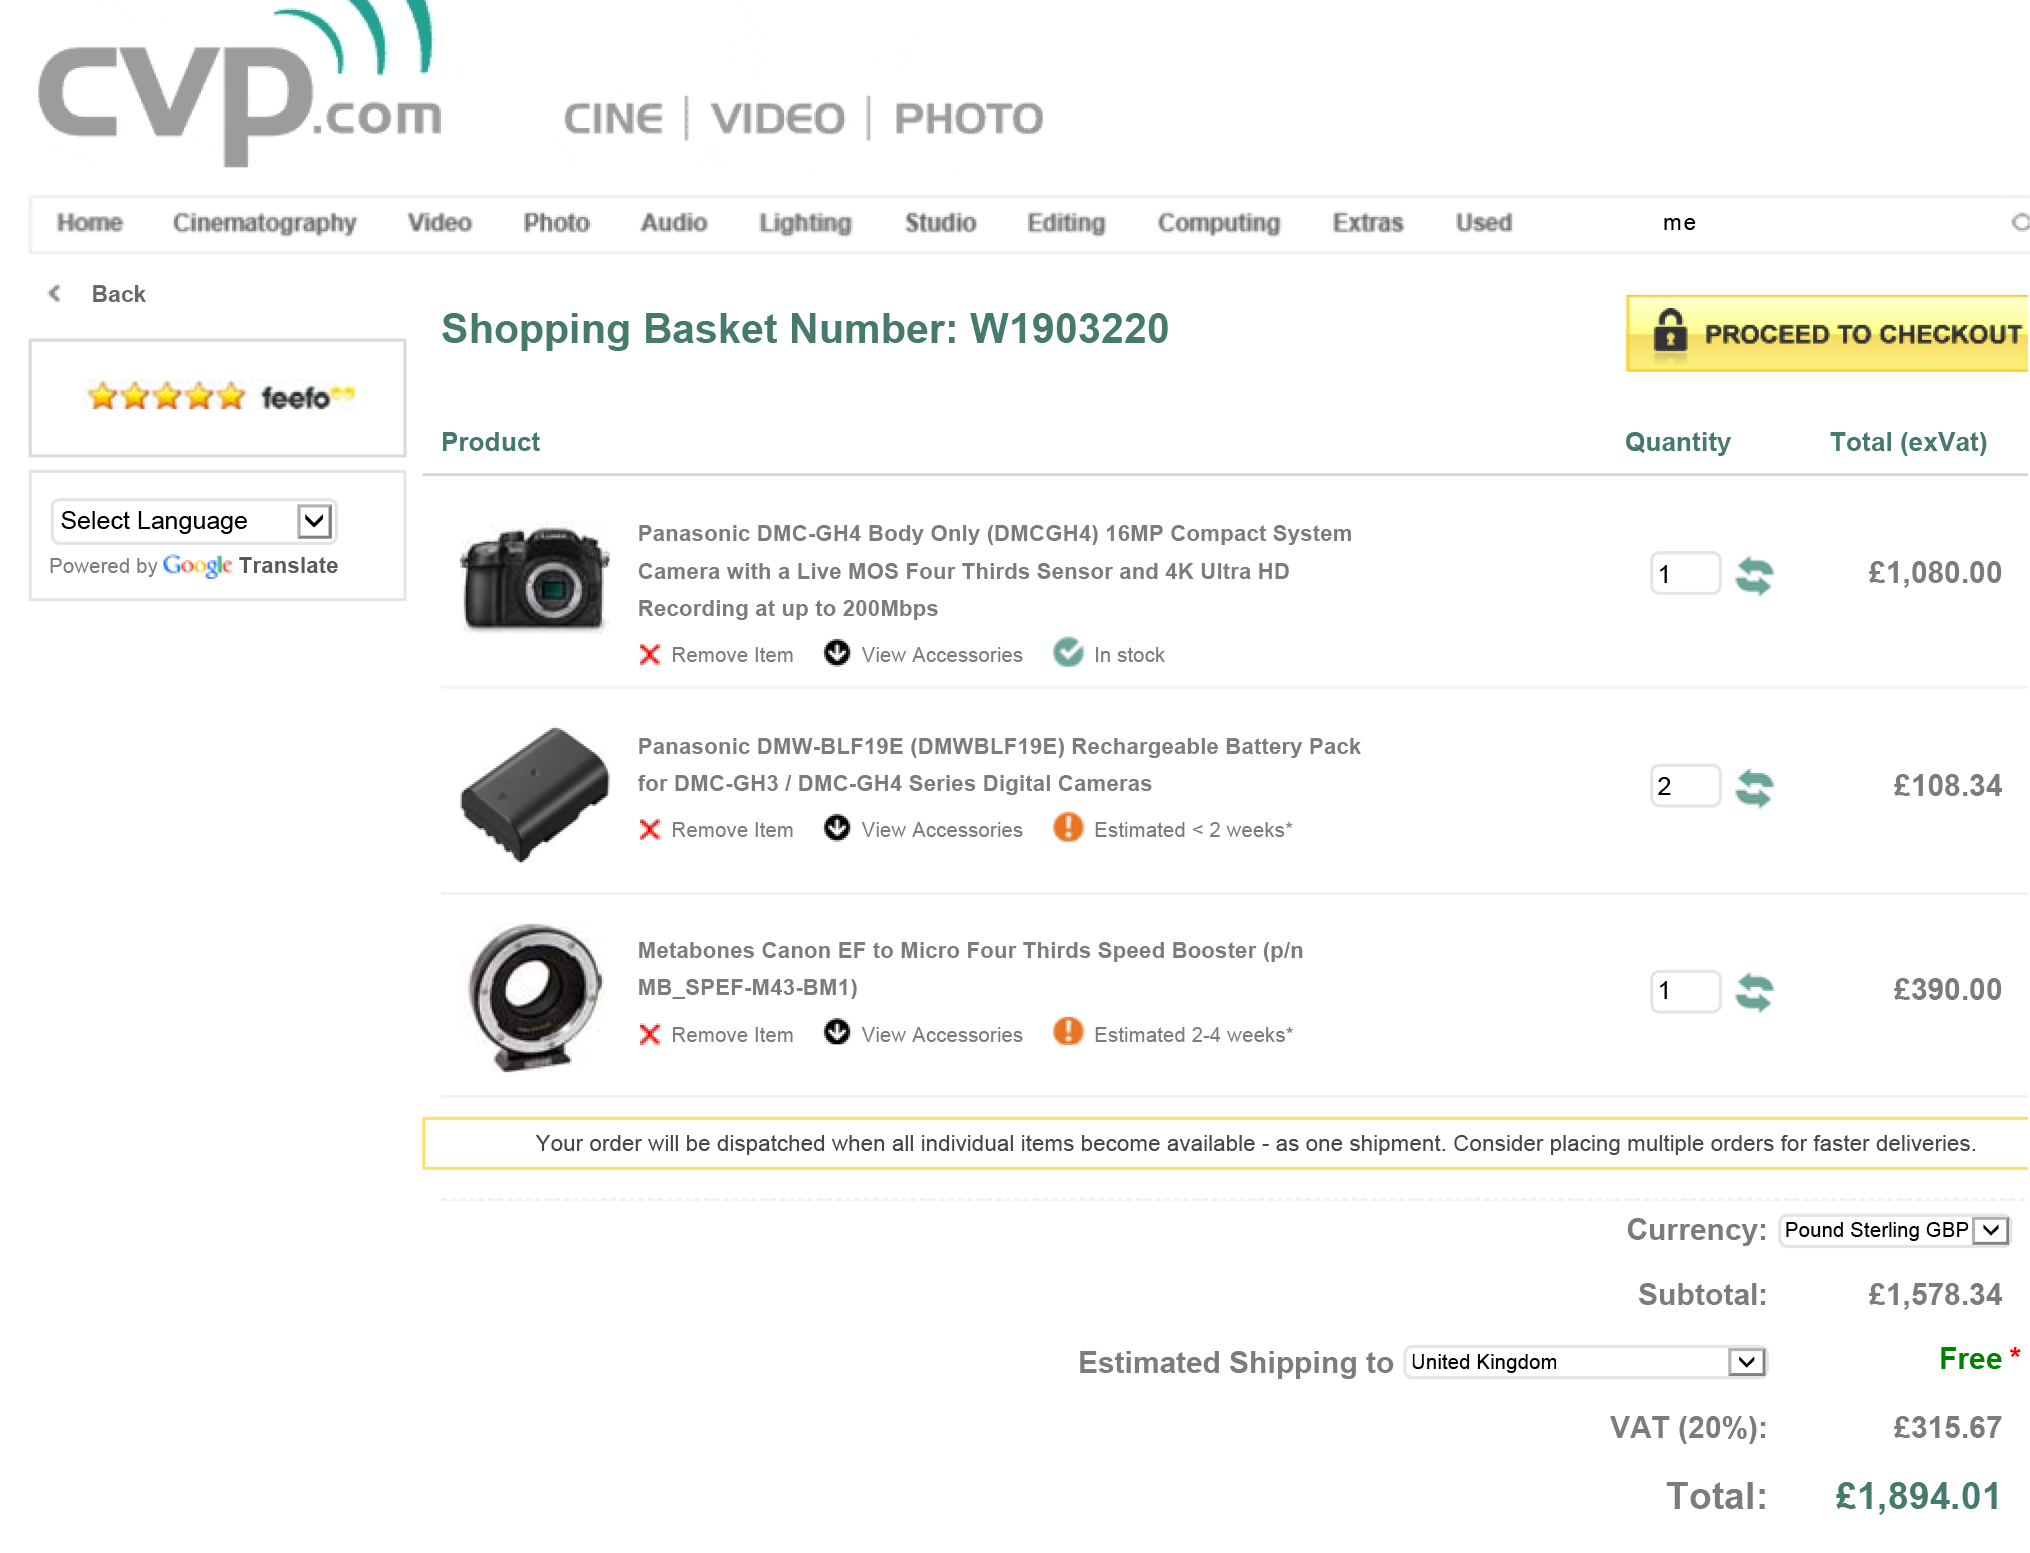
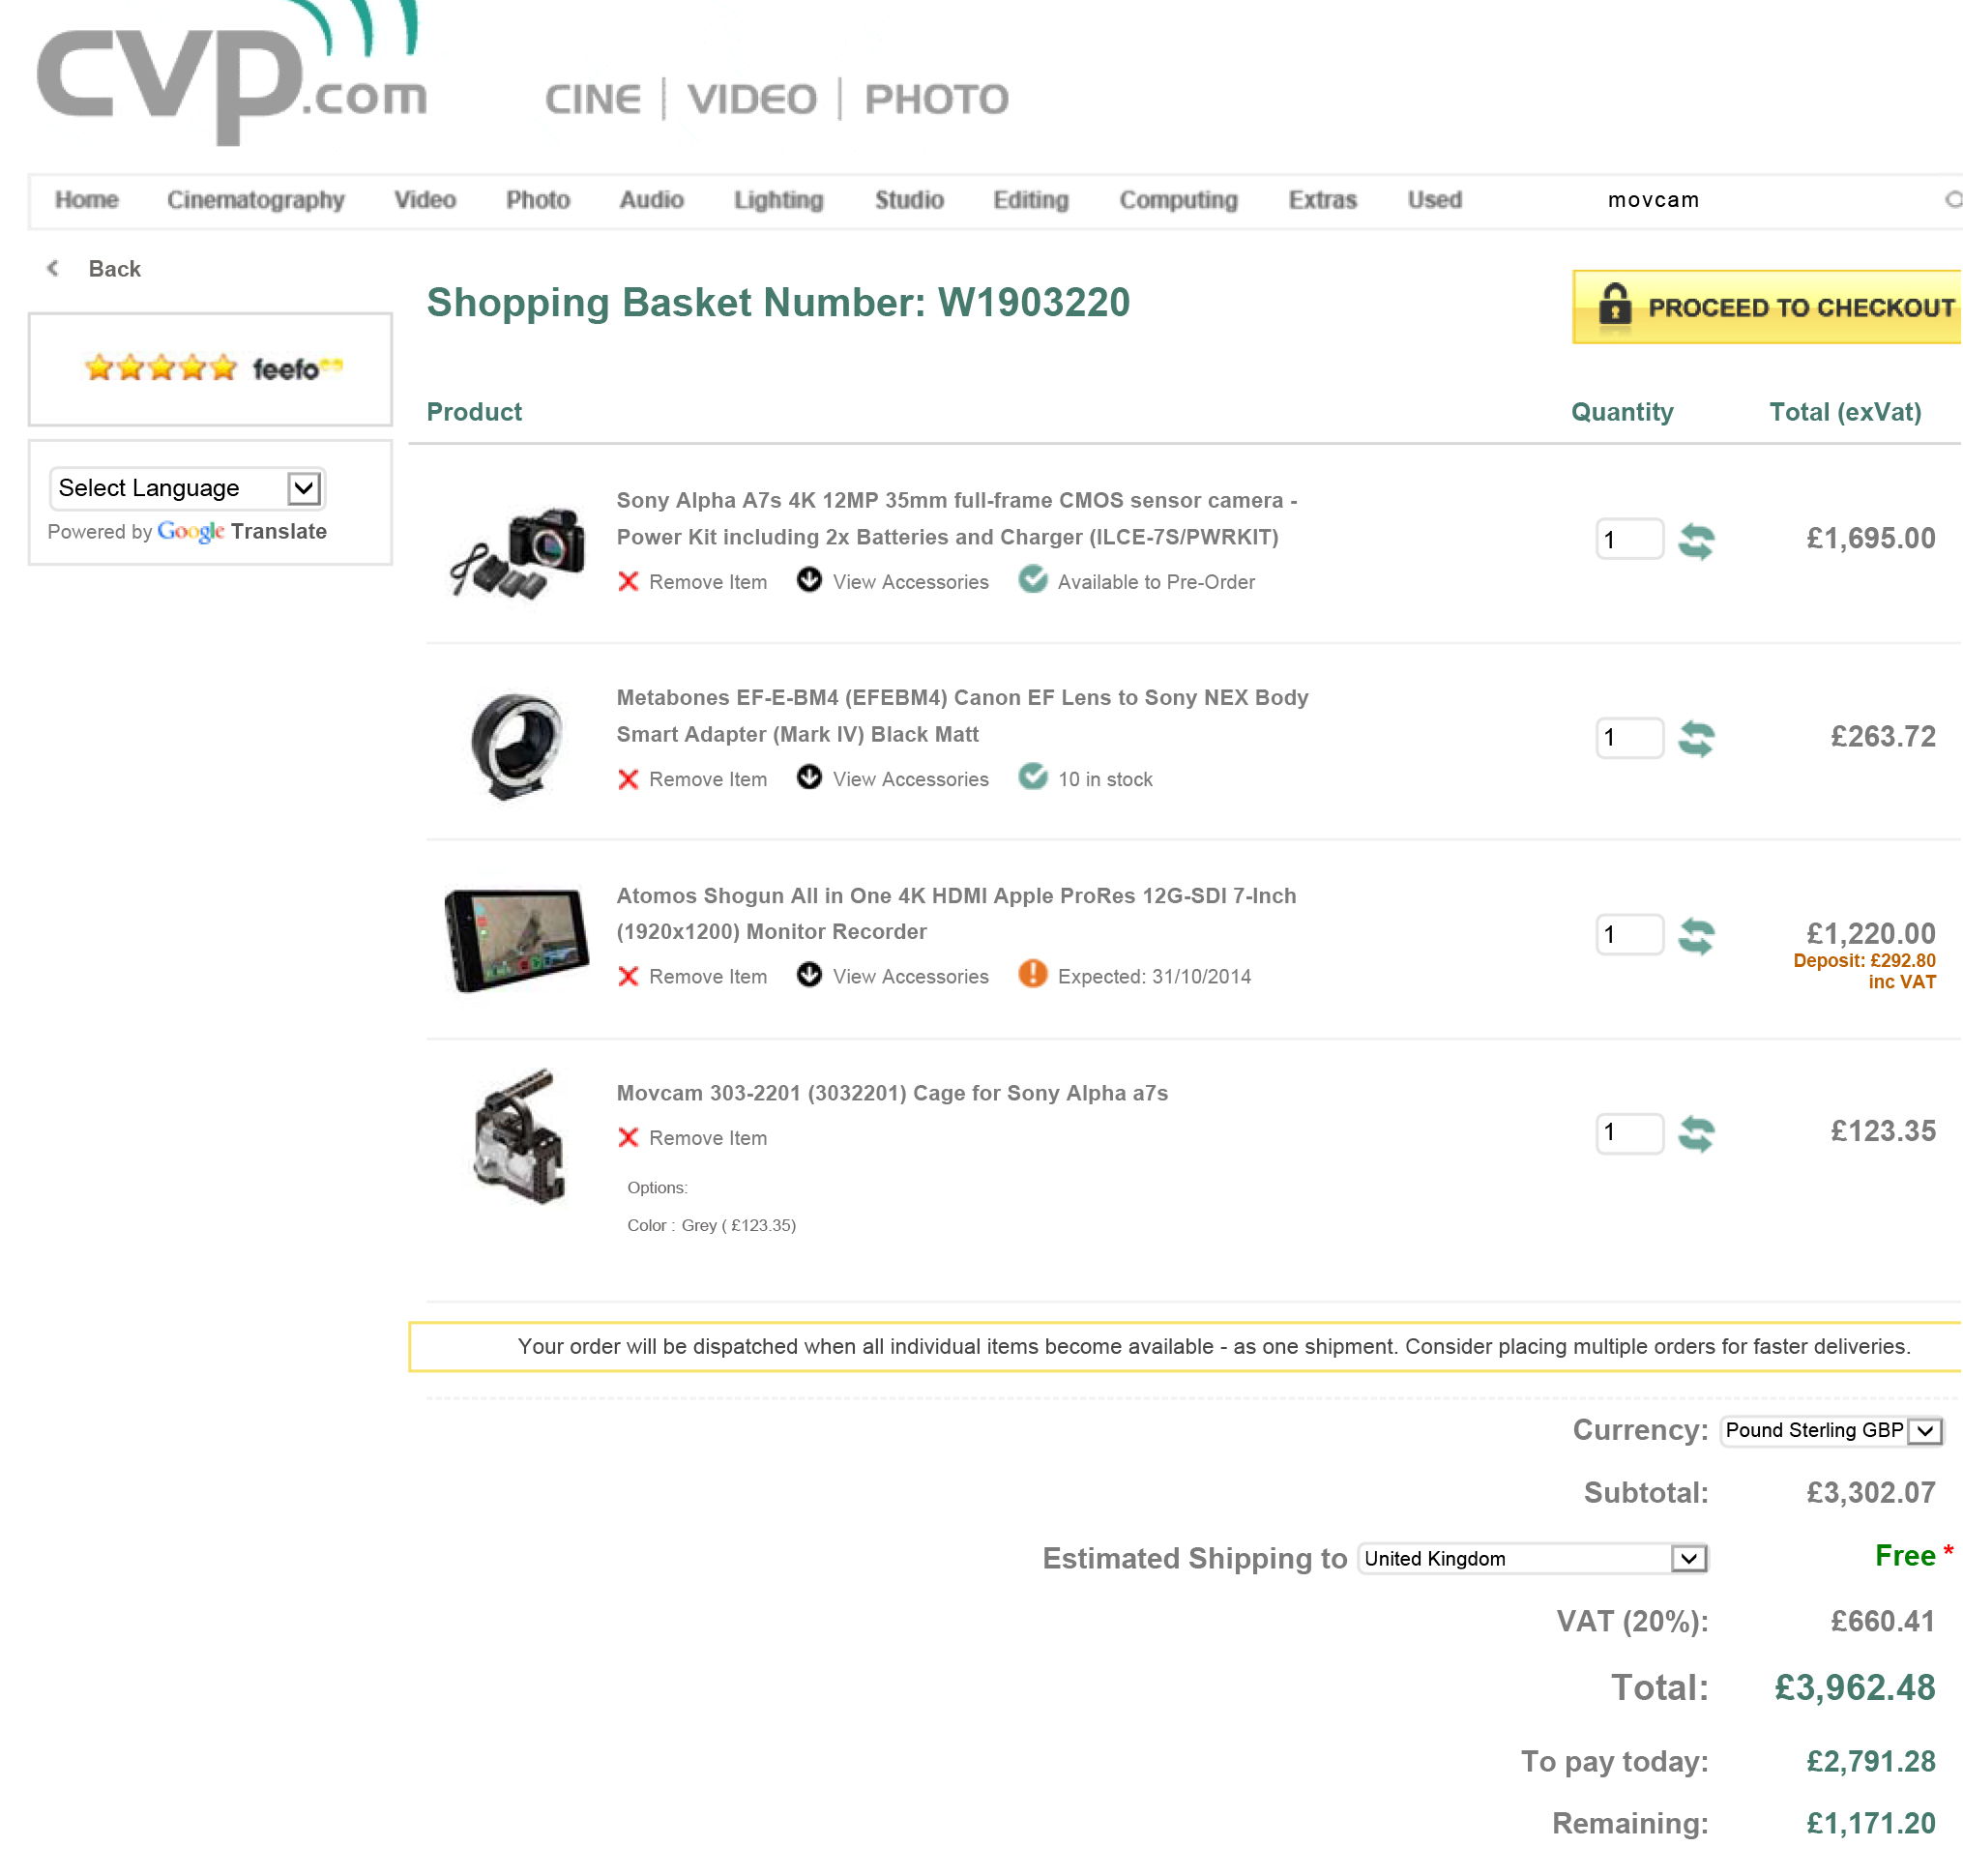
I'm still working on the videography business/investment post, it is a long one as you can imagine but it will be coming soon. I'll be going the the CVP Sony A7S event featuring Philip Bloom on the 11th which will be a great contributor to my knowledge. As well as narrowing down potential kit choices for this years video productions, I may be able to get some info from the CVP team about my potential kit choices and finance options.
“UPDATE (06/02/2015) Canon have now officially announced two new 5D model DSLR’s with a 50MP count, with a photography focus rather than video. This reinforces industry voices that Canon are pushing video pro’s up to their high end cinema cameras.. Sony for me I think!”
Tip No.3: Never stop learning. Get yourself to BVE for FREE from the 24th-26th Feb for seminars on 4K, editing, lighting, broadcast and the great expo!
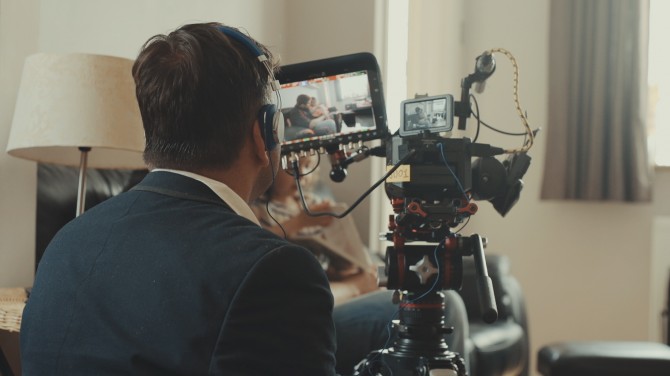
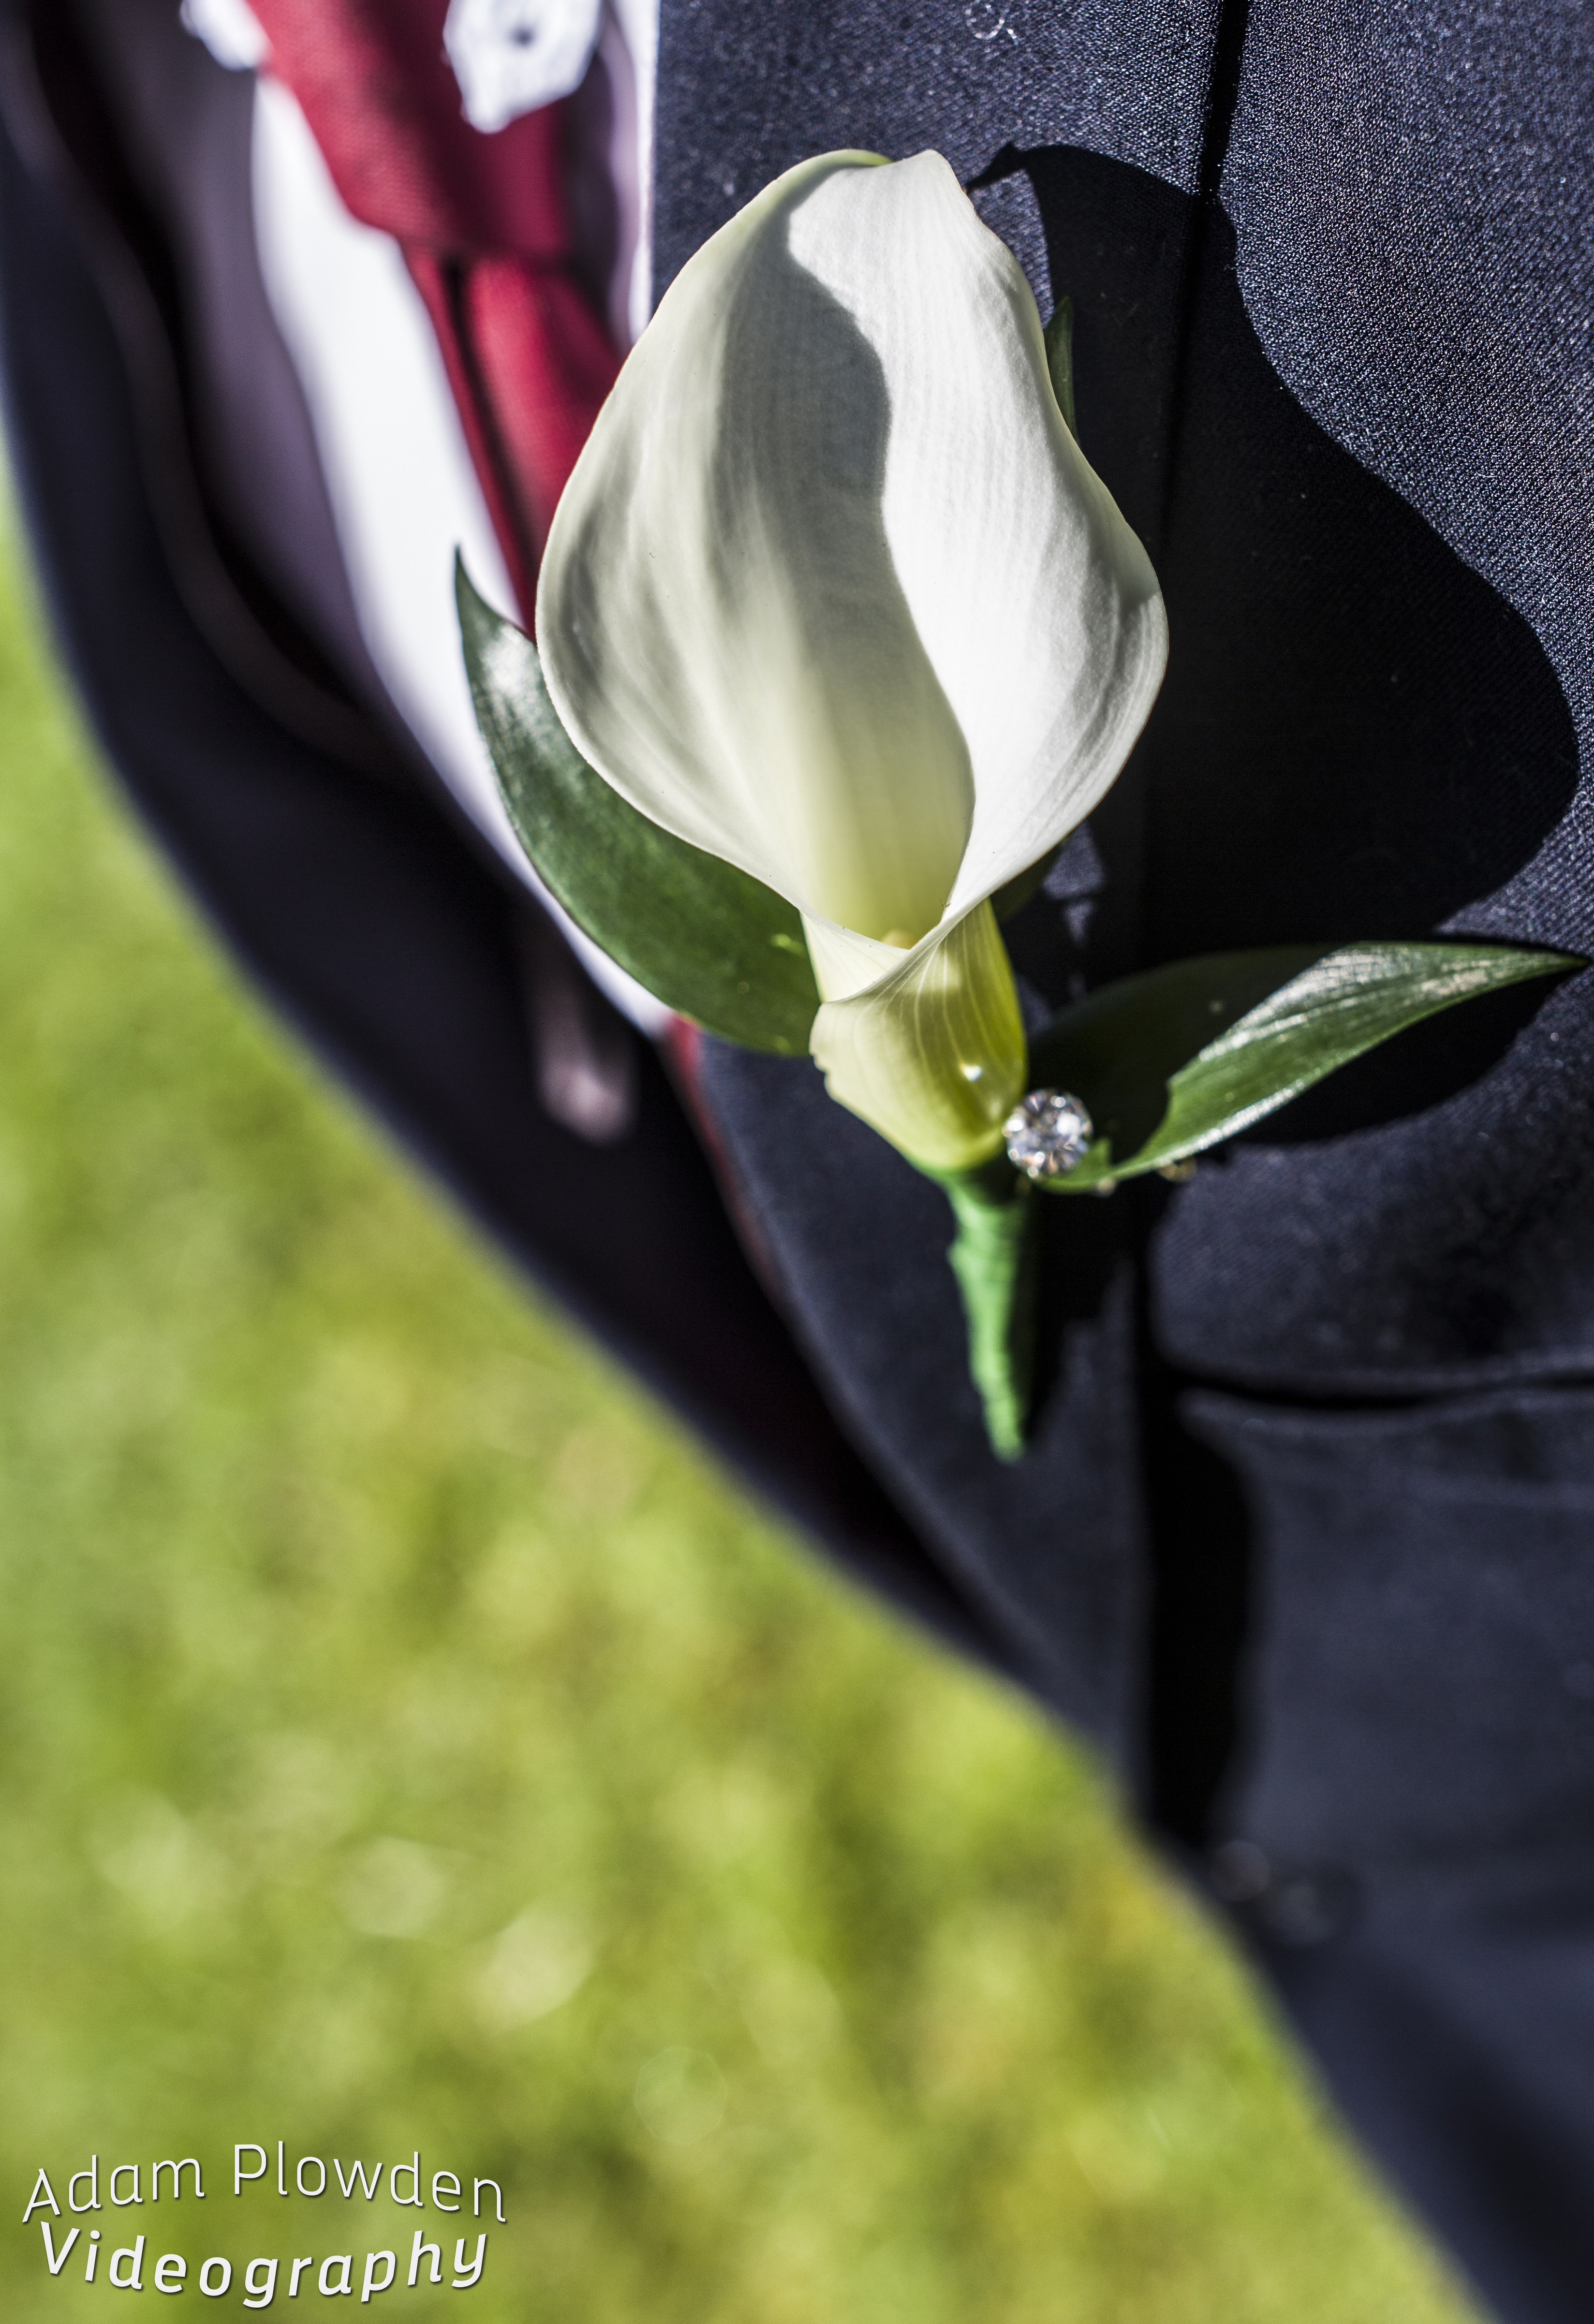
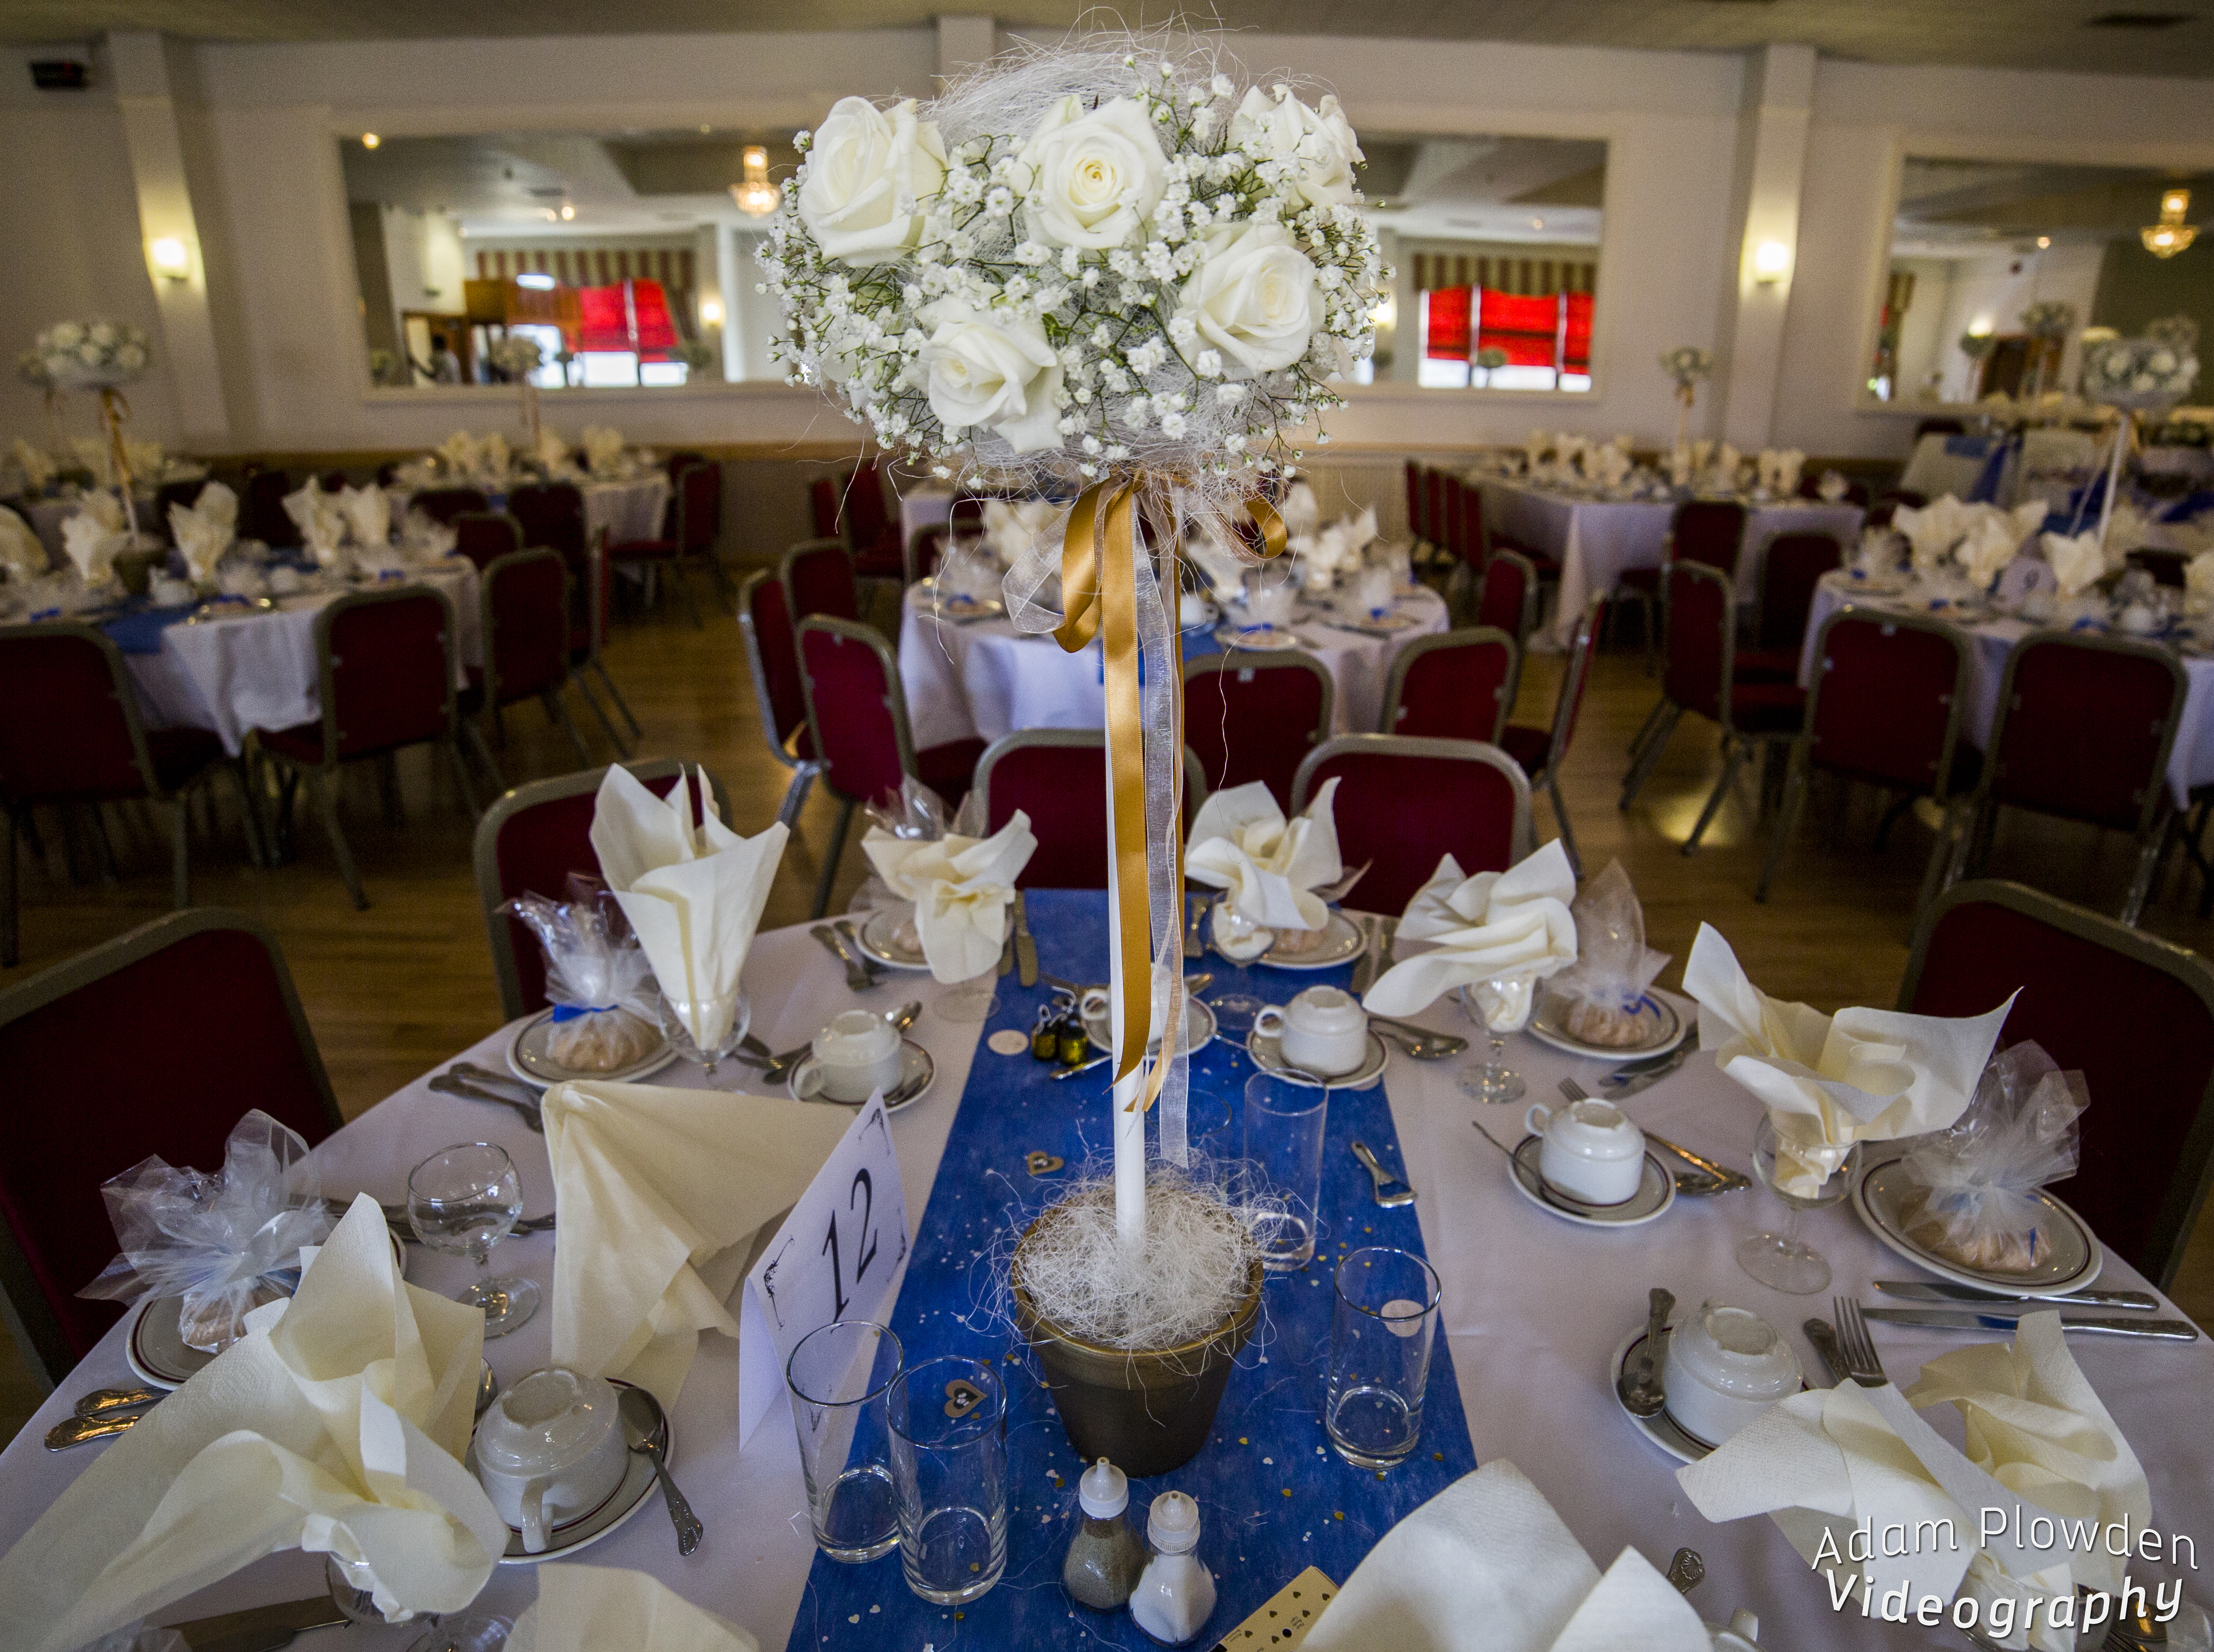
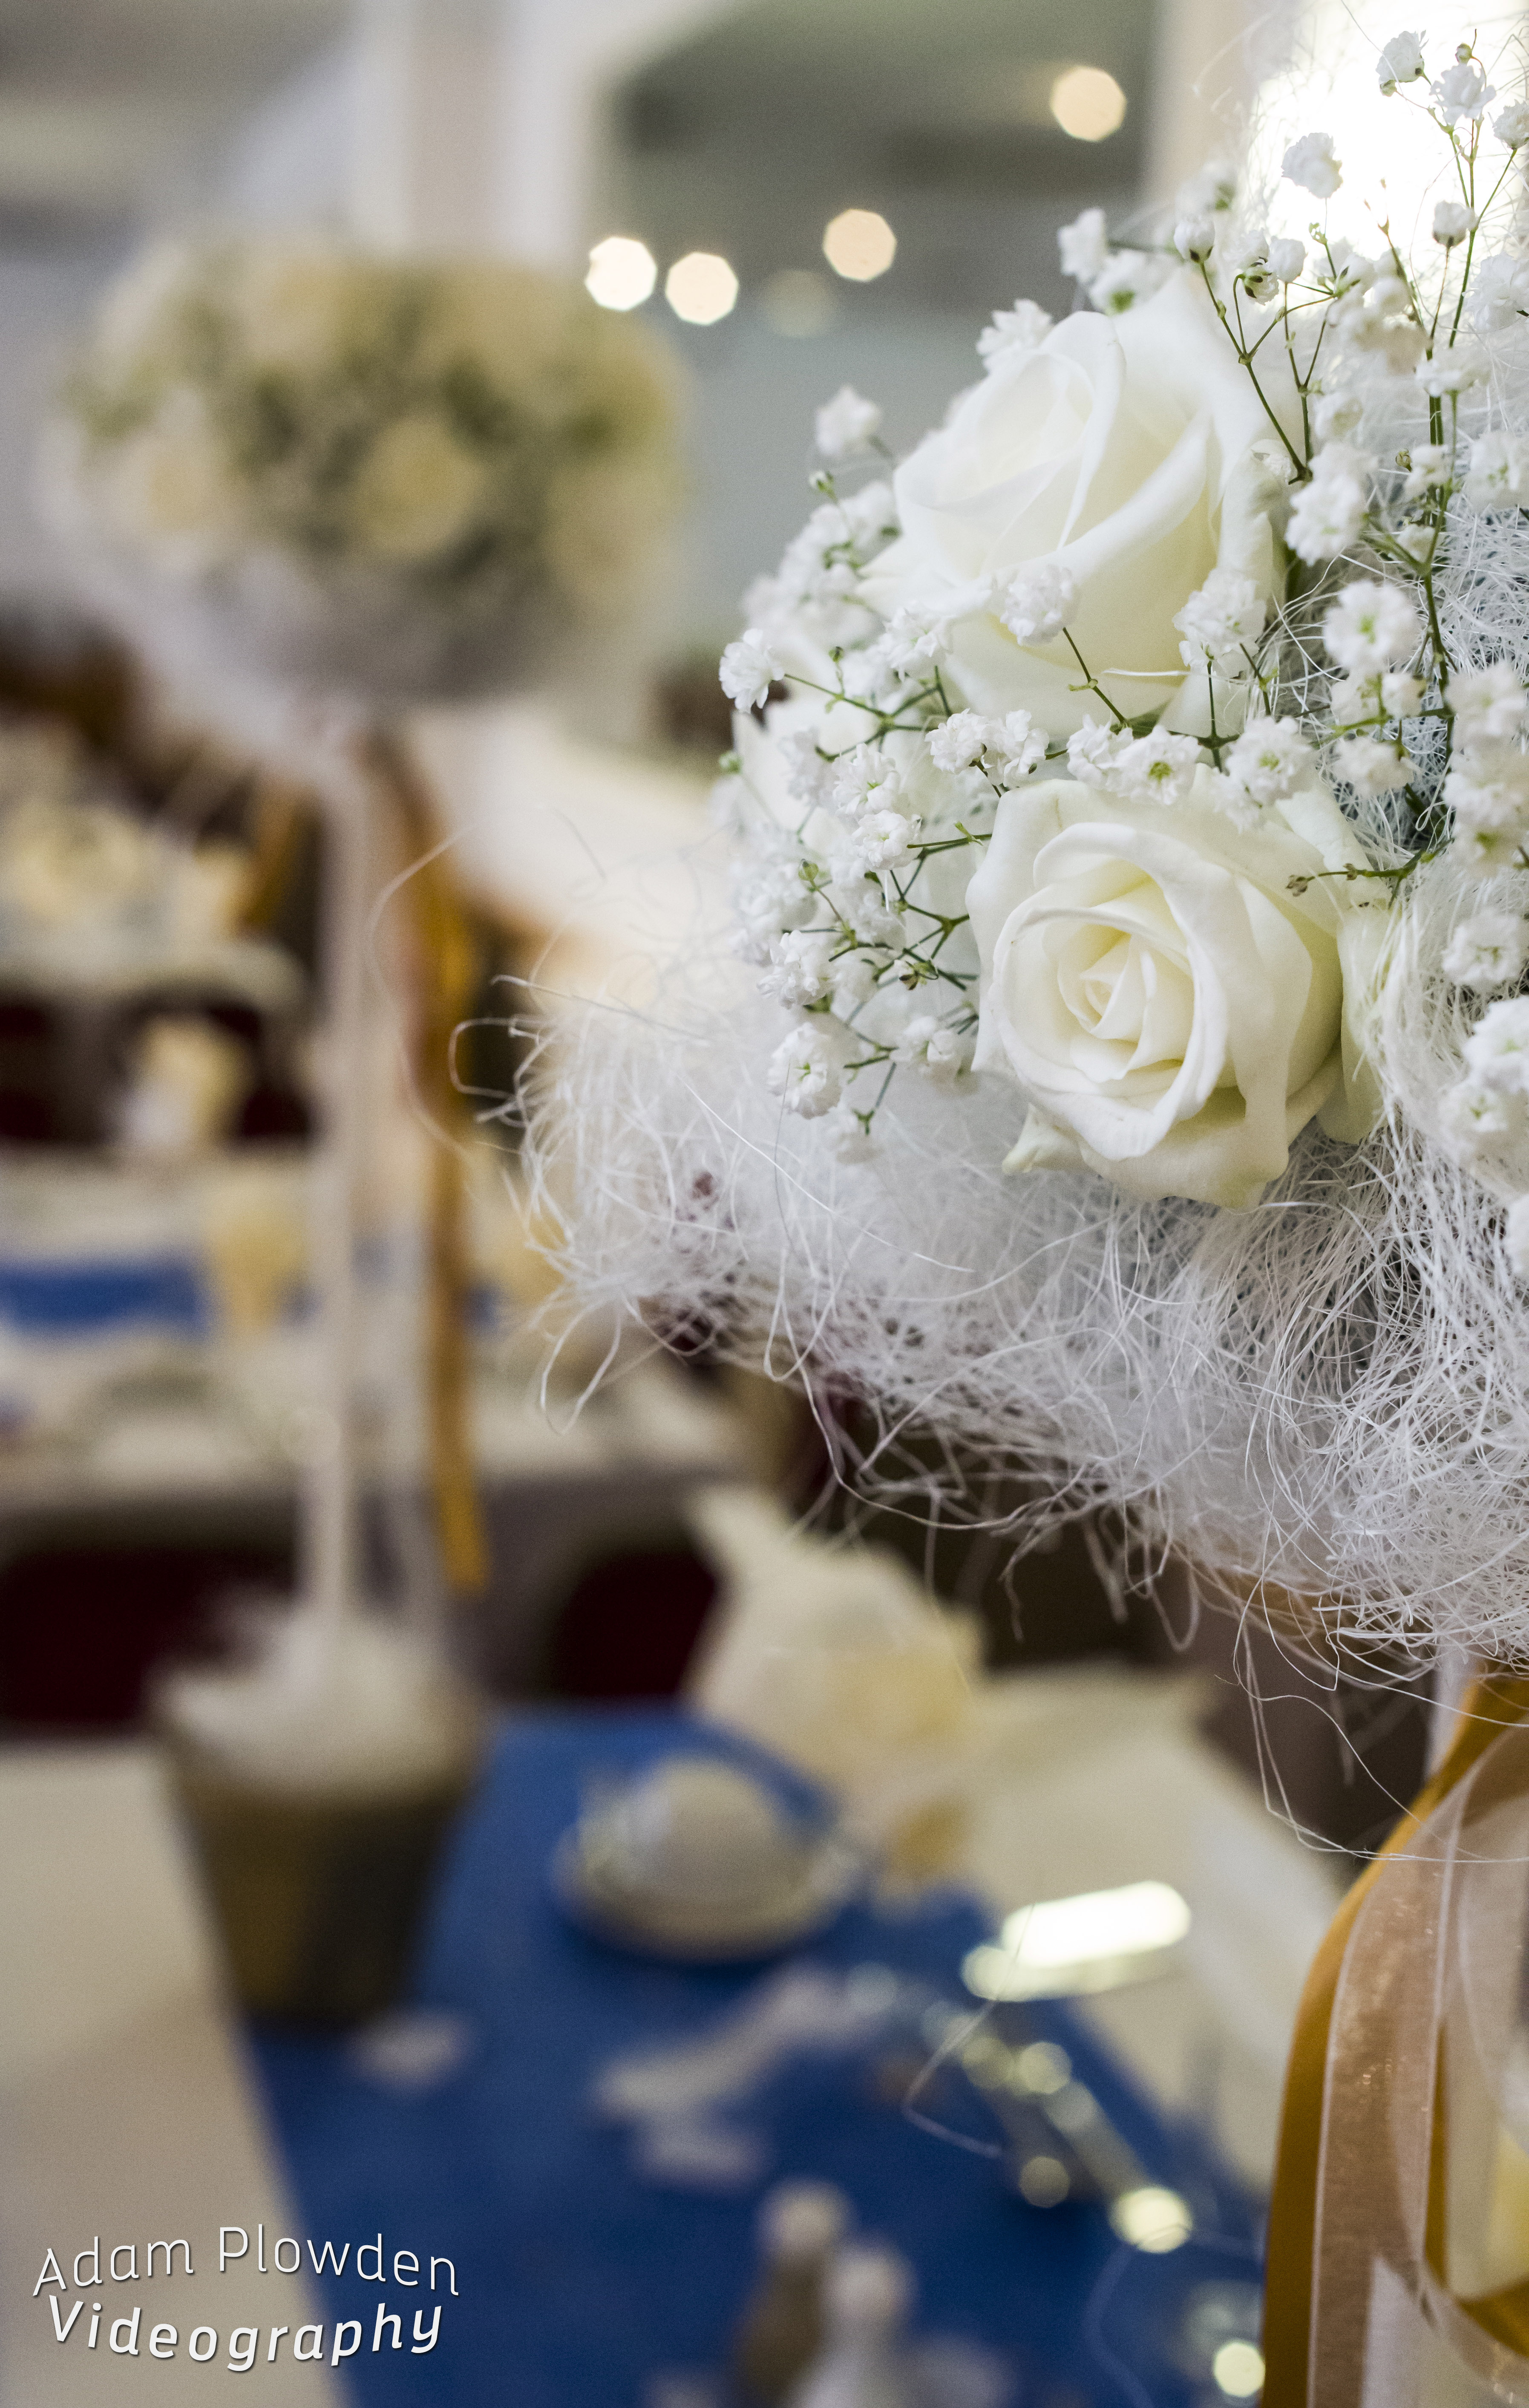
Lastly, back in the beginning of January I was out filming Sarah and Matt's wedding. I started with the preparations while Glen was at the venue capturing some shots of the location, Matt and the guests arriving. I had the Pro Media Gear Dual-arc slider on Manfrotto 055 Pro-B legs, with a range of lenses for shooting in potential low light (not knowing what the day or location might turn out like later on, and if the weather changes..)

Chosen equipment for filming a funky wedding - Canon 5D plus a range of fast zooms and primes. Not to forget audio!
I captured some of the days footage in 50fps slow mo, when the light was available for a little bit of luxury with moving shots. When in video mode on the 5D mk III the 50fps mode is only available in 720p, not 1080p. This does make the footage softer, but I've found using the Red Giant 'Instant 4K' plug-in works well to upscale the clips to 1080, and sharpen them a little.

Throughout the day I switched mainly between the Tamron 24-70 and Canon 100mm L for wide/standard framing and then more detail/close ups. I've found this works well as there is no 24-135 F/2.8.. If you are working with a Canon 60D, or an APS-C camera you get a lovely look when using an 85mm or 100mm (as the focal length is multiplied), with a pretty bokeh as well. For cool-perspective ultra wide angle, the Samyang 14mm T/3.1 works a treat, for skate videos and music videos where you want to warp reality a little!
There will be more on the wedding film production in an up coming Manfrotto Ambassador blog!
Tip No.4: tell a story through your video/film, narrative-speaking there is a beginning, middle and end set around key events. It may sound like redundant advice, but many videos I watch fail to build the narrative or story through the visuals. It provides an immersive experience for your viewers, getting them involved with what you've produced.
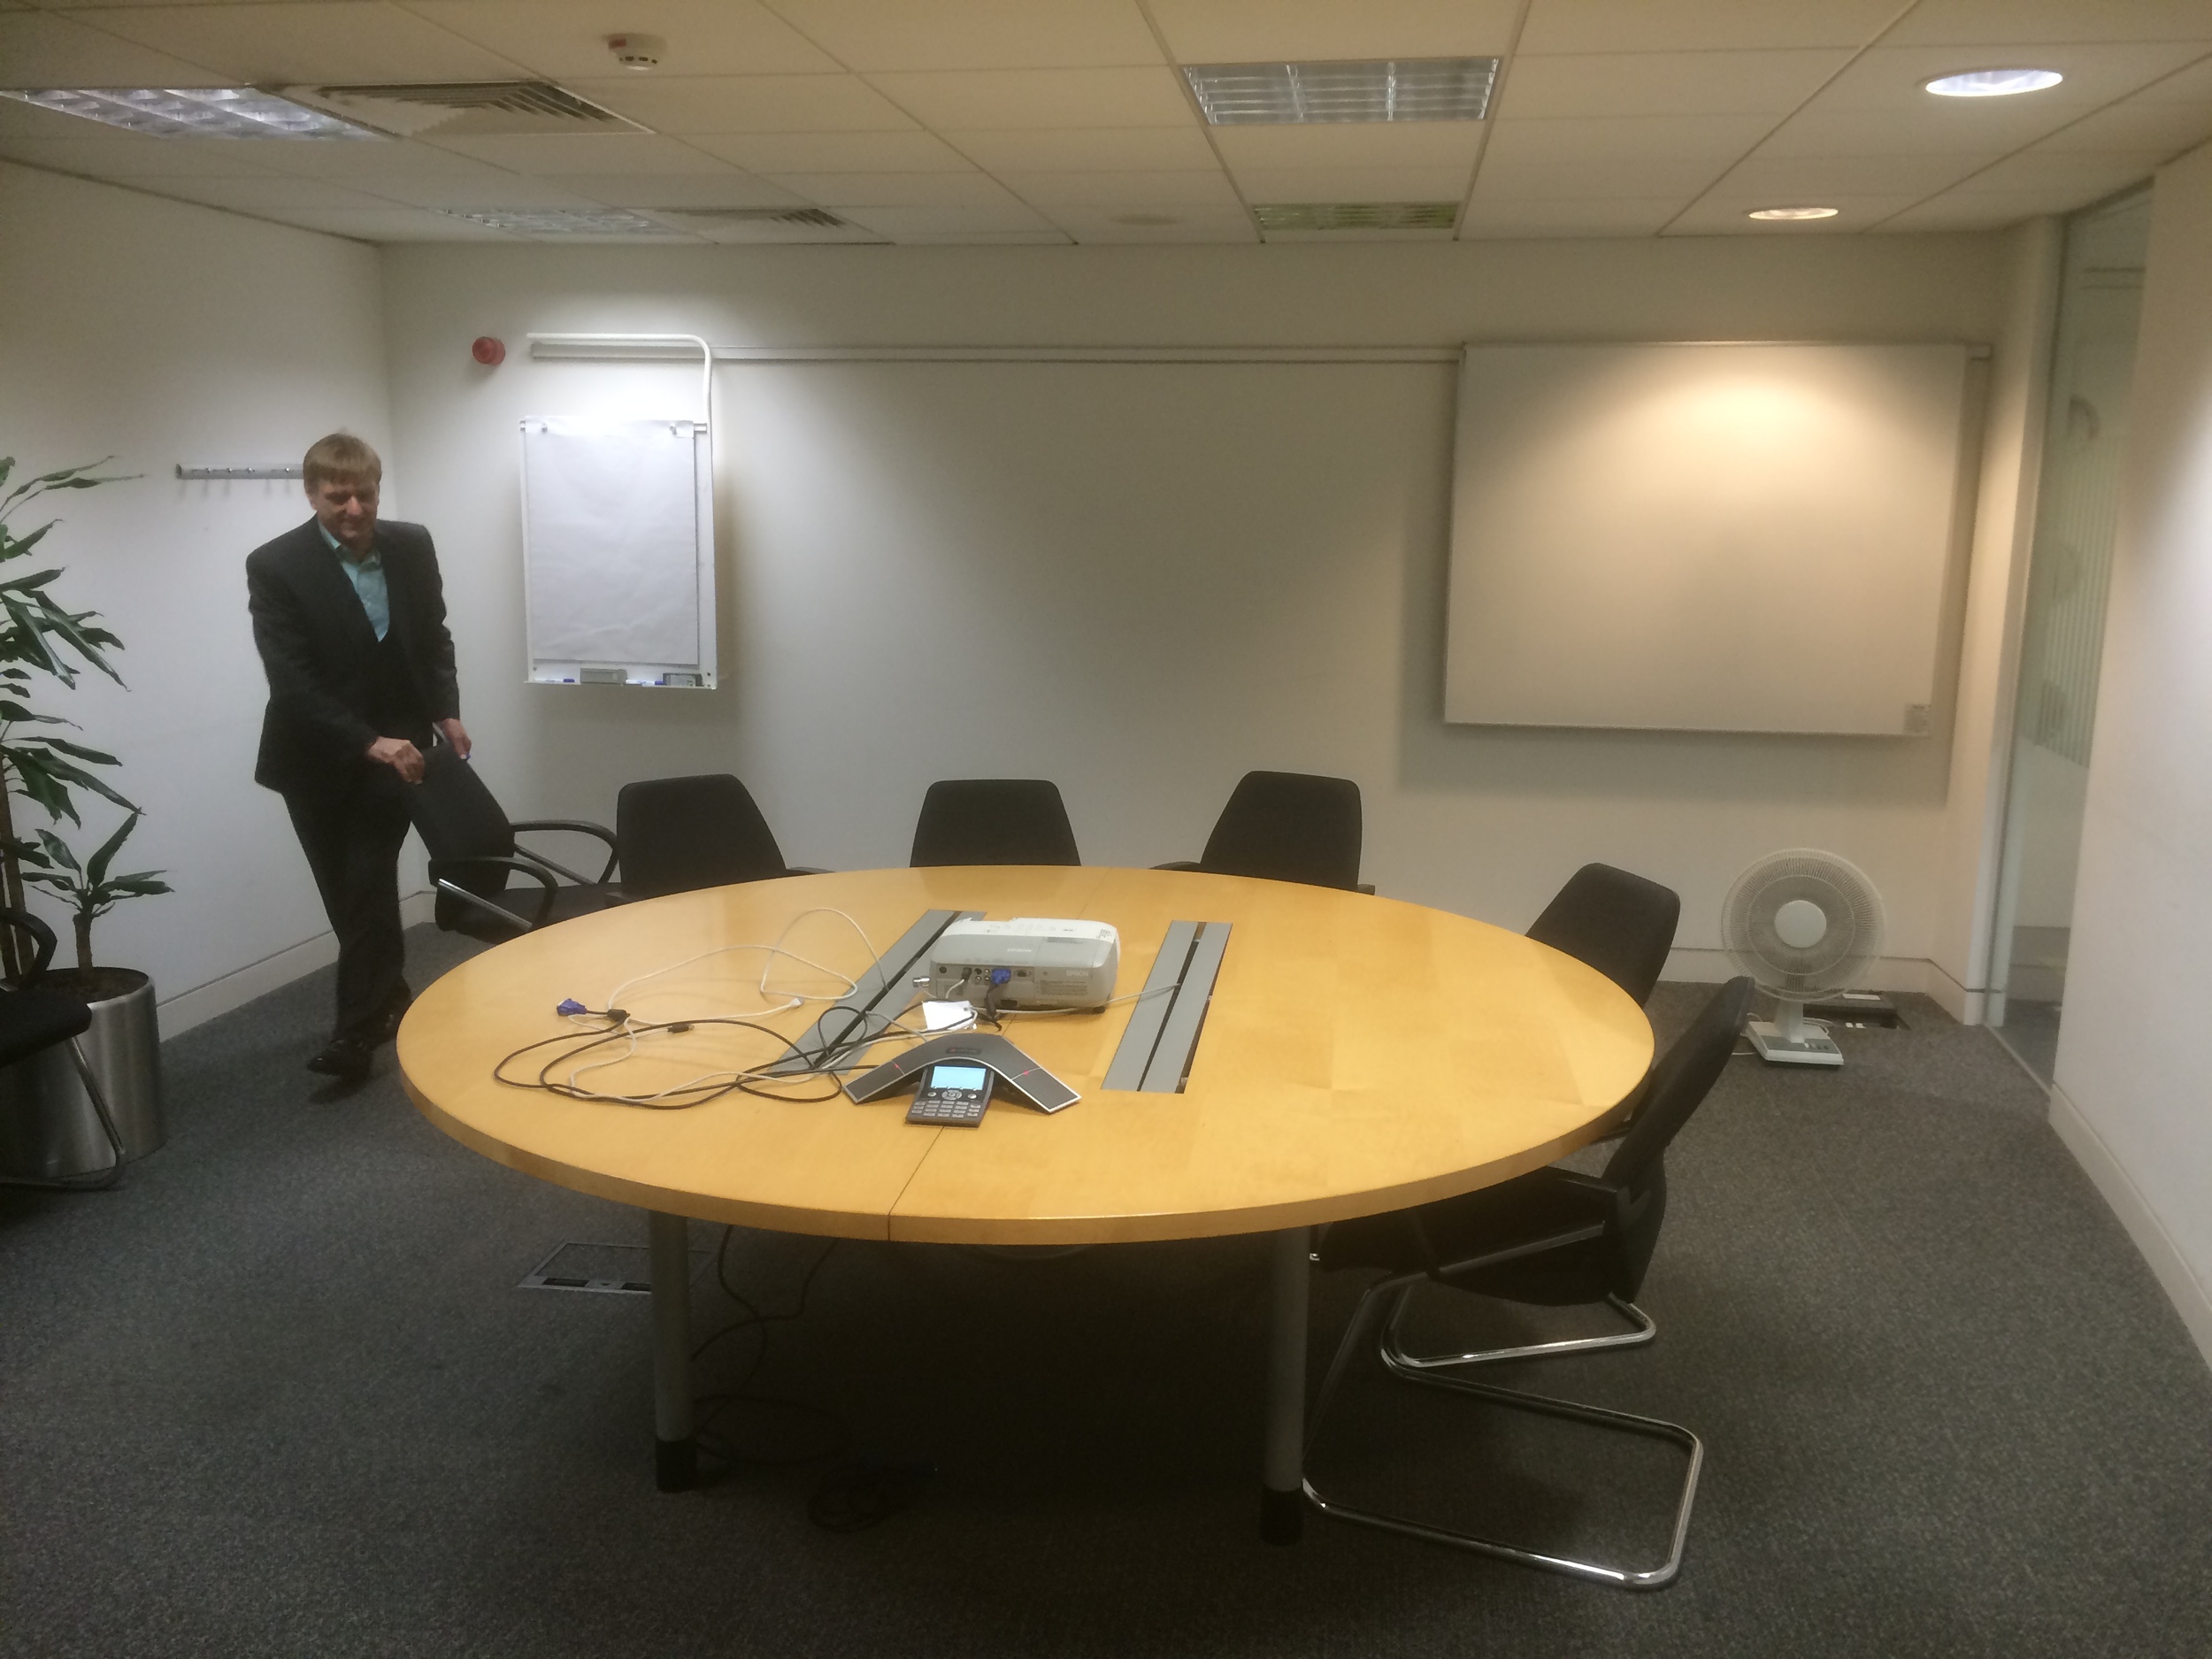
*Now following up a few days later, the meeting with Screen went very well, I traveled up to their Suffolk HQ, a beautiful old building in the country. Myself, the marketing dept and business development were present as I showed my basic concepts and ideas, and we discussed further the ideas and terminology.
Tip No.5: if you're working with clients in a different industry to yours, do your best to learn as much as you can about their business, products, services, strategies, and what their clients want.
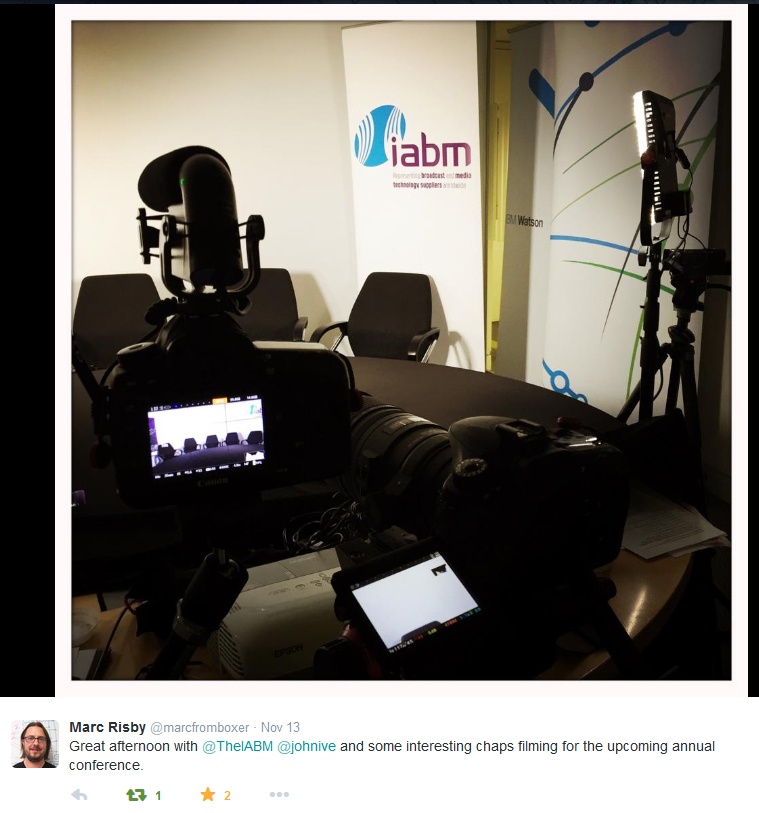
This has been fantastic progress for the end of January, which is usually a slow month for productions. With the wedding film almost complete, and the design beginning for the Screen Systems project I am confident it's the beginning to a great year. Not to mention the potential of IABM event coverage too! I'm due to visit the IABM team next week to talk further about this years videography.
After the CVP event with PB I'm sure to have worked to some conclusion for the video business investment post, but it may have to wait until BVE.. We shall see!
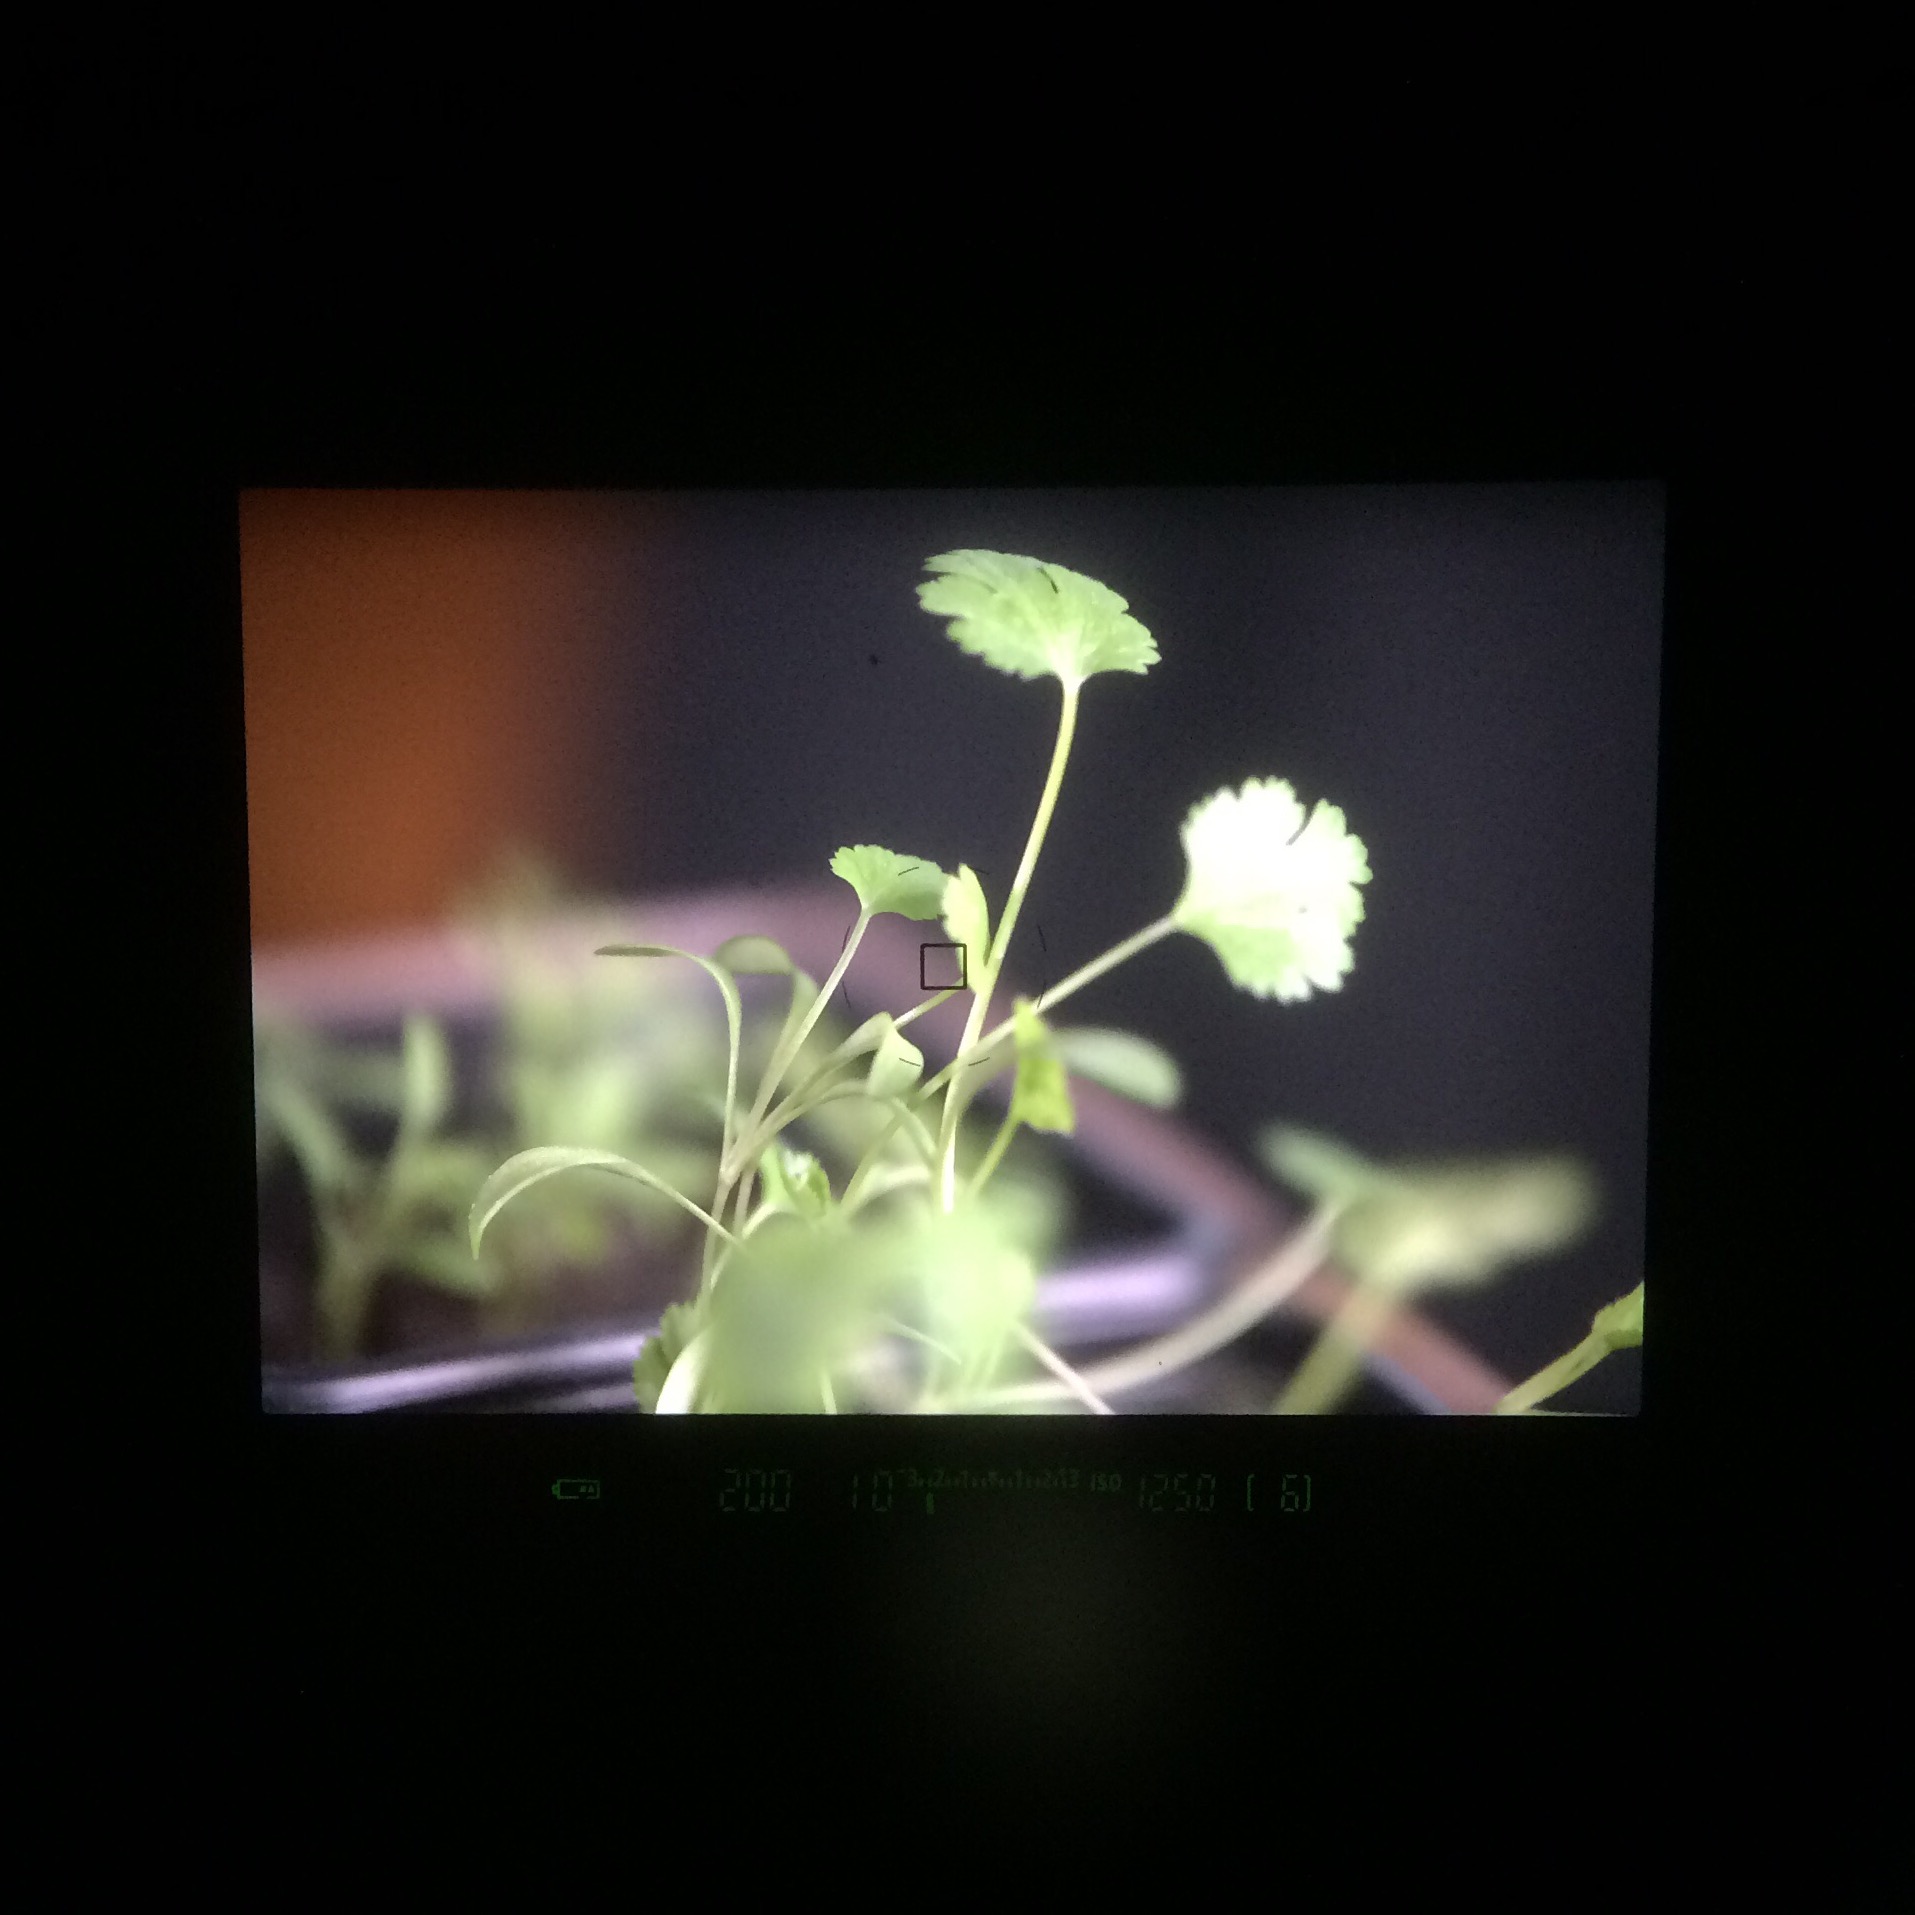
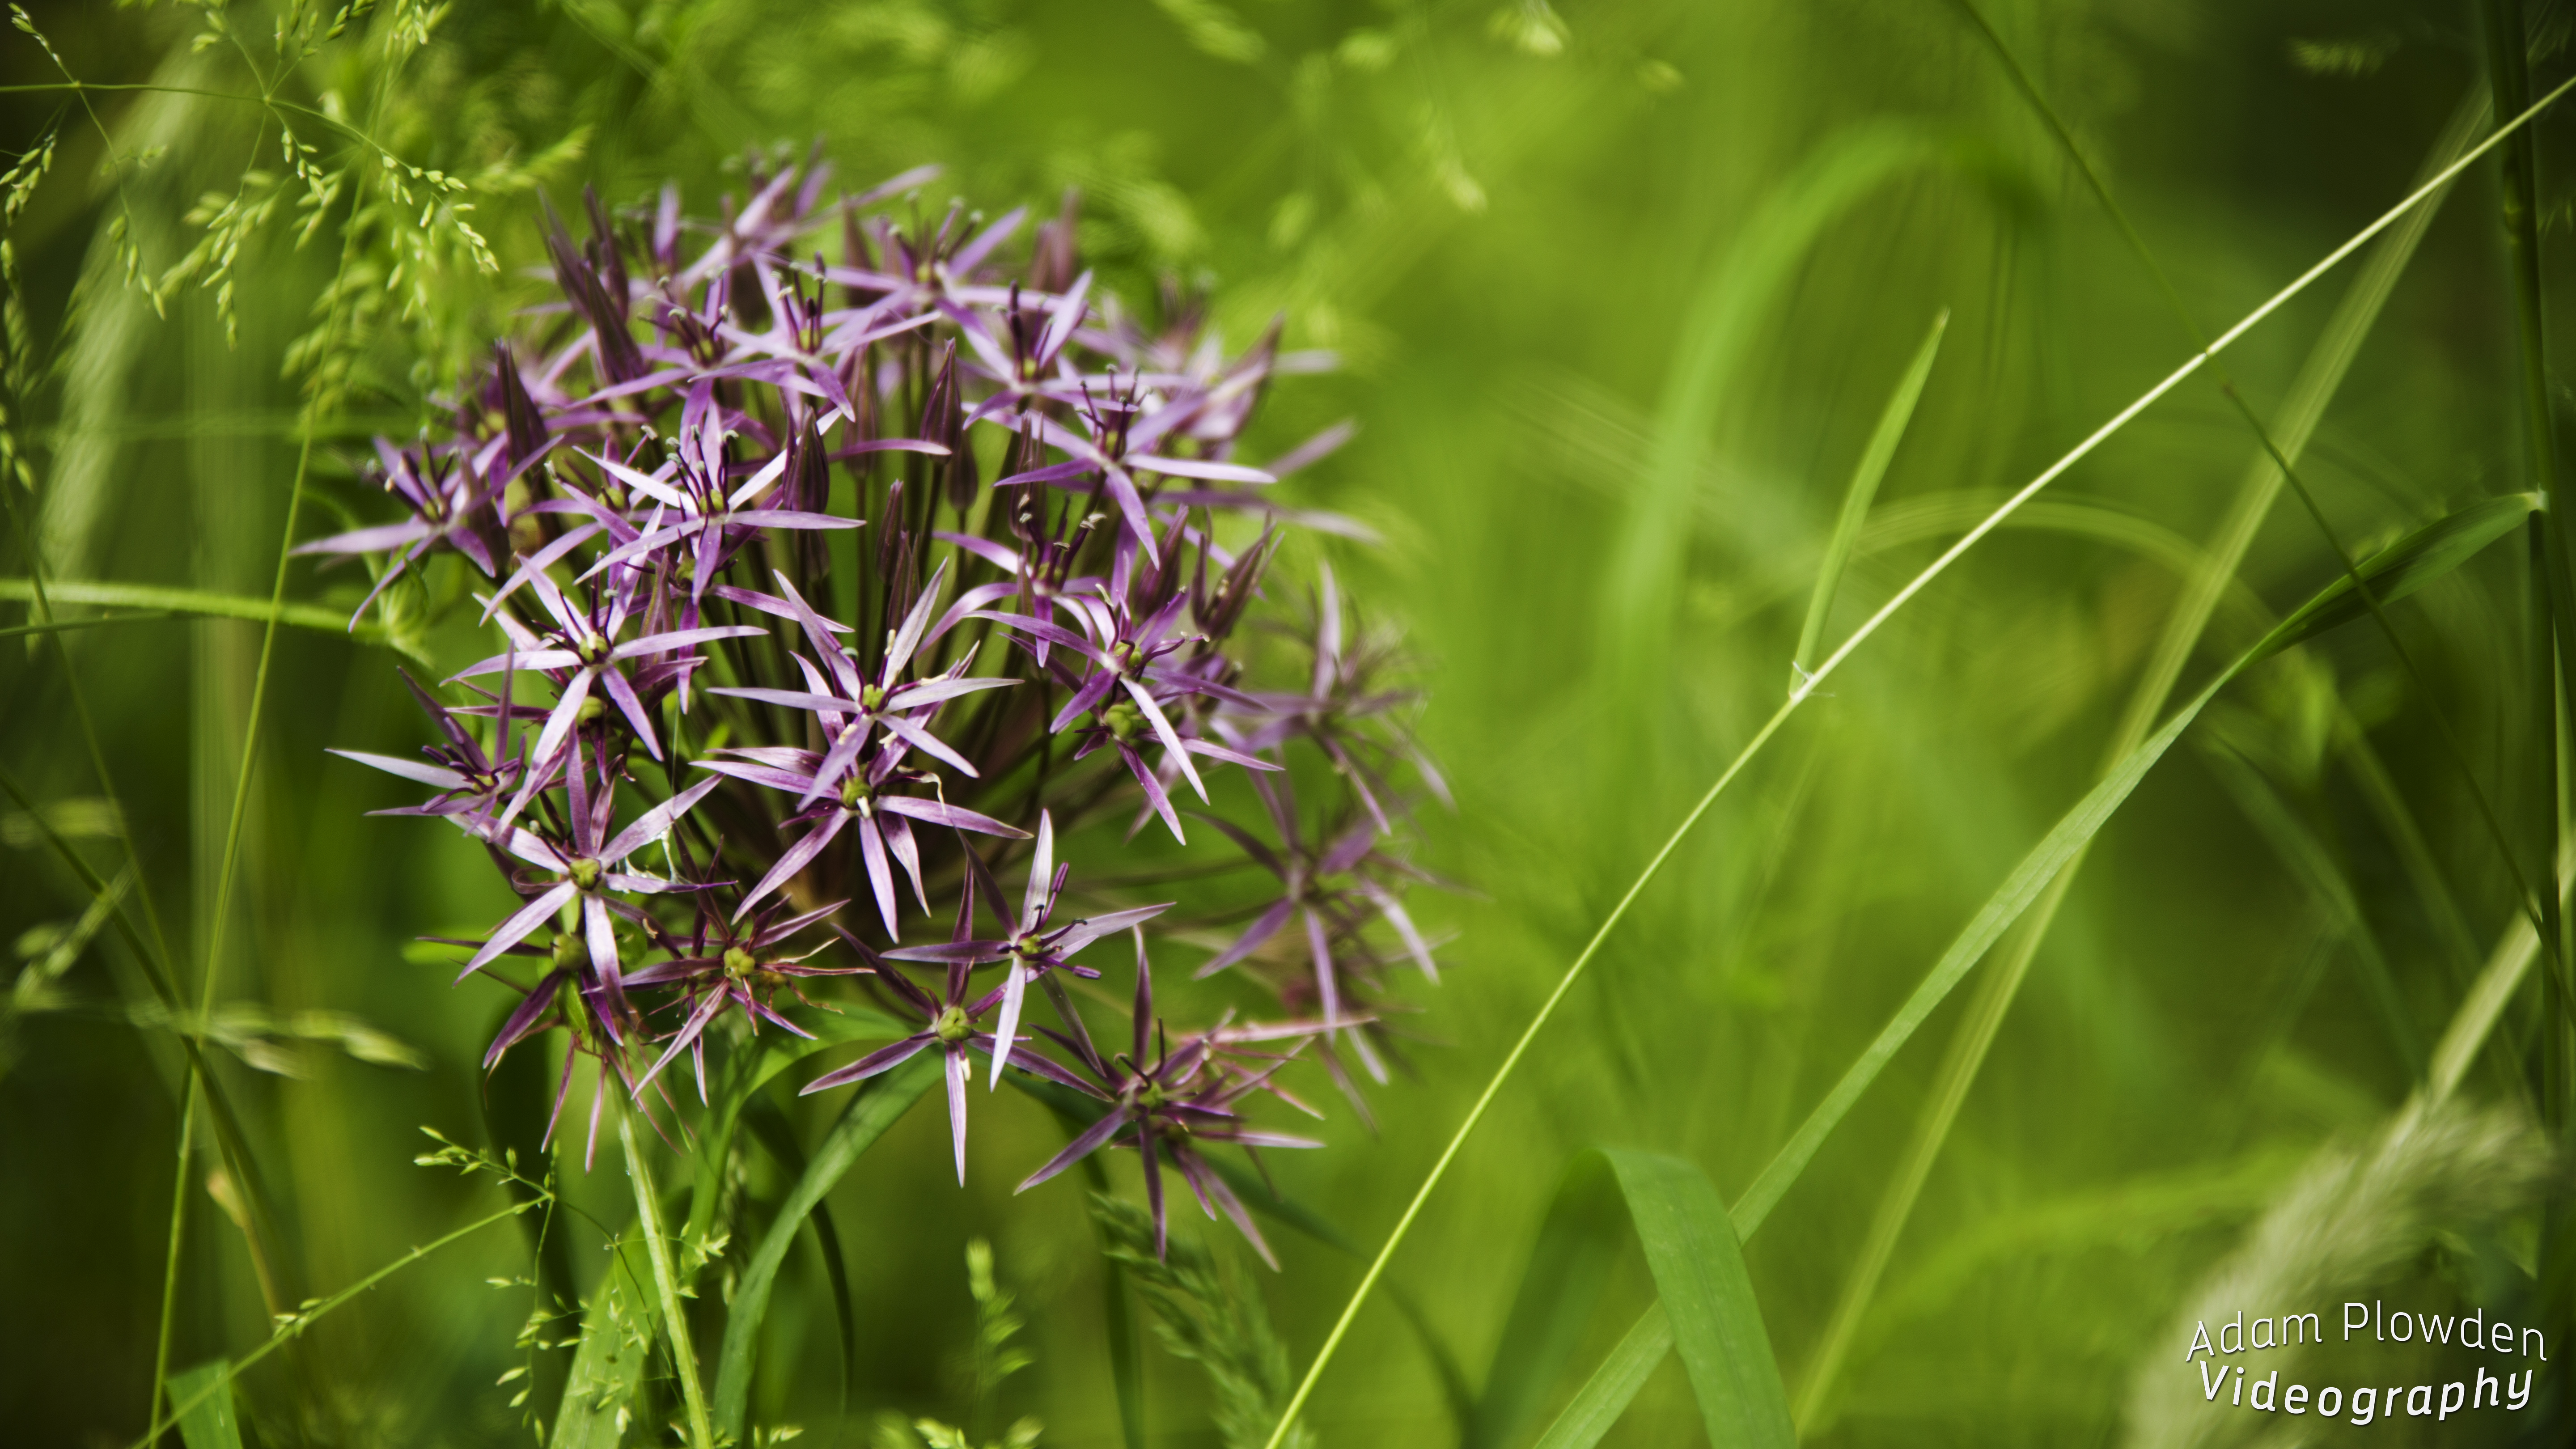
Some macro photography going on in the background, little herbs going!
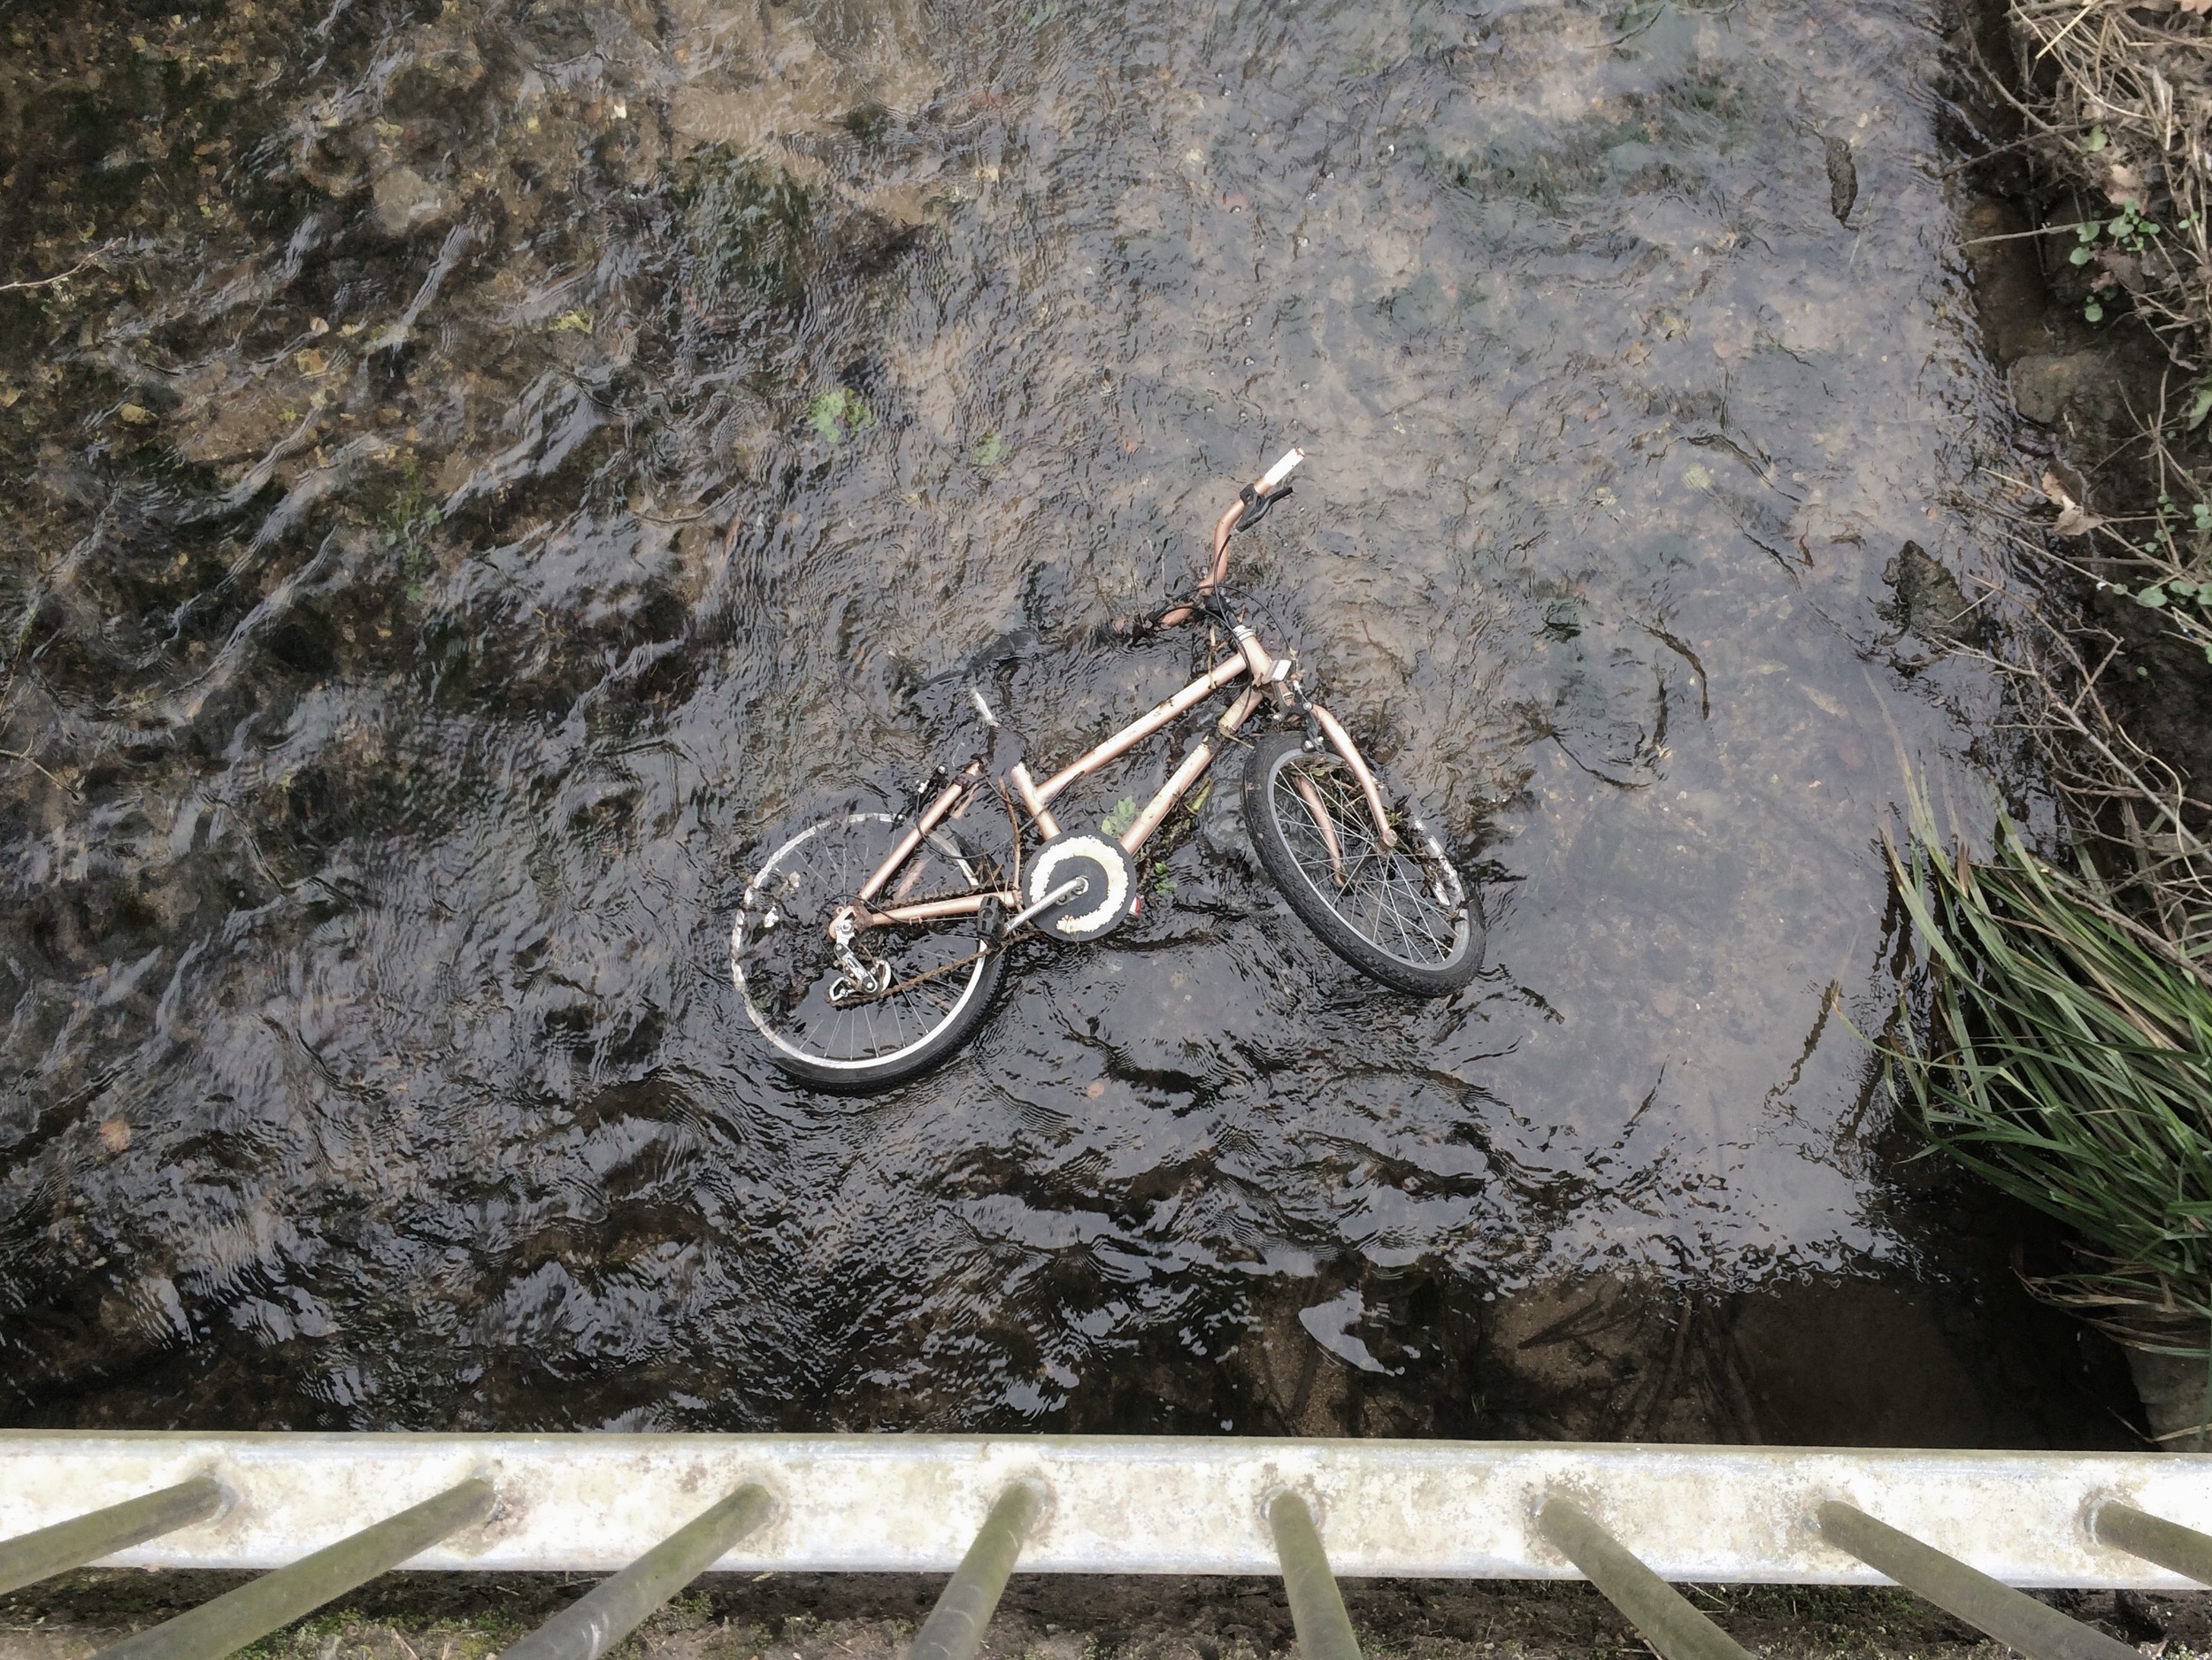
From a quick walk in the morning.. Kids in Epsom and Ewell leaving their childhood behind!
Keep an eye out for my new Manfrotto Ambassador blog about filming weddings with Manfrotto gear, and I'm going up to London tonight for some night photography so I'll share the results with you later!


![axiom-modules-06[1]](http://ajp1991.files.wordpress.com/2014/09/axiom-modules-061.jpg)


![ef_70-200mmf4_lusm[1]](http://ajp1991.files.wordpress.com/2014/03/ef_70-200mmf4_lusm1.jpg)
![ef-70-200mm-f-4l-is-usm-fsl---1258b005aa[1]](http://ajp1991.files.wordpress.com/2014/03/ef-70-200mm-f-4l-is-usm-fsl-1258b005aa1.jpg)

![Canon-Intervalometer1[1]](http://ajp1991.files.wordpress.com/2014/02/canon-intervalometer11.jpg)


![8-forest-road-landscape-photography[1]](http://ajp1991.files.wordpress.com/2014/02/8-forest-road-landscape-photography1.jpg)
