professional

The Filmmaking Masterclass 2015.. Behind The Scenes (Part 1)

Producing a video with storytelling (Part 1)

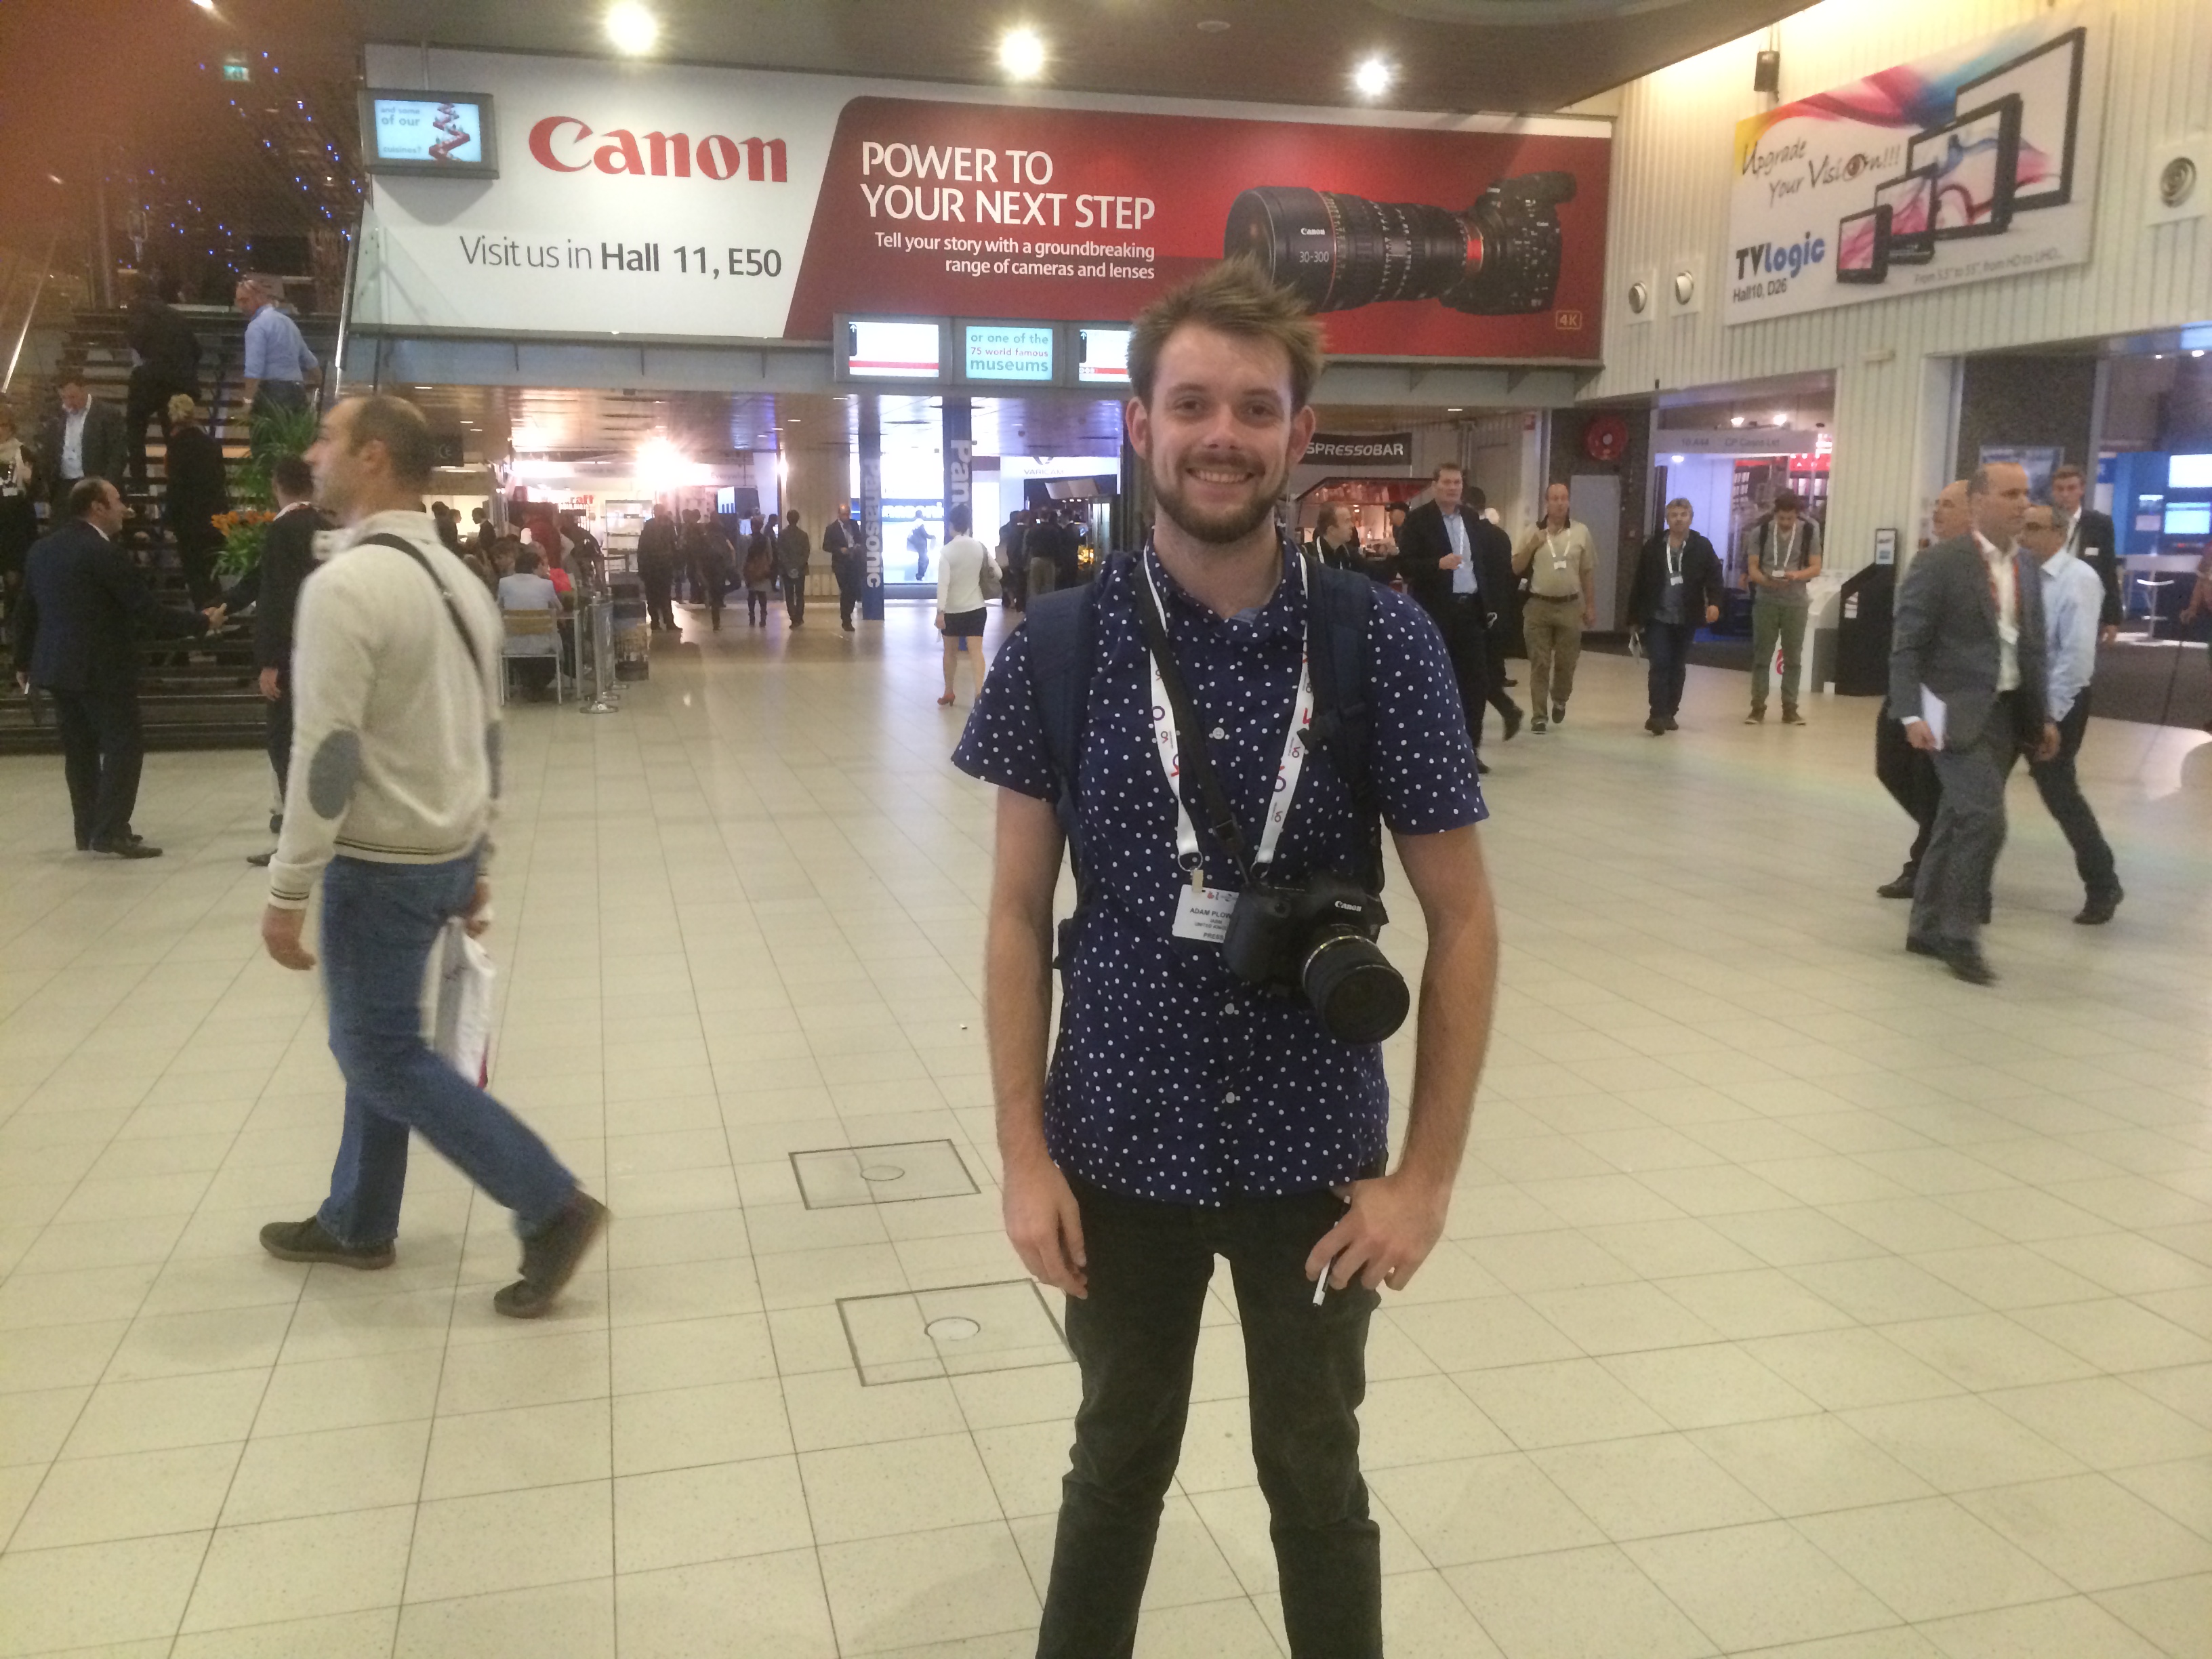
I jumped at the chance to film the BTS when I saw Philip Bloom and Nino Leitner's 'Filmmaking Masterclass' were coming to Surrey for their 2015 workshop. Having captured many events before, this was a chance for me to hone in on my videography skills and produce a great BTS film to show what the workshop is about and help promote it for future events. Of course, filming for Nino and Philip put more pressure onto producing something amazing.

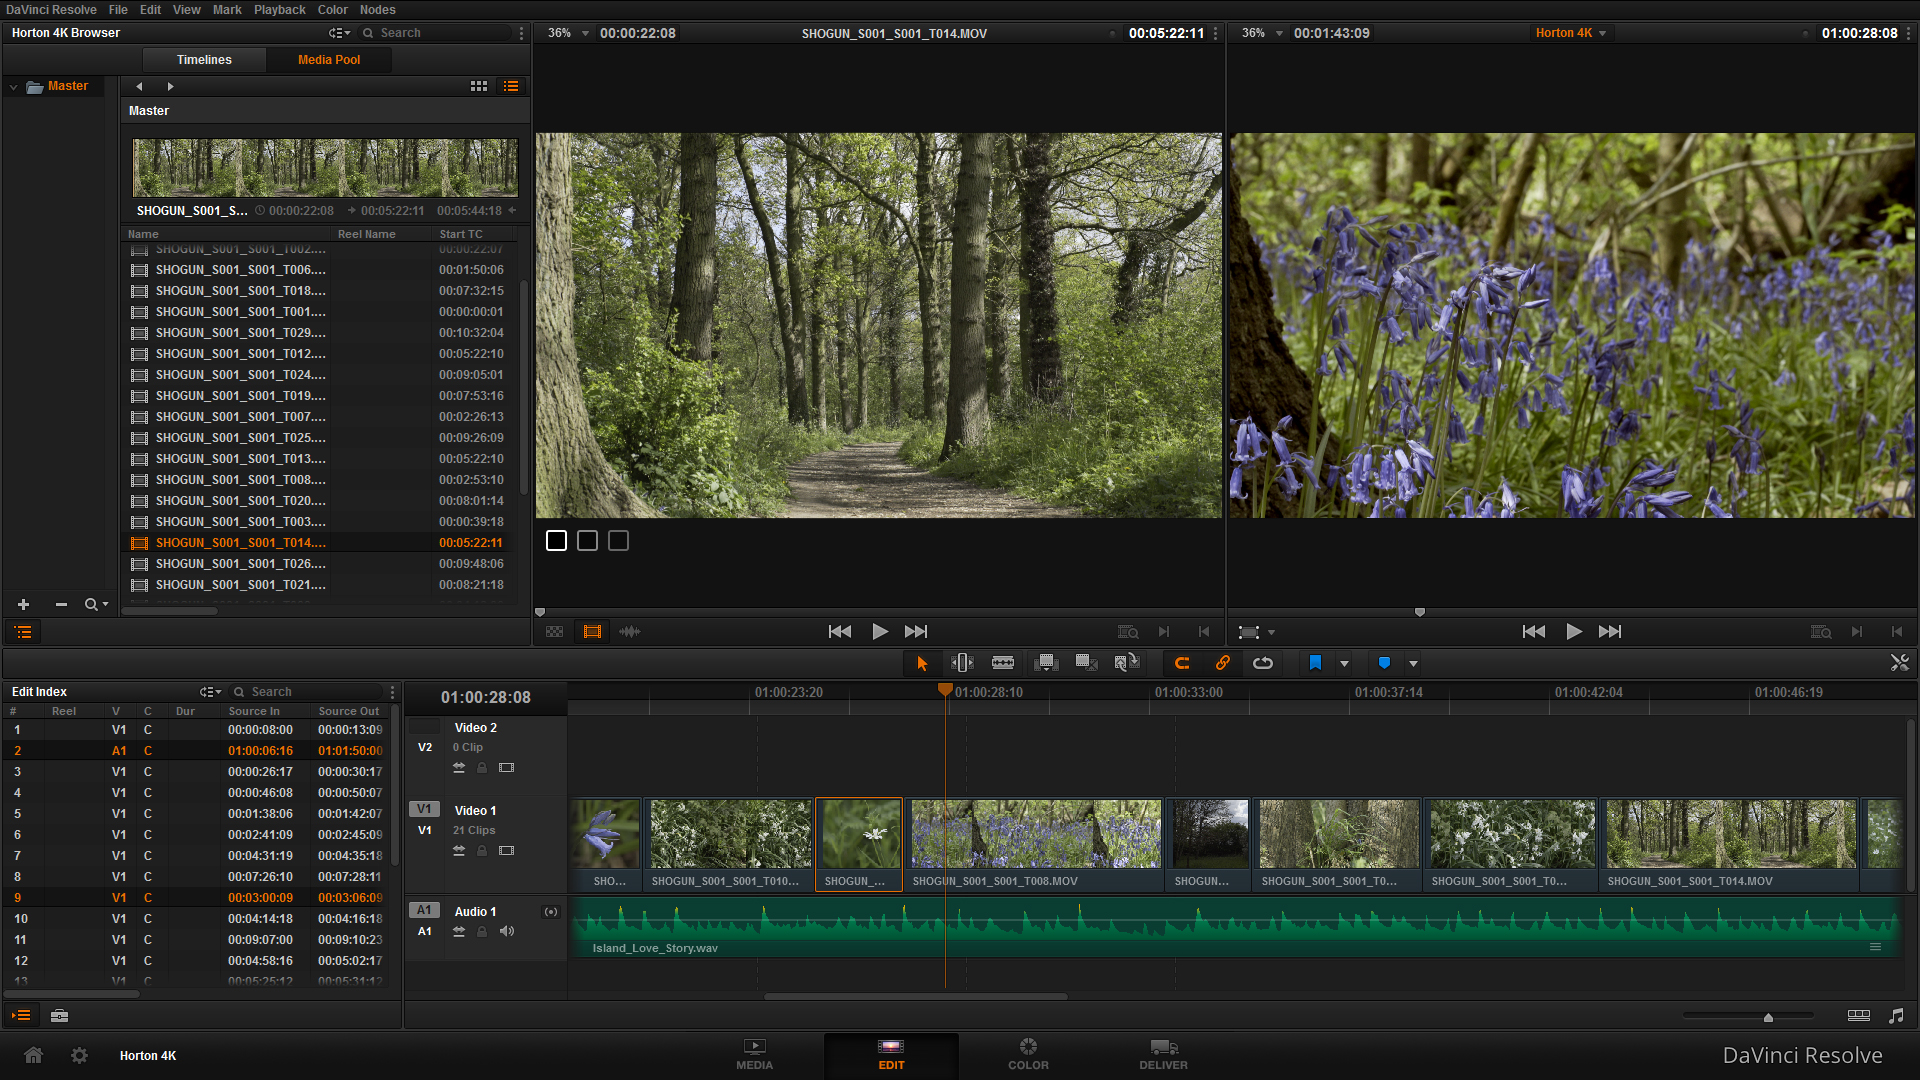
As I'm a one man band producer, I roped in help from good friends of mine to help film other aspects of the workshop (which spanned over 3 days). Meticulous planning was required to make sure we captured everything we could, and that the equipment was ready for the next days shooting on location. Keeping in mind the"shoot 20% content and 80% b-roll" tip was definitely important for this production, so there was plenty of emphasis on attendee interviews at different stages of the workshop to capture progress, and filming them working as a crew producing a short film too. This together helped form the basis of the beginning, middle and end narrative; a structure that is familiar, but works to add progression and pace to a video.

Preparing the treatment

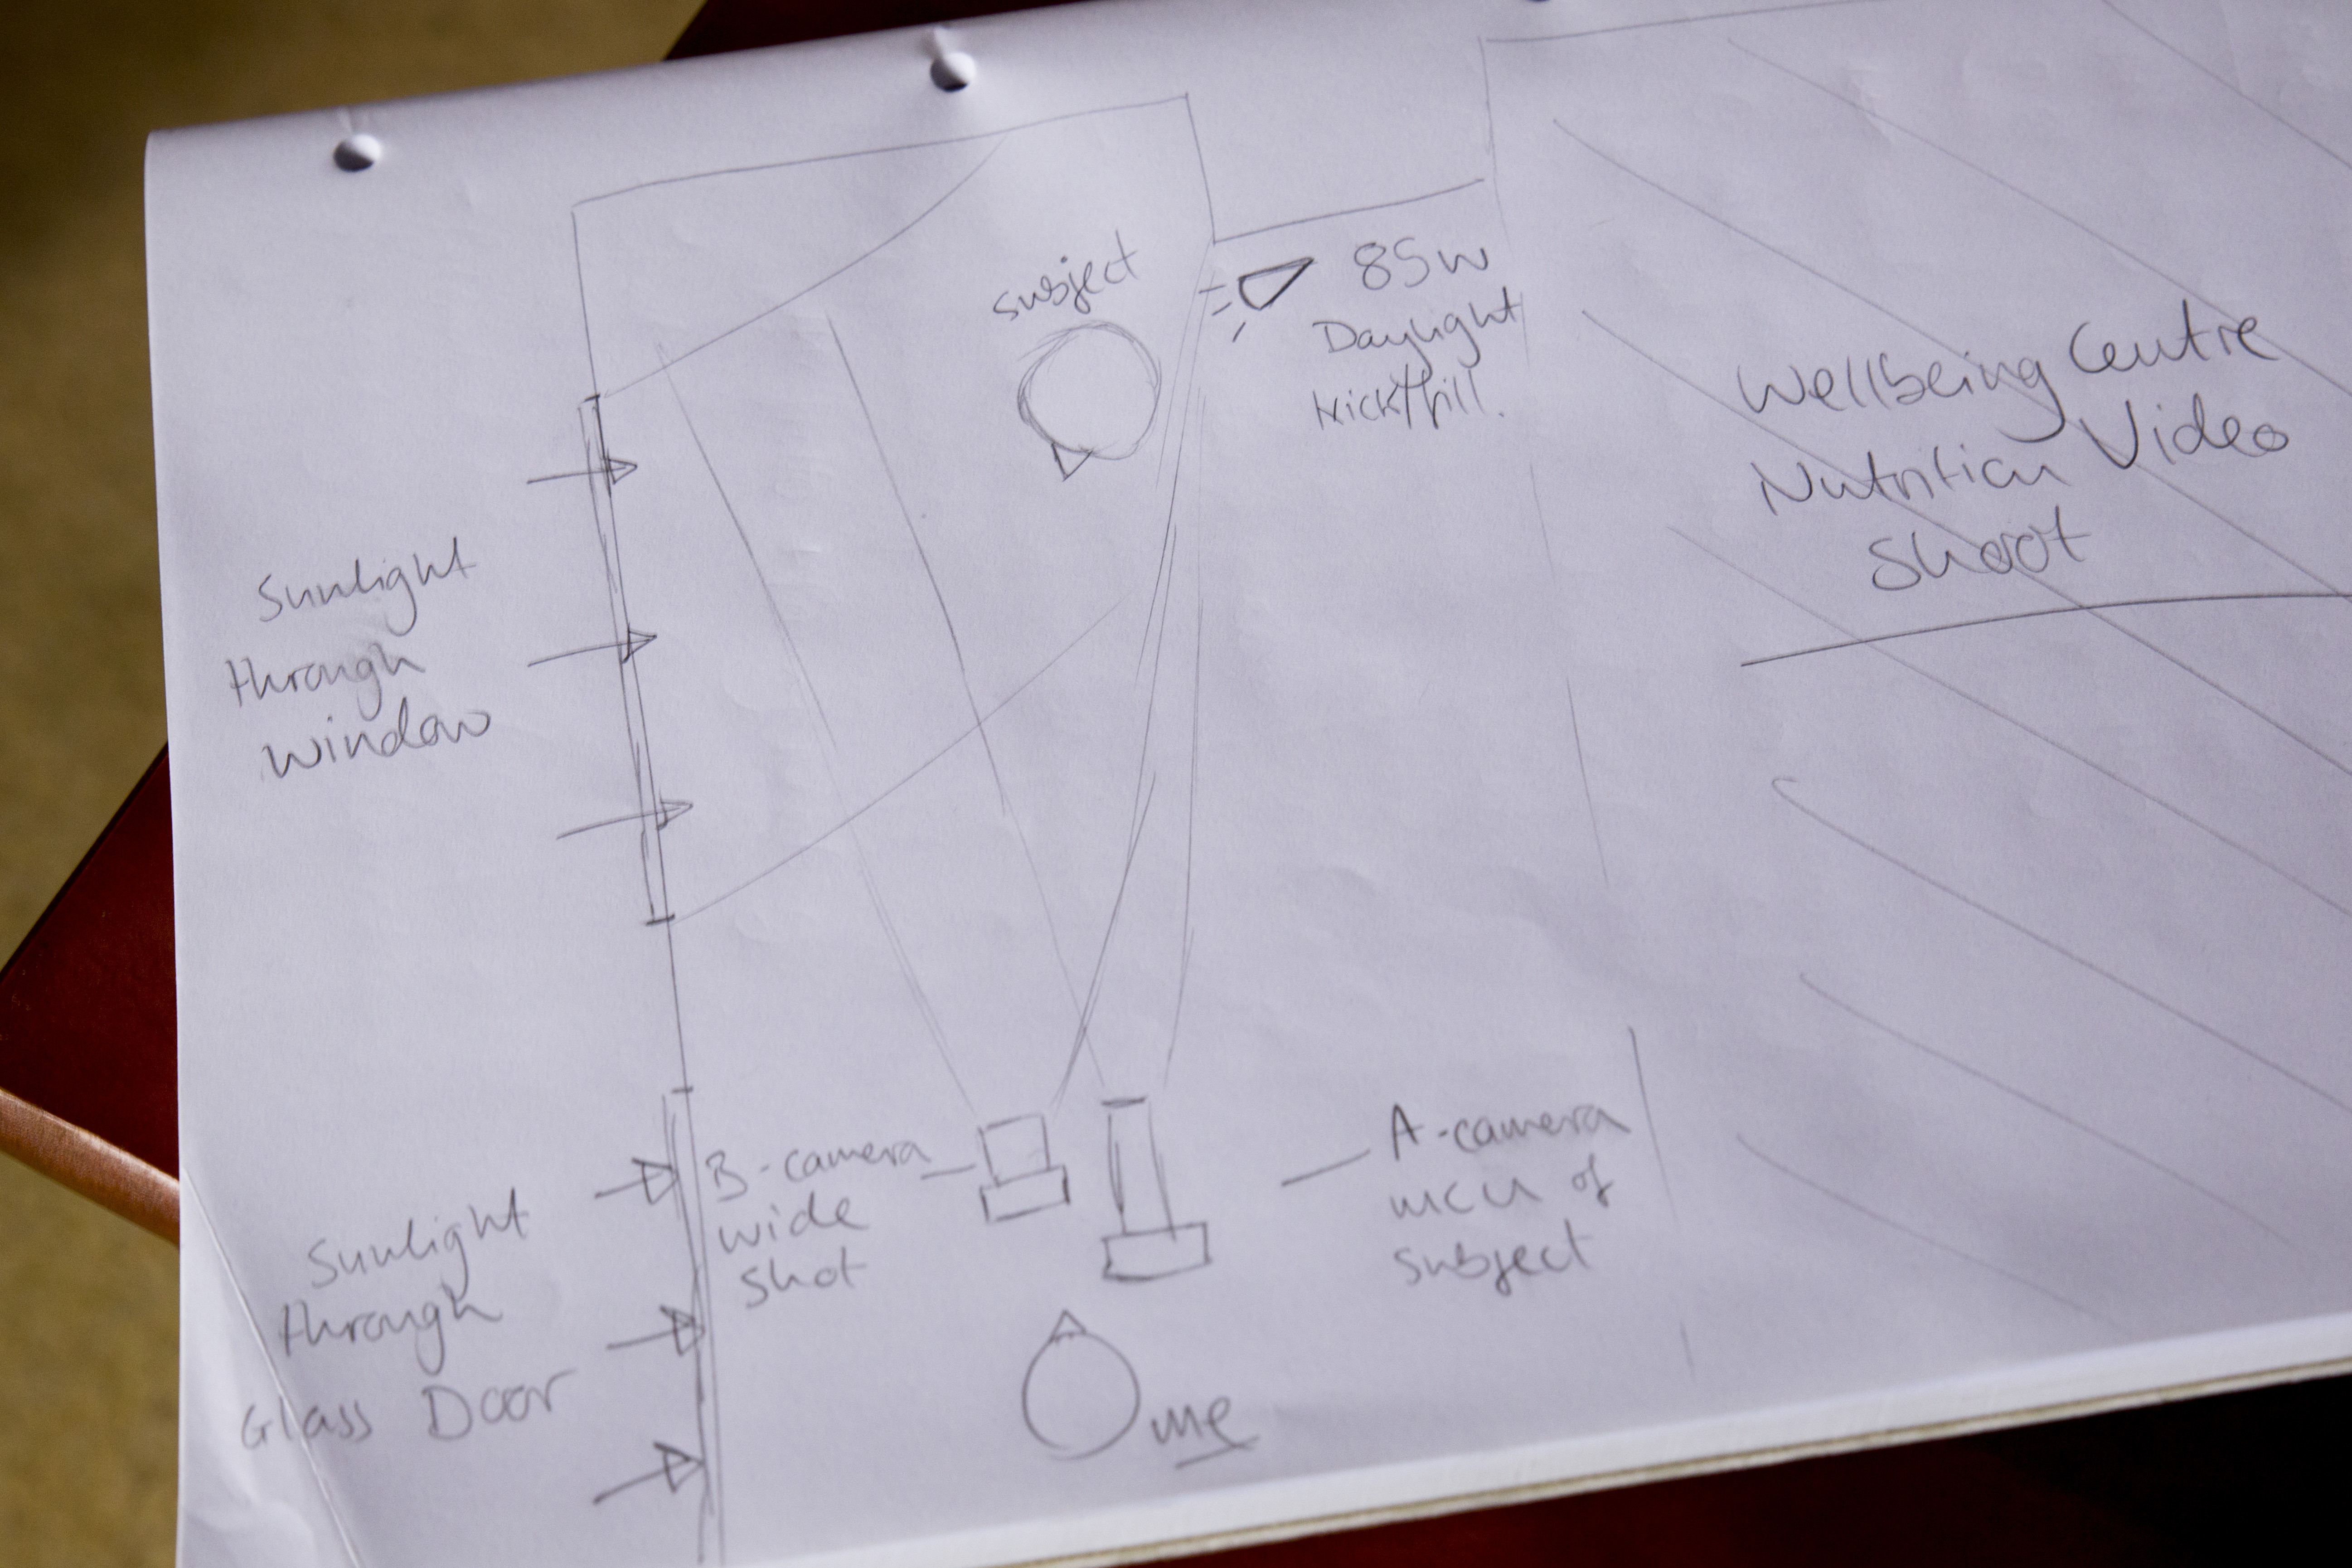
To keep the production tightly knit and not over shooting, I produced a treatment for each crew member so we knew exactly what was going on, where, with what kit. This helped us work to capturing something different each day and follow the narrative -

1.       Brief the crew with the aims and expectations of the overall production.

2.       Confirm the details of the location, including the best travel routes from their location (avoiding major motorways and roads during congesting).

3.       Choose the best equipment for the job. Never over pack the kit bag, go simple and strategic for the look and style of production.

4.       Prepare an equipment list to check off each day and familiarize crew of the production setup with camera techniques, settings and audio.

5.       List all key moments and shots to acquire throughout each filming day, which may include interviews, specific time lapses, and drone or gimbal shots for example.

On the day:

6.       When you are working in a crew, they are your family.

7.       Introduce the crew to the key people at the event; from the event organizers to the mentors, to ensure that they are all comfortable and acknowledged as part of the BTS crew.

8.       Film a couple of shots with the crew to demonstrate the style of production and tips for filming in that location/settings.
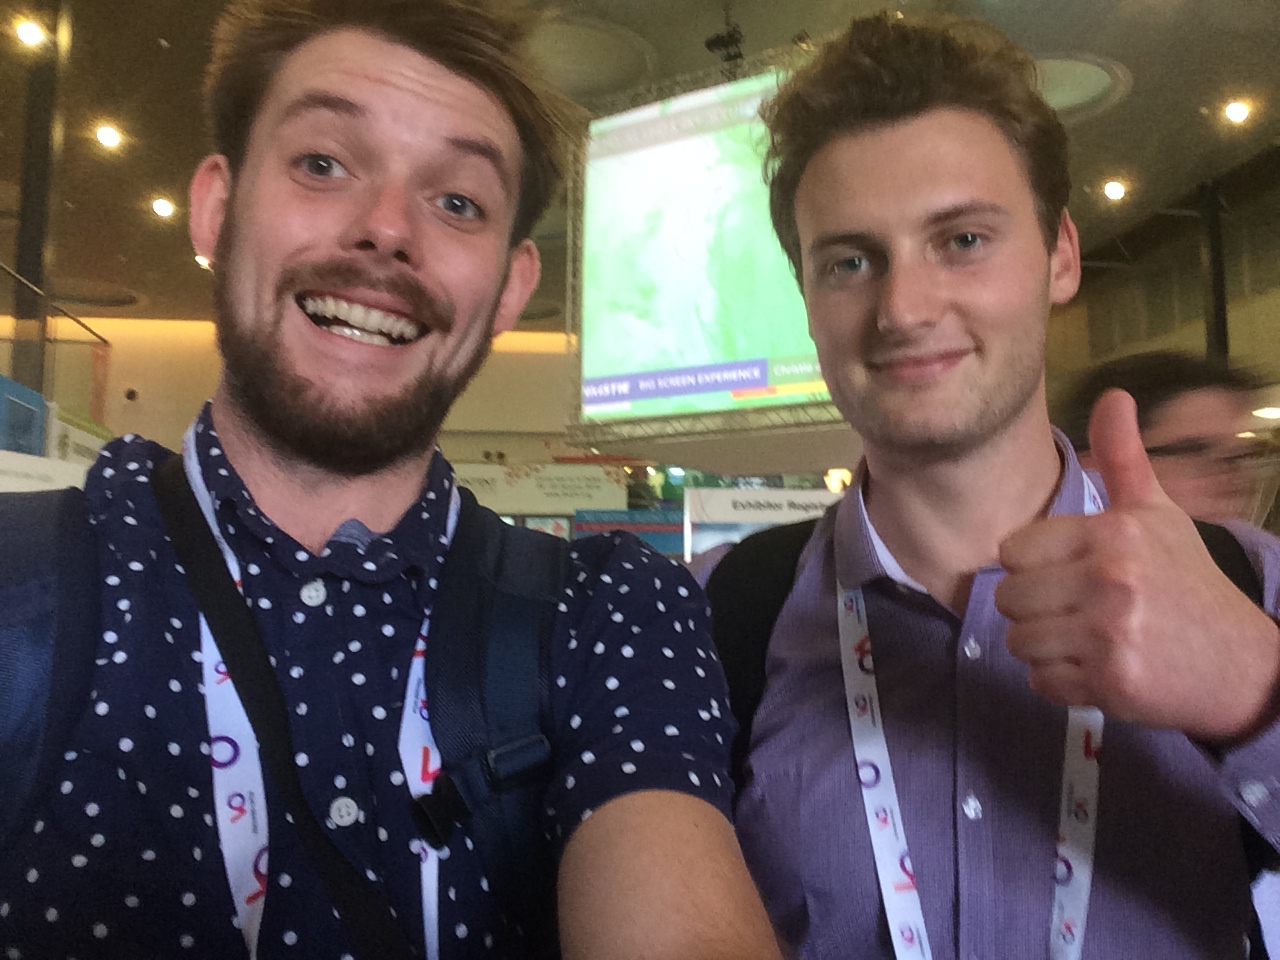
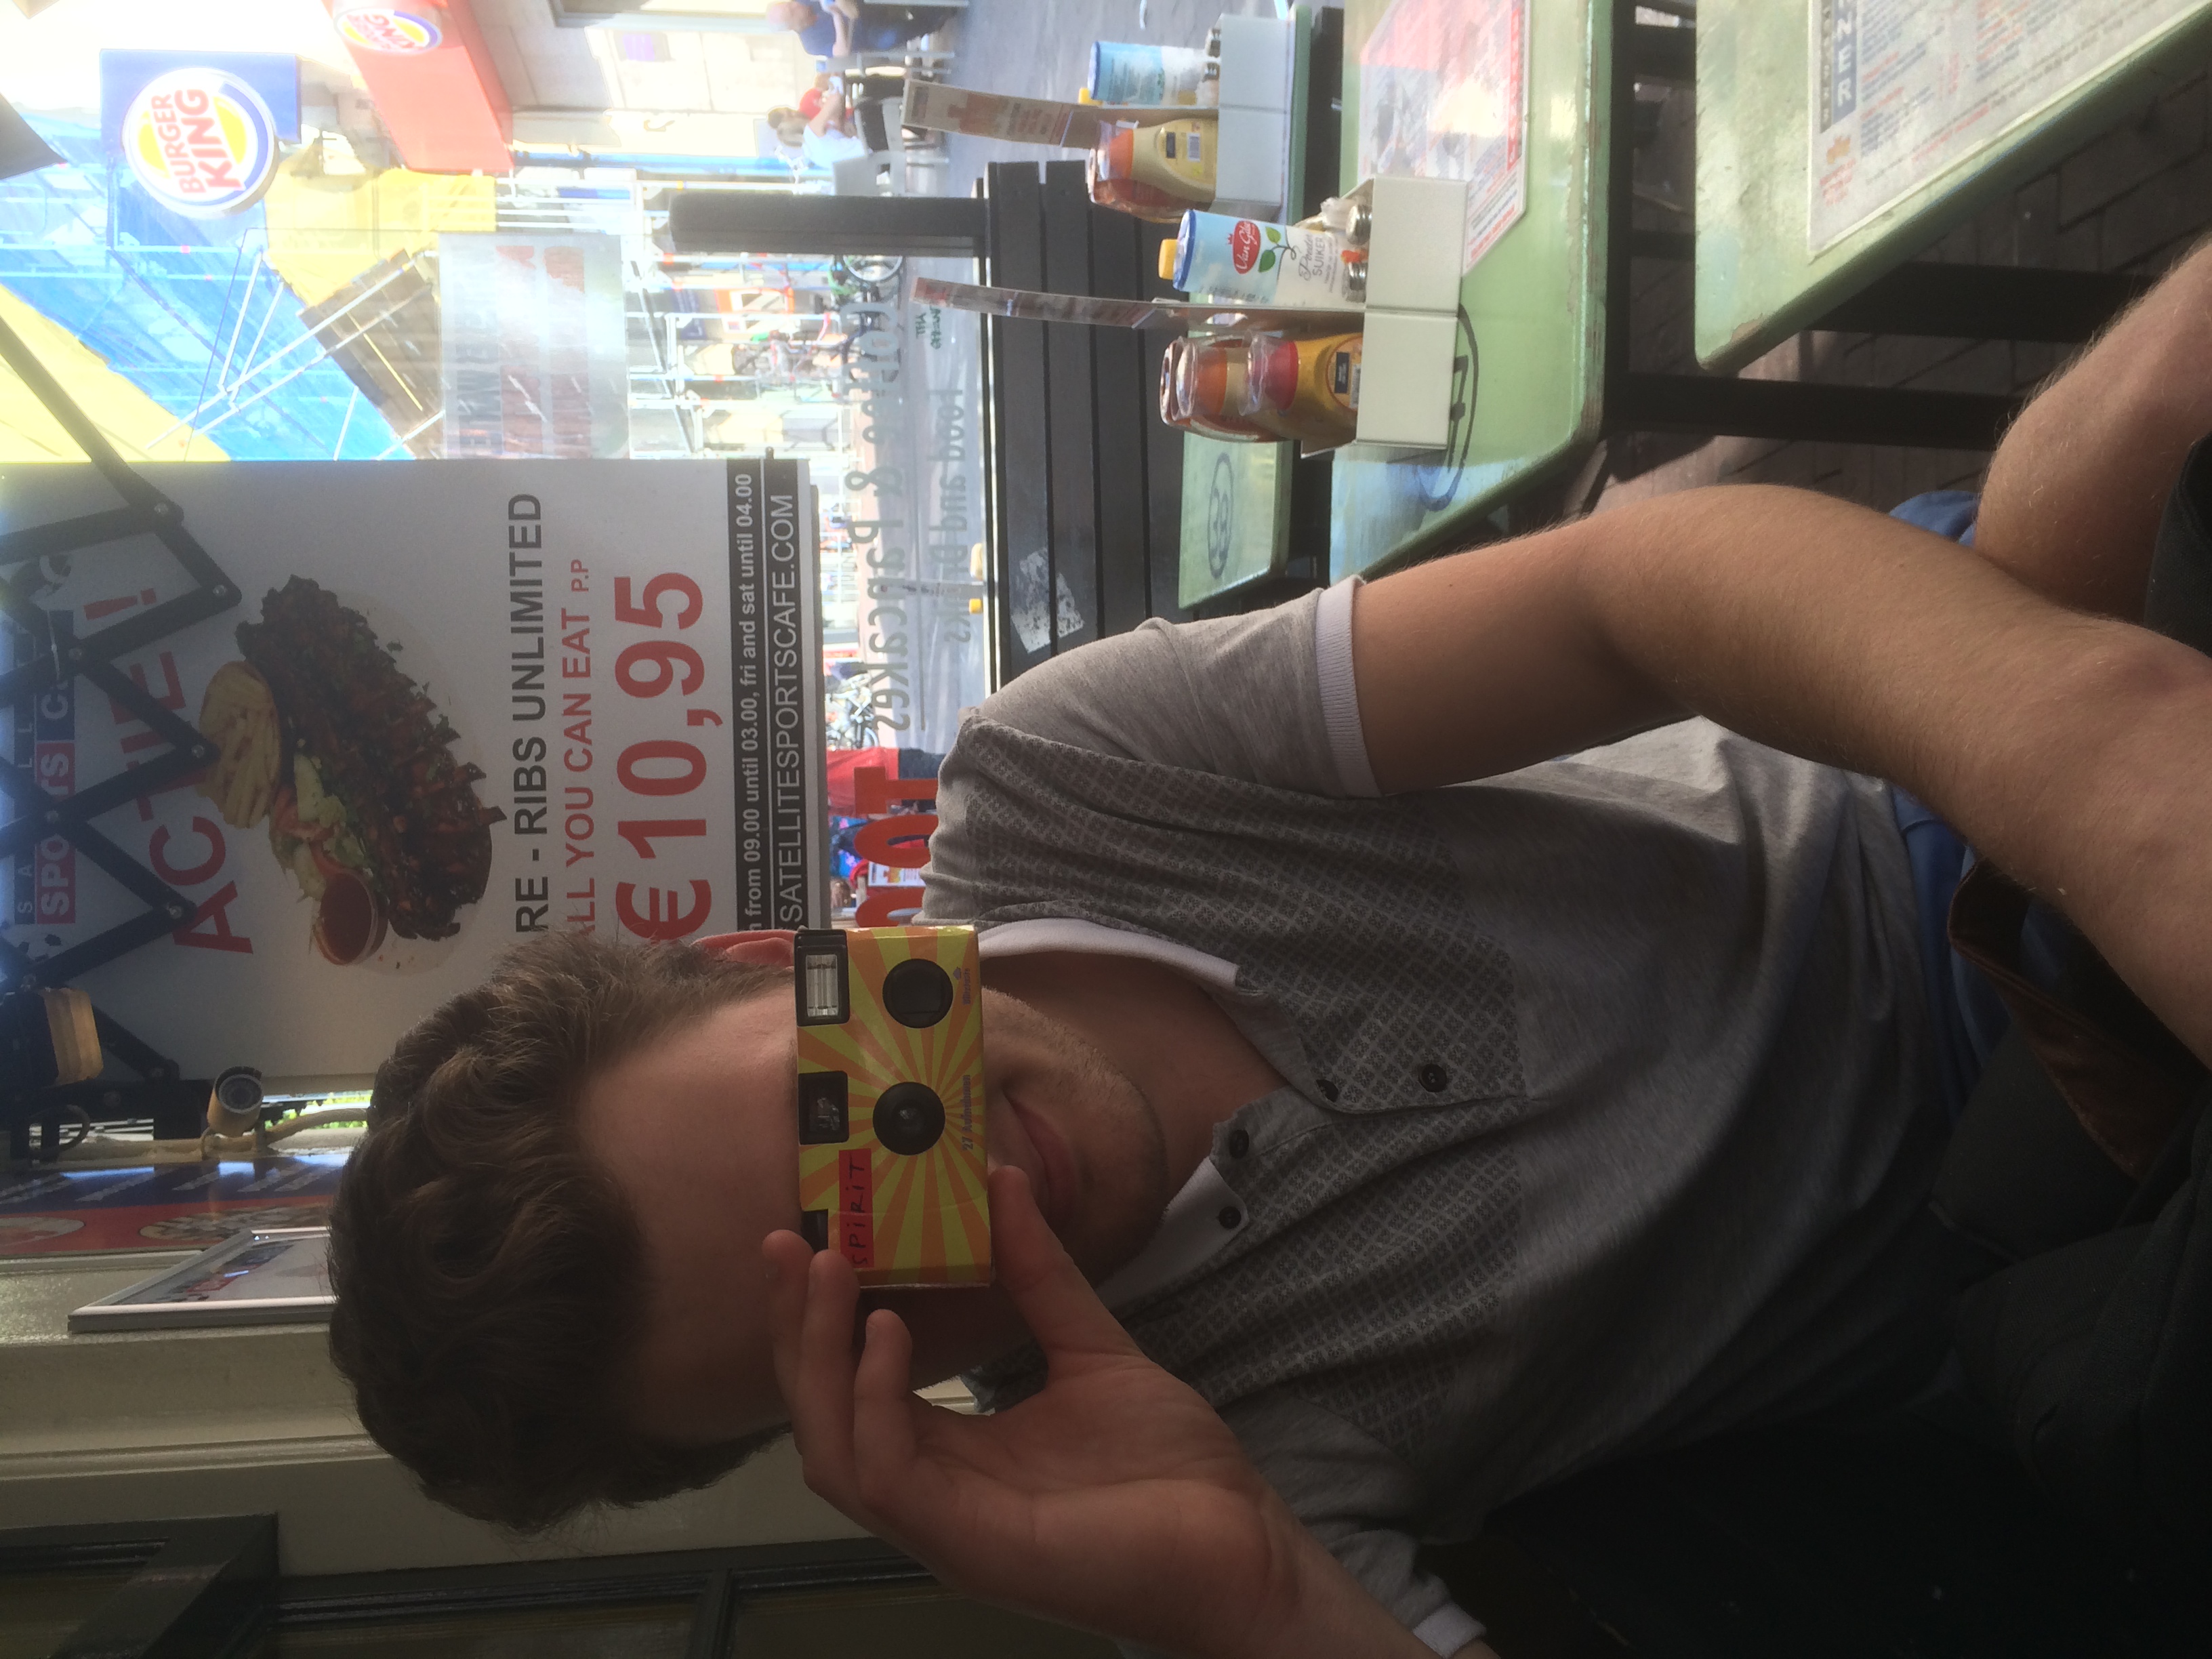
Adam and Ed

Adam and Ed

Ed and Mikey

Ed and Mikey

The Kit

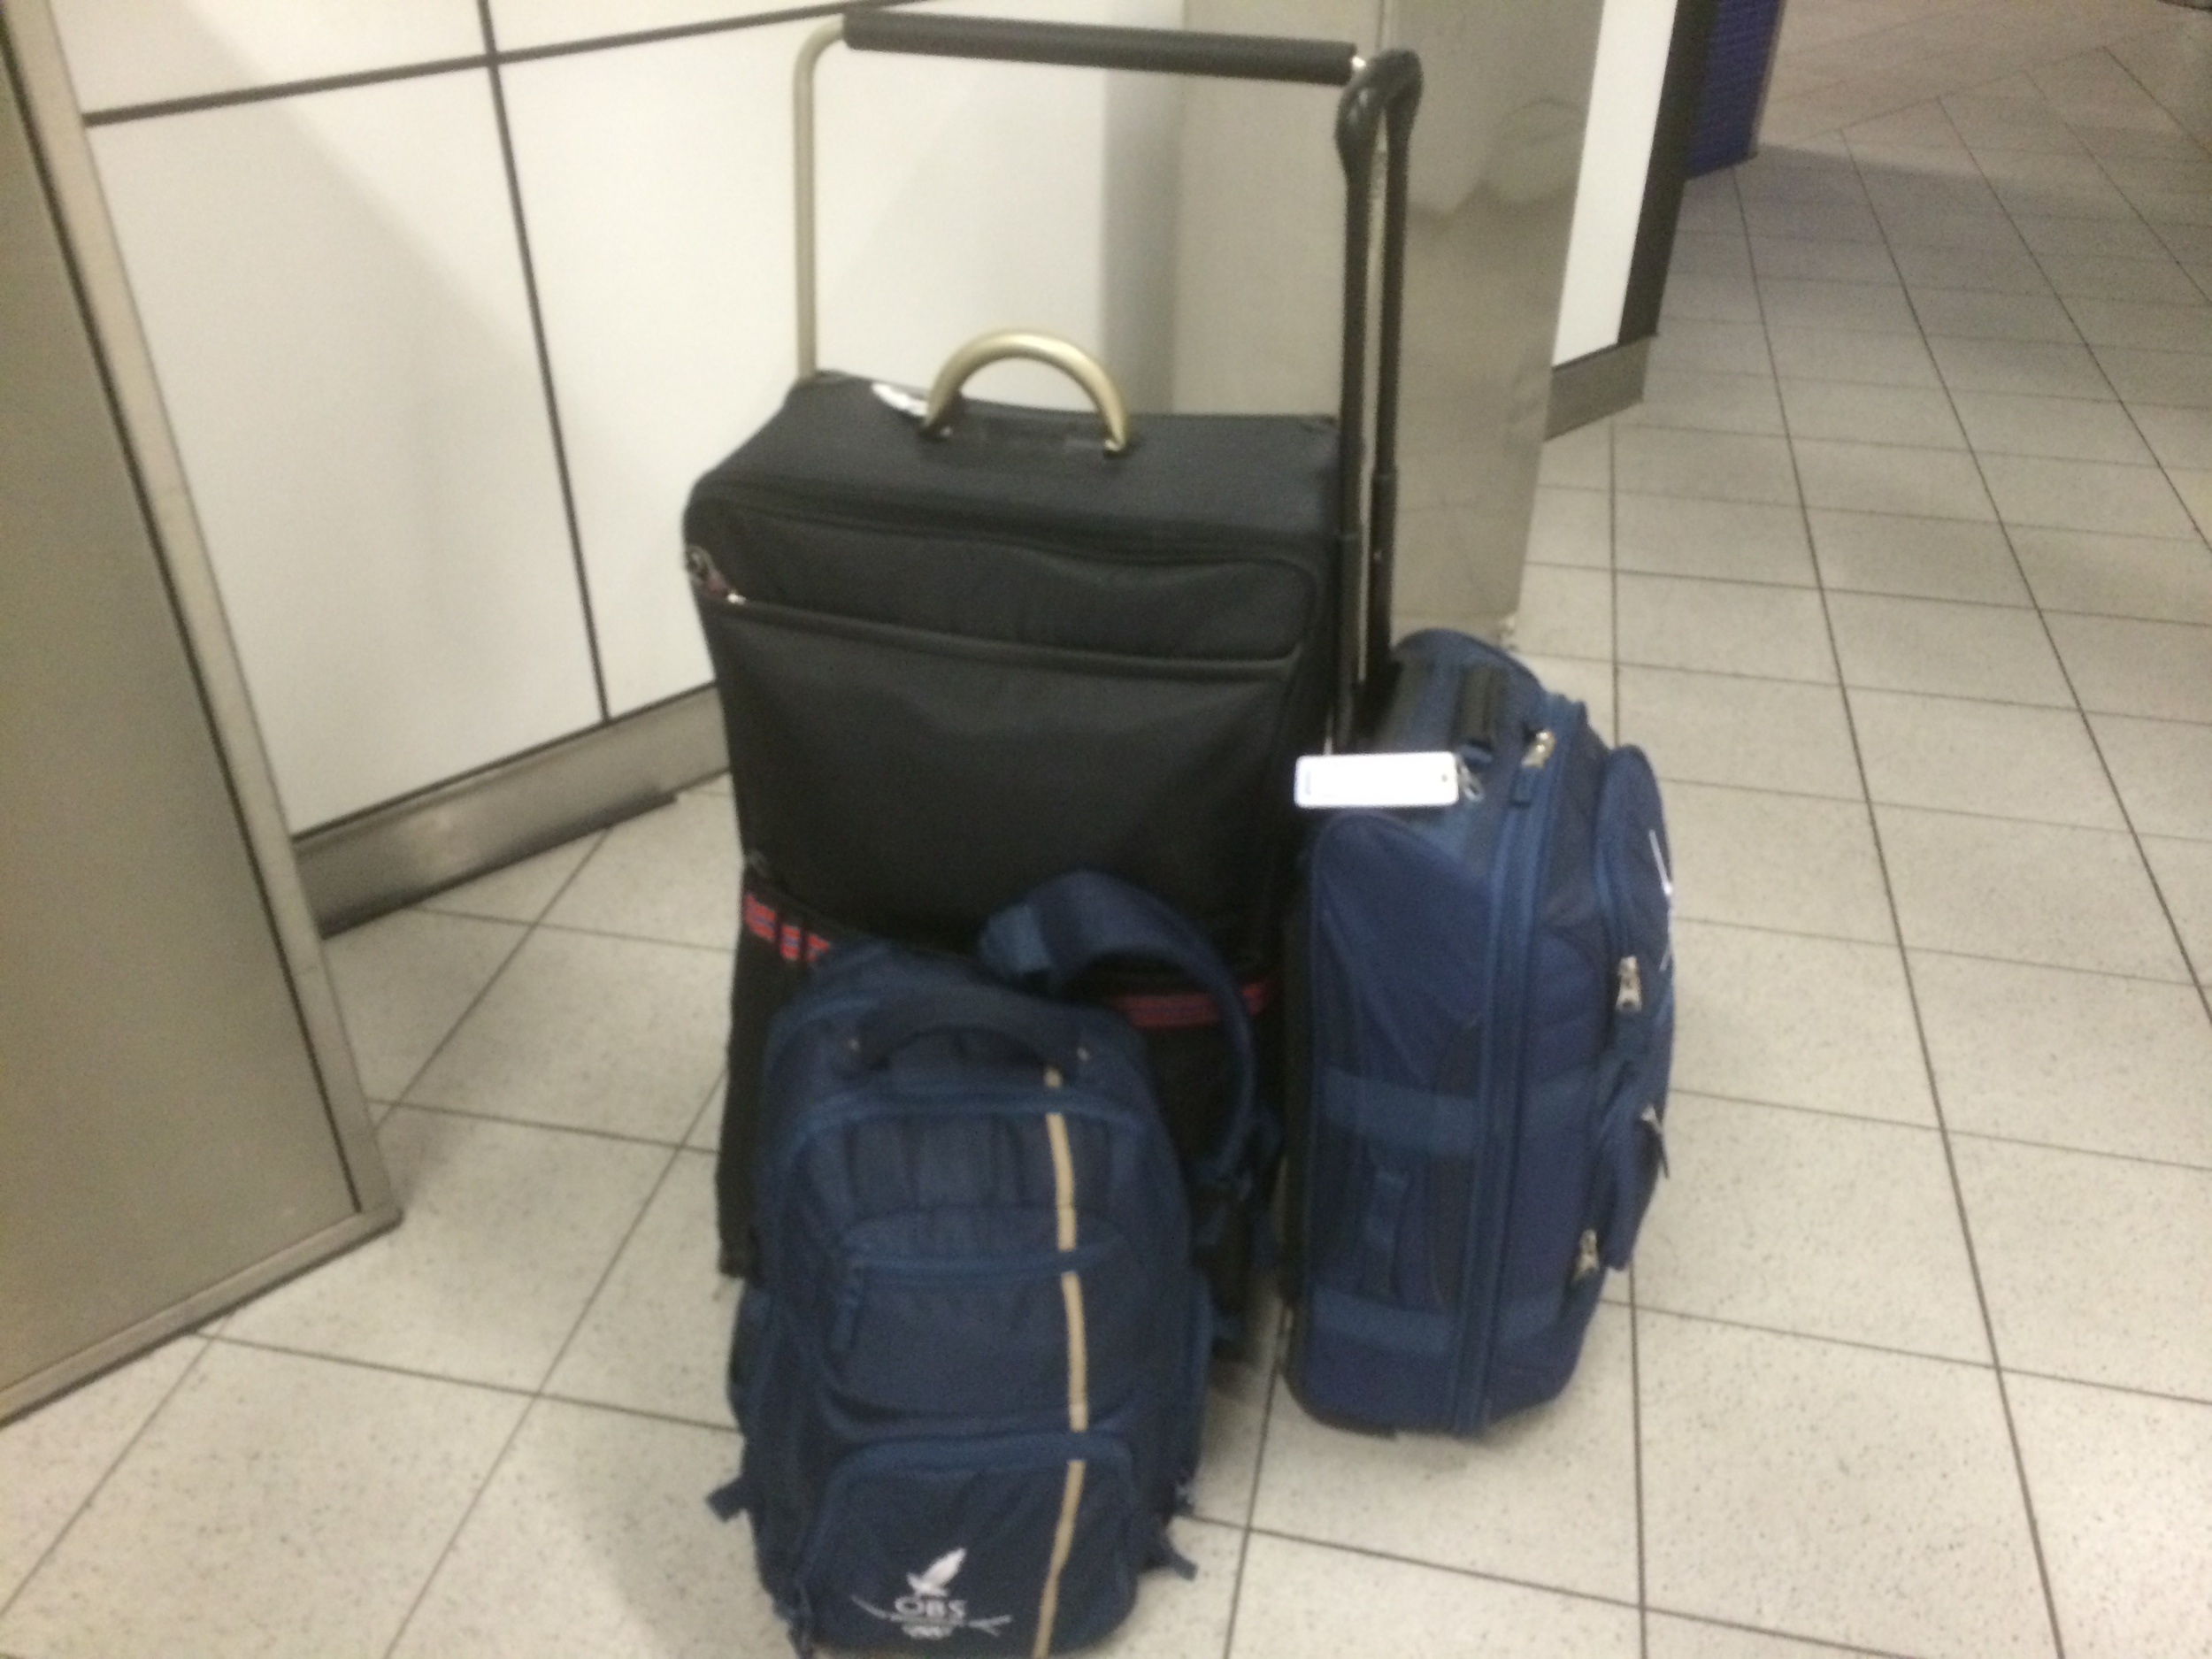
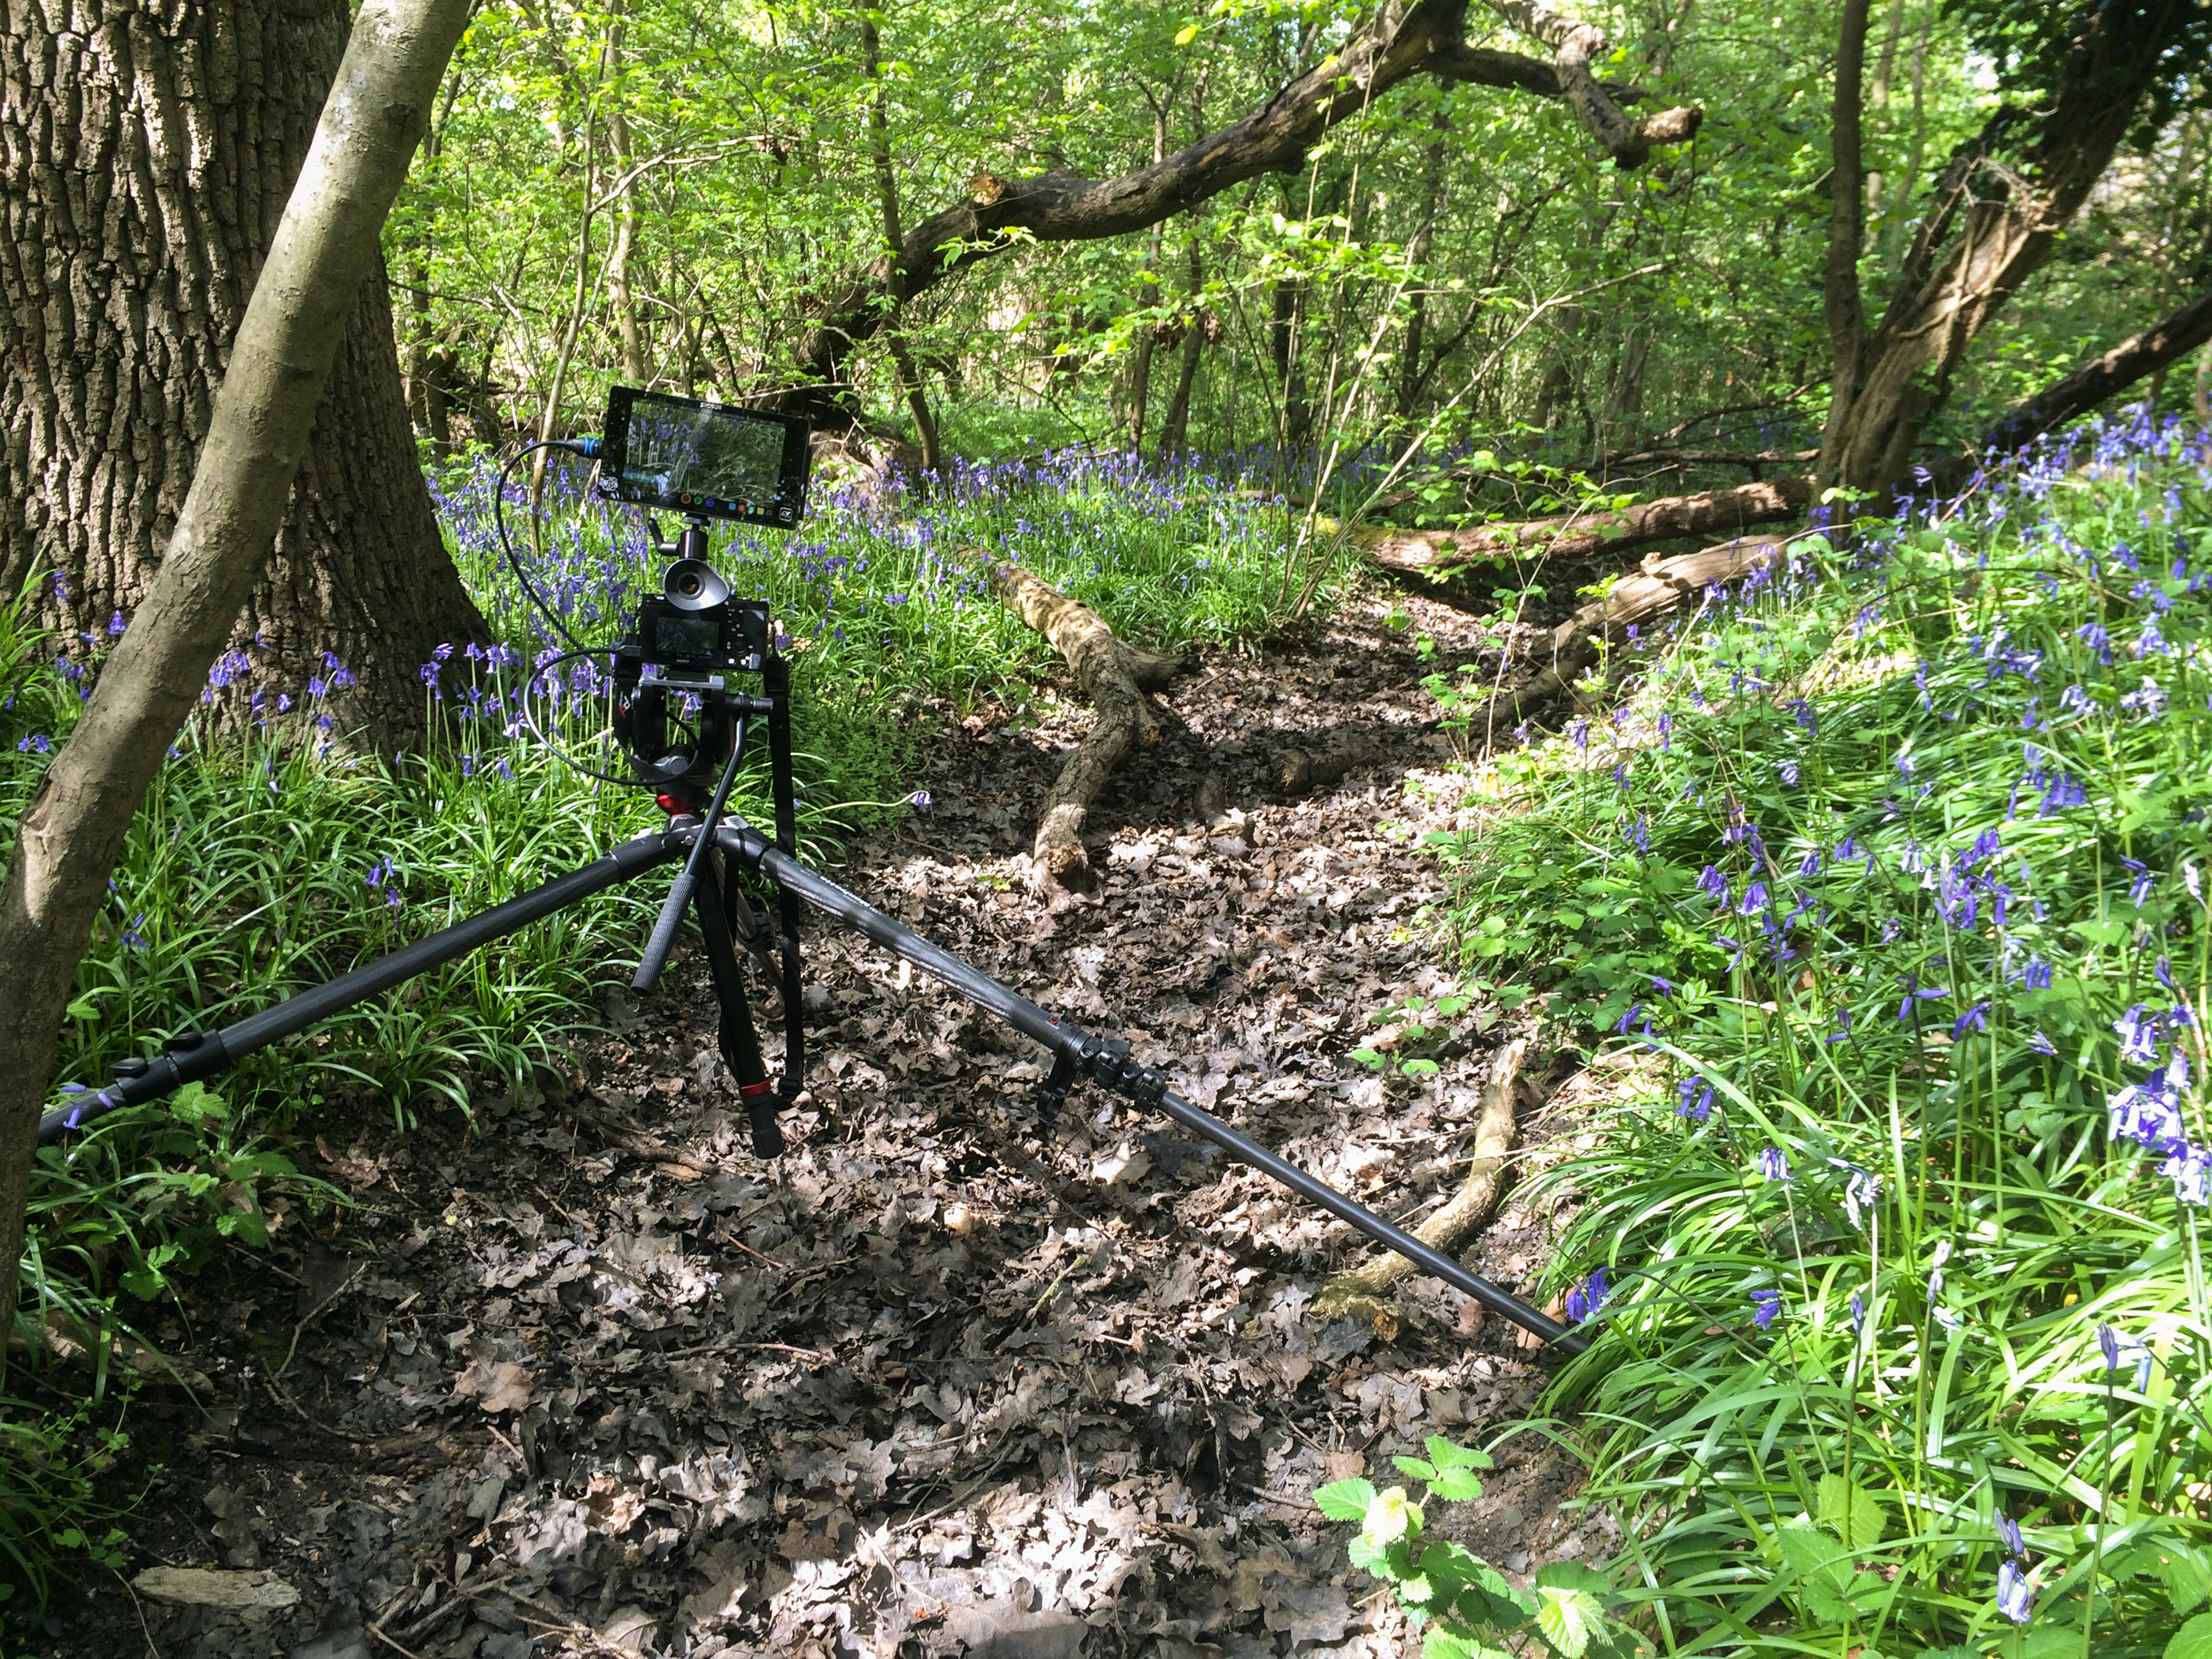
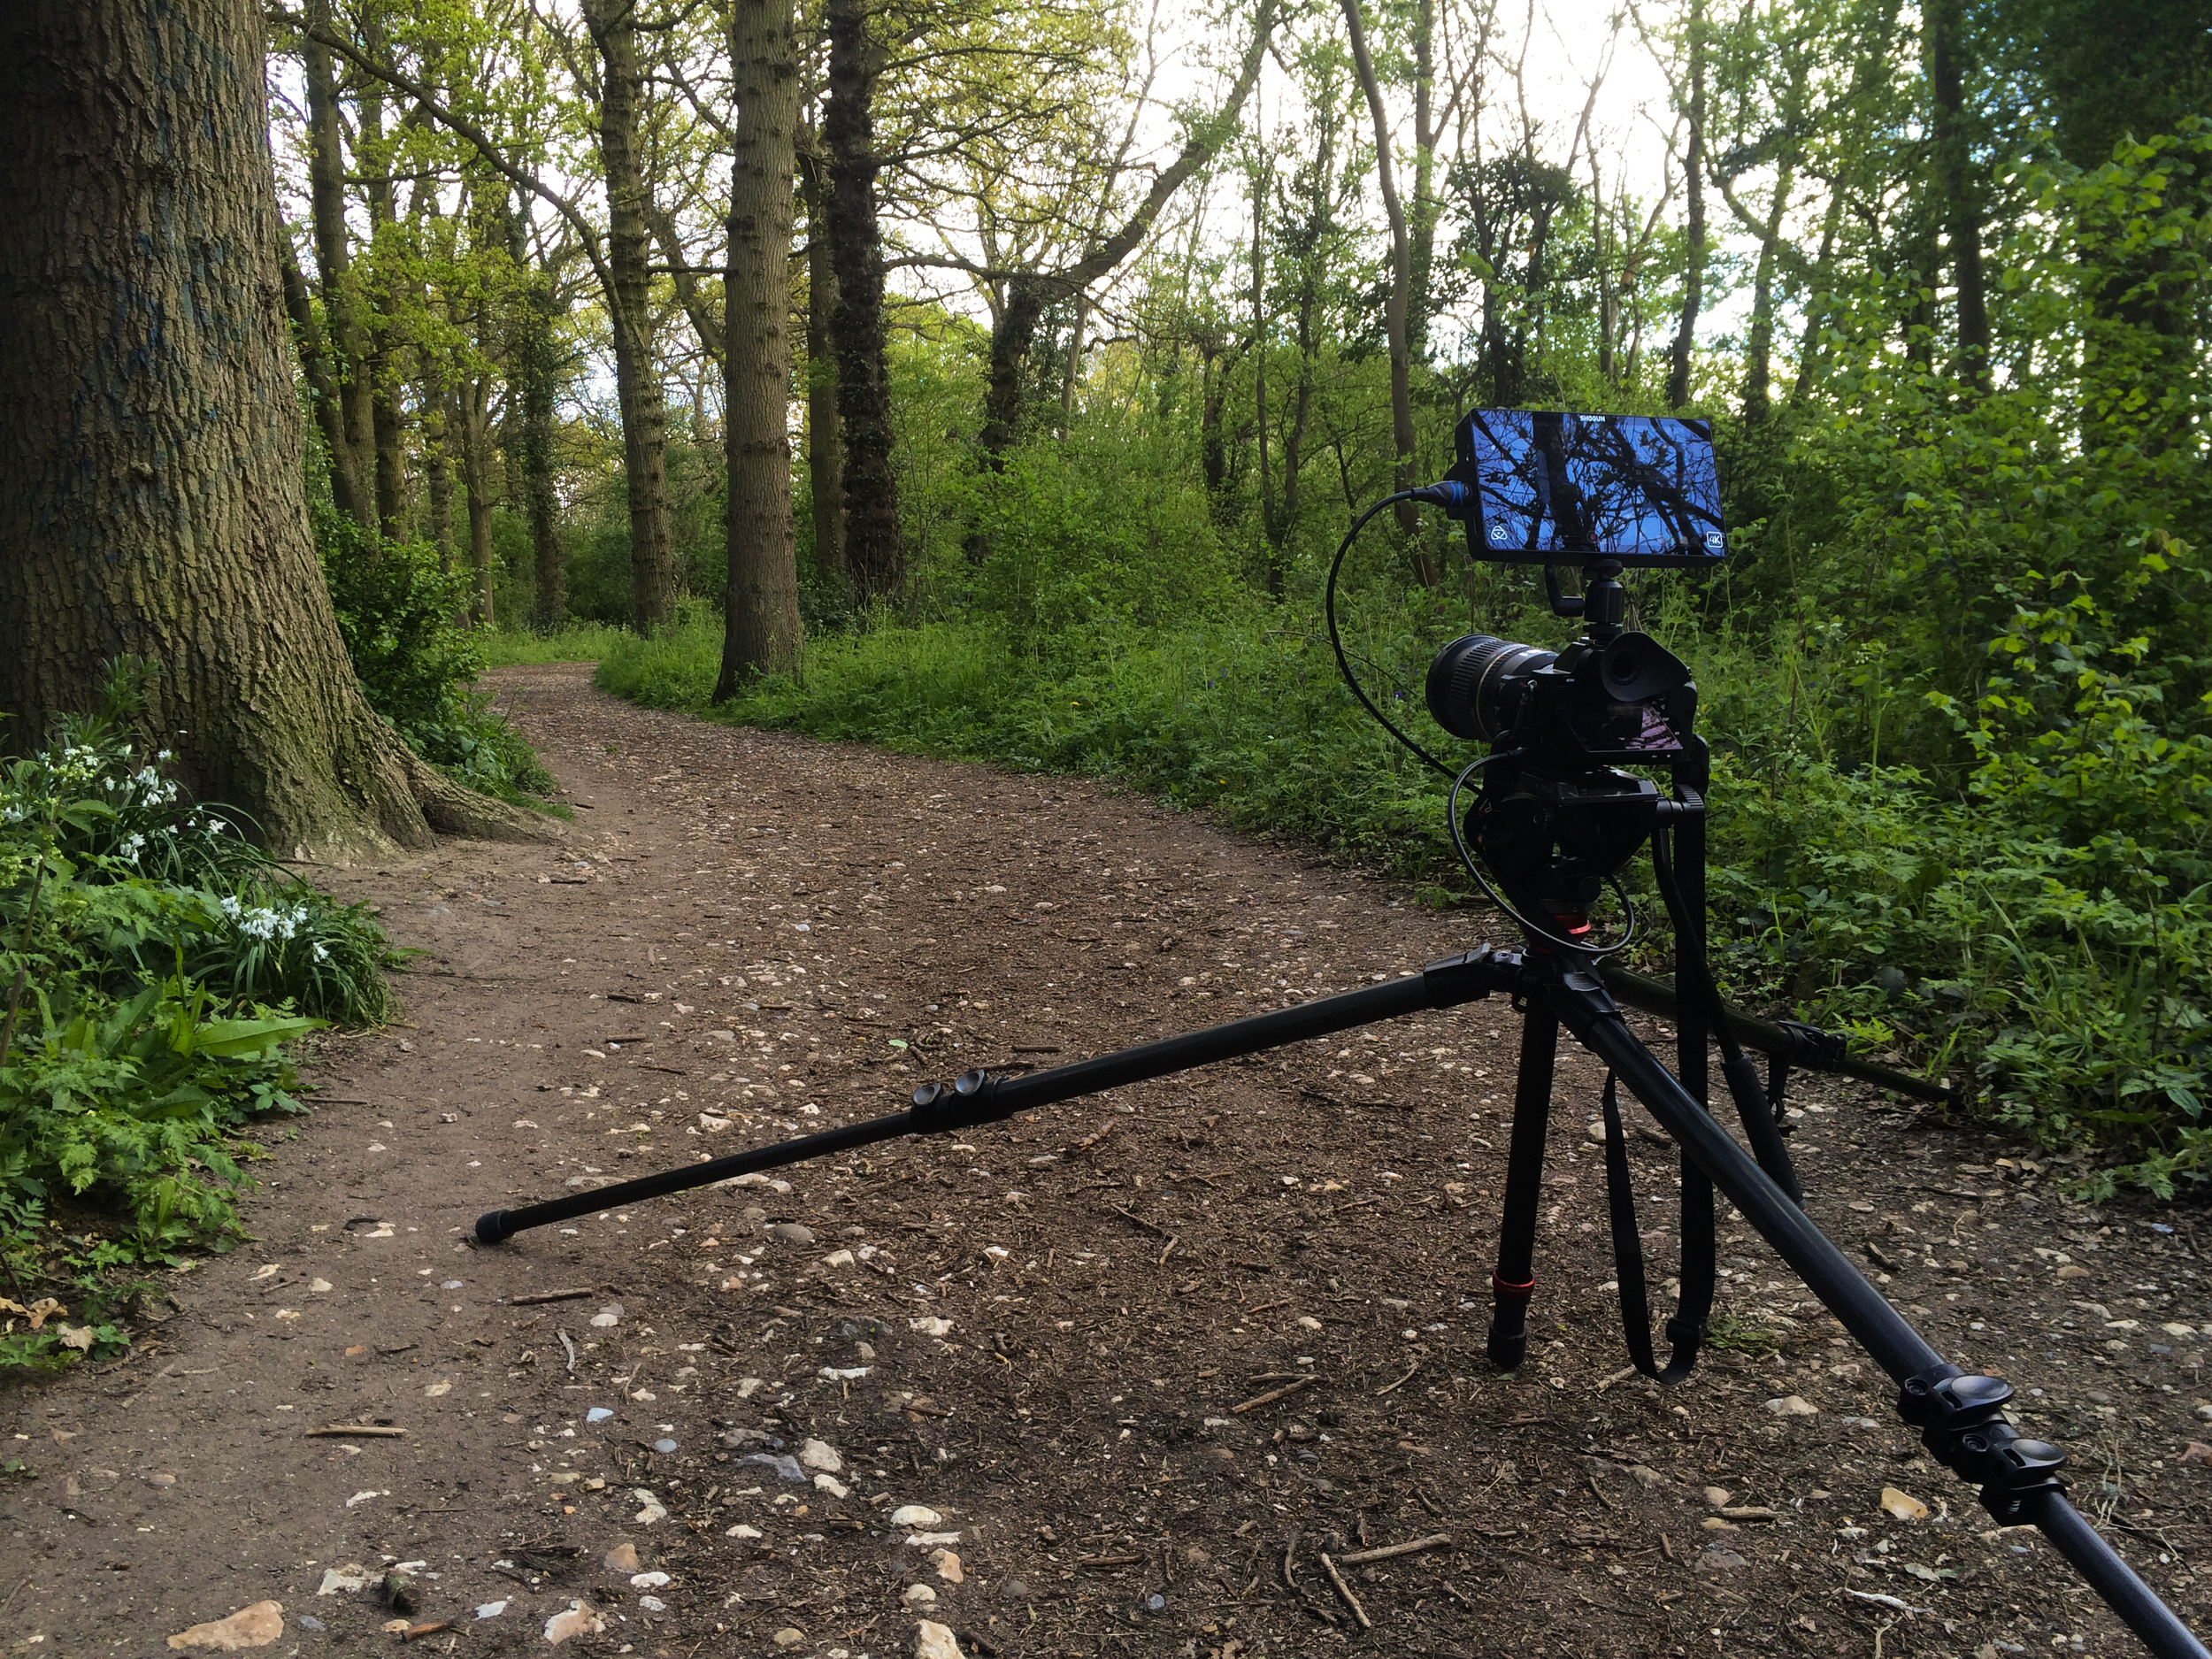
The kit prep was a challenge as it's always tempting to take too much, which in some cases makes you less mobile. For the workshop, crews would be spread over a large location (indoors and outdoors) so being portable with a small footprint was the cornerstone of what kit was used.

Manfrotto Backpack 35-PL

Manfrotto Backpack 35-PL

Adam Plowden Video using Sony A7s and Atomos Shogun

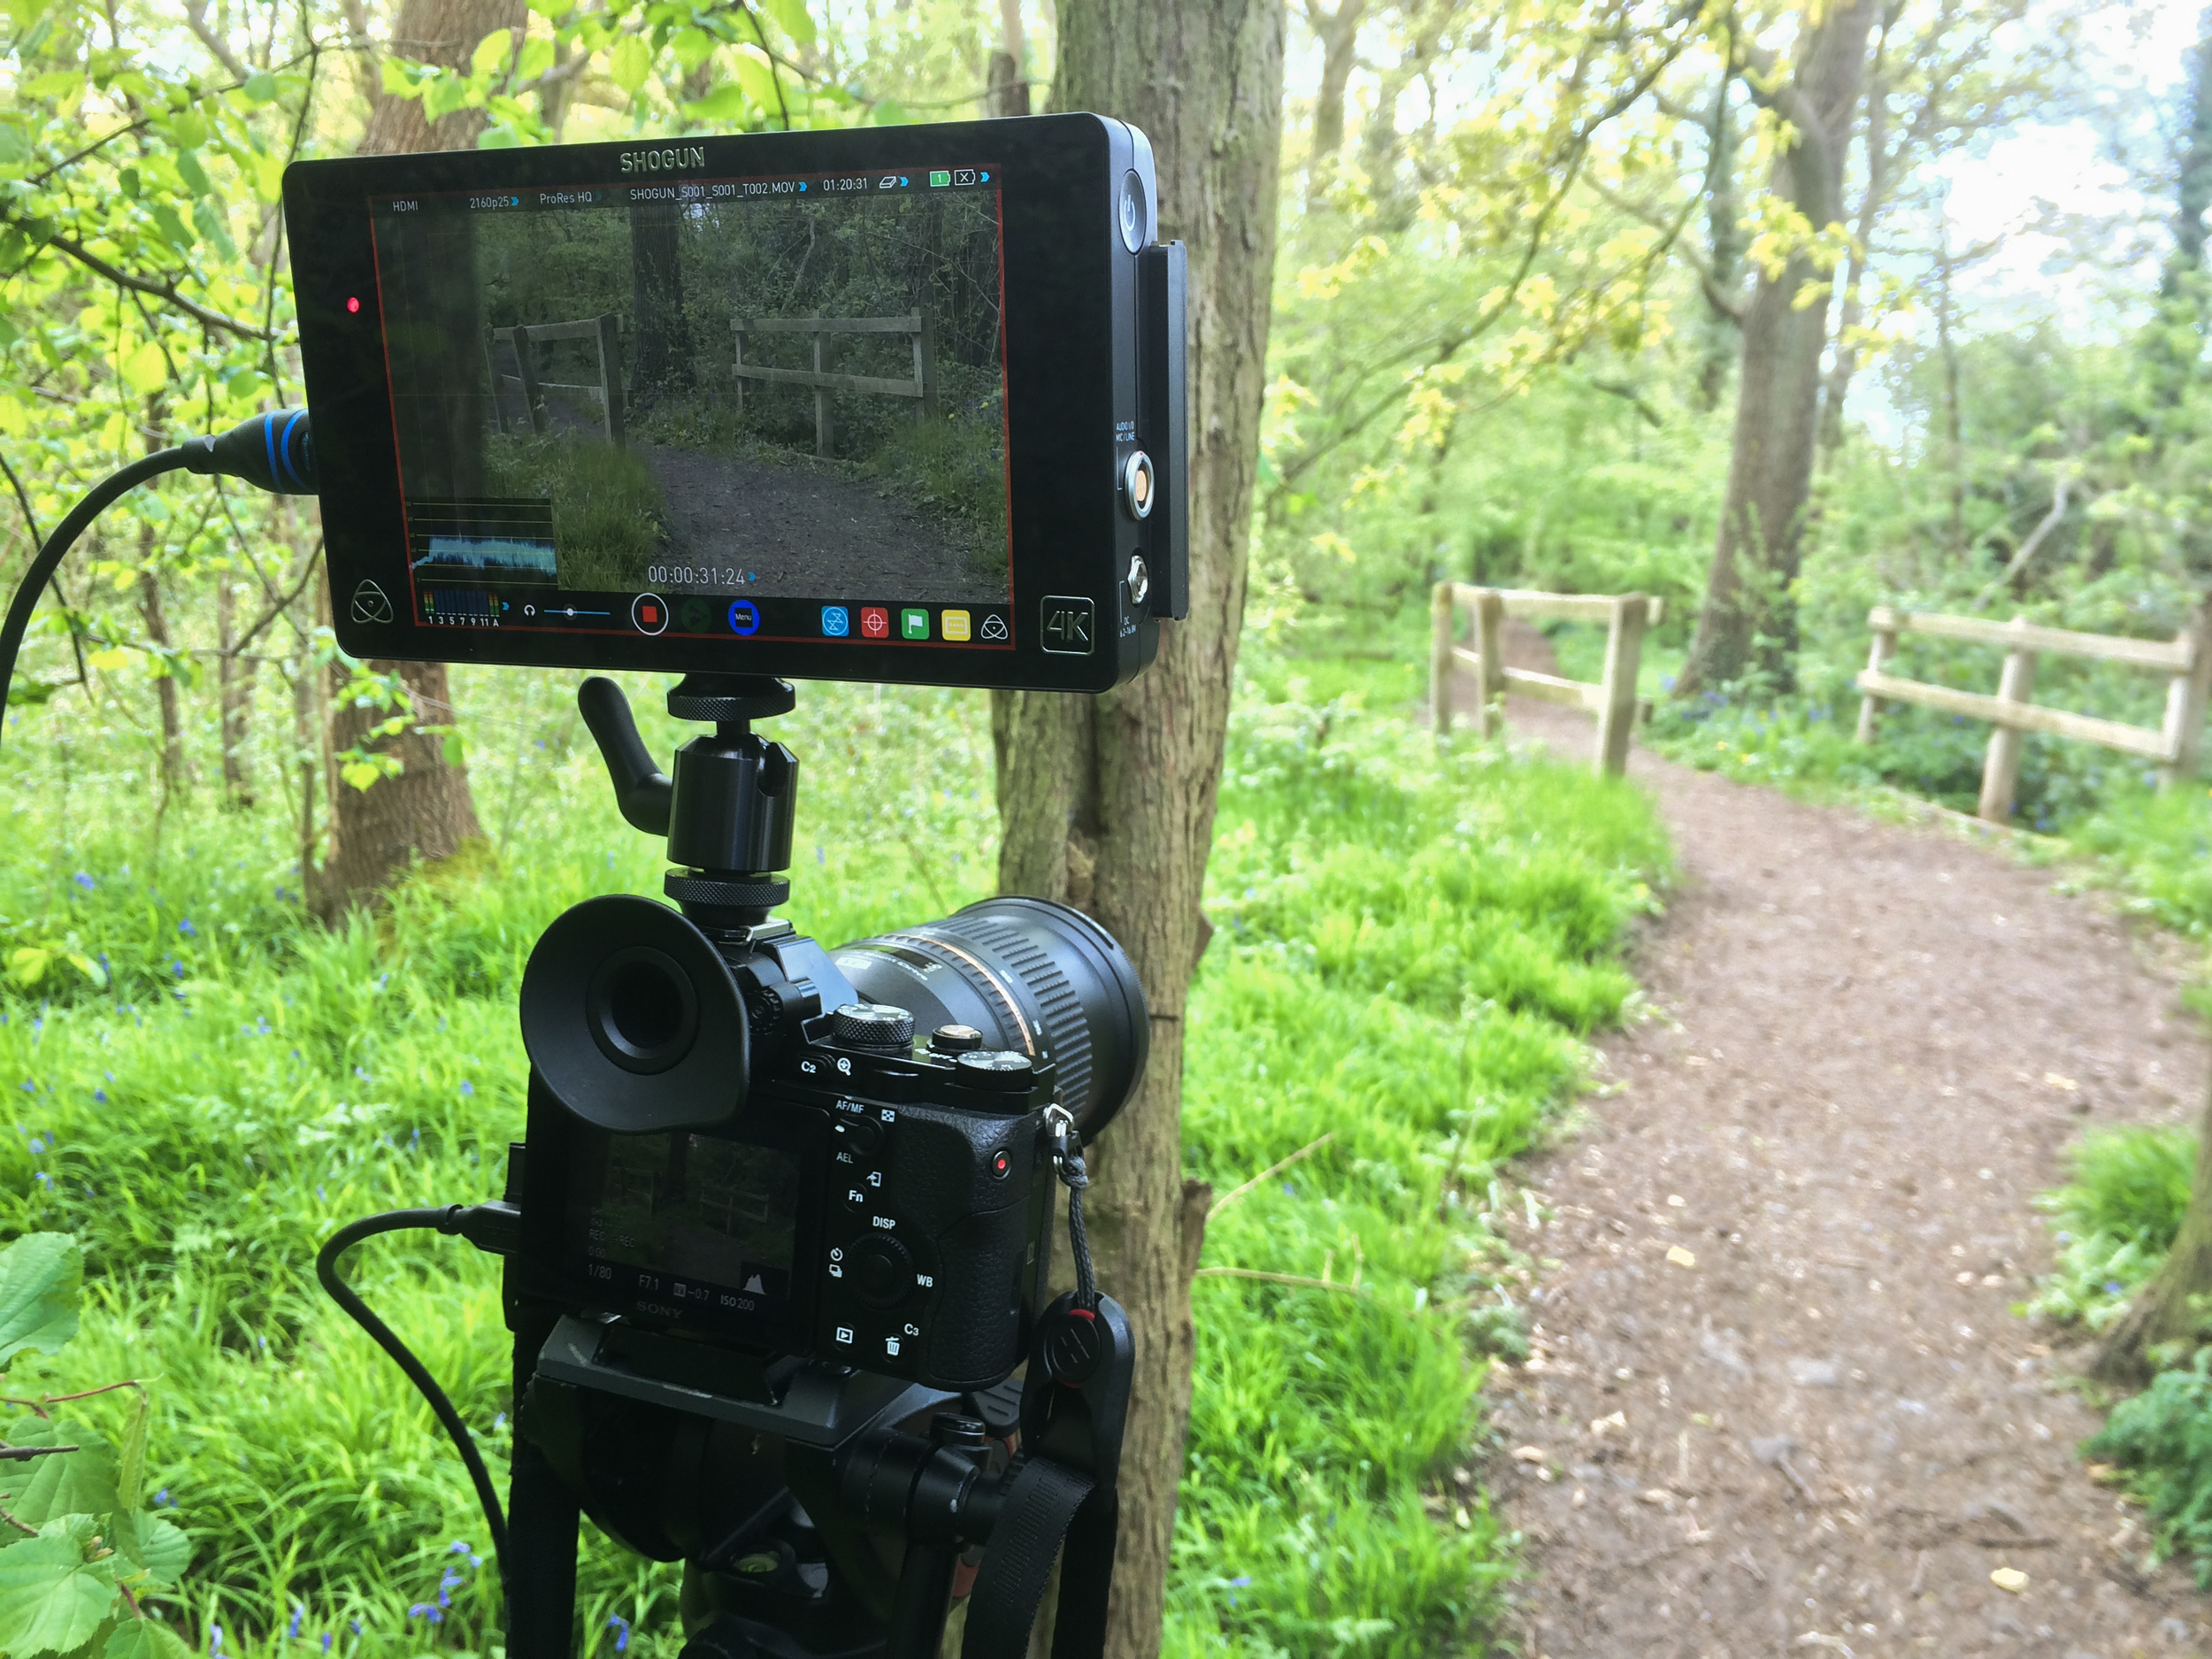
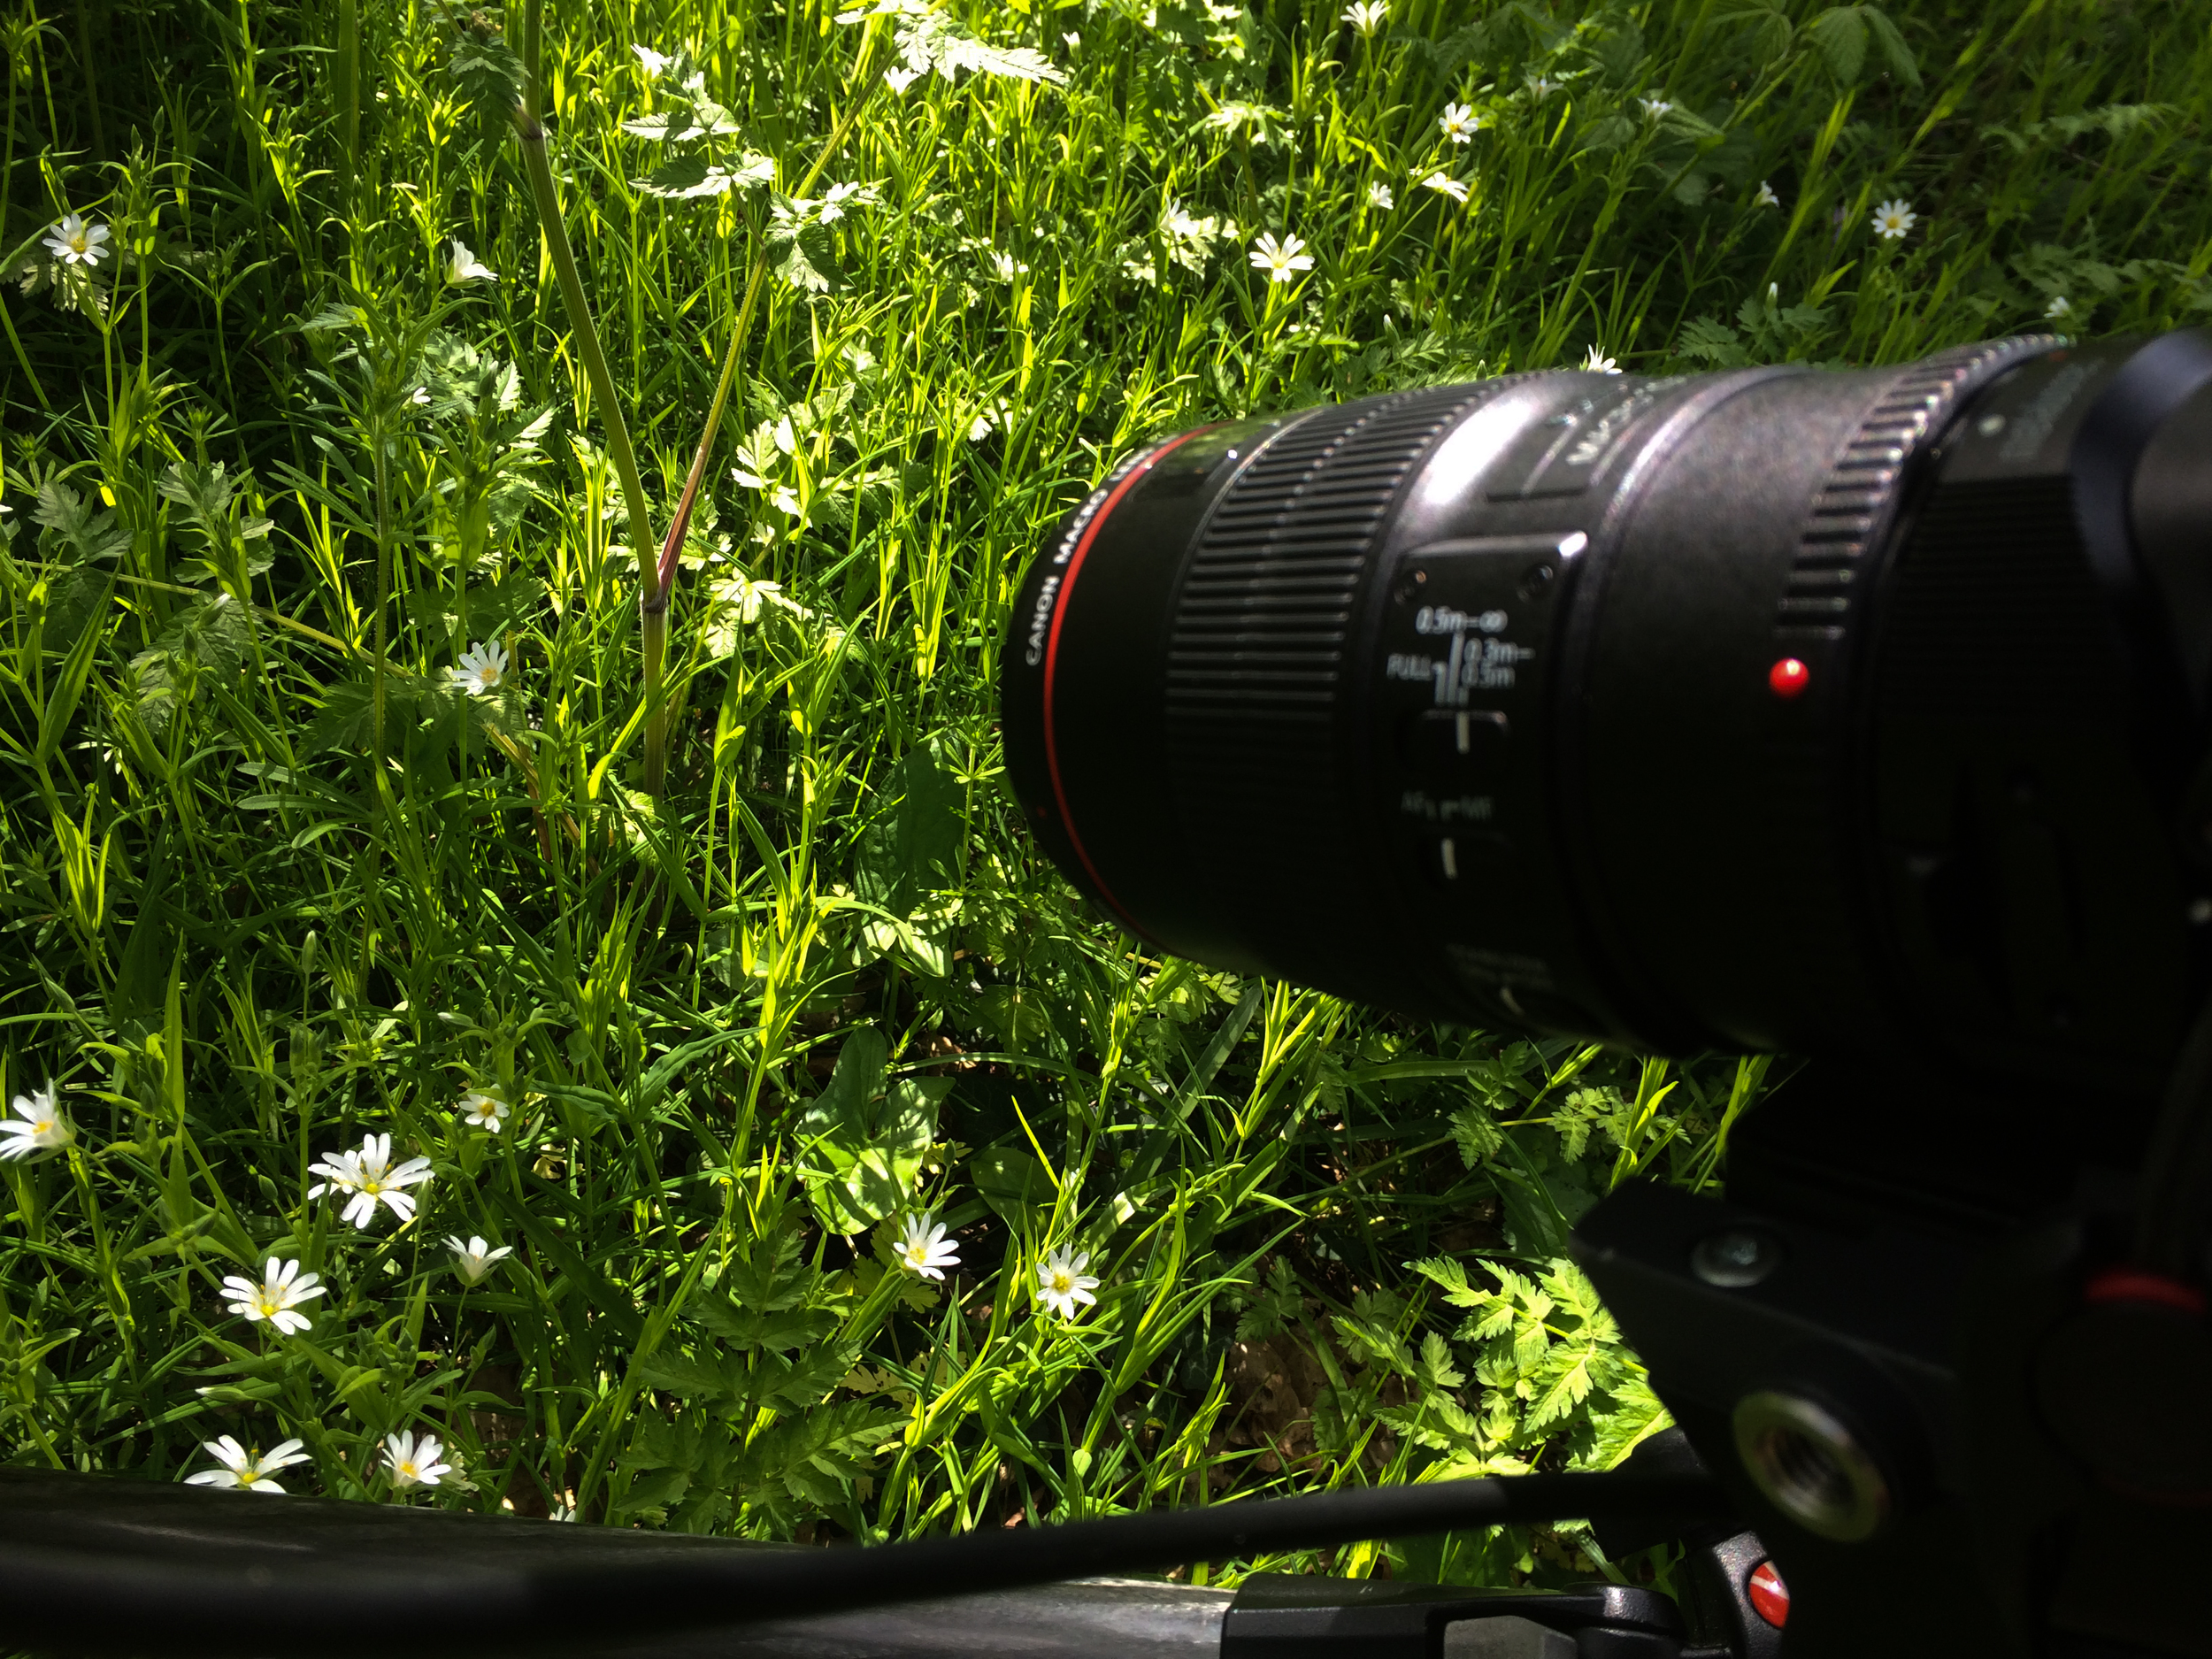
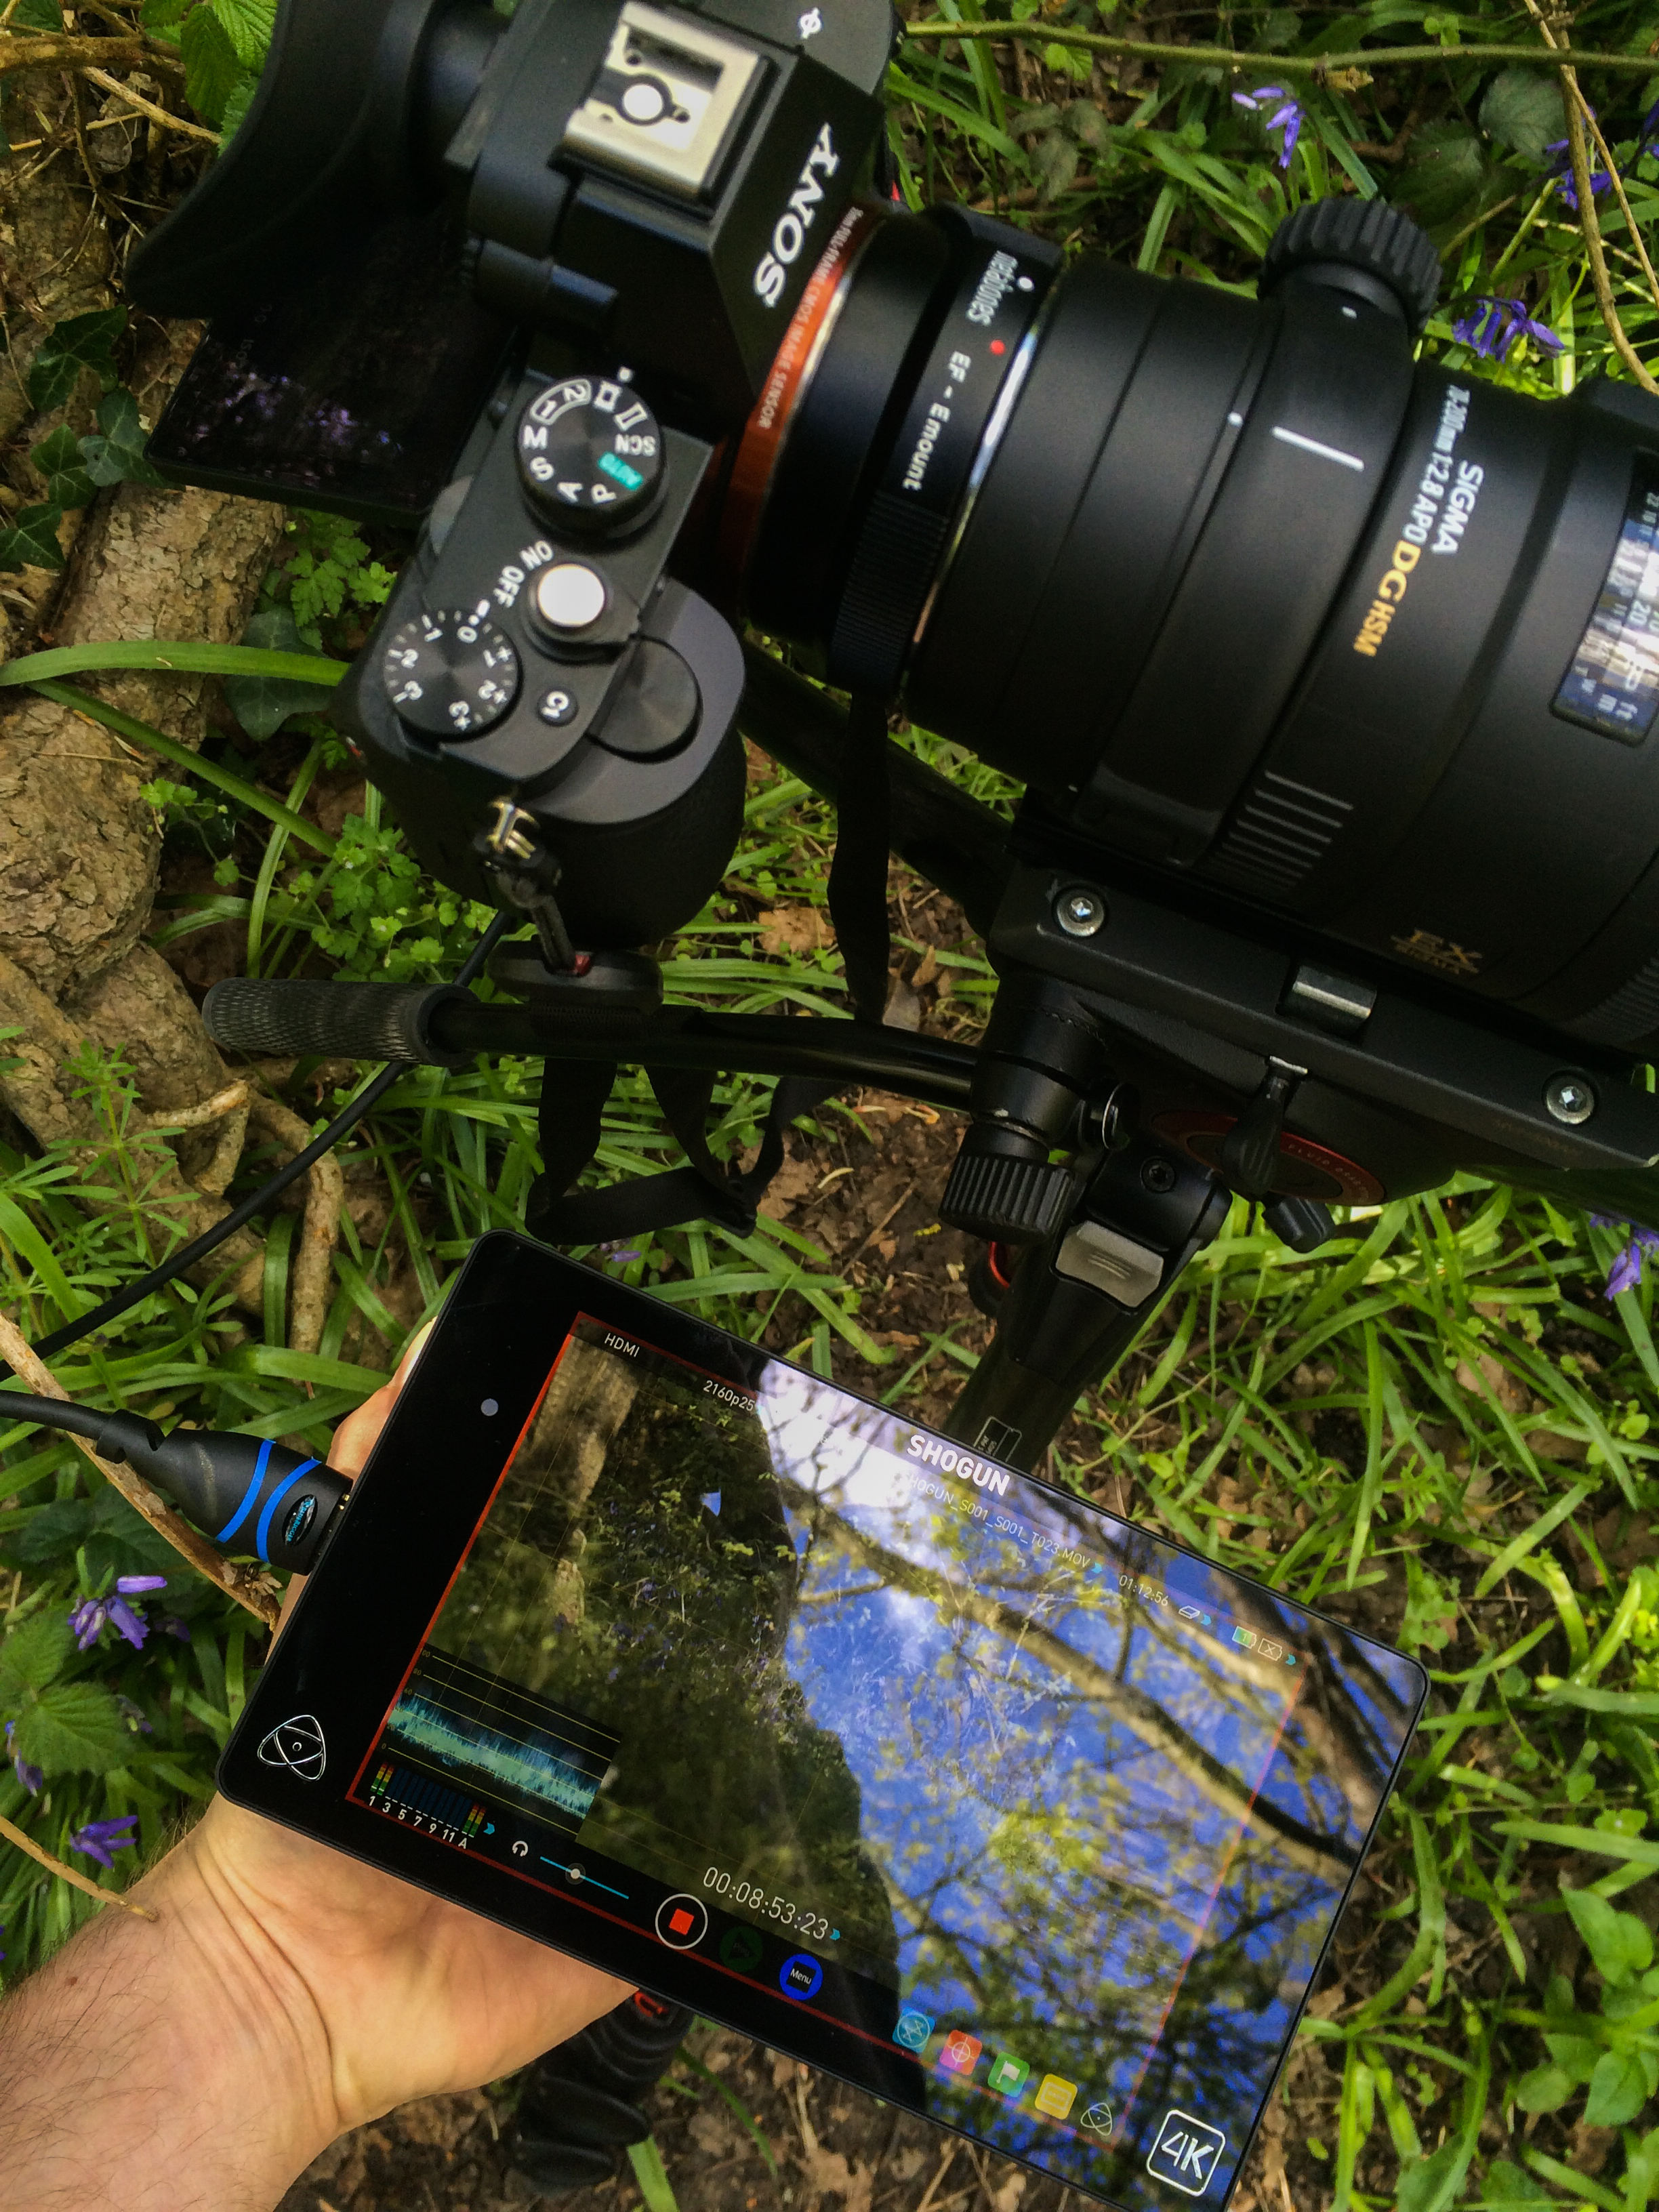
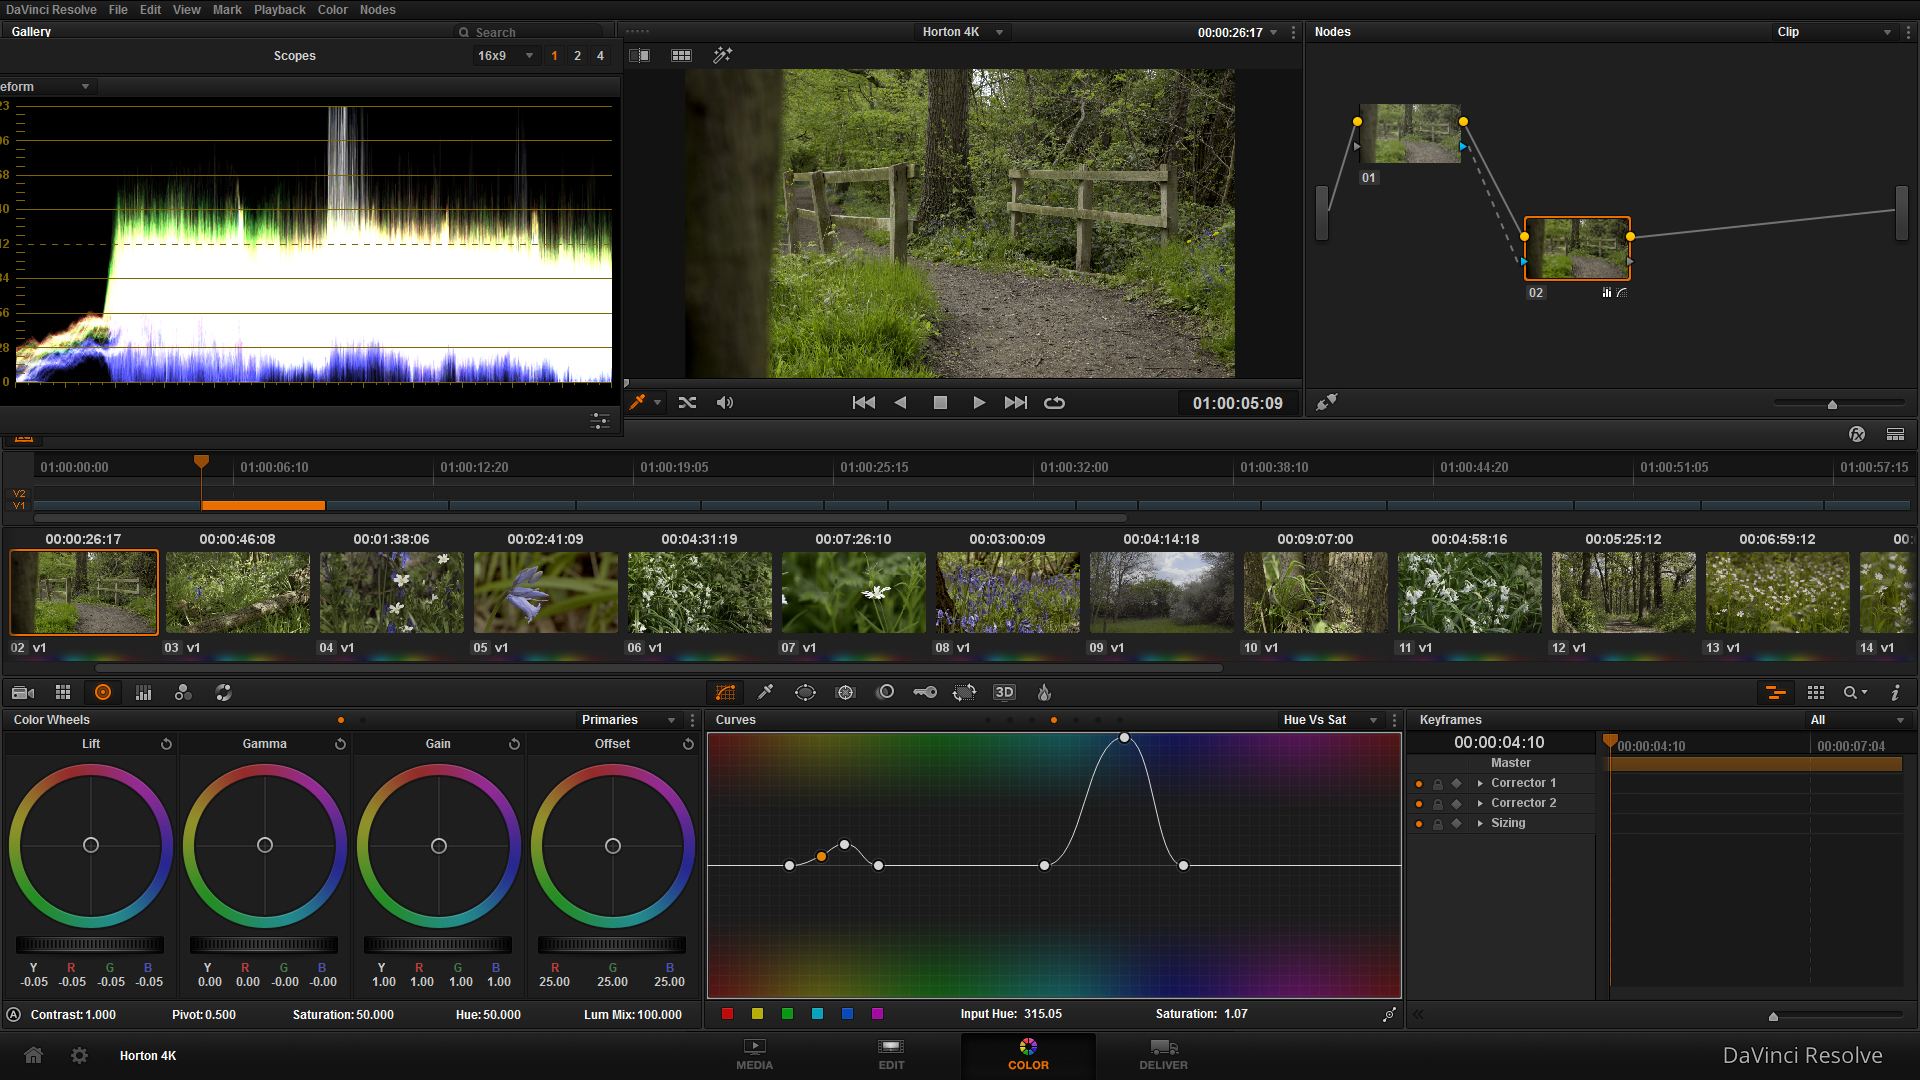
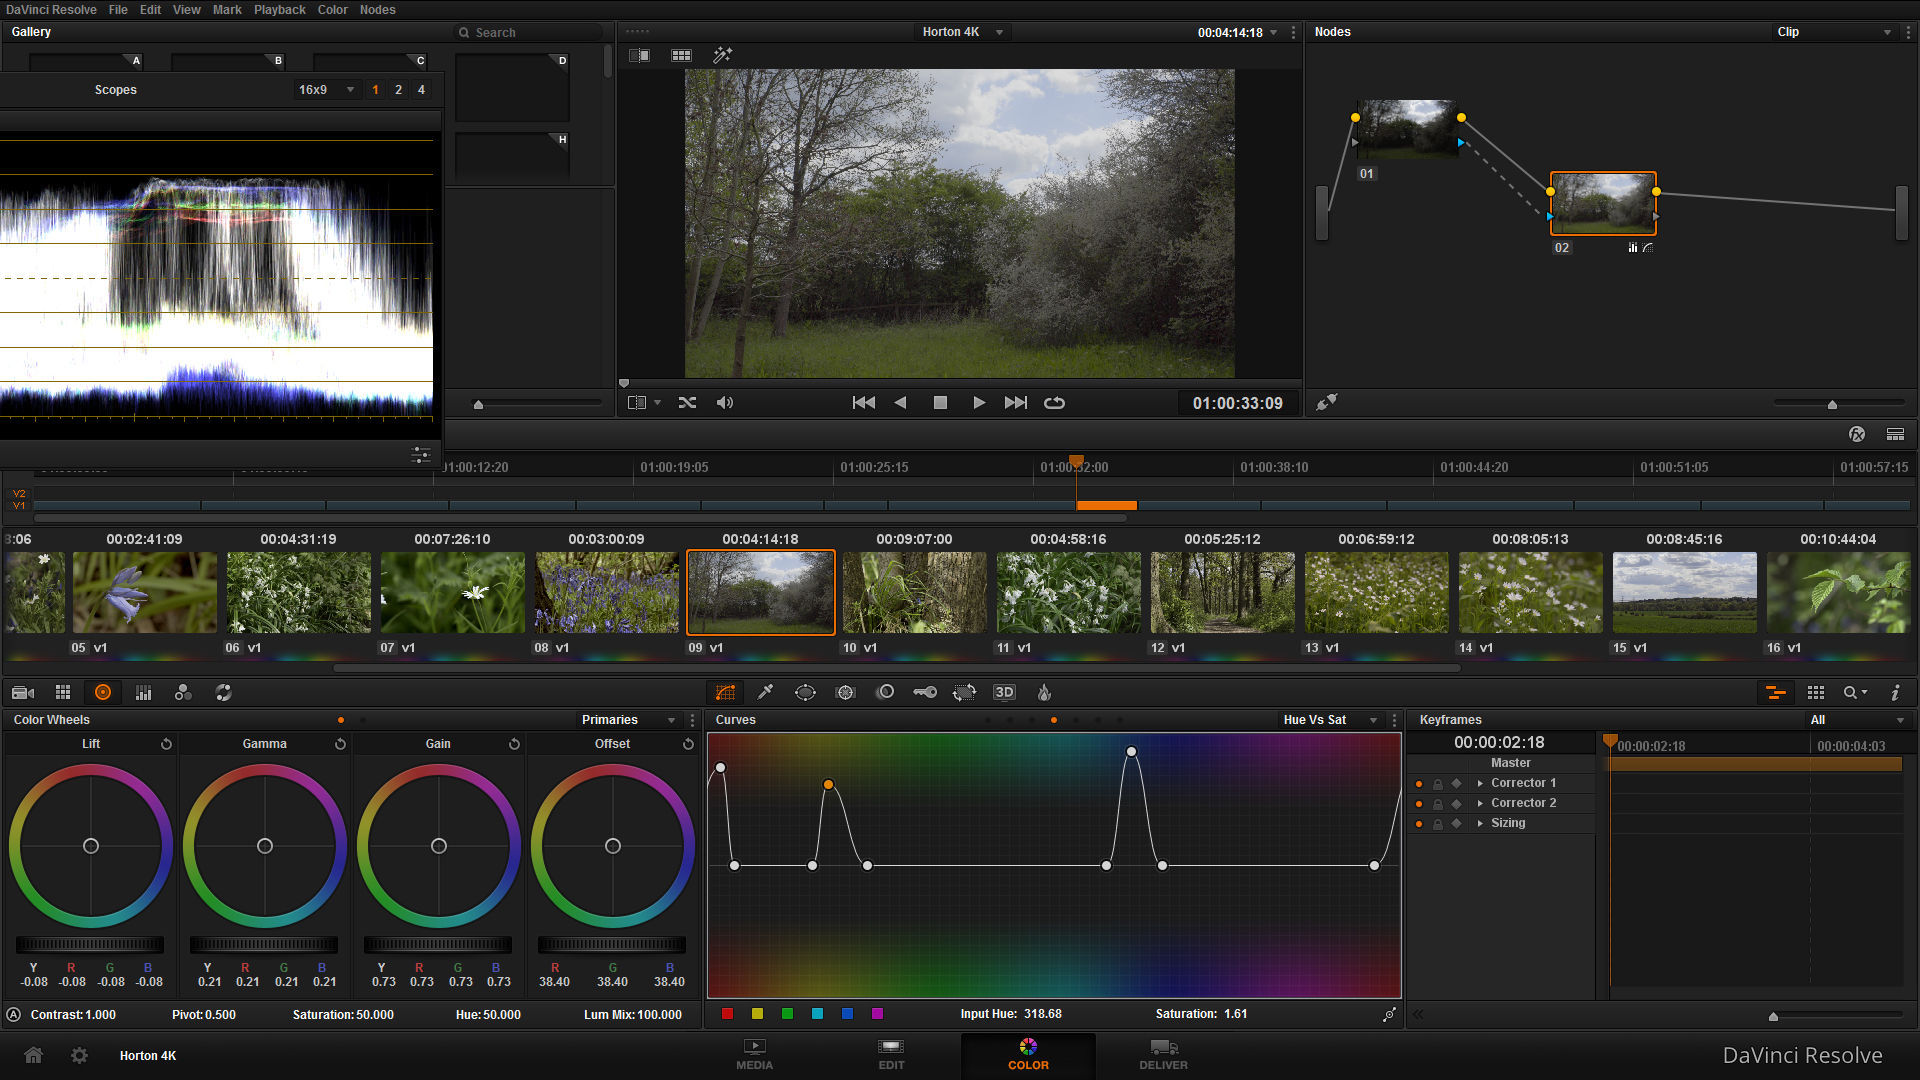
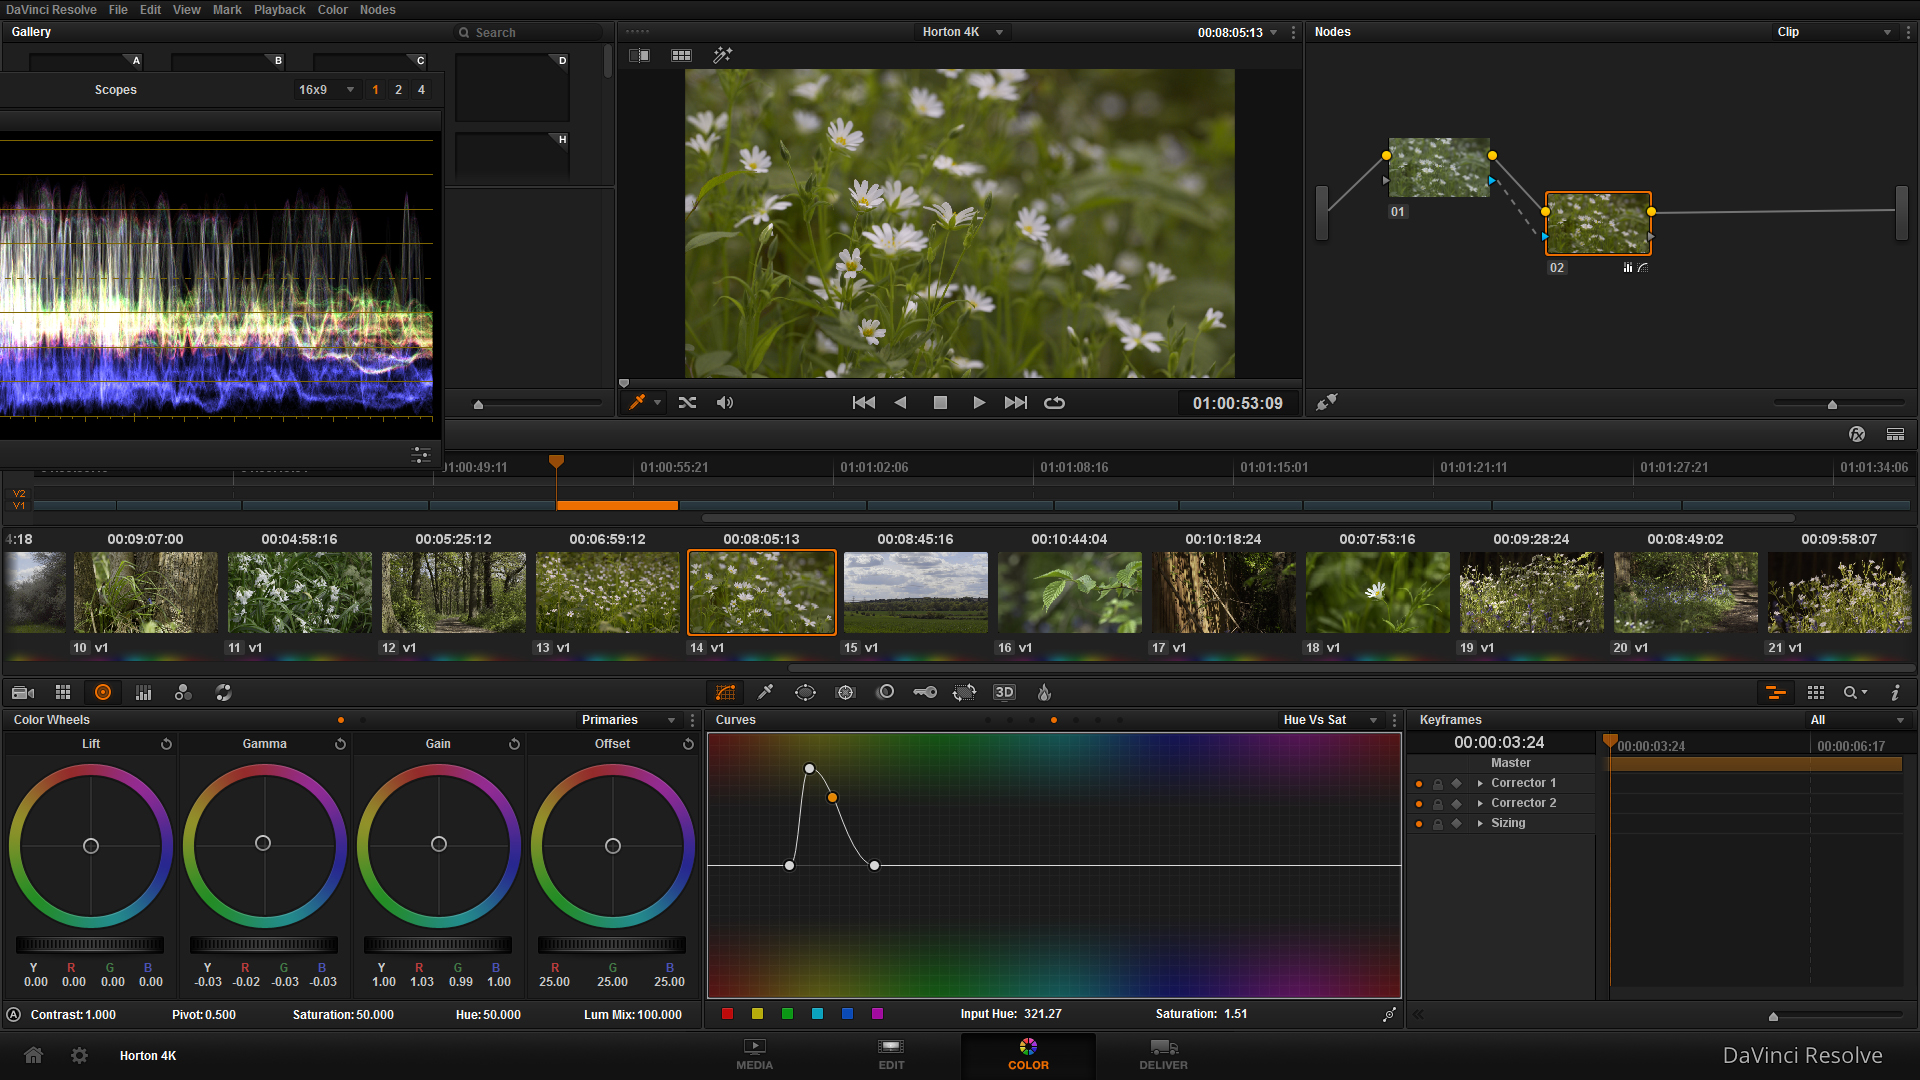
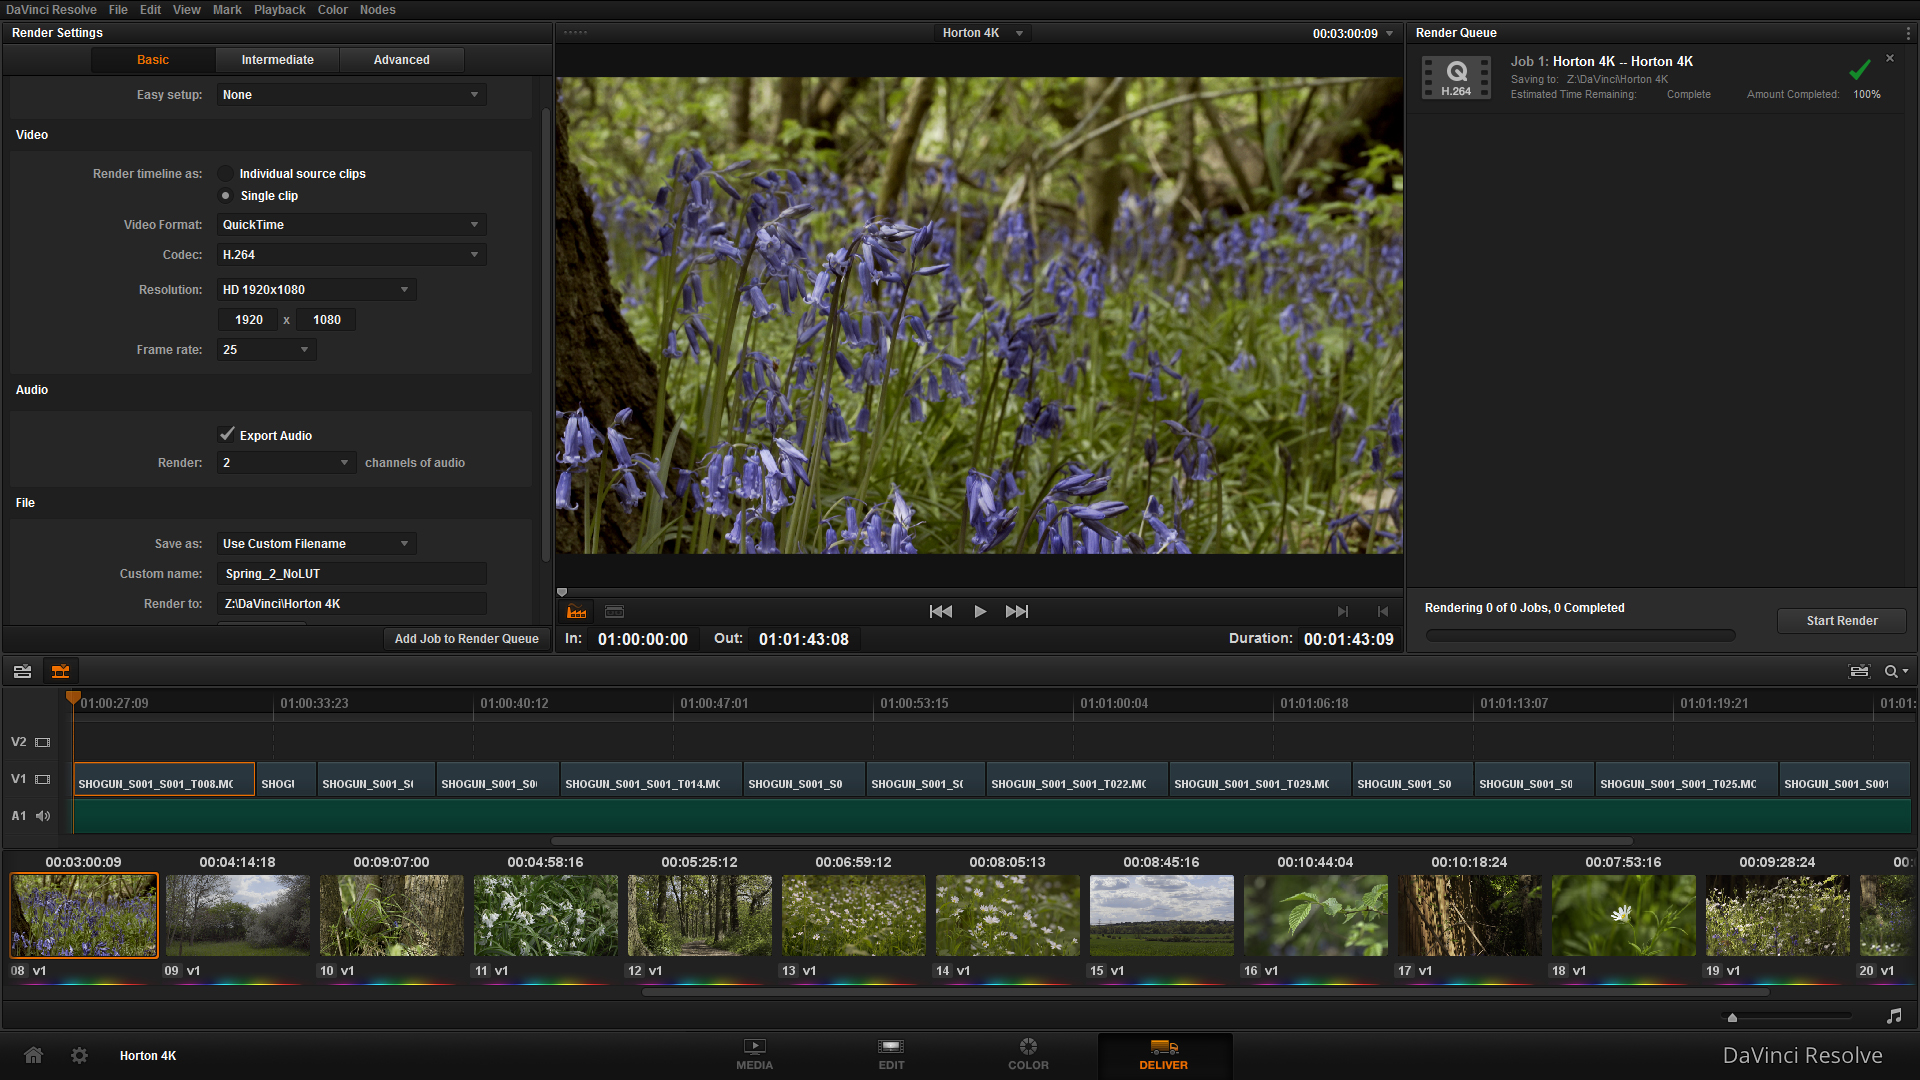
A personal favourite of mine is using the 100mm macro lens for portraits or specific subjects or objects as it beautifully crushes the background into a lovely bokeh, as if it was taken on a much better lens and camera. That combined with the Shogun shooting in 4K gives so beautiful images. Also, as much of the first and last days shooting was indoors, I often ramped up the ISO to 6400 and happily shot away knowing that the resultant image would be pleasantly clean.

Adam Plowden Video using Sony A7s and Canon 100mm macro

Audio wise, I had the Rode VideoMicro hooked up to the A7S for the entire production, its an awesome little microphone which sits neatly on the cage. I’ve found previous on camera mics clunky and often require a 9V battery, but the little VideoMicro uses the camera power and packs a load of great audio quality into a tiny price tag. For the interviews, I hooked up the Rode NTG4+ into the H6 and handheld. No need for a clamp and magic arm in this case.
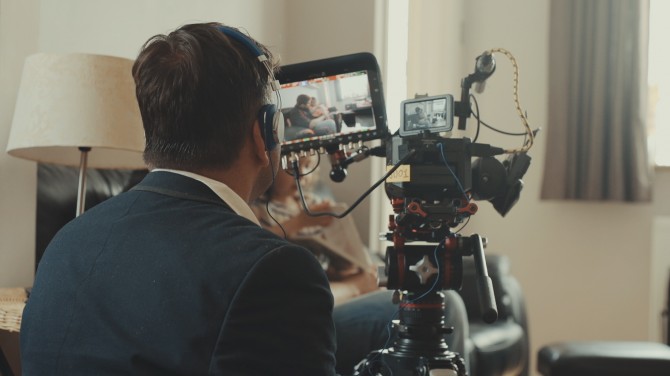
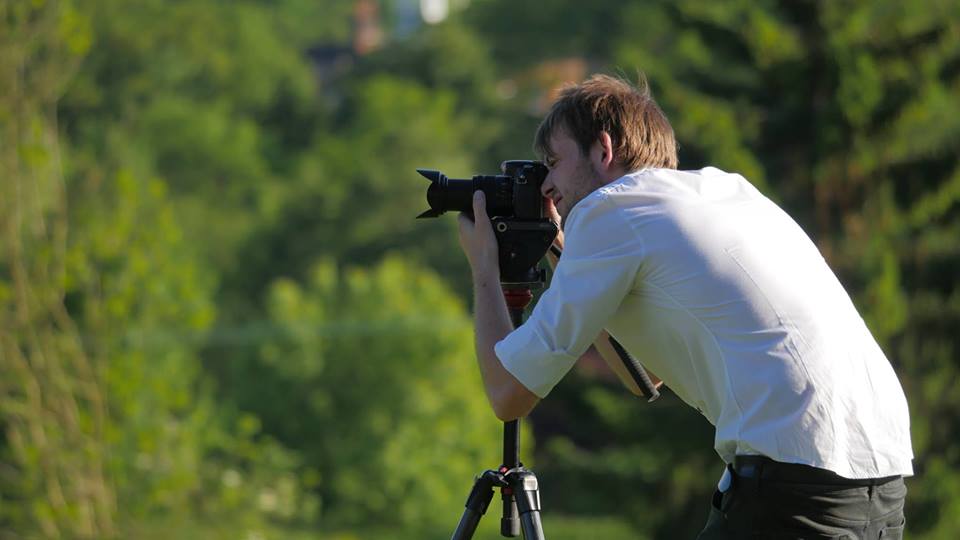
The Shoot

The night before the workshop got the attendees together to meet and chat, I took this opportunity to interview some of the attendees to get their expectations of the workshop (the beginning part of the narrative). The pre-event networking is a brilliant way to break the ice with people who'll become part of your crew, and become new friends. The interviews were shot on the Tamron 24-70, it was rather dark so I remember shooting quite shallow with a high ISO. For the audio, I used the NTG4+ but this still captured a fair bit of background noise.

Day 1 was based around working together as a crew and planning the shoot for the following day. Throwing the participants in the deep end, they were set the task of producing a short video using 'in camera editing', a challenging task for them that revealed how the crews communicate and work together. I captured plenty of the crews shooting their scenes, and grabbed some vox pops from the group mentors on the fly to add some narrative to filming. I simply shot this on a monopod using the VideoMicro for audio, as I was in close quarters with the mentors.

Adam Plowden Video at Filmmaking Masterclass

Throughout the day I shot more of the participants networking (one of the key reasons to come to events like this as, it's not what you know, it's who you know), and their presentations in the afternoon. For the presentations I shot mainly on the 755CX-3 tripod to get nice steady shots on a long lens, while using the 100mm macro got me wonderfully close for portrait style shots of the participants.

Sometimes I shot on the Manfrotto MVM500AH monopod, just to get into tighter spaces or be more maneuverable on my feet.

Adam Plowden Video at Filmmaking Masterclass

Come the end of the day I grabbed essential interviews with Philip, Nino and Johnnie in a couple of locations to add some variety. What the mentors say will act as an audio-narrative for the BTS films as the questions flowed from 'Why do you recommend coming on an intensive workshop like this?' I also grabbed some interviews with the attendees, getting their thoughts and experiences from the first day, that would then help me build up the storytelling narrative of progression for the BTS film.

Part 2 of this blog will look at the second workshop day where the attendees capture and edit their short films, as well as the post production process I used to edit the BTS film together!

Out filming with the Sony A7S and Atomos Shogun in 4K!

I am still testing out the many brilliant features and benefits of the 4K combo I now have, one biggie was being able to grade the footage much more than what you're able to with internal camera recording.

I headed out to a local country park to catch some of the spring bluebells flowering, as well as to try out the dynamic range of the 4K Prores HQ footage and really push it in the grade.

A couple of photos while I was out and about, lovely day!

I took the Manfrotto 755CX-3 tripod with me as it is brilliantly lightweight, and despite the center column it can get pretty low to the ground for shots needing some perspective.

Still no Movcam cage yet, so I'm pretty nervous about having the Shogun on a ball mount, on the hot shoe, I did take care when moving around and took out the HDMI cable just in case.

I had 3 lenses with me, the Tamron 24-70, Sigma 70-200 and Canon 100mm L as I wanted to have a simple setup, one Manfrotto bag, essential kit, batteries etc.

After watching Philip Bloom's talk hosted by B&H a few months back, I set the camera settings to what he advised and went from there. Using PP7 for S-log increases the native ISO to 3200, so is not practical for bright scenes without ND filters, so here are my settings.

PP6 (allows ISO 200, practical for bright shoots) - Black Level 0, Gamma Cine 4, Color mode S-gamut, Saturation 0, Detail -7.

It was a bright sunny day and the Shogun was the perfect tool for the job. It's screen is very clear, unlike cheaper monitors which don't have a high contrast ratio or use LCD screens. Exposing for the highlights, I used the in-built Waveform monitor to gague exposure as well as the 2:1 crop in for getting critical focus - definitely needed for the wide landscape and macro shots.

You will not be surprised to see the HUGE file size of recording 4K in Prores HQ, averaging at about 2GB for 20 seconds.

It's less than 10 minutes worth of footage, in fact!

I did find this out while I was trying out the different outputs and recording formats.. For the PAL region the A7S has THREE HDMI output settings -

 - 1080 50p, 1080 50i, 4K 25p.

The Shogun will not record 25p footage from the camera when the HDMI output is set to 1080 50p, but you can record 1080 50p slow motion on the Shogun. Remember to set the A7S' recording format to 50p/50, instead of 25p for normal speed filming.

The Shogun will only record 1080 25p footage from the camera when the HDMI output is set to 1080 50i, with a 2:2 frame drop set. Remember to set the A7S' recording format to 25p/50.

You must set the '4K HDMI' setting in the A7S to output the 4K signal, and record in 4K 25p on the Shogun.

As part of the new 4K workflow, I am using Davinci Resolve Lite (FREE) for the colour grading process, but as this is a short video I tried out it's NLE which worked great. Similar look and feel to FCPX, but it gives you the ability to change edit points, manipulate scale, track and much more. It even has a keyer!

First Image - Editing interface, Second Image - Adjusting saturation in Color interface, Third Image - High contrast image BEFORE correction/grade, Fourth Image - High contrast image AFTER correction/grade, Fifth Image - Delivery interface.

Here is the ungraded version, with footage captured on the Shogun.

Here is a work-in-progress edit that is down-ressed to 1080 to upload it to Vimeo, the Youtube version in 4K (remember to change the resolution to 2160) is below!

I look forward to hearing your comments on the  videos I've put up!

New photos from the new A7S - A-MAZING

A selection of stills from the Sony A7S of my little vegetables growing in the greenhouse, Sam's new car, some flowers (Orchids and Carnations) in the house and olives from The Queen Adelaide!

Sony A7S, PP6, taken on Canon 100mm F/2.8L and Tamron 24-70 F/2.8 with a range of settings.

Tomorrows video shoot for the IABM at the Hospital Club!

Tomorrow APV is filming at The Hospital Club for the IABM. We're holding a technical discussion and debate on a number of industry topics. I'll have much more to come tomorrow!

The setup will be similar to the previous IABM panel video, but without the Lastolite Panoramic background. As always I have the Manfrotto Pro Light 35 packed with two camera bodies, essential lenses, batteries, memory and audio gear, as well as 3 1x1 bi-colour LED lights and pro stands.

I'll be trying out the old Soligor Pentax K mount 35-140mm F/3.5 macro on the 60D, as it does not register with the 5D. I may have to remove the chip.. I'll have some detail shots of it tomorrow.

Audio wise, we'll be using the Zoom H6 for recording multi-track audio from the 4 Sony and Rode lavalier microphones, as well as other on camera mics.

Thinking of making the jump to 4K?

You are in the same boat as me.. Having bought my 5D mkIII last December, there was no accessible 4K option until the Panasonic GH4 made its appearance in the Spring. I was devastated. Having invested heavily in Canon gear, any future move I make will need to fit with my current EF mount lenses, not to mention everything else such as batteries, memory cards and my overall production workflow.

http://www.eoshd.com/2014/04/panasonic-gh4-vs-sony-a7s-compared-wins-4k-battle-paper/

(EOS HD comparison between the cameras).

At the moment, there are two options on the table. Said to be like comparing apples and oranges, the Sony A7s and GH4 are the current competing professional cameras that offer 4K functionality, however for people that own the cameras and have been comparing the two have found it difficult. This is for a few reasons:

Sensor size: The A7s is full frame, the GH4 is MFT.

4K in camera: The GH4 can record 4K internally, the A7s requires an external recorder such as an Odyssey or Shogun.

Philip Bloom using the Q7, from: http://philipbloom.net/2014/07/19/magician/

Jeromy, CEO of Atomos talking to me and Sam from The IABM about new products and the IBC Show.

Now, many people will be arguing that what does the increased resolution allow you to do, that HD doesn't? The image produced from the 5D is great; good in low light, versatile, fits my style of filming... But it also has big downfalls for being a DSLR, and not a video camera.

Something that is unique about these two cameras is that their 'out of the box' functionality has been fine tuned for video applications, as well as high end photography. This is what Canon has left behind in their non Cinema line cameras, and Magic Lantern has struck gold on with their firmware hack enabling awesome video functions.

I have only recently installed ML on my 5D mkIII due to the current firmware on the camera. It was shipped with version 1.2.3, I was hesitant to downgrade the firmware and was patient in waiting for ML to develop a tested and working version for 1.2.3. Now having access to on screen aid such as waveform monitors and audio levels make such a difference, and restart movie for the longer filming durations is great. It turns your 'photography' camera into basically a video camera.

From: About DSLR (Youtube).

For my type of videography, the benefits of having not only 4K, but a wider range of options for recording will allow me to crop and downscale any 4K acquisition to HD and hold incredible picture detail, dynamic range and depth of field.

The recording bit rates are higher, meaning more data is stored for post production editing, compositing or grading.

Lastly, it should increase the production value of what I produce. Now, I am not stating that better equipment makes better videos. It does give you the opportunity to step up with what you can do in your work, and especially as it keeps you up to date in a world of ever changing and improving technology.

So, what is my investment cost?

This is dependent on your current shooting kit, and whether you can merge your current system with a new one. Perhaps you already shoot Sony or Panny, so you're in luck.

For me, all my lenses are Canon EF mount, some are electronic, others are manual, so an adapter would be needed in my case. The price of this is dependent on the glass you use, or are going to use.

Let's look at the Panasonic GH4 to start with.

Panasonic GH4 (body only) - £1296.00

Metabones Speedbooster EF to MFT (smart with electronics) - £468.00

GH4 batteries x 2 -£130

Transcend 600x ultimate SD card x 2 (Amazon price) - £36

Now, as the GH4 is MFT, I might purchase a wide angle lens because my current ultra wide angle 14mm T/3.1 would be almost 28mm T/6 due to the sensor equivalence. So, my options would be either:

Panasonic 12 - 35mm F/2.8 - £829.00

I did have the Samyang 12mm T/2, realizing it does not come in MFT mount.. So the above would be my option. I have used it before, it has great OIS and has a decent depth of field for an F/5.6 equivalent lens.

Total GH4 investment inc extra lens - £2759.00 (excluding extra lens - £1930.00)

That £1930 was pretty much the same price I paid for the 5D mkIII body only.

Panasonic GH4 basket

Now the Sony A7s.

Sony A7s (body and battery/PWR kit) - £2034.00

Metabones Speedbooster EF to E (smart with electronics) - £316.46

Transcend 600x ultimate SD card x 2 (Amazon price) - £36

The A7s does not record 4K internally, so I would need to purchase the Atomos Shogun recorder at - £1464.00

Also, as the A7s is compact in size, a cage is required to make it more accessible with the recorder and mics etc.

Movcam A7s cage - £148.02

Total A7s investment - £3998.48

(All prices are including VAT from CVP).

Sony A7s basket
Adam using the Panasonic GH4

Now.. I've shot on the Panasonic GH4 and I like it. When I've talked to Panasonic reps about the product they all had the same comment that Panasonic listened to videographers, and you can tell. The available recording formats and codecs allow a range of uses for the camera, and the features it packs into its tiny form are perfect for those that already utilize DSLR for video.

(Look back to earlier this year to the Park Camera's Panasonic open day - https://ajp1991.wordpress.com/2014/03/16/meet-the-panasonic-gh4/)

Personally, and this is very subjective to the way I was filming when using the camera, the captured video looked like video. Some will understand what I mean, others won't, but for those that have been shooting on a full frame camera, the 'look' is there. Obviously the sensor plays a large part in that, but if I purchased a GH4 kit outright (disregarding my current EF mount lenses).. I would purchase the Voightlander 25mm and the trusted Samyang cine lenses which might just combat the 'look' issue I feel like I have. As well as high quality ND filters so my shutter can remain at 1/50th.

Really quick GH4 test:

Trying out the 4K, and again a basic test:

(Please if you have experience, tips, footage or photos that you would like to share, please do!)

What am I going to do then?

My dad taught me something really great; good things come to those who wait. In other words, have patience.

As others test out, review and produce videos using the GH4 and A7s (and other cameras that pop up here and there), I will be closer to making my decision. For now, I know to hold off. A good thing for me to do would be to road test both cameras, work it with all of it's video functions and produce a couple of vids that I can look back on. The folks at Park Camera's are great at in store demos, but I can also wait for BVE in Feb 2015.

So, I can frustratingly wait a little longer for my jump to the next innovation of video production and delivery.

In the mean time I can always look at Blackmagic Design's options that shoot 4K, as well as the Apertus AXIOM modular camera, and keep the new Arri Alexa 65 and RED Dragon for my dreams.

axiom-modules-06[1]

From - https://www.apertus.org/

IBC Show 2014 Roundup!

adam plowden videography at ibc 2014 show manfrotto
adam plowden videography at ibc 2014 show manfrotto2
adam plowden videography at ibc 2014 show manfrotto3

What a week it was! There was no doubts we would be busy filming and editing videos for The IABM to release, but not on the scale we anticipated! Overall, Adam Plowden Videography captured and produced at least 8-10 videos each day, an incredible 6 times more video content delivered in one week than previously in the whole of 2013!

I did include a run-down of my kit choices before I left, but here is a quick summary of my chosen equipment to capture the IBC Show:

Manfrotto 546GB twin leg tripod with a 504HD head (A Cam).

Canon 5D mkIII, Tamron 24-70mm, Sigma 70-200mm, Samyang 14mm, 35mm, 85mm, Canon 100mm L.

Manfrotto 755CX3G tripod with a MVH500AH head (B Cam).

Canon 60D, Tamron 17-50mm, Canon 50mm.

Manfrotto Hydra Arm and super clamp.

Zoom H6, Sennheiser ENG-G3 RxTx kit, Roto-mic.

IBC 2014 equipment for IABM filming adam plowden videography manfrotto obs olympics

(This is the kit we took each day to film with!)

I had to have the above tripod gear after testing them out at my Manfrotto Takeover day, I was impressed by the fluidity of the 504 head when using it with telephoto lenses (as you can see above), however for lightweight, portable and quick 'run and gun' filming, the 755CX3G is a cracking go to set of legs. (Pictured above with the ProMediaGear Arc-Slider) and 701HDV head.

My main camera was: Canon 5D mkIII, and I was frequently using the Tamron 24-70 F/2.8 VC and Sigma 70-200 F/2.8 DC OS for 'go to' lenses around the show. They have a stabilizer in the lens, which means that shake and wobble can be eliminated. I also purchased the Canon 100mm F/2.8L macro lens before the trip for detail shots, but I fell in love with it for capturing everything; crisp and beautifully shallow portraits too.

adam plowden videography at ibc show 2014 canon 100mm macro l series sony professional interview

For establishing and wide shots, the Samyang 14mm T/3.1 cine lens came into it's own. On a full frame camera it has a huge wide angle view allowing to capture the biggest of expanses with clarity.

museumplein iamsterdam canon 5d mkiii samyang 14mm tourism wide adam plowden videography IBC show 2014

Day 2 - Thursday 11th September - Welcome to IBC

Things are gearing up at the RAI; exhibitors are flooding through the doors, the stands are quickly being finished and the equipment is on display. IBC Show 2014 is getting ready to open its doors to 50,000 broadcasting, media and IT professionals from across the globe. We began filming the exterior the the RAI with visitors entering the venue and registering in the main foyer; the arc slider and 14mm lens create a wonderful moving perspective. After a short explore around hall 10 and 11 we made our way to The IABM Members Lounge to film an exclusive interview with Peter White, CEO of The IABM.

The IABM is a global broadcasting organization, representing nearly 80% of the broadcasting industry. The members have access to an exclusive members lounge, the IABM business conference, design & innovation awards and much more. It was our job to capture the events, conferences and members at IBC to promote and inform others about the successes at the show. For the interview, I used the Canon 5D mkIII, Tamron 24-70mm, the B cam was a Canon 60D with Canon 50mm F/1.8. For a reliable audio source I used the Zoom H6 (multi-channel recorder) with the MS mic attachment, as well as the Sennheiser ENG-G3 wireless mic kit; this was so I could attach a lav mic on the interviewees for clear sound.

Yes, this did mean throughout the week we had different video and audio sources, but Red Giant Pluraleyes aided greatly in syncing up the V&A for editing in Adobe Premiere Pro CS6.

BTS editing IBC IABM intro video amsterdam

Editing the IBC Intro video with Peter White on my laptop, yes, Windows laptop!

After capturing the buzz and excitement of pre-IBC, we headed back to our hotel to edit the intro video for the IABM members to see. The editing was fast, but the uploading was terrible via Wi-Fi, having learned our lesson, we uploaded the rest of the videos in the press room at IBC instead! Unfortunately, the video is only viewable for IABM members, so here is a quick screenshot.

iabm intro video at ibc show 2014 adam plowden videography

Later on, we ventured out into the city of Amsterdam. It was Glen's first time, so I look him for a tour around the sights.

Glen in Amsterdam for IBC show with adam plowden videography

Day 3 - Friday 12th September - IABM Business Conference 'The Future of Broadcasting' and member interviews.

It was an early start on Friday, we arrived at the RAI for the IABM business conference at 6:45am to set up and capture the members breakfast, the conference and the post networking before the show got underway that day. For added motion, I used the ProMediaGear Arc-slider for some of the opening shots, but the main conference was shot on 3 static cameras.

iabm business conference at ibc show by adam plowden videography

For a mid shot of the speaker, I shot on the Sigma 70-200mm, and for a wide I used the 60D with the 17-50mm. Glen was filming from the front for a reverse angle on the 60D and Canon 100m L, which captured some stunning reaction shots of the attendees in low light. Unfortunately, this video is only available to watch for IABM members.

As our responsibility was to capture and edit videos for a same day or next day release, our two man filming team split so that Glen could begin ingesting, backing up and editing the conference video while I went out into the show and interviewed a number of IABM members. This turned out to be a godsend tactic to release a stream of high quality videos each day. It was, however, difficult to keep track of all the media from SD and CF cards...

That day, I filmed interviews with Georacing, Harmonic, Nexidia that we edited out for same day release:

I then jetted off to The IABM stand to meet the new winners of the Student award from The IABM (I won last year), to capture some interviews with them about their study and what they are looking forward to at IBC!

iabm student award winners ibc 2014 adam plowden videography

Day 4 - Design & Innovation Awards and member interviews

We were already half way through our IBC experience when Saturday struck, after a successful few days of filming and editing we geared ourselves up for a long day ahead. The day begun with a selection of IABM member interviews from around the show, including; Blackmagic Design, Avid, Newtek, Sony and many more. If you have been to IBC or NAB before you'll know how long it takes to get from one place to another, but with video kit it was a challenge to navigate around the thousands of people at the show!

I had a great time at the Sony booth, interviewing Peter Sykes about the new innovations; camera, 4K transmission, projectors, storage devices. They can be seen here:

I was intrigued by the Sony A7s, a full frame SLR with great low light and DR features.. There was lots of hype around the camera, and I had noticed a lot of the News Shooter guys using them with Atomos Ninja/Blade recorders (we were working next to Dan Chung and News Shooter in the press room), they rated it very well in a variety of conditions and shooting styles.

Bad luck struck on Saturday afternoon... My Canon 60D and 14mm cine lens was capturing a timelapse when it was moved/taken/stolen from where I left it.. Knowing that this would impact the video production of the D&I awards I quickly got help from RAI security to try and locate it. No luck, so later on that afternoon I borrowed a camera from an IABM member to capture a static wide shot of the awards ceremony. Luckily, when I arrived home I got a call from the RAI security who informed me they had found my camera!

canon 60d 14mm cine lens timelapse adam plowden videography ibc 2014
wohler interview at ibc 2014 for iabm adam plowden videography
vidigo interview at ibc show 2014 iabm adam plowden videography

We then got set up and prepared for The IABM Design and Innovation Awards 2014, celebrating and awarding outstanding technical developments in the broadcasting and media industry. Before IBC I edited and produced the 9 nominee category videos and graphics presented throughout the awards. Using the same setup as the IABM conference (A cam - Tele, B cam - wide, C cam - reactions) we captured the night in full, showing the excitement and buzz around winning the awards. I got to have a quick chat with some of the winner companies too!

I edited together the highlights of the IABM Design and Innovation Awards, which can be viewed here -

The individual winner interviews can be viewed here:

Systems - VidiGo

Testing - Cube-tec

Storage - Ardis

Post Production - Quantel

Playout - Elemental Technologies

Content + Infrastructure - NTT Electronics

Audio - Sennheiser

Acquisition + Production - Trimaran

The realities of working 12-14 hour days were catching up with us when we returned to our hotel to ingest and back up the footage. Finally, but 1:30am on Sunday all of the footage was synced and ready to be edited. At that point, we both thought its time to call it a day.

iabm design and innovation awards 2014 ibc show adam plowden videography
adam and glen design and innovation awards 2014 ibc show adam plowden videography

Day 5 - Delivering D&I Award Videos and member interviews

By Sunday, the main haul of event capture had been completed, with the remaining tasks being mainly interviews with members around the IBC show. As our editing 'system' had worked so well previously, Glen stayed in the press room using both our laptops to edit, export and upload the winner videos from the awards while I conducted interviews with more exhibitors and IBC members.

I had a great time at the Atomos booth interviewing Jeromy the CEO about the new Shogun for 4K recording and the power pack!

Atomos Interview -

jeromy atomos ceo at ibc show 2014 iabm interview adam plowden videography

Later that day I bumped into Joe, my old uni housemate  who was visiting the show for a day. Later, Glen and myself went for Mexican for dinner and met up with our hotel receptionist, Klaudija for a few drinks in Vondelpark!

adam and joe ibc show 2014 videography
adam and glen mexicans

At this point, I was completely over my missing 60D and the tiredness. Visiting IBC and Amsterdam for work is a very rare opportunity, so we plowed through and continued to produce great day by day coverage of the show for The IABM. Glen, bless him saw less and less daylight each day!

adam out filming interviews at ibc
Glen and Adam at ibc

Day 5 - Rising Stars and more member interviews

Arriving at IBC a little later than usual, Glen and myself parked up the the press area and set up the laptops to upload the previous days interviews to vimeo. Before we headed out to Steve Warners talk at Rising Stars I bumped into Nino Leitner who was off to Photokina that afternoon, so I grabbed a quick pic! Nino had been very busy with Cinema 5D coverage of the show producing their 'On The Couch' series with Philip Bloom, HaZ Dullul and more.

adam plowden and nino leitner ibc show 2014

At this point, we had captured around 350Gb of video footage and delivered numerous interviews and event videos for The IABM, they were very pleased! We headed over to The Rising Stars lounge; a part of the show dedicated to young professionals in the industry where Steve Warner (training manager of The IABM) was doing a talk on CV's and representing yourself. Even for me, it was quite interesting to hear what recruiters actually look out for and research!

steve warner iabm training manager talk rising stars ibc 2014

Catch the full video here -

The team then split so I could conduct some interviews with The IABM student award winners, and with a couple more members for The IABM annual conference in December. It was a short and sweet day; shooting multi-cam on talks and conferences made editing fairly straight forward so we were able to deliver the videos pretty much on the same day. Glen did an awesome job and editing videos out quickly. while I was filming more content!

Day 6 - Last interviews

Day 6 was our opportunity to capture the last interview and glimpse of the show until next year. As we were interviewing members and covering events, we didn't get to see that much of the show itself, but made time to visit some cool stands before we left on Tuesday afternoon.

We visited the Ross Video stand, to interview Pete Ross for The IABM annual conference, it was interesting to hear about how the company developed the first vision mixers and lead the way for broadcast production throughout the 20th century, definitely worth recognition.

adams last day at ibc on the tram in Amsterdam
the Amsterdam RAI, home of IBC
Ross video stand at ibc show
Ross video stand at ibc show2
saying goodbye to the IBC press room!
Glen at IBC
Adam at IBC
Glen and Adam leaving IBC 2014 for the last time!

Well, what an incredible time it has been.. We captured over 400Gb of footage and audio, combined with hours of graphics produced before the show. We delivered (and are continuing to deliver) over 55 videos online for The IABM. What a show, what a success! My huge thanks go to the other half of the team, Glen Symes for his help and dedication to getting the videos out, and dealing with my stresses of production and post throughout! Also thanks to The IABM for giving me the opportunity to cover The IBC Show 2014 for you.

Ooh, I almost forgot I stopped by the Vitec Videocom stand to say hi to the Manfrotto reps and return the tripods and grip we borrowed for filming. While we were there I asked Sofia for a short piece to camera on the new Manfrotto tripods and kit; I was over the moon to hear a new follow focus has been developed to go with the SYMPLA rig!

Check out the video with Manfrotto here -

I've met up with old friends, and made many new ones. My experience has been overwhelming this year, now I cannot wait to do it all again at The IABM Annual Conference and hopefully IBC 2015! If you have any questions about how we produced the videos, or IBC then drop me a tweet @Plowman91 or comment!

I'm still editing and uploading more videos, so keep updated by checking out The IABM website for more videos and content, and I will have an IBC 2014 wrap up video coming soon. UNTIL NEXT YEAR!

Behind the scenes of yesterdays Wellbeing videoshoot!

06:30 Kit bag, check.

Audio kit, check.

Lighting, check.

Brain, just about.

bts early morning sky

Yesterday I was out filming talking heads and some b-roll for a Wellbeing project on behalf of EEBC. Wellbeing is our general mental and physical health, but there are many factors in the way that we live that can affect our chances of developing serious health problems in the future. These include some sensitive subjects, that I was capturing to provide an information base for those in the community that may be suffering, or have friends and relatives of those diagnosed with; Cancer, Coronary Heart Disease, Dementia and Diabetes.

I was featuring nutritional expert Yvonne McMeel throughout the videos, so I began by planning my main piece to camera with her in the Wellbeing Centre.

This was a standard video shoot, so I packed my kit bag to be prepared with whatever the day would bring! This included;

Video - Canon 5D mkIII, Tamron 24-70 F/2.8 VC, Sigma 70-200 F/2.8 OS, Canon 60D.

Audio - Zoom H6, Roto-Mic, Sennheiser ENG-G3 100 wireless.

Grip - Manfrotto 755CX3 tripod + MVH500AH, Manfrotto 190Pro-B (old version) tripod, Super clamp and magic arm.

Lighting - Daylight balanced 85W studio light with soft umbrella.

Extras - Lilliput 1018 (I am currently testing out and reviewing this product).

behind the scenes videography equipment

I took along the Lilliput 1018; the new flagship 10 inch touch screen field monitor, which produced crisp pictures and well represented colours. I ran this on a F-970 battery with HDMI through from the 5D, so I could monitor both. This did however cause the camera to heat up quite quickly. However, the monitor has awesome features usually found on high end products which include; exposure and focus peaking, on screen waveform monitors, levels and much more, which came in very handy for assessing the quality of the picture. (More coming later regarding this product).

behind the scenes make up artist Char1 behind the scenes make up artist Char2 Char doing her make up thang!

I began setup at 9am, shortly followed by Char the make up artist who set up her bits. The location for filming was the Wellbeing Centre, which as a wonderfully bright open facade with big doors and windows. Luckily enough, blaring heat and sunshine poured through the windows, so that was my key light at slightly cooler than daylight colour balance at 5200k. This also matched the daylight light fixture I was using to add a fill and kick to the subject.


Why did I use a 2-point light setup?

I could have rocked up with the intention of using just the daylight and the incandescent lights in the centre with the mentality that it will illuminate my subject well, but there are risks you have to be willing to take if you approach lighting in a casual way. Some points to remember when thinking about lighting your subjects;

  • Are they defined from the background?
  • Do they have harsh shadows on their face?
  • Moving sunlight will change throughout the day, in brightness, direction and colour.
  • bts wellbeing light setup

Now, when you haven't been to the location before it is difficult to judge the lighting conditions, so firstly if you can have a RECCE of the location. It is very beneficial as you can begin to compose the scene, judging the internal and external lighting, now noisy the environment is, whether you will need a backdrop instead of a plain background.. All points to consider before you turn up with the camera kit and begin filming.

Defining the subject from the background is what makes them look 3-dimensional and not flat, this is the same for the shadows too as it shows that features are visible on the face. With DSLR's it is possible to use depth of field to define your subject from the background, but lighting can also be used to 'pop' the subject out of the BG.

Harsh shadows are caused by strong direct light, and are unwanted as they mask features and don't represent the subject properly, unless this is the effect you are looking for. For piece to cameras and interviews having soft shadows around the nose show the features of the subject, again making them look real.

The sunlight is your best friend and worst enemy at the same time... As the Earth rotates, we move further away or closer to the sun which changes the lights direction; if you start filming in the morning with your subject lit from the front, by 12 noon the sun is over head and by the late afternoon the light will be behind you. To combat this, keep continuity by filming at the same times each day, or even simpler be aware of the suns direction and gradually rotate the subject and other lights to keep a constant illumination. For me, I was filming from 11am through to 15:00 with the sunlight to my left for the whole day which was very beneficial, but not every time will I be that lucky!

Watch out for clouds that can block the sunlight, and be aware of how the colour temperature of daylight changes throughout the day; cool in the morning and warm in the evening. For me, shooting in midday sun meant a constant temperature of 5200K for both cameras, matching the other light.

The use of a kicker or fill light, pushes out the shadows caused by the key light (the sun), and gives a halo effect to the hair of the subject making them stand out. The difference is subtle but effective.


Camera Setup and Composition

Once I had my lighting up and running, it was time to set up the cameras and audio equipment. I was going to shoot using the Samyang 35mm T/1.5 cine lens, but this would result in being intimately close to Yvonne, the subject, which would be quite off putting and may add shadows/interference such as me rustling papers to the recording. Instead, I used a telephoto lens as I can be a good distance away from the subject, and create a narrow field of view that frames up as an MCU (medium close up).

My main A camera was the 5D mkIII, and although the Sigma lens can open up its aperture to F/2.8 for shallow depth of field, this was not required for today. Instead, the camera was set to F/4.5 for a still shallow depth of field, but deep enough for the subject to move forward and backwards in the frame a little, and to de-focus the background. The ISO was set to 200, although when the Sun disappeared behind clouds I would ride the ISO to 250 or 320 depending. To stick to the 180 degree shutter rule, the electronic shutter remained locked at 1/50th.

The B camera was the Canon 60D, I paired this with the sharp Tamron 24-70 F/2.8 and shot wide open, again riding the ISO when required. I did this because this camera was capturing a wide shot of the subject, so depth of field was not noticeable. To keep continuity, both cameras were set to a white balance/colour temperature of 5200K, but it appears that the 60D picture is slightly yellow/green than the 5D picture.

behind the scenes camera dslr audio setup light

Audio

The often forgotten partner to the pretty pictures you see, having top quality audio is just as important as having your subject in focus and exposed. I used the Zoom H6 as my recorder, with the XY mic attached to capture one stereo recording. I also used the Sennheiser ENG-G3 wireless mic kit, attaching a lav/lapel mic to the subject which would be my main audio source. As a back up I also used the Rotolight Roto-Mic plugged into the 5D just in case. Remember to take headphones so you can monitor the sound recording, just like you would use the cameras screen to compose the picture.

Behind the scenes wellbeing video shoot adam plowden videography canon 5D lilliput

The filming went brilliantly. As a precaution I decided to use the 'record to multiple card' function in the 5D so I had a back up of the footage in case the cards got corrupted from such long recording times. As mentioned earlier with the lighting, as the light slowly changed, I also adjusted the position of the kick/fill to push back the shadows.

I was very impressed with the Lilliput 1018 field monitor too, and although it is larger than monitors I would usually use the touch screen control and diverse functions suited the shoot well, so I could keep a close eye on the changing light levels.

After the principal piece to camera filming was complete, I ventured out into Epsom and Ewell with Yvonne to film some b-roll pieces that would add to the information and dialogue about wellbeing and health. So, we visited Shadbolt Park outdoor gym, Ewell Court Library, Epsom's Derby Square, we were going to hit the market but by that time it was 17:30 and no chance of finding fresh fruit and veg to film.. We returned to the car to go to the last location, Epsom Downs, when this happened...

adams broken down car

My car broke down. The filming day abruptly ended with a call to my insurers for recovery, while I also arranged a taxi for Yvonne to take her to the train station. That didn't put a dampener on the day though, I had captured great video and dialogue that I hope will help many people in the borough and wider community who may be suffering with cancer, heart disease, diabetes or dementia.

I then ingested the footage, and backed up a whopping 80Gb of footage and audio.. Lots to edit through, but thankfully those wonderful geniuses at Red Giant have a tool called Pluraleyes which can sync video with externally recorded video, so suddenly the issue to matching up the audio to the video disappeared, saving me potentially hours of work!

pluraleyes un-synced A bunch of un-synced video and audio clips gets transformed into this -  behind the scenes pluraleyes sync video

Pluraleyes then allows you to export the sequence as an XML that I then imported into Adobe Premiere Pro to edit! It's ready to go!


Overall, very happy with the footage and the outcome of the first day! I need to get out and shoot some more cutaways/b-roll of healthy food, socializing and some more bits and bobs to add.

Silence is golden, Planning is key!

A new #videoquestions is out today on how to plan your video production so it runs smoothly, and is within your time and money budgets! I'm out for a pre-vis meeting this morning for a video that combines animation, where planning has been a very important role in creating a narrative and generating an estimate price for the production. I'll share my work with you in this#videoquestions later today!

saul bass alfred hitchcock psycho shower storyboard

Manfrotto Backpack50 Video.. It's taken its time!

I've finally got around to working on the Manfrotto Backpack50 product video that I shot back in November with Glen and Sam. I made the most of the beautiful 'golden hour' to capture unique images of the product in use. The shoot location was our usual hotspot for kit testing; Epsom Downs. manfrotto backpack50 product video demo professional photography videography

The Backpack50 is an insanely good bag, dedicated to protecting your prized possessions and increasing your productivity when out on a photo or video shoot. Aimed at both professional videographers and photographers; the bag features plenty of space for multiple camera bodies, lenses and telephoto lenses. For the on-the-go editor, you can also carry a laptop and a tablet with you, as well as strapping on a tripod. Your complete equipment in one bag. One solution.

I'm editing the footage in Premiere Pro, to achieve that awesome bokeh I used a Nikor 50mm F/1.4 manual lens and shot handheld, so I will be applying some stabilization to those shots. Because of the strong sunlight, I worked with that light to determine the exposure of my subject, Glen. Essentially putting him in a silhouette, defining his and the backpacks shape. For the ambient settings I was working with, I believe this worked well, and is a good technique to try when shooting in the golden hour!

However, when working with low contrast ratios (number of stops between black and white) it is easy to over or under expose parts of the image, which not only burns in detail but can cause problems when encoding and playing back the video, so remember to check your reference monitors and keep to legal limits!

premiere pro video reference manfrotto

More to come later!

Busy!!

I've been busy over the last couple of days, working on both John Sinclair videos, as well as the arrival of the professional camera rig I designed. It is still a prototype so some changes will be made, but so far it is a great fabrication of my design I proposed 18 months ago!! DSC_0260 rig1

I've since been working on the John Sinclair documentary, which I've titled 'Behind The Smoke' in Adobe Premiere, which has been going very smoothly. I've also finished the title sequence using footage from the Amsterdam gig rehearsal, as well as using outstanding quotes from John, it is accompanied by the track Mohawk of his new album with Steve Fly.

I used the layers blending modes to merge the layers together, as well as distorting the text (in a bold font like the 70's John Sinclair posters) and animating them in a style that conveys the subject.

I will post the video up later!


Review: Manfrotto Backpack50

Hello all! Here is the anticipated review of the new Manfrotto Backpack50, the flagship range of professional photography and videography bags for cameras and equipment. edt1

The new range comes in a variety of sizes depending on the equipment and lenses you use. If you are going to be shooting for ENG, or know you will need fast access to your camera and lens kit then the Holster range may be for you, or if you're looking for a perma-home for a vast range of bodies, lenses and accessories then a Roller Bag or Backpack will be for you.

screen1

I got a great surprise through the post a couple of weeks ago, it was the Backpack50, which I have been using out on photo and video shoots, testing it to the extreme in a wide range of shooting situations such as weddings, on location video and corporate events.

First things first, as you can see the bag is BIG! Not too big that it is laborious to carry around, as the support straps provide great comfort for a fully packed bag. Having a bigger bag eliminates the need to bring extra sling bags if you take laptops and tablets on shoots, as there two separate zip pockets for both, and also allows me (predominantly shooting video) to keep all of my essentials in one place. For example, the bag is currently full with my kit needed for a shoot for Tesco on Friday, so a 7" HD field monitor, clamps, Rode VideoMic, 2x DSLR bodies and 6 lenses sit snugly in the protective separators. I have all I need in one convenient place, a perfect solution especially as I am a SINGLE shooter.

IMG_1918_1

Overview of the Backpack50's features:

DSC_0173_1

Unlike other camera bags which open from the side or the back, the Backpack50 opens from the top, which allowed me to quickly grab my camera (with lens attached) almost immediately with ease. If you've got the waist support done up then this is even quicker as you can swing the bag from your back to front and grab the camera that way. The other handy feature of this is that you can have a telephoto lens attached to the camera and still take it out with ease, as the support pads can be customized to fit your individual kit needs.

DSC_0179_1

Here you can see the bag open, the top flap unzips all the way down revealing many side pockets, 3 zip pockets on the flap (which I use for little bits that I can grab quickly such as batteries, SD cards, hot shoe adapters etc). There is even a protected zip pocket for a tablet if you have one too!

The capacity of the Backpack50 is fantastic! As I mentioned before I filled it up with various accessories for shooting video, but it will comfortably hold a large DSLR body and telephoto lens attached in the middle section, up to 8 standard lenses in the side sections, as well as two ideally large and deep side pockets. These would be great for clamps and arms, but I use mine for my microphone and a little tool box for emergencies!

IMG_1861_1

A small but memorable Manfrotto logo on the main flap of the bag, the branding is not in your face which keeps the bag discrete.

IMG_1892_1

With a fully packed bag (including a laptop, EVF) it is heavy as you would expect, however the inclusion of a very comfortable, padded waist strap distributes the weight evenly through the body, rather than putting the pressure on your shoulders, reducing fatigue, and it was a welcome relief for me to see too! All the straps are padded, and are very heavy duty for a camera bag which is fantastic when shooting in rugged and fast paced environments, or for a very long time.

The Backpack50 also includes a waterproof cover, essential for protecting your beloved kit in times of heavy downpour, however it would have been better to see this built into the bag rather than a separate part, as this reduces the risk of forgetting it!! It also has a side strap for tripods which is a welcoming sight. Previously I used a Lowepro bag and simply strapped my Manfrotto 055B tripod and 701 head to the main straps, which is heavy and also puts lots of strain on the bags fastenings (i don't recommend this). The external strap loops through a heavy duty fabricated patch on the side of the bag, and the strap can be secured around the head of the tripod. It is quick release too, so you can get the tripod off the bag and set up quickly. A great improvement.

IMG_1903_1

Overall, I am delighted with Manfrotto's new Backpack50 as it caters for the pro photographer AND videographer, protecting our livelihood (equipment) with fantastically engineered bag sections, as well as providing flexibility when out shooting which many backpacks restrict due to their bulky and un-ergonomic design. Manfrotto have overcome this by designing a bag with the pro in mind, and have produced a very successful and ergonomic addition to the growing kit list of photographers and videographers alike.

Check out the new range on Manfrotto's website here - http://www.manfrotto.co.uk/collection/8615.1065.17520.0.0/Professional

Golden Hour - Manfrotto Backpack50

Another snap from the shoot today for Manfrotto's new professional bag for photographers and videographers "Backpack50". edt1

Videomic Go!

RODE's new on-board microphone for small cameras!

Manfrotto Shoot #2 "Backpack50"

Manfrotto's all new Backpack50. [gallery ids="557,558,559,560,561,562,563,564,565,566,567,568,569,570,571,572,573,574" orderby="rand"]

There will be much more later, its been a long day! I took the photos on my Canon 60D and Nikkor 50mm F/1.4 manual for a beautiful soft background to complement the autumn colour tone, landscape and chilly weather at Epsom Downs!

Thinking about Audio?

One big problem that lots of solo or freelance videographers stumble across is sound. It is easy for some to focus only on the visuals, rather than both the visuals and audio; one has to remember that a piece of media is 50/50 between V and A, so capturing crisp and audible sound is just as important as in focus, well exposed images.I've had countless problems with sound over the years, more recently I have found practical solutions using the Zoom H4N, but before I had access to that portable stereo recorder I used a Rode VideoMic. Many newbies will be famililar with it; a standard on-camera shotgun mic with ok quality.. Very ok to the sub standard level. One issue I've always had with it is the amount of background room noise, but Adobe Audition does a reasonably good job of removing the sound print from the signal.

However, all that terrible tech is about to change as Zoom have begun shipping their all new H6; a 6 channel portable recorder, with interchangeable mic capsules! I've just watched the test + review from B&H and it looks incredible, and it would be hard to forget fantastic quality sound with that bulky piece of kit in the bag! I've been in contact with the Zoom team so lets hope I can get my hands on one soon!

http://www.youtube.com/watch?v=yBfJveLuANk

Sony's pre-IBC surprise!

Another announcement from Sony Professional ahead of IBC: The PXW-Z100 is Sony's new 4K pro ENG camera based on the F55's XAVC recording format, with a 16Mpx CMOS sensor! No super slow motion features but for a 4:2:2, 500-600MB/s video camera could this be an entry level broadcast solution to the growing demand of 4K content? (Now that plenty of 4K displays have been announced).. Here's the link to the Sony Pro Europe page on their new 4K venture - http://www.sony.co.uk/pro/product/broadcast-products-camcorders-xdcam/pxw-z100/overview

Ciao for now!