vimeo

APV Now Captures In 4K UHD!

Hello all! Great news comes from APV in the form of the latest revolution in cinematography; capturing and delivering video and media content in 4K (3840x2160p) or Ultra High Definition using the Sony A7S camera and Atomos Shogun recorder.

Seeing the release of both the Sony A7S and Atomos Shogun at industry events, I was so keen to get my hands on this kit. Unlike DSLR's the A7S is mirrorless which means it's body is around 1/3 the size of the Canon 5D mkIII, it has incredible light sensitivity, the features to film in both slow-motion and using the S-Log gamma curve make it an ideal production camera in a tiny body.

I first saw the Shogun outside of an expo at the Shadows and Light workshop, a friend was showing me some footage he shot the evening before on the setup in 4K. He showed me the captured footage, and then applied the LUT in the Shogun to show what the result would be after grading.. I was blown away. Both as a monitor and a recorder, the Shogun excels at capturing HD and 4K video and audio with in-built monitors such as waveform and vectorscope, peaking, zebras, as well as recording in a range of formats at a much higher bit-rate than in camera recording - 220Mbit/s HD and 440Mbit/s 4K (I think) which is perfect for grading and video-focused productions to filmmaking.

I invested into Canon EF equipment a couple of years back as the 5D mkIII was to best option for large sensor filming, so instead of spending out on native Sony E mount lenses I purchased both the Metabones EF-E mount mk IV and the Commlite EF-E mount to use my current lenses.

Also knowing that the batteries for the A7S (FW-50) are much smaller in capacity than the LP-E6 Canon batteries, I ordered another 4 Sony's with the camera and two from Amazon with another charger (EX-Pro). Inevitably, all of the accessories came before the camera did.. So I eagerly charged and labelled up the kit and get it ready for the camera to arrive!

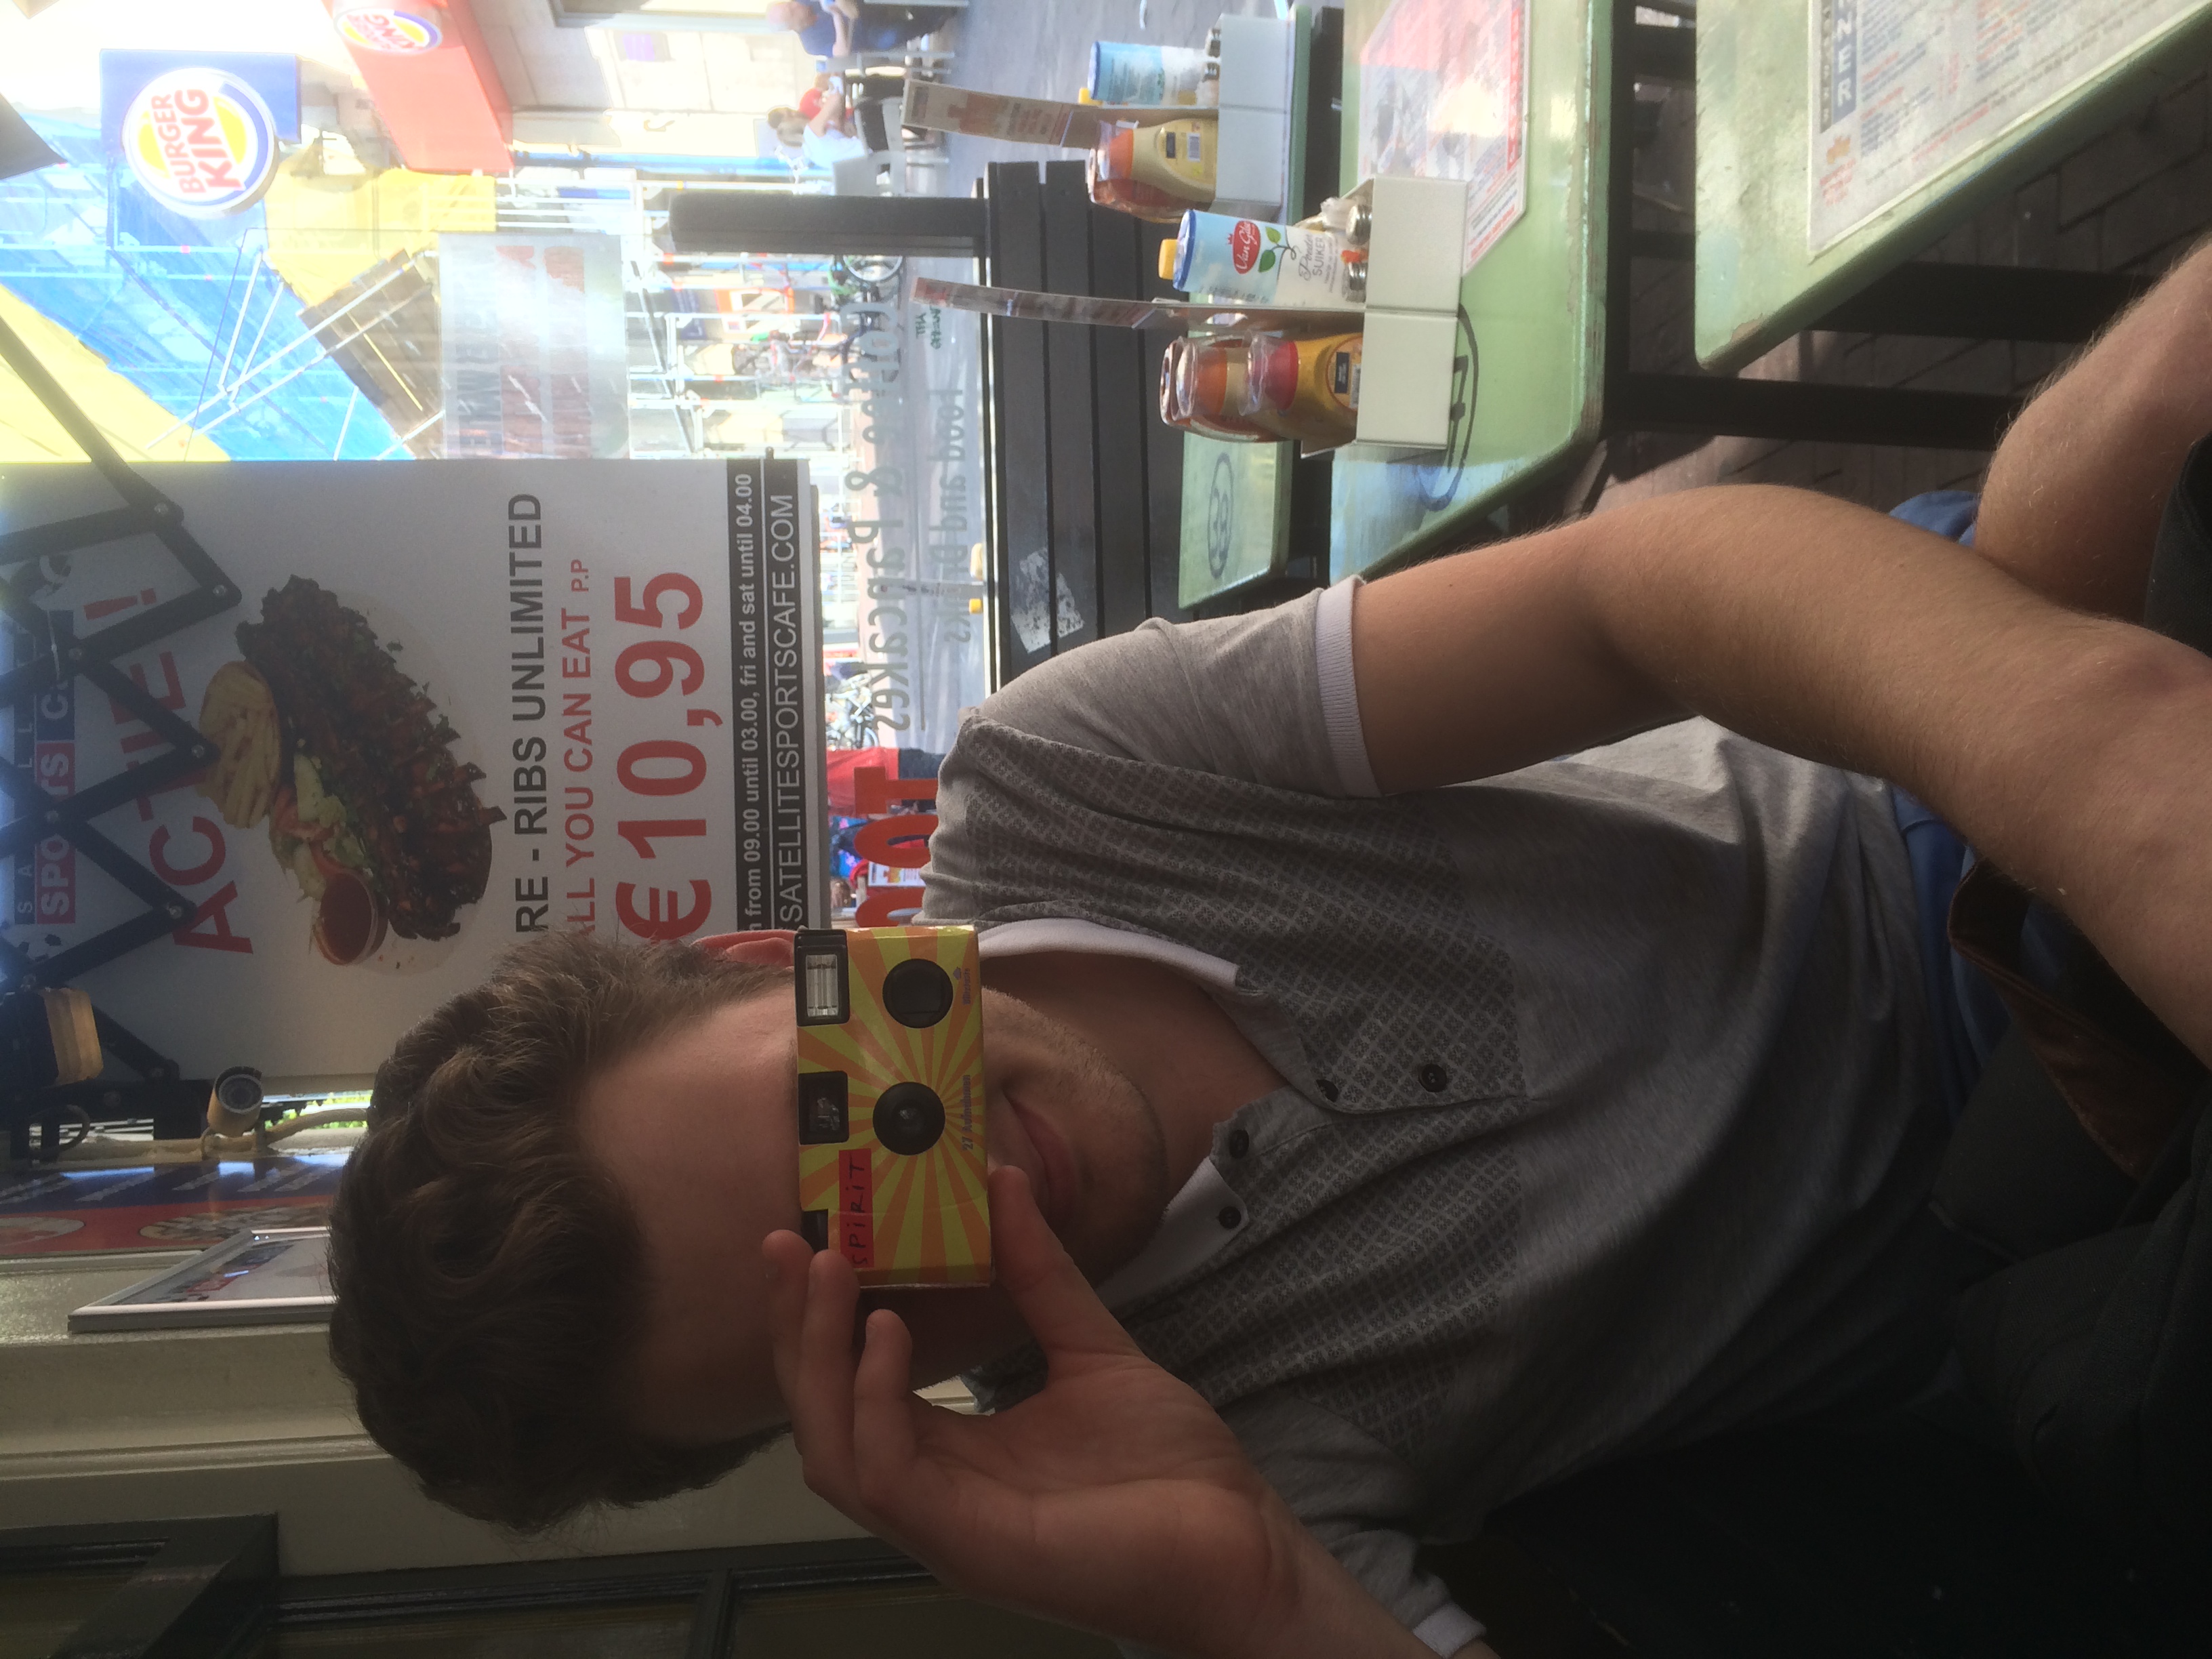
The camera came last week and not having any new toys for a while I was keen to play around and check out the cameras features straight away! Glen came over as the camera arrived, so he became my willing subject. I hooked up the Tamron 24-70 to the Metabones which worked fine and shot some handheld video, as the lenses vibration control was active. I also have an eyecup for the little viewfinder for another point of contact, to reduce the shake if I need to hand-hold for some shots.

As I was waiting for numerous deliveries to arrive (including the Shogun), I was housebound for a while so I made do with the plants in the garden and my cat for things to film. Here's some of the first footage captured -

A7S and Soligor 35-140 with metabones waiting for the Sparrows

A7S and Tamron 24-70 with metabones in the cage. Soon to be replaced by the Movcam rails kit.

A mix of footage shot for the first time on the Sony A7S, probably in No Picture Profile. Really love the image with the lenses that I have, very organic with fantastic light sensitivity. It was also impressive hooking up the Atomos Shogun to the 5D mk III for 1080p in ProRes HQ, which gives much more latitude for colour grading and post work because of the much higher bit rate.

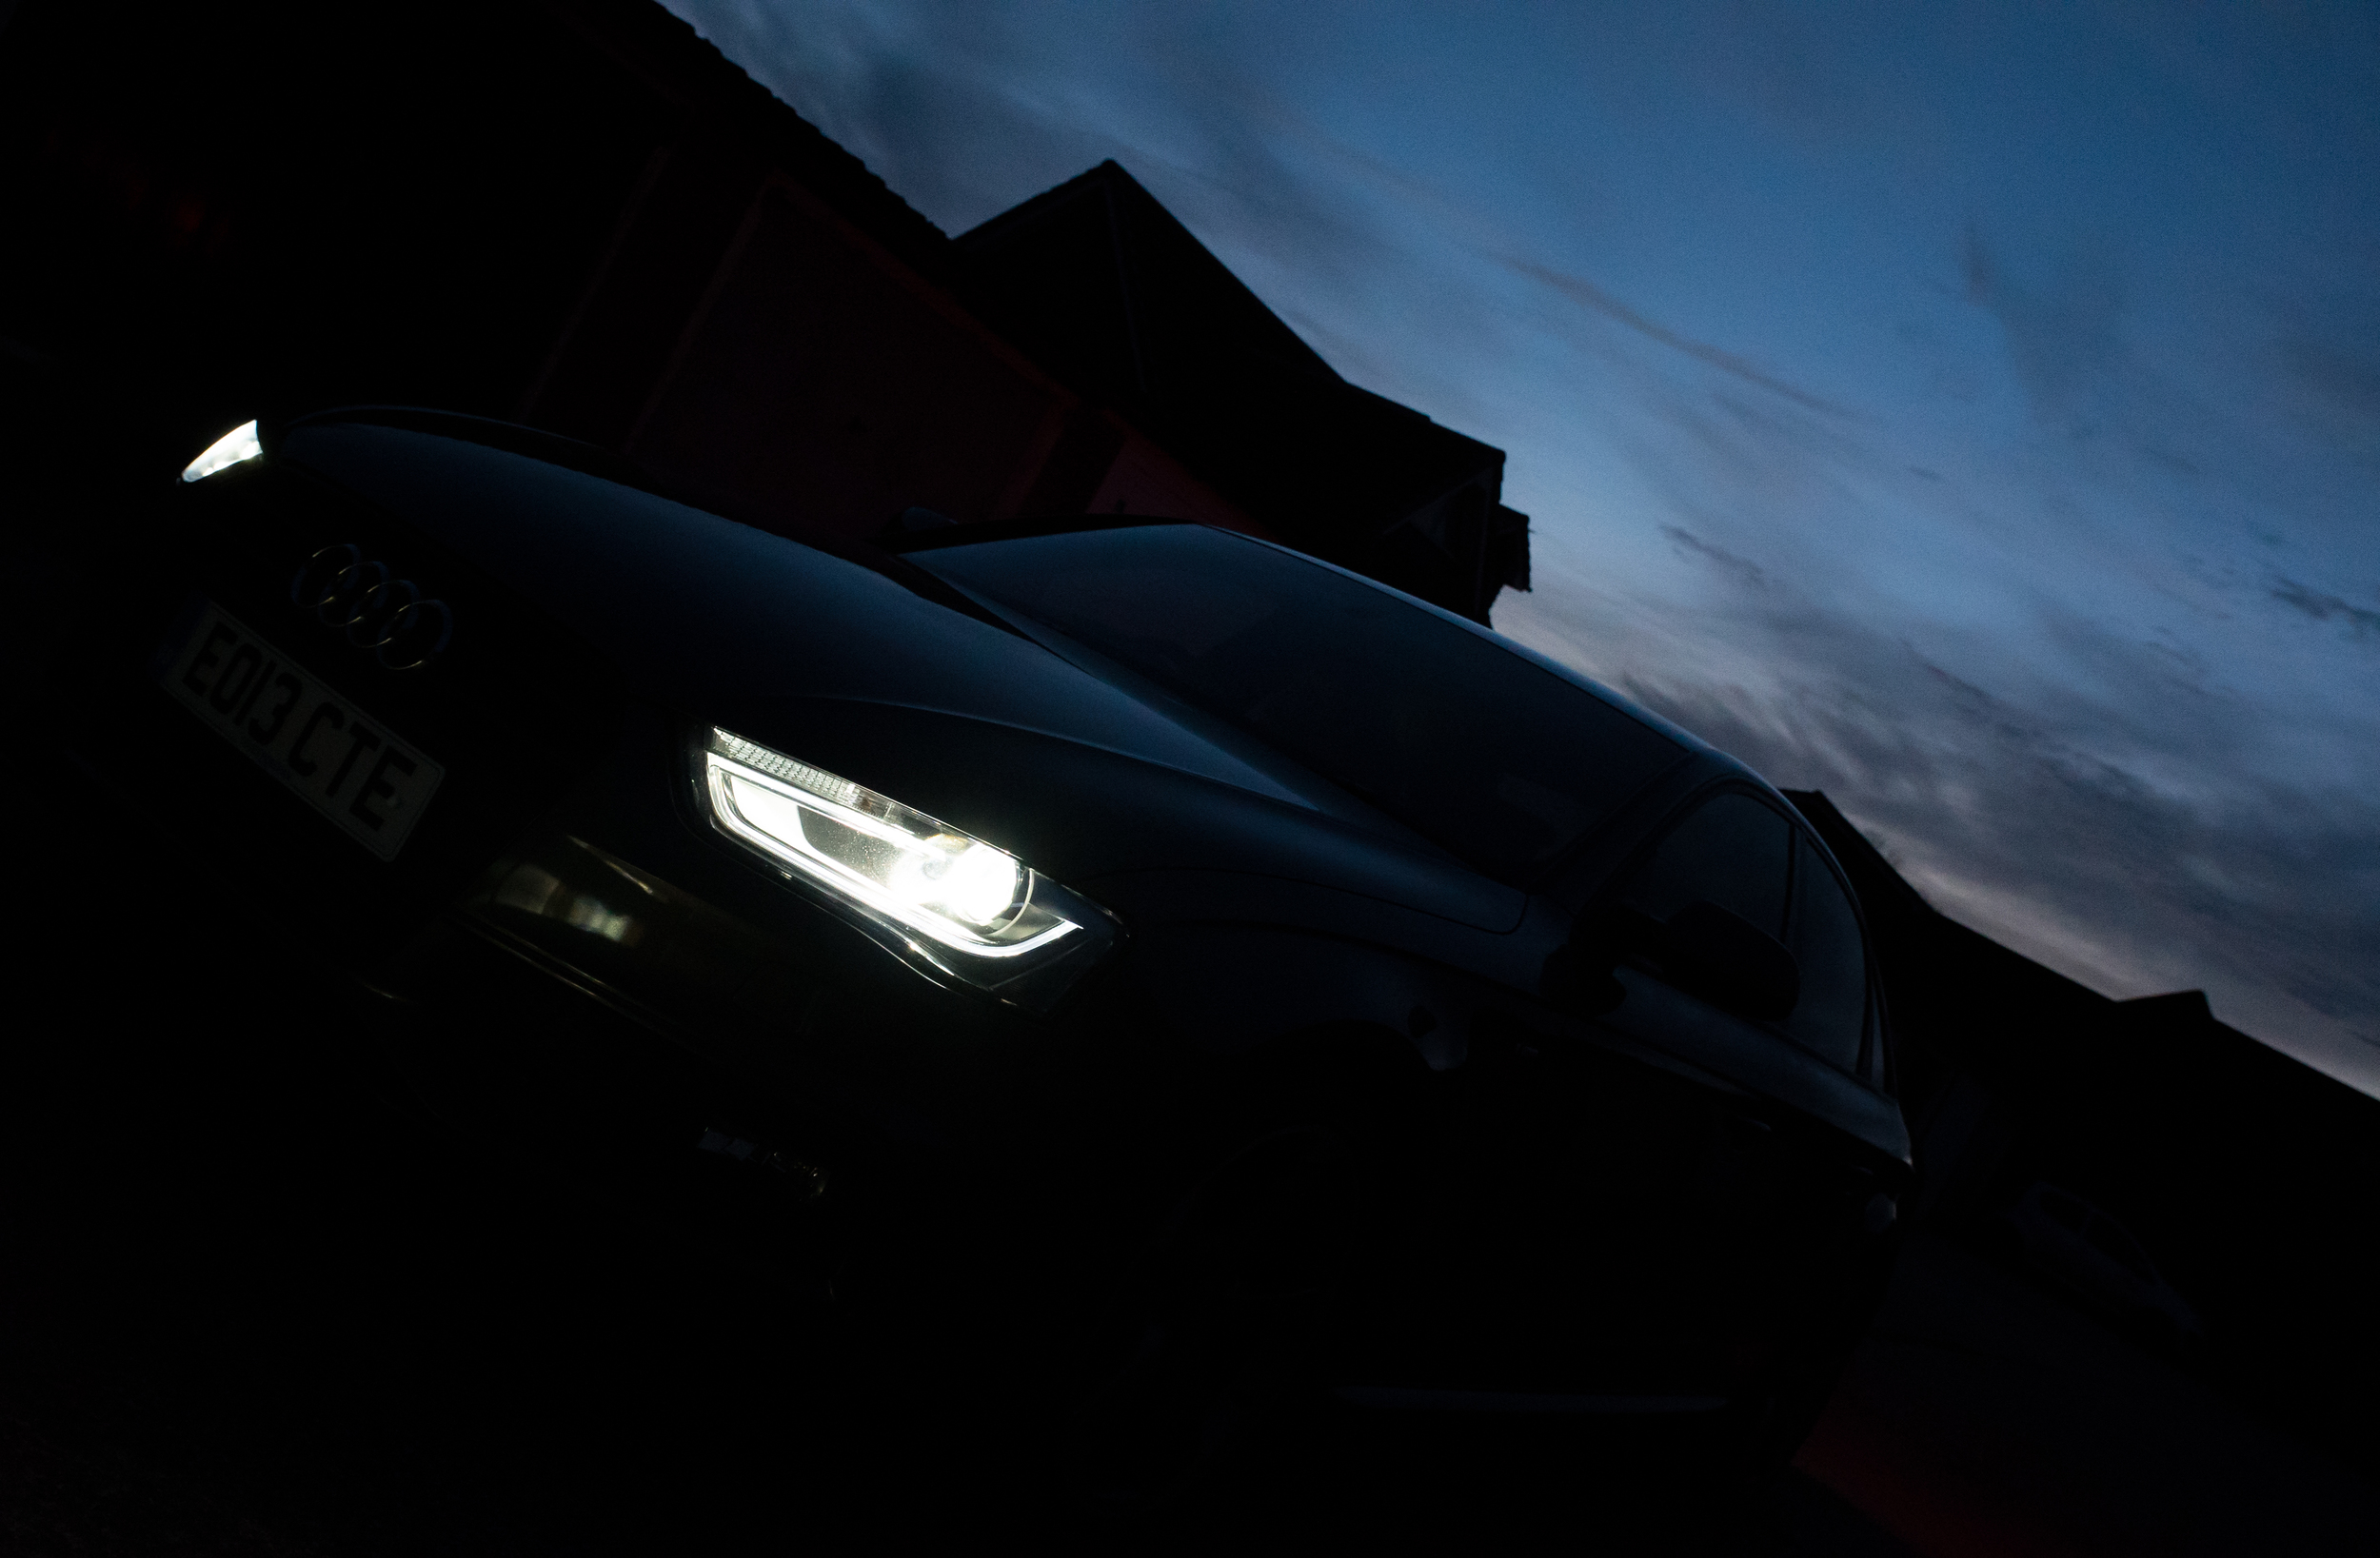
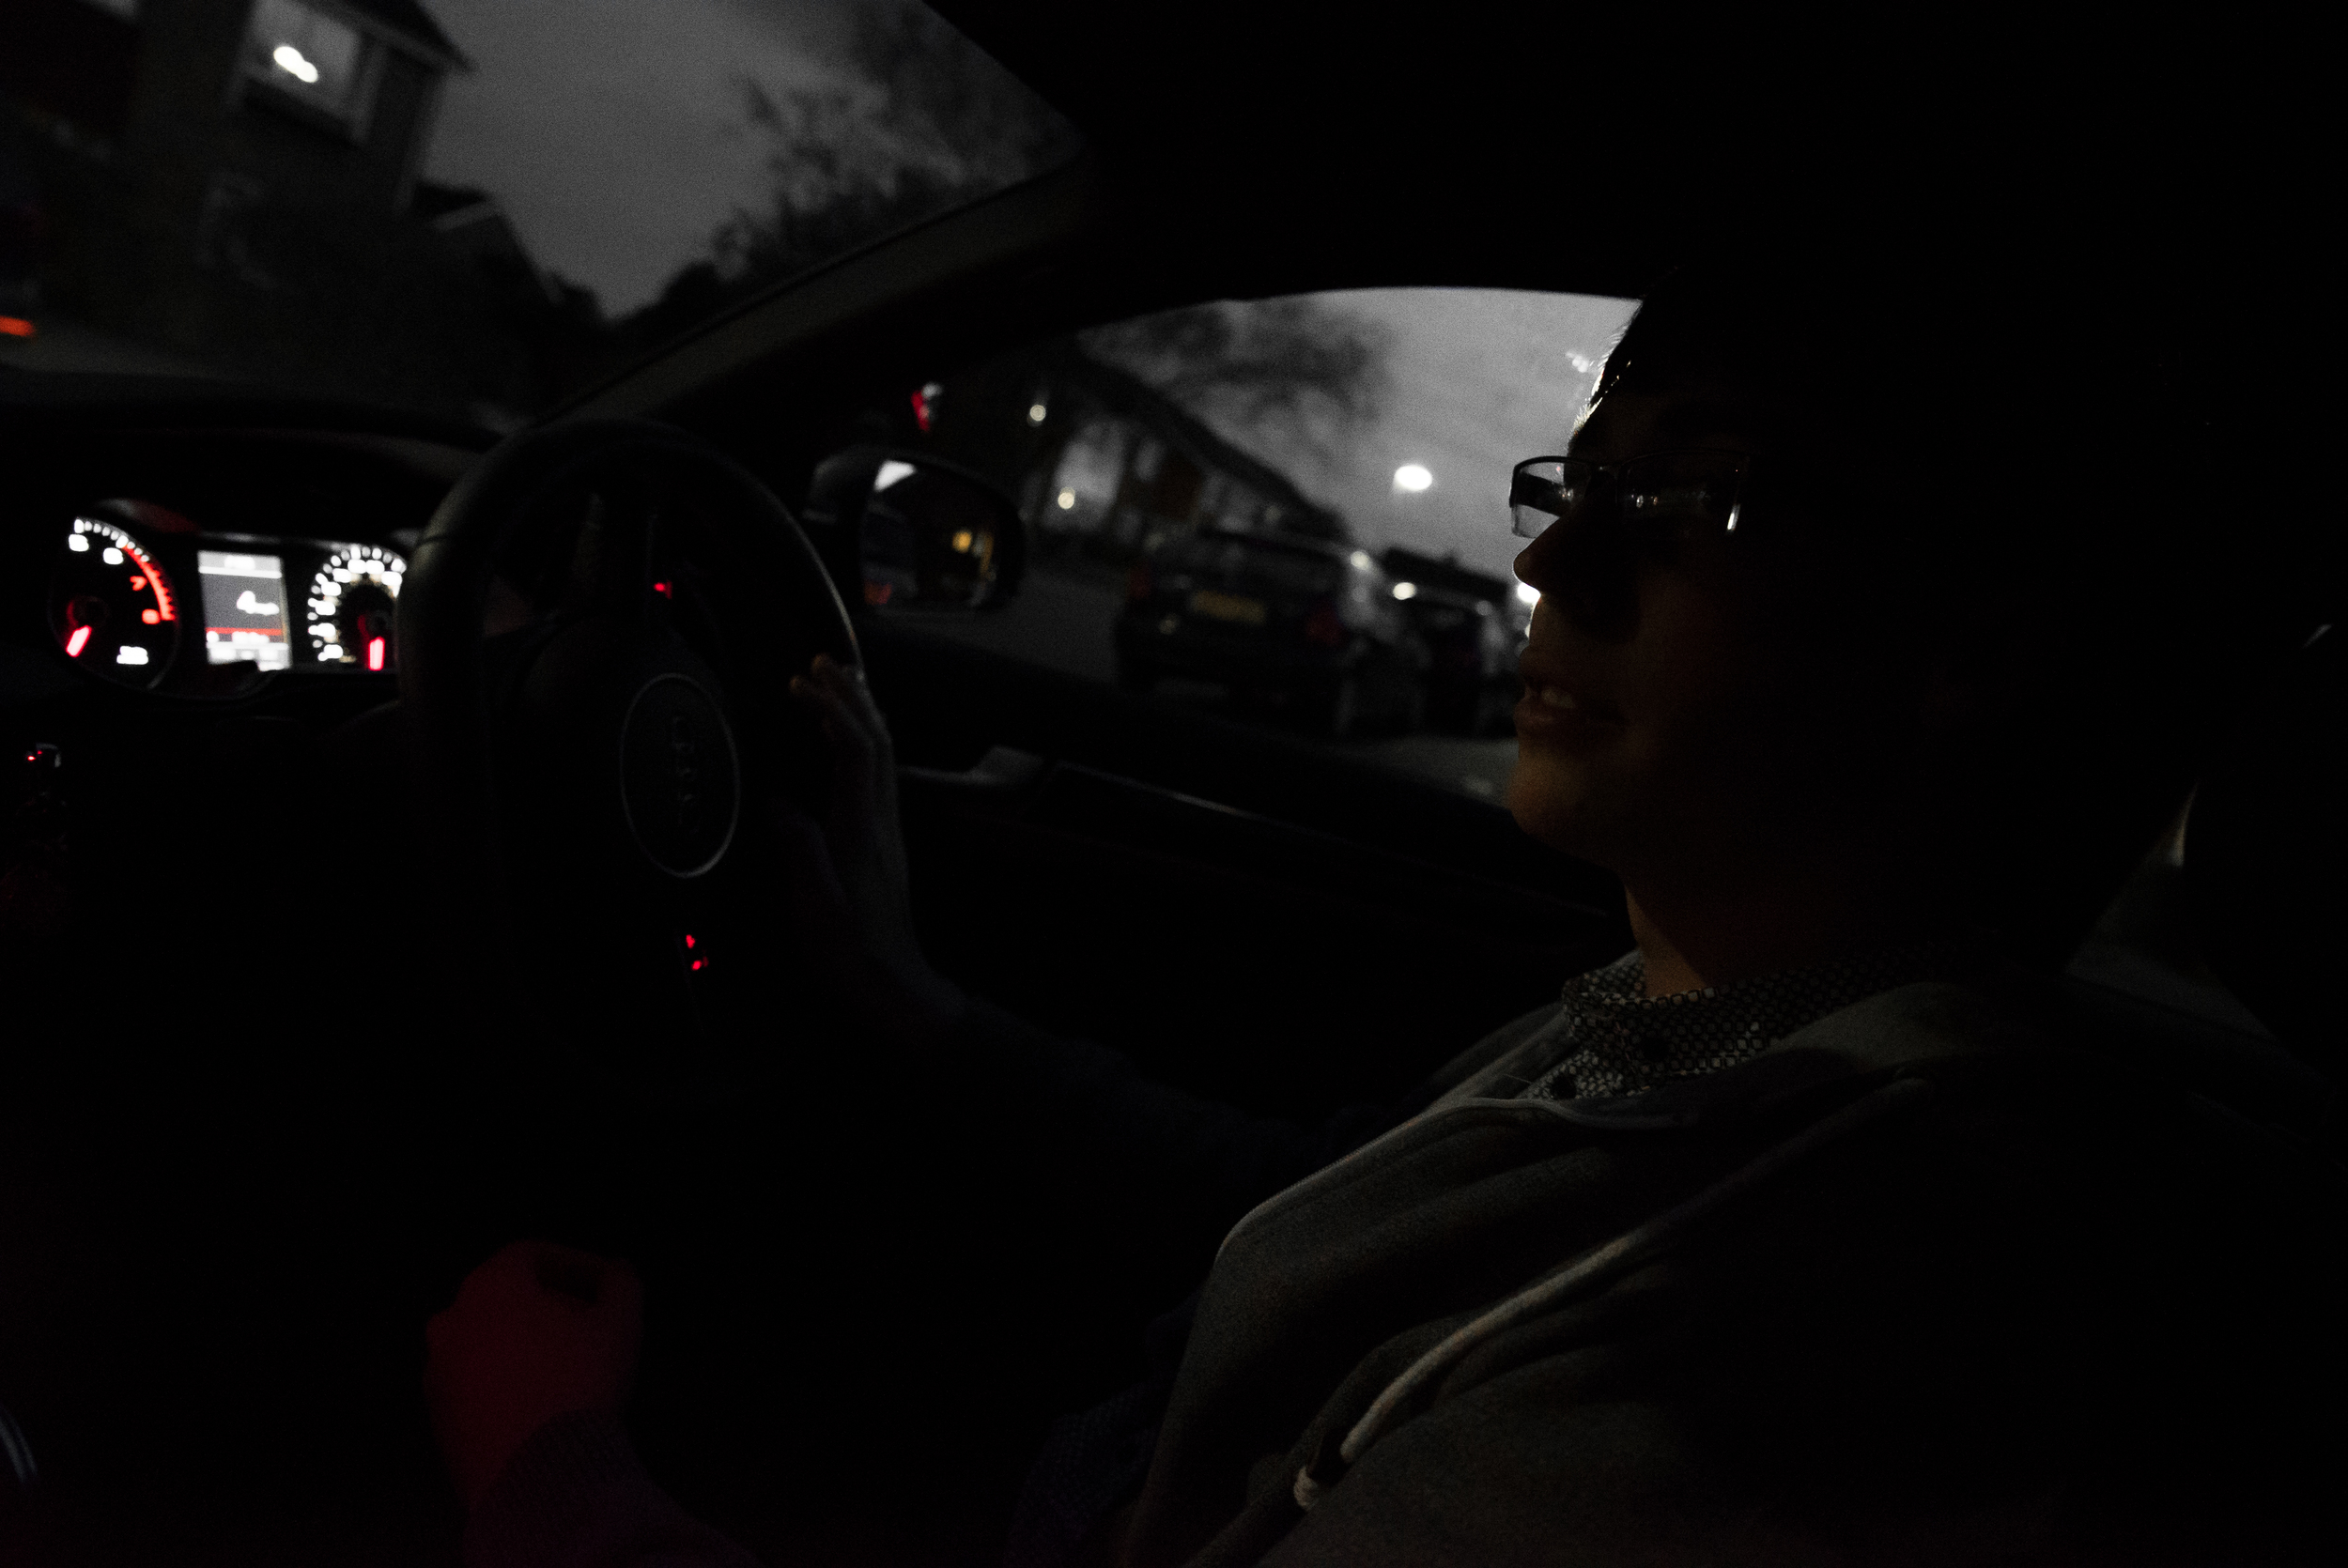
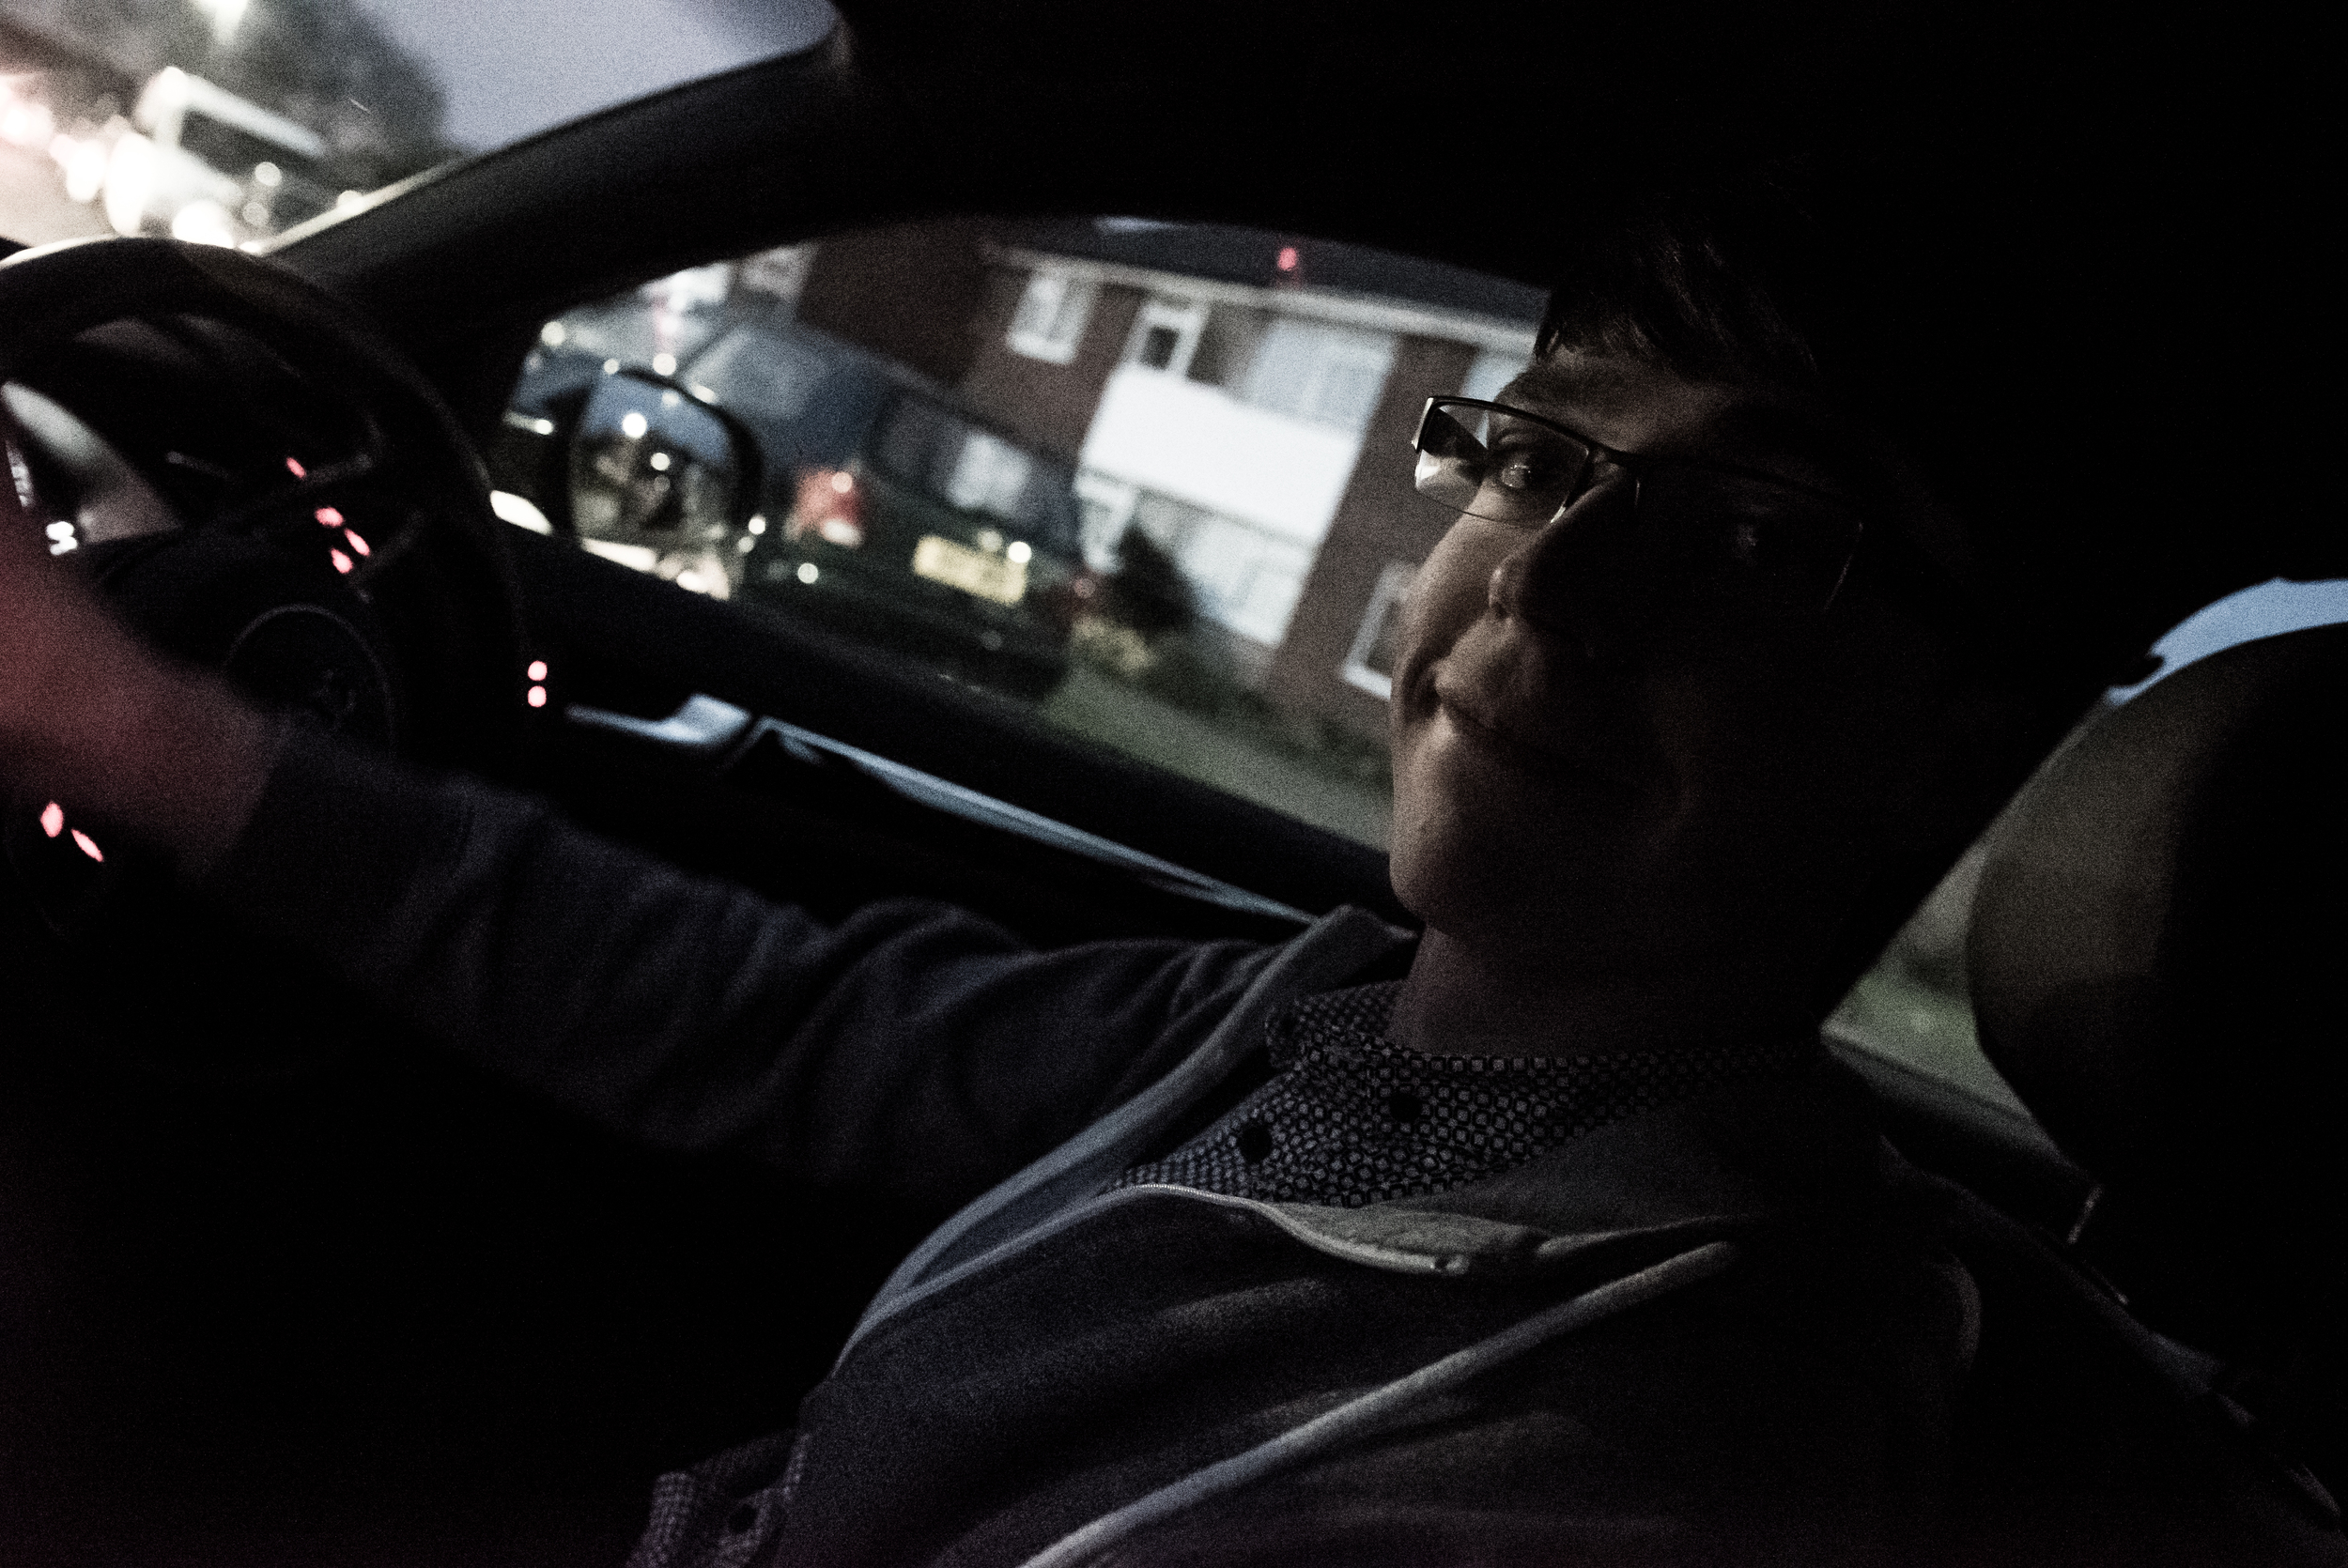
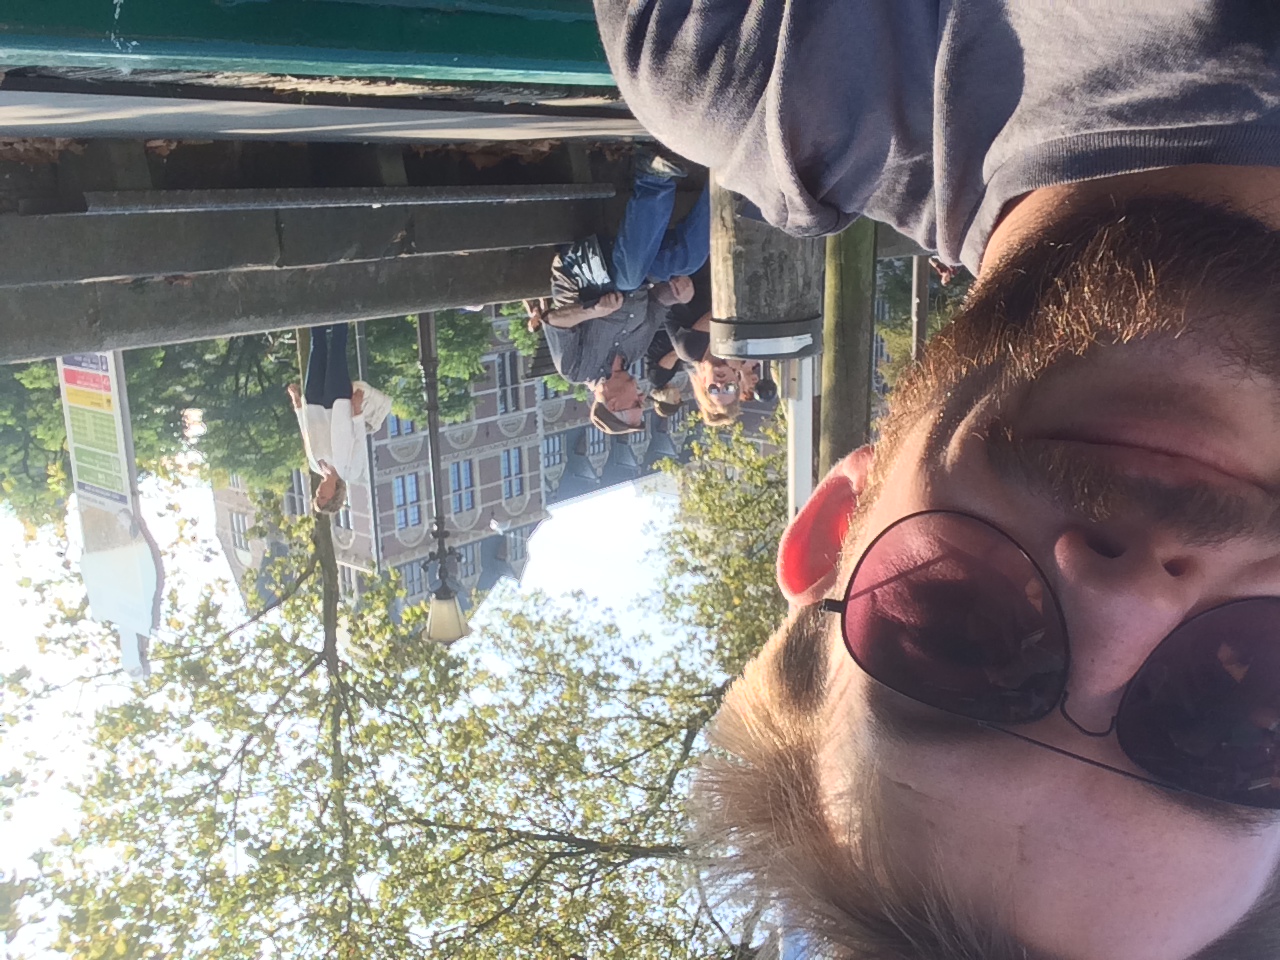
The best friend has bought a swanky new Audi, so he took me for a spin! I was still getting used to the photo mode and controls, it was past 8pm with the sun only just set so the ISO was wacked up reasonably high.

Because the cable for connecting the A7S to the Shogun hadn't arrived yet (from Atomos) I went searching around Epsom with no avail for a micro HDMI to HDMI cable. I ordered one off Amazon for evening delivery, which came while I took the photos of Sams new car!

I was overly happy with the recorded images that I captured in the mean time with the Shogun hooked up to the 5D mk III. I decided to record them in ProRes HQ to see how far I could push the footage in colour correction, post and grading. It worked fantastically, so much in fact that I'm deeply considering teaming the 5D mk III with another Atomos recorder for the same reasons as above.

I finally got my hands on a micro HDMI cable to road test the 4K HDMI output from the A7S to the Shogun, and just as I began to film, Alfie the cat decided he wanted to join in! I don't remember the picture profile, but it was shot with a pretty wide aperture on the Tamron 24-70. I also tried out the down-ressing method that I'll be using for 4K filming but delivering in HD, so I edited the 4K sequence twice, one in native 4K resolution and the other in a 1080p sequence with some clips scaled down or cropped. NOTE - please change the resolution to the highest possible for the best results!

4K still from the Shogun recorder, shot in 4K ProRes HQ

Let me know what you think!

NOTE - Change resolution to 2160!!!

A short first test filming in 3820x2160 UHD-4K resolution in ProRes HQ on the Atomos Shogun, with the Sony A7S camera. No correction/sharpening/grading in camera or post. Exported in H.264 with a target bitrate of 100Mbits, hoping it holds! I tried to shoot some orchids, but my cat Alfie saw what was going on and wanted to join in!

4K version on Vimeo, remember Vimeo does not have 4K playback yet so this has been down-ressed by Vimeo. Please watch the Youtube video above for the 4K version.

As a comparison, this is the down-res version of the 'Creatives and their cats' video originally shot in 3840x2160 4K-UHD using the Atomos Shogun and Sony A7S. View the original here - This version has been scaled down in Premiere by 50%, with some re-framing in a 1080p sequence, with 4K footage. No correction, sharpening, grading in camera or post. Originally shot in ProRes HQ. I tried to shoot some orchids, but my cat Alfie saw what was going on and wanted to join in! The cropping and re-framing of 4K footage for 1080p HD delivery is a brilliant feature to have, meaning high quality footage can be future-proofed and still delivered in great HD resolution.

I also shot some Picture Profile tests to compare the colours, DR, contrast and noise, this is to come later!

Filming and editing the Soundbox opening video!

I thought I'd give you an insight into the production of my latest video release; the Soundbox studio opening!

The event took place before the summer, and I took along Sam to help me out with the gear and eat delicious cupcakes! We arrived with about an hour prior to the opening so I could capture some of the establishing shots and BTS of the final touches to the studio.

I had my standard video setup with me:

5D mkIII, Tamron 24-70, Sigma 70-200, Samyang 14, 35, 85.

Zoom H6, Roto-mic.

I also used the new Manfrotto Spectra LED lights, the bi-colour model is fantastic for a kick of soft light that can be easily controlled to daylight and tungsten colour temperature.

For the grip I had my trusty Manfrotto 755CX-3 and MVH-500AH as it is lightweight and easily maneuverable around small spaces, as well as the Manfrotto 681B monopod and MH054 ball head, Edelkrone slider plus and flycam nano.

Construction and tidying up was still under way when we arrived, so I captured some of the nerves and excitement leading up to the big launch. For the establishing shots I used the Edelkrone slider on the Manfrotto tripod, combined with the 14mm cine lens it gives a great moving perspective and shows off the space very well.

Natural light conditions

It was quite dark in the studio, so I struggled with aperture vs exposure and often shot very shallow to retain light. The beauty of the 35mm and 85mm cine lenses is that at T/1.5 they are extremely sharp and great for low light, however without image stabilization a tripod is recommended. I always have my 'go to' lenses on hand as they have good IS and are zoom, so for more run and gun style shooting it suits it much better than needing the time to set up and compose a shot.

soundboxstudioest1
soundboxstudioest2
soundboxstudioest3

The monopod became more useful when the eager visitors began arriving, and after a short and sweet speech, Matt and Jack opened Soundbox to the public!

soundboxopeningmatt
soundboxcupcakes

I captured the buzz and excitement of the event, you could feel the anticipation in the air to see the hard work all finished! I worked with the 5D on the monopod and tripod for most of the time, and occasionally used the Flycam Nano for some moving shots through the studio. I did have to balance the camera and lens when I arrived, as it was set up for a different body when I last used it..

One important skill that I've learned is to become invisible to the guests at the event, or if that tactic doesn't work, being a photographer is a good one too! Acting professional and friendly keeps your subjects in a relaxed and candid manor, rather than adjusting their clothes, posing or avoiding the camera all together. If your subject can feel your good aura, they should respond positively :)

soundboxrecordingstudio

The lead artist of Soundbox is Rebecca James, who was there to perform and support the launch of the studio too! She belted out some great numbers, accompanied by a group of ace musicians on bass, electric guitar and percussion. The track in the background of the video is Rebecca's new one, and will be on her upcoming EP!

rebecca james

Slow mo

As you've probably noticed, I shot a large majority of the event in 50fps (slow motion).. This was purely a creative decision on the day, and also a chance to work in a different format presents it's own set of challenges to overcome.

Now, on the 5D mkIII it will record 1080p 25fps and 720p 50fps. When recording in 50fps the picture appears much softer, and a little darker too due to the shutter speed reduction. In an already darkly lit location, either shooting shallow or with a high ISO were my options as I don't like using a light on camera.

You can push the 5D mkIII very far with it's ISO in video mode, and I often shoot at ISO 2000 and above in certain circumstances.

Gear

Shooting with the Manfrotto gear made me discreet in my filming approach, and provided me with perfect grip and stability for capturing the video. I could rest easy also knowing I stored by camera gear in the Pro Backpack50, so if anything happened to it; kicked dropped, moved, liquid spillage.. My gear is safe.

Post

Backing up the footage happened pretty much immediately after the shoot, onto both drives in my work station and a couple of EHD's. Then, in Premiere Pro I imported the footage, and split up the 25p and 50p into separate sequences so the slow mo footage can be slowed down to the right playback rate.

After cutting down the rushes to the best content, I imported the audio track which Matt from the studio sent over. It's Rebecca James' new track '1000 Roses', which will be on her new EP. To add to the rhythm and pace of the edit, I used the beat and some surprising cuts with the track, and adding in the slow mo shots of Rebecca's performance and the band playing looked good I thought!

latenightsoundbox

Anyways, I added an S curve to an adjustment layer over the whole of the sequence, which limited the black level at 16 and the white at 235. This added a neutrality and a different look I was eager to try out.

scurve

So, what are your thoughts? Got any questions about the production? Hope you enjoyed this post!


IBC Show 2014 Roundup!

adam plowden videography at ibc 2014 show manfrotto
adam plowden videography at ibc 2014 show manfrotto2
adam plowden videography at ibc 2014 show manfrotto3

What a week it was! There was no doubts we would be busy filming and editing videos for The IABM to release, but not on the scale we anticipated! Overall, Adam Plowden Videography captured and produced at least 8-10 videos each day, an incredible 6 times more video content delivered in one week than previously in the whole of 2013!

I did include a run-down of my kit choices before I left, but here is a quick summary of my chosen equipment to capture the IBC Show:

Manfrotto 546GB twin leg tripod with a 504HD head (A Cam).

Canon 5D mkIII, Tamron 24-70mm, Sigma 70-200mm, Samyang 14mm, 35mm, 85mm, Canon 100mm L.

Manfrotto 755CX3G tripod with a MVH500AH head (B Cam).

Canon 60D, Tamron 17-50mm, Canon 50mm.

Manfrotto Hydra Arm and super clamp.

Zoom H6, Sennheiser ENG-G3 RxTx kit, Roto-mic.

IBC 2014 equipment for IABM filming adam plowden videography manfrotto obs olympics

(This is the kit we took each day to film with!)

I had to have the above tripod gear after testing them out at my Manfrotto Takeover day, I was impressed by the fluidity of the 504 head when using it with telephoto lenses (as you can see above), however for lightweight, portable and quick 'run and gun' filming, the 755CX3G is a cracking go to set of legs. (Pictured above with the ProMediaGear Arc-Slider) and 701HDV head.

My main camera was: Canon 5D mkIII, and I was frequently using the Tamron 24-70 F/2.8 VC and Sigma 70-200 F/2.8 DC OS for 'go to' lenses around the show. They have a stabilizer in the lens, which means that shake and wobble can be eliminated. I also purchased the Canon 100mm F/2.8L macro lens before the trip for detail shots, but I fell in love with it for capturing everything; crisp and beautifully shallow portraits too.

adam plowden videography at ibc show 2014 canon 100mm macro l series sony professional interview

For establishing and wide shots, the Samyang 14mm T/3.1 cine lens came into it's own. On a full frame camera it has a huge wide angle view allowing to capture the biggest of expanses with clarity.

museumplein iamsterdam canon 5d mkiii samyang 14mm tourism wide adam plowden videography IBC show 2014

Day 2 - Thursday 11th September - Welcome to IBC

Things are gearing up at the RAI; exhibitors are flooding through the doors, the stands are quickly being finished and the equipment is on display. IBC Show 2014 is getting ready to open its doors to 50,000 broadcasting, media and IT professionals from across the globe. We began filming the exterior the the RAI with visitors entering the venue and registering in the main foyer; the arc slider and 14mm lens create a wonderful moving perspective. After a short explore around hall 10 and 11 we made our way to The IABM Members Lounge to film an exclusive interview with Peter White, CEO of The IABM.

The IABM is a global broadcasting organization, representing nearly 80% of the broadcasting industry. The members have access to an exclusive members lounge, the IABM business conference, design & innovation awards and much more. It was our job to capture the events, conferences and members at IBC to promote and inform others about the successes at the show. For the interview, I used the Canon 5D mkIII, Tamron 24-70mm, the B cam was a Canon 60D with Canon 50mm F/1.8. For a reliable audio source I used the Zoom H6 (multi-channel recorder) with the MS mic attachment, as well as the Sennheiser ENG-G3 wireless mic kit; this was so I could attach a lav mic on the interviewees for clear sound.

Yes, this did mean throughout the week we had different video and audio sources, but Red Giant Pluraleyes aided greatly in syncing up the V&A for editing in Adobe Premiere Pro CS6.

BTS editing IBC IABM intro video amsterdam

Editing the IBC Intro video with Peter White on my laptop, yes, Windows laptop!

After capturing the buzz and excitement of pre-IBC, we headed back to our hotel to edit the intro video for the IABM members to see. The editing was fast, but the uploading was terrible via Wi-Fi, having learned our lesson, we uploaded the rest of the videos in the press room at IBC instead! Unfortunately, the video is only viewable for IABM members, so here is a quick screenshot.

iabm intro video at ibc show 2014 adam plowden videography

Later on, we ventured out into the city of Amsterdam. It was Glen's first time, so I look him for a tour around the sights.

Glen in Amsterdam for IBC show with adam plowden videography

Day 3 - Friday 12th September - IABM Business Conference 'The Future of Broadcasting' and member interviews.

It was an early start on Friday, we arrived at the RAI for the IABM business conference at 6:45am to set up and capture the members breakfast, the conference and the post networking before the show got underway that day. For added motion, I used the ProMediaGear Arc-slider for some of the opening shots, but the main conference was shot on 3 static cameras.

iabm business conference at ibc show by adam plowden videography

For a mid shot of the speaker, I shot on the Sigma 70-200mm, and for a wide I used the 60D with the 17-50mm. Glen was filming from the front for a reverse angle on the 60D and Canon 100m L, which captured some stunning reaction shots of the attendees in low light. Unfortunately, this video is only available to watch for IABM members.

As our responsibility was to capture and edit videos for a same day or next day release, our two man filming team split so that Glen could begin ingesting, backing up and editing the conference video while I went out into the show and interviewed a number of IABM members. This turned out to be a godsend tactic to release a stream of high quality videos each day. It was, however, difficult to keep track of all the media from SD and CF cards...

That day, I filmed interviews with Georacing, Harmonic, Nexidia that we edited out for same day release:

I then jetted off to The IABM stand to meet the new winners of the Student award from The IABM (I won last year), to capture some interviews with them about their study and what they are looking forward to at IBC!

iabm student award winners ibc 2014 adam plowden videography

Day 4 - Design & Innovation Awards and member interviews

We were already half way through our IBC experience when Saturday struck, after a successful few days of filming and editing we geared ourselves up for a long day ahead. The day begun with a selection of IABM member interviews from around the show, including; Blackmagic Design, Avid, Newtek, Sony and many more. If you have been to IBC or NAB before you'll know how long it takes to get from one place to another, but with video kit it was a challenge to navigate around the thousands of people at the show!

I had a great time at the Sony booth, interviewing Peter Sykes about the new innovations; camera, 4K transmission, projectors, storage devices. They can be seen here:

I was intrigued by the Sony A7s, a full frame SLR with great low light and DR features.. There was lots of hype around the camera, and I had noticed a lot of the News Shooter guys using them with Atomos Ninja/Blade recorders (we were working next to Dan Chung and News Shooter in the press room), they rated it very well in a variety of conditions and shooting styles.

Bad luck struck on Saturday afternoon... My Canon 60D and 14mm cine lens was capturing a timelapse when it was moved/taken/stolen from where I left it.. Knowing that this would impact the video production of the D&I awards I quickly got help from RAI security to try and locate it. No luck, so later on that afternoon I borrowed a camera from an IABM member to capture a static wide shot of the awards ceremony. Luckily, when I arrived home I got a call from the RAI security who informed me they had found my camera!

canon 60d 14mm cine lens timelapse adam plowden videography ibc 2014
wohler interview at ibc 2014 for iabm adam plowden videography
vidigo interview at ibc show 2014 iabm adam plowden videography

We then got set up and prepared for The IABM Design and Innovation Awards 2014, celebrating and awarding outstanding technical developments in the broadcasting and media industry. Before IBC I edited and produced the 9 nominee category videos and graphics presented throughout the awards. Using the same setup as the IABM conference (A cam - Tele, B cam - wide, C cam - reactions) we captured the night in full, showing the excitement and buzz around winning the awards. I got to have a quick chat with some of the winner companies too!

I edited together the highlights of the IABM Design and Innovation Awards, which can be viewed here -

The individual winner interviews can be viewed here:

Systems - VidiGo

Testing - Cube-tec

Storage - Ardis

Post Production - Quantel

Playout - Elemental Technologies

Content + Infrastructure - NTT Electronics

Audio - Sennheiser

Acquisition + Production - Trimaran

The realities of working 12-14 hour days were catching up with us when we returned to our hotel to ingest and back up the footage. Finally, but 1:30am on Sunday all of the footage was synced and ready to be edited. At that point, we both thought its time to call it a day.

iabm design and innovation awards 2014 ibc show adam plowden videography
adam and glen design and innovation awards 2014 ibc show adam plowden videography

Day 5 - Delivering D&I Award Videos and member interviews

By Sunday, the main haul of event capture had been completed, with the remaining tasks being mainly interviews with members around the IBC show. As our editing 'system' had worked so well previously, Glen stayed in the press room using both our laptops to edit, export and upload the winner videos from the awards while I conducted interviews with more exhibitors and IBC members.

I had a great time at the Atomos booth interviewing Jeromy the CEO about the new Shogun for 4K recording and the power pack!

Atomos Interview -

jeromy atomos ceo at ibc show 2014 iabm interview adam plowden videography

Later that day I bumped into Joe, my old uni housemate  who was visiting the show for a day. Later, Glen and myself went for Mexican for dinner and met up with our hotel receptionist, Klaudija for a few drinks in Vondelpark!

adam and joe ibc show 2014 videography
adam and glen mexicans

At this point, I was completely over my missing 60D and the tiredness. Visiting IBC and Amsterdam for work is a very rare opportunity, so we plowed through and continued to produce great day by day coverage of the show for The IABM. Glen, bless him saw less and less daylight each day!

adam out filming interviews at ibc
Glen and Adam at ibc

Day 5 - Rising Stars and more member interviews

Arriving at IBC a little later than usual, Glen and myself parked up the the press area and set up the laptops to upload the previous days interviews to vimeo. Before we headed out to Steve Warners talk at Rising Stars I bumped into Nino Leitner who was off to Photokina that afternoon, so I grabbed a quick pic! Nino had been very busy with Cinema 5D coverage of the show producing their 'On The Couch' series with Philip Bloom, HaZ Dullul and more.

adam plowden and nino leitner ibc show 2014

At this point, we had captured around 350Gb of video footage and delivered numerous interviews and event videos for The IABM, they were very pleased! We headed over to The Rising Stars lounge; a part of the show dedicated to young professionals in the industry where Steve Warner (training manager of The IABM) was doing a talk on CV's and representing yourself. Even for me, it was quite interesting to hear what recruiters actually look out for and research!

steve warner iabm training manager talk rising stars ibc 2014

Catch the full video here -

The team then split so I could conduct some interviews with The IABM student award winners, and with a couple more members for The IABM annual conference in December. It was a short and sweet day; shooting multi-cam on talks and conferences made editing fairly straight forward so we were able to deliver the videos pretty much on the same day. Glen did an awesome job and editing videos out quickly. while I was filming more content!

Day 6 - Last interviews

Day 6 was our opportunity to capture the last interview and glimpse of the show until next year. As we were interviewing members and covering events, we didn't get to see that much of the show itself, but made time to visit some cool stands before we left on Tuesday afternoon.

We visited the Ross Video stand, to interview Pete Ross for The IABM annual conference, it was interesting to hear about how the company developed the first vision mixers and lead the way for broadcast production throughout the 20th century, definitely worth recognition.

adams last day at ibc on the tram in Amsterdam
the Amsterdam RAI, home of IBC
Ross video stand at ibc show
Ross video stand at ibc show2
saying goodbye to the IBC press room!
Glen at IBC
Adam at IBC
Glen and Adam leaving IBC 2014 for the last time!

Well, what an incredible time it has been.. We captured over 400Gb of footage and audio, combined with hours of graphics produced before the show. We delivered (and are continuing to deliver) over 55 videos online for The IABM. What a show, what a success! My huge thanks go to the other half of the team, Glen Symes for his help and dedication to getting the videos out, and dealing with my stresses of production and post throughout! Also thanks to The IABM for giving me the opportunity to cover The IBC Show 2014 for you.

Ooh, I almost forgot I stopped by the Vitec Videocom stand to say hi to the Manfrotto reps and return the tripods and grip we borrowed for filming. While we were there I asked Sofia for a short piece to camera on the new Manfrotto tripods and kit; I was over the moon to hear a new follow focus has been developed to go with the SYMPLA rig!

Check out the video with Manfrotto here -

I've met up with old friends, and made many new ones. My experience has been overwhelming this year, now I cannot wait to do it all again at The IABM Annual Conference and hopefully IBC 2015! If you have any questions about how we produced the videos, or IBC then drop me a tweet @Plowman91 or comment!

I'm still editing and uploading more videos, so keep updated by checking out The IABM website for more videos and content, and I will have an IBC 2014 wrap up video coming soon. UNTIL NEXT YEAR!

How do you make a timelapse? Video Questions

Finally got round to this!! A time lapse is a method of photography and videography that captures sequential images from a static camera over a certain period of time, and then sped up in post production to create the illusion of time moving fast.

There are so many reasons why you'd want to use time lapses in your work; from establishing locations to capturing a long event like the northern lights or sunrises and sunsets. Time lapses create a visual spectacle in which time speeds up, you see nature at work and things you would normally miss or take for granted.

If you want to check out some awesome time lapse films, please watch Ron Fricke's Samsara which includes awe inspiring cinematography captured in 70mm film.

http://www.youtube.com/watch?v=P0xVp3N-M84

There are a couple of ways you can create a time lapse, dependent on the length of time you wish to capture, the changing exposure settings of the location, and the kit you have.

Cameras and Kit

I assume that most people interested in this post own a DSLR or video camera of some kind, as it is difficult to capture a time lapse otherwise. In all honesty, what model of camera you use won't make a big difference on the overall video. Whether it is a Canon 110D, 550D or 1D-C, Nikon D3200 or D90, Sony A-7 or Olympus OM-D EM1 your photos and video will look great. Just make sure you have your exposure and focus point set correctly. In regards to what lens you use, in general wide angle lenses give a better perspective of the environment; we've all seen GoPro videos, that is ultra wide, but you don't need a fish eye or specific lenses to do this. Usually the standard kit lens that comes with your camera has a wide angle, whether it be 11mm on MFT cameras or 16mm on full frame, keeping a wide field of view is key to achieving the perspective of a time lapse.

Lets start with time. The longer you wish to capture, the more memory and battery you will need so ensure you've got a fresh card and charged batteries, or even better a battery grip. Depending on what camera you are using you may also need an intervalometer; a device that plugs into the camera and releases the shutter for a pre-set duration at a pre-set interval.

Here's one made by Canon - Canon-Intervalometer1[1]

So, if you wanted to capture a sunset, you will be shooting for a couple of hours. This little device will release the shutter and take a picture for you, however you need to set the interval duration. The longer the interval, the greater the difference between each image as the objects in the frame move and change. For a sunrise or sunset, an interval of 10 seconds should suffice, as the sun and clouds move slowly.

If you were in a city shooting a TL of a busy public place, a shorter interval should be used so the objects or people move smoothly through the frame and don't jump around.

What are you capturing?

Where will you be shooting the time lapse? Bright daylight at the beach, or in arctic winter? Or star trails and fireworks at night? Your DSLR's shutter speed will allow you to control the amount of time the shutter is exposed to light, so a longer shutter speed (anything under 1/30 can be used when the sun or bright light is not available) should be used at night when light levels are low. You can also use the BULB setting I believe to capture exposures longer than 30 seconds if you are capturing star trails.In the opposite situation, you can set your shutter to a reasonable speed depending on the light available; but remember changing light is inevitable and uncontrollable in nature so using shutter priority mode (T) or aperture priority mode (A).

REMEMBER YOUR TRIPOD! Shooting for long periods of time need a steady support, to keep the camera locked off and weighed down if needs be! My Manfrotto tripods work a treat.

Experiment and test at the time to judge your exposure settings. Keep your aperture or F stop small so that all objects in the frame are in focus; something like F/11 down to F/22 if in bright light or you can increase the aperture to F/4 up to F/2.8 if you're working at night. Increasing your ISO to 1000 or 1250 is perfectly fine if your doing a night-lapse, so no worries about that.

Also use the digital zooming capabilities on the camera to get critical focus on a key static point.

If you have less time for a time lapse, then you can always hit record on your camera and film continuously for as long as it can. This is an easy option for those out and about shooting as you can simply wait for 10 minutes or so. Obviously here you have the time restriction to only 10 minutes, so this works best for short burst time lapses of clouds, people & crowds and quick changing landscapes.

For any other setting it would be better to use an invervalometer, mainly as keeping your camera recording will suck the juice out of your battery like anything.

For savvy videographers and photographers alike who may have Magic Lantern already, there is an intervalometer built into the ML firmware which acts just like an internal one. If you don't want to pay for an external device then Magic Lantern which is open source and free is your best option. Plus having ML on your camera expands its video capabilities greatly.

Post Production - If you have taken a series of photos

You've captured an amazing sunset, it has taken you hours and all you want to do is see the finished product. Some methods of editing time lapses are long, boring and not neccessary; taking the photos into After Effects for example, its not needed!

Adobe Premiere Pro is a much simpler and quicker method of getting your TL into a video. Firstly, create your project as you would normally, setting scratch disks to your project folder where the photos are stored. Next, create a sequence dependent on what resolution you would like the video to be. Nearly all photos taken on a DSLR are larger in size than 1080p high definition, so this is a good place to start.

Depending on where you are in the world, your frame rate should be 25fps for UK/EU/Rest of world, or 30fps for USA. This will play your video back at the same frame rate as television and internet, so the time lapse will be smooth.

Now you have your sequence open in the timeline, go to Edit>Preferences>General. Here you can set the default 'still frame' (picture) duration to ONE frame; in timecode this will appear like: 00:00:00:01. This sets the sequence of images to play one after the other with 25 pictures in each second.

Now you are ready to import your photos! Simply Ctrl-I or Cmd-I to open the import window, select the folder with your time lapse images and click 'Import Folder'. Premiere will now import all the photos in the folder and set the duration. You can now simply drag the folder with the photos into the sequence, and your time lapse is now a video. Make sure you render (hit Enter) and watch it back in case you need to correct any frames.

If it looks like the photos are going too quickly, you can change the duration of all the photos very simply; select all the photos in the sequence, right click > Speed/Duration. Here you can increase the frame duration from 00:00:00:01 to 02 frames instead. Here you will need to see what suits your time lapse best. One last tip is to highlight/select all the photos in the sequence, right click, and click 'Frame Blend'. This calculates the interpolation (movement) of subjects between two images, so it fills in the gaps so to speak.

Post Production - Long Video Files

So you've taken the easy road! This method is just as simple as above, and is a quick way of processing a short time lapse. Once you have followed the steps to create your sequence, you can import the video file like you would the photos, instead you simply click the video file needed and click 'Import'. Then drag the video file into the sequence; here if you have been videoing in a different video format Premiere will let you know that the video and the sequence do not match. It is easier to stick with the format of your original video, so if this happens click 'Change Sequence Settings'.

video time lapse adobe premiere tutorial

With the video now in the timeline, right click and click 'Speed/Duration'. Here you can increase the speed % to make it faster, and again will need some experimenting to see which looks the best. Remember the higher the speed increase percentage, the faster the time lapse happens.

Colour Correcting

You can add any colour correction to the time lapse by creating an 'Adjustment Layer' and adding brightness and contrast, curves, levels, tint, whatever you like to make the time lapse look great.

timelapse videography adobe premiere pro colour correction

For a 'tilt-shift effect - like the incredible New York Sandbox video you will need to use additional plug ins like Magic Bullet, or add the effect in Photoshop before importing to premiere.

http://www.youtube.com/watch?v=Fk9EBOOAYiU

Exporting - finally creating the time lapse video!

timelapse premiere pro export settings tutorial video

Once you are all done, with the sequence selected go to File>Export. If you are uploading to the web, then the H.264 format will work the best for quality and compression. From the drop down menu select H.264 and the Vimeo, Youtube or any other format you wish. There are loads, and plenty of confusing settings so don't get bogged down in the different types for now. When you think you are ready, and have chosen your file destination and name, you can hit 'Export', or if you wish to carry on working in Premiere on another project you can 'Queue' to export to Adobe Media Encoder which will export it in the background!

[youtube=http://youtu.be/QMwpA02IKdI]

A little example of a video time lapse I shot at Epsom Downs!

I hope this covers your time lapse photography and videography questions? If there is anything I've missed or if you have other questions please send them in!

[contact-form][contact-field label='Name' type='name' required='1'/][contact-field label='Comment' type='textarea' required='1'/][/contact-form]

Check this vimeo profile out!

I've come across this amazing vimeo profile - https://vimeo.com/squiver this couple do nature photography tours and their videos are fantastic! Could do with a tiny bit of contrast but they capture the wildlife perfectly and naturally.

IAmsterdam - My trip to the city of diamonds

Update! Just checked on the video upload on Vimeo, and I was hoping to be able to share it on here for you, but Vimeo once again disappointing me with its ridonculous conversion time! Still 20 minutes to go. :(

My experience of IBC 2013 Part 1

I had never been to IBC before, I wanted to go a couple of years ago but I was a little last minute with extremely expensive prices, but now after all the hard uni work and starting myself up as a freelance videographer, a trip to Amsterdam for IBC 2013 was just what I needed! It was also the first time I've been on a plane in 11 years, so I was super excited, and acted rather like a tourist for the first couple of days.. But, I have no regrets!

pic10 Myself outside Amsterdam Schipol Airport, great smoking area with all the sunflowers, how Dutch!

Just had a quick thought, for you readers to enjoy your experience reading my blog further, you can listen to what I am listening to while I write it, having withdrawl symptoms from Amsterdam lead me to searching for "Coffeeshop" "Soul" on 8Tracks, hoping for a chilled result :) So here is the playlist you can listen to while reading! Street Cues Sound Clues Amsterdam Withdrawl Playlist on 8Tracks

IMG_9945-1 Amazing Mexican restaurant called 'La Margarita' just off the canal, near Amsterdam University (https://plus.google.com/105150292043799825469/about?gl=uk&hl=en) They do great cocktails too, definitely recommend it.


IMG_9948-1 Amsterdam's coffee shop culture is something to be admired, the liberal and relaxed lifestyle suits me perfectly, and I'm not going to pretend I disagree with coffee shops, because they are awesome. I met more friendly people and generated more work in coffee shops than I do in Starbucks in The UK. In the photo you can see The Bulldog, and further down is the original coffee shop. I did pop in to these, but both were really busy so I skipped off to another in the pouring rain. (https://plus.google.com/112706500562557581286/about?gl=uk&hl=en).

IMG_9950-1 This rather lovely looking church turned out to be a brothel.

IMG_9964-1 Taken from outside The Greenhouse Seed Co Coffee shop, near Dam Square. Sitting outside having a drink by the river is so cool. We had a couple beers over there on the first evening, Duvel! (Cafe Rock Planet)

IMG_9974-1 The view from my hotel window, the Pathe Cinema! (Rembrandtplein).

On the Friday (13th) myself, Amy and Sam made our way to the Amsterdam RAI. We jumped on the tram outside our hotel on Rembrandtplein which took us all the way to IBC, very convenient although it was rammed with suited business-people attending the show! IBC provided free tram travel for the duration of the show which was great for getting around town, until I lost mine.

IMG_0229-1

We made our way to The IABM stand, near the Future Zone in one of the 14 halls of this massive place, where we met Steve Warner and Sam Hawkins and were presented with the prize money. We also met the other Engineering Student Award winners who came from across the world for IBC; Zoe Wyeth of the University of Salford, Julian Theis of the RheinMain University of Applied Sciences, Adam Plowden and Amy Tinker of Kingston University, Pierre Hamme-Gerome and Antonin Morel of the Université de Valenciennes, Kathryn Savage of Southampton Solent University, Lennard Bredenkamp of HTWK Leipzig, and Evgenii Smirnov and Anna Nikolaeva of St. Petersburg State University of Film and Television. (Photos are coming from The IABM in the next couple of days).

The rest of the day was spent wondering around, wowing and touching all the amazing new technology and equipment, which I will upload the photos of soon! There will also be video blog entries uploaded very soon too, including interviews with manufacturers, designers, and a film of Amsterdam too, yes 'Ive been busy!

BlackMagic Design had a fantastic booth exhibiting many of their Cinema and Pocket cameras in different set-ups, as well as demonstrations of the new 6G production switcher, and the newly released DaVinci Resolve 10. As I am looking to upgrade cameras, the BMCC is definitely an option for me, as the price of the unit and features weigh it up considerably as a mid range cinema camera, rather than a simple DSLR upgrade. Also, as I discovered, Tokina had been hard at work on an 11-16mm T3 cine lens for Super35 sensors, demonstrated on a BMCC at their booth; finally opening up wide angle shots which had previously been restricted due to the 2.2x mag factor. More info on the NEW Tokina releases can be seen in an upcoming video with the Director of Tokina himself!

tokina11-16-1 tokina16-28-1

There will be much much much more coming soon, I just have to get through the video editing and chuck it all together, but please be patient, they are coming :)

As for future work and plans, I was due to produce a couple of videos for some classic RV's, with Joel from London Event Photography however thanks to the terrific English weather it was called off. Also got some top secret work with a manufacturer coming up, as well as a possible booking to go back to Amsterdam for the end of November.. IE.. My 22nd Birthday!! We shall see..

All the best for now you wonderful people! If you haven't checked out this kind of teaser video then please do :)

http://vimeo.com/74469276