effects

APV wows Screen Subtitling Systems with promo animation

APV has completed the first phase of the new 'Screen Subtitling Systems' branding campaign, designing and producing an animation about the company.

I began the pre-production of the Screen animations at the beginning of the year, developing a house style and recognized visual aesthetic that can be followed for future productions, this became the identity and format of the animations. Getting pencil on paper is my favourite way of developing ideas, especially for a graphics-based production. It allows you to clearly visualize ideas, inspiration and lay out the beginning, middle and end of the story.

The assets were all created in Illustrator or After Effects (using the Shape Layer tools), in 4K. I chose to offer this resolution because it would allow the Screen Systems marketing team to re-purpose the animation for print and digital media as well as future proofing for years to come.

After the assets and basic storyline was set, I blocked out the animation with voice over ideas to determine the duration and visual content - motion infographics must be entertaining and eye-catching, but must also convey the branding and professionalism of the client. An animation that is too long will bore viewers, so I capped the duration at 1:45.

I kept the marketing team up to date with progress and idea updates as well as a number of drafts through Vimeo, and after a number of months of production the animation was completed just before the NAB deadline. Screen are over the moon with the results, and so am I!

Screen will be displaying the animation on their stand at NAB Show 2015, in its native 4K resolution! Check out the animation here, and read the feedback/testimonial below.

Dean Wales (PR and Marketing, Screen Subtitling Systems) gives his fantastic feedback -

"Fresh, keen, knowledgeable, assertive, great to work with and incredibly talented. They're attributes you don't find together too often these days in one person but Adam has them all. Having met Adam at IBC when he filmed a colleague of mine, we knew he'd be the guy to produce our corporate, animated video. He grasped the brief instantly and completely understood our company, its values, our brand and indeed the industry within which we operate. And as for the video? Well the results are amazing. So much so we've commissioned him to produce individual product presentation animations for us. Thanks Adam."

Summer Update!

It has been a very wild summer for me, lots of productions and shooting and plenty of editing! Going back to the end of July/beginning of August, I was deep into the wedding season with JHWF, filming weddings from Ashford, Kent to St Johns College Cambridge. I also got to fly the companies DJI Phantom II Drone with a GoPro Hero 3 and Zenmuse 2D gimball, it was incredible fun (for a first timer)!! [embed]https://vimeo.com/103891840[/embed]

Wedding at Eastwell Manor (Kent) via JHWF.

I also did the Ice Bucket Challenge;

[embed]https://vimeo.com/104416562[/embed]

I spent most weekends out filming weddings, where I got to try out my new Pro Media Gear Duo slider; it is simply a 2ft straight slider with a curved track on the reverse side. Honestly, it is so simple I don't know how companies didn't think of it before! It is extremely easy to use and is lightweight, my 5D and Sigma 70-200mm smoothly slides along the track. It sits on a removable carriage (so you can flip the slider over) with four plastic castors. 100% recommended, I purchased directly from them in the USA, it came within the delivery time (3 days) and is cost effective in comparison to similar track based sliders out there.

[embed]https://vimeo.com/103717010[/embed]

I mount the slider onto my Manfrotto 755Pro-B tripod (without a video head) using the clamp accessory which holds it firmly in place. This is on my IBC kit list!

Pro media gear duo slider

I also helped out director HaZ Dulull on the production of his new short film 'SYNC', it took place in an underground car park in Southend with a bunch of SWAT guys, two massive SUV's, Blackmagic Cinema Cameras and a Production camera. It was a great day shooting, operating the camera and jib for some shots was awesome!

SYNC film shoot

Crew pic!

SYNC film shoot crew pic

Going back a couple of weeks, I was editing the Epsom and Ewell Borough Council Health and Wellbeing videos which involved writing up captions and mastering the audio levels as I'm quite near completion. I was offered the opportunity to get some more footage of the activities that the Wellbeing Centre offers for those that suffer with dementia including tennis and Japanese mind games. I took up the offer to get some more footage for future council projects.

wellbeing tennis wellbeing tennis2

wellbeing tai chi

It was a hot and bright couple of days, so I used variable ND filters on my lenses to bring down the exposure without reducing the 5D's electronic shutter; a great tip for keeping motion blur realistic. I shot mostly on the Sigma 70-200 F/2.8 OS as it does a wonderful job of isolating subjects from the background. A great lens choice if you don't have red ring fever!

I was also working on the graphics and animation for the EEBC Telecare video; I designed the graphics in Illustrator and Photoshop, then animated in After Effects in a hipstery style using shape layers, pastel tones and lots of easing!

[vimeo http://vimeo.com/105682233]

I got some fantastic news towards the end of August, The IABM decided to go for me as their event videographer for the IBC Show and annual conference! Leading up to IBC I have been preparing a number of videos and graphics to be used and shown throughout the show and at a variety of awards, such as The IABM Design & Innovation Award.

I can't show you much at the moment as everything is under wraps until the events at the conference, but I can show you the title sequence for the videos. It's made in AE using some of the pics I took around the expo last year and other general press images from IBC.

[embed]https://vimeo.com/105437241[/embed]

After being WOW'd by the Canon 100mm F/2.8L Macro lens at my Manfrotto Takeover day, the thought of owning one has been rattling around my head since.. I was hopeful with the Sigma 105mm, but the Canon provided the next step up in terms of stabilization, auto focusing, and personally I just preferred the feel of it. I will be using the lens throughout IBC so keep checking for dedicated pics, videos and more!

Canon 100mm f/2.8L macro lens Schneider Kreuznach 35mm cine prime lens optic Manfrotto takeover 1 Schneider Kreuznach 35mm cine prime lens optic Manfrotto takeover 2

(The above photos of Schneider Kreuznach Xenon Cine Lenses taken on the Canon 100mm F/2.8L Macro by Adam Plowden).

I also booked my first wedding for January next year, so I met up with the couple 'Sarah and Matt' for a pre-shoot at their venue with Ash (who recommended me, thanks!!). I got some beautiful footage of them in the setting sun, here is a tiny teaser :)

[embed]https://vimeo.com/103859376[/embed]

One day to go until Glen and I leave for Amsterdam to film the IBC Show for The IABM, I did a quick vlog for you, an update on the kit, what we'll be covering. I will be releasing videos most days, blogging and tweeting lots to share the news from the conference, so remember the keep checking for updates! I'm hoping to catch up with PB and Nino Leitner too :)

[embed]https://vimeo.com/105643719[/embed]

Here's the low down on my kit list:

Canon 5D mkIII

2 x Canon 60D

Tamron 24-70mm F/2.8

Sigma 70-200mm F/2.8

Canon 100mm F/2.8L

Samyang 14mm T/3.1

Samyang 35mm T/1.5

Samyang 85mm T/1.5

Canon 50mm F/1.8

Nikkor 50mm F/1.4

Manfrotto SPECTRA Bi-colour 900FT

Manfrotto SPECTRA 500F

Zoom H6

Pro Media Gear Duo arc slider

Roto-mic

Sennheiser Wireless ENG-100 Rx-Tx

Adam Plowden Video IBC kit

I'm picking up some tripods, heads and a magic arm-super clamp from the Vitec team tomorrow, they are doing me a huuuge favor so thank you Dave, Mark and Siobhann from Manfrotto/Vitec!!

Here is something I've been checking out; If you love motion graphics and After Effects, then definitely check out The School Of Motion '30 Days of AE' tutorials, a range of in depth tuts ranging from objects to typography; check it out to learn something! http://www.schoolofmotion.com/

Right, I'm up at 3am to fly at 6. You will be reading the waffle of a very tired Adam tomorrow! Keep on following for more;

@Plowman91

Adam's Videos

Adam on Facebook

Oh and I made this for a mate too:

[vimeo http://vimeo.com/105450445]


T minus 1 day til IBC Show!

Remember to keep up to date with the news and events by following this blog and on twitter - @plowman91! See you there!

New VLOG coming tomorrow!

I'm doing a new VLOG tomorrow, hosted by myself and Glen Symes as we cover the IBC Show for The IABM. We'll be giving the low down on our kit choices and capturing the events, news and products from the expo and conference floor. We depart on Wednesday for Amsterdam where I'll be catching up with Steve Warner (IABM Training), Nino Leitner (Cinematographer and Cinema5D), HaZ Dullul (SYNC) and many companies including DJI Phantom, Schneider Kreuznach, Sony and many more.

You can keep up to date here on the blog or -

Facebook - Adam Plowden Video

Twitter - @plowman91

Vimeo - Adam Plowden Video

Ooh, I got the Canon 100mm F/2.8L Macro lens, and the Peak Design Leash too ;)

Also been trekking on with the graphics for all of The IABM video content, a little teaser for you;

IBC IABM video teaser still

New summer post coming very soon!

It's been an extreme summer season! From epic weddings with drone flying to creating the videos for The IABM for IBC, it has been immense. Epsom and Ewell from the air, Adam Plowden Video

Now nearly 9 months since starting Adam Plowden Videography properly, I am over the moon with the great clients and people I've worked and am working with.

I still have a number of productions on the go, and I will be attending The IBC Show in September so there is much more great stuff to come!

Massive shout out to the team over at Manfrotto who have been a great help with sorting out equipment for my travels abroad!

Keep those creative juices flowing!

[vimeo http://vimeo.com/103717010]

[vimeo http://vimeo.com/75340958]

What a few months it has been!

Blimey, my last post was a while ago.. Honestly, since then work has got heavy and much of my time is either spent behind the camera or the screen. One exception was the Manfrotto Pro Backpack50 review, shot by Glen Symes for me where I actually appear in a video! Manfrotto pro backpack50 review video adam plowden and glen symes videography

Some of the things I've been up to range from filming quite a few weddings [embed]https://vimeo.com/98328657[/embed] to filming and editing for a series of videos on health and wellbeing.

eebc health and wellbeing video edit adam plowden videography

On the side, I've talked at EEHS about going through uni and starting a business, am preparing for my Manfrotto Tour videography seminar and other bits and bobs.. I'm sure if you follow me on twitter or facebook you'll have an idea of the things!

Going back a few weeks, my main projects have been the EEBC Health and Wellbeing video series, and an animation on Telecare. This is a predominantly piece to camera series, with additional b-roll shots to add to the videos messages which range from stopping smoking, to eating a healthy and balanced diet. The standard production of information videos ensued, editing down from around 45-50 minutes to a concise 2 minutes providing the relevant facts and summaries on prevention. Editing in Premiere Pro, I used the very good Luma Corrector tool for exposure changes and a simple RGB curves adjustment for the colour temperature.

I find the Luma Corrector better to work with, as by adjusting the Gamma control slightly, it removes the washed grey look to push out the prominent shadows and highlights meaning that it is very simple to correct/match shots; especially as I filmed using daylight as my key.

adobe premiere pro screenshot luma corrector effect adjust exposure

As per the clients request I have also added subtitles, which I created using the dynamic link into After Effects (noting at this point that if you're doing several stages of an edit, to duplicate the sequence you are working on before you start the next stage as Premiere and AE require you to save your work for updates to take place, meaning no Ctrl-Z/Command-Z to get back to a timeline with the clips rather than your 'replace in AE linked composition').

premiere pro dynamic link sequence editing

I was also out photographing flowers for a wedding, for the florist Madeleine Pink a few weeks ago too! Taken on a range of lenses with the Canon 5D mkIII (Tamron 24-70mm, Sigma 70-200mm, Samyang 14, 35, 85mm cine, and Nikkor 50mm).

Madeleine pink floral wedding flower photography adam plowden videography Madeleine pink floral wedding flower photography adam plowden videography button hole Madeleine pink floral wedding flower photography adam plowden videography button hole 2 Madeleine pink floral wedding flower photography adam plowden videography brides bouquet Madeleine pink floral wedding flower photography adam plowden videography table bouquet Madeleine pink floral wedding flower photography adam plowden videography table bouquet silhouette Madeleine pink floral wedding flower photography adam plowden videography table bouquet 2 Madeleine pink floral wedding flower photography adam plowden videography table bouquet 3 Madeleine pink floral wedding flower photography adam plowden videography table bouquet 4

Since then, I ventured into using Lightroom to edit the photos as well, still learning bits and bobs but found a range of fantastic presets here that create some great looks. I'd appreciate your thoughts on the photos and the looks as well, as it's mostly stab in the dark/emotive based :P

[gallery ids="4278,4279,4280,4281,4282,4283,4284,4285,4286,4287"]

A couple of weeks ago I had the pleasure of filming Dan and Kelly's wedding in Ashford + Foxhills where I met the awesome Ash; a unique wedding photographer! Check out the wedding film here [embed]https://vimeo.com/97953644[/embed], and definitely check out Ash's work over at Ash Darling Photography! Highly recommended by me :D and I believe I'll be working with Ash soon on an up coming wedding, really looking forward to it!


Believe it or not, I have been doing some videography too! In between editing the health and wellbeing videos, and on the pre-production sketches of the telecare animation I spent a couple of afternoons in The Woodland Garden in Bushy Park; one of my favorite places to go to switch off work mode, relax and shoot some video for personal projects. I've named this one 'Waterhouse', it's the name of the part of the garden where a balcony looks over a pond with a waterhouse to the left. It poses interesting thoughts to its original function, the bricks and foundations holding strong throughout years of use and bad weather. Virginia Creepers pursue to edge up its sides, gripping on to reach the sunlight through the tree canopy.

beautiful blooming purple Allium flower photography adam plowden video waterhouse

The edit is complete, but I am now working on a quirky hipster logo/title animation for the beginning of the video so as soon as it has been animated and comped into the footage I will upload!

The kit I used for the 'Waterhouse' video include; Manfrotto 755Cx-3 tripod, Edelkrone Slider+ v2, Canon 5D mkIII, Canon 100mm F/2.8 macro (hence why the shake on the slider is slightly more visible than without IS/OS, but I have used Warp Stabilizer where I can). Tamron 24-70mm, Sigma 70-200mm, Samyang 14, 35, 85mm cine, Nikkor 50mm. After using the Canon macro lens, I have totally decided to purchase the Sigma 105mm F/2.8 OS macro lens; firstly because of future video productions where a small minimum focus distance is necessary (product, people, detail shots), also it has optical stabilization which I found was needed when moving the camera and lens on the slider, and lastly its around £400.. Bargain!


Things I've learned so far from doing this kind of work;

  • Shoot with a widespread histogram (unless I wish to isolate the subject from shadows behind).
  • Lightroom is awesome, try playing with the presets I linked to work on the developer tools.
  • Regardless if it has been a long day filming, if you want to talk to someone, always, always, always do it!
  • I want a macro lens for intricate detailed shots, as my current range does not let me get close enough to the subject.
  • Take some hand held lights for kicks and fills; the venue room where the table decorations were photographed was very dark. With a tripod and a couple of lights I would have had much more control over the lighting composition.
  • Dabble in a variety of work types, to keep it interesting and different!
  • I need a slider for cinematic moving shots; I have made my choice; not the Edelkrone! There will be a whole blog post on this coming soon.

Finishing off my showreel by creating a cinemagraph!

Inspired by Framestores recent Eastenders tv advert, in which they created cinemagraphs to depict the suspected murderers of Lucy, I decided to embark on my own cinemagraph to complete my showreel. I'm deep into After Effects, for this kind of animation I am using one still image, with no plate to make it difficult for myself. However, its a good job the subjects have high contrast against the white background or I would really struggle with this! I will be uploading more as I go, but for now I must dive back in!

showreel cinemagraph

The relief of finishing a project

The Epsom and Ewell Borough Council Recycling video is hereby complete! Wow it feels good to get the videos finally exporting. This has been a great project to work on, combining 2D animation with live action video which is something I haven't done in a while!

I'm so happy I've had the chance to work on this, it has made me realize much more about how we as a community treat this green land, and I hope that this video makes a difference.

The finished video will be uploaded and shared very soon!

Rotolight Sound and Light Kit Review!

I have had the Rotolight Sound and Light kit for a little while now, and I like it. I like it even more so because Rotolight has been the only manufacturer to really think about what consumers moving into the industry, and already established creatives would need from the outset. Without light you have no picture, and without sound you only have 50% of that video.Videos with bad or unprepared sound are noticeable, just if the subject of the video was not lit correctly. Unfortunately we are now used to watching and seeing very high quality, glossy pictures with filmic motifs, and excellent sound including orchestral scores. We aspire to work on these 'big budget' productions, or to make videos that look like them, but without thinking about your lighting and sound, you are very far off. I produced this review and the music video using the Canon 5D mark III, and a range of Samyang Cine lenses. To keep the light source and sound as pure as possible, I only used the Rotolight RL-48 B ring light and Roto-Mic. I also used my custom camera rig, which is manufactured by CamSmart, as well as a 5" Lilliput field monitor. I used Adobe Premiere Pro, After Effects and Speedgrade to edit and post-produce the videos.

rotolight sound and light videography video kit review led ring light

RL-48 B LED Ring Light

Out of the box, you get everything you need (apart from batteries) to start shooting straight away. The inclusion of a Rotolight belt-bag is fantastic for getting the light out quickly if you are shooting on the run, and for storage while traveling and keeping the batteries, light and accessories safe. One pain I always have, as I am a single shooter is that to change parts of my equipment setup; which means opening my big bag, routing through to find the bit I need and then carrying on. With Rotolights ingenious solutions they have removed that need entirely!

Inside the LED light is a set of ND, skin, colour and minus green filters that can be applied directly inside the housing of the unit itself; no need to carry around filters, gels and pegs to achieve your desired brightness and tone. This is great as no longer do you rely on a bag of old gels to adjust the temperature and brightness of the light source, and all filters are supplied by LEE, so you know you can trust them. The LED's being naturally daylight at 5600K, you are set to use the light in most conditions! For photography and video with people and models, Rod from Rotolight recommended using a softening ND and the skin filter which gently soft lights the subject, with a peachy, wrapping beam. There are no shadows, and the result is a beautiful glimmer of light in the subjects eyes giving them emotion and life.

rotolight sound and light videography video kit review music video filmmaking shoot videography model light

During my time with the Sound and Light kit, I tested out its practicality when out filming indoors and out on location. Above is a still grab from the indoor shots of Josh performing his lines to the camera; you can see a hint of light in his eyes, and a soft-neutral coverage of his face. This was the look I wanted to achieve; an intimate piece-to-camera. I used the ring light and mic mounted on the hot shoe of my camera setup, this gave a direct beam onto the subject, and would work for any subjects in front of the camera. Indoors the RL-48 ring light gives out a beautiful 140 degree beam of light that wraps around your subject, without any hot spots (usually on the forehead). I was filming a music video, but would work exceptionally well in model and fashion work, where beauty is exaggerated through the images.

rotolight sound and light videography video kit review music video filmmaking shoot videography

It took some innovative thinking to get the lighting right for this continuous tracking shot. Although I was shooting in the afternoon sun, I still needed a key light to keep Josh's face illuminated throughout. The night before we were at the location shooting the same scene, but had the ring light mounted on the camera. This time I needed the source to be much closer, so I whipped out the Manfrotto Magic Arm and Superclamp and clamped the light to the boot of my car. In the still grab above, the light is only a foot away from the left of Josh!

What I found here was the need for a brighter light. The 48-LED ring light provided great overall coverage of my subject, but I required a brighter beam to achieve the desired soft-skin and glimmer in the eye look. Although Rotolight produce large LED lights (Anova) for videography and cinematography, I didn't need that much more power. I think for video it would be great to see this model brighter, or have different brightness levels, as usually you require more light than less - especially when adhering to the 180 degree shutter rule. Once your shutter and aperture are set, the only exposure controlling parameters you have is the ISO/ASA or your light sources brightness, and where you're unable to move the light closer or further away from the subject; having a brighter light from the outset is more beneficial.  This is a small niggle from myself, but can be shown with examples in these still grabs -

rotolight sound and light videography video kit review music video filmmaking shoot videography night videoshoot filming car tracking model dark (Here the light from a street lamp came in very handy.)

rotolight sound and light videography video kit review music video filmmaking shoot videography night videoshoot test greet tint

This shot was taken on a 14mm T/3.1 lens at ISO 1250. Although I have remedied the low light in Adobe Speedgrade, a green tint is visible across the frame. A minus green filter is included in the kit which can be used where the green spike (due to LED technology) is prominent, but as I was filming in near darkness I chose not to use the filter to get maximum light output, which by the way is 100w! During the shoot I also used the light hand-held to get intimate with my subject, but not blasting them in the face with an offensive flash gun or LED panel light.

Roto-Mic

Like I mentioned earlier, video is (in most cases) useless without good quality sound. Imagine watching a film or TV program and the sound is noisy and fades in and out as the presenter moves around the frame. It is distracting and essentially draws the audience away from the video, it is suddenly and mostly subconsciously hard to watch and enjoy. With current trends in pro-sumers moving to DSLR to make films and video, there is more pressure on achieving good quality sound when acquiring your footage; the built-in mic does not do your pictures justice.

rotolight sound and light videography video kit review on camera dslr microphone

Here, Rotolight have entered the sound game by producing an on camera directional shotgun mic, with excellent pickup response and sound to noise ratio. When I first started out in freelance videography 3 years ago, I got myself the original Rode VideoMic; it was the best I could afford at the time, and it did the job I needed - to capture good quality audio that will enhance my video. Since then, Sennheizer, Audio-Technica, Hama and many more brands have seen the need for on camera mics for DSLR videographers, and a competitive market has emerged. One that the Roto-Mic will compete very well in due to its superb signal processing and price - an attractive offer to anyone seeking to invest in a cost-effective solution. You will need a 9V battery to power the Roto-mic, but it will last you a good 100 hours.

One very annoying problem with on camera microphones is noise added by the mic's shock mount. The Rode VideoMic I have is notorious for that, creating a squeaking noise as you move or walk with the camera that was audible and therefore recorded into the sound of the video - very unwanted! The Roto-Mic shock mount has been specially designed to minimize any movement the mic may be affected by, holding the capsule stiff, without wobbling on the mount; keeping unwanted noise out.

Rotolight considered many filming scenarios when designing the new mic; it includes a gain adjustment of -10dB to +10dB which is very handy when you are far away from the subject or action, or are filming in a loud and noisy environment. A two step high pass filter is also built into the body of the mic which removes any wind noise and rumbles from the captured sound; perfect when filming outdoors. These small but important features show that Rotolight have done their research into where DSLR videographers are working, and how they need to use their kit.

I was really pleased with the results of the sound recorded with the Roto-Mic, I was expecting another Rode VideoMic moment but it never came. The mic surprised me with its quality recording, and with a little noise reduction in post production the final sound recording is clean and crisp.

rotolight sound and light videography video kit review music video filmmaking shoot videography night led light mic kit

Rotolight has also been innovative in their mounting options, considering many different setups with the light and mic together. This makes a lovely change from complex accessories hanging off the camera to use two hot shoe mounts. The option to use the light mount, or to mount the light on the microphone gives you many different setup options that doesn't restrict your shooting, and is not fiddly or complicated to change! I was using the mic and light together; here the mic mounts onto the camera hot shoe, and then the light can be pushed onto the barrel of the microphone. Although I was dubious of this at first, as it would add extra weight to the shock mount and possibly interfere with the sound recording; it has proved me wrong with being fully functional no matter how the light and mic is set up.

rotolight sound and light videography video kit review music video filmmaking shoot videography night videoshoot filming car tracking

My verdict

  • Fantastic kit if you are starting out in DSLR videography - a must have kit to get you started.
  • Ring light provides excellent soft light for work with models, people, macro and prominent subjects.
  • Filters included is really handy, although as I am heavy handed they are sometimes difficult to apply.
  • Battery life is second to none - 4 hours with recommended lithium AA batteries (x3) or regular lithium AA (x3) for 3 hours.
  • Various mounting options means shooting is not restricted.
  • Mic is broadcast quality - remember sound is just as important as video.
  • Gain adjustment is handy in quiet and noisy locations.
  • The Rotolight bag keeps your hands free!

Of course with every review there are some constructive criticism comments, but not many for me as my experience working with the Rotolight Sound and Light kit has been very pleasant. Firstly, a higher power portable light would be ideal for video, with intensity control. Secondly, now Rotolight has entered the sound game it would be great to see other microphones like hand held bi-directional or even lav mics, and a boost in the recording quality (maybe a Zoom competitor??!). Thirdly, and this isn't criticism, more a request for a flexible light stand or arm so the light can be positioned in extreme and unusual angles.

I am recommending you to go out and get this kit if you're into your DSLR video and photography and need a light source and microphone that you can take to every shoot you go to! It will definitely be coming with me in the future, and I can imagine the RL-48 LED light working fantastically for wedding films and interviews, teamed up with the Roto-Mic and you have a perfect, all in one, on camera 'run and gun' solution to your filmmaking and photography.

You can check out the video I produced for Rotolight demo'ing the new Sound and Light Kit here, and the music video will be released very soon!

[vimeo http://vimeo.com/87515700]

Got your to do list?

I have. It is quite long too, and all the things on the 'to do' list have to be done before I start the next video production... Daunting! Easter holiday weekend as a lovely one, with warm sunshine glowing over the Surrey countryside I ventured into the great outdoors to Leith Hill for a day of walking and geo-caching . Of course, the camera came with me to capture the happenings.

leith hill with the mates (definitely a little out of focus) leith hill with the mates (Photos copyright Adam Plowden 2014)

I am finalizing the details of the Recycling video for my council, on Friday I'm recording the voice over, the last component needed for me to complete the video! It has been a long project, but definitely worth the hard work animating. On Monday I went into Epsom with John from JHWF to film the ending shot from the DJI Phantom drone and the GoPro Hero 2. I decided to use an aerial shot as the last one, as this reinforces the community aspect of recycling to benefit our local area, as well as seeing all of the green land that surrounds Epsom.

Recycle your waste today photo copyright Adam Plowden Videography 2014  aerial video videography dji phantom gopro drone

Photo copyright Adam Plowden 2014.

I am getting a plan together for the new Manfrotto School of Excellence video series I'm going to produce, so please send over any questions on equipment, techniques, settings, videography or DSLR that I will answer in the video series on getting started with video.

Sorry for the silence!

Blimey, wiping the dust from my blog I can see it has been neglected over the last couple of weeks. I can explain this, I've buried my head deep into working on a recycling video for my local council. For this I have designed and animated original graphics in Illustrator and After Effects, to be edited together in Premiere Pro. I can't give too much of what I'm working on away until the video is publicly released on the council website and other displays around the town of Epsom! But as you are a dedicated lot, and showing you the techniques I used won't do any harm!

Here's a screenshot from my AE window. Here you can see the little graphics floating around in the background, and overlaid on top is animated text.

recycling animation graphics motion vfx gfx design illustrator after effects I've used pre-comps here to create different sections of each 'clip'. This allowed me to keep my timeline and frame tidy as I would only be working on specific parts of the clip at a time. For example, in the above frame the little graphics are pre-composed with their animation keyframes, so I can layer up the blur and text on top to be revealed later. For each 'clip' I also pre-composed all of the text as these are animated individually using various effects.

recycling animation graphics motion vfx gfx design illustrator after effects  particle world simulation Some of the more complex motion graphics, here I used falling particles (Particle World II) to fill up the alpha channel of a recyclable object, where a mask then revealed a solid; making the object look like it is filling up with the falling particles. To create this effect I changed the physics parameters to allow the particles to fall slowly, and spread as they go. Remember to use random seed when duplicating effects like this too ;)

filming videography videographer dslr film interview To add to the emotive feeling of the video, it was important to include human thoughts and processes on why recycling is important and beneficial to the environment and us! This is me interviewing Alan about how easy it is for him to recycle.

Equipment used includes: Canon 5D mkIII, Tamron 24-70mm F/2.8 VC, Zoom H6, Sennheiser ENG-G3, Rotolight RL-48, Manfrotto 755 carbon fibre pro tripod and MVH500.

This was a quick and easy shoot, using DSLR for videography means I have great light sensitivity in post places and it is easy to set up. I used the Rotolight to kick a little more into Alan's face, and recorded using a wireless lav mic and the XY stereo mic on the Zoom for a backup. Setup-interview-de-rig took one hour.

Pleased with the outcome, I got onto editing the sequences together now that the animation was looking good!

filming videography videographer dslr film interview In Premiere Pro, I used the Luma Corrector and RGB Curves to adjust the exposure and colour balance of the clips, here you can see the split view with the original on the right and the edited on the left. The Luma Corrector does a great job of removing Gamma, which takes out a gamma curve (grey) from the footage and can be used with contrast to create a really punchy, cinematic look.

With still more to go, and an aerial shot from a DJI to go and film, I am eager to see peoples reactions when the video is complete!

Fantastic Rotolight Video News - Coming To A Screen Near You!!!

The Rotolight Sound and Light kit video I produced for Rotolight featuring Josh McDonough is being taken on tour to America, where it will be shown to a live audience of 30,000 film students! If you haven't already, you can check out the video here!

[vimeo http://vimeo.com/87515700]

Check out Josh's new studio too, and get recording there - Just Jam Studios!

Got a meeting about the recycling project today, then will be getting my new iPhone (about time I know)!

rotolight rotomic ring light tiele motion graphic video

Happy creating you awesome bunch of people, and thanks for all your support so far!

Adams video week roundup!

Blimey lots has been going on over the last week, I hope it has been as hectic for you as it has been for me! Monday started with continuing the design of the graphics for a recycling animation, a daunting task which put my drawing skills to the test. Bearing in mind I've spent the majority of the last year behind a camera, I took my time to learn the techniques I would need to use Illustrator properly. I would usually use Photoshop over Illustrator, but until I recently found out PS is not truly vector, and as I would be using a combination of the Pen tool and others to design the images this was very important, as I would need to transform the graphics later in After Effects.

My best mate Glen came down from Wycombe for a  surprise week to, so I spent plenty of time catching up with him and chatting about work. He gave me so very important advice; "Everything is too complicated these days, you should keep it simple and your audience won't know the difference, especially if it is moving and animated anyway." True words, and I took Glens advice which not only sped up the process, but made me more confident with the work I was producing.

Here's a screenshot to show all of them! (I think I am working on a 10K canvas).

screenshot graphics design drawing art 2d vector create illustrator

The graphics design has been on-going, I practiced when I was first commissioned, but it just shows how familiarizing yourself with the tools and applications can ease your work! A very very important part of this process was to intensively storyboard and plan each scene, so I know what graphics can be generated beforehand, so I spent a good couple of days story boarding and sketching the graphics I would need, followed by a long list of assets I would go on to to create.

Pre-vis sketches:

design plan planning graphics creation motion animation

For the rest of the week I started importing the graphics into After Effects, and setting up the 15 scenes. I am finally starting to see progress! I am still working on this section, and it will take another week or so to complete all the animations. Again, I storyboarded this in the planning, so I know exactly what to produce for which scene which saves so much time. Also, the best thing about this planning part is that it does not have to be a work of art to depict your ideas, just a simple sketch to represent what you will need to create.

graphic storyboard plan pre-production animation motion graphics

On Thursday I joined a crew of fashion designers, hair stylists and models to film a magazine photoshoot for Sherman Hawthorne (the hair stylist and creative director of the shoot) at The Lemonade Factory studios on Queenstown road. With eccentric styles and art direction, I set about to capture high contrast, dramatic footage which will compliment the photos. It was an early start, here I am waiting for my train at Clapham Junction;

video shoot equipment kit list manfrotto camera dslr fashion hair photoshoot lemonade factory

I was a single shooter, I had the pleasure of transporting the equipment to the shoot which included a steadicam vest that I ended up not using. I've learned my lesson here not to take extra kit!

My kit list was as follows:

Canon 5DmkIII (A camera), Canon 60D (B camera)

Tamron 24-70 F/2.8 VC, Samyang 14mm T/3.1 cine, Samyang 35mm T/1.5 cine, Nikkor 50mm F/1.4 manual, Samyang 85mm T/1.5 cine, Sigma 70-200 F/2.8 OS

Manfrotto 755CX3, Manfrotto MVH700AH, Manfrotto Hydra arm and super clamp,

CamSmart camera rig + Lilliput field monitor, CamSmart Stabilizer vest, Flycam Nano

Zoom H6, Rotolight Roto-mic.

As with all of these shoots, time runs short so I was restricted to short burst of filming time with the models to capture the specific ethereal and industrial motif, but I also shot around the photographer to maximize my usable footage. I made use of the 50fps slow motion for the moving shots, so that the models movements are exaggerated, as well as stabilizing the shot.

As the props included wire fencing and chicken wire, aliasing was a problem when shooting shallow depth of field, or at an angle to the object. To remedy this I used a lower aperture (F/4-5.6) for some shots, but also I can add a Gaussian blur in Premiere Pro when editing to soften the lines, gently smoothing out unwanted aliasing.

A couple of frame grabs from the shoot!

fashion photo video shoot at the lemonade factory cinematic videography steadicam Here I'm using a moving shot to create a distorted perspective from outside of the set.

fashion photo video shoot the lemonade factory cinematic videography trapped cage bw Here I use a low angle shot, removing the identity of the model to create a 'trapped' and 'mysterious' feel to the model, and why she is in the box.

Weekends are always working weekend for creatives and freelancers. I spent yesterday working on the animation of the recycling project again, continuing to compose the scenes using simple 2D shapes and animation styles that have become very popular recently.

I also came across this post from Chase Jarvis about how to manage your time properly, its a great post with a detailed outline of 90-minute working slots that should improve your productivity, I urge you to read it if you're someone like me who can't stop working, then apply the plan to your working life. I know I will be!

Do Less = Do More by Chase Jarvis

I haven't had many #videoquestions come in recently, so please keep them coming so I can help with tips for the community of videographers and creatives! Send them over to me @Plowman91 on Twitter.

Finally, ending with a must watch video, check out Philip Bloom's video shot with the Blackmagic Production Camera, the 4K one at Miami Beach, what do you think of it? Is it worth investing now the Panasonic GH4 is on pre-order and it looks like Sony will have a 4K DSLR announcement coming at NAB2014 too..!!

Philip Blooms Four Corners Miami Beach (Blackmagic 4K camera)

That's all for now folks! Keep the creative juices flowing!

Creating ambience in motion graphics

I've been working on the title graphic for the Rotolight BVE video, sometimes I can get going straight away with designing and animating however (and I presume this is due to getting up early to start working) I was stuck for ideas.. VideoHive is a great resource for re-made graphics sequences for After Effects, but they are also great for getting inspiration on how to create the atmosphere and effects for your own work. I spend a good half hour looking through the pre-made effects and gathered some ideas.

One key point I've found to make the graphics seem realistic, and to give it an ambience there are a couple of things you can do to make it more life like. Number one is to use a particle generator to create dust to naturally drift around the environment. The particles can be given physical attributes like gravity and wind, which makes the animation more realistic.

after effects particles atmosphere ambience rotolight

Number two, using light and lens flares; this leak of light appears to give the environment in which your text, graphics etc seem to be in a 3D space shot through a camera - these are naturally occurring when out filming and in our eyes, so it can be used too.

Number three; textures and patterns; for a graphic based (not so much vfx based) title, tiling textures and patterns to create a wallpaper background is visually appealing, as is only using a number of tones from a simple colour pallet.

Number four; interpolation and motion blur. Again just like in real life, our brains process the images we see at around 16 frames per second, and fills in the spaces in between. In graphics this motion blur needs to be added, to correctly interpolate the animation and blur of a subject or object. The local and global motion blur (bouncing ball) icons are easily found on the timeline so be sure to click!

Number five; depth of field. In cinematography the director uses the depth of field to move the audiences attention through the frame to reveal new parts, to uncover secrets and ideas. This can be done in motion graphics too, by using a Camera. When you have a camera in your composition, be sure to check 'enable depth of field' and to set your aperture to a low F stop (F/1.8 for example) and increase the blur amount. After Effects then generates depth of field using the camera settings; making objects close and far away from the camera blurred.

rotolight title graphic after effects camera blur

Here's a snap of the working-graphic for the title, for a cinematic look to the video I have also applied an anamorphic aspect ratio overlay. I might make some changes later, but for now it is off for comments and feedback. If you have any questions about the graphics or videography then give me a shout!

rotolight rotomic ring light tiele motion graphic video


Manic at Adam Plowden Video HQ!

Its been incredibly busy over the last few weeks, so apologies for not posting for a while! Lets fill you in. February has been a tough month. Work as been here and there, it is always difficult at this time of year and made even more difficult by starting a new business. I expected a lull at the beginning, so not to lose hope I kept myself busy. Although I haven't been posting, I have been out filming all the time, especially these last couple of days.

rotolight video shoot videography dslr mic

Rotolight sent down their awesome ring light and roto-mic, which I have been testing out and reviewing in what feels like all weather conditions! One minute it is sunny, the next it is bucketing it down. A couple of times I got stranded in the downpours with my kit, a prolific moment was this, up in a quiet and forgotten playground near Epsom Downs. I only got 3 shots that day, then the rain came and we retreated.

the rainy conditions i work in rotolight video review filmmaking shoot

Since then, the weather has picked up, and so has the tempo of production! I got an email from Rotolight asking if its possible to put a short video together for BVE with the footage I got when using the roto-mic and ring light. Feeling up for a challenge I accepted, and have been busy producing a music video to coincide with the video for BVE! I reeled in one of my good mates Josh McDonough is an awesome musician and producer, currently working on a new studio build to perform in the video, and in return he can have the music video to kick start his recording-producing business.

rotolight video shoot videography dslr mic camera rig music

To show how you can maximize the creativity and convey the flexibility of the Rotolight Sound and Light kit, I used various techniques including mounting on a camera, hand held, and playing with the light to create unique blooming and light effects. I had a few ideas of what the visuals would look like, an intimate piece to camera in the soon to be studio, as well as getting out and using the light in low light situations to add an urban feel.

There will be much more later, but right now I need to continue with the editing and graphics for the Rotolight video!

Andrew Kramer (VideoCopilot) does it again!

I'm a big fan on Andrew Kramers work and contribution to the industry, running the After Effects tutorial and blog website, creating the title sequence for Star Trek Into Darkness film, it has had a big impact on my learning. tron_1[1] videocopilot

I first started using VideoCopilot when I was 16, designing a title sequence for a series of webisodes I had written and was planning to film, direct and produce. It never got made, and I'm sure I've got the original work somewhere. My point being is that to this day I still use this amazing resource for my work now, learning new techniques for effects creation. If you haven't checked it out before, I urge you to do so immediately!

Here's the latest tutorial, creating '3D' volumetric light rays which will look great in mysterious, dark trailers or titles!

http://www.youtube.com/watch?v=frXQxwMKh6c

New supercomputer is built!

I've been waiting months to finally have a computer that can handle the work that I do!! Previously working on laptops (which coincidentally die each year) I needed to step up the game to a high performance desktop which will expand my capabilities in not only video editing, but also motion graphics and compositing. I got myself an i7, NVIDIA 650TI 2Gb graphics card and all the rest to allow working speedily in Adobe applications (taking advantage of the mercury playback engines) and also allowing me to use Speedgrade and DaVinci Resolve for professional colour grading as the new graphics card is CUDA enabled!! My workflow speed will go through the roof!

Throughout all of January, the components dribbled in one by one, until it was only the PSU to come. Amaz0n buggered up my order, which I was expecting in 2-4 weeks. The order then got pushed back another 2-4 weeks, which I was furious about, so got on to Amazon support who clarified the 'warehouse' issue.. Everything is computerized these days so I don't understand how a major marketplace cannot get there warehouse stock levels and back order numbers right!!

I cancelled my order with Amazon, and put it through Scan instead, who delivered the Corsair 1000w PSU in only 2 days. Top service!

Being impatient (eager), I wanted to get the new computer going as quickly as possible so I begun assembling the components in the case. I had never done this before so the nerves were running riot, washing my hands every couple of minutes to make sure I wasn't getting grease or dirt on the motherboard. It was stressful, but I managed to get most of the bits it, bar the CPU and hard drives.

Yesterday Sam helped me put together the rest of the components and the cabling, and the building of my new workstation - could not have done it without him!

newcomputer blank canvas The blank canvas of my computer.

Now all I have to do is fill it up with my work and data, install Adobe and then I can get working!

Mesmirizing fractals in After Effects

I've often pondered whether it is possible to generate geometrical, point and fractal graphics using algorithms in After Effects. Fascinated by expressions since starting in CS3, I have always experimented with different types of generation and control to create more organic motion graphics, and animate them. After learning and working with Trapcode Particular and Form, which specialize in amazing particle effects, I further played around with ideas and animations combining the particles with expressions, auxillary particles and physics to recreate a realistic particle graphic. I had varied success, but I still couldn't find a unique effect.

It has been a while since I stepped back into After Effects; I usually float between applications until I need to use them so I got myself back up to speed with AE and tried my hand back at fractals - not the ones generated by fractal noise or turbulent noise either.

After a couple of days experimenting (bearing in mind I am still working on my laptop, and not my editing supercomputer) I had got to grips with generating graphics, but with this technique the results are partly random generations so occasionally I end up with a result that is completely different to what I expected but looks fantastic! With the curves following Bezier, they look naturally pleasing too.

My fractal tests -[gallery ids="979,978,977,976,975,974,973"]


Video Questions; Choosing the right camera, picture profiles and using ND filters!

Heyo all! Thanks for sending in your questions, I will try to answer as many as I can will practical, real world examples! If you have any more, please send them my way! Question from Chris via Facebook: "Can you recommend any camcorders for HD video and good low light performance?"

Answer: A DSLR for video is not the right choice everytime. Why do you think television broadcasters use camcorders and system cameras? For broadcasting, there are regulations and legal limits that must be followed for the final video to be shown live; there are many including the compression of the video signal, the black and white level (check out waveform monitors and video signal) to name a couple. DSLR's do not adhere to these regulations hence we don't see TV crews running around with 5D's in London.

Where DSLR's produce a great image due to the large CMOS sensor, they have big restrictions such as needing to change lenses, poor audio support (unless you invest in audio equipment), rolling shutting, aliasing, moire.. I could keep going.

So, taking camcorders in the equation; most have long zoom ranges (20x and more!) at wide apertures, with additional digital gain, in built ND filters, built in stereo microphone and audio in/out. The sensors are different too, some using CCD (which splits the 3 colour channels) for better colour rendition and less compression.

These days, manufacturers such as Sony, Canon, JVC produce ENG (electronic news gathering) camcorders with those above features, meaning no extra kit to carry, most are hand held or shoulder mount for ease of use. Therefore it is seemingly easier to video on a camcorder, until you require a large sensor camera for artistic video.

Product recommendations for camcorders - Sony AX and VG range, Canon Legria, XA and XF range, JVC produce great camcorders too and have stepped up their game over the last year with the GM-HY range including a 4K model too.

If you want to spend a little more, the Sony HXr-NX3 (recently reviewed by Den Lennie) looks incredible for what you get in one camera - http://www.sony.co.uk/pro/article/broadcast-products-get-close-up-hxr-nx3

Next question from SAHIB on Twitter: "Do you use a neutral picture style when shooting, and do you use neutral density filters?"

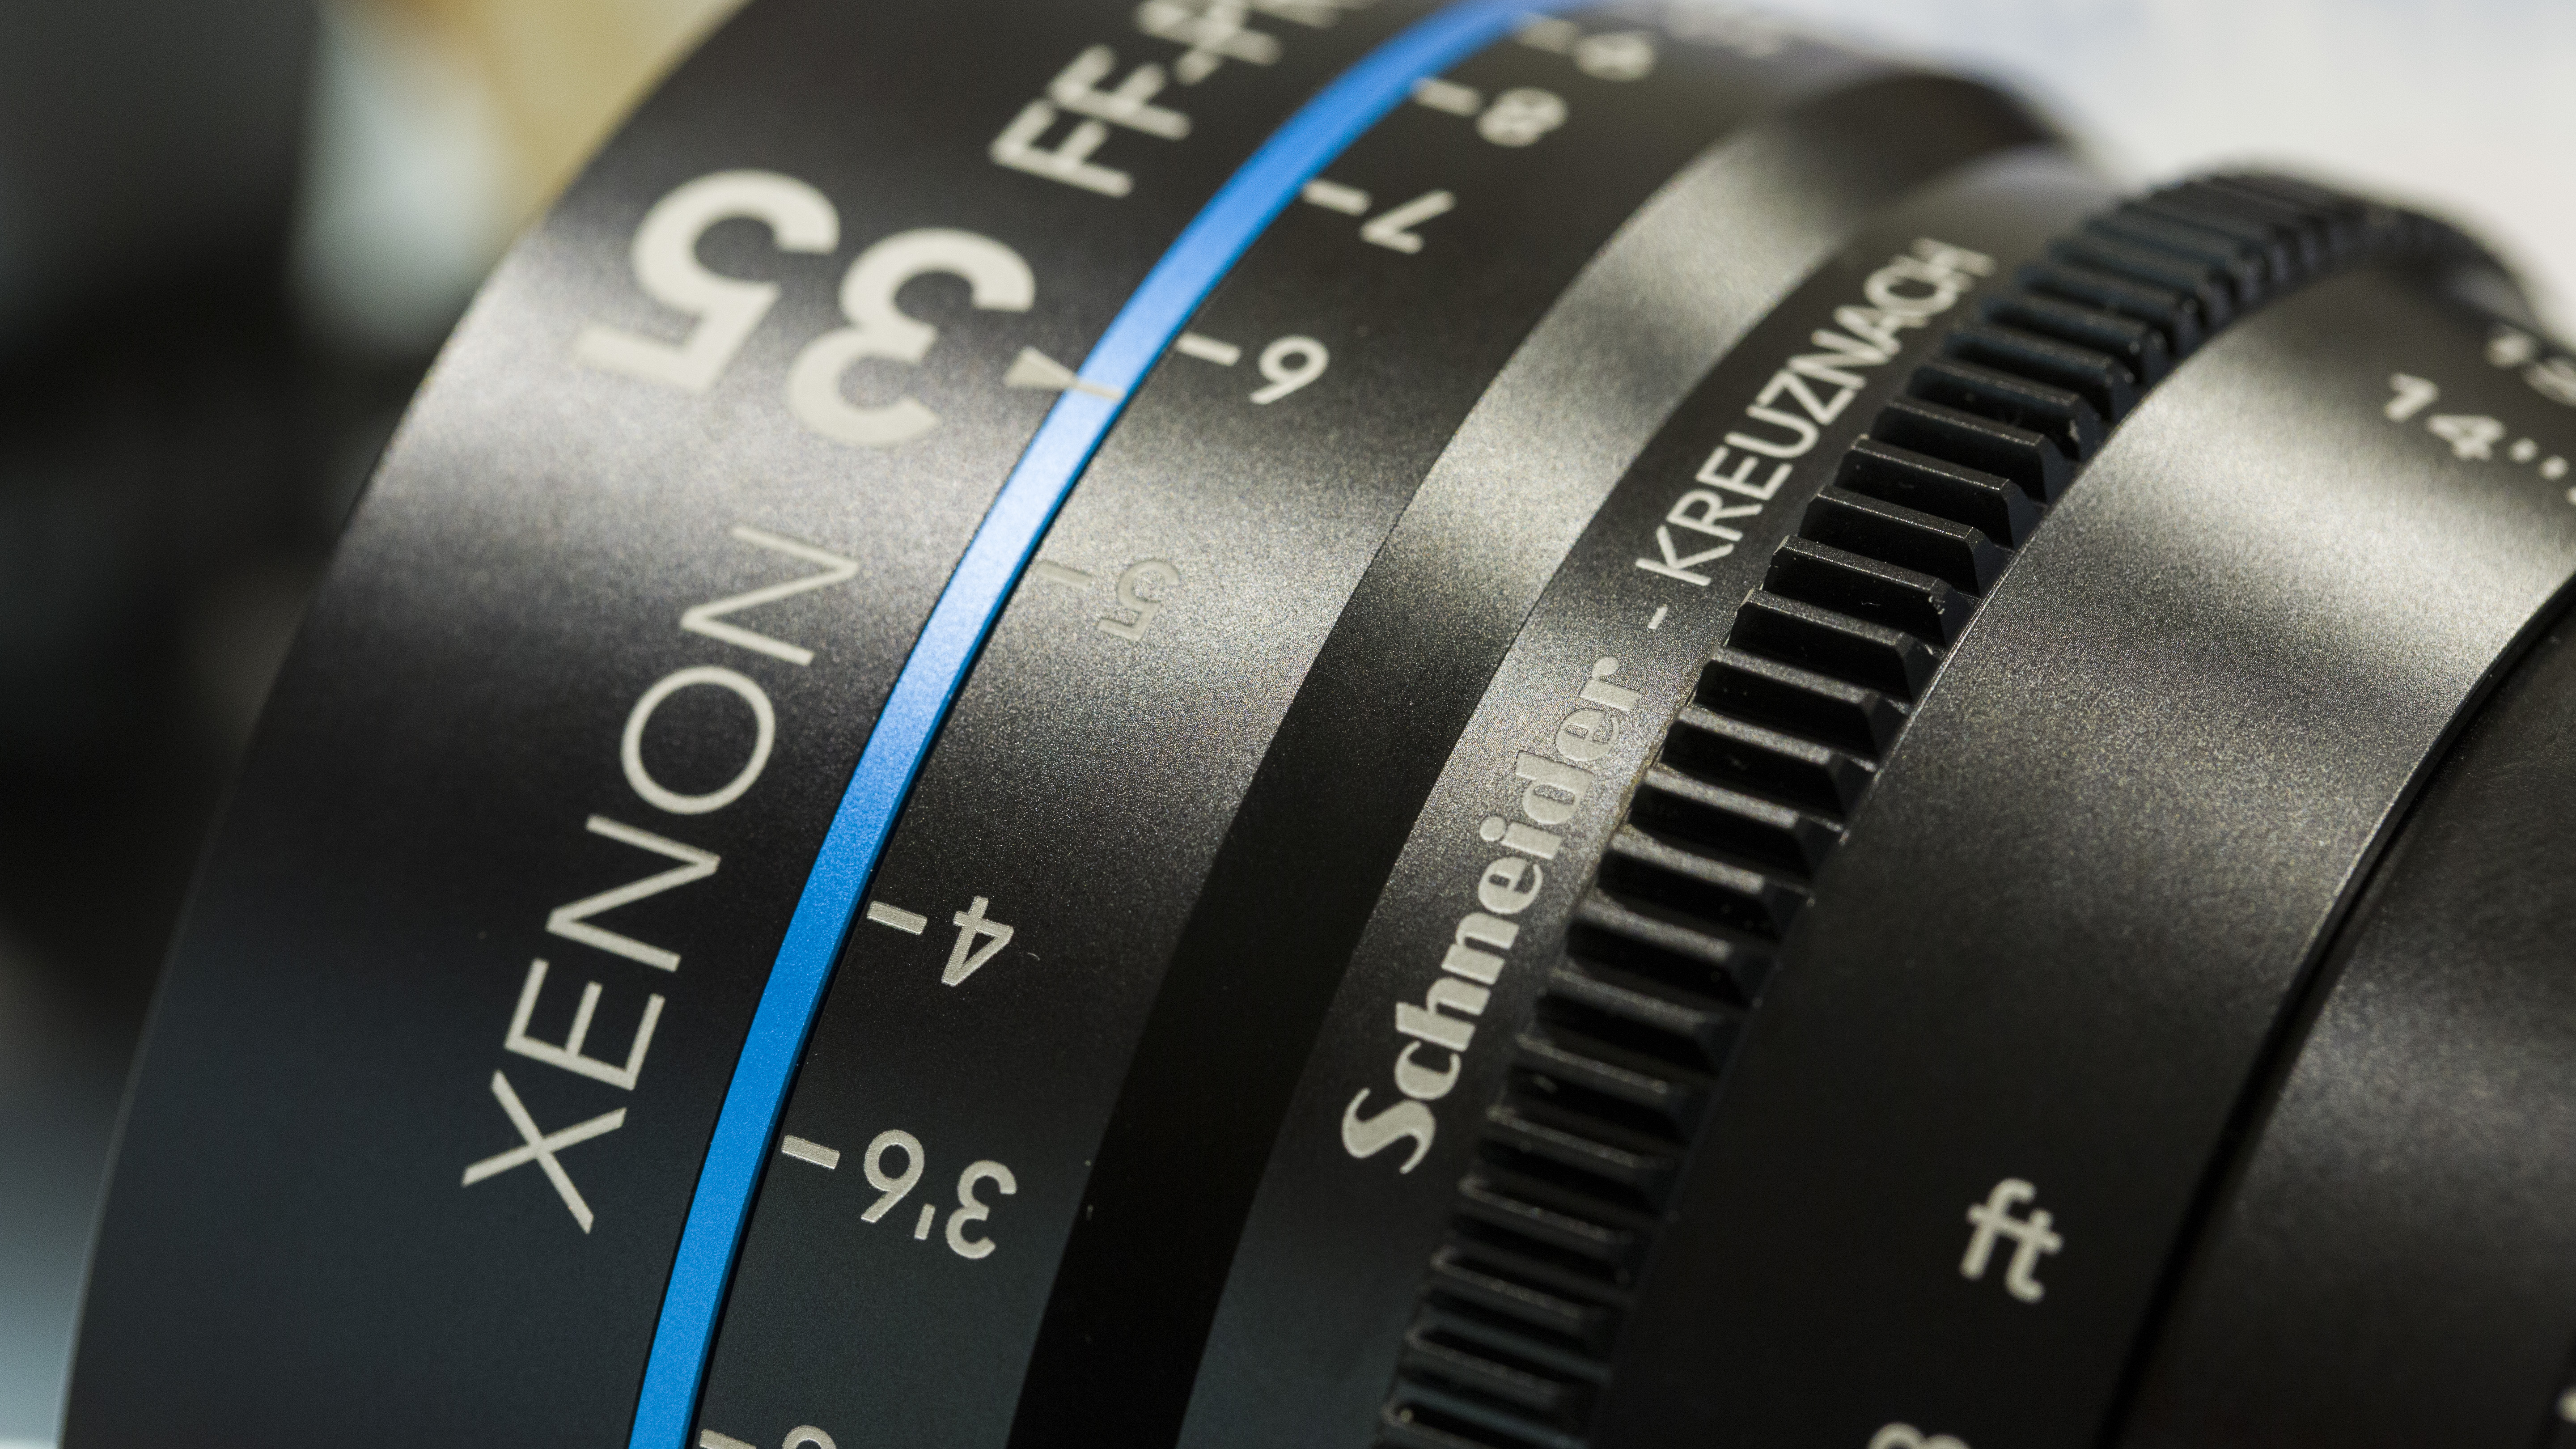
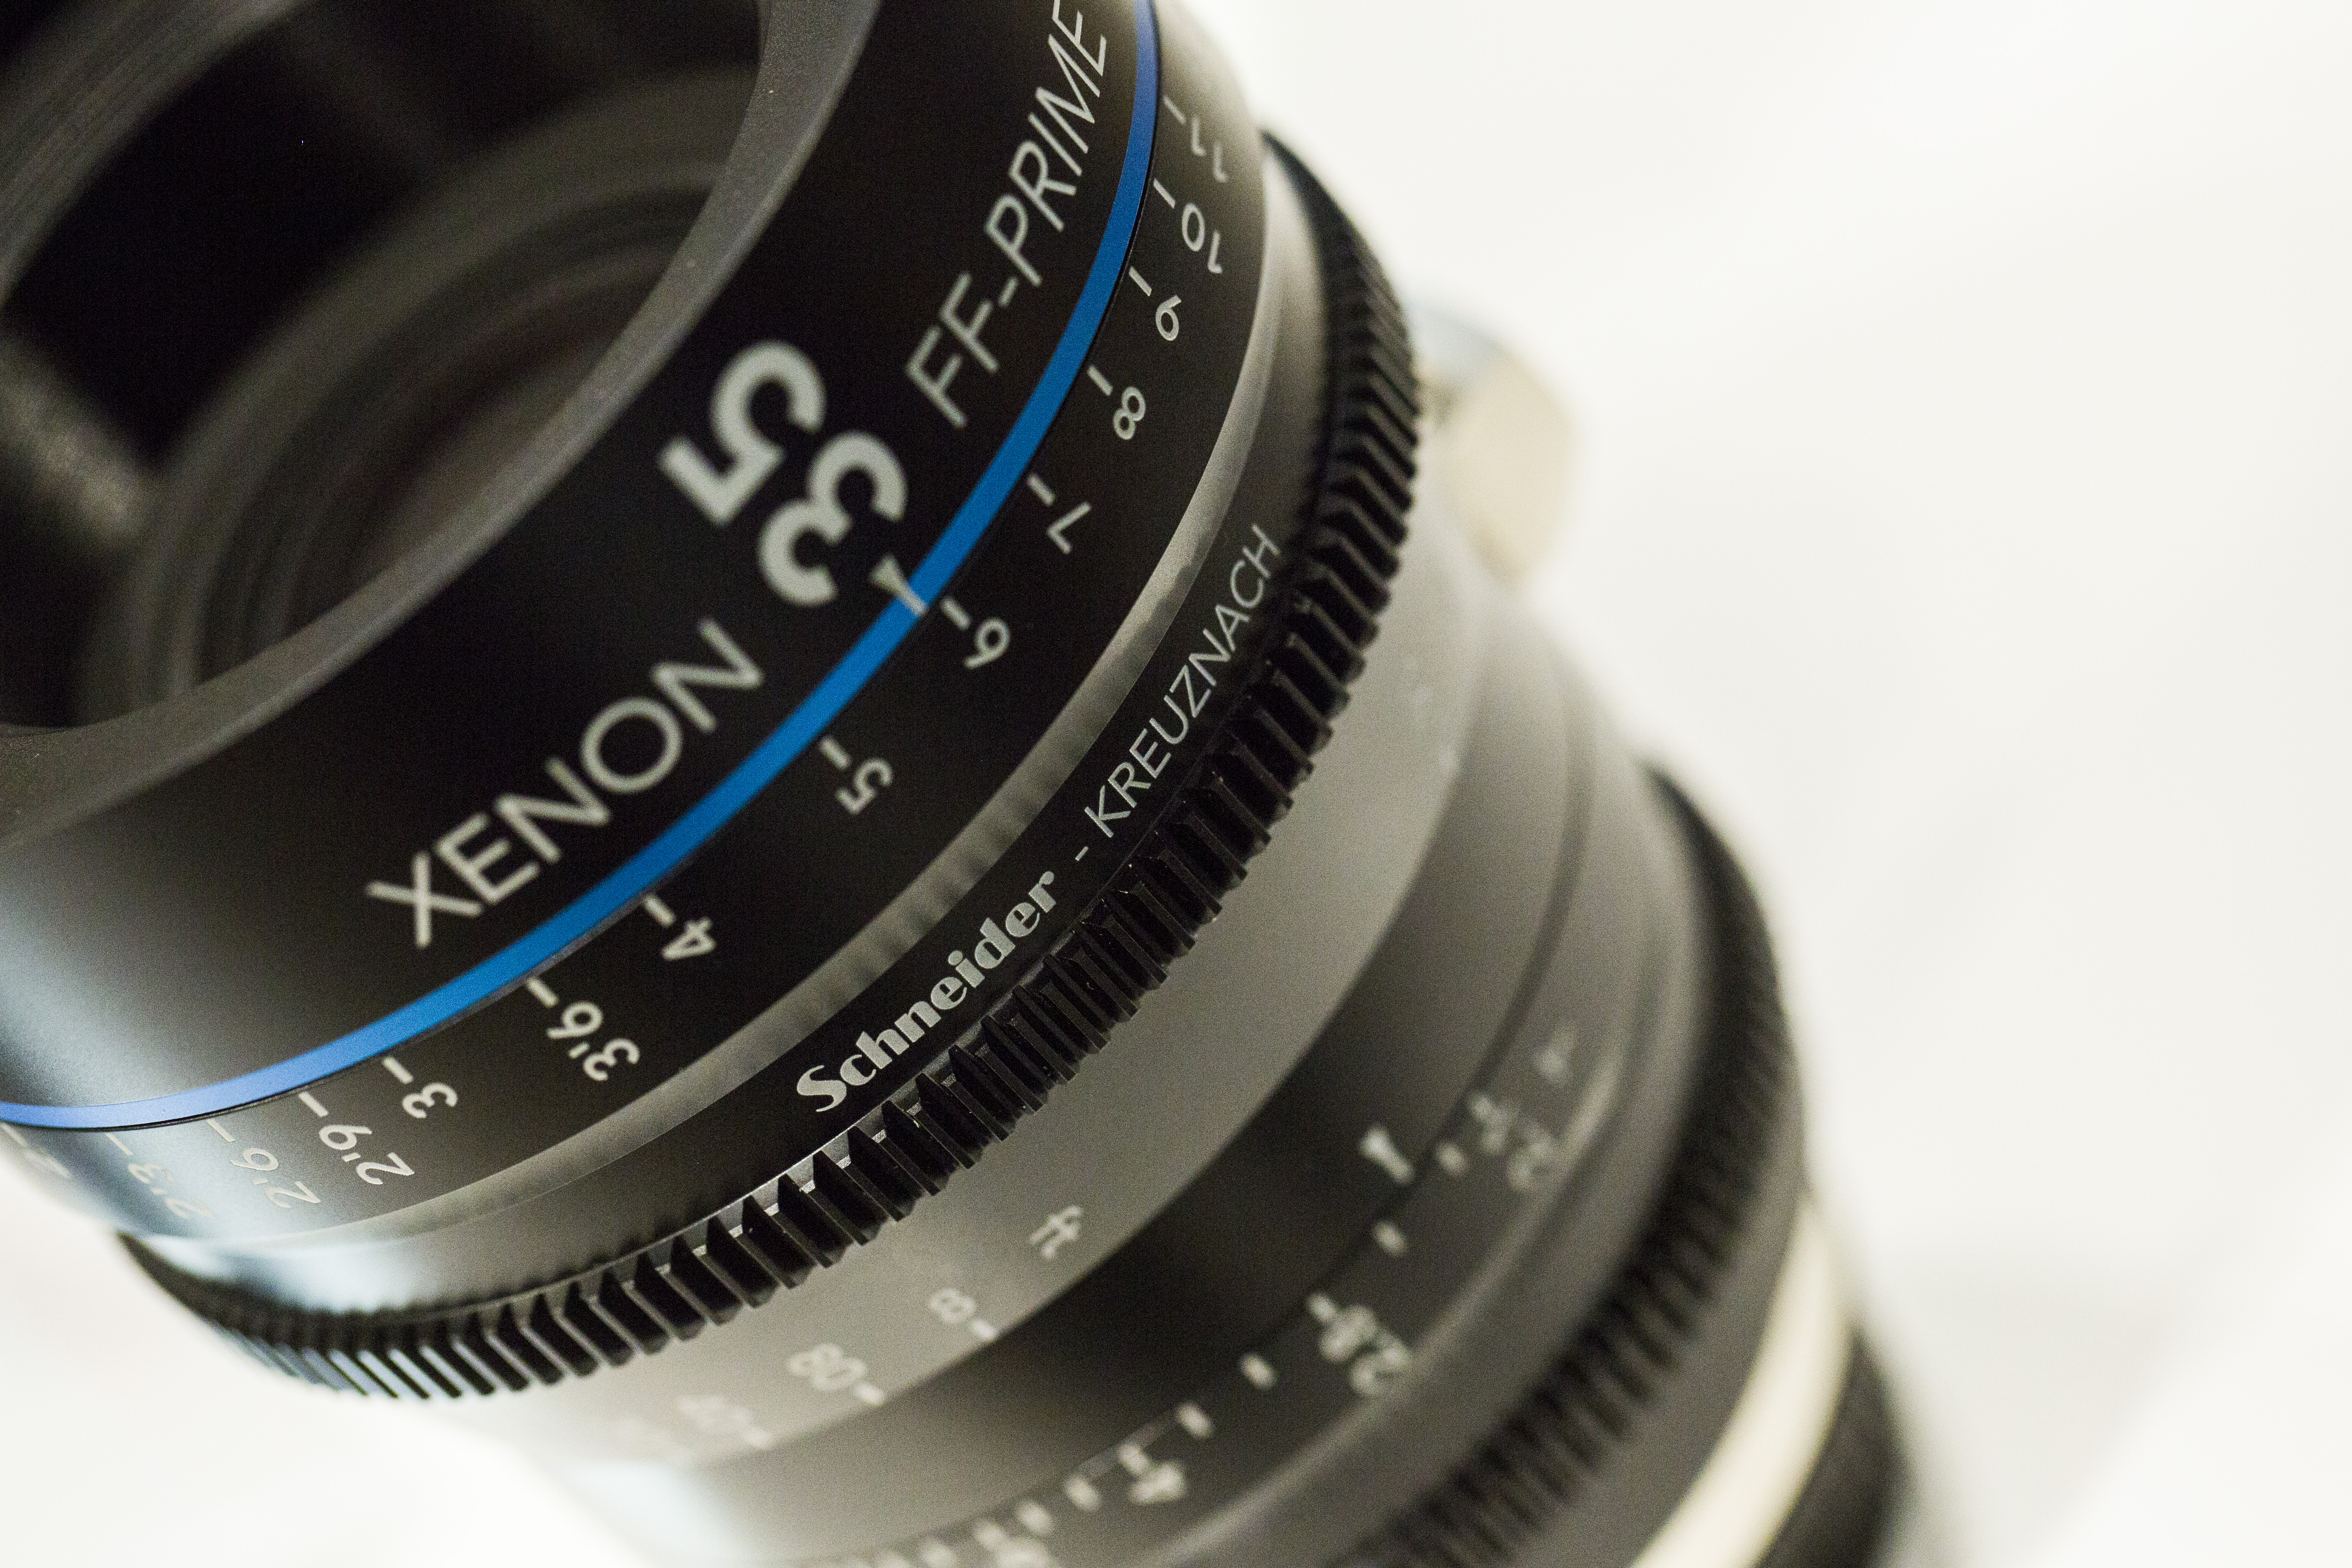
Answer: For those unaware of picture profiles on your camera, check them out in the 3rd section of the movie shooting (red) menu (for Canon users). There are a number of options listed, which alter the way the picture is recorded depending on your choice, you can also customize these profiles too using the INFO button.

Canon picture styles - Standard, Portrait, Landscape, Neutral, Faithful, Monochrome.

I will not be detailing the ins and outs of all the picture styles, more of a visual comparison.

What does a picture profile do? Much like LUTS, picture styles adjust the intensity level of the; Sharpness, Contrast, Saturation and Colour Tone in the image, so what picture profile you use can change the 'look' of the video you capture.

Check out this video I put together today showing the results of the cameras picture profiles, and others I have loaded onto the camera. You can see a clear change in the image, but it is subtle differences that will make your video work stand out.

https://vimeo.com/85655816

I previously used the Neutral picture profile, customized to reduce the contrast, saturation and colour tone to produce a very grey and flat image. I was using this profile to achieve this look, as it is how RAW footage is captured to then be graded in post production. Neutral does replicate this 'flat' look, but after doing research into other profiles, Neutral reduces the data that is required in the picture (the contrast and saturation) that I would then put back in in post. This causes noise to be generated in the image, and can cause it to look unnatural and crushed, as the contrast and saturation that had been removed by the picture profile is being added back in later in the workflow.

That was long, but I hope it makes sense. If you compare the 'Standard' to 'Neutral' there is an evident drop in saturation and contrast, with a loss of detail in the top of the trees. If you compare 'Neutral' to 'VisionColor', there is an increase in saturation and contrast in the shadows and highlights.

The 'Neutral' picture style, similar to Technicolor CineStyle reduces the data the sensor captures, so I would not recommend using it if you plan to do colour correction and grading in your workflow. REMEMBER - whatever you capture when out filming will 'burn in' the detail, colours, sharpness and contrast into the image, making it harder to edit and remove unwanted errors. So, it would be better to use a profile that holds the data and detail so if wanted, you could work on grading the footage later.

From tests and experimenting, I favor the VisionColor profile; it is not as destructive as Neutral, holding colour and contrast without making the image flat. I definitely recommend checking them out here.

Next Question from SAHIB on Twitter: "Can ND filters change the style of video?"

Answer: This does depend on what and where your video shoot is. If you are working indoors, or with lighting that can be controlled by you then neutral density filters may not be required as you can alter the brightness of the scene by reducing the intensity of the lights. However, if you're out filming in a situation where you have little to no control over the lighting, then ND filters are key.

Personally I use variable ND filters, currently from Polaroid but much better filters are available from Hoya & Tiffen. The function of these filters is to reduce the light entering the lens, meaning camera settings can be kept the same. This allows you to follow the 180 degree shutter rule, which means keeping your electronic shutter speed at 1/50th to reproduce film-like and realistic motion blur.

So, with your shutter speed locked at 1/50, and your chosen aperture has been set, the only other exposure altering options you have is to ride the camera ISO to make the image brighter or darker.

PROBLEM!

With a fast aperture of F/2.8, and you are currently shooting in sunny daylight, your image is going to be very over exposed. Reducing the aperture to F/8 or F/11 may correctly expose the image but you have lost your depth of field! What to do!

Get some Variable ND Filters!

These ND filters rotate, allowing a variable ND amount to be set externally, without changing your cameras settings! This means that you can keep your cinematic depth of field and realistic motion blur without reducing the shutter speed to 1/250th or your aperture to F/11.

I recently shot this video using an ND filter on an 85mm T/1.5, which allowed me to shoot continually at T/1.5 for extreme shallow depth of field.

Making a quick edit: Variable ND filters are one of many options. ND Filters also come in stops; increasing by a factor of doubling so 2, 4, 8 etc. If you can stretch to separate stop ND filters they work just as well, and with the lower end (under £100 products) they will be better quality than one under £100.

In videography and cinematography, ND filters are applied in the matte box in front of the lens. So if you plan to use one, look in to matte boxes with the ability to add filters, but prepare to pay for it!

http://vimeo.com/84790518

Well, that covers Video Questions for today! I hope to have answered and covered all bases, and remember they are from my personal knowledge and experience.

Got any more? Send them my way!