cinematic

APVideo is back from CineGear in Hollywood, and the WHSmith Conference!

Video coverage for NewsShooter.com at CineGear 2015!

It's been a very busy week here at APVideo, as I was covering the CineGear 2015 expo at Paramount Pictures (LA) for NewsShooter.com! It was a fantastic show, and great to catch up with the likes of ARRI, SLRMagic, Atomos, Litepanels and many more. Check out the 'Showcase' page for a couple of the videos..

Adam in Paramount Pictures Backlot!

All of the interviews/video features are available to watch here at NewsShooter.com!

APVideo collaborates with Warner Vision for WHSmith conference production!

I've also been out working with Jonathan, who I met at the Shadows and Light workshop a few months back at the WHSmith Travel conference at the Sofitel. We were doing the complete AV production including PA and camera setup, next day edit and so forth. It was awesome working with Jonathan and there's no doubt we'll be teaming up again soon!

Simple PA setup with wireless.

Simple PA setup with wireless.

Tony Parsons guest speaker

Paralympian Natasha Baker guest speaker

I'm now taking a break to recover from non-stop working, in the mean time I will be looking at selling umptuous amounts of Lilliput monitors and camera rigs, so watch this space for more!

Out filming with the Sony A7S and Atomos Shogun in 4K!

I am still testing out the many brilliant features and benefits of the 4K combo I now have, one biggie was being able to grade the footage much more than what you're able to with internal camera recording.

I headed out to a local country park to catch some of the spring bluebells flowering, as well as to try out the dynamic range of the 4K Prores HQ footage and really push it in the grade.

A couple of photos while I was out and about, lovely day!

I took the Manfrotto 755CX-3 tripod with me as it is brilliantly lightweight, and despite the center column it can get pretty low to the ground for shots needing some perspective.

Still no Movcam cage yet, so I'm pretty nervous about having the Shogun on a ball mount, on the hot shoe, I did take care when moving around and took out the HDMI cable just in case.

I had 3 lenses with me, the Tamron 24-70, Sigma 70-200 and Canon 100mm L as I wanted to have a simple setup, one Manfrotto bag, essential kit, batteries etc.

After watching Philip Bloom's talk hosted by B&H a few months back, I set the camera settings to what he advised and went from there. Using PP7 for S-log increases the native ISO to 3200, so is not practical for bright scenes without ND filters, so here are my settings.

PP6 (allows ISO 200, practical for bright shoots) - Black Level 0, Gamma Cine 4, Color mode S-gamut, Saturation 0, Detail -7.

It was a bright sunny day and the Shogun was the perfect tool for the job. It's screen is very clear, unlike cheaper monitors which don't have a high contrast ratio or use LCD screens. Exposing for the highlights, I used the in-built Waveform monitor to gague exposure as well as the 2:1 crop in for getting critical focus - definitely needed for the wide landscape and macro shots.

You will not be surprised to see the HUGE file size of recording 4K in Prores HQ, averaging at about 2GB for 20 seconds.

It's less than 10 minutes worth of footage, in fact!

I did find this out while I was trying out the different outputs and recording formats.. For the PAL region the A7S has THREE HDMI output settings -

 - 1080 50p, 1080 50i, 4K 25p.

The Shogun will not record 25p footage from the camera when the HDMI output is set to 1080 50p, but you can record 1080 50p slow motion on the Shogun. Remember to set the A7S' recording format to 50p/50, instead of 25p for normal speed filming.

The Shogun will only record 1080 25p footage from the camera when the HDMI output is set to 1080 50i, with a 2:2 frame drop set. Remember to set the A7S' recording format to 25p/50.

You must set the '4K HDMI' setting in the A7S to output the 4K signal, and record in 4K 25p on the Shogun.

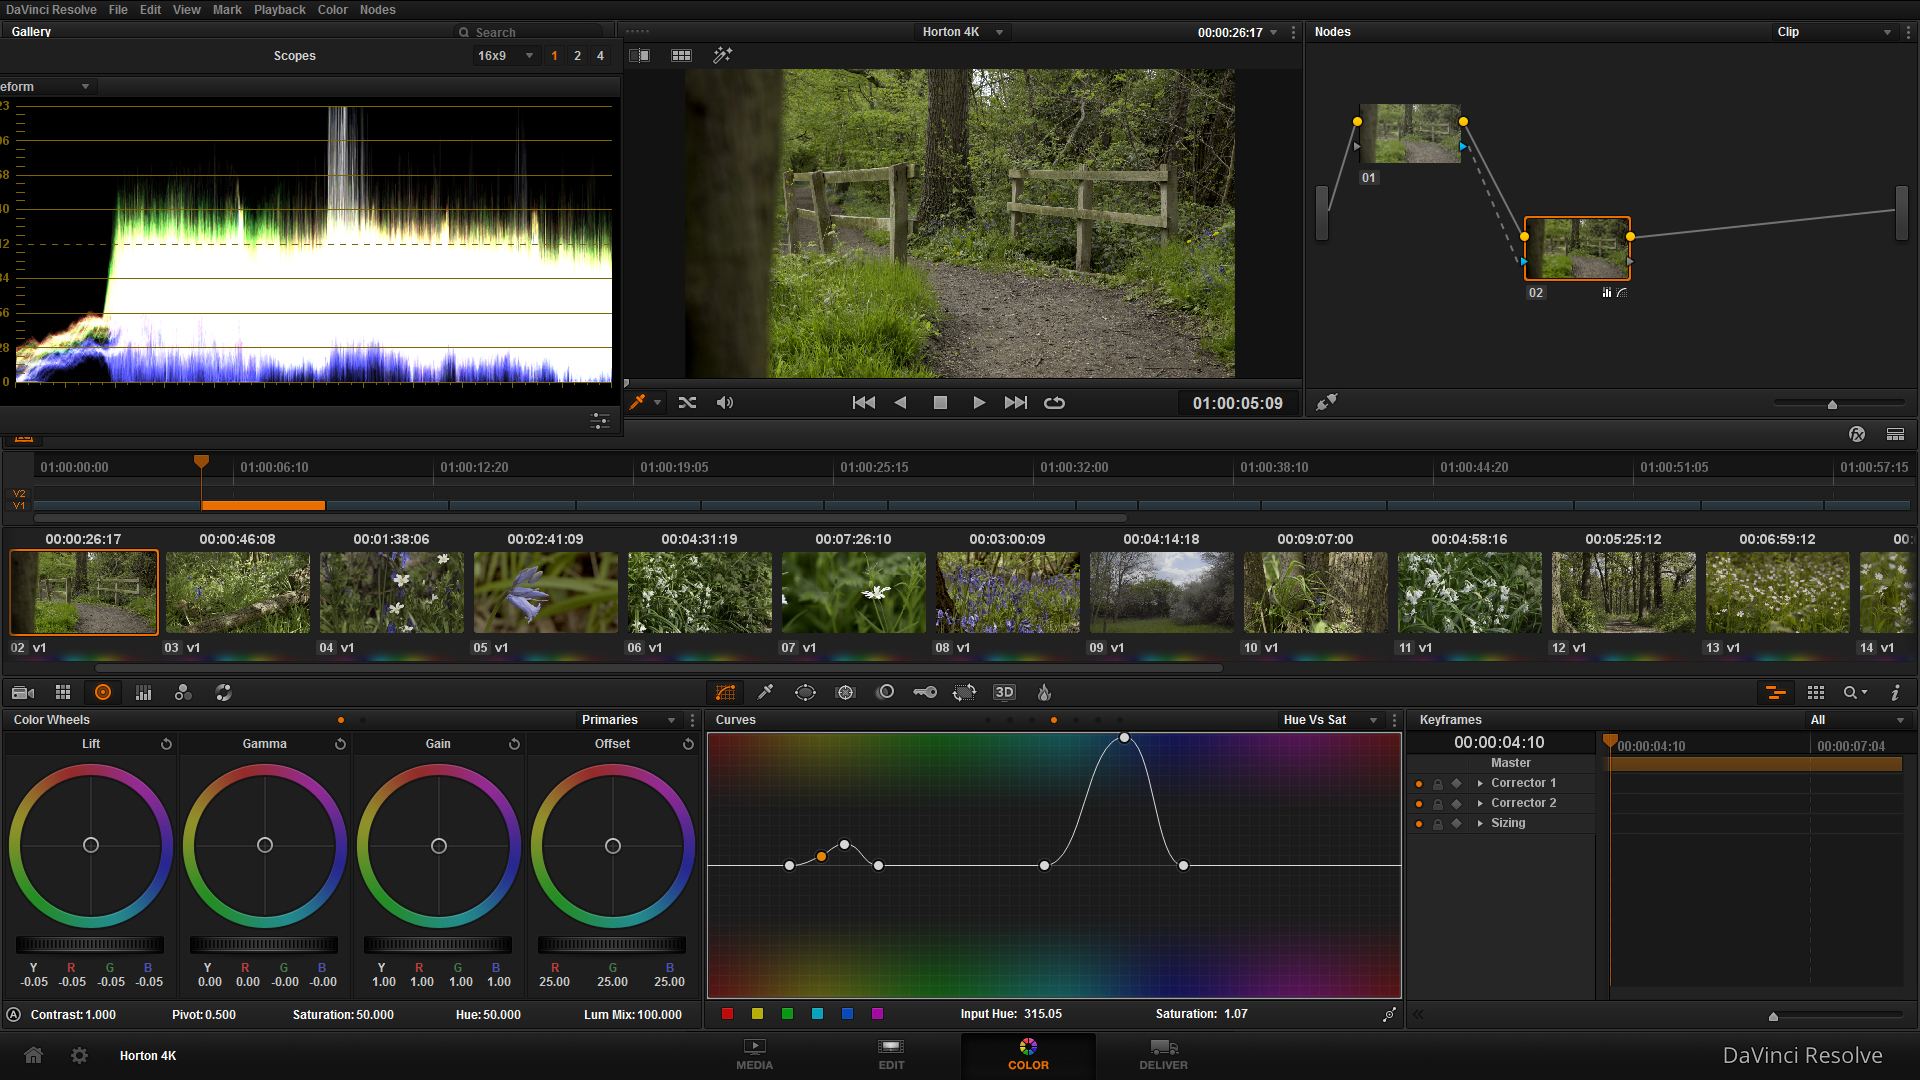
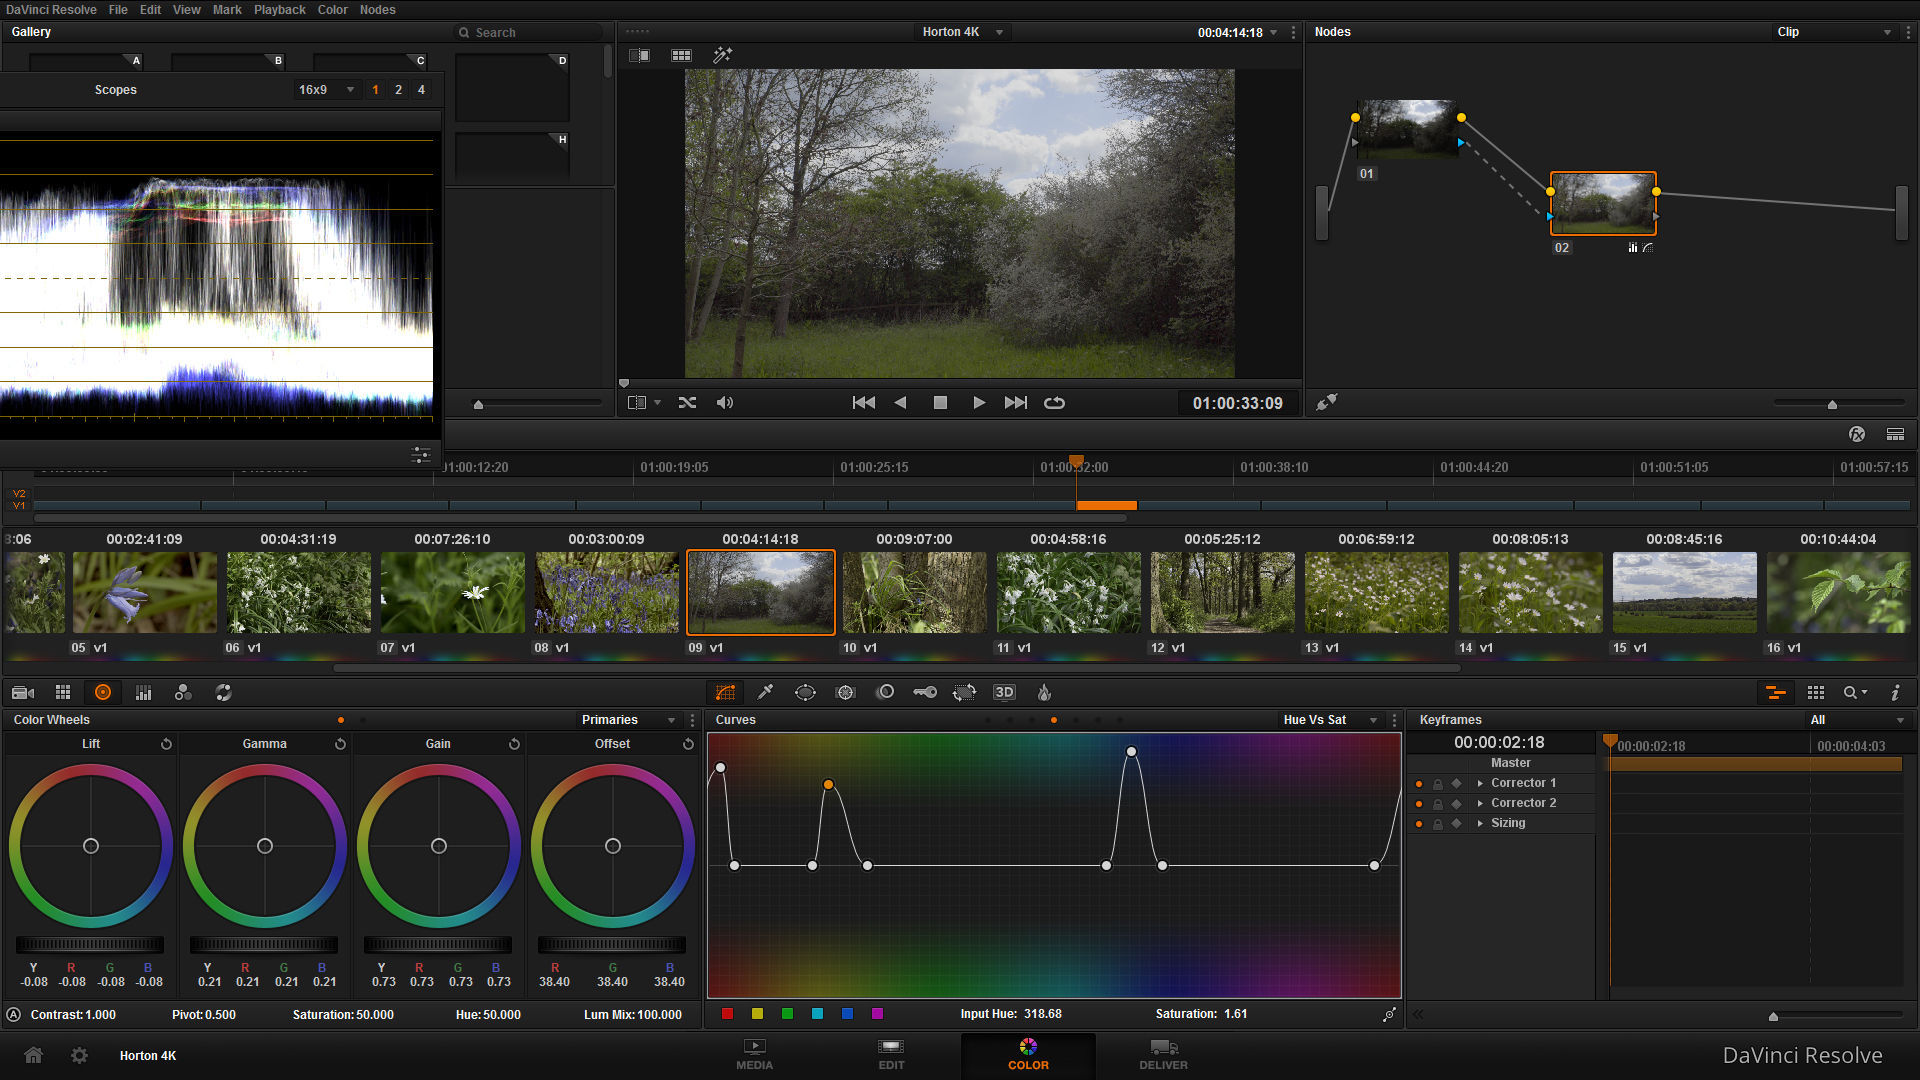
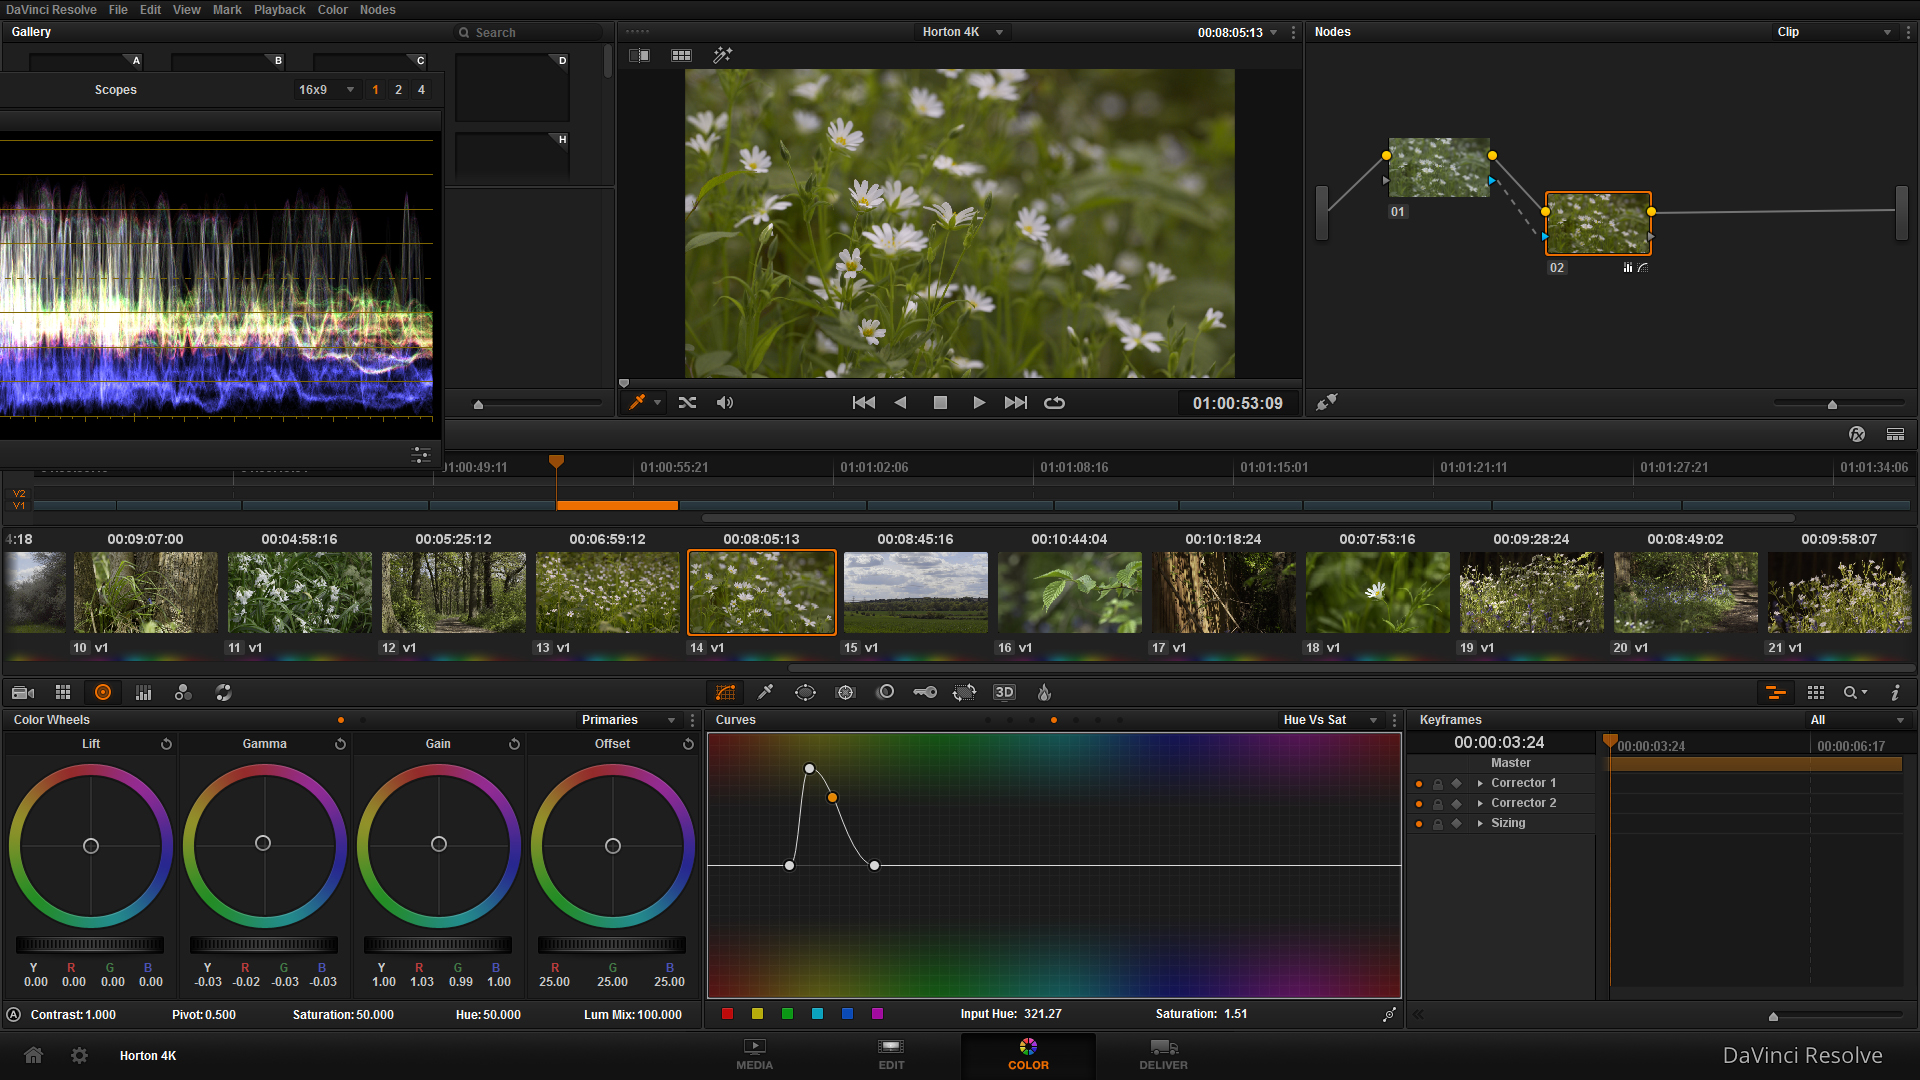
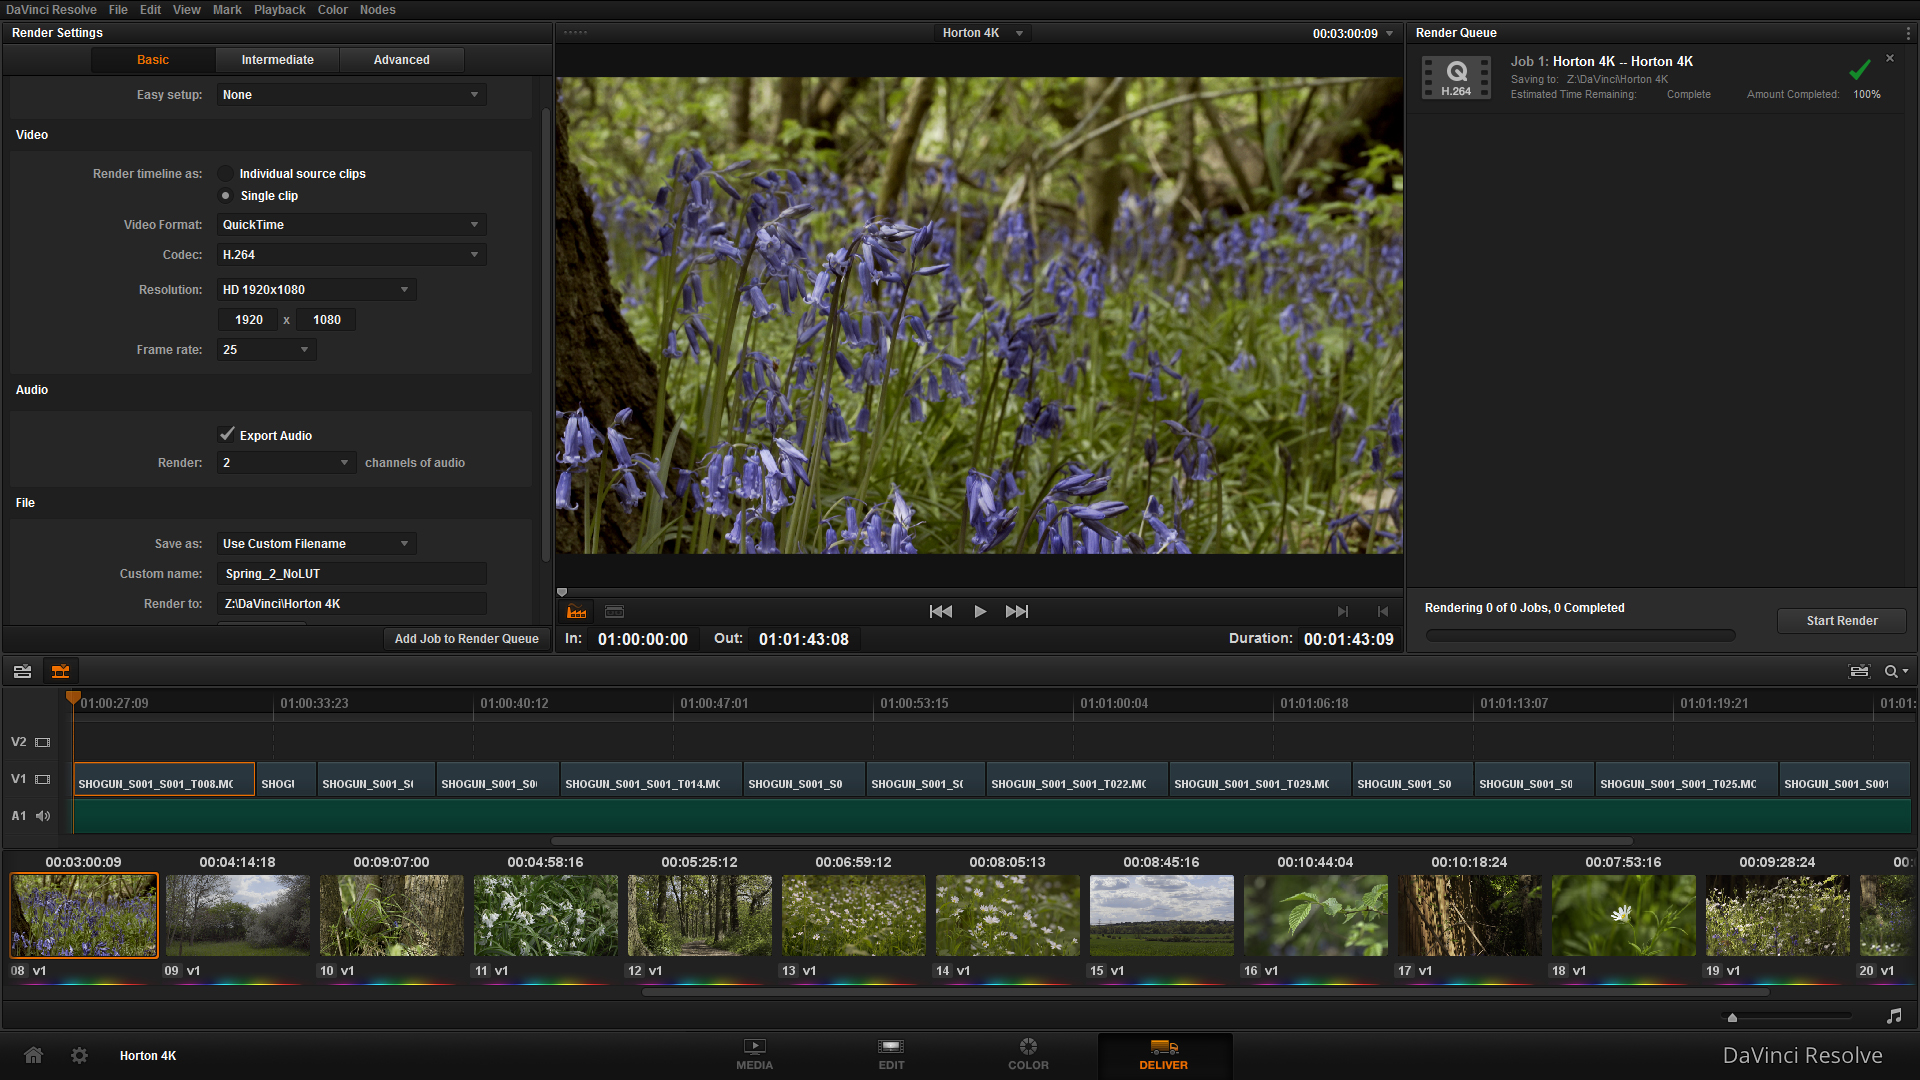
As part of the new 4K workflow, I am using Davinci Resolve Lite (FREE) for the colour grading process, but as this is a short video I tried out it's NLE which worked great. Similar look and feel to FCPX, but it gives you the ability to change edit points, manipulate scale, track and much more. It even has a keyer!

First Image - Editing interface, Second Image - Adjusting saturation in Color interface, Third Image - High contrast image BEFORE correction/grade, Fourth Image - High contrast image AFTER correction/grade, Fifth Image - Delivery interface.

Here is the ungraded version, with footage captured on the Shogun.

Here is a work-in-progress edit that is down-ressed to 1080 to upload it to Vimeo, the Youtube version in 4K (remember to change the resolution to 2160) is below!

I look forward to hearing your comments on the  videos I've put up!

New photos from the new A7S - A-MAZING

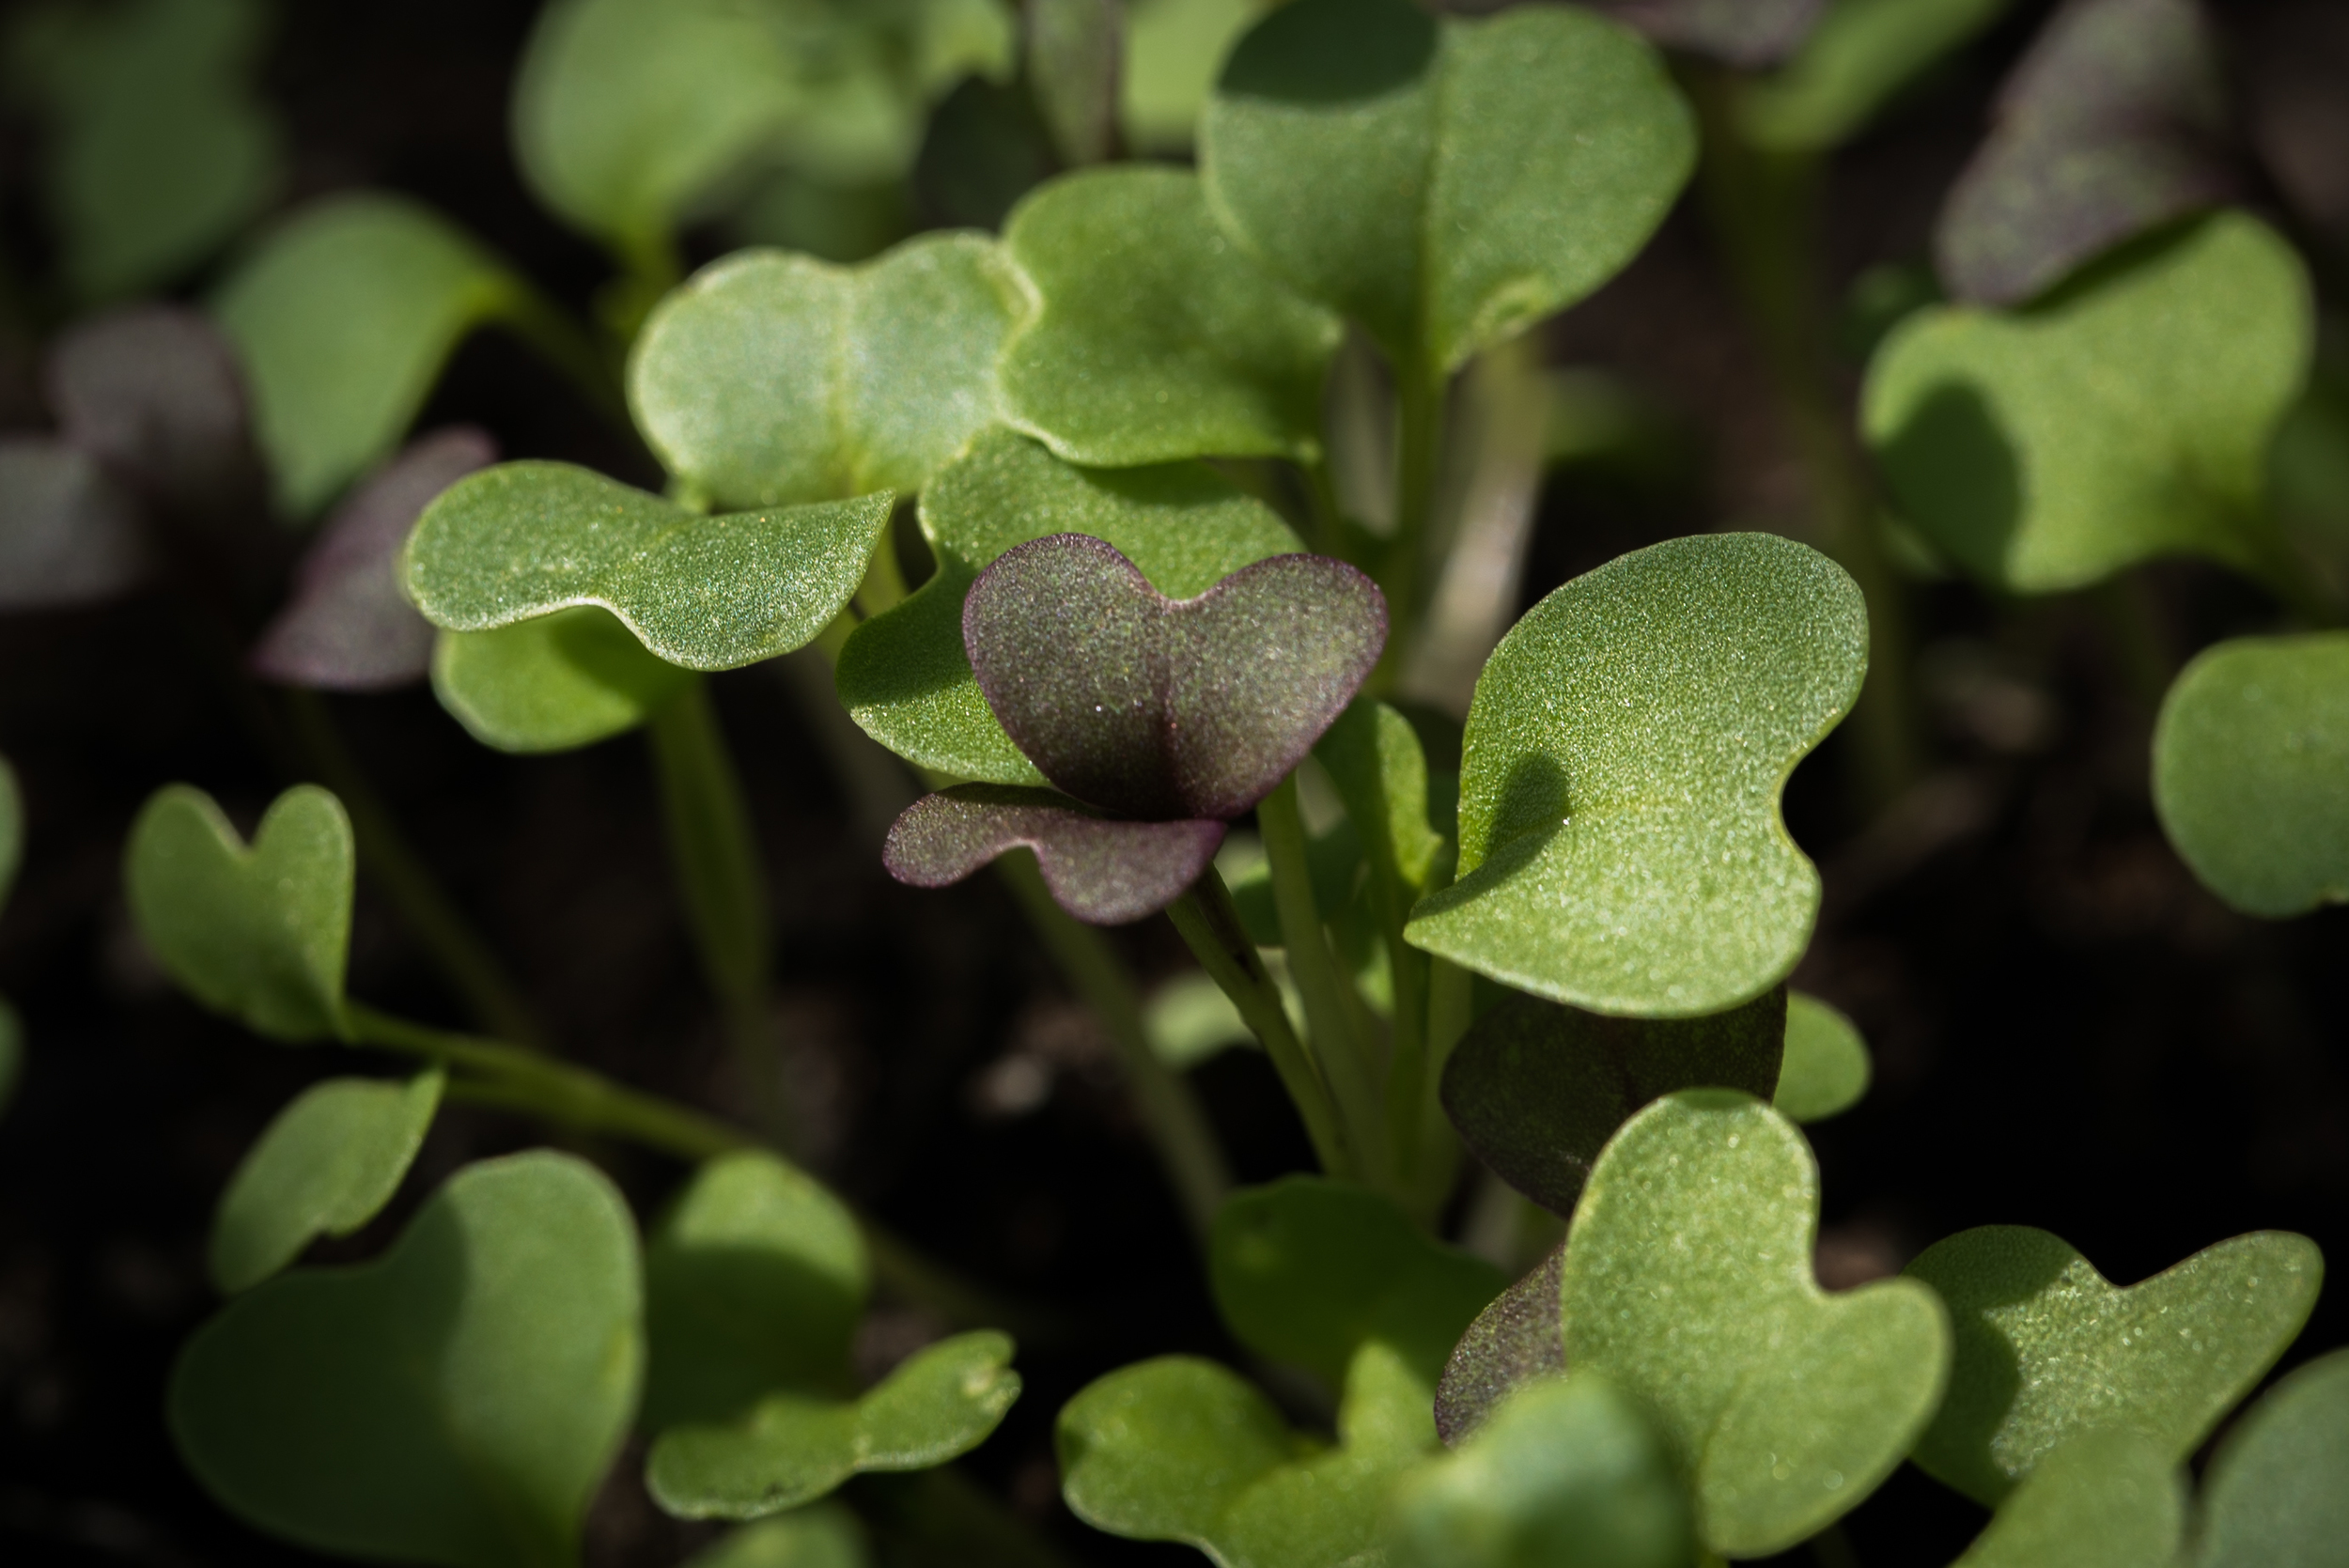
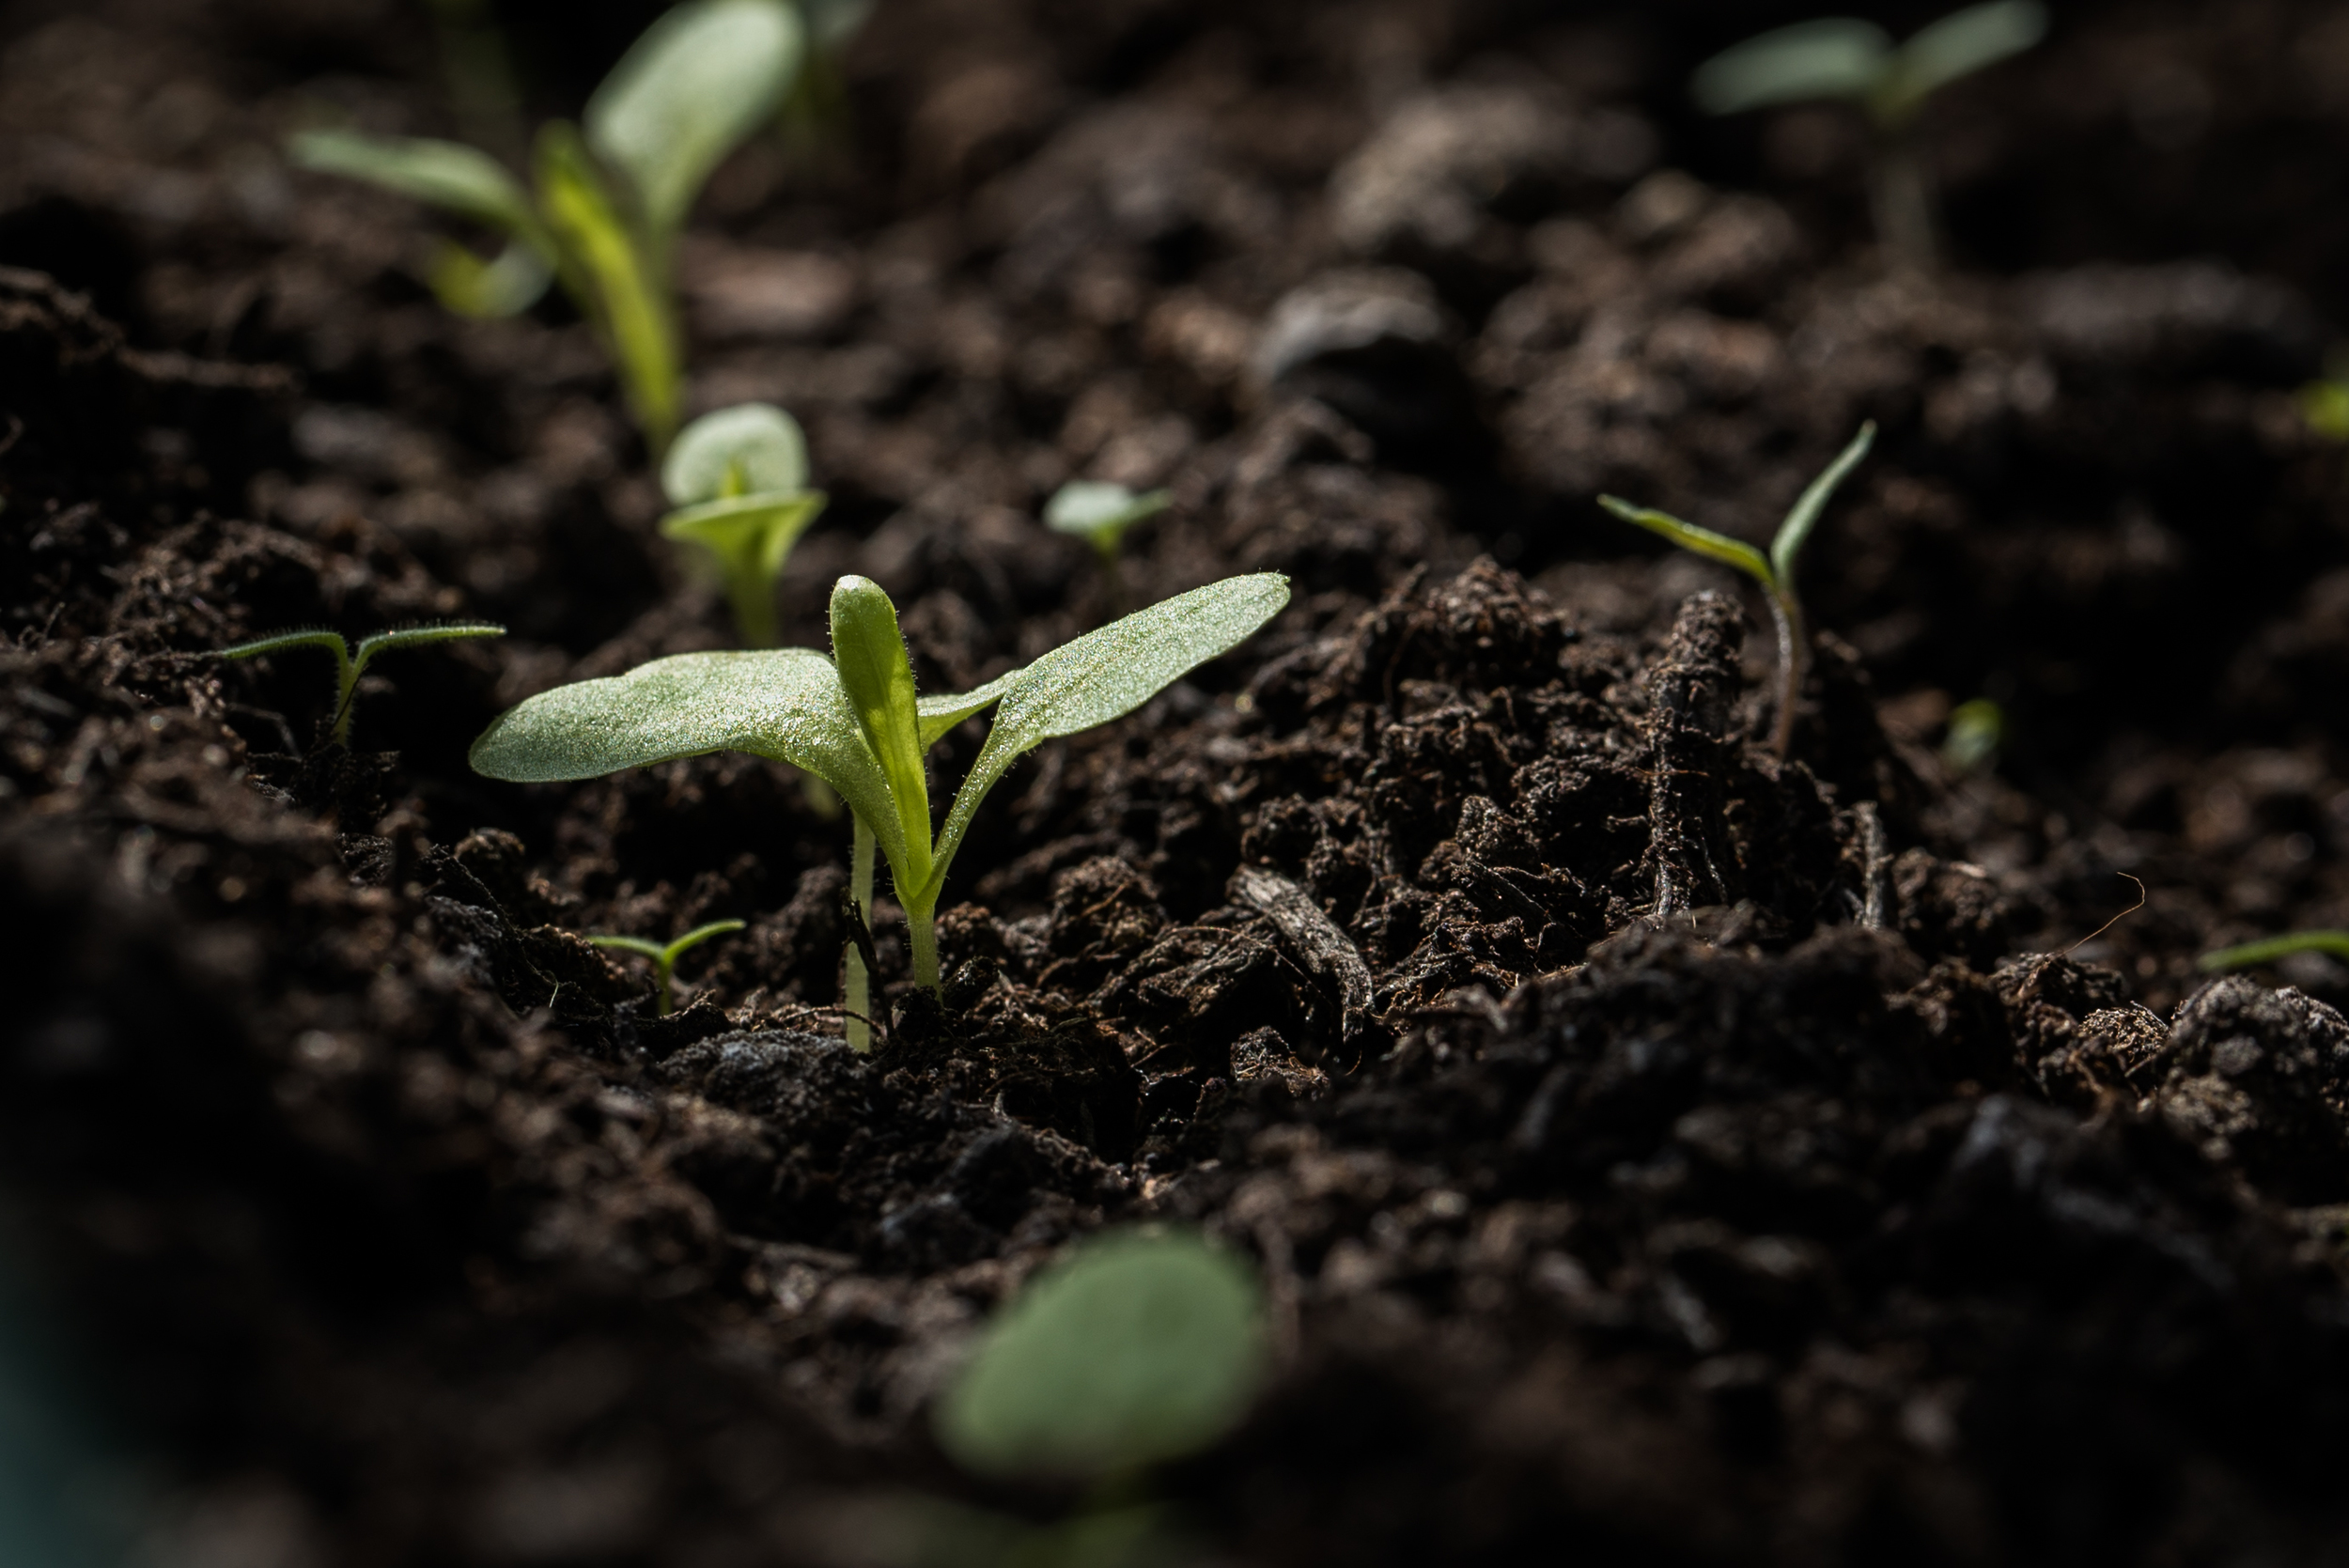
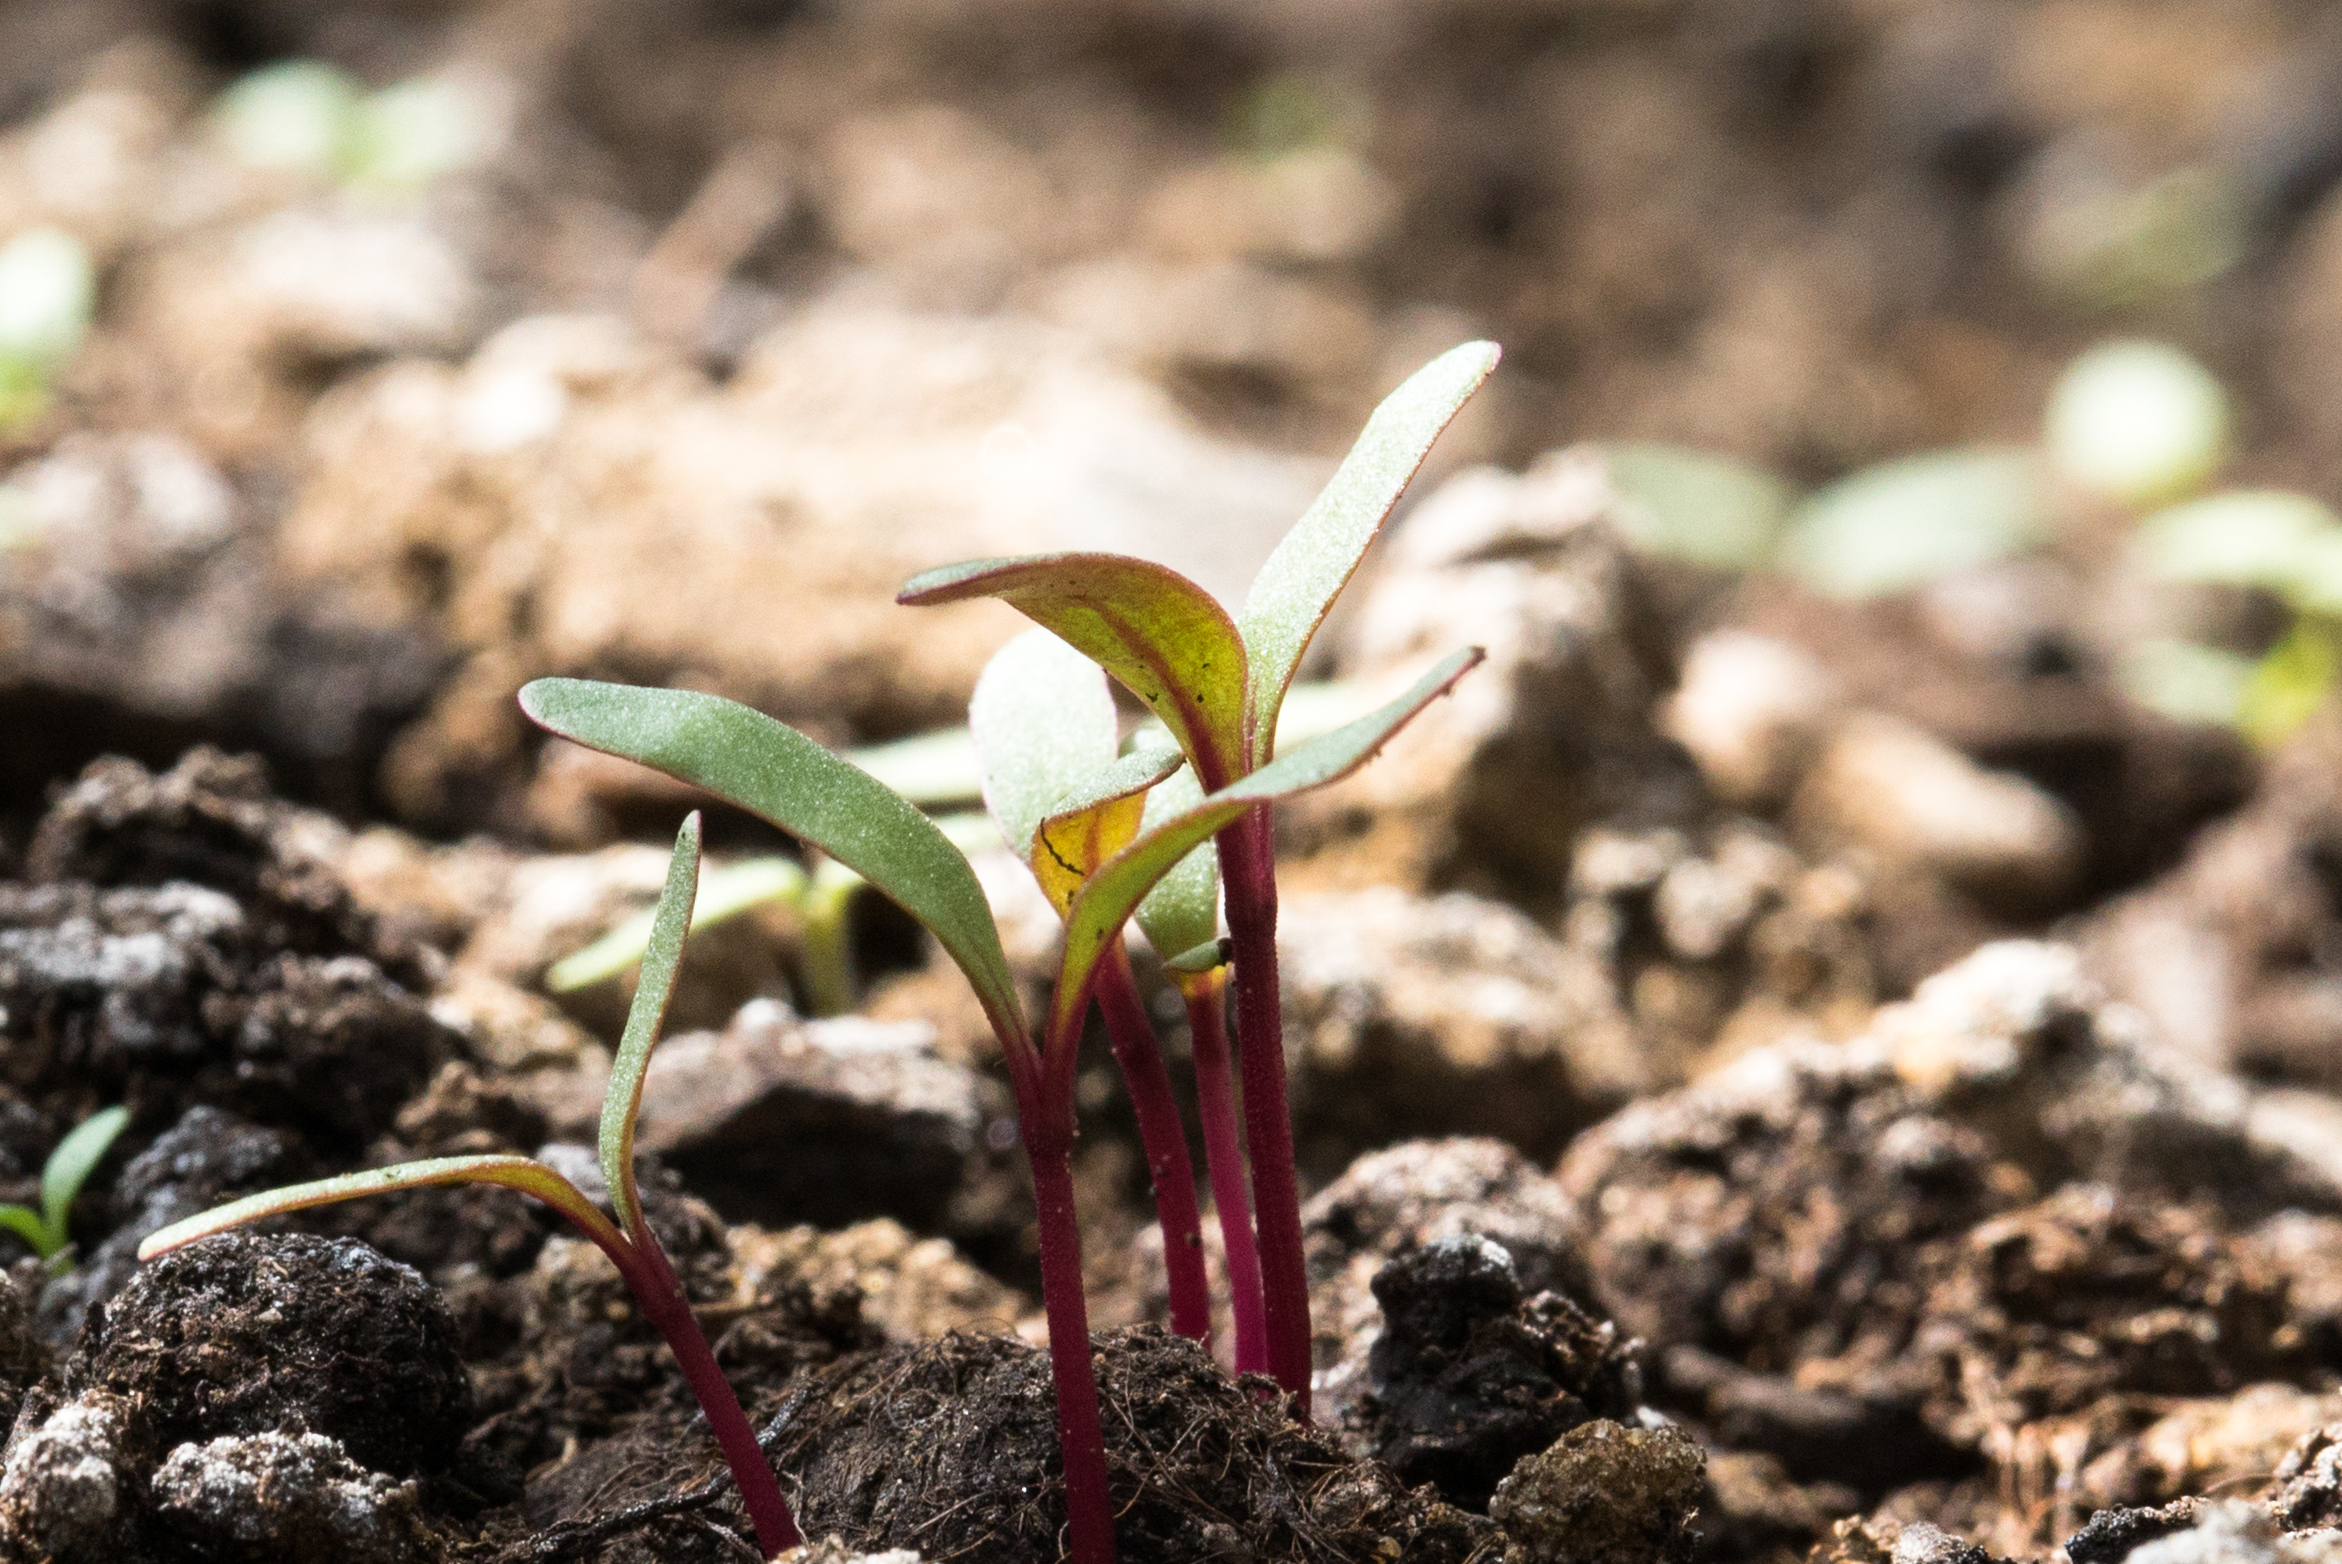
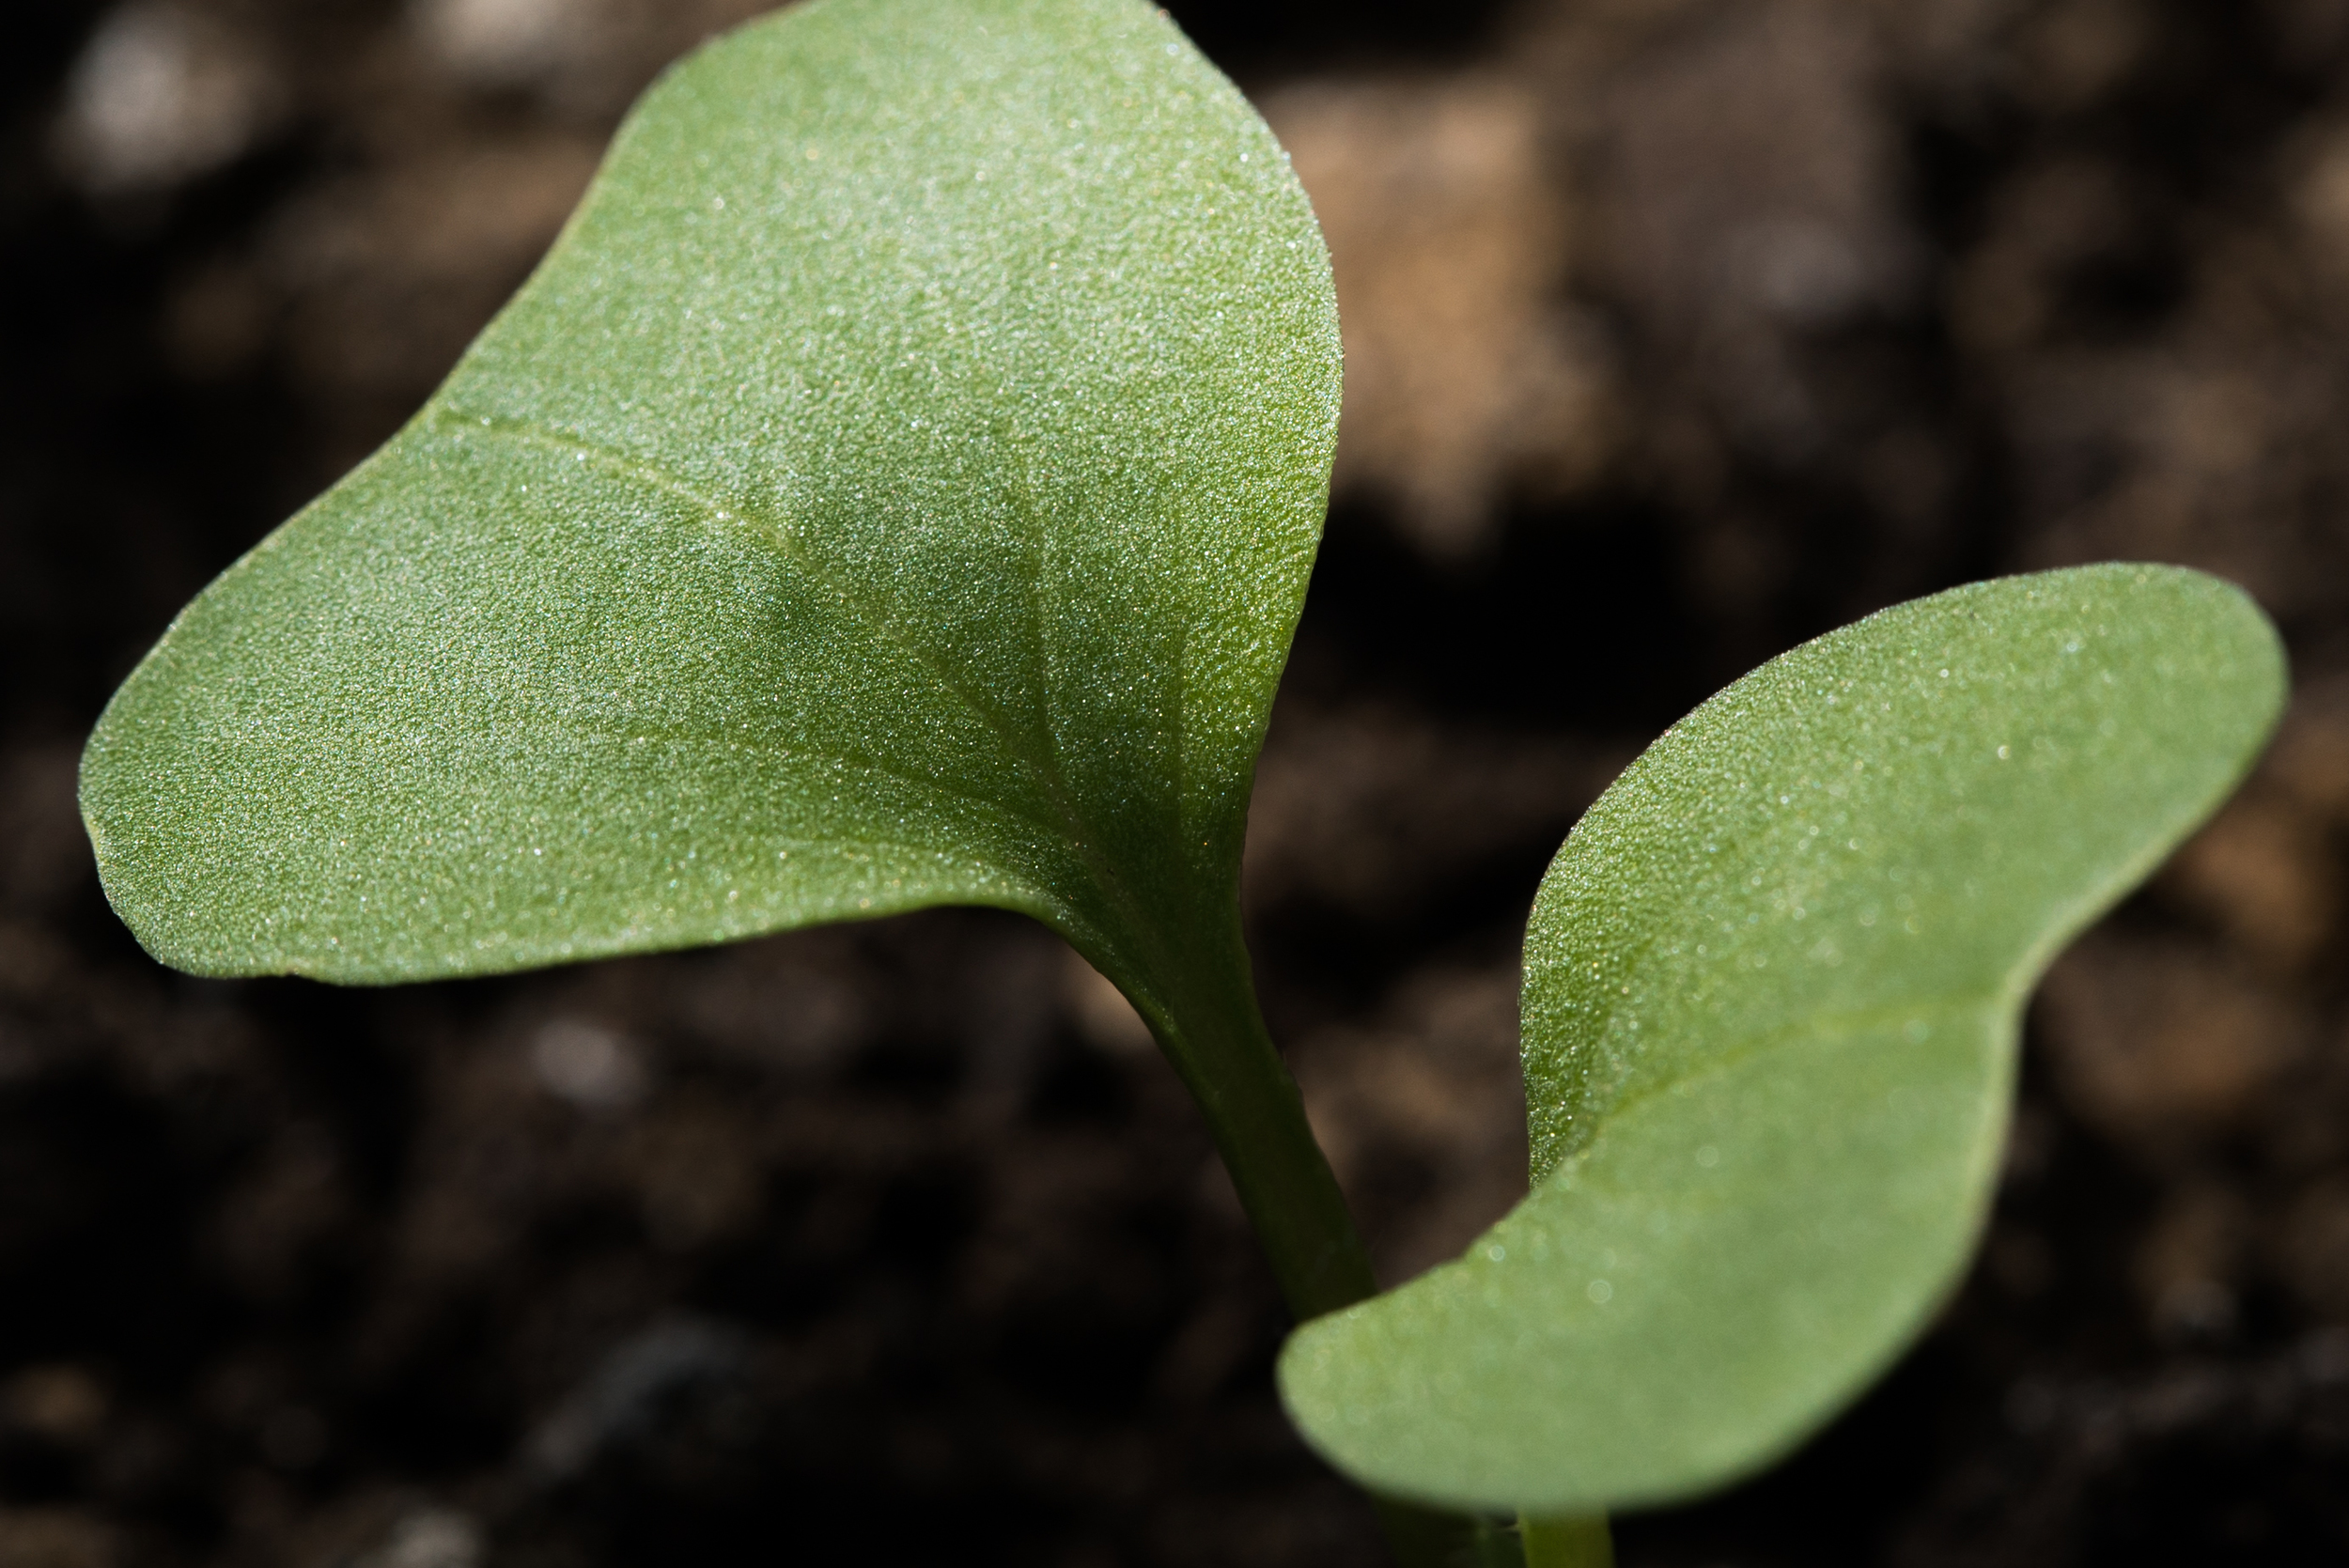
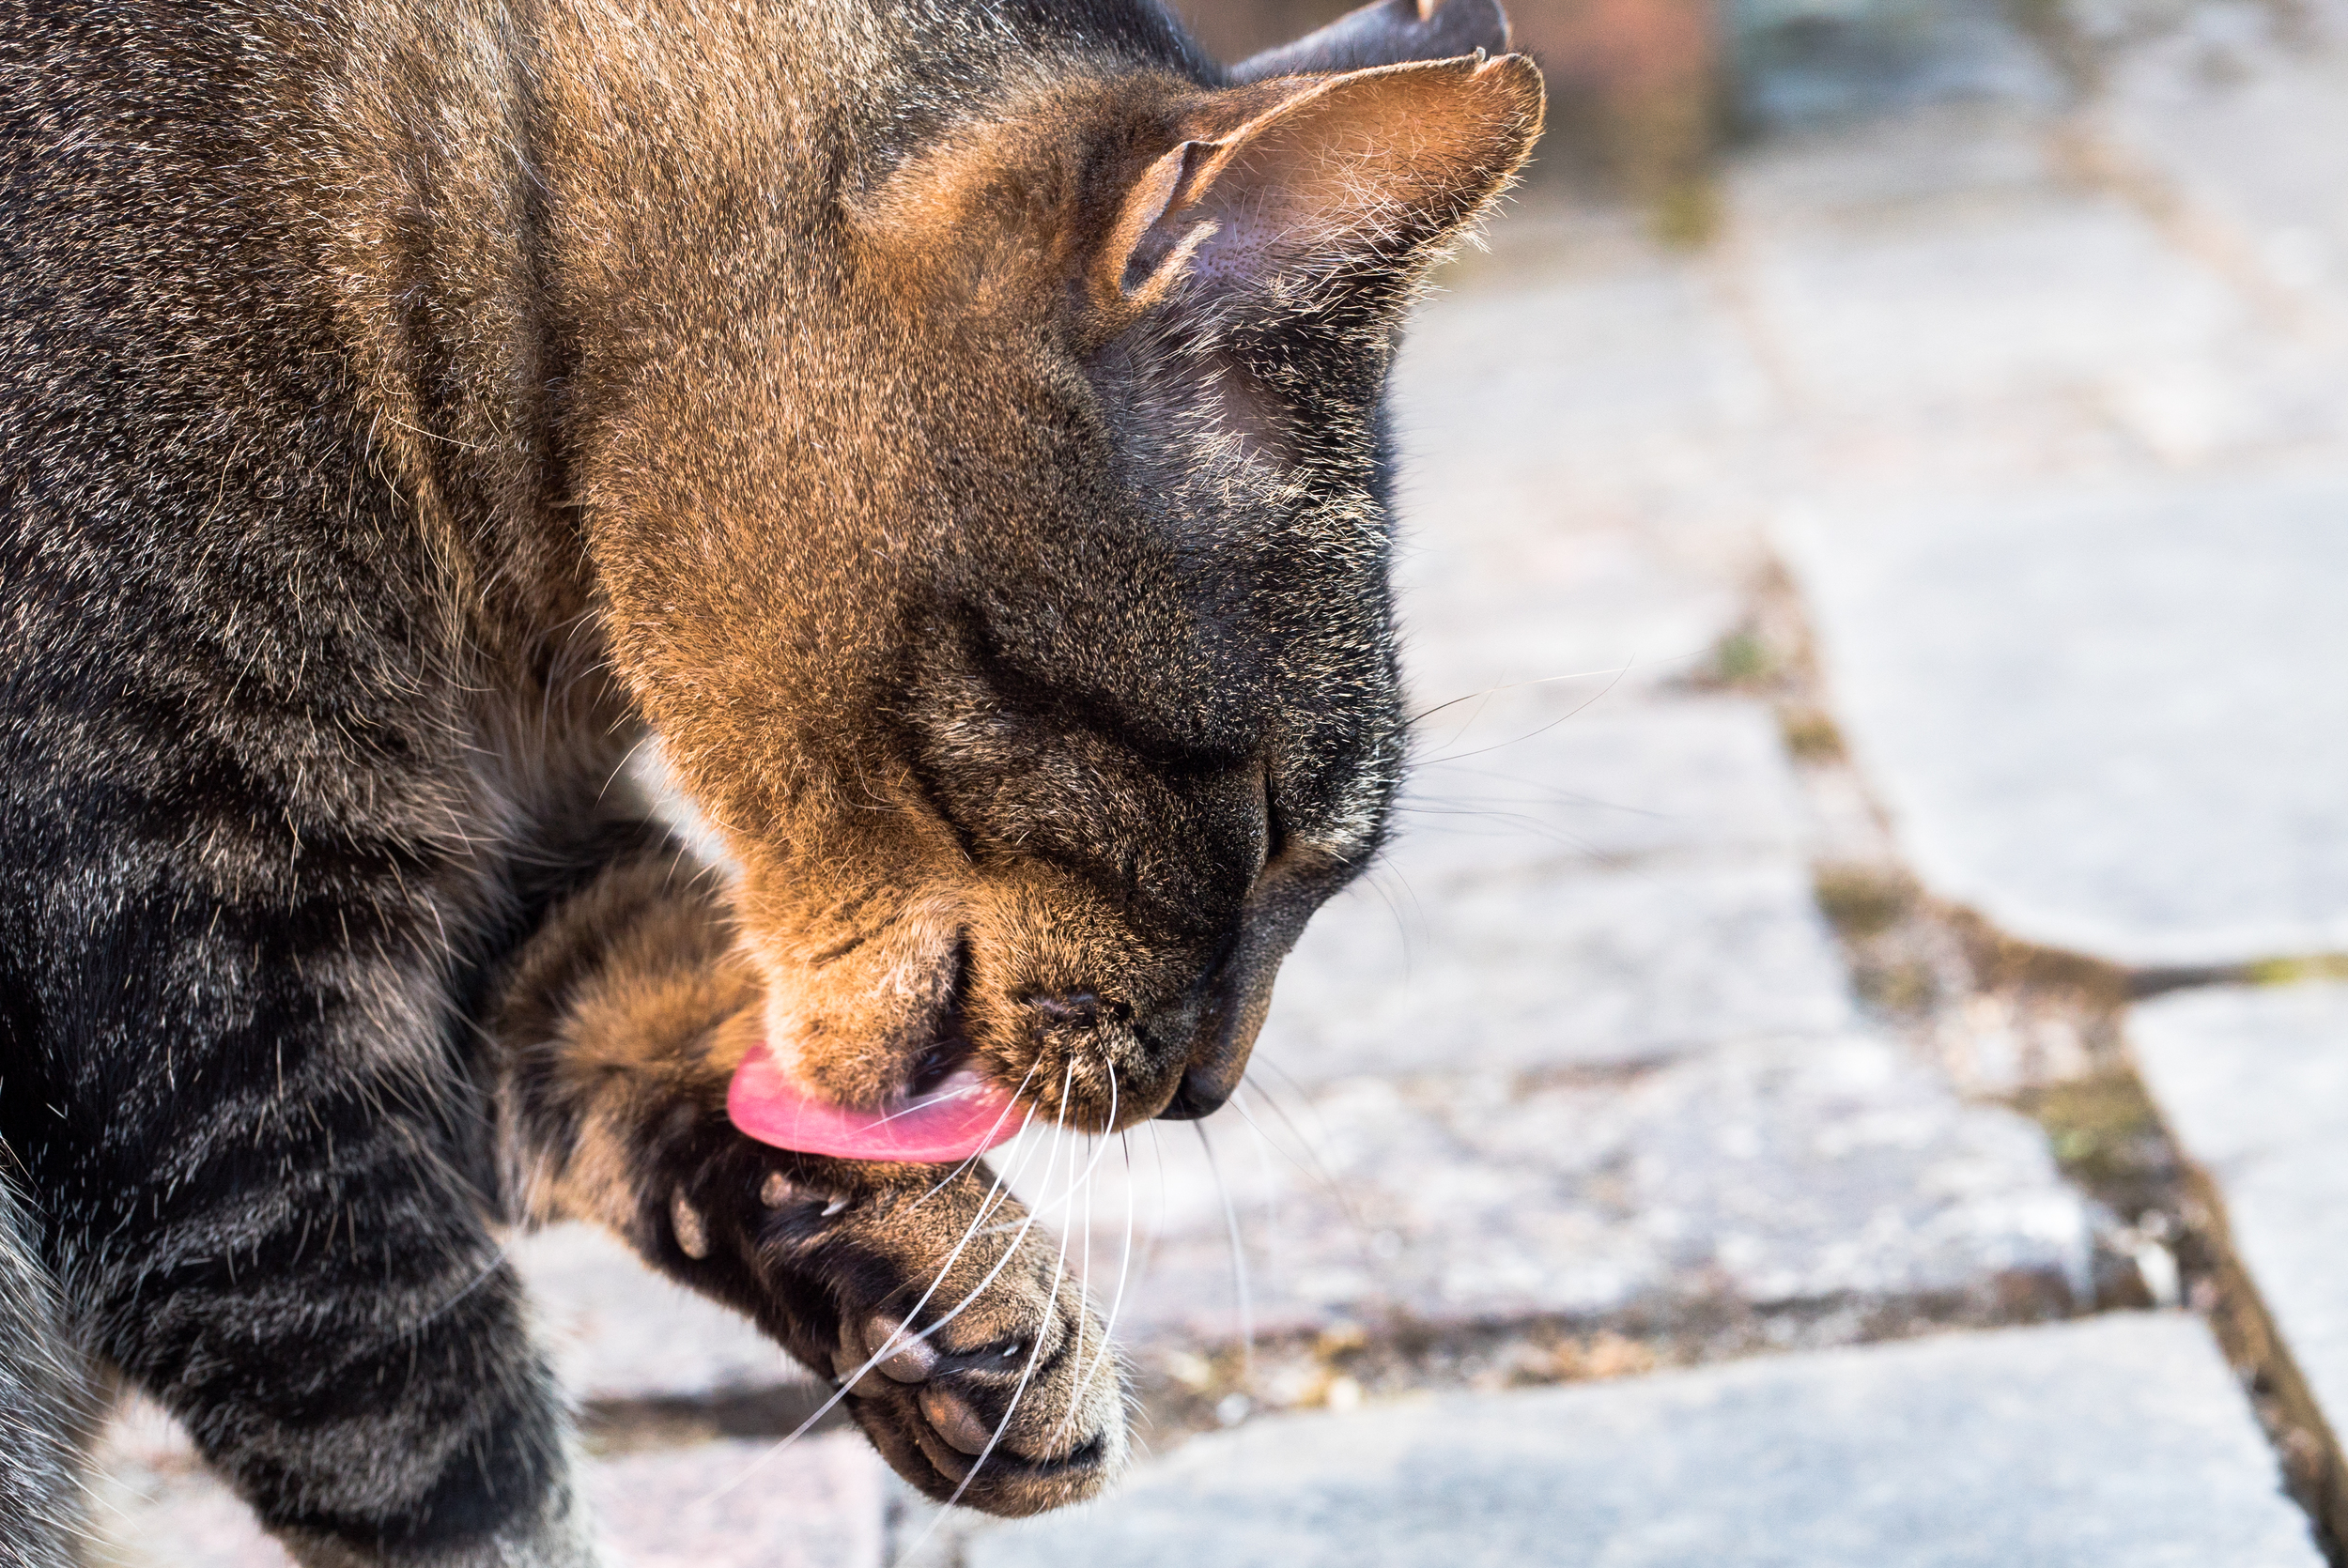
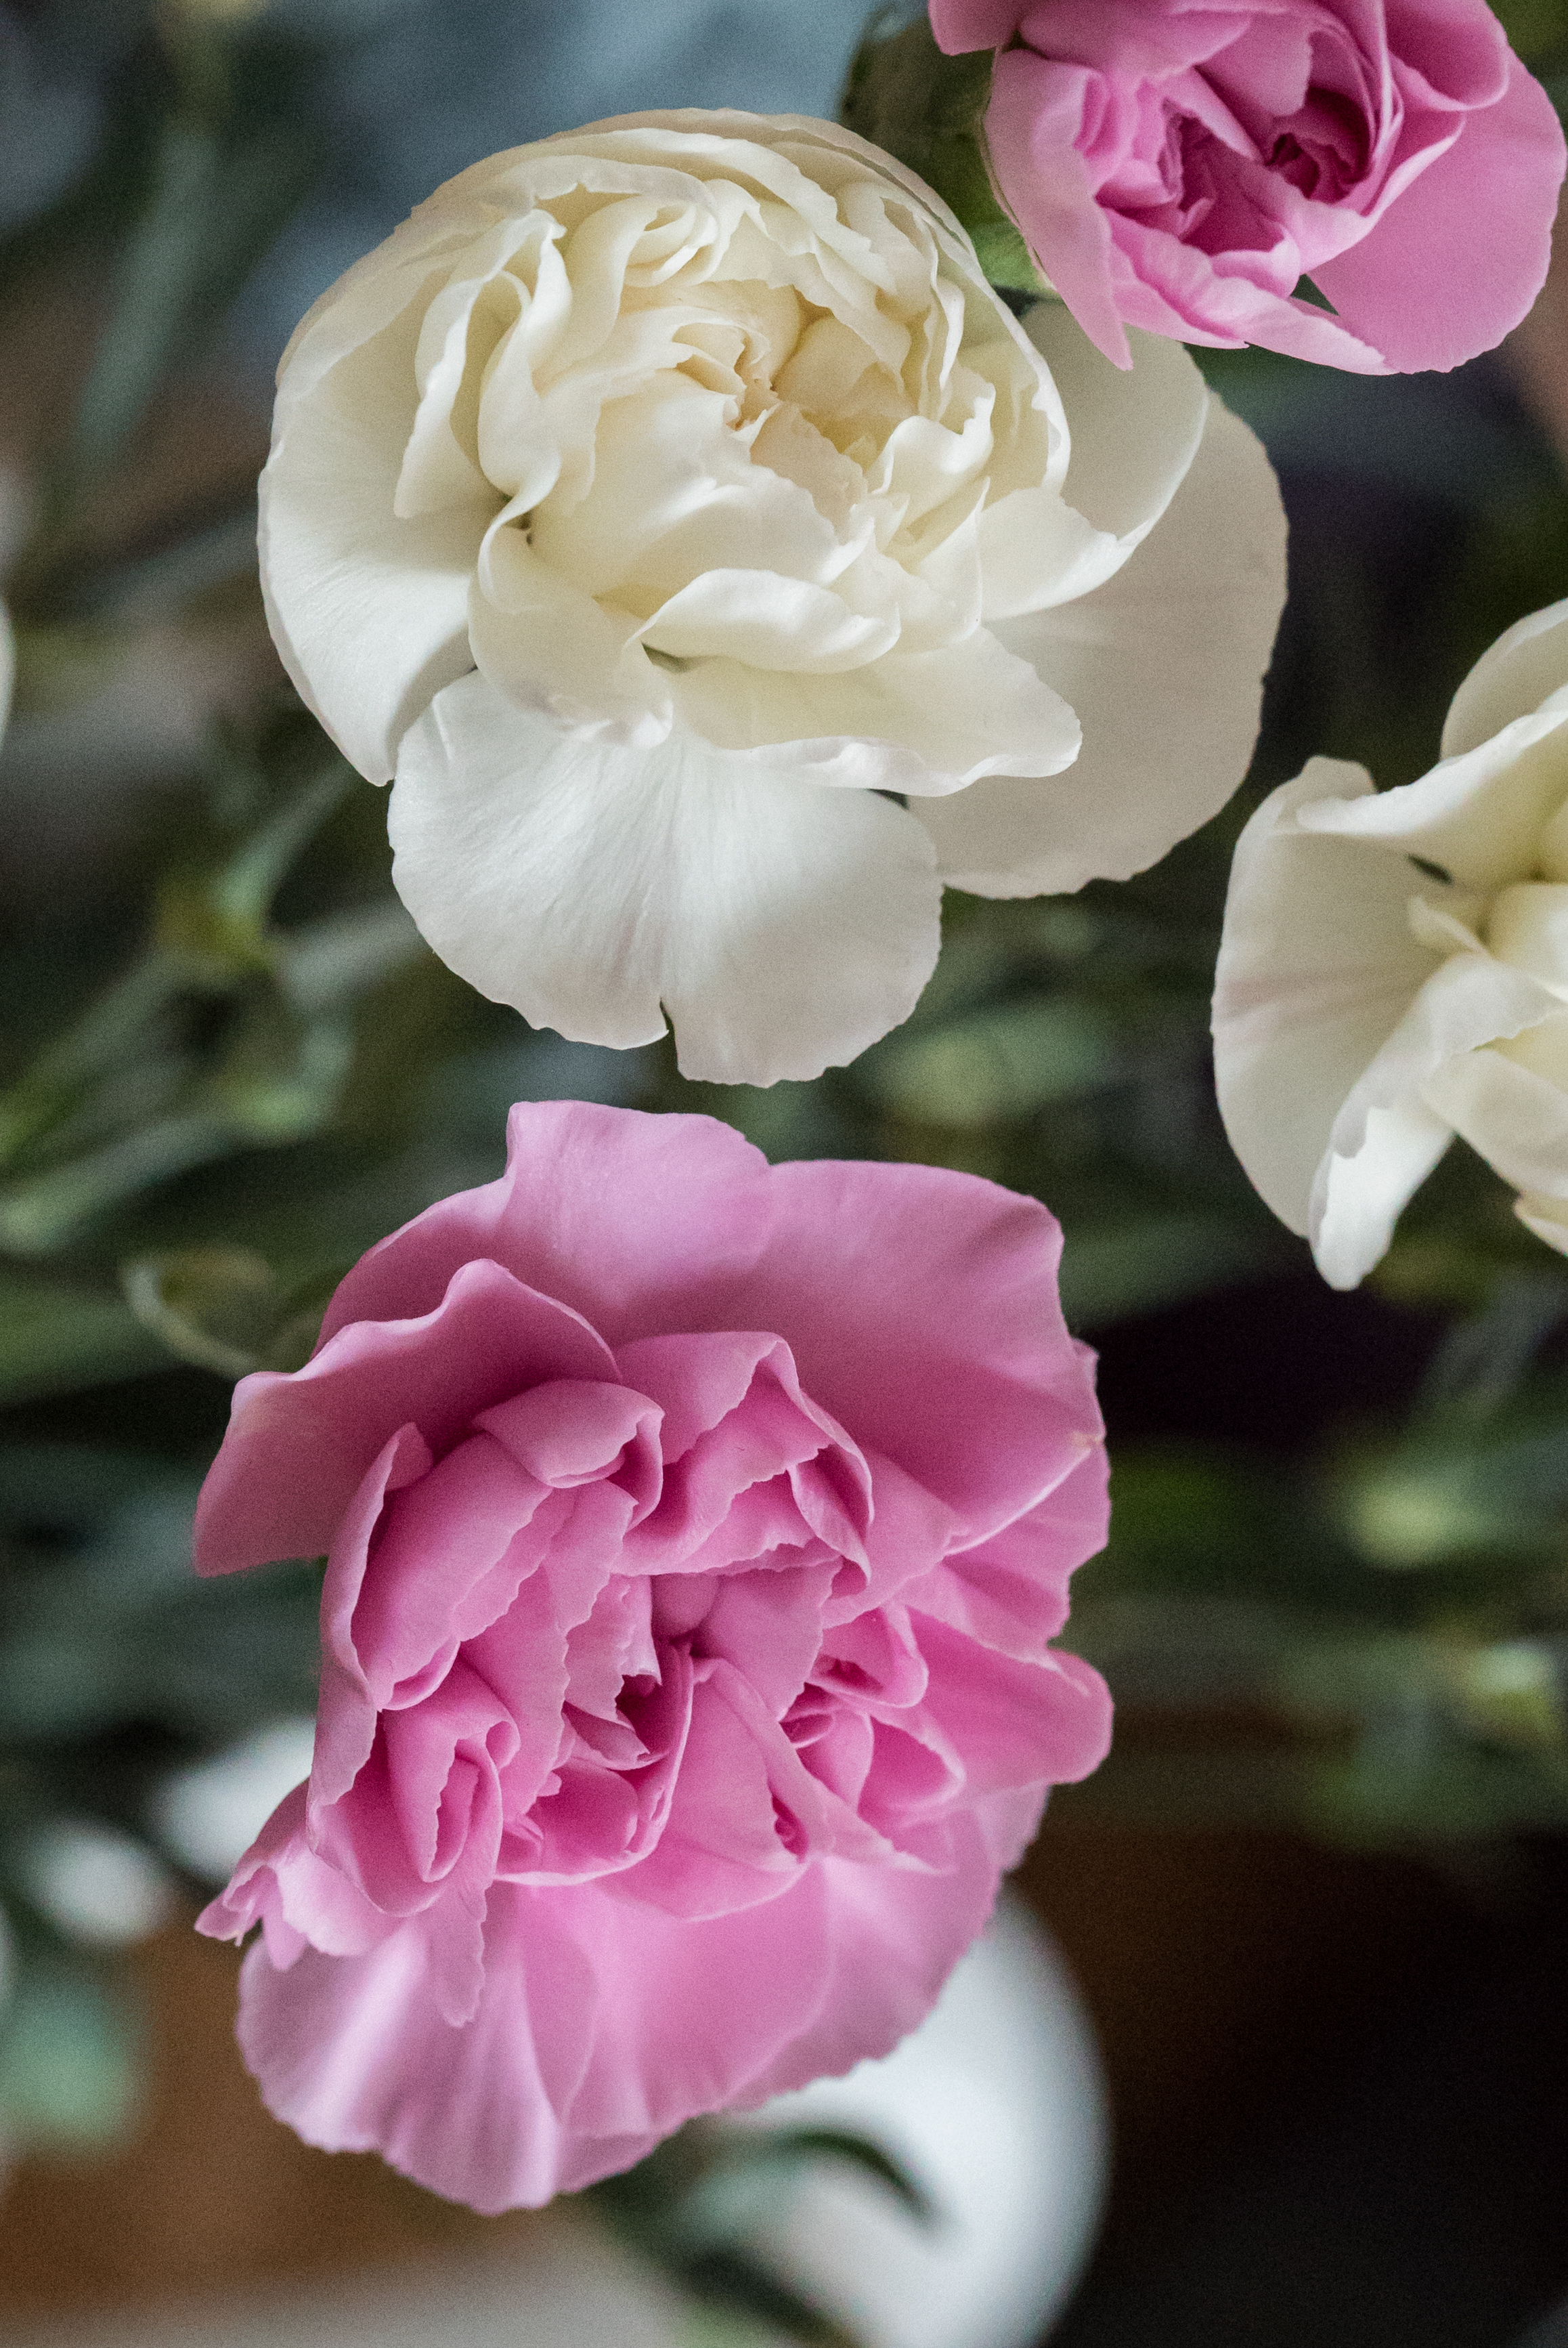
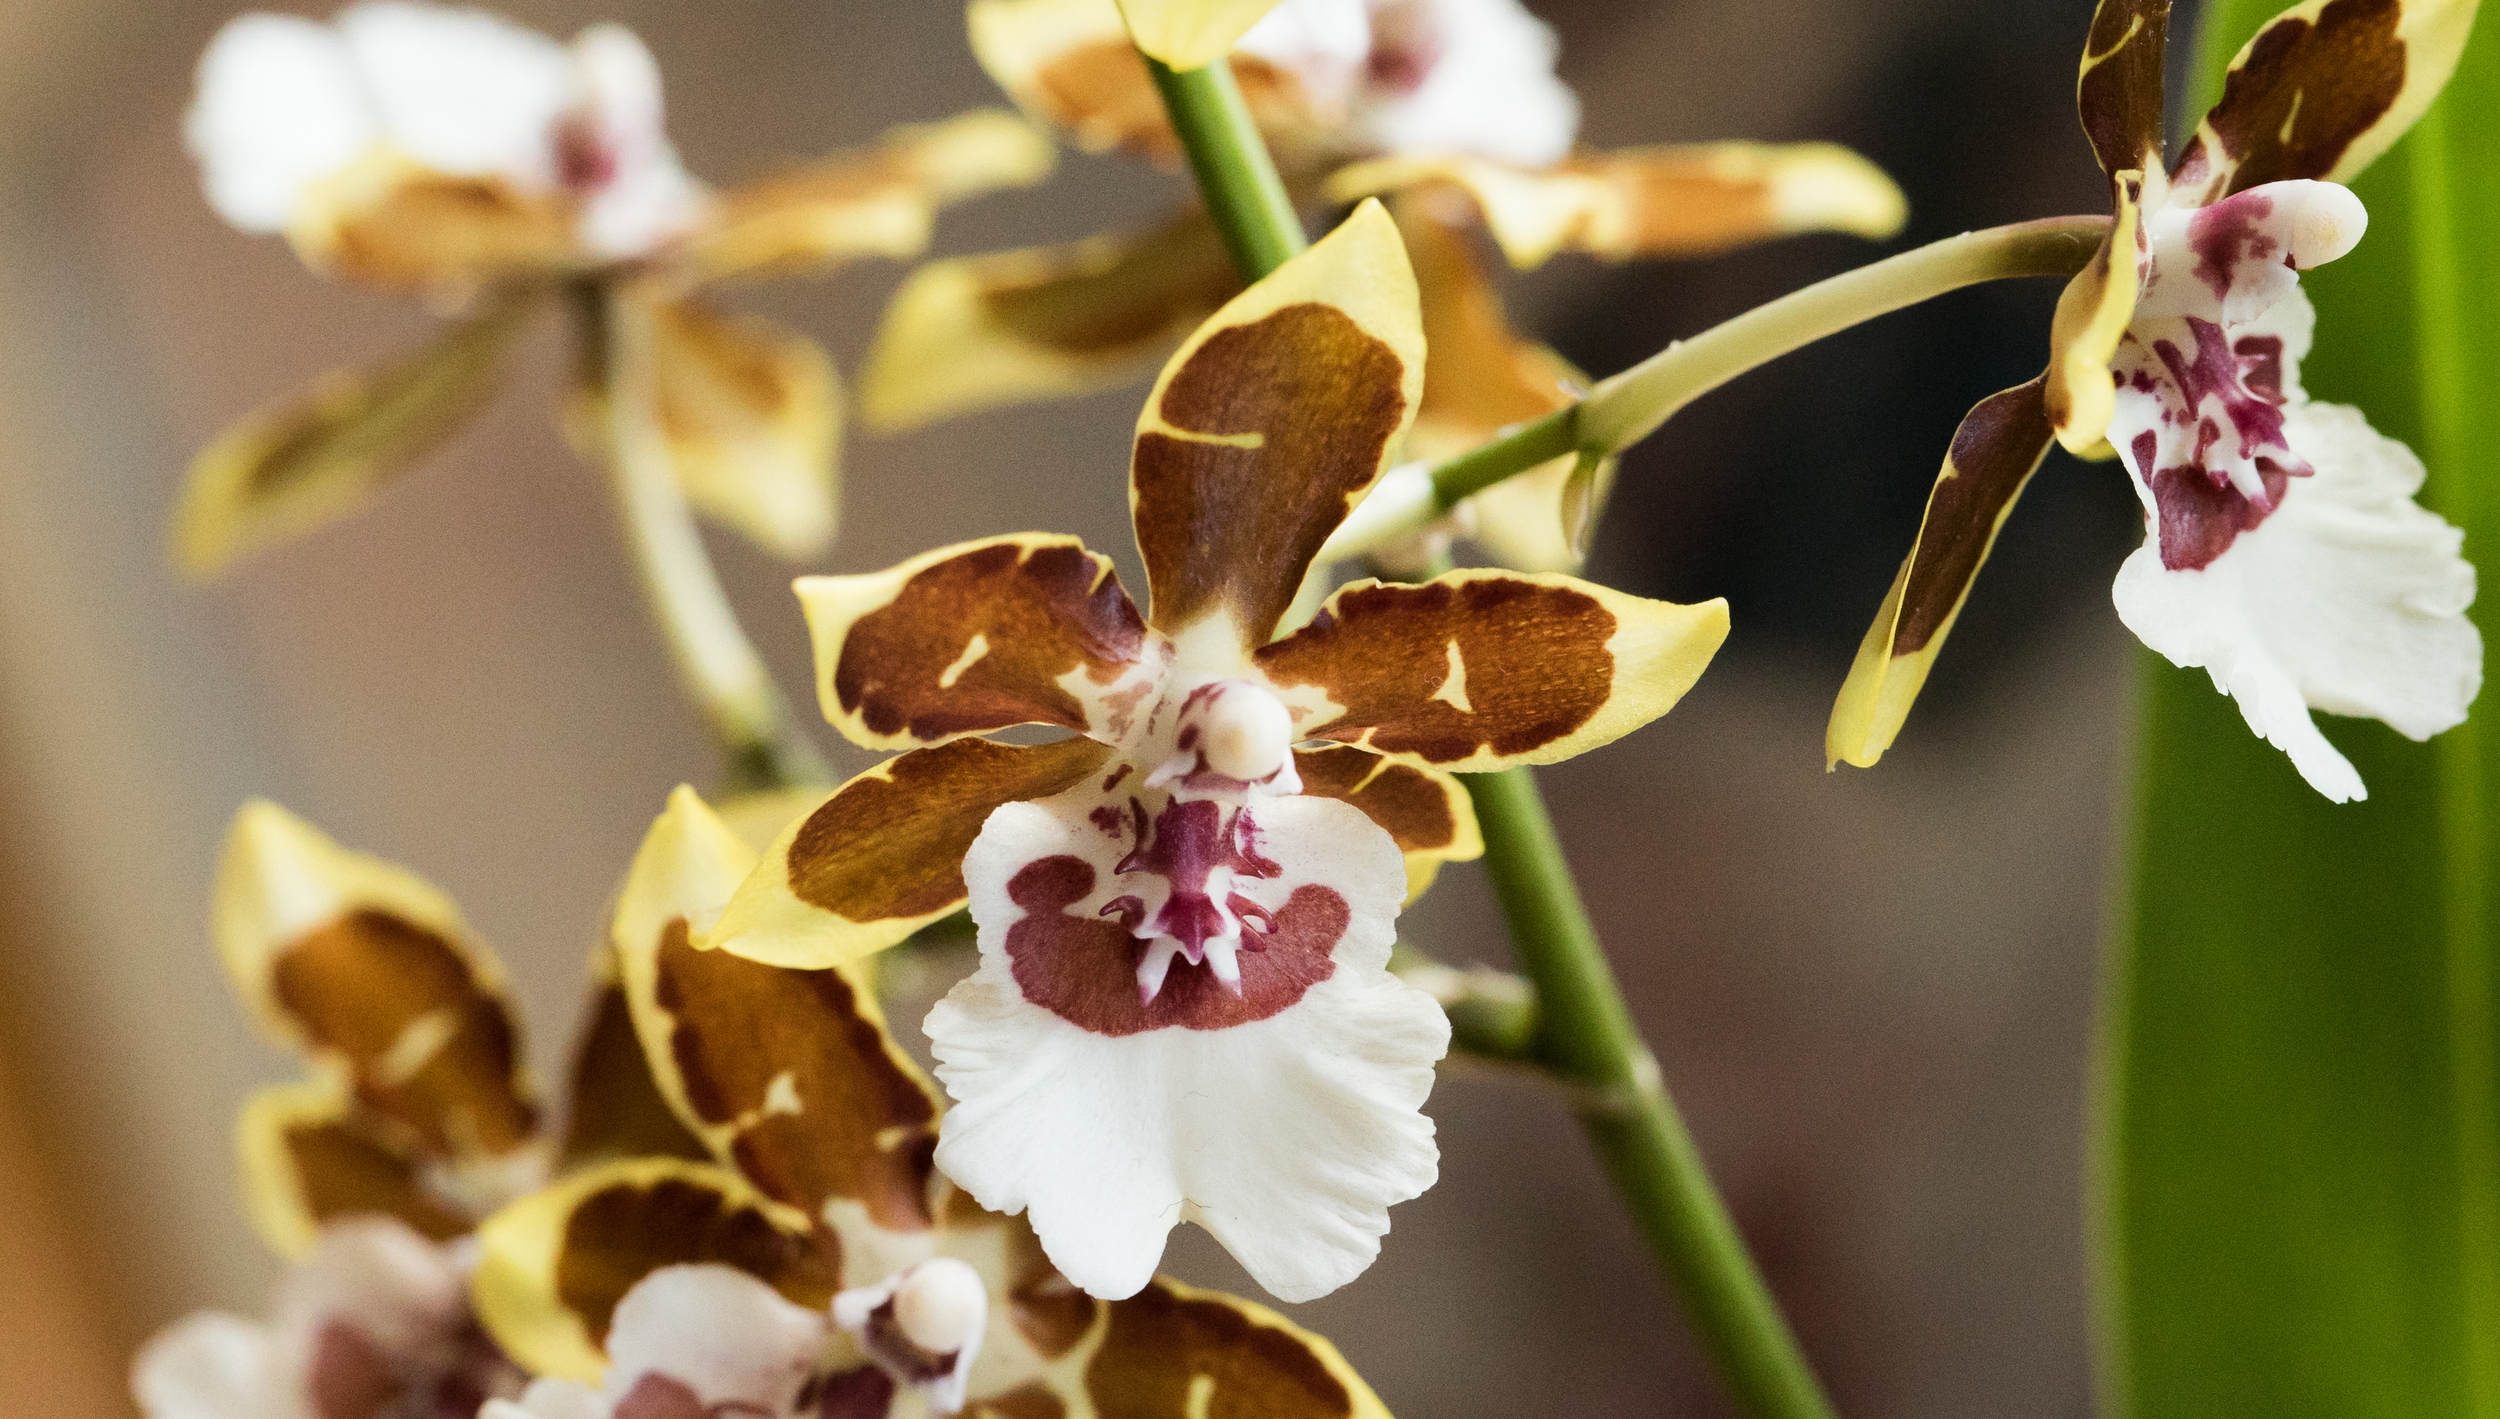
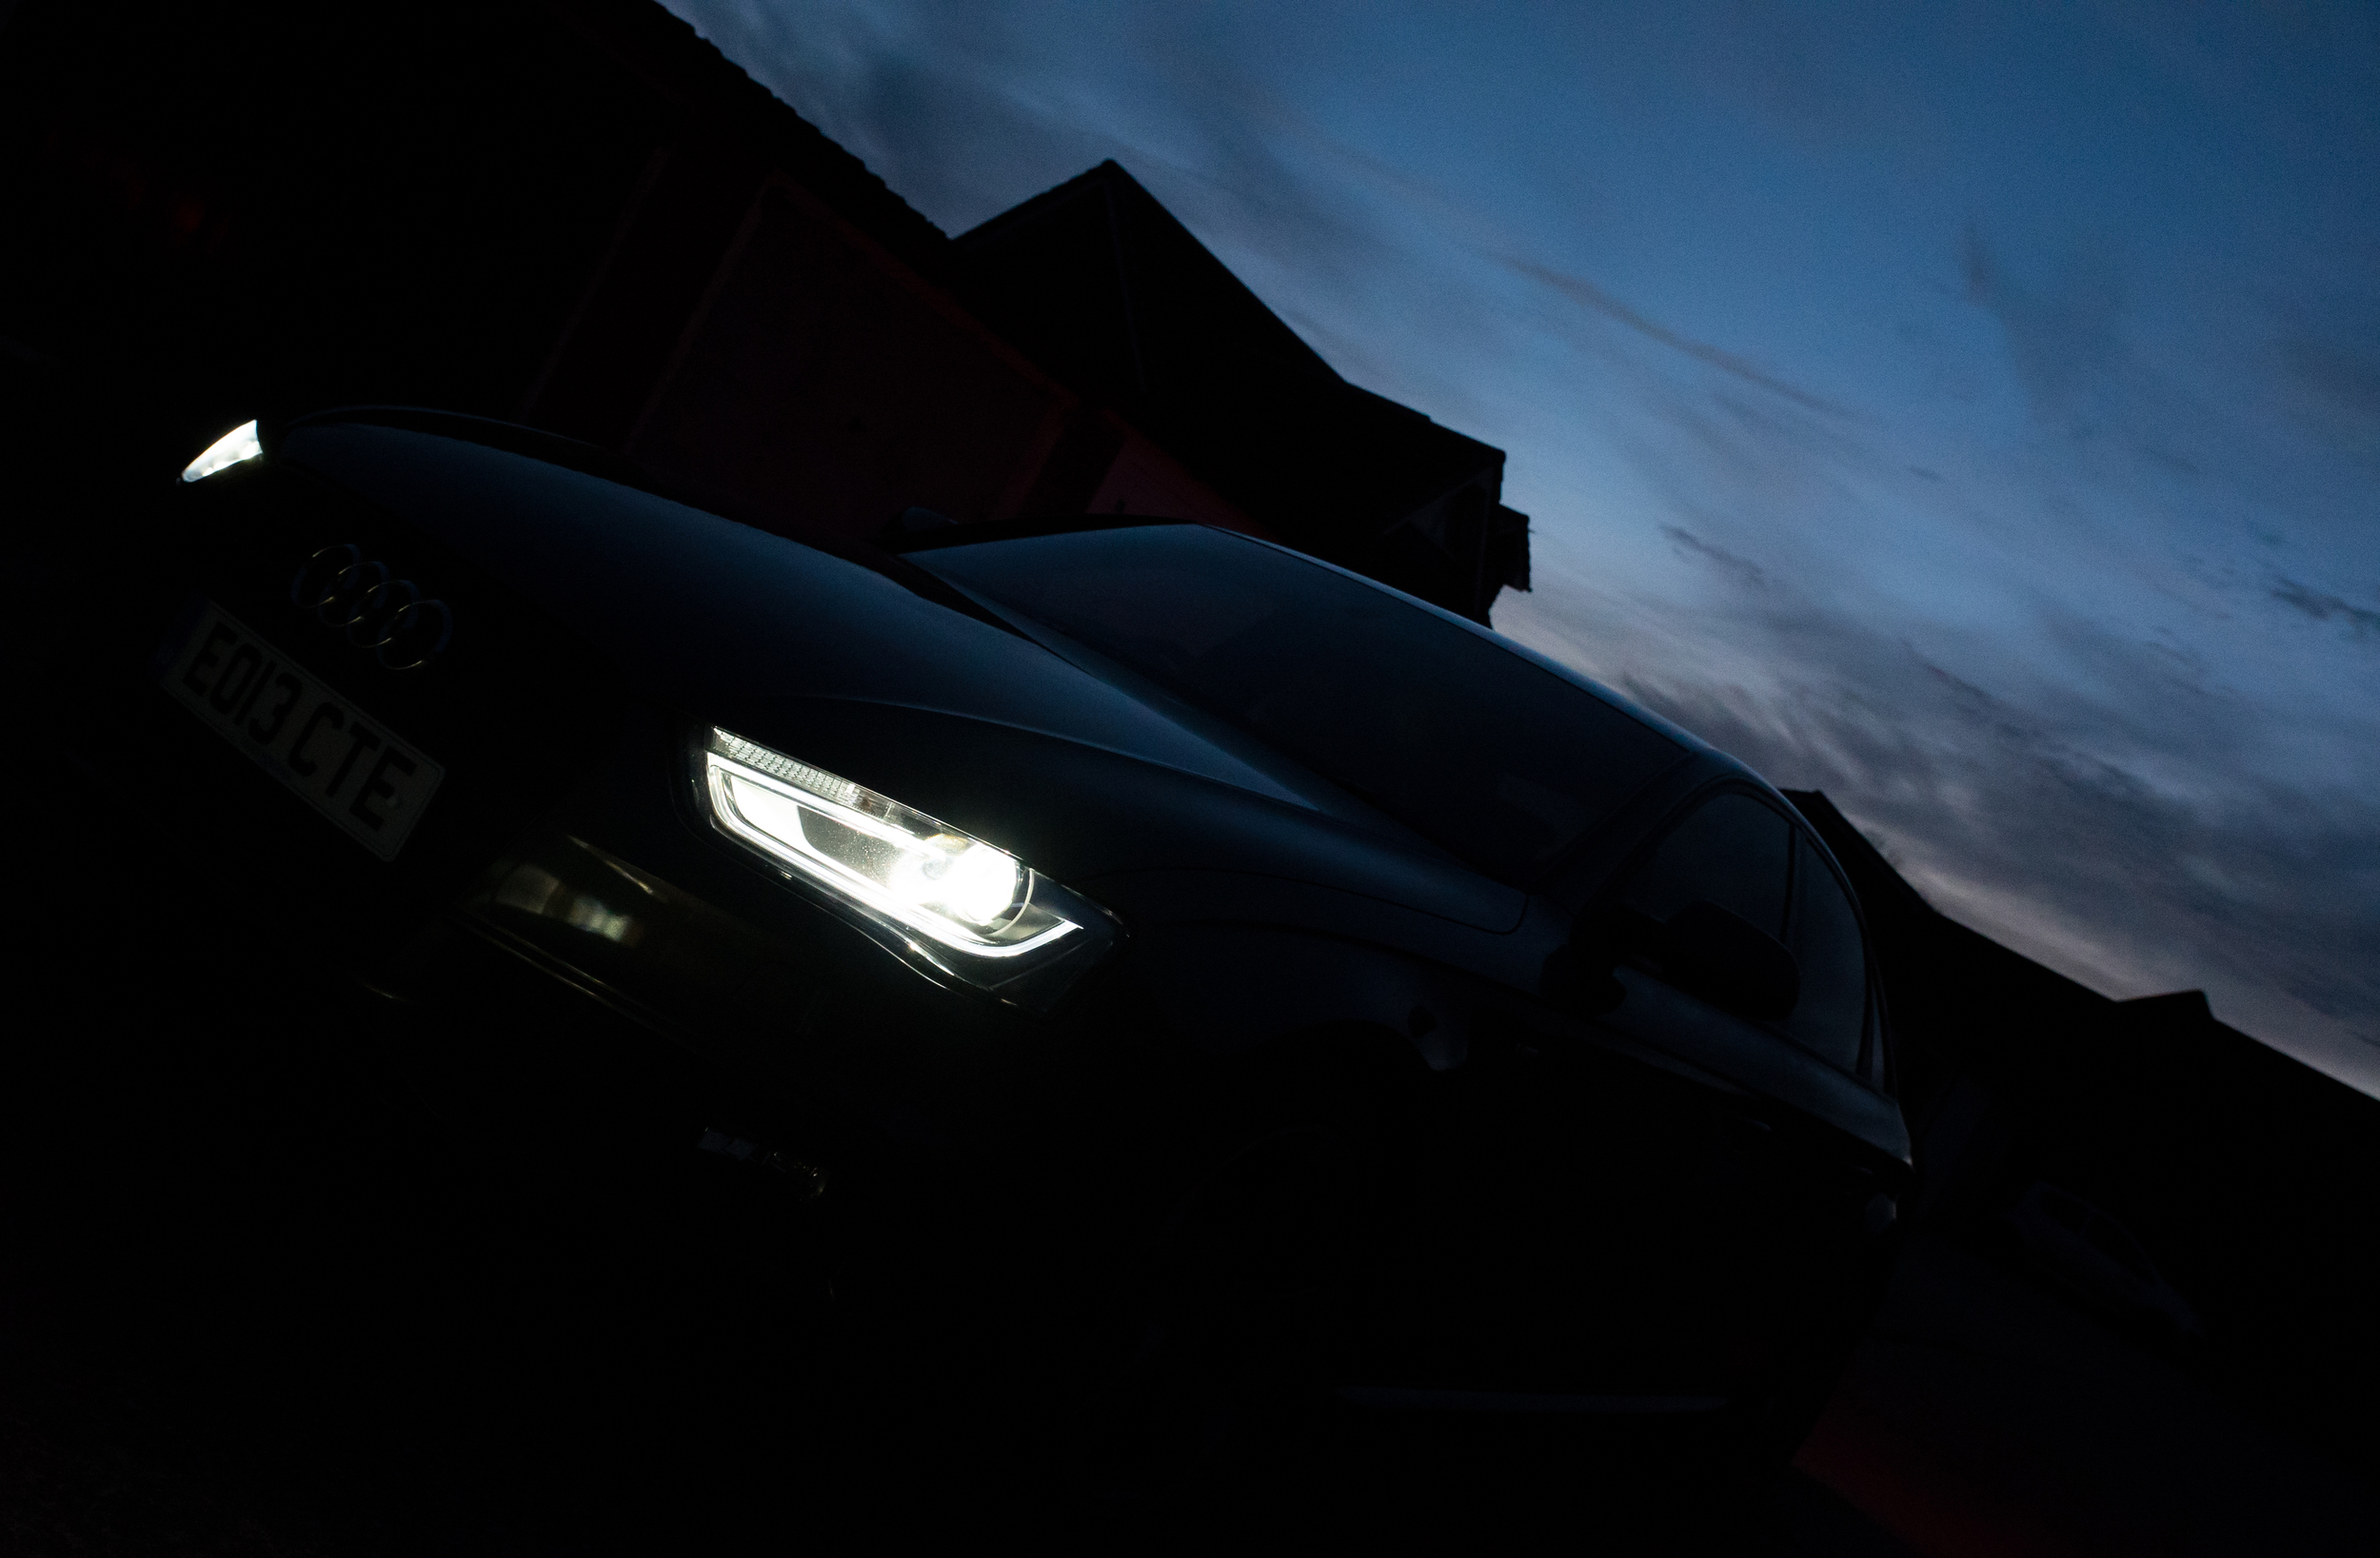
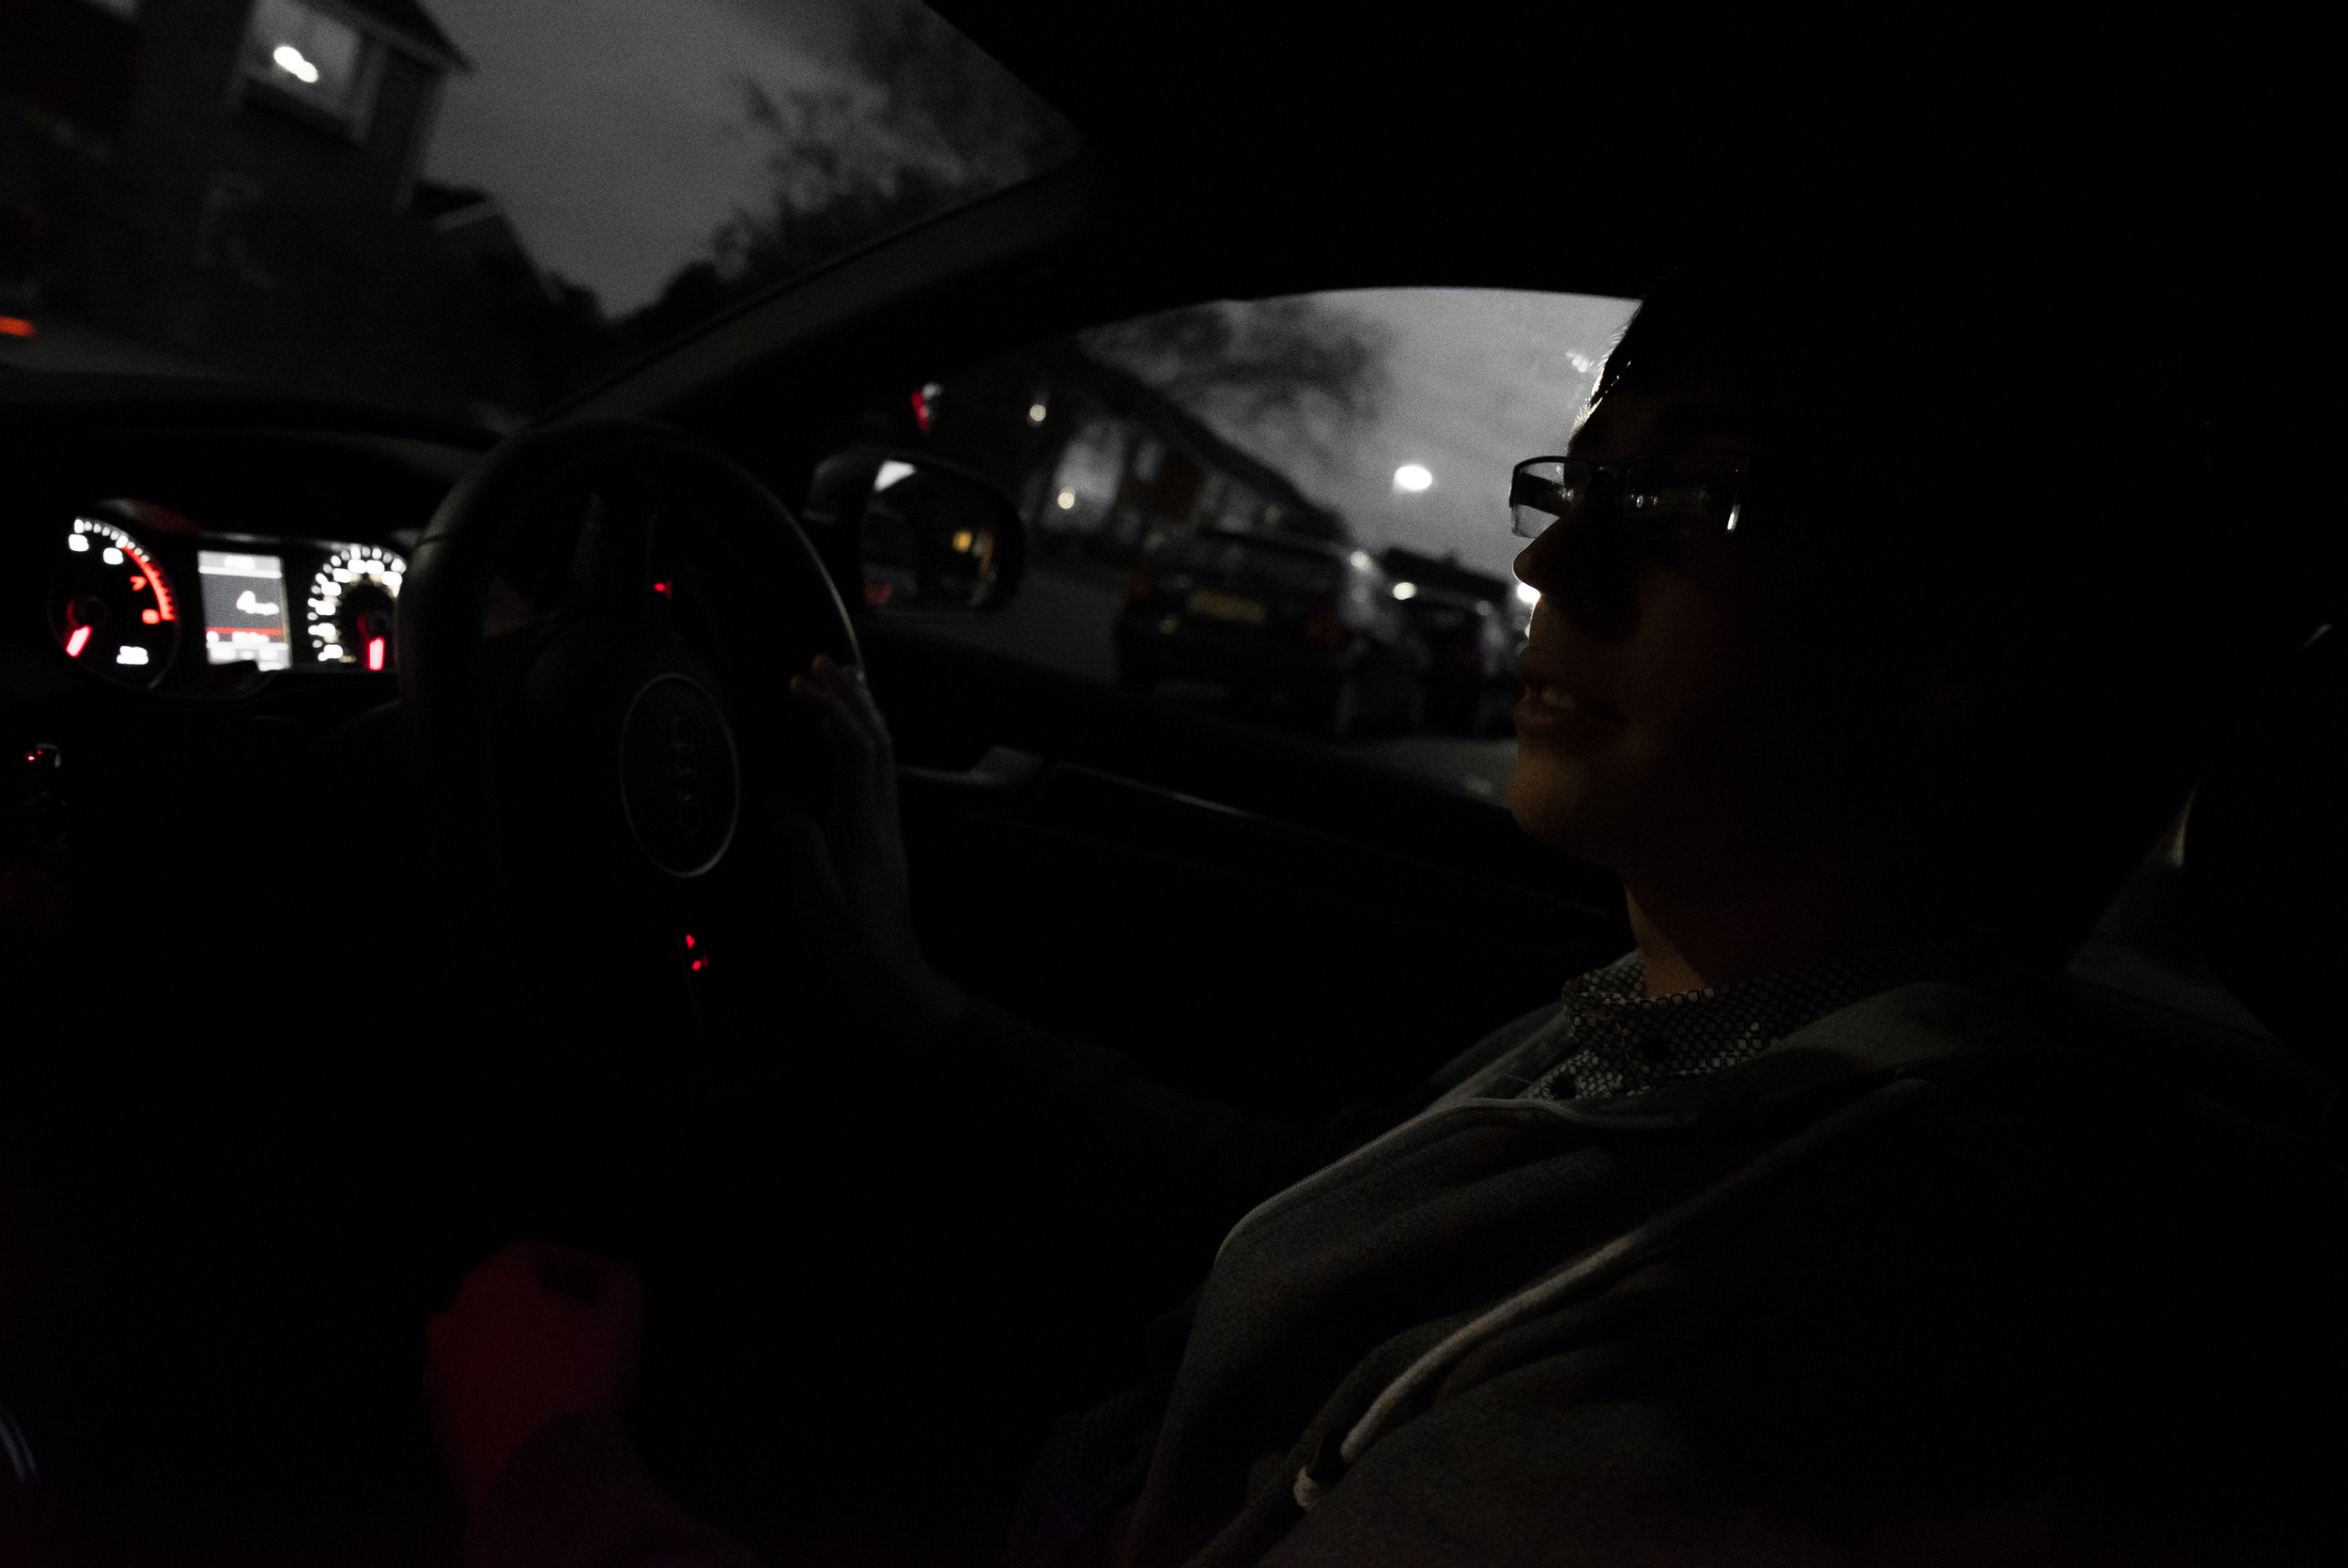
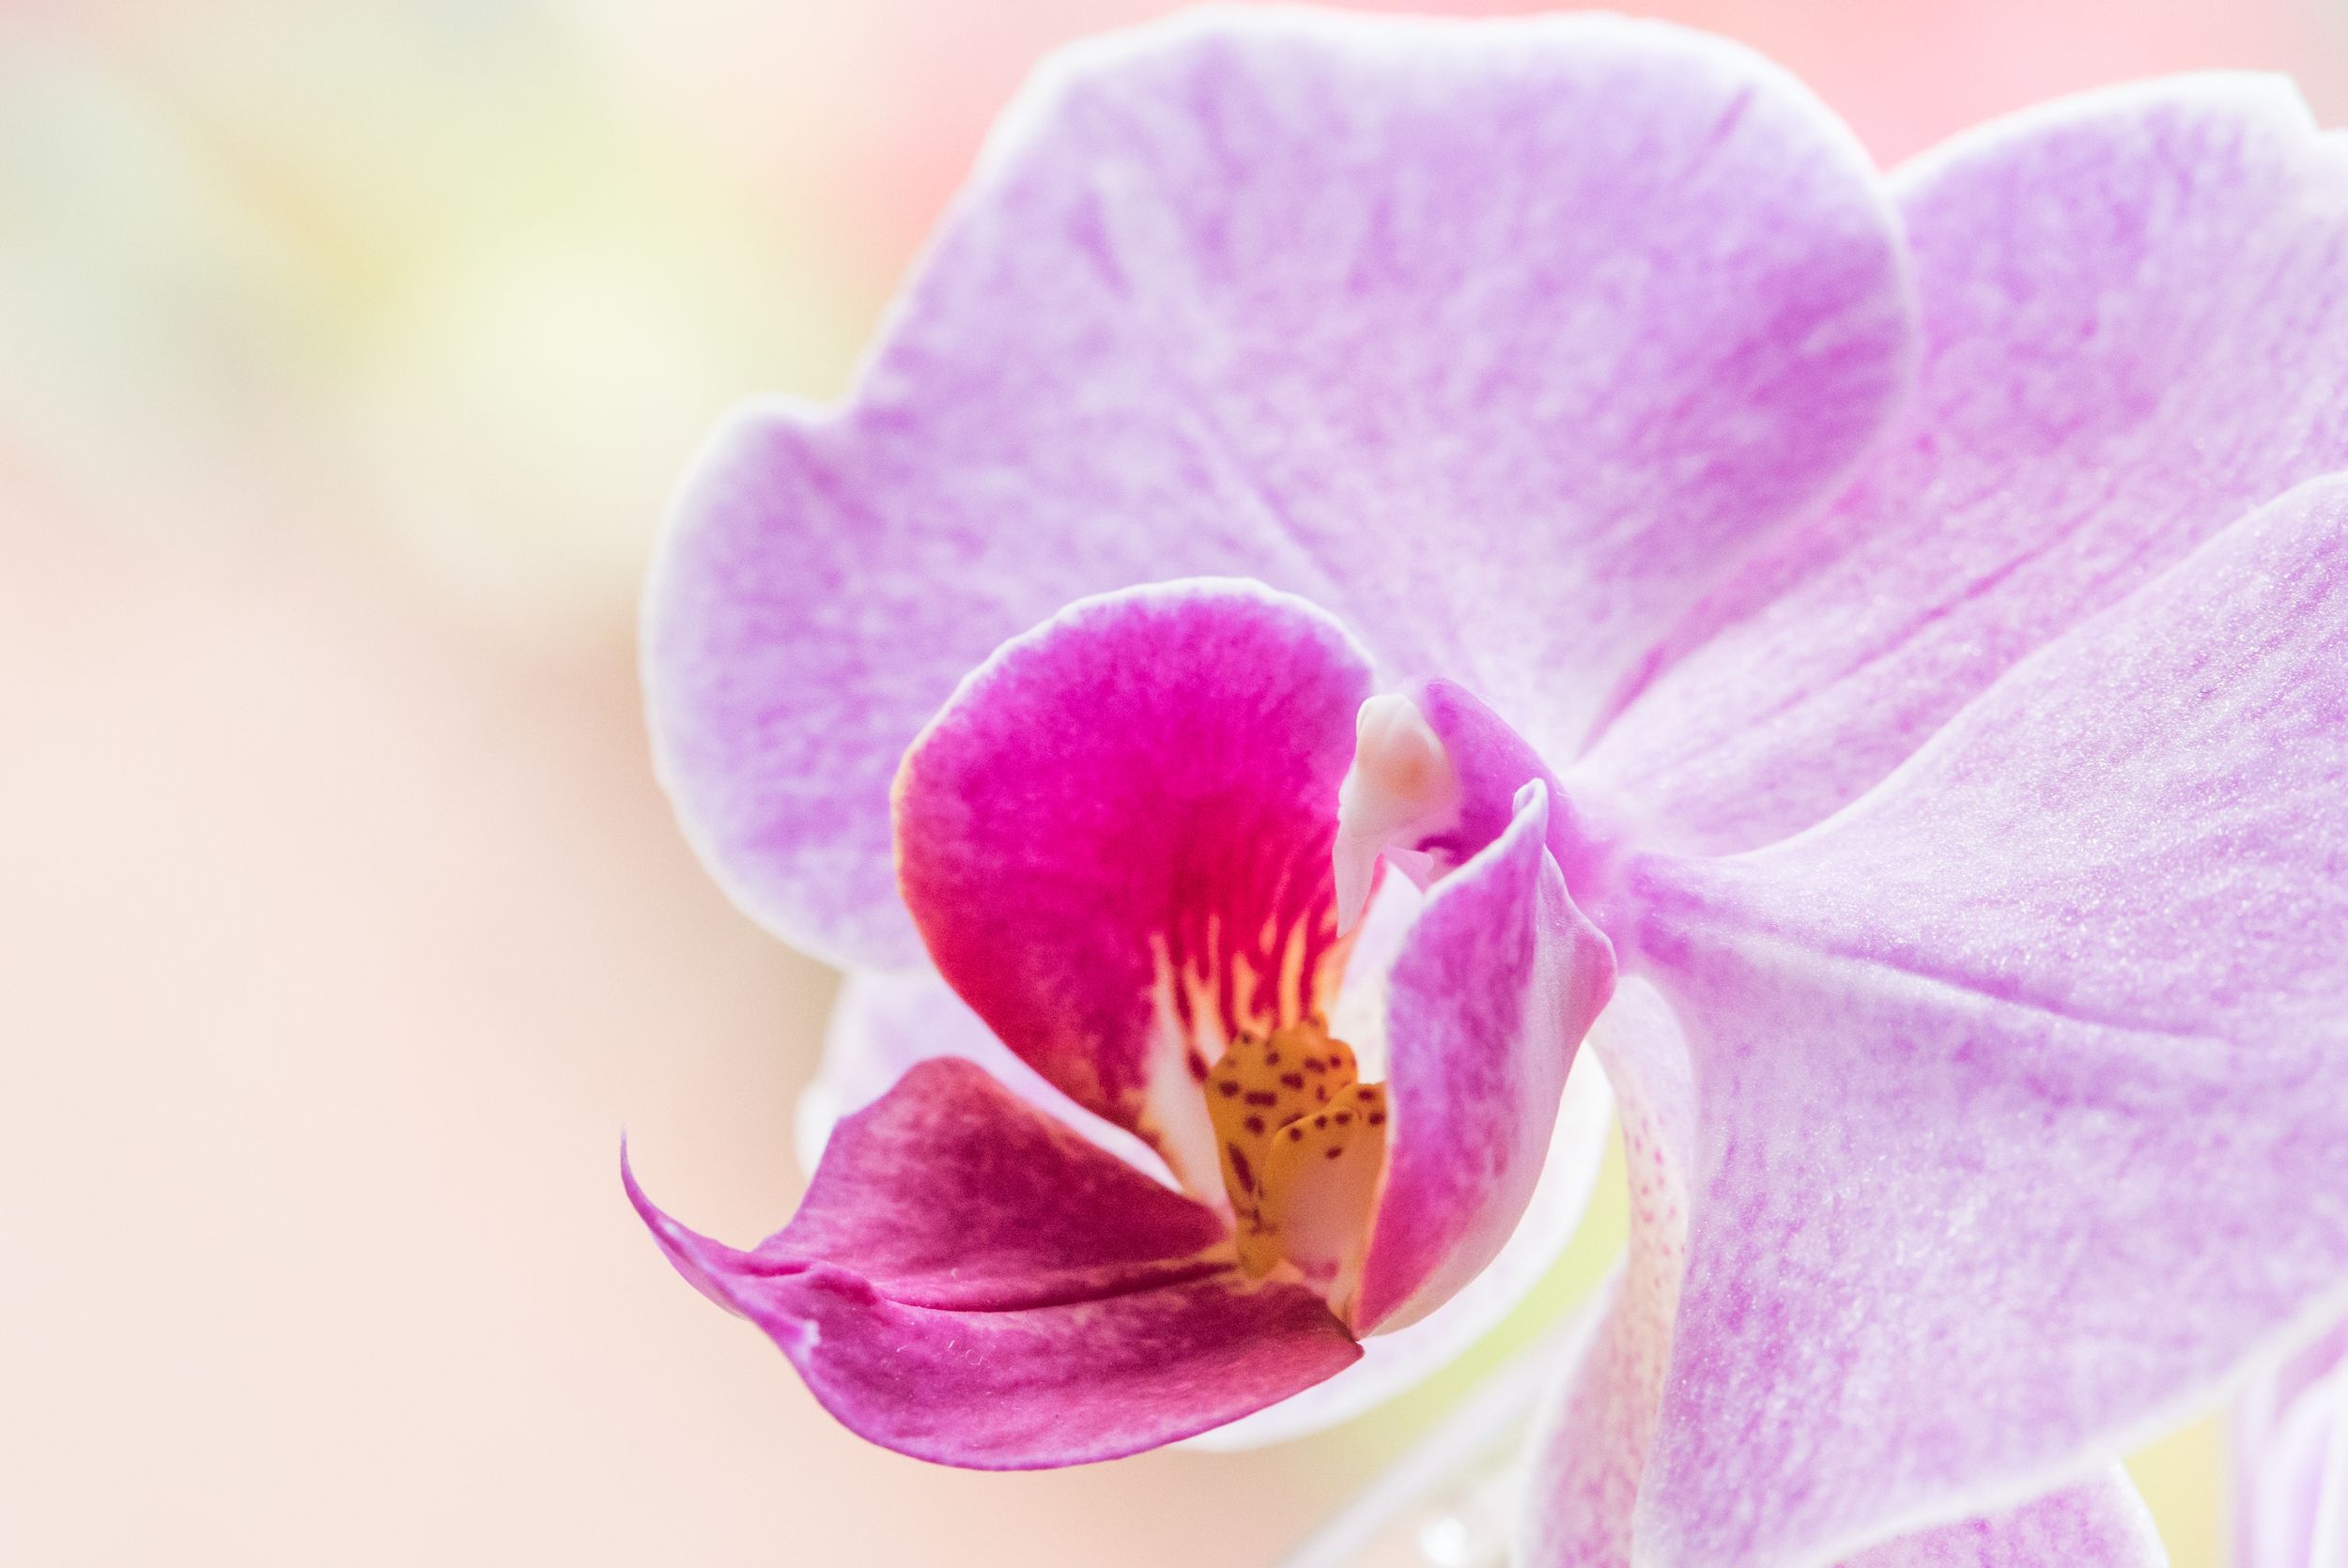
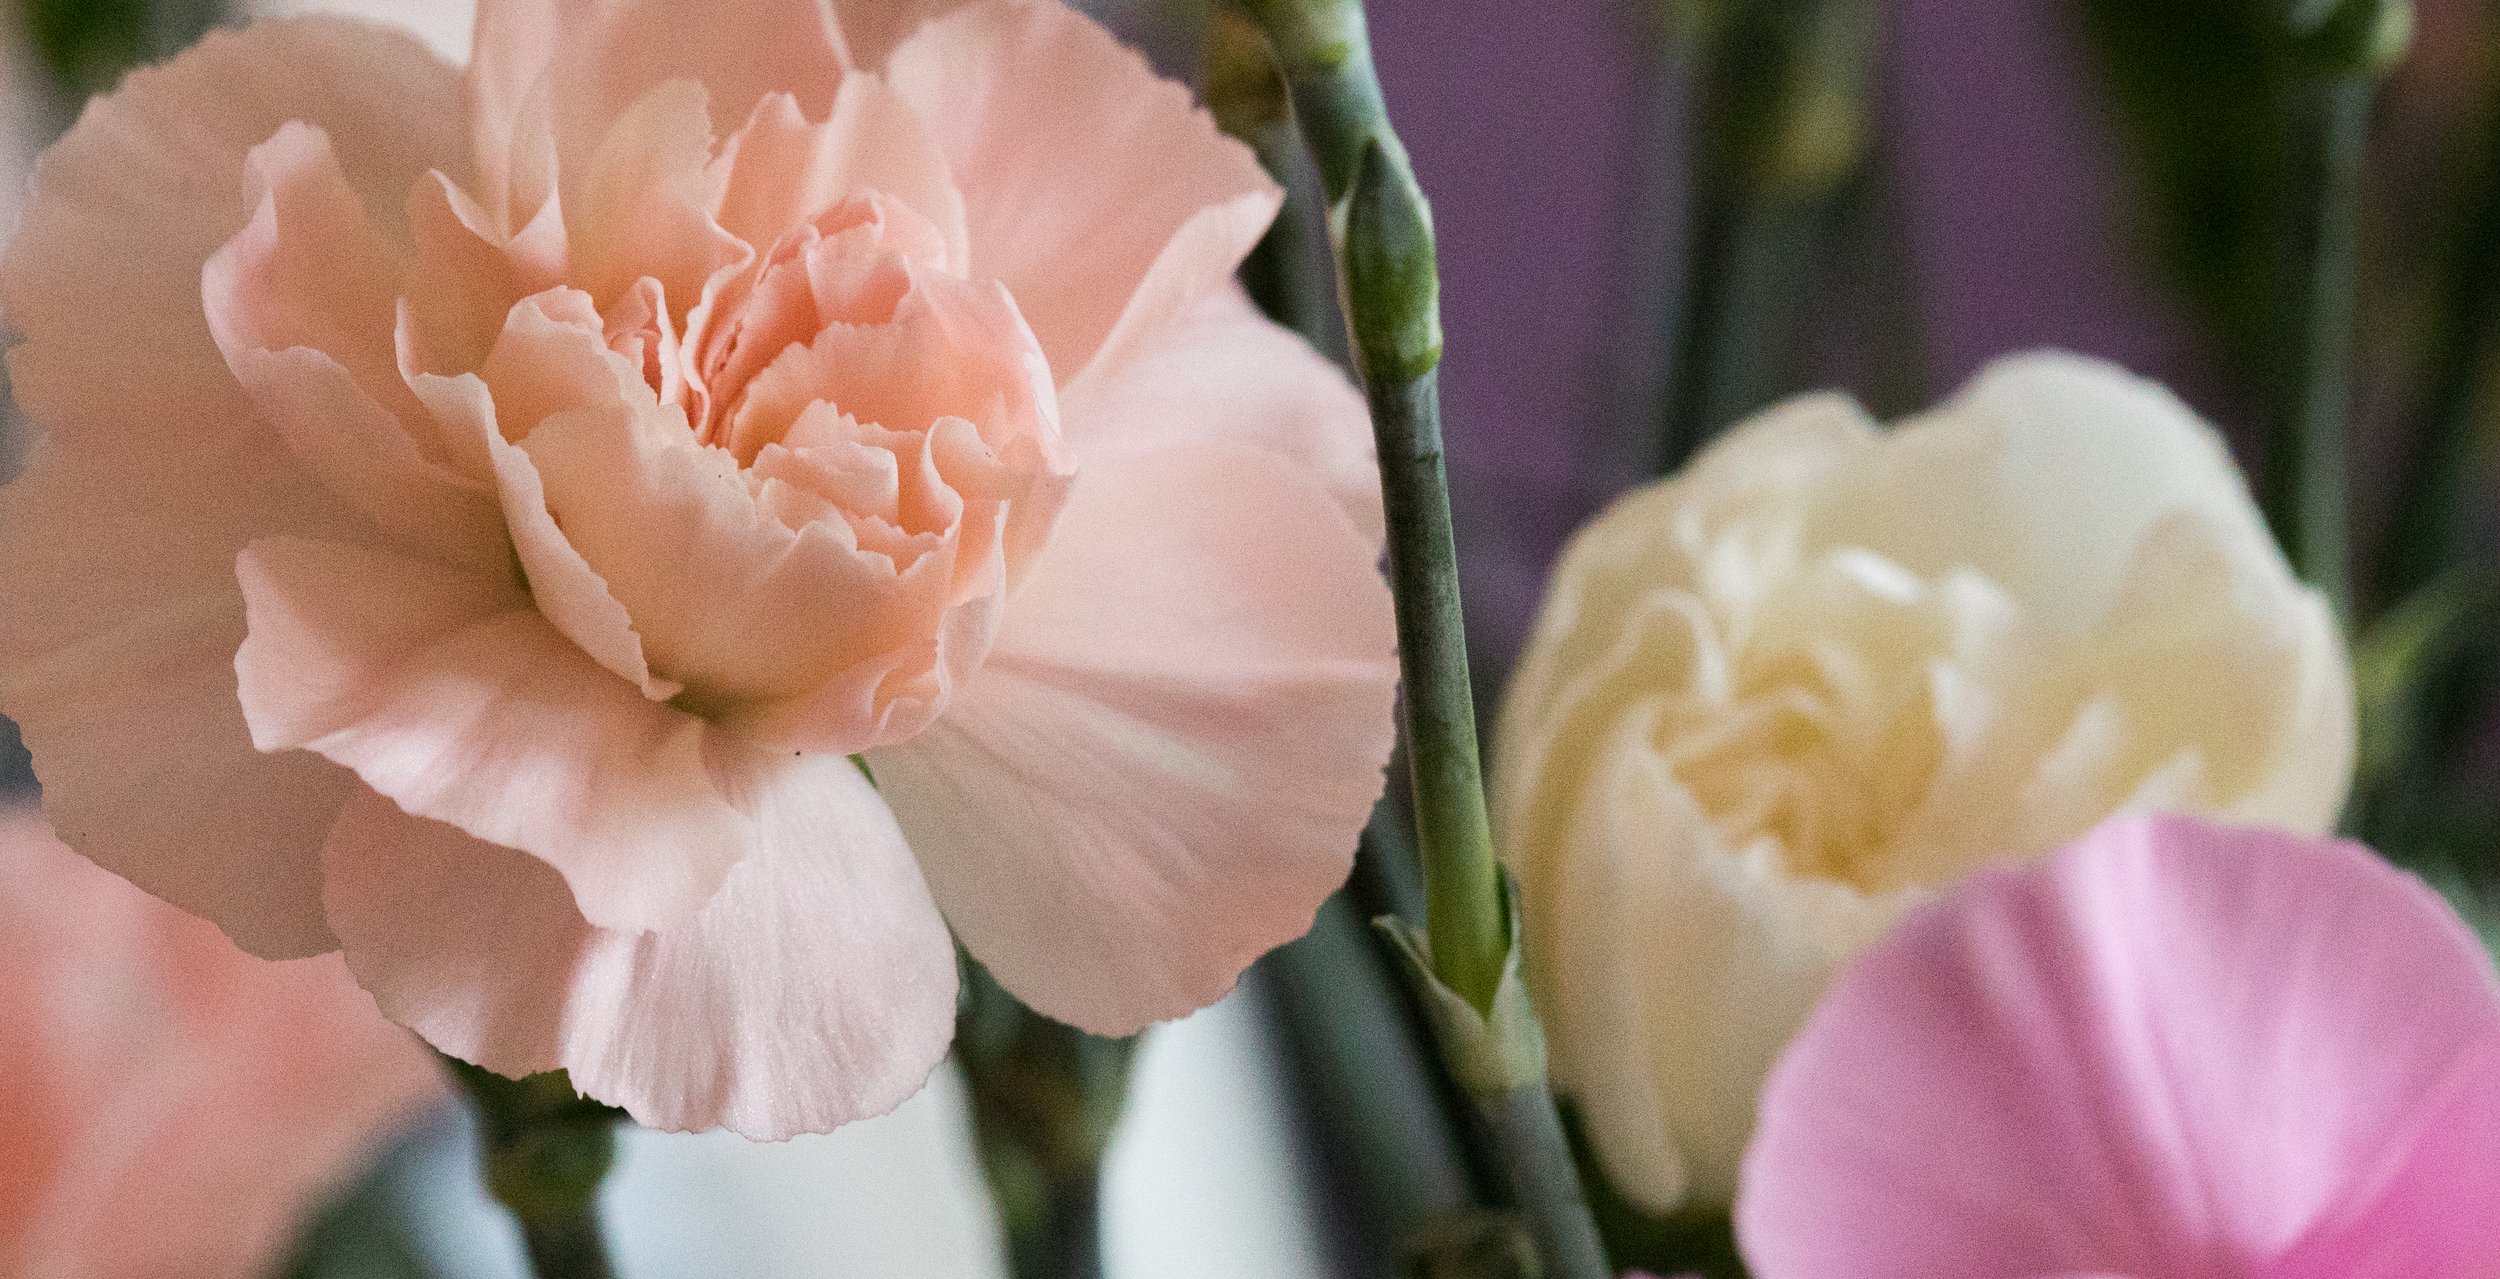
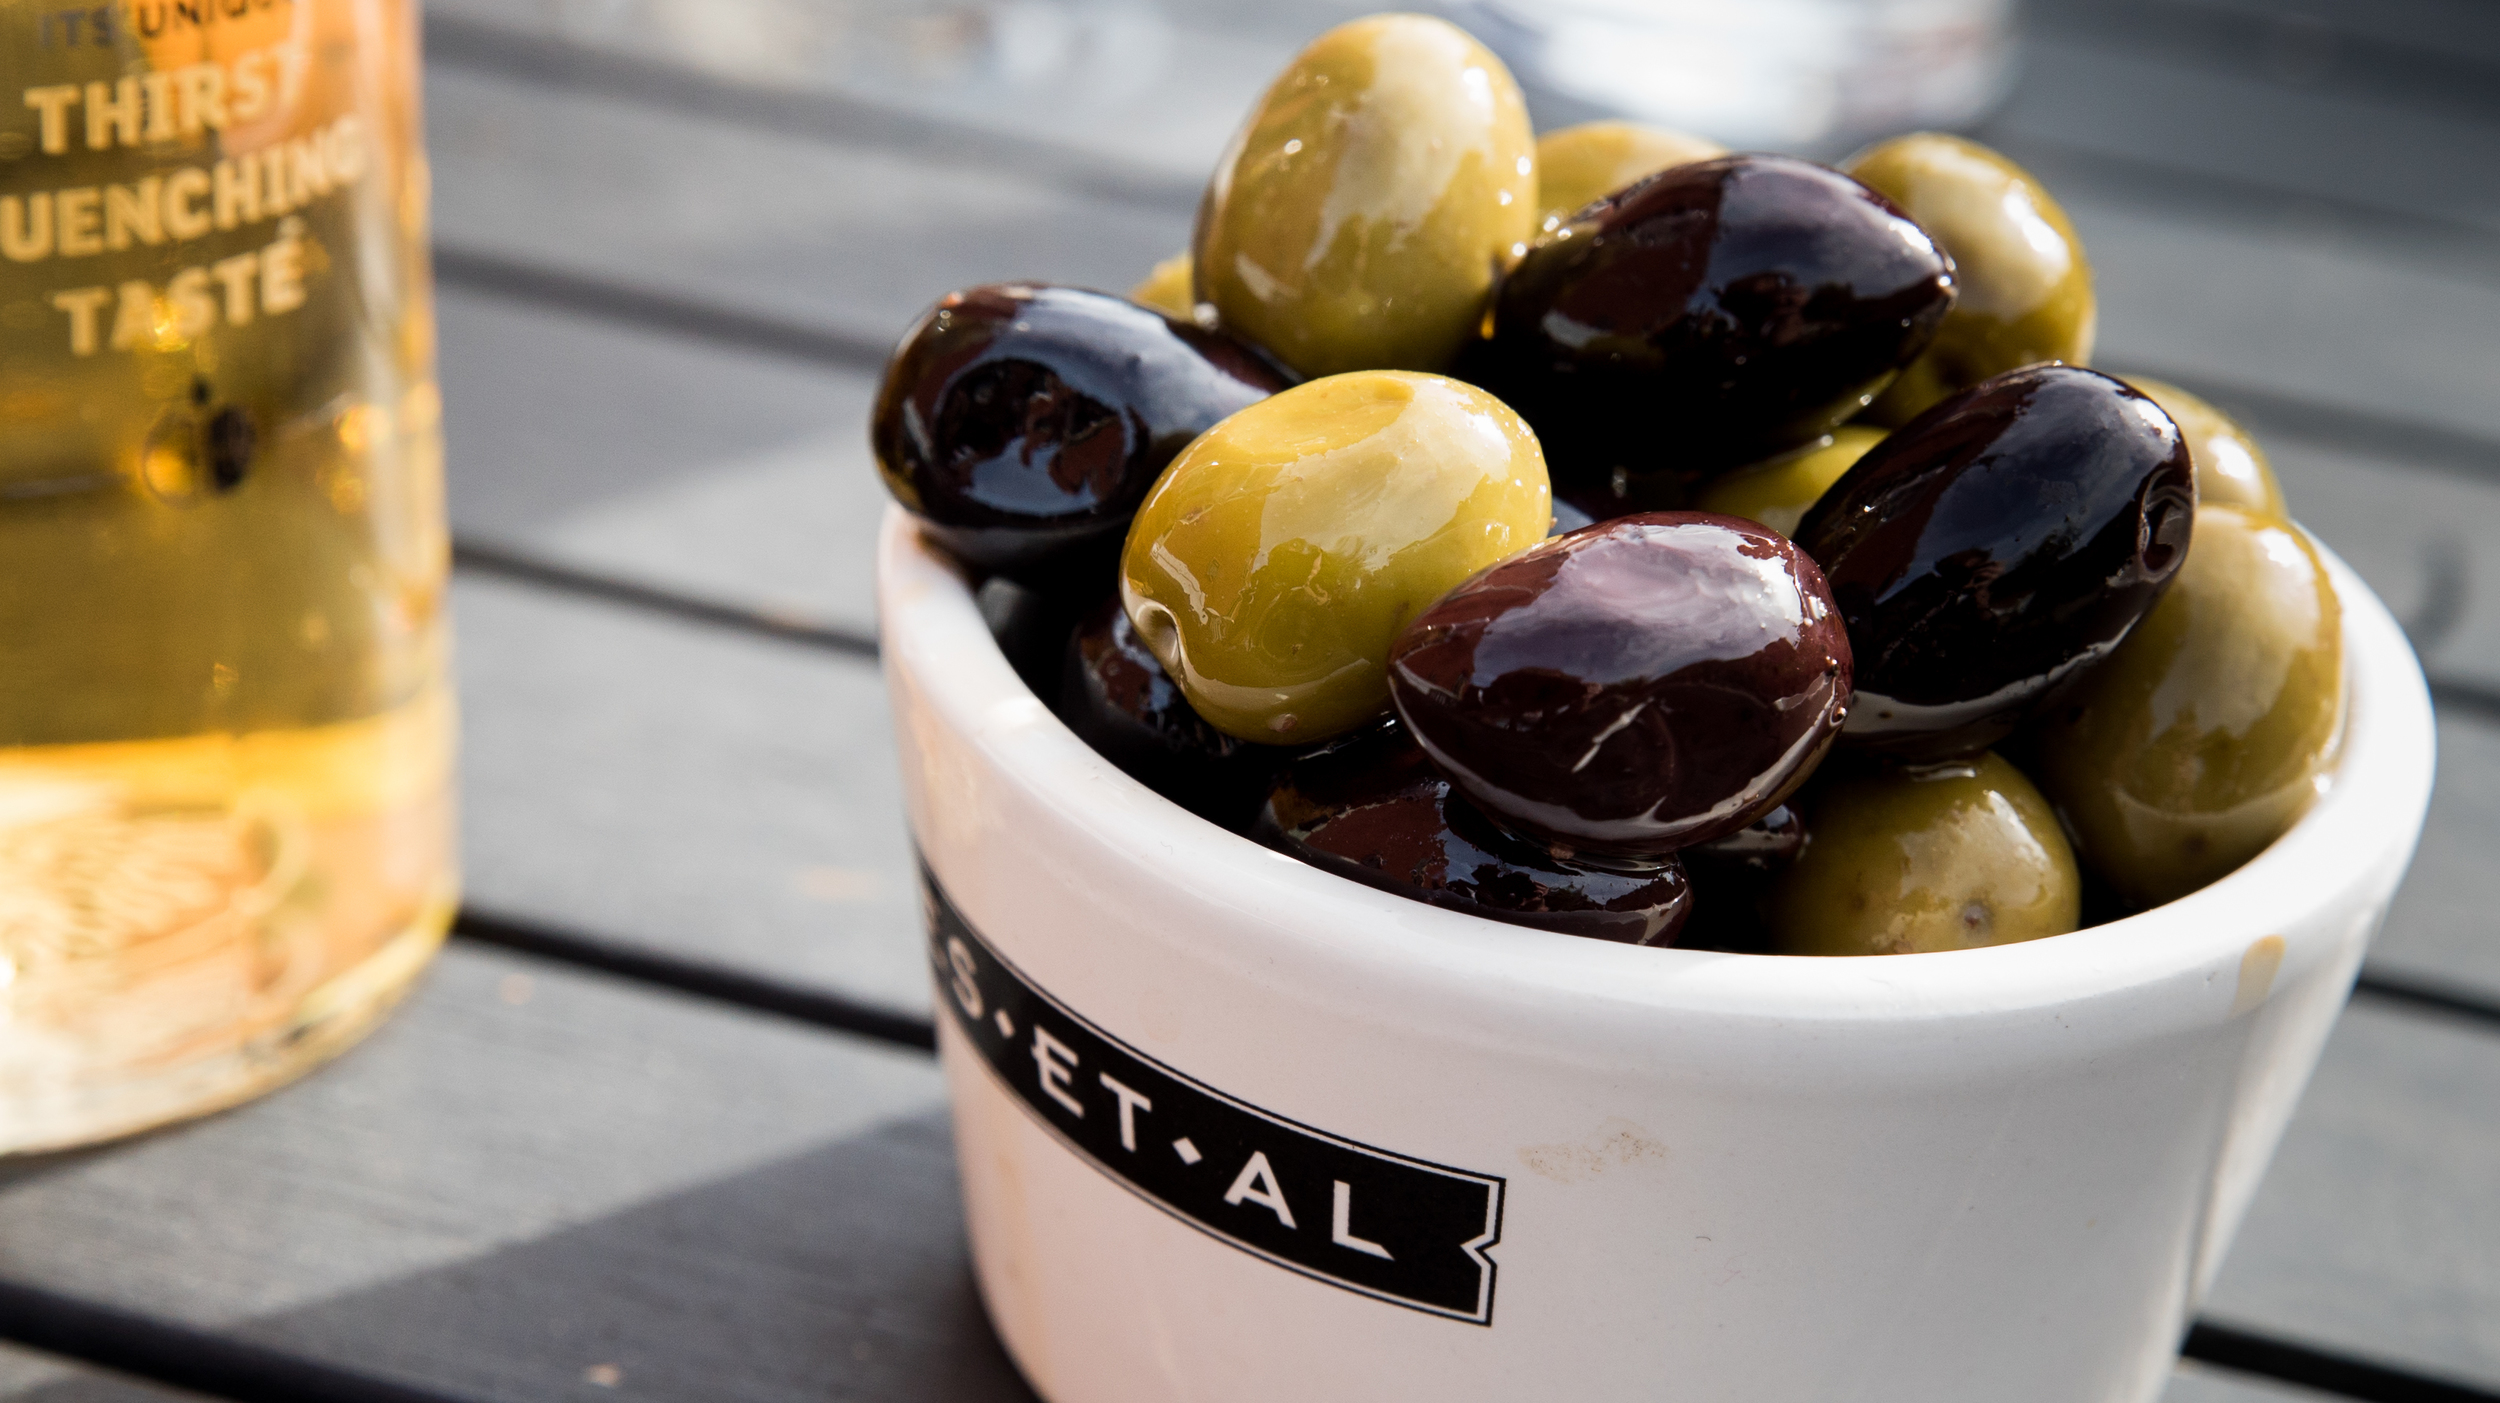
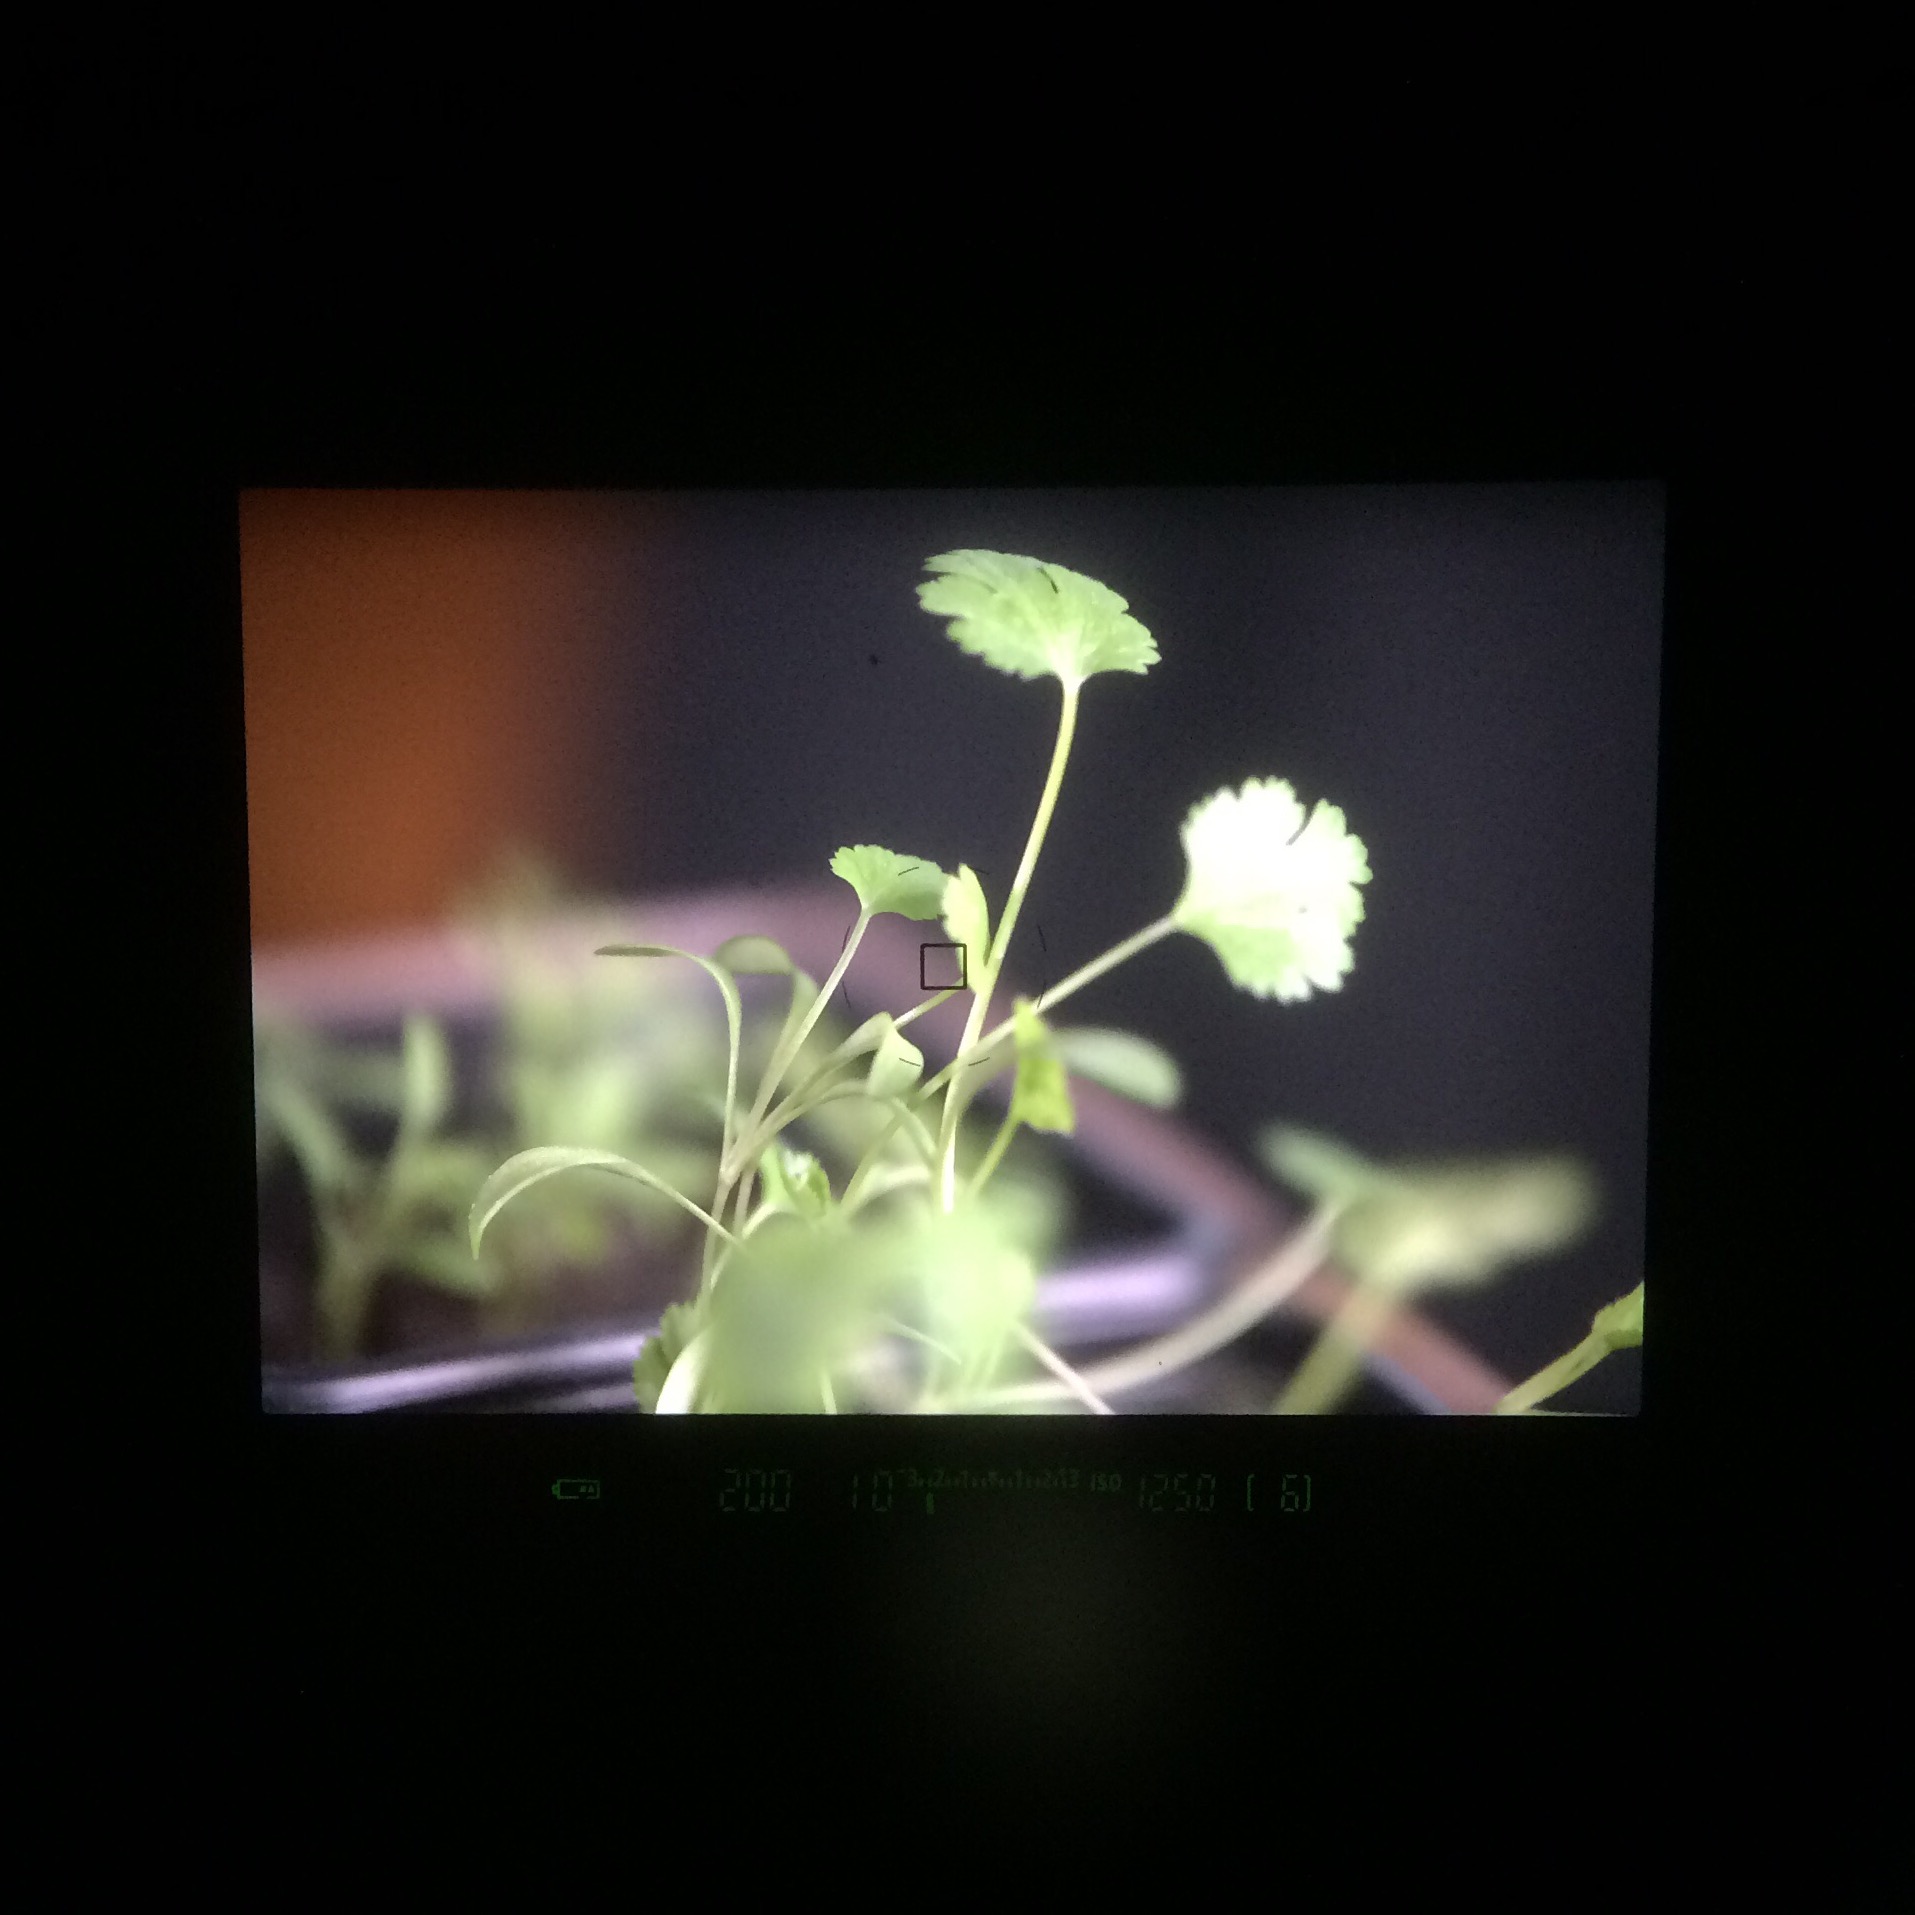
A selection of stills from the Sony A7S of my little vegetables growing in the greenhouse, Sam's new car, some flowers (Orchids and Carnations) in the house and olives from The Queen Adelaide!

Sony A7S, PP6, taken on Canon 100mm F/2.8L and Tamron 24-70 F/2.8 with a range of settings.

Productive first month of 2015!

As it reads above, I have been very busy recently with pre-production for a number of up coming projects, one of which is with Screen Subtitling Systems!

Screen is creating new branding for sales and online, and to go with that I've been set the task of producing a number of animations for them. I've done plenty of research into Screen, and have a great relationship with the marketing team, which means we have very good communication.

Tip No.1: build relationships from the outset of meeting someone.

Since our last meeting, I've developed a number of mood boards and narrative/VO ideas of the script/dialogue and a storyboard to go with it to represent the animations on screen. After drawing a number of ideas and storyboards I managed to narrow down the content for the first animation, and the graphics as well. I've then worked this into an After Effects storyboard with still images for preparation for a presentation.

Screen animation mind map

Tp No.2: preparation and planning what you are going to do, for when, any why is really important. In terms of the animations I'm working with, that means producing mood boards, storyboards, sketches and basic designs, building into digital mock ups. These can then be used as elements in the animations!

I've also been out with Glen, we had a walk around Leith Hill a couple of weekends ago, I took the 24-70 and 100mm L on the 5D mk III. The hill was so high up that we were in cloud, combined with a constant beautiful golden hour made for beautiful photos. Glen took his film camera with him, and captured some gorgeous shots. Here's some of mine..

I'm still working on the videography business/investment post, it is a long one as you can imagine but it will be coming soon. I'll be going the the CVP Sony A7S event featuring Philip Bloom on the 11th which will be a great contributor to my knowledge. As well as narrowing down potential kit choices for this years video productions, I may be able to get some info from the CVP team about my potential kit choices and finance options.

UPDATE (06/02/2015) Canon have now officially announced two new 5D model DSLR’s with a 50MP count, with a photography focus rather than video. This reinforces industry voices that Canon are pushing video pro’s up to their high end cinema cameras.. Sony for me I think!
— http://www.newsshooter.com/2015/02/06/canon-launch-5ds-and-5ds-r-video-features-take-back-seat-to-high-res-stills/

Tip No.3: Never stop learning. Get yourself to BVE for FREE from the 24th-26th Feb for seminars on 4K, editing, lighting, broadcast and the great expo!

Lastly, back in the beginning of January I was out filming Sarah and Matt's wedding. I started with the preparations while Glen was at the venue capturing some shots of the location, Matt and the guests arriving. I had the Pro Media Gear Dual-arc slider on Manfrotto 055 Pro-B legs, with a range of lenses for shooting in potential low light (not knowing what the day or location might turn out like later on, and if the weather changes..)

Chosen equipment for filming a funky wedding - Canon 5D plus a range of fast zooms and primes. Not to forget audio!

Chosen equipment for filming a funky wedding - Canon 5D plus a range of fast zooms and primes. Not to forget audio!

I captured some of the days footage in 50fps slow mo, when the light was available for a little bit of luxury with moving shots. When in video mode on the 5D mk III the 50fps mode is only available in 720p, not 1080p. This does make the footage softer, but I've found using the Red Giant 'Instant 4K' plug-in works well to upscale the clips to 1080, and sharpen them a little.

Sarah and Matt

Throughout the day I switched mainly between the Tamron 24-70 and Canon 100mm L for wide/standard framing and then more detail/close ups. I've found this works well as there is no 24-135 F/2.8.. If you are working with a Canon 60D, or an APS-C camera you get a lovely look when using an 85mm or 100mm (as the focal length is multiplied), with a pretty bokeh as well. For cool-perspective ultra wide angle, the Samyang 14mm T/3.1 works a treat, for skate videos and music videos where you want to warp reality a little!

There will be more on the wedding film production in an up coming Manfrotto Ambassador blog!

Tip No.4: tell a story through your video/film, narrative-speaking there is a beginning, middle and end set around key events. It may sound like redundant advice, but many videos I watch fail to build the narrative or story through the visuals. It provides an immersive experience for your viewers, getting them involved with what you've produced.

*Now following up a few days later, the meeting with Screen went very well, I traveled up to their Suffolk HQ, a beautiful old building in the country. Myself, the marketing dept and business development were present as I showed my basic concepts and ideas, and we discussed further the ideas and terminology.

Tip No.5: if you're working with clients in a different industry to yours, do your best to learn as much as you can about their business, products, services, strategies, and what their clients want.

This has been fantastic progress for the end of January, which is usually a slow month for productions. With the wedding film almost complete, and the design beginning for the Screen Systems project I am confident it's the beginning to a great year. Not to mention the potential of IABM event coverage too! I'm due to visit the IABM team next week to talk further about this years videography.

After the CVP event with PB I'm sure to have worked to some conclusion for the video business investment post, but it may have to wait until BVE.. We shall see!

Some macro photography going on in the background, little herbs going!

Some macro photography going on in the background, little herbs going!

From a quick walk in the morning.. Kids in Epsom and Ewell leaving their childhood behind!

From a quick walk in the morning.. Kids in Epsom and Ewell leaving their childhood behind!

Keep an eye out for my new Manfrotto Ambassador blog about filming weddings with Manfrotto gear, and I'm going up to London tonight for some night photography so I'll share the results with you later!

Seasons Are Changing

Here it is! A collaboration between Tristan Noon (composer) and myself, expressing the transition into Autumn. Filmed at NT Winkworth Arboretum and the North Downs Way (Ranmore Common), and composed with the talent of both Tristan and a clarinetist, we wished to coney the continual and dramatic cycle of the seasons through both the visuals and sound.

I approached Tristan to work collaboratively on this project, and he was happy to work with me, and what an experience it has been! I can extremely commend Tristan on his musical talent in both playing immersing melodies on piano and composing scores. Please check out his portfolio of work here :www.soundcould.com/tristannoon

IABM - IBC Wrap Up 2014!

T minus 1 day til IBC Show!

Remember to keep up to date with the news and events by following this blog and on twitter - @plowman91! See you there!

Success at the Manfrotto Takeover!

Adam Plowden videography seminar manfrotto takeover park camera london

I had a great day at the Manfrotto Takeover on Wednesday at Park Cameras London, I hope all the visitors enjoyed their day too! I'm very busy at the moment, heading out to film a wedding today and tomorrow and have a growing collection of editing that needs to be completed too.. Better to be busy than to be sitting around doing nothing though!

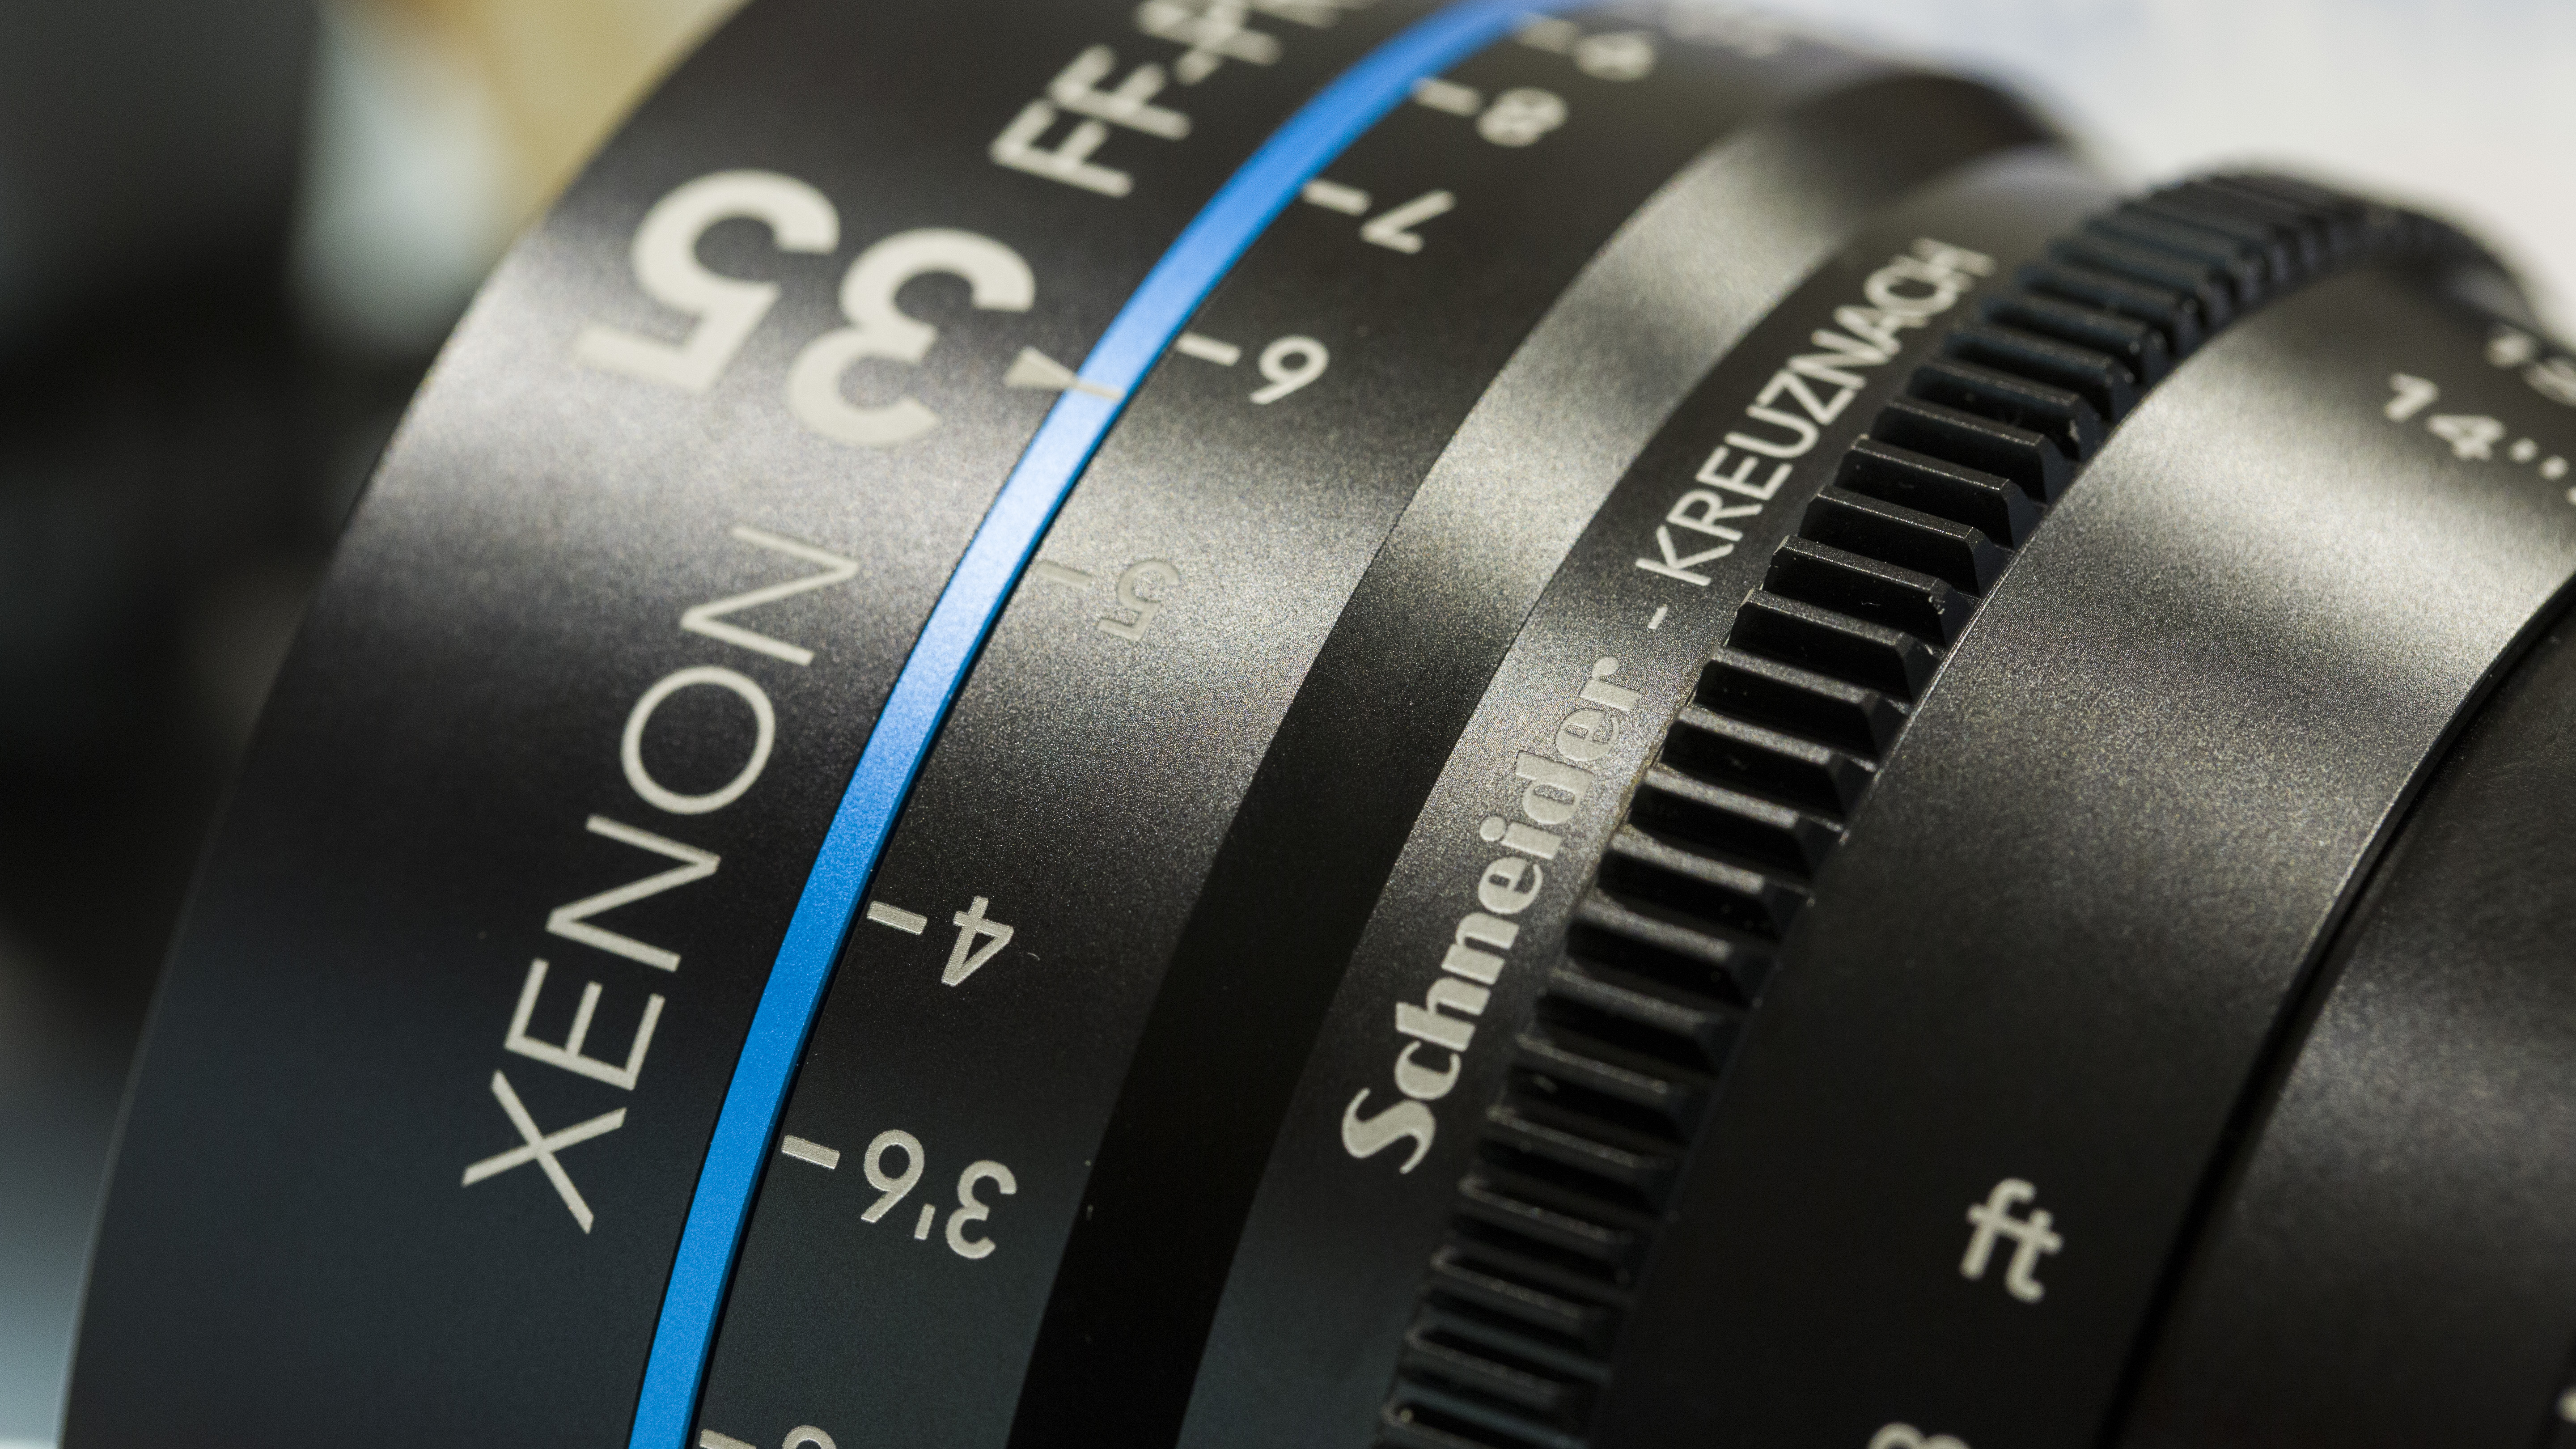
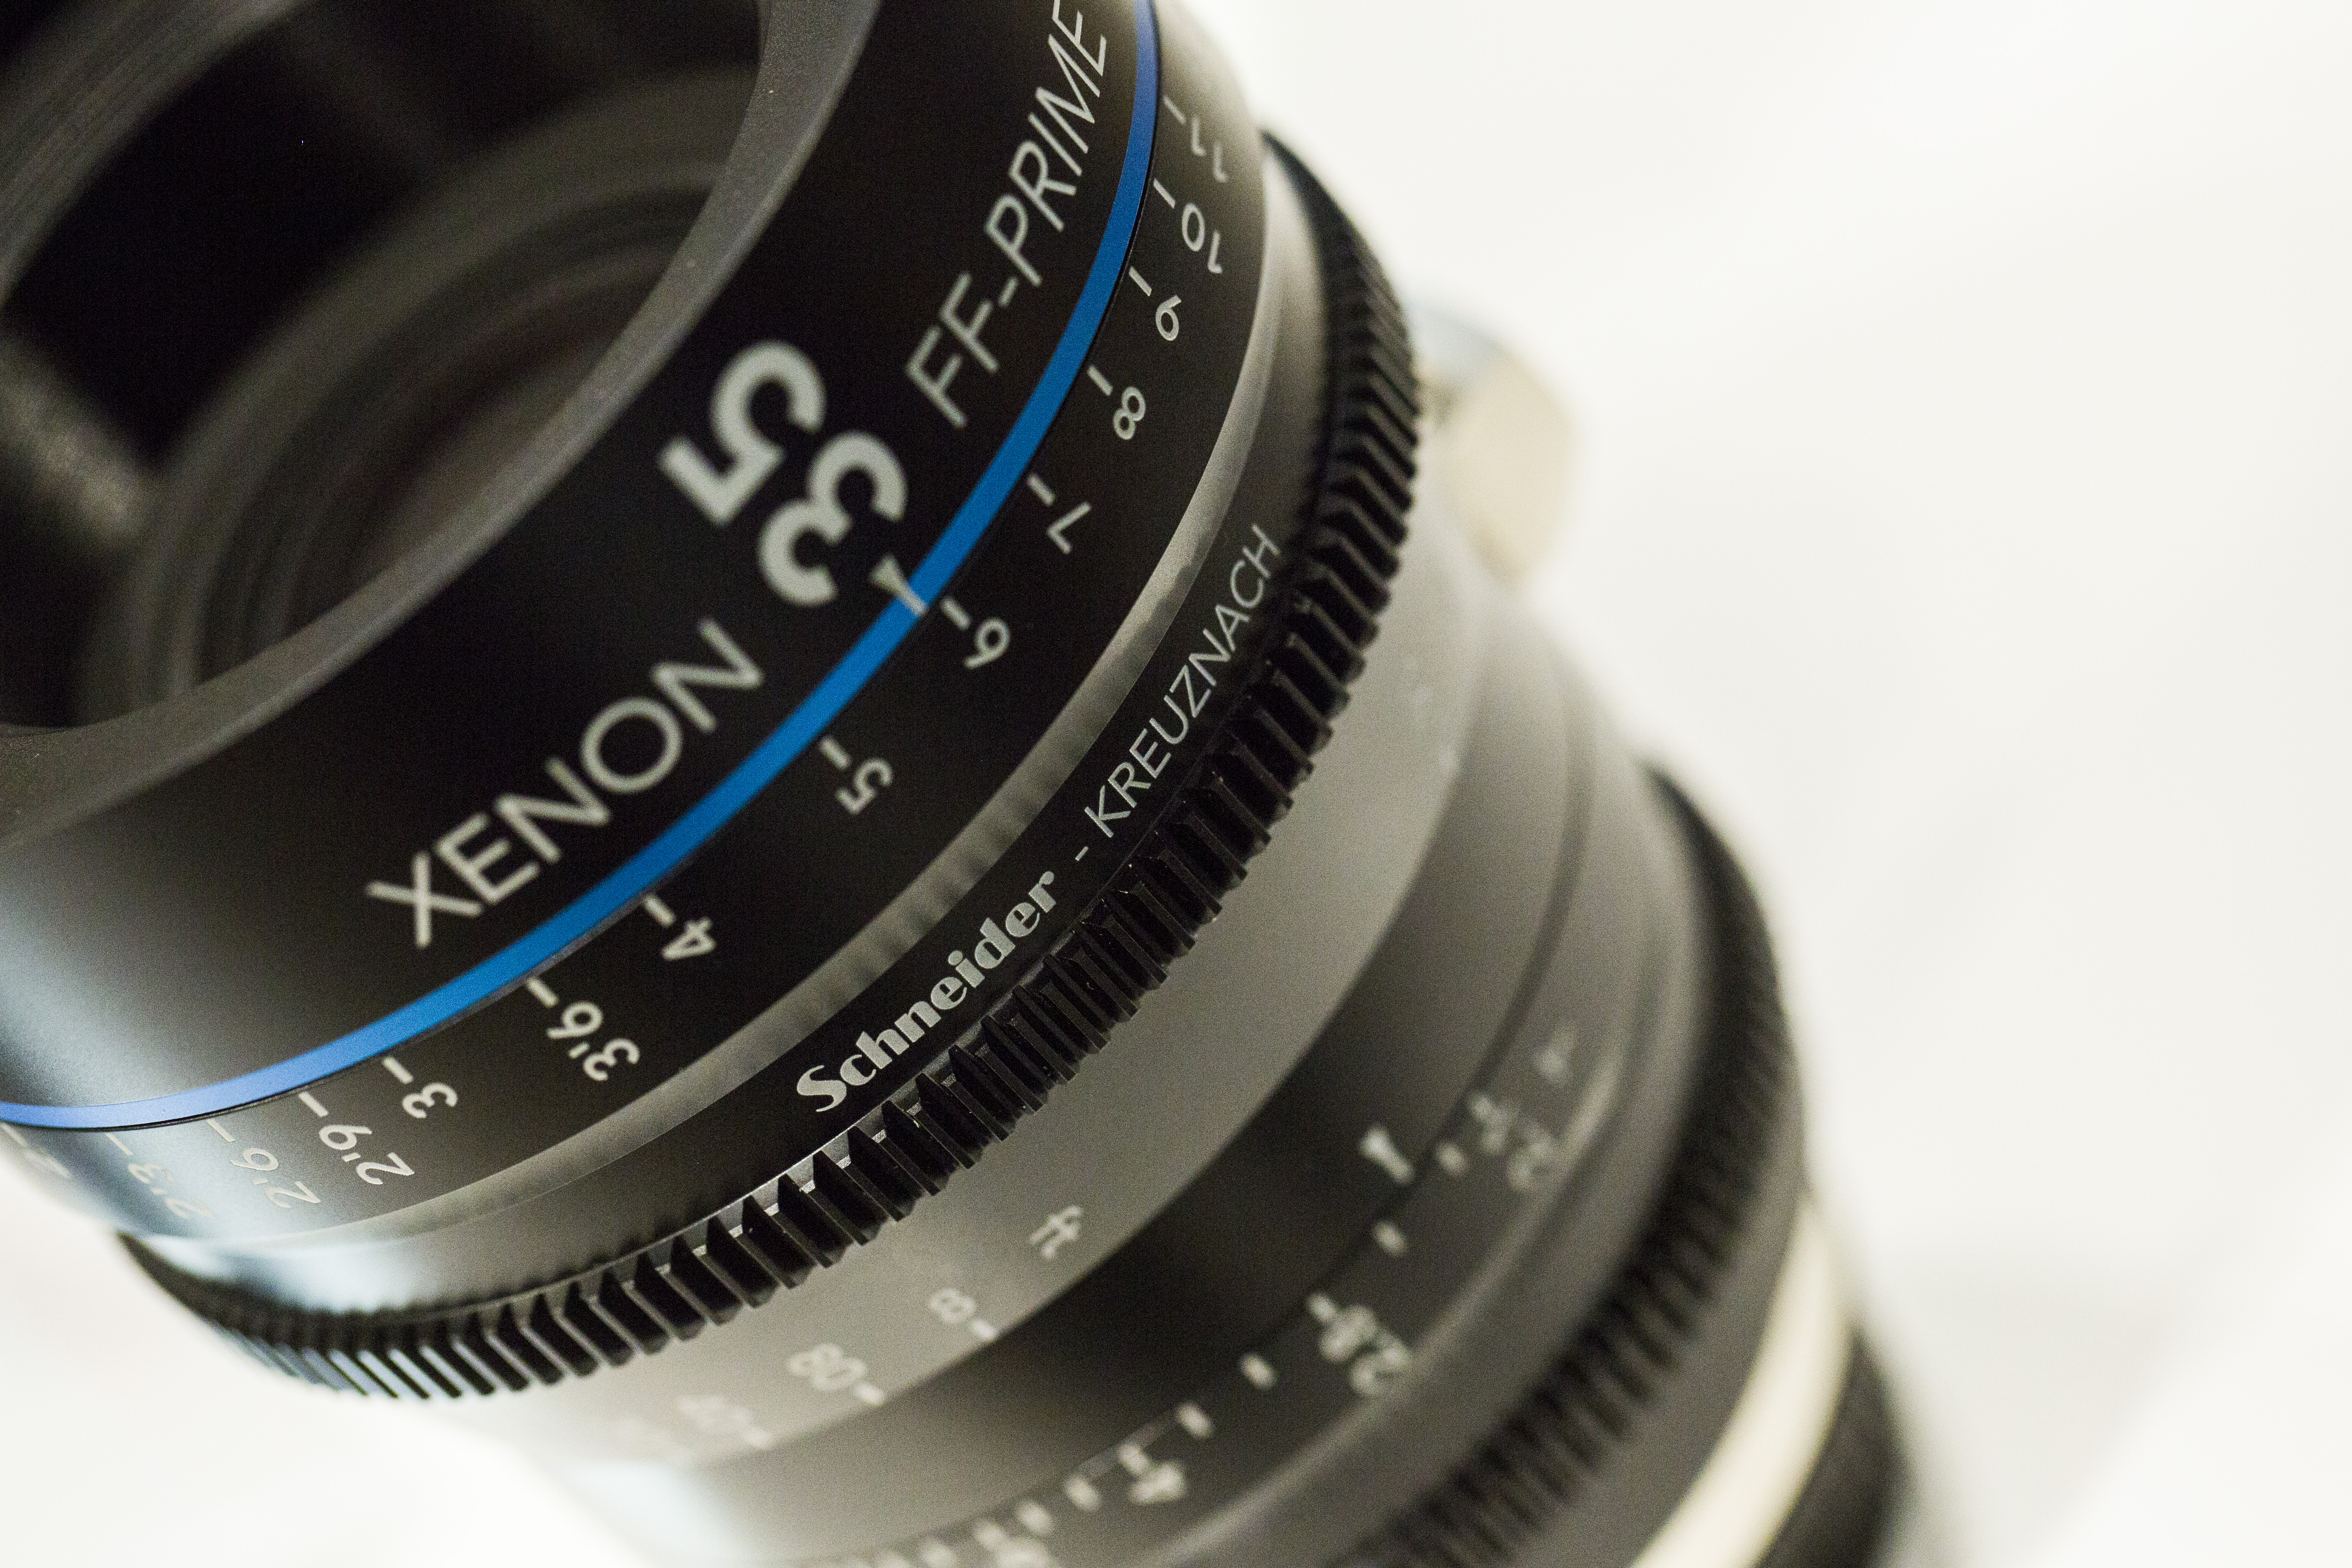
I got to test the new Schneider Xenon cinematography lenses on Wednesday too; built for 4K cine productions, the T/2.1 prime lenses have focal lengths of 35, 50 and 75mm with other models soon to be available, and I'll be using them on my productions later on down the line. I was blown away by their performance, it's like looking through a new pair of eyes.

More to come later! Keep creative!

Schneider Kreuznach 35mm cine prime lens optic Manfrotto takeover 1
Schneider Kreuznach 35mm cine prime lens optic Manfrotto takeover 2

For those that couldn't make the day, or my seminar on videography a podcast will be uploaded later when I get back from the wedding and I am putting together a highlights video of the day (shot on Panasonic GH4 in Cinema 4K and on 5D mark III with the Schneider cine optics).

What a few months it has been!

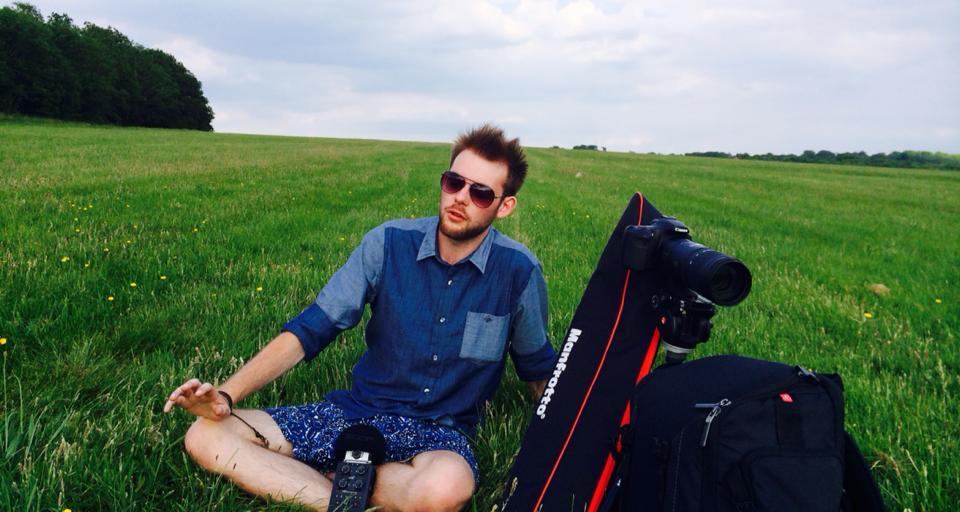
Blimey, my last post was a while ago.. Honestly, since then work has got heavy and much of my time is either spent behind the camera or the screen. One exception was the Manfrotto Pro Backpack50 review, shot by Glen Symes for me where I actually appear in a video! Manfrotto pro backpack50 review video adam plowden and glen symes videography

Some of the things I've been up to range from filming quite a few weddings [embed]https://vimeo.com/98328657[/embed] to filming and editing for a series of videos on health and wellbeing.

eebc health and wellbeing video edit adam plowden videography

On the side, I've talked at EEHS about going through uni and starting a business, am preparing for my Manfrotto Tour videography seminar and other bits and bobs.. I'm sure if you follow me on twitter or facebook you'll have an idea of the things!

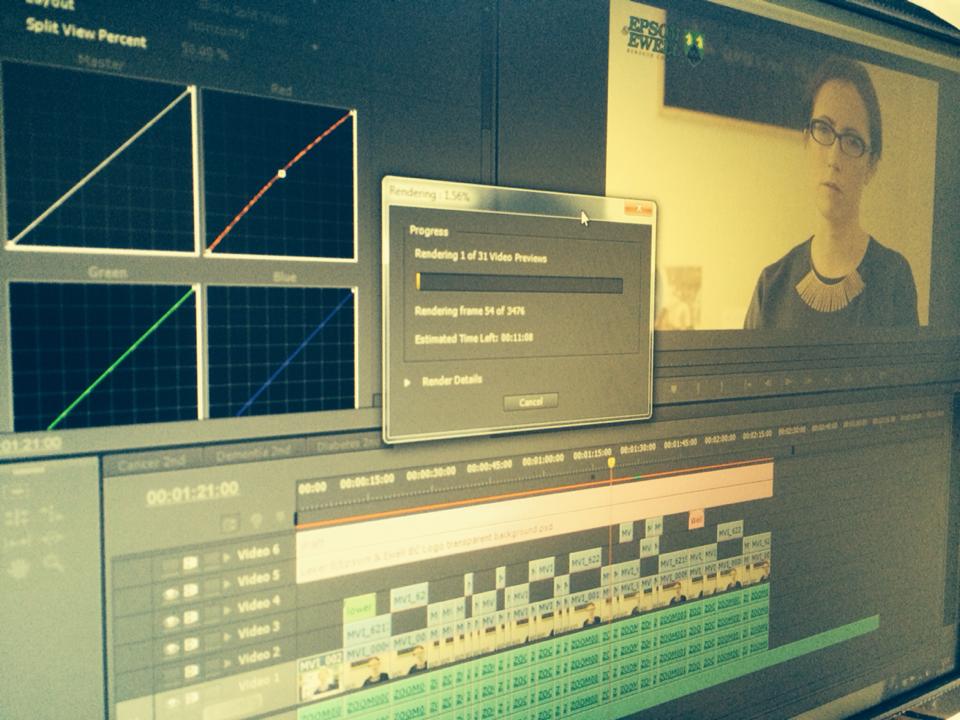
Going back a few weeks, my main projects have been the EEBC Health and Wellbeing video series, and an animation on Telecare. This is a predominantly piece to camera series, with additional b-roll shots to add to the videos messages which range from stopping smoking, to eating a healthy and balanced diet. The standard production of information videos ensued, editing down from around 45-50 minutes to a concise 2 minutes providing the relevant facts and summaries on prevention. Editing in Premiere Pro, I used the very good Luma Corrector tool for exposure changes and a simple RGB curves adjustment for the colour temperature.

I find the Luma Corrector better to work with, as by adjusting the Gamma control slightly, it removes the washed grey look to push out the prominent shadows and highlights meaning that it is very simple to correct/match shots; especially as I filmed using daylight as my key.

adobe premiere pro screenshot luma corrector effect adjust exposure

As per the clients request I have also added subtitles, which I created using the dynamic link into After Effects (noting at this point that if you're doing several stages of an edit, to duplicate the sequence you are working on before you start the next stage as Premiere and AE require you to save your work for updates to take place, meaning no Ctrl-Z/Command-Z to get back to a timeline with the clips rather than your 'replace in AE linked composition').

premiere pro dynamic link sequence editing

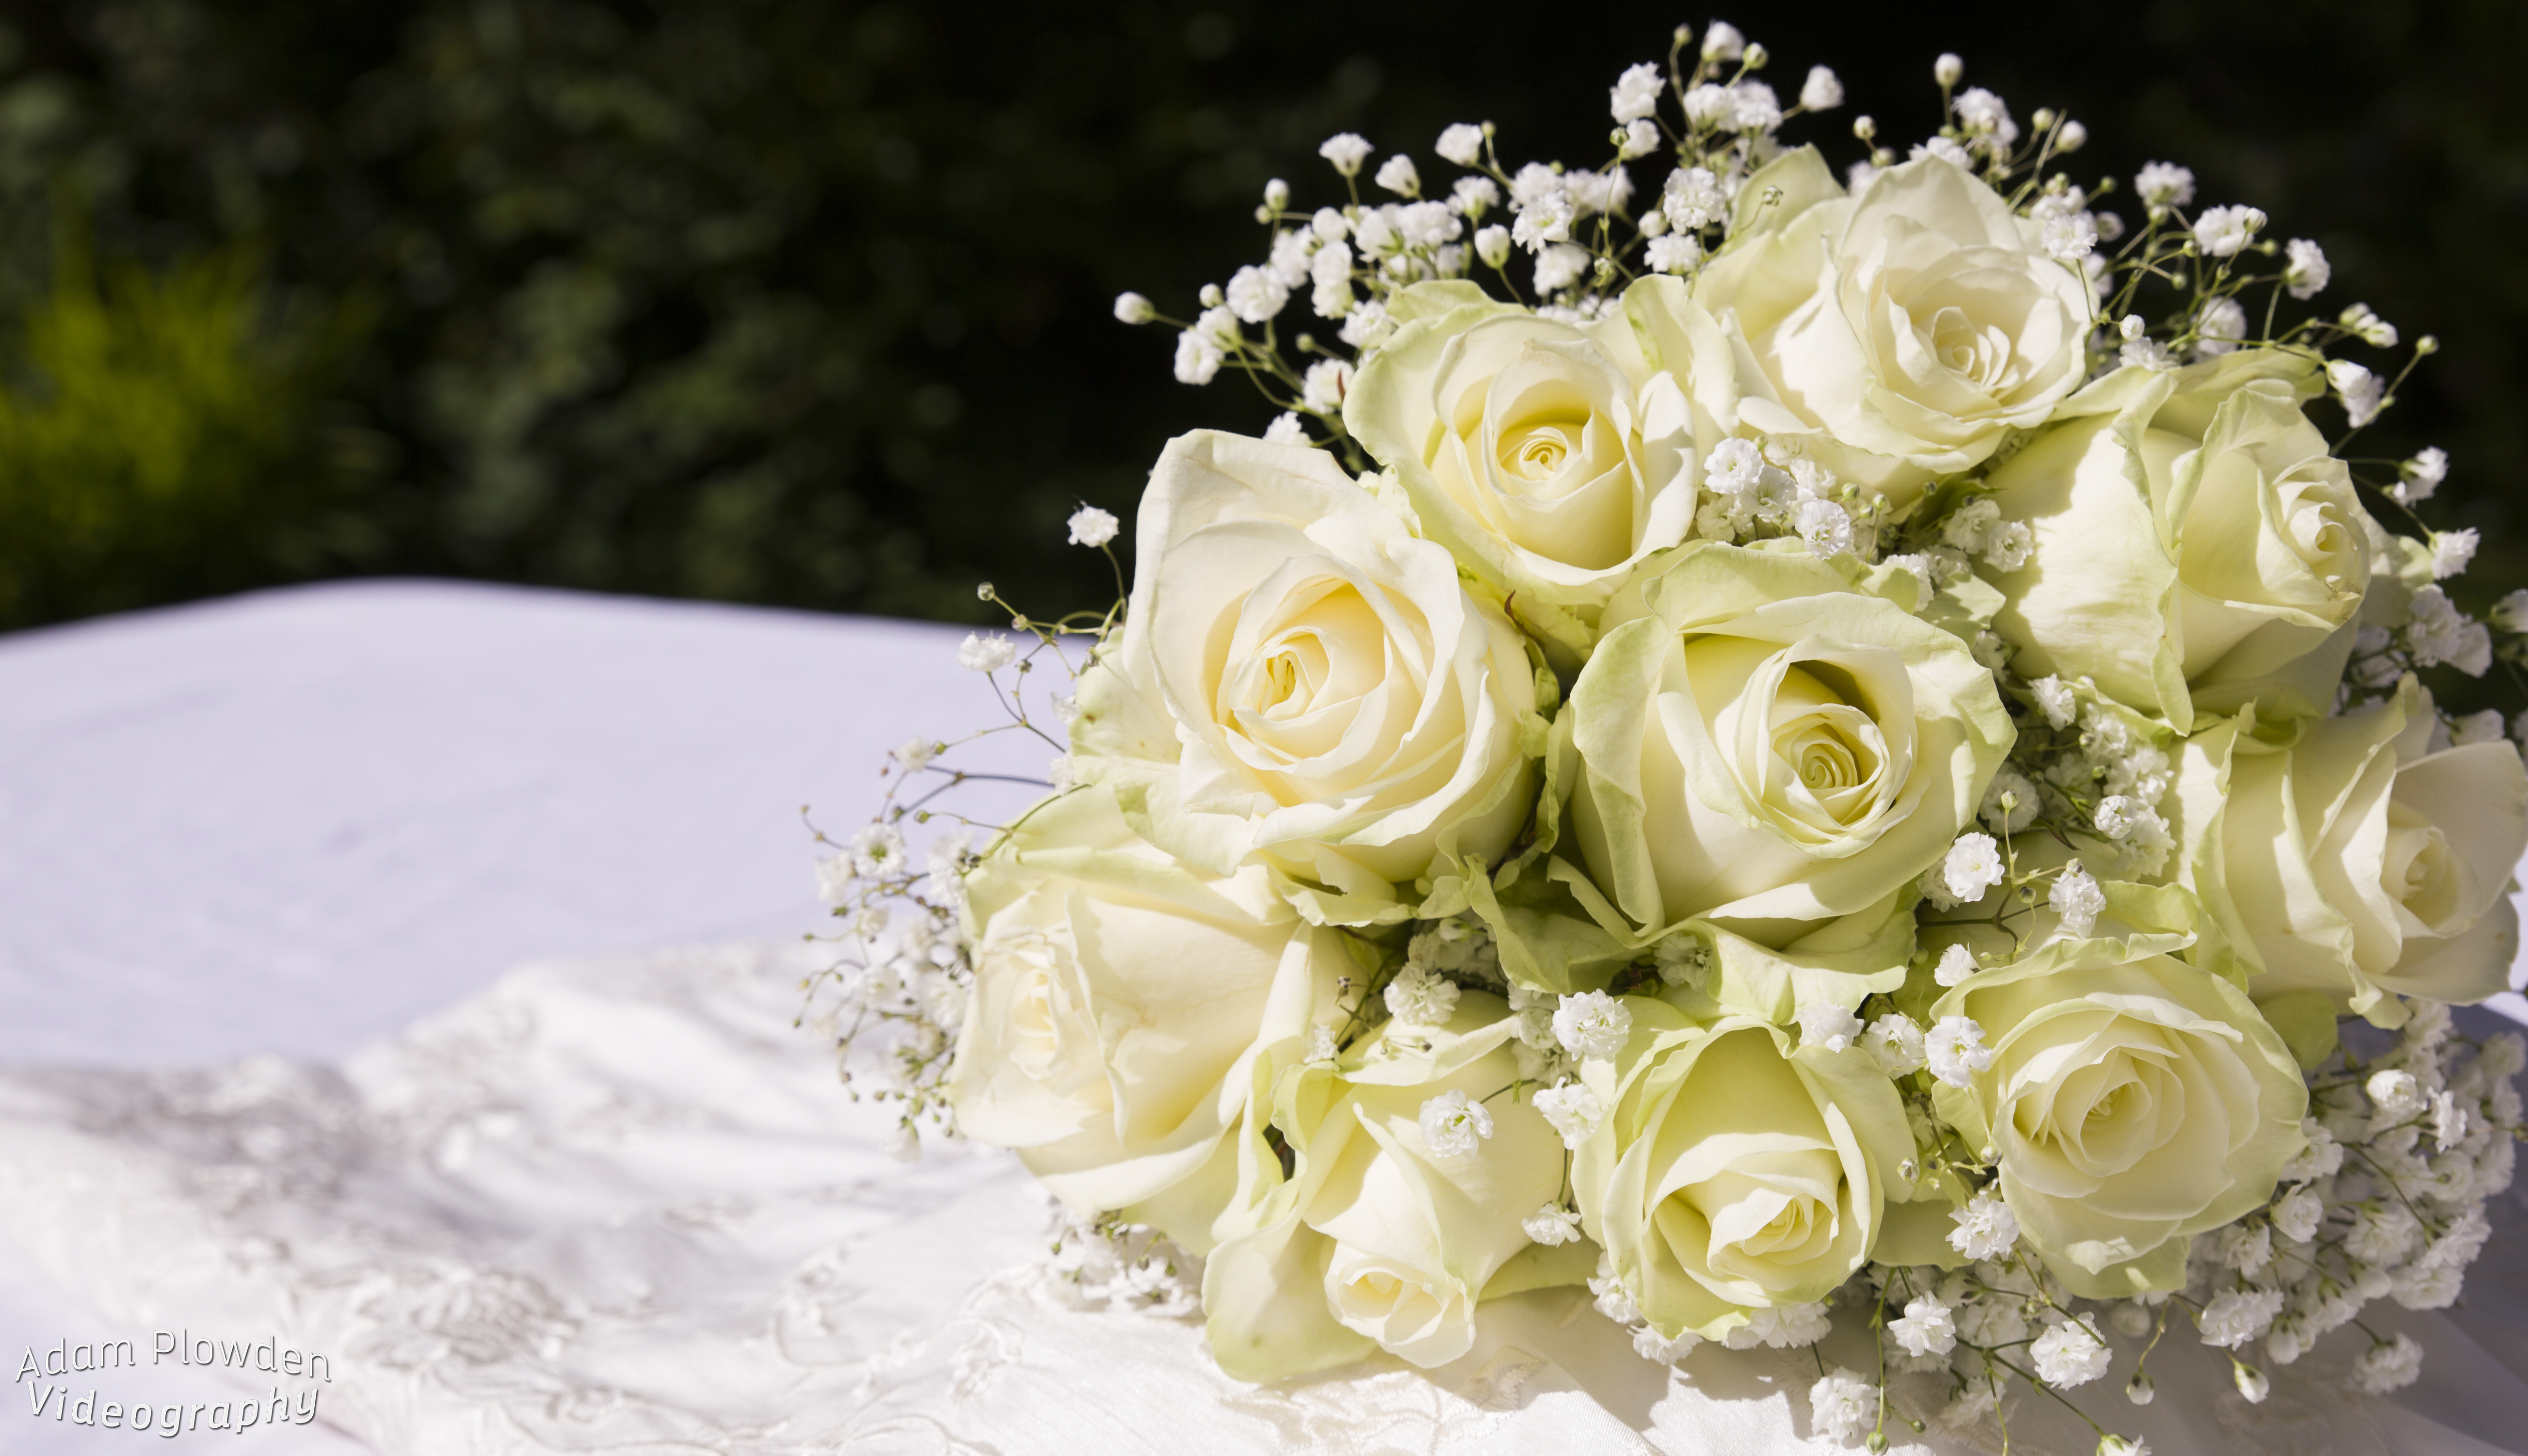
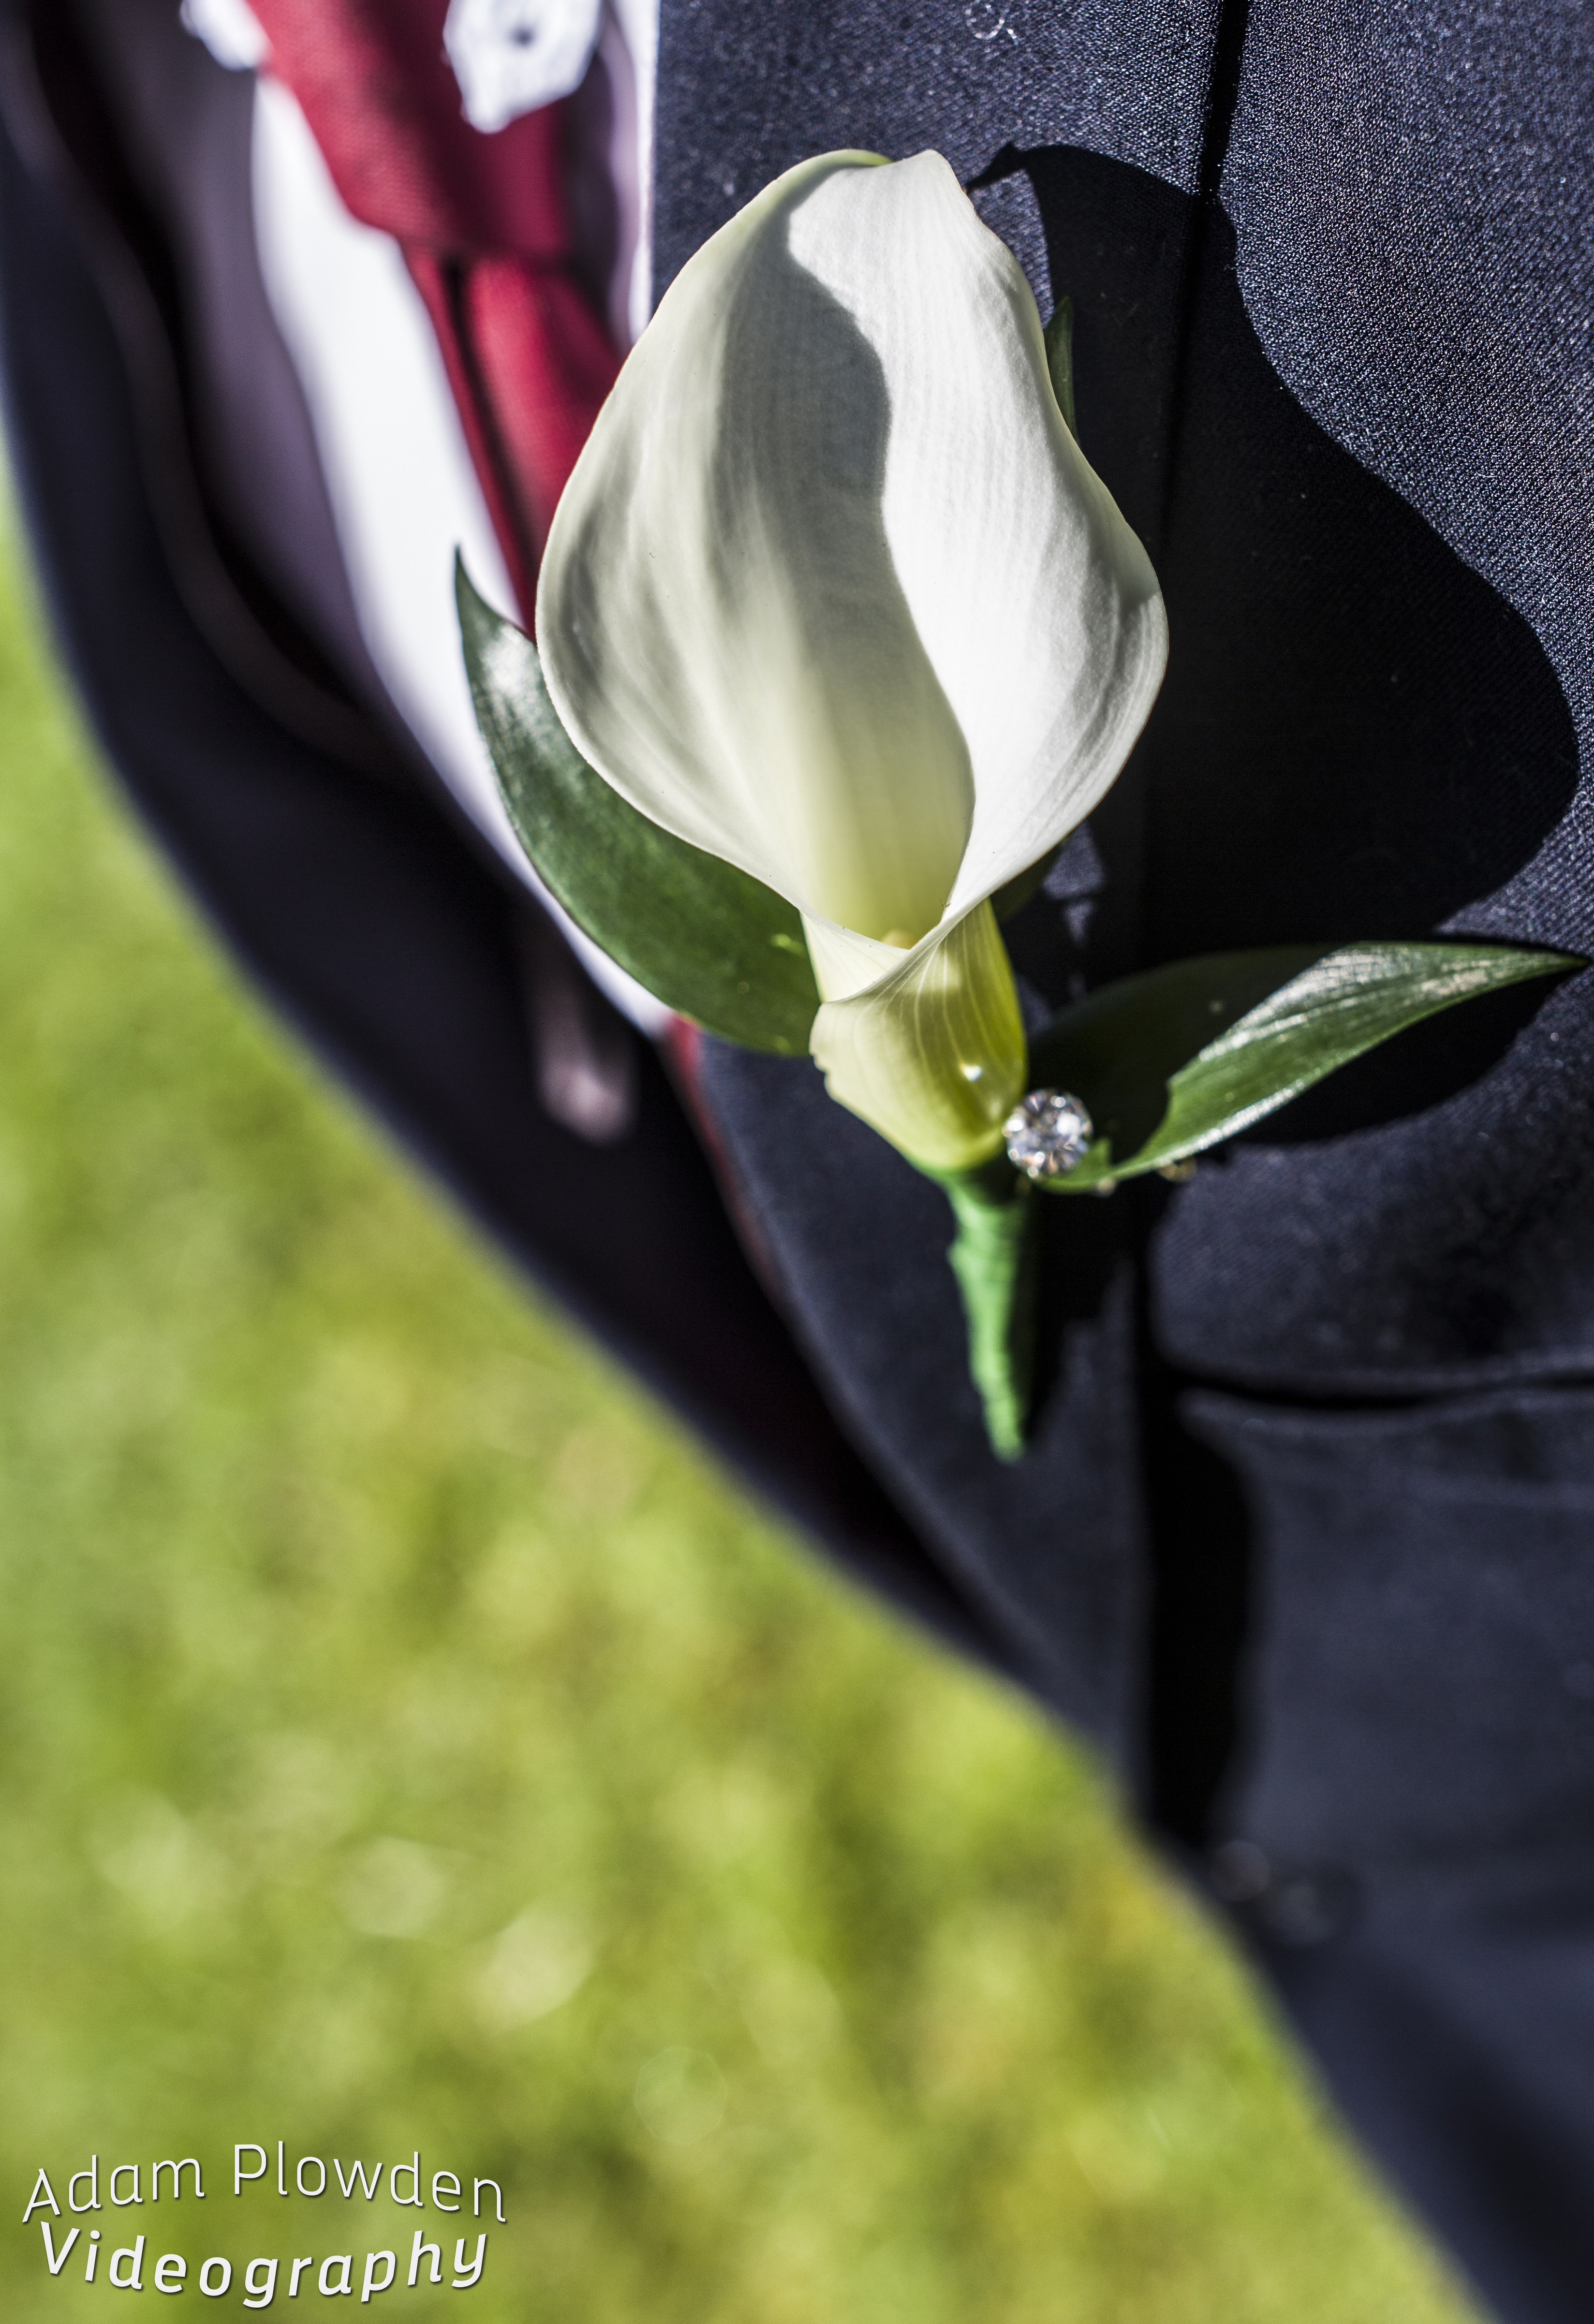
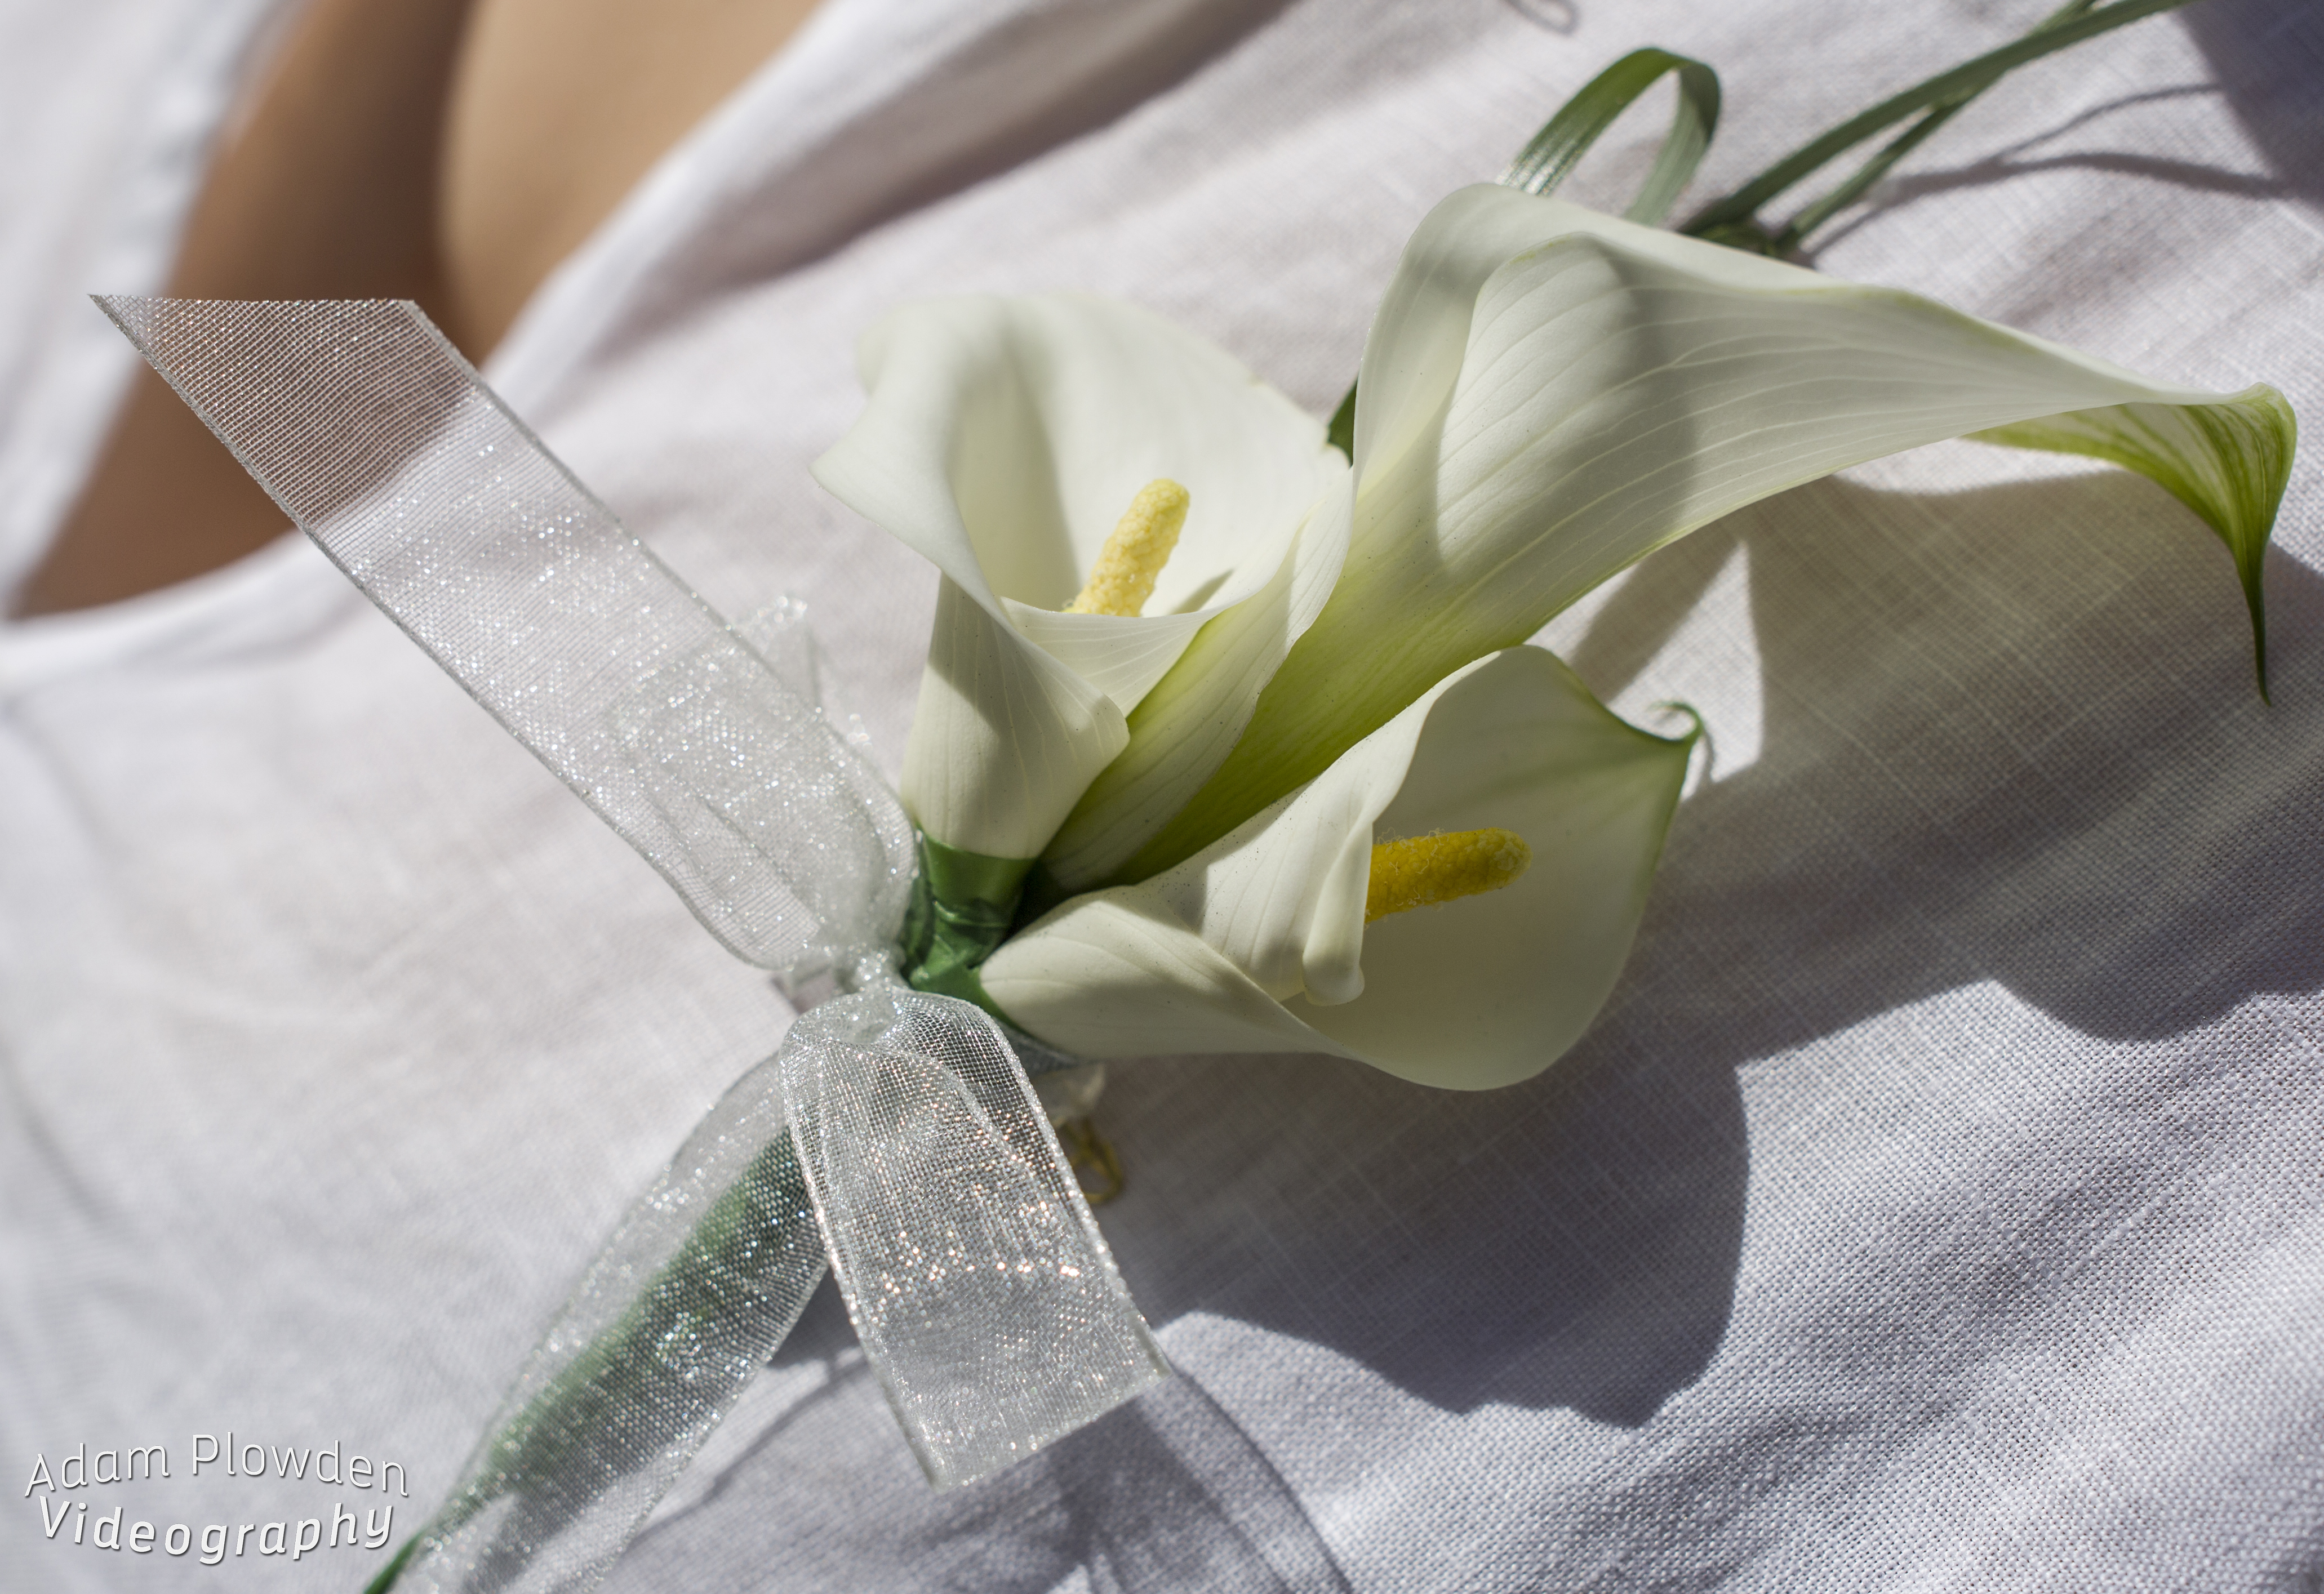
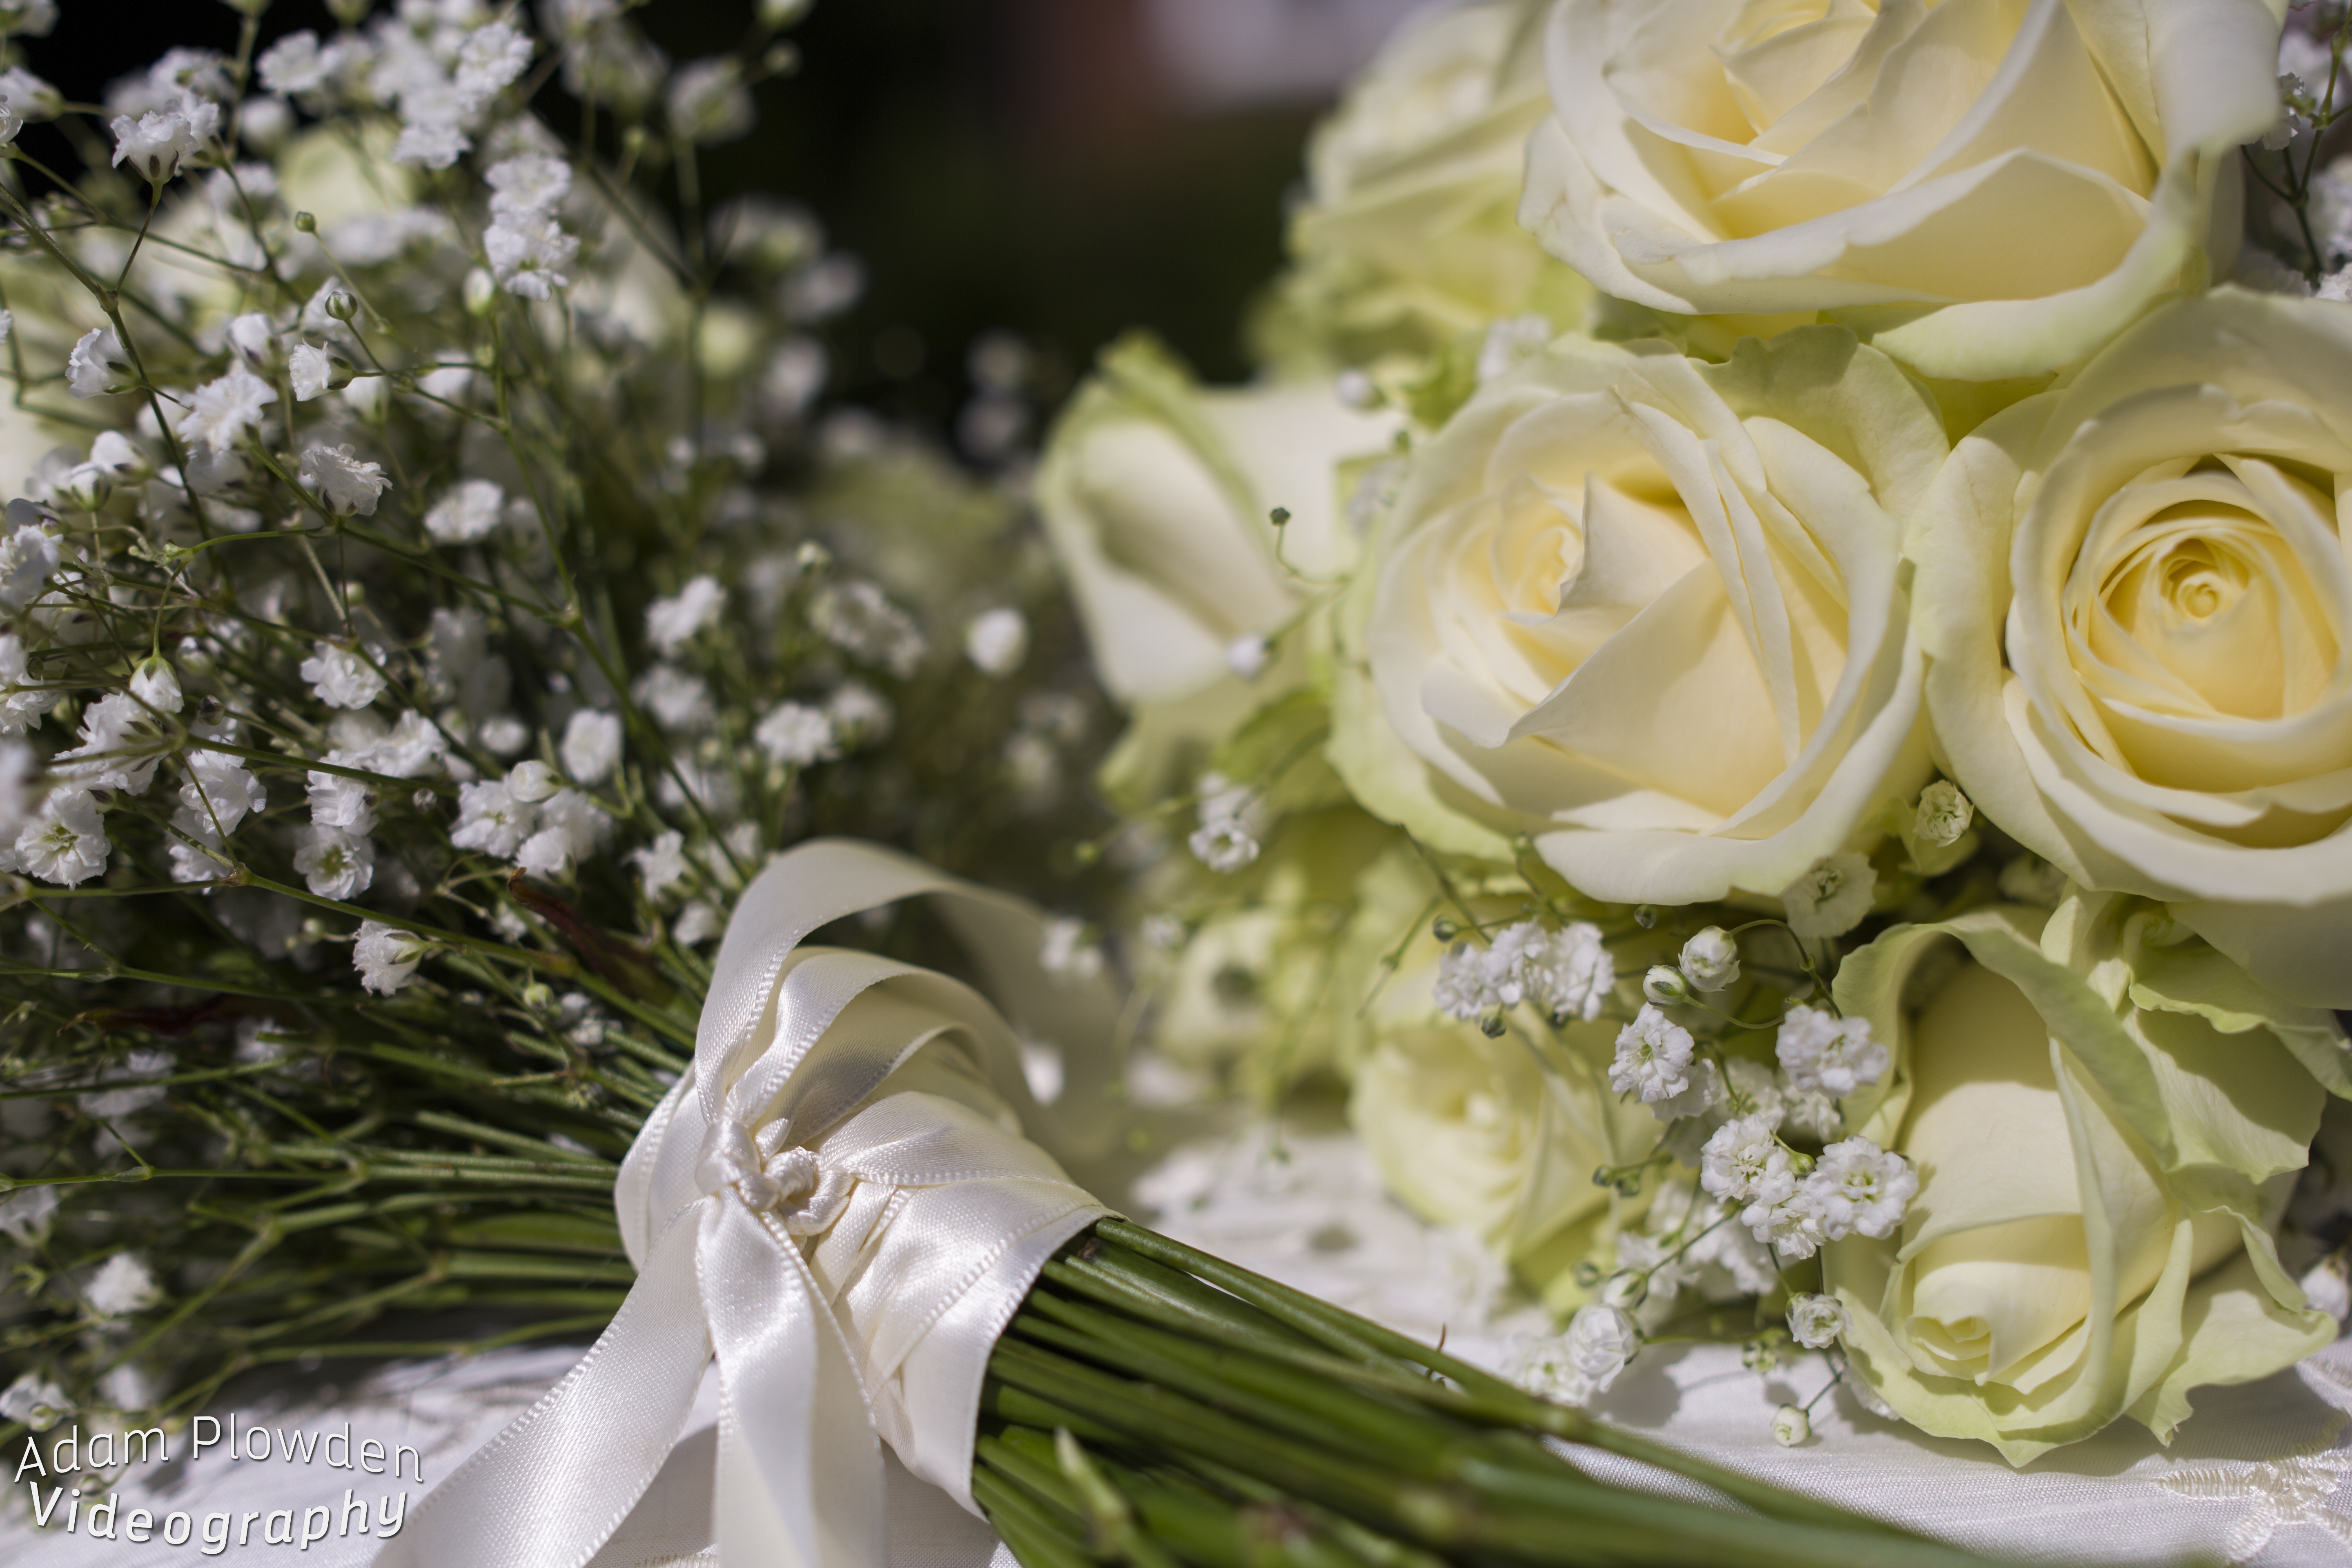
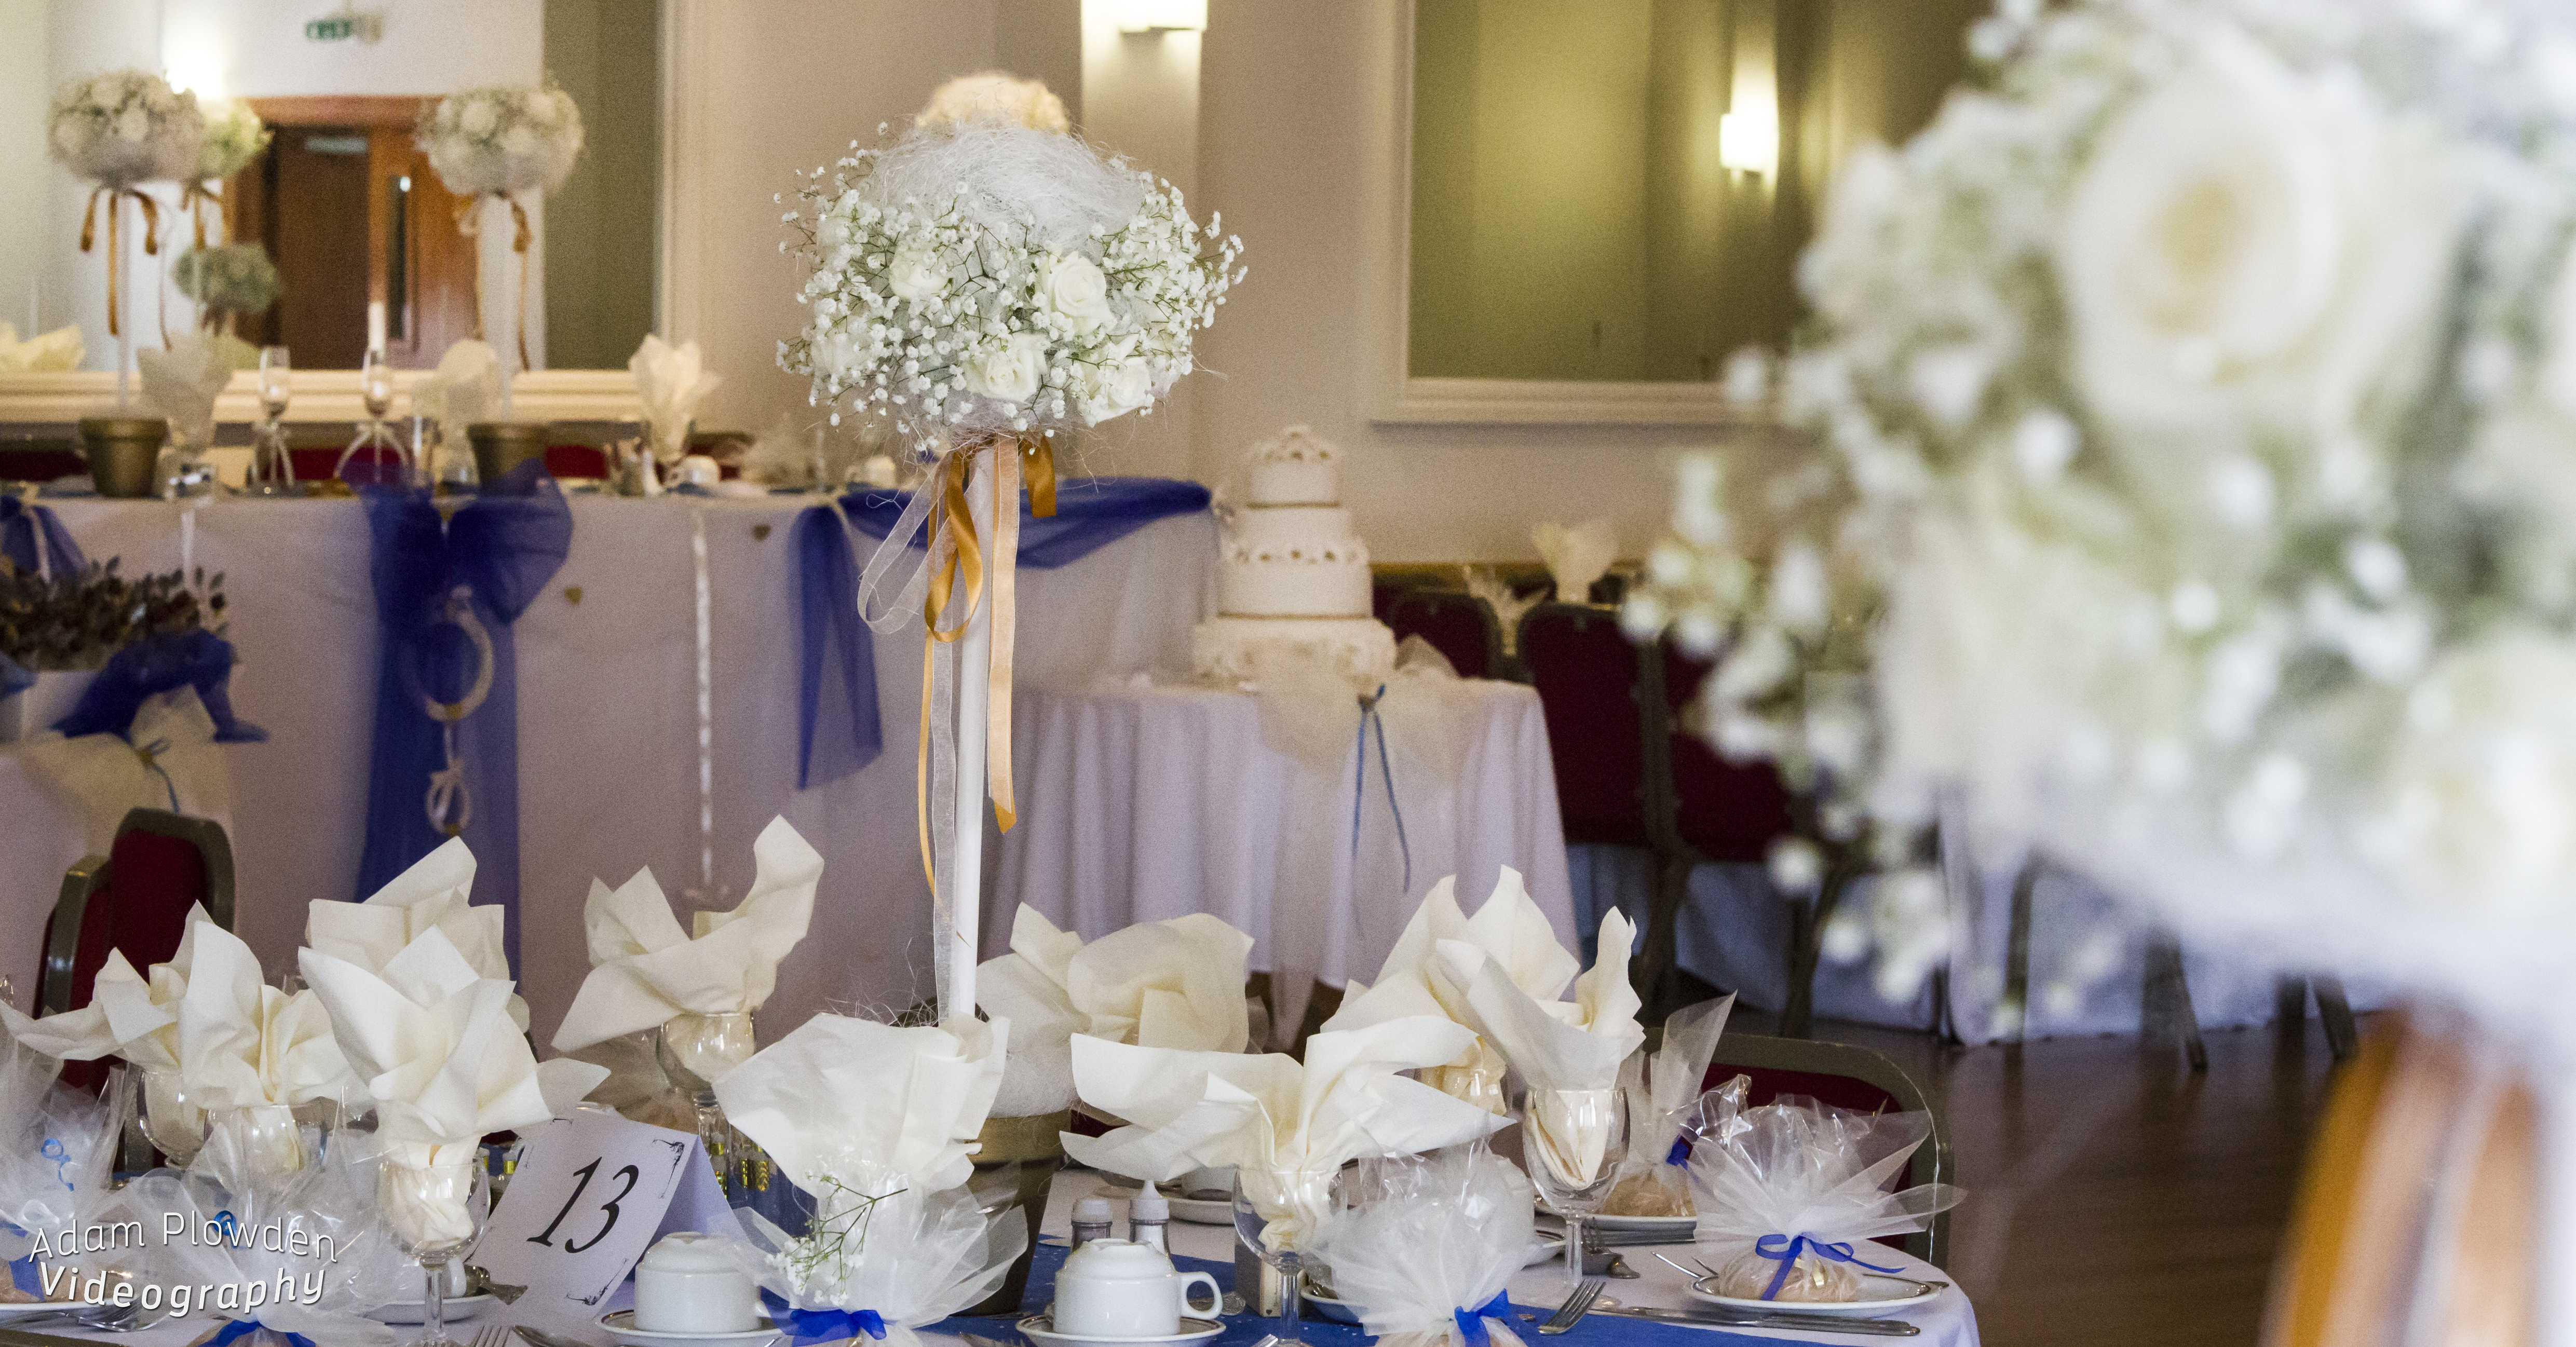
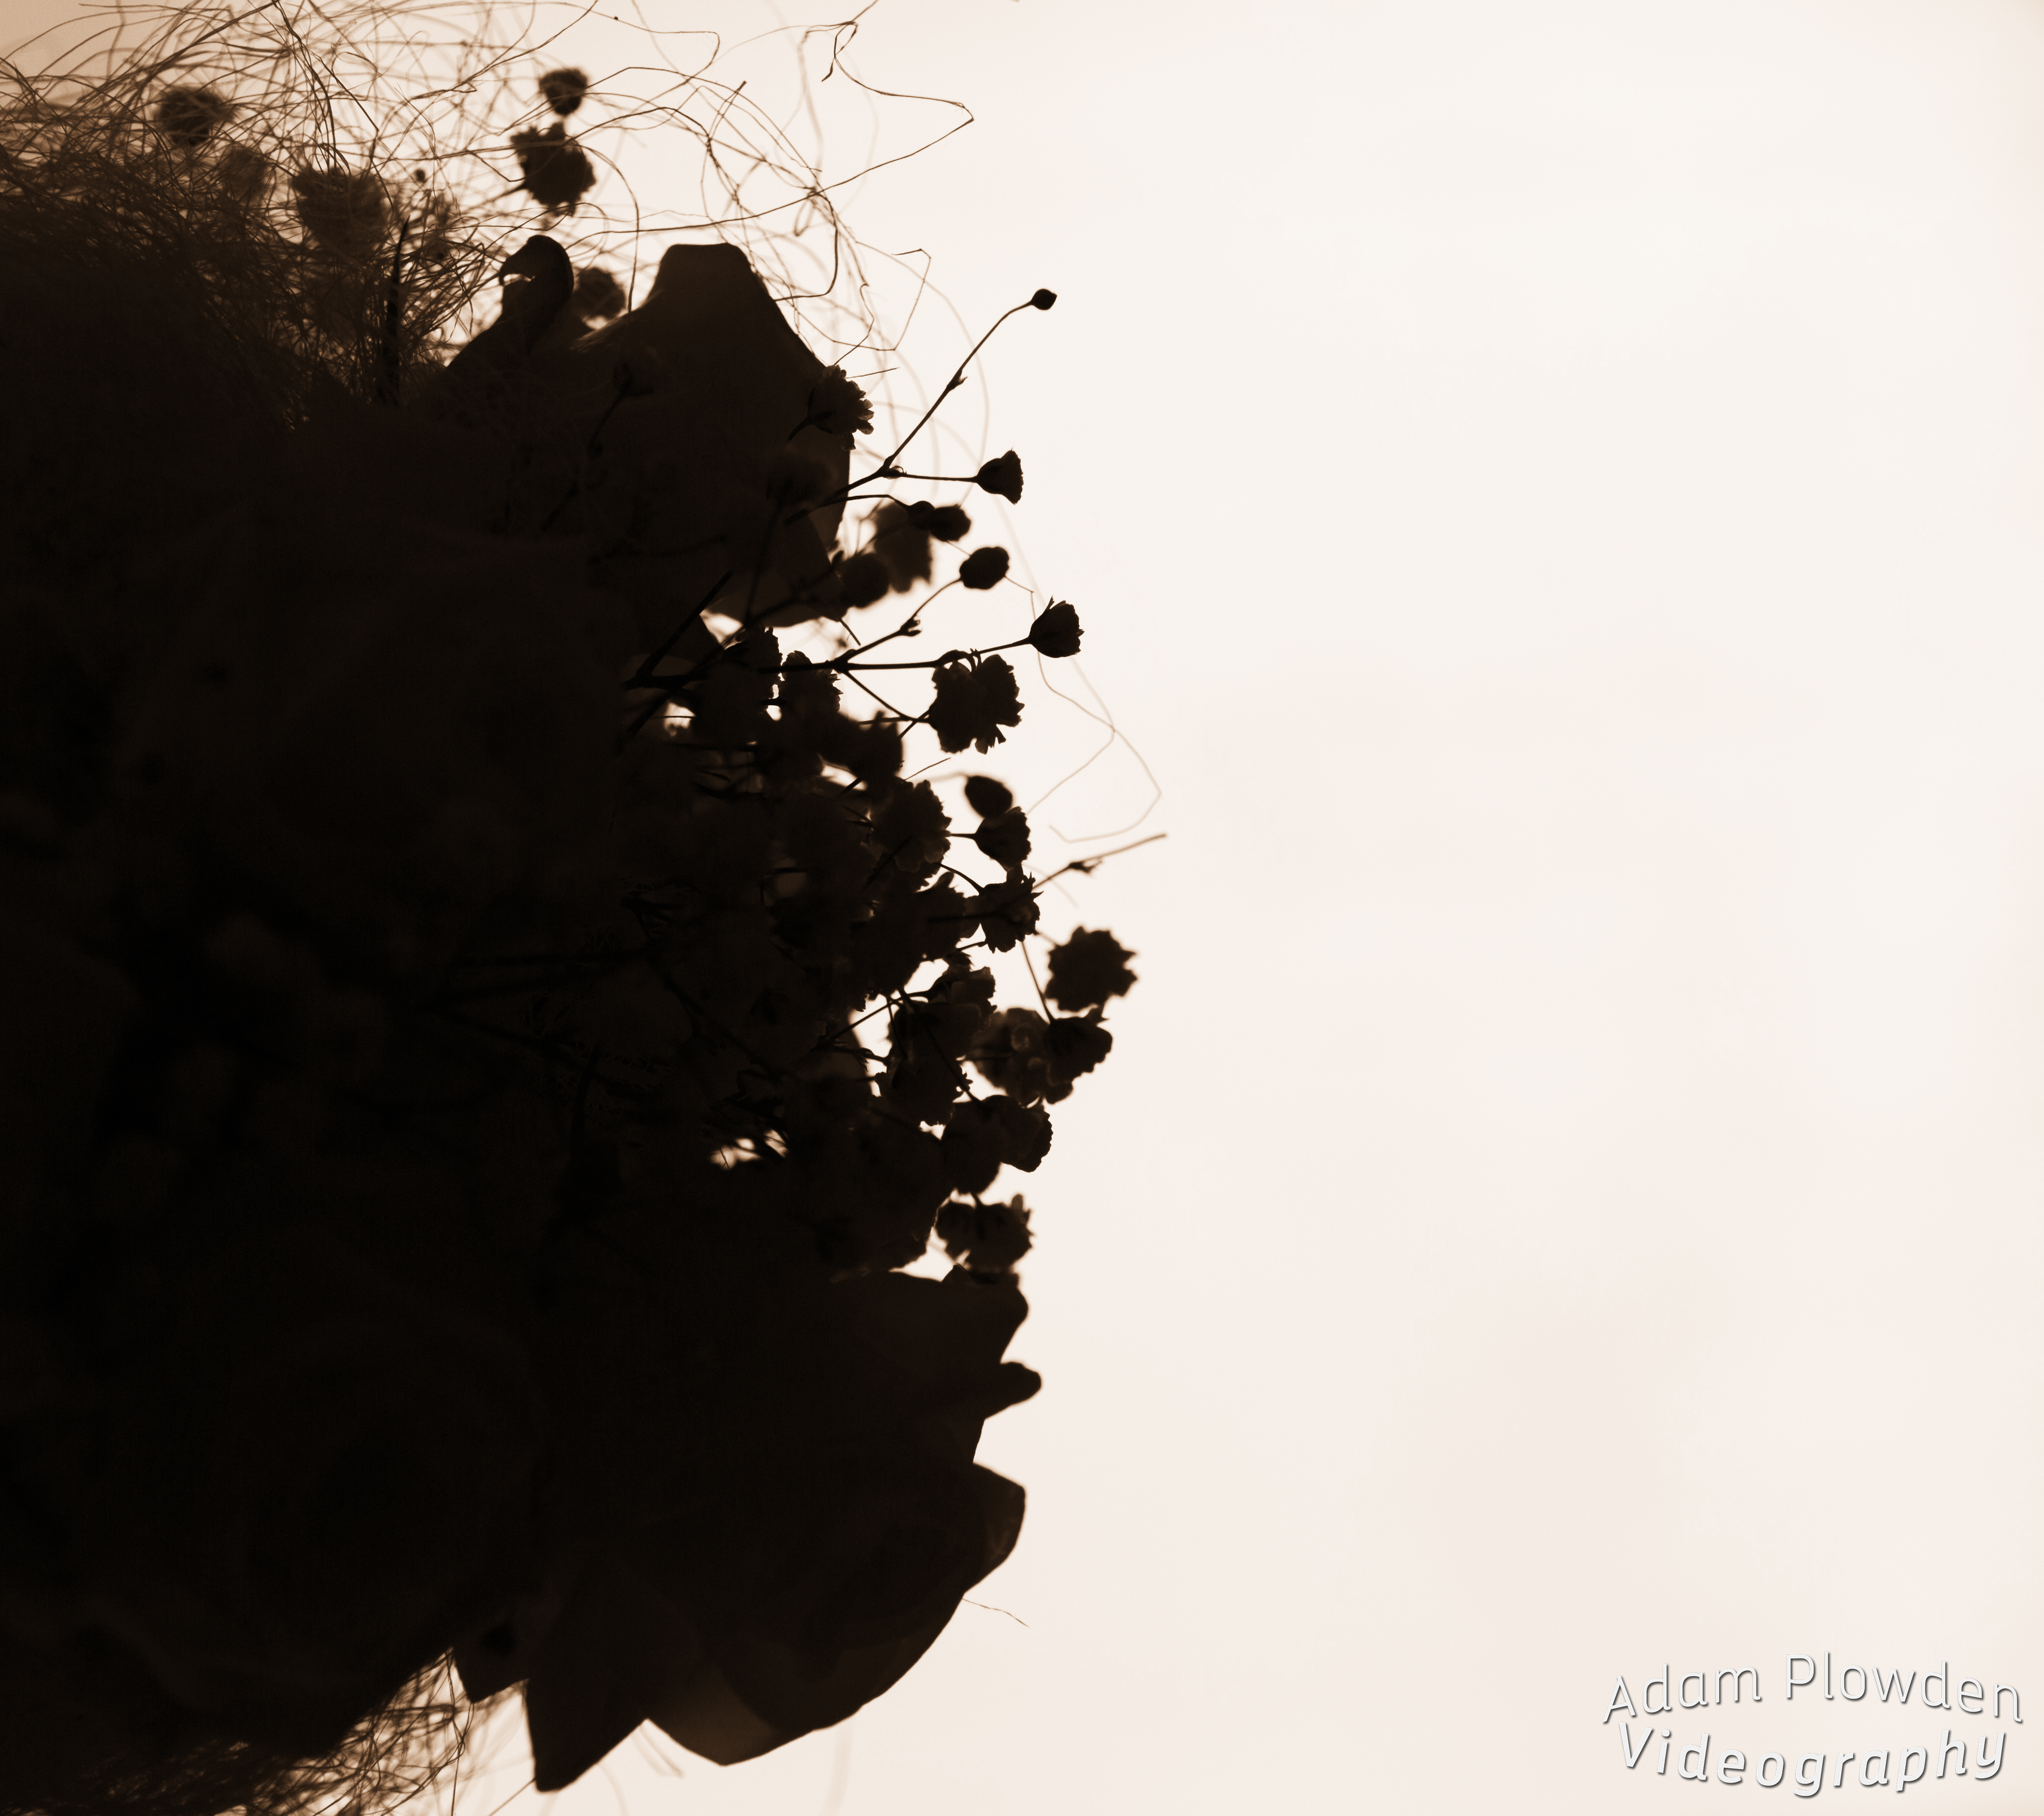
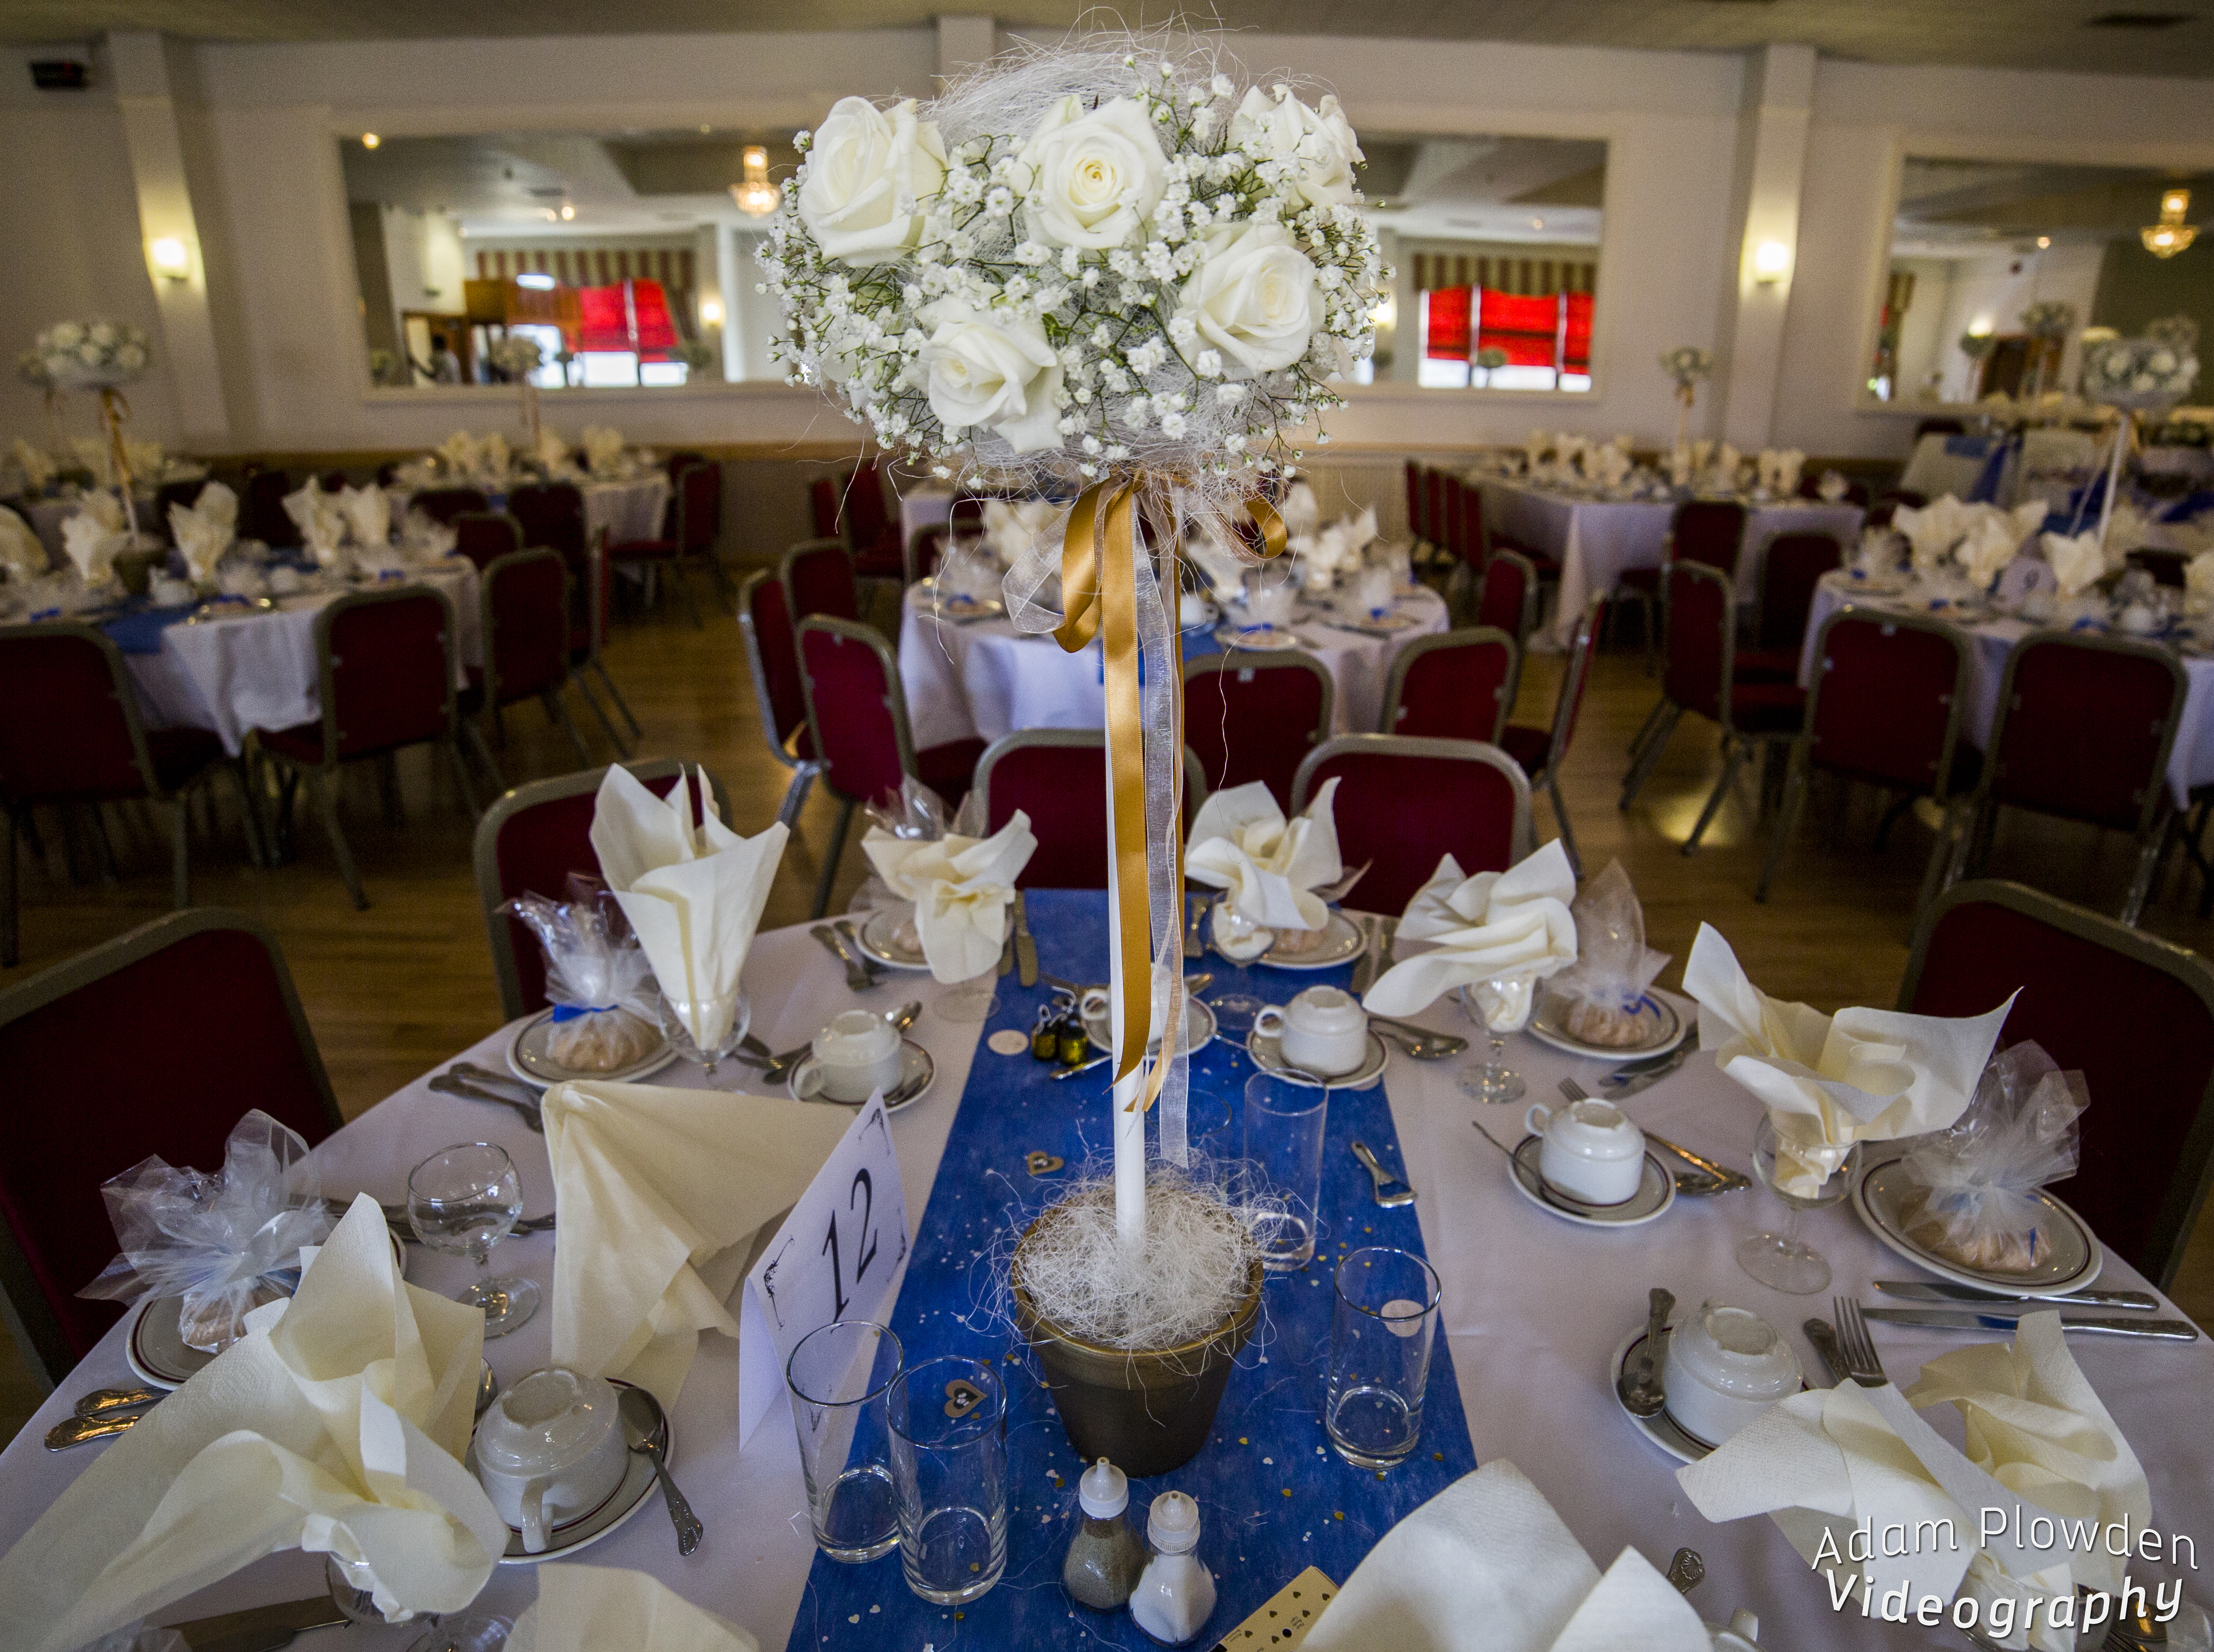
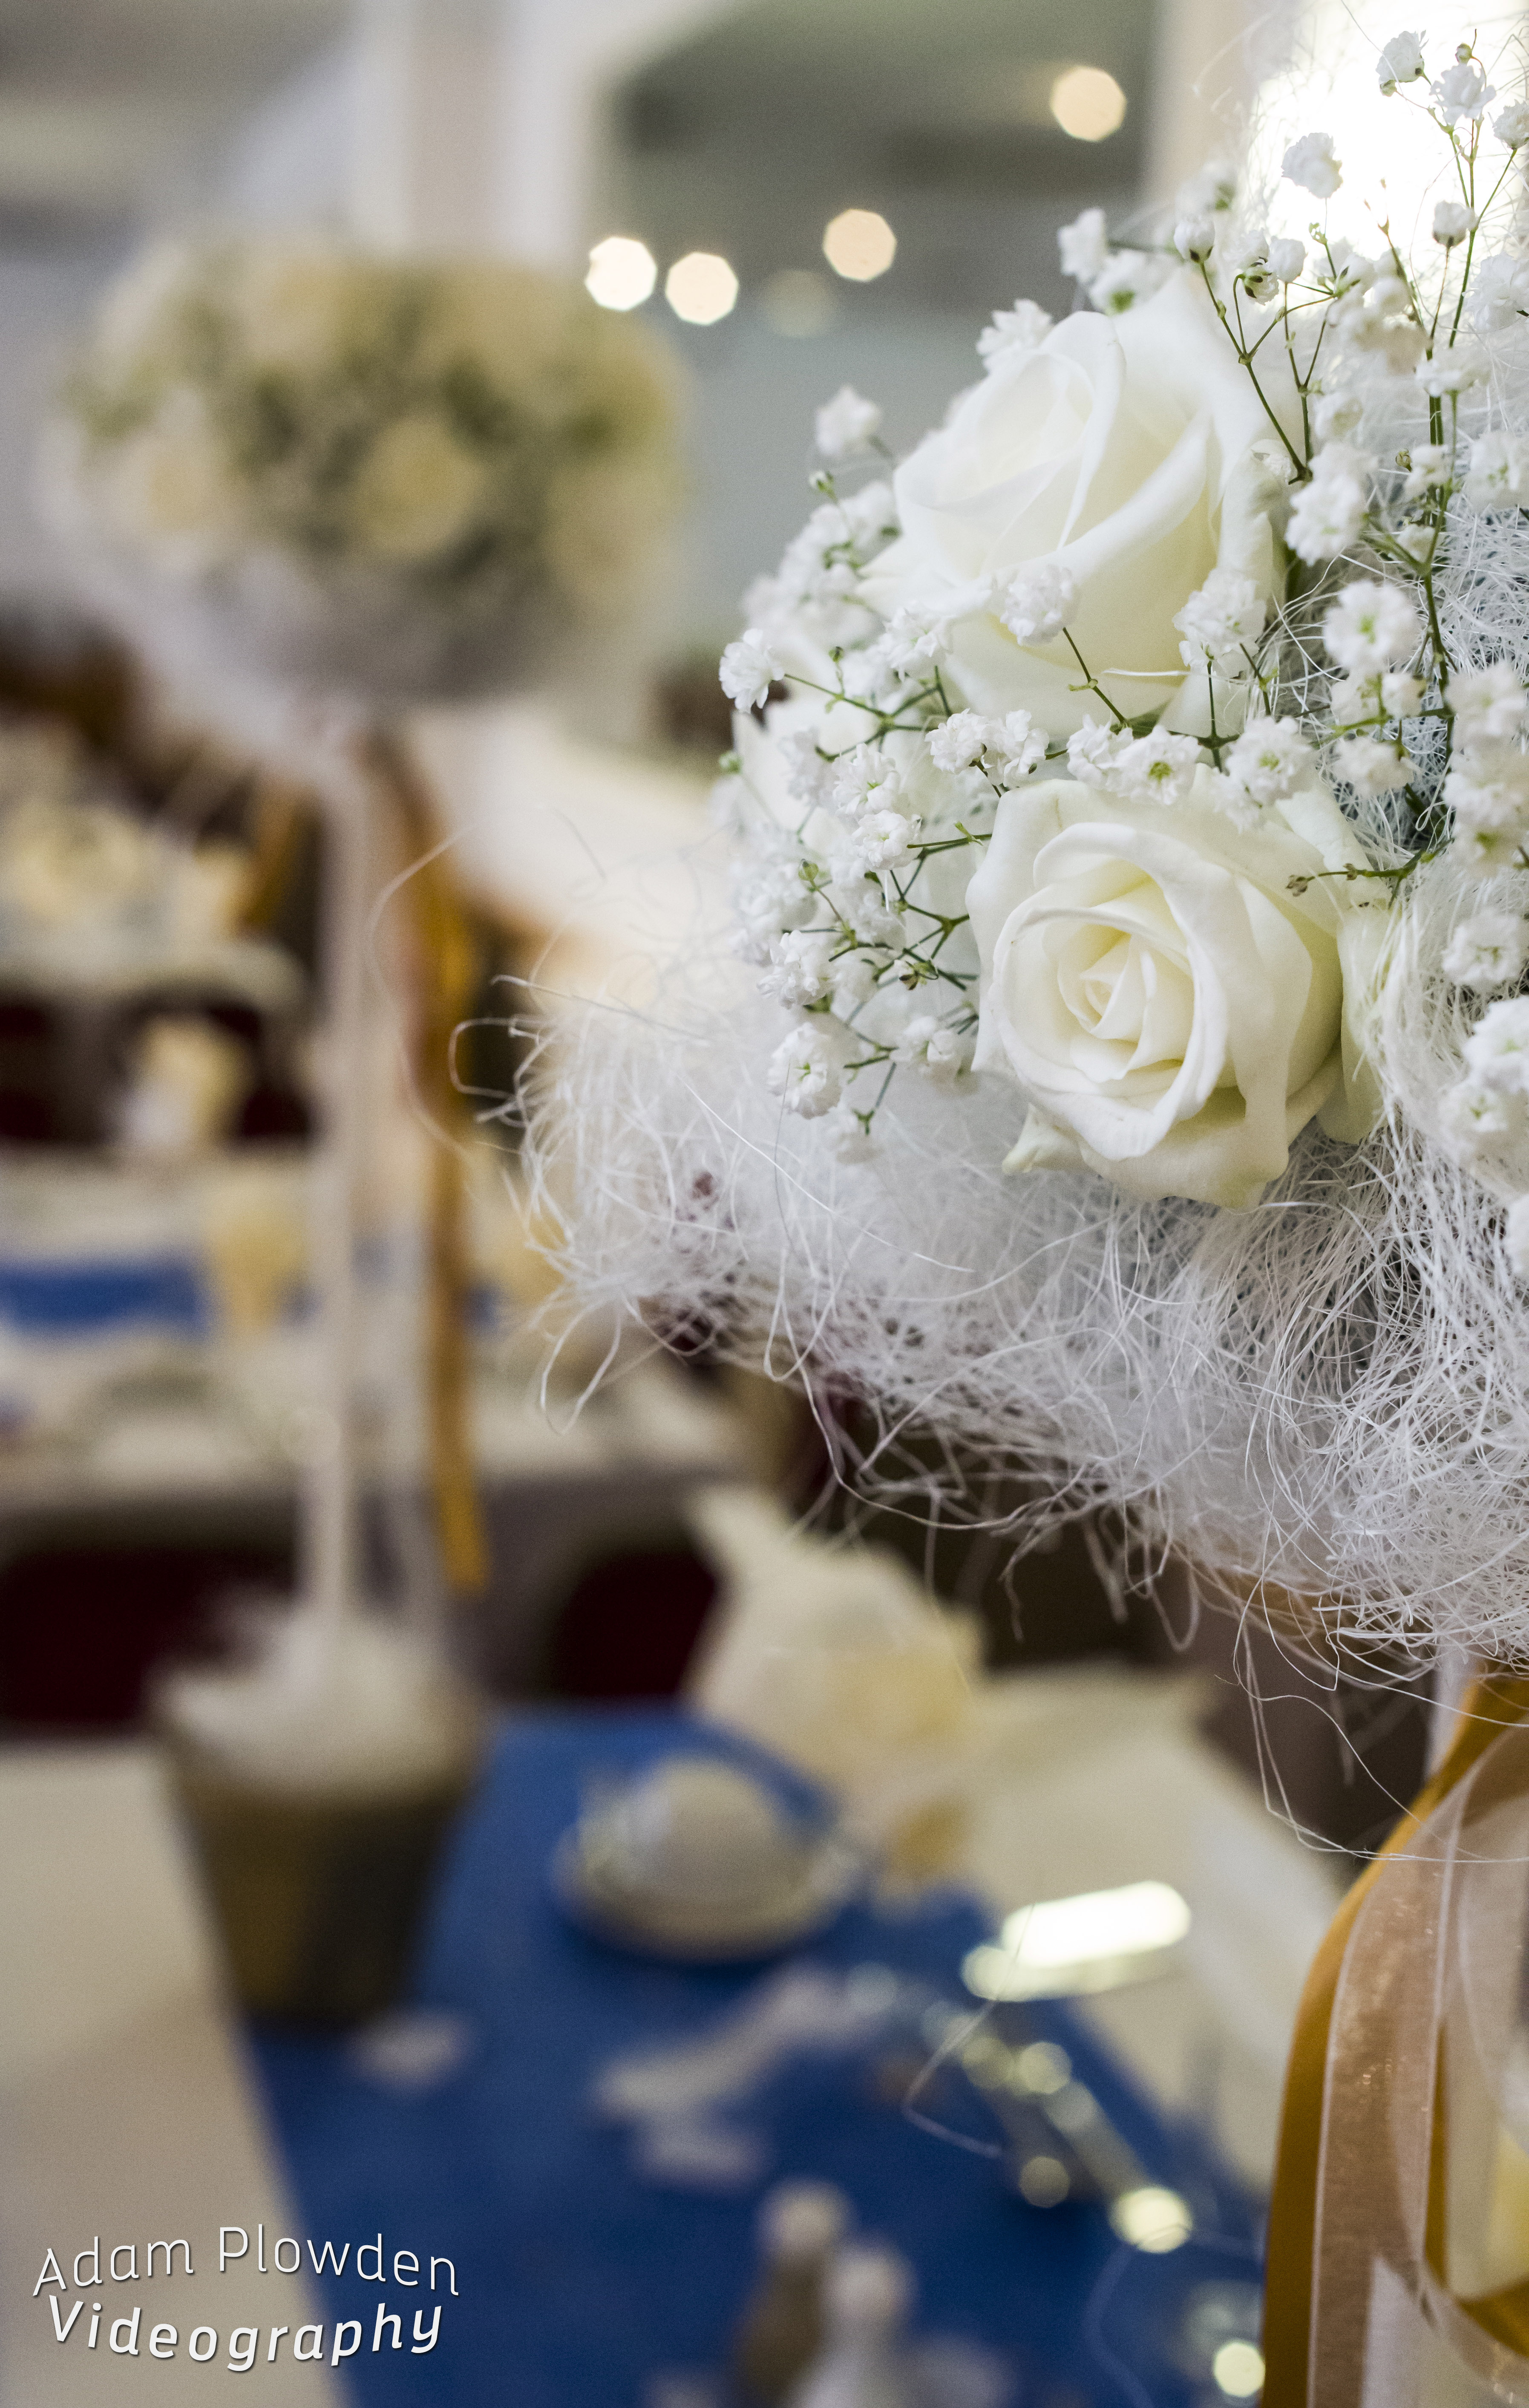
I was also out photographing flowers for a wedding, for the florist Madeleine Pink a few weeks ago too! Taken on a range of lenses with the Canon 5D mkIII (Tamron 24-70mm, Sigma 70-200mm, Samyang 14, 35, 85mm cine, and Nikkor 50mm).

Madeleine pink floral wedding flower photography adam plowden videography Madeleine pink floral wedding flower photography adam plowden videography button hole Madeleine pink floral wedding flower photography adam plowden videography button hole 2 Madeleine pink floral wedding flower photography adam plowden videography brides bouquet Madeleine pink floral wedding flower photography adam plowden videography table bouquet Madeleine pink floral wedding flower photography adam plowden videography table bouquet silhouette Madeleine pink floral wedding flower photography adam plowden videography table bouquet 2 Madeleine pink floral wedding flower photography adam plowden videography table bouquet 3 Madeleine pink floral wedding flower photography adam plowden videography table bouquet 4

Since then, I ventured into using Lightroom to edit the photos as well, still learning bits and bobs but found a range of fantastic presets here that create some great looks. I'd appreciate your thoughts on the photos and the looks as well, as it's mostly stab in the dark/emotive based :P

[gallery ids="4278,4279,4280,4281,4282,4283,4284,4285,4286,4287"]

A couple of weeks ago I had the pleasure of filming Dan and Kelly's wedding in Ashford + Foxhills where I met the awesome Ash; a unique wedding photographer! Check out the wedding film here [embed]https://vimeo.com/97953644[/embed], and definitely check out Ash's work over at Ash Darling Photography! Highly recommended by me :D and I believe I'll be working with Ash soon on an up coming wedding, really looking forward to it!


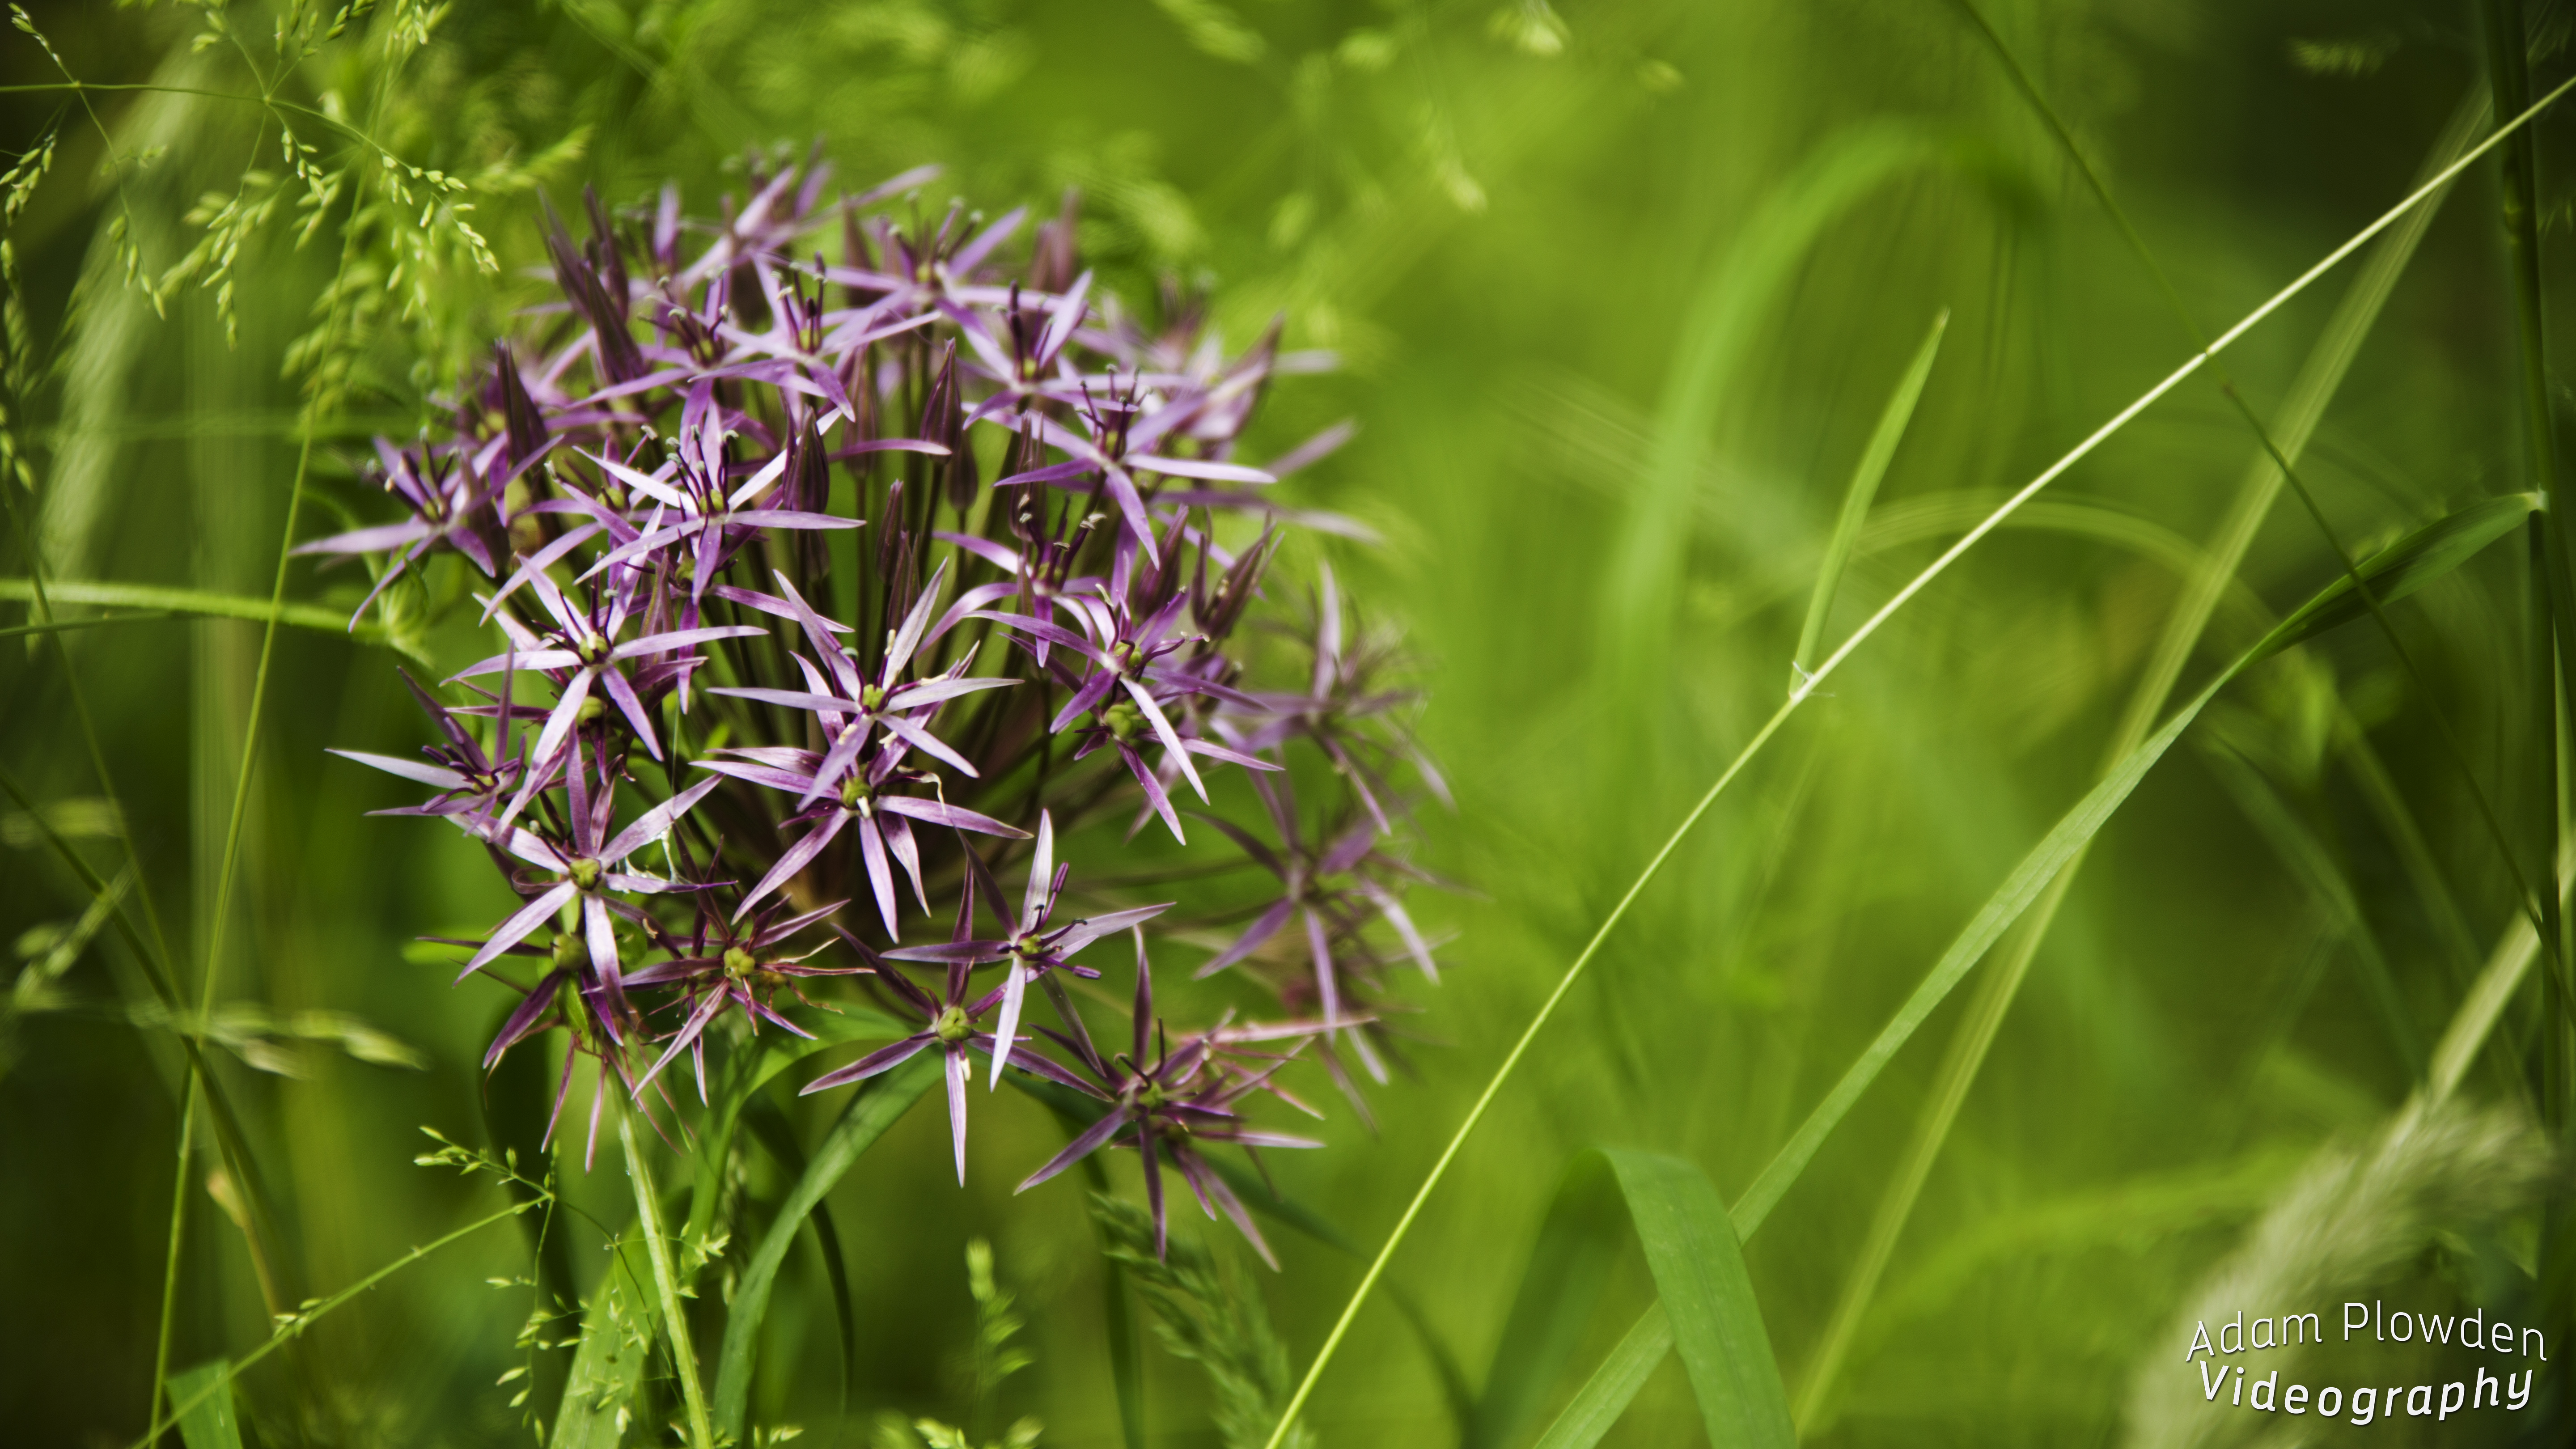
Believe it or not, I have been doing some videography too! In between editing the health and wellbeing videos, and on the pre-production sketches of the telecare animation I spent a couple of afternoons in The Woodland Garden in Bushy Park; one of my favorite places to go to switch off work mode, relax and shoot some video for personal projects. I've named this one 'Waterhouse', it's the name of the part of the garden where a balcony looks over a pond with a waterhouse to the left. It poses interesting thoughts to its original function, the bricks and foundations holding strong throughout years of use and bad weather. Virginia Creepers pursue to edge up its sides, gripping on to reach the sunlight through the tree canopy.

beautiful blooming purple Allium flower photography adam plowden video waterhouse

The edit is complete, but I am now working on a quirky hipster logo/title animation for the beginning of the video so as soon as it has been animated and comped into the footage I will upload!

The kit I used for the 'Waterhouse' video include; Manfrotto 755Cx-3 tripod, Edelkrone Slider+ v2, Canon 5D mkIII, Canon 100mm F/2.8 macro (hence why the shake on the slider is slightly more visible than without IS/OS, but I have used Warp Stabilizer where I can). Tamron 24-70mm, Sigma 70-200mm, Samyang 14, 35, 85mm cine, Nikkor 50mm. After using the Canon macro lens, I have totally decided to purchase the Sigma 105mm F/2.8 OS macro lens; firstly because of future video productions where a small minimum focus distance is necessary (product, people, detail shots), also it has optical stabilization which I found was needed when moving the camera and lens on the slider, and lastly its around £400.. Bargain!


Things I've learned so far from doing this kind of work;

  • Shoot with a widespread histogram (unless I wish to isolate the subject from shadows behind).
  • Lightroom is awesome, try playing with the presets I linked to work on the developer tools.
  • Regardless if it has been a long day filming, if you want to talk to someone, always, always, always do it!
  • I want a macro lens for intricate detailed shots, as my current range does not let me get close enough to the subject.
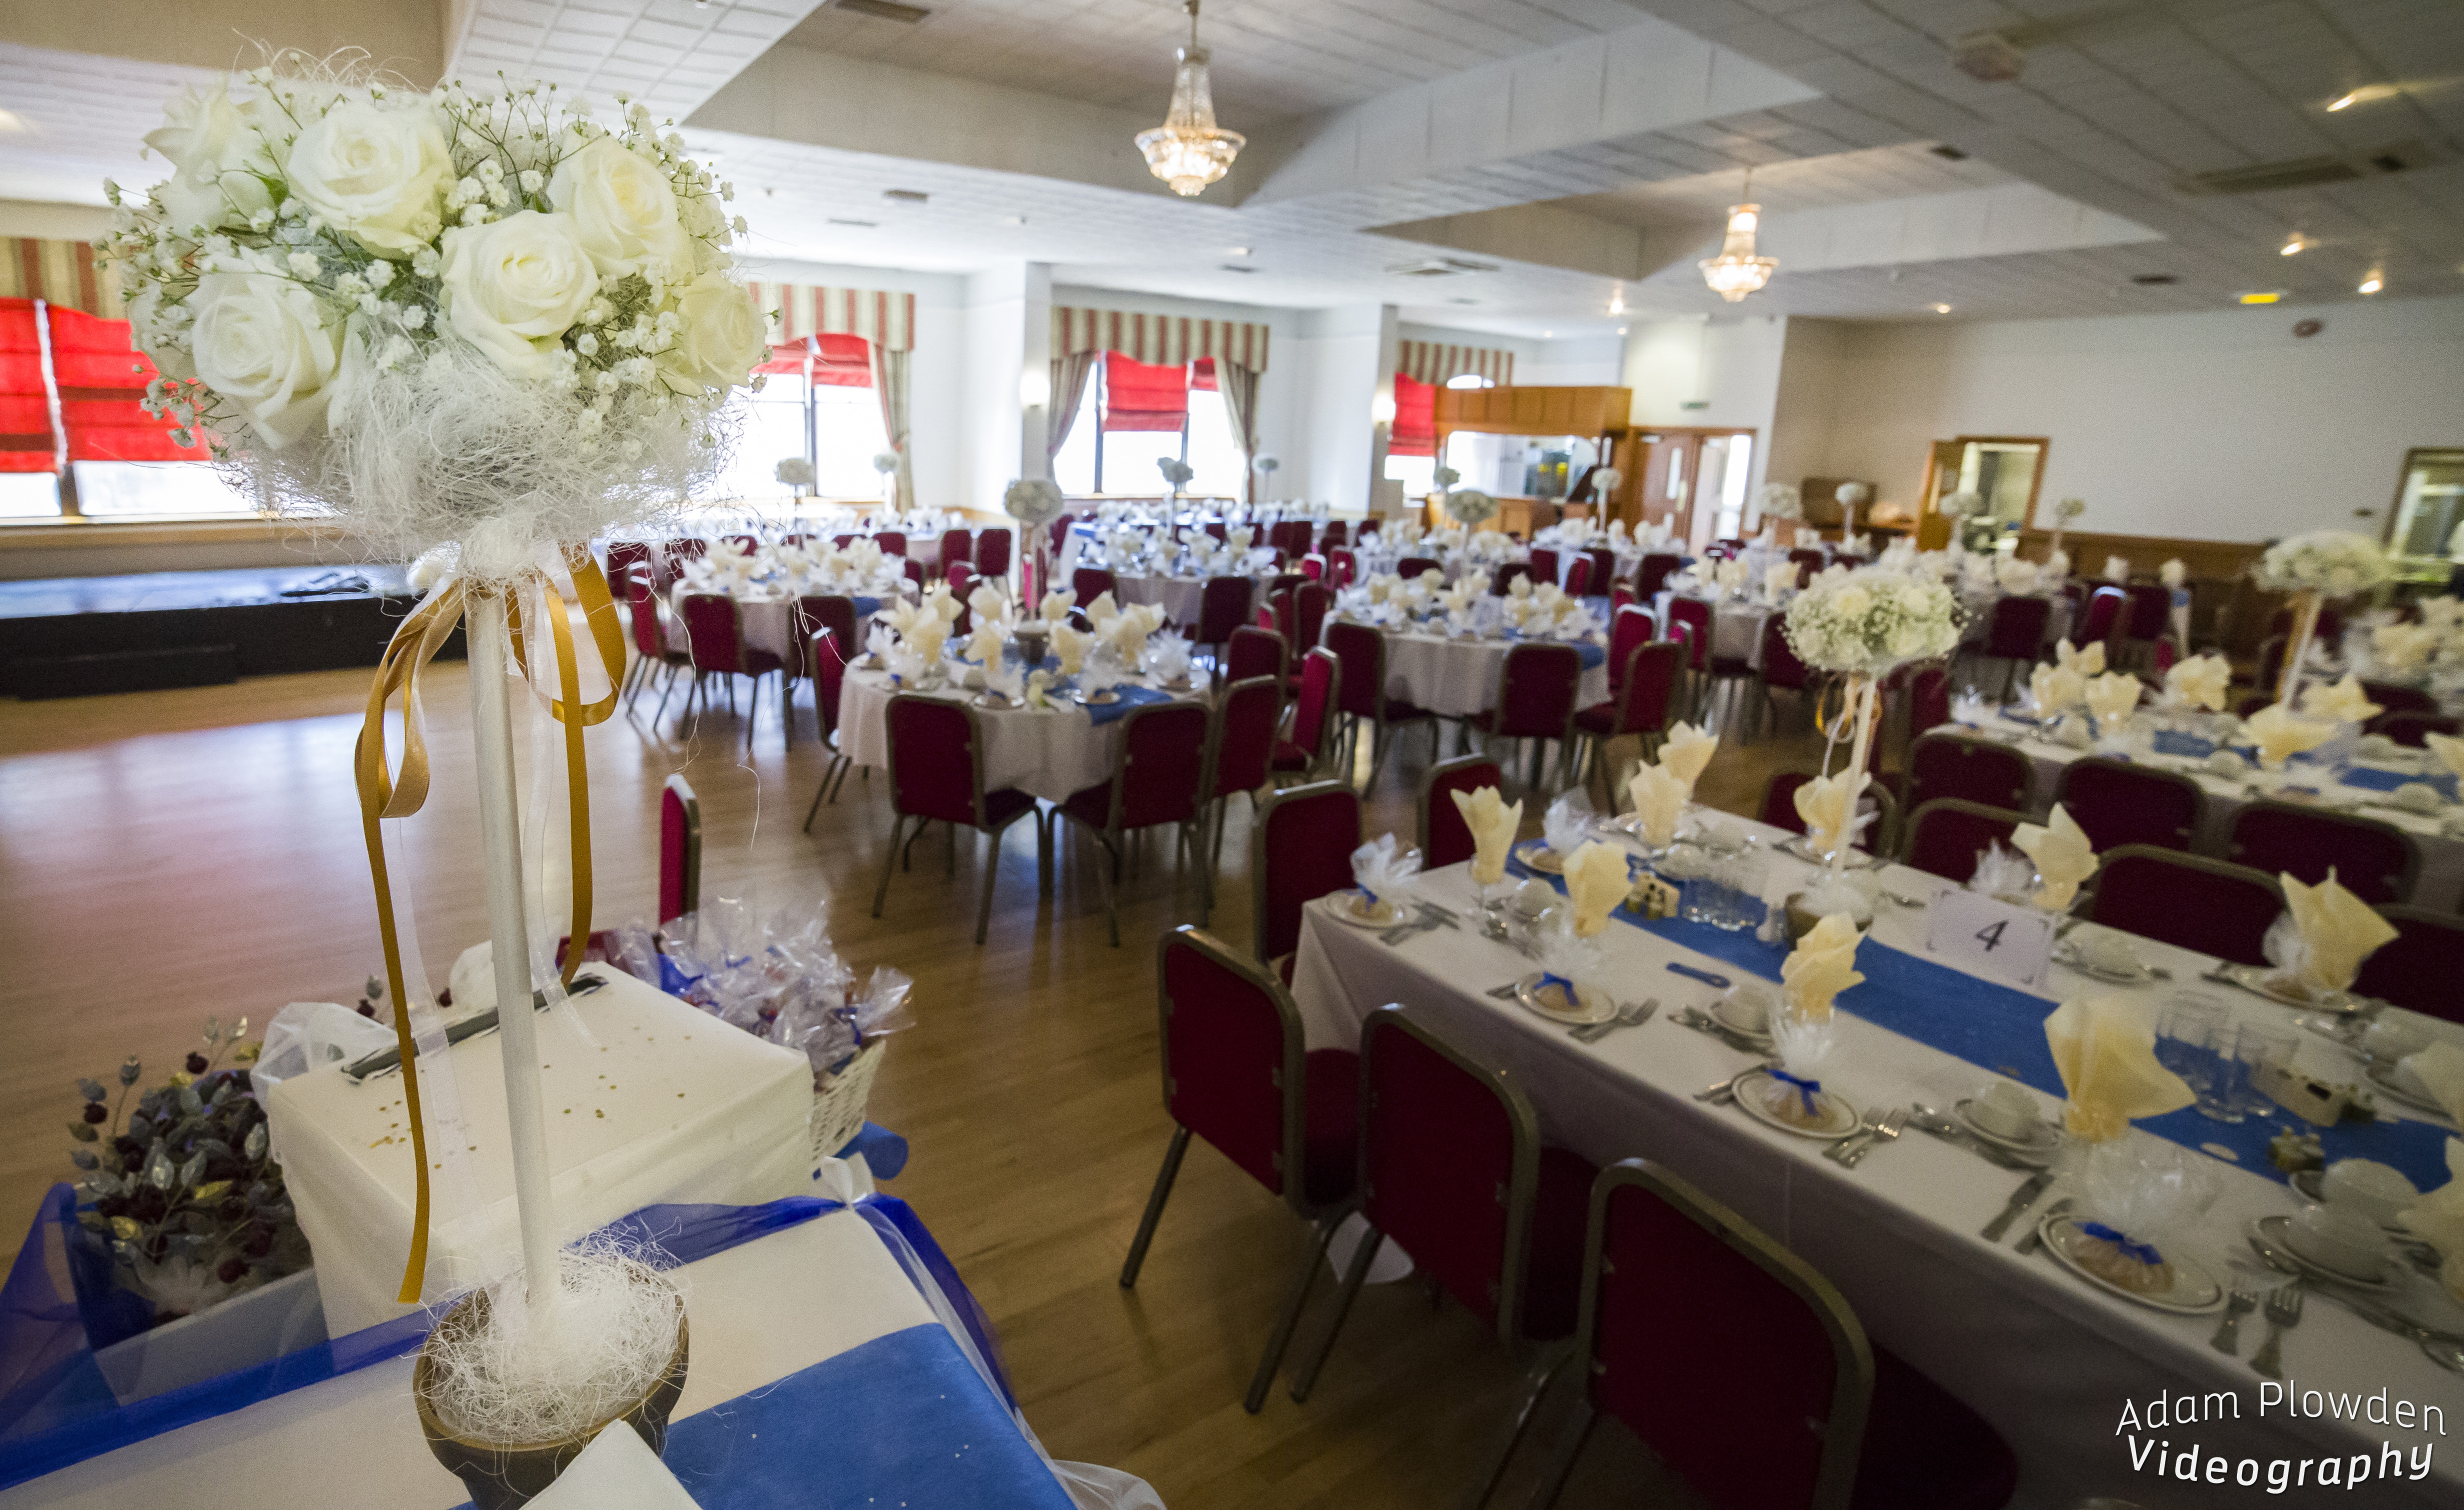
  • Take some hand held lights for kicks and fills; the venue room where the table decorations were photographed was very dark. With a tripod and a couple of lights I would have had much more control over the lighting composition.
  • Dabble in a variety of work types, to keep it interesting and different!
  • I need a slider for cinematic moving shots; I have made my choice; not the Edelkrone! There will be a whole blog post on this coming soon.

Testing out the new Panasonic GH4

There have been three new arrivals at JHWF HQ this morning, three beautiful Panasonic Lumix GH4's! panasonic gh4

I've had the opportunity to check out the GH4 at Park Cameras a few months ago, so today was a great opportunity to get proper hands on with the new camera system!

We didn't have time to do a proper test, so I took a few shots to demo the 4K at 100Mbps AND the 1080p 50fps features that are currently exporting in Premiere now.

Out of the box, holding the camera using the viewfinder seems so natural for video, as well as the OLED live screen which produces a clear as day image with overlays.

Using the stock lens 14-140mm F/3.5-5.6 (equivalent to 28-280) the image was sharp, with very minor chromatic aberration at 140mm. I am used to a 'full frame' look, but remembering that the Arri Alexa has a similar sensor size the the GH4, what lacks in the stock lens can be gained using the wide range of primes available for M4/3 mount.

The OIS stabilization was actually incredible. This being hand-held, the shots were very shaky at the long end, but the OIS did a brilliant job of stabilizing the image.

Another fab feature is the variance in recording formats, whether you are shooting on a green screen, or footage that is live streamed, the data rates are manageable and not small enough for heavy compression meaning grading the footage should be a breeze. (In my test video coming very soon I have NOT graded any footage).

Things to make note of: If you are going to purchase a GH4 but currently shoot with Canon EF lenses, do not worry. Lensadaptors have developed a M4/3 to EF adapter, there is also one from Blackmagic to Nikon G mount, and rumors are circulating that Metabones are working on a direct M4/3 to EF lens as we speak!

Well, there will be LOTS and LOTS more to come as I continue to play and test out the GH4 so watch this space!

panasonic lumix gh4 4k footage export

BASIC TEST VIDEO -

[vimeo http://vimeo.com/93516685]

Rotolight Sound and Light Kit Review!

I have had the Rotolight Sound and Light kit for a little while now, and I like it. I like it even more so because Rotolight has been the only manufacturer to really think about what consumers moving into the industry, and already established creatives would need from the outset. Without light you have no picture, and without sound you only have 50% of that video.Videos with bad or unprepared sound are noticeable, just if the subject of the video was not lit correctly. Unfortunately we are now used to watching and seeing very high quality, glossy pictures with filmic motifs, and excellent sound including orchestral scores. We aspire to work on these 'big budget' productions, or to make videos that look like them, but without thinking about your lighting and sound, you are very far off. I produced this review and the music video using the Canon 5D mark III, and a range of Samyang Cine lenses. To keep the light source and sound as pure as possible, I only used the Rotolight RL-48 B ring light and Roto-Mic. I also used my custom camera rig, which is manufactured by CamSmart, as well as a 5" Lilliput field monitor. I used Adobe Premiere Pro, After Effects and Speedgrade to edit and post-produce the videos.

rotolight sound and light videography video kit review led ring light

RL-48 B LED Ring Light

Out of the box, you get everything you need (apart from batteries) to start shooting straight away. The inclusion of a Rotolight belt-bag is fantastic for getting the light out quickly if you are shooting on the run, and for storage while traveling and keeping the batteries, light and accessories safe. One pain I always have, as I am a single shooter is that to change parts of my equipment setup; which means opening my big bag, routing through to find the bit I need and then carrying on. With Rotolights ingenious solutions they have removed that need entirely!

Inside the LED light is a set of ND, skin, colour and minus green filters that can be applied directly inside the housing of the unit itself; no need to carry around filters, gels and pegs to achieve your desired brightness and tone. This is great as no longer do you rely on a bag of old gels to adjust the temperature and brightness of the light source, and all filters are supplied by LEE, so you know you can trust them. The LED's being naturally daylight at 5600K, you are set to use the light in most conditions! For photography and video with people and models, Rod from Rotolight recommended using a softening ND and the skin filter which gently soft lights the subject, with a peachy, wrapping beam. There are no shadows, and the result is a beautiful glimmer of light in the subjects eyes giving them emotion and life.

rotolight sound and light videography video kit review music video filmmaking shoot videography model light

During my time with the Sound and Light kit, I tested out its practicality when out filming indoors and out on location. Above is a still grab from the indoor shots of Josh performing his lines to the camera; you can see a hint of light in his eyes, and a soft-neutral coverage of his face. This was the look I wanted to achieve; an intimate piece-to-camera. I used the ring light and mic mounted on the hot shoe of my camera setup, this gave a direct beam onto the subject, and would work for any subjects in front of the camera. Indoors the RL-48 ring light gives out a beautiful 140 degree beam of light that wraps around your subject, without any hot spots (usually on the forehead). I was filming a music video, but would work exceptionally well in model and fashion work, where beauty is exaggerated through the images.

rotolight sound and light videography video kit review music video filmmaking shoot videography

It took some innovative thinking to get the lighting right for this continuous tracking shot. Although I was shooting in the afternoon sun, I still needed a key light to keep Josh's face illuminated throughout. The night before we were at the location shooting the same scene, but had the ring light mounted on the camera. This time I needed the source to be much closer, so I whipped out the Manfrotto Magic Arm and Superclamp and clamped the light to the boot of my car. In the still grab above, the light is only a foot away from the left of Josh!

What I found here was the need for a brighter light. The 48-LED ring light provided great overall coverage of my subject, but I required a brighter beam to achieve the desired soft-skin and glimmer in the eye look. Although Rotolight produce large LED lights (Anova) for videography and cinematography, I didn't need that much more power. I think for video it would be great to see this model brighter, or have different brightness levels, as usually you require more light than less - especially when adhering to the 180 degree shutter rule. Once your shutter and aperture are set, the only exposure controlling parameters you have is the ISO/ASA or your light sources brightness, and where you're unable to move the light closer or further away from the subject; having a brighter light from the outset is more beneficial.  This is a small niggle from myself, but can be shown with examples in these still grabs -

rotolight sound and light videography video kit review music video filmmaking shoot videography night videoshoot filming car tracking model dark (Here the light from a street lamp came in very handy.)

rotolight sound and light videography video kit review music video filmmaking shoot videography night videoshoot test greet tint

This shot was taken on a 14mm T/3.1 lens at ISO 1250. Although I have remedied the low light in Adobe Speedgrade, a green tint is visible across the frame. A minus green filter is included in the kit which can be used where the green spike (due to LED technology) is prominent, but as I was filming in near darkness I chose not to use the filter to get maximum light output, which by the way is 100w! During the shoot I also used the light hand-held to get intimate with my subject, but not blasting them in the face with an offensive flash gun or LED panel light.

Roto-Mic

Like I mentioned earlier, video is (in most cases) useless without good quality sound. Imagine watching a film or TV program and the sound is noisy and fades in and out as the presenter moves around the frame. It is distracting and essentially draws the audience away from the video, it is suddenly and mostly subconsciously hard to watch and enjoy. With current trends in pro-sumers moving to DSLR to make films and video, there is more pressure on achieving good quality sound when acquiring your footage; the built-in mic does not do your pictures justice.

rotolight sound and light videography video kit review on camera dslr microphone

Here, Rotolight have entered the sound game by producing an on camera directional shotgun mic, with excellent pickup response and sound to noise ratio. When I first started out in freelance videography 3 years ago, I got myself the original Rode VideoMic; it was the best I could afford at the time, and it did the job I needed - to capture good quality audio that will enhance my video. Since then, Sennheizer, Audio-Technica, Hama and many more brands have seen the need for on camera mics for DSLR videographers, and a competitive market has emerged. One that the Roto-Mic will compete very well in due to its superb signal processing and price - an attractive offer to anyone seeking to invest in a cost-effective solution. You will need a 9V battery to power the Roto-mic, but it will last you a good 100 hours.

One very annoying problem with on camera microphones is noise added by the mic's shock mount. The Rode VideoMic I have is notorious for that, creating a squeaking noise as you move or walk with the camera that was audible and therefore recorded into the sound of the video - very unwanted! The Roto-Mic shock mount has been specially designed to minimize any movement the mic may be affected by, holding the capsule stiff, without wobbling on the mount; keeping unwanted noise out.

Rotolight considered many filming scenarios when designing the new mic; it includes a gain adjustment of -10dB to +10dB which is very handy when you are far away from the subject or action, or are filming in a loud and noisy environment. A two step high pass filter is also built into the body of the mic which removes any wind noise and rumbles from the captured sound; perfect when filming outdoors. These small but important features show that Rotolight have done their research into where DSLR videographers are working, and how they need to use their kit.

I was really pleased with the results of the sound recorded with the Roto-Mic, I was expecting another Rode VideoMic moment but it never came. The mic surprised me with its quality recording, and with a little noise reduction in post production the final sound recording is clean and crisp.

rotolight sound and light videography video kit review music video filmmaking shoot videography night led light mic kit

Rotolight has also been innovative in their mounting options, considering many different setups with the light and mic together. This makes a lovely change from complex accessories hanging off the camera to use two hot shoe mounts. The option to use the light mount, or to mount the light on the microphone gives you many different setup options that doesn't restrict your shooting, and is not fiddly or complicated to change! I was using the mic and light together; here the mic mounts onto the camera hot shoe, and then the light can be pushed onto the barrel of the microphone. Although I was dubious of this at first, as it would add extra weight to the shock mount and possibly interfere with the sound recording; it has proved me wrong with being fully functional no matter how the light and mic is set up.

rotolight sound and light videography video kit review music video filmmaking shoot videography night videoshoot filming car tracking

My verdict

  • Fantastic kit if you are starting out in DSLR videography - a must have kit to get you started.
  • Ring light provides excellent soft light for work with models, people, macro and prominent subjects.
  • Filters included is really handy, although as I am heavy handed they are sometimes difficult to apply.
  • Battery life is second to none - 4 hours with recommended lithium AA batteries (x3) or regular lithium AA (x3) for 3 hours.
  • Various mounting options means shooting is not restricted.
  • Mic is broadcast quality - remember sound is just as important as video.
  • Gain adjustment is handy in quiet and noisy locations.
  • The Rotolight bag keeps your hands free!

Of course with every review there are some constructive criticism comments, but not many for me as my experience working with the Rotolight Sound and Light kit has been very pleasant. Firstly, a higher power portable light would be ideal for video, with intensity control. Secondly, now Rotolight has entered the sound game it would be great to see other microphones like hand held bi-directional or even lav mics, and a boost in the recording quality (maybe a Zoom competitor??!). Thirdly, and this isn't criticism, more a request for a flexible light stand or arm so the light can be positioned in extreme and unusual angles.

I am recommending you to go out and get this kit if you're into your DSLR video and photography and need a light source and microphone that you can take to every shoot you go to! It will definitely be coming with me in the future, and I can imagine the RL-48 LED light working fantastically for wedding films and interviews, teamed up with the Roto-Mic and you have a perfect, all in one, on camera 'run and gun' solution to your filmmaking and photography.

You can check out the video I produced for Rotolight demo'ing the new Sound and Light Kit here, and the music video will be released very soon!

[vimeo http://vimeo.com/87515700]

Adams video week roundup!

Blimey lots has been going on over the last week, I hope it has been as hectic for you as it has been for me! Monday started with continuing the design of the graphics for a recycling animation, a daunting task which put my drawing skills to the test. Bearing in mind I've spent the majority of the last year behind a camera, I took my time to learn the techniques I would need to use Illustrator properly. I would usually use Photoshop over Illustrator, but until I recently found out PS is not truly vector, and as I would be using a combination of the Pen tool and others to design the images this was very important, as I would need to transform the graphics later in After Effects.

My best mate Glen came down from Wycombe for a  surprise week to, so I spent plenty of time catching up with him and chatting about work. He gave me so very important advice; "Everything is too complicated these days, you should keep it simple and your audience won't know the difference, especially if it is moving and animated anyway." True words, and I took Glens advice which not only sped up the process, but made me more confident with the work I was producing.

Here's a screenshot to show all of them! (I think I am working on a 10K canvas).

screenshot graphics design drawing art 2d vector create illustrator

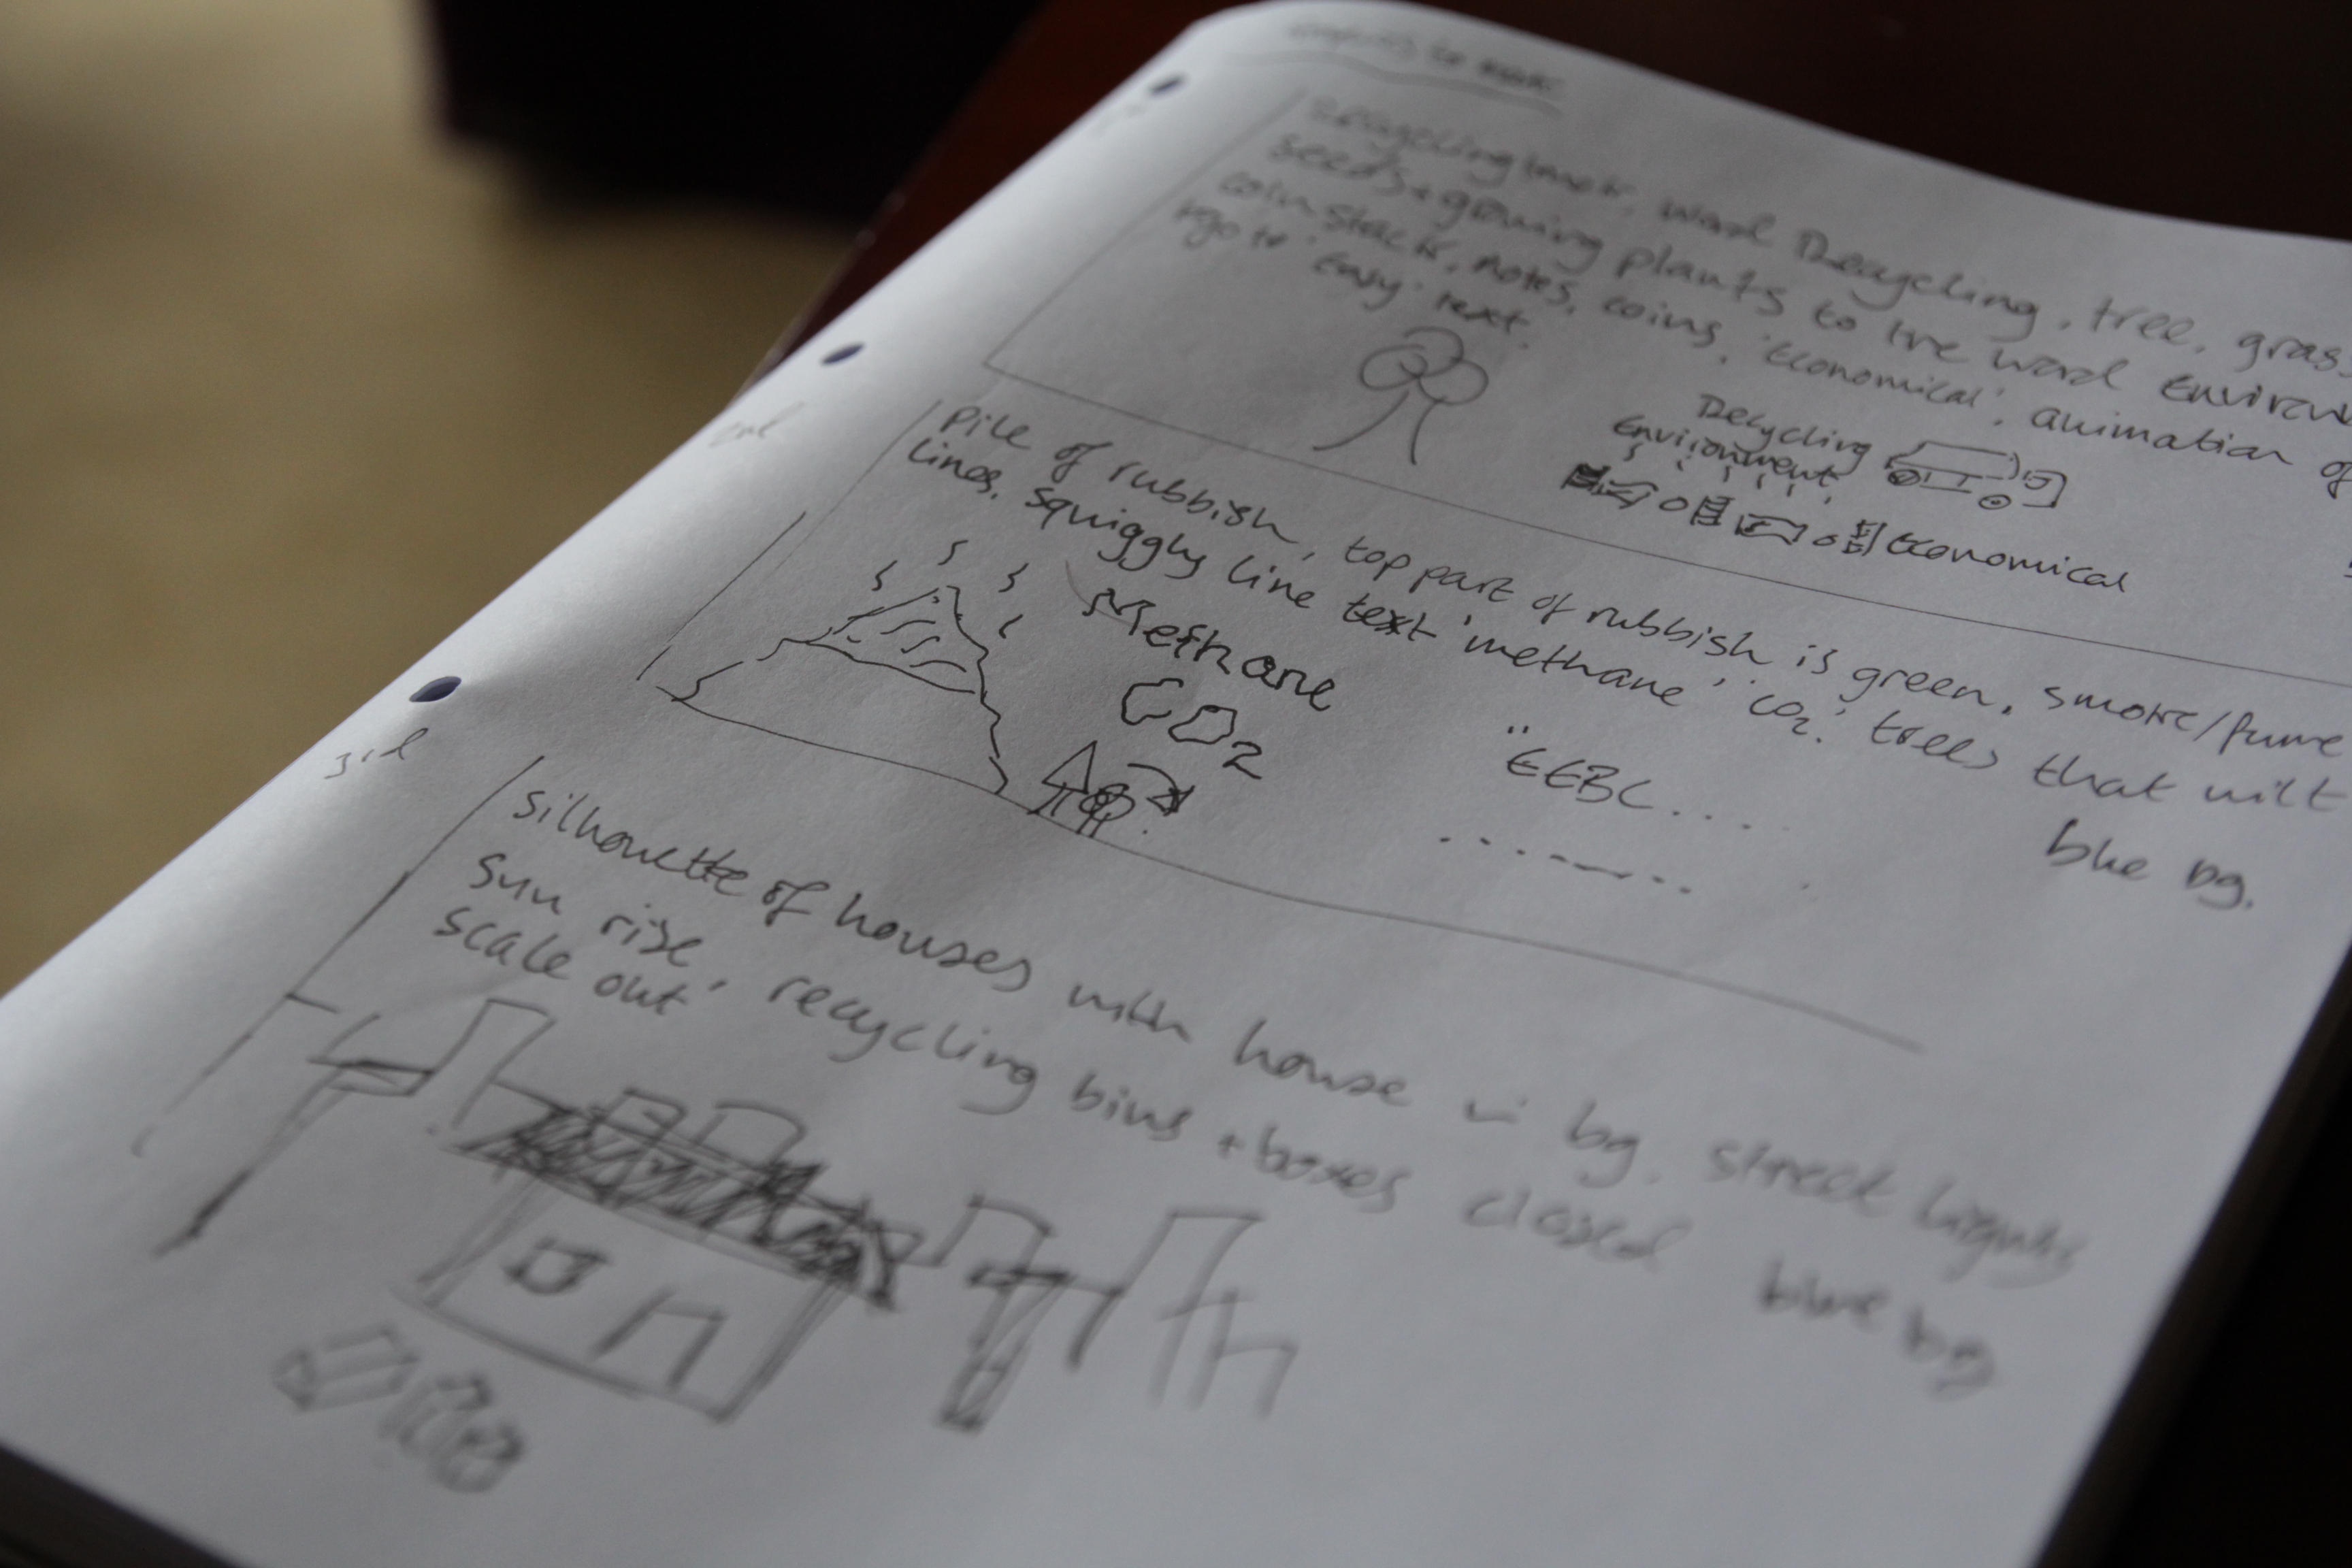
The graphics design has been on-going, I practiced when I was first commissioned, but it just shows how familiarizing yourself with the tools and applications can ease your work! A very very important part of this process was to intensively storyboard and plan each scene, so I know what graphics can be generated beforehand, so I spent a good couple of days story boarding and sketching the graphics I would need, followed by a long list of assets I would go on to to create.

Pre-vis sketches:

design plan planning graphics creation motion animation

For the rest of the week I started importing the graphics into After Effects, and setting up the 15 scenes. I am finally starting to see progress! I am still working on this section, and it will take another week or so to complete all the animations. Again, I storyboarded this in the planning, so I know exactly what to produce for which scene which saves so much time. Also, the best thing about this planning part is that it does not have to be a work of art to depict your ideas, just a simple sketch to represent what you will need to create.

graphic storyboard plan pre-production animation motion graphics

On Thursday I joined a crew of fashion designers, hair stylists and models to film a magazine photoshoot for Sherman Hawthorne (the hair stylist and creative director of the shoot) at The Lemonade Factory studios on Queenstown road. With eccentric styles and art direction, I set about to capture high contrast, dramatic footage which will compliment the photos. It was an early start, here I am waiting for my train at Clapham Junction;

video shoot equipment kit list manfrotto camera dslr fashion hair photoshoot lemonade factory

I was a single shooter, I had the pleasure of transporting the equipment to the shoot which included a steadicam vest that I ended up not using. I've learned my lesson here not to take extra kit!

My kit list was as follows:

Canon 5DmkIII (A camera), Canon 60D (B camera)

Tamron 24-70 F/2.8 VC, Samyang 14mm T/3.1 cine, Samyang 35mm T/1.5 cine, Nikkor 50mm F/1.4 manual, Samyang 85mm T/1.5 cine, Sigma 70-200 F/2.8 OS

Manfrotto 755CX3, Manfrotto MVH700AH, Manfrotto Hydra arm and super clamp,

CamSmart camera rig + Lilliput field monitor, CamSmart Stabilizer vest, Flycam Nano

Zoom H6, Rotolight Roto-mic.

As with all of these shoots, time runs short so I was restricted to short burst of filming time with the models to capture the specific ethereal and industrial motif, but I also shot around the photographer to maximize my usable footage. I made use of the 50fps slow motion for the moving shots, so that the models movements are exaggerated, as well as stabilizing the shot.

As the props included wire fencing and chicken wire, aliasing was a problem when shooting shallow depth of field, or at an angle to the object. To remedy this I used a lower aperture (F/4-5.6) for some shots, but also I can add a Gaussian blur in Premiere Pro when editing to soften the lines, gently smoothing out unwanted aliasing.

A couple of frame grabs from the shoot!

fashion photo video shoot at the lemonade factory cinematic videography steadicam Here I'm using a moving shot to create a distorted perspective from outside of the set.

fashion photo video shoot the lemonade factory cinematic videography trapped cage bw Here I use a low angle shot, removing the identity of the model to create a 'trapped' and 'mysterious' feel to the model, and why she is in the box.

Weekends are always working weekend for creatives and freelancers. I spent yesterday working on the animation of the recycling project again, continuing to compose the scenes using simple 2D shapes and animation styles that have become very popular recently.

I also came across this post from Chase Jarvis about how to manage your time properly, its a great post with a detailed outline of 90-minute working slots that should improve your productivity, I urge you to read it if you're someone like me who can't stop working, then apply the plan to your working life. I know I will be!

Do Less = Do More by Chase Jarvis

I haven't had many #videoquestions come in recently, so please keep them coming so I can help with tips for the community of videographers and creatives! Send them over to me @Plowman91 on Twitter.

Finally, ending with a must watch video, check out Philip Bloom's video shot with the Blackmagic Production Camera, the 4K one at Miami Beach, what do you think of it? Is it worth investing now the Panasonic GH4 is on pre-order and it looks like Sony will have a 4K DSLR announcement coming at NAB2014 too..!!

Philip Blooms Four Corners Miami Beach (Blackmagic 4K camera)

That's all for now folks! Keep the creative juices flowing!

Fashion Photo/Videoshoot at The Lemonade Factory

fashion photo video shoot at the lemonade factory cinematic videography steadicam fashion photo video shoot the lemonade factory cinematic videography trapped cage bw


I'm pretty bust at the moment, so here are a couple of frame grabs to keep you entertained! I'll do a post on the shoot yesterday, and have plenty of footage to trawl through too!

Silence is golden, Planning is key!

A new #videoquestions is out today on how to plan your video production so it runs smoothly, and is within your time and money budgets! I'm out for a pre-vis meeting this morning for a video that combines animation, where planning has been a very important role in creating a narrative and generating an estimate price for the production. I'll share my work with you in this#videoquestions later today!

saul bass alfred hitchcock psycho shower storyboard

New supercomputer is built!

I've been waiting months to finally have a computer that can handle the work that I do!! Previously working on laptops (which coincidentally die each year) I needed to step up the game to a high performance desktop which will expand my capabilities in not only video editing, but also motion graphics and compositing. I got myself an i7, NVIDIA 650TI 2Gb graphics card and all the rest to allow working speedily in Adobe applications (taking advantage of the mercury playback engines) and also allowing me to use Speedgrade and DaVinci Resolve for professional colour grading as the new graphics card is CUDA enabled!! My workflow speed will go through the roof!

Throughout all of January, the components dribbled in one by one, until it was only the PSU to come. Amaz0n buggered up my order, which I was expecting in 2-4 weeks. The order then got pushed back another 2-4 weeks, which I was furious about, so got on to Amazon support who clarified the 'warehouse' issue.. Everything is computerized these days so I don't understand how a major marketplace cannot get there warehouse stock levels and back order numbers right!!

I cancelled my order with Amazon, and put it through Scan instead, who delivered the Corsair 1000w PSU in only 2 days. Top service!

Being impatient (eager), I wanted to get the new computer going as quickly as possible so I begun assembling the components in the case. I had never done this before so the nerves were running riot, washing my hands every couple of minutes to make sure I wasn't getting grease or dirt on the motherboard. It was stressful, but I managed to get most of the bits it, bar the CPU and hard drives.

Yesterday Sam helped me put together the rest of the components and the cabling, and the building of my new workstation - could not have done it without him!

newcomputer blank canvas The blank canvas of my computer.

Now all I have to do is fill it up with my work and data, install Adobe and then I can get working!

Video Questions; Choosing the right camera, picture profiles and using ND filters!

Heyo all! Thanks for sending in your questions, I will try to answer as many as I can will practical, real world examples! If you have any more, please send them my way! Question from Chris via Facebook: "Can you recommend any camcorders for HD video and good low light performance?"

Answer: A DSLR for video is not the right choice everytime. Why do you think television broadcasters use camcorders and system cameras? For broadcasting, there are regulations and legal limits that must be followed for the final video to be shown live; there are many including the compression of the video signal, the black and white level (check out waveform monitors and video signal) to name a couple. DSLR's do not adhere to these regulations hence we don't see TV crews running around with 5D's in London.

Where DSLR's produce a great image due to the large CMOS sensor, they have big restrictions such as needing to change lenses, poor audio support (unless you invest in audio equipment), rolling shutting, aliasing, moire.. I could keep going.

So, taking camcorders in the equation; most have long zoom ranges (20x and more!) at wide apertures, with additional digital gain, in built ND filters, built in stereo microphone and audio in/out. The sensors are different too, some using CCD (which splits the 3 colour channels) for better colour rendition and less compression.

These days, manufacturers such as Sony, Canon, JVC produce ENG (electronic news gathering) camcorders with those above features, meaning no extra kit to carry, most are hand held or shoulder mount for ease of use. Therefore it is seemingly easier to video on a camcorder, until you require a large sensor camera for artistic video.

Product recommendations for camcorders - Sony AX and VG range, Canon Legria, XA and XF range, JVC produce great camcorders too and have stepped up their game over the last year with the GM-HY range including a 4K model too.

If you want to spend a little more, the Sony HXr-NX3 (recently reviewed by Den Lennie) looks incredible for what you get in one camera - http://www.sony.co.uk/pro/article/broadcast-products-get-close-up-hxr-nx3

Next question from SAHIB on Twitter: "Do you use a neutral picture style when shooting, and do you use neutral density filters?"

Answer: For those unaware of picture profiles on your camera, check them out in the 3rd section of the movie shooting (red) menu (for Canon users). There are a number of options listed, which alter the way the picture is recorded depending on your choice, you can also customize these profiles too using the INFO button.

Canon picture styles - Standard, Portrait, Landscape, Neutral, Faithful, Monochrome.

I will not be detailing the ins and outs of all the picture styles, more of a visual comparison.

What does a picture profile do? Much like LUTS, picture styles adjust the intensity level of the; Sharpness, Contrast, Saturation and Colour Tone in the image, so what picture profile you use can change the 'look' of the video you capture.

Check out this video I put together today showing the results of the cameras picture profiles, and others I have loaded onto the camera. You can see a clear change in the image, but it is subtle differences that will make your video work stand out.

https://vimeo.com/85655816

I previously used the Neutral picture profile, customized to reduce the contrast, saturation and colour tone to produce a very grey and flat image. I was using this profile to achieve this look, as it is how RAW footage is captured to then be graded in post production. Neutral does replicate this 'flat' look, but after doing research into other profiles, Neutral reduces the data that is required in the picture (the contrast and saturation) that I would then put back in in post. This causes noise to be generated in the image, and can cause it to look unnatural and crushed, as the contrast and saturation that had been removed by the picture profile is being added back in later in the workflow.

That was long, but I hope it makes sense. If you compare the 'Standard' to 'Neutral' there is an evident drop in saturation and contrast, with a loss of detail in the top of the trees. If you compare 'Neutral' to 'VisionColor', there is an increase in saturation and contrast in the shadows and highlights.

The 'Neutral' picture style, similar to Technicolor CineStyle reduces the data the sensor captures, so I would not recommend using it if you plan to do colour correction and grading in your workflow. REMEMBER - whatever you capture when out filming will 'burn in' the detail, colours, sharpness and contrast into the image, making it harder to edit and remove unwanted errors. So, it would be better to use a profile that holds the data and detail so if wanted, you could work on grading the footage later.

From tests and experimenting, I favor the VisionColor profile; it is not as destructive as Neutral, holding colour and contrast without making the image flat. I definitely recommend checking them out here.

Next Question from SAHIB on Twitter: "Can ND filters change the style of video?"

Answer: This does depend on what and where your video shoot is. If you are working indoors, or with lighting that can be controlled by you then neutral density filters may not be required as you can alter the brightness of the scene by reducing the intensity of the lights. However, if you're out filming in a situation where you have little to no control over the lighting, then ND filters are key.

Personally I use variable ND filters, currently from Polaroid but much better filters are available from Hoya & Tiffen. The function of these filters is to reduce the light entering the lens, meaning camera settings can be kept the same. This allows you to follow the 180 degree shutter rule, which means keeping your electronic shutter speed at 1/50th to reproduce film-like and realistic motion blur.

So, with your shutter speed locked at 1/50, and your chosen aperture has been set, the only other exposure altering options you have is to ride the camera ISO to make the image brighter or darker.

PROBLEM!

With a fast aperture of F/2.8, and you are currently shooting in sunny daylight, your image is going to be very over exposed. Reducing the aperture to F/8 or F/11 may correctly expose the image but you have lost your depth of field! What to do!

Get some Variable ND Filters!

These ND filters rotate, allowing a variable ND amount to be set externally, without changing your cameras settings! This means that you can keep your cinematic depth of field and realistic motion blur without reducing the shutter speed to 1/250th or your aperture to F/11.

I recently shot this video using an ND filter on an 85mm T/1.5, which allowed me to shoot continually at T/1.5 for extreme shallow depth of field.

Making a quick edit: Variable ND filters are one of many options. ND Filters also come in stops; increasing by a factor of doubling so 2, 4, 8 etc. If you can stretch to separate stop ND filters they work just as well, and with the lower end (under £100 products) they will be better quality than one under £100.

In videography and cinematography, ND filters are applied in the matte box in front of the lens. So if you plan to use one, look in to matte boxes with the ability to add filters, but prepare to pay for it!

http://vimeo.com/84790518

Well, that covers Video Questions for today! I hope to have answered and covered all bases, and remember they are from my personal knowledge and experience.

Got any more? Send them my way!

A romantic video experience with Manfrotto gear (How to choose the right tripod and head).

When you start working with a piece of equipment time and time again, you build up a relationship with it; understanding its ins and outs, the fastest or best way to set it up. For me, I have this affinity with Manfrotto products. Since starting out in video during university, I had invested in a sturdy Manfrotto 055Pro-B tripod and a fluid video head. 3 years on and to this day it proves to be a great piece of kit to have around; I use it for my custom built camera jib now so it lives in my boot with that!

manfrotto tripod video photo manfrotto tripod video photo ed2 1069411_10151479423471712_1309410177_n

Through various university and freelance projects I used my trusty MF 055Pro-B legs, strapped tightly to a Lowepro backpack.. Not the most comfortable or lightweight solutions. The aluminium legs begun to take their toll when more equipment was required too, and as a videographer I had a bag full of lenses, audio kit and a monopod too. I occasionally used a Glidetrack slider too, which worked very well on the legs, and did not have to be spread really far apart or use any weights.

Check out a couple of my video's featuring Manfrotto gear -

Manfrotto Backpack50 - http://vimeo.com/84398932

Manfrotto ML240 LED - http://vimeo.com/41688532

But, how do you choose the right Manfrotto tripod and video head for what you do?

Key points to consider - Budget is always something to keep in mind, it can get expensive!

- What cameras, lenses and accessories you will be using with it.

- Where/shooting situations; are you going to be traveling so need a lightweight option, or more corporate indoor, weddings, adventure.

- Are you working with video or photo, or both!

Budget - everyone should have a decent set of tripod legs and head that can be their go-to choice no matter what the client, production or location. This could be a heavy duty two-leg tripod with video fluid head for news/docu/TV footage acquisition - go for Manfrotto twin leg kit! But for photography you may consider a lighter option that can be grabbed and carried quickly - go for Manfrotto BeFree! Remember that a tripod/head kit should last you a lifetime so keep your budget in mind, and look for products and kits around £100-£150 for your first investment (no, I'm not suggesting you save up to spend £150, your budget is what ever you can work within so have a rough max figure that you would aim to spend - dependent of the following..).

Cameras, lenses and accessories - If you are a keen amateur, you may be working with small DSLR bodies and lenses; like the Canon 600D with an 18-135mm for example. This setup not weighing much tends to lean you towards a light, single leg tripod with a two way or ball head mount - 180X Pro B with 804RC2 head. However, for more professional setups; Canon 5D mark III and a 70-200 telephoto lens your looking at +3Kg of weight, so a more stable solution needs to be found - Lightweight Fluid System.

Shooting situation - If you are out and about all the time, a tripod with locking legs and extendable center column is a great feature to have; its great for getting very low angle shots while keeping the tripod steady, not to mention the ball leveling mount feature which levels the head without adjusting the legs. If you are the opposite, and work in studios and generally terrain free environment, a standard set of legs will be appropriate. Remember you can mount the tripod onto dolly wheels for easy motion and movement in a studio or indoors.

Video or photo? Generally video requires the use of moving or 'tracking' shots, where the camera focuses and follows a subject through a scene. Remember talking about ball and fluid heads? This is where they become important! A fluid video head uses liquid to smooth the panning and tilting movement when adjusting the head, creating smooth camera movements. This is not entirely possible using two-way or ball heads due to the lack of fluid in the head and a pan handle. It can be done, but be prepared to video a number of times to achieve steady movement! If you look further into video and movement, many equipment manufacturers have also created stabilizers that counter balance the camera's weight, creating flying and smooth flowing movement!

For photo, as you are taking still images, the focus on being able to move the camera while the shutter is open diminishes, and the need to find and focus on a subject quickly, from many angles becomes key. This is where a ball head or two way head works best, allowing quick movement between camera angles.

manfrotto tripod video photo carbon fiber fliud head ball head mount manfrotto tripod video photo carbon fiber fliud head ball head mount manfrotto tripod video photo carbon fiber fliud head ball head mount canon dslr manfrotto tripod video photo carbon fiber fliud head ball head mount canon dslr

If you mix between both, producing work like timelapse, hyperlapses, long exposures and night time shooting, you should consider the weight of the tripod and camera gear together; will you need to weigh down the tripod to keep it steady, will the camera be subject to movement when using a lighter tripod and head? These factors will affect your image or video if not considered!

A great example; myself and Ashleigh were filming a wedding at Horsley Towers for John Harris Wedding Films and we got the message to setup and run a timelapse for the evening. It was windy out, not great conditions for a TL, and with only a Canon 60D and 15mm fish eye lens the setup was not at all weighty. After about 15 minutes I went to check on the TL camera and it was nowhere to be seen.. The tripod and camera got blown over (not damaged) in the wind. No more timelapse that day!

Hope that helps in your choice of Manfrotto kit to use! It's always good to examine the details of your needs and what the product can do, to find the best solution. Remember if you start out with a single-leg, ball head setup and are looking to move into video in the future, you may need to invest again. Its not always possible, but try to future-proof your investment in case you have a change of heart in what you do.

The reason why choosing the Manfrotto 055ProB tripod and 701HDV worked so well for me is that I could use it on everything I worked on; from being my A camera support to supporting a camera jib and slider - an all round solution to my needs.

Back to the story.. After 3 years, it was time to move on. I had been researching equipment I would invest in, and sticking with the DSLR camera type my requirements for tripod legs and video head did not stray too far away from my original purchase. However, after experiencing carrying around all of the video equipment, and an extra bag for grip, it was about time I got a carbon fiber tripod to ease the weight issue. As I am a one man band videographer, I carry all the gear. So with a full camera bag, tripod, monopod, even a slider maybe, my options need to be lightweight but just as functional.

Manfrotto have gone above and beyond on the engineering of the 755CX3 and MVH500AH. Carbon fiber legs provide an ultra portable solution, able to hold loads up to 8Kg which is perfect for my Canon 5DmkIII, cine lenses, field monitor etc.

manfrotto tripod video photo carbon fiber manfrotto tripod video photo carbon fiber fliud head manfrotto tripod video photo carbon fiber fliud head

still from quiet sunshine by Adam Plowden Videography winter nature landscape stream water lake canon samyang

1464738_10153571677610510_1940877368_n[1]

The new plate mount on the video head is incredible too, and saves so much faffing around with the previously notorious screw to lock the plate in place. Now, the plate simply slides in from above, and a spring pings the clamp into place. A great innovation especially for use with camera rigs so you don't have to bend down, find the screw to start unlocking the plate and camera to the rig. So, for fast shooting situations, the new head is a must!

The sad thing about all of this is that after searching through my old photos and videos I don't have any; specifically featuring the Manfrotto gear! What I can say though, is for every single videoshoot I've worked on, my Manfrotto gear has been there, supporting me no matter of the situation. So I went out a shot some stills that I've included in the blog, and did indeed find pictures of the gear in action!

Camsmart MODA rig with canon 5Dmk iii

Lilliput monitor with the Canon 60D

If you want to see more of my work featuring Manfrotto equipment, check out my vimeo page - https://vimeo.com/apvideography

They say you should only by a set of legs once, make the right choice, make it Manfrotto! Like this post? Share it!

Manfrotto Backpack50 Video.. It's taken its time!

I've finally got around to working on the Manfrotto Backpack50 product video that I shot back in November with Glen and Sam. I made the most of the beautiful 'golden hour' to capture unique images of the product in use. The shoot location was our usual hotspot for kit testing; Epsom Downs. manfrotto backpack50 product video demo professional photography videography

The Backpack50 is an insanely good bag, dedicated to protecting your prized possessions and increasing your productivity when out on a photo or video shoot. Aimed at both professional videographers and photographers; the bag features plenty of space for multiple camera bodies, lenses and telephoto lenses. For the on-the-go editor, you can also carry a laptop and a tablet with you, as well as strapping on a tripod. Your complete equipment in one bag. One solution.

I'm editing the footage in Premiere Pro, to achieve that awesome bokeh I used a Nikor 50mm F/1.4 manual lens and shot handheld, so I will be applying some stabilization to those shots. Because of the strong sunlight, I worked with that light to determine the exposure of my subject, Glen. Essentially putting him in a silhouette, defining his and the backpacks shape. For the ambient settings I was working with, I believe this worked well, and is a good technique to try when shooting in the golden hour!

However, when working with low contrast ratios (number of stops between black and white) it is easy to over or under expose parts of the image, which not only burns in detail but can cause problems when encoding and playing back the video, so remember to check your reference monitors and keep to legal limits!

premiere pro video reference manfrotto

More to come later!