nature

Filming with JVC GY-LS300. Is it the next underestimated camera? (Part 1 and 2)

Filming with the JVC GY-LS300 (PART 1)

I first met the LS300 at BVE 2015 in London where I went to the soft launch of JVC's 4K flagship video camera. There I met with Mike and John from JVC Pro UK who gave me of the walk through of the prototype they had on show.

Since then the camera has intrigued me as a production camera for filming and video. On paper it has similar specifications to the Canon C300 mk II and FS7, but only working with it would determine whether it weighs in as a contender. Time was rather tight for actually filming with the camera itself, so I timed it right for a music gig and extra time away from the desk to get out and shoot some material.

I got the GY-LS300 from WTS Broadcast

The wonderful guys at WTS Broadcast helped me out with the camera as I was looking to test it out and they had one in stock. I've got a great relationship with Alex at WTS and after a long conversation back and forth I was tempted to finally use the camera for filming, so I loaned one out for a gig and test shoot.

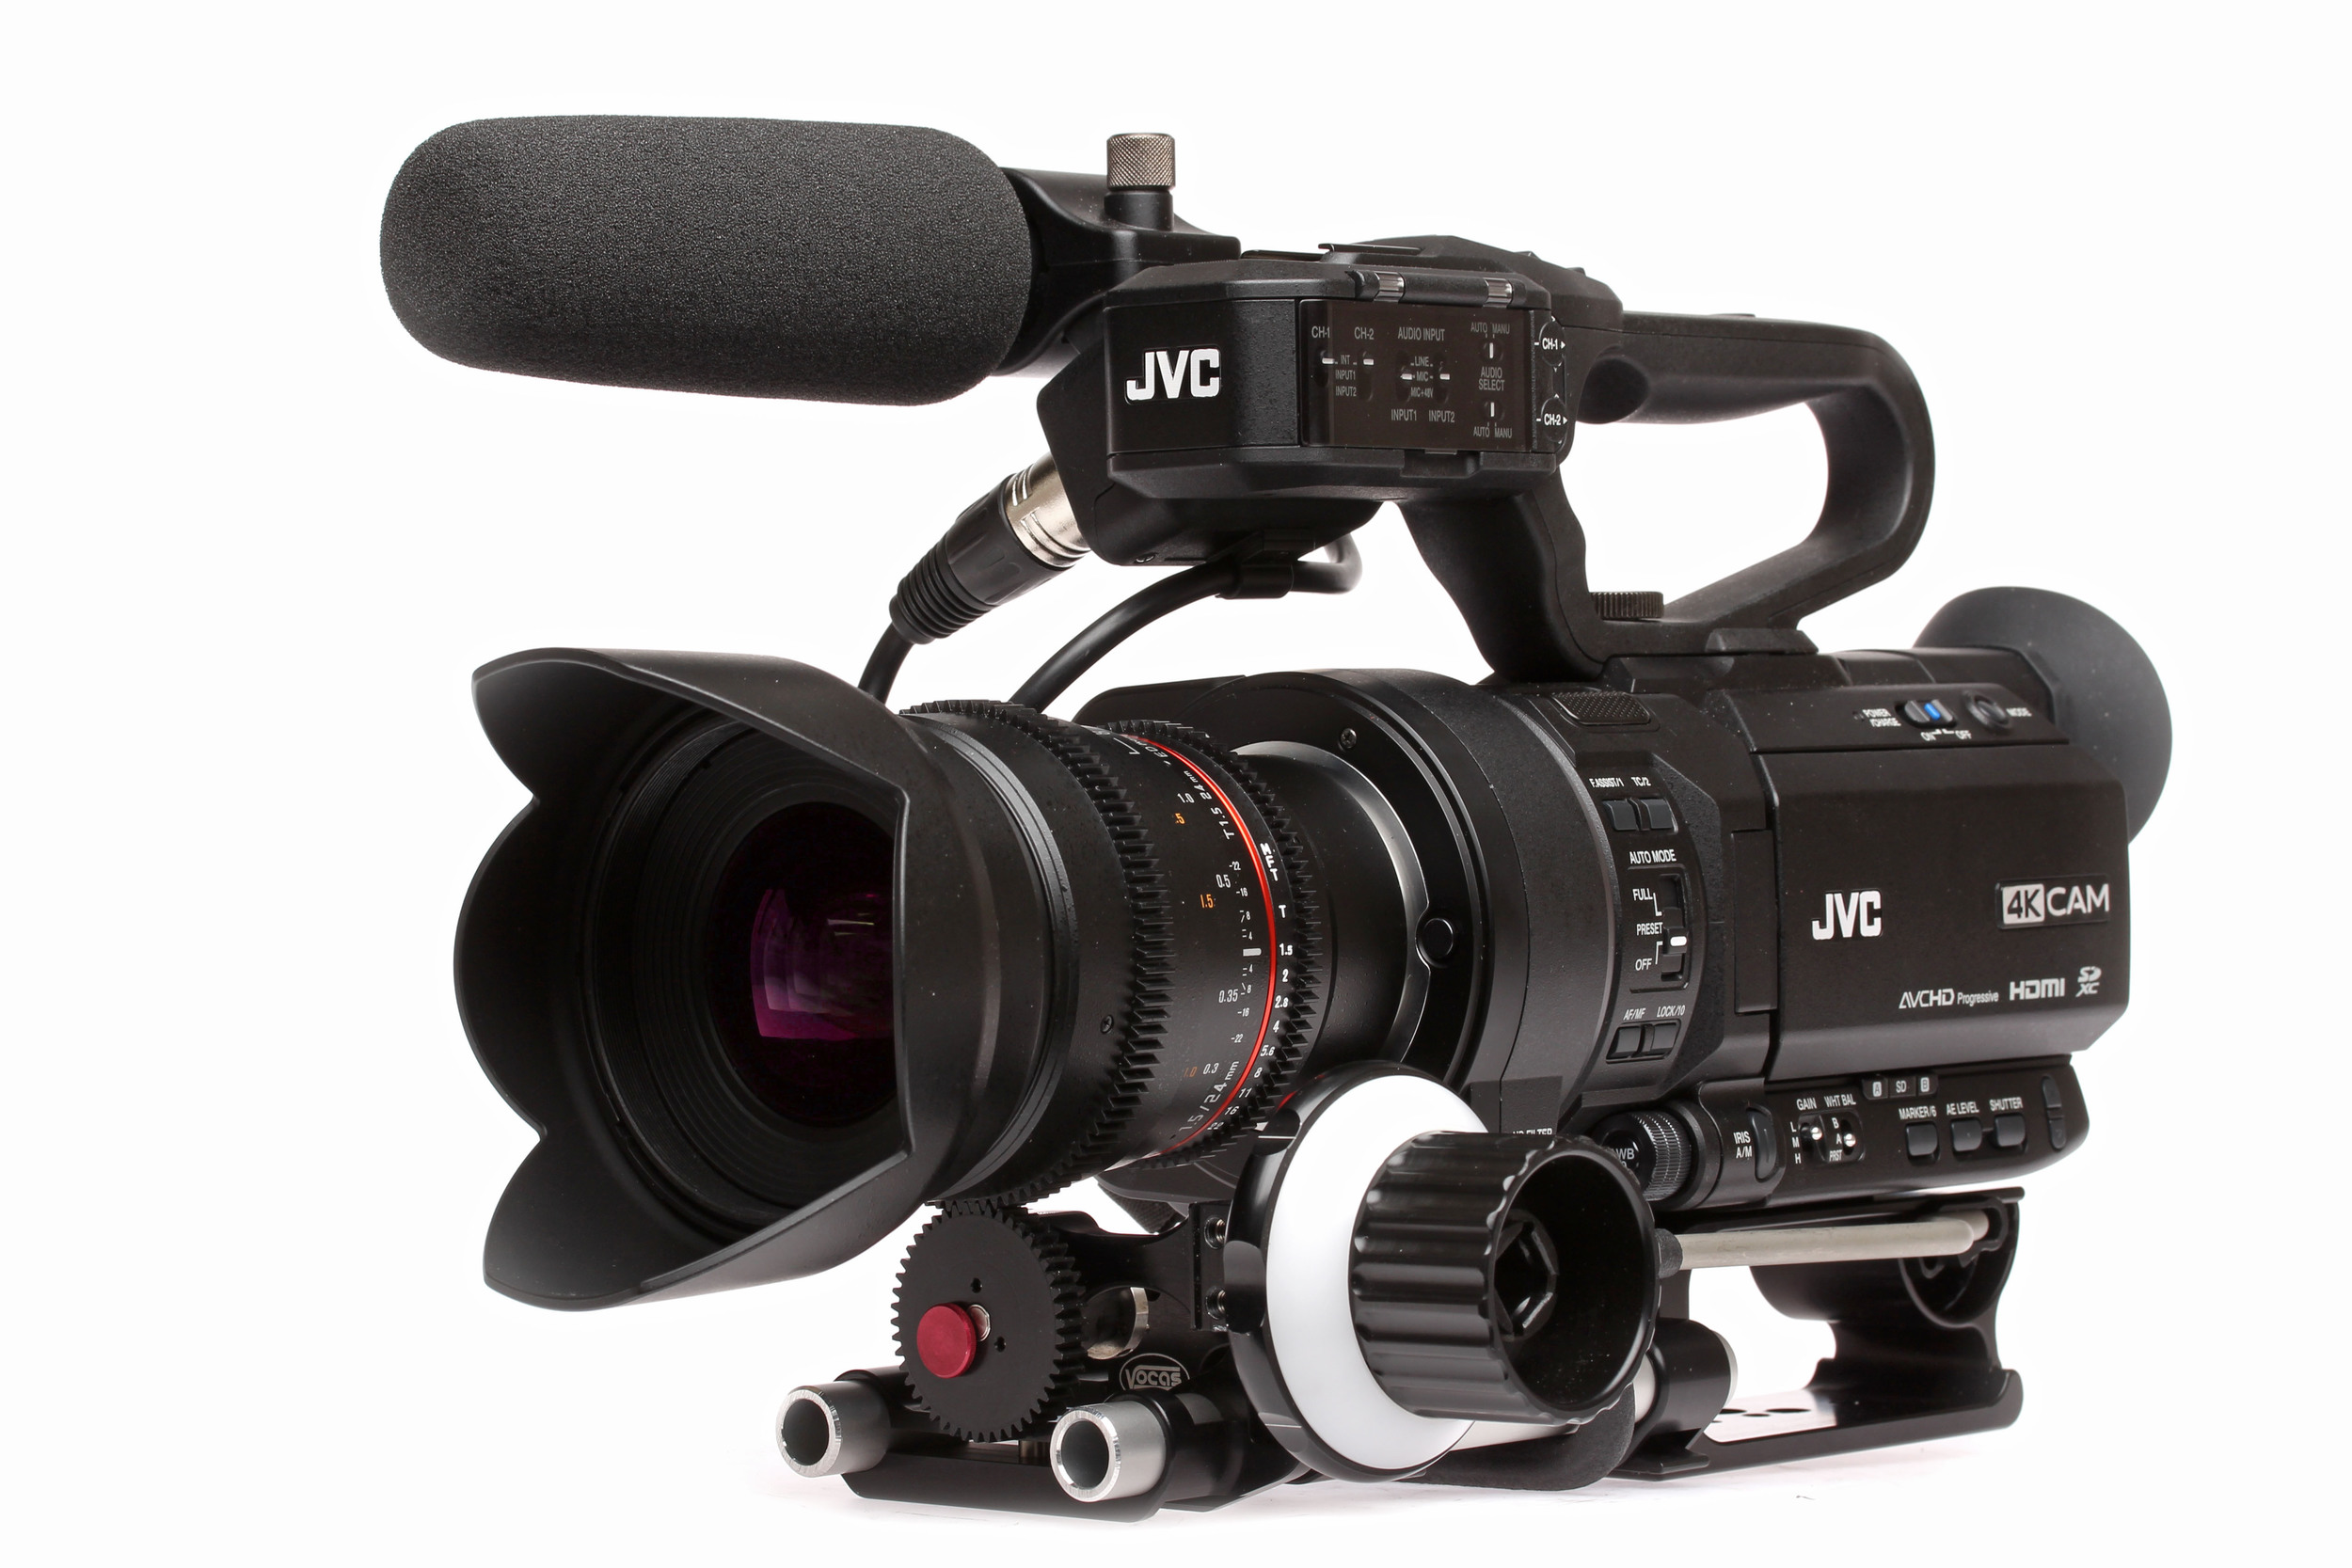
JVC LS300 4K video camera

Specs of the LS300

  • Internal 4K (UHD) 3840x2160 at 150Mbit/s in 24/25/30p.
  • HD in 24/25/30/50/60 interlaced and progressive.
  • Wireless video transmission capability.
  • Super 35 size sensor.
  • MFT mount.
  • Variable Scan Mapping (VSM).
  • Dual SD card slots.

Coincidentally, James from LogoLogo (Brighton) was up in London for an appointment, and keen to meet up after getting to know each other at Shadows and Light, this was the perfect opportunity to talk tech and film together at the Fleetmac Wood gig I had lined up for us at Birthdays in Dalston. We met up at WTS Media HQ in Fitzrovia where I introduced James to Duncan, and caught up over a drink overlooking the busyness of Oxford Street. It's awesome to meet up with a new friend, there are always so many stories to share.

We made our way to Dalston on the hot and sticky underground. Luckily I had no backpack as I'd packed all the kit (including the LS300) into the Manfrotto Roller Bag 70. It is a well padded case, and with varying foam dividers I simply constructed the bag sections before leaving home to accommodate the JVC camera, top handle, microphone, for example. It's an awesome bag for (definitely more than) two reasons - transportation and diversity. Transportation in which I can comfortably travel with the bag, and diversity in which I can securely store both photography lenses and pro production cameras.

The Manfrotto Roller Bag 70 also accompanied on my recent trip to Hollywood, and on both occasions it was perfect for the job. When I arrived at WTS Media I simply rearranged the dividers to accommodate the larger LS300 and its accessories. Flexibility is definitely at the heart of this bag.

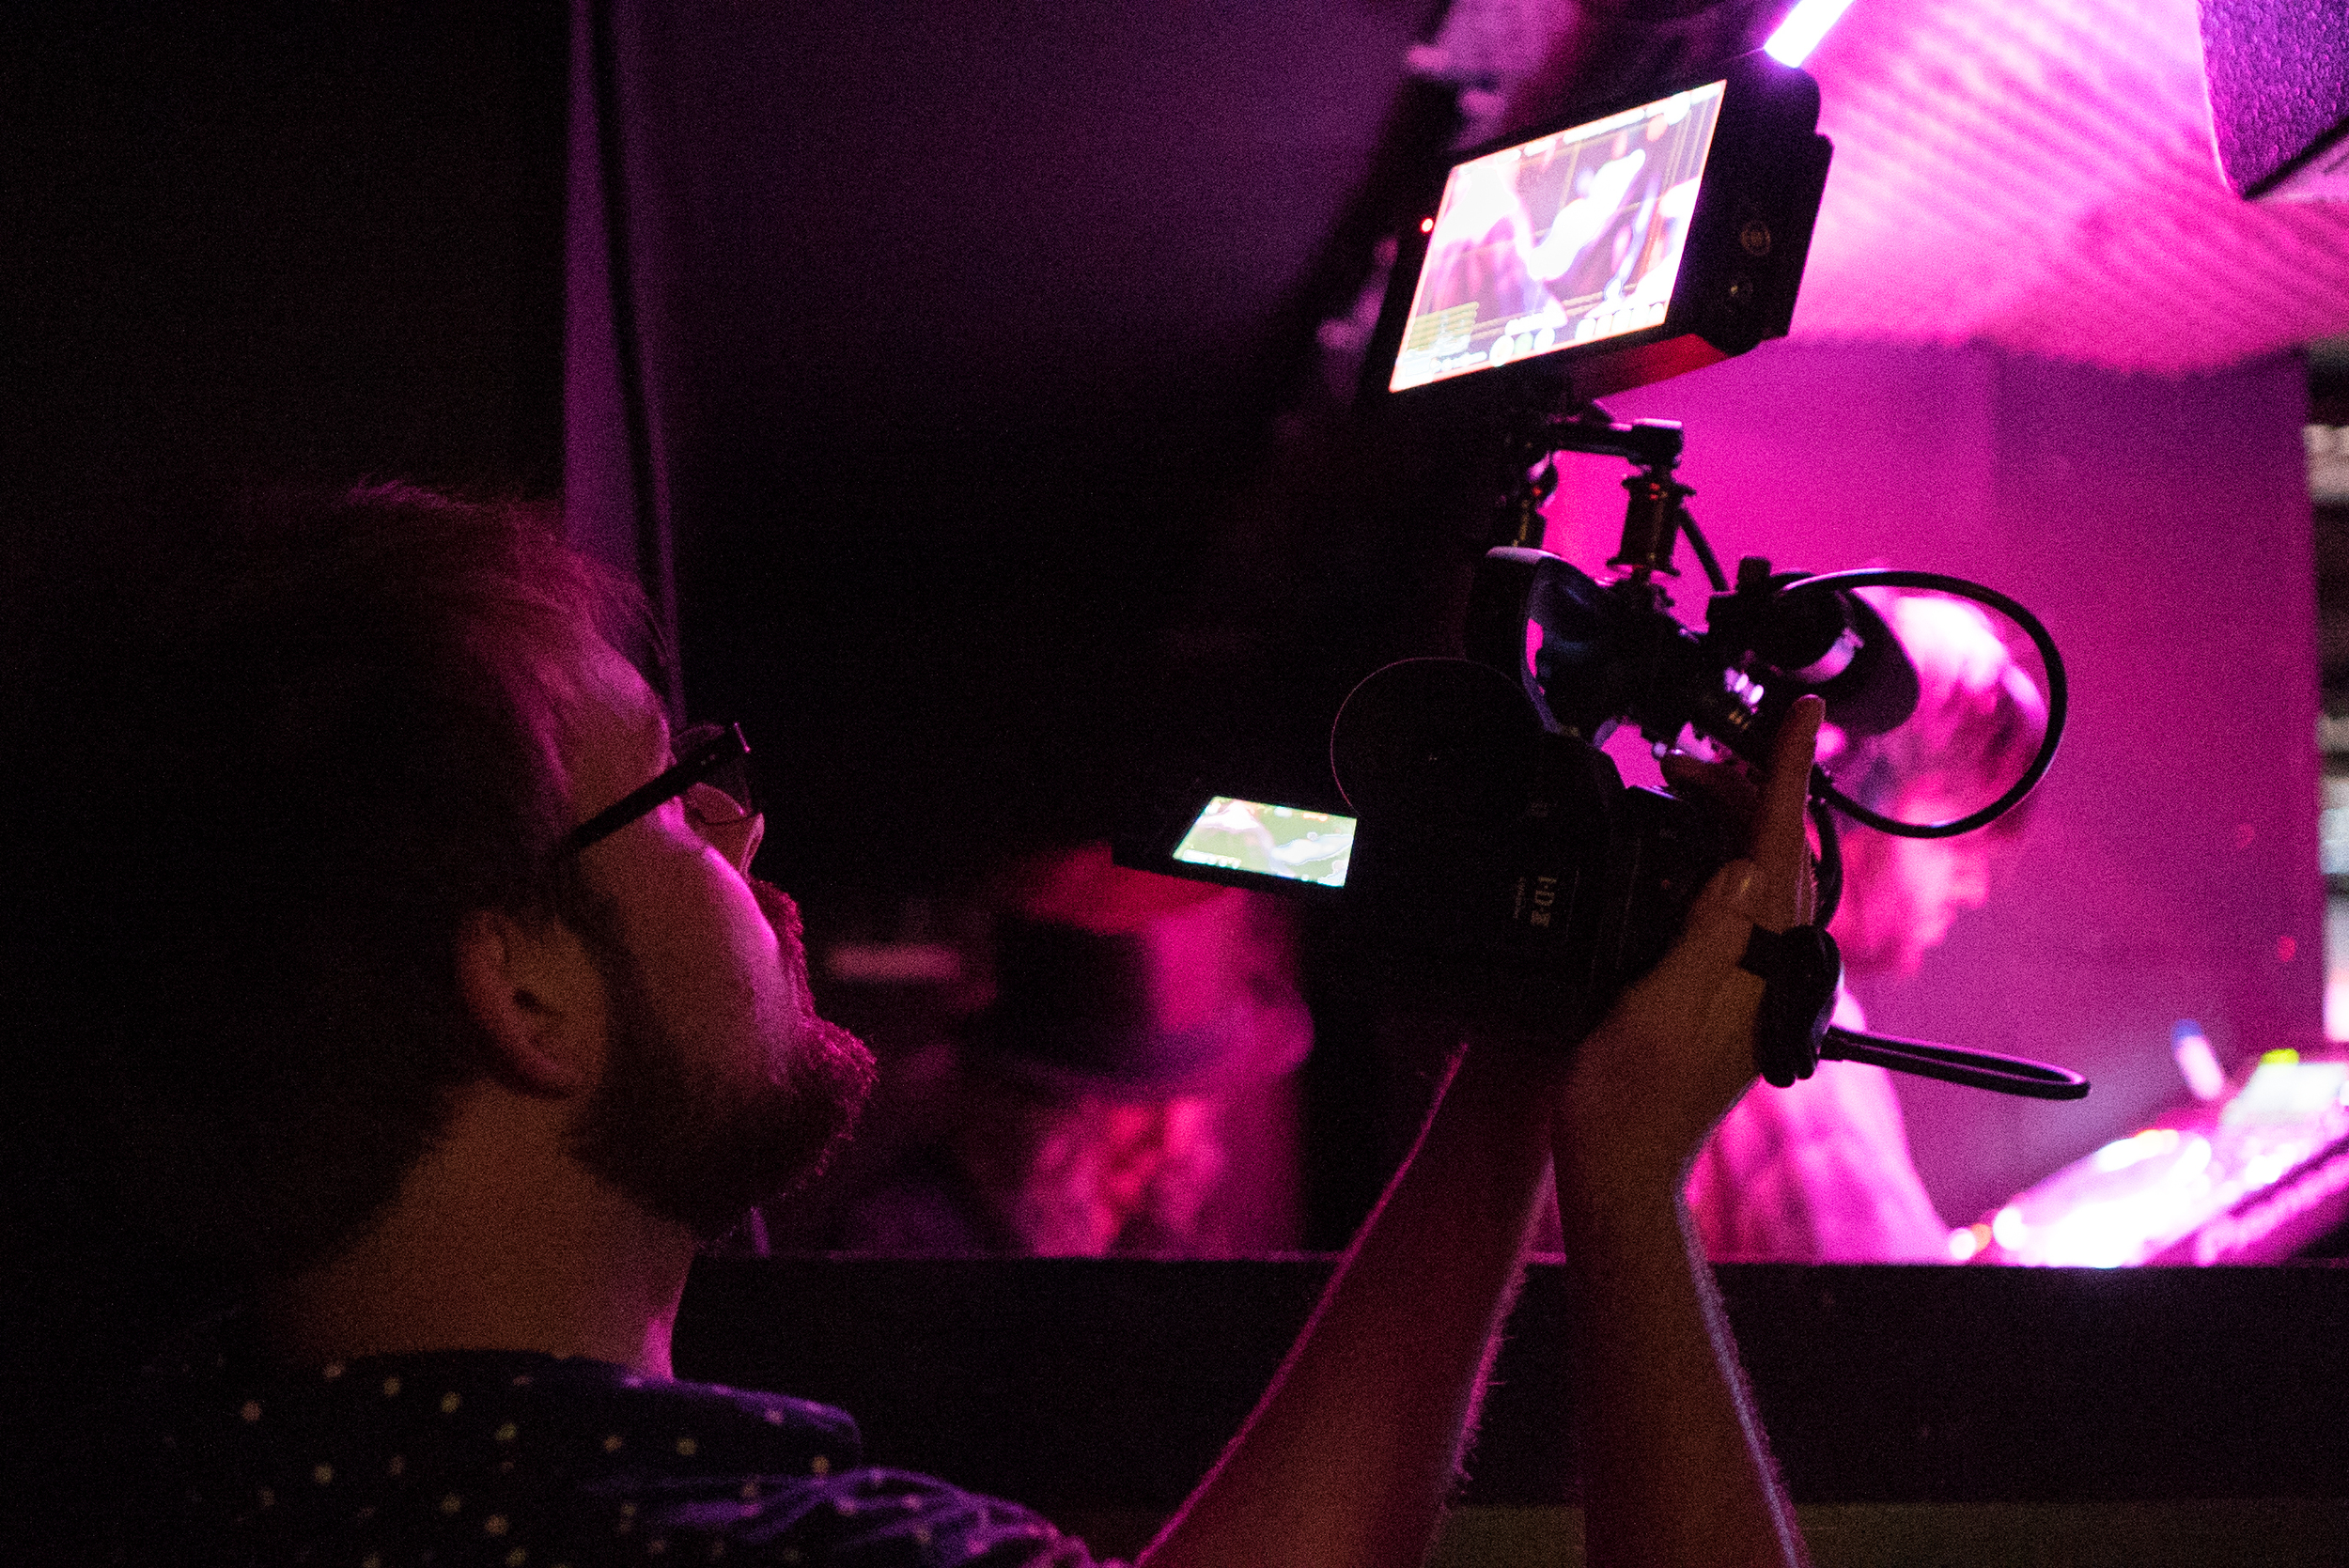
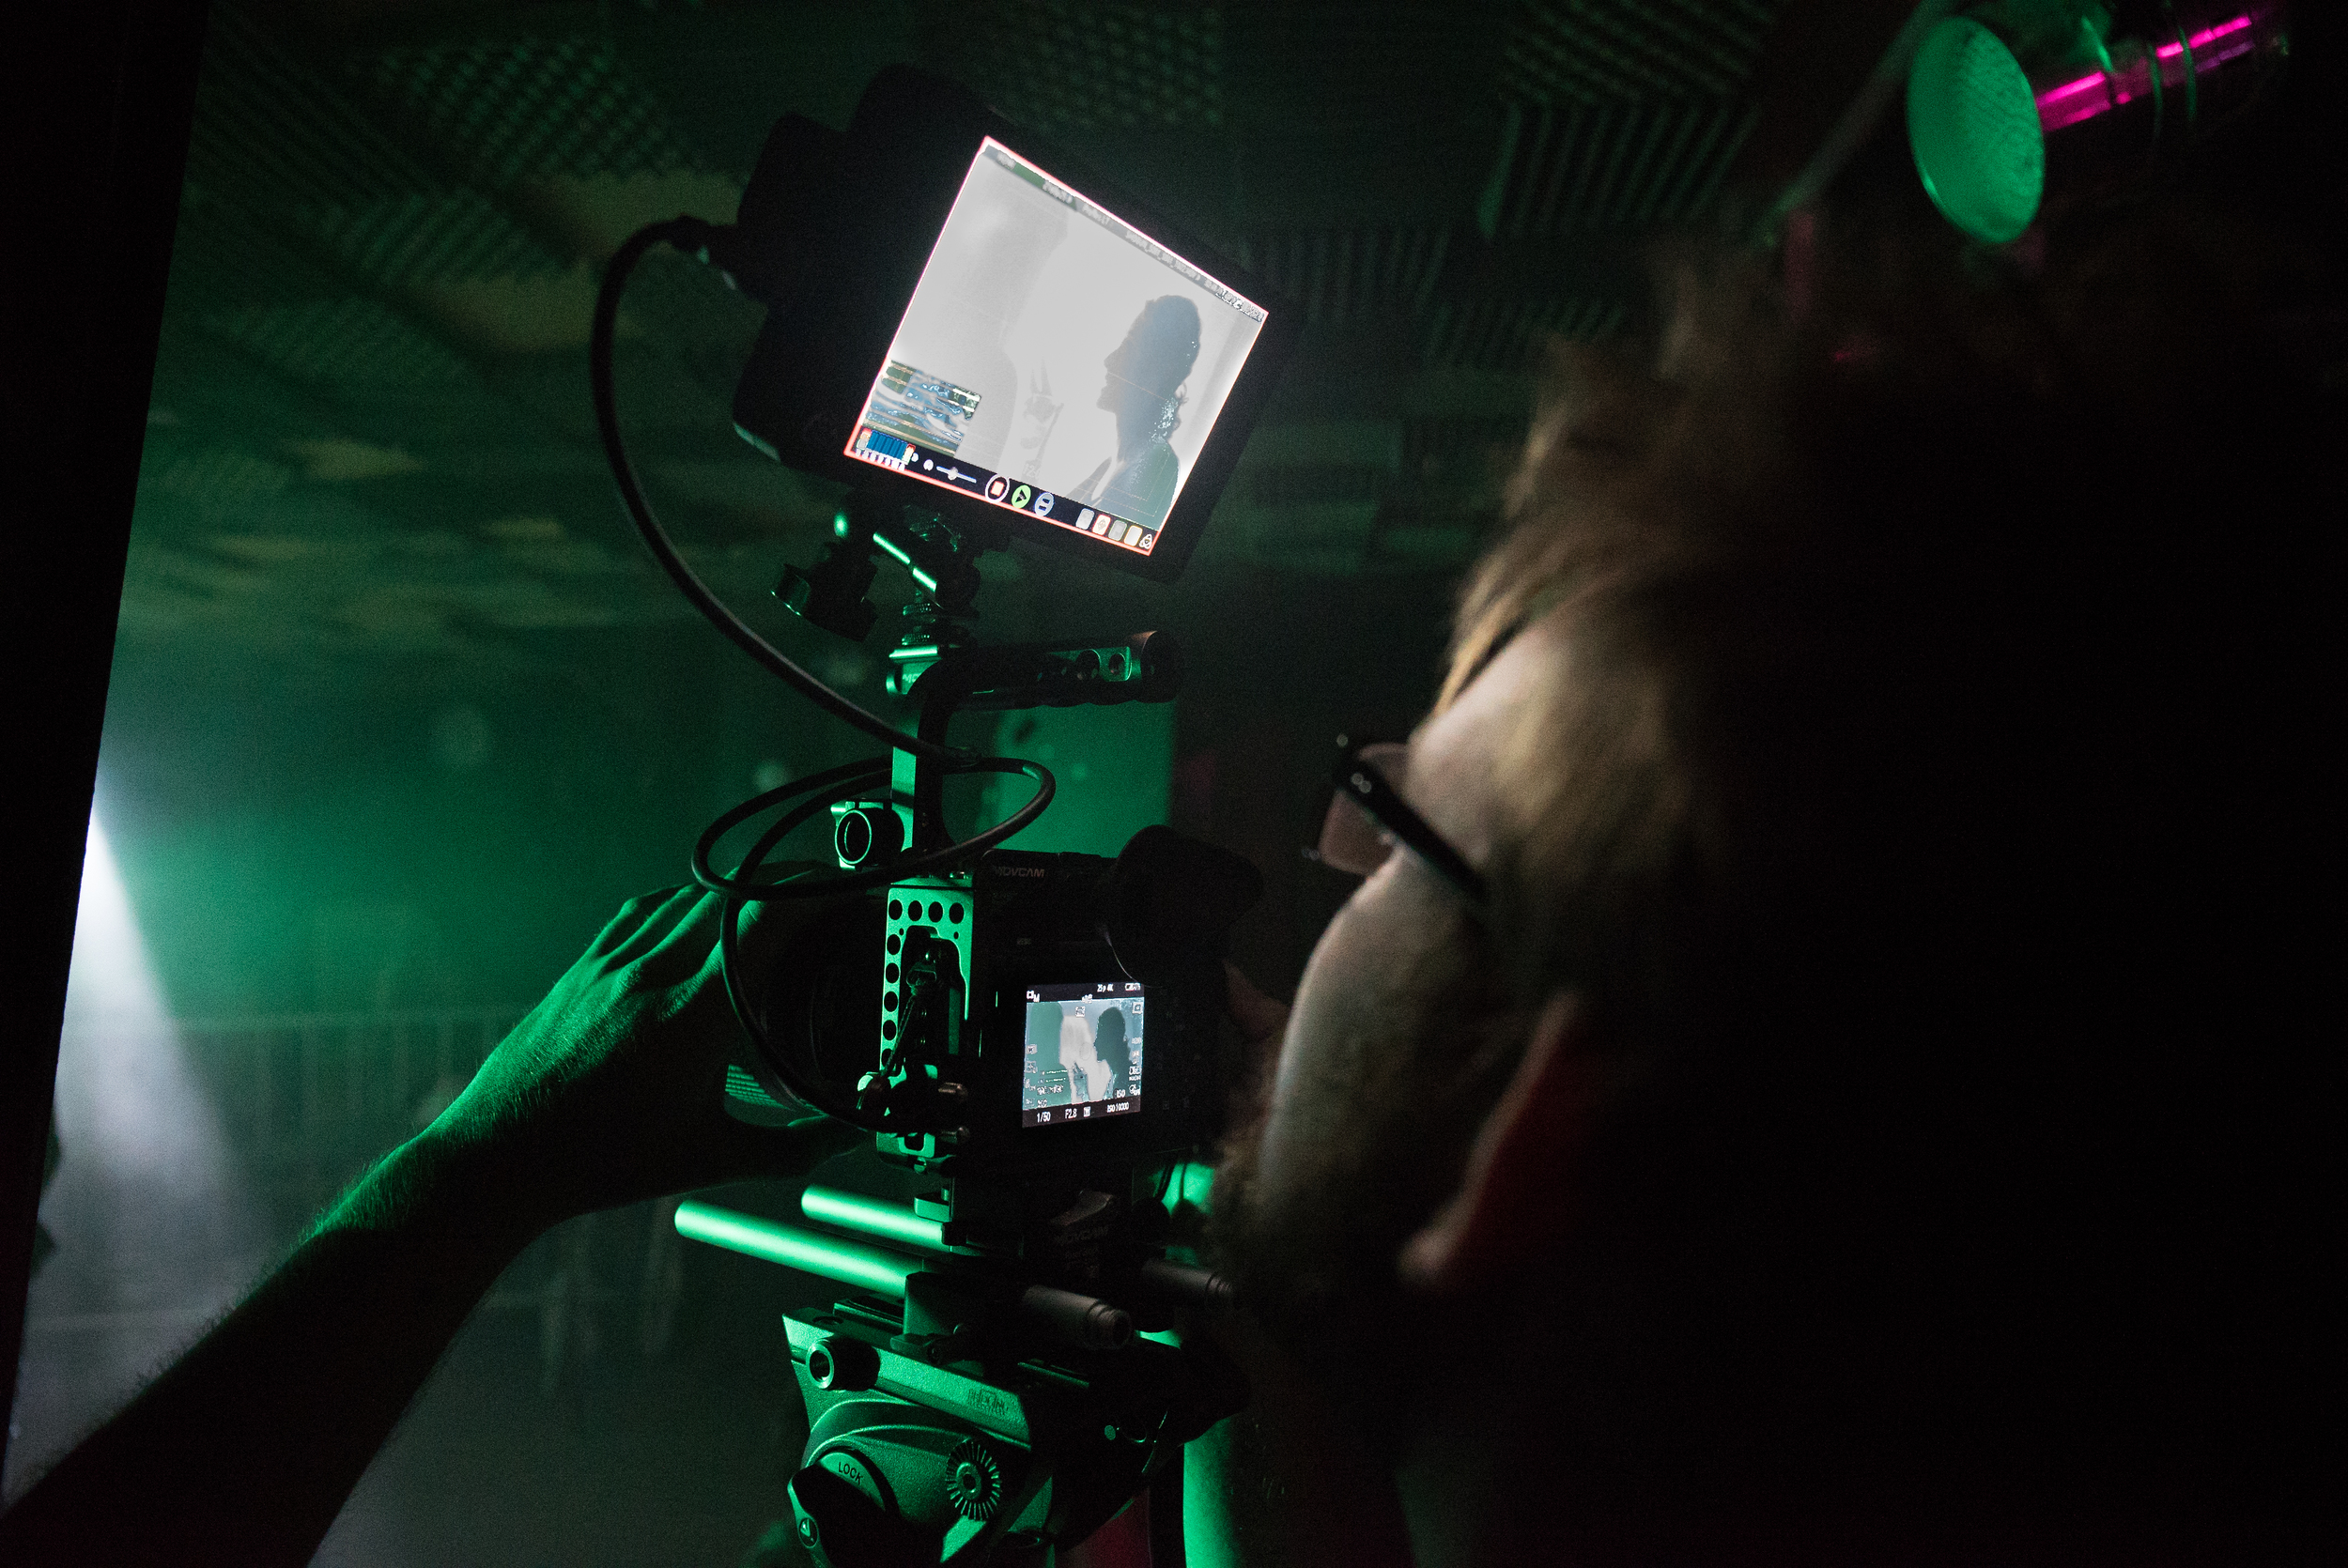
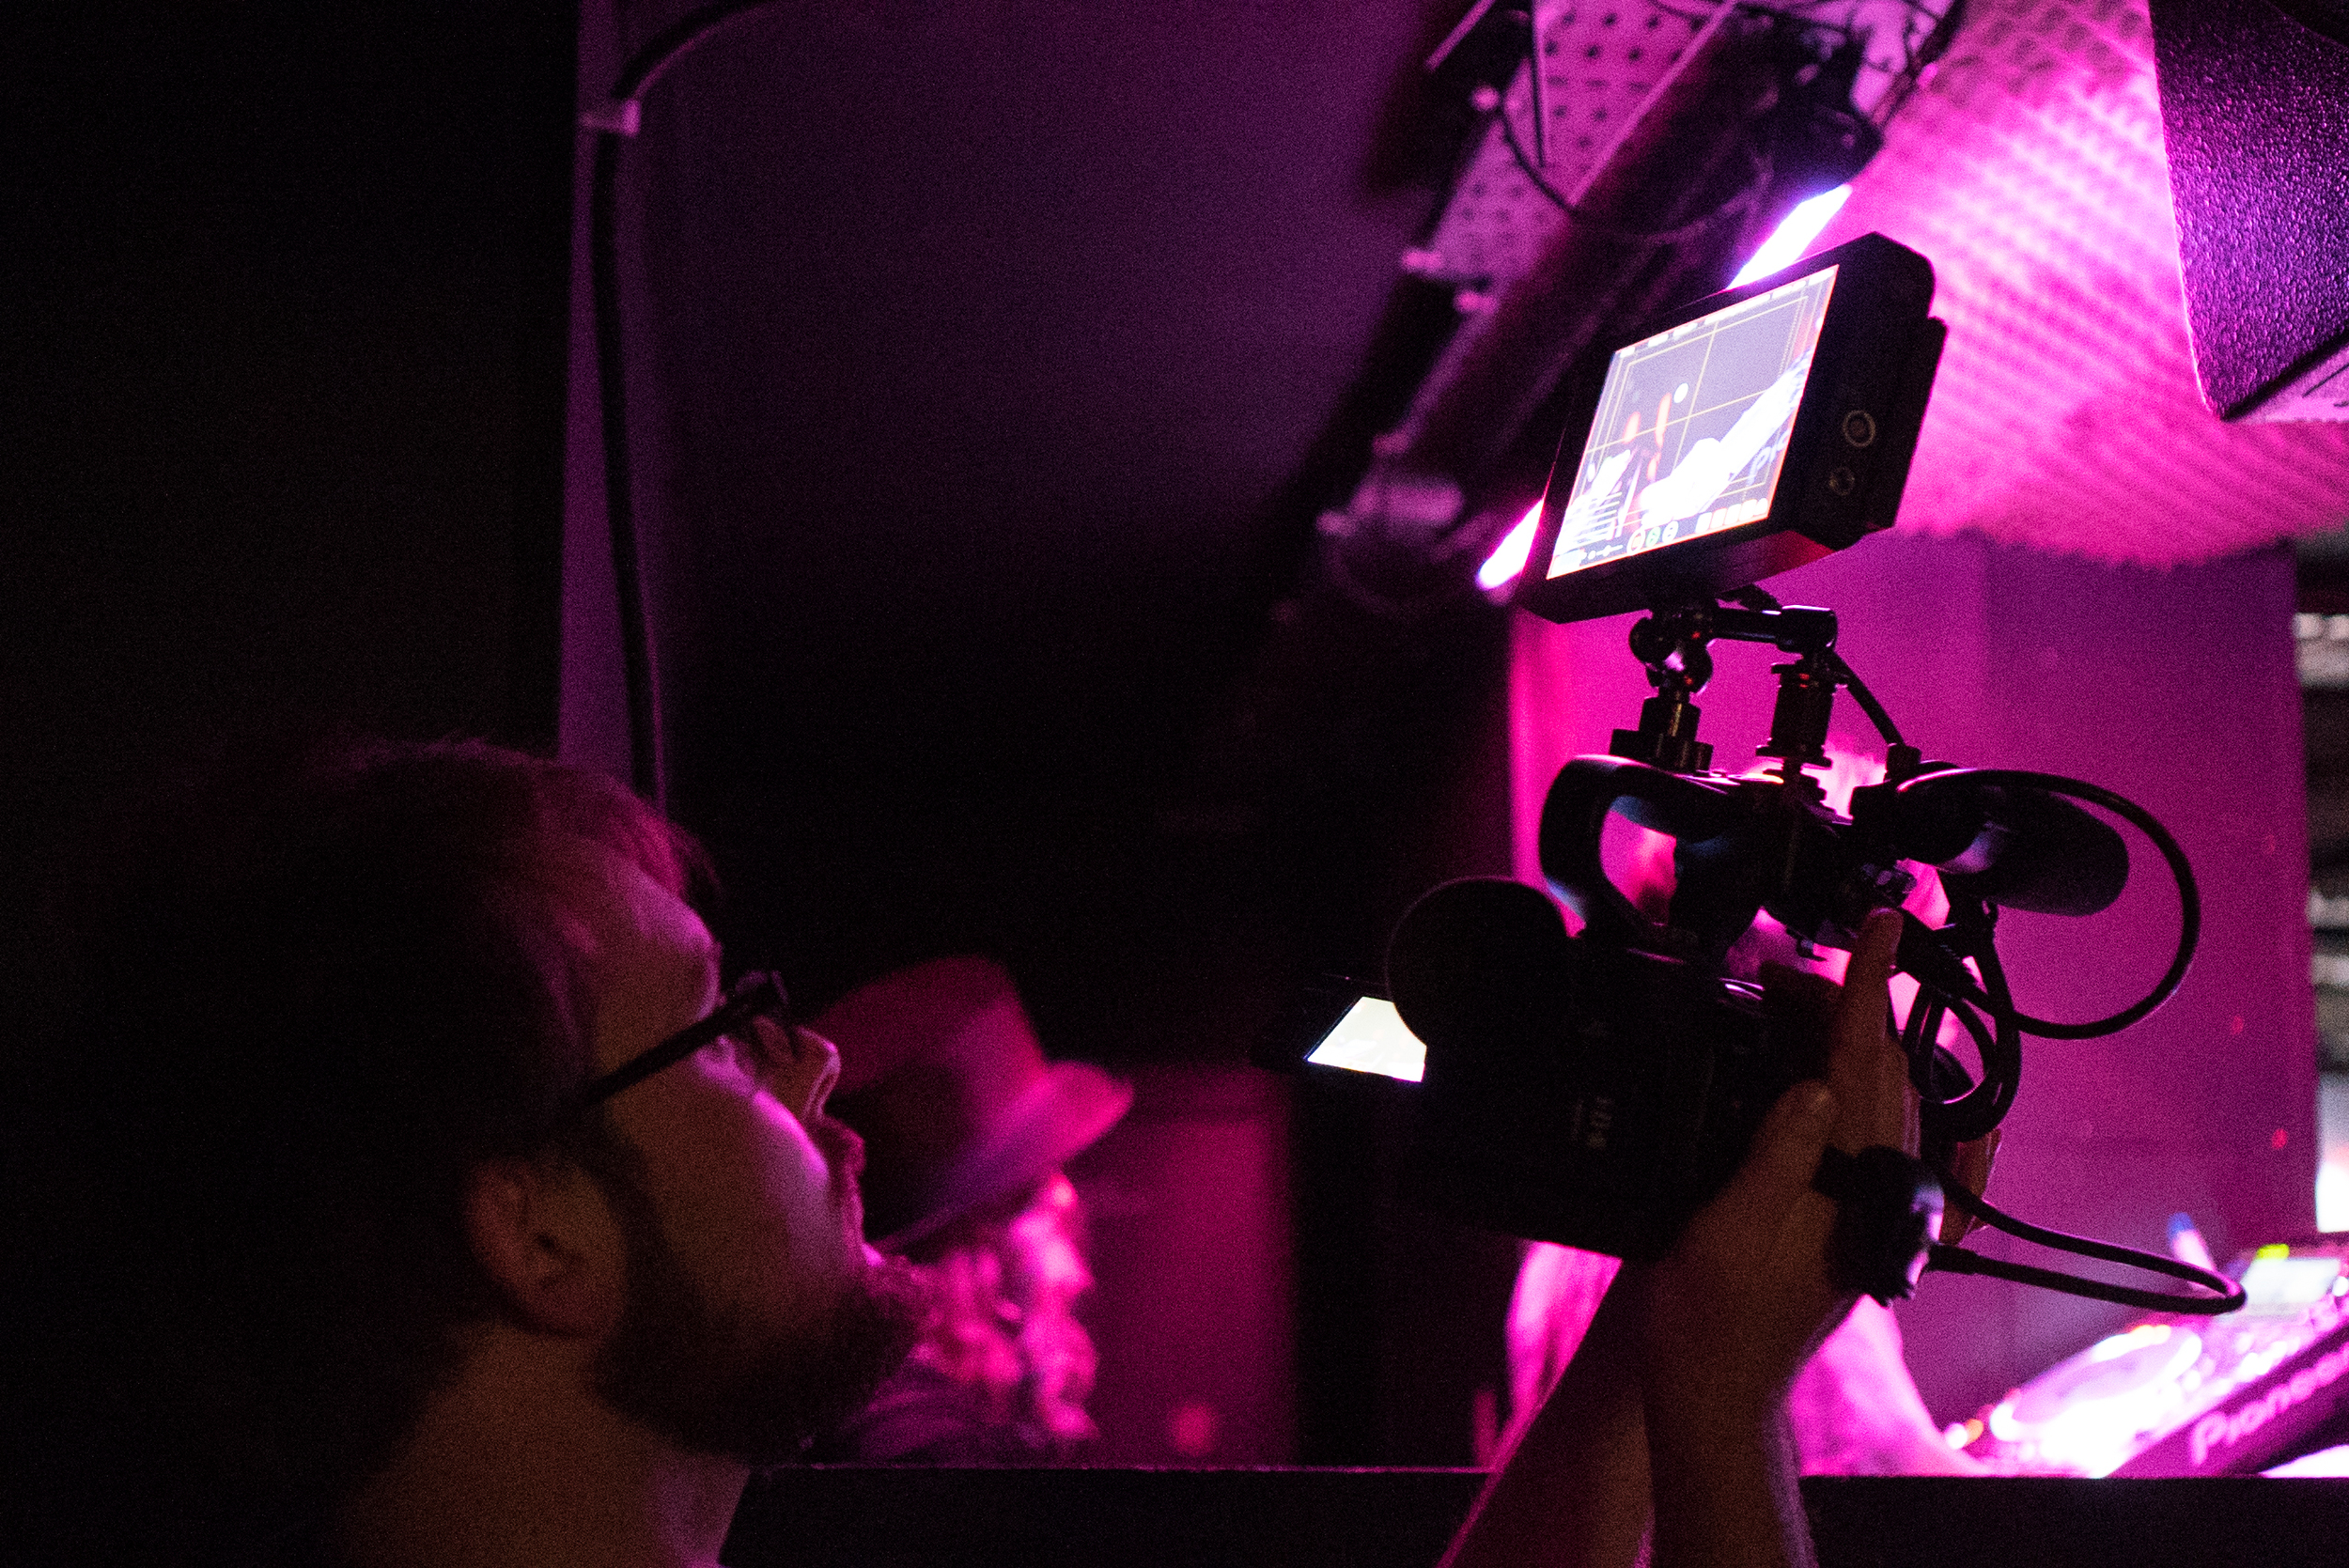
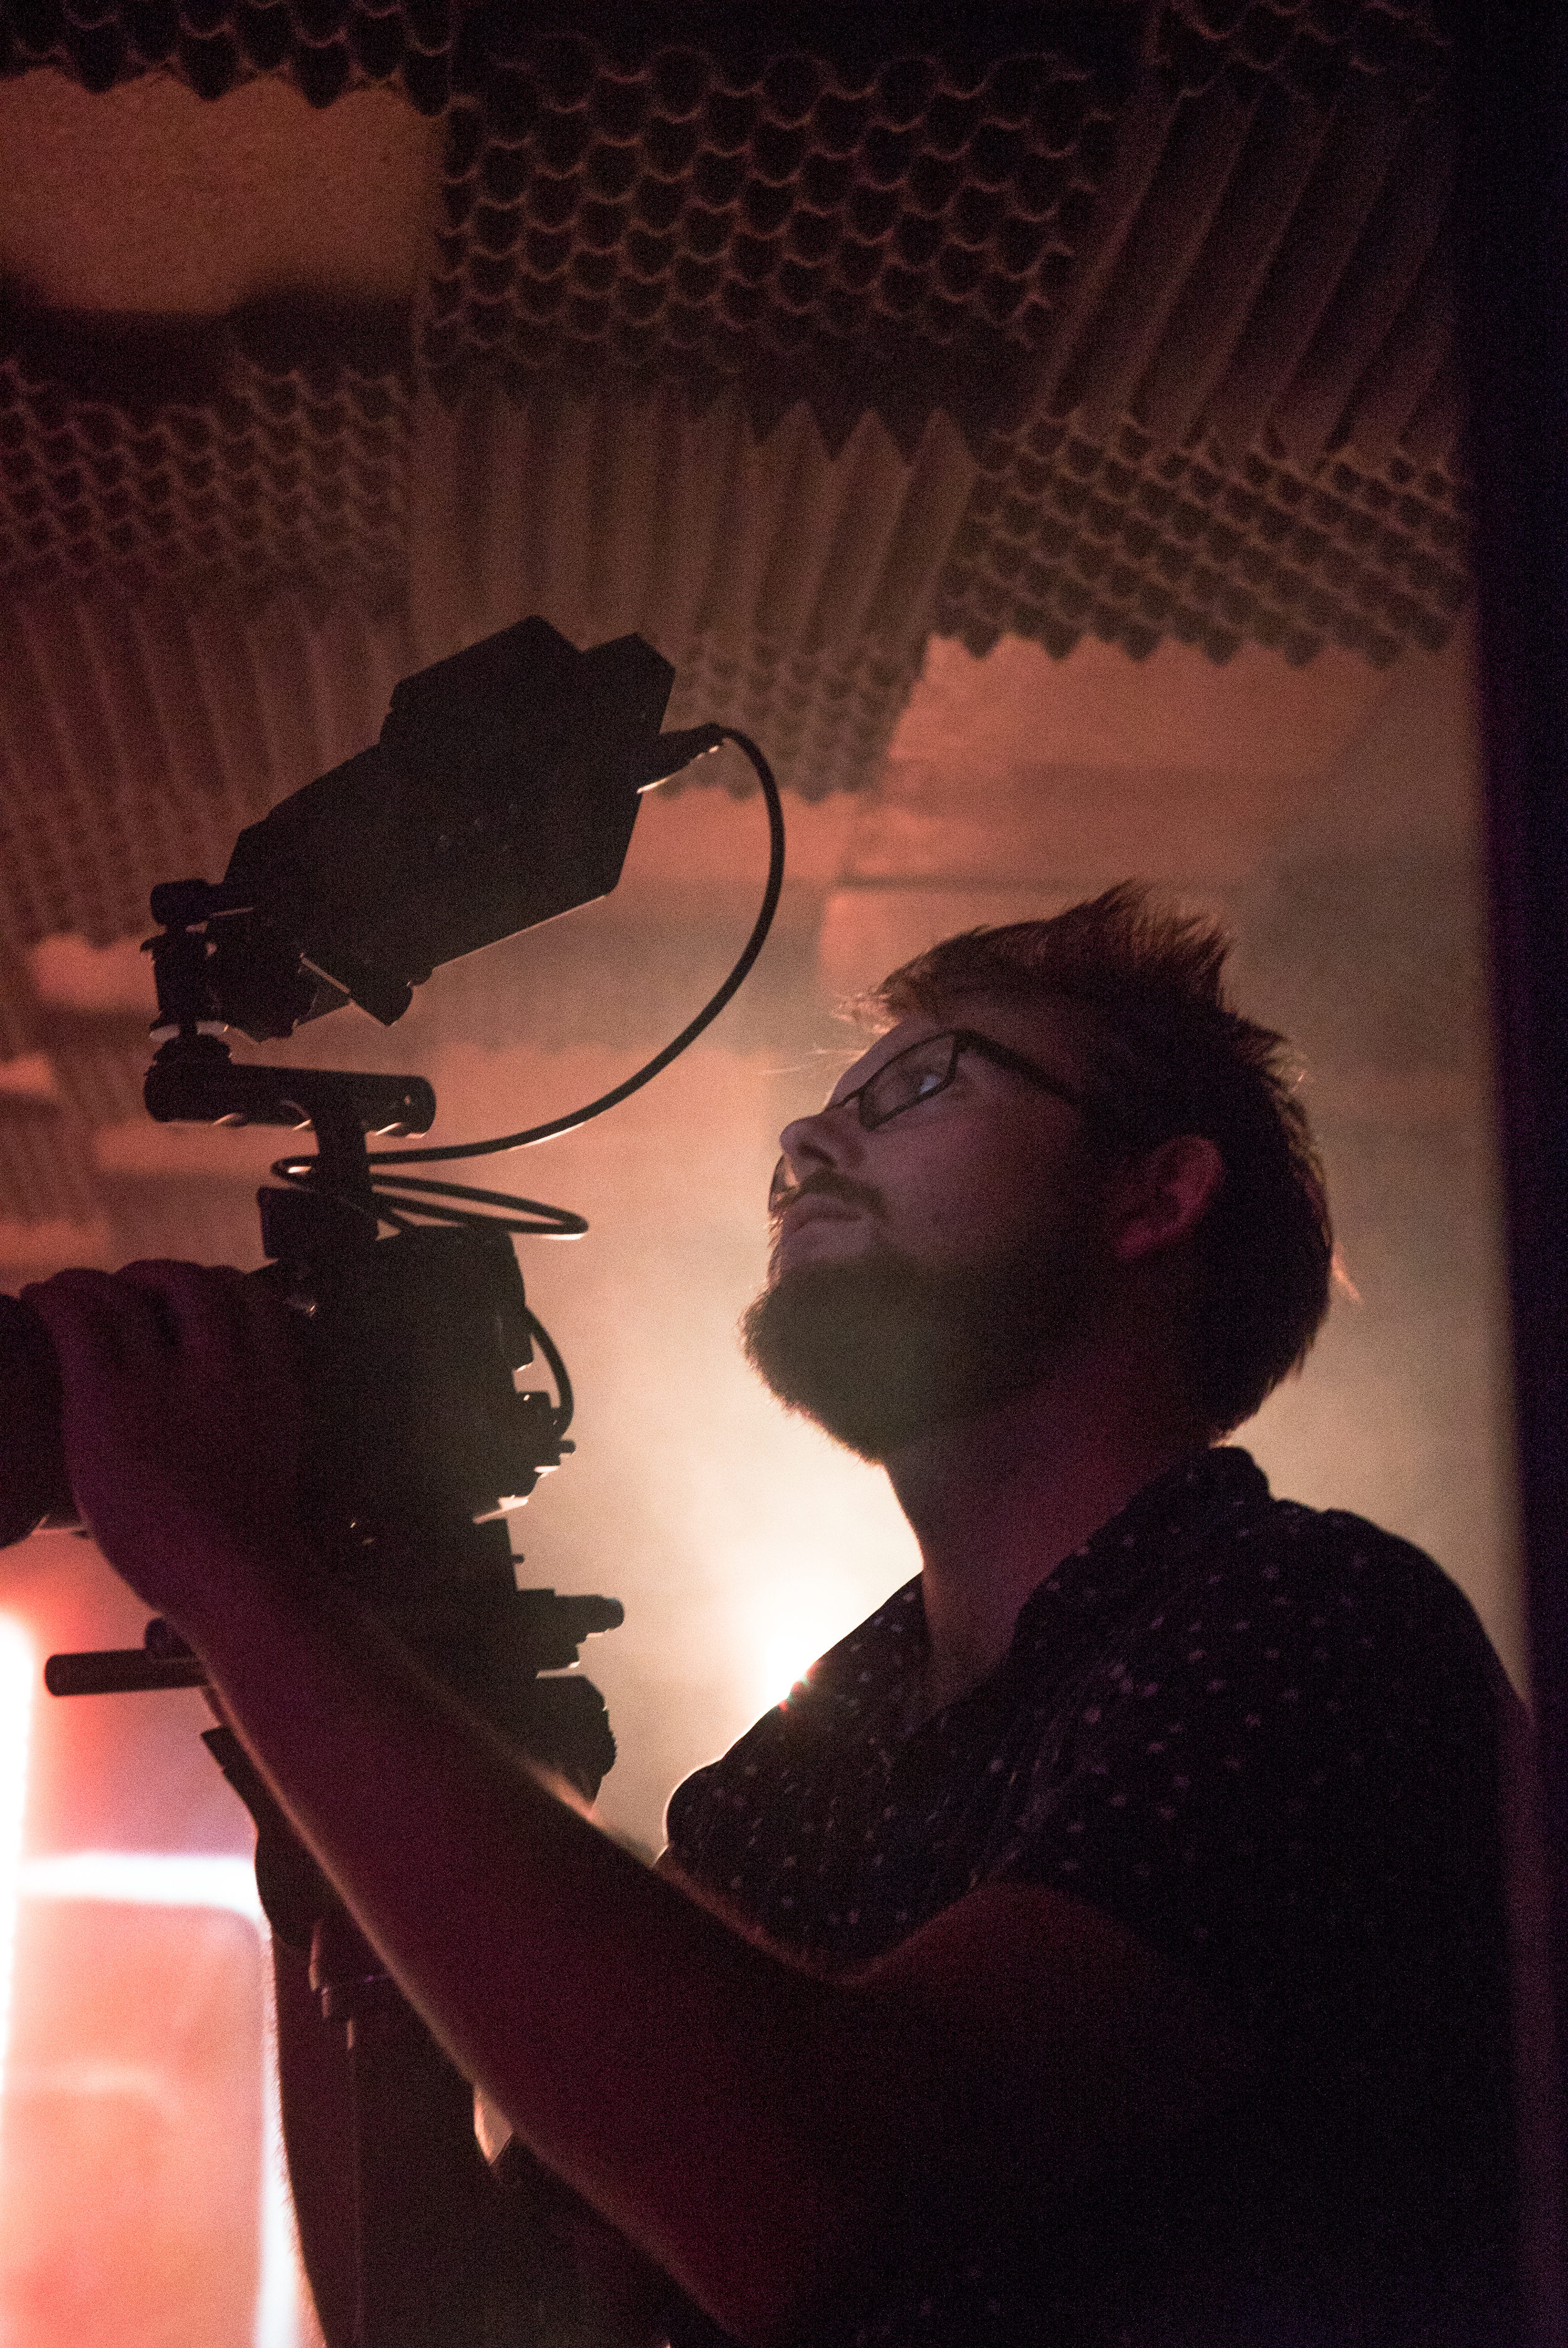
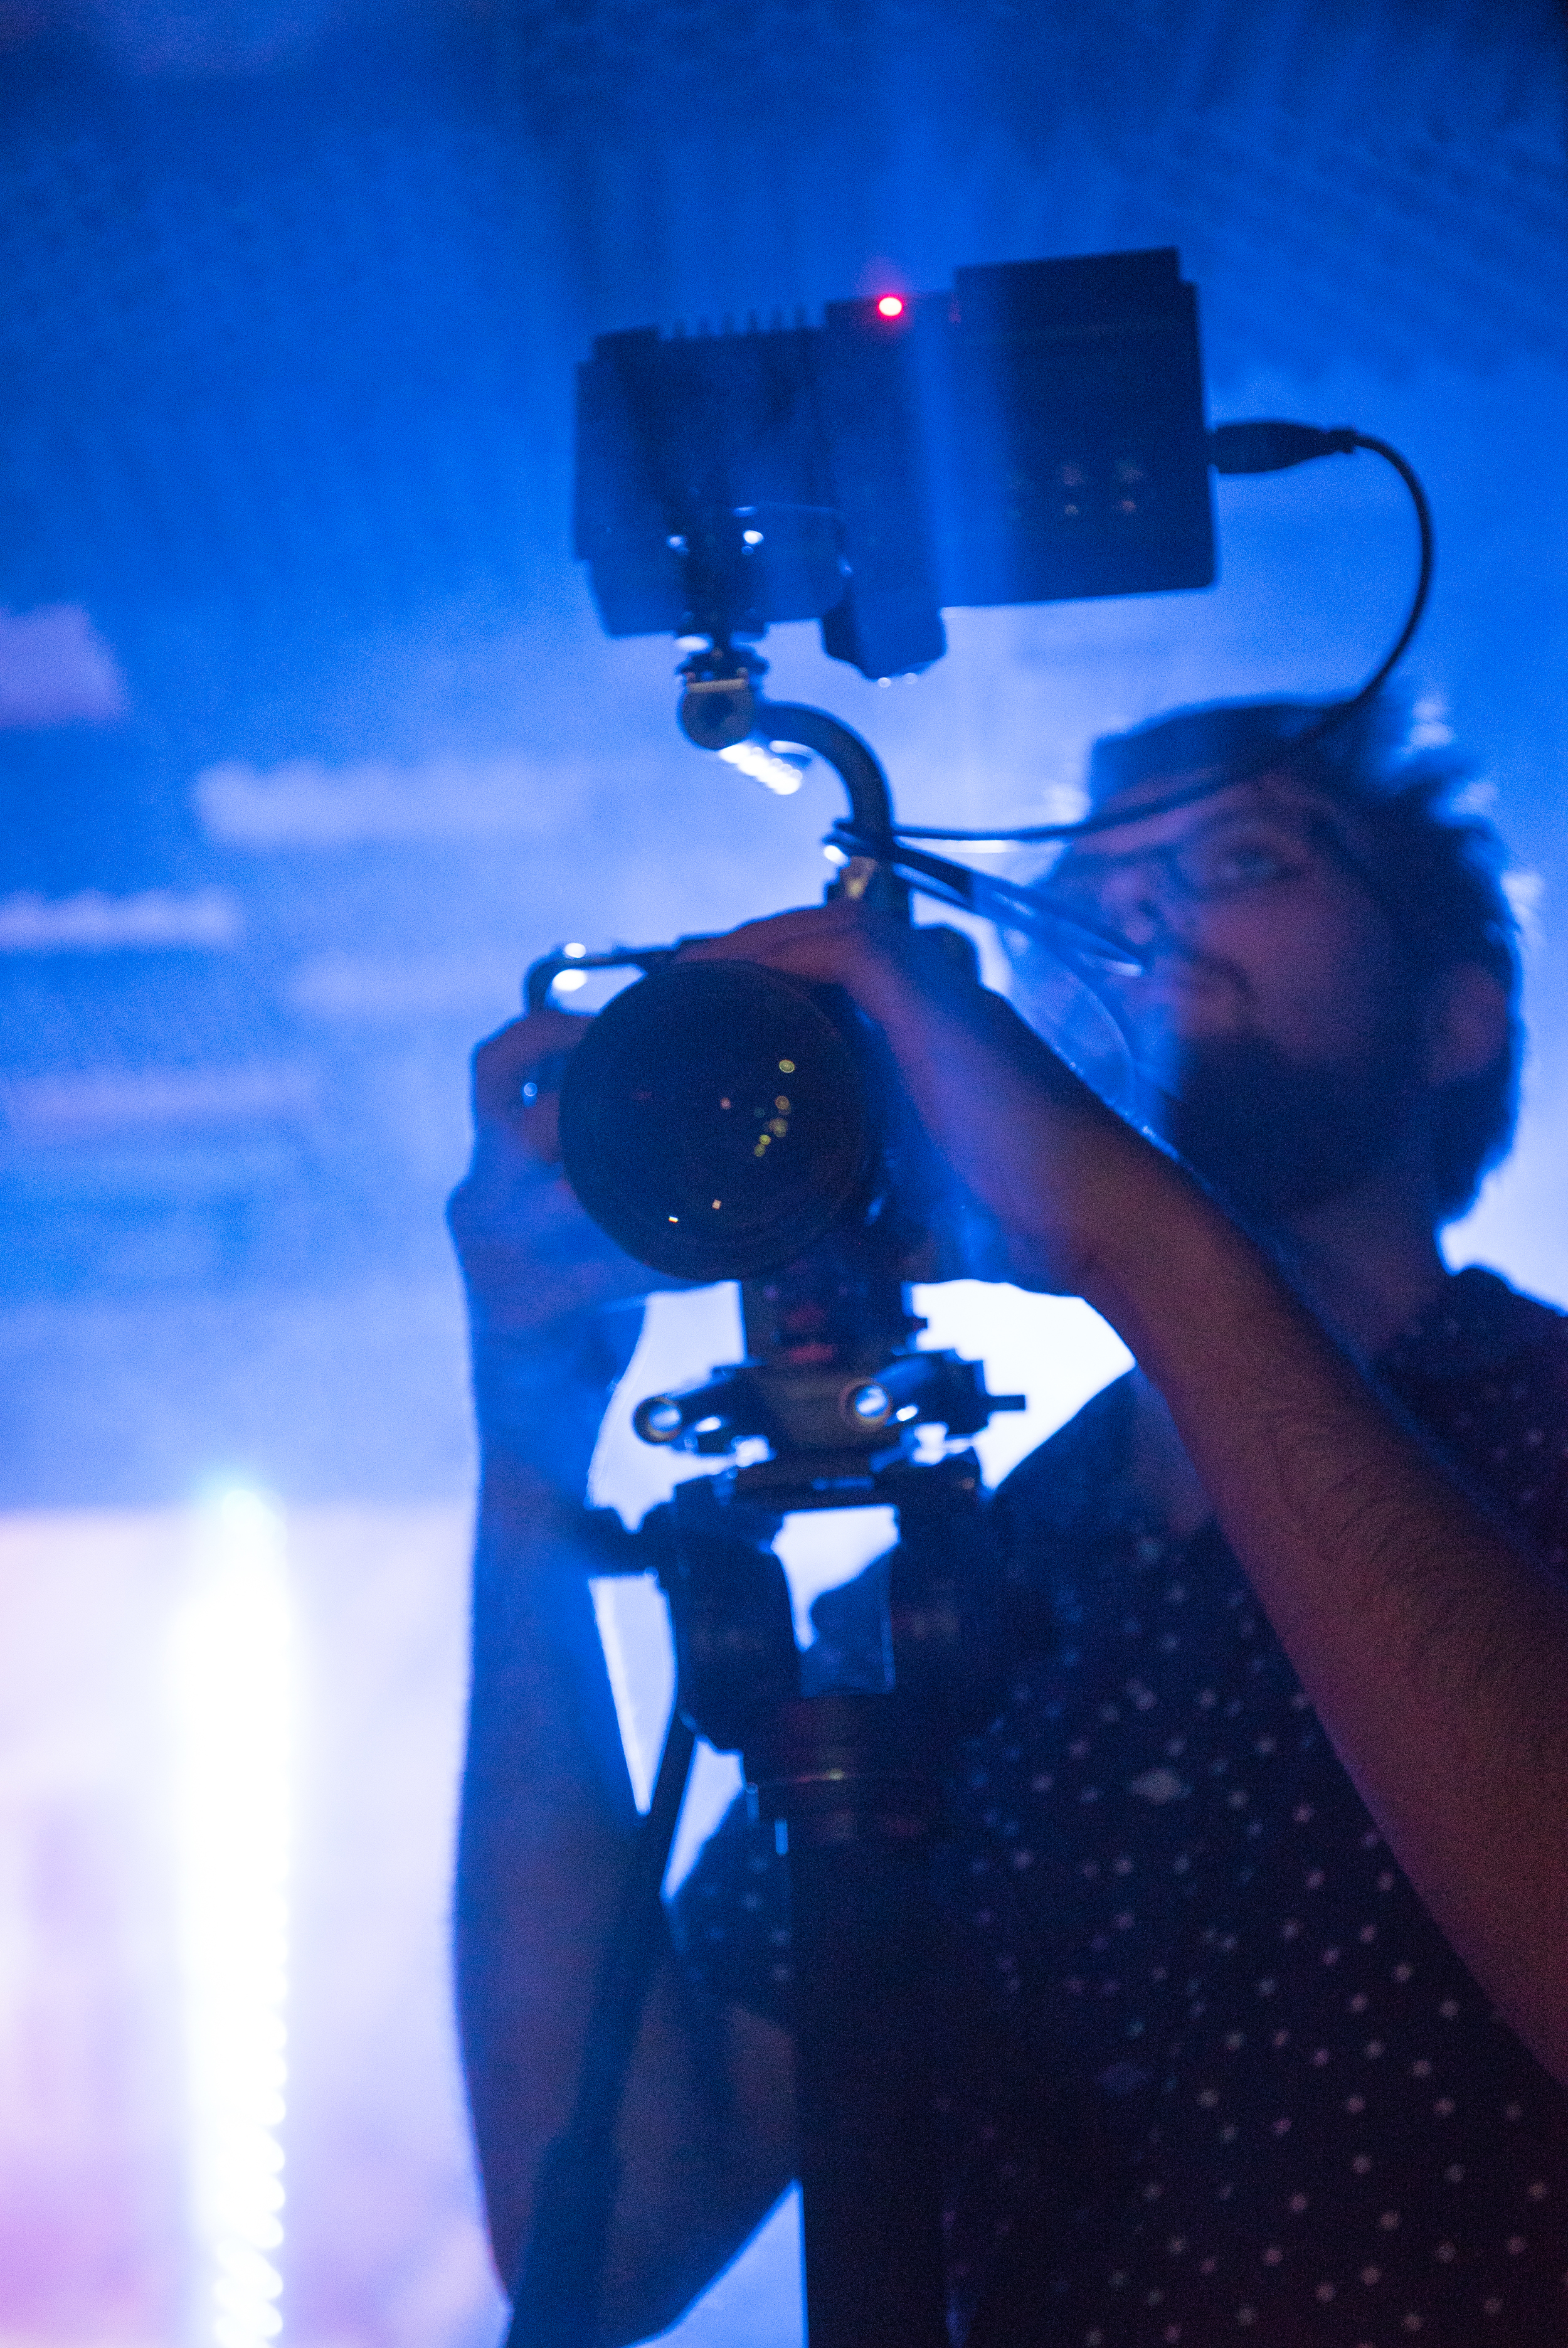
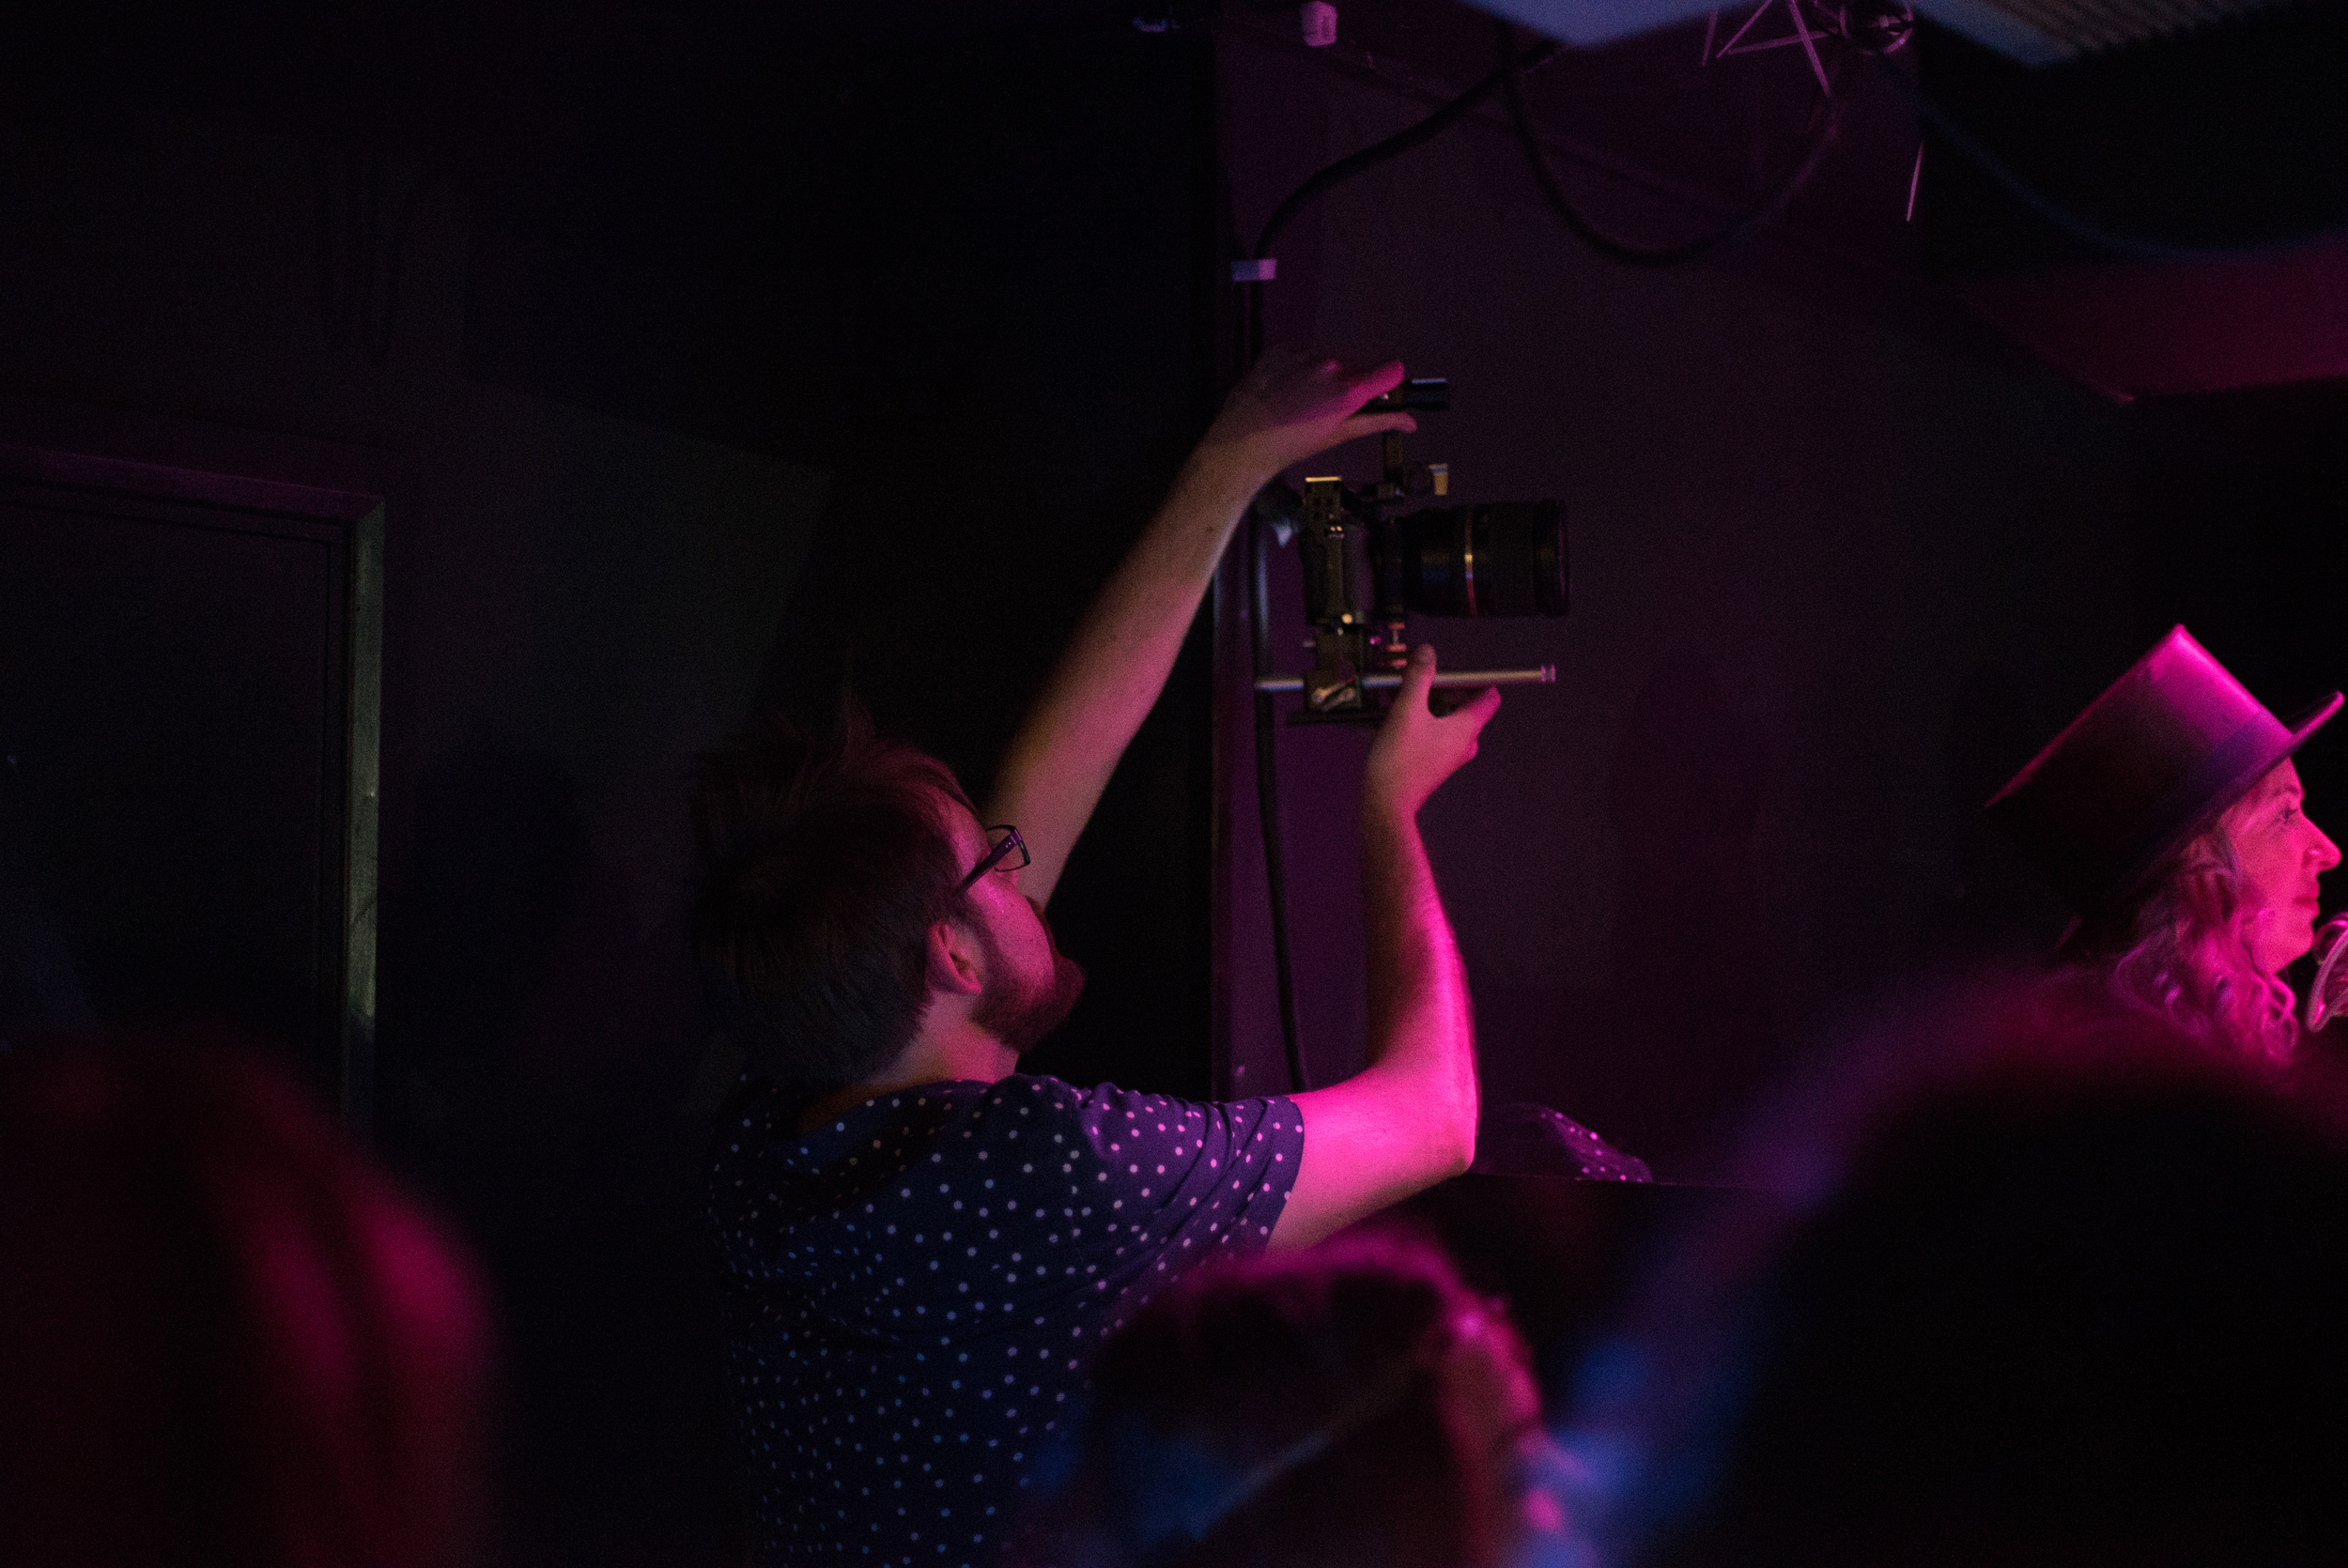
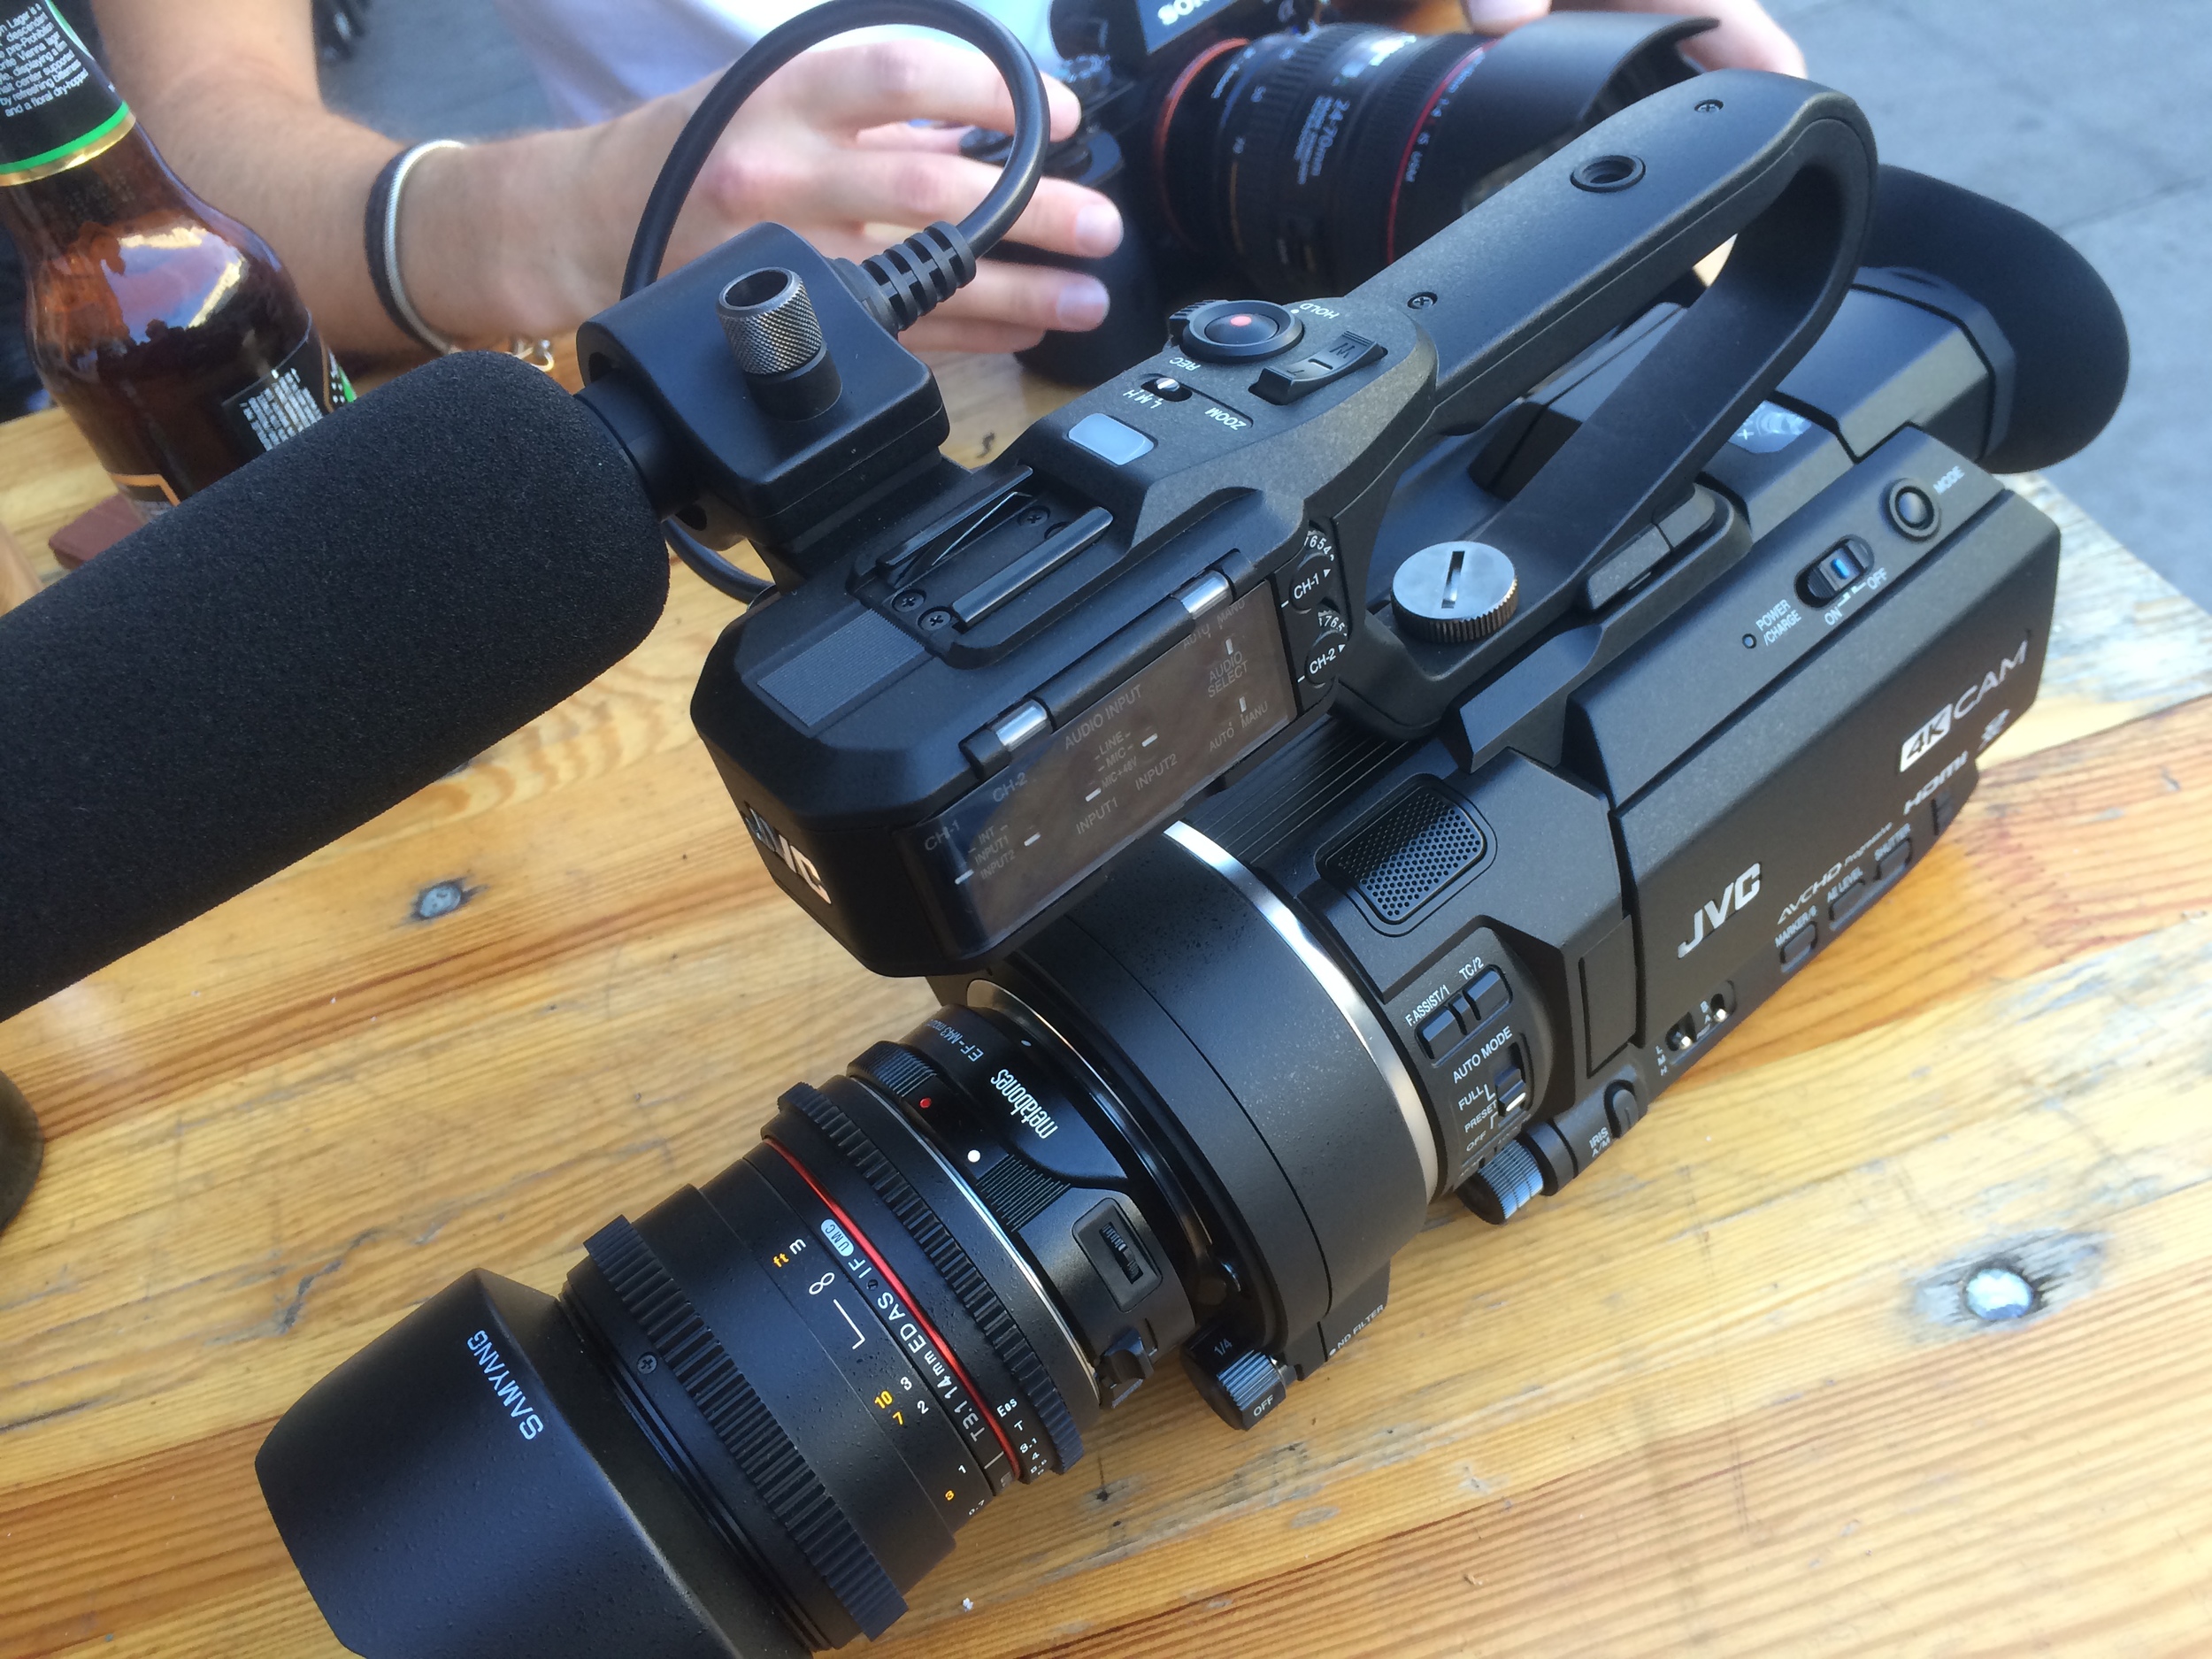
In the restaurant across the road I got the camera set up and ready to film with, attaching the Metabones EF-MFT lens adapter and the Sigma 35mm T/1.5 lens. On arrival at the venue (Birthdays), I discovered that the settings are not easy to navigate; it takes a silly amount of time to locate the essential settings such as changing the video resolution, codec and format. Not very functional for run and gun or quick shooting work especially when you like switching between real-time and slow-mo, or using the VSM feature.

I went a bit retro with using a 17-50mm for APS-C on the A7S to give it the vignetting, and I like the outcome!

I went a bit retro with using a 17-50mm for APS-C on the A7S to give it the vignetting, and I like the outcome!

Because of the MFT mount and sensor size, it's possible to use EF-S or APS-C lenses with this camera, and also Micro Four Thirds (when you use VSM). I have the Tamron 17-50mm VC that I use on the 60D which is an ideal wide angle lens, however I chose to use the 24-70 (full frame) instead, which made the camera + lens combo extremely front heavy. However even with a smaller lens, the build of the camera itself seems somewhat plastic-like and unbalanced. I'd expect if the camera was rigged out with a shoulder pad, V-lock battery and recorder it would be much more balanced, but the camera isn't constructed for this, or at least it didn't feel like it.

Note: If you are using native MFT lenses directly to the camera mount, the combo is much smaller and lighter. Of course, you will have to use the VSM to crop in on the sensor to around 80% for the correct sensor coverage.

From JVC Pro with adapter and EF lens

From JVC Pro with adapter and EF lens

From HD Warrior with MFT lens

From HD Warrior with MFT lens

Honestly, I was rather disappointed with the quality of the flip out LCD screen and back eyepiece. I guess I've been spoiled with the A7S' viewfinder which is fantastic in quality and contrast. The LS300's didn't stack up, and I often found myself needing to use the eyepiece instead of the screen to judge the focus and exposure. What became difficult was finding the critical focus in contrasty situations. I could have used the digital zoom (expanded focus), but didn't know it existed.

The LS300 with Samyang 14mm T/3.1, which on this camera equates to around 20mm.

The LS300 with Samyang 14mm T/3.1, which on this camera equates to around 20mm.

Unfortunately I didn't have a lot of time in between eating and the gig to sus the camera out apart from checking the resolution, setting the white balance, setting pre-rec run etc. As we were filming a DJ gig I didn't want to have the camera (I was borrowing) out for long in case it got damaged or covered in booze.

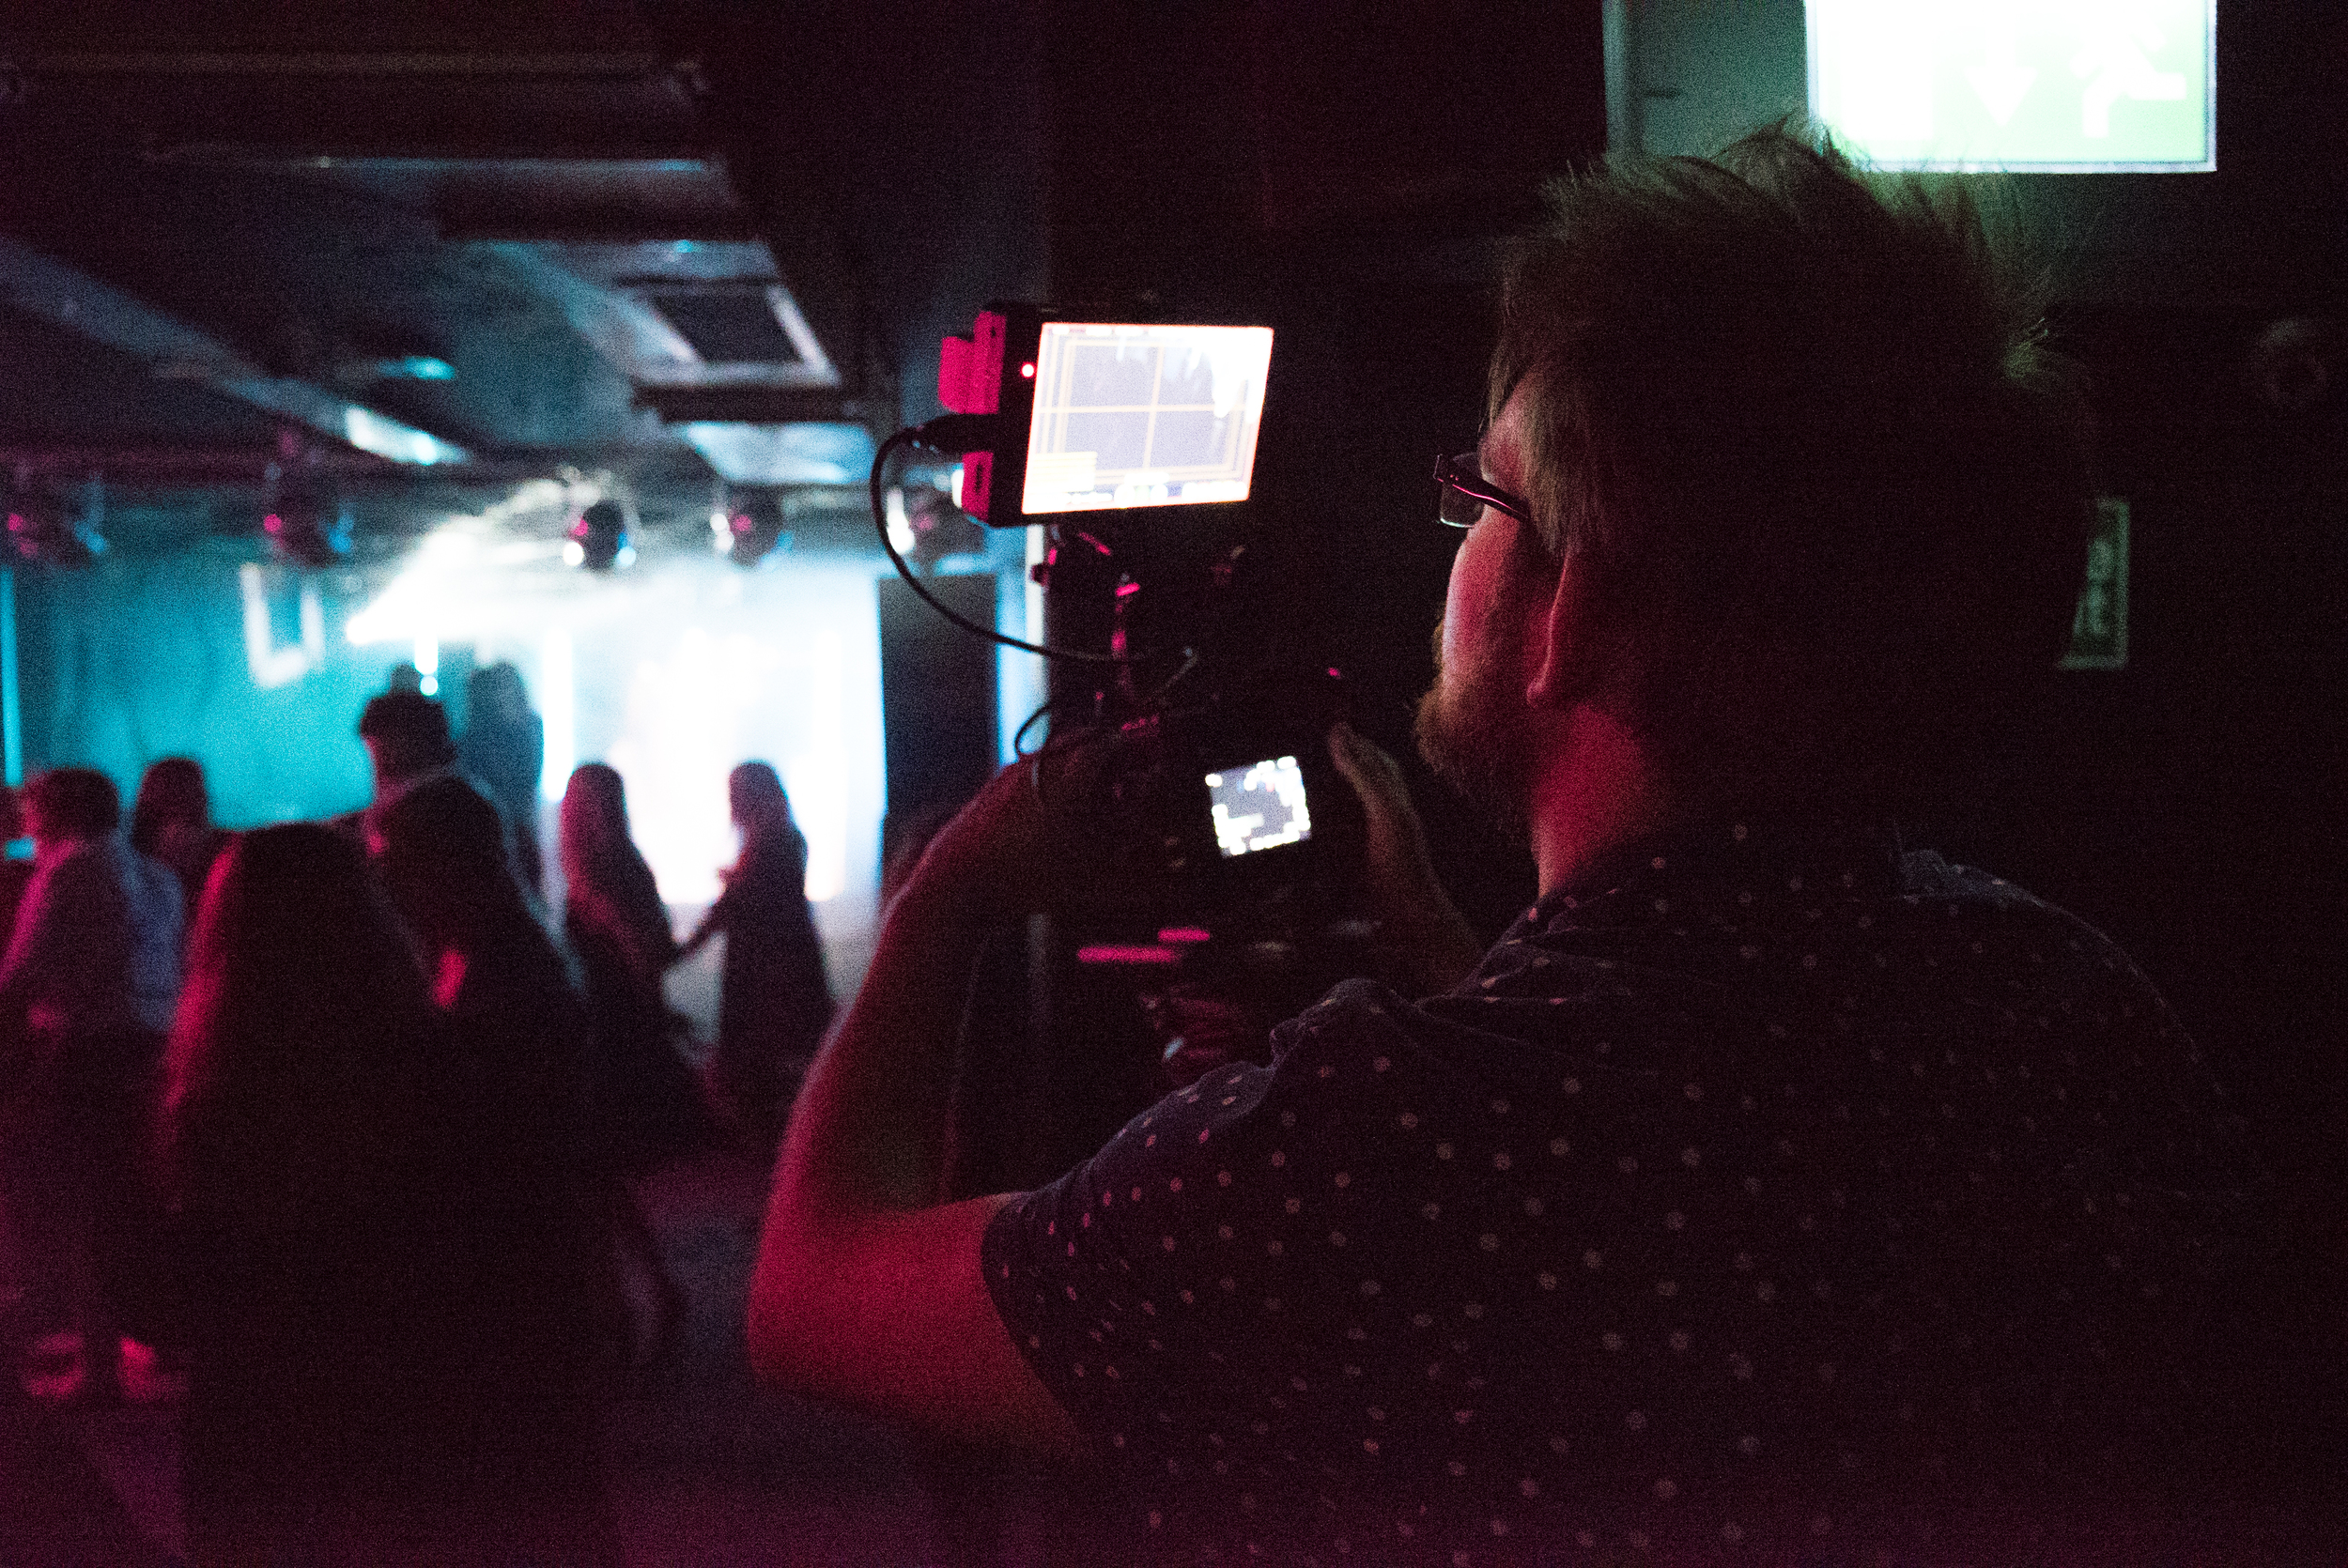
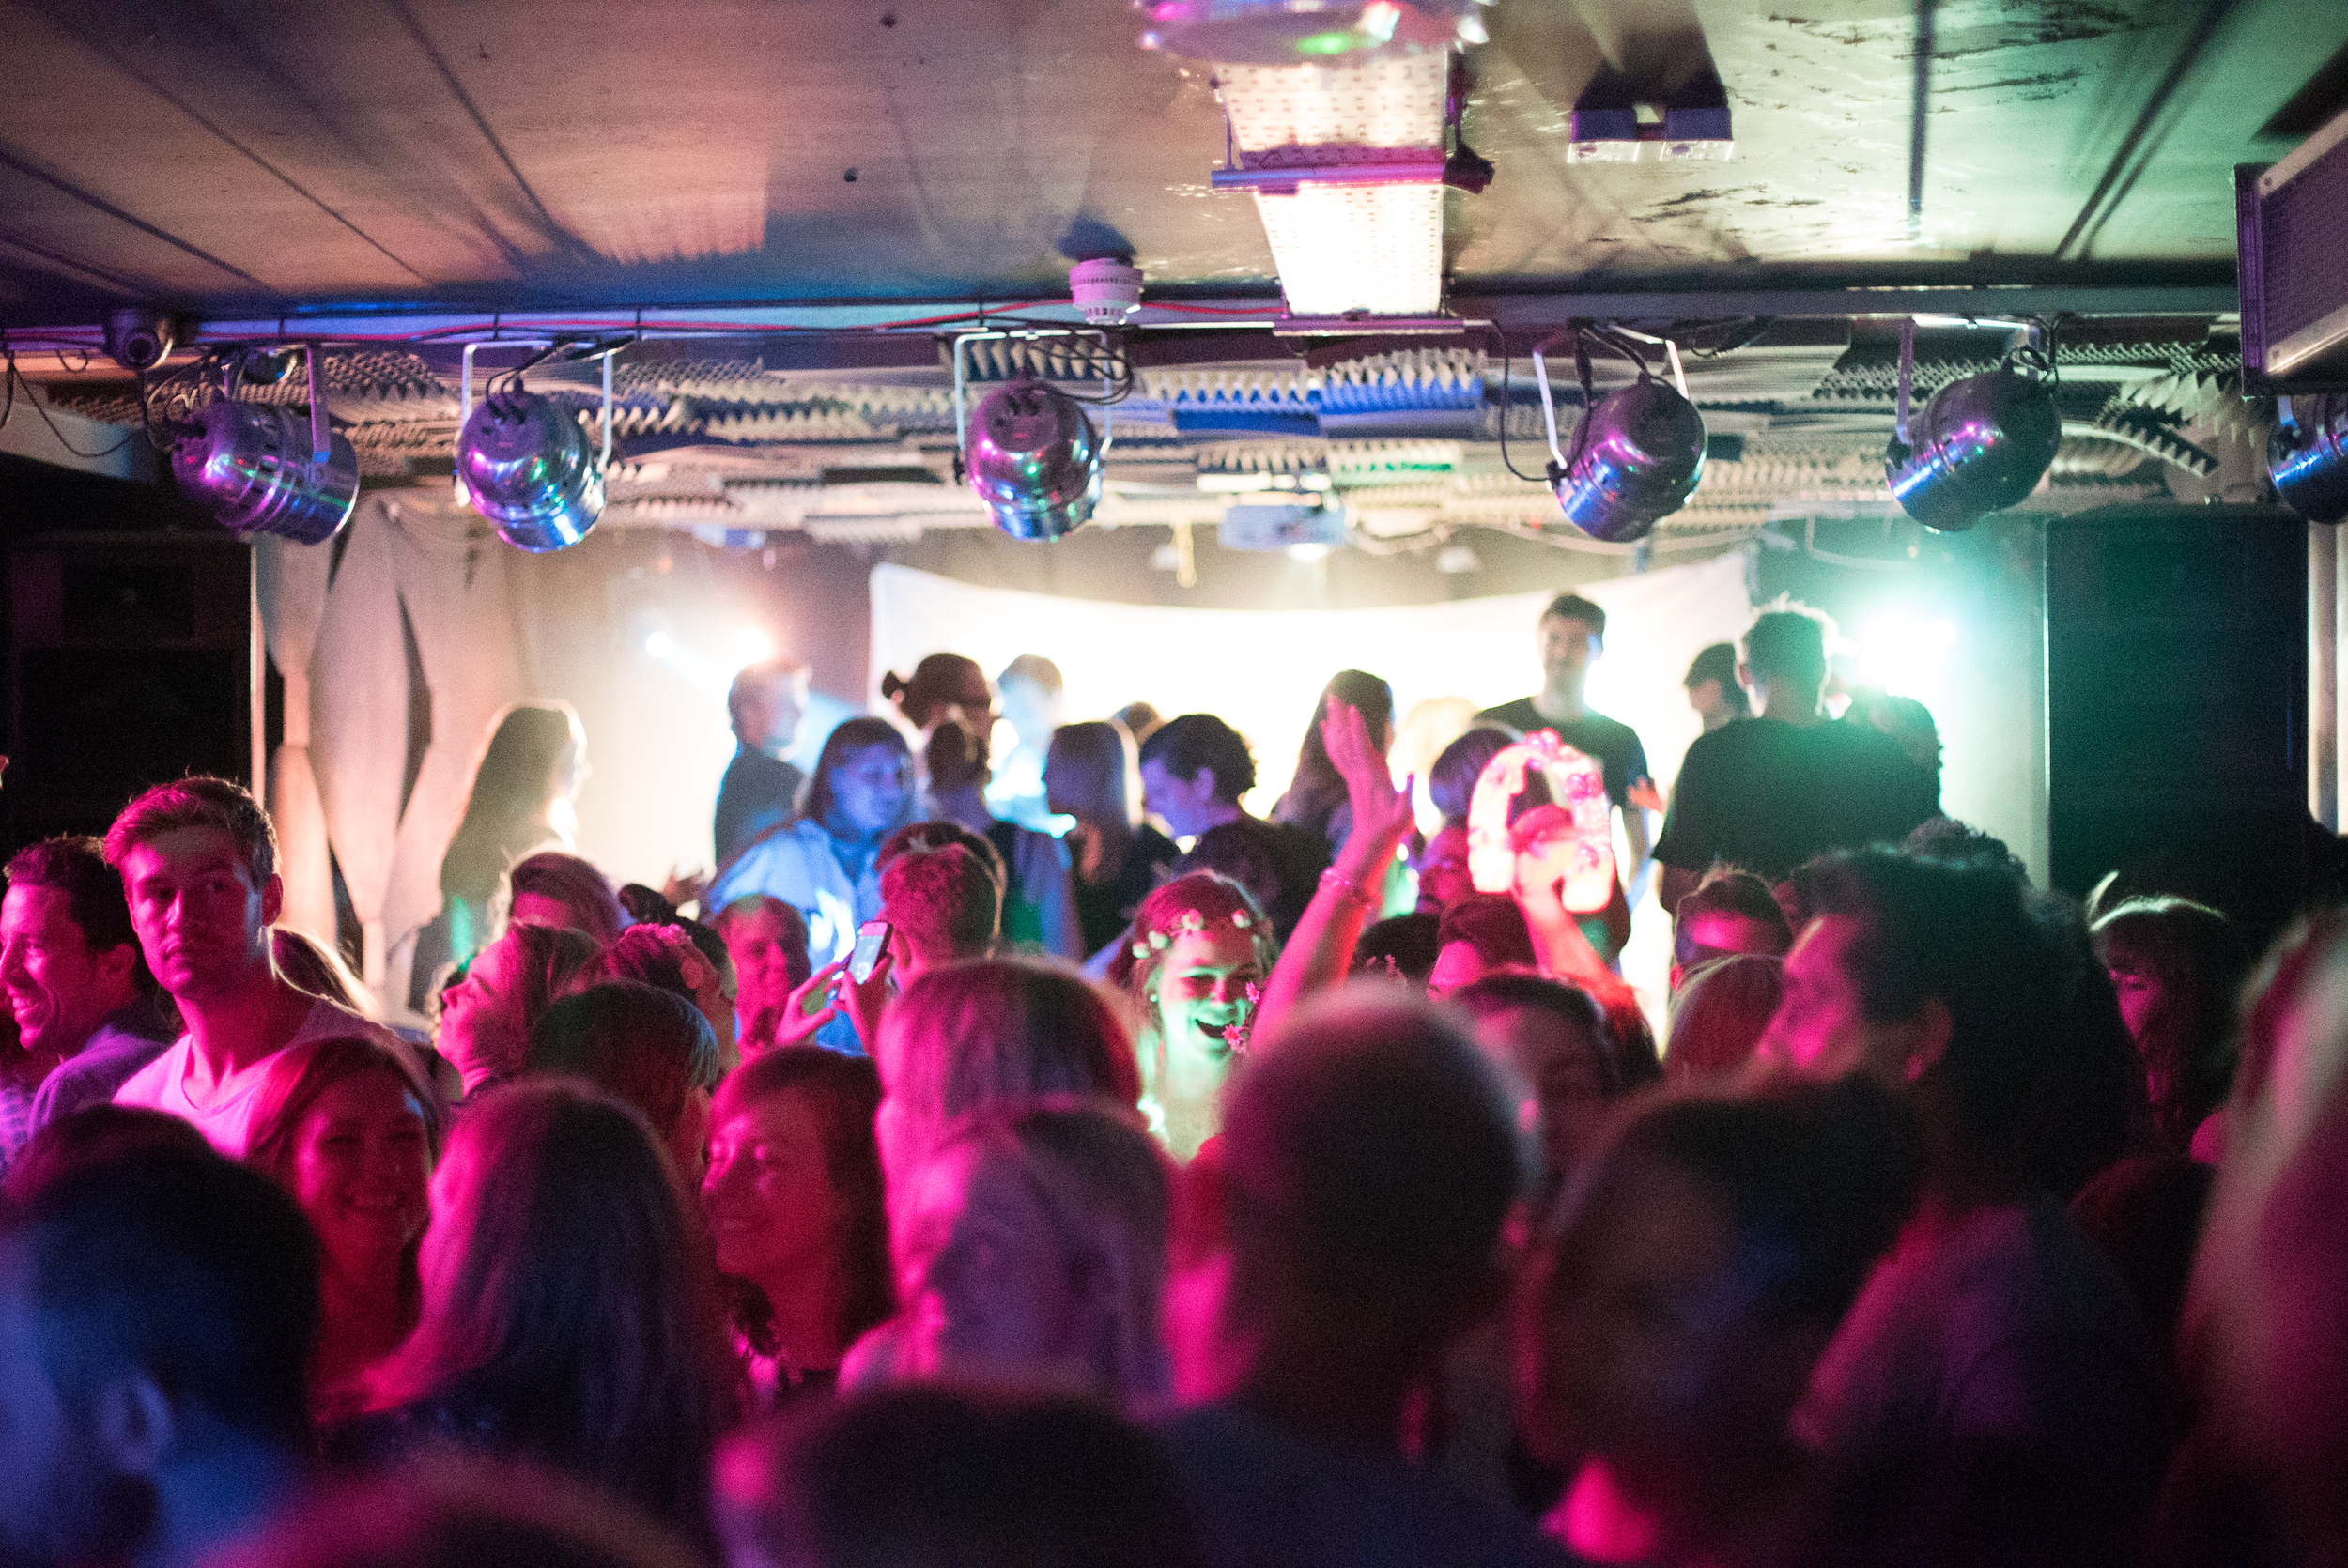
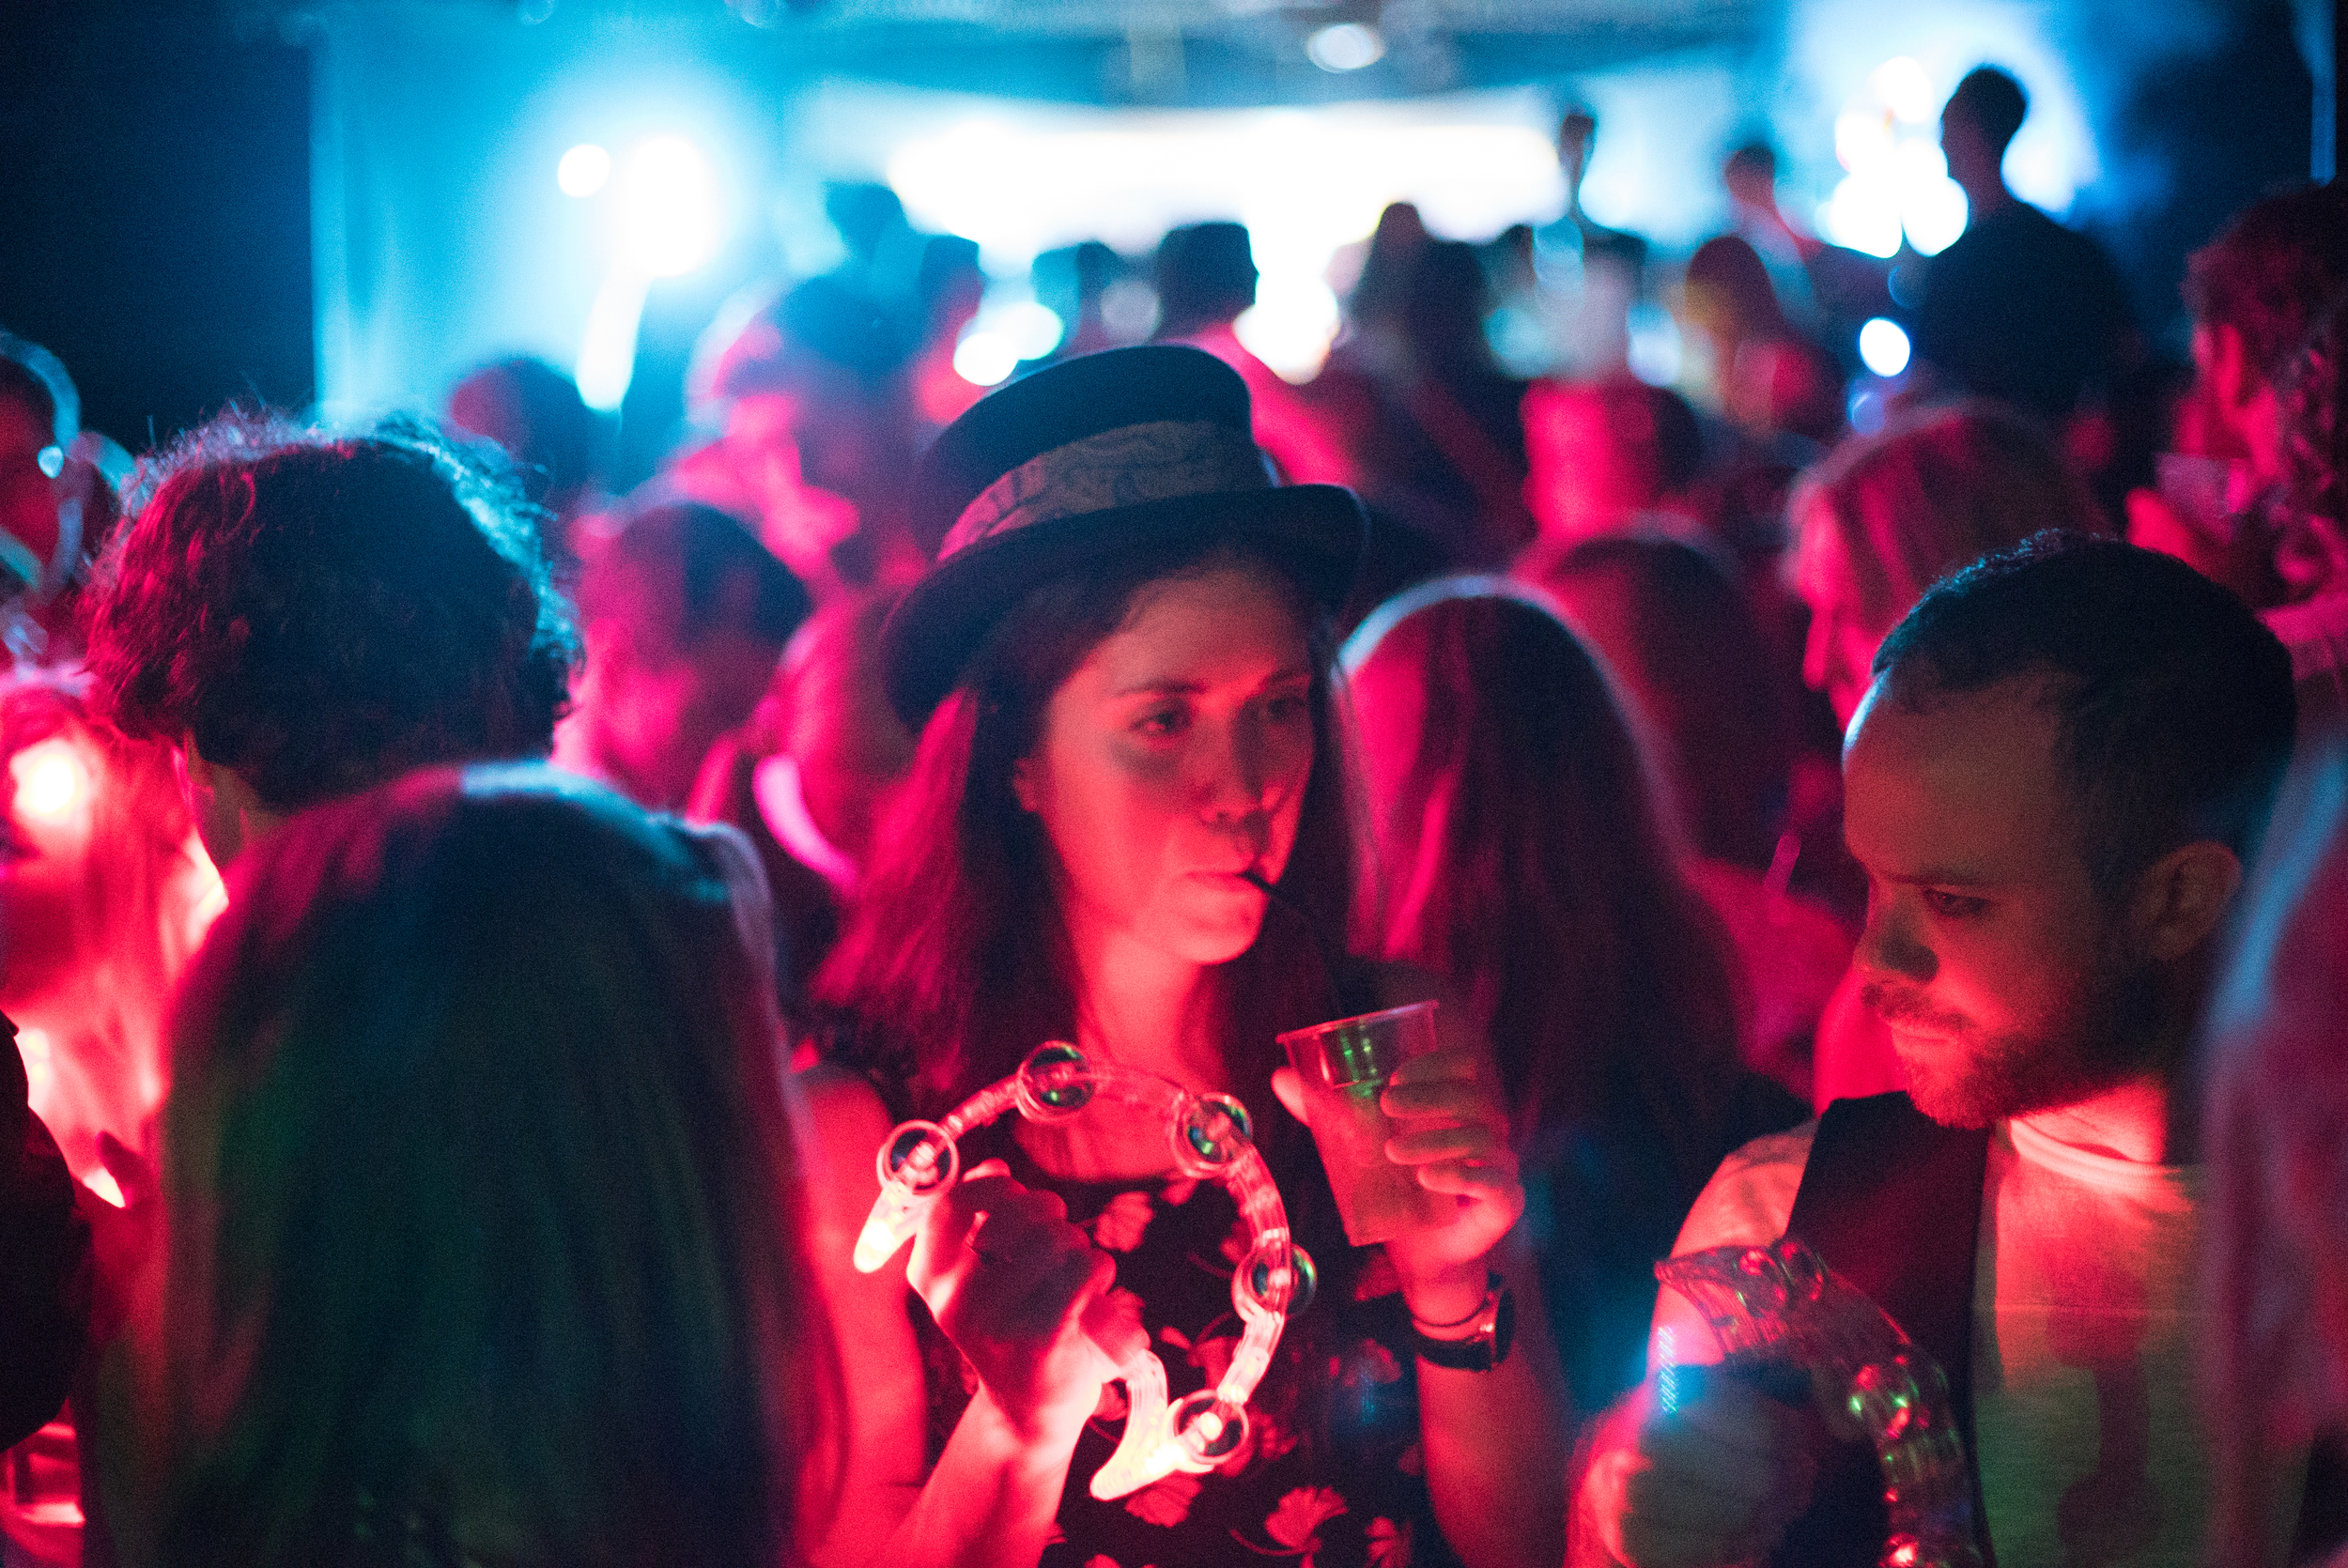
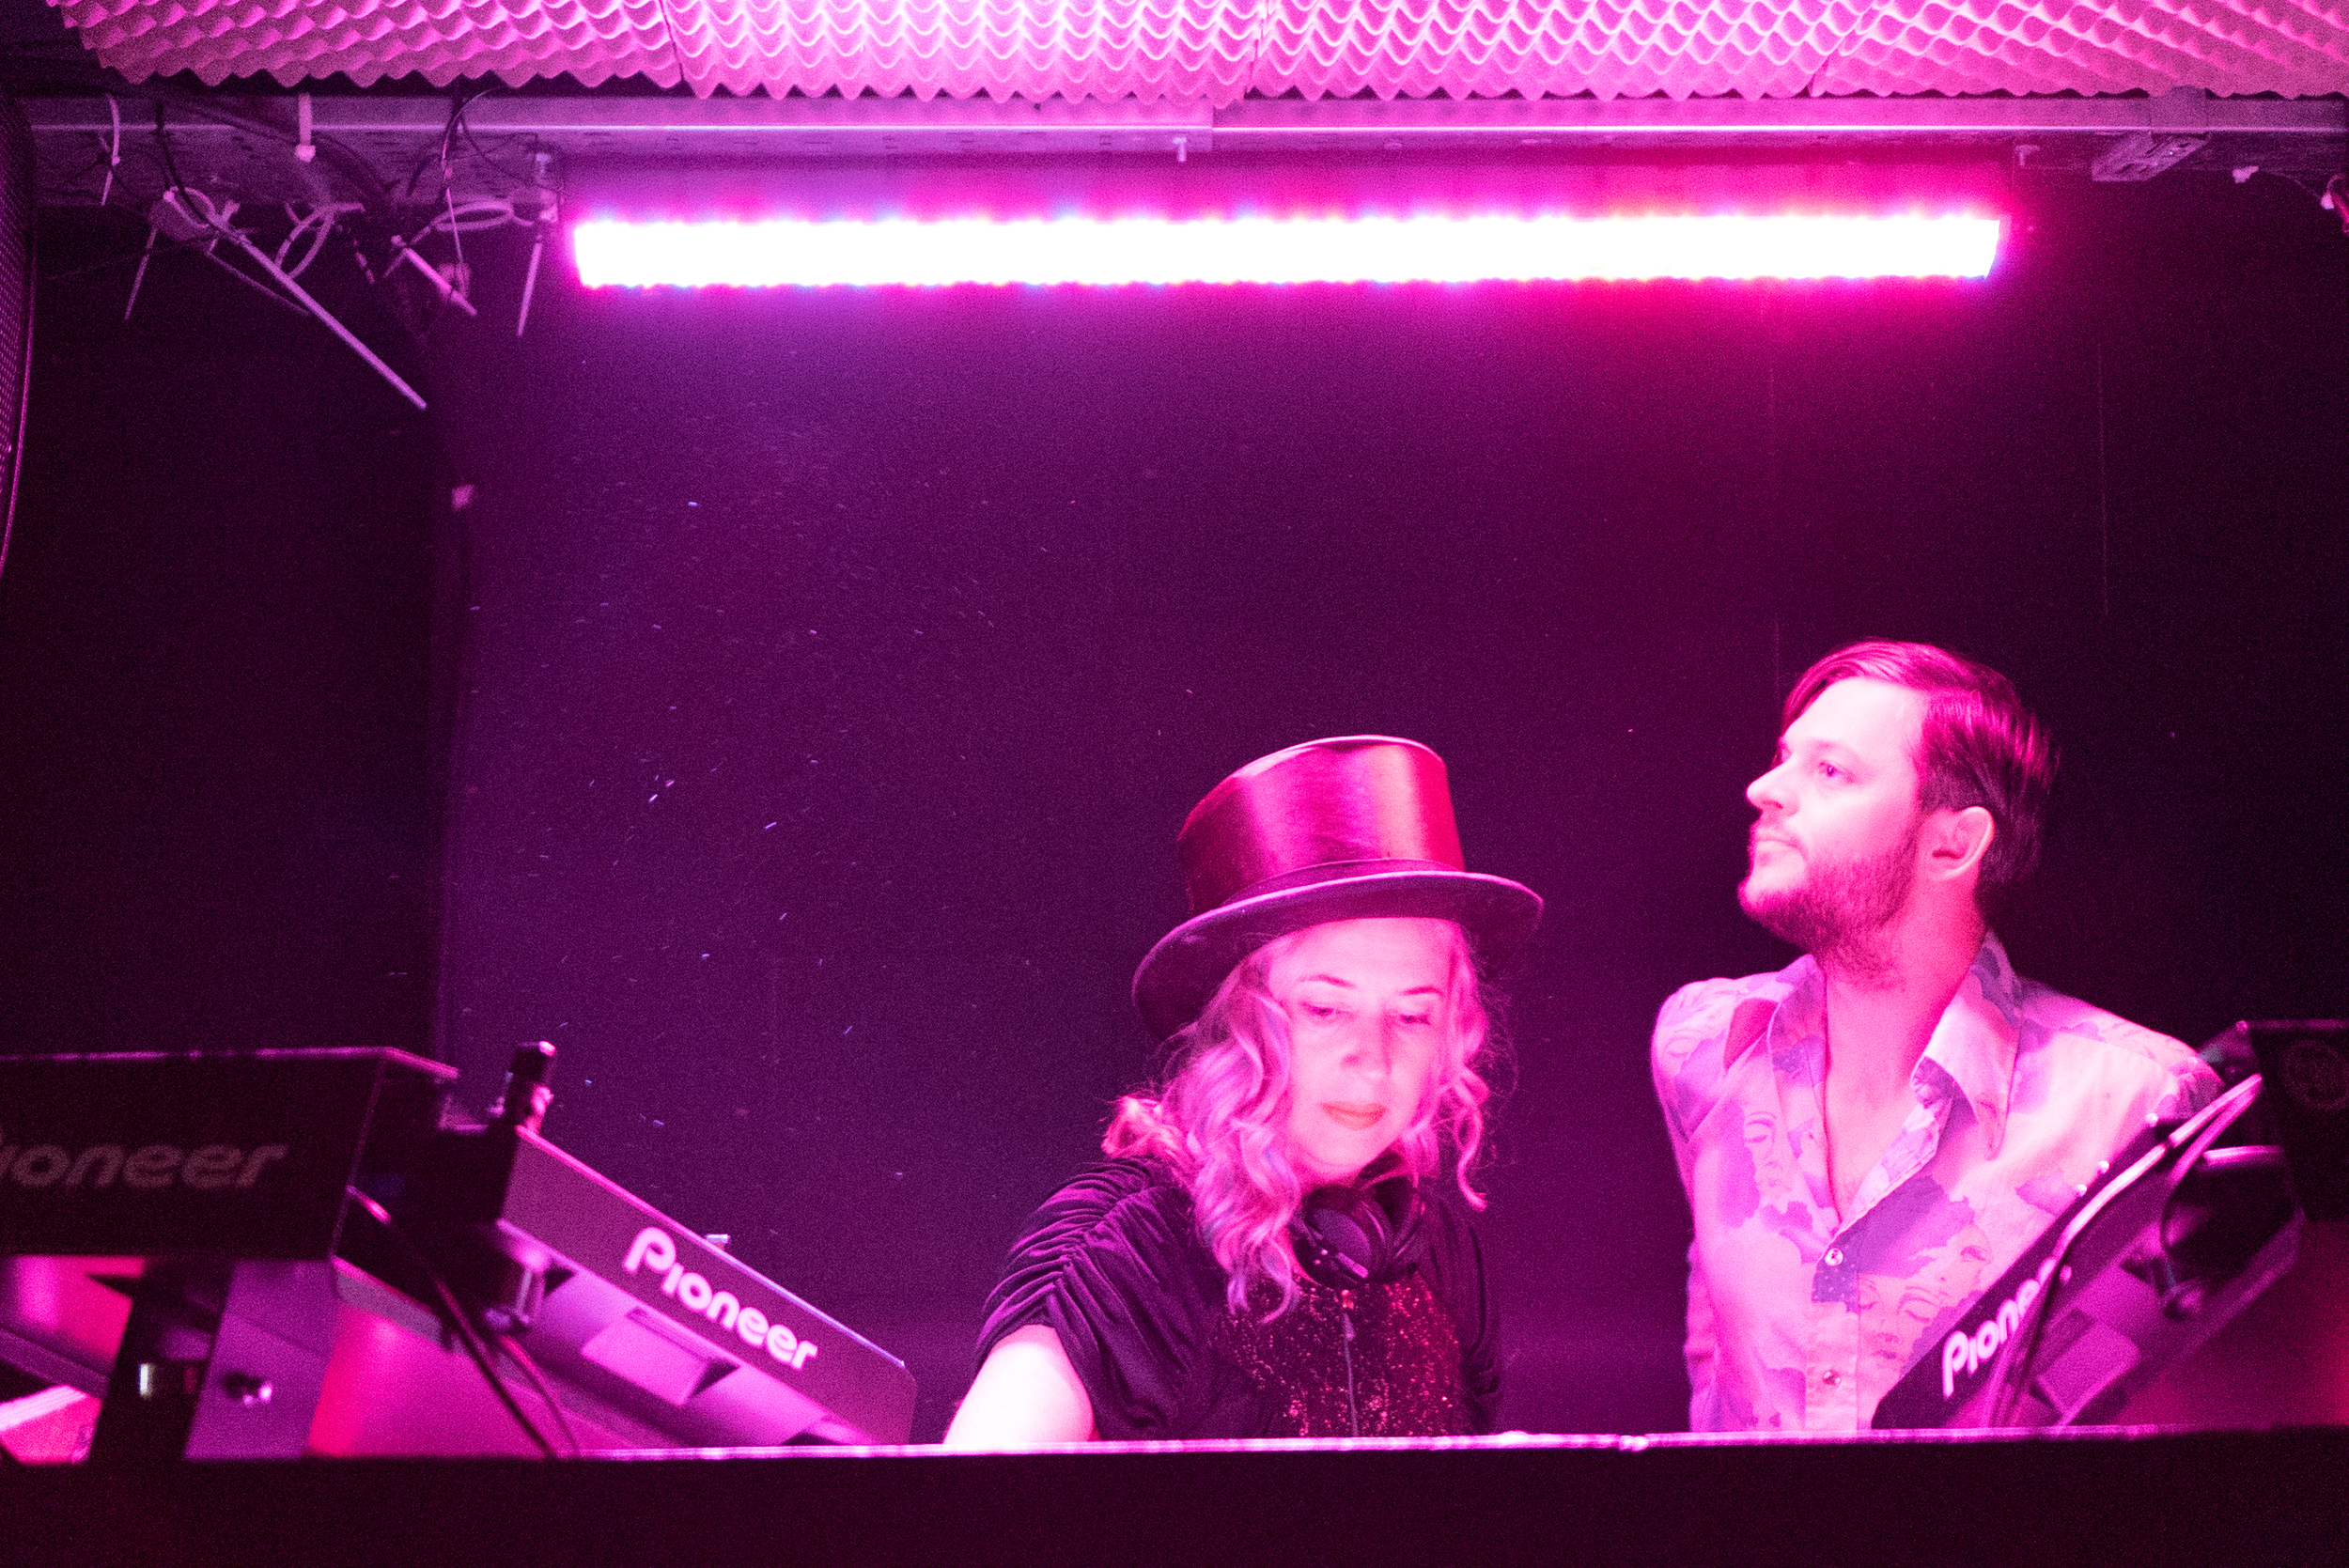
Filming Fleetmac Wood was fantastic, Lisa and Alex are brilliant DJ's and their tambourines definitely lit up the dance floor. The added visuals from old music videos added to the eclectic experience, combined with mixes from many talented producers made the night one to remember.

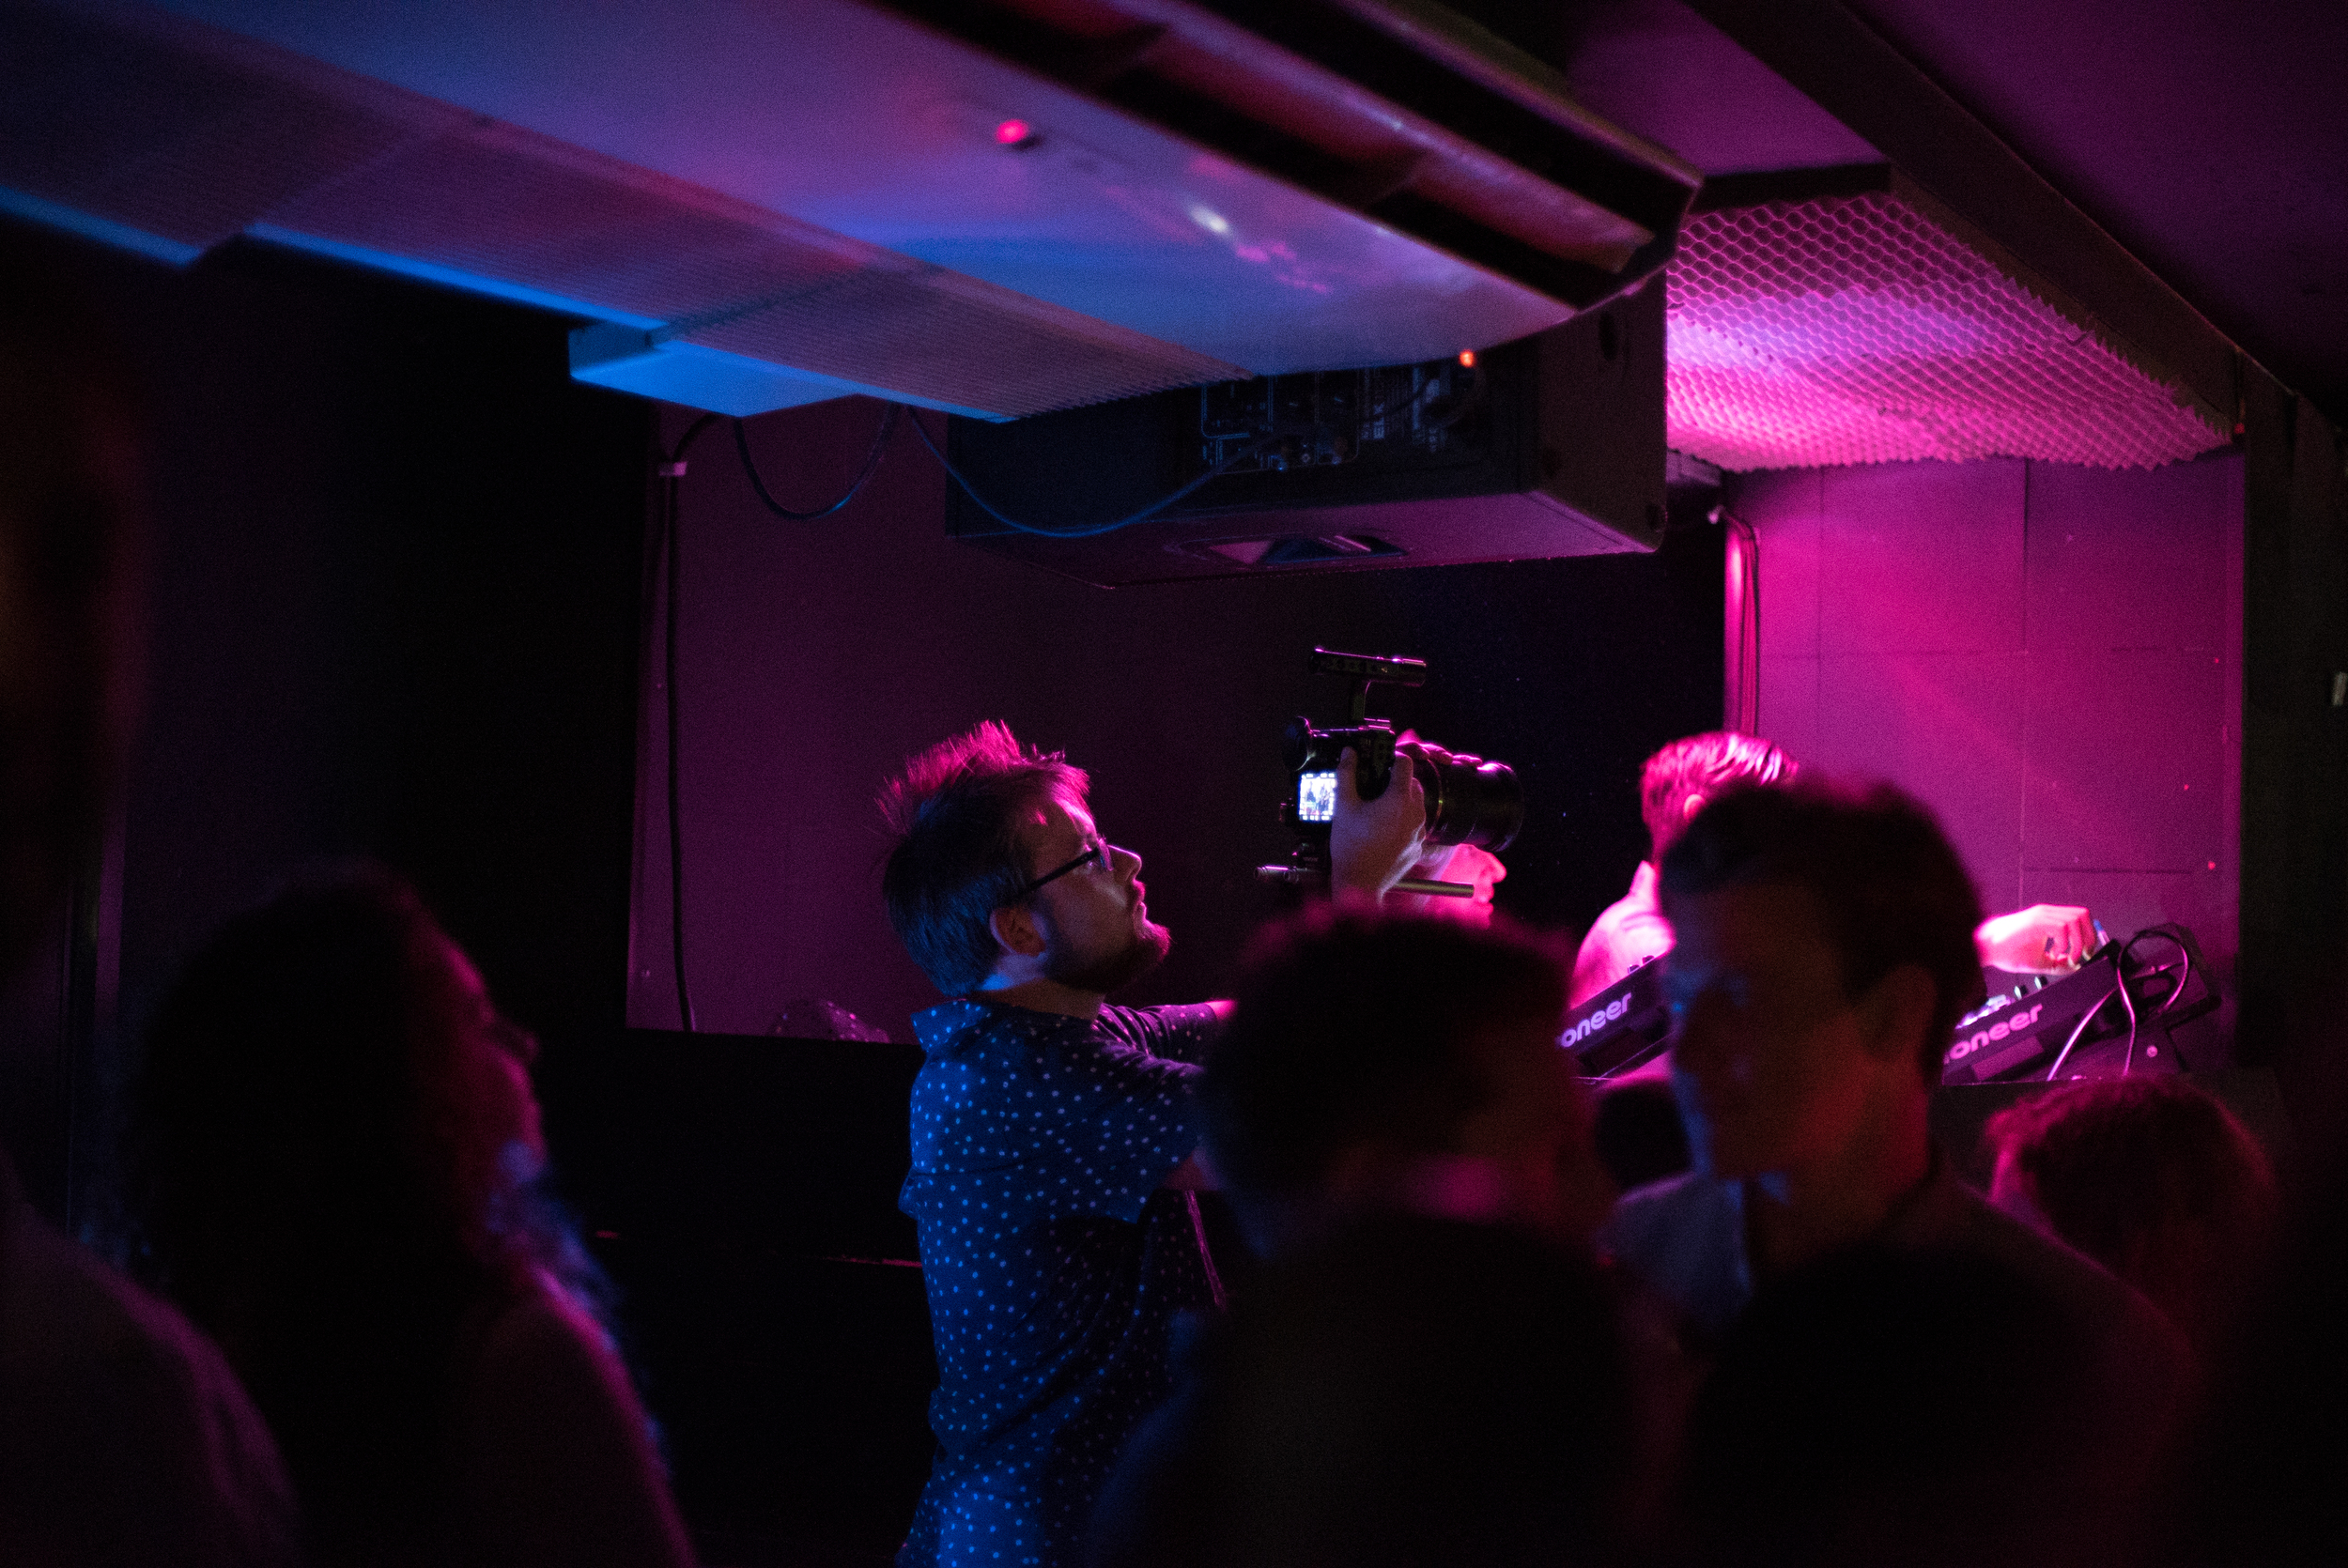
As you would imagine, the venue was dark, only lit by a couple of LED lights and the projector. Almost immediately I ruled out using the LS300 after capturing a couple of shots of the venue and booth, in what the camera seemed to think was candle light. In these scenarios, I don't believe the camera would hold up unless you had the time, space and equipment for a lighting setup. Sure, you could shoot at T/1.5 but you'll get nothing in focus if you're filming crowds dancing, plus with the gain up to +12dB your picture becomes noisy.

James took some brilliant photos and videos of the night, some of which are below in the gallery and also included in the Fleetmac Wood @ Birthdays film.

While filming the Fleetmac Wood gig I did switch lenses a couple of times, firstly to the Samyang 35mm T/1.5 which although was heavy, had a wonderful bokeh and combined with the super 35 sensor made for great video. I also teamed it up with the Atomos Shogun (in HD) rather than 4K via SDI, which captured the video in ProRes HQ.

By my reckoning, you'll need to spec up this camera with additional extras to make it what you want to be. Out of the box it comes with all you would need to start (minus the SD cards and microphone and some spare batteries), but you'll need a tripod or monopod to keep it steady, especially if you're using primes of lenses without image stabilization/vibration control.

Saying that, if you weren't filming a music gig in low light you would have a lot more options and time to compose the frame... I come on to that in a moment.

I've cut all of the footage together for this edit which includes filming from the A7S, LS300, A7S with the Shogun in 25p and 50p, LS300 with the Shogun in 25p (HD), and footage from James Beer (LogoLogo) on the A7S in 50p and 100p.

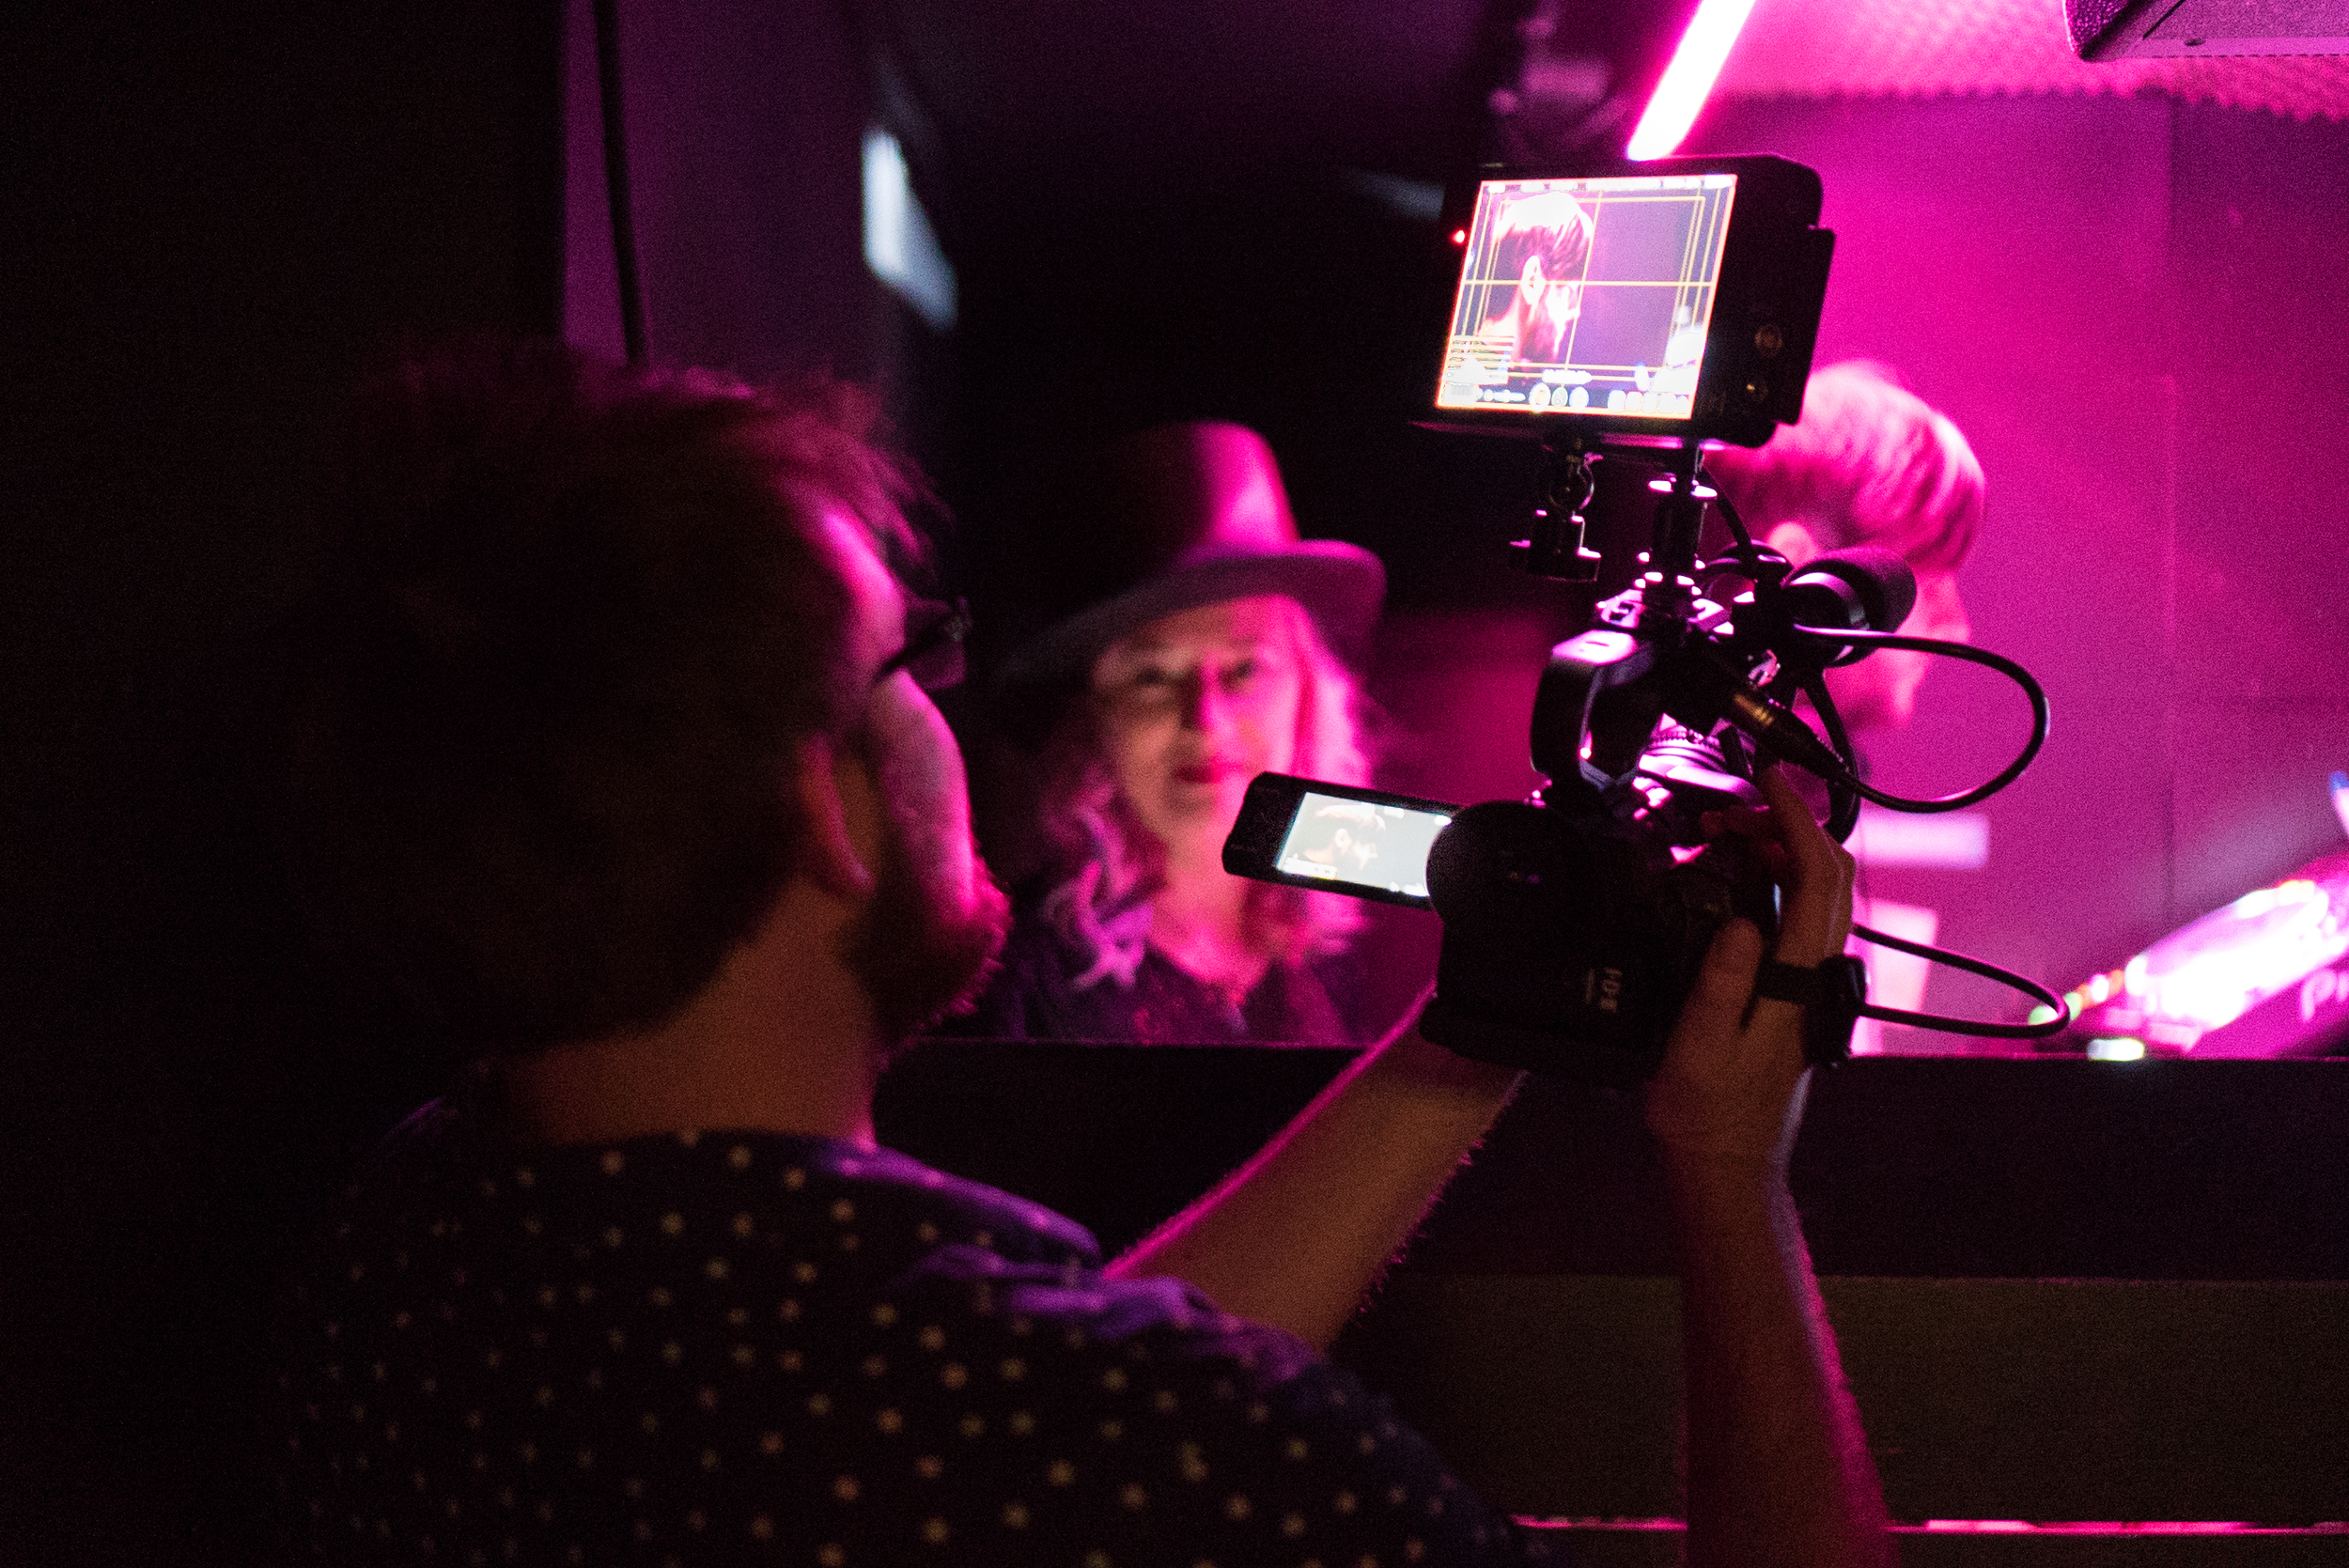
Photography by James Beer @ LogoLogo

Filming with the GY-LS300 under normal circumstances (PART 2)

I had the LS300 loaned out for a week to put it through its paces, filming in a number of different scenarios. I shot quite a number of clips out in my garden just to get a feel for the camera and figure out it's settings. Of course, Alfie the cat was a willing subject!

From testing out the VSM feature, I can't see a big degredation in light or quality when you change the sensor scan mode from 100% down to 80% for MFT lenses, however I was using great quality lenses (Tamron and Samyang) rather than MFT lenses which have a smaller in-lens depth of field, so there is more light coming through the lens for the sensor to capture.

The built in ND filters are a god-send, and a very welcome adittion to a camera that would be used with large-aperture lenses. If you wish to shoot at T/1.5 for a very shallow look, using 1/64 ND in the bright daylight is probably your only option. Saying that, unlike using ND filters in front of the lens, there isn't a noticable colour cast of image degredation like with other filters. However, more ND stops please!! Going from 1/4 to 1/16 to 1/64 are big jumps, and in some cases, 1/64 was not enough!

While out and about filming in Ewell, I simply had the LS300 with the JVC50 battery, 1 SD card and the Tamron 24-70 on a Manfrotto 755CX-3 tripod. For run and gunning, despite the build of the camera it works extremely well for this kind of filming.

Unlike the FS7 and Canon Cinema cameras, the LS300 doesn't have any log capabilities for a wider dynamic range, which was expected as JVC marketed this camera for higher-end productions. It would be interesting to see how well the camera performs with a log curve and higher bitrate  recording for filming that needs it. From filming with the 'standard' colour setting and 'detail' knocked all the way down the image is rather pleasing, much better than I expected. I guess the viewfinder/eyepiece gave me lesser expectations of what the captured image would look like, so I was pleasnatly suprised to see the results.

However, like mentioned before, the viewfinder/eyepiece is not the best quality and without using the 'focus extender' function, it was difficult to achieve critical focus. Some of this is evident in one of the demo films I've produced with the camera. I also noticed that the form factor of the camera doesn't allow you to get a nice, steady shot like a shoulder mount camera would where you have numerous contact points on your body. With a top-mounted eyepiece it doesn't feel natural to hold the camera in front of your chest (for hand held or monopod filming), and is not steady, even with IS or vibration control.

Despite other things, the battery life is a winner, on one battery (JVC50) giving you over 200 minutes of filming time. I took the camera out to a local business networking night put on by What's On In My Town and Hobbledown, as I am joining forces with them to promote local business and talent it was a perfect opportunity to capture some of the event and talk to other companies about how films can help them.

It was a wonderful summer evening at Hobbledown children's farm, kindly the hosts for the networking, with attendees getting a full tour of the venue and a go on the new high ropes activity! David the manager and his team were fantastic and played great hosts with the BBQ.

With this beautiful golden hour of filming, the LS300 really shone as a camera. Yes, I probably shot at F/3.2 with ND 1/16 because I wanted a shallow depth of field, but ND 1/4 at F/8 was too bright. I was pulling focus all the time during the piece to camera from Whats On MD, Paul. I also found that as he walked from the shadows into highlights, he would become over exposed, so high contrast filming wouldn't be practical (unless you had some control over lighting) with this camera.

Revisiting this post about a week on from my last entry..

It was really rather easy to work with the footage from the LS300, and knowing there is a focus expander gives me more confidence in it. However, as you will have seen from the footage in the film above I do focus creep due to not being certain using the LCD screen or eyepiece. Premiere handled the 4K footage very well, without having to render until I added some colour correction, scaling and graphics.

You'll also probably notice the shots where I attempted to go handheld, this is where the form factor of the camera somewhat let it down, but hey ho that's what a rig or tripod is for.

In the longer piece to camera with Paul, the image captured was lovely and had a pleasing depth of field to work with (not too shallow like the A7S, but not too deep like the GH4). Of course you can use any wide aperture lens with the camera if you wanted it to be bokelicious!

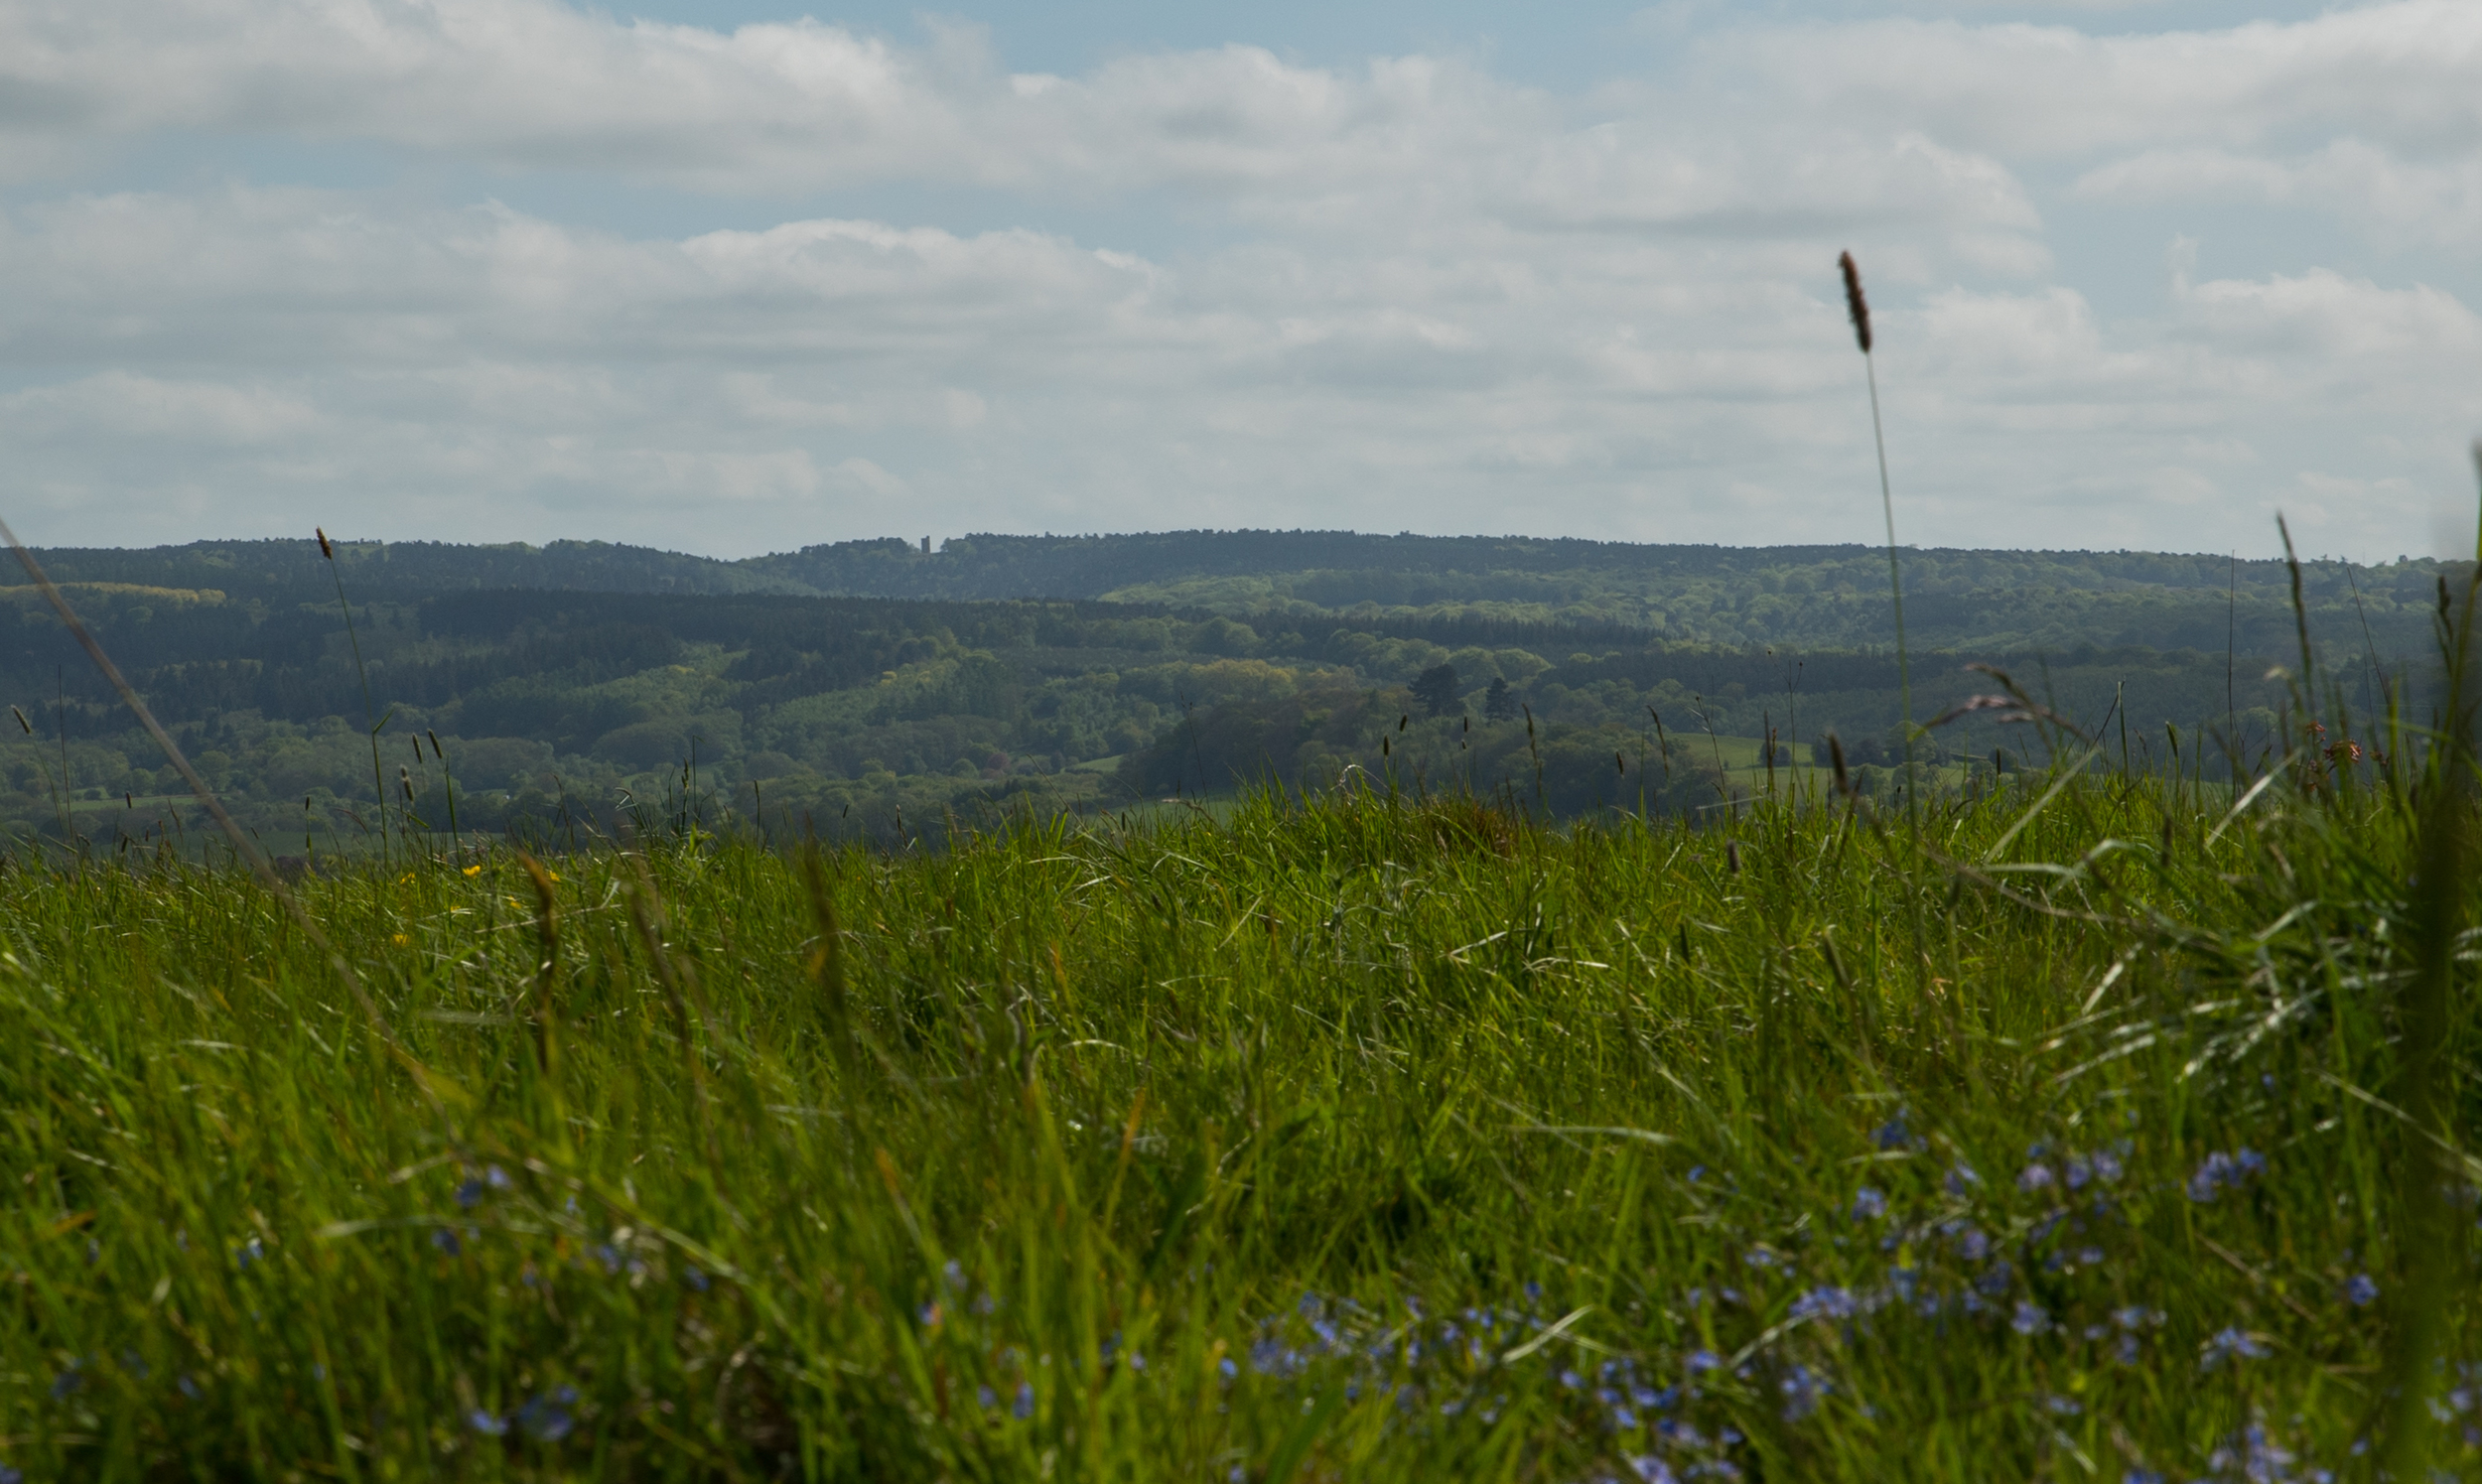
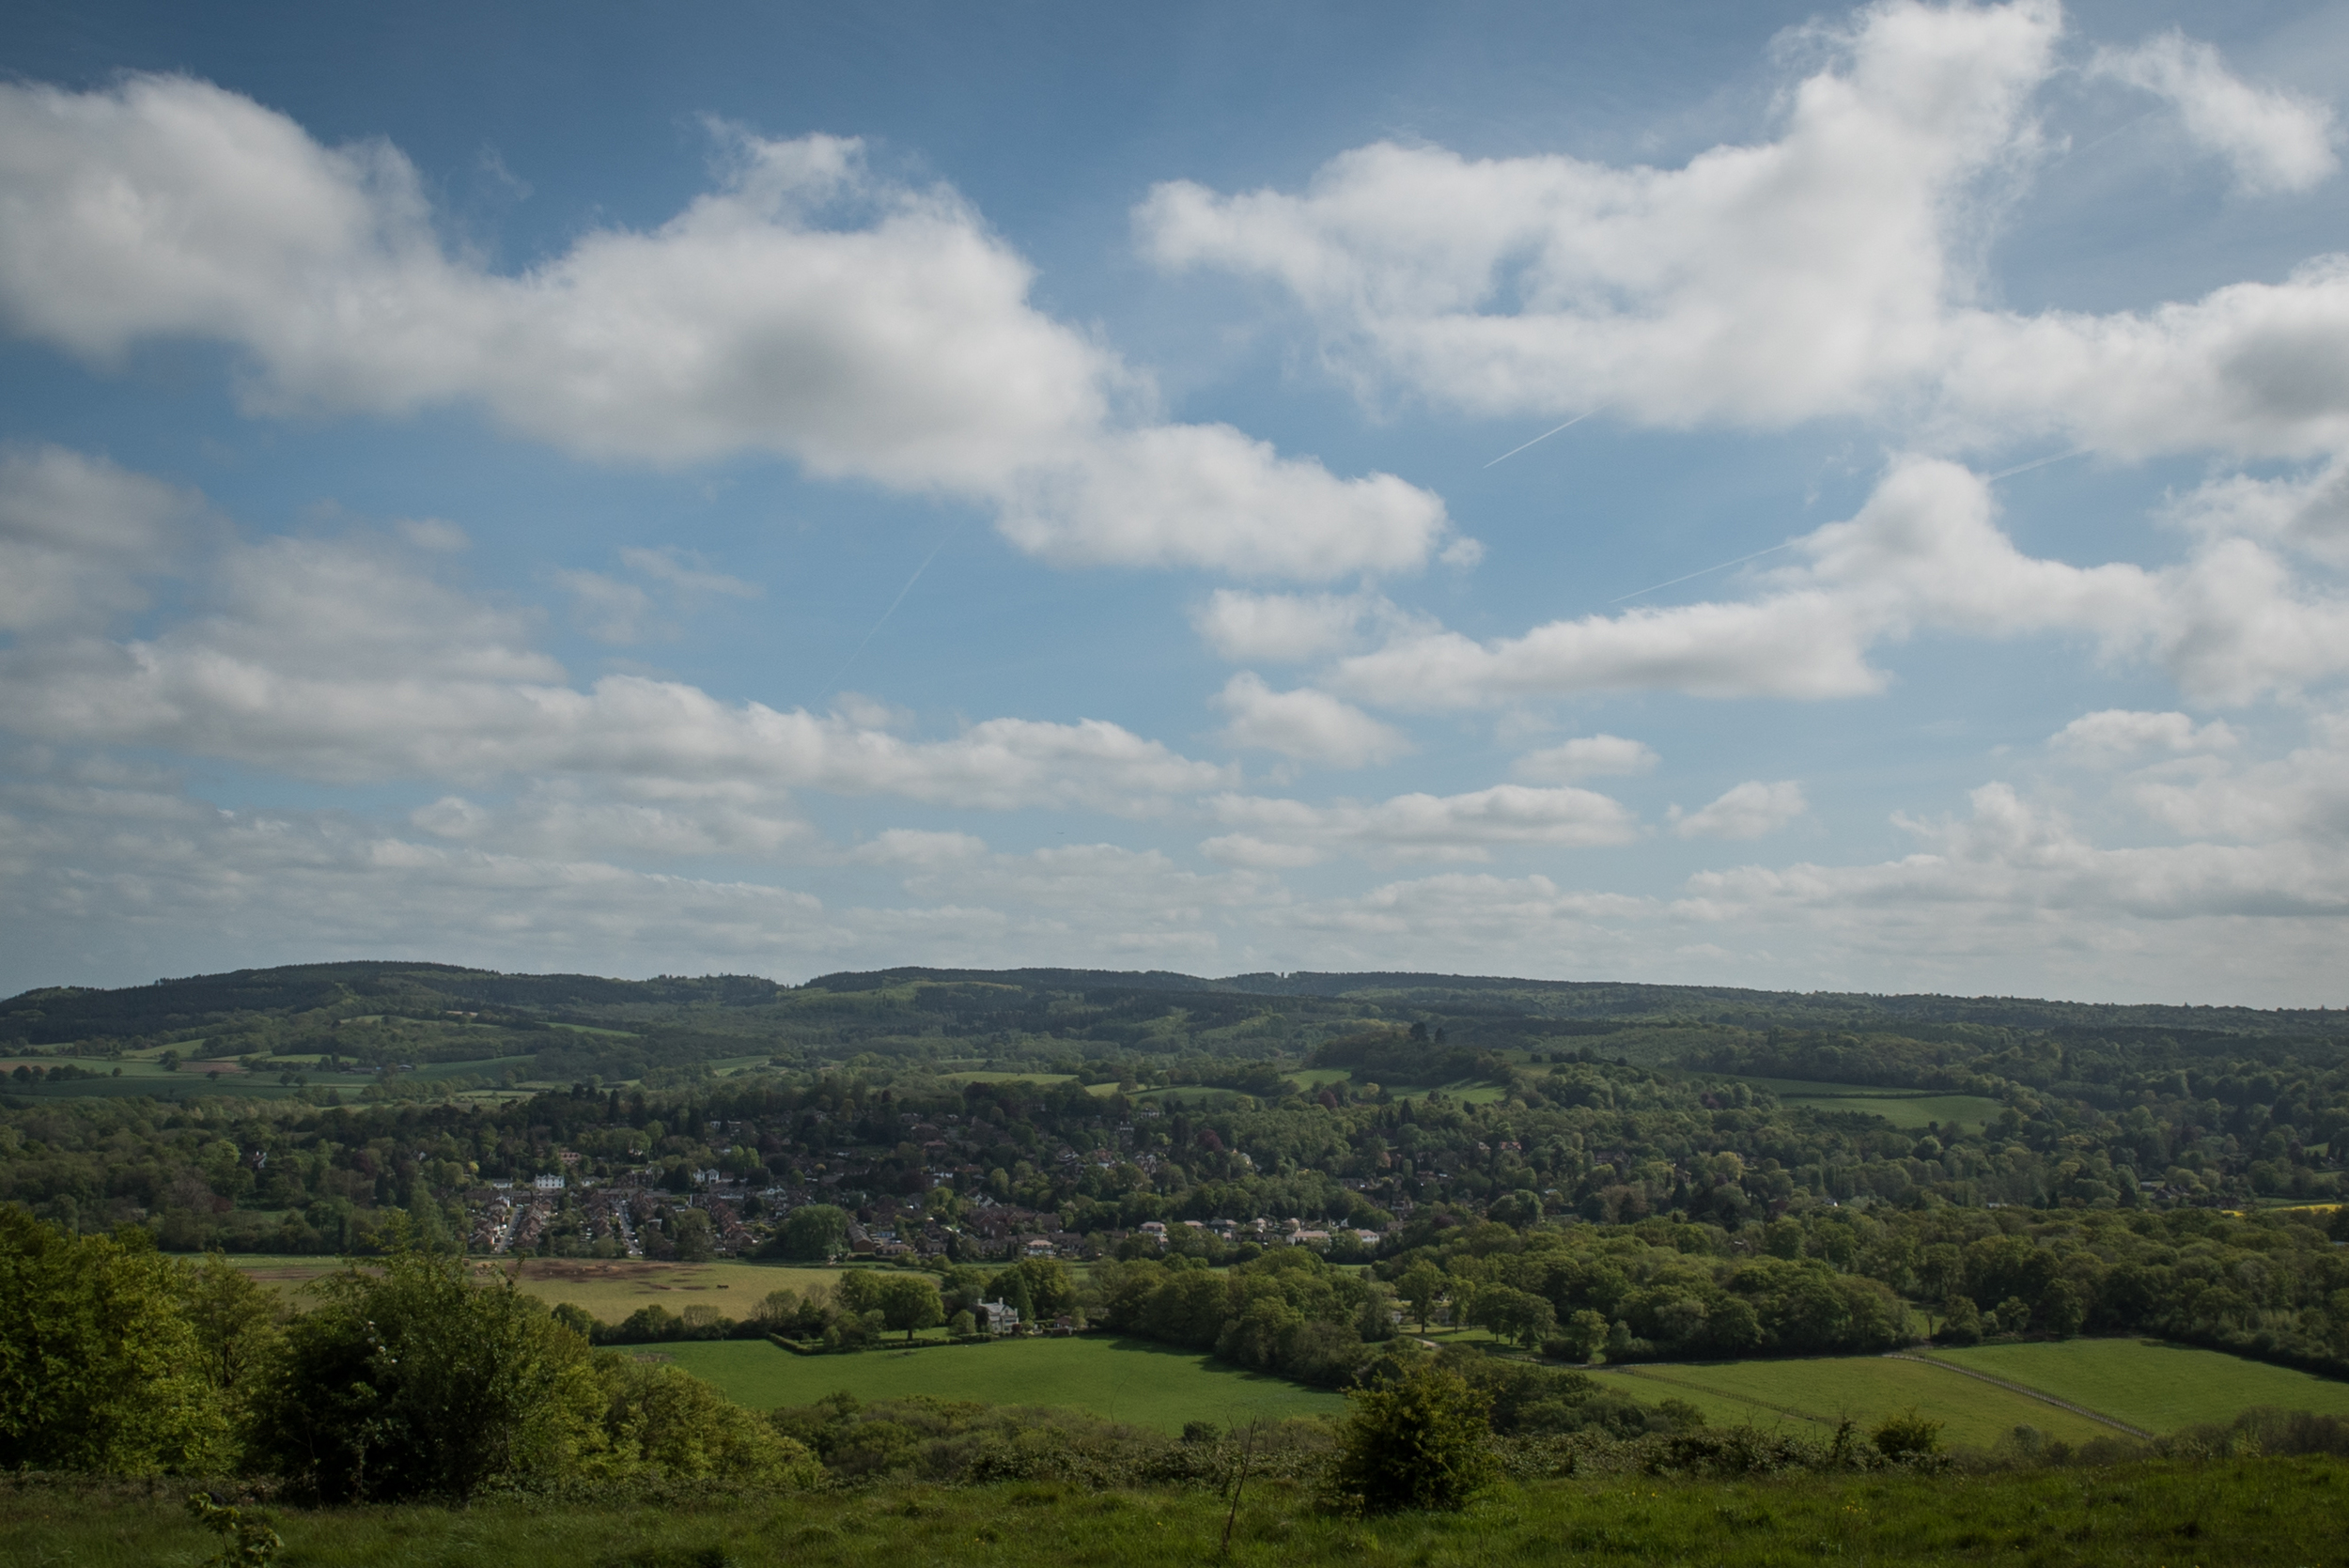
Capturing my local countryside (the last test)

(Starring my thumb...)

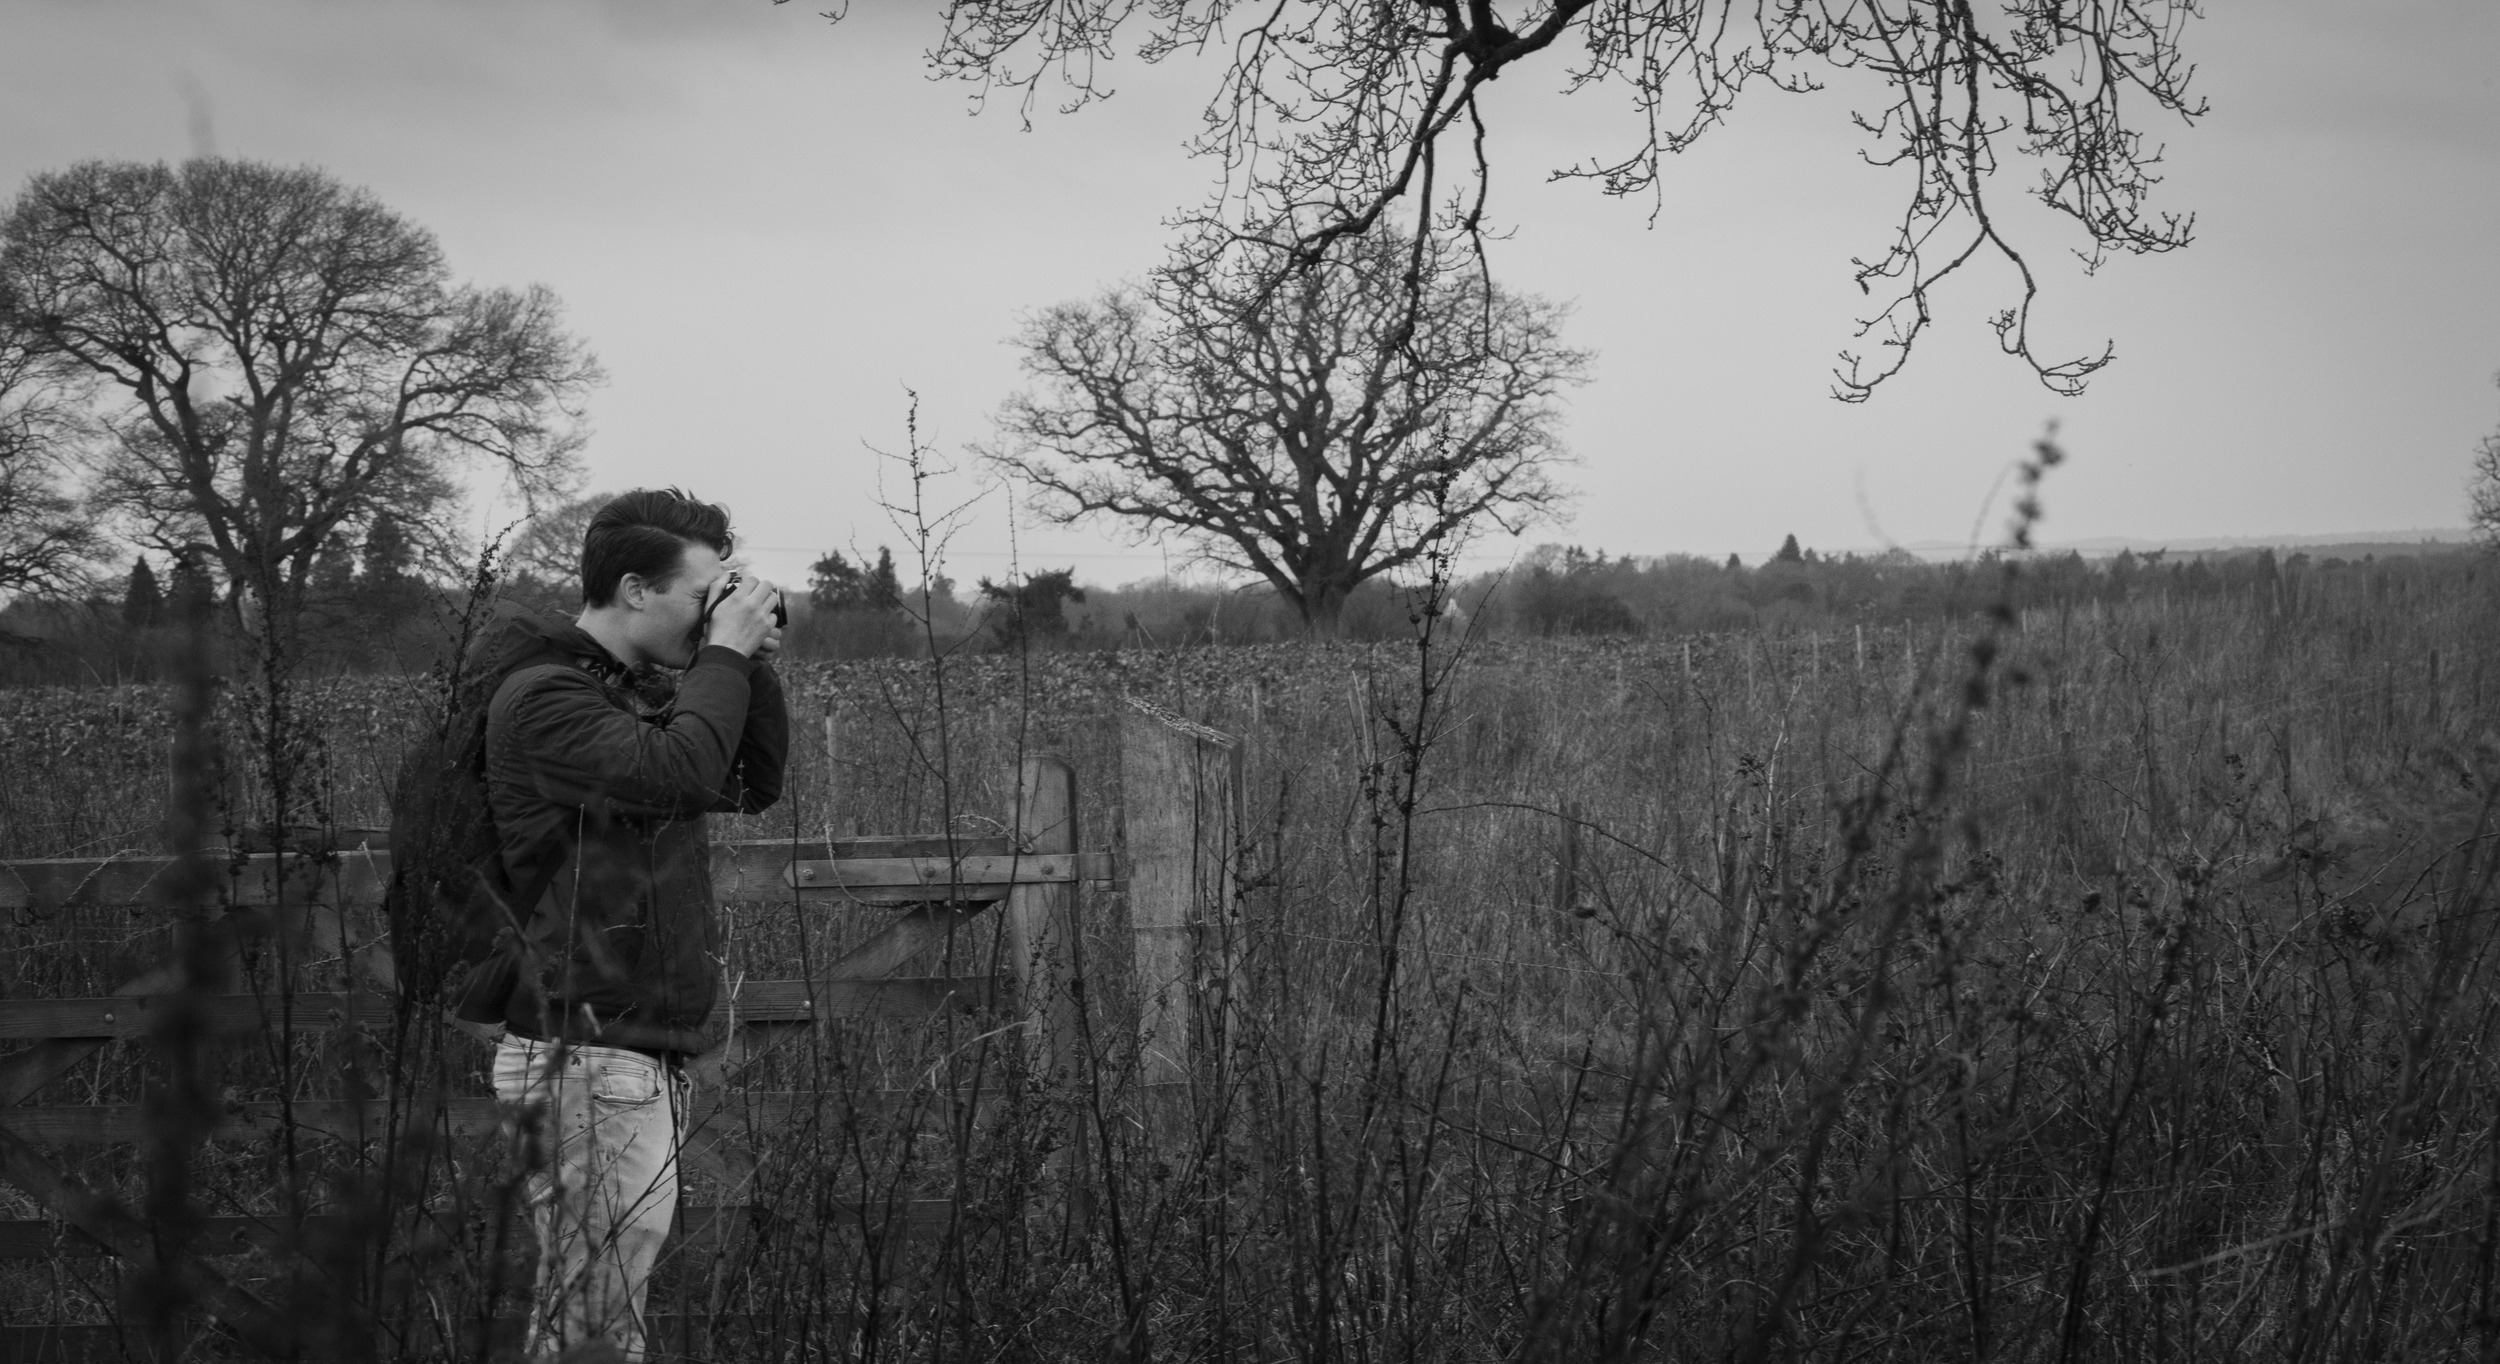
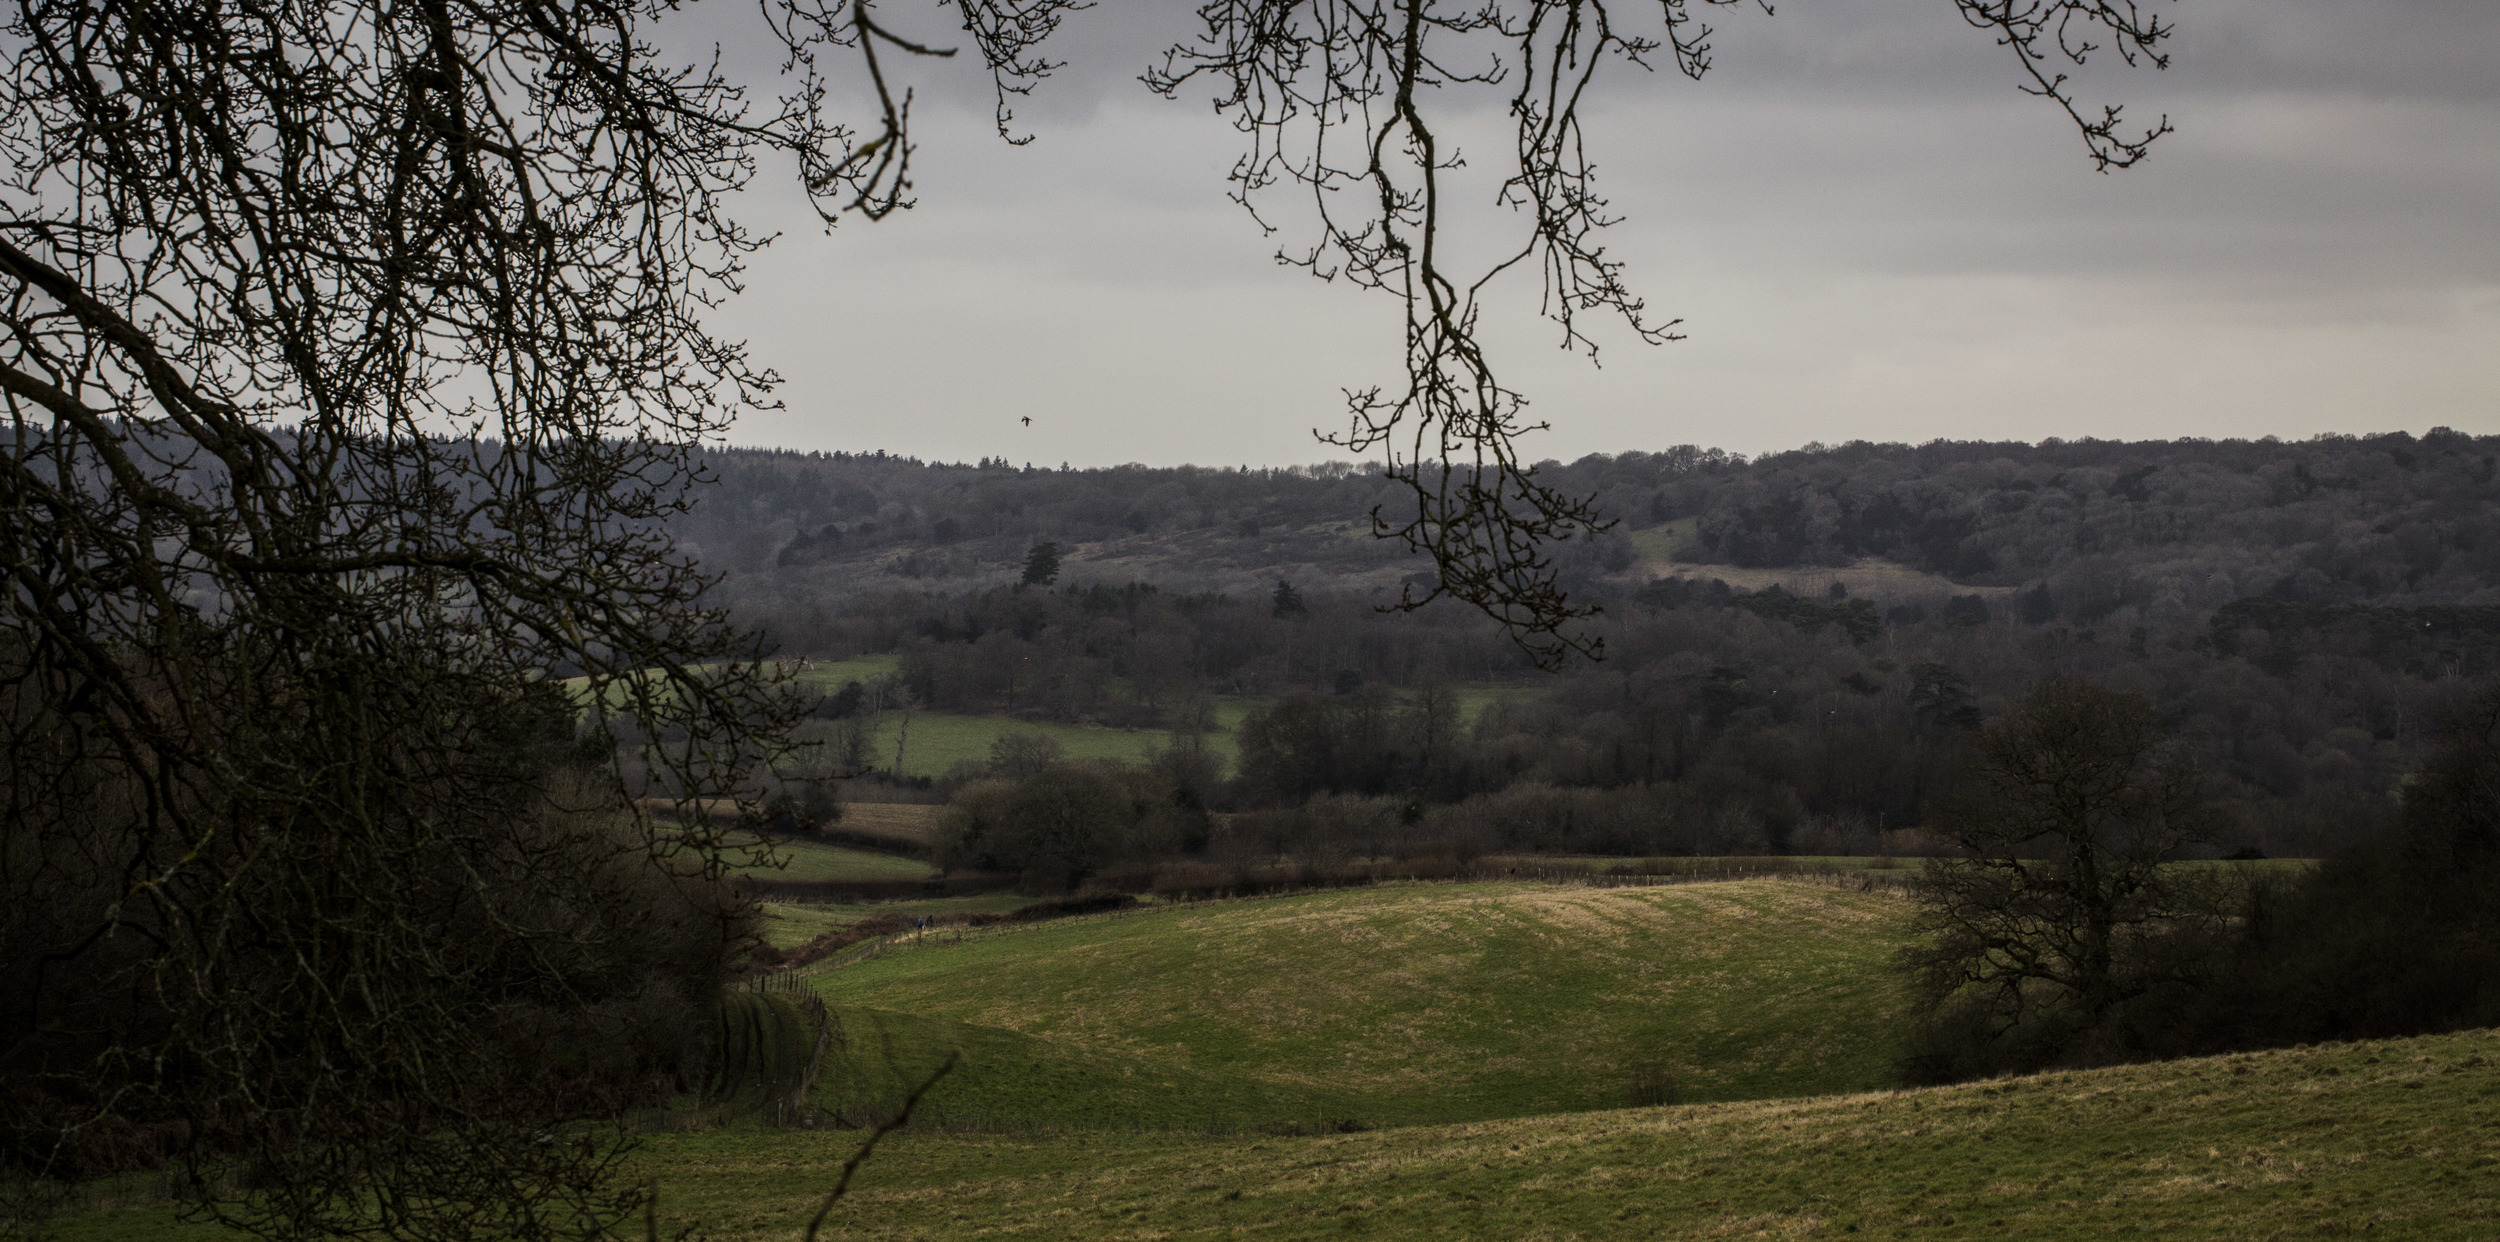
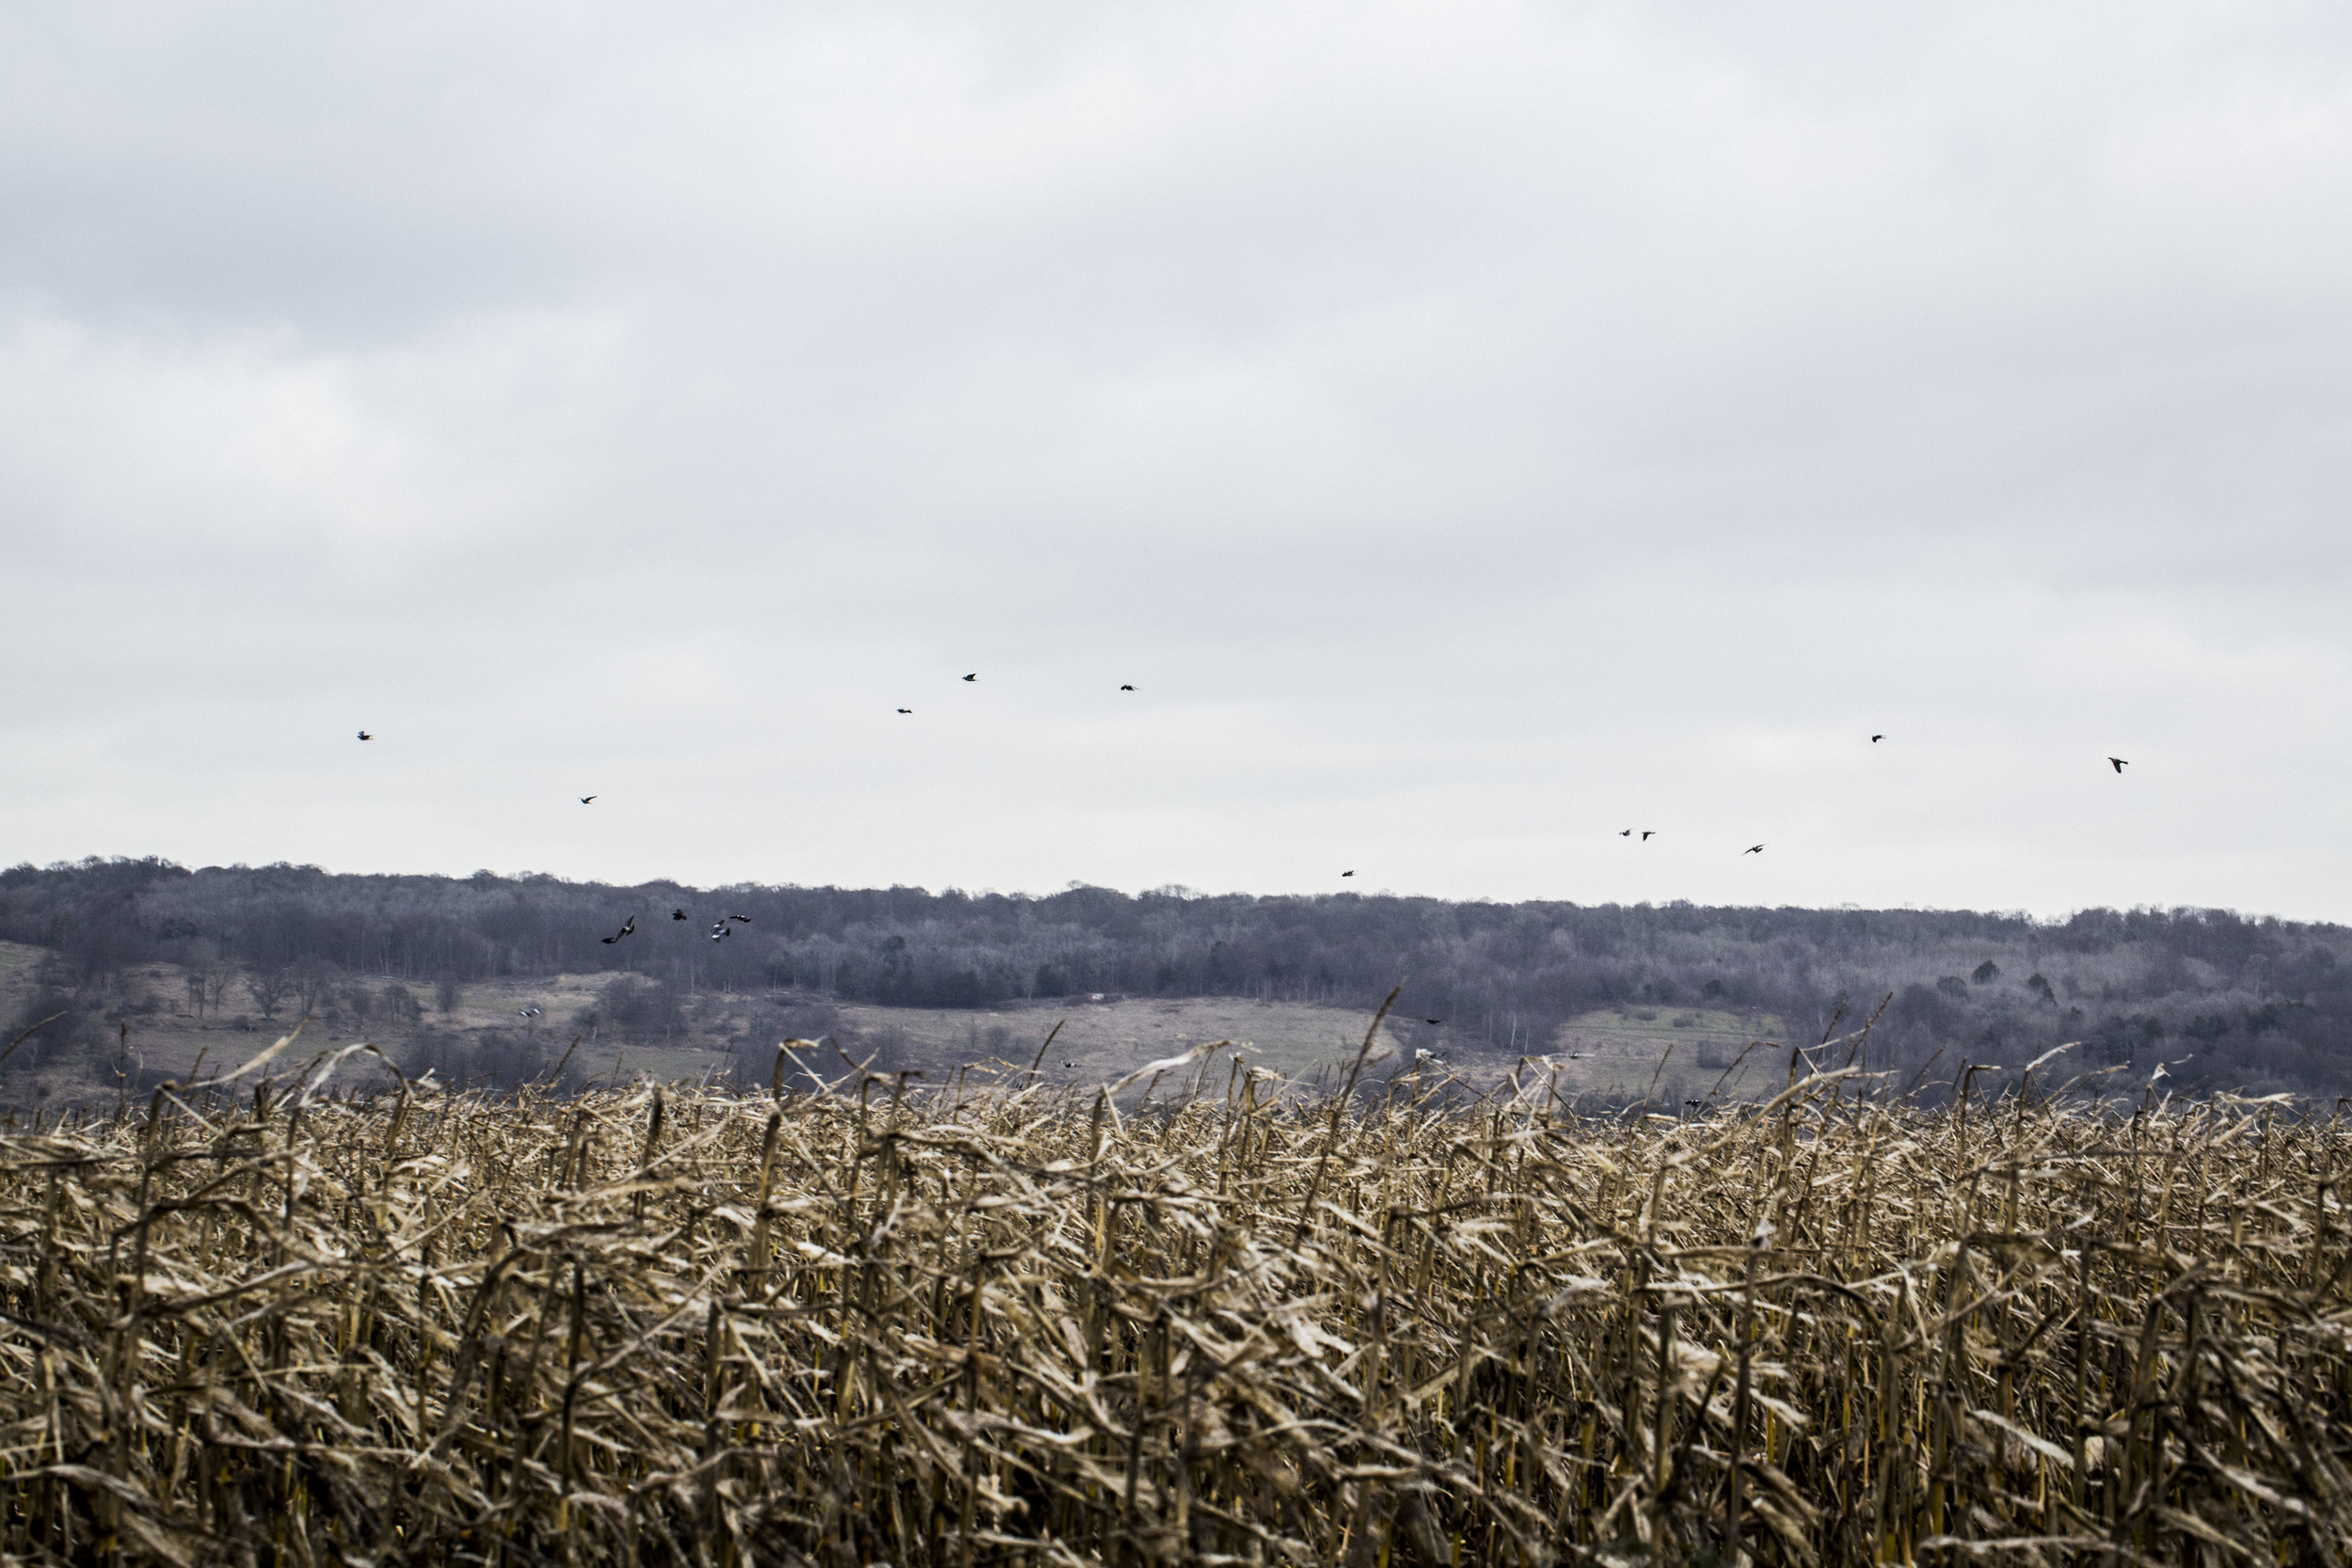
I'm surrounded by greenery where I live, so making the most of the great weather I headed out with the camera to capture some local landmarks (for another archiving/history project I'm working on). This would be a real high-contrast/dynamic range test for the camera.

When thinking about purchasing this camera, it boils down to what I can get for the price, especially in comparison to other internal 4K cameras (Panasonic GH4, Sony A7R II). They are smaller, both will require a lens adapter (as will the LS300) and new batteries, SD cards, rig, and are cheaper than the LS300 (without a microphone).

APVideo JVC LS300 Final Thoughts...

Why I would by the LS300?

  • Long battery life (but need to purchase batteries) with JVC50 batteries.
  • Internal 4K on SD cards, U3 600x capable.
  • ND filters (1/4, 1/16, 1/64).
  • Super 35 sensor with lovely picture (but you would need to shoot at T/1.5 or F/1.4 for a cinematic look to it).
  • Microphone/audio inputs.
  • Compatible with current lenses, but would require EF-MFT adapter.
  • Wireless, 4K via HDMI and HD via HD-SDI outputs.
  • HD-SDI for HD output and HDMI for 4K UHD output.
  • Extended focus, to crop in digitally and acquire critical focus.
  • No obvious quality drop when using the VSM at smaller scan sizes (87% and 80% MFT).

Why I wouldn't buy the LS300?

  • The form factor is not ergonomic, like a large video camera rather than production camera. It would need to be rigged with a shoulder mount for use to be comfortable.
  • Camera build is plastic, doesn't feel sturdy and some parts (ND filter wheel) feel delicate.
  • Not enough ND filter stops, needs at least 2-3 more, with improved digital filter wheel instead of mechanical, which feels very plastic like.
  • No variable 4K bit rates (up to 150Mb/s) or slow mo.
  • Low light is definitely not the cameras forte unless shooting very wide.
  • Terrible LCD screen and EVF quality.
  • Does not include a microphone.
  • The placement of the video output connectors is near the lens, which is odd considering other ports are at the back of the camera.
  • The dynamic range doesn't hold up to that of the GH4 or A7S.
  • The picture/colour settings are extremely limited, with no gamma curve or log option. This means the image is considerably burnt in with limited grading or colour correction options.

NEW Mid-August Update!

I've been away for a little while, so the review was put on hold until my return. On which I found out some interesting news from JVC, who have decided to upgrade the firmware of the LS-300 with new features..

  • JVC-Log - supposedly increased dynamic range, for colour grading.
  • Full DCI 4K and 2K resolutions - currently only UHD 4K is available, and no 2K option.
  • Prime Lens Zoom - ability to use the zoom rocker to extend the focal length of prime lenses using the VSM feature.

READ THE FULL PRESS RELEASE from JVC PRO HERE

Considering these new updates, the camera is now more capable of competing against higher level players, rather than the DSLR/mirrorless market. I'm due to test the camera out again in September, hopefully with the new firmware 2.0 to compare!

Finally, big thanks to WTS Broadcast for lending me the camera for a week to test it out. To Manfrotto for their Roller Bag 70 and 755Cx-3 tripod, and to Fleetmac Wood & Whats On In My Town for letting me film their events.

MORE COMING FROM MY SEPTEMBER TESTS SOON!

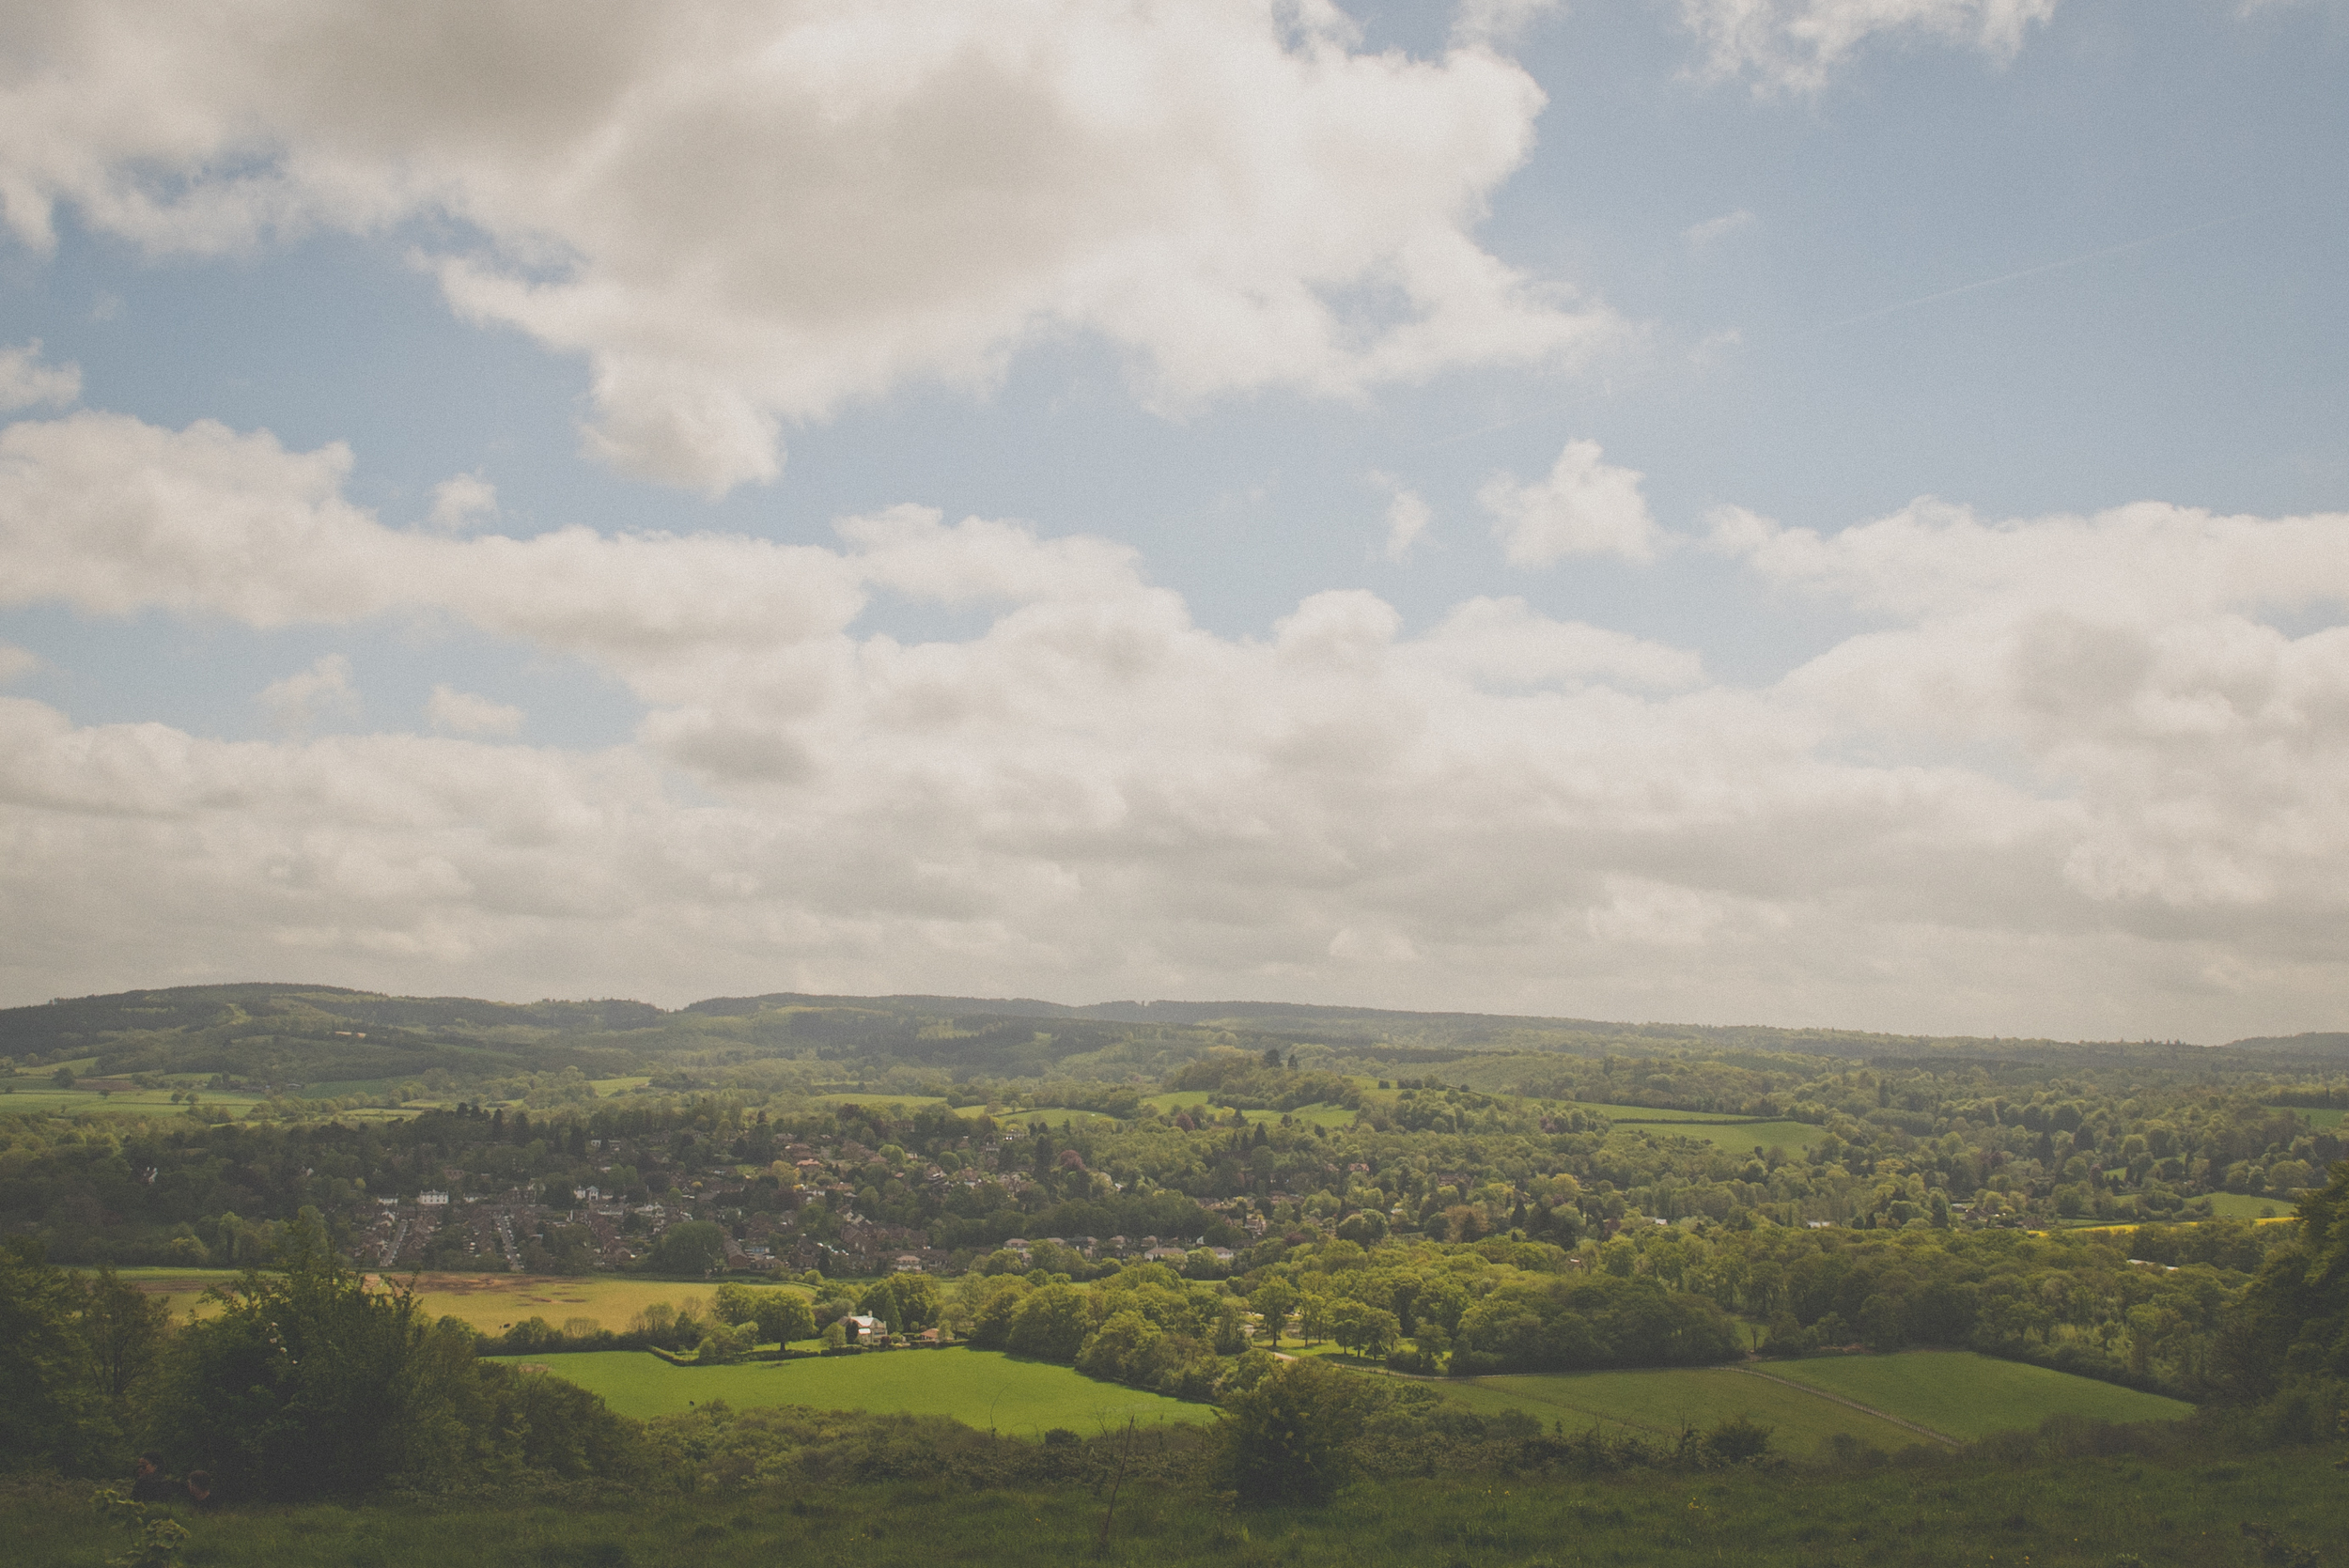
Ranmore Common in Spring (Surrey Hills Photography)

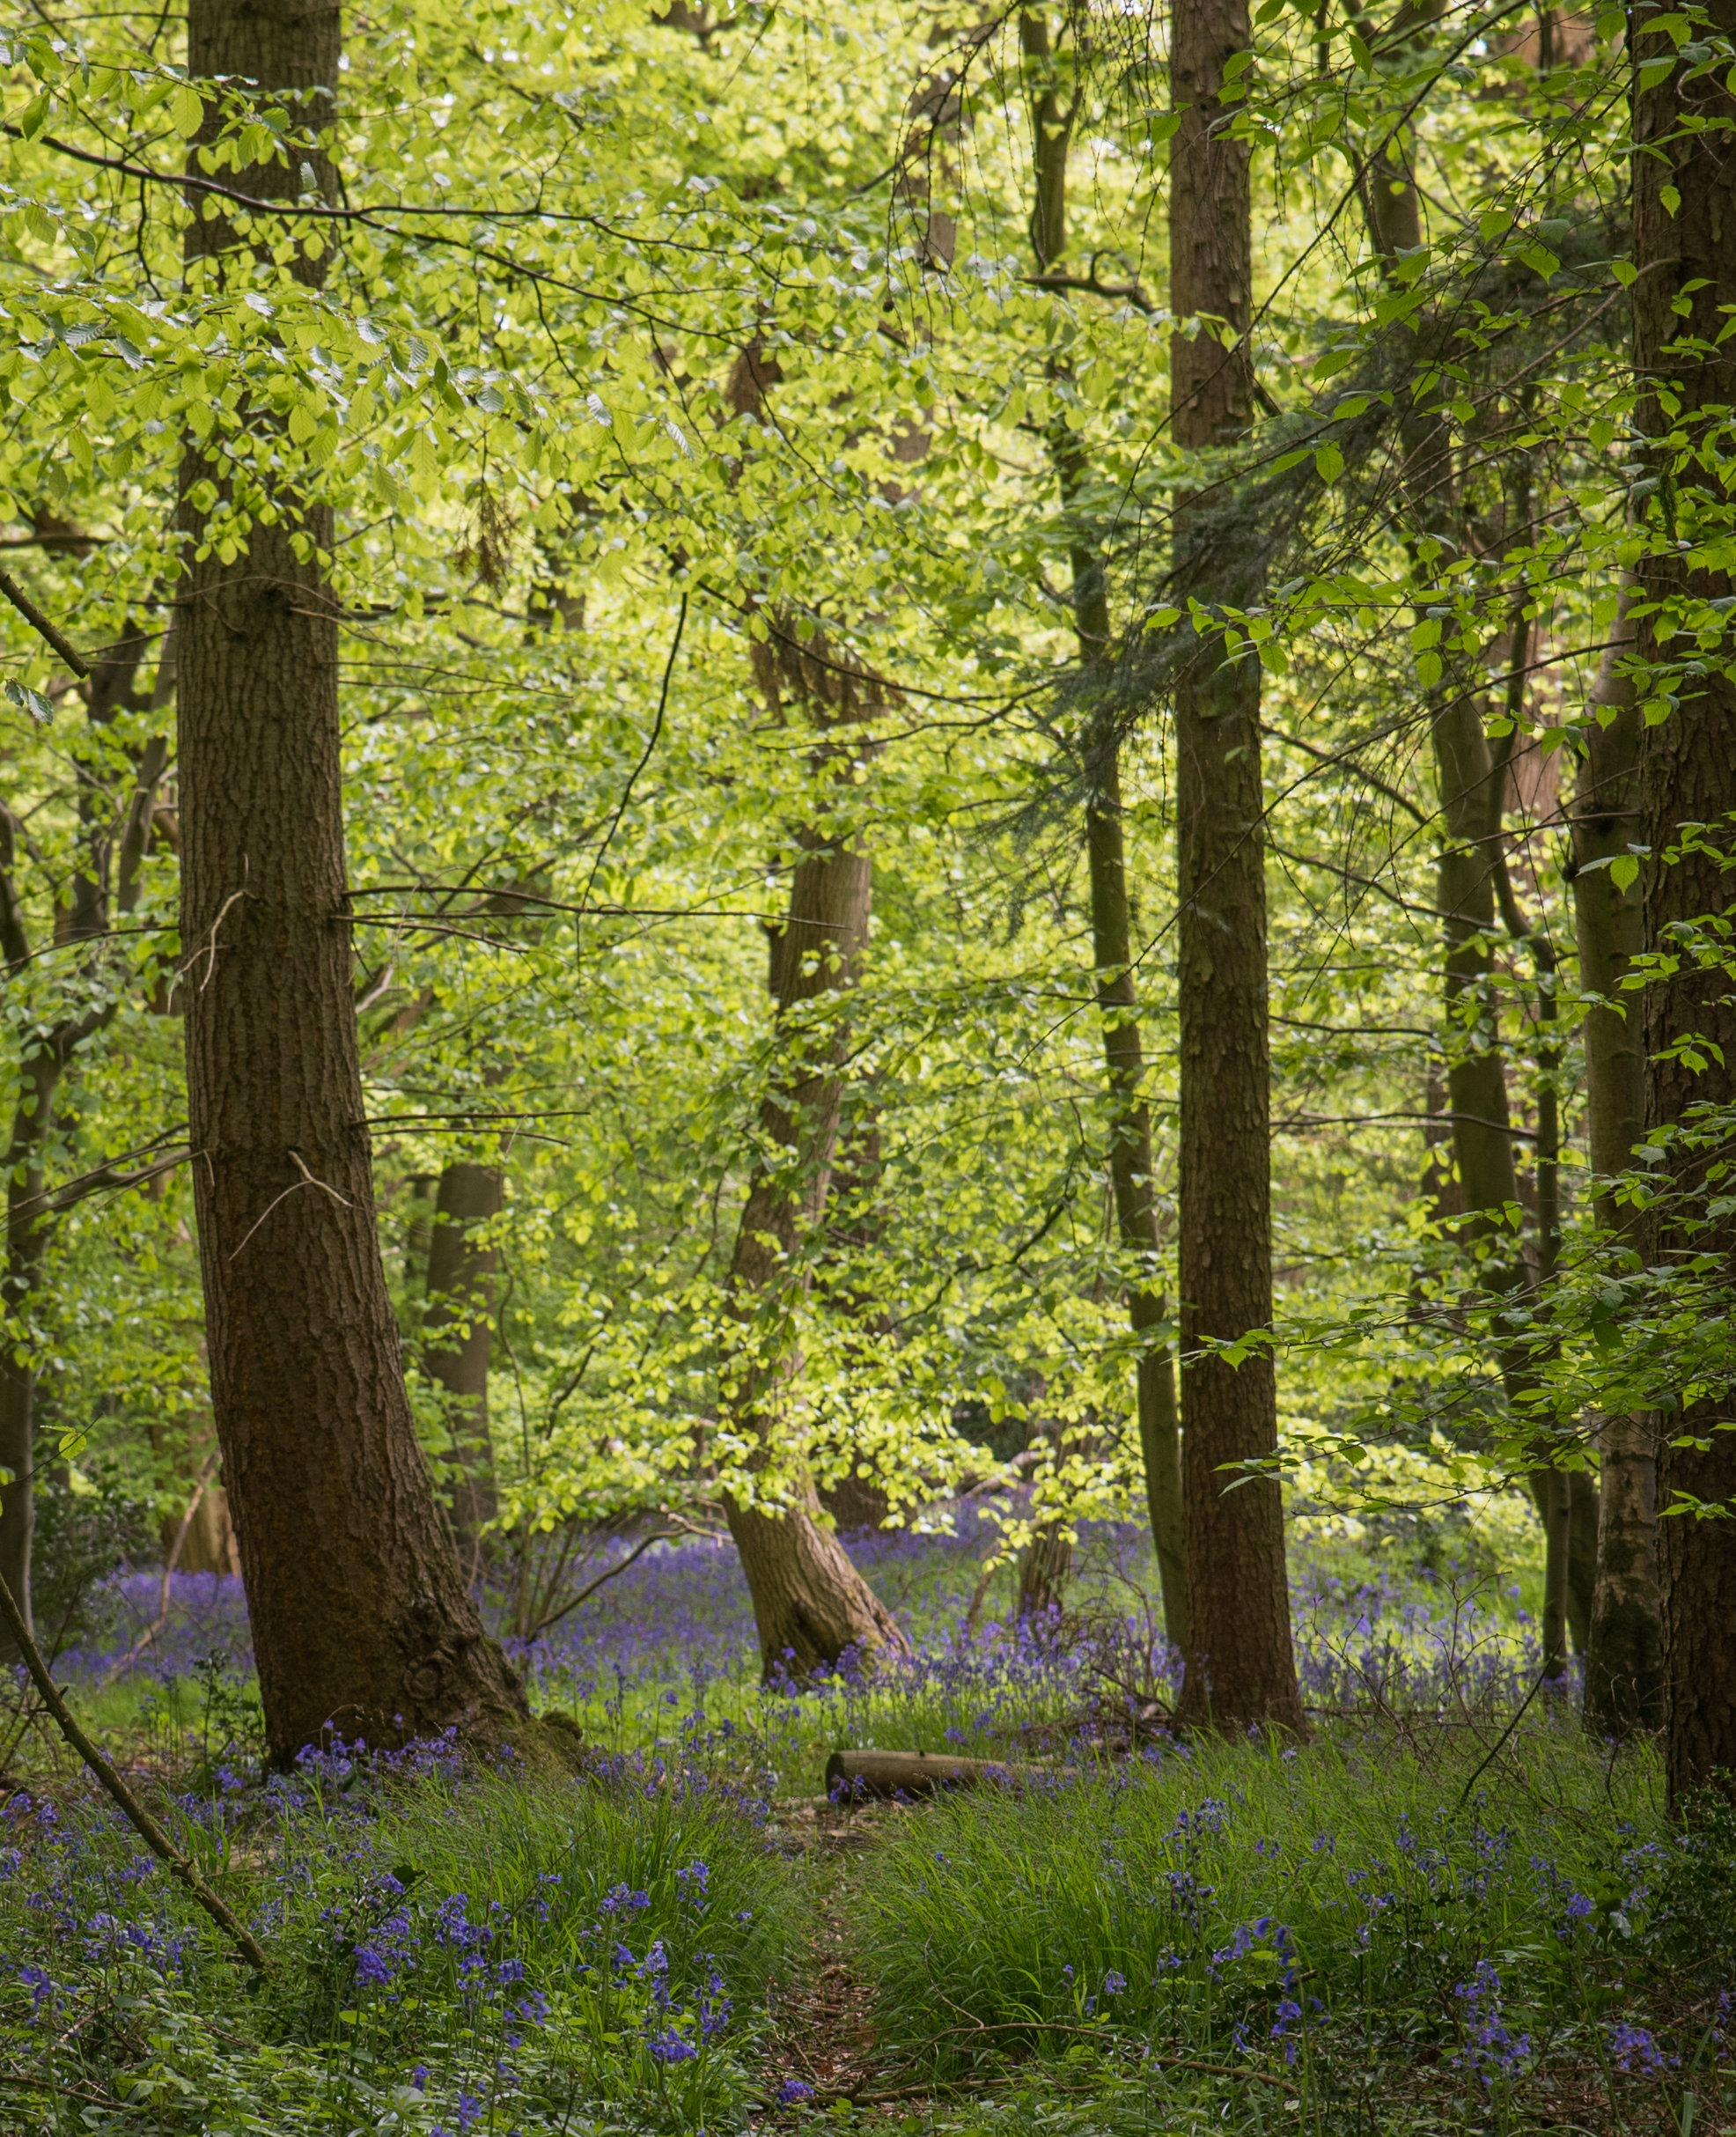
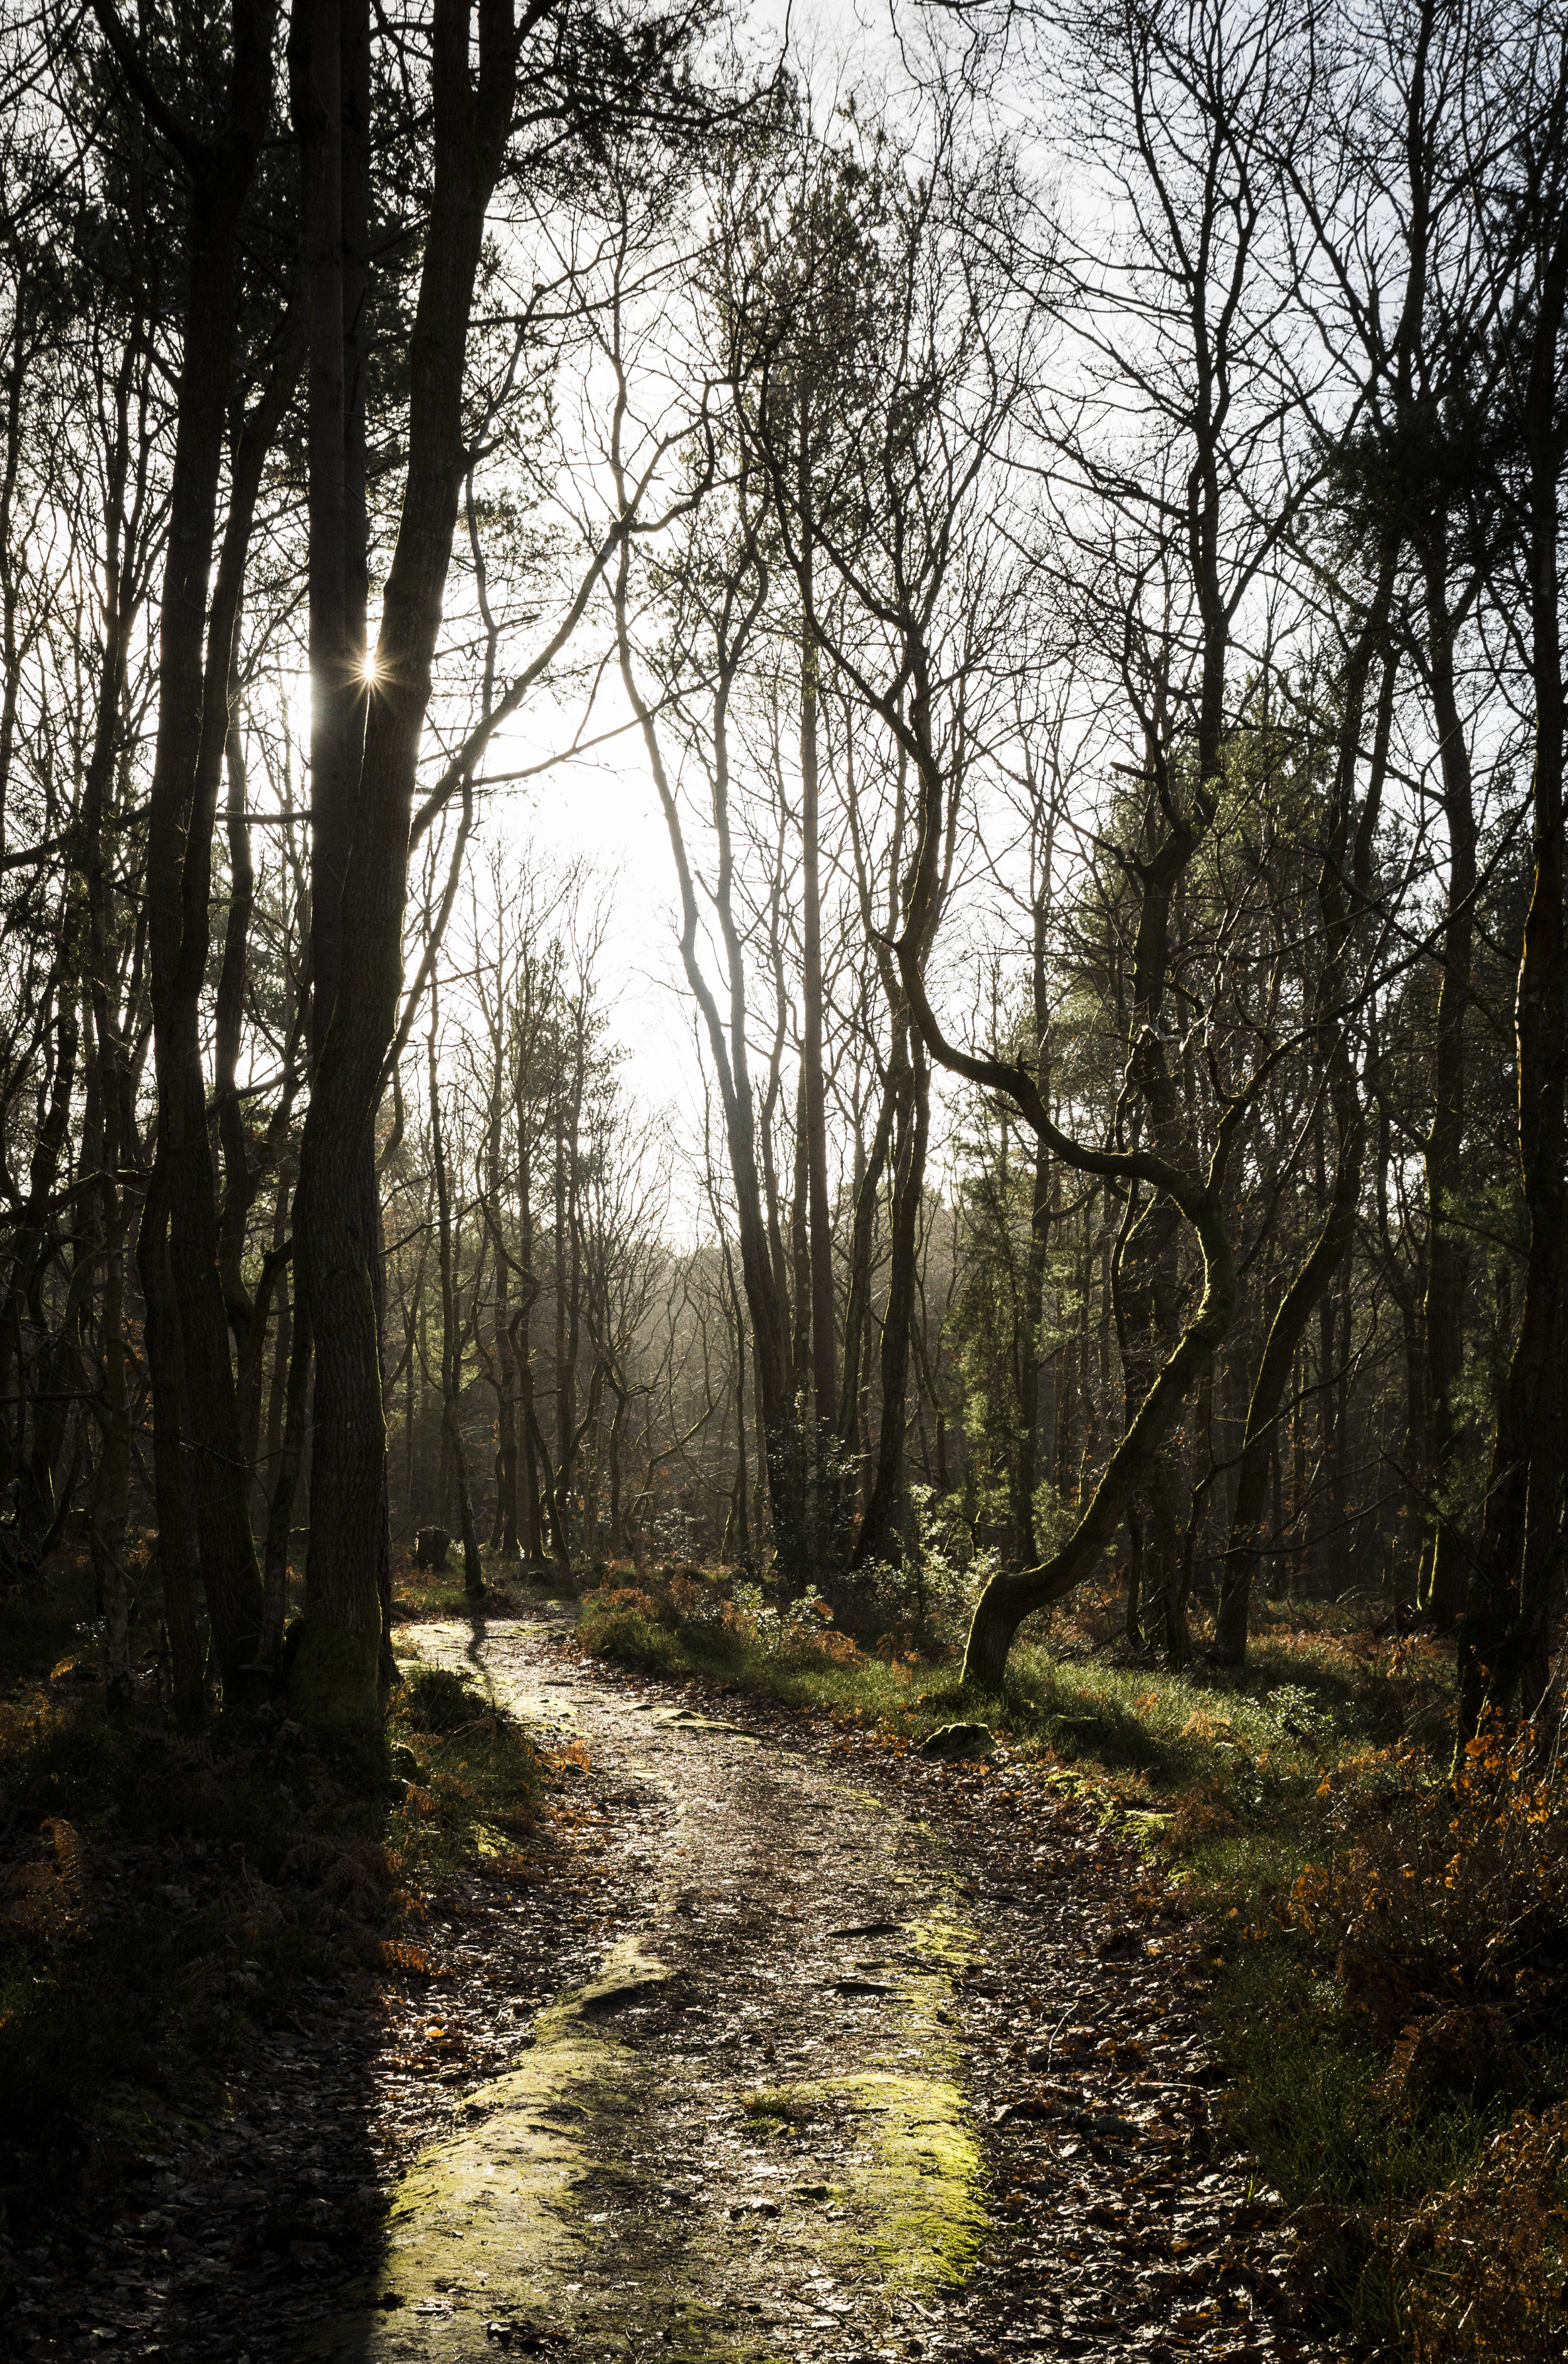
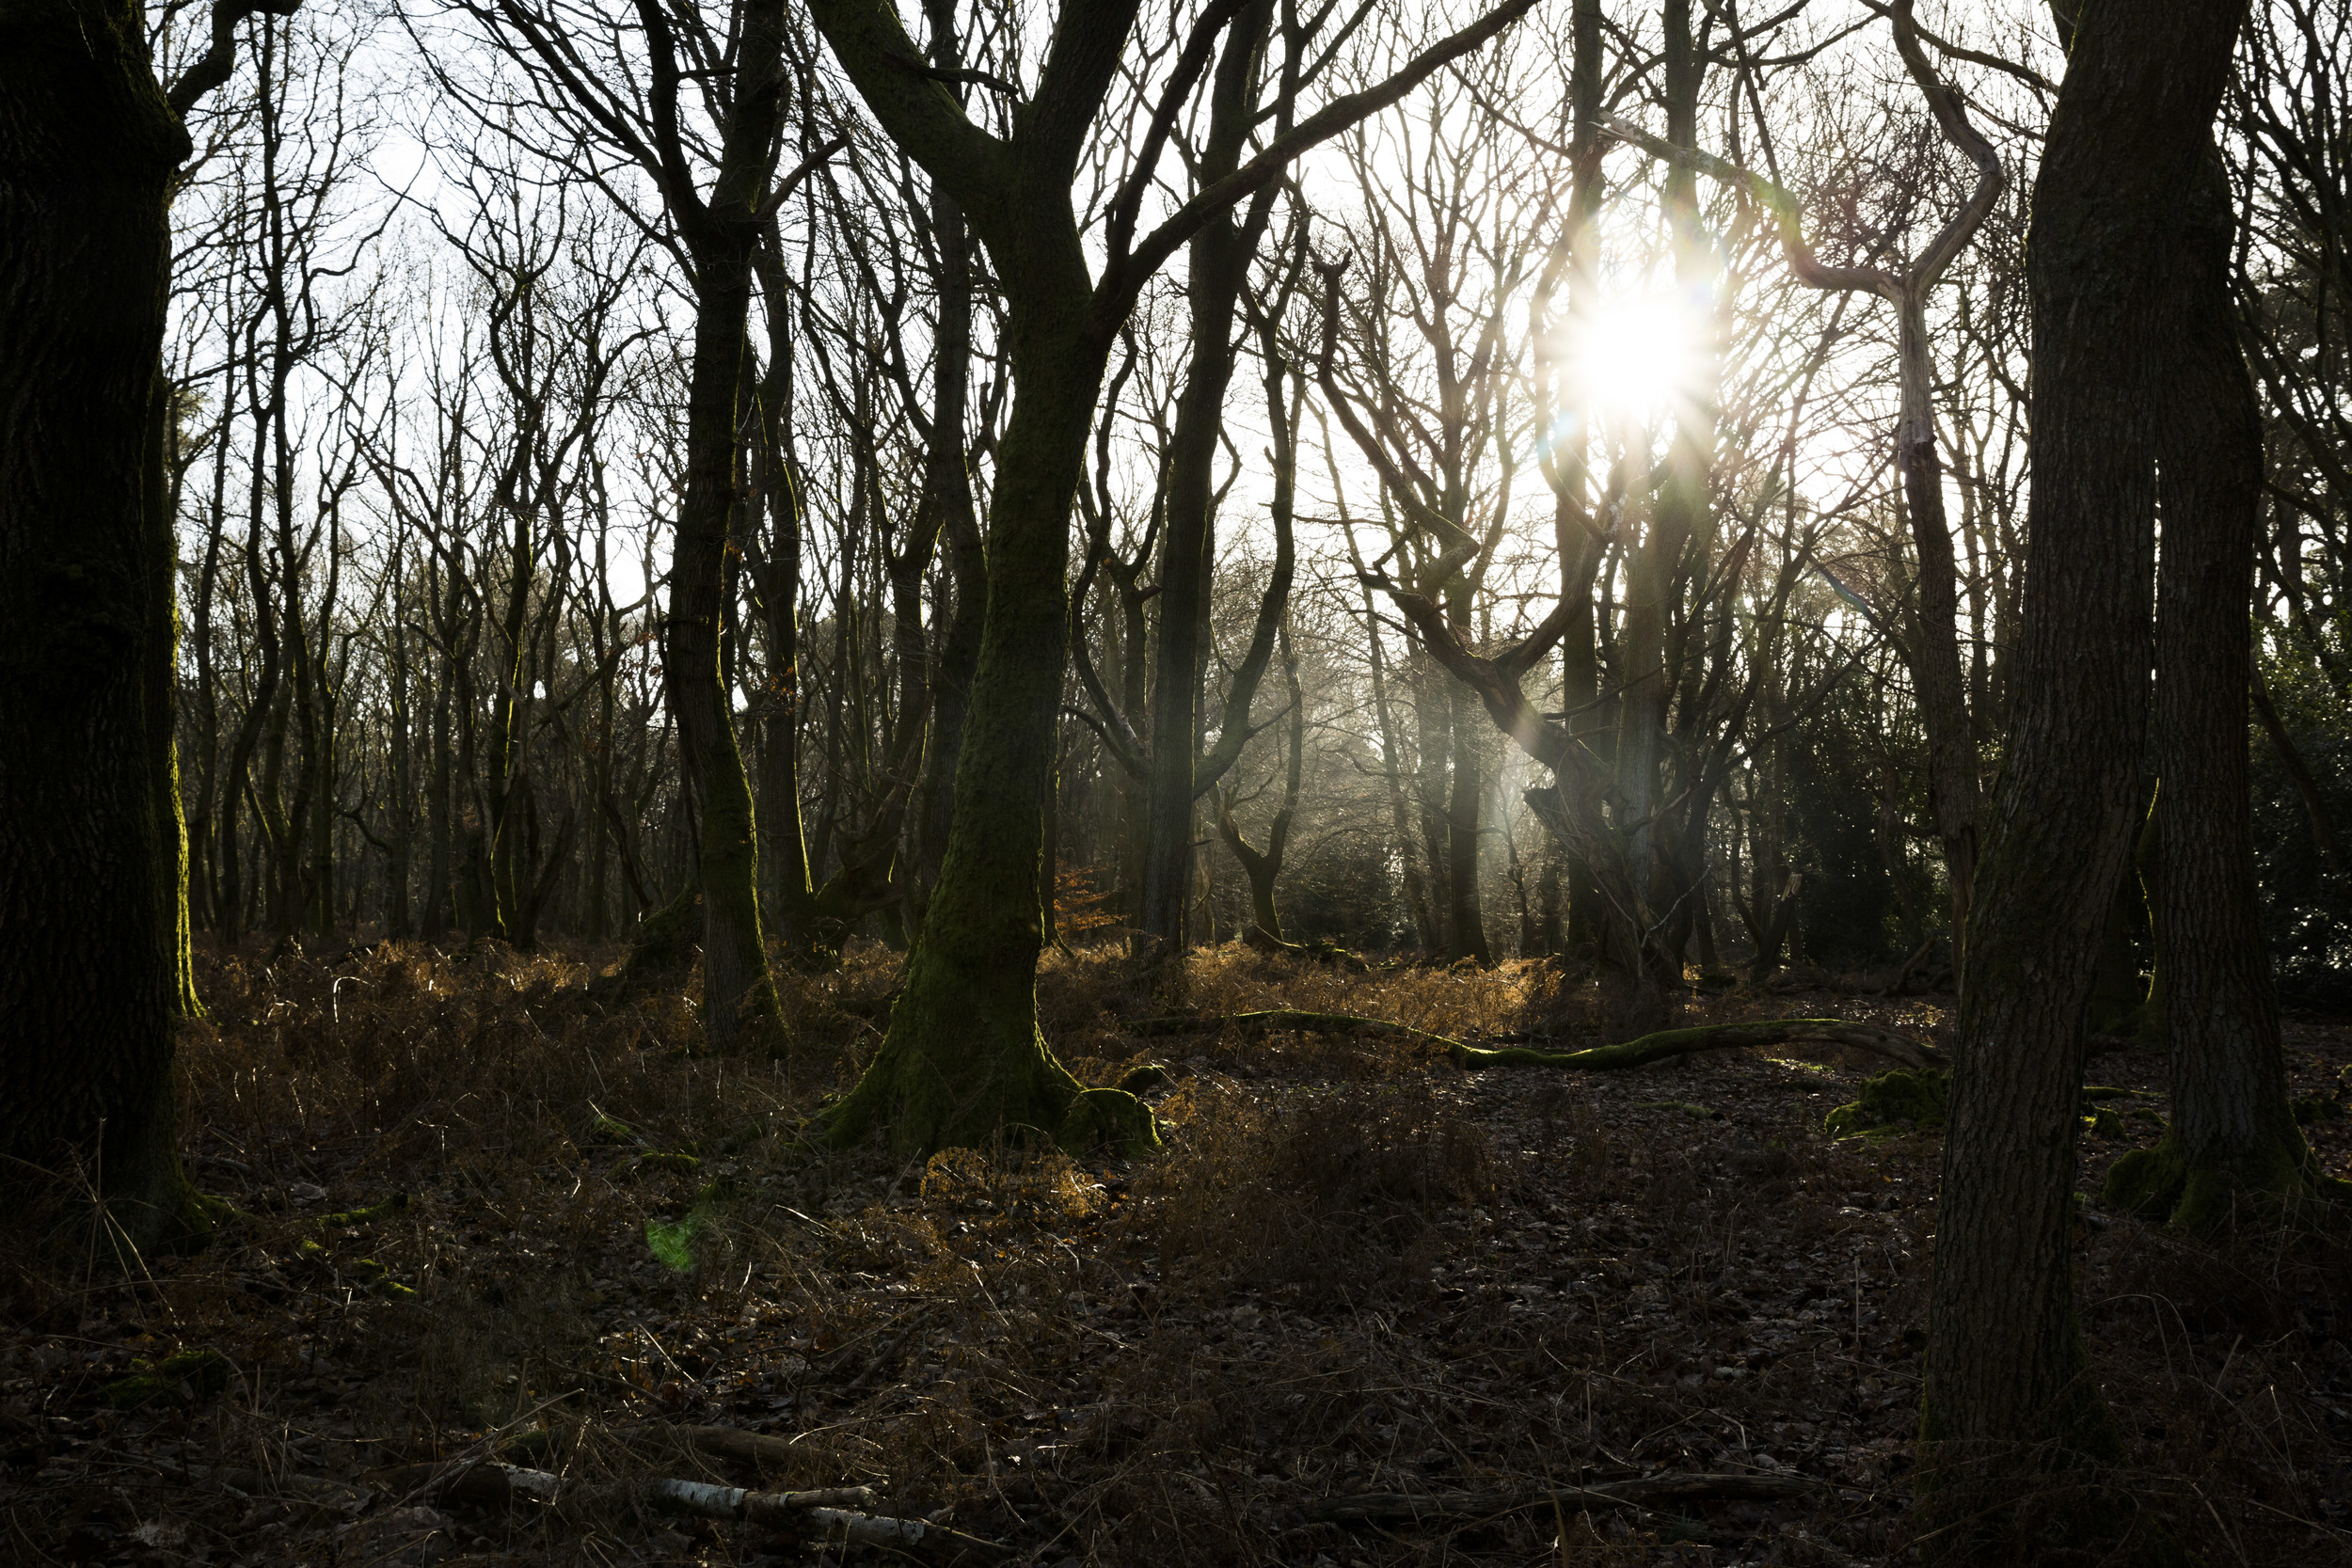
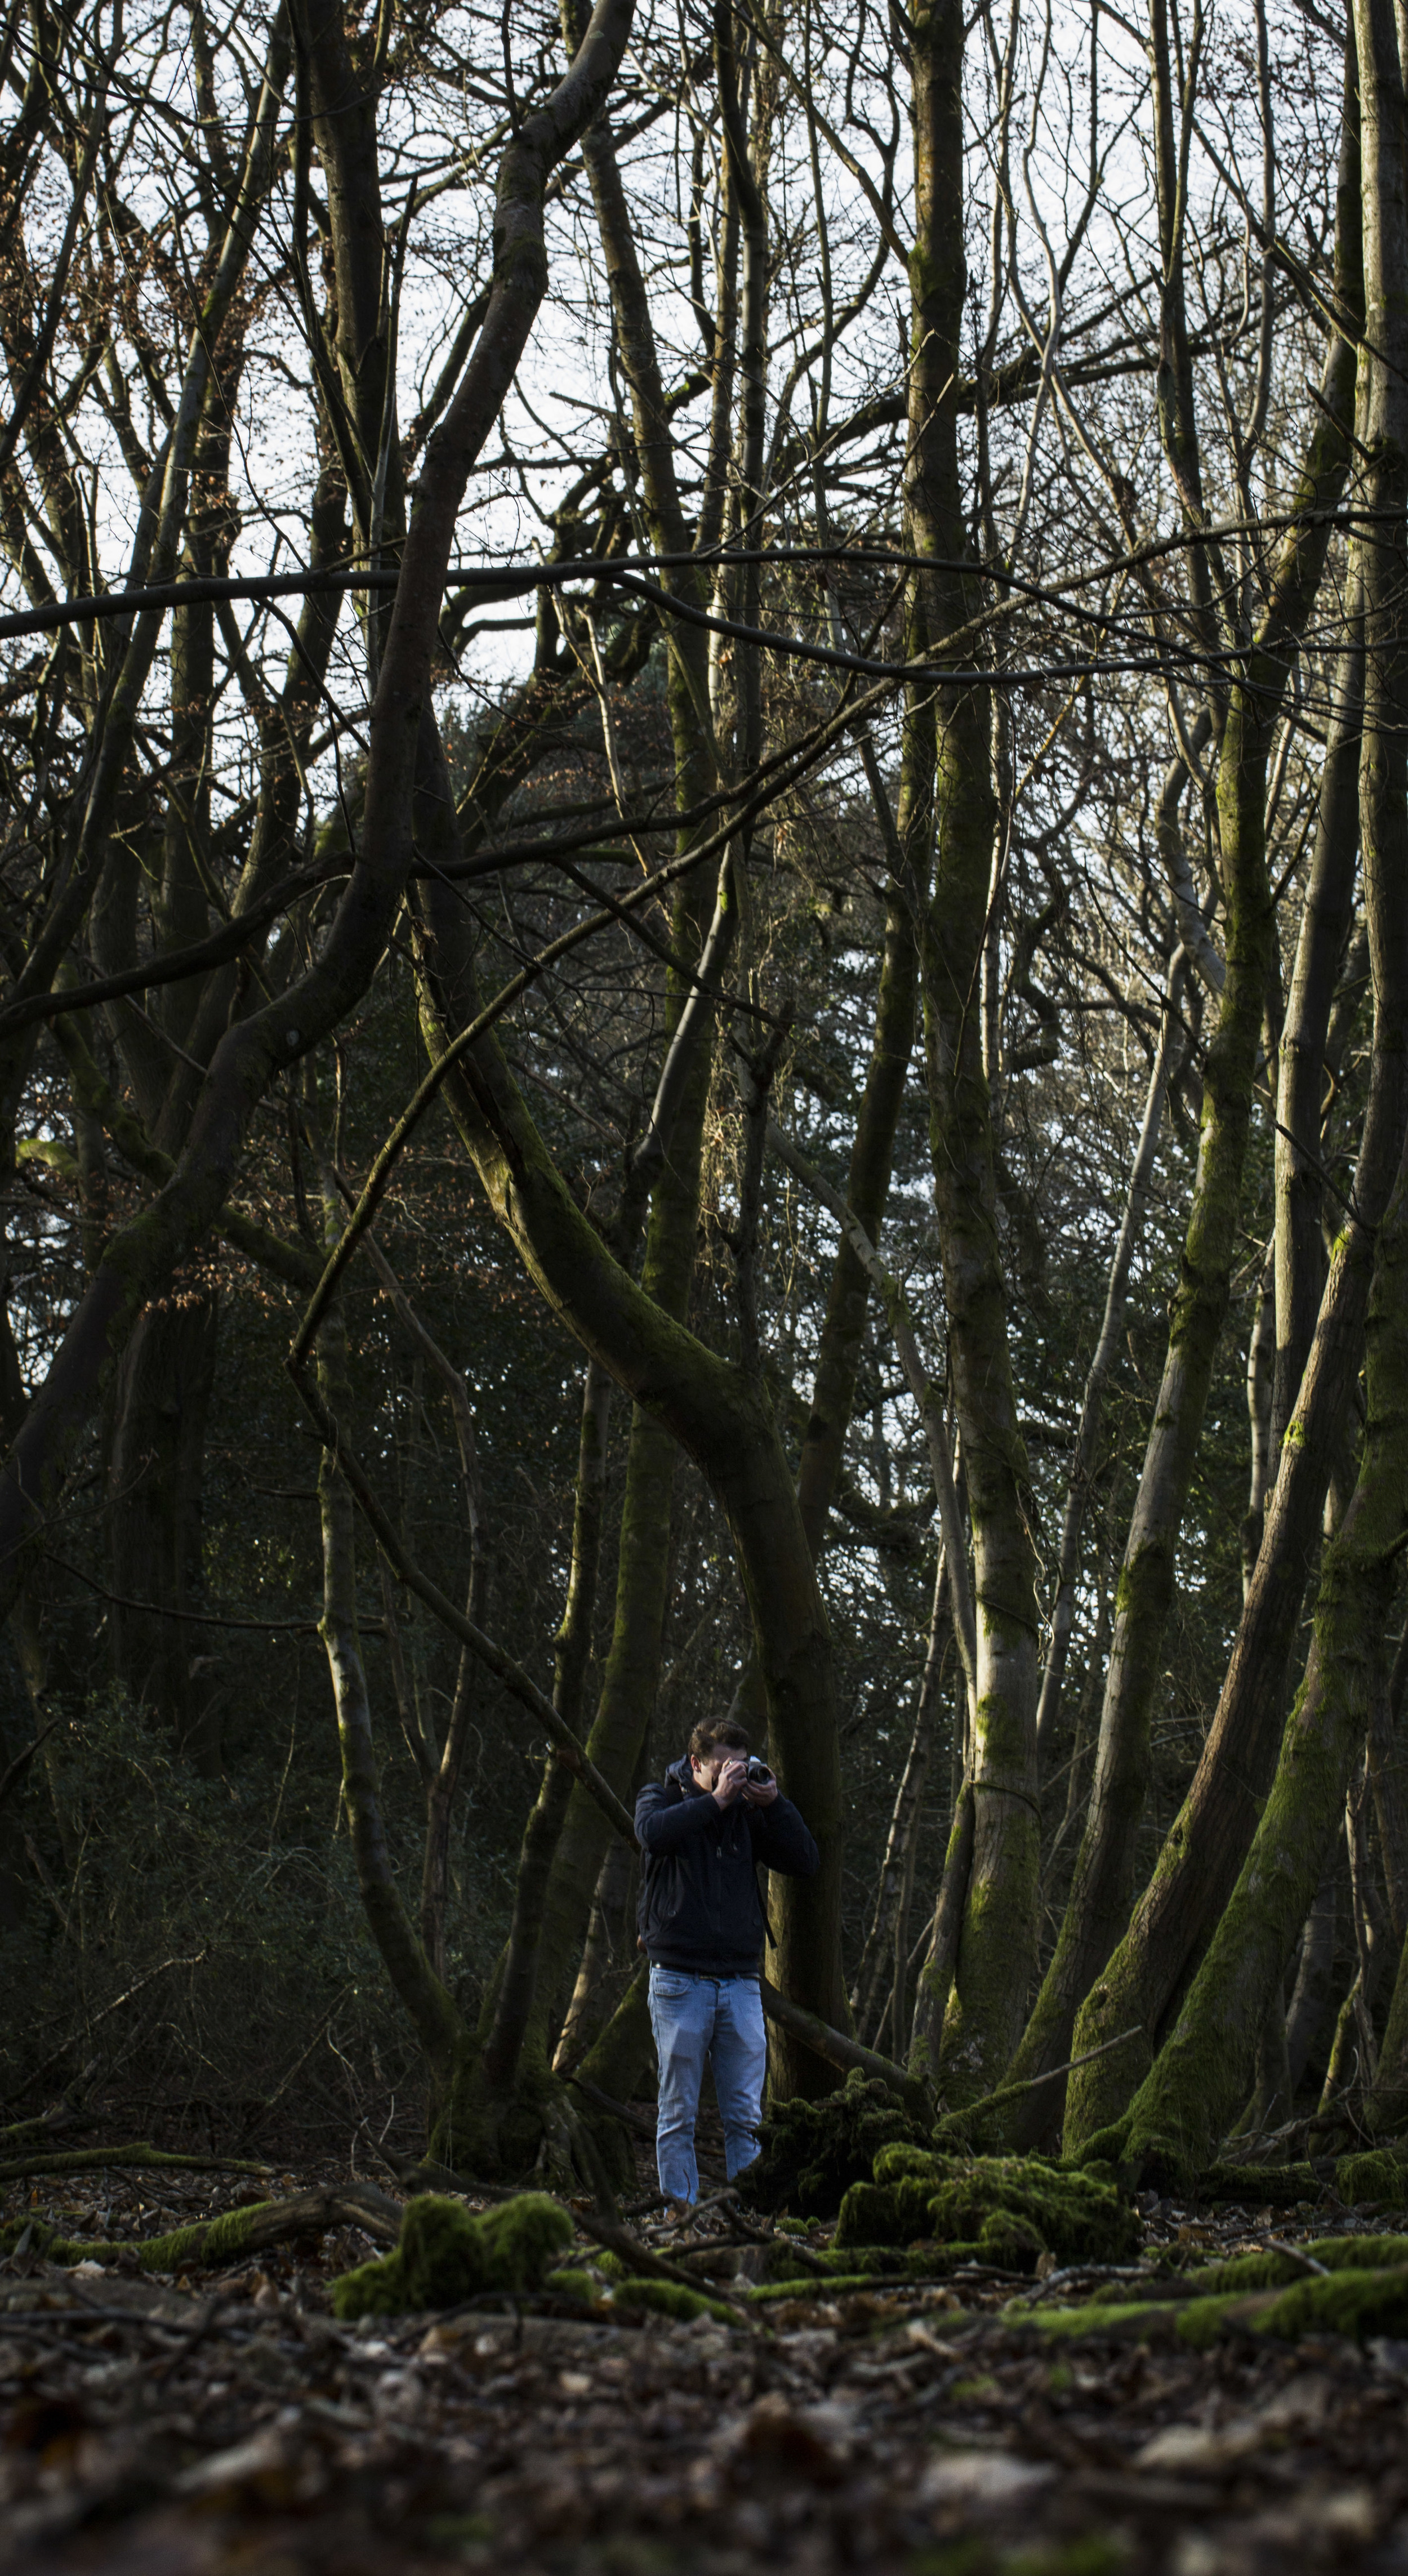
A couple of photos from a walk around Ranmore Common (near Dorking) in Surrey on the A7S. I'm no photographer so it is interesting getting used to the features and workings of the camera, in comparison to the 5D mark III which I've been using for a few years. I also shot some slow mo (50p) video in camera at 1080 so I'm sure I'll do something with it at some point!

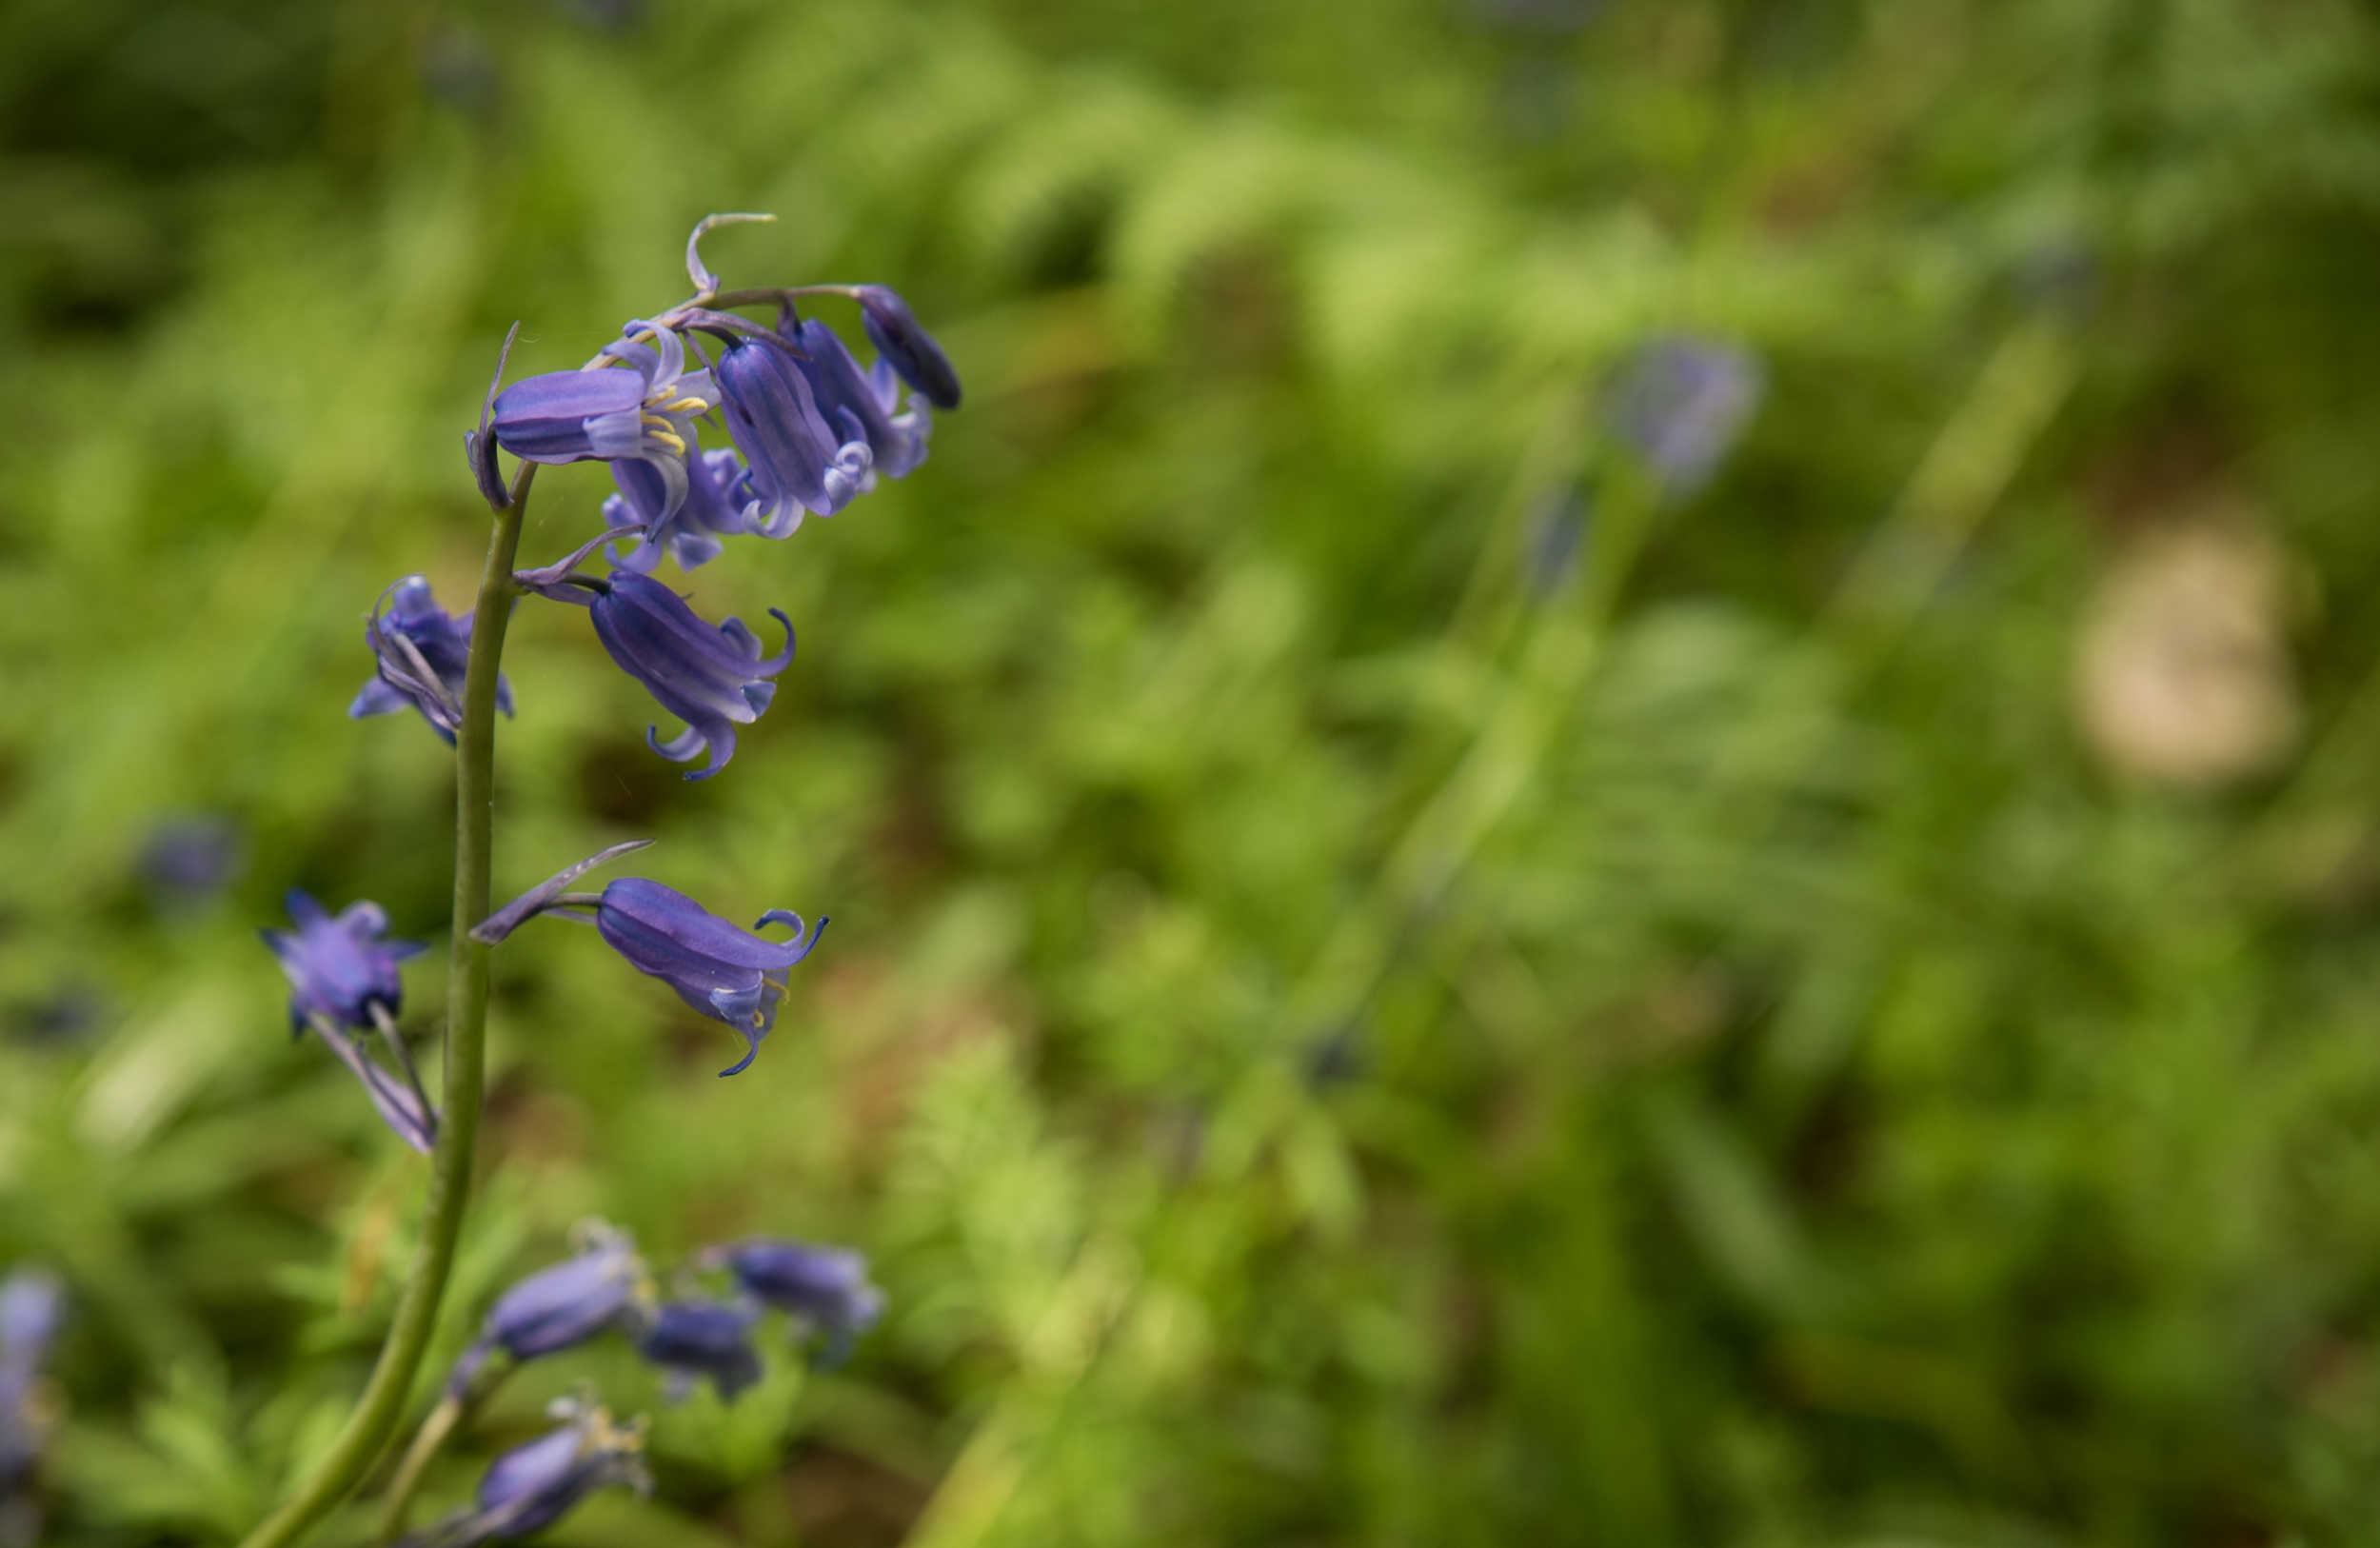
By the way, if you can get out to a wooded area, please do as the bluebells are looking fantastic right now, and won't be around for long!!

I used the Metabones EF-E mk IV and Tamron 24-70mm F/2.8, but as most of the shots were landscape and with the super wonderfully large sensor of the A7S I shot between F/5.6 and F/14 while keeping the ISO low.

I never usually rely on Auto White Balance, setting a custom colour temperature for the lighting and subjects, so it was interesting to see that the camera shifts slightly to the cooler side in the shadows (presuming a darker scene perhaps) even if the natural sunlight is bright and warm. Please correct me if I'm doing something wrong here!

Out filming with the Sony A7S and Atomos Shogun in 4K!

I am still testing out the many brilliant features and benefits of the 4K combo I now have, one biggie was being able to grade the footage much more than what you're able to with internal camera recording.

I headed out to a local country park to catch some of the spring bluebells flowering, as well as to try out the dynamic range of the 4K Prores HQ footage and really push it in the grade.

A couple of photos while I was out and about, lovely day!

I took the Manfrotto 755CX-3 tripod with me as it is brilliantly lightweight, and despite the center column it can get pretty low to the ground for shots needing some perspective.

Still no Movcam cage yet, so I'm pretty nervous about having the Shogun on a ball mount, on the hot shoe, I did take care when moving around and took out the HDMI cable just in case.

I had 3 lenses with me, the Tamron 24-70, Sigma 70-200 and Canon 100mm L as I wanted to have a simple setup, one Manfrotto bag, essential kit, batteries etc.

After watching Philip Bloom's talk hosted by B&H a few months back, I set the camera settings to what he advised and went from there. Using PP7 for S-log increases the native ISO to 3200, so is not practical for bright scenes without ND filters, so here are my settings.

PP6 (allows ISO 200, practical for bright shoots) - Black Level 0, Gamma Cine 4, Color mode S-gamut, Saturation 0, Detail -7.

It was a bright sunny day and the Shogun was the perfect tool for the job. It's screen is very clear, unlike cheaper monitors which don't have a high contrast ratio or use LCD screens. Exposing for the highlights, I used the in-built Waveform monitor to gague exposure as well as the 2:1 crop in for getting critical focus - definitely needed for the wide landscape and macro shots.

You will not be surprised to see the HUGE file size of recording 4K in Prores HQ, averaging at about 2GB for 20 seconds.
It's less than 10 minutes worth of footage, in fact!

I did find this out while I was trying out the different outputs and recording formats.. For the PAL region the A7S has THREE HDMI output settings -
 - 1080 50p, 1080 50i, 4K 25p.

The Shogun will not record 25p footage from the camera when the HDMI output is set to 1080 50p, but you can record 1080 50p slow motion on the Shogun. Remember to set the A7S' recording format to 50p/50, instead of 25p for normal speed filming.

The Shogun will only record 1080 25p footage from the camera when the HDMI output is set to 1080 50i, with a 2:2 frame drop set. Remember to set the A7S' recording format to 25p/50.

You must set the '4K HDMI' setting in the A7S to output the 4K signal, and record in 4K 25p on the Shogun.

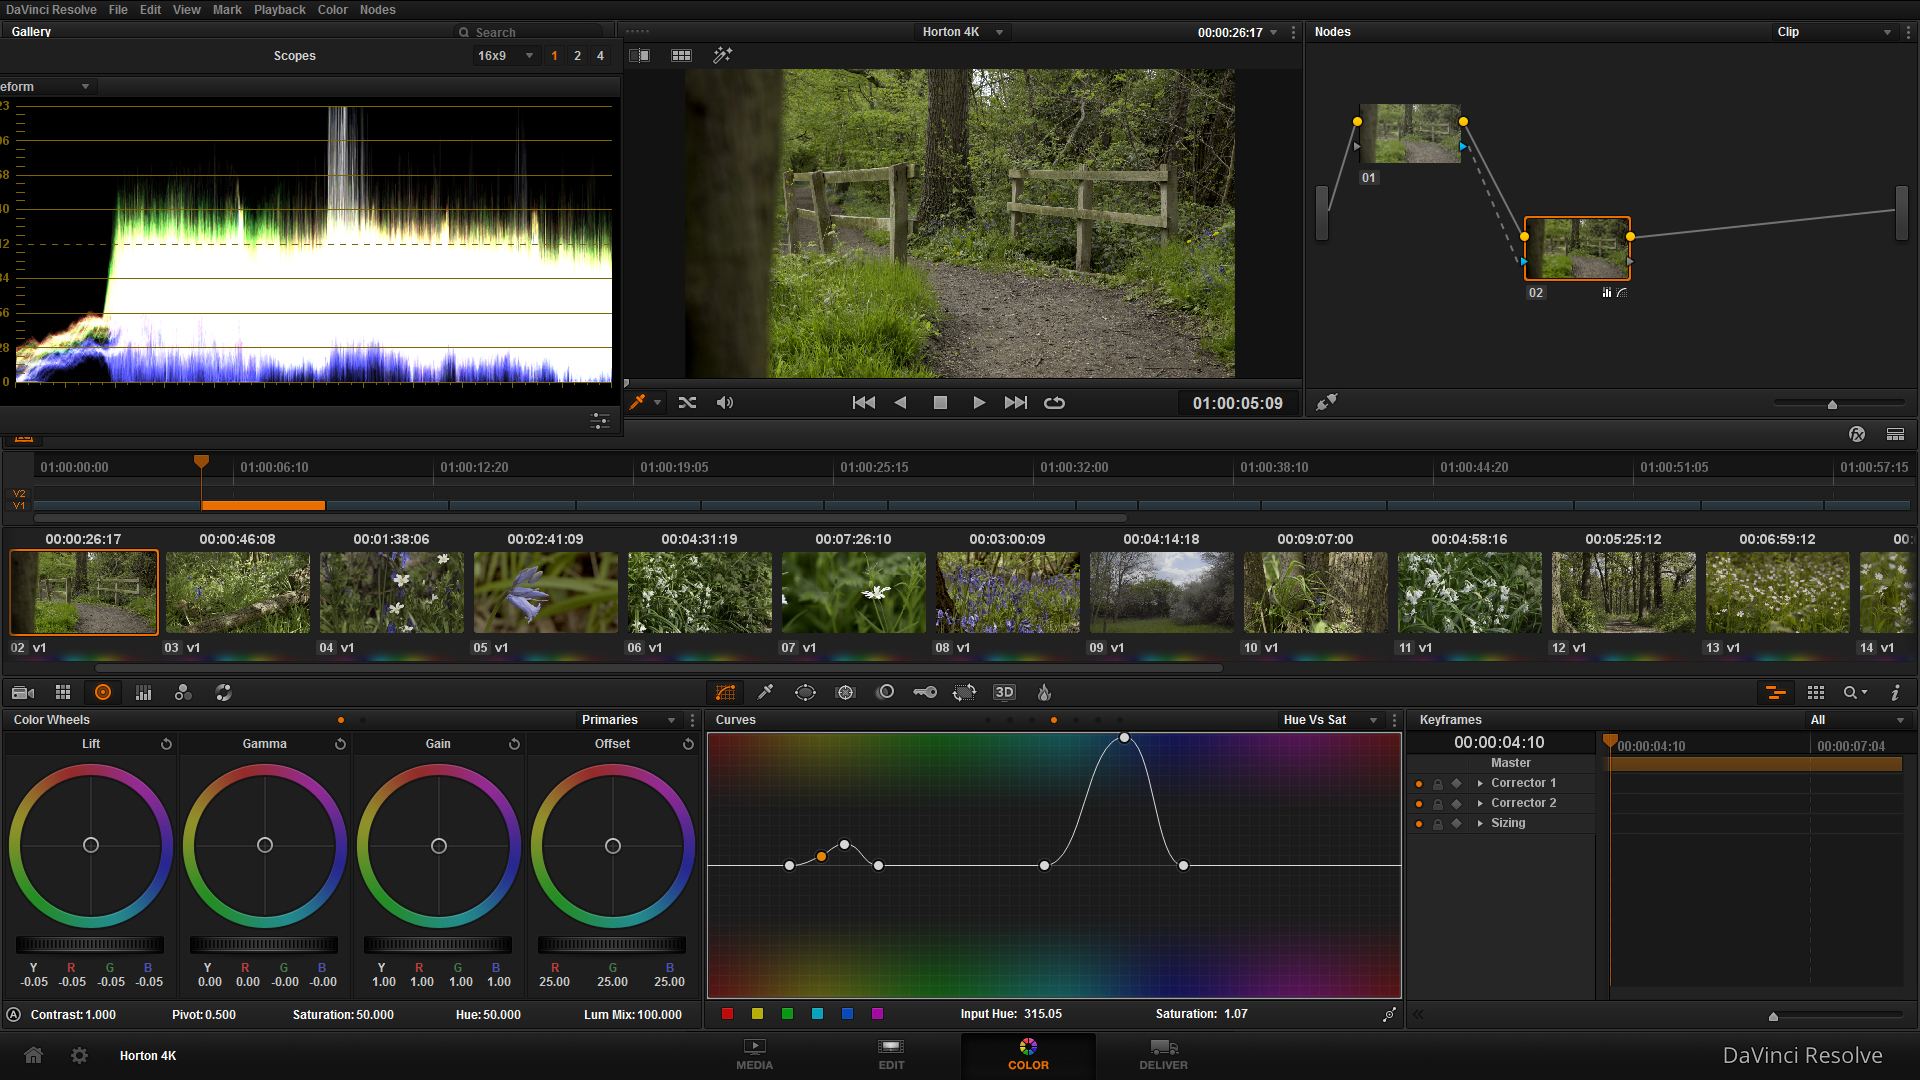
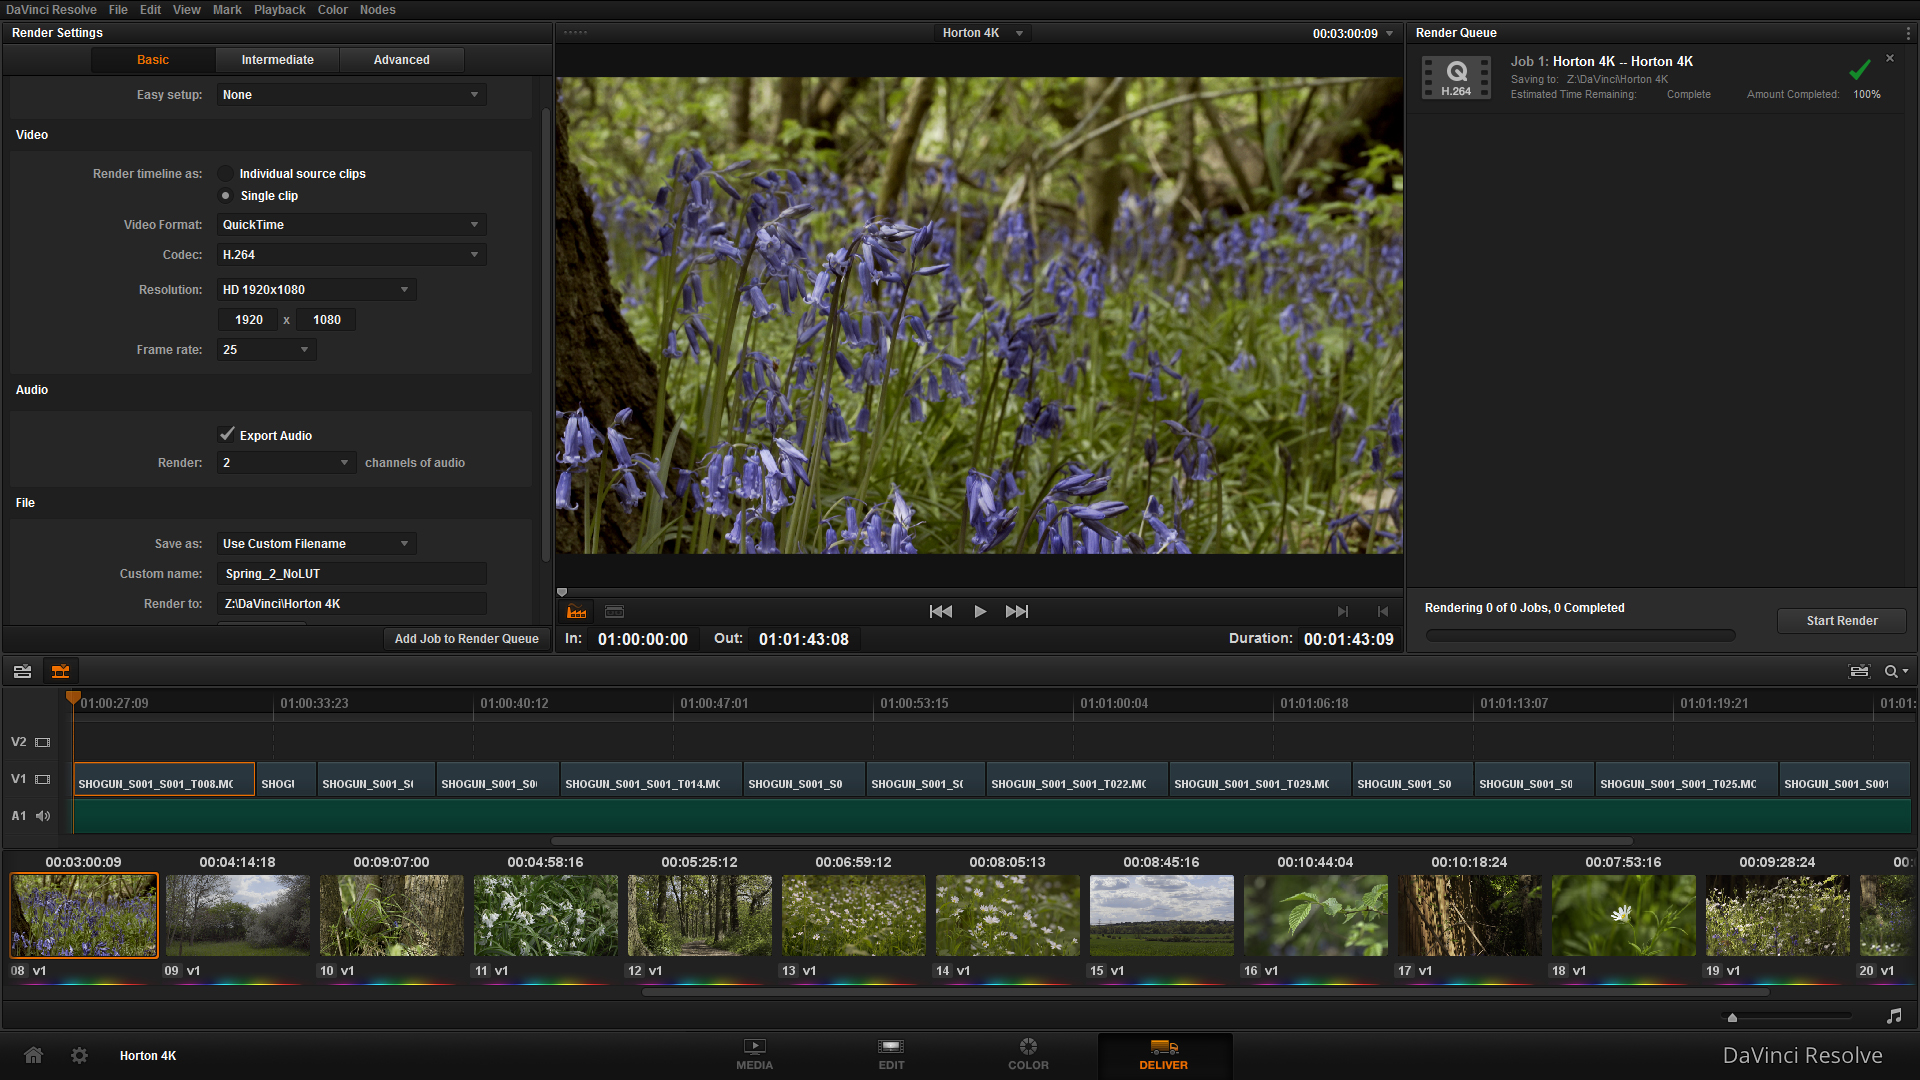
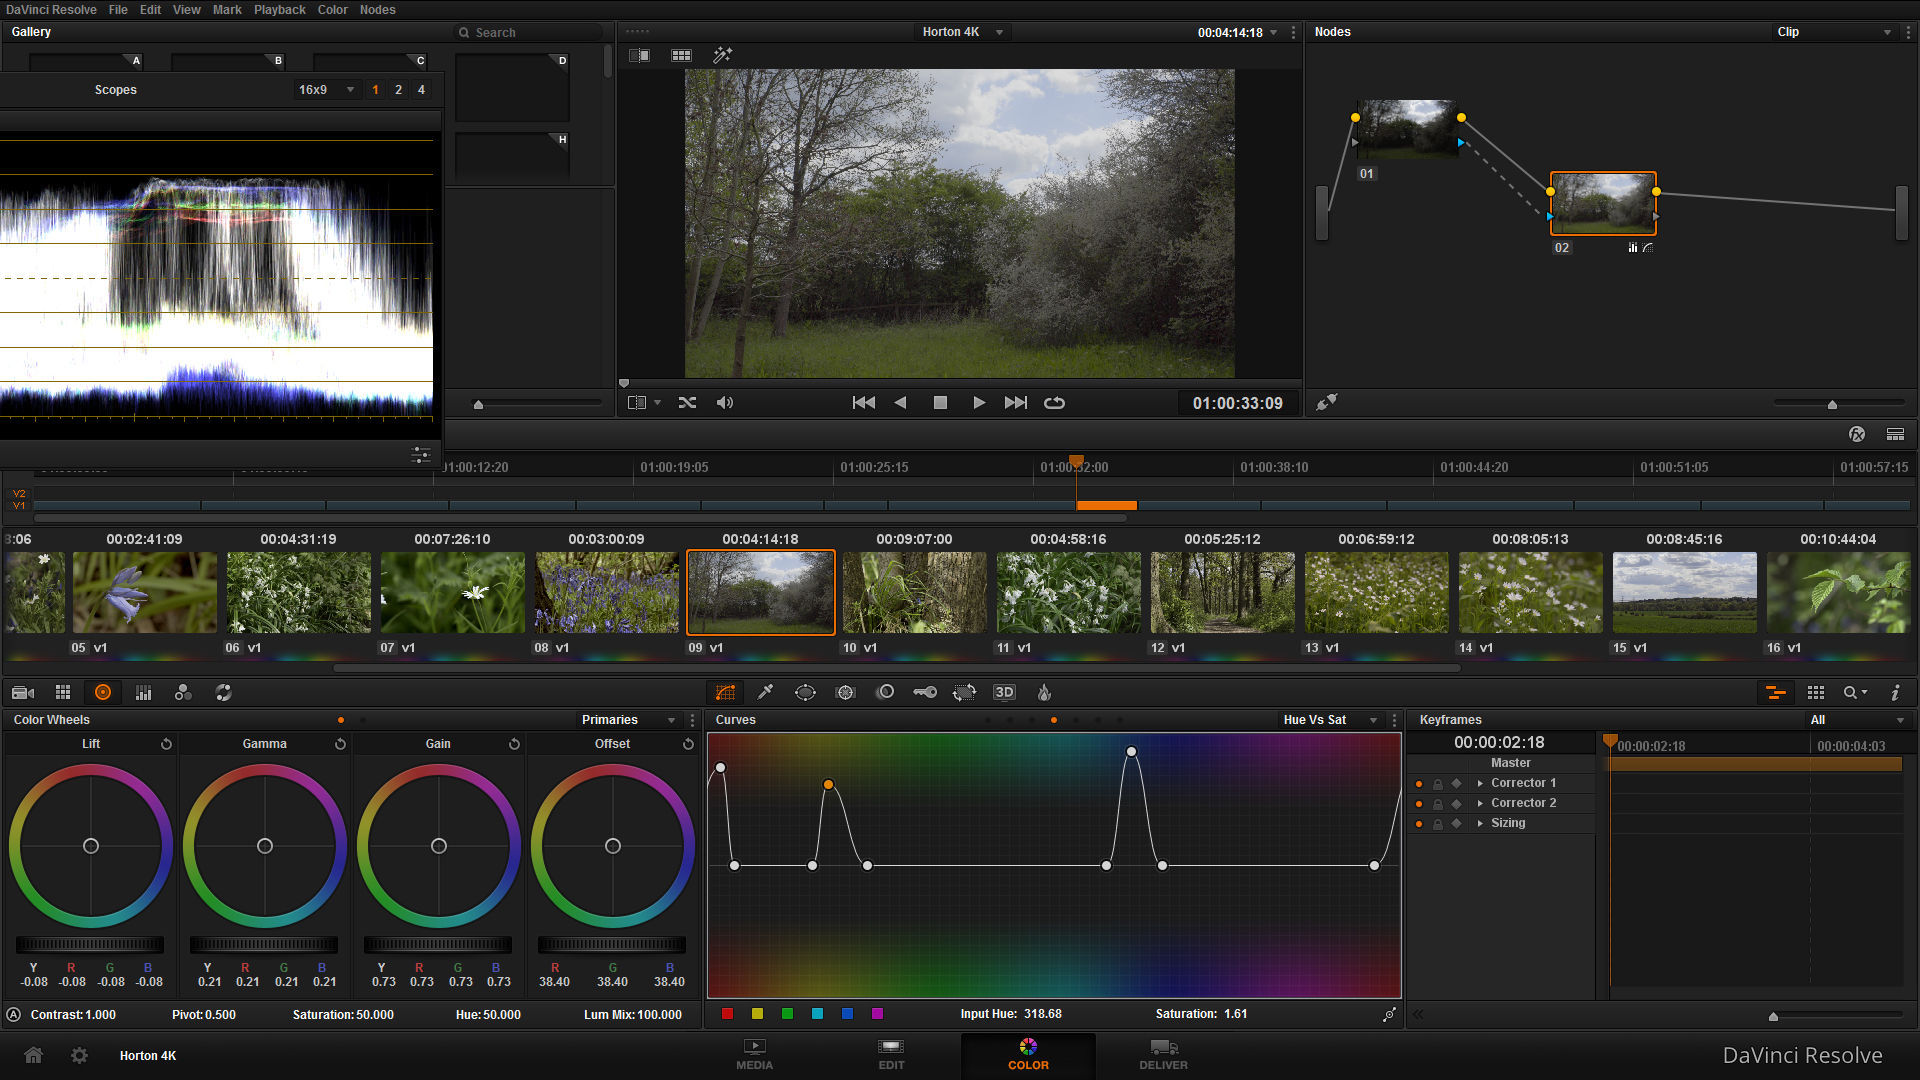
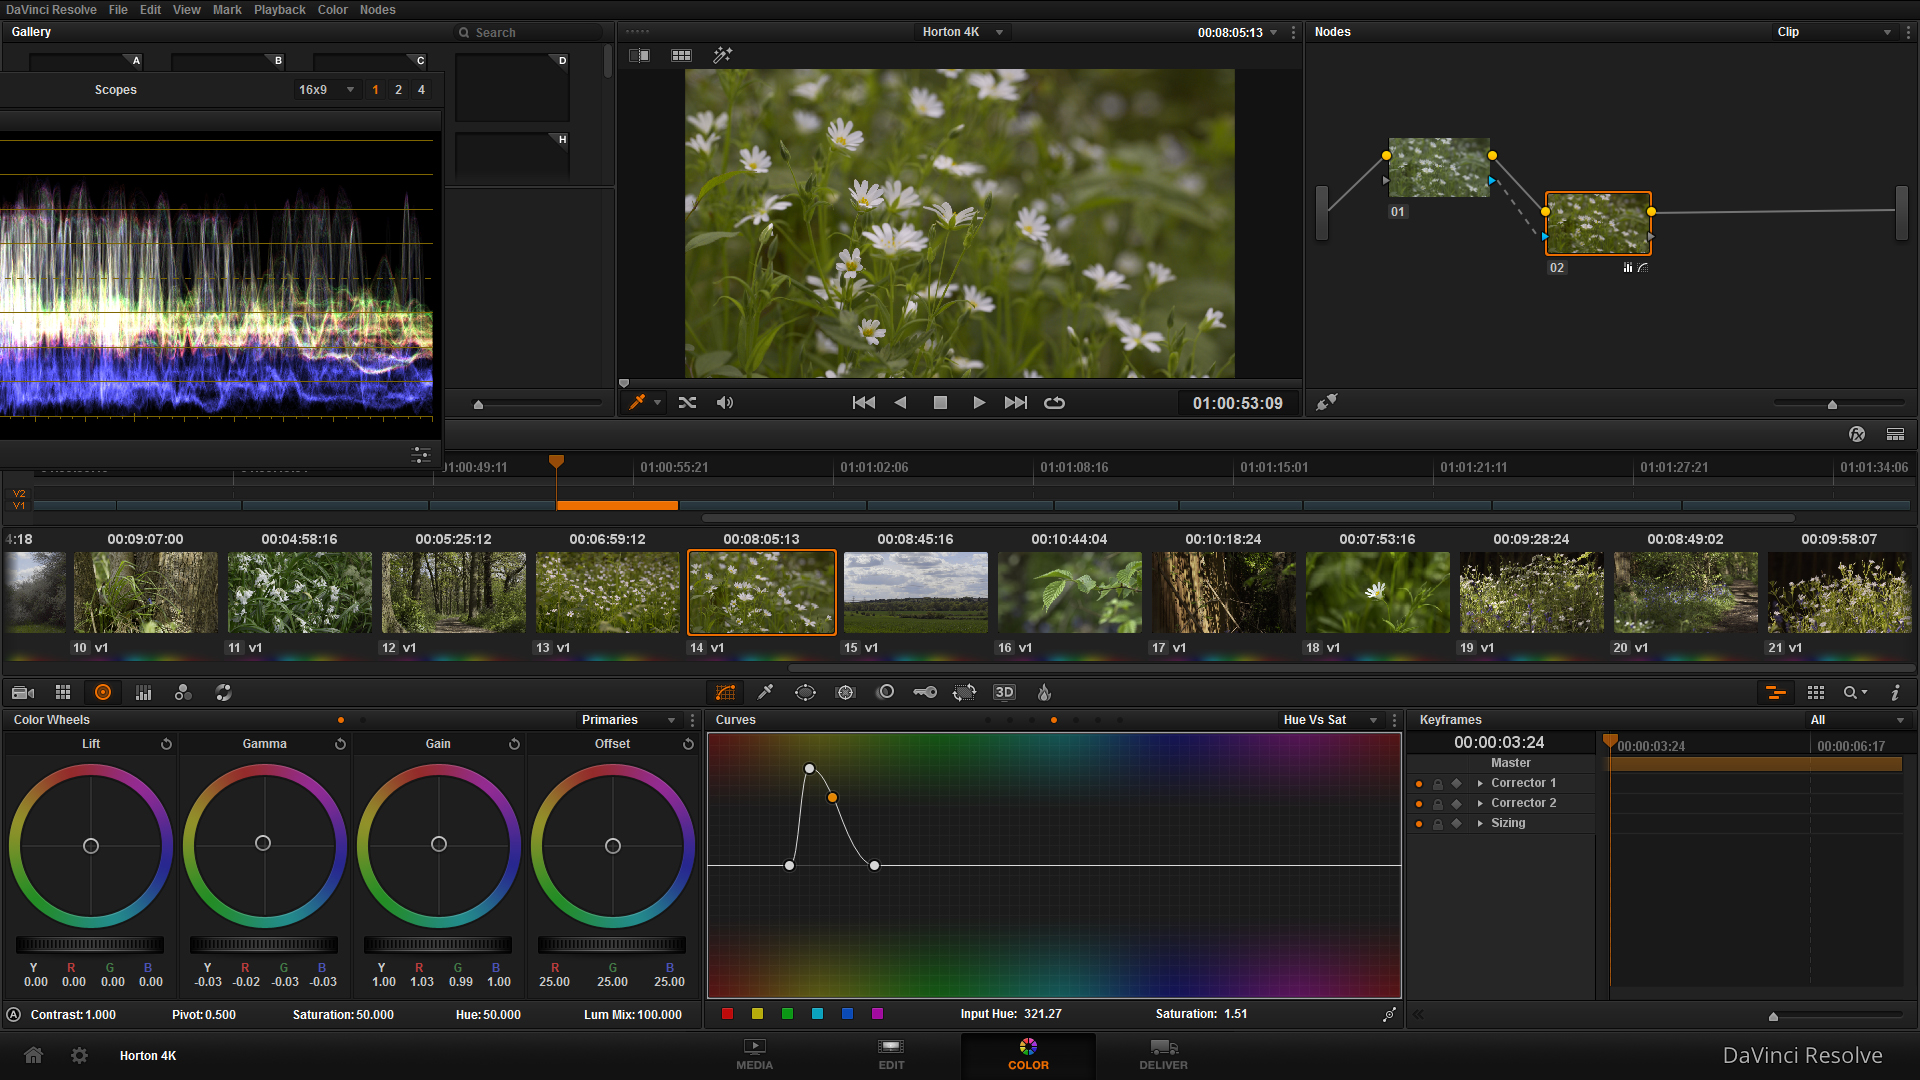
As part of the new 4K workflow, I am using Davinci Resolve Lite (FREE) for the colour grading process, but as this is a short video I tried out it's NLE which worked great. Similar look and feel to FCPX, but it gives you the ability to change edit points, manipulate scale, track and much more. It even has a keyer!

First Image - Editing interface, Second Image - Adjusting saturation in Color interface, Third Image - High contrast image BEFORE correction/grade, Fourth Image - High contrast image AFTER correction/grade, Fifth Image - Delivery interface.

Here is the ungraded version, with footage captured on the Shogun.

Here is a work-in-progress edit that is down-ressed to 1080 to upload it to Vimeo, the Youtube version in 4K (remember to change the resolution to 2160) is below!

I look forward to hearing your comments on the  videos I've put up!

New photos from the new A7S - A-MAZING

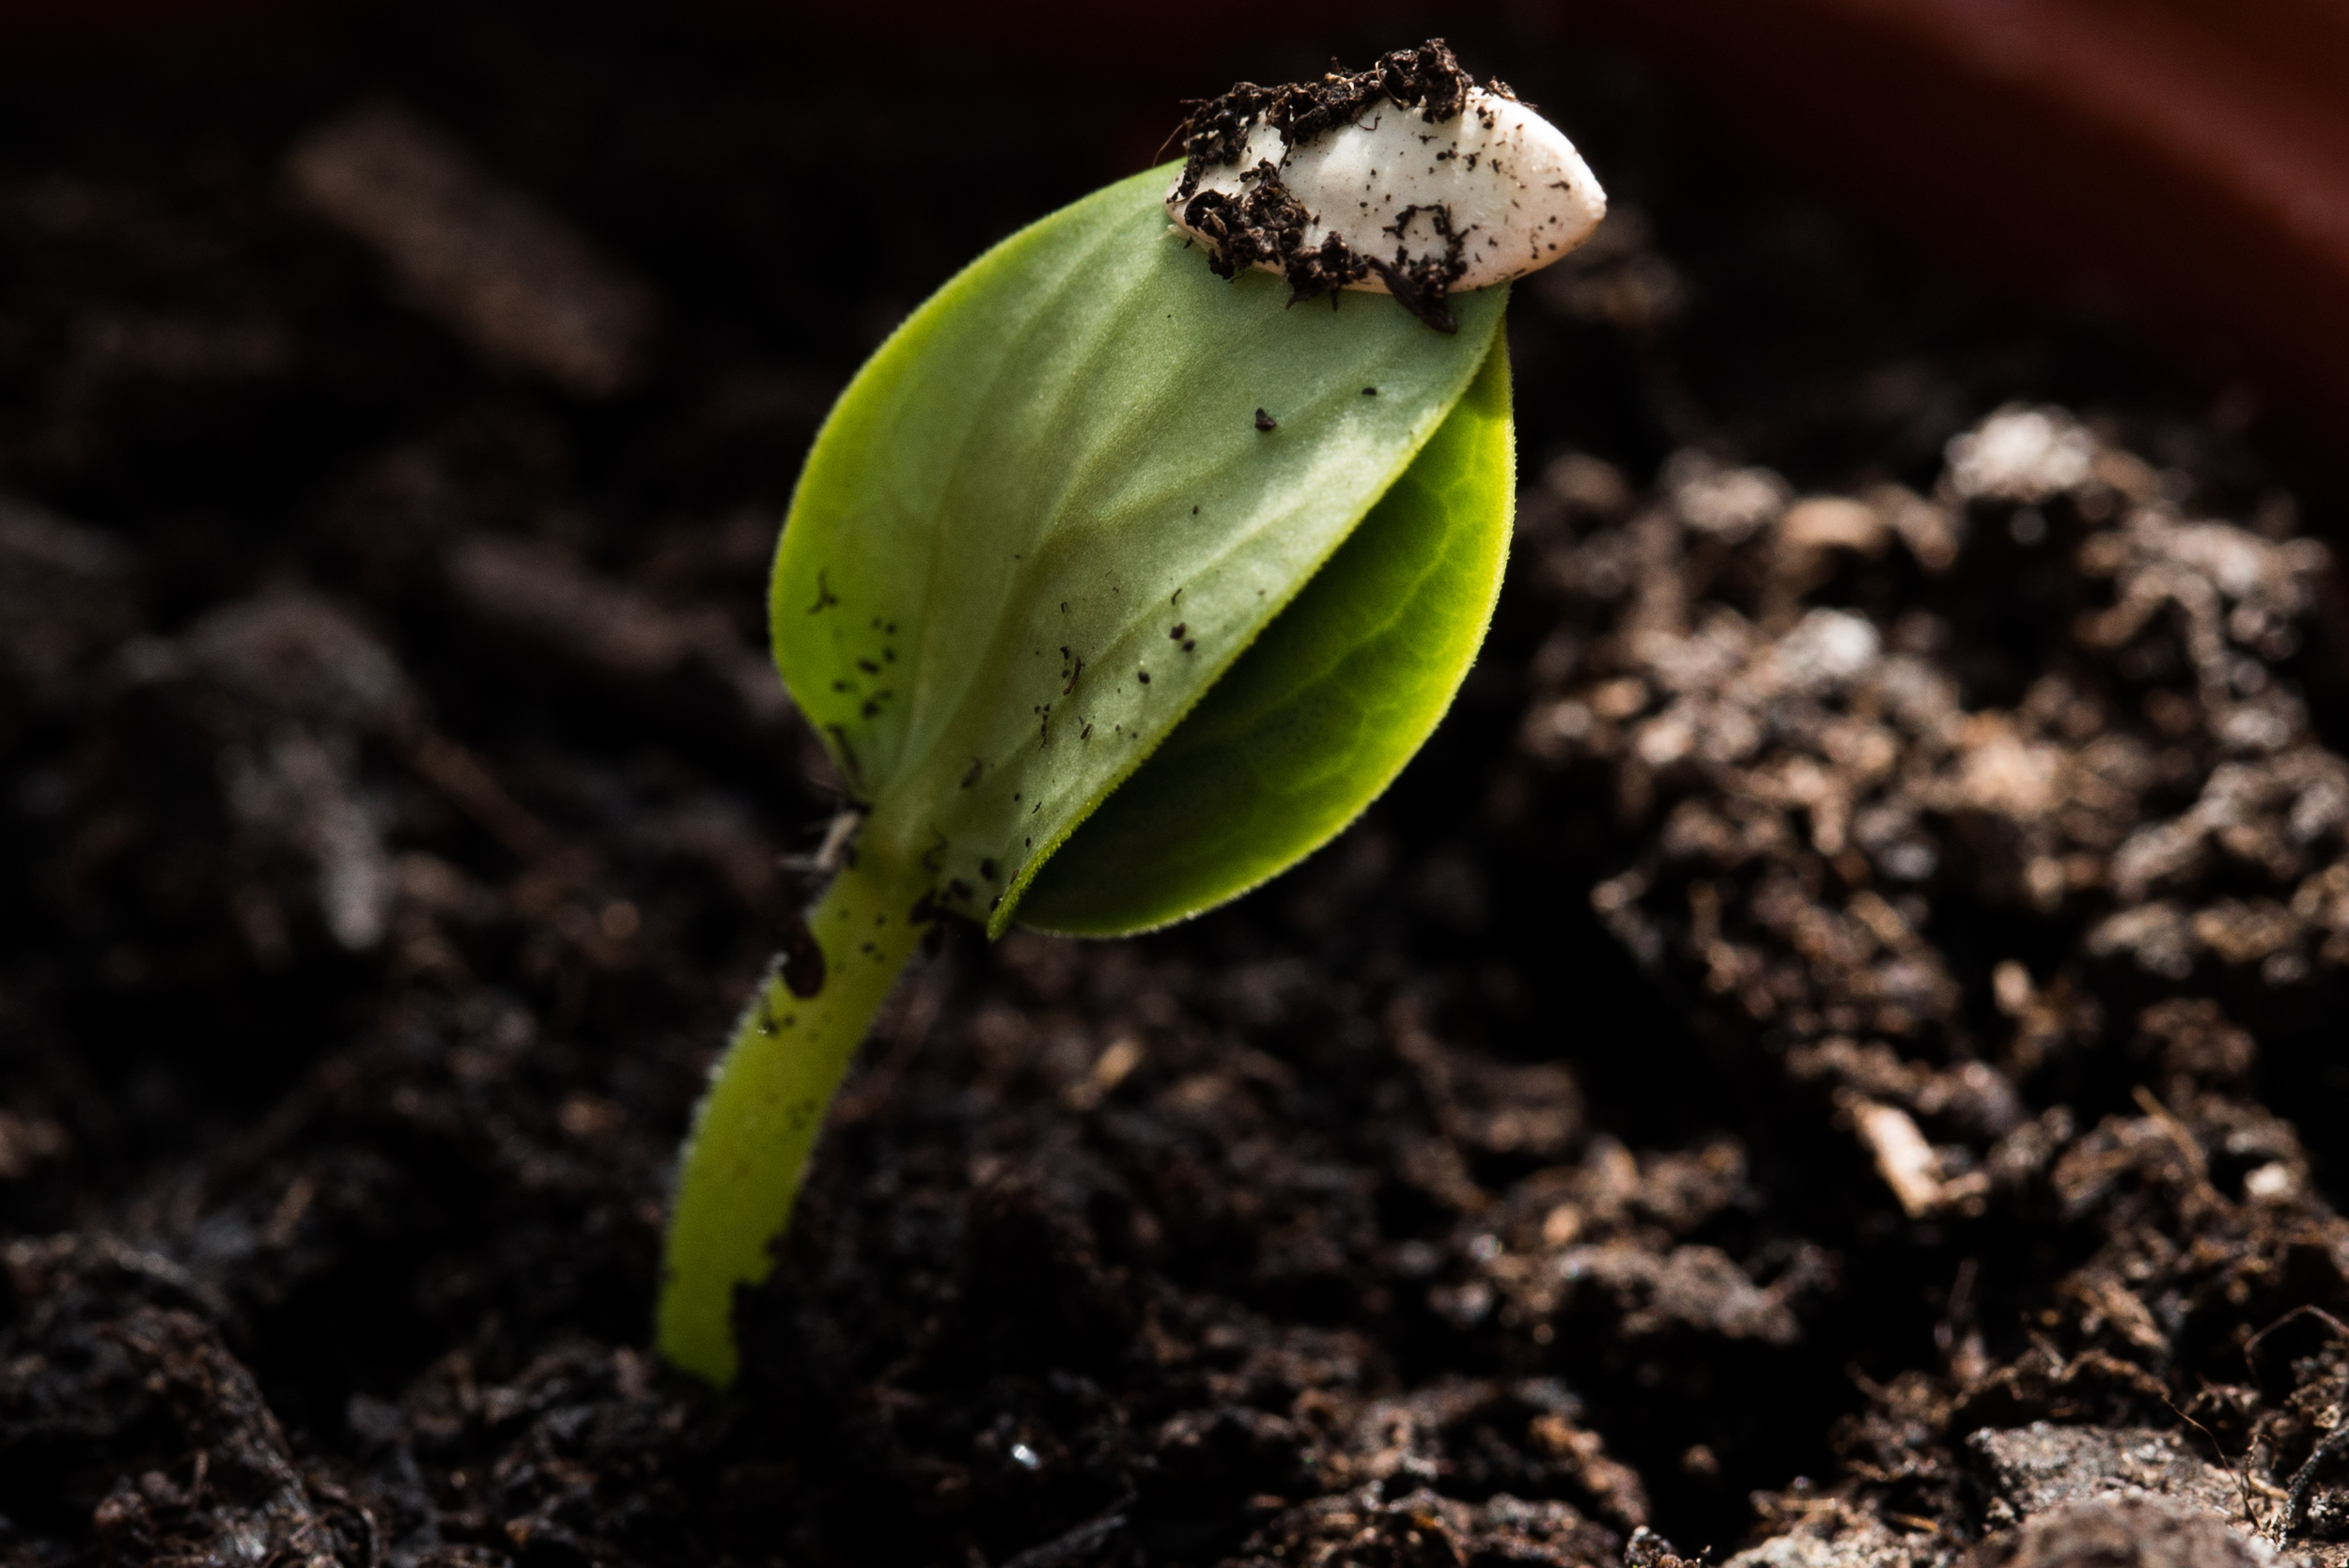
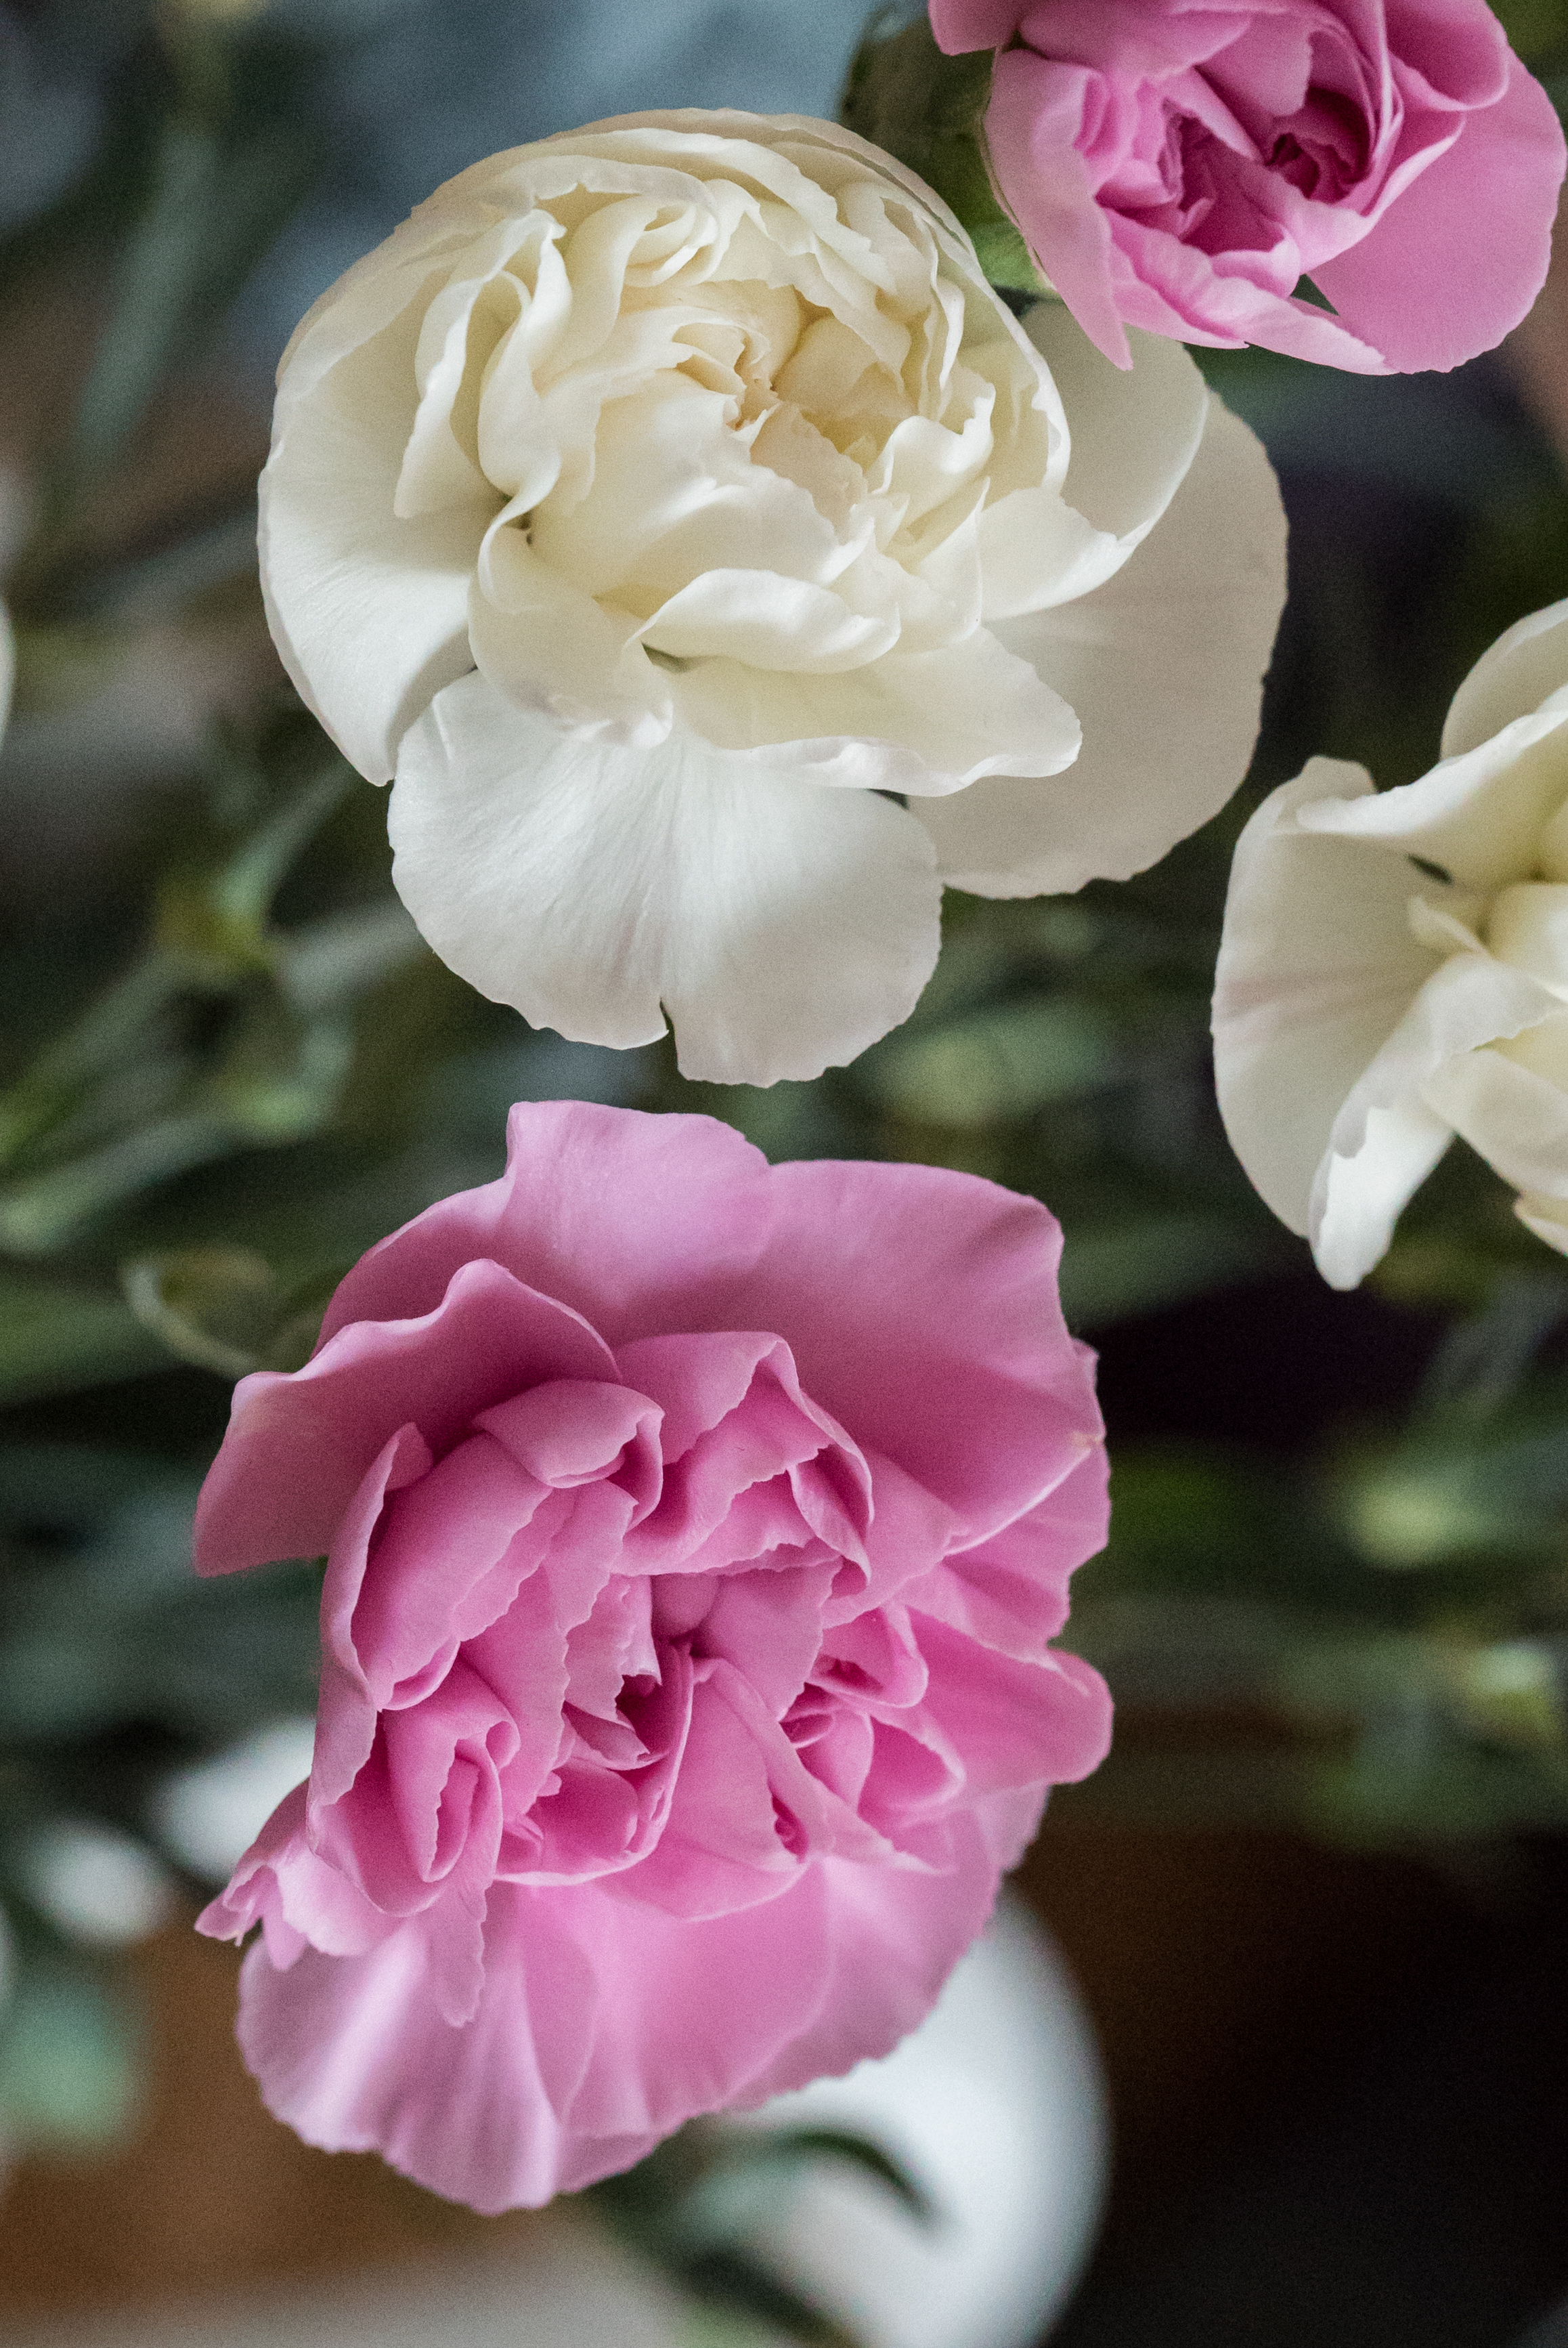
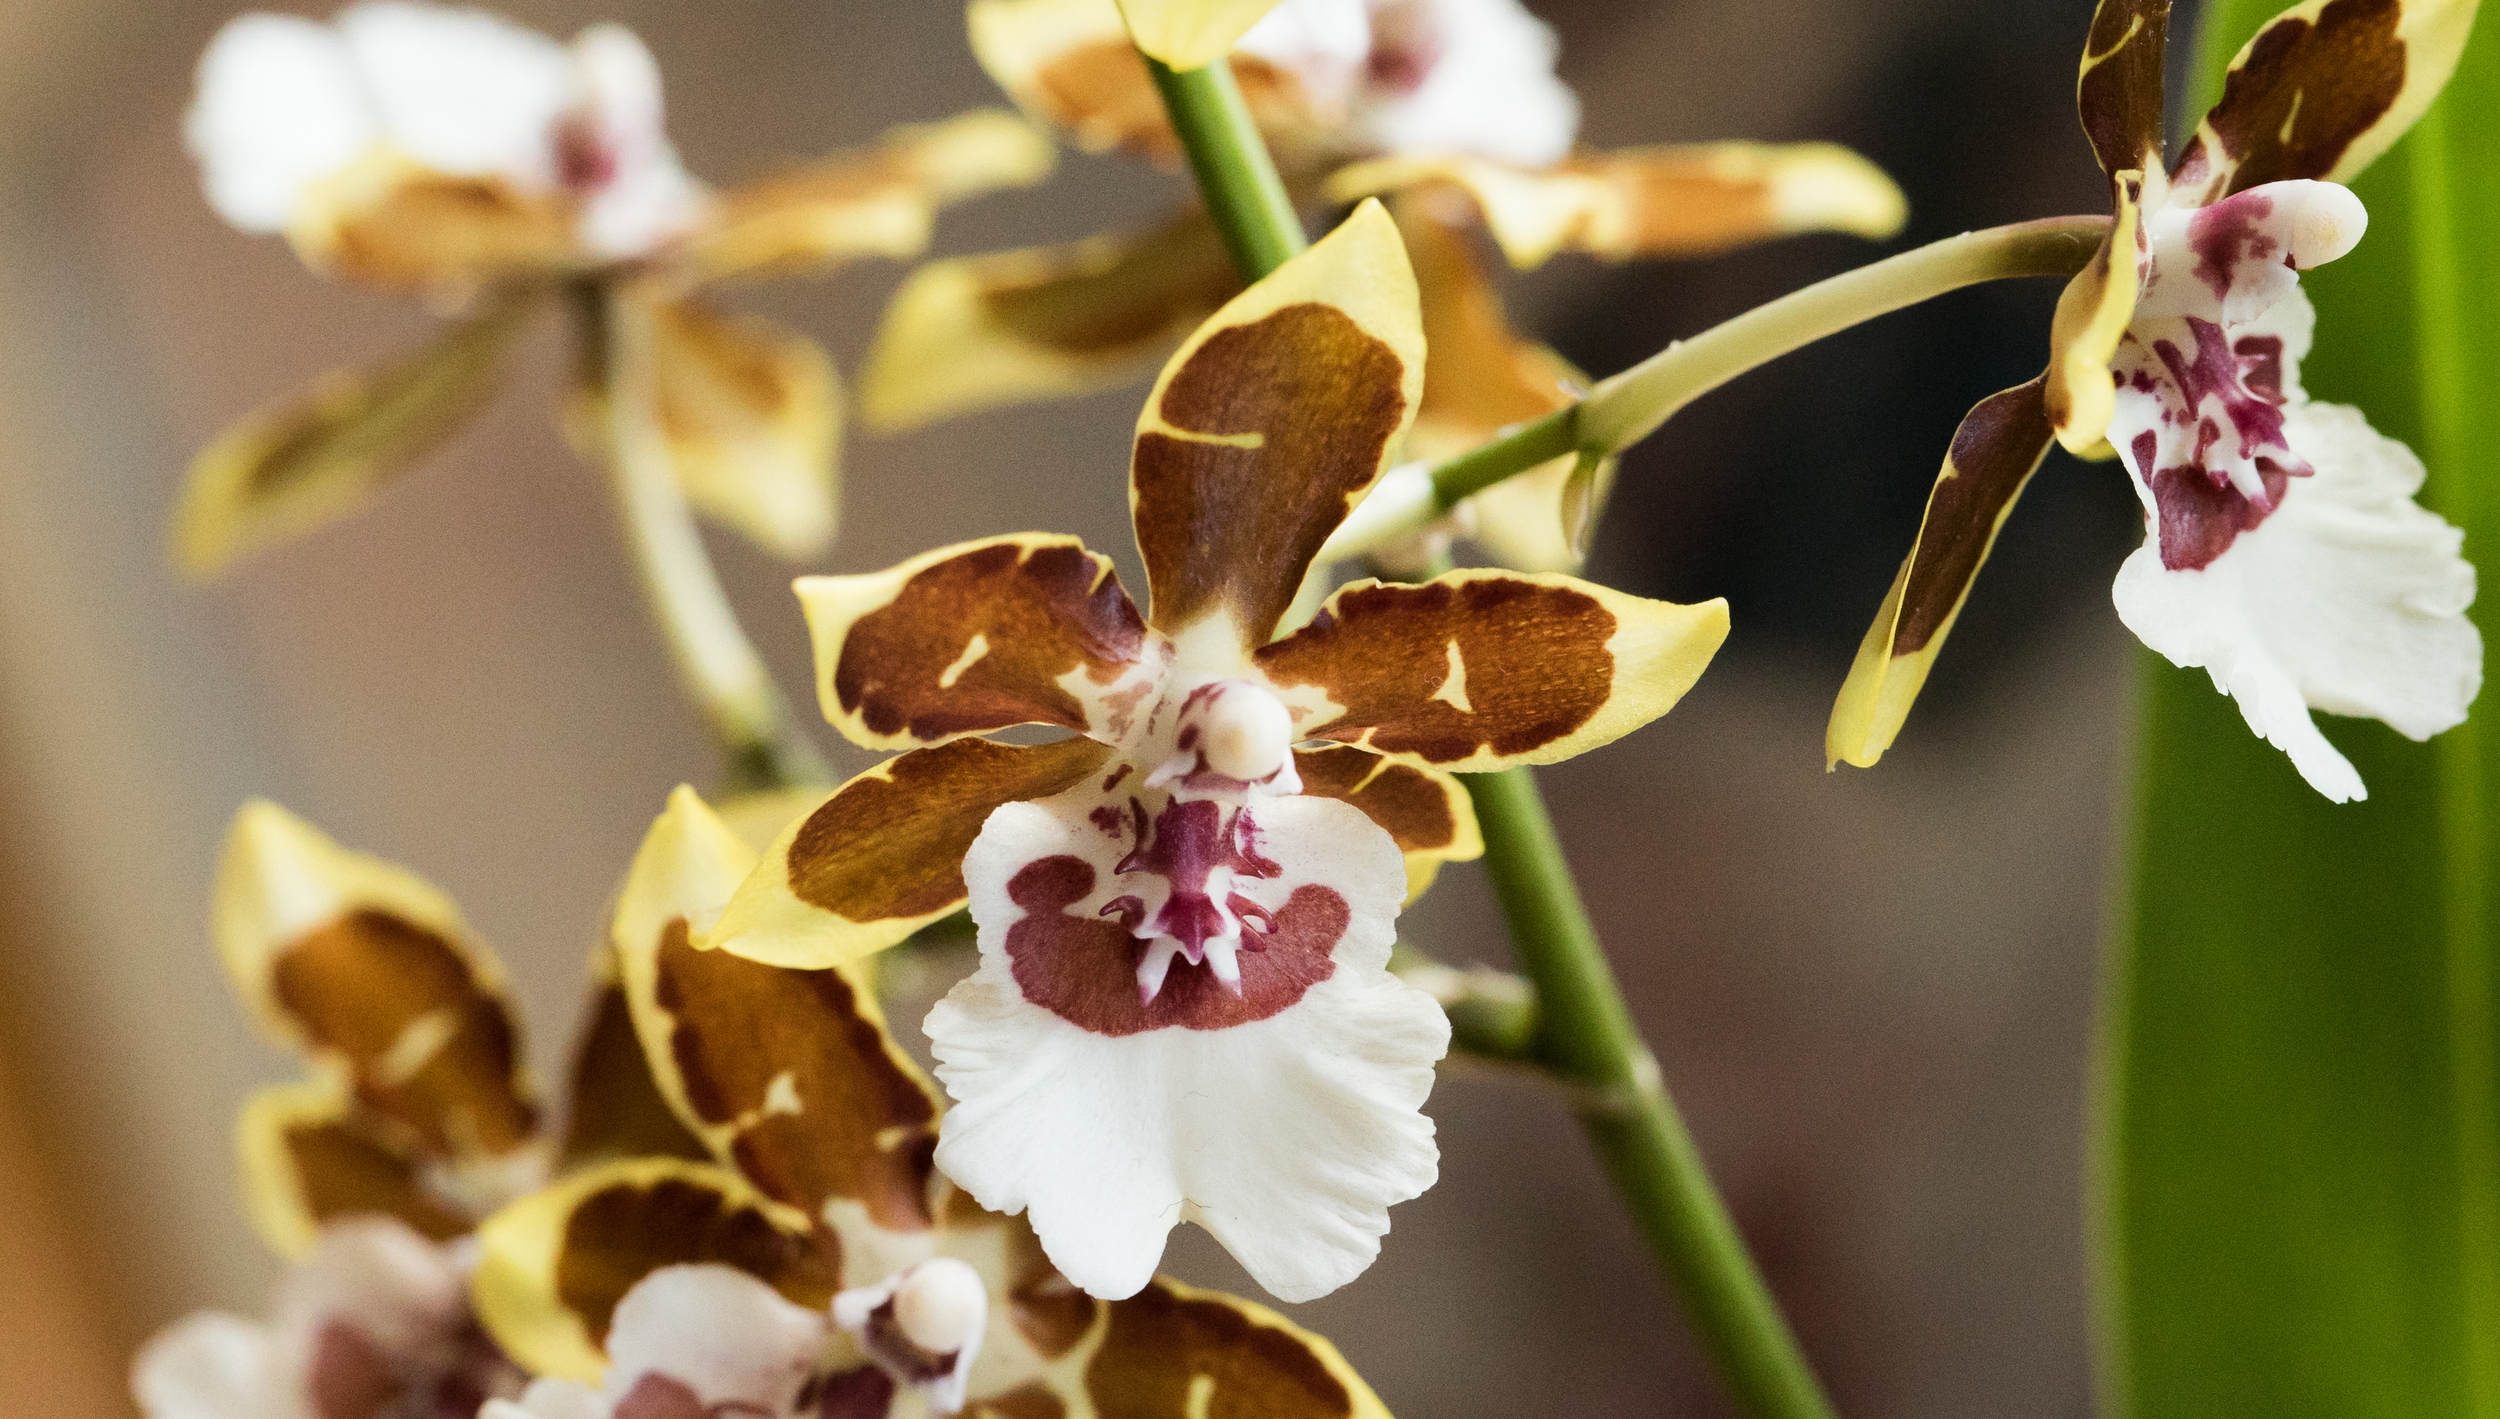
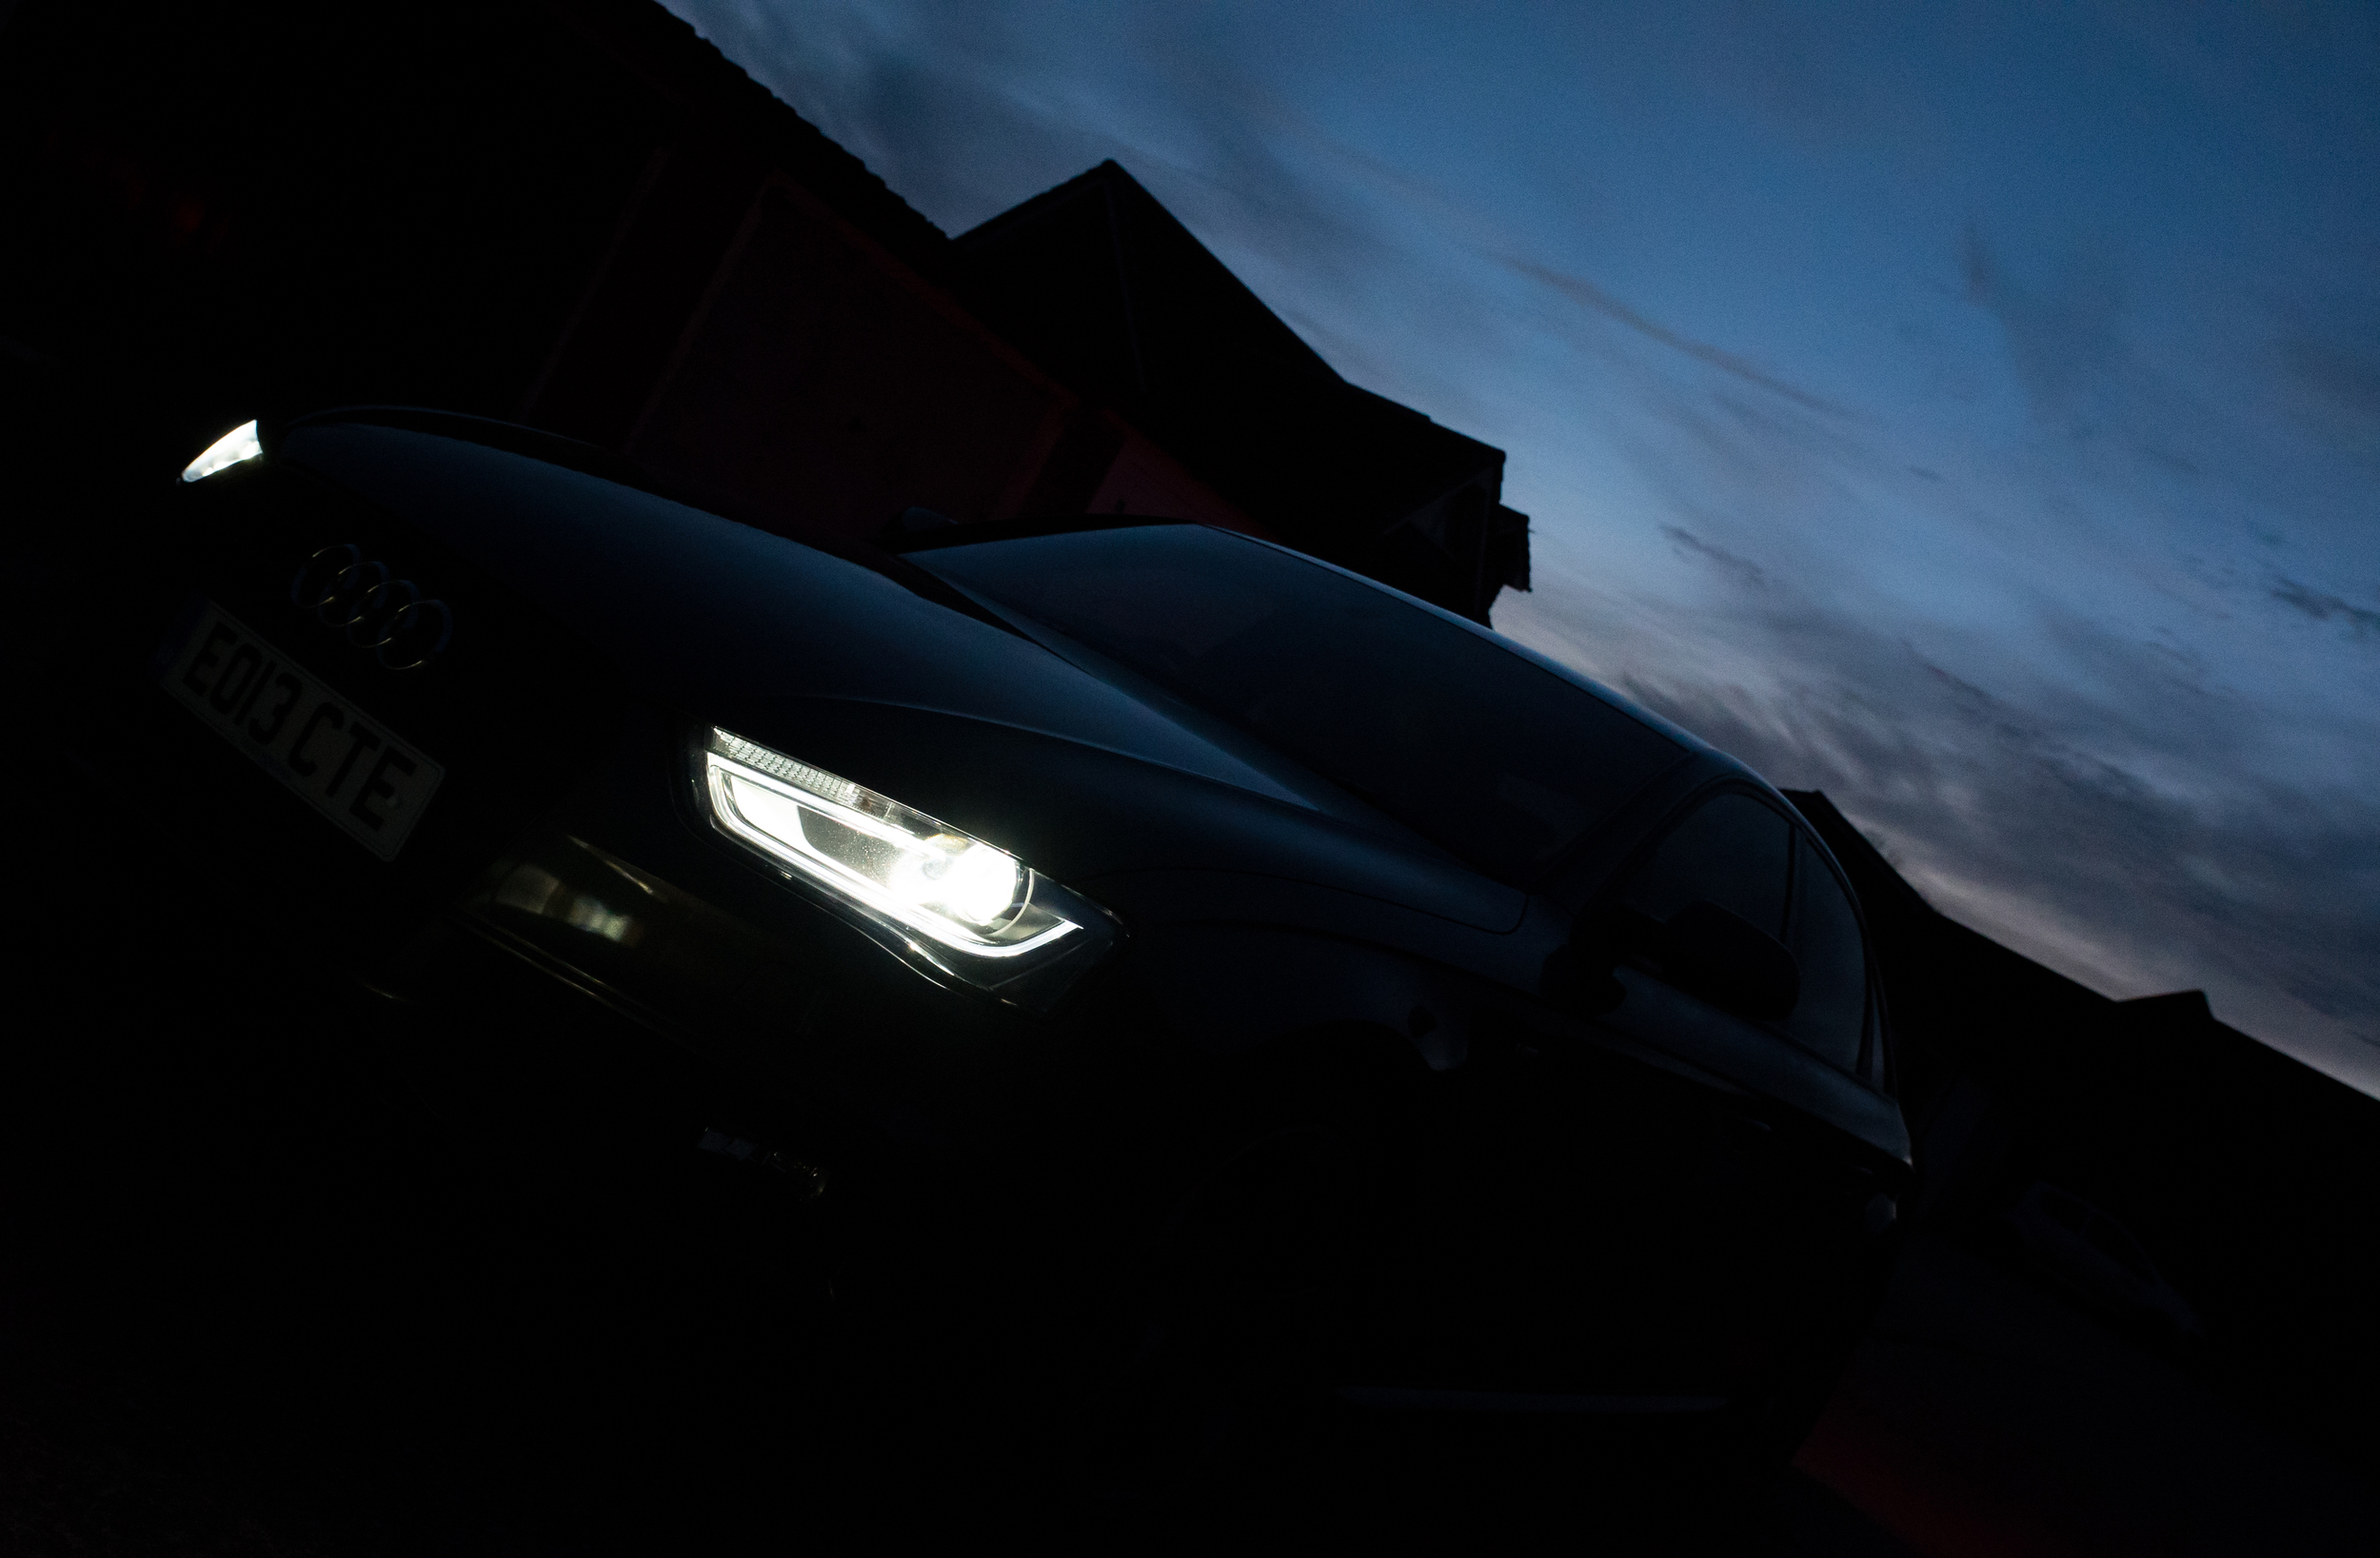
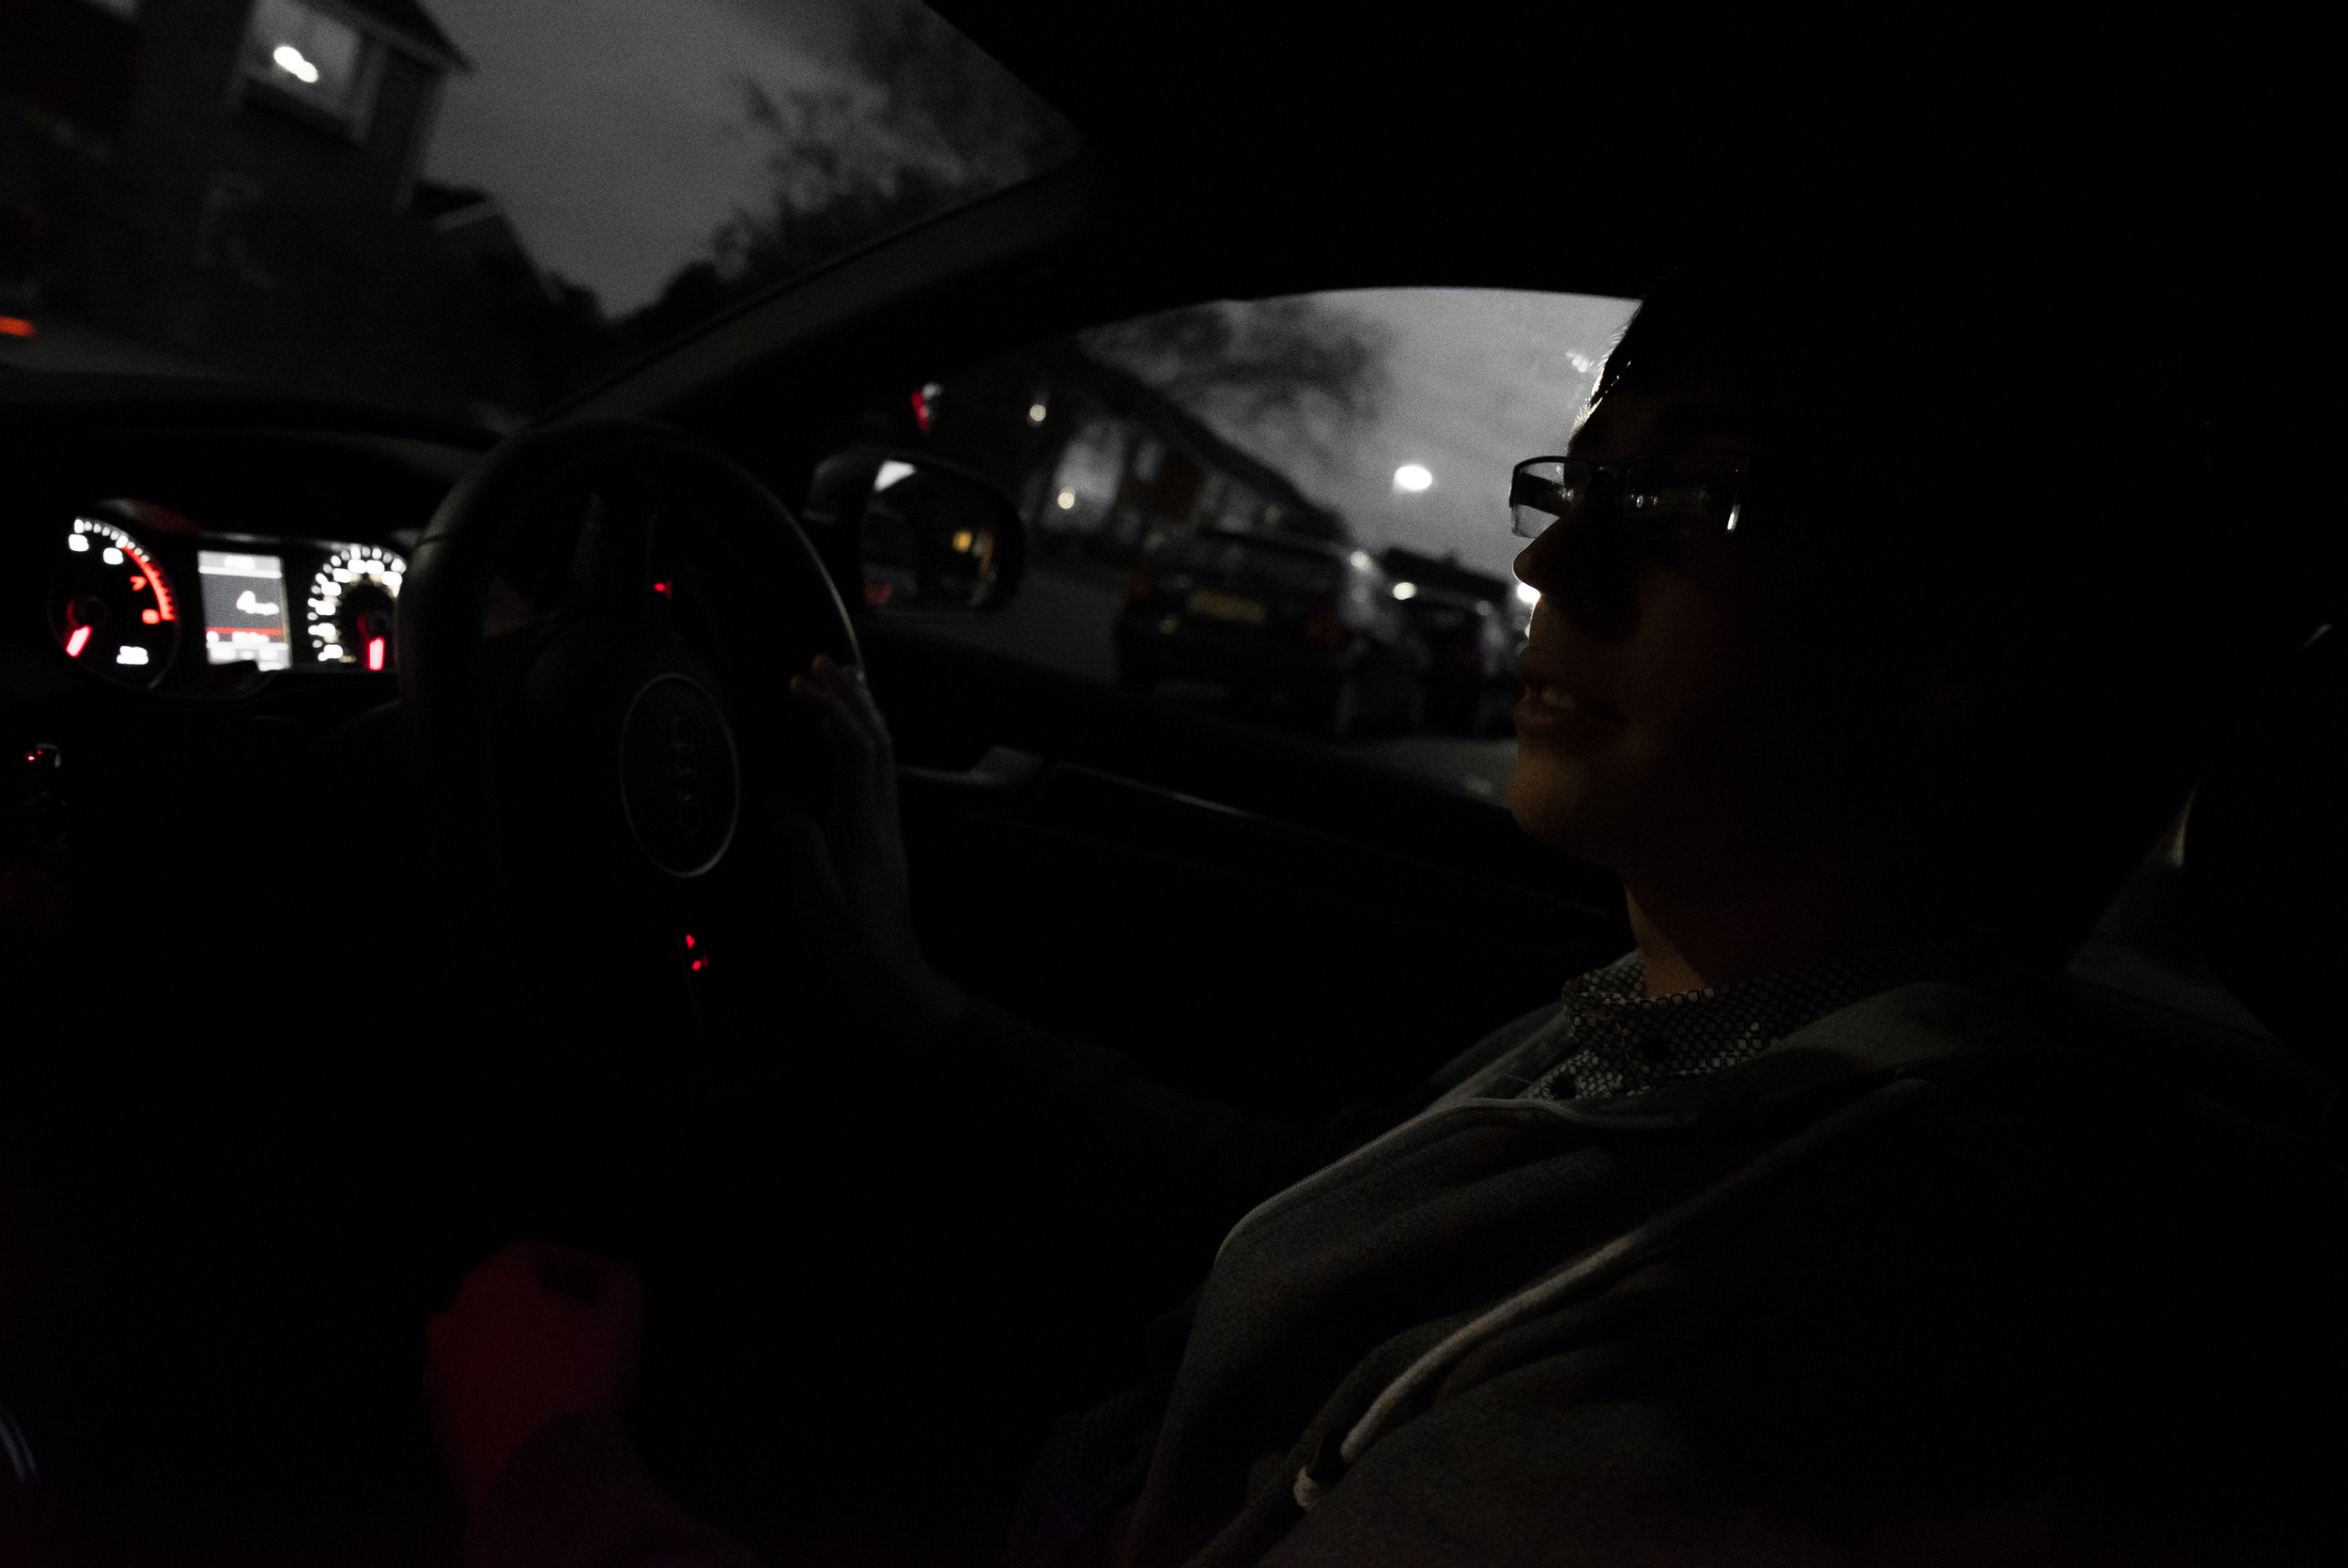
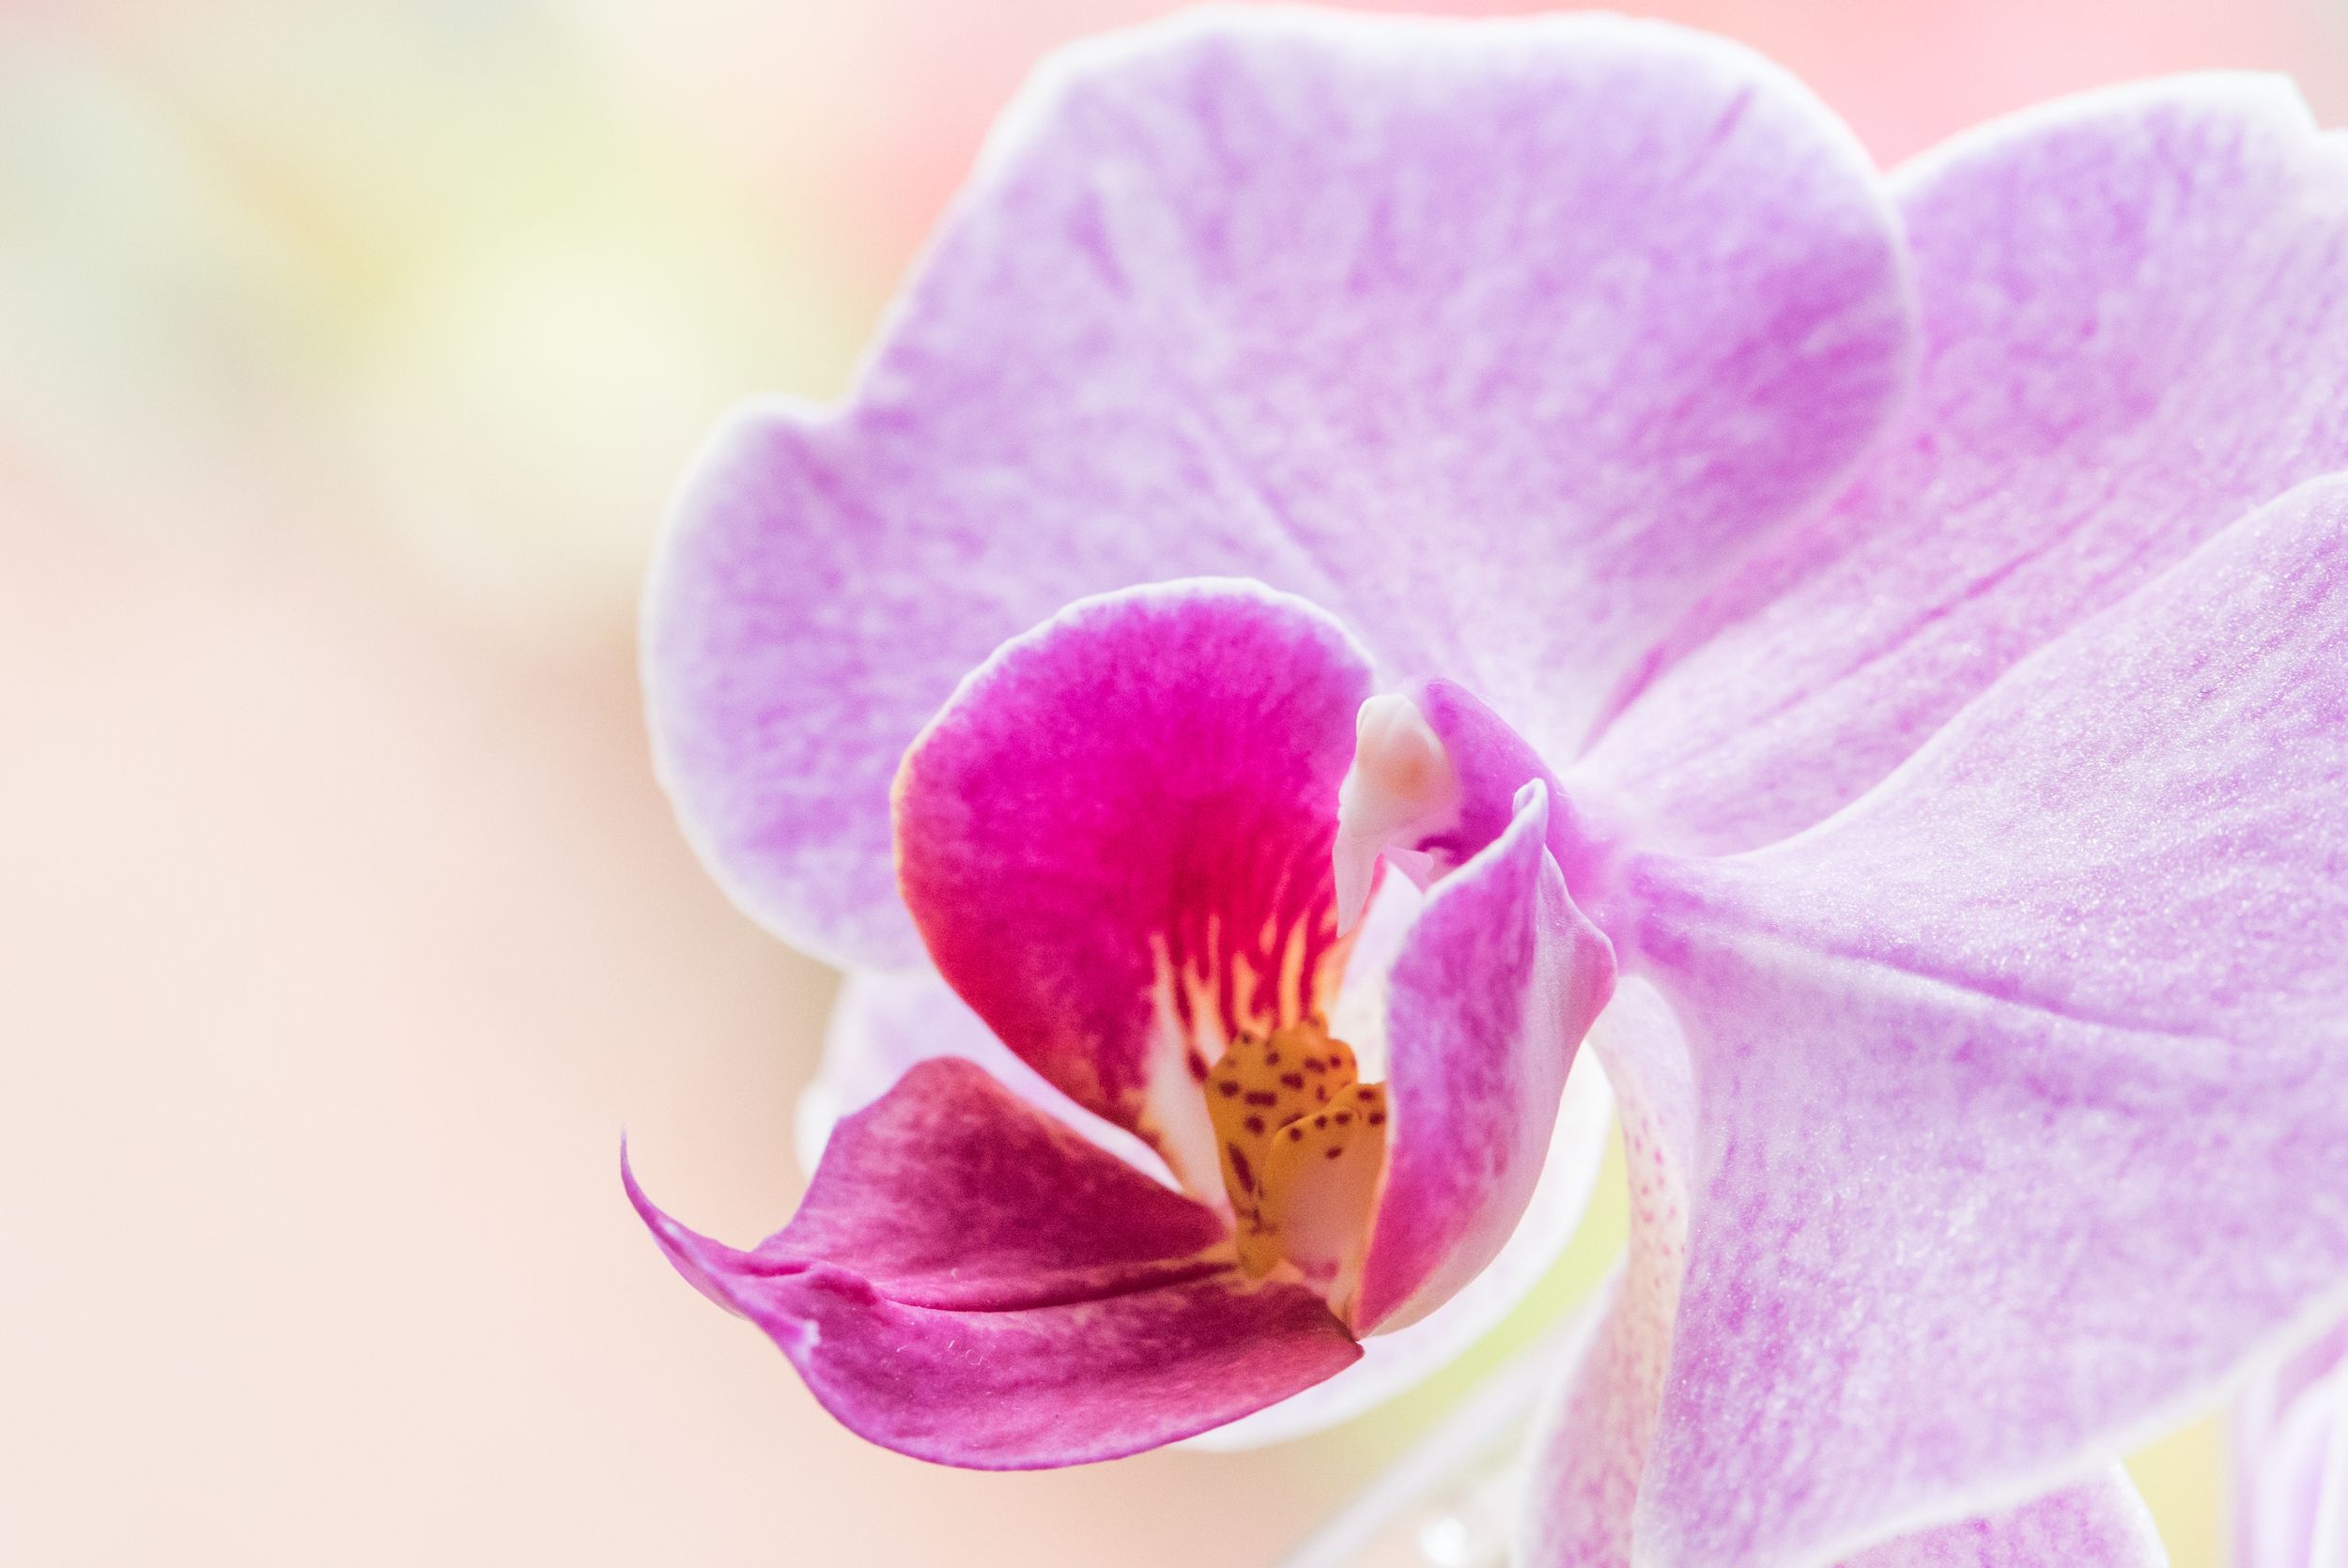
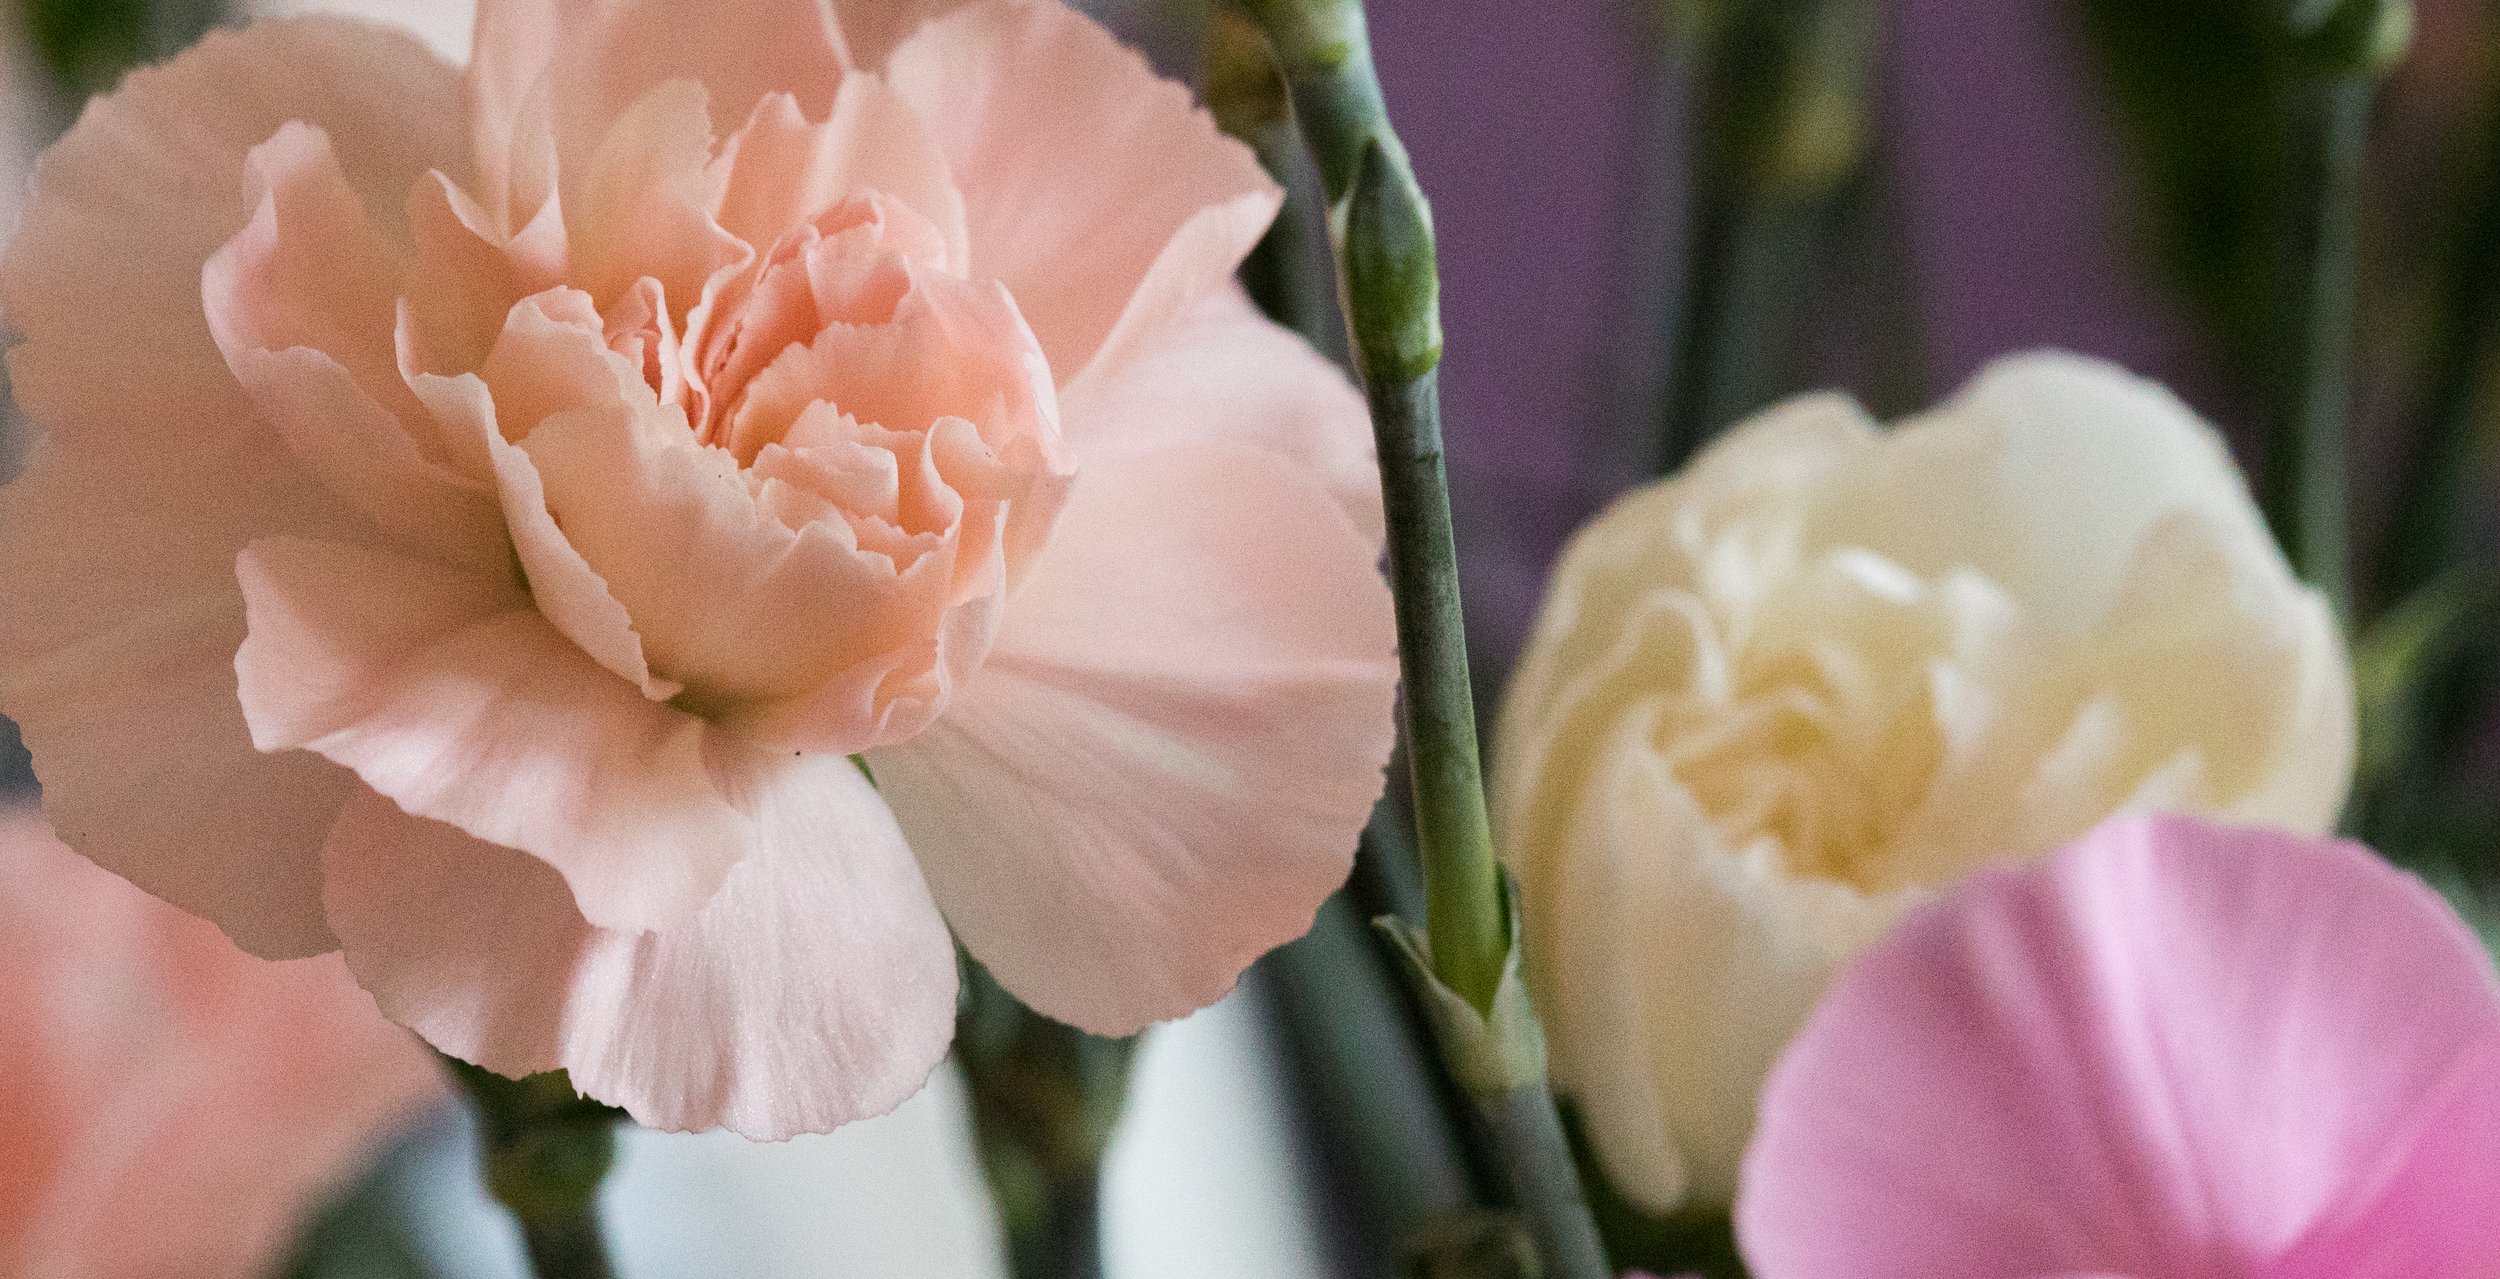
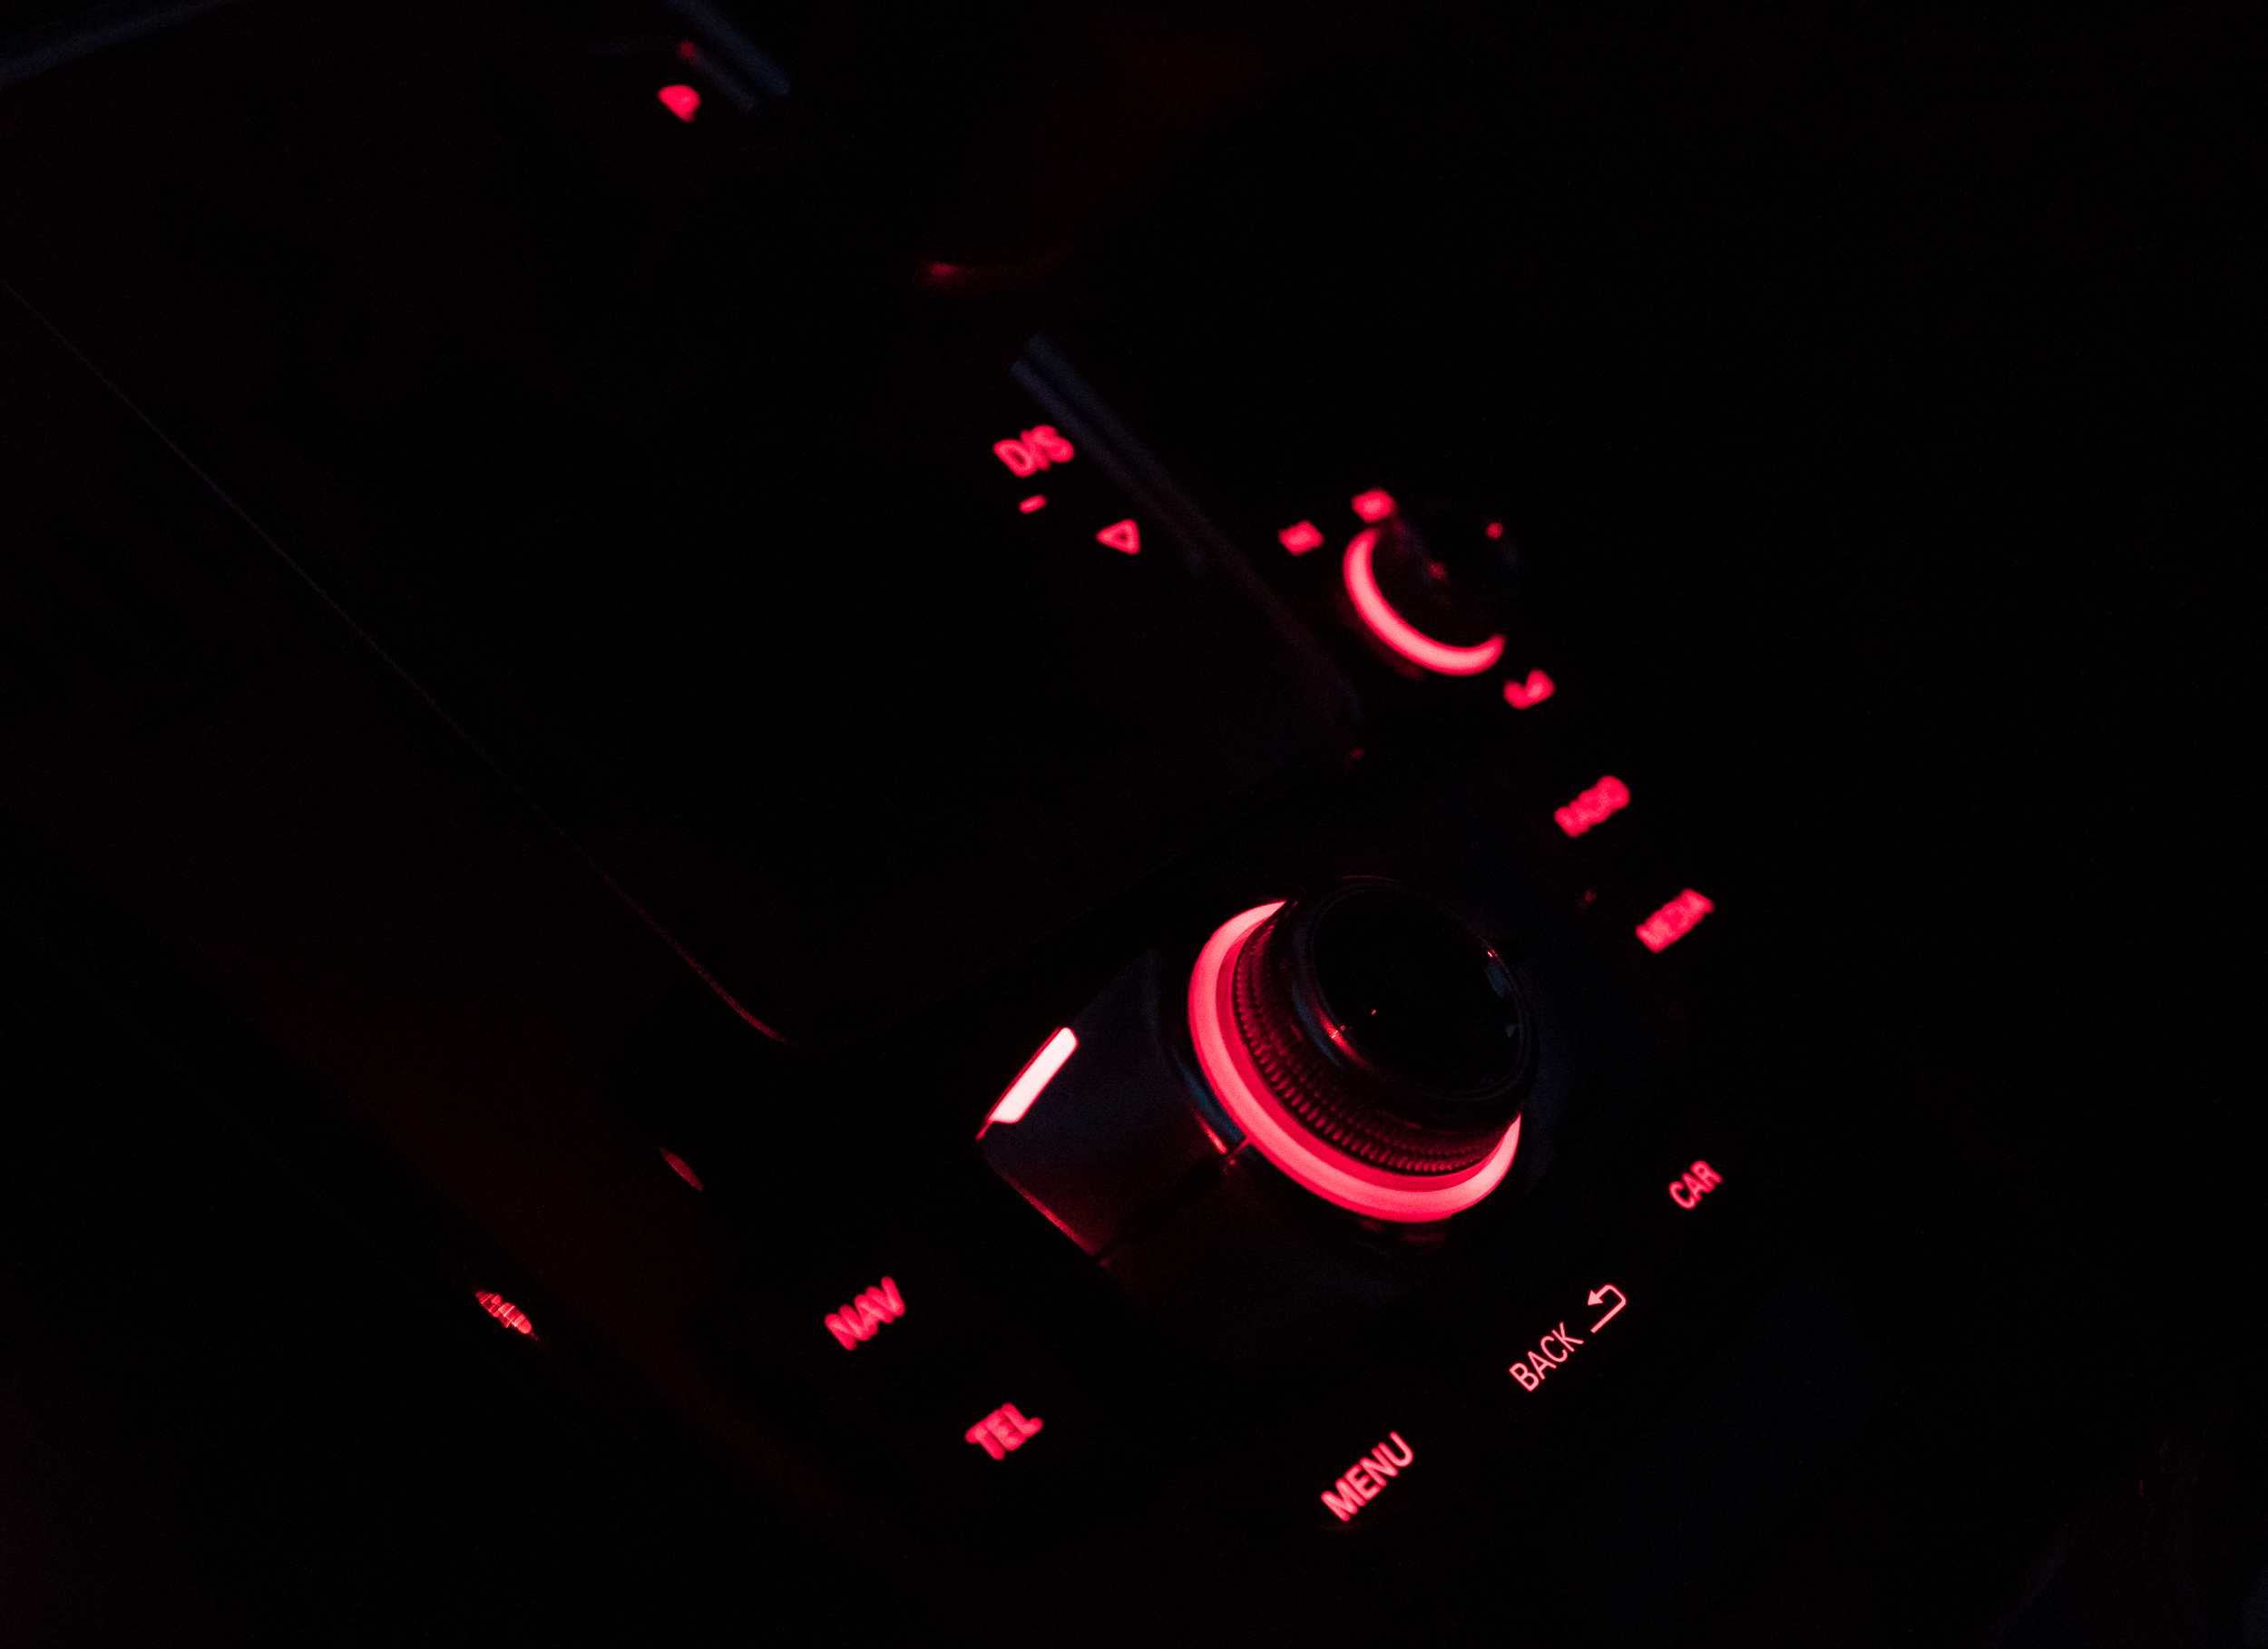
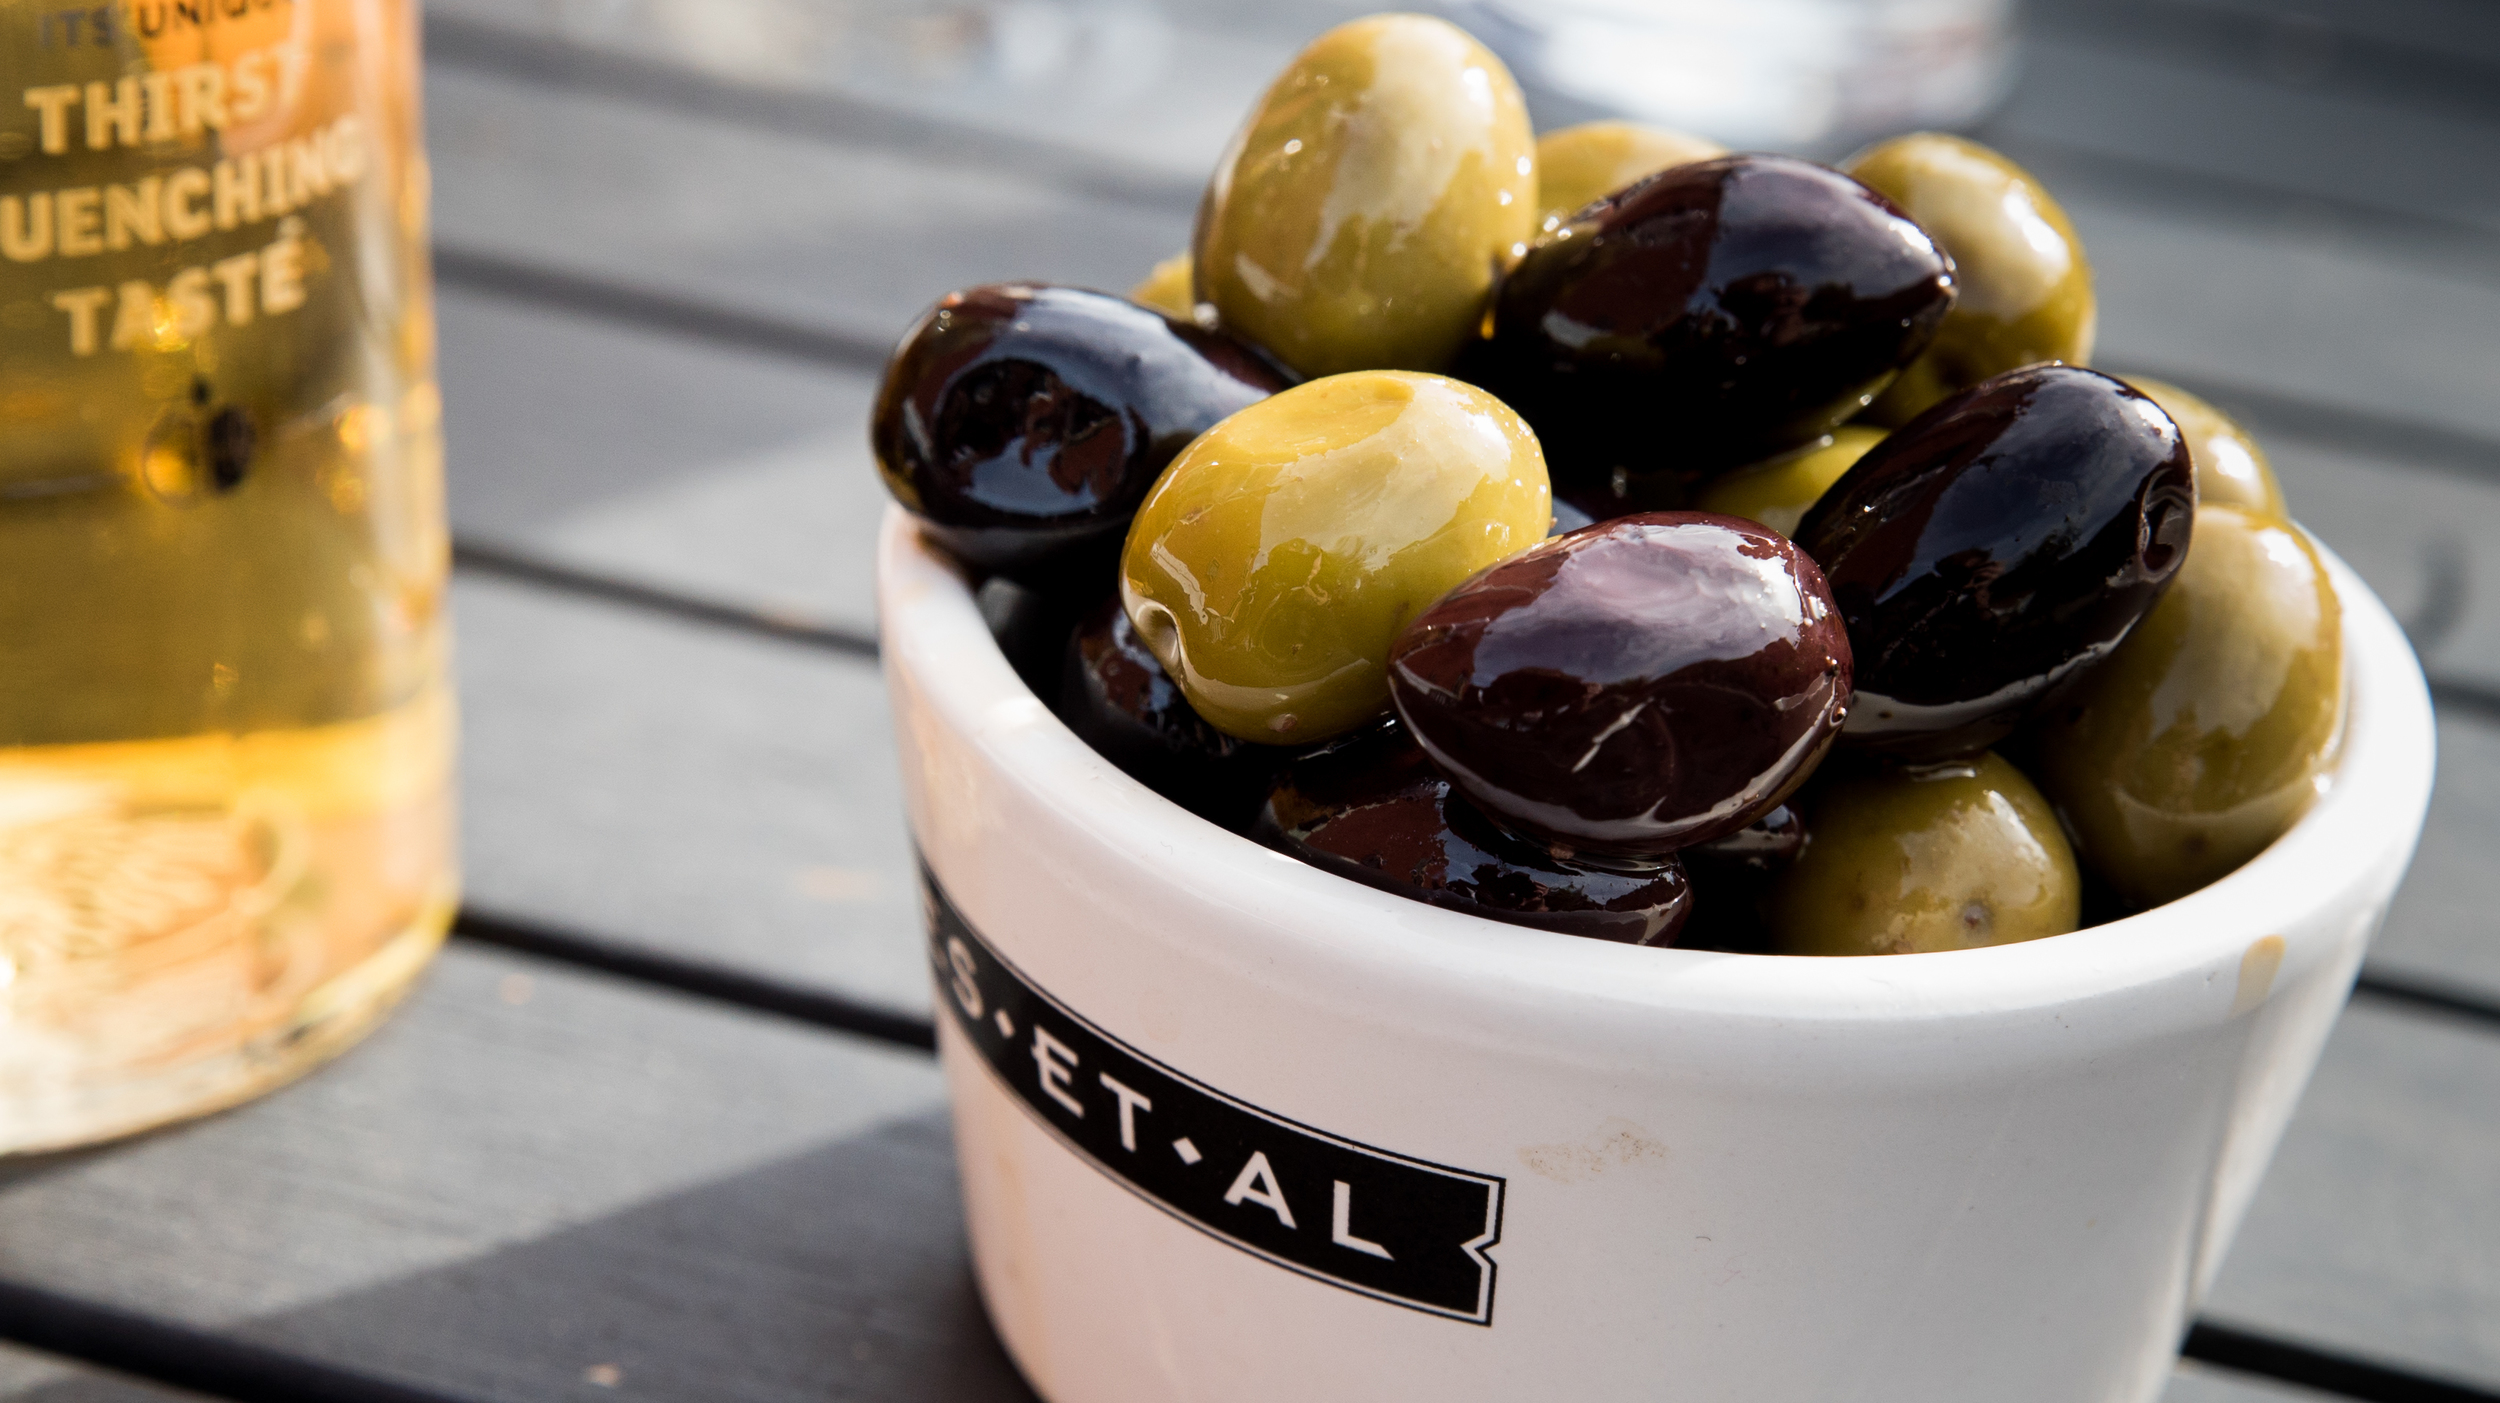
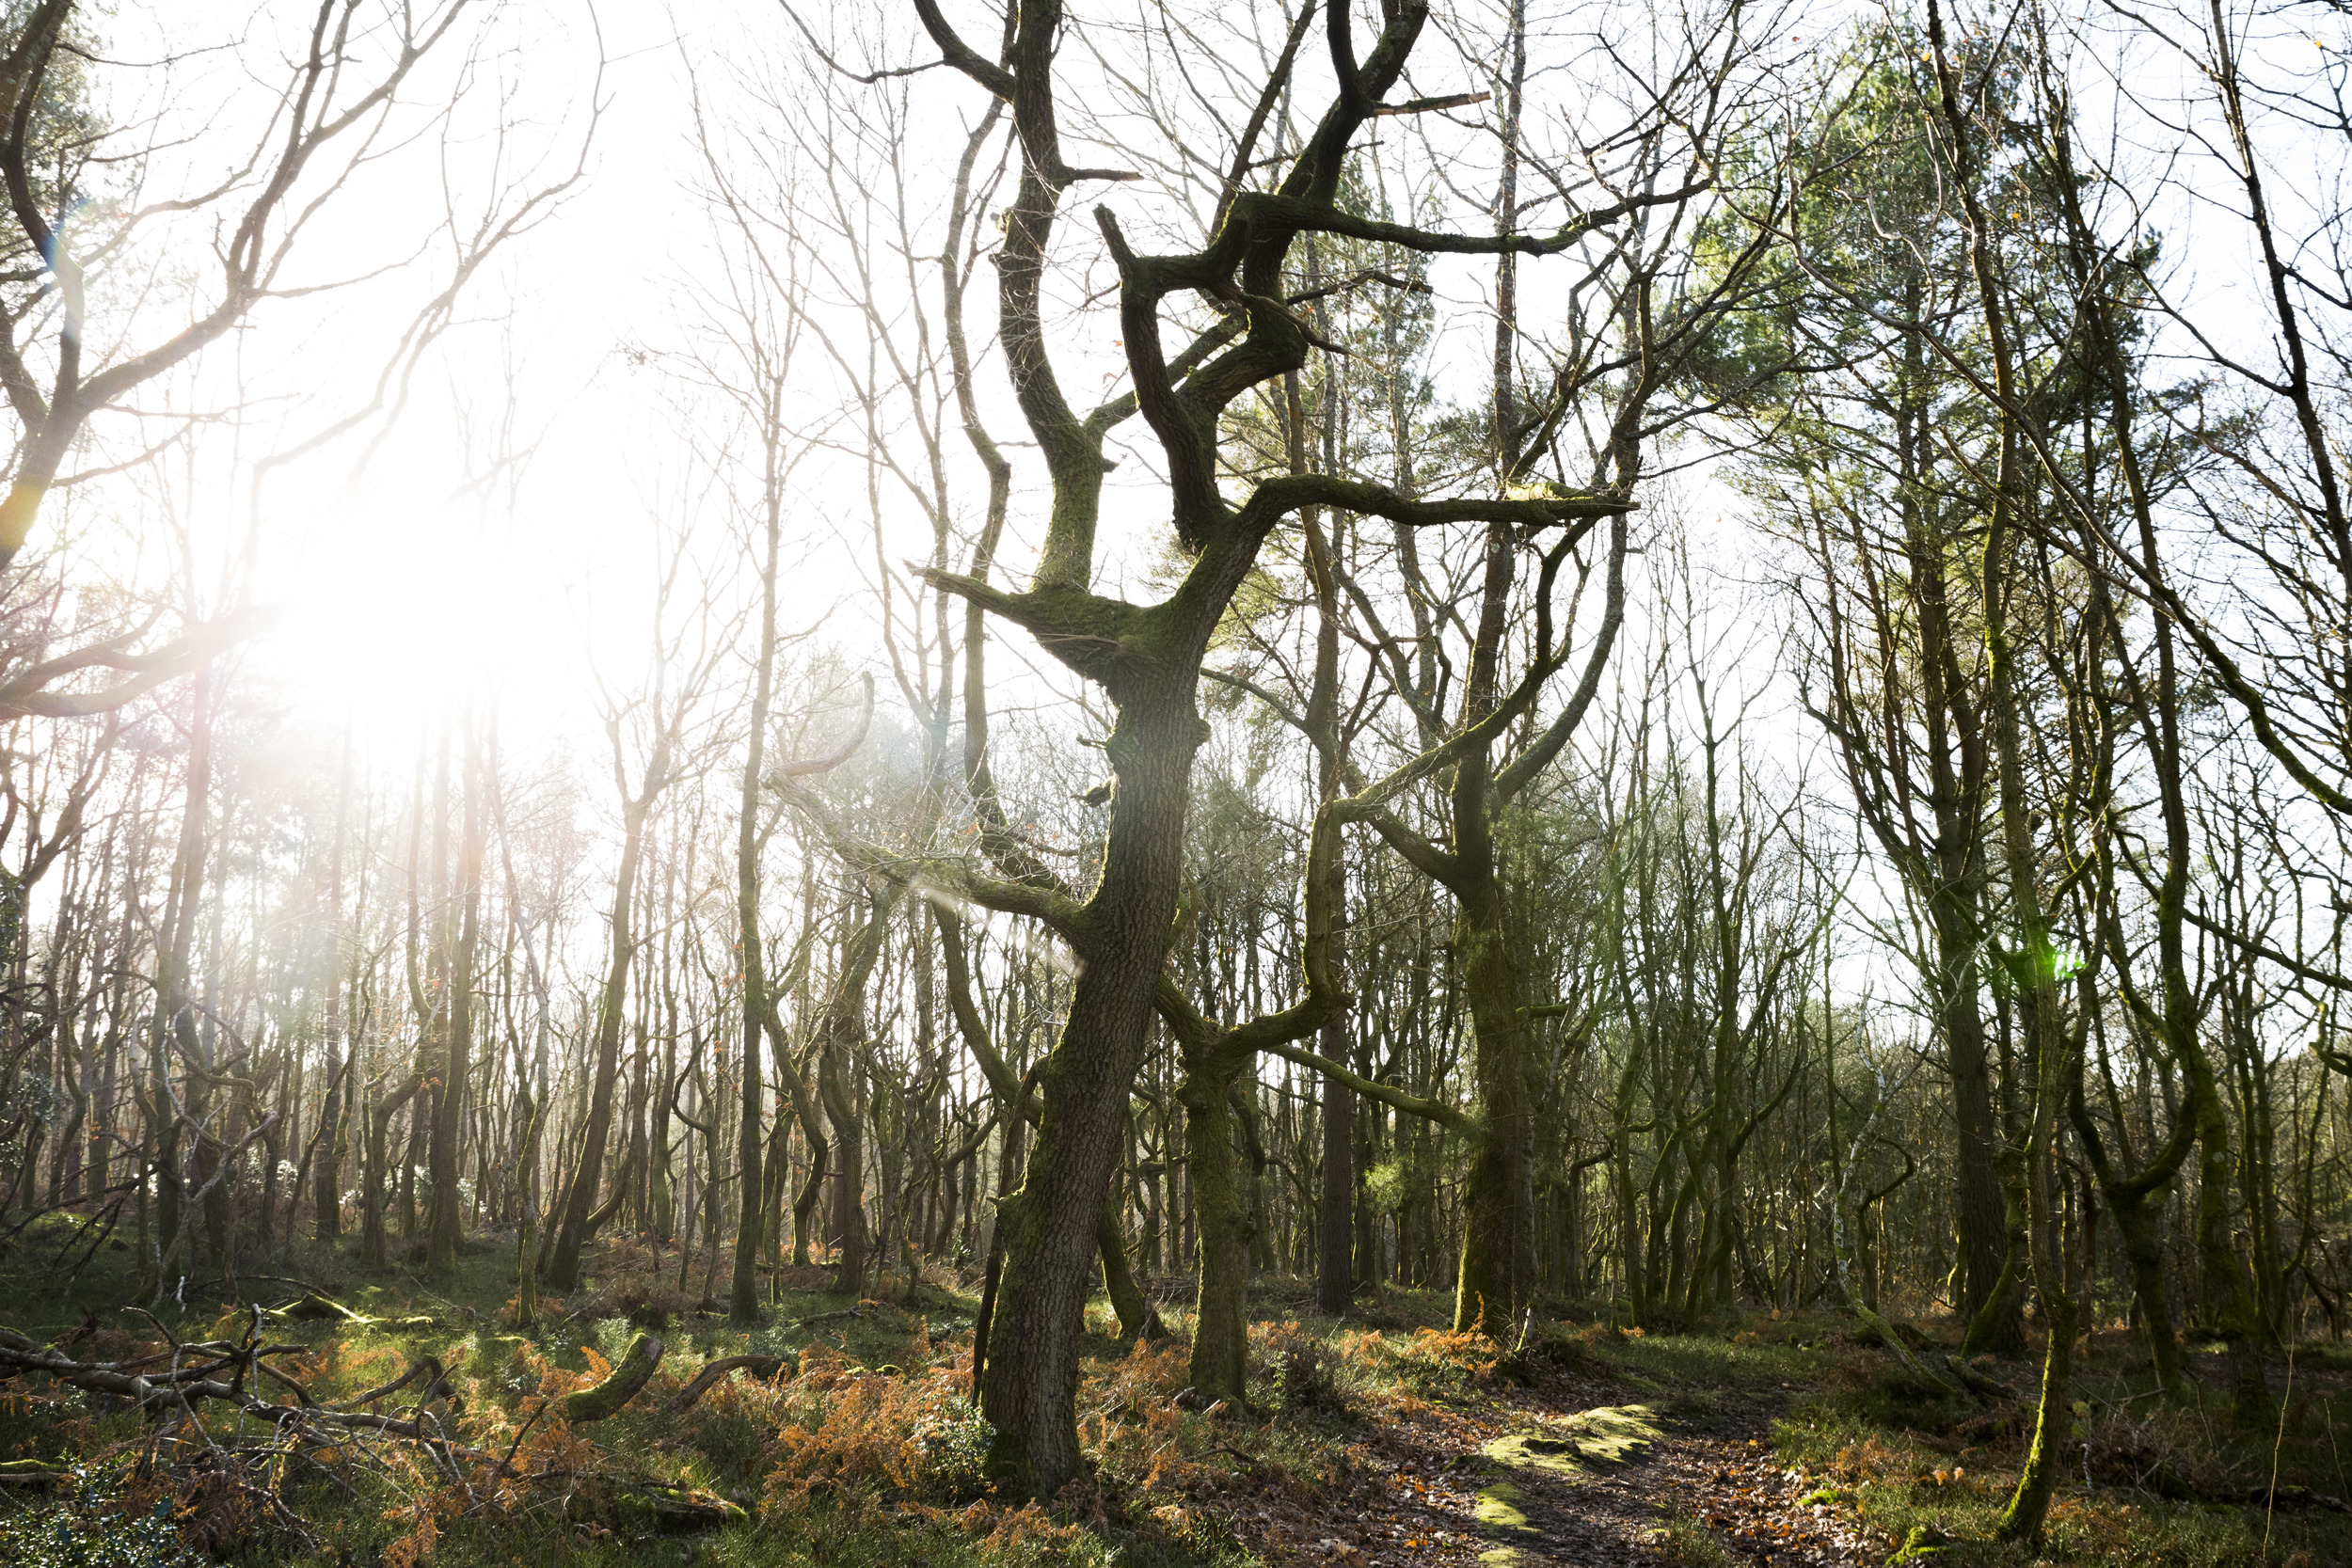
A selection of stills from the Sony A7S of my little vegetables growing in the greenhouse, Sam's new car, some flowers (Orchids and Carnations) in the house and olives from The Queen Adelaide!

Sony A7S, PP6, taken on Canon 100mm F/2.8L and Tamron 24-70 F/2.8 with a range of settings.

Winter walk, Friday Street & Abinger

Shot at Friday Street and around Abinger Common on the Canon 5D mk III, Tamron 24-70 and Canon 100mm L, with Glen.

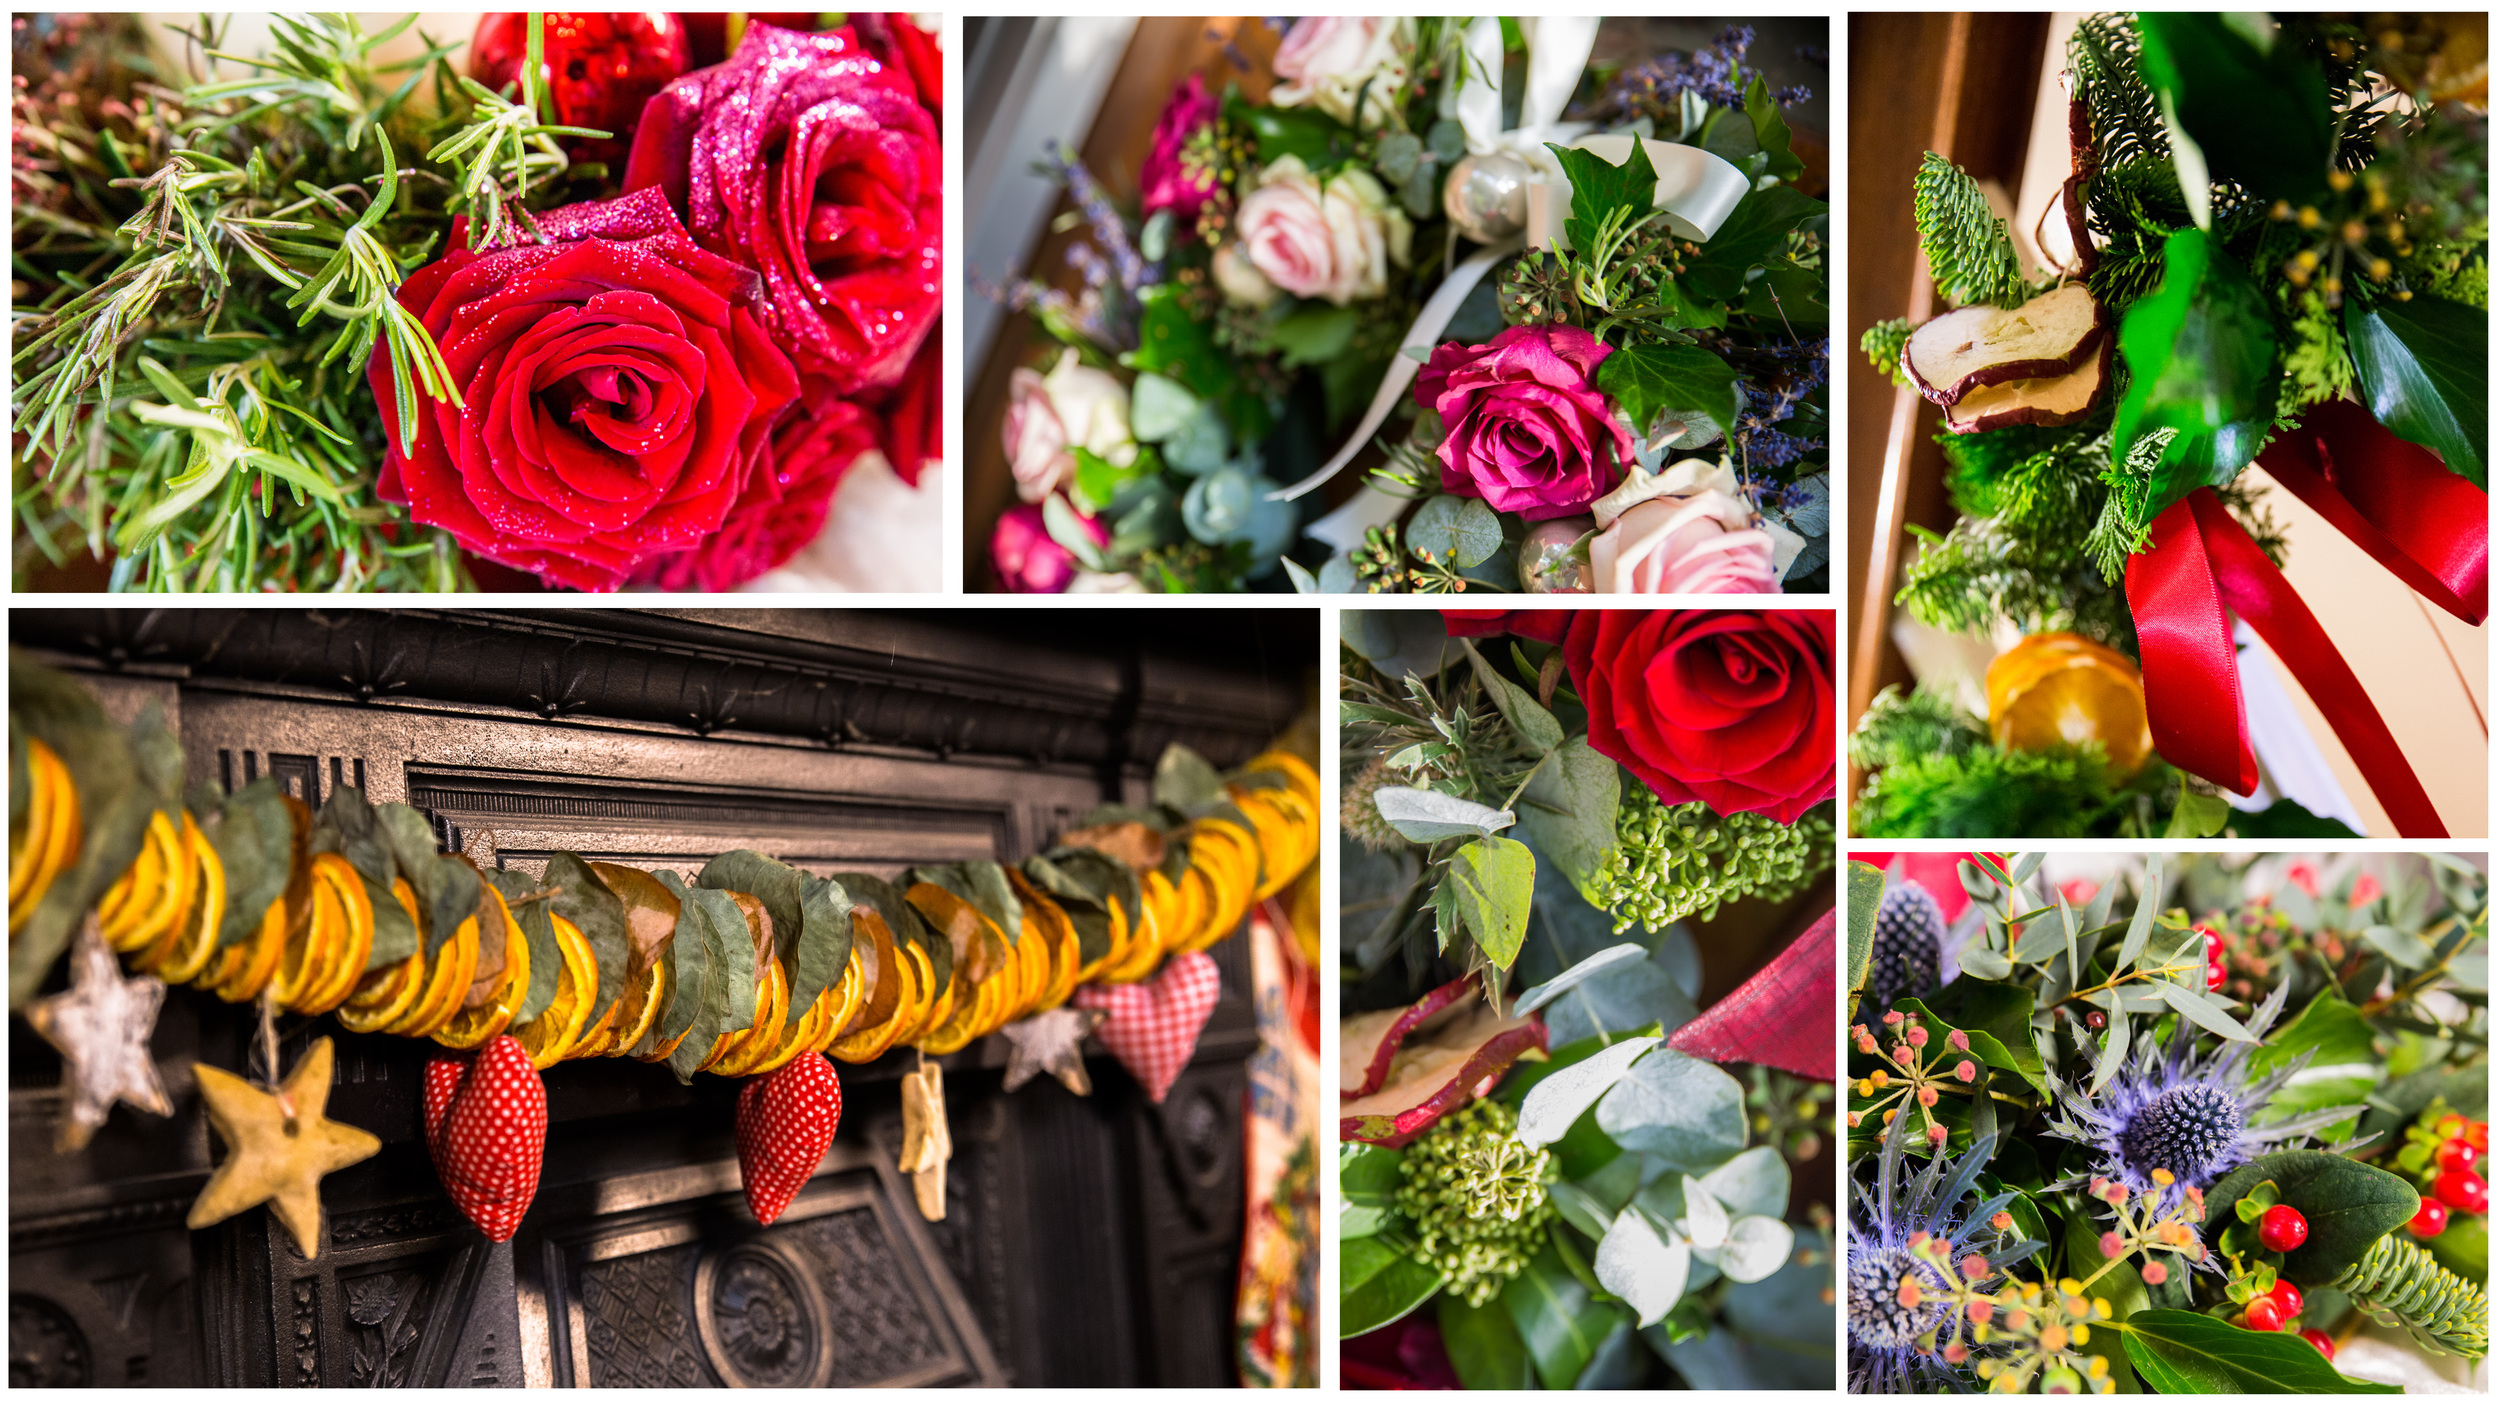
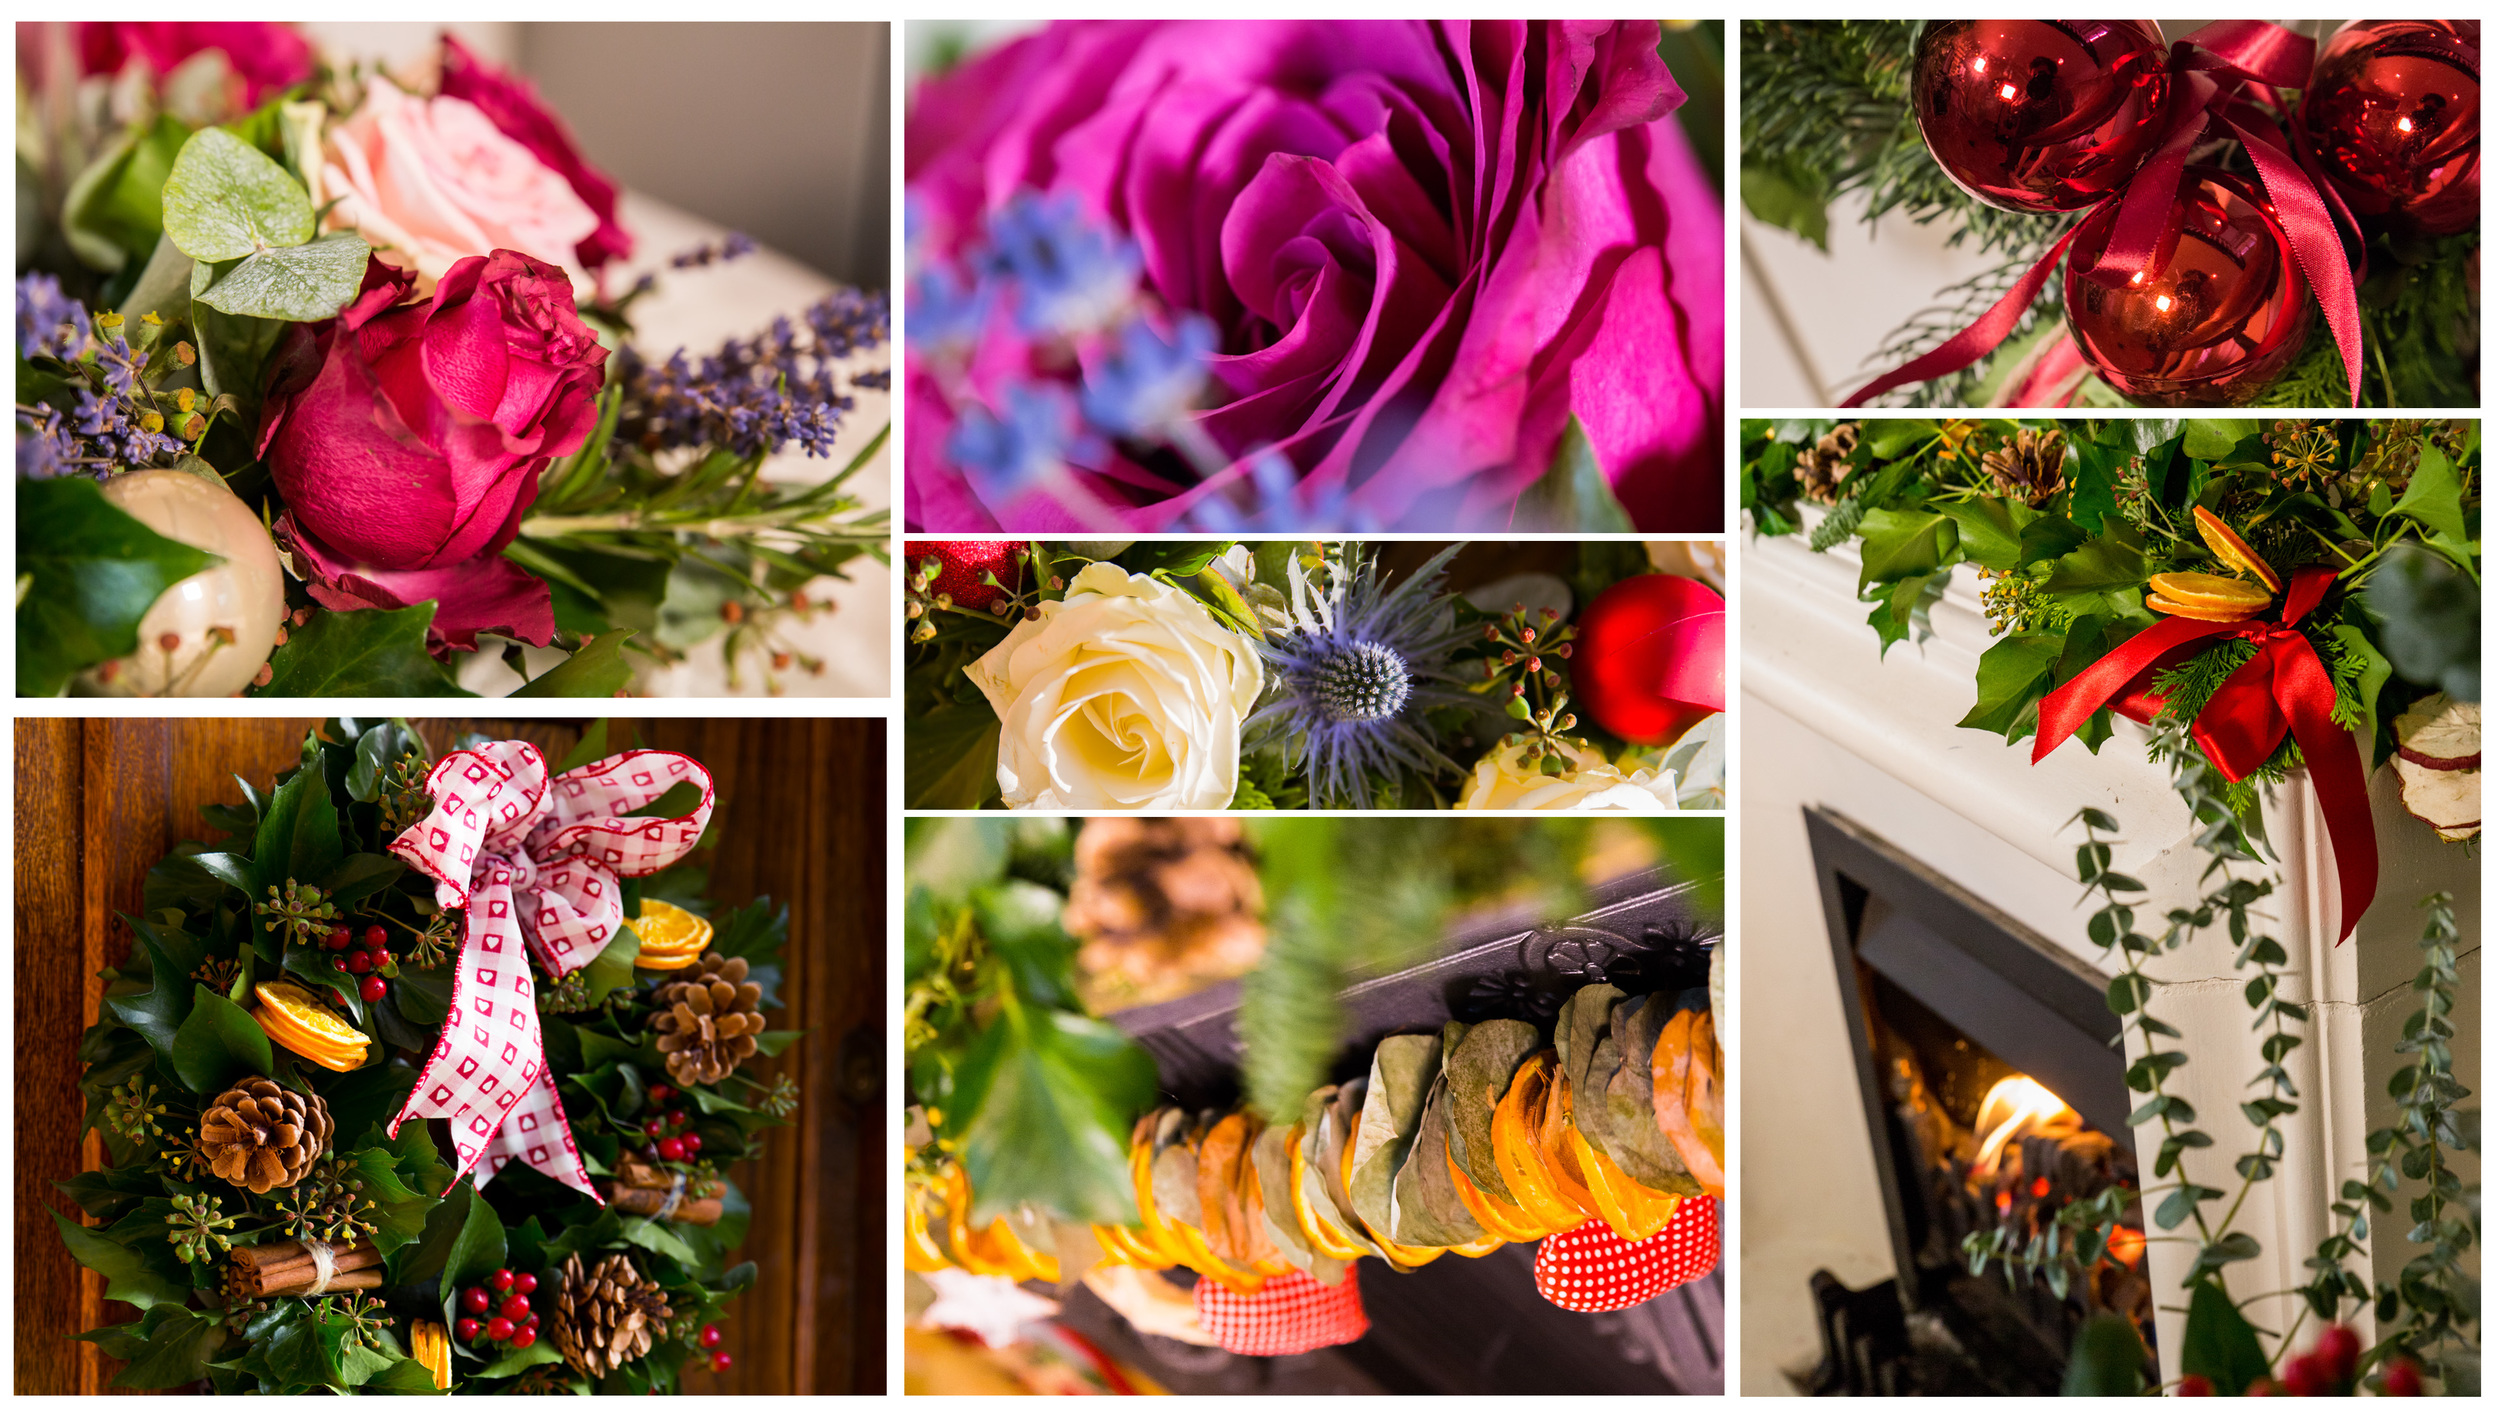
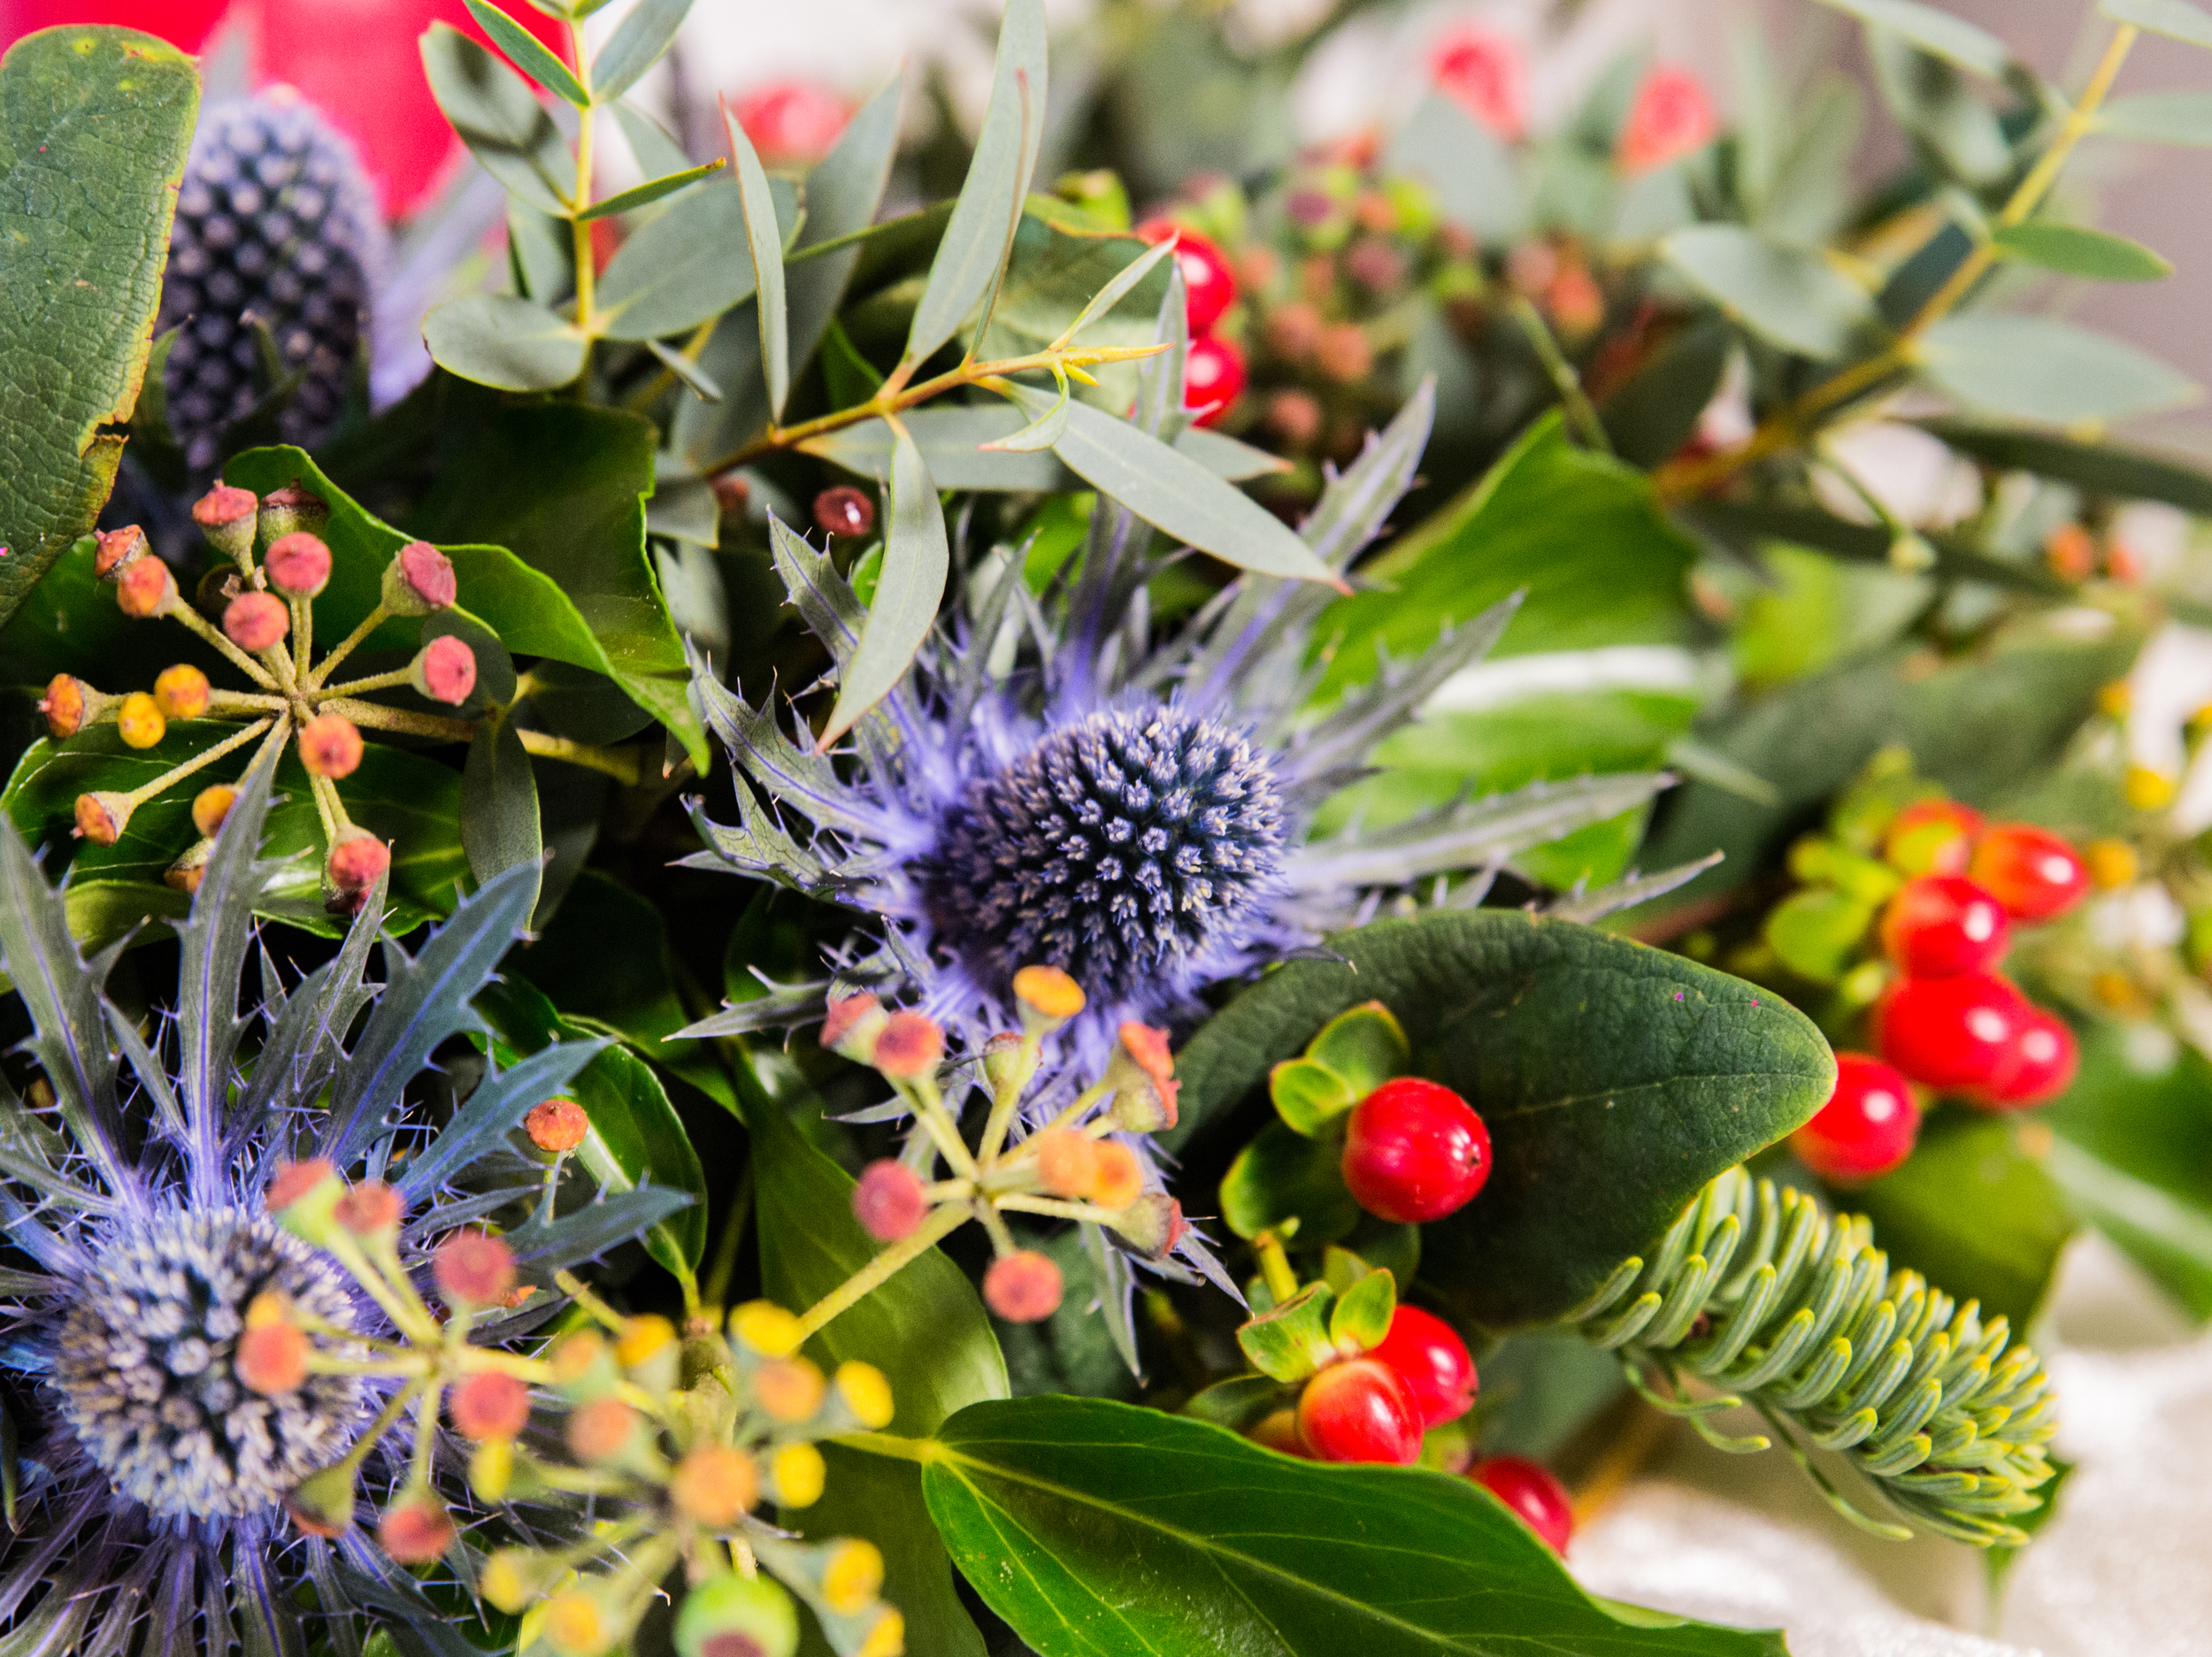
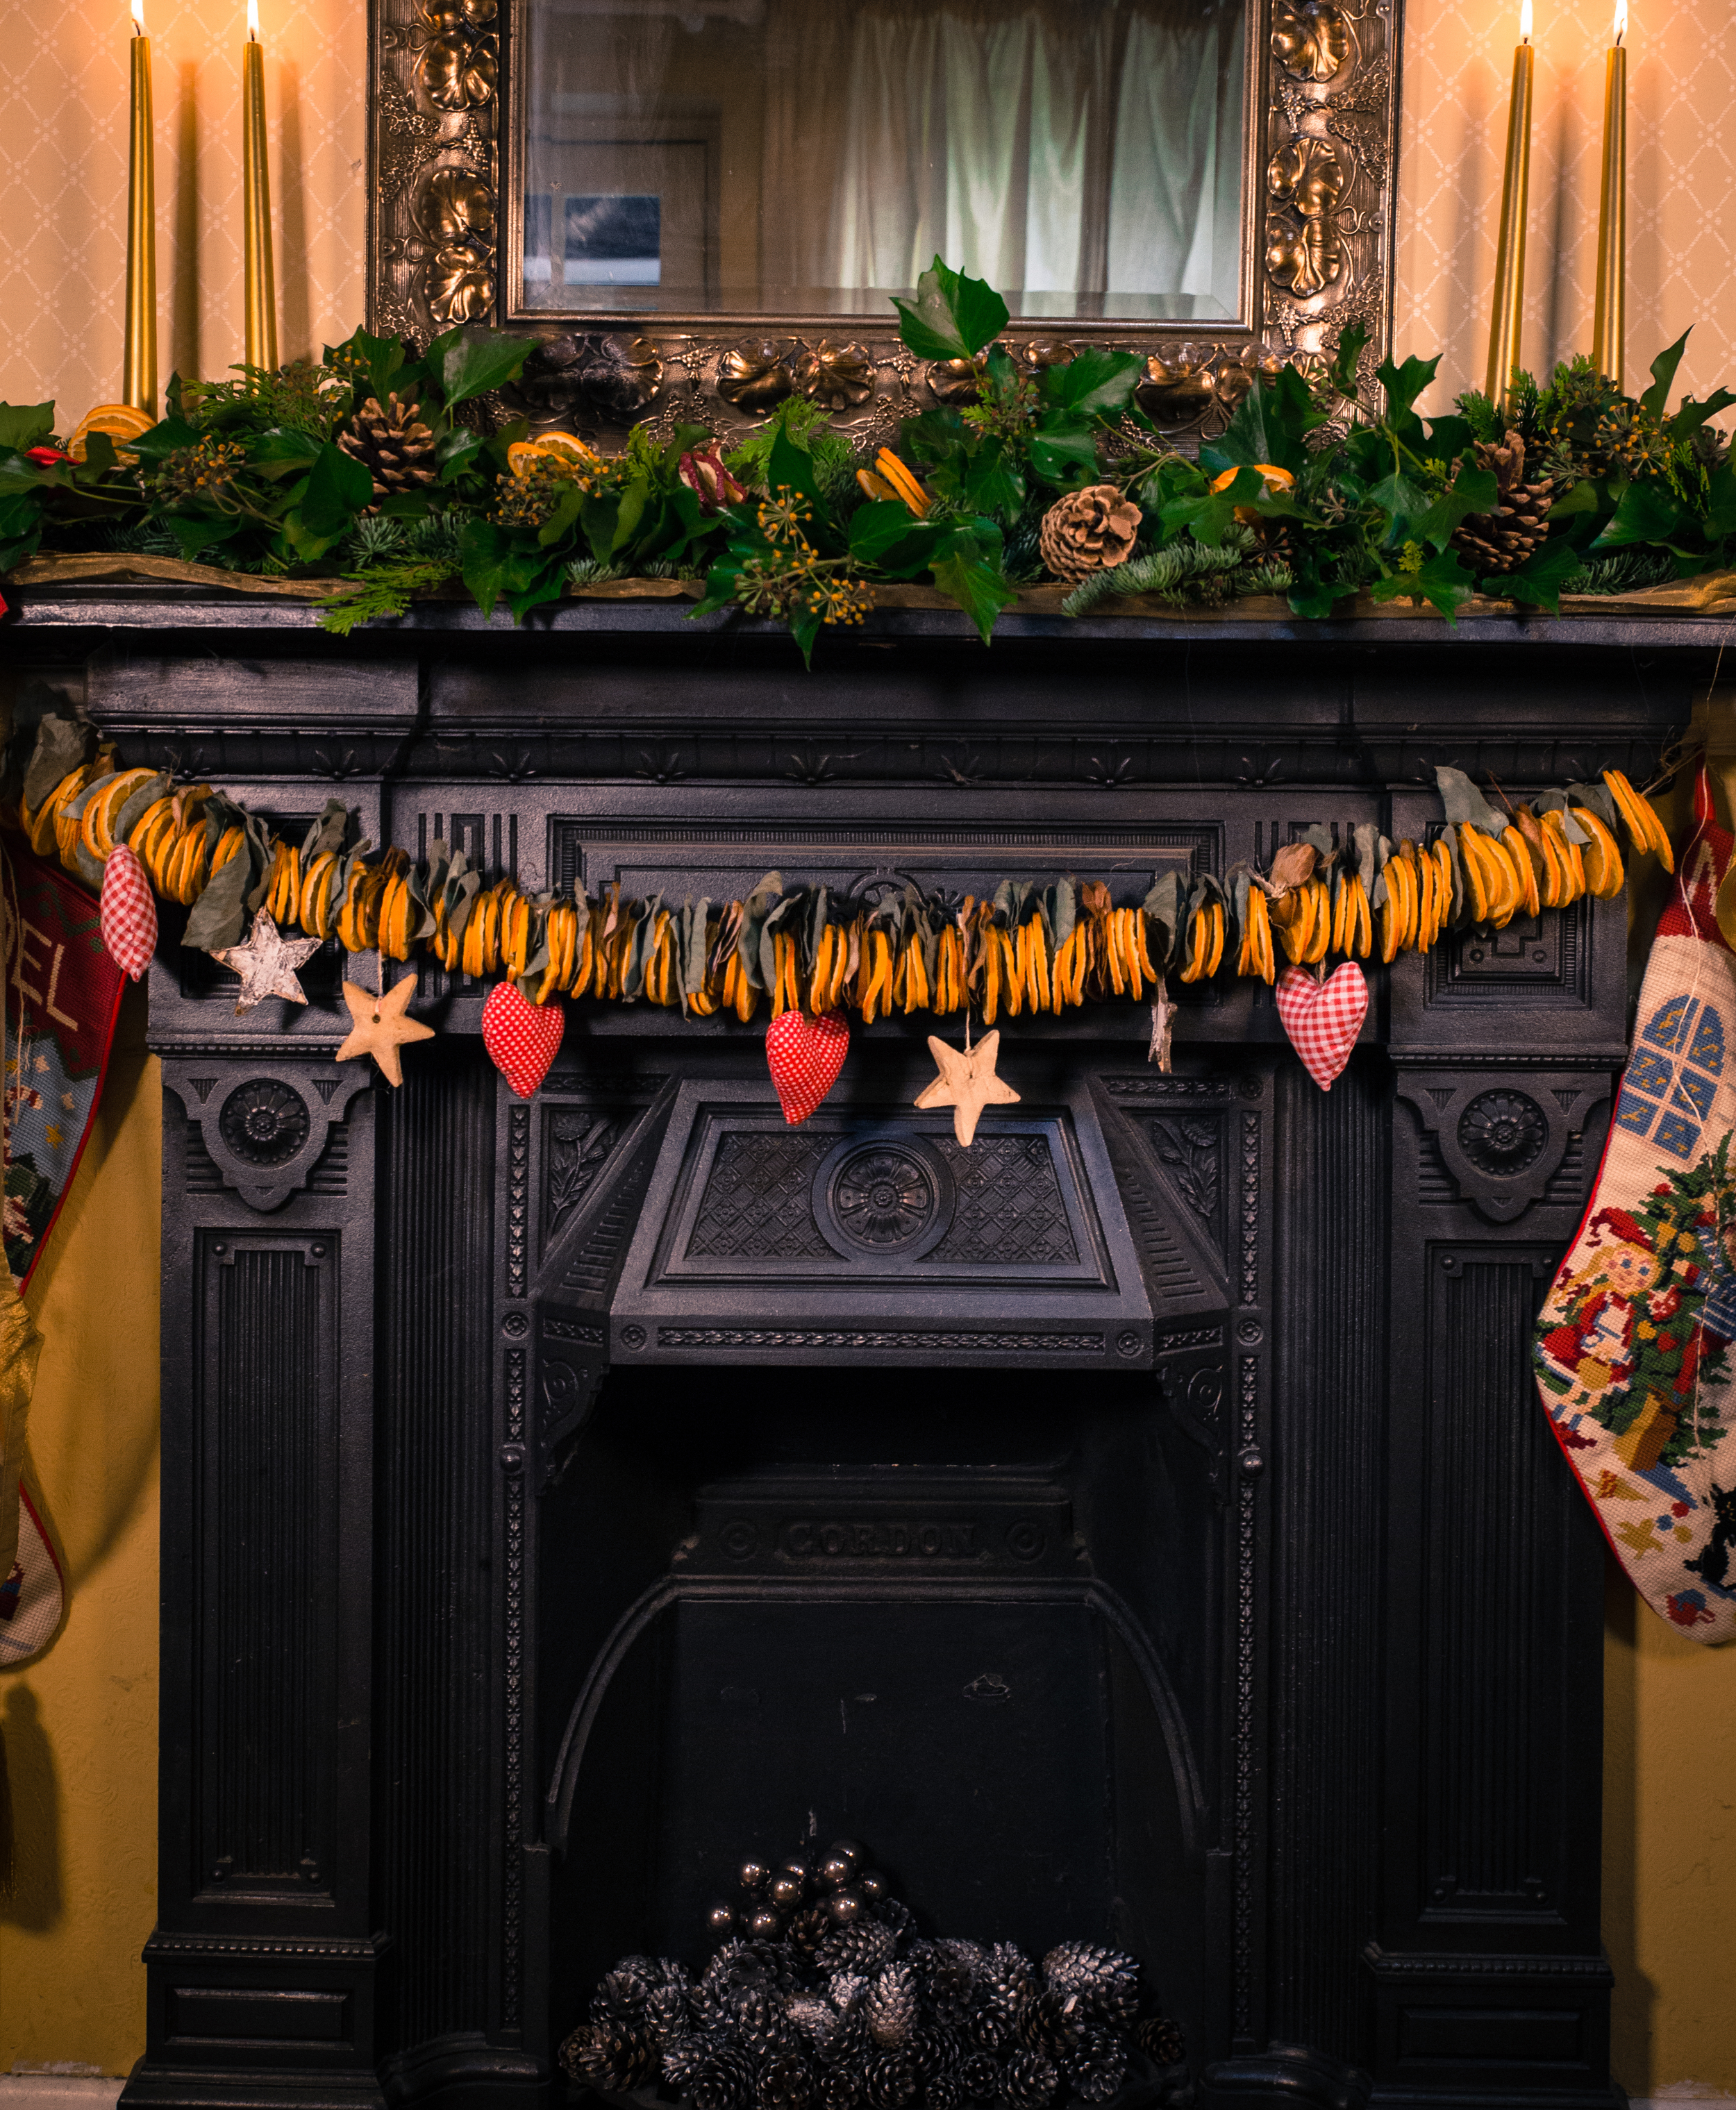
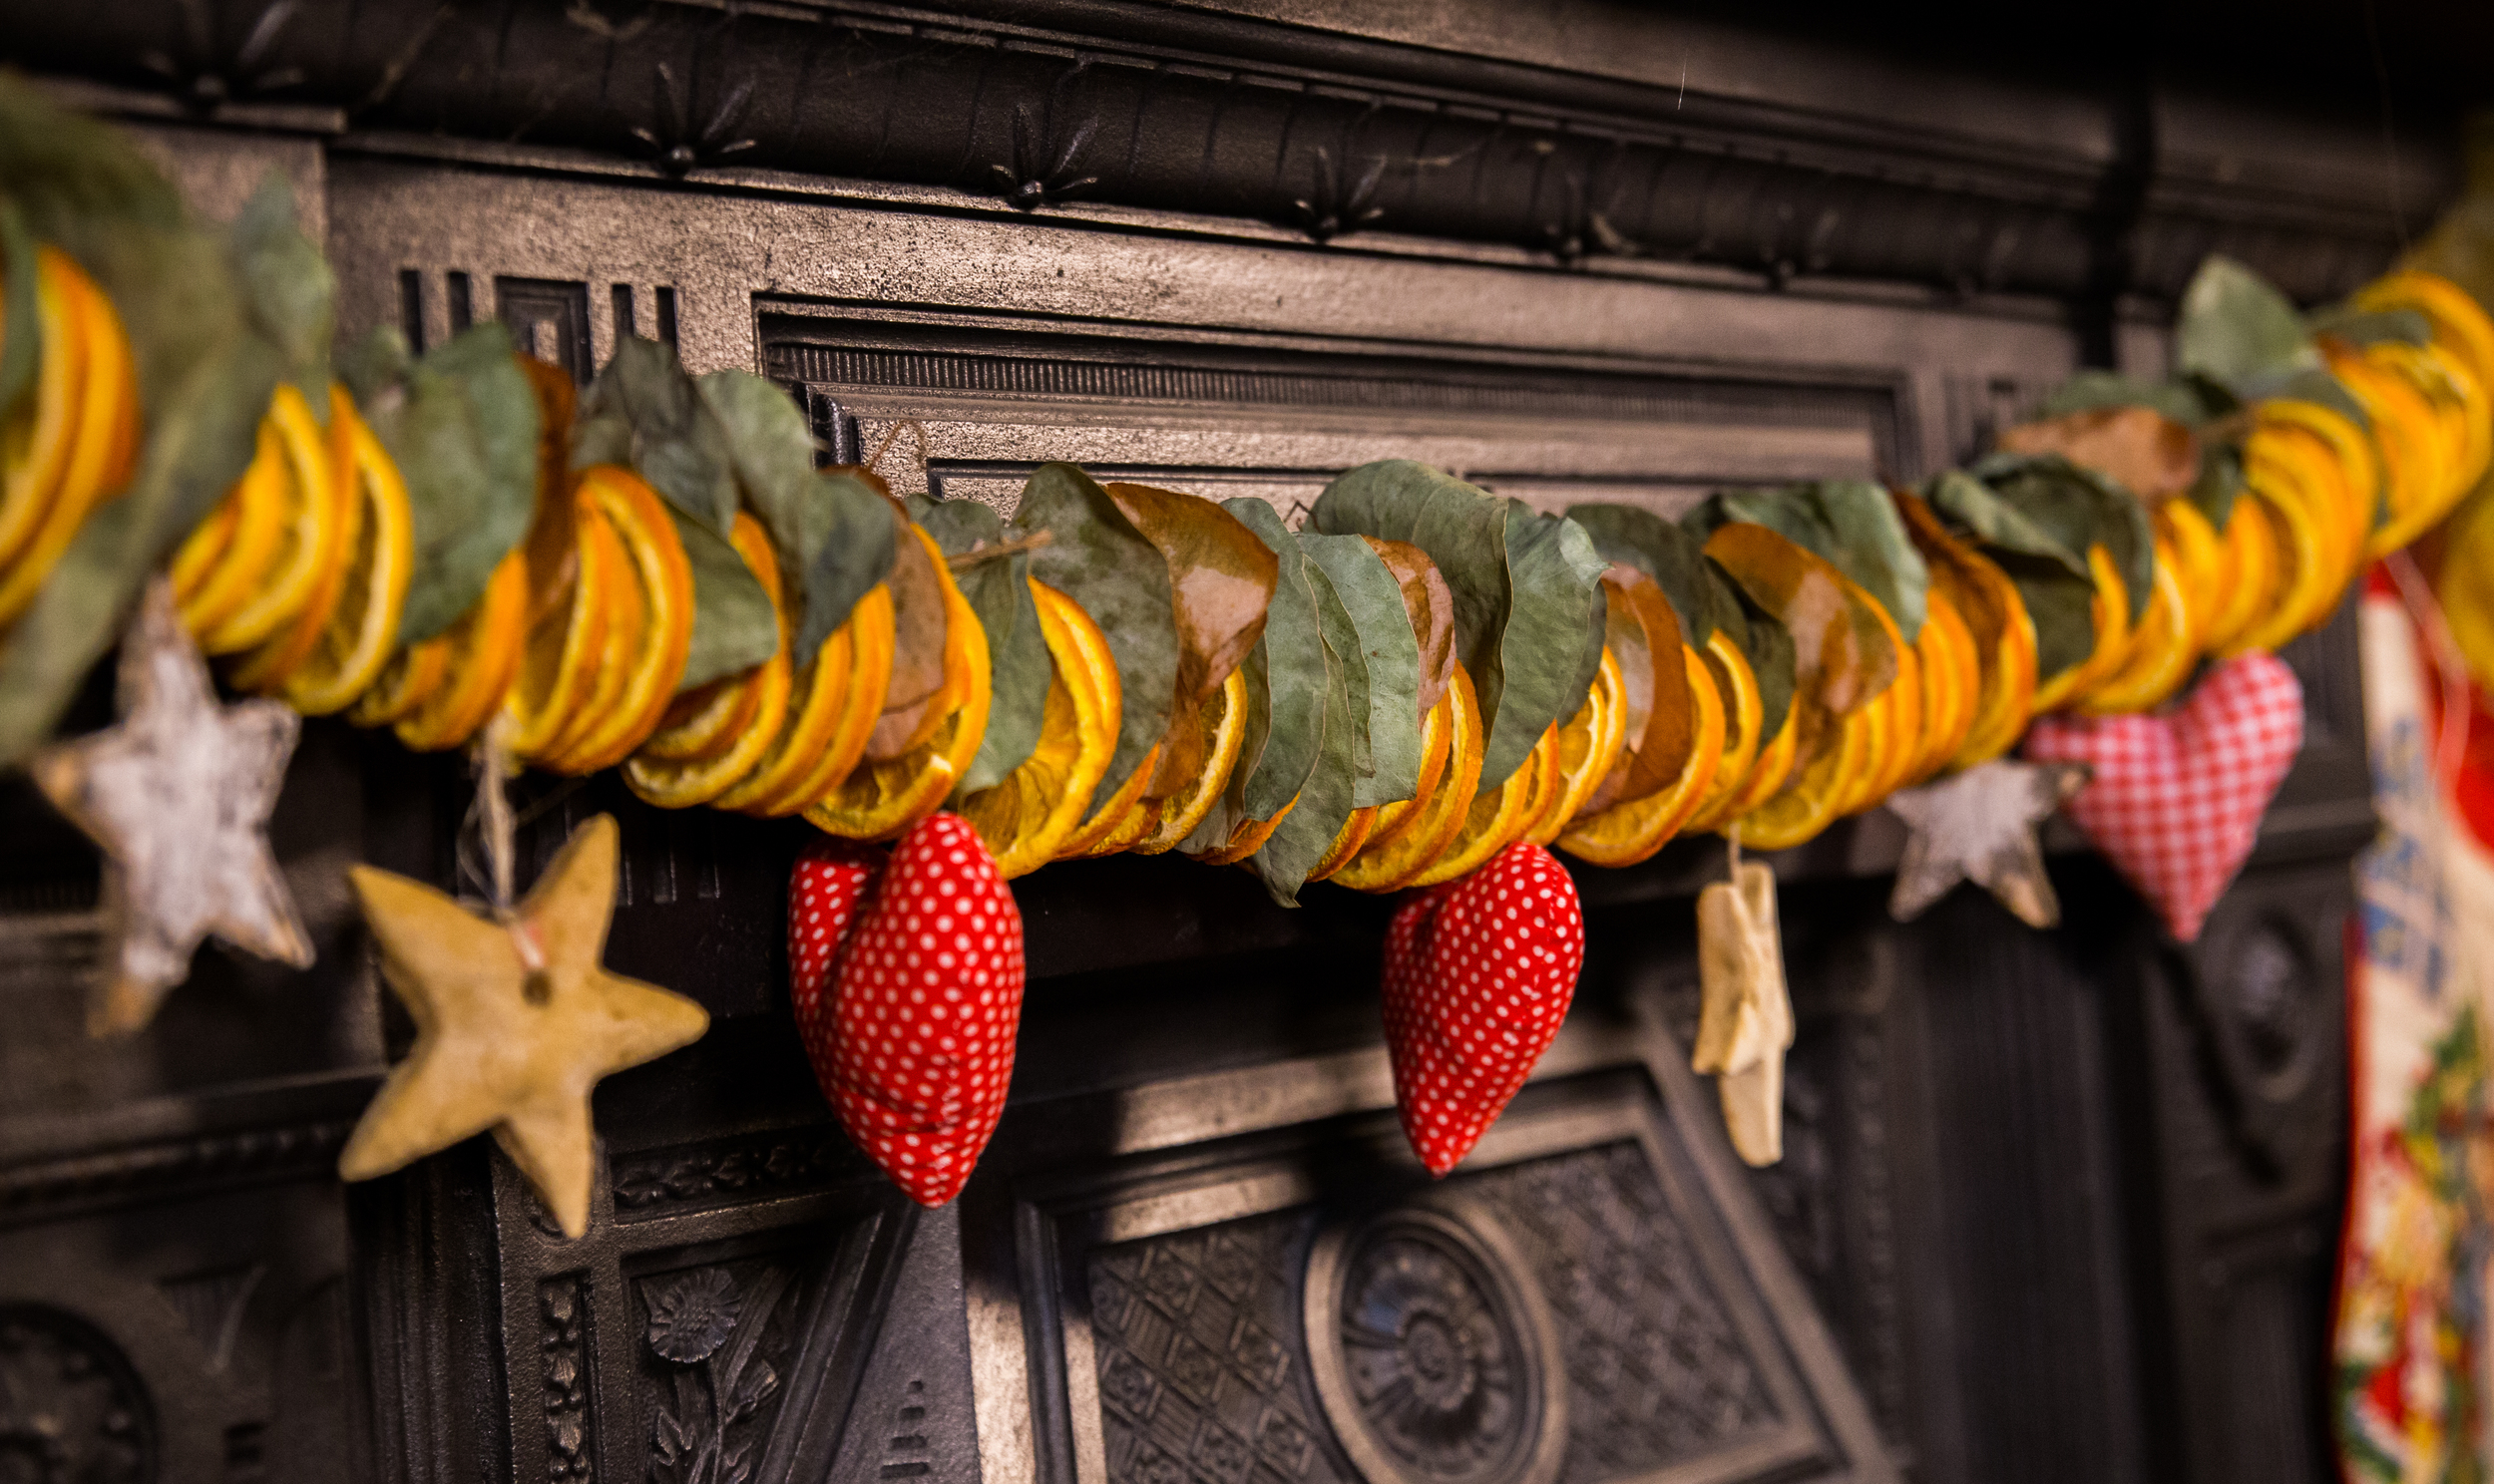
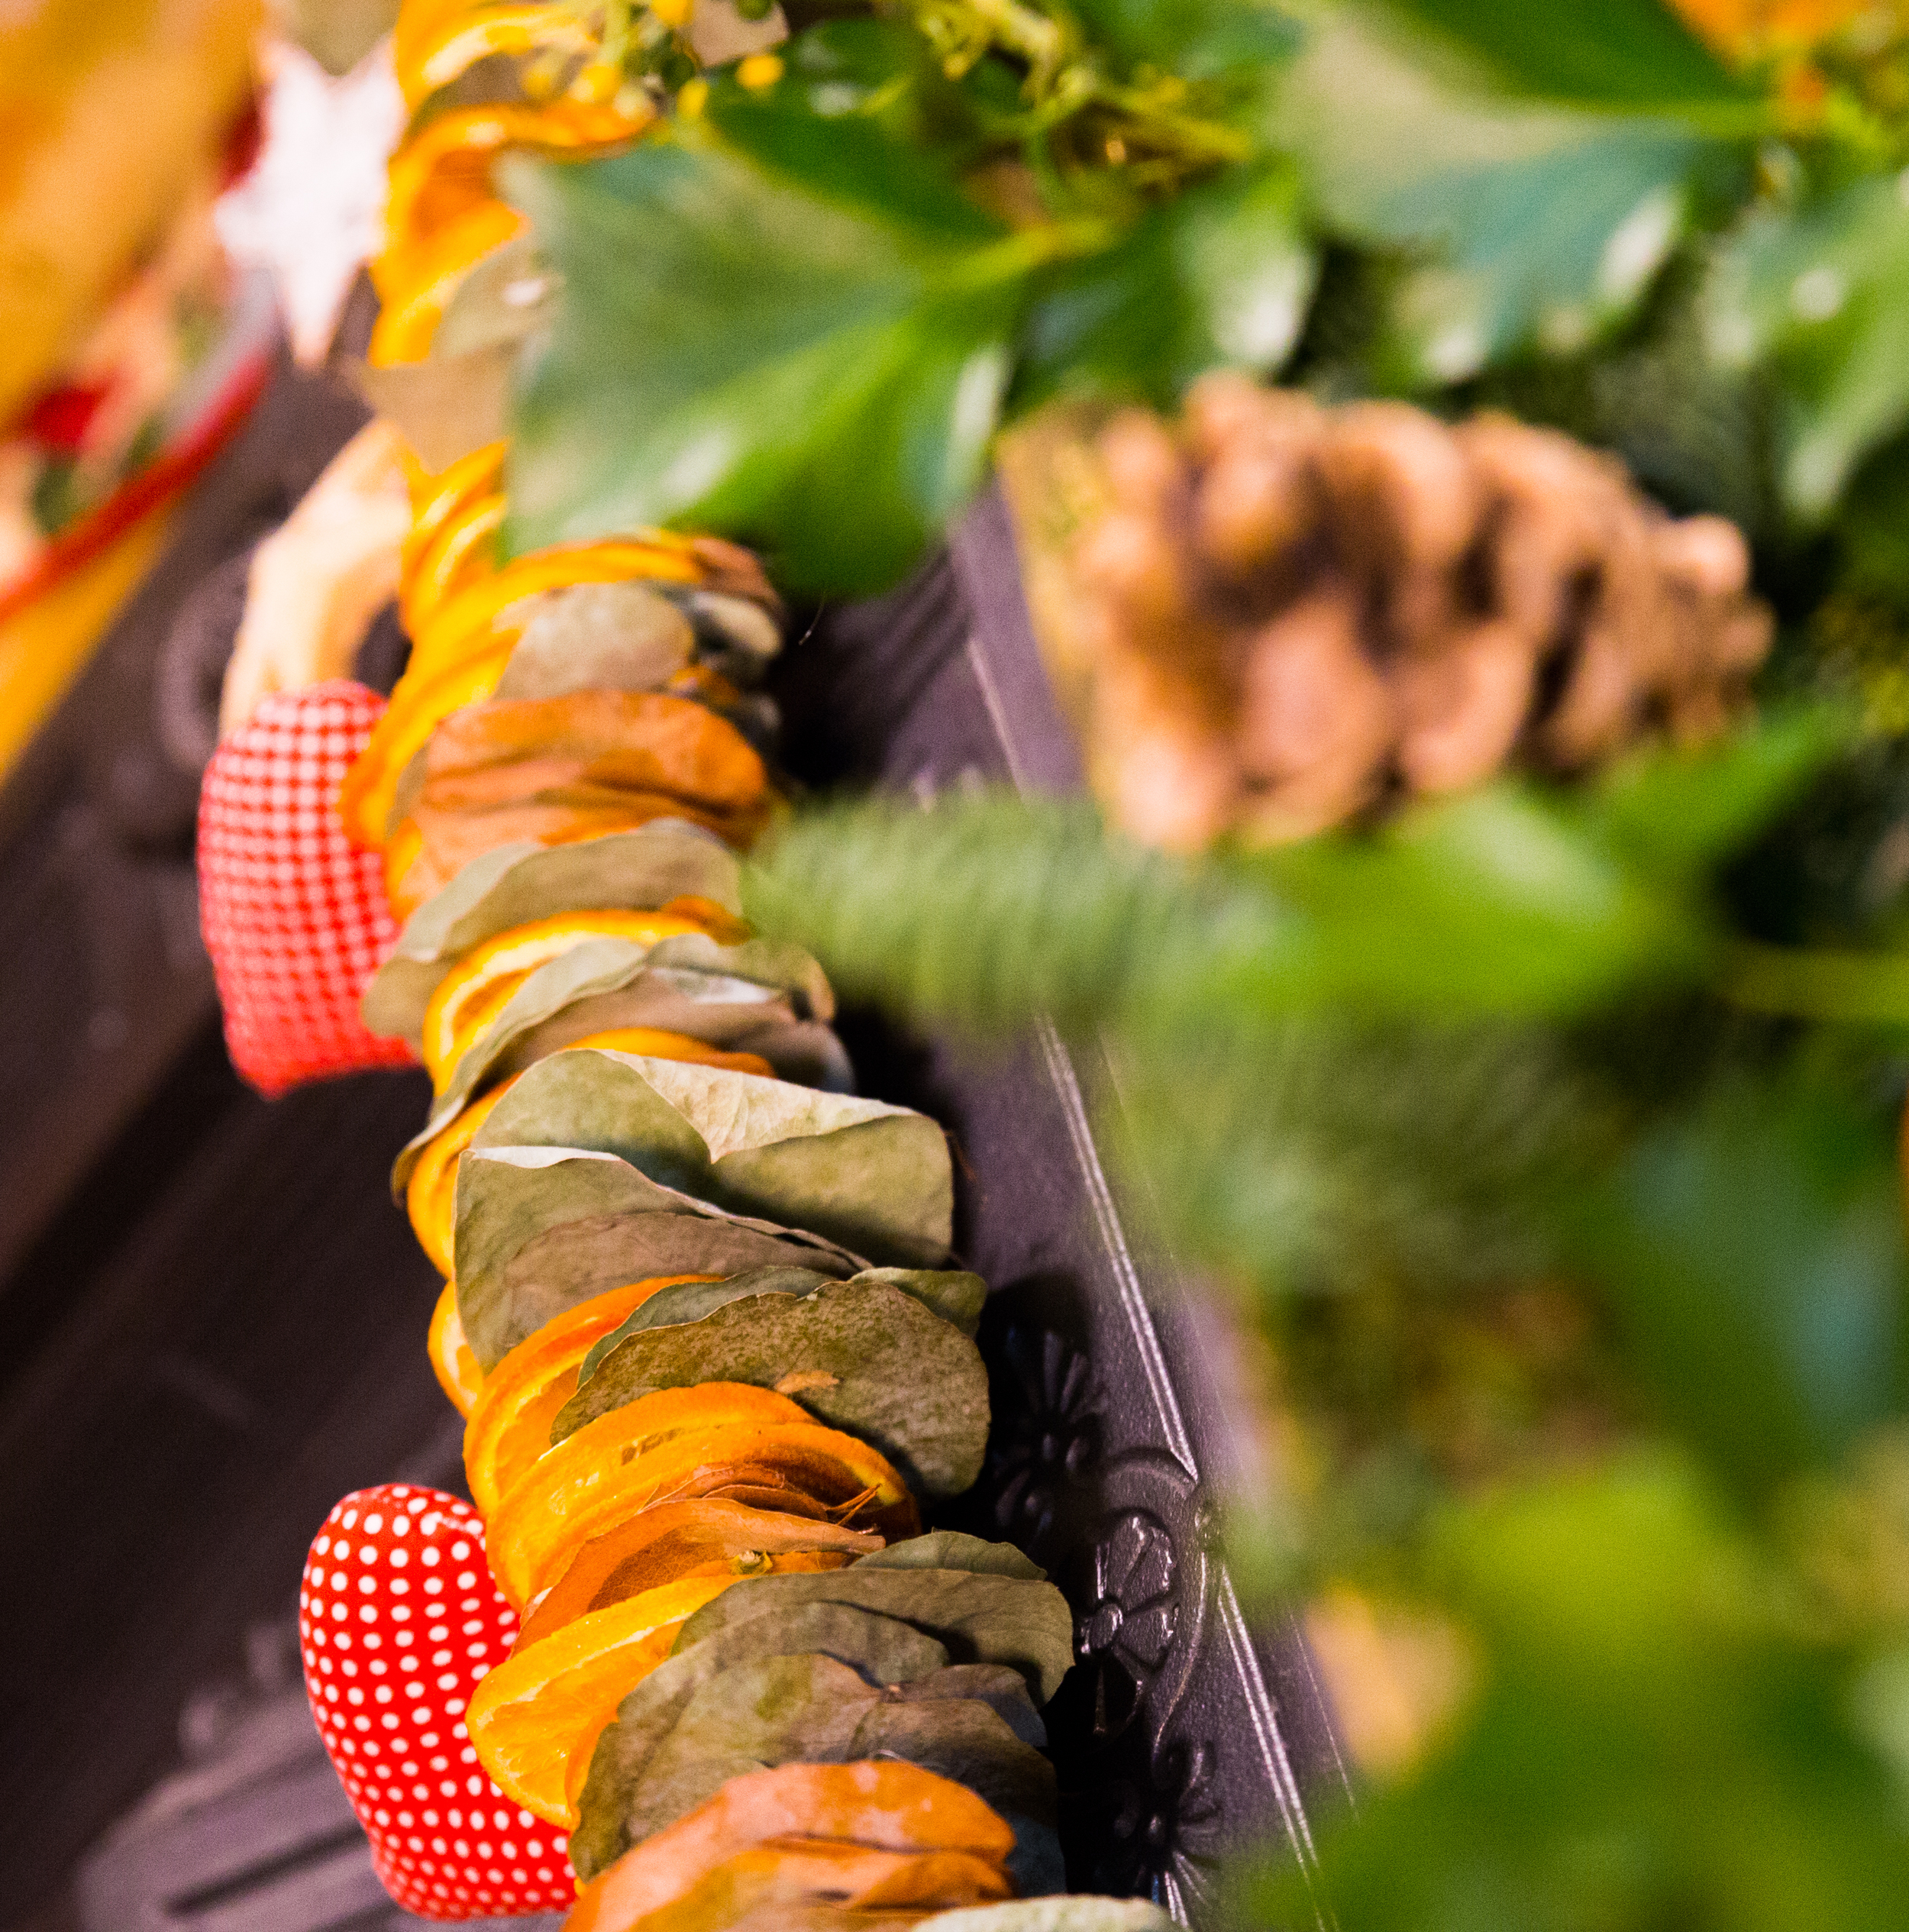
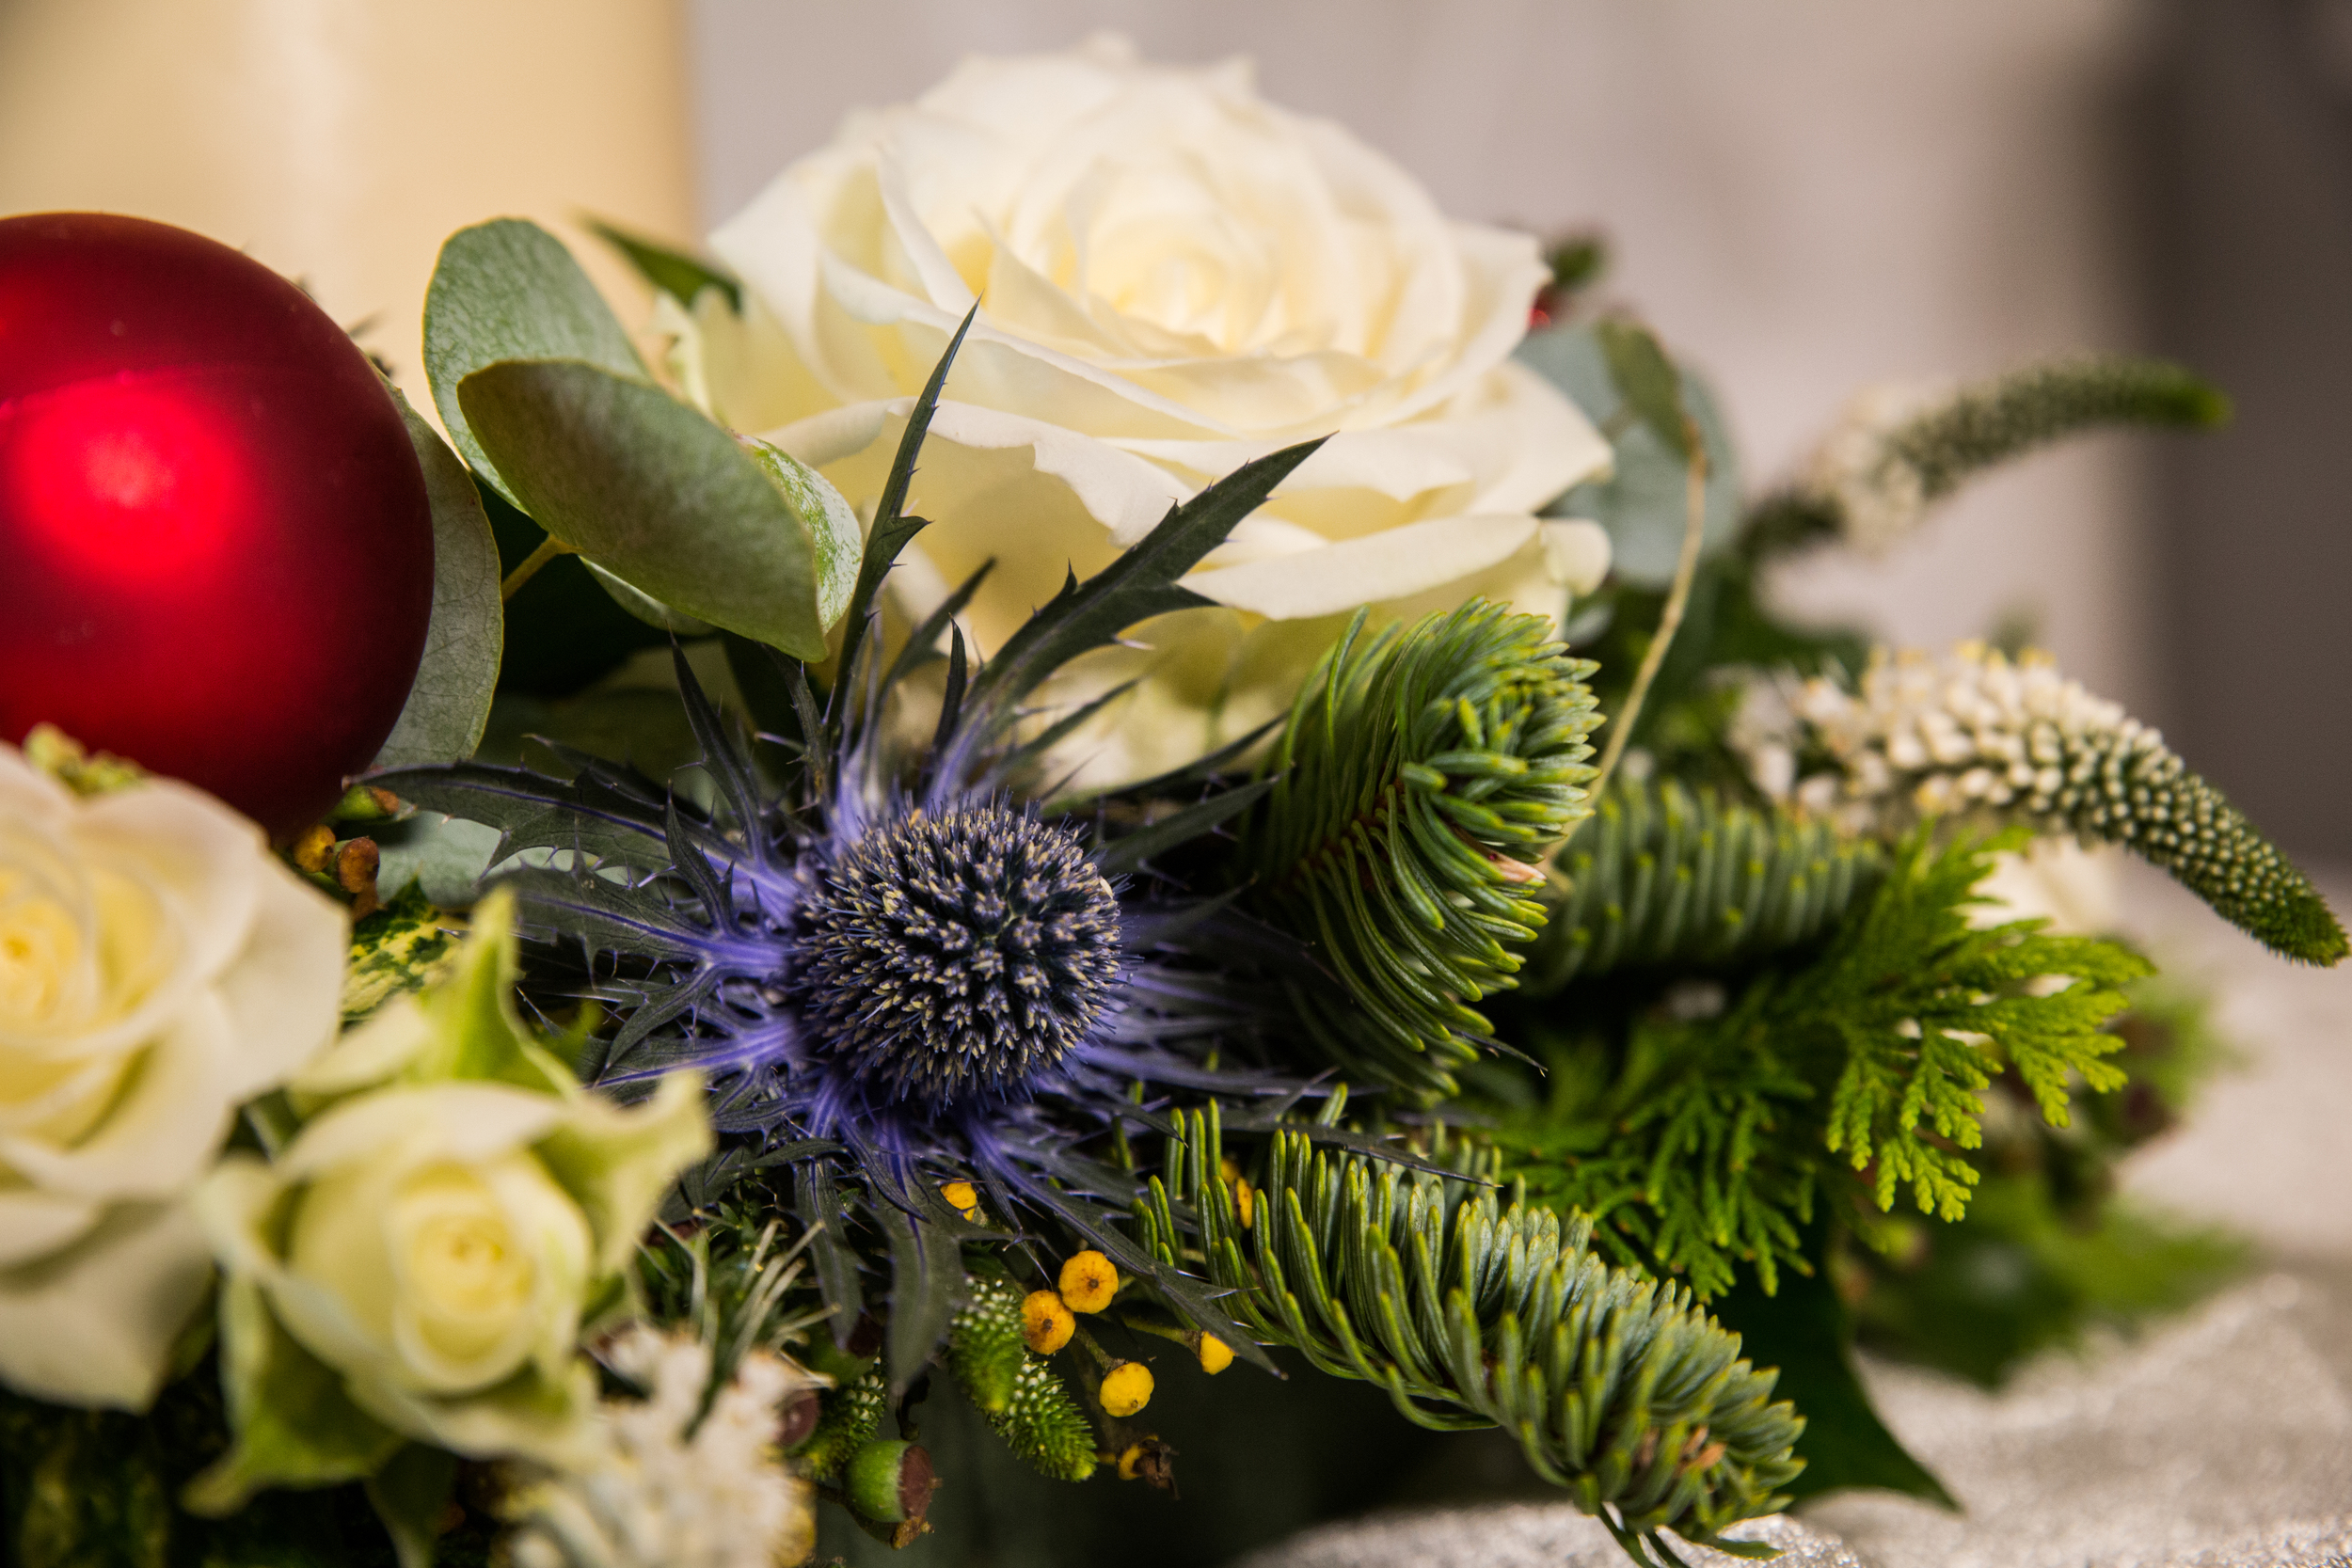
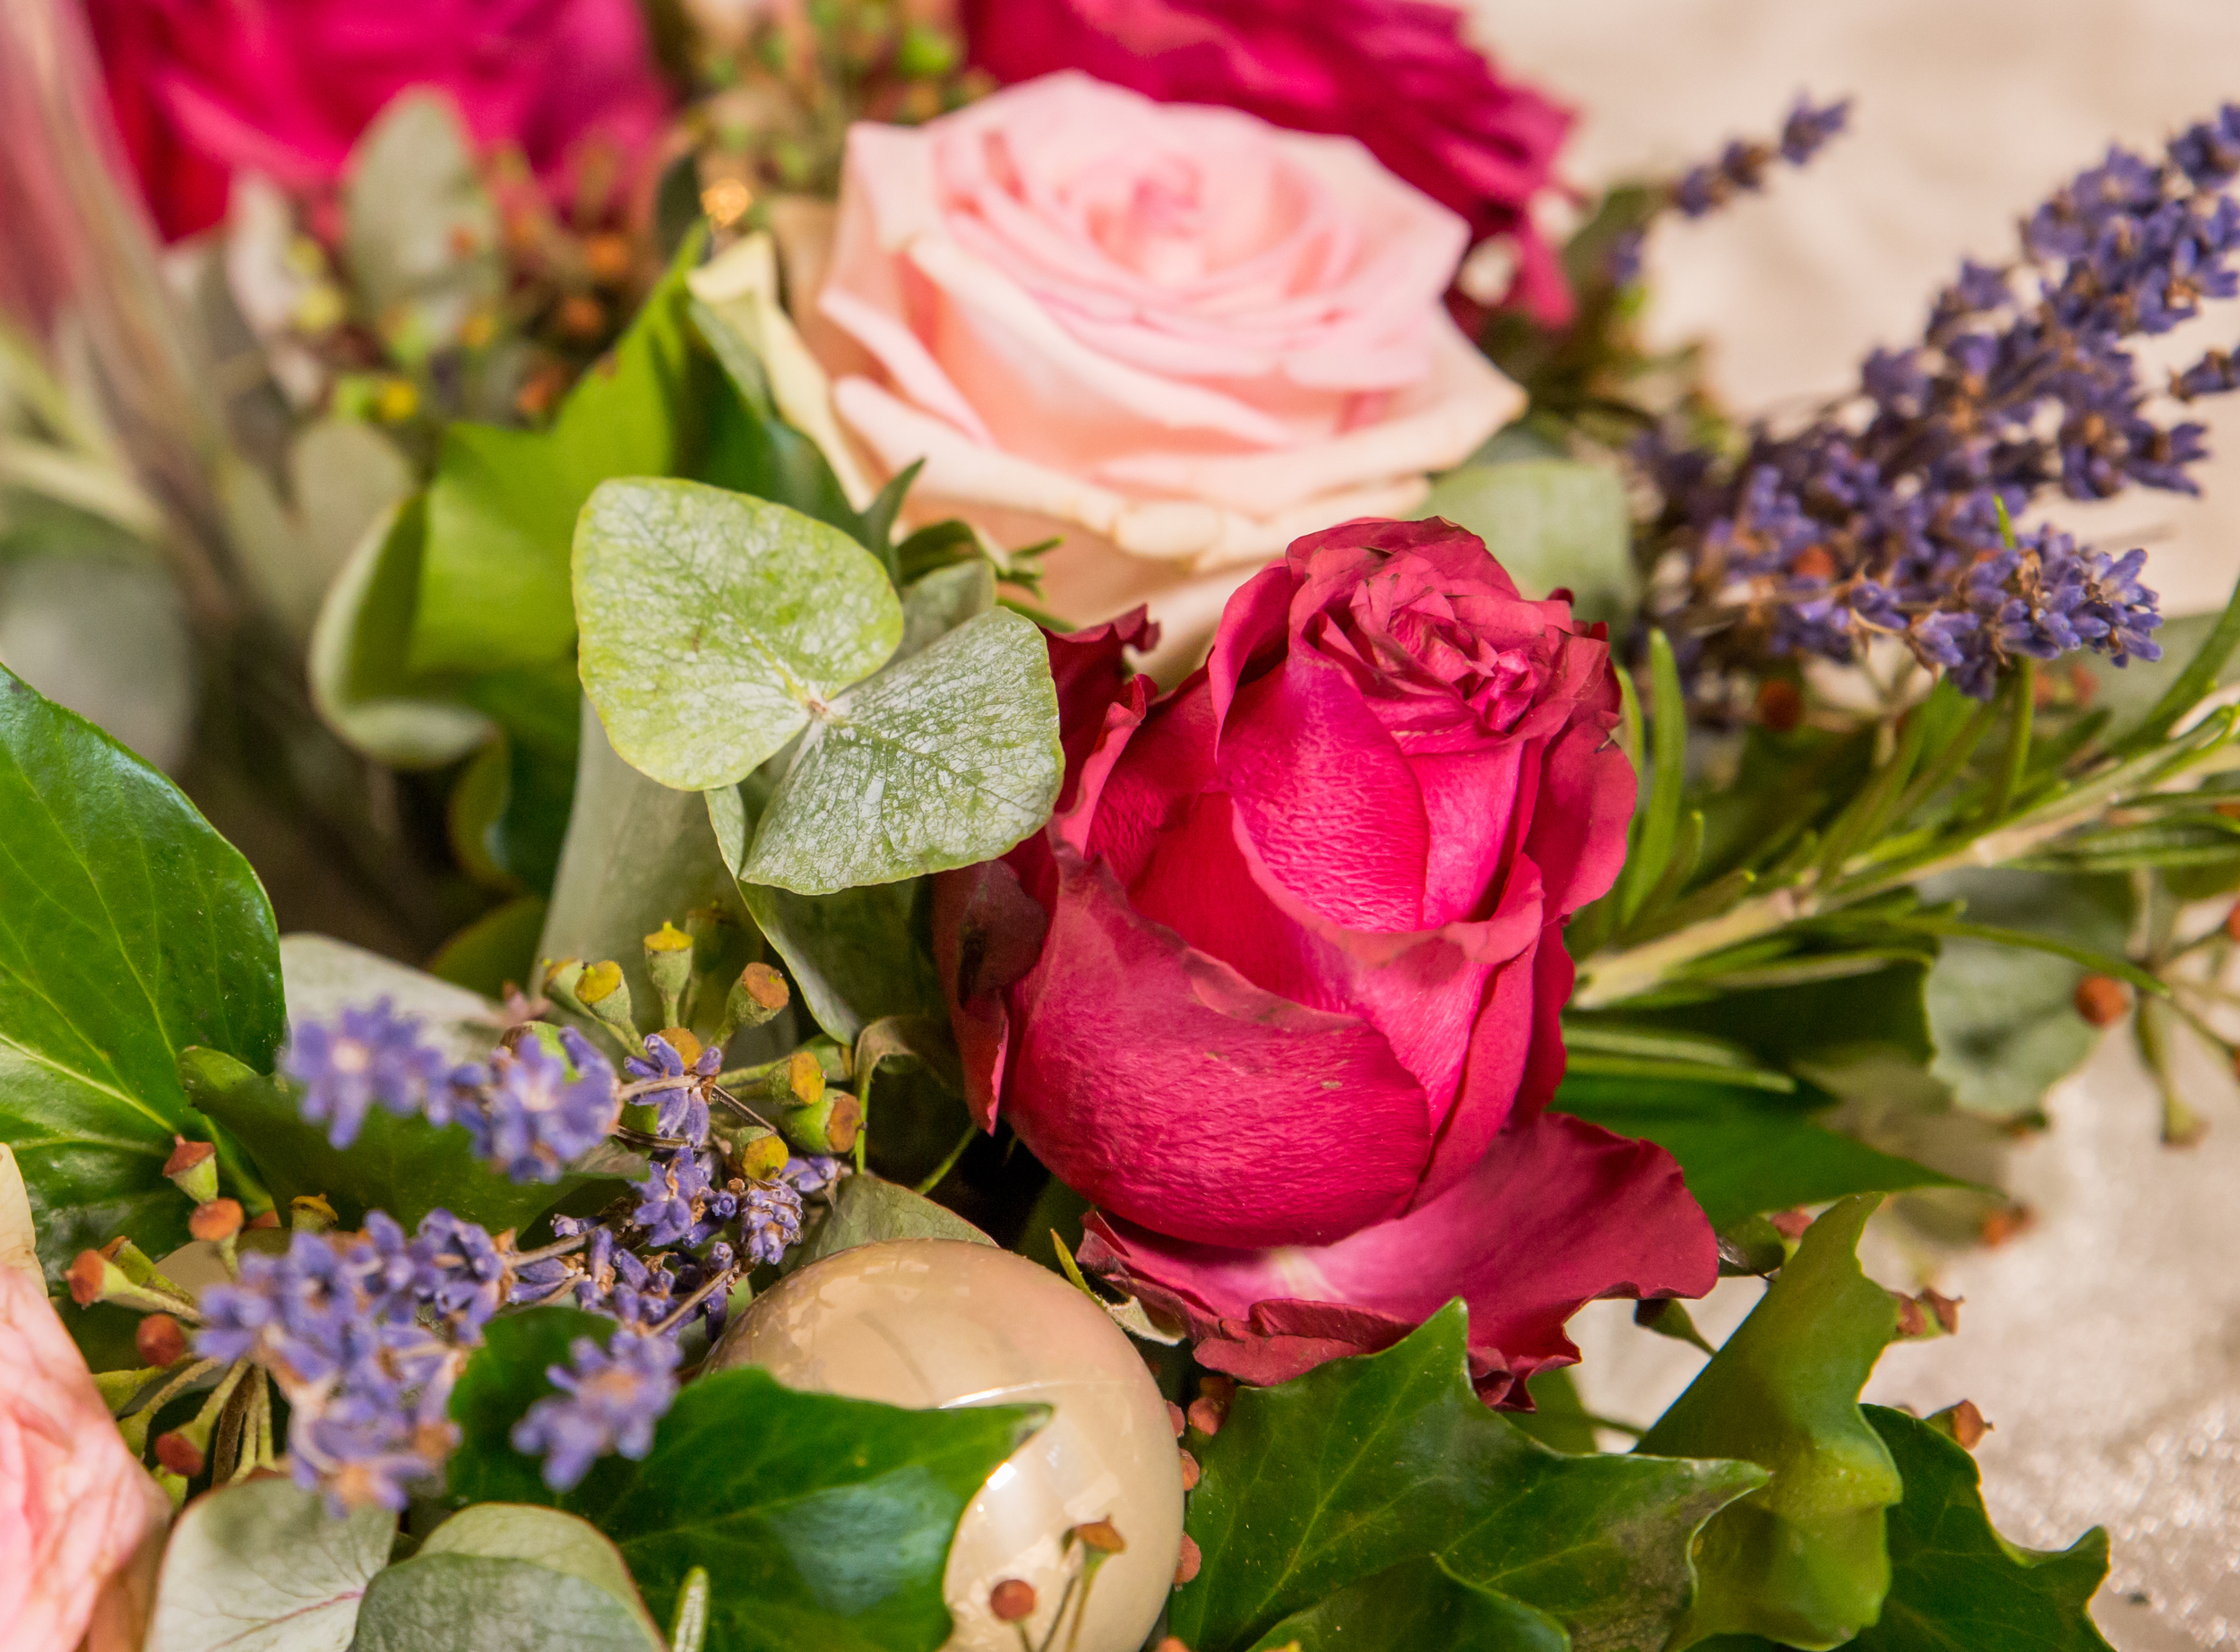
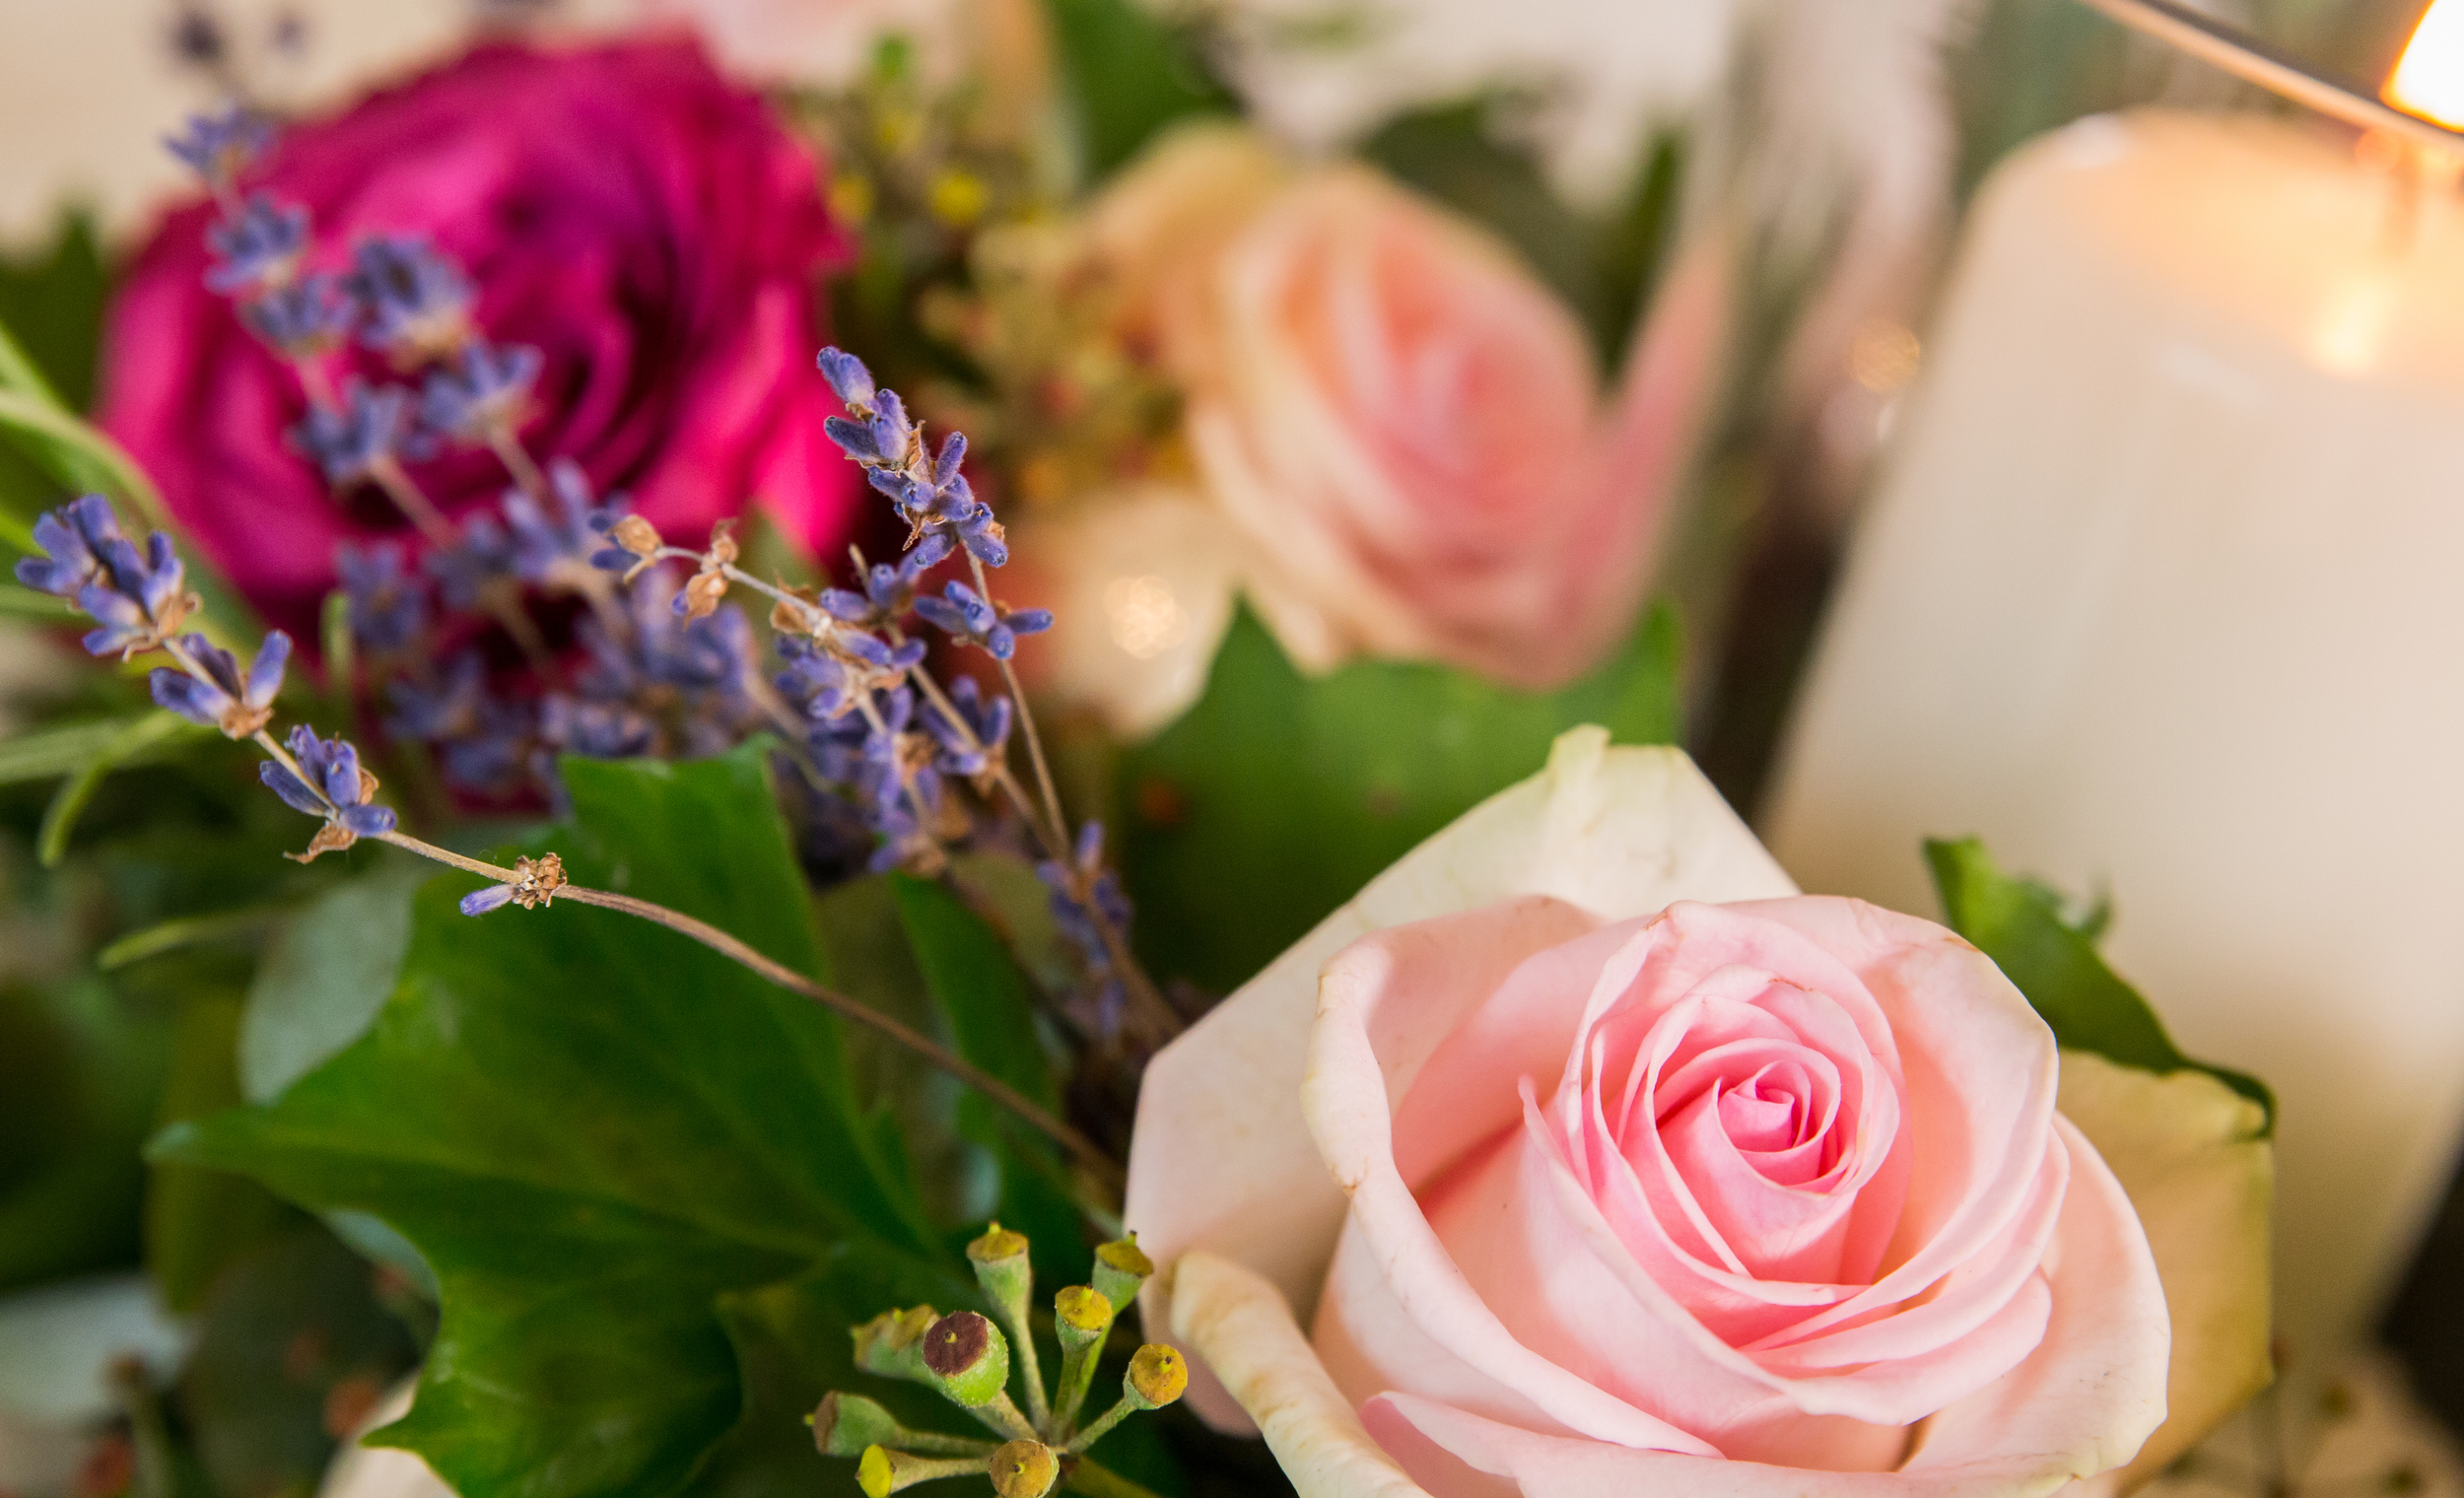
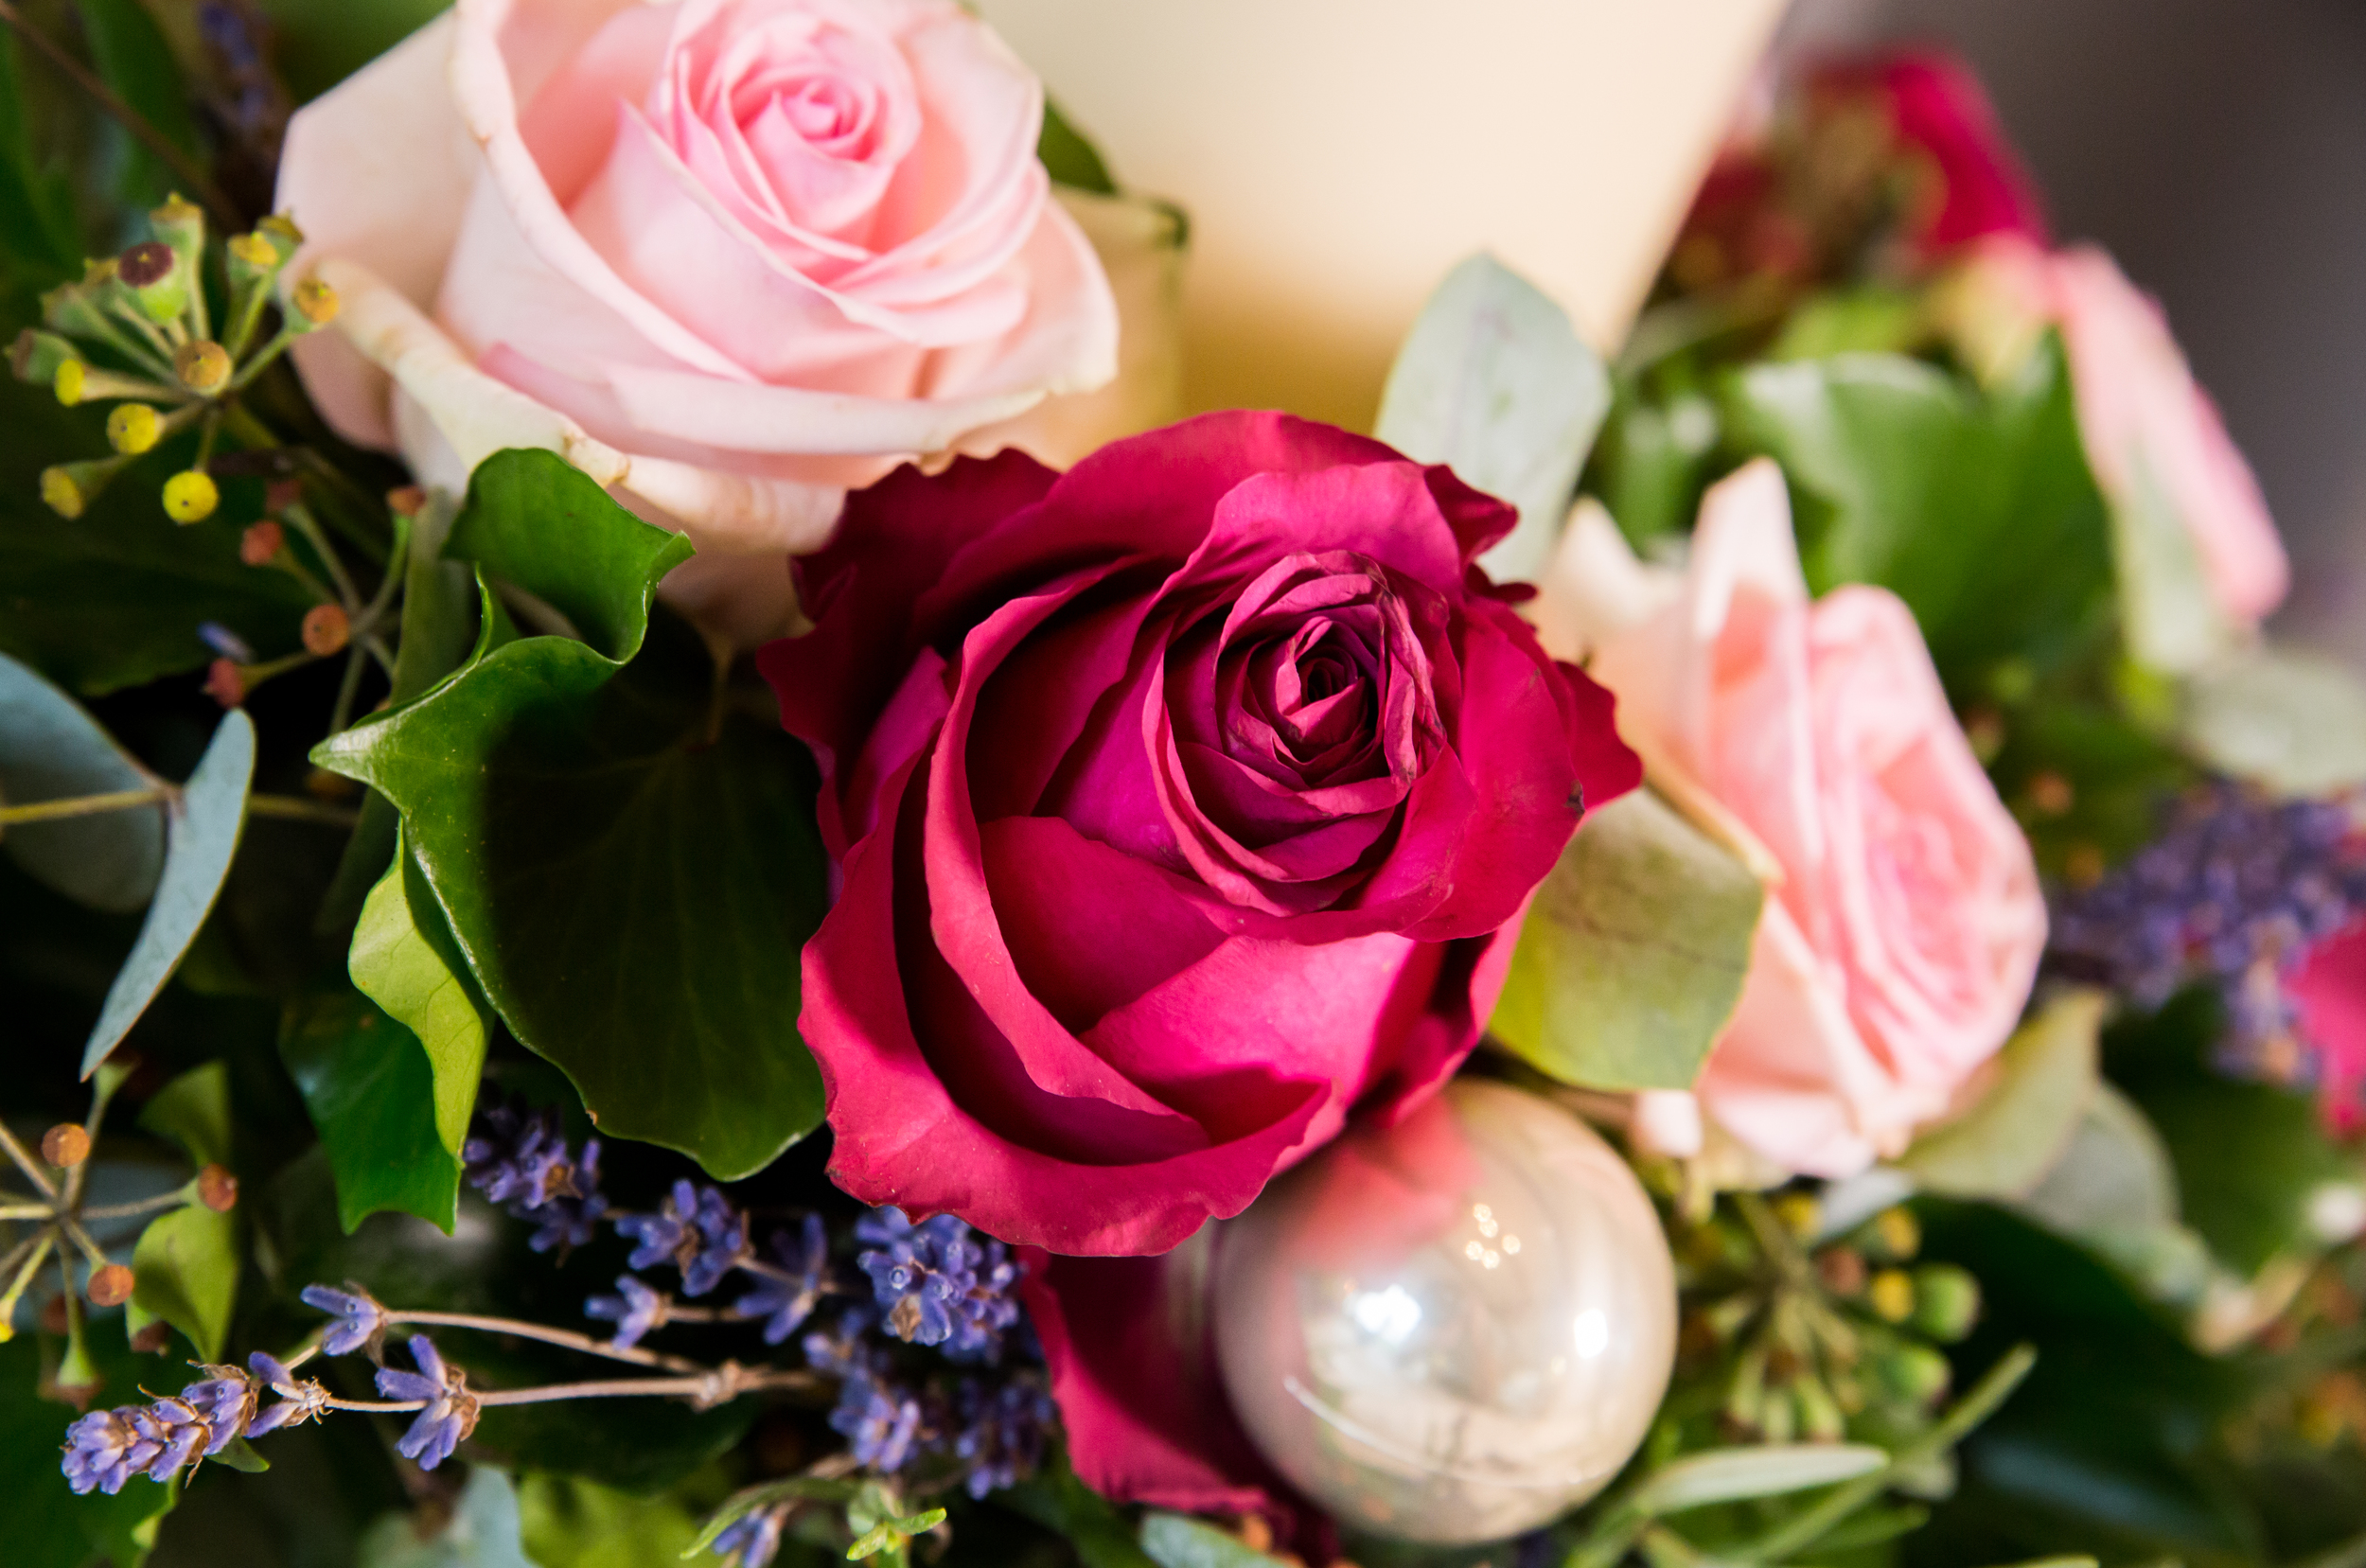
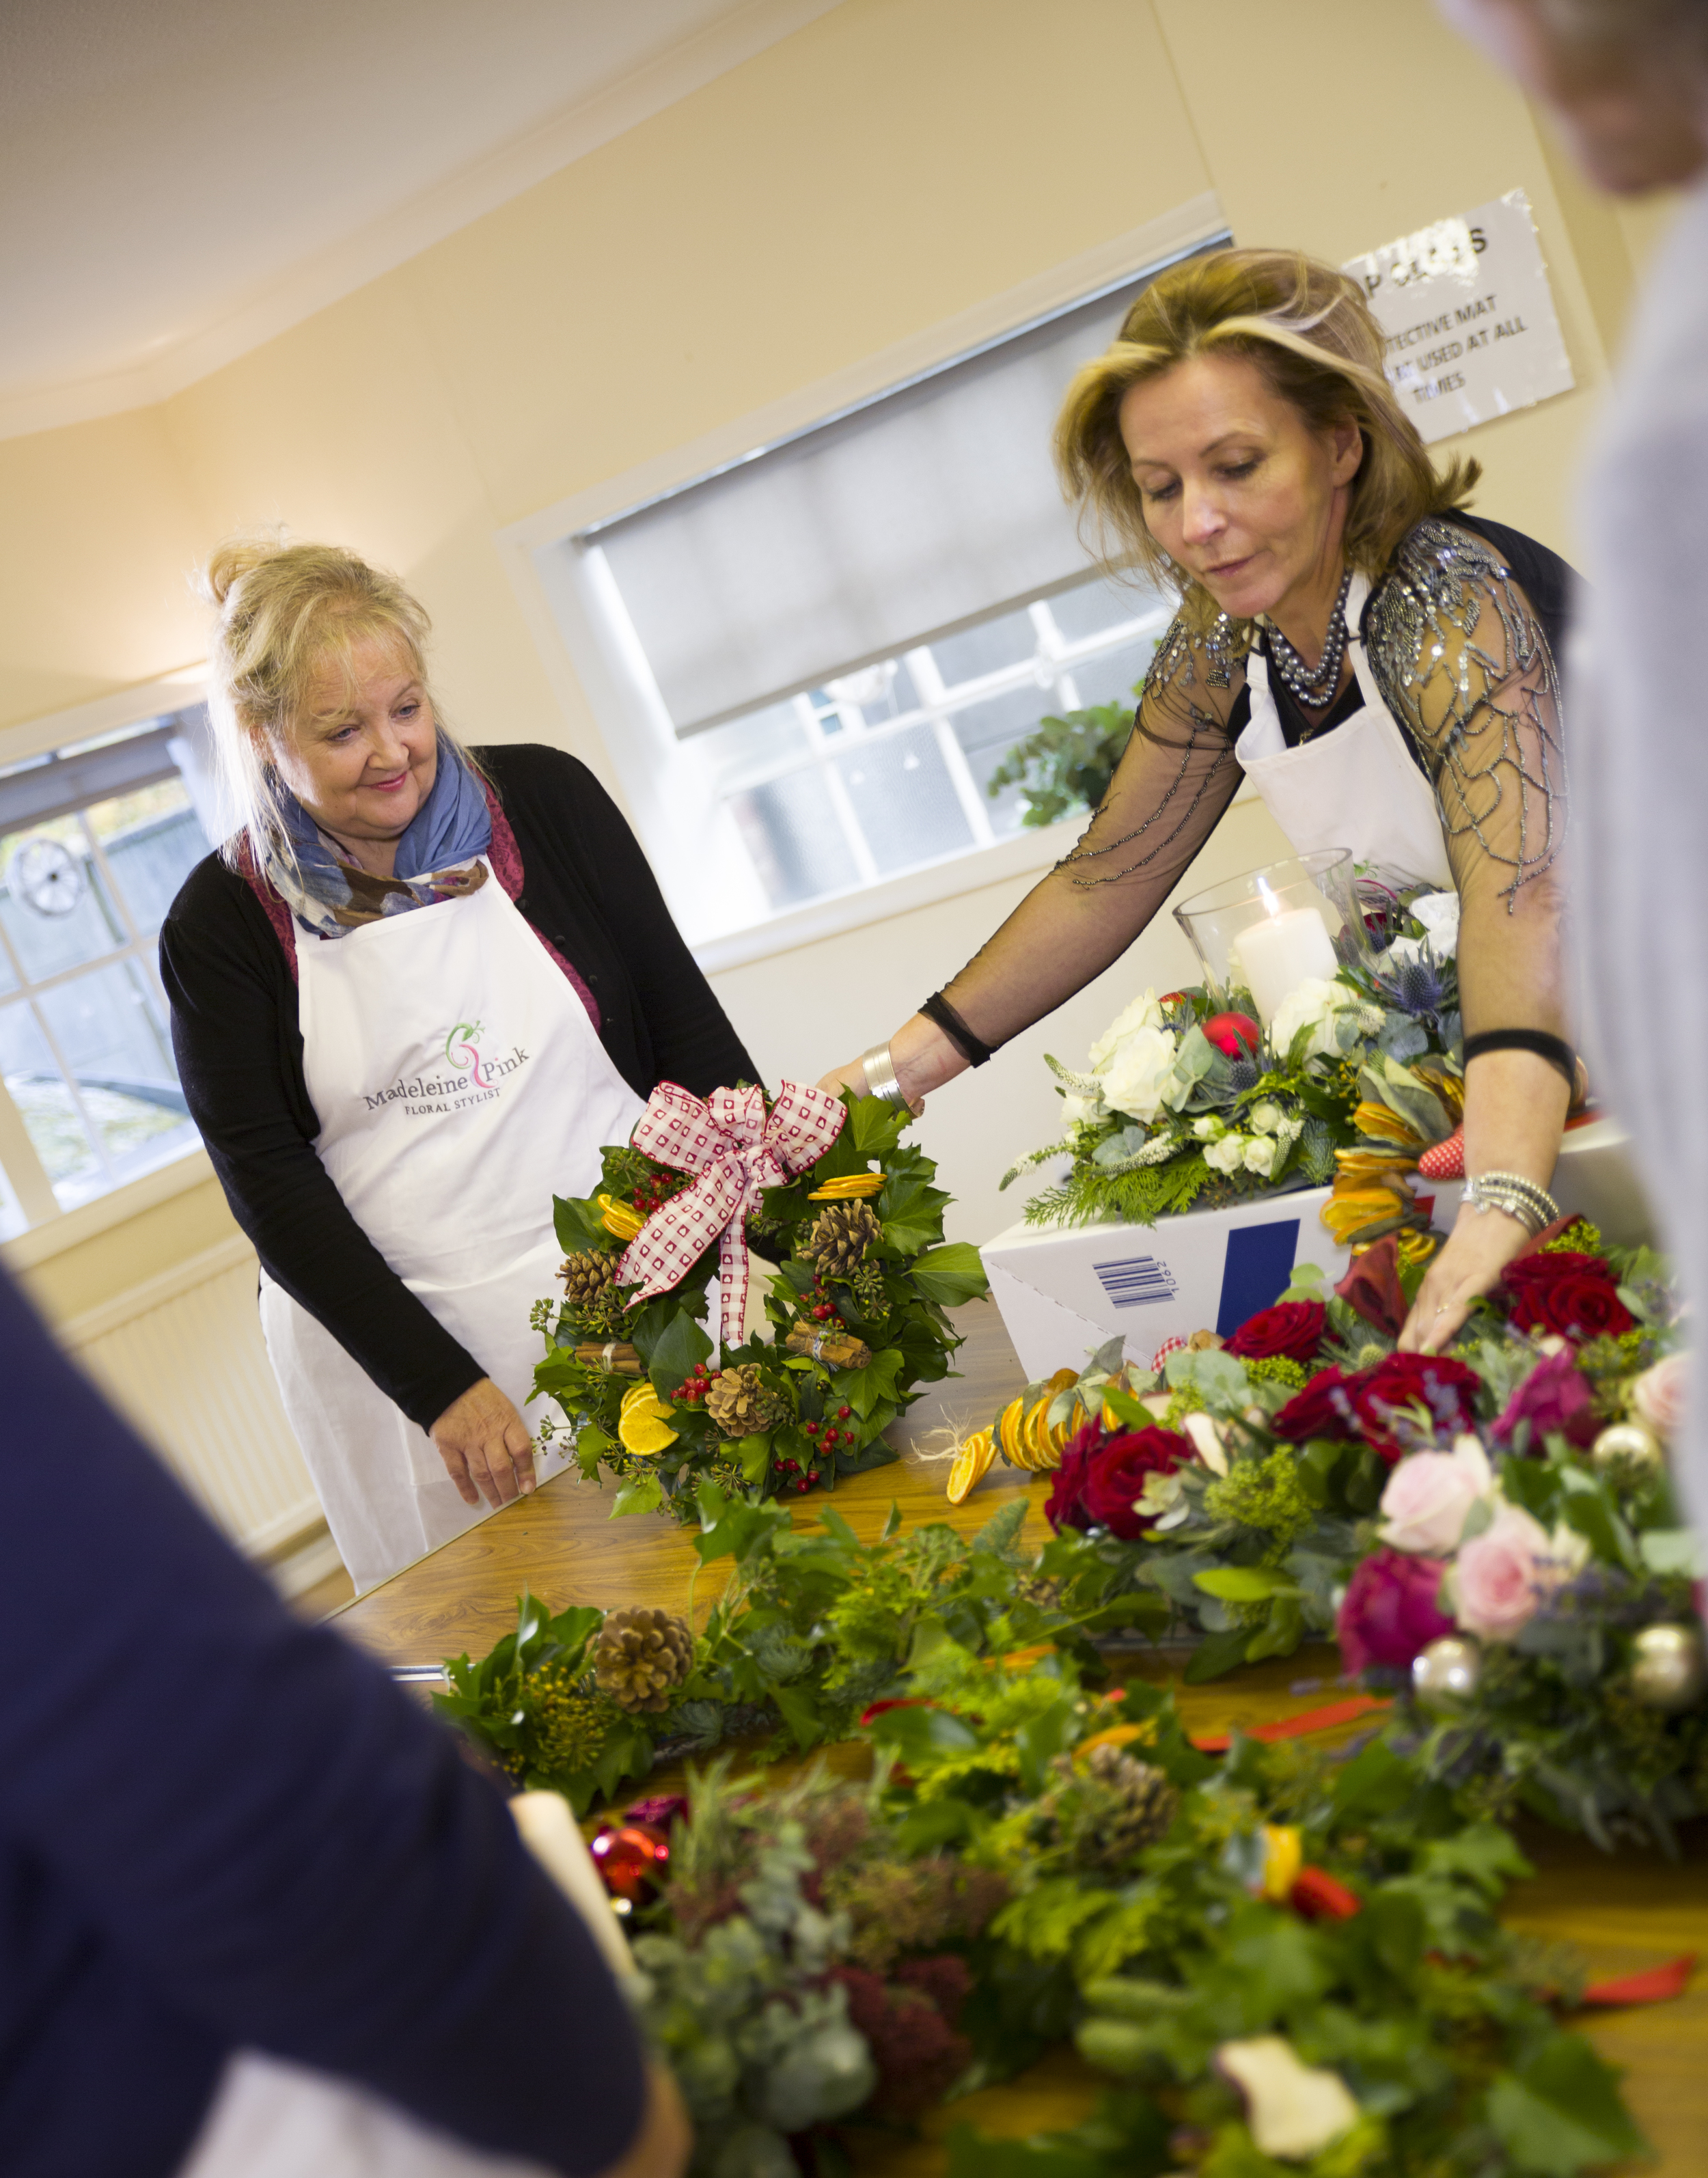
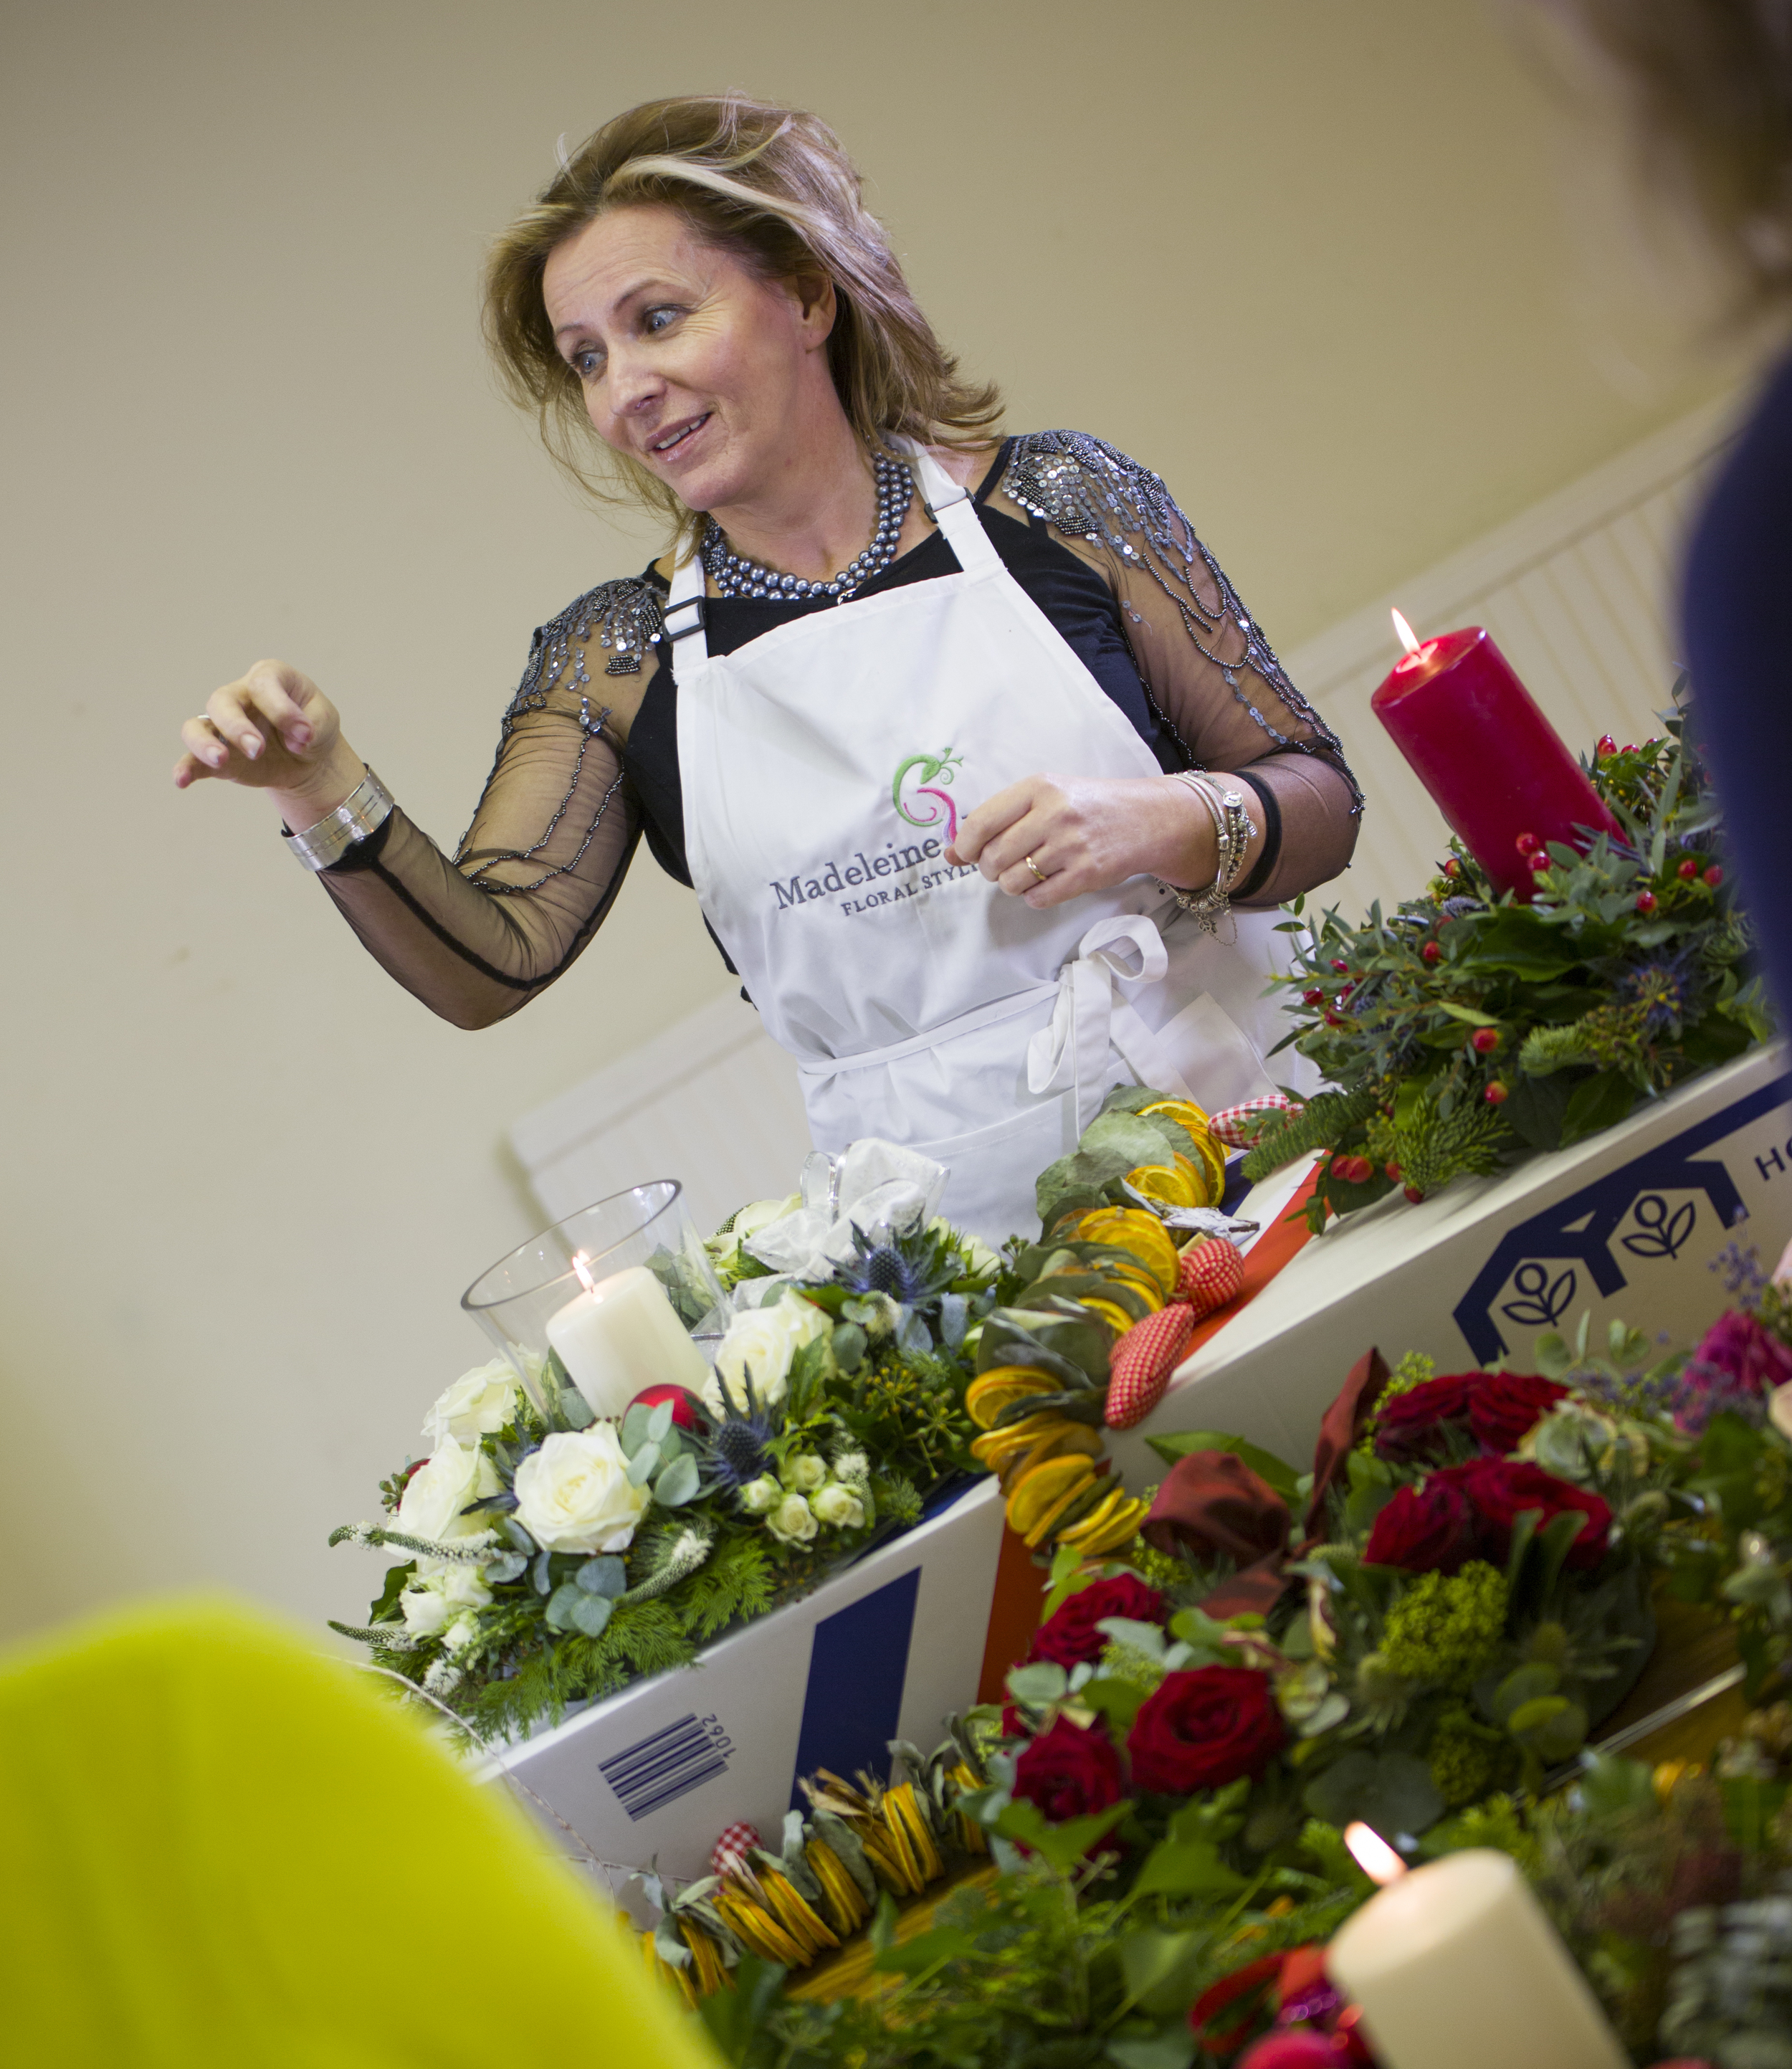
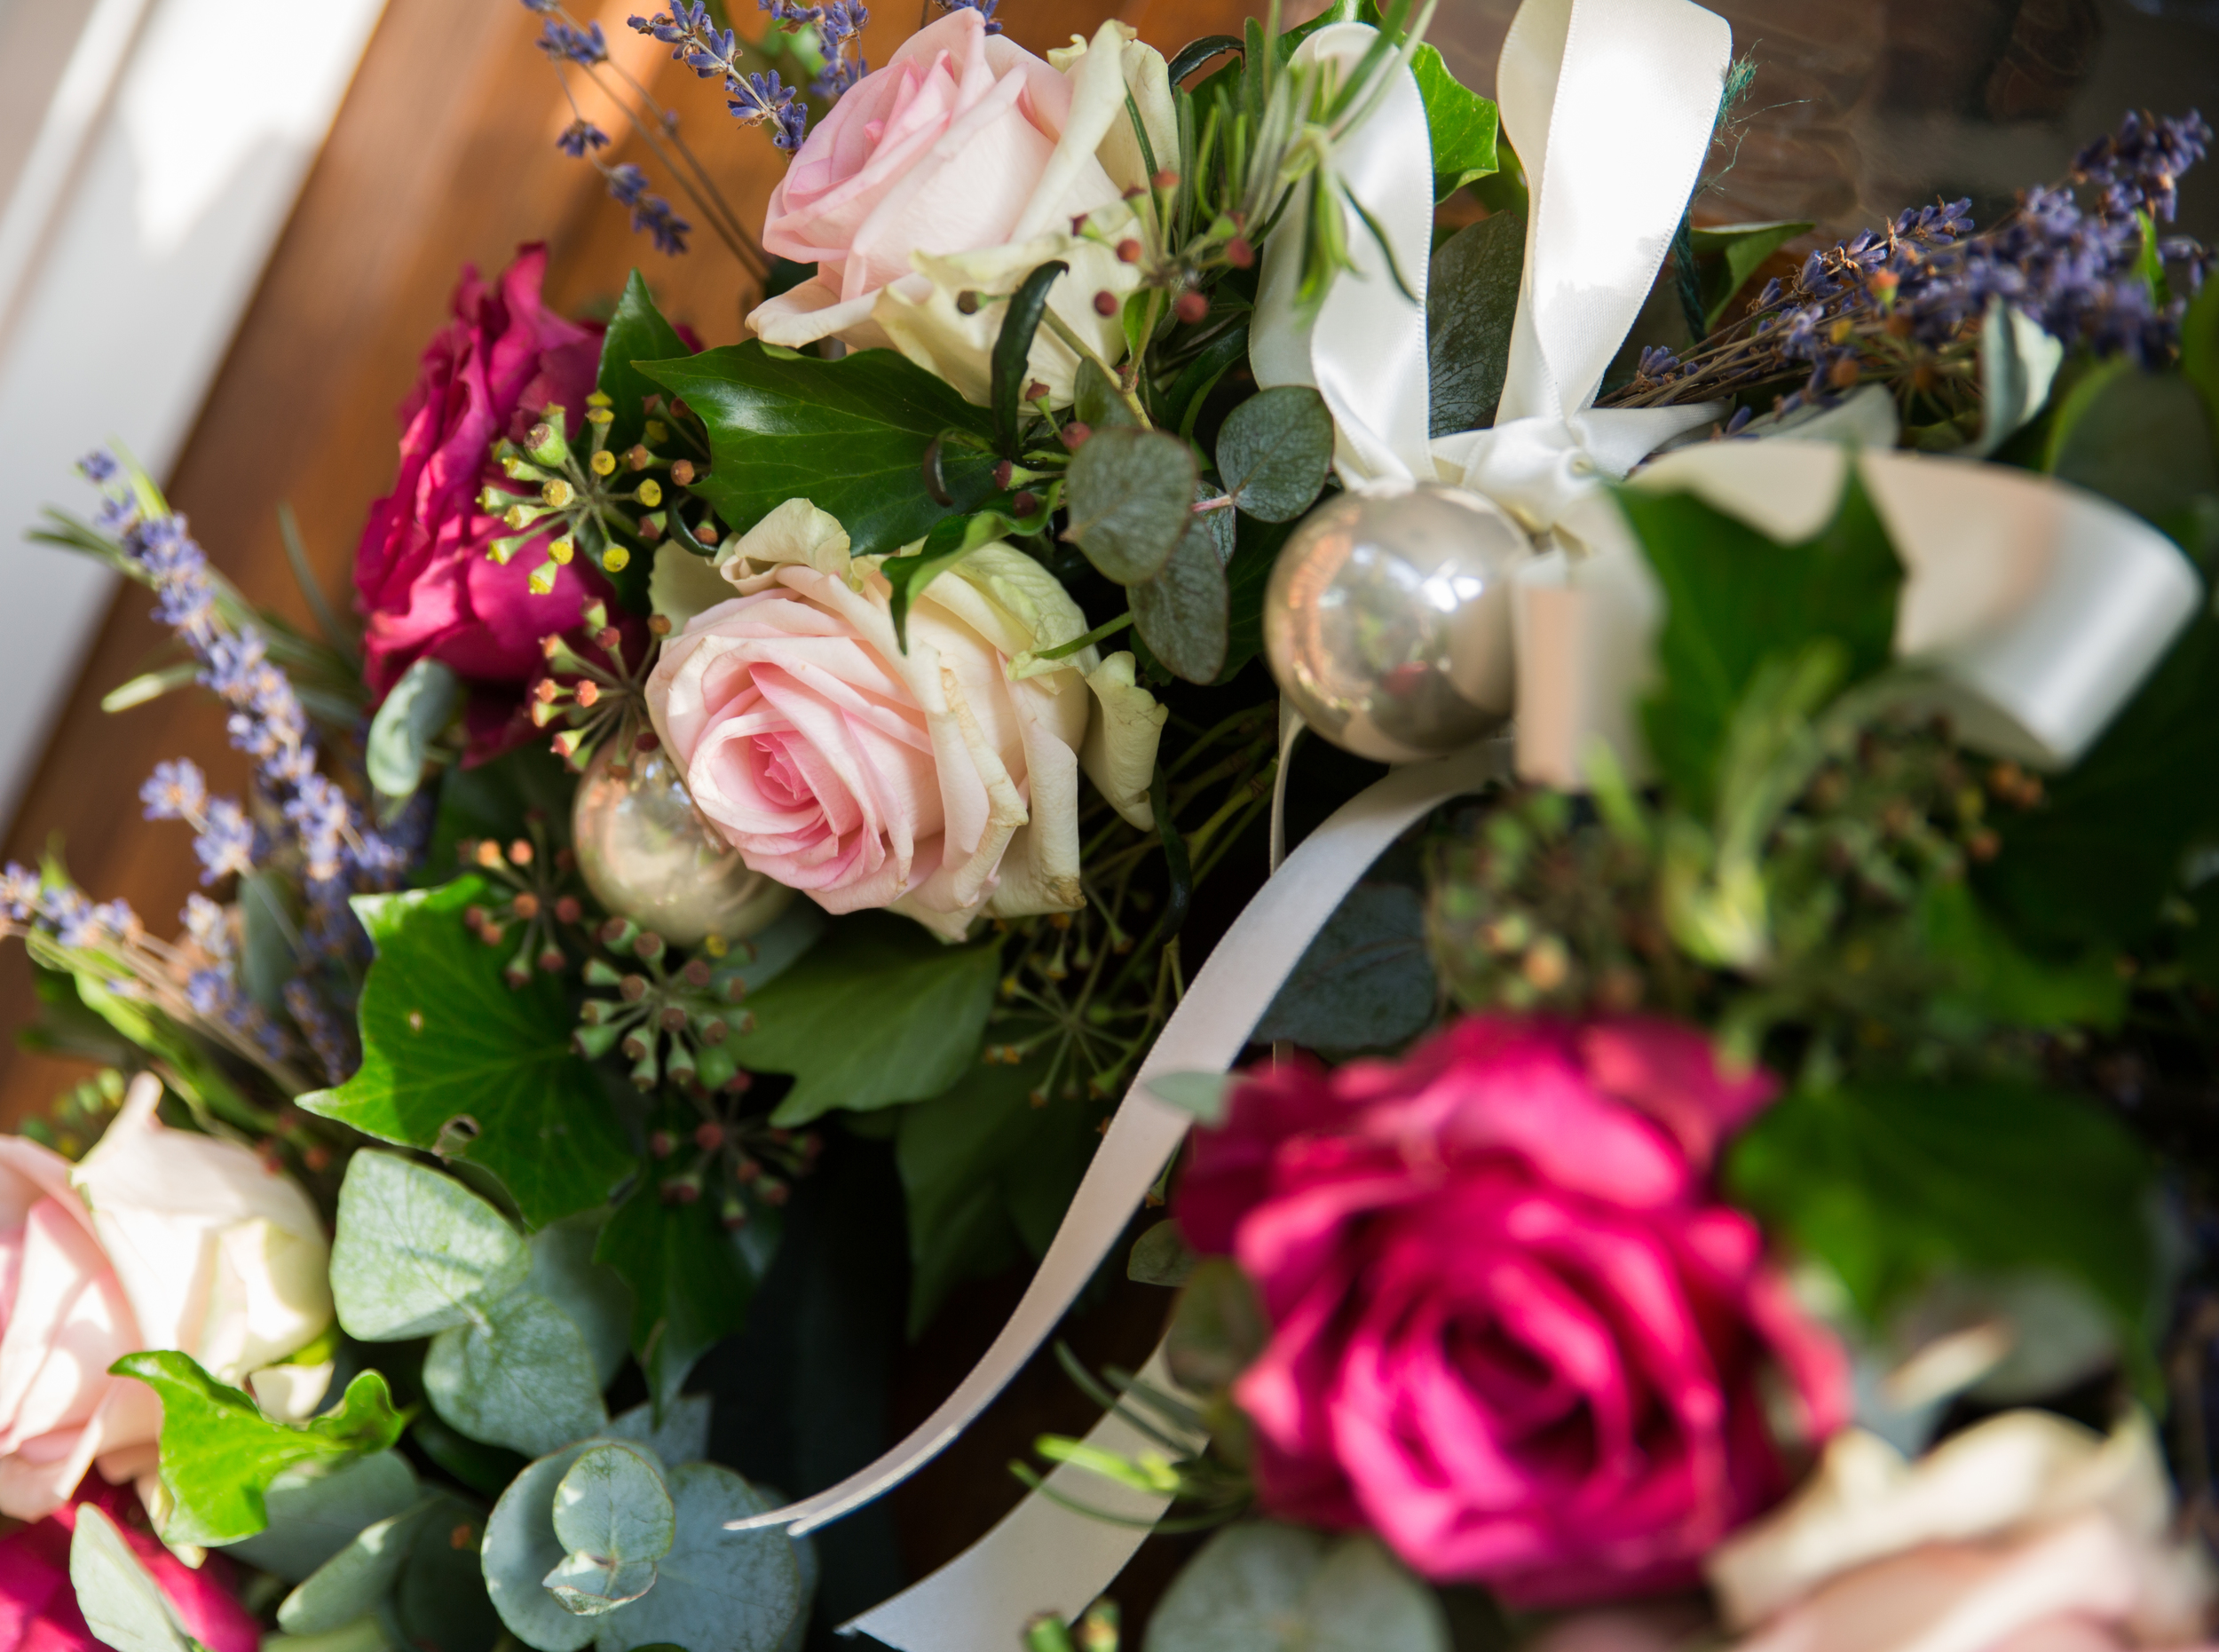
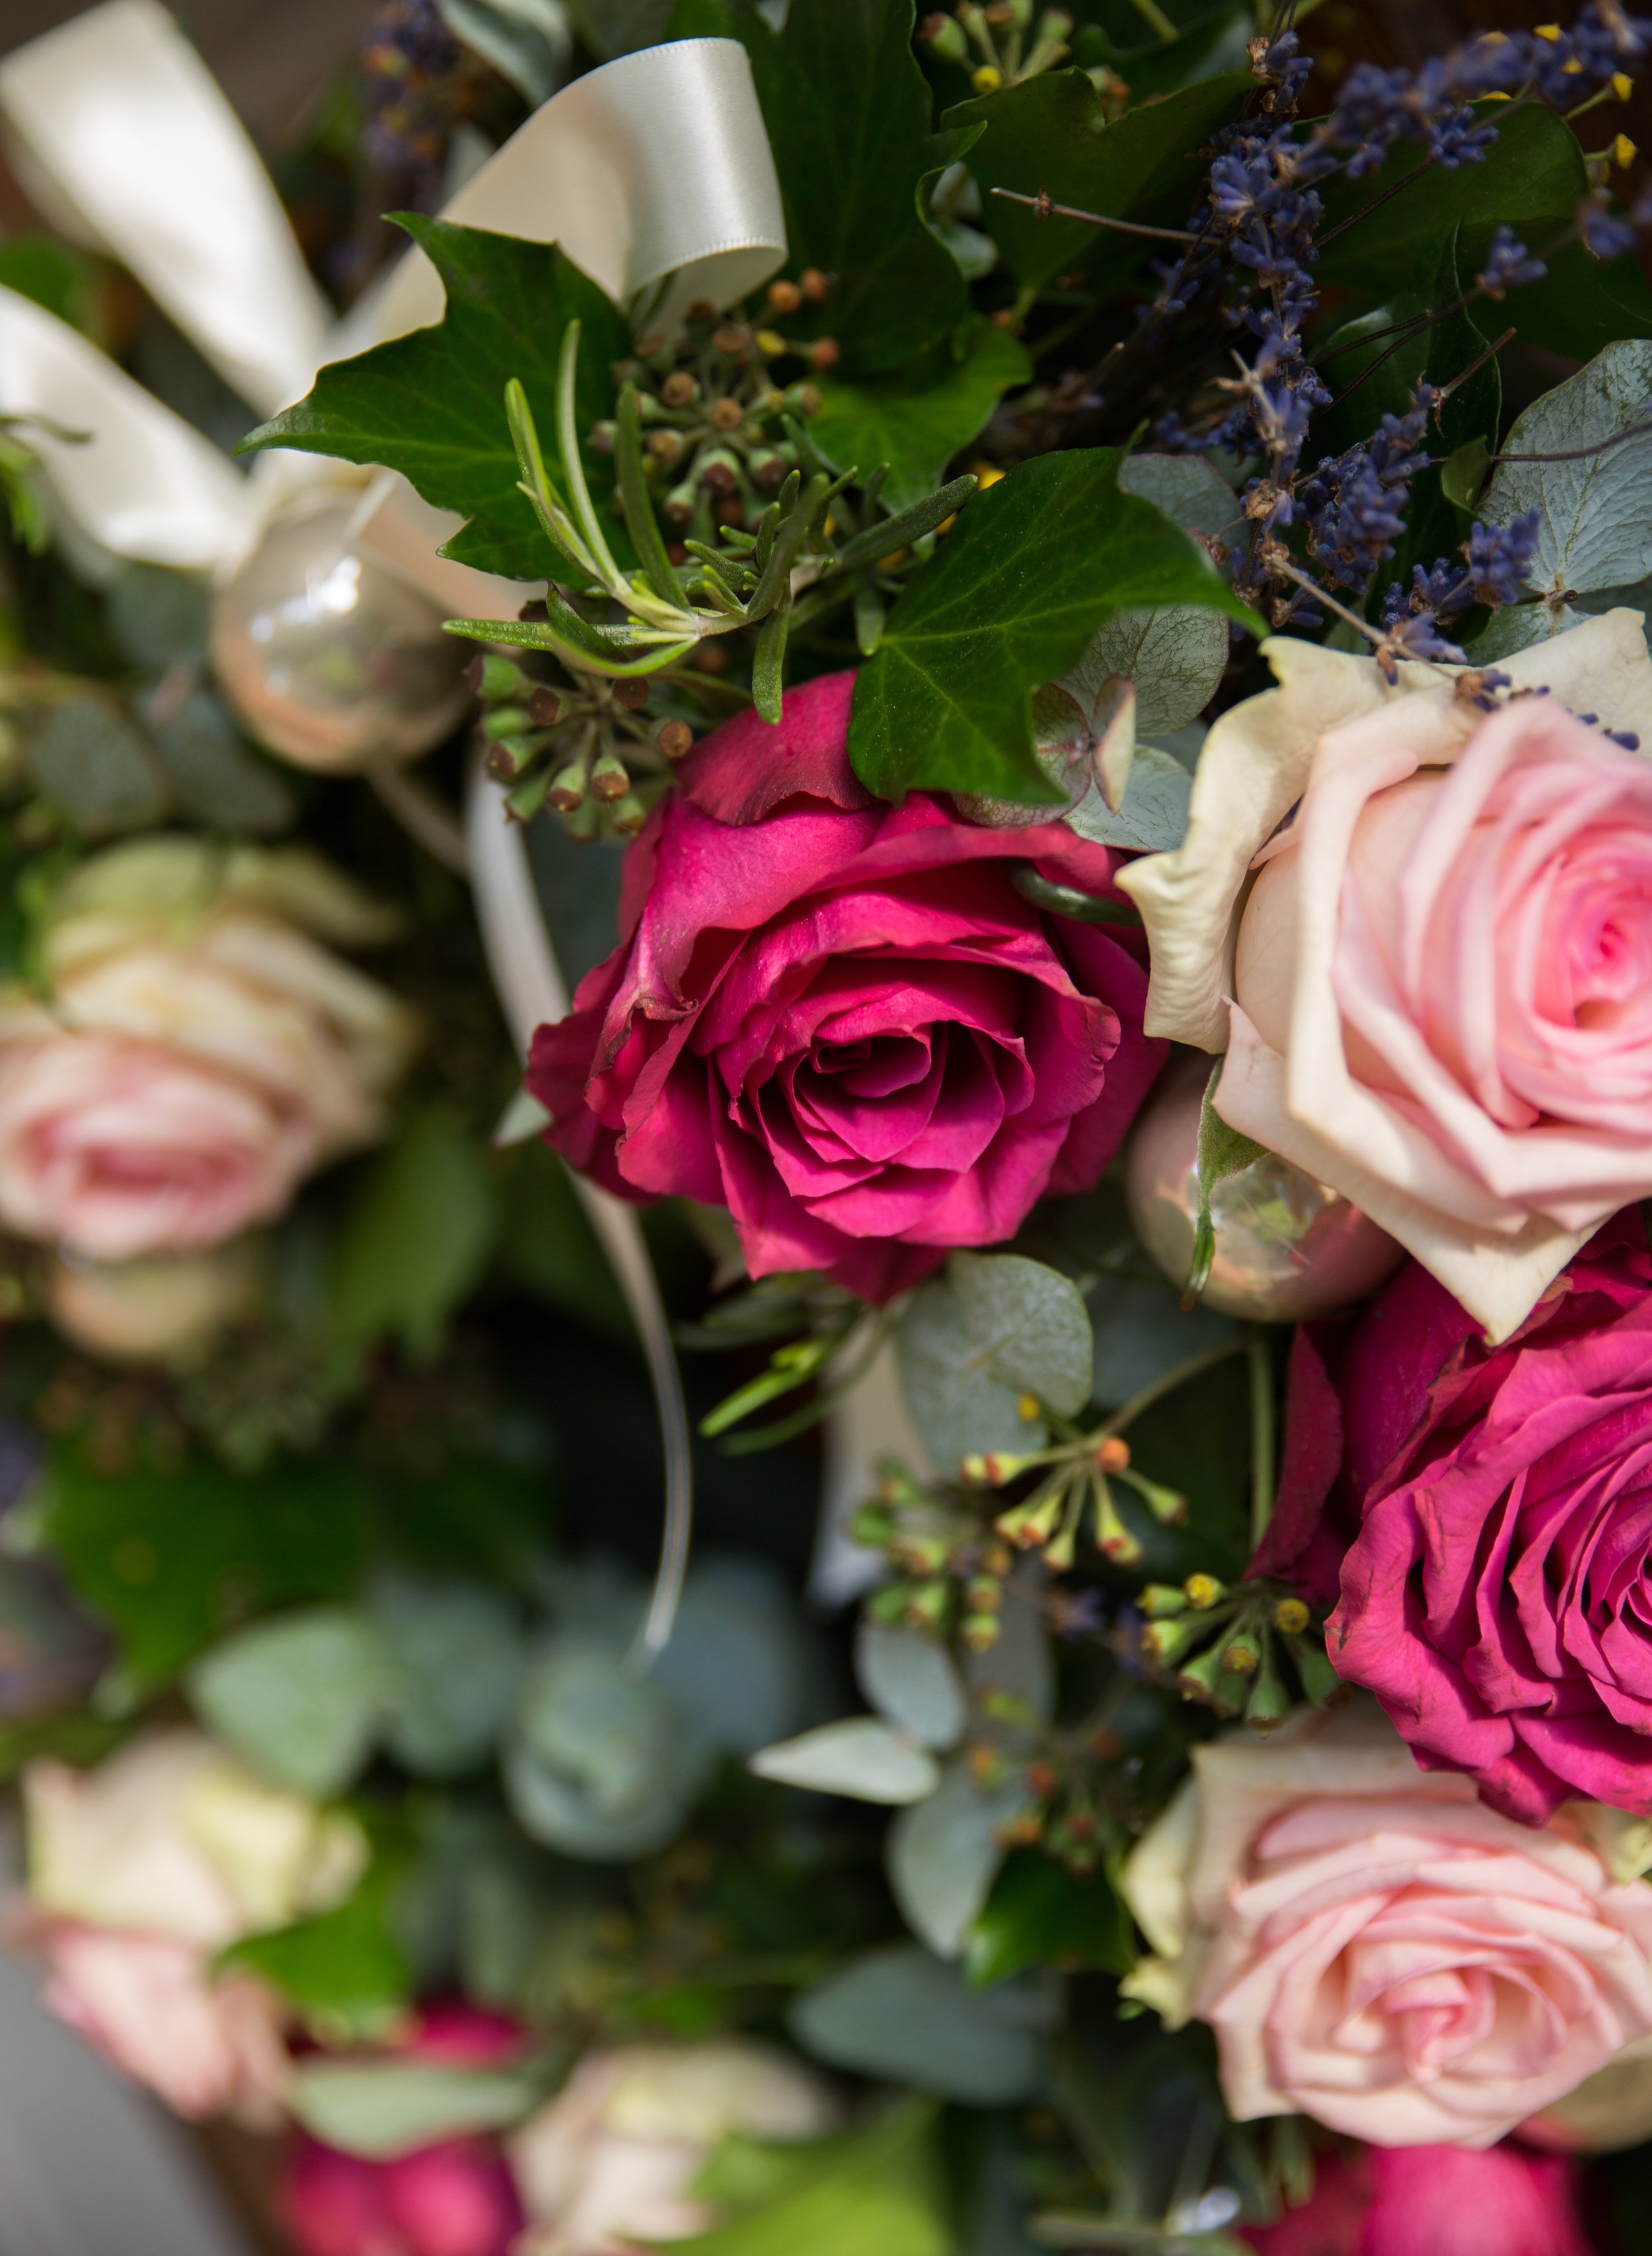
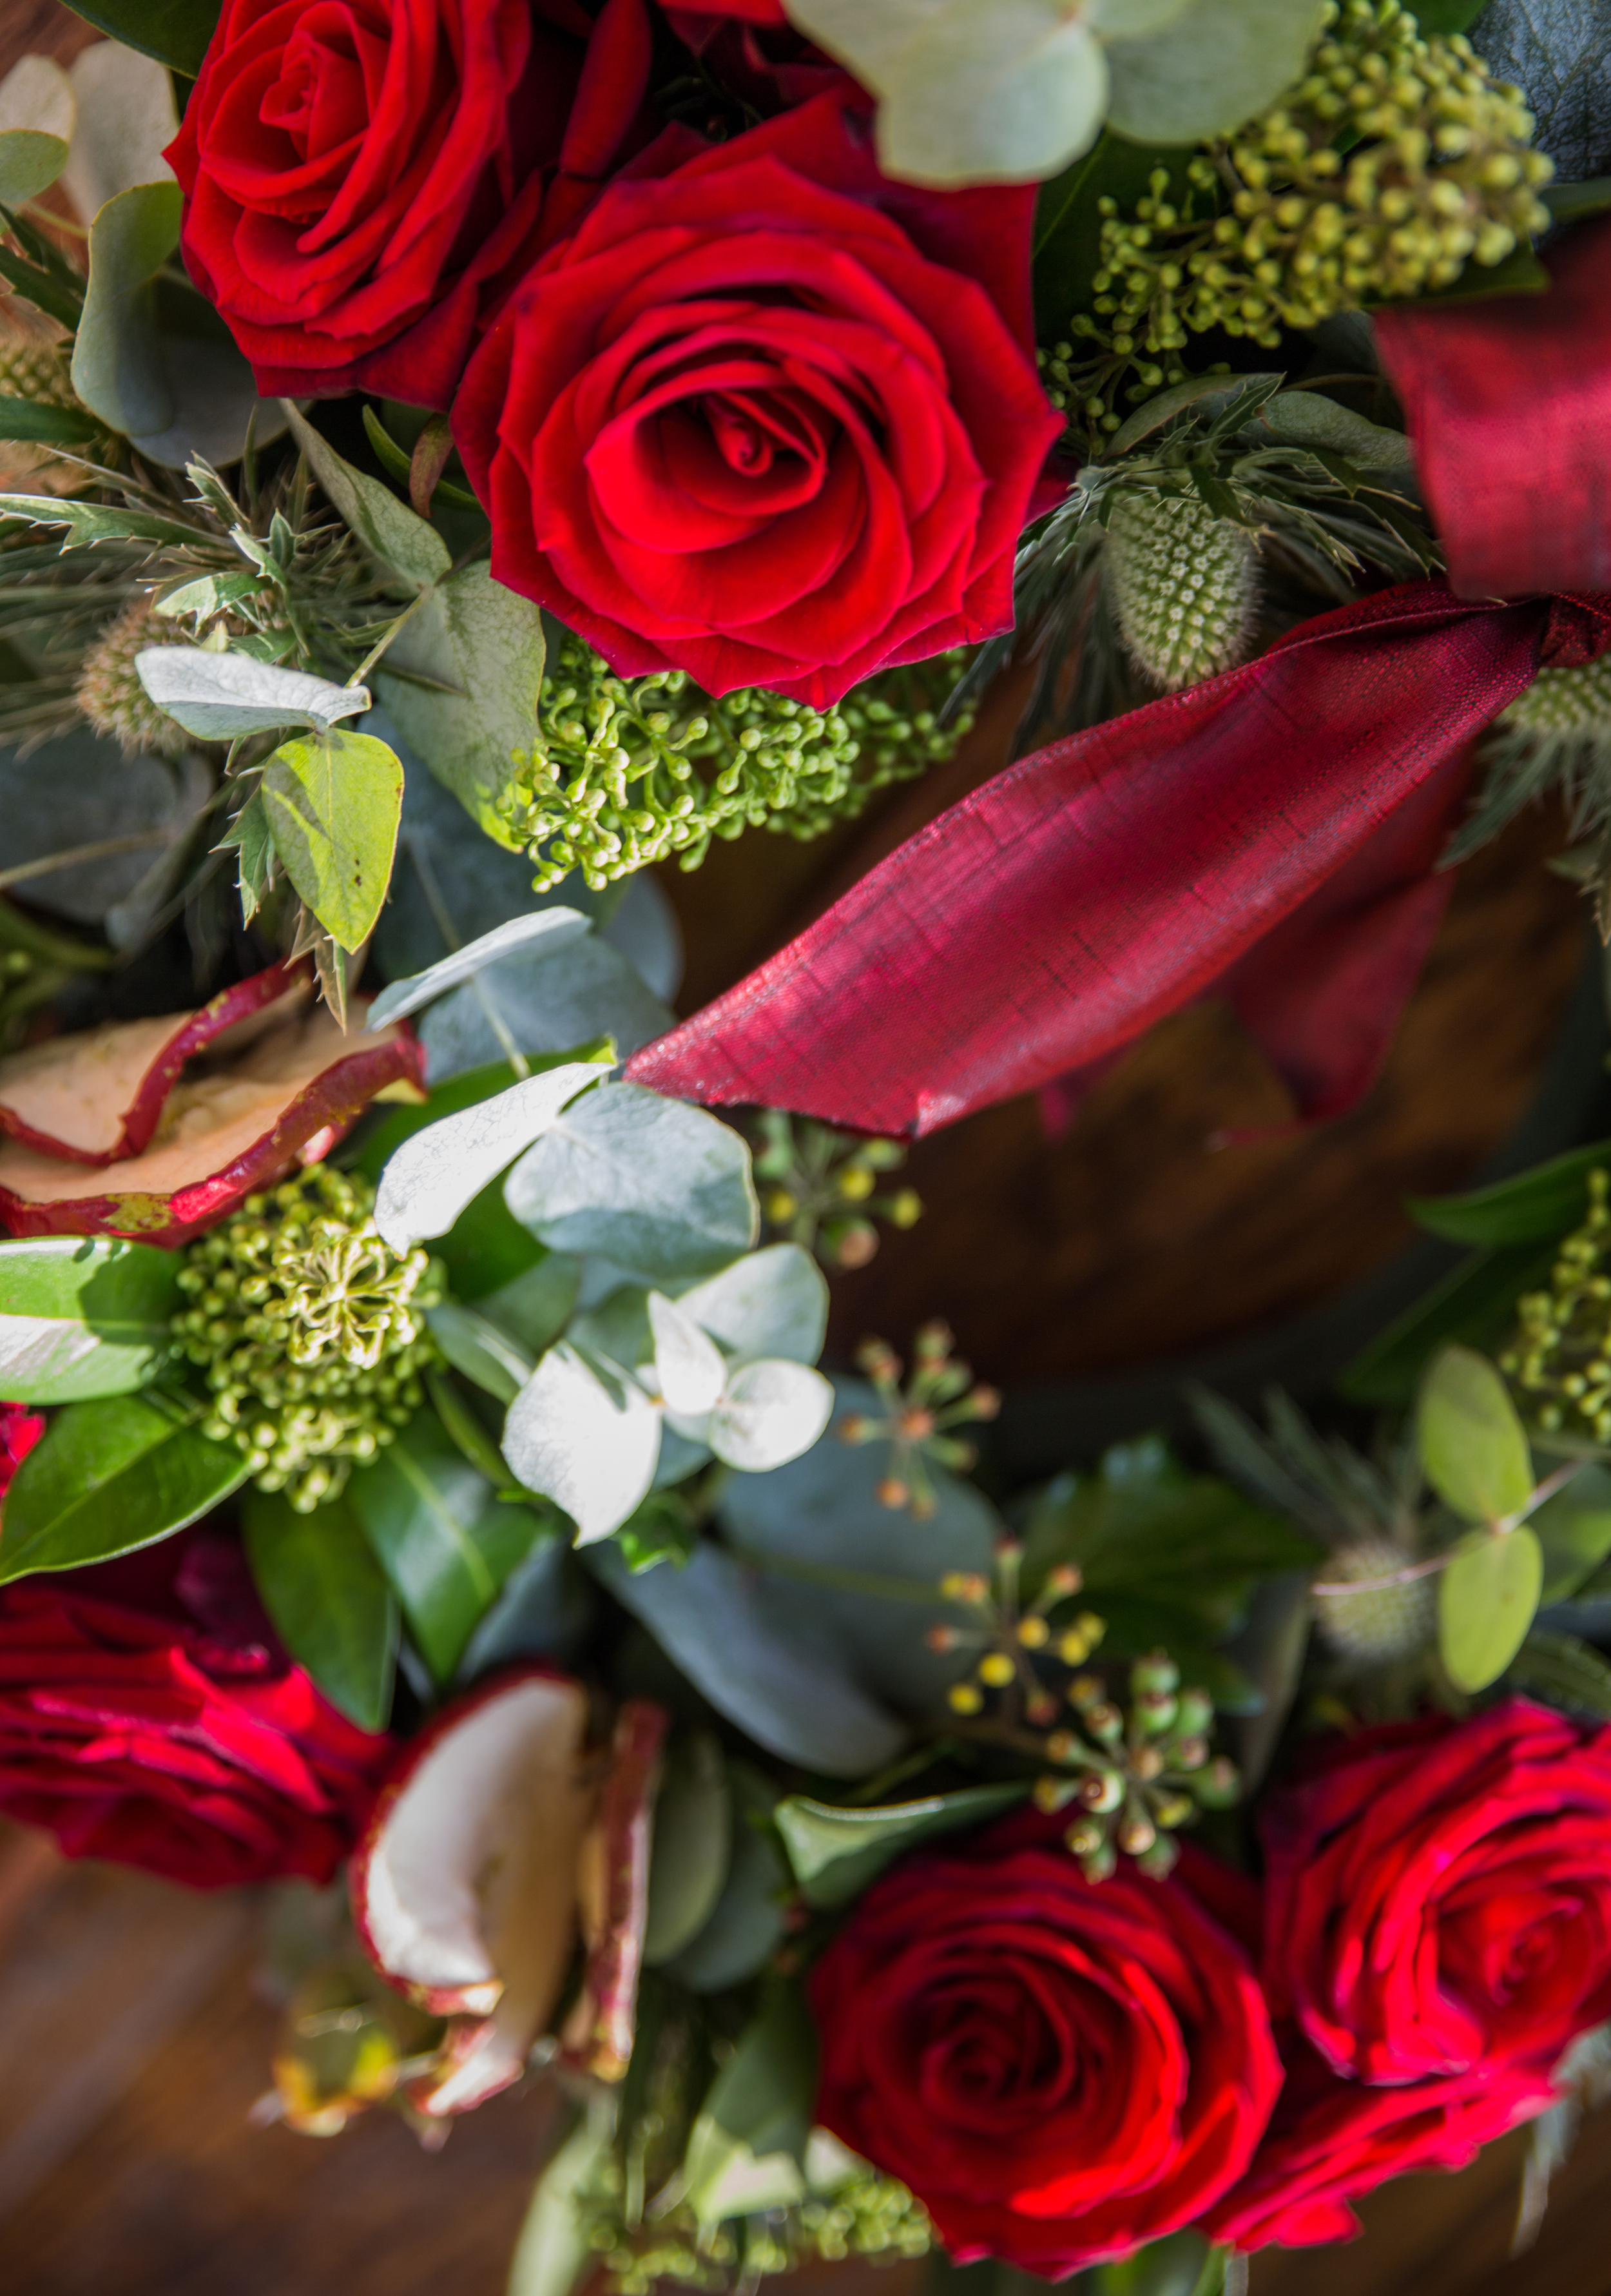
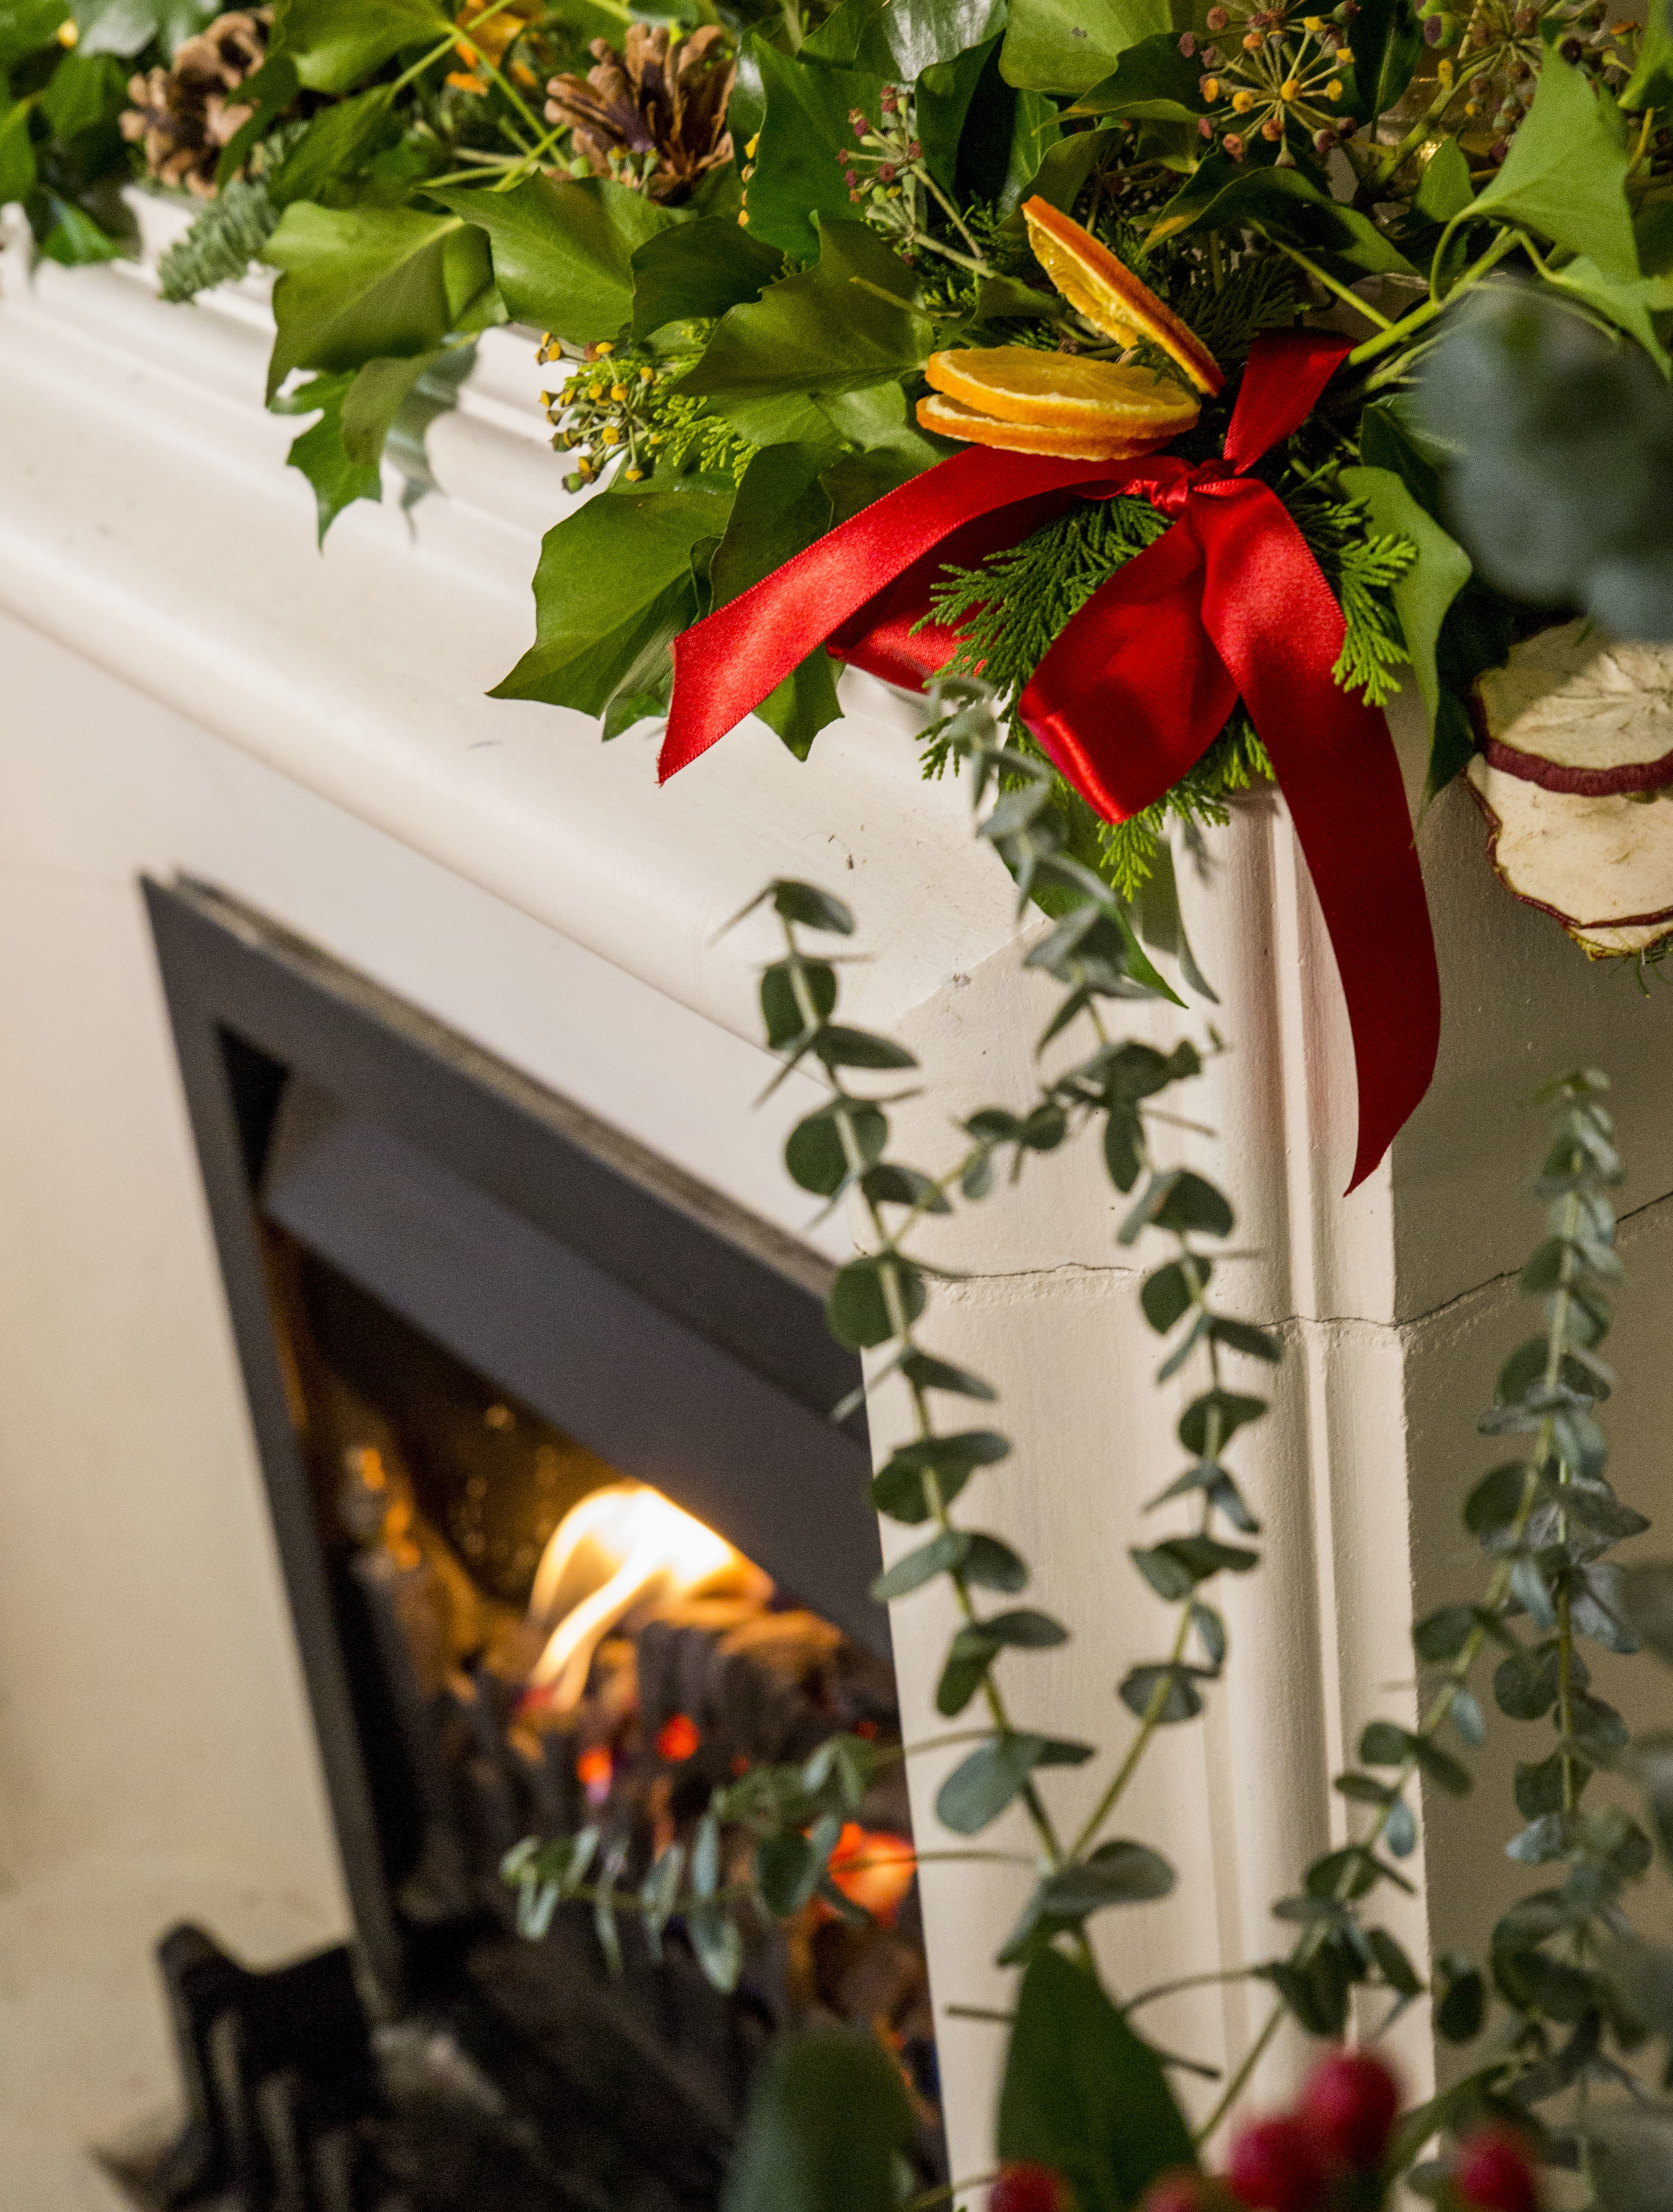
Christmas Floral Decorations - Photoshoot for Madeleine Pink Floral Designer

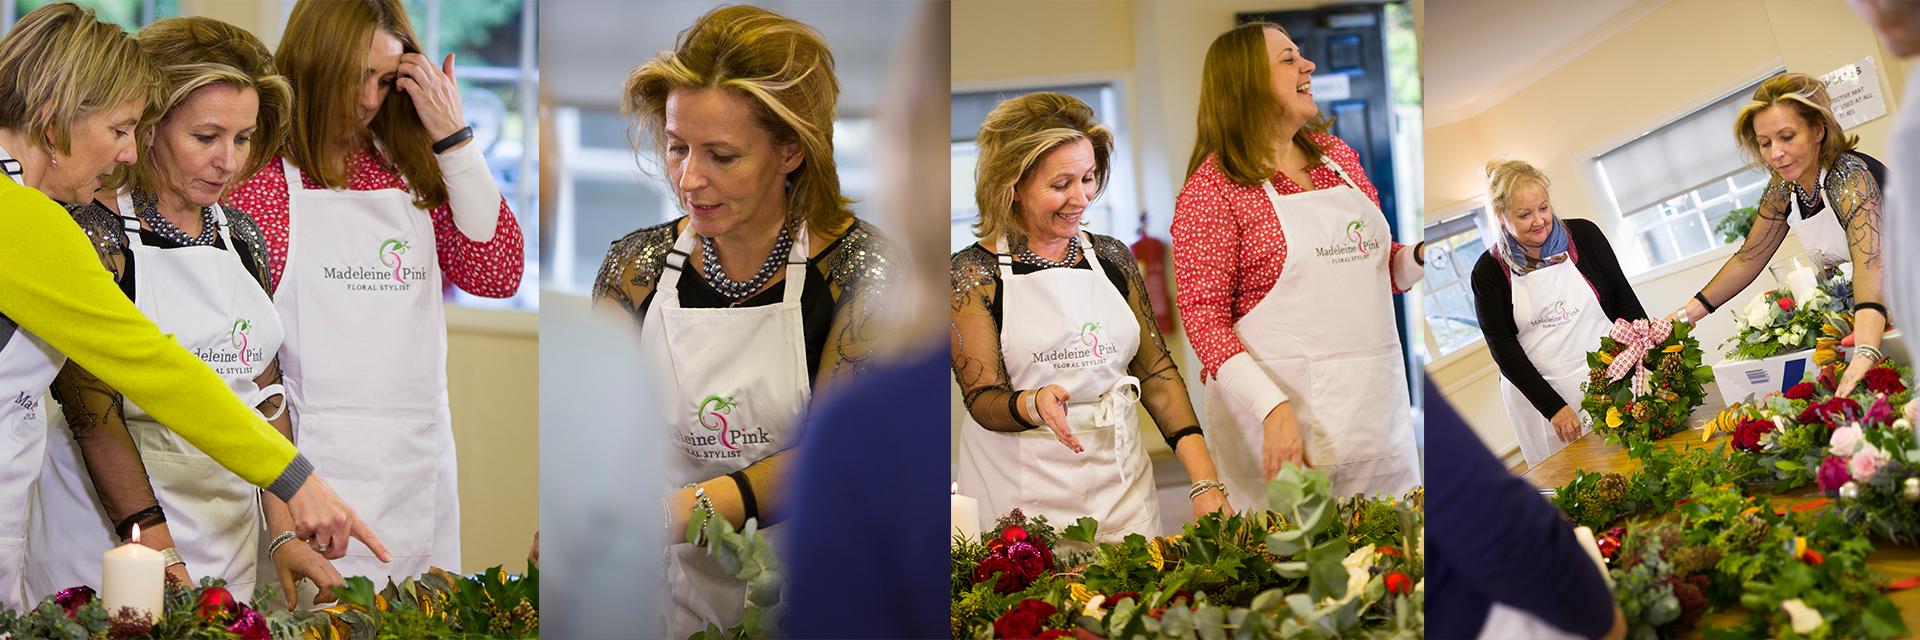
On Wednesday I was working with Margaret from Madeleine Pink Floral Design to capture her beautiful Christmas decorations.

Using the Manfrotto 1x1FT LED light panels on the pro-light stands, I softly lit the decorations with the fine tuning bi-colour control; resulting in soft shadows!

Kit list: Canon 5D mkIII, Tamron 24-70, Sigma 70-200, Samyang 35mm, Canon 100mm L, Manfrotto Pro-Cx3 tripod and MHV500, Spectra 900FT LED light, Variable friction arm + super clamp.

"Chestnuts roasting on an open fire, Jack Frost nipping at your nose".

Seasons Are Changing

Here it is! A collaboration between Tristan Noon (composer) and myself, expressing the transition into Autumn. Filmed at NT Winkworth Arboretum and the North Downs Way (Ranmore Common), and composed with the talent of both Tristan and a clarinetist, we wished to coney the continual and dramatic cycle of the seasons through both the visuals and sound.

I approached Tristan to work collaboratively on this project, and he was happy to work with me, and what an experience it has been! I can extremely commend Tristan on his musical talent in both playing immersing melodies on piano and composing scores. Please check out his portfolio of work here :www.soundcould.com/tristannoon

Capturing Autumn (part 1)

This will be a series of posts acting as a videography diary for my latest personal project which is out filming Autumn in Surrey.

North Downs Way (Ranmore, Surrey)

This time of the year is my absolute favorite. There's a chill in the air, leaves turn stunning tones of oranges, reds and browns, hidden spider webs become visible in the morning dew. Autumn bring a series of treats from the first frost, harvest festival, Halloween and fireworks night, most of which I'll try to capture over the coming weeks as the night draws closer.

Rainbow after a passing storm

Rainbow after a passing storm

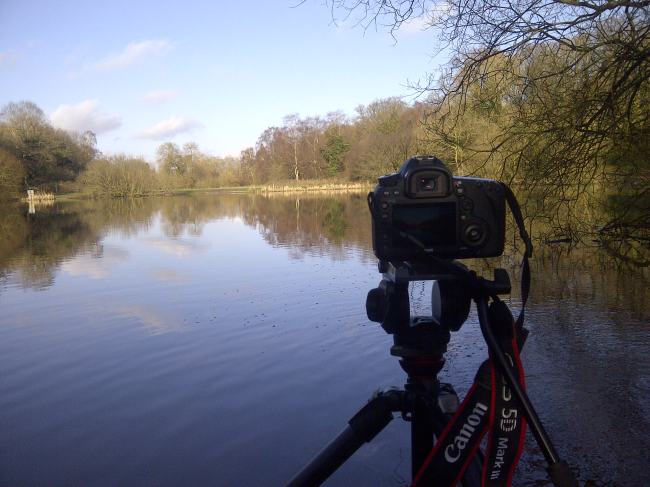
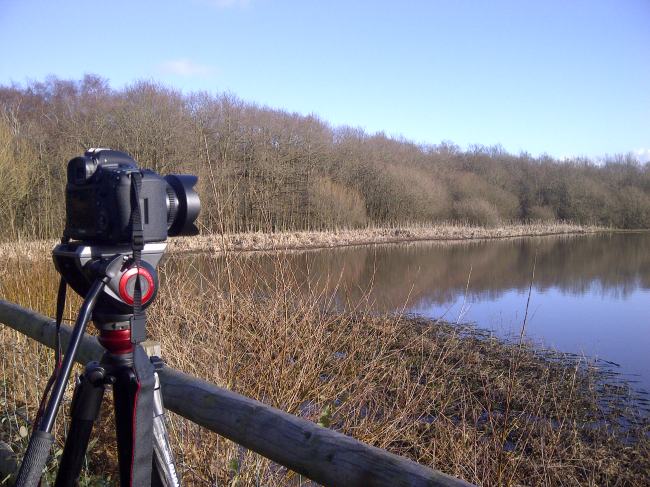
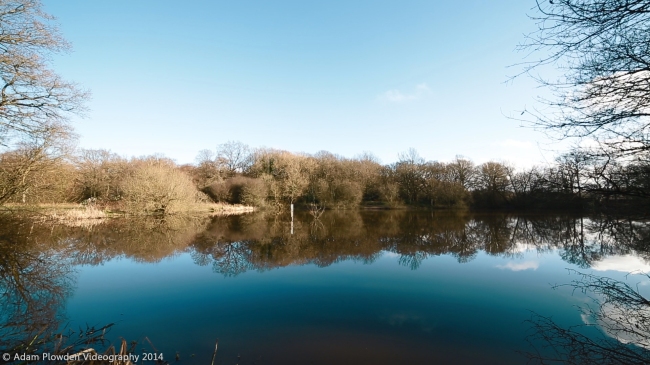
I made my first seasonal video back in Jan/Feb called 'Quiet Sunshine', I loved being out with just my camera and me. It was silent and still as I crept around the pond, capturing the life in the Winter. This was also one of the first videos I made with my new videography kit; Canon 5D mkIII, Samyang 14, 35, 85mm cine lens, Manfrotto 755CX-3 carbon fibre tripod and MHV-500AH video head. It's the ultimate in quick, steady shooting with a beautiful image from Samyang's top quality glass.

This ethos of simplicity while filming is aided greatly by wise equipment choices, good planning and being inspired. Taking a little time to research the sunset and weather, the locations you're going to visit, and checking out other creatives work all contribute to the story that is composed and told through the video. For me, my Manfrotto tripods, video heads, bags and lights give me the flexibility to film in a variety of scenarios without needing a set of heavy legs.

Filming the sunset.

Filming the sunset.

Kit of choice for one afternoon's filming

Kit of choice for one afternoon's filming

The above pic shows how simple my setup was:

  • Canon 5D mkIII (Technicolor Cinestyle picture profile).
  • Tamron 24-70mm
  • Sigma 70-200mm
  • Canon 100mm macro
  • Samyang 14mm cine
  • Manfrotto 055ProB tripod
  • Manfrotto 701HDV head
  • Pro Media Gear dual arc slider
  • ND filters
  • Manfrotto SPECTRA 900FT LED light (just in case).
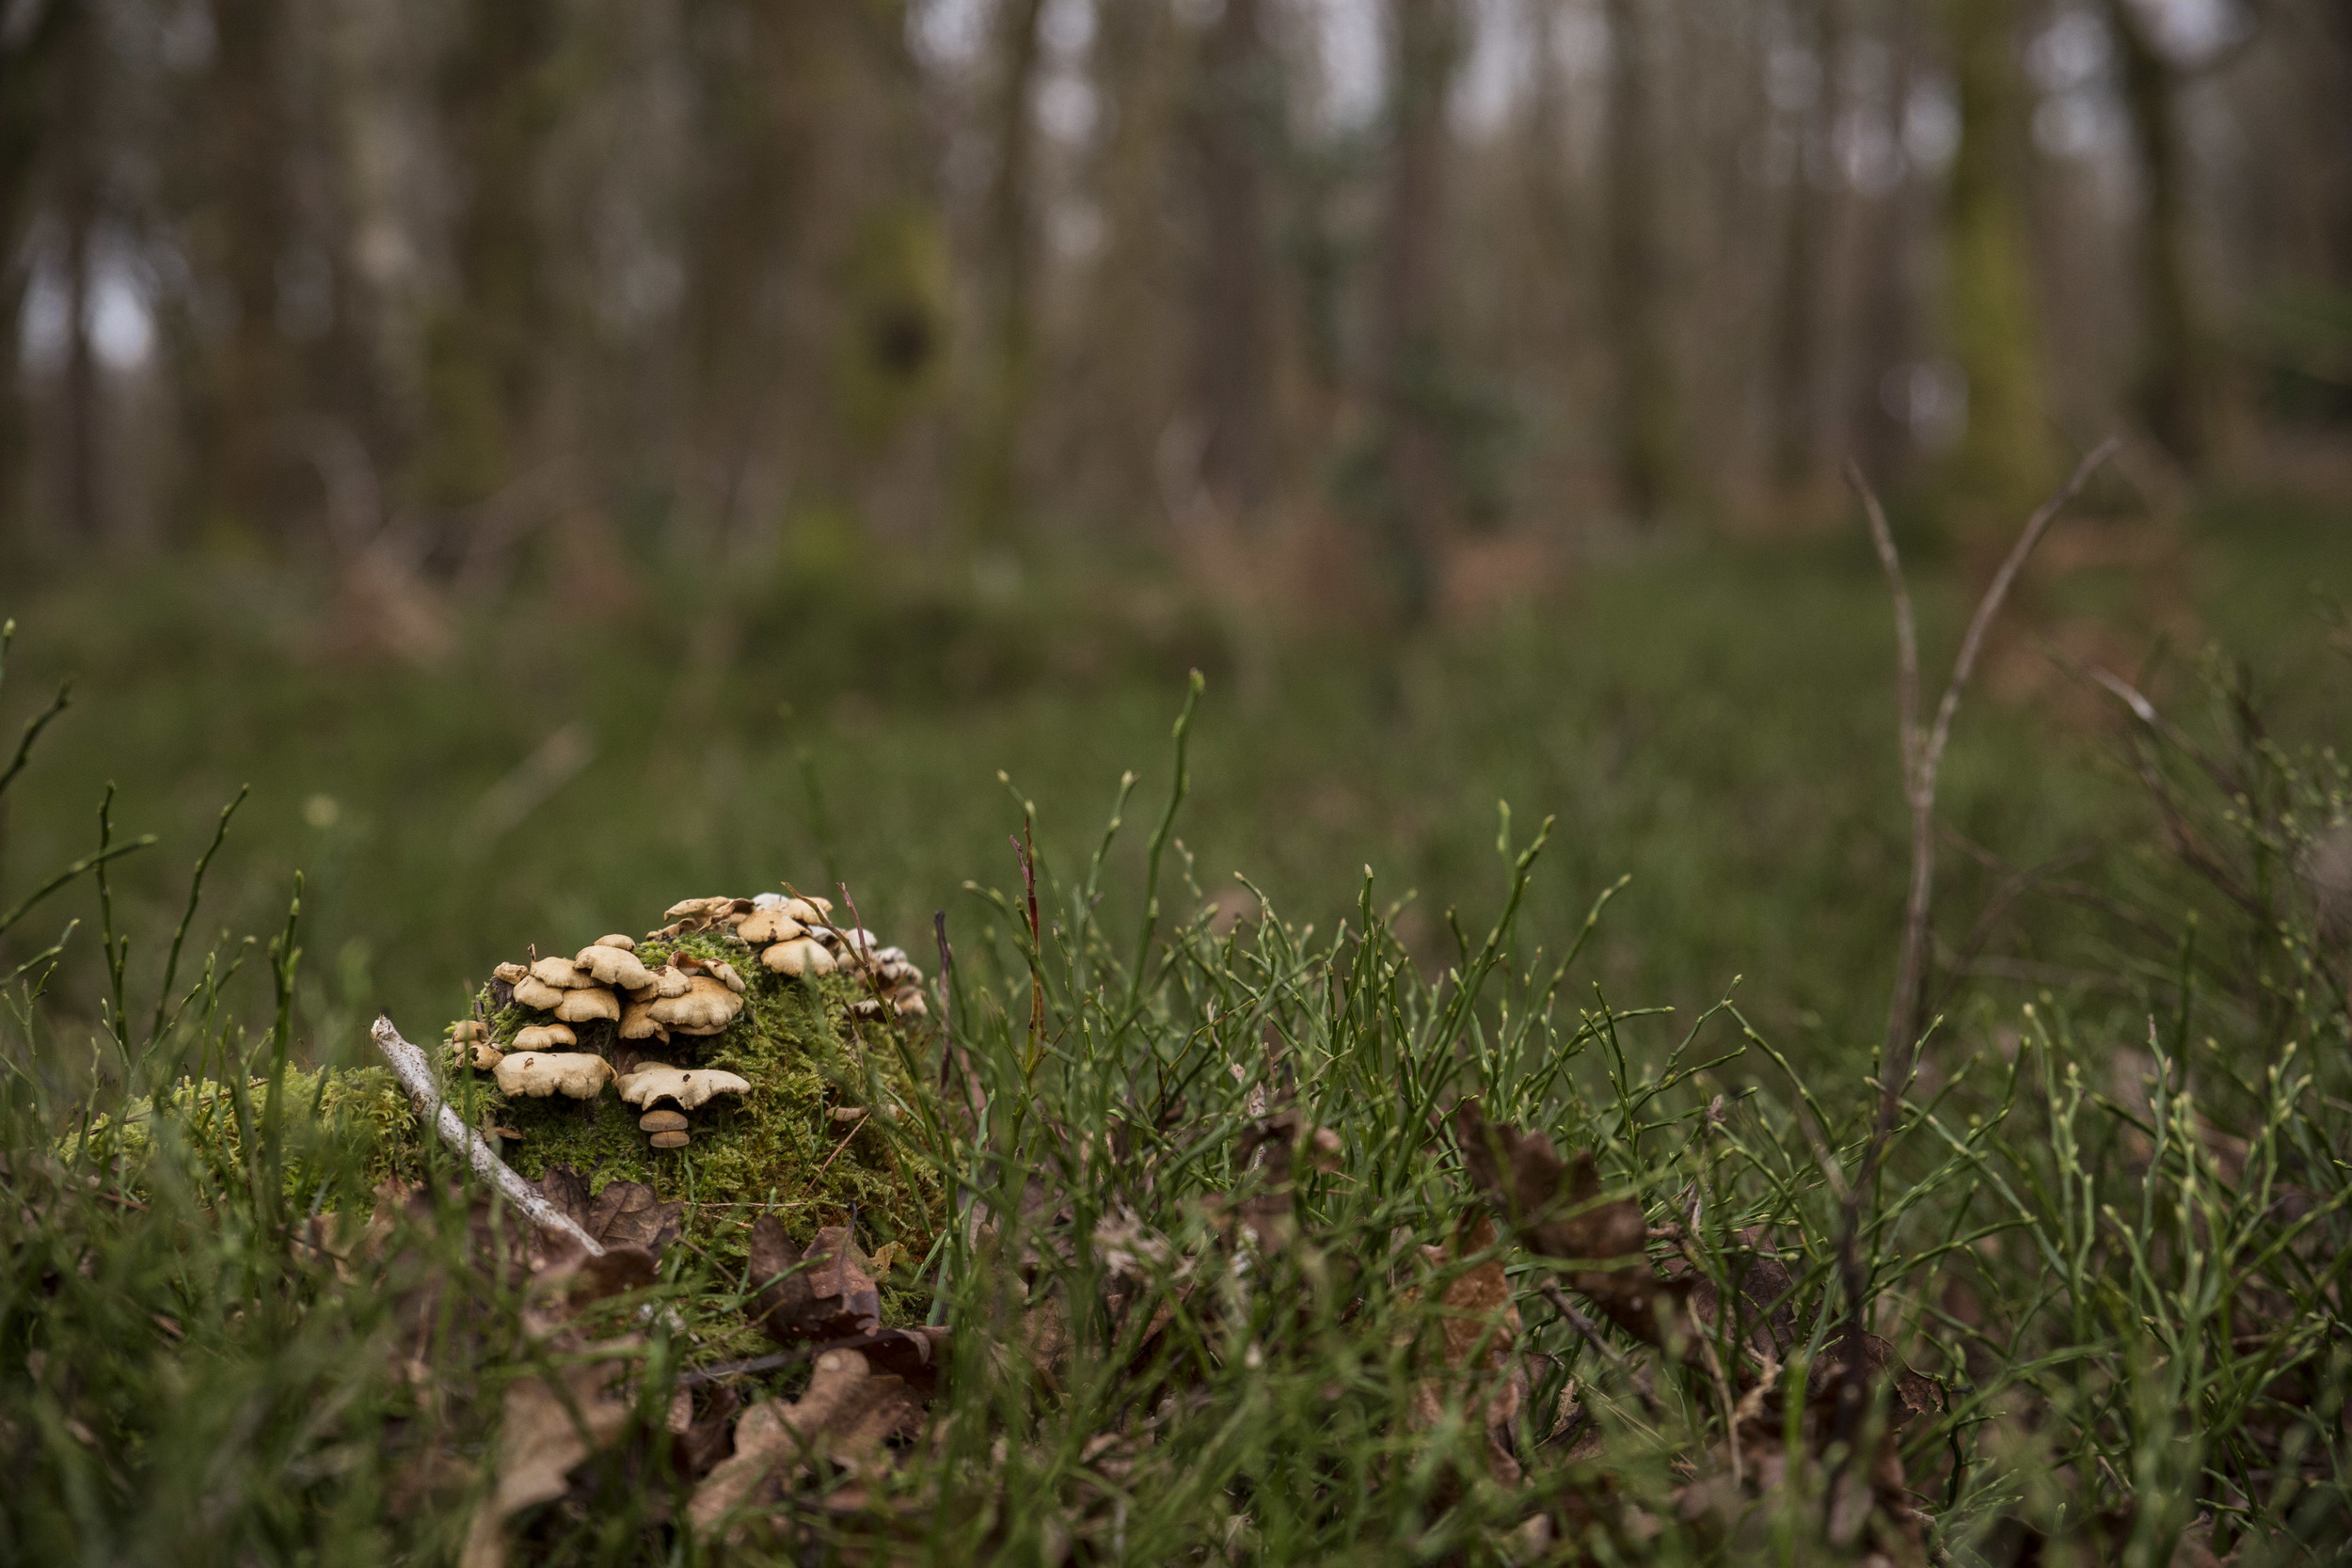
Some macro shots of fungi!

Some macro shots of fungi!

I never go out with an idea of what the final edit will look like, or what I'm distinctly looking for, apart from to give the audience of the video the experience of what it's like to be in the scene. The story is a visual meditation, taking you on a journey. Ron Fricke has mastered this art through his films 'Baraka' and 'Samsara'.

"Give your audience something new, something they perhaps haven't seen, heard, felt or experienced before. Put them in the scene and give them an immersive experience."

I don't think many viewers of the video would have been in a World War II Pill Box.. So I gave them that experience! It had also started to pour with rain when we arrived at North Downs Way, so the dug out shelter provided ample protection from the elements!

The little details of the changing seasons are what we have as memories of autumn. The turning of the leaves and crunch they make as you step on them. The glorious colours of sunset silhouetting the trees! Shooting with the Cinestyle picture profile allows me to capture the video with an extended DR, that I can then manipulate and restore the details in the shadows and highlights when grading in post. This really pops the colours.

If you're out walking, or somewhere new, stray off the path and discover something new. It's a tactic I use when I'm out, it's how I find 'interesting' things to shoot!

Sunset, white balance of 5800K; golden orange tones.

Sunset, white balance of 5800K; golden orange tones.

When I am out shooting, there aren't set rules that I follow as every scenario will be different; indoors or outdoors, subjects will vary and so will the kit you choose to use. I do however make sure I correctly set the following:

  • White balance/colour temperature.
  • The image is level with the horizon line (more so for landscape, unless artistically intended).
  • Sound being recorded with a mic, and that it is ON, with the sound level set appropriate to the environment.
  • Shutter speed set to 1/50th (on DSLR).
  • The shot must show me something new, with framing and composition telling the next part of the story.
  • Am I using an appropriate aperture?

The last one about 'appropriate aperture' is more due to the variety of shots you want to capture. For example: intimate portrait with a wide aperture (F/2.8) vs large landscape with narrow aperture (F/16). Yes, shooting as wide as possible (T/1.5 is the widest I can shoot) produces incredible bokeh, extremely shallow depth of field for intimacy and can keep you shooting in darker scenarios.. But it can also produce softening at the edges (lens dependent), and may not fit the subject; a row of trees, a crowd of ravers. On the other hand, shooting with a deep depth of field (F/11 +) of a babies fingers or the dew on a spiders web does not isolate the subject, makes the image darker and sometimes produces vignetting (lens dependent).

My point being: It is subjective. There is no right answer. Find the right aperture to expose the shot as you wish, using the depth of field to move the viewers attention through the frame.

To summarize, by checking those above points, you'll save a lot of time and work later!

Taken on the North Downs Way, Ranmore, Surrey by Adam Plowden on Canon 5D mkIII and Tamron 24-70.

Taken on the North Downs Way, Ranmore, Surrey by Adam Plowden on Canon 5D mkIII and Tamron 24-70.

Winkworth Arboretum (Godalming, Surrey)

I've been wanting to visit Winkworth for months now, originally purchased by Dr Fox in the 20th Century, it is home to over 1000 trees and plant species created to 'paint a picture' of the landscape. The dream of Dr Fox lives on to the hundreds of visitors of all ages through the National Trust who were very accommodating during my days visit.

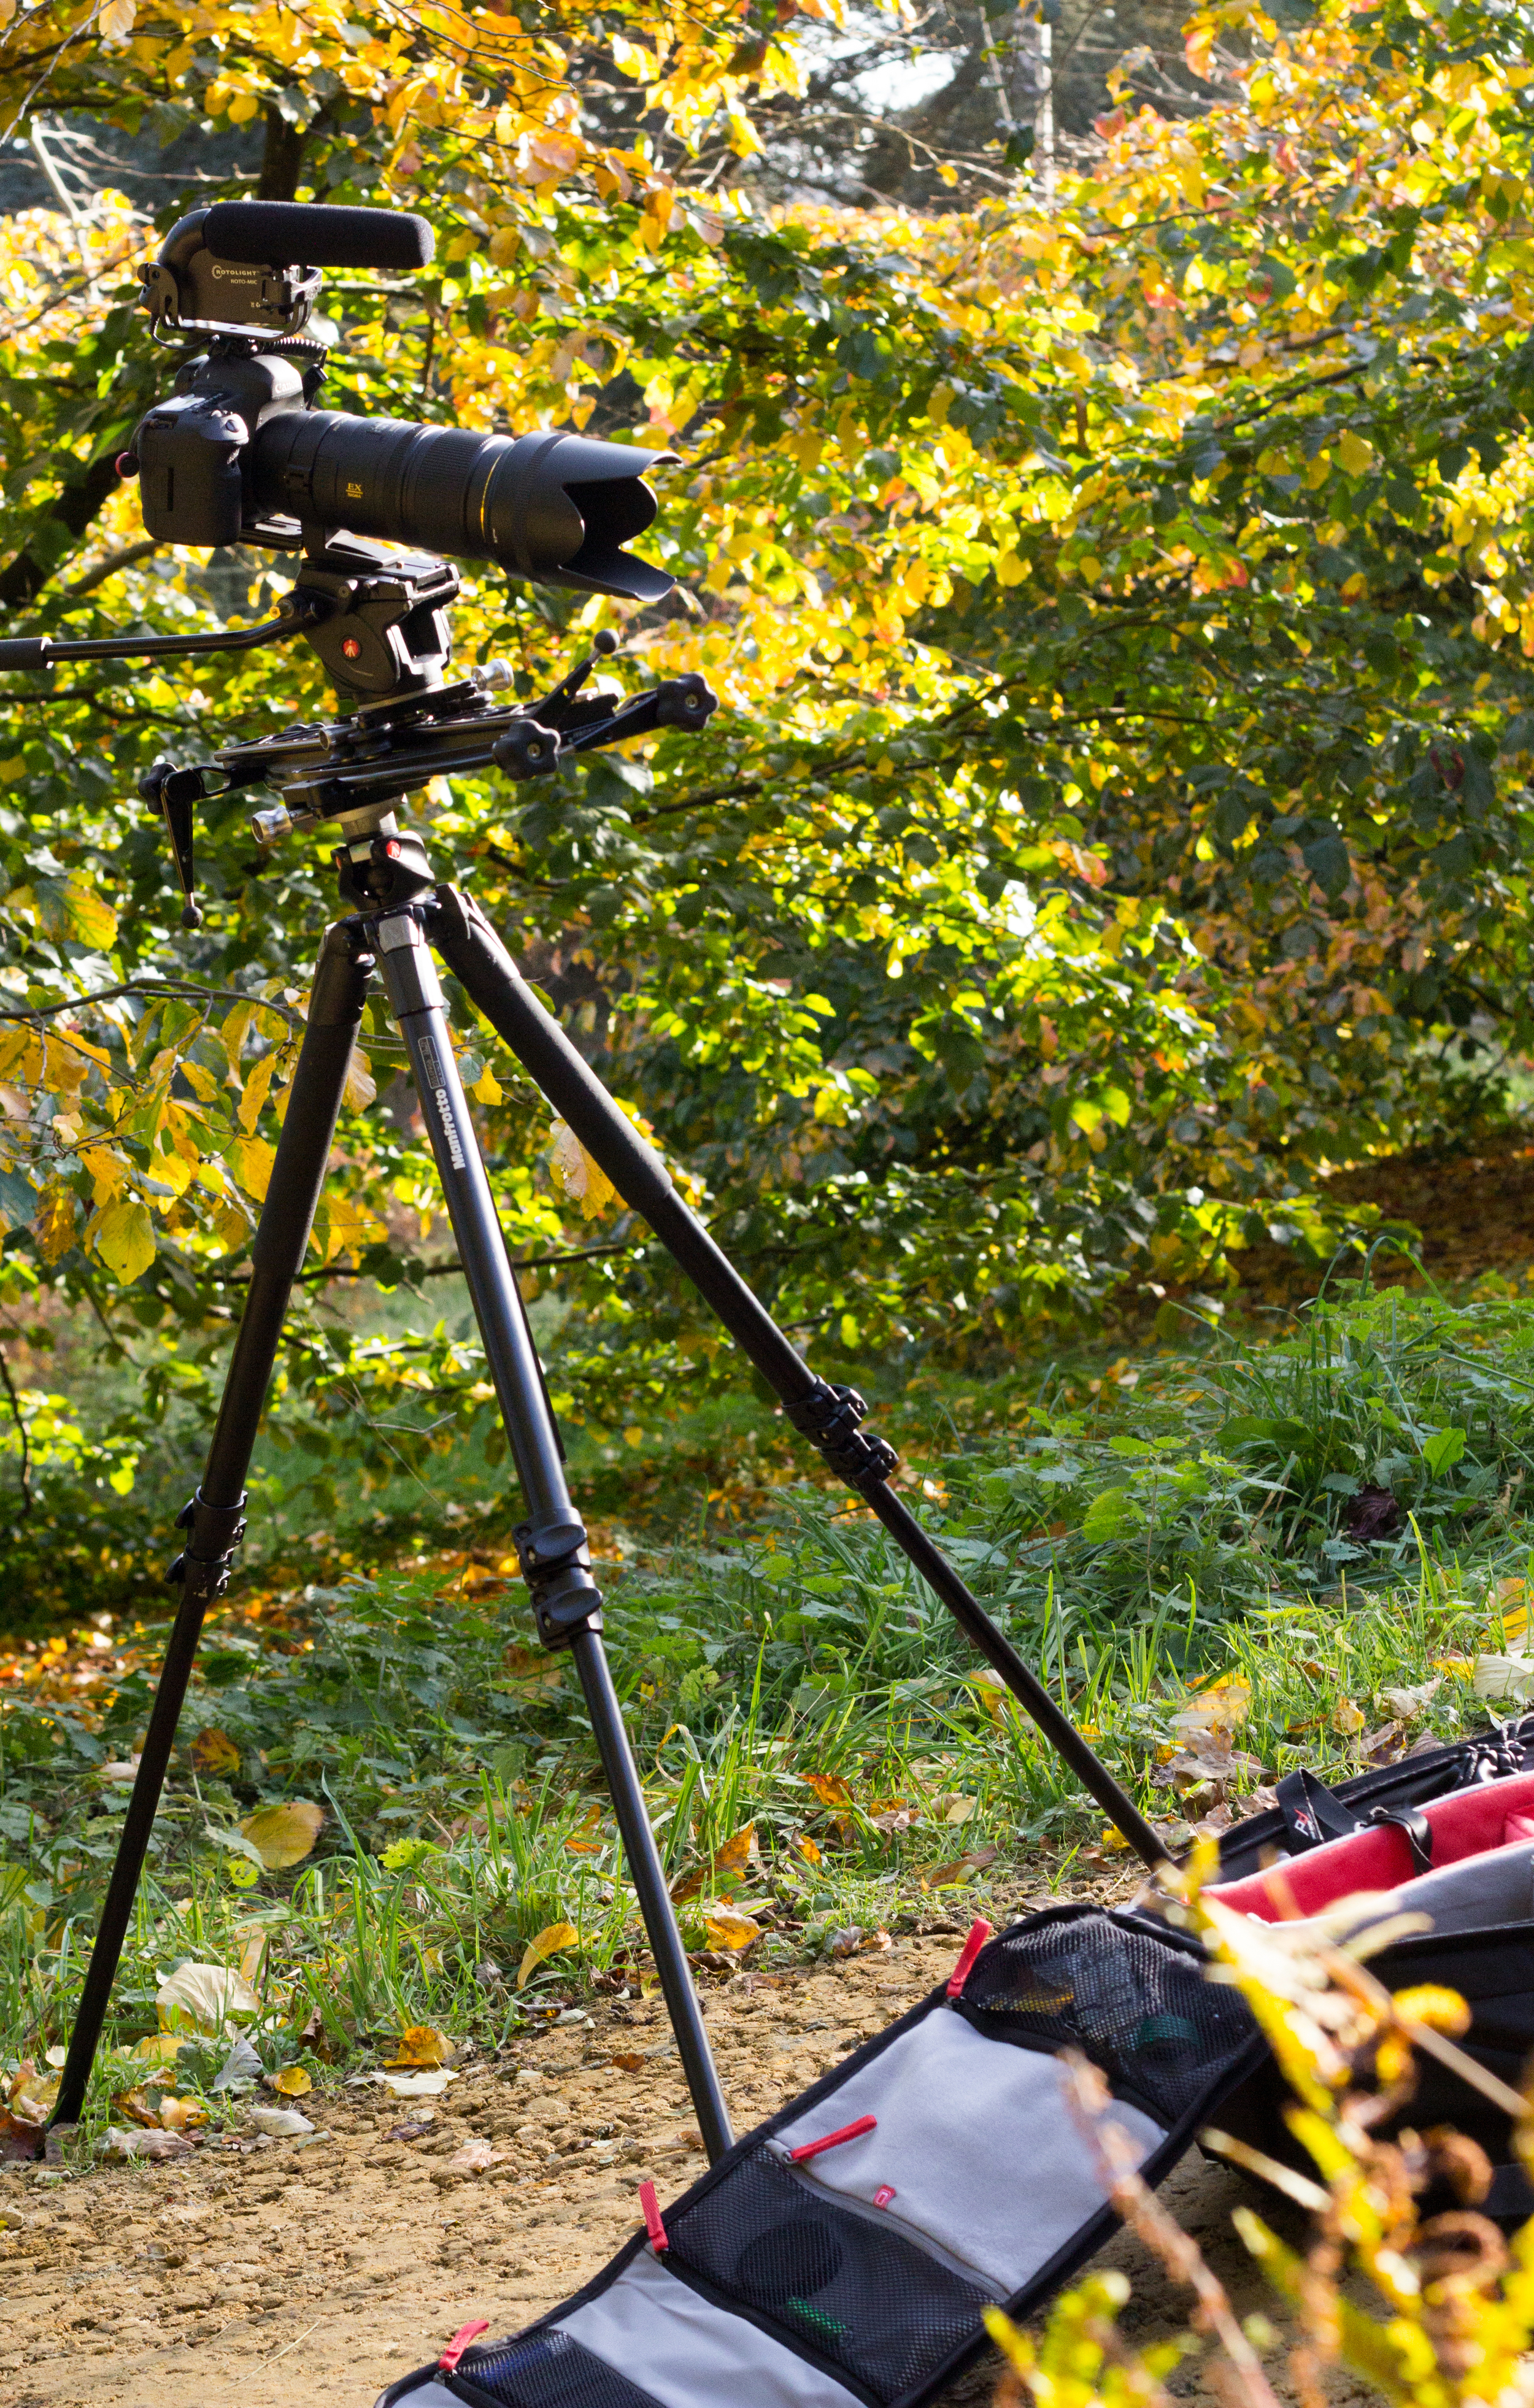
It was my first time at the arboretum, so while I was discovering the beauty of the location I also snapped up plenty of autumnal shots. My kit list varied to what I used at the North Downs Way, but I still used my trusty Manfrotto 055 ProB tripod, 701HDV head and Pro Backpack50! It's so versatile, and trust me, you really can fit everything in this bag for videography!

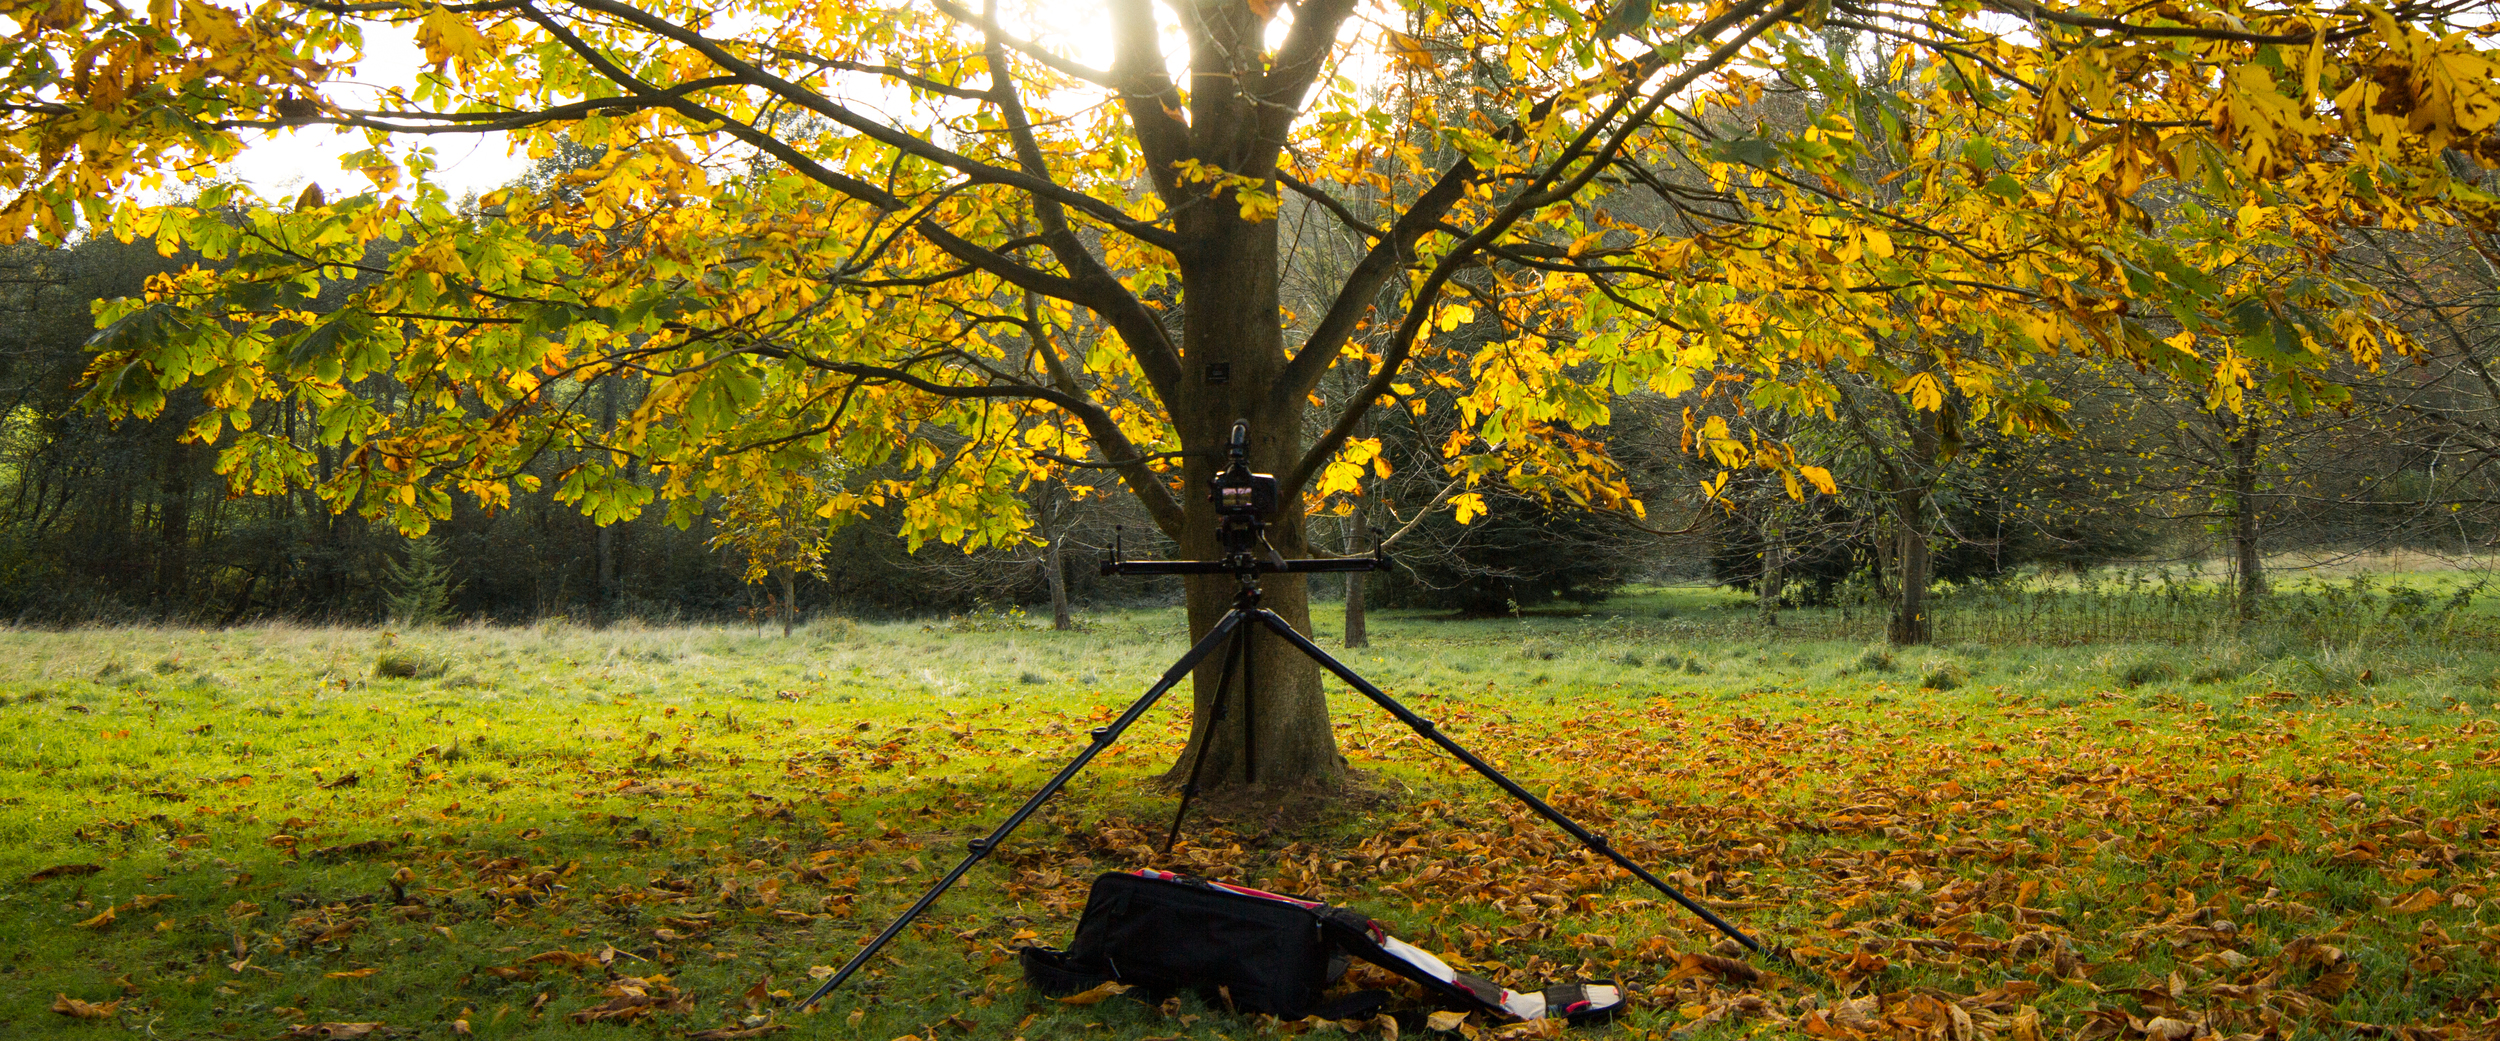
APV setup: 5D mkIII with Sigma 70-200 on Manfrotto 055ProB, Pro Media Gear dual arc slider, 701HDV head, Roto-mic and Manfrotto Pro Backpack50. And Peak Design strap!

APV setup: 5D mkIII with Sigma 70-200 on Manfrotto 055ProB, Pro Media Gear dual arc slider, 701HDV head, Roto-mic and Manfrotto Pro Backpack50. And Peak Design strap!

I wasn't surprised at the number of photographers in the arboretum, the foliage from the range of trees was stunning, a mix of still turning greens, oranges, deep reds.
Beautiful day to be out with the camera!

Beautiful day to be out with the camera!

Acer is my favorite species of tree because of its delicate and intricate leaves and branch structure, it has very unique leaf colours that dramatically change throughout the seasons too.

My favorite!

My favorite!

It was a pleasure strolling around the massive arboretum. I was up for filming anything I liked, I had my Manfrotto Pro Backpack50 filled with my favourite lenses to shoot nature with. The Canon L series 100mm F/2.8 macro lens has been gratefully welcomed into the collection, it definitely being my favorite lens! It has the intimacy and clarity I like to capture, getting the details.

Stunning colours and light, beaming through the trees.

Stunning colours and light, beaming through the trees.

My larger go to kit setup!

My larger go to kit setup!

The above photo I think captures the essence of my work; simple, unique adaptive.. The ability to move the camera using the Pro Media Gear dual arc slider gives the ability to move and orientate around the subject, in the above case around the trunk of a tree, showing the array of interconnected branches and leaves.

For a number of these shots I would have been using the 14mm cine lens, at around T/11 to T/16, so that I could expose both the darker branches and the bright light bursting through the leaves.

Abundant autumnal foliage scattered the landscapes hillsides.

Abundant autumnal foliage scattered the landscapes hillsides.

For photographers and videographers I would definitely recommend a trip to Winkworth. It offers a unique view into nature throughout the seasons, walk freely through the meadows or copses capturing the beauty of nature.

Thanks to the National Trust for upkeeping the arboretum and the volunteers that maintain the site, as well as Manfrotto for their continued support! Get out there and film the lip-chapping mornings, or fireworks night that is coming up soon. It's a stunning time of year, go capture it!

The autumn video is currently in post production, and I am collaborating with Tristan Noon, a composer to produce the soundtrack to accompany the visuals. I'll post up part 2 of the the autumn filming blog when the editing is complete, and the video uploaded!

Filming on the North Downs Way

Surrey North Downs Way, Adam Plowden Videography

Surrey North Downs Way, Adam Plowden Videography

I've been waiting for a clear skied afternoon to film some autumn material for another personal project. Heading for the open North Downs Way, accompanied by the 5D mkIII, Tamron 24-70, Sigma 70-200, Samyang 14mm, Canon 100mm, Manfrotto 055 tripods and 701 head on the Pro Media Gear Dual-arc slider.

The video is to come very soon, I want to go out and shoot some more in the early morning!

Floral Photography for Madeleine Pink

In an earlier post I mentioned that I am not a photographer, apart from the odd dabble in flowers. Last Saturday I was at Box Hill School for their summer Copacabana Ball, for Madeleine Pink florist Margaret Alldridge to take some photos of the displays for her portfolio and website, my goodness what a display it was! I prepped all of my photo kit that afternoon, taking with me the Canon 5D mkIII and a range of lenses, but I predominantly used the Samyang 35mm T/1.5 cine as its minimum focus distance is similar to that of a macro lens, the old Nikkor 50m F/1.4 and Saymang 85mm T/1.5. The Tamron 24-70mm is constantly attached to my camera as my main go to lens so that was with me too.

It was a beautiful afternoon, and very hot too! Here is a selection from the photos I took;

[gallery columns="2" ids="4229,4230,4231,4232,4233,4234,4235"]

I took the photos in RAW, then post processed in Photoshop for small adjustments like exposure and a kick of contrast. Most of the photos had to have the saturation reduced as the vibrant colours were so punchy! Photo's copyright Adam Plowden Videography 2014.

Change of discipline today; photographer!

Madeleine pink table centre piece flowers Madeleine Pink table centre piece at Epsom RAC (Canon 5D mkIII, Samyang 14mm @T/3.1, 1/60's, ISO 1600). I am not a yes man. I will never say yes to doing something I haven't had experience in, as it can just cause anger, frustration and disappointment from both myself and the client, especially if I don't deliver what is expected.

Photography for me is one of those disciplines. Personally I am not a photographer, I don't have an education or background in still photography apart from graphics and VFX, so I go against one of my own rules here purely because of the following reasons, that may be applicable to you too!

1) I learned videography and production on broadcast video cameras, transitioning to DSLR through the wedding film job I do; I was heavily trained and now 3 years on my 5D mkIII is my port of call. Many will be in the same position as me here and will follow the exposure triangle (aperture, shutter speed, ISO).

2) While at university, and still now I study cinematic and storytelling techniques (it wasn't included in my Television and Video Technology BSc. course). Whether it be moving the camera or with a static shot, the composition of storytelling is a present and constant thought in my work.

3) I have prepared myself heavily with the correct equipment and research to use; high speed lenses, a range of lights to compose the image, building mood boards and finding out the clients requirements (as well as any inspiration they have that will add).

4) My client is very happy with what I produce, and if they weren't they wouldn't ask me to work with them again.

Note: I never advertise myself as a photographer.

That makes me confident to go out and take some photos of flowers for a florist, which I am doing today!

Madeleine pink table centre piece flowers Madeleine Pink table centre piece at Epsom RAC (Canon 5D mkIII, Tamron 24-70mm @F/3.2, 1/50's, ISO 3200).

Transferring the skills from DSLR videography to photography have been easier for me, probably because I always shoot in manual, I love taking my camera out with me wherever I go, and the storytelling techniques of composing images are still present in photos like they are in video.

If however you find it a little more difficult, consult the exposure triangle, and keep a couple of things in mind;

Aperture - Wide open allows lots of light to enter, shallow depth of field. A narrow aperture reduces the light making the image darker, and creating a deep depth of field. Using focus and blur is one of the main tools the director uses to concentrate the audiences attention onto specific details.

Shutter speed - Controls the motion due to how long the sensor is exposed to the light. A fast shutter captures fast motion with minimal blur (sports and outdoor), a slow shutter means the sensor is exposed for longer, allowing the subjects to move in the frame while it is open, creating blur.

ISO - Digital noise added to increase the image exposure. Low ISO results in low noise, crisp images but with no added exposure, where high ISO will increase your exposure but will introduce digital noise that is more visible in dark situations.

Other key points to remember: White Balance/Colour Temperature - make sure your whites are white and your blacks are black. This depends on what light you are using, daylight for example is 5600K, but Tungsten is 3200K.

Make sure your camera is set to capture RAW and JPEG images to allow for greater definition when editing the pictures afterwards!

Madeleine pink table centre piece flowers Madeleine Pink table centre piece at Epsom RAC (Canon 5D mkIII, Nikkor 50mm @F/1.8, 1/50's, ISO 1600).

It is worth a go if you are confident you can produce the images your potential client is looking for. Being a videographer not a photographer, I do not charge a standard fee to have me out for an hour and to post process the images later. This is for two reasons; I am a new business, and so is my client. Why out price your skills and make it a hard decision for your potential client to use you? Secondly, like I keep mentioning I am not a photographer and although I have rates and targets to meet financially, I see this more of getting out with the camera to be creative for an afternoon rather than a job.

Some points to consider if you are ever approached by someone who requires something different from your usual line of work! Do not forget to do your research though. Unfortunately I have had a number of experiences of photographers embarking on video without understanding the full production process, where I've been asked by their client to correct the mistakes.. So if you're a photographer doing video, again have confidence in that you will be able to produce exactly what is expected, and with the internet being the biggest learning and education network, there really is no excuse nowadays!


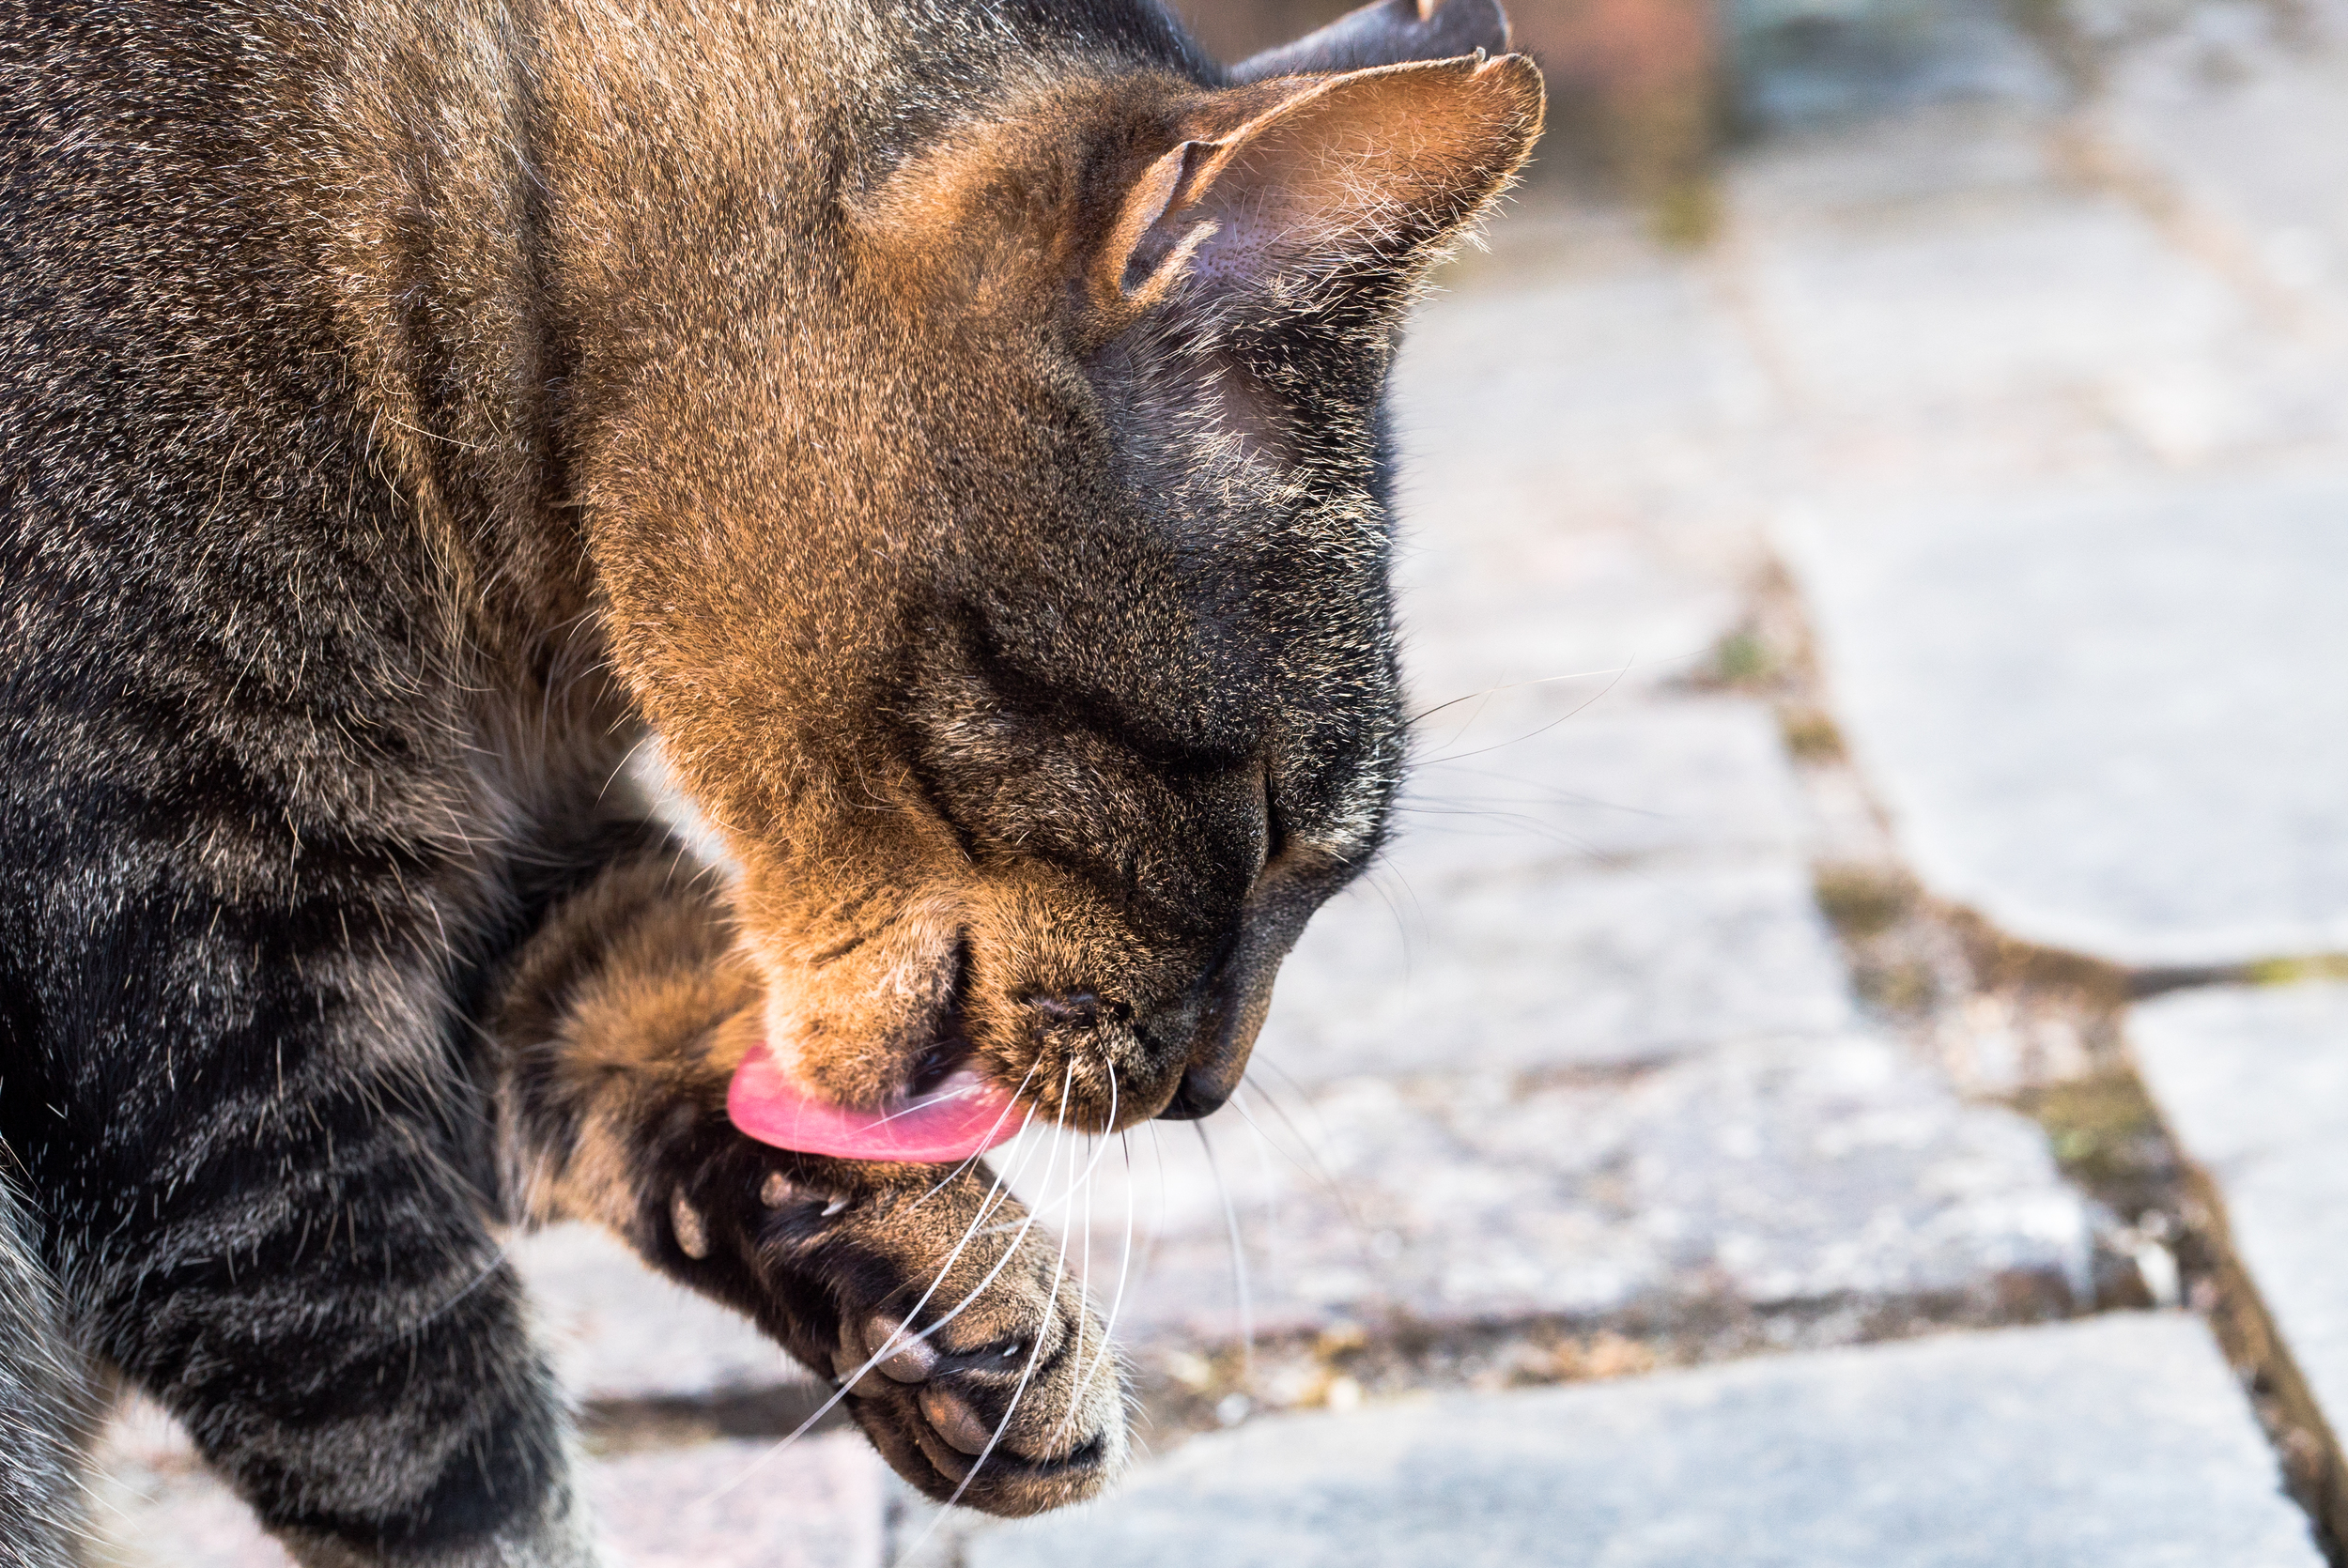
Cat-pics from my break today

[gallery type="slideshow" ids="4191,4192,4193,4194,4195,4196"] Taken with the Canon 5D mkIII and Samyang 35mm T/1.5 cine lens and Sigma 70-200mm F/2.8 DG APO HSM telephoto lens while I took some time out from pre-production and drawing for another animation!

Spring in Surrey

I had a venture out of my workspace today, I'm quite lucky in where I live is surrounded by green. Just down the road there is Horton Country Park, further afield is Epsom Common and The Downs, where you have seen videos and photos from with Glen for Manfrotto. With sunshine beaming, I gathered by camera gear and took a walk into the wild.

Todays kit included the Canon 5DmkIII, Tamron 24-70 F/2.8 VC and Sigma 70-200 F/2.8 OS. I kept it simple for a change!

Here are a couple of photos from my walk, having the chance to take a RAW photo and a JPEG and then edit the CR2's in Photoshop makes me want RAW video so badly. You get lots more wiggle room, or latitude to work with in post processing to enhance the photos, please Magic Lantern help all of us 5DmkIII videographers out and get a stable RAW video release out soon!

[gallery columns="4" ids="4153,4154,4155,4156,4157,4158,4159,4160"]

How do you make a timelapse? Video Questions

Finally got round to this!! A time lapse is a method of photography and videography that captures sequential images from a static camera over a certain period of time, and then sped up in post production to create the illusion of time moving fast.

There are so many reasons why you'd want to use time lapses in your work; from establishing locations to capturing a long event like the northern lights or sunrises and sunsets. Time lapses create a visual spectacle in which time speeds up, you see nature at work and things you would normally miss or take for granted.

If you want to check out some awesome time lapse films, please watch Ron Fricke's Samsara which includes awe inspiring cinematography captured in 70mm film.

http://www.youtube.com/watch?v=P0xVp3N-M84

There are a couple of ways you can create a time lapse, dependent on the length of time you wish to capture, the changing exposure settings of the location, and the kit you have.

Cameras and Kit

I assume that most people interested in this post own a DSLR or video camera of some kind, as it is difficult to capture a time lapse otherwise. In all honesty, what model of camera you use won't make a big difference on the overall video. Whether it is a Canon 110D, 550D or 1D-C, Nikon D3200 or D90, Sony A-7 or Olympus OM-D EM1 your photos and video will look great. Just make sure you have your exposure and focus point set correctly. In regards to what lens you use, in general wide angle lenses give a better perspective of the environment; we've all seen GoPro videos, that is ultra wide, but you don't need a fish eye or specific lenses to do this. Usually the standard kit lens that comes with your camera has a wide angle, whether it be 11mm on MFT cameras or 16mm on full frame, keeping a wide field of view is key to achieving the perspective of a time lapse.

Lets start with time. The longer you wish to capture, the more memory and battery you will need so ensure you've got a fresh card and charged batteries, or even better a battery grip. Depending on what camera you are using you may also need an intervalometer; a device that plugs into the camera and releases the shutter for a pre-set duration at a pre-set interval.

Here's one made by Canon - Canon-Intervalometer1[1]

So, if you wanted to capture a sunset, you will be shooting for a couple of hours. This little device will release the shutter and take a picture for you, however you need to set the interval duration. The longer the interval, the greater the difference between each image as the objects in the frame move and change. For a sunrise or sunset, an interval of 10 seconds should suffice, as the sun and clouds move slowly.

If you were in a city shooting a TL of a busy public place, a shorter interval should be used so the objects or people move smoothly through the frame and don't jump around.

What are you capturing?

Where will you be shooting the time lapse? Bright daylight at the beach, or in arctic winter? Or star trails and fireworks at night? Your DSLR's shutter speed will allow you to control the amount of time the shutter is exposed to light, so a longer shutter speed (anything under 1/30 can be used when the sun or bright light is not available) should be used at night when light levels are low. You can also use the BULB setting I believe to capture exposures longer than 30 seconds if you are capturing star trails.In the opposite situation, you can set your shutter to a reasonable speed depending on the light available; but remember changing light is inevitable and uncontrollable in nature so using shutter priority mode (T) or aperture priority mode (A).

REMEMBER YOUR TRIPOD! Shooting for long periods of time need a steady support, to keep the camera locked off and weighed down if needs be! My Manfrotto tripods work a treat.

Experiment and test at the time to judge your exposure settings. Keep your aperture or F stop small so that all objects in the frame are in focus; something like F/11 down to F/22 if in bright light or you can increase the aperture to F/4 up to F/2.8 if you're working at night. Increasing your ISO to 1000 or 1250 is perfectly fine if your doing a night-lapse, so no worries about that.

Also use the digital zooming capabilities on the camera to get critical focus on a key static point.

If you have less time for a time lapse, then you can always hit record on your camera and film continuously for as long as it can. This is an easy option for those out and about shooting as you can simply wait for 10 minutes or so. Obviously here you have the time restriction to only 10 minutes, so this works best for short burst time lapses of clouds, people & crowds and quick changing landscapes.

For any other setting it would be better to use an invervalometer, mainly as keeping your camera recording will suck the juice out of your battery like anything.

For savvy videographers and photographers alike who may have Magic Lantern already, there is an intervalometer built into the ML firmware which acts just like an internal one. If you don't want to pay for an external device then Magic Lantern which is open source and free is your best option. Plus having ML on your camera expands its video capabilities greatly.

Post Production - If you have taken a series of photos

You've captured an amazing sunset, it has taken you hours and all you want to do is see the finished product. Some methods of editing time lapses are long, boring and not neccessary; taking the photos into After Effects for example, its not needed!

Adobe Premiere Pro is a much simpler and quicker method of getting your TL into a video. Firstly, create your project as you would normally, setting scratch disks to your project folder where the photos are stored. Next, create a sequence dependent on what resolution you would like the video to be. Nearly all photos taken on a DSLR are larger in size than 1080p high definition, so this is a good place to start.

Depending on where you are in the world, your frame rate should be 25fps for UK/EU/Rest of world, or 30fps for USA. This will play your video back at the same frame rate as television and internet, so the time lapse will be smooth.

Now you have your sequence open in the timeline, go to Edit>Preferences>General. Here you can set the default 'still frame' (picture) duration to ONE frame; in timecode this will appear like: 00:00:00:01. This sets the sequence of images to play one after the other with 25 pictures in each second.

Now you are ready to import your photos! Simply Ctrl-I or Cmd-I to open the import window, select the folder with your time lapse images and click 'Import Folder'. Premiere will now import all the photos in the folder and set the duration. You can now simply drag the folder with the photos into the sequence, and your time lapse is now a video. Make sure you render (hit Enter) and watch it back in case you need to correct any frames.

If it looks like the photos are going too quickly, you can change the duration of all the photos very simply; select all the photos in the sequence, right click > Speed/Duration. Here you can increase the frame duration from 00:00:00:01 to 02 frames instead. Here you will need to see what suits your time lapse best. One last tip is to highlight/select all the photos in the sequence, right click, and click 'Frame Blend'. This calculates the interpolation (movement) of subjects between two images, so it fills in the gaps so to speak.

Post Production - Long Video Files

So you've taken the easy road! This method is just as simple as above, and is a quick way of processing a short time lapse. Once you have followed the steps to create your sequence, you can import the video file like you would the photos, instead you simply click the video file needed and click 'Import'. Then drag the video file into the sequence; here if you have been videoing in a different video format Premiere will let you know that the video and the sequence do not match. It is easier to stick with the format of your original video, so if this happens click 'Change Sequence Settings'.

video time lapse adobe premiere tutorial

With the video now in the timeline, right click and click 'Speed/Duration'. Here you can increase the speed % to make it faster, and again will need some experimenting to see which looks the best. Remember the higher the speed increase percentage, the faster the time lapse happens.

Colour Correcting

You can add any colour correction to the time lapse by creating an 'Adjustment Layer' and adding brightness and contrast, curves, levels, tint, whatever you like to make the time lapse look great.

timelapse videography adobe premiere pro colour correction

For a 'tilt-shift effect - like the incredible New York Sandbox video you will need to use additional plug ins like Magic Bullet, or add the effect in Photoshop before importing to premiere.

http://www.youtube.com/watch?v=Fk9EBOOAYiU

Exporting - finally creating the time lapse video!

timelapse premiere pro export settings tutorial video

Once you are all done, with the sequence selected go to File>Export. If you are uploading to the web, then the H.264 format will work the best for quality and compression. From the drop down menu select H.264 and the Vimeo, Youtube or any other format you wish. There are loads, and plenty of confusing settings so don't get bogged down in the different types for now. When you think you are ready, and have chosen your file destination and name, you can hit 'Export', or if you wish to carry on working in Premiere on another project you can 'Queue' to export to Adobe Media Encoder which will export it in the background!

[youtube=http://youtu.be/QMwpA02IKdI]

A little example of a video time lapse I shot at Epsom Downs!

I hope this covers your time lapse photography and videography questions? If there is anything I've missed or if you have other questions please send them in!

[contact-form][contact-field label='Name' type='name' required='1'/][contact-field label='Comment' type='textarea' required='1'/][/contact-form]

Panasonic announces the GH4 - 4K DSLM movies!

Check out the specs of the new model here - http://www.panasonic.com/uk/consumer/cameras-camcorders/lumix-g-compact-system-cameras-dslm/dmc-gh4heb.html DMC-GH4HEG-Product_ImageGlobal_Europe-1_de_de[1] Photo from Panasonic website.

Looks very impressive, but as usual a highly compressed Youtube product demo doesn't do it justice.. For all those interested in having the extra resolution to work with, as well as a newly developed MOS sensor then this camera may be your first port of call instead of the previously available Canon 1D-C.

It will be interesting to see how the industry responds to this new release,  as many more productions working in a higher res to downscale later.

What interests me about it, is not only being able to capture footage in 4K/2K, but also 1080p HD slow motion at 50 and 60fps. My main drawback at the moment is using the 5D mark III setting of 720p for 50fps, which is fixed at that resolution. The higher bit-rate is very appealing too, despite recording in MOV file formats 100Mbps is a great advantage over the highly compressed Canon DSLR movie output files.

Lots of points to consider, and no mention of a price yet.. Hopefully Panasonic will be at BVE so I can get my hands on this bad boy!

Capturing local beauty

Film making and videography isn't all about big budget productions with expensive kit. Its great to take time out to see what stories you can tell and images you can capture in your local area. Luckily for me, I live in Surrey which is full of green spaces. My chosen location for today's adventure was Epsom Common, I used to and hope to continue fishing at the lake. Since being a kid I remember it being a beautiful place in the winter, so despite the recent flooding I made my way down!

Image

Accompanied by the awesome Manfrotto 055 Carbon Fiber tripod and 055AH video head; my grip was sorted in a lightweight solution. I took my whole kit bag in case I wanted to record some foley audio or shoot on a range of lenses. I tried to stick to the Samyang Cine lenses I have (14mm, 35mm, 85mm), so I can test them out on a range of shoots. I also came across a 72mm variable ND filter that fits onto the Samyang 85mm, which means I can achieve T/1.5 and a beautiful bokeh in broad daylight.

Image

As you may have previously read, I also installed some new picture styles on my camera from VisionColor, today I used Cinelook to see what the footage looks like out of camera, without grading. So far, without adjustment the picture was punchy with a good colour tone present, not flat and neutral like I previously used. It certainly has given the footage a baked in 'look' while recording which will definitely speed up the post-production process.

ImageImage

It was great being in the outdoors, I often spend way too much time on the computer and neglect our very green, rural backyard, which deserves to be appreciated, remembered and captured in moving image.

ImageImage

I've processed all of the footage now, using most of what I shot. It is simply put to music, in this case the serene 1:1 by Brian Eno, which was very fitting for the scene. I have applied no colour correction, grading or effects to the clips whatsoever, to demonstrate the cinematography at hand.

I will post the link up later!

Image

I hope you like it, and please share around!!