

Hats off to Riku, a four month summer project across Finland capturing incredible timelapses!
IBC Show 2014 Roundup!

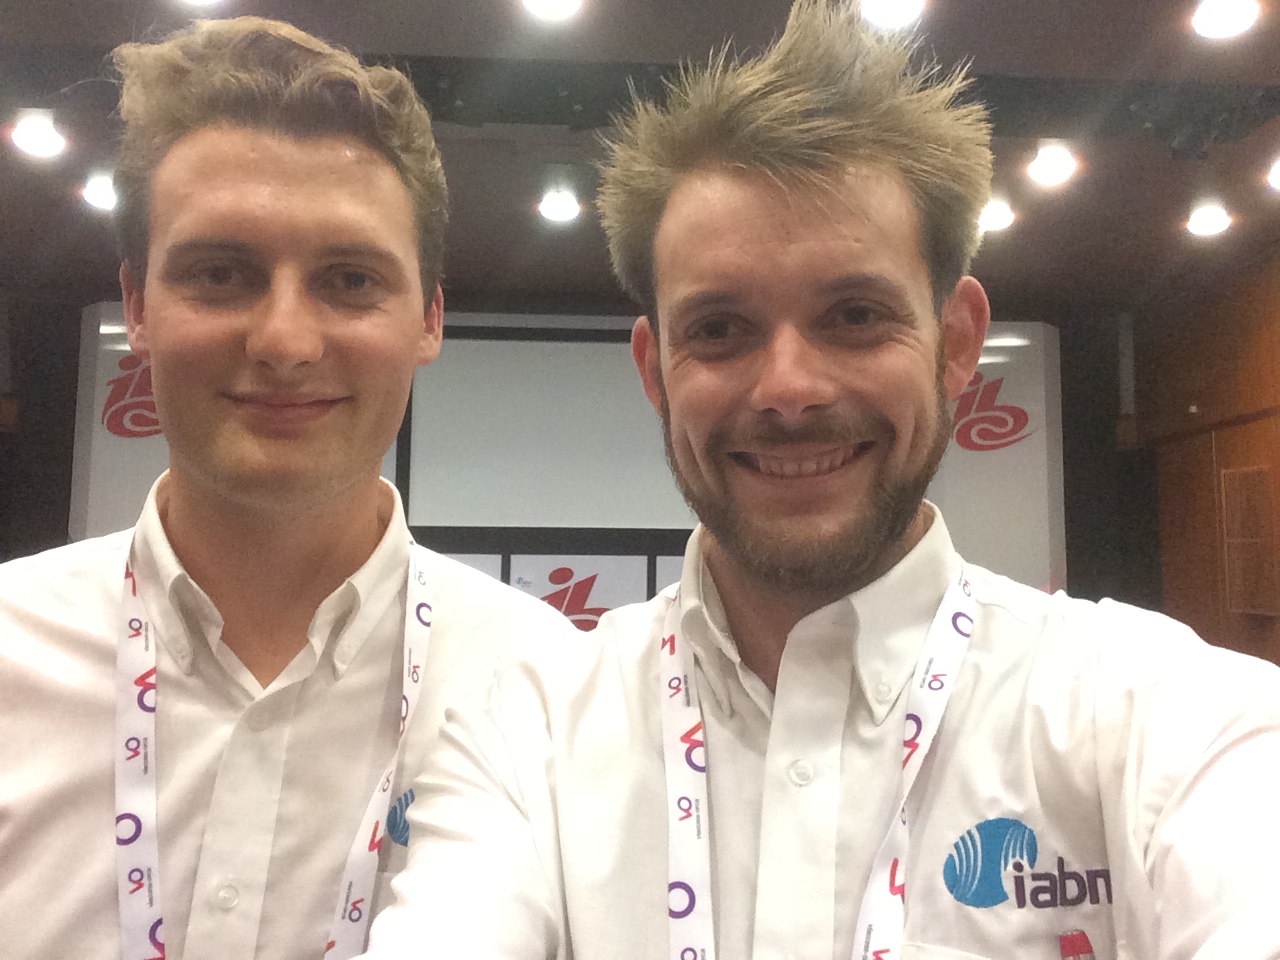
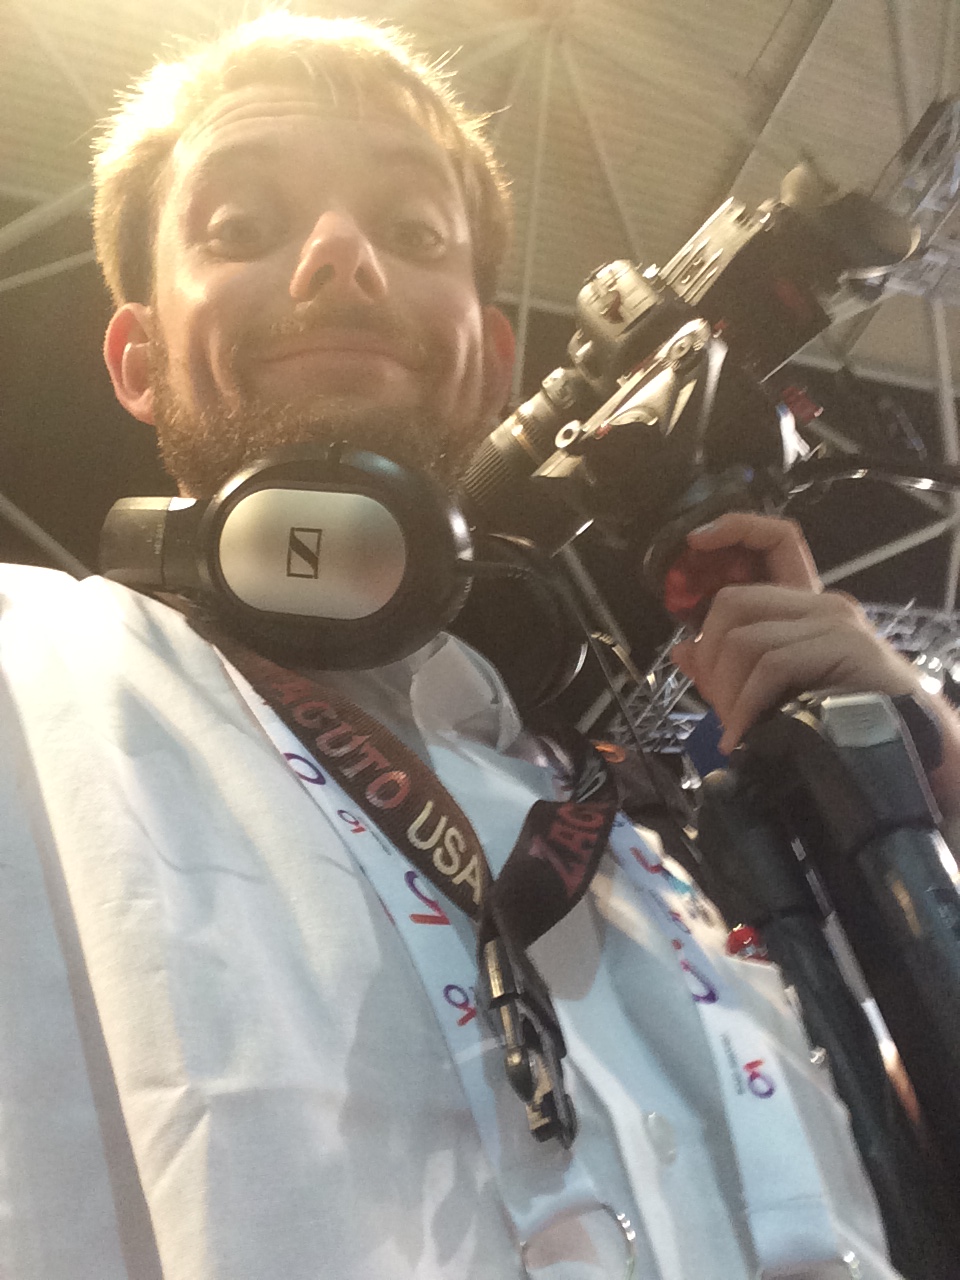
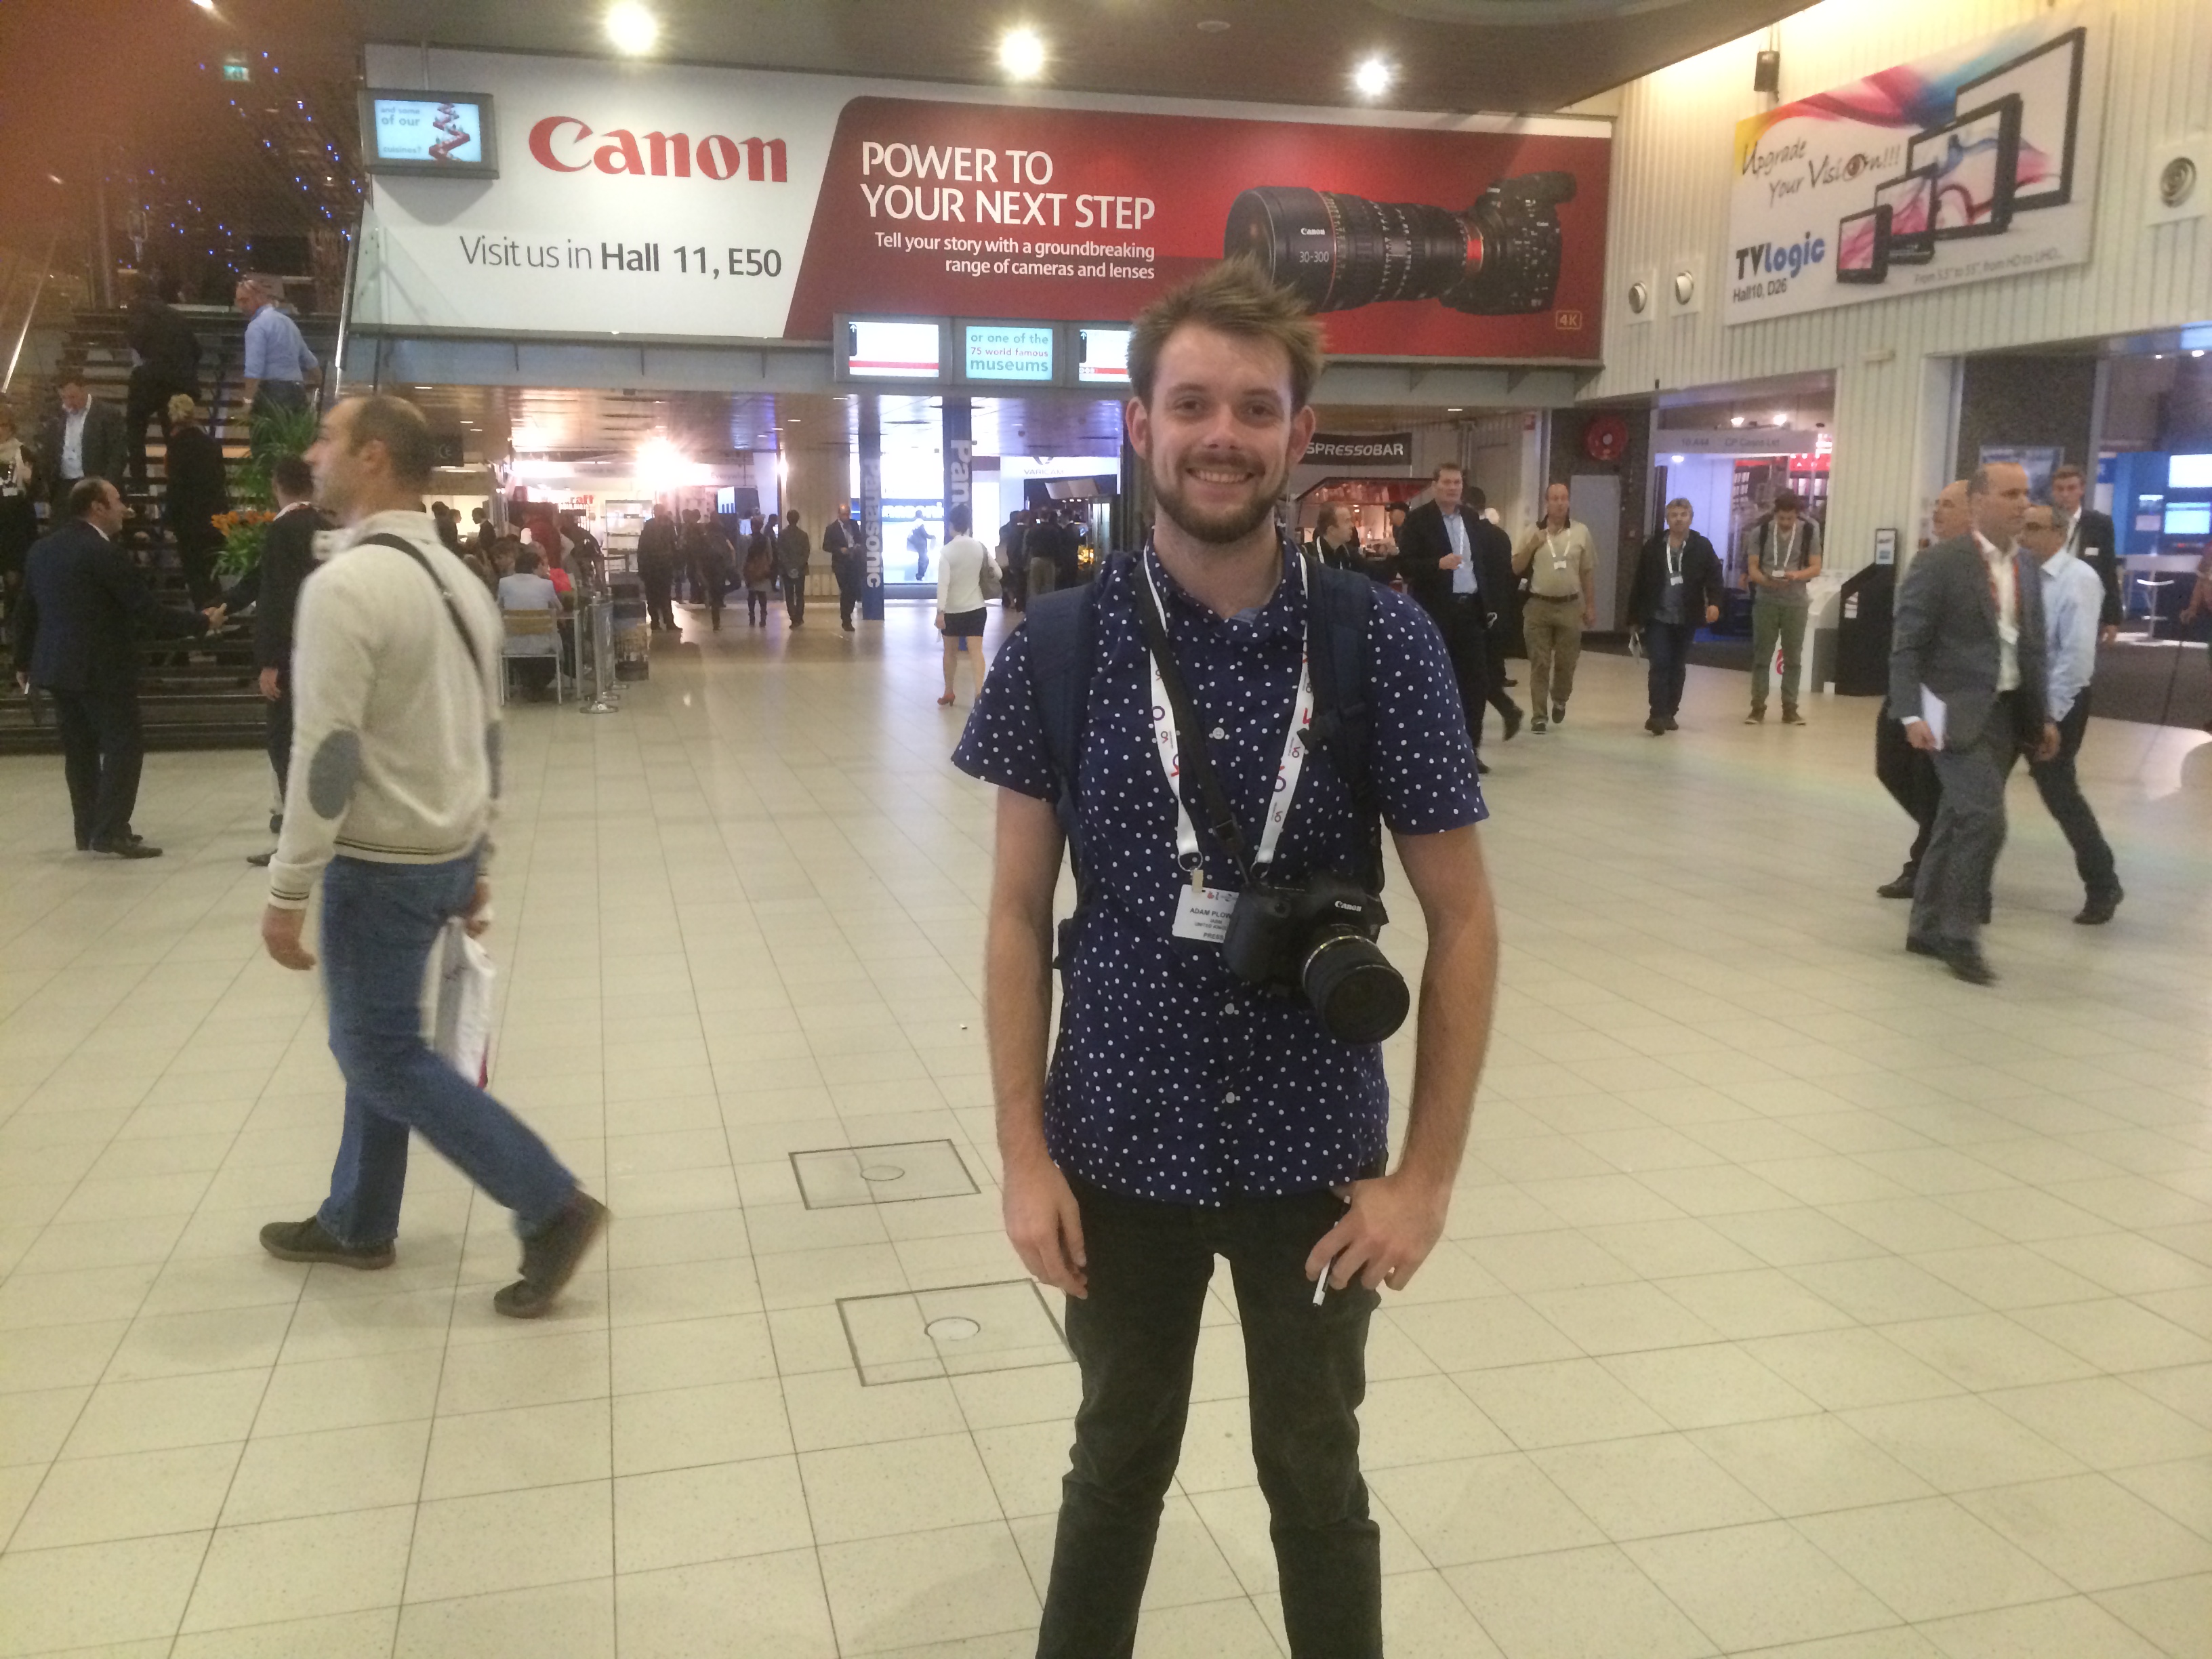
What a week it was! There was no doubts we would be busy filming and editing videos for The IABM to release, but not on the scale we anticipated! Overall, Adam Plowden Videography captured and produced at least 8-10 videos each day, an incredible 6 times more video content delivered in one week than previously in the whole of 2013!
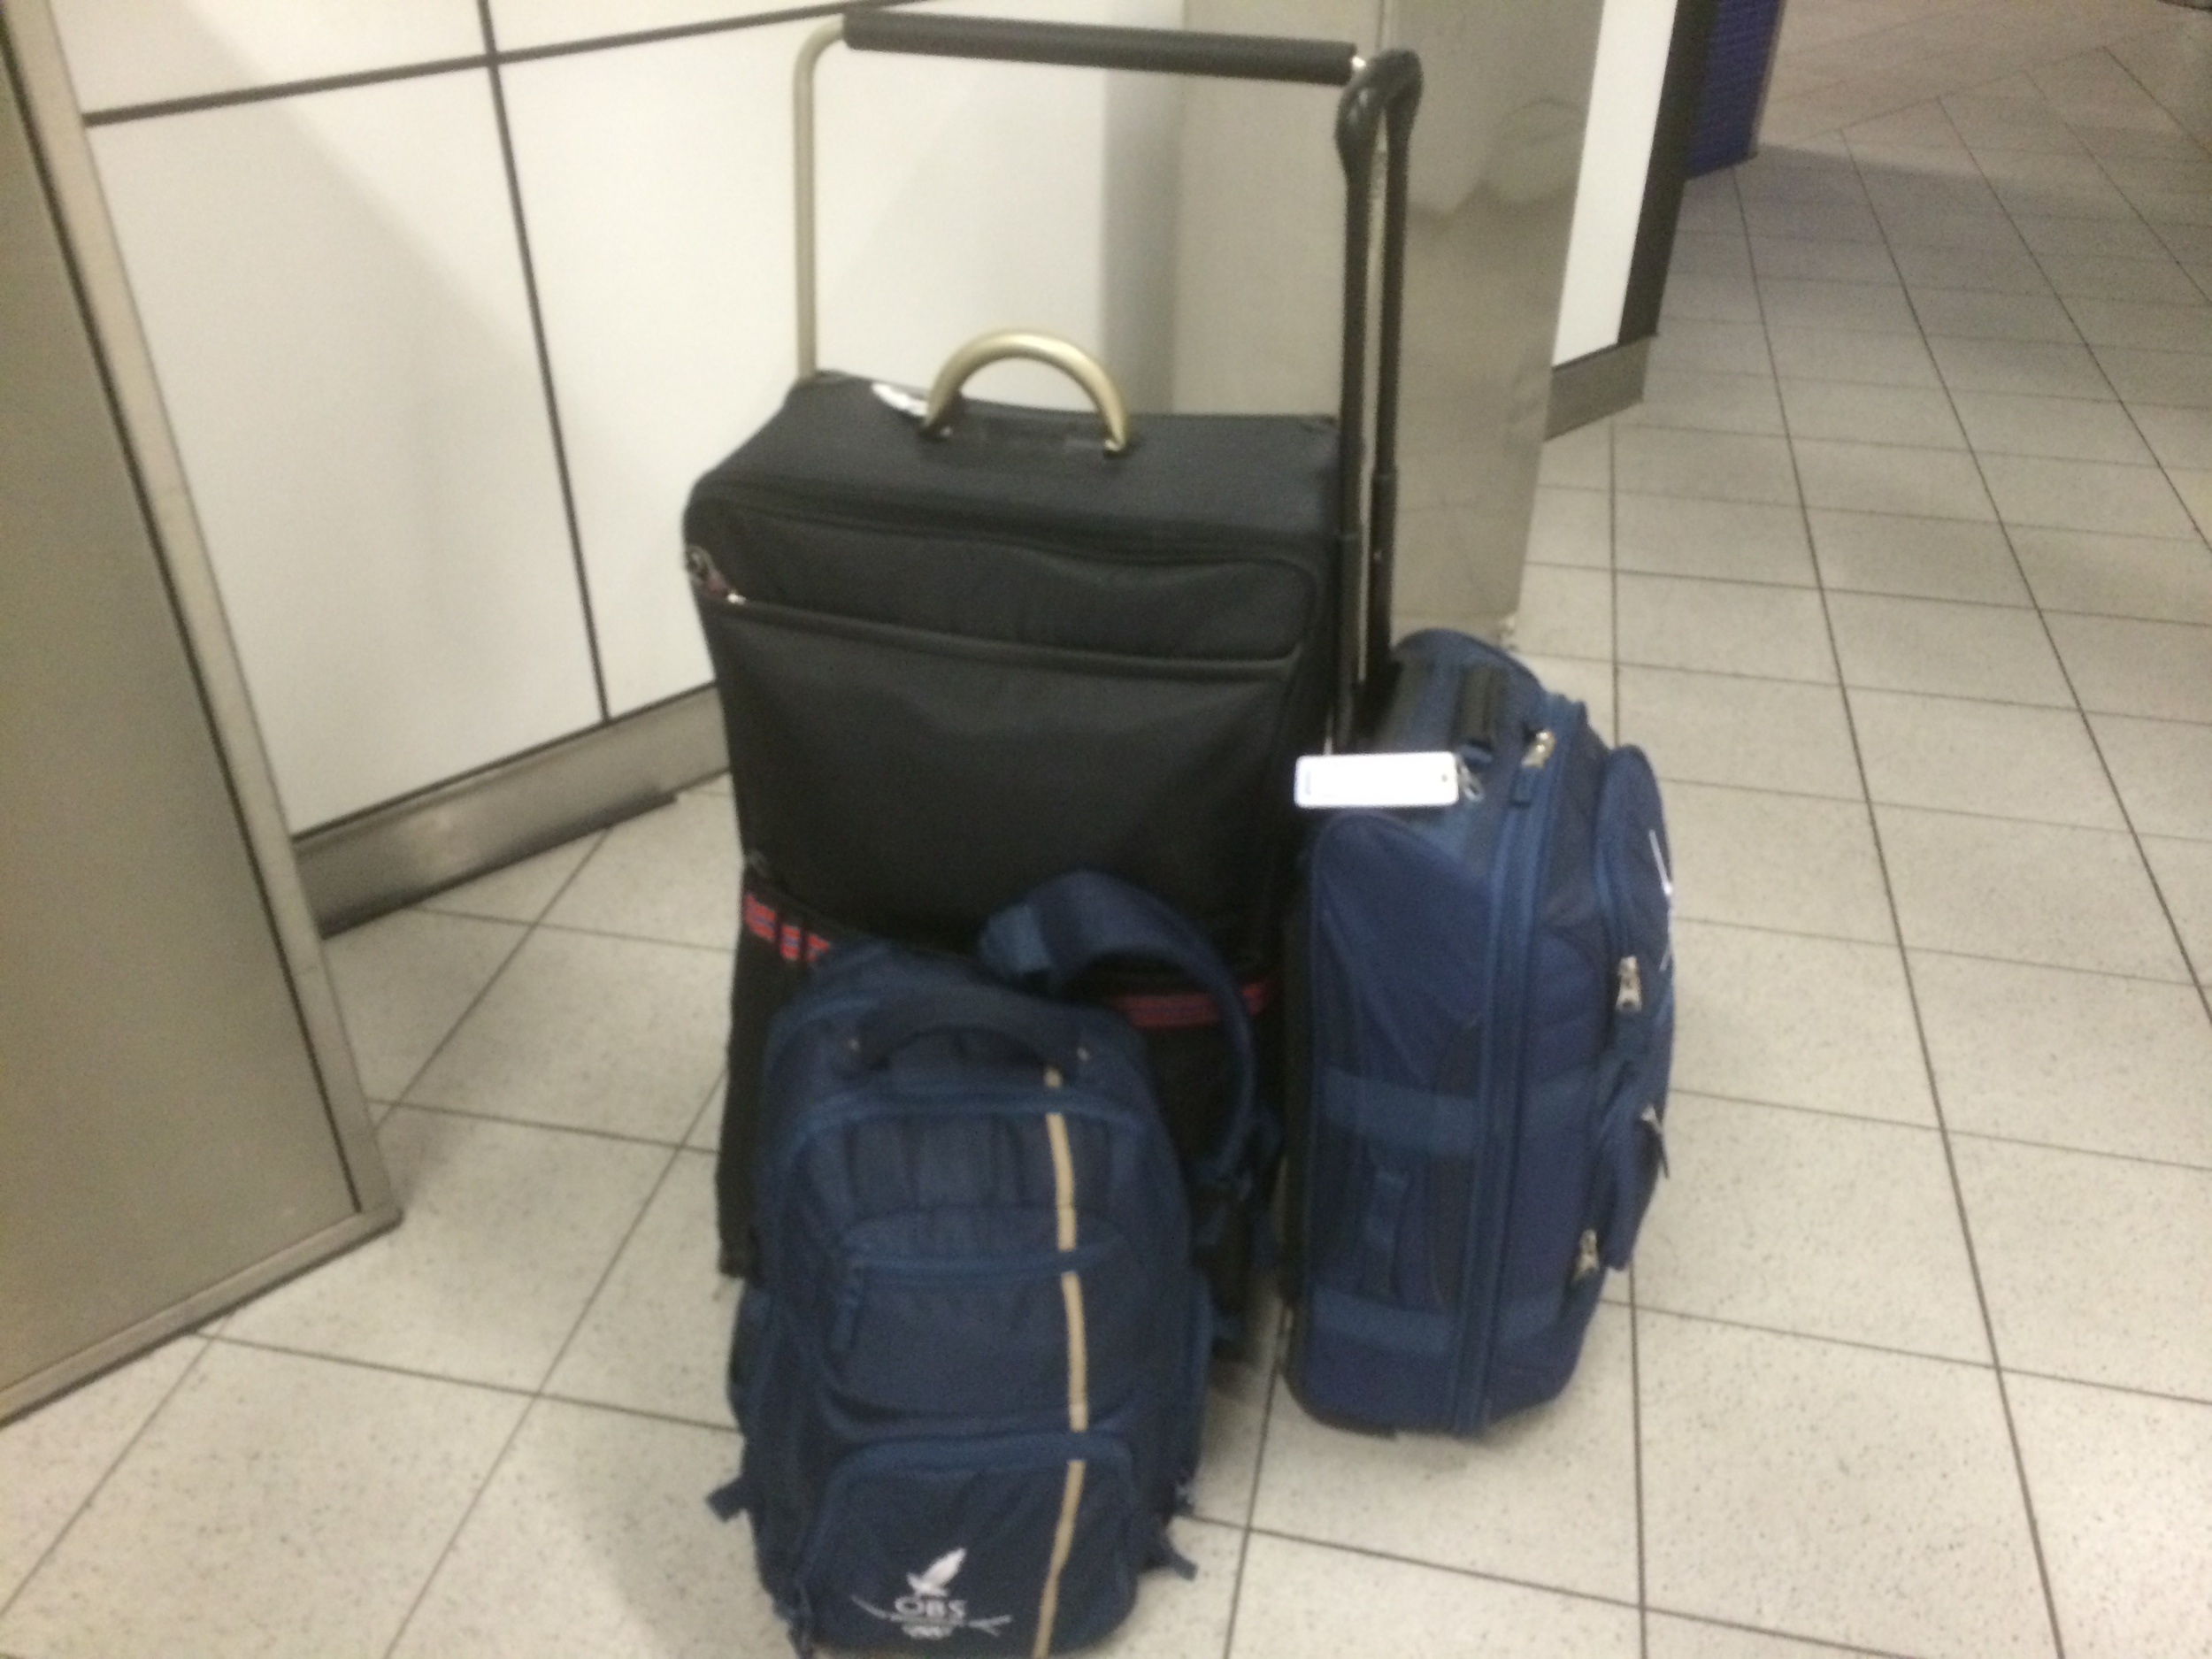
I did include a run-down of my kit choices before I left, but here is a quick summary of my chosen equipment to capture the IBC Show:
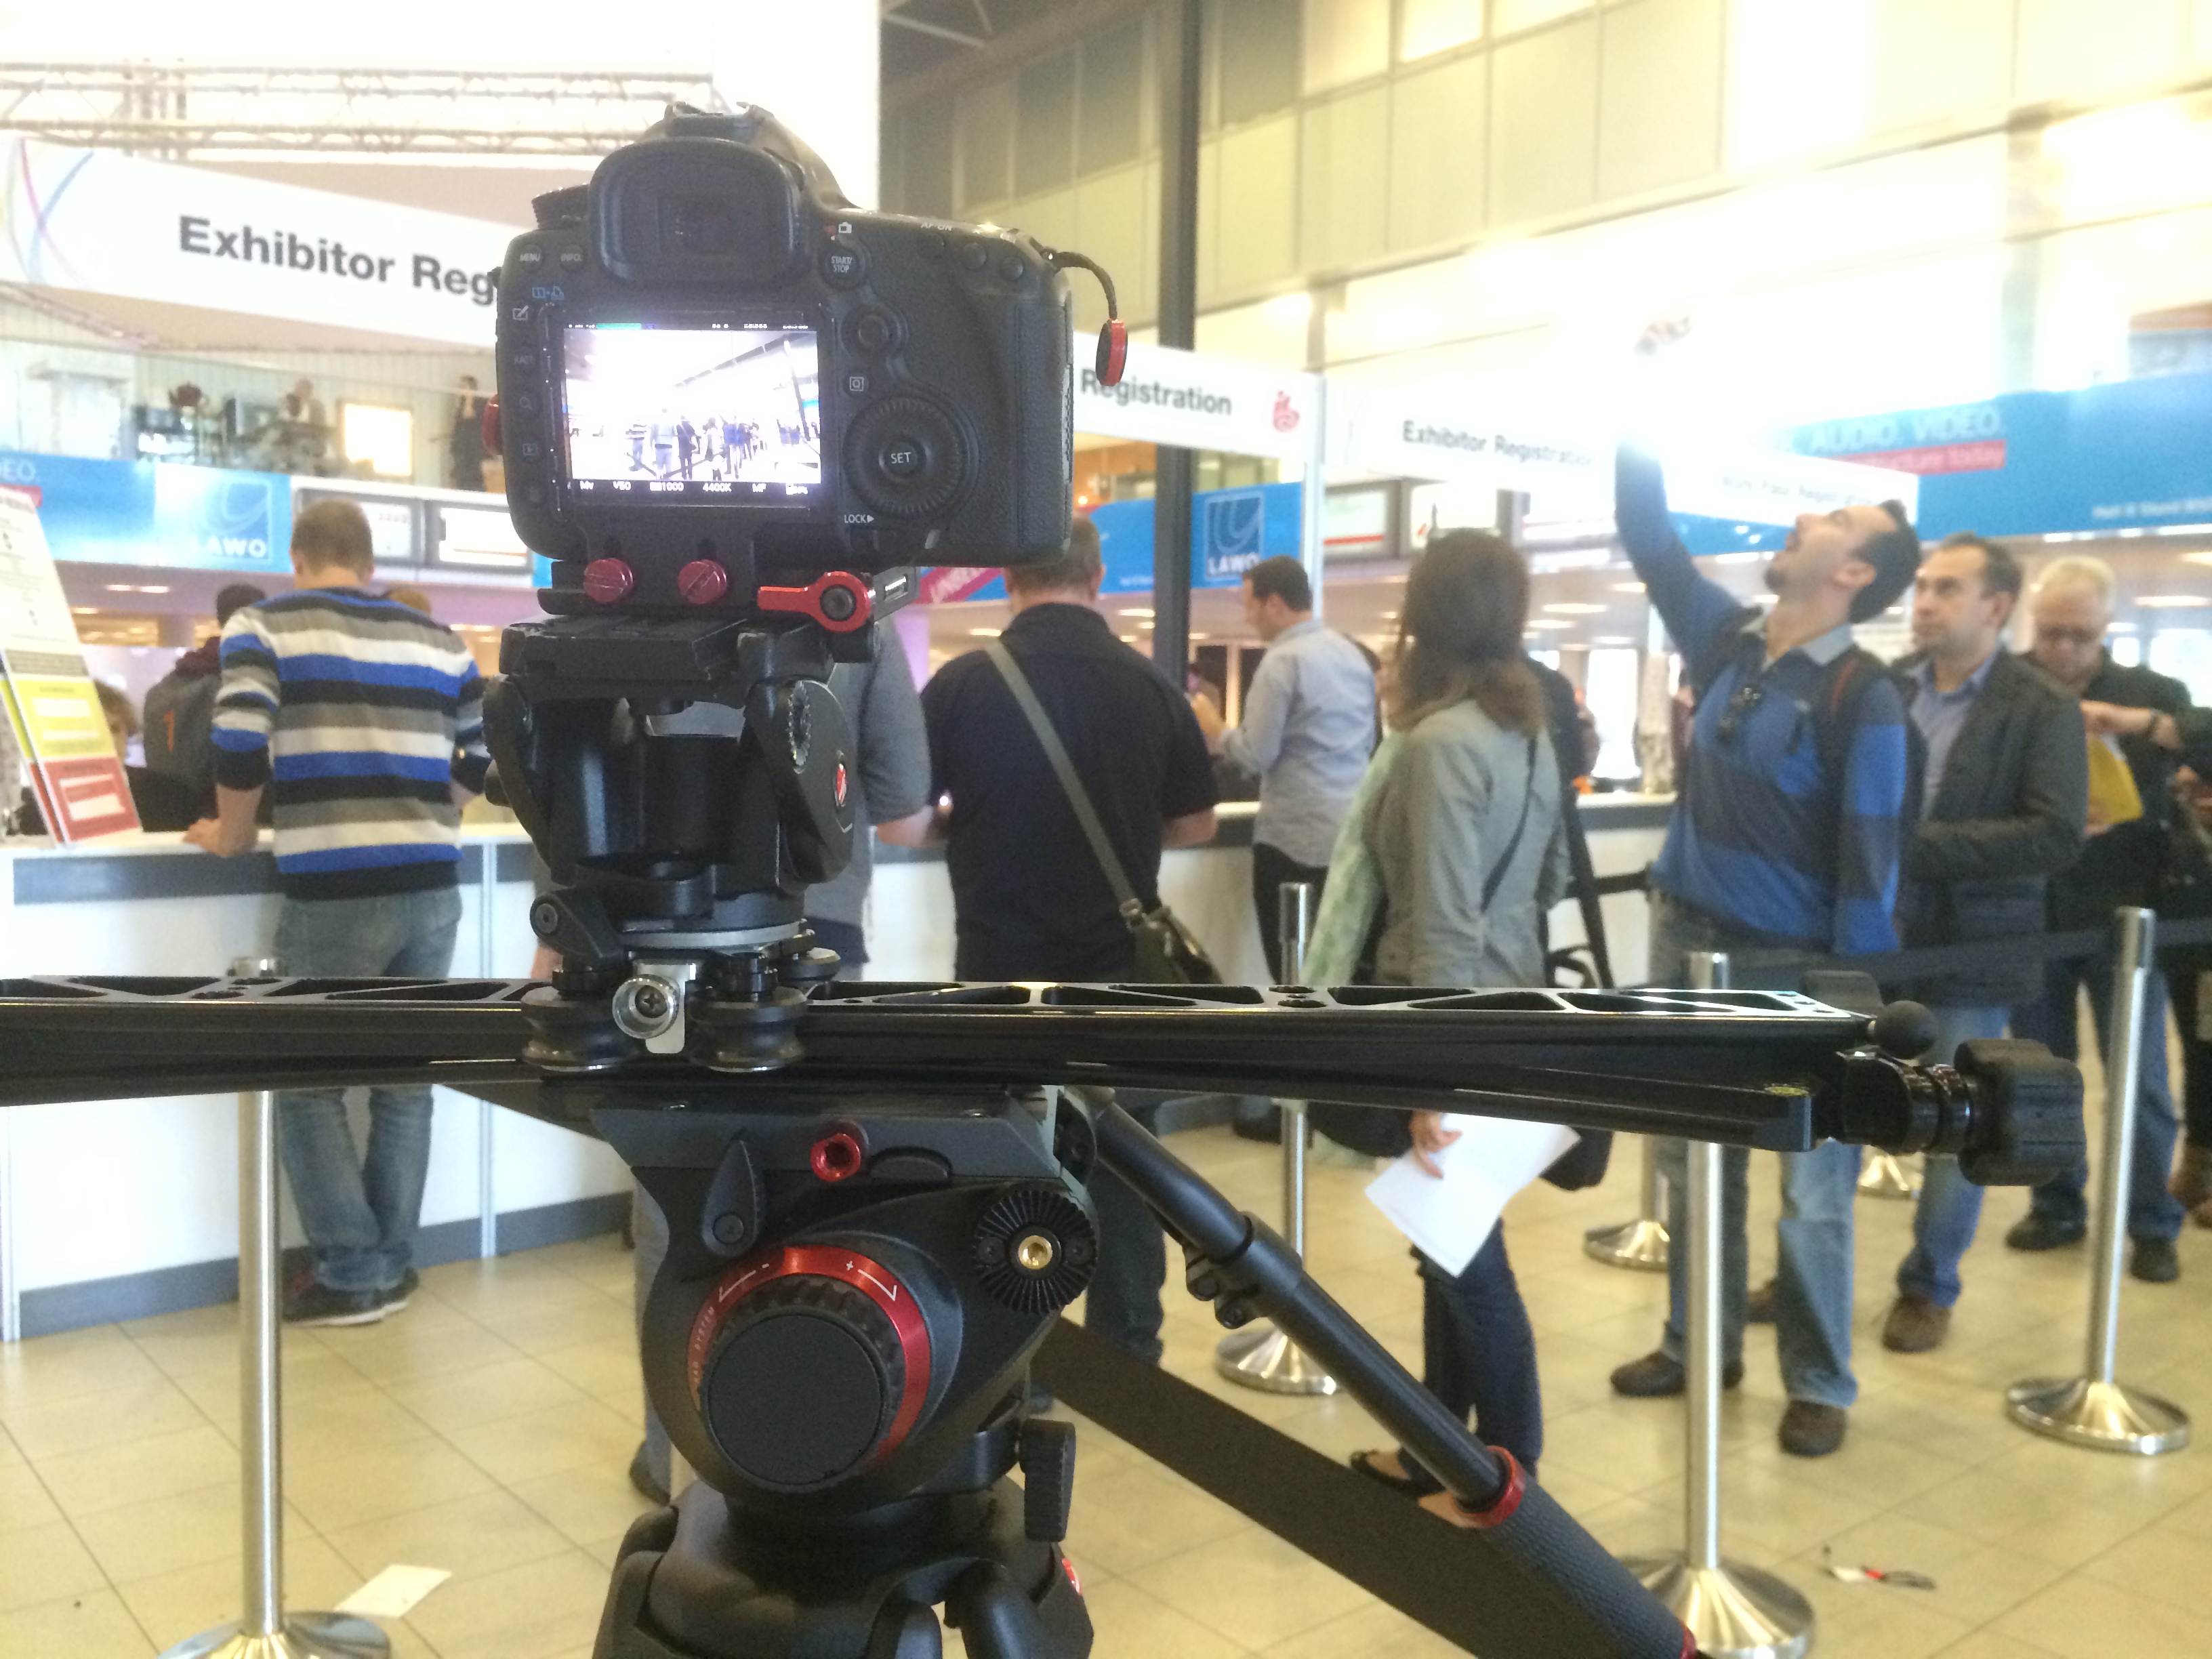
Manfrotto 546GB twin leg tripod with a 504HD head (A Cam).
Canon 5D mkIII, Tamron 24-70mm, Sigma 70-200mm, Samyang 14mm, 35mm, 85mm, Canon 100mm L.
Manfrotto 755CX3G tripod with a MVH500AH head (B Cam).
Canon 60D, Tamron 17-50mm, Canon 50mm.
Manfrotto Hydra Arm and super clamp.
Zoom H6, Sennheiser ENG-G3 RxTx kit, Roto-mic.

(This is the kit we took each day to film with!)
I had to have the above tripod gear after testing them out at my Manfrotto Takeover day, I was impressed by the fluidity of the 504 head when using it with telephoto lenses (as you can see above), however for lightweight, portable and quick 'run and gun' filming, the 755CX3G is a cracking go to set of legs. (Pictured above with the ProMediaGear Arc-Slider) and 701HDV head.
My main camera was: Canon 5D mkIII, and I was frequently using the Tamron 24-70 F/2.8 VC and Sigma 70-200 F/2.8 DC OS for 'go to' lenses around the show. They have a stabilizer in the lens, which means that shake and wobble can be eliminated. I also purchased the Canon 100mm F/2.8L macro lens before the trip for detail shots, but I fell in love with it for capturing everything; crisp and beautifully shallow portraits too.
For establishing and wide shots, the Samyang 14mm T/3.1 cine lens came into it's own. On a full frame camera it has a huge wide angle view allowing to capture the biggest of expanses with clarity.
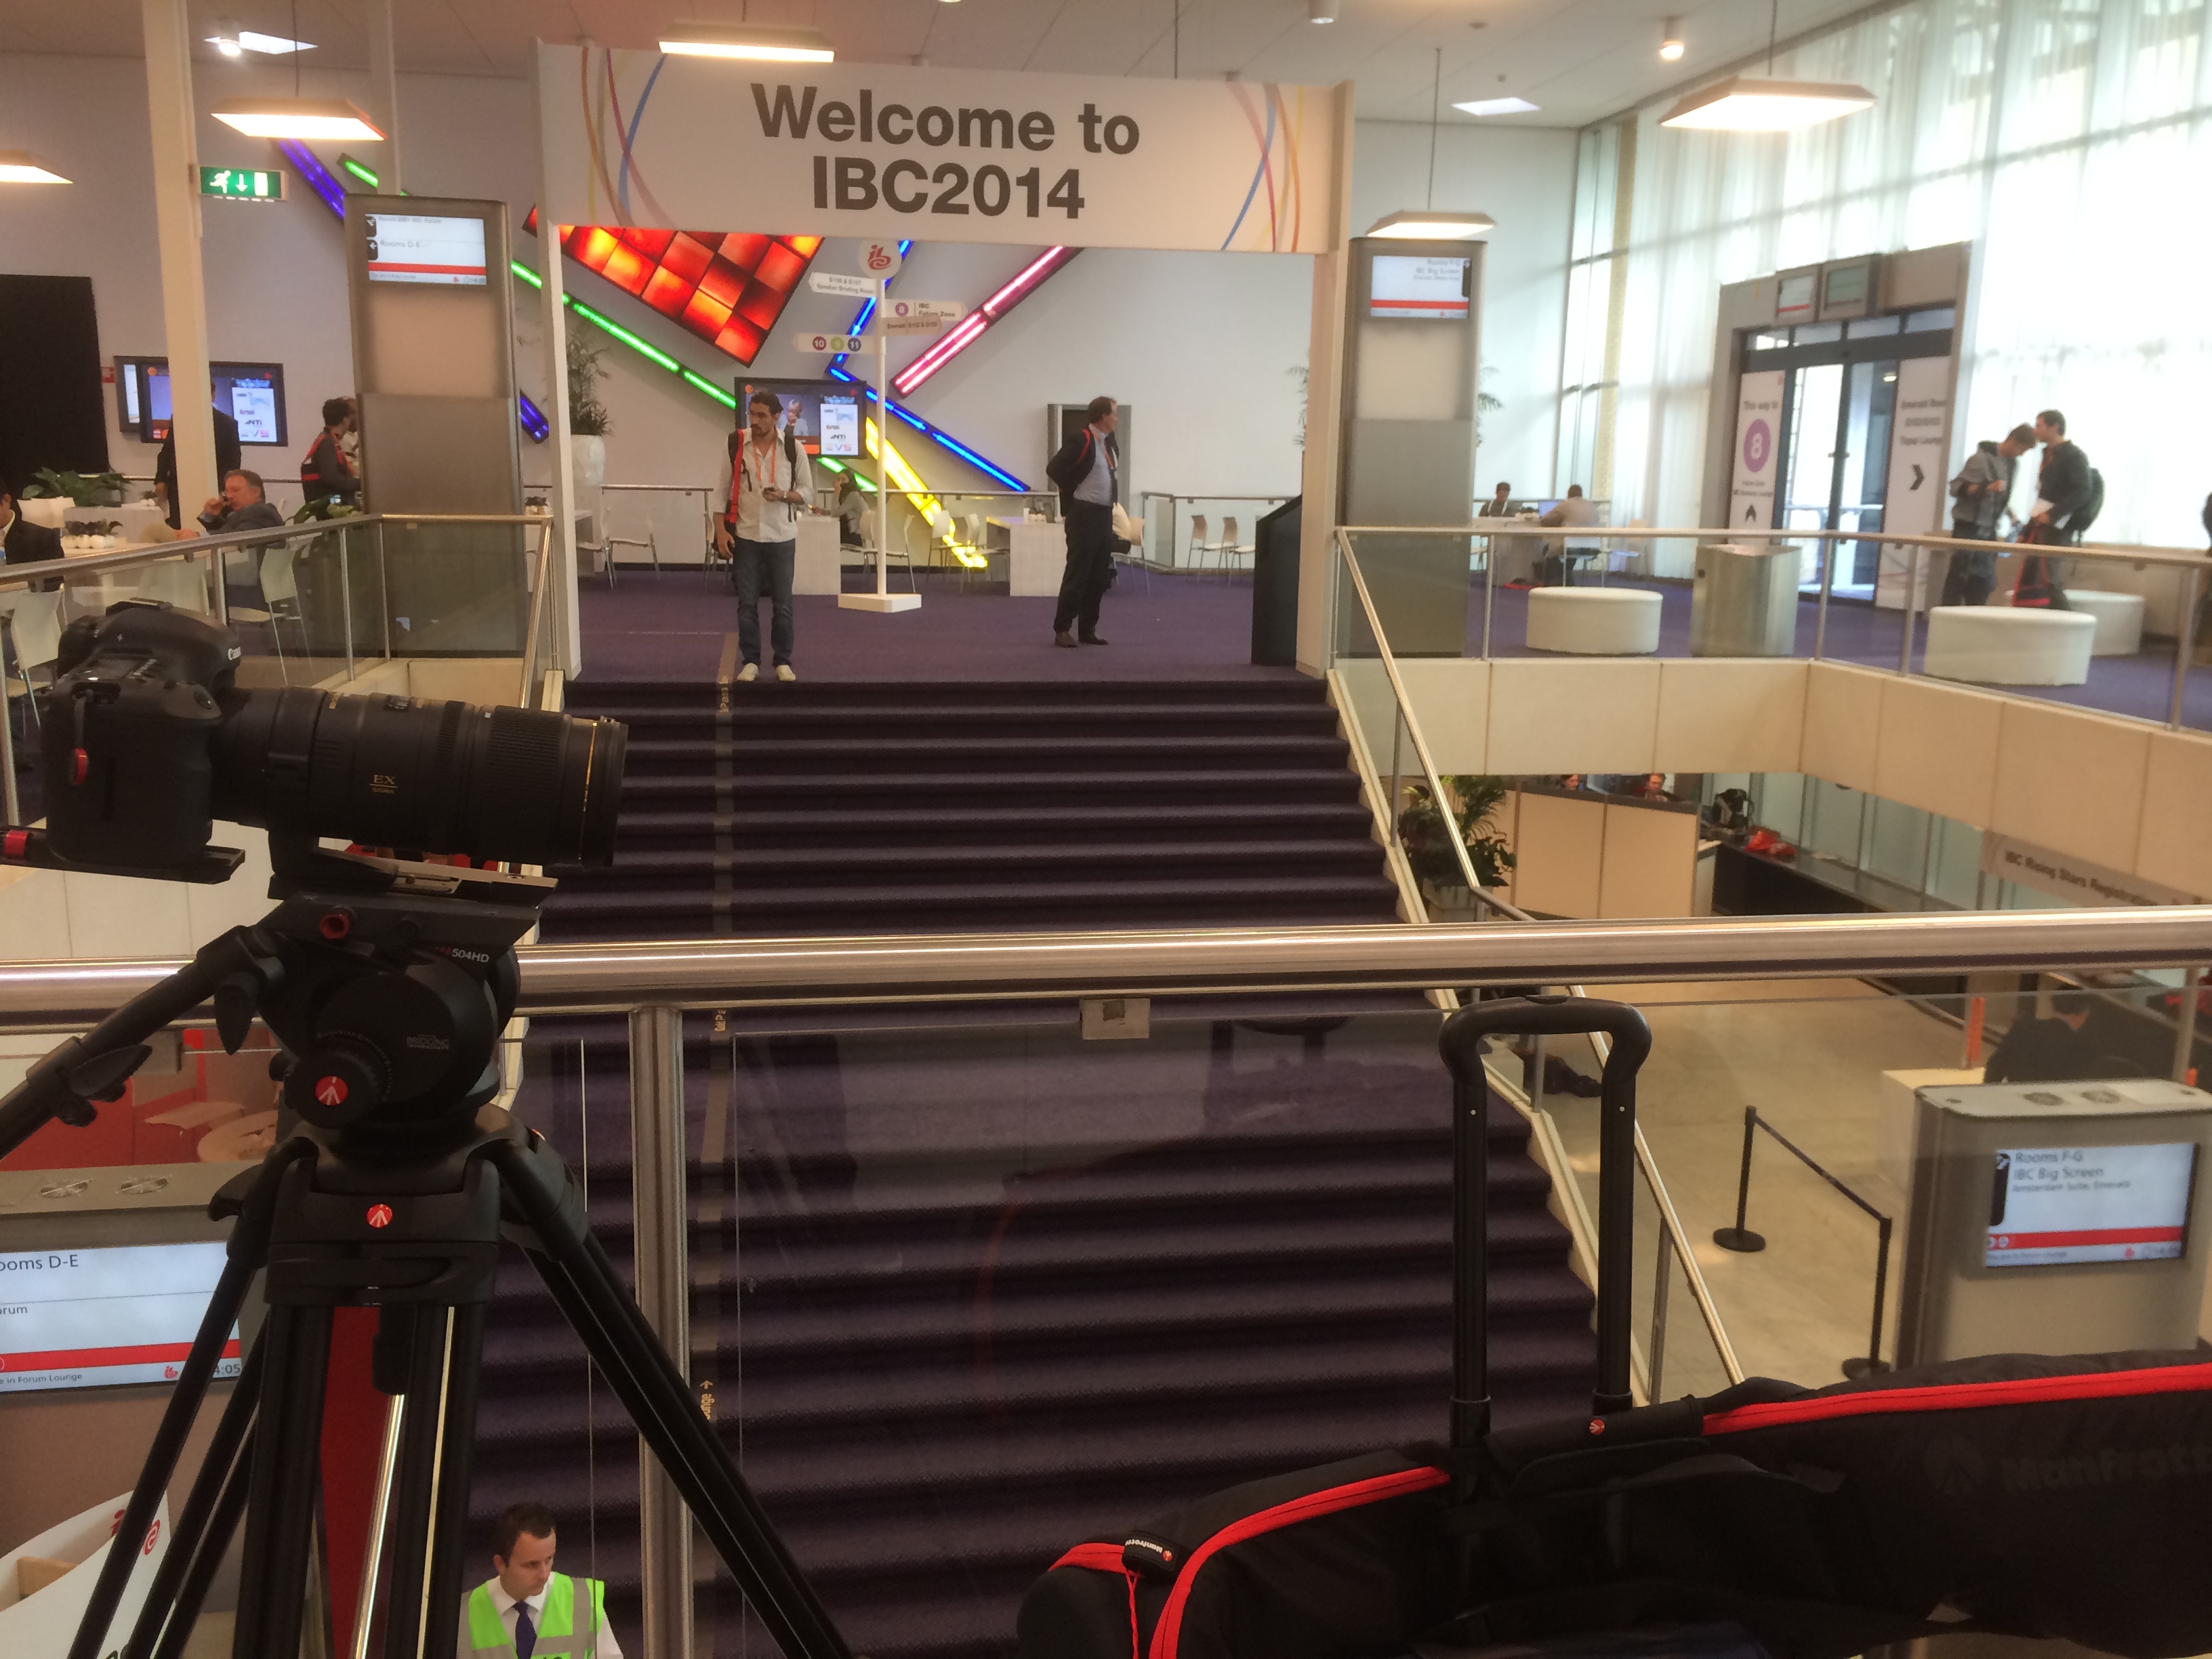
Day 2 - Thursday 11th September - Welcome to IBC
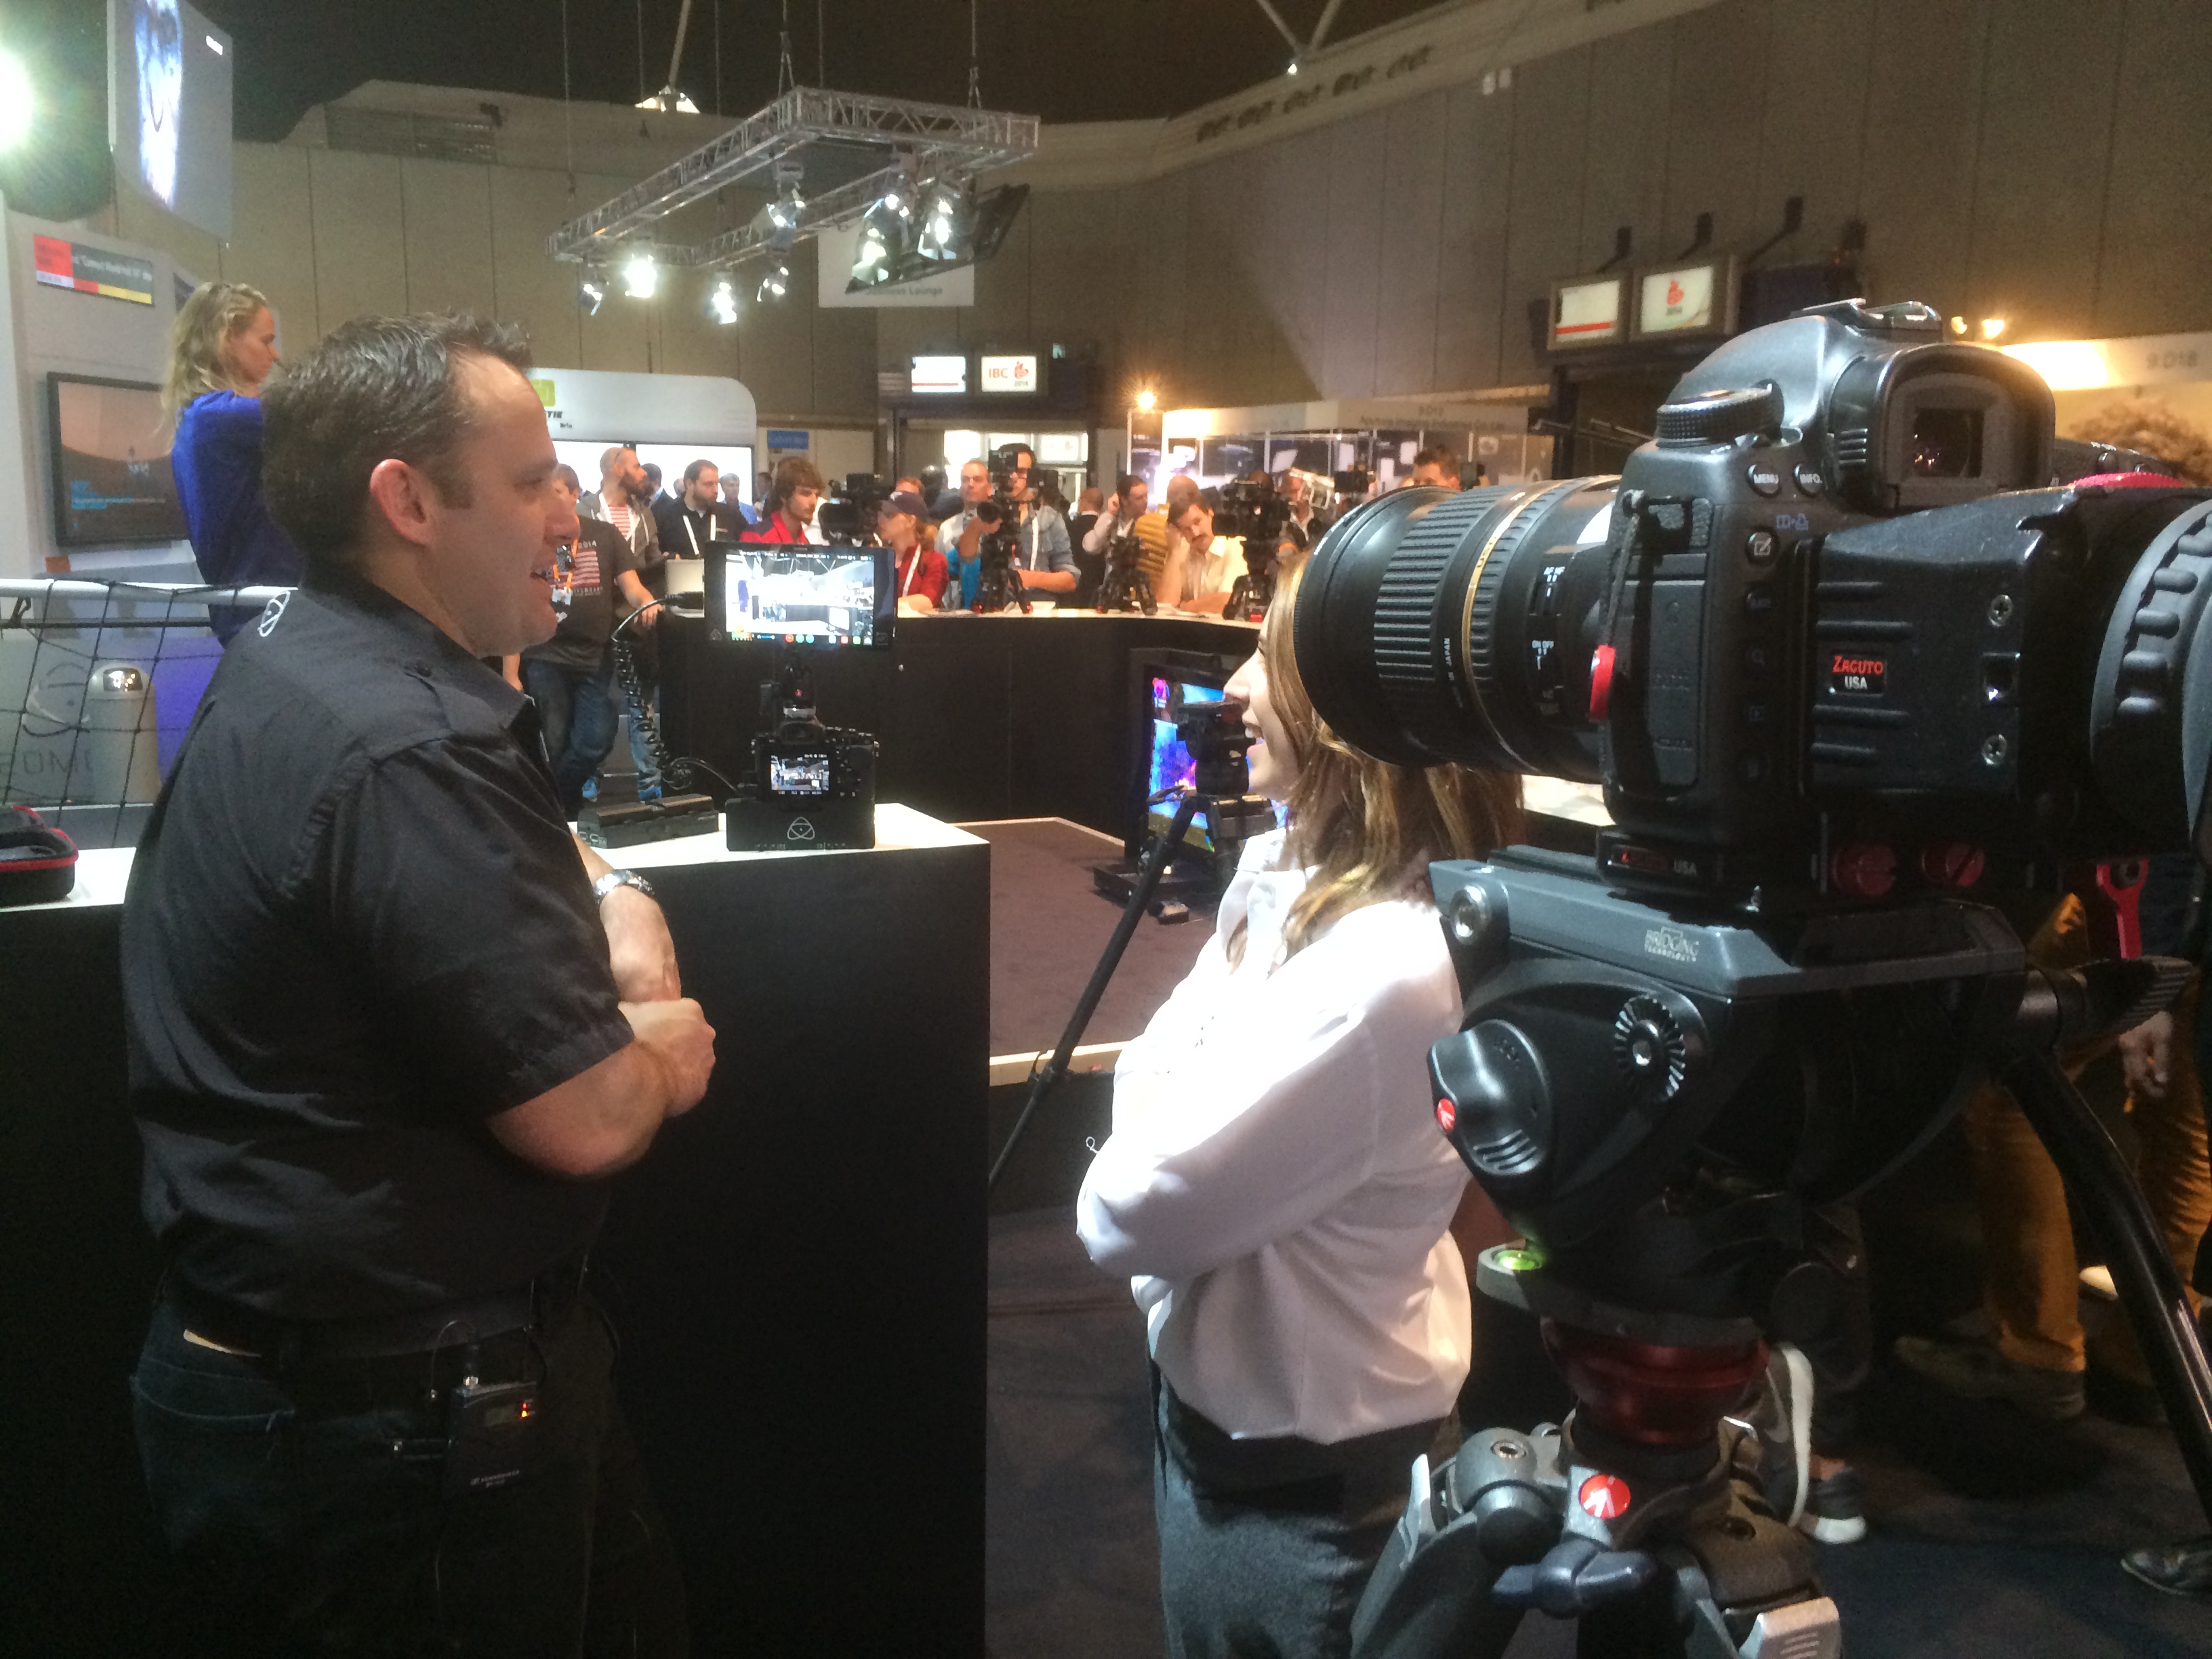
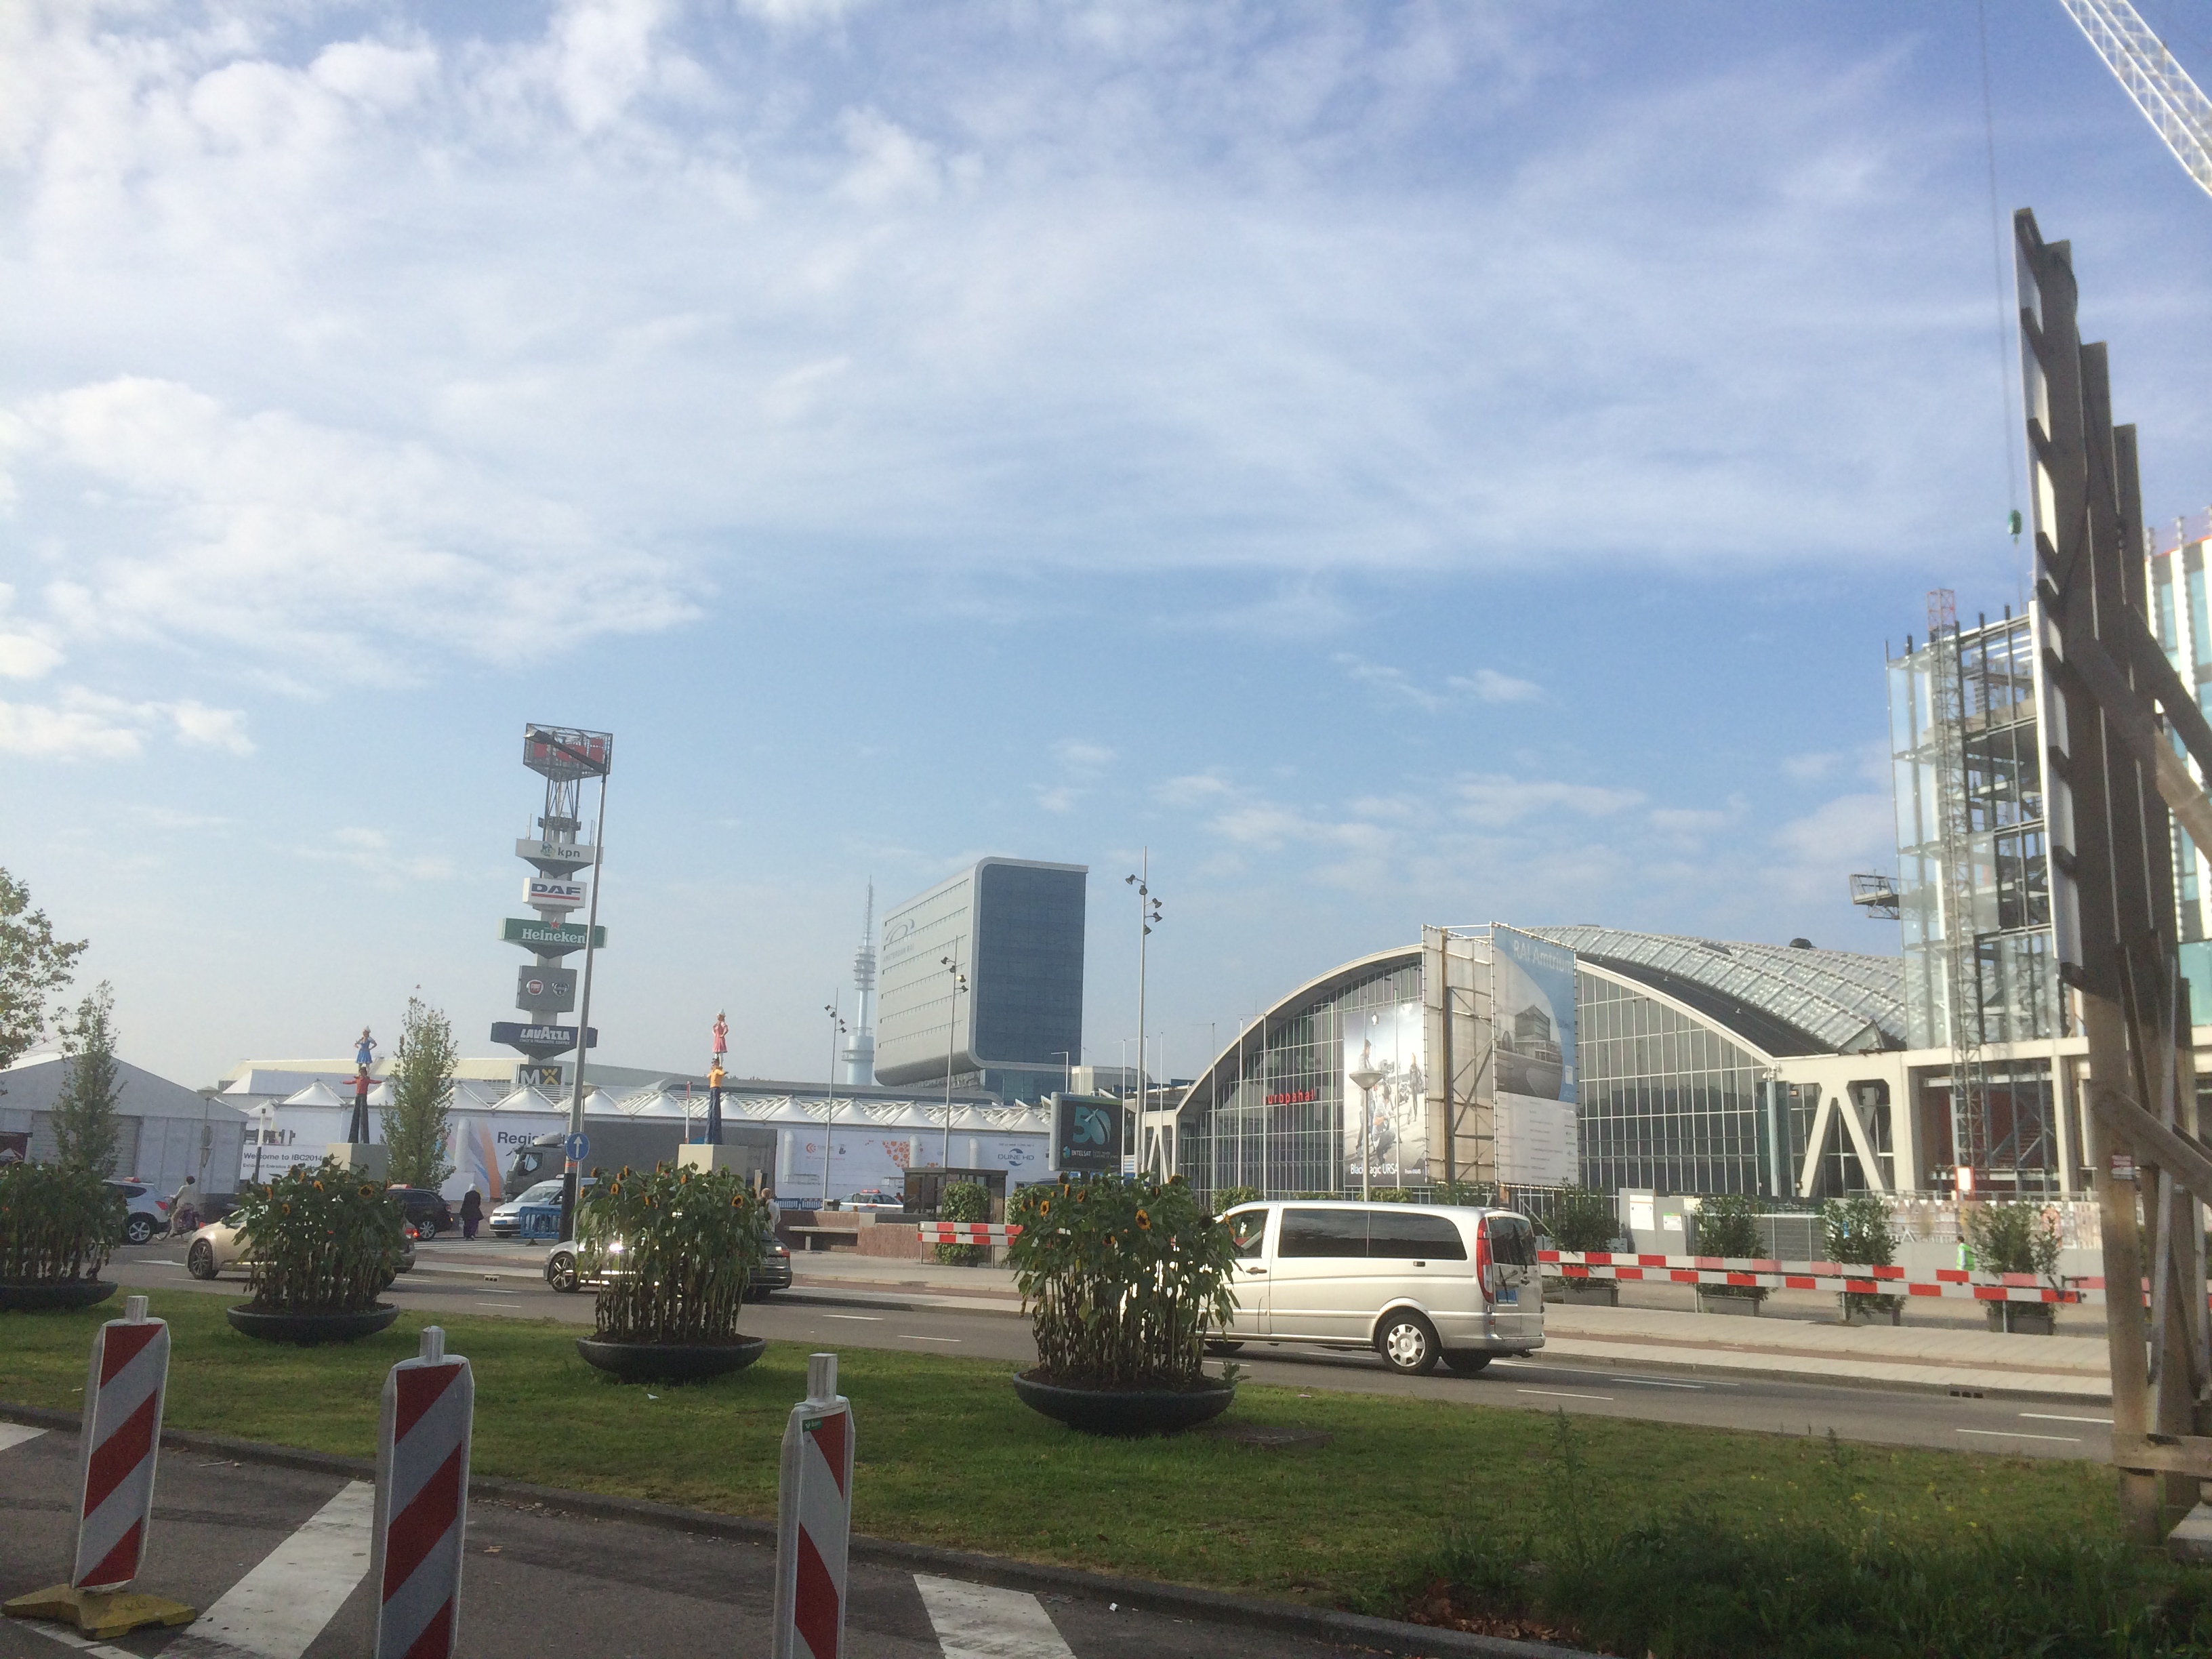
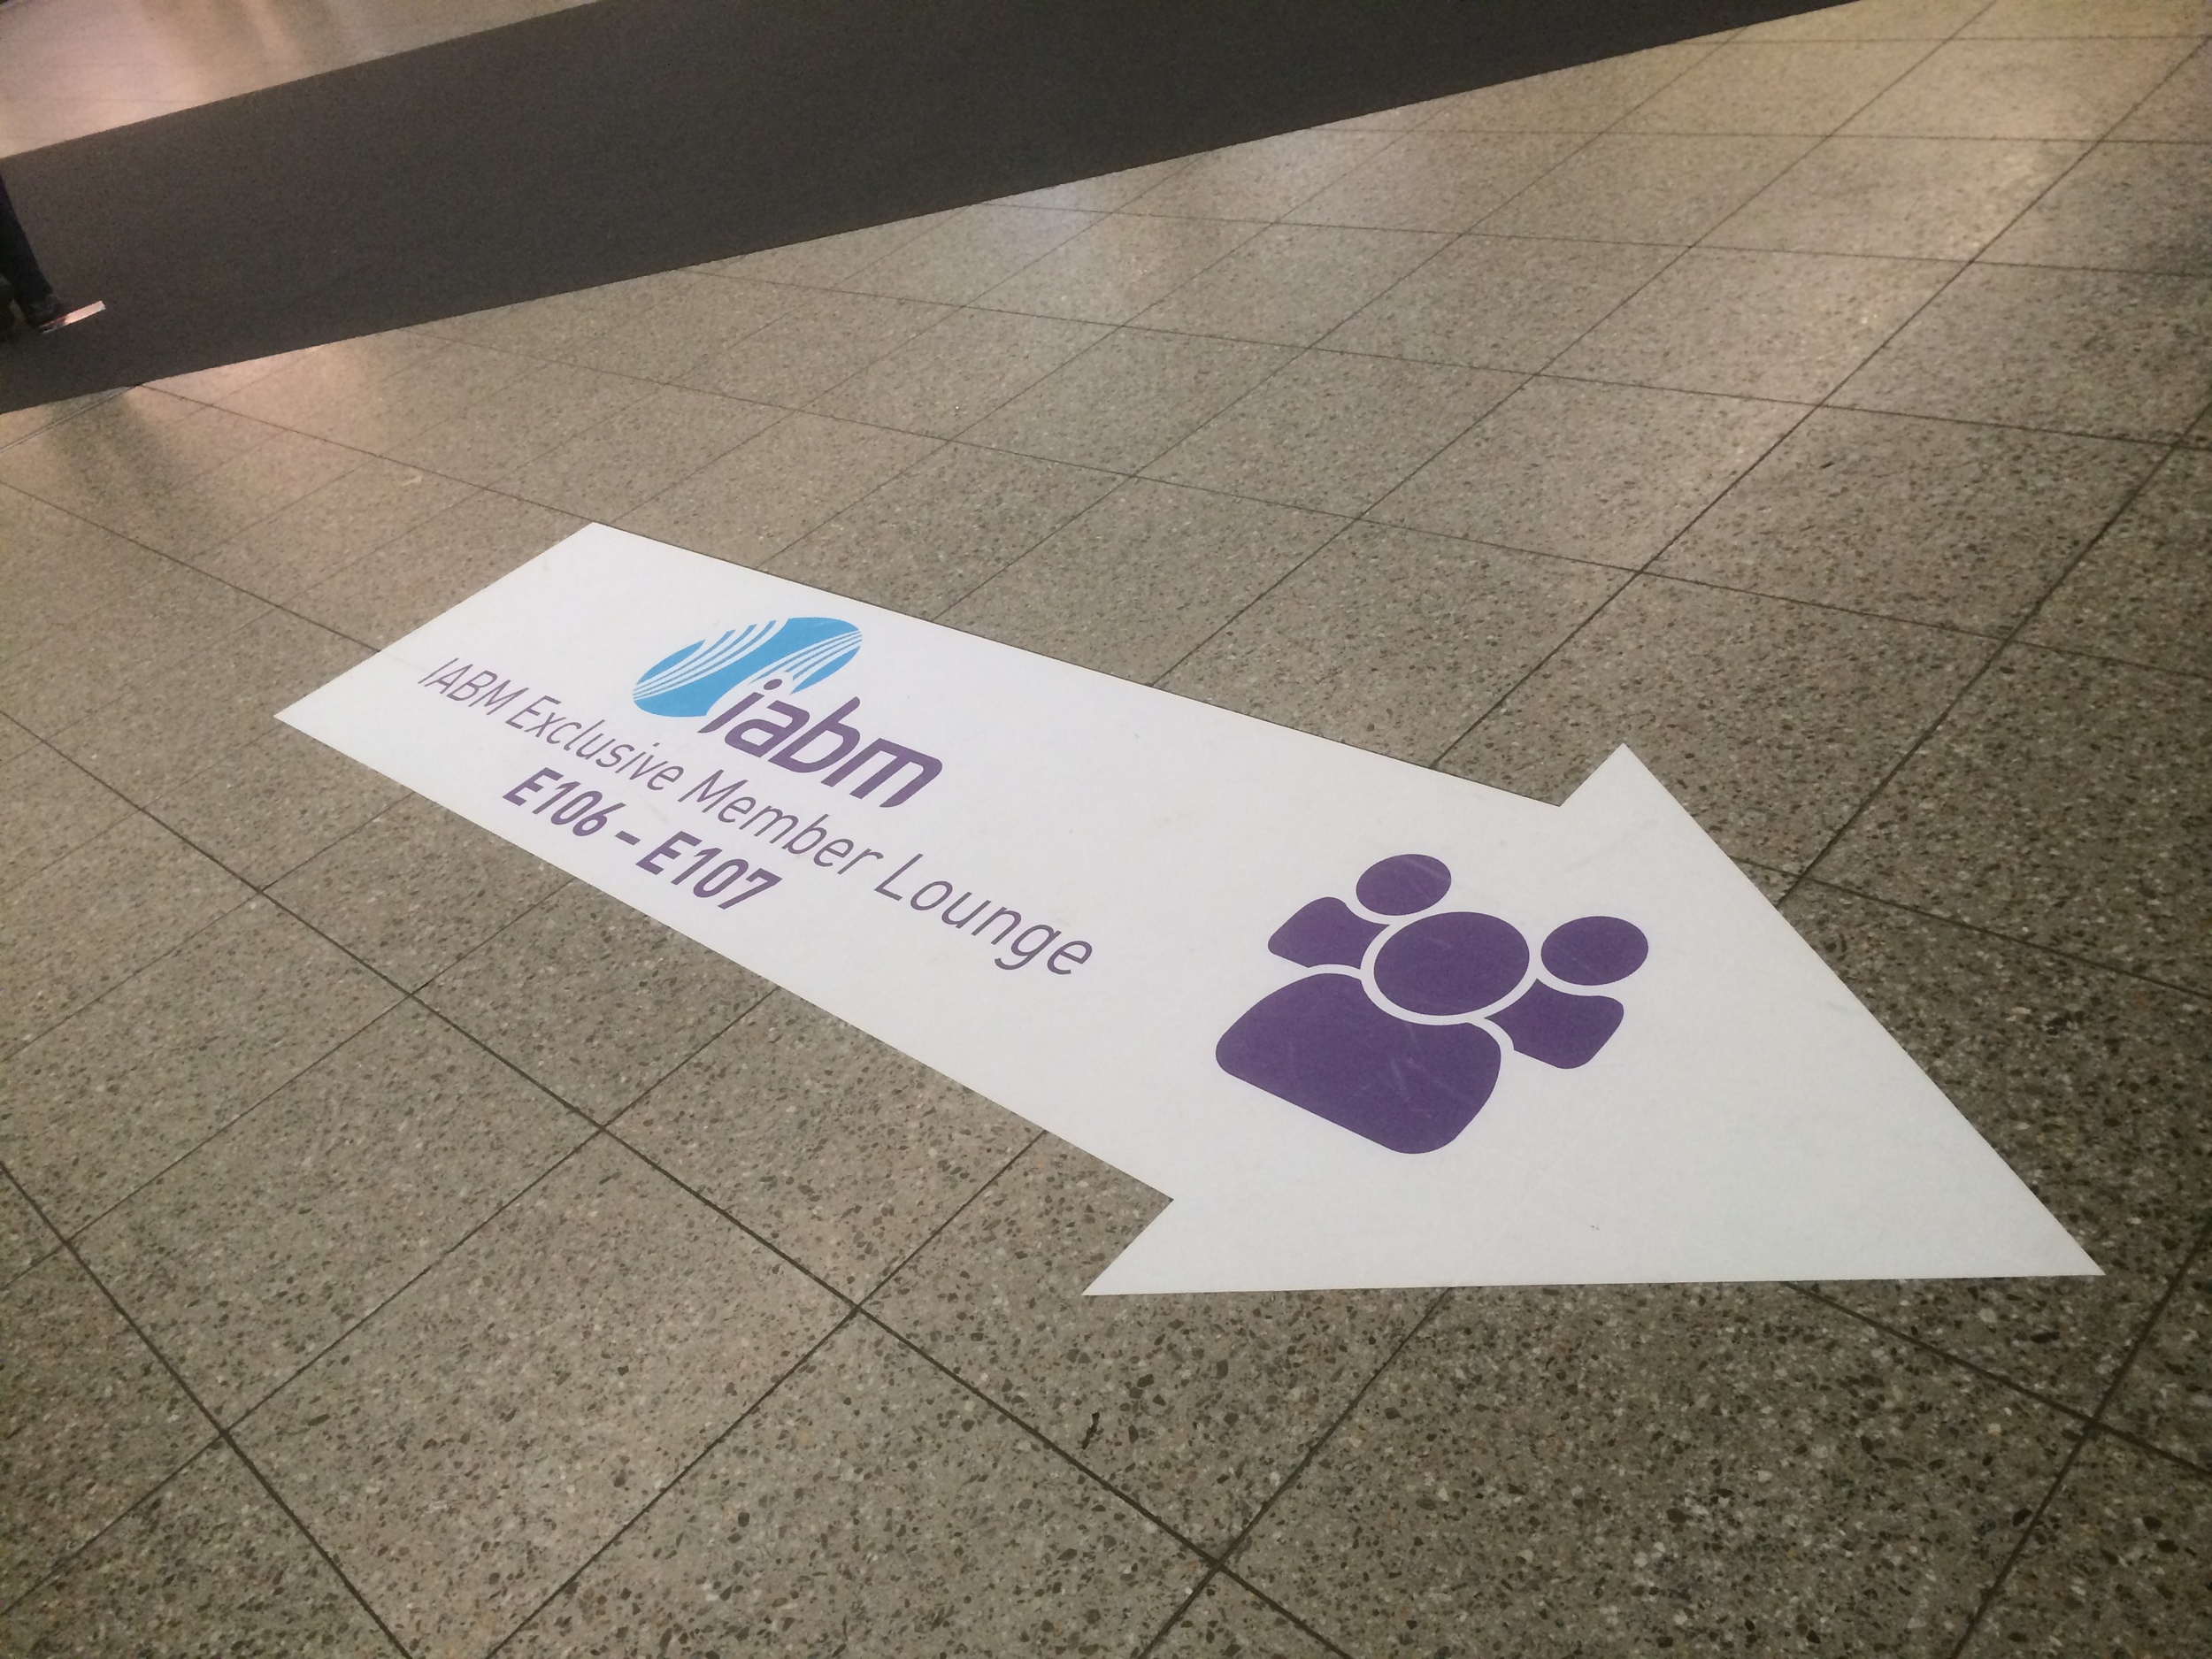
Things are gearing up at the RAI; exhibitors are flooding through the doors, the stands are quickly being finished and the equipment is on display. IBC Show 2014 is getting ready to open its doors to 50,000 broadcasting, media and IT professionals from across the globe. We began filming the exterior the the RAI with visitors entering the venue and registering in the main foyer; the arc slider and 14mm lens create a wonderful moving perspective. After a short explore around hall 10 and 11 we made our way to The IABM Members Lounge to film an exclusive interview with Peter White, CEO of The IABM.
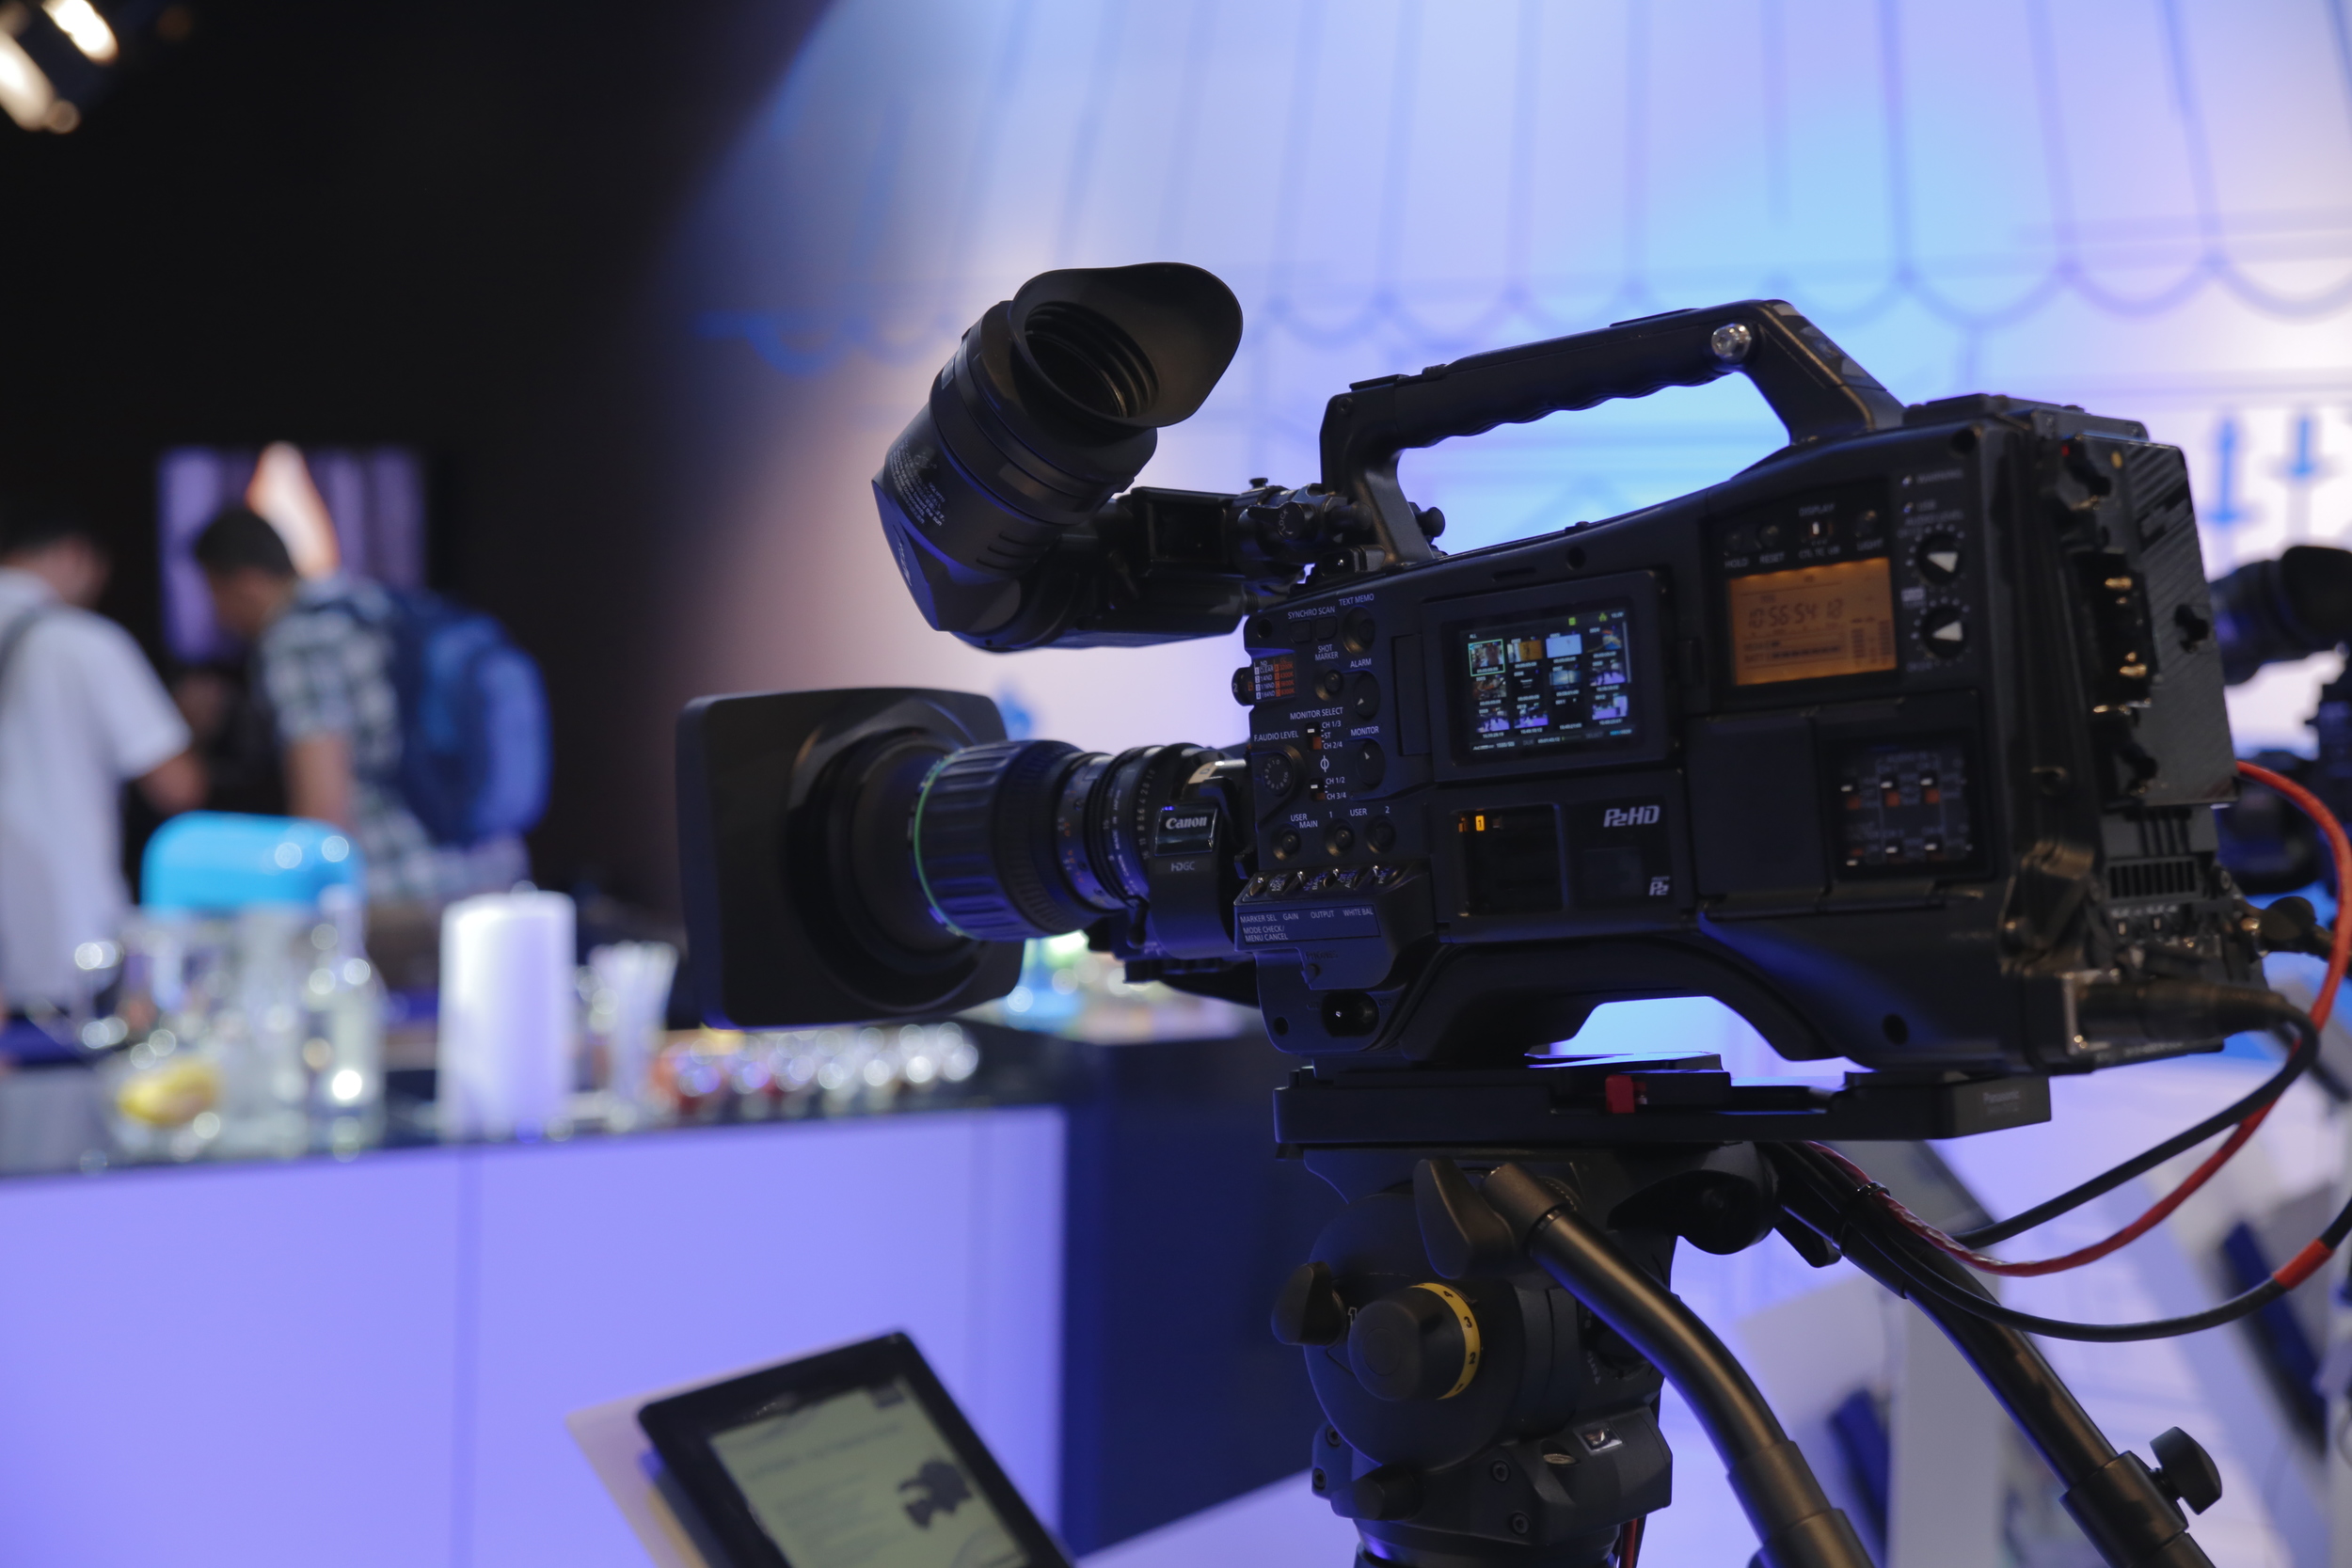
The IABM is a global broadcasting organization, representing nearly 80% of the broadcasting industry. The members have access to an exclusive members lounge, the IABM business conference, design & innovation awards and much more. It was our job to capture the events, conferences and members at IBC to promote and inform others about the successes at the show. For the interview, I used the Canon 5D mkIII, Tamron 24-70mm, the B cam was a Canon 60D with Canon 50mm F/1.8. For a reliable audio source I used the Zoom H6 (multi-channel recorder) with the MS mic attachment, as well as the Sennheiser ENG-G3 wireless mic kit; this was so I could attach a lav mic on the interviewees for clear sound.
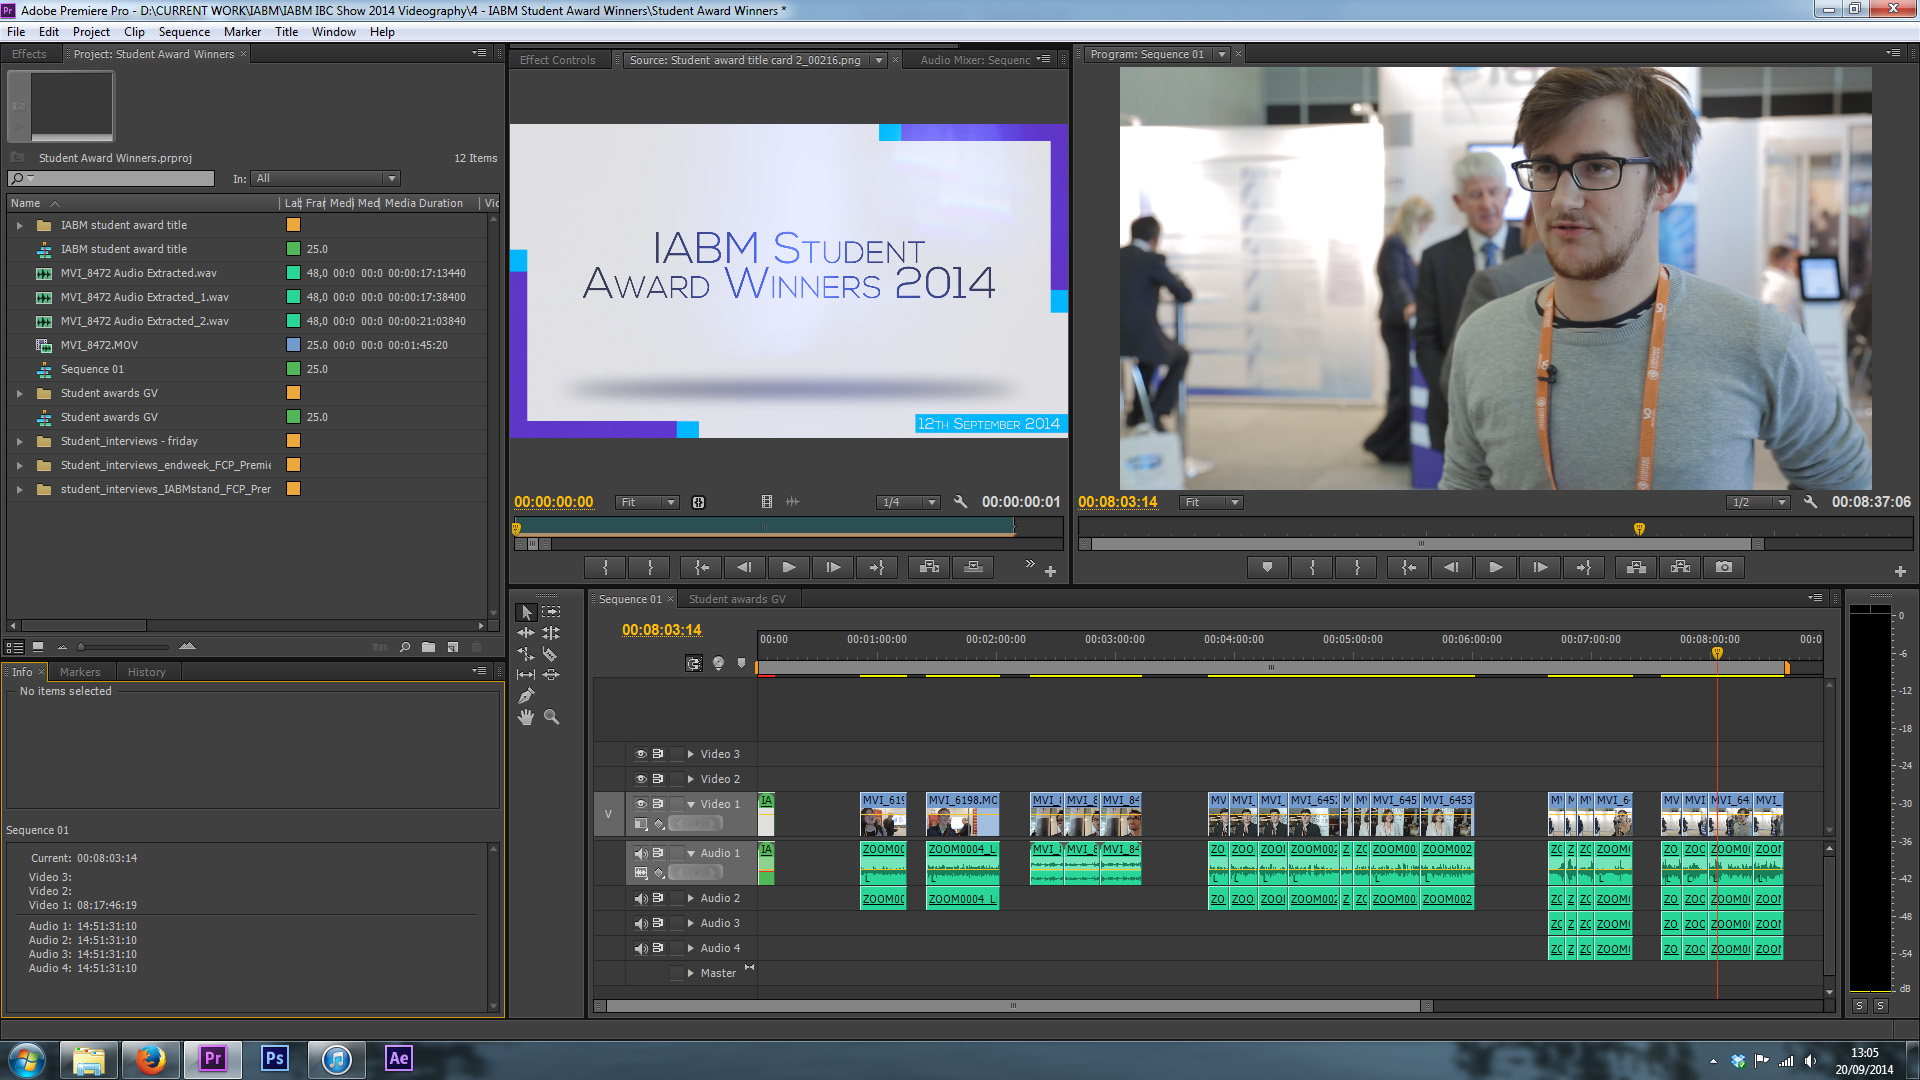
Yes, this did mean throughout the week we had different video and audio sources, but Red Giant Pluraleyes aided greatly in syncing up the V&A for editing in Adobe Premiere Pro CS6.
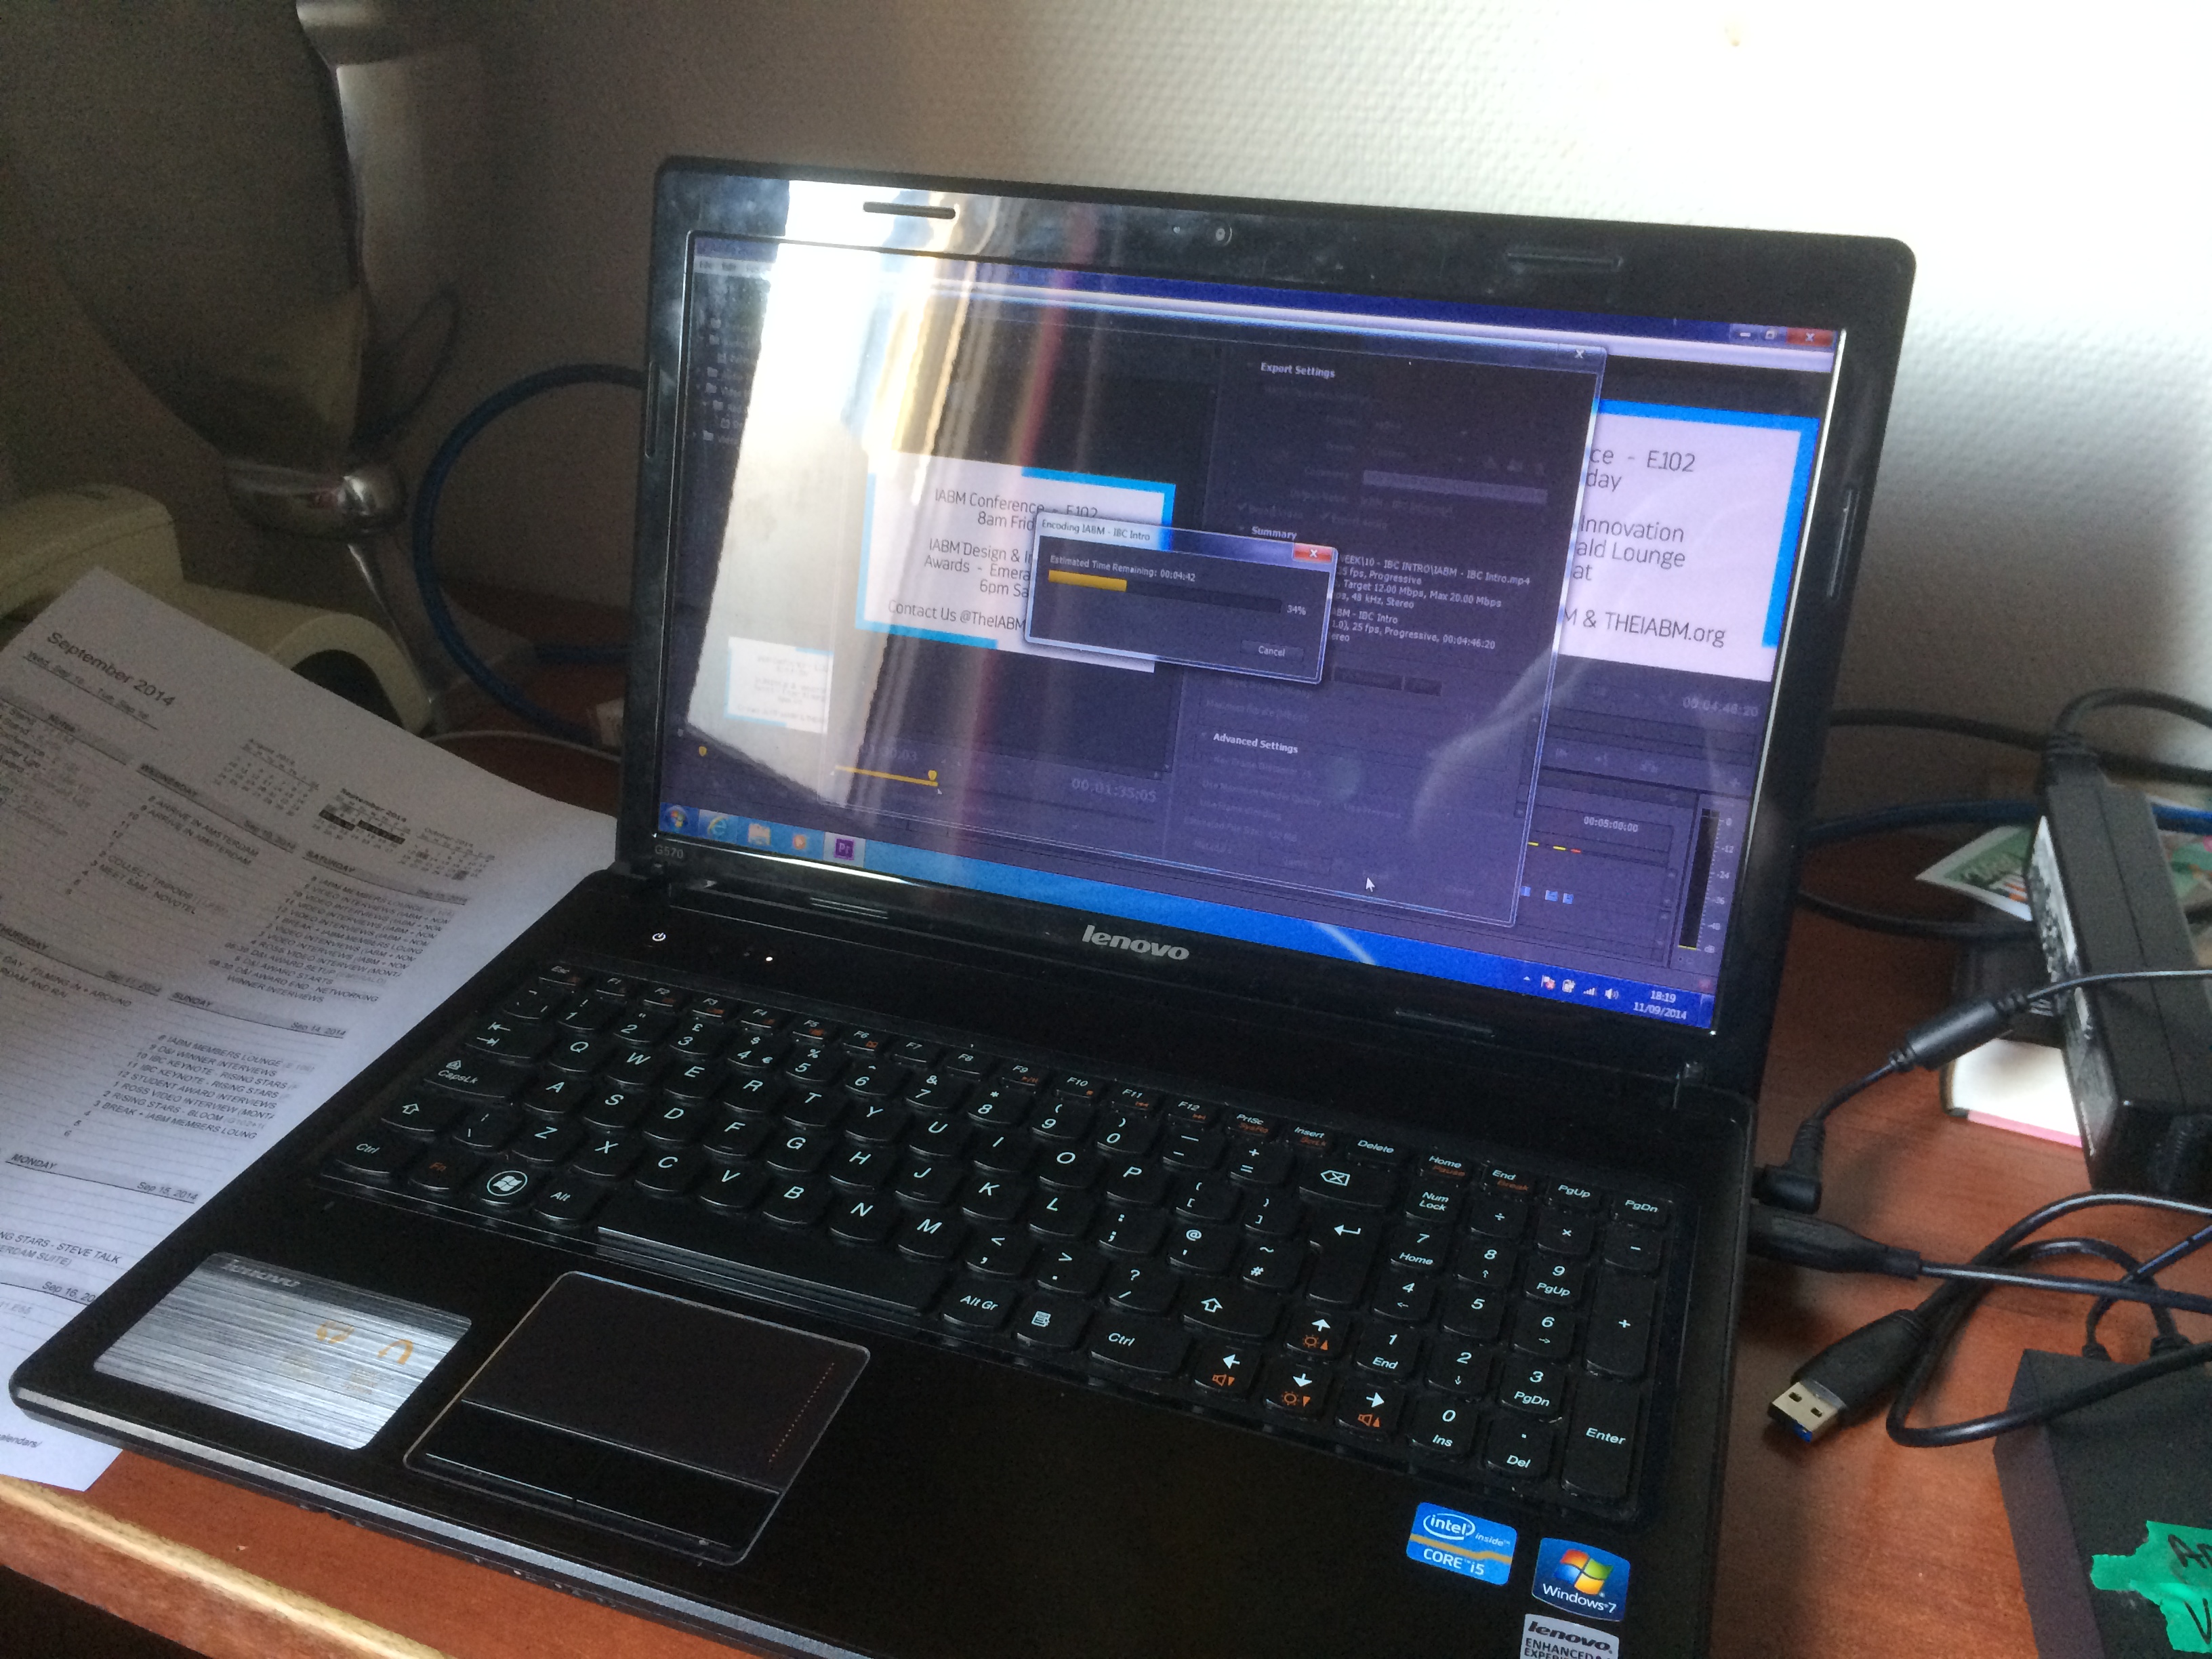
Editing the IBC Intro video with Peter White on my laptop, yes, Windows laptop!
After capturing the buzz and excitement of pre-IBC, we headed back to our hotel to edit the intro video for the IABM members to see. The editing was fast, but the uploading was terrible via Wi-Fi, having learned our lesson, we uploaded the rest of the videos in the press room at IBC instead! Unfortunately, the video is only viewable for IABM members, so here is a quick screenshot.
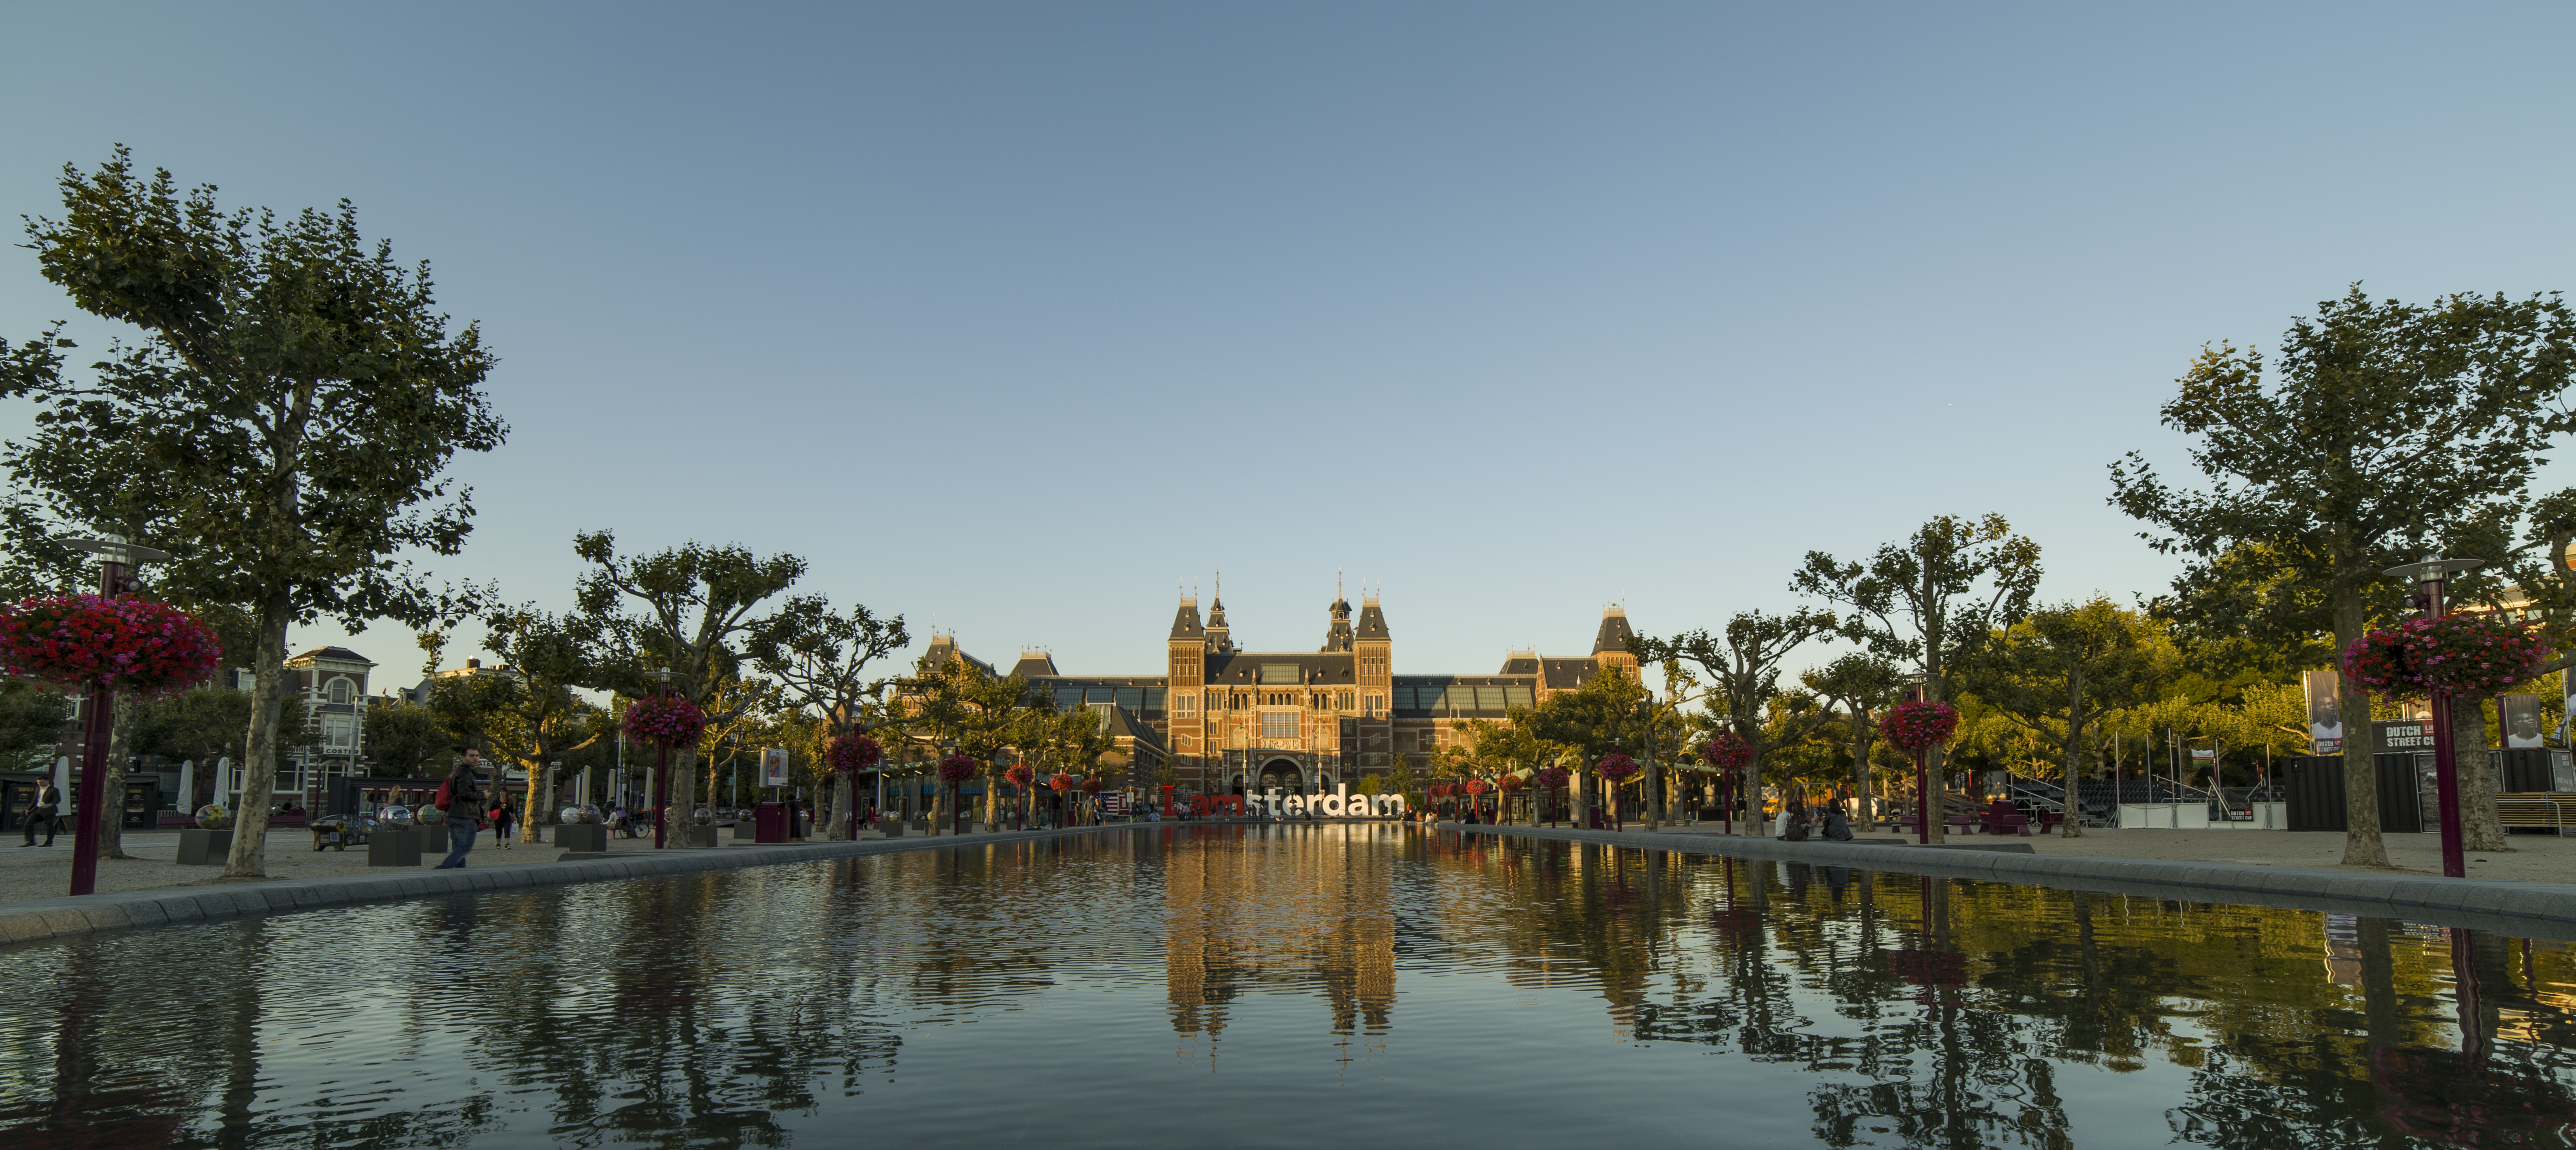
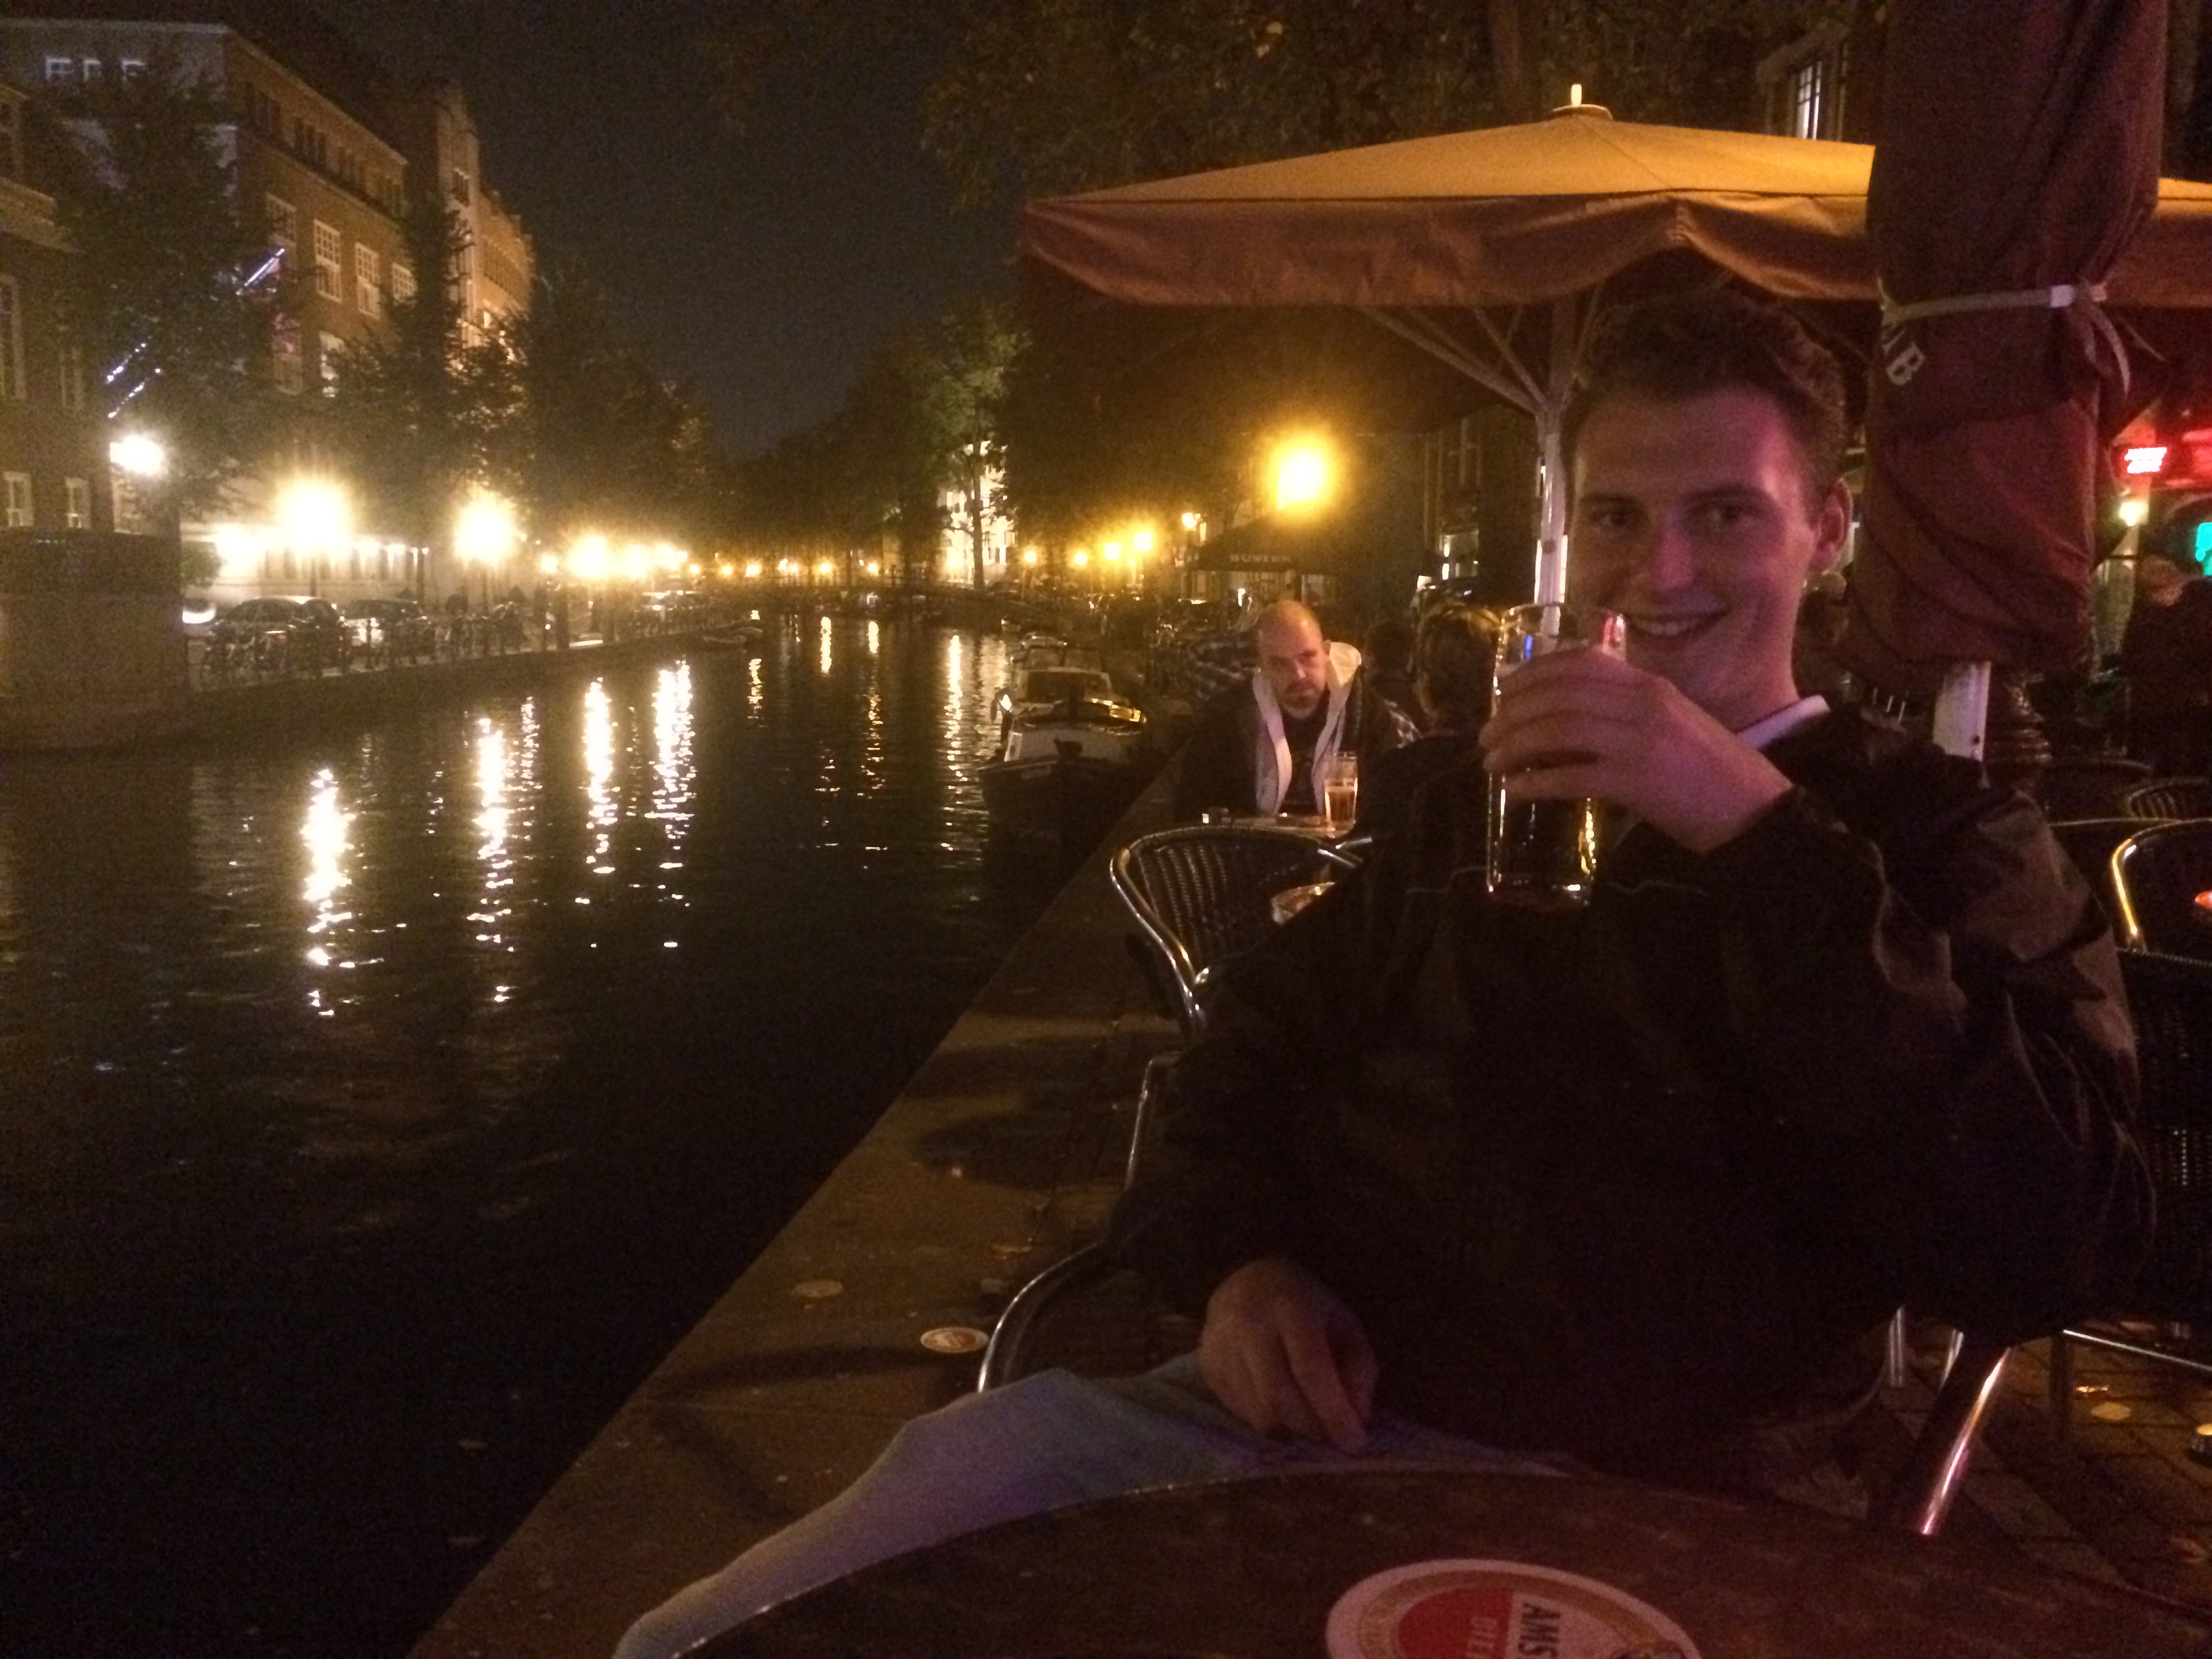
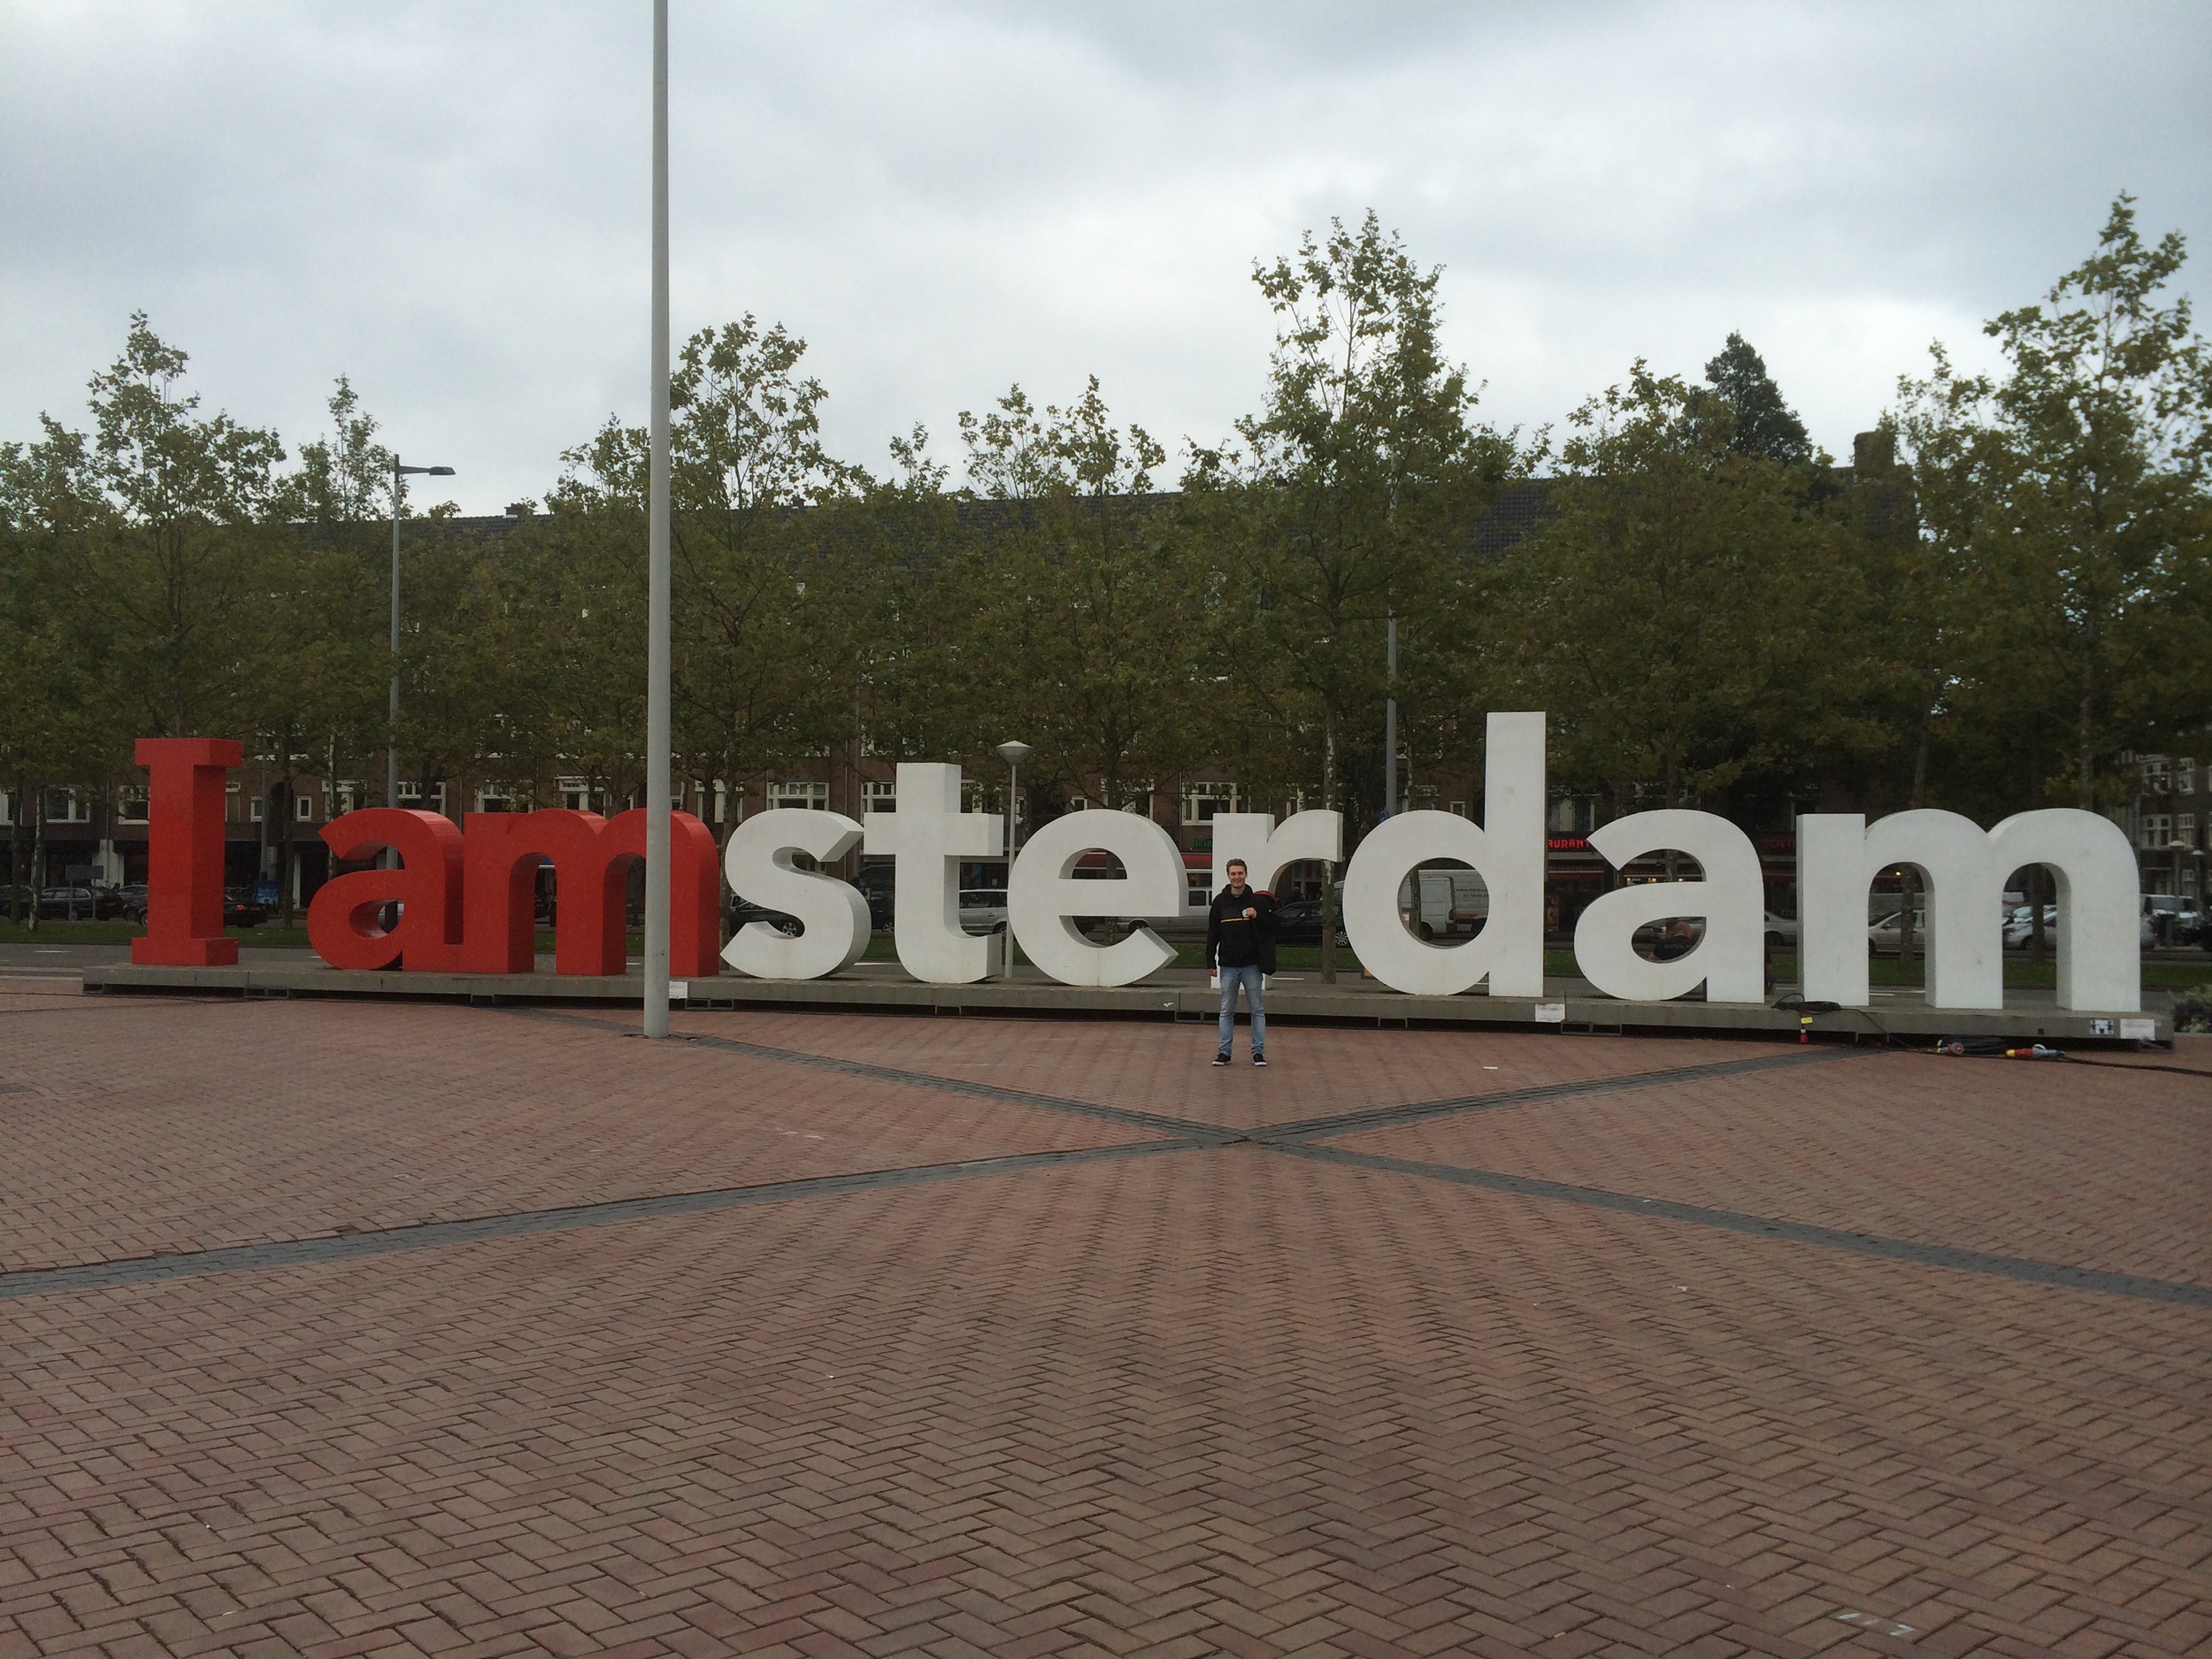
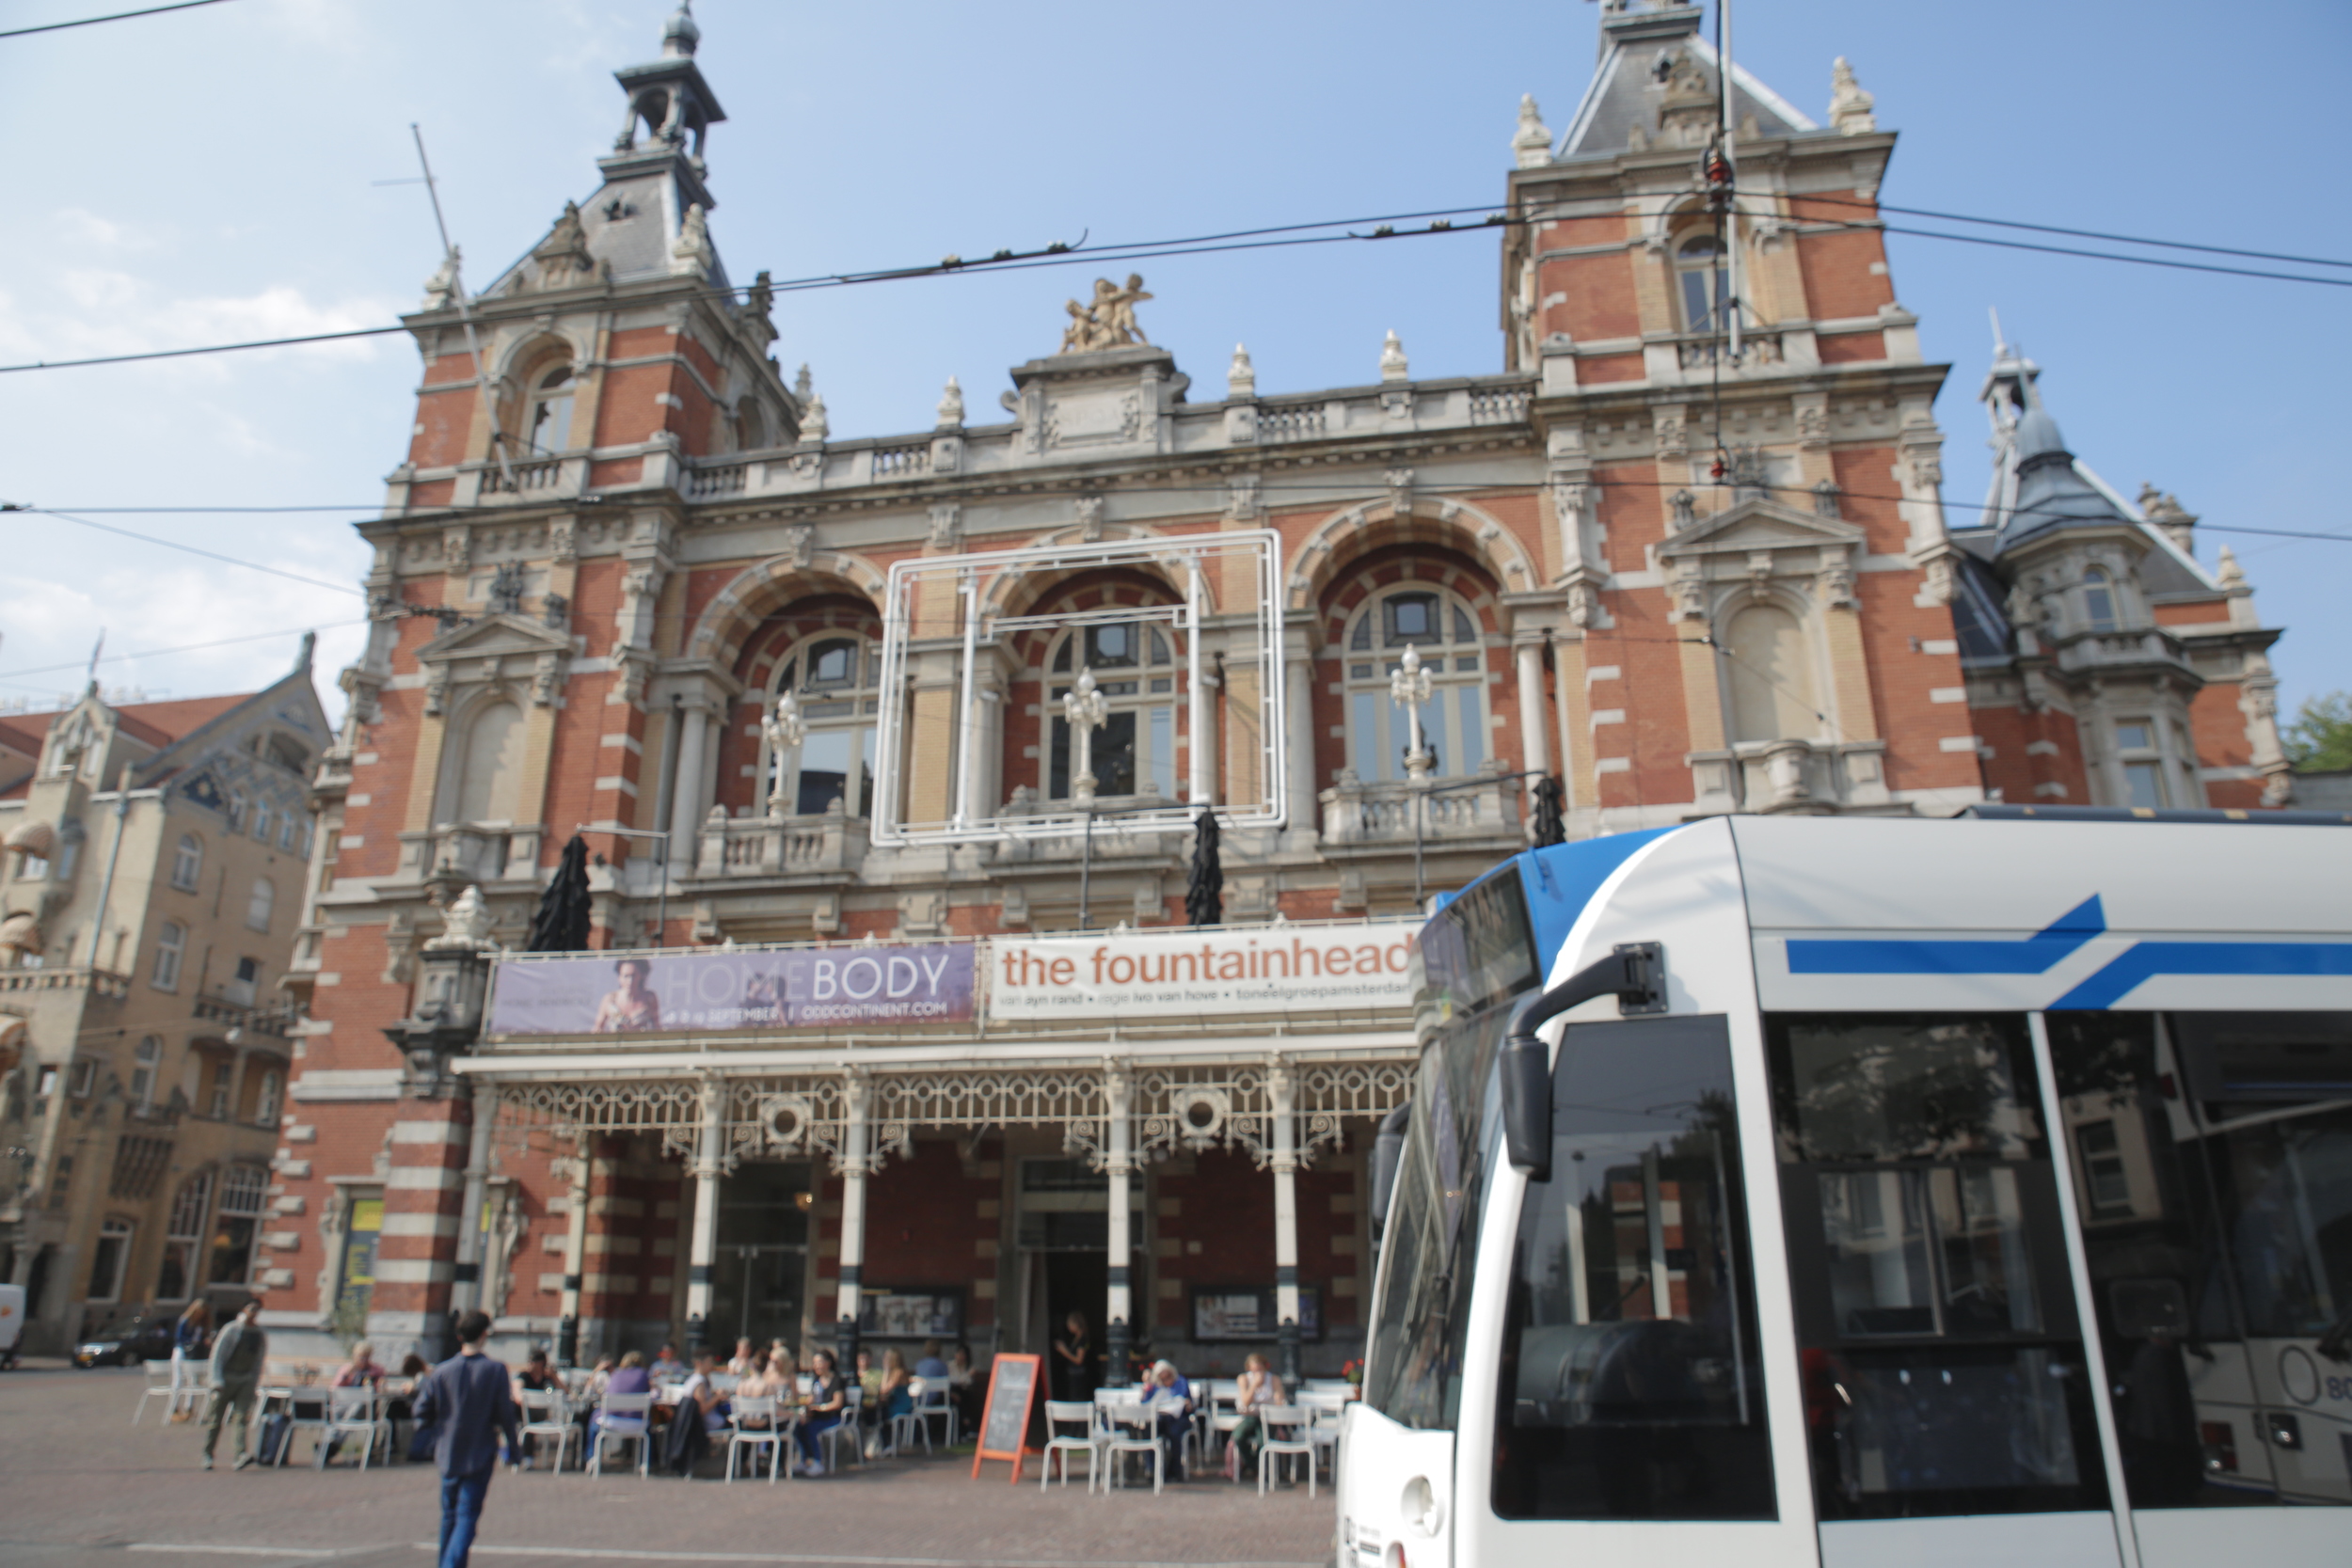
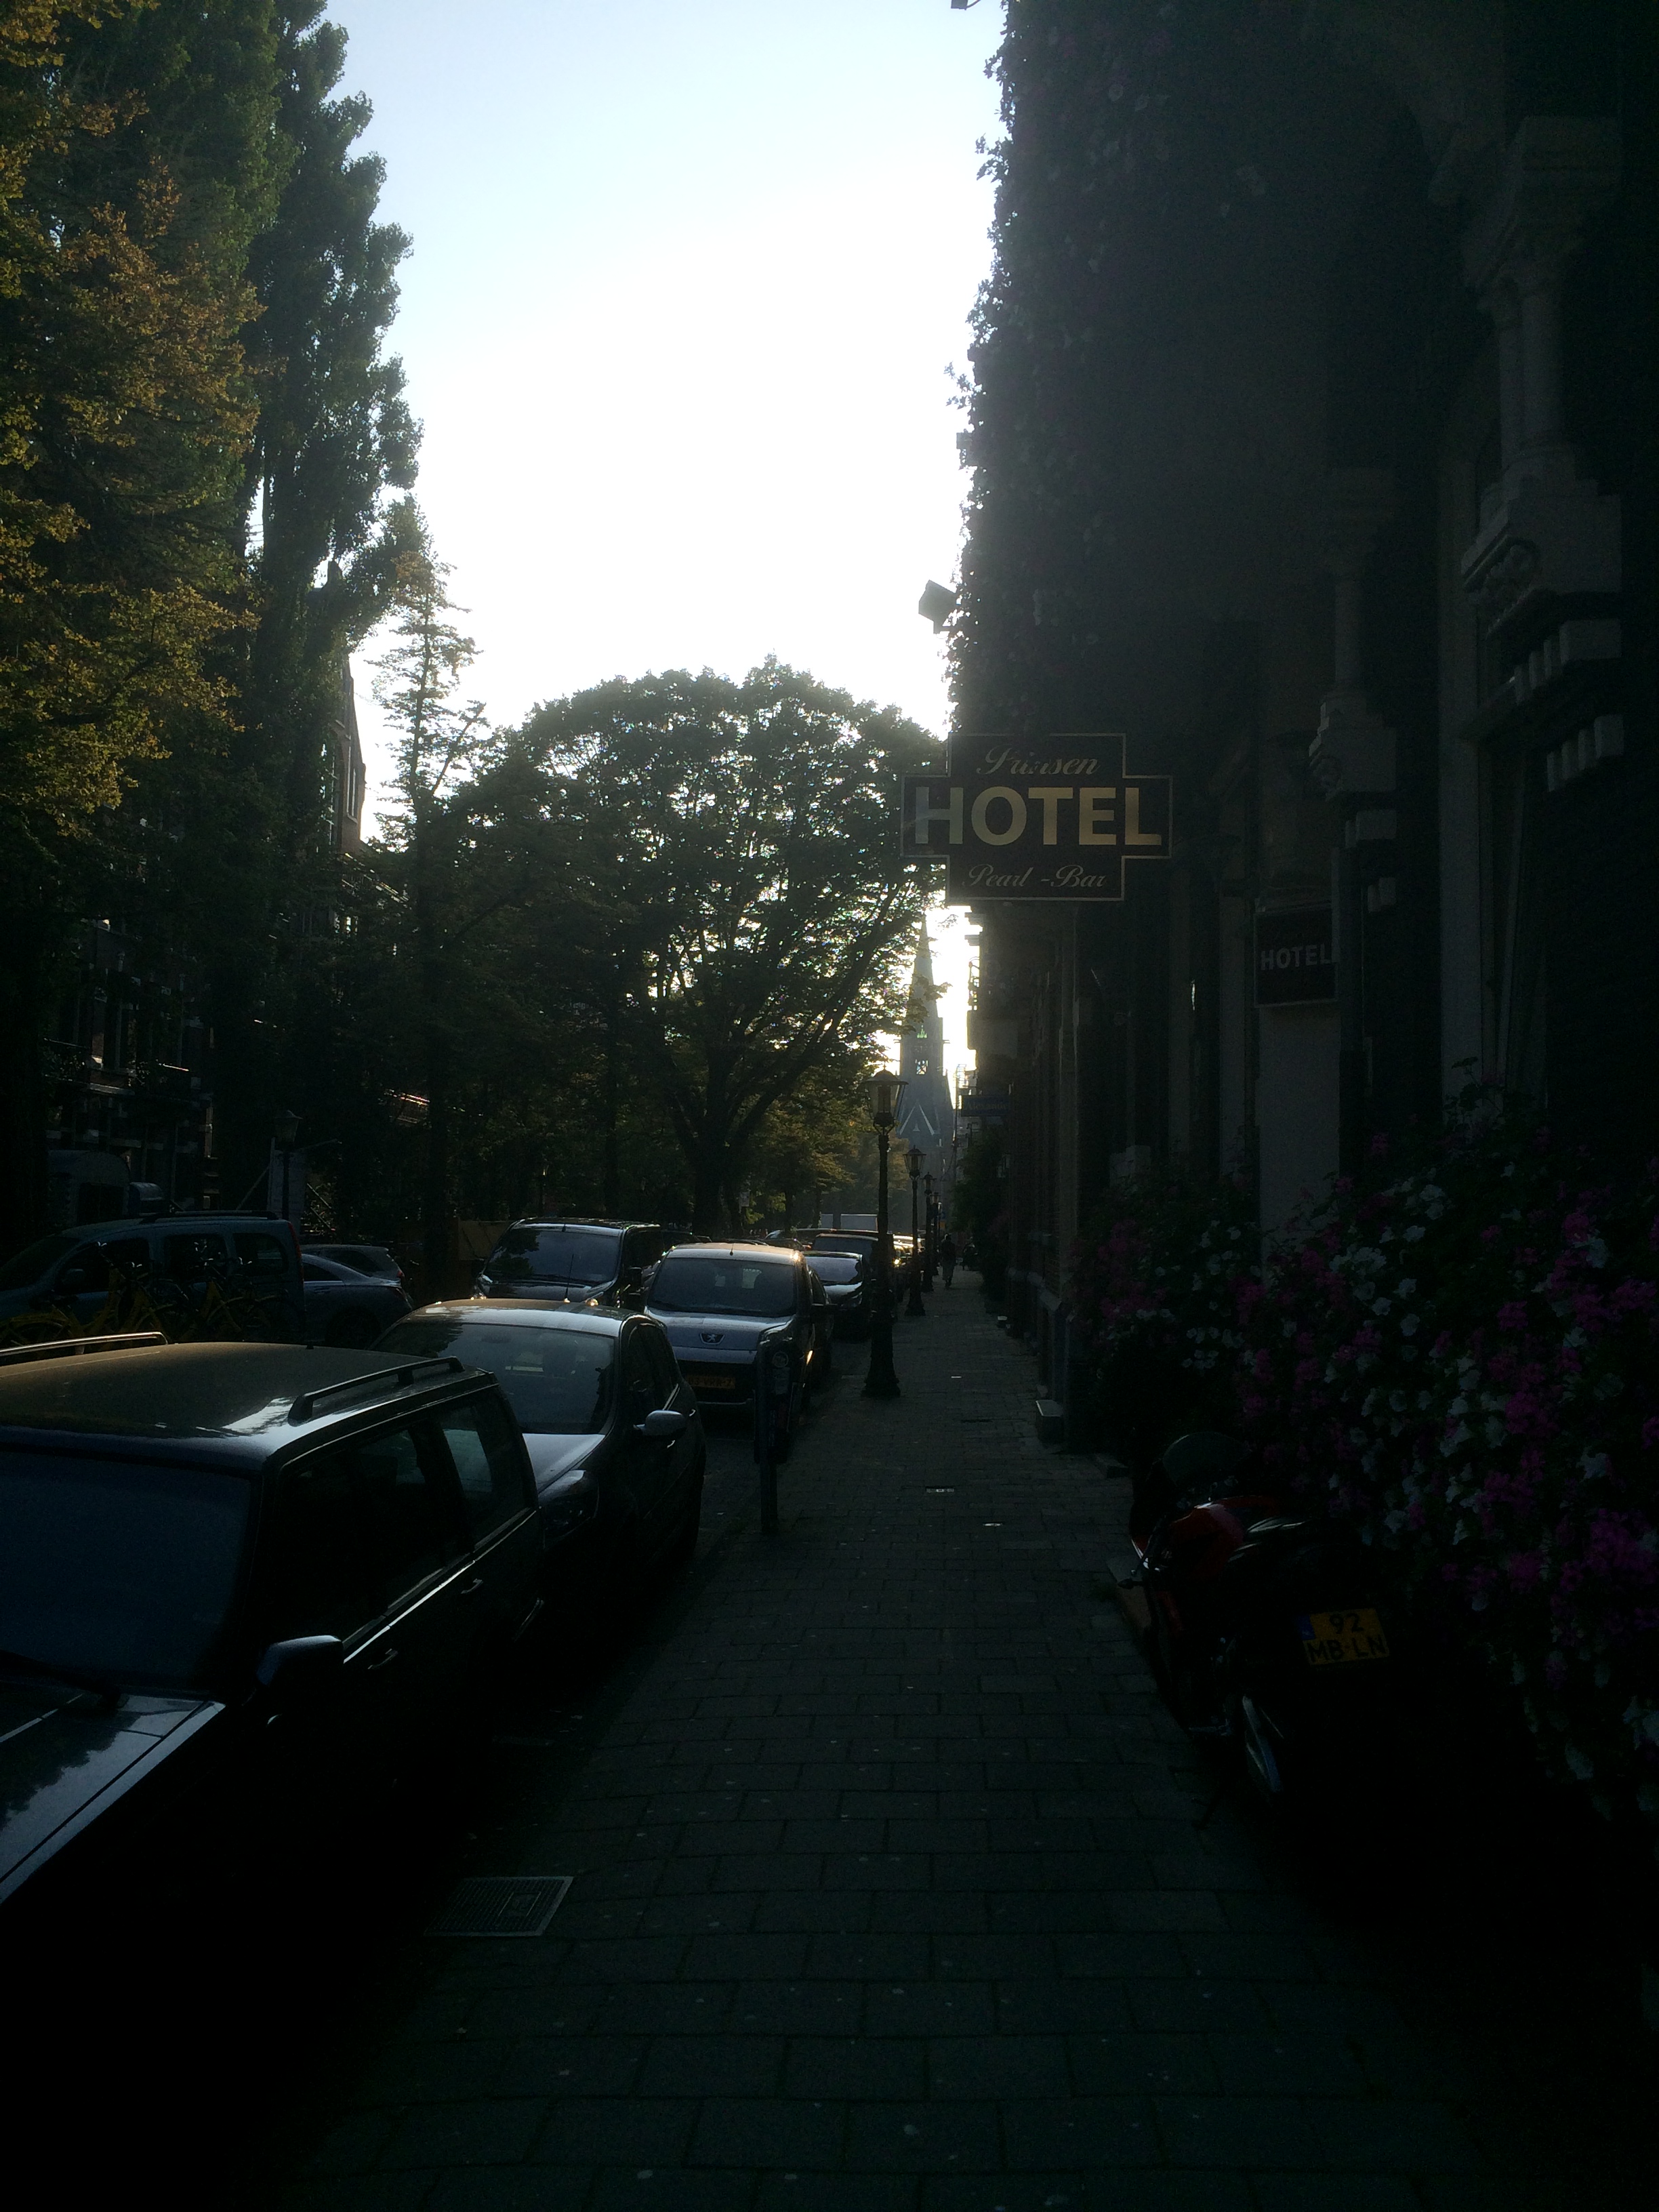
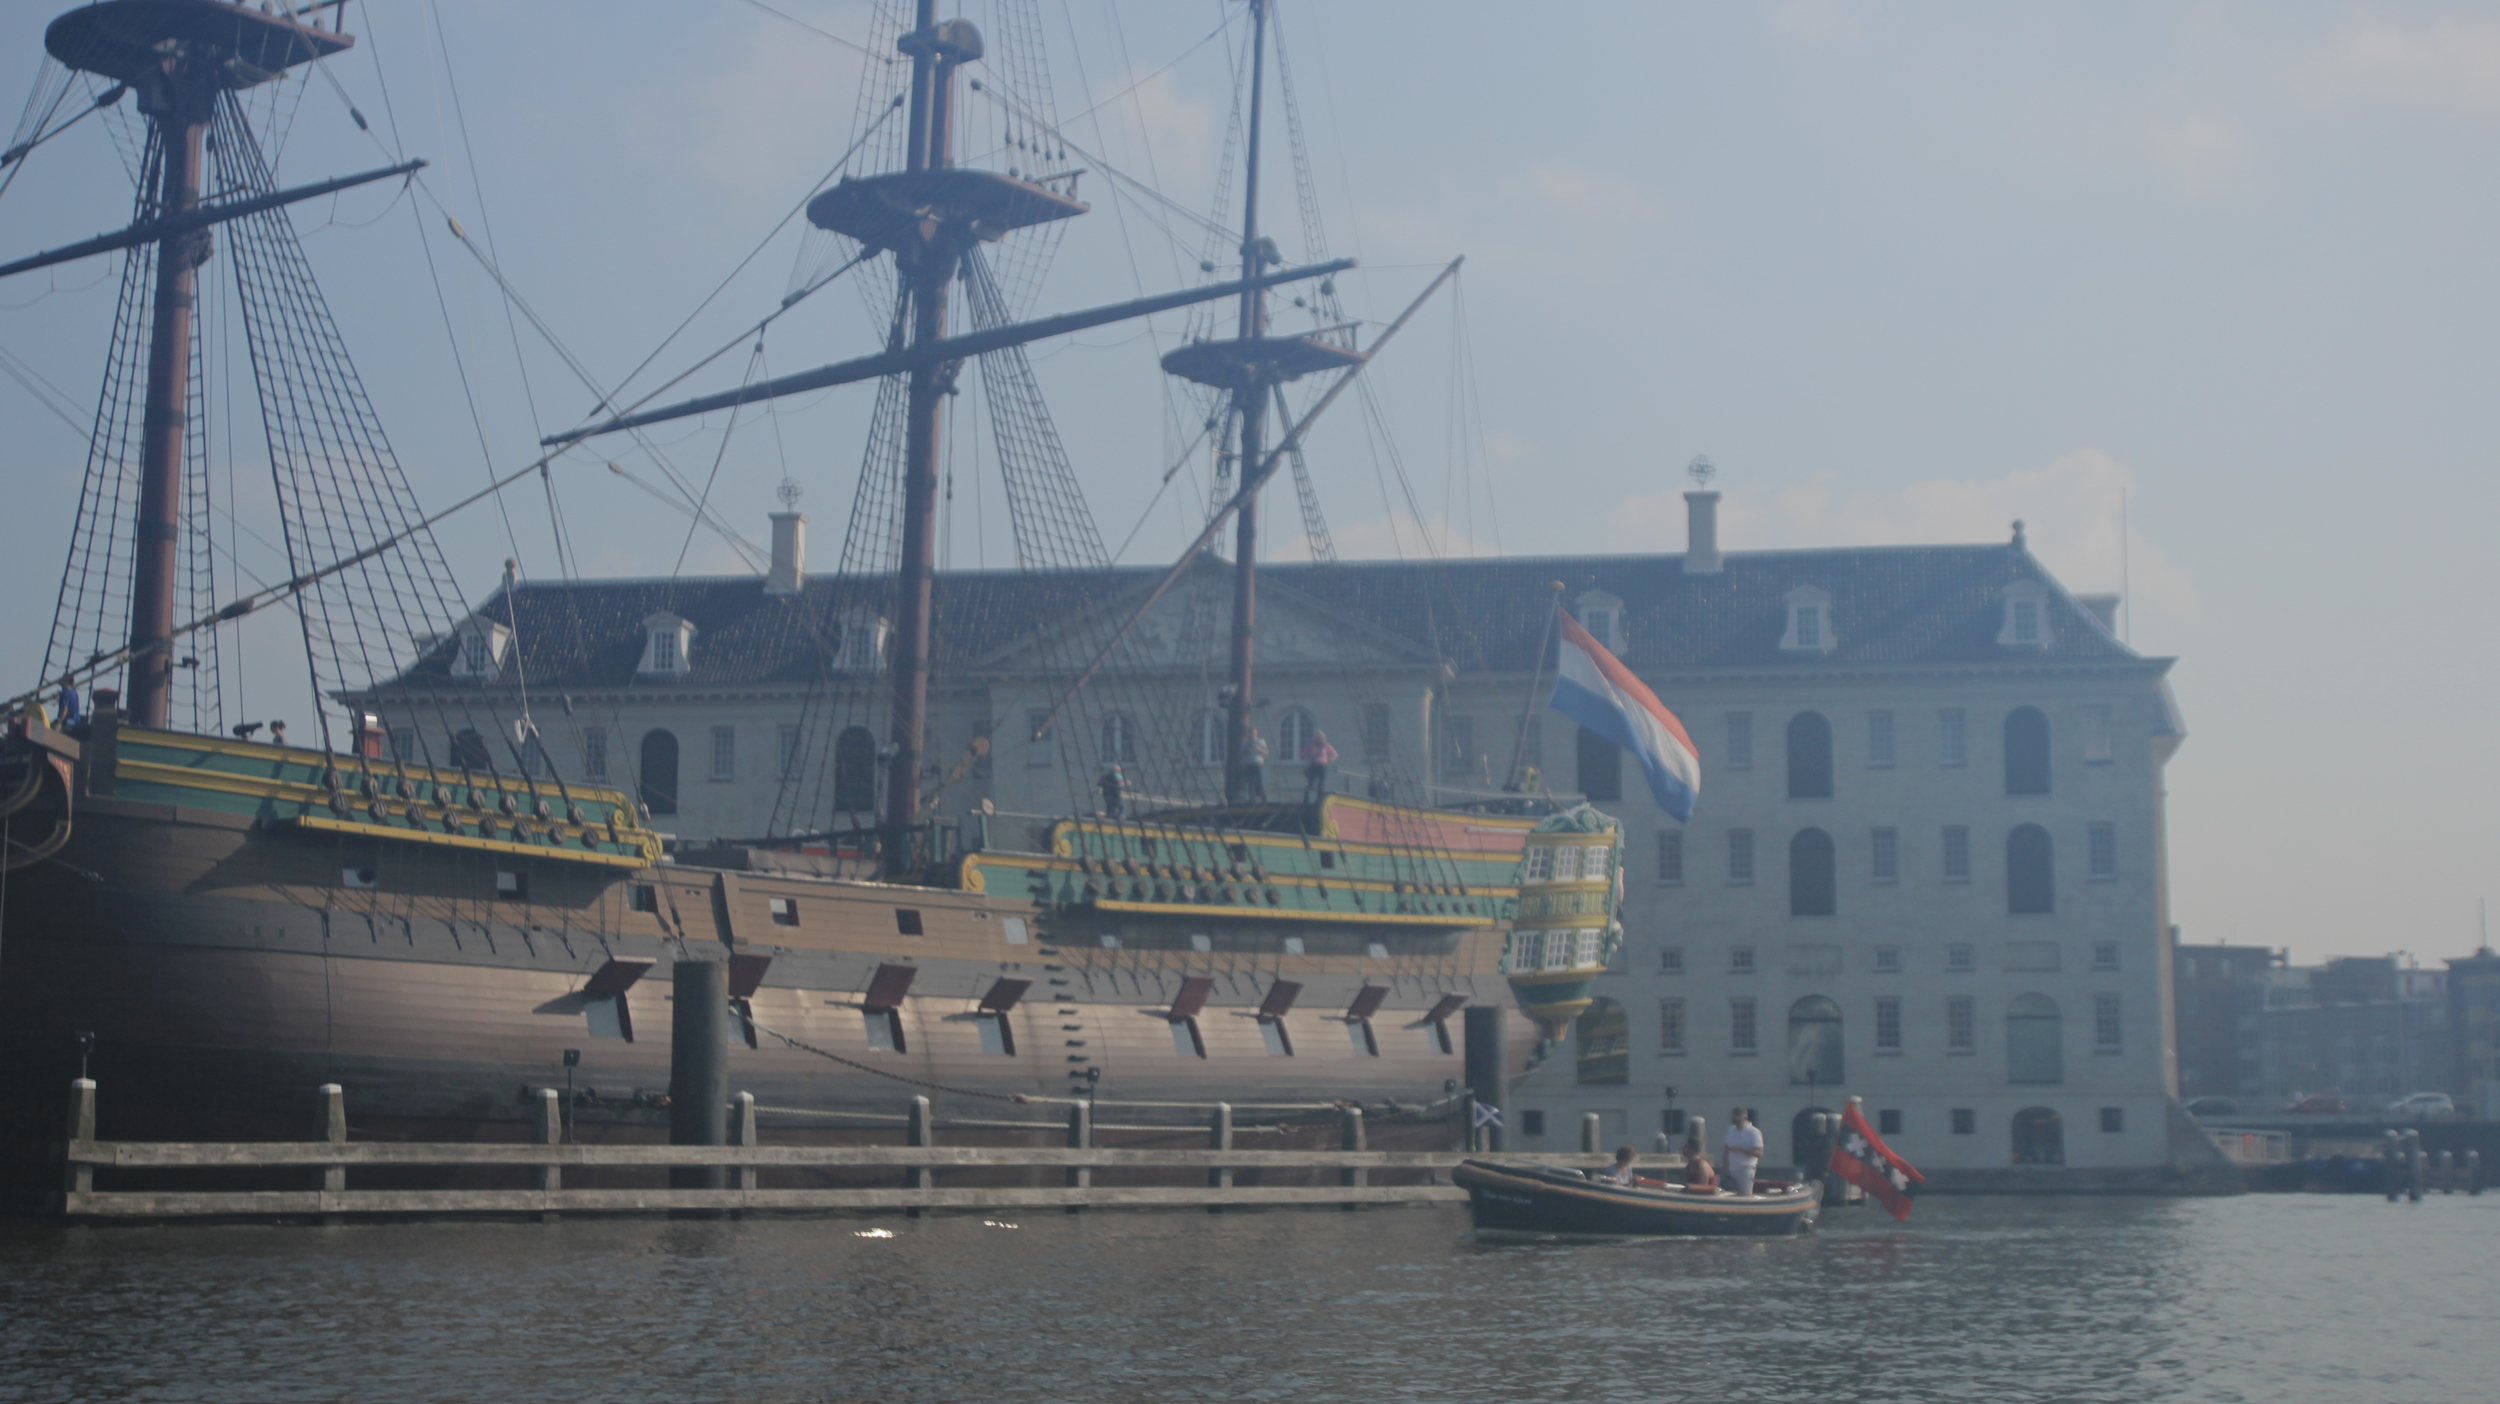
Later on, we ventured out into the city of Amsterdam. It was Glen's first time, so I look him for a tour around the sights.
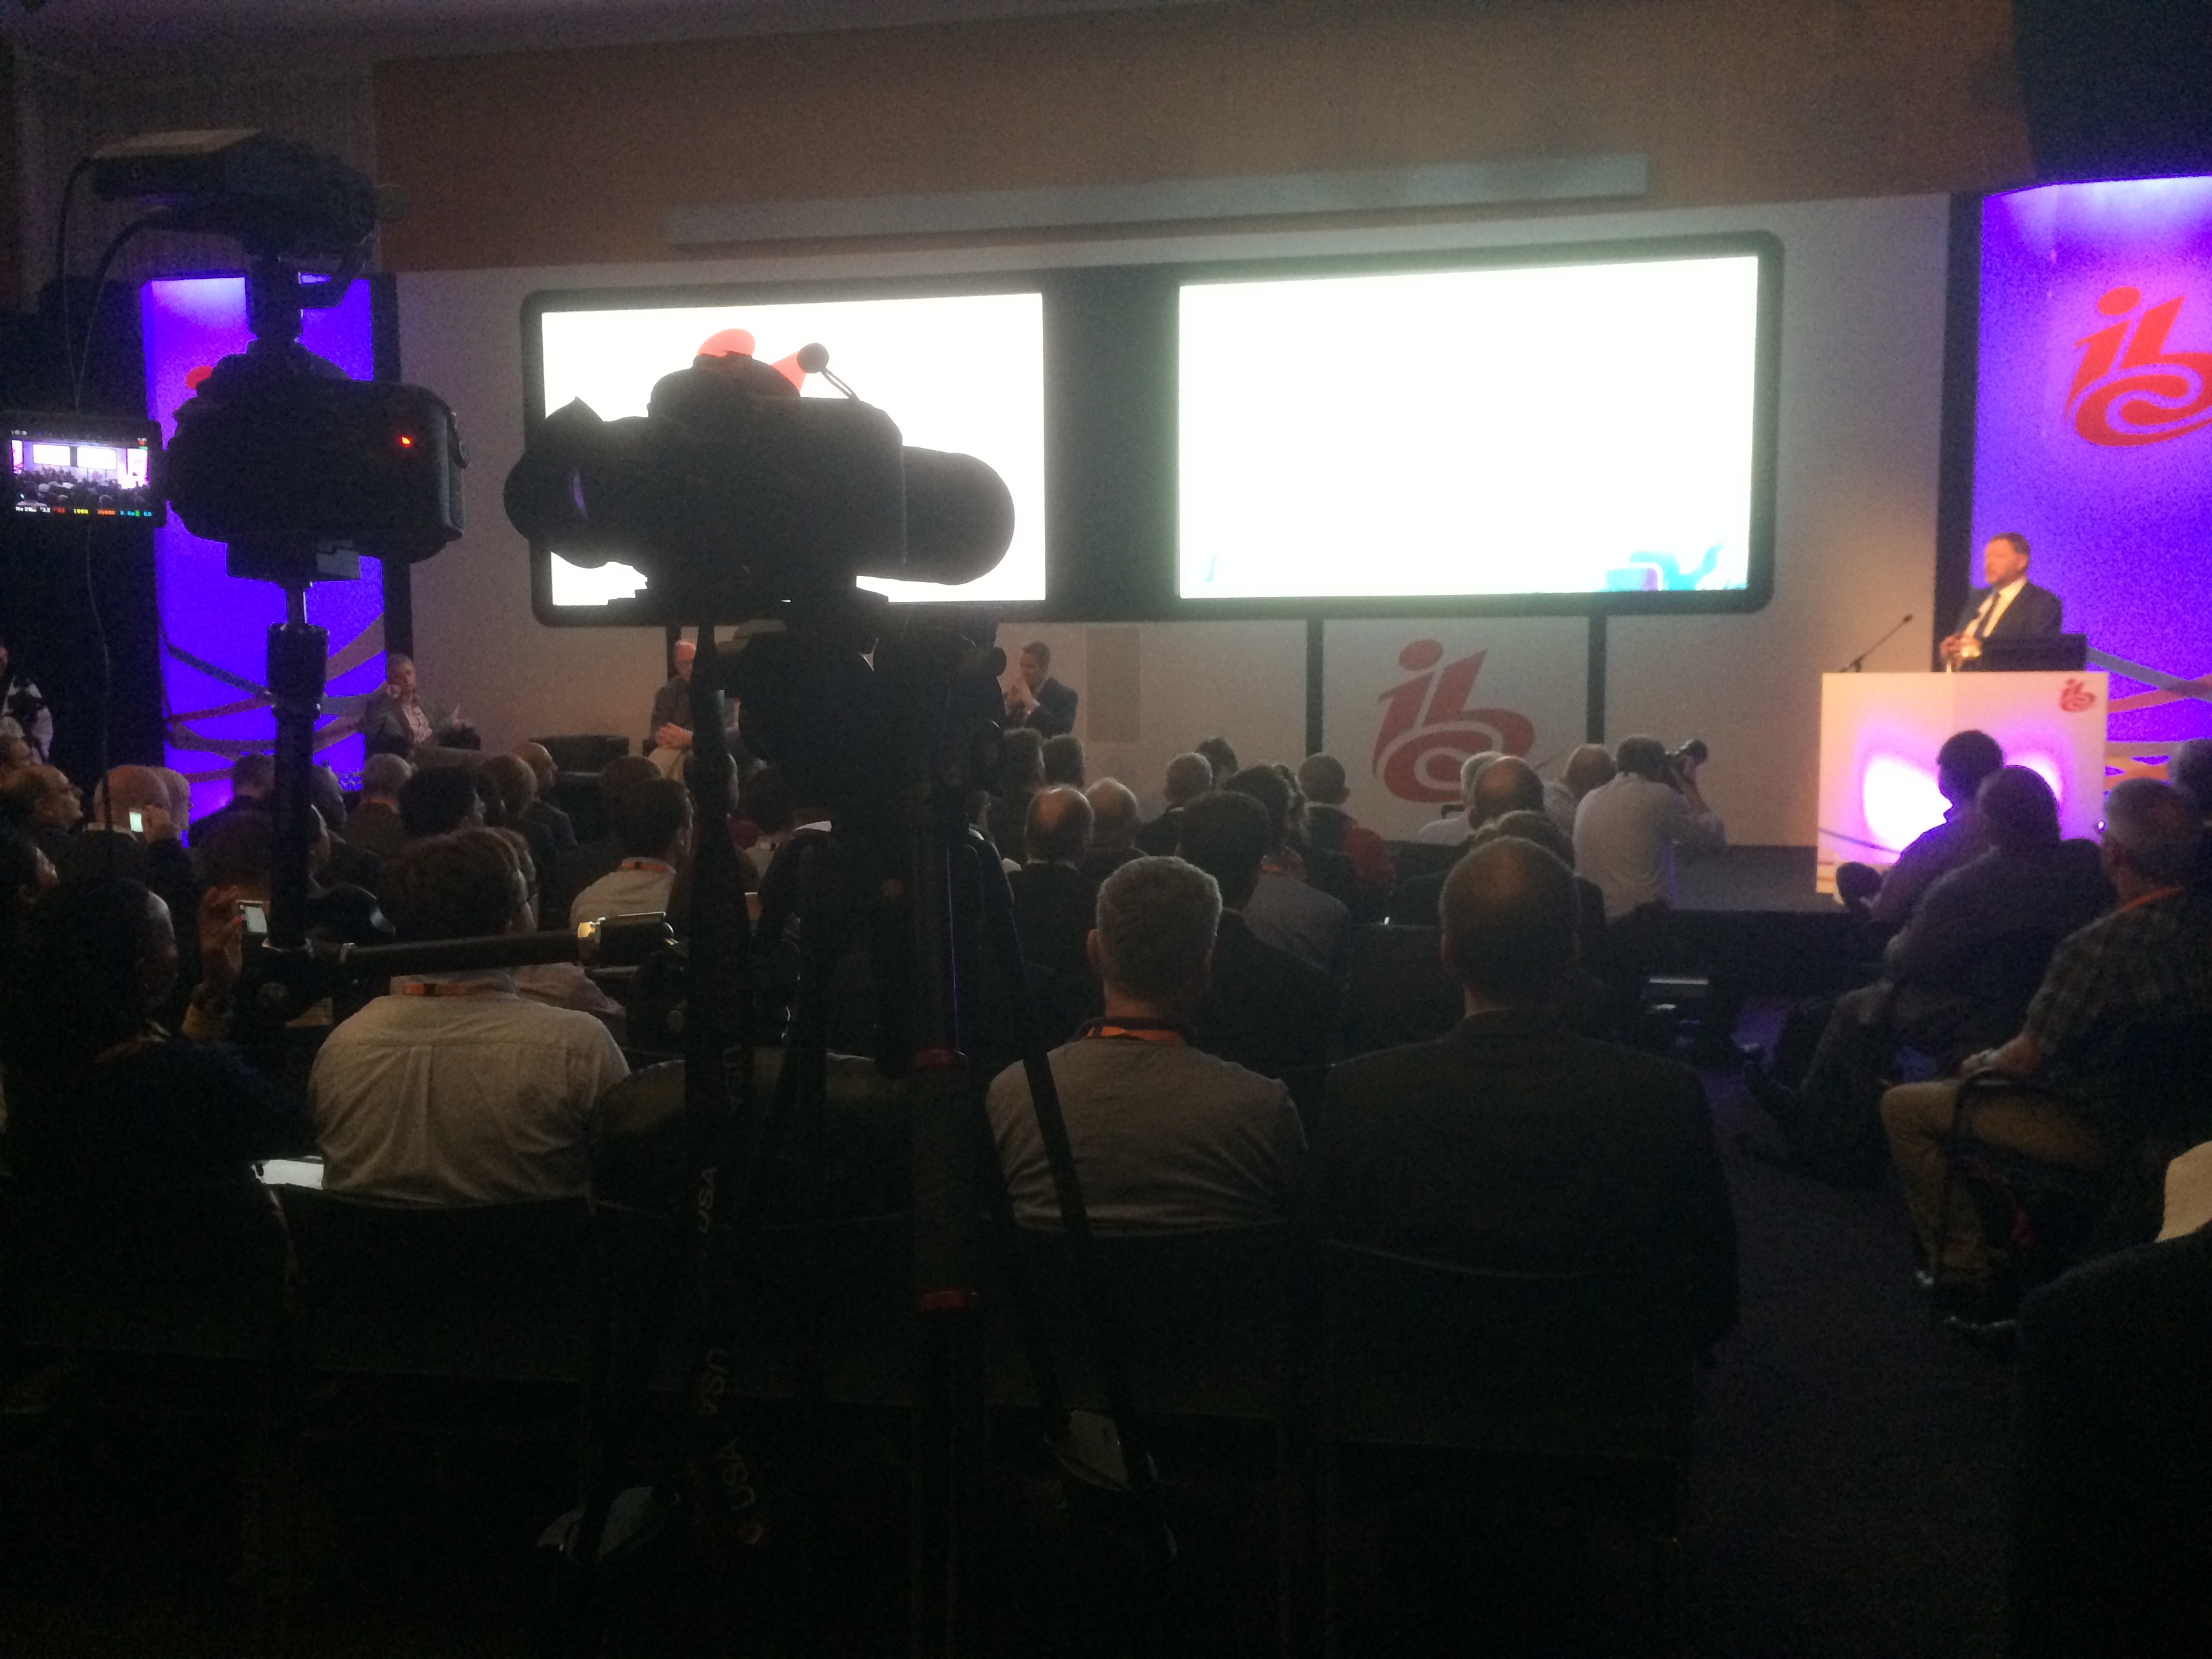
Day 3 - Friday 12th September - IABM Business Conference 'The Future of Broadcasting' and member interviews.
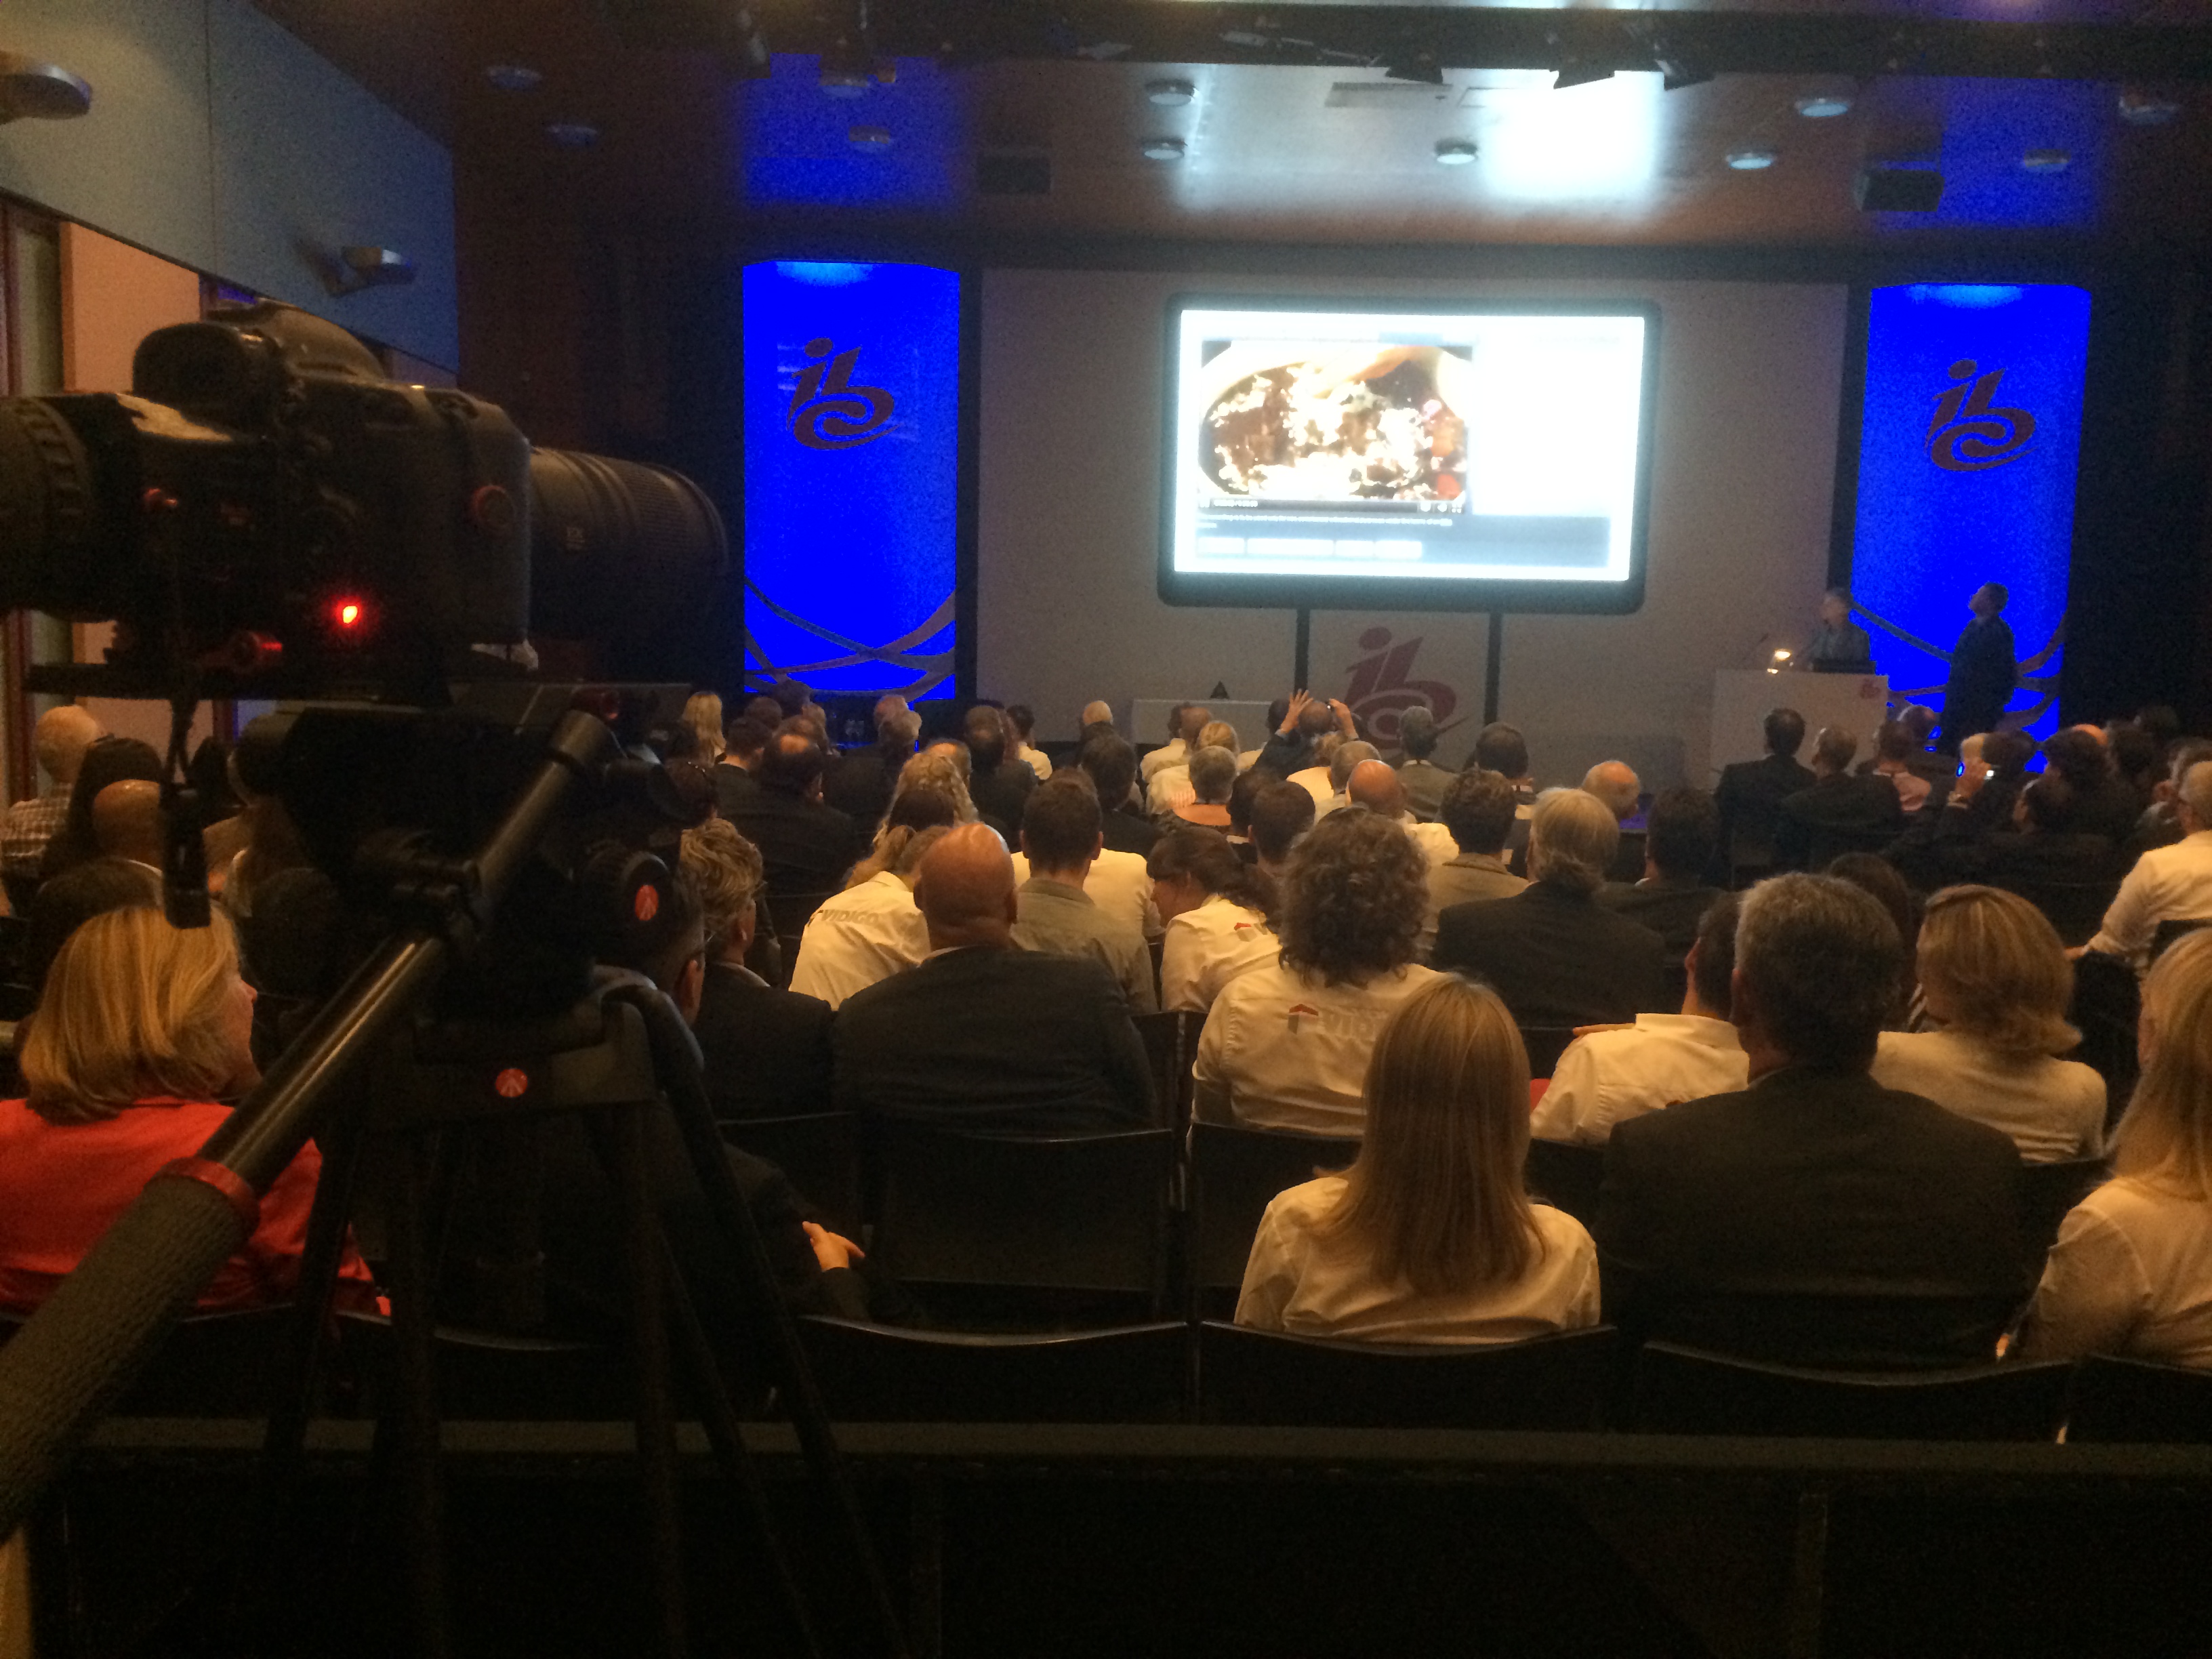
It was an early start on Friday, we arrived at the RAI for the IABM business conference at 6:45am to set up and capture the members breakfast, the conference and the post networking before the show got underway that day. For added motion, I used the ProMediaGear Arc-slider for some of the opening shots, but the main conference was shot on 3 static cameras.
For a mid shot of the speaker, I shot on the Sigma 70-200mm, and for a wide I used the 60D with the 17-50mm. Glen was filming from the front for a reverse angle on the 60D and Canon 100m L, which captured some stunning reaction shots of the attendees in low light. Unfortunately, this video is only available to watch for IABM members.
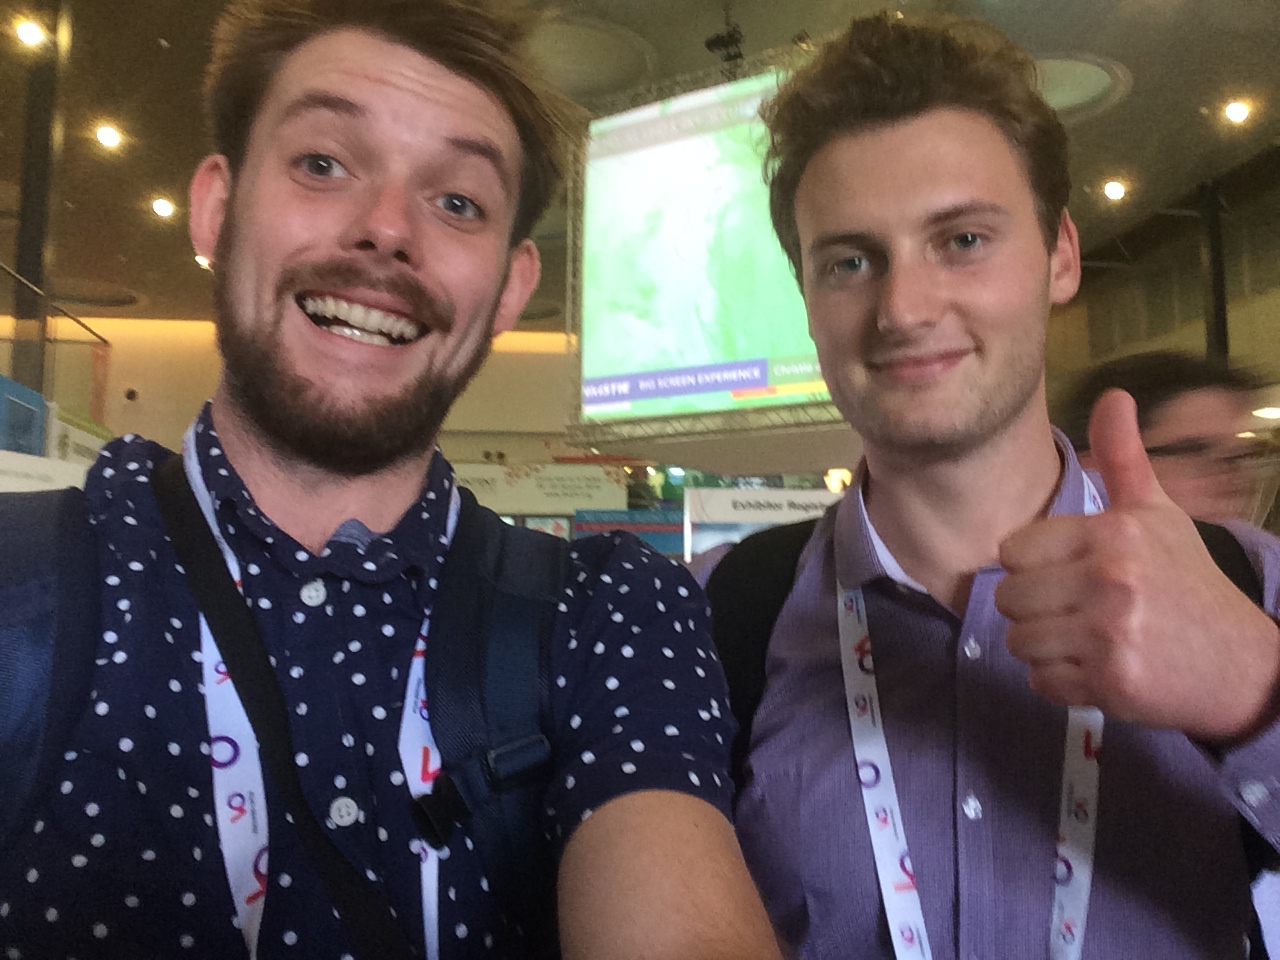
As our responsibility was to capture and edit videos for a same day or next day release, our two man filming team split so that Glen could begin ingesting, backing up and editing the conference video while I went out into the show and interviewed a number of IABM members. This turned out to be a godsend tactic to release a stream of high quality videos each day. It was, however, difficult to keep track of all the media from SD and CF cards...
That day, I filmed interviews with Georacing, Harmonic, Nexidia that we edited out for same day release:
I then jetted off to The IABM stand to meet the new winners of the Student award from The IABM (I won last year), to capture some interviews with them about their study and what they are looking forward to at IBC!
Day 4 - Design & Innovation Awards and member interviews
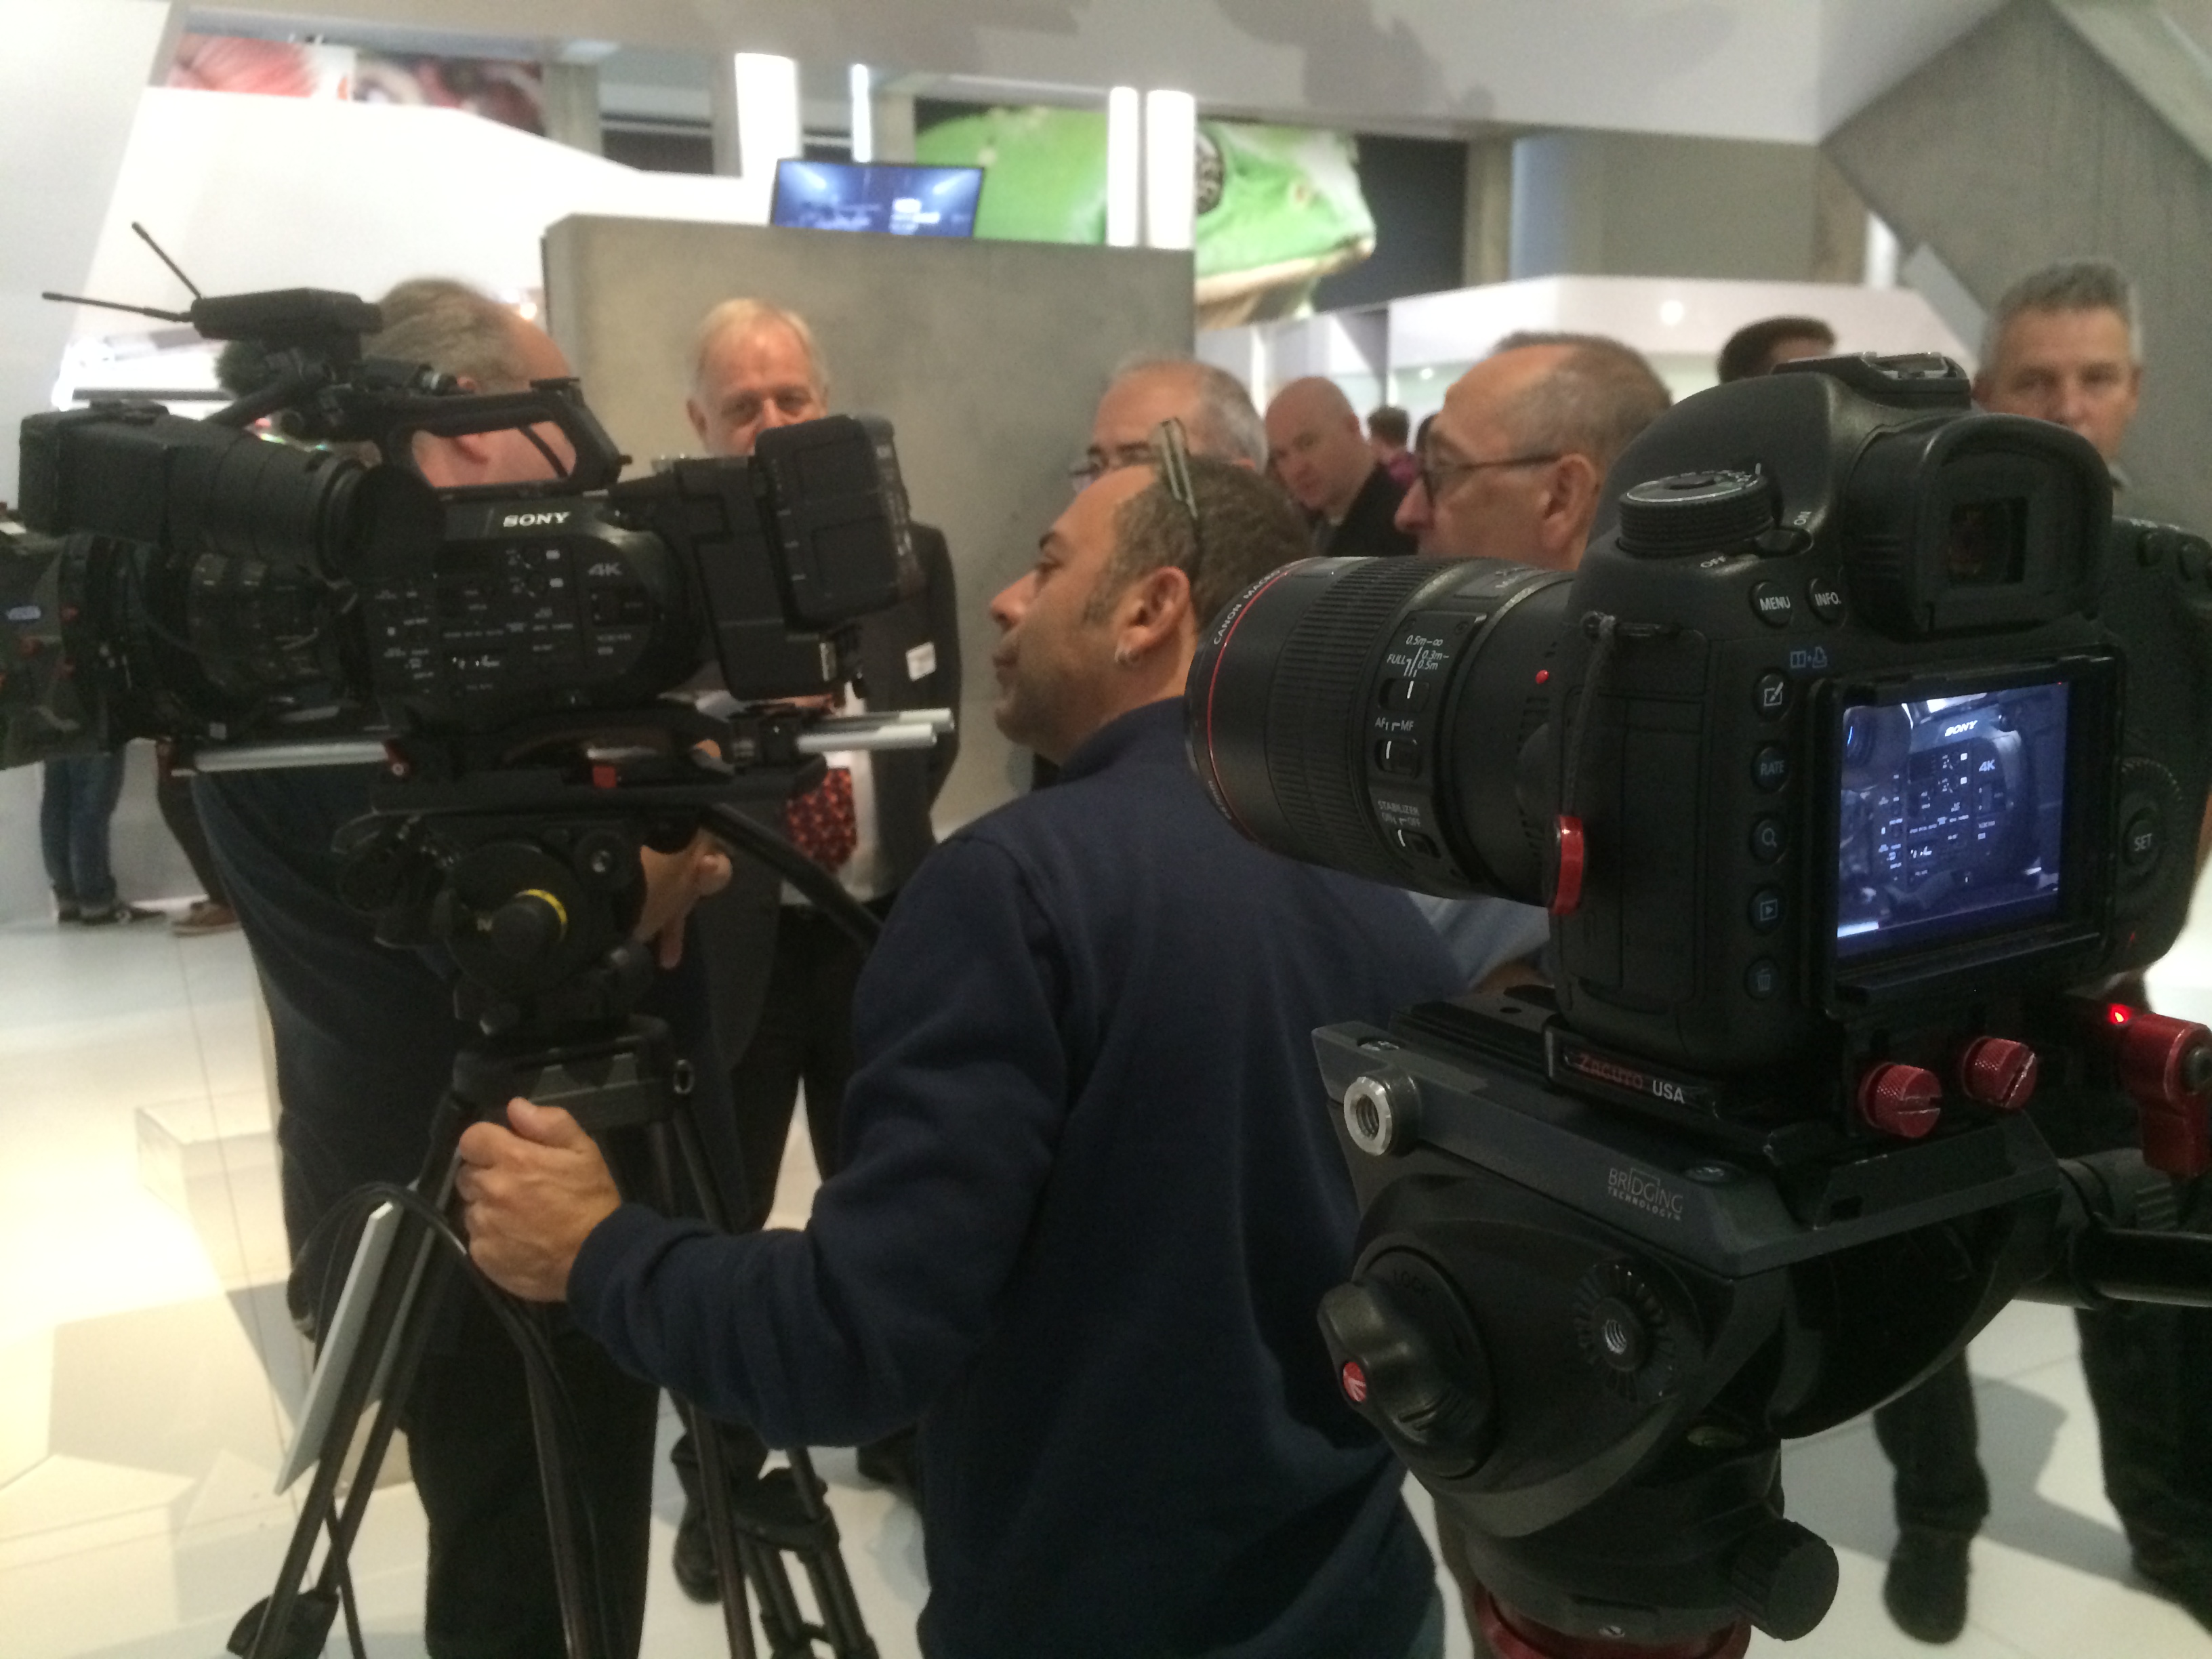
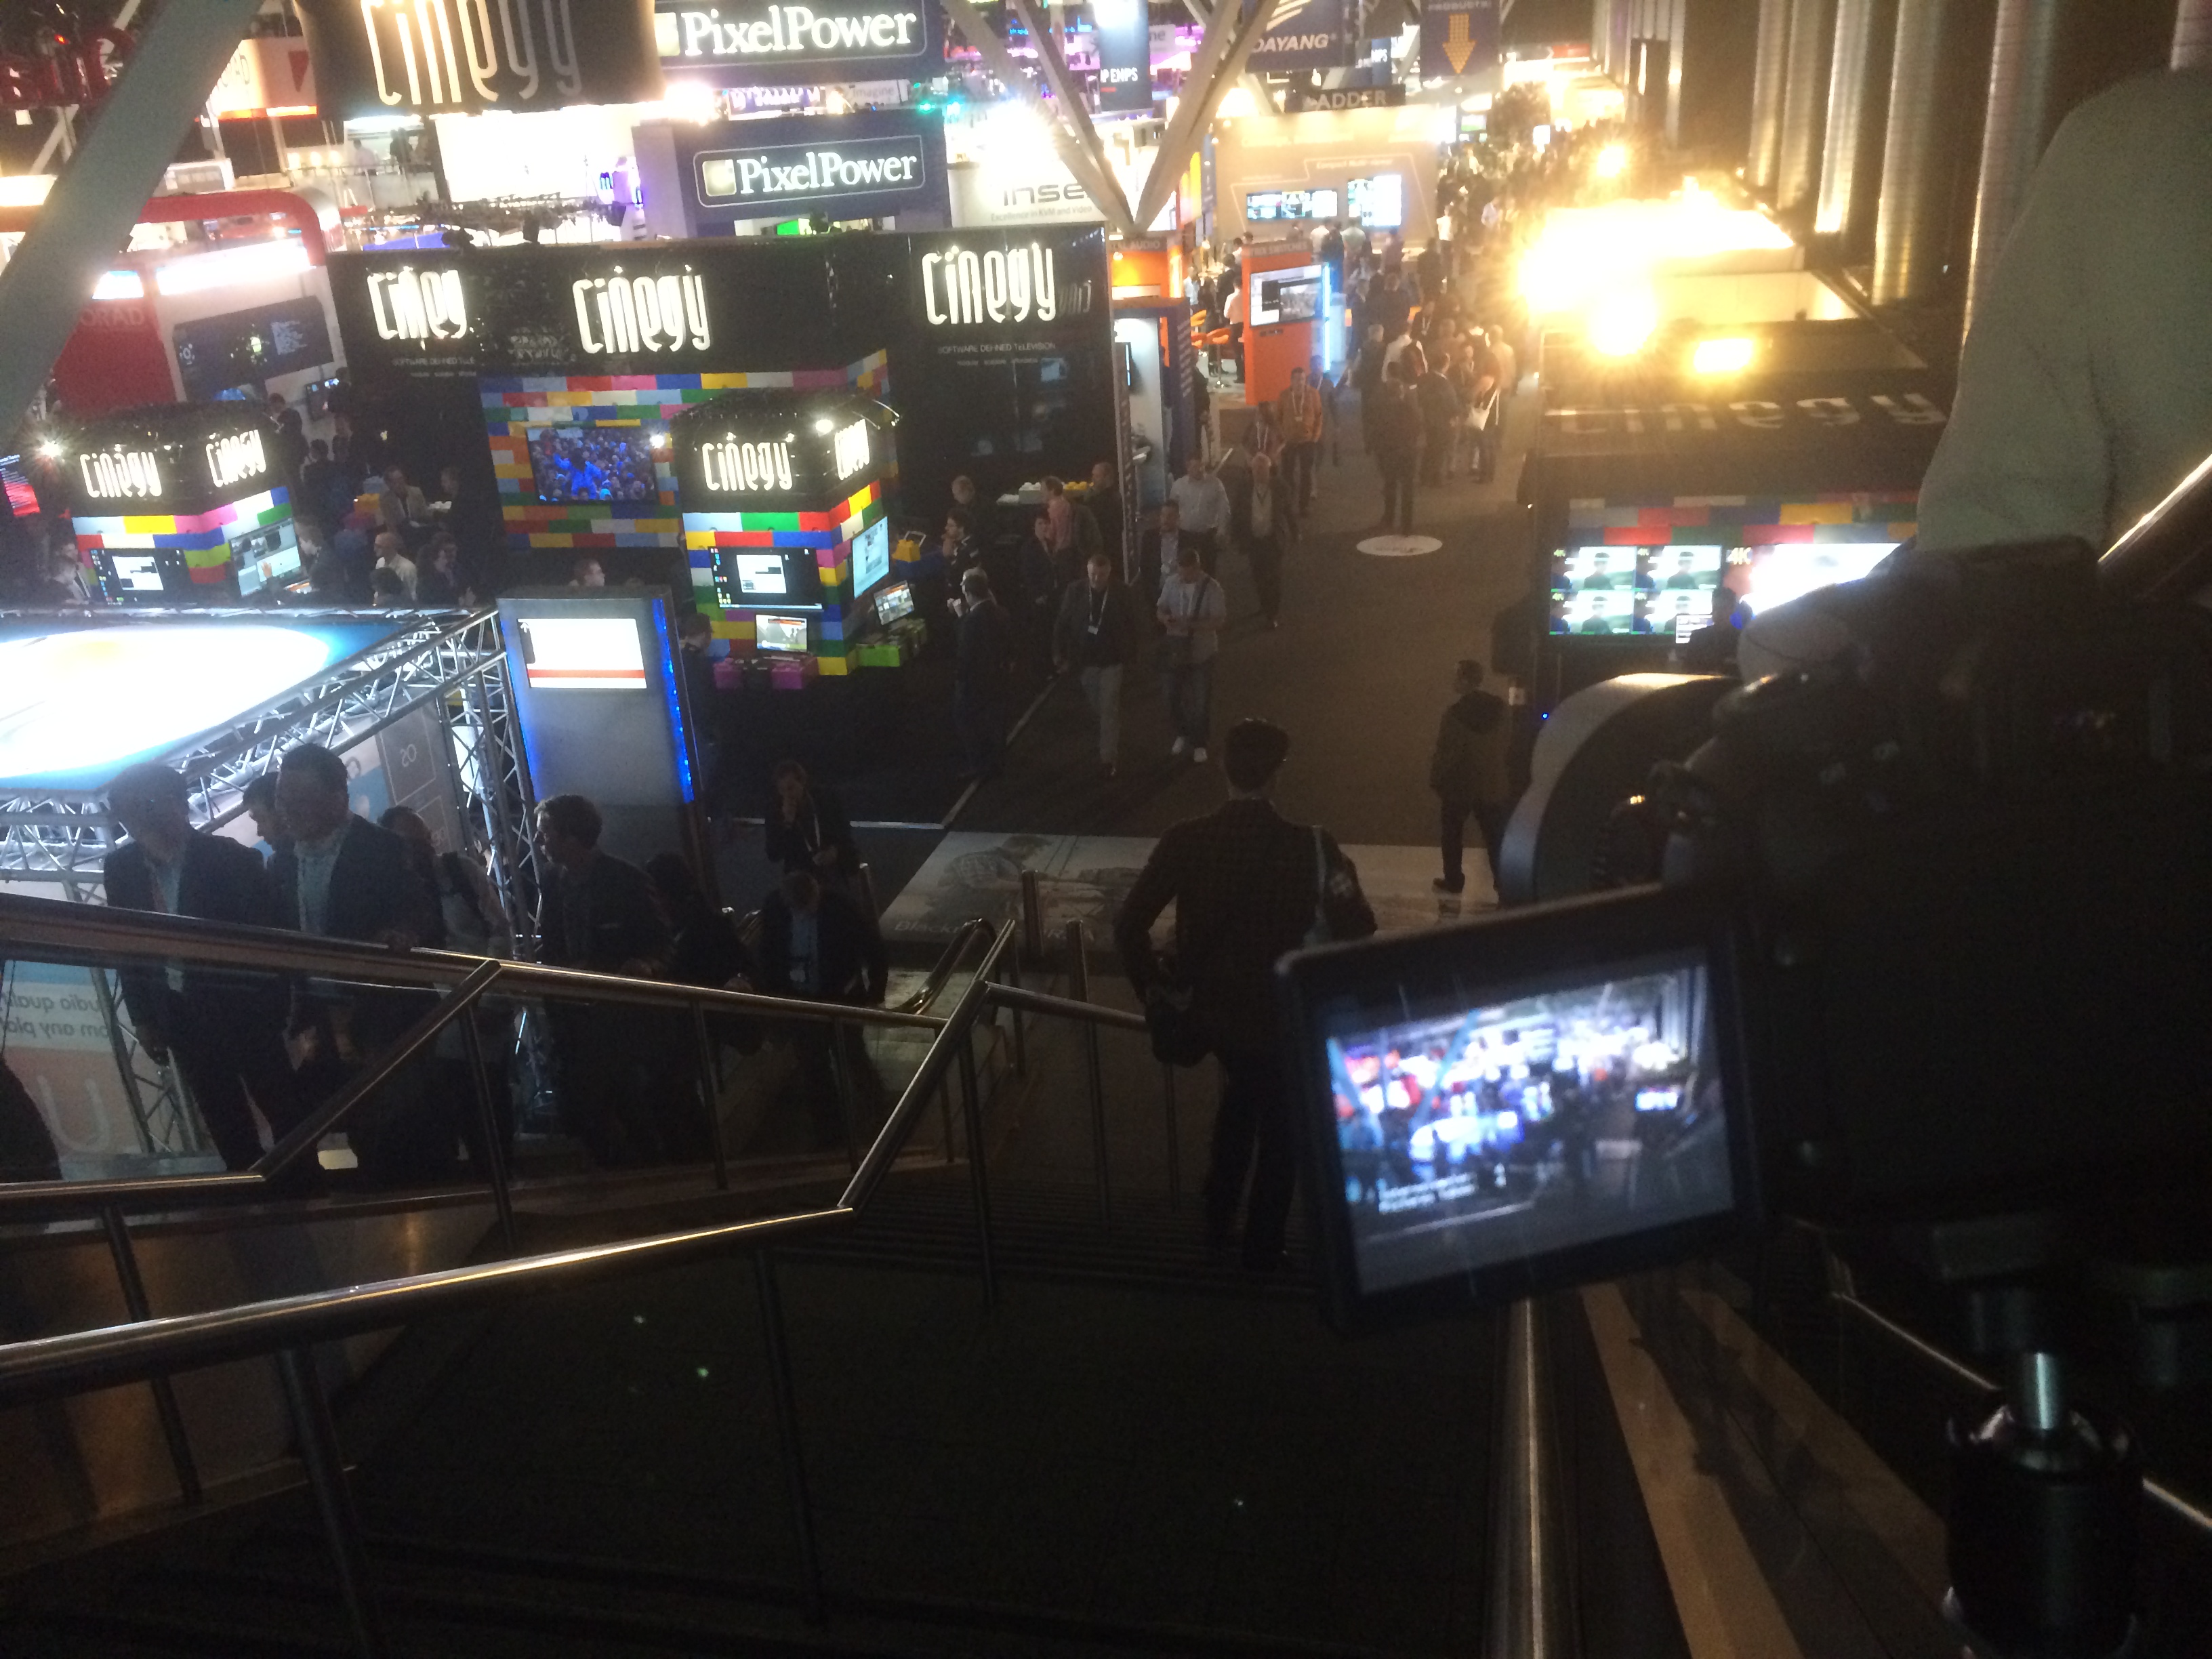
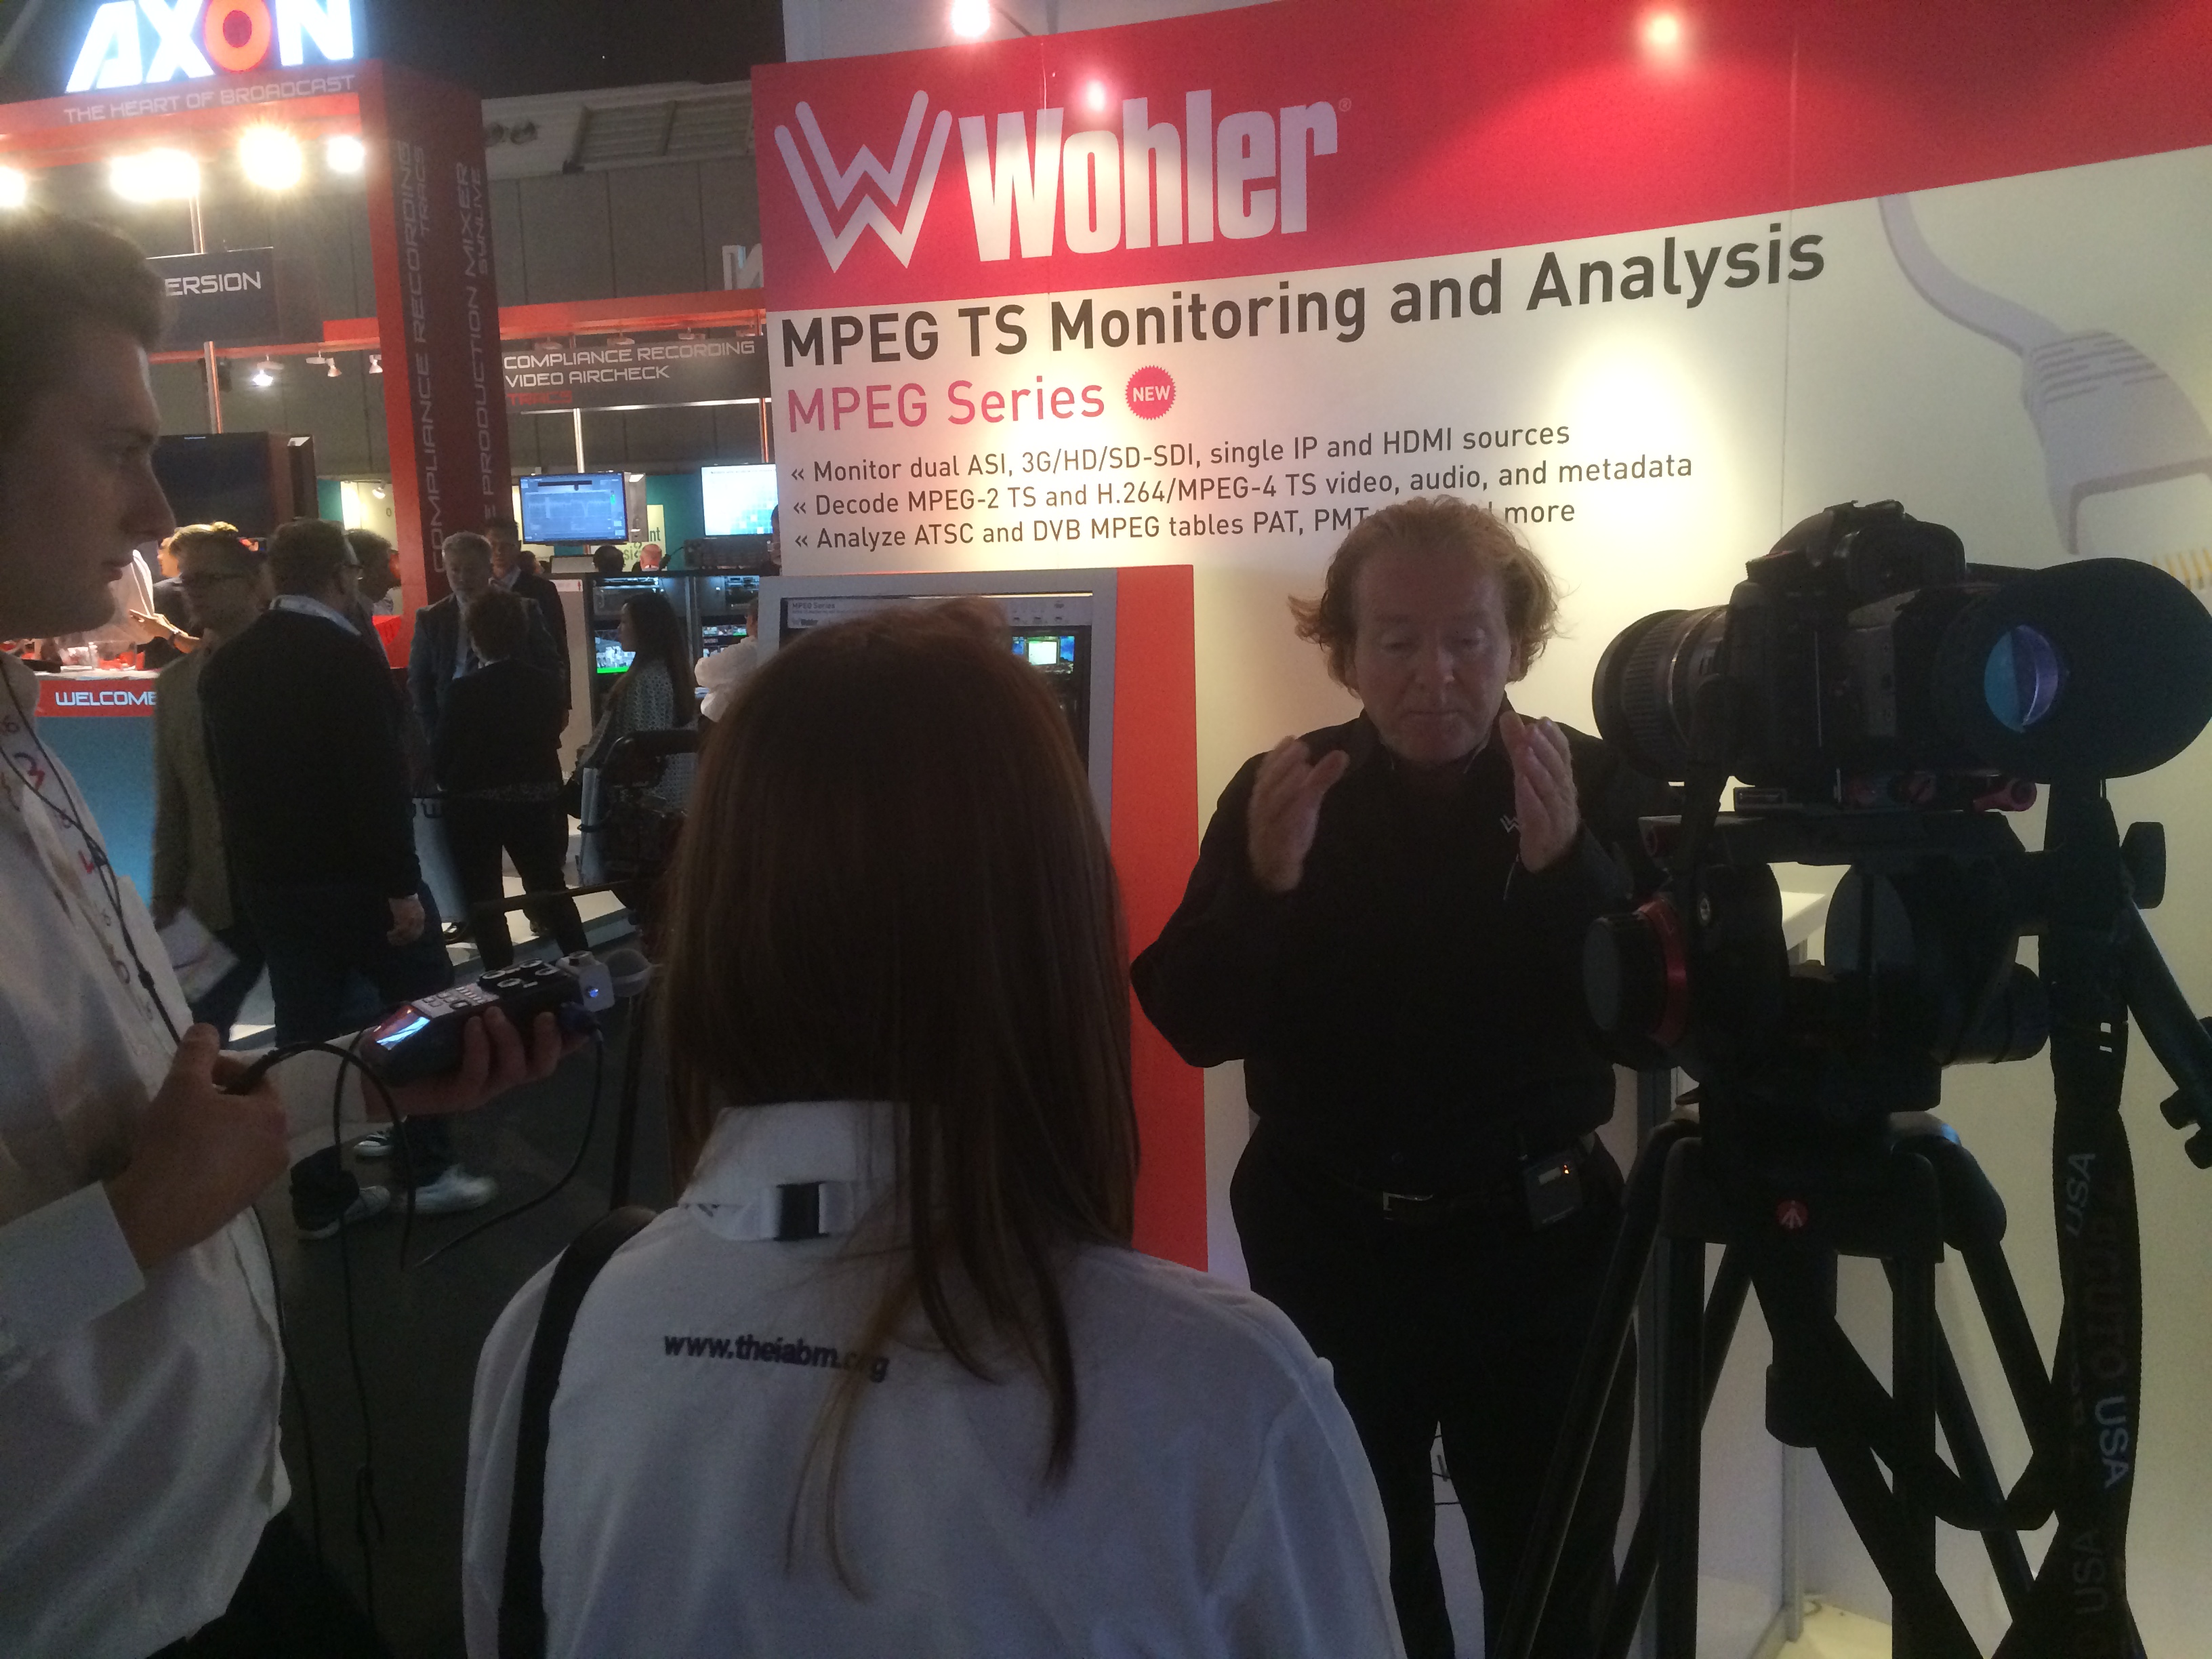
We were already half way through our IBC experience when Saturday struck, after a successful few days of filming and editing we geared ourselves up for a long day ahead. The day begun with a selection of IABM member interviews from around the show, including; Blackmagic Design, Avid, Newtek, Sony and many more. If you have been to IBC or NAB before you'll know how long it takes to get from one place to another, but with video kit it was a challenge to navigate around the thousands of people at the show!
I had a great time at the Sony booth, interviewing Peter Sykes about the new innovations; camera, 4K transmission, projectors, storage devices. They can be seen here:
I was intrigued by the Sony A7s, a full frame SLR with great low light and DR features.. There was lots of hype around the camera, and I had noticed a lot of the News Shooter guys using them with Atomos Ninja/Blade recorders (we were working next to Dan Chung and News Shooter in the press room), they rated it very well in a variety of conditions and shooting styles.
Bad luck struck on Saturday afternoon... My Canon 60D and 14mm cine lens was capturing a timelapse when it was moved/taken/stolen from where I left it.. Knowing that this would impact the video production of the D&I awards I quickly got help from RAI security to try and locate it. No luck, so later on that afternoon I borrowed a camera from an IABM member to capture a static wide shot of the awards ceremony. Luckily, when I arrived home I got a call from the RAI security who informed me they had found my camera!

We then got set up and prepared for The IABM Design and Innovation Awards 2014, celebrating and awarding outstanding technical developments in the broadcasting and media industry. Before IBC I edited and produced the 9 nominee category videos and graphics presented throughout the awards. Using the same setup as the IABM conference (A cam - Tele, B cam - wide, C cam - reactions) we captured the night in full, showing the excitement and buzz around winning the awards. I got to have a quick chat with some of the winner companies too!
I edited together the highlights of the IABM Design and Innovation Awards, which can be viewed here -
The individual winner interviews can be viewed here:
Systems - VidiGo
Testing - Cube-tec
Storage - Ardis
Post Production - Quantel
Playout - Elemental Technologies
Content + Infrastructure - NTT Electronics
Audio - Sennheiser
Acquisition + Production - Trimaran
The realities of working 12-14 hour days were catching up with us when we returned to our hotel to ingest and back up the footage. Finally, but 1:30am on Sunday all of the footage was synced and ready to be edited. At that point, we both thought its time to call it a day.
Day 5 - Delivering D&I Award Videos and member interviews
By Sunday, the main haul of event capture had been completed, with the remaining tasks being mainly interviews with members around the IBC show. As our editing 'system' had worked so well previously, Glen stayed in the press room using both our laptops to edit, export and upload the winner videos from the awards while I conducted interviews with more exhibitors and IBC members.
I had a great time at the Atomos booth interviewing Jeromy the CEO about the new Shogun for 4K recording and the power pack!
Atomos Interview -
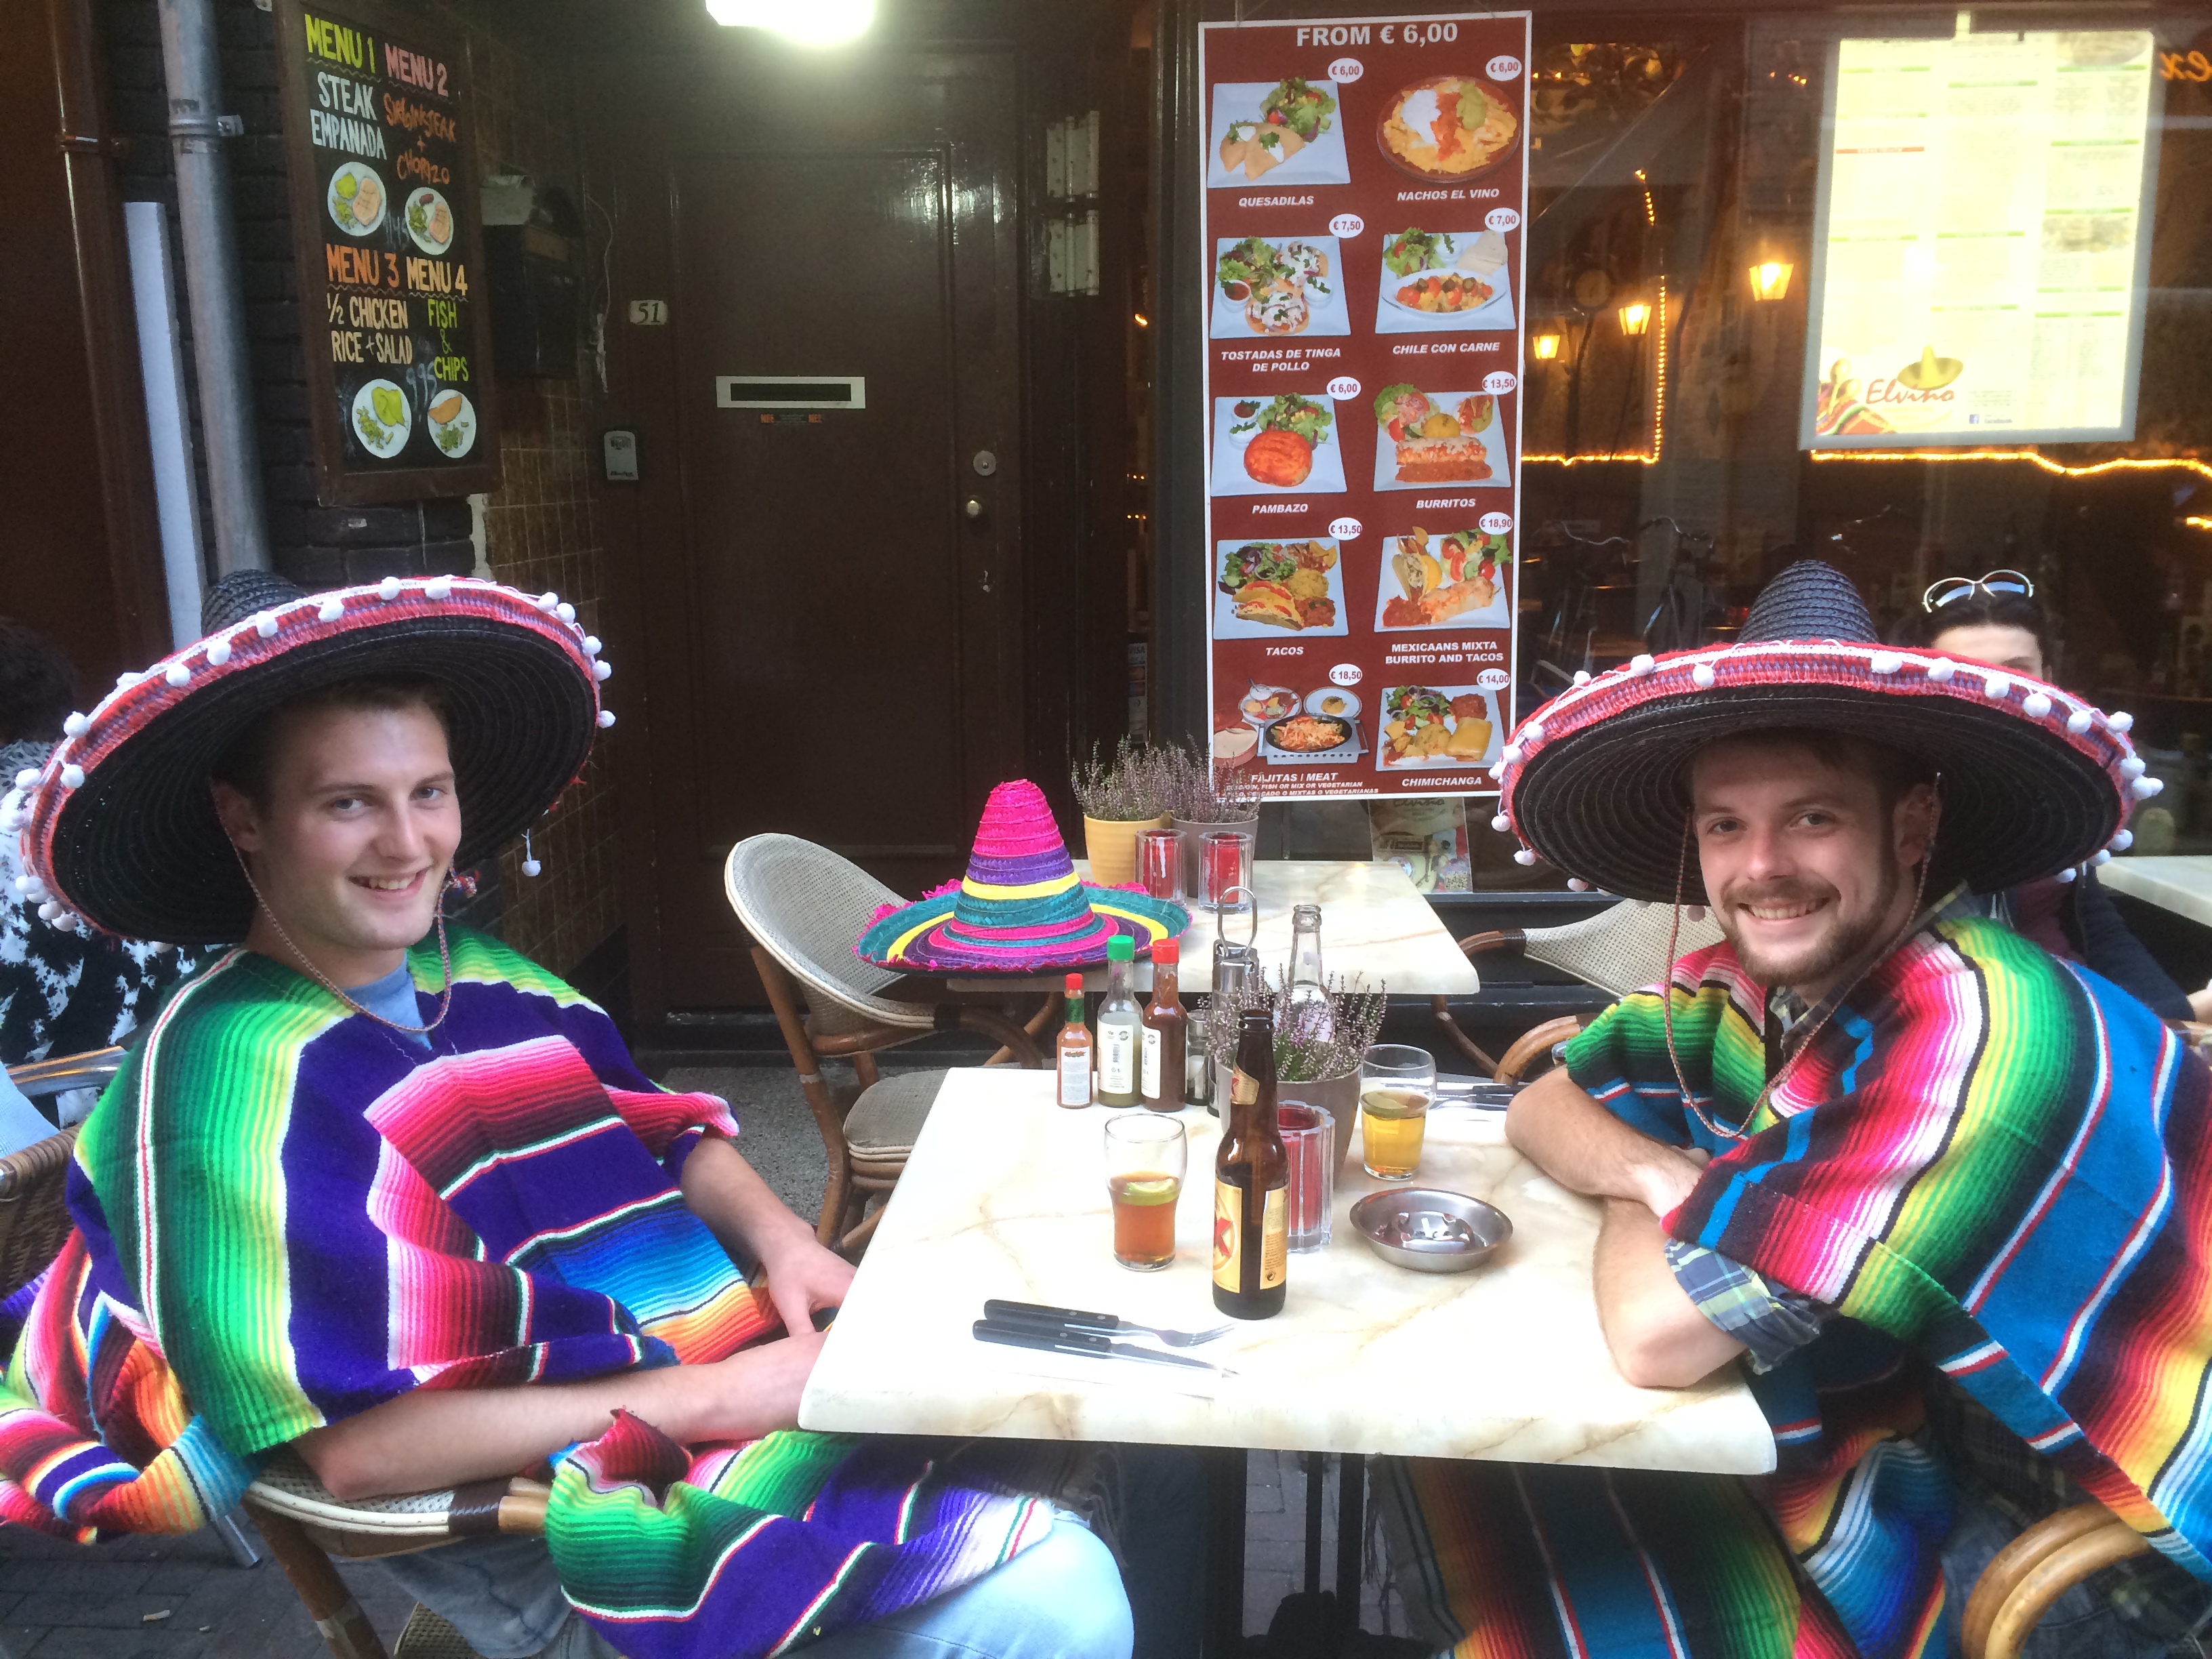
Later that day I bumped into Joe, my old uni housemate who was visiting the show for a day. Later, Glen and myself went for Mexican for dinner and met up with our hotel receptionist, Klaudija for a few drinks in Vondelpark!
At this point, I was completely over my missing 60D and the tiredness. Visiting IBC and Amsterdam for work is a very rare opportunity, so we plowed through and continued to produce great day by day coverage of the show for The IABM. Glen, bless him saw less and less daylight each day!
Day 5 - Rising Stars and more member interviews
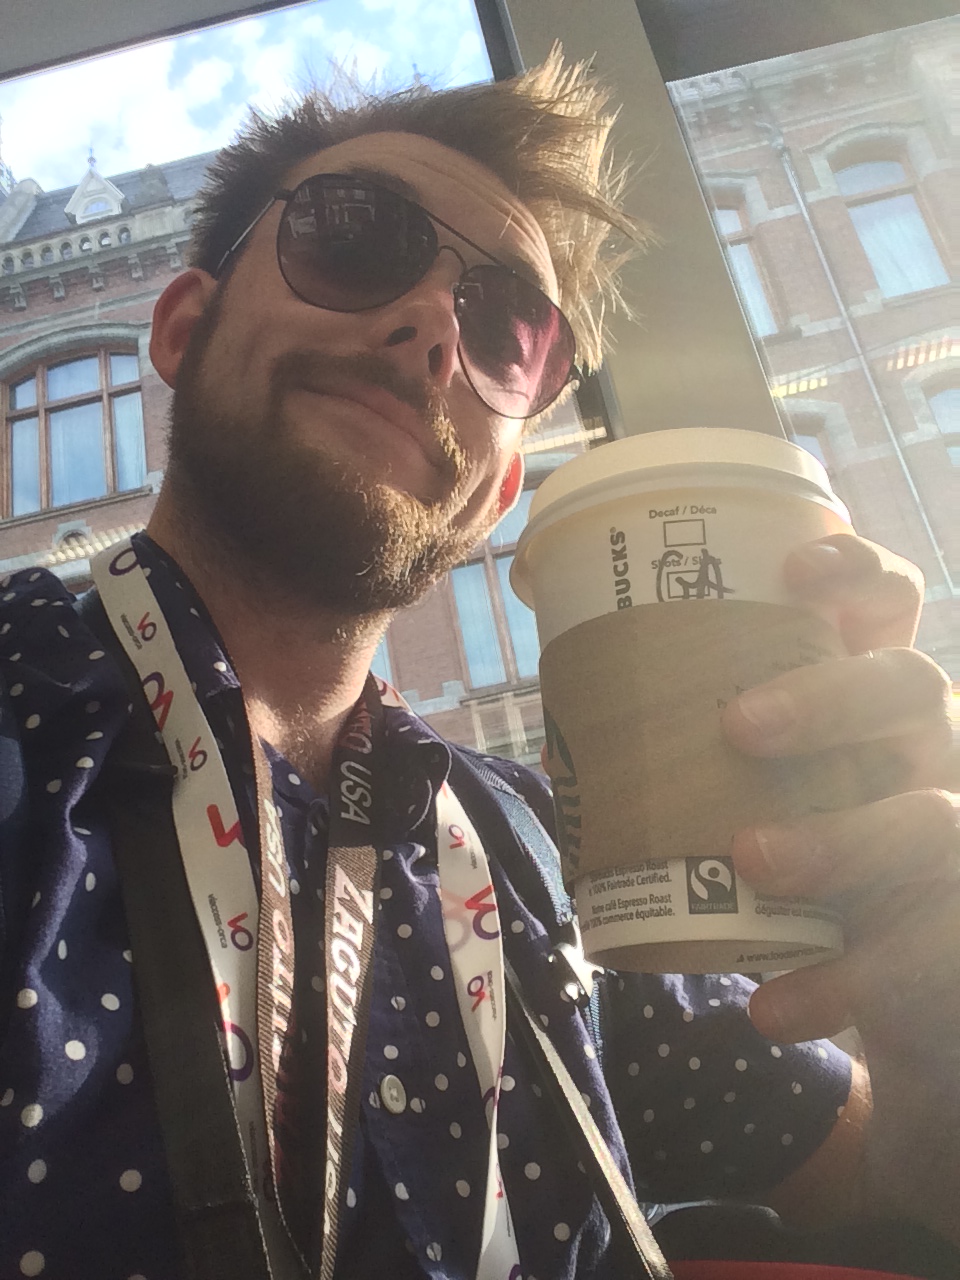
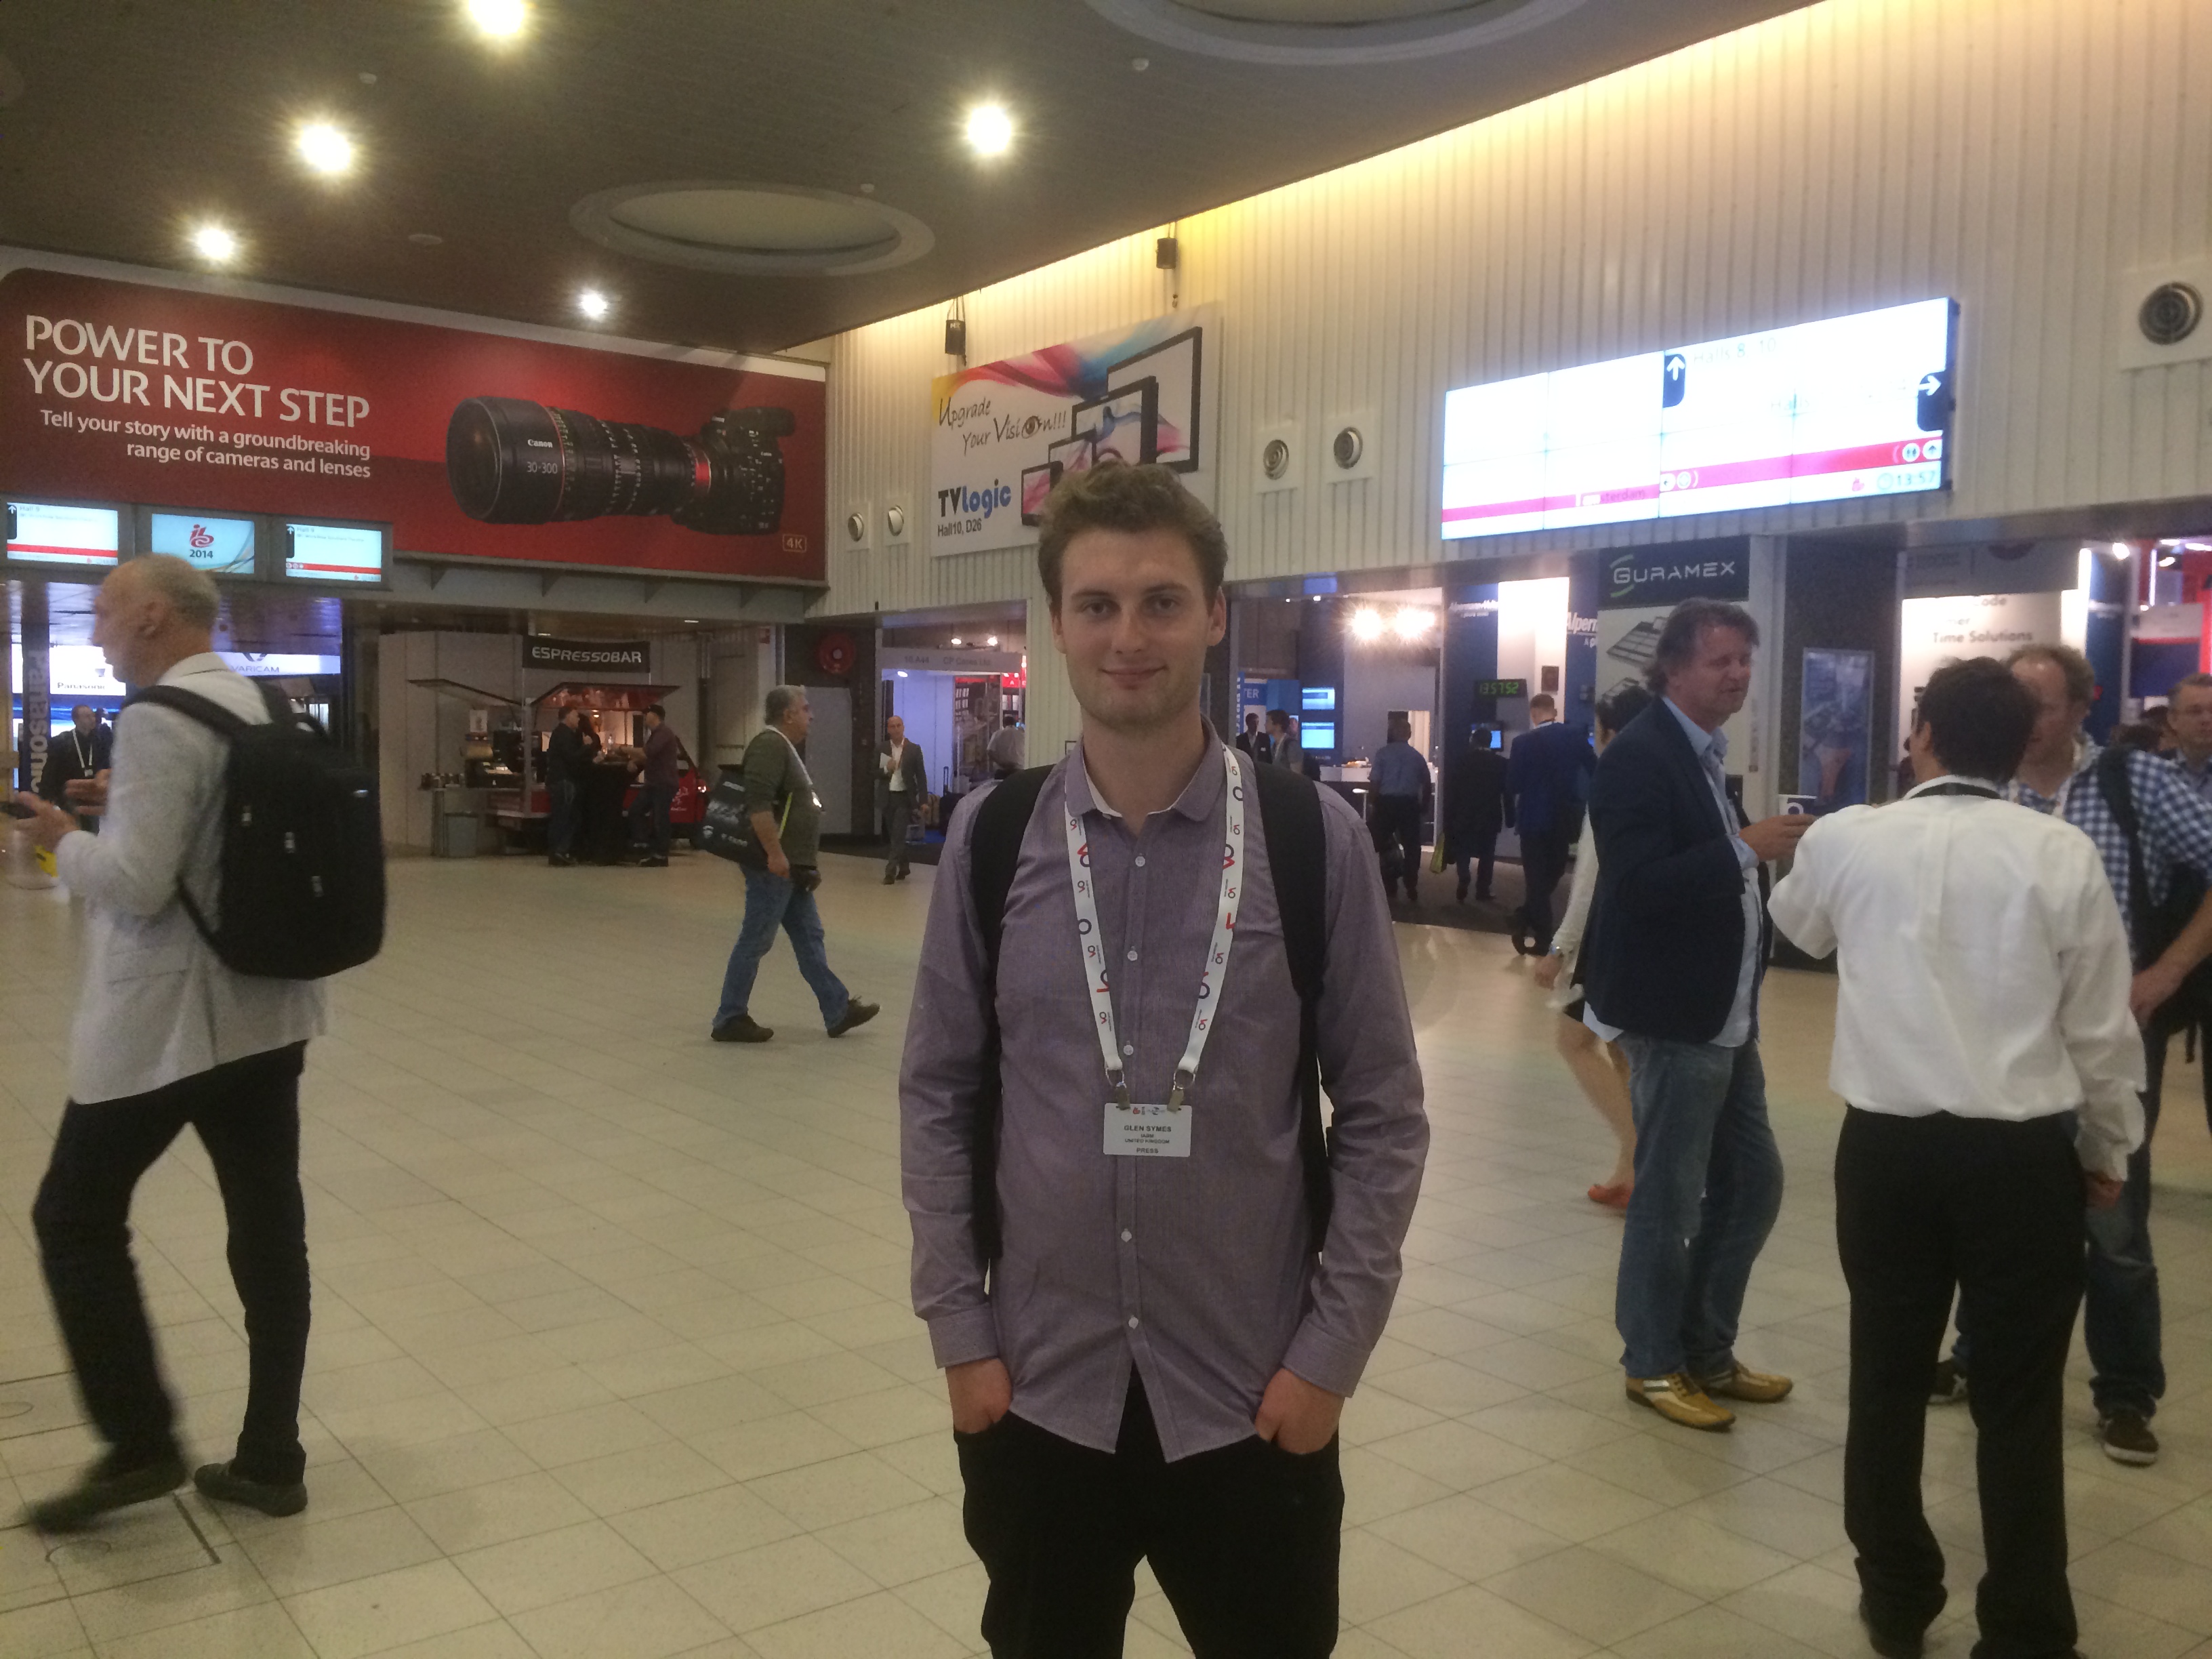
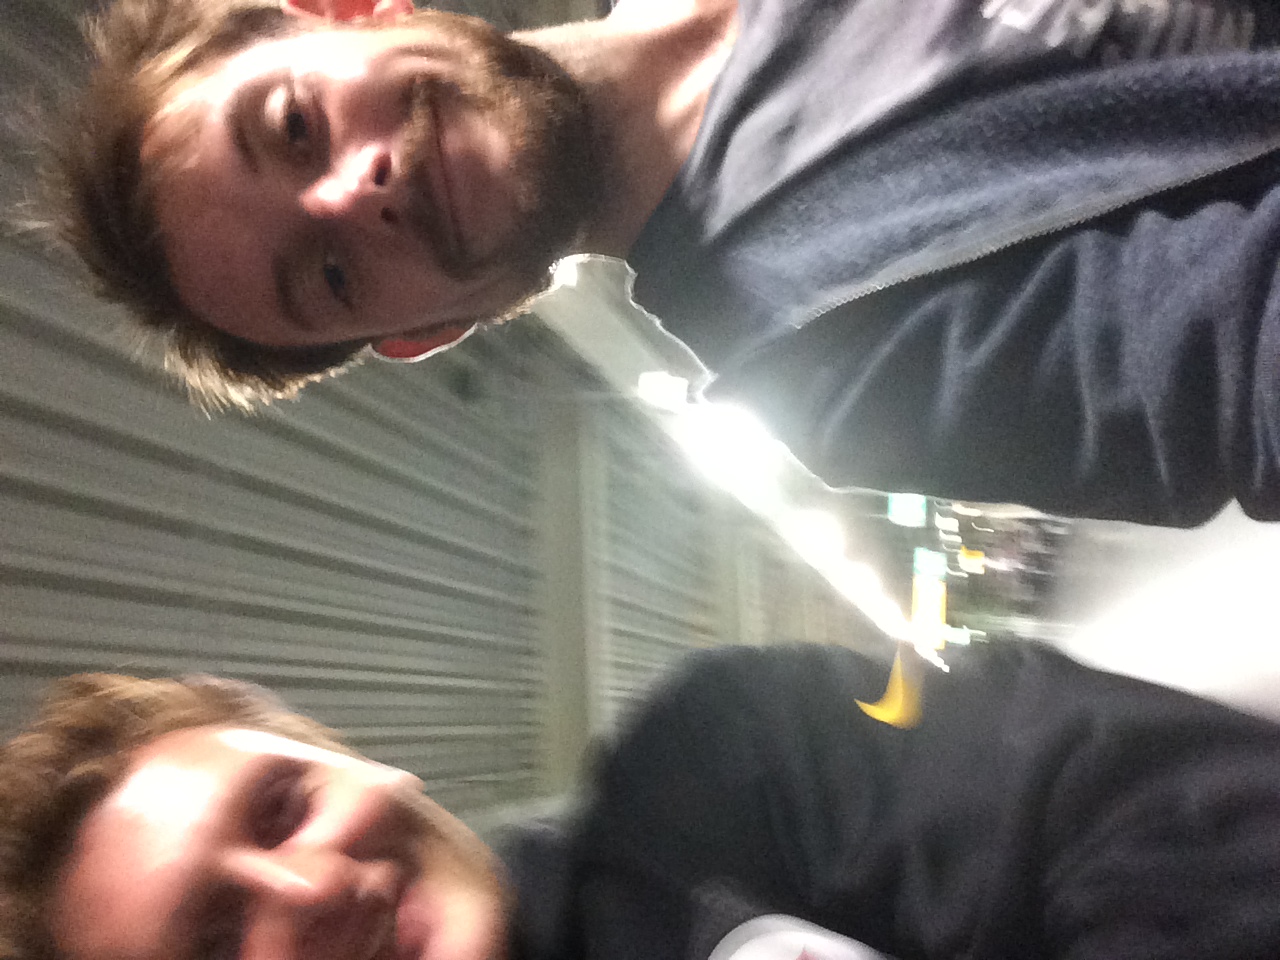
Arriving at IBC a little later than usual, Glen and myself parked up the the press area and set up the laptops to upload the previous days interviews to vimeo. Before we headed out to Steve Warners talk at Rising Stars I bumped into Nino Leitner who was off to Photokina that afternoon, so I grabbed a quick pic! Nino had been very busy with Cinema 5D coverage of the show producing their 'On The Couch' series with Philip Bloom, HaZ Dullul and more.

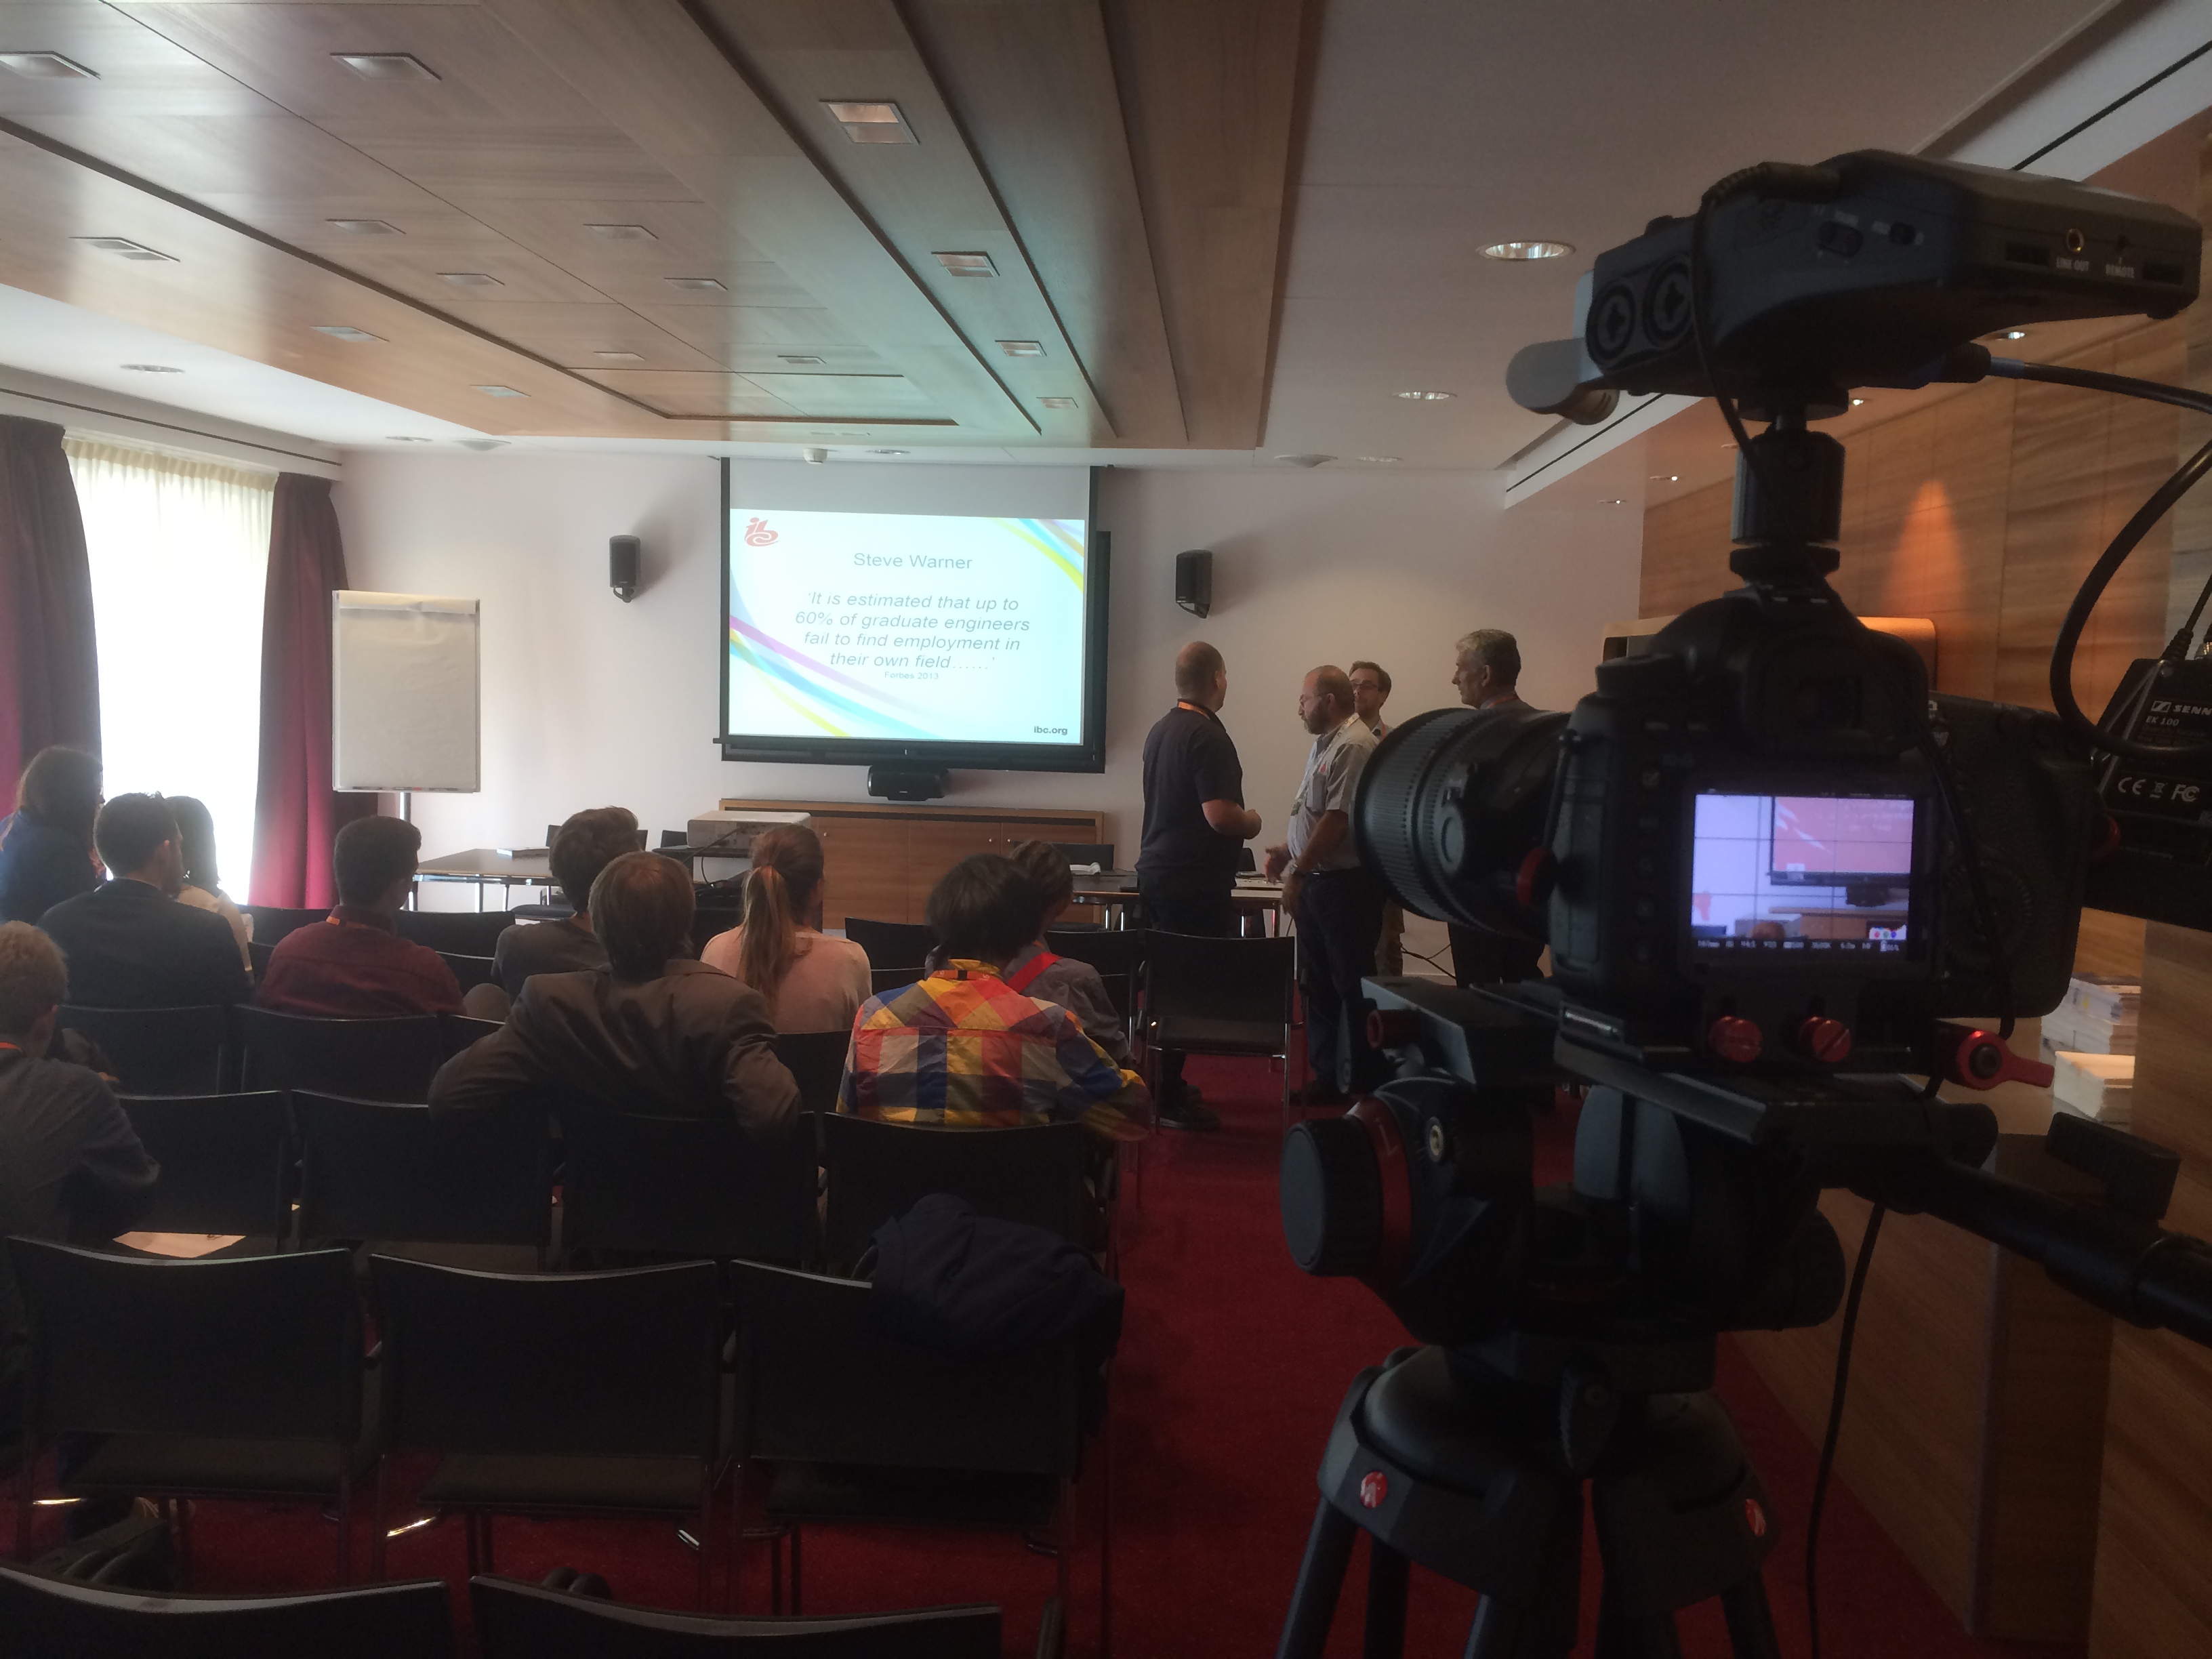
At this point, we had captured around 350Gb of video footage and delivered numerous interviews and event videos for The IABM, they were very pleased! We headed over to The Rising Stars lounge; a part of the show dedicated to young professionals in the industry where Steve Warner (training manager of The IABM) was doing a talk on CV's and representing yourself. Even for me, it was quite interesting to hear what recruiters actually look out for and research!
Catch the full video here -
The team then split so I could conduct some interviews with The IABM student award winners, and with a couple more members for The IABM annual conference in December. It was a short and sweet day; shooting multi-cam on talks and conferences made editing fairly straight forward so we were able to deliver the videos pretty much on the same day. Glen did an awesome job and editing videos out quickly. while I was filming more content!
Day 6 - Last interviews
Day 6 was our opportunity to capture the last interview and glimpse of the show until next year. As we were interviewing members and covering events, we didn't get to see that much of the show itself, but made time to visit some cool stands before we left on Tuesday afternoon.
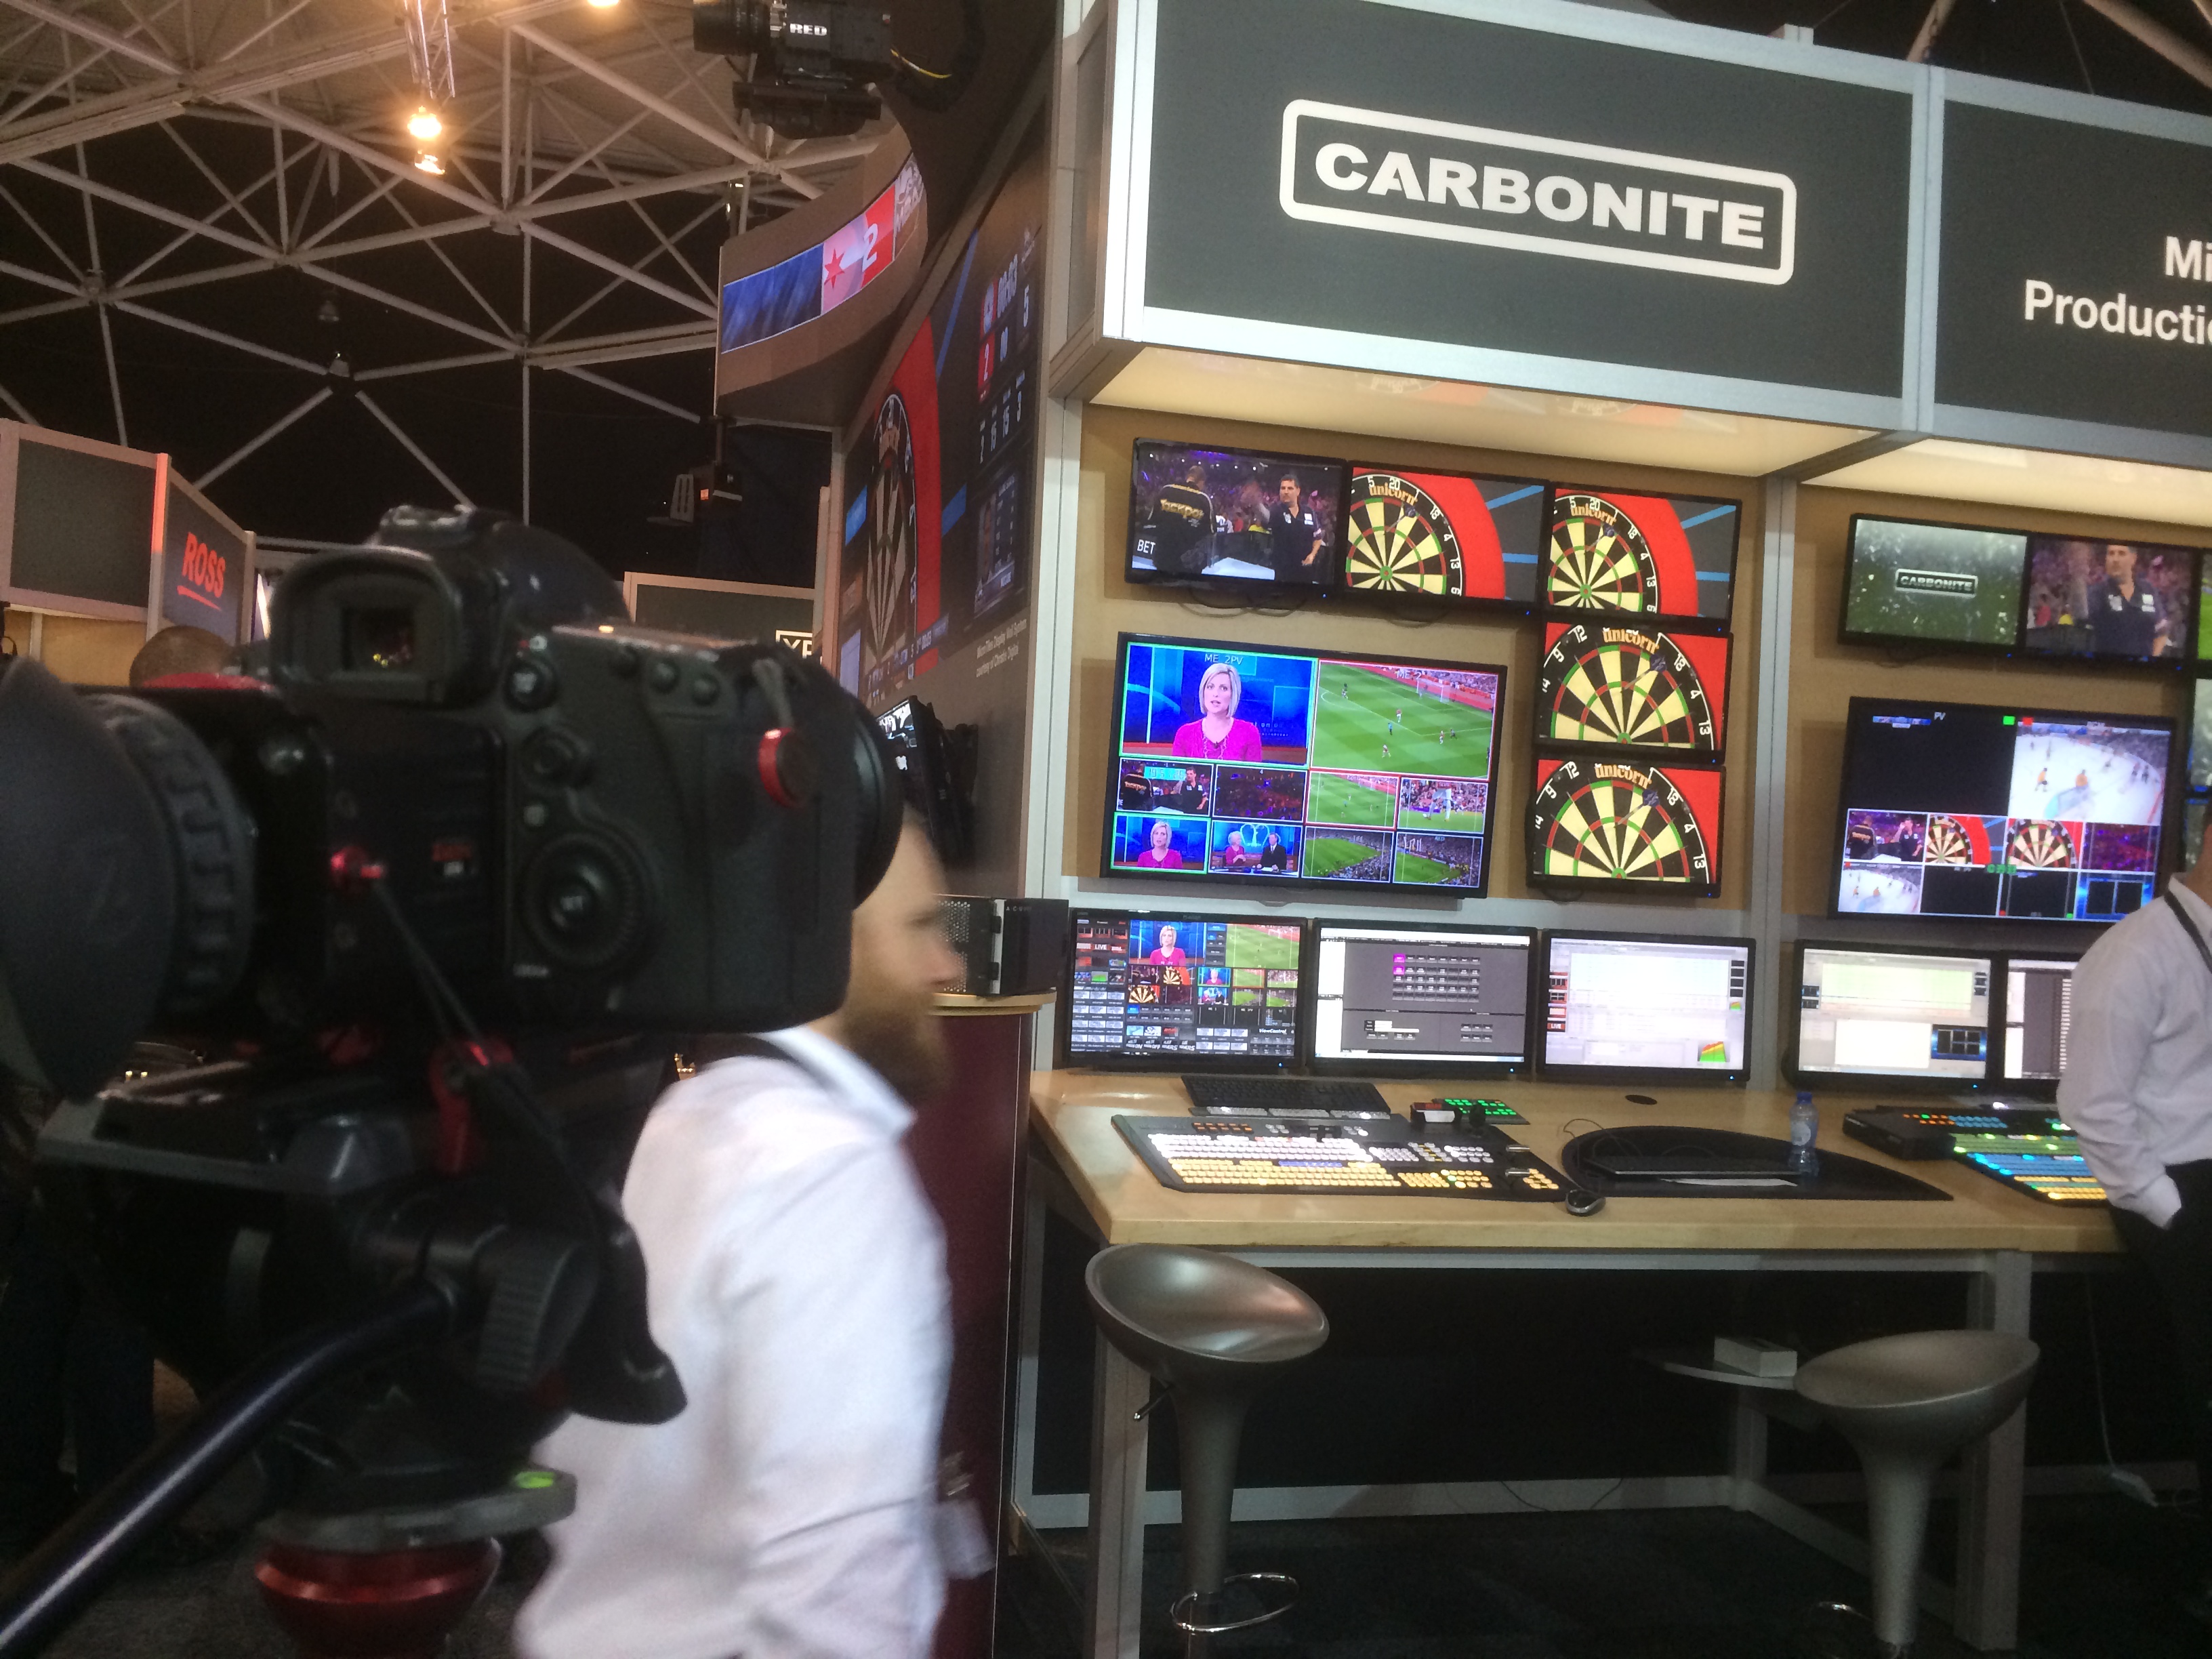
We visited the Ross Video stand, to interview Pete Ross for The IABM annual conference, it was interesting to hear about how the company developed the first vision mixers and lead the way for broadcast production throughout the 20th century, definitely worth recognition.

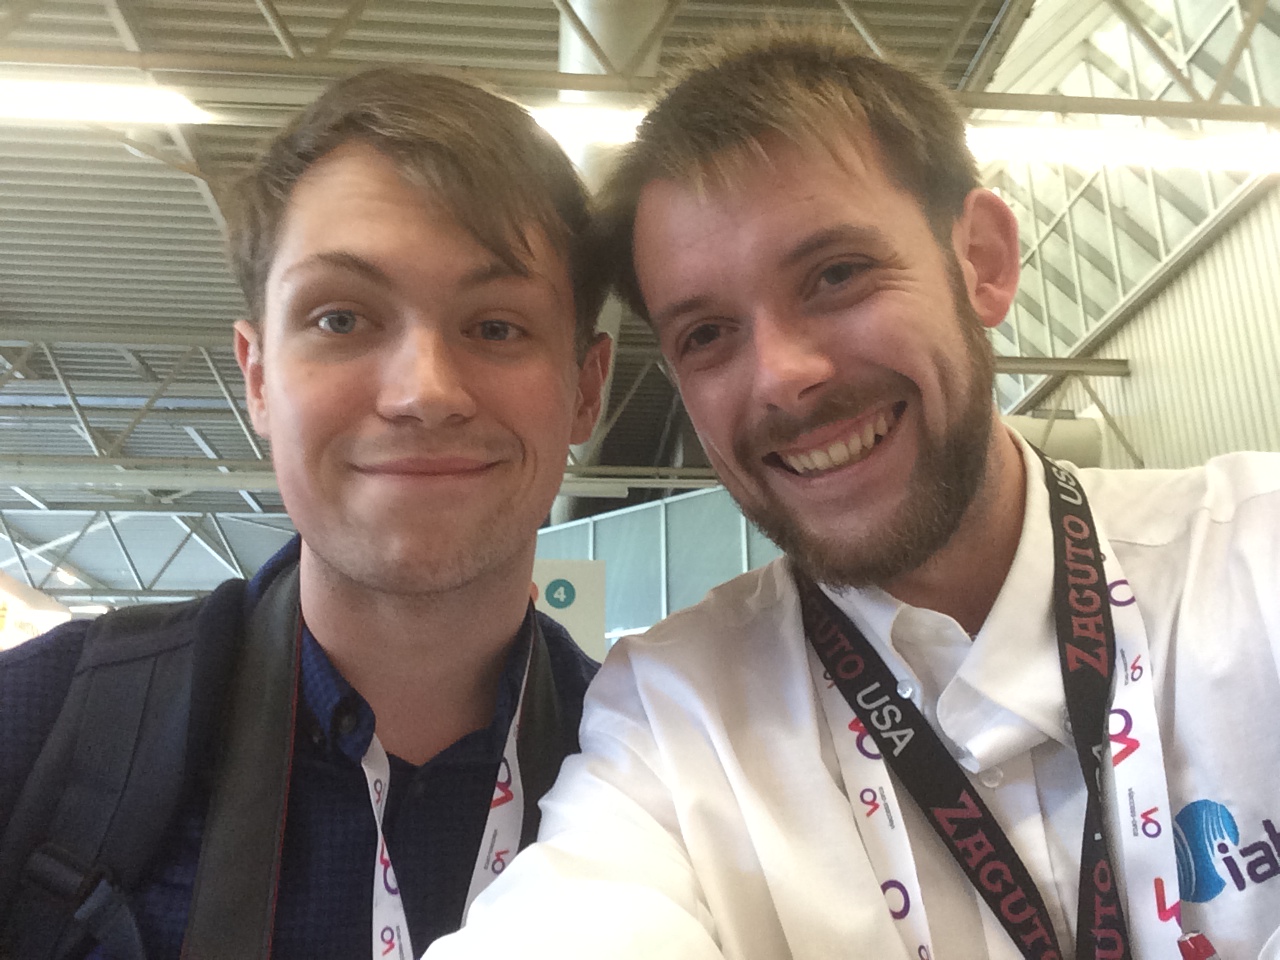
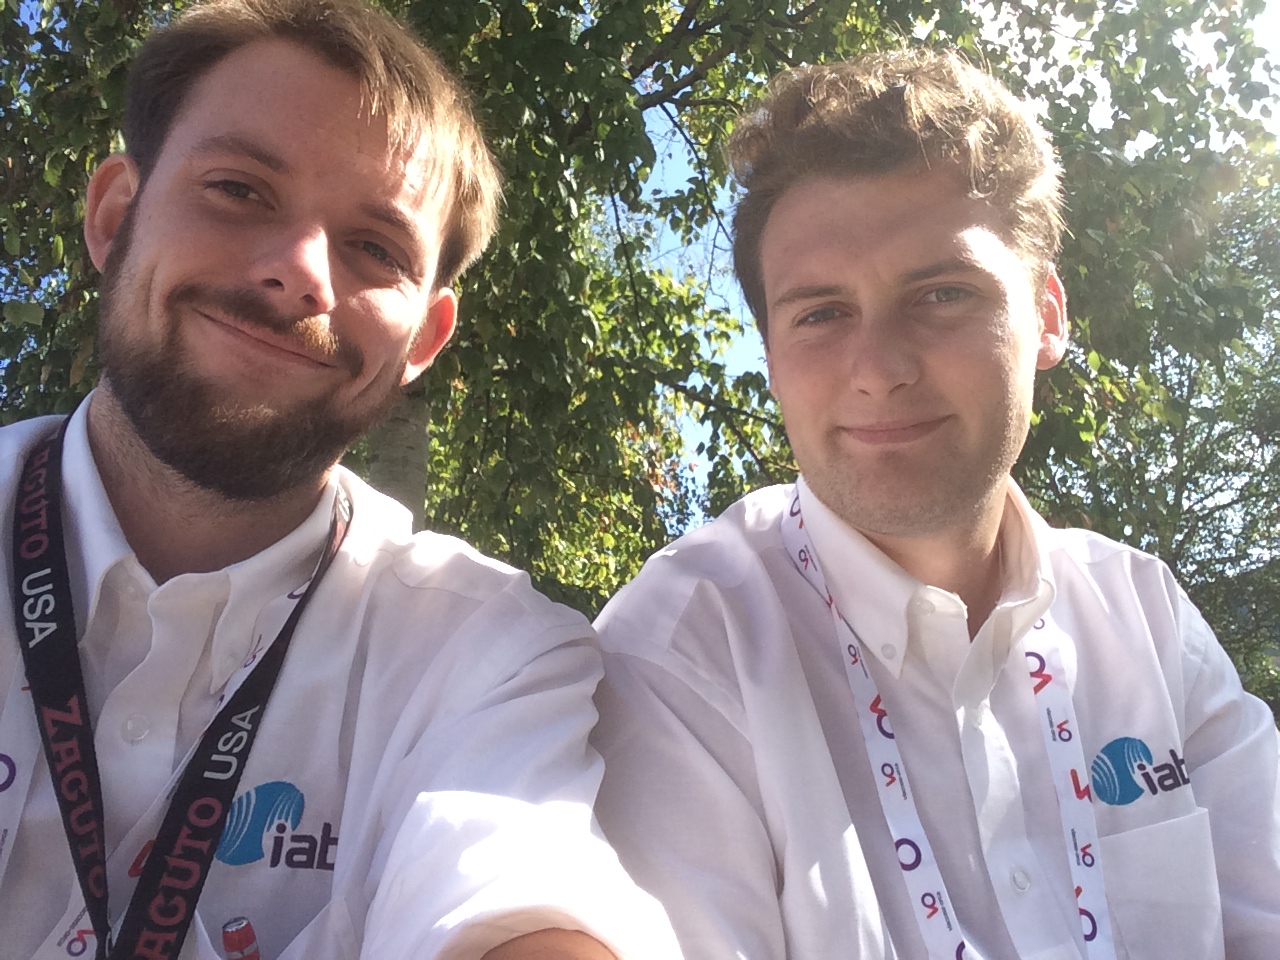
Well, what an incredible time it has been.. We captured over 400Gb of footage and audio, combined with hours of graphics produced before the show. We delivered (and are continuing to deliver) over 55 videos online for The IABM. What a show, what a success! My huge thanks go to the other half of the team, Glen Symes for his help and dedication to getting the videos out, and dealing with my stresses of production and post throughout! Also thanks to The IABM for giving me the opportunity to cover The IBC Show 2014 for you.
Ooh, I almost forgot I stopped by the Vitec Videocom stand to say hi to the Manfrotto reps and return the tripods and grip we borrowed for filming. While we were there I asked Sofia for a short piece to camera on the new Manfrotto tripods and kit; I was over the moon to hear a new follow focus has been developed to go with the SYMPLA rig!
Check out the video with Manfrotto here -
I've met up with old friends, and made many new ones. My experience has been overwhelming this year, now I cannot wait to do it all again at The IABM Annual Conference and hopefully IBC 2015! If you have any questions about how we produced the videos, or IBC then drop me a tweet @Plowman91 or comment!
I'm still editing and uploading more videos, so keep updated by checking out The IABM website for more videos and content, and I will have an IBC 2014 wrap up video coming soon. UNTIL NEXT YEAR!


How do you make a timelapse? Video Questions
Finally got round to this!! A time lapse is a method of photography and videography that captures sequential images from a static camera over a certain period of time, and then sped up in post production to create the illusion of time moving fast.
There are so many reasons why you'd want to use time lapses in your work; from establishing locations to capturing a long event like the northern lights or sunrises and sunsets. Time lapses create a visual spectacle in which time speeds up, you see nature at work and things you would normally miss or take for granted.
If you want to check out some awesome time lapse films, please watch Ron Fricke's Samsara which includes awe inspiring cinematography captured in 70mm film.
http://www.youtube.com/watch?v=P0xVp3N-M84
There are a couple of ways you can create a time lapse, dependent on the length of time you wish to capture, the changing exposure settings of the location, and the kit you have.
Cameras and Kit
I assume that most people interested in this post own a DSLR or video camera of some kind, as it is difficult to capture a time lapse otherwise. In all honesty, what model of camera you use won't make a big difference on the overall video. Whether it is a Canon 110D, 550D or 1D-C, Nikon D3200 or D90, Sony A-7 or Olympus OM-D EM1 your photos and video will look great. Just make sure you have your exposure and focus point set correctly. In regards to what lens you use, in general wide angle lenses give a better perspective of the environment; we've all seen GoPro videos, that is ultra wide, but you don't need a fish eye or specific lenses to do this. Usually the standard kit lens that comes with your camera has a wide angle, whether it be 11mm on MFT cameras or 16mm on full frame, keeping a wide field of view is key to achieving the perspective of a time lapse.
Lets start with time. The longer you wish to capture, the more memory and battery you will need so ensure you've got a fresh card and charged batteries, or even better a battery grip. Depending on what camera you are using you may also need an intervalometer; a device that plugs into the camera and releases the shutter for a pre-set duration at a pre-set interval.
Here's one made by Canon - ![Canon-Intervalometer1[1]](http://ajp1991.files.wordpress.com/2014/02/canon-intervalometer11.jpg)
So, if you wanted to capture a sunset, you will be shooting for a couple of hours. This little device will release the shutter and take a picture for you, however you need to set the interval duration. The longer the interval, the greater the difference between each image as the objects in the frame move and change. For a sunrise or sunset, an interval of 10 seconds should suffice, as the sun and clouds move slowly.
If you were in a city shooting a TL of a busy public place, a shorter interval should be used so the objects or people move smoothly through the frame and don't jump around.
What are you capturing?
Where will you be shooting the time lapse? Bright daylight at the beach, or in arctic winter? Or star trails and fireworks at night? Your DSLR's shutter speed will allow you to control the amount of time the shutter is exposed to light, so a longer shutter speed (anything under 1/30 can be used when the sun or bright light is not available) should be used at night when light levels are low. You can also use the BULB setting I believe to capture exposures longer than 30 seconds if you are capturing star trails.In the opposite situation, you can set your shutter to a reasonable speed depending on the light available; but remember changing light is inevitable and uncontrollable in nature so using shutter priority mode (T) or aperture priority mode (A).
REMEMBER YOUR TRIPOD! Shooting for long periods of time need a steady support, to keep the camera locked off and weighed down if needs be! My Manfrotto tripods work a treat.
Experiment and test at the time to judge your exposure settings. Keep your aperture or F stop small so that all objects in the frame are in focus; something like F/11 down to F/22 if in bright light or you can increase the aperture to F/4 up to F/2.8 if you're working at night. Increasing your ISO to 1000 or 1250 is perfectly fine if your doing a night-lapse, so no worries about that.
Also use the digital zooming capabilities on the camera to get critical focus on a key static point.
If you have less time for a time lapse, then you can always hit record on your camera and film continuously for as long as it can. This is an easy option for those out and about shooting as you can simply wait for 10 minutes or so. Obviously here you have the time restriction to only 10 minutes, so this works best for short burst time lapses of clouds, people & crowds and quick changing landscapes.
For any other setting it would be better to use an invervalometer, mainly as keeping your camera recording will suck the juice out of your battery like anything.
For savvy videographers and photographers alike who may have Magic Lantern already, there is an intervalometer built into the ML firmware which acts just like an internal one. If you don't want to pay for an external device then Magic Lantern which is open source and free is your best option. Plus having ML on your camera expands its video capabilities greatly.
Post Production - If you have taken a series of photos
You've captured an amazing sunset, it has taken you hours and all you want to do is see the finished product. Some methods of editing time lapses are long, boring and not neccessary; taking the photos into After Effects for example, its not needed!
Adobe Premiere Pro is a much simpler and quicker method of getting your TL into a video. Firstly, create your project as you would normally, setting scratch disks to your project folder where the photos are stored. Next, create a sequence dependent on what resolution you would like the video to be. Nearly all photos taken on a DSLR are larger in size than 1080p high definition, so this is a good place to start.
Depending on where you are in the world, your frame rate should be 25fps for UK/EU/Rest of world, or 30fps for USA. This will play your video back at the same frame rate as television and internet, so the time lapse will be smooth.
Now you have your sequence open in the timeline, go to Edit>Preferences>General. Here you can set the default 'still frame' (picture) duration to ONE frame; in timecode this will appear like: 00:00:00:01. This sets the sequence of images to play one after the other with 25 pictures in each second.
Now you are ready to import your photos! Simply Ctrl-I or Cmd-I to open the import window, select the folder with your time lapse images and click 'Import Folder'. Premiere will now import all the photos in the folder and set the duration. You can now simply drag the folder with the photos into the sequence, and your time lapse is now a video. Make sure you render (hit Enter) and watch it back in case you need to correct any frames.
If it looks like the photos are going too quickly, you can change the duration of all the photos very simply; select all the photos in the sequence, right click > Speed/Duration. Here you can increase the frame duration from 00:00:00:01 to 02 frames instead. Here you will need to see what suits your time lapse best. One last tip is to highlight/select all the photos in the sequence, right click, and click 'Frame Blend'. This calculates the interpolation (movement) of subjects between two images, so it fills in the gaps so to speak.
Post Production - Long Video Files
So you've taken the easy road! This method is just as simple as above, and is a quick way of processing a short time lapse. Once you have followed the steps to create your sequence, you can import the video file like you would the photos, instead you simply click the video file needed and click 'Import'. Then drag the video file into the sequence; here if you have been videoing in a different video format Premiere will let you know that the video and the sequence do not match. It is easier to stick with the format of your original video, so if this happens click 'Change Sequence Settings'.

With the video now in the timeline, right click and click 'Speed/Duration'. Here you can increase the speed % to make it faster, and again will need some experimenting to see which looks the best. Remember the higher the speed increase percentage, the faster the time lapse happens.
Colour Correcting
You can add any colour correction to the time lapse by creating an 'Adjustment Layer' and adding brightness and contrast, curves, levels, tint, whatever you like to make the time lapse look great.

For a 'tilt-shift effect - like the incredible New York Sandbox video you will need to use additional plug ins like Magic Bullet, or add the effect in Photoshop before importing to premiere.
http://www.youtube.com/watch?v=Fk9EBOOAYiU
Exporting - finally creating the time lapse video!

Once you are all done, with the sequence selected go to File>Export. If you are uploading to the web, then the H.264 format will work the best for quality and compression. From the drop down menu select H.264 and the Vimeo, Youtube or any other format you wish. There are loads, and plenty of confusing settings so don't get bogged down in the different types for now. When you think you are ready, and have chosen your file destination and name, you can hit 'Export', or if you wish to carry on working in Premiere on another project you can 'Queue' to export to Adobe Media Encoder which will export it in the background!
[youtube=http://youtu.be/QMwpA02IKdI]
A little example of a video time lapse I shot at Epsom Downs!
I hope this covers your time lapse photography and videography questions? If there is anything I've missed or if you have other questions please send them in!
[contact-form][contact-field label='Name' type='name' required='1'/][contact-field label='Comment' type='textarea' required='1'/][/contact-form]
Sunset Timelapse
Out shooting a timelapse for the trailer!
