4K Monitor With a Tiny Price Tag
Its always interesting when you come across new pieces of tech that surprise you. I’ve been on the look out for a camera monitor for quite a while, and have always had the smallHD Focus at the top of the list, while previously using the Atomos Shogun and Ninja Inferno.
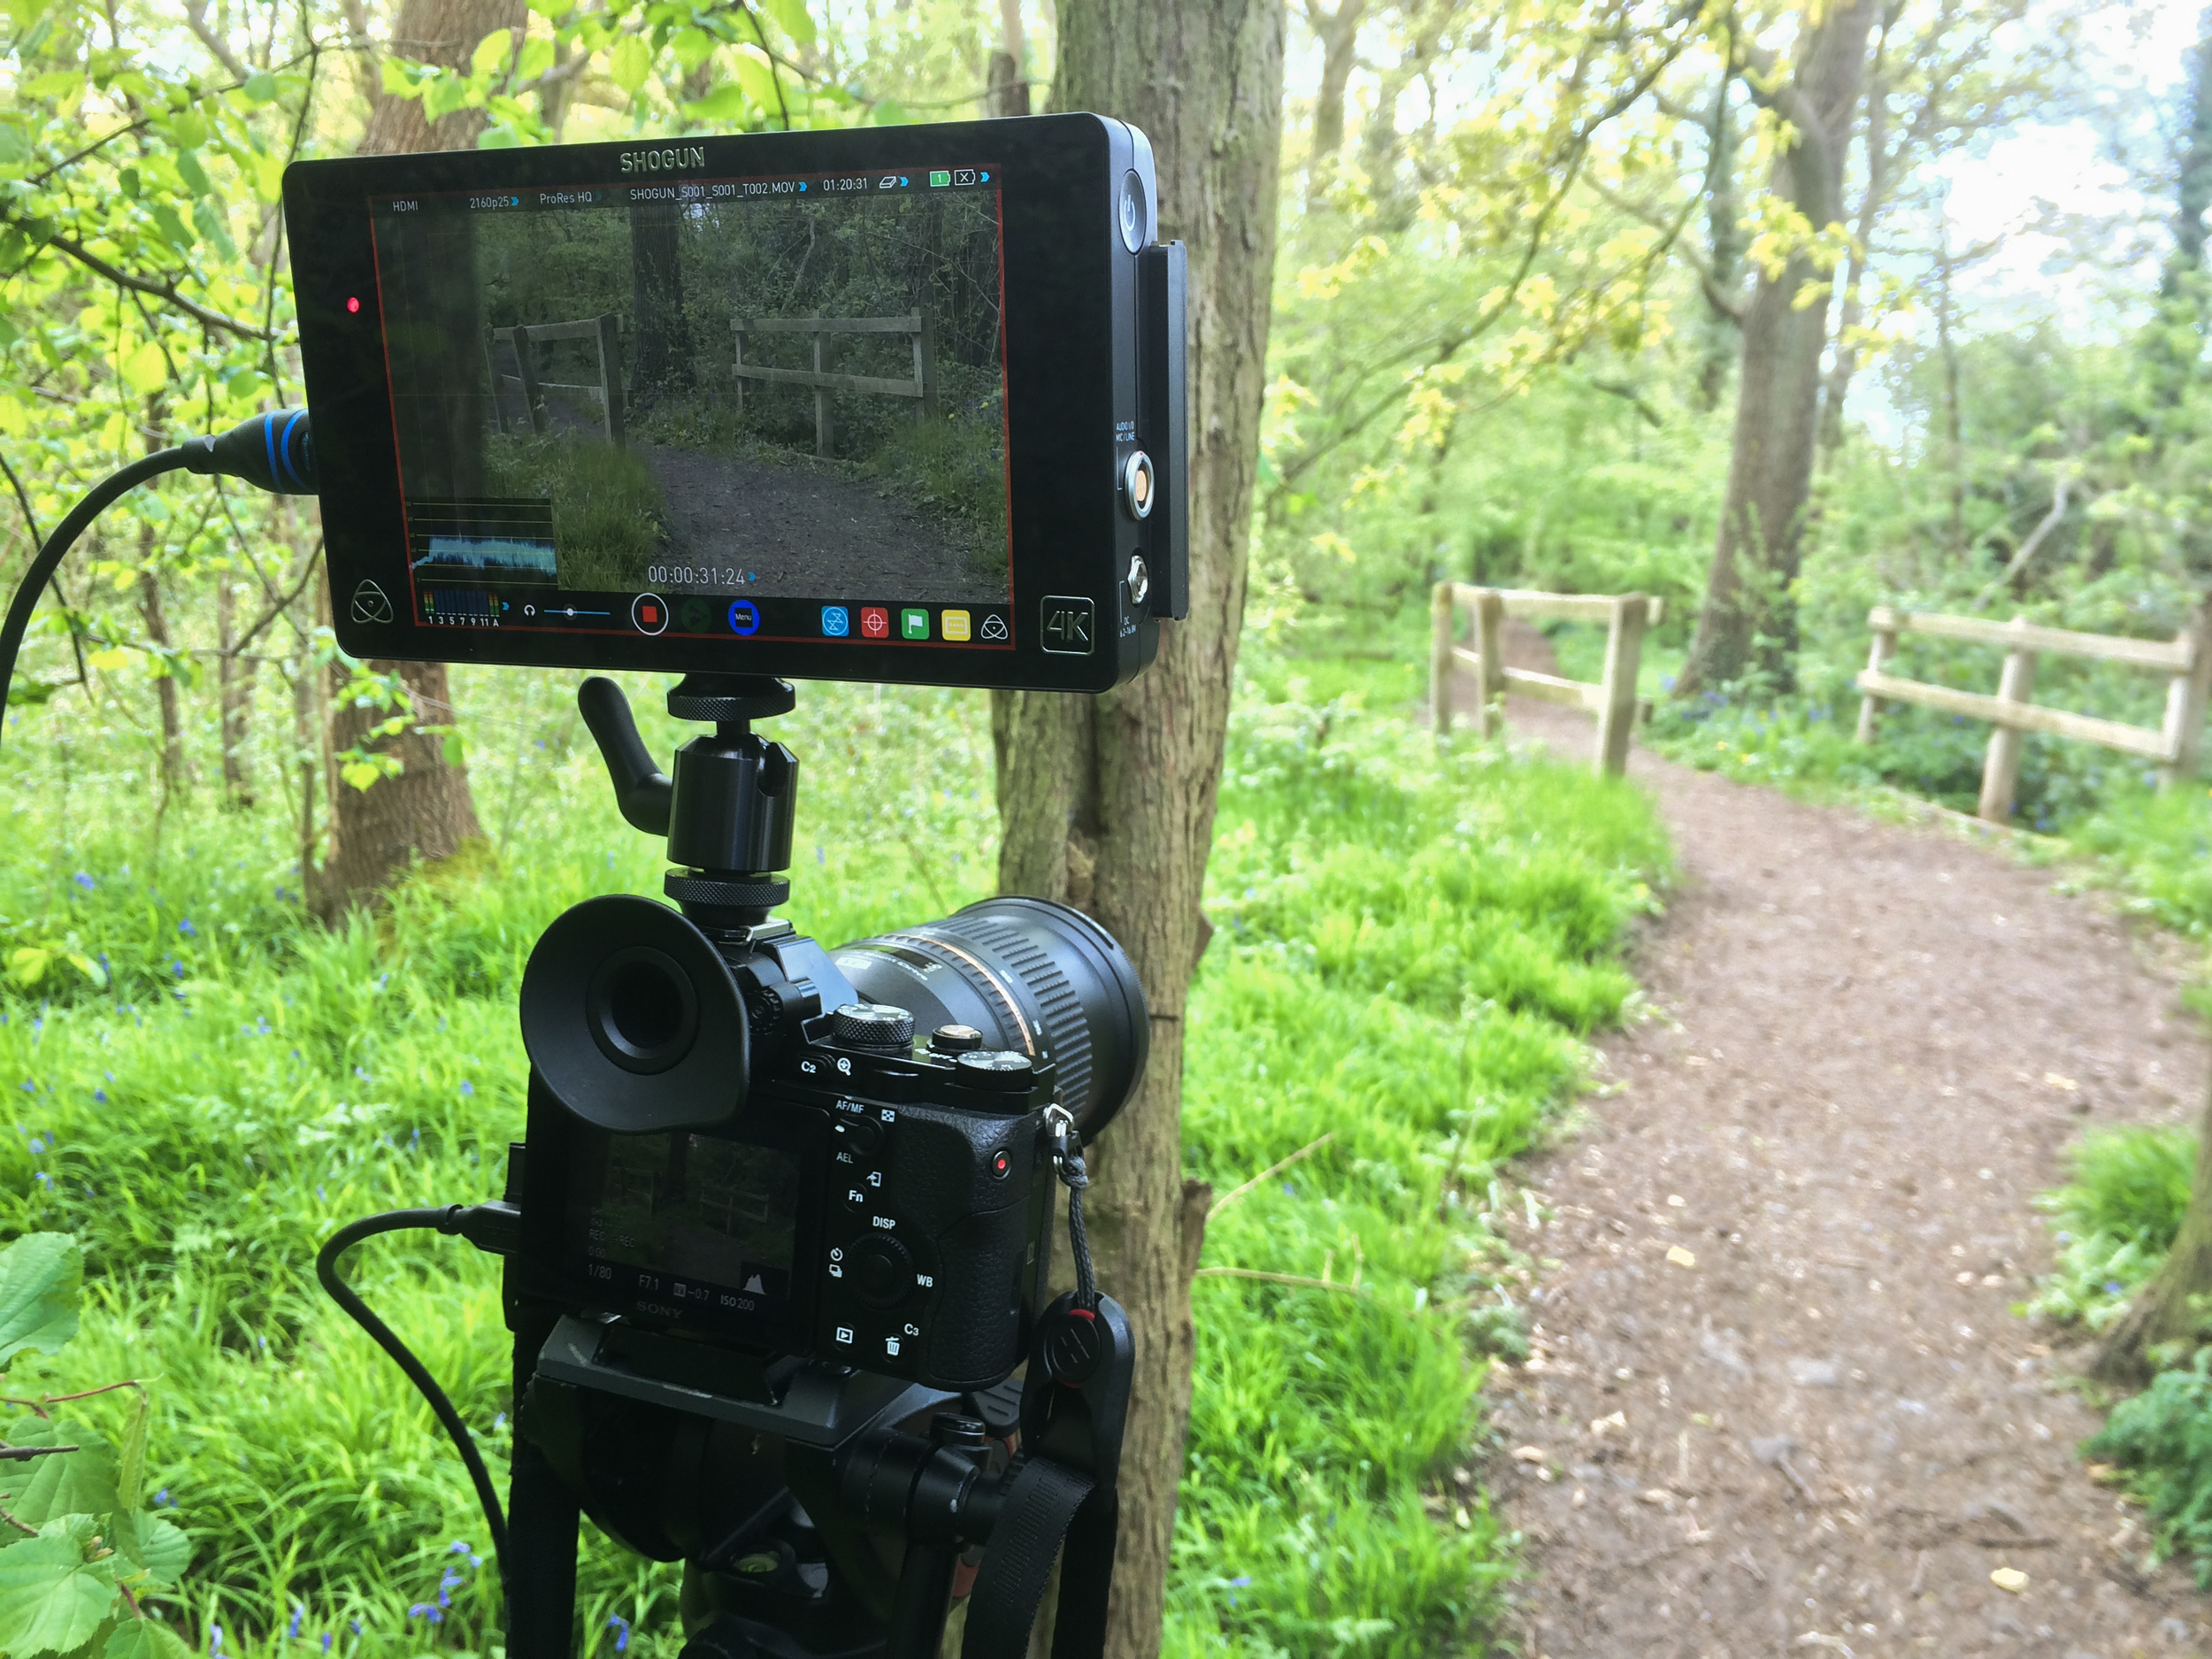
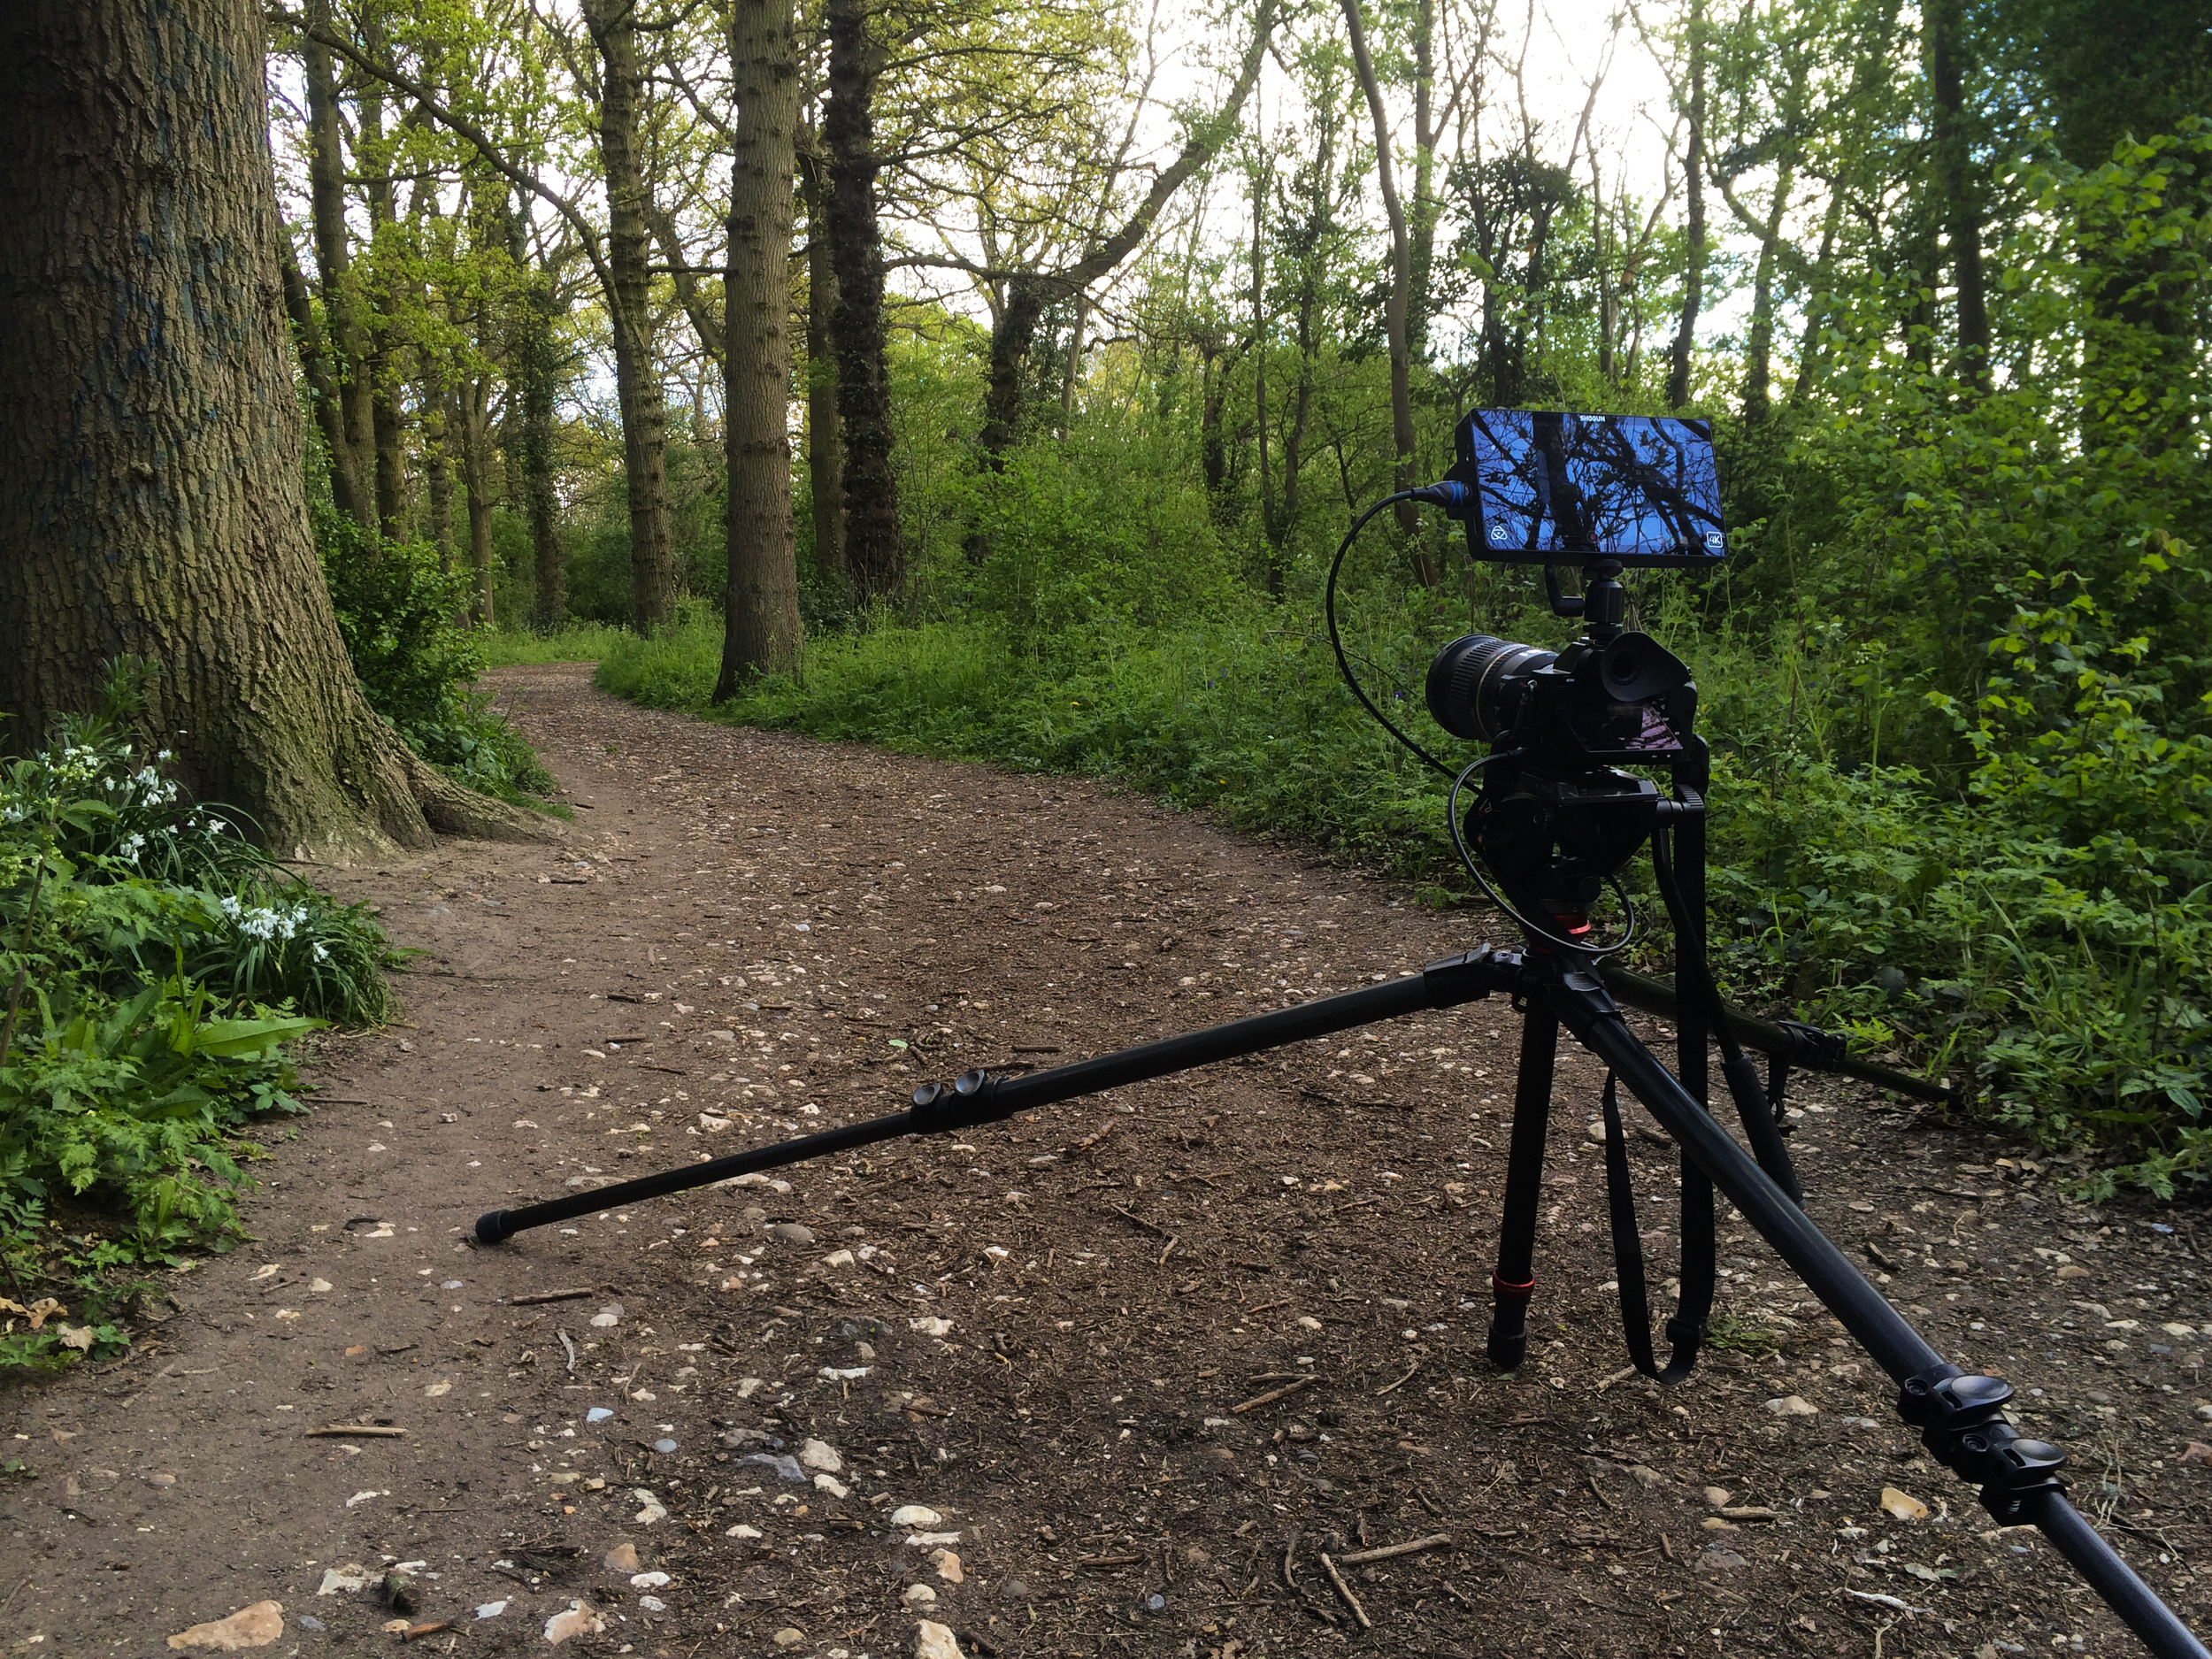
That’s why I was pleasantly surprised when I came across the Andycine A6 4K monitor, a sub £200.00 HDMI monitor which would fit perfectly with my filming setup (in this case the Sony a7SII, SmallRig cage, Sennheiser AVX). Let’s take a look at the monitors performance and features.
Andycine A6 Design

Andycine A6 4K monitor with a Sony a7SII and SmallRig cage.
Straight out of the box, I was impressed by the build quality of the monitor. I've used (lets call them) budget monitors in the past and this way surpassed the design and construction of those.
All of the menu and function buttons are accessed by the top of the monitor, and there are three mounting points for the bracket arm, or if you choose to use a ball head. The menu is simple to navigate using the left/right/up/down buttons, although this could be somewhat larger on screen. The image quality is sharp, and the brightness can be adjusted to suit indoor and outdoor filming.

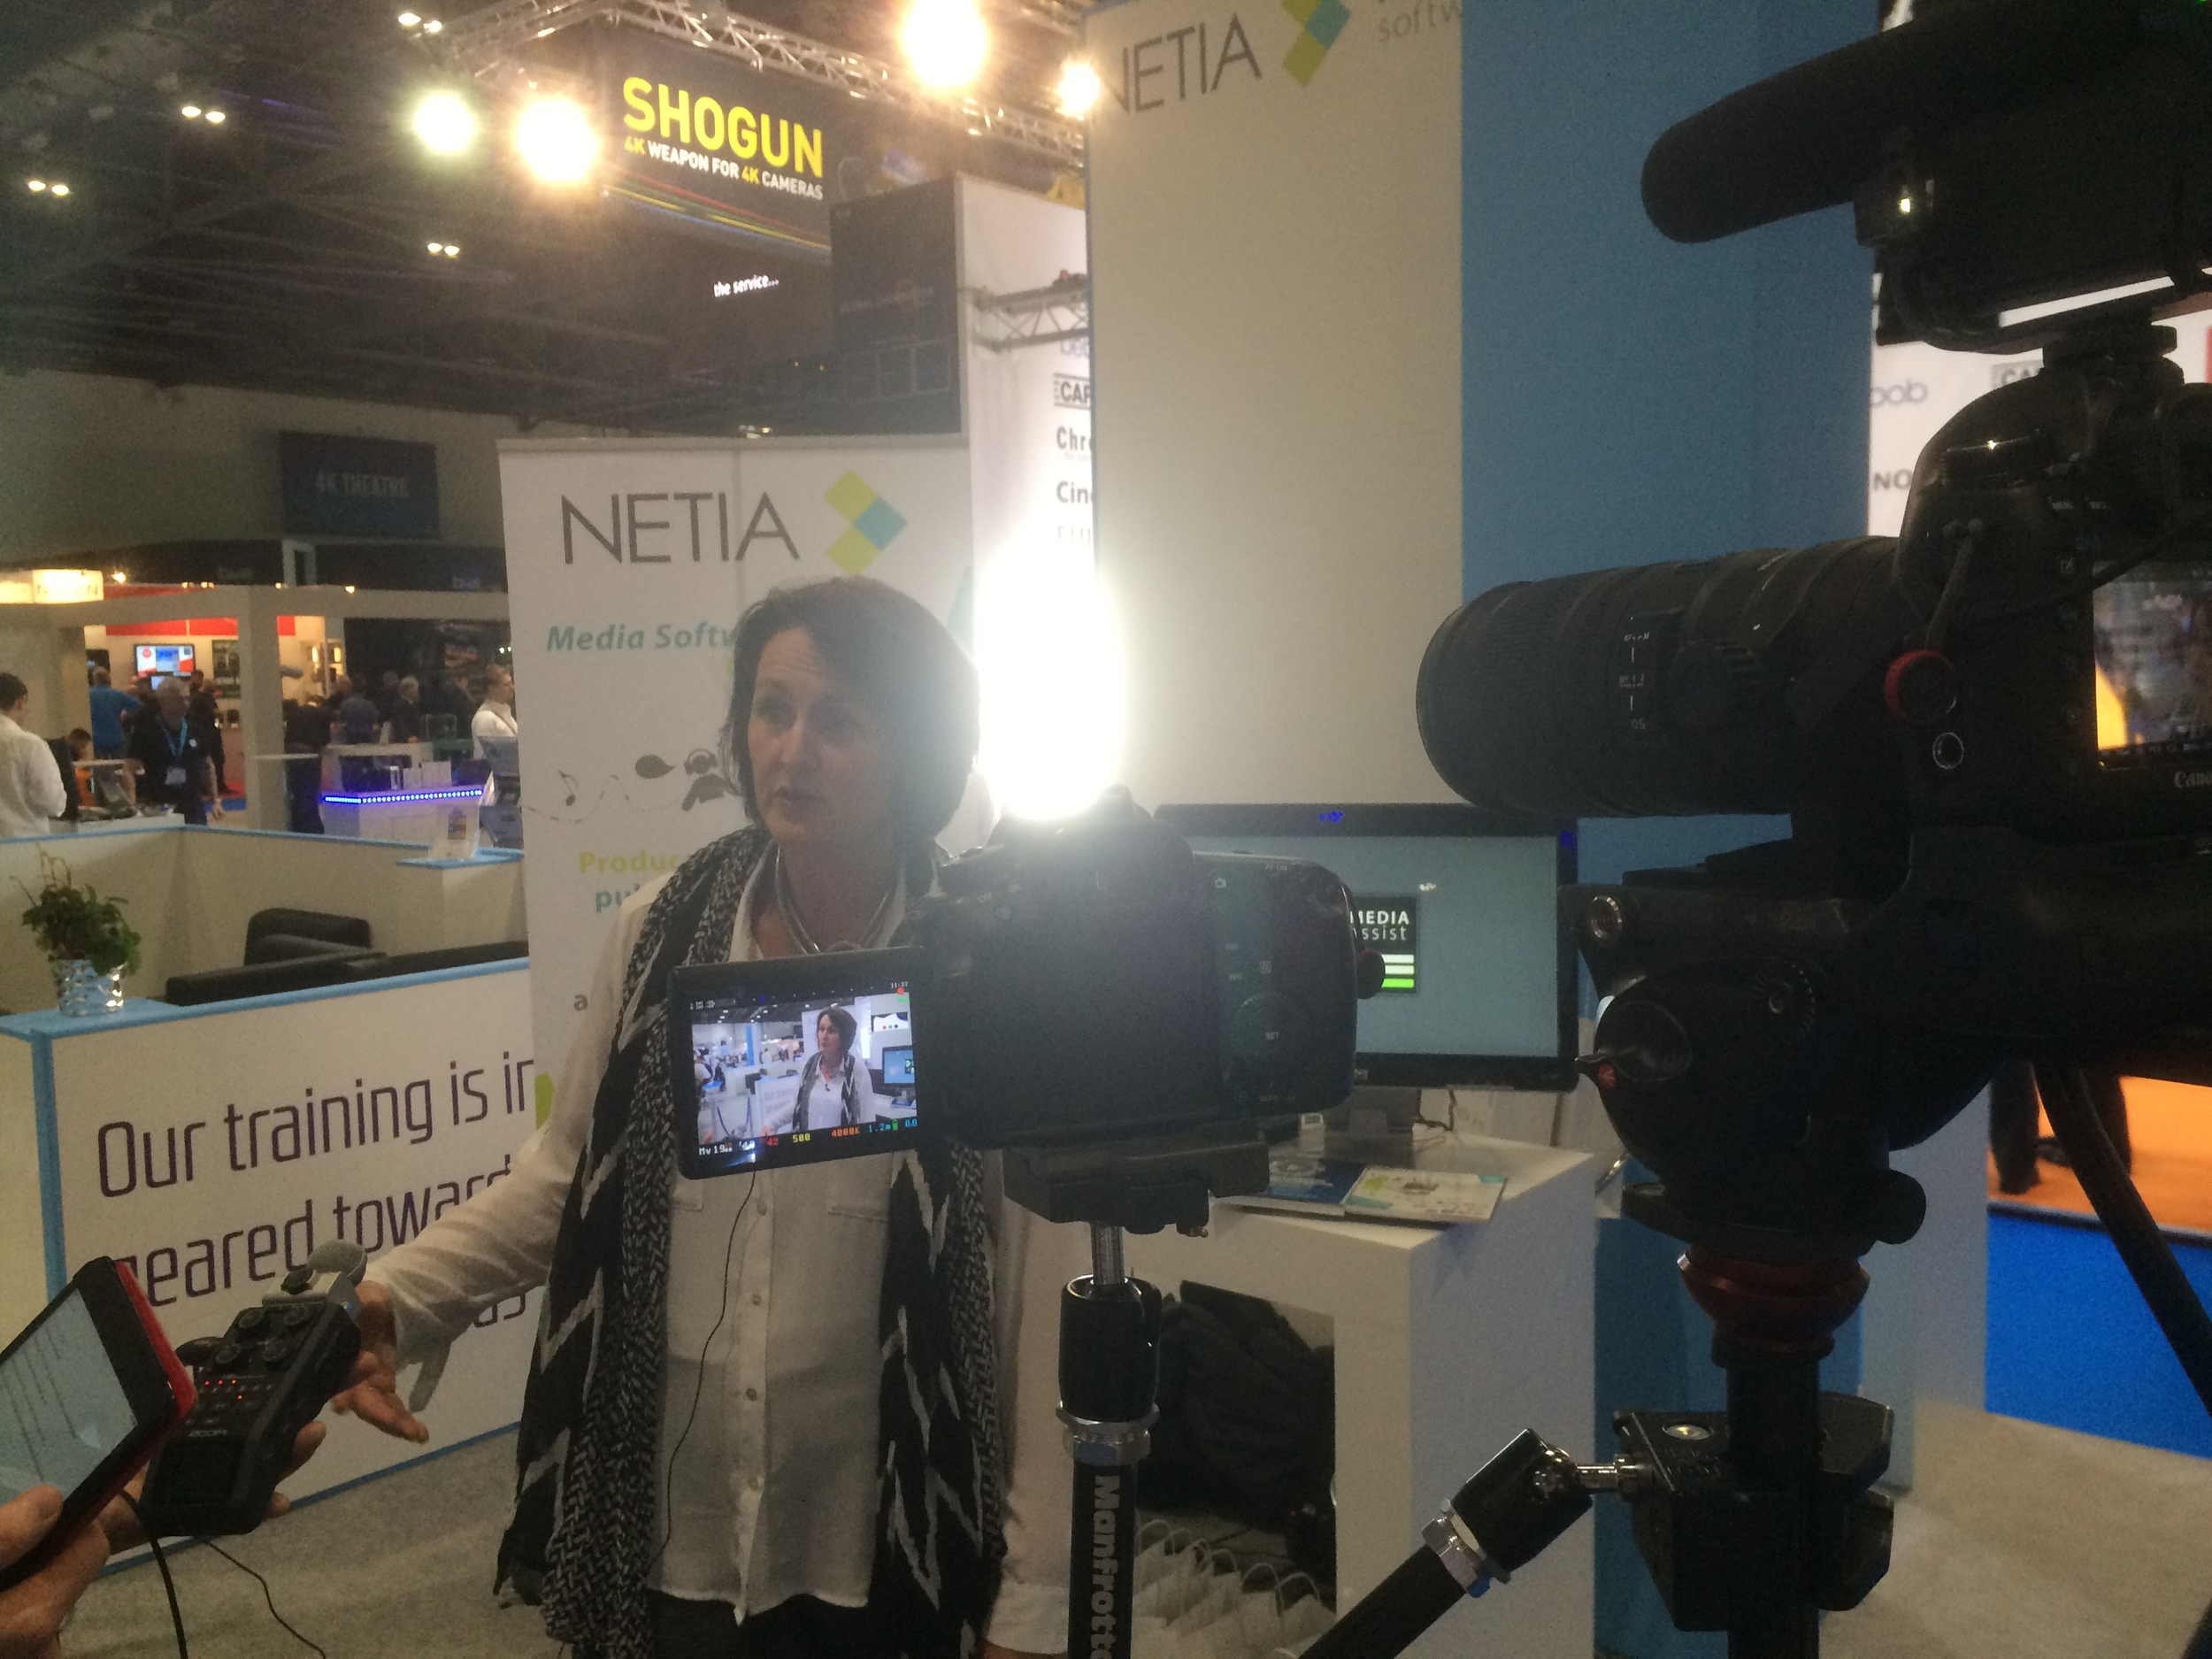
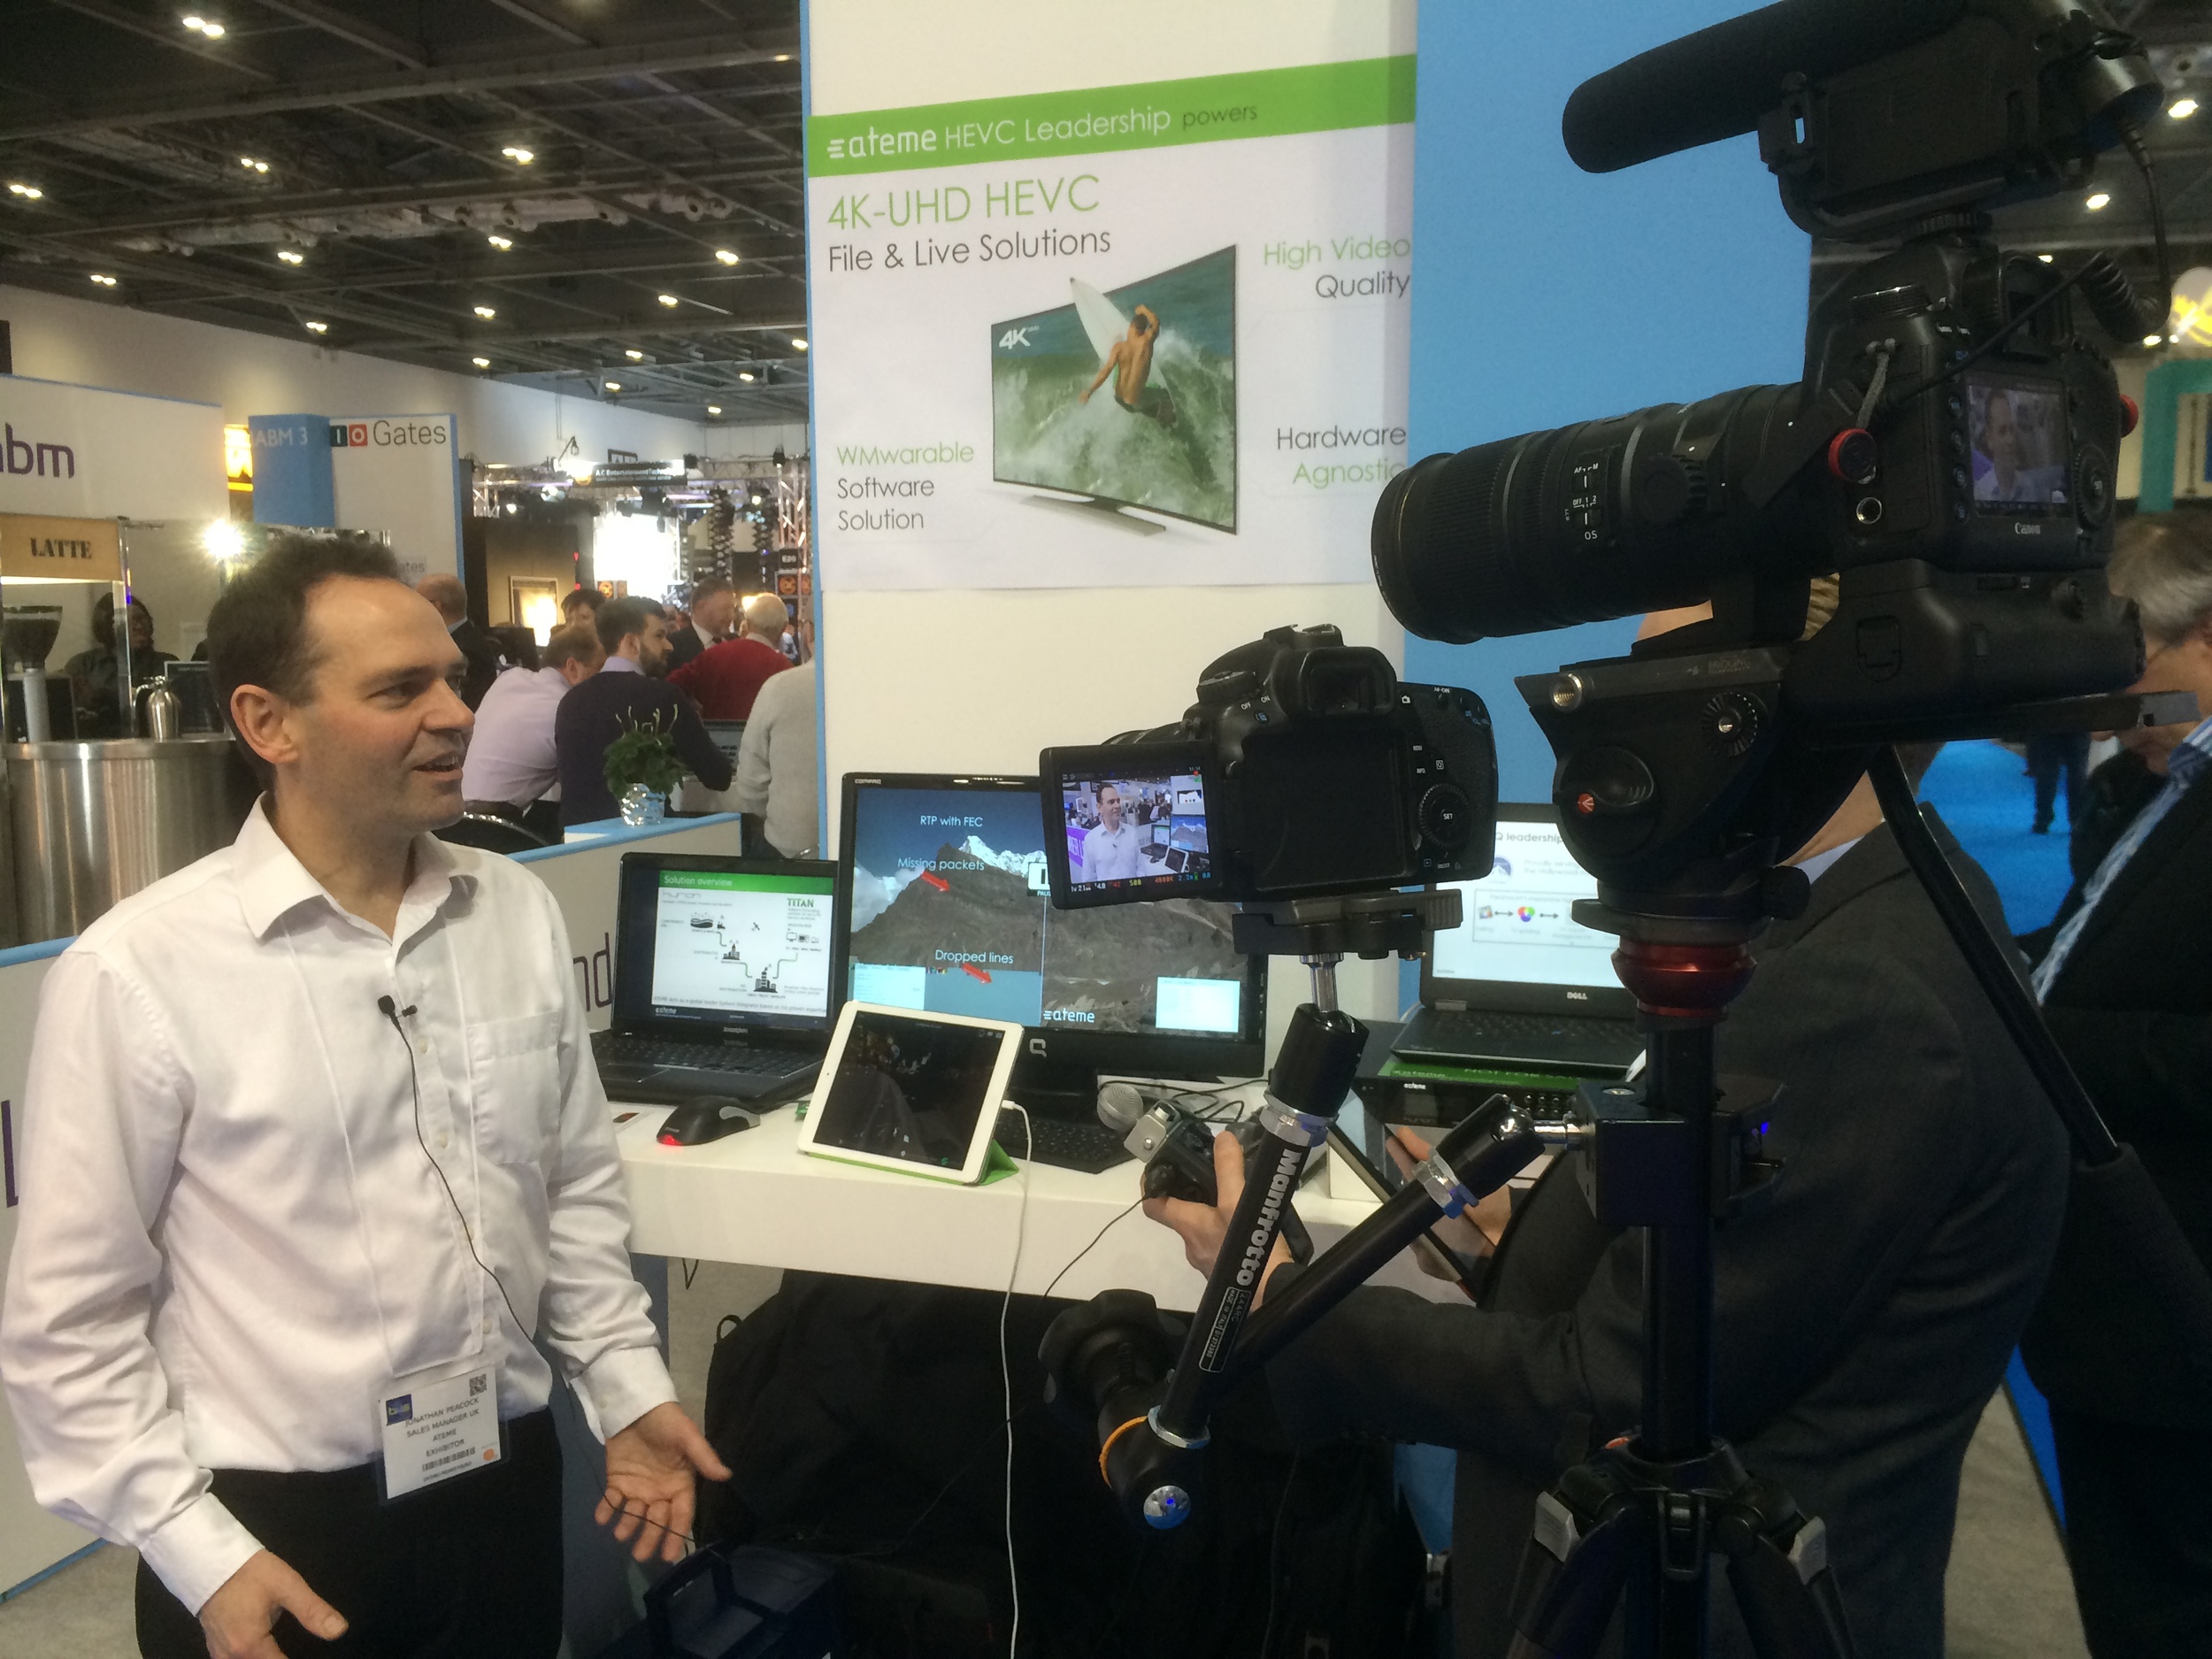
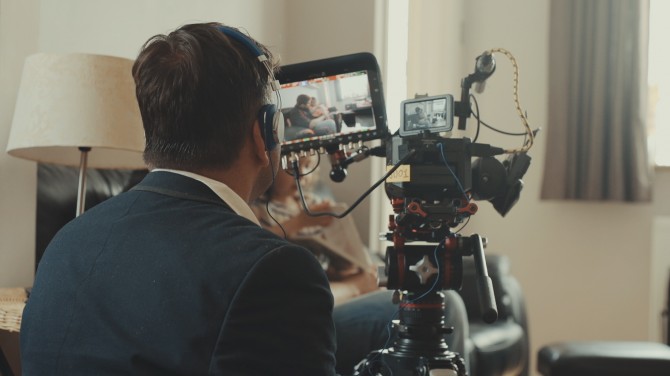
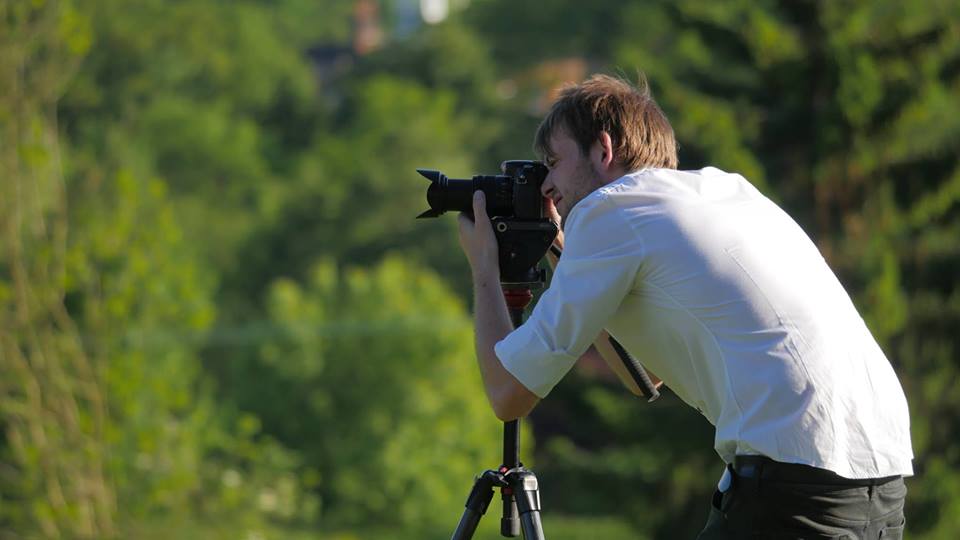
Filming with Ellie Goulding in Switzerland

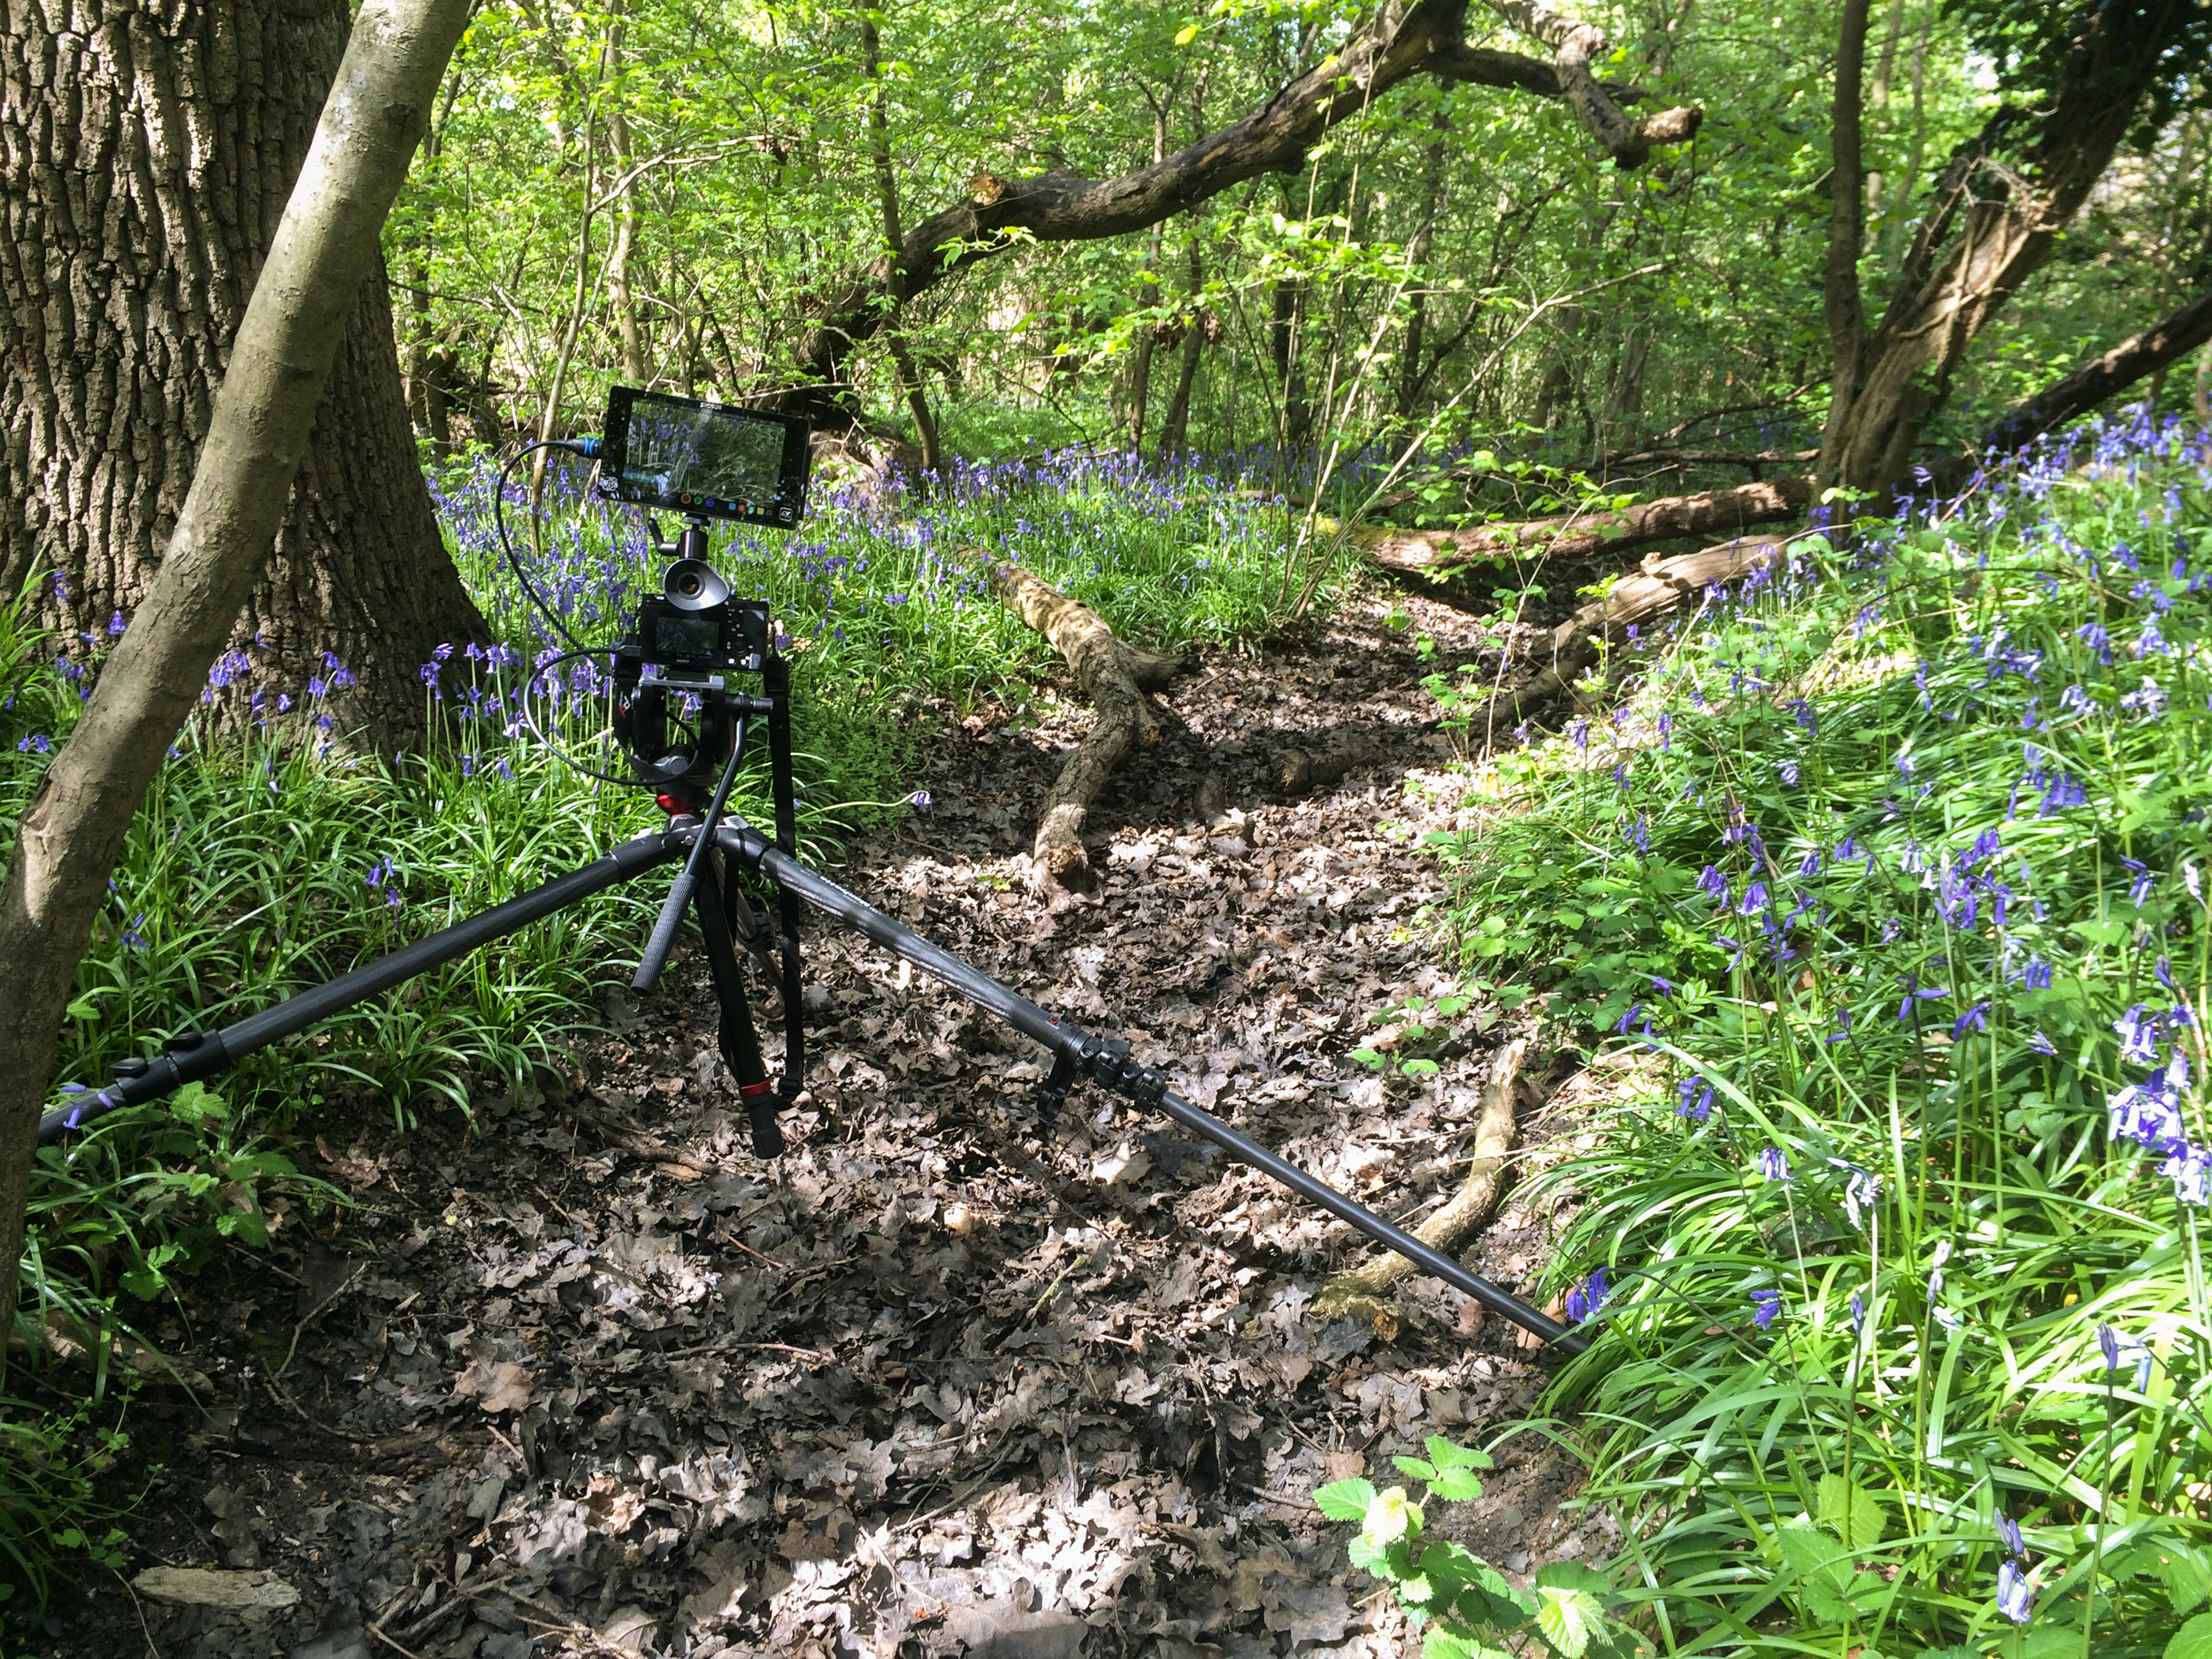
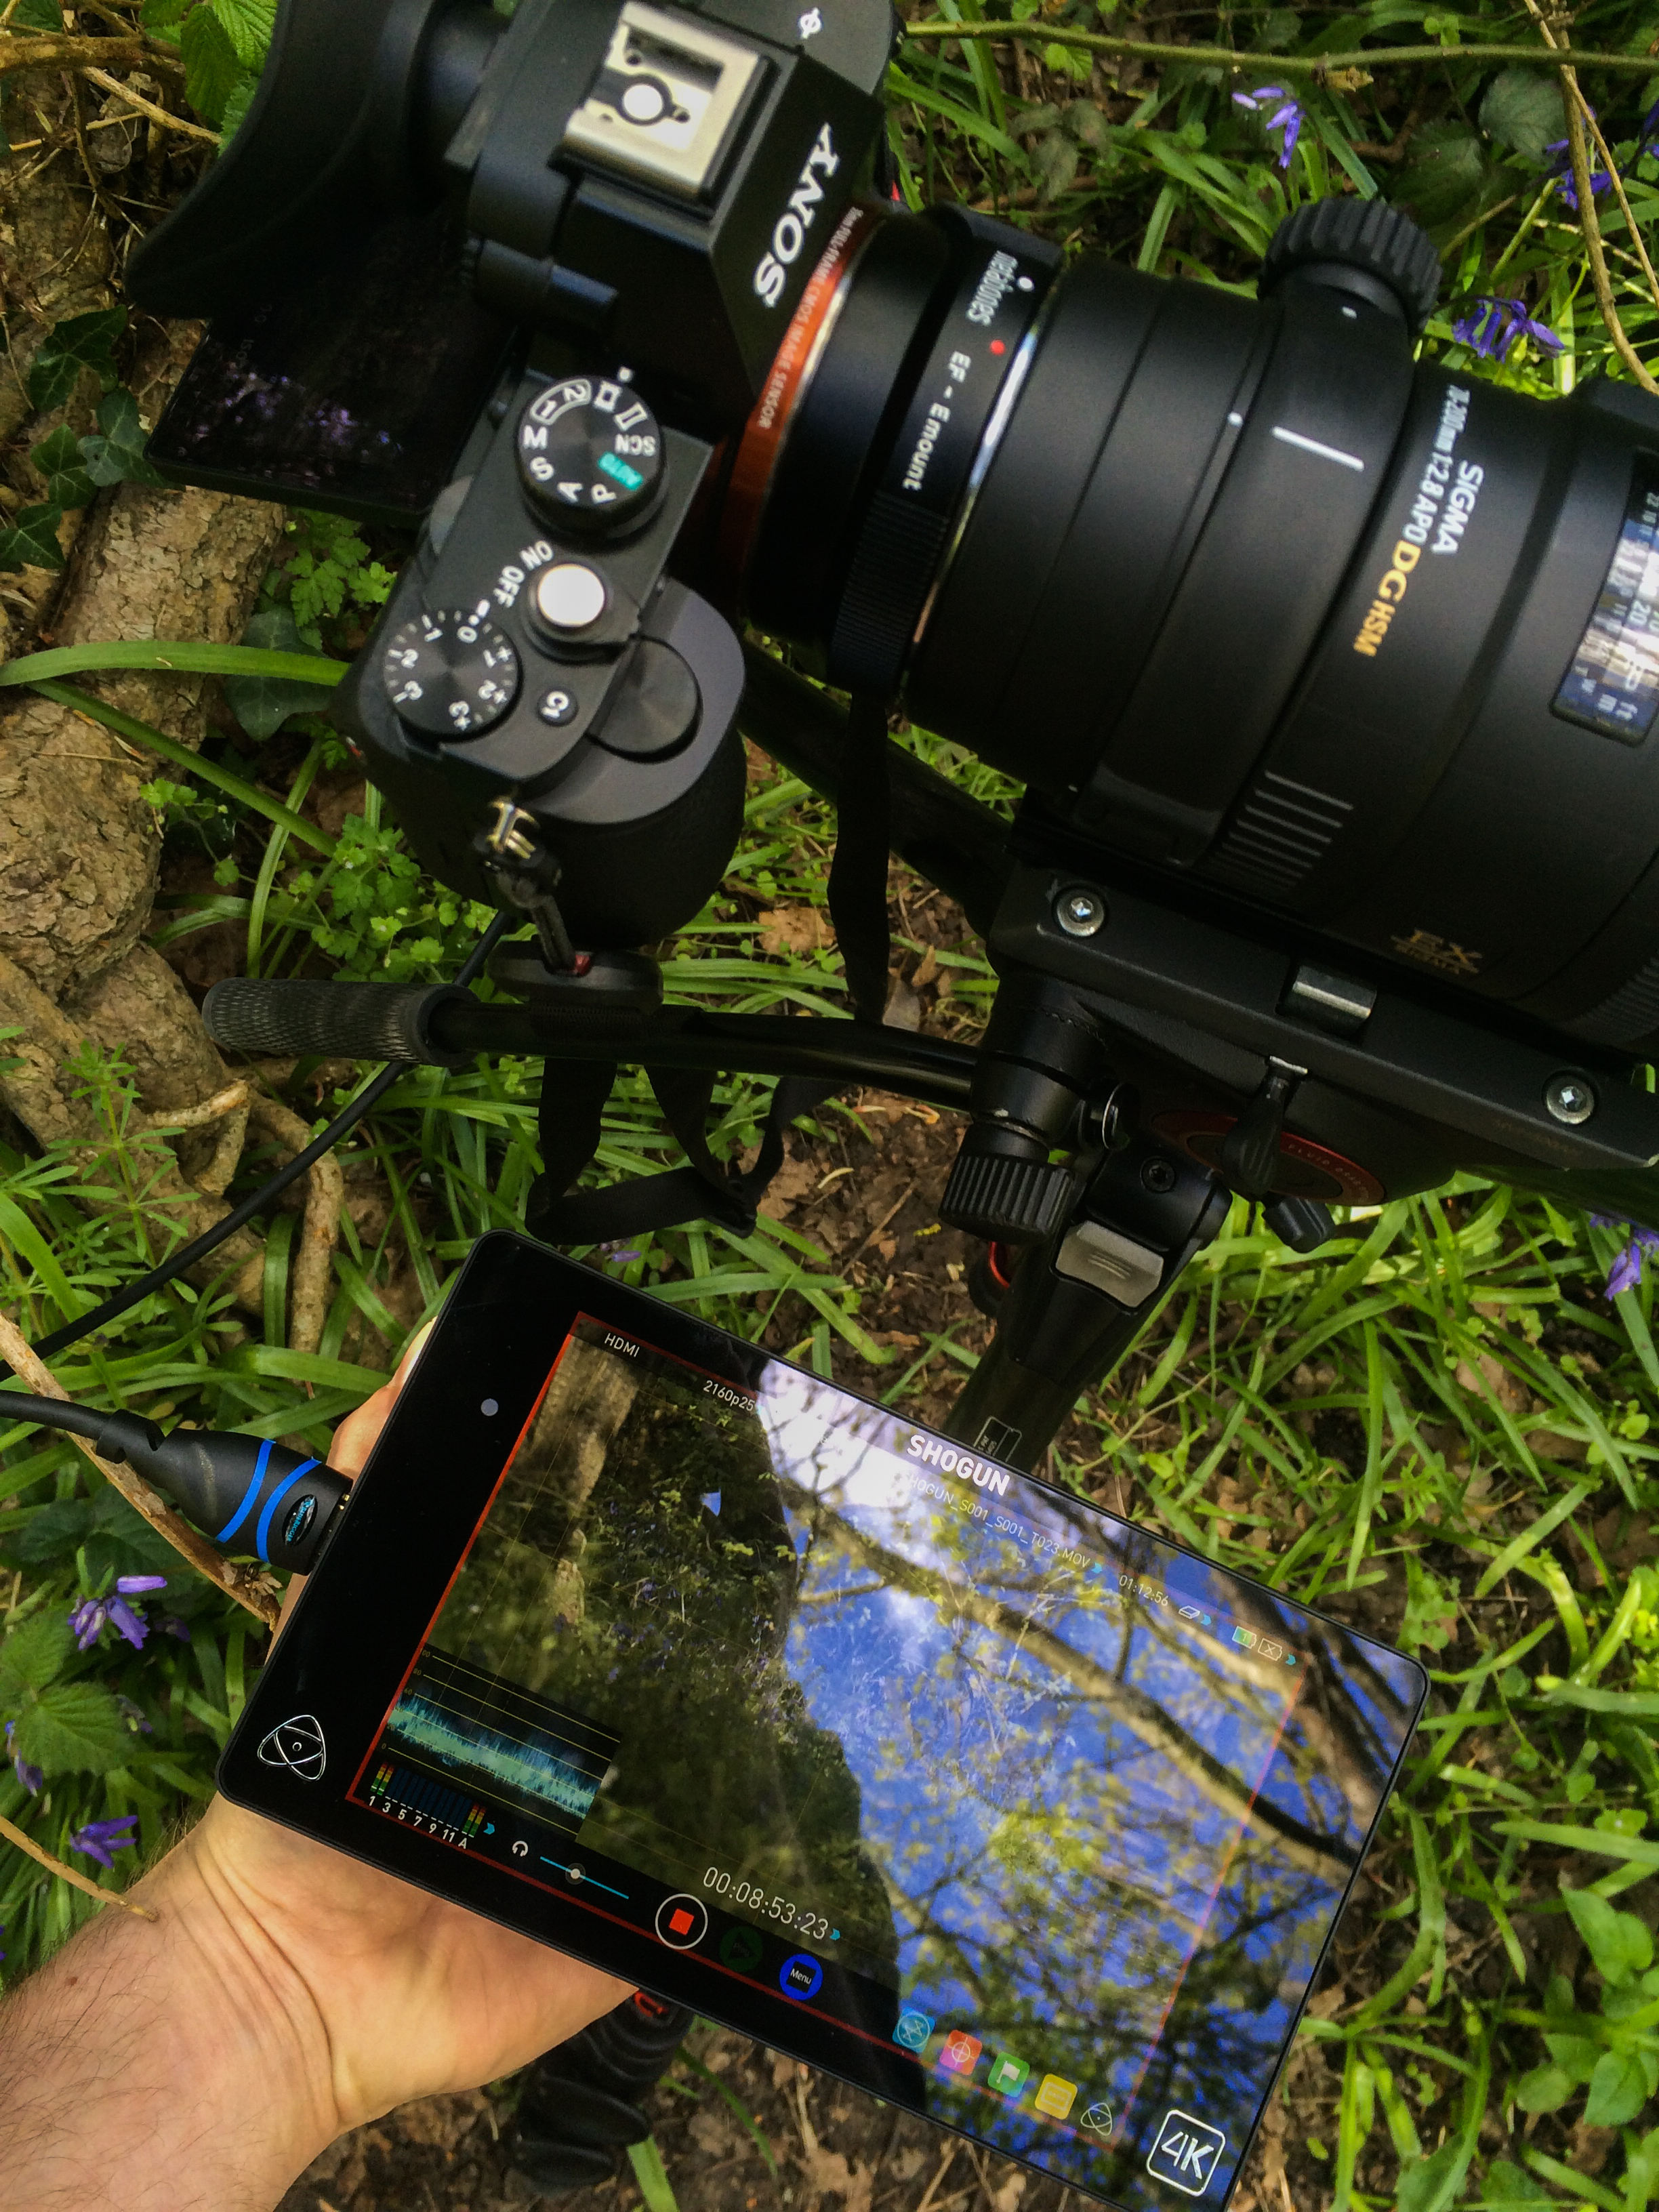
Modular Filming Setup With The Sony a7SII and Andycine A6
The screen (5.7inch and 1920x1080) itself is brighter than expected, rated at 460nits and 1400:1 contrast ratio, again much brighter than other budget monitors, this is compared to the nearest popular competitor, the smallHD Focus monitor, that is rated at 800nits which has a display resolution of 1280x720 but higher pixel density. When filming in the snow and in bright sunlight, I was pleasantly surprised that I could still preview the image with ease.

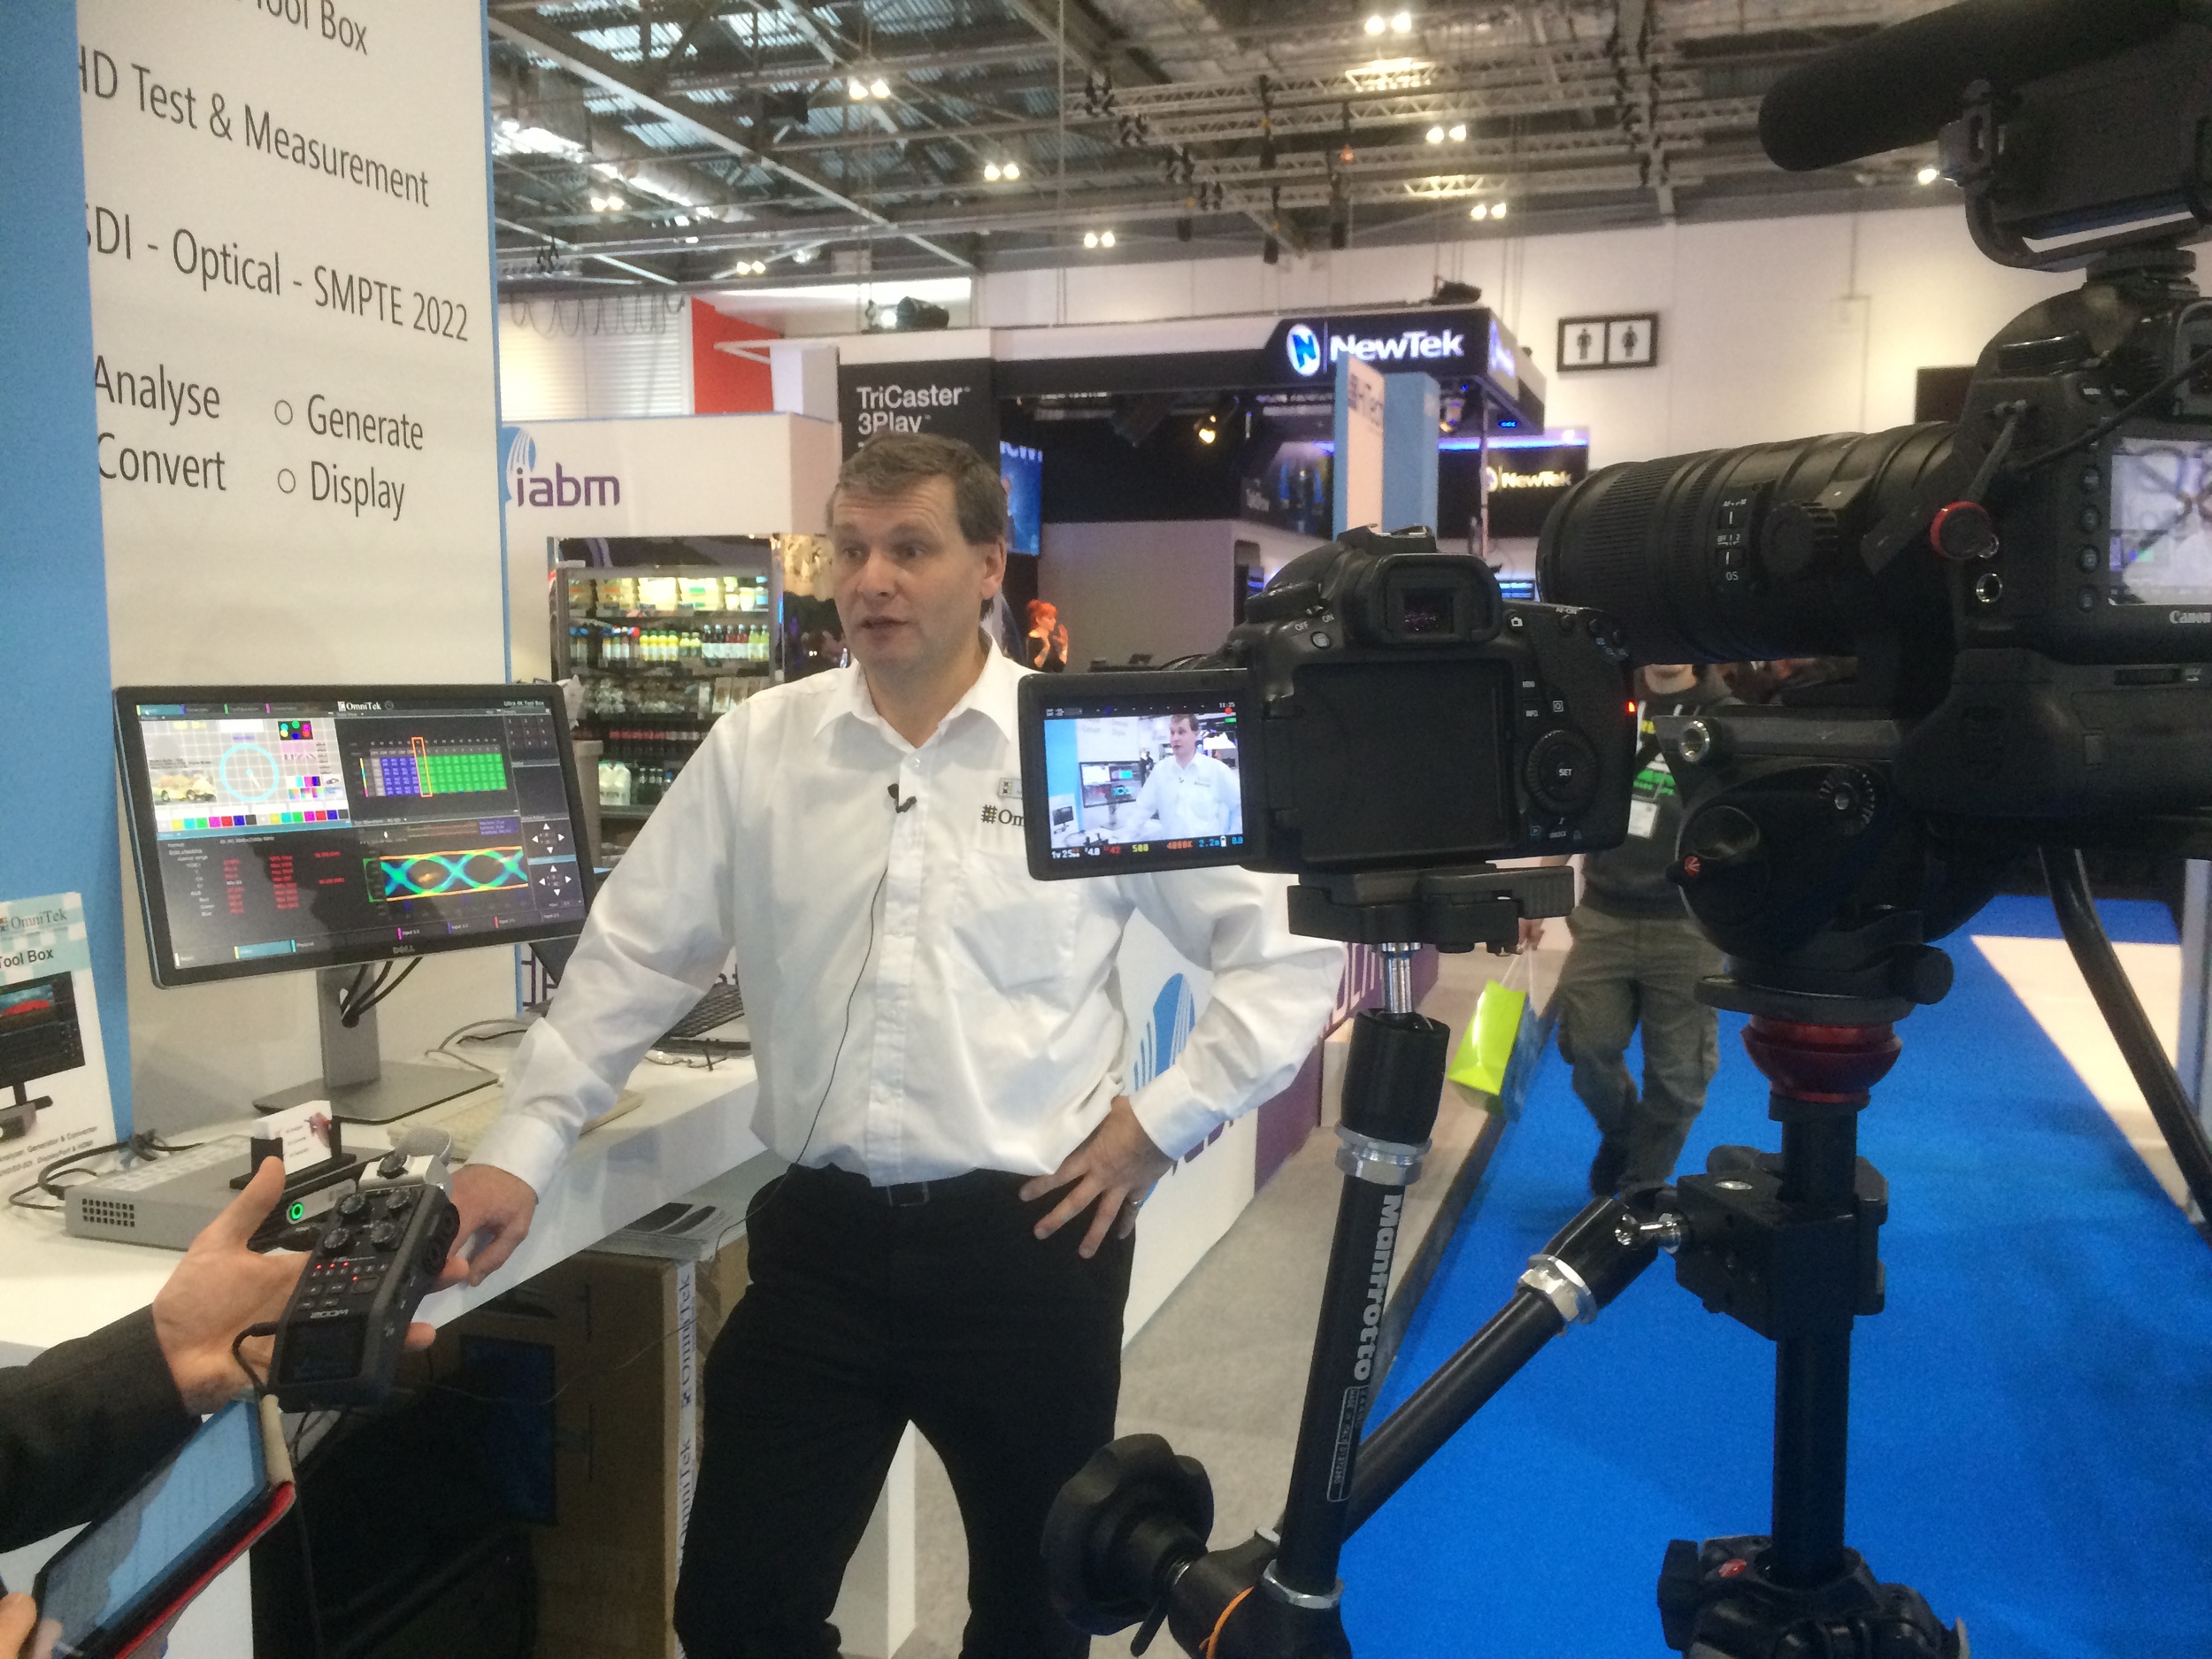
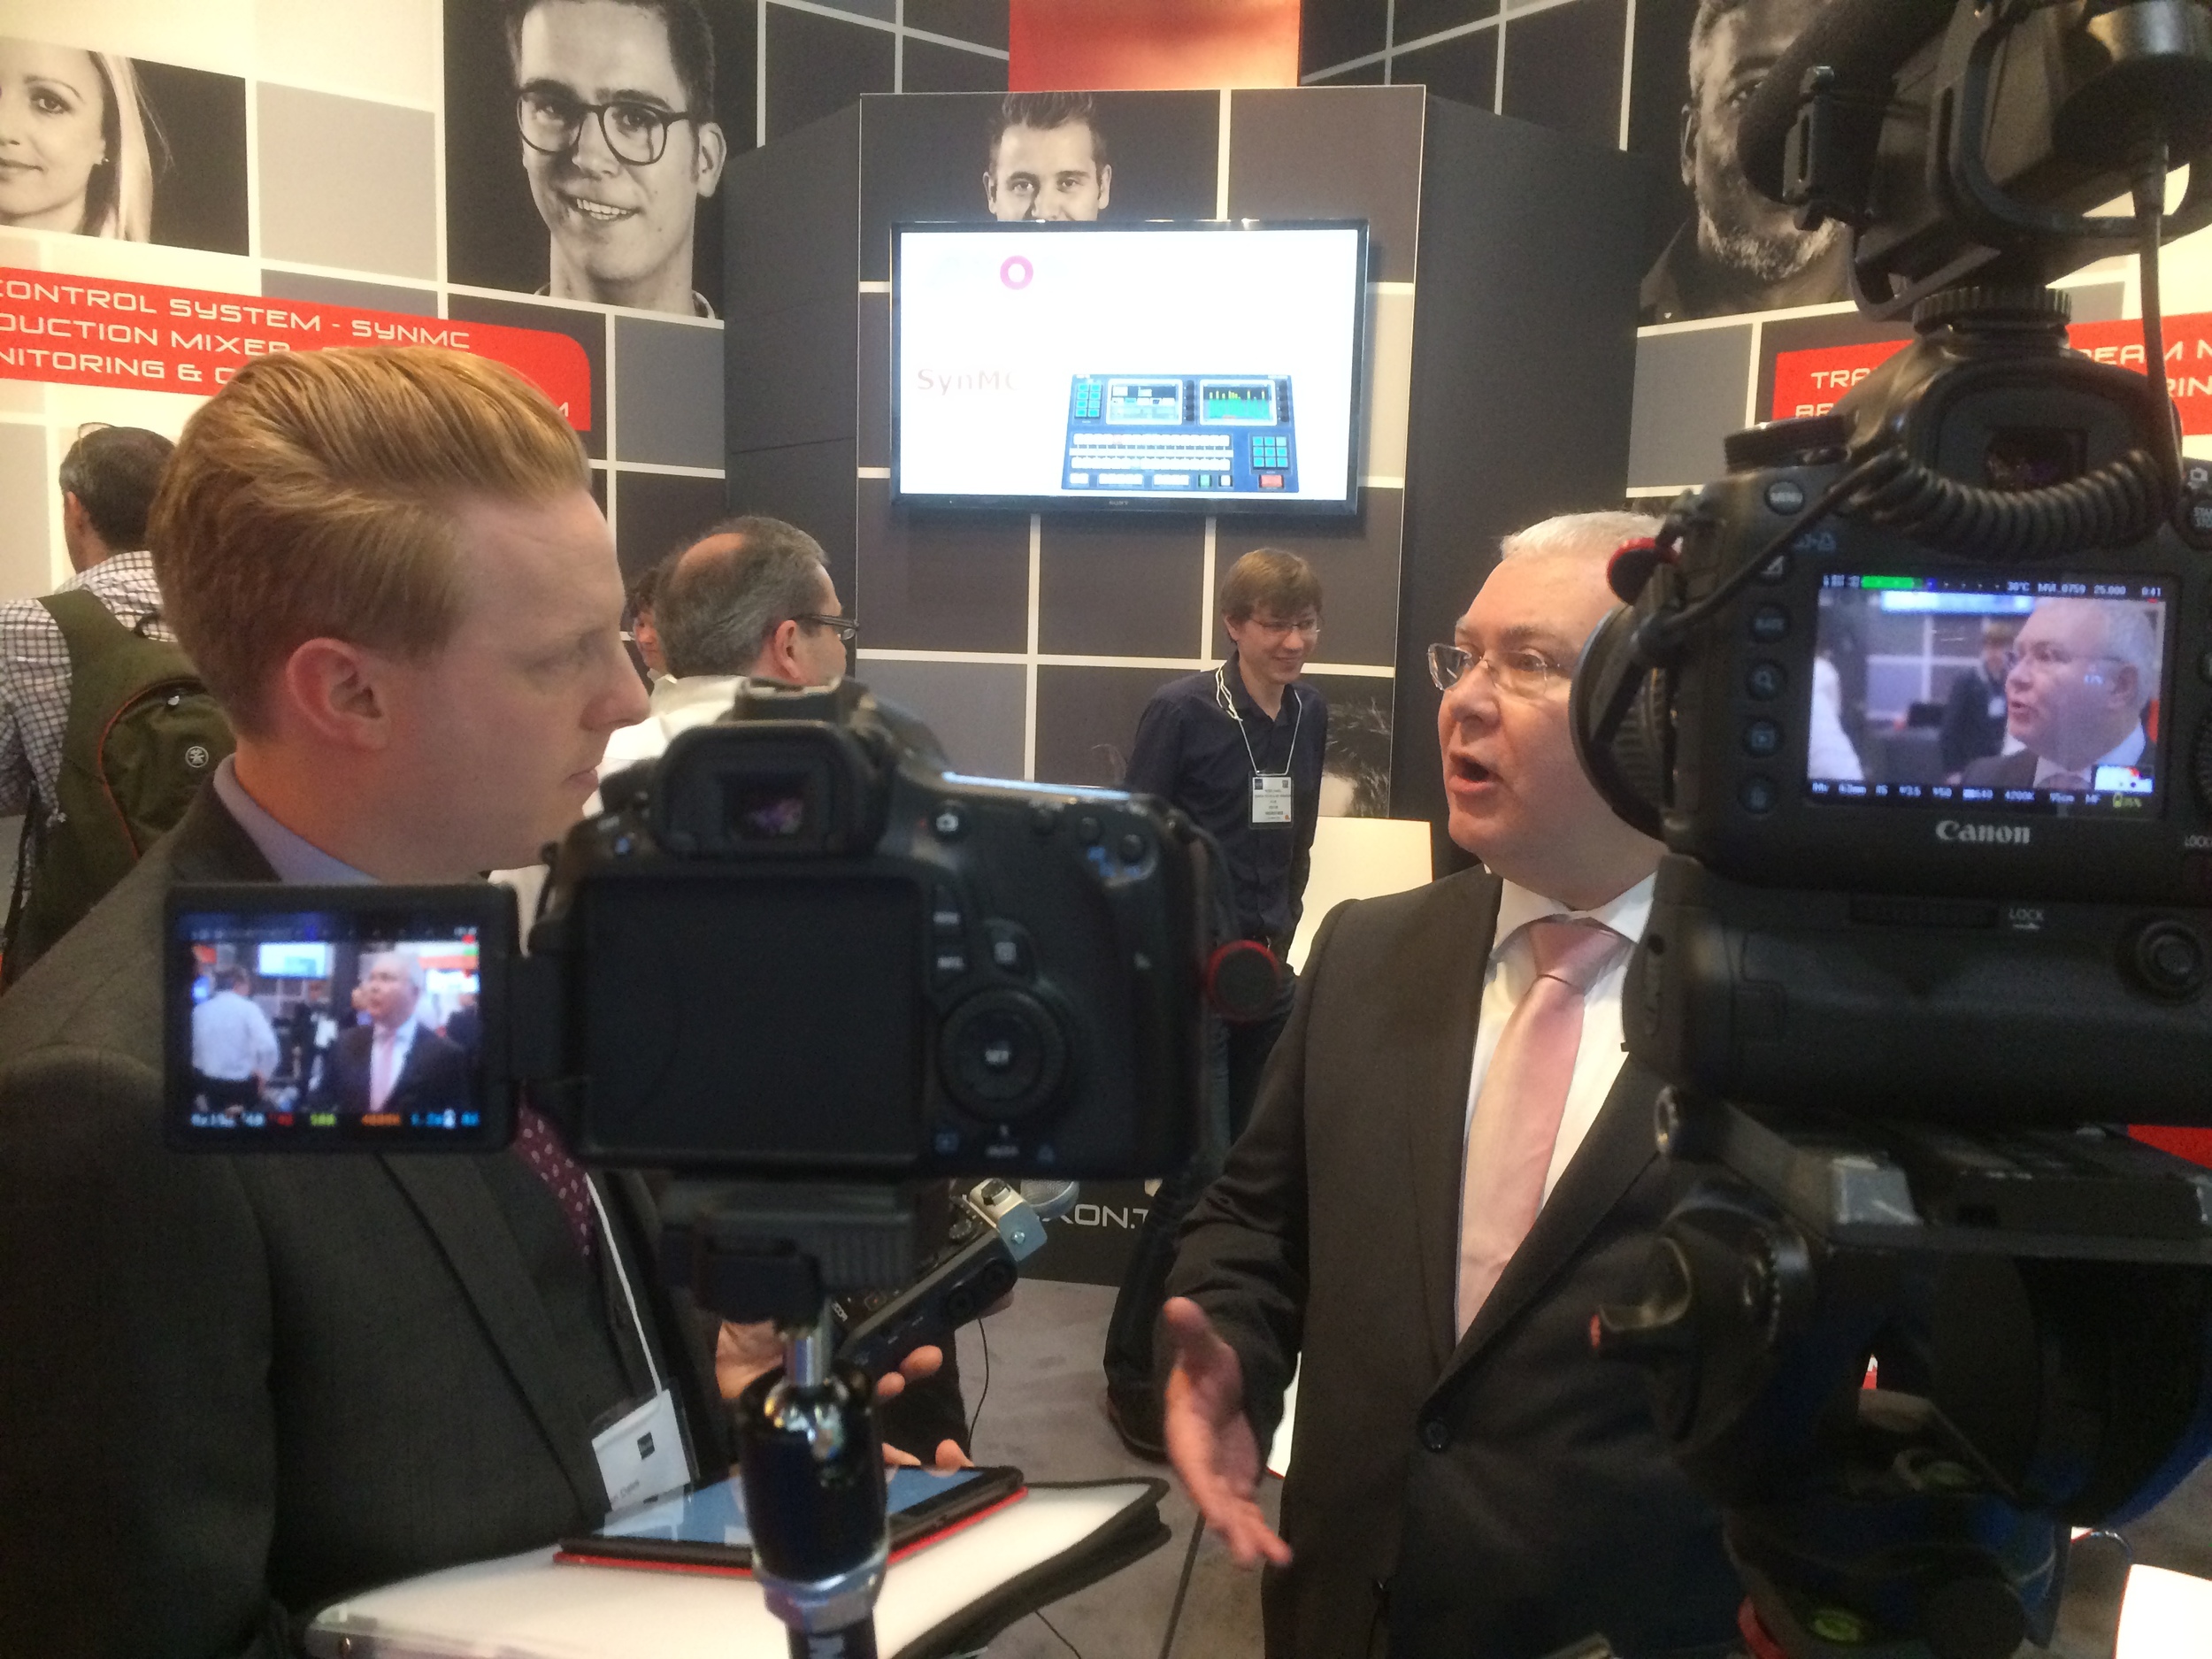
Andycine A6 4K monitor interview setup with the Sennheiser AVX.
Built-In Features
The A6 is feature-full, well, the tools that you would expect in a field monitor including;
Focus assist
False colour
Histogram
Over exposure (zebras)
Markers
Frame guides (2.35:1, 1.85:1, 16:9, 15:9, 14:9, 13:9, 4:3)
Anamorphic mode (letterboxes the image)
Audio levels display
There are four function buttons that can be preset to any of the features for quick access.
Usability

Andycine A6 4K monitor with the Sony NPF-750 battery and Sennheiser AVX.
From initial use, I was pleasantly surprised at the battery life. I use the NPF-750 (Sony/SWIT) type batteries with the monitor brightness at 50%. After four hours, the battery life was at 40%, so I’m confident you could get a whole days shooting out of a couple, if not one large NPF battery.
The colour reproduction was accurate for use with the Sony a7SII on this setup, but I would certainly look for a higher quality monitor if shooting in HDR, HLG or with a 10-bit O/P camera.
I did notice two downsides; the position of the HMDI port on the left side isn't convenient if you would like to use additional hot shoe mountable accessories on a cage. Of course there is the option to mount the monitor on the left of a cage and use the built in cold shoe to mount additional accessories like a microphone.
The other downside is that there are no LUT overlays or previews, which would make shooting in Log profiles a bit tricky. For a 4K monitor that is under £200.00, there has to be a shortfall somewhere, but this would be an ideal feature to include in future models.
However, the colour rendition, brightness, build quality, features and of course the price make up for that.
Andycine A6 Accessories
In the box, the A6 monitor comes with a mini HDMI cable, sunshade and bracket arm. If you're hoping to power your camera via the DC output, remember to purchase this accessory separately as it doesn't come with the monitor.
Final Thoughts

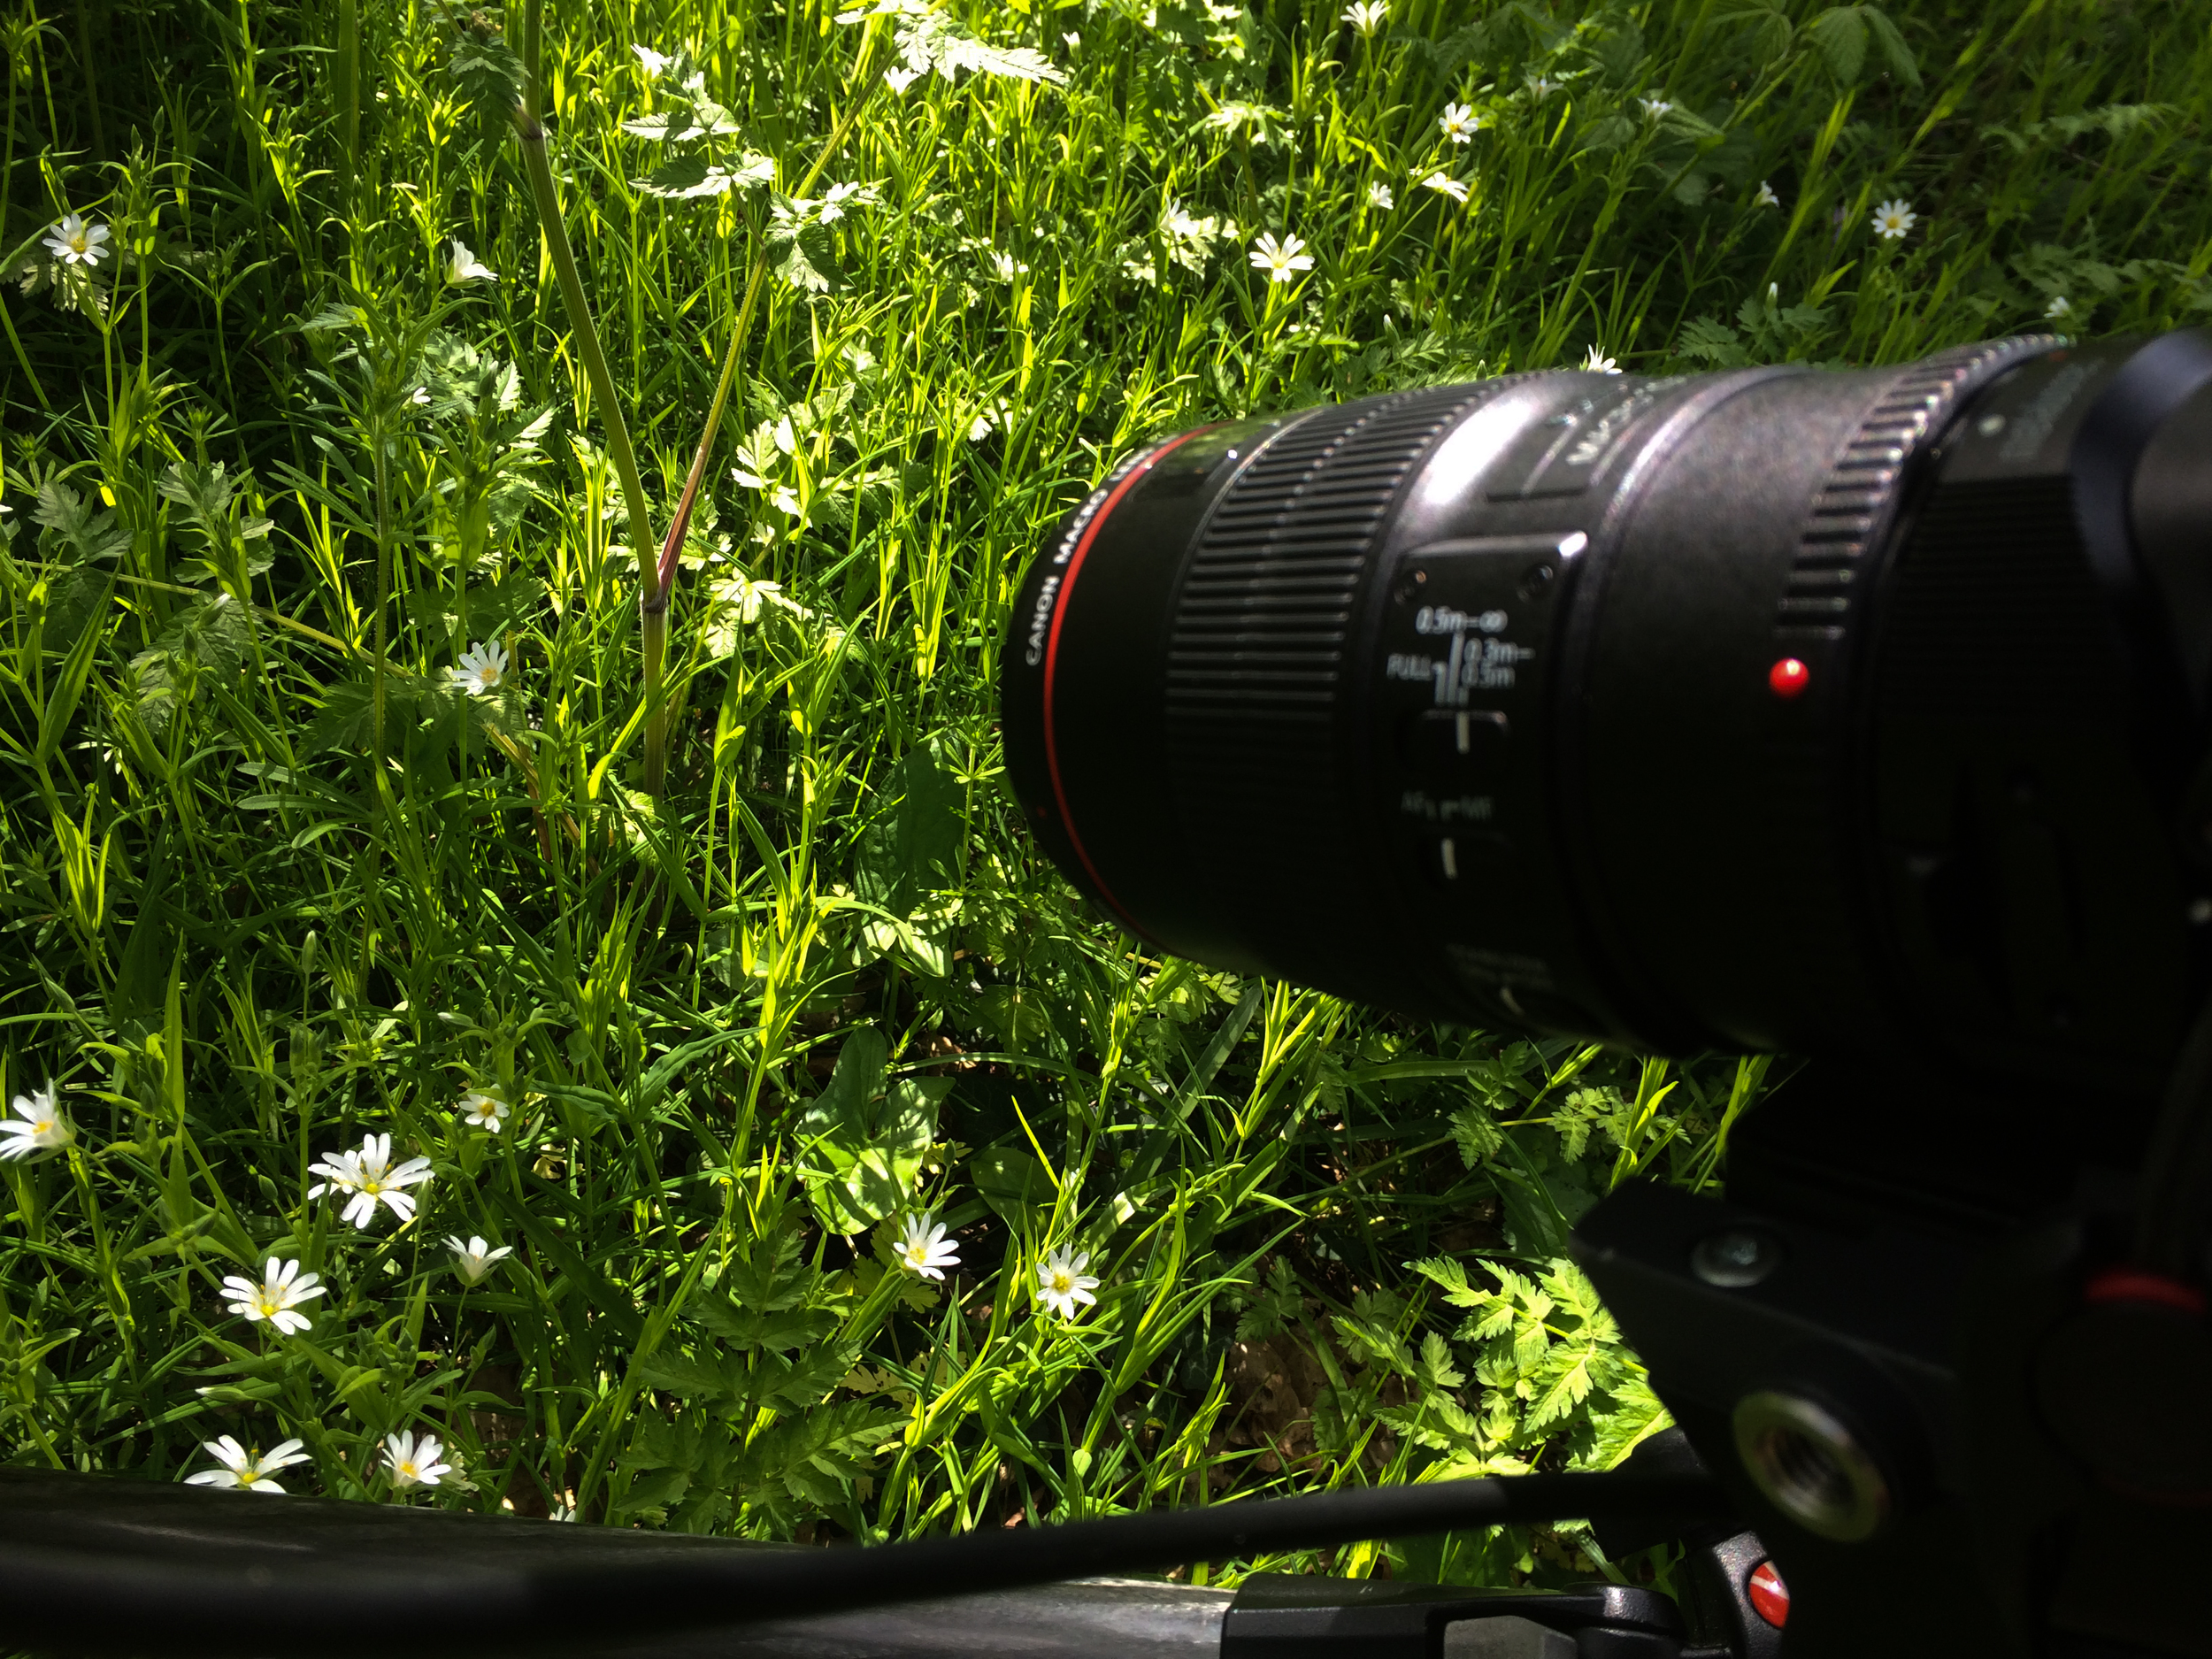
Sony a7SII 4K camera rig setup.
If I needed a small monitor and was on a budget, the Andycine A6 4K monitor is a great choice. It is easily rigged into a camera setup and performs as you would hope and expect. The battery life is a winning feature for me, but if you’re looking for LUT overlays, head for the smallHD Focus or Swit S-1053F. The monitor is light, and with a small NPF battery would be a great combination with a gimbal like the Zhiyun Crane 2.
Want to get your hands on the Andycine A6 4K monitor, follow the link to Amazon here.


![axiom-modules-06[1]](http://ajp1991.files.wordpress.com/2014/09/axiom-modules-061.jpg)