landscape

Ranmore Common in Spring (Surrey Hills Photography)

A couple of photos from a walk around Ranmore Common (near Dorking) in Surrey on the A7S. I'm no photographer so it is interesting getting used to the features and workings of the camera, in comparison to the 5D mark III which I've been using for a few years. I also shot some slow mo (50p) video in camera at 1080 so I'm sure I'll do something with it at some point!

By the way, if you can get out to a wooded area, please do as the bluebells are looking fantastic right now, and won't be around for long!!

I used the Metabones EF-E mk IV and Tamron 24-70mm F/2.8, but as most of the shots were landscape and with the super wonderfully large sensor of the A7S I shot between F/5.6 and F/14 while keeping the ISO low.

I never usually rely on Auto White Balance, setting a custom colour temperature for the lighting and subjects, so it was interesting to see that the camera shifts slightly to the cooler side in the shadows (presuming a darker scene perhaps) even if the natural sunlight is bright and warm. Please correct me if I'm doing something wrong here!

Productive first month of 2015!

As it reads above, I have been very busy recently with pre-production for a number of up coming projects, one of which is with Screen Subtitling Systems!

Screen is creating new branding for sales and online, and to go with that I've been set the task of producing a number of animations for them. I've done plenty of research into Screen, and have a great relationship with the marketing team, which means we have very good communication.

Tip No.1: build relationships from the outset of meeting someone.

Since our last meeting, I've developed a number of mood boards and narrative/VO ideas of the script/dialogue and a storyboard to go with it to represent the animations on screen. After drawing a number of ideas and storyboards I managed to narrow down the content for the first animation, and the graphics as well. I've then worked this into an After Effects storyboard with still images for preparation for a presentation.

Screen animation mind map

Tp No.2: preparation and planning what you are going to do, for when, any why is really important. In terms of the animations I'm working with, that means producing mood boards, storyboards, sketches and basic designs, building into digital mock ups. These can then be used as elements in the animations!

I've also been out with Glen, we had a walk around Leith Hill a couple of weekends ago, I took the 24-70 and 100mm L on the 5D mk III. The hill was so high up that we were in cloud, combined with a constant beautiful golden hour made for beautiful photos. Glen took his film camera with him, and captured some gorgeous shots. Here's some of mine..

I'm still working on the videography business/investment post, it is a long one as you can imagine but it will be coming soon. I'll be going the the CVP Sony A7S event featuring Philip Bloom on the 11th which will be a great contributor to my knowledge. As well as narrowing down potential kit choices for this years video productions, I may be able to get some info from the CVP team about my potential kit choices and finance options.

UPDATE (06/02/2015) Canon have now officially announced two new 5D model DSLR’s with a 50MP count, with a photography focus rather than video. This reinforces industry voices that Canon are pushing video pro’s up to their high end cinema cameras.. Sony for me I think!
— http://www.newsshooter.com/2015/02/06/canon-launch-5ds-and-5ds-r-video-features-take-back-seat-to-high-res-stills/

Tip No.3: Never stop learning. Get yourself to BVE for FREE from the 24th-26th Feb for seminars on 4K, editing, lighting, broadcast and the great expo!

Lastly, back in the beginning of January I was out filming Sarah and Matt's wedding. I started with the preparations while Glen was at the venue capturing some shots of the location, Matt and the guests arriving. I had the Pro Media Gear Dual-arc slider on Manfrotto 055 Pro-B legs, with a range of lenses for shooting in potential low light (not knowing what the day or location might turn out like later on, and if the weather changes..)

Chosen equipment for filming a funky wedding - Canon 5D plus a range of fast zooms and primes. Not to forget audio!

Chosen equipment for filming a funky wedding - Canon 5D plus a range of fast zooms and primes. Not to forget audio!

I captured some of the days footage in 50fps slow mo, when the light was available for a little bit of luxury with moving shots. When in video mode on the 5D mk III the 50fps mode is only available in 720p, not 1080p. This does make the footage softer, but I've found using the Red Giant 'Instant 4K' plug-in works well to upscale the clips to 1080, and sharpen them a little.

Sarah and Matt

Throughout the day I switched mainly between the Tamron 24-70 and Canon 100mm L for wide/standard framing and then more detail/close ups. I've found this works well as there is no 24-135 F/2.8.. If you are working with a Canon 60D, or an APS-C camera you get a lovely look when using an 85mm or 100mm (as the focal length is multiplied), with a pretty bokeh as well. For cool-perspective ultra wide angle, the Samyang 14mm T/3.1 works a treat, for skate videos and music videos where you want to warp reality a little!

There will be more on the wedding film production in an up coming Manfrotto Ambassador blog!

Tip No.4: tell a story through your video/film, narrative-speaking there is a beginning, middle and end set around key events. It may sound like redundant advice, but many videos I watch fail to build the narrative or story through the visuals. It provides an immersive experience for your viewers, getting them involved with what you've produced.

*Now following up a few days later, the meeting with Screen went very well, I traveled up to their Suffolk HQ, a beautiful old building in the country. Myself, the marketing dept and business development were present as I showed my basic concepts and ideas, and we discussed further the ideas and terminology.

Tip No.5: if you're working with clients in a different industry to yours, do your best to learn as much as you can about their business, products, services, strategies, and what their clients want.

This has been fantastic progress for the end of January, which is usually a slow month for productions. With the wedding film almost complete, and the design beginning for the Screen Systems project I am confident it's the beginning to a great year. Not to mention the potential of IABM event coverage too! I'm due to visit the IABM team next week to talk further about this years videography.

After the CVP event with PB I'm sure to have worked to some conclusion for the video business investment post, but it may have to wait until BVE.. We shall see!

Some macro photography going on in the background, little herbs going!

Some macro photography going on in the background, little herbs going!

From a quick walk in the morning.. Kids in Epsom and Ewell leaving their childhood behind!

From a quick walk in the morning.. Kids in Epsom and Ewell leaving their childhood behind!

Keep an eye out for my new Manfrotto Ambassador blog about filming weddings with Manfrotto gear, and I'm going up to London tonight for some night photography so I'll share the results with you later!

Winter walk, Friday Street & Abinger

Shot at Friday Street and around Abinger Common on the Canon 5D mk III, Tamron 24-70 and Canon 100mm L, with Glen.

Seasons Are Changing

Here it is! A collaboration between Tristan Noon (composer) and myself, expressing the transition into Autumn. Filmed at NT Winkworth Arboretum and the North Downs Way (Ranmore Common), and composed with the talent of both Tristan and a clarinetist, we wished to coney the continual and dramatic cycle of the seasons through both the visuals and sound.

I approached Tristan to work collaboratively on this project, and he was happy to work with me, and what an experience it has been! I can extremely commend Tristan on his musical talent in both playing immersing melodies on piano and composing scores. Please check out his portfolio of work here :www.soundcould.com/tristannoon

Filming on the North Downs Way

Surrey North Downs Way, Adam Plowden Videography

Surrey North Downs Way, Adam Plowden Videography

I've been waiting for a clear skied afternoon to film some autumn material for another personal project. Heading for the open North Downs Way, accompanied by the 5D mkIII, Tamron 24-70, Sigma 70-200, Samyang 14mm, Canon 100mm, Manfrotto 055 tripods and 701 head on the Pro Media Gear Dual-arc slider.

The video is to come very soon, I want to go out and shoot some more in the early morning!

What a WILD weekend!

It's been another busy one! Firstly, let me welcome all of the new followers to my blog! Thanks very much for liking previous posts and I hope you enjoy the future content and bits I post up here :)

Time is drawing closer to the Manfrotto Takeover at Park Cameras in London, I am preparing my seminar these next coming weeks so it would be great to answer any questions you may have about equipment, videography and post production; please get sending them through, and I look forward to seeing you on the 30th but remember to register!

Manfrotto Takeover!

Manfrotto Takeover

Here are some videos I've checked out this week for some inspiration;

The style of this animation is 2D yet very much 3D in its shading and motion.

Incredible BTS showing how OKGO made their viral one shot music video.

This hilarious video is definitely up there to watch, both on the comedy and the shooting.

The wild weekend began with a trip to Norbury Park near Leatherhead. I'm usually one to take my camera everywhere, but I vowed against it this weekend as I (strangely speaking) wanted to get to know my iPhone camera better!

Out Geocaching with Glen, we got a number of caches along the River Mole and up towards Great Bookham. I really recommend trips like this, especially if you are stuck behind a computer for long hours.. Getting out and walking has proven to boost creativity and the imagination! So, armed with my iPhone I snapped away using the camera app, it is a challenge to get the exposure you're after with this basic camera!

Panoramic Box Hill Mickleham Surrey iphone photography
country silhouette iphone photography
daisies and sunset bookham silhouette walking iphone photography

On Saturday I headed up to Nether Winchendon House with Rob to film the wedding of Lorna and Lauri. The grounds of the house were stunning, a long, treed driveway leading up to three arches. Rob captured some great aerial footage on the drone and I shot from the ground.

back of nether winchendon house oxford bicester stunning wedding venue filming iphone
driveway leading to nether winchendon house wedding filming iphone oxford bicester
beautiful long driveway leading to nether winchendon house wedding filming

I used the Manfrotto 755 Aluminium tripod and the Edelkrone Slider+ v2, accompanied by the Samyang Cine primes and Tamron 24-70 on the Canon 5D mkII.

The flowers were beautiful;

peonies lavendar and mint bride bridal flower floral bouquet wedding film
peonies lavendar and mint bride bridal flower floral bouquet wedding filming

The rain was not.. But didn't put a dampener on the day! Despite the rain, Lorna made it to the church for a beautiful ceremony in the village. They lead the wedding party on foot back through the country lane to Nether Winchendon House for the rest of the day! Set in a stunning location, every detail had been considered from unique signposts to bean bags and a life size Stig. The intricacy of flowers in jars, photographs and bouquets hanging from a ladder in the barn, stunning to see and wonderful to film too.

Nether Winchendon House barn wedding reception breakfast room panoramic flowers table decorations wedding filming

It was a dream wedding on the filming side, and I'm sure there will be a highlights video very soon of the day!

On Sunday, after getting back quite late from the wedding I headed out to Friday Street (in between Dorking, Guildford and Horsham) for the day with Glen. We are quite lucky living here, in the way that forests and rural life is only a short distance away, and I like to make the most of it! We were out Geocaching and playing with Glens new remote control helicopter, which then instantly made me want a drone.. I guess a £1000 spend for the drone, gimball and GoPro equates to a £20 hand sized RC Heli, right?

foxglove wooded path friday street geocaching walk iphone photography
lake near friday street geocaching walk iphone photography
silver berch glade friday street iphone photography

Monday rolled around pretty quickly, and I was having withdrawal symptoms from not filming or photographing anything when I was out on Friday and Saturday.. So come Monday afternoon I was back at Friday Street getting some filming done of the lush green forest that surrounded me! I used the Manfrotto 755CX tripod, Sigma 70-200 F/2.8 OS, Rotolight Roto-mic and a few more lenses.

friday street nature landscape forest woodland photography
canon dslr video filming sigma 70-200 rotomic manfrotto tripod

This week I'm working on the Soundbox studios opening video that I shot a few weeks ago, it will be edited to their flagship artists new single by Rebecca James. It's going well, going for the black and white look as it works well with the dark studio atmosphere that they had going on :)

It was shot on the 5D mkIII with Samyang cine lenses, Flycam and the Edelkrone slider+ v2.

Soundbox music recording studio opening day video filming highlights

Remember, send over your video questions to get featured in my Manfrotto seminar, and share your work with me too!

Change of discipline today; photographer!

Madeleine pink table centre piece flowers Madeleine Pink table centre piece at Epsom RAC (Canon 5D mkIII, Samyang 14mm @T/3.1, 1/60's, ISO 1600). I am not a yes man. I will never say yes to doing something I haven't had experience in, as it can just cause anger, frustration and disappointment from both myself and the client, especially if I don't deliver what is expected.

Photography for me is one of those disciplines. Personally I am not a photographer, I don't have an education or background in still photography apart from graphics and VFX, so I go against one of my own rules here purely because of the following reasons, that may be applicable to you too!

1) I learned videography and production on broadcast video cameras, transitioning to DSLR through the wedding film job I do; I was heavily trained and now 3 years on my 5D mkIII is my port of call. Many will be in the same position as me here and will follow the exposure triangle (aperture, shutter speed, ISO).

2) While at university, and still now I study cinematic and storytelling techniques (it wasn't included in my Television and Video Technology BSc. course). Whether it be moving the camera or with a static shot, the composition of storytelling is a present and constant thought in my work.

3) I have prepared myself heavily with the correct equipment and research to use; high speed lenses, a range of lights to compose the image, building mood boards and finding out the clients requirements (as well as any inspiration they have that will add).

4) My client is very happy with what I produce, and if they weren't they wouldn't ask me to work with them again.

Note: I never advertise myself as a photographer.

That makes me confident to go out and take some photos of flowers for a florist, which I am doing today!

Madeleine pink table centre piece flowers Madeleine Pink table centre piece at Epsom RAC (Canon 5D mkIII, Tamron 24-70mm @F/3.2, 1/50's, ISO 3200).

Transferring the skills from DSLR videography to photography have been easier for me, probably because I always shoot in manual, I love taking my camera out with me wherever I go, and the storytelling techniques of composing images are still present in photos like they are in video.

If however you find it a little more difficult, consult the exposure triangle, and keep a couple of things in mind;

Aperture - Wide open allows lots of light to enter, shallow depth of field. A narrow aperture reduces the light making the image darker, and creating a deep depth of field. Using focus and blur is one of the main tools the director uses to concentrate the audiences attention onto specific details.

Shutter speed - Controls the motion due to how long the sensor is exposed to the light. A fast shutter captures fast motion with minimal blur (sports and outdoor), a slow shutter means the sensor is exposed for longer, allowing the subjects to move in the frame while it is open, creating blur.

ISO - Digital noise added to increase the image exposure. Low ISO results in low noise, crisp images but with no added exposure, where high ISO will increase your exposure but will introduce digital noise that is more visible in dark situations.

Other key points to remember: White Balance/Colour Temperature - make sure your whites are white and your blacks are black. This depends on what light you are using, daylight for example is 5600K, but Tungsten is 3200K.

Make sure your camera is set to capture RAW and JPEG images to allow for greater definition when editing the pictures afterwards!

Madeleine pink table centre piece flowers Madeleine Pink table centre piece at Epsom RAC (Canon 5D mkIII, Nikkor 50mm @F/1.8, 1/50's, ISO 1600).

It is worth a go if you are confident you can produce the images your potential client is looking for. Being a videographer not a photographer, I do not charge a standard fee to have me out for an hour and to post process the images later. This is for two reasons; I am a new business, and so is my client. Why out price your skills and make it a hard decision for your potential client to use you? Secondly, like I keep mentioning I am not a photographer and although I have rates and targets to meet financially, I see this more of getting out with the camera to be creative for an afternoon rather than a job.

Some points to consider if you are ever approached by someone who requires something different from your usual line of work! Do not forget to do your research though. Unfortunately I have had a number of experiences of photographers embarking on video without understanding the full production process, where I've been asked by their client to correct the mistakes.. So if you're a photographer doing video, again have confidence in that you will be able to produce exactly what is expected, and with the internet being the biggest learning and education network, there really is no excuse nowadays!


Spring in Surrey

I had a venture out of my workspace today, I'm quite lucky in where I live is surrounded by green. Just down the road there is Horton Country Park, further afield is Epsom Common and The Downs, where you have seen videos and photos from with Glen for Manfrotto. With sunshine beaming, I gathered by camera gear and took a walk into the wild.

Todays kit included the Canon 5DmkIII, Tamron 24-70 F/2.8 VC and Sigma 70-200 F/2.8 OS. I kept it simple for a change!

Here are a couple of photos from my walk, having the chance to take a RAW photo and a JPEG and then edit the CR2's in Photoshop makes me want RAW video so badly. You get lots more wiggle room, or latitude to work with in post processing to enhance the photos, please Magic Lantern help all of us 5DmkIII videographers out and get a stable RAW video release out soon!

[gallery columns="4" ids="4153,4154,4155,4156,4157,4158,4159,4160"]

How do you make a timelapse? Video Questions

Finally got round to this!! A time lapse is a method of photography and videography that captures sequential images from a static camera over a certain period of time, and then sped up in post production to create the illusion of time moving fast.

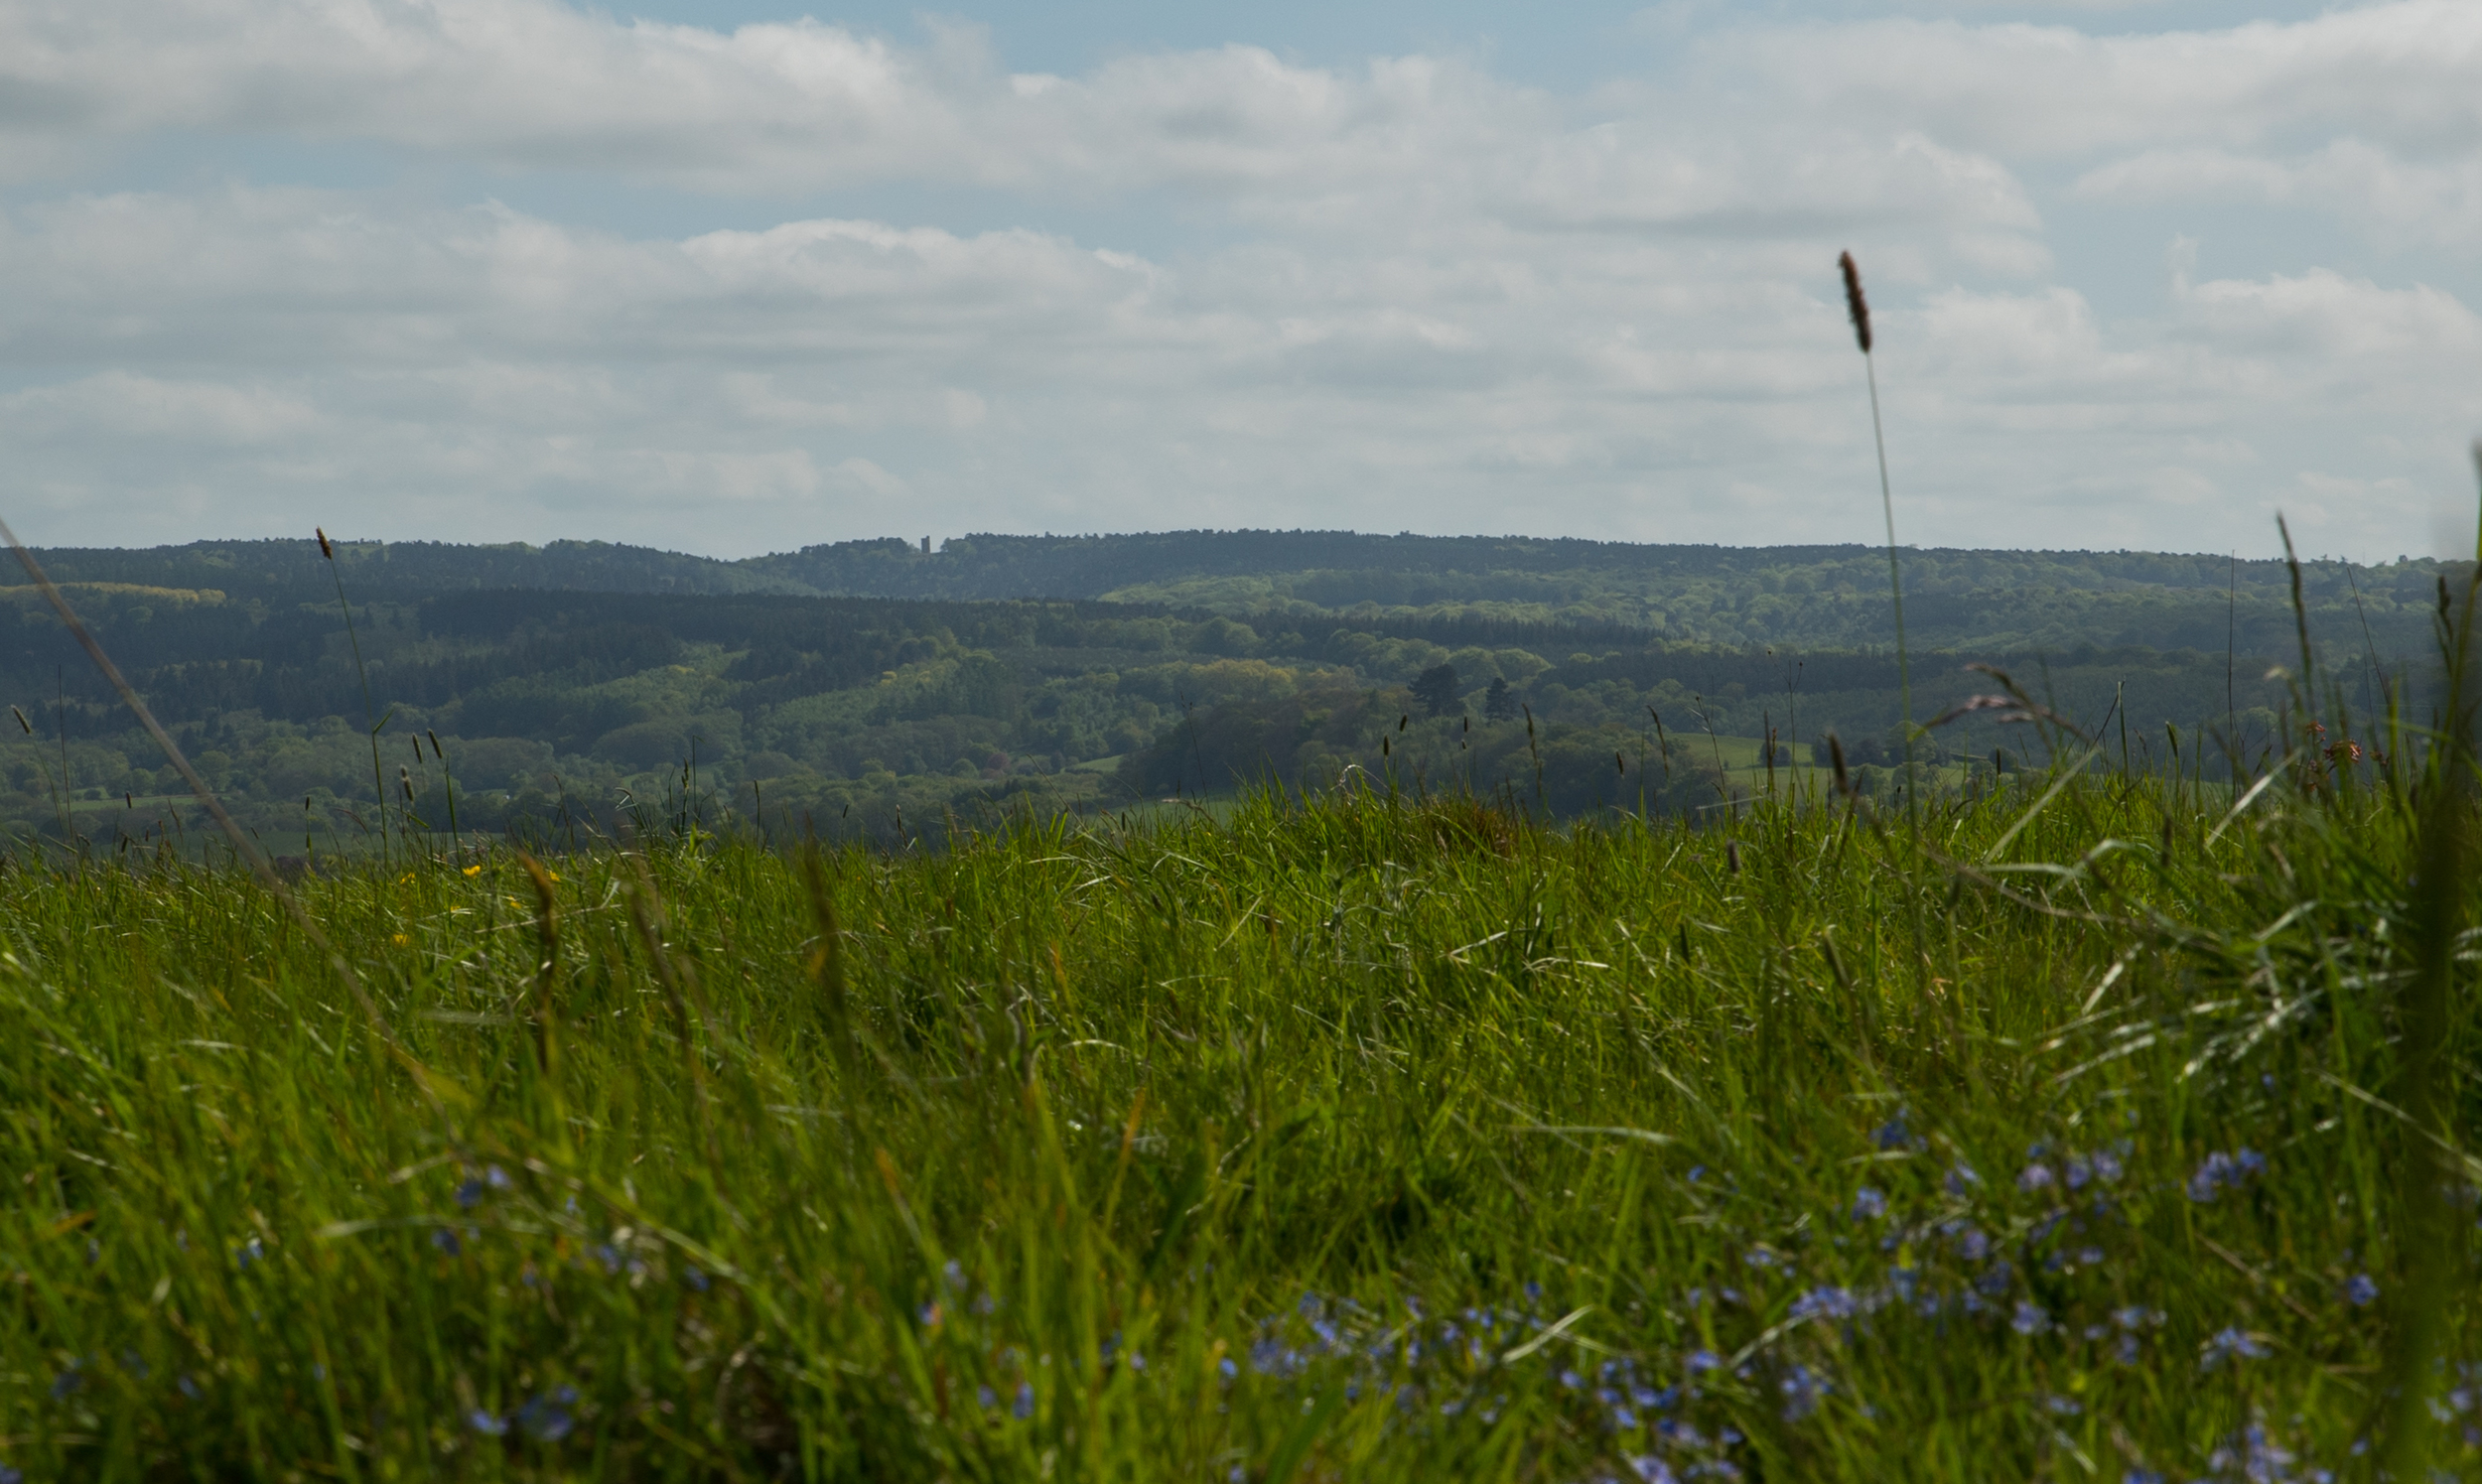
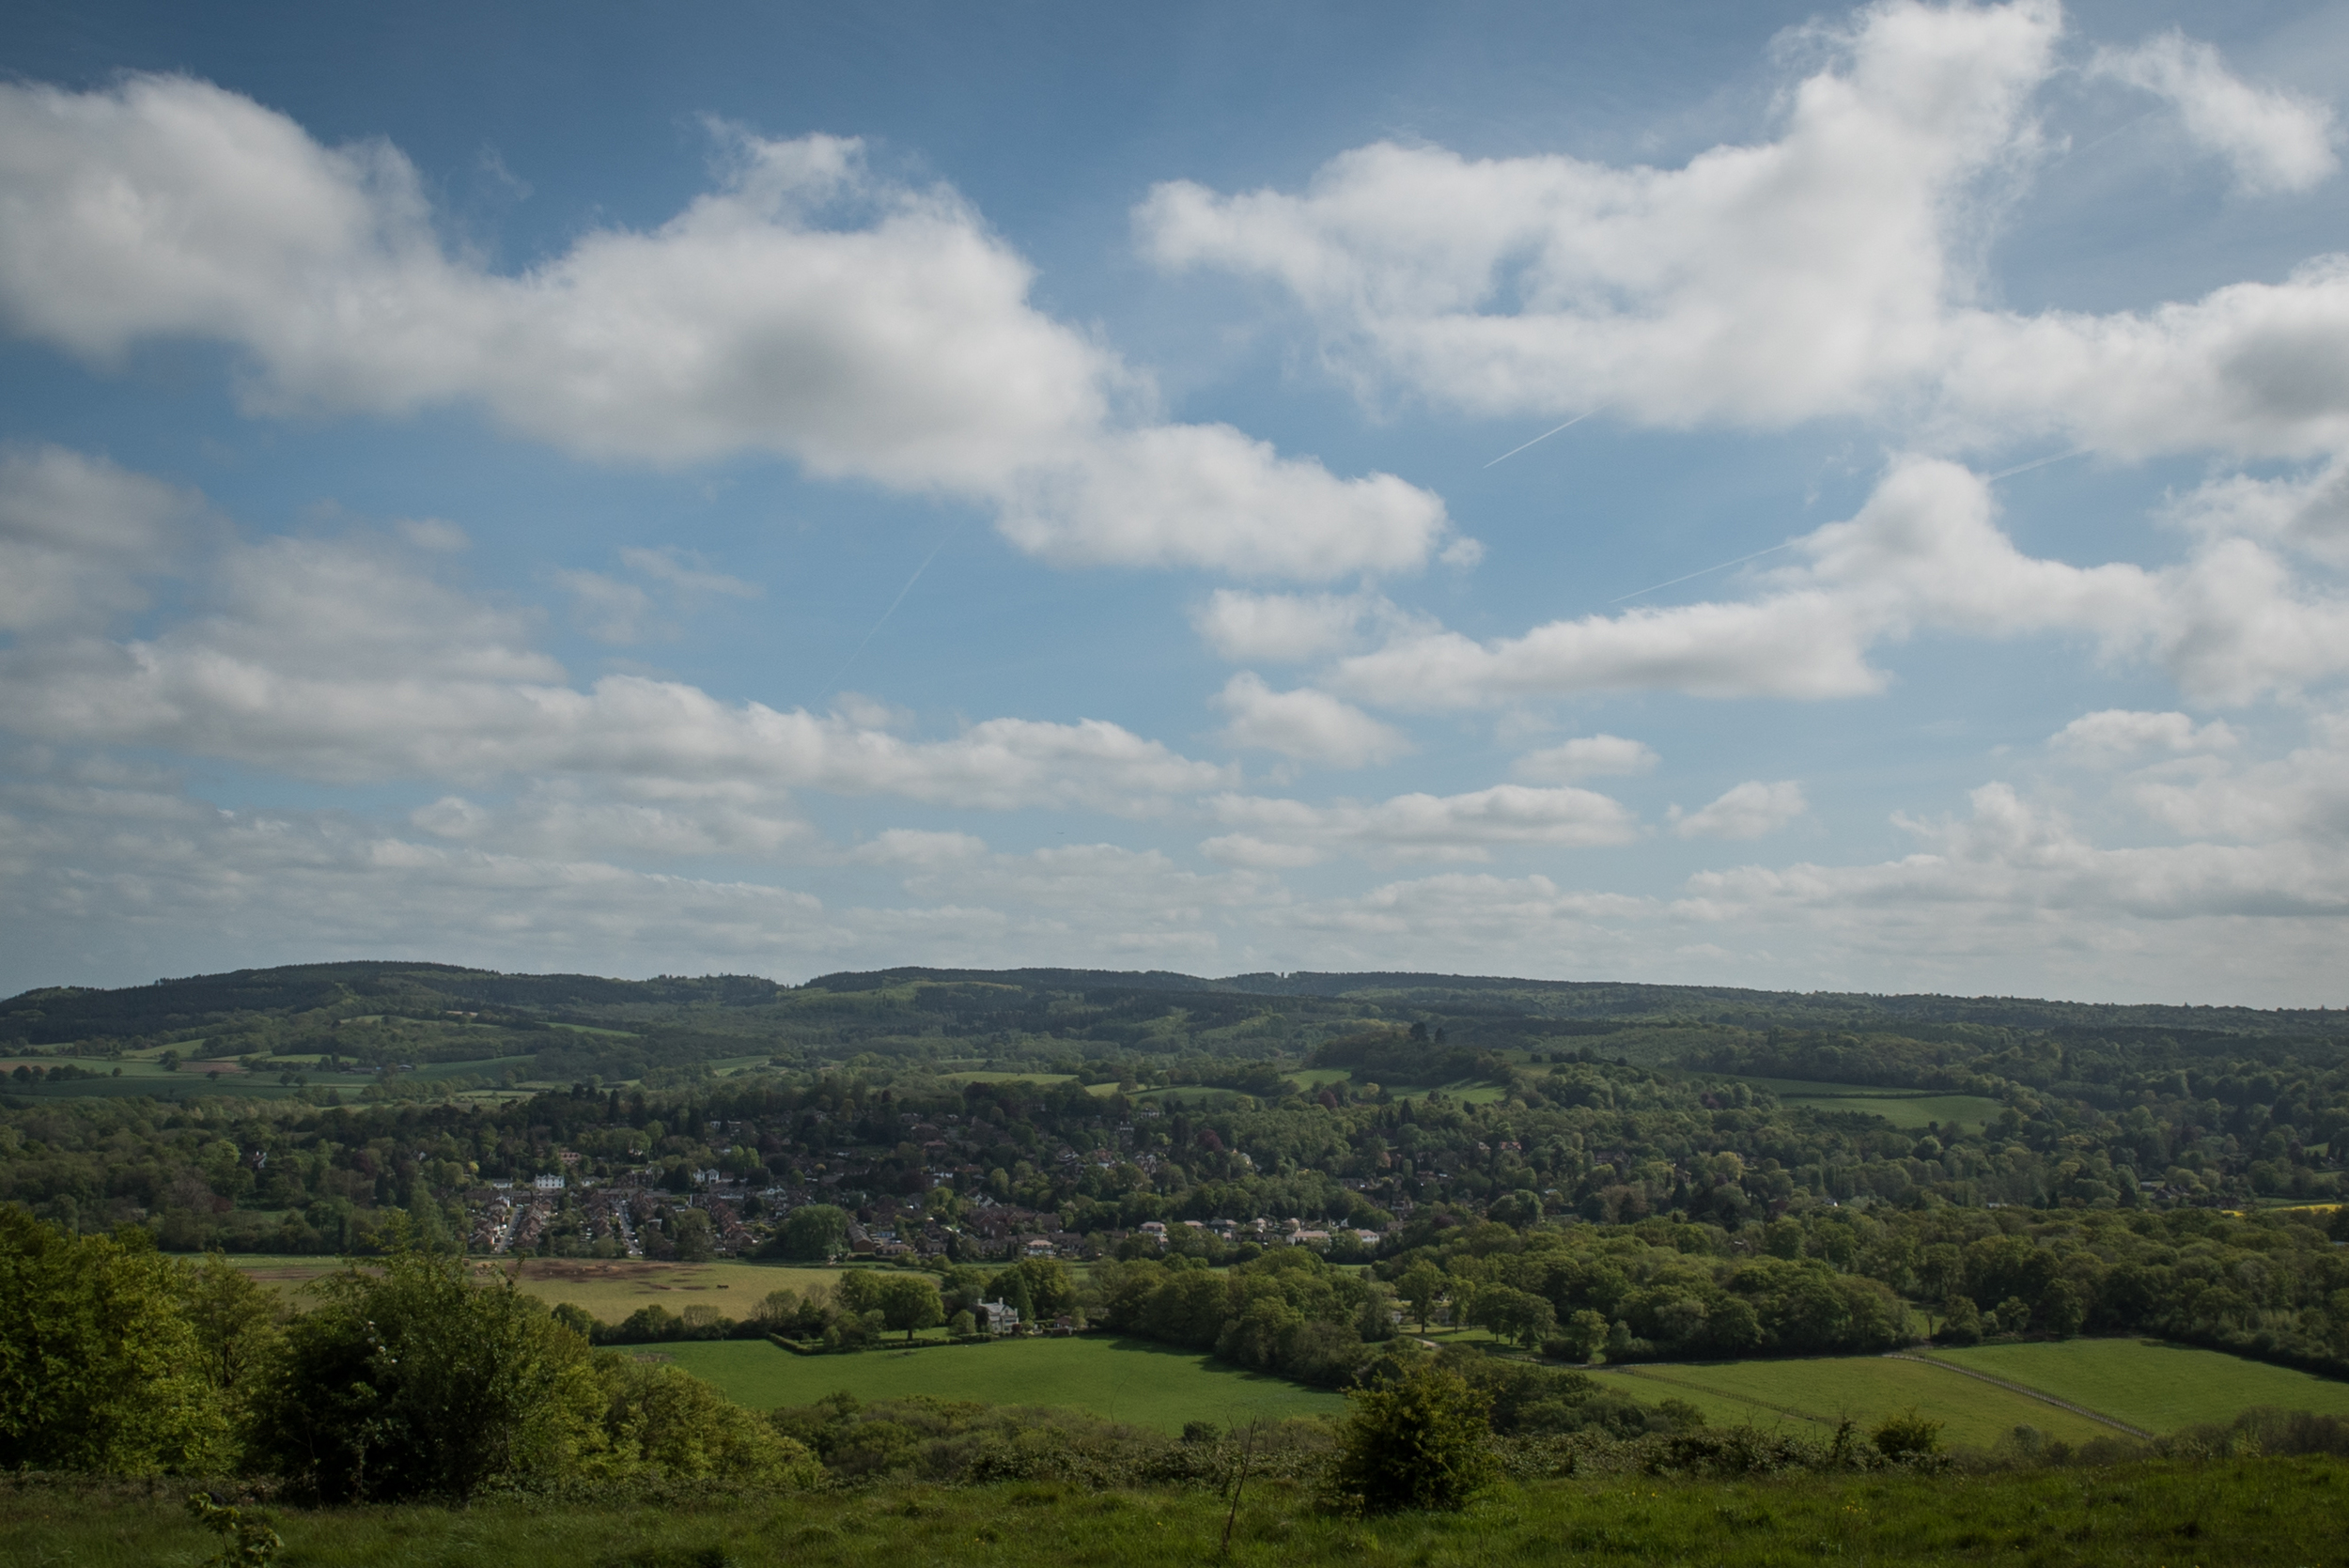
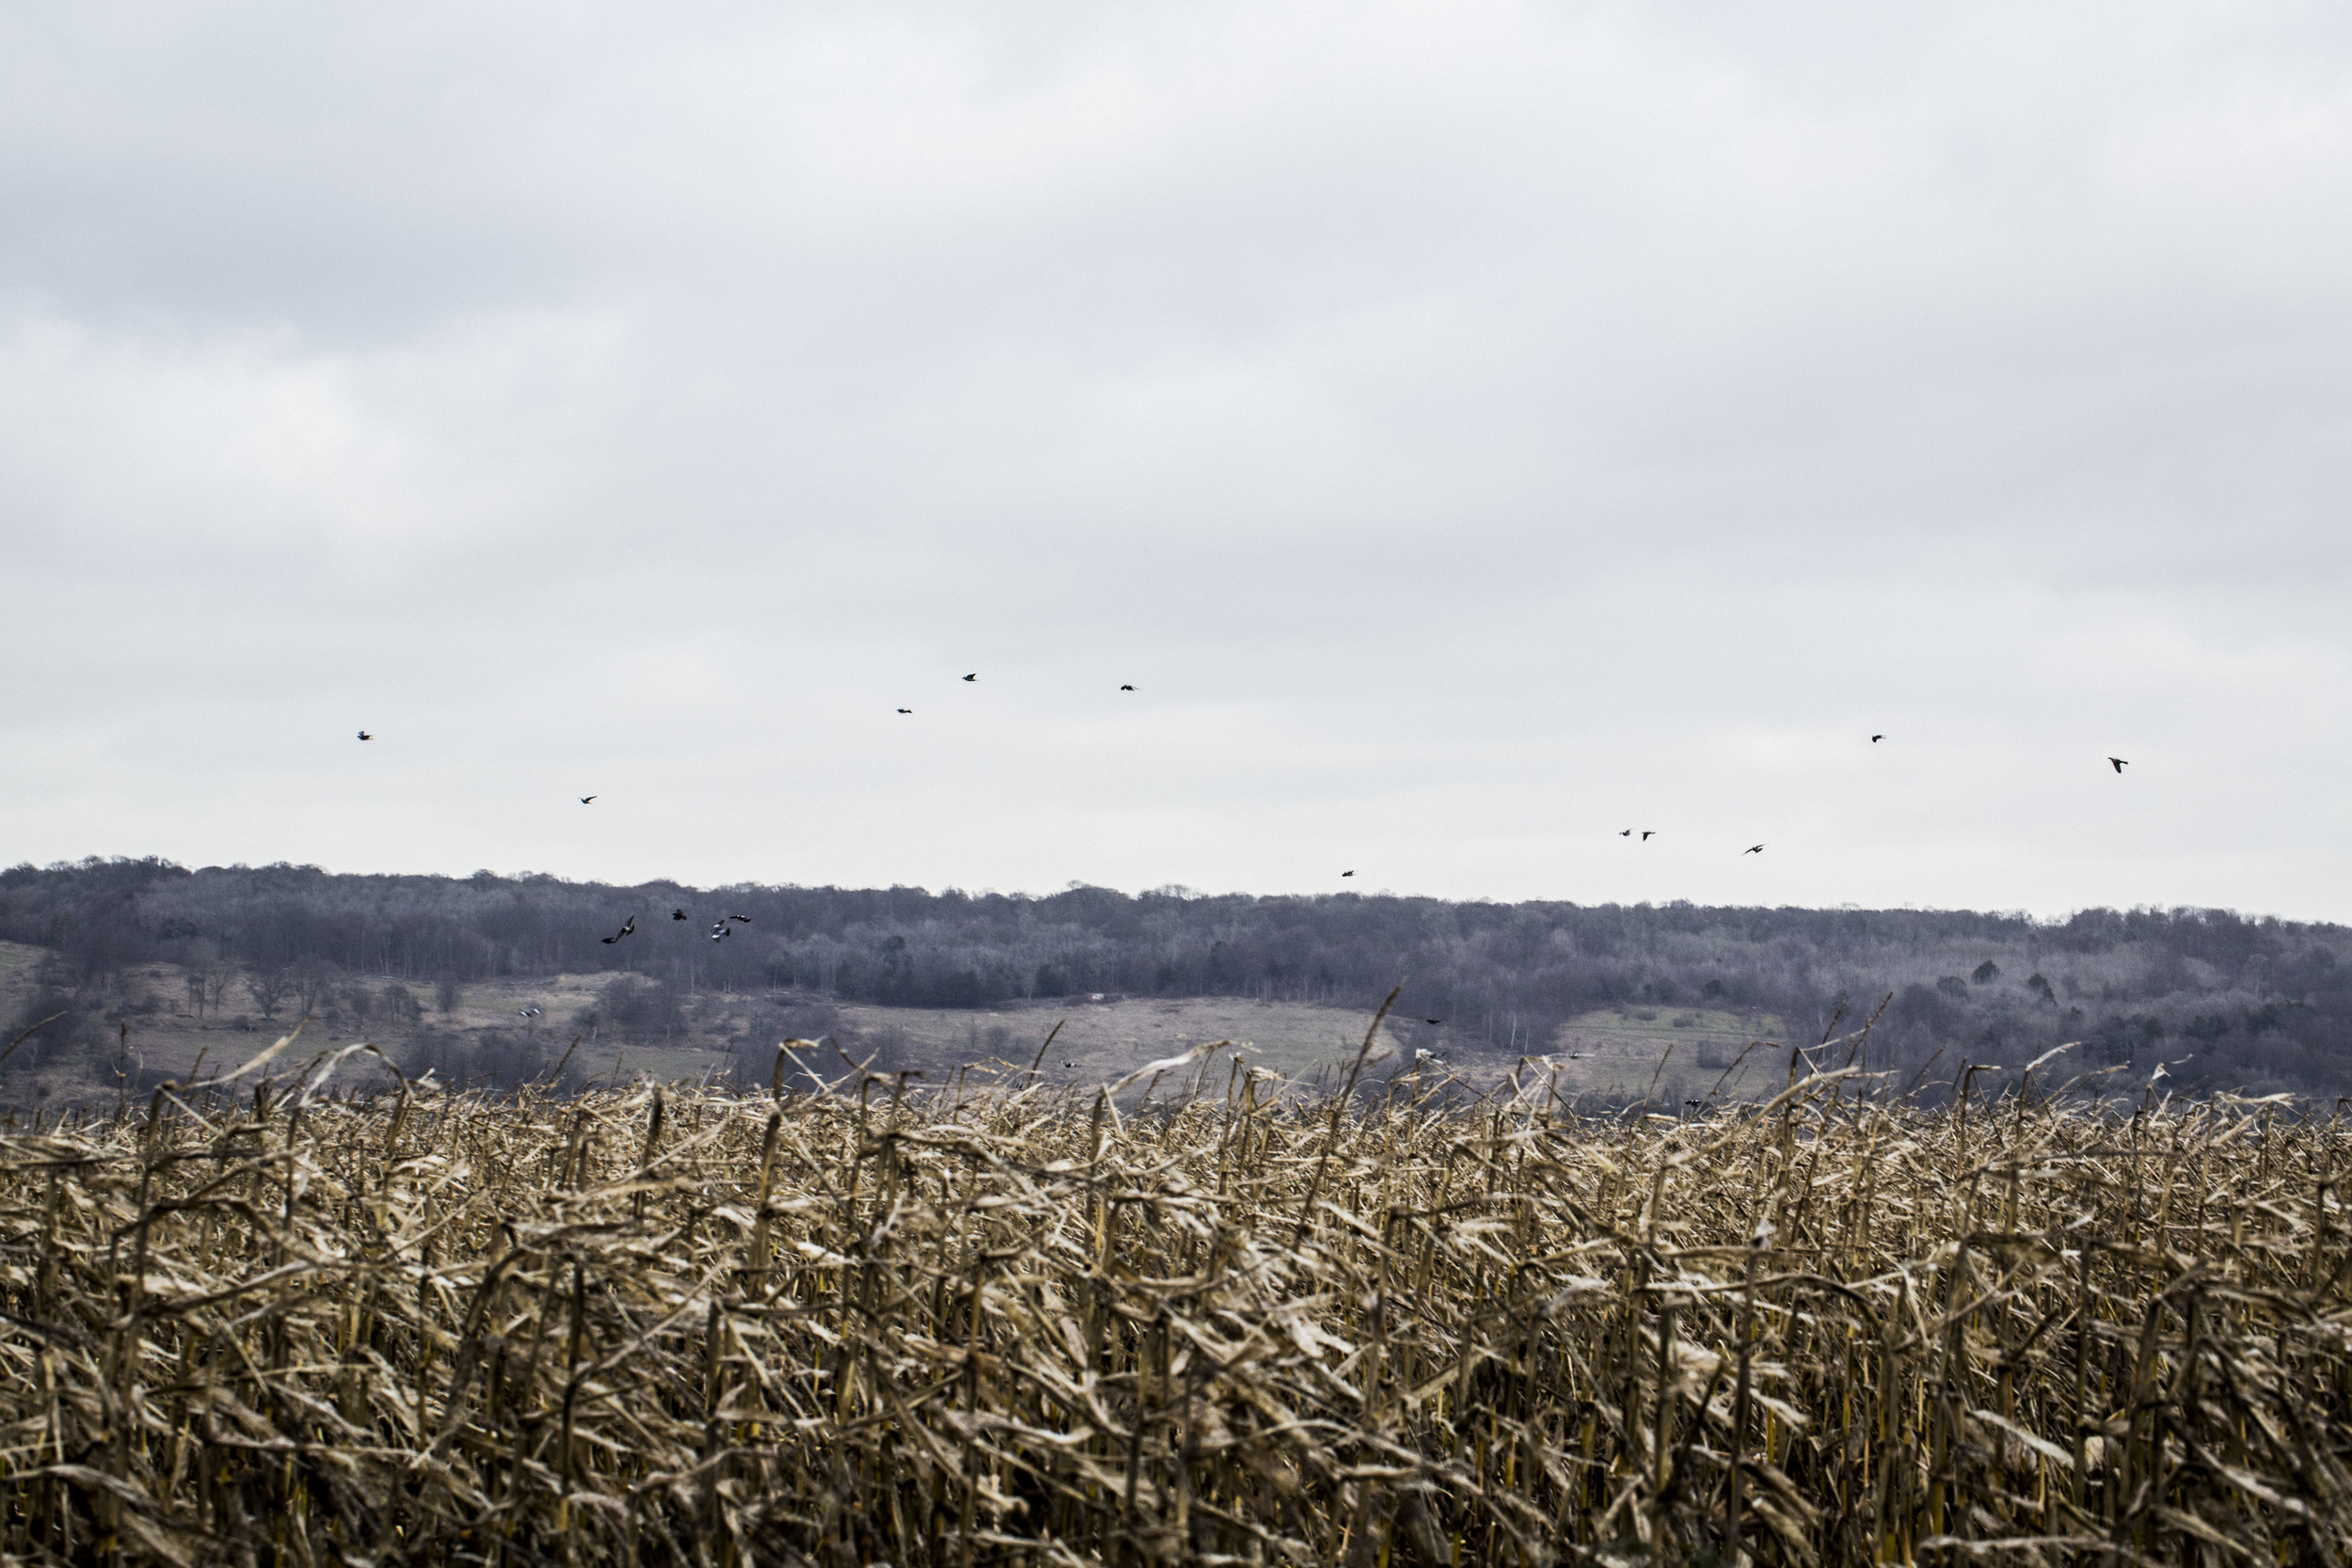
There are so many reasons why you'd want to use time lapses in your work; from establishing locations to capturing a long event like the northern lights or sunrises and sunsets. Time lapses create a visual spectacle in which time speeds up, you see nature at work and things you would normally miss or take for granted.

If you want to check out some awesome time lapse films, please watch Ron Fricke's Samsara which includes awe inspiring cinematography captured in 70mm film.

http://www.youtube.com/watch?v=P0xVp3N-M84

There are a couple of ways you can create a time lapse, dependent on the length of time you wish to capture, the changing exposure settings of the location, and the kit you have.

Cameras and Kit

I assume that most people interested in this post own a DSLR or video camera of some kind, as it is difficult to capture a time lapse otherwise. In all honesty, what model of camera you use won't make a big difference on the overall video. Whether it is a Canon 110D, 550D or 1D-C, Nikon D3200 or D90, Sony A-7 or Olympus OM-D EM1 your photos and video will look great. Just make sure you have your exposure and focus point set correctly. In regards to what lens you use, in general wide angle lenses give a better perspective of the environment; we've all seen GoPro videos, that is ultra wide, but you don't need a fish eye or specific lenses to do this. Usually the standard kit lens that comes with your camera has a wide angle, whether it be 11mm on MFT cameras or 16mm on full frame, keeping a wide field of view is key to achieving the perspective of a time lapse.

Lets start with time. The longer you wish to capture, the more memory and battery you will need so ensure you've got a fresh card and charged batteries, or even better a battery grip. Depending on what camera you are using you may also need an intervalometer; a device that plugs into the camera and releases the shutter for a pre-set duration at a pre-set interval.

Here's one made by Canon - Canon-Intervalometer1[1]

So, if you wanted to capture a sunset, you will be shooting for a couple of hours. This little device will release the shutter and take a picture for you, however you need to set the interval duration. The longer the interval, the greater the difference between each image as the objects in the frame move and change. For a sunrise or sunset, an interval of 10 seconds should suffice, as the sun and clouds move slowly.

If you were in a city shooting a TL of a busy public place, a shorter interval should be used so the objects or people move smoothly through the frame and don't jump around.

What are you capturing?

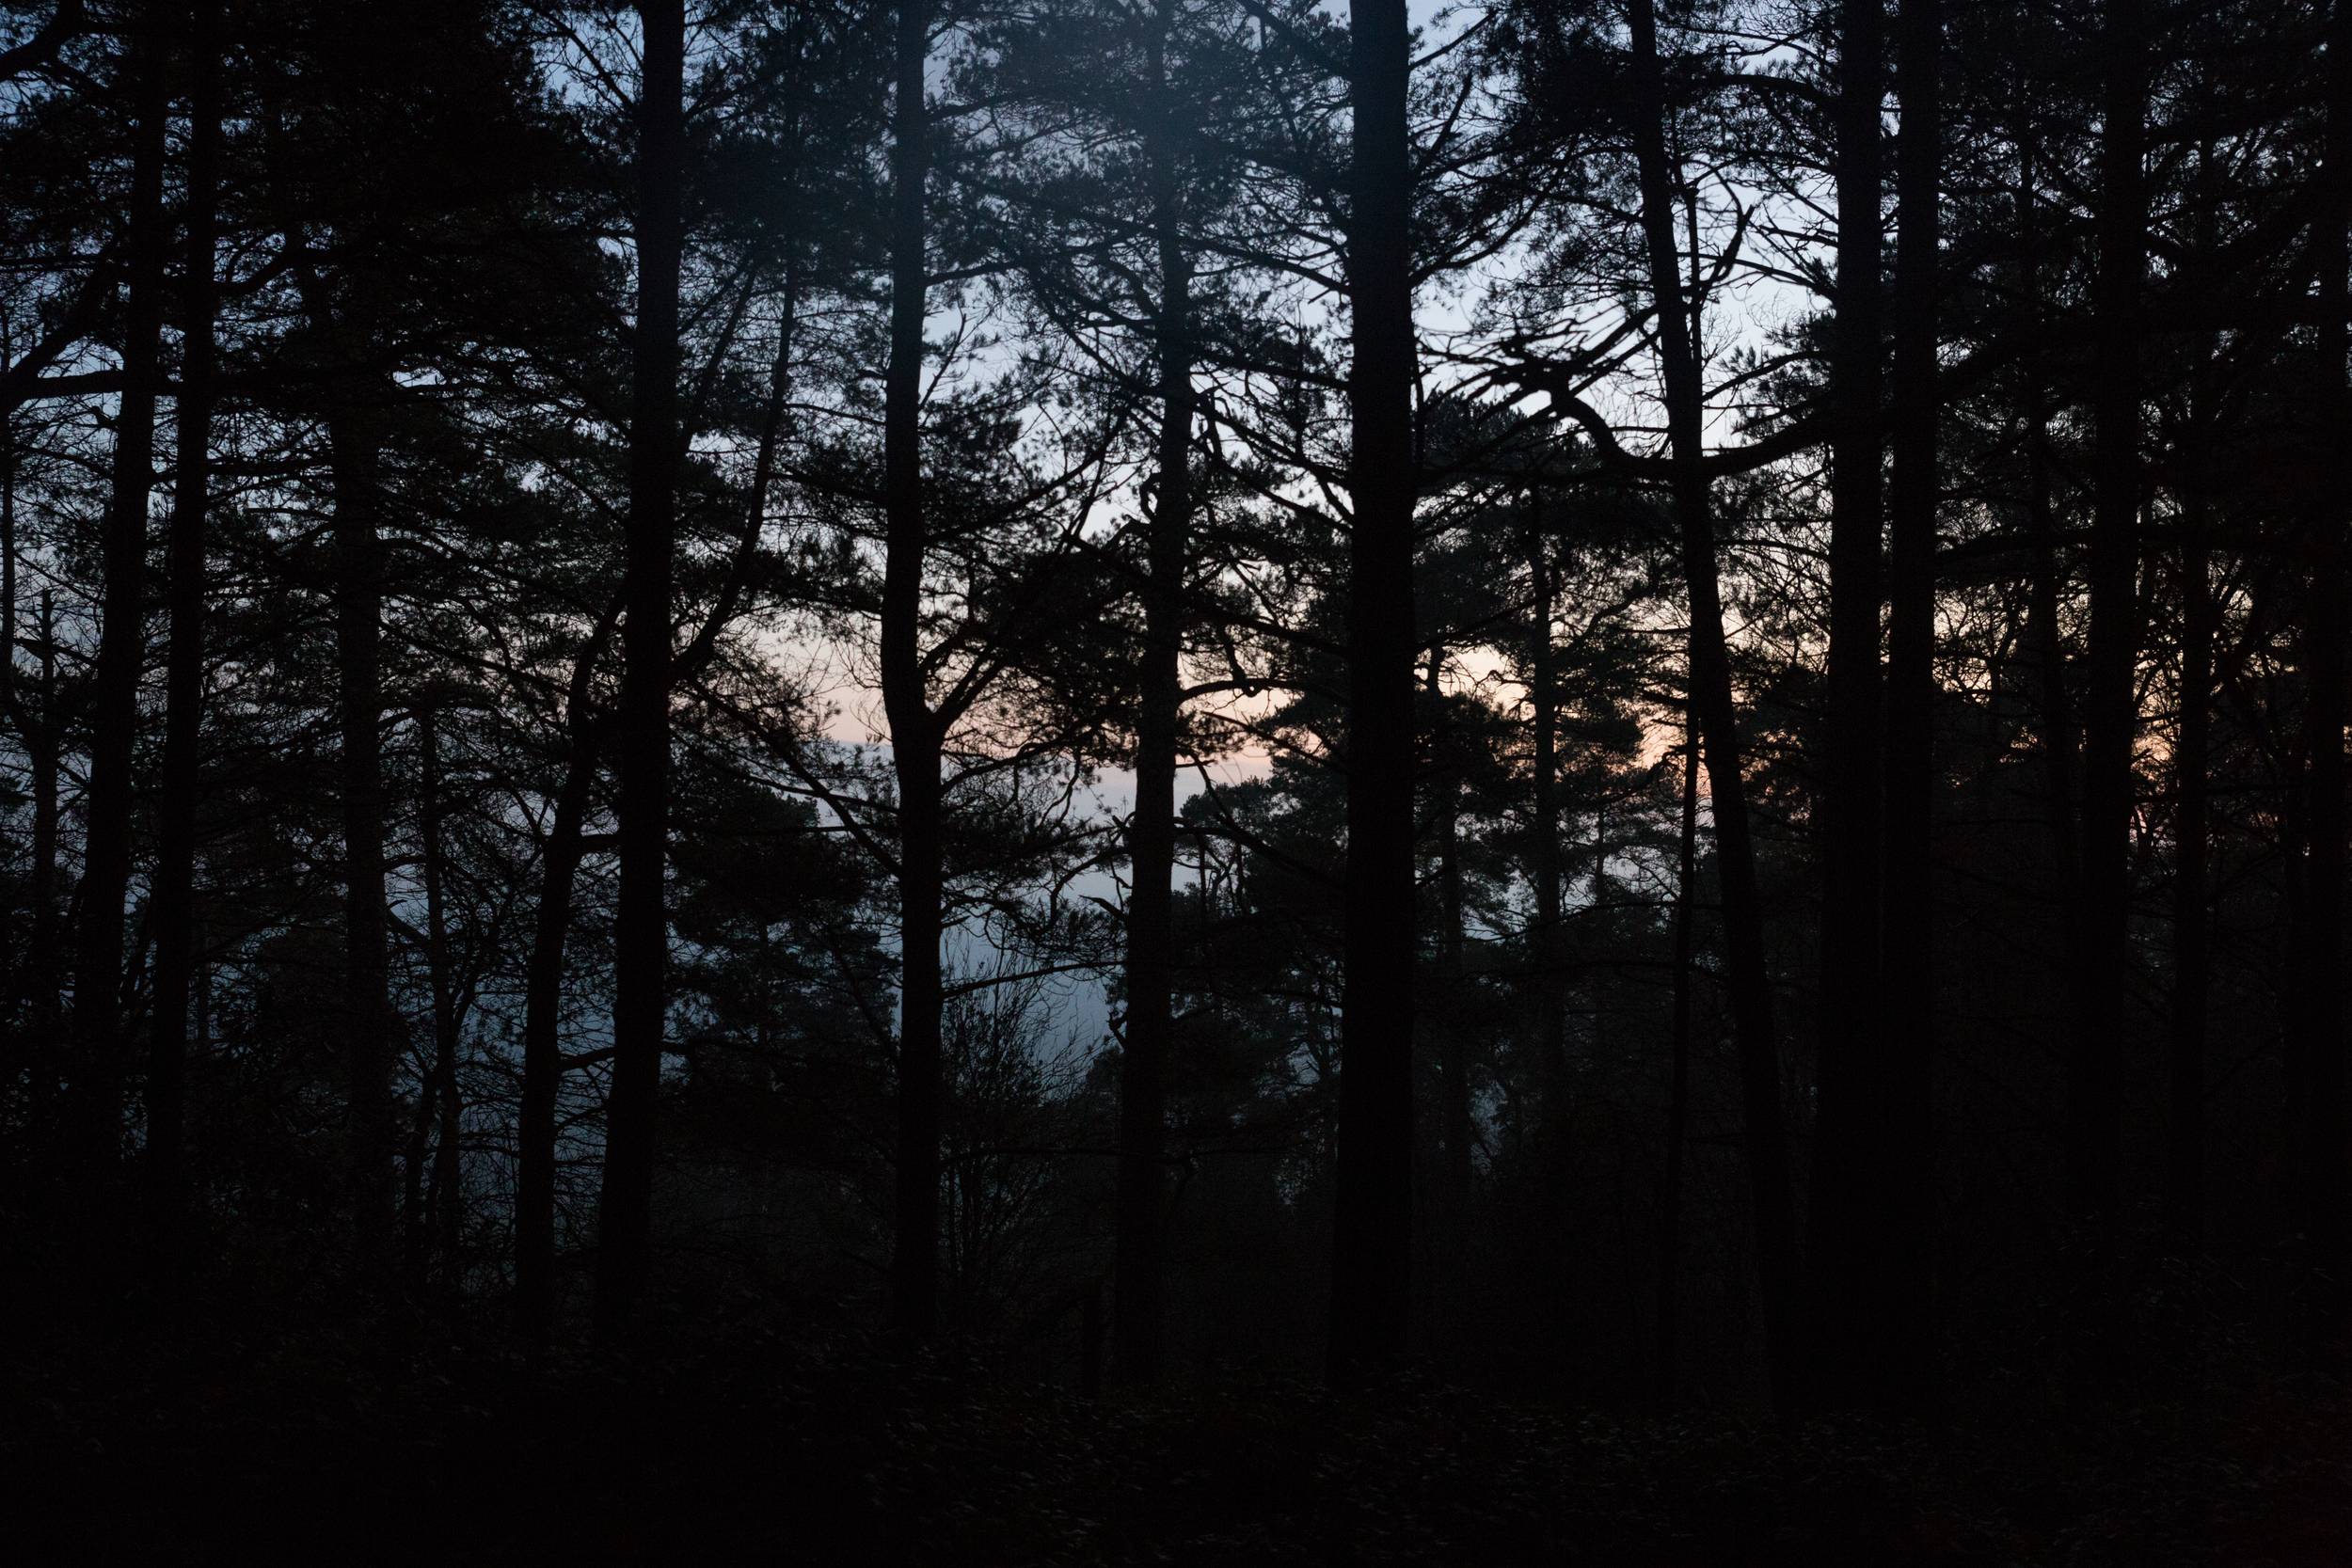
Where will you be shooting the time lapse? Bright daylight at the beach, or in arctic winter? Or star trails and fireworks at night? Your DSLR's shutter speed will allow you to control the amount of time the shutter is exposed to light, so a longer shutter speed (anything under 1/30 can be used when the sun or bright light is not available) should be used at night when light levels are low. You can also use the BULB setting I believe to capture exposures longer than 30 seconds if you are capturing star trails.In the opposite situation, you can set your shutter to a reasonable speed depending on the light available; but remember changing light is inevitable and uncontrollable in nature so using shutter priority mode (T) or aperture priority mode (A).

REMEMBER YOUR TRIPOD! Shooting for long periods of time need a steady support, to keep the camera locked off and weighed down if needs be! My Manfrotto tripods work a treat.

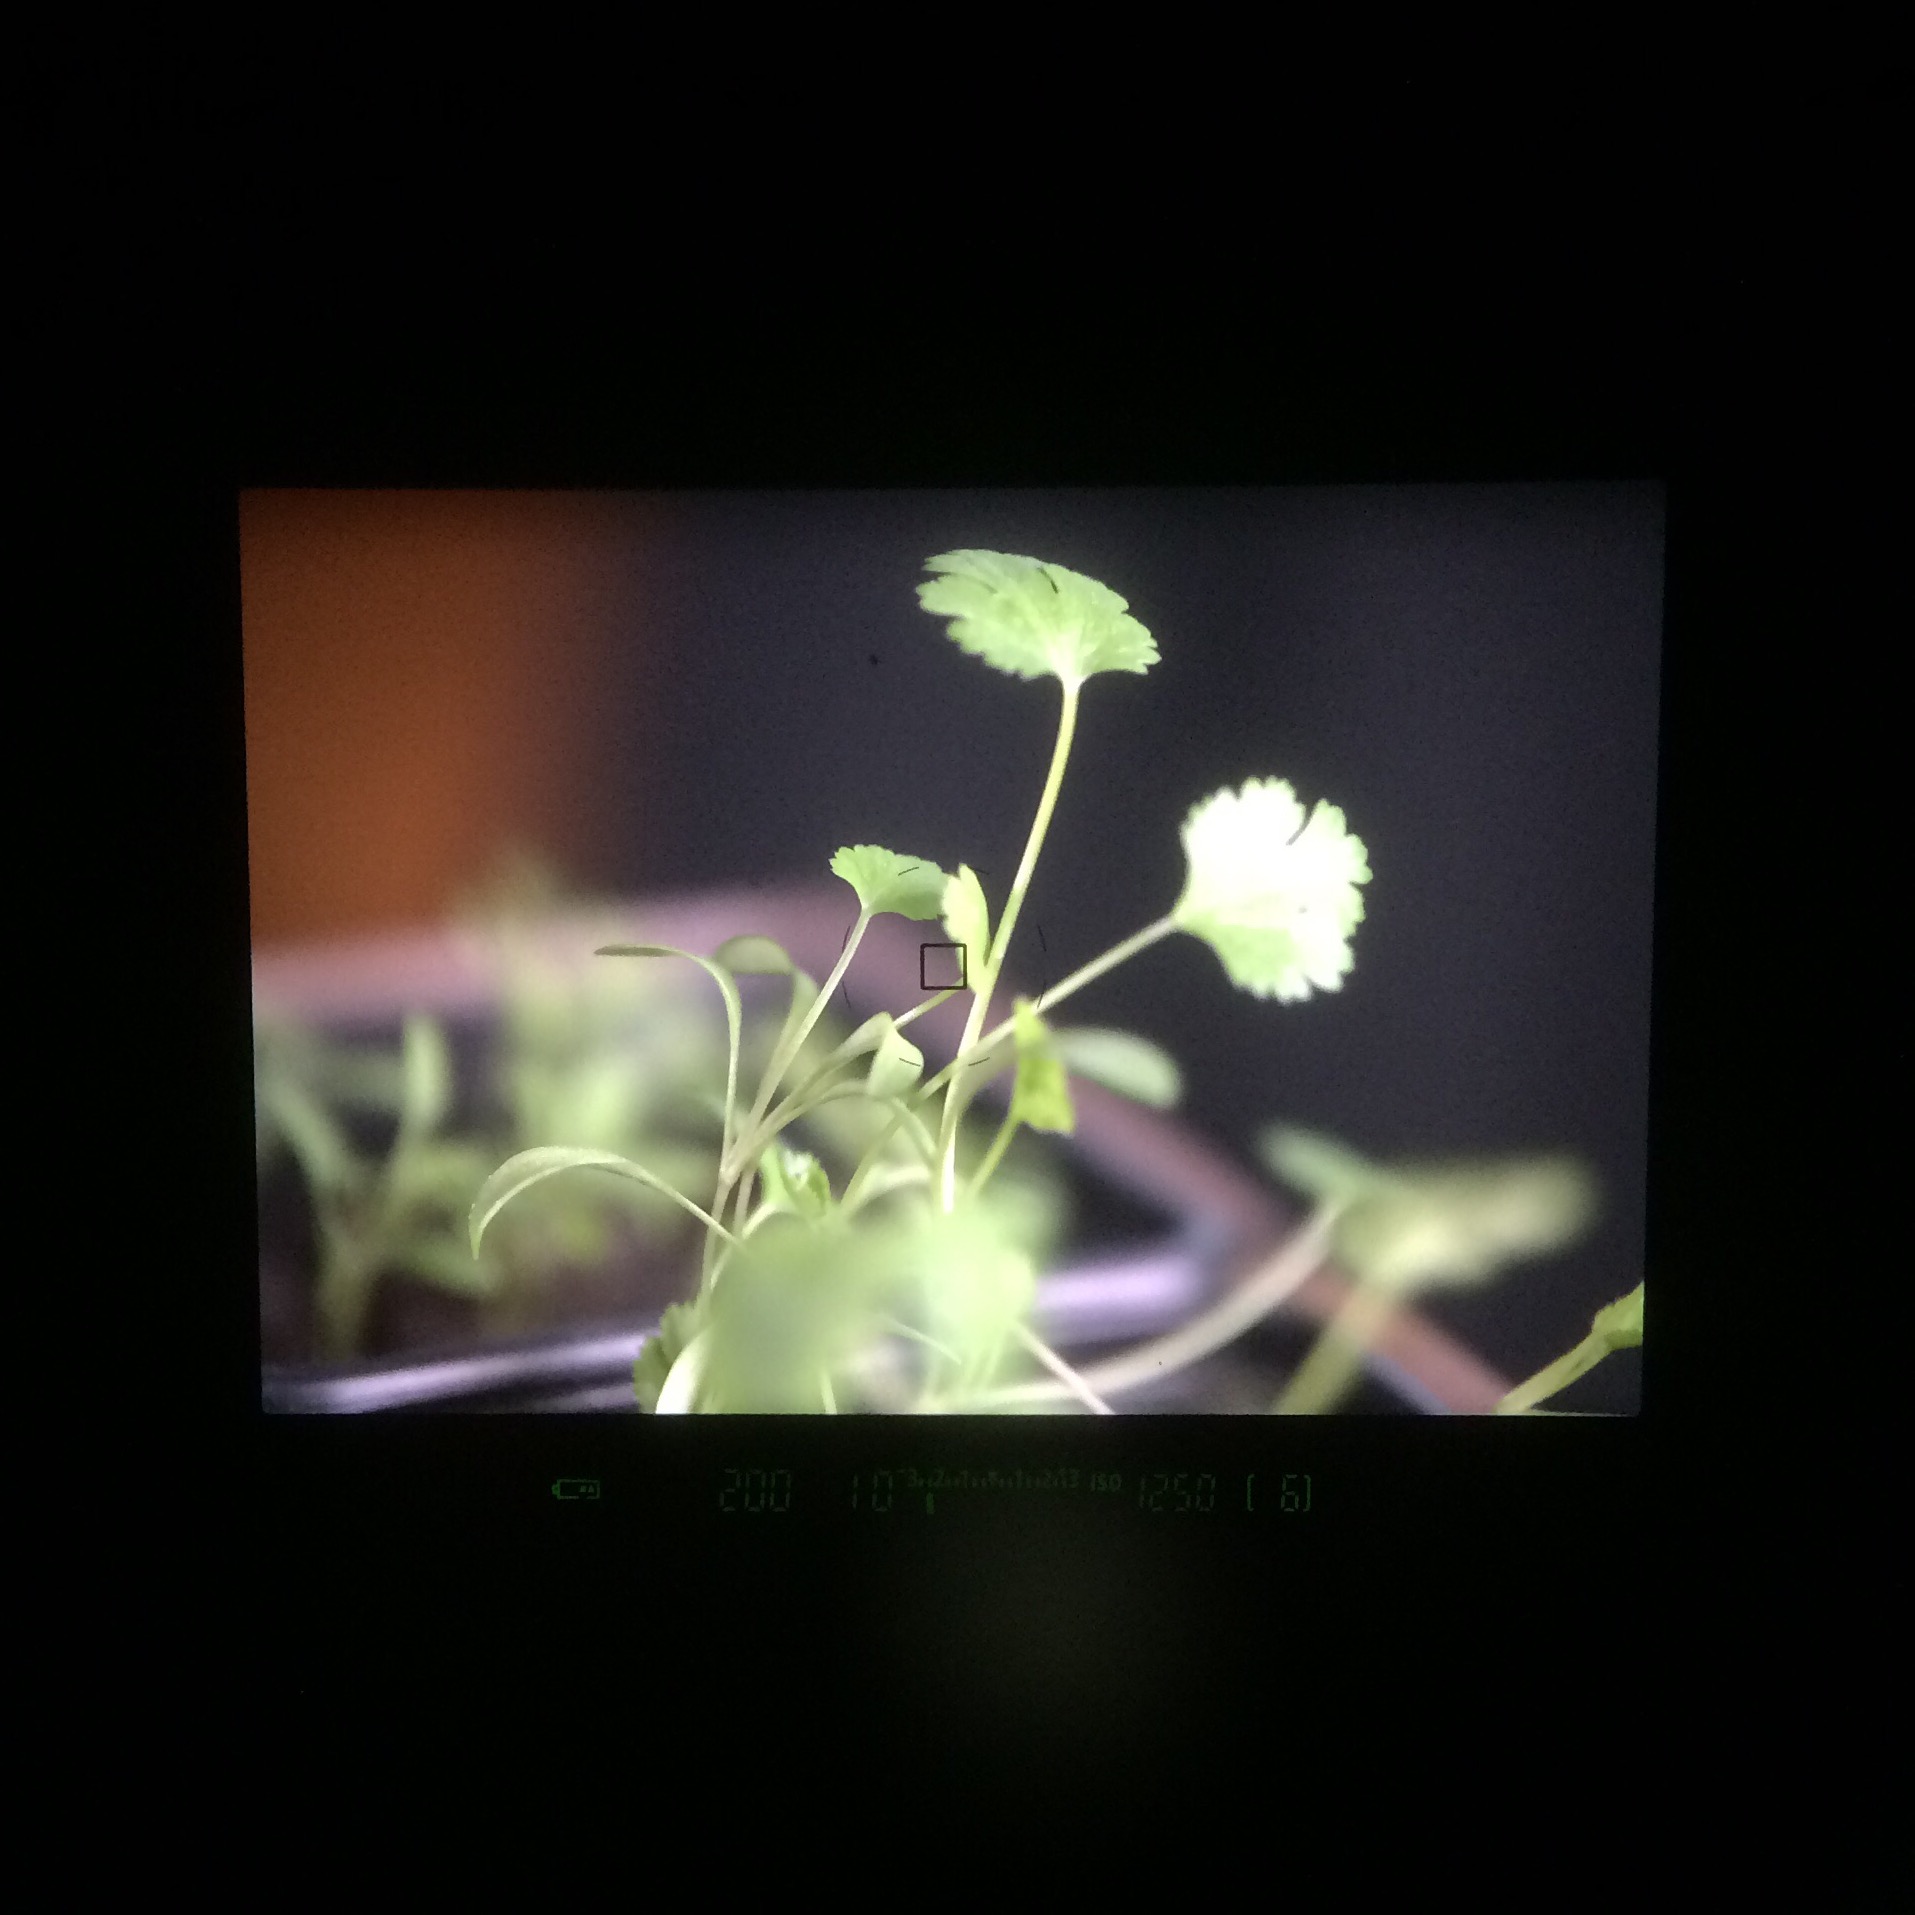
Experiment and test at the time to judge your exposure settings. Keep your aperture or F stop small so that all objects in the frame are in focus; something like F/11 down to F/22 if in bright light or you can increase the aperture to F/4 up to F/2.8 if you're working at night. Increasing your ISO to 1000 or 1250 is perfectly fine if your doing a night-lapse, so no worries about that.

Also use the digital zooming capabilities on the camera to get critical focus on a key static point.

If you have less time for a time lapse, then you can always hit record on your camera and film continuously for as long as it can. This is an easy option for those out and about shooting as you can simply wait for 10 minutes or so. Obviously here you have the time restriction to only 10 minutes, so this works best for short burst time lapses of clouds, people & crowds and quick changing landscapes.

For any other setting it would be better to use an invervalometer, mainly as keeping your camera recording will suck the juice out of your battery like anything.

For savvy videographers and photographers alike who may have Magic Lantern already, there is an intervalometer built into the ML firmware which acts just like an internal one. If you don't want to pay for an external device then Magic Lantern which is open source and free is your best option. Plus having ML on your camera expands its video capabilities greatly.

Post Production - If you have taken a series of photos

You've captured an amazing sunset, it has taken you hours and all you want to do is see the finished product. Some methods of editing time lapses are long, boring and not neccessary; taking the photos into After Effects for example, its not needed!

Adobe Premiere Pro is a much simpler and quicker method of getting your TL into a video. Firstly, create your project as you would normally, setting scratch disks to your project folder where the photos are stored. Next, create a sequence dependent on what resolution you would like the video to be. Nearly all photos taken on a DSLR are larger in size than 1080p high definition, so this is a good place to start.

Depending on where you are in the world, your frame rate should be 25fps for UK/EU/Rest of world, or 30fps for USA. This will play your video back at the same frame rate as television and internet, so the time lapse will be smooth.

Now you have your sequence open in the timeline, go to Edit>Preferences>General. Here you can set the default 'still frame' (picture) duration to ONE frame; in timecode this will appear like: 00:00:00:01. This sets the sequence of images to play one after the other with 25 pictures in each second.

Now you are ready to import your photos! Simply Ctrl-I or Cmd-I to open the import window, select the folder with your time lapse images and click 'Import Folder'. Premiere will now import all the photos in the folder and set the duration. You can now simply drag the folder with the photos into the sequence, and your time lapse is now a video. Make sure you render (hit Enter) and watch it back in case you need to correct any frames.

If it looks like the photos are going too quickly, you can change the duration of all the photos very simply; select all the photos in the sequence, right click > Speed/Duration. Here you can increase the frame duration from 00:00:00:01 to 02 frames instead. Here you will need to see what suits your time lapse best. One last tip is to highlight/select all the photos in the sequence, right click, and click 'Frame Blend'. This calculates the interpolation (movement) of subjects between two images, so it fills in the gaps so to speak.

Post Production - Long Video Files

So you've taken the easy road! This method is just as simple as above, and is a quick way of processing a short time lapse. Once you have followed the steps to create your sequence, you can import the video file like you would the photos, instead you simply click the video file needed and click 'Import'. Then drag the video file into the sequence; here if you have been videoing in a different video format Premiere will let you know that the video and the sequence do not match. It is easier to stick with the format of your original video, so if this happens click 'Change Sequence Settings'.

video time lapse adobe premiere tutorial

With the video now in the timeline, right click and click 'Speed/Duration'. Here you can increase the speed % to make it faster, and again will need some experimenting to see which looks the best. Remember the higher the speed increase percentage, the faster the time lapse happens.

Colour Correcting

You can add any colour correction to the time lapse by creating an 'Adjustment Layer' and adding brightness and contrast, curves, levels, tint, whatever you like to make the time lapse look great.

timelapse videography adobe premiere pro colour correction

For a 'tilt-shift effect - like the incredible New York Sandbox video you will need to use additional plug ins like Magic Bullet, or add the effect in Photoshop before importing to premiere.

http://www.youtube.com/watch?v=Fk9EBOOAYiU

Exporting - finally creating the time lapse video!

timelapse premiere pro export settings tutorial video

Once you are all done, with the sequence selected go to File>Export. If you are uploading to the web, then the H.264 format will work the best for quality and compression. From the drop down menu select H.264 and the Vimeo, Youtube or any other format you wish. There are loads, and plenty of confusing settings so don't get bogged down in the different types for now. When you think you are ready, and have chosen your file destination and name, you can hit 'Export', or if you wish to carry on working in Premiere on another project you can 'Queue' to export to Adobe Media Encoder which will export it in the background!

[youtube=http://youtu.be/QMwpA02IKdI]

A little example of a video time lapse I shot at Epsom Downs!

I hope this covers your time lapse photography and videography questions? If there is anything I've missed or if you have other questions please send them in!

[contact-form][contact-field label='Name' type='name' required='1'/][contact-field label='Comment' type='textarea' required='1'/][/contact-form]

Video Questions; Choosing the right camera, picture profiles and using ND filters!

Heyo all! Thanks for sending in your questions, I will try to answer as many as I can will practical, real world examples! If you have any more, please send them my way! Question from Chris via Facebook: "Can you recommend any camcorders for HD video and good low light performance?"

Answer: A DSLR for video is not the right choice everytime. Why do you think television broadcasters use camcorders and system cameras? For broadcasting, there are regulations and legal limits that must be followed for the final video to be shown live; there are many including the compression of the video signal, the black and white level (check out waveform monitors and video signal) to name a couple. DSLR's do not adhere to these regulations hence we don't see TV crews running around with 5D's in London.

Where DSLR's produce a great image due to the large CMOS sensor, they have big restrictions such as needing to change lenses, poor audio support (unless you invest in audio equipment), rolling shutting, aliasing, moire.. I could keep going.

So, taking camcorders in the equation; most have long zoom ranges (20x and more!) at wide apertures, with additional digital gain, in built ND filters, built in stereo microphone and audio in/out. The sensors are different too, some using CCD (which splits the 3 colour channels) for better colour rendition and less compression.

These days, manufacturers such as Sony, Canon, JVC produce ENG (electronic news gathering) camcorders with those above features, meaning no extra kit to carry, most are hand held or shoulder mount for ease of use. Therefore it is seemingly easier to video on a camcorder, until you require a large sensor camera for artistic video.

Product recommendations for camcorders - Sony AX and VG range, Canon Legria, XA and XF range, JVC produce great camcorders too and have stepped up their game over the last year with the GM-HY range including a 4K model too.

If you want to spend a little more, the Sony HXr-NX3 (recently reviewed by Den Lennie) looks incredible for what you get in one camera - http://www.sony.co.uk/pro/article/broadcast-products-get-close-up-hxr-nx3

Next question from SAHIB on Twitter: "Do you use a neutral picture style when shooting, and do you use neutral density filters?"

Answer: For those unaware of picture profiles on your camera, check them out in the 3rd section of the movie shooting (red) menu (for Canon users). There are a number of options listed, which alter the way the picture is recorded depending on your choice, you can also customize these profiles too using the INFO button.

Canon picture styles - Standard, Portrait, Landscape, Neutral, Faithful, Monochrome.

I will not be detailing the ins and outs of all the picture styles, more of a visual comparison.

What does a picture profile do? Much like LUTS, picture styles adjust the intensity level of the; Sharpness, Contrast, Saturation and Colour Tone in the image, so what picture profile you use can change the 'look' of the video you capture.

Check out this video I put together today showing the results of the cameras picture profiles, and others I have loaded onto the camera. You can see a clear change in the image, but it is subtle differences that will make your video work stand out.

https://vimeo.com/85655816

I previously used the Neutral picture profile, customized to reduce the contrast, saturation and colour tone to produce a very grey and flat image. I was using this profile to achieve this look, as it is how RAW footage is captured to then be graded in post production. Neutral does replicate this 'flat' look, but after doing research into other profiles, Neutral reduces the data that is required in the picture (the contrast and saturation) that I would then put back in in post. This causes noise to be generated in the image, and can cause it to look unnatural and crushed, as the contrast and saturation that had been removed by the picture profile is being added back in later in the workflow.

That was long, but I hope it makes sense. If you compare the 'Standard' to 'Neutral' there is an evident drop in saturation and contrast, with a loss of detail in the top of the trees. If you compare 'Neutral' to 'VisionColor', there is an increase in saturation and contrast in the shadows and highlights.

The 'Neutral' picture style, similar to Technicolor CineStyle reduces the data the sensor captures, so I would not recommend using it if you plan to do colour correction and grading in your workflow. REMEMBER - whatever you capture when out filming will 'burn in' the detail, colours, sharpness and contrast into the image, making it harder to edit and remove unwanted errors. So, it would be better to use a profile that holds the data and detail so if wanted, you could work on grading the footage later.

From tests and experimenting, I favor the VisionColor profile; it is not as destructive as Neutral, holding colour and contrast without making the image flat. I definitely recommend checking them out here.

Next Question from SAHIB on Twitter: "Can ND filters change the style of video?"

Answer: This does depend on what and where your video shoot is. If you are working indoors, or with lighting that can be controlled by you then neutral density filters may not be required as you can alter the brightness of the scene by reducing the intensity of the lights. However, if you're out filming in a situation where you have little to no control over the lighting, then ND filters are key.

Personally I use variable ND filters, currently from Polaroid but much better filters are available from Hoya & Tiffen. The function of these filters is to reduce the light entering the lens, meaning camera settings can be kept the same. This allows you to follow the 180 degree shutter rule, which means keeping your electronic shutter speed at 1/50th to reproduce film-like and realistic motion blur.

So, with your shutter speed locked at 1/50, and your chosen aperture has been set, the only other exposure altering options you have is to ride the camera ISO to make the image brighter or darker.

PROBLEM!

With a fast aperture of F/2.8, and you are currently shooting in sunny daylight, your image is going to be very over exposed. Reducing the aperture to F/8 or F/11 may correctly expose the image but you have lost your depth of field! What to do!

Get some Variable ND Filters!

These ND filters rotate, allowing a variable ND amount to be set externally, without changing your cameras settings! This means that you can keep your cinematic depth of field and realistic motion blur without reducing the shutter speed to 1/250th or your aperture to F/11.

I recently shot this video using an ND filter on an 85mm T/1.5, which allowed me to shoot continually at T/1.5 for extreme shallow depth of field.

Making a quick edit: Variable ND filters are one of many options. ND Filters also come in stops; increasing by a factor of doubling so 2, 4, 8 etc. If you can stretch to separate stop ND filters they work just as well, and with the lower end (under £100 products) they will be better quality than one under £100.

In videography and cinematography, ND filters are applied in the matte box in front of the lens. So if you plan to use one, look in to matte boxes with the ability to add filters, but prepare to pay for it!

http://vimeo.com/84790518

Well, that covers Video Questions for today! I hope to have answered and covered all bases, and remember they are from my personal knowledge and experience.

Got any more? Send them my way!

A videographers diary of a working trip to Amsterdam

I left for Amsterdam at 4am on Friday 23rd, heading for Gatwick with Sam who really kindly drove me there! Having taken some equipment with me when I went to Amsterdam for the first time for IBC, however this time I would be covering a music event with multiple cameras so the kit list looked something like the following..

3 x DSLR bodies (2 Canon 60D, 1 Nikon D5000)

6 x lenses ranging from 17mm to 85mm

2 x Manfrotto ML360 LED lights

2 x Superclamp + magic arms

1 x Zoom H2

A load of extra things to cover my back just in case!

BZrcW6DCEAEX73b[1] Copyright Adam Plowden 2013.

I got to Amsterdam at around 9am and headed for breakfast. Knowing how busy the Damrak is, I headed West and found a little cafe to chow down on breakfast. Like England, Amsterdam suffers from grim weather, so rain it was.

420_2 Copyright Adam Plowden 2013.

Now re-charghed, I headed to 420 Cafe, where Steven 'fly' works; the guy I met while I was over here in Sept, and offered me the job to come over and film the gig he is playing drums at; John Sinclair & His Vipers, on the opening night of the 2013 Cannabis Cup. For those unfamiliar with John Sinclair, he inspired John Lennon, writes amazing poetry and produces podcasts for Radio Free Amsterdam. With a huge following and message, capturing his performance was key to promoting John and moving his message forward into the age of video!

After dropping off my bags at Stevens, we had a look at the venue 'Arkhnaton' just round the corner from 420. It is a small venue with a corner stage, dark and faded which added to the aesthetic of jazzy, smoke filled Amsterdam gigs.

DSC_0005 Copyright Adam Plowden 2013.

I then got to meet Mark from Iron Man records, and Claire, a producer back in 420 and got chatting about ourselves, the anticipation for that nights performance and how we can get the best material to push John Sinclair into the limelight. Through the cloudy room appeared John and Nick fresh off the train from England! We had a great time talking and relaxing in the great ambiance of 420.

After 26 hours of traveling, walking and getting settled back into Dam life, it was time for me to crash.

Up at 4pm the next day, recovered from the day before I was ready for a meal and to get on with the production that night. Steven and myself headed to John's favorite Indian restaurant on Nieuwezijds Voorburgwal and tucked into the best chicken madras I've ever eaten. Followed by a short walk across the road, we arrived at The Arkhnaton and began setting up for the gig later.

IMG_2128 Copyright Adam Plowden 2013.

Naively, I forgot to pack the power cable for the field monitor, so I had to suffice with the on camera screen and viewfinder. I had a 60D on a tripod central to the stage with the 85mm F/1.8, with another 60D to my left a couple of feet higher than myself for a wide shot (with a superclamp and magic arm). Over to the right I had a D5000 with a 35mm F/1.8 for an extra cutaway shot.

Ready for the gig, I chilled while the band set up and rehearsed. I got some snaps and shots of John and his Vipers performing to build up a collective of promo material.

DSC_0030 DSC_0033 Copyright Adam Plowden 2013.

The blues and poetry were in full swing, Steve Fly on drums, Vince on guitar, accompanied by a last minute sax and horn player to add a touch of brassy class. Having Magic Lantern on the cameras eliminated the restart issue, so syncing up in post would be easier. It was a fantastic gig, and great to hear Johns poems in person.

Knackered from another late one, I turned around the memory cards and equipment the next day, racking up 70Gb of footage over 3 hours or so! It was enough of work, and time to enjoy Amsterdam.

I had a fab time with the 420 guys Janne, Eli and Tias when we went on a trip around town for a Cannabis Refugee's project, I accompanied with my camera, capturing the nights events in a number of hotspots around the city; Grey Area, Greenhouse, ending back at 420 for some more giggles and fun.

Amsterdam-20131127-003201

It was my 22nd birthday on the 27th Nov, so in true celebratory style, cake for breakfast! Followed quickly by Wok To Walk, which is like a Chinese version of McDonands which they have brought to Soho!! Thanks to Steven and the guys I had myself an exhibitor pass to the Cannabis Cup 2013, so the rest of the Cannabis Refugee filming went on the road! As a tourist, it was create to experience this new open culture and lifestyle!

cc

There's Annika! Stevens flatmate and my new found seed genius!

After that, I got to see The Wailers (minus Bob of course) at The Melkweg, a local gig venue to the Leidsplein, which was awesome!! They played all the best tunes, a great end to the day.

1474556_10153515152950510_1702651799_n[1] Copyright Adam Plowden 2013

Being a techie, its a bad habit of mine to check up on what the guys working are up to..

It was soon my last day in Amsterdam, it always comes around too quickly as I never get around to do all the things I wanted; museums, canal boat tour etc.. But it is winter and I was there for work so that is my excuse!

Now back home, I'm in the edit suite working on the multi-camera edit of the video!

bts

I'm working on my laptop, so progress is a little slower than if I was working on a full powered machine, however I have got through most of it over the last couple of days, spending most of my time re-syncing the clips together.. Working with 3 cameras in post on a 1 man live crew is certainly interesting!

If you haven't already, check out some of my other stills I took, including a performance from Steven and Vince in a Squat house!

steve4 steve3

damrak2

420

Thanks to Steven Fly for the job and for letting me stay at your place for my stay, thanks to Mark and Claire for your help with the video, as well as the guys from 420; Janne, Eli, Tias, Laura, Claire, Francesca, Annika, John and Caleb and anyone else who I've missed out!

Do you want video for your business, event or organization? Video is a powerful and vast marketing tool, get in touch at info@adamplowden.co.uk for more on what I can do for you!

apVideobanner2

Review: Manfrotto Backpack50

Hello all! Here is the anticipated review of the new Manfrotto Backpack50, the flagship range of professional photography and videography bags for cameras and equipment. edt1

The new range comes in a variety of sizes depending on the equipment and lenses you use. If you are going to be shooting for ENG, or know you will need fast access to your camera and lens kit then the Holster range may be for you, or if you're looking for a perma-home for a vast range of bodies, lenses and accessories then a Roller Bag or Backpack will be for you.

screen1

I got a great surprise through the post a couple of weeks ago, it was the Backpack50, which I have been using out on photo and video shoots, testing it to the extreme in a wide range of shooting situations such as weddings, on location video and corporate events.

First things first, as you can see the bag is BIG! Not too big that it is laborious to carry around, as the support straps provide great comfort for a fully packed bag. Having a bigger bag eliminates the need to bring extra sling bags if you take laptops and tablets on shoots, as there two separate zip pockets for both, and also allows me (predominantly shooting video) to keep all of my essentials in one place. For example, the bag is currently full with my kit needed for a shoot for Tesco on Friday, so a 7" HD field monitor, clamps, Rode VideoMic, 2x DSLR bodies and 6 lenses sit snugly in the protective separators. I have all I need in one convenient place, a perfect solution especially as I am a SINGLE shooter.

IMG_1918_1

Overview of the Backpack50's features:

DSC_0173_1

Unlike other camera bags which open from the side or the back, the Backpack50 opens from the top, which allowed me to quickly grab my camera (with lens attached) almost immediately with ease. If you've got the waist support done up then this is even quicker as you can swing the bag from your back to front and grab the camera that way. The other handy feature of this is that you can have a telephoto lens attached to the camera and still take it out with ease, as the support pads can be customized to fit your individual kit needs.

DSC_0179_1

Here you can see the bag open, the top flap unzips all the way down revealing many side pockets, 3 zip pockets on the flap (which I use for little bits that I can grab quickly such as batteries, SD cards, hot shoe adapters etc). There is even a protected zip pocket for a tablet if you have one too!

The capacity of the Backpack50 is fantastic! As I mentioned before I filled it up with various accessories for shooting video, but it will comfortably hold a large DSLR body and telephoto lens attached in the middle section, up to 8 standard lenses in the side sections, as well as two ideally large and deep side pockets. These would be great for clamps and arms, but I use mine for my microphone and a little tool box for emergencies!

IMG_1861_1

A small but memorable Manfrotto logo on the main flap of the bag, the branding is not in your face which keeps the bag discrete.

IMG_1892_1

With a fully packed bag (including a laptop, EVF) it is heavy as you would expect, however the inclusion of a very comfortable, padded waist strap distributes the weight evenly through the body, rather than putting the pressure on your shoulders, reducing fatigue, and it was a welcome relief for me to see too! All the straps are padded, and are very heavy duty for a camera bag which is fantastic when shooting in rugged and fast paced environments, or for a very long time.

The Backpack50 also includes a waterproof cover, essential for protecting your beloved kit in times of heavy downpour, however it would have been better to see this built into the bag rather than a separate part, as this reduces the risk of forgetting it!! It also has a side strap for tripods which is a welcoming sight. Previously I used a Lowepro bag and simply strapped my Manfrotto 055B tripod and 701 head to the main straps, which is heavy and also puts lots of strain on the bags fastenings (i don't recommend this). The external strap loops through a heavy duty fabricated patch on the side of the bag, and the strap can be secured around the head of the tripod. It is quick release too, so you can get the tripod off the bag and set up quickly. A great improvement.

IMG_1903_1

Overall, I am delighted with Manfrotto's new Backpack50 as it caters for the pro photographer AND videographer, protecting our livelihood (equipment) with fantastically engineered bag sections, as well as providing flexibility when out shooting which many backpacks restrict due to their bulky and un-ergonomic design. Manfrotto have overcome this by designing a bag with the pro in mind, and have produced a very successful and ergonomic addition to the growing kit list of photographers and videographers alike.

Check out the new range on Manfrotto's website here - http://www.manfrotto.co.uk/collection/8615.1065.17520.0.0/Professional

Golden Hour - Manfrotto Backpack50

Another snap from the shoot today for Manfrotto's new professional bag for photographers and videographers "Backpack50". edt1

Check this vimeo profile out!

I've come across this amazing vimeo profile - https://vimeo.com/squiver this couple do nature photography tours and their videos are fantastic! Could do with a tiny bit of contrast but they capture the wildlife perfectly and naturally.