recording

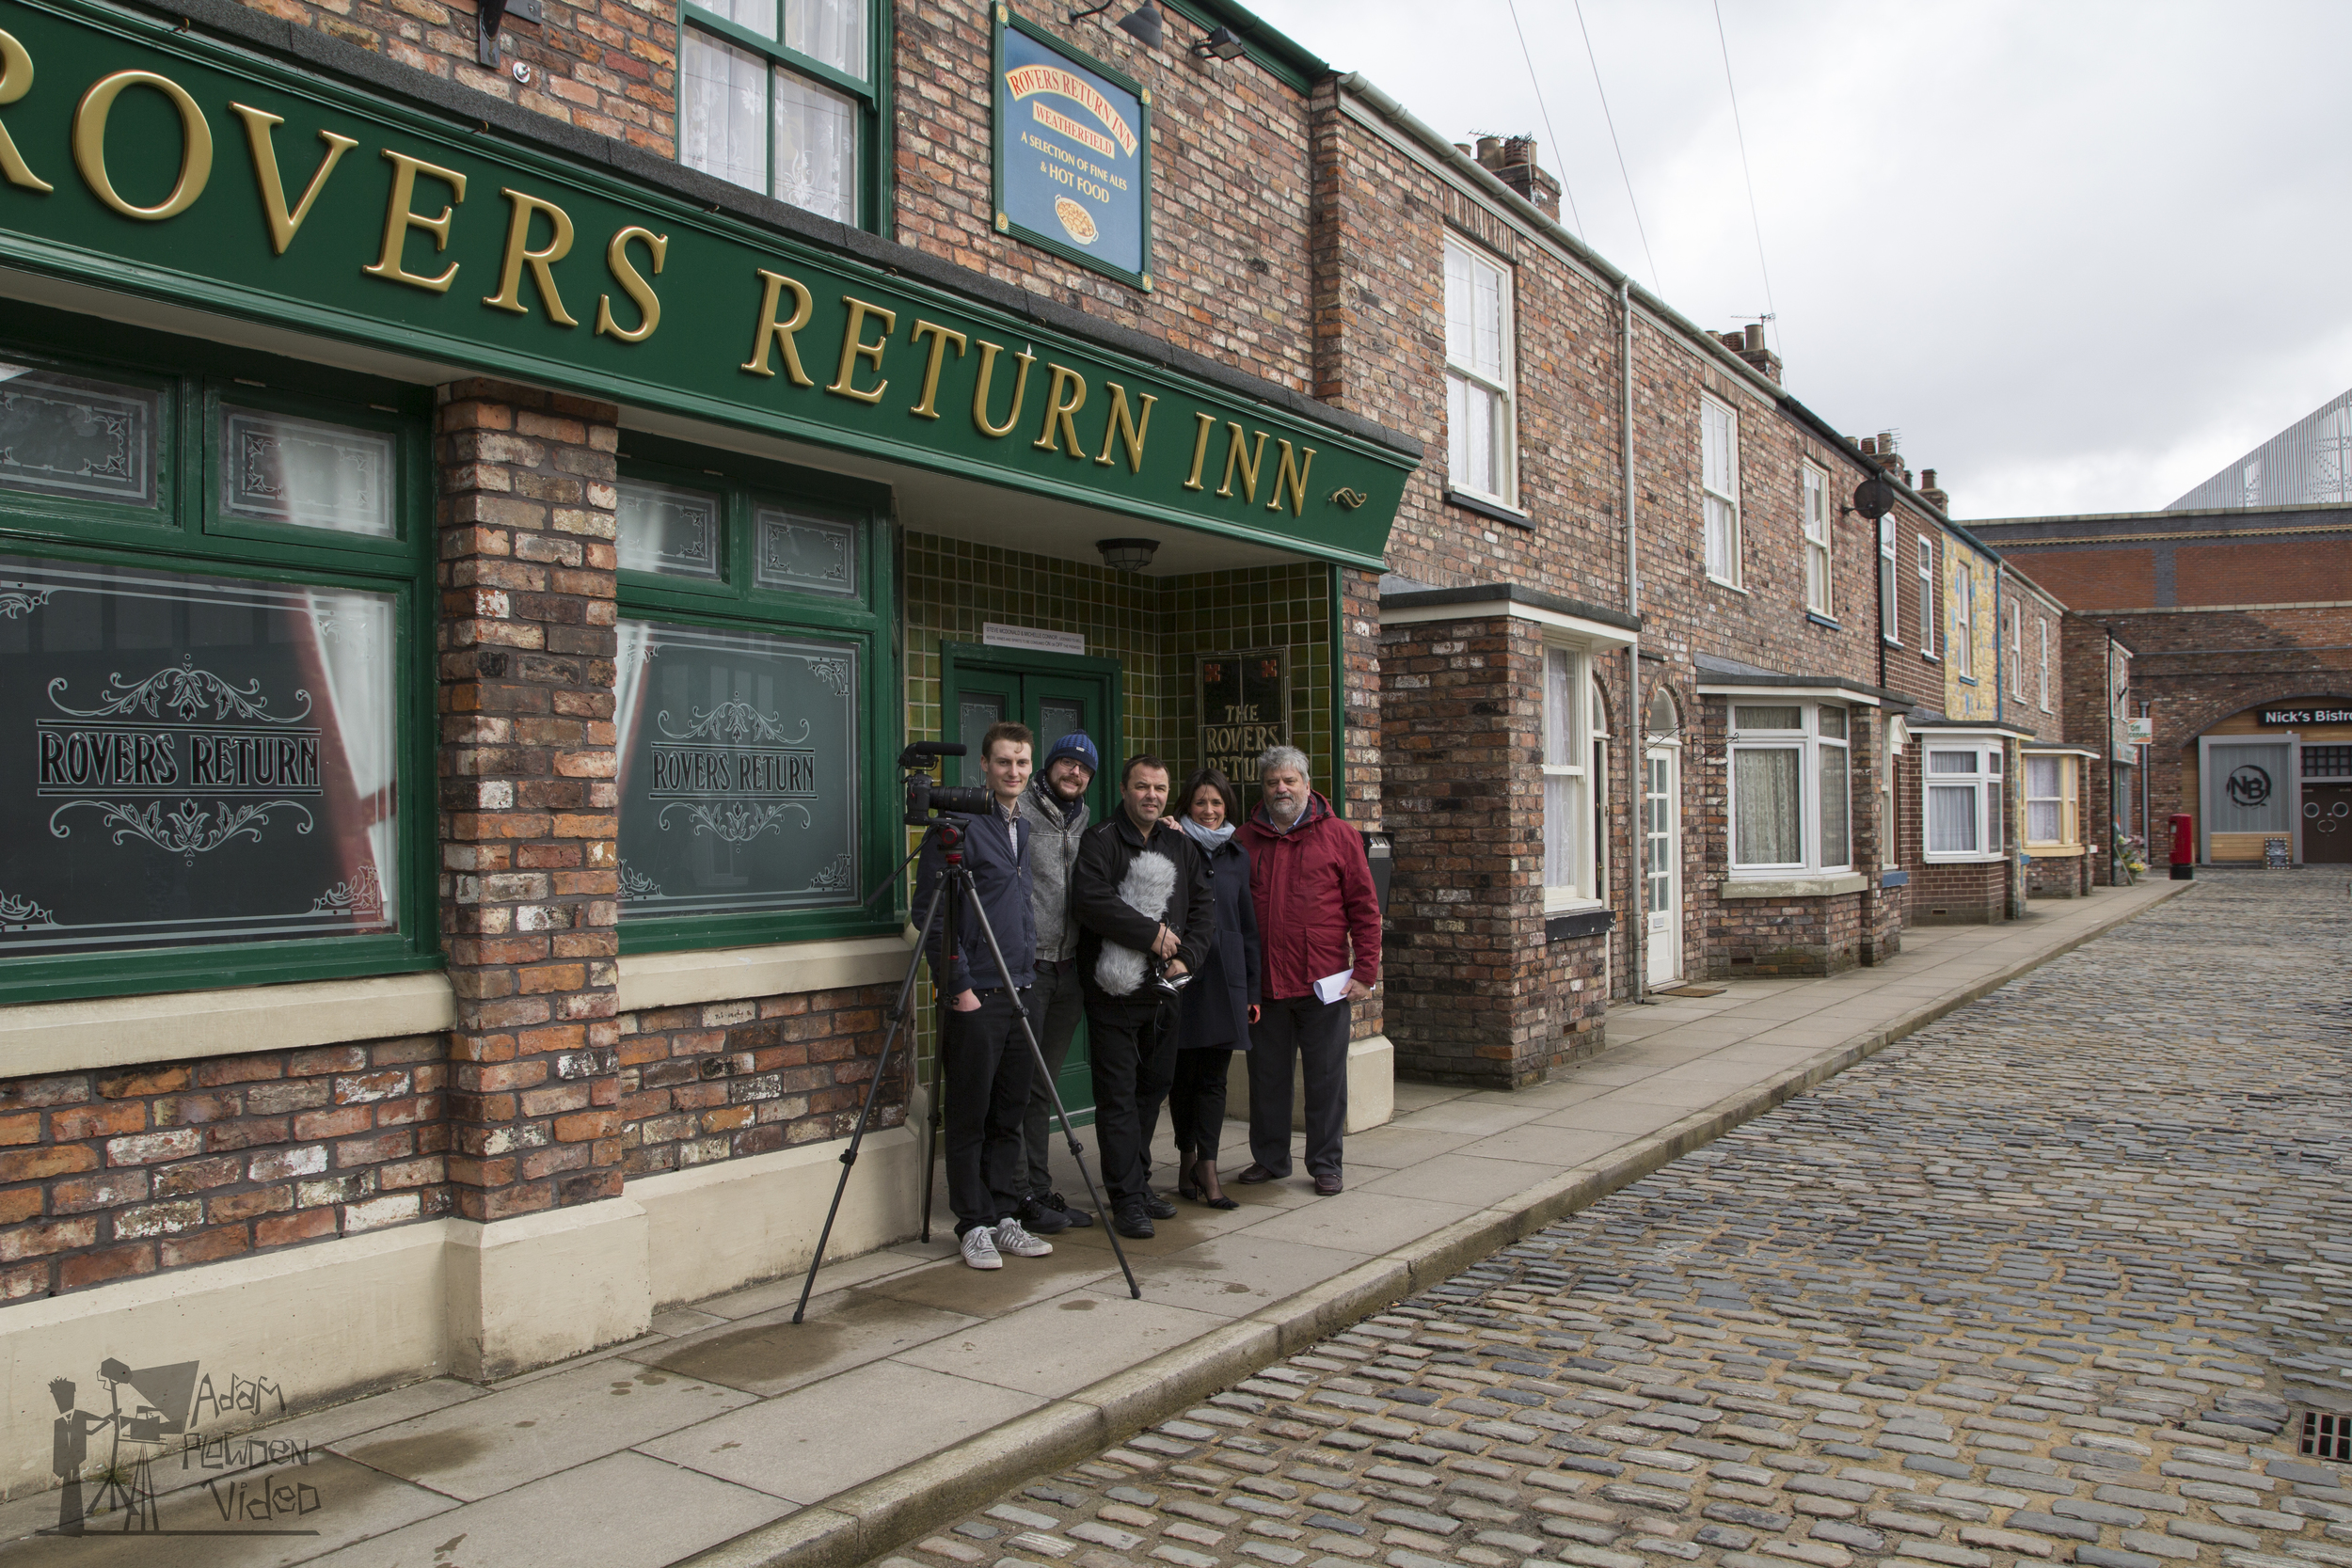
APV Filming at Coronation Street, ITV and dock10 Studios for The IABM!

Way back in November, myself and Dick Hobbs began the pre-production of a new training video covering the behind the scenes of a television studio for the IABM. Unfortunately for me, it was difficult to pin down a location that close to Christmas and New Year with access to studios, galleries and other areas. Dick luckily got the go ahead for filming at the Corrie studios mid-way through BVE, so prep quickly began after.

My trusty crew was Glen, who operated the AutoScript for our presenter Georgie, and John Harris on audio (from JHWF). Dick made sure we were all in check with the script while I lugged around the camera and prompter :)

As there were three of us travelling up to Manchester on the Monday night, I chose to drive from Surrey, which was pretty straightforward, just a heck of a long journey to make at the end of the day. We arrived after a couple of toilet and coffee stops at 9:30, dropped the gear and headed to the table Georgie and Dick had. Beer was served and all was well!

As Dick and myself had planned the shoot well, I selected just the right amount of equipment needed. We were on a restricted budget so I opted to stick with my camera and audio setup rather than hire in a camera. We also borrowed an AutoScript from Vitec, to relay the rather technically heavy (at some points) script to our brilliant presenter.

The equipment list (rather sparing for this shoot!):

Canon 5D mk III

Canon 60D

Sigma 70-200mm F/2.8 OS

Tamron 24-70mm F/2.8 VC

Tamron 17-50mm F/2.8 VC

Canon 50mm F/1.8

Manfrotto 536 Carbon Fibre tripod

Manfrotto 504 Video head

Manfrotto 755CX3 Carbon fibre tripod + MVH500 AH head

Manfrotto Spectra 900FT LED light

Manfrotto Master light stand

Zoom H6 audio recorder

Rode Lavalier microphone

Sennheiser ENG-G3 wireless RxTx for lav mic

AutoScript prompter

All of camera and audio kit fitted into the AWESOME Manfrotto Pro Light 35 Backpack: I use the top compartment for the audio gear and accessories, the main sections for camera storage, and the back compartment for my laptop. It's a very comfortable carry regardless of the weight, and if I was walking/traveling for a longer time I just strapped on the waist support to take the weight off my shoulders. The front pockets are especially handy for grabbing memory card wallets and batteries quickly, as that is the most common thing I go to my bag for! Glen wheeled the prompter station around on it's pelicase, there was no way all of that could have fitted in! I did check the other day for AutoScript on tablets, which would be a much more viable solution for me.

In the MF bag for the big tripod I also brought a set of rails (just in case we needed them for the prompter) and the hydrostatic arm with the super clamp attached. You never know when they will come in handy, and when we were there I spotted one on the set!

Holiday Inn MediaCity

For anyone working at MediaCity needing to spend the night somewhere, the Holiday Inn right in the center is perfect. From above the first floor is the dock10 studios, offices and editing HQ, but you would have no idea it was there when you reach the 8th - 15th floor for your room. Plushly furnished, executive desk/workspace and a wonderful bathroom. One of the best I've been in!!

Day 1

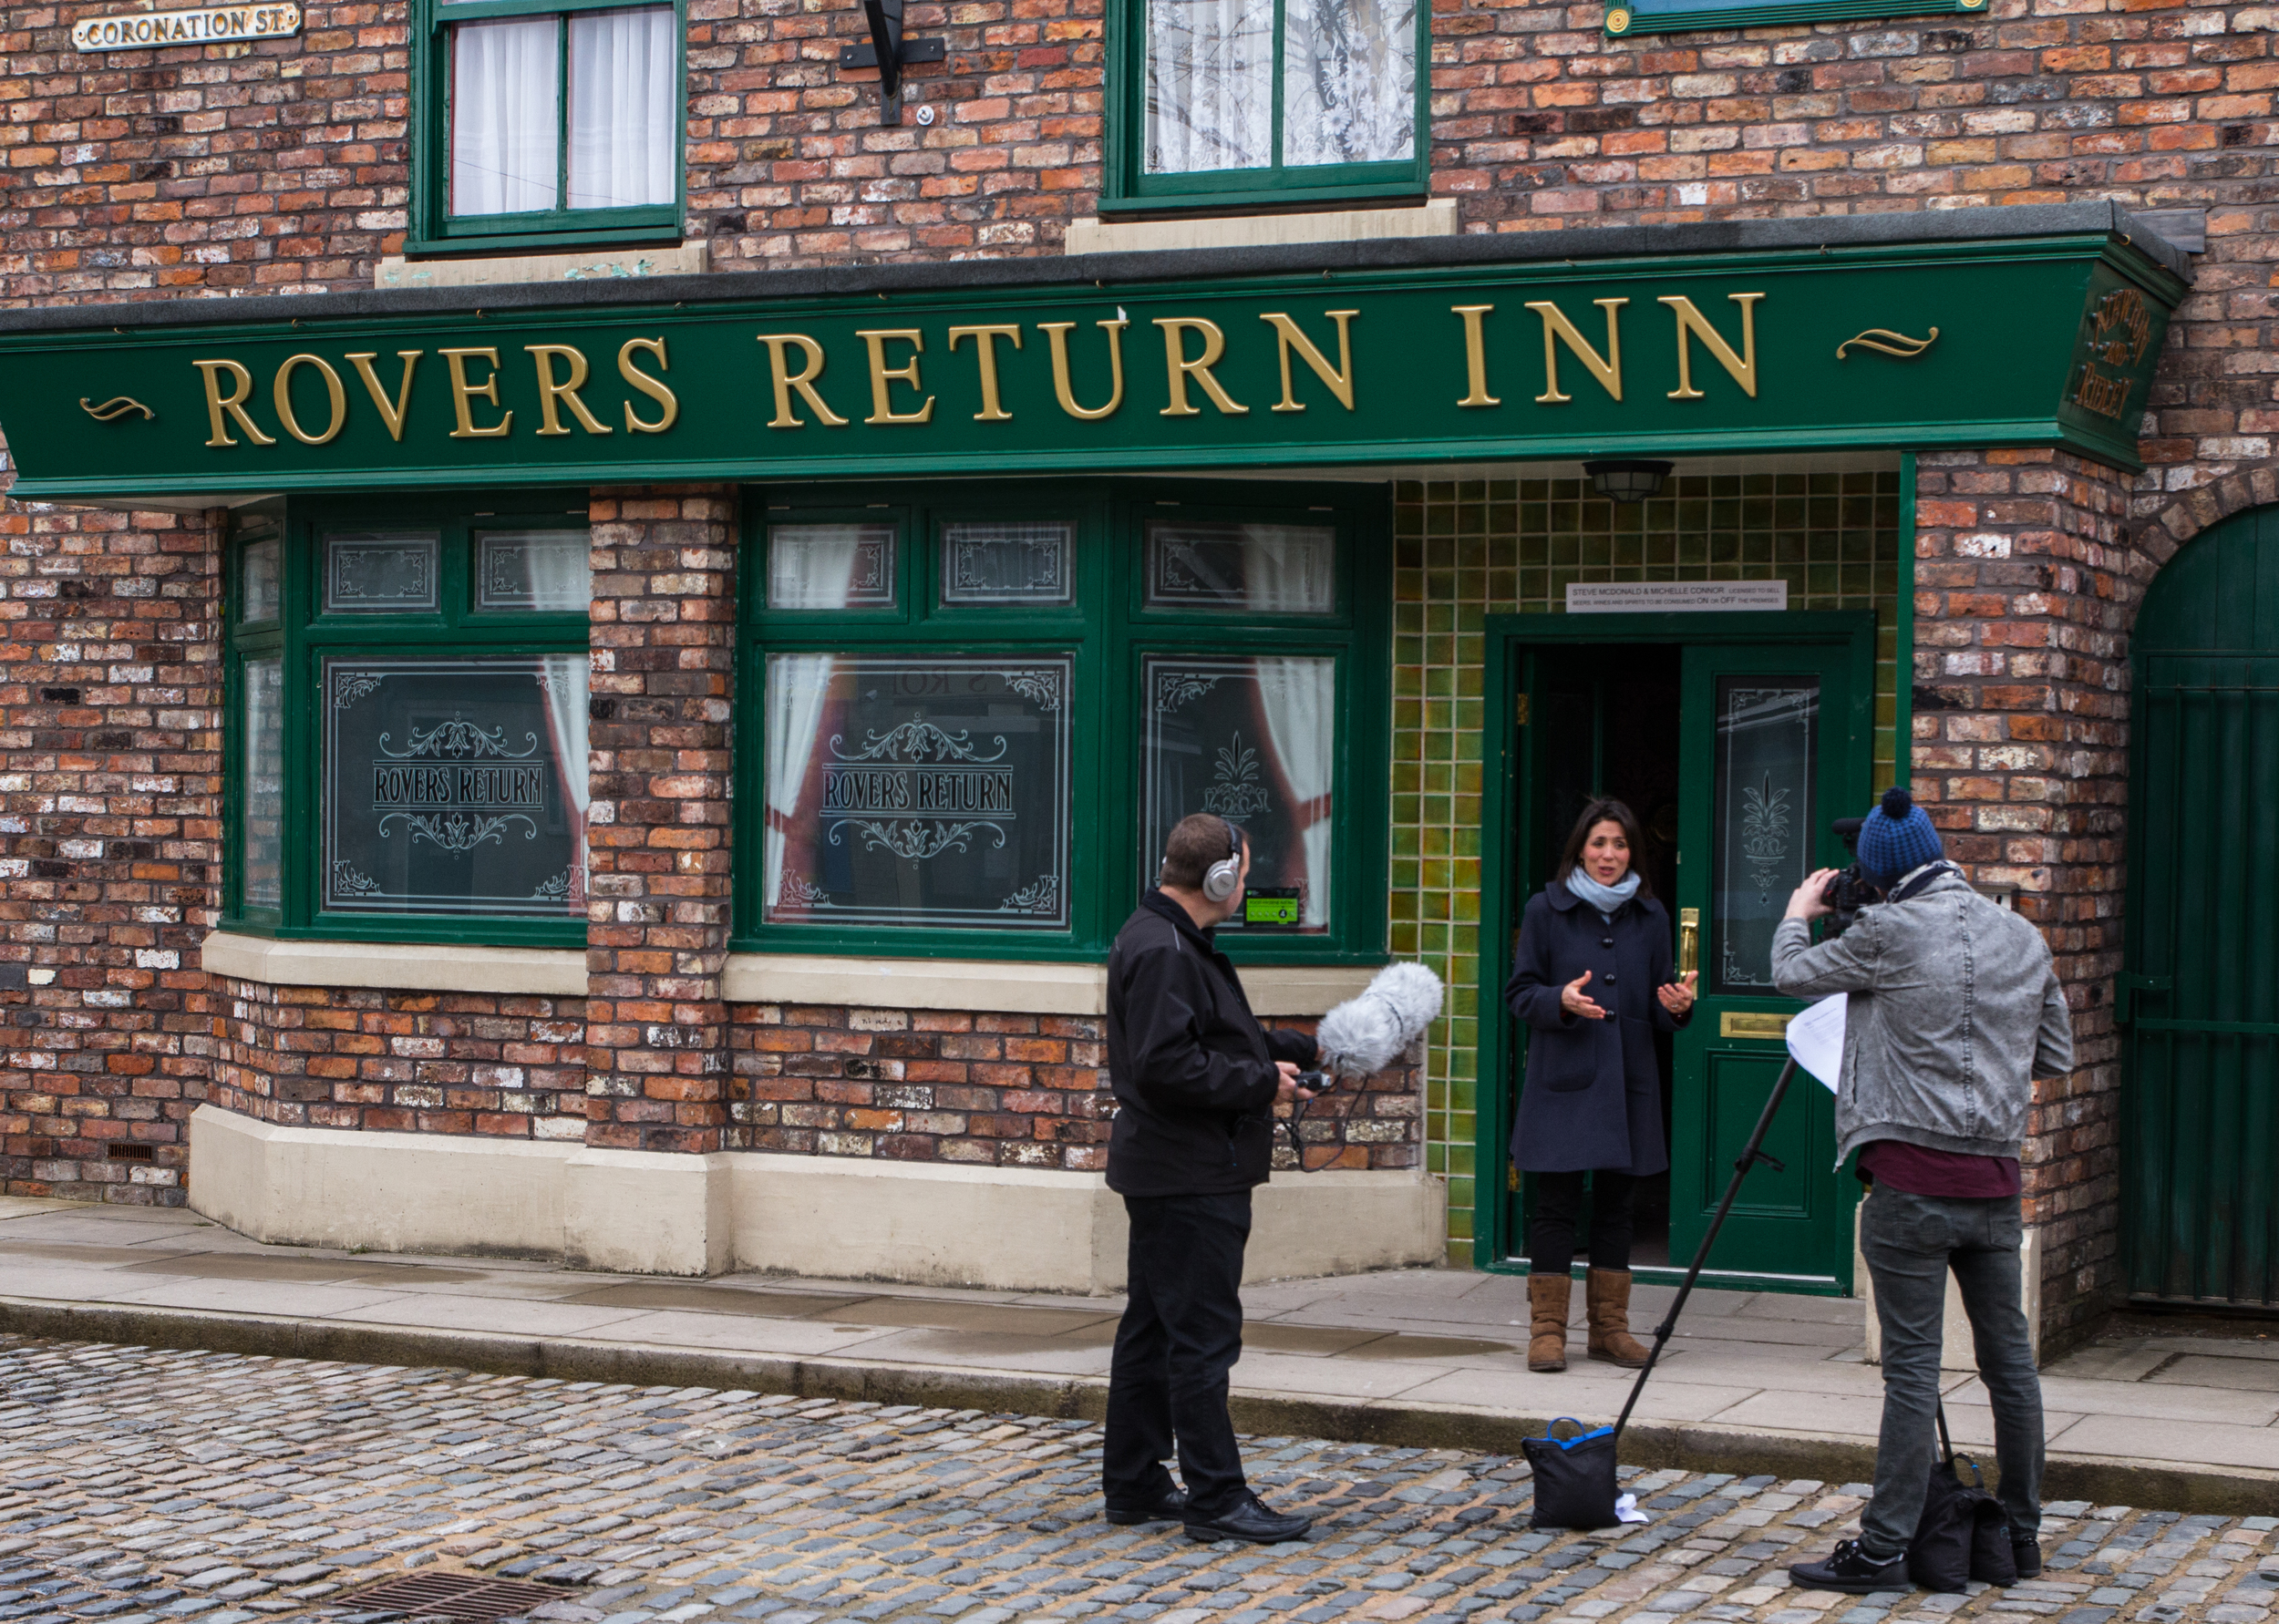
We had a talk about the shoot ahead, as it would be hit and miss on the locations we were aiming to film in due to working around the current productions at Corrie (4 different crews filming that day), we needed to make the most of our available time. After a short walk across the quay, opposite Old Trafford stands the new Coronation Street and ITV Studios.

Upon arrival, we were greeted with coffee, then a guided tour of the facility to get to grips with our new location for the next two days. It was quite nerve-racking for me being a tiny video producer in the shadow of ITV, but I was also in awe of the scale and technology that has been used to make Coronation Street such an iconic television program.

We began the filming in what I now know as the 'Windas' flat, capturing some GV and B-roll of the system cameras, microphone booms, lighting setups and the set itself, clips that would be used throughout the video.

Camera settings: Tungsten white balance to match set lights, sticking to 1/50 shutter, aperture of F/5.6 and ISO ranging from 400-1600.
Mostly shot on Tamron 24-70 F/2.8 and Sigma 70-200 F/2.8.
— Adam

I also shot some more material in the Rovers interior set, which has a new LED lighting rig, in comparison to the other tungsten lit sets. It was impressive being in there, and was much smaller in reality, but we pulled up a chair at one of the booths and started recording the voice overs as the prompter hadn't arrived for the shoot yet!

For lavalier microphones, remember to attach them upwards or downwards depending on your subjects speech to avoid pops and hisses. Try to always record a back up audio track too, just in case your plan fails. Here we have 3 separate tracks recording on the H6: lavalier on presenter, gun mic and the mid side mic attachment on the device.

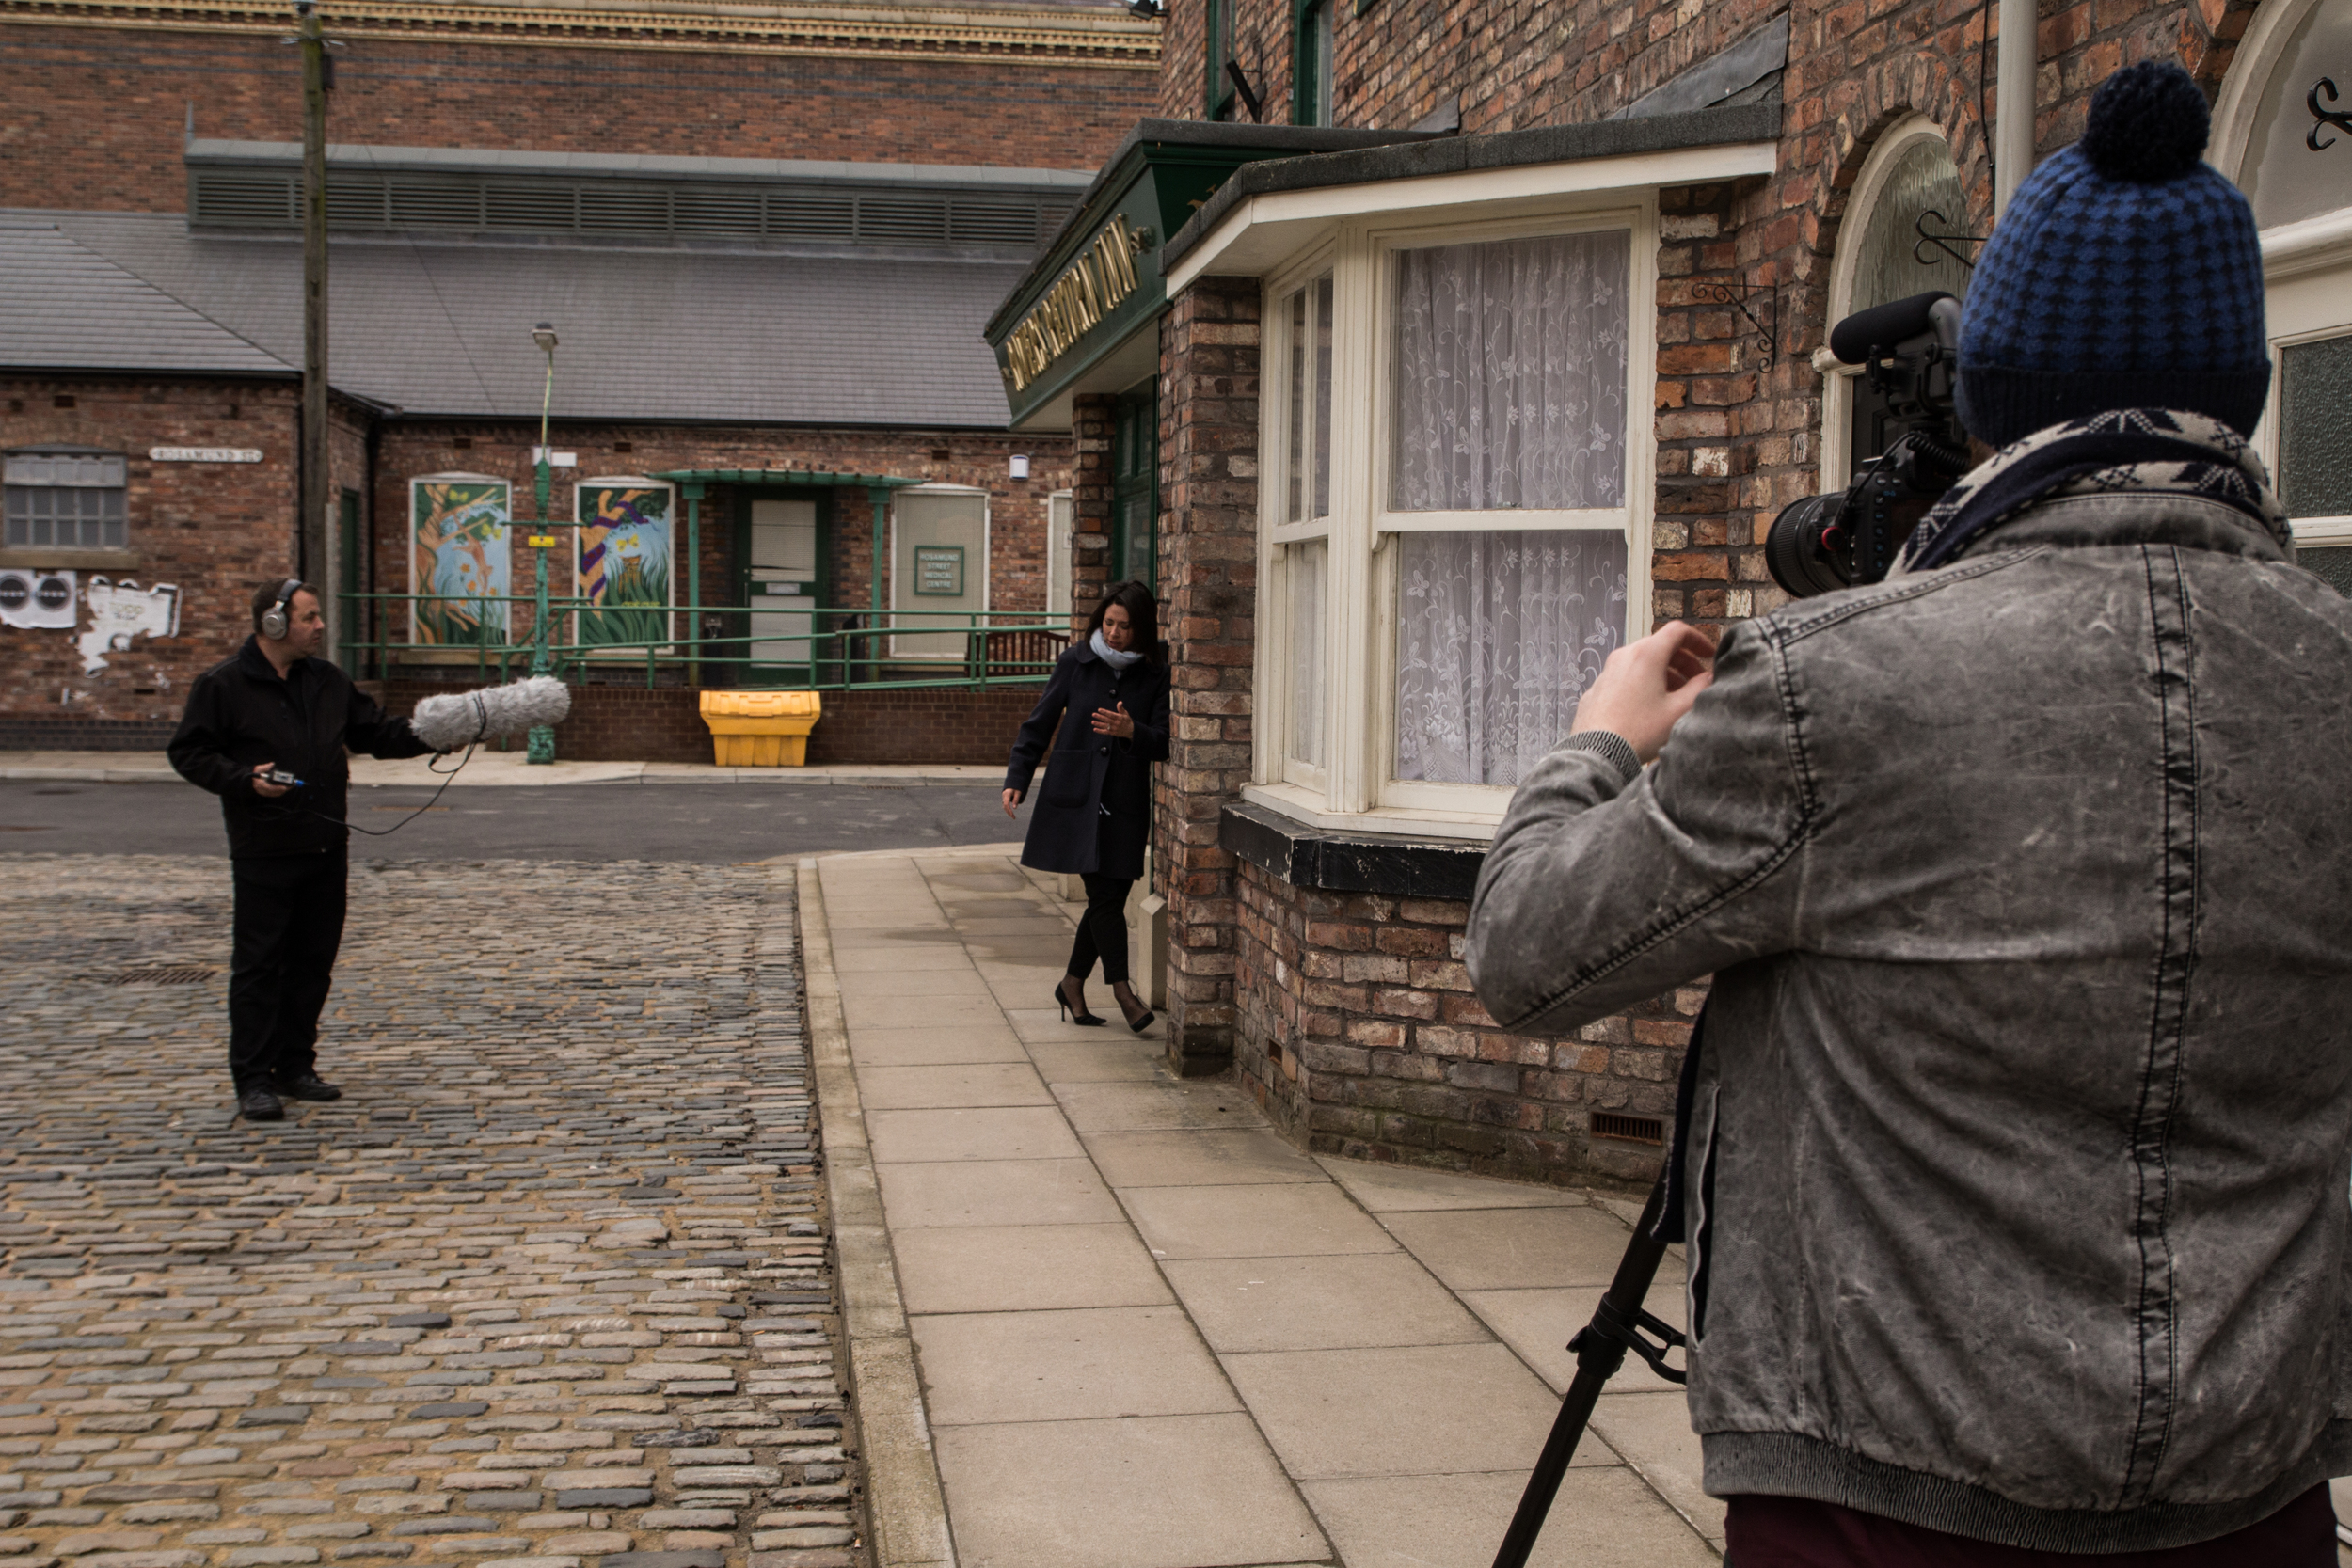
After recording all of the VO, we headed to the lot of the cobbled streets where a scene was being filmed as we overlooked and walked through! I shot some more cutaways of the street and crew in action on the 5D and 70-200. We had a fantastic guide who gave us many technical secrets into the new production facility, it was fantastic!!

IMG_2027.JPG

The AutoScript had arrived!!! We quickly got set to putting it together, however John, Glen and myself had no experience in putting one together, so to the internet it was! A few minutes later we had the prompter up and running, the camera set, working lights on, microphone levels set and were ready to roll.

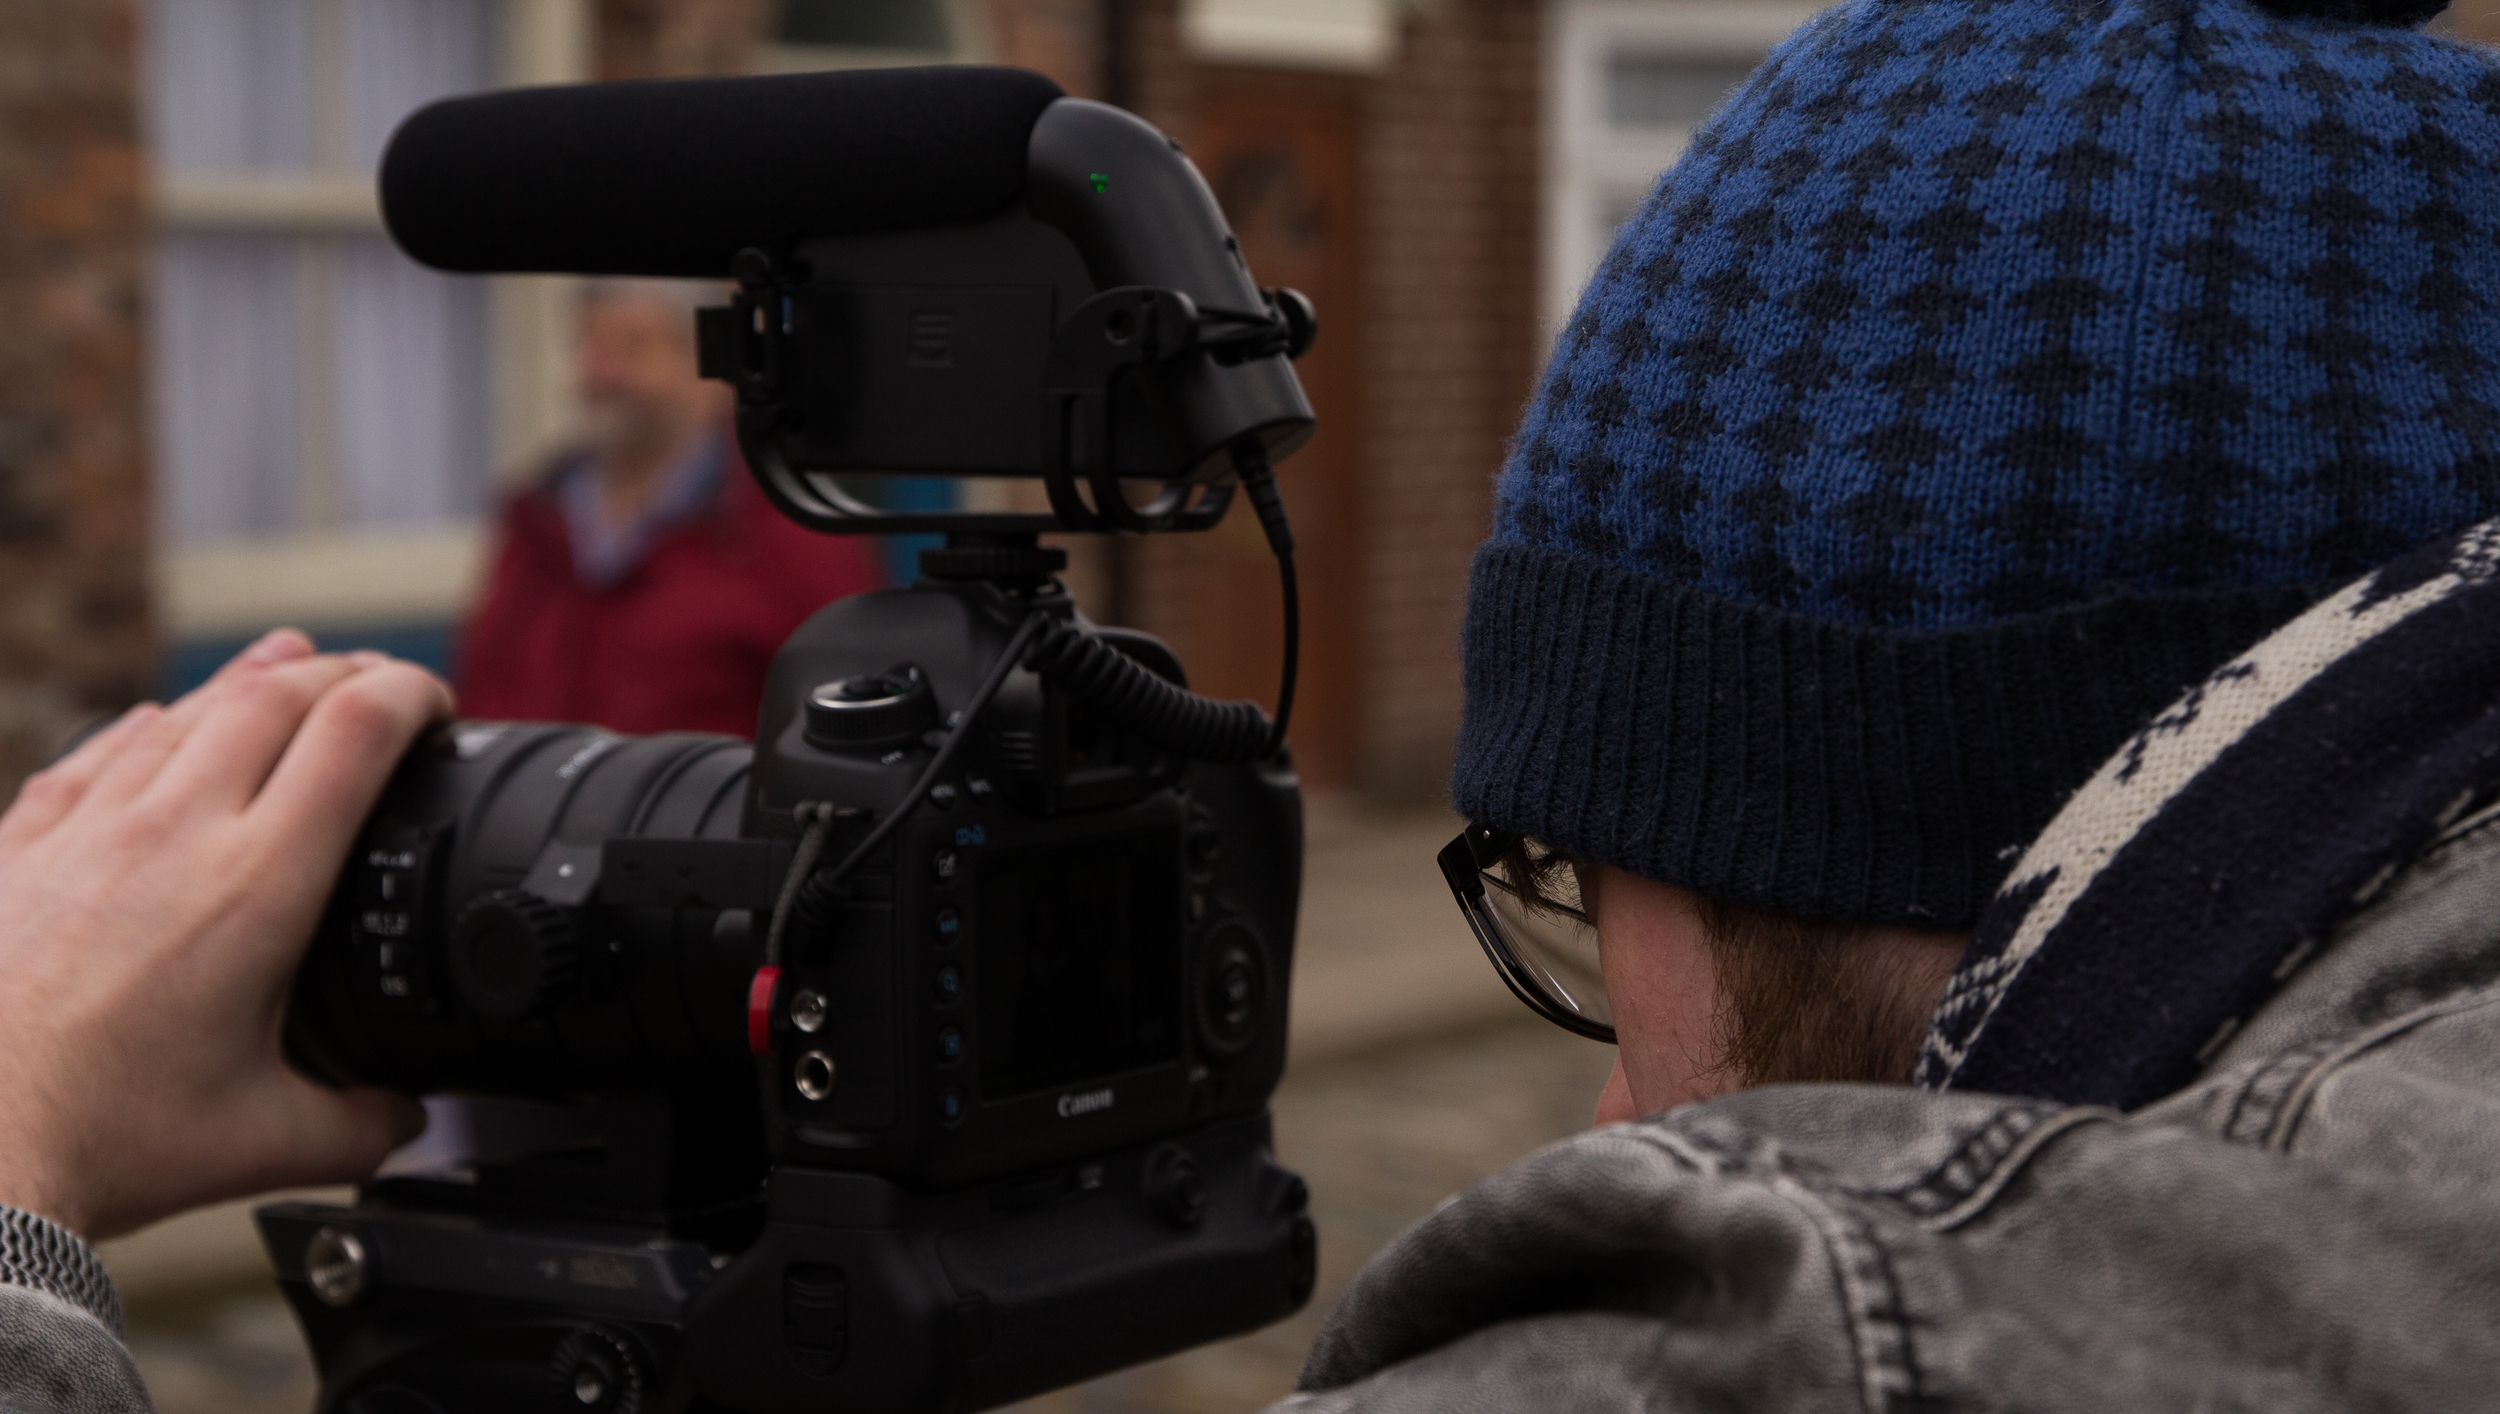
As you can see, the normally small 5D and 70-200 filming combo goes out the window when using a prompter. Very front heavy!

Our filming took us all around the studios including Roy's Rolls and the Rovers, showing how a drama program is produced. Our access also allowed us into the production galleries, editing and grading suites for more 'piece to camera' filming as well as capturing plenty of GV showing the equipment in action.

We wrapped up day 1 late that evening which allowed us to capture most of the content for the video: we shot scenes 1 through to 7, great progress and took the pressure off day 2 as we didn't know what access we would have.

When we got back to the hotel, the importing and backing up began. I like to play the 'guess the gigabyte' game, simply guessing the total file size of the captured material. Although we were working loads throughout the day, I think the day 1 total was around 60Gb all in all. I backed up onto 3 drives that night just in case.

Day 2

We started a little later to recover from the long day before, enjoyed a big breakfast, plenty of coffee and headed over to the studios with our suitcases as it was our last day. We had access to the edit and grading suites in the morning, where I shot plenty of B roll just in case, as it turned out we wouldn't get access to the finishing or dubbing suites so this came in handy.

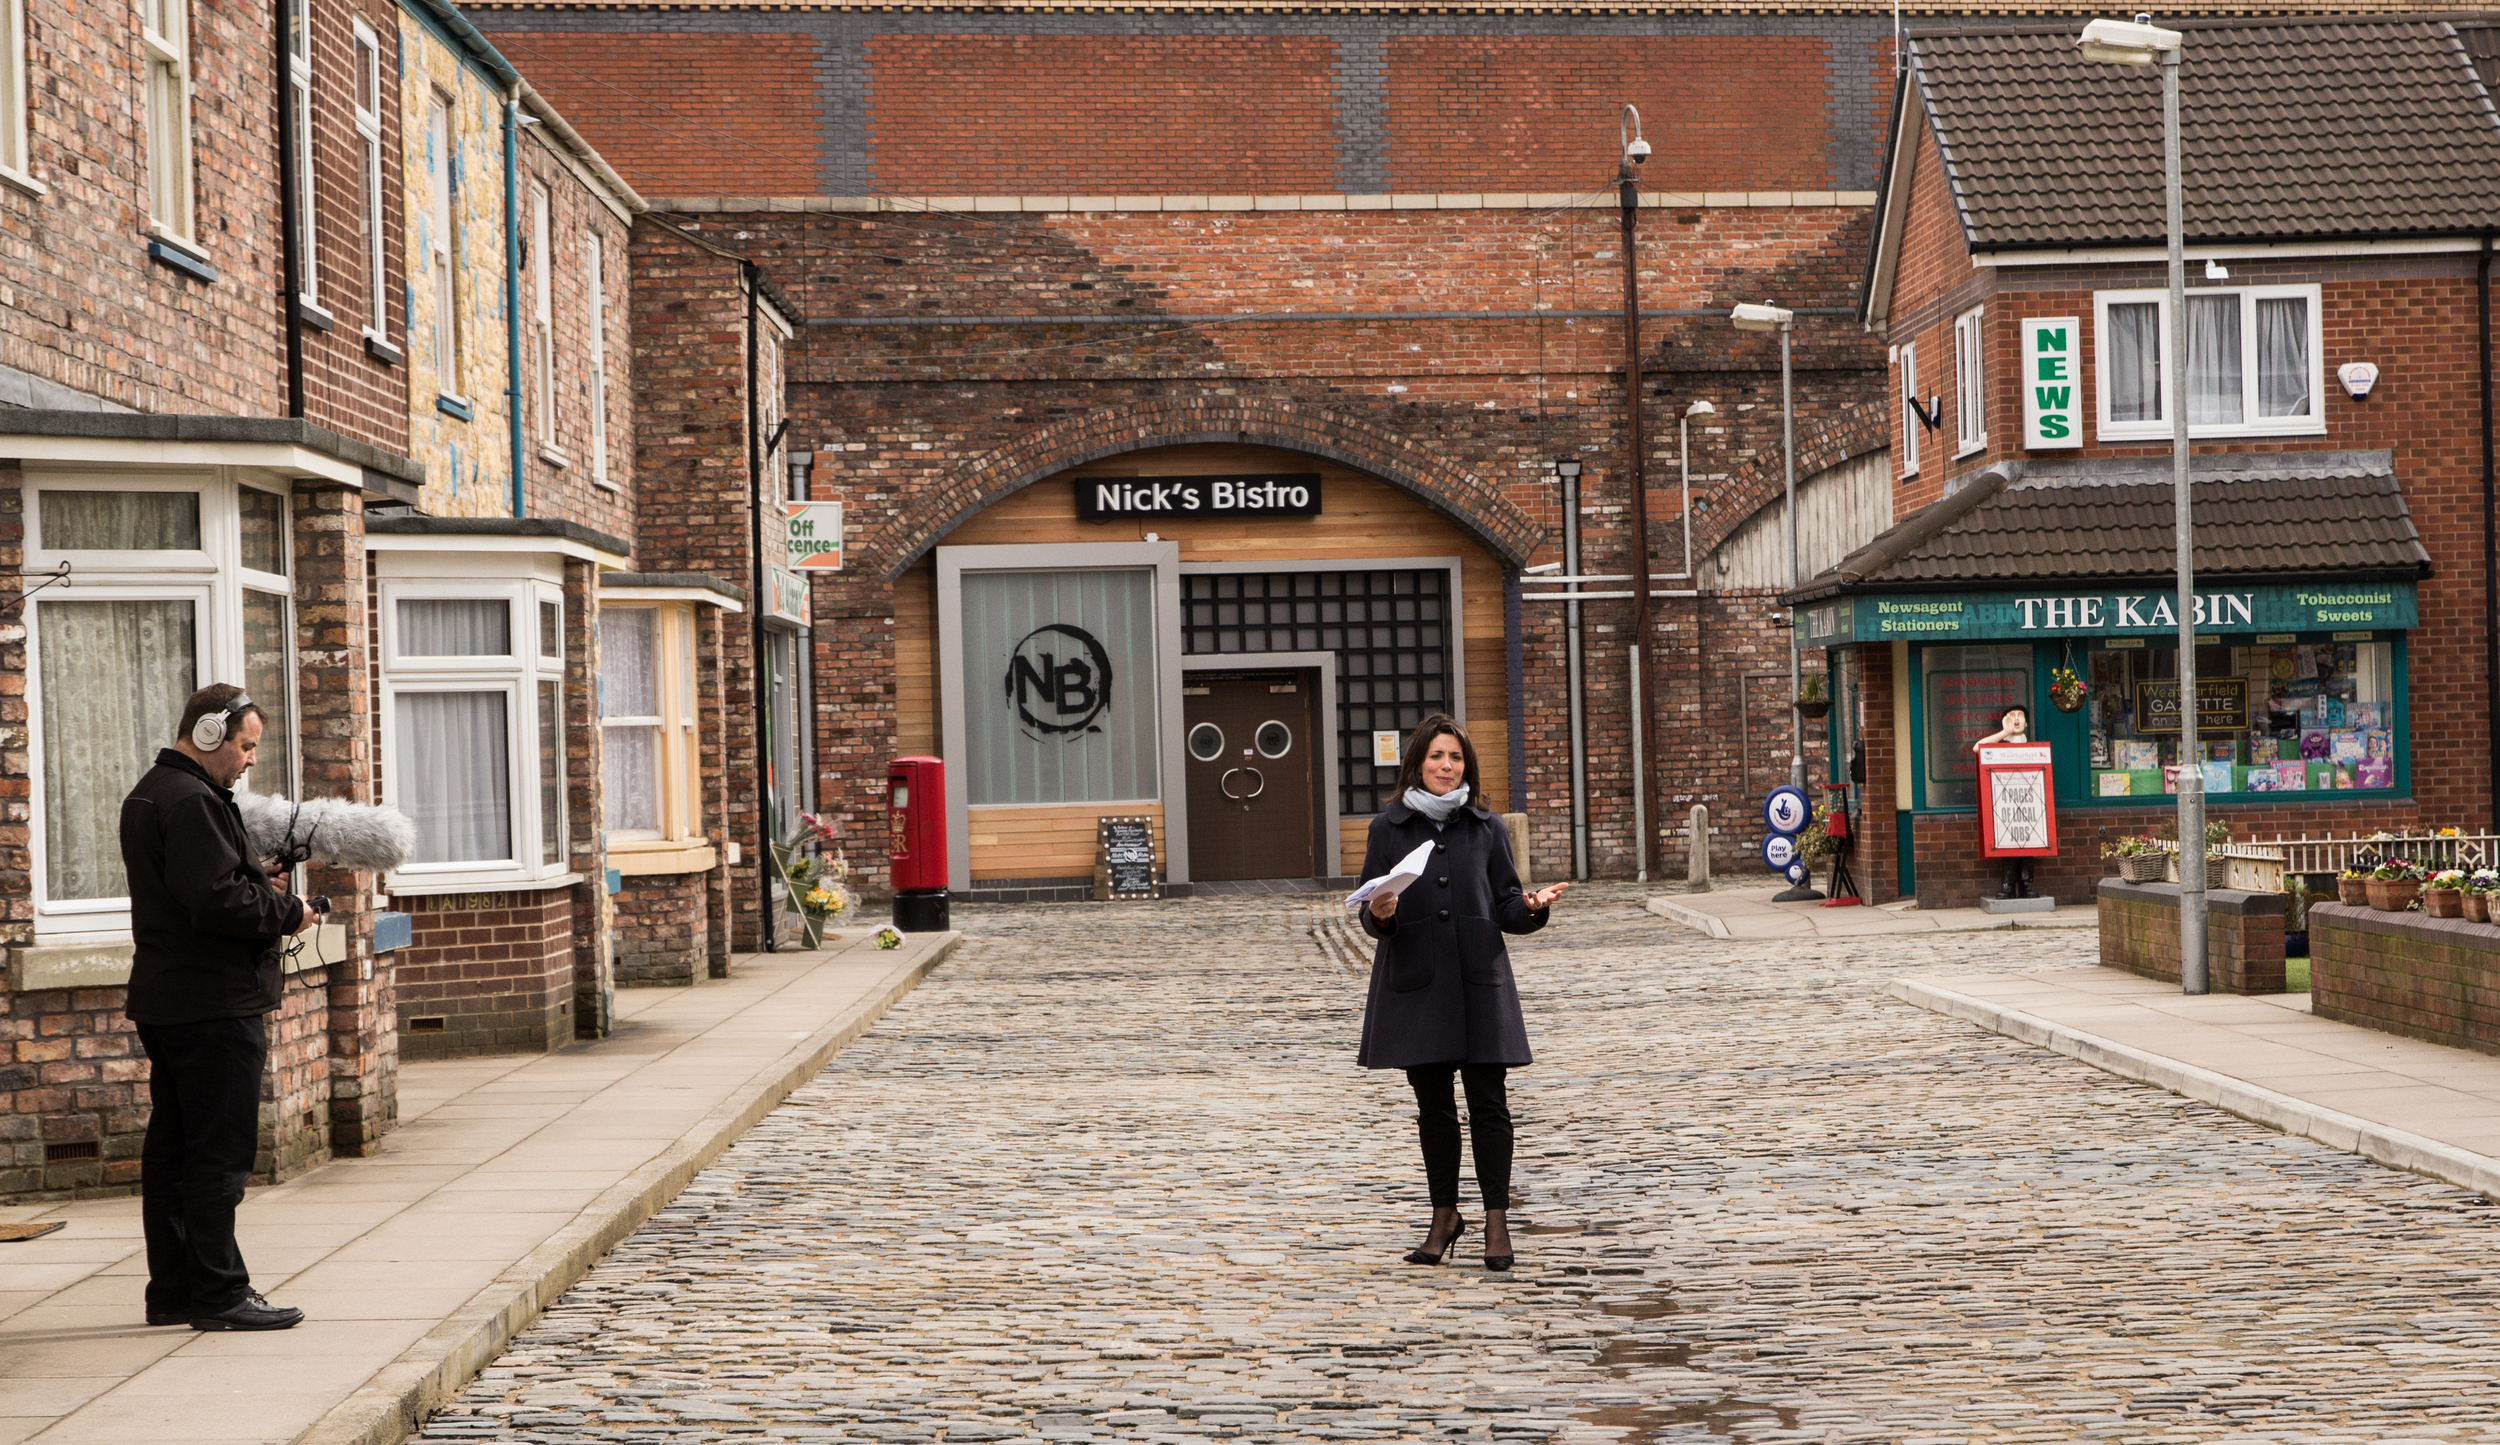
As Corrie filming had finished on the street, we quickly went out to shoot the final 'conclusion' scene of the training video outside the Rovers and on the cobbles. The prompter required a power supply, so we de-rigged it for this scene, I used the 5D and 70-200 only for these shots. Most of the time I shot at around F/11-16 as it was rather bright outside, but it also keeps some of the background visible instead of blowing it out with bokeh.

The machine room was a challenge due to the heavy air conditioning for the racks and racks of networking, storage and server equipment to keep it cool. Not particularly for the vision, but John did a great job of operating the H6 and monitoring the audio with so much background noise. The gun mic was out of the question, so we captured solely using the Rode Lavalier mic, which worked well for this environment.

As a back up I also captured plenty of B roll, and John captures a voice over from Georgie of the machine room scene just in case the native sound was too distracting. Luckilly, the Rode lavalier coped well!!

I had access to the working production galleries as scenes were being recorded under Tony Warren, Coronation Streets award winning director. It was amazing to watch him and his team work! I'm not allowed to talk about what I saw being captured though :)

That was the last filming stop at Corrie before we departed, saying a massive thank you to our guide and staff at the facility who were so welcoming and helpful. It was a breezy walk back to the Holiday Inn, as I thought I had lost my car keys, before the very long drive home!

The team did a fantastic job over the intense two day shoot, it was Glen's first job operating a prompter and although it was a challenge putting it together he quickly picked up the operation. For me, it was awesome seeing the technology behind a drama serial that captures its programs like live television. Being a completely new facility, the studios had brand new vision mixers, racks, lighting and sound control which was fascinating to see and learn more about.

Highlights/reel of the Coronation Street video shoot coming soon!

#MadeWithManfrotto

'Adam's 5 Golden Rules of Videography'!

I was asked by Manfrotto to list my 5 golden rules of videography, and while I think creativity shouldn't be bound by rules to follow, these 'pointers' will keep you heading in the right direction to make awesome videos and films!

Check out the rules here..

http://www.manfrottoschoolofxcellence.com/2014/12/adam-plowdens-five-golden-rules/#.VJK9FbFXspV

Manfrotto 5 golden rules videography

Filming and editing the Soundbox opening video!

I thought I'd give you an insight into the production of my latest video release; the Soundbox studio opening!

The event took place before the summer, and I took along Sam to help me out with the gear and eat delicious cupcakes! We arrived with about an hour prior to the opening so I could capture some of the establishing shots and BTS of the final touches to the studio.

I had my standard video setup with me:

5D mkIII, Tamron 24-70, Sigma 70-200, Samyang 14, 35, 85.

Zoom H6, Roto-mic.

I also used the new Manfrotto Spectra LED lights, the bi-colour model is fantastic for a kick of soft light that can be easily controlled to daylight and tungsten colour temperature.

For the grip I had my trusty Manfrotto 755CX-3 and MVH-500AH as it is lightweight and easily maneuverable around small spaces, as well as the Manfrotto 681B monopod and MH054 ball head, Edelkrone slider plus and flycam nano.

Construction and tidying up was still under way when we arrived, so I captured some of the nerves and excitement leading up to the big launch. For the establishing shots I used the Edelkrone slider on the Manfrotto tripod, combined with the 14mm cine lens it gives a great moving perspective and shows off the space very well.

Natural light conditions

It was quite dark in the studio, so I struggled with aperture vs exposure and often shot very shallow to retain light. The beauty of the 35mm and 85mm cine lenses is that at T/1.5 they are extremely sharp and great for low light, however without image stabilization a tripod is recommended. I always have my 'go to' lenses on hand as they have good IS and are zoom, so for more run and gun style shooting it suits it much better than needing the time to set up and compose a shot.

soundboxstudioest1
soundboxstudioest2
soundboxstudioest3

The monopod became more useful when the eager visitors began arriving, and after a short and sweet speech, Matt and Jack opened Soundbox to the public!

soundboxopeningmatt
soundboxcupcakes

I captured the buzz and excitement of the event, you could feel the anticipation in the air to see the hard work all finished! I worked with the 5D on the monopod and tripod for most of the time, and occasionally used the Flycam Nano for some moving shots through the studio. I did have to balance the camera and lens when I arrived, as it was set up for a different body when I last used it..

One important skill that I've learned is to become invisible to the guests at the event, or if that tactic doesn't work, being a photographer is a good one too! Acting professional and friendly keeps your subjects in a relaxed and candid manor, rather than adjusting their clothes, posing or avoiding the camera all together. If your subject can feel your good aura, they should respond positively :)

soundboxrecordingstudio

The lead artist of Soundbox is Rebecca James, who was there to perform and support the launch of the studio too! She belted out some great numbers, accompanied by a group of ace musicians on bass, electric guitar and percussion. The track in the background of the video is Rebecca's new one, and will be on her upcoming EP!

rebecca james

Slow mo

As you've probably noticed, I shot a large majority of the event in 50fps (slow motion).. This was purely a creative decision on the day, and also a chance to work in a different format presents it's own set of challenges to overcome.

Now, on the 5D mkIII it will record 1080p 25fps and 720p 50fps. When recording in 50fps the picture appears much softer, and a little darker too due to the shutter speed reduction. In an already darkly lit location, either shooting shallow or with a high ISO were my options as I don't like using a light on camera.

You can push the 5D mkIII very far with it's ISO in video mode, and I often shoot at ISO 2000 and above in certain circumstances.

Gear

Shooting with the Manfrotto gear made me discreet in my filming approach, and provided me with perfect grip and stability for capturing the video. I could rest easy also knowing I stored by camera gear in the Pro Backpack50, so if anything happened to it; kicked dropped, moved, liquid spillage.. My gear is safe.

Post

Backing up the footage happened pretty much immediately after the shoot, onto both drives in my work station and a couple of EHD's. Then, in Premiere Pro I imported the footage, and split up the 25p and 50p into separate sequences so the slow mo footage can be slowed down to the right playback rate.

After cutting down the rushes to the best content, I imported the audio track which Matt from the studio sent over. It's Rebecca James' new track '1000 Roses', which will be on her new EP. To add to the rhythm and pace of the edit, I used the beat and some surprising cuts with the track, and adding in the slow mo shots of Rebecca's performance and the band playing looked good I thought!

latenightsoundbox

Anyways, I added an S curve to an adjustment layer over the whole of the sequence, which limited the black level at 16 and the white at 235. This added a neutrality and a different look I was eager to try out.

scurve

So, what are your thoughts? Got any questions about the production? Hope you enjoyed this post!


Thinking of making the jump to 4K?

You are in the same boat as me.. Having bought my 5D mkIII last December, there was no accessible 4K option until the Panasonic GH4 made its appearance in the Spring. I was devastated. Having invested heavily in Canon gear, any future move I make will need to fit with my current EF mount lenses, not to mention everything else such as batteries, memory cards and my overall production workflow.

http://www.eoshd.com/2014/04/panasonic-gh4-vs-sony-a7s-compared-wins-4k-battle-paper/

(EOS HD comparison between the cameras).

At the moment, there are two options on the table. Said to be like comparing apples and oranges, the Sony A7s and GH4 are the current competing professional cameras that offer 4K functionality, however for people that own the cameras and have been comparing the two have found it difficult. This is for a few reasons:

Sensor size: The A7s is full frame, the GH4 is MFT.

4K in camera: The GH4 can record 4K internally, the A7s requires an external recorder such as an Odyssey or Shogun.

Philip Bloom using the Q7, from: http://philipbloom.net/2014/07/19/magician/

Jeromy, CEO of Atomos talking to me and Sam from The IABM about new products and the IBC Show.

Now, many people will be arguing that what does the increased resolution allow you to do, that HD doesn't? The image produced from the 5D is great; good in low light, versatile, fits my style of filming... But it also has big downfalls for being a DSLR, and not a video camera.

Something that is unique about these two cameras is that their 'out of the box' functionality has been fine tuned for video applications, as well as high end photography. This is what Canon has left behind in their non Cinema line cameras, and Magic Lantern has struck gold on with their firmware hack enabling awesome video functions.

I have only recently installed ML on my 5D mkIII due to the current firmware on the camera. It was shipped with version 1.2.3, I was hesitant to downgrade the firmware and was patient in waiting for ML to develop a tested and working version for 1.2.3. Now having access to on screen aid such as waveform monitors and audio levels make such a difference, and restart movie for the longer filming durations is great. It turns your 'photography' camera into basically a video camera.

From: About DSLR (Youtube).

For my type of videography, the benefits of having not only 4K, but a wider range of options for recording will allow me to crop and downscale any 4K acquisition to HD and hold incredible picture detail, dynamic range and depth of field.

The recording bit rates are higher, meaning more data is stored for post production editing, compositing or grading.

Lastly, it should increase the production value of what I produce. Now, I am not stating that better equipment makes better videos. It does give you the opportunity to step up with what you can do in your work, and especially as it keeps you up to date in a world of ever changing and improving technology.

So, what is my investment cost?

This is dependent on your current shooting kit, and whether you can merge your current system with a new one. Perhaps you already shoot Sony or Panny, so you're in luck.

For me, all my lenses are Canon EF mount, some are electronic, others are manual, so an adapter would be needed in my case. The price of this is dependent on the glass you use, or are going to use.

Let's look at the Panasonic GH4 to start with.

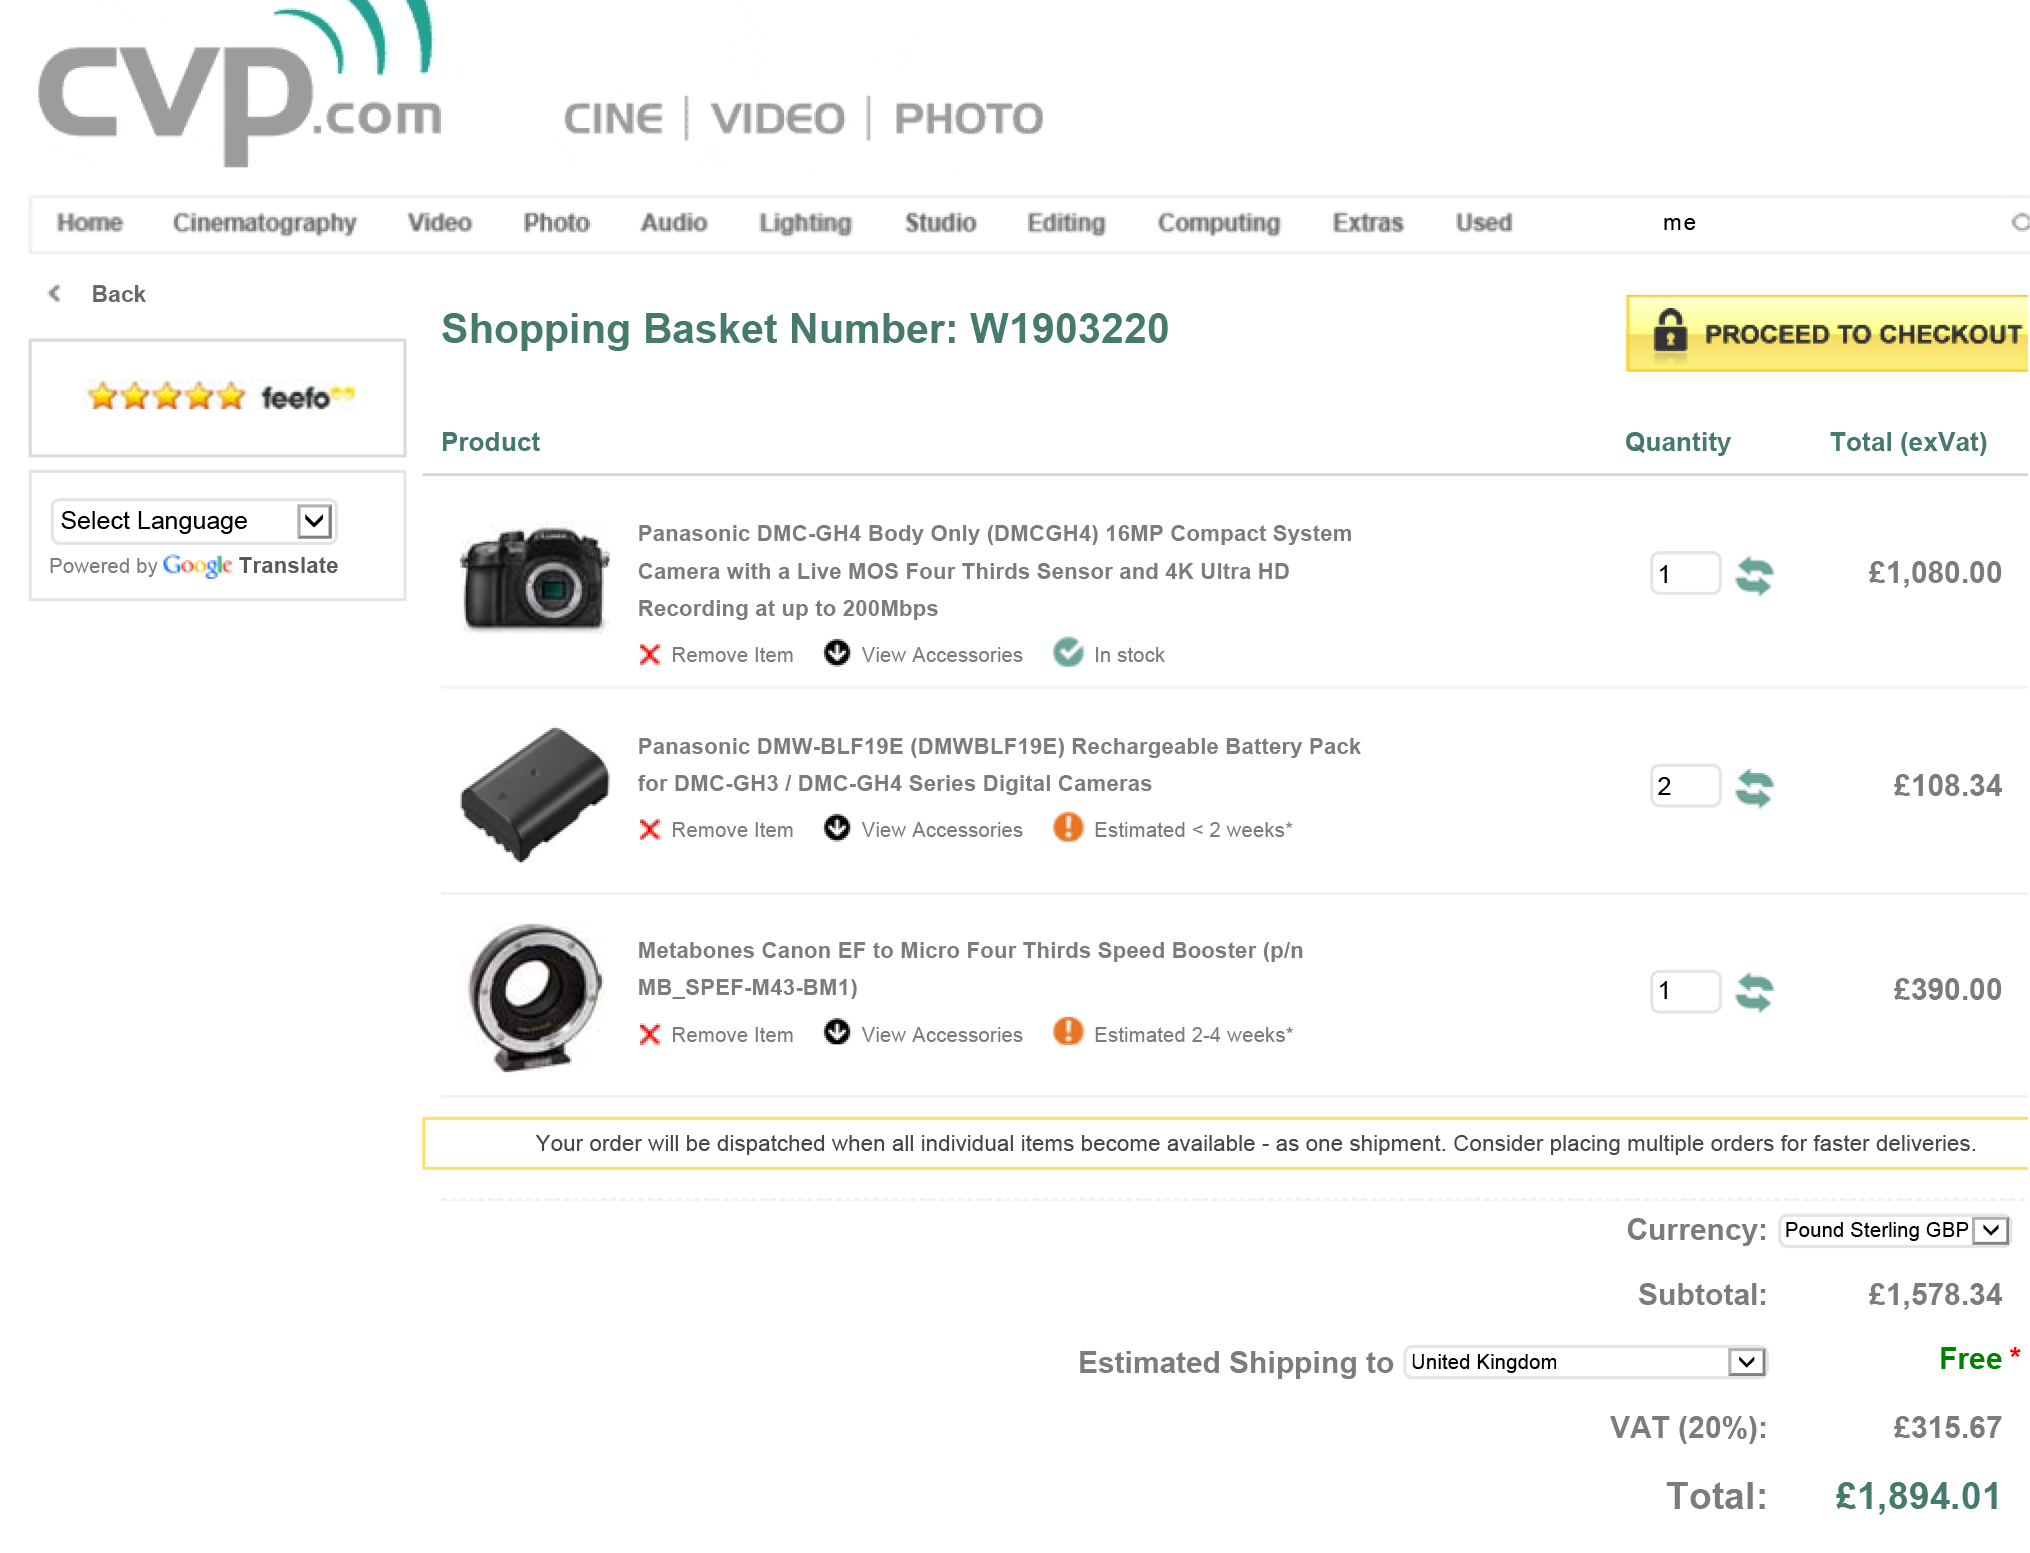
Panasonic GH4 (body only) - £1296.00

Metabones Speedbooster EF to MFT (smart with electronics) - £468.00

GH4 batteries x 2 -£130

Transcend 600x ultimate SD card x 2 (Amazon price) - £36

Now, as the GH4 is MFT, I might purchase a wide angle lens because my current ultra wide angle 14mm T/3.1 would be almost 28mm T/6 due to the sensor equivalence. So, my options would be either:

Panasonic 12 - 35mm F/2.8 - £829.00

I did have the Samyang 12mm T/2, realizing it does not come in MFT mount.. So the above would be my option. I have used it before, it has great OIS and has a decent depth of field for an F/5.6 equivalent lens.

Total GH4 investment inc extra lens - £2759.00 (excluding extra lens - £1930.00)

That £1930 was pretty much the same price I paid for the 5D mkIII body only.

Panasonic GH4 basket

Now the Sony A7s.

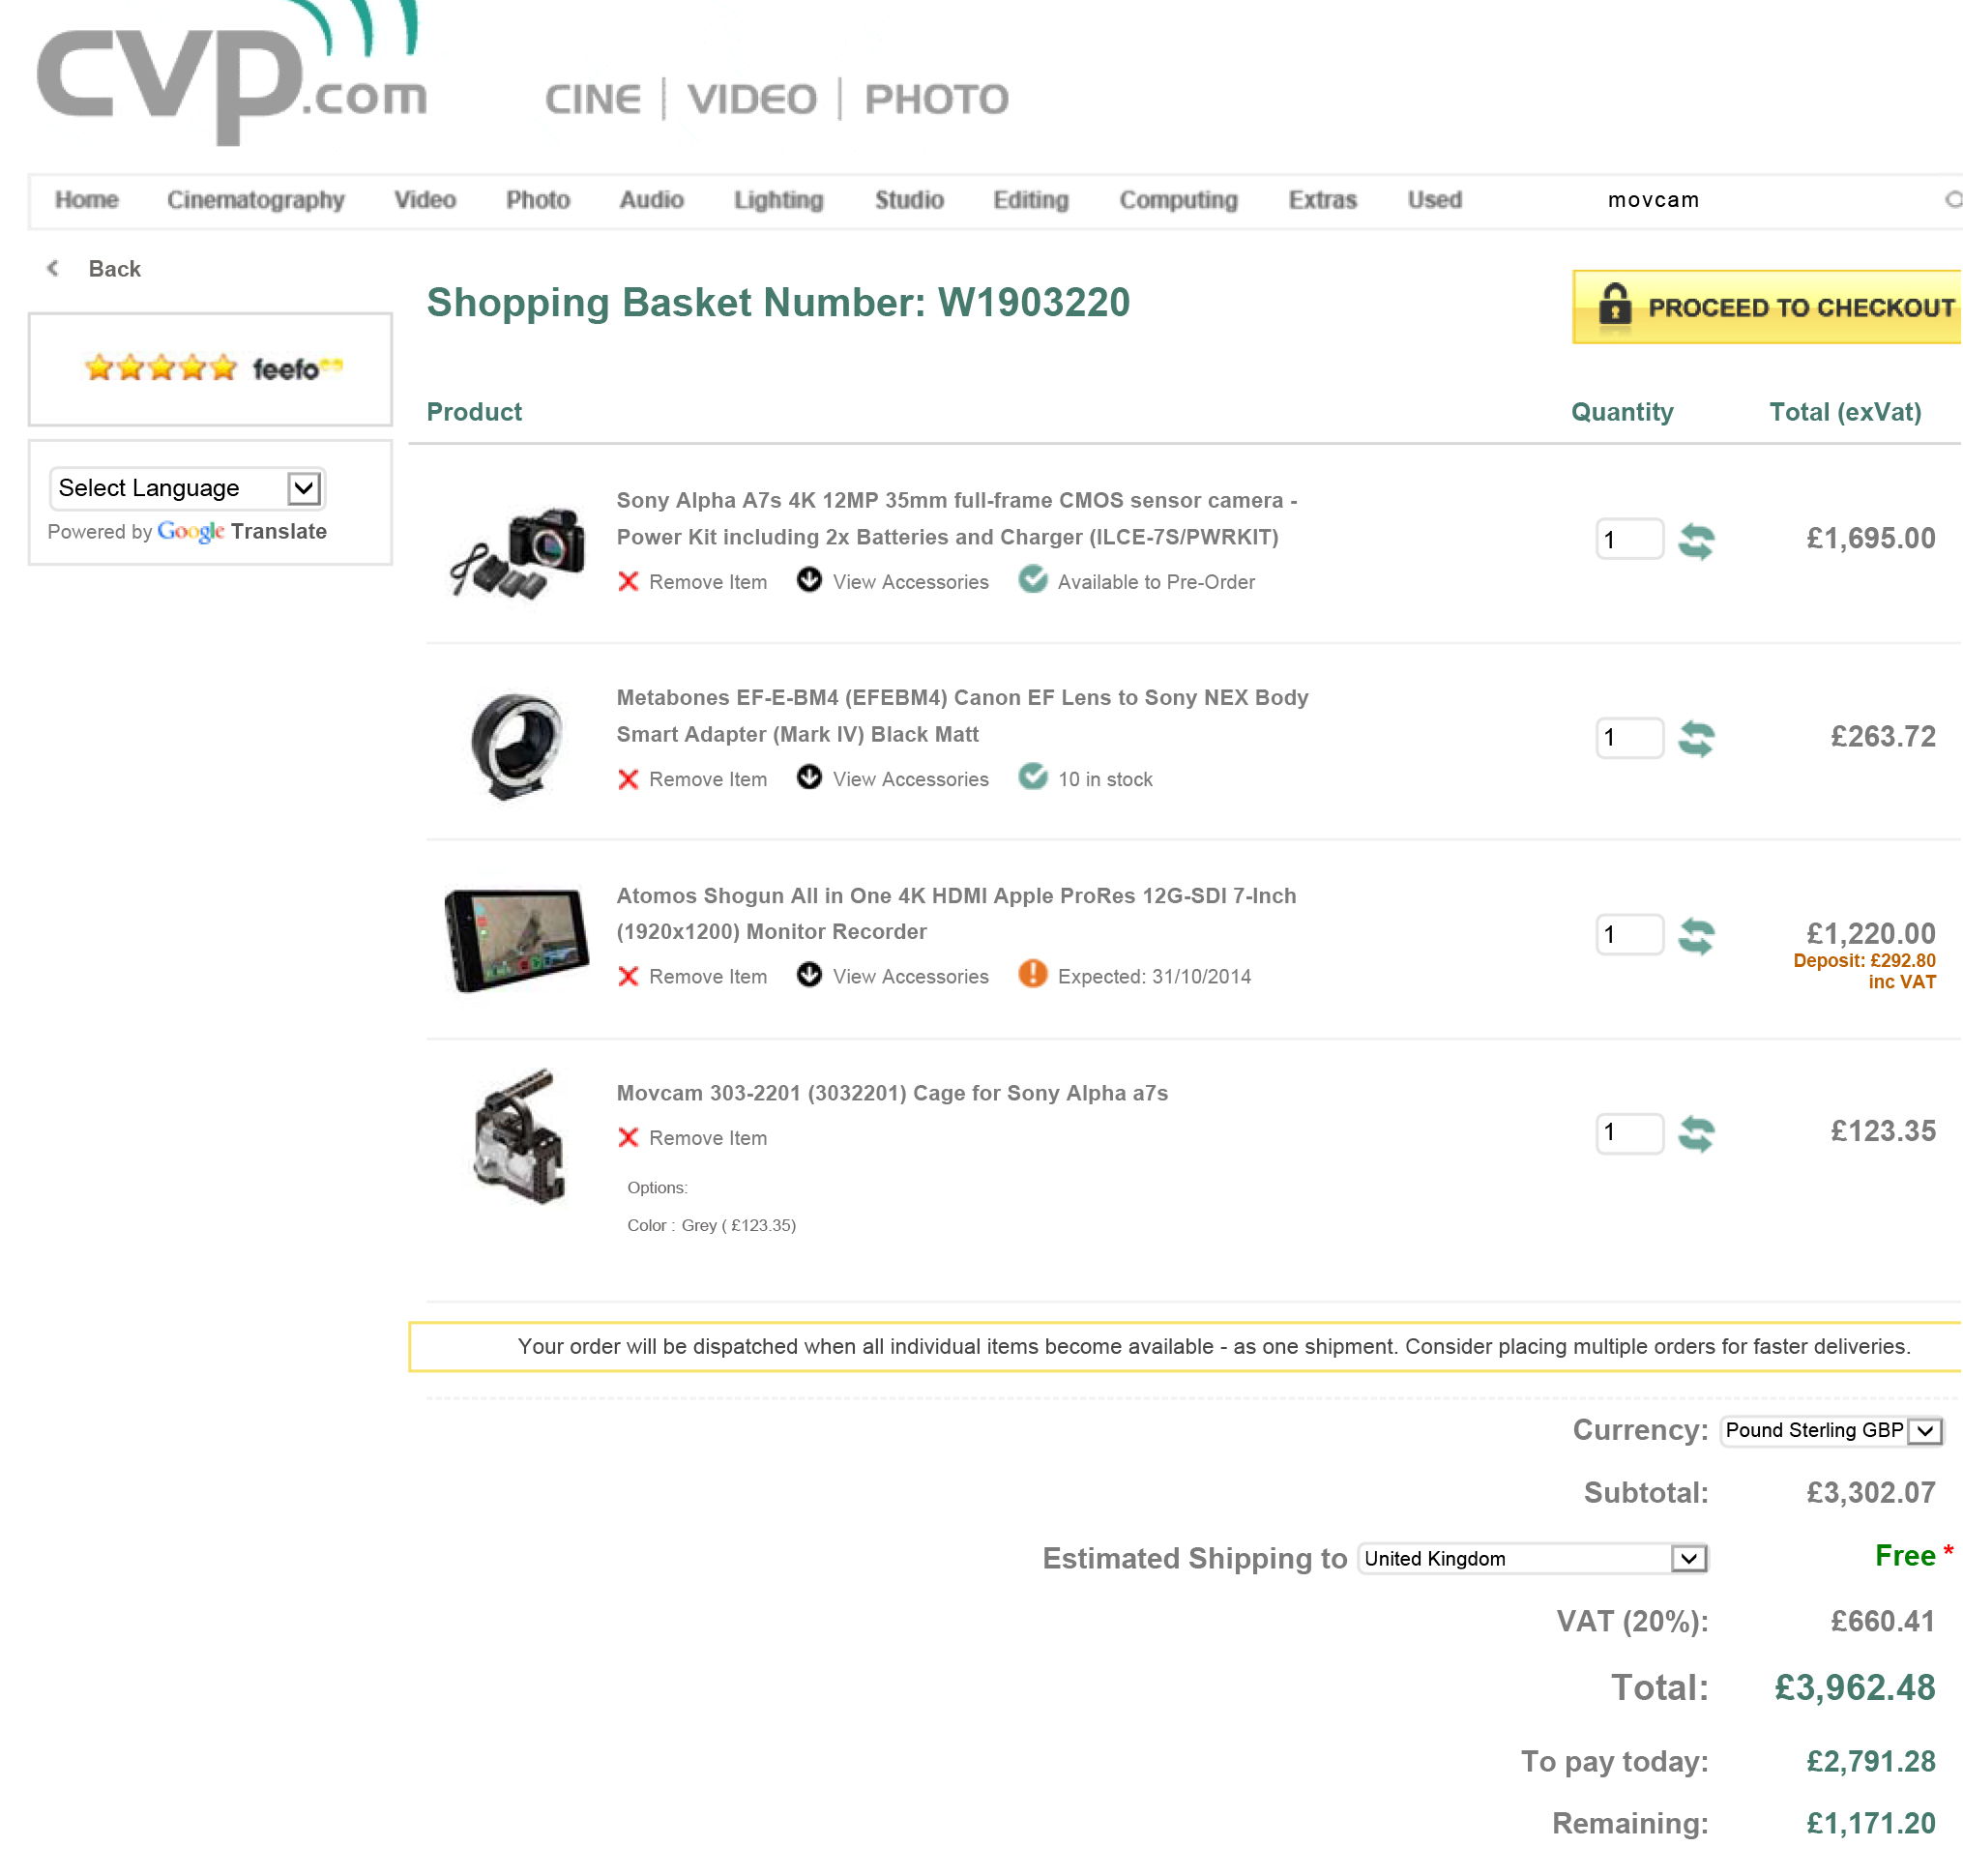
Sony A7s (body and battery/PWR kit) - £2034.00

Metabones Speedbooster EF to E (smart with electronics) - £316.46

Transcend 600x ultimate SD card x 2 (Amazon price) - £36

The A7s does not record 4K internally, so I would need to purchase the Atomos Shogun recorder at - £1464.00

Also, as the A7s is compact in size, a cage is required to make it more accessible with the recorder and mics etc.

Movcam A7s cage - £148.02

Total A7s investment - £3998.48

(All prices are including VAT from CVP).

Sony A7s basket
Adam using the Panasonic GH4

Now.. I've shot on the Panasonic GH4 and I like it. When I've talked to Panasonic reps about the product they all had the same comment that Panasonic listened to videographers, and you can tell. The available recording formats and codecs allow a range of uses for the camera, and the features it packs into its tiny form are perfect for those that already utilize DSLR for video.

(Look back to earlier this year to the Park Camera's Panasonic open day - https://ajp1991.wordpress.com/2014/03/16/meet-the-panasonic-gh4/)

Personally, and this is very subjective to the way I was filming when using the camera, the captured video looked like video. Some will understand what I mean, others won't, but for those that have been shooting on a full frame camera, the 'look' is there. Obviously the sensor plays a large part in that, but if I purchased a GH4 kit outright (disregarding my current EF mount lenses).. I would purchase the Voightlander 25mm and the trusted Samyang cine lenses which might just combat the 'look' issue I feel like I have. As well as high quality ND filters so my shutter can remain at 1/50th.

Really quick GH4 test:

Trying out the 4K, and again a basic test:

(Please if you have experience, tips, footage or photos that you would like to share, please do!)

What am I going to do then?

My dad taught me something really great; good things come to those who wait. In other words, have patience.

As others test out, review and produce videos using the GH4 and A7s (and other cameras that pop up here and there), I will be closer to making my decision. For now, I know to hold off. A good thing for me to do would be to road test both cameras, work it with all of it's video functions and produce a couple of vids that I can look back on. The folks at Park Camera's are great at in store demos, but I can also wait for BVE in Feb 2015.

So, I can frustratingly wait a little longer for my jump to the next innovation of video production and delivery.

In the mean time I can always look at Blackmagic Design's options that shoot 4K, as well as the Apertus AXIOM modular camera, and keep the new Arri Alexa 65 and RED Dragon for my dreams.

axiom-modules-06[1]

From - https://www.apertus.org/

What a WILD weekend!

It's been another busy one! Firstly, let me welcome all of the new followers to my blog! Thanks very much for liking previous posts and I hope you enjoy the future content and bits I post up here :)

Time is drawing closer to the Manfrotto Takeover at Park Cameras in London, I am preparing my seminar these next coming weeks so it would be great to answer any questions you may have about equipment, videography and post production; please get sending them through, and I look forward to seeing you on the 30th but remember to register!

Manfrotto Takeover!

Manfrotto Takeover

Here are some videos I've checked out this week for some inspiration;

The style of this animation is 2D yet very much 3D in its shading and motion.

Incredible BTS showing how OKGO made their viral one shot music video.

This hilarious video is definitely up there to watch, both on the comedy and the shooting.

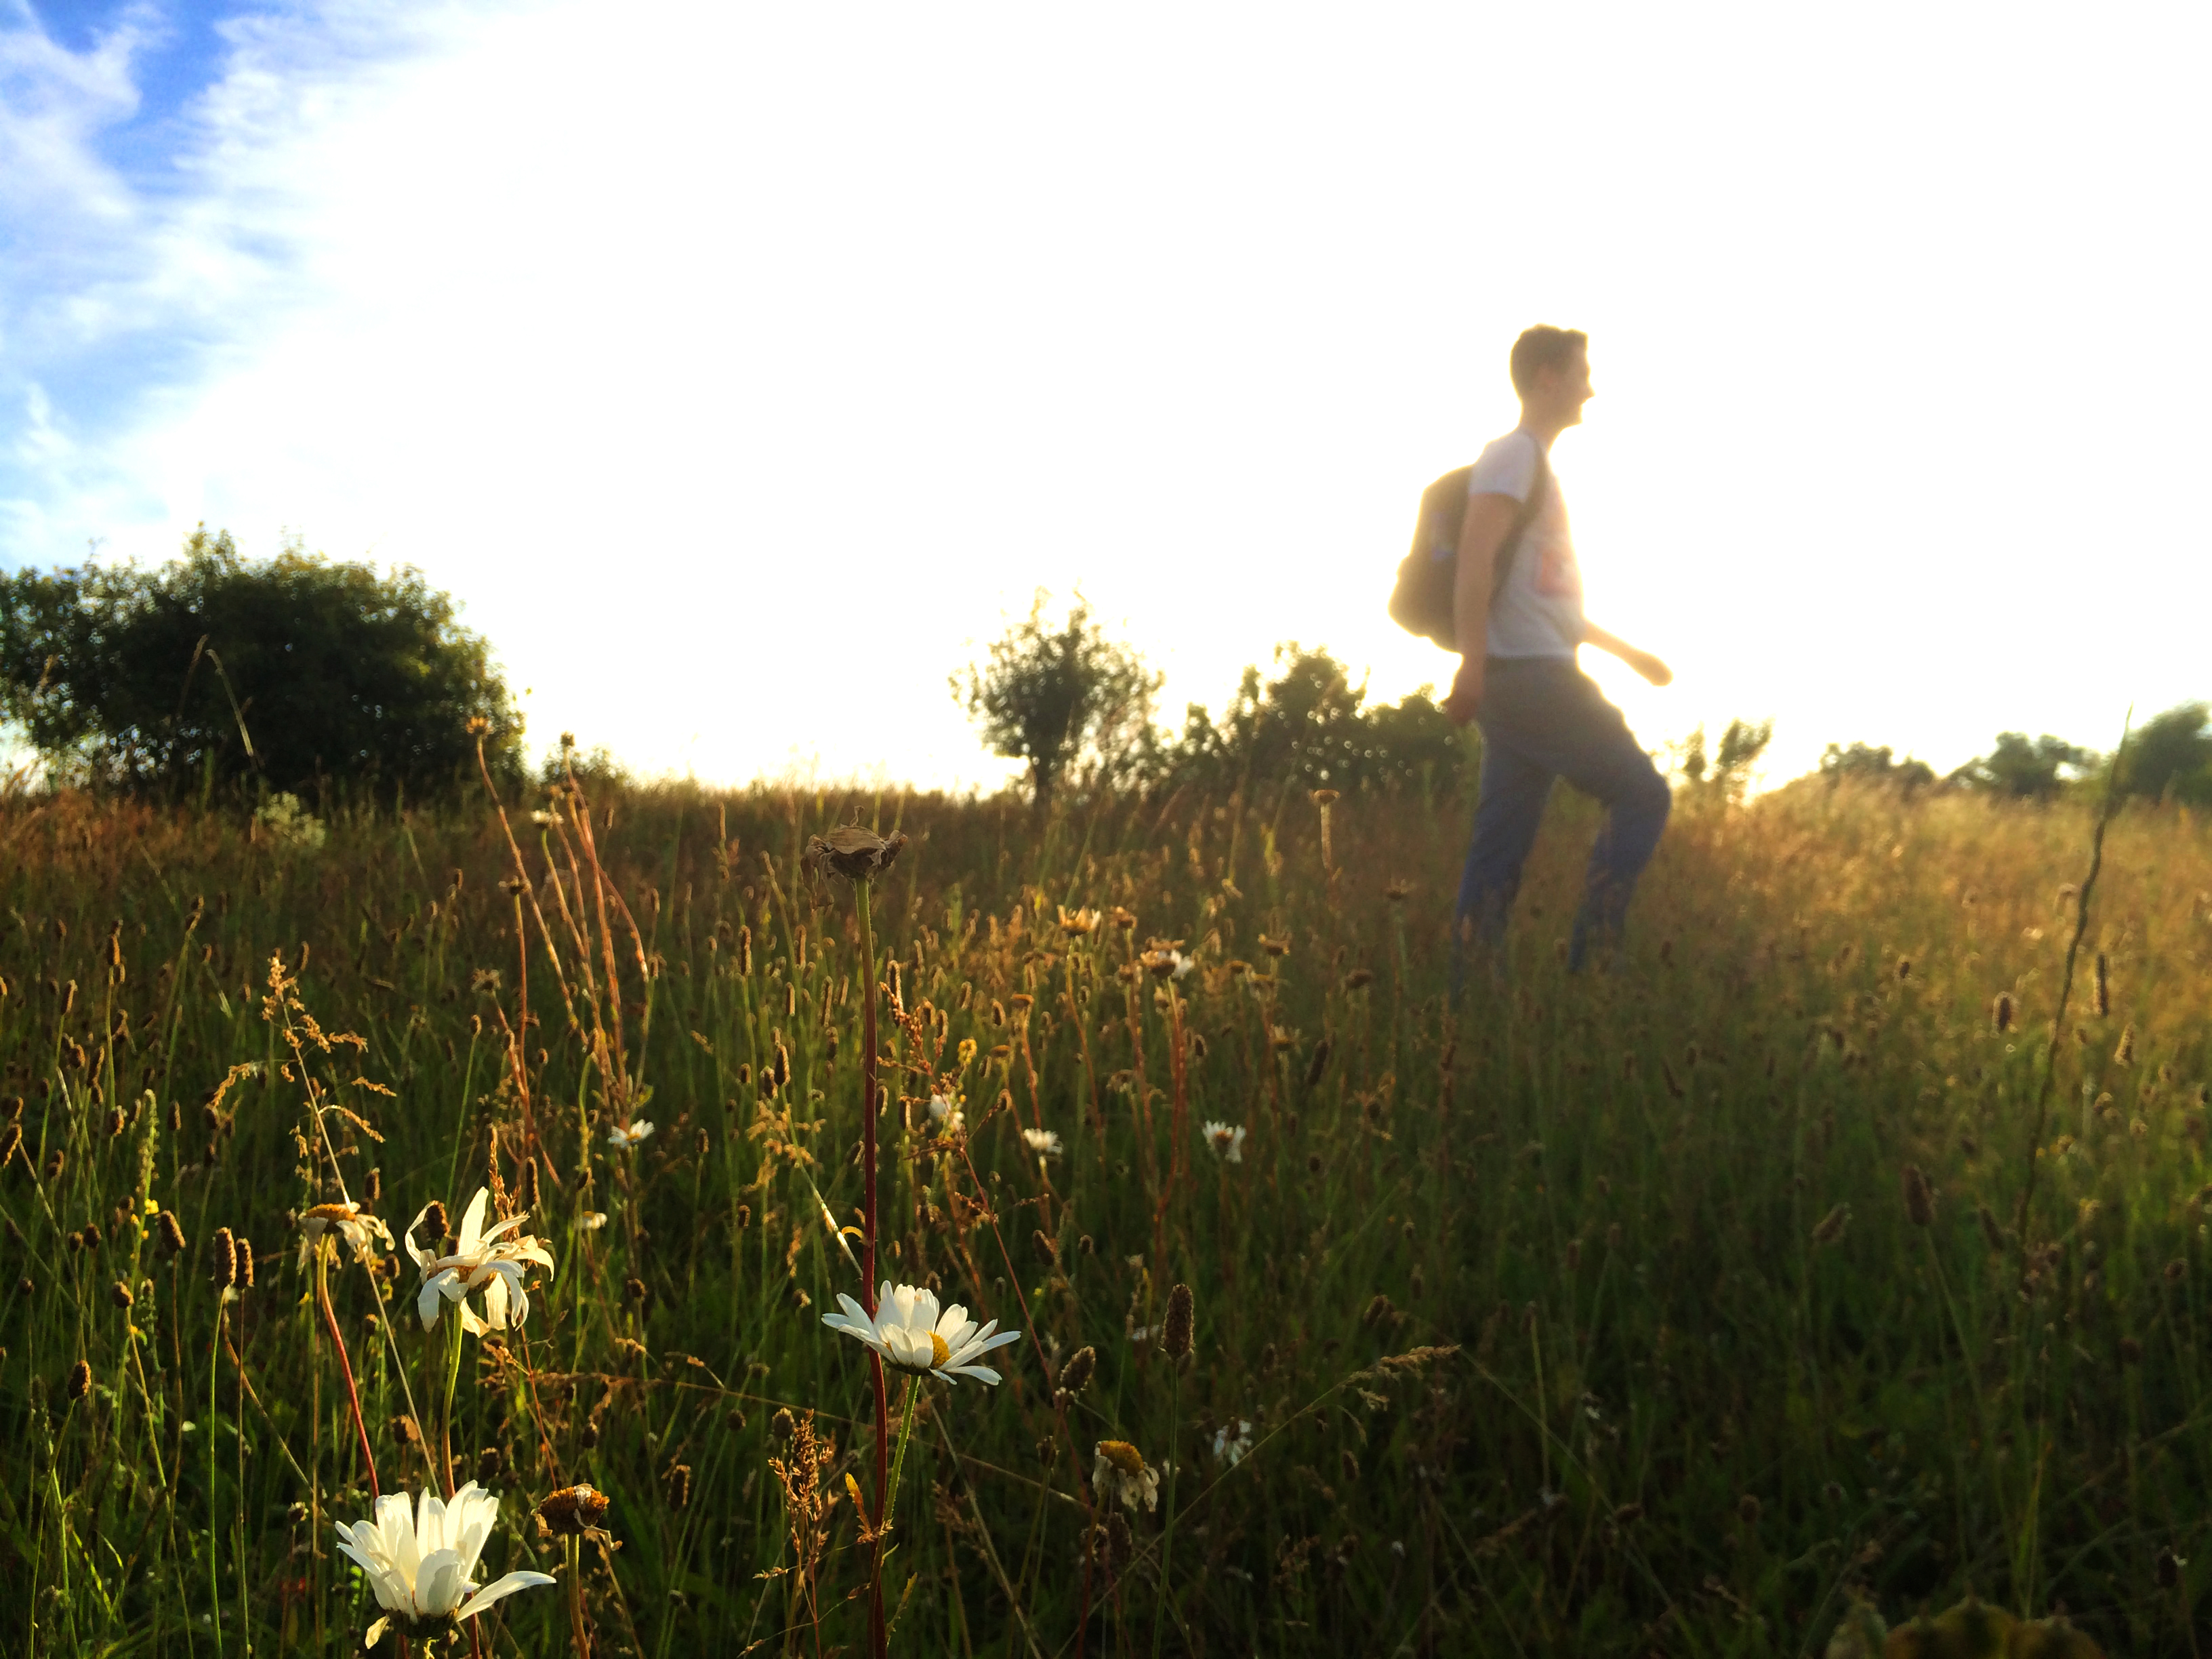
The wild weekend began with a trip to Norbury Park near Leatherhead. I'm usually one to take my camera everywhere, but I vowed against it this weekend as I (strangely speaking) wanted to get to know my iPhone camera better!

Out Geocaching with Glen, we got a number of caches along the River Mole and up towards Great Bookham. I really recommend trips like this, especially if you are stuck behind a computer for long hours.. Getting out and walking has proven to boost creativity and the imagination! So, armed with my iPhone I snapped away using the camera app, it is a challenge to get the exposure you're after with this basic camera!

Panoramic Box Hill Mickleham Surrey iphone photography
country silhouette iphone photography
daisies and sunset bookham silhouette walking iphone photography

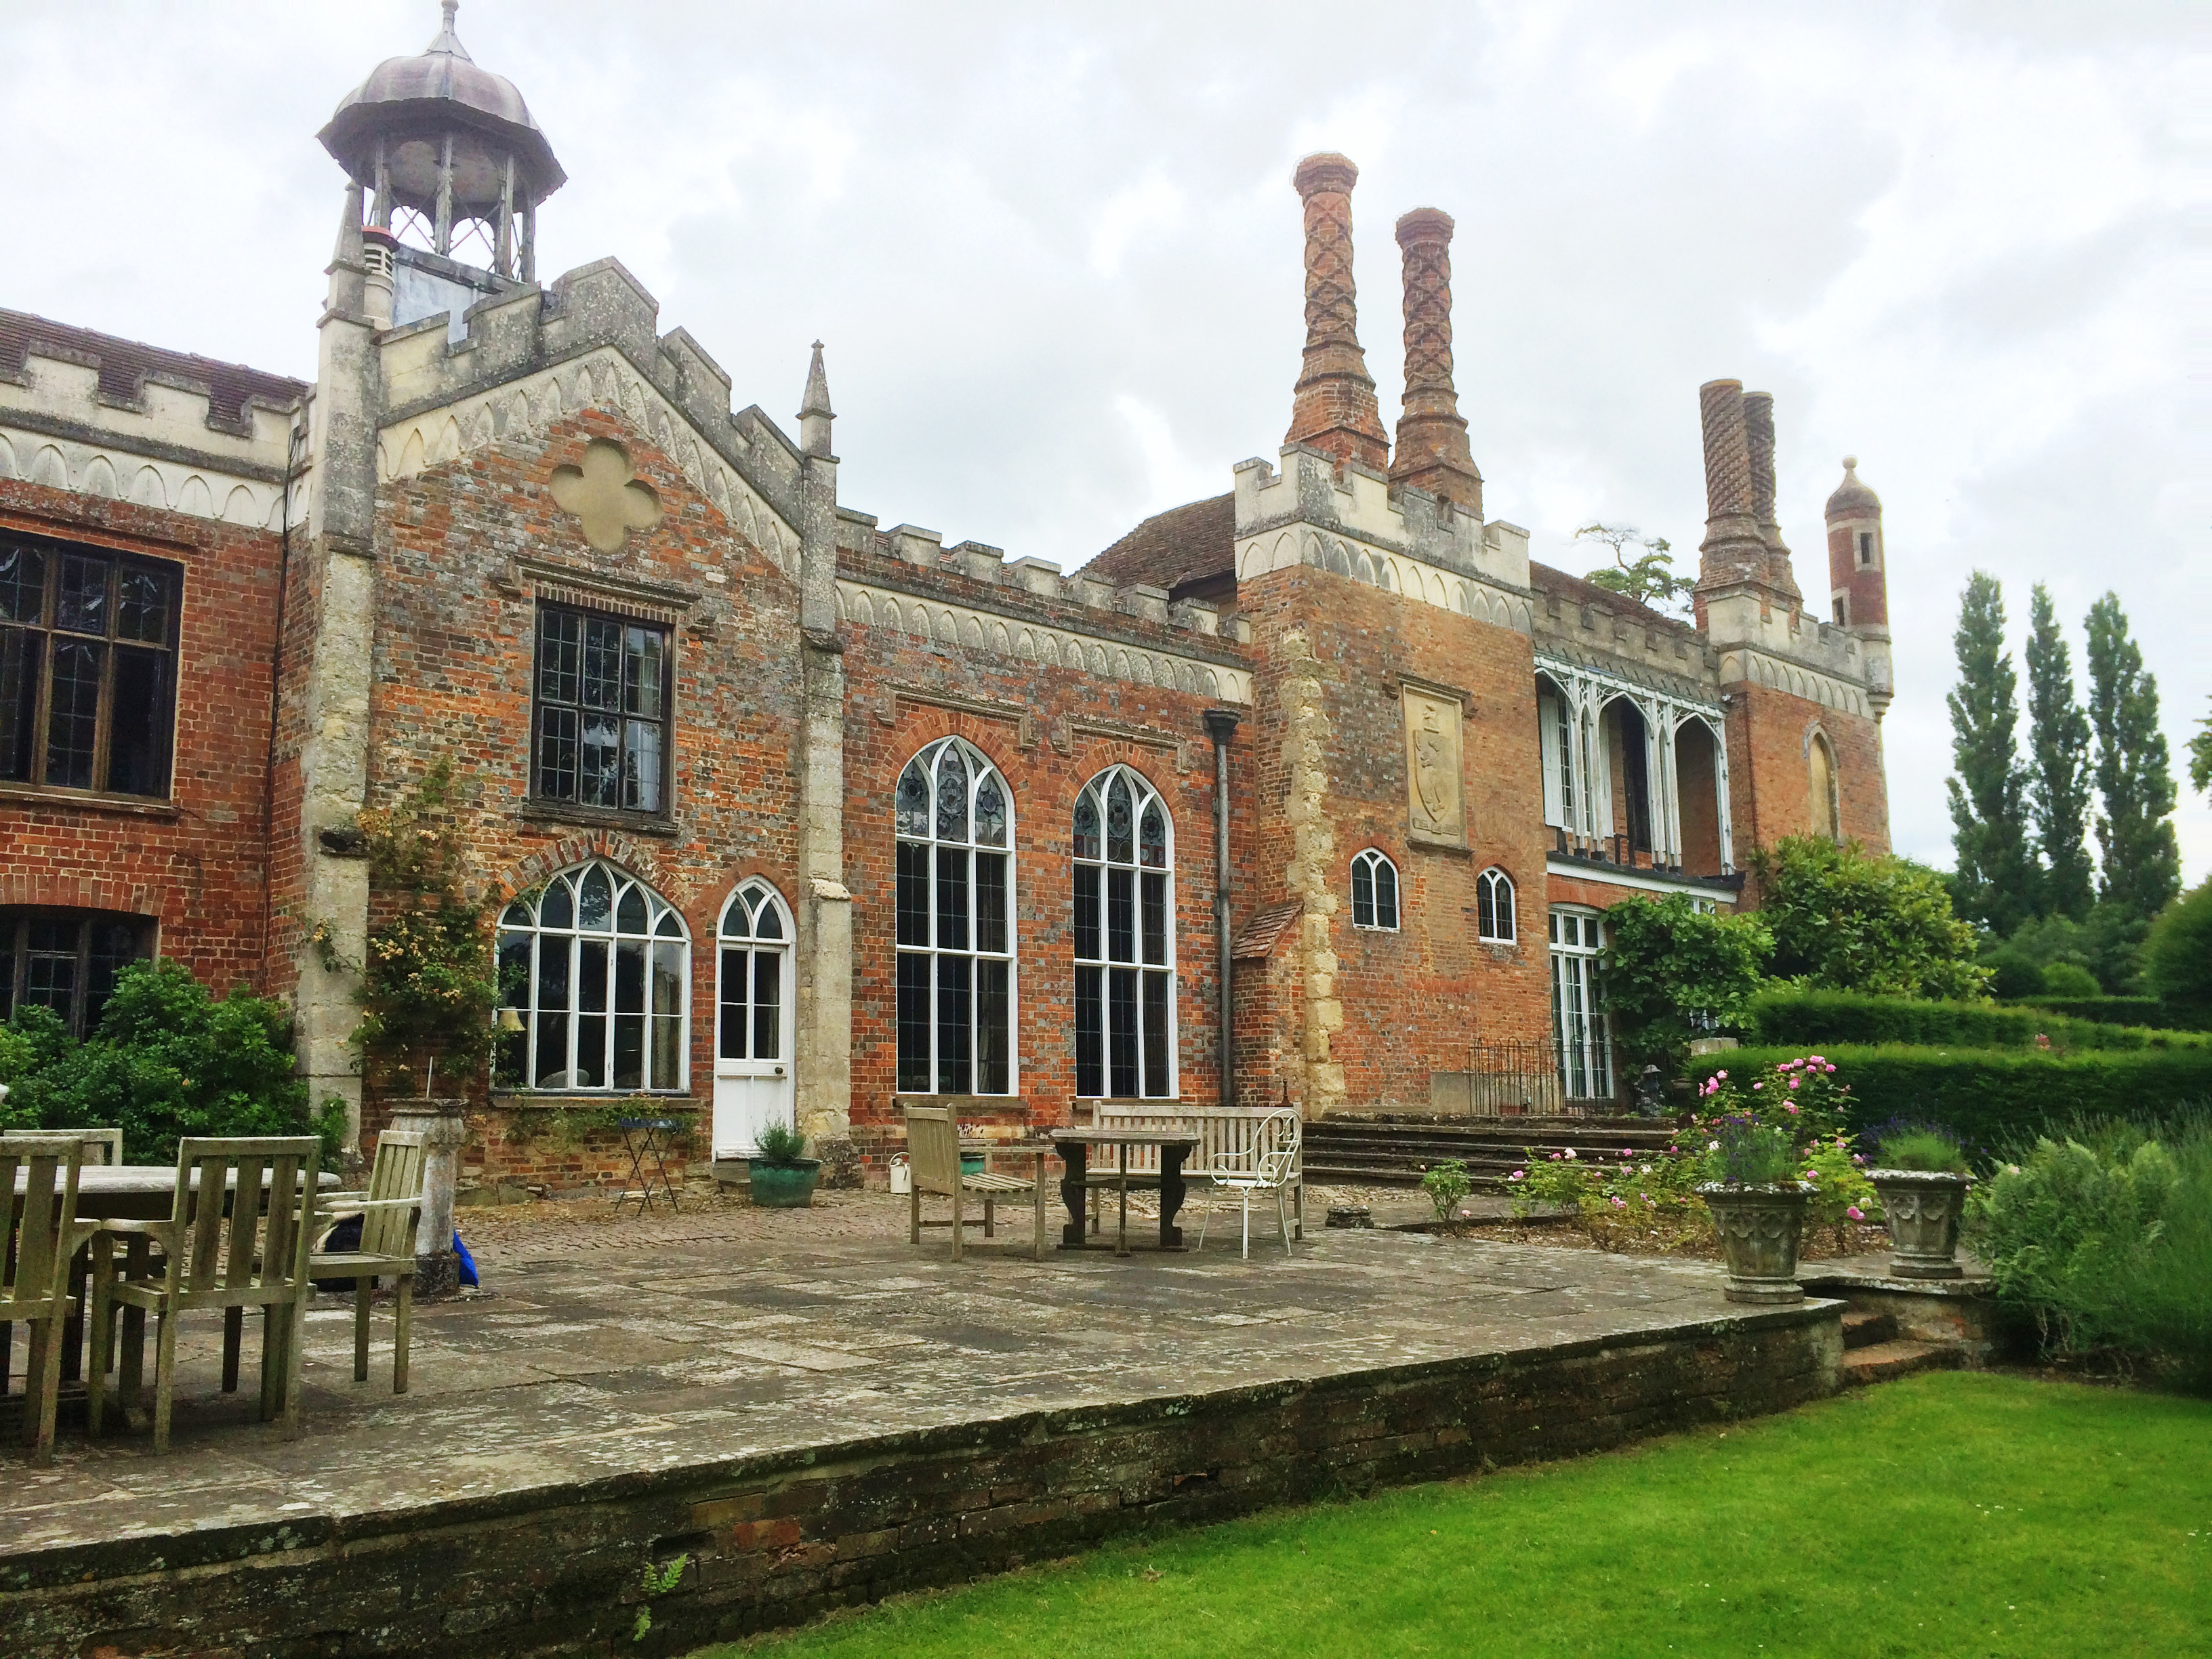
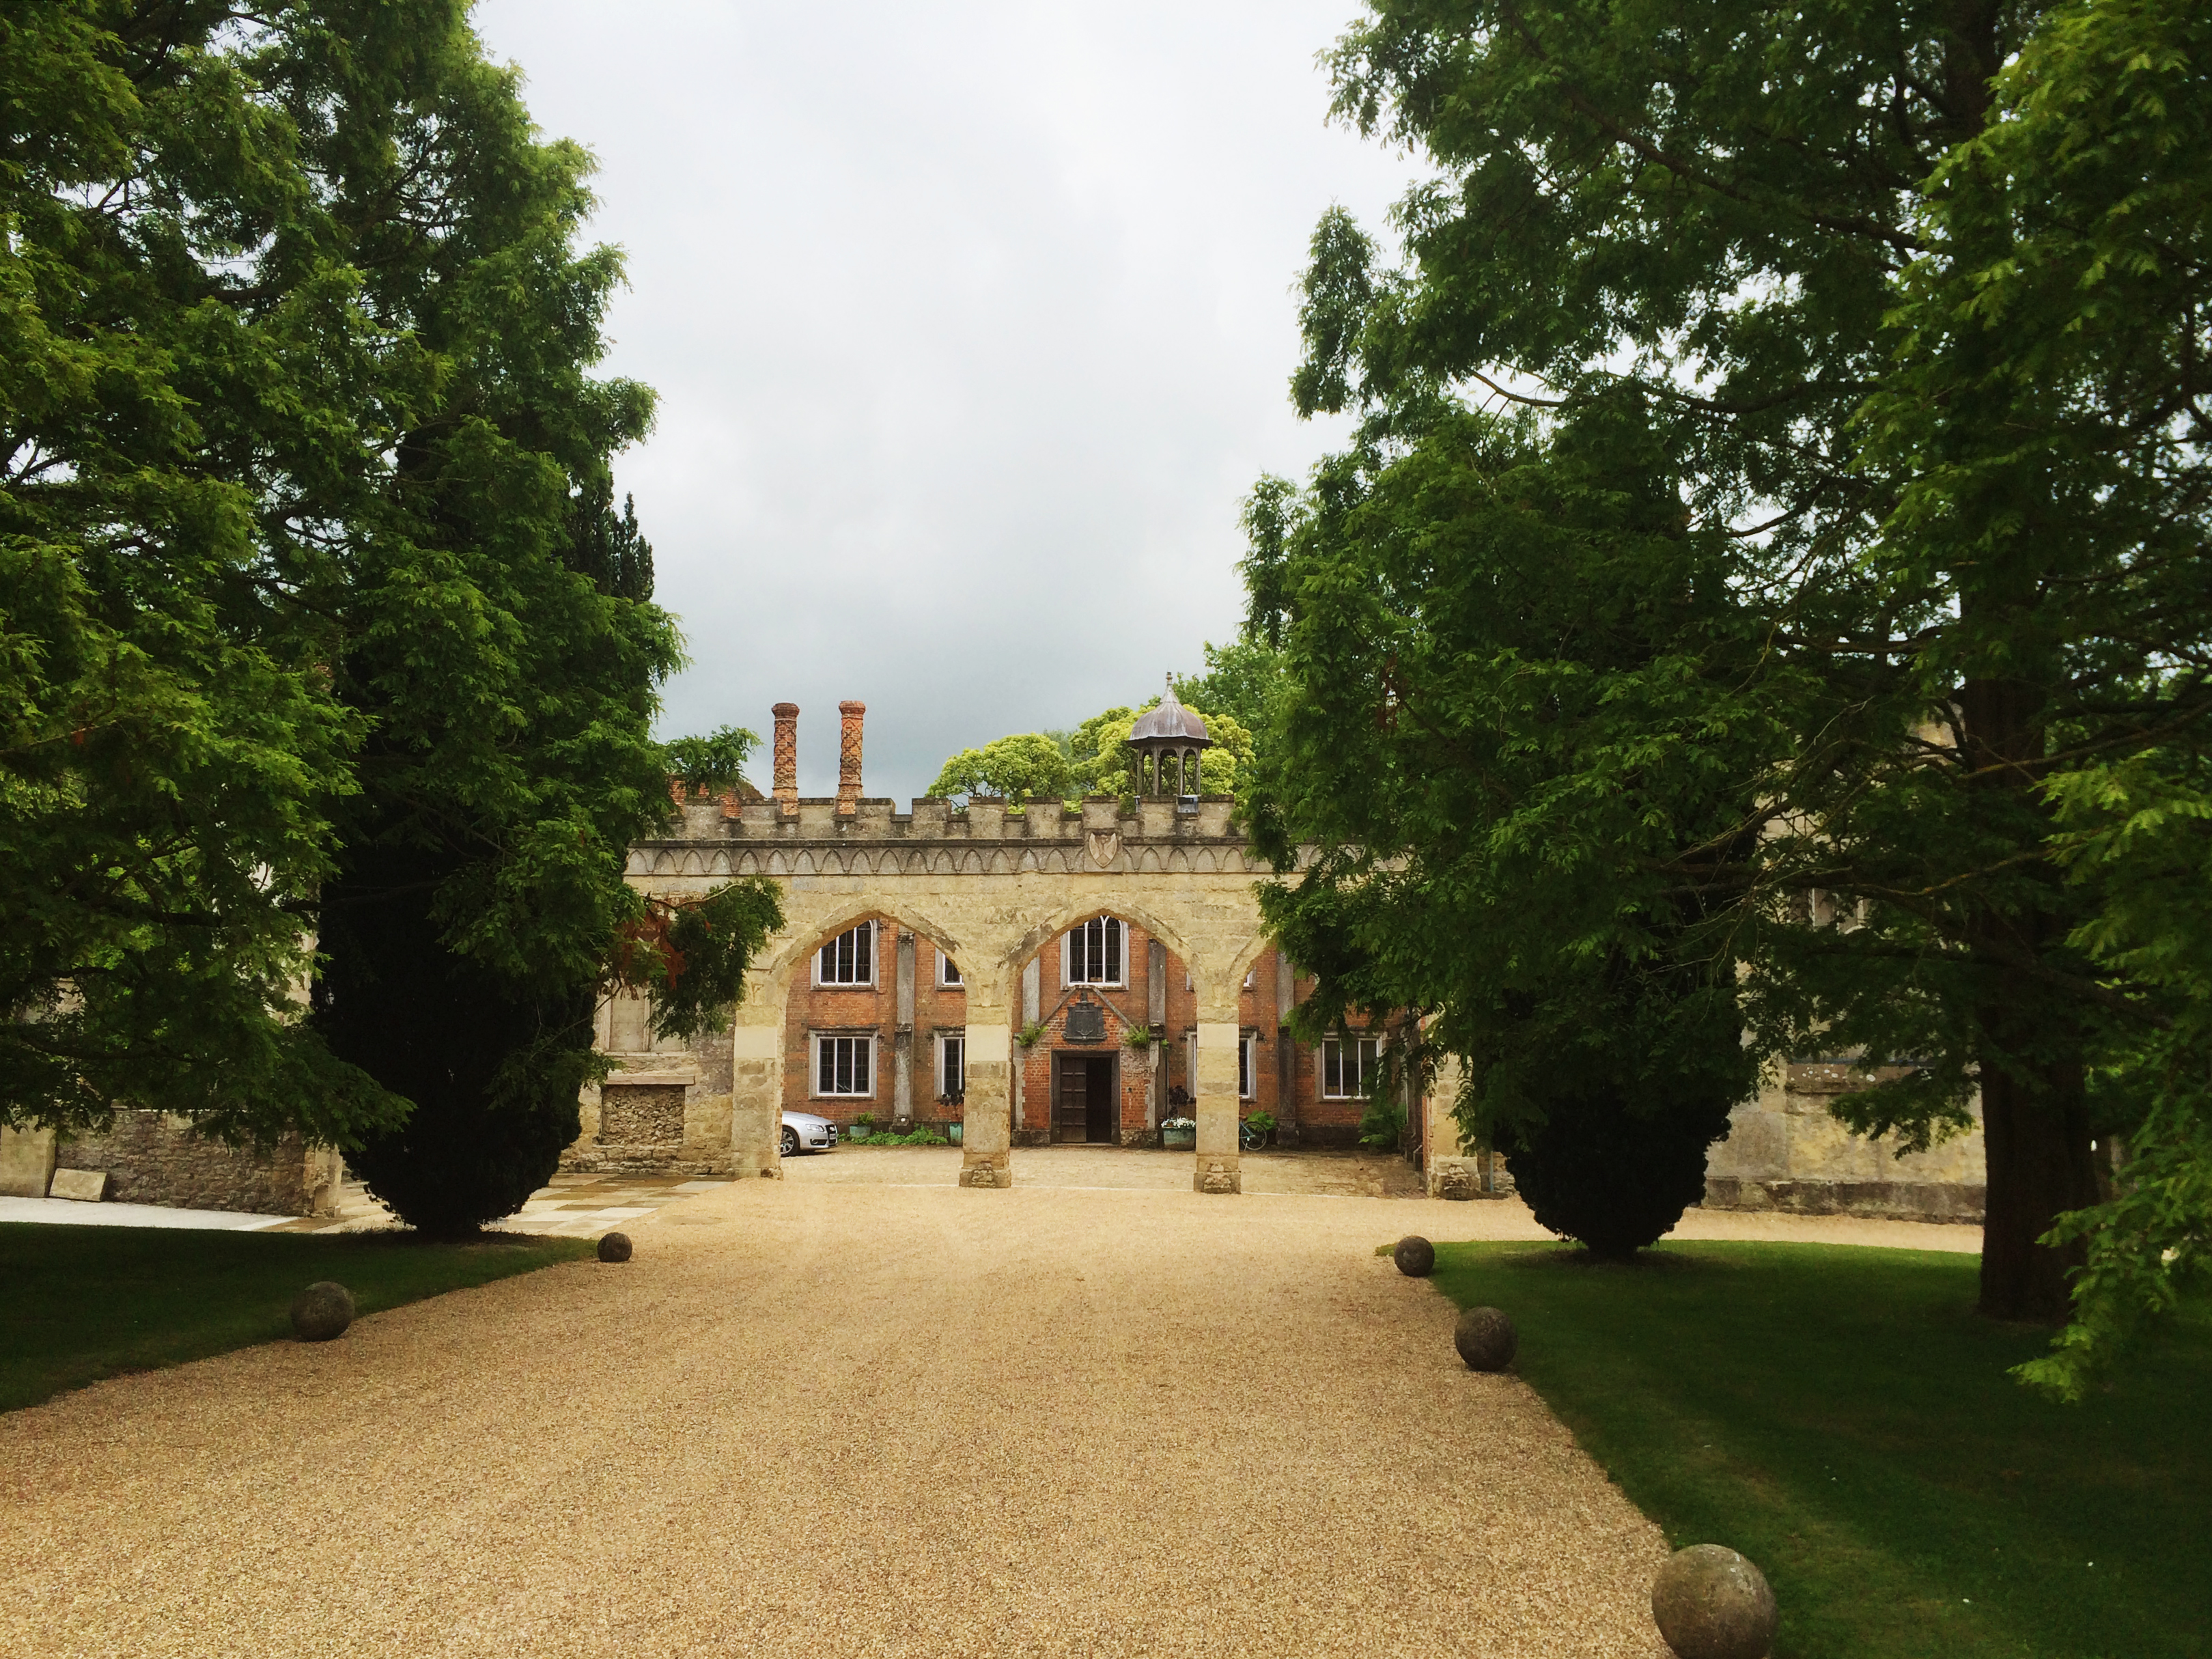
On Saturday I headed up to Nether Winchendon House with Rob to film the wedding of Lorna and Lauri. The grounds of the house were stunning, a long, treed driveway leading up to three arches. Rob captured some great aerial footage on the drone and I shot from the ground.

back of nether winchendon house oxford bicester stunning wedding venue filming iphone
driveway leading to nether winchendon house wedding filming iphone oxford bicester
beautiful long driveway leading to nether winchendon house wedding filming

I used the Manfrotto 755 Aluminium tripod and the Edelkrone Slider+ v2, accompanied by the Samyang Cine primes and Tamron 24-70 on the Canon 5D mkII.

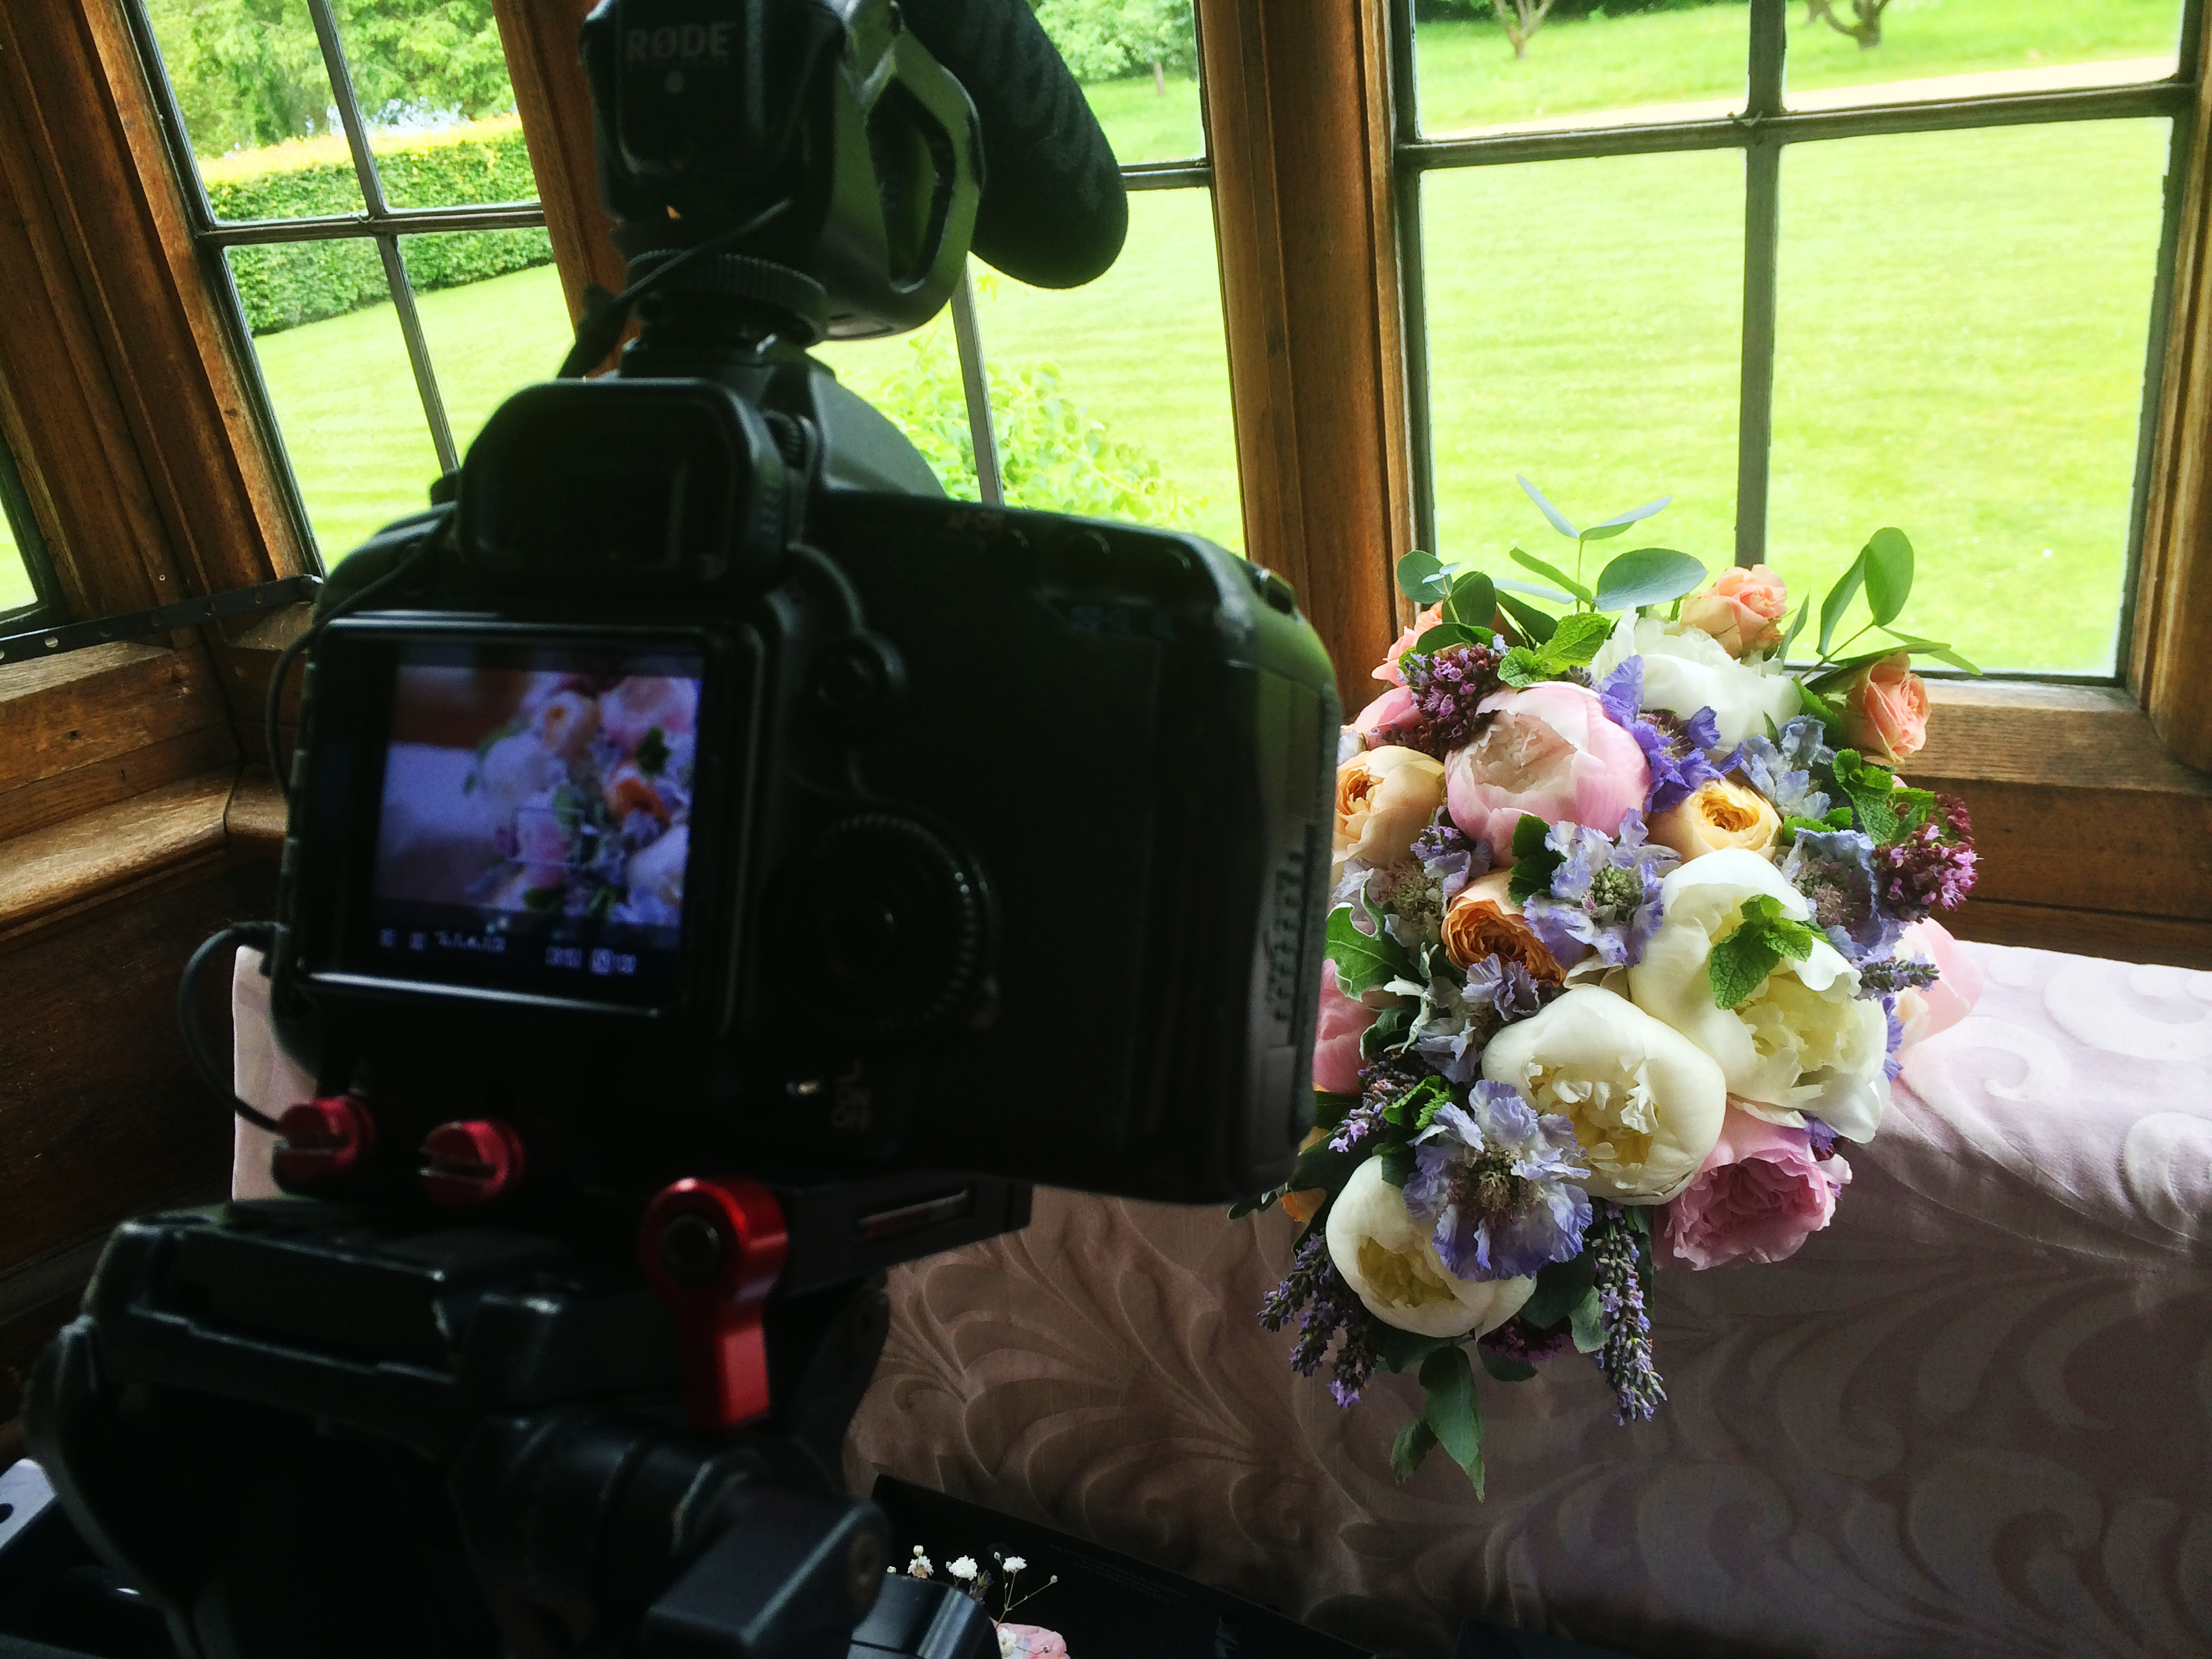
The flowers were beautiful;

peonies lavendar and mint bride bridal flower floral bouquet wedding film
peonies lavendar and mint bride bridal flower floral bouquet wedding filming

The rain was not.. But didn't put a dampener on the day! Despite the rain, Lorna made it to the church for a beautiful ceremony in the village. They lead the wedding party on foot back through the country lane to Nether Winchendon House for the rest of the day! Set in a stunning location, every detail had been considered from unique signposts to bean bags and a life size Stig. The intricacy of flowers in jars, photographs and bouquets hanging from a ladder in the barn, stunning to see and wonderful to film too.

Nether Winchendon House barn wedding reception breakfast room panoramic flowers table decorations wedding filming

It was a dream wedding on the filming side, and I'm sure there will be a highlights video very soon of the day!

On Sunday, after getting back quite late from the wedding I headed out to Friday Street (in between Dorking, Guildford and Horsham) for the day with Glen. We are quite lucky living here, in the way that forests and rural life is only a short distance away, and I like to make the most of it! We were out Geocaching and playing with Glens new remote control helicopter, which then instantly made me want a drone.. I guess a £1000 spend for the drone, gimball and GoPro equates to a £20 hand sized RC Heli, right?

foxglove wooded path friday street geocaching walk iphone photography
lake near friday street geocaching walk iphone photography
silver berch glade friday street iphone photography

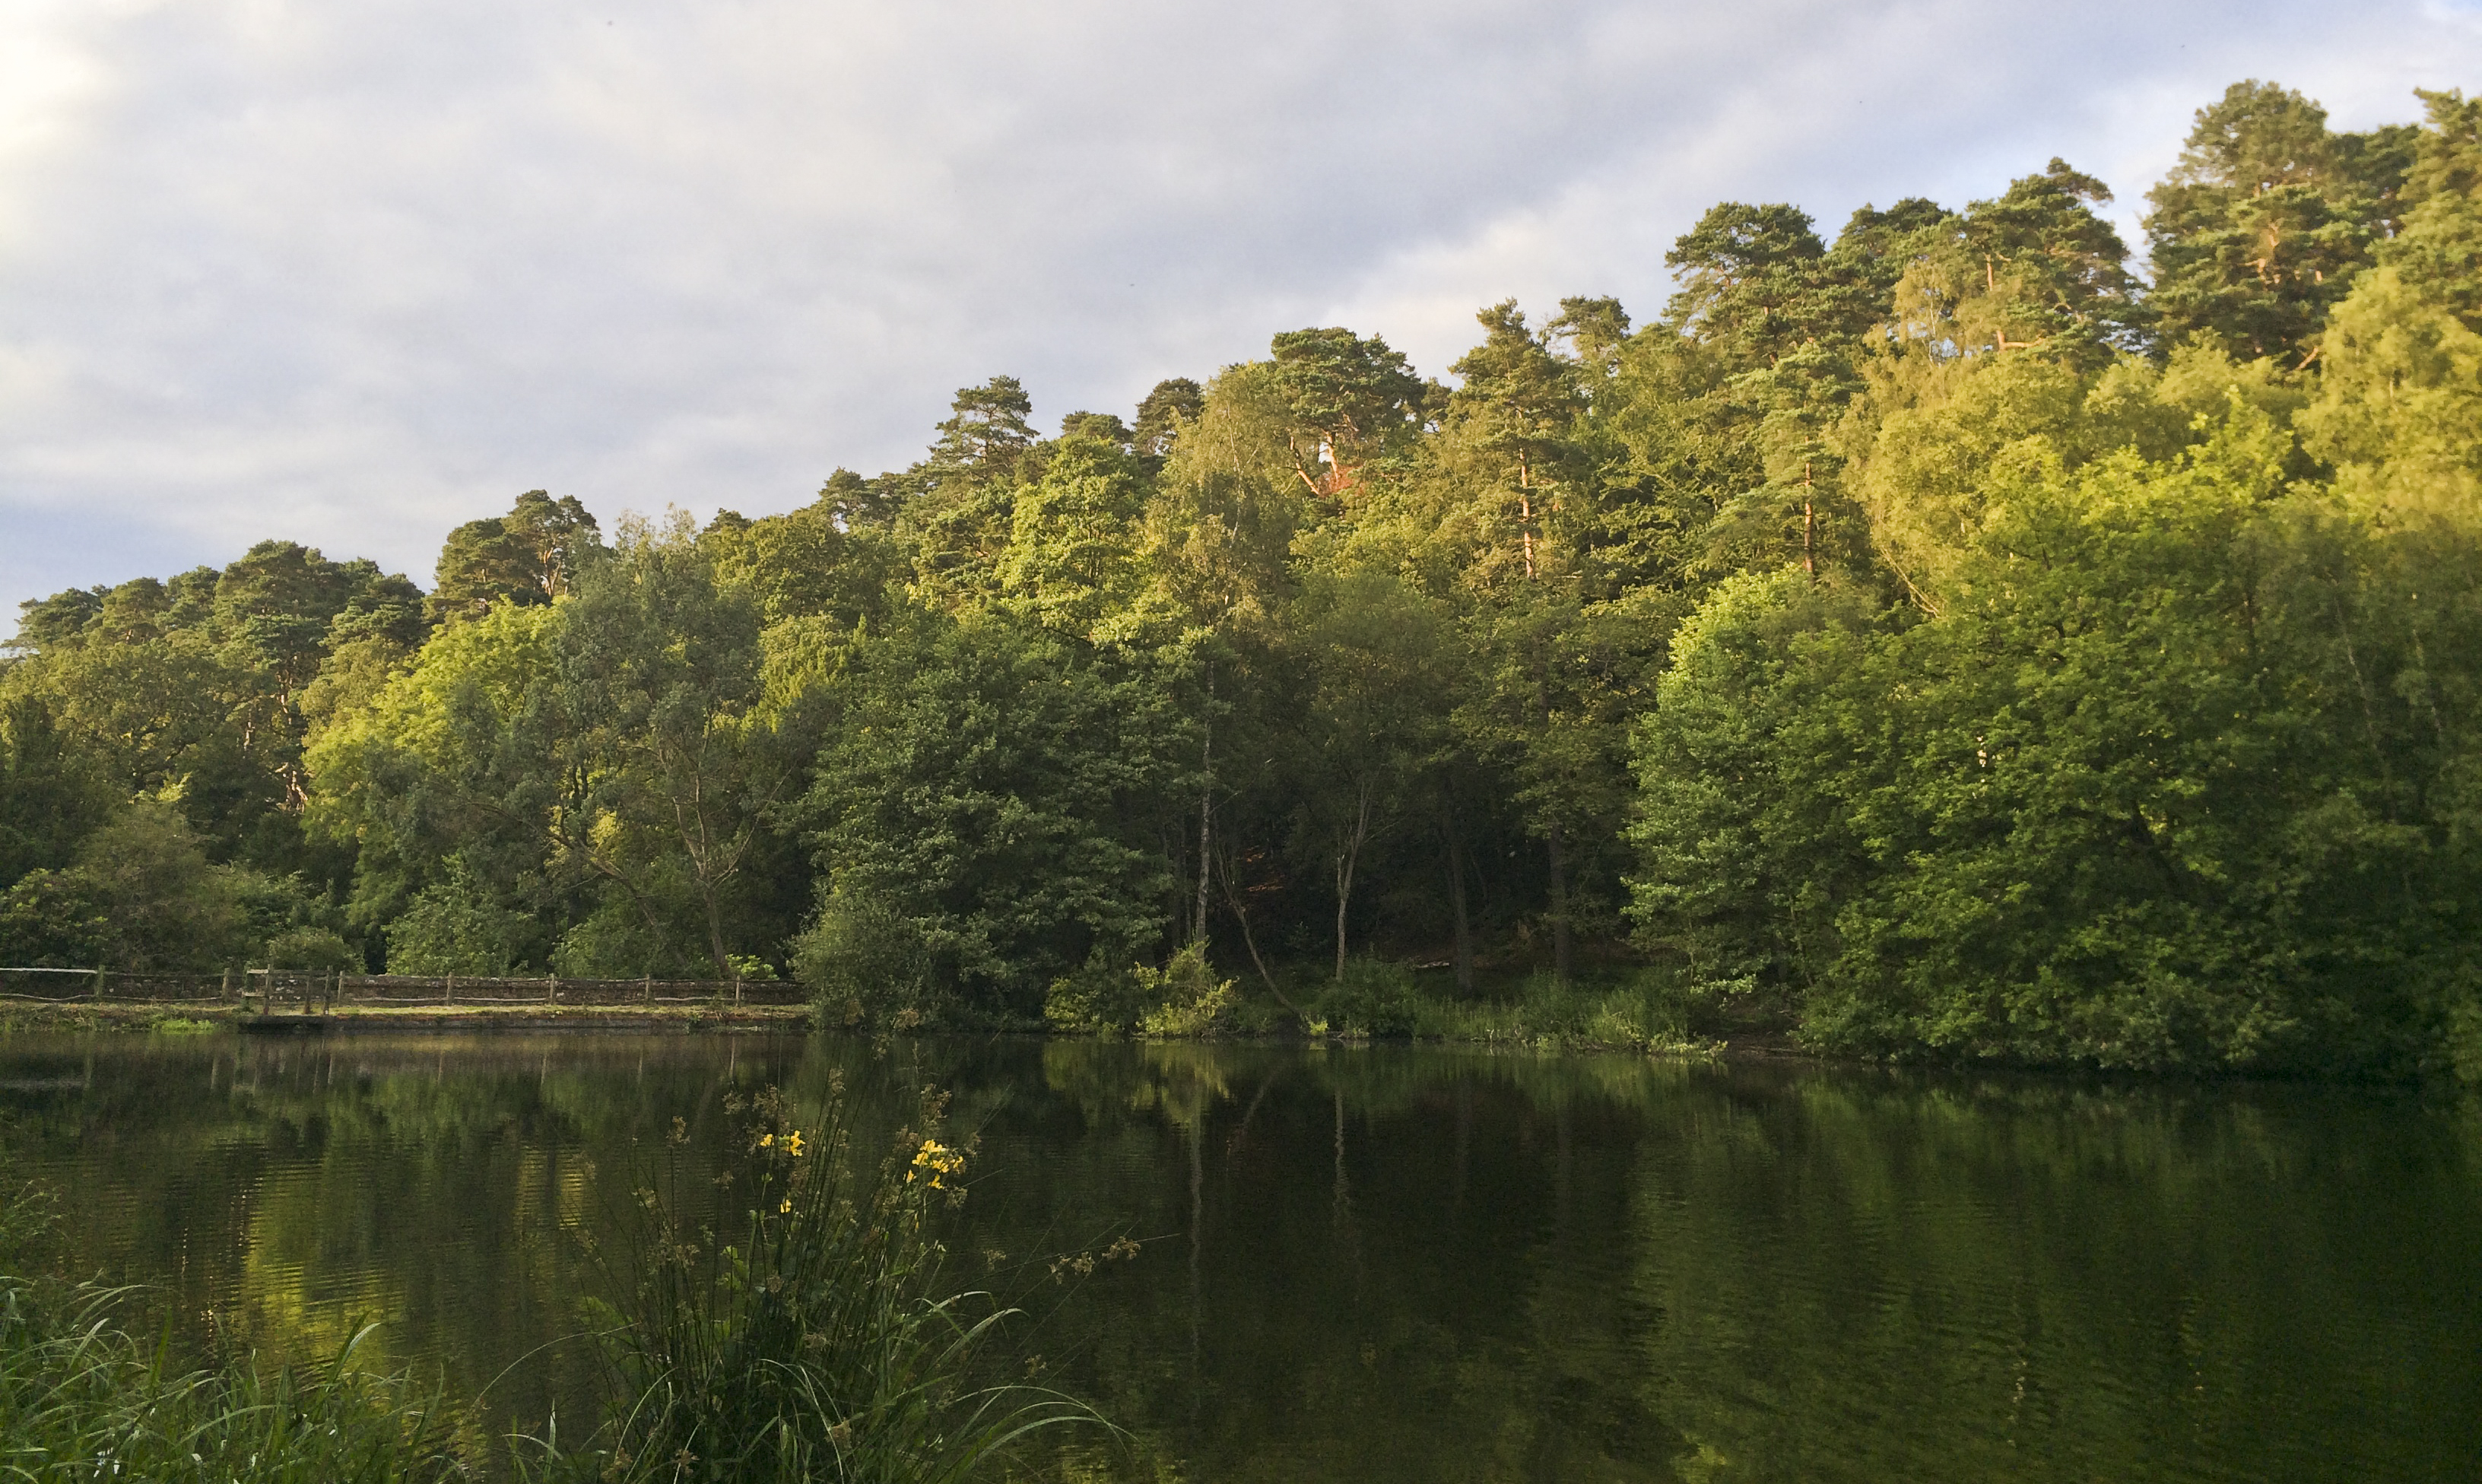
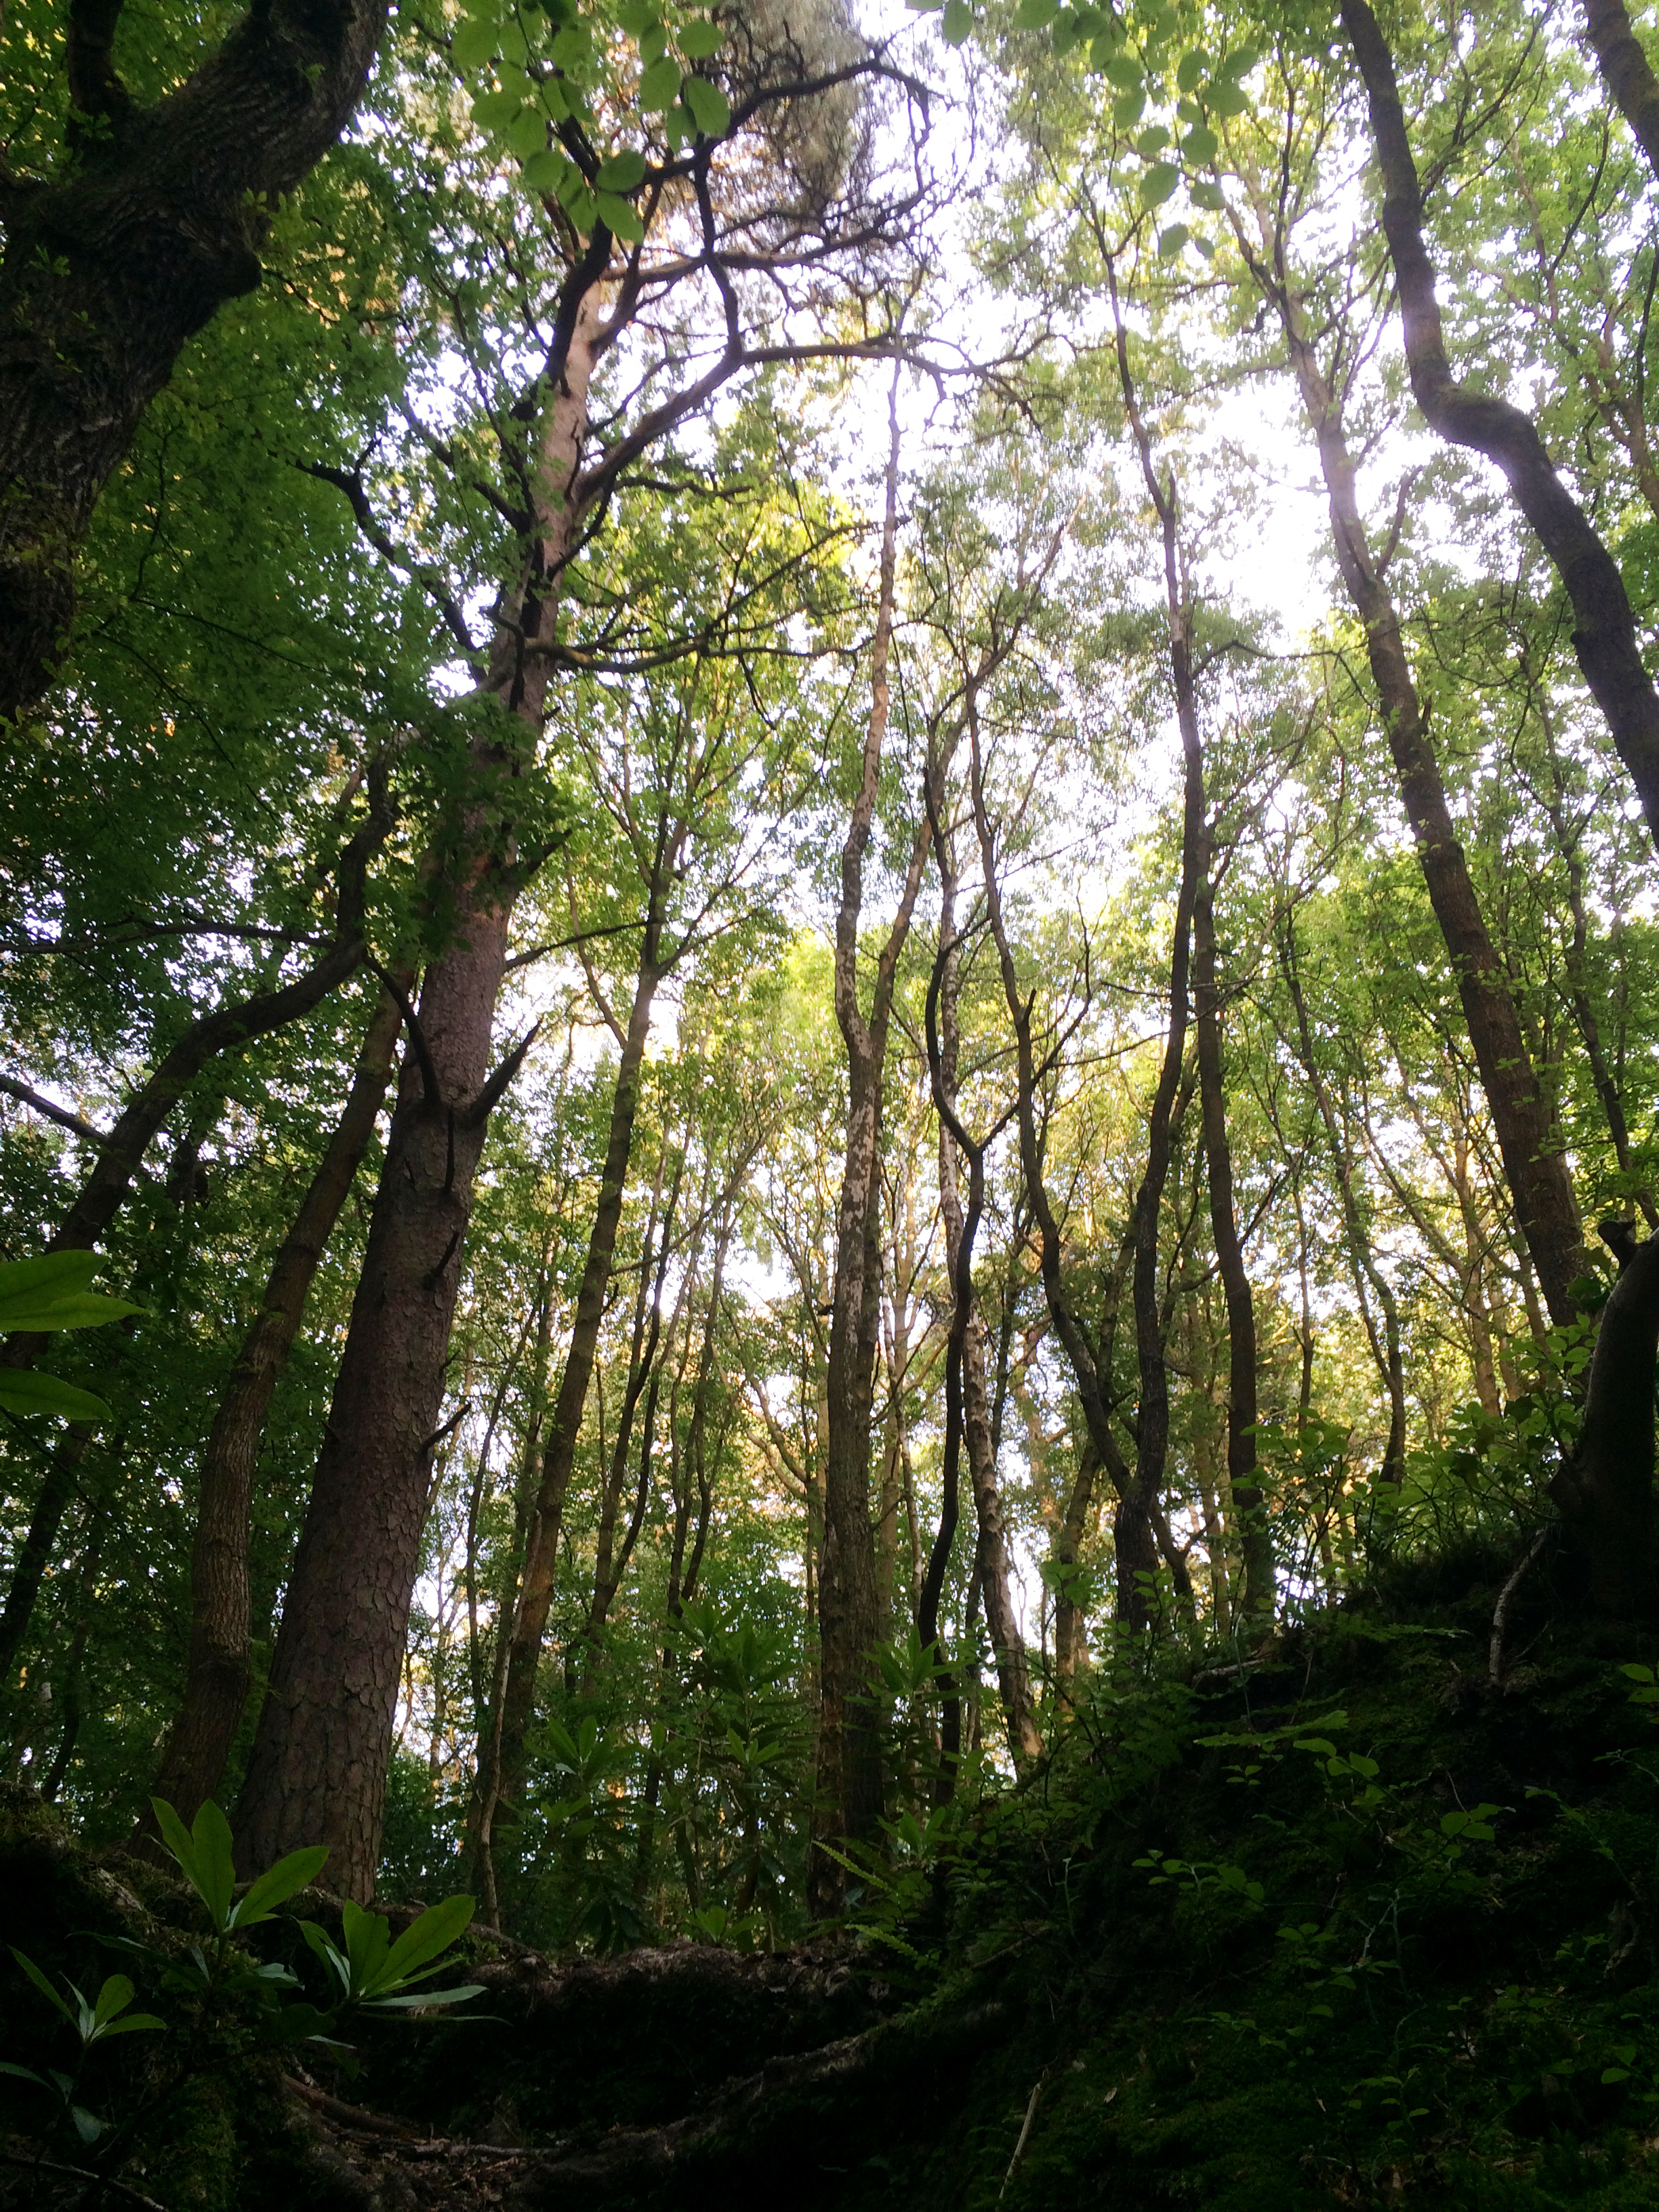
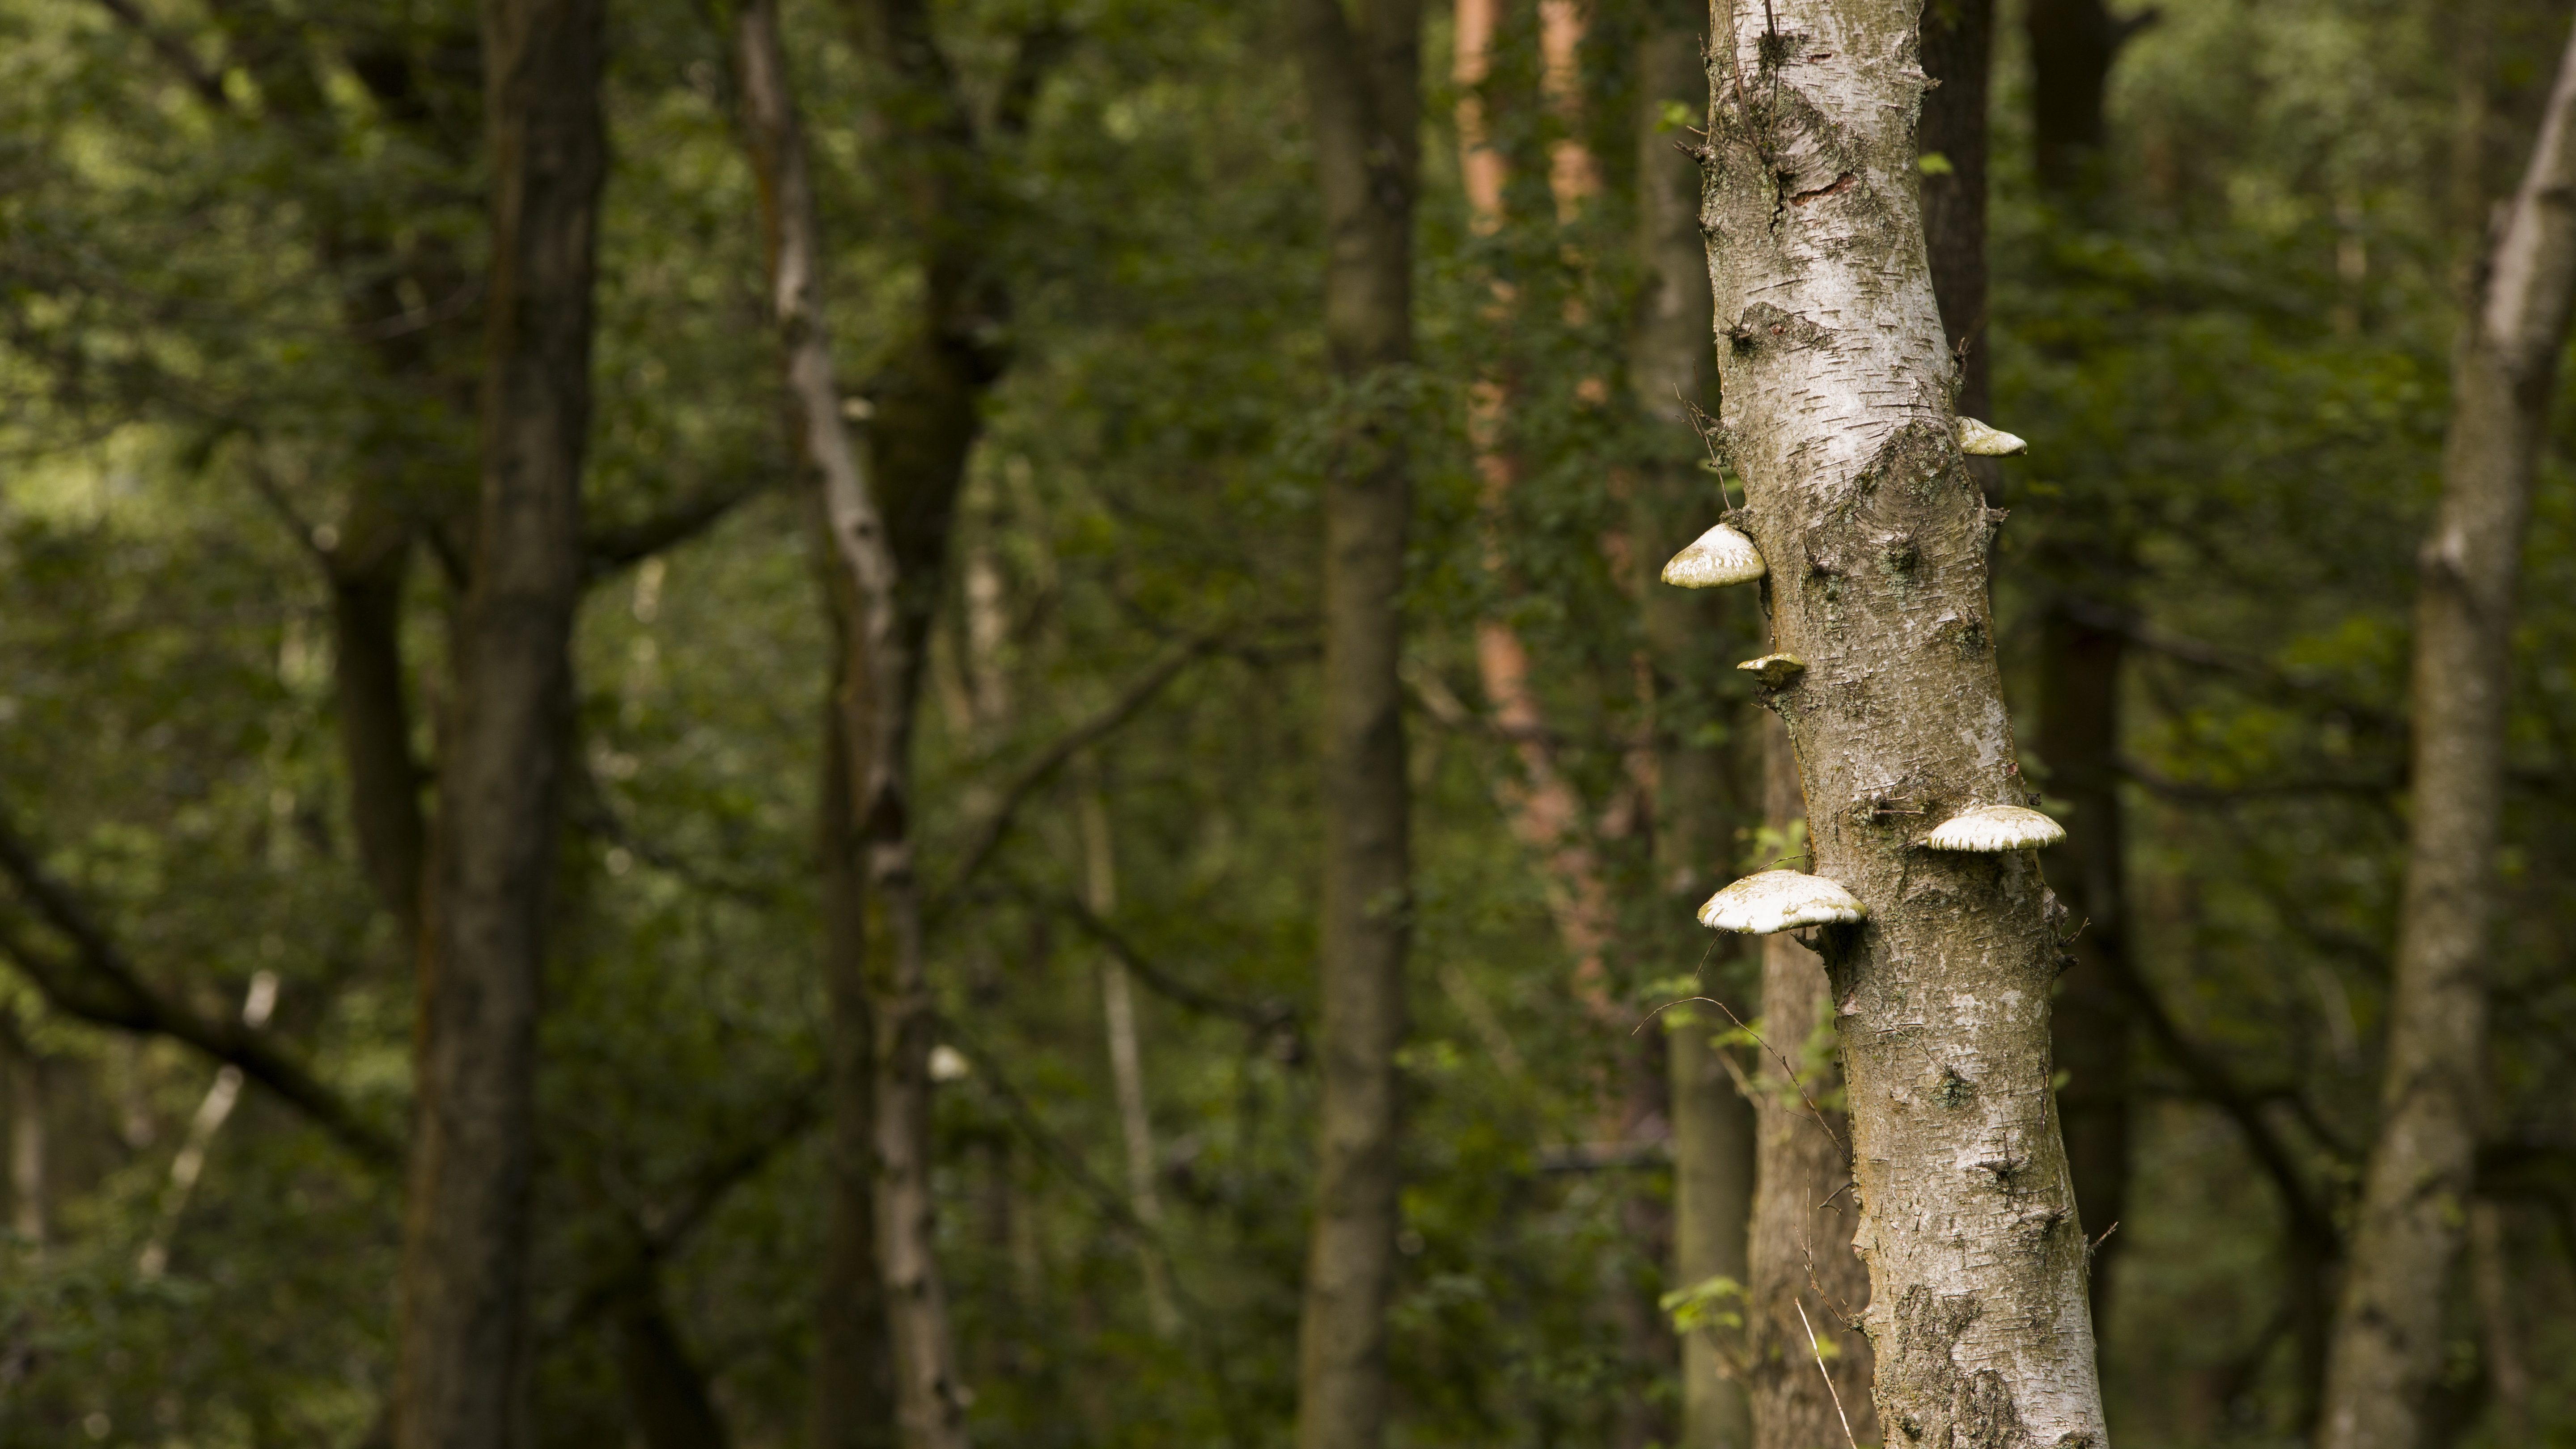
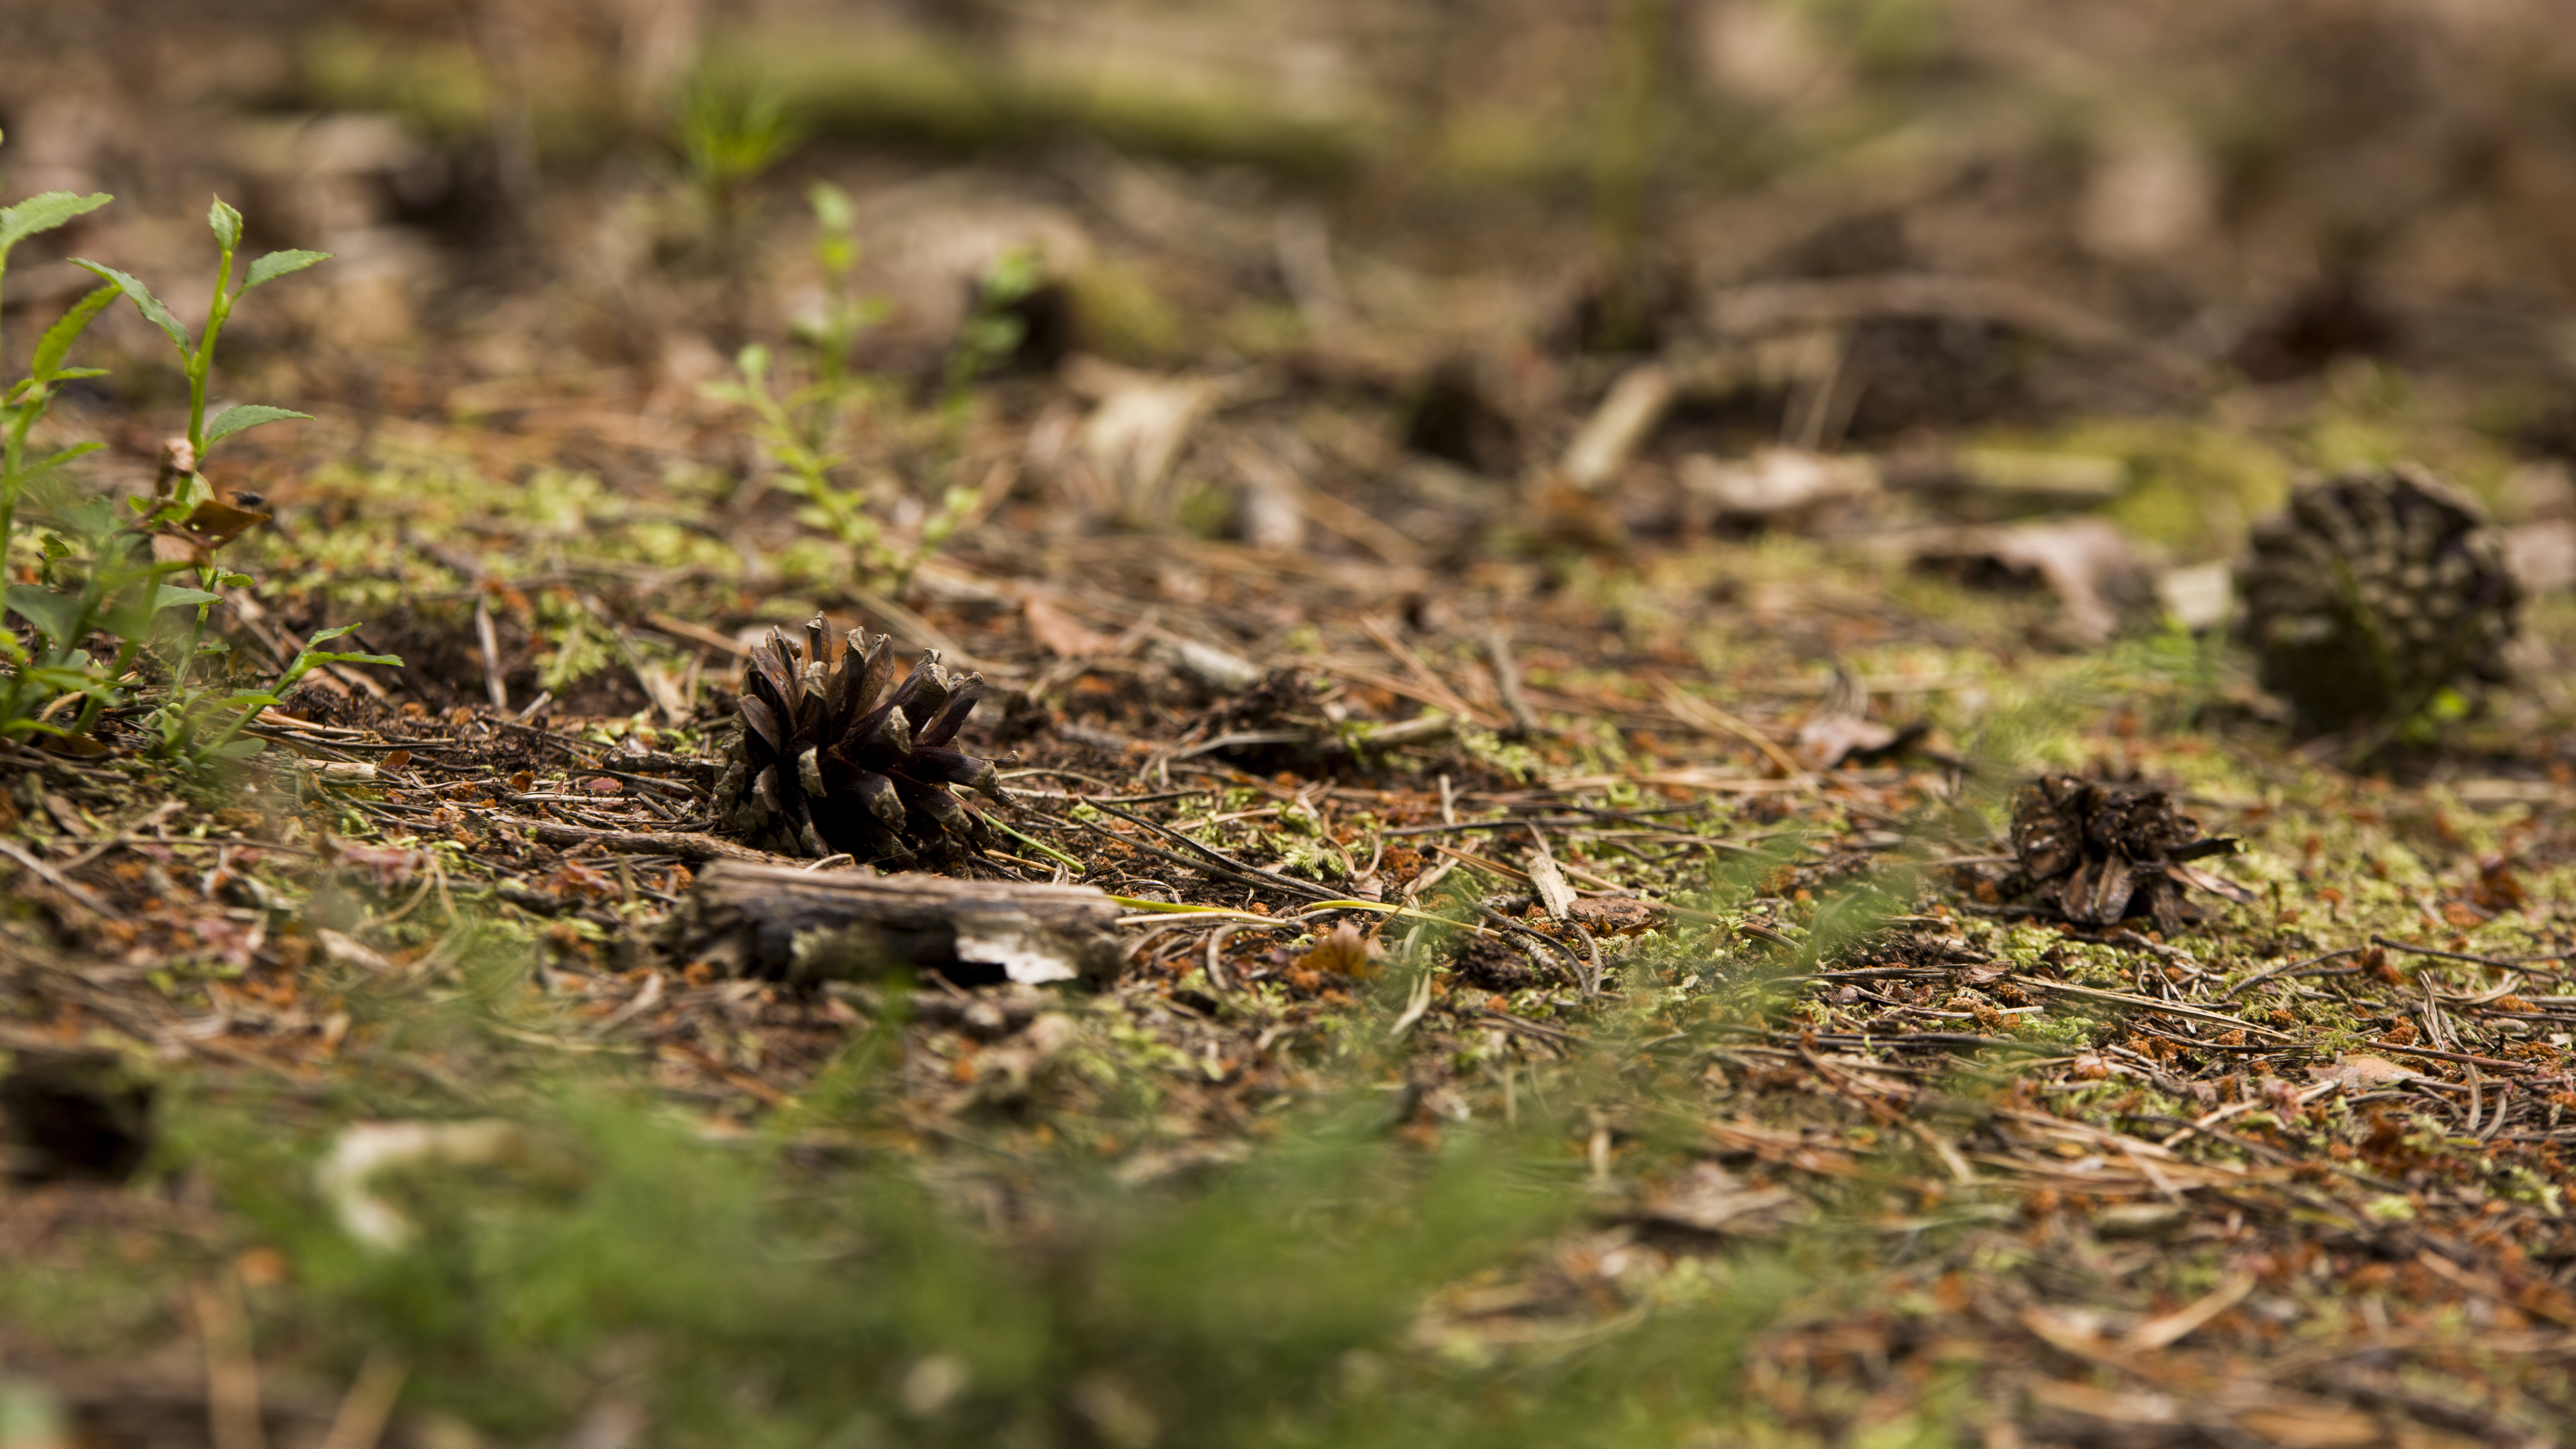
Monday rolled around pretty quickly, and I was having withdrawal symptoms from not filming or photographing anything when I was out on Friday and Saturday.. So come Monday afternoon I was back at Friday Street getting some filming done of the lush green forest that surrounded me! I used the Manfrotto 755CX tripod, Sigma 70-200 F/2.8 OS, Rotolight Roto-mic and a few more lenses.

friday street nature landscape forest woodland photography
canon dslr video filming sigma 70-200 rotomic manfrotto tripod

This week I'm working on the Soundbox studios opening video that I shot a few weeks ago, it will be edited to their flagship artists new single by Rebecca James. It's going well, going for the black and white look as it works well with the dark studio atmosphere that they had going on :)

It was shot on the 5D mkIII with Samyang cine lenses, Flycam and the Edelkrone slider+ v2.

Soundbox music recording studio opening day video filming highlights

Remember, send over your video questions to get featured in my Manfrotto seminar, and share your work with me too!

Behind the scenes of yesterdays Wellbeing videoshoot!

06:30 Kit bag, check.

Audio kit, check.

Lighting, check.

Brain, just about.

bts early morning sky

Yesterday I was out filming talking heads and some b-roll for a Wellbeing project on behalf of EEBC. Wellbeing is our general mental and physical health, but there are many factors in the way that we live that can affect our chances of developing serious health problems in the future. These include some sensitive subjects, that I was capturing to provide an information base for those in the community that may be suffering, or have friends and relatives of those diagnosed with; Cancer, Coronary Heart Disease, Dementia and Diabetes.

I was featuring nutritional expert Yvonne McMeel throughout the videos, so I began by planning my main piece to camera with her in the Wellbeing Centre.

This was a standard video shoot, so I packed my kit bag to be prepared with whatever the day would bring! This included;

Video - Canon 5D mkIII, Tamron 24-70 F/2.8 VC, Sigma 70-200 F/2.8 OS, Canon 60D.

Audio - Zoom H6, Roto-Mic, Sennheiser ENG-G3 100 wireless.

Grip - Manfrotto 755CX3 tripod + MVH500AH, Manfrotto 190Pro-B (old version) tripod, Super clamp and magic arm.

Lighting - Daylight balanced 85W studio light with soft umbrella.

Extras - Lilliput 1018 (I am currently testing out and reviewing this product).

behind the scenes videography equipment

I took along the Lilliput 1018; the new flagship 10 inch touch screen field monitor, which produced crisp pictures and well represented colours. I ran this on a F-970 battery with HDMI through from the 5D, so I could monitor both. This did however cause the camera to heat up quite quickly. However, the monitor has awesome features usually found on high end products which include; exposure and focus peaking, on screen waveform monitors, levels and much more, which came in very handy for assessing the quality of the picture. (More coming later regarding this product).

behind the scenes make up artist Char1 behind the scenes make up artist Char2 Char doing her make up thang!

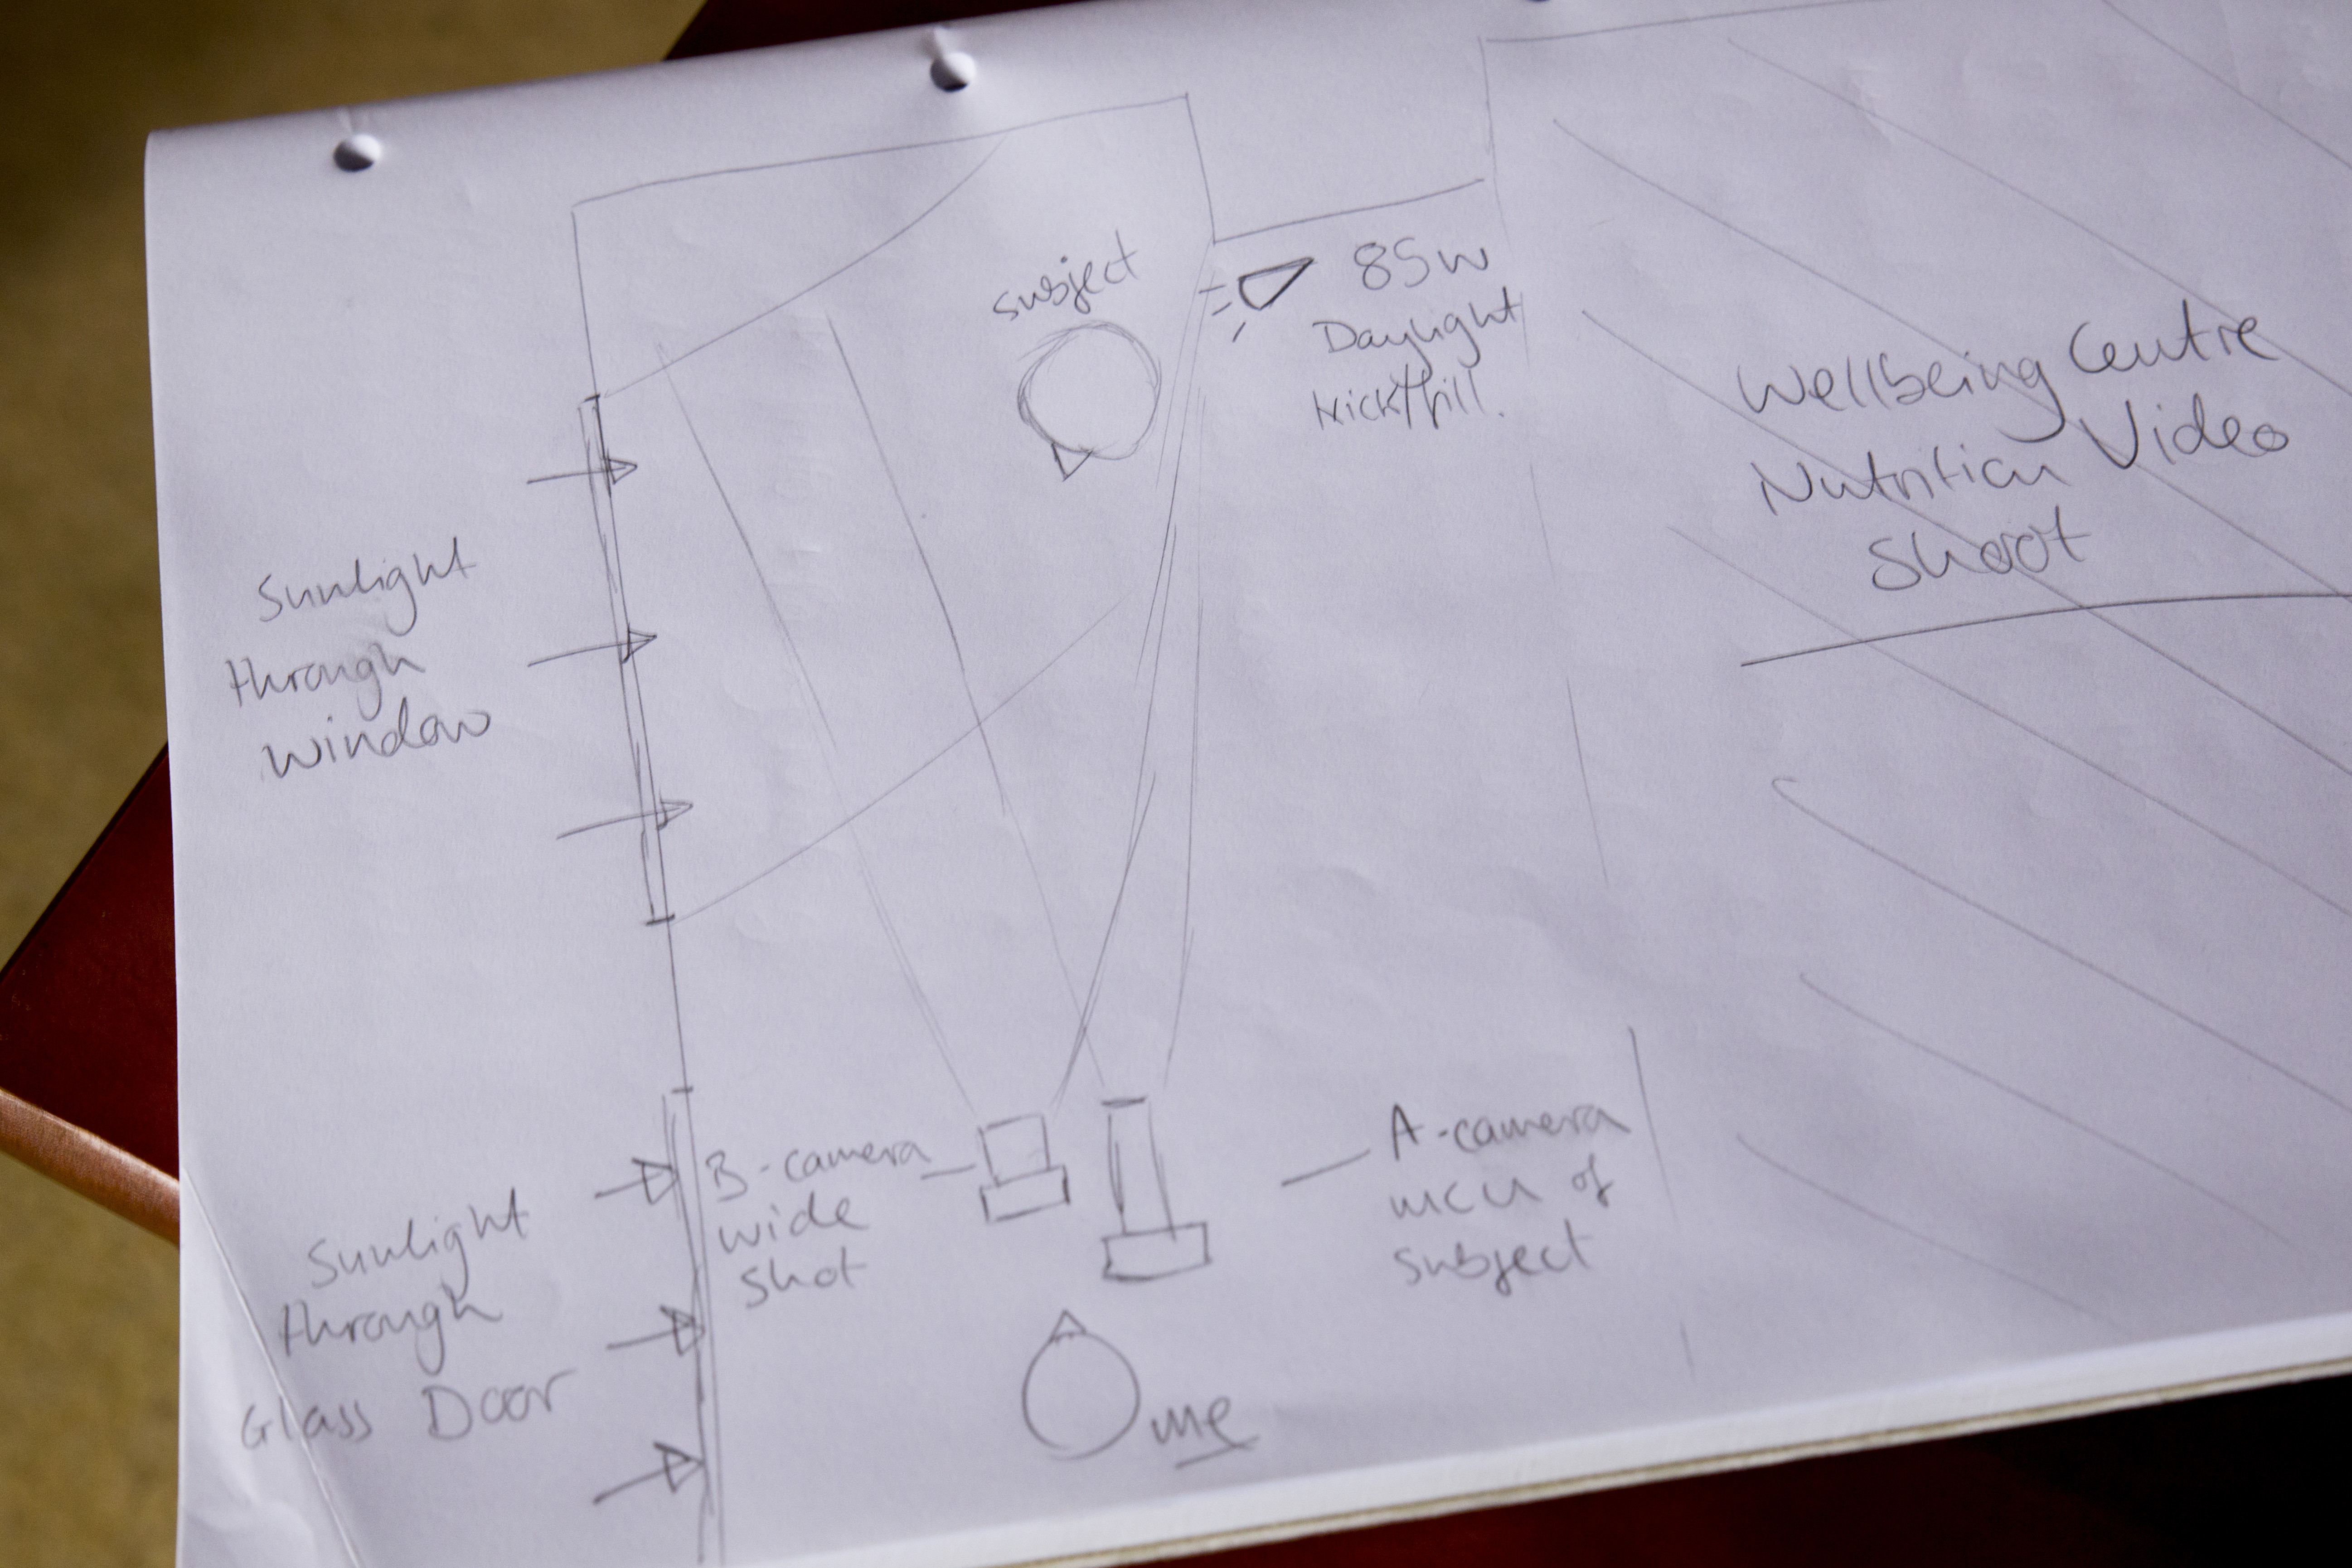
I began setup at 9am, shortly followed by Char the make up artist who set up her bits. The location for filming was the Wellbeing Centre, which as a wonderfully bright open facade with big doors and windows. Luckily enough, blaring heat and sunshine poured through the windows, so that was my key light at slightly cooler than daylight colour balance at 5200k. This also matched the daylight light fixture I was using to add a fill and kick to the subject.


Why did I use a 2-point light setup?

I could have rocked up with the intention of using just the daylight and the incandescent lights in the centre with the mentality that it will illuminate my subject well, but there are risks you have to be willing to take if you approach lighting in a casual way. Some points to remember when thinking about lighting your subjects;

  • Are they defined from the background?
  • Do they have harsh shadows on their face?
  • Moving sunlight will change throughout the day, in brightness, direction and colour.
  • bts wellbeing light setup

Now, when you haven't been to the location before it is difficult to judge the lighting conditions, so firstly if you can have a RECCE of the location. It is very beneficial as you can begin to compose the scene, judging the internal and external lighting, now noisy the environment is, whether you will need a backdrop instead of a plain background.. All points to consider before you turn up with the camera kit and begin filming.

Defining the subject from the background is what makes them look 3-dimensional and not flat, this is the same for the shadows too as it shows that features are visible on the face. With DSLR's it is possible to use depth of field to define your subject from the background, but lighting can also be used to 'pop' the subject out of the BG.

Harsh shadows are caused by strong direct light, and are unwanted as they mask features and don't represent the subject properly, unless this is the effect you are looking for. For piece to cameras and interviews having soft shadows around the nose show the features of the subject, again making them look real.

The sunlight is your best friend and worst enemy at the same time... As the Earth rotates, we move further away or closer to the sun which changes the lights direction; if you start filming in the morning with your subject lit from the front, by 12 noon the sun is over head and by the late afternoon the light will be behind you. To combat this, keep continuity by filming at the same times each day, or even simpler be aware of the suns direction and gradually rotate the subject and other lights to keep a constant illumination. For me, I was filming from 11am through to 15:00 with the sunlight to my left for the whole day which was very beneficial, but not every time will I be that lucky!

Watch out for clouds that can block the sunlight, and be aware of how the colour temperature of daylight changes throughout the day; cool in the morning and warm in the evening. For me, shooting in midday sun meant a constant temperature of 5200K for both cameras, matching the other light.

The use of a kicker or fill light, pushes out the shadows caused by the key light (the sun), and gives a halo effect to the hair of the subject making them stand out. The difference is subtle but effective.


Camera Setup and Composition

Once I had my lighting up and running, it was time to set up the cameras and audio equipment. I was going to shoot using the Samyang 35mm T/1.5 cine lens, but this would result in being intimately close to Yvonne, the subject, which would be quite off putting and may add shadows/interference such as me rustling papers to the recording. Instead, I used a telephoto lens as I can be a good distance away from the subject, and create a narrow field of view that frames up as an MCU (medium close up).

My main A camera was the 5D mkIII, and although the Sigma lens can open up its aperture to F/2.8 for shallow depth of field, this was not required for today. Instead, the camera was set to F/4.5 for a still shallow depth of field, but deep enough for the subject to move forward and backwards in the frame a little, and to de-focus the background. The ISO was set to 200, although when the Sun disappeared behind clouds I would ride the ISO to 250 or 320 depending. To stick to the 180 degree shutter rule, the electronic shutter remained locked at 1/50th.

The B camera was the Canon 60D, I paired this with the sharp Tamron 24-70 F/2.8 and shot wide open, again riding the ISO when required. I did this because this camera was capturing a wide shot of the subject, so depth of field was not noticeable. To keep continuity, both cameras were set to a white balance/colour temperature of 5200K, but it appears that the 60D picture is slightly yellow/green than the 5D picture.

behind the scenes camera dslr audio setup light

Audio

The often forgotten partner to the pretty pictures you see, having top quality audio is just as important as having your subject in focus and exposed. I used the Zoom H6 as my recorder, with the XY mic attached to capture one stereo recording. I also used the Sennheiser ENG-G3 wireless mic kit, attaching a lav/lapel mic to the subject which would be my main audio source. As a back up I also used the Rotolight Roto-Mic plugged into the 5D just in case. Remember to take headphones so you can monitor the sound recording, just like you would use the cameras screen to compose the picture.

Behind the scenes wellbeing video shoot adam plowden videography canon 5D lilliput

The filming went brilliantly. As a precaution I decided to use the 'record to multiple card' function in the 5D so I had a back up of the footage in case the cards got corrupted from such long recording times. As mentioned earlier with the lighting, as the light slowly changed, I also adjusted the position of the kick/fill to push back the shadows.

I was very impressed with the Lilliput 1018 field monitor too, and although it is larger than monitors I would usually use the touch screen control and diverse functions suited the shoot well, so I could keep a close eye on the changing light levels.

After the principal piece to camera filming was complete, I ventured out into Epsom and Ewell with Yvonne to film some b-roll pieces that would add to the information and dialogue about wellbeing and health. So, we visited Shadbolt Park outdoor gym, Ewell Court Library, Epsom's Derby Square, we were going to hit the market but by that time it was 17:30 and no chance of finding fresh fruit and veg to film.. We returned to the car to go to the last location, Epsom Downs, when this happened...

adams broken down car

My car broke down. The filming day abruptly ended with a call to my insurers for recovery, while I also arranged a taxi for Yvonne to take her to the train station. That didn't put a dampener on the day though, I had captured great video and dialogue that I hope will help many people in the borough and wider community who may be suffering with cancer, heart disease, diabetes or dementia.

I then ingested the footage, and backed up a whopping 80Gb of footage and audio.. Lots to edit through, but thankfully those wonderful geniuses at Red Giant have a tool called Pluraleyes which can sync video with externally recorded video, so suddenly the issue to matching up the audio to the video disappeared, saving me potentially hours of work!

pluraleyes un-synced A bunch of un-synced video and audio clips gets transformed into this -  behind the scenes pluraleyes sync video

Pluraleyes then allows you to export the sequence as an XML that I then imported into Adobe Premiere Pro to edit! It's ready to go!


Overall, very happy with the footage and the outcome of the first day! I need to get out and shoot some more cutaways/b-roll of healthy food, socializing and some more bits and bobs to add.

Working with the new Panasonic GH4

We had another toying test day yesterday, with new glass too; the Panasonic/Leica 25mm F/1.4 (equivalent to 50mm F/1.4) and the Panasonic 100-300mm F/2.8 (equivalent to 200-600mm F/2.8). We keep finding great features and little things that make this camera wow us!  

[gallery ids="4182,4184,4185,4186,4187,4188,4181,4180,4179,4178"]

We were out filming and testing out the capabilities of the camera at Epsom's Thai festival taster, we used the 14-140mm F/3.5-5.6 OIS lens recording in 4K. The video will be uploaded and shared soon!
Trials of editing audio

For those that who have ever been at a gig and lunged their phone or camera in the air to try and capture some of the performance will know that the only sound recorded by the terrible on board mic will be CCCCCCCCRRRRRRRRRRRRRRRGGGGGHHHHHHHHHHHHHHHHHHHHHHHHHHHHH, or just distorted noise. Luckily, I record with external microphones when I film performances, usually because there isn't another option. Bands these days can't afford to hire a PA system with a multi channel mixer w/EQ, especially for one off performances, so it is common to see, so always be prepared!

There will always, however be background noise and hissing that will need to be removed from the recorded audio, I'm using Adobe Audition at the moment to eradicate that from the John Sinclair performance, as its functions for calculating and removing frequencies from audio tracks is phenomenal.

audio

Videomic Go!

RODE's new on-board microphone for small cameras!

Why is music so important to your production?

As videographers come and go, especially those that focus more on the visuals rather than the audio aspect of production, some may not realize the importance of the sound that accompanies the visuals. It builds atmosphere, tension, and can play on many different emotions and feelings that is just not possible through visuals (hearing someone behind you for example). Remember, AUDIO is 50% of a final video or film, the other 50% is the VISUALS. Without good audio, your audiences perception of the recreated reality portrayed in the visuals becomes blurred as it is not realistic to hear naturally, think about it!

If you are working on a production where you know the quality of the audio or visuals will be compromised, then have a back up plan! I shoot all the time on my Canon 60D, DSLR's having notoriously terrible in built microphones so I overcome this in ENG situations by using a RODE Videomic, which does the job. However, for exceptionally clean and high quality audio recording an external mic+recorder device is crucial especially for talking heads! I used the Zoom H2 audio recorder to capture the sound externally, to then sync up in post.

A GREAT TIP!! If you are in a shooting situation that allows; set the camera and audio device recording and clap. This will create a spike in the audio waveform and will make it so much easier to sync up later on!

My reason for discussing; I'm currently choosing the accompanying music for the GLF conference video. I use a site called Audio Network to source most of my audio media as it has great creative commons uses and is reasonably priced too, as well as having such a vast array of production style music.

So far, to go with the up-beat and enthusiastic, youthful visuals I have chosen these two to go with the visuals; let me know what you think!

If You Wanna

How's It Going?

I look forward to hearing your thoughts on the music, and any similar production questions or issues you may be having!

What do YOU want to know about Video, Editing, Graphics, Audio, Live?

I've had my fair share of experience over the last couple of years, working in many different situations from audio engineering at the London 2012 Olympic Games, to single filming the Prime Minister of Kuwait, to weddings, to motion graphics and more. I can write about pretty much any of the above situations, the camera skills and techniques used as well as anything else really, but I want to hear from YOU so you can learn from this blog!

What do you want me to write about? Do you have any questions about the video and media industry or its practices?

Contact me so I can help!!

[contact-form][contact-field label='Name' type='name' required='1'/][contact-field label='Email' type='email' required='1'/][contact-field label='Website/Facebook/Twitter/Blog' type='text'/][contact-field label='What do you want to know?' type='textarea' required='1'/][/contact-form]

Thinking about Audio?

One big problem that lots of solo or freelance videographers stumble across is sound. It is easy for some to focus only on the visuals, rather than both the visuals and audio; one has to remember that a piece of media is 50/50 between V and A, so capturing crisp and audible sound is just as important as in focus, well exposed images.I've had countless problems with sound over the years, more recently I have found practical solutions using the Zoom H4N, but before I had access to that portable stereo recorder I used a Rode VideoMic. Many newbies will be famililar with it; a standard on-camera shotgun mic with ok quality.. Very ok to the sub standard level. One issue I've always had with it is the amount of background room noise, but Adobe Audition does a reasonably good job of removing the sound print from the signal.

However, all that terrible tech is about to change as Zoom have begun shipping their all new H6; a 6 channel portable recorder, with interchangeable mic capsules! I've just watched the test + review from B&H and it looks incredible, and it would be hard to forget fantastic quality sound with that bulky piece of kit in the bag! I've been in contact with the Zoom team so lets hope I can get my hands on one soon!
http://www.youtube.com/watch?v=yBfJveLuANk