

From Conferences to Award Ceremonies, Filming Events; My Tips and Tricks

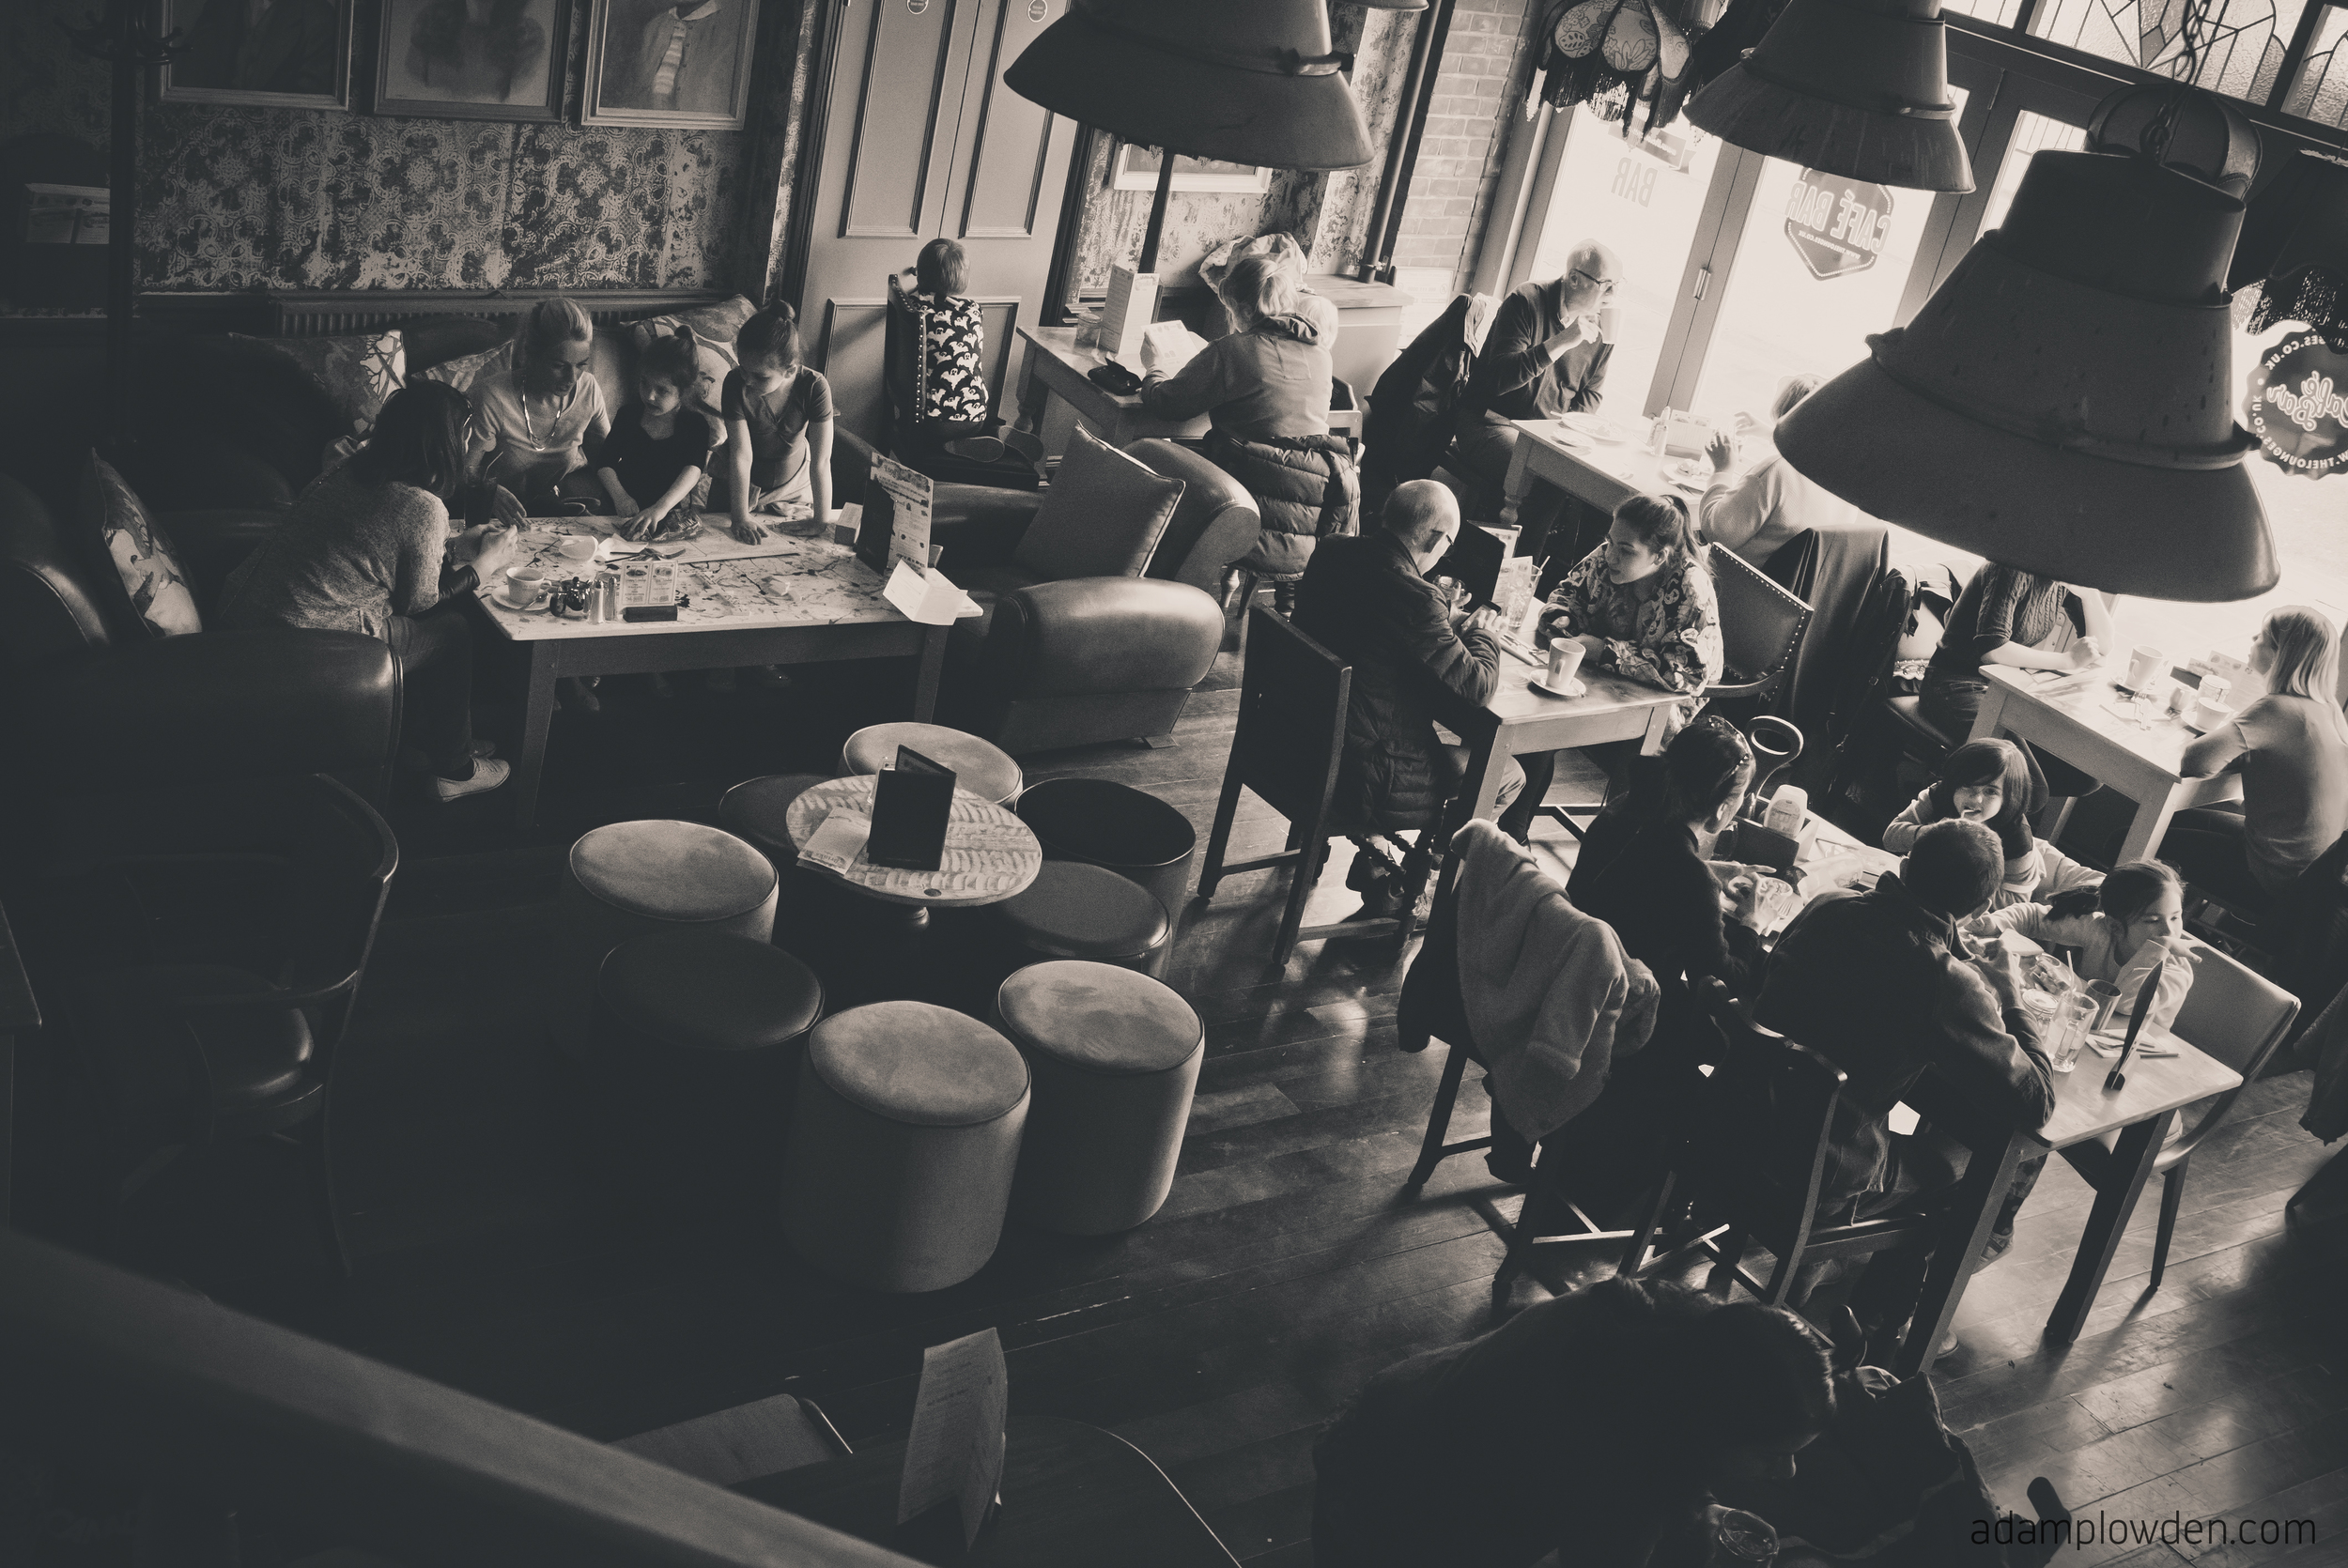
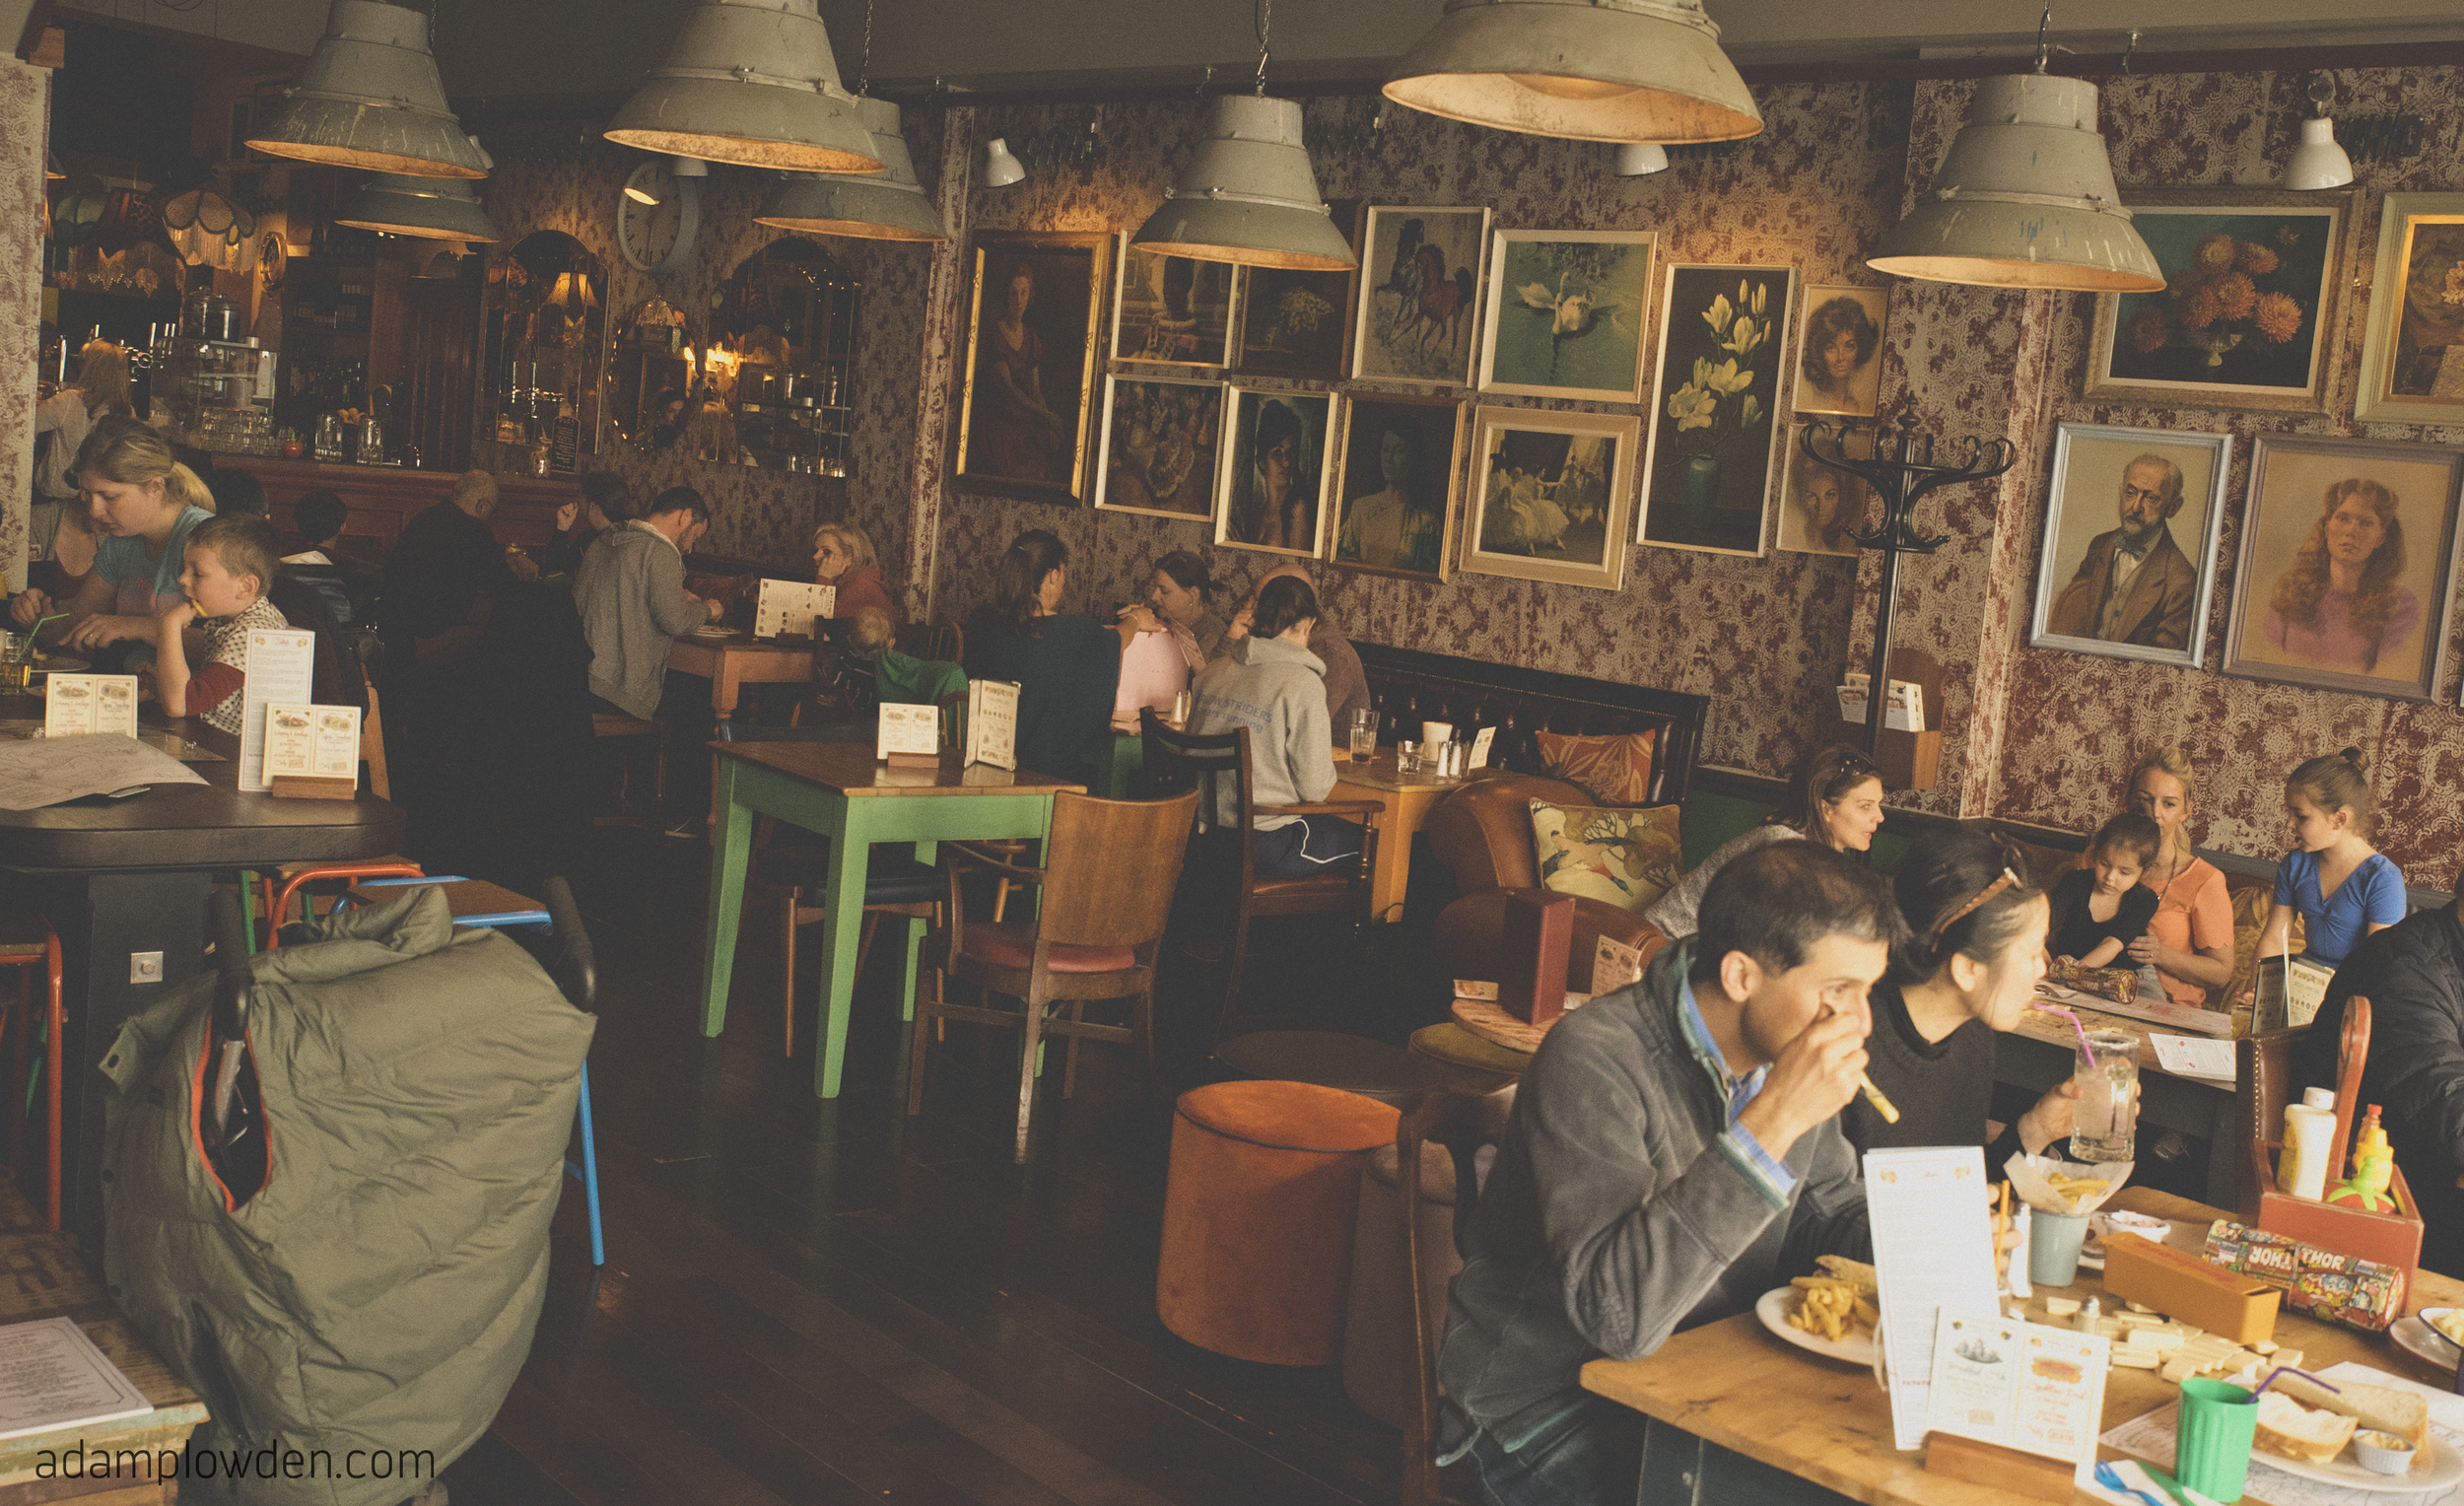
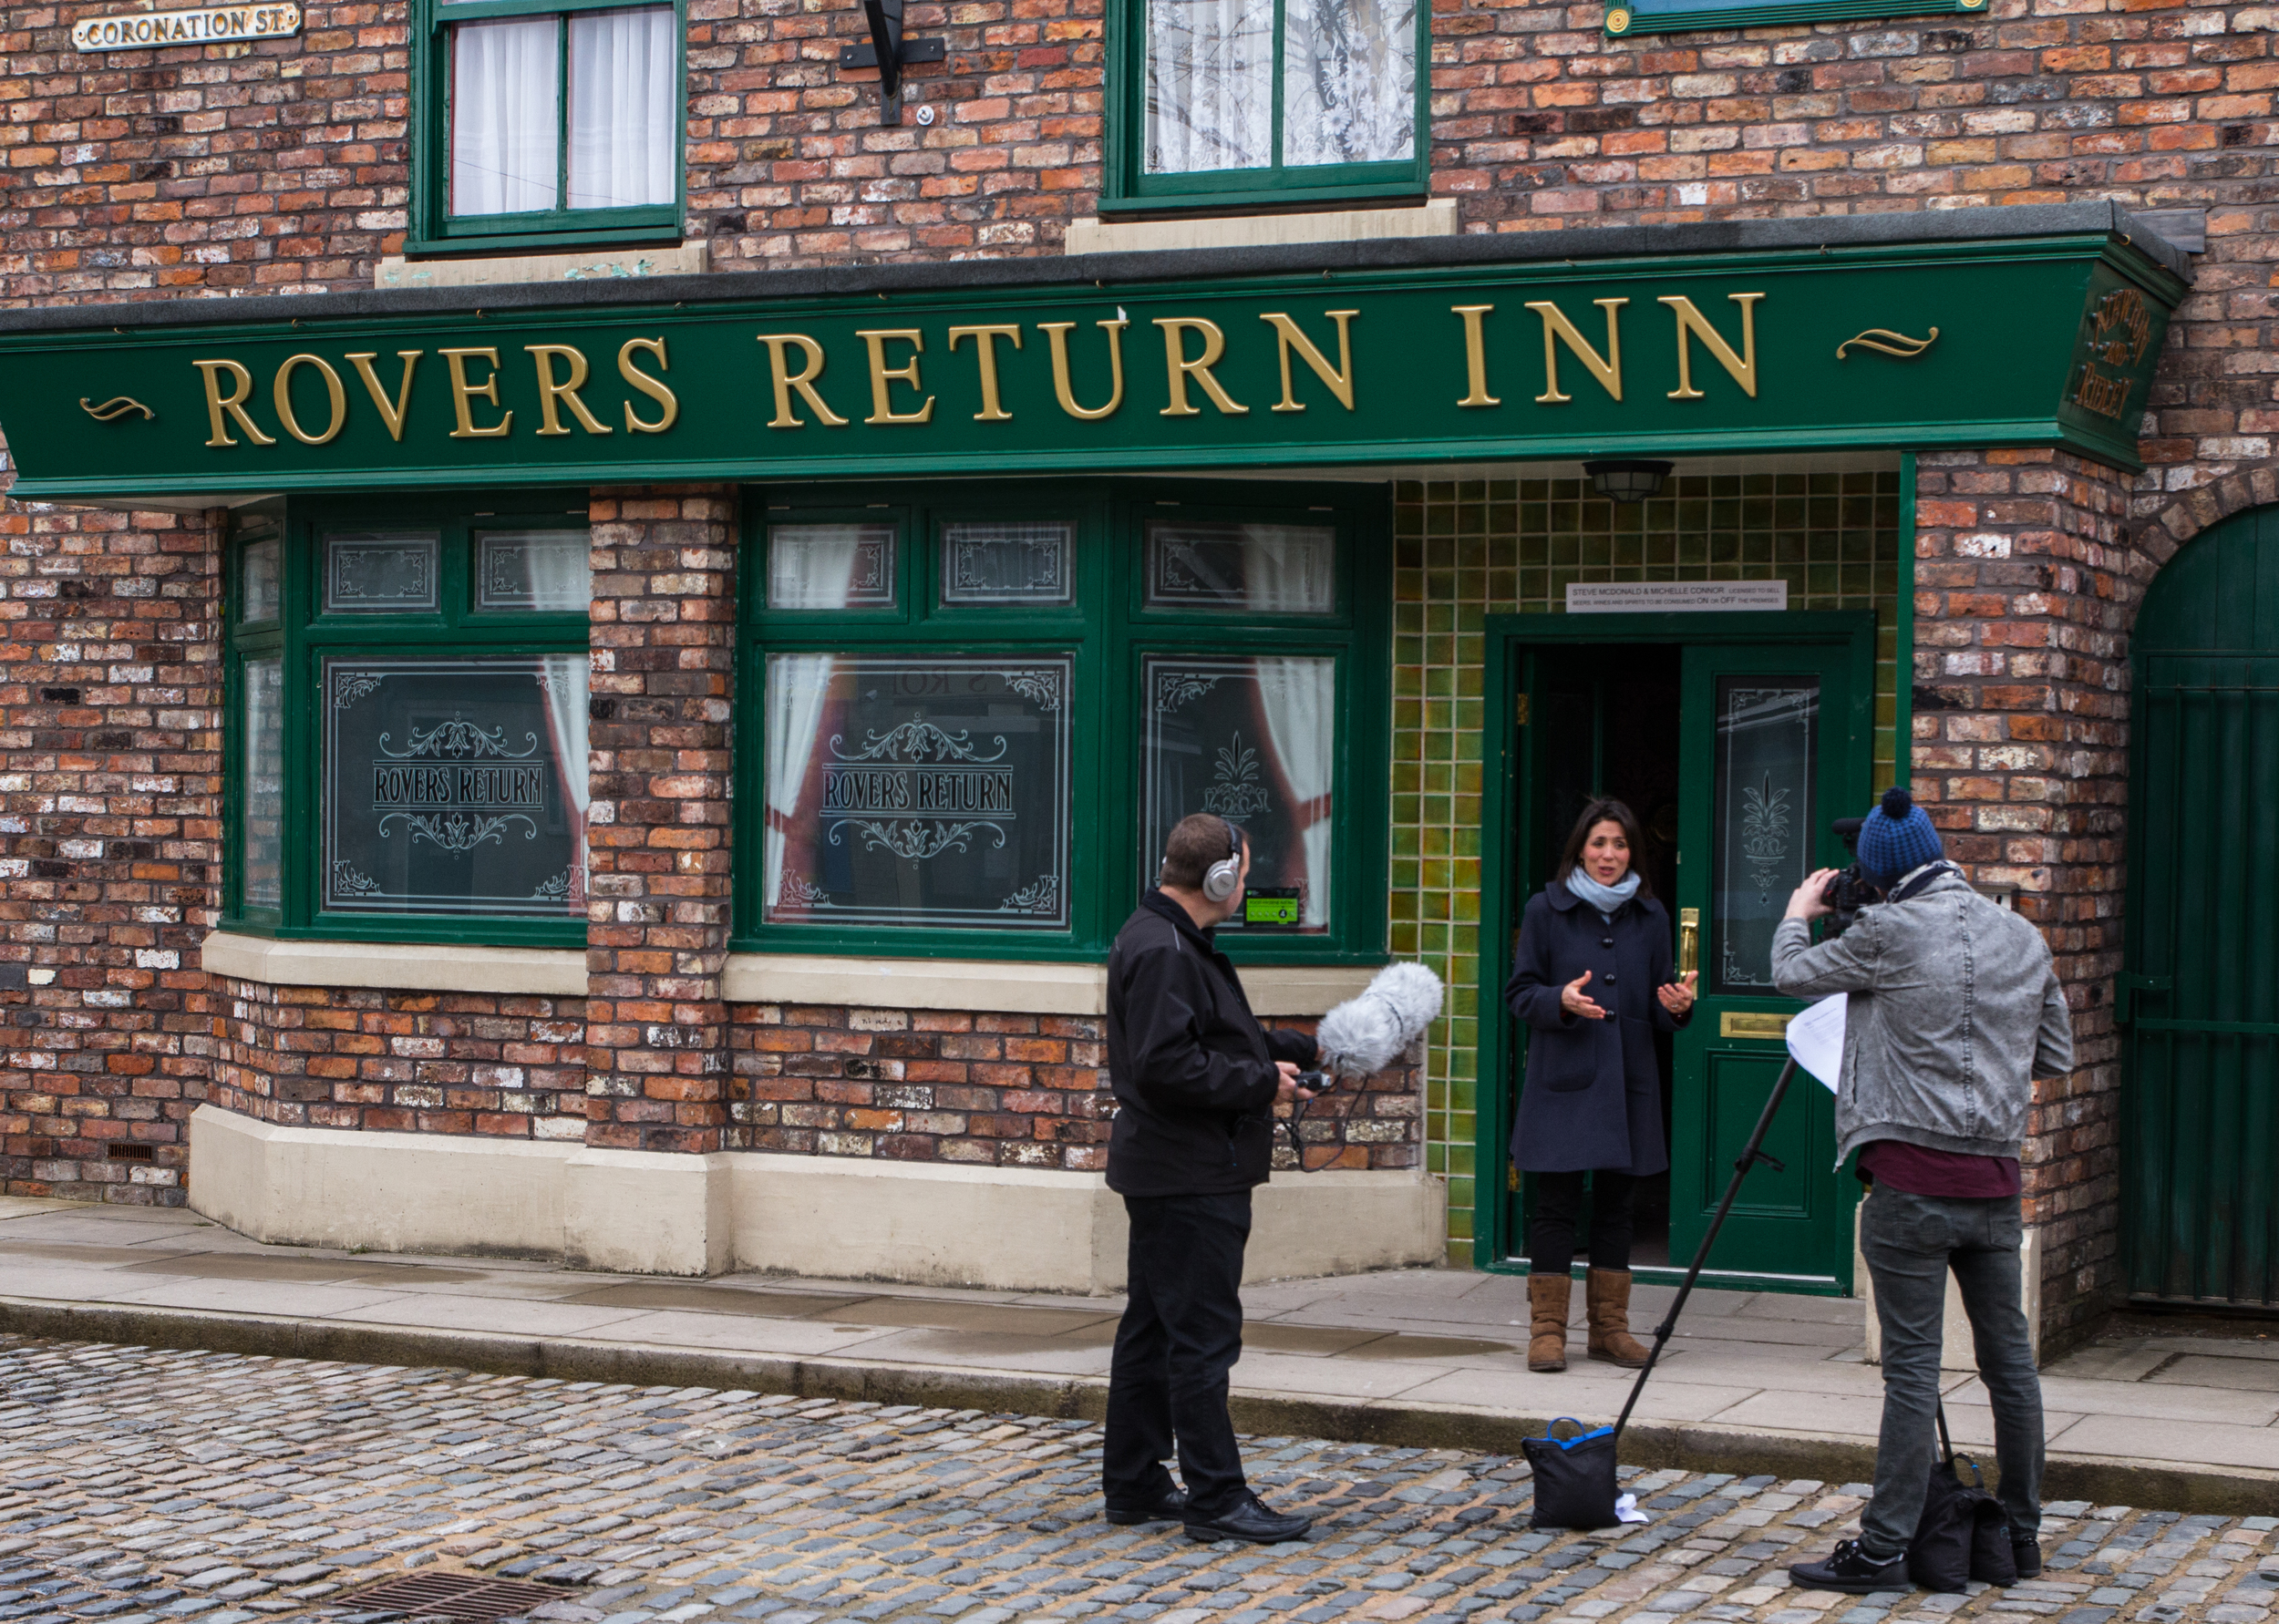
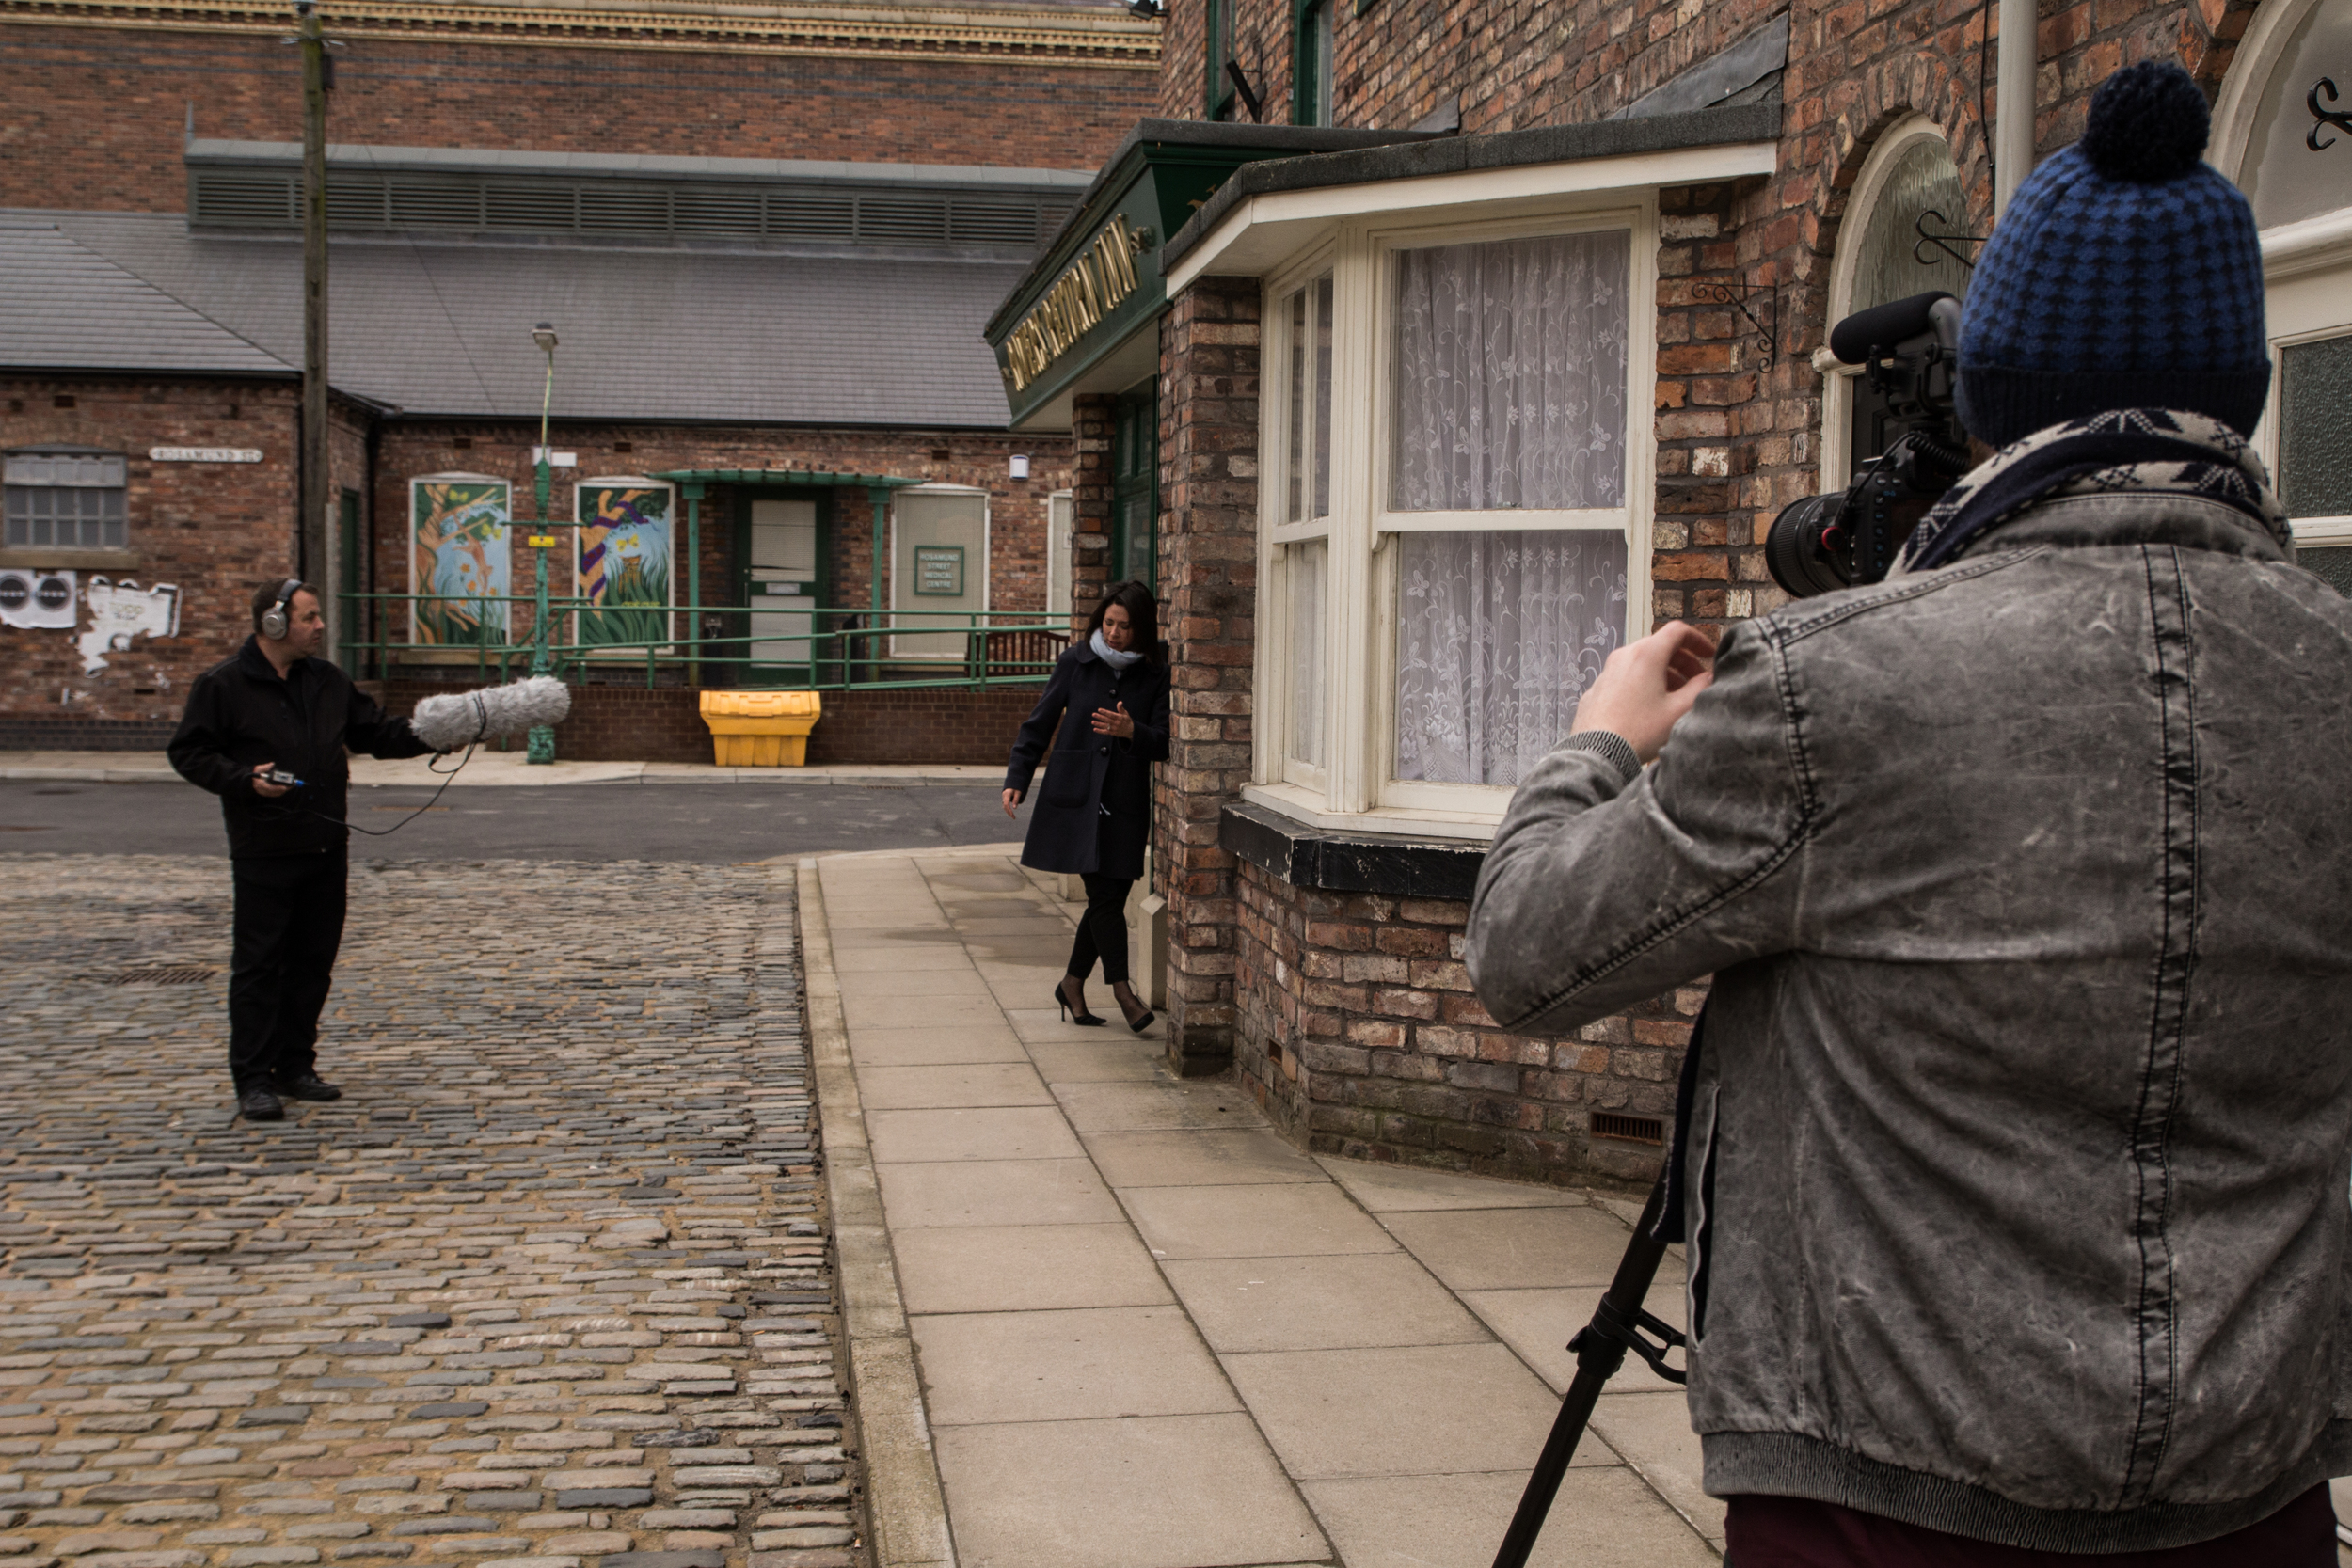
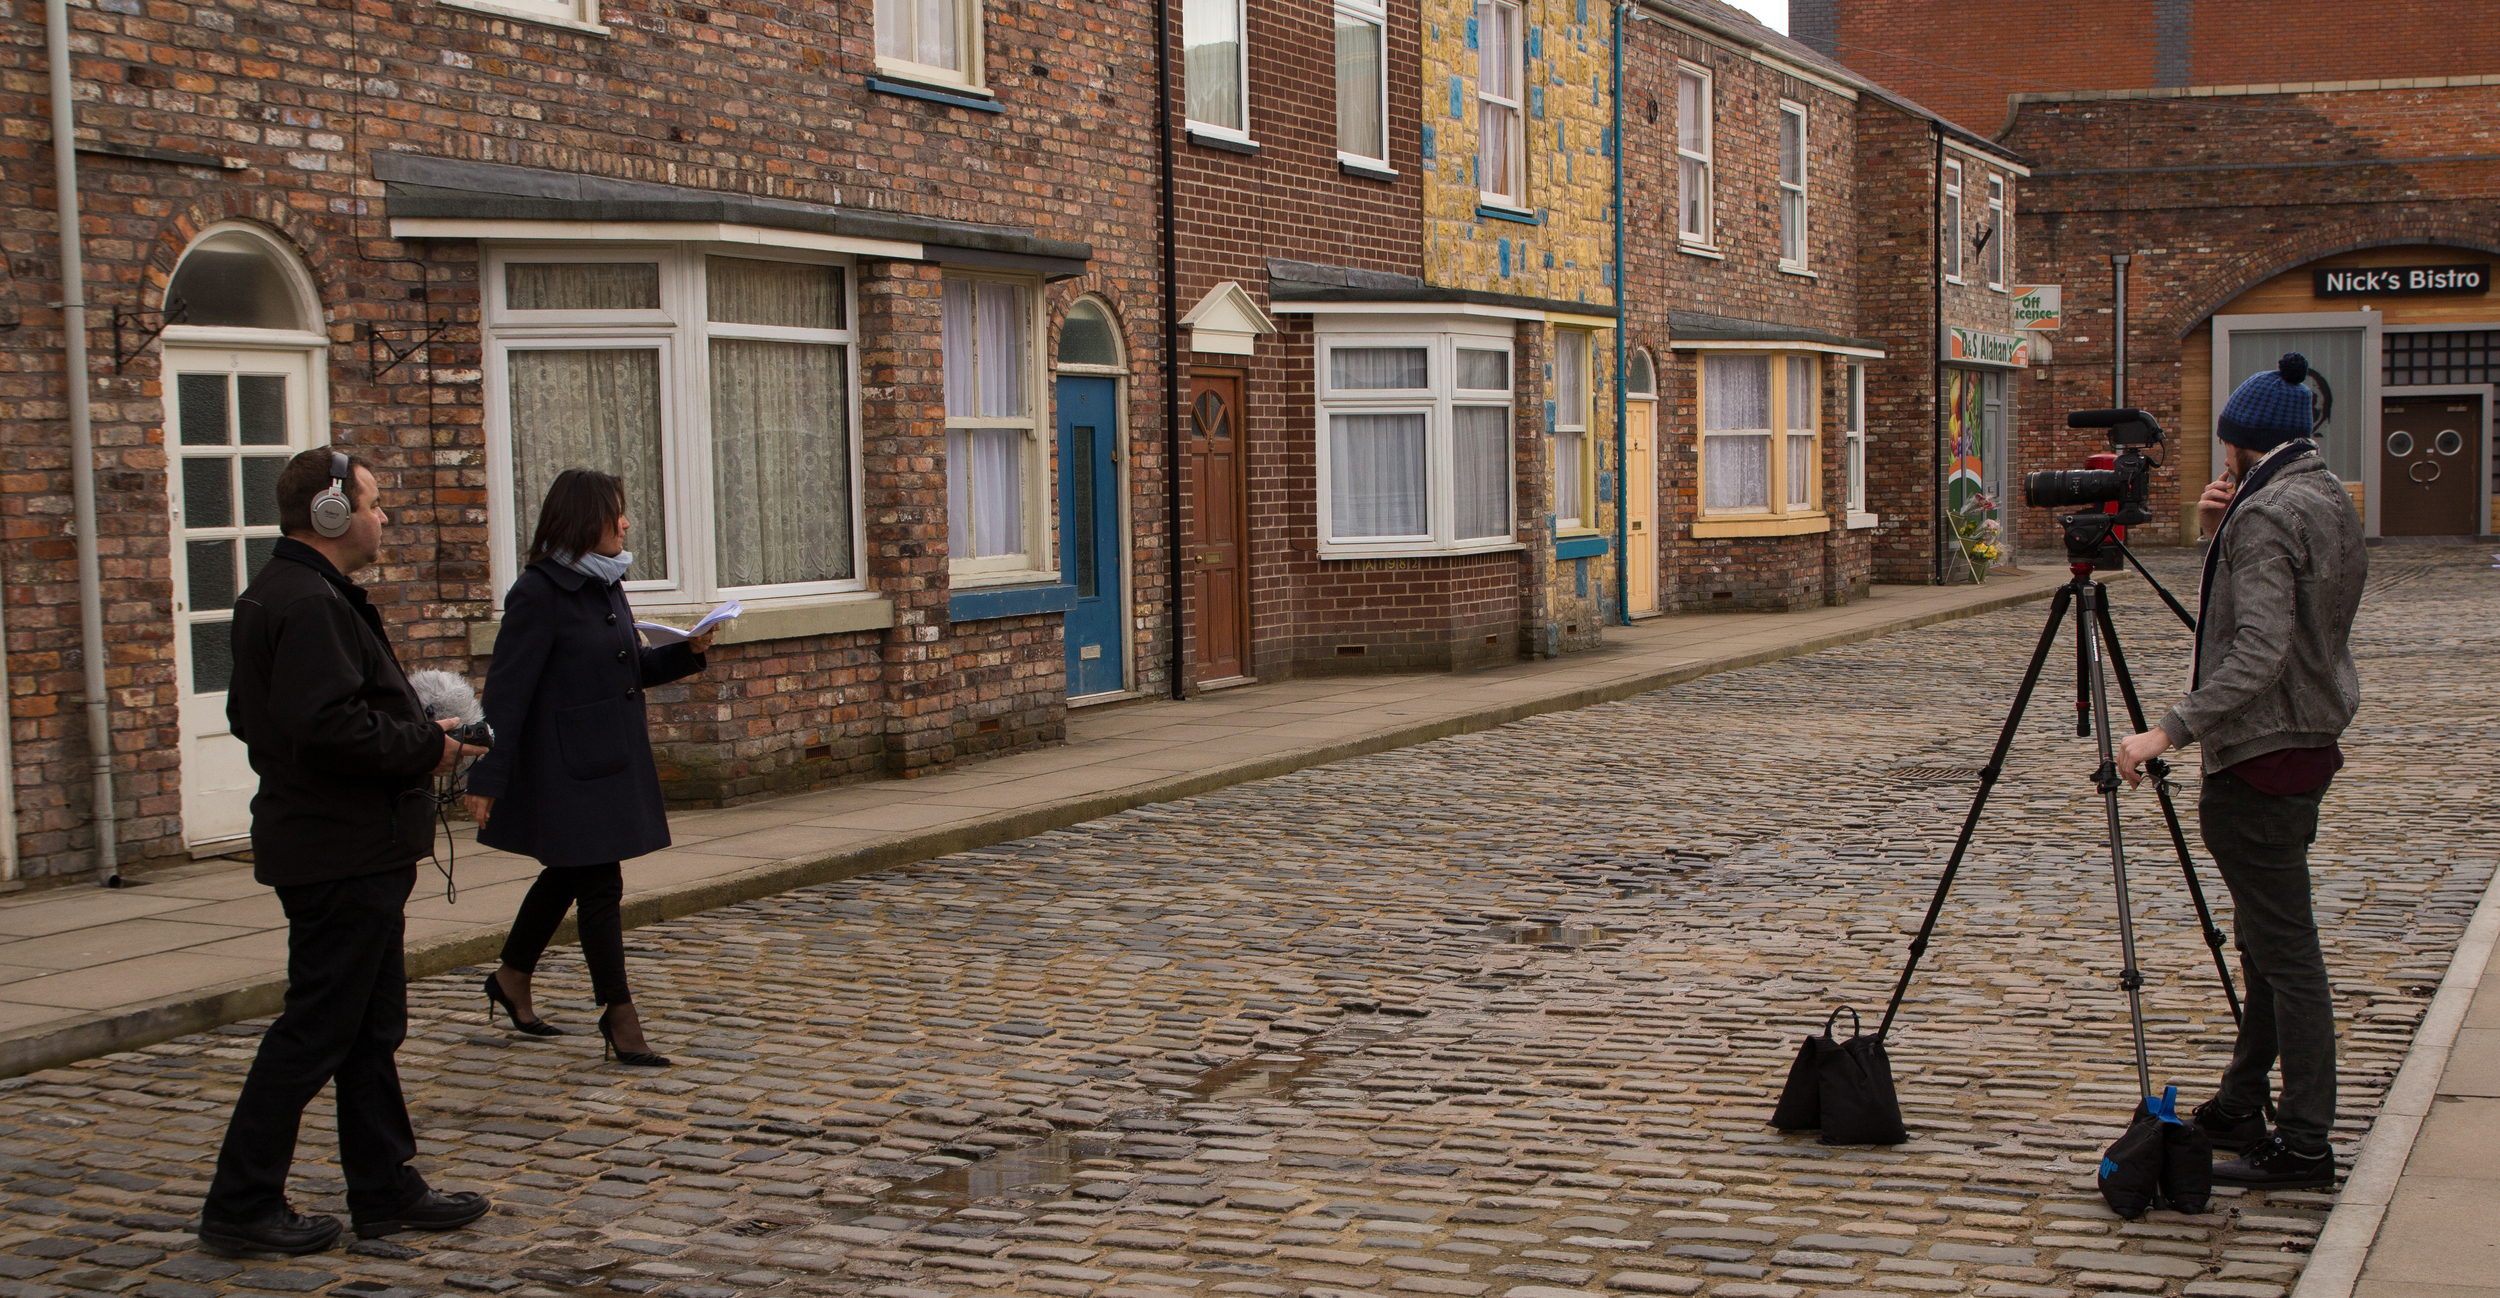
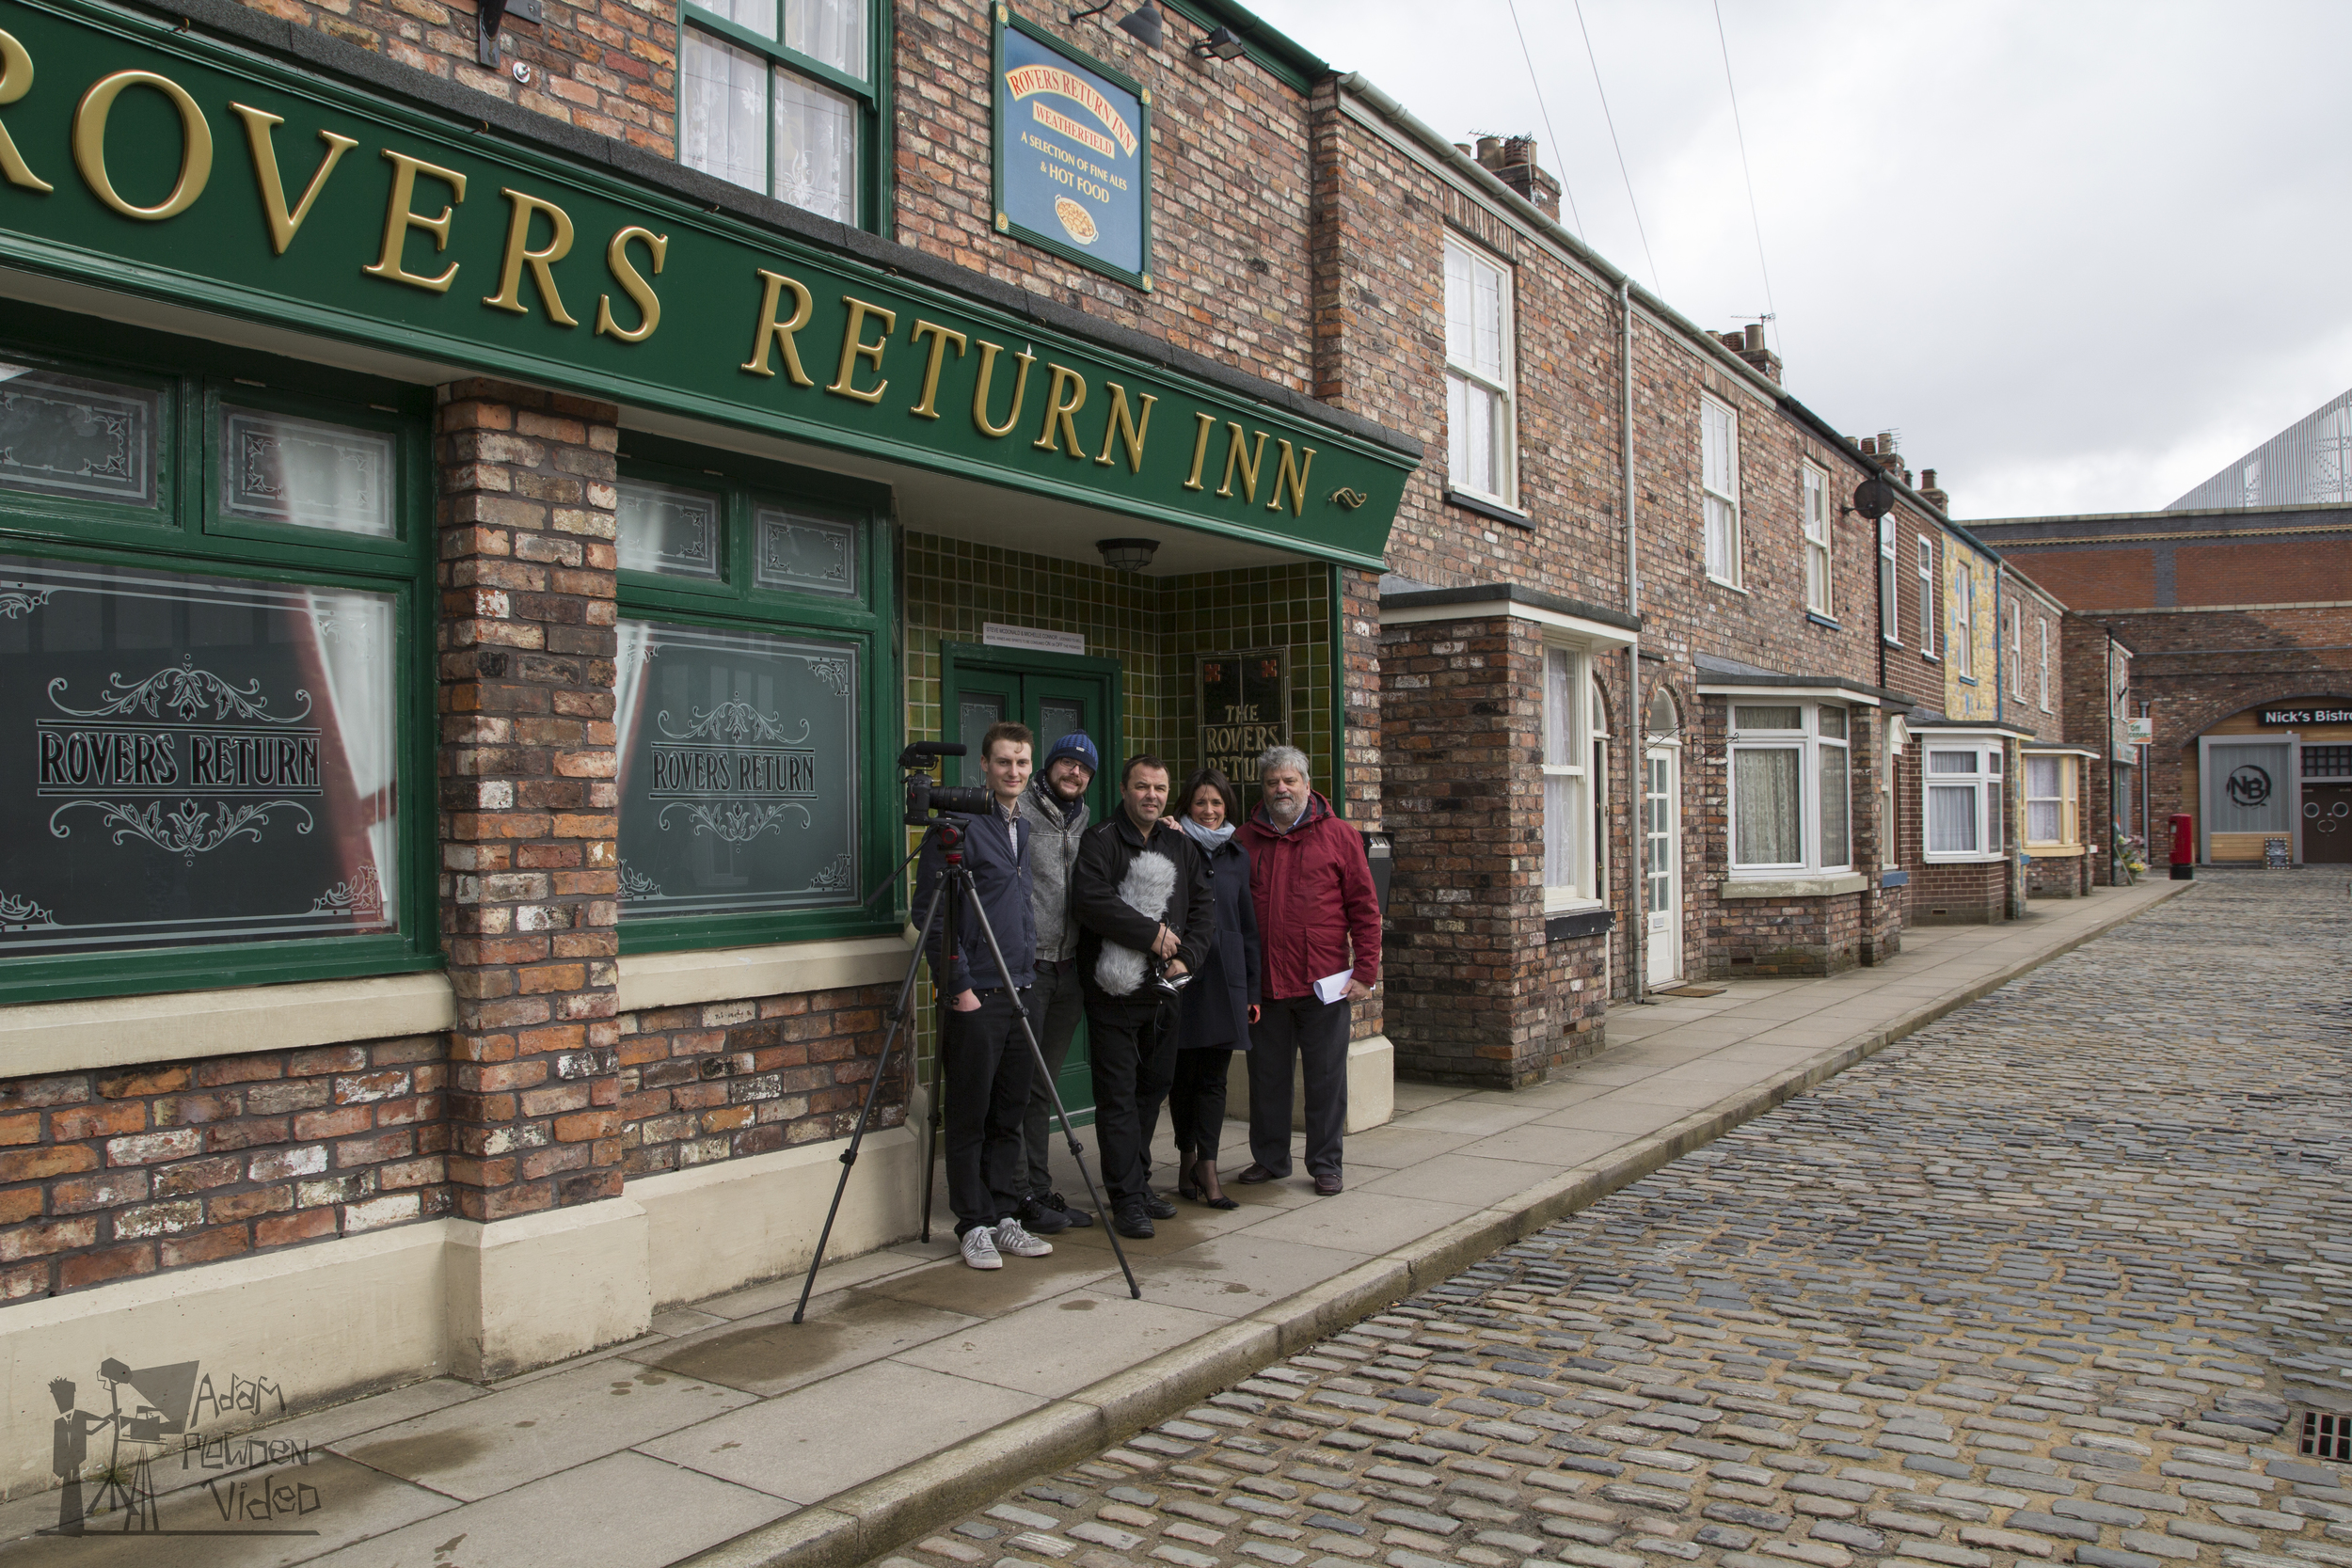
The awards ceremony was part of the event video coverage.
Filming and videography for business conferences, presentations or award ceremonies are a staple of the work calendar, but how can you turn a rather simple event into a video people will want to watch?
I take a look at the techniques, tips and tricks I use when capturing events with video, often with a same day turnaround.
Be Minimal With Equipment
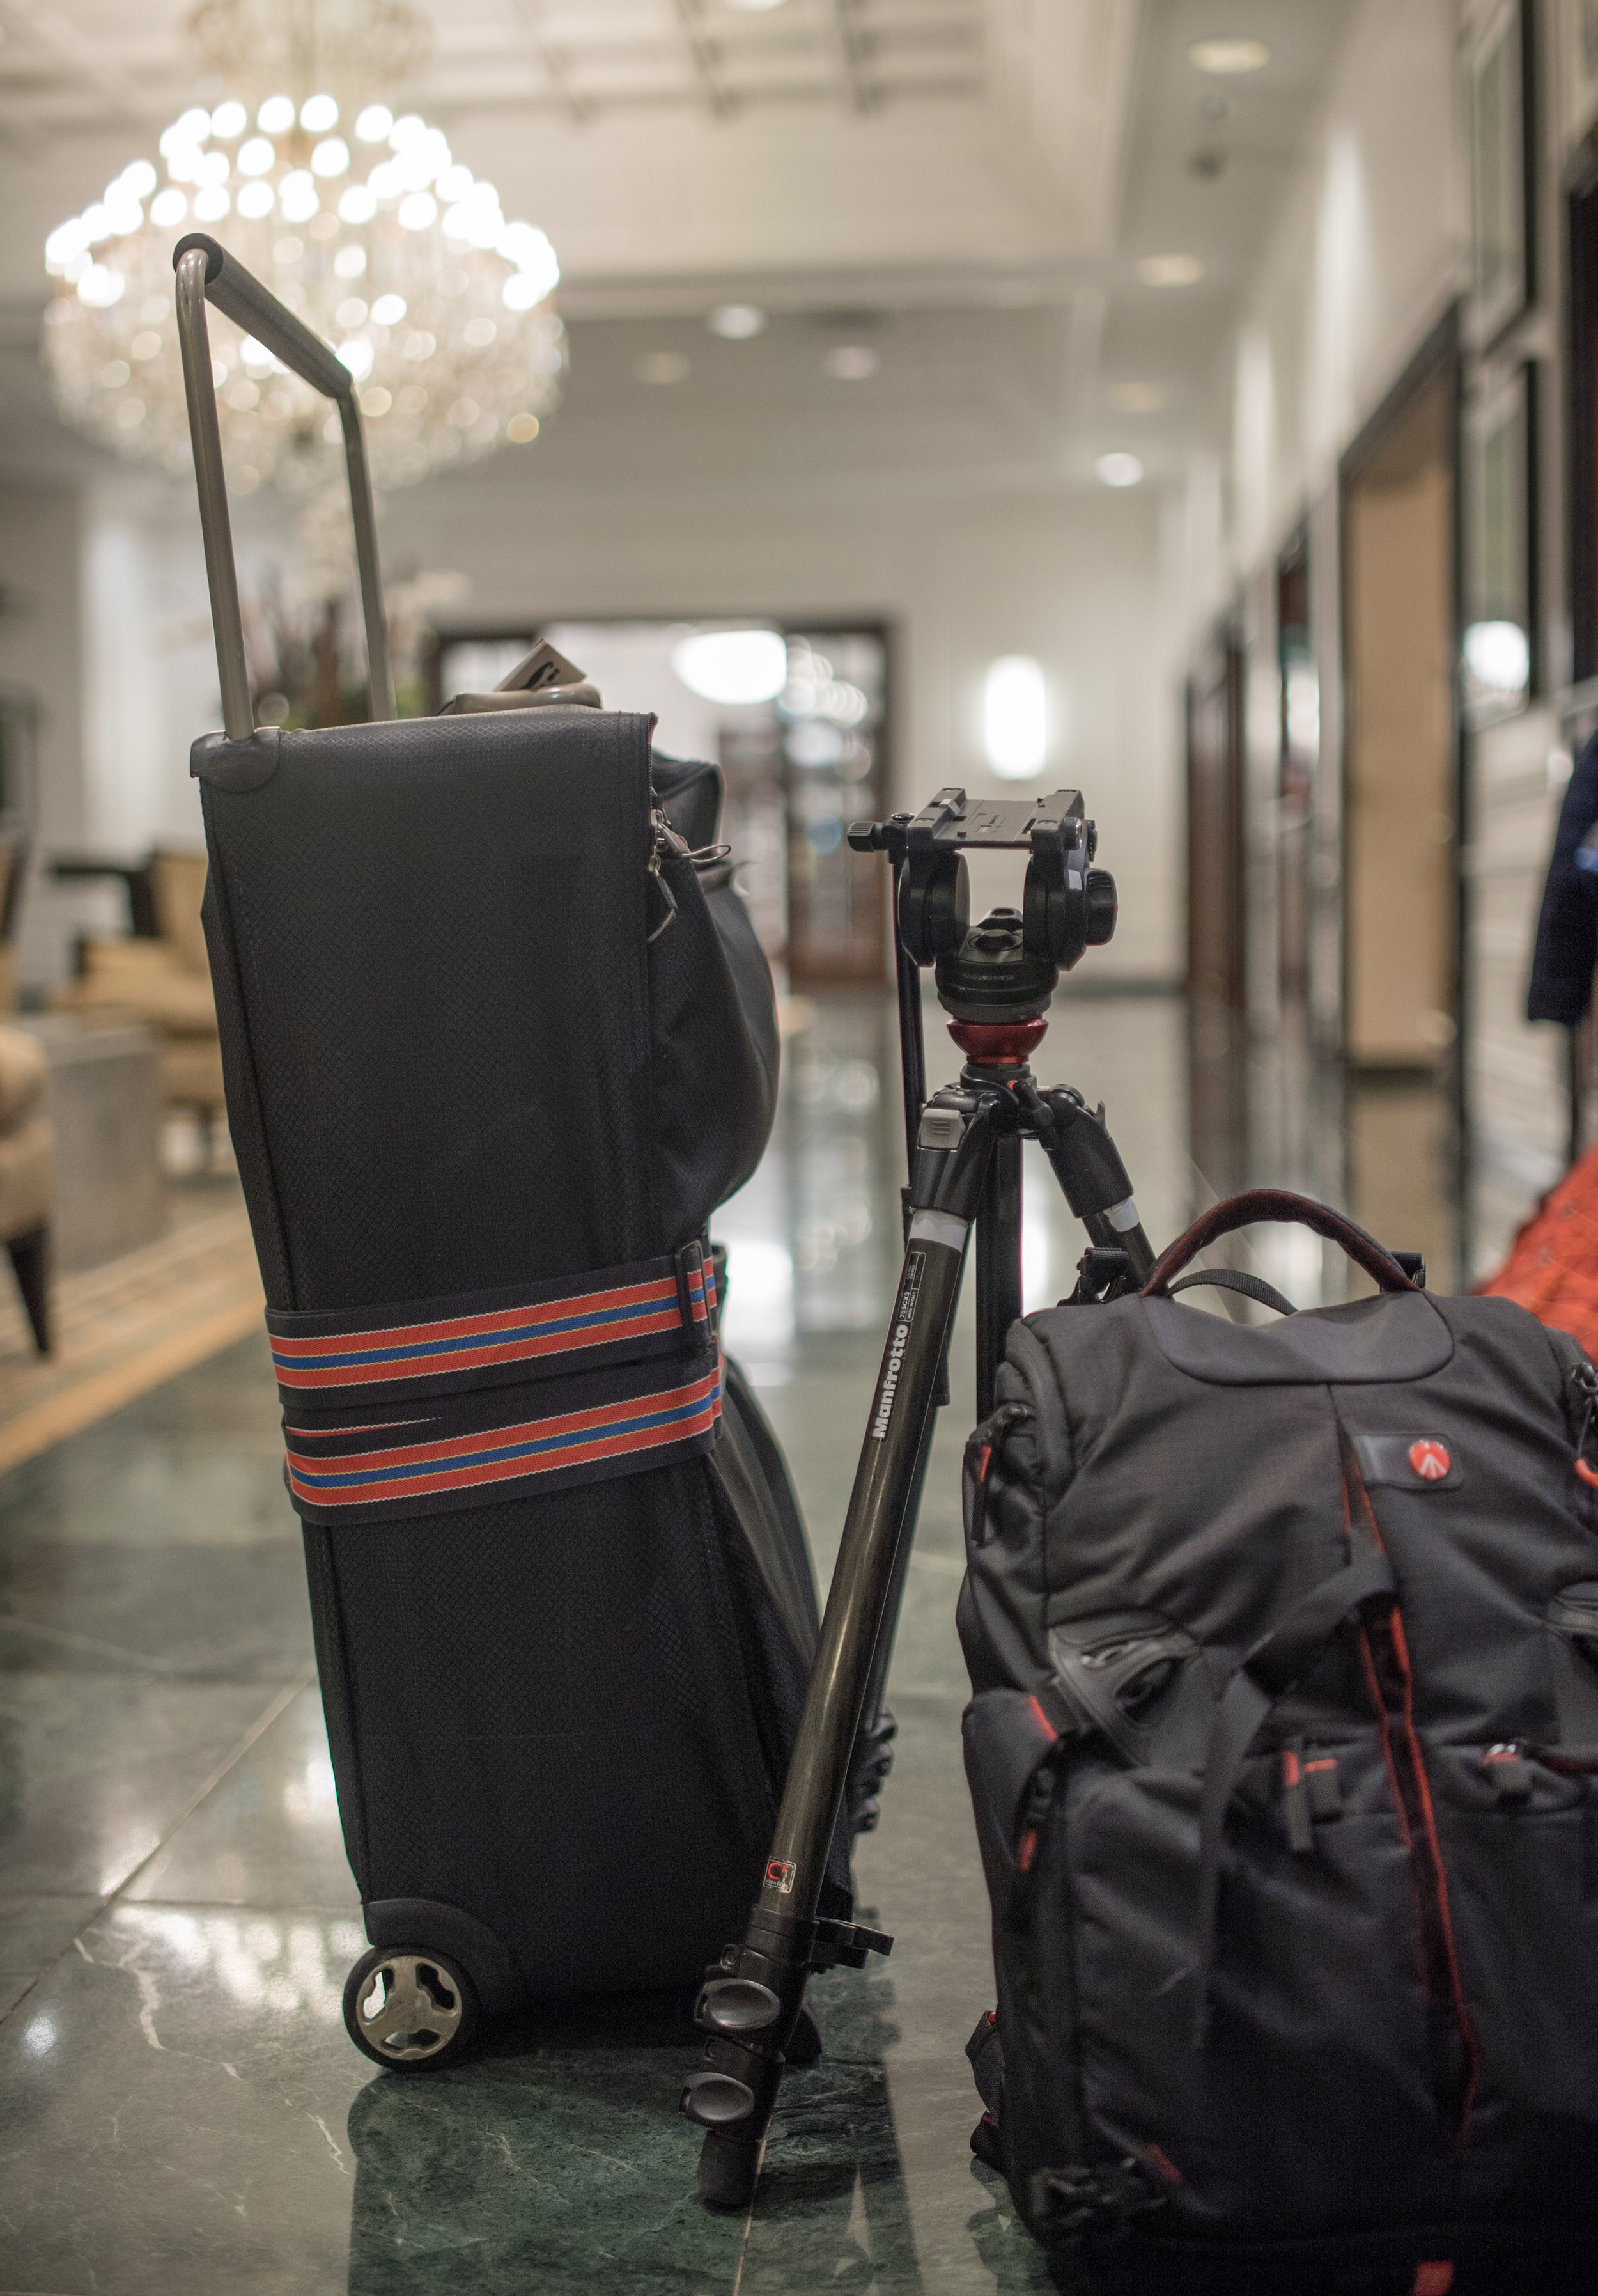
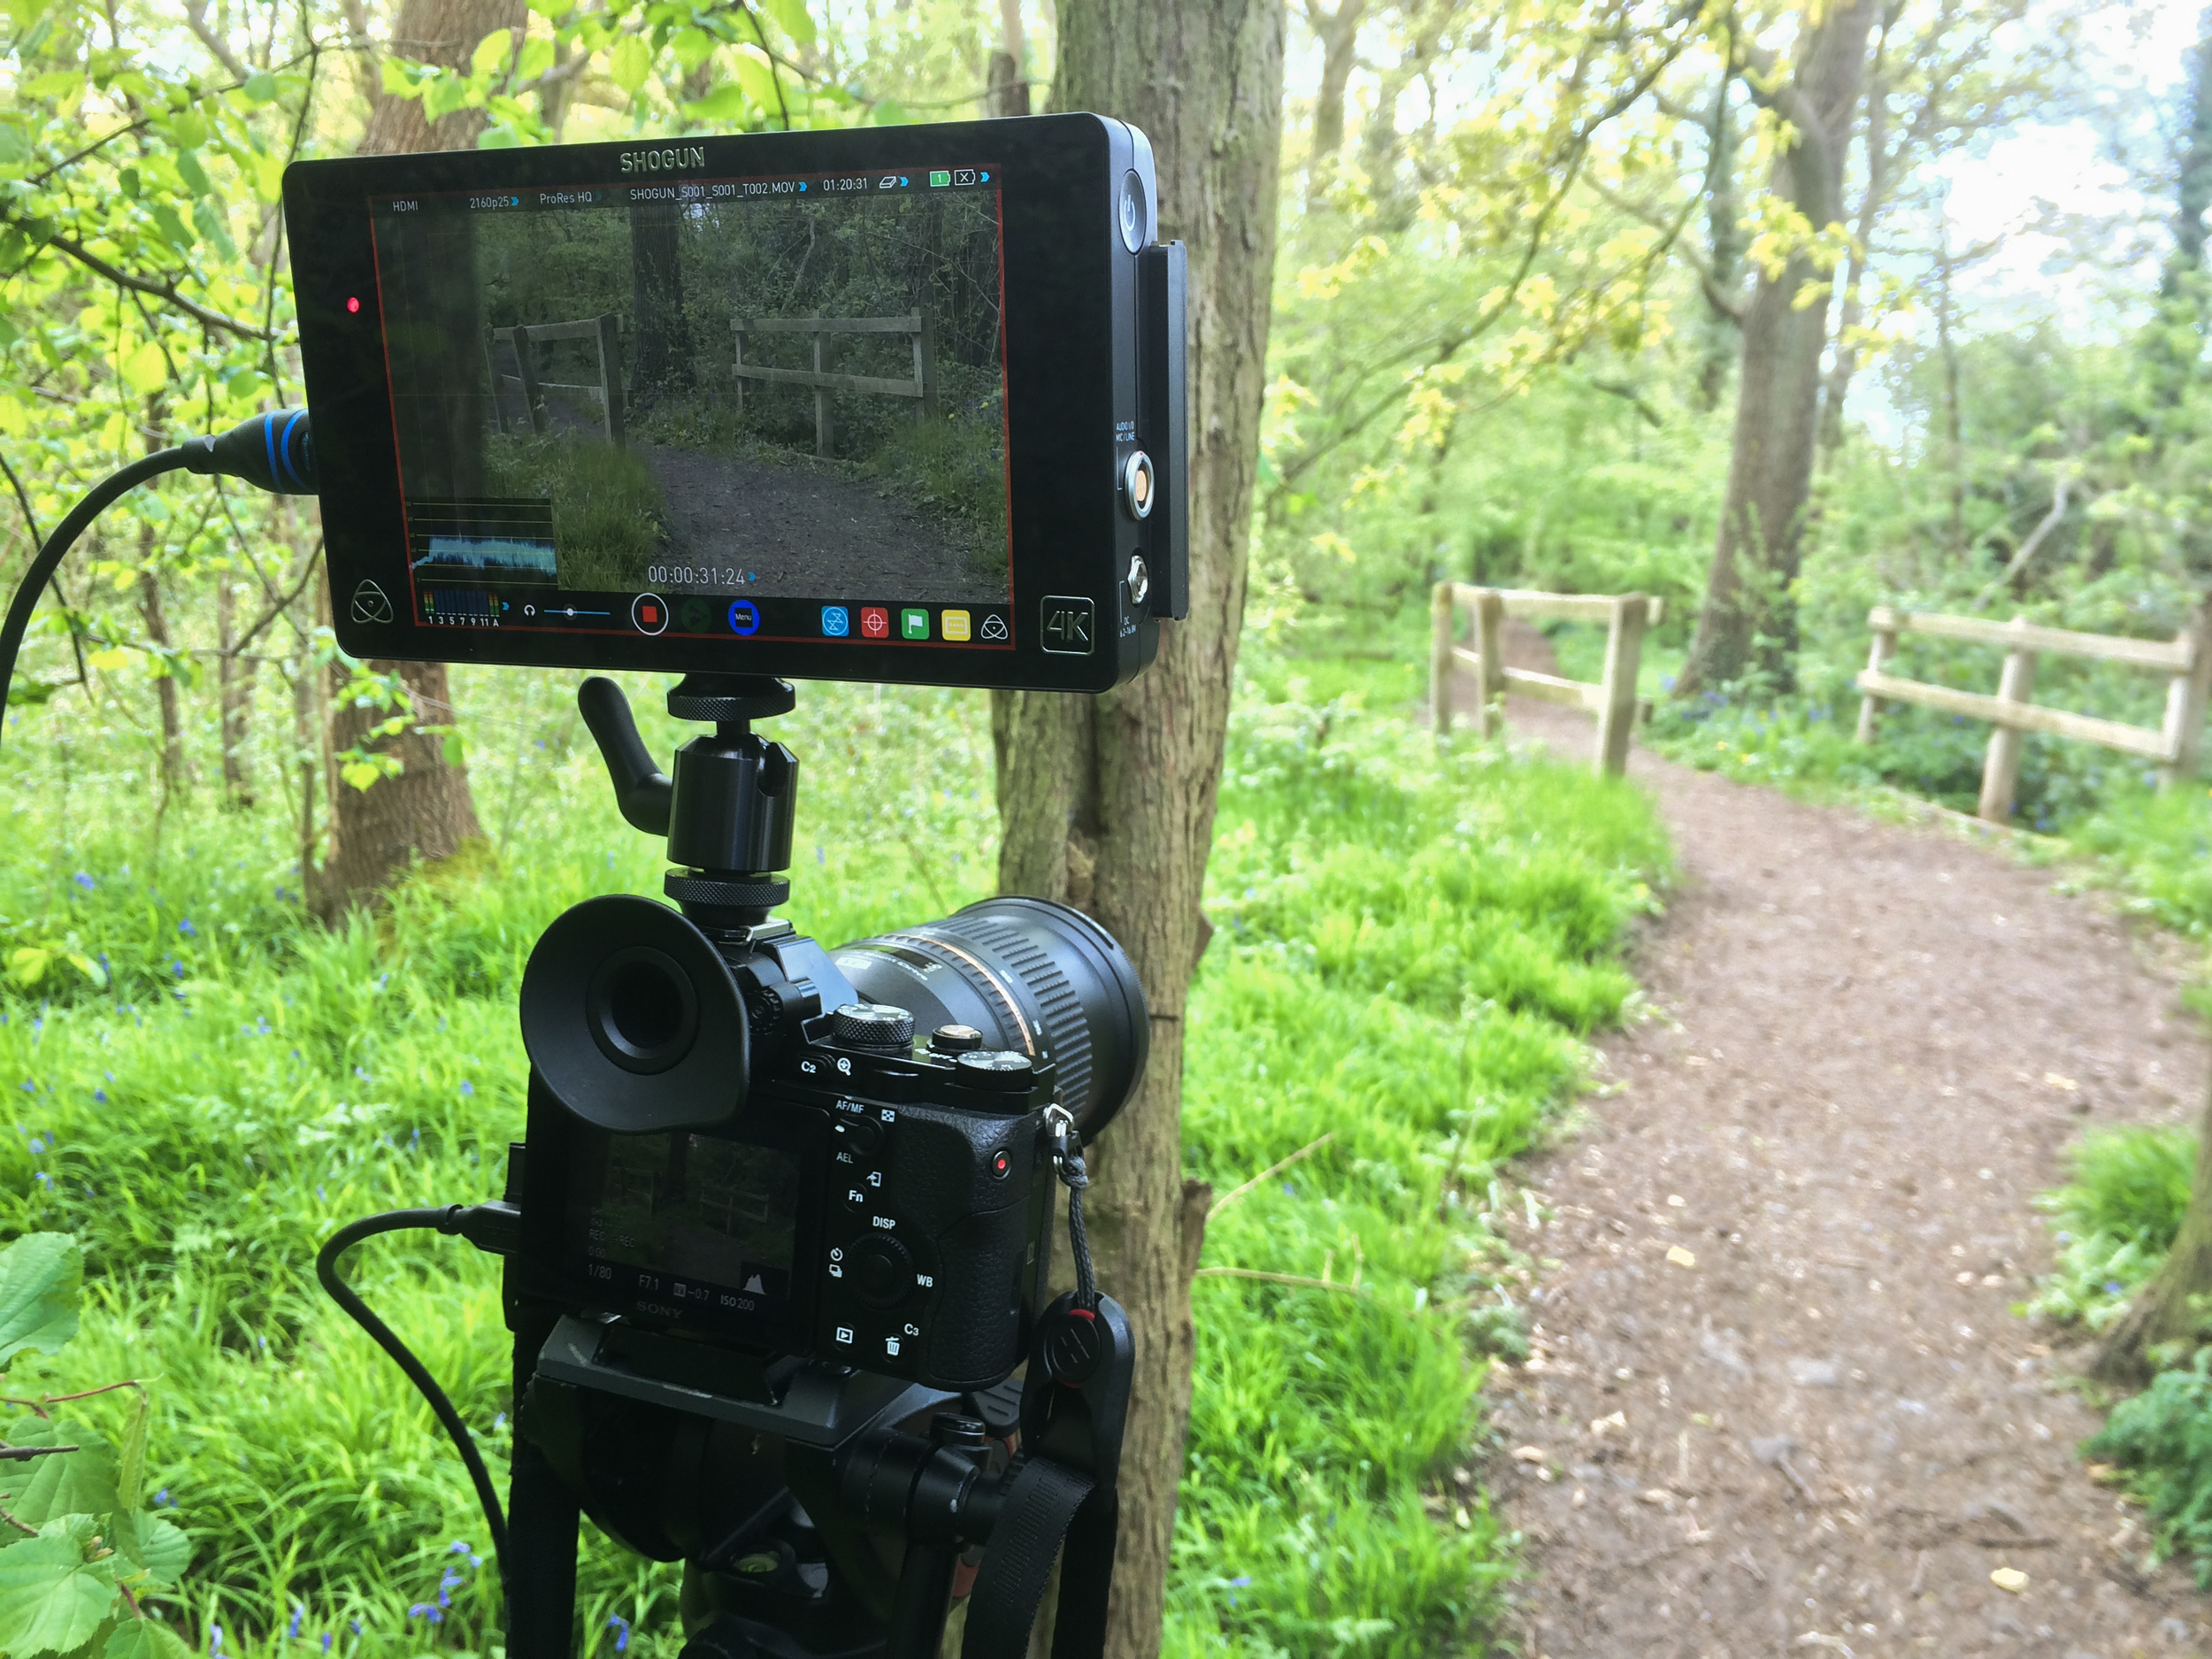
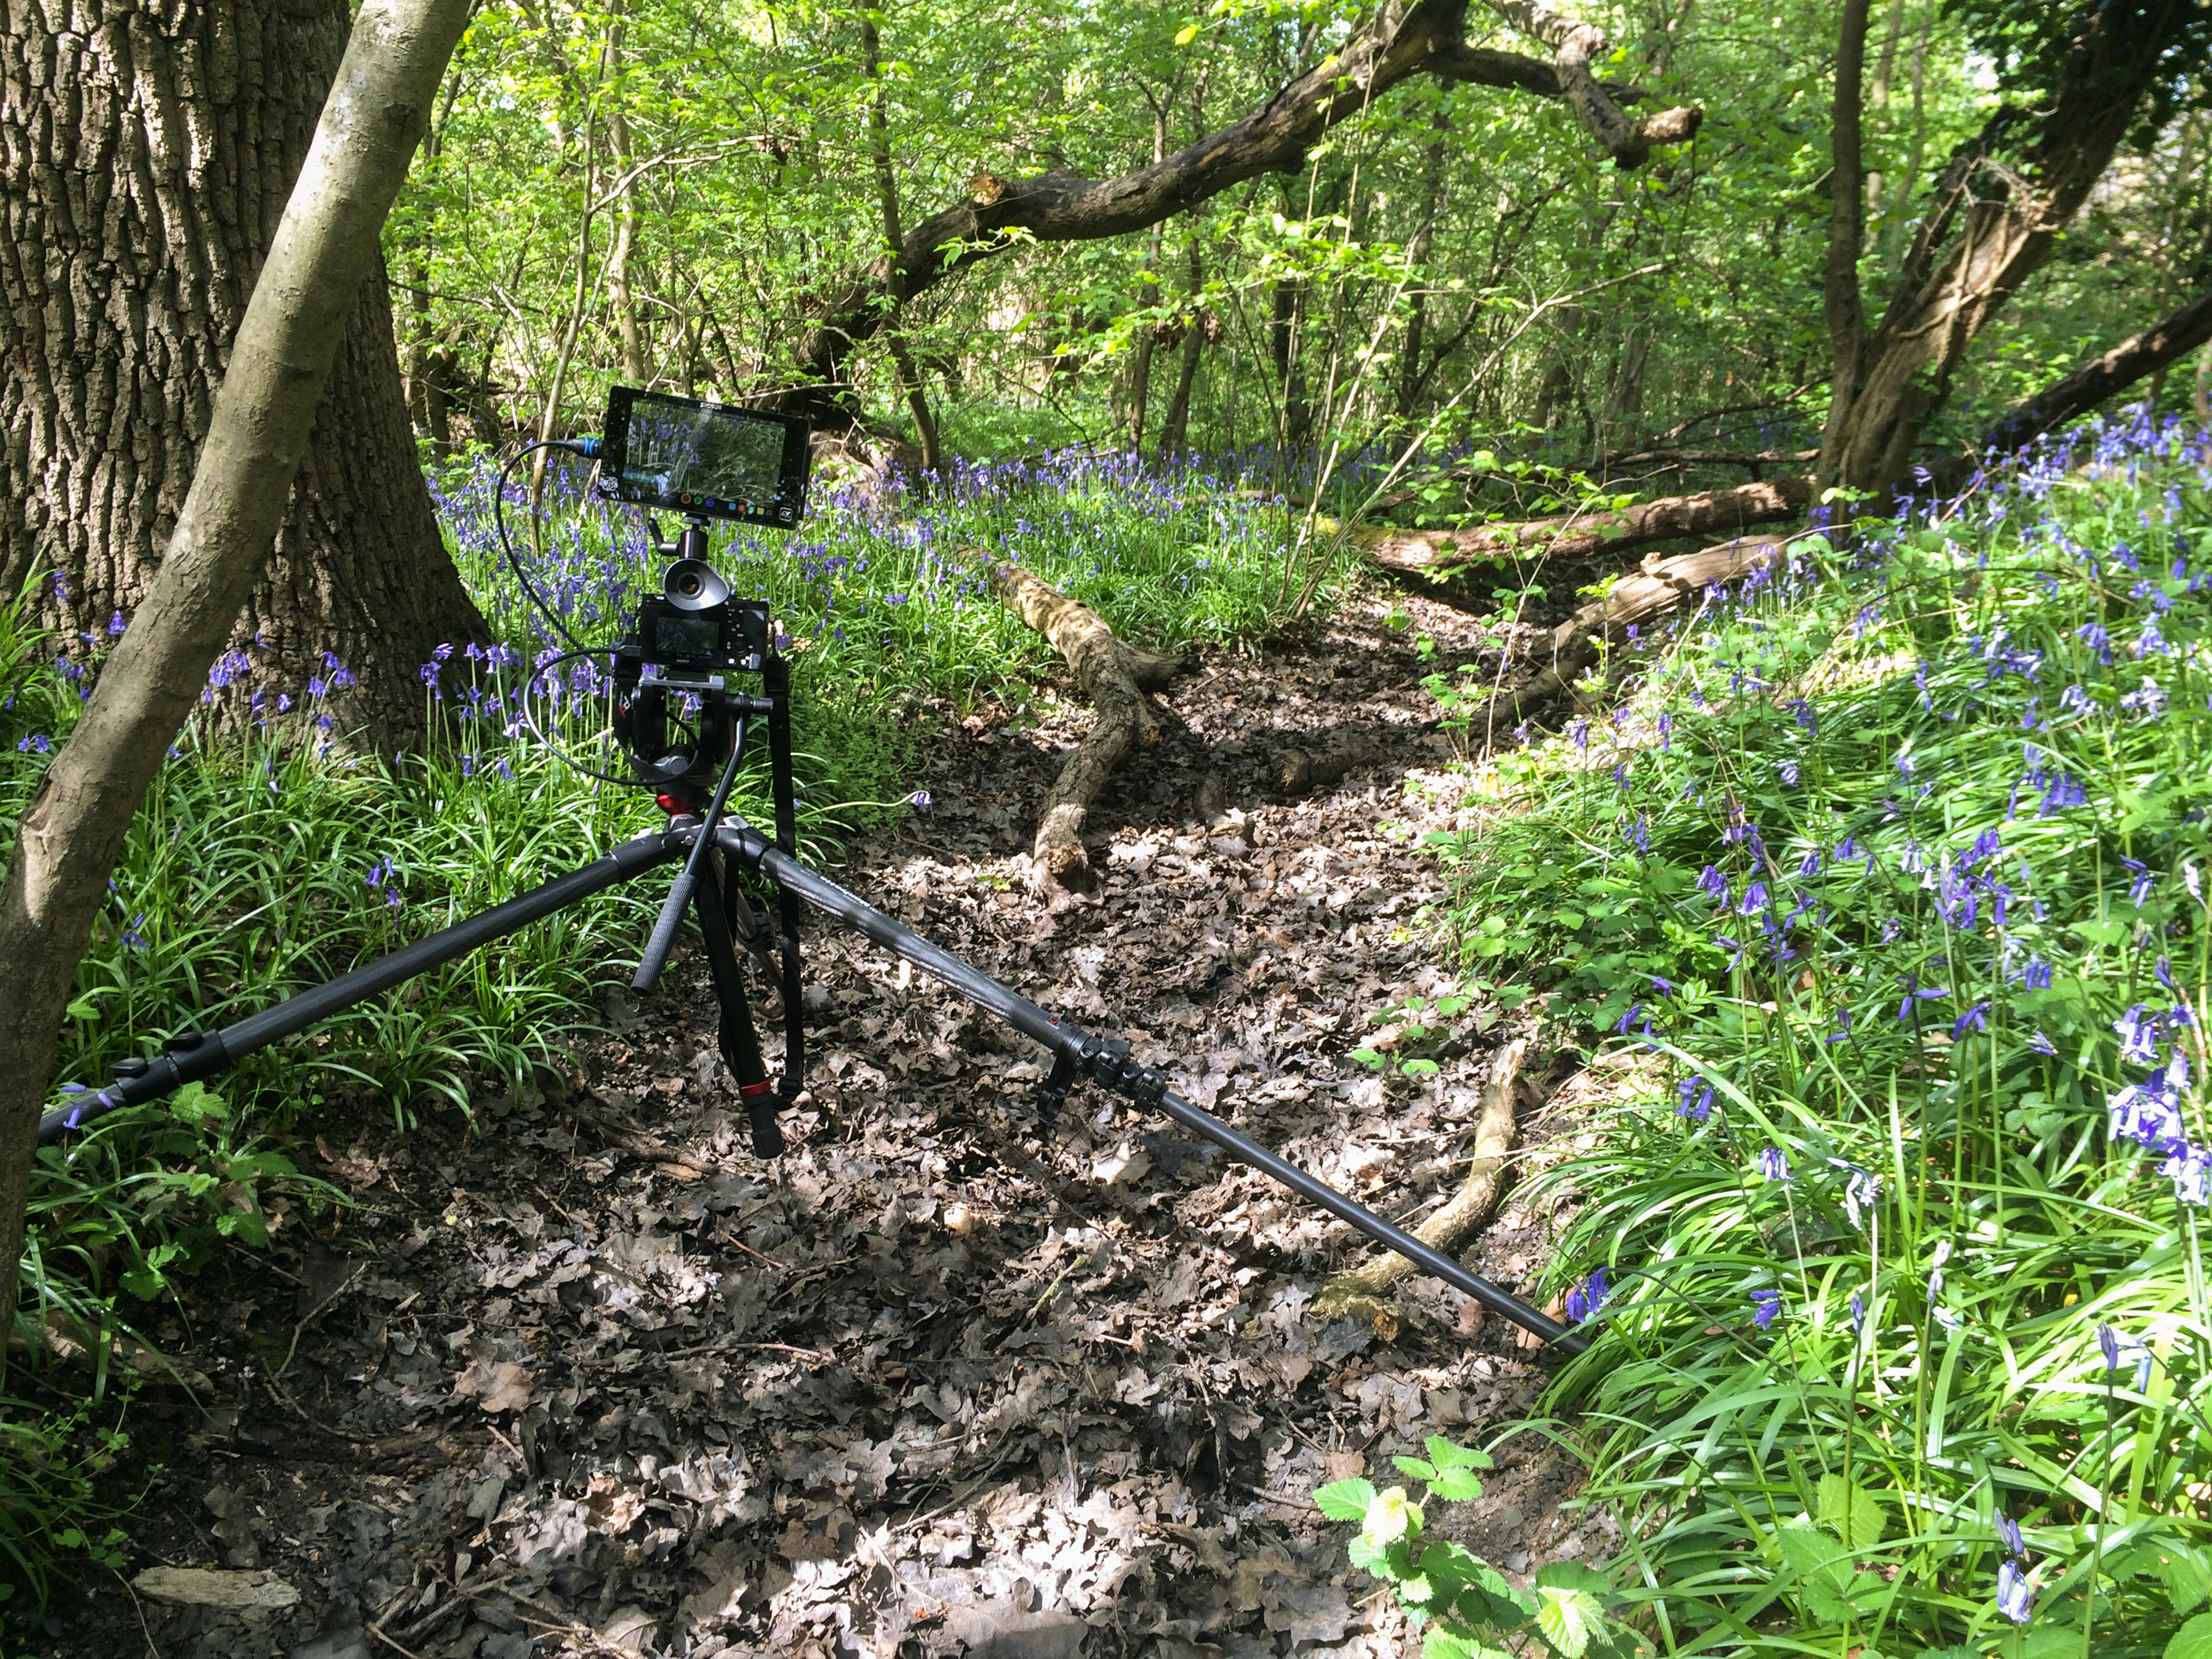
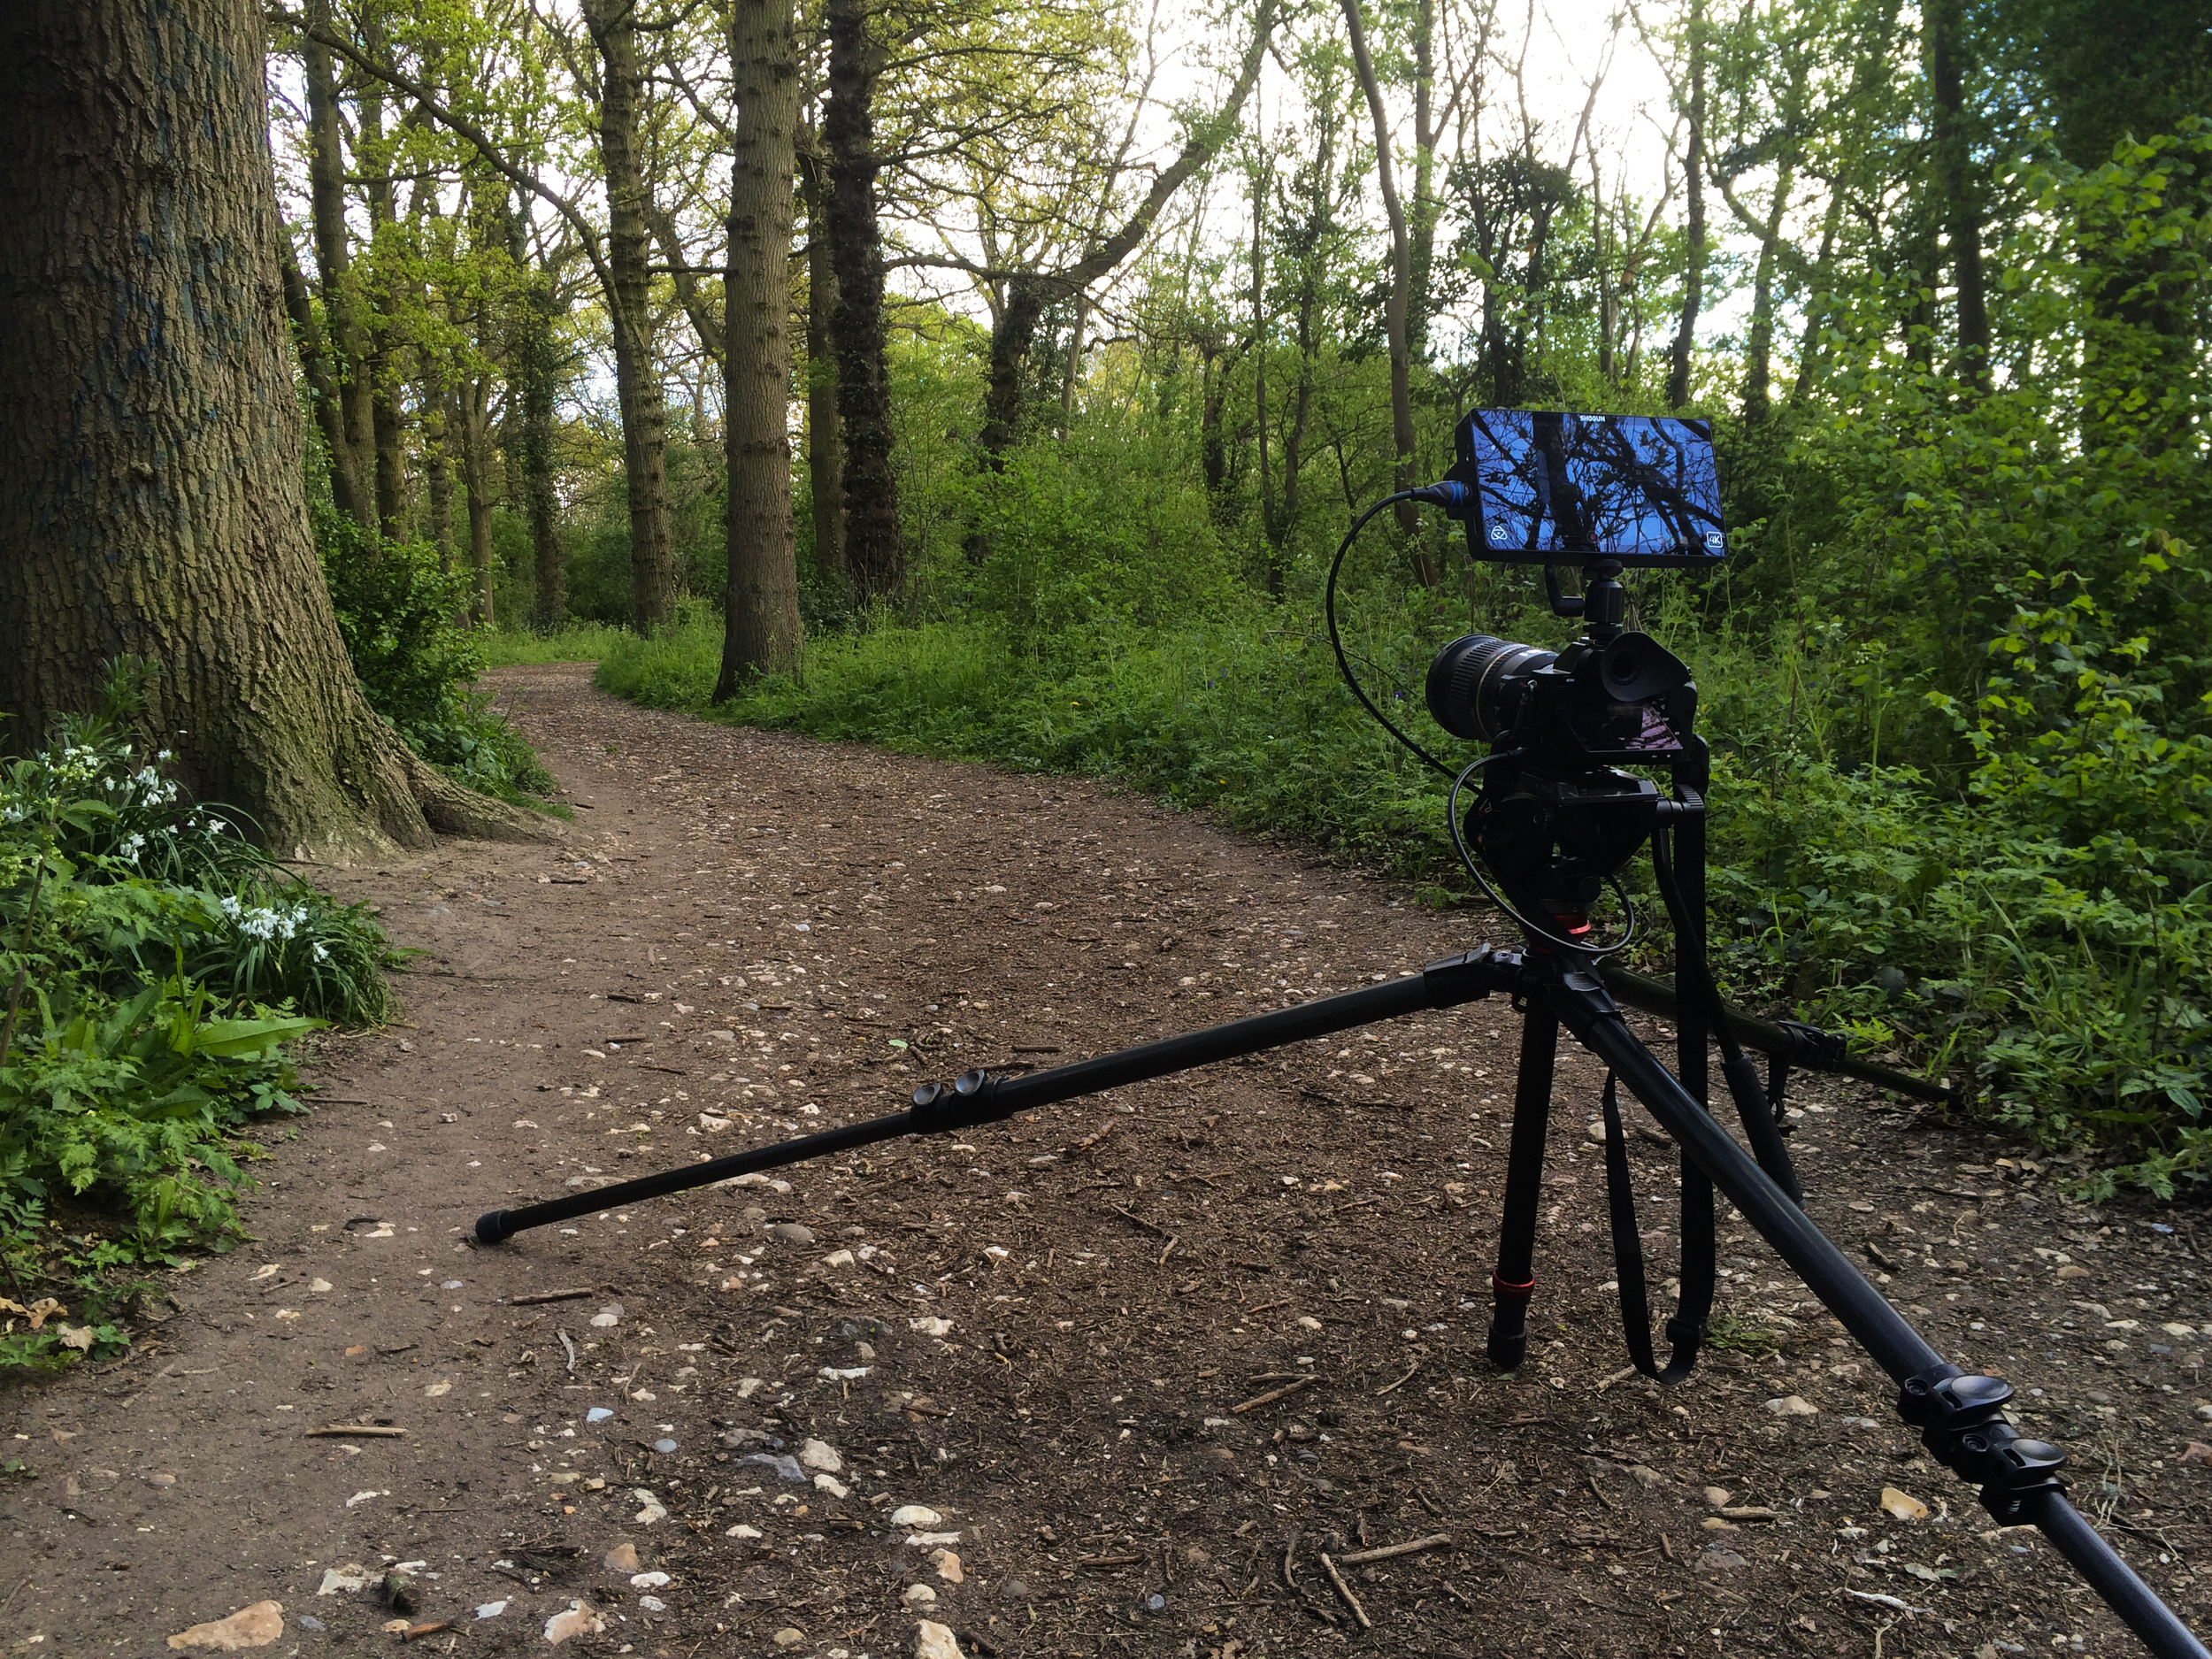
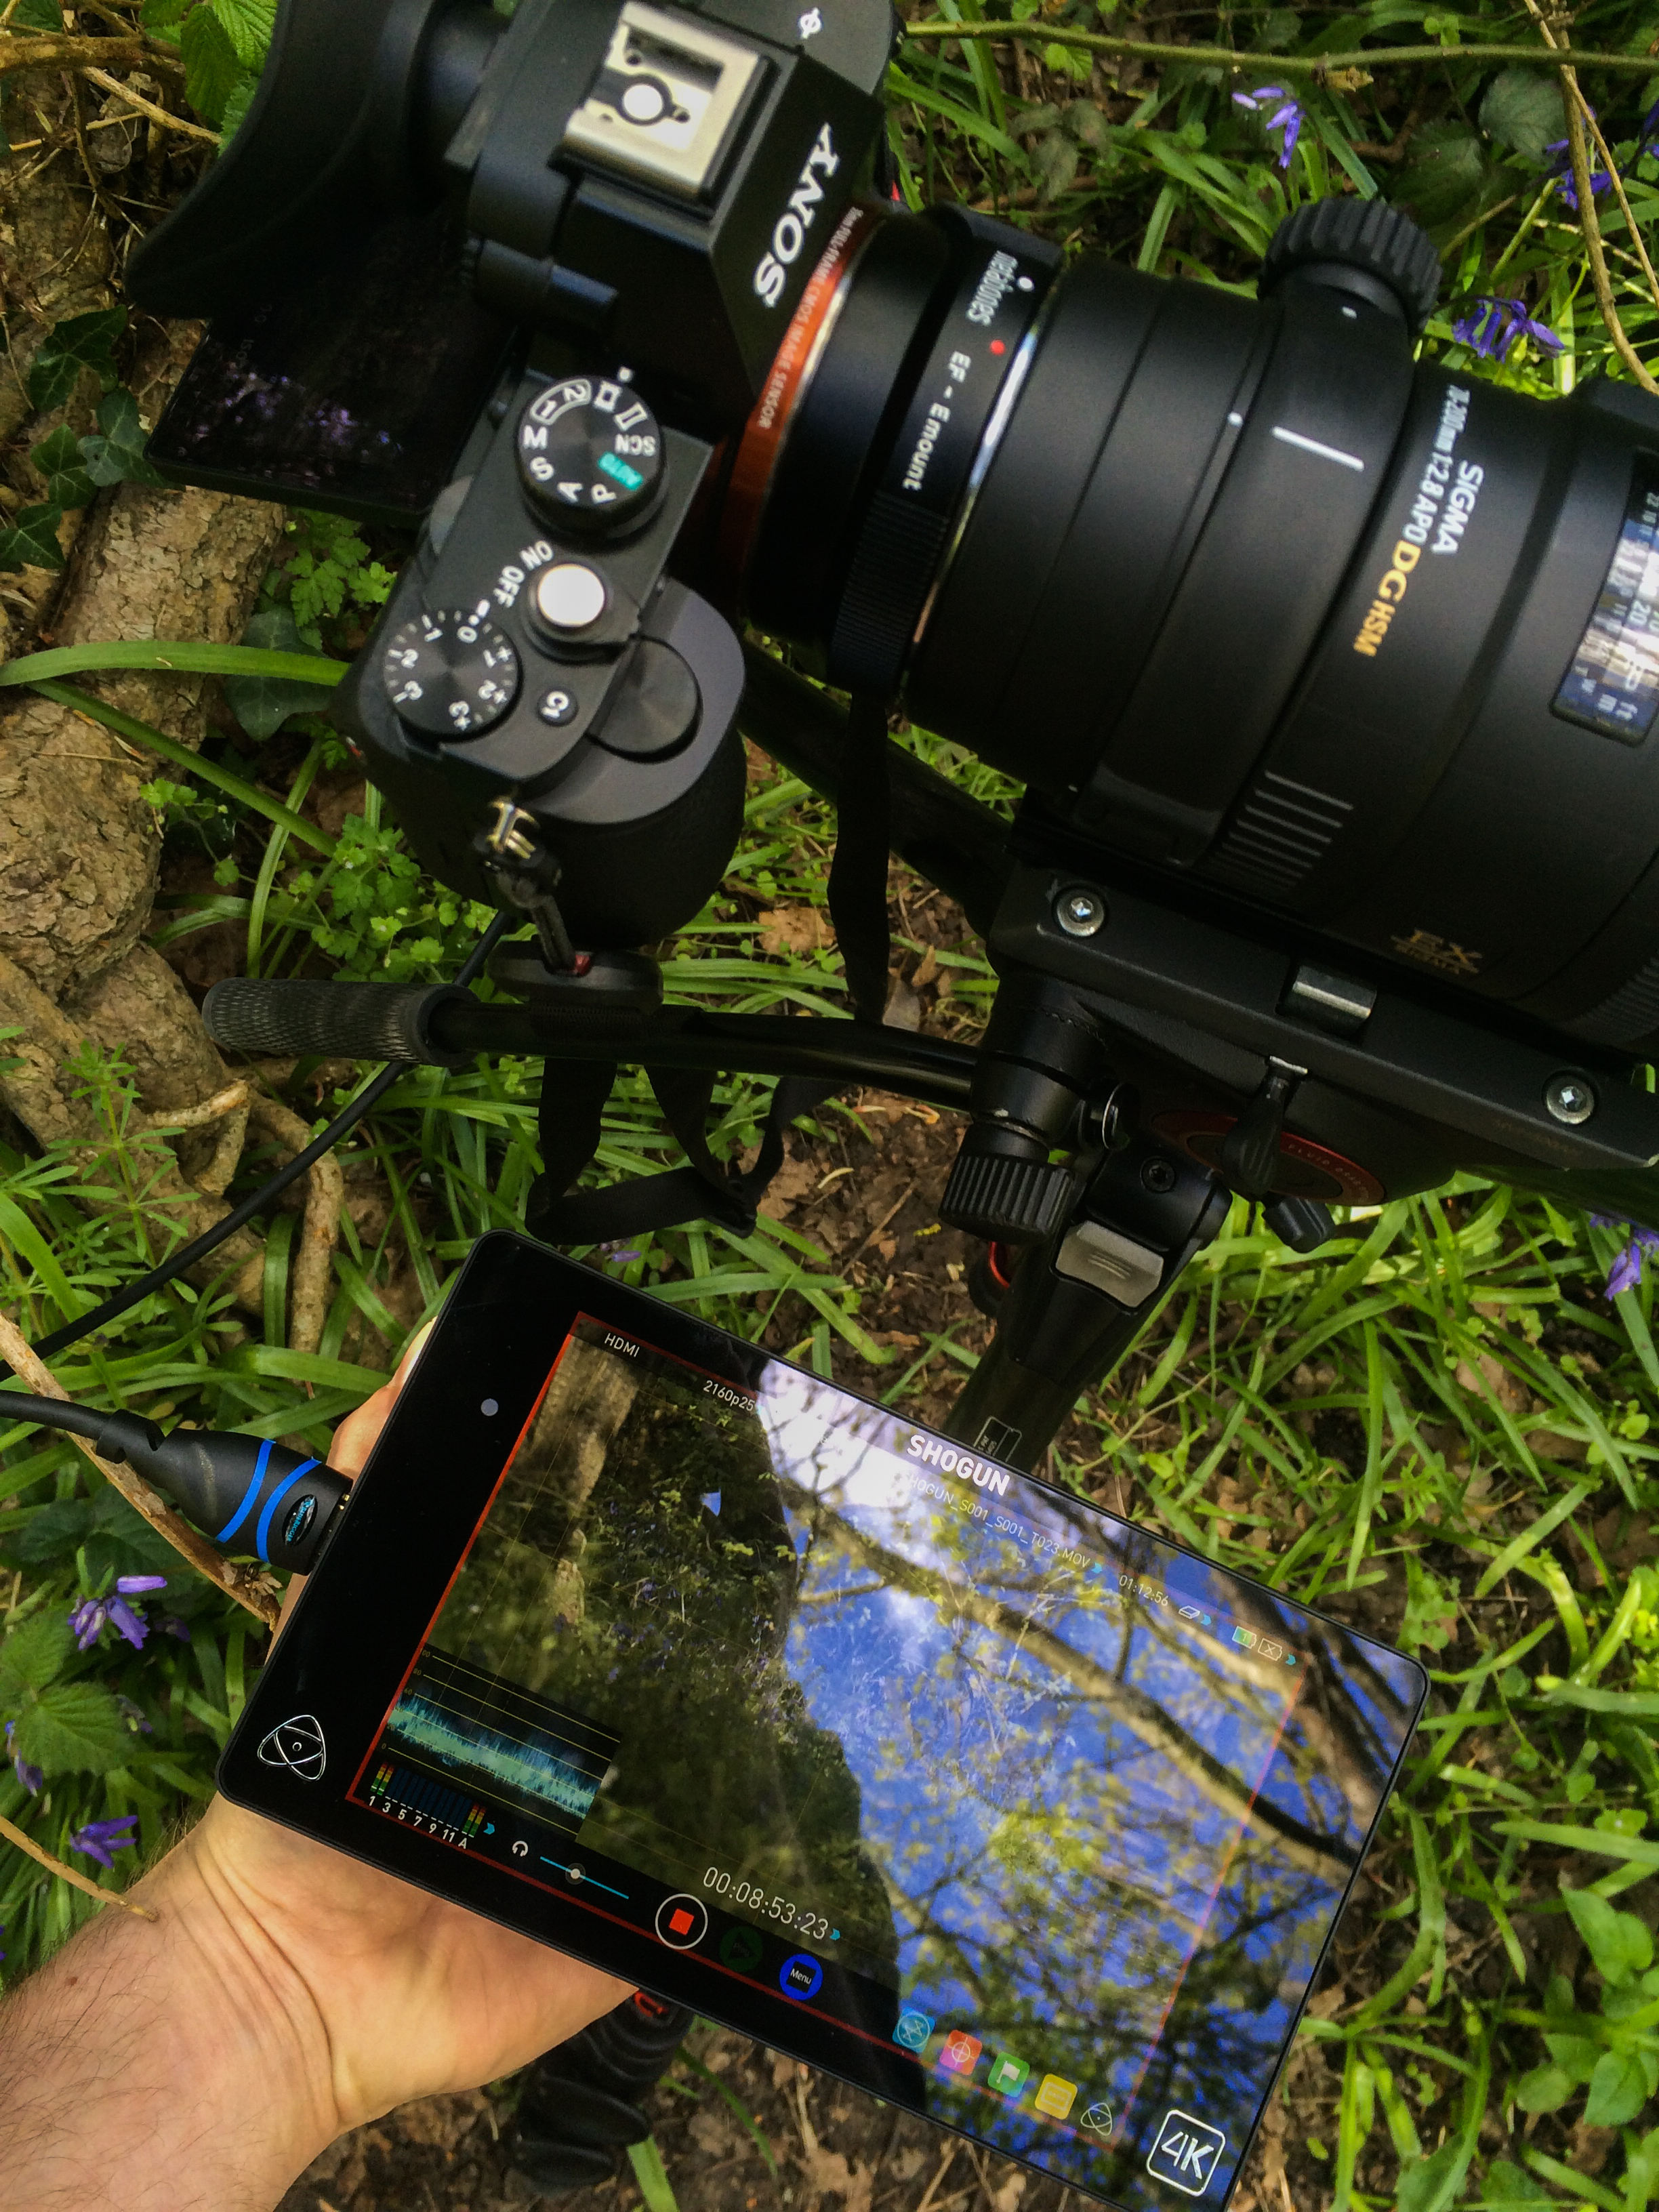
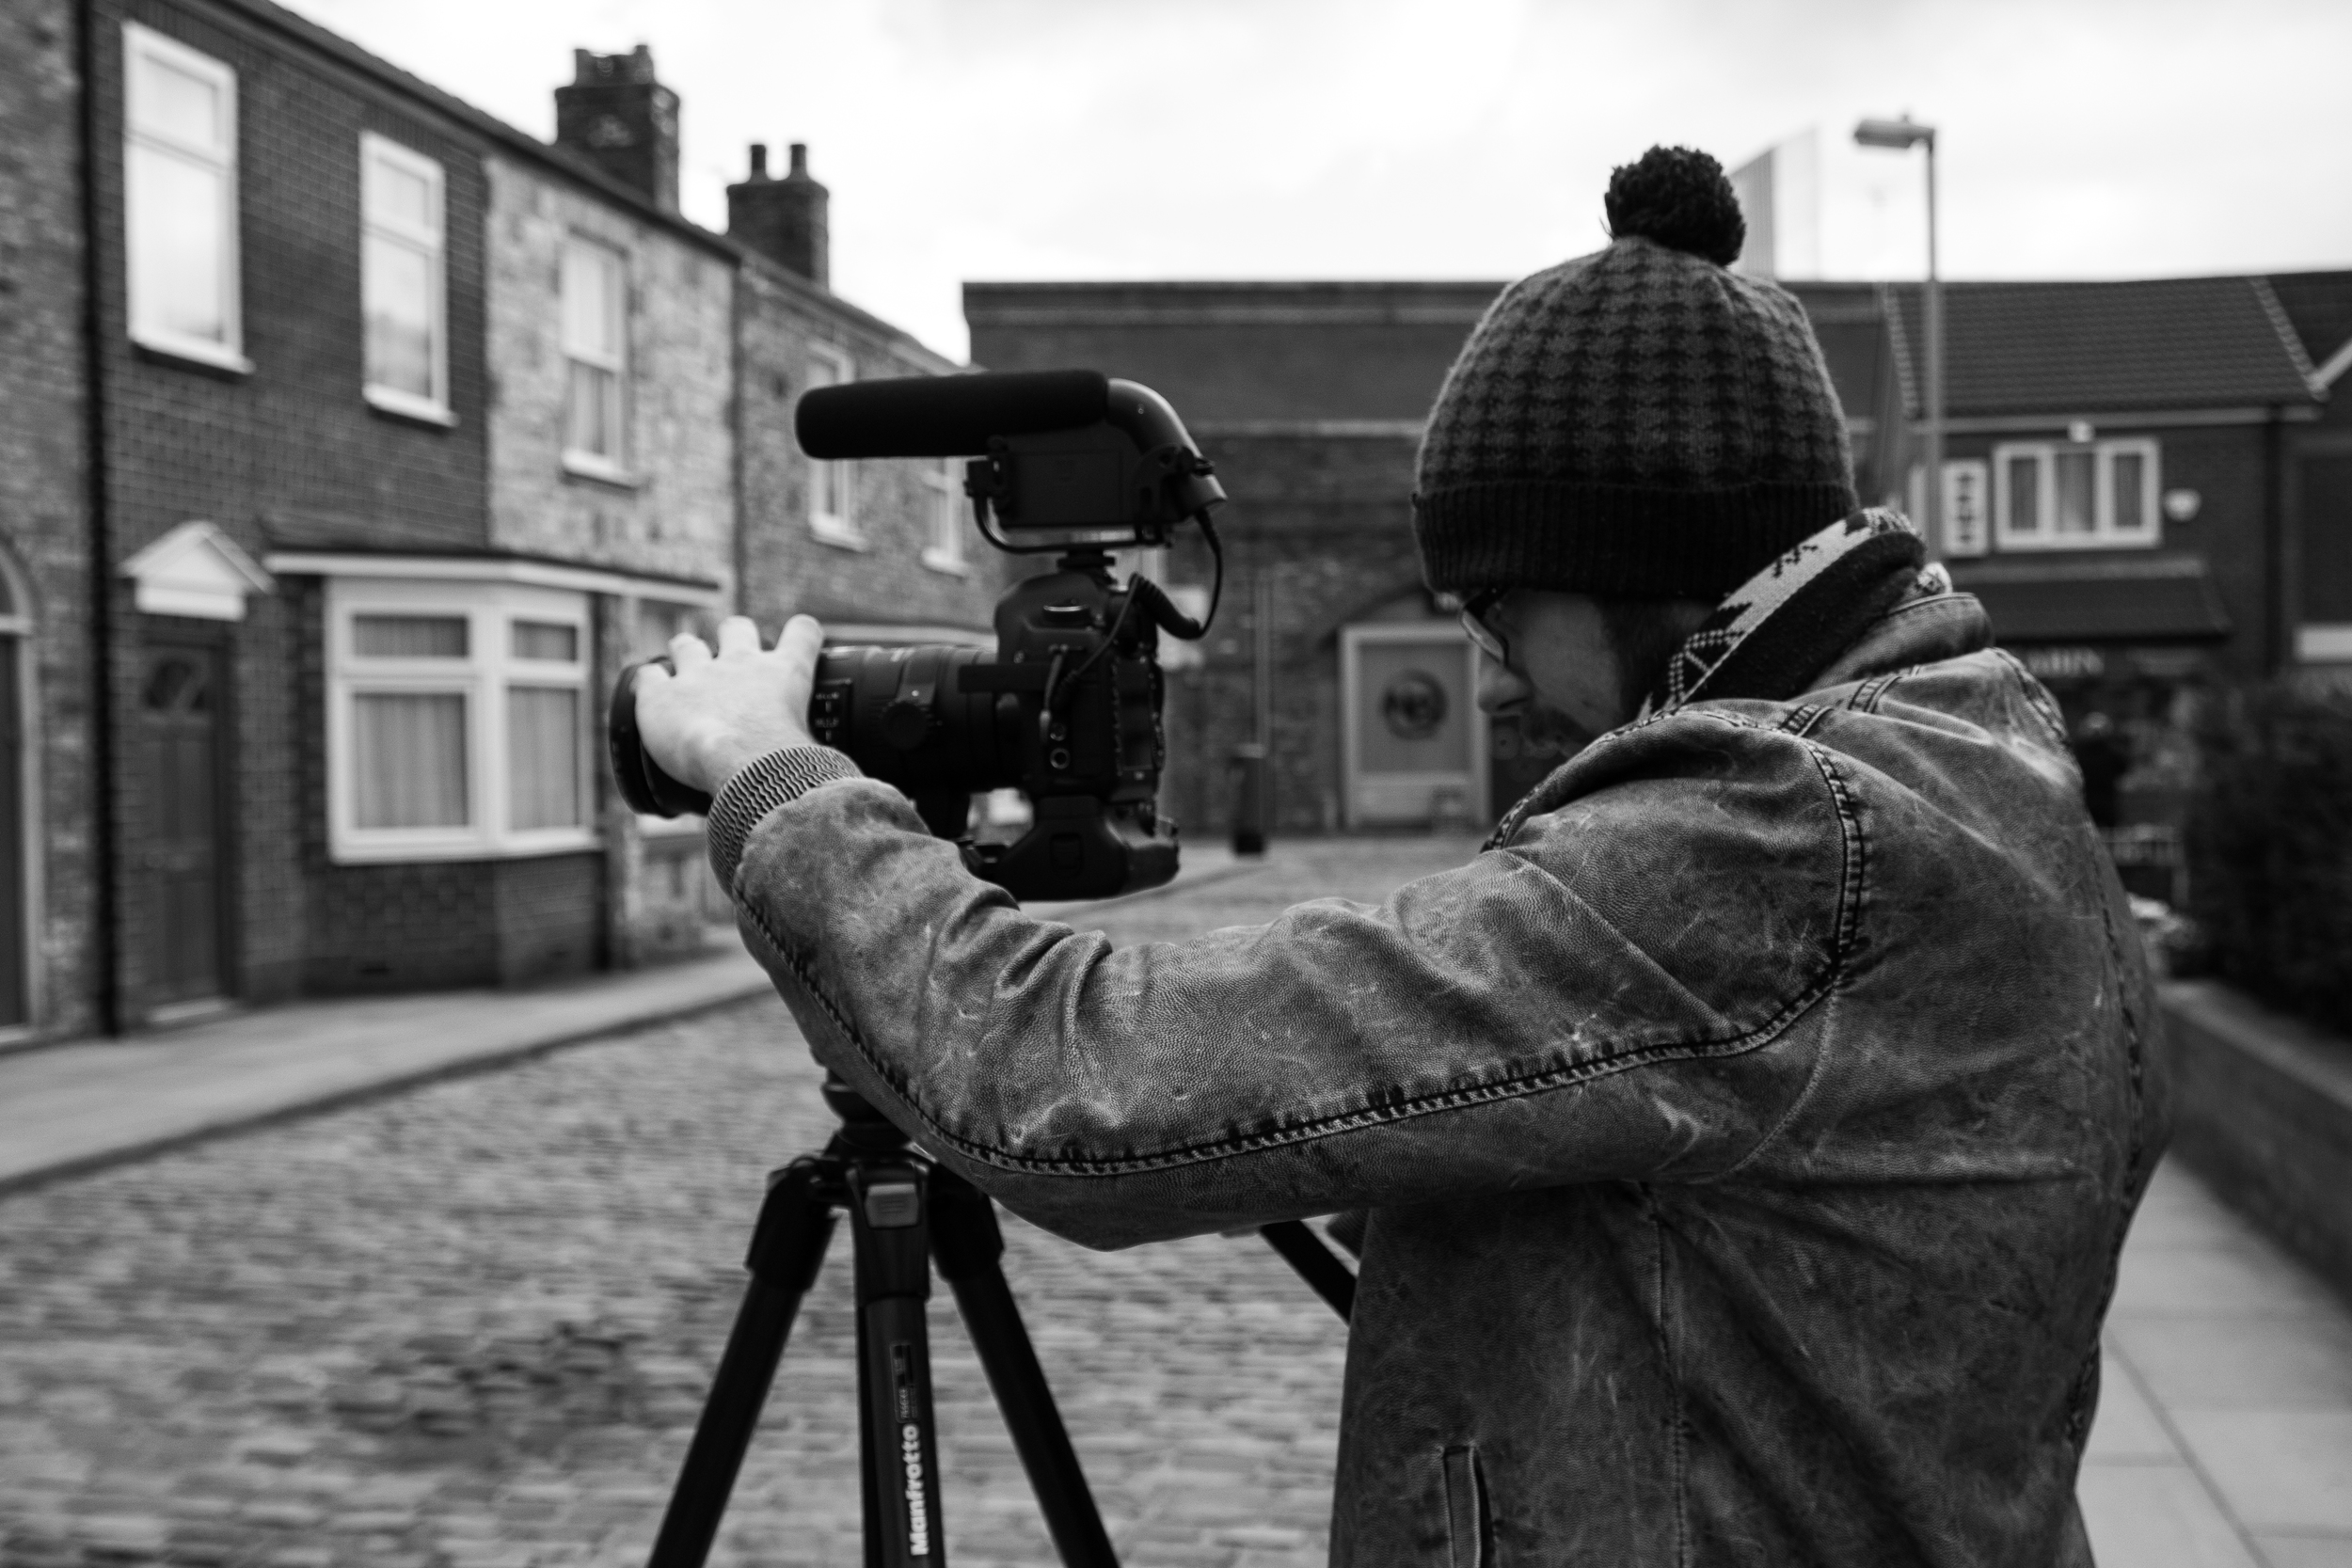
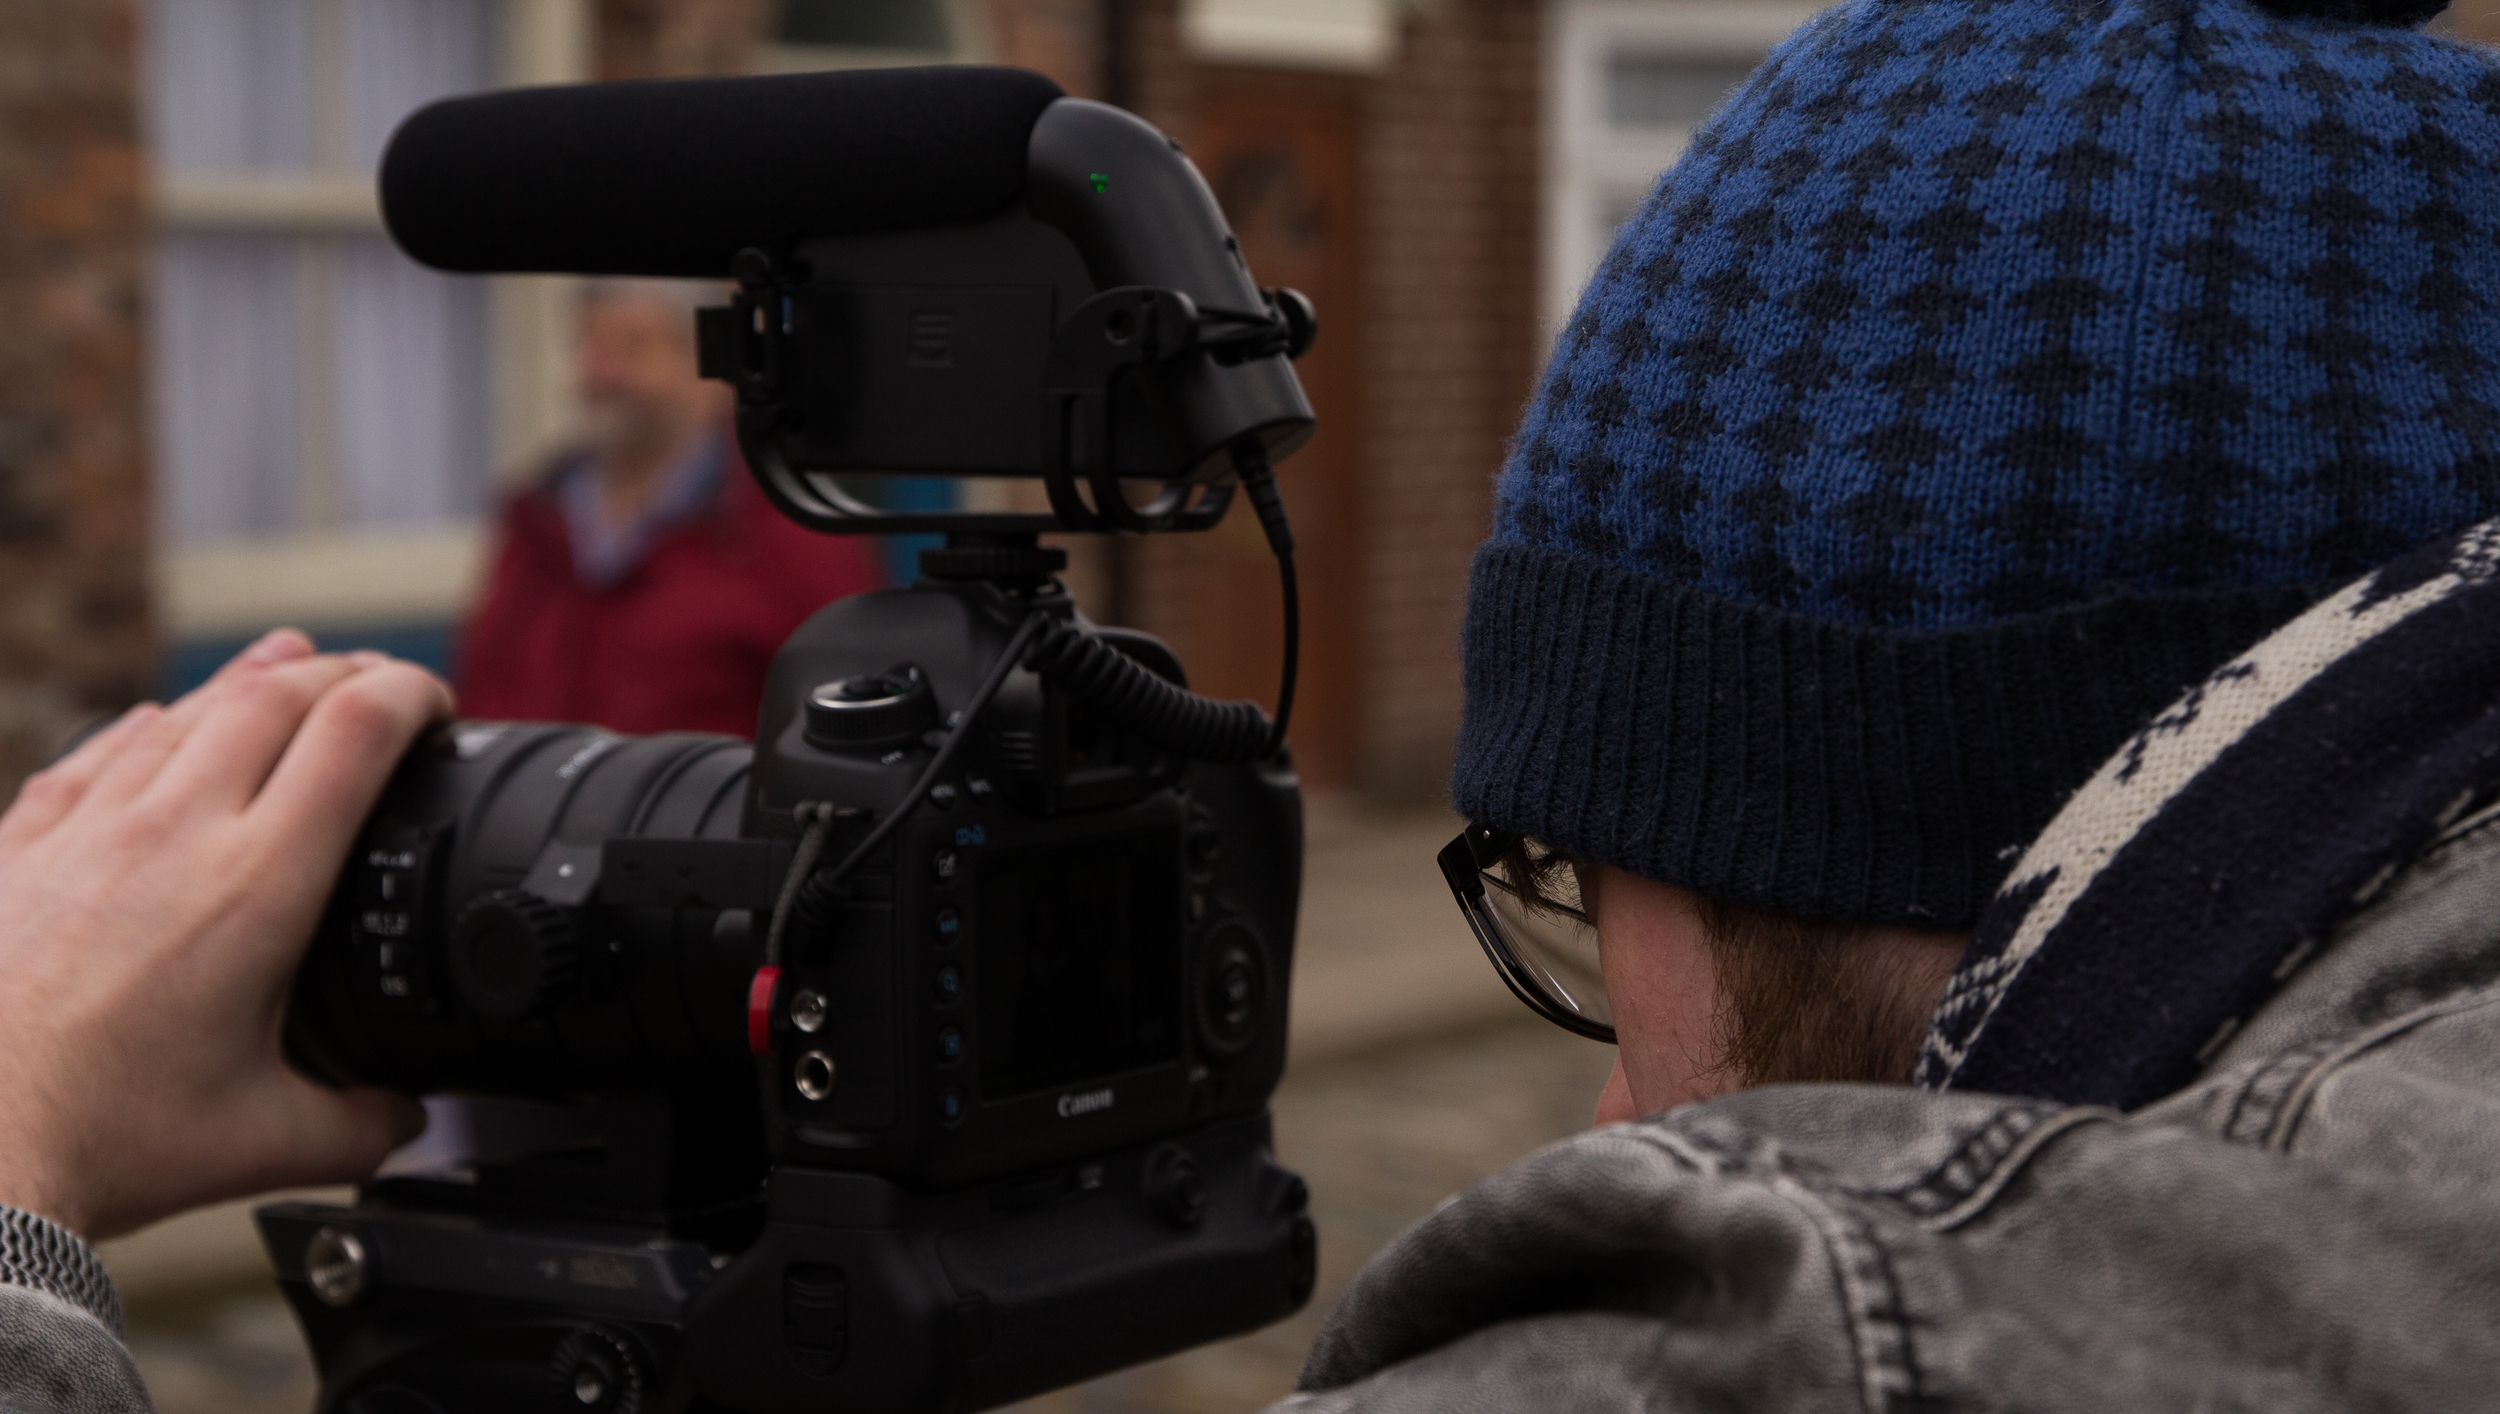
You’ve all probably seen the ‘what’s in my kit bag’ photos and videos, and yes it’s fantastic to have a variety of lenses, camera bodies, microphones and other kit for any job that could come around the corner. However, I’ve found that having a minimalist approach to equipment is necessary for event coverage. For this shoot, I used the Sony a7S, in the Movcam cage.
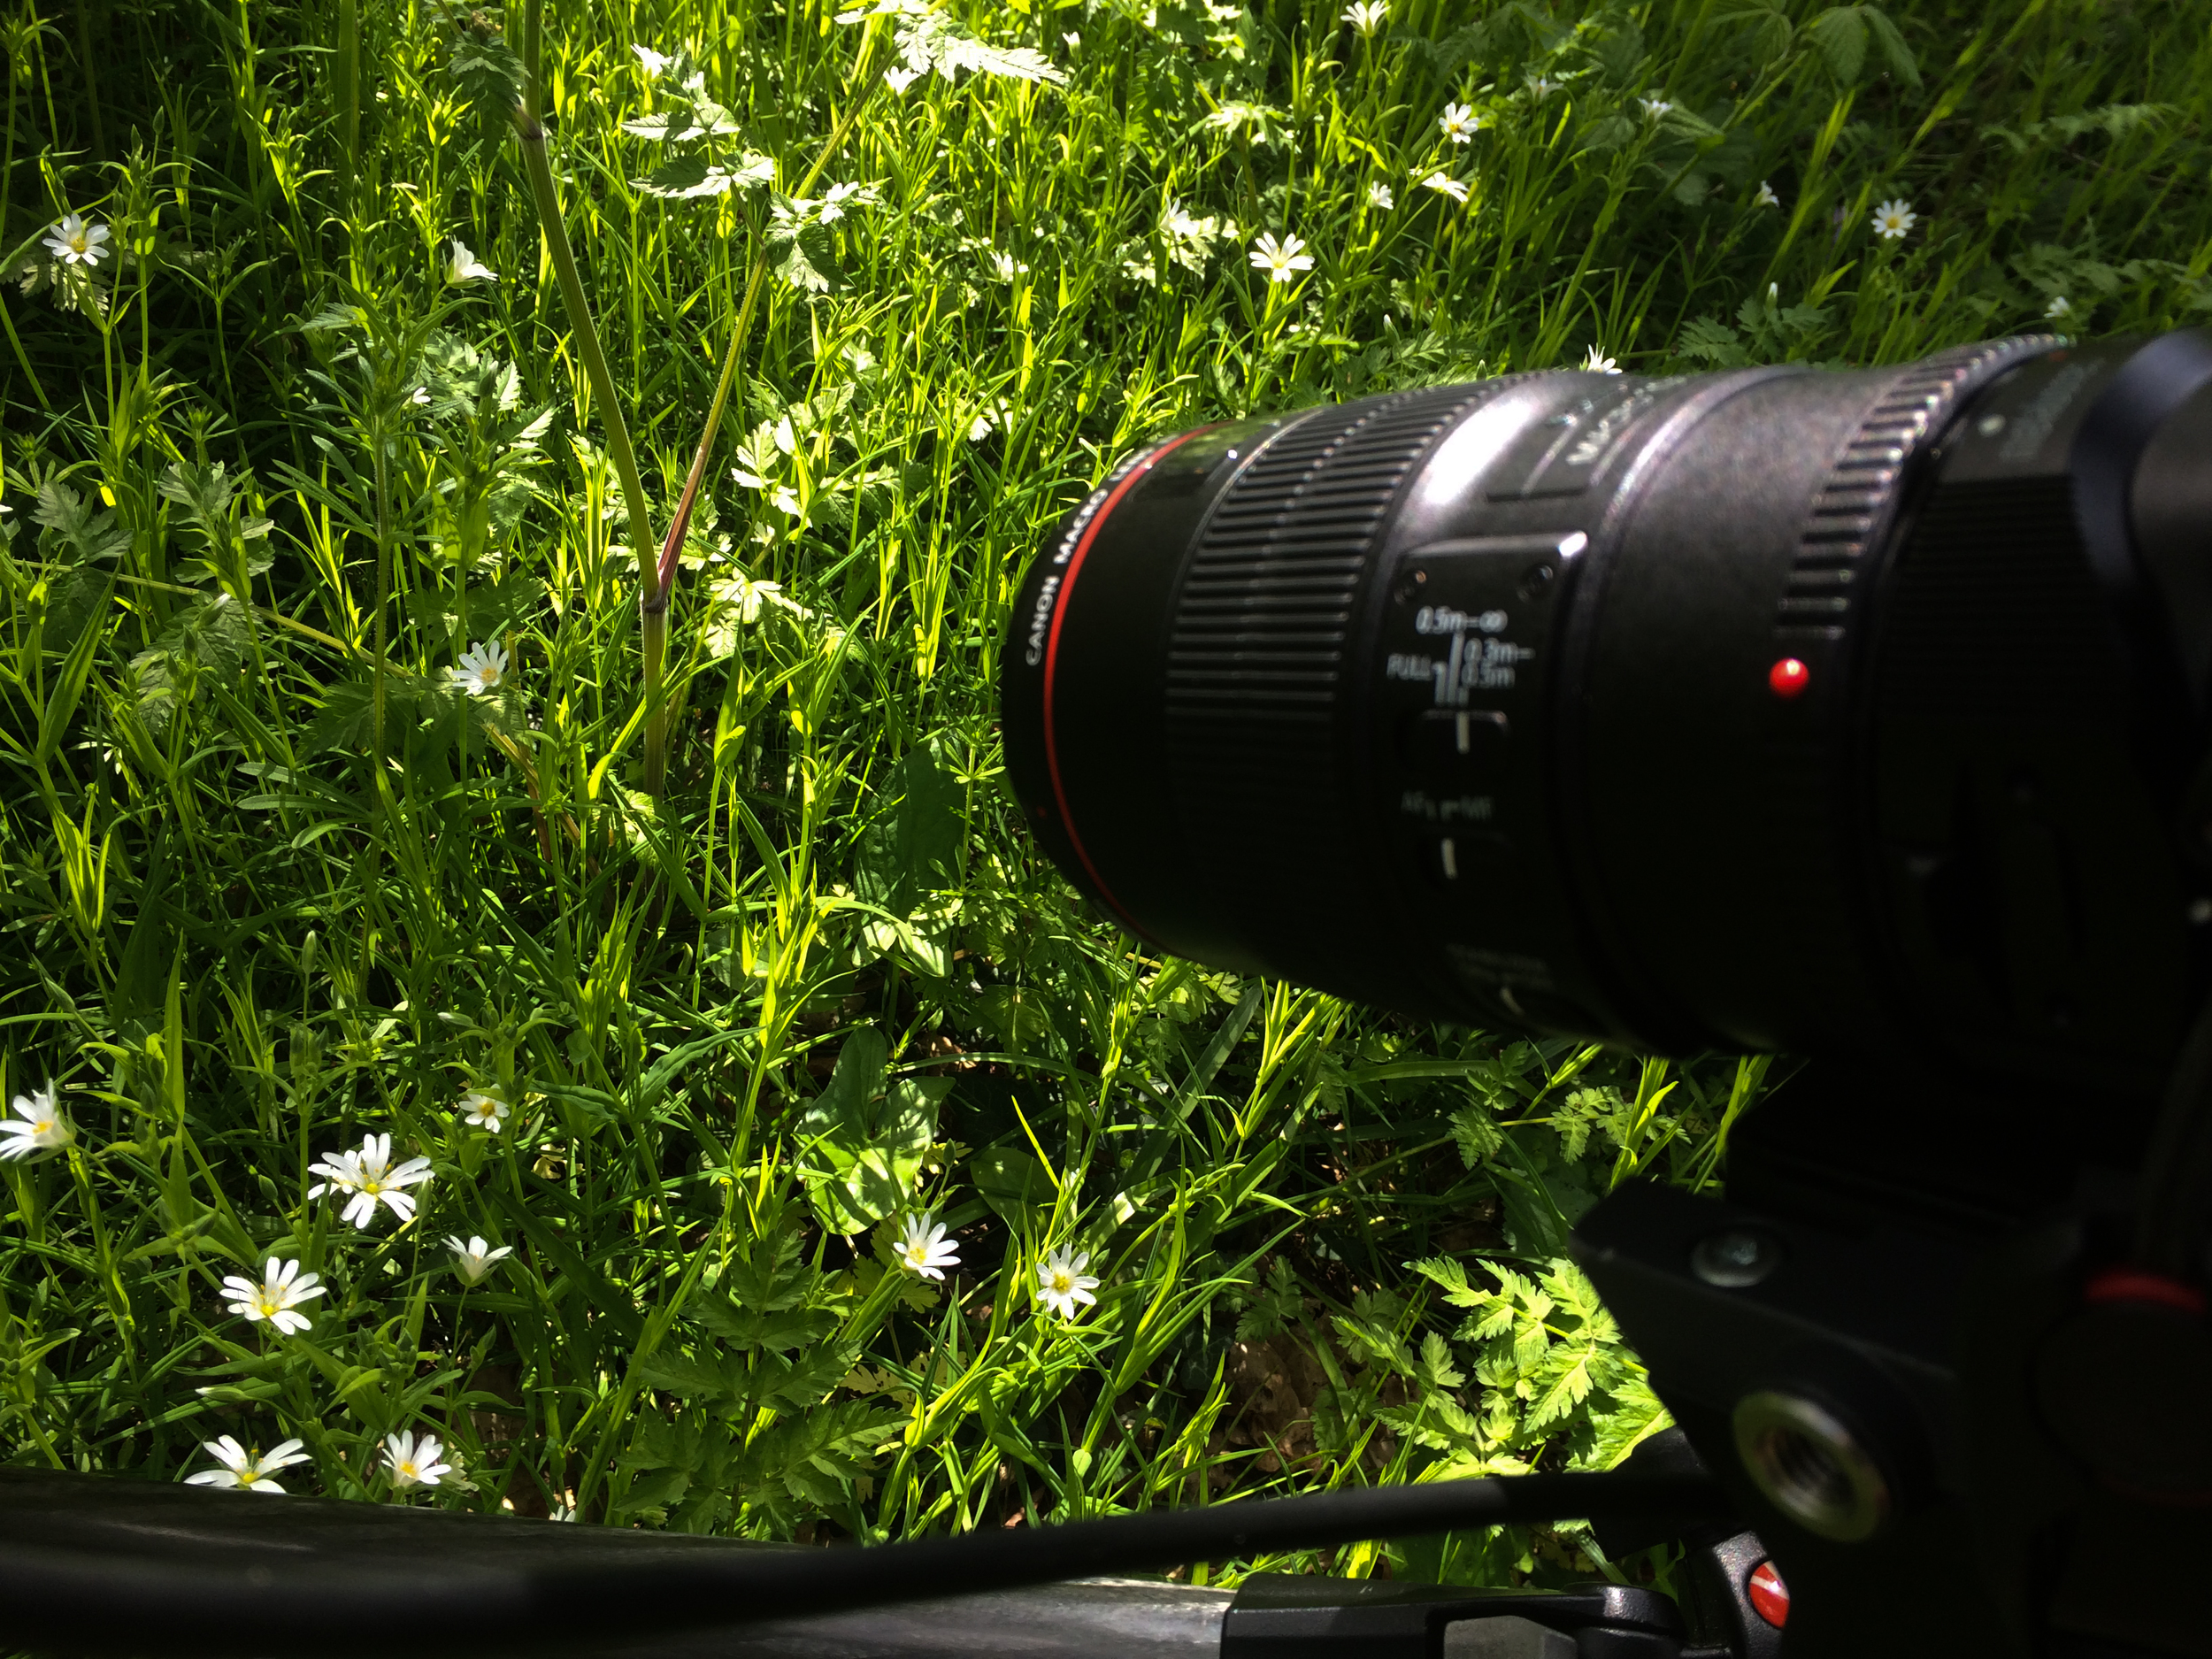
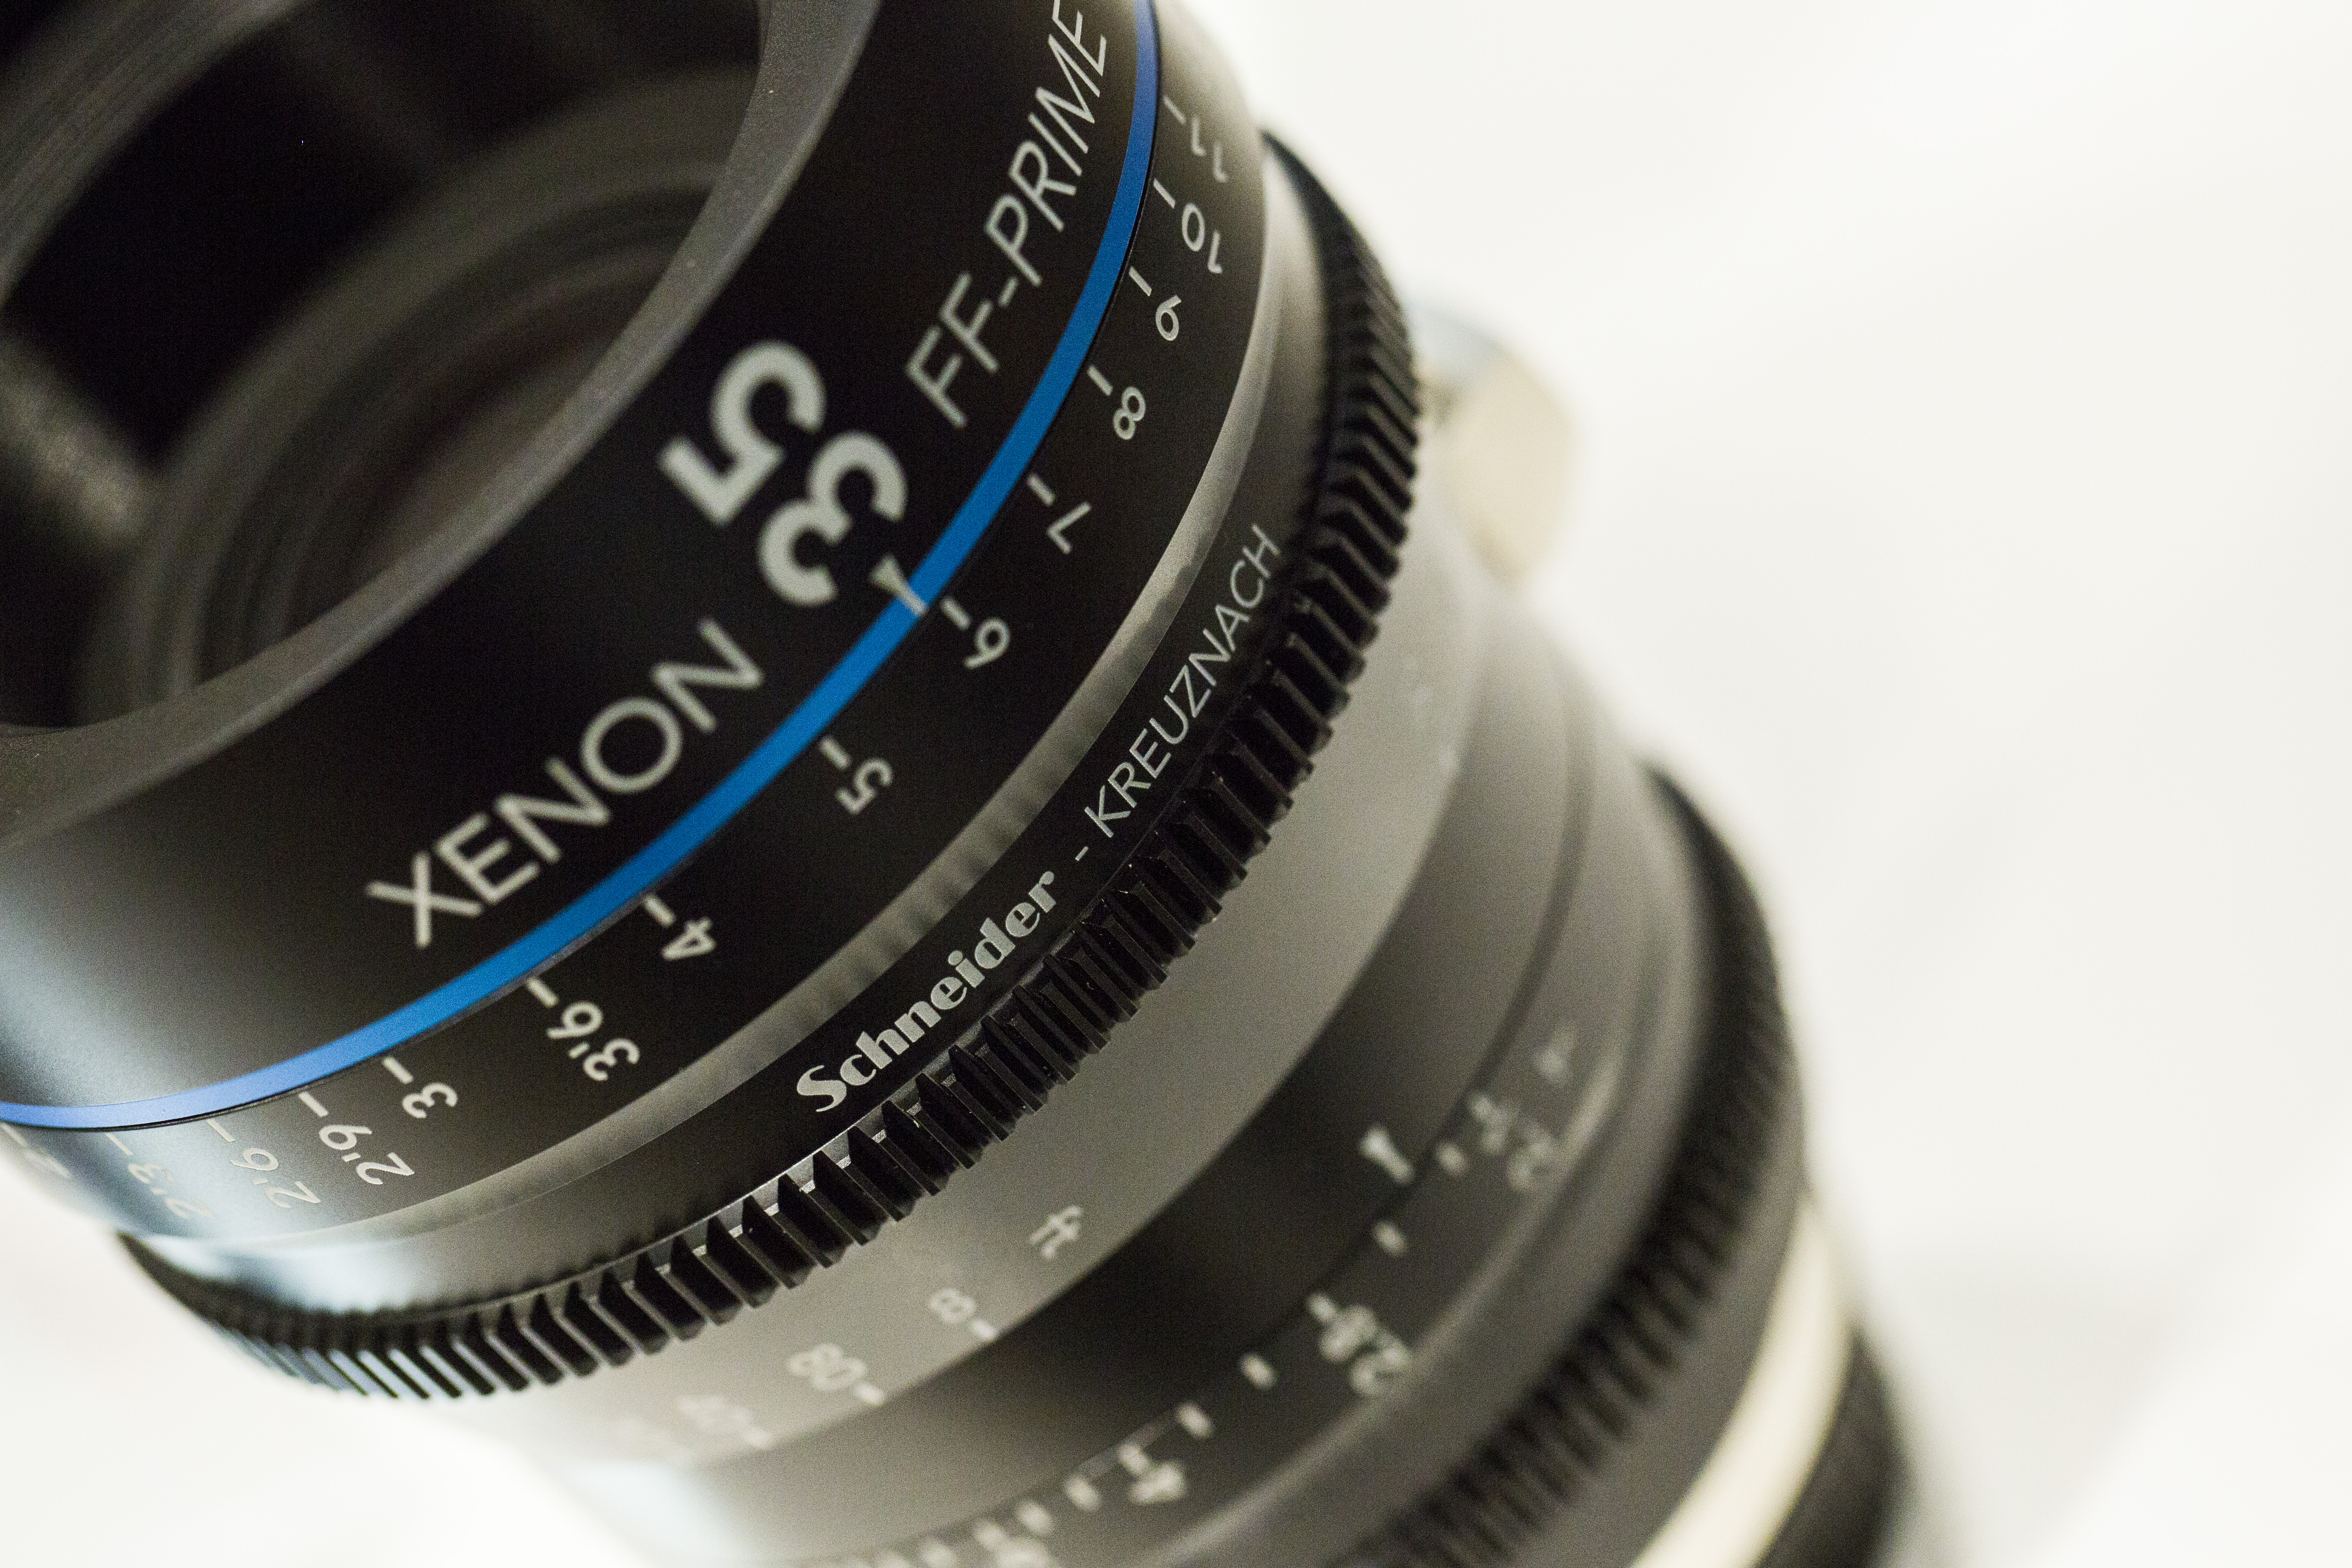
For lenses, a standard zoom lens like a 24-70mm covers wide establishing shots of the location, audience or stage, as well as closer mid shots, possibly of details such as the event branding, or for interviews with attendees. A telephoto lens, or a prime is a great additional lens to have for closer shots of the subjects, or needing a shallow depth of field, or more light in darker scenarios. I also used the Samyang 35mm T/1.5 and 85mm T/1.5.
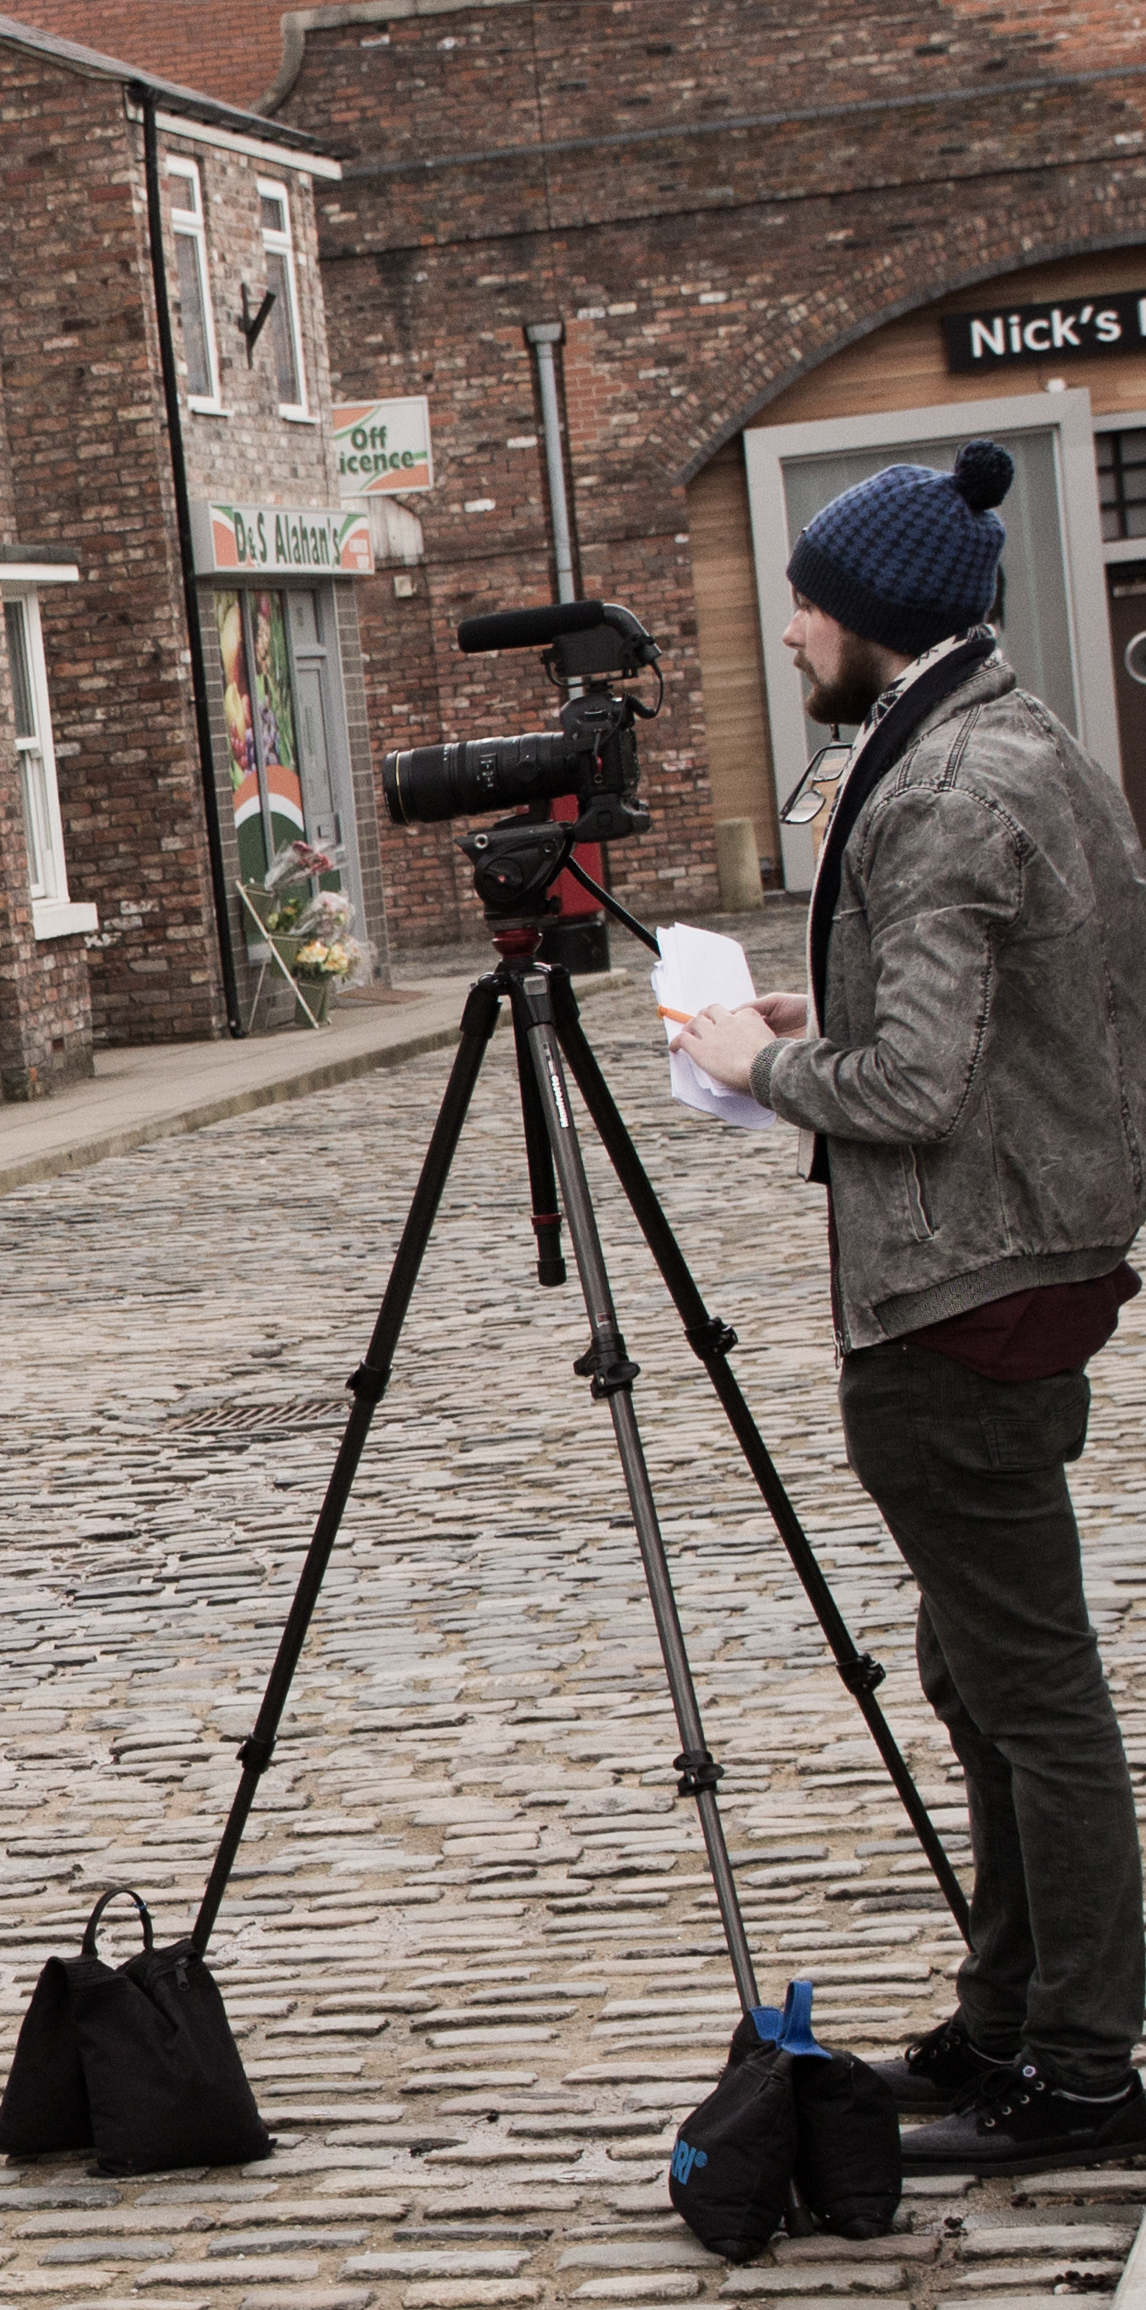
A sturdy tripod with a fluid video head will give you steady shots, with smooth panning and tilting for some additional movement. Even a small tripod like the Manfrotto Befree Live is a fantastic option that can be easily carried around and used at any time. Having a tripod for interviews is also key, to keep the viewers’ attention on the interviewee. The Manfrotto 755 CX 3 accompanied myself on this shoot.
Sound is often at the bottom of the pile, but many options for small and high quality microphones are out there, like the Rode VideoMicro. Whether it’s capturing some dialogue from a presentation, or an interview, what you hear builds up the atmosphere of what you see in the video. I’d also recommend a Sennheiser AVX lavalier (clip on) microphone for interviews too.
An LED light can be a lifesaver if you’re filming in a dark environment, they are small and often have a bi-colour option to adjust the colour temperature. The last thing you would want to do is crank up the cameras ISO, resulting in a noisy image when you could have used a light. The LYKOS LED lights are very portable, but for something smaller the SPECTRA lights are a good choice.
Hand held gimbals and stabilizers are now smaller and more affordable than ever before, and give a unique dynamic to shots with movement. Using a gimbal or a slider is a great choice to up the production value of the videos.
Lastly, a bag to store all that kit! There are plenty of choices or styles to choose from, whether you need quick access, or to store other kit like a drone. My bag of choice is the Pro Light 35, as its small enough to fit all of my video kit in, and very comfortable.

The Manfrotto Pro Light 35 backpack stored all the necessary equipment for the event filming and editing.
Plan, Plan, Plan
Get to know the ins and outs of the event, what is happening throughout the day, any key moments you need to capture, and plan time for editing if you have a same day delivery for the video. At a recent event, I would shoot some video material and interviews for an hour, then import the footage ready to be edited.
Get any details from the event organizers about timings, as well as the names of any interviewees which might be needed for lower 3rd graphics later on.
Know Your Workflow
When you’re filming, a rule of thumb I use is to capture plenty of b-roll, or additional shots that can be used to add to the ‘story’ you’re going to tell through the video. Whether its shots of the audience, location, or little details like logos and branding, they can all save you in the edit when you need a cut point, or to add variety, rather than a fixed camera shot of the stage.
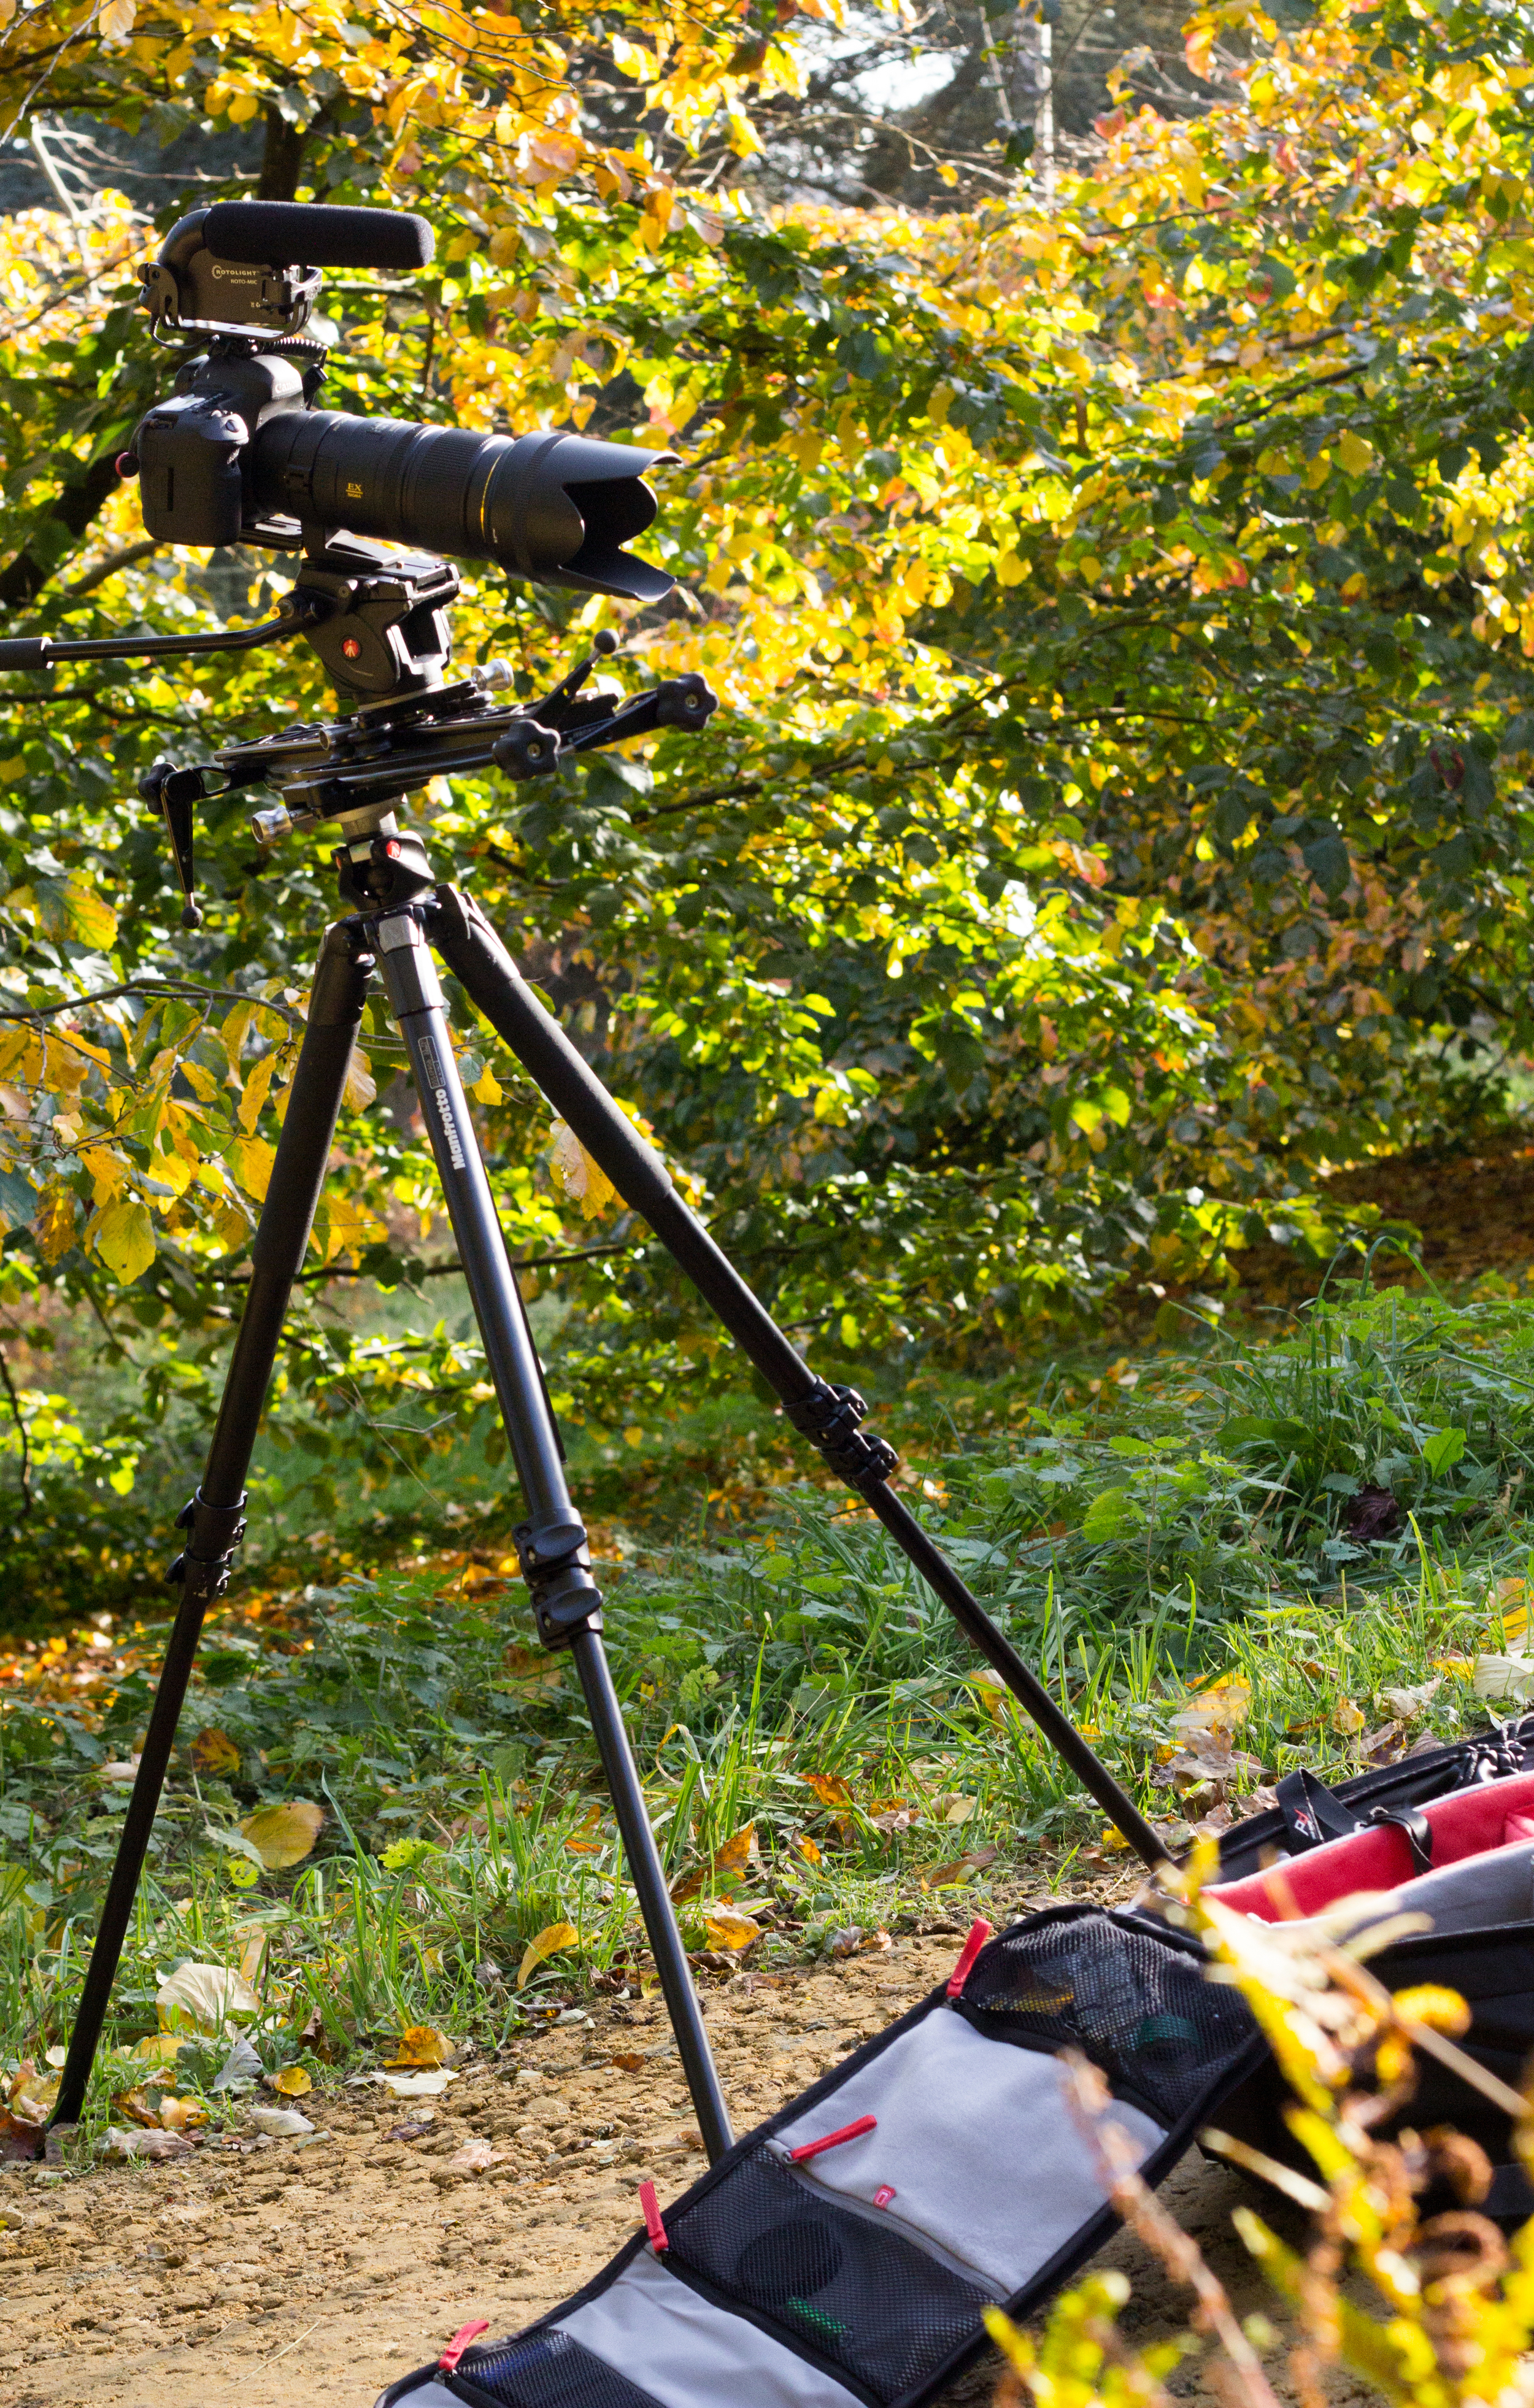
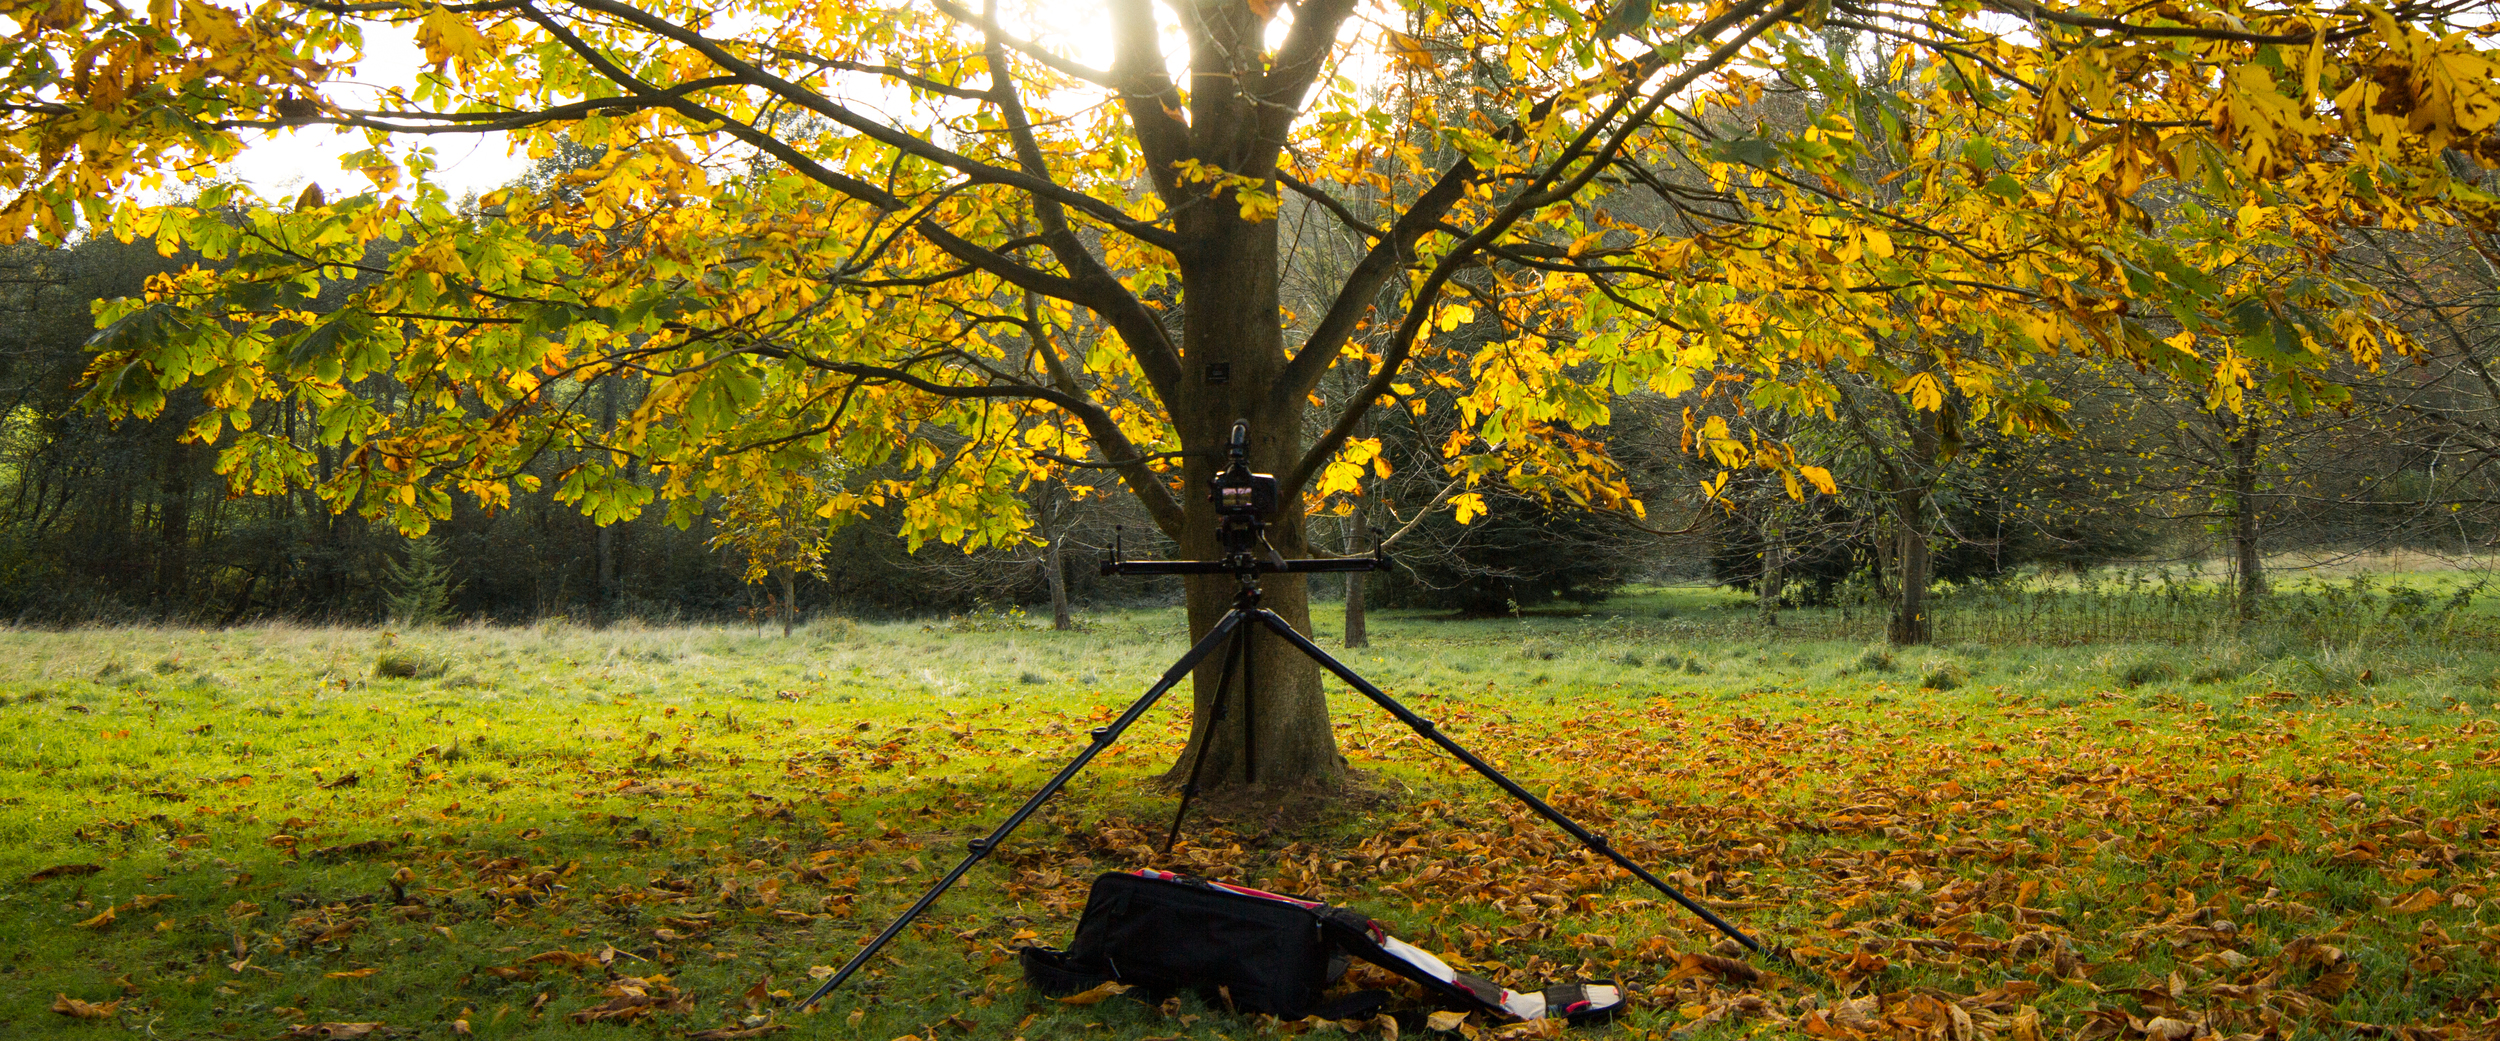
Filming lots of alternative angles using wide and telephoto lenses.
Create a file structure for when you import all your footage; it keeps everything organized when it comes to editing and backing up the project. It might be files for interviews, conference parts, establishing shots, for example.

When you’re editing, using sequence templates will also speed up the editing process too. You could create a sequence with a title graphic at the beginning, a lower 3rd graphic for an interview piece, and the end credit graphic at the end. All you would need to do then is drop in your footage, cut it together and then export it.
This process is particularly handy for same day editing, when time is limited to complete edits.
Over Deliver on Expectations
I shot plenty of location b-roll at the St Regis Bal Harbour Hotel, North Beach, Miami. Taken on the Sony a7S and Samyang 35mm T/1.5
Lastly and most importantly, creating a good video that the client likes is great; you’ve completed your brief. However to really wow your client, give a little extra to the videos you make, whether it’s a timelapse, working a little later than intended or delivering more videos. That little bit extra could make the client choose you for the next event they put on.
Sunrise on North Beach, taken on the Sony a7S and Tamron 24-70 F/2.8


![ef_70-200mmf4_lusm[1]](http://ajp1991.files.wordpress.com/2014/03/ef_70-200mmf4_lusm1.jpg)
![ef-70-200mm-f-4l-is-usm-fsl---1258b005aa[1]](http://ajp1991.files.wordpress.com/2014/03/ef-70-200mm-f-4l-is-usm-fsl-1258b005aa1.jpg)