5d

Seasons Are Changing

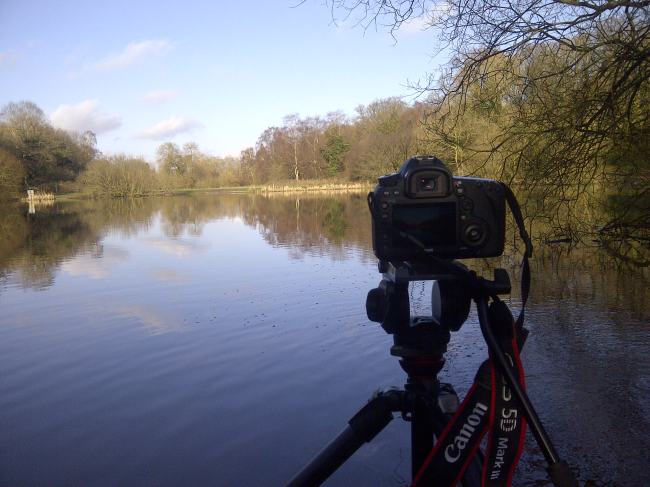
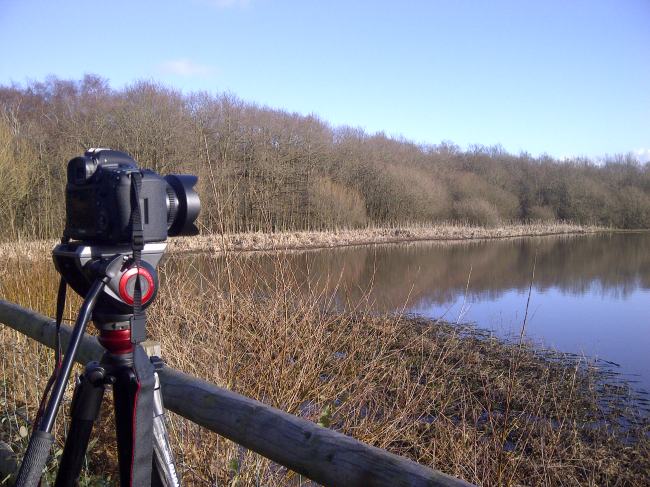
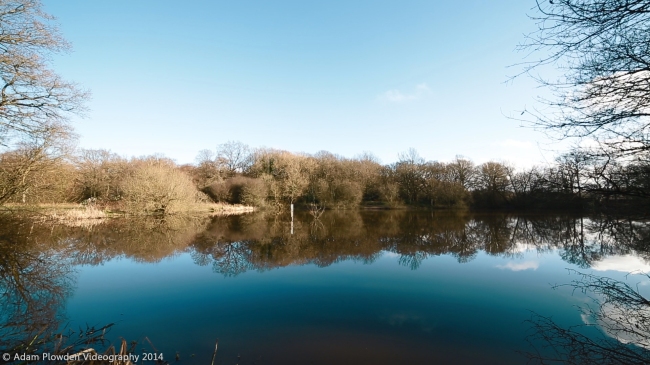
Here it is! A collaboration between Tristan Noon (composer) and myself, expressing the transition into Autumn. Filmed at NT Winkworth Arboretum and the North Downs Way (Ranmore Common), and composed with the talent of both Tristan and a clarinetist, we wished to coney the continual and dramatic cycle of the seasons through both the visuals and sound.

I approached Tristan to work collaboratively on this project, and he was happy to work with me, and what an experience it has been! I can extremely commend Tristan on his musical talent in both playing immersing melodies on piano and composing scores. Please check out his portfolio of work here :www.soundcould.com/tristannoon

New Rokinon/Samyang 12mm lens!

Rokinon/Samyang have been pioneering high quality photography and VDSLR lenses for a number of years now, and with the introduction of their Cine lens range they are a must have for intermediate kit choice for a number of reasons:

  • Incredible build quality results in top images; compared with Canon L series, this glass holds up nicely.
  • Price; cheap enough to get a whole kit for the price of one L series lens.
  • Manual control; much better for video, allowing subtle aperture changes and precise control.
  • Small size; I've got 3 and they all come out with me. They aren't large lenses to carry or use on camera.
New Rokinon 12mm cine lens

Rokinon announce another cine lens to their line up; the 12mm F/2.8 (digital photo) or T/3.1 in the VDSLR model. An ultra-wide fisheye, perfect for large landscapes, extreme perspectives, fast sports and music vids.

Personally, if I was to purchase this new lens I would go for the 12mm F/2.8 digital photo model for use on crop sensor cameras for an effective ~18mm focal length.

What are your thoughts?

Filming on the North Downs Way

Surrey North Downs Way, Adam Plowden Videography

Surrey North Downs Way, Adam Plowden Videography

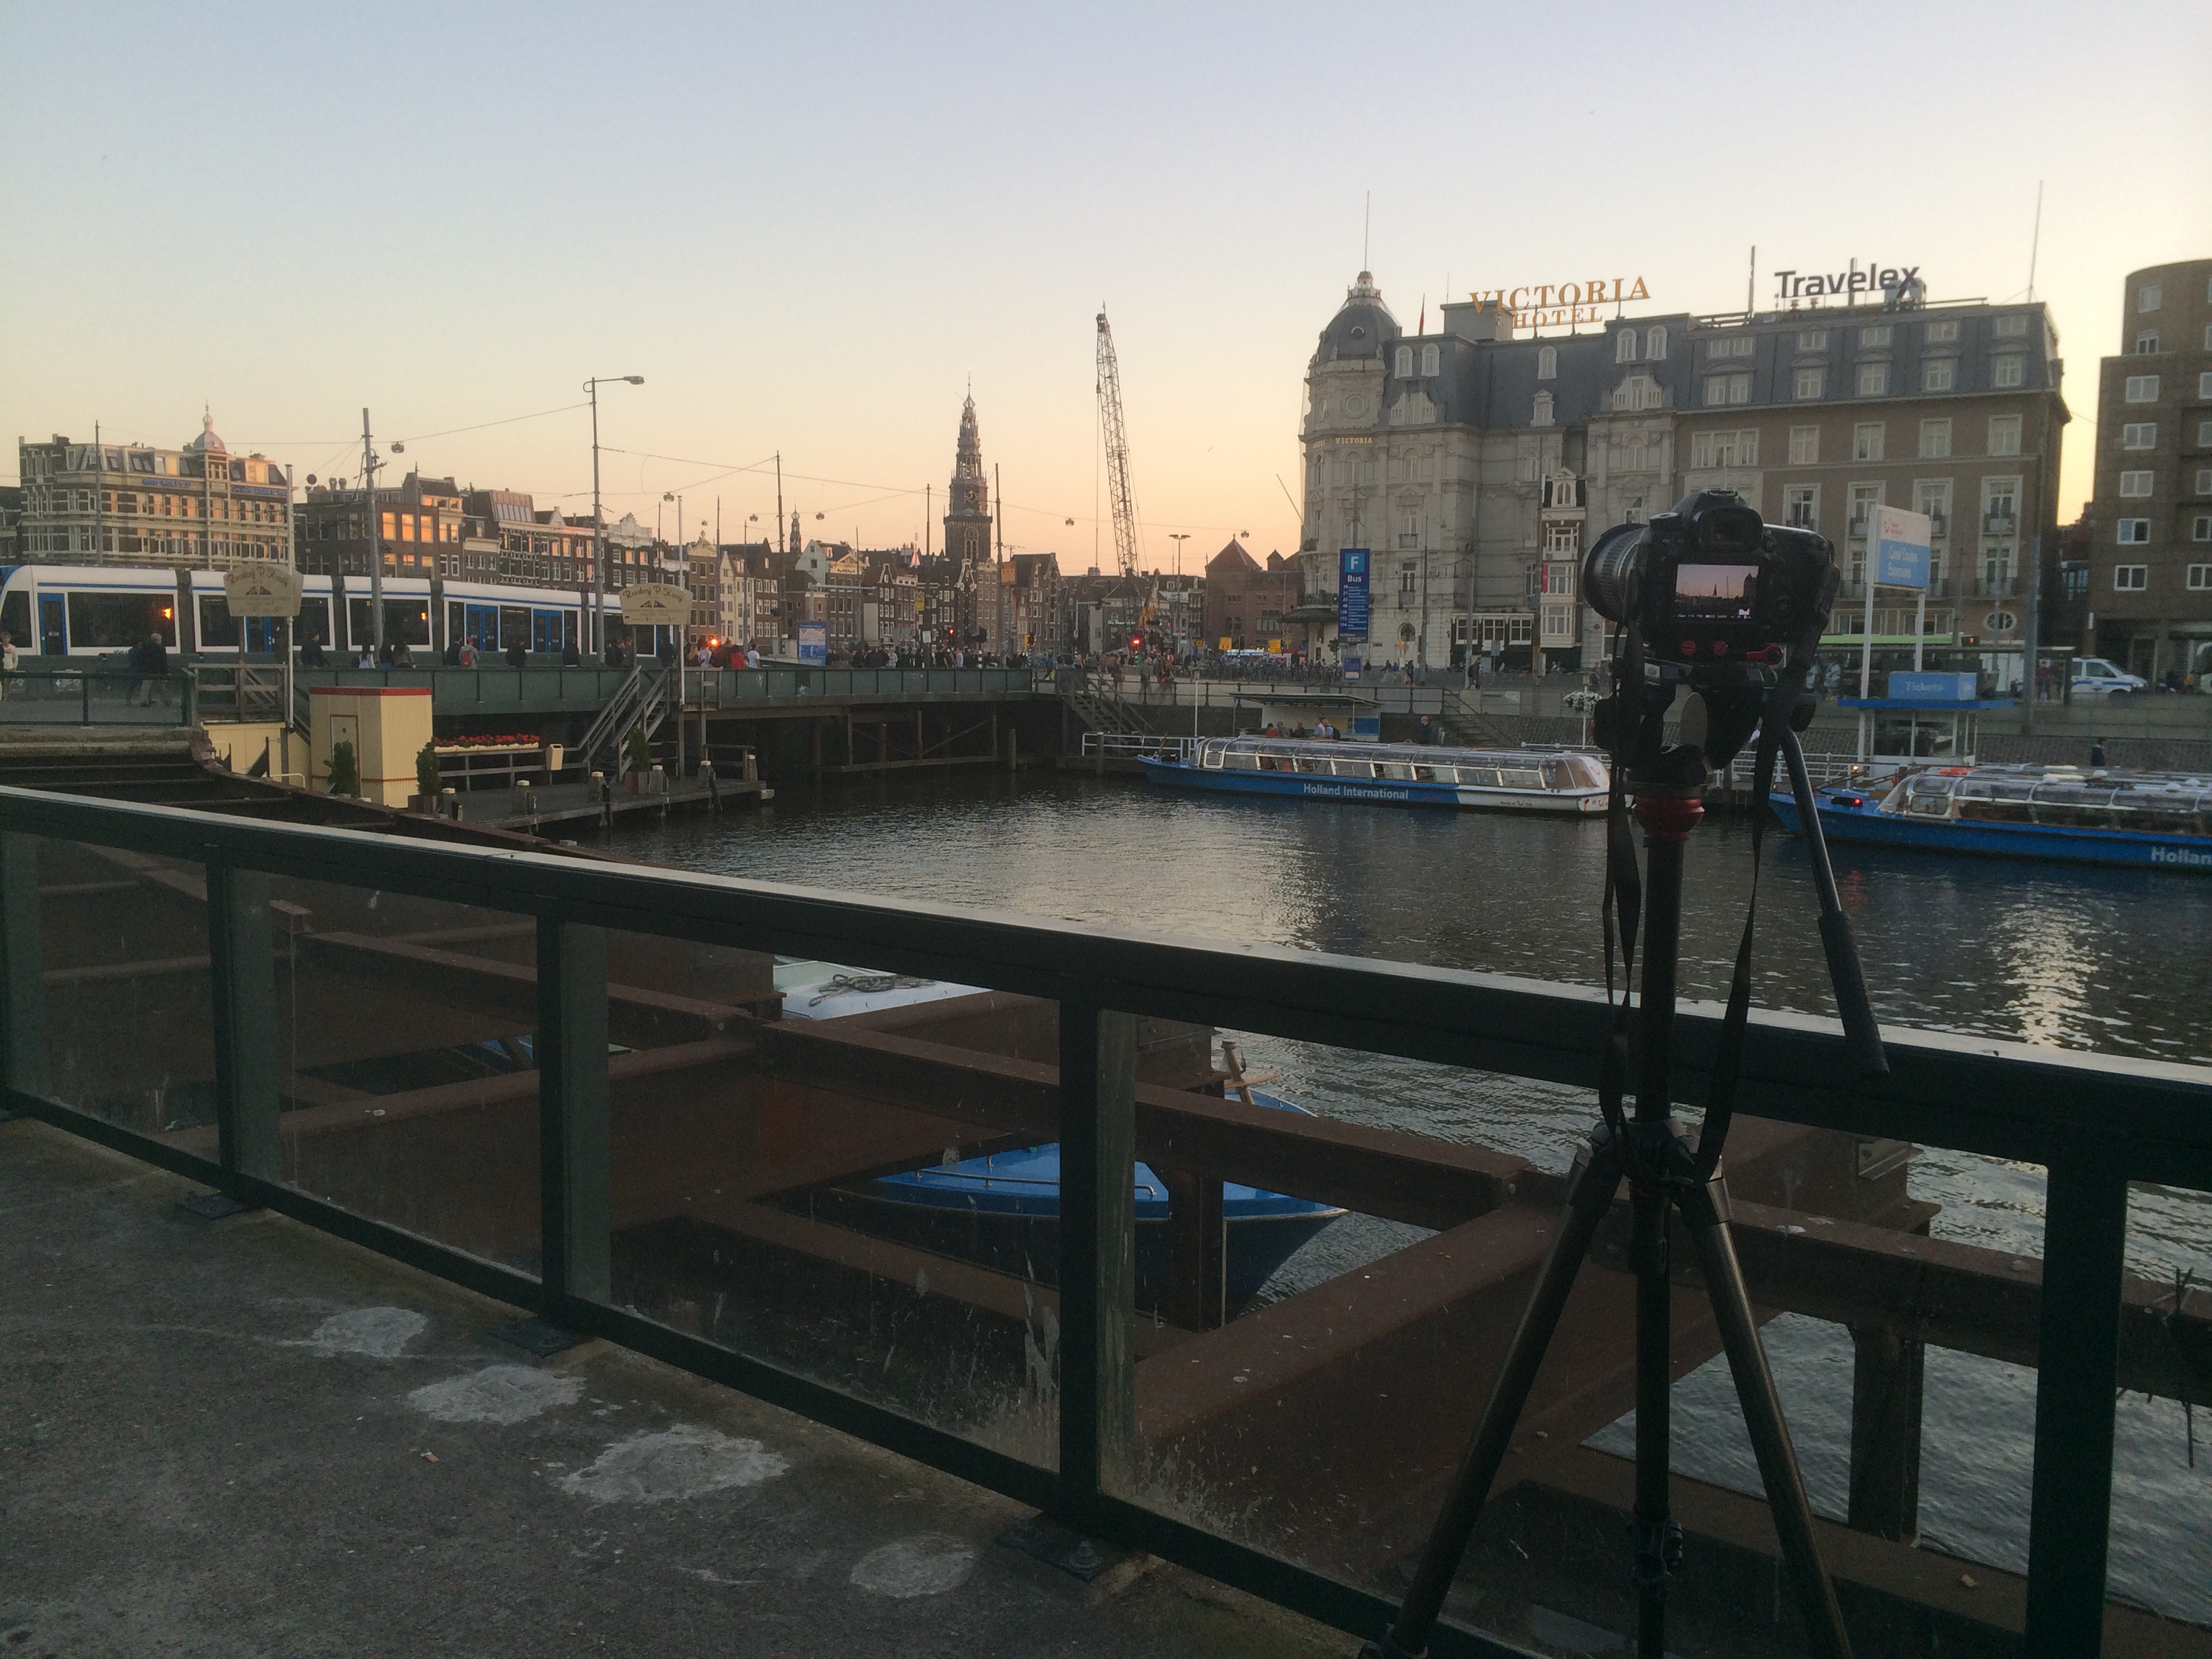
I've been waiting for a clear skied afternoon to film some autumn material for another personal project. Heading for the open North Downs Way, accompanied by the 5D mkIII, Tamron 24-70, Sigma 70-200, Samyang 14mm, Canon 100mm, Manfrotto 055 tripods and 701 head on the Pro Media Gear Dual-arc slider.

The video is to come very soon, I want to go out and shoot some more in the early morning!

Canon countdown - 23 hours remaining!!!

What what what are Canon up to?! With the announcement of the 7D mkII at Photokina, it seems odd to plump for a mid-weed, October day to tell the world about a new product?!

Check out Canon See Impossible for the cryptic message and countdown, could it be a 5D mkIV, with internal full frame 4K? We will have to wait to find out!

Click the pic to visit the page!

Click the pic to visit the page!

What are your thoughts on Canons ad-hoc announcement? Got any rumors you wish to share?!

Thinking of making the jump to 4K?

You are in the same boat as me.. Having bought my 5D mkIII last December, there was no accessible 4K option until the Panasonic GH4 made its appearance in the Spring. I was devastated. Having invested heavily in Canon gear, any future move I make will need to fit with my current EF mount lenses, not to mention everything else such as batteries, memory cards and my overall production workflow.

http://www.eoshd.com/2014/04/panasonic-gh4-vs-sony-a7s-compared-wins-4k-battle-paper/

(EOS HD comparison between the cameras).

At the moment, there are two options on the table. Said to be like comparing apples and oranges, the Sony A7s and GH4 are the current competing professional cameras that offer 4K functionality, however for people that own the cameras and have been comparing the two have found it difficult. This is for a few reasons:

Sensor size: The A7s is full frame, the GH4 is MFT.

4K in camera: The GH4 can record 4K internally, the A7s requires an external recorder such as an Odyssey or Shogun.

Philip Bloom using the Q7, from: http://philipbloom.net/2014/07/19/magician/

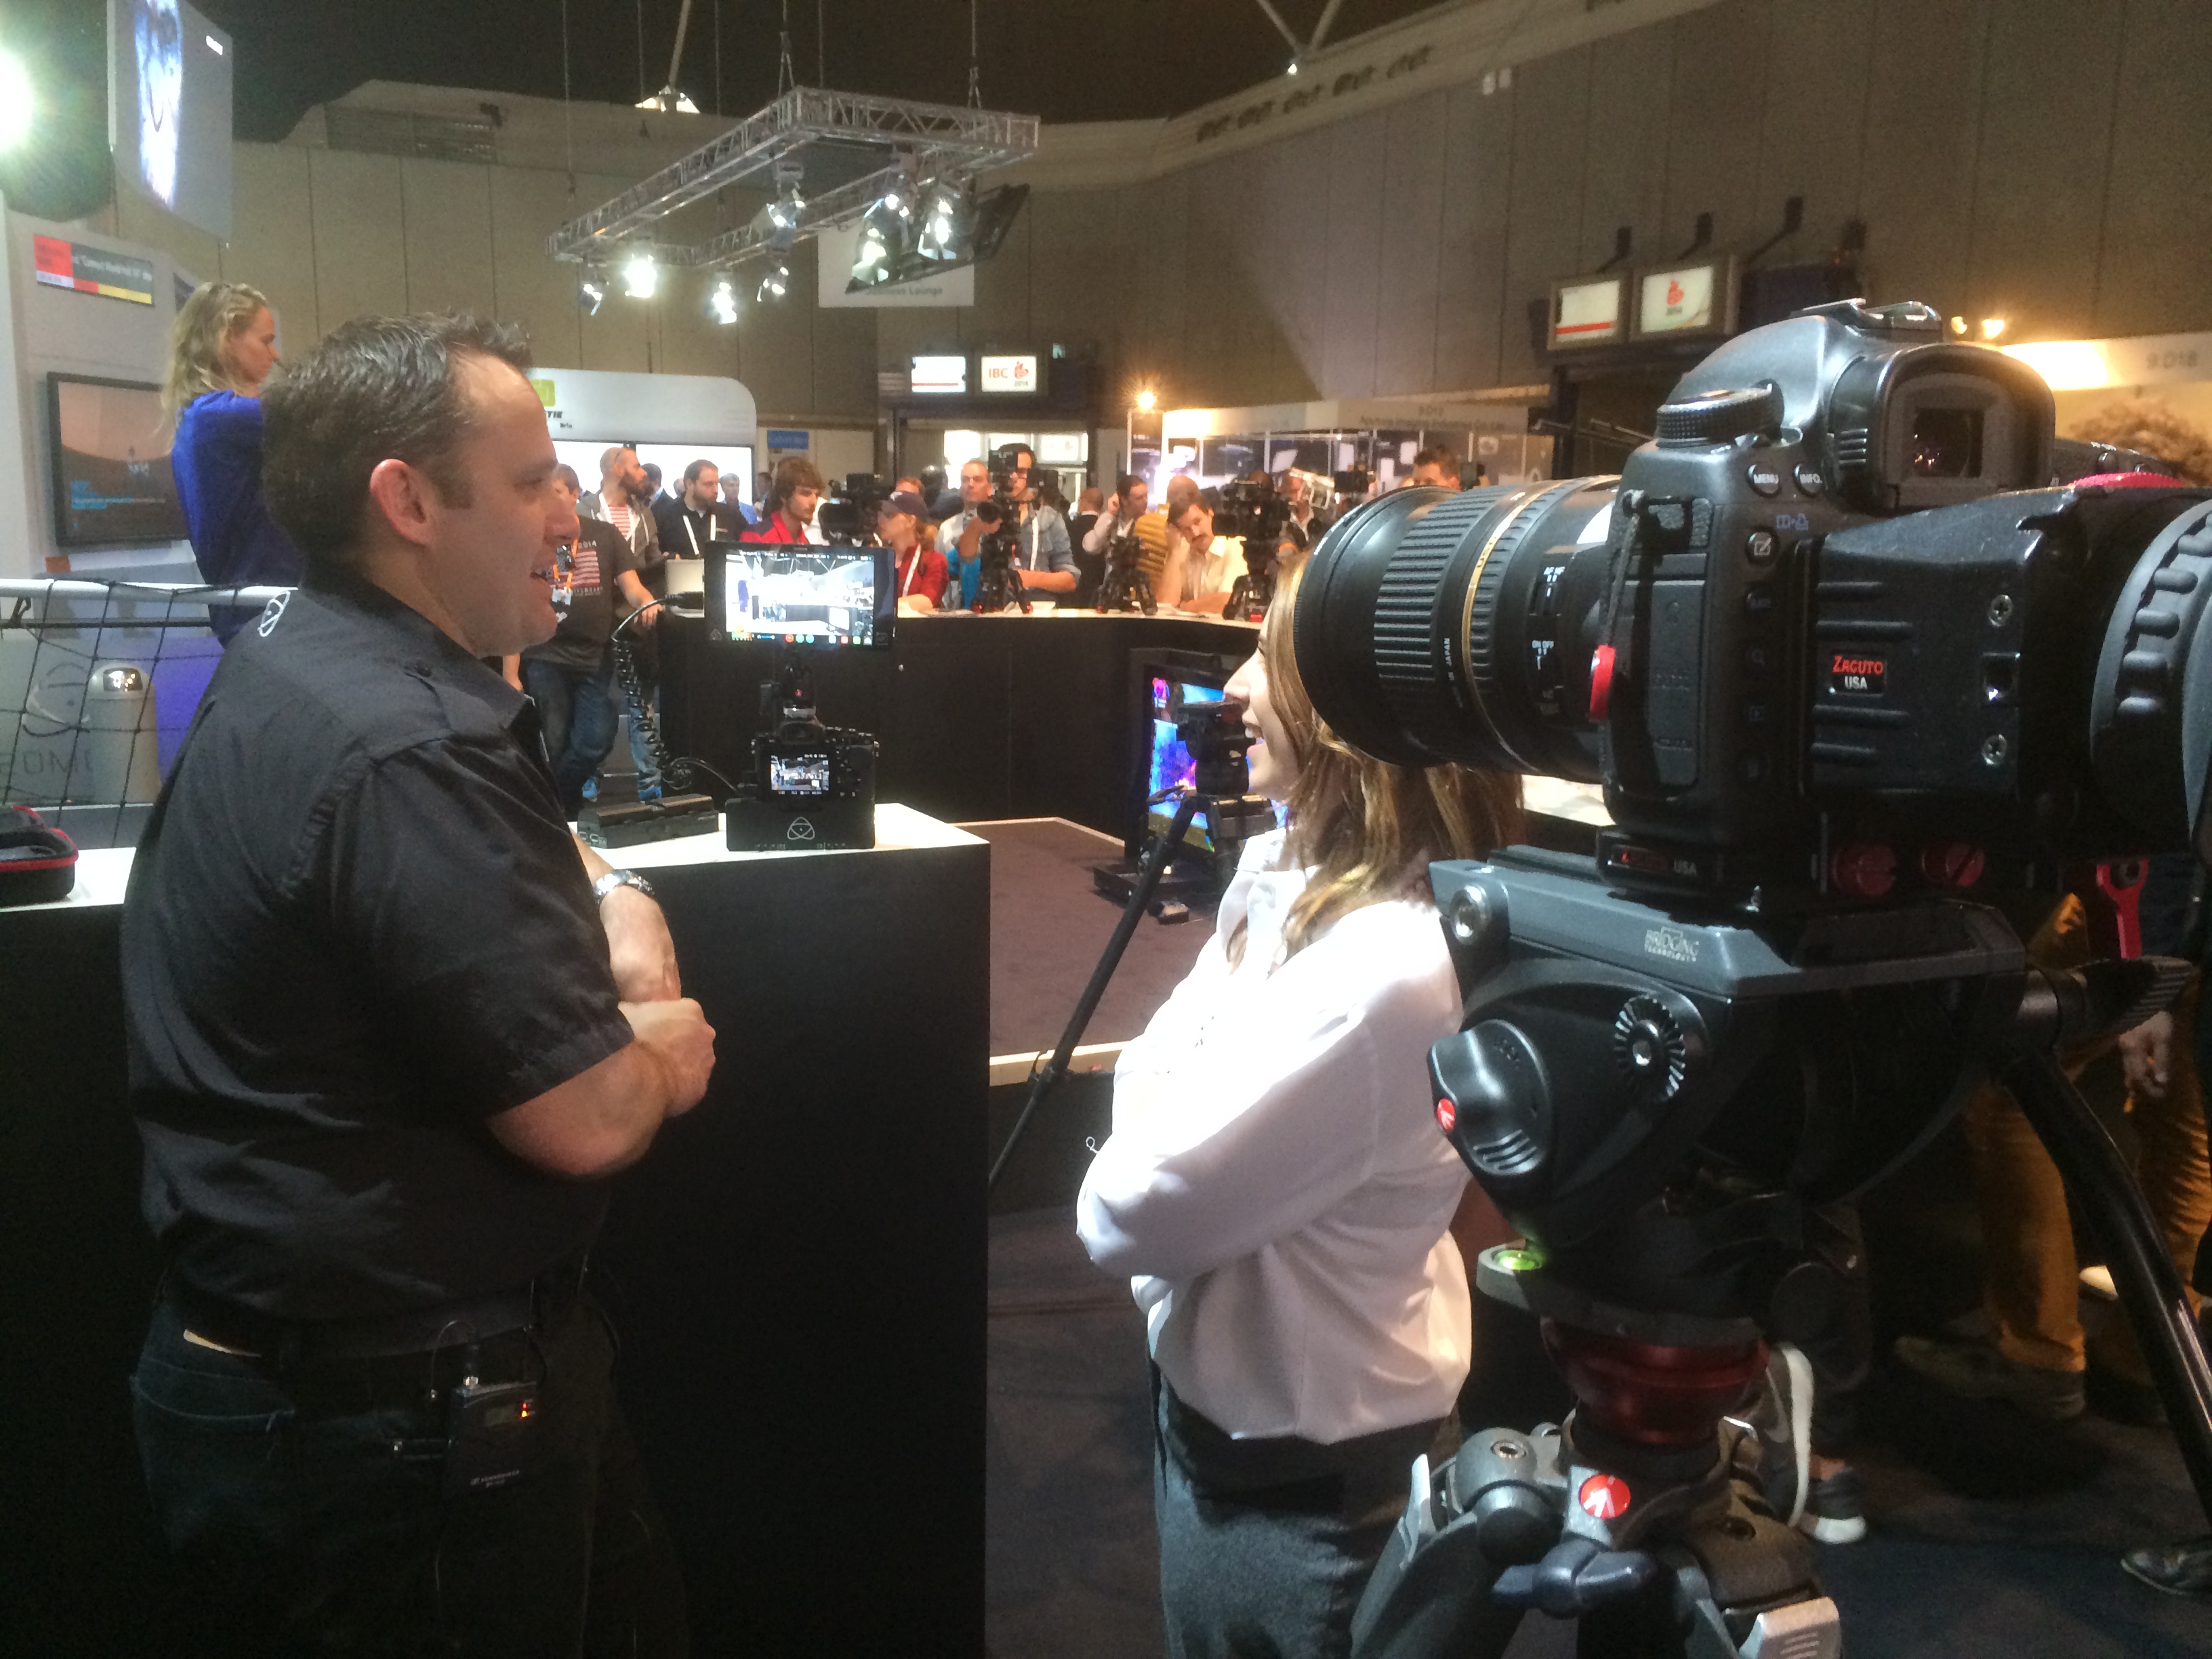
Jeromy, CEO of Atomos talking to me and Sam from The IABM about new products and the IBC Show.

Now, many people will be arguing that what does the increased resolution allow you to do, that HD doesn't? The image produced from the 5D is great; good in low light, versatile, fits my style of filming... But it also has big downfalls for being a DSLR, and not a video camera.

Something that is unique about these two cameras is that their 'out of the box' functionality has been fine tuned for video applications, as well as high end photography. This is what Canon has left behind in their non Cinema line cameras, and Magic Lantern has struck gold on with their firmware hack enabling awesome video functions.

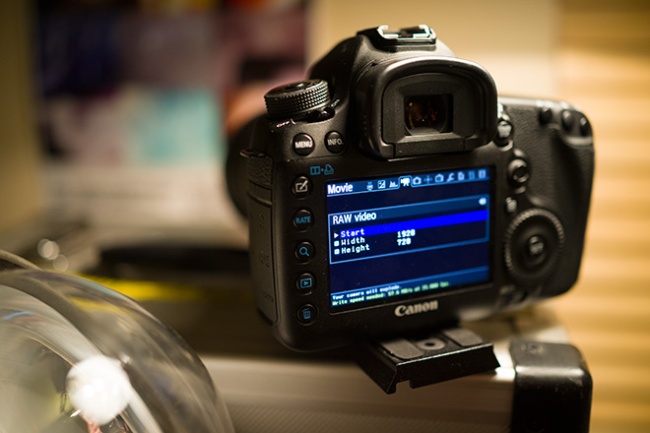
I have only recently installed ML on my 5D mkIII due to the current firmware on the camera. It was shipped with version 1.2.3, I was hesitant to downgrade the firmware and was patient in waiting for ML to develop a tested and working version for 1.2.3. Now having access to on screen aid such as waveform monitors and audio levels make such a difference, and restart movie for the longer filming durations is great. It turns your 'photography' camera into basically a video camera.

From: About DSLR (Youtube).

For my type of videography, the benefits of having not only 4K, but a wider range of options for recording will allow me to crop and downscale any 4K acquisition to HD and hold incredible picture detail, dynamic range and depth of field.

The recording bit rates are higher, meaning more data is stored for post production editing, compositing or grading.

Lastly, it should increase the production value of what I produce. Now, I am not stating that better equipment makes better videos. It does give you the opportunity to step up with what you can do in your work, and especially as it keeps you up to date in a world of ever changing and improving technology.

So, what is my investment cost?

This is dependent on your current shooting kit, and whether you can merge your current system with a new one. Perhaps you already shoot Sony or Panny, so you're in luck.

For me, all my lenses are Canon EF mount, some are electronic, others are manual, so an adapter would be needed in my case. The price of this is dependent on the glass you use, or are going to use.

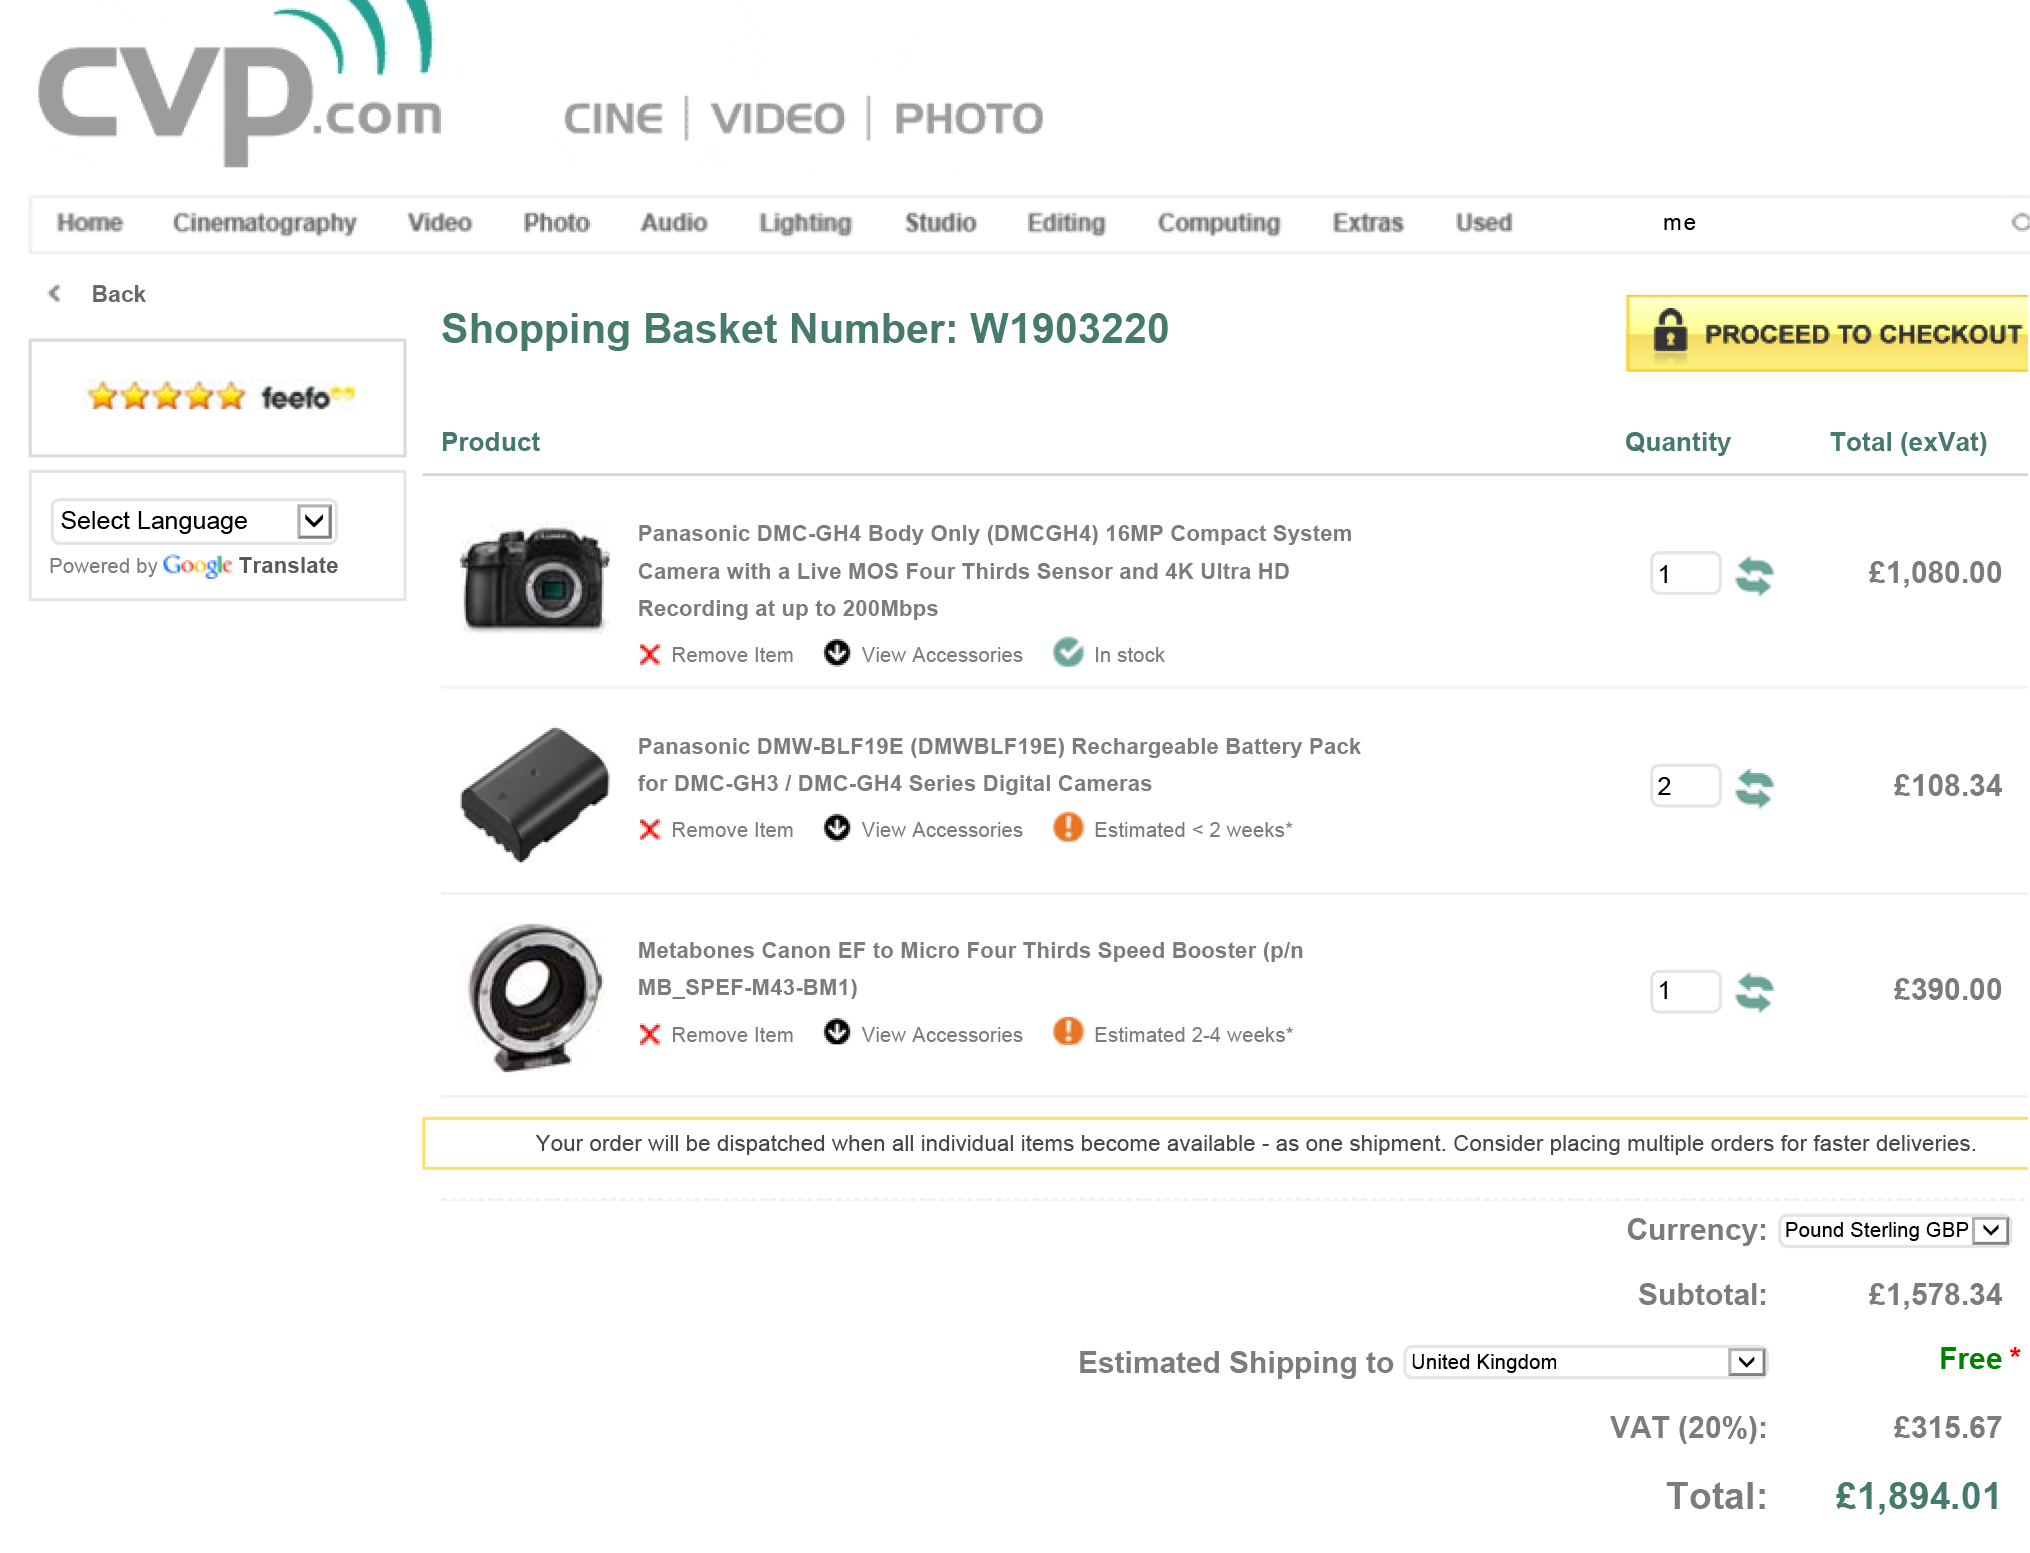
Let's look at the Panasonic GH4 to start with.

Panasonic GH4 (body only) - £1296.00

Metabones Speedbooster EF to MFT (smart with electronics) - £468.00

GH4 batteries x 2 -£130

Transcend 600x ultimate SD card x 2 (Amazon price) - £36

Now, as the GH4 is MFT, I might purchase a wide angle lens because my current ultra wide angle 14mm T/3.1 would be almost 28mm T/6 due to the sensor equivalence. So, my options would be either:

Panasonic 12 - 35mm F/2.8 - £829.00

I did have the Samyang 12mm T/2, realizing it does not come in MFT mount.. So the above would be my option. I have used it before, it has great OIS and has a decent depth of field for an F/5.6 equivalent lens.

Total GH4 investment inc extra lens - £2759.00 (excluding extra lens - £1930.00)

That £1930 was pretty much the same price I paid for the 5D mkIII body only.

Panasonic GH4 basket

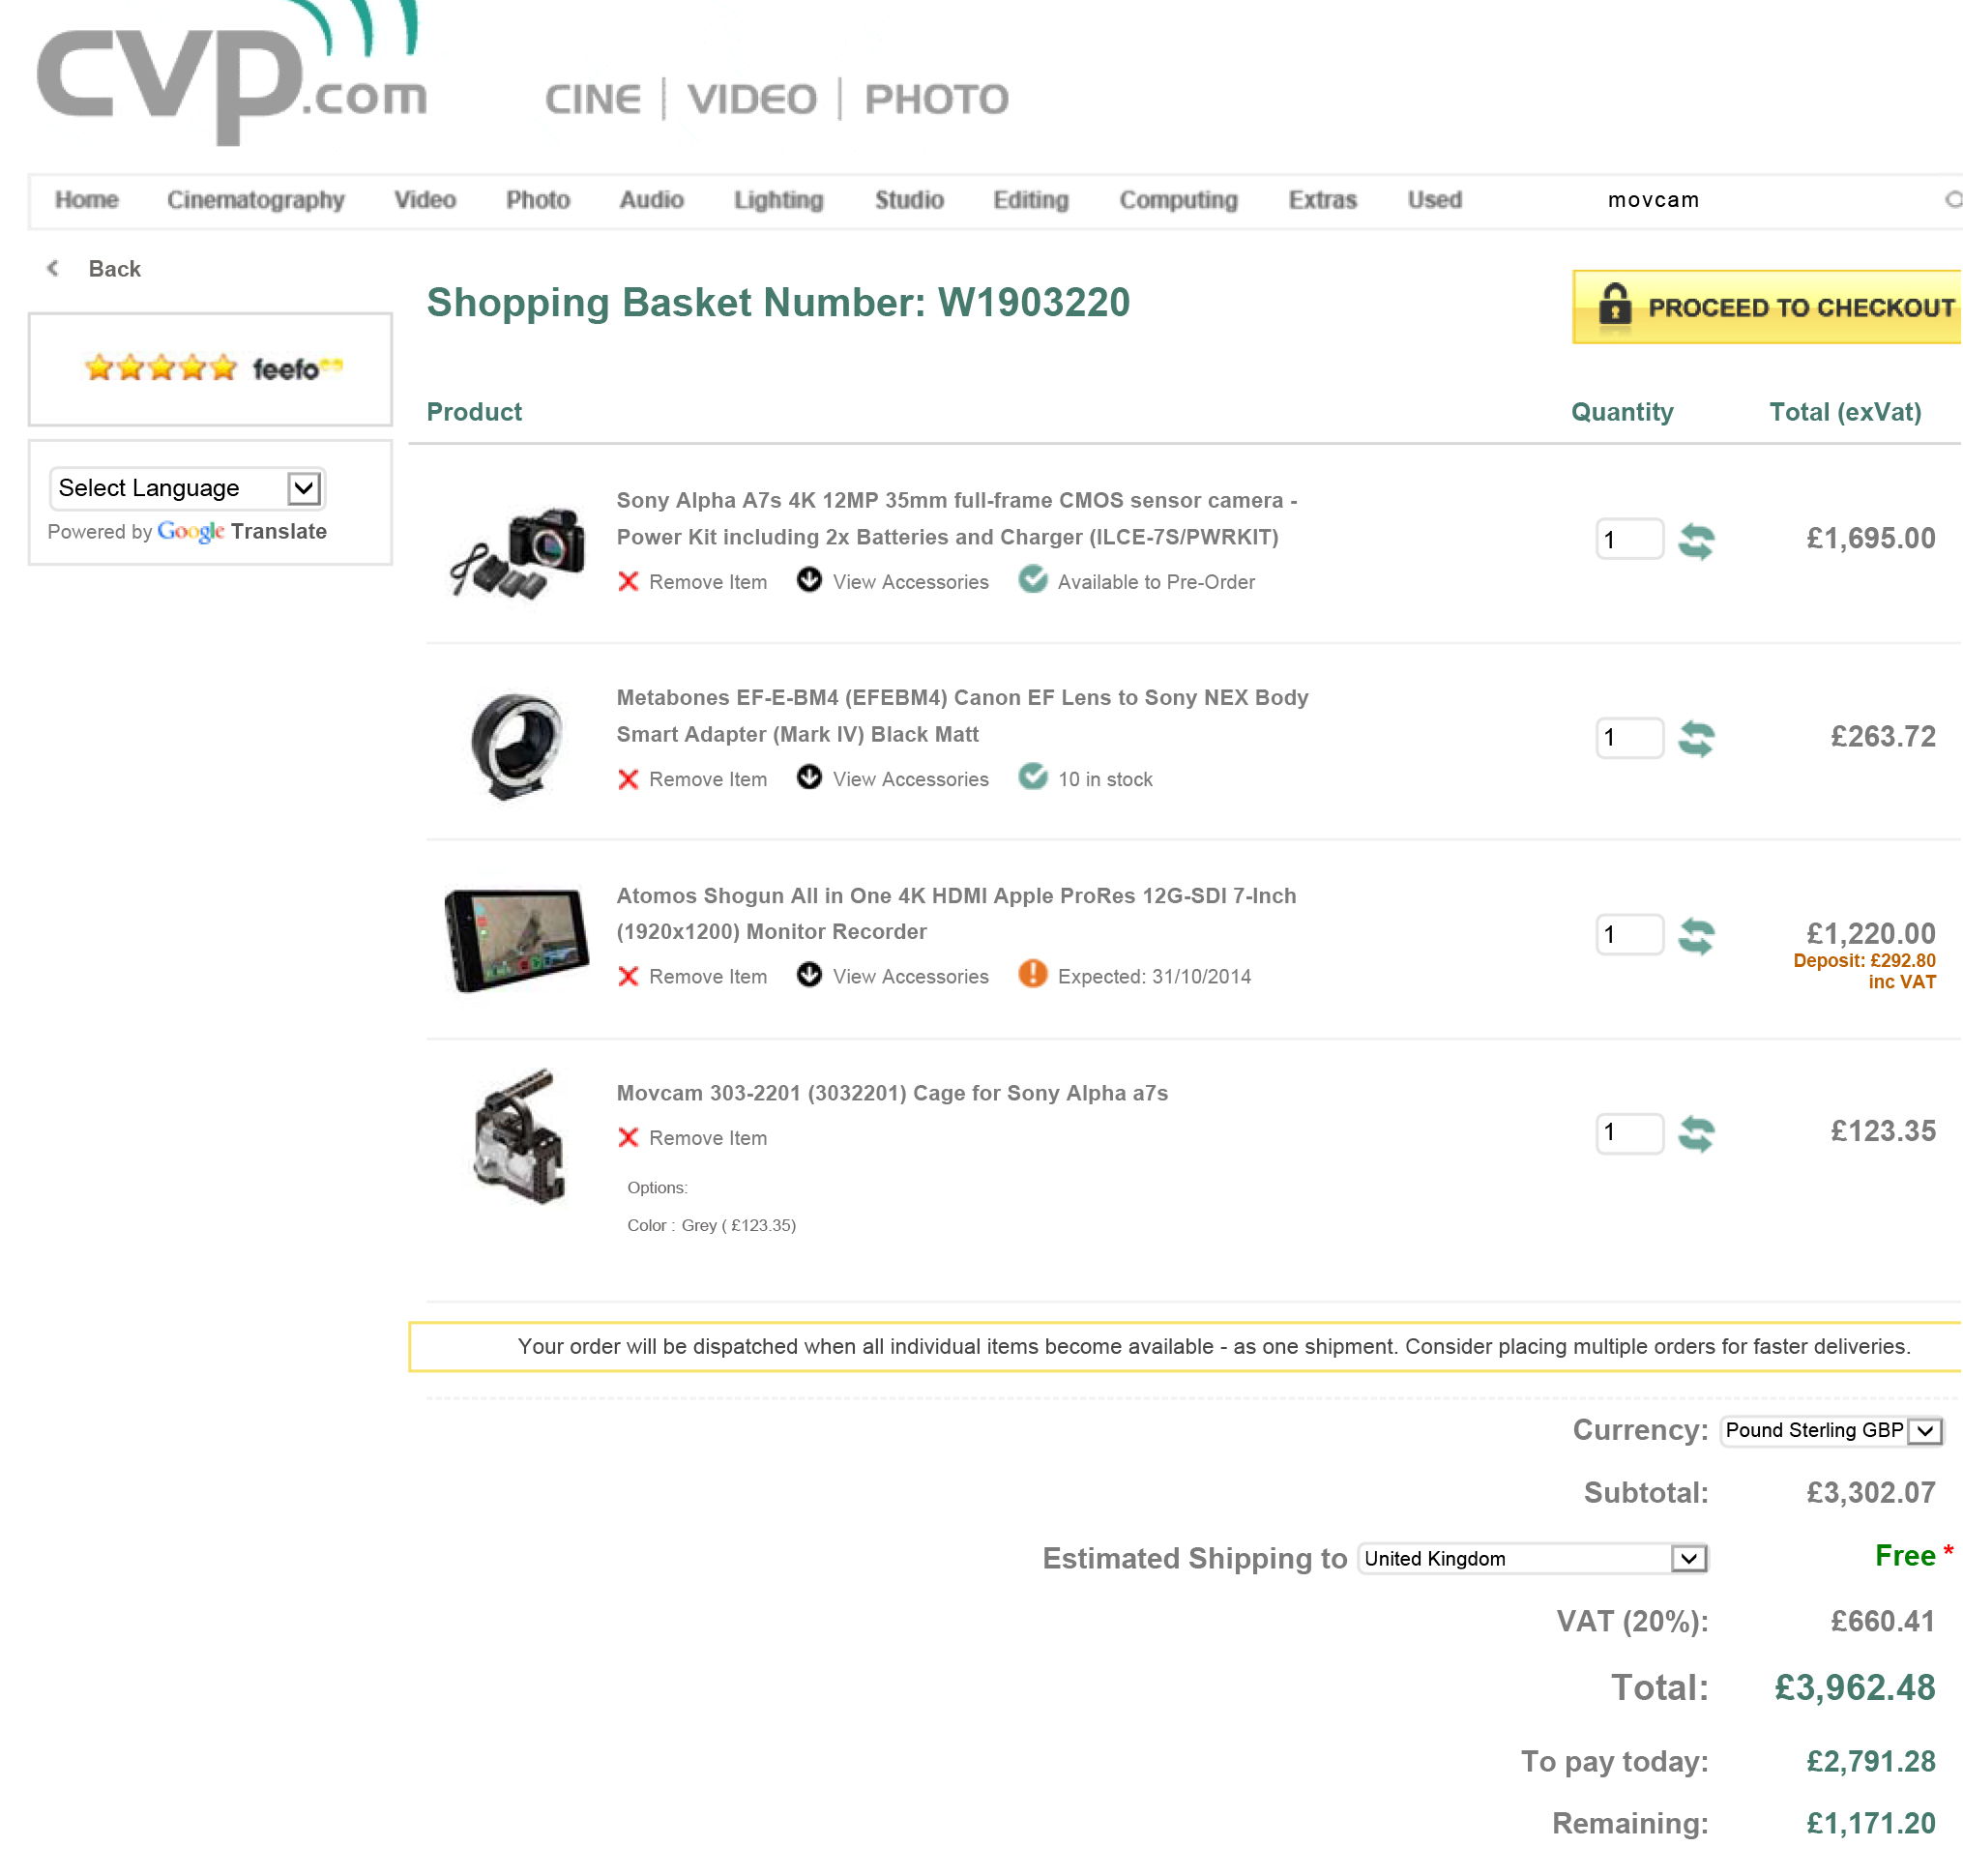
Now the Sony A7s.

Sony A7s (body and battery/PWR kit) - £2034.00

Metabones Speedbooster EF to E (smart with electronics) - £316.46

Transcend 600x ultimate SD card x 2 (Amazon price) - £36

The A7s does not record 4K internally, so I would need to purchase the Atomos Shogun recorder at - £1464.00

Also, as the A7s is compact in size, a cage is required to make it more accessible with the recorder and mics etc.

Movcam A7s cage - £148.02

Total A7s investment - £3998.48

(All prices are including VAT from CVP).

Sony A7s basket
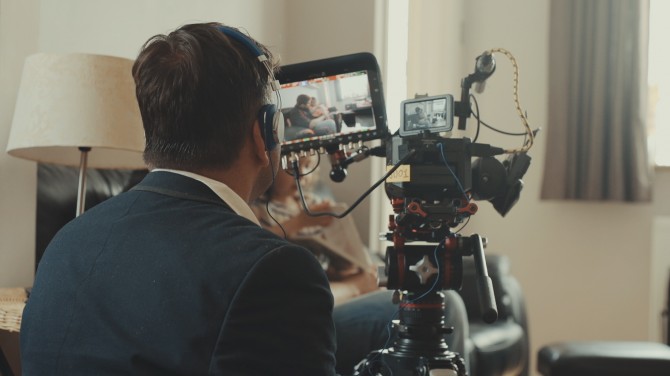
Adam using the Panasonic GH4

Now.. I've shot on the Panasonic GH4 and I like it. When I've talked to Panasonic reps about the product they all had the same comment that Panasonic listened to videographers, and you can tell. The available recording formats and codecs allow a range of uses for the camera, and the features it packs into its tiny form are perfect for those that already utilize DSLR for video.

(Look back to earlier this year to the Park Camera's Panasonic open day - https://ajp1991.wordpress.com/2014/03/16/meet-the-panasonic-gh4/)

Personally, and this is very subjective to the way I was filming when using the camera, the captured video looked like video. Some will understand what I mean, others won't, but for those that have been shooting on a full frame camera, the 'look' is there. Obviously the sensor plays a large part in that, but if I purchased a GH4 kit outright (disregarding my current EF mount lenses).. I would purchase the Voightlander 25mm and the trusted Samyang cine lenses which might just combat the 'look' issue I feel like I have. As well as high quality ND filters so my shutter can remain at 1/50th.

Really quick GH4 test:

Trying out the 4K, and again a basic test:

(Please if you have experience, tips, footage or photos that you would like to share, please do!)

What am I going to do then?

My dad taught me something really great; good things come to those who wait. In other words, have patience.

As others test out, review and produce videos using the GH4 and A7s (and other cameras that pop up here and there), I will be closer to making my decision. For now, I know to hold off. A good thing for me to do would be to road test both cameras, work it with all of it's video functions and produce a couple of vids that I can look back on. The folks at Park Camera's are great at in store demos, but I can also wait for BVE in Feb 2015.

So, I can frustratingly wait a little longer for my jump to the next innovation of video production and delivery.

In the mean time I can always look at Blackmagic Design's options that shoot 4K, as well as the Apertus AXIOM modular camera, and keep the new Arri Alexa 65 and RED Dragon for my dreams.

axiom-modules-06[1]

From - https://www.apertus.org/

IBC Show 2014 Roundup!

adam plowden videography at ibc 2014 show manfrotto
adam plowden videography at ibc 2014 show manfrotto2
adam plowden videography at ibc 2014 show manfrotto3

What a week it was! There was no doubts we would be busy filming and editing videos for The IABM to release, but not on the scale we anticipated! Overall, Adam Plowden Videography captured and produced at least 8-10 videos each day, an incredible 6 times more video content delivered in one week than previously in the whole of 2013!

I did include a run-down of my kit choices before I left, but here is a quick summary of my chosen equipment to capture the IBC Show:

Manfrotto 546GB twin leg tripod with a 504HD head (A Cam).

Canon 5D mkIII, Tamron 24-70mm, Sigma 70-200mm, Samyang 14mm, 35mm, 85mm, Canon 100mm L.

Manfrotto 755CX3G tripod with a MVH500AH head (B Cam).

Canon 60D, Tamron 17-50mm, Canon 50mm.

Manfrotto Hydra Arm and super clamp.

Zoom H6, Sennheiser ENG-G3 RxTx kit, Roto-mic.

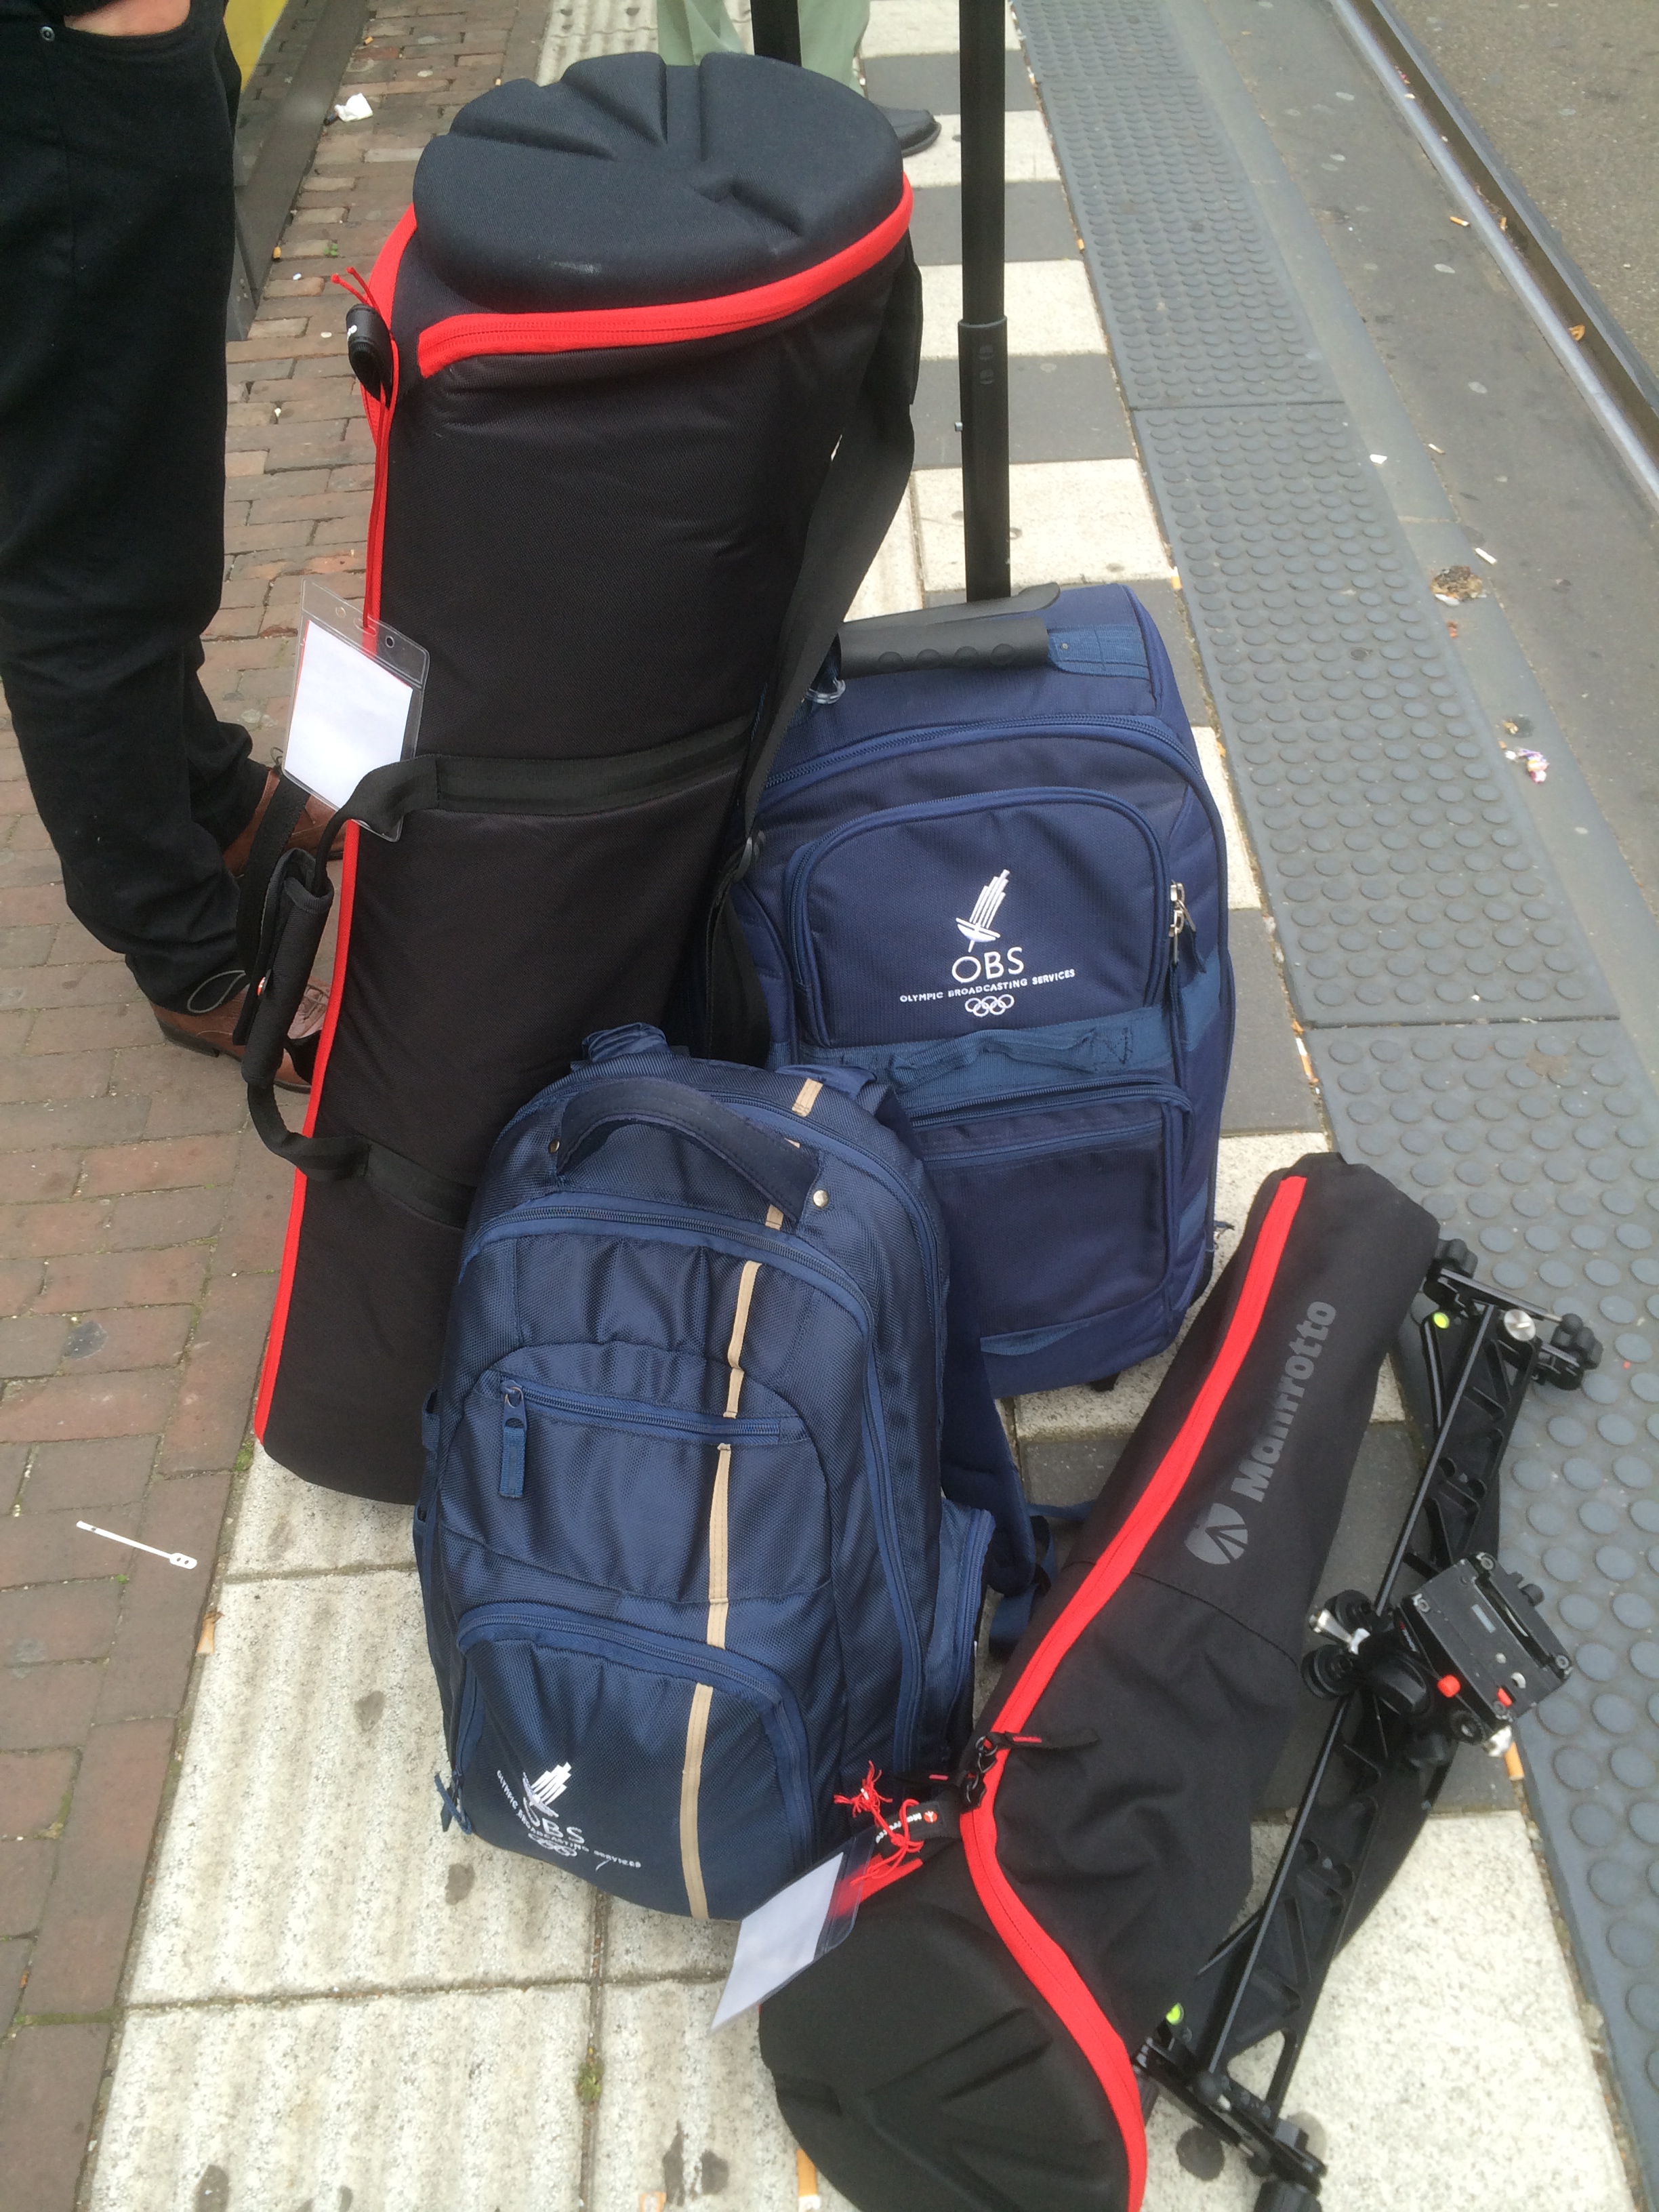
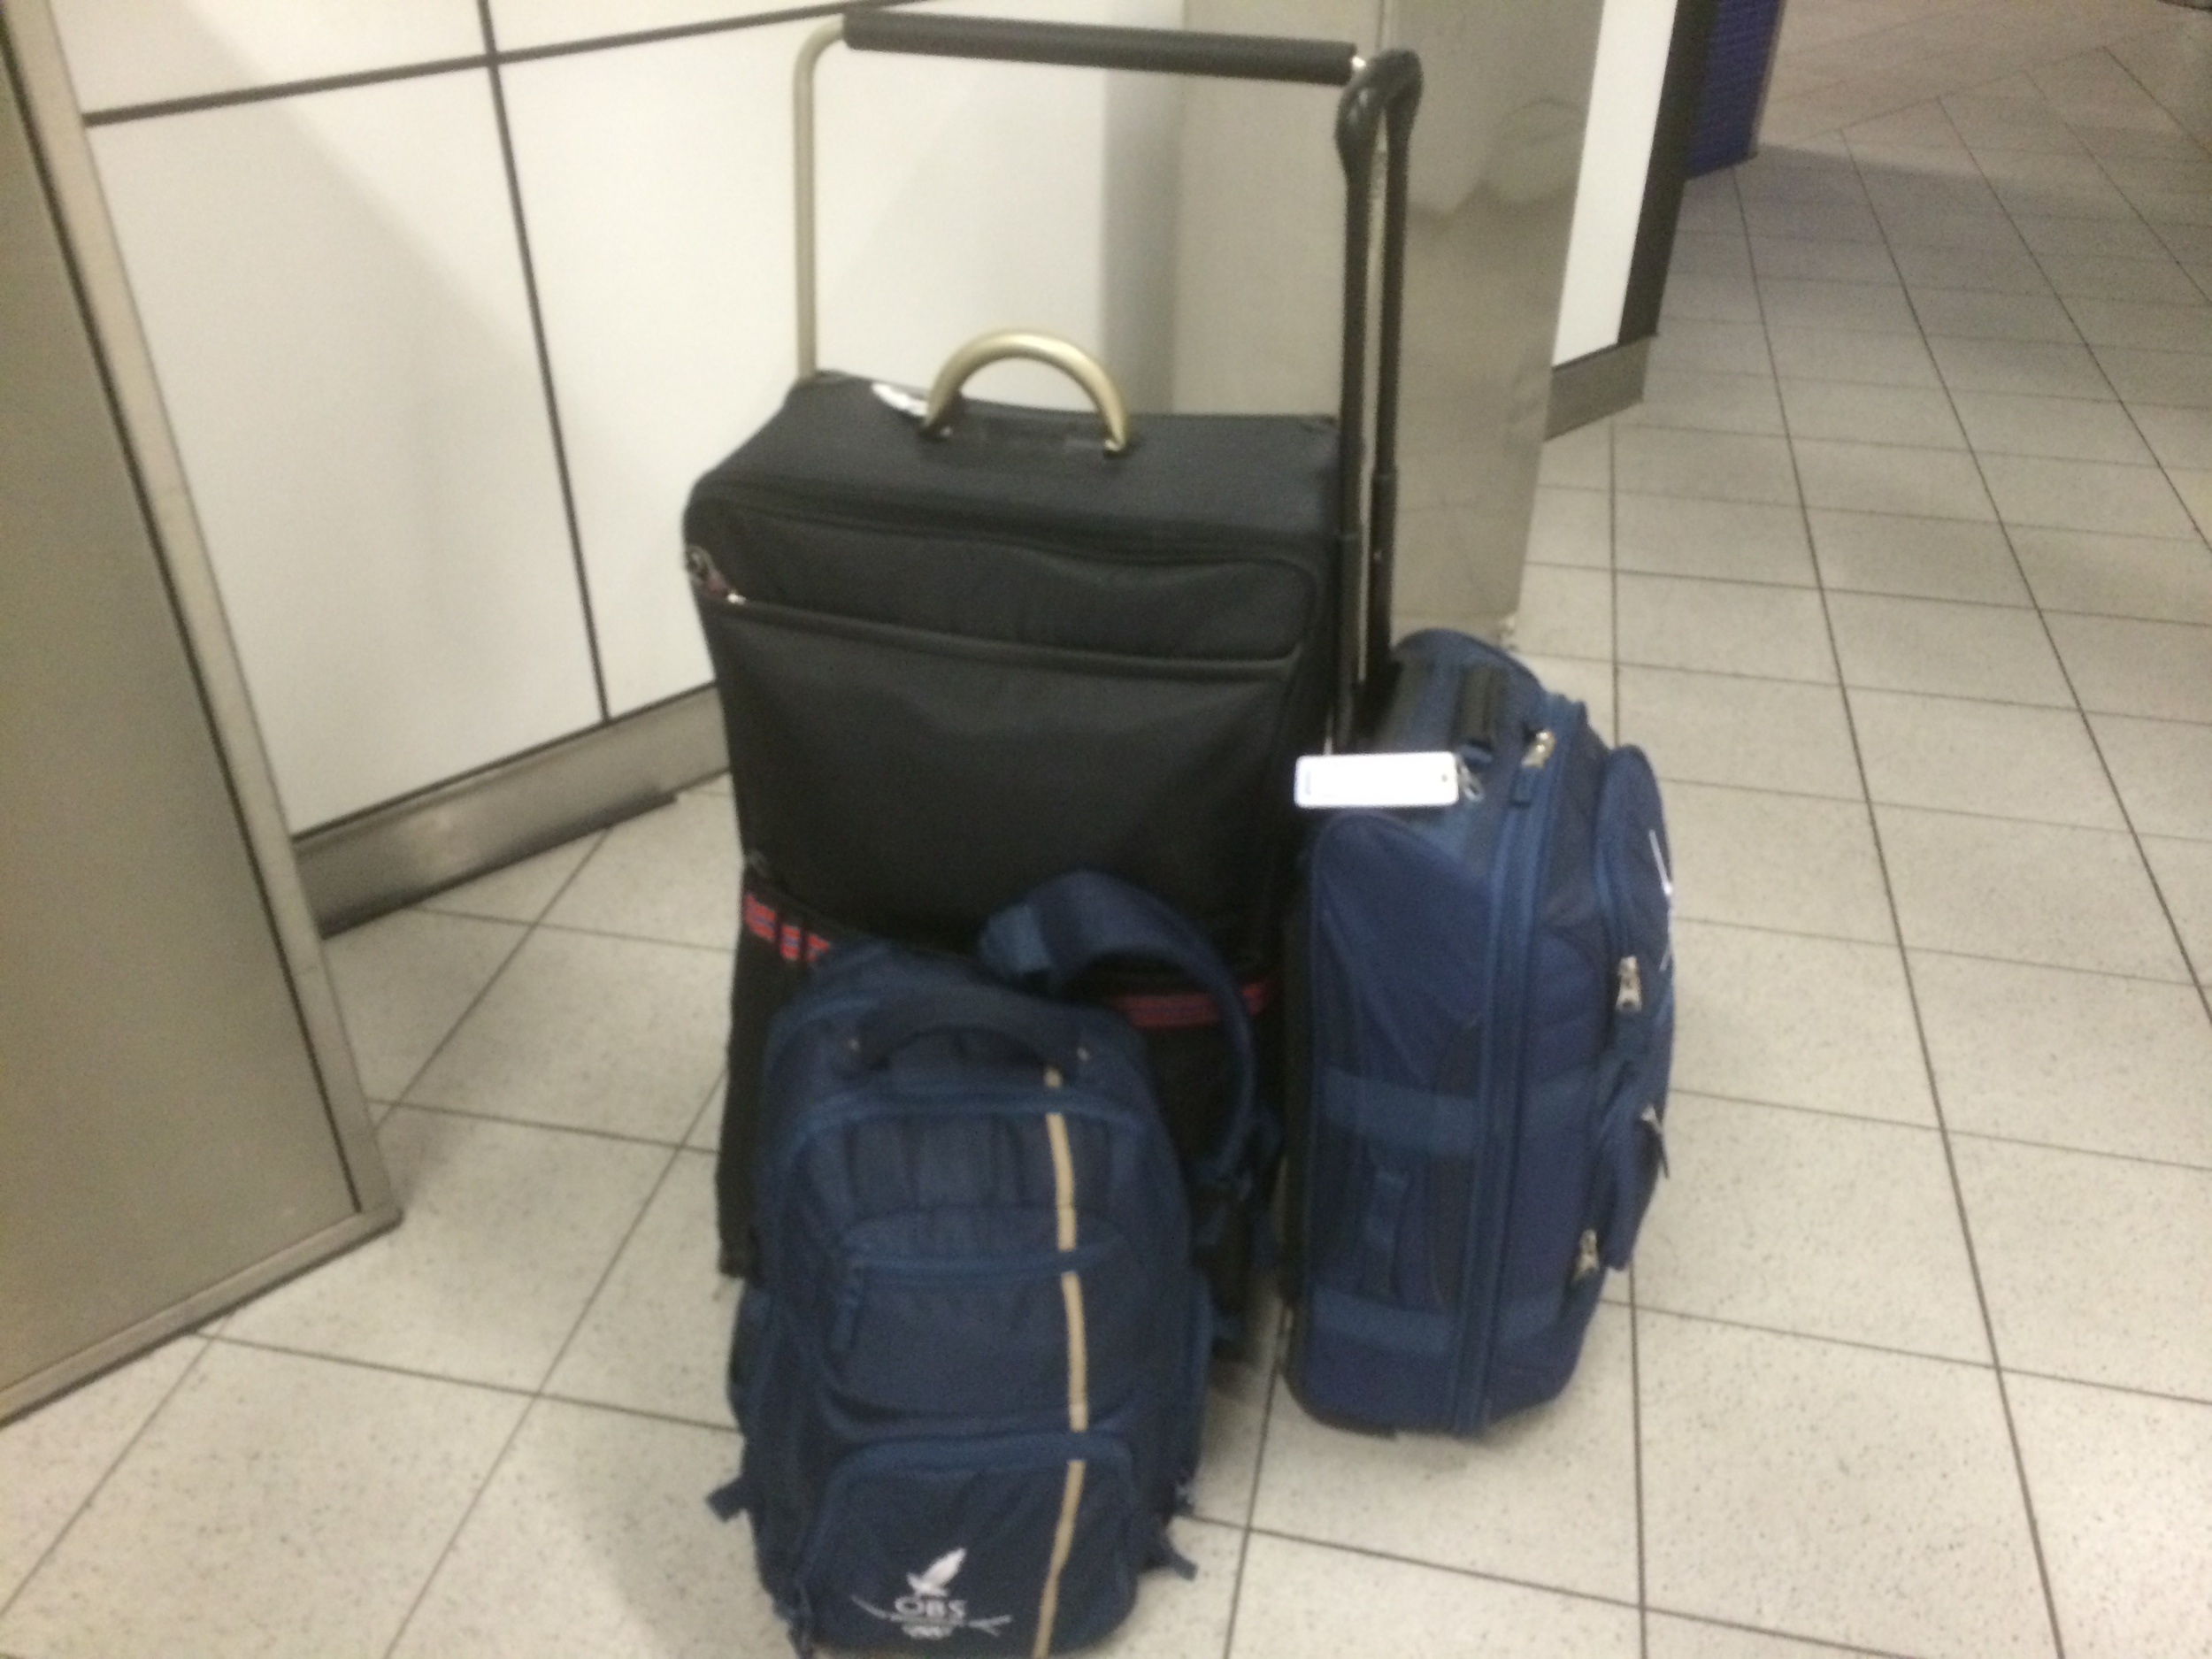
IBC 2014 equipment for IABM filming adam plowden videography manfrotto obs olympics

(This is the kit we took each day to film with!)

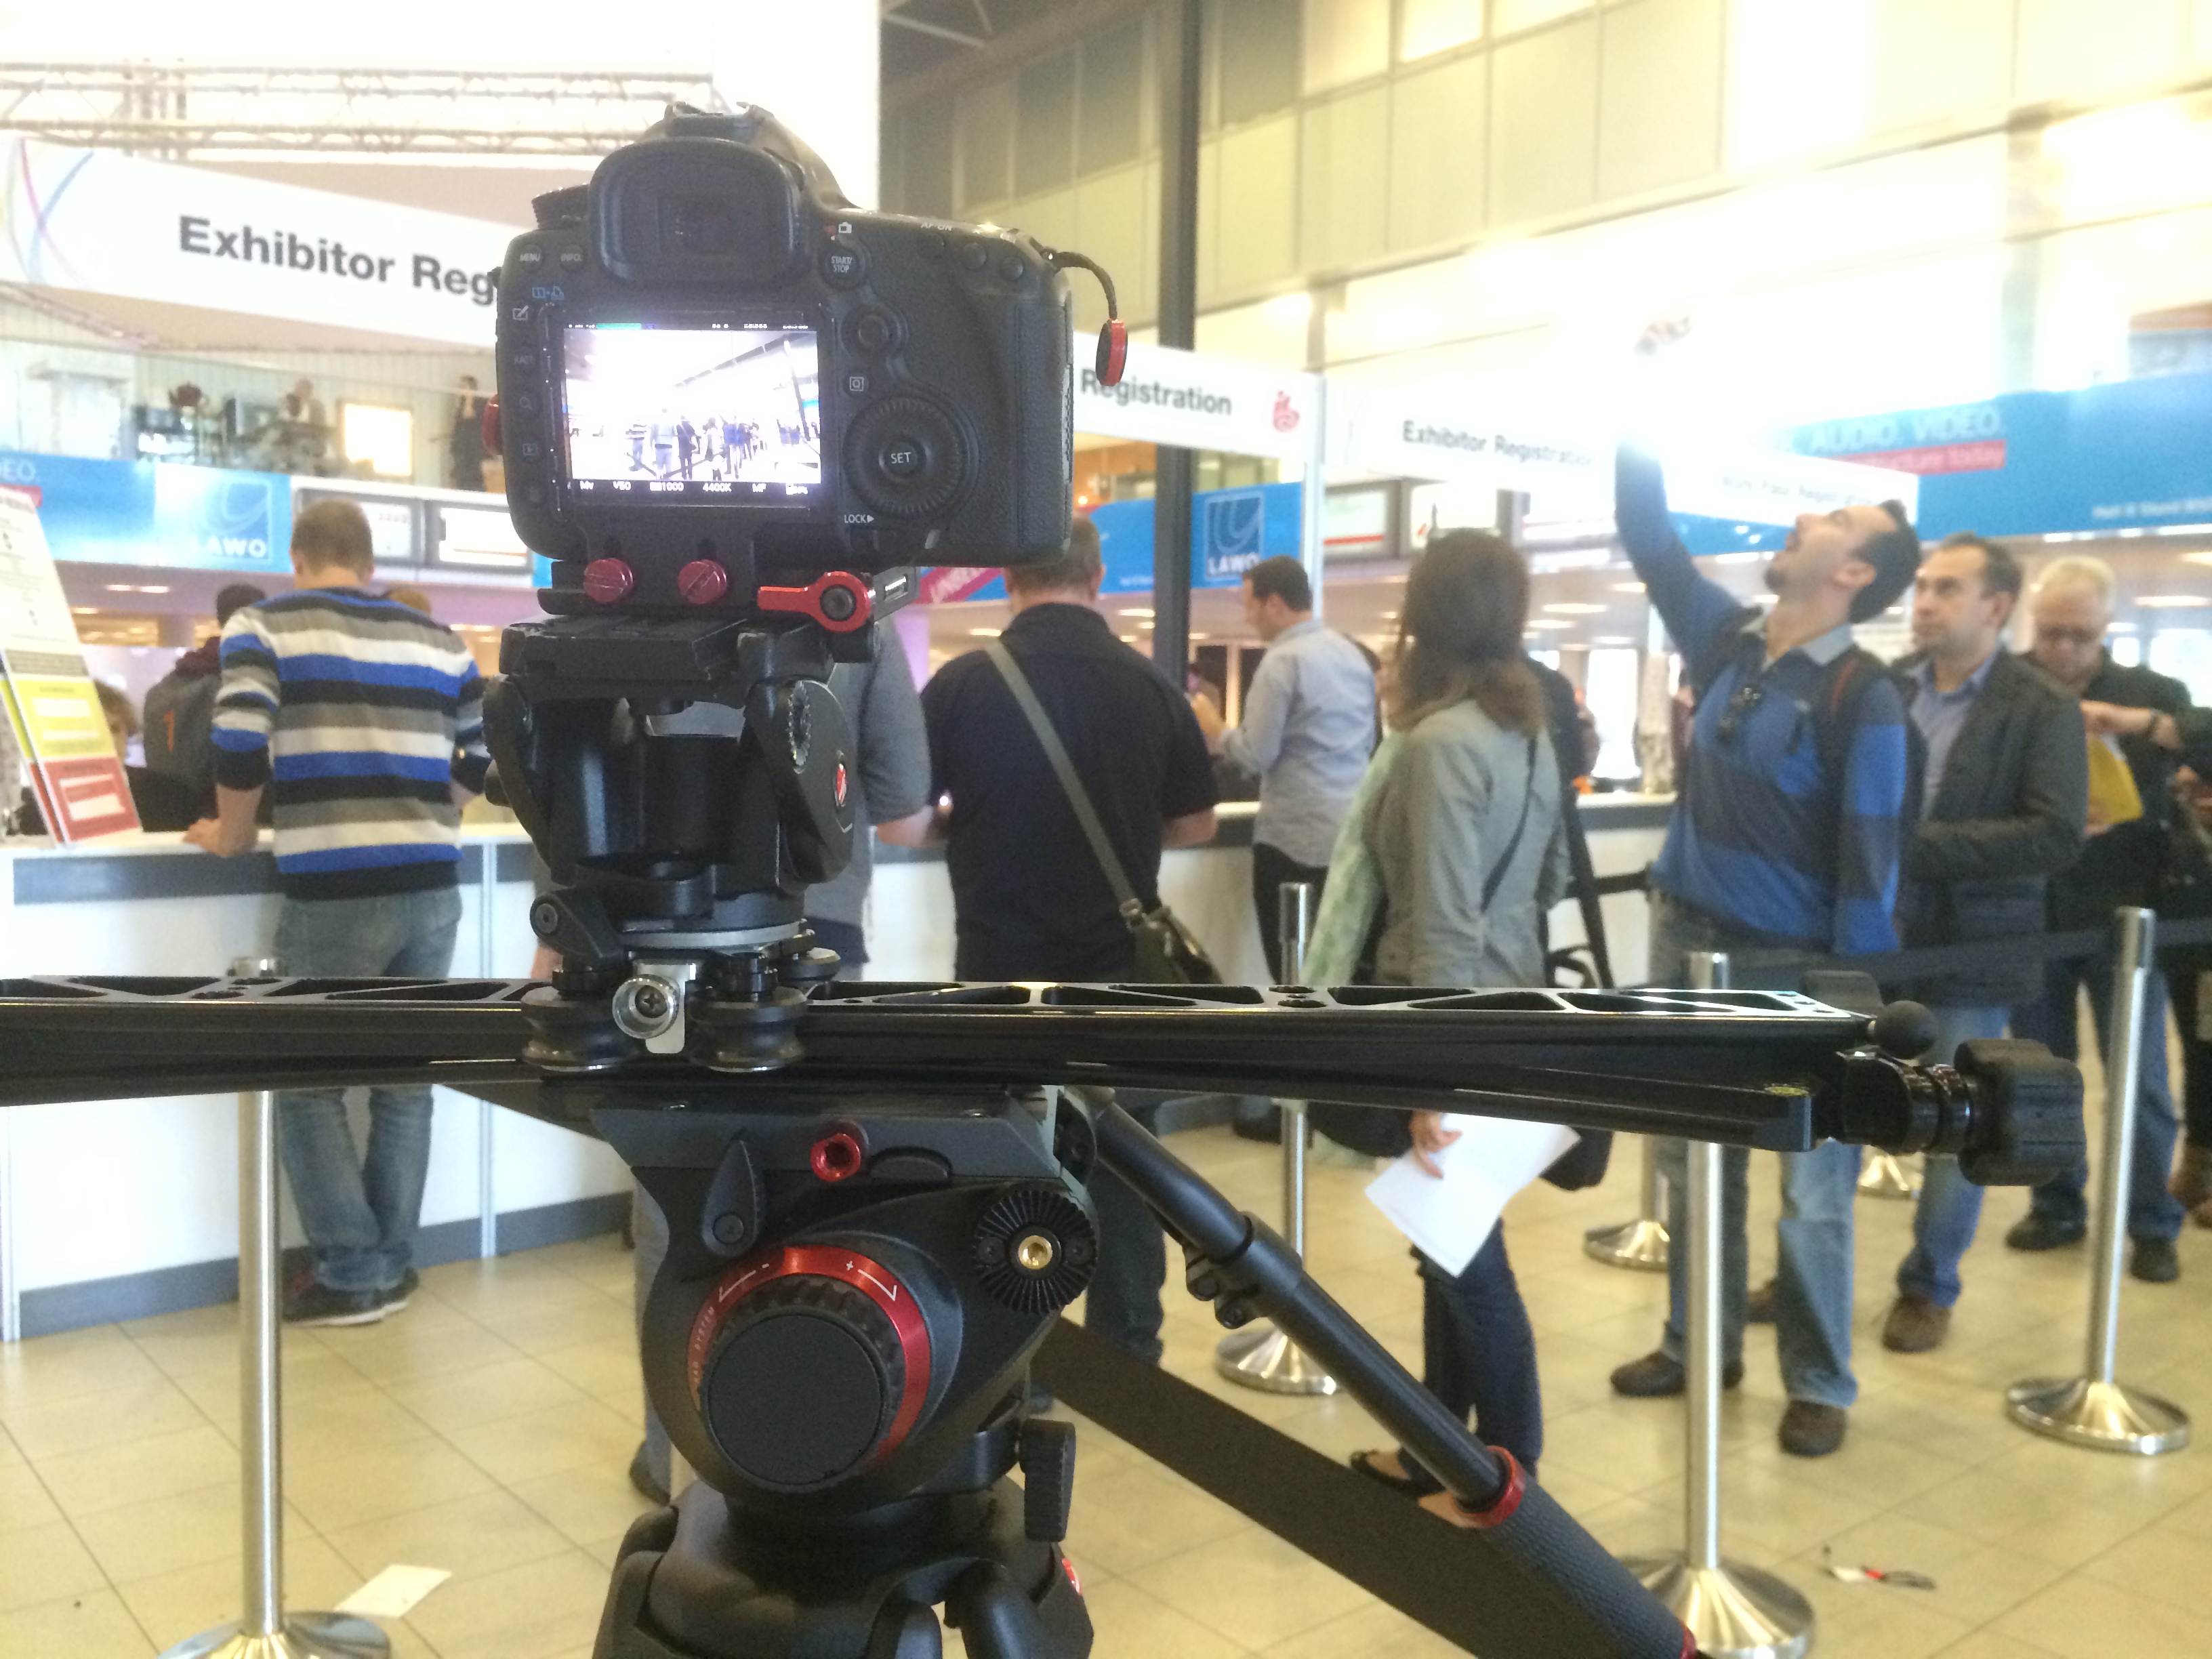
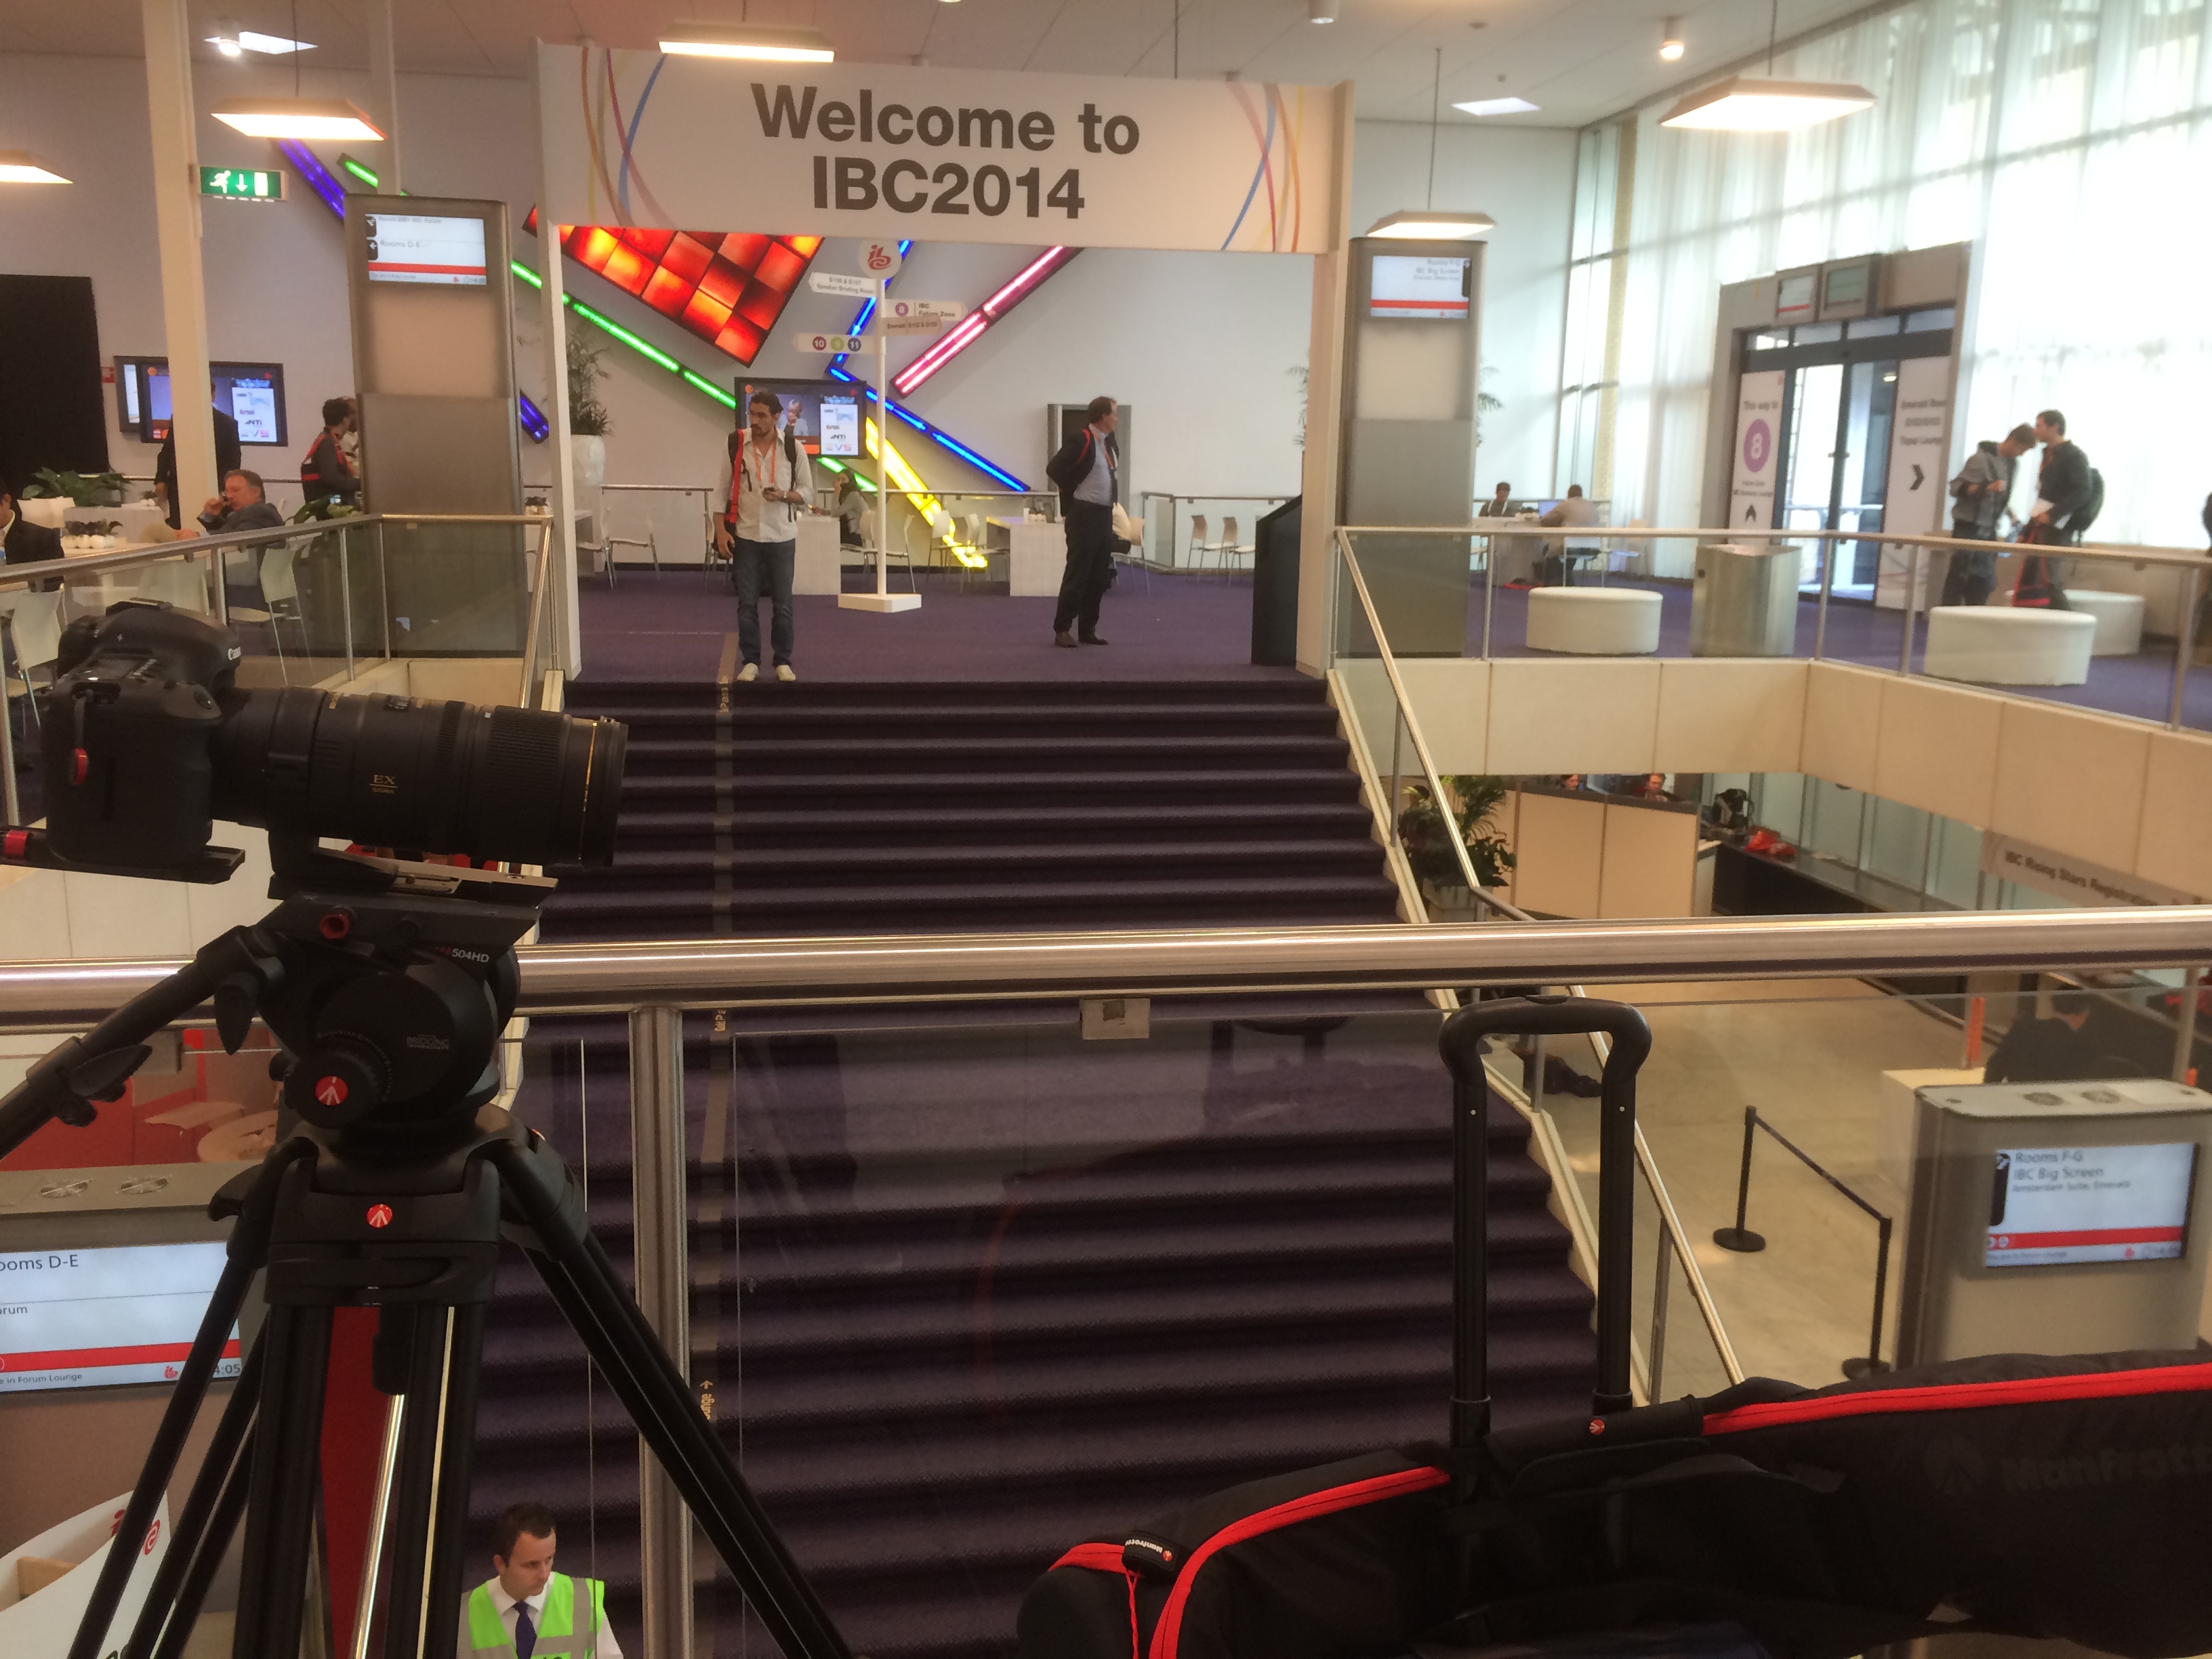
I had to have the above tripod gear after testing them out at my Manfrotto Takeover day, I was impressed by the fluidity of the 504 head when using it with telephoto lenses (as you can see above), however for lightweight, portable and quick 'run and gun' filming, the 755CX3G is a cracking go to set of legs. (Pictured above with the ProMediaGear Arc-Slider) and 701HDV head.

My main camera was: Canon 5D mkIII, and I was frequently using the Tamron 24-70 F/2.8 VC and Sigma 70-200 F/2.8 DC OS for 'go to' lenses around the show. They have a stabilizer in the lens, which means that shake and wobble can be eliminated. I also purchased the Canon 100mm F/2.8L macro lens before the trip for detail shots, but I fell in love with it for capturing everything; crisp and beautifully shallow portraits too.

adam plowden videography at ibc show 2014 canon 100mm macro l series sony professional interview

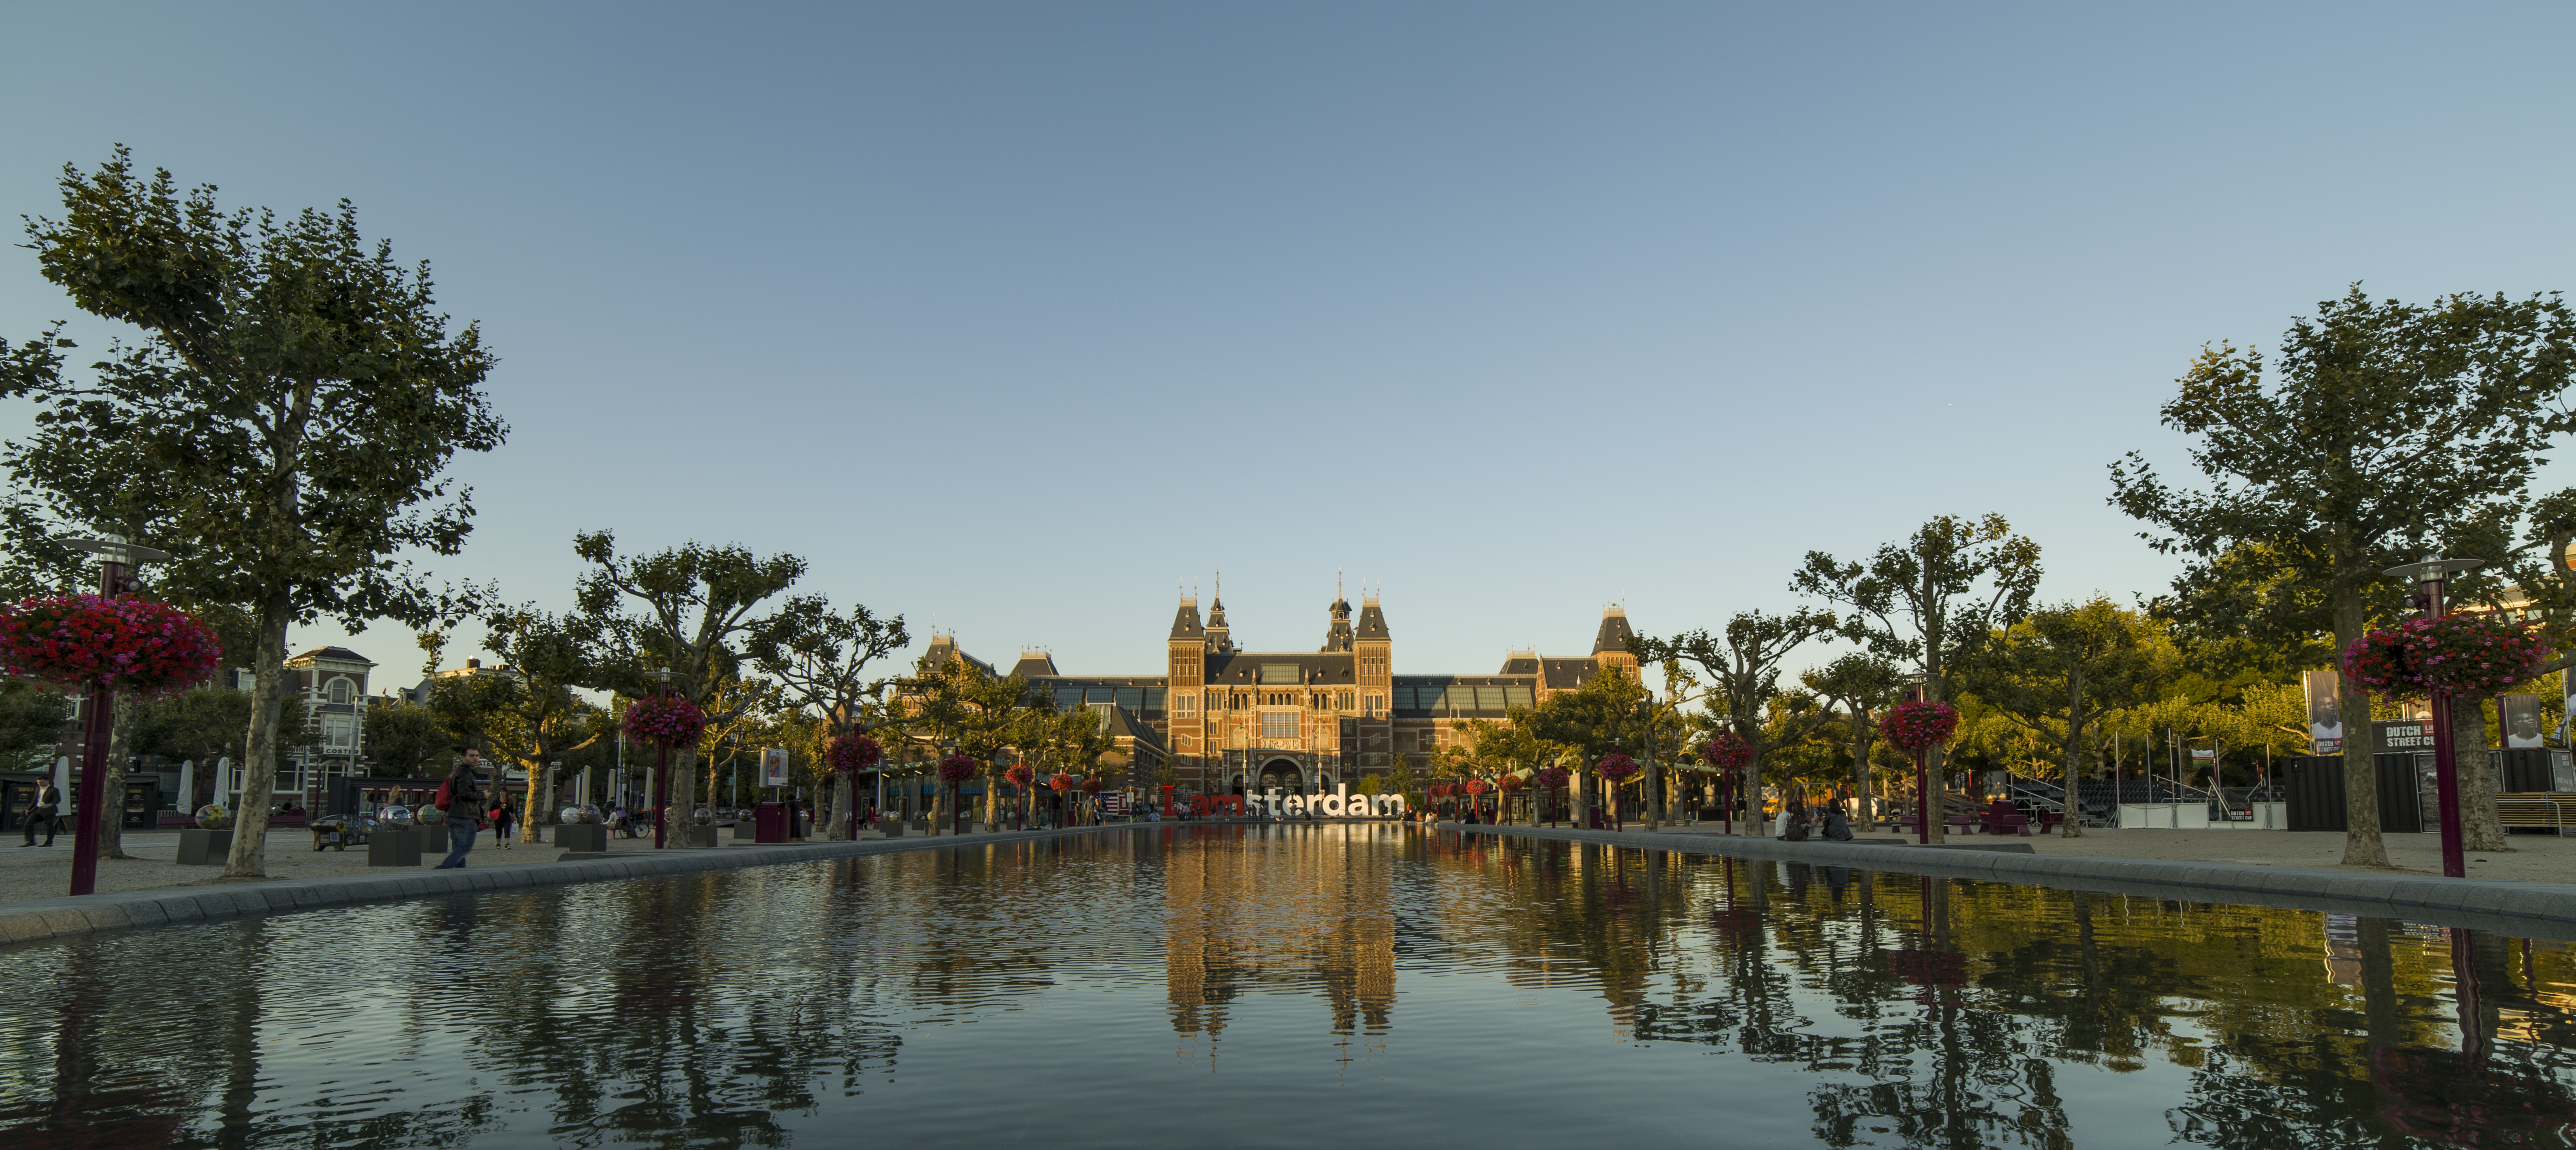
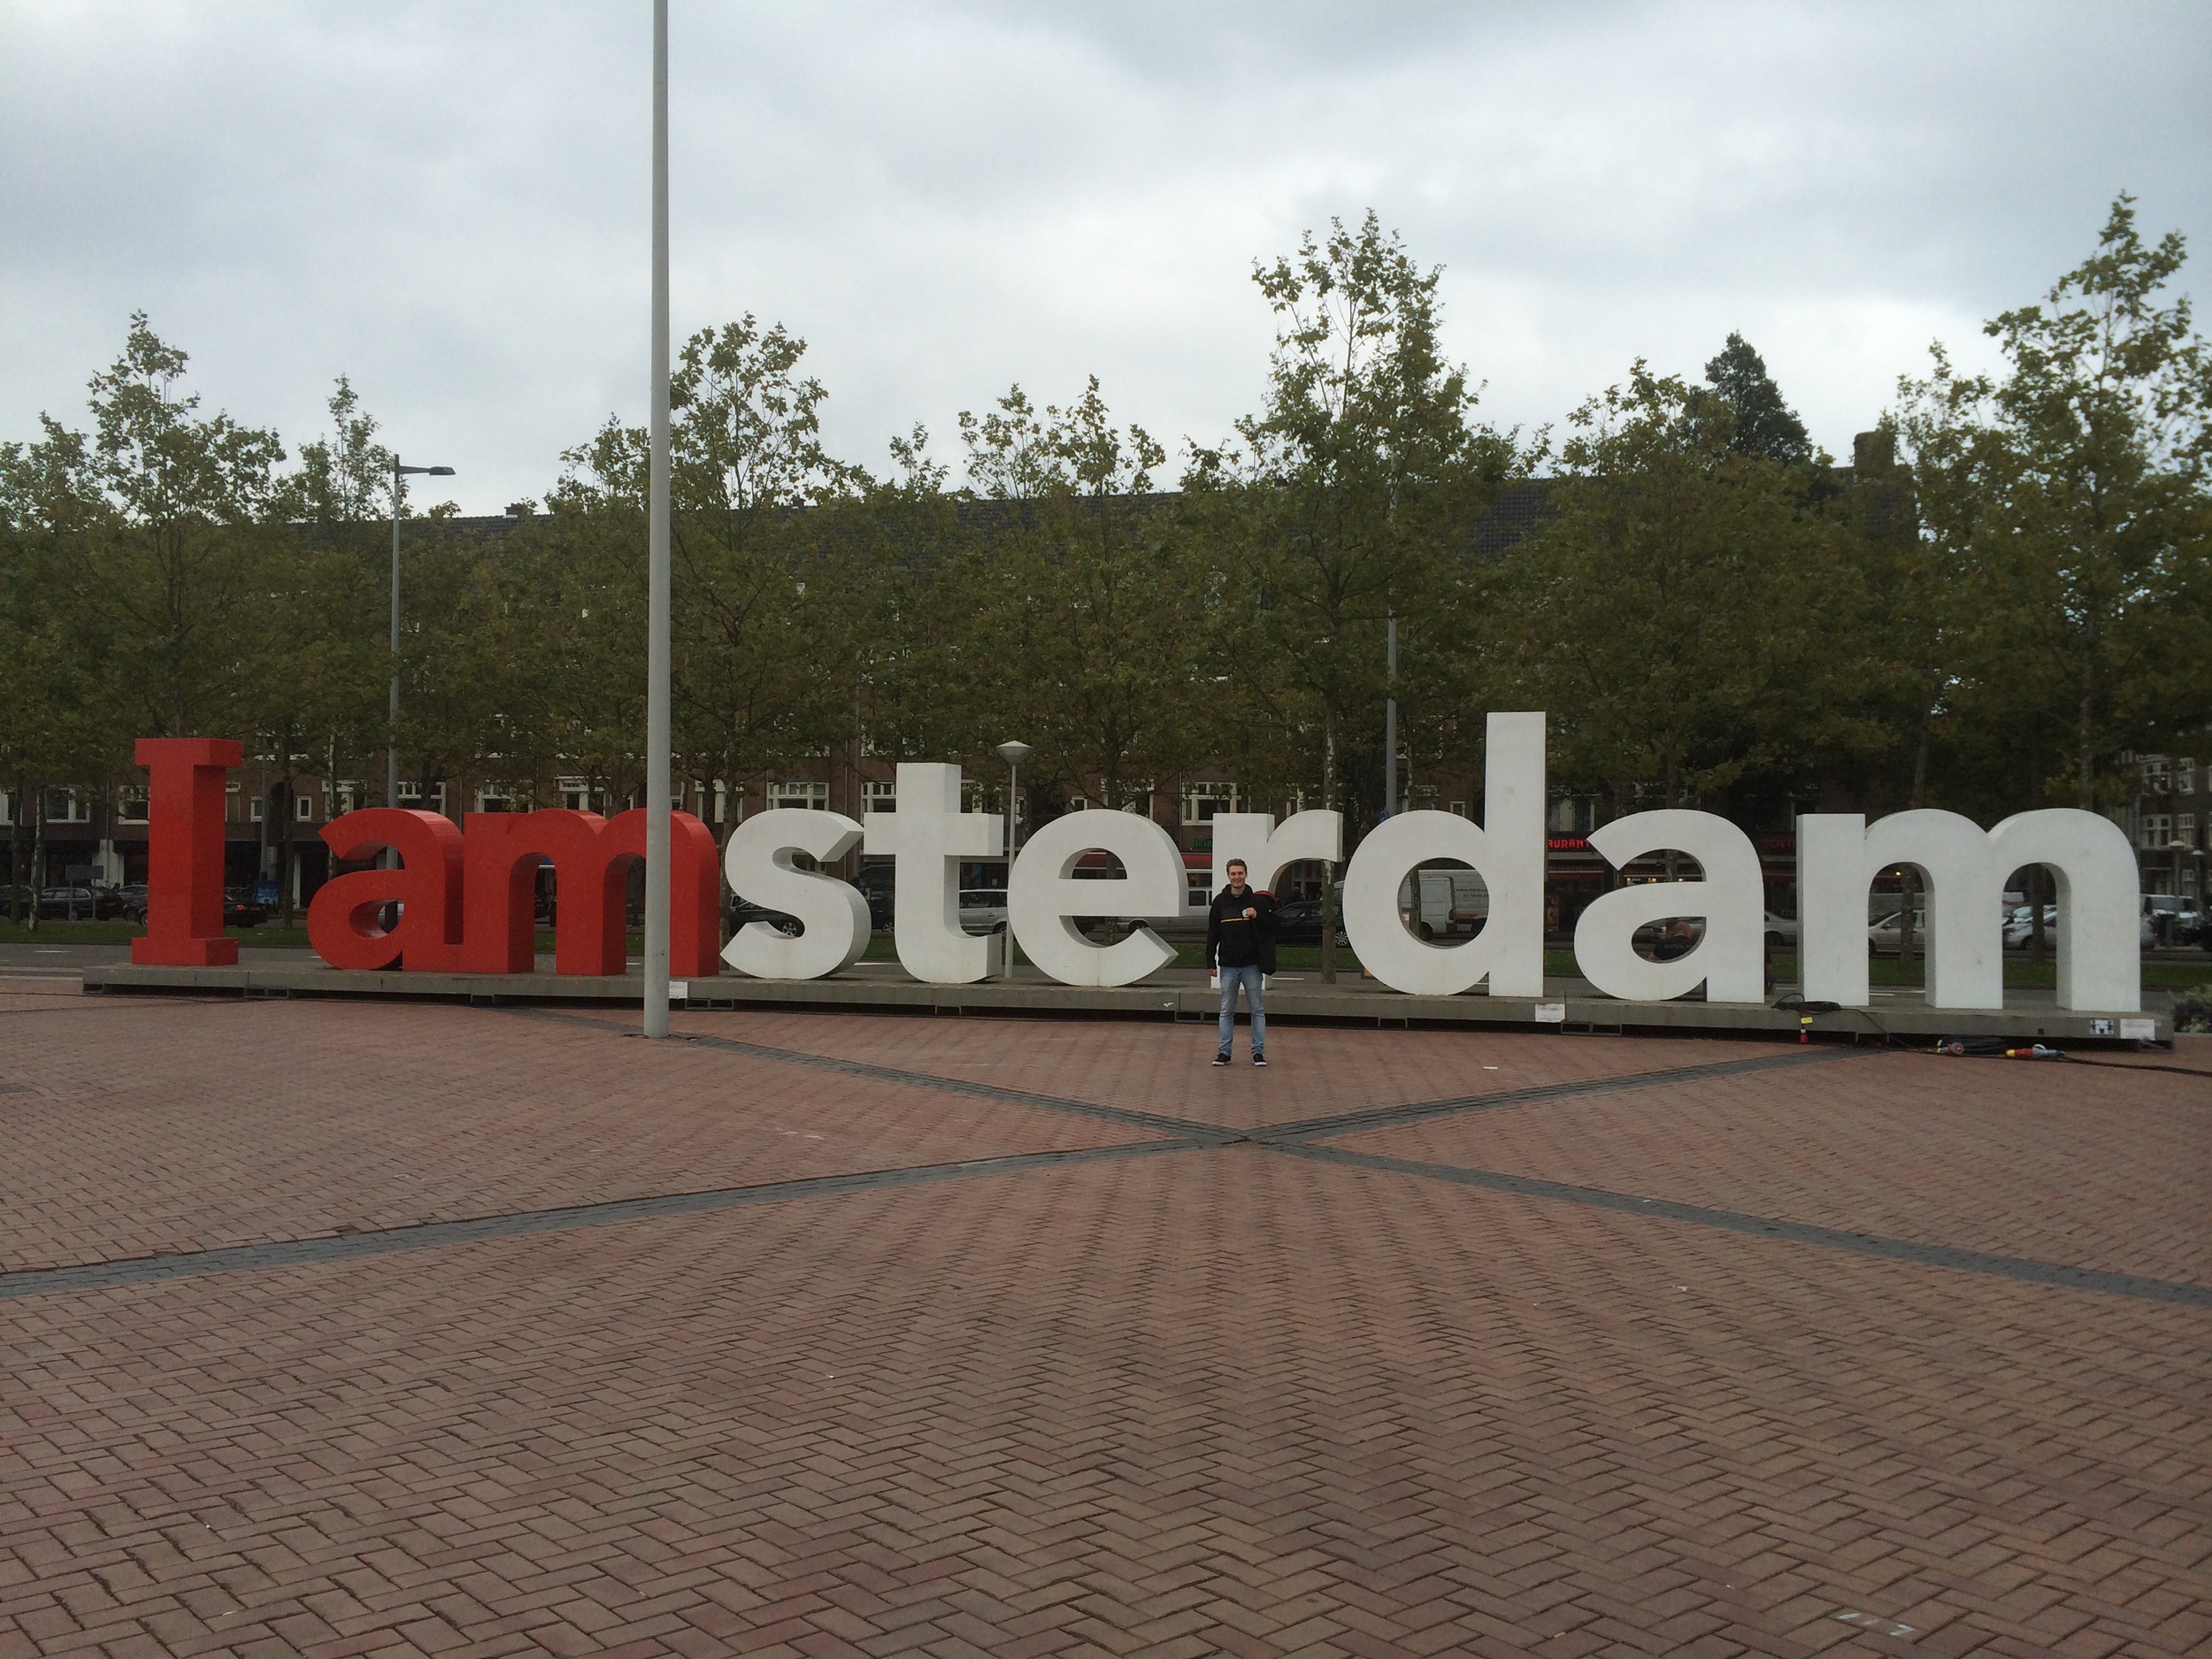
For establishing and wide shots, the Samyang 14mm T/3.1 cine lens came into it's own. On a full frame camera it has a huge wide angle view allowing to capture the biggest of expanses with clarity.

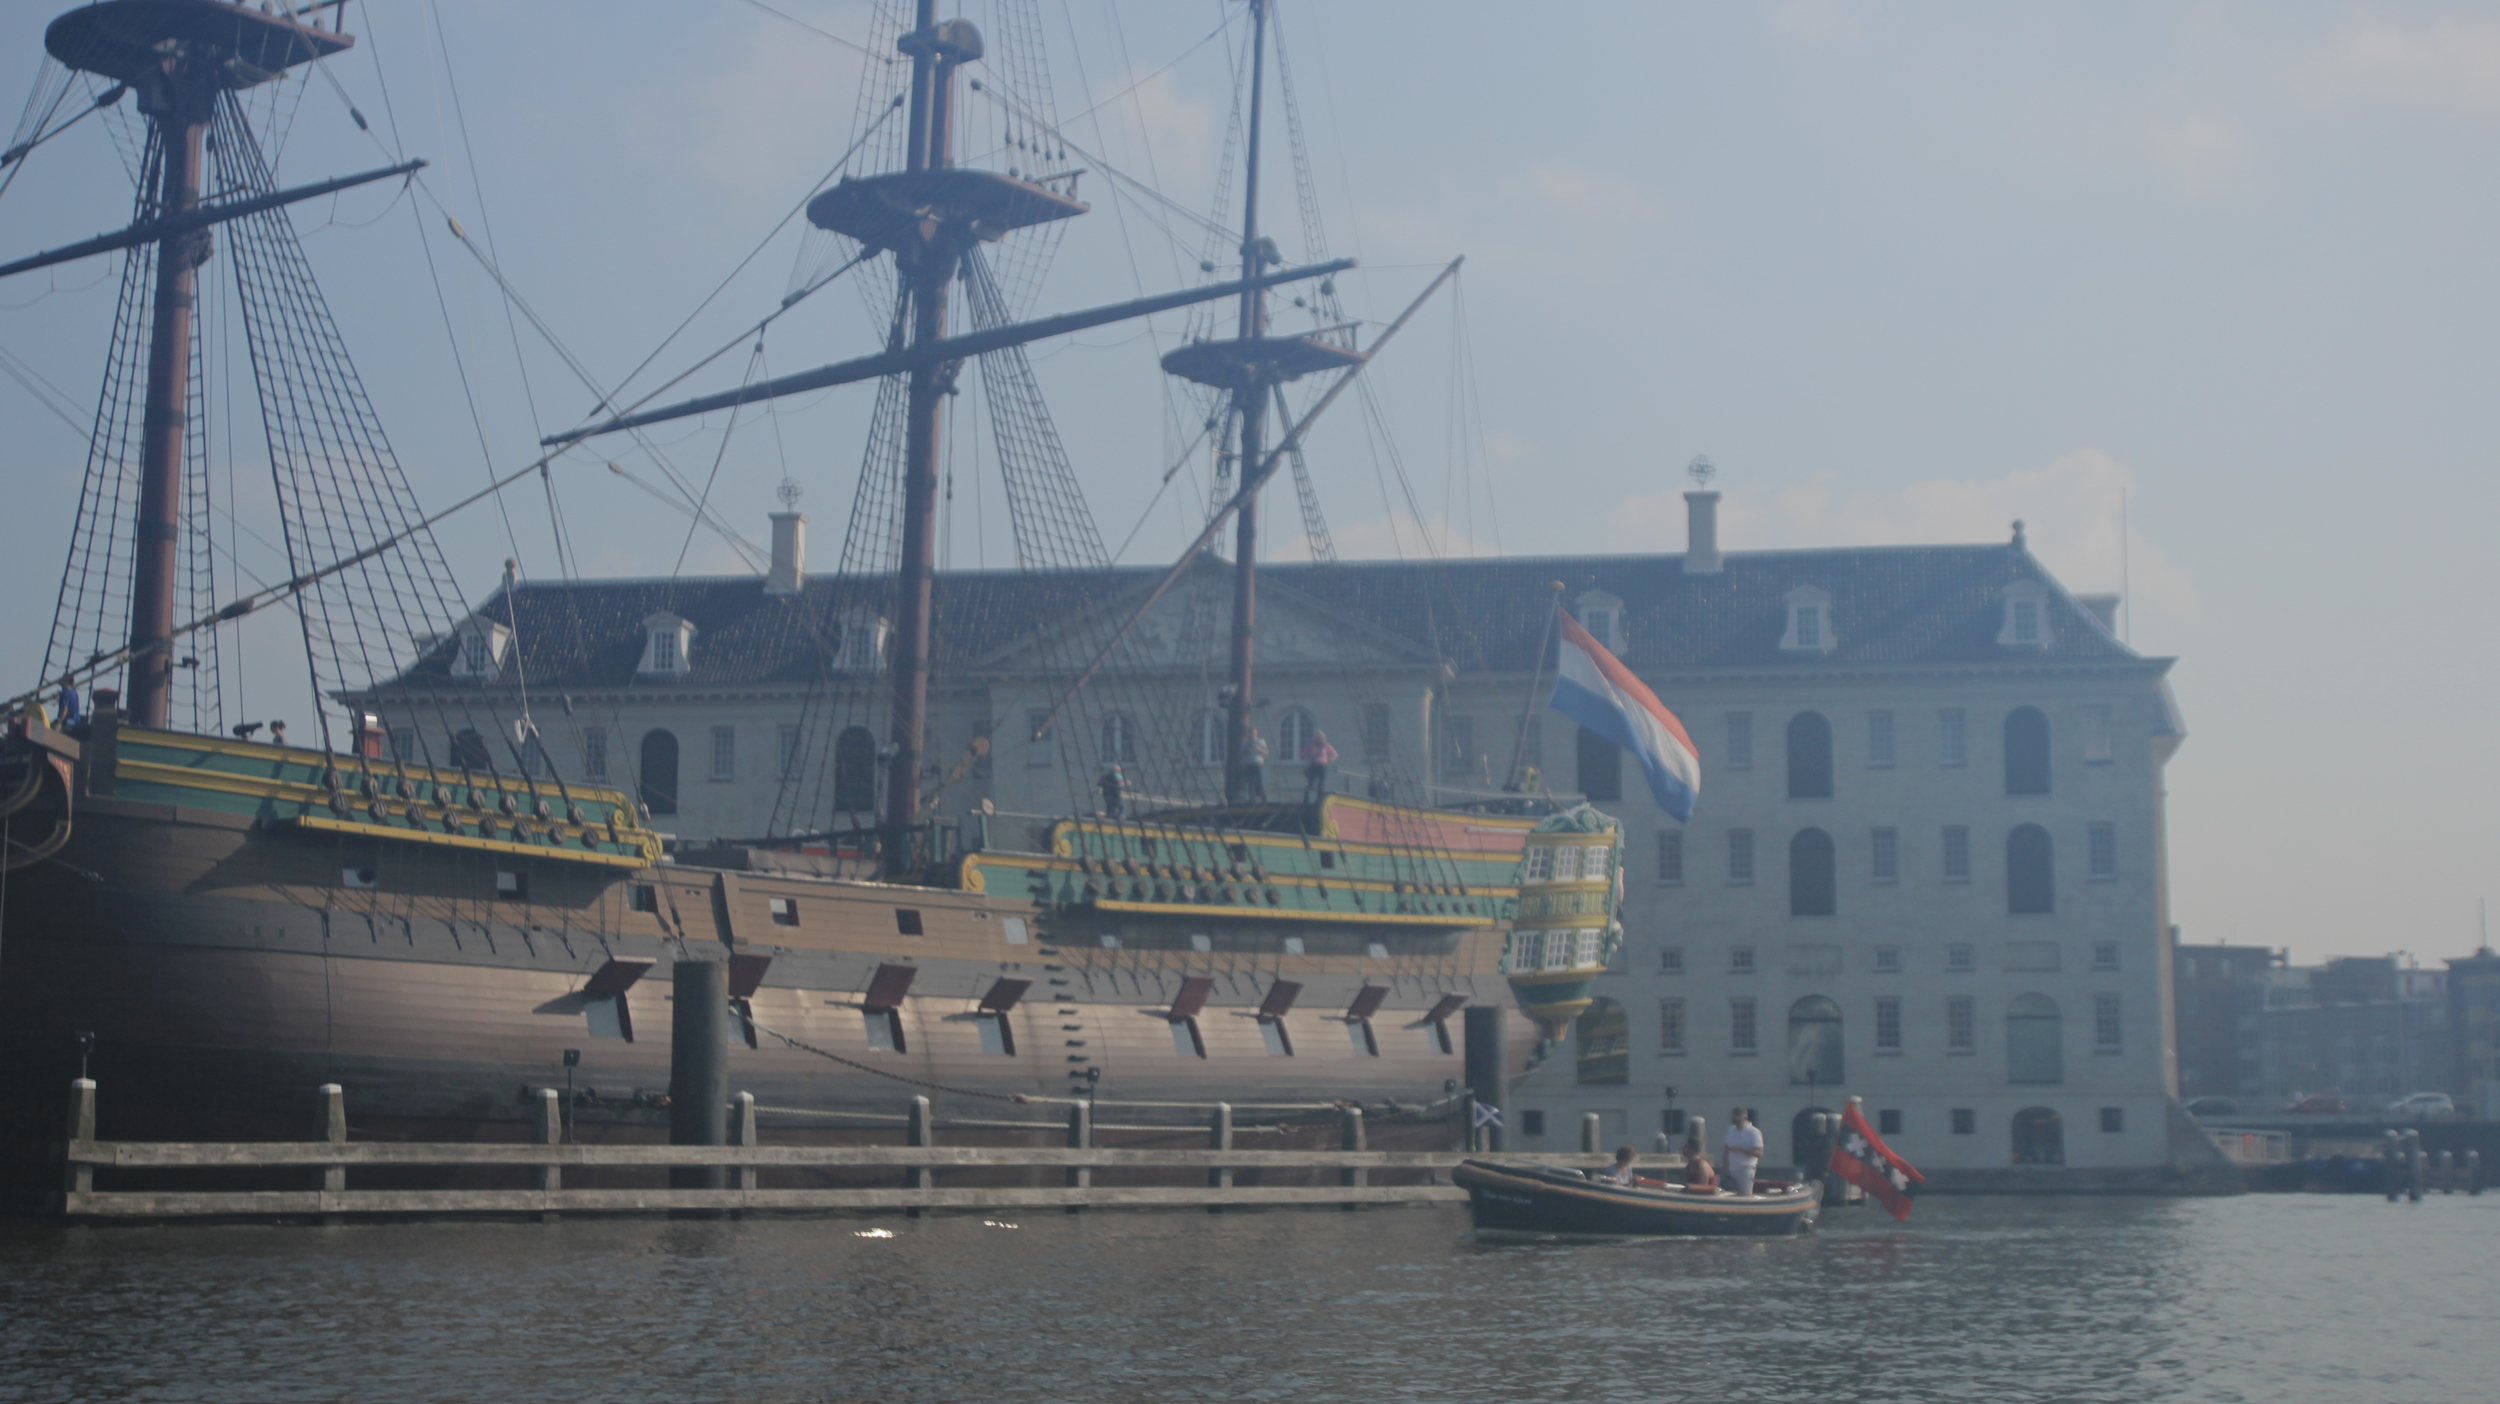
museumplein iamsterdam canon 5d mkiii samyang 14mm tourism wide adam plowden videography IBC show 2014

Day 2 - Thursday 11th September - Welcome to IBC

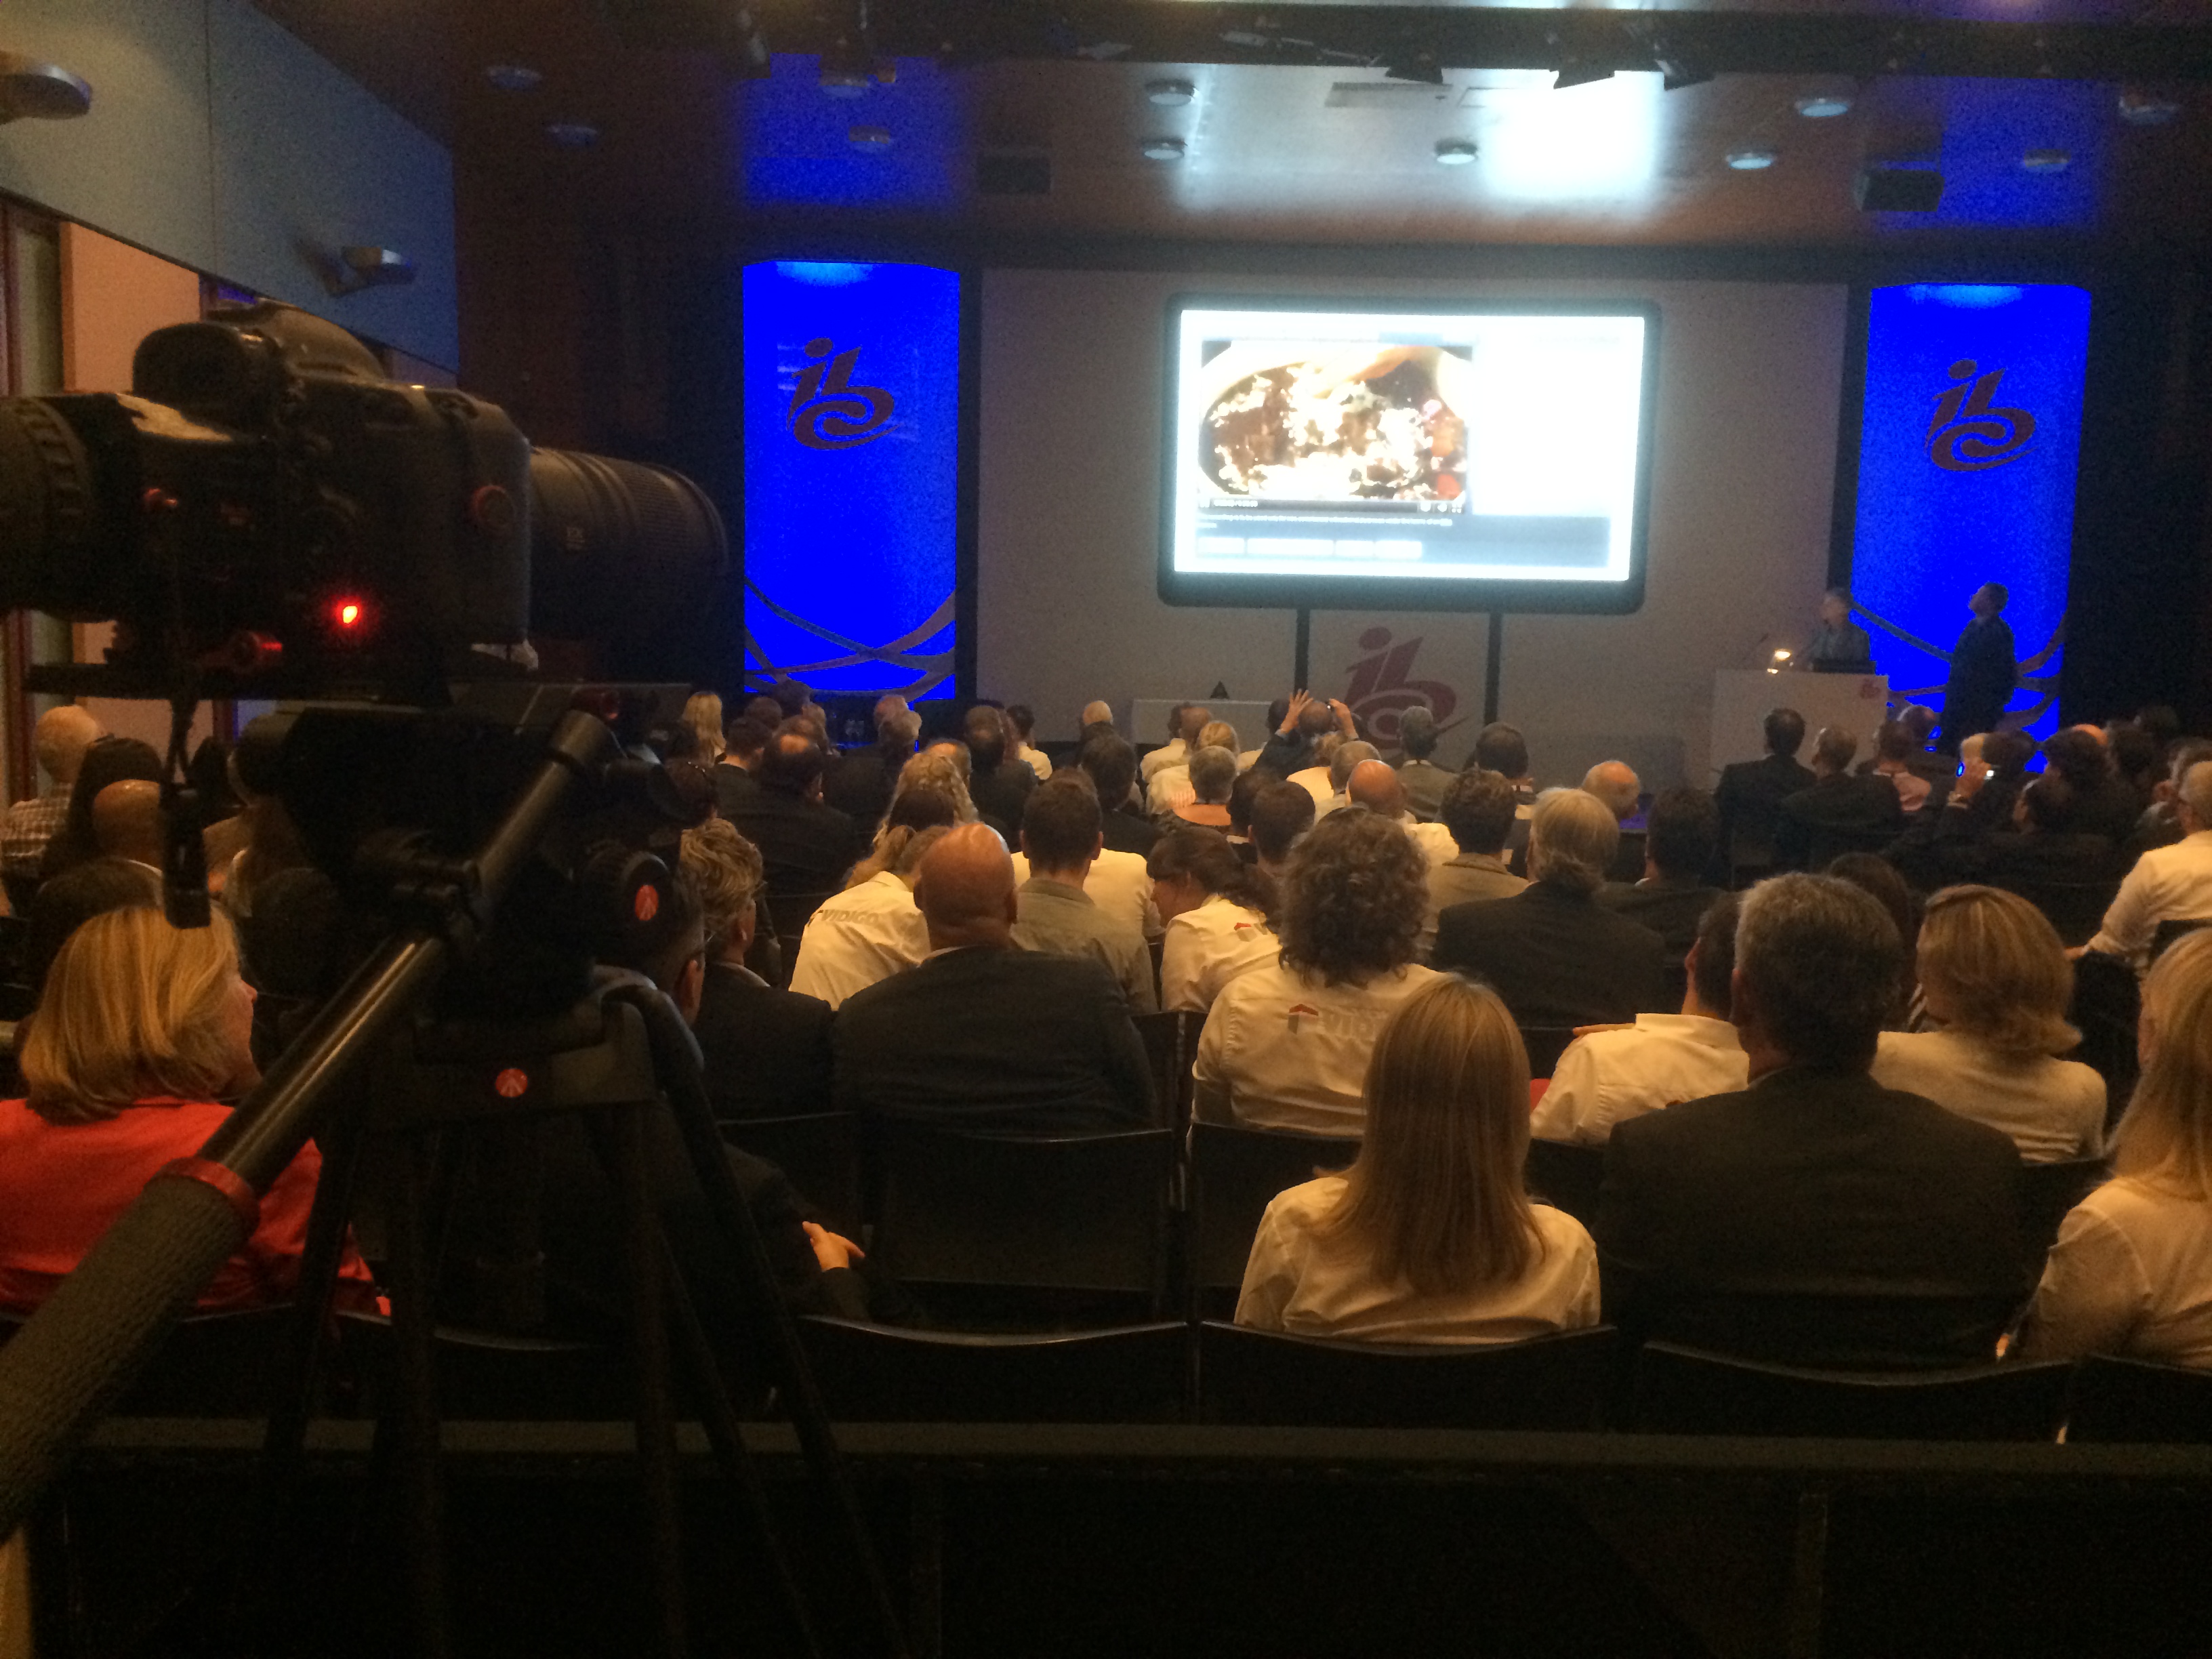
Things are gearing up at the RAI; exhibitors are flooding through the doors, the stands are quickly being finished and the equipment is on display. IBC Show 2014 is getting ready to open its doors to 50,000 broadcasting, media and IT professionals from across the globe. We began filming the exterior the the RAI with visitors entering the venue and registering in the main foyer; the arc slider and 14mm lens create a wonderful moving perspective. After a short explore around hall 10 and 11 we made our way to The IABM Members Lounge to film an exclusive interview with Peter White, CEO of The IABM.

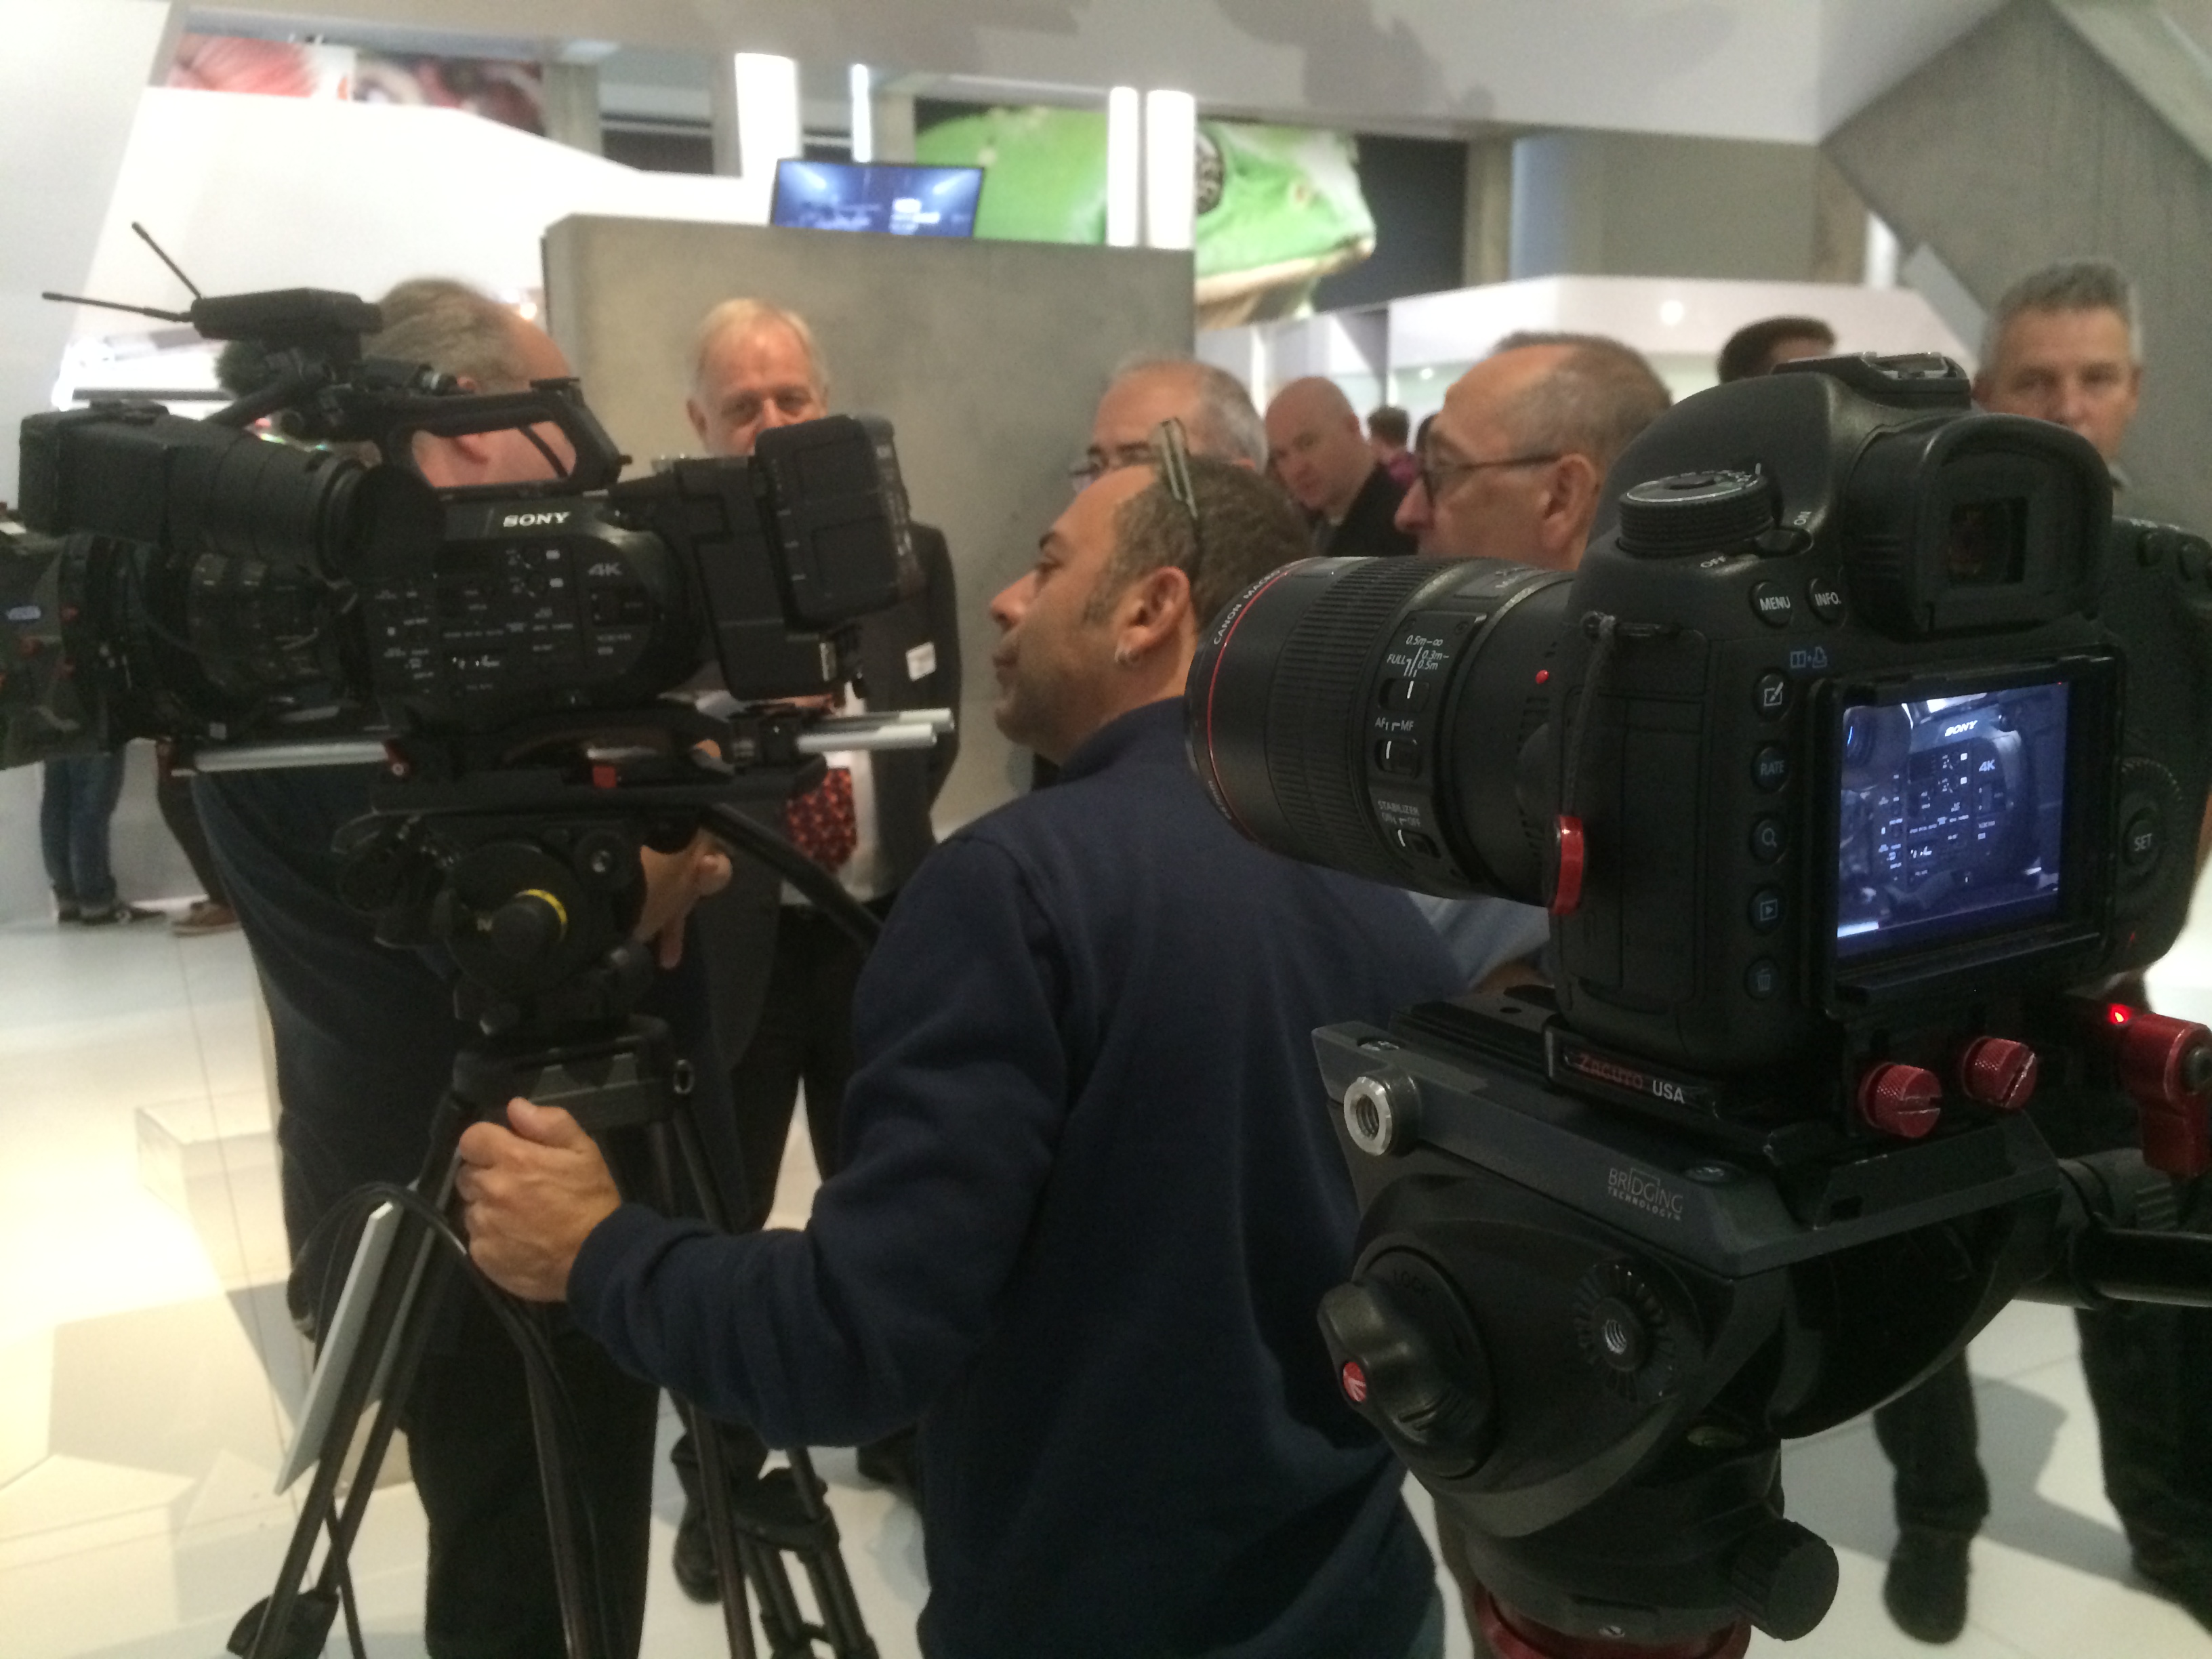
The IABM is a global broadcasting organization, representing nearly 80% of the broadcasting industry. The members have access to an exclusive members lounge, the IABM business conference, design & innovation awards and much more. It was our job to capture the events, conferences and members at IBC to promote and inform others about the successes at the show. For the interview, I used the Canon 5D mkIII, Tamron 24-70mm, the B cam was a Canon 60D with Canon 50mm F/1.8. For a reliable audio source I used the Zoom H6 (multi-channel recorder) with the MS mic attachment, as well as the Sennheiser ENG-G3 wireless mic kit; this was so I could attach a lav mic on the interviewees for clear sound.

Yes, this did mean throughout the week we had different video and audio sources, but Red Giant Pluraleyes aided greatly in syncing up the V&A for editing in Adobe Premiere Pro CS6.

BTS editing IBC IABM intro video amsterdam

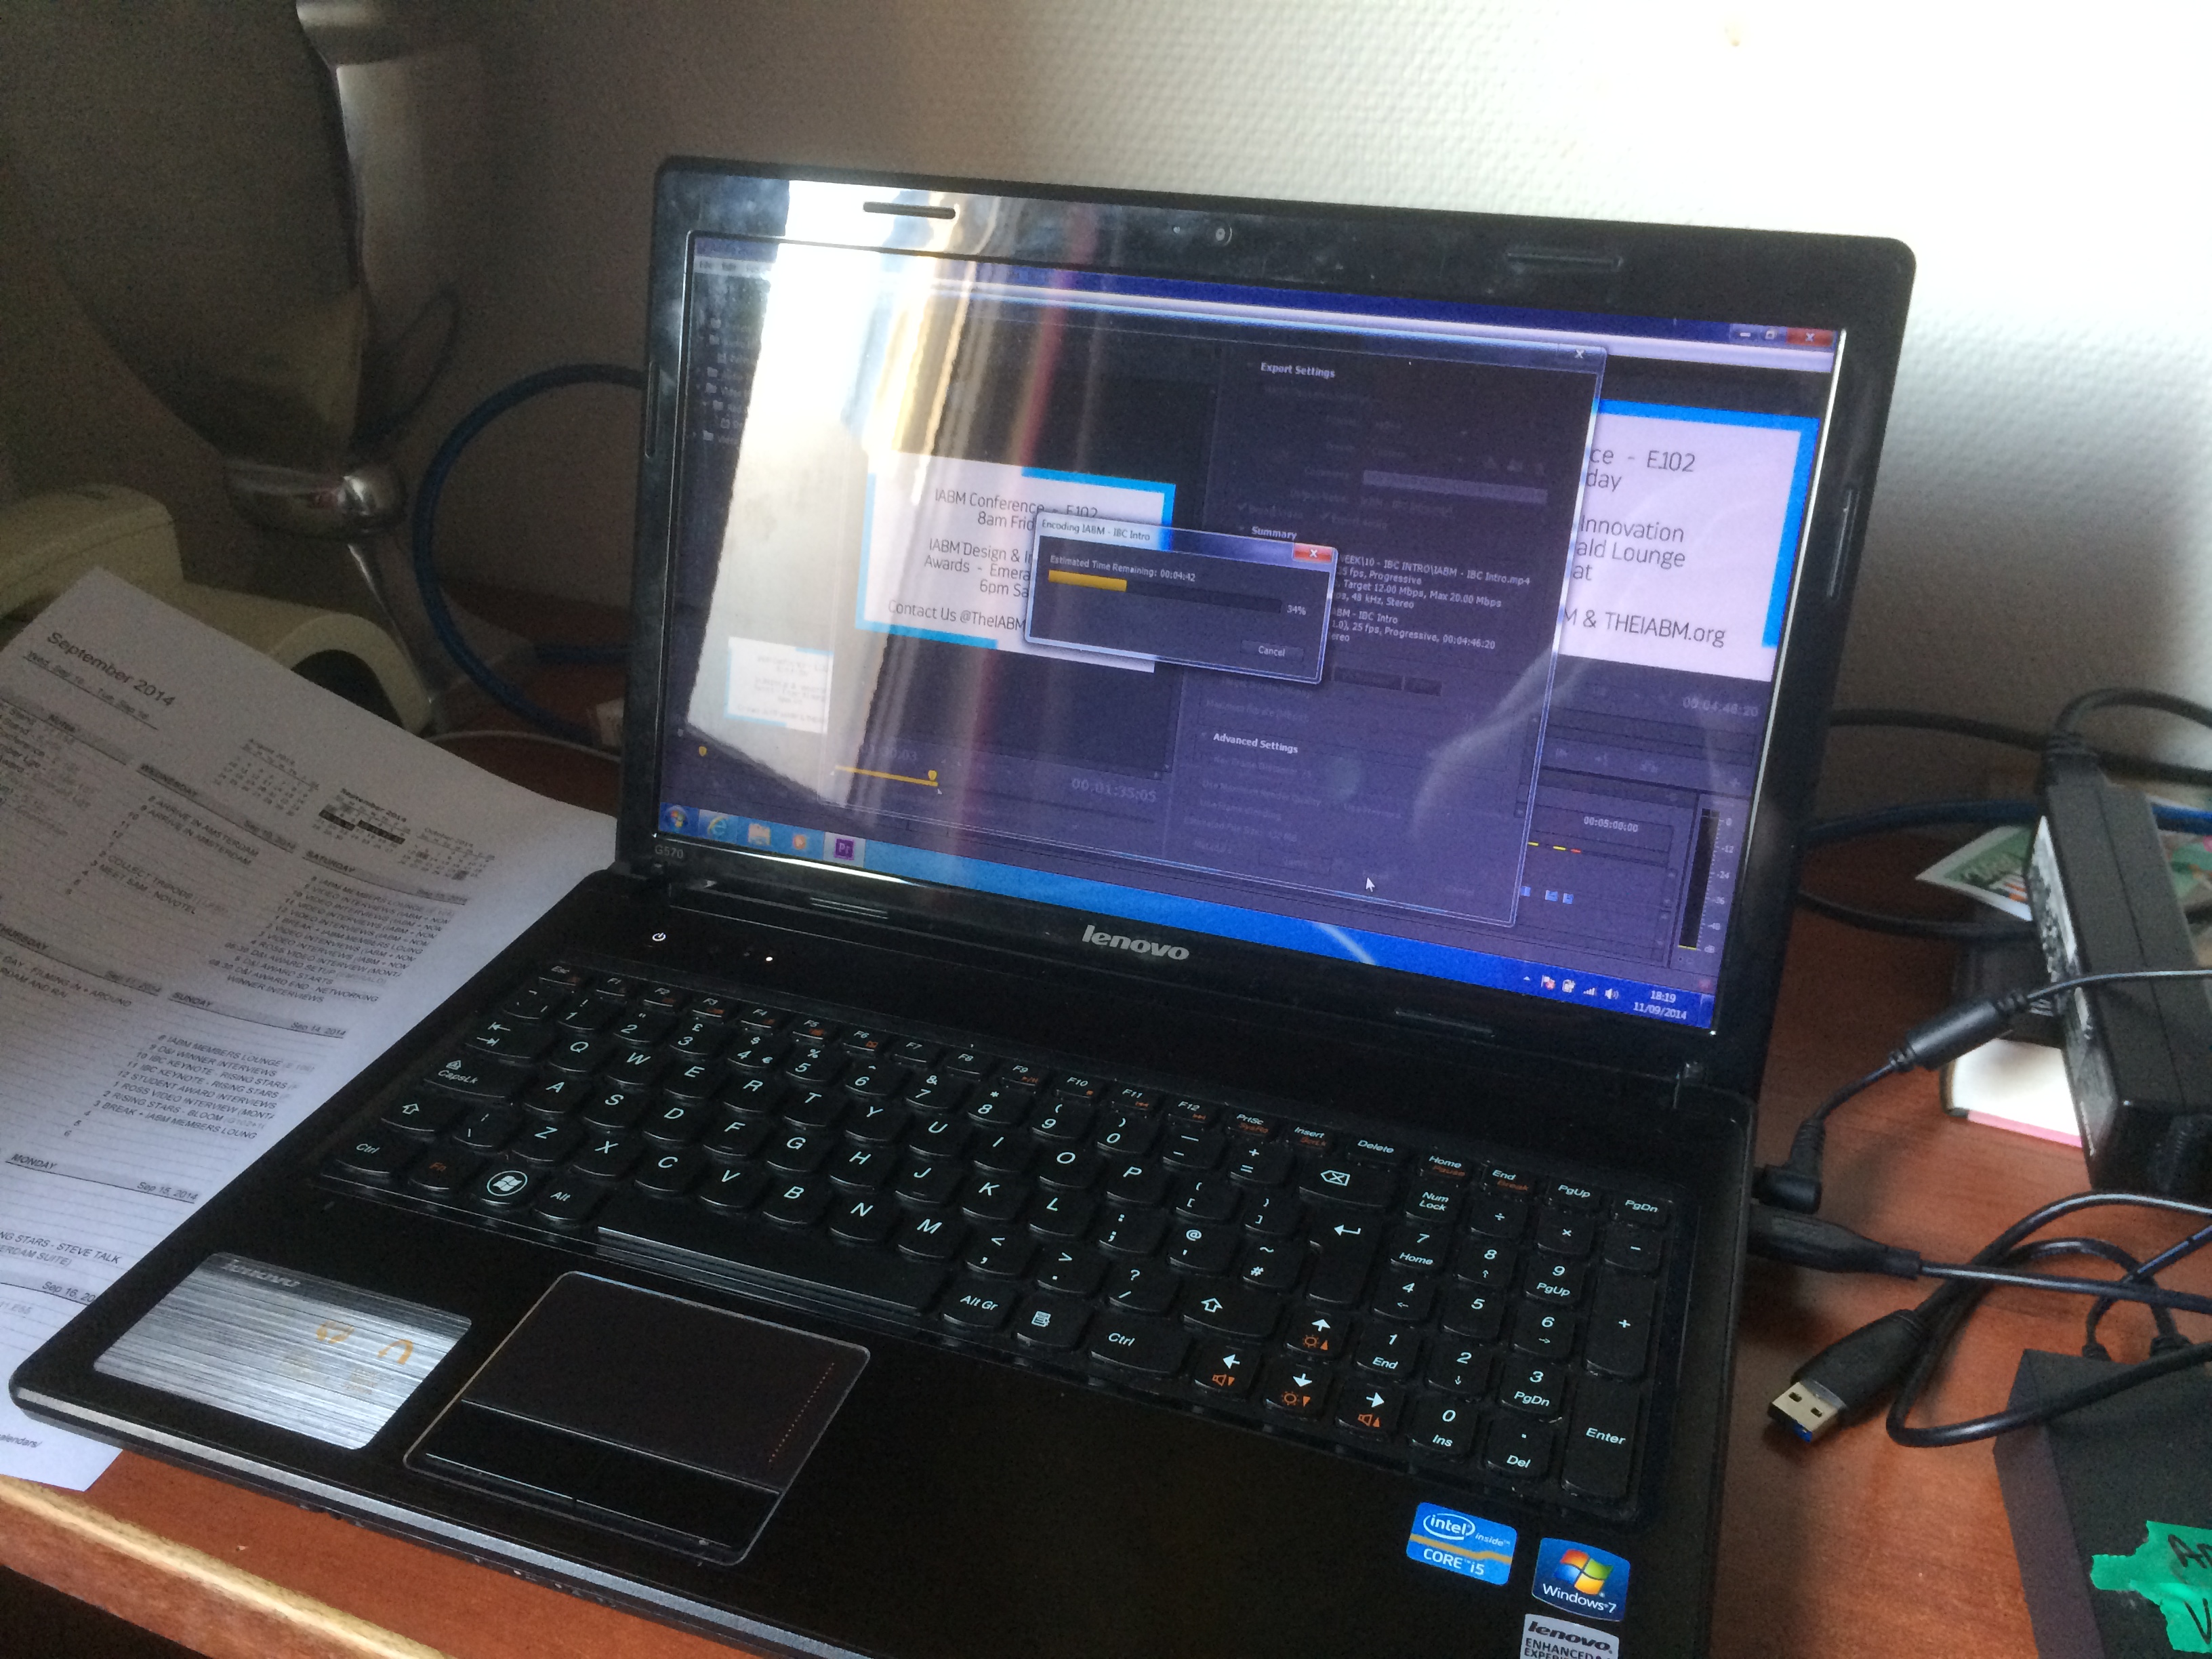
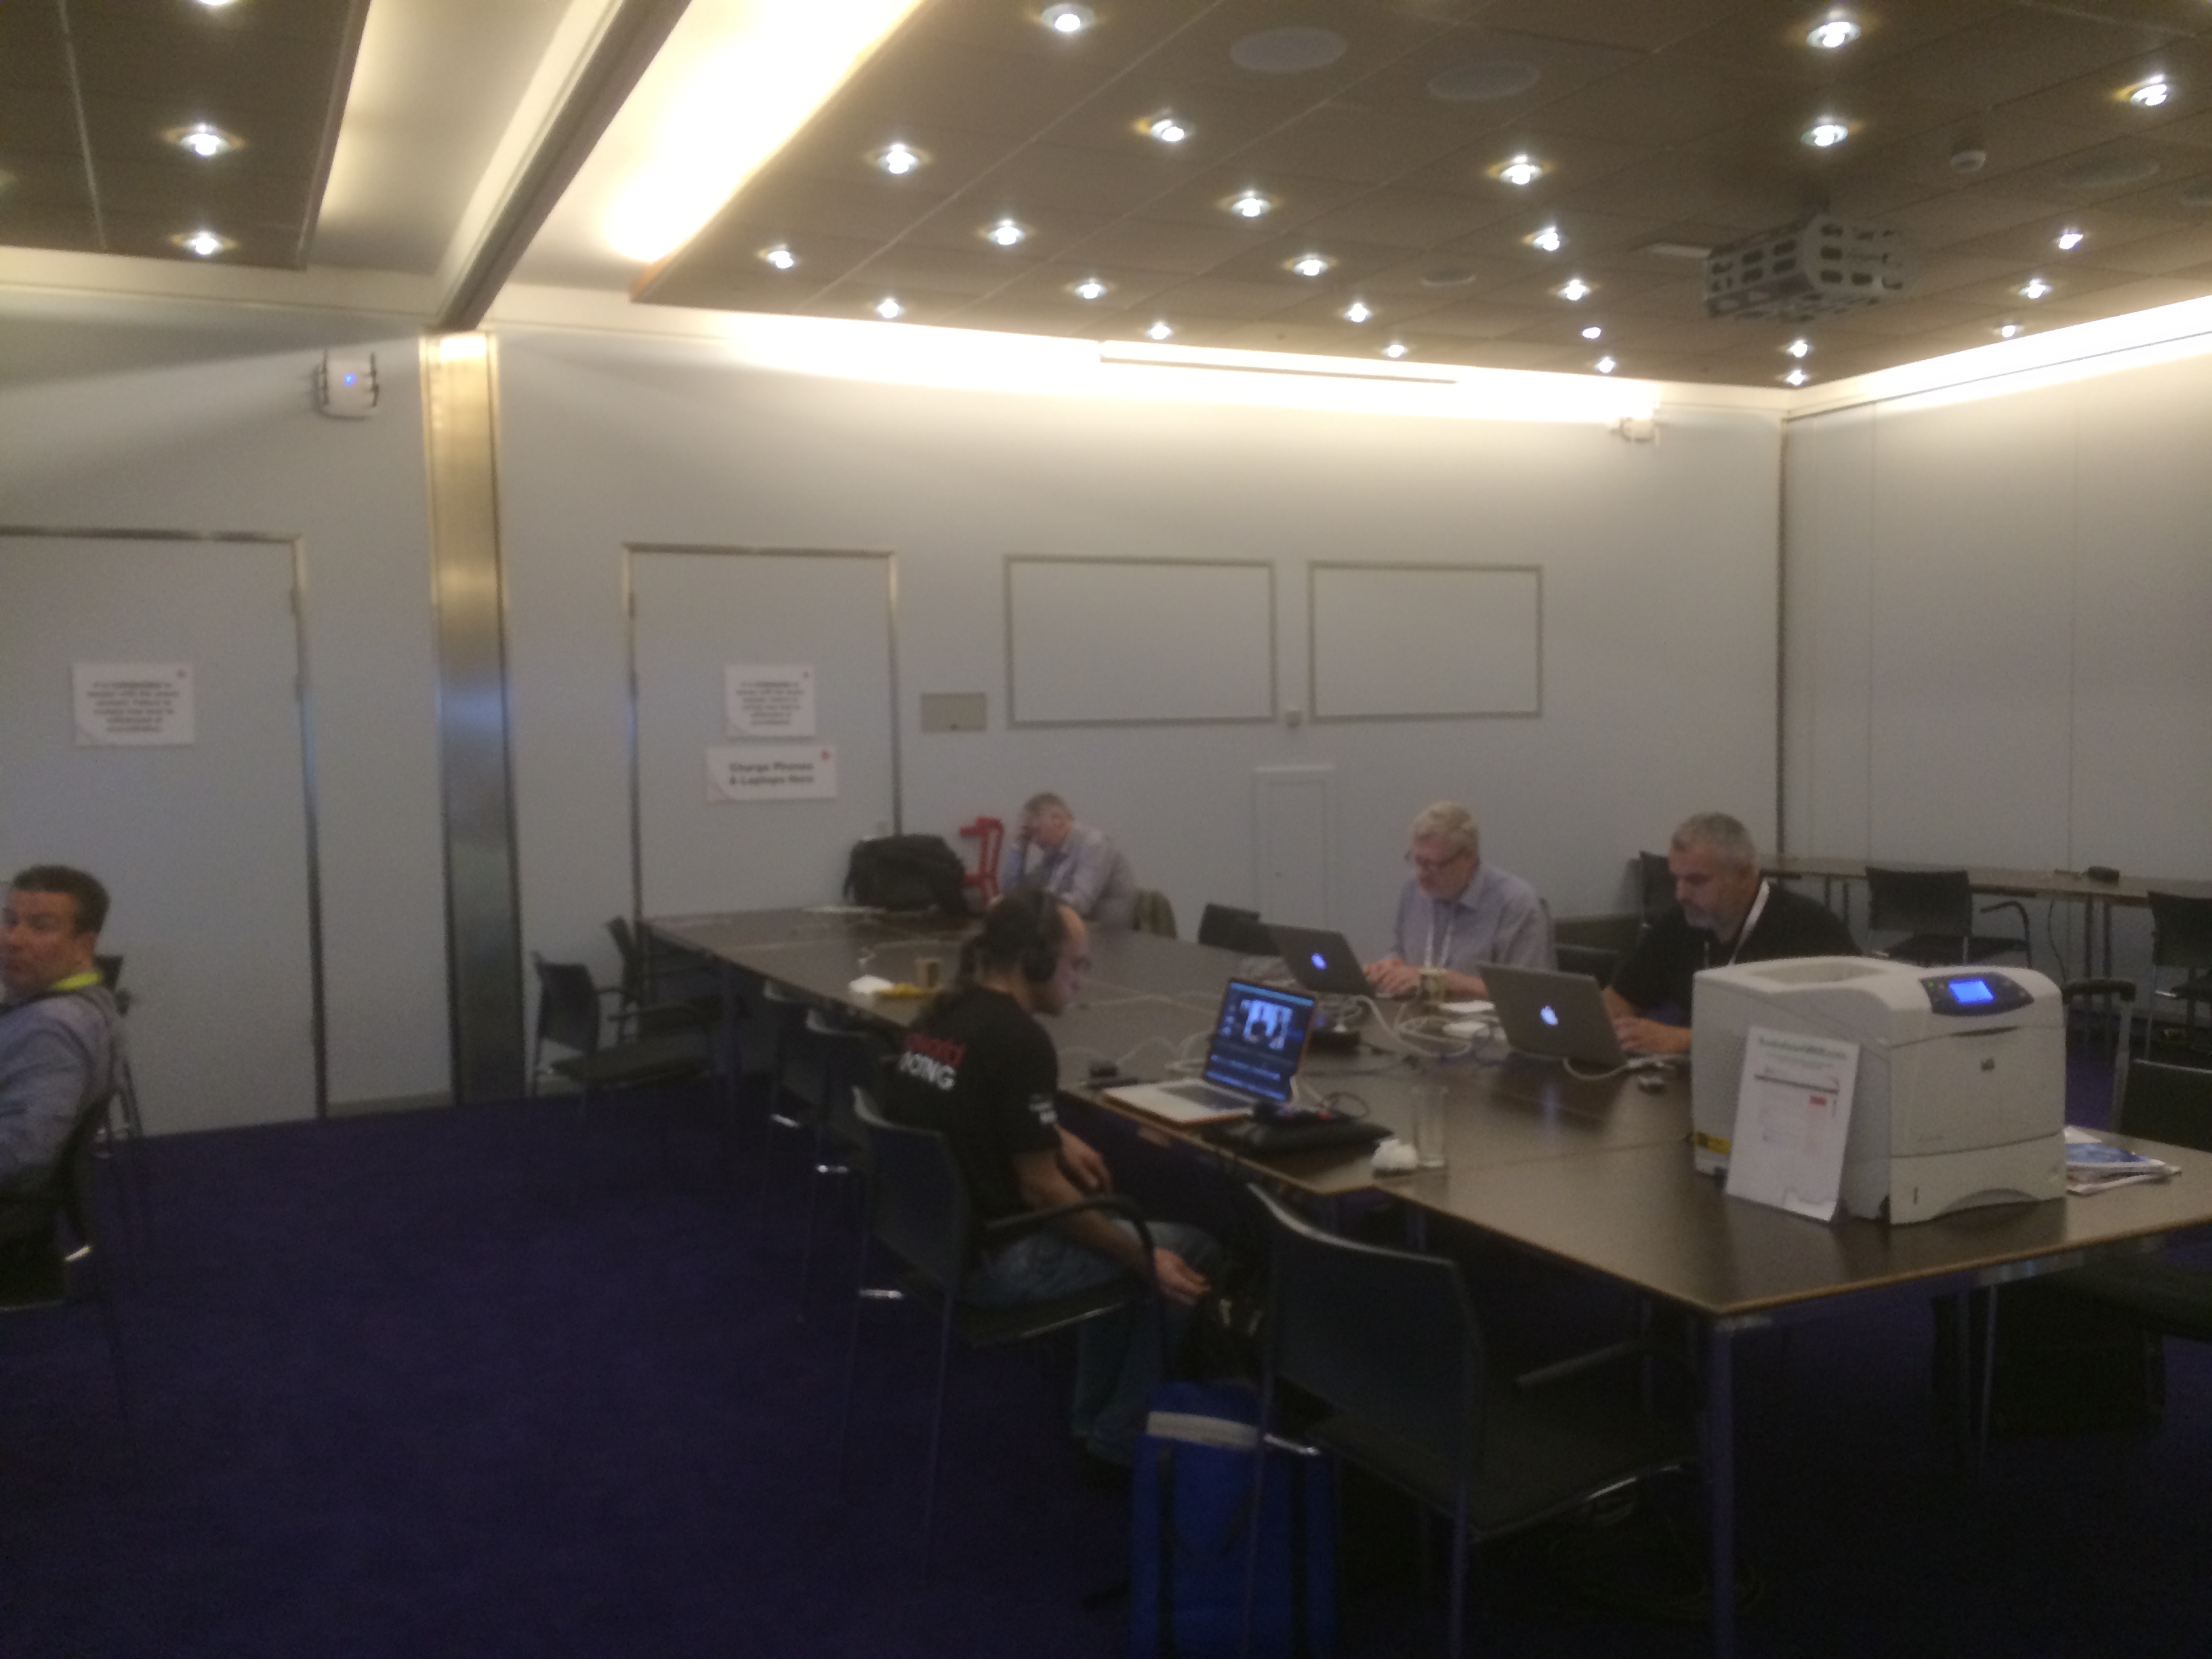
Editing the IBC Intro video with Peter White on my laptop, yes, Windows laptop!

After capturing the buzz and excitement of pre-IBC, we headed back to our hotel to edit the intro video for the IABM members to see. The editing was fast, but the uploading was terrible via Wi-Fi, having learned our lesson, we uploaded the rest of the videos in the press room at IBC instead! Unfortunately, the video is only viewable for IABM members, so here is a quick screenshot.

iabm intro video at ibc show 2014 adam plowden videography

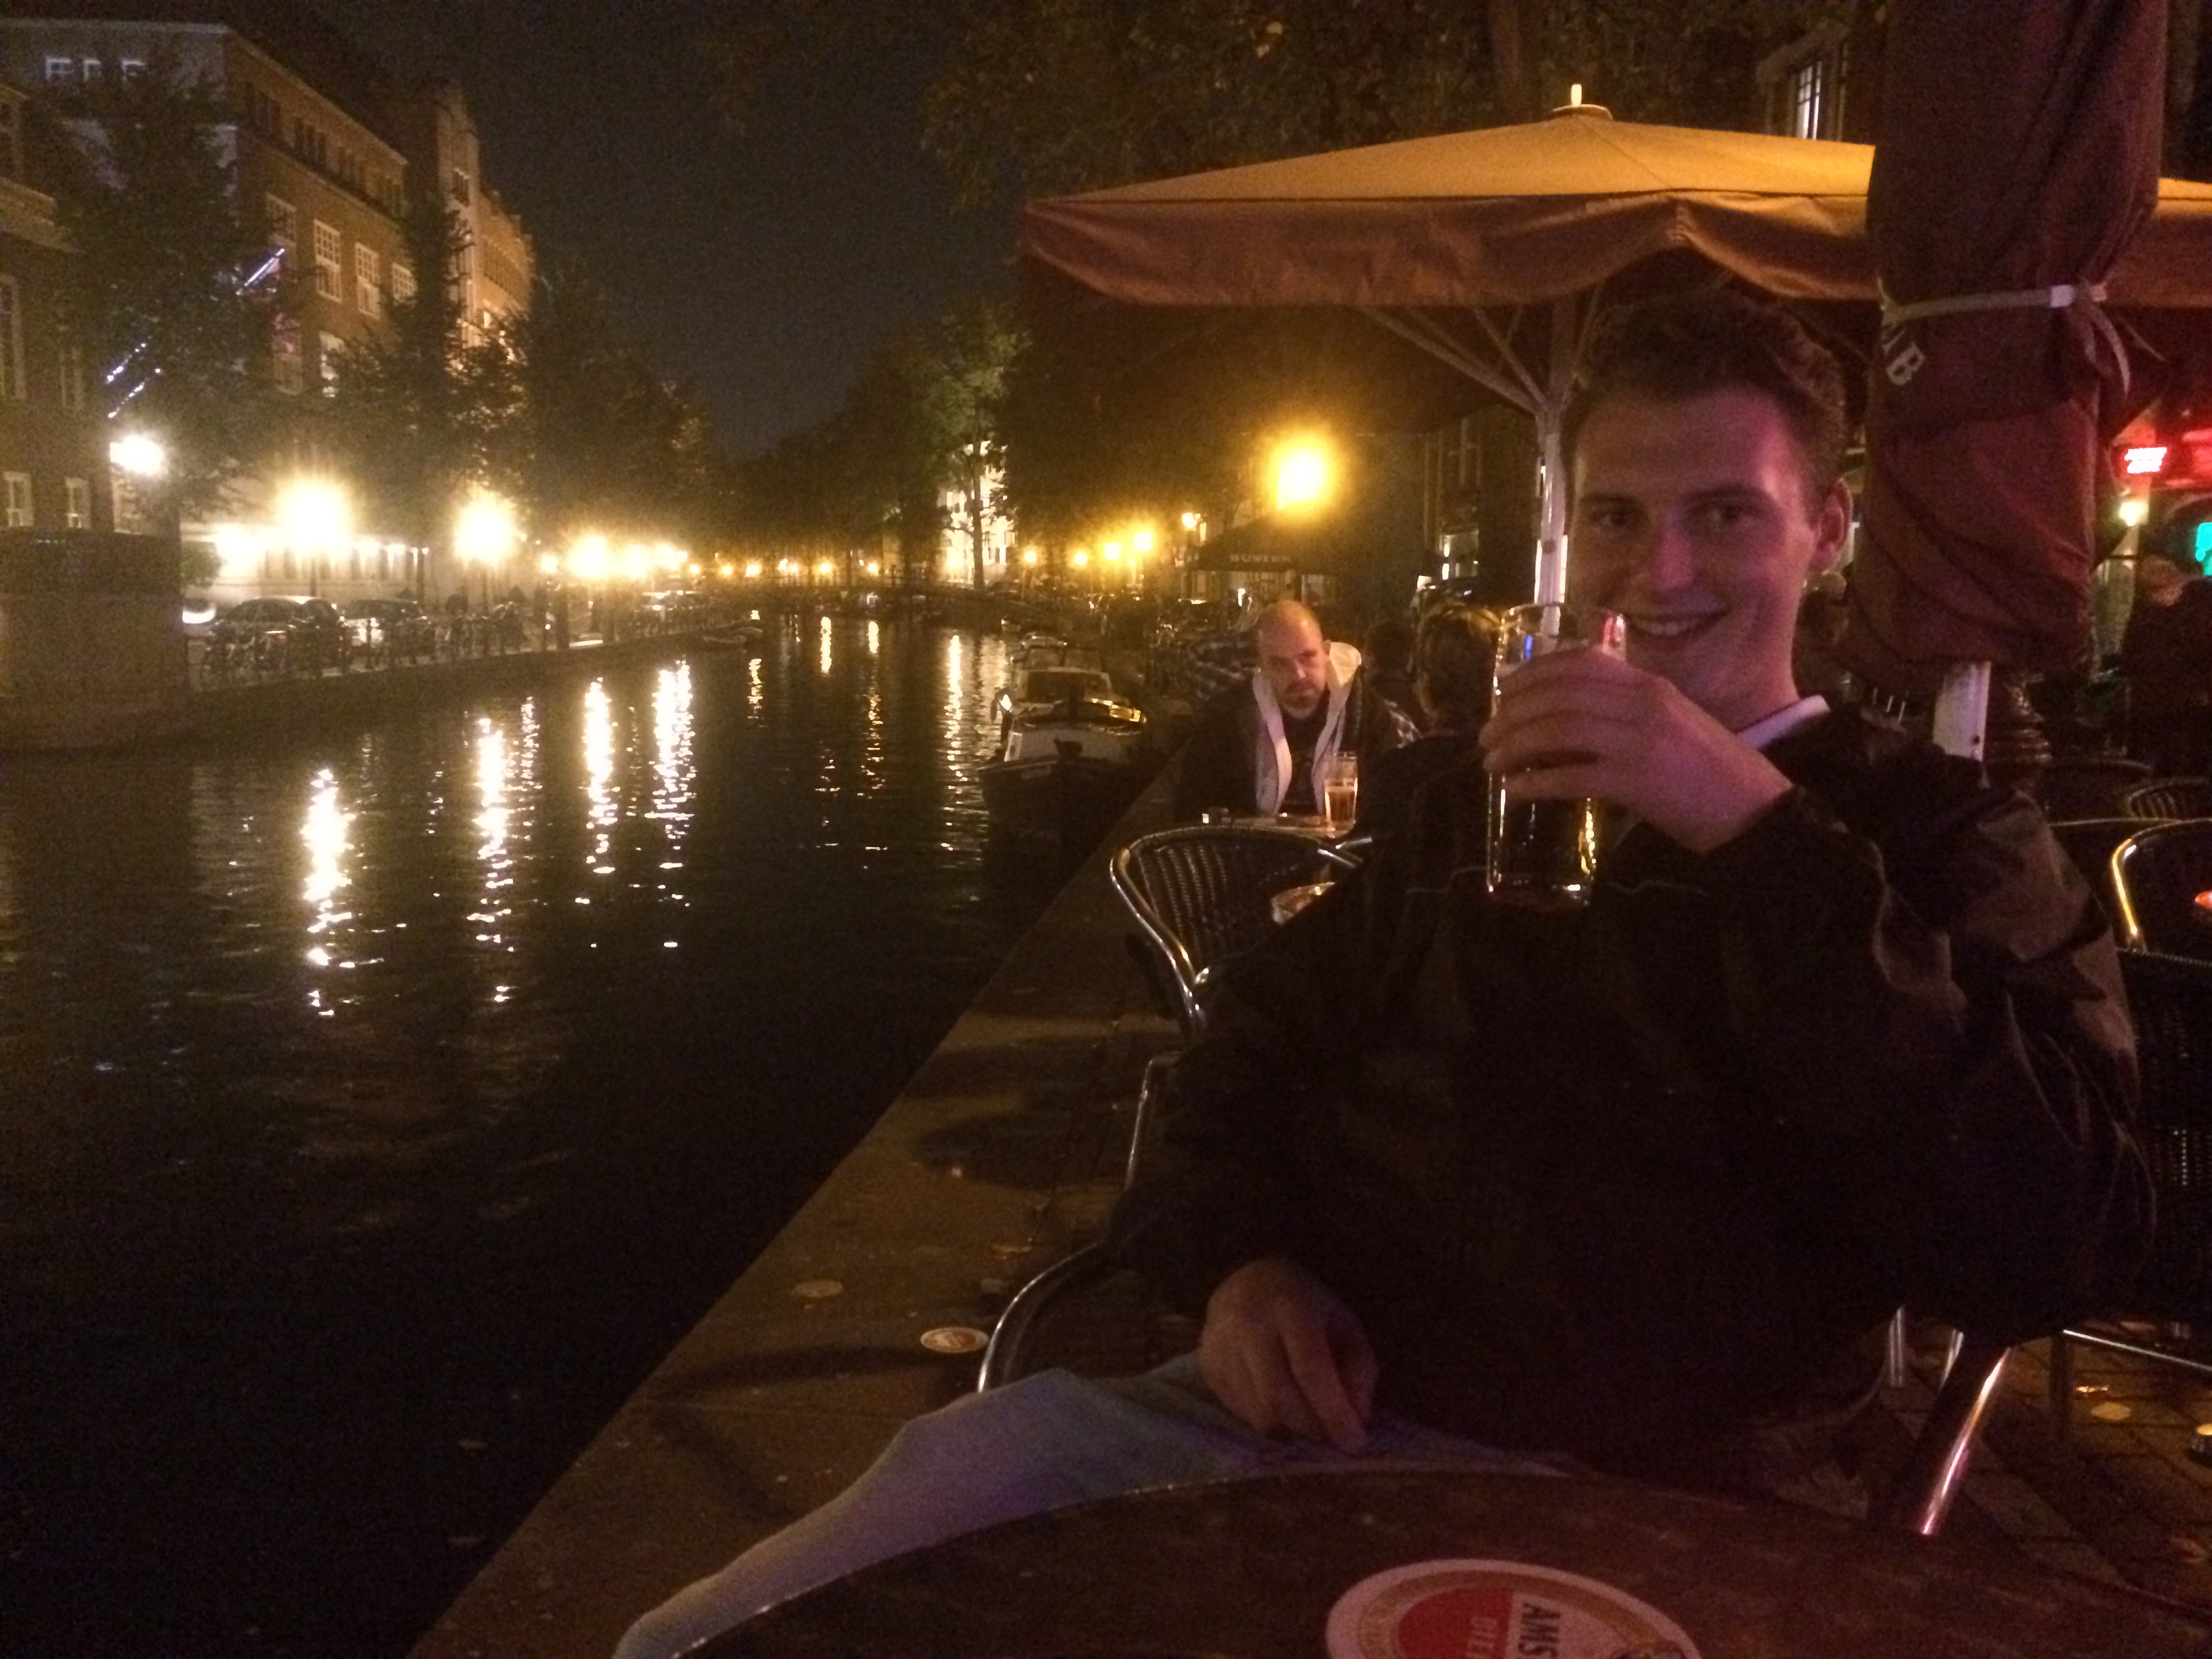
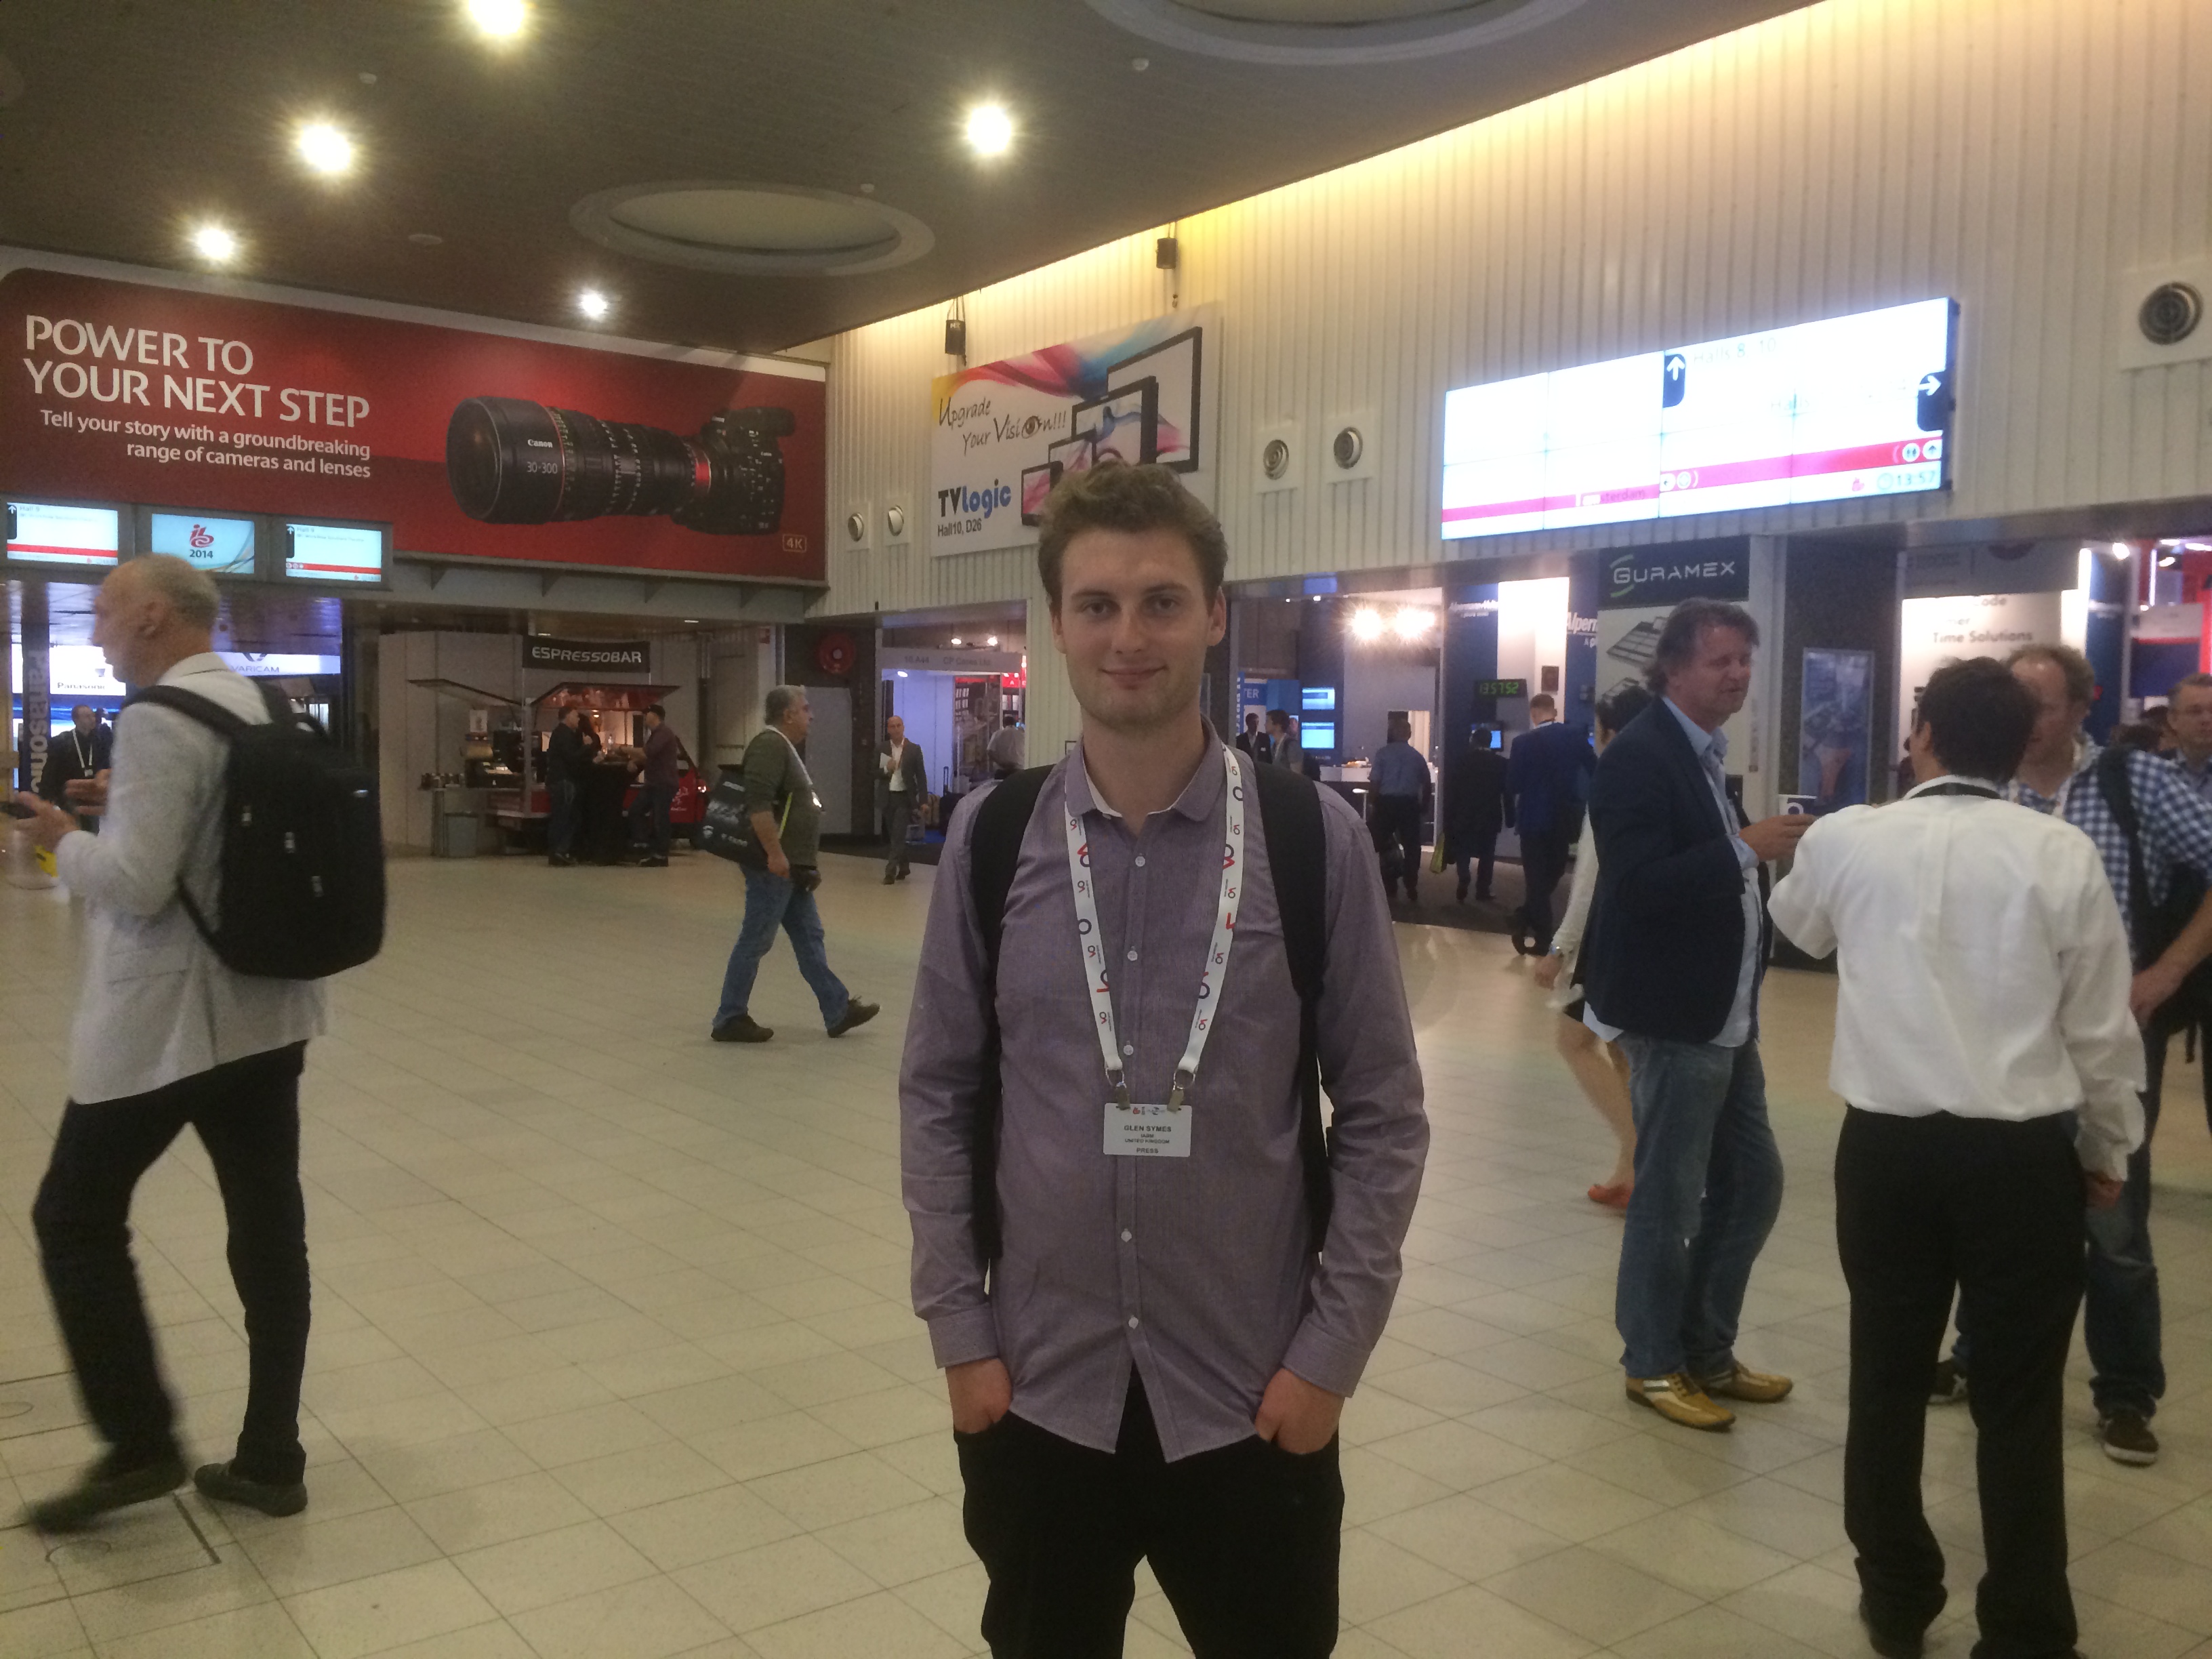
Later on, we ventured out into the city of Amsterdam. It was Glen's first time, so I look him for a tour around the sights.

Glen in Amsterdam for IBC show with adam plowden videography

Day 3 - Friday 12th September - IABM Business Conference 'The Future of Broadcasting' and member interviews.

It was an early start on Friday, we arrived at the RAI for the IABM business conference at 6:45am to set up and capture the members breakfast, the conference and the post networking before the show got underway that day. For added motion, I used the ProMediaGear Arc-slider for some of the opening shots, but the main conference was shot on 3 static cameras.

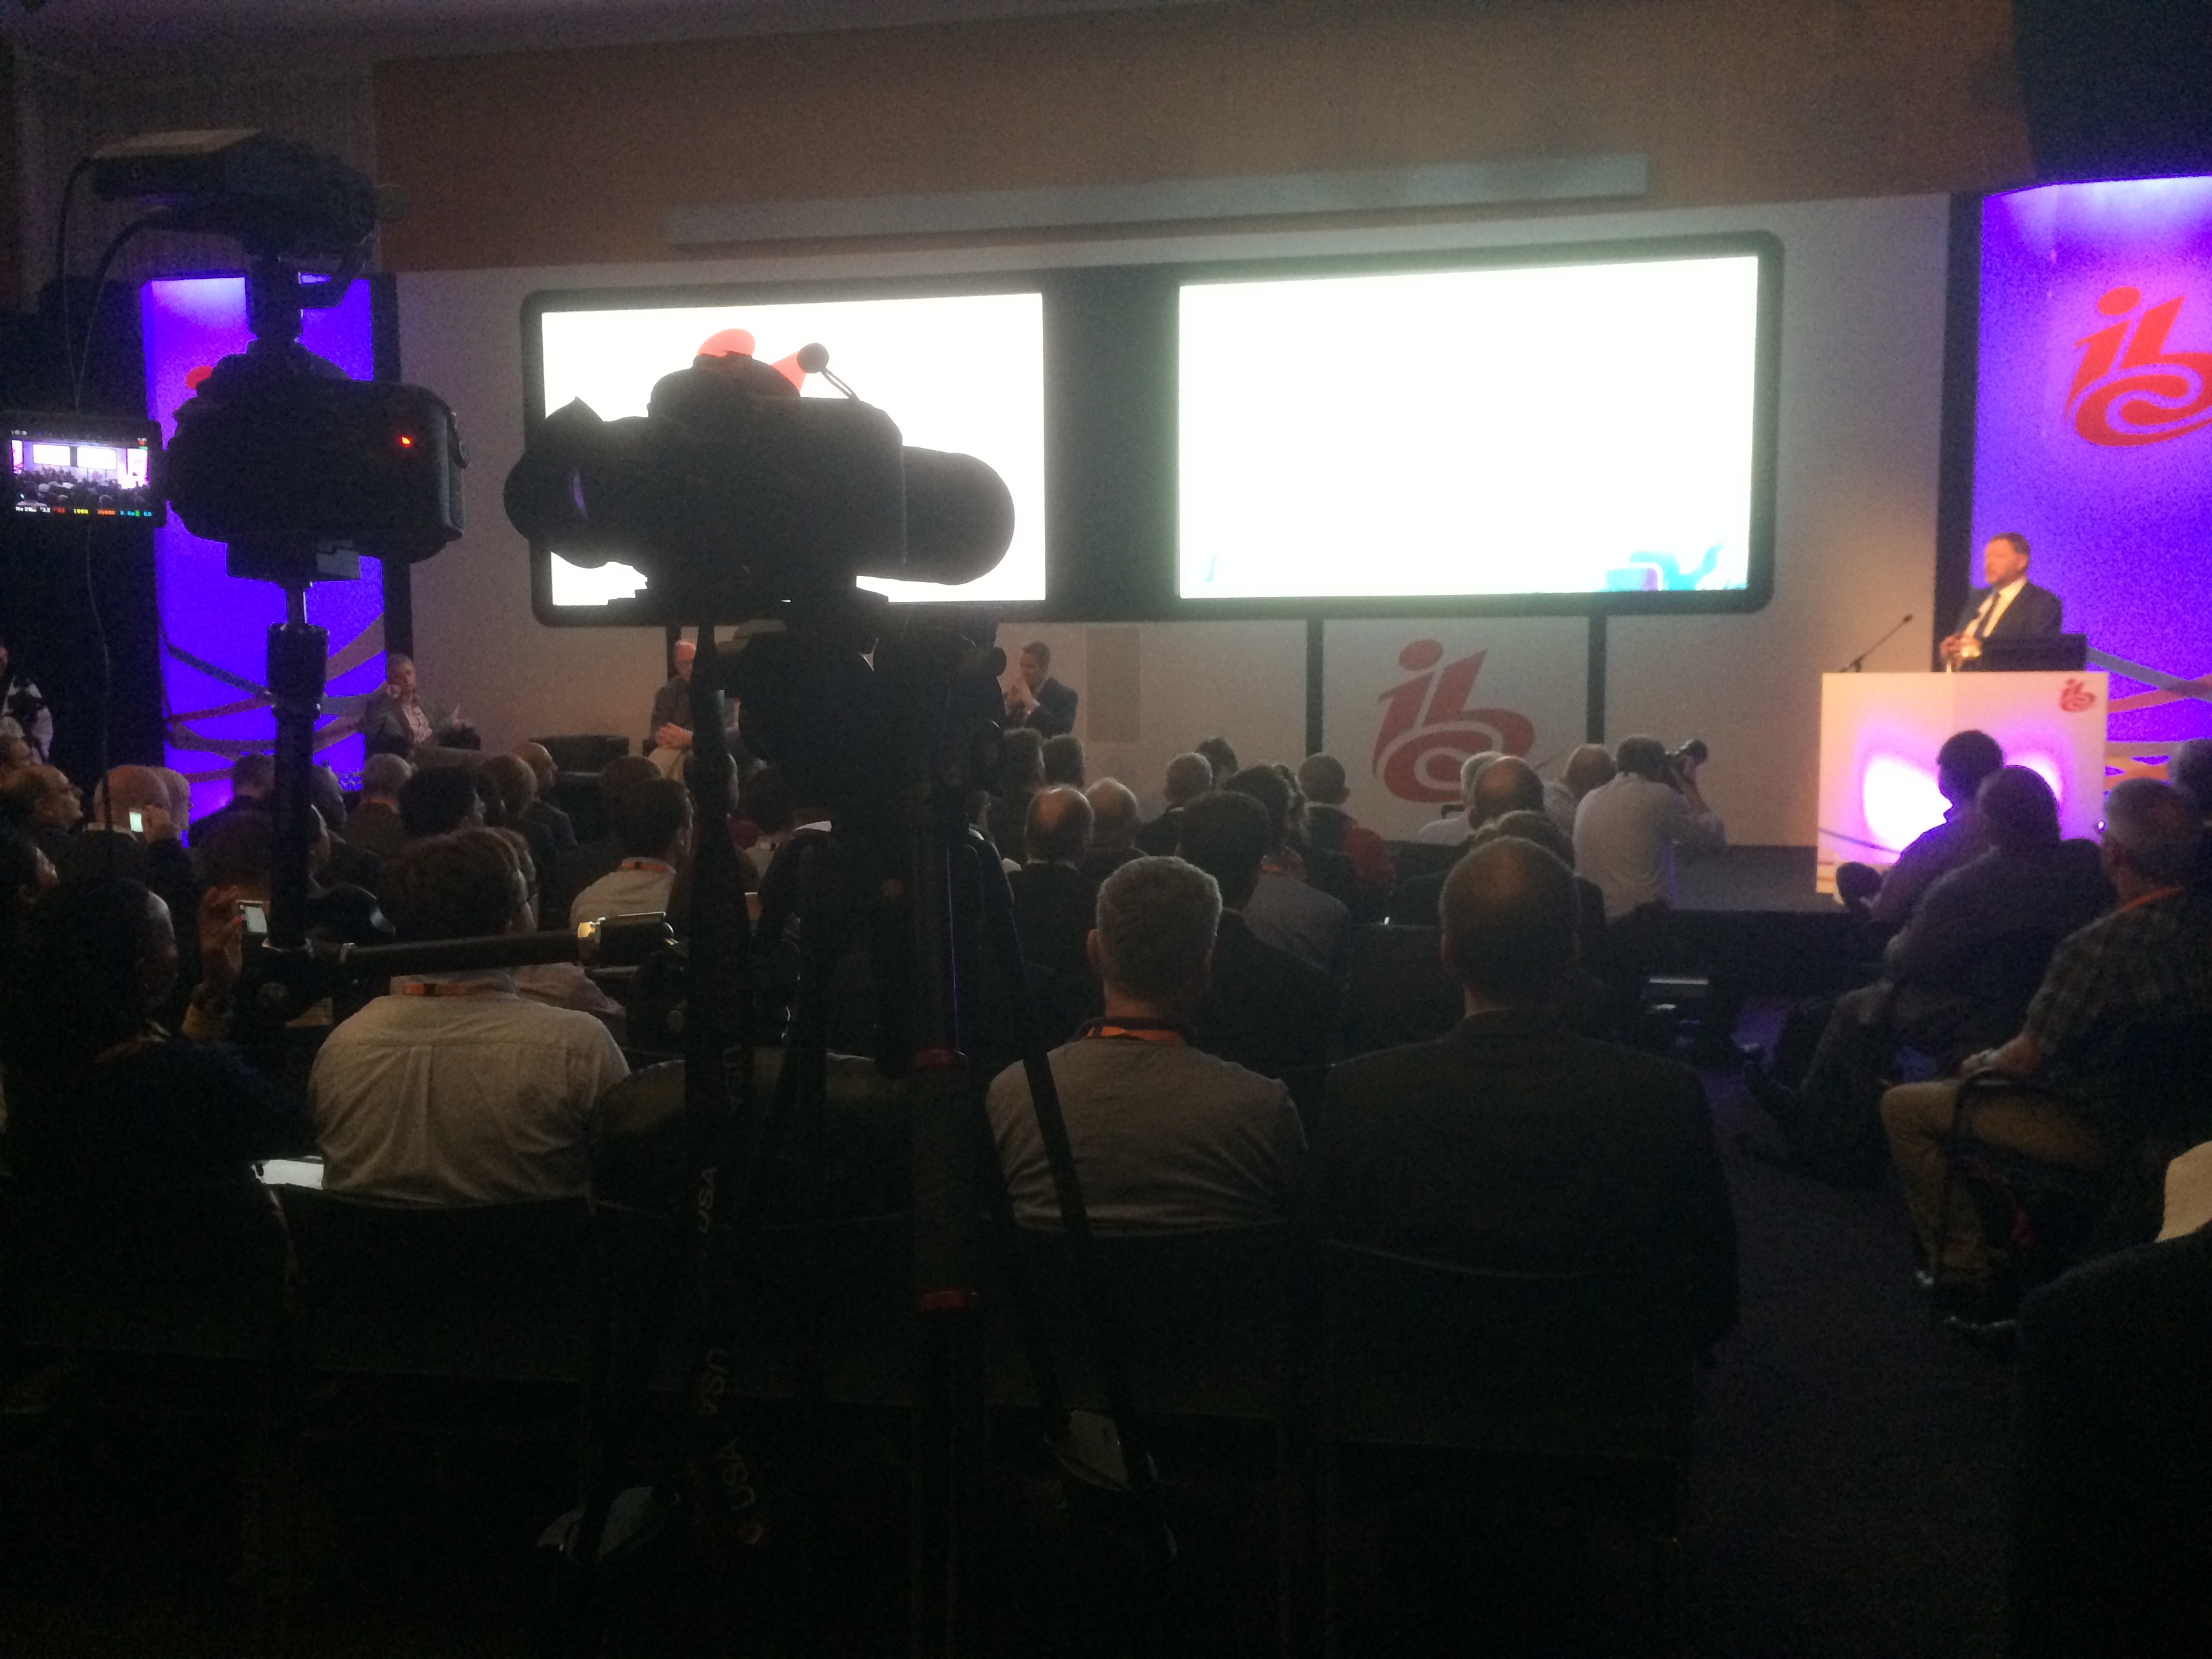
iabm business conference at ibc show by adam plowden videography

For a mid shot of the speaker, I shot on the Sigma 70-200mm, and for a wide I used the 60D with the 17-50mm. Glen was filming from the front for a reverse angle on the 60D and Canon 100m L, which captured some stunning reaction shots of the attendees in low light. Unfortunately, this video is only available to watch for IABM members.

As our responsibility was to capture and edit videos for a same day or next day release, our two man filming team split so that Glen could begin ingesting, backing up and editing the conference video while I went out into the show and interviewed a number of IABM members. This turned out to be a godsend tactic to release a stream of high quality videos each day. It was, however, difficult to keep track of all the media from SD and CF cards...

That day, I filmed interviews with Georacing, Harmonic, Nexidia that we edited out for same day release:

I then jetted off to The IABM stand to meet the new winners of the Student award from The IABM (I won last year), to capture some interviews with them about their study and what they are looking forward to at IBC!

iabm student award winners ibc 2014 adam plowden videography

Day 4 - Design & Innovation Awards and member interviews

We were already half way through our IBC experience when Saturday struck, after a successful few days of filming and editing we geared ourselves up for a long day ahead. The day begun with a selection of IABM member interviews from around the show, including; Blackmagic Design, Avid, Newtek, Sony and many more. If you have been to IBC or NAB before you'll know how long it takes to get from one place to another, but with video kit it was a challenge to navigate around the thousands of people at the show!

I had a great time at the Sony booth, interviewing Peter Sykes about the new innovations; camera, 4K transmission, projectors, storage devices. They can be seen here:

I was intrigued by the Sony A7s, a full frame SLR with great low light and DR features.. There was lots of hype around the camera, and I had noticed a lot of the News Shooter guys using them with Atomos Ninja/Blade recorders (we were working next to Dan Chung and News Shooter in the press room), they rated it very well in a variety of conditions and shooting styles.

Bad luck struck on Saturday afternoon... My Canon 60D and 14mm cine lens was capturing a timelapse when it was moved/taken/stolen from where I left it.. Knowing that this would impact the video production of the D&I awards I quickly got help from RAI security to try and locate it. No luck, so later on that afternoon I borrowed a camera from an IABM member to capture a static wide shot of the awards ceremony. Luckily, when I arrived home I got a call from the RAI security who informed me they had found my camera!

canon 60d 14mm cine lens timelapse adam plowden videography ibc 2014
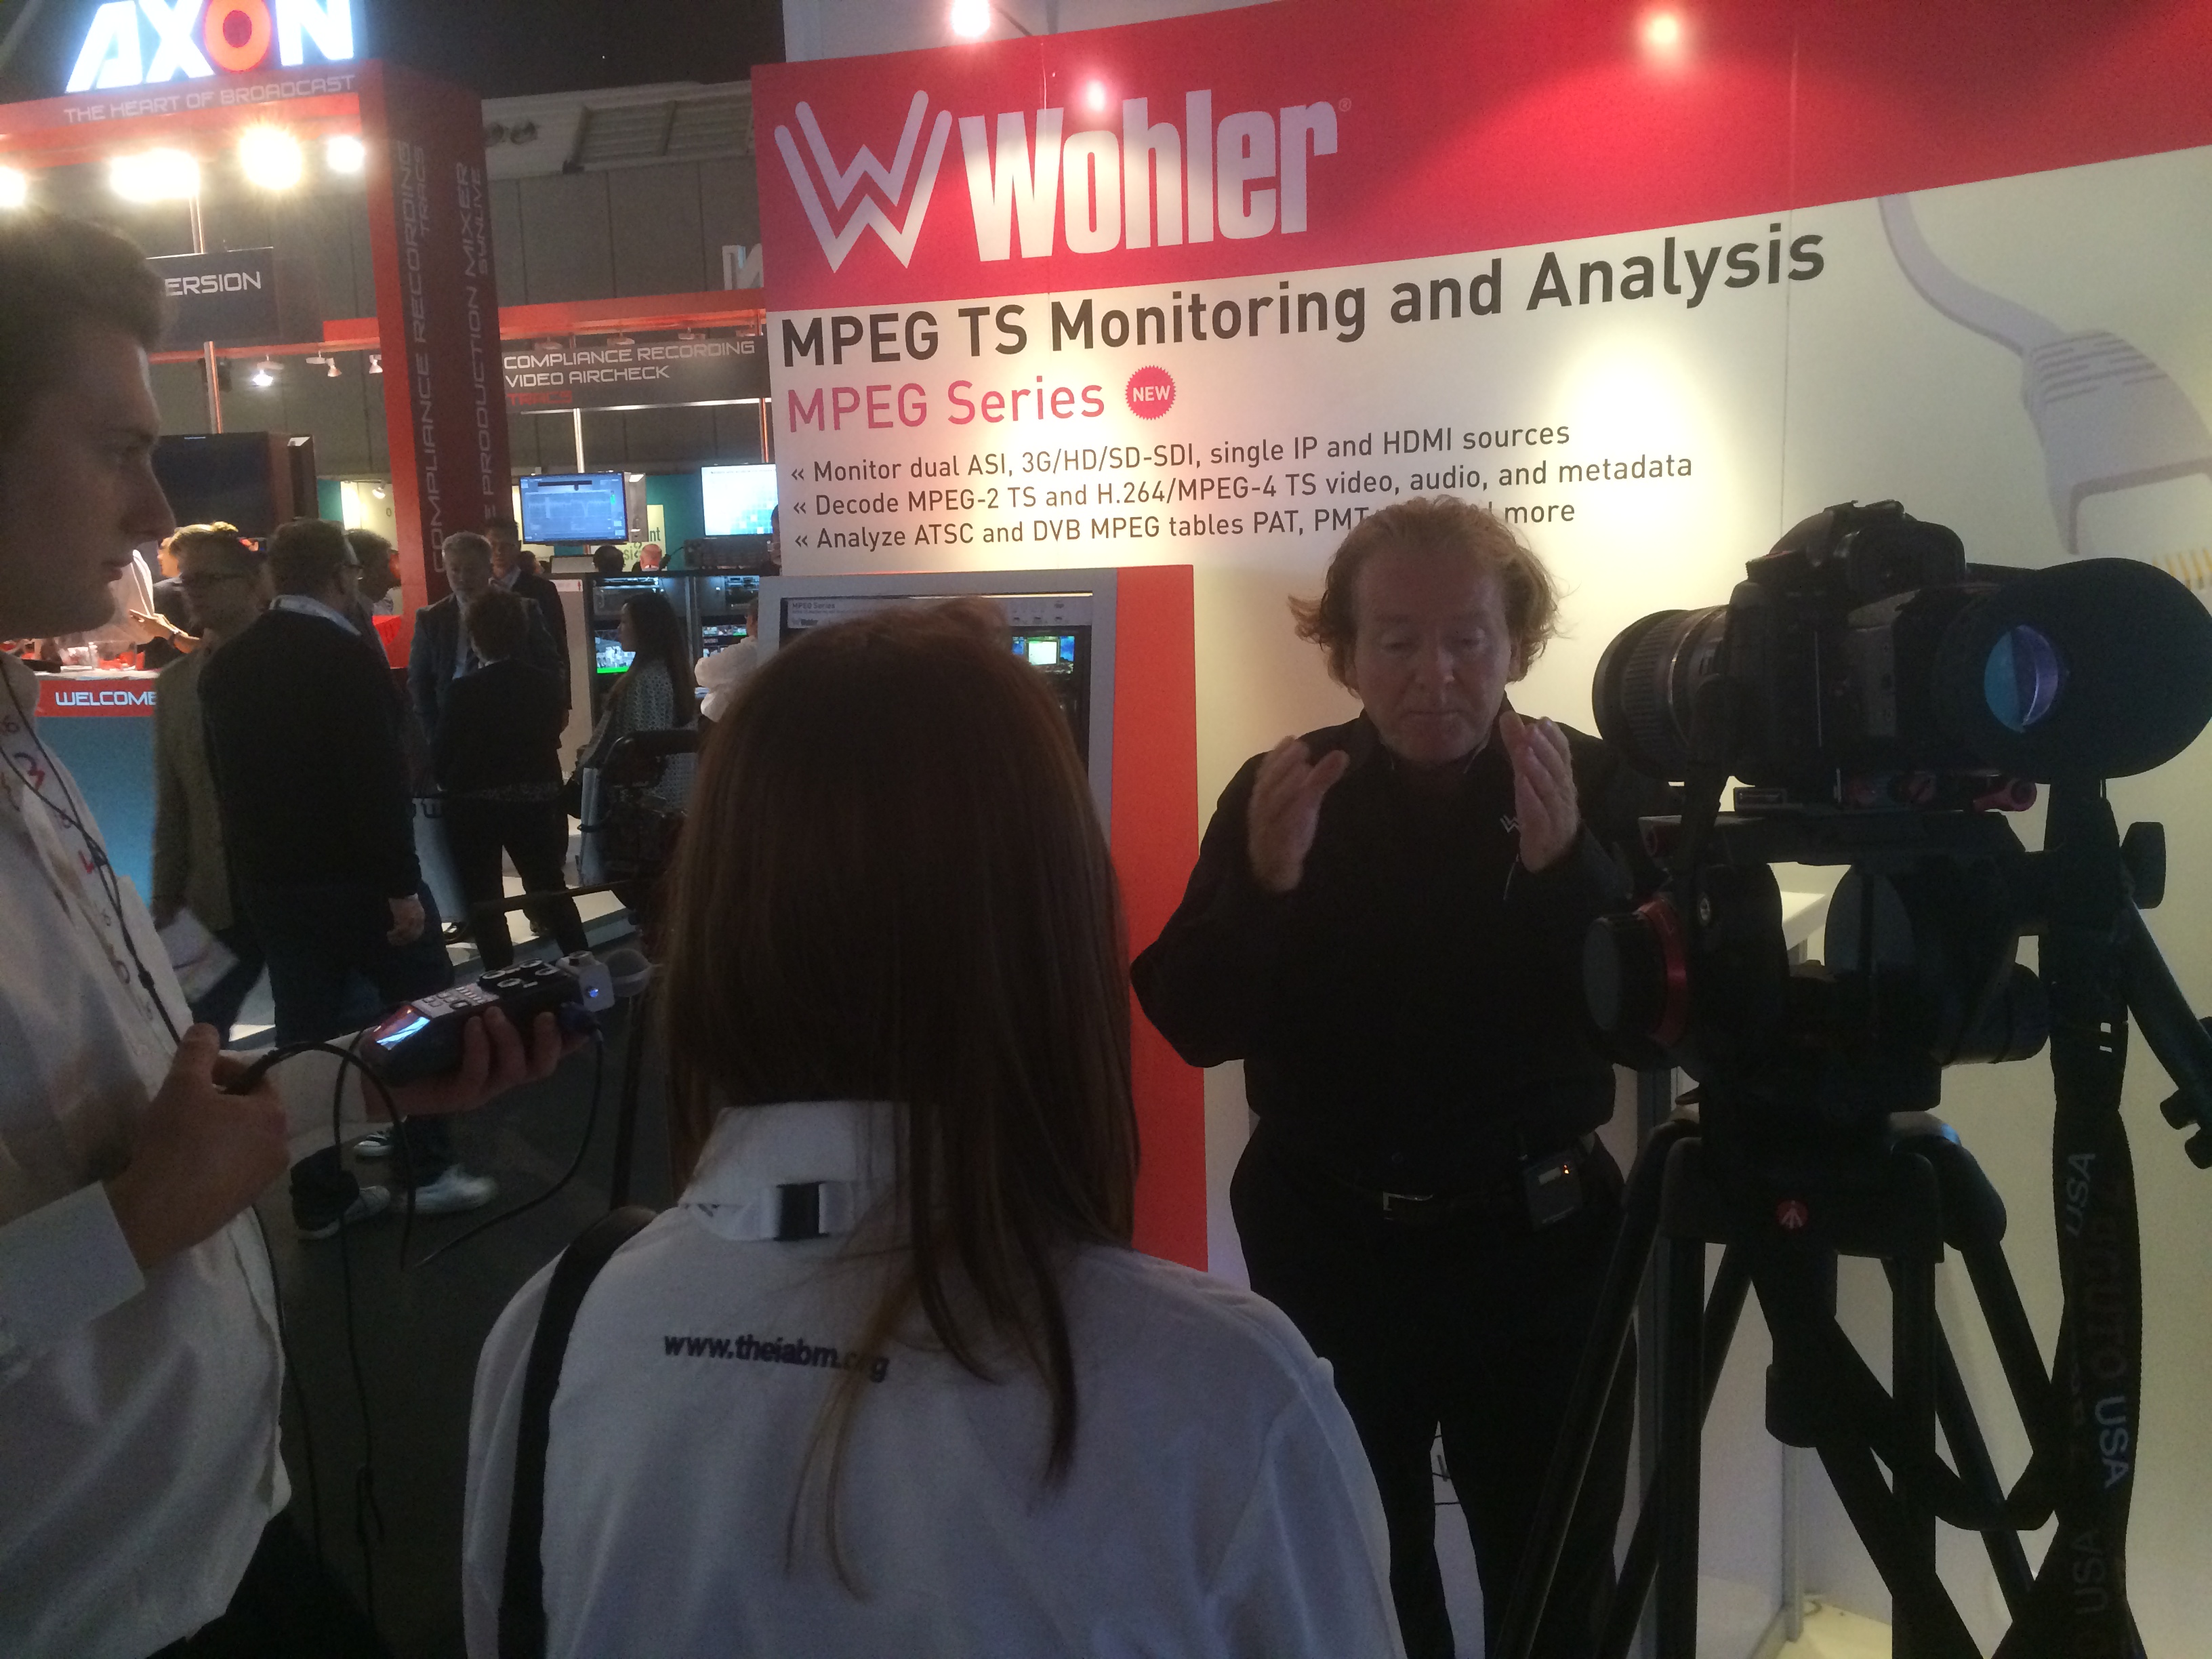
wohler interview at ibc 2014 for iabm adam plowden videography
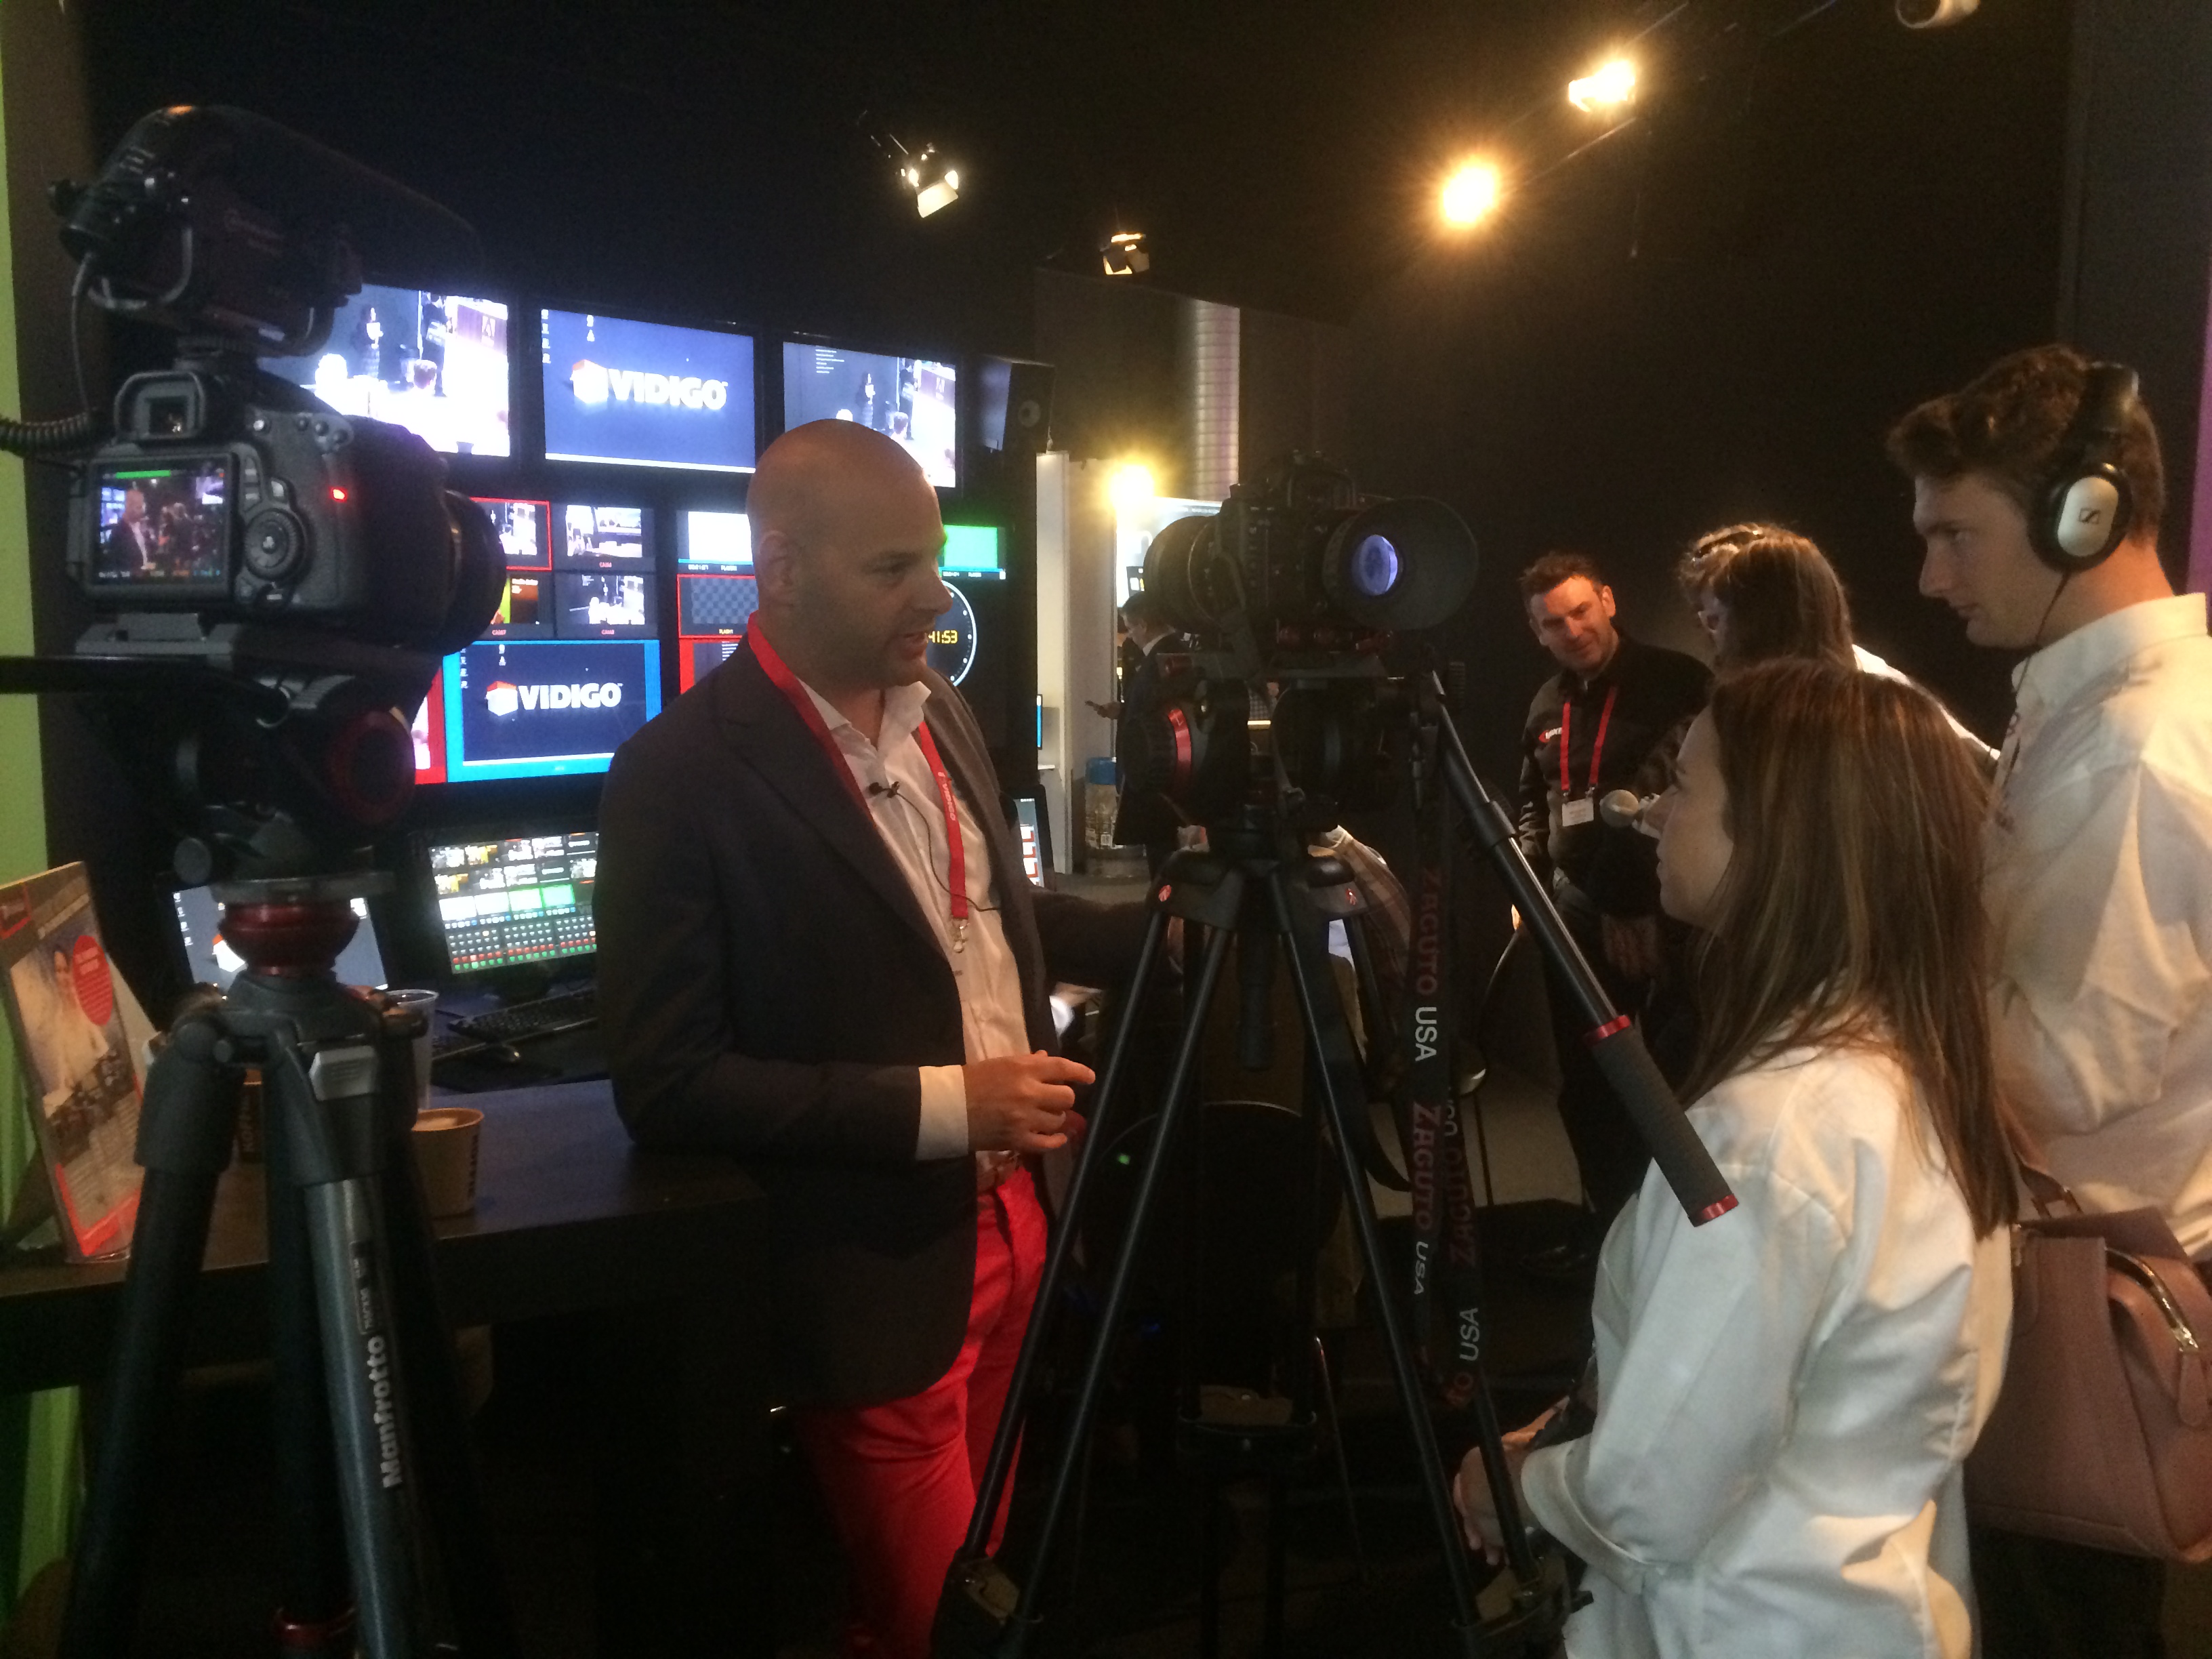
vidigo interview at ibc show 2014 iabm adam plowden videography

We then got set up and prepared for The IABM Design and Innovation Awards 2014, celebrating and awarding outstanding technical developments in the broadcasting and media industry. Before IBC I edited and produced the 9 nominee category videos and graphics presented throughout the awards. Using the same setup as the IABM conference (A cam - Tele, B cam - wide, C cam - reactions) we captured the night in full, showing the excitement and buzz around winning the awards. I got to have a quick chat with some of the winner companies too!

I edited together the highlights of the IABM Design and Innovation Awards, which can be viewed here -

The individual winner interviews can be viewed here:

Systems - VidiGo

Testing - Cube-tec

Storage - Ardis

Post Production - Quantel

Playout - Elemental Technologies

Content + Infrastructure - NTT Electronics

Audio - Sennheiser

Acquisition + Production - Trimaran

The realities of working 12-14 hour days were catching up with us when we returned to our hotel to ingest and back up the footage. Finally, but 1:30am on Sunday all of the footage was synced and ready to be edited. At that point, we both thought its time to call it a day.

iabm design and innovation awards 2014 ibc show adam plowden videography
adam and glen design and innovation awards 2014 ibc show adam plowden videography

Day 5 - Delivering D&I Award Videos and member interviews

By Sunday, the main haul of event capture had been completed, with the remaining tasks being mainly interviews with members around the IBC show. As our editing 'system' had worked so well previously, Glen stayed in the press room using both our laptops to edit, export and upload the winner videos from the awards while I conducted interviews with more exhibitors and IBC members.

I had a great time at the Atomos booth interviewing Jeromy the CEO about the new Shogun for 4K recording and the power pack!

Atomos Interview -

jeromy atomos ceo at ibc show 2014 iabm interview adam plowden videography

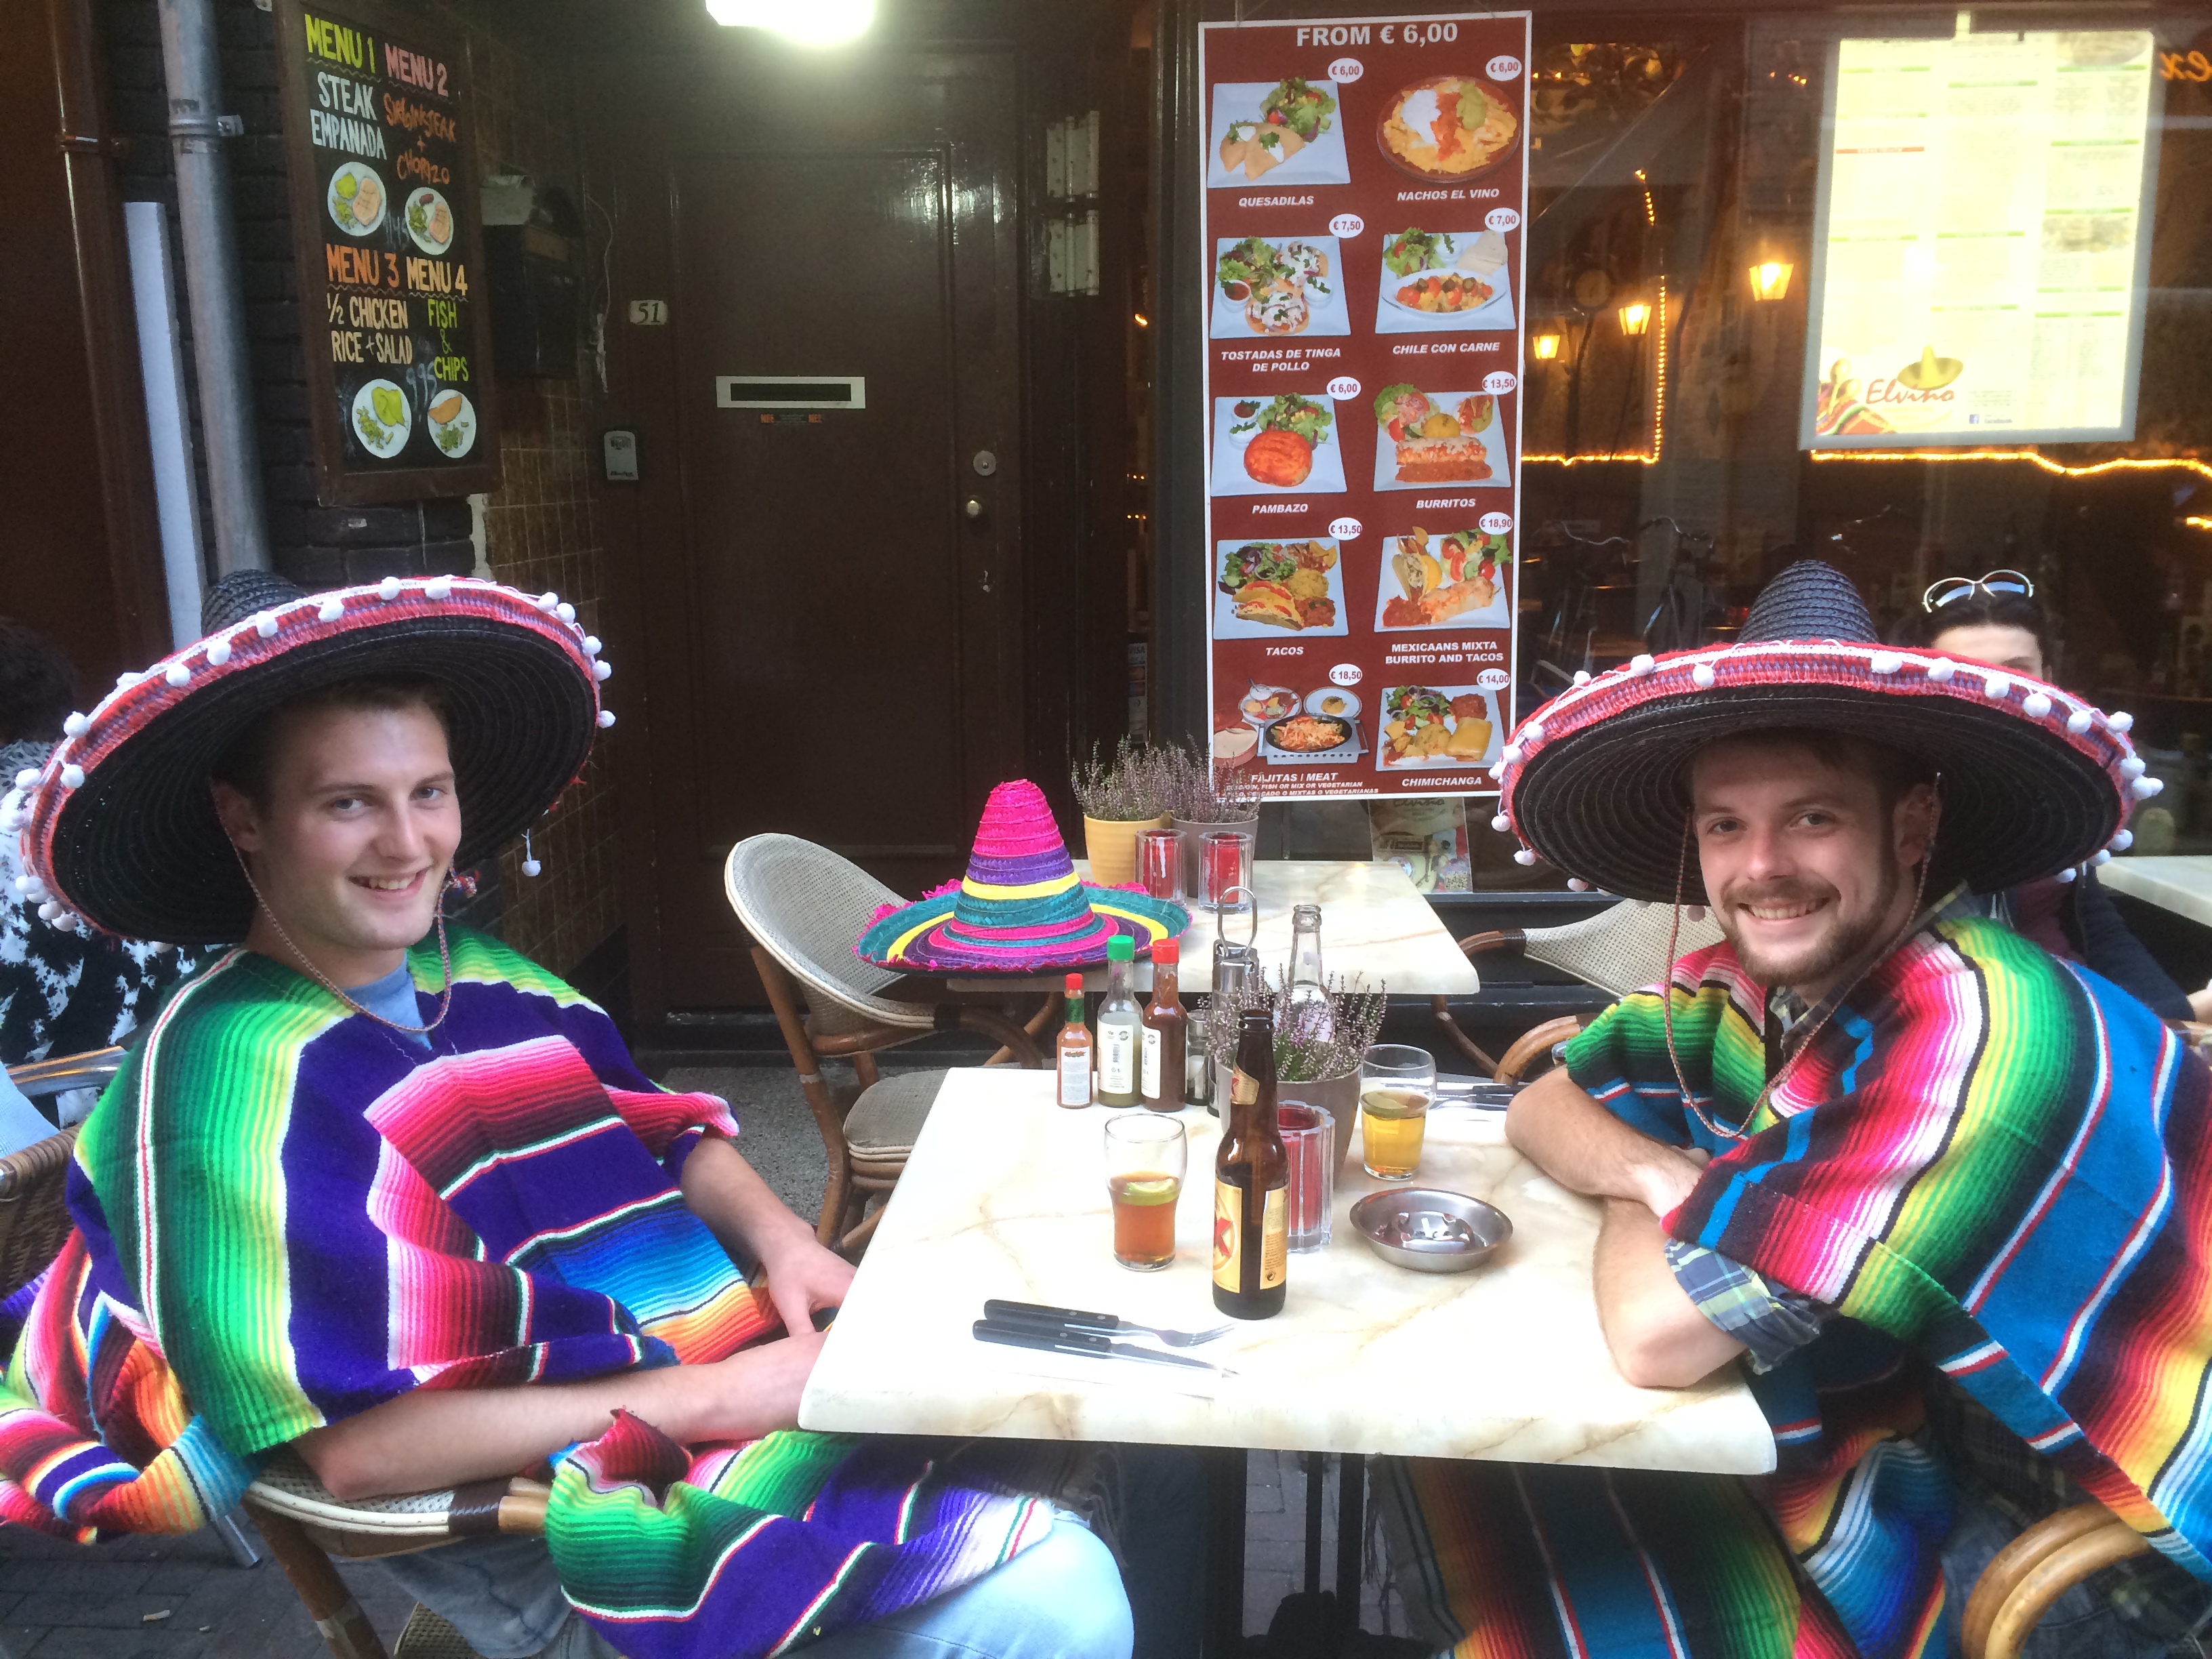
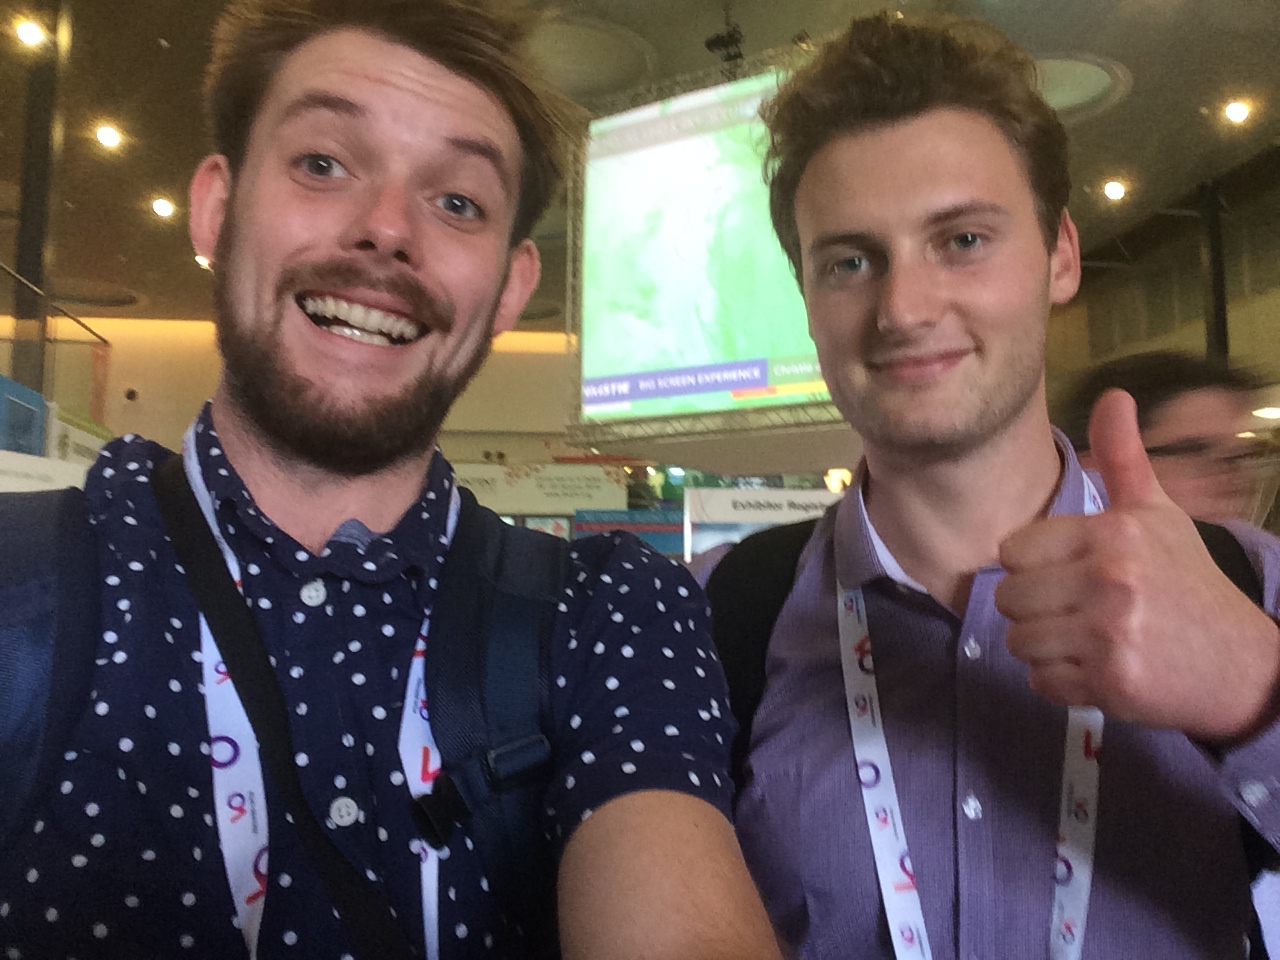
Later that day I bumped into Joe, my old uni housemate  who was visiting the show for a day. Later, Glen and myself went for Mexican for dinner and met up with our hotel receptionist, Klaudija for a few drinks in Vondelpark!

adam and joe ibc show 2014 videography
adam and glen mexicans

At this point, I was completely over my missing 60D and the tiredness. Visiting IBC and Amsterdam for work is a very rare opportunity, so we plowed through and continued to produce great day by day coverage of the show for The IABM. Glen, bless him saw less and less daylight each day!

adam out filming interviews at ibc
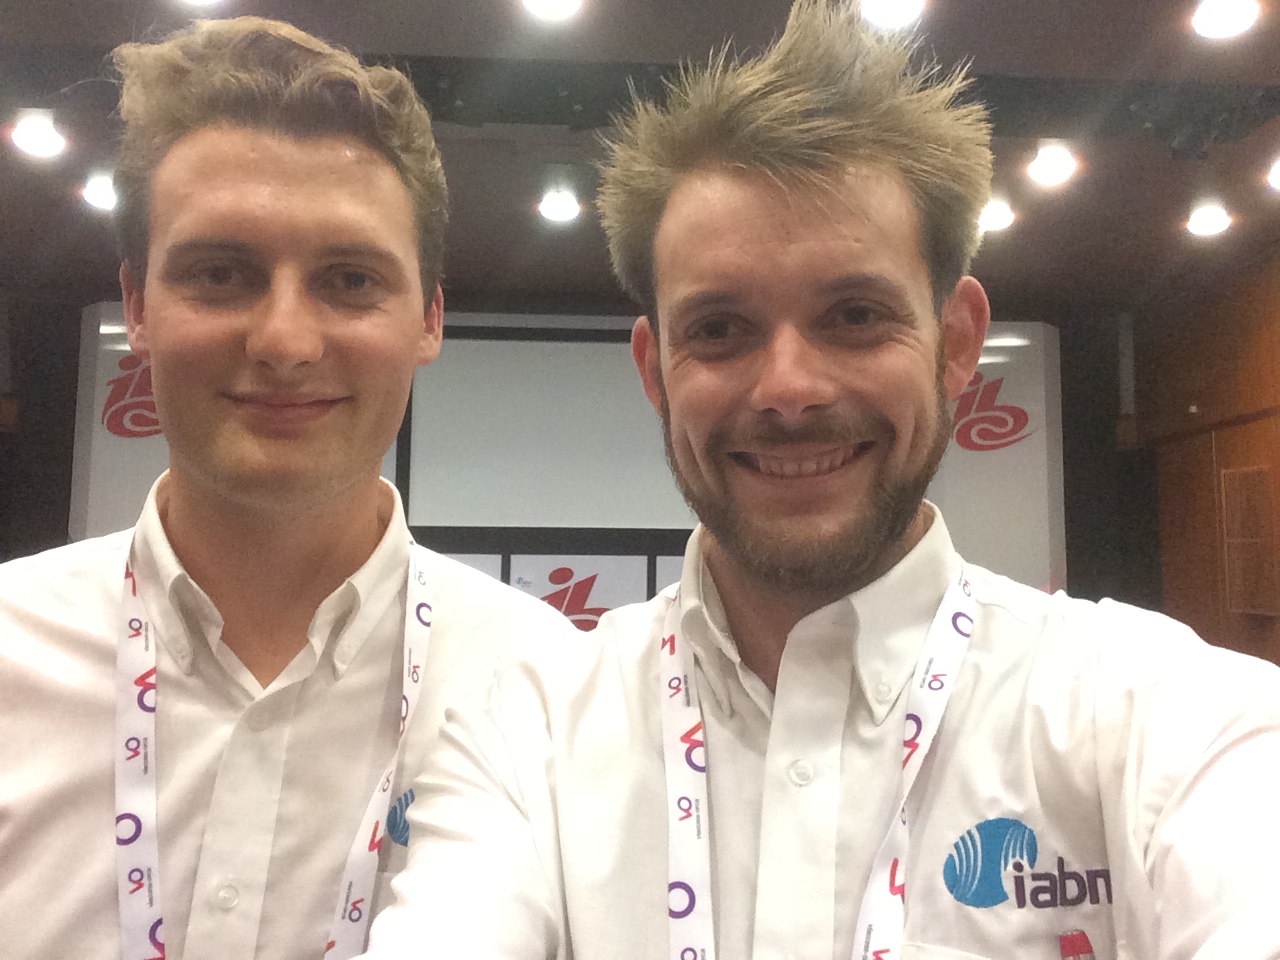
Glen and Adam at ibc

Day 5 - Rising Stars and more member interviews

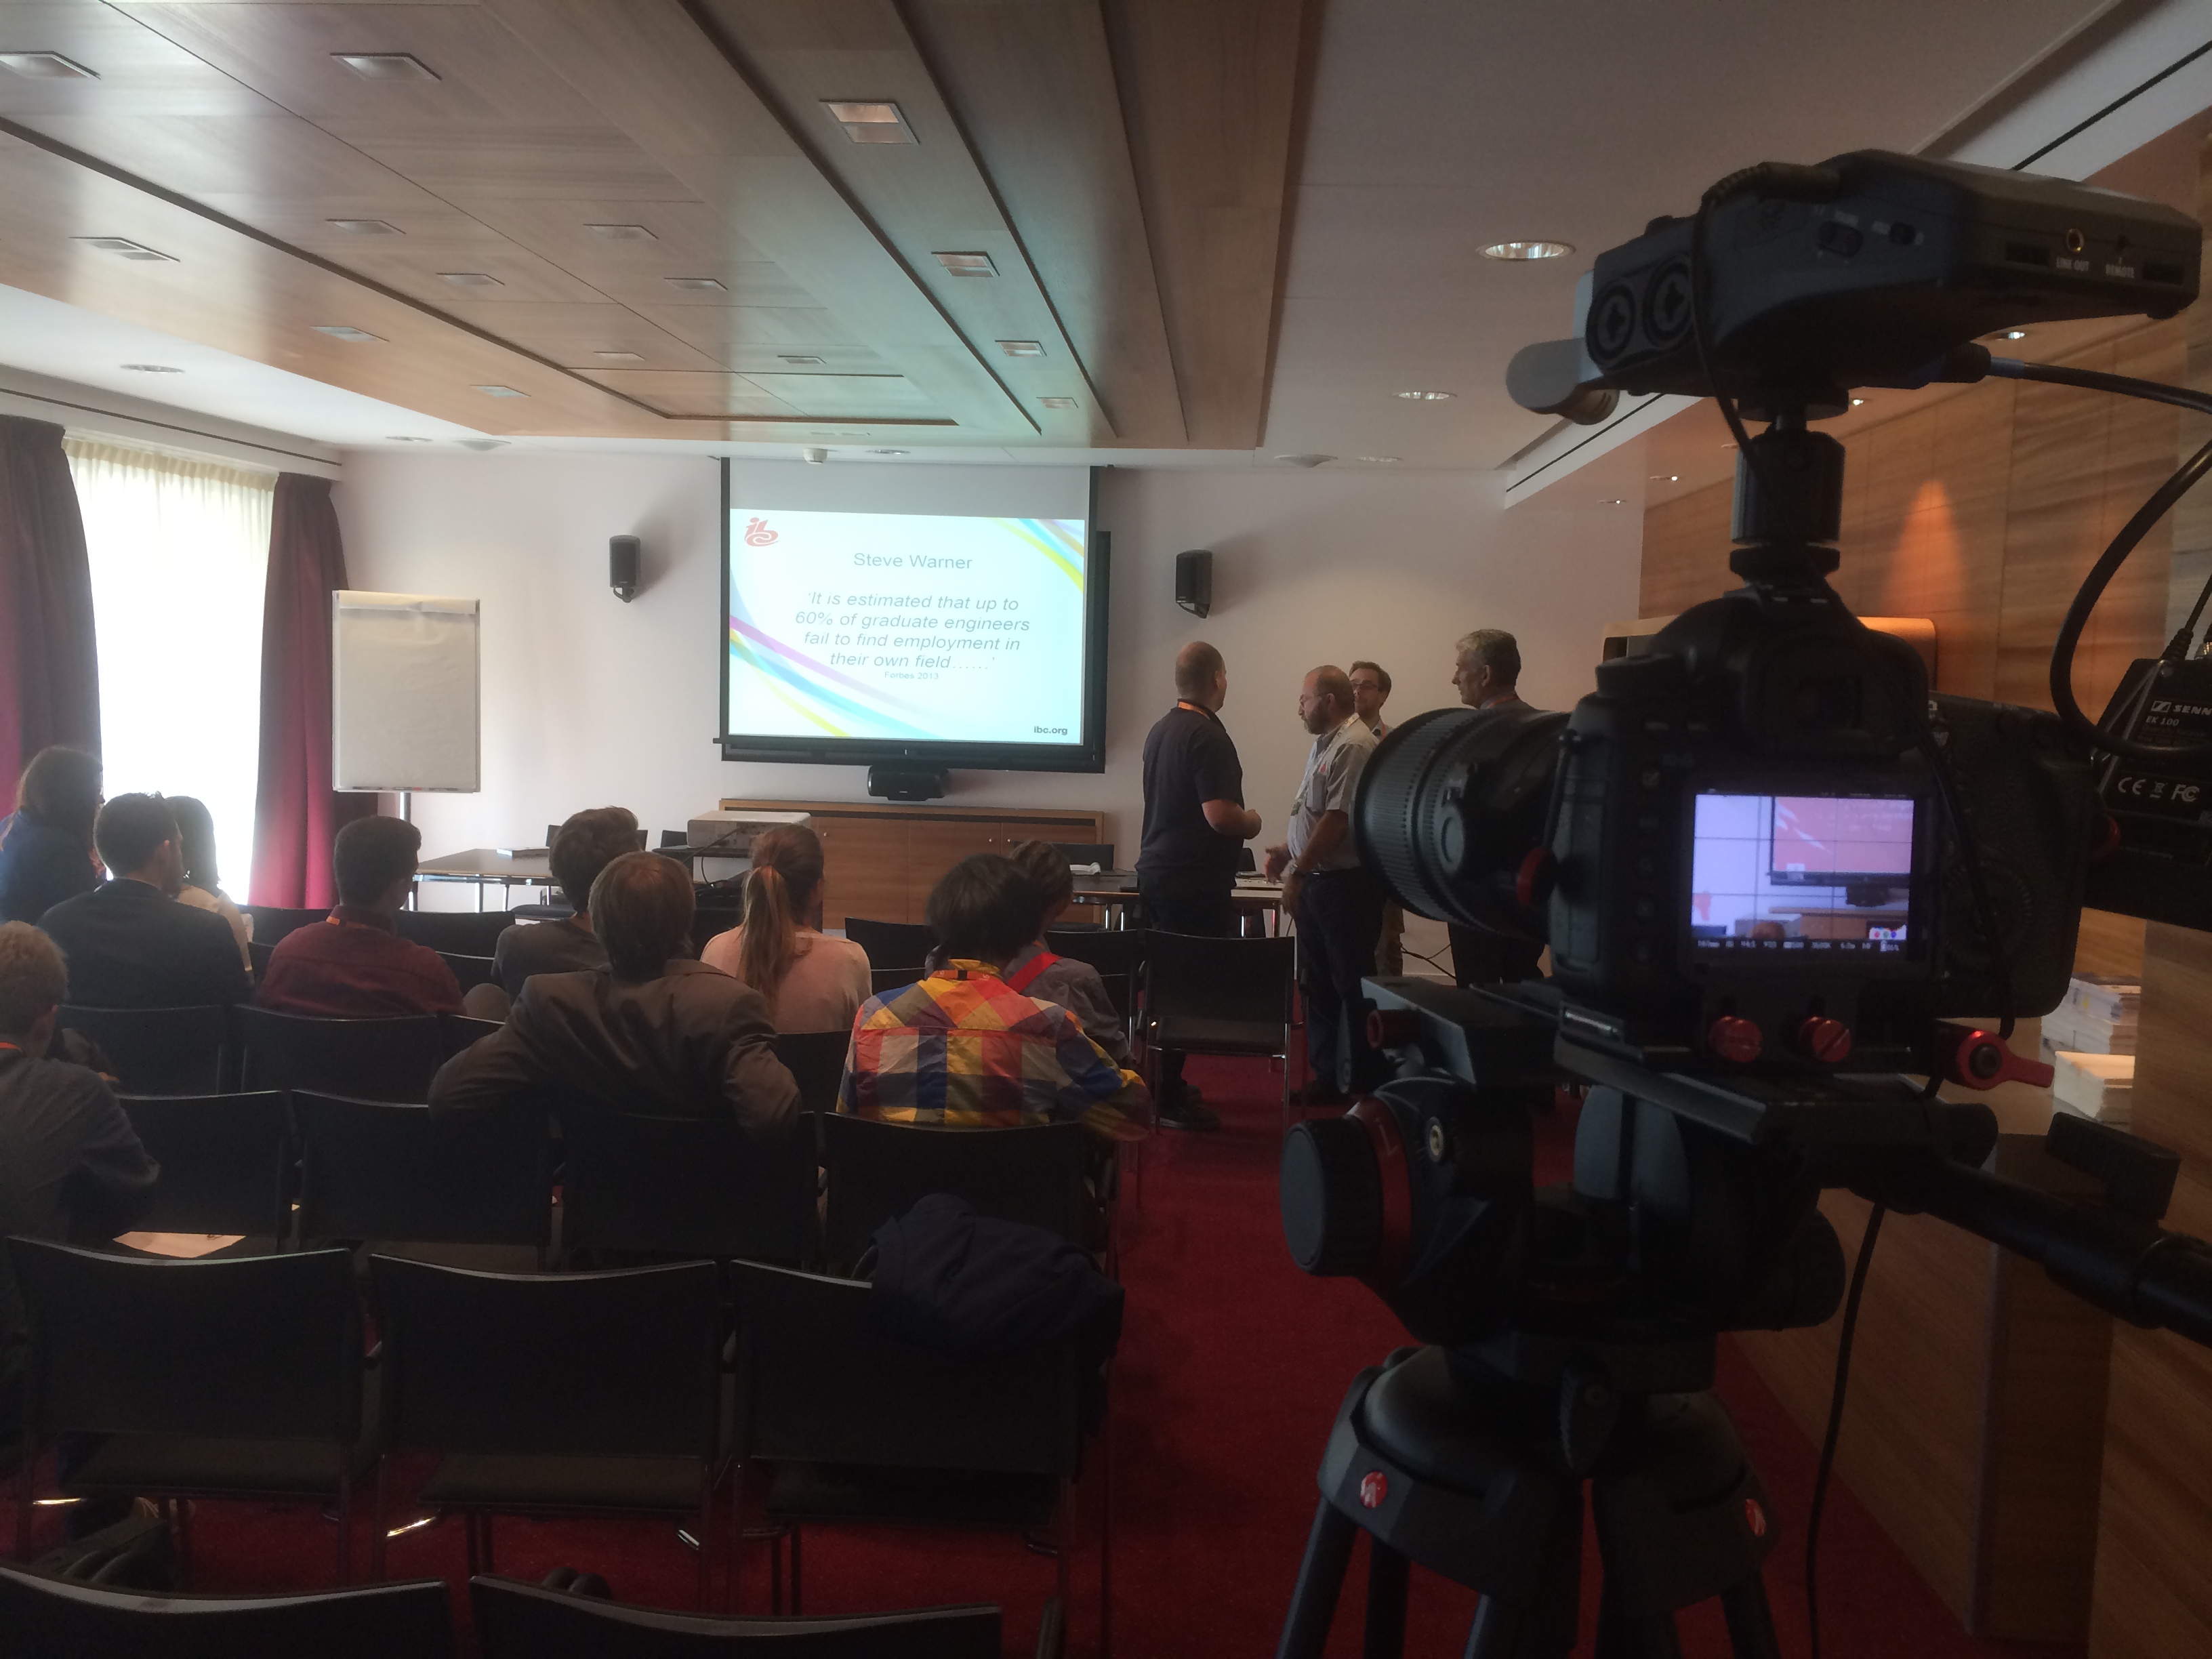
Arriving at IBC a little later than usual, Glen and myself parked up the the press area and set up the laptops to upload the previous days interviews to vimeo. Before we headed out to Steve Warners talk at Rising Stars I bumped into Nino Leitner who was off to Photokina that afternoon, so I grabbed a quick pic! Nino had been very busy with Cinema 5D coverage of the show producing their 'On The Couch' series with Philip Bloom, HaZ Dullul and more.

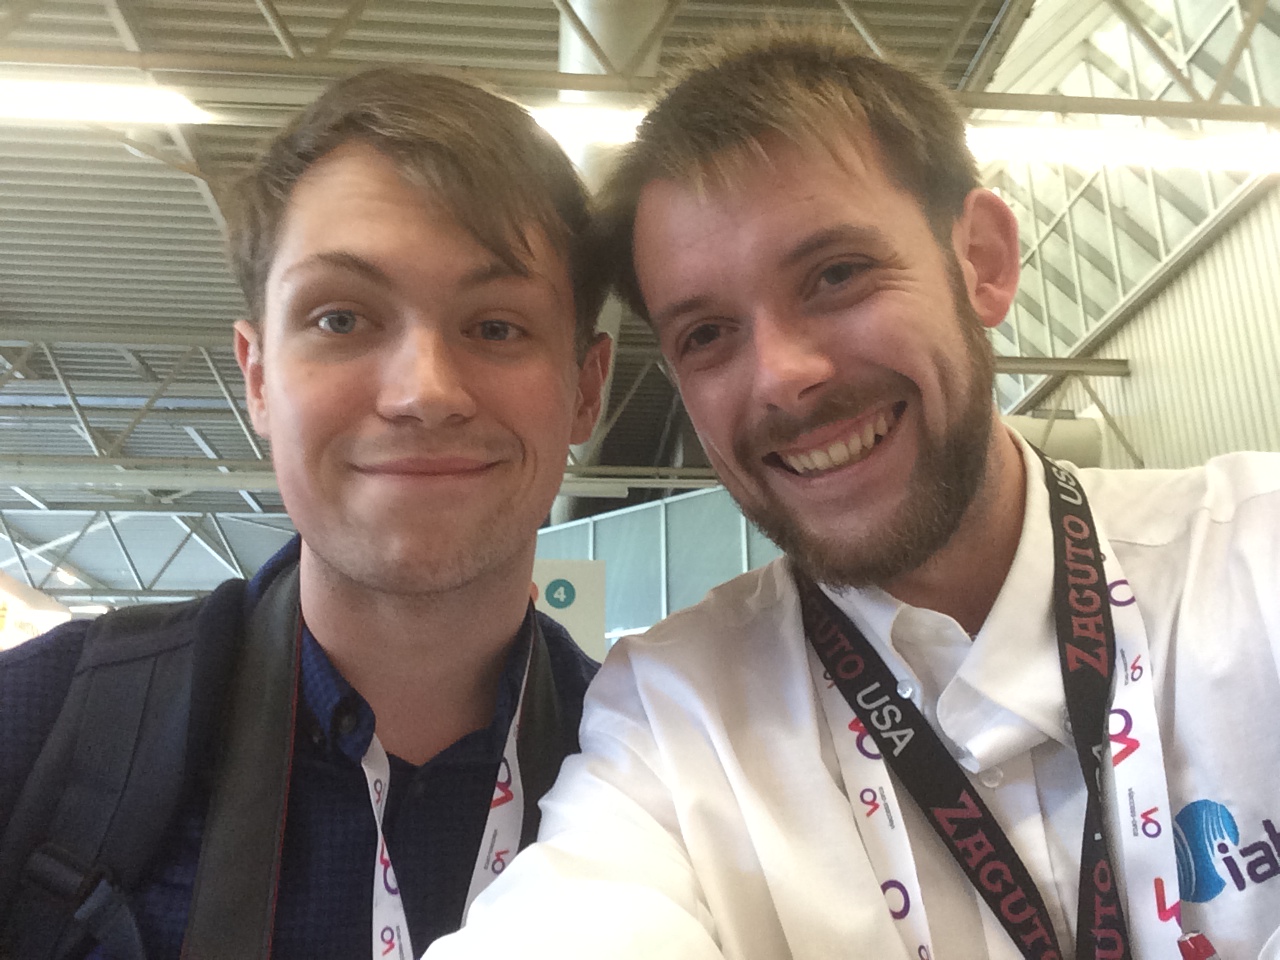
adam plowden and nino leitner ibc show 2014

At this point, we had captured around 350Gb of video footage and delivered numerous interviews and event videos for The IABM, they were very pleased! We headed over to The Rising Stars lounge; a part of the show dedicated to young professionals in the industry where Steve Warner (training manager of The IABM) was doing a talk on CV's and representing yourself. Even for me, it was quite interesting to hear what recruiters actually look out for and research!

steve warner iabm training manager talk rising stars ibc 2014

Catch the full video here -

The team then split so I could conduct some interviews with The IABM student award winners, and with a couple more members for The IABM annual conference in December. It was a short and sweet day; shooting multi-cam on talks and conferences made editing fairly straight forward so we were able to deliver the videos pretty much on the same day. Glen did an awesome job and editing videos out quickly. while I was filming more content!

Day 6 - Last interviews

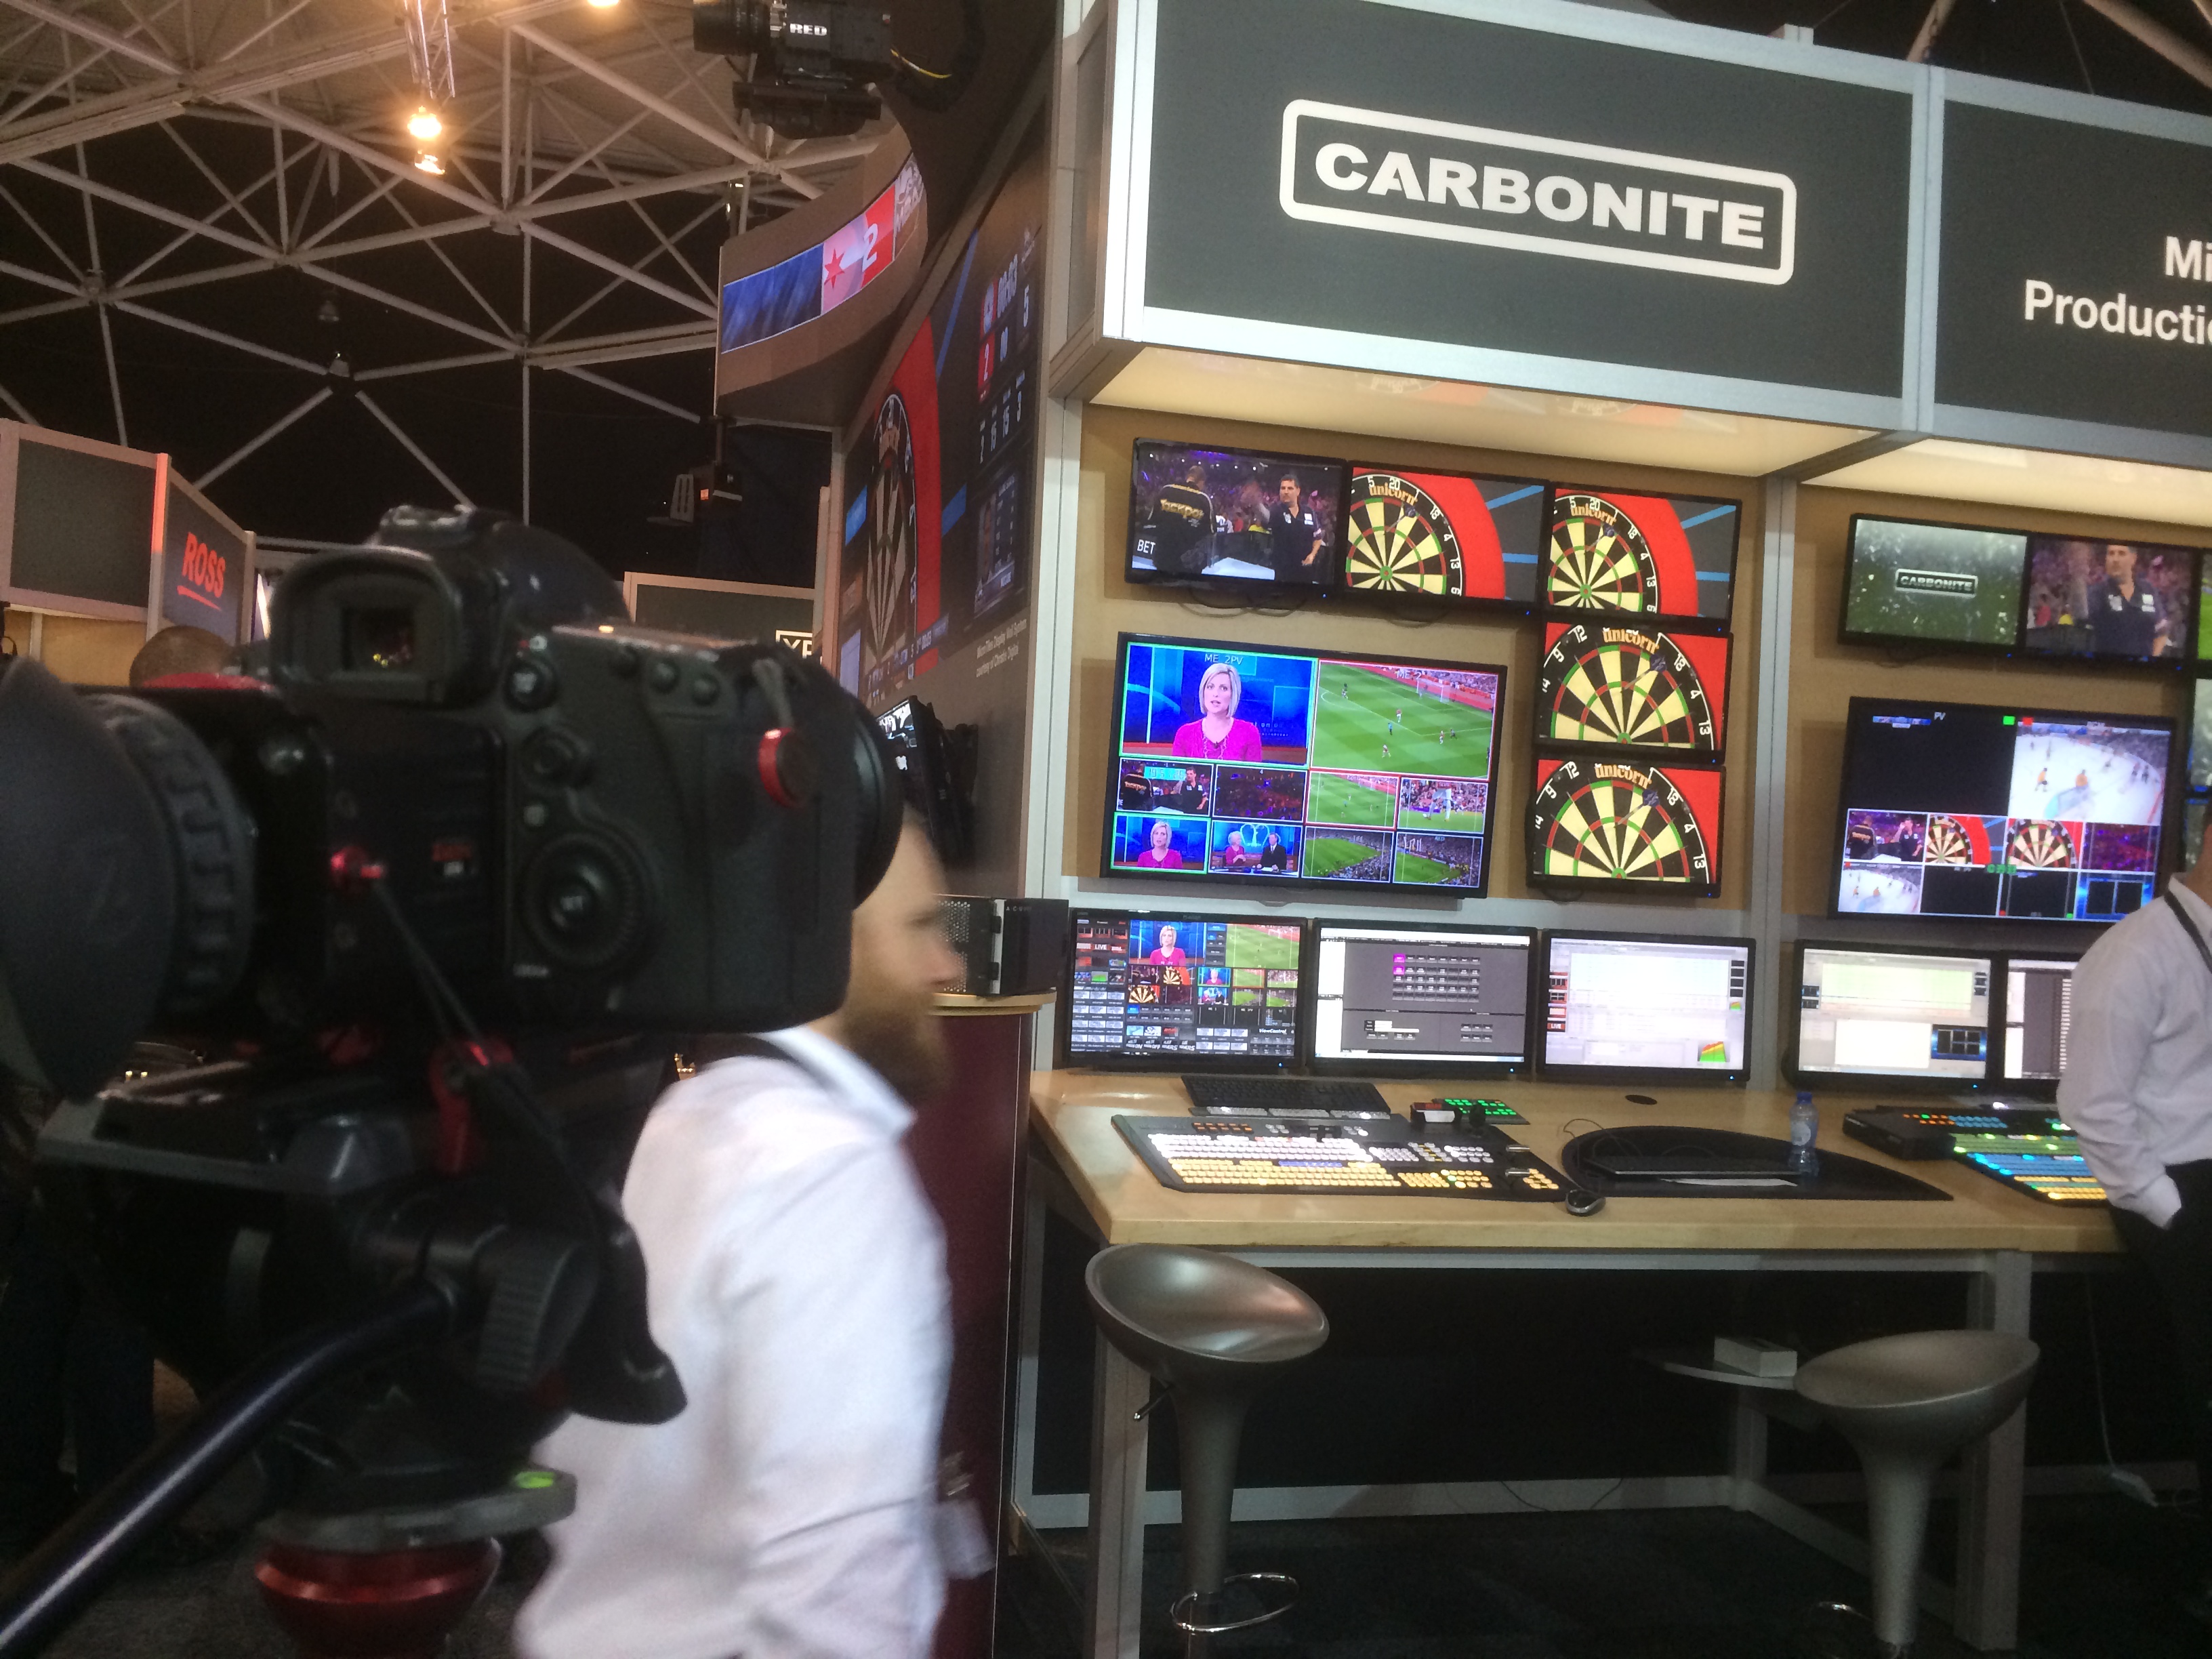
Day 6 was our opportunity to capture the last interview and glimpse of the show until next year. As we were interviewing members and covering events, we didn't get to see that much of the show itself, but made time to visit some cool stands before we left on Tuesday afternoon.

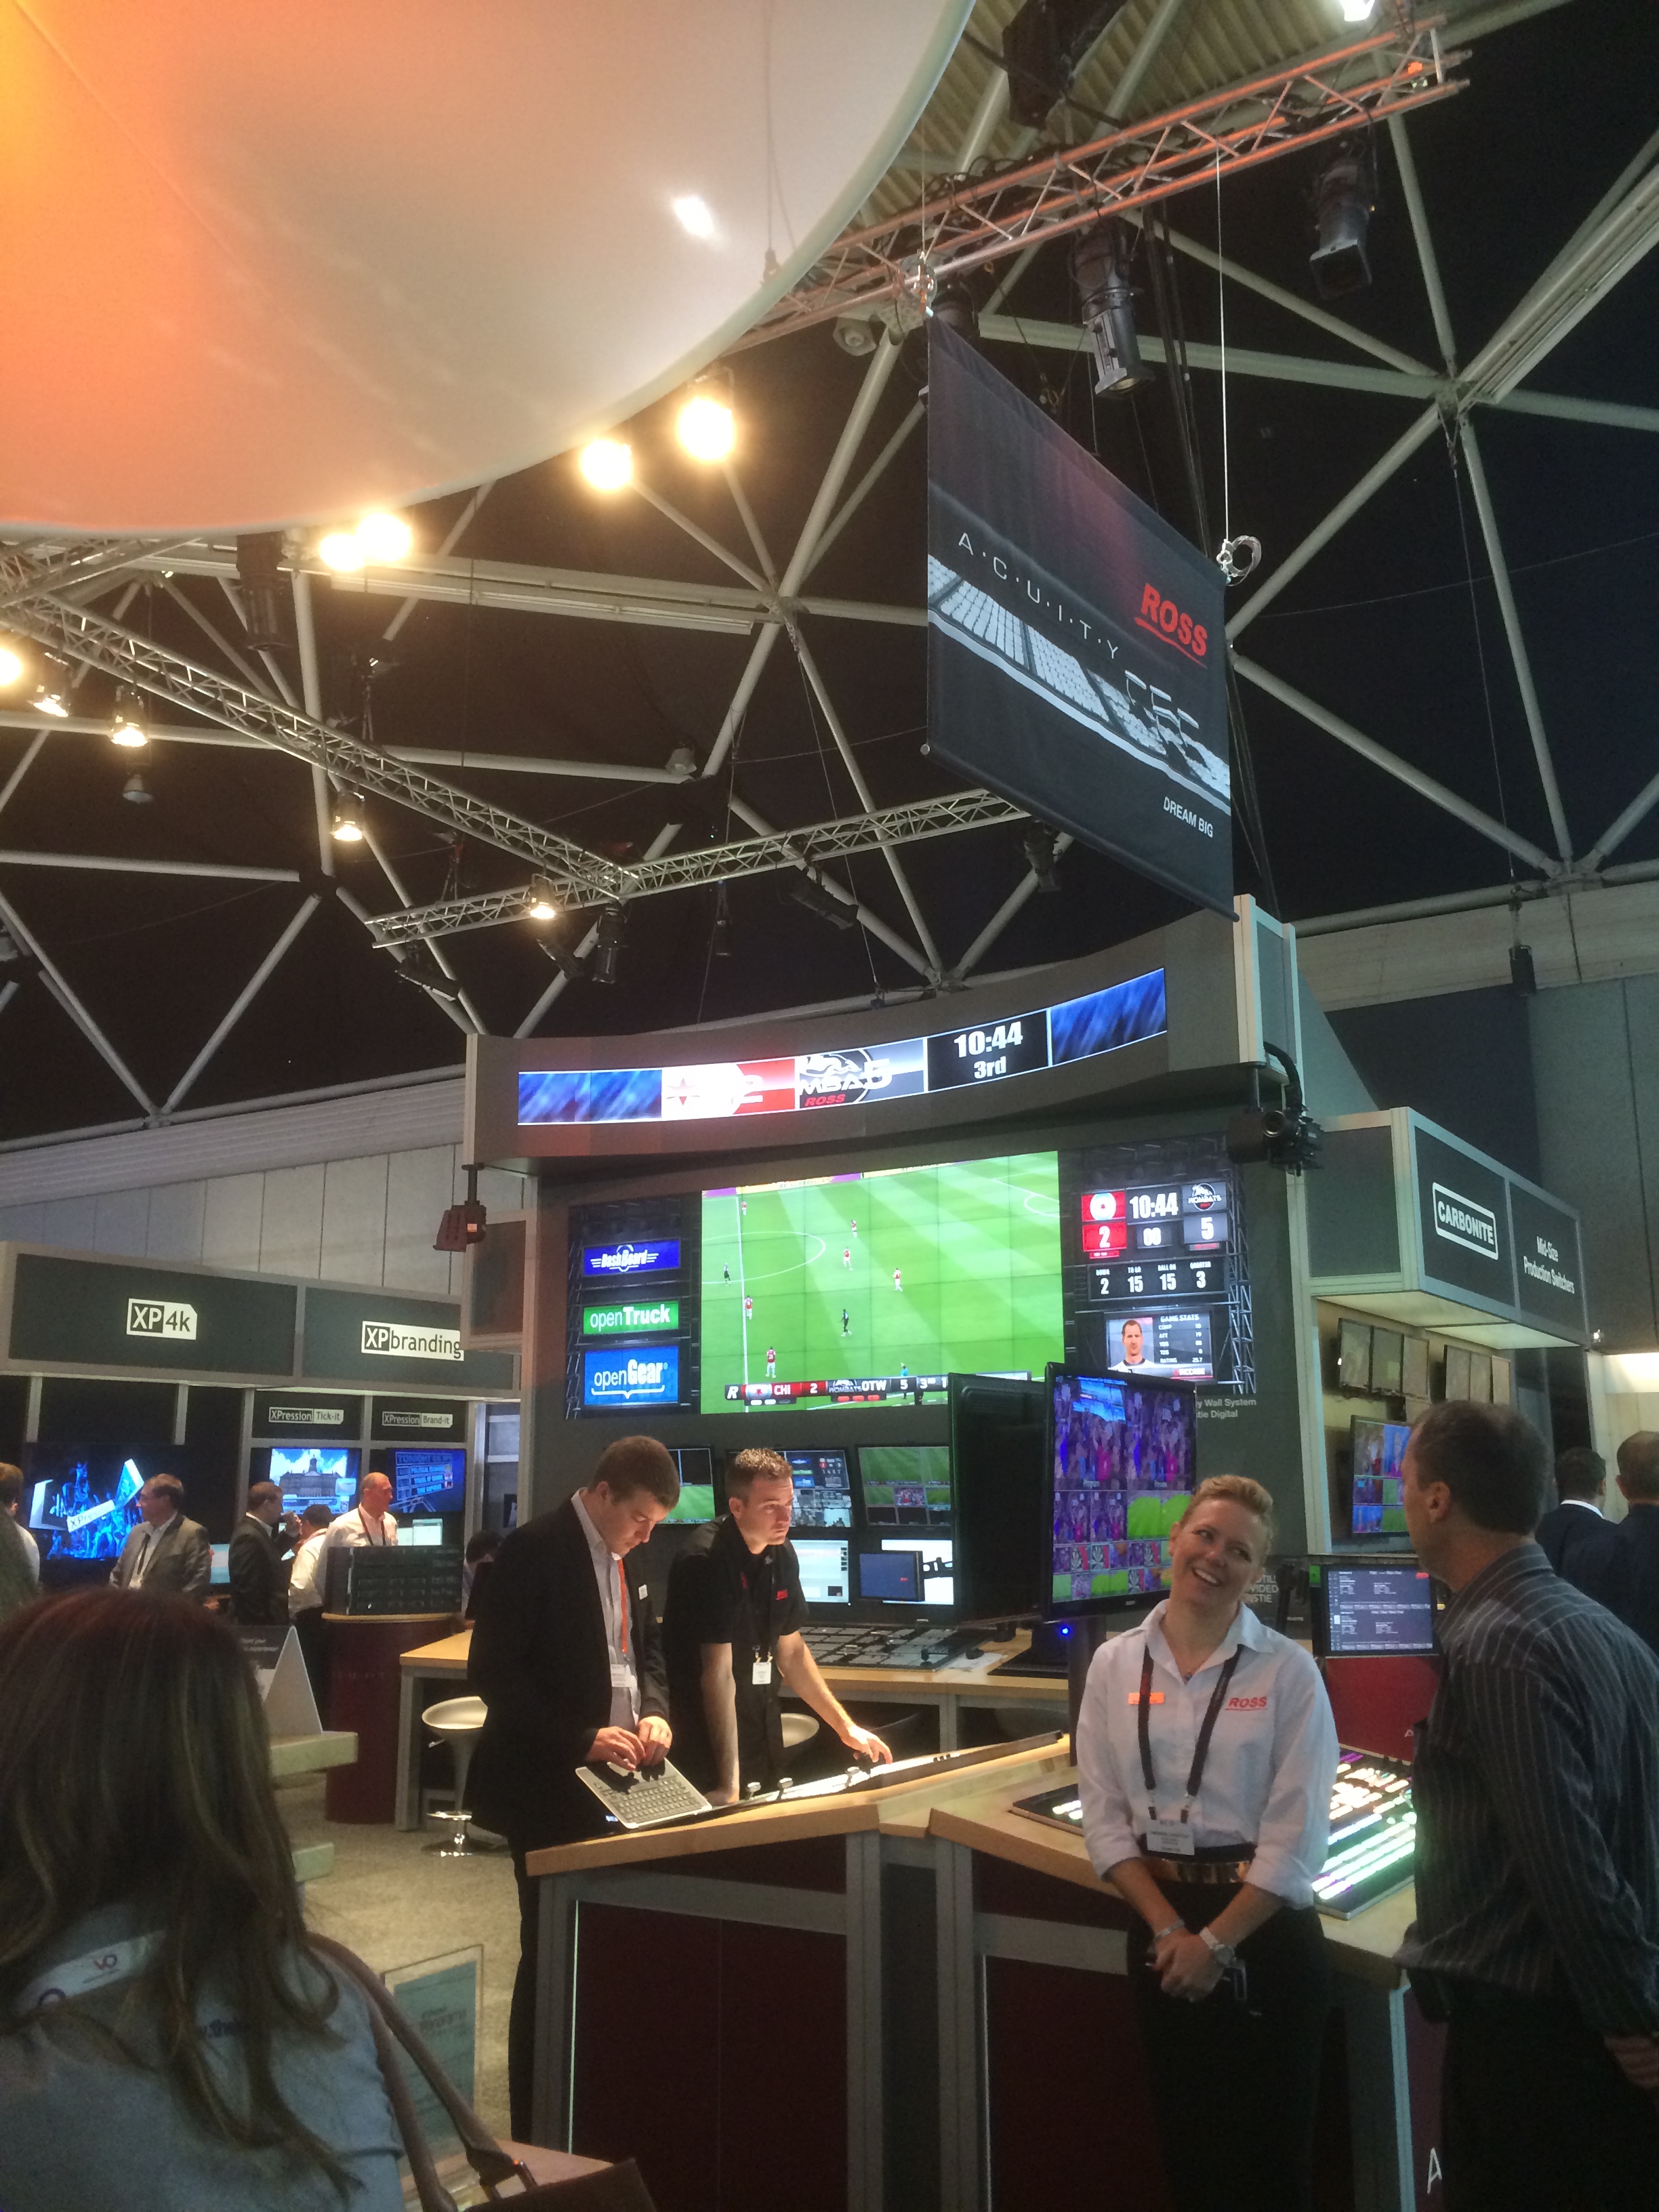
We visited the Ross Video stand, to interview Pete Ross for The IABM annual conference, it was interesting to hear about how the company developed the first vision mixers and lead the way for broadcast production throughout the 20th century, definitely worth recognition.

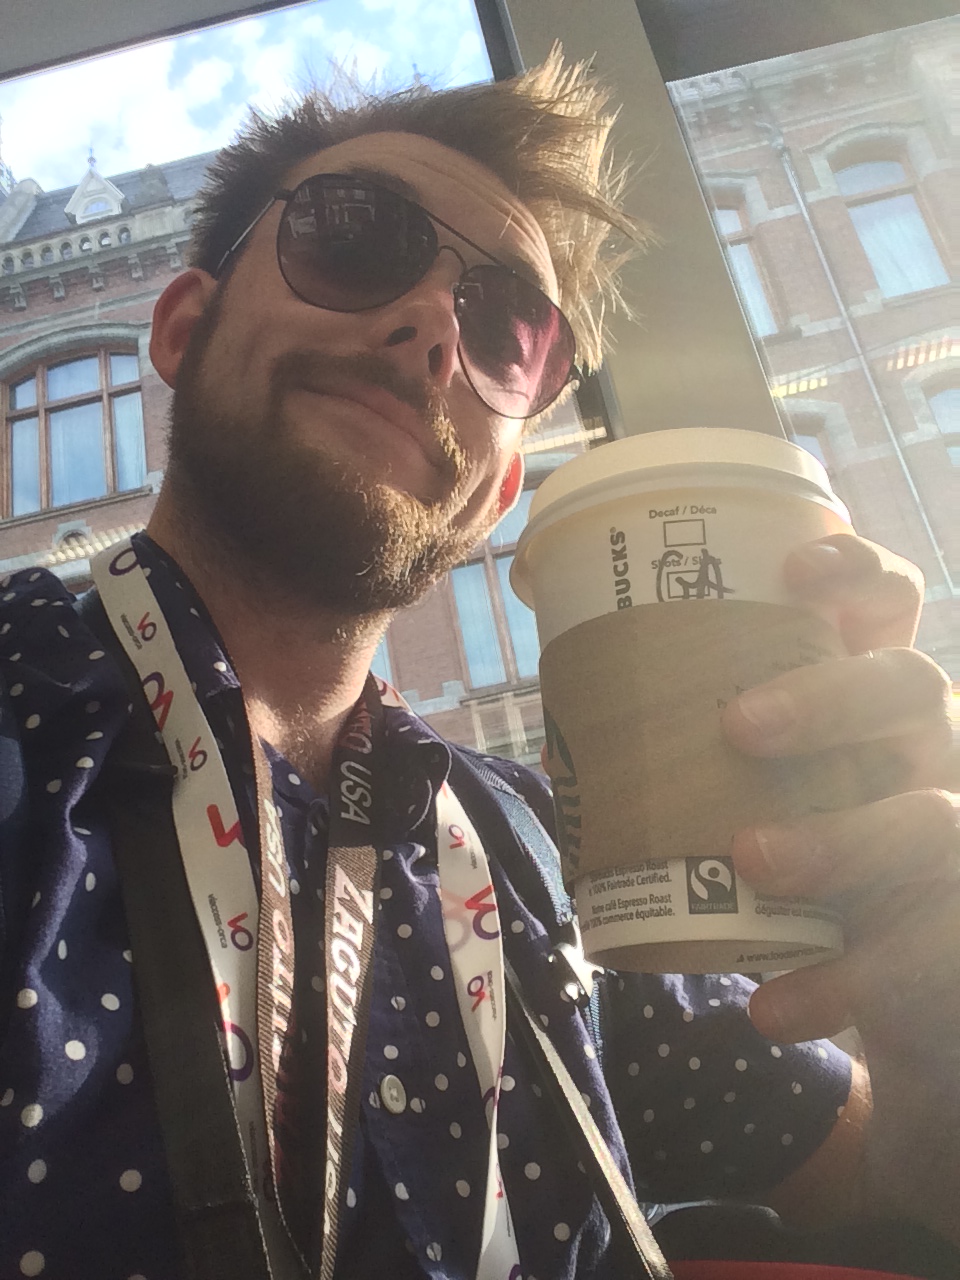
adams last day at ibc on the tram in Amsterdam
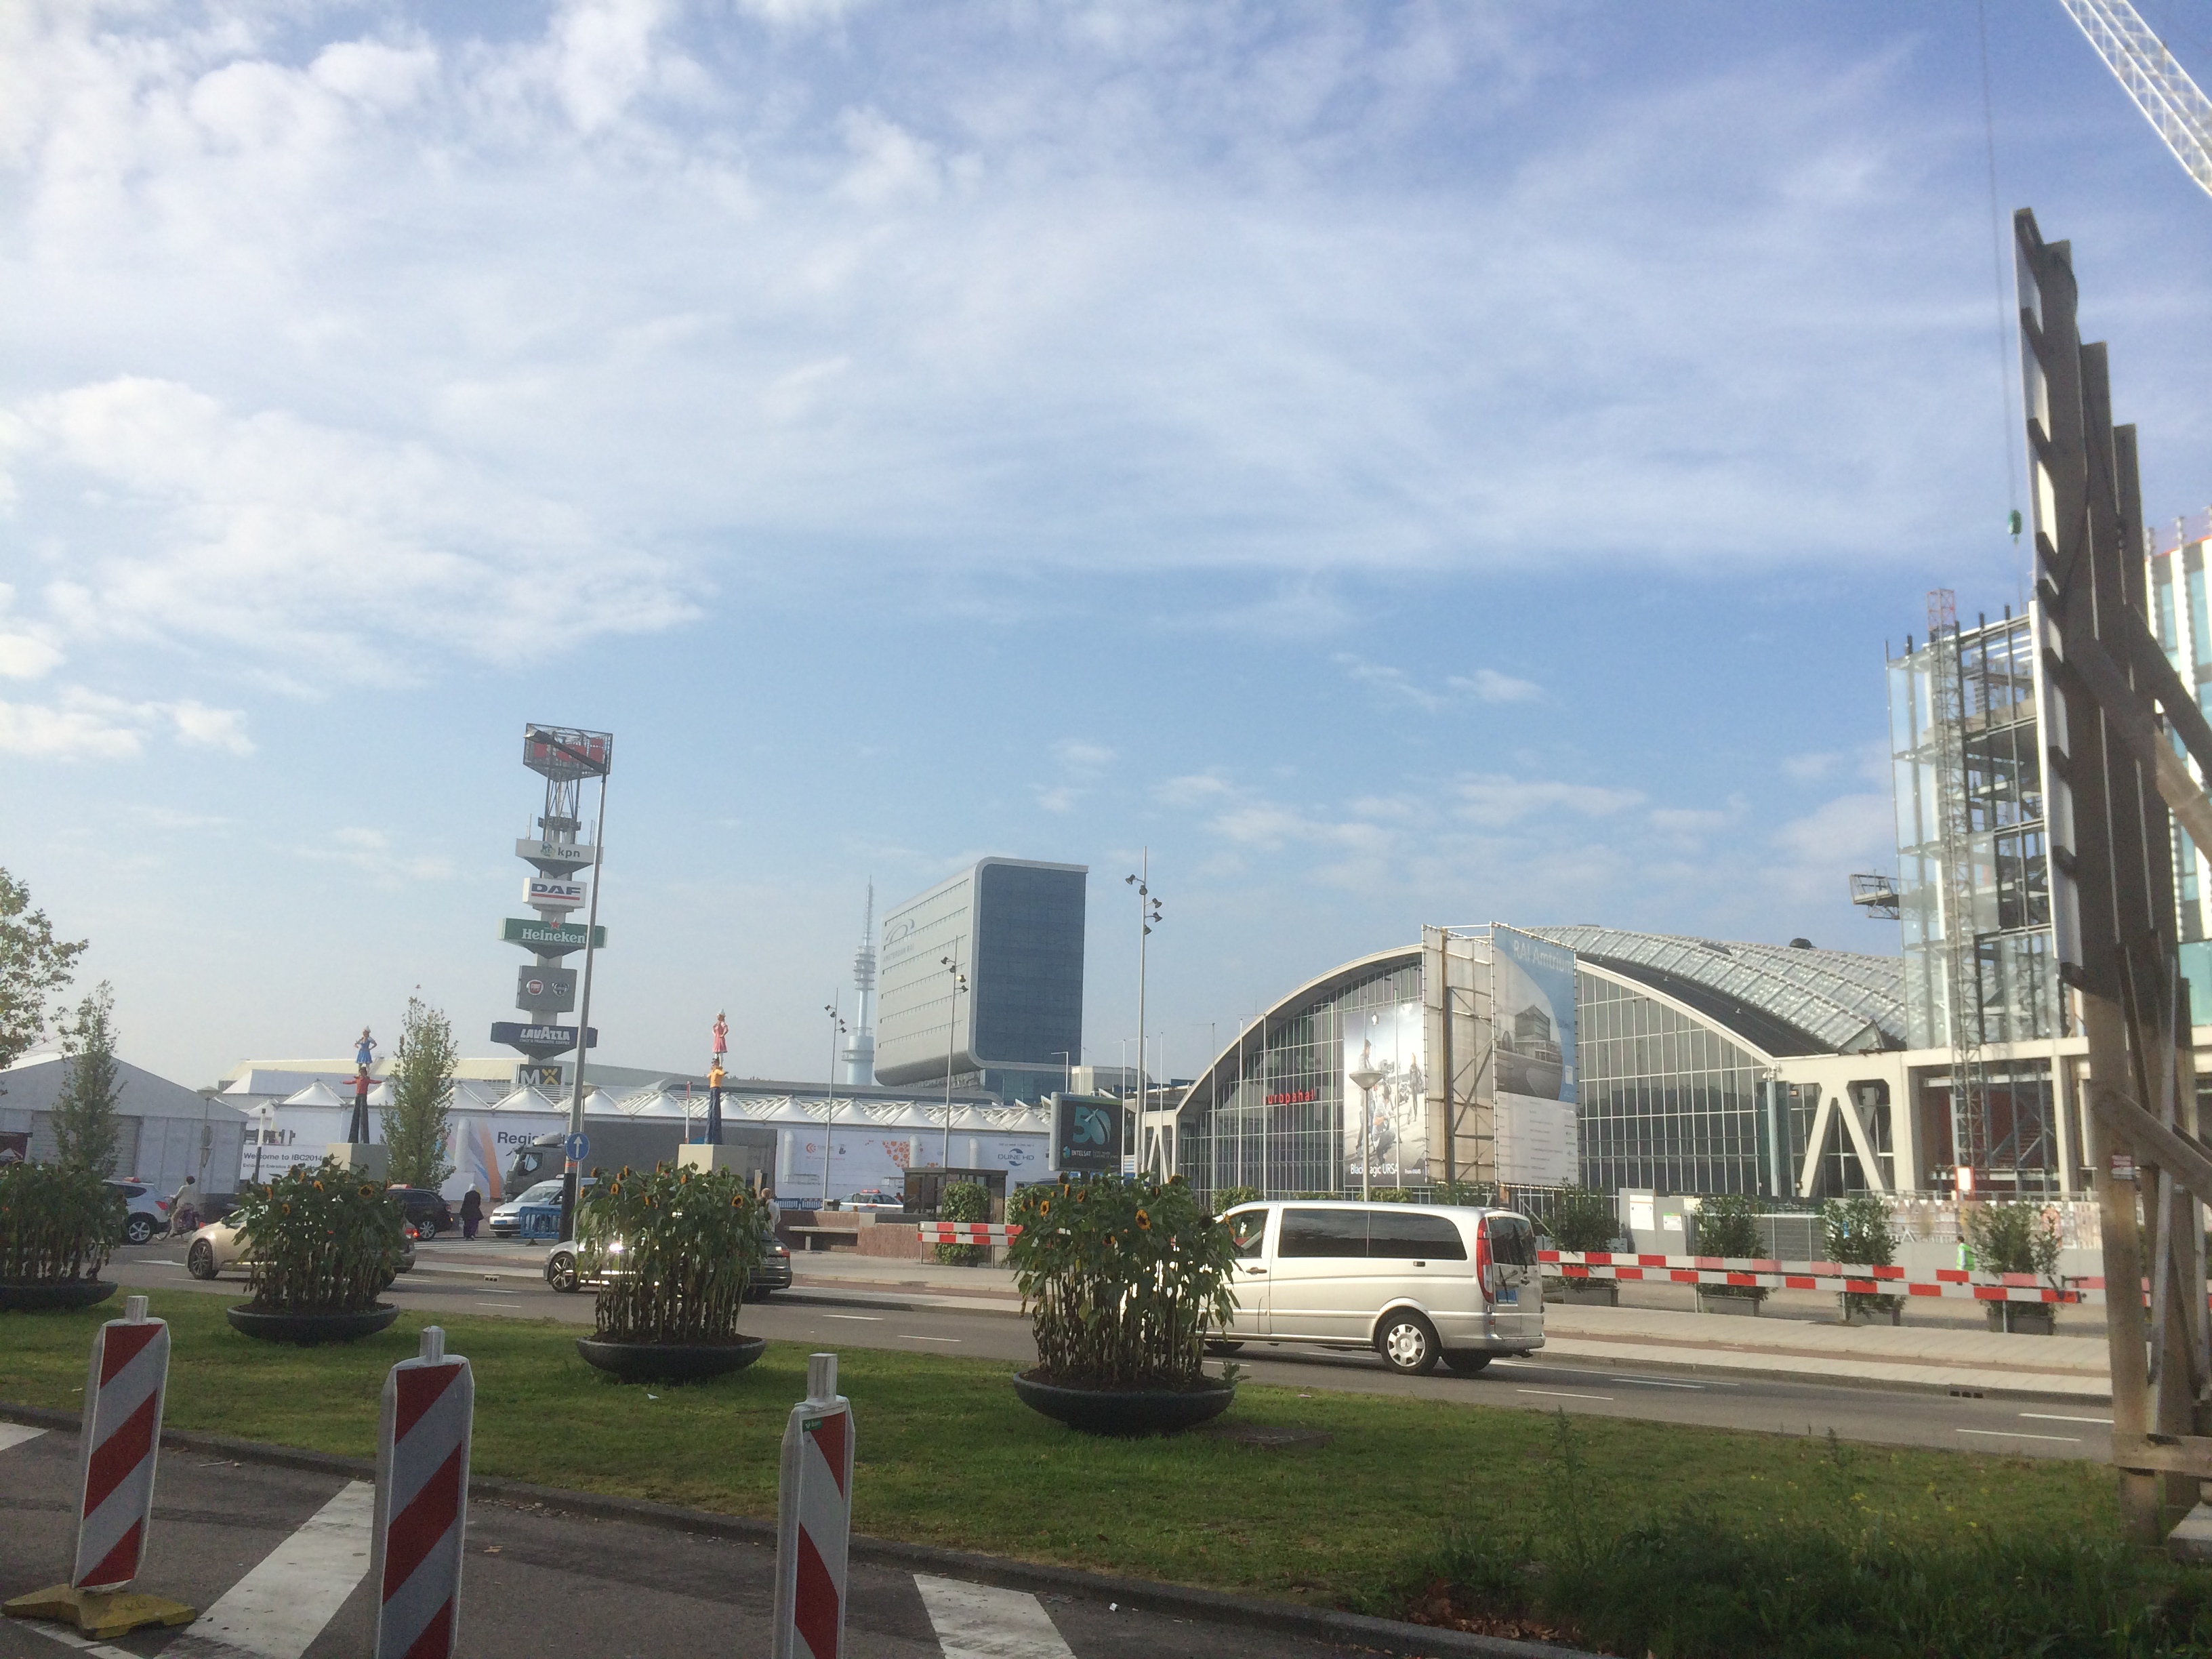
the Amsterdam RAI, home of IBC
Ross video stand at ibc show
Ross video stand at ibc show2
saying goodbye to the IBC press room!
Glen at IBC
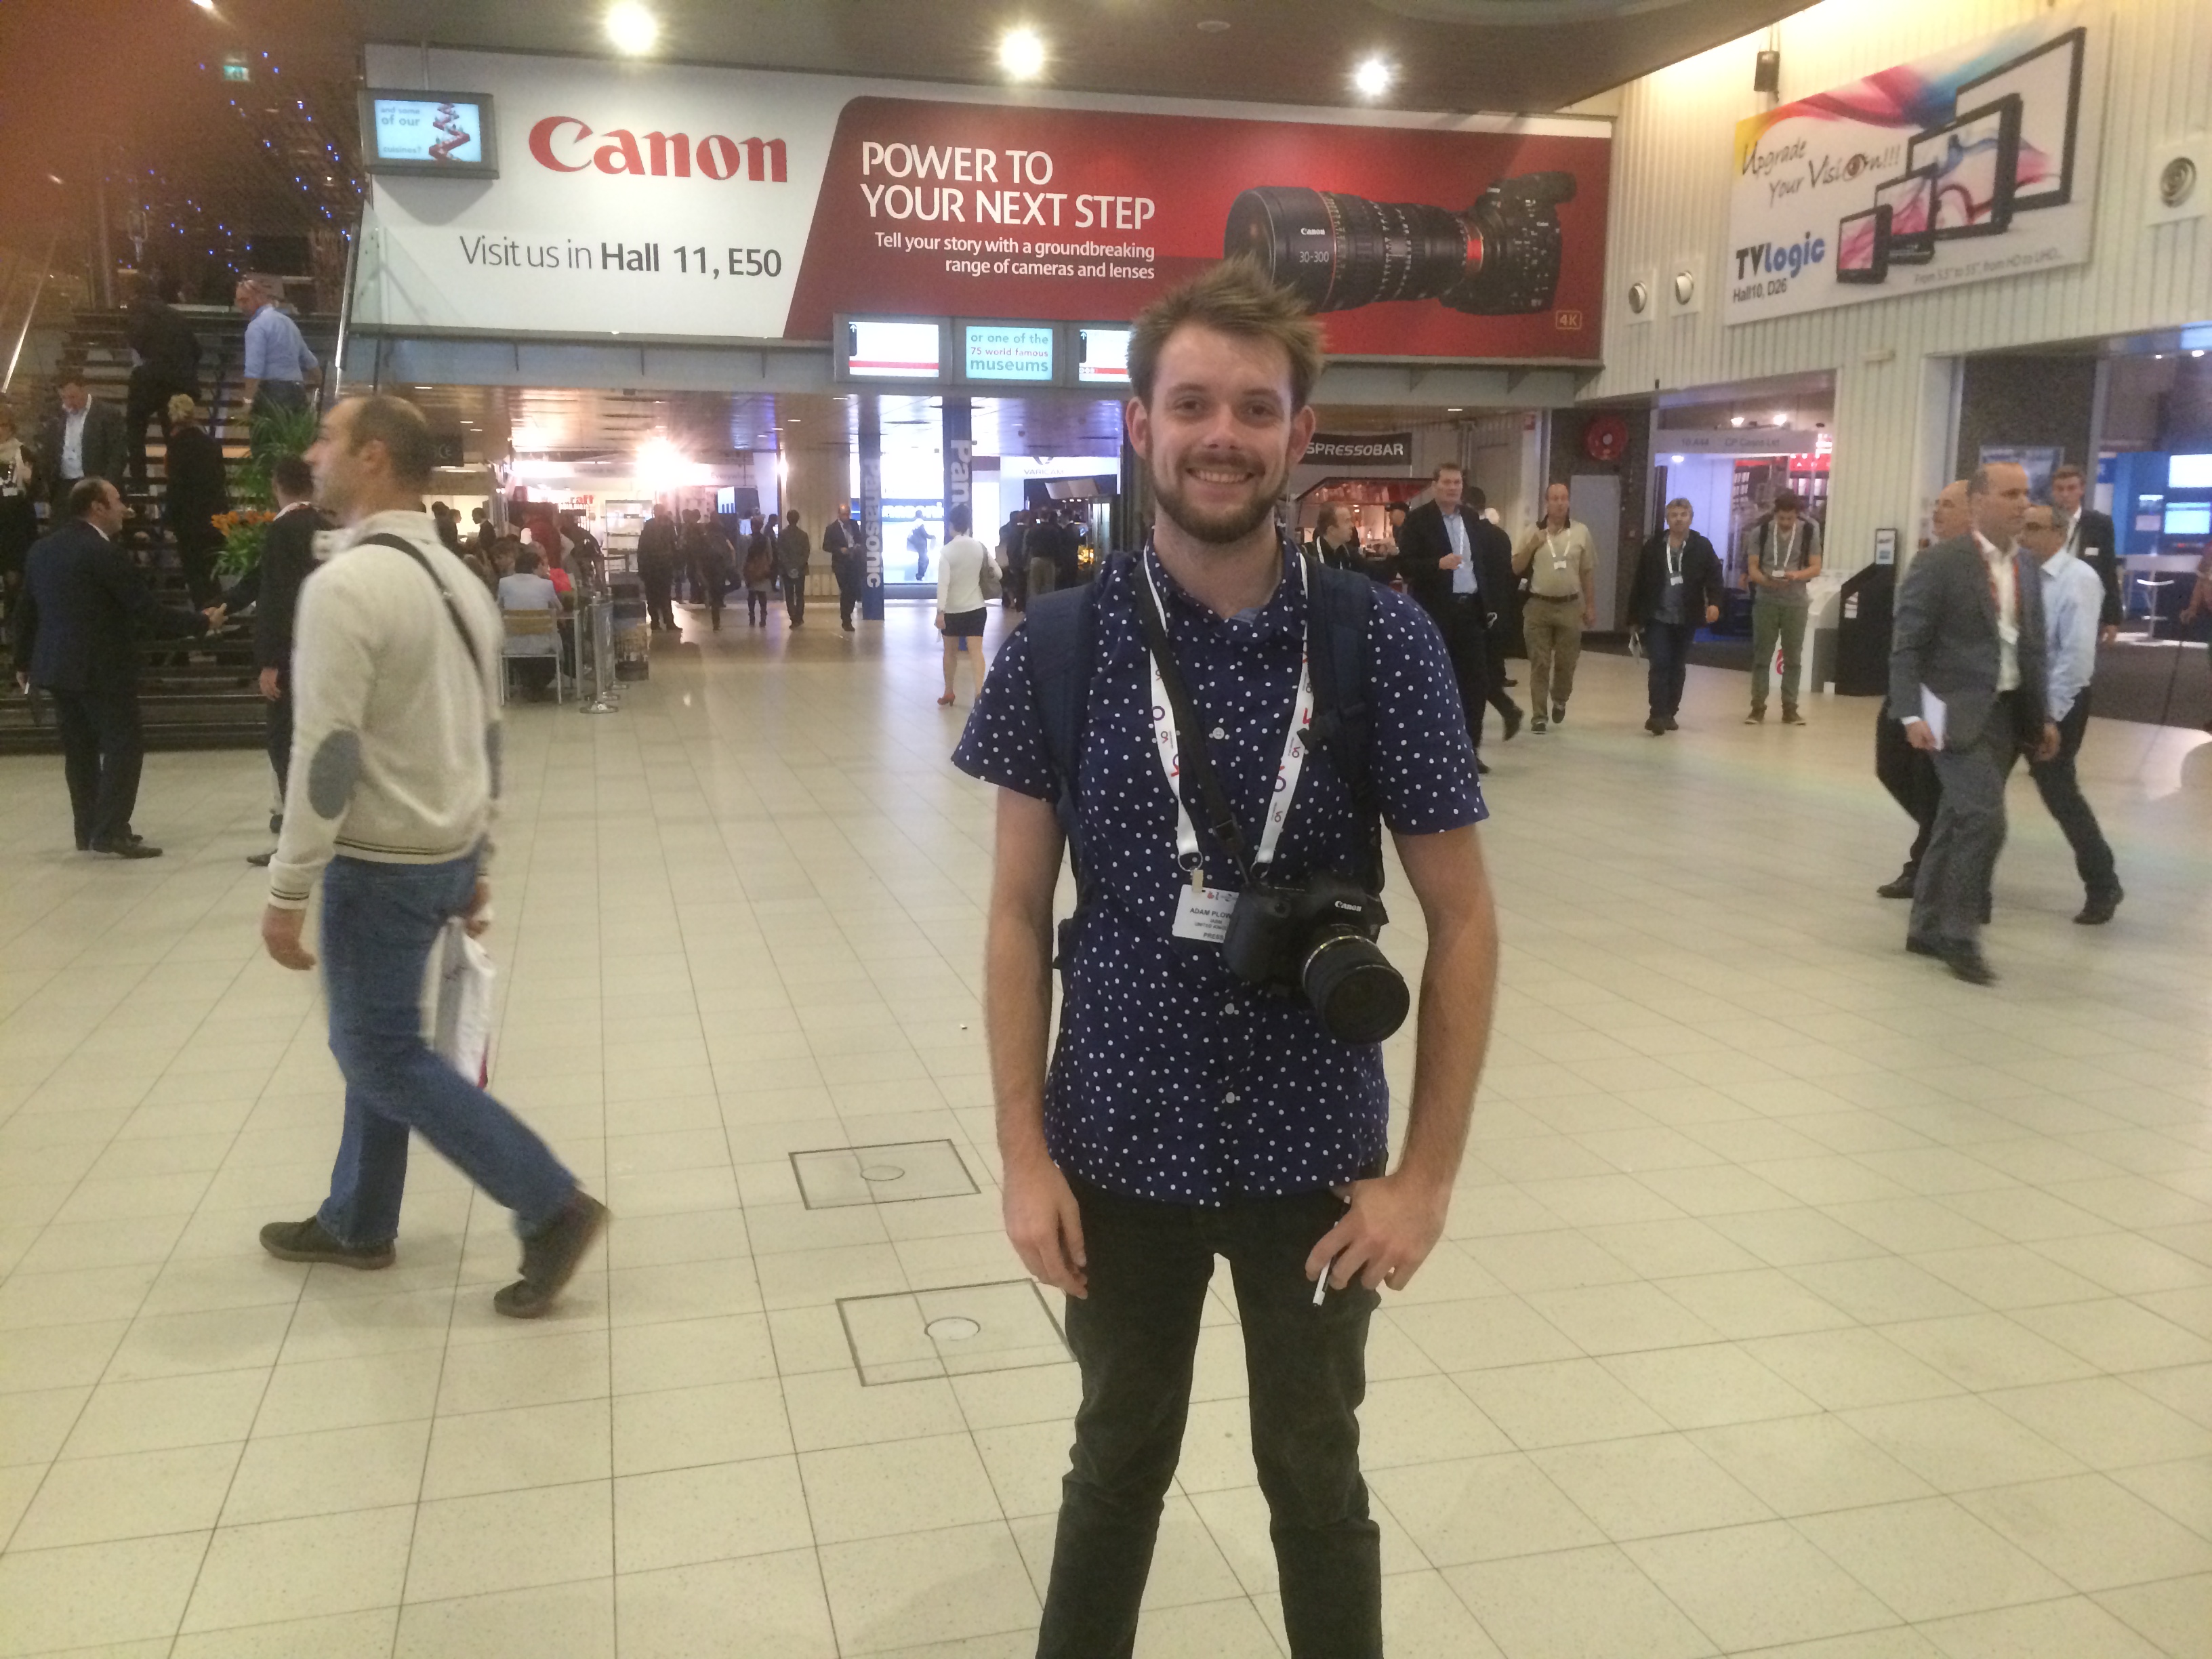
Adam at IBC
Glen and Adam leaving IBC 2014 for the last time!

Well, what an incredible time it has been.. We captured over 400Gb of footage and audio, combined with hours of graphics produced before the show. We delivered (and are continuing to deliver) over 55 videos online for The IABM. What a show, what a success! My huge thanks go to the other half of the team, Glen Symes for his help and dedication to getting the videos out, and dealing with my stresses of production and post throughout! Also thanks to The IABM for giving me the opportunity to cover The IBC Show 2014 for you.

Ooh, I almost forgot I stopped by the Vitec Videocom stand to say hi to the Manfrotto reps and return the tripods and grip we borrowed for filming. While we were there I asked Sofia for a short piece to camera on the new Manfrotto tripods and kit; I was over the moon to hear a new follow focus has been developed to go with the SYMPLA rig!

Check out the video with Manfrotto here -

I've met up with old friends, and made many new ones. My experience has been overwhelming this year, now I cannot wait to do it all again at The IABM Annual Conference and hopefully IBC 2015! If you have any questions about how we produced the videos, or IBC then drop me a tweet @Plowman91 or comment!

I'm still editing and uploading more videos, so keep updated by checking out The IABM website for more videos and content, and I will have an IBC 2014 wrap up video coming soon. UNTIL NEXT YEAR!

Success at the Manfrotto Takeover!

Adam Plowden videography seminar manfrotto takeover park camera london

I had a great day at the Manfrotto Takeover on Wednesday at Park Cameras London, I hope all the visitors enjoyed their day too! I'm very busy at the moment, heading out to film a wedding today and tomorrow and have a growing collection of editing that needs to be completed too.. Better to be busy than to be sitting around doing nothing though!

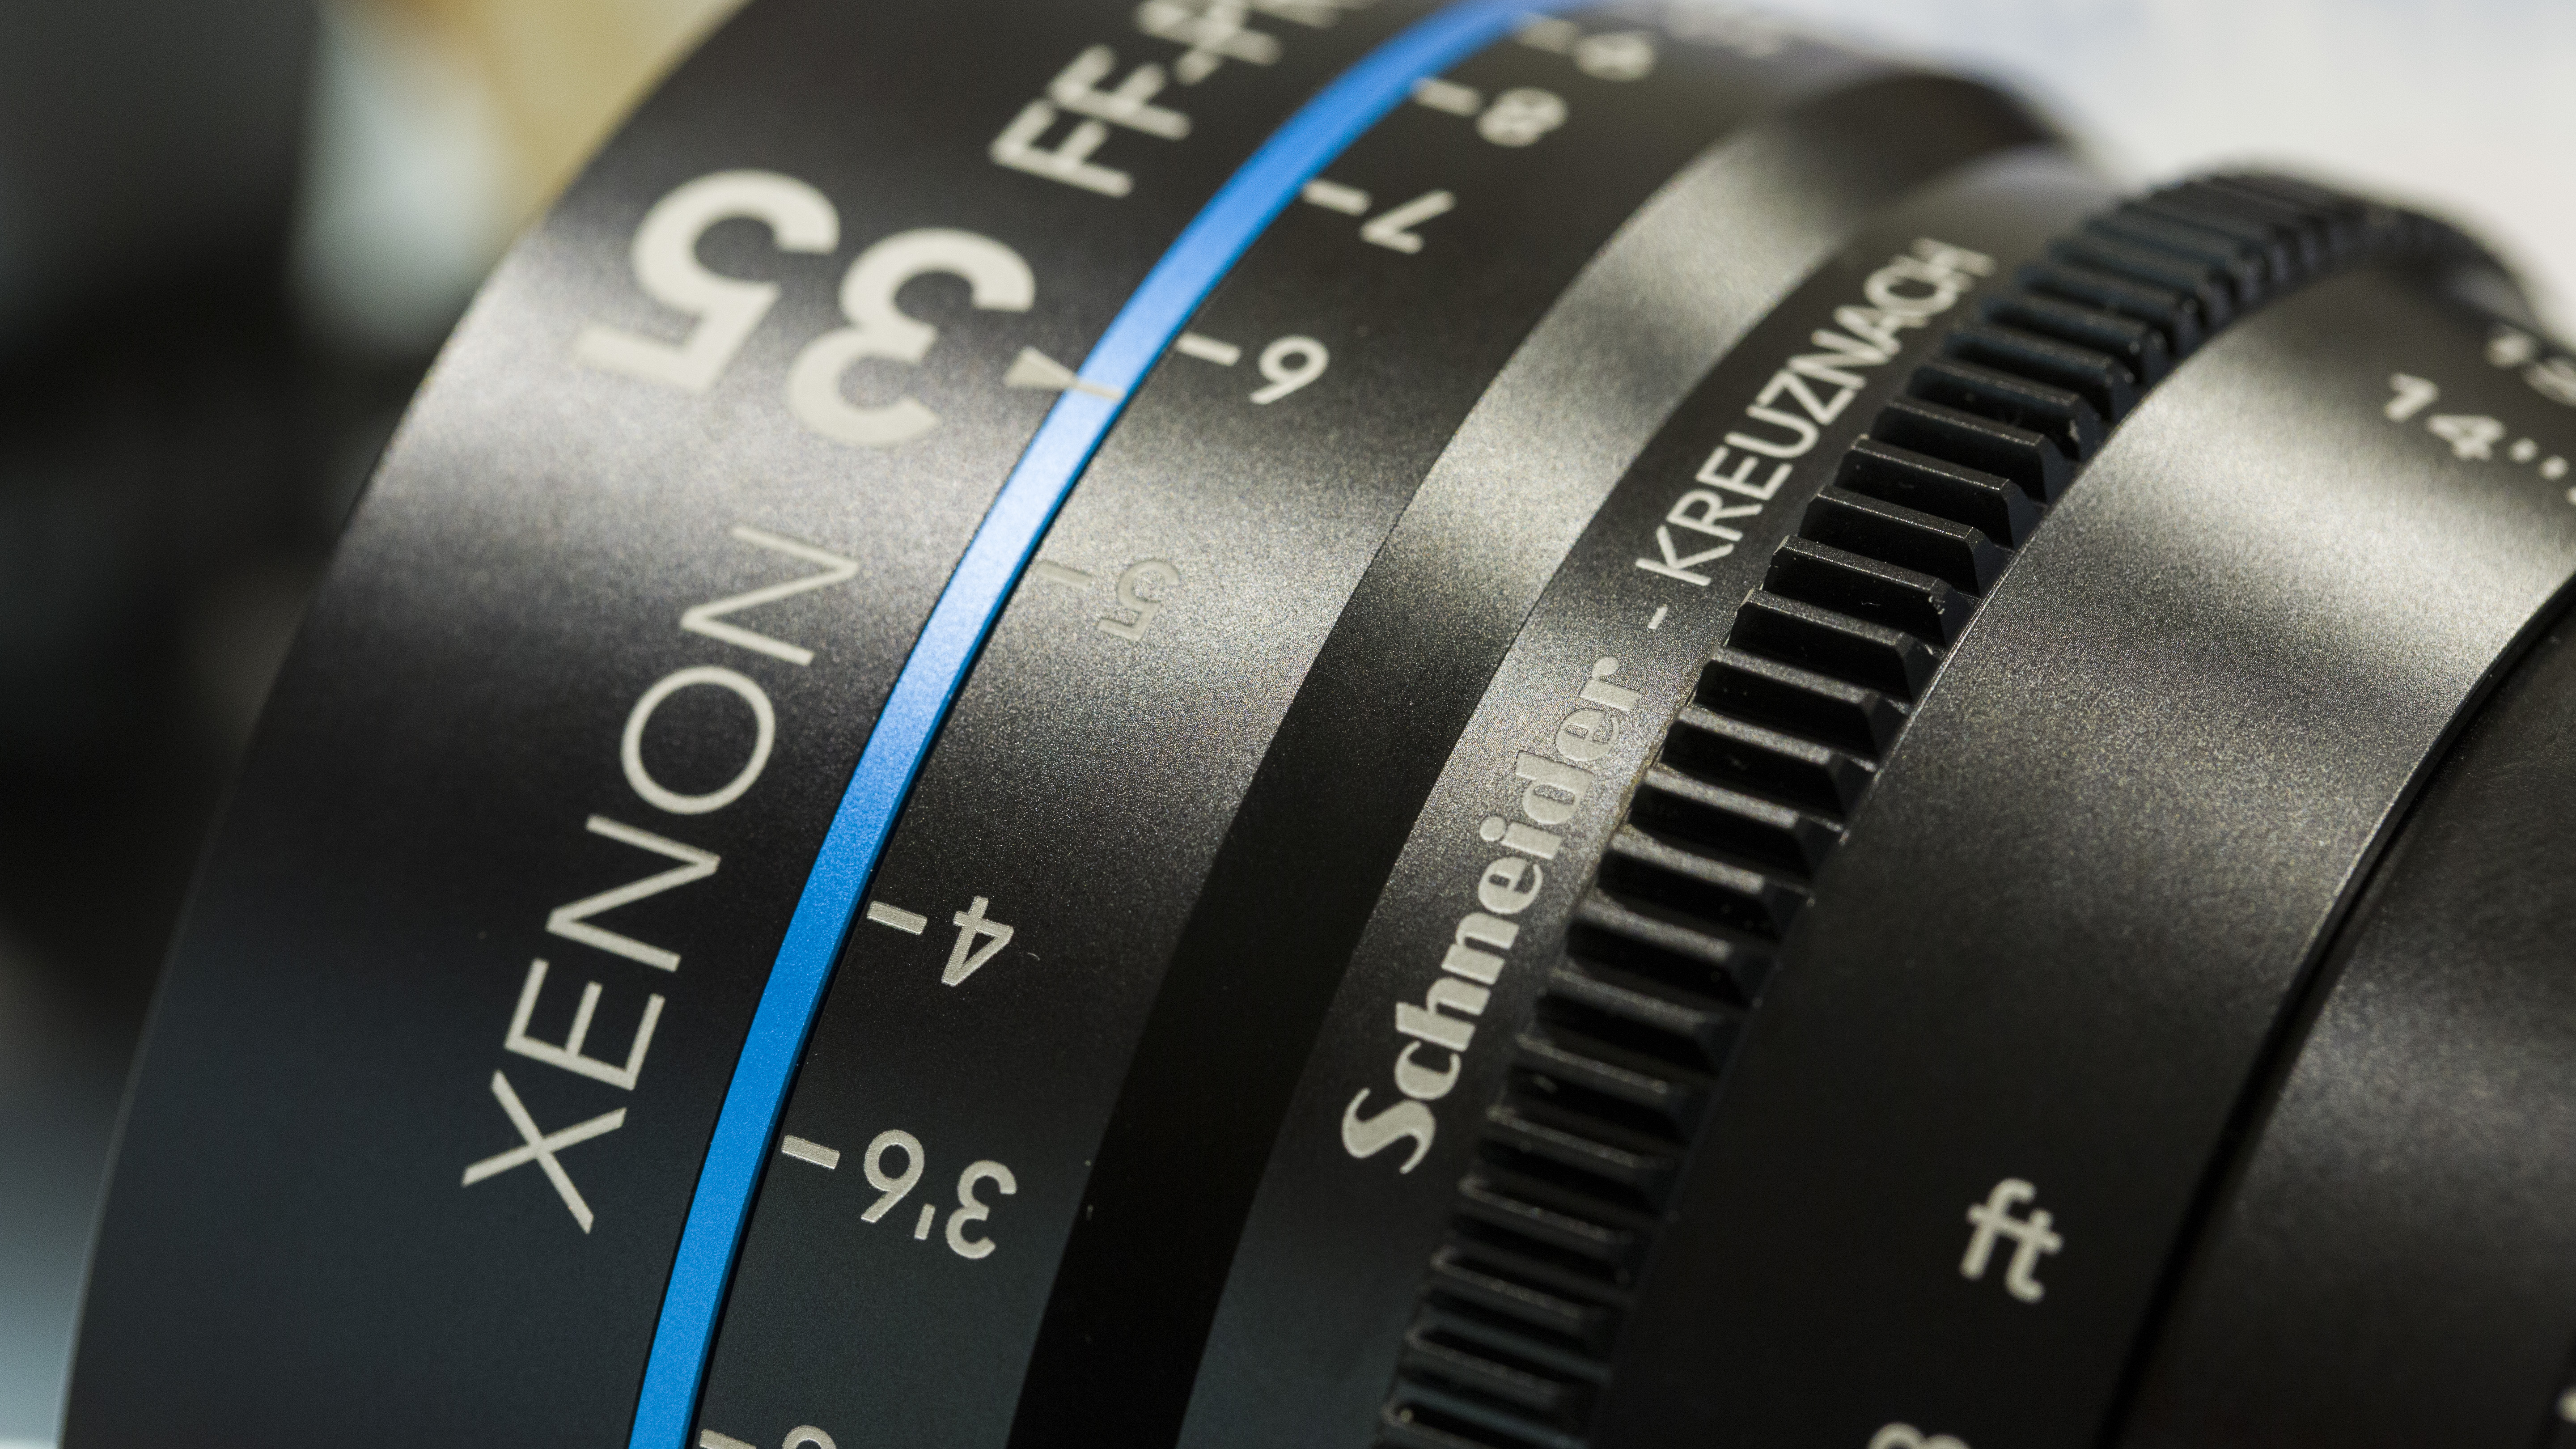
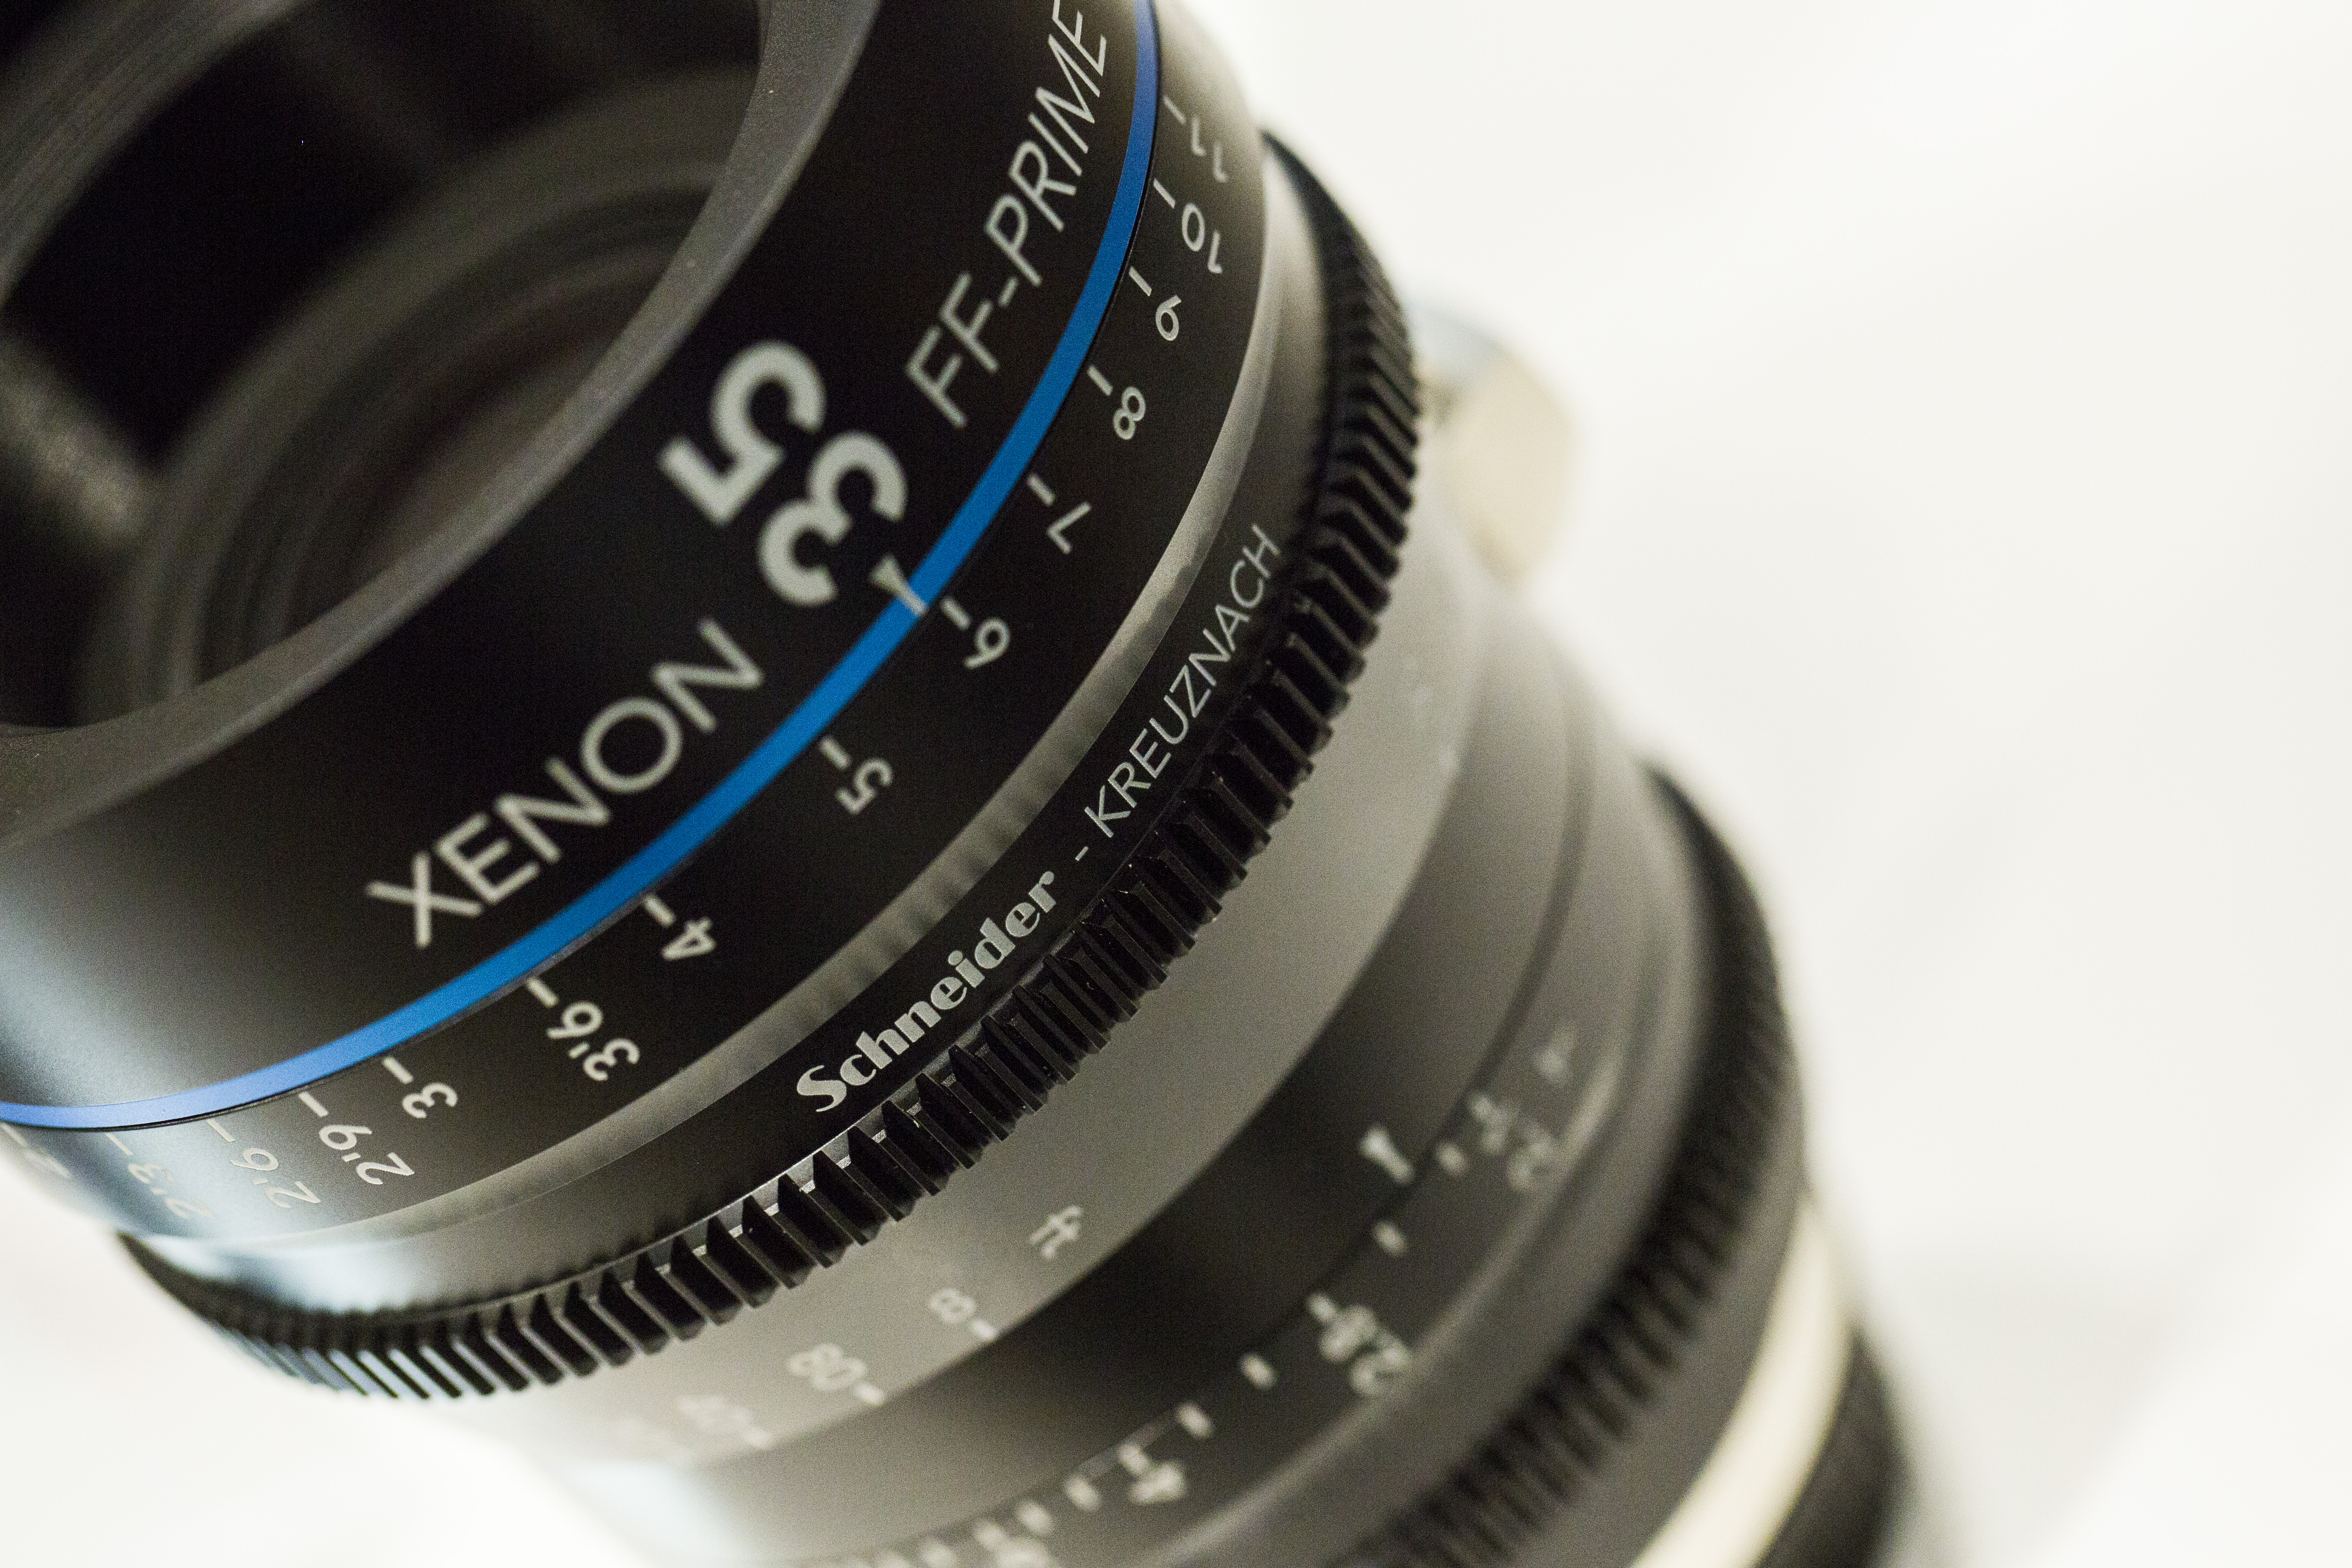
I got to test the new Schneider Xenon cinematography lenses on Wednesday too; built for 4K cine productions, the T/2.1 prime lenses have focal lengths of 35, 50 and 75mm with other models soon to be available, and I'll be using them on my productions later on down the line. I was blown away by their performance, it's like looking through a new pair of eyes.

More to come later! Keep creative!

Schneider Kreuznach 35mm cine prime lens optic Manfrotto takeover 1
Schneider Kreuznach 35mm cine prime lens optic Manfrotto takeover 2

For those that couldn't make the day, or my seminar on videography a podcast will be uploaded later when I get back from the wedding and I am putting together a highlights video of the day (shot on Panasonic GH4 in Cinema 4K and on 5D mark III with the Schneider cine optics).

Floral Photography for Madeleine Pink

In an earlier post I mentioned that I am not a photographer, apart from the odd dabble in flowers. Last Saturday I was at Box Hill School for their summer Copacabana Ball, for Madeleine Pink florist Margaret Alldridge to take some photos of the displays for her portfolio and website, my goodness what a display it was! I prepped all of my photo kit that afternoon, taking with me the Canon 5D mkIII and a range of lenses, but I predominantly used the Samyang 35mm T/1.5 cine as its minimum focus distance is similar to that of a macro lens, the old Nikkor 50m F/1.4 and Saymang 85mm T/1.5. The Tamron 24-70mm is constantly attached to my camera as my main go to lens so that was with me too.

It was a beautiful afternoon, and very hot too! Here is a selection from the photos I took;

[gallery columns="2" ids="4229,4230,4231,4232,4233,4234,4235"]

I took the photos in RAW, then post processed in Photoshop for small adjustments like exposure and a kick of contrast. Most of the photos had to have the saturation reduced as the vibrant colours were so punchy! Photo's copyright Adam Plowden Videography 2014.

Behind the scenes of yesterdays Wellbeing videoshoot!

06:30 Kit bag, check.

Audio kit, check.

Lighting, check.

Brain, just about.

bts early morning sky

Yesterday I was out filming talking heads and some b-roll for a Wellbeing project on behalf of EEBC. Wellbeing is our general mental and physical health, but there are many factors in the way that we live that can affect our chances of developing serious health problems in the future. These include some sensitive subjects, that I was capturing to provide an information base for those in the community that may be suffering, or have friends and relatives of those diagnosed with; Cancer, Coronary Heart Disease, Dementia and Diabetes.

I was featuring nutritional expert Yvonne McMeel throughout the videos, so I began by planning my main piece to camera with her in the Wellbeing Centre.

This was a standard video shoot, so I packed my kit bag to be prepared with whatever the day would bring! This included;

Video - Canon 5D mkIII, Tamron 24-70 F/2.8 VC, Sigma 70-200 F/2.8 OS, Canon 60D.

Audio - Zoom H6, Roto-Mic, Sennheiser ENG-G3 100 wireless.

Grip - Manfrotto 755CX3 tripod + MVH500AH, Manfrotto 190Pro-B (old version) tripod, Super clamp and magic arm.

Lighting - Daylight balanced 85W studio light with soft umbrella.

Extras - Lilliput 1018 (I am currently testing out and reviewing this product).

behind the scenes videography equipment

I took along the Lilliput 1018; the new flagship 10 inch touch screen field monitor, which produced crisp pictures and well represented colours. I ran this on a F-970 battery with HDMI through from the 5D, so I could monitor both. This did however cause the camera to heat up quite quickly. However, the monitor has awesome features usually found on high end products which include; exposure and focus peaking, on screen waveform monitors, levels and much more, which came in very handy for assessing the quality of the picture. (More coming later regarding this product).

behind the scenes make up artist Char1 behind the scenes make up artist Char2 Char doing her make up thang!

I began setup at 9am, shortly followed by Char the make up artist who set up her bits. The location for filming was the Wellbeing Centre, which as a wonderfully bright open facade with big doors and windows. Luckily enough, blaring heat and sunshine poured through the windows, so that was my key light at slightly cooler than daylight colour balance at 5200k. This also matched the daylight light fixture I was using to add a fill and kick to the subject.


Why did I use a 2-point light setup?

I could have rocked up with the intention of using just the daylight and the incandescent lights in the centre with the mentality that it will illuminate my subject well, but there are risks you have to be willing to take if you approach lighting in a casual way. Some points to remember when thinking about lighting your subjects;

  • Are they defined from the background?
  • Do they have harsh shadows on their face?
  • Moving sunlight will change throughout the day, in brightness, direction and colour.
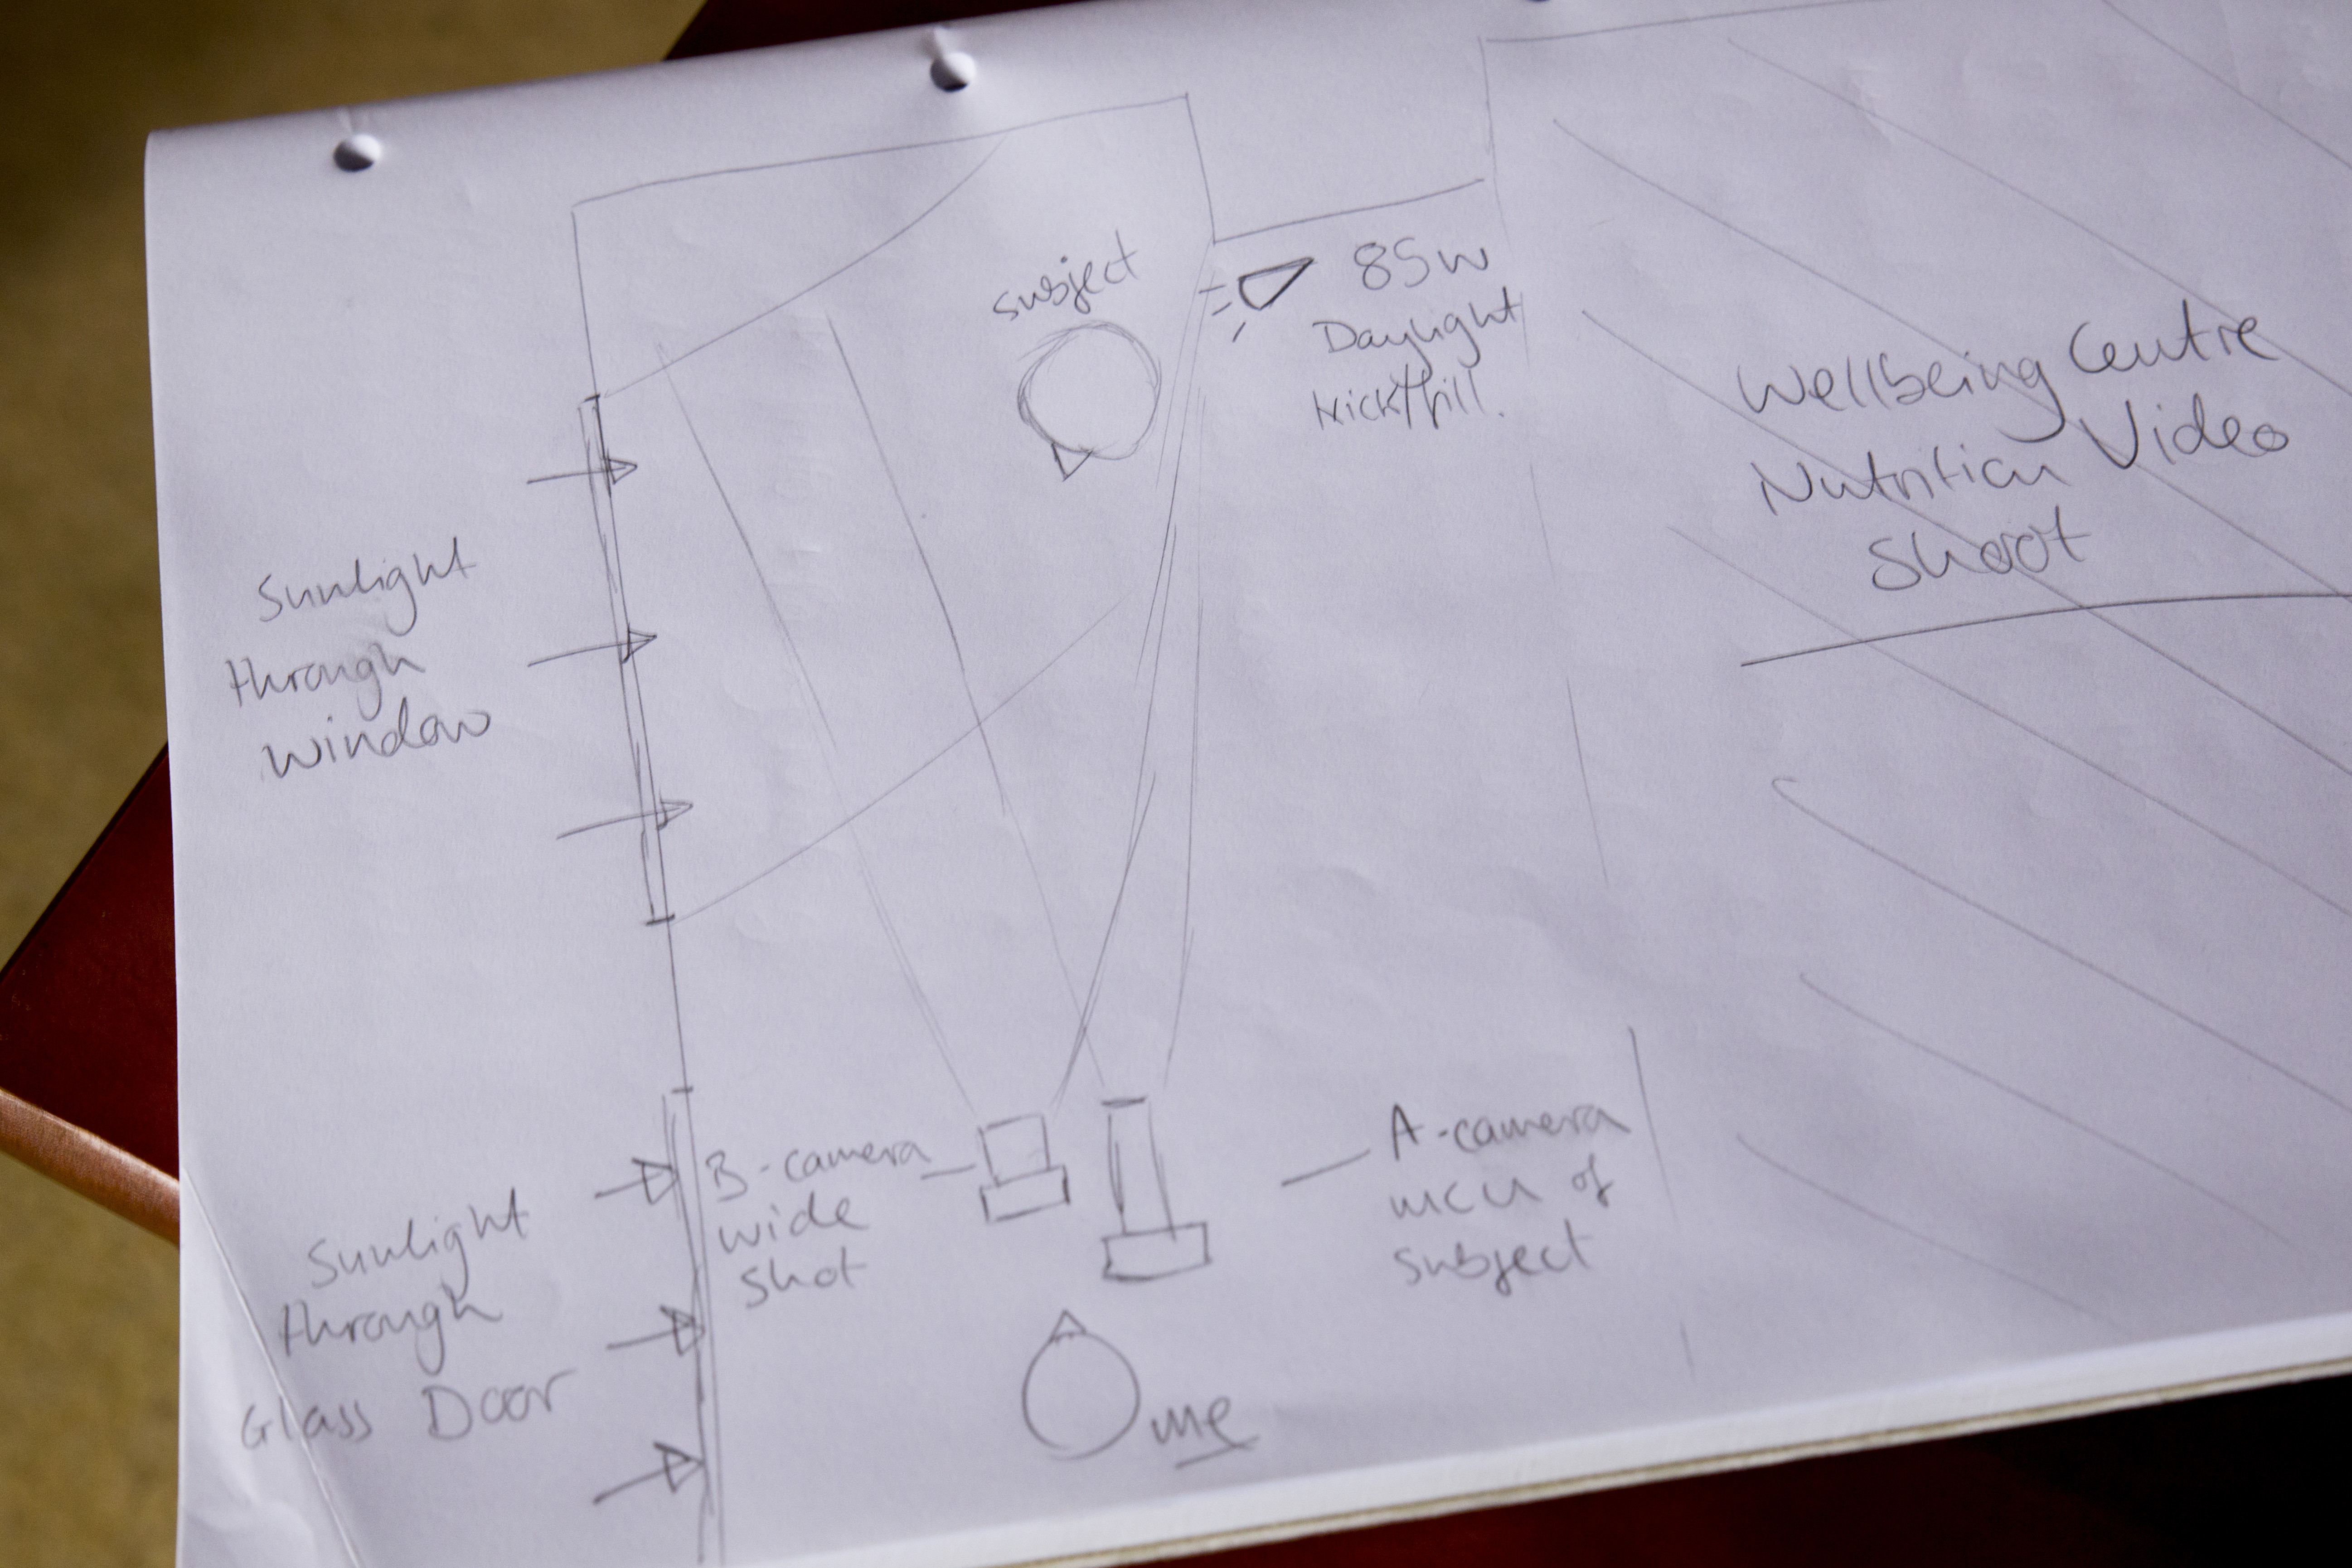
  • bts wellbeing light setup

Now, when you haven't been to the location before it is difficult to judge the lighting conditions, so firstly if you can have a RECCE of the location. It is very beneficial as you can begin to compose the scene, judging the internal and external lighting, now noisy the environment is, whether you will need a backdrop instead of a plain background.. All points to consider before you turn up with the camera kit and begin filming.

Defining the subject from the background is what makes them look 3-dimensional and not flat, this is the same for the shadows too as it shows that features are visible on the face. With DSLR's it is possible to use depth of field to define your subject from the background, but lighting can also be used to 'pop' the subject out of the BG.

Harsh shadows are caused by strong direct light, and are unwanted as they mask features and don't represent the subject properly, unless this is the effect you are looking for. For piece to cameras and interviews having soft shadows around the nose show the features of the subject, again making them look real.

The sunlight is your best friend and worst enemy at the same time... As the Earth rotates, we move further away or closer to the sun which changes the lights direction; if you start filming in the morning with your subject lit from the front, by 12 noon the sun is over head and by the late afternoon the light will be behind you. To combat this, keep continuity by filming at the same times each day, or even simpler be aware of the suns direction and gradually rotate the subject and other lights to keep a constant illumination. For me, I was filming from 11am through to 15:00 with the sunlight to my left for the whole day which was very beneficial, but not every time will I be that lucky!

Watch out for clouds that can block the sunlight, and be aware of how the colour temperature of daylight changes throughout the day; cool in the morning and warm in the evening. For me, shooting in midday sun meant a constant temperature of 5200K for both cameras, matching the other light.

The use of a kicker or fill light, pushes out the shadows caused by the key light (the sun), and gives a halo effect to the hair of the subject making them stand out. The difference is subtle but effective.


Camera Setup and Composition

Once I had my lighting up and running, it was time to set up the cameras and audio equipment. I was going to shoot using the Samyang 35mm T/1.5 cine lens, but this would result in being intimately close to Yvonne, the subject, which would be quite off putting and may add shadows/interference such as me rustling papers to the recording. Instead, I used a telephoto lens as I can be a good distance away from the subject, and create a narrow field of view that frames up as an MCU (medium close up).

My main A camera was the 5D mkIII, and although the Sigma lens can open up its aperture to F/2.8 for shallow depth of field, this was not required for today. Instead, the camera was set to F/4.5 for a still shallow depth of field, but deep enough for the subject to move forward and backwards in the frame a little, and to de-focus the background. The ISO was set to 200, although when the Sun disappeared behind clouds I would ride the ISO to 250 or 320 depending. To stick to the 180 degree shutter rule, the electronic shutter remained locked at 1/50th.

The B camera was the Canon 60D, I paired this with the sharp Tamron 24-70 F/2.8 and shot wide open, again riding the ISO when required. I did this because this camera was capturing a wide shot of the subject, so depth of field was not noticeable. To keep continuity, both cameras were set to a white balance/colour temperature of 5200K, but it appears that the 60D picture is slightly yellow/green than the 5D picture.

behind the scenes camera dslr audio setup light

Audio

The often forgotten partner to the pretty pictures you see, having top quality audio is just as important as having your subject in focus and exposed. I used the Zoom H6 as my recorder, with the XY mic attached to capture one stereo recording. I also used the Sennheiser ENG-G3 wireless mic kit, attaching a lav/lapel mic to the subject which would be my main audio source. As a back up I also used the Rotolight Roto-Mic plugged into the 5D just in case. Remember to take headphones so you can monitor the sound recording, just like you would use the cameras screen to compose the picture.

Behind the scenes wellbeing video shoot adam plowden videography canon 5D lilliput

The filming went brilliantly. As a precaution I decided to use the 'record to multiple card' function in the 5D so I had a back up of the footage in case the cards got corrupted from such long recording times. As mentioned earlier with the lighting, as the light slowly changed, I also adjusted the position of the kick/fill to push back the shadows.

I was very impressed with the Lilliput 1018 field monitor too, and although it is larger than monitors I would usually use the touch screen control and diverse functions suited the shoot well, so I could keep a close eye on the changing light levels.

After the principal piece to camera filming was complete, I ventured out into Epsom and Ewell with Yvonne to film some b-roll pieces that would add to the information and dialogue about wellbeing and health. So, we visited Shadbolt Park outdoor gym, Ewell Court Library, Epsom's Derby Square, we were going to hit the market but by that time it was 17:30 and no chance of finding fresh fruit and veg to film.. We returned to the car to go to the last location, Epsom Downs, when this happened...

adams broken down car

My car broke down. The filming day abruptly ended with a call to my insurers for recovery, while I also arranged a taxi for Yvonne to take her to the train station. That didn't put a dampener on the day though, I had captured great video and dialogue that I hope will help many people in the borough and wider community who may be suffering with cancer, heart disease, diabetes or dementia.

I then ingested the footage, and backed up a whopping 80Gb of footage and audio.. Lots to edit through, but thankfully those wonderful geniuses at Red Giant have a tool called Pluraleyes which can sync video with externally recorded video, so suddenly the issue to matching up the audio to the video disappeared, saving me potentially hours of work!

pluraleyes un-synced A bunch of un-synced video and audio clips gets transformed into this -  behind the scenes pluraleyes sync video

Pluraleyes then allows you to export the sequence as an XML that I then imported into Adobe Premiere Pro to edit! It's ready to go!


Overall, very happy with the footage and the outcome of the first day! I need to get out and shoot some more cutaways/b-roll of healthy food, socializing and some more bits and bobs to add.

Change of discipline today; photographer!

Madeleine pink table centre piece flowers Madeleine Pink table centre piece at Epsom RAC (Canon 5D mkIII, Samyang 14mm @T/3.1, 1/60's, ISO 1600). I am not a yes man. I will never say yes to doing something I haven't had experience in, as it can just cause anger, frustration and disappointment from both myself and the client, especially if I don't deliver what is expected.

Photography for me is one of those disciplines. Personally I am not a photographer, I don't have an education or background in still photography apart from graphics and VFX, so I go against one of my own rules here purely because of the following reasons, that may be applicable to you too!

1) I learned videography and production on broadcast video cameras, transitioning to DSLR through the wedding film job I do; I was heavily trained and now 3 years on my 5D mkIII is my port of call. Many will be in the same position as me here and will follow the exposure triangle (aperture, shutter speed, ISO).
2) While at university, and still now I study cinematic and storytelling techniques (it wasn't included in my Television and Video Technology BSc. course). Whether it be moving the camera or with a static shot, the composition of storytelling is a present and constant thought in my work.

3) I have prepared myself heavily with the correct equipment and research to use; high speed lenses, a range of lights to compose the image, building mood boards and finding out the clients requirements (as well as any inspiration they have that will add).

4) My client is very happy with what I produce, and if they weren't they wouldn't ask me to work with them again.

Note: I never advertise myself as a photographer.

That makes me confident to go out and take some photos of flowers for a florist, which I am doing today!

Madeleine pink table centre piece flowers Madeleine Pink table centre piece at Epsom RAC (Canon 5D mkIII, Tamron 24-70mm @F/3.2, 1/50's, ISO 3200).

Transferring the skills from DSLR videography to photography have been easier for me, probably because I always shoot in manual, I love taking my camera out with me wherever I go, and the storytelling techniques of composing images are still present in photos like they are in video.

If however you find it a little more difficult, consult the exposure triangle, and keep a couple of things in mind;

Aperture - Wide open allows lots of light to enter, shallow depth of field. A narrow aperture reduces the light making the image darker, and creating a deep depth of field. Using focus and blur is one of the main tools the director uses to concentrate the audiences attention onto specific details.

Shutter speed - Controls the motion due to how long the sensor is exposed to the light. A fast shutter captures fast motion with minimal blur (sports and outdoor), a slow shutter means the sensor is exposed for longer, allowing the subjects to move in the frame while it is open, creating blur.

ISO - Digital noise added to increase the image exposure. Low ISO results in low noise, crisp images but with no added exposure, where high ISO will increase your exposure but will introduce digital noise that is more visible in dark situations.

Other key points to remember: White Balance/Colour Temperature - make sure your whites are white and your blacks are black. This depends on what light you are using, daylight for example is 5600K, but Tungsten is 3200K.

Make sure your camera is set to capture RAW and JPEG images to allow for greater definition when editing the pictures afterwards!

Madeleine pink table centre piece flowers Madeleine Pink table centre piece at Epsom RAC (Canon 5D mkIII, Nikkor 50mm @F/1.8, 1/50's, ISO 1600).

It is worth a go if you are confident you can produce the images your potential client is looking for. Being a videographer not a photographer, I do not charge a standard fee to have me out for an hour and to post process the images later. This is for two reasons; I am a new business, and so is my client. Why out price your skills and make it a hard decision for your potential client to use you? Secondly, like I keep mentioning I am not a photographer and although I have rates and targets to meet financially, I see this more of getting out with the camera to be creative for an afternoon rather than a job.

Some points to consider if you are ever approached by someone who requires something different from your usual line of work! Do not forget to do your research though. Unfortunately I have had a number of experiences of photographers embarking on video without understanding the full production process, where I've been asked by their client to correct the mistakes.. So if you're a photographer doing video, again have confidence in that you will be able to produce exactly what is expected, and with the internet being the biggest learning and education network, there really is no excuse nowadays!


Cat-pics from my break today

[gallery type="slideshow" ids="4191,4192,4193,4194,4195,4196"] Taken with the Canon 5D mkIII and Samyang 35mm T/1.5 cine lens and Sigma 70-200mm F/2.8 DG APO HSM telephoto lens while I took some time out from pre-production and drawing for another animation!

Spring in Surrey

I had a venture out of my workspace today, I'm quite lucky in where I live is surrounded by green. Just down the road there is Horton Country Park, further afield is Epsom Common and The Downs, where you have seen videos and photos from with Glen for Manfrotto. With sunshine beaming, I gathered by camera gear and took a walk into the wild.

Todays kit included the Canon 5DmkIII, Tamron 24-70 F/2.8 VC and Sigma 70-200 F/2.8 OS. I kept it simple for a change!

Here are a couple of photos from my walk, having the chance to take a RAW photo and a JPEG and then edit the CR2's in Photoshop makes me want RAW video so badly. You get lots more wiggle room, or latitude to work with in post processing to enhance the photos, please Magic Lantern help all of us 5DmkIII videographers out and get a stable RAW video release out soon!

[gallery columns="4" ids="4153,4154,4155,4156,4157,4158,4159,4160"]

Manic at Adam Plowden Video HQ!

Its been incredibly busy over the last few weeks, so apologies for not posting for a while! Lets fill you in. February has been a tough month. Work as been here and there, it is always difficult at this time of year and made even more difficult by starting a new business. I expected a lull at the beginning, so not to lose hope I kept myself busy. Although I haven't been posting, I have been out filming all the time, especially these last couple of days.

rotolight video shoot videography dslr mic

Rotolight sent down their awesome ring light and roto-mic, which I have been testing out and reviewing in what feels like all weather conditions! One minute it is sunny, the next it is bucketing it down. A couple of times I got stranded in the downpours with my kit, a prolific moment was this, up in a quiet and forgotten playground near Epsom Downs. I only got 3 shots that day, then the rain came and we retreated.

the rainy conditions i work in rotolight video review filmmaking shoot

Since then, the weather has picked up, and so has the tempo of production! I got an email from Rotolight asking if its possible to put a short video together for BVE with the footage I got when using the roto-mic and ring light. Feeling up for a challenge I accepted, and have been busy producing a music video to coincide with the video for BVE! I reeled in one of my good mates Josh McDonough is an awesome musician and producer, currently working on a new studio build to perform in the video, and in return he can have the music video to kick start his recording-producing business.

rotolight video shoot videography dslr mic camera rig music

To show how you can maximize the creativity and convey the flexibility of the Rotolight Sound and Light kit, I used various techniques including mounting on a camera, hand held, and playing with the light to create unique blooming and light effects. I had a few ideas of what the visuals would look like, an intimate piece to camera in the soon to be studio, as well as getting out and using the light in low light situations to add an urban feel.

There will be much more later, but right now I need to continue with the editing and graphics for the Rotolight video!

Using Magic Lantern on 5D mark III firmware 1.2.3... Help!

I am very keen to hear from any Canon 5D owners that have successfully loaded Magic Lantern onto their mk III with the firmware version 1.2.3. This update is the most recent, and fixed a number of 'phenomenons' which can be found on Canon's site.

ImagePhoto from Magic Lantern website.

From what I have seen on the vast internet that most creatives using ML on the mark III have rolled back their firmware to 1.1.3, which is the most up to date fw ML can install on. The results are fantastic, especially for shooting RAW; a particular interest of mine.

ImagePhoto from EOSHD website.

If you've ever installed Magic Lantern before, you would have seen on the complete screen details of a 'Bootflag' which had been successfully changed to allow ML to run.

The problem now occurs that with the recent Canon firmware update to 1.2.3 they changed something to do with the 'Bootflag' making it difficult for ML to be loaded onto the camera.

I know nothing about programming and developing so most of what is discussed in this forum is jargon to me, but it looks like it will take some time and very smart coders to work around this rather unhelpful nudge away from 3rd party hacks to develop Magic Lantern to run on the new firmware.

http://www.magiclantern.fm/forum/index.php?topic=8764.0

Why don't I roll back my firmware to 1.1.3 you ask? I don't want to! It was installed by Canon for a reason, to make the camera as best as it can be, and I would rather avoid stepping back a number of versions just in case it compromises the camera and my work. As you know, I'm a videographer so photo updates aren't too important to me, but it is all key to keeping the camera functioning properly.

For anyone owning a Canon camera, please install Magic Lantern on it, it is an incredible plug in to assist your video and photo needs, providing you with great solutions to make shooting on a DSLR easier. You can learn more and download it here! Remember to support them too!

Please get in touch if you have been successful installing ML on firmware 1.2.3, I need you!!

Capturing local beauty

Film making and videography isn't all about big budget productions with expensive kit. Its great to take time out to see what stories you can tell and images you can capture in your local area. Luckily for me, I live in Surrey which is full of green spaces. My chosen location for today's adventure was Epsom Common, I used to and hope to continue fishing at the lake. Since being a kid I remember it being a beautiful place in the winter, so despite the recent flooding I made my way down!

Image

Accompanied by the awesome Manfrotto 055 Carbon Fiber tripod and 055AH video head; my grip was sorted in a lightweight solution. I took my whole kit bag in case I wanted to record some foley audio or shoot on a range of lenses. I tried to stick to the Samyang Cine lenses I have (14mm, 35mm, 85mm), so I can test them out on a range of shoots. I also came across a 72mm variable ND filter that fits onto the Samyang 85mm, which means I can achieve T/1.5 and a beautiful bokeh in broad daylight.

Image

As you may have previously read, I also installed some new picture styles on my camera from VisionColor, today I used Cinelook to see what the footage looks like out of camera, without grading. So far, without adjustment the picture was punchy with a good colour tone present, not flat and neutral like I previously used. It certainly has given the footage a baked in 'look' while recording which will definitely speed up the post-production process.

ImageImage

It was great being in the outdoors, I often spend way too much time on the computer and neglect our very green, rural backyard, which deserves to be appreciated, remembered and captured in moving image.

ImageImage

I've processed all of the footage now, using most of what I shot. It is simply put to music, in this case the serene 1:1 by Brian Eno, which was very fitting for the scene. I have applied no colour correction, grading or effects to the clips whatsoever, to demonstrate the cinematography at hand.

I will post the link up later!

Image

I hope you like it, and please share around!!

Strategic grading with 'burnt in' footage.. Canon/Manfrotto/Elinchrom Promo for SWPP Conference 2014

I continue to work on the promo videos for Canon/Manfrotto/Elinchom today. After shooting the material in a 'neutral' picture style, there was still a lot of contrast, sharpness and saturation in the image. This has caused a couple of problems with the adjustment of the levels and colours when grading. Burnt in footage is where detail is lost due to a crushed dynamic range, out of focus picture, or a mis-interpreted colour balance (and plenty more). This footage is notably harder to work with due to the loss of detail; and when you come to colour correct or grade the shots, life becomes more difficult as hues and light levels are burnt in to the image. Applying numerous filters and effects to remedy this can only add noise and grain, and degrade the footage so it is important to remember to flatten the image before shooting!

Even with a neutral picture style selected, the internal settings for contrast, saturation etc sometimes remain the same, so remember to go into the picture style settings and set them all to the lowest. This will achieve a flat picture which is much easier to work with in post. For those who don't wish to apply heavy corrections or grading to your shots, shooting in neutral will work fine too, just add contrast when editing to remove the gamma grey curve and punch out the sharpness!

I've had to resort to black and white images for some shots due to burning in detail in low light shooting situations.

Here are some example frames of what I have been working with, and how I have graded them.

pregrade frame canon manfrotto elinchrom promo videopostgrade20

pregrade frame canon manfrotto elinchrom promo video Copyright Adam Plowden Videography 2014

postgrade frame canon manfrotto elinchrom promo video Copyright Adam Plowden Videography 2014

These are the frames from the second video. I was in a studio conversion for the MUA part, and Bjorn's place for the shoot. White balance wise it was cool, and when shooting directly into the the window I got a lovely hazy light effect.

pregrade frame canon manfrotto elinchrom promo video Copyright Adam Plowden Videography 2014 postgrade frame canon manfrotto elinchrom promo video Copyright Adam Plowden Videography 2014

pregrade frame canon manfrotto elinchrom promo video Copyright Adam Plowden Videography 2014 postgrade frame canon manfrotto elinchrom promo video Copyright Adam Plowden Videography 2014

pregrade frame canon manfrotto elinchrom promo video Copyright Adam Plowden Videography 2014 postgrade frame canon manfrotto elinchrom promo video Copyright Adam Plowden Videography 2014

We shot the first part at Gylly beach in Falmouth with Carly who runs an extreme fitness group called BootyCamp. Going for a gritty, filmic look for the gym part I used negative bleach bypass. For the beach, I tried to add some drama to the already crashing sea, unluckily for us it was freezing cold so we weren't up for staying there for long.

Captured with the Canon 5D Mark III, Tamron 24-70 F/2.8 VC, Sigma 70-200 F/2.8 OS, Samyang 14mm T/3.1, 35mm and 85mm T/1.5. Post production in Adobe Premiere Pro CS6 and graded using the in built colour correction tools and Red Giant Magic Bullet Looks.

When all the components to my new editing system arrive I am going to be transferring the grading workflow to Adobe SpeedGrade instead of Magic Bullet due to its ease of use, features and tools for cinematic grading as well as having an accelerated 2GB GPU with CUDA graphics... :D

The videos will be released next week on Vimeo, so watch this space for updates! If you can't wait until then, get down to SWPP on Saturday where I will be showing the video with Bjorn and talking about working with video on DSLR!

This gives you a bit of an example of what I've done to work with footage that has some lacking detail, creating a visual style to convey the subject of the video.

Interested in more of what I do? Check out my website, follow me on twitter, watch my videos! Oh and please share my blog and website if you can :)

Got any questions? Send them my way!

[contact-form][contact-field label='Name' type='name' required='1'/][contact-field label='Email' type='email' required='1'/][contact-field label='Comment' type='textarea' required='1'/][/contact-form]

Stills Copyright Adam Plowden Videography 2014.


Box Hill Flooding on Canon 5DmkIII & Samyang 14mm T/1.5 Cine Lens

box hill flooding on canon 5dmkiii samyang 14mm I've been out filming on the new kit today; I decided to use only one lens each time I produce these series of videos so you can see the direct difference between them, as well as how you can use them in a variety of ways. The 5DmkIII was mounted onto the MODA rig in micro-rig mode as for a couple of the shots I would be filming low angle, out of windows etc.

The video will be up soon!

Getting more impressed by the 5DmkIII every minute!

I'm flying through the behind the scenes edit of CJ's Booty Camp for SWPP conference, and getting blown away by the sharpness and quality of the image of the mkIII. Continuing on my post from earlier, I am used to shooting on the 60D so nearly every new shot I look at taken on the mkIII is wowing me every time. Check out this quick screenshot, footage is without any colour correction just to show how impressed I am! Both these shots were taken with the Sigma 70-200mm F/2.8 HSM OS APO.

behind the scenes

Samyang cine lenses getting my head in a tizz

Urgh.. I hate not being able to make up my mind about what equipment to get, as it is so hard to tell without good experience and field testing, getting to know the kit before you buy it. I'm having this problem with the Samyang Cine Lenses. They look fantastic, well constructed lenses, fully manual in a range of focal lengths and de-clicked apertures from T1.5. This however is the question; would it be better to buy the Samyang Cine Lens kit, or a 24-70, 70-200 f2.8 IS (with the samyang 14mm and 85mm)???

I'm predominantly a videographer, but I enjoy having the flexibility of zoom lenses, especially for ENG style work, live event filming etc, and the fixed aperture and stabilization is key for video. So, a couple of fast zooms seems sensible to keep in the kit bag for everyday use.

However, what about for those sharp, cinematic, shallow depth of field shots that can only be achieved with a cine lens..


Any advice, please share! Ooh and check out the link below for a similar situation if you are stuck like me!

http://bit.ly/19kUk8I