We’re celebrating! Not just because it’s Christmas, but because 2018 was our most successful year producing video content in Surrey and Internationally!
Let’s take a look back at what we’ve been up to… First up, CVP Pro Repairs.
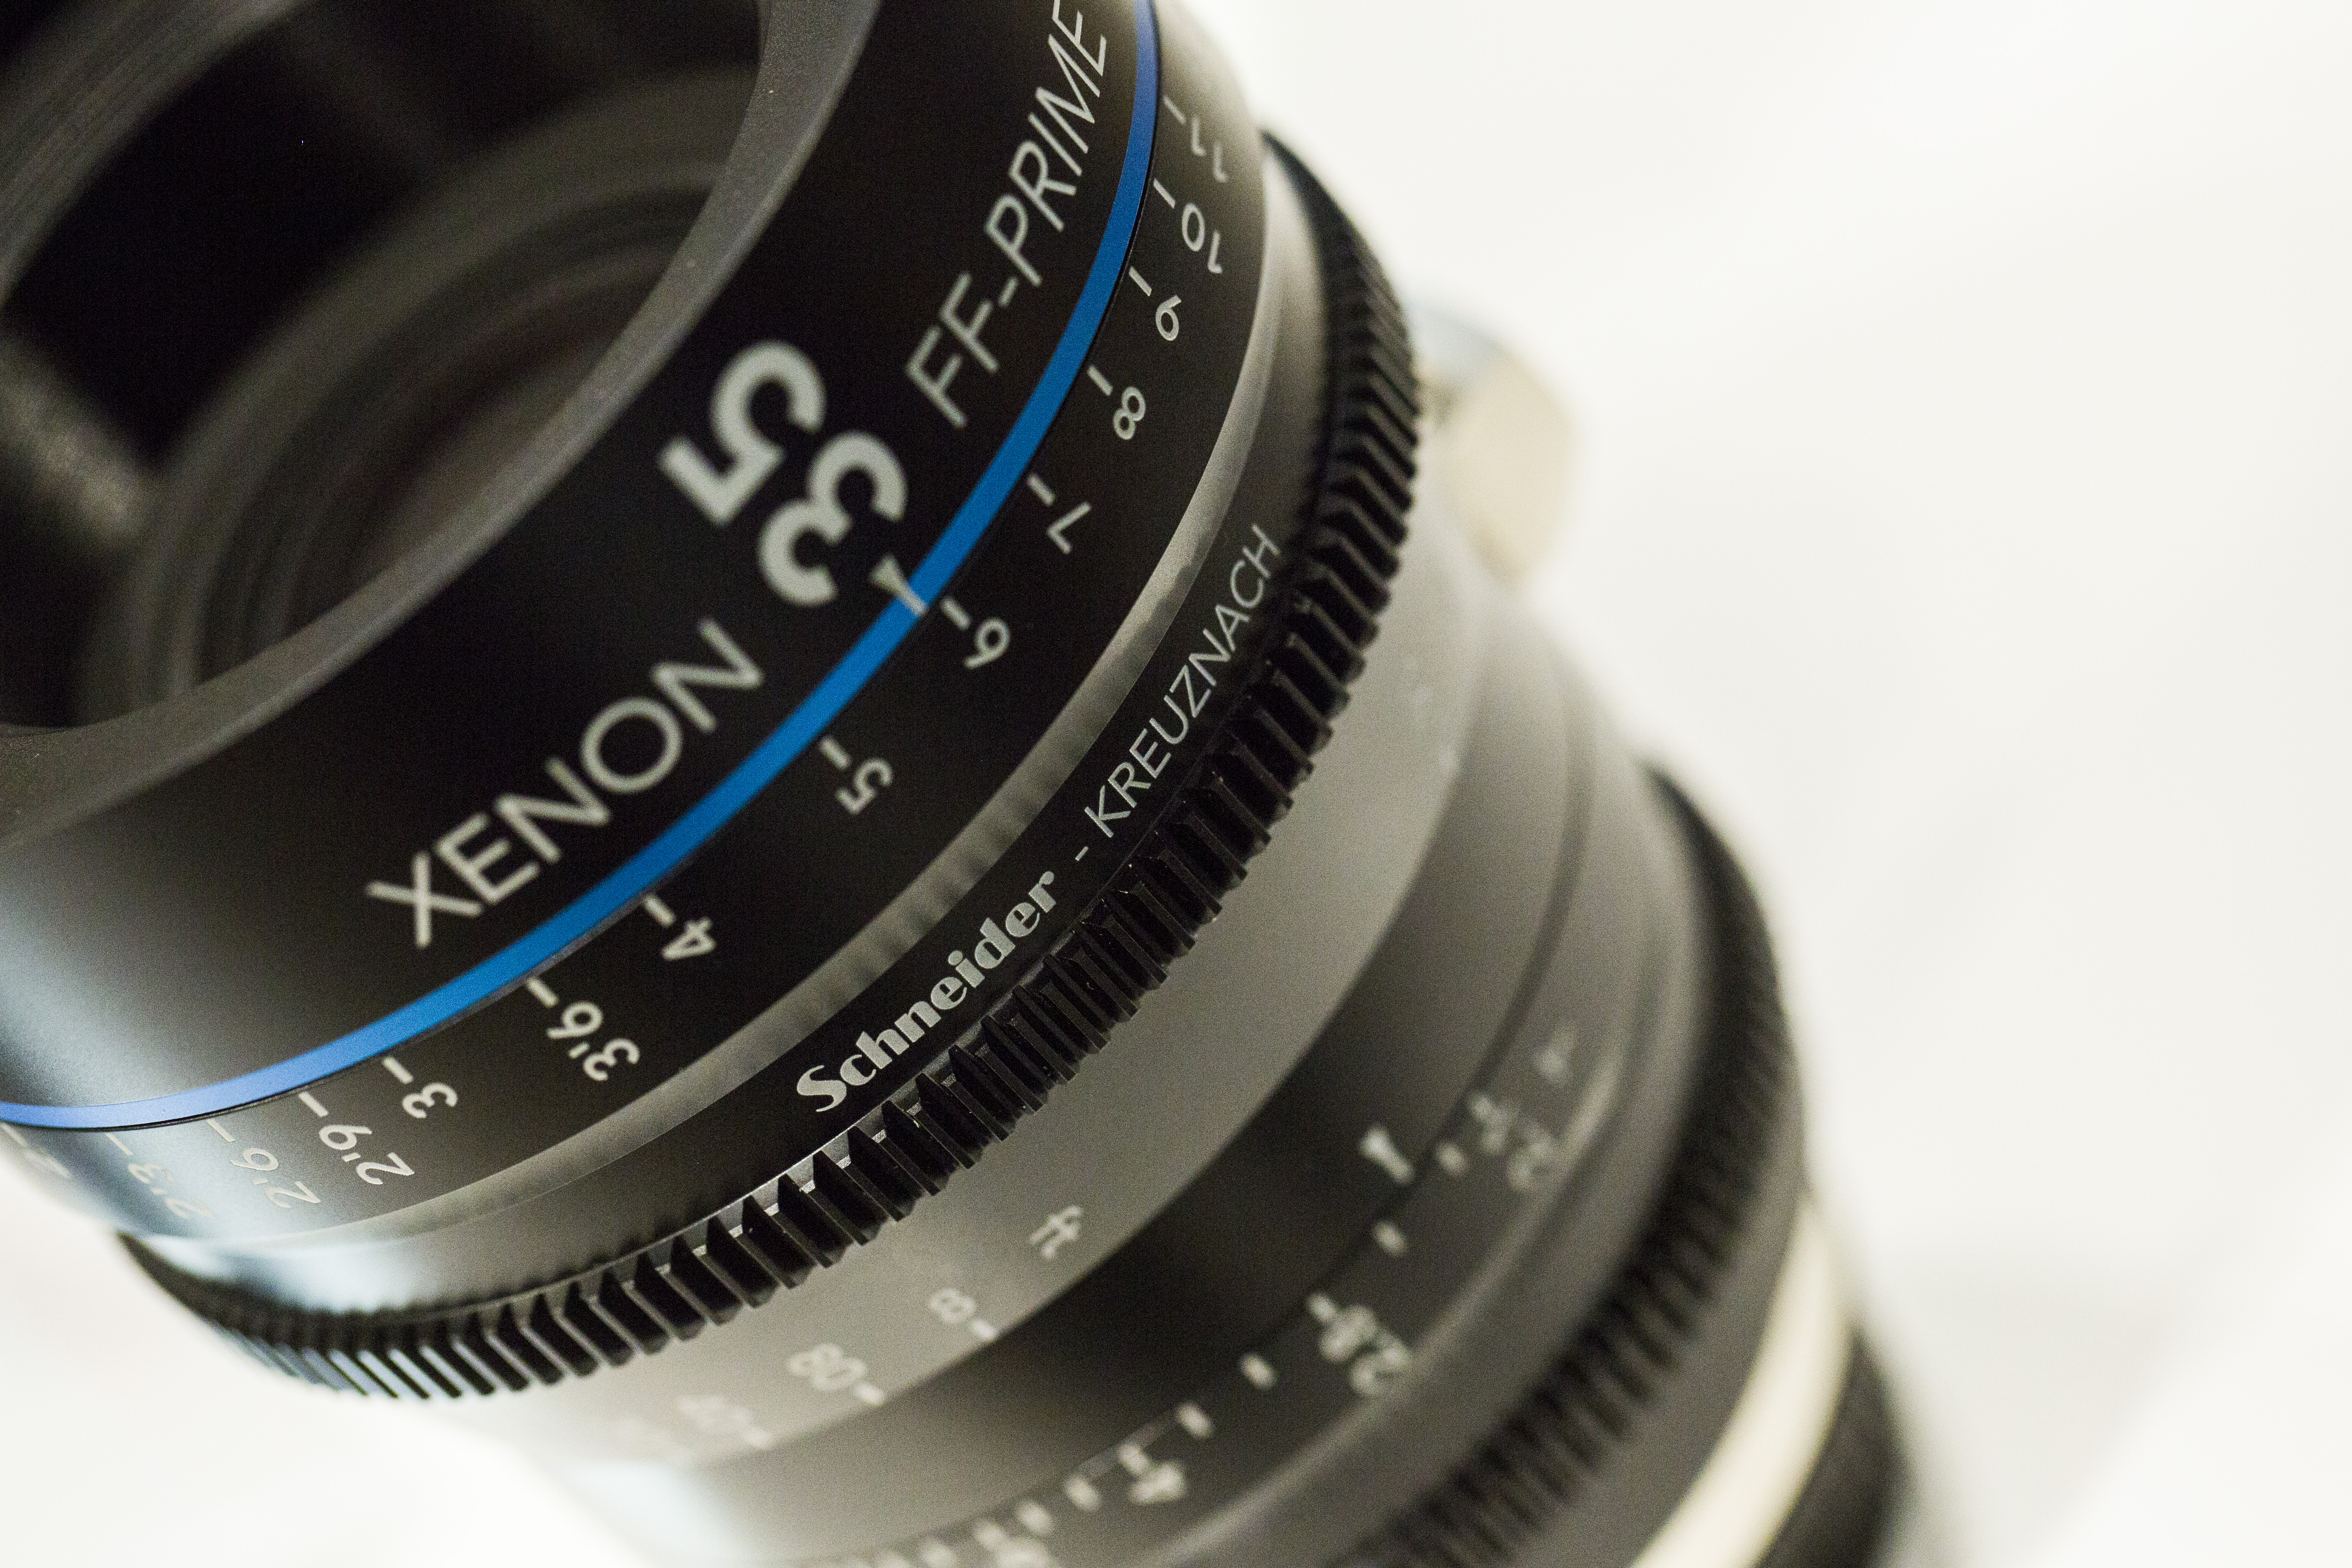
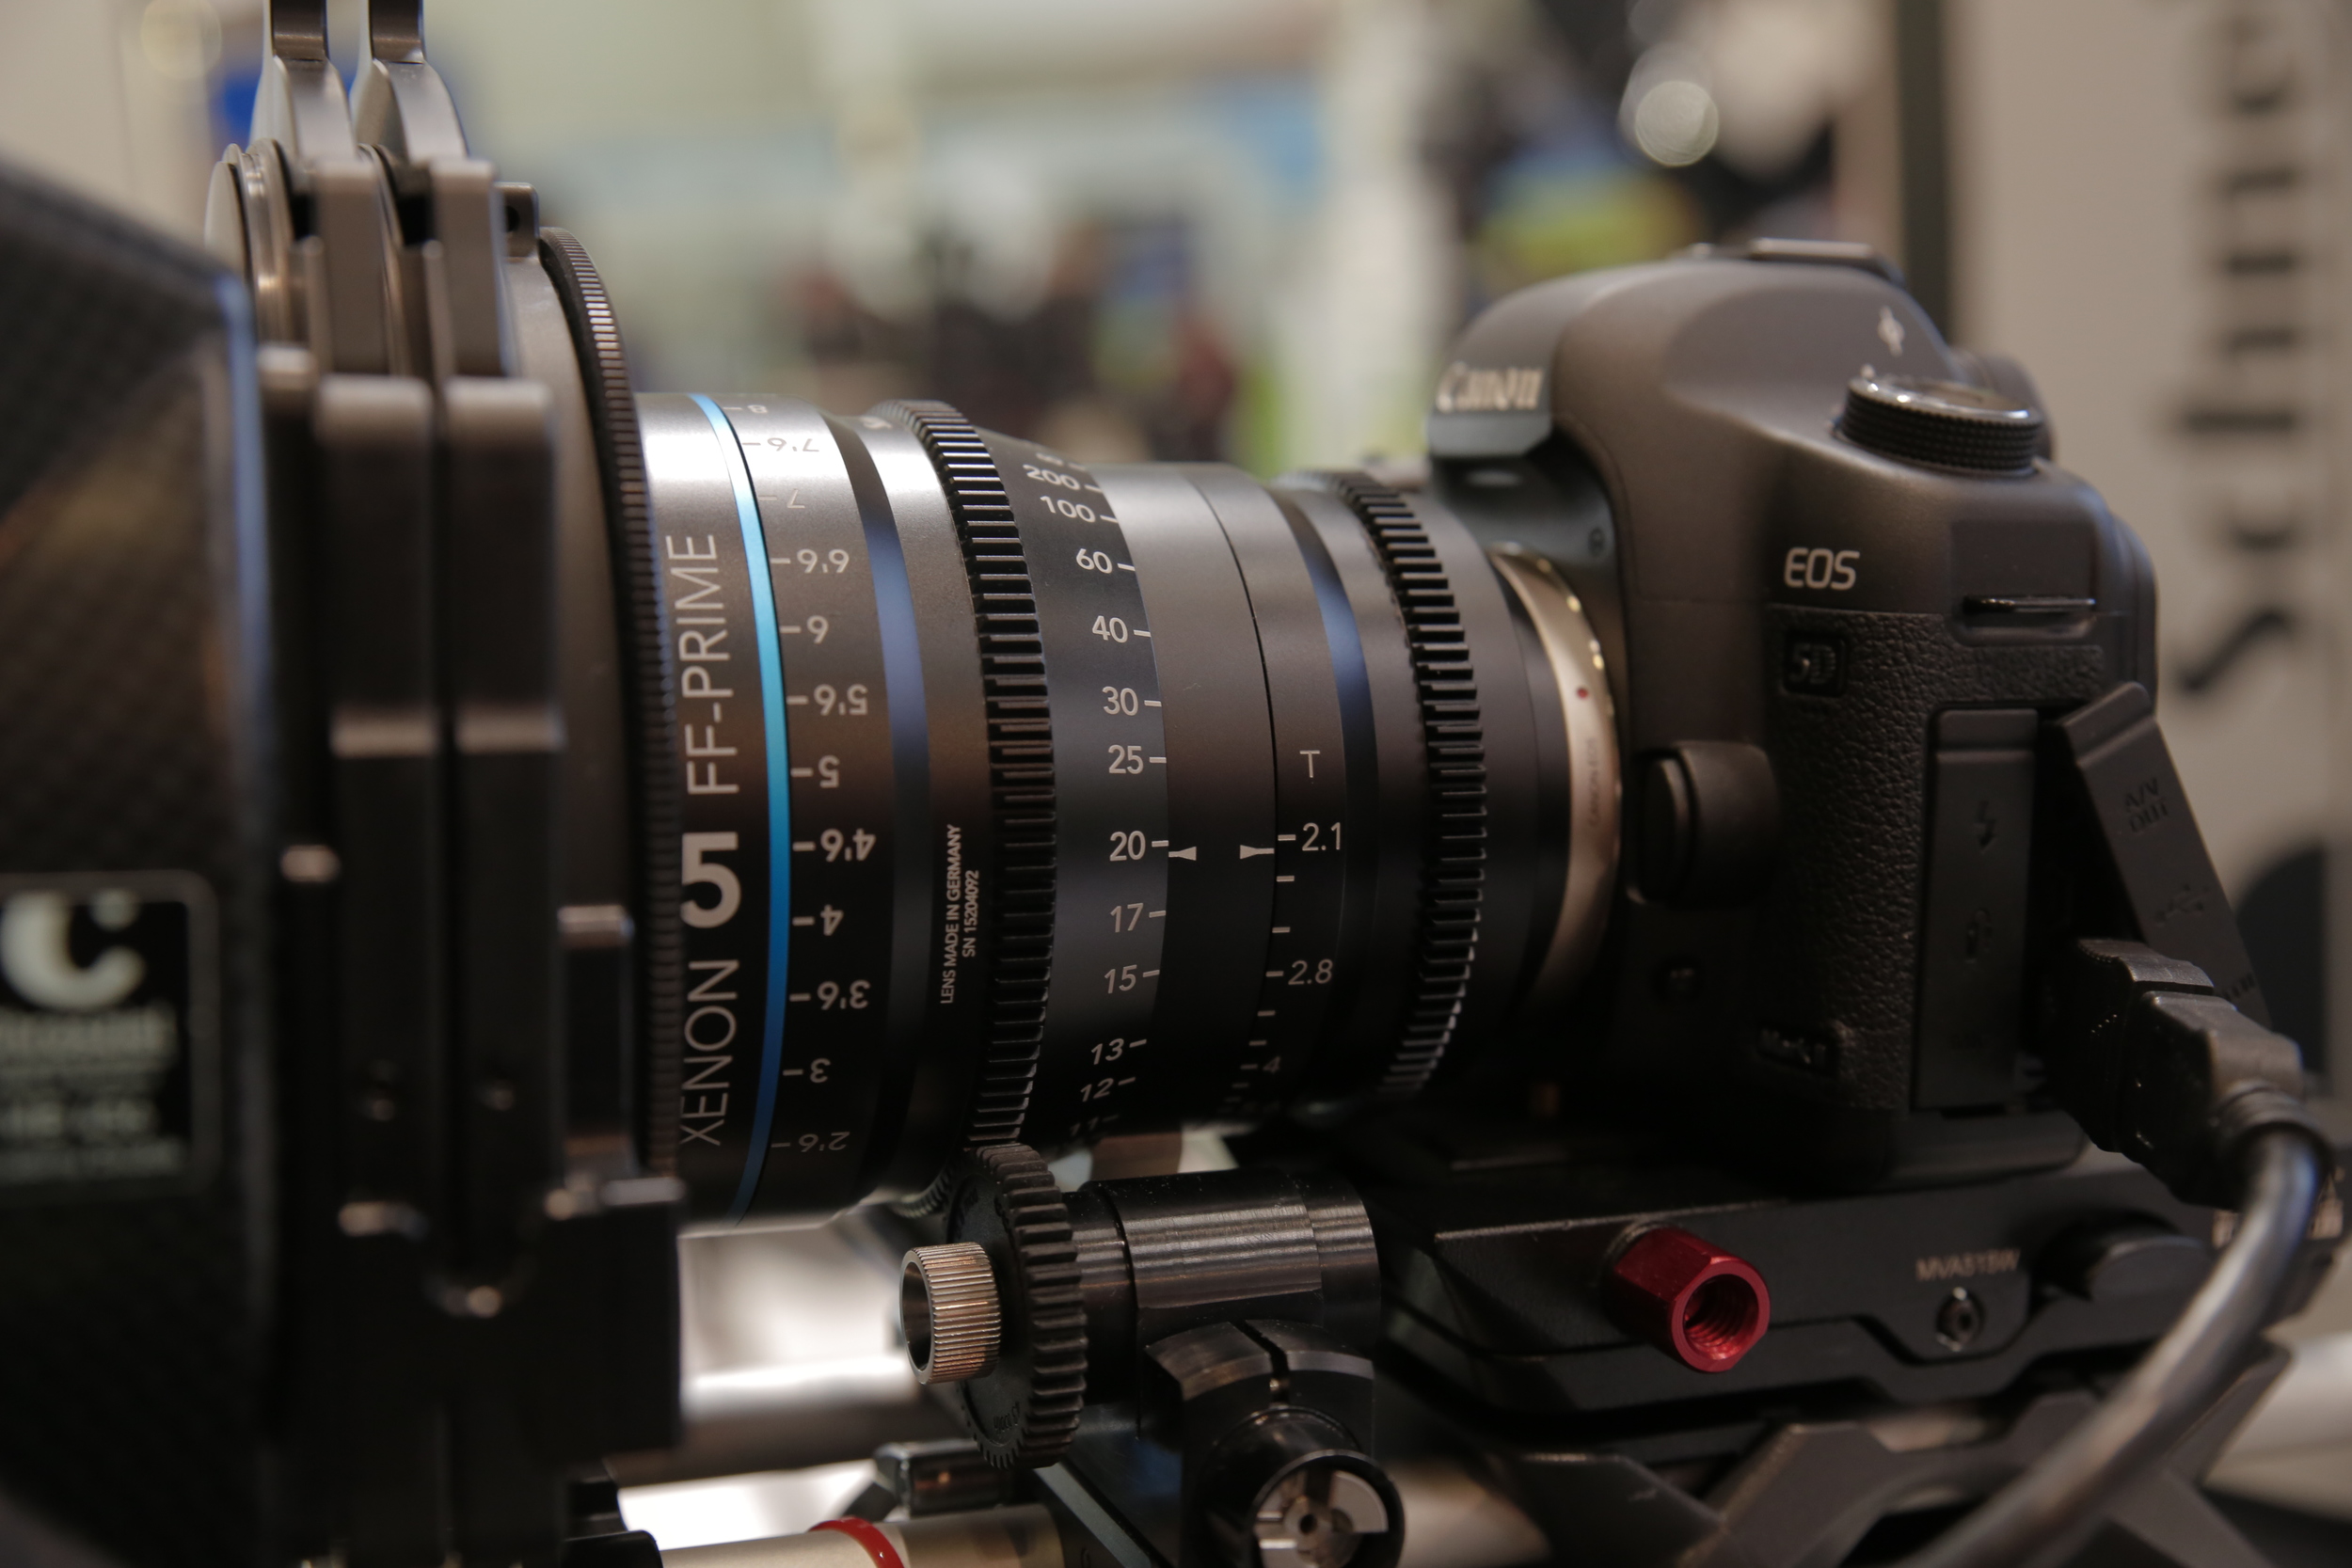
Earlier this year we were very excited to release the three videos we produced for CVP, promoting their Pro Repairs department with a rebrand. We worked with the CVP engineers to capture the intricacy and details of deconstructing Cooke cinema prime lenses, stripping the Sony F55, and analyzing the optical performance of lenses in the testing room.
The video content was paramount to the marketing campaign which included showing the 30 second edit before and after every presentation at BSC 2018. We’re really proud of this production, and CVP love it!
The Jockey Club - Epsom Downs Racecourse
At the beginning of the year we also began working with The Jockey Club, in particular Epsom Downs Racecourse to produce a series of fashion based videos to support the Investec Derby campaign. The series featured local milliner, Jessica Rea. We also edited the videos in 16:9 and 1:1 aspect ratios so the videos can be published on a variety of social media platforms.

Preparing for the world class racing at Epsom Downs.
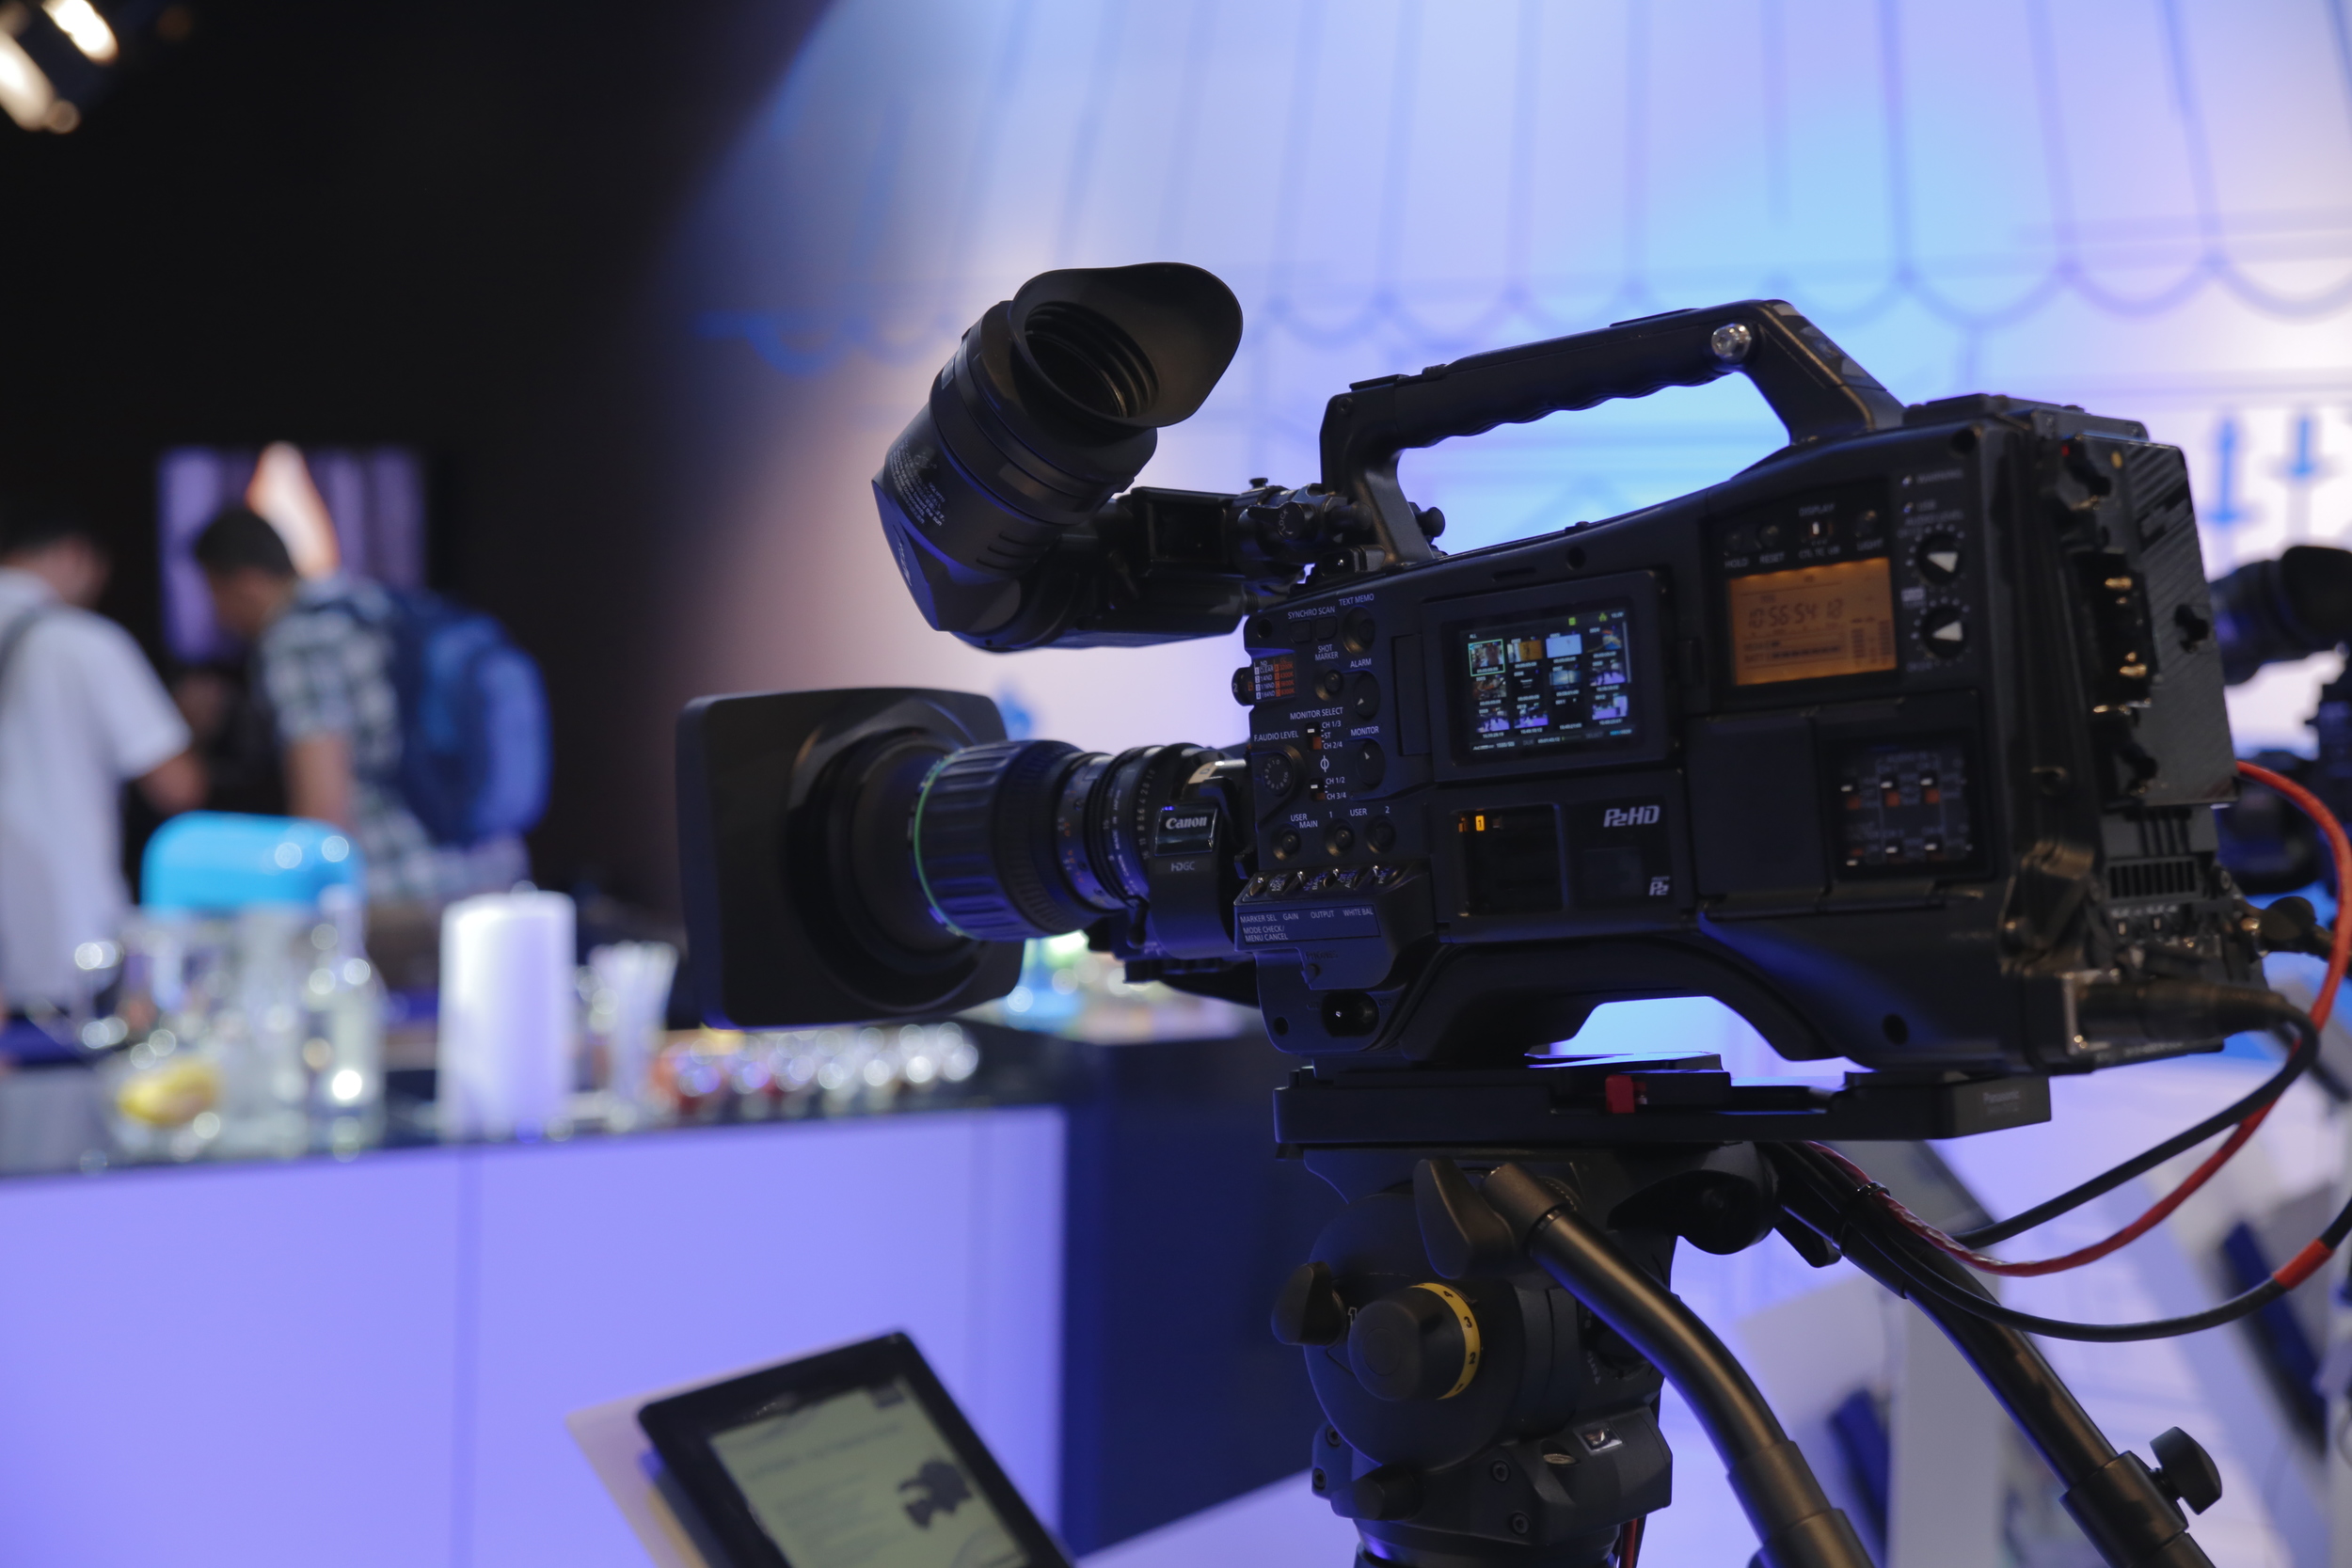
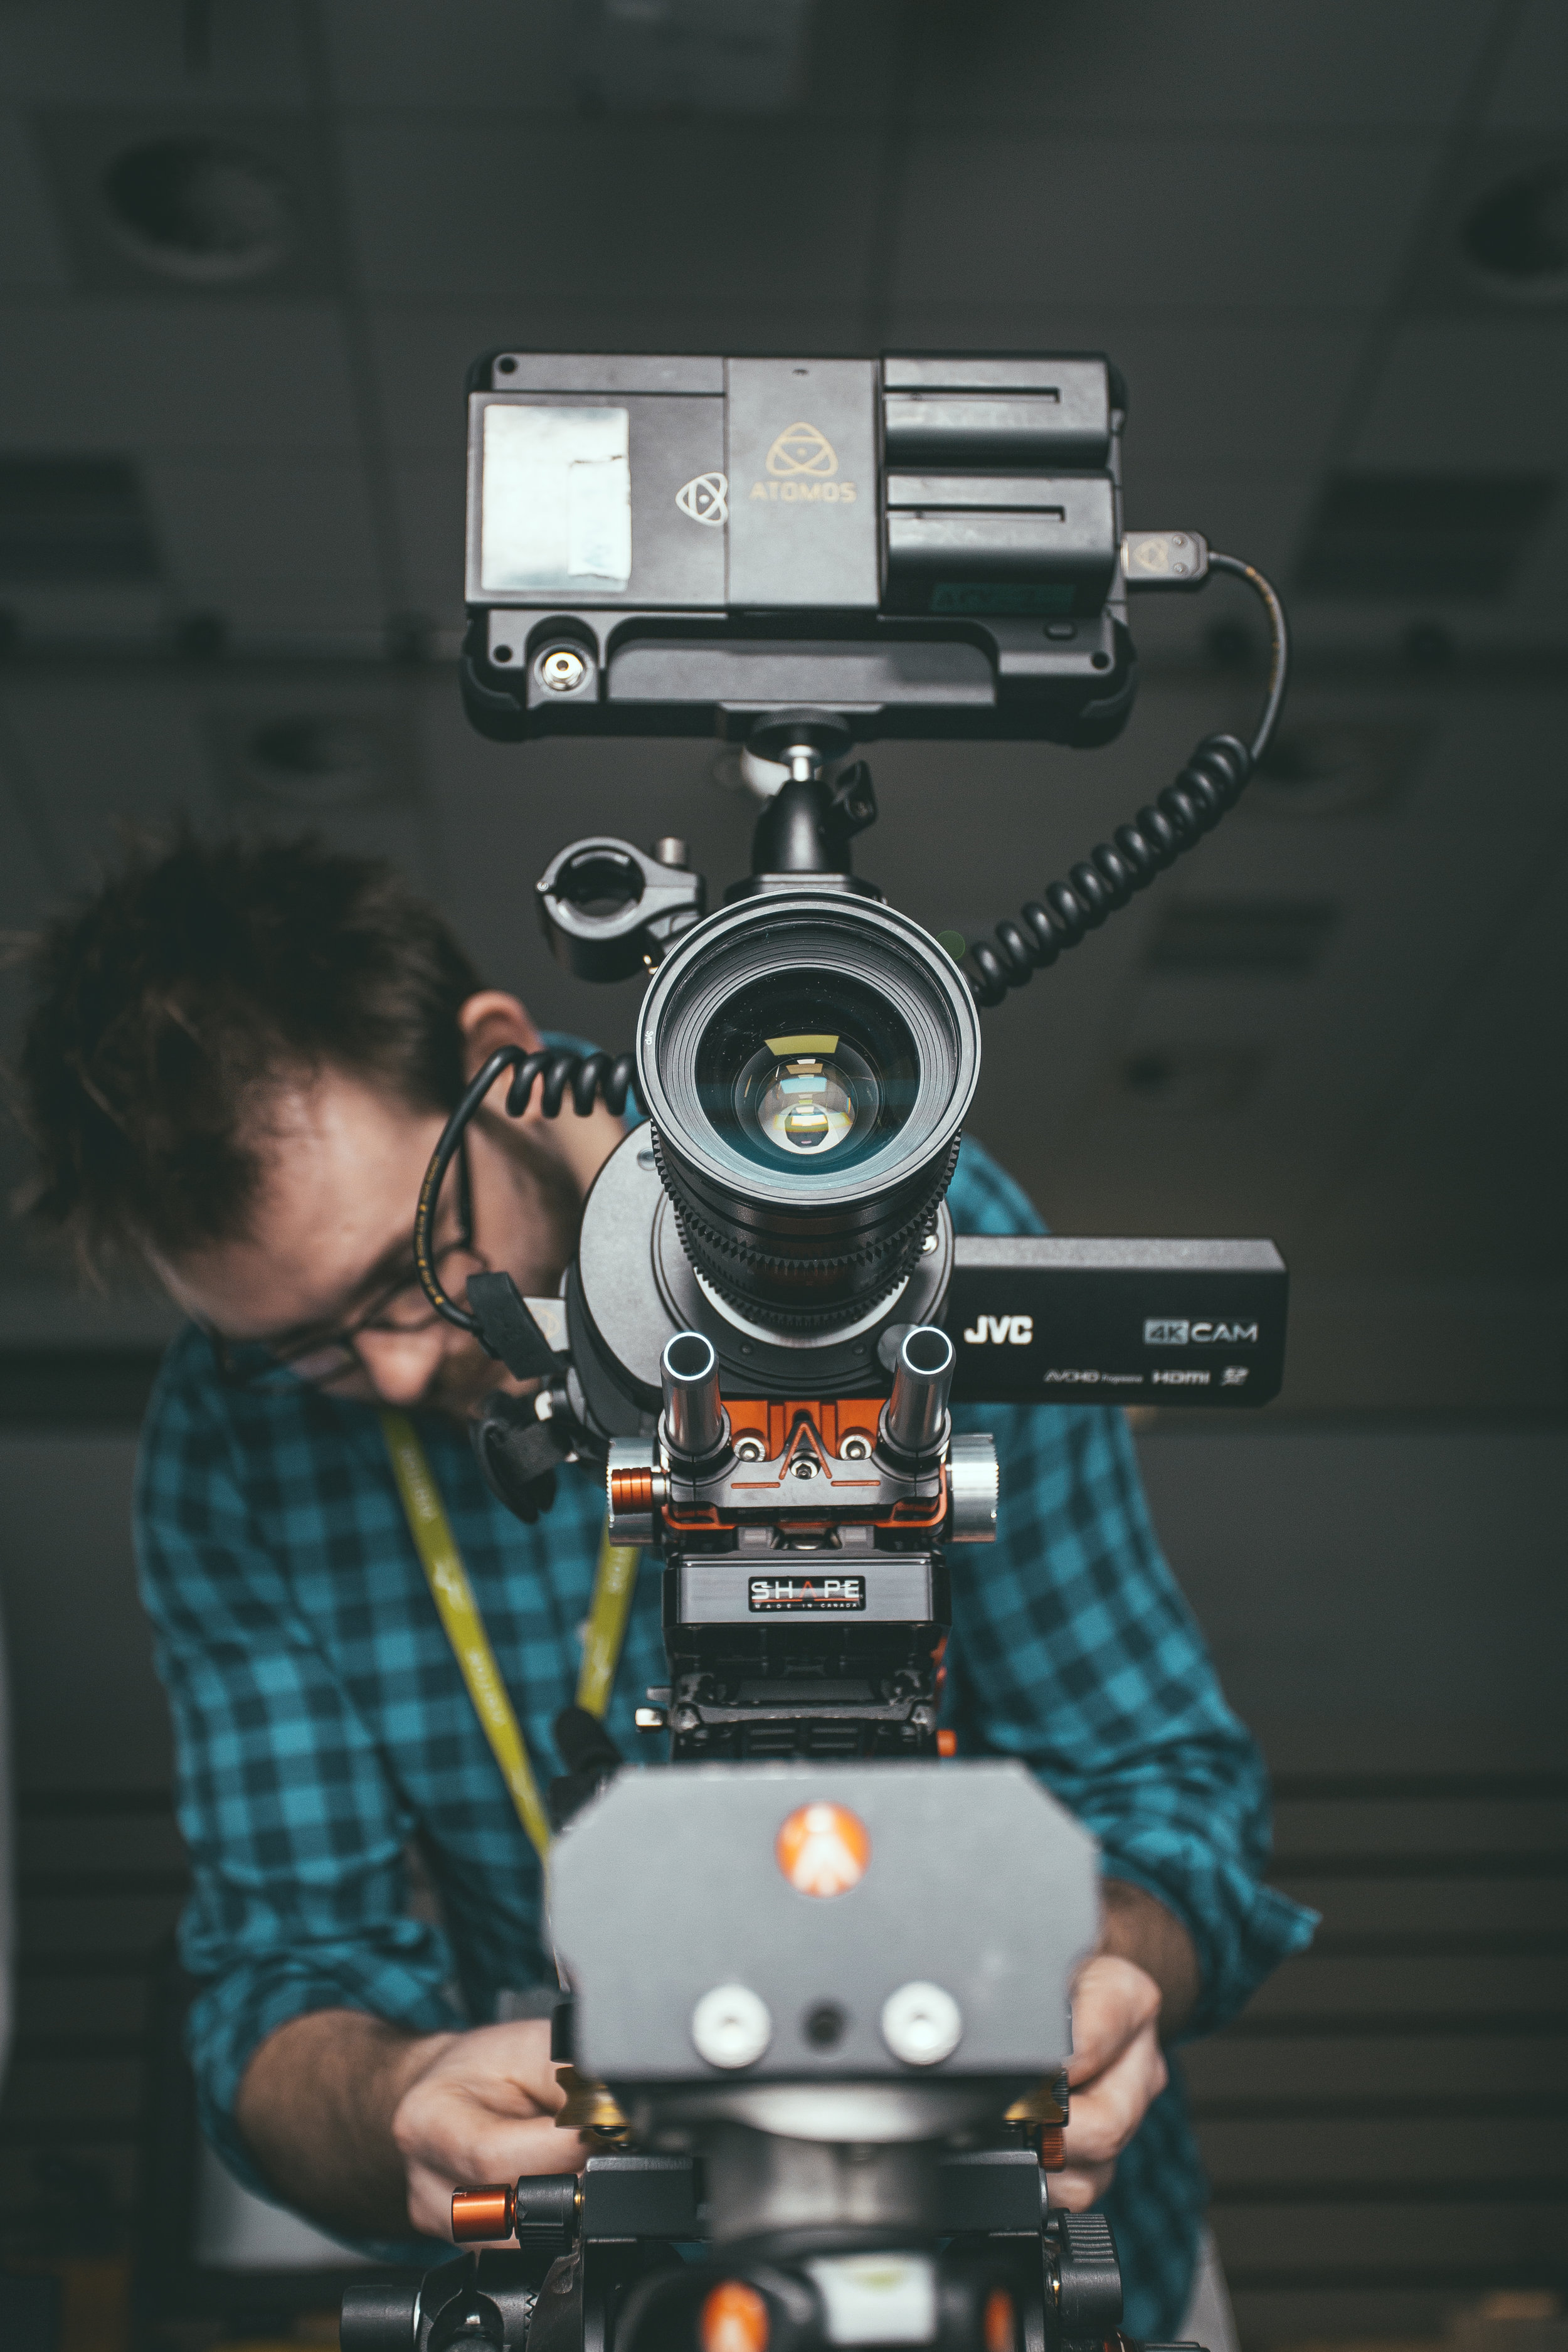
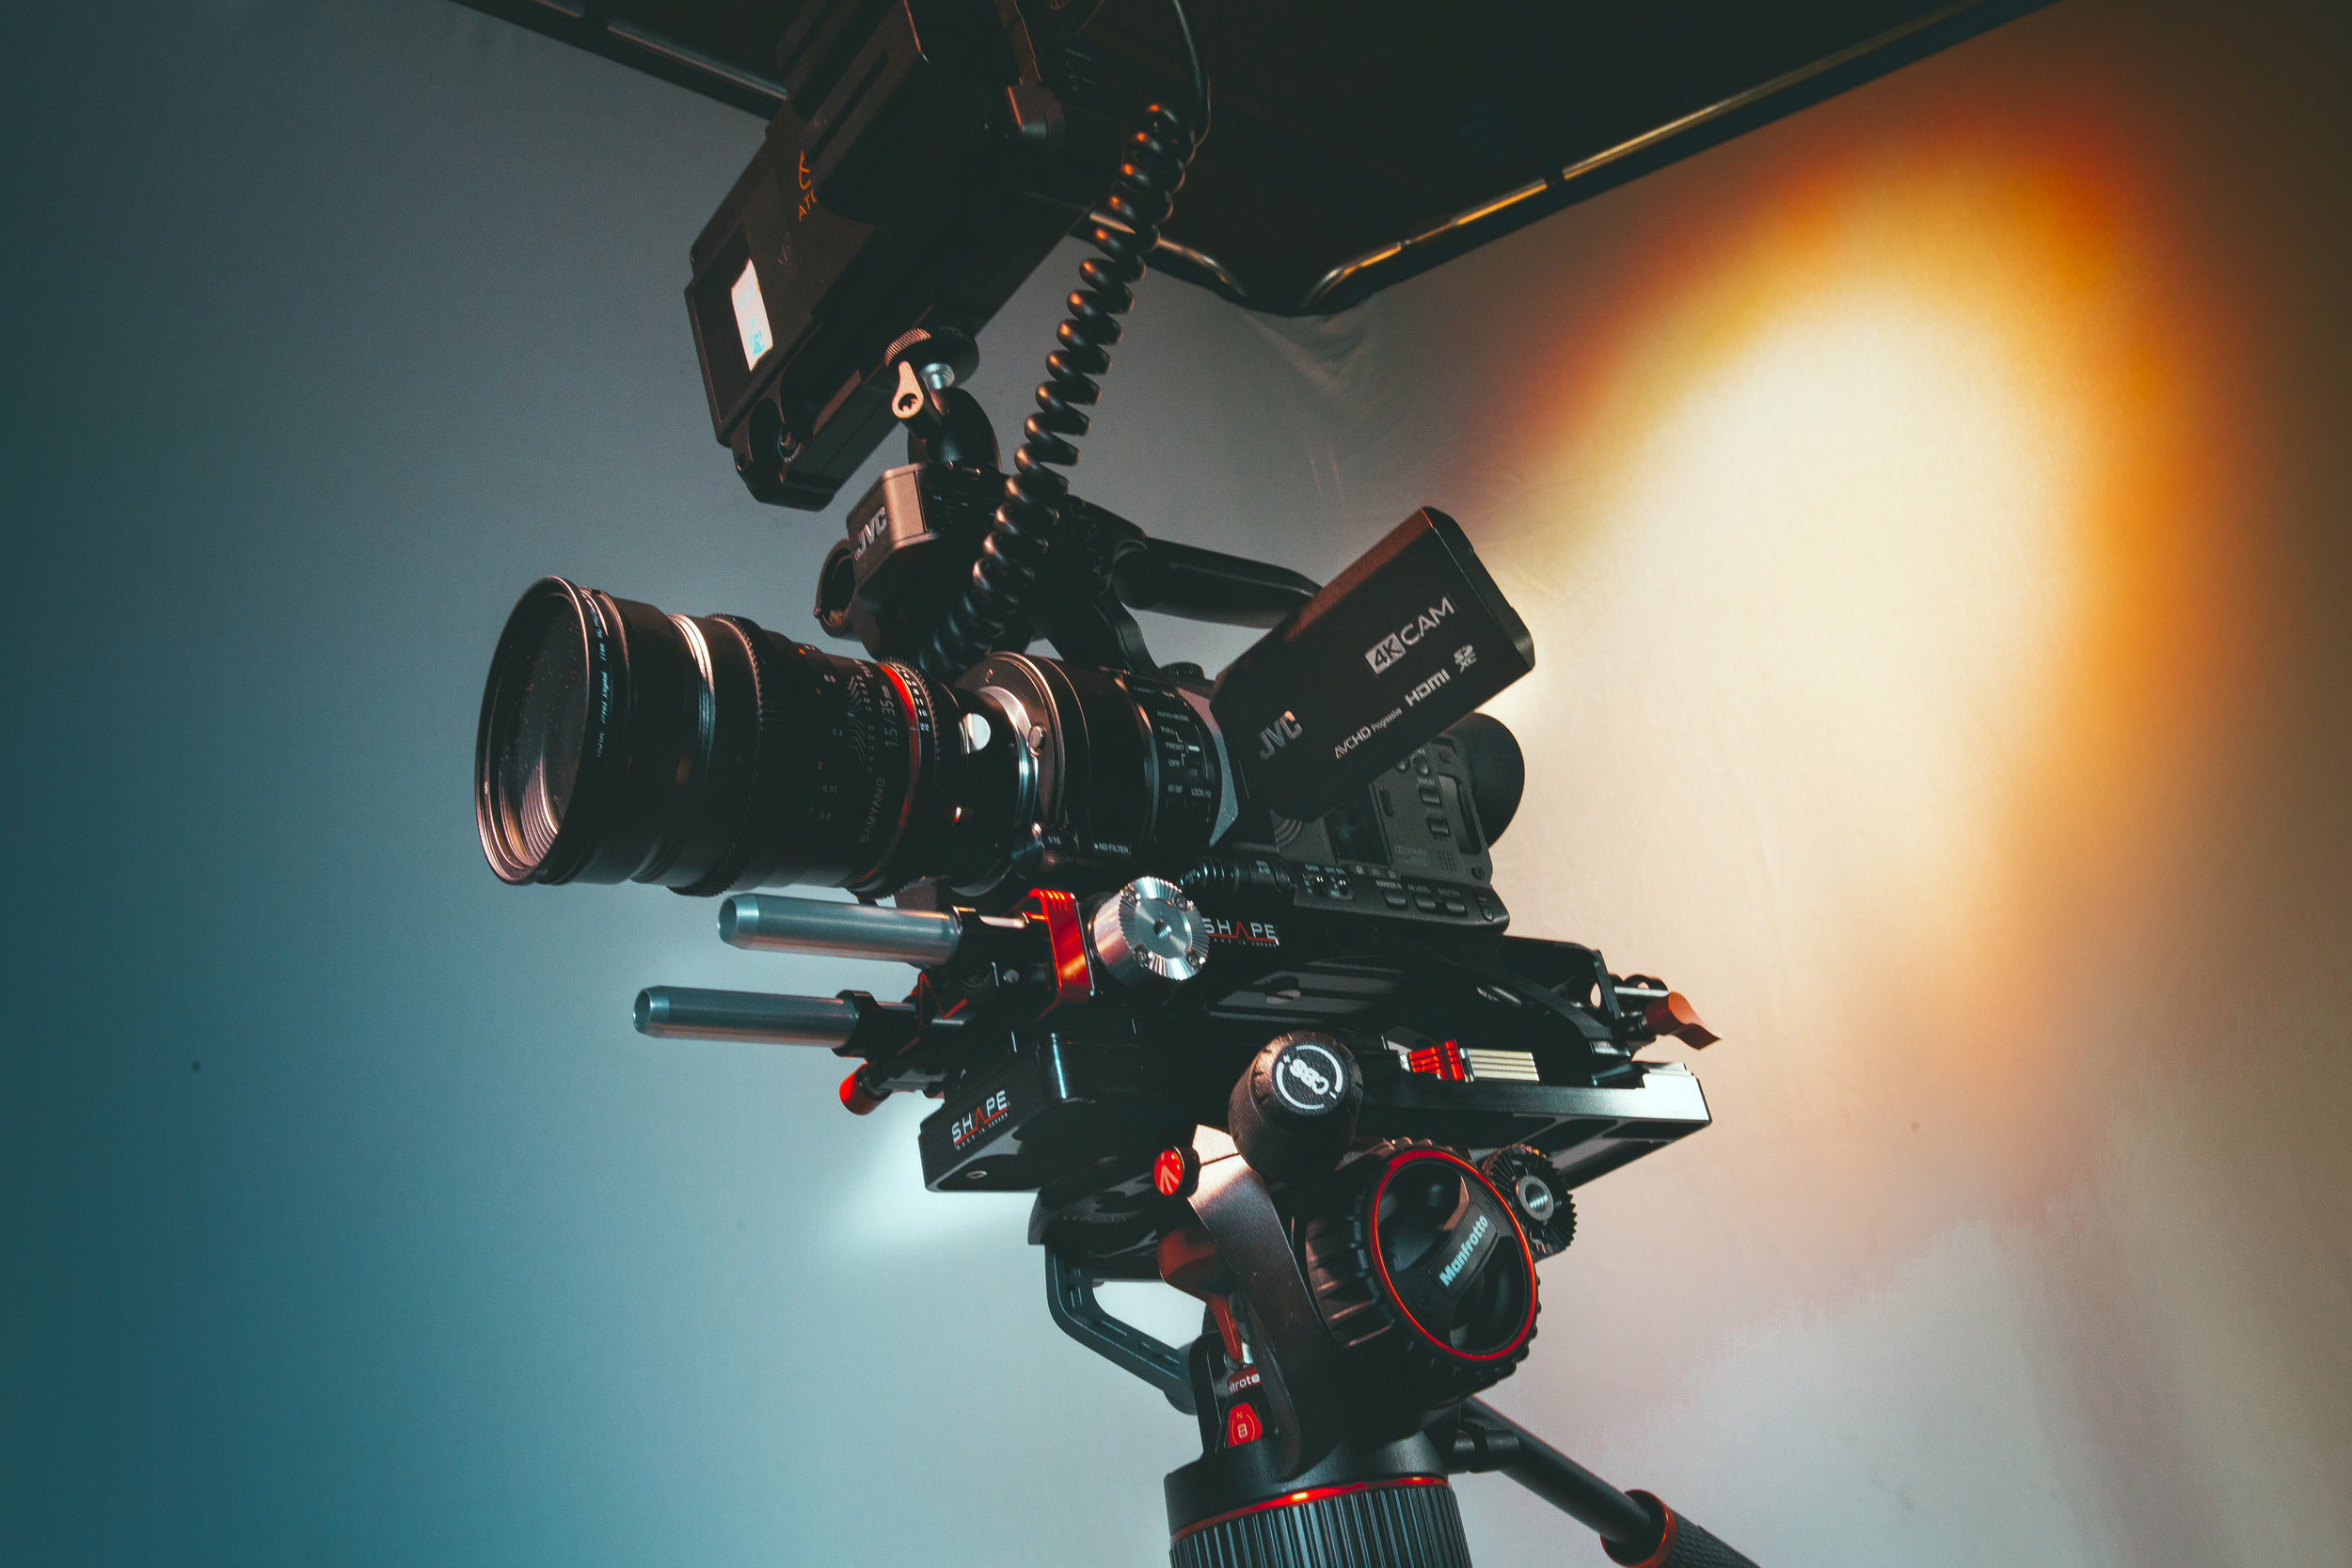
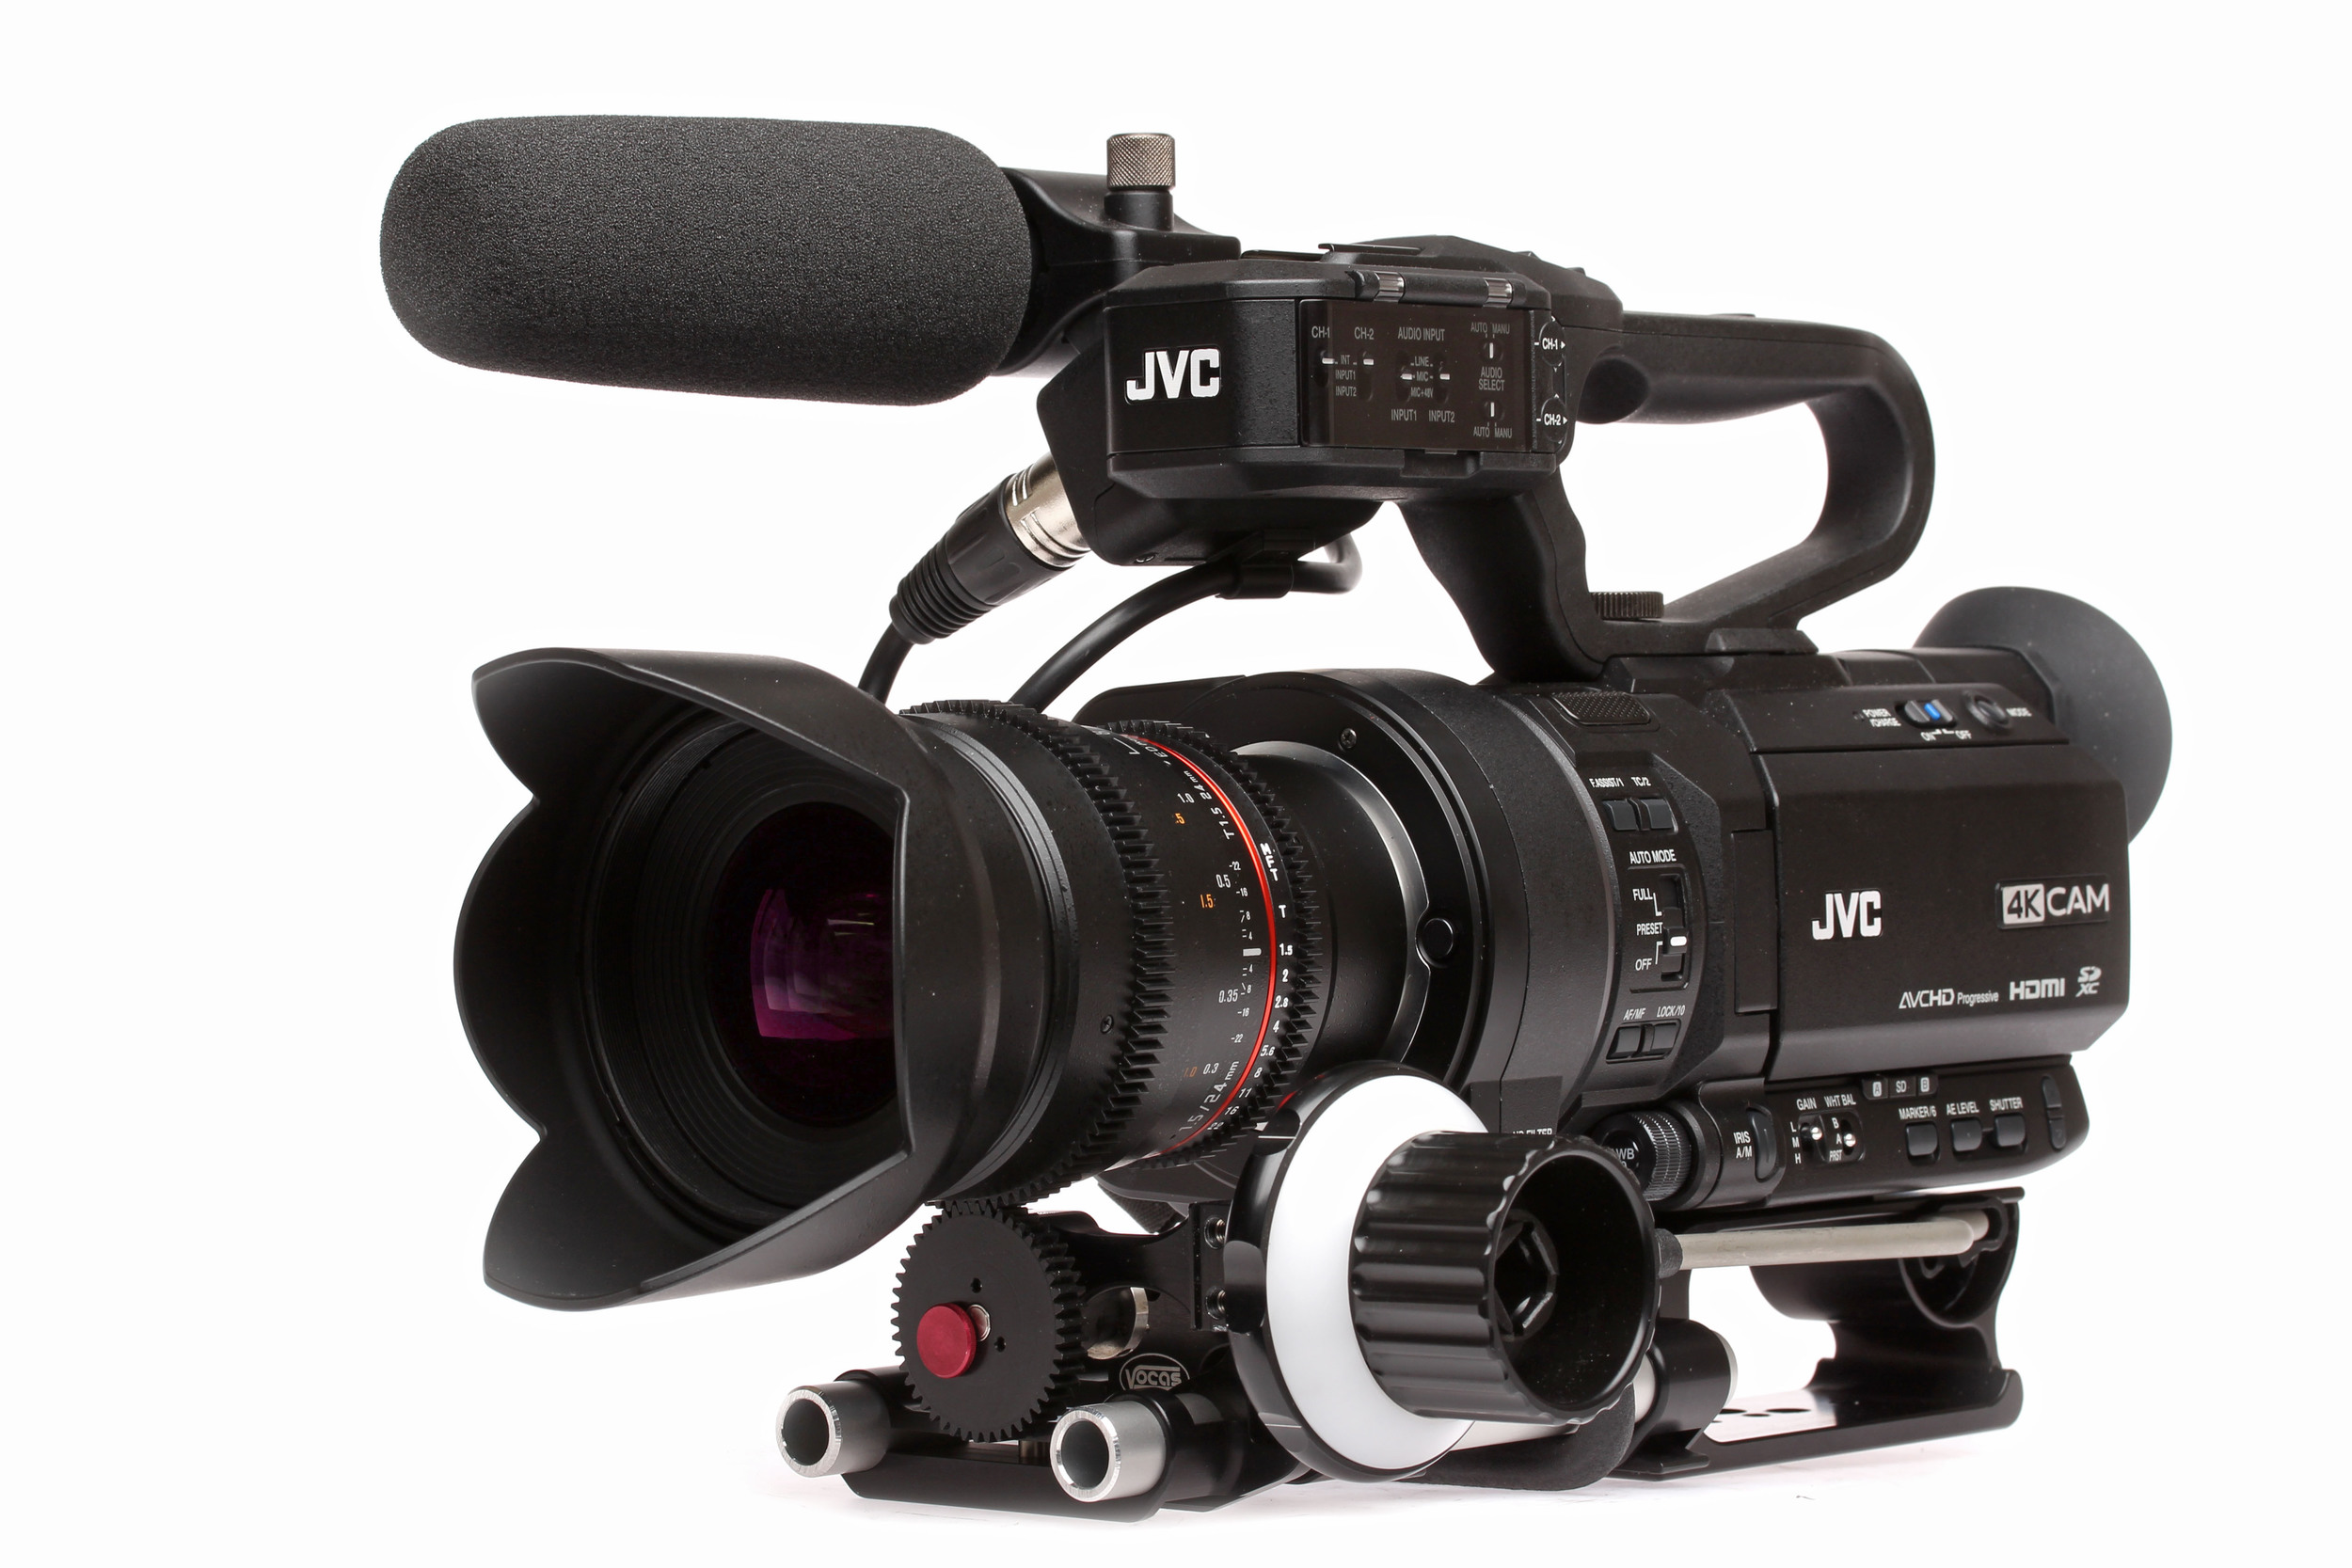
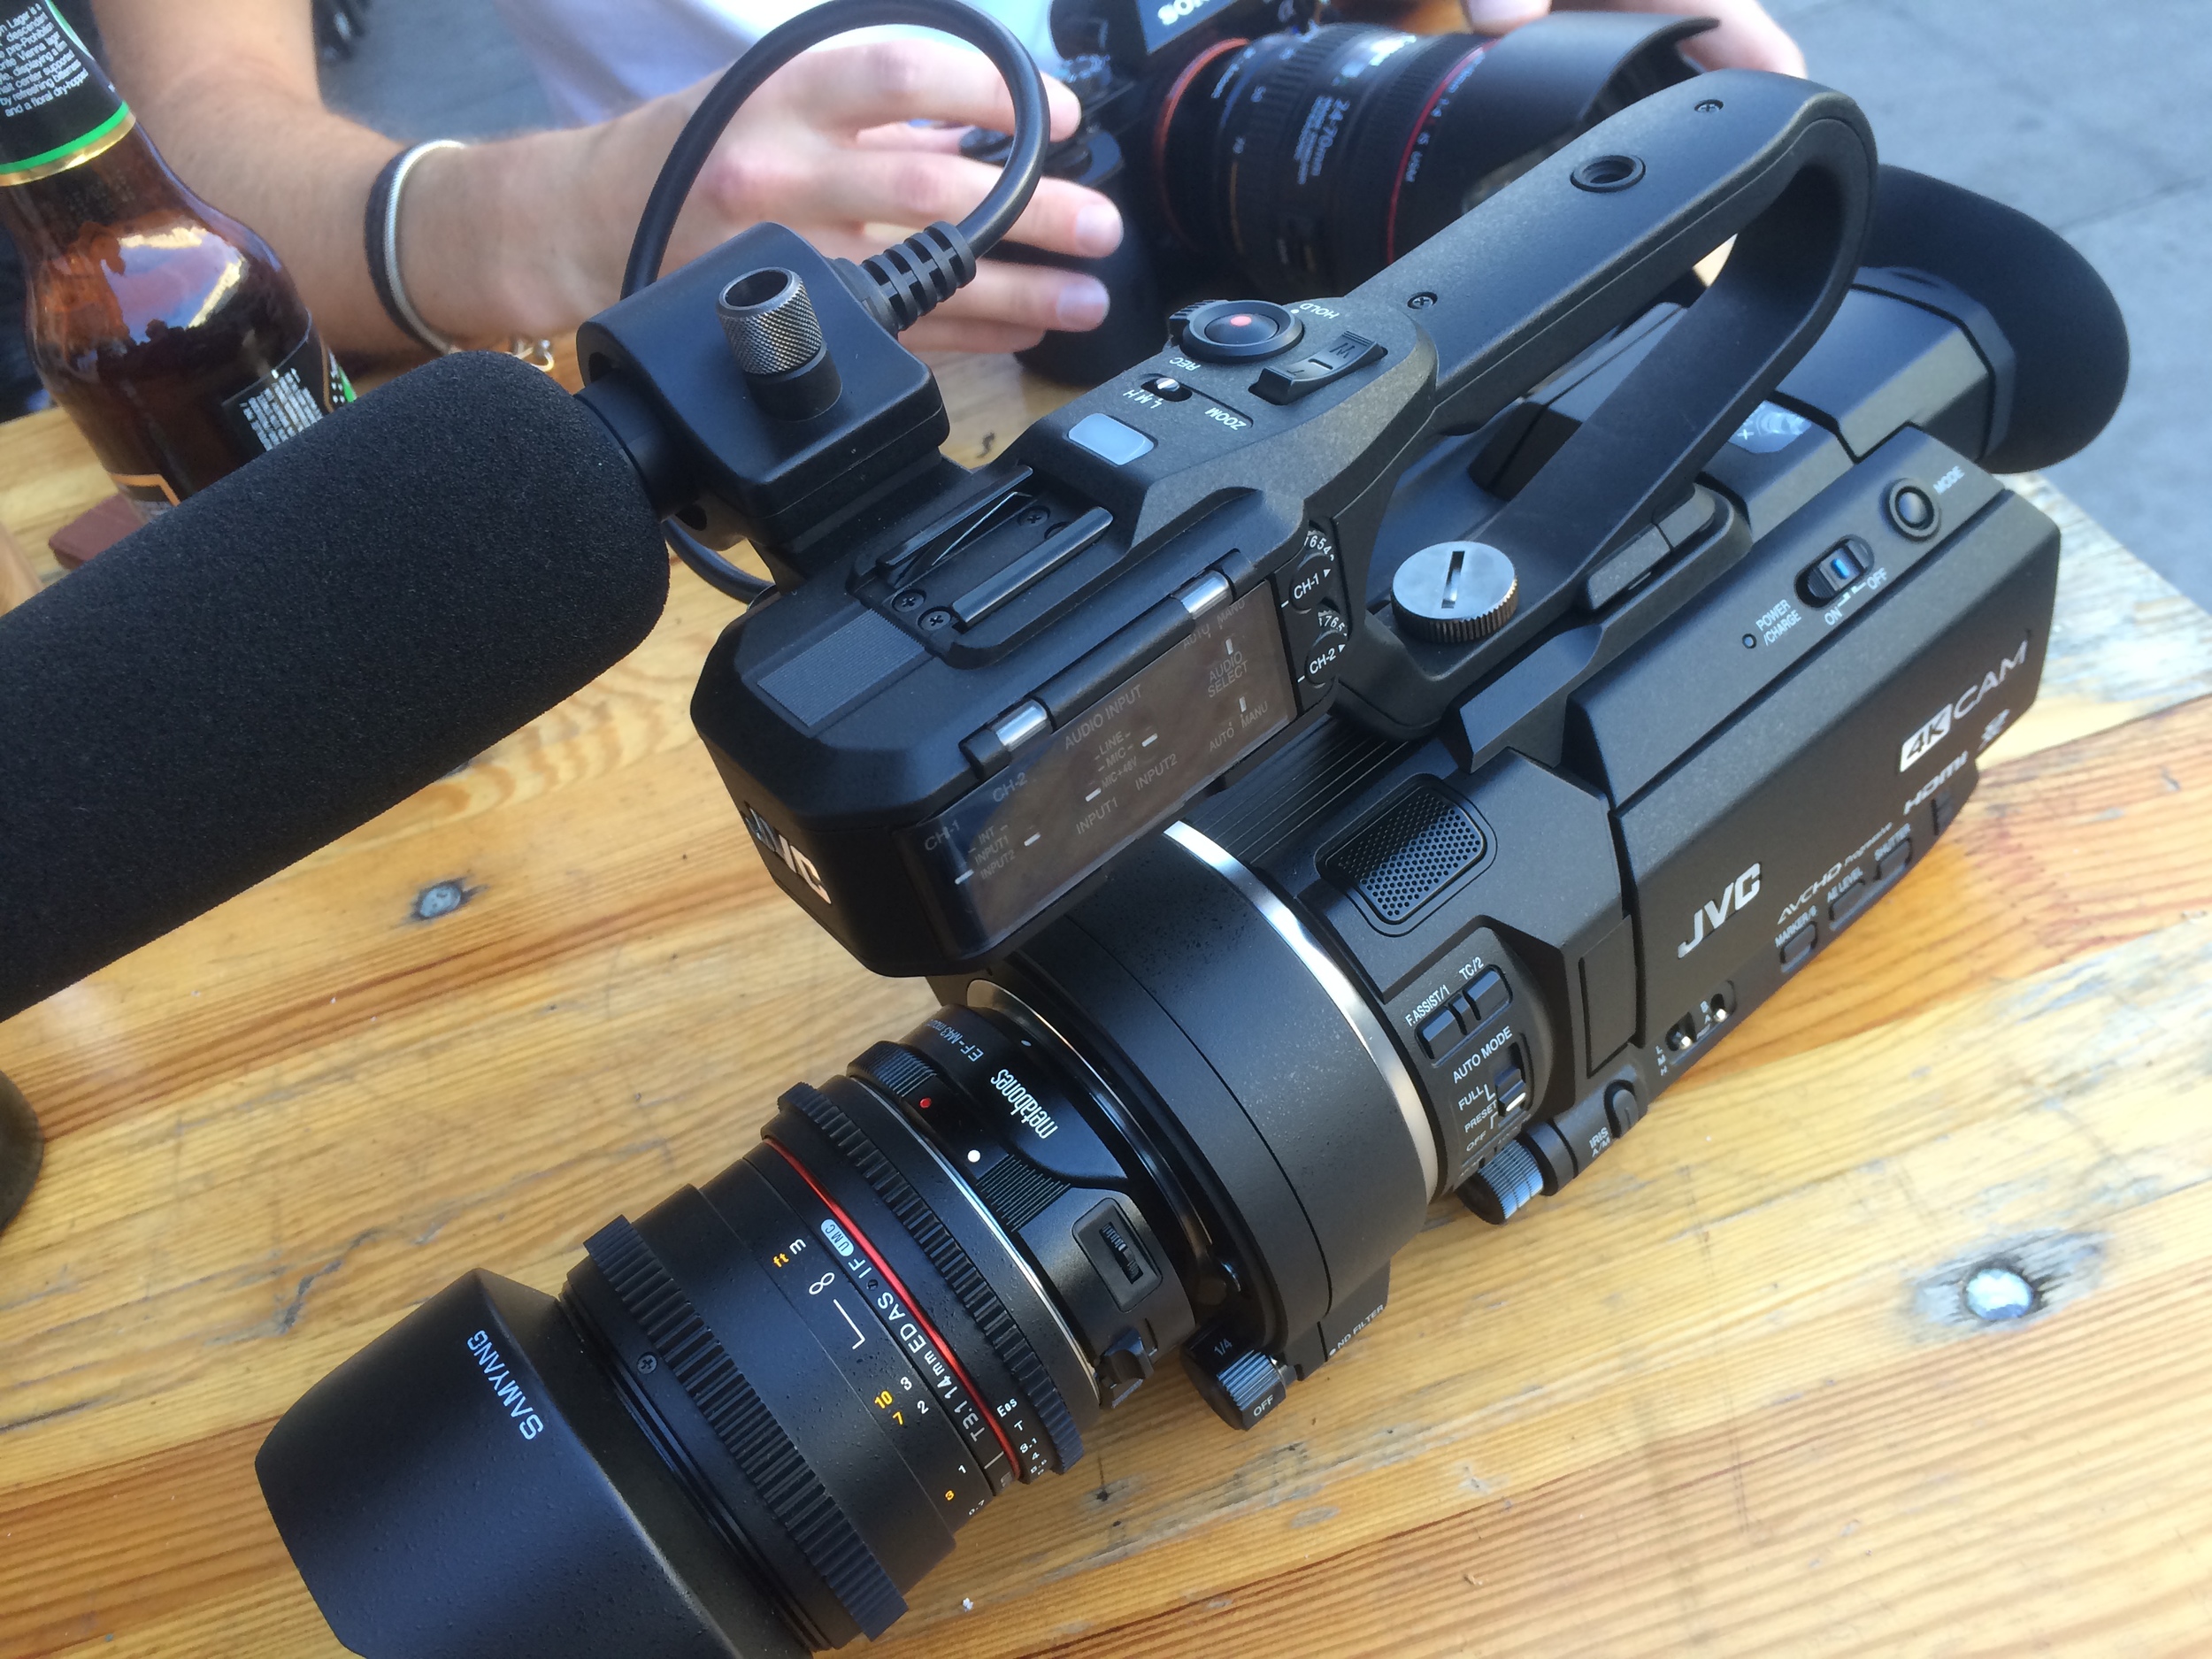
JVC Professional
We embarked on a large studio production for JVC Professional all about their professional video and broadcasting products. Based at South Essex College, we took over the theatrical space and shot the footage for 5 videos that will be used online and at trade shows across the world.
We also collaborated with Atomos, Shape, Bright Tangerine, SoftPanels and Manfrotto to bring the production to life.

Screen Subtitling Systems
We’ve worked with Screen Subtitling Systems for a number of years, producing bespoke animations for a range of their leading global subtitling products and solutions. The products are complex, so animation was the perfect medium to communicate what the products do, and why broadcasters need them.
Additionally, we produced a series of software walkthroughs to demonstrate how to use their ‘WinCaps’ software. The series is based upon screen recordings and voice overs that go through the software operations step by step.
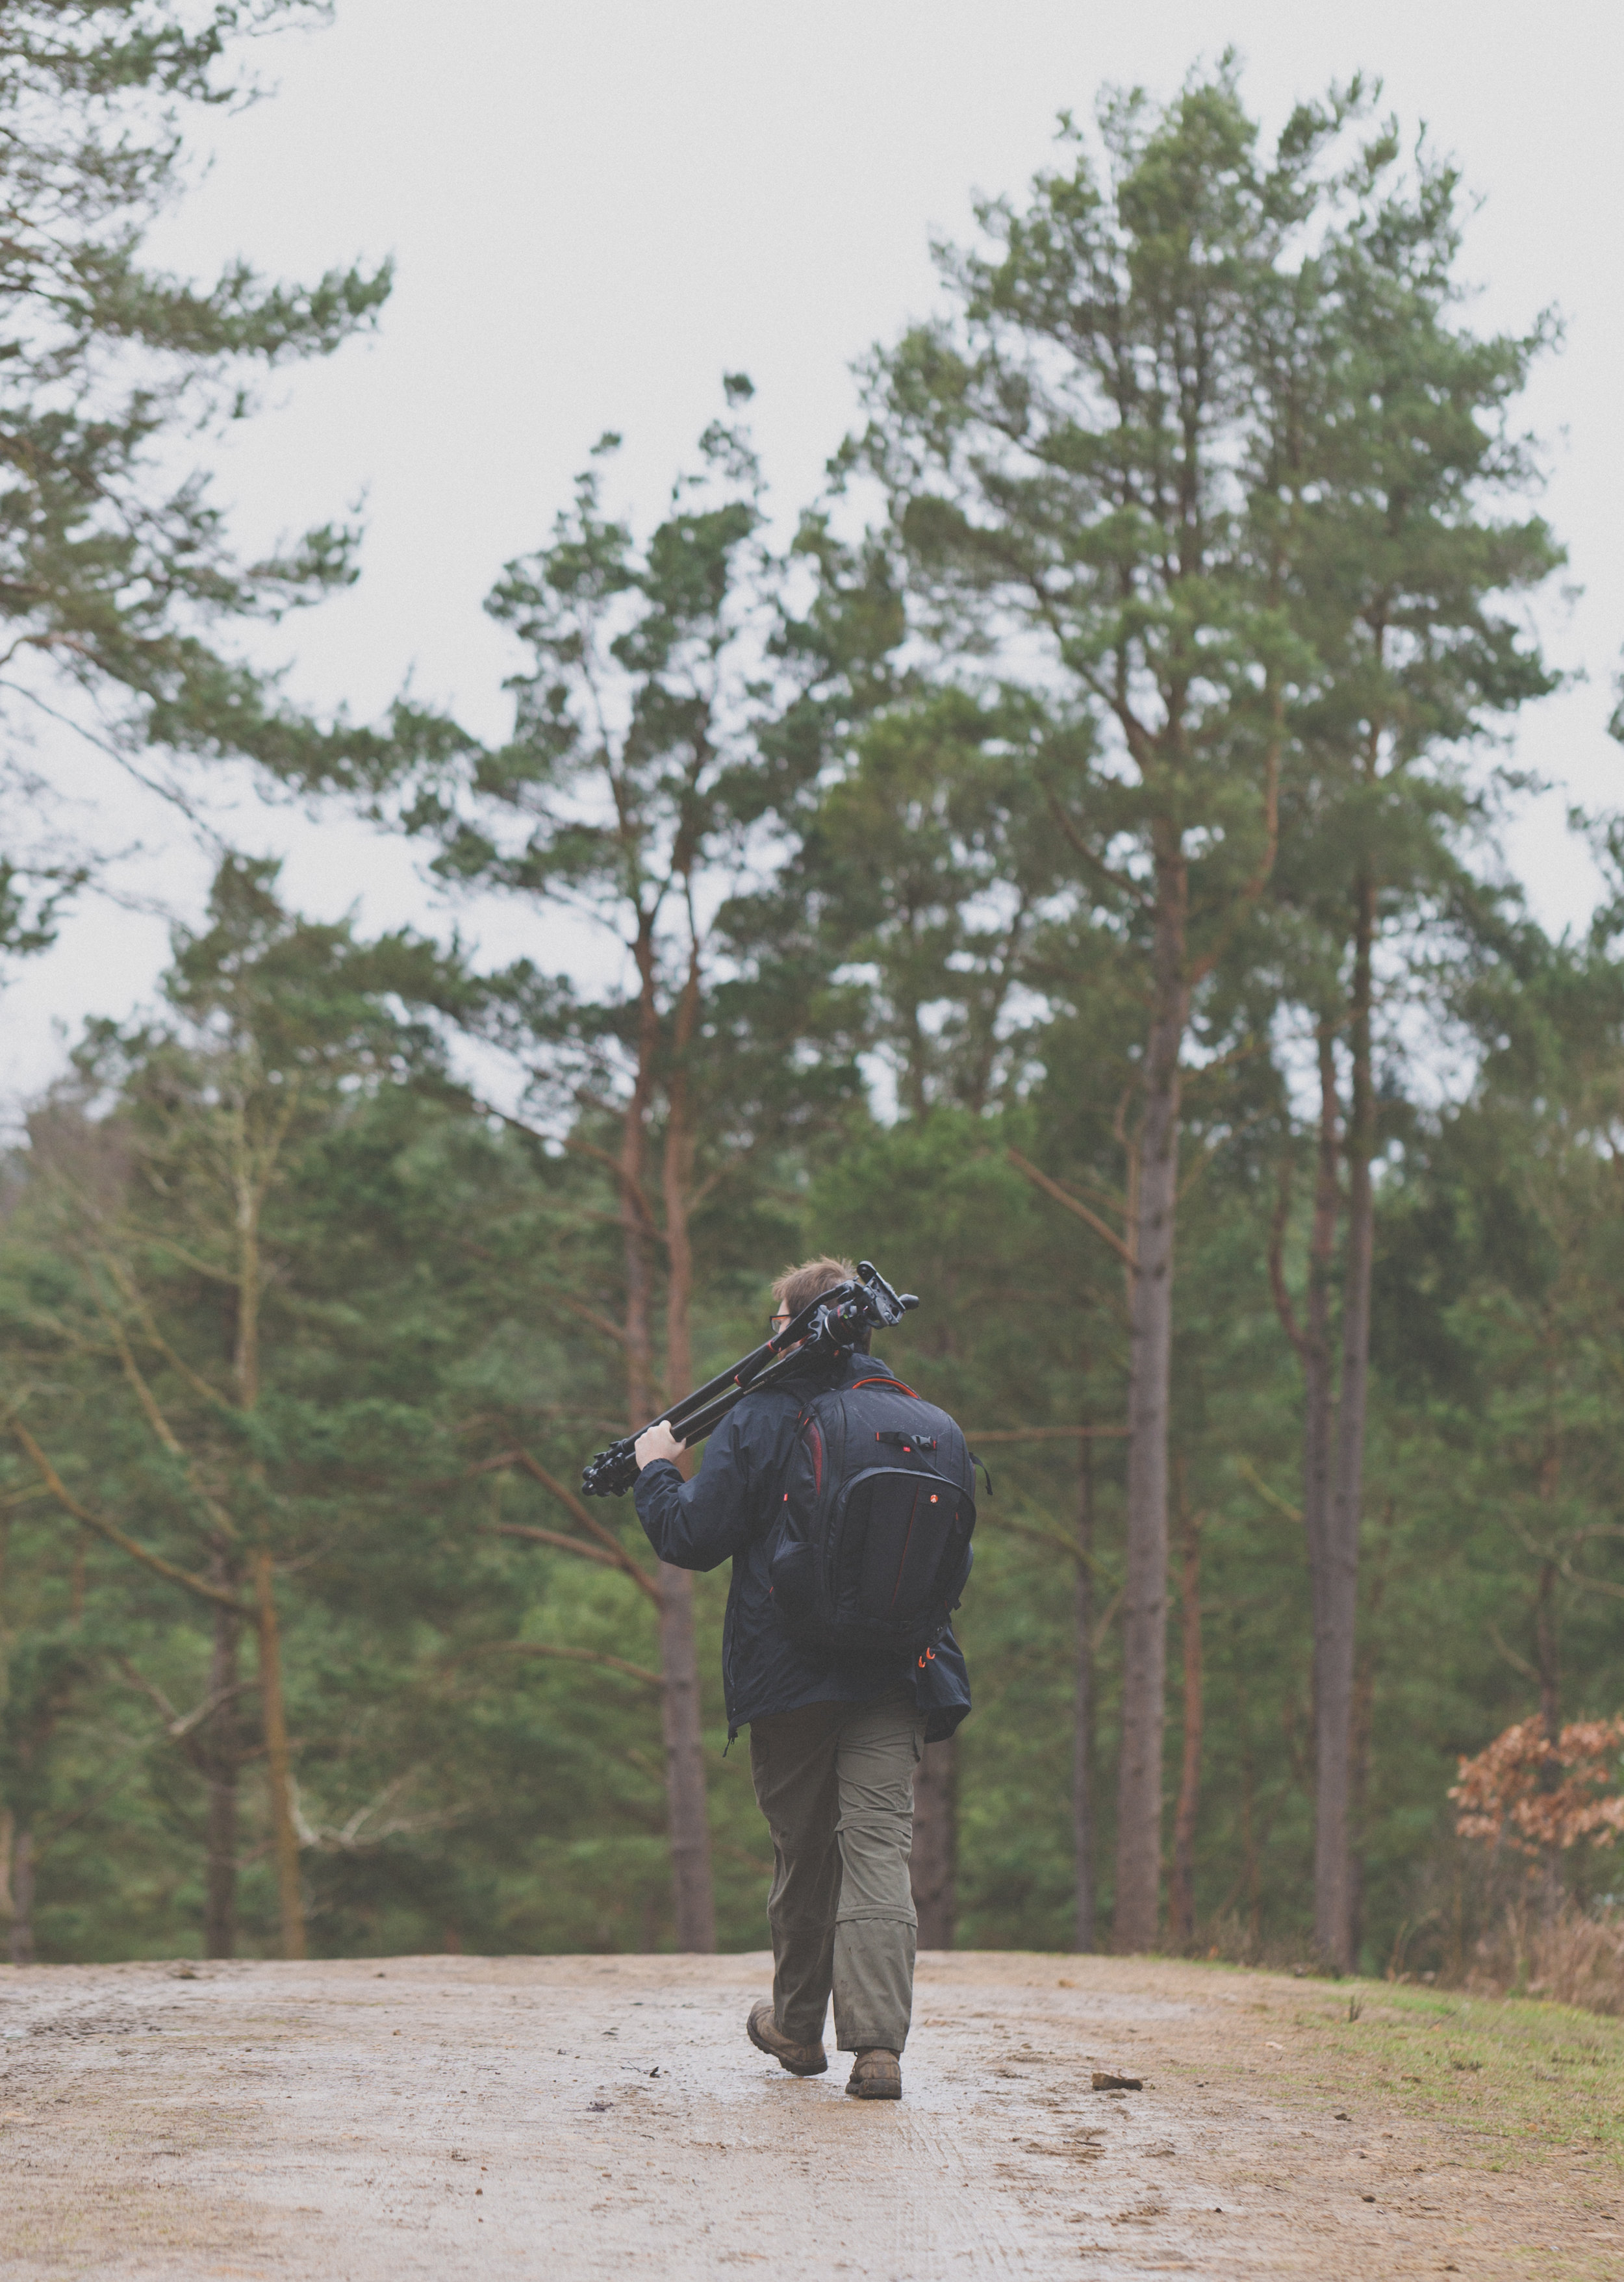
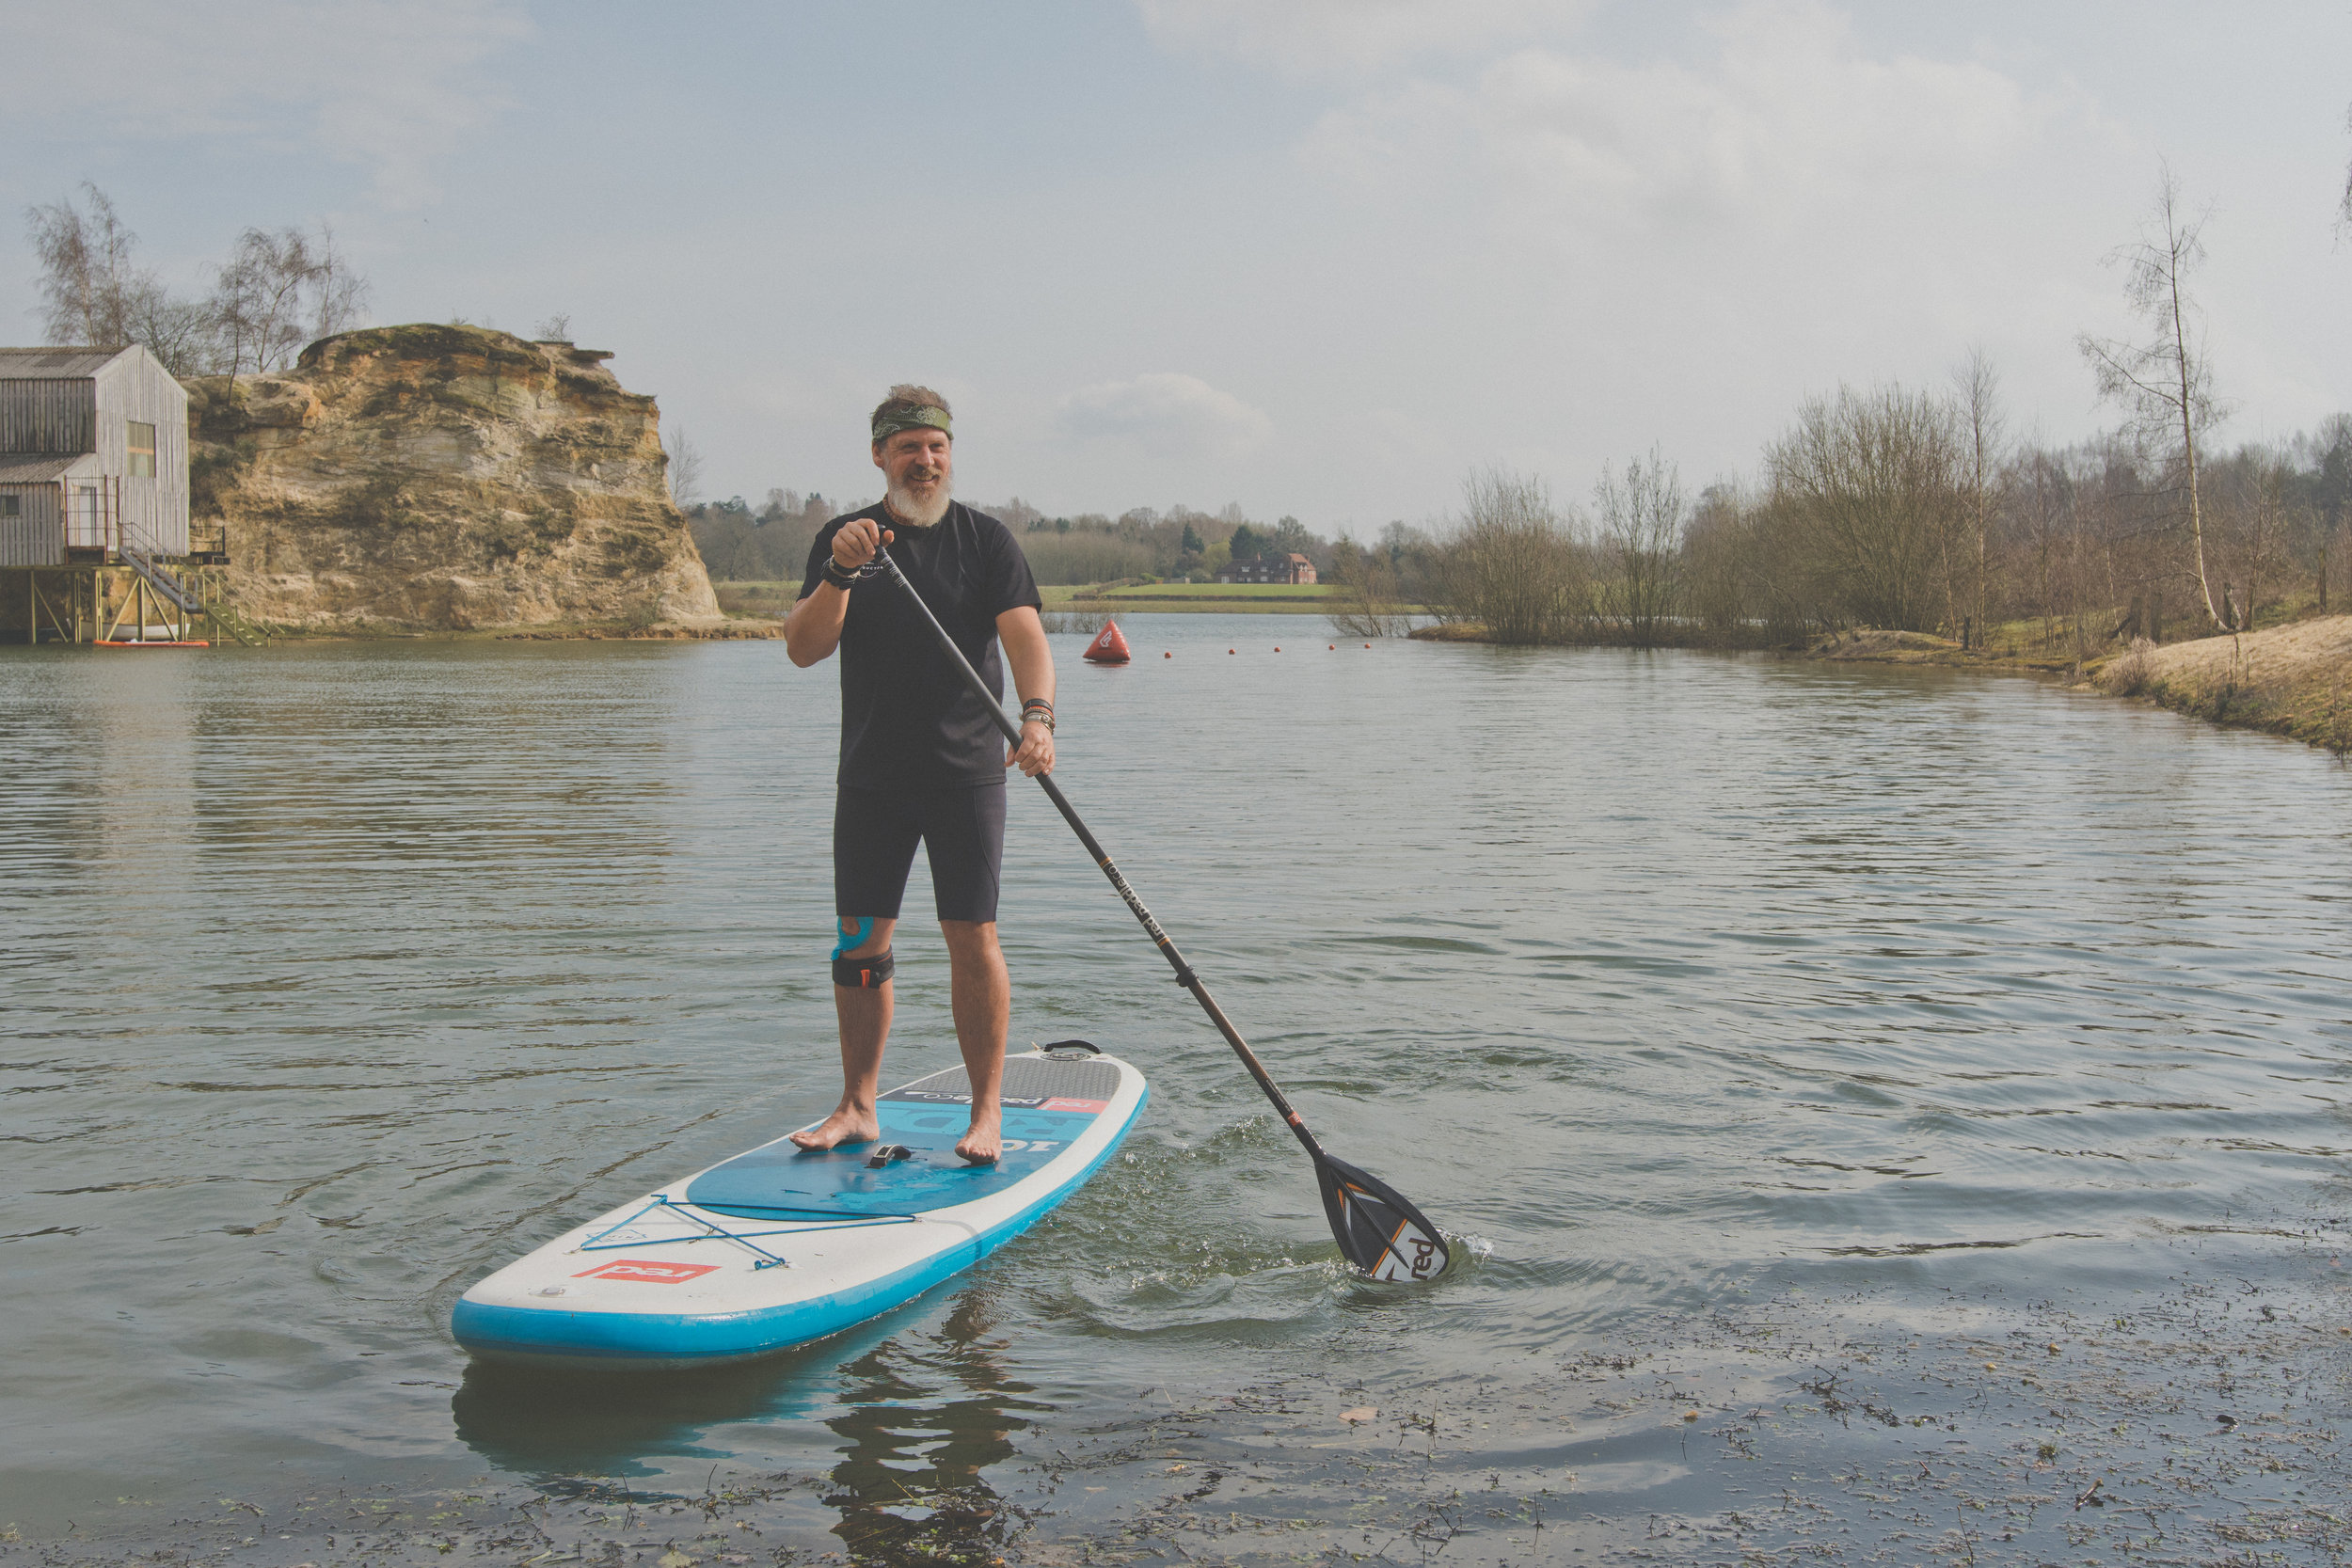
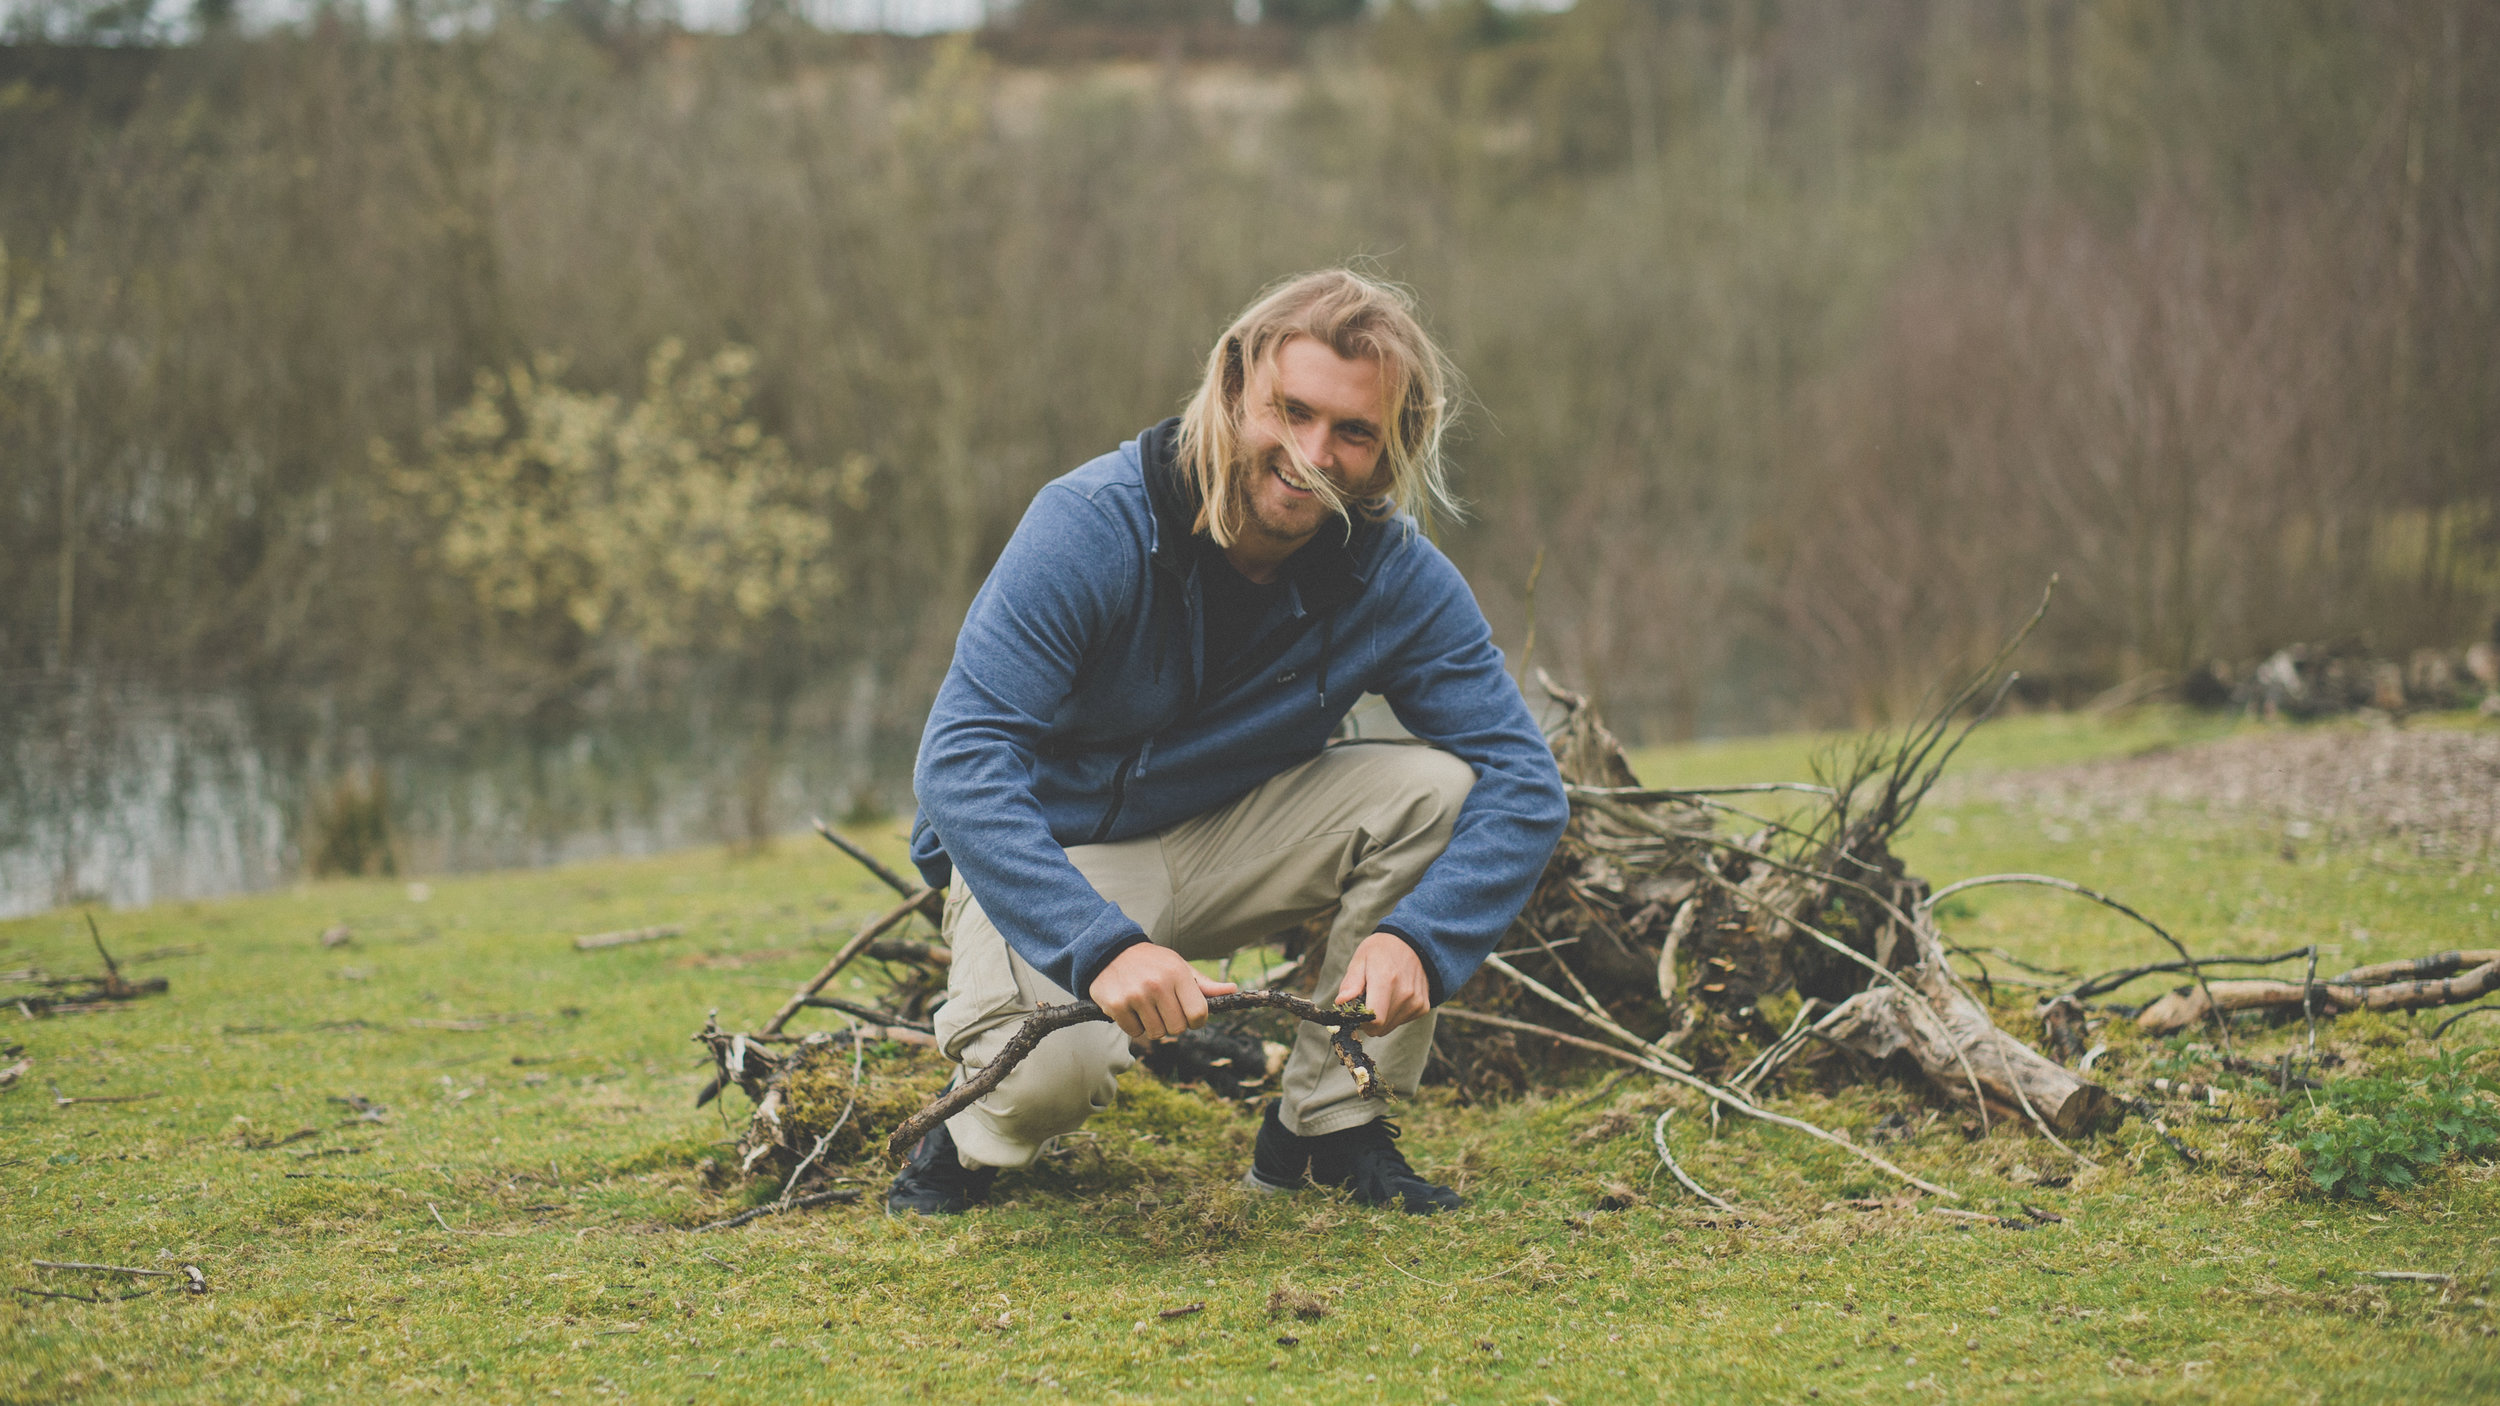
Manfrotto - The Great Outdoors
As part of the global photography and filmmaking equipments Spring marketing strategy, we worked to produce an adventure based video about bushcraft and stand up paddleboarding while demonstrating the use of the new Pro Light Cinematic Expand Backpack.
Don’t use video? You’re missing out.
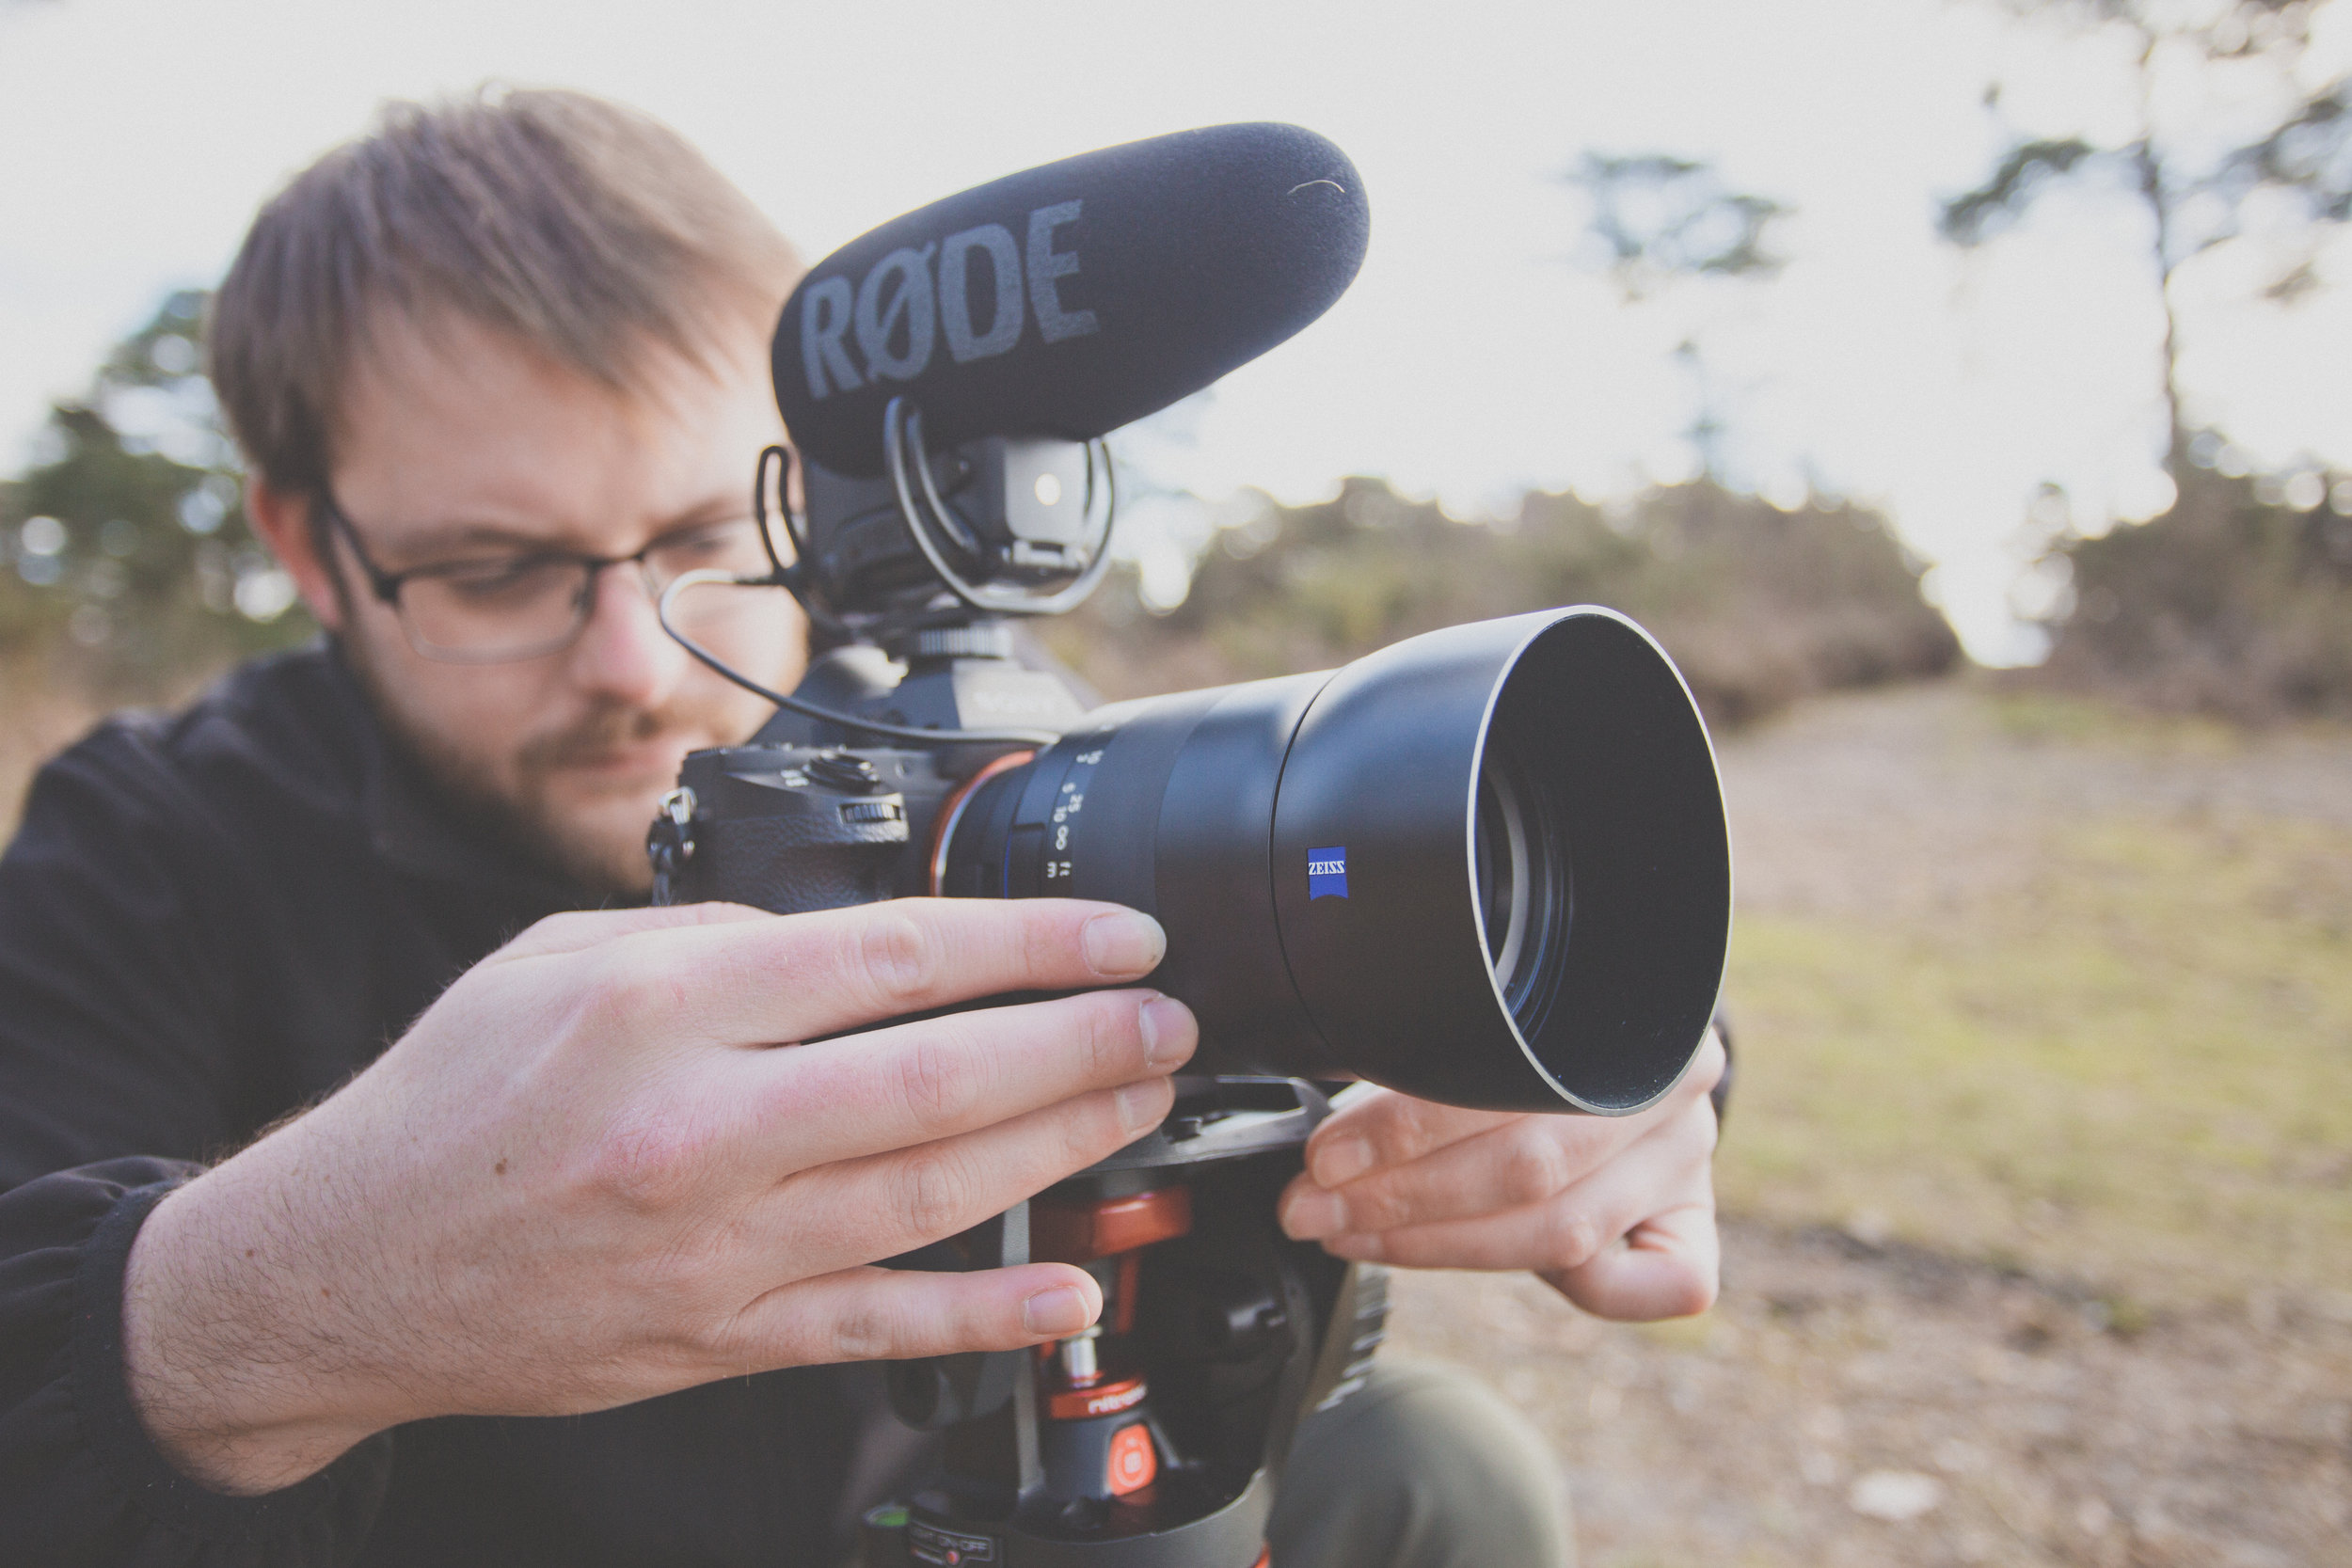
ZEISS Lenspire
We also collaborated with ZEISS on this production, and reviewed the Milvus Super Speed prime lenses, as well as contributed to their Lenspire blog.
Sandown Park Racecourse - The Jump Finale 2018
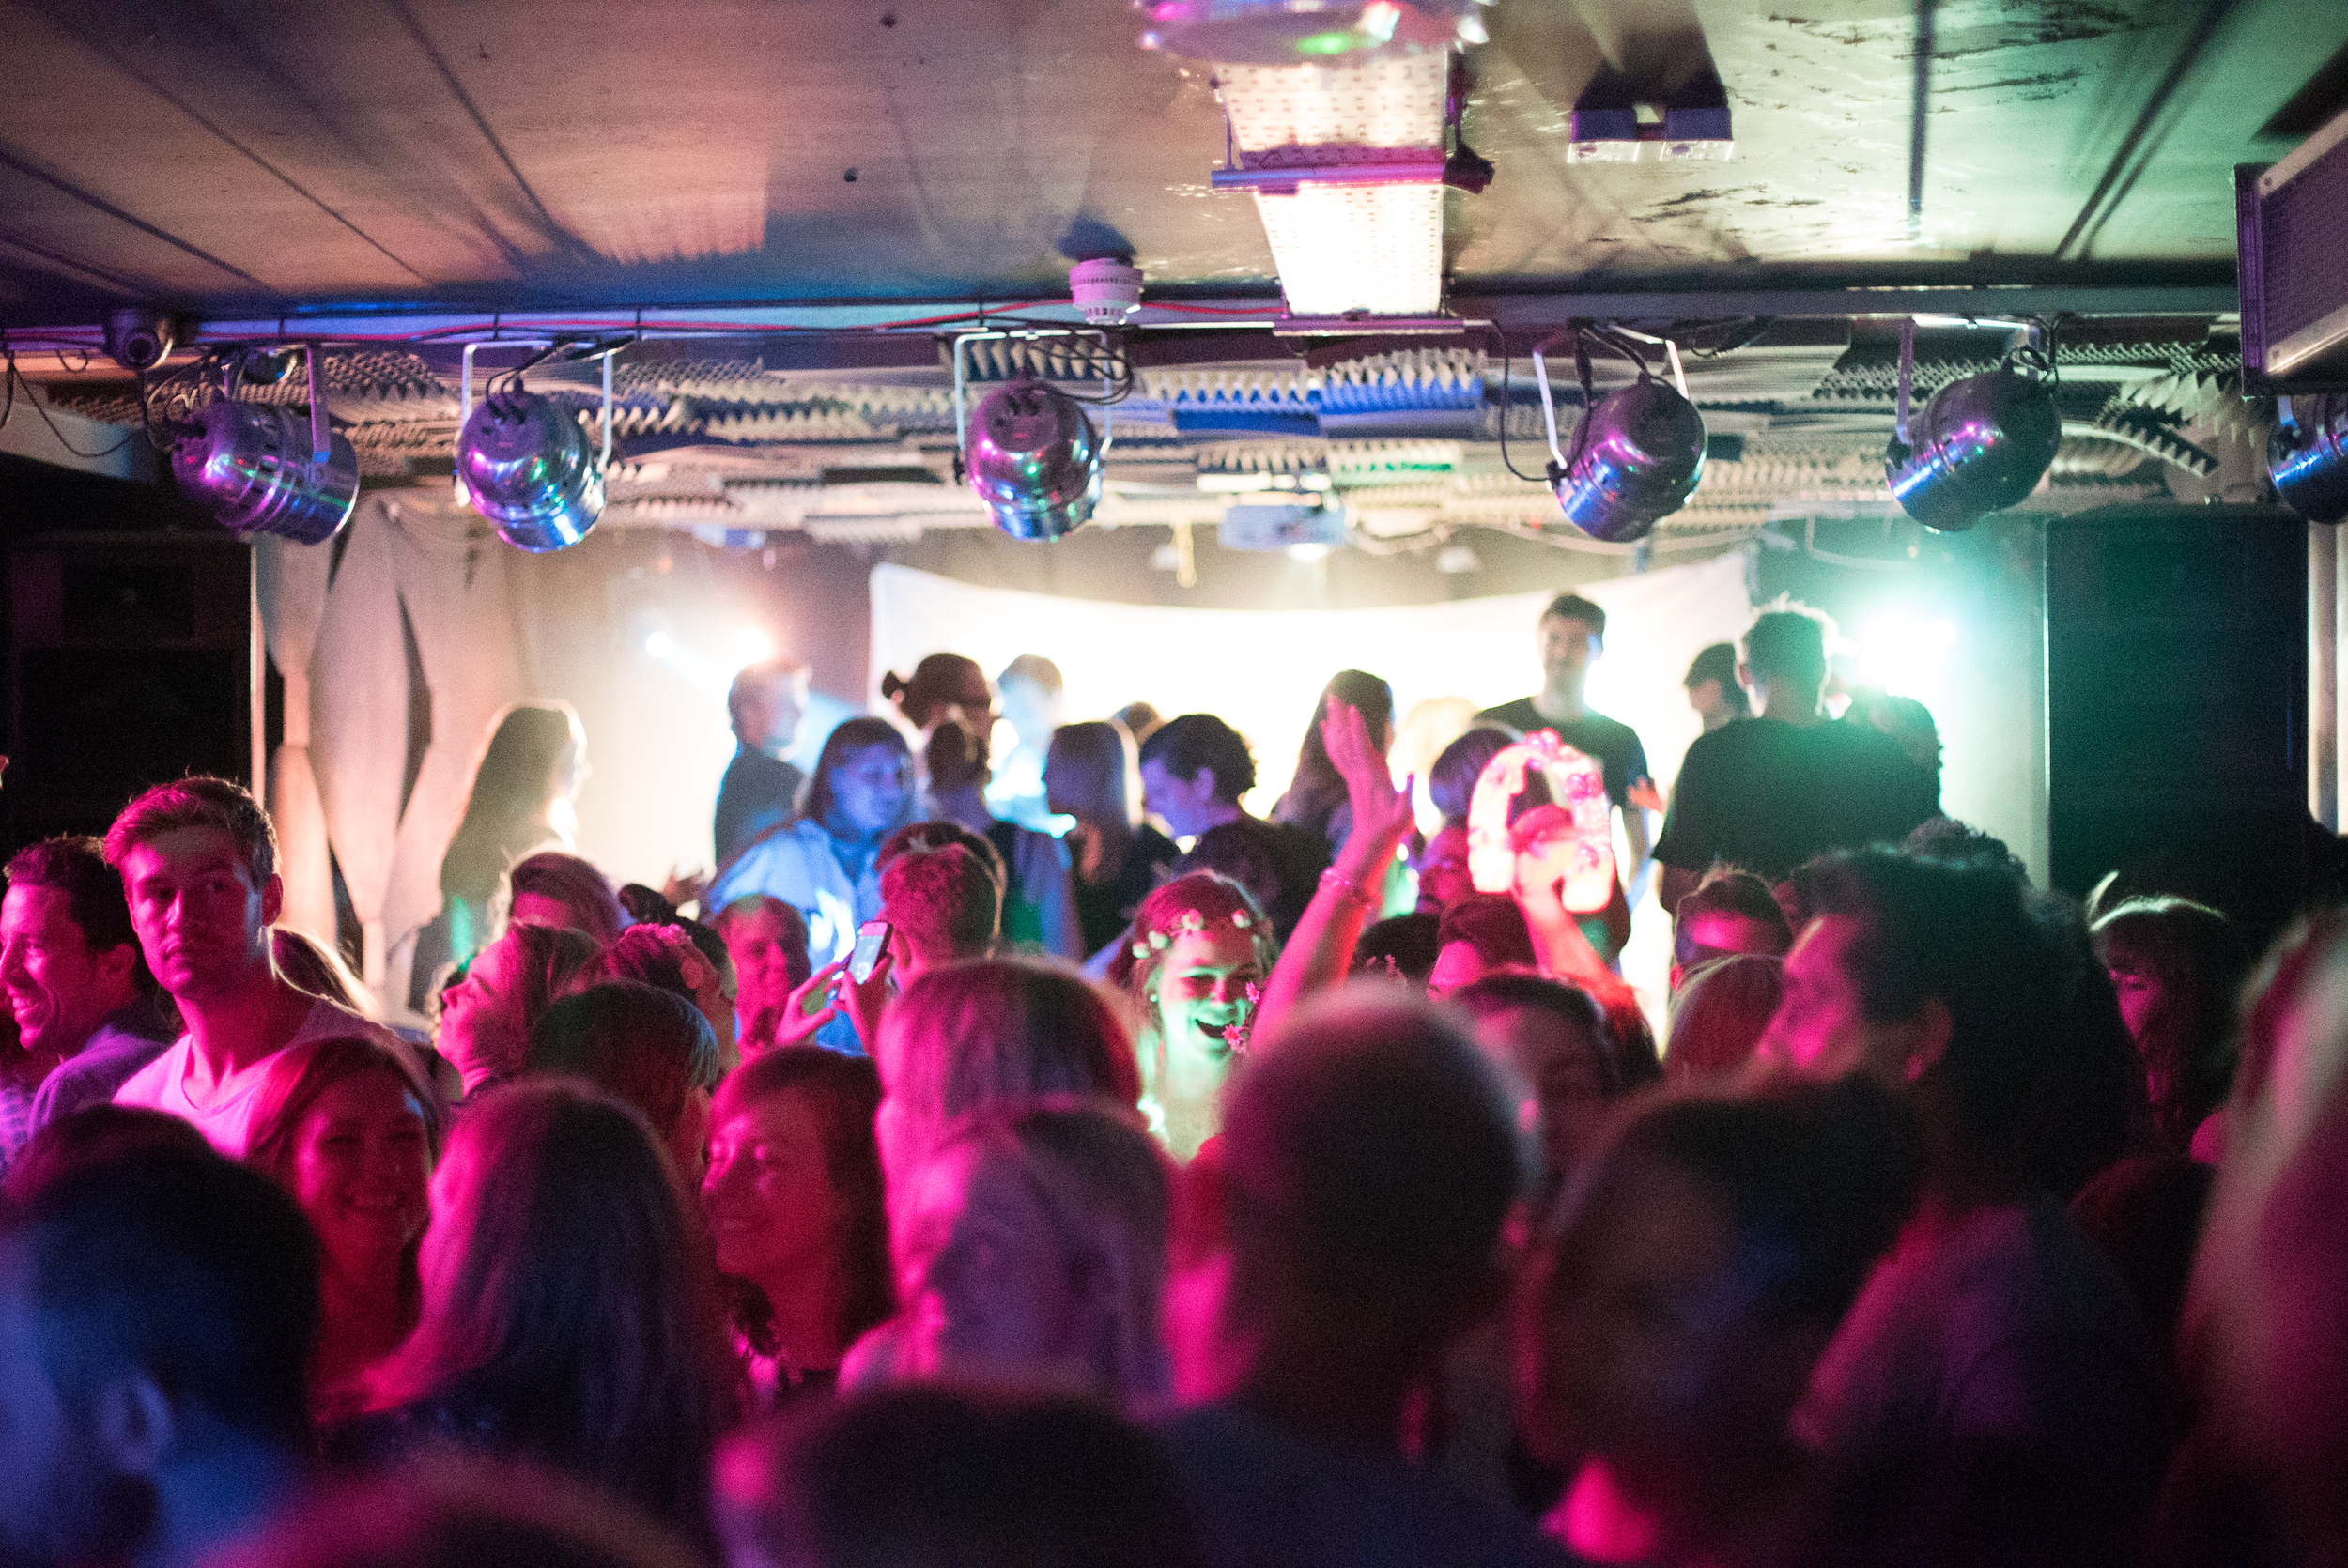
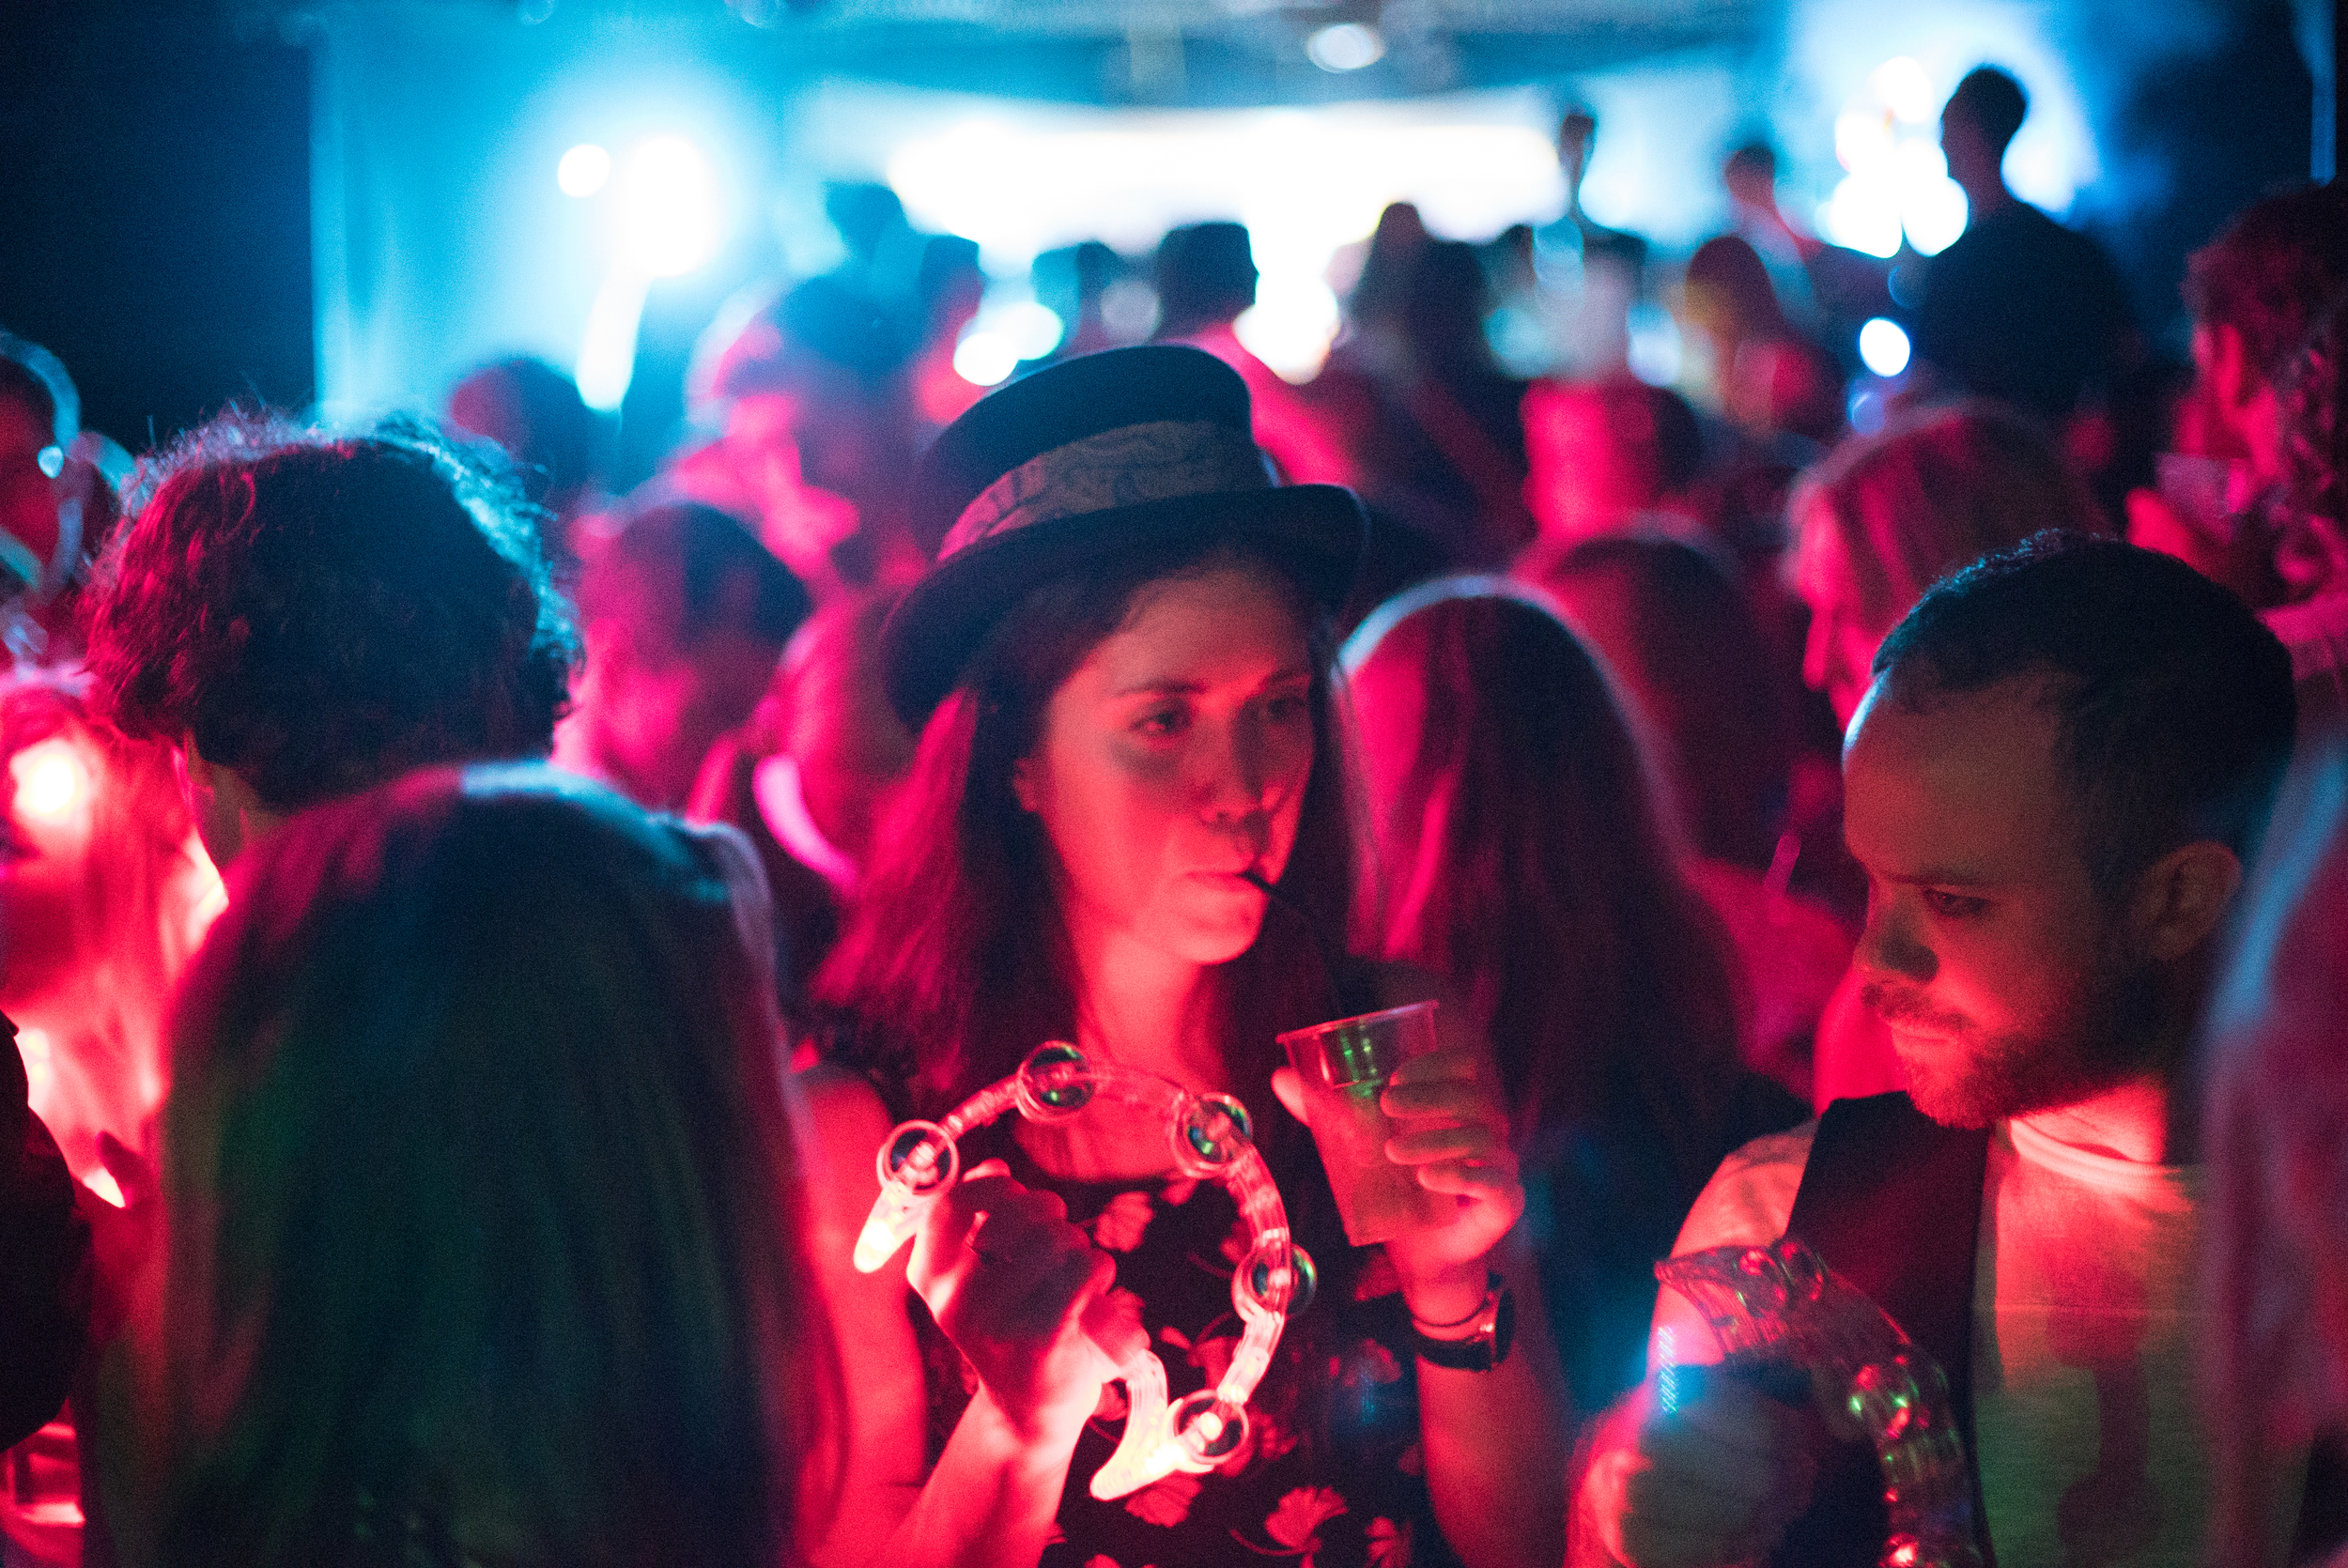
We LOVE filming events, so it was really exciting when Sandown Park Racecourse approached us to create an after movie for The Jump Finale Raceday. It’s exhillerating filming live events like this, that’s why producing event video content is our speciality! (We do film conferences, presentations and award ceremonies too).
Shot on Sony a7SII, a6500, Manfotto grip year, Zhiyun Crane 2.
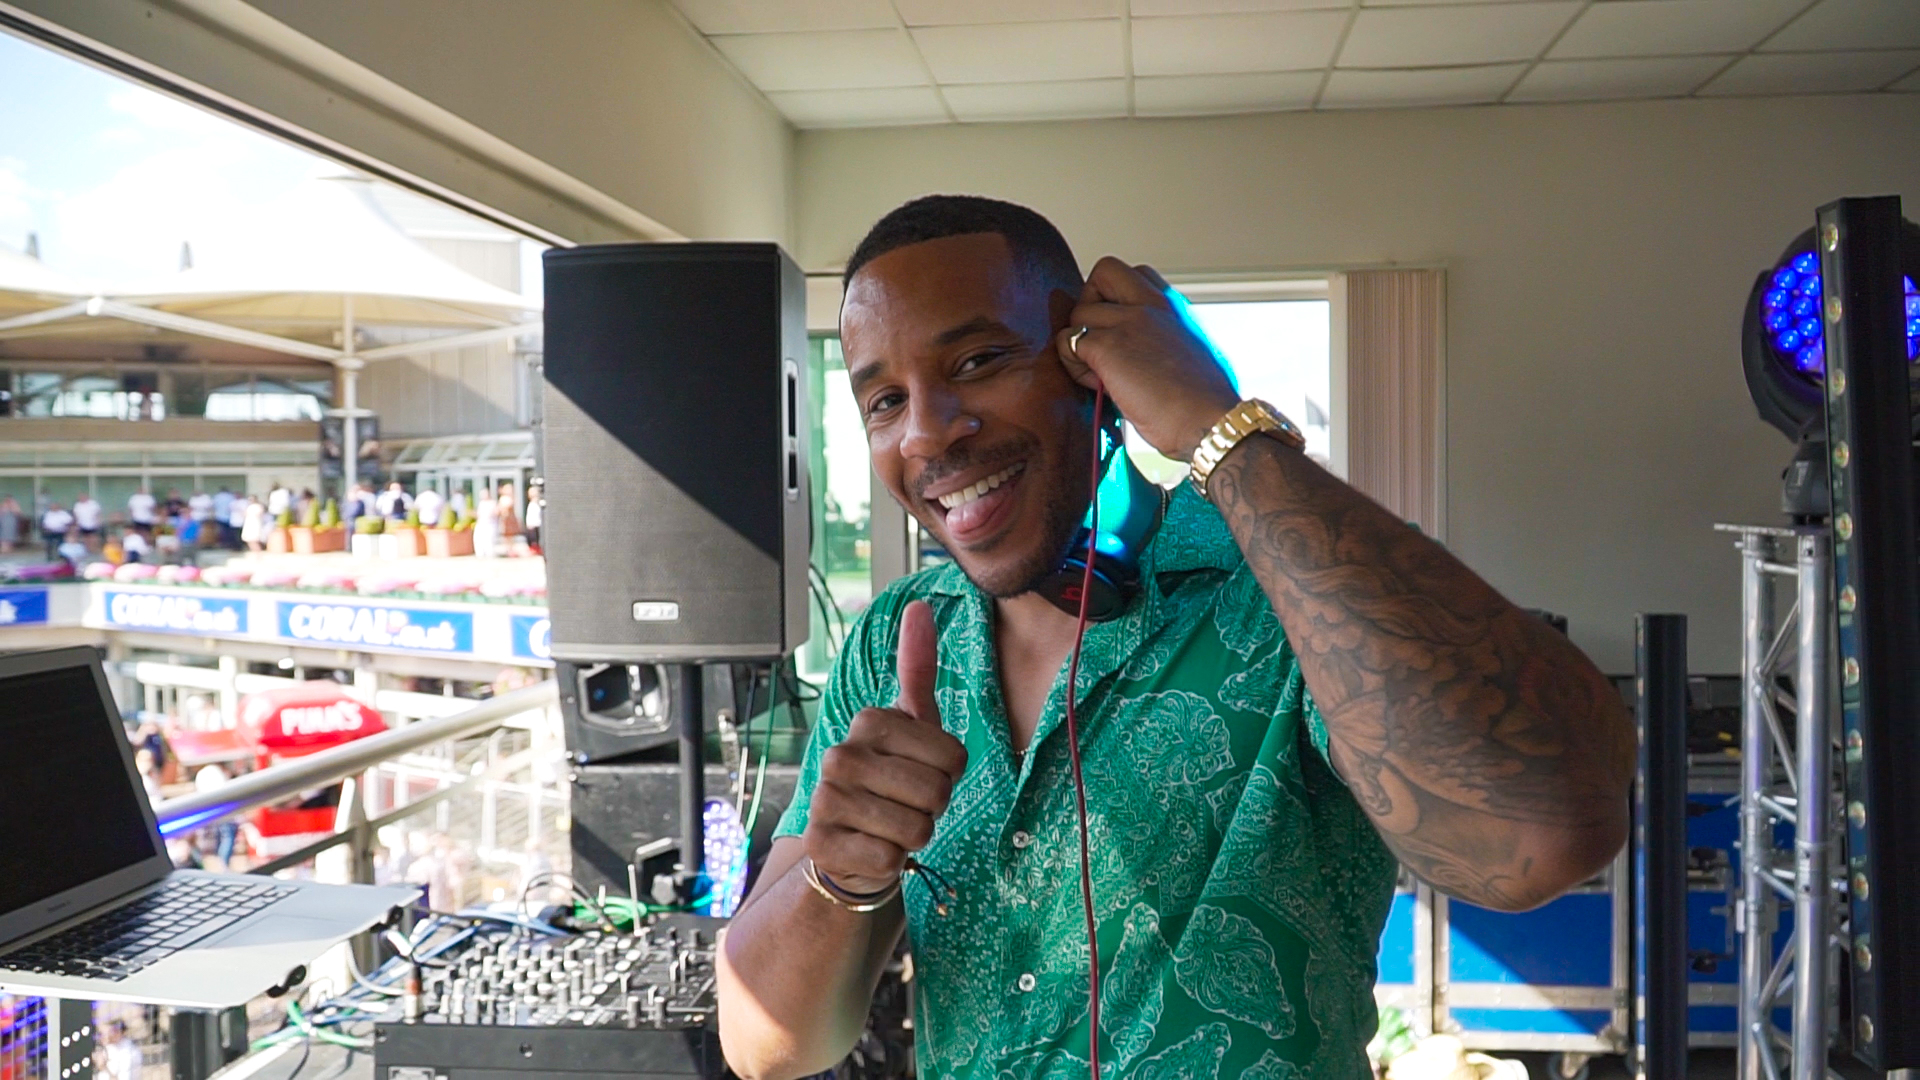
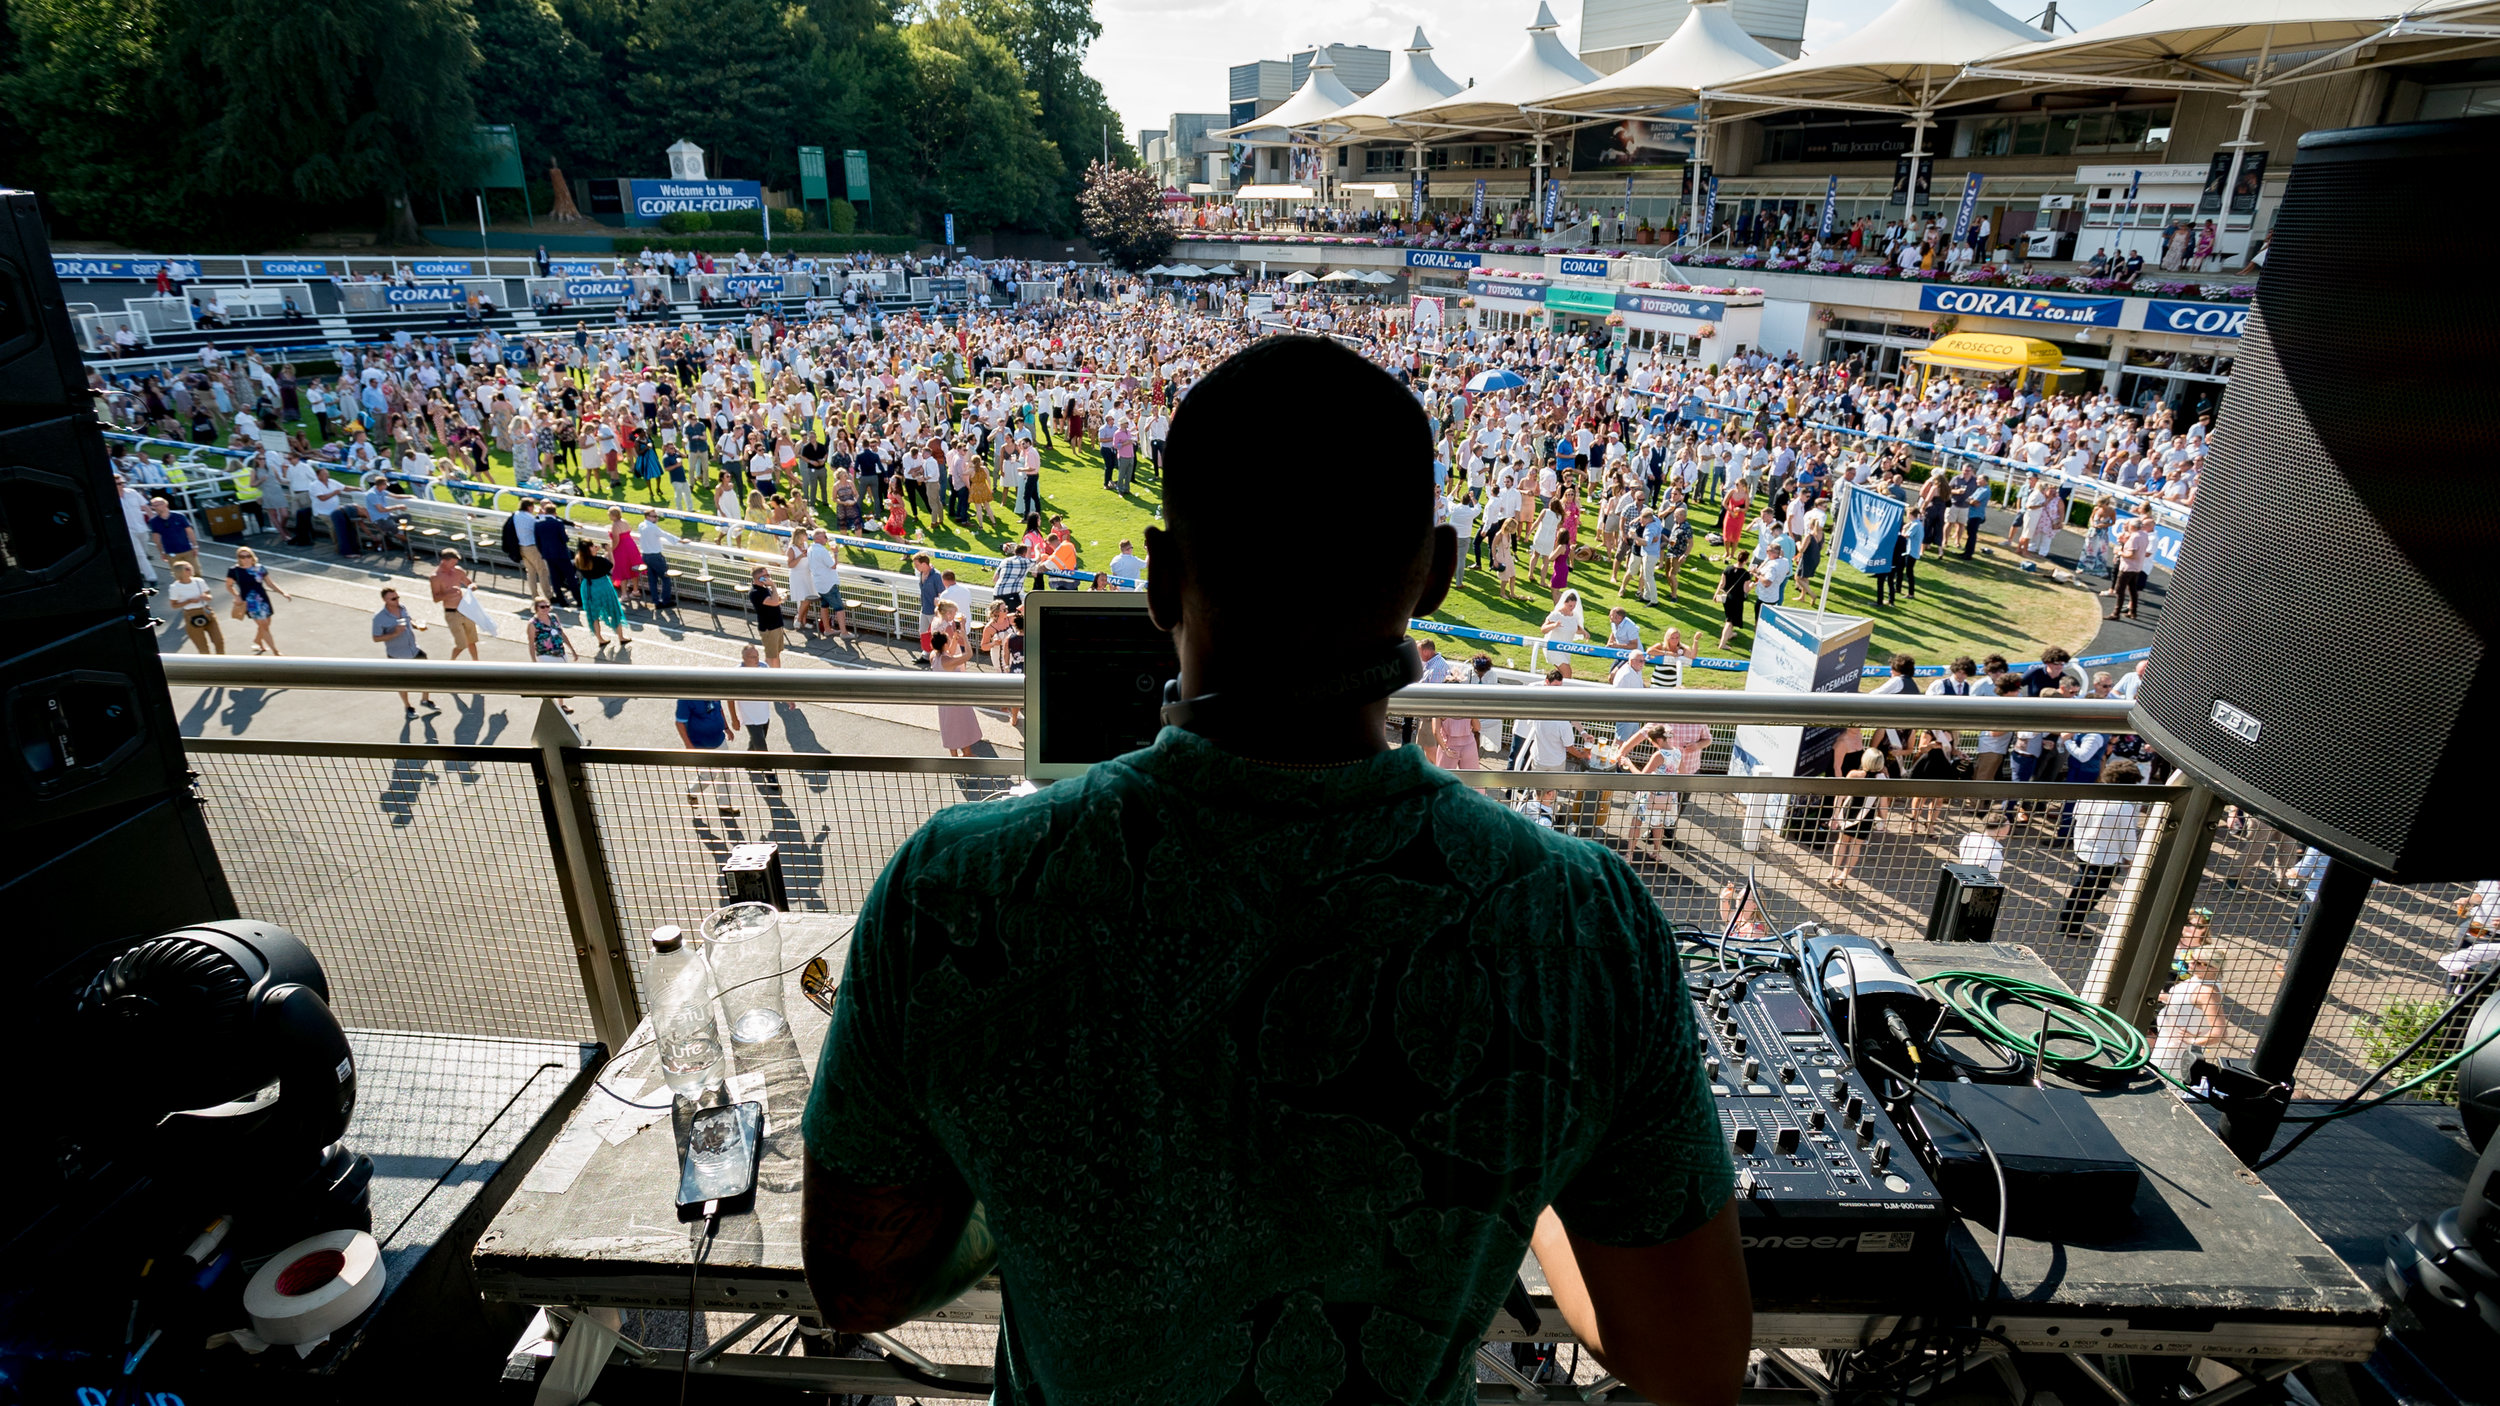
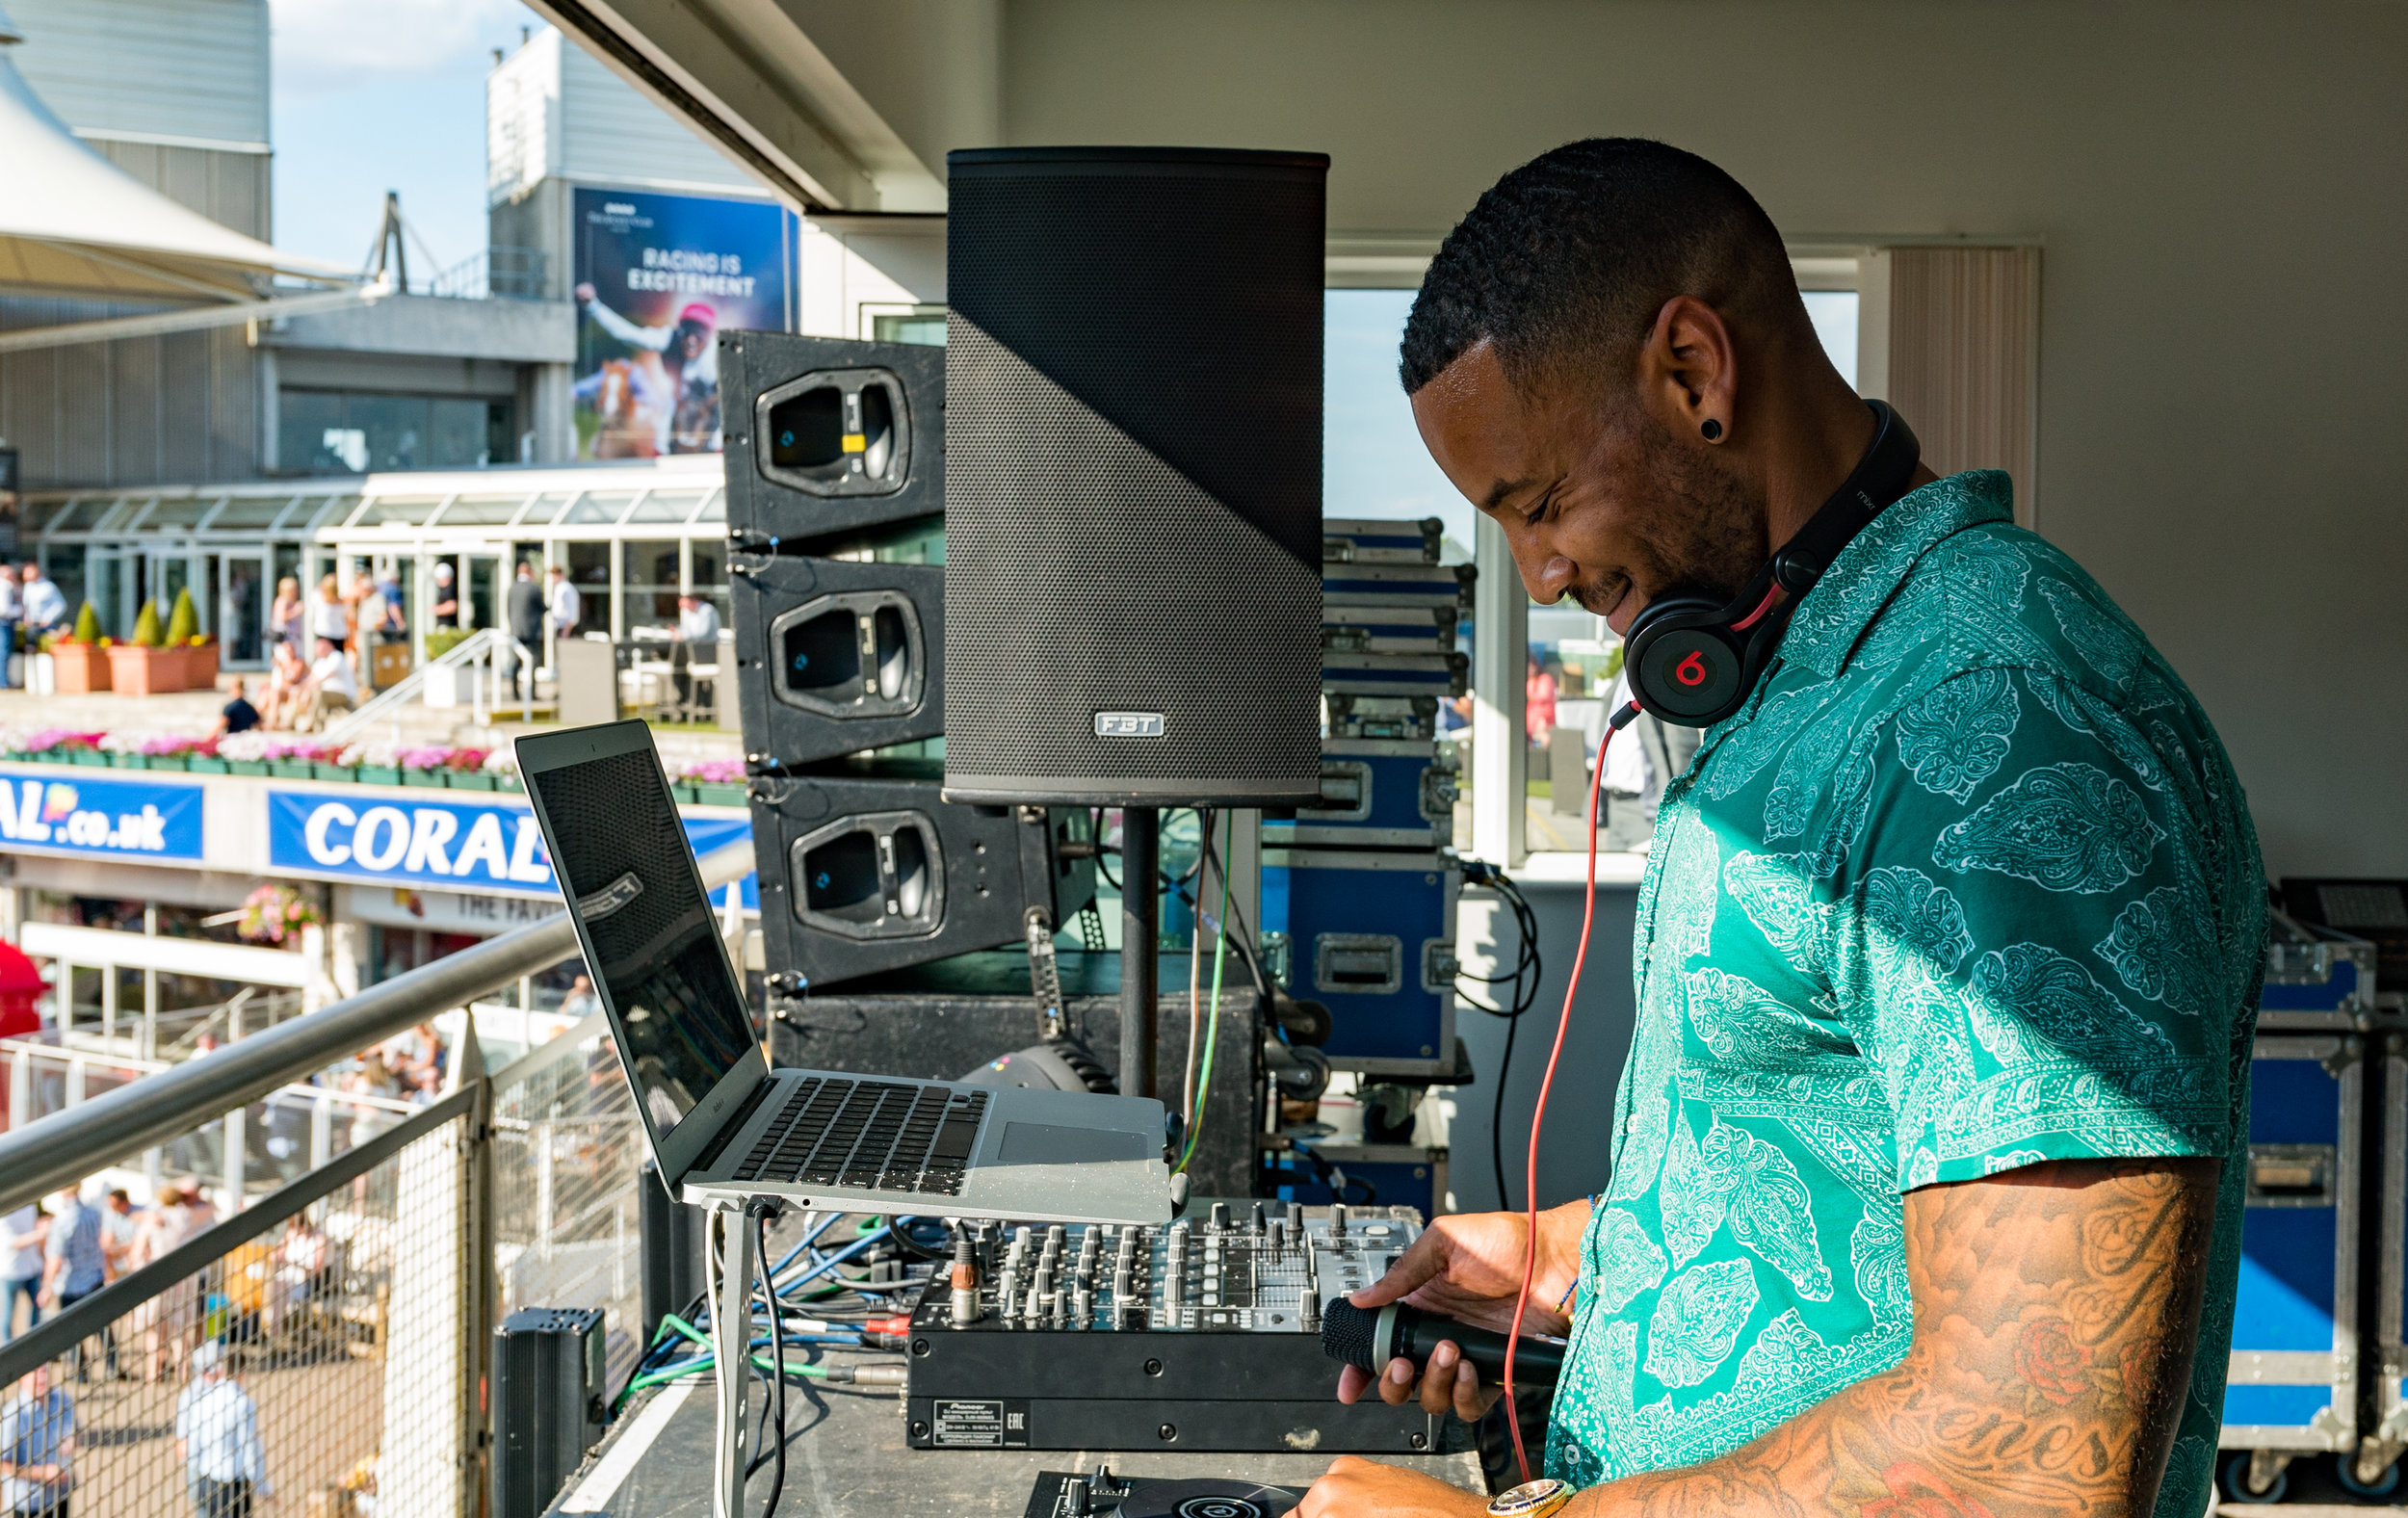
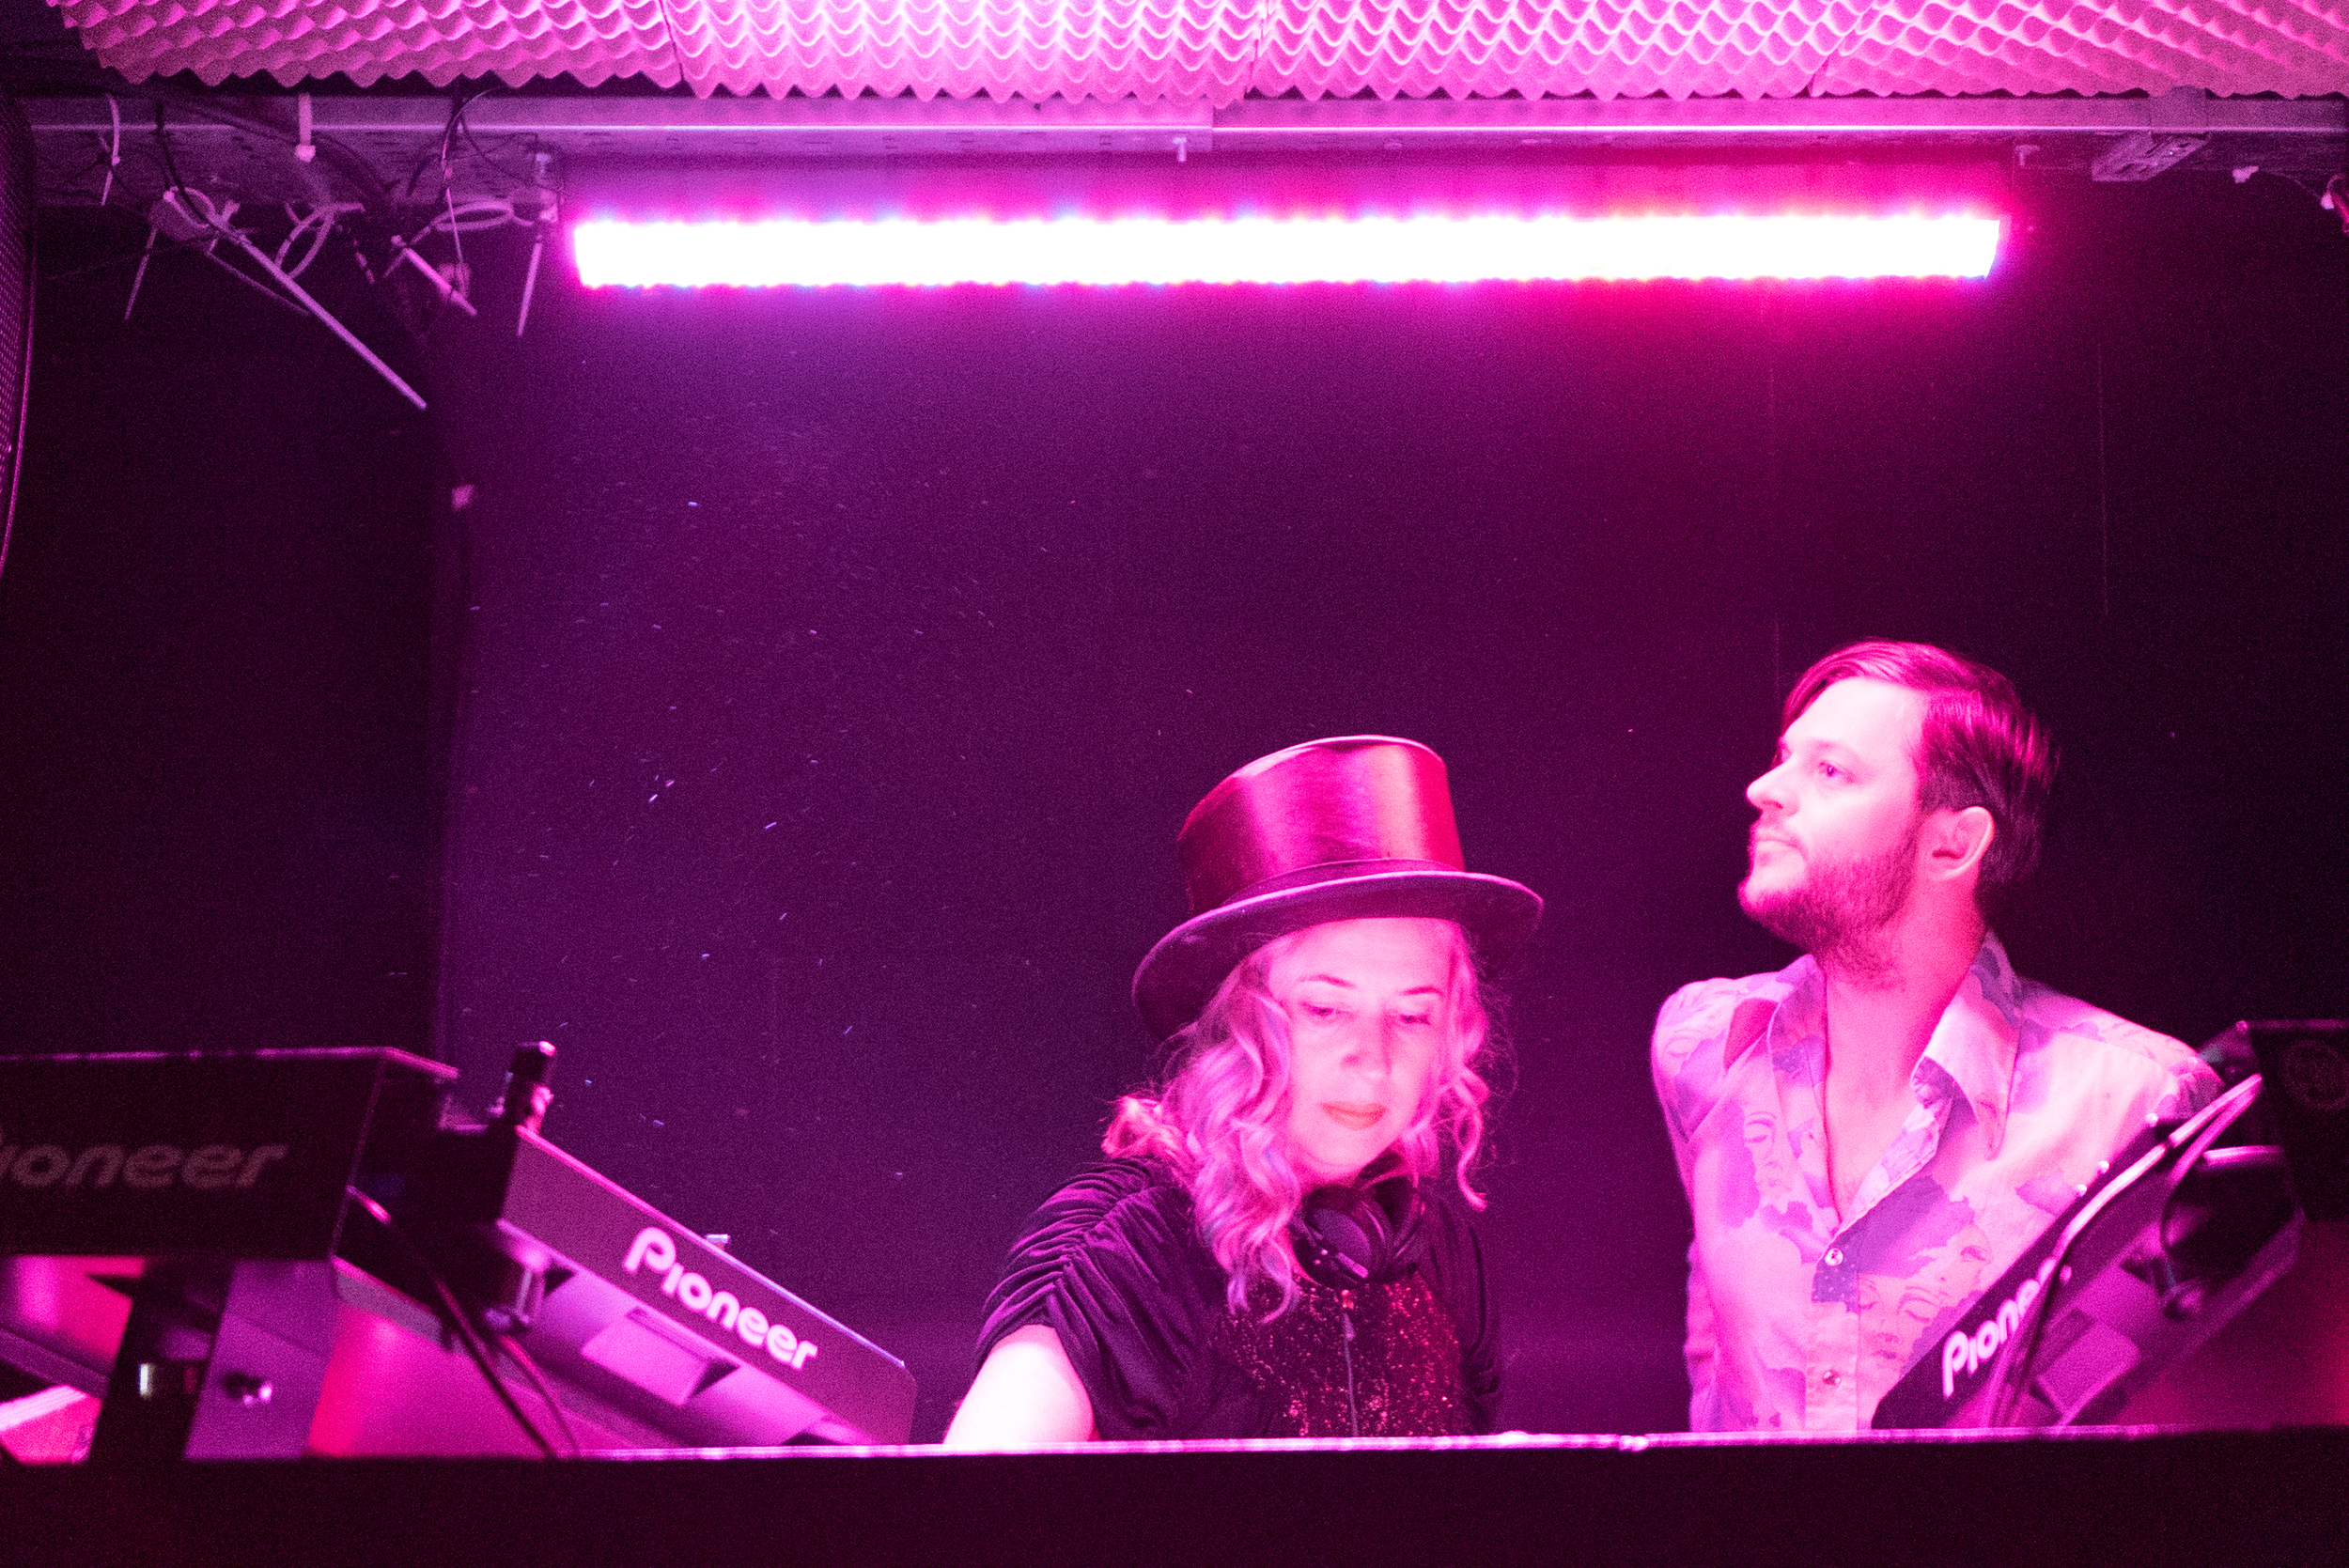
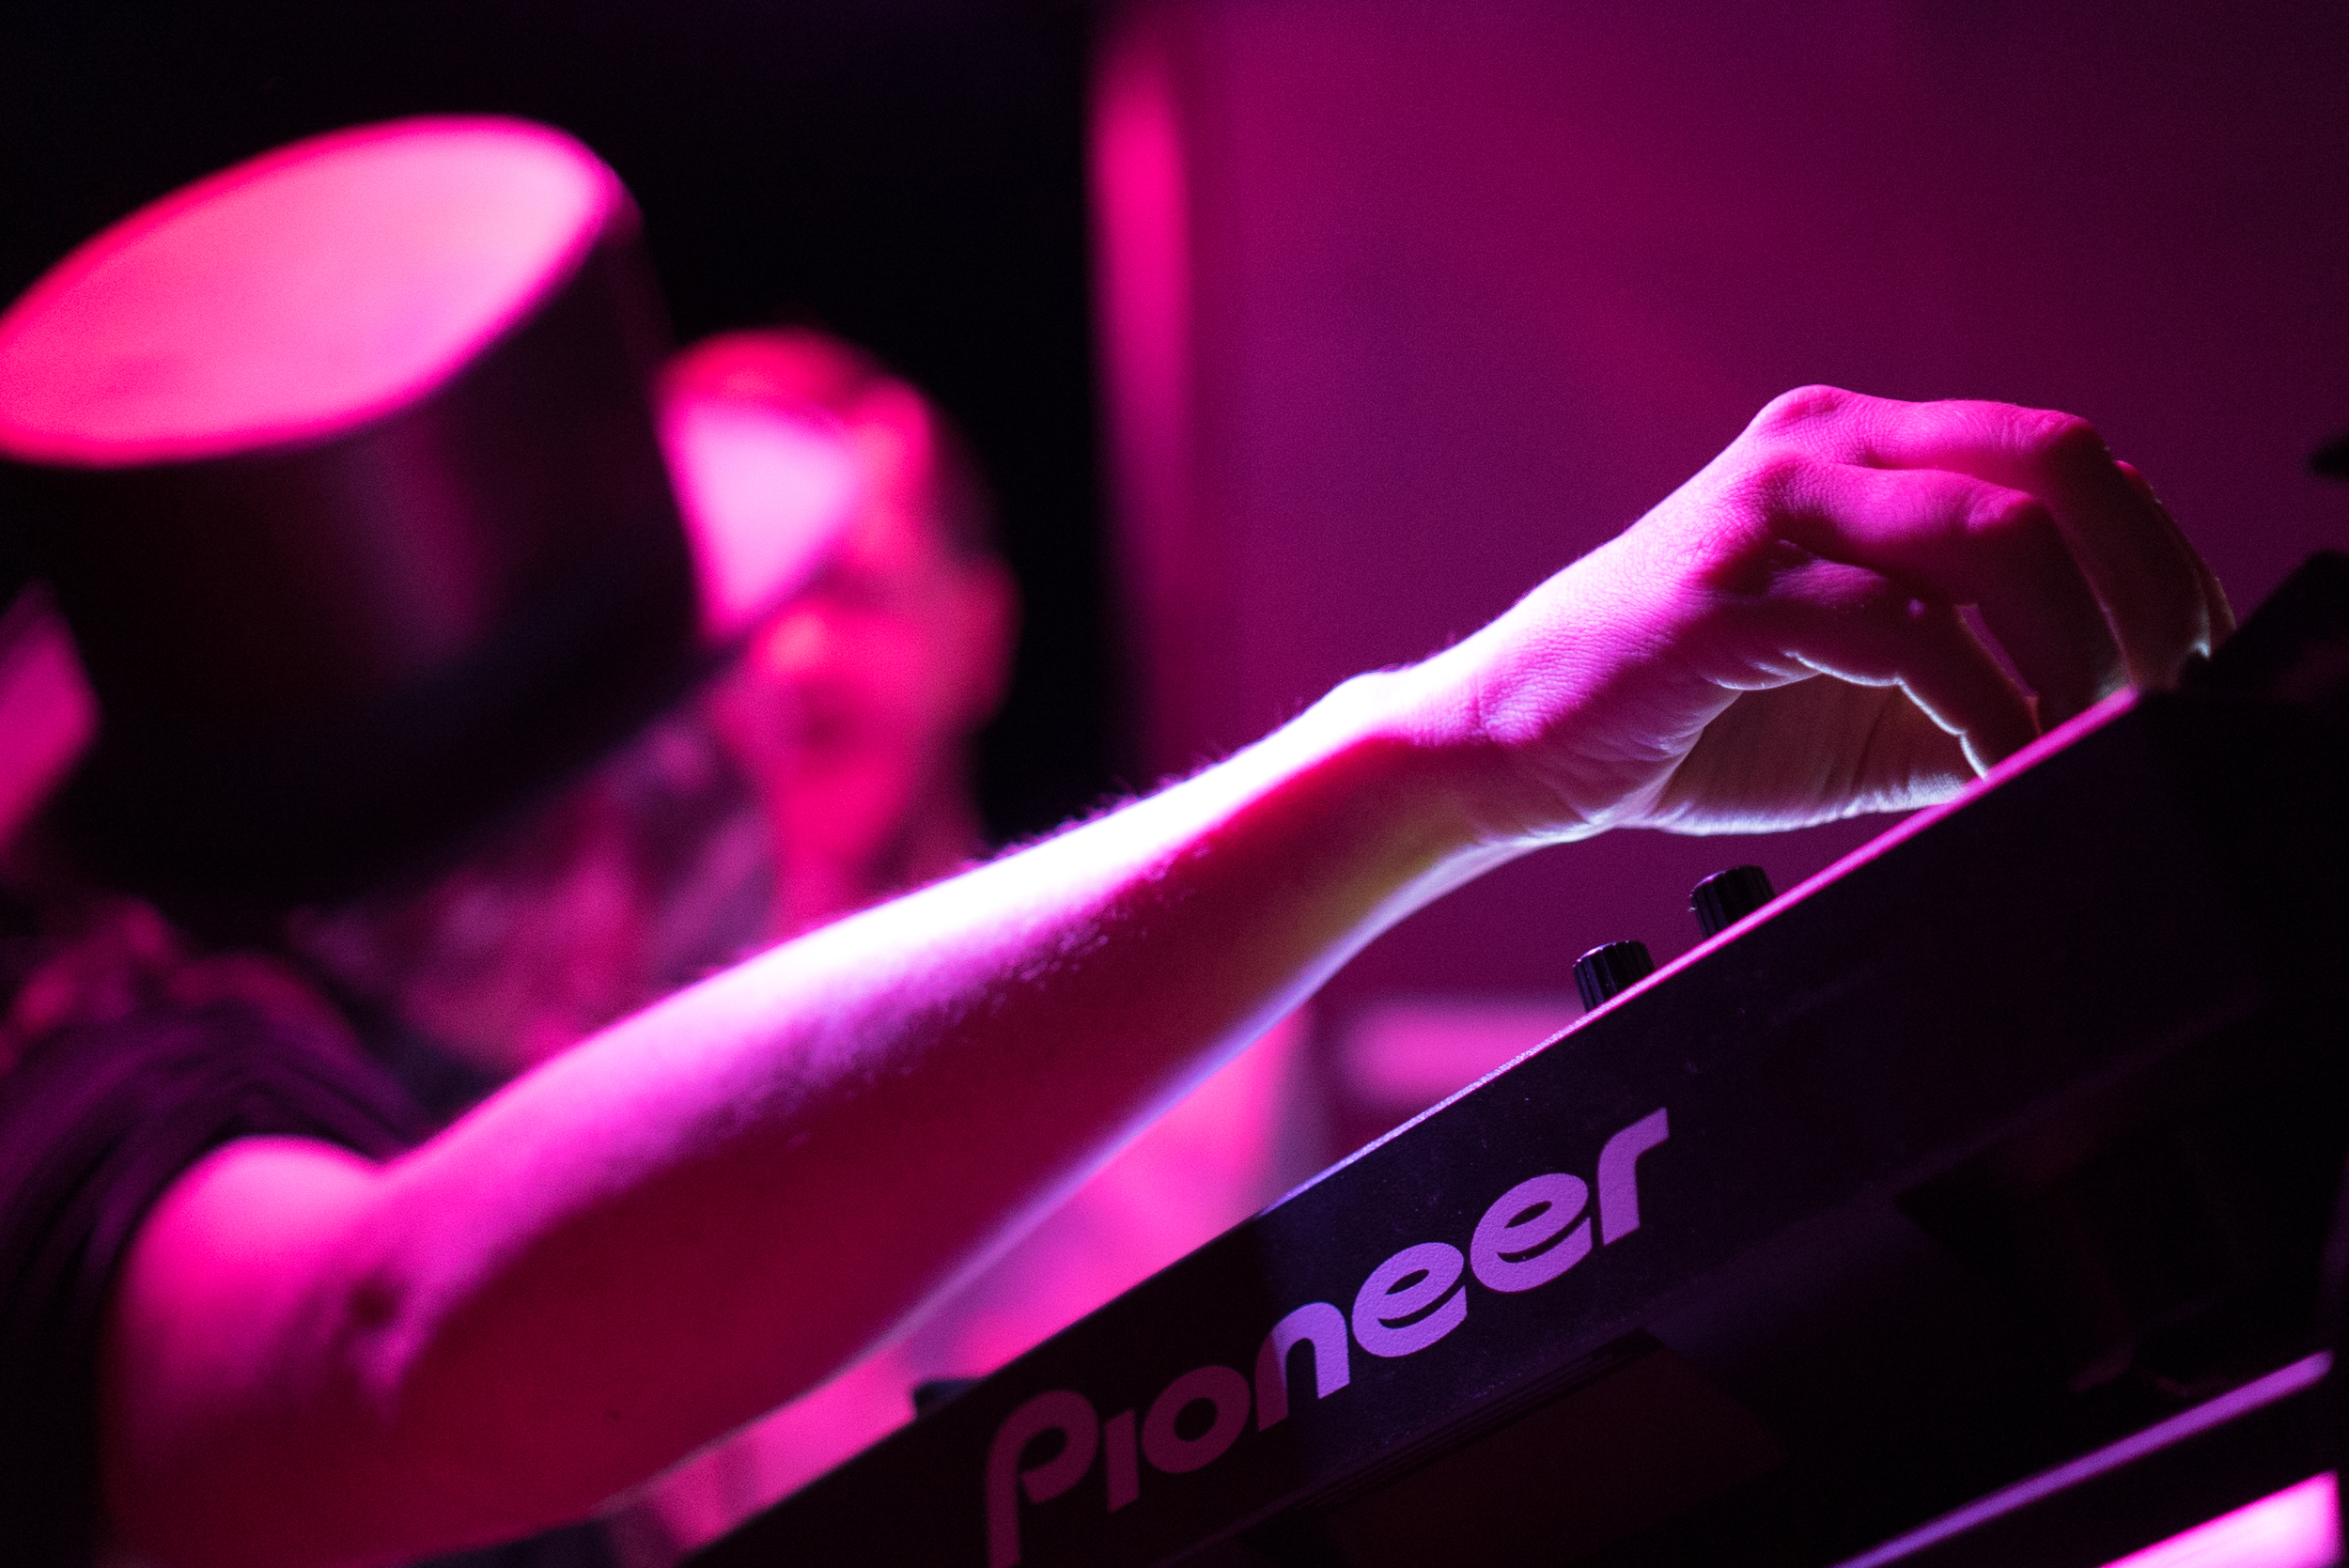
Sandown Park Racecourse - Brigadier Gerard, Apres, Promoting the Coral Eclipse Summer Festival with GB Ladies Hockey Players.
After the success of The Jump Finale 2018 video production, we returned to Sandown Park Racecourse to capture the Brigadier Gerard raceday and the Apres area. To promote the Coral Eclipse Summer Festival we also produced a series of videos with members of the GB Ladies Hockey Team! This was great fun, but a challenge to keep up with the ladies! DJ Reggie Yates gave a sterling set after the racing, he was great to film.

Epsom Downs Racecourse - Investec Derby and Summer Nights Live Music
Continuing our relationship with The Jockey Club, we were asked to film at the world famous Investec Derby 2018. This involved visiting the many areas and attractions of the racecourse and ‘The Hill’, capturing content for sponsorship purposes.
Later that month we also produced four videos to play on the racecourse CCTV and giant screens around the racecourse. This included using archive footage from Derby winners throughout the decades, and creating bespoke animations for iconic moments too.
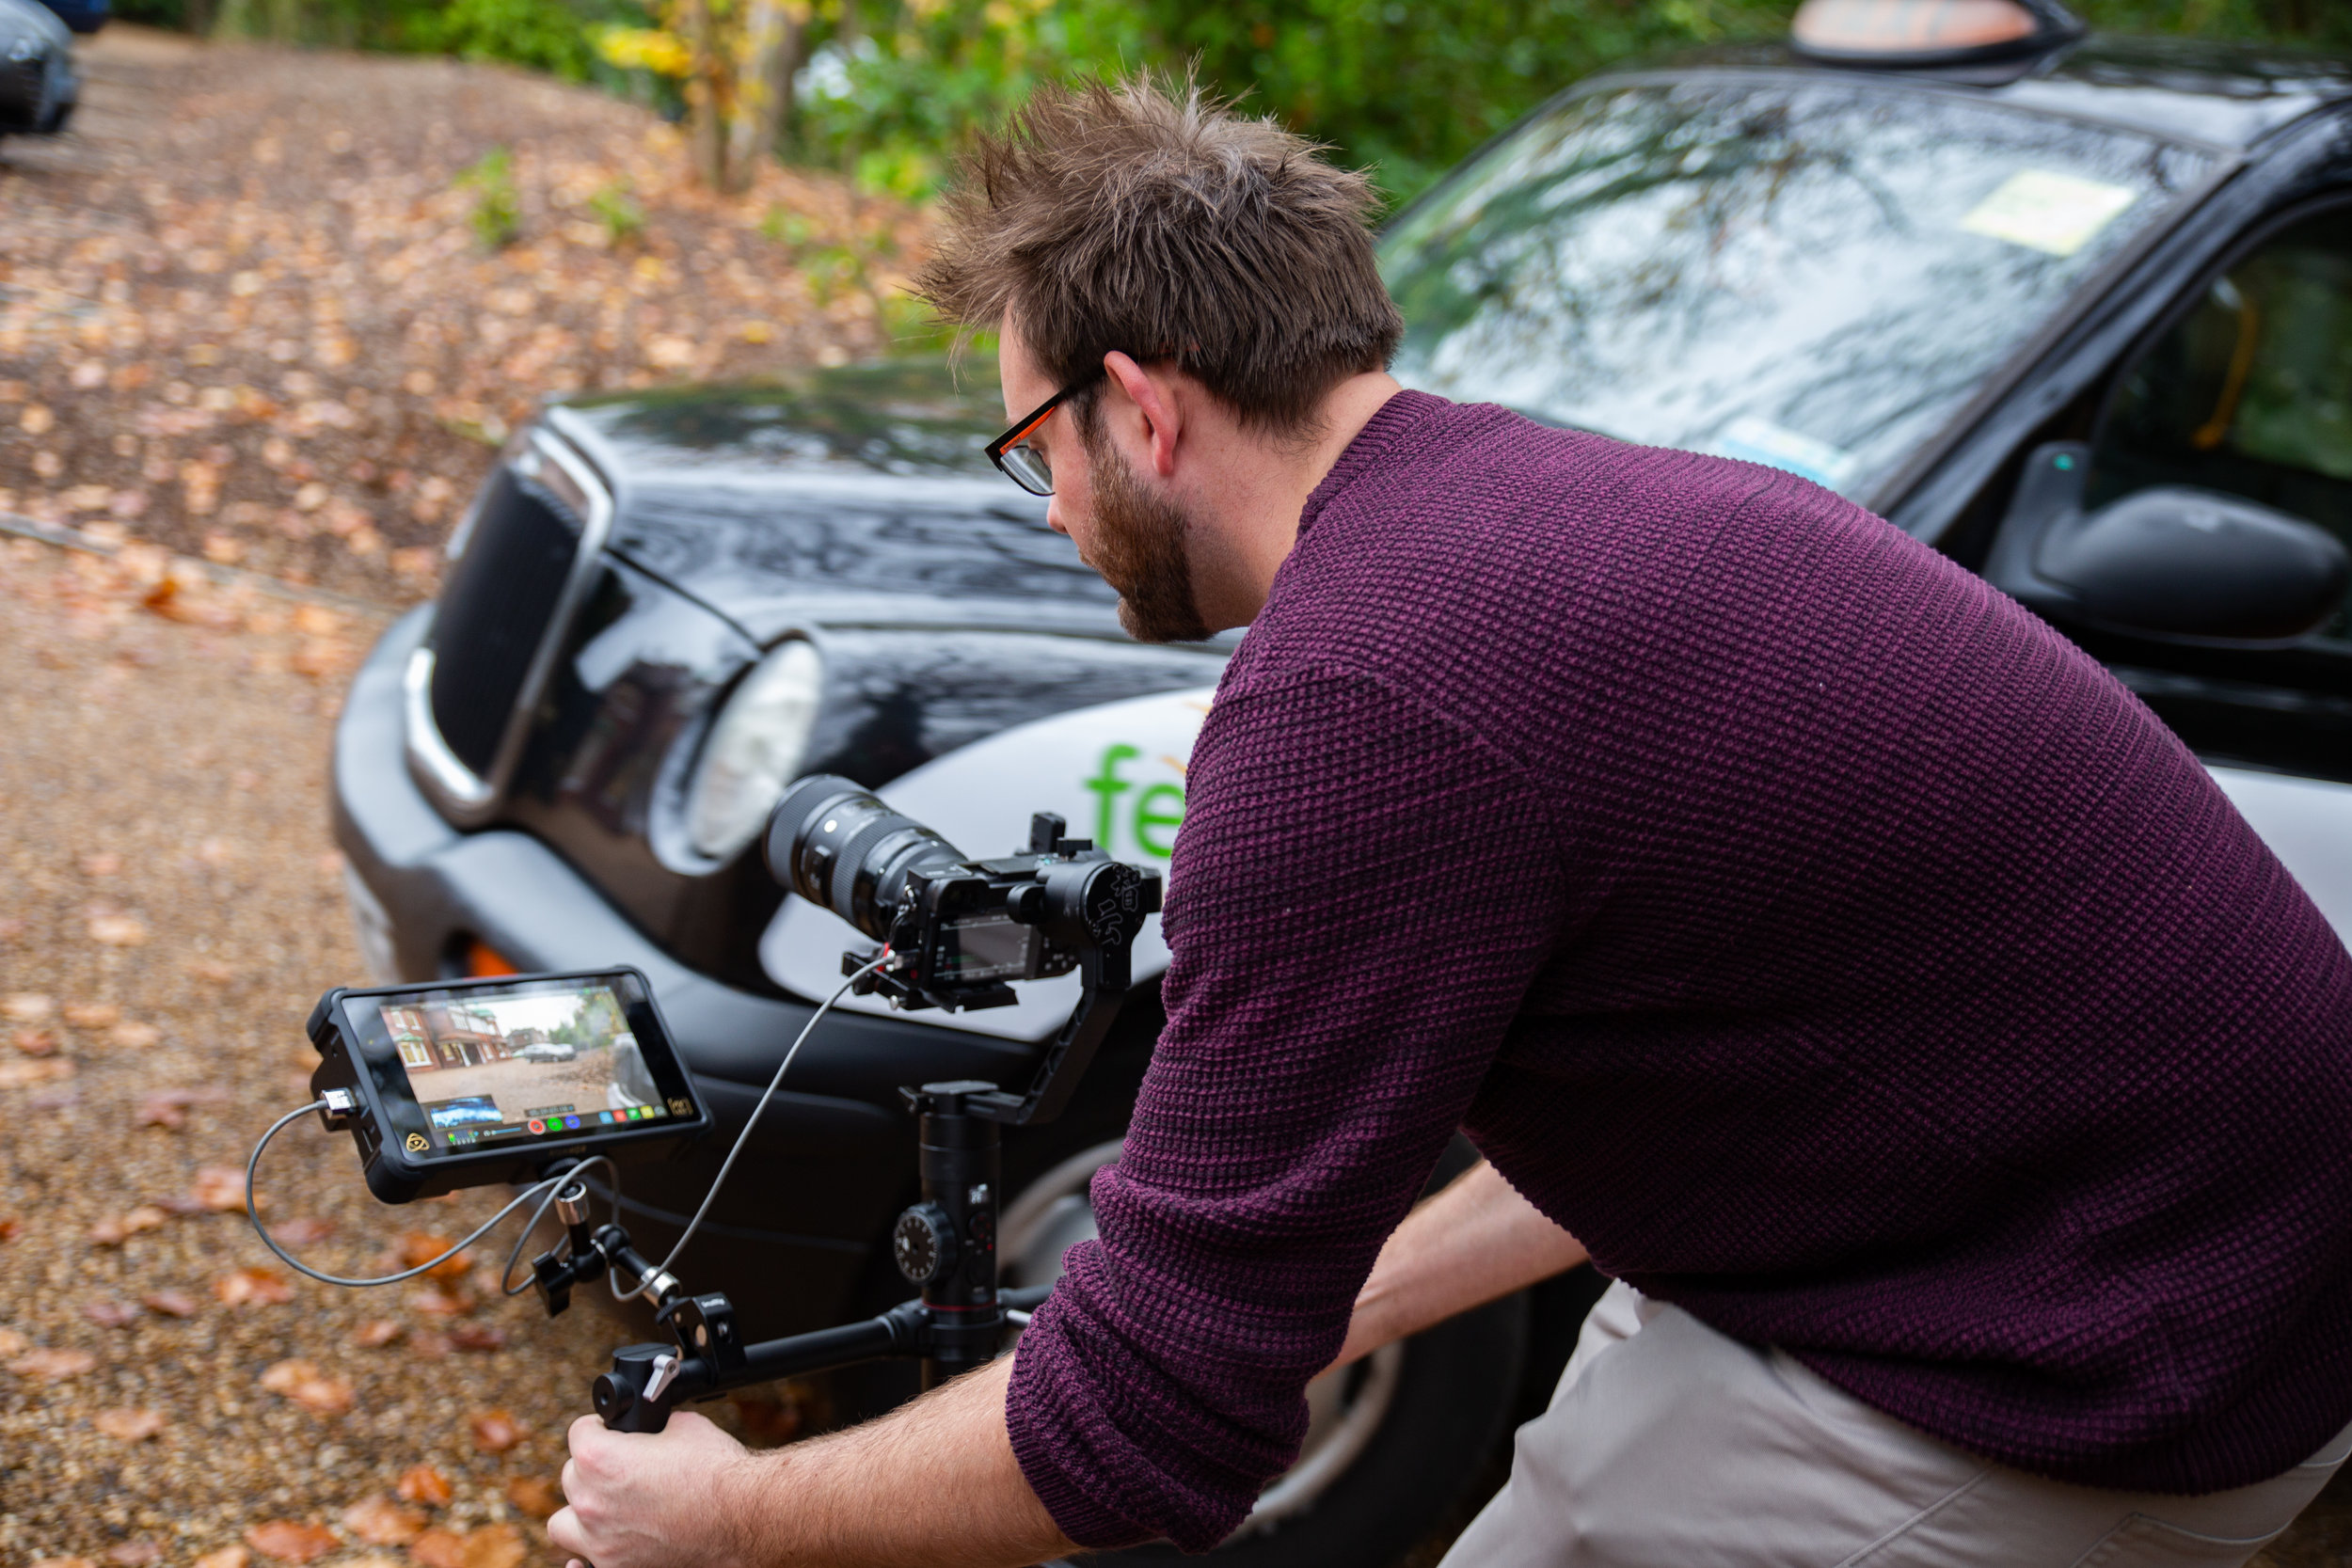
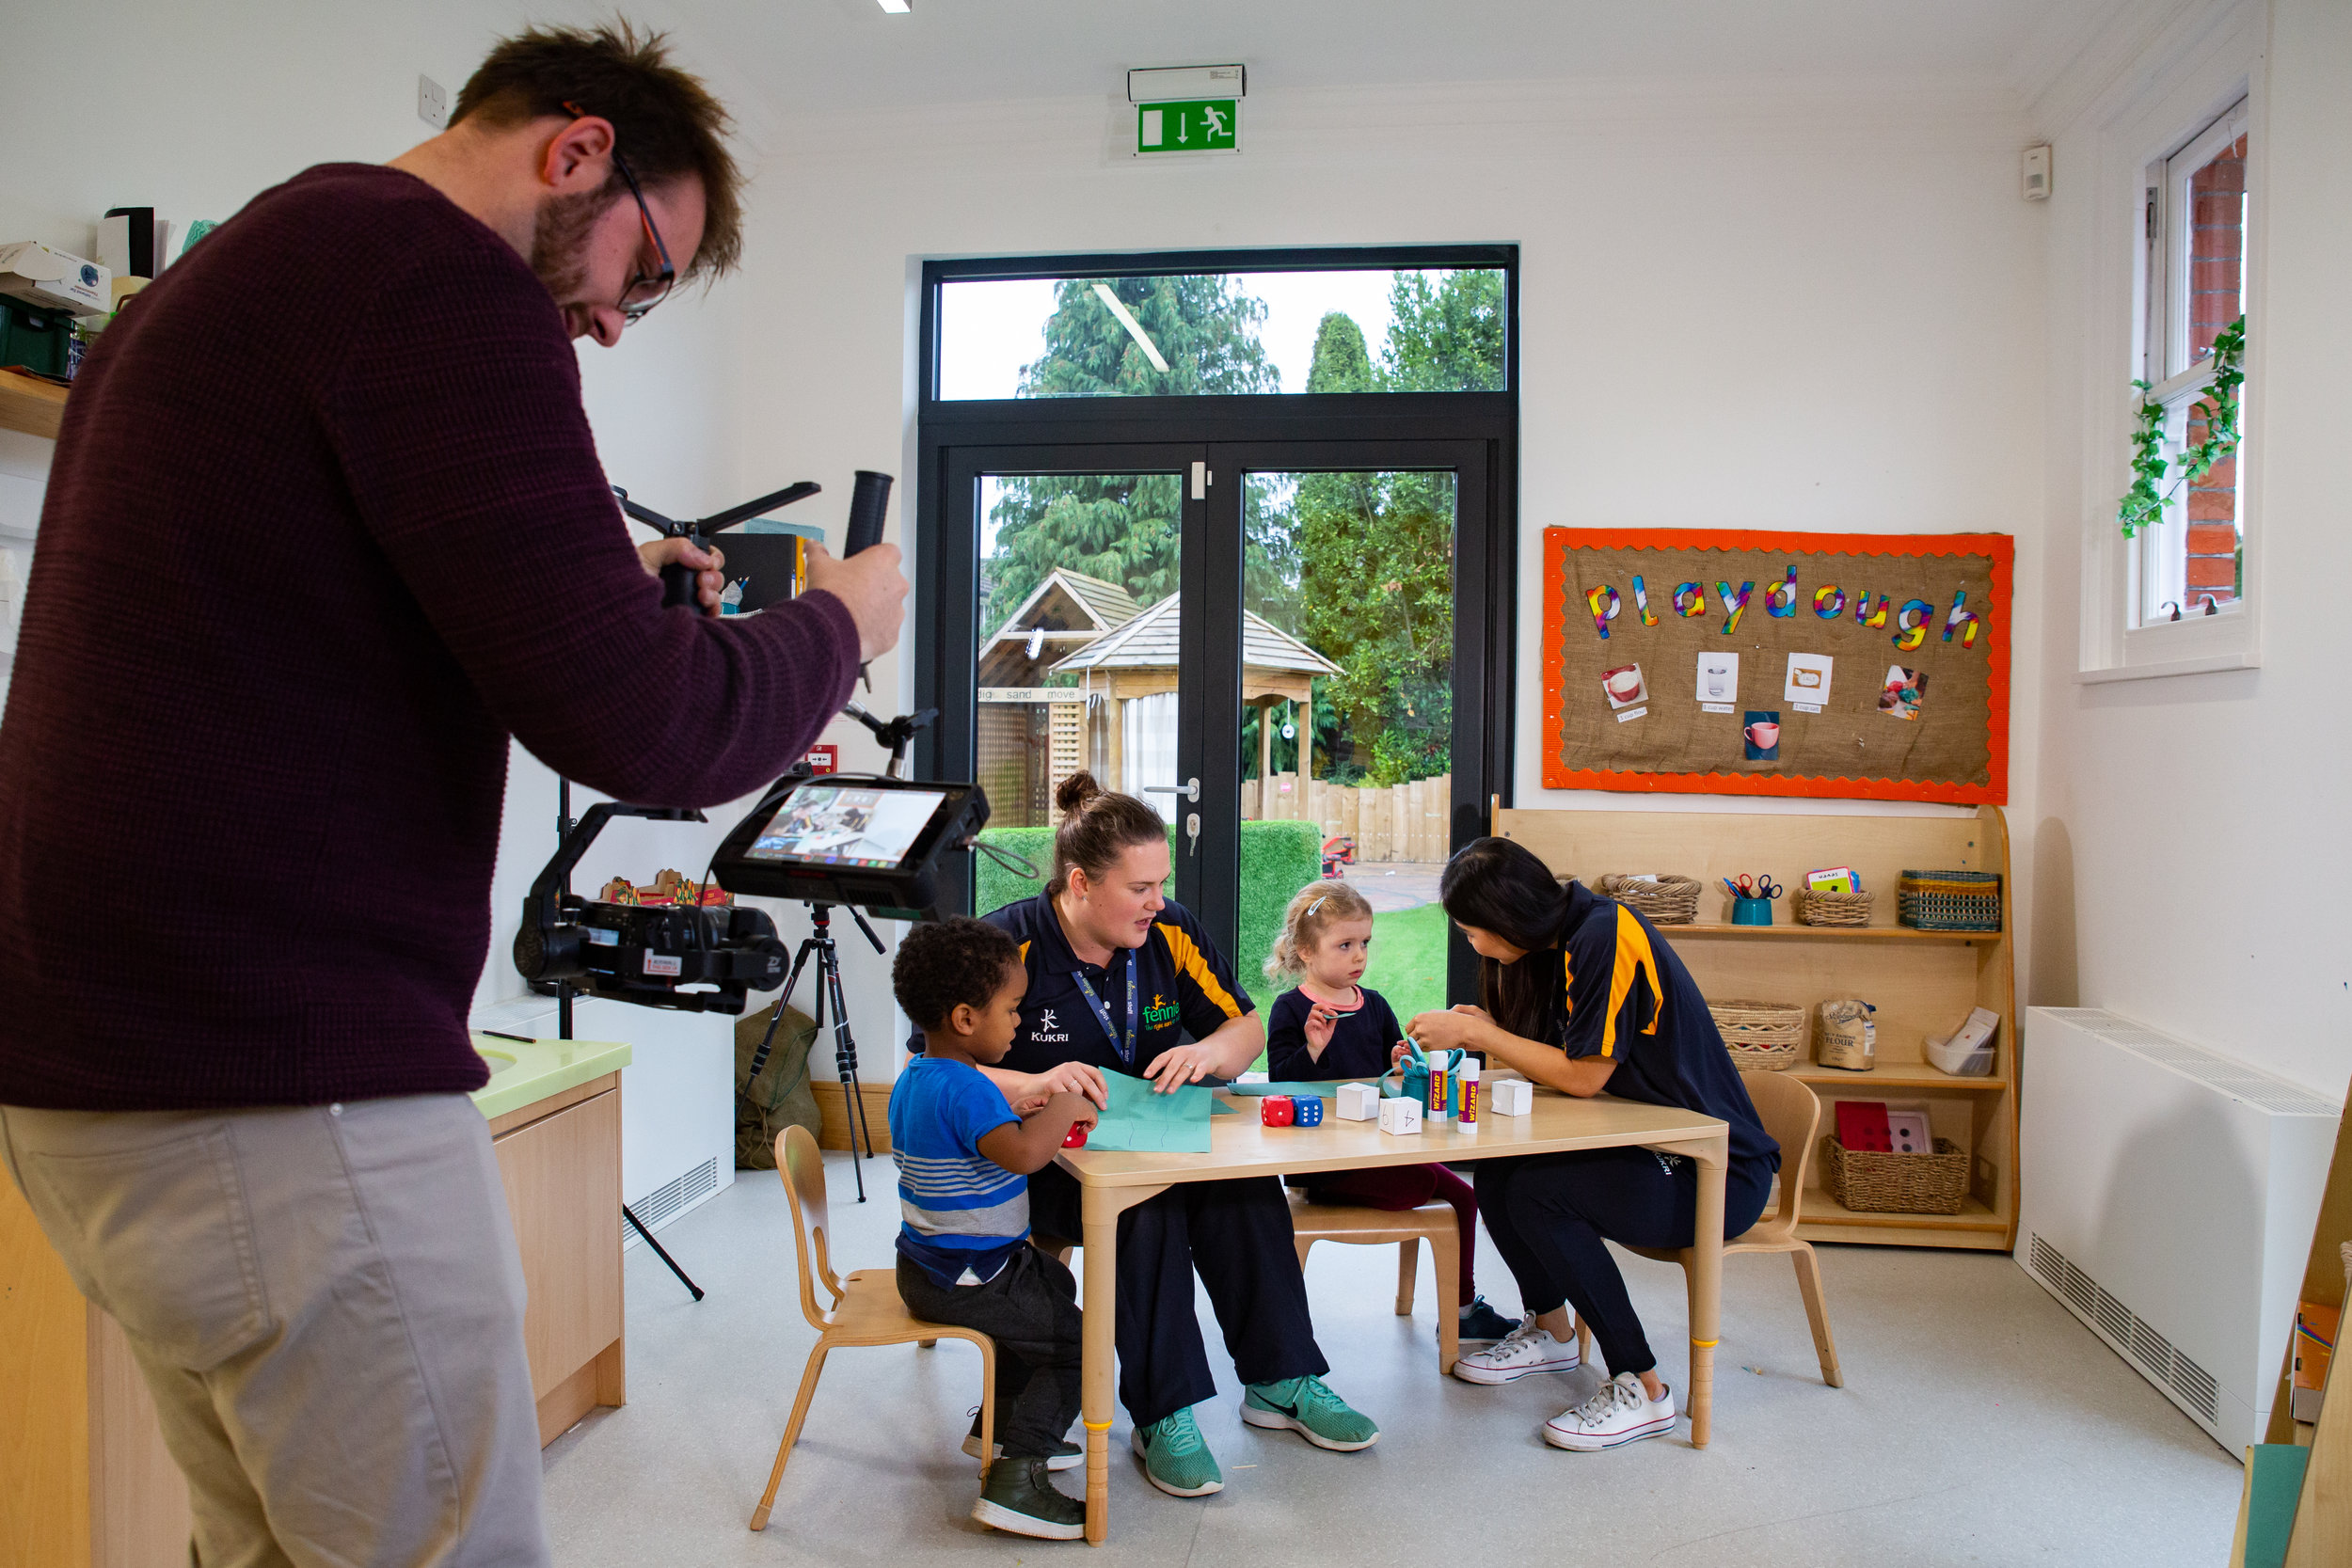
Fennies - Promotion, Recruitment and the Day of Inspiration
In 2017 we began producing video content for Fennies, a leading nursery group based in the South of England. This summer we were invited back to produce a range of videos to promote the nurseries and it’s facilities, to show their staff in action, and to capture their staff ‘Day of Inpiration’. It’s great fun filming at the nurseries, all of the staff are extremely friendly and the results really work for the nursery group.
KIX18 - Surrey Scouts
Adam is a Scout leader and member of the Surrey Scouts media team. This Summer, Adam travelled with 500 Scouts and leaders to Kandersteg, Switzerland, and captured the journey and adventure all of the young people (and adults) had!
You can read the ‘Sense Of Belonging’ blog post by The Scouts here.
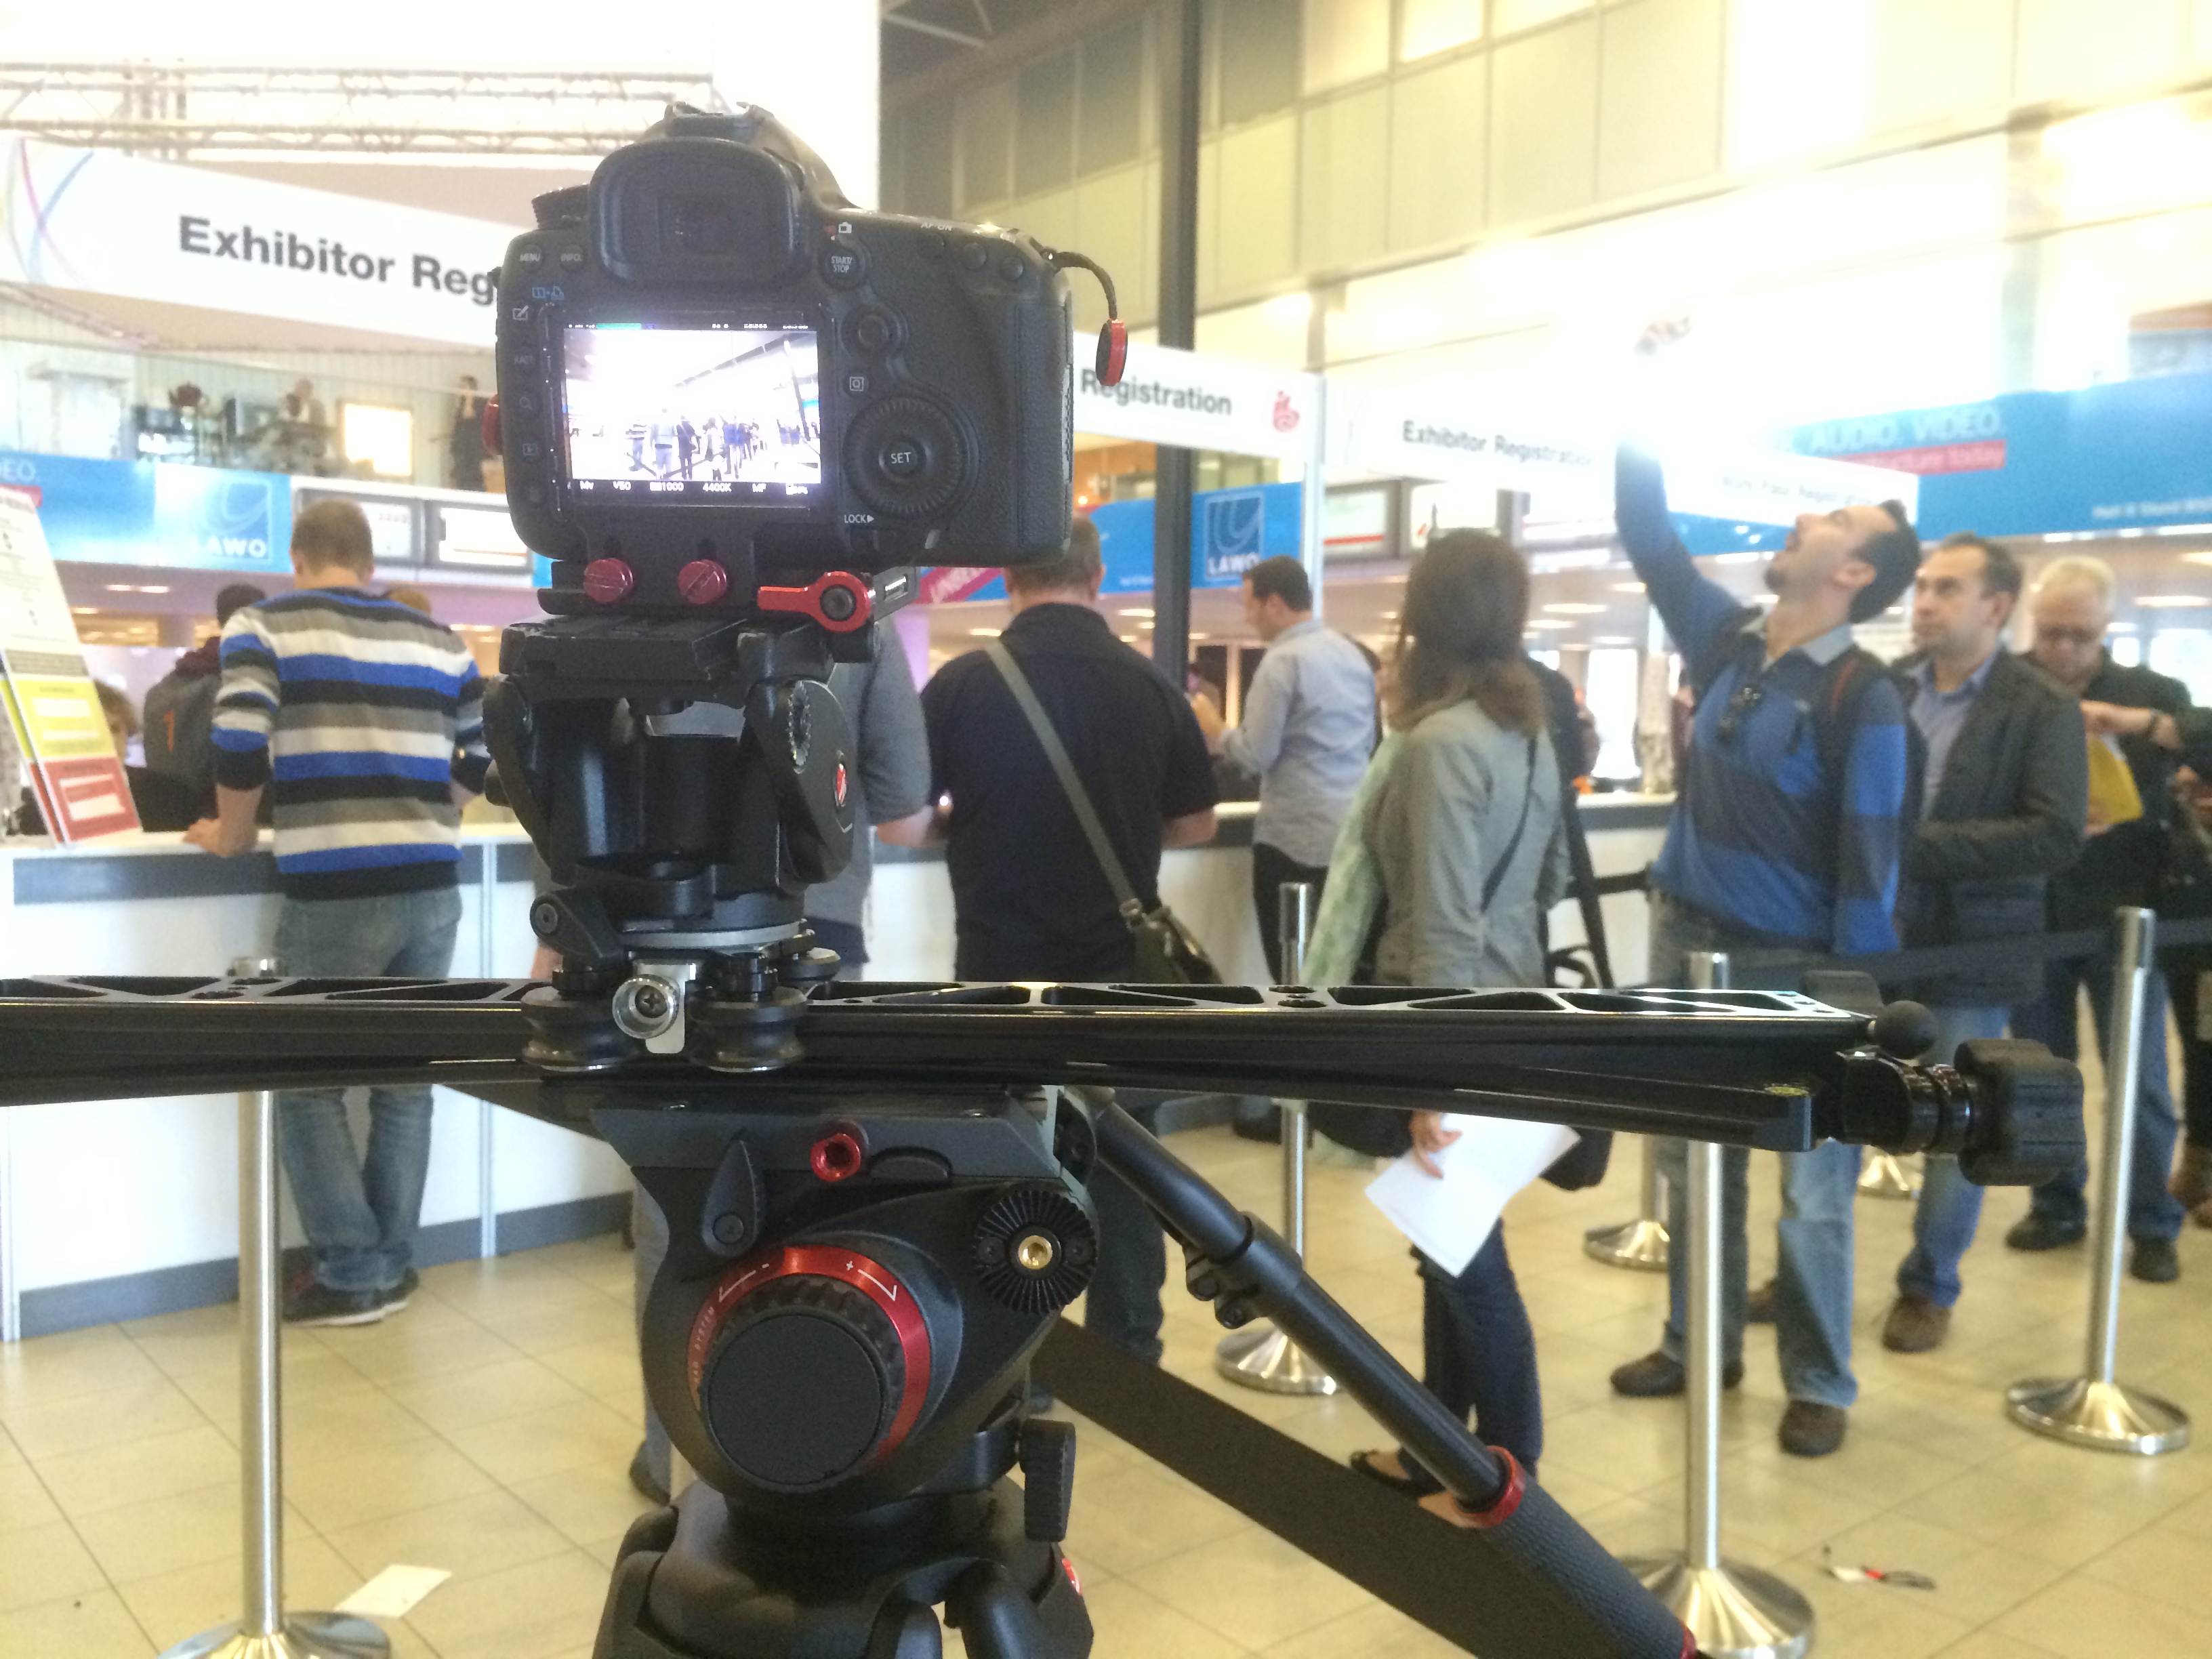
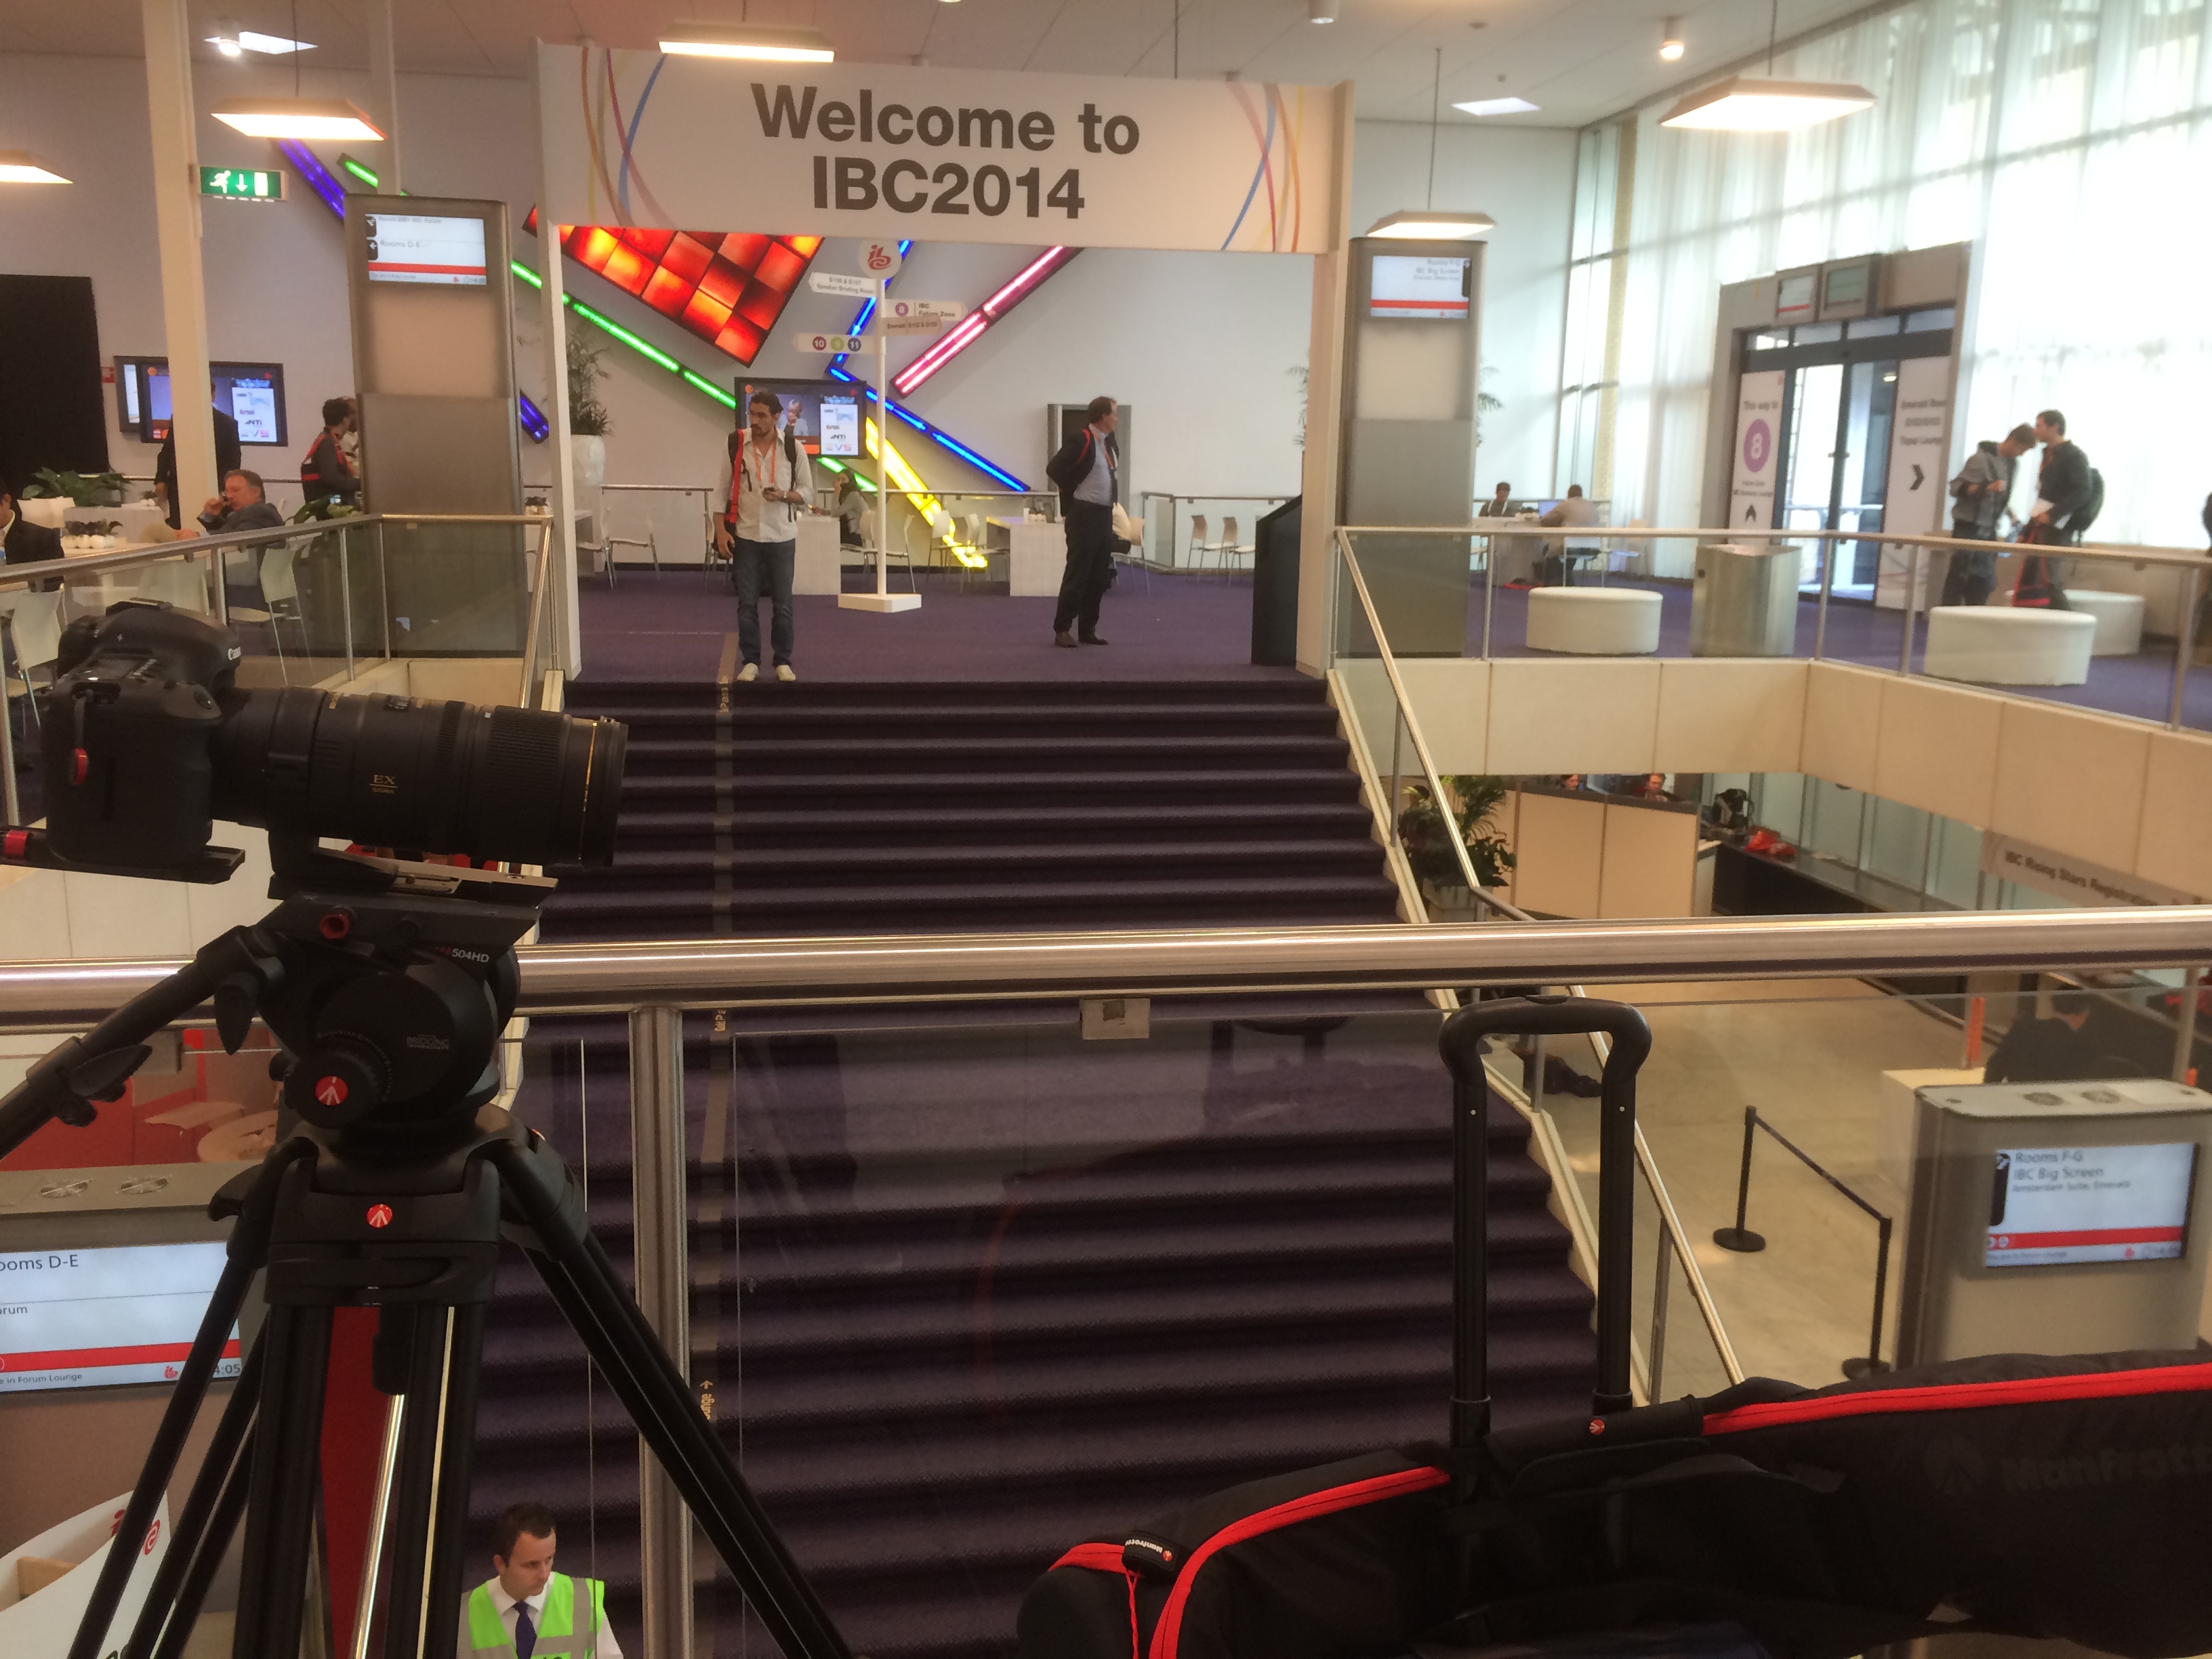
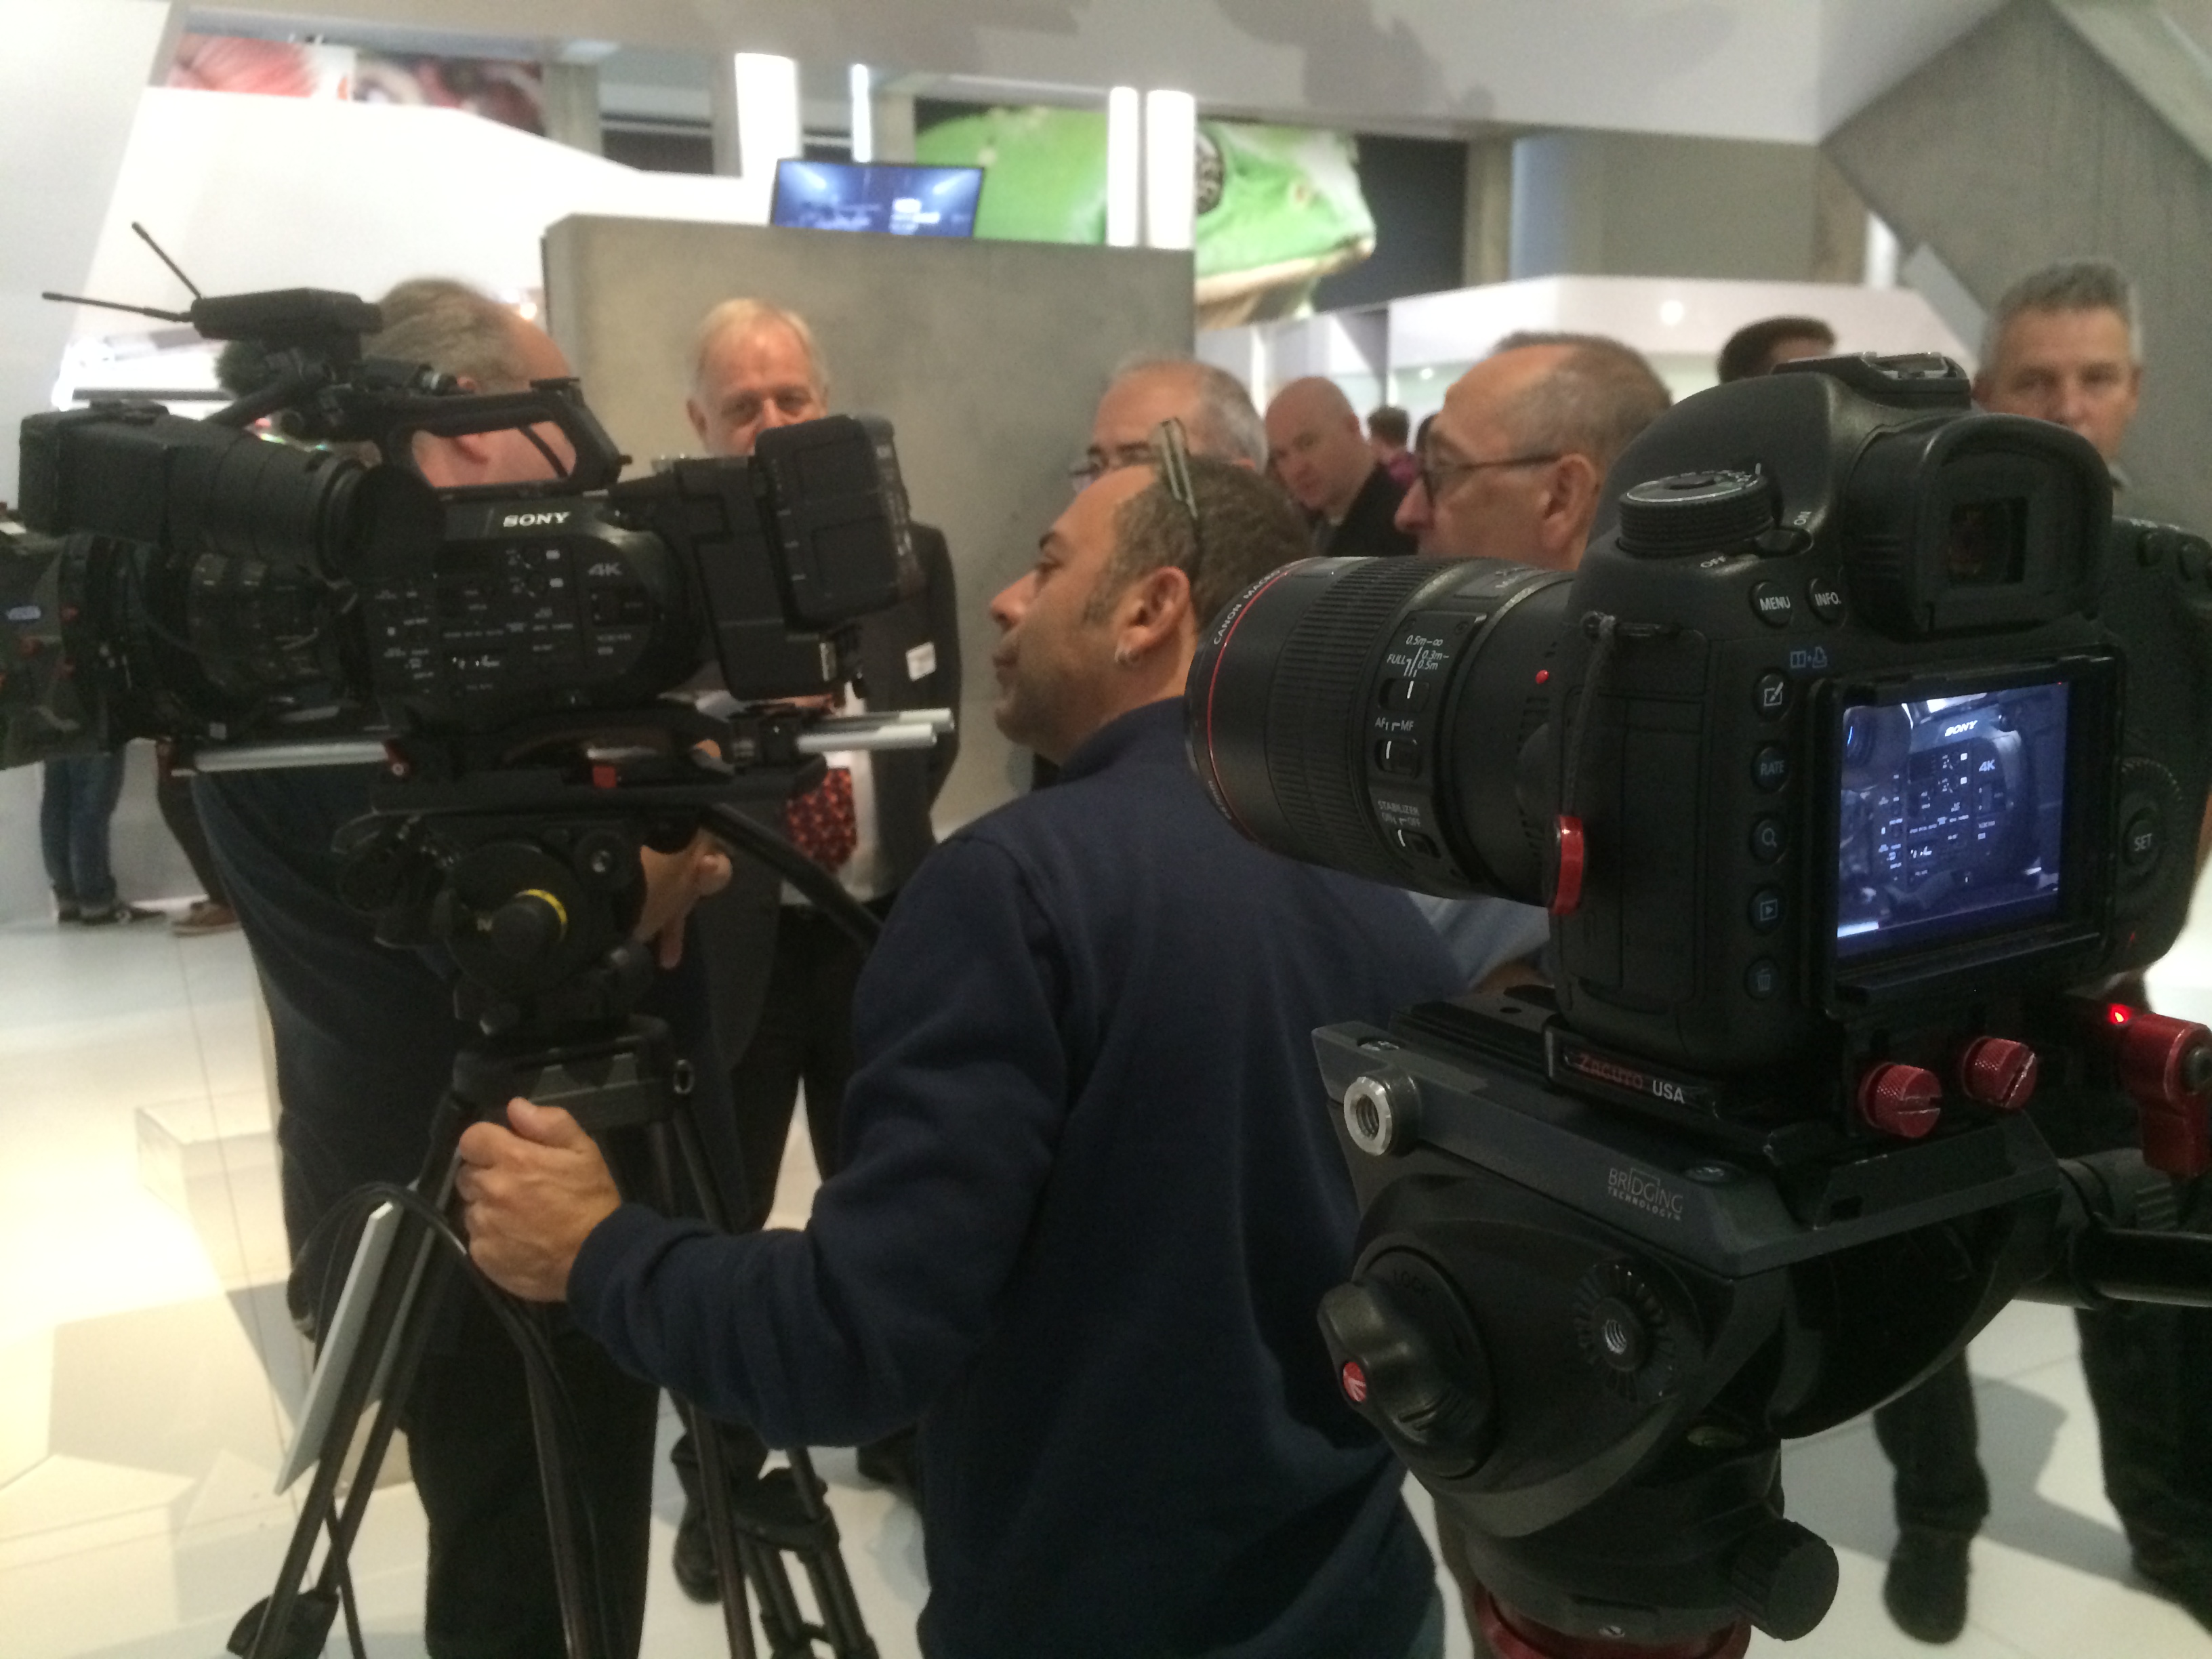
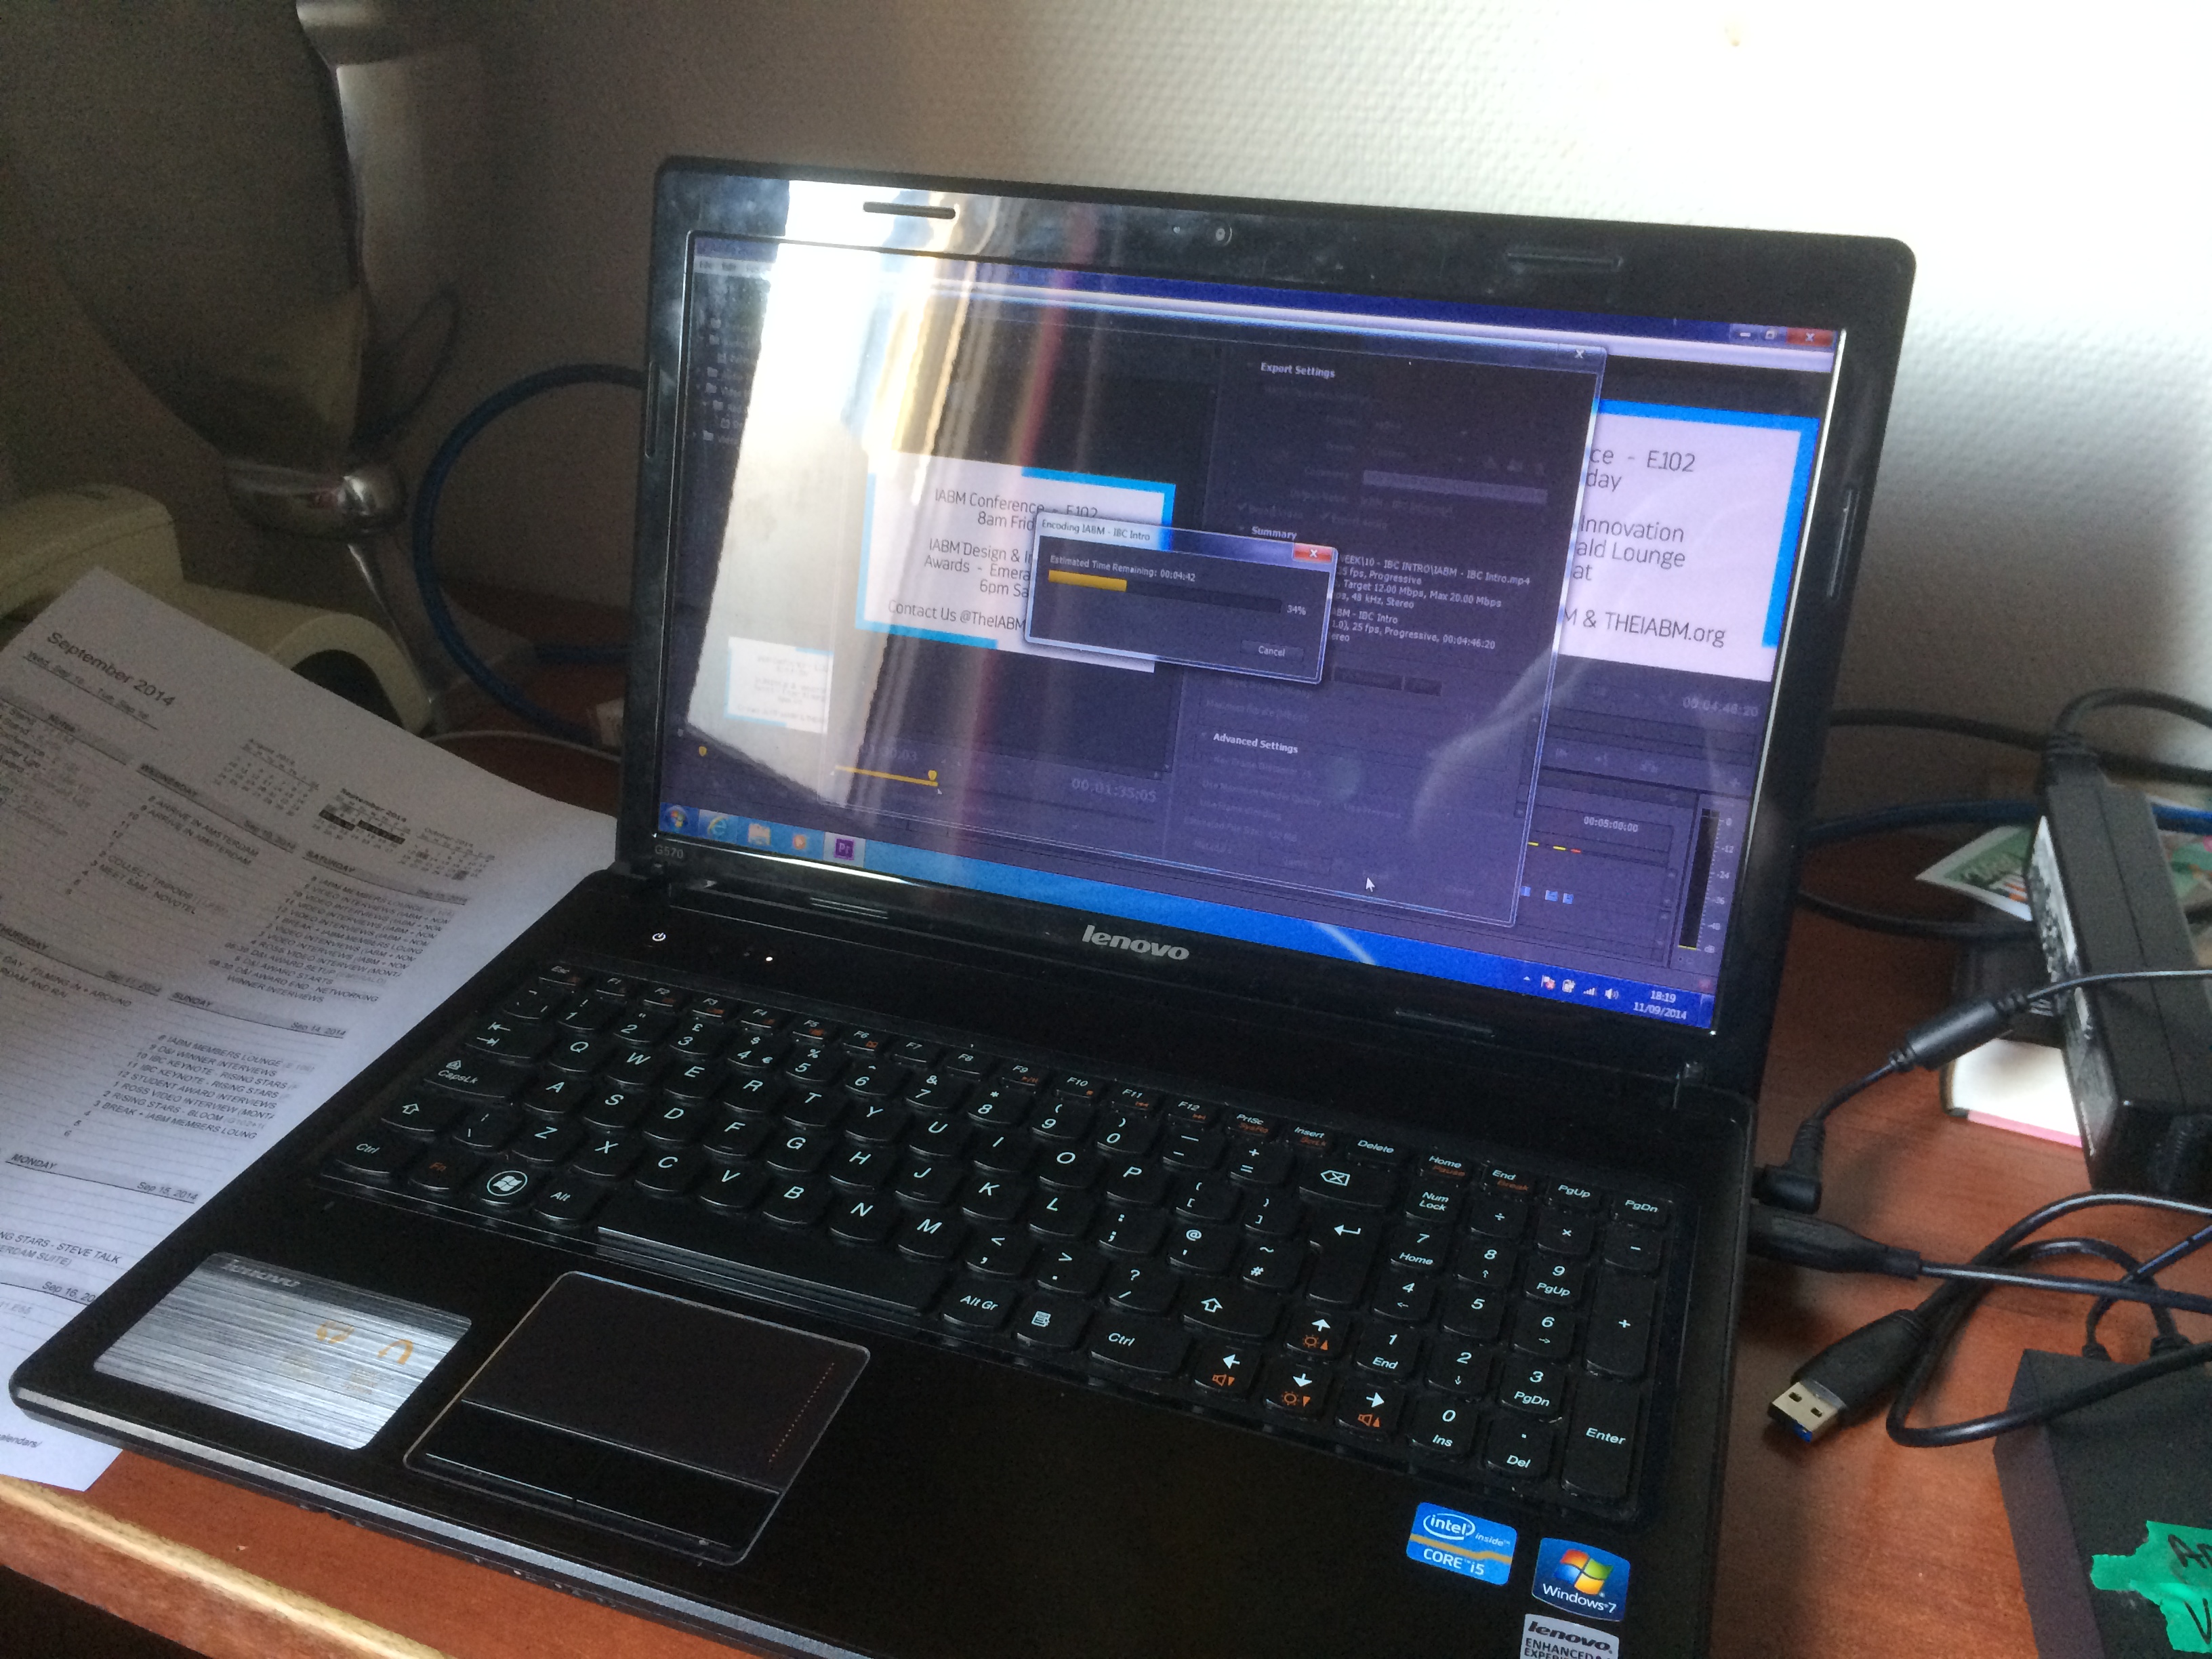
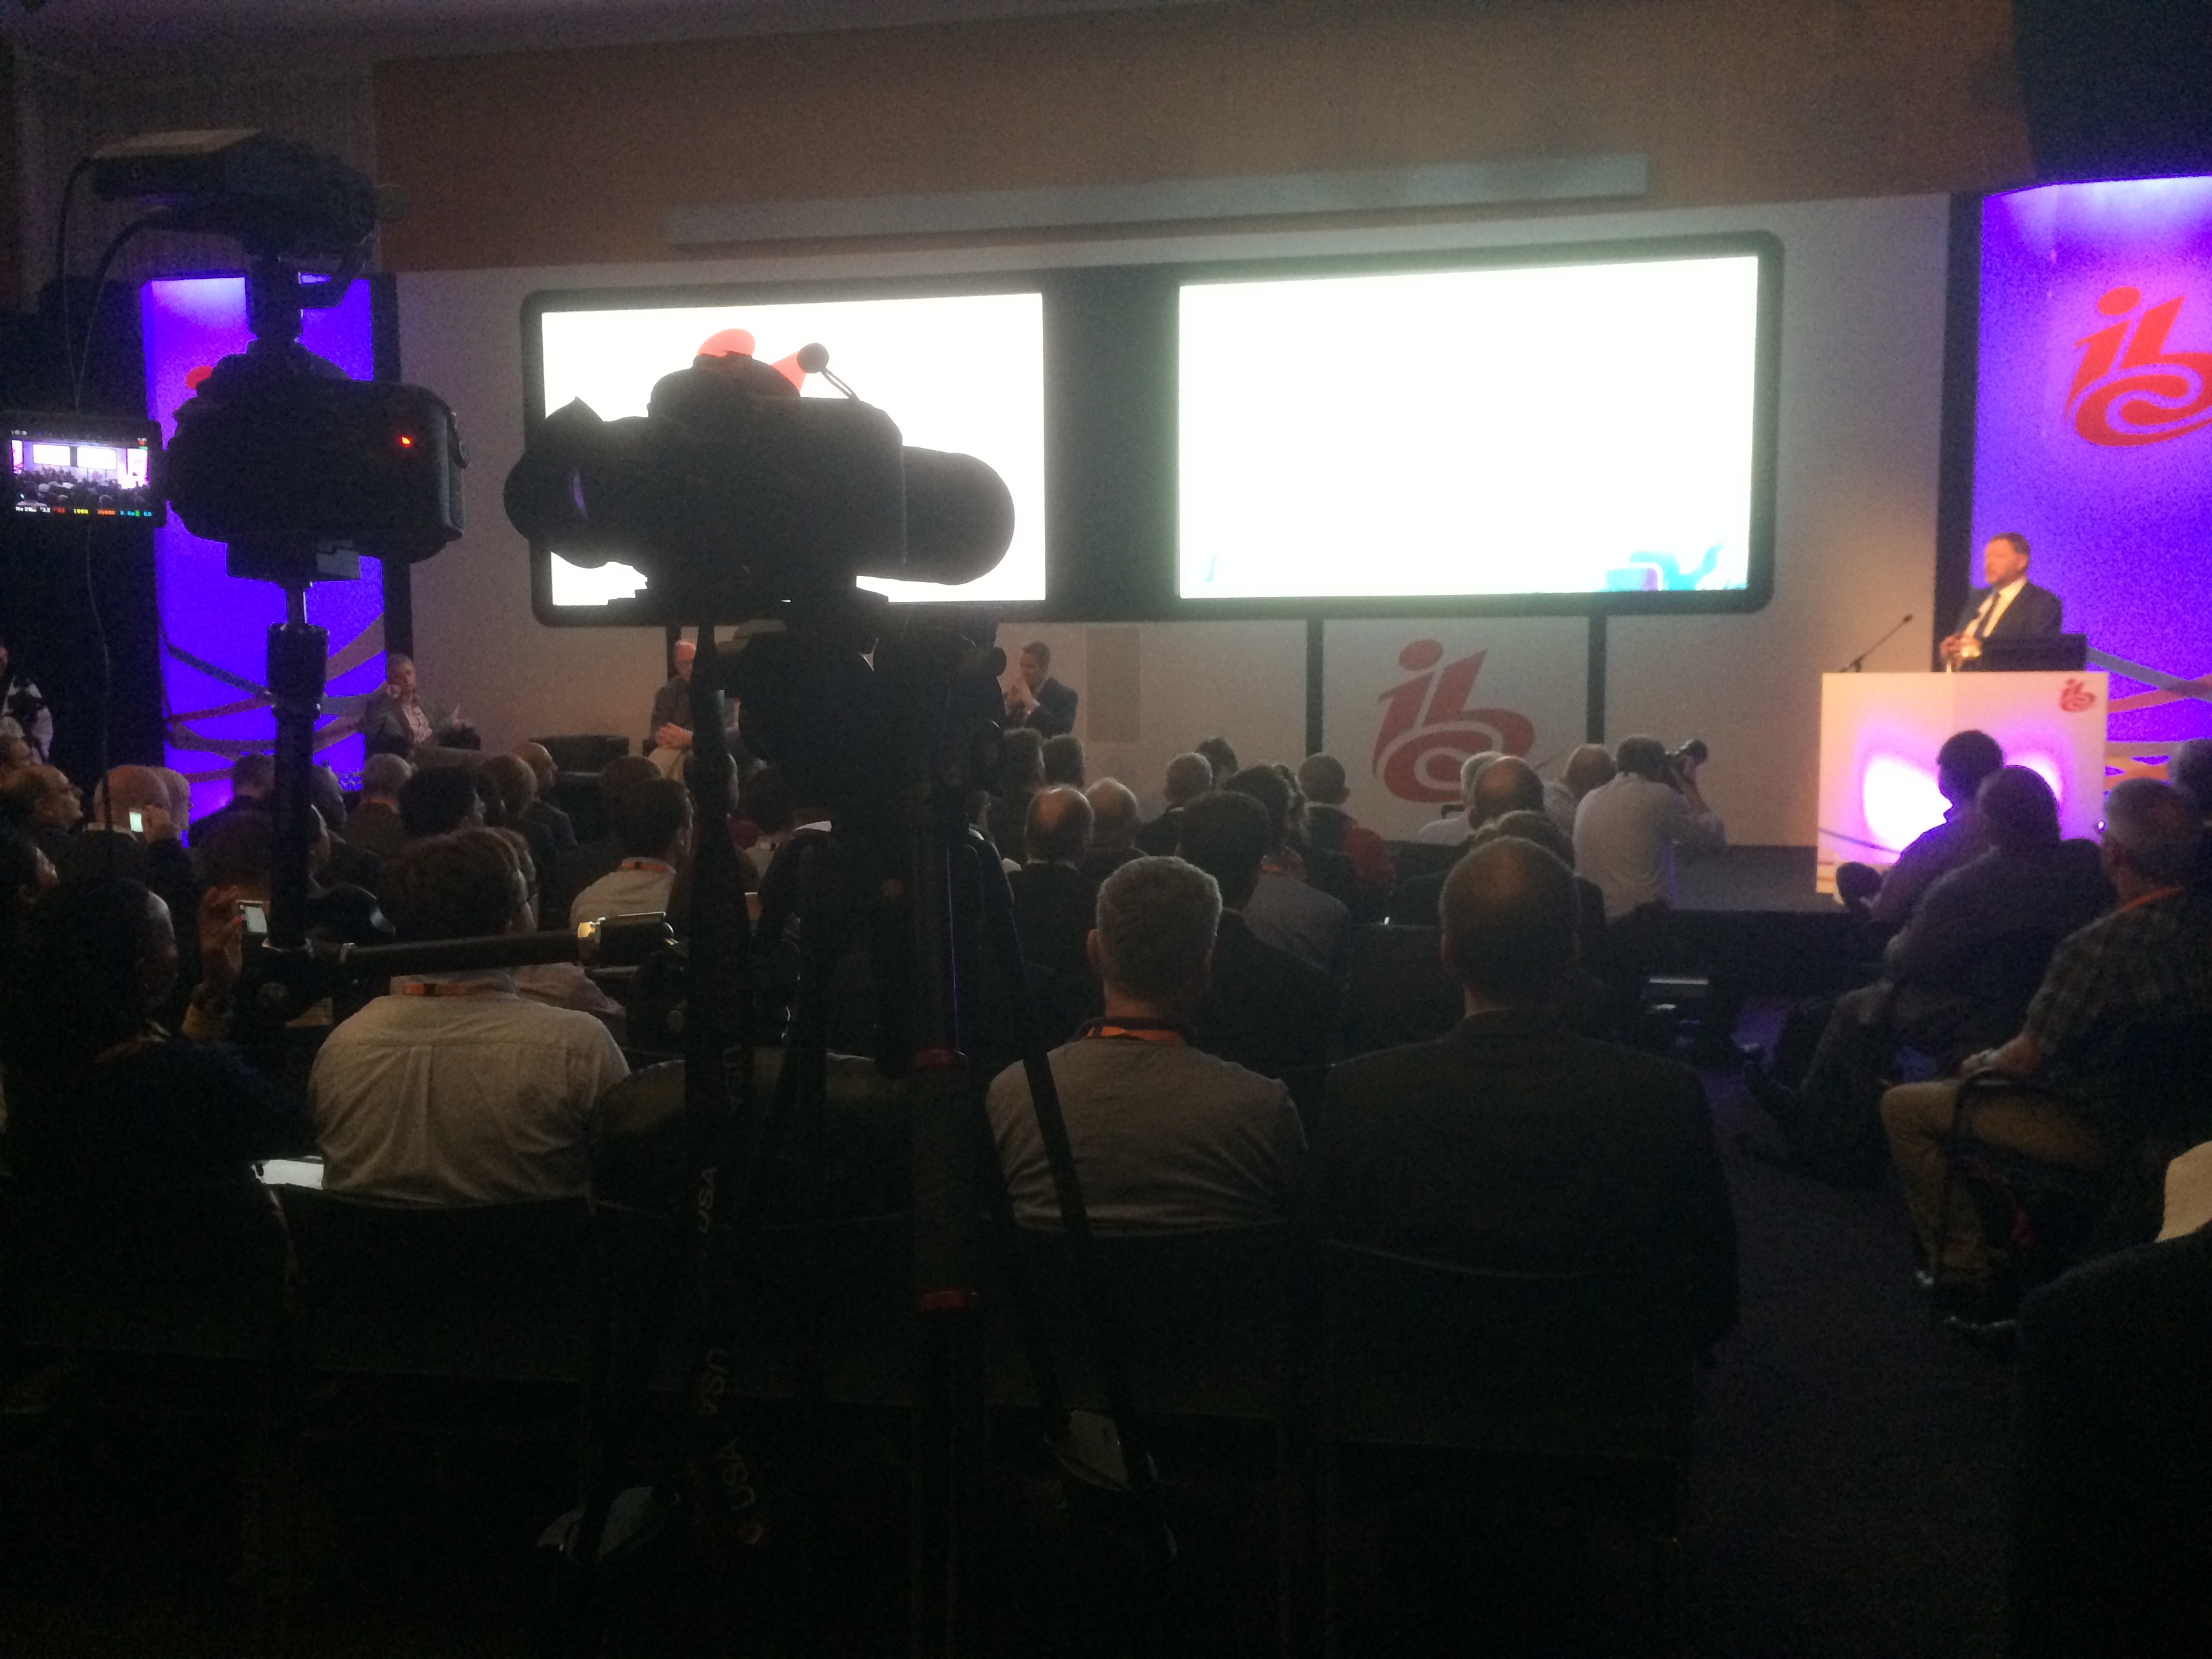
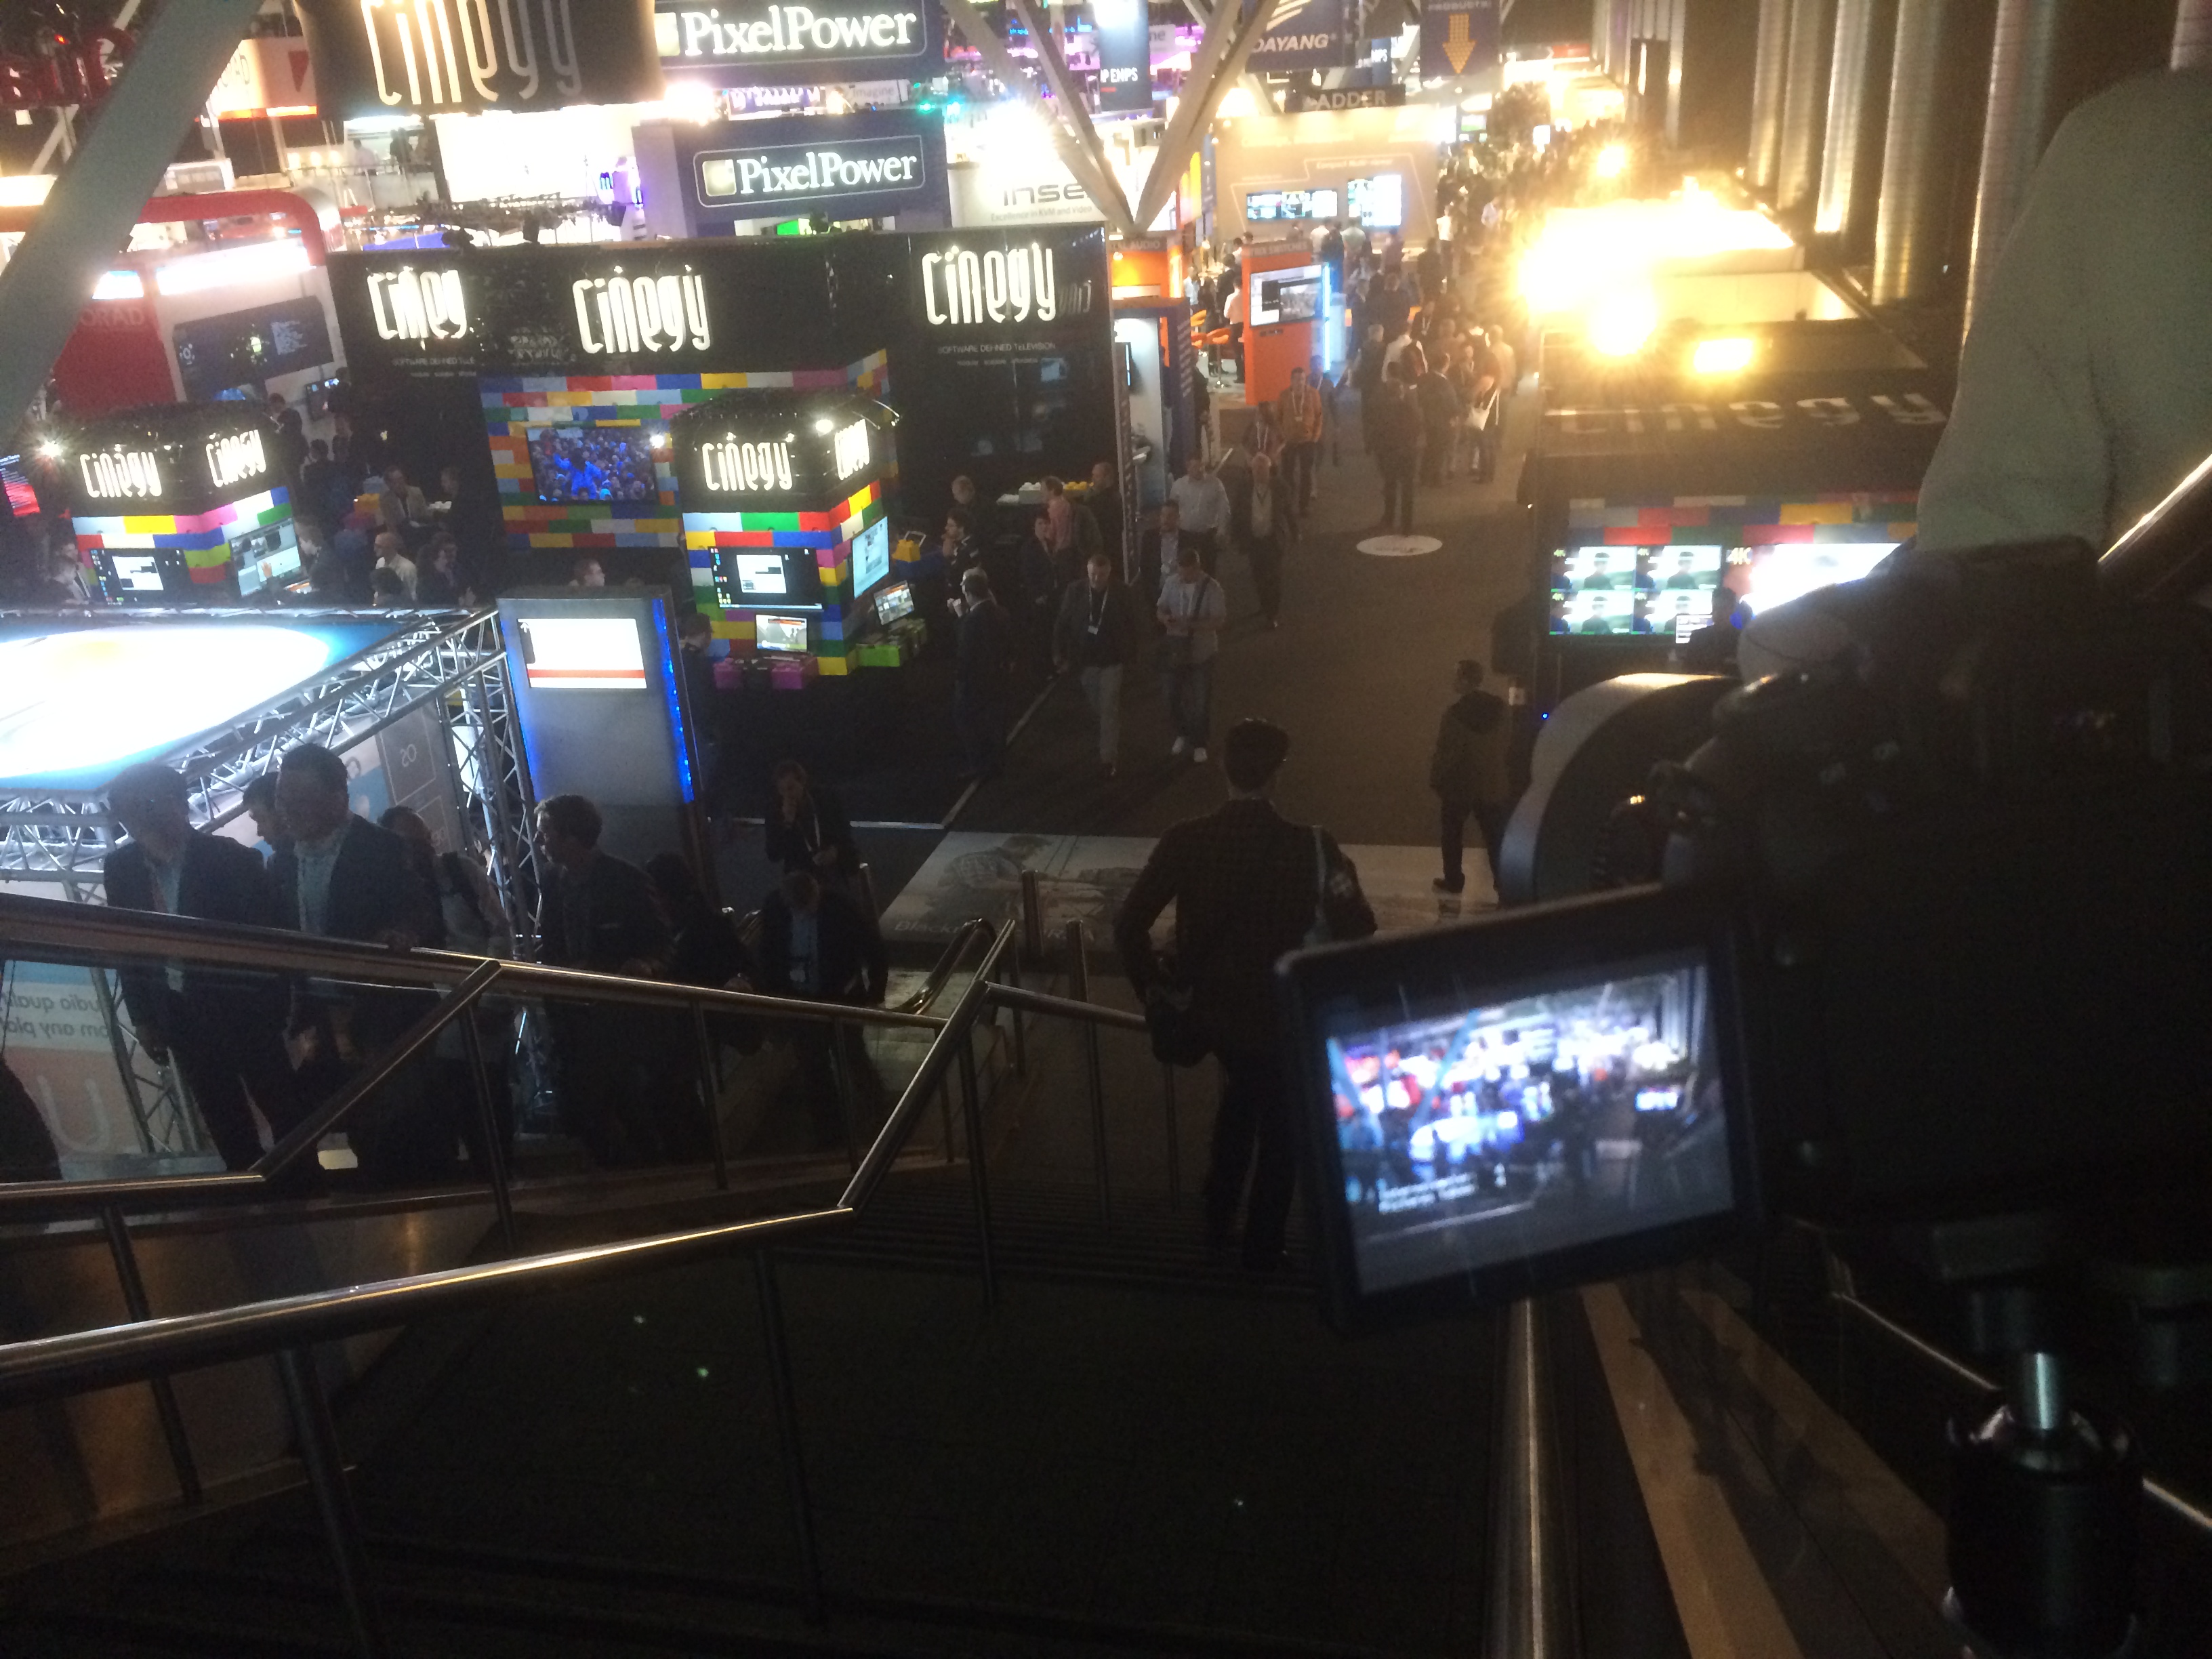
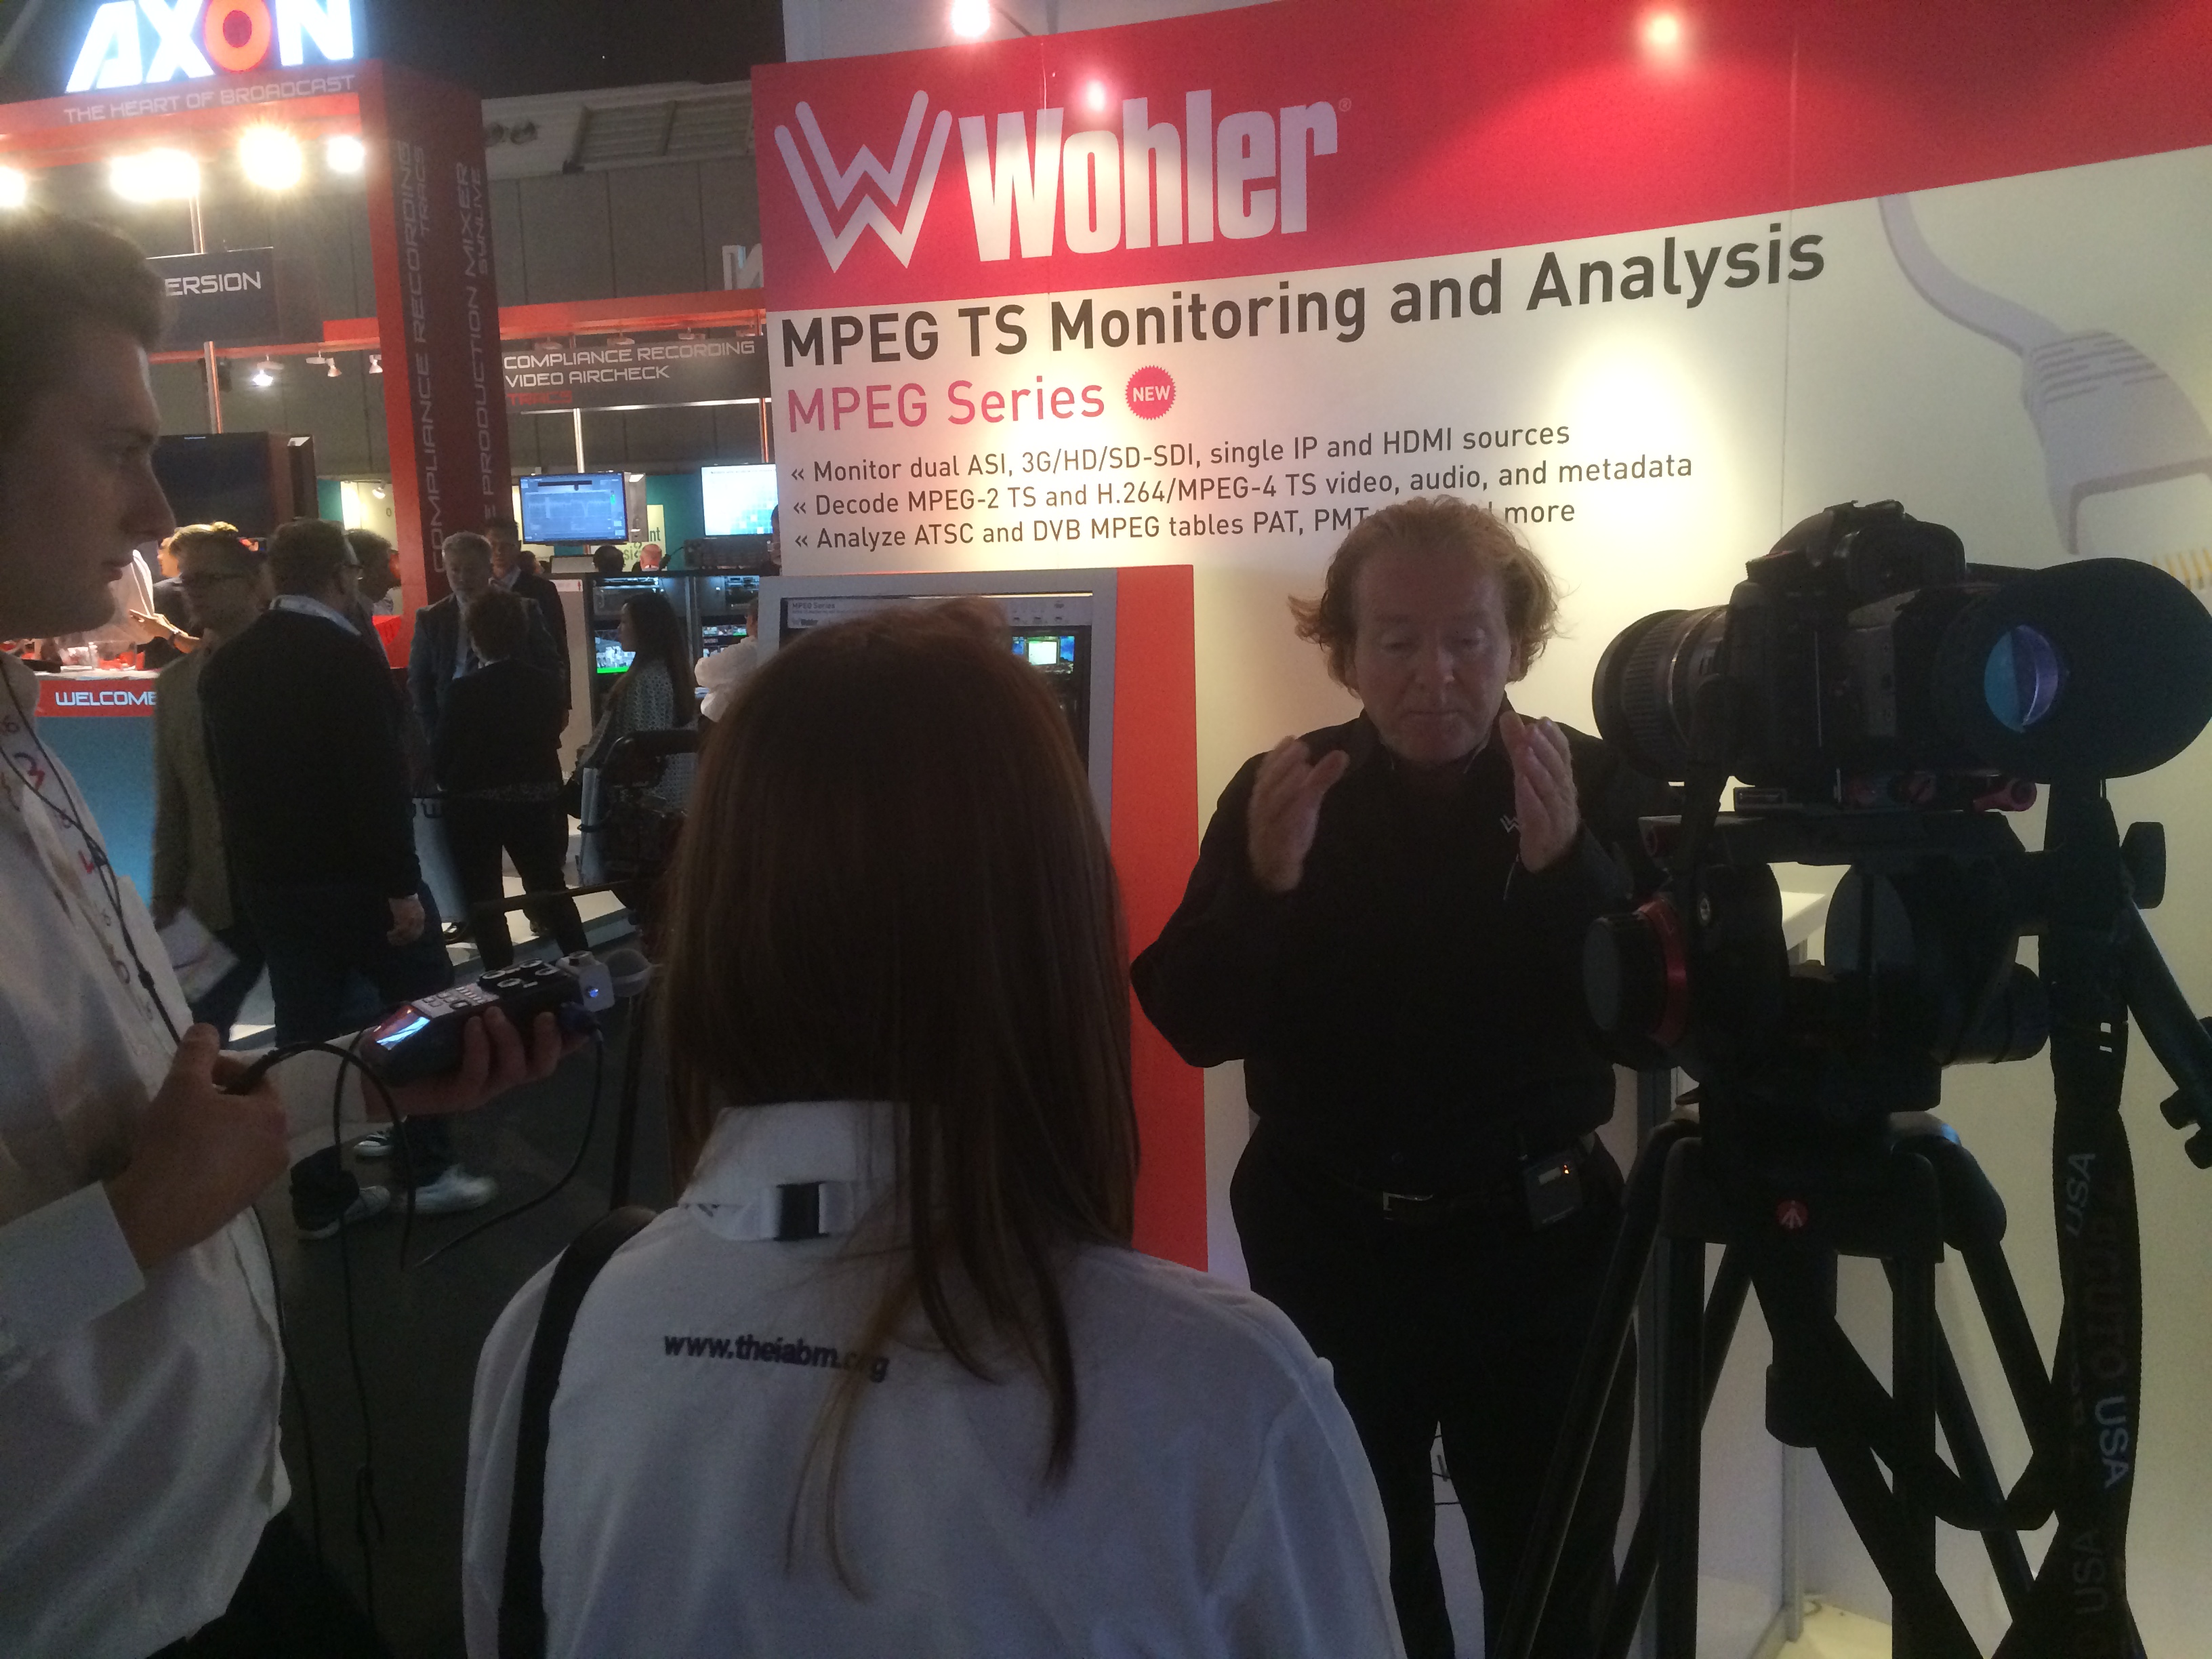
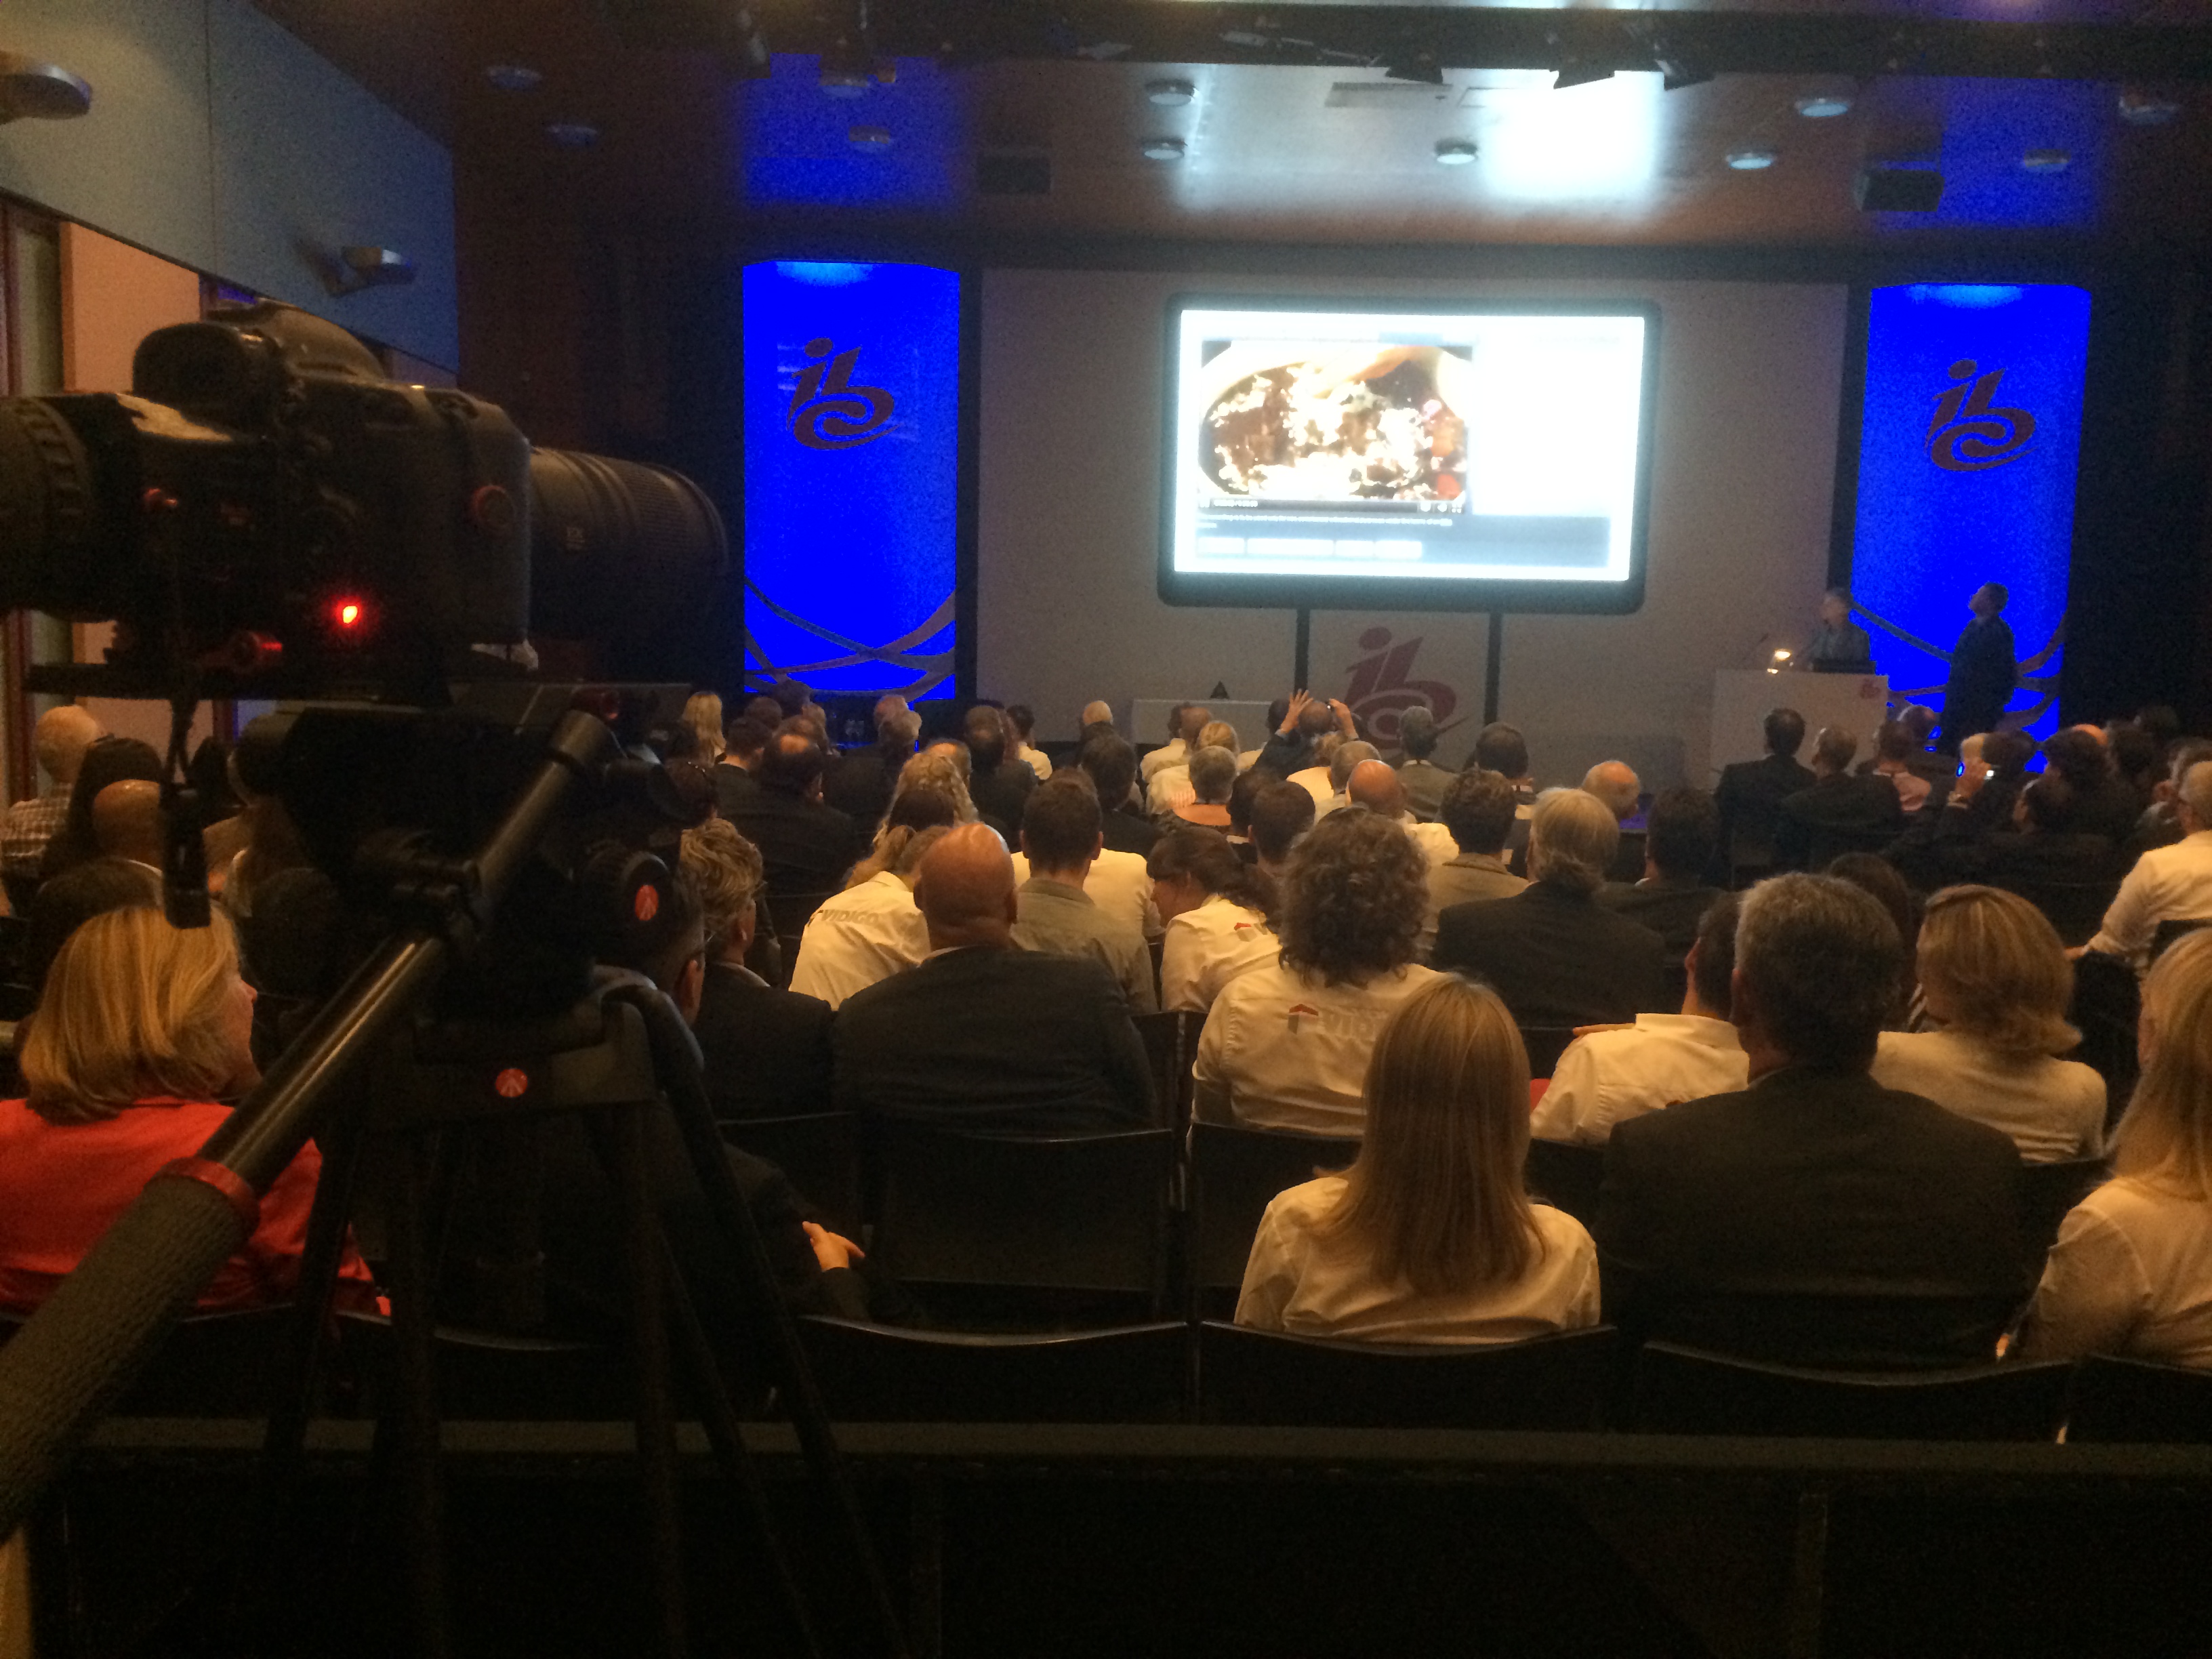
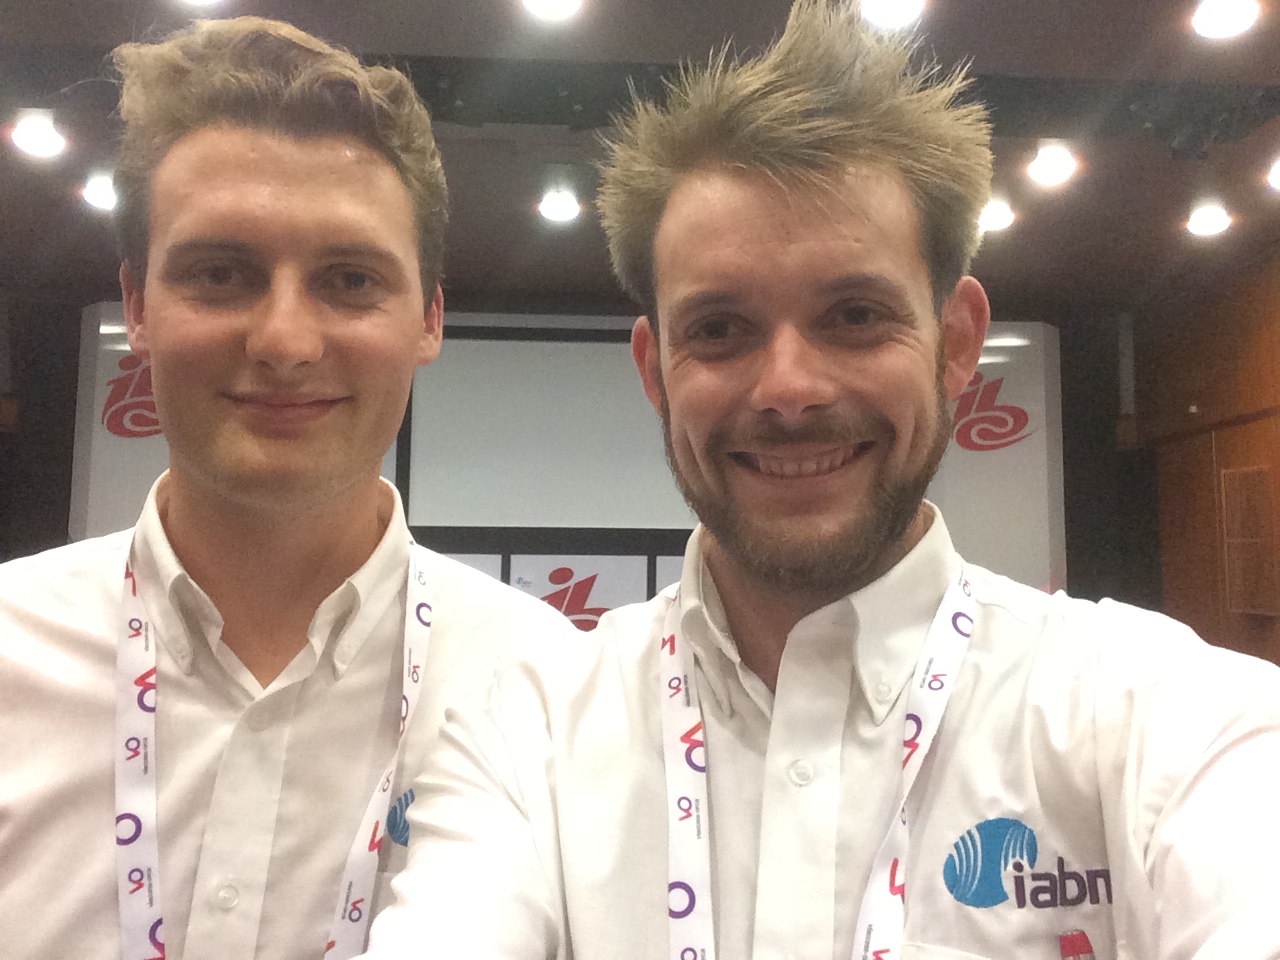
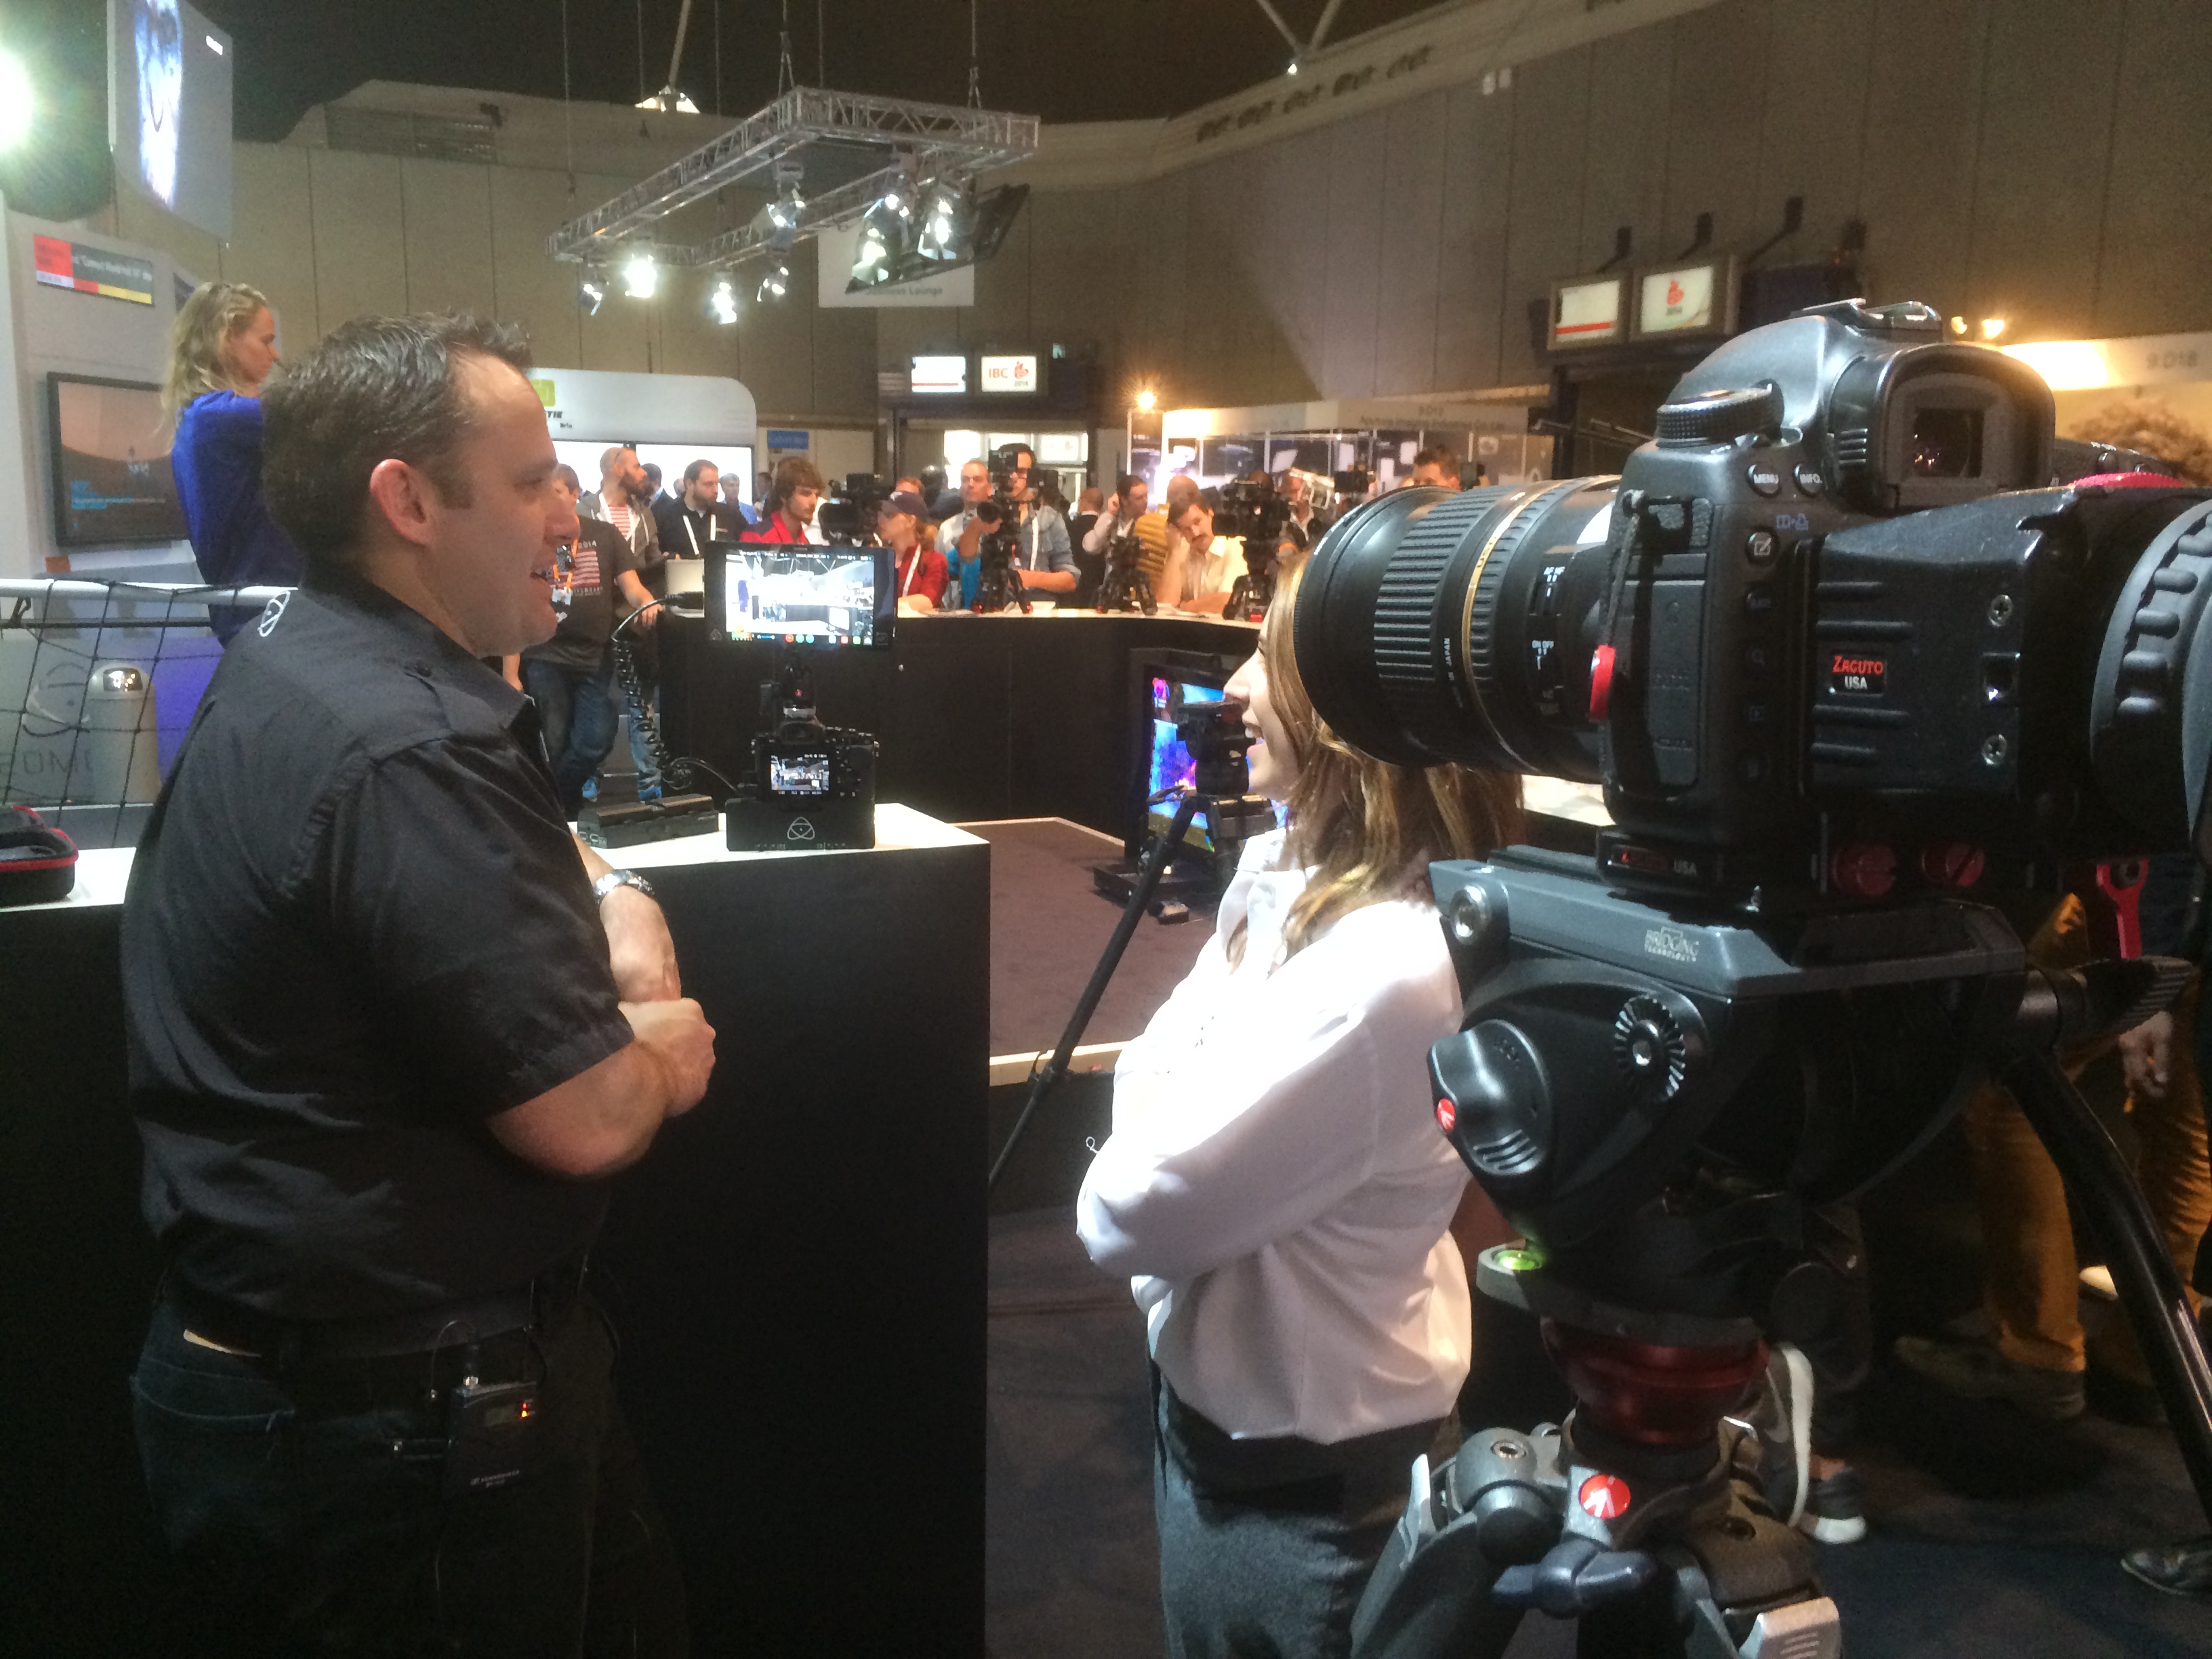
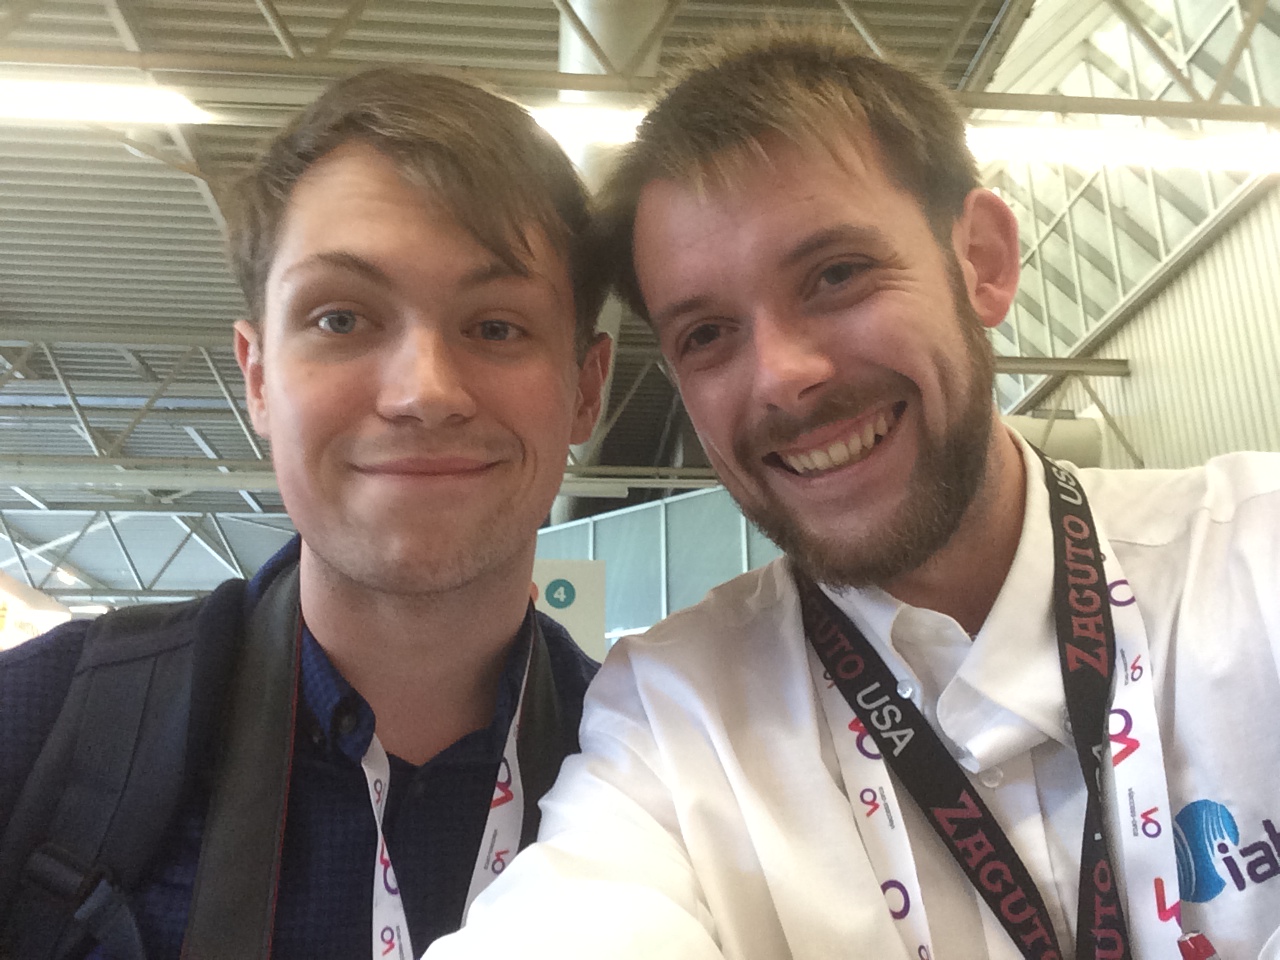
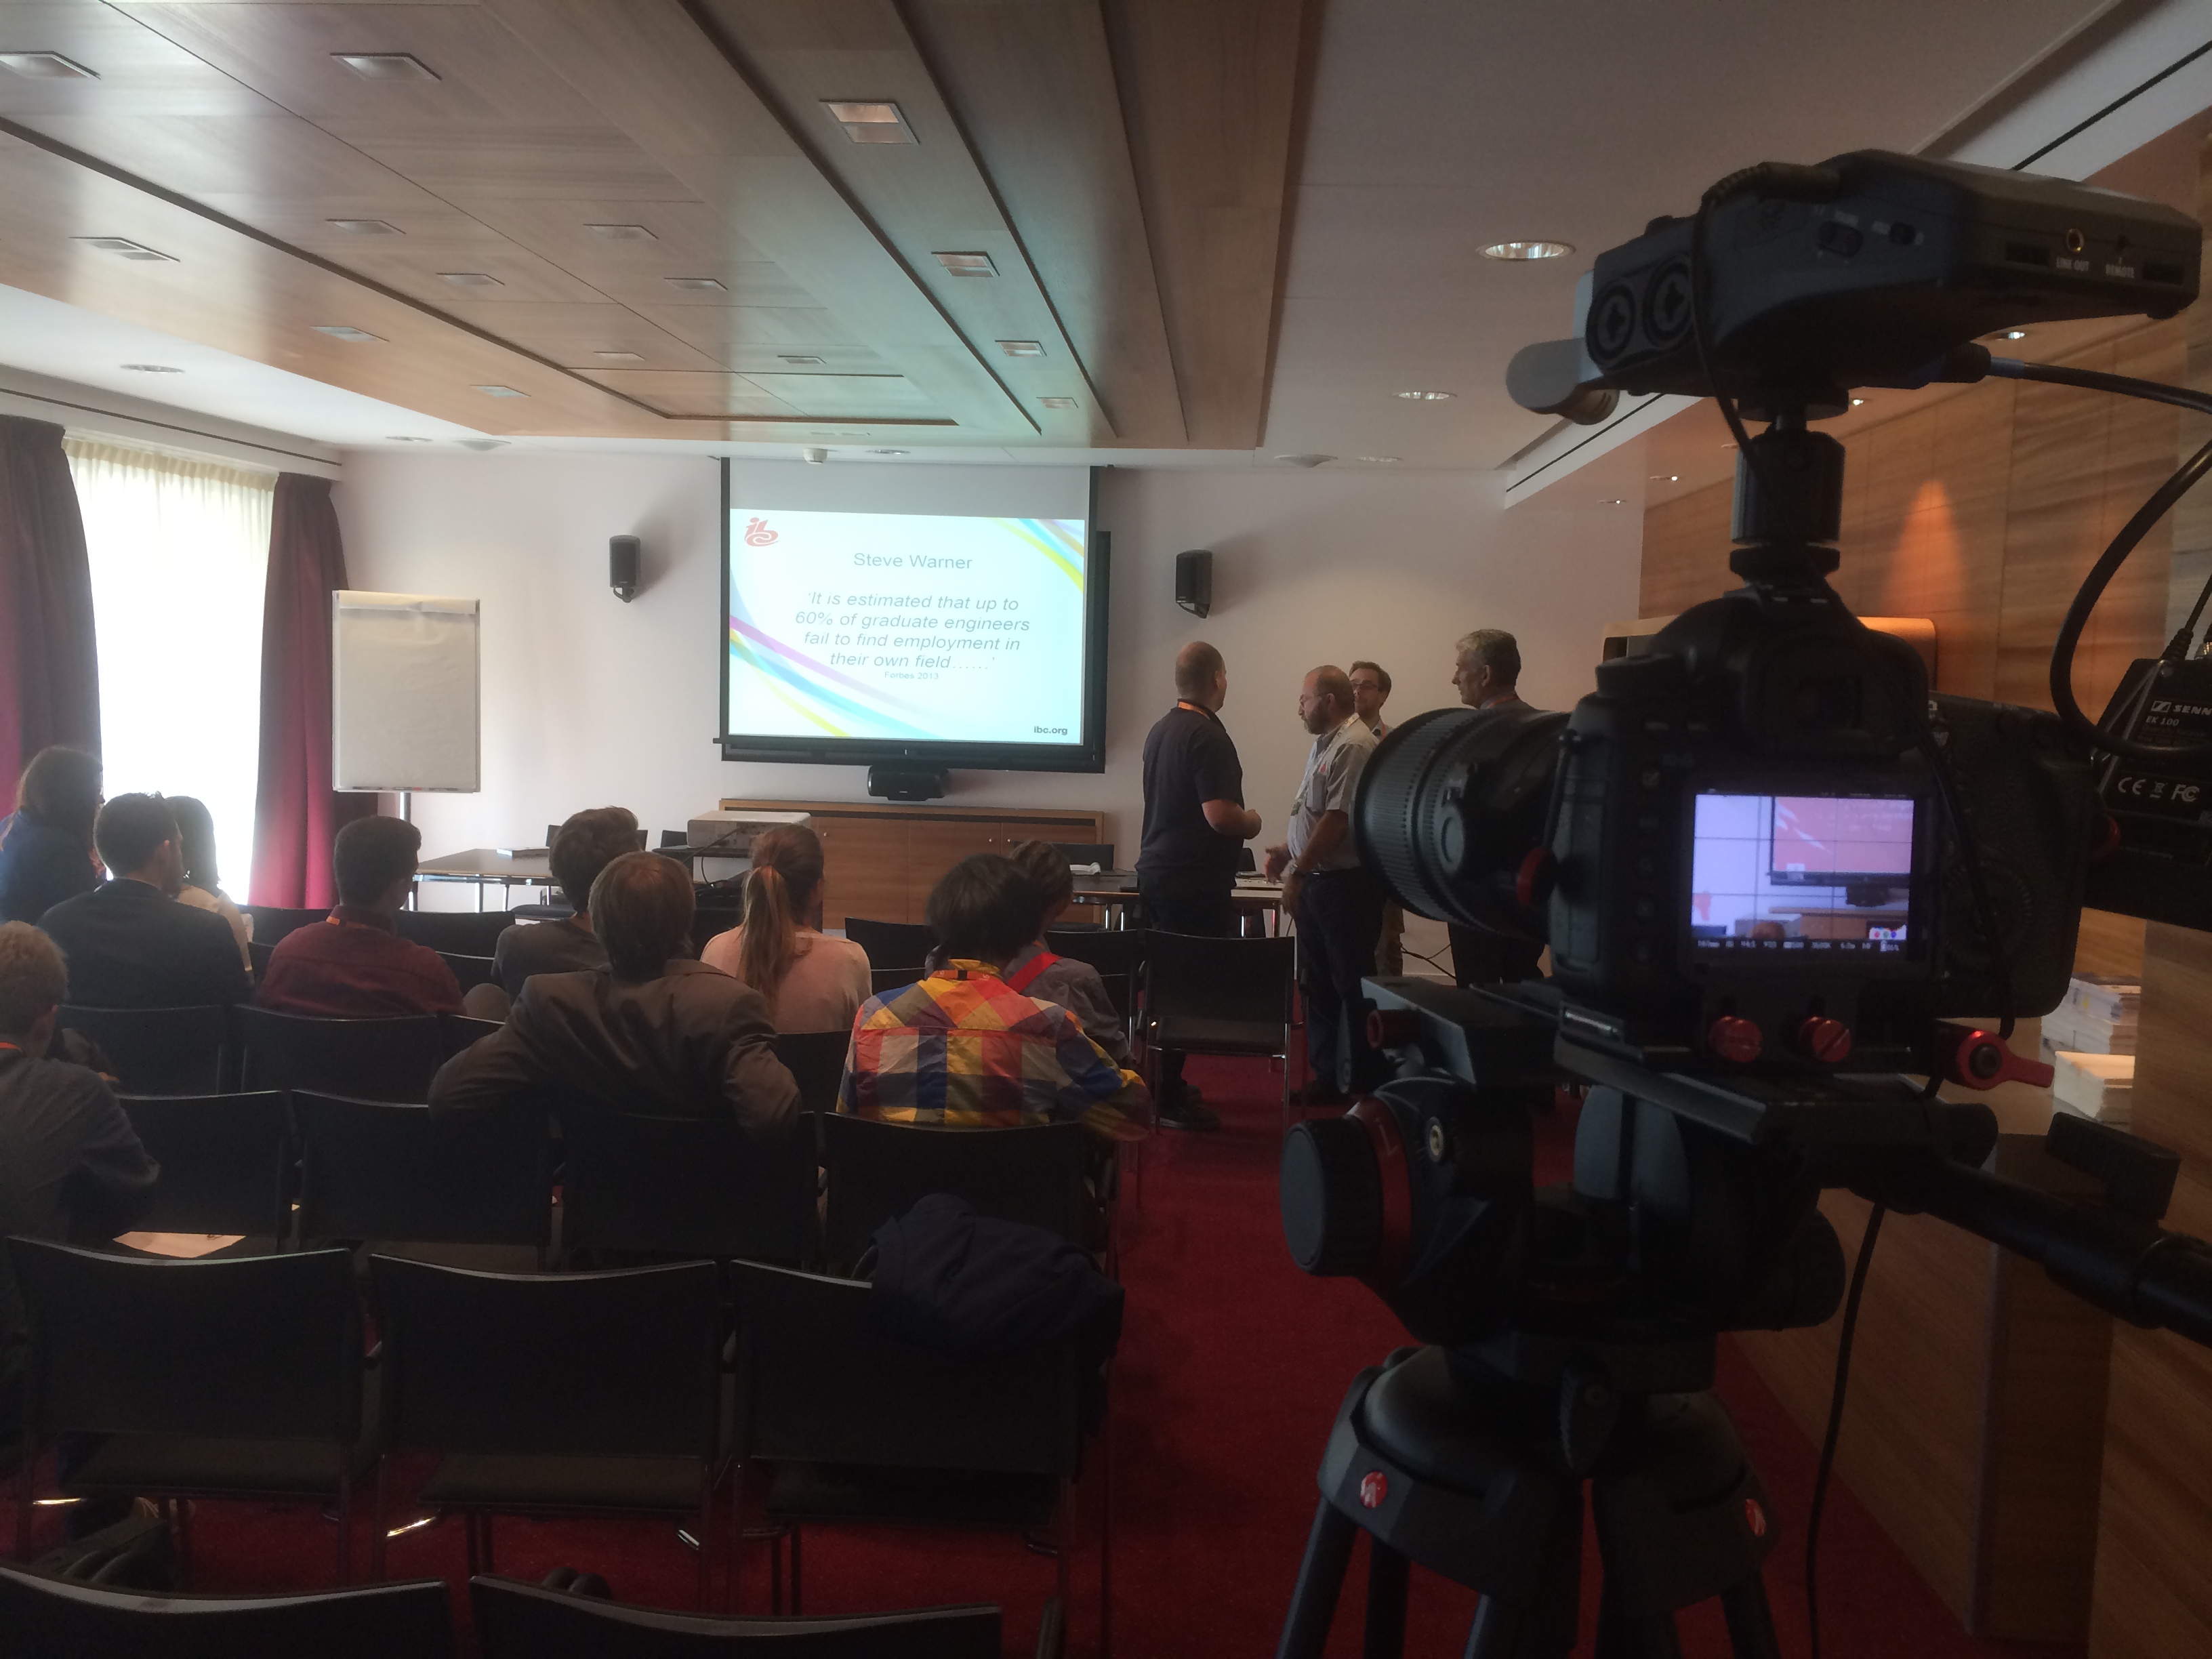
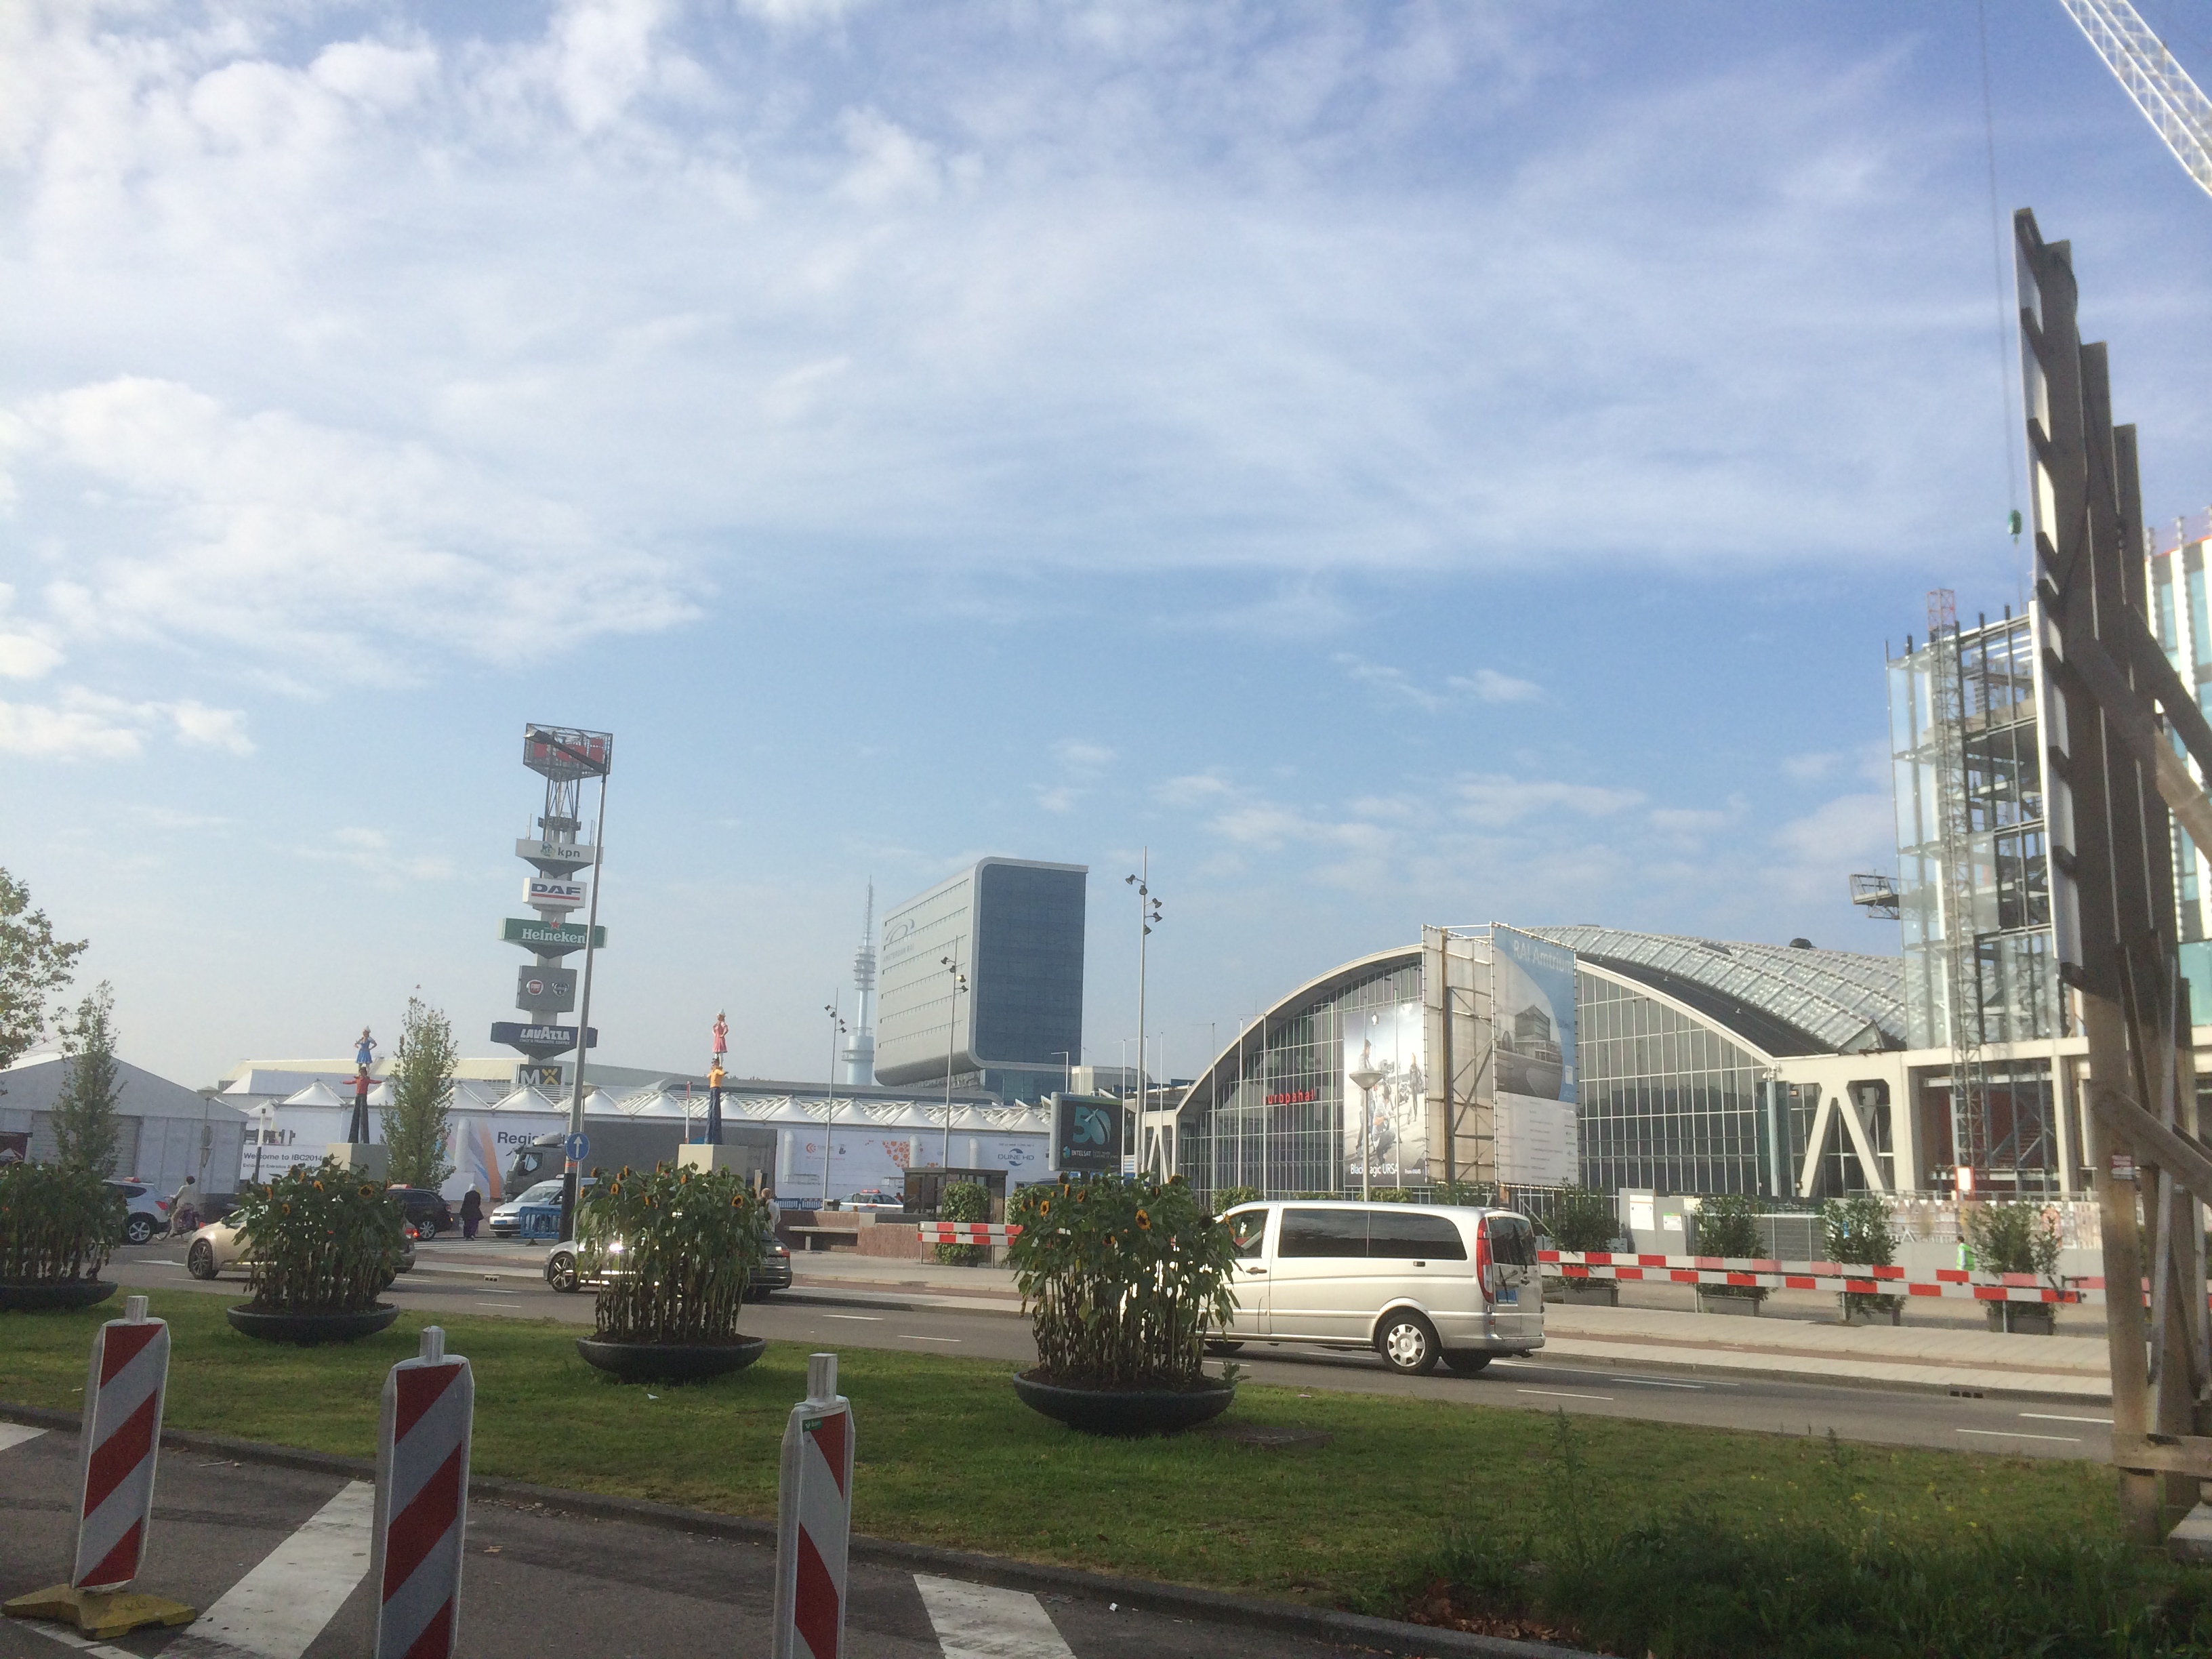
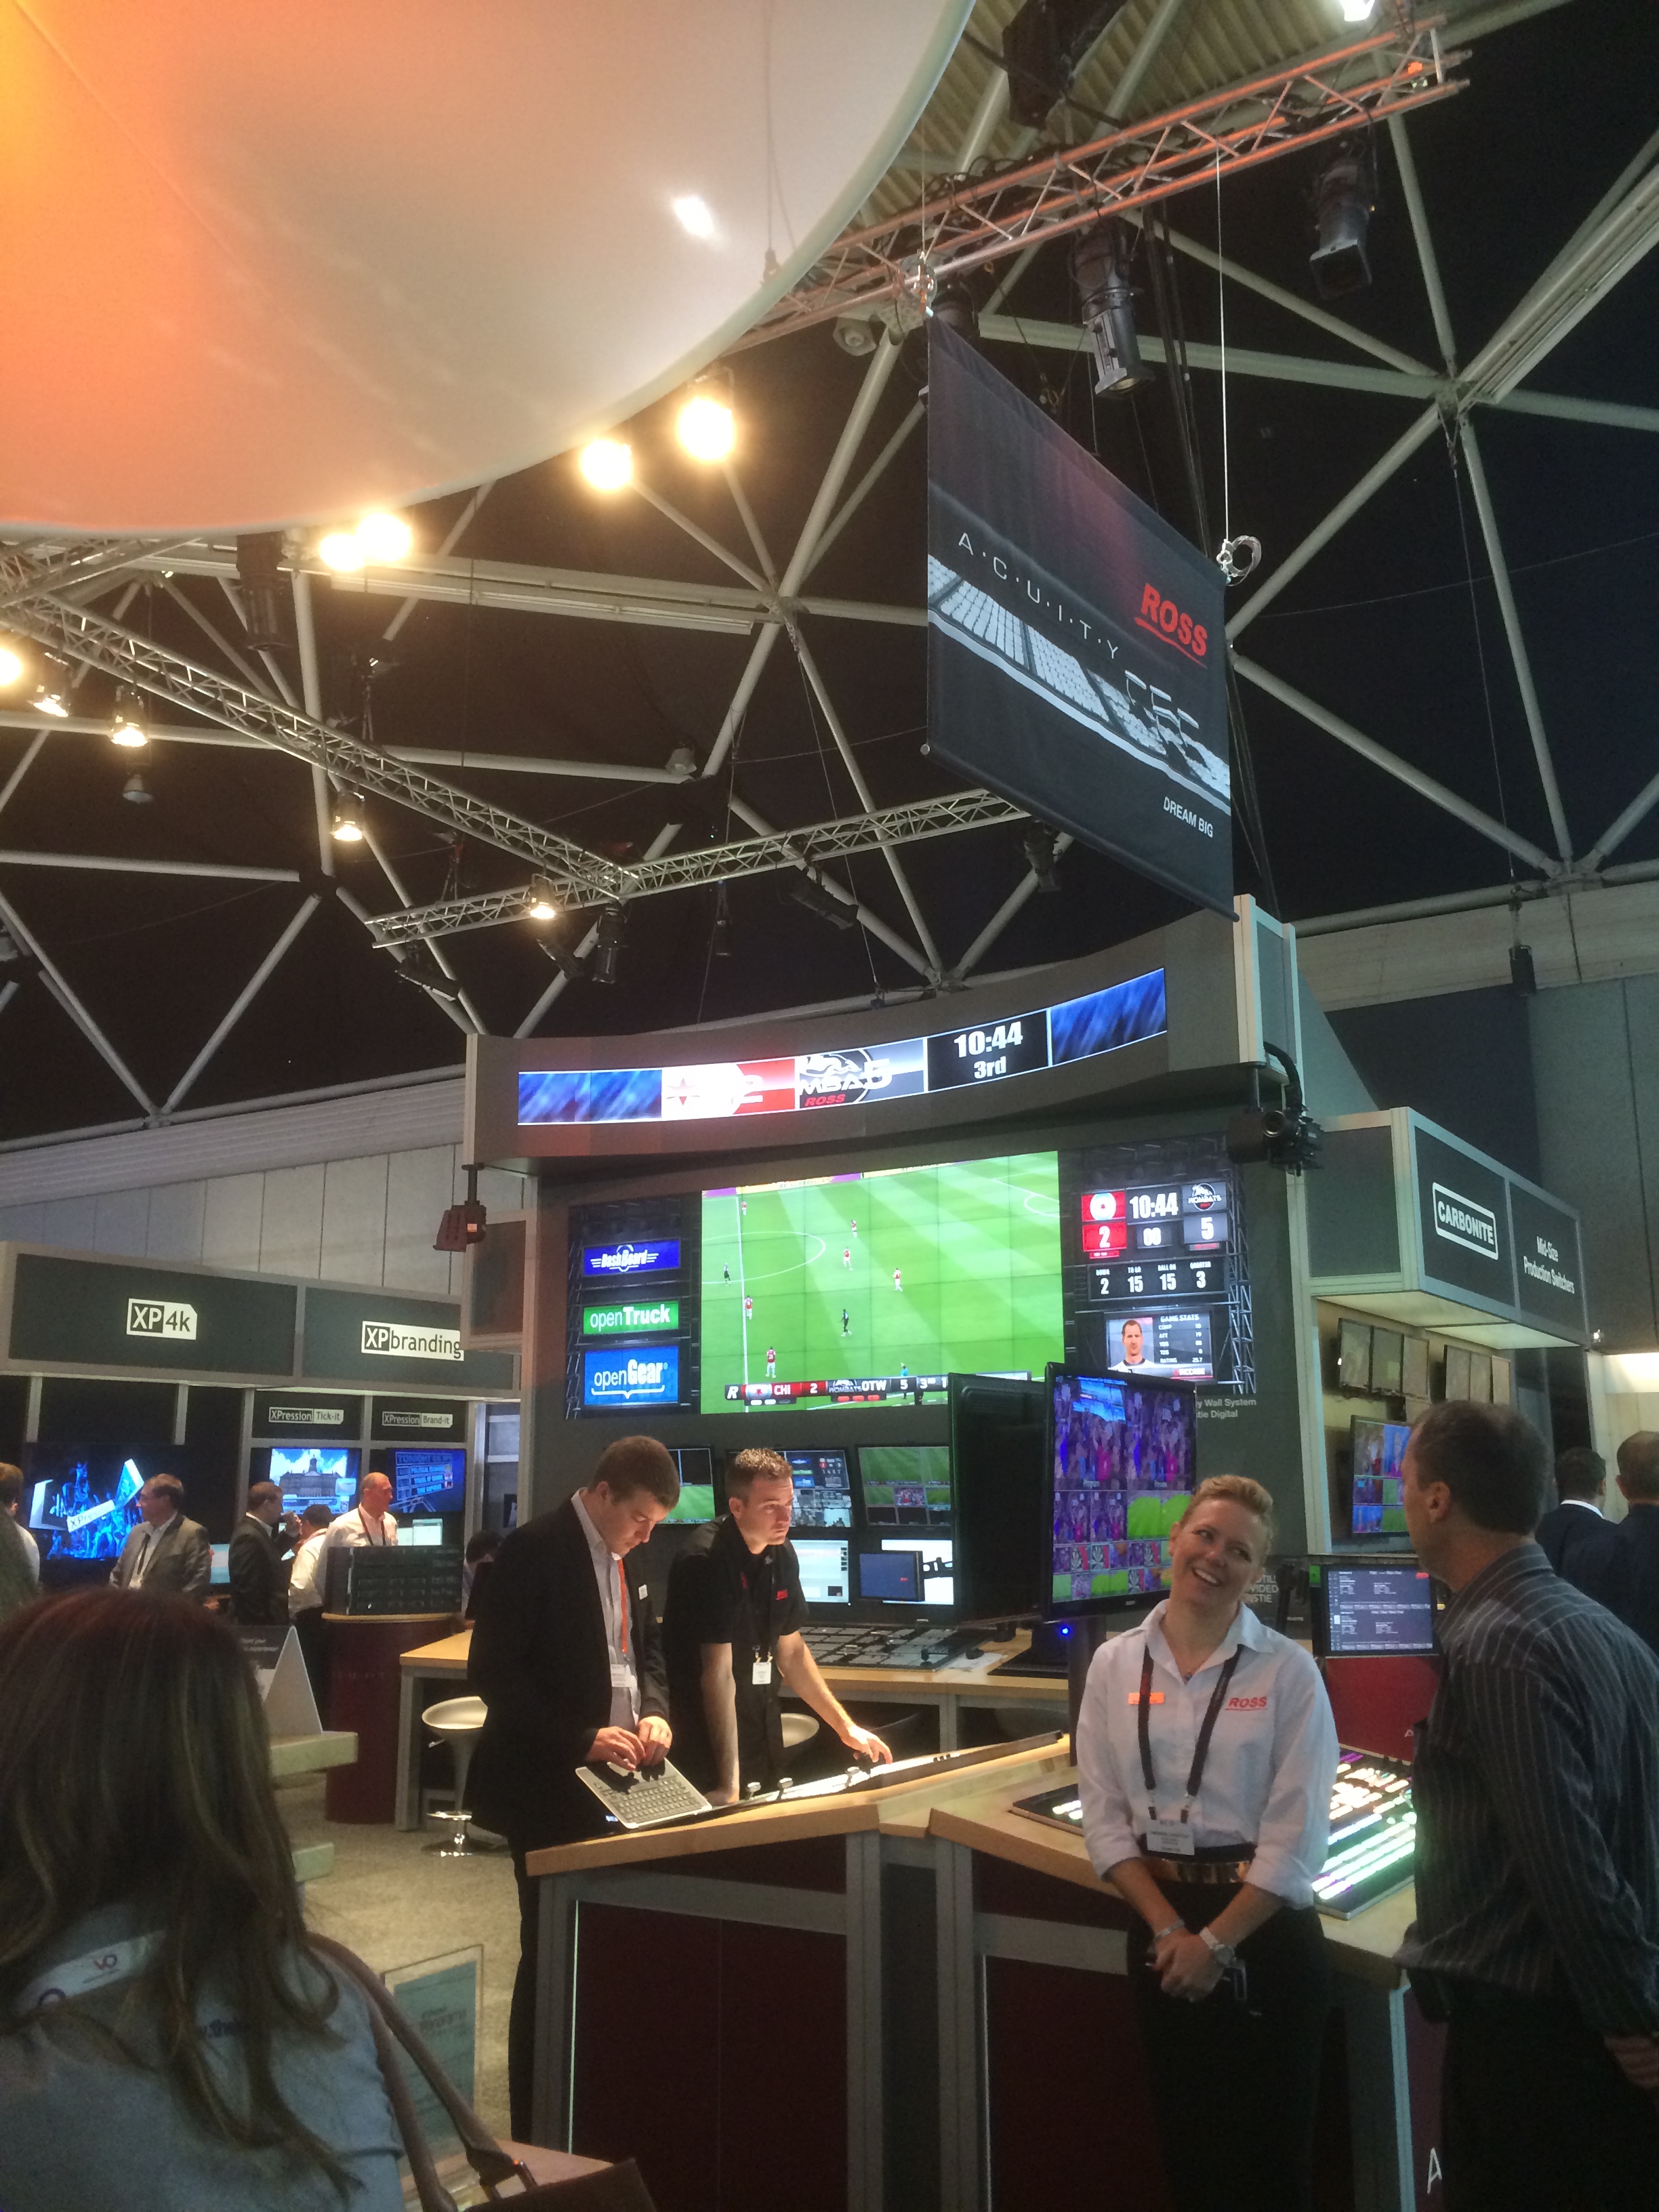
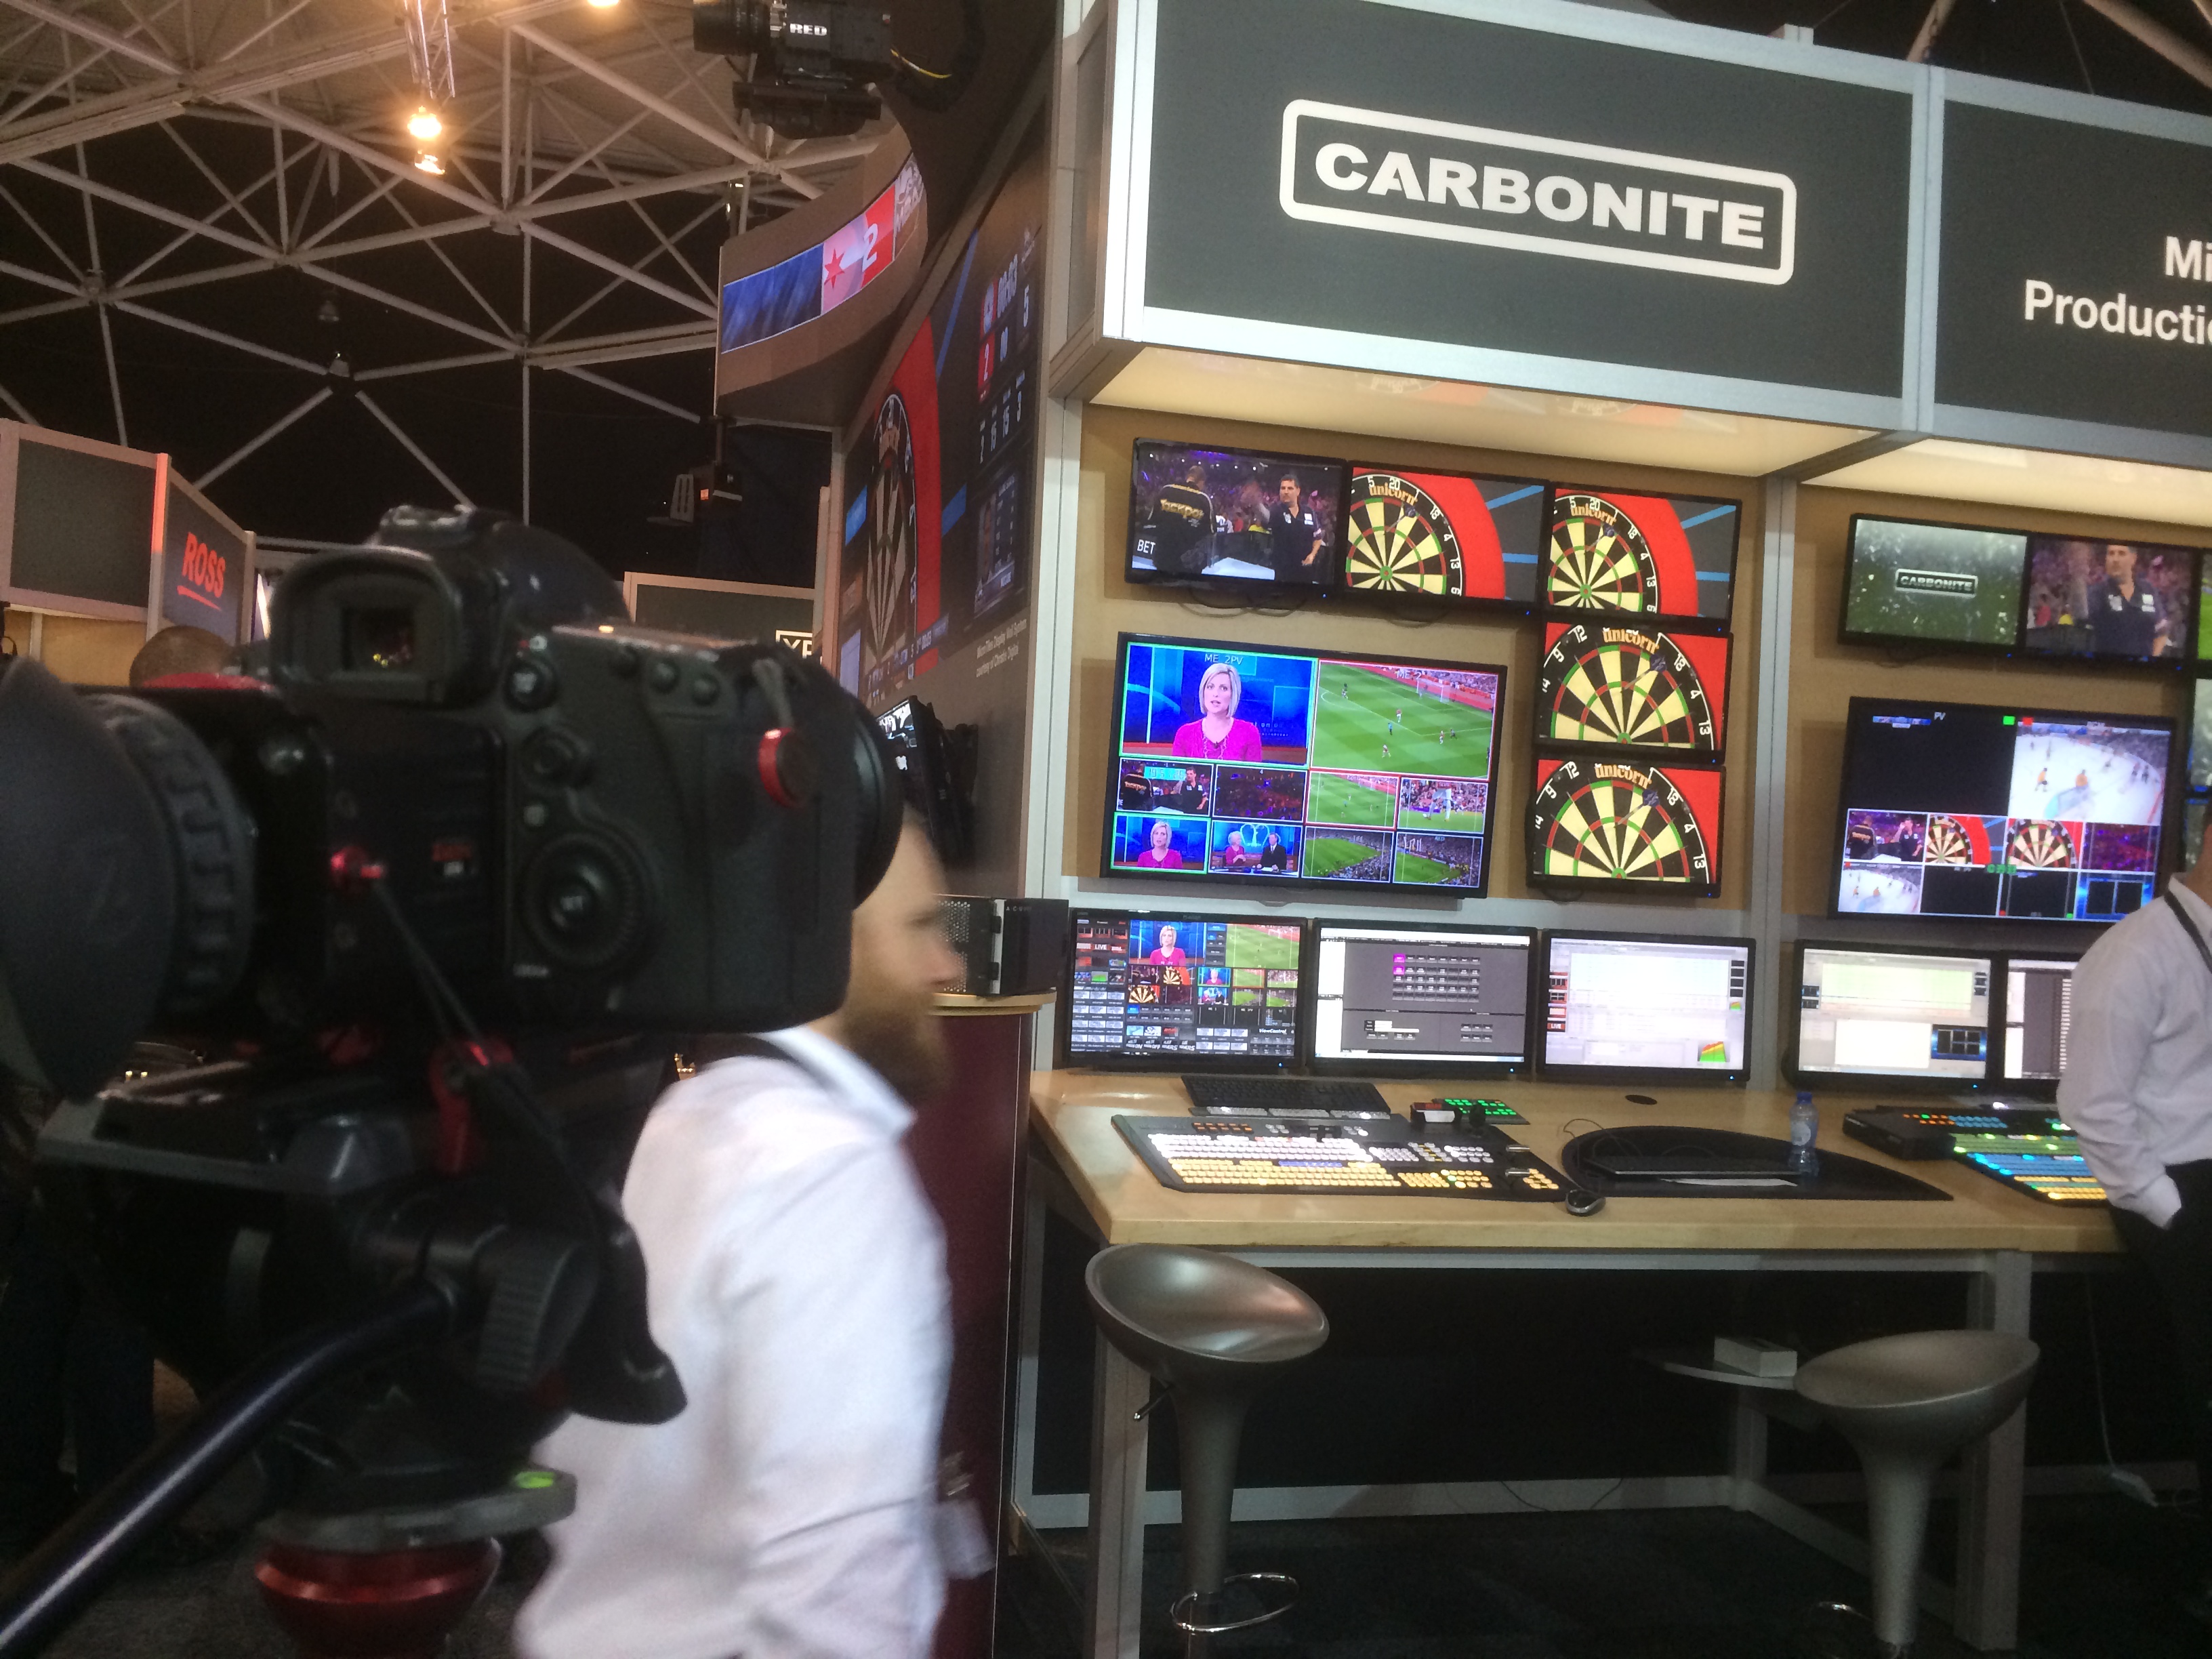
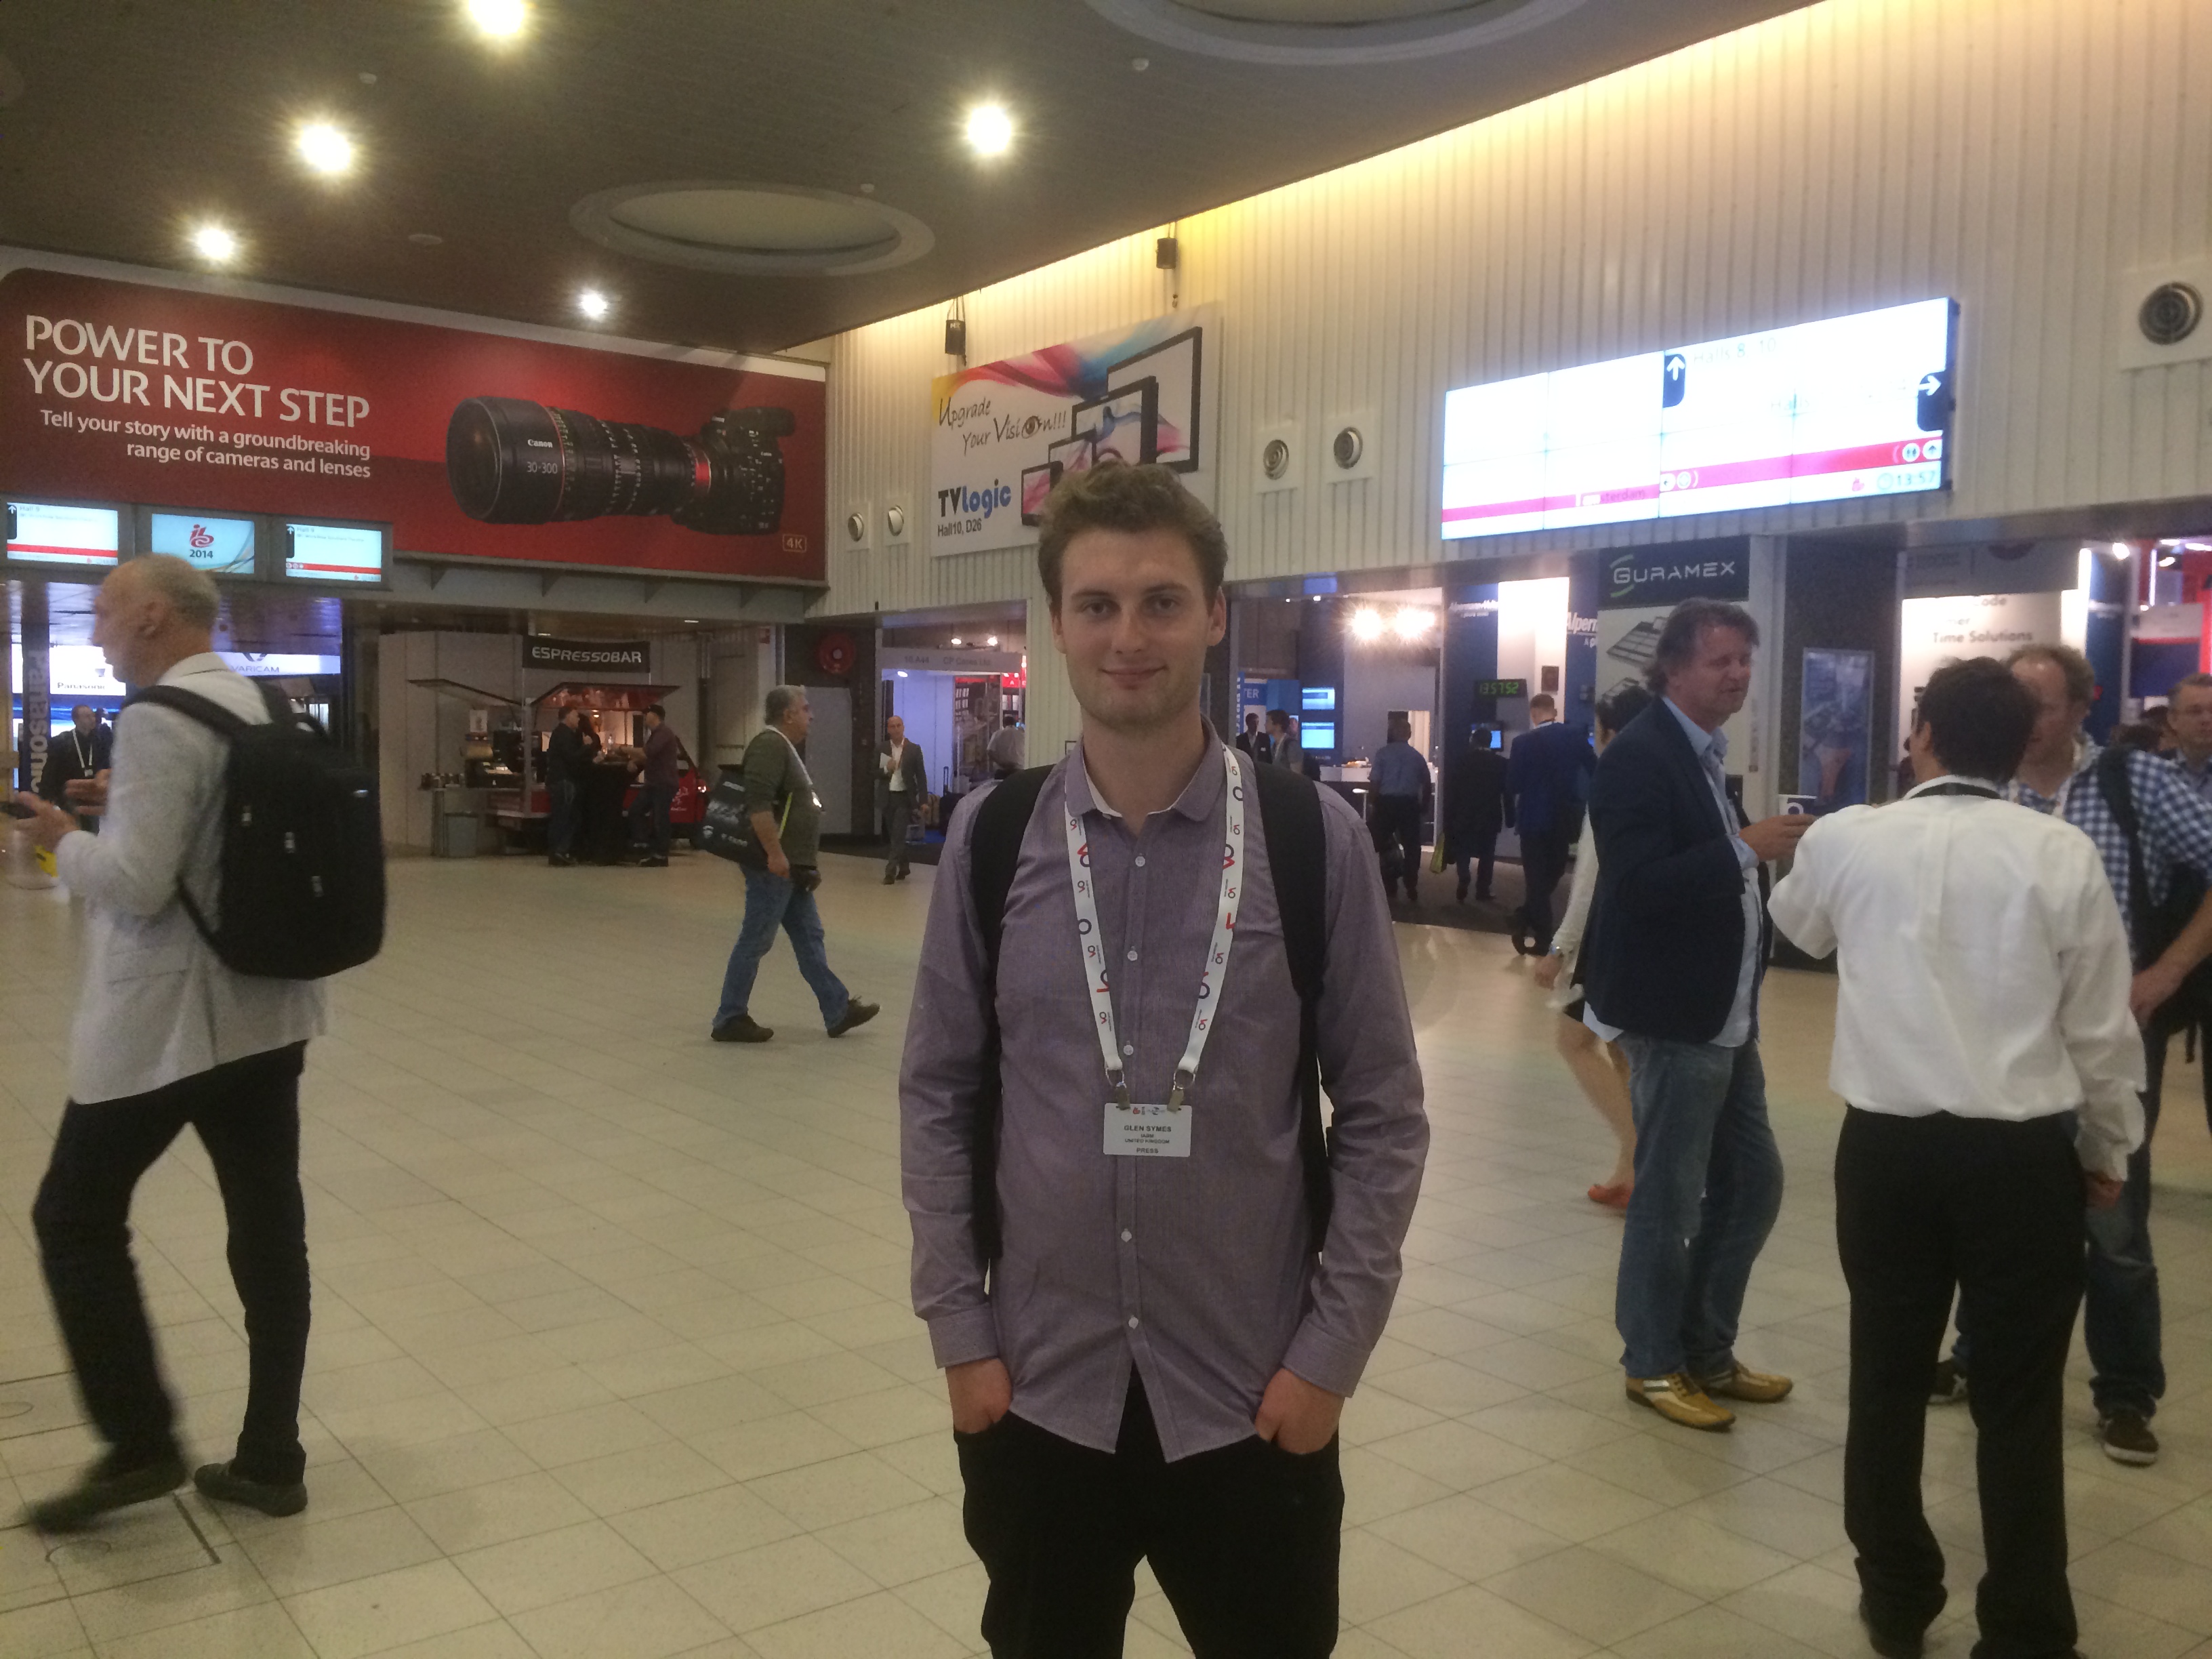
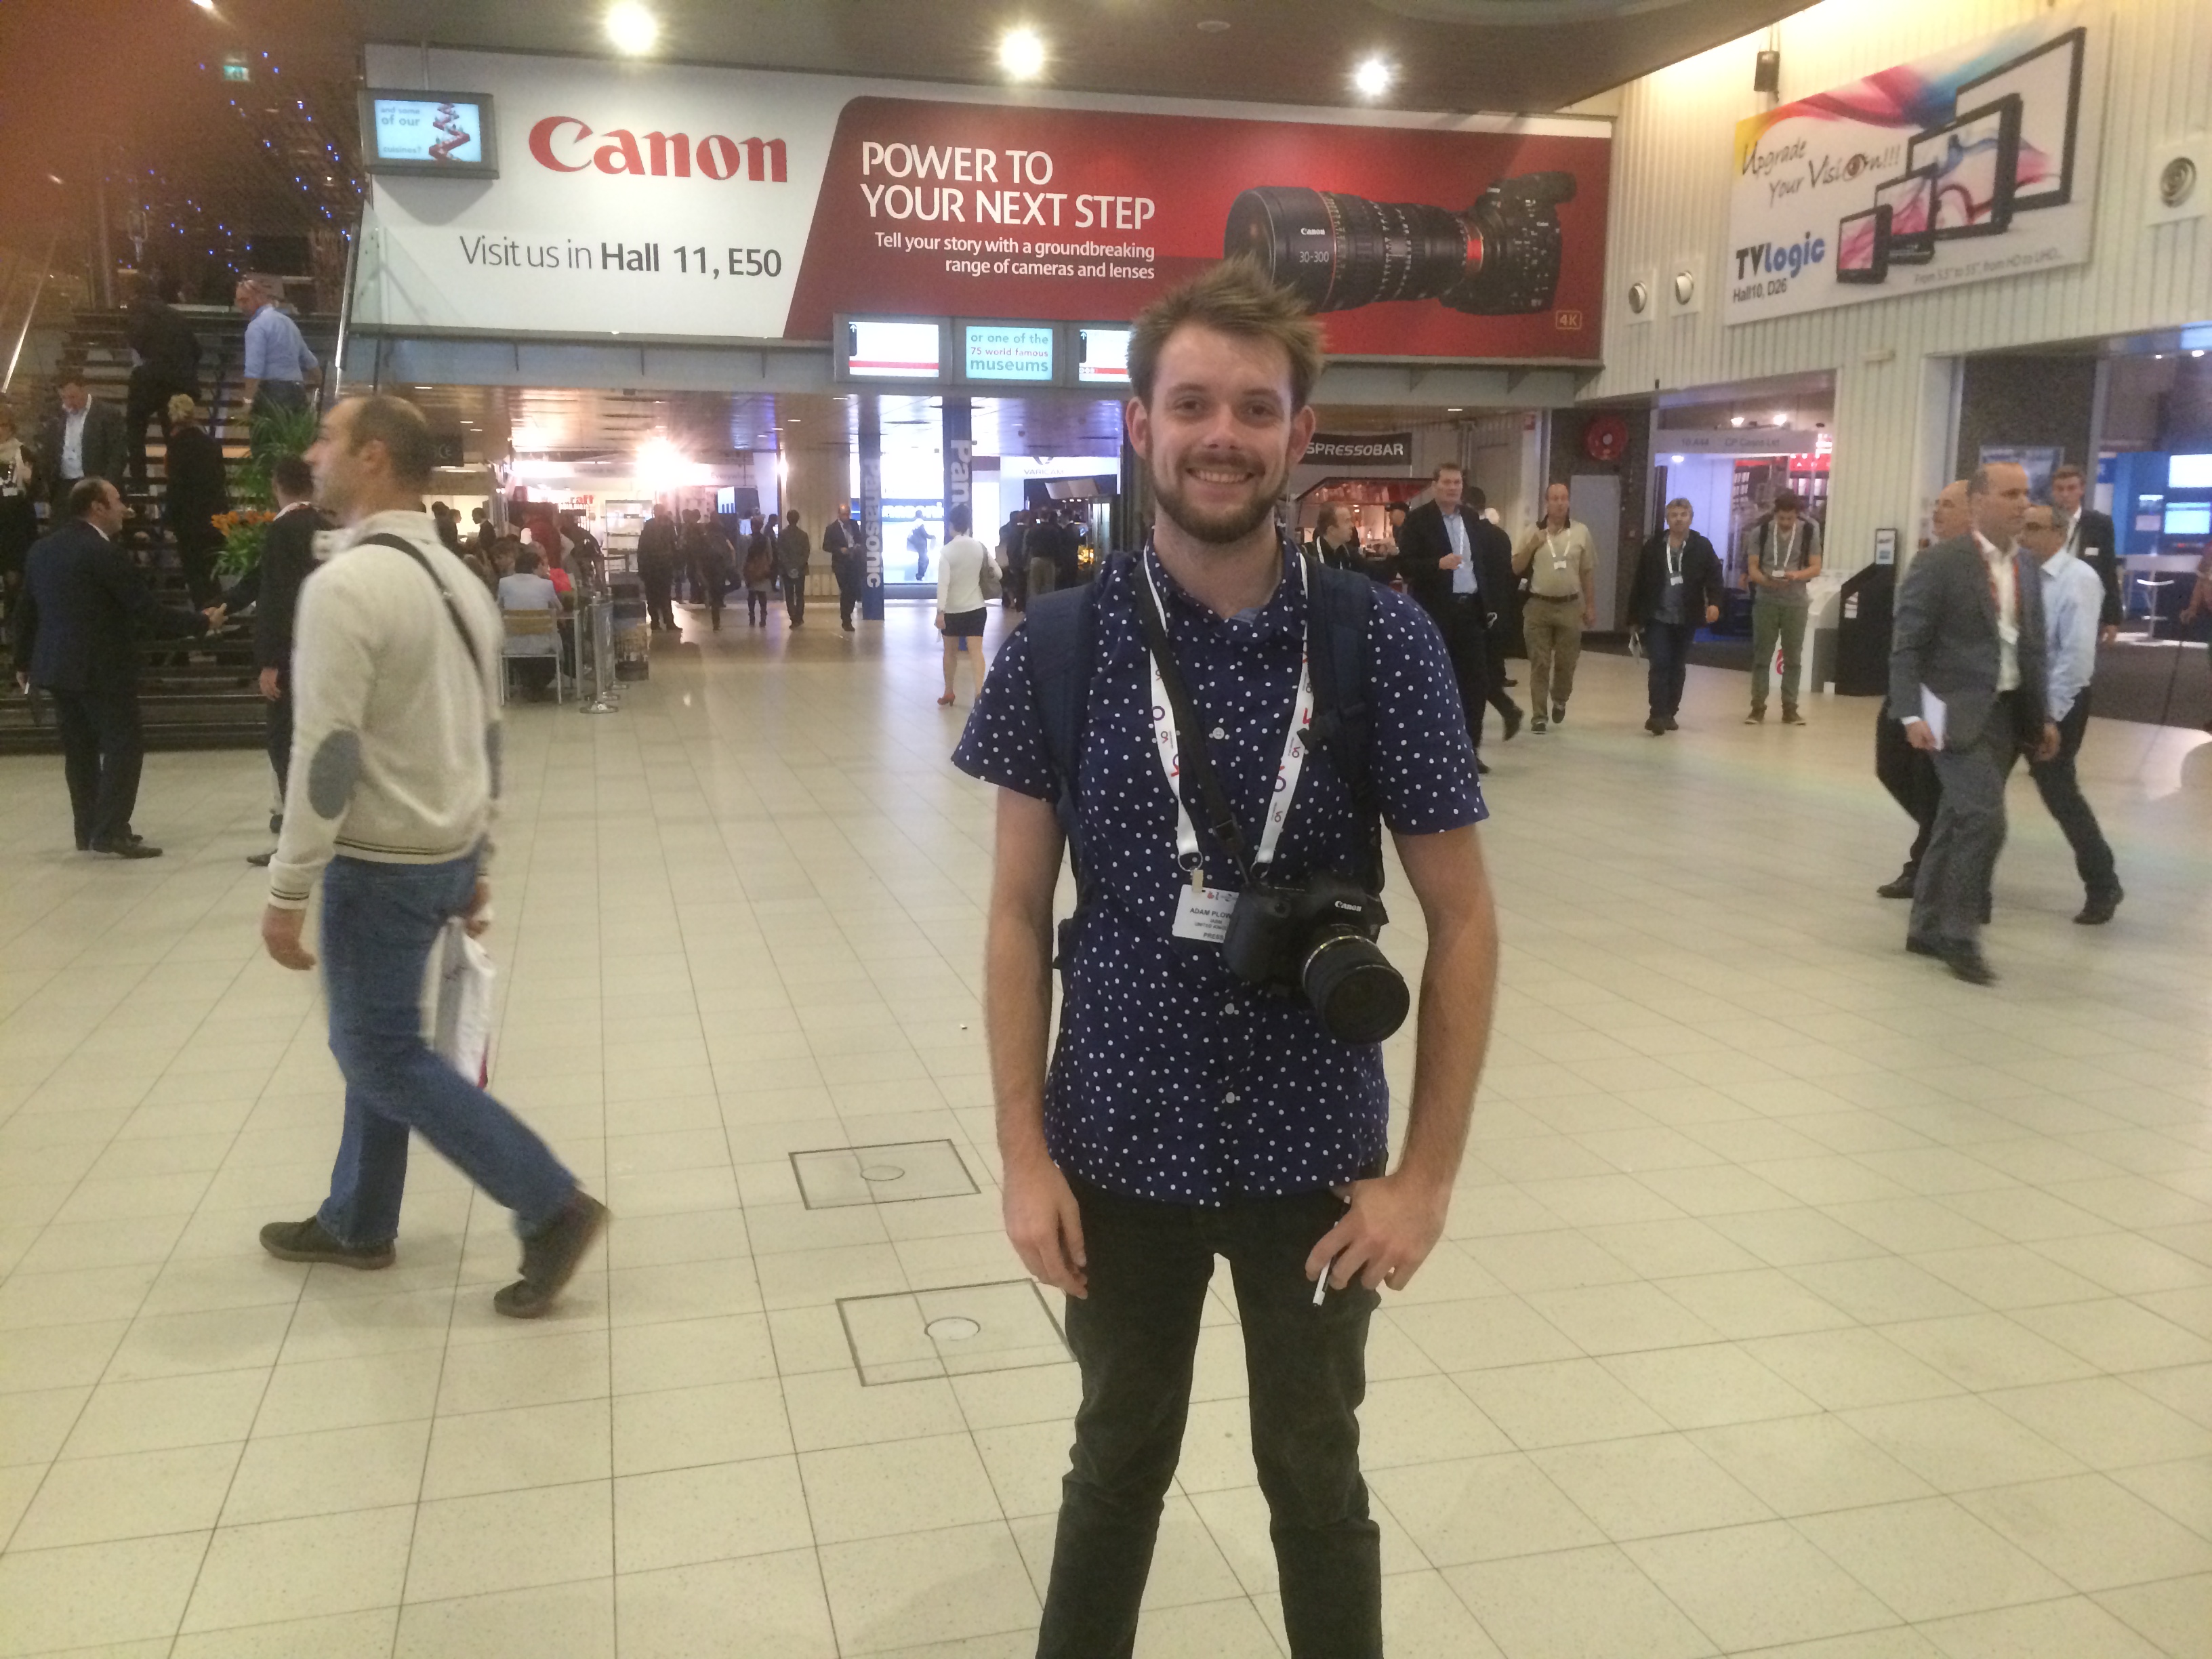
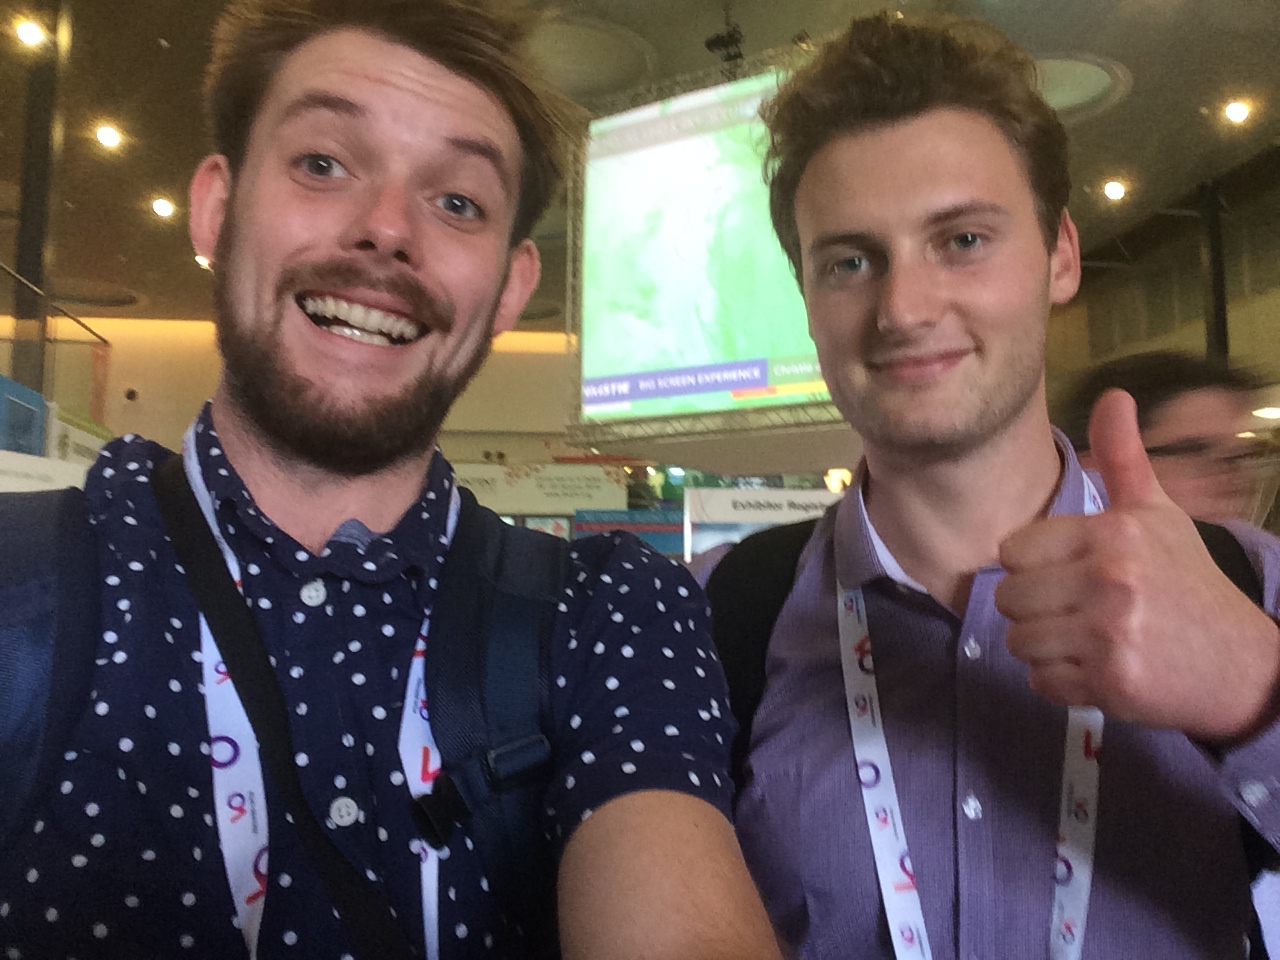
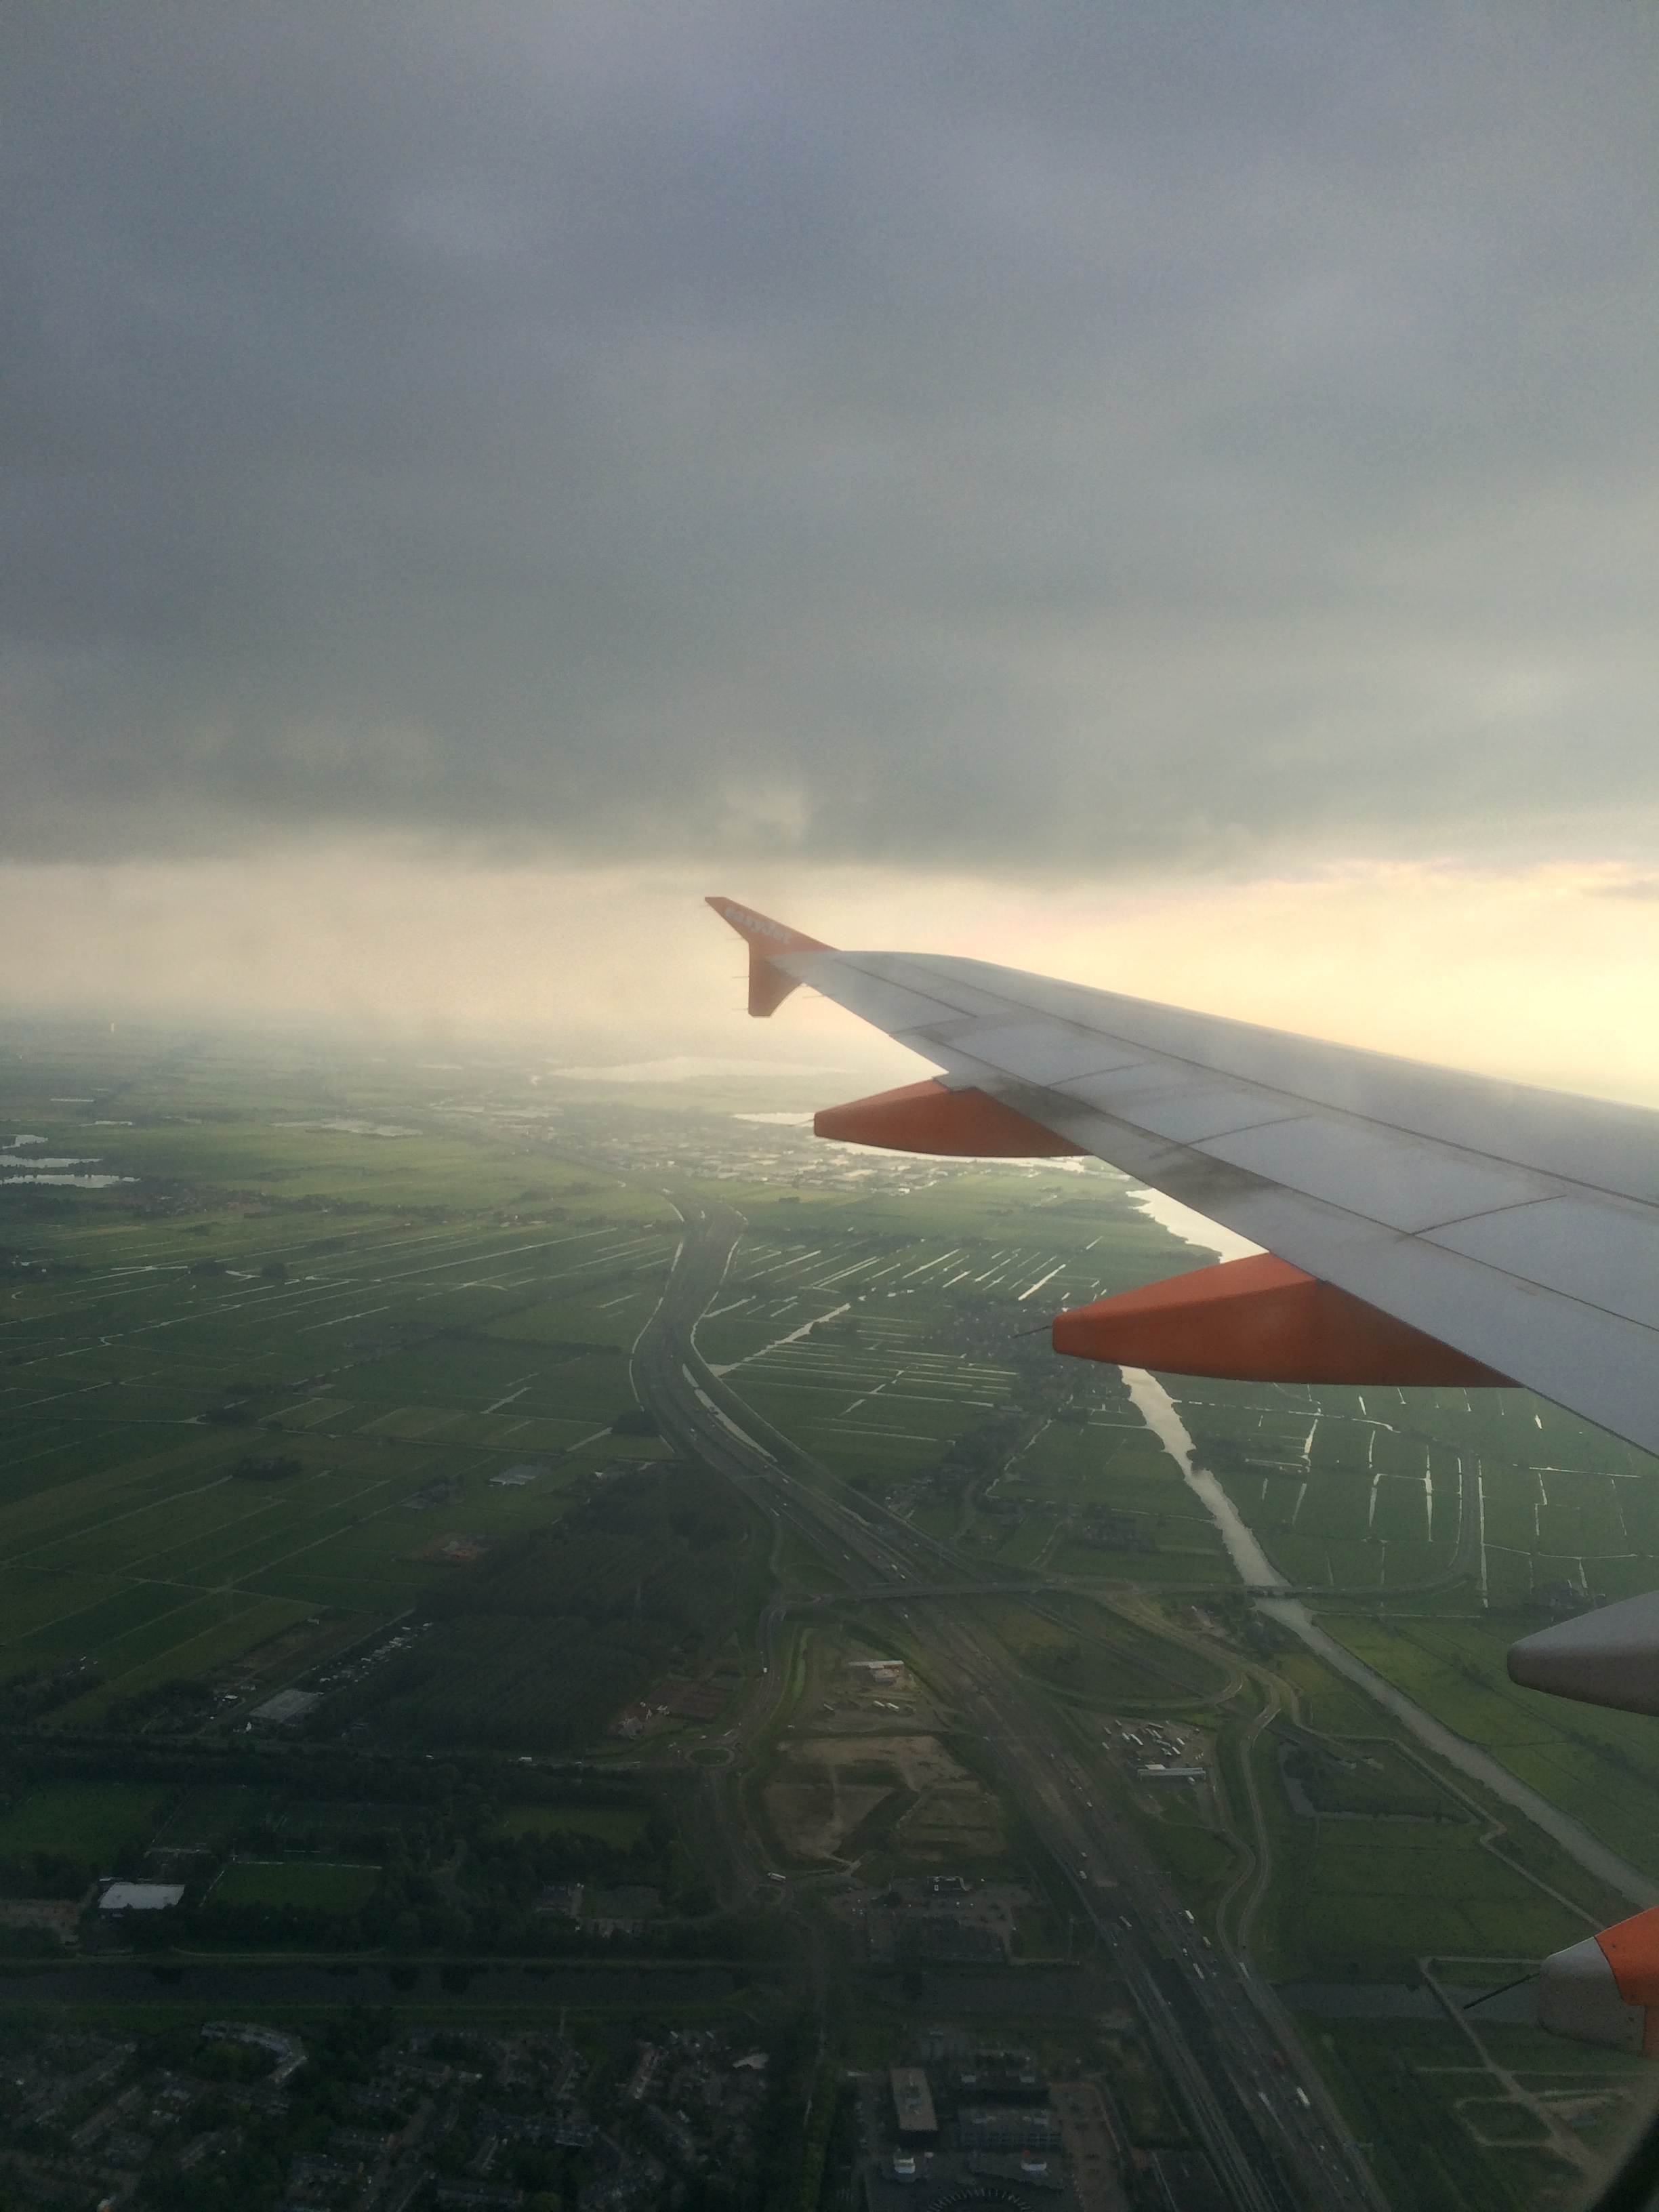
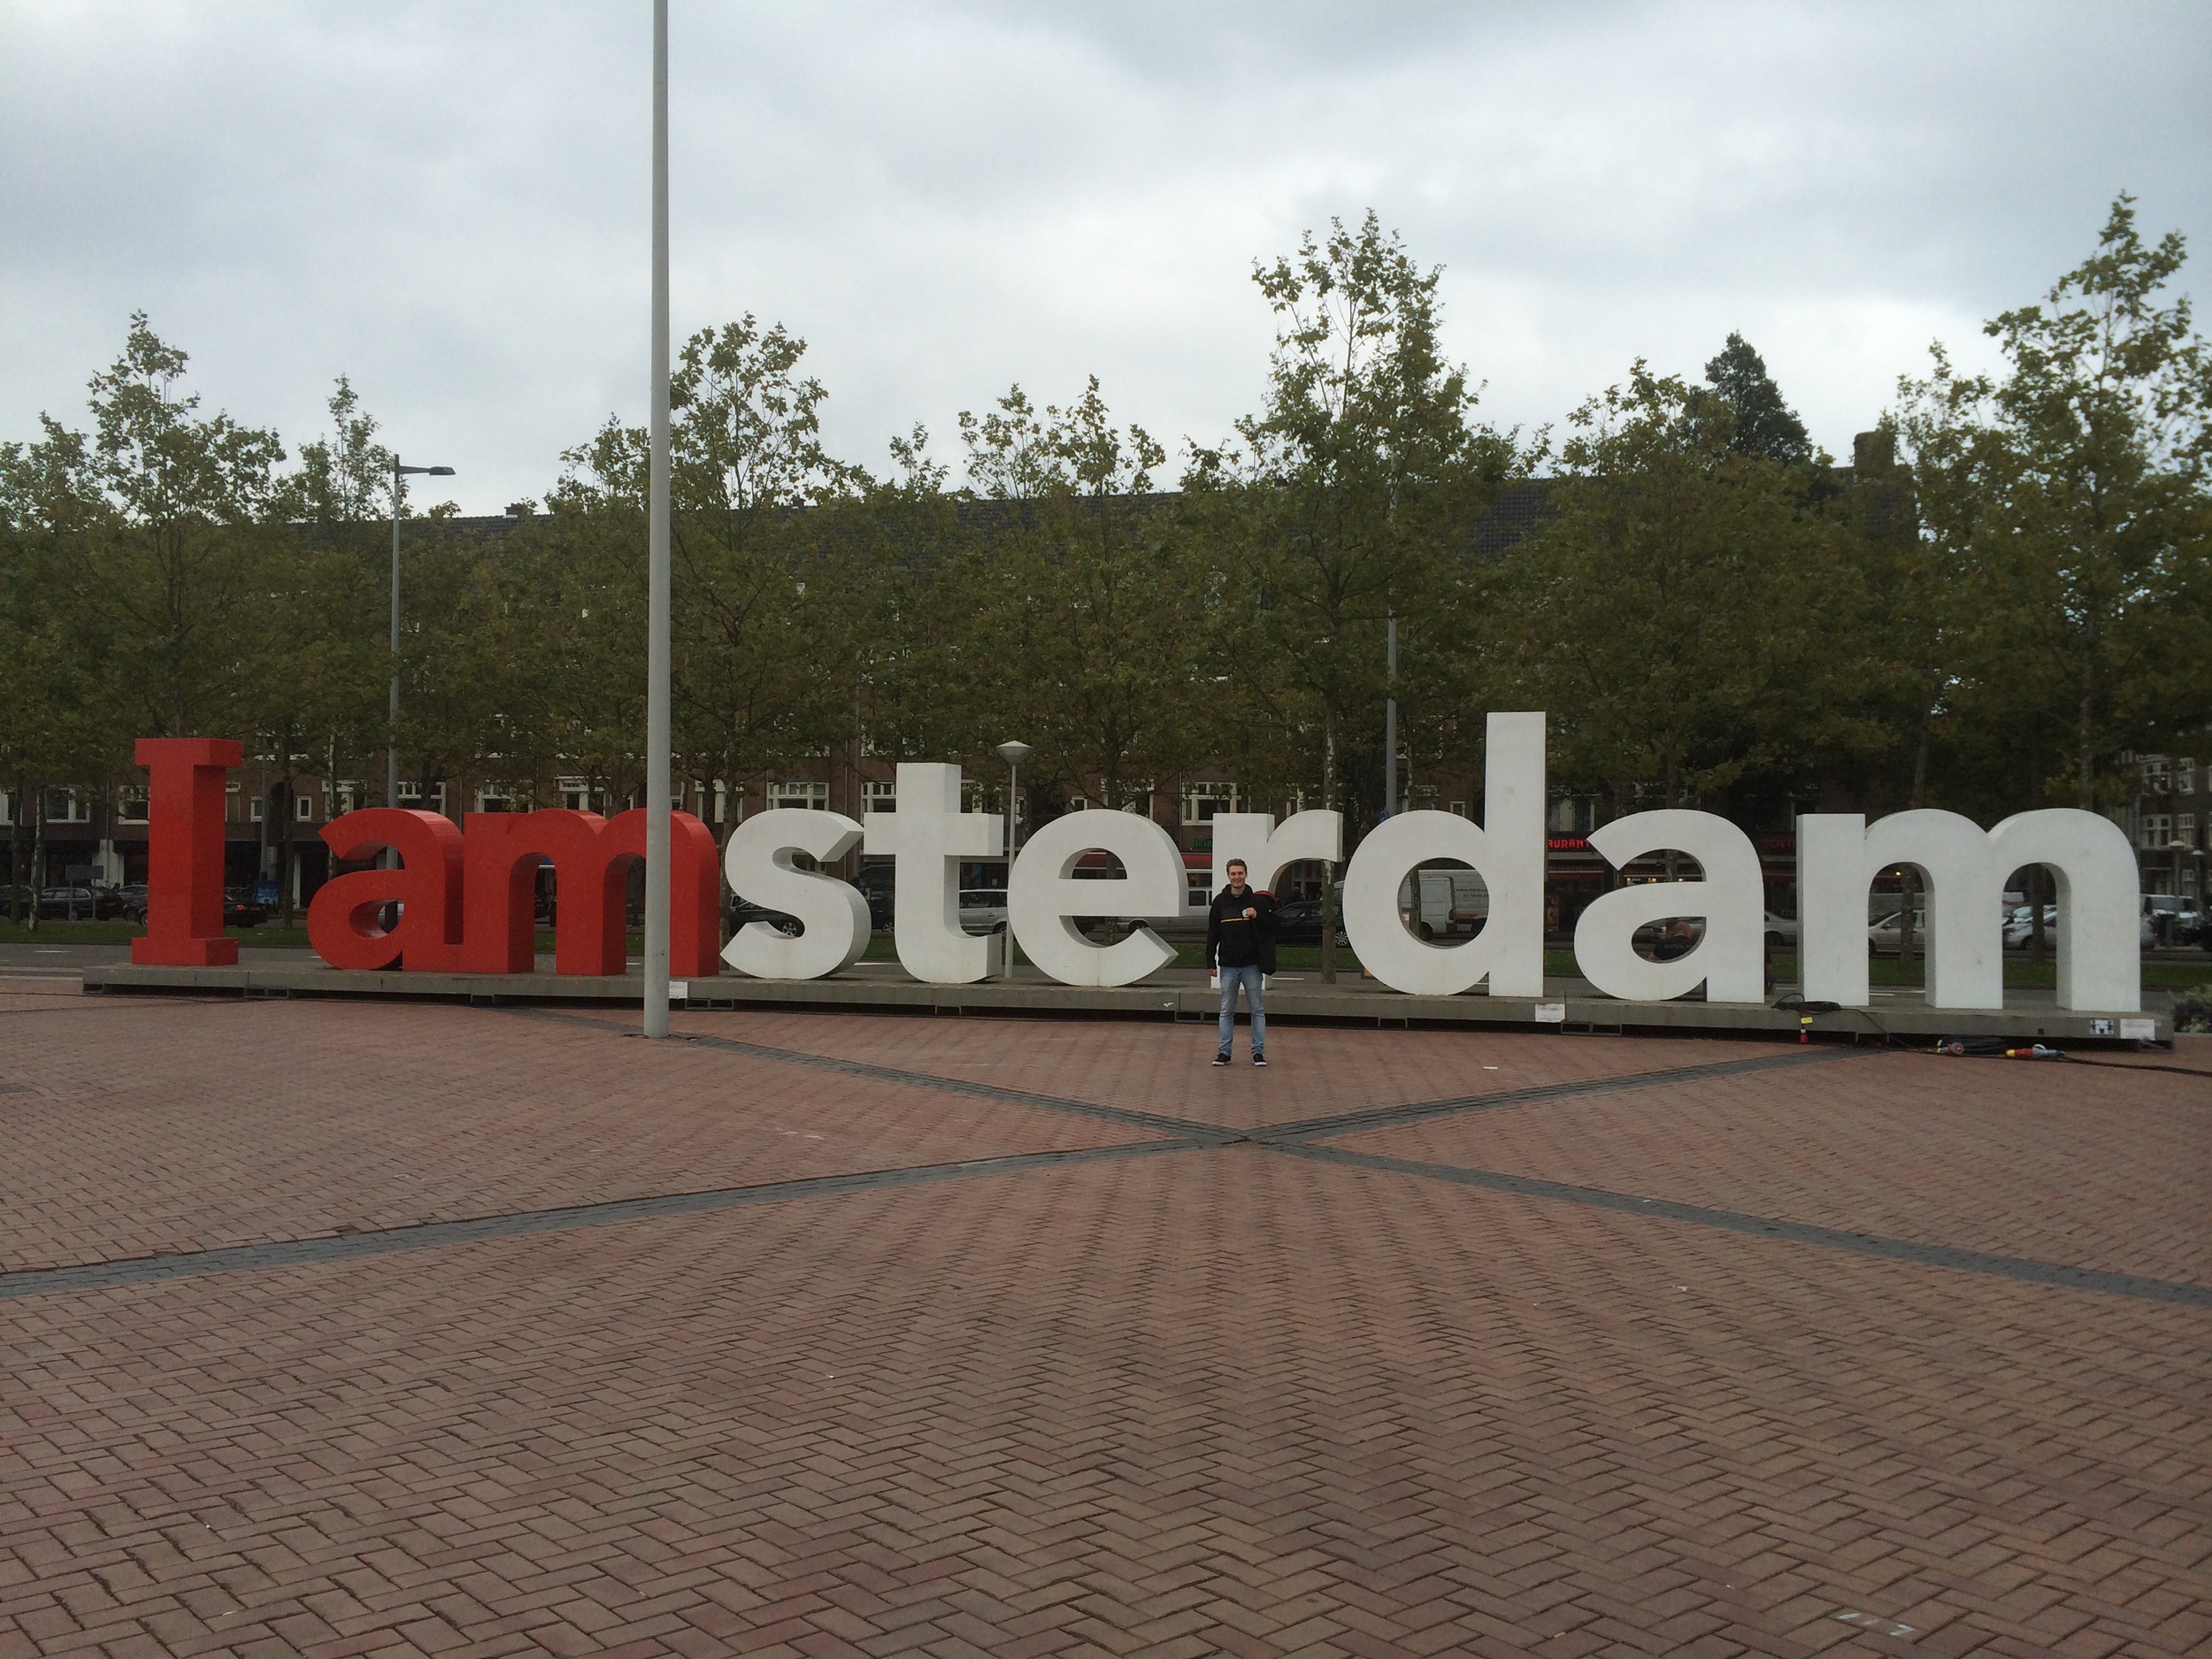
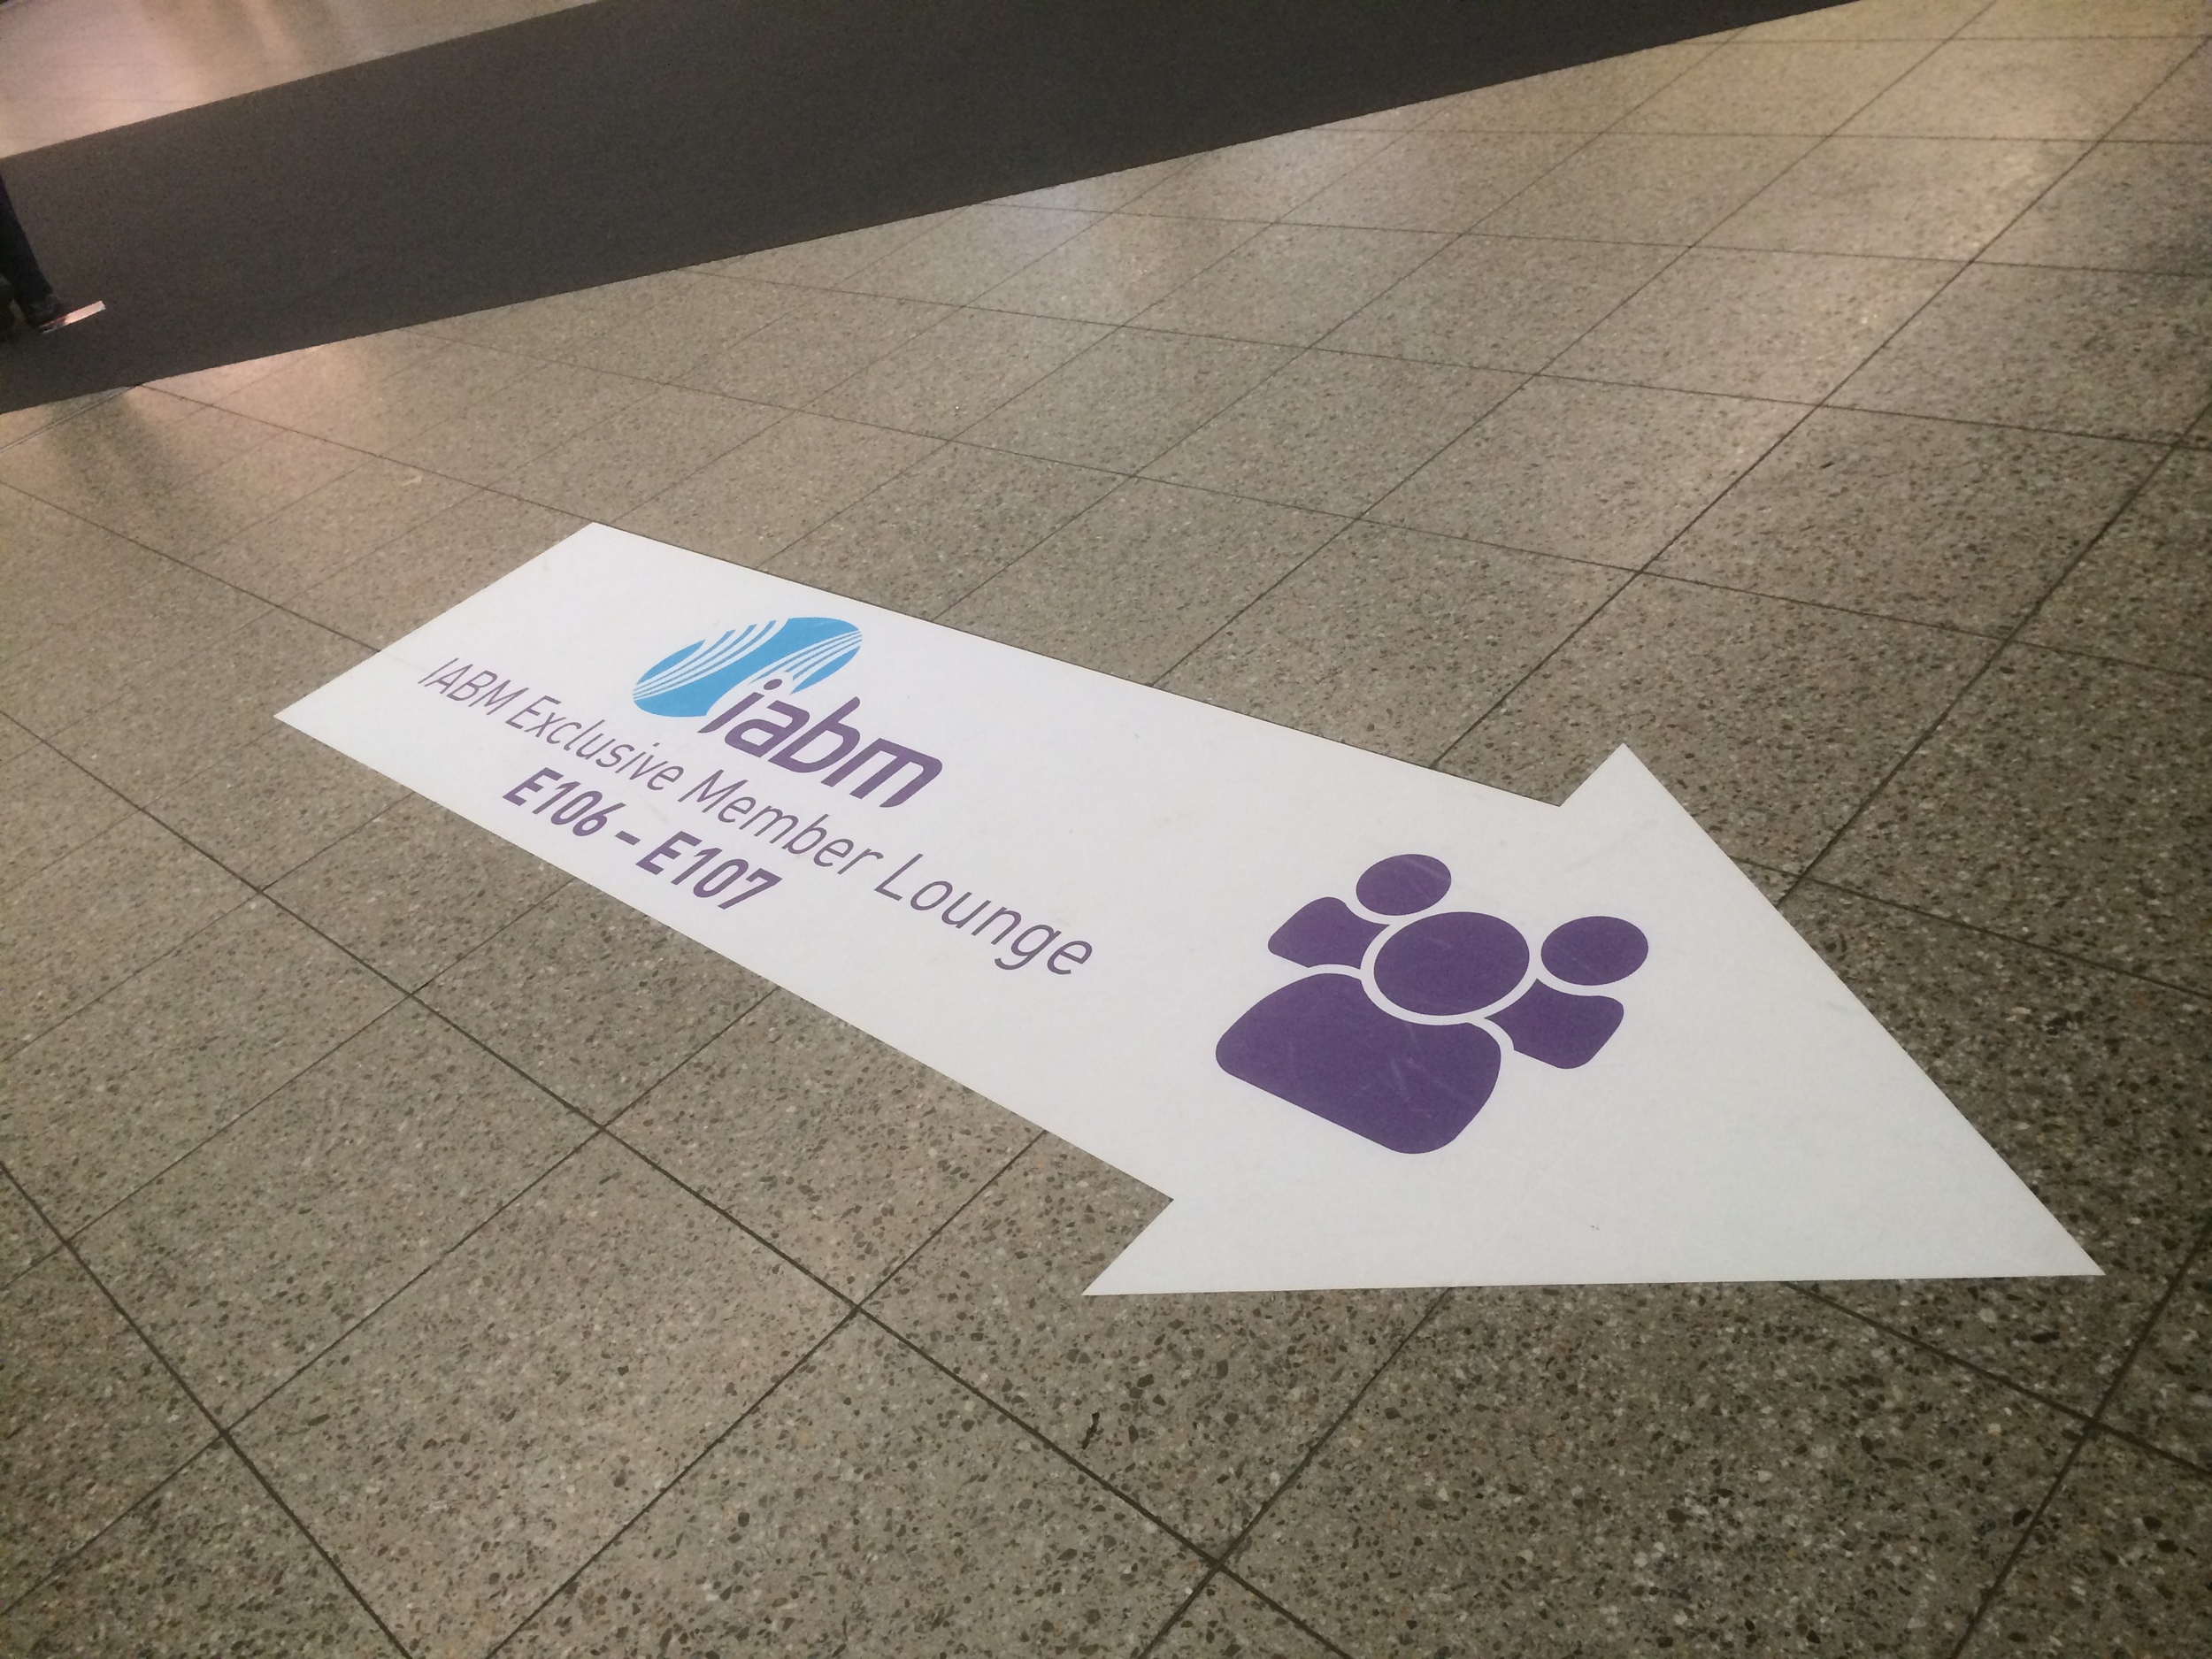
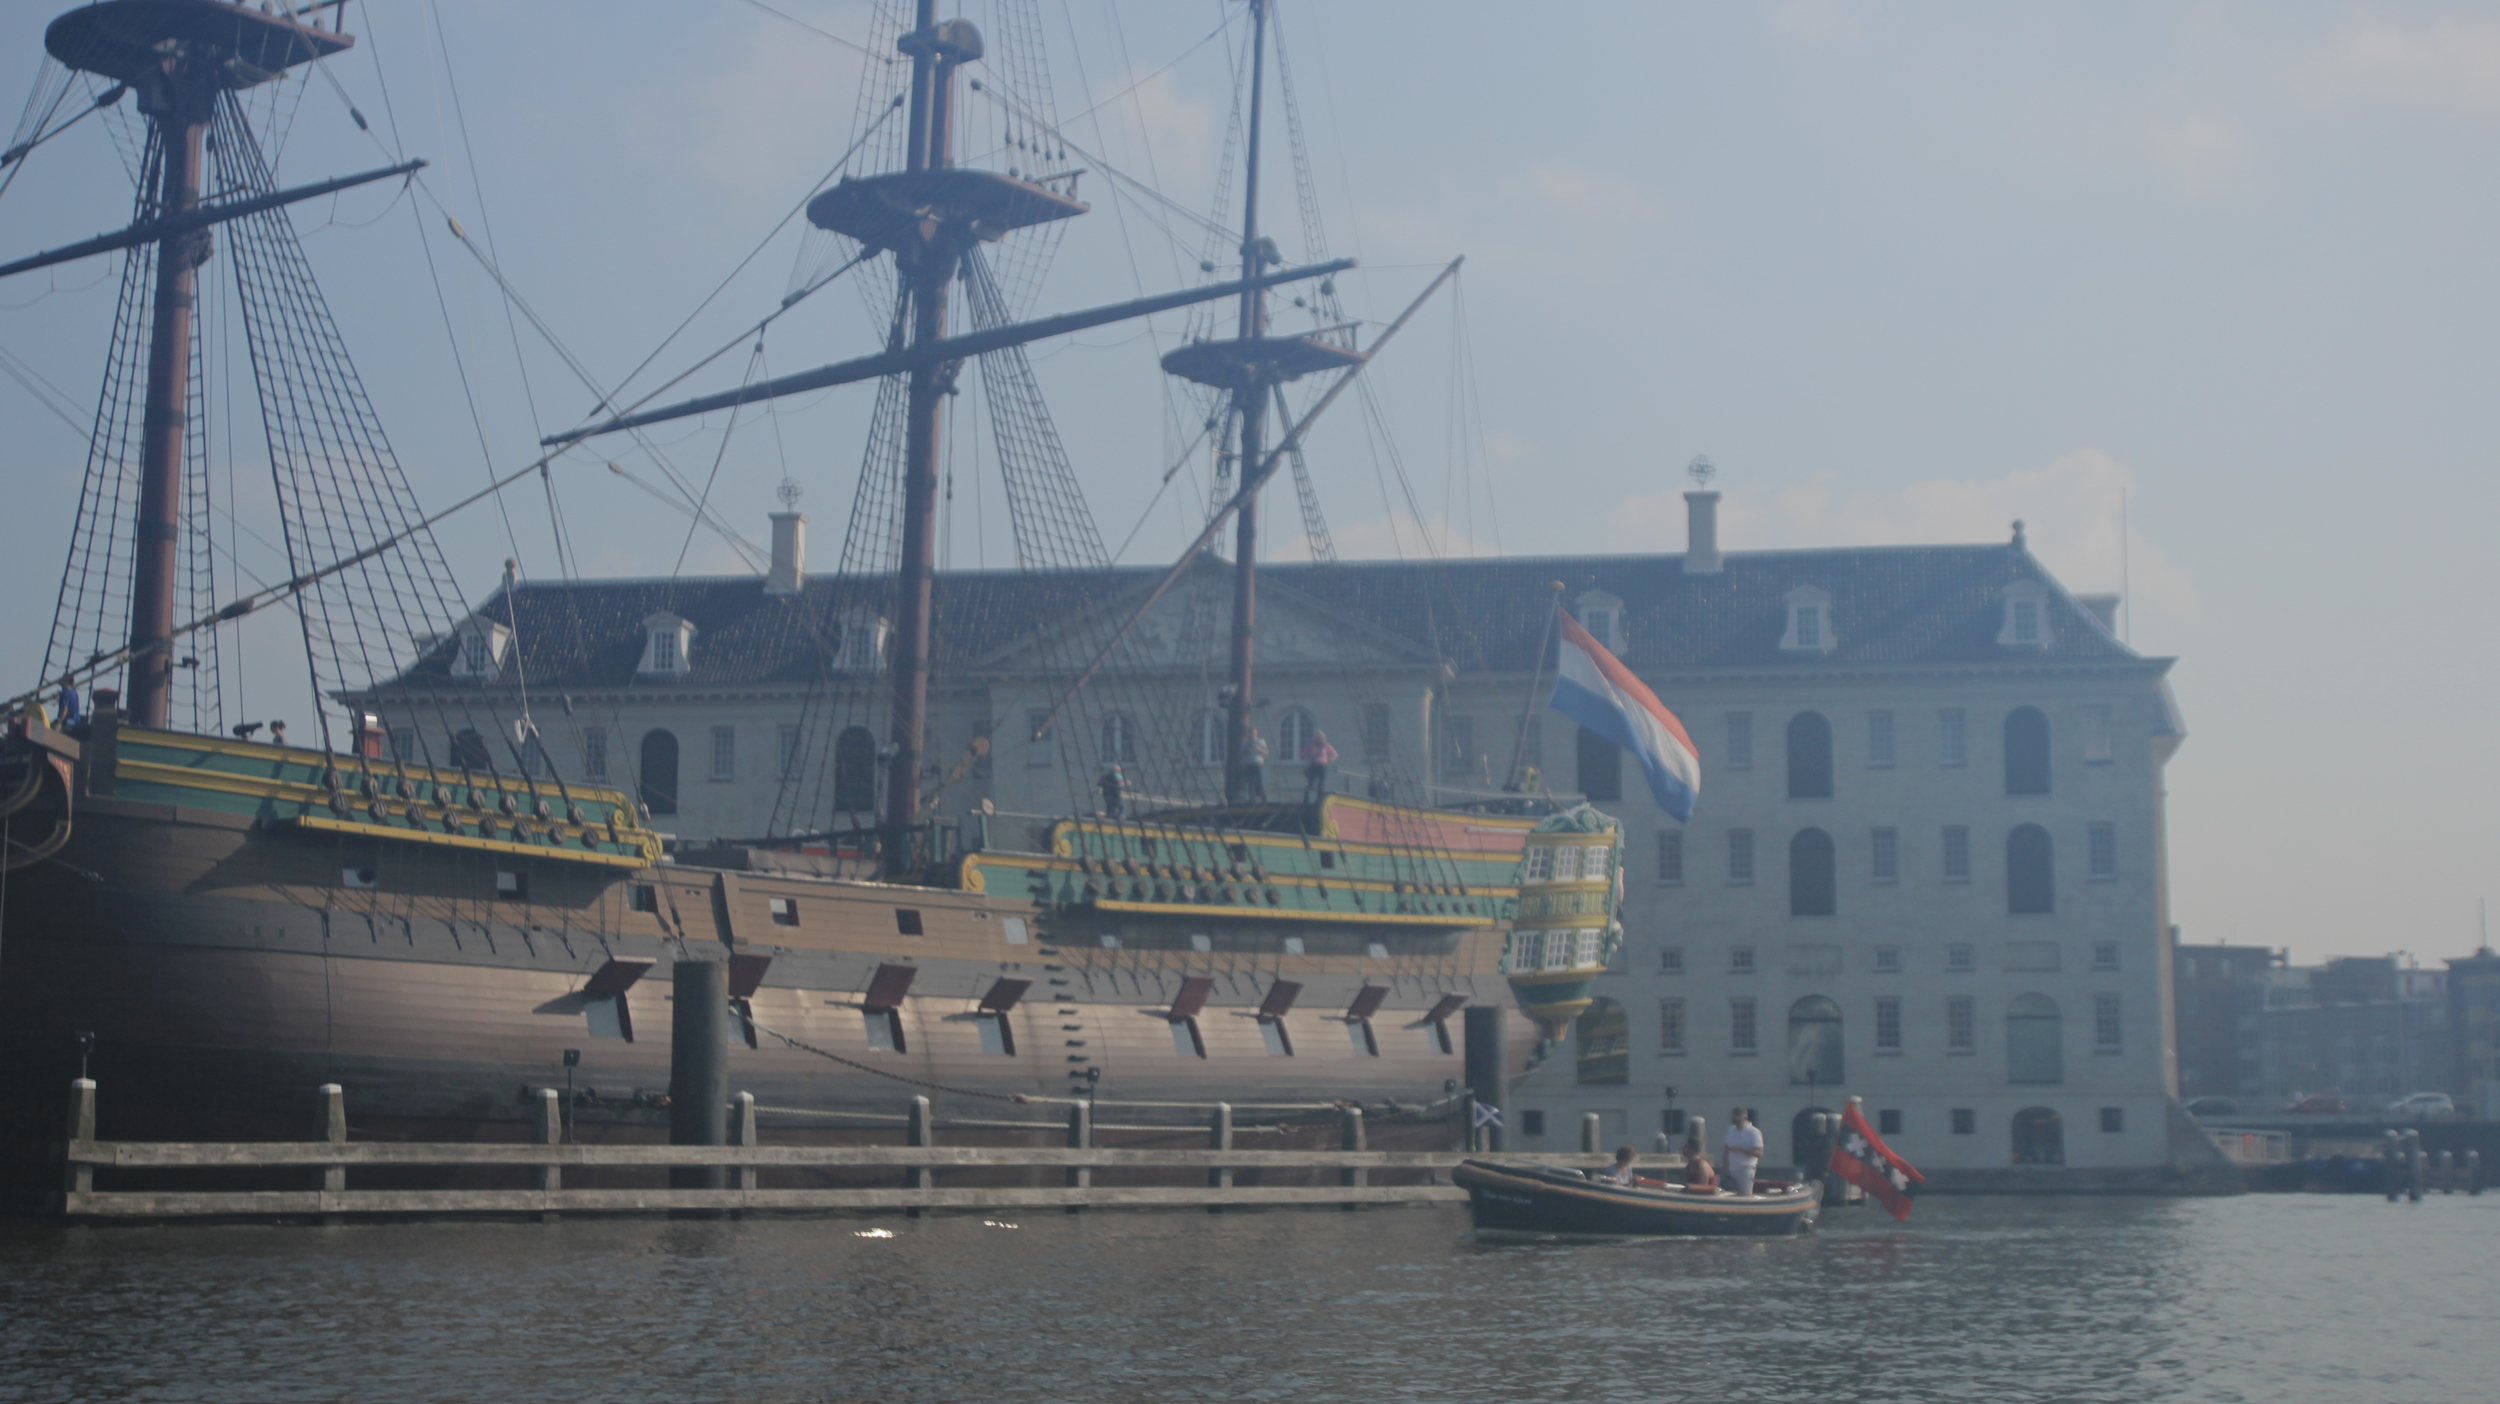
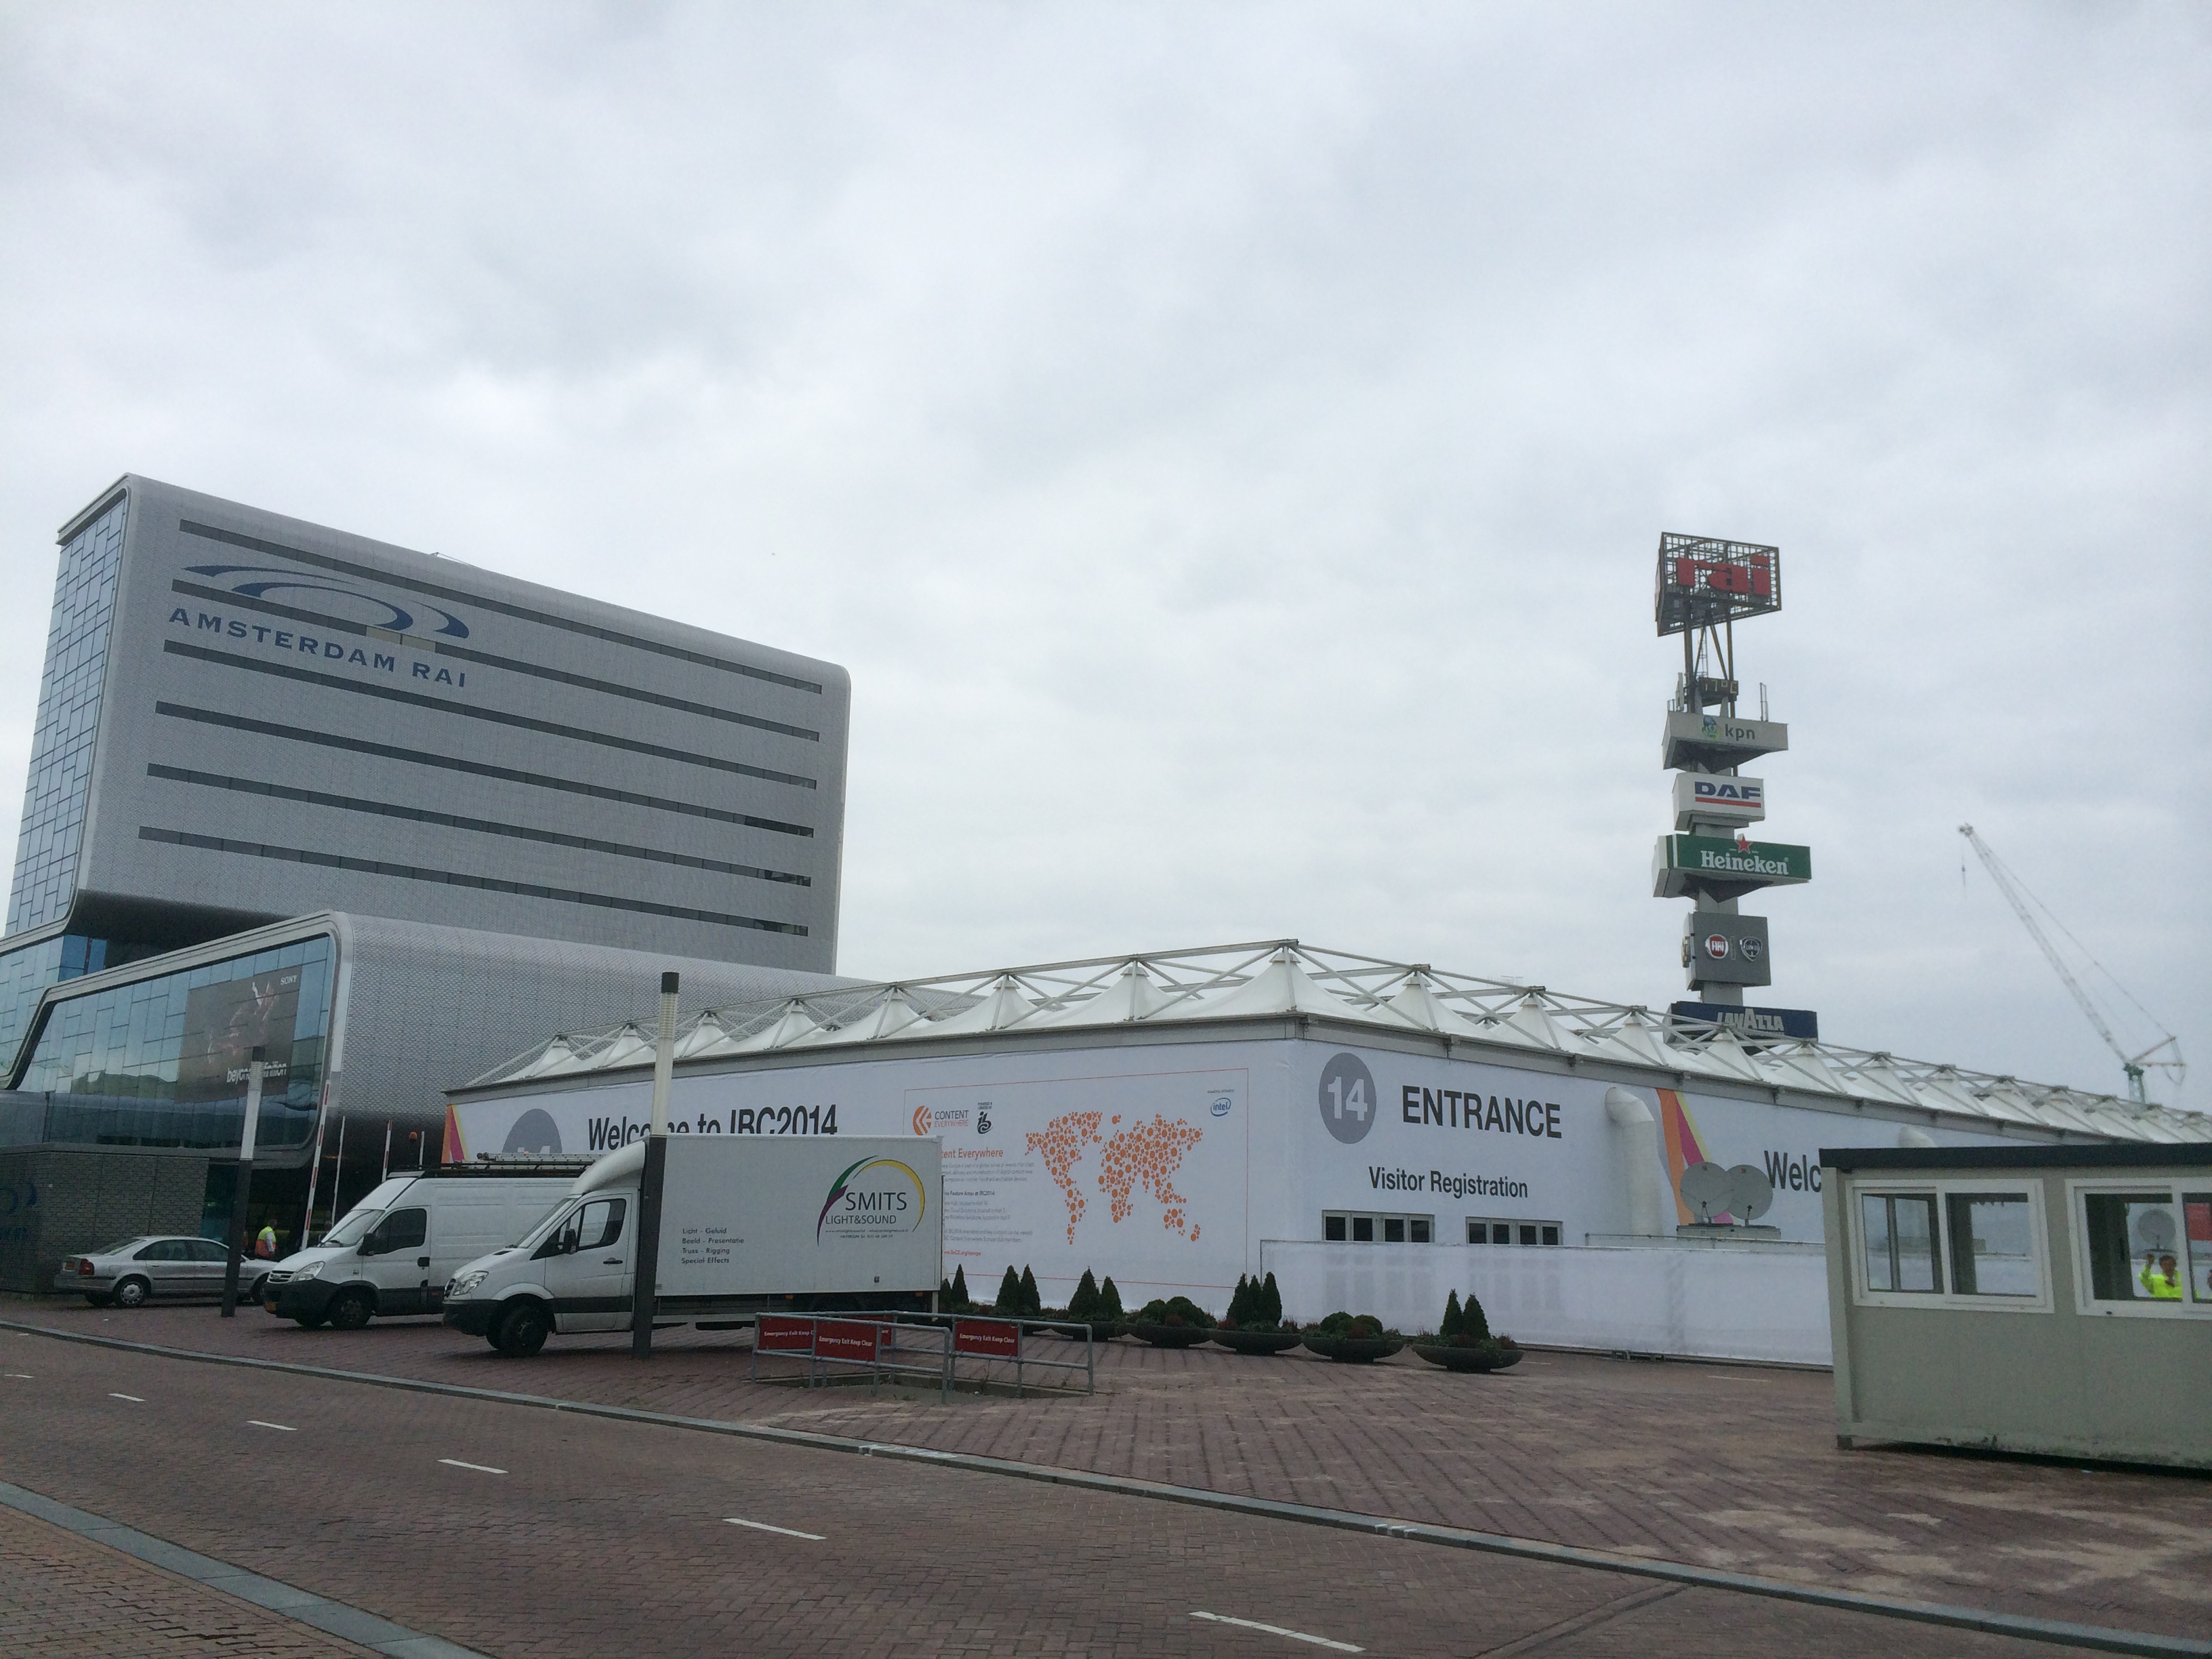
cinema5D - IBC (Amsterdam) and Photokina (Cologne) 2018
We’ve contribued to the worldwide online cinematography and filmmaking website, cinema5D.com for a number of years. Part of the role includes reporting all of the glorious tech news from global trade shows like IBC and Photokina. We produce fast turnaround video edits and articles during the trade shows to ensure cinema5D covers the news extensively and to the highest quality.
Don’t use video? You’re missing out.
Screen Subtitling Systems - Animations Galore!
As it’s written above, we work with Screen Subtitling Systems on a regular basis which includes updating their animations with new products. This animation is core to the global companies marketing and promotion at worldwide tradeshows.
Kempton Park Racecourse - 32Red Winter Festival Stingers
We were over the moon to expand our video productions for The Jockey Club into Kempton Park Racecourse. On Boxing Day and the 27th, Kempton Park Racecourse will play host to the infamous Winter Festival, sponsored by 32Red. We were tasked with producing a range of stings to count down to the festival. The shoot was challenging; a lovely sunny day when we really wanted cloud!
We adapted to meet the racecourses needs by grading the footage and applying effects to give the stings a wintery feel. This was accompanied by custom graphics, again, following the wintery theme.
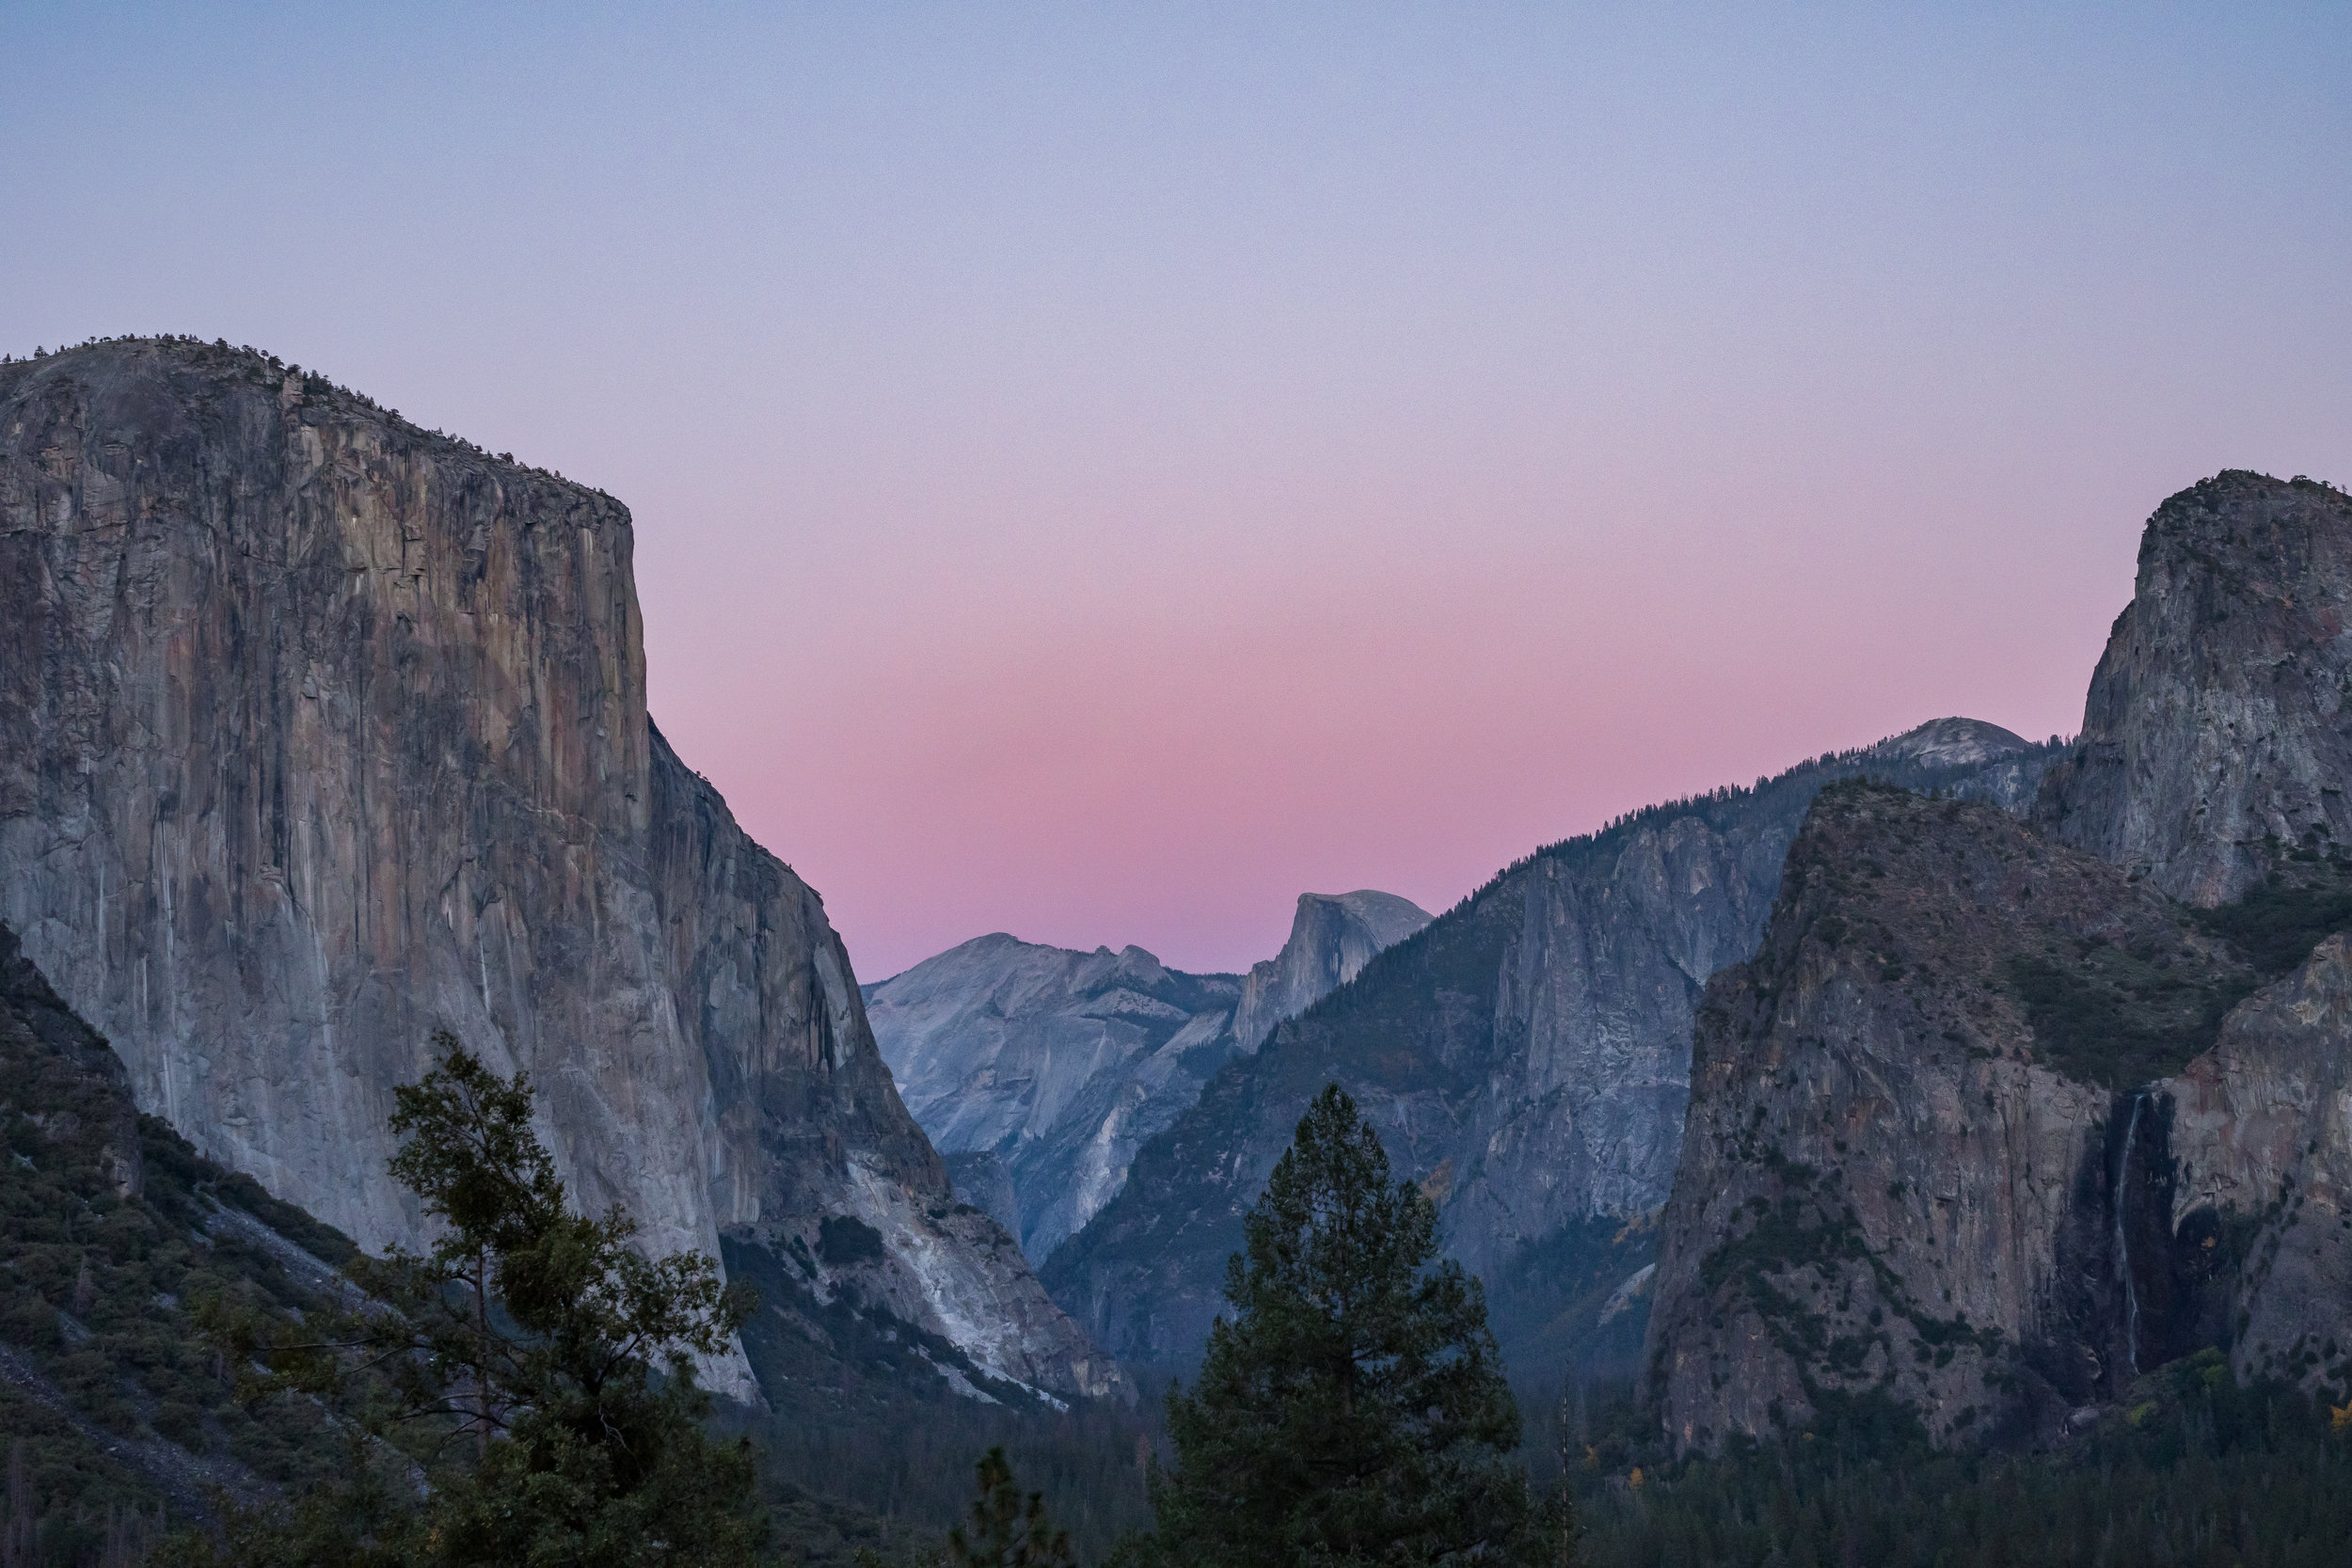
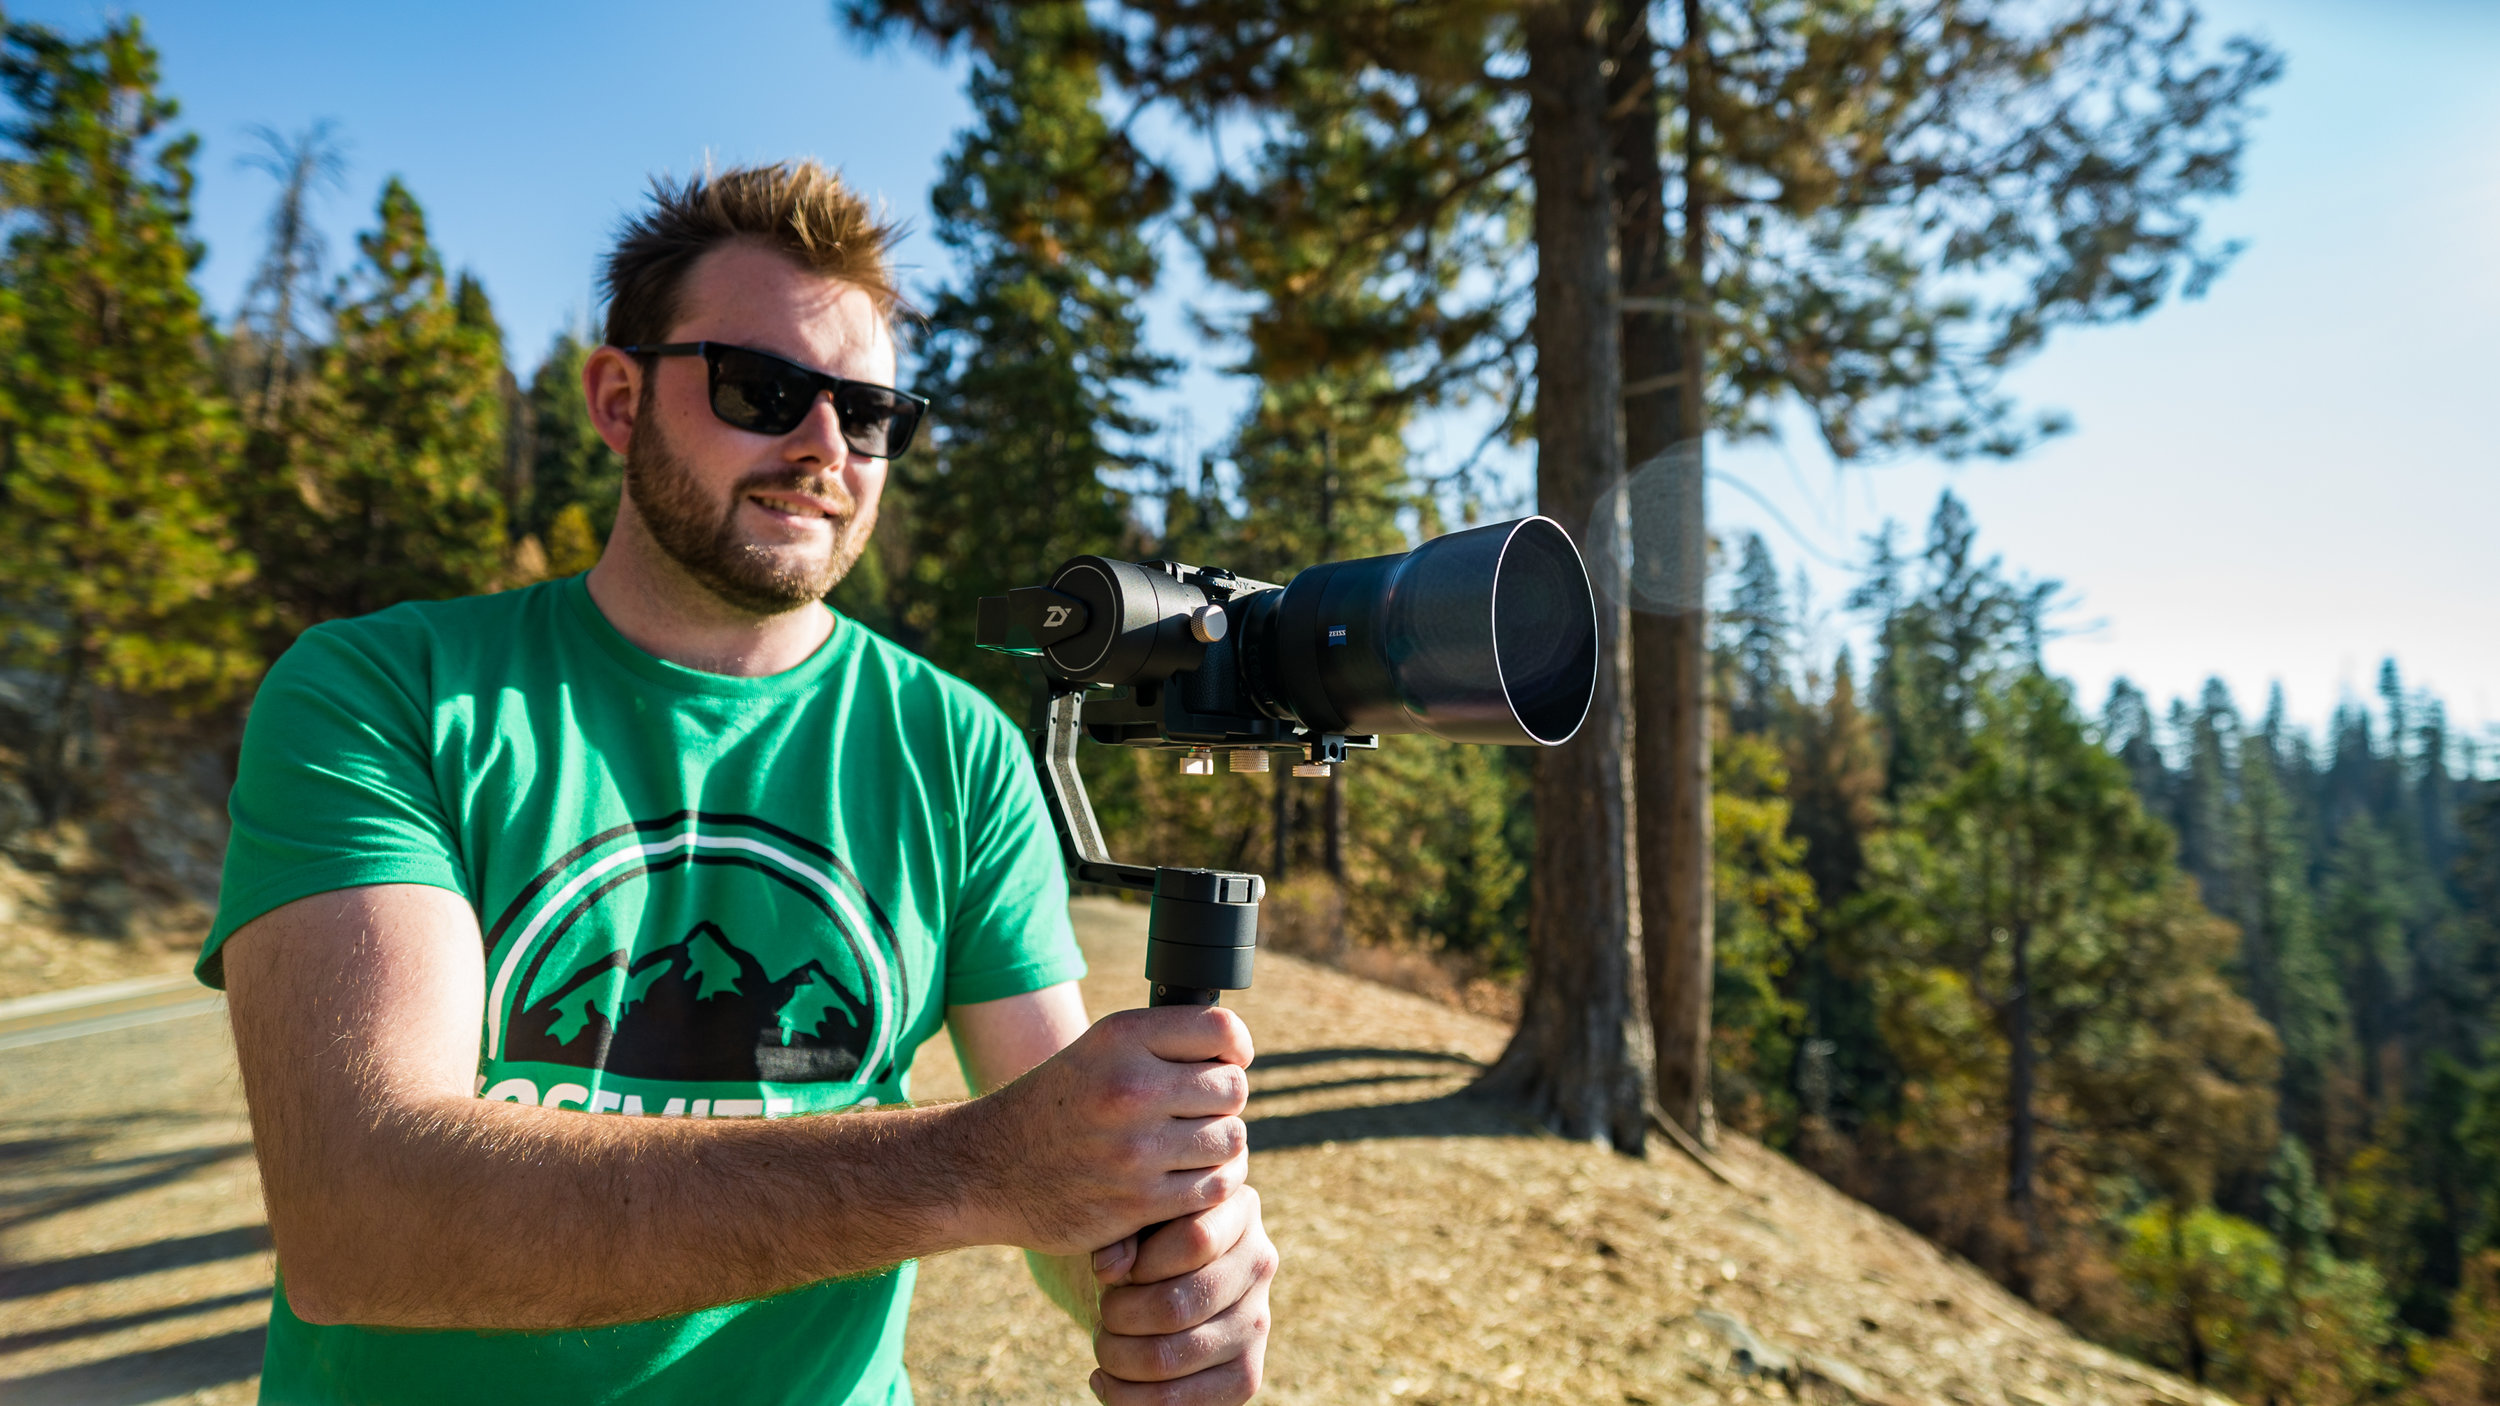
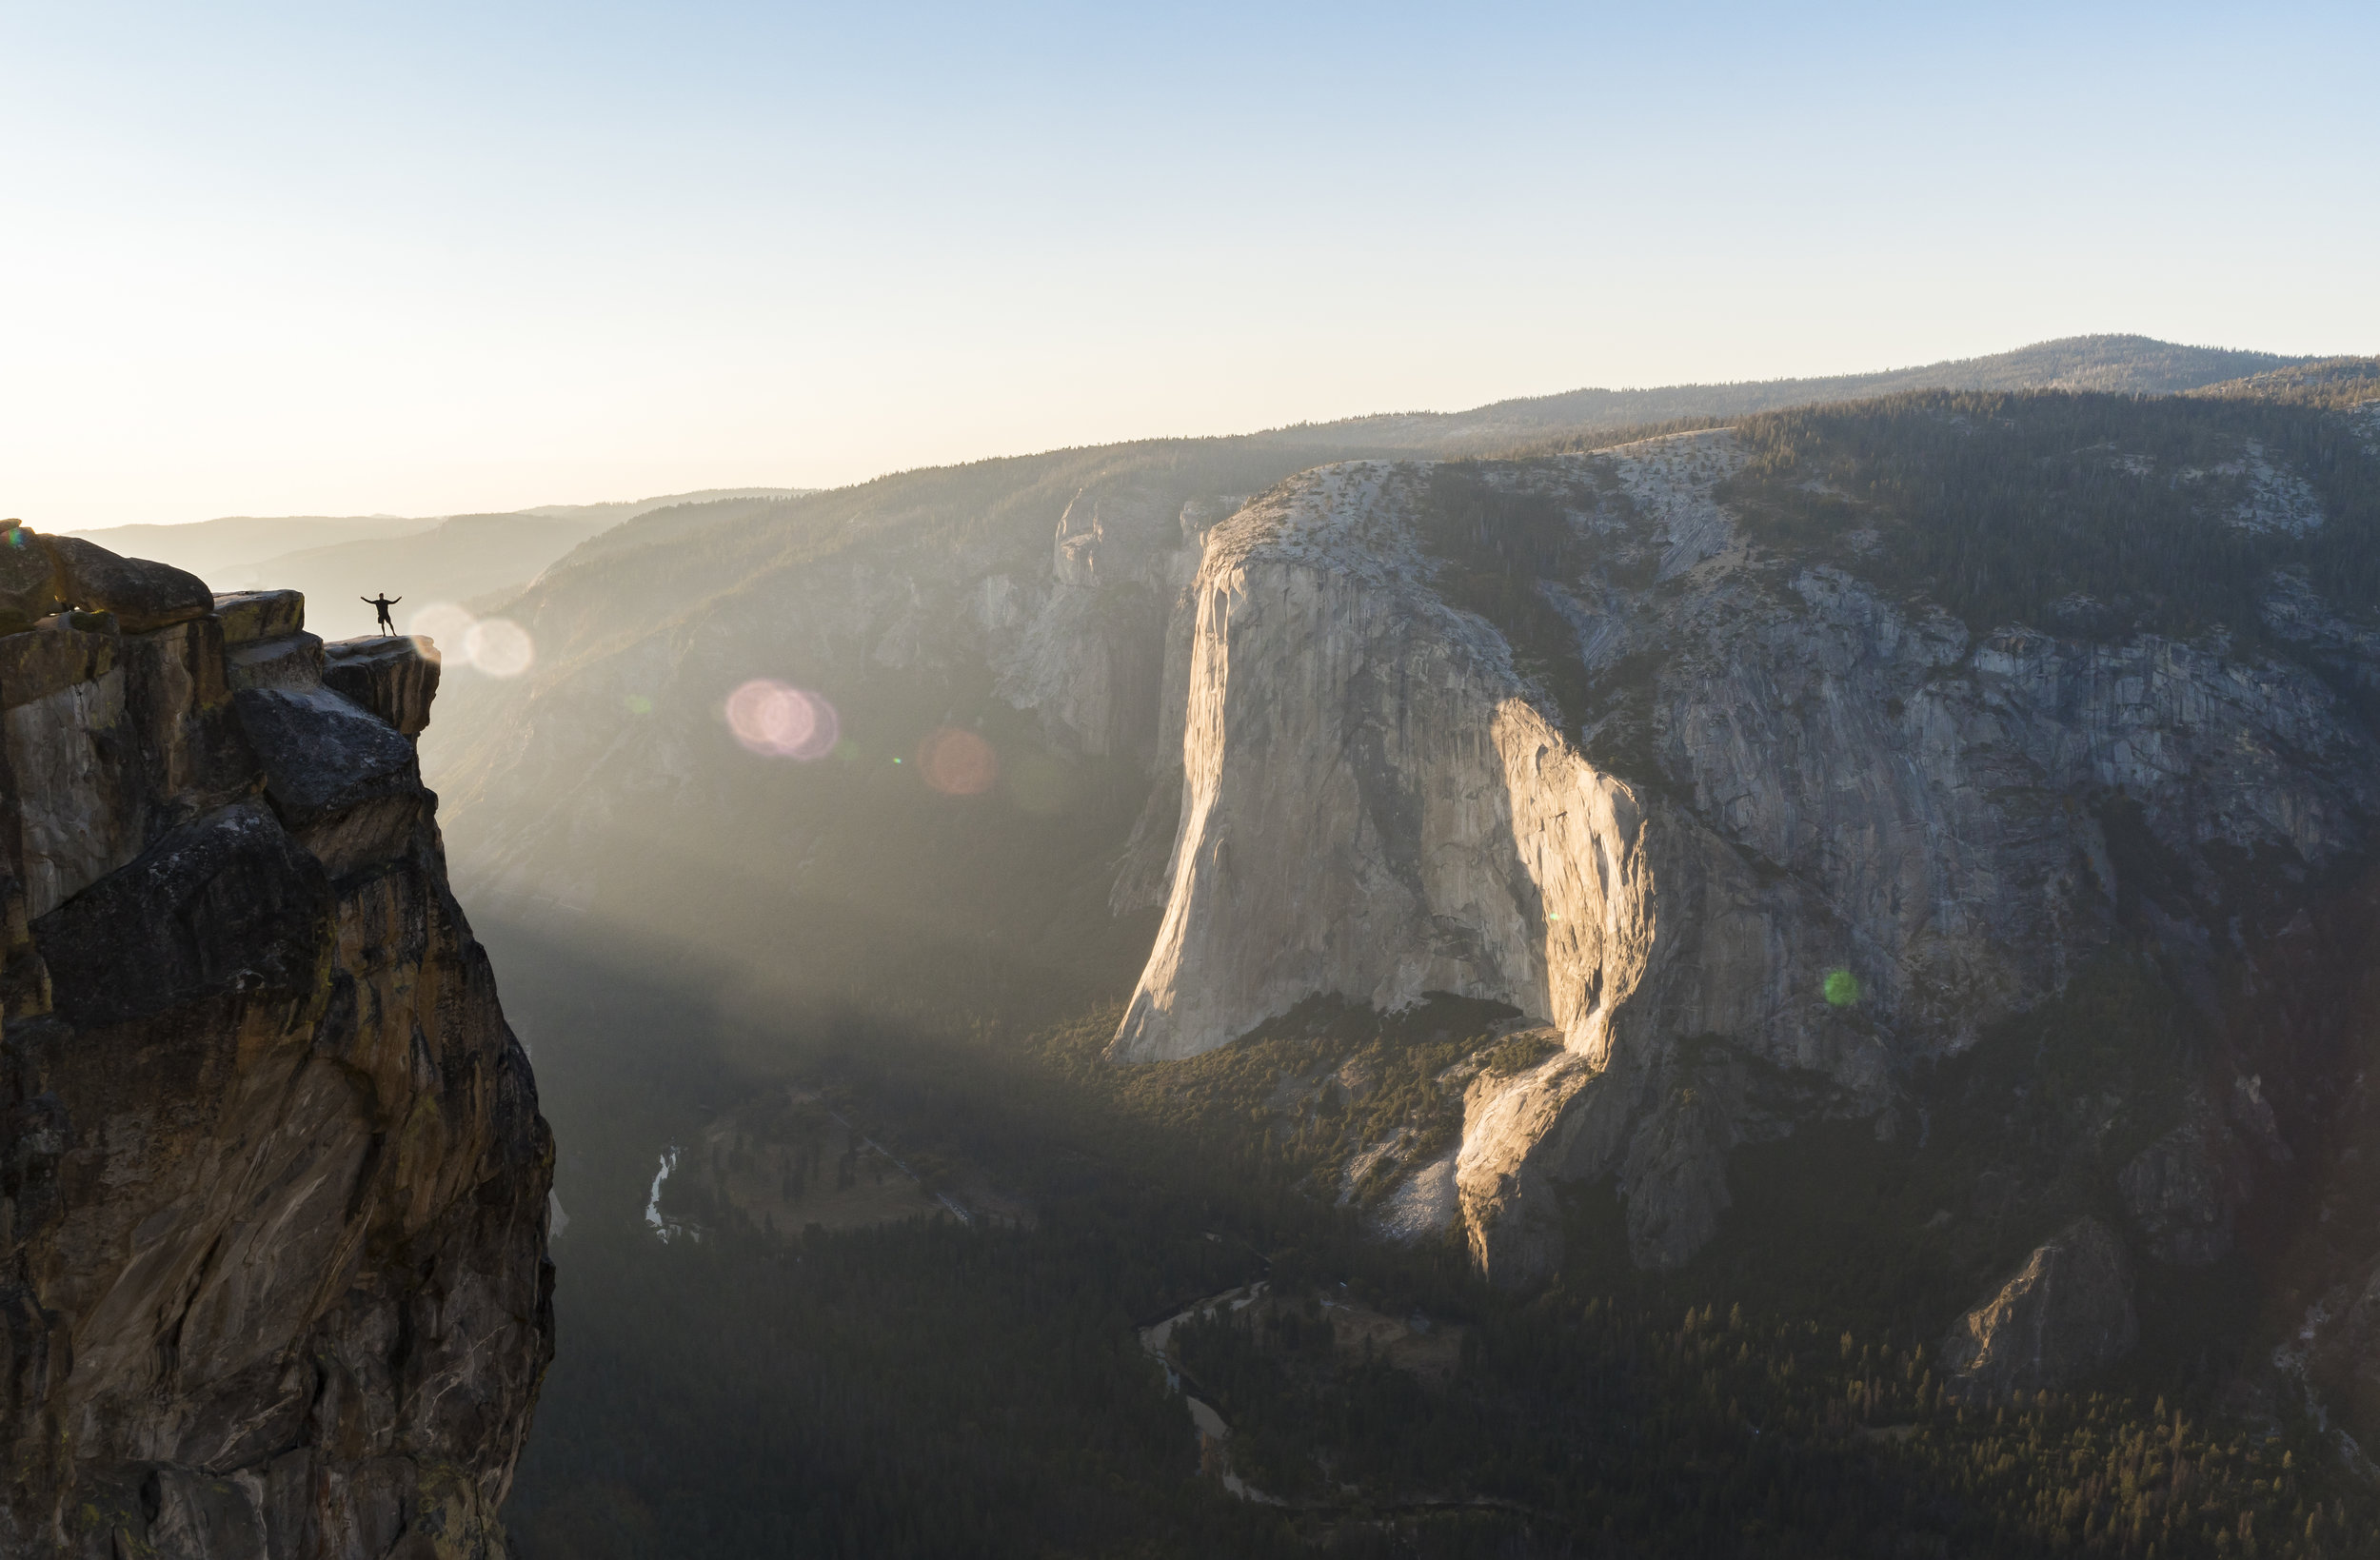
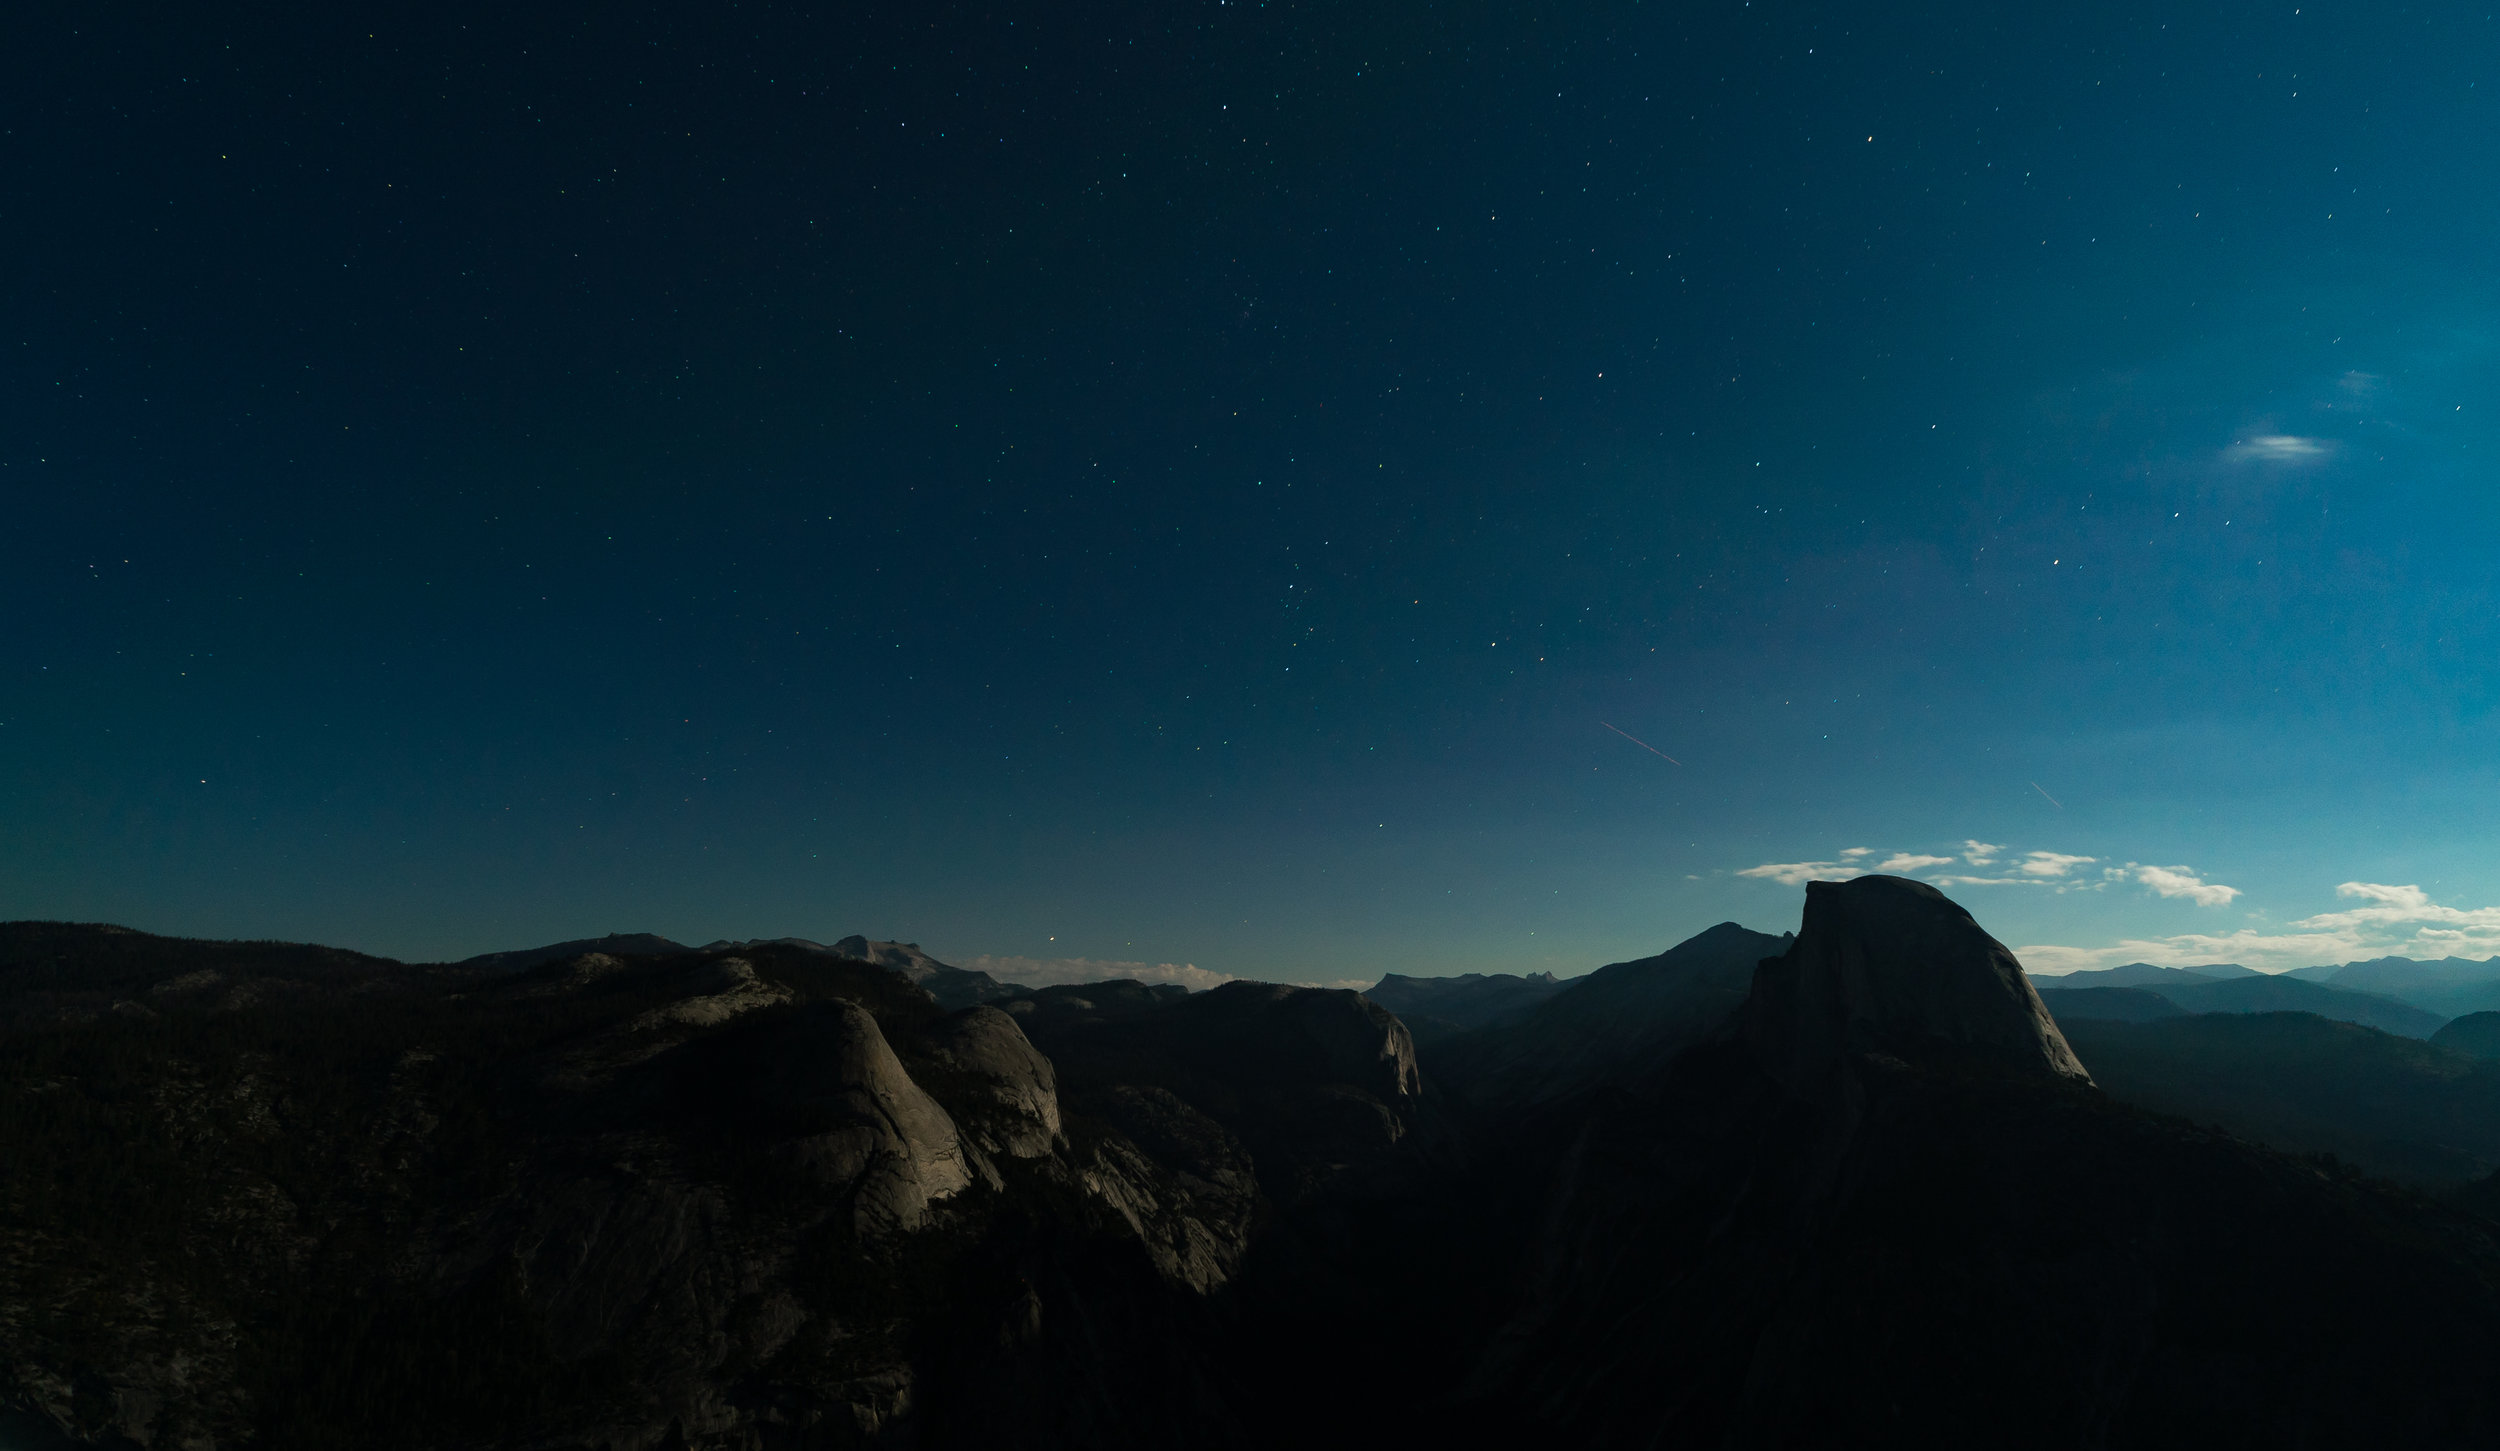
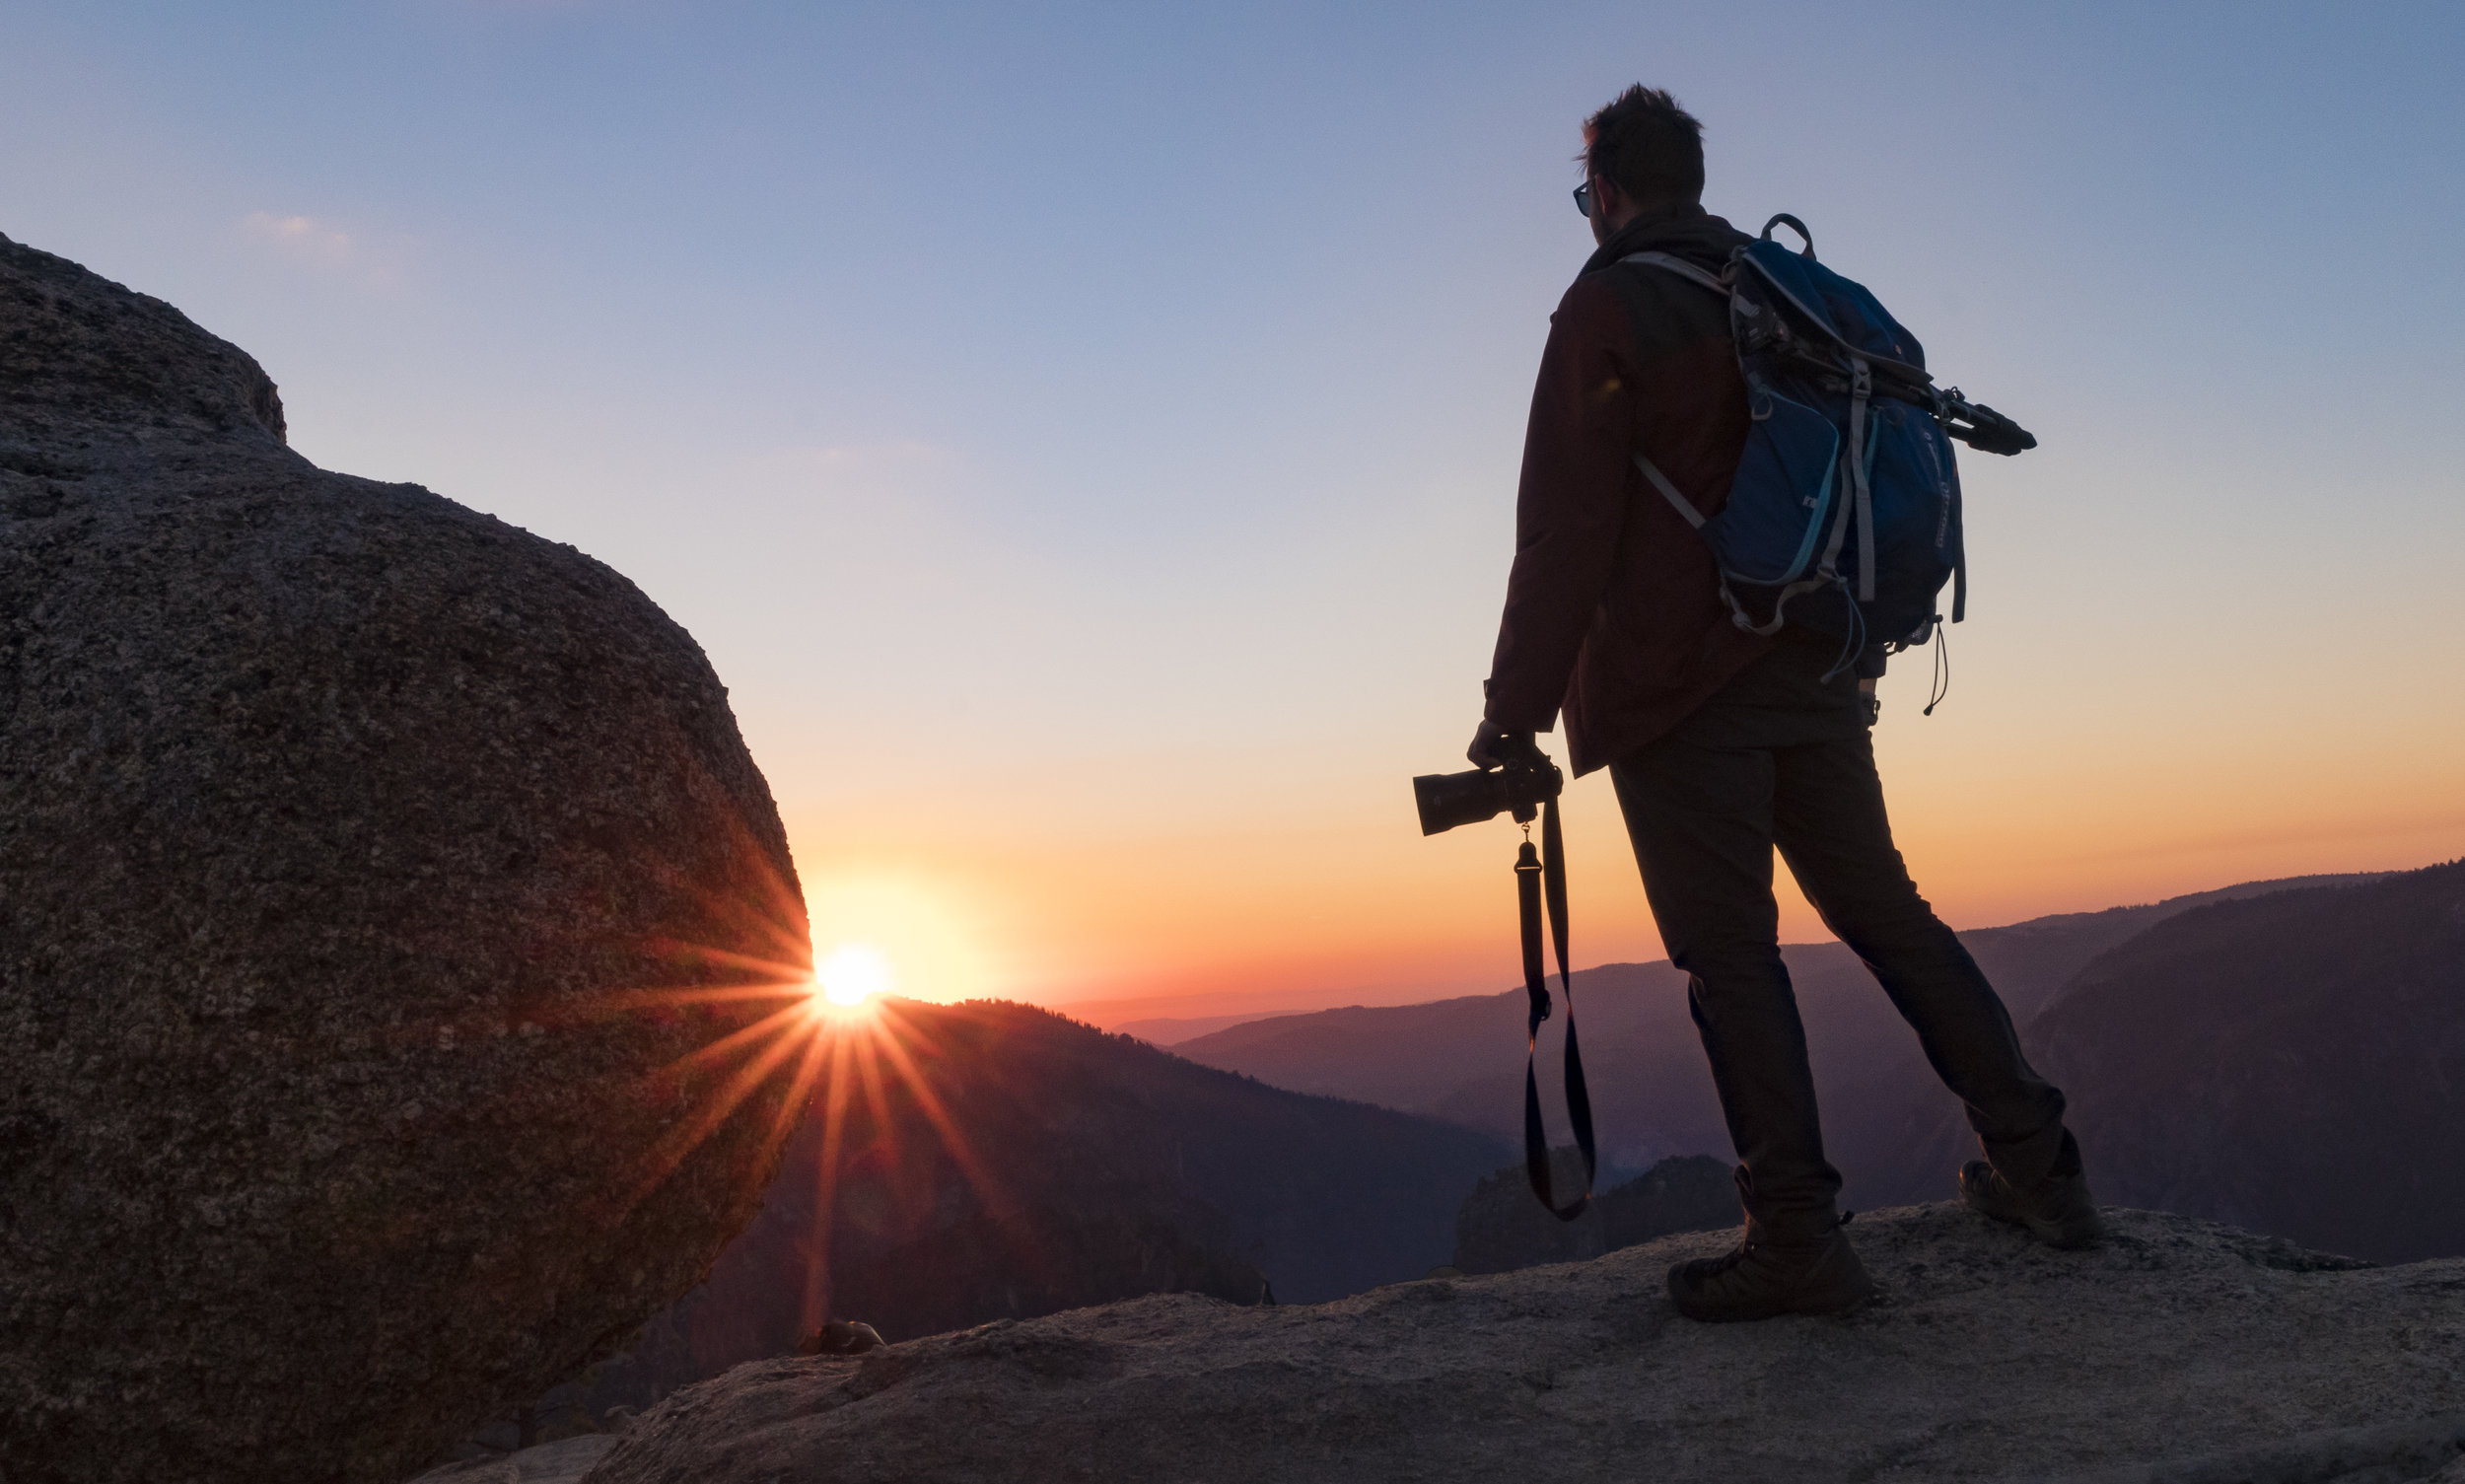
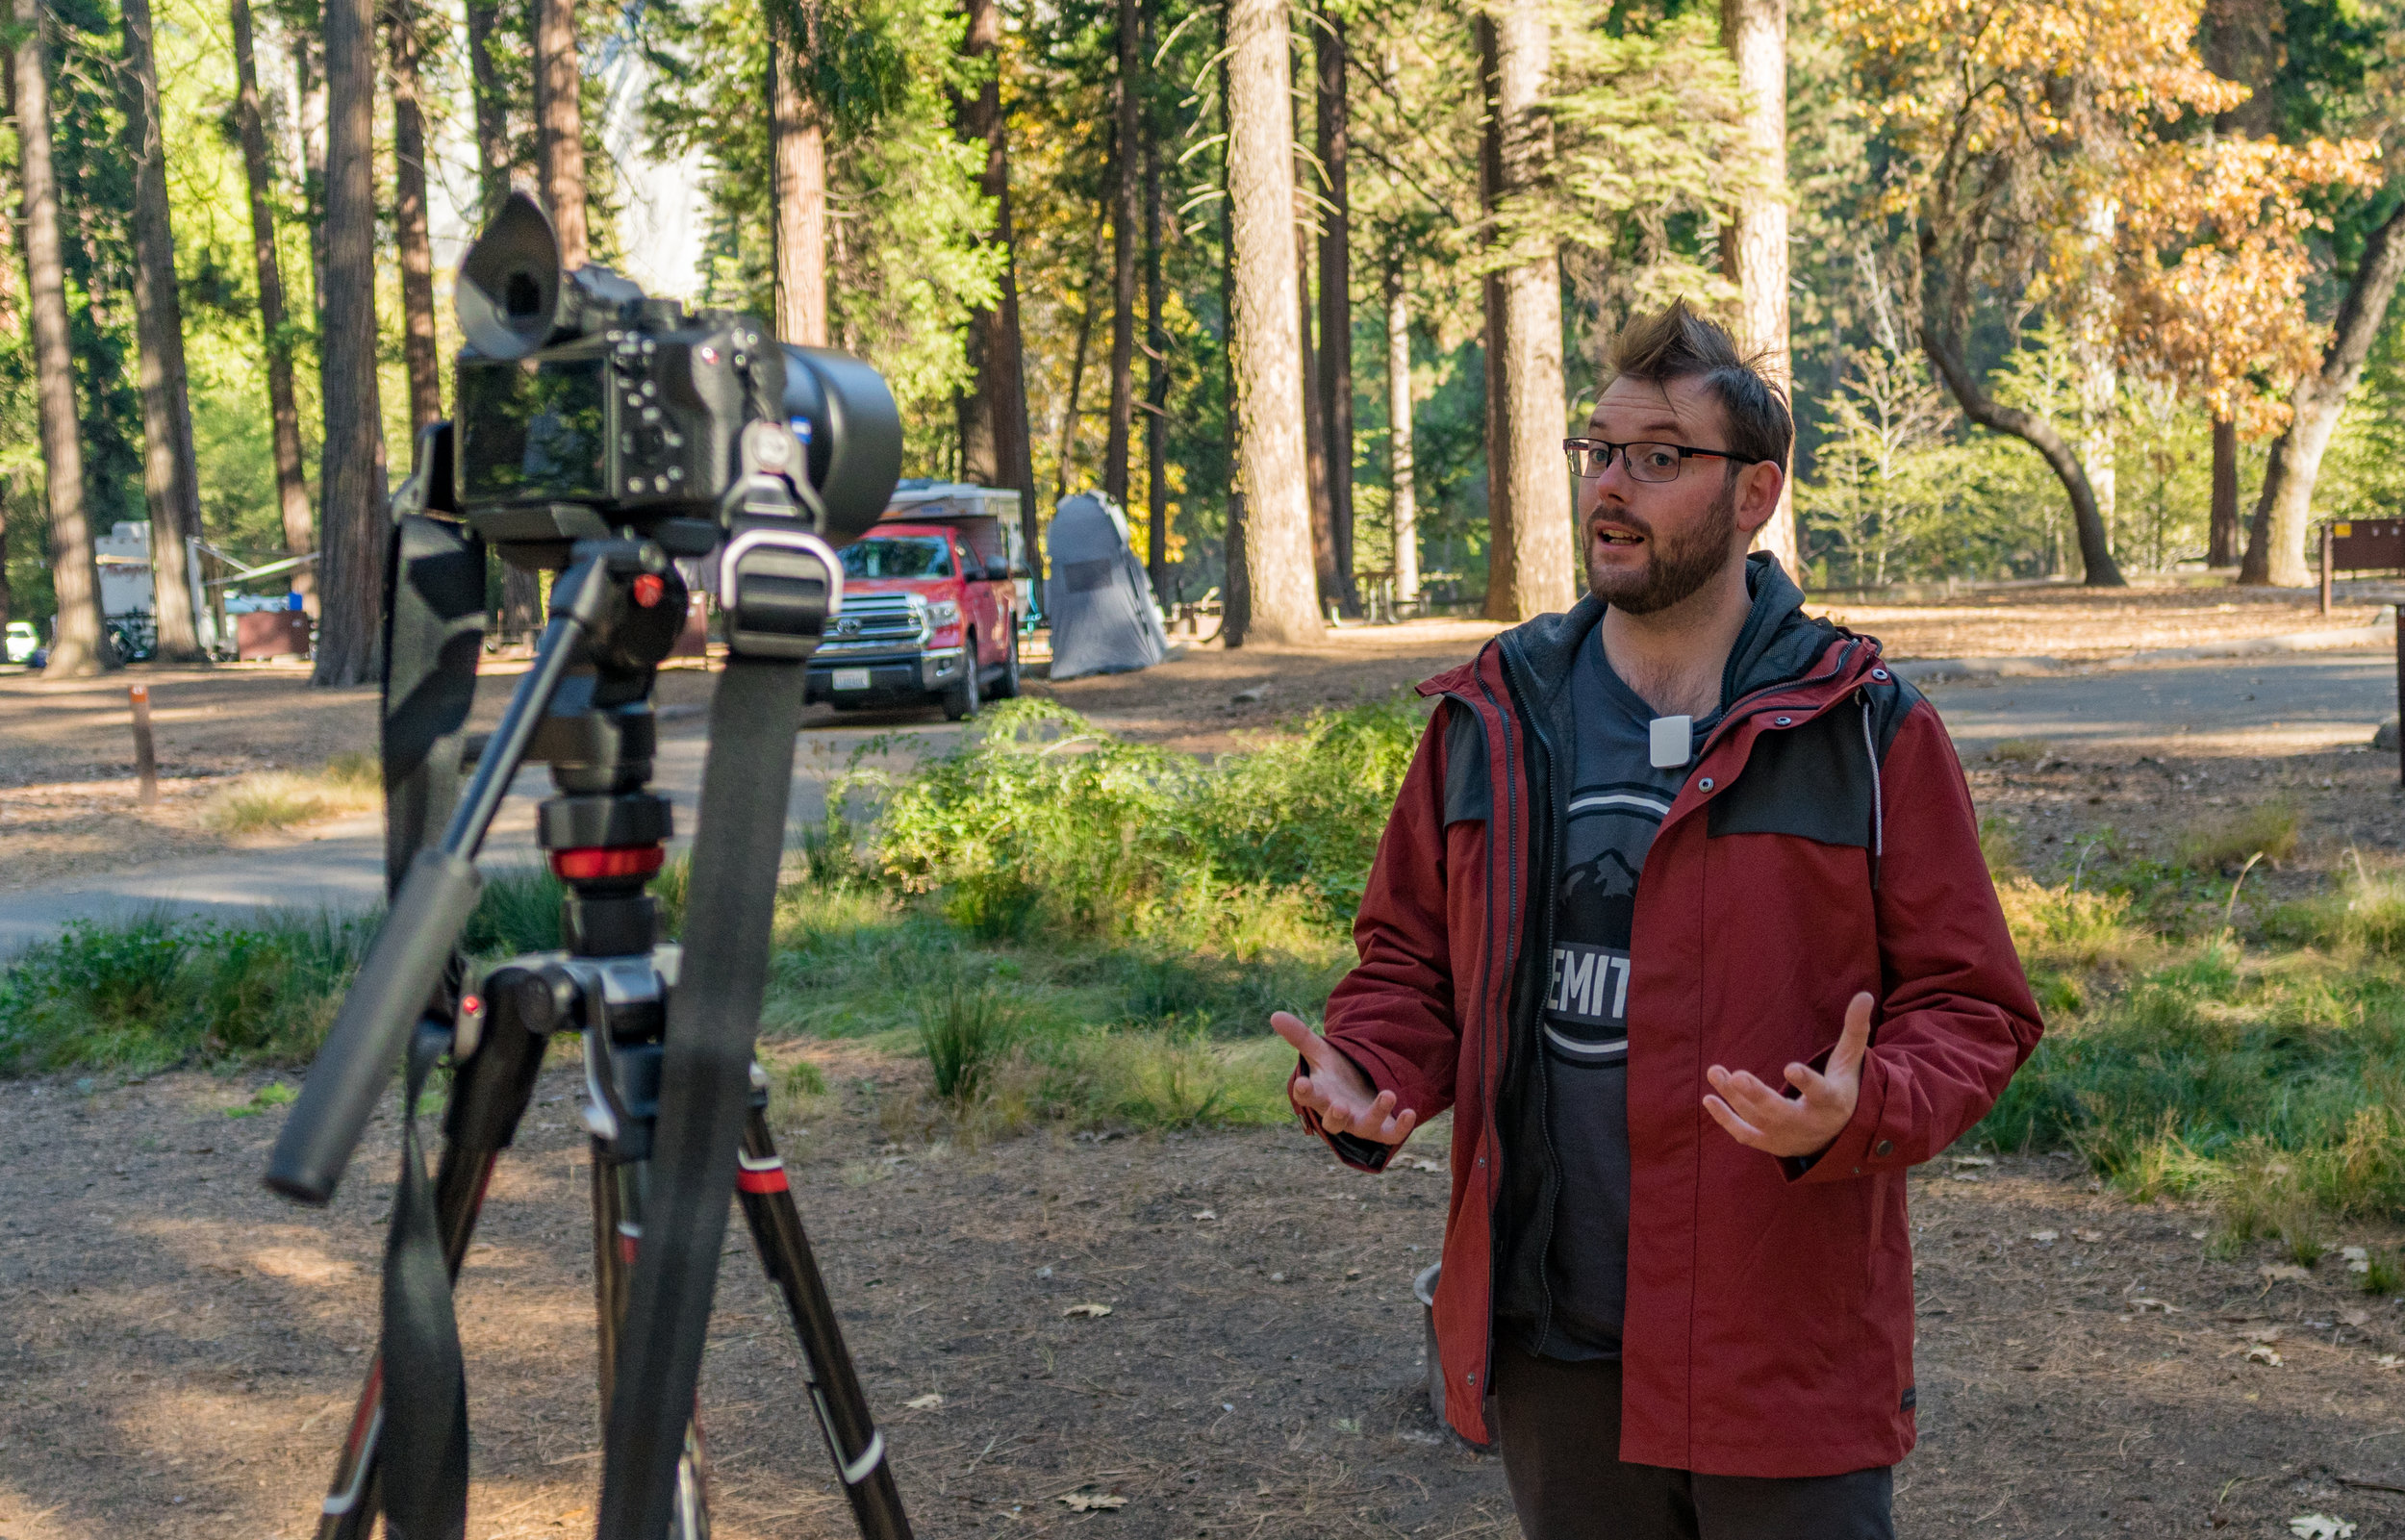
Yosemite - On Top Of The World
In October we travelled to Yosemite National Park on a collaborative project between APVideo, Manfrotto, ZEISS, Sennheiser, GoPro and Zhiyun-Tech. We wanted to demonstrate how to capture incredible photos and video while having an adventure. We were priviliged in using one of the first ZEISS Batis 2/40 CF lenses available, as well as capturing 360 degree sound using the Sennheiser Ambeo Smart Headset. This project is currently in the post production stage.

APVideo Wins ‘Best Business For Design or Technology’
We are over the moon to have been recognised for our hard work at the business awards! We support both local and global businesses, organizations and events with bespoke video content, and getting the award brought home all of the hard work we put in for our fantastic clients.

The Ashley Centre - Christmas Light Switch On
For the last four years we’ve worked with The Ashley Centre, another local business in Epsom to capture the Christmas Light Switch On. It’s family fun at it’s best with entertainers, the pantomime cast and of course Santa! It’s wonderful to support another local business.
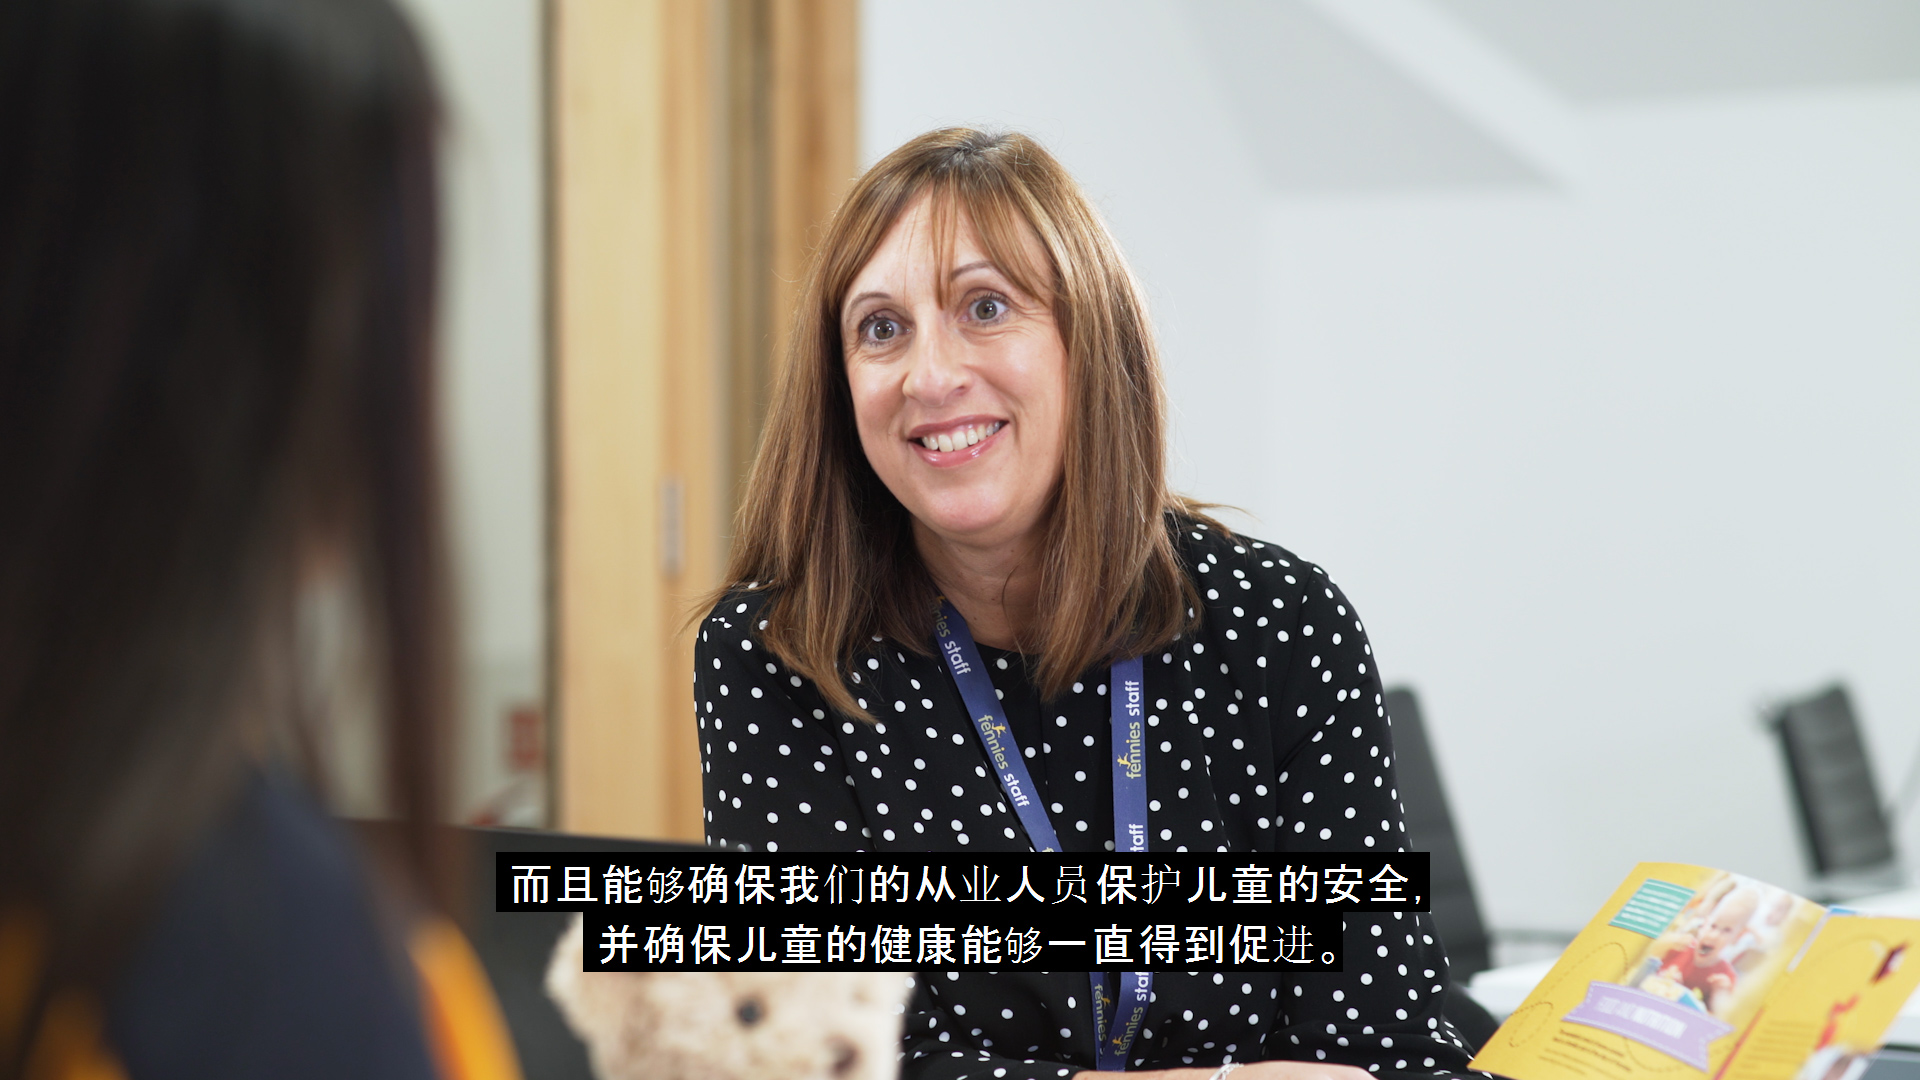
Fennies International - Multi Language Video Poduction
Fennies is expanding internationally, and with that they wanted a narrative based video production with multi language subtitles. From start to finish, we worked closely with the Fennies marketing team to develop the storyboard, narrative content and the creation of the subtitles in both English and Chinese. We provided a range of video delivery options including ‘burnt in’ subtitles in both languages, as well as the subtitle text files for use on online video platforms.


To Review…
As you can see, APVideo has had an incredible year, and we can’t wait for 2019 to start so we can continue the filmmaking adventure. We’re looking to invest into more equipment, expand our team and continue to grow to be the most successful video production company in Surrey.
As well as all of those video productions (and more we can’t share just yet), we’ve also been very grateful to work with our filmmaking friends like Teralon, Warner Vision, JHWF and providing guest lectures and workshops at Kingston University. Collaboration is key in this industry, and we’re always looking to join new teams and crews to produce fantastic content.
So, you’ve seen what we do, let’s work together to create something amazing.
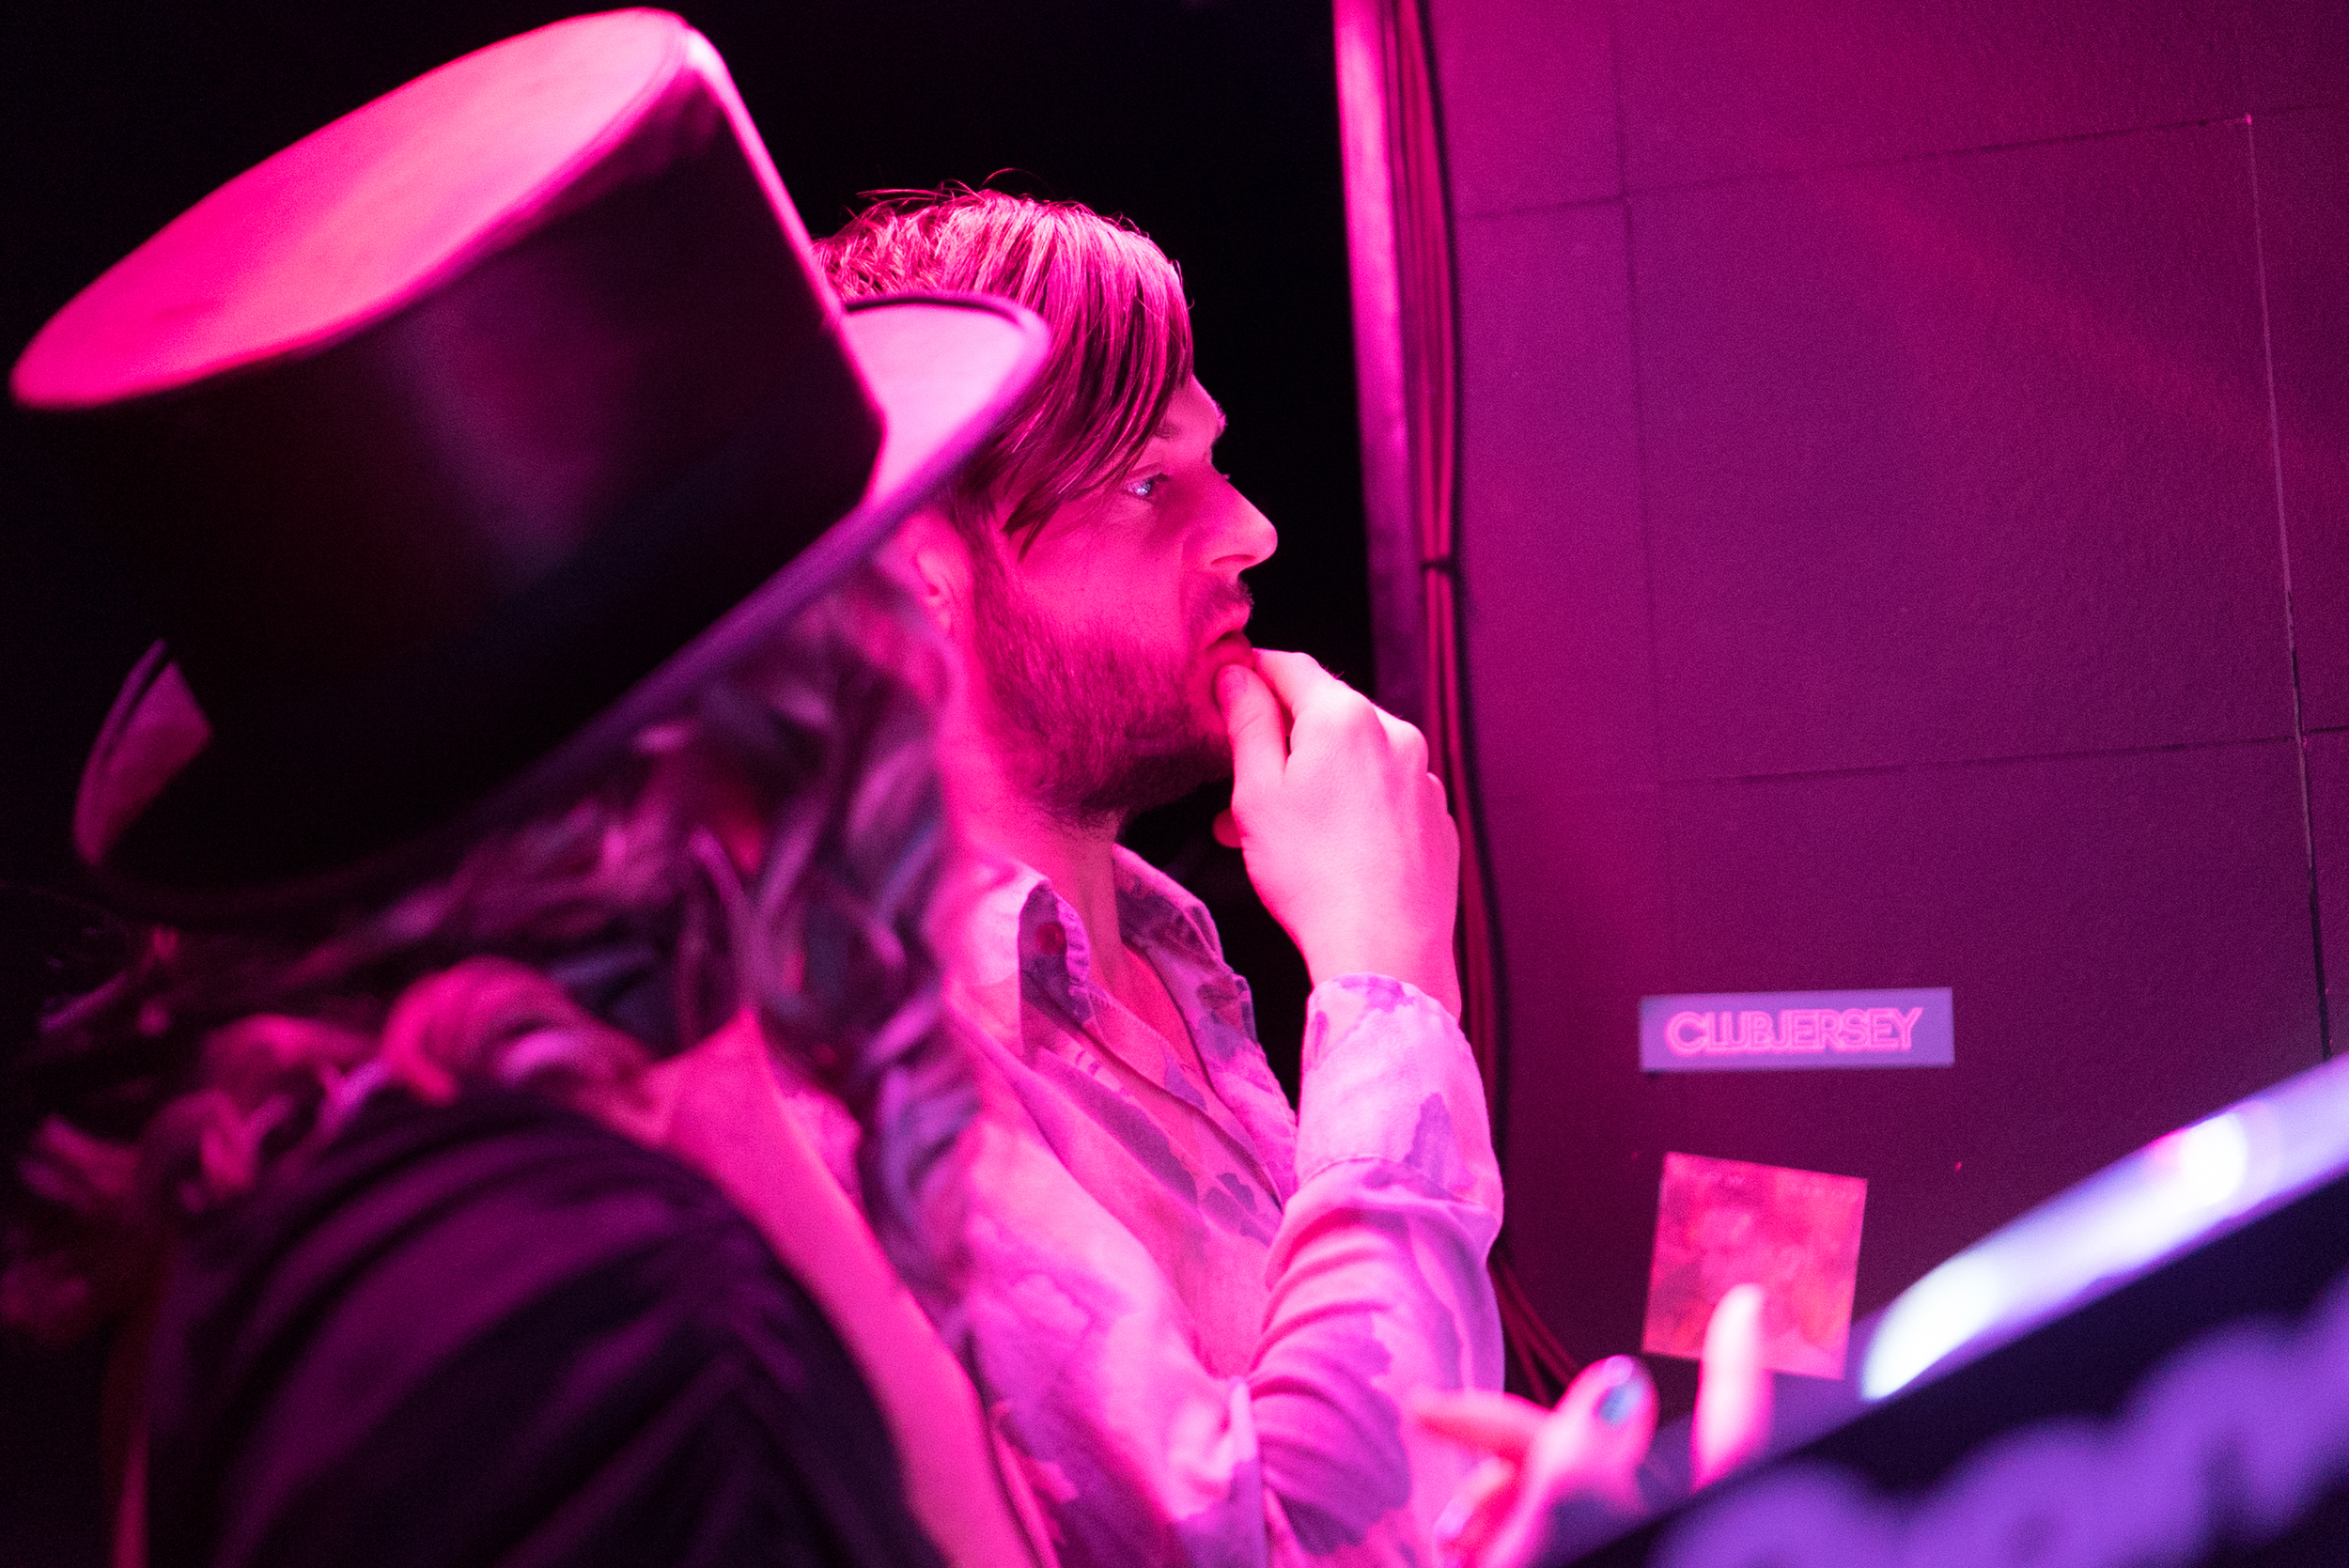
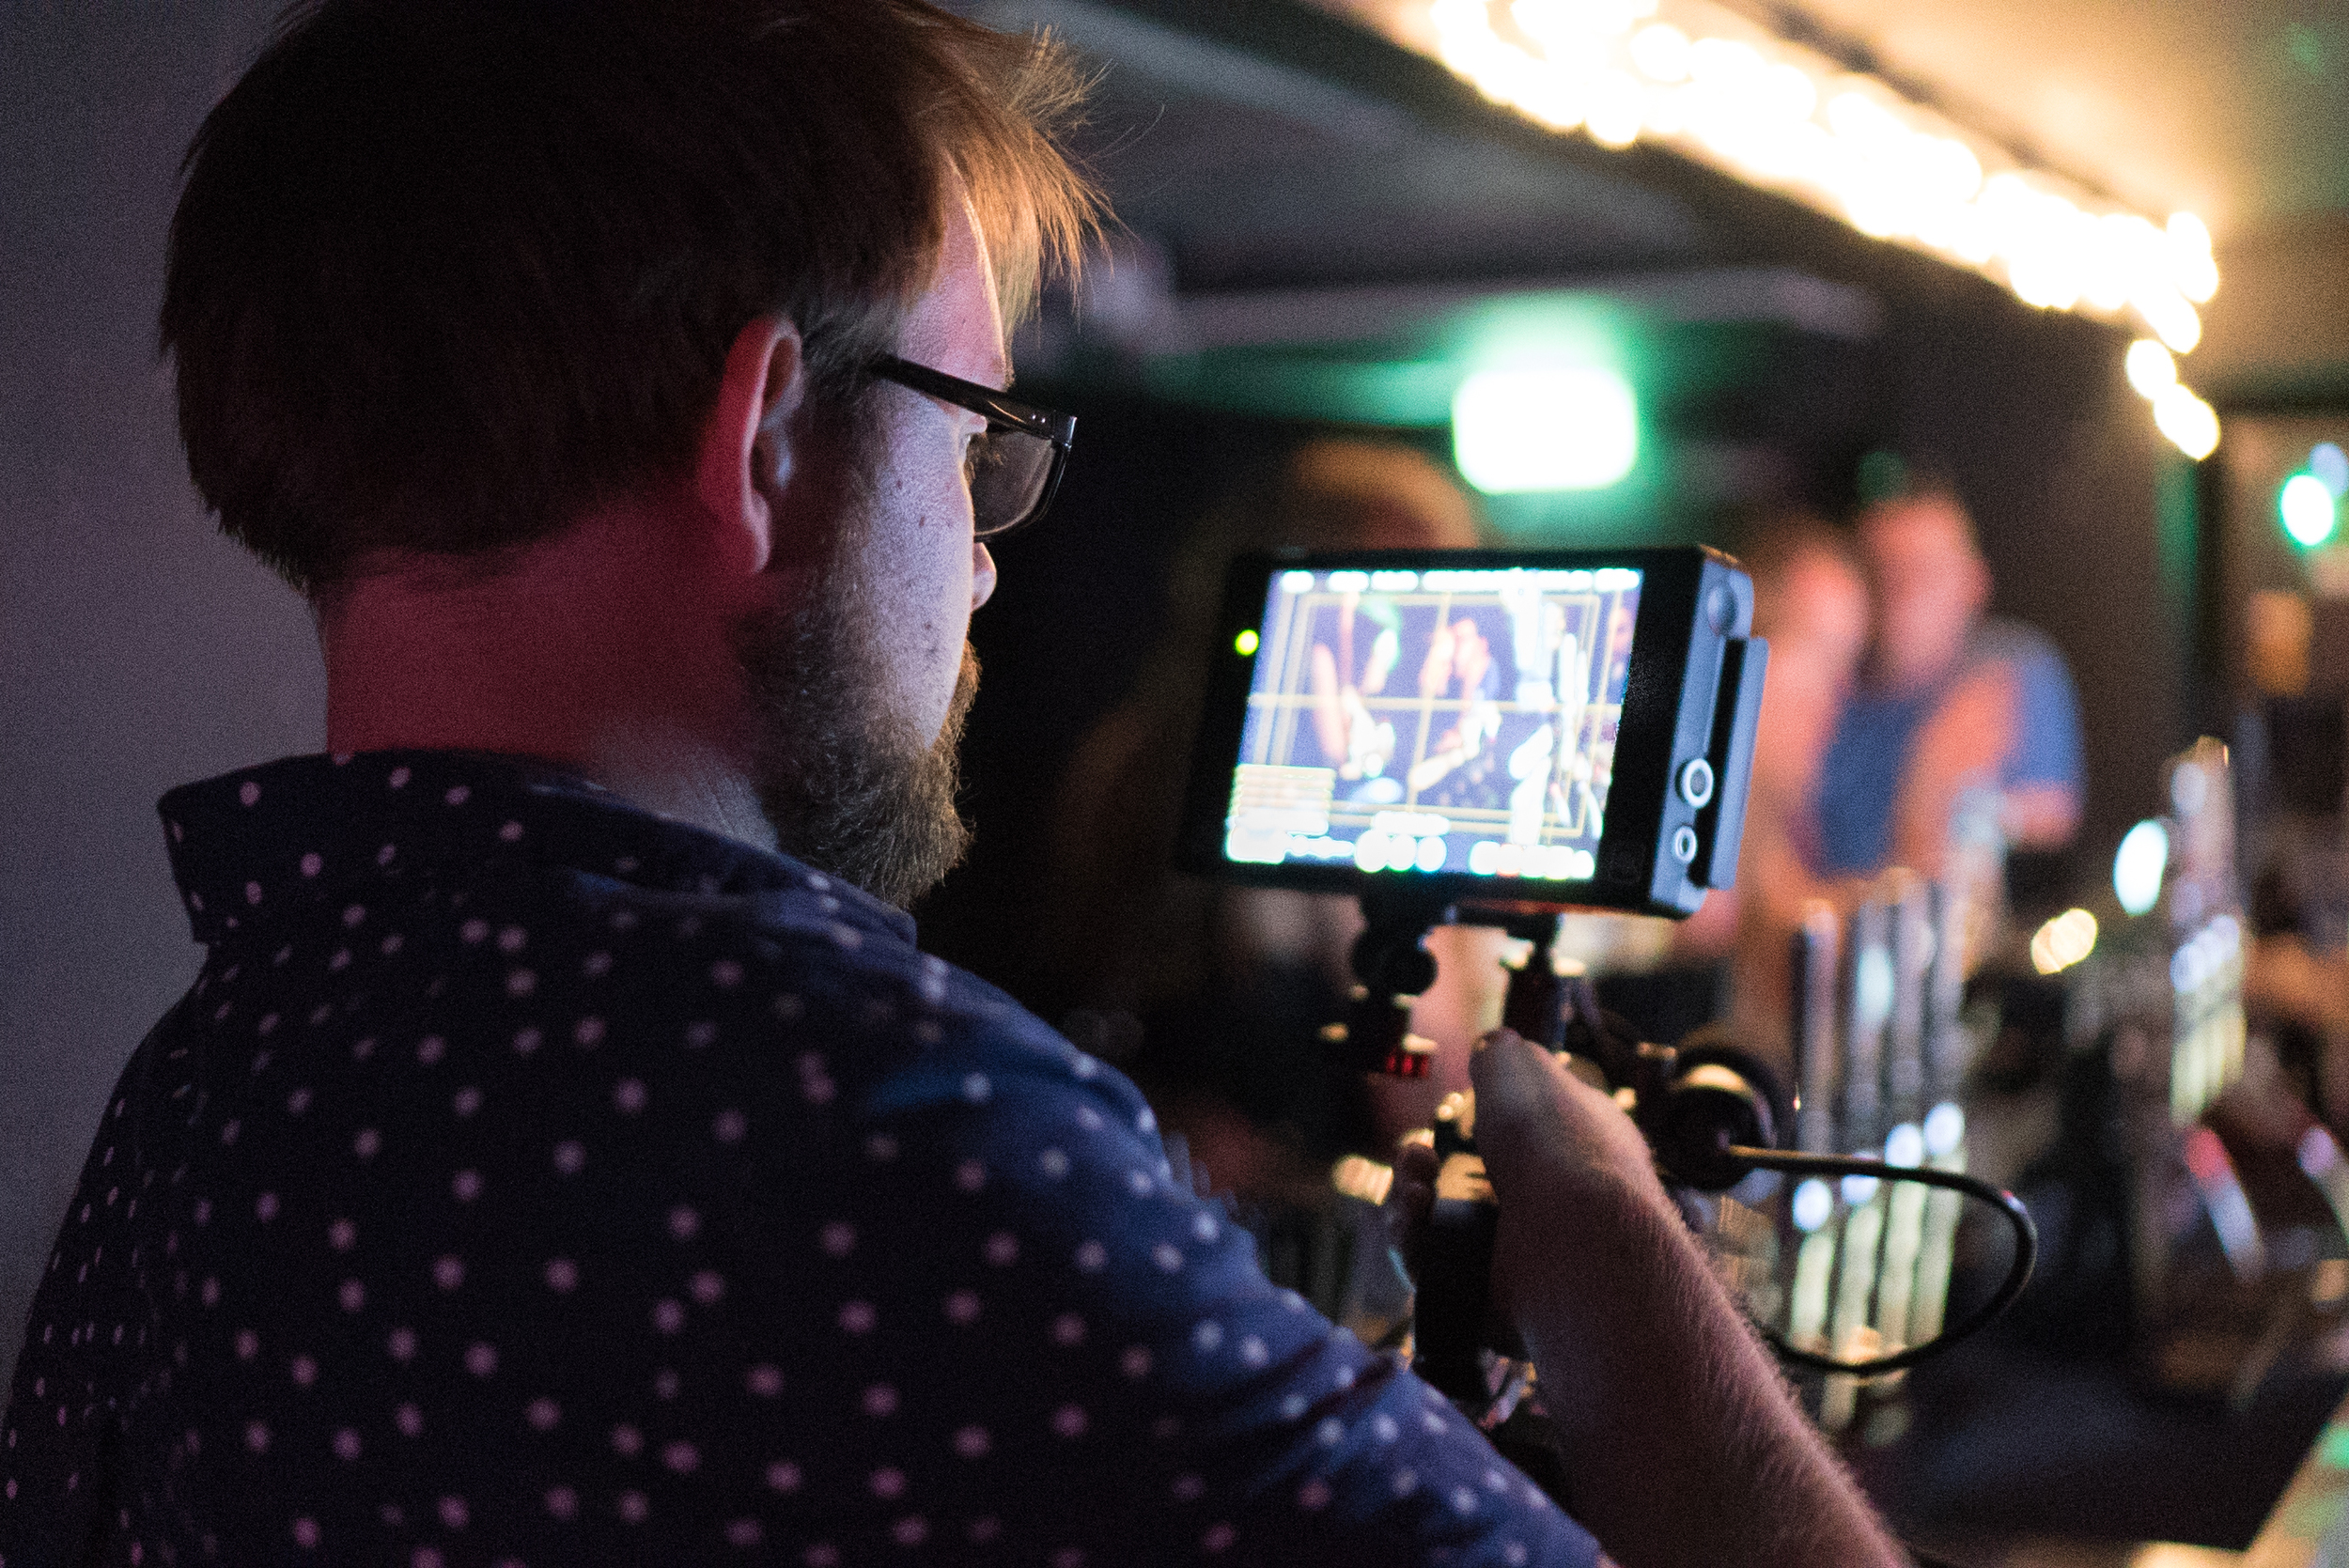
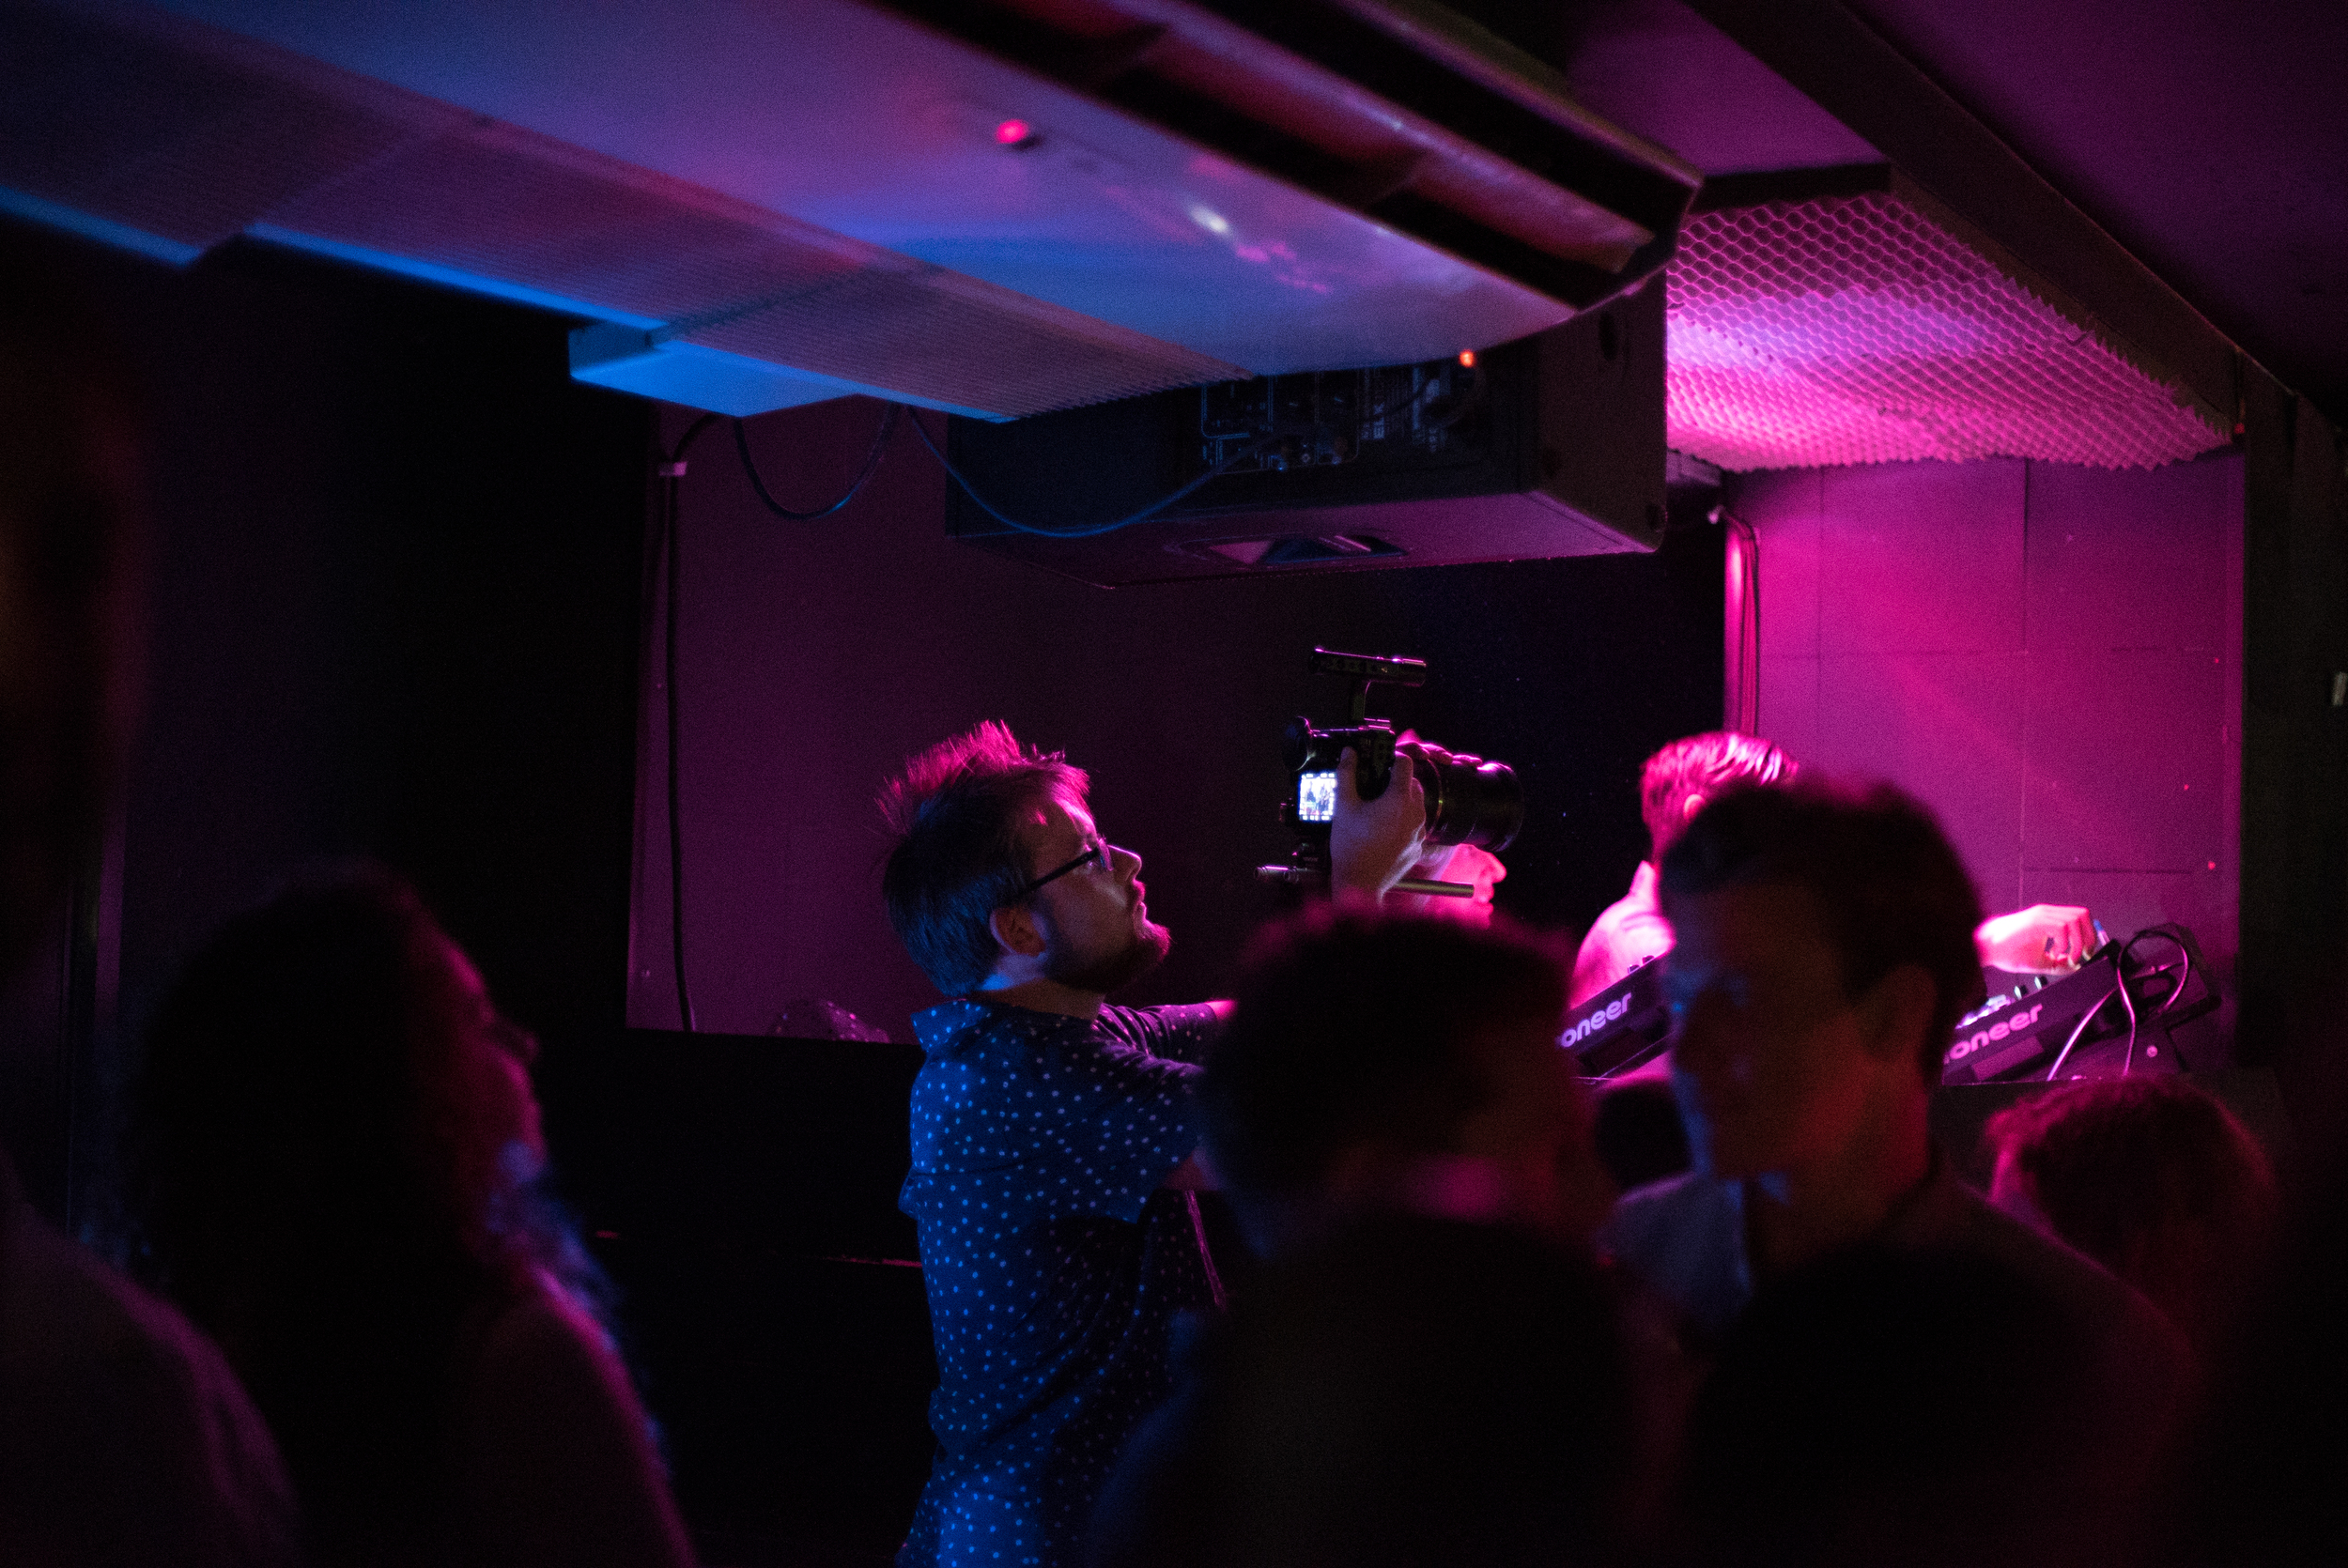
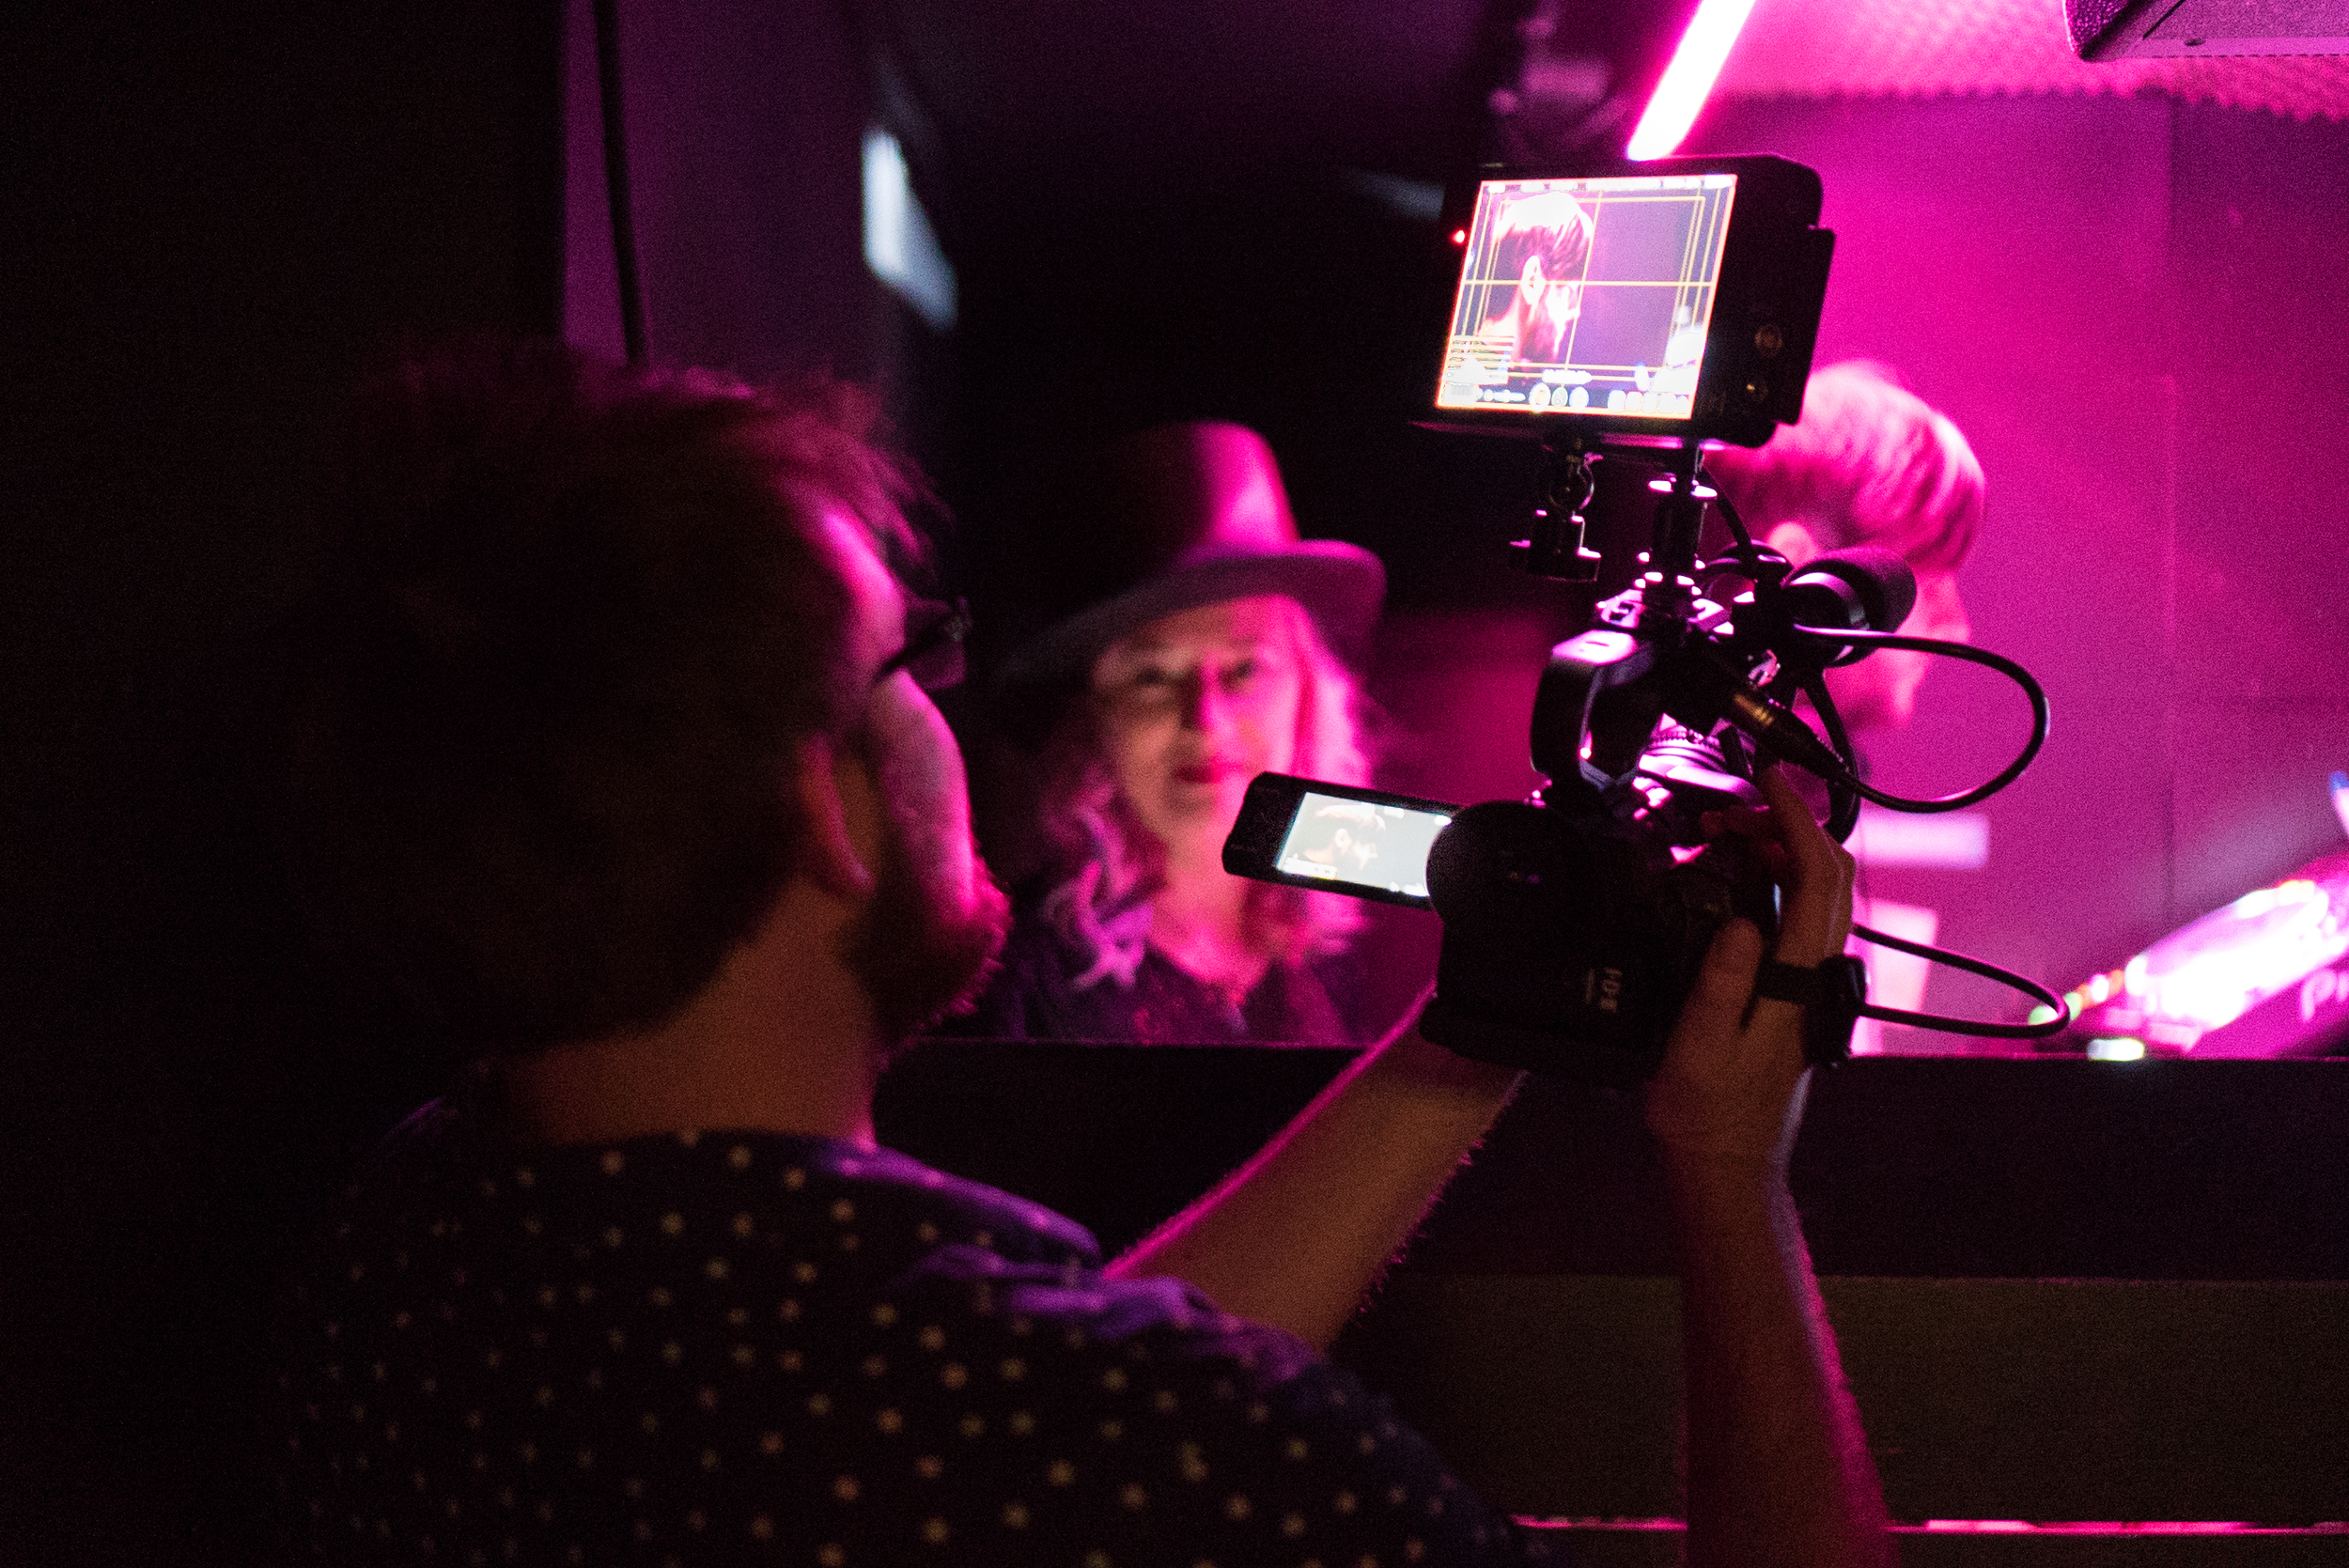
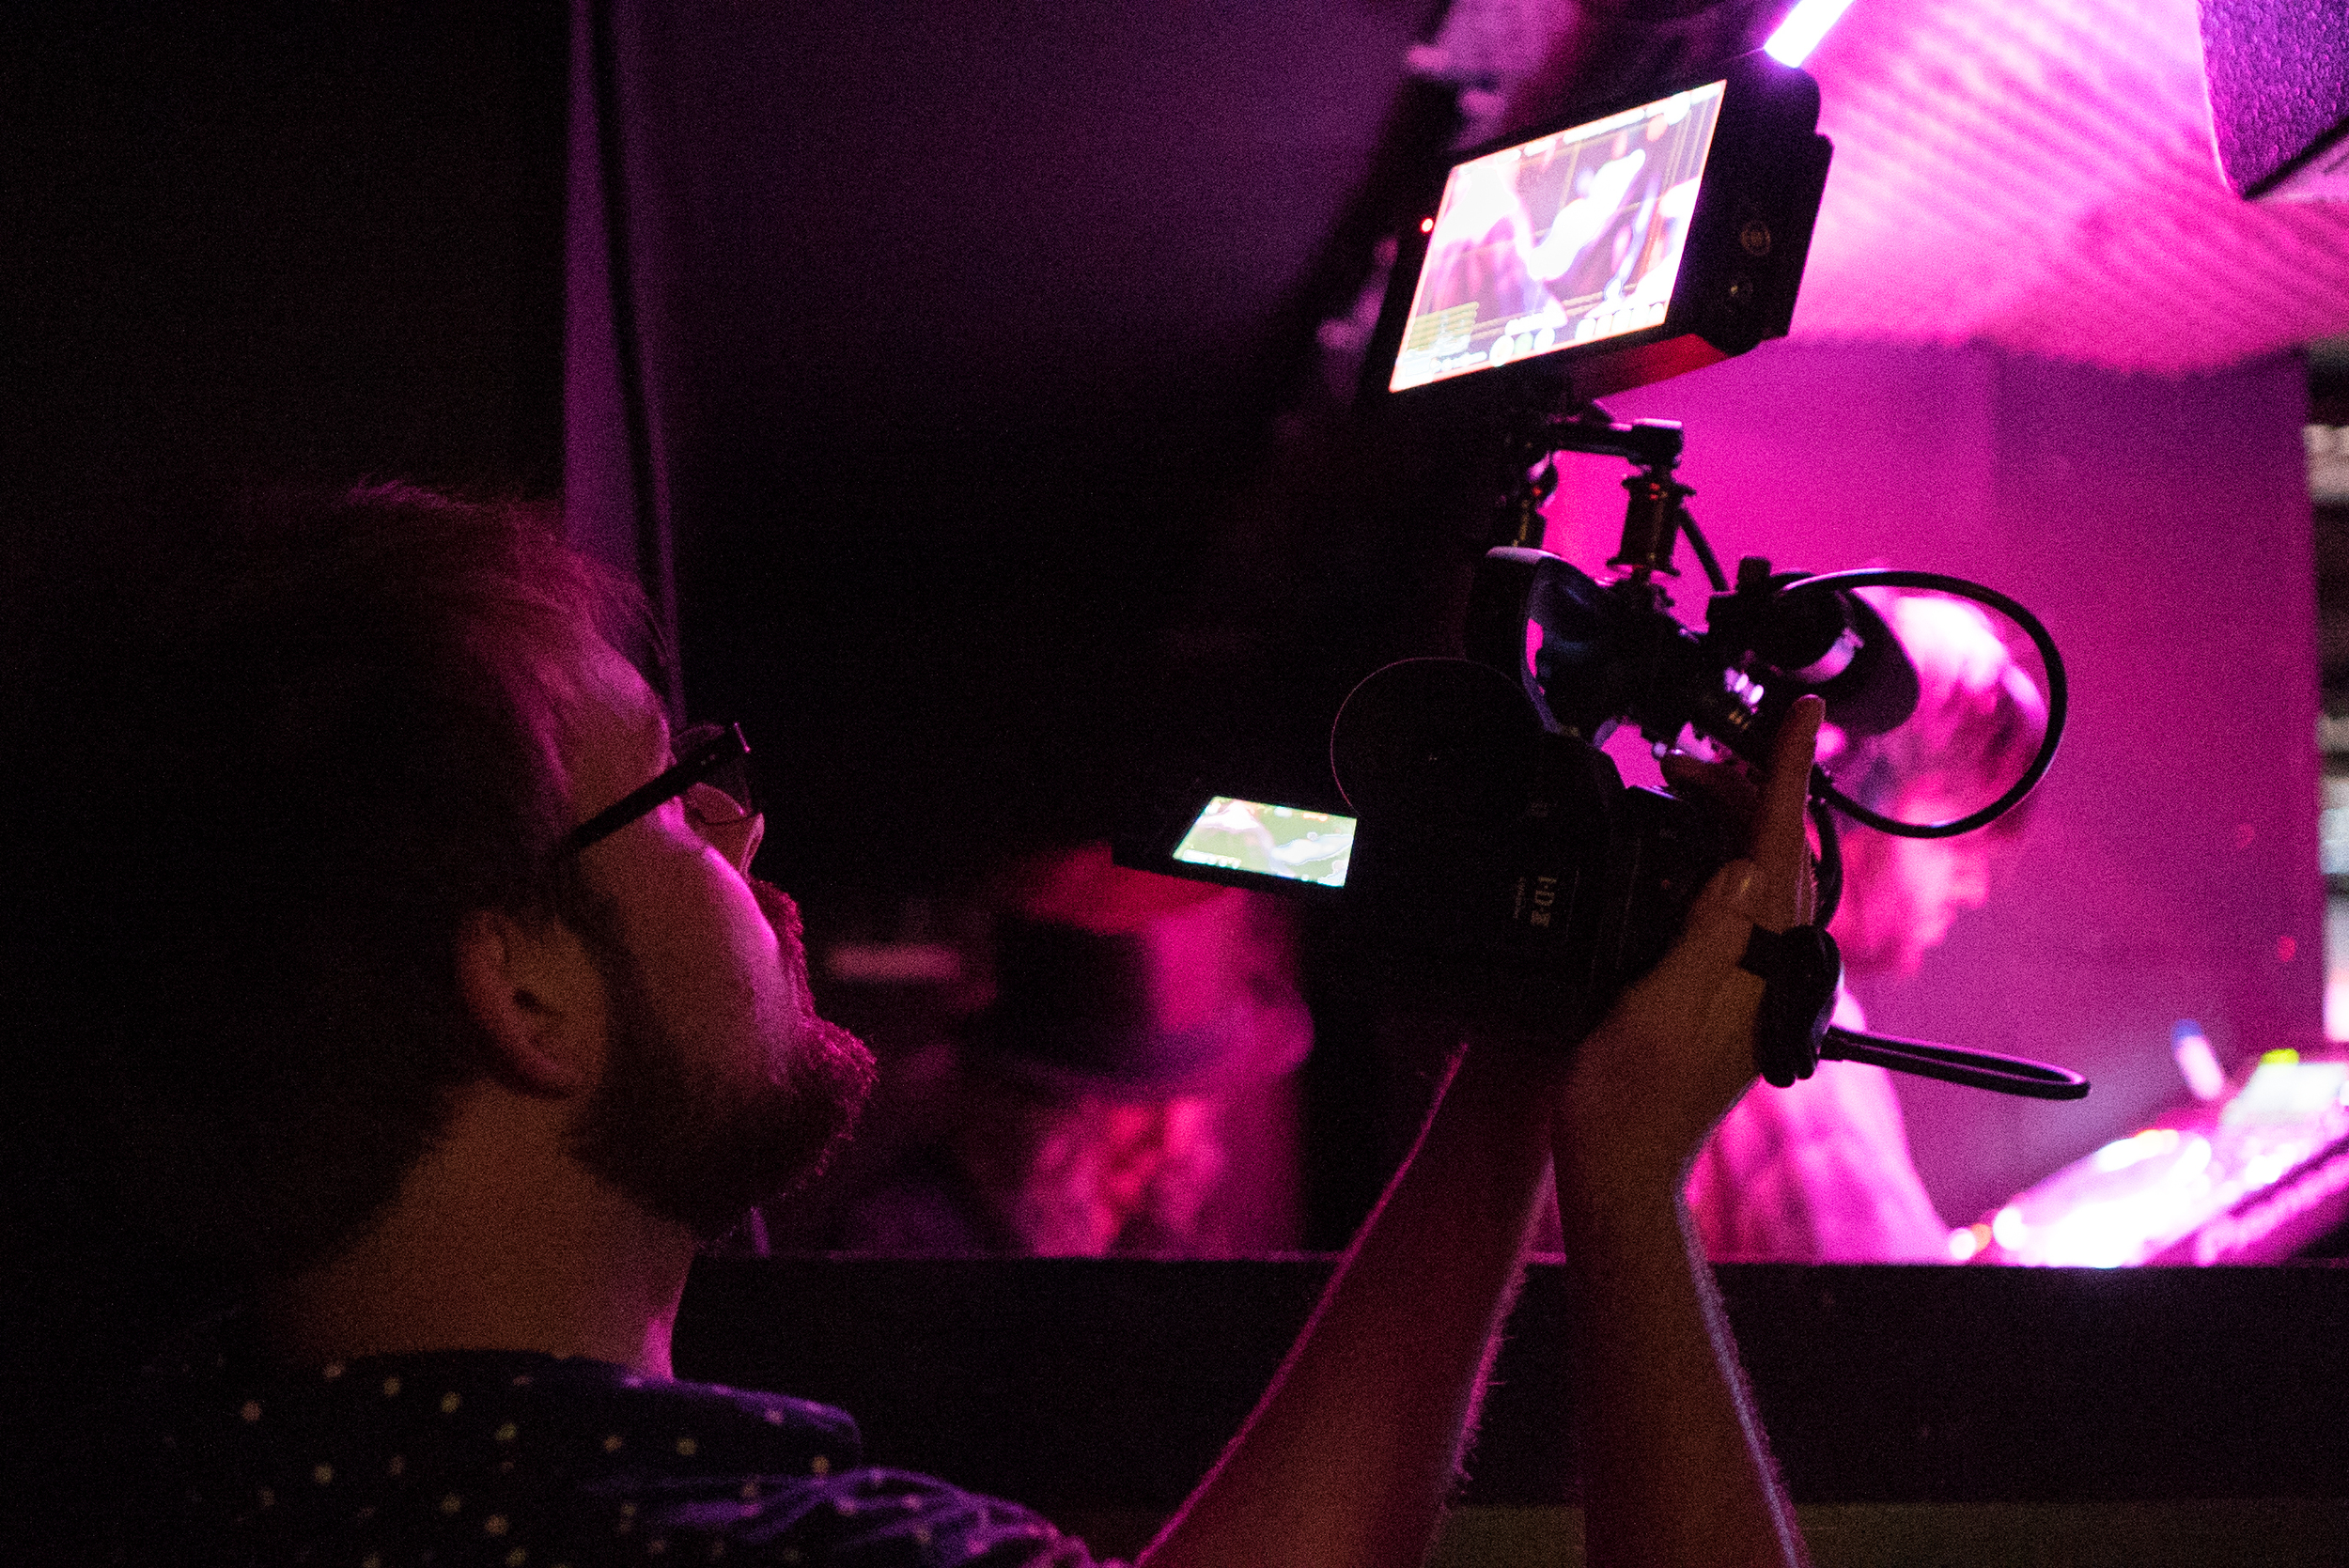
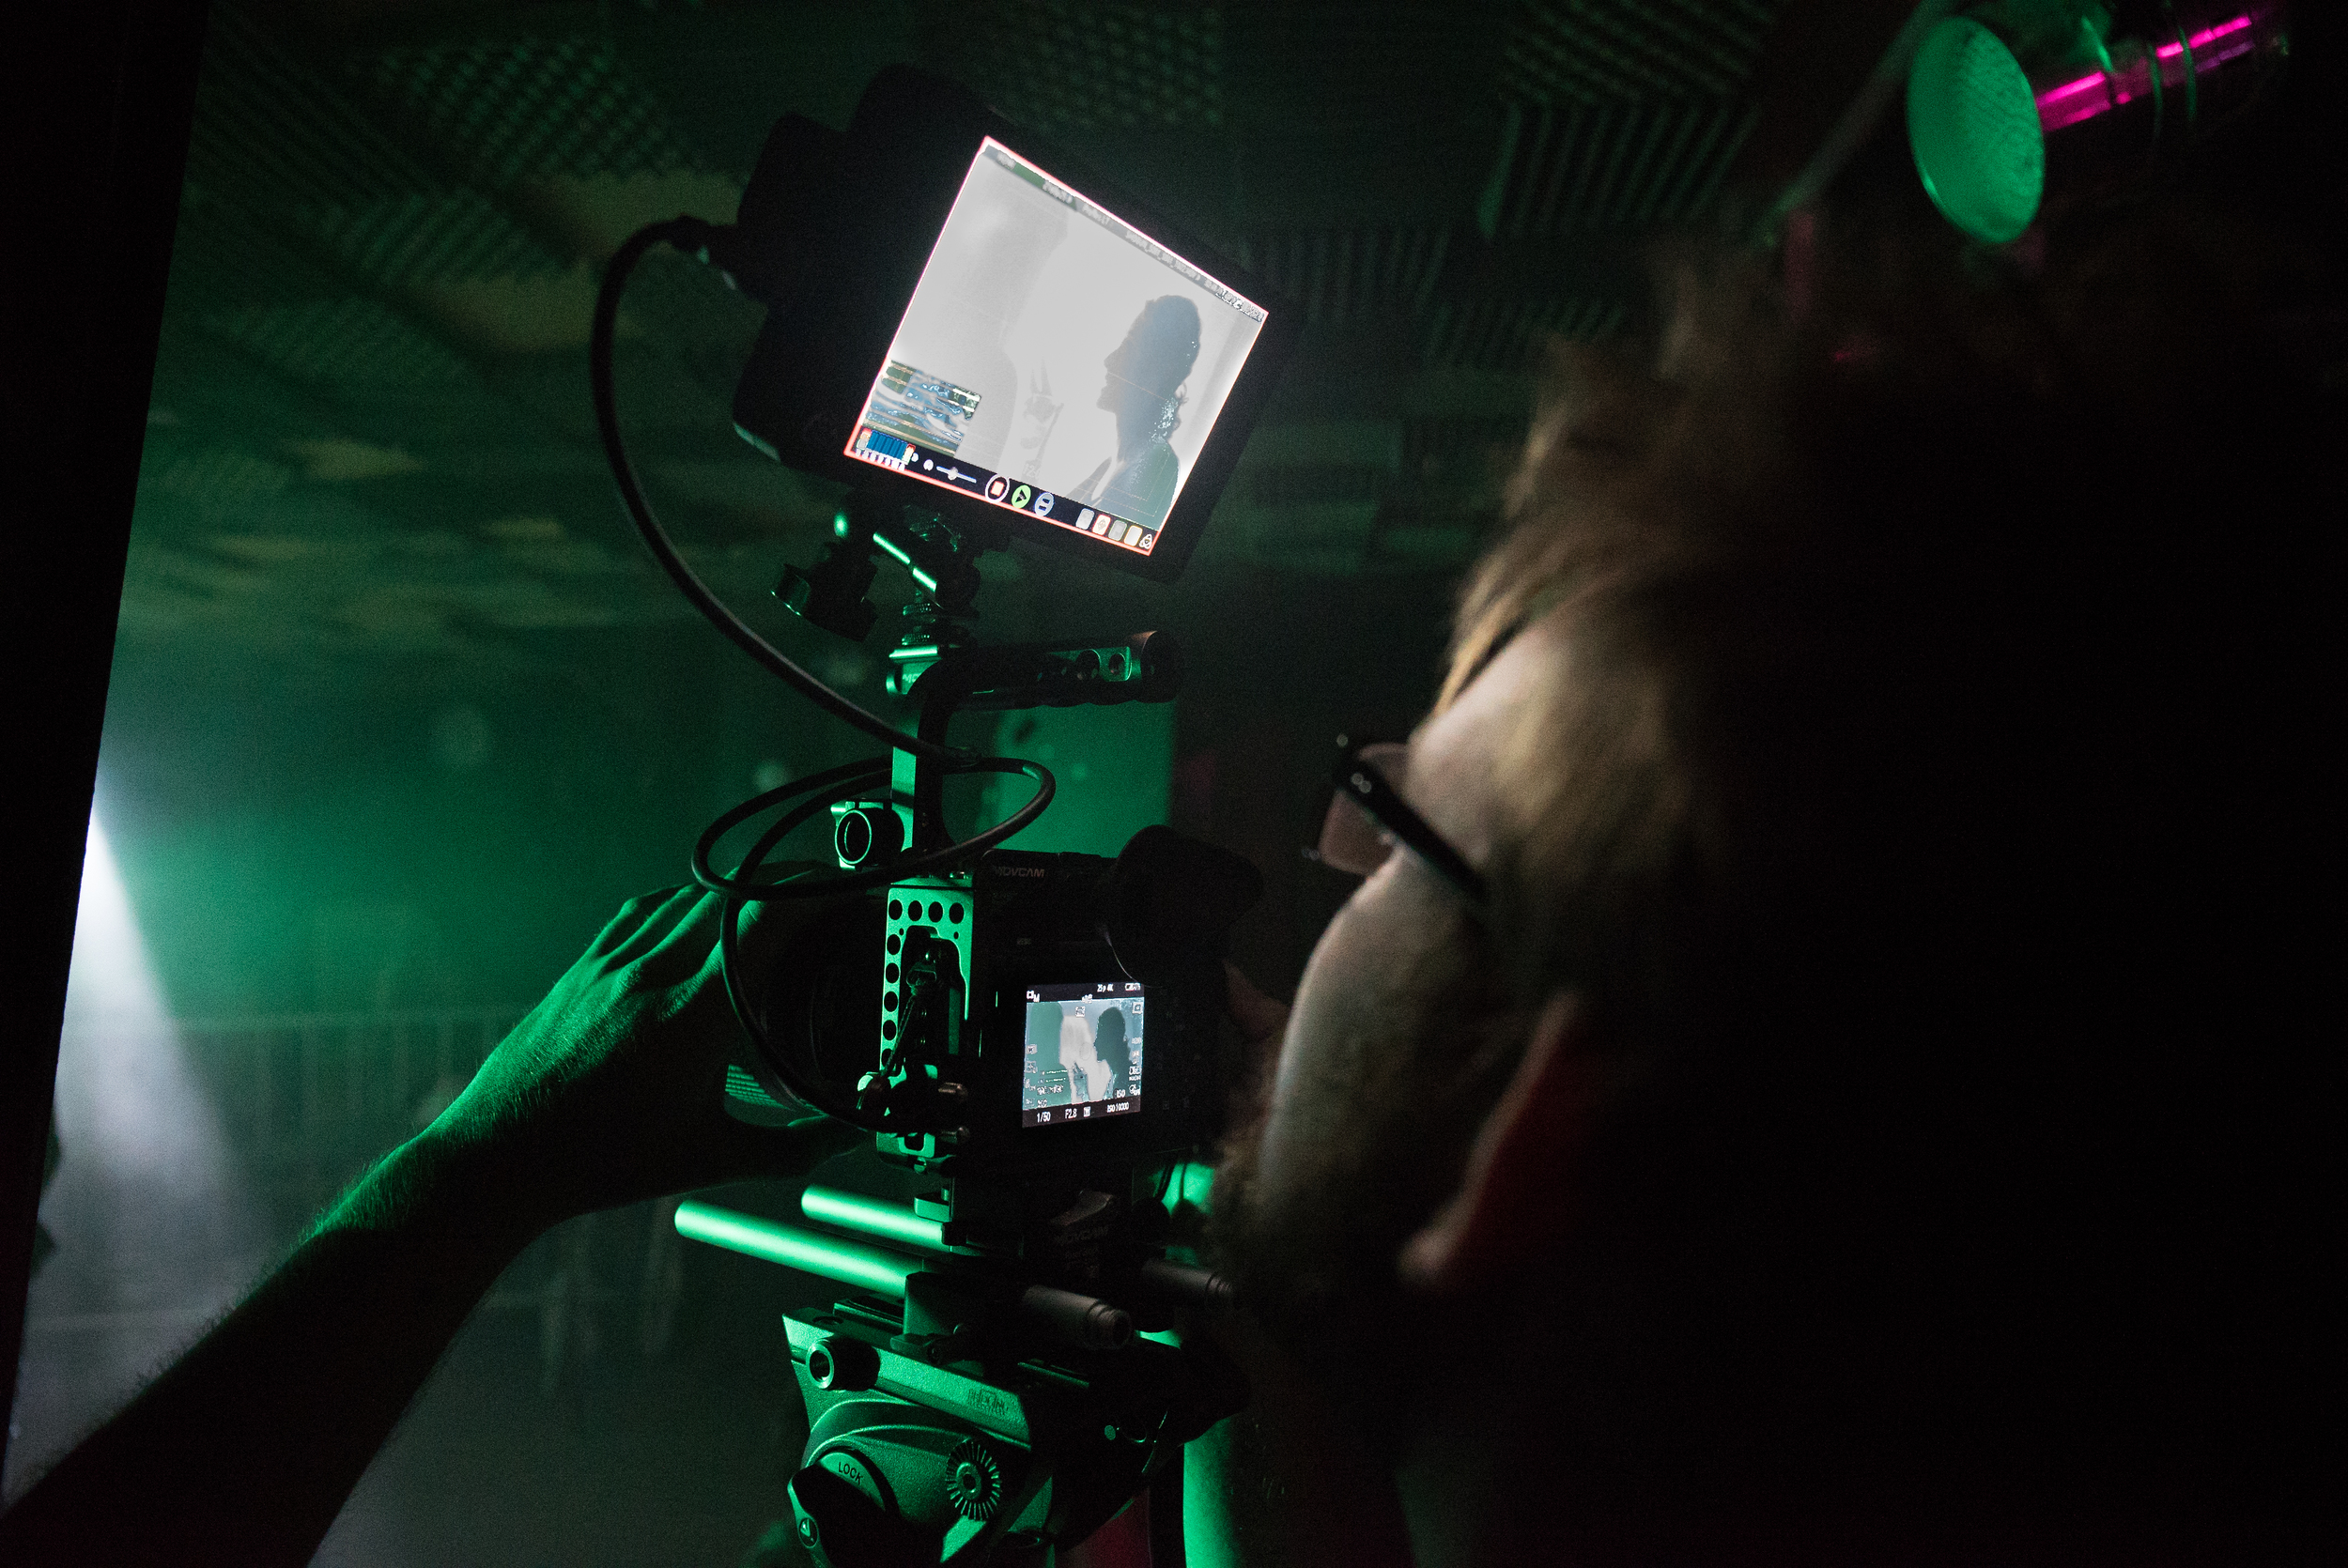
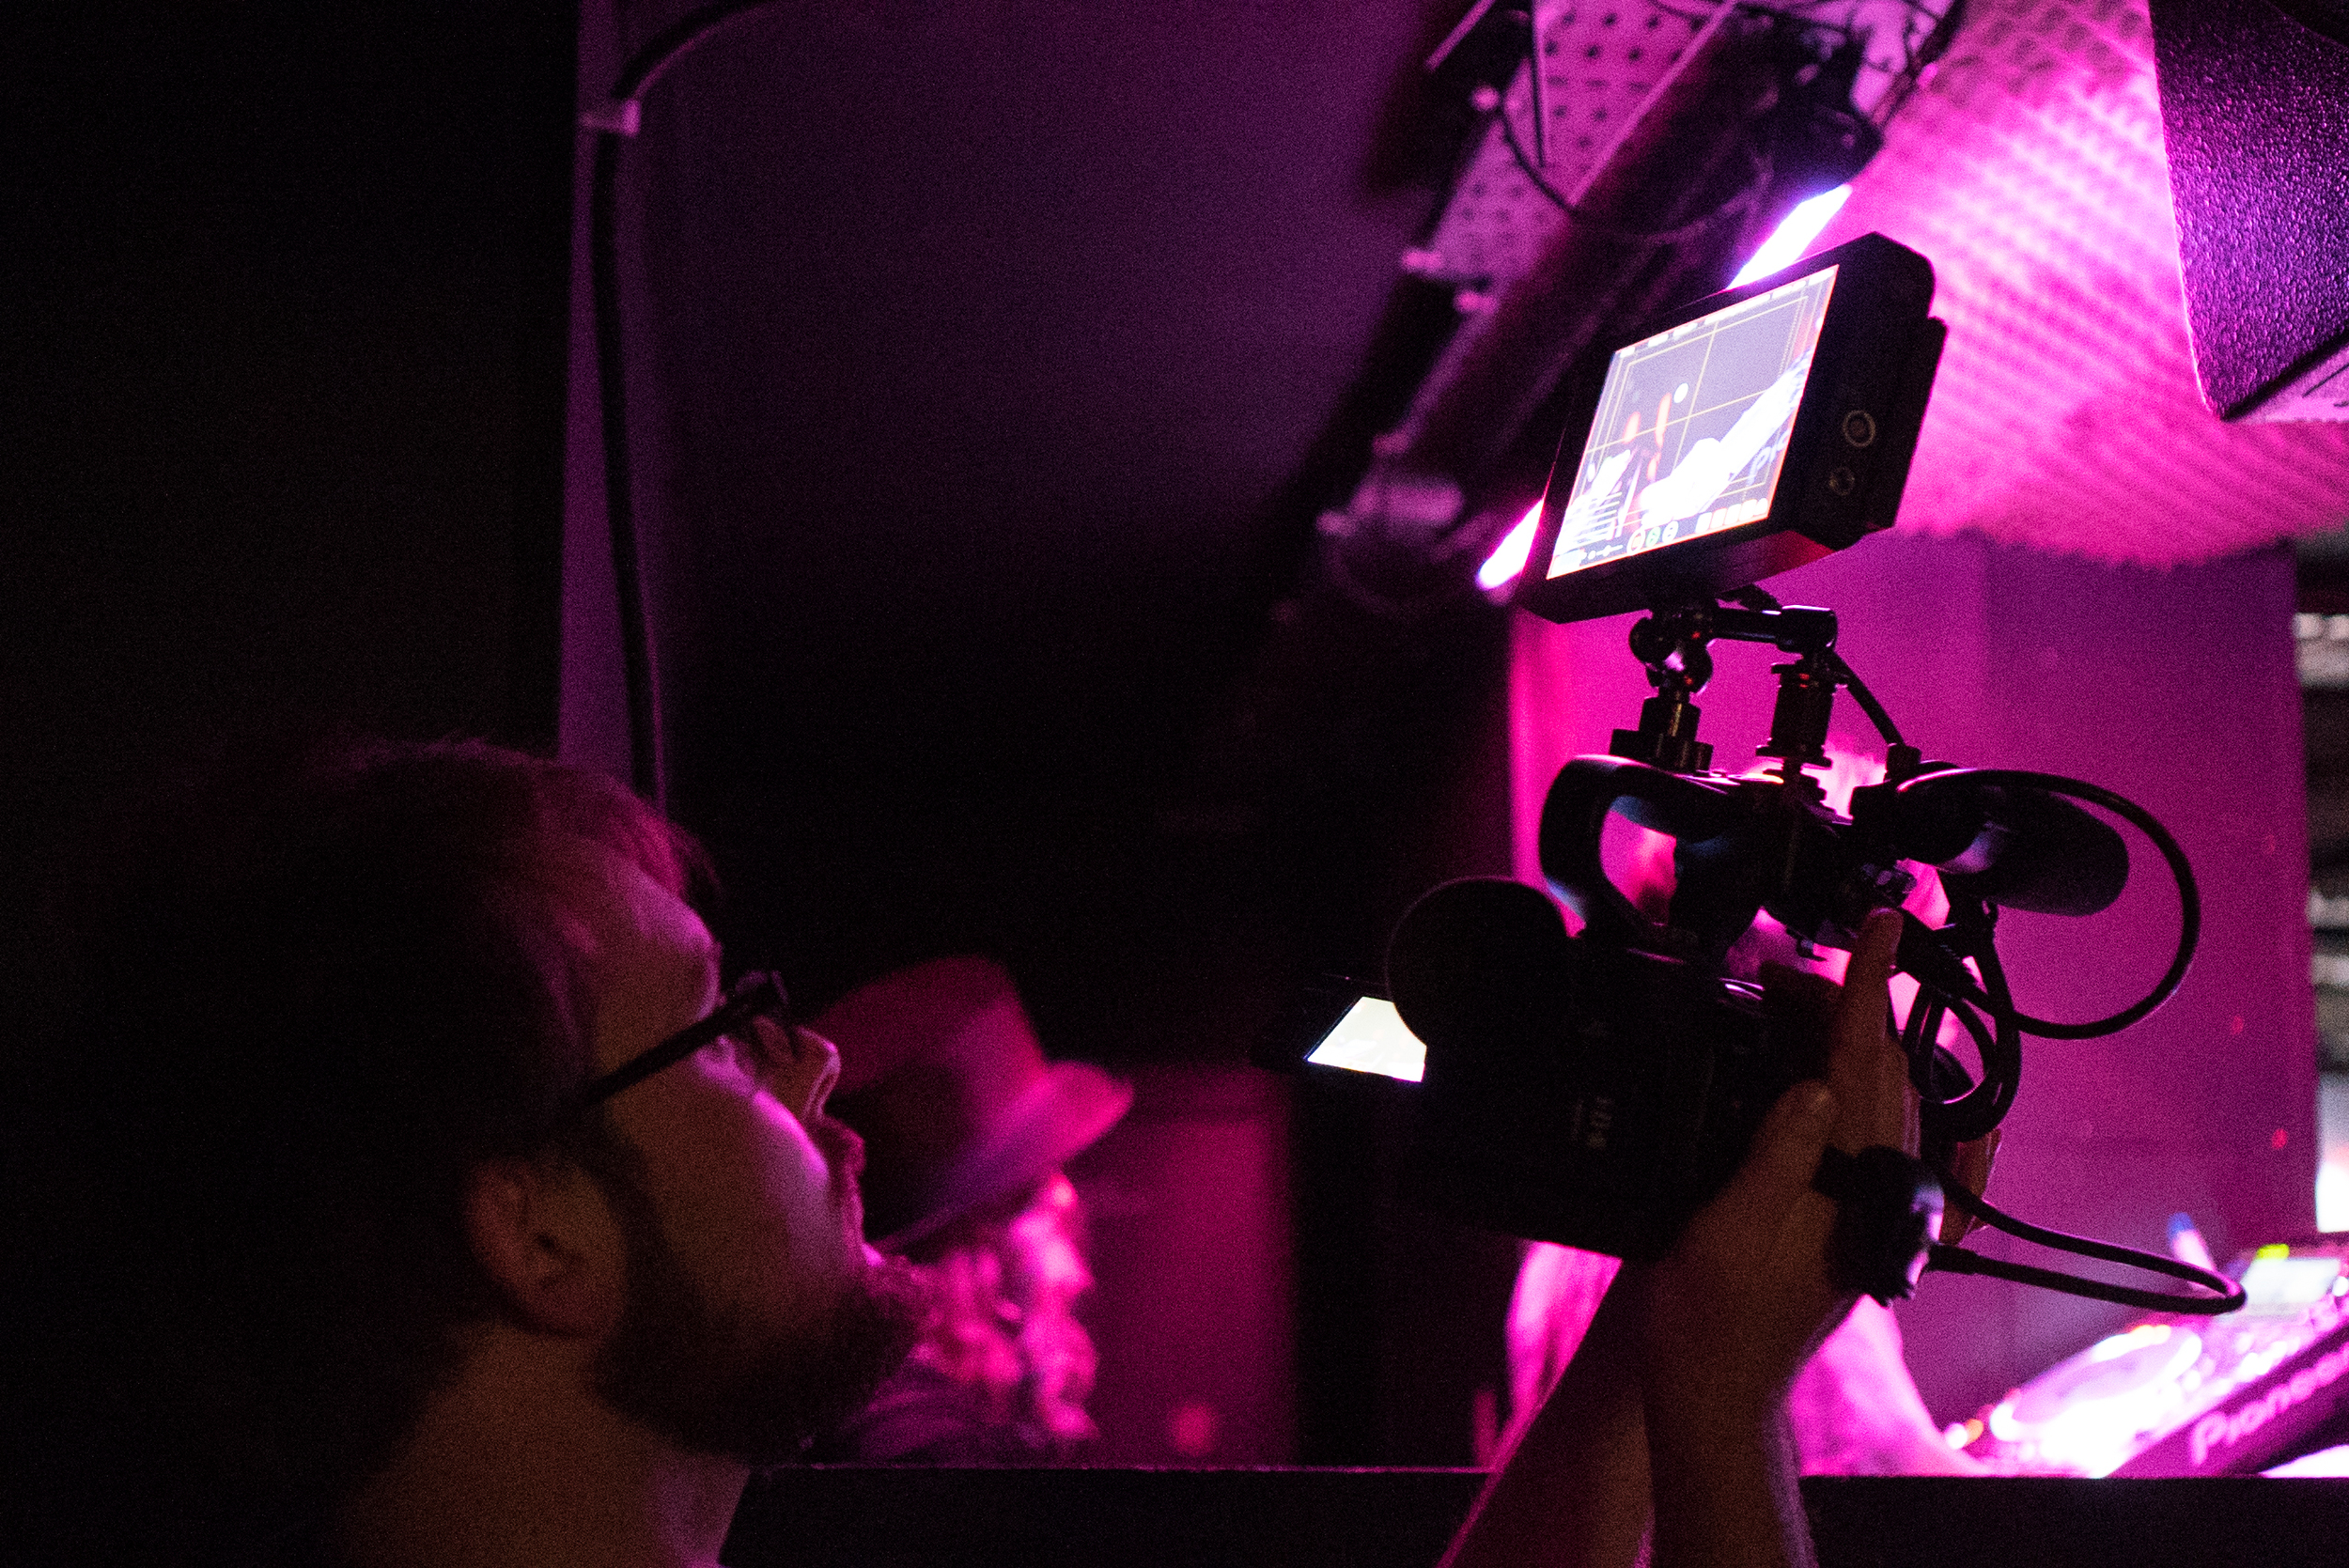
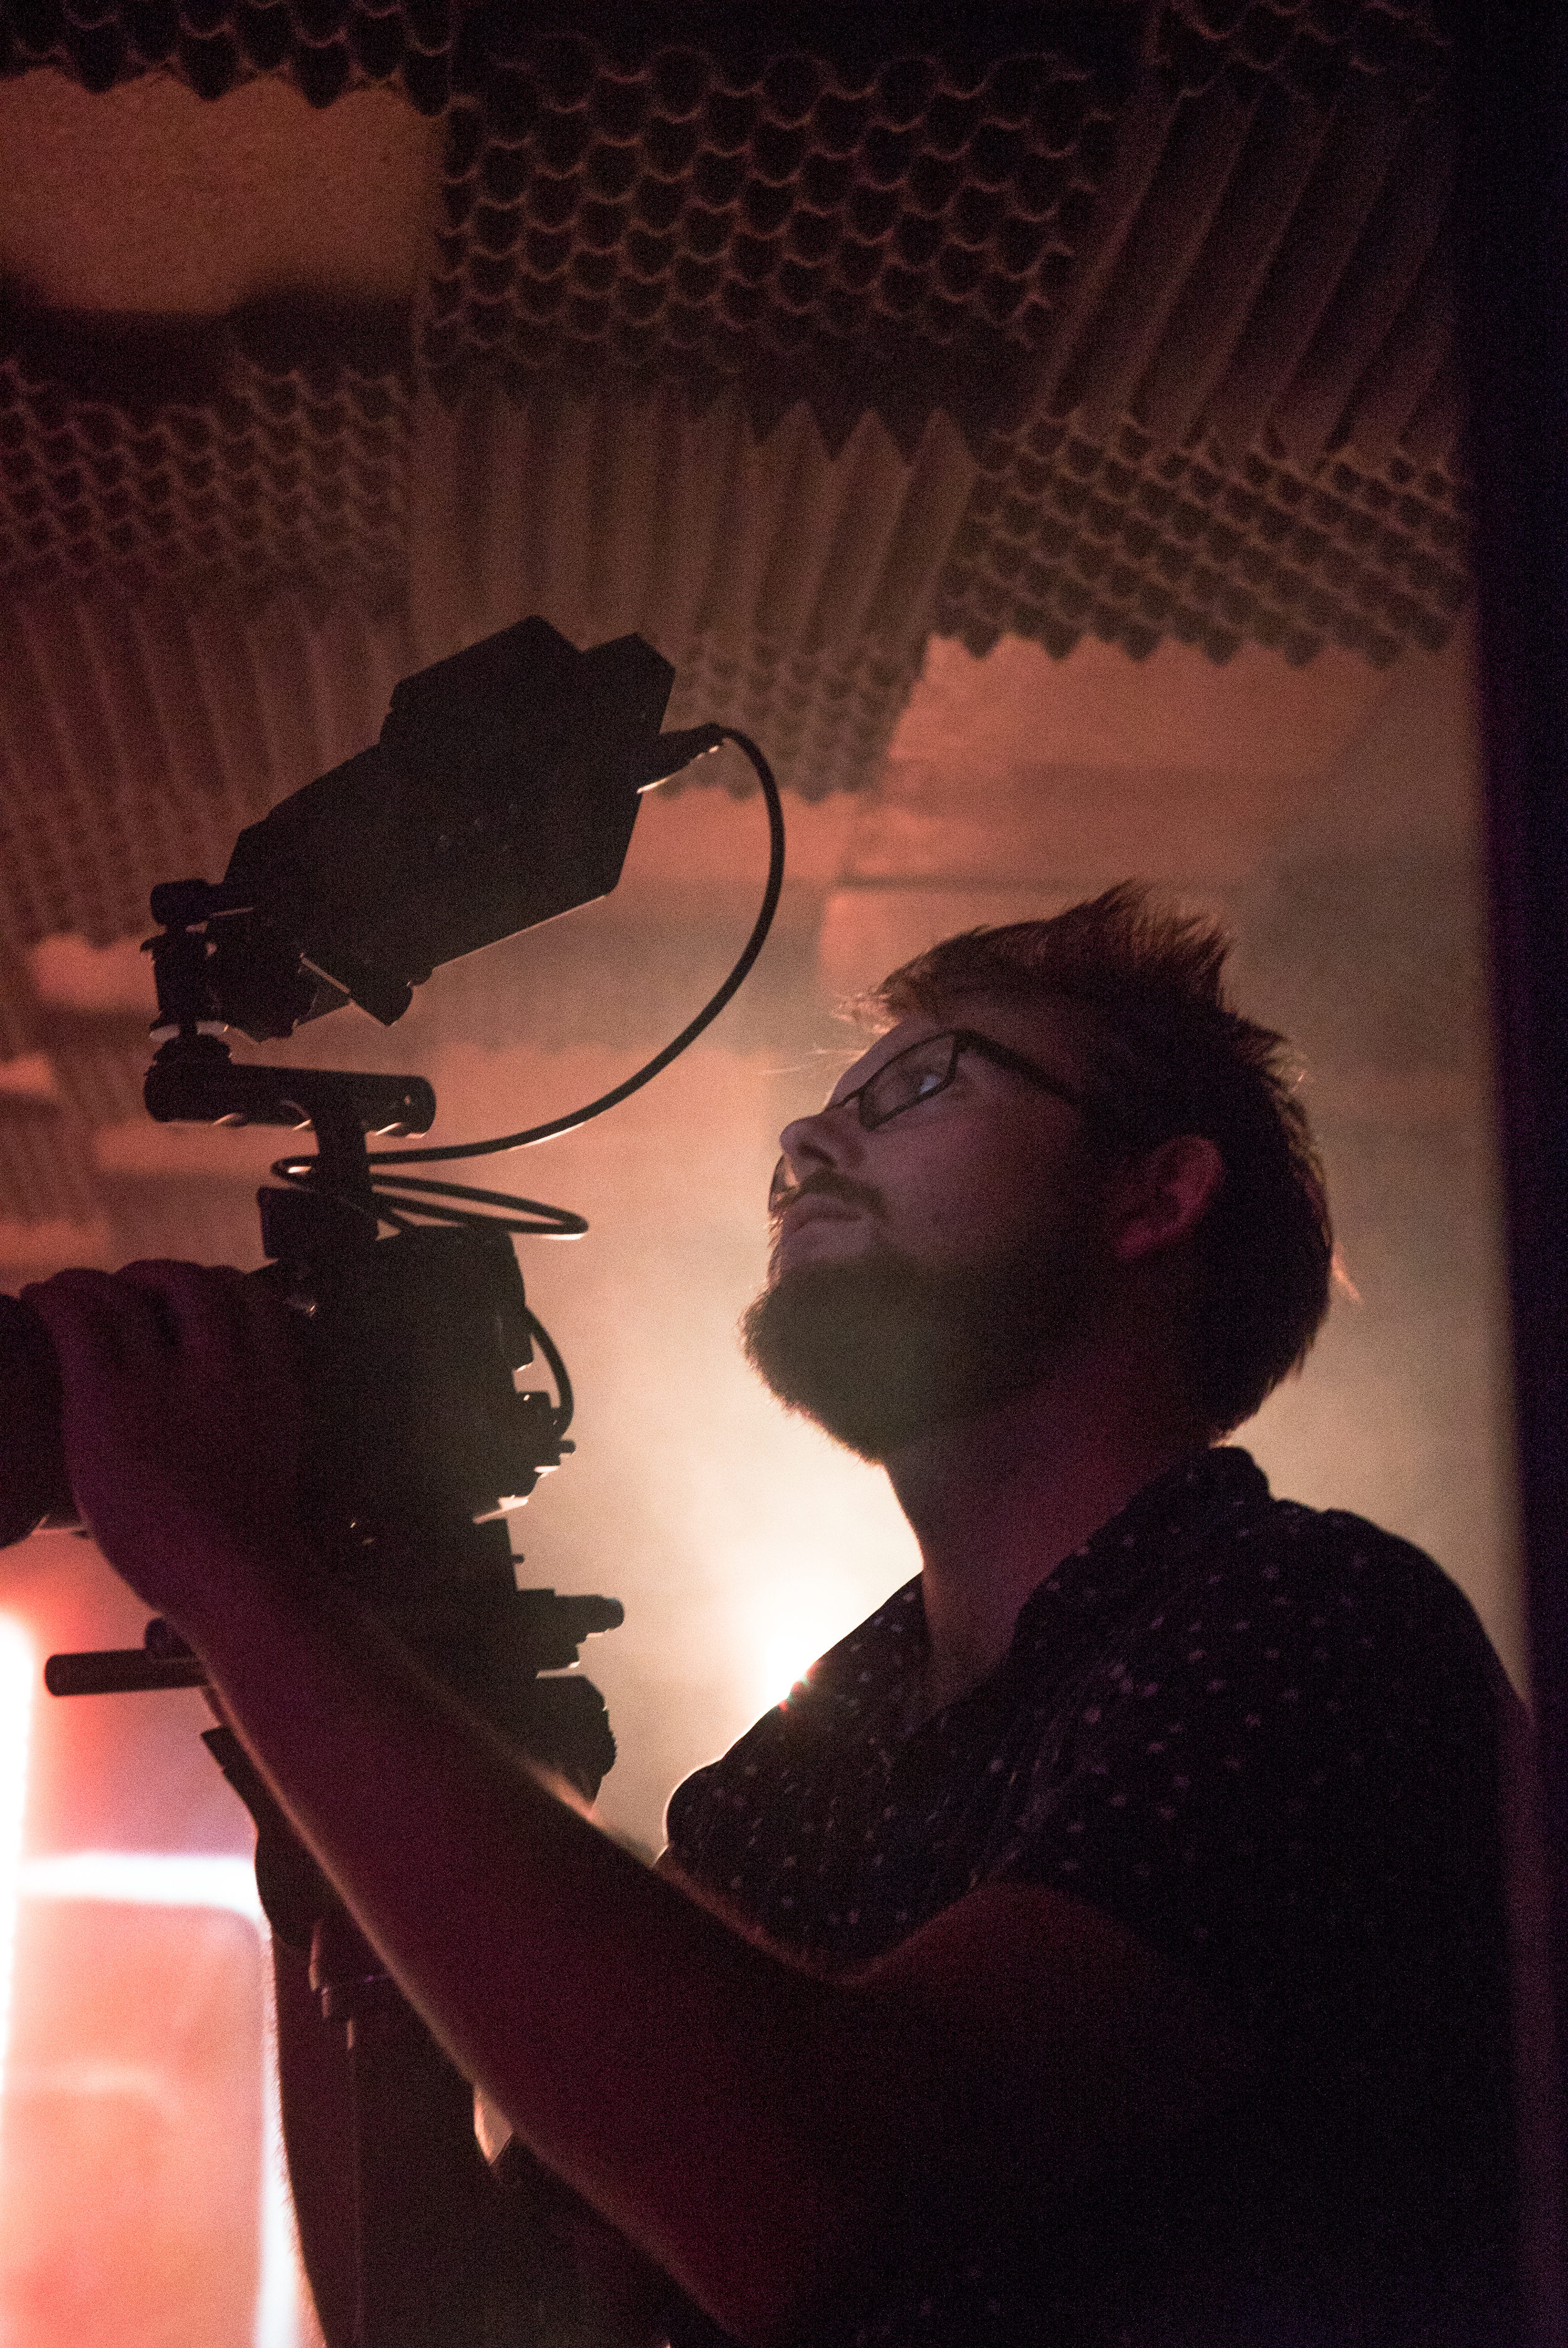
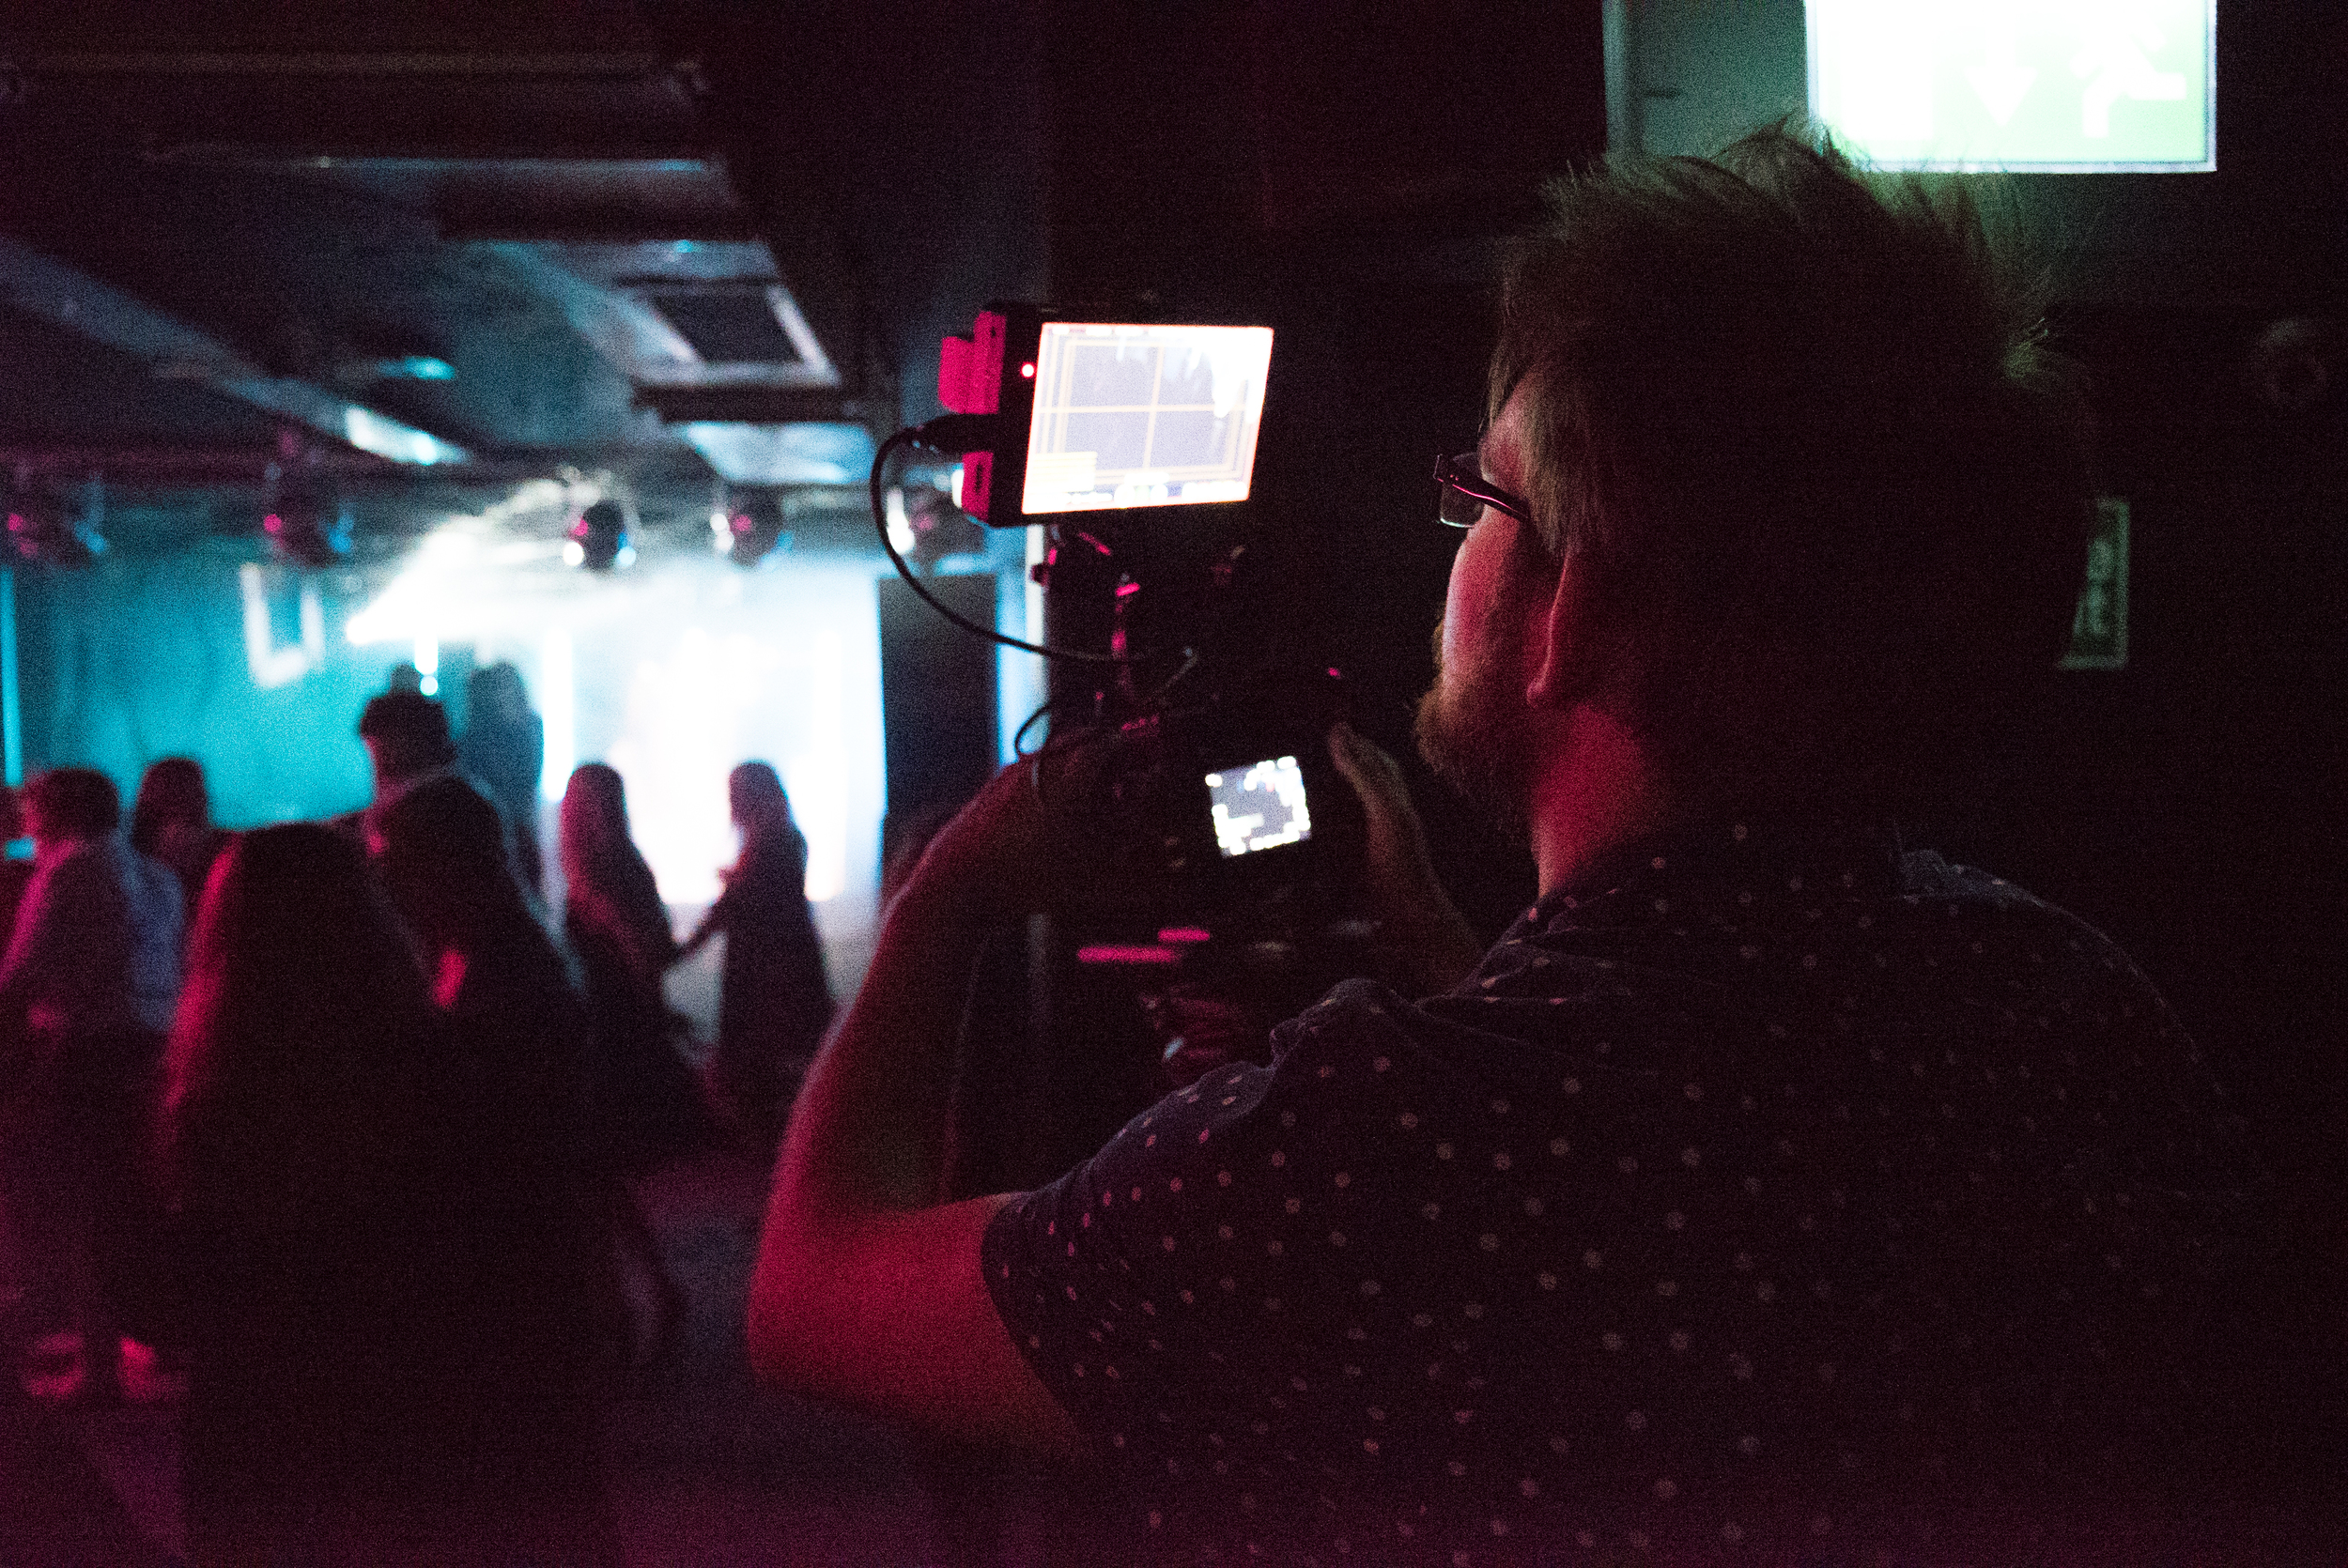
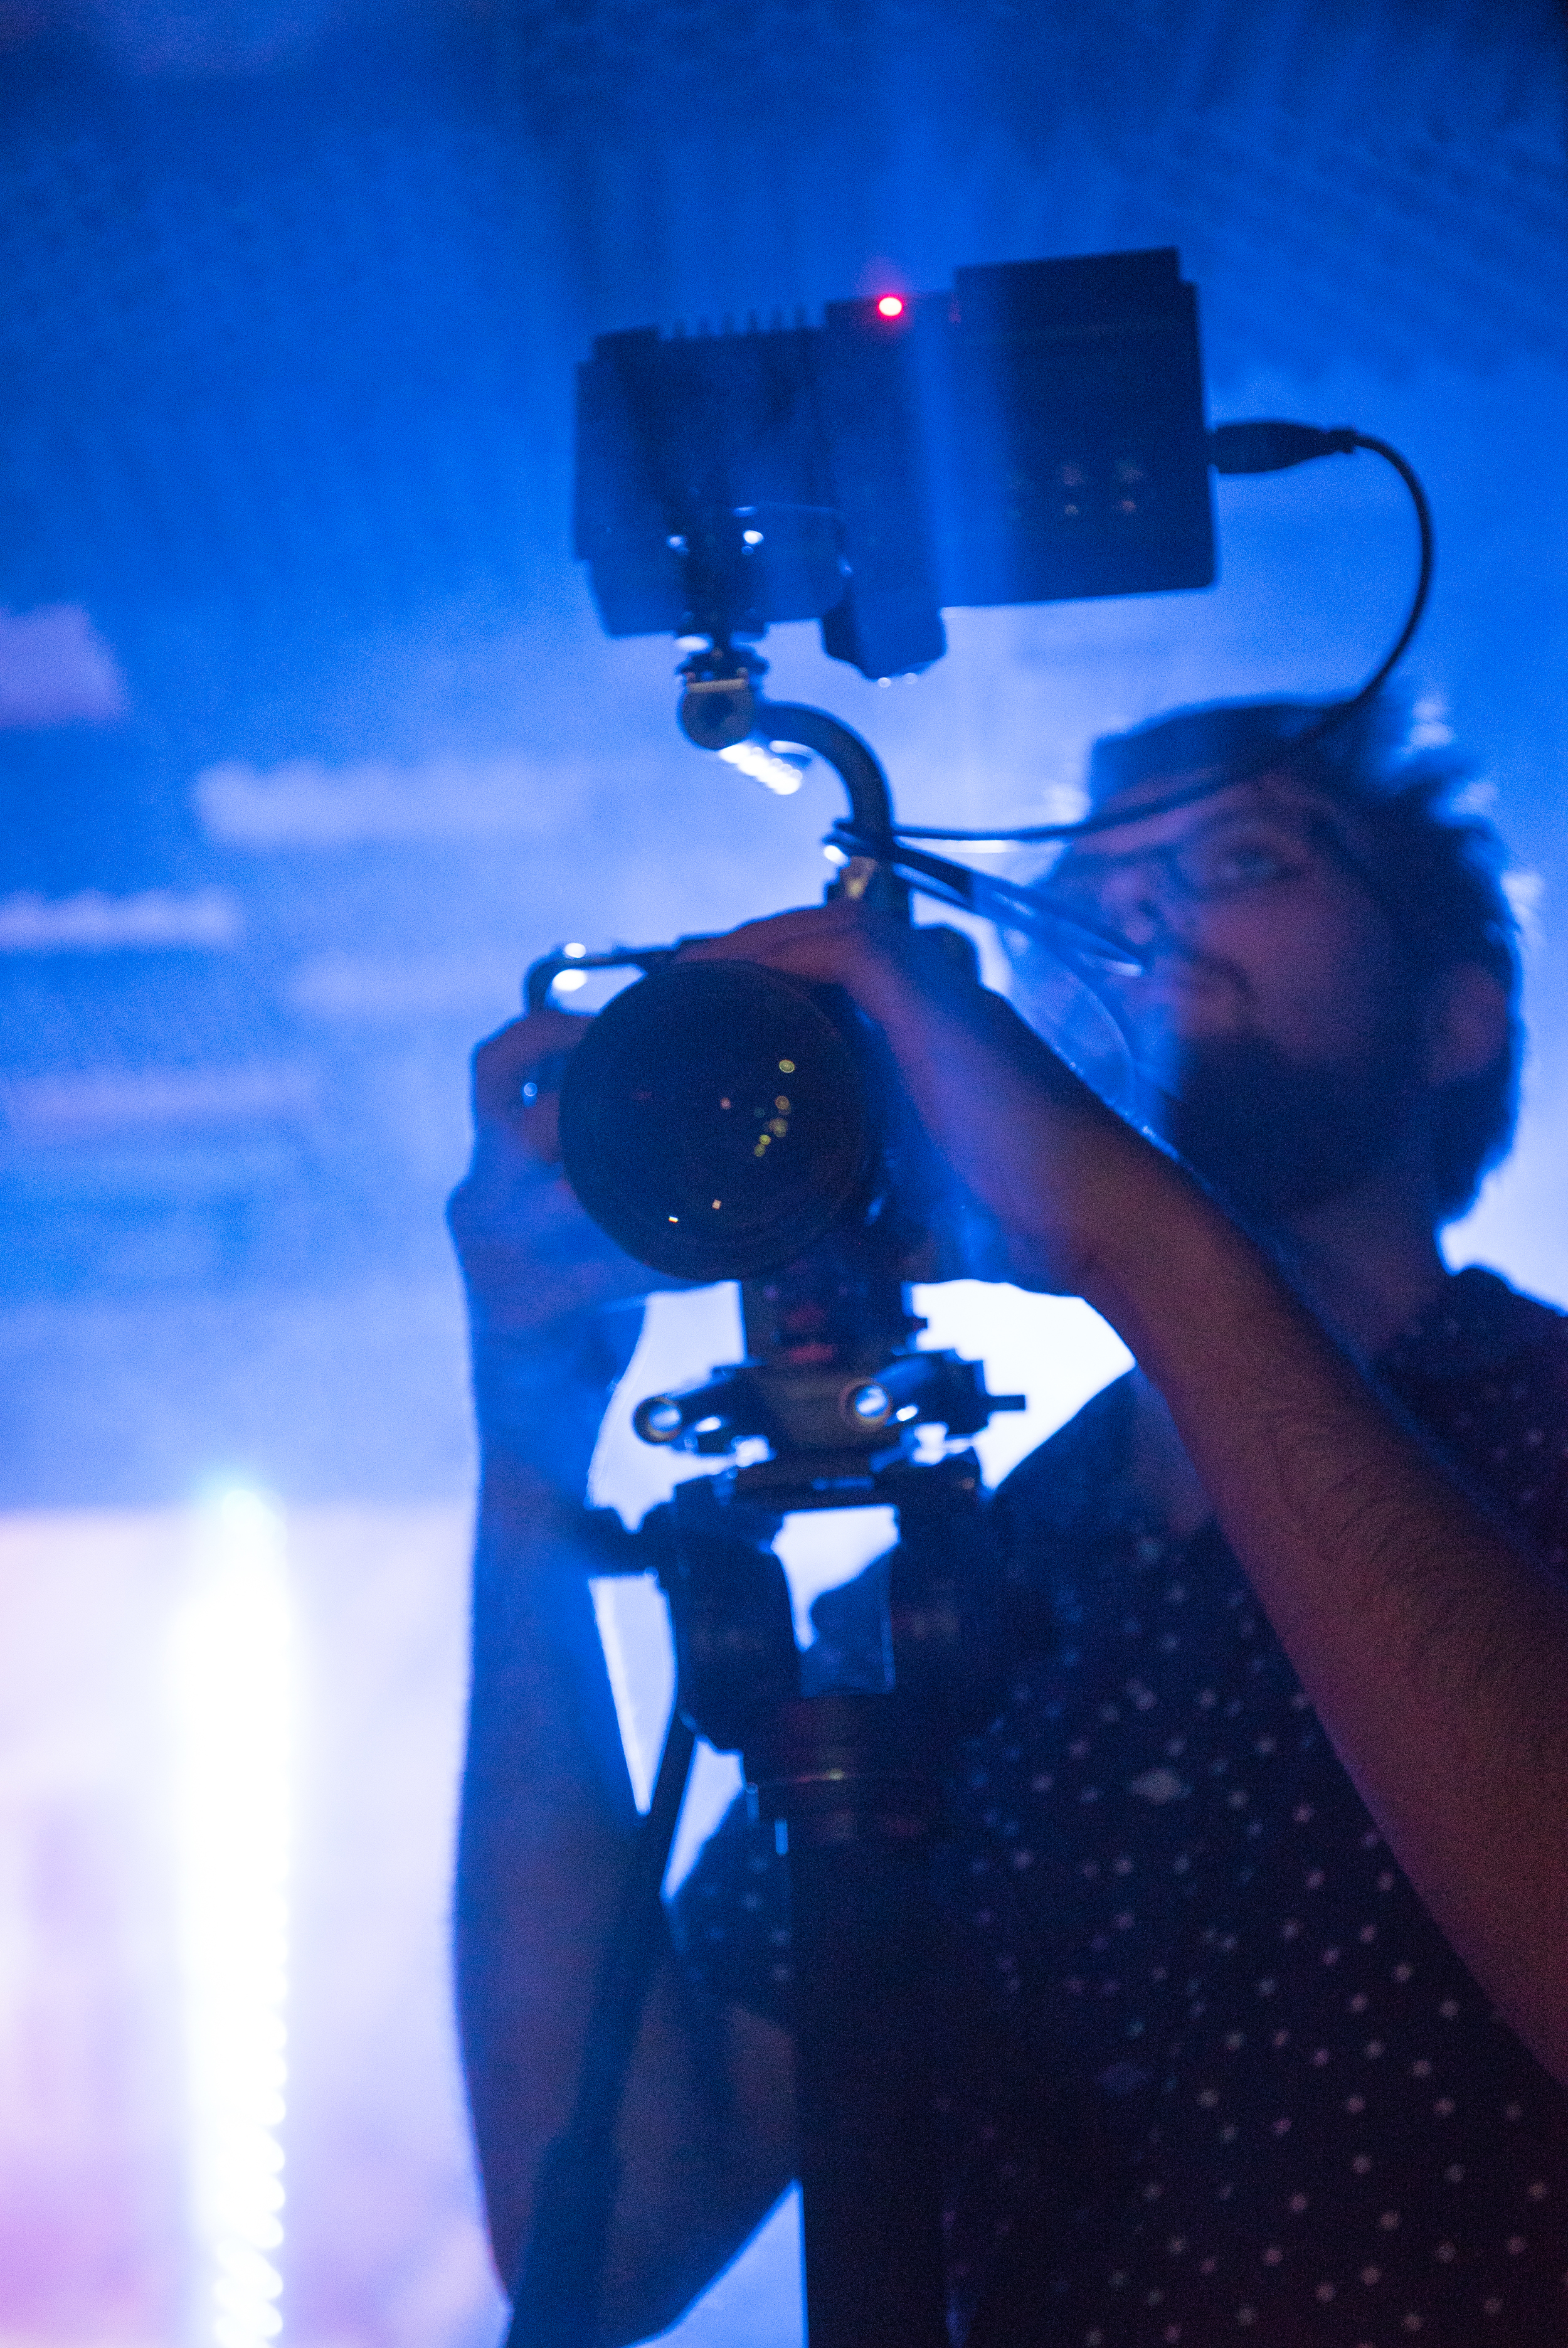
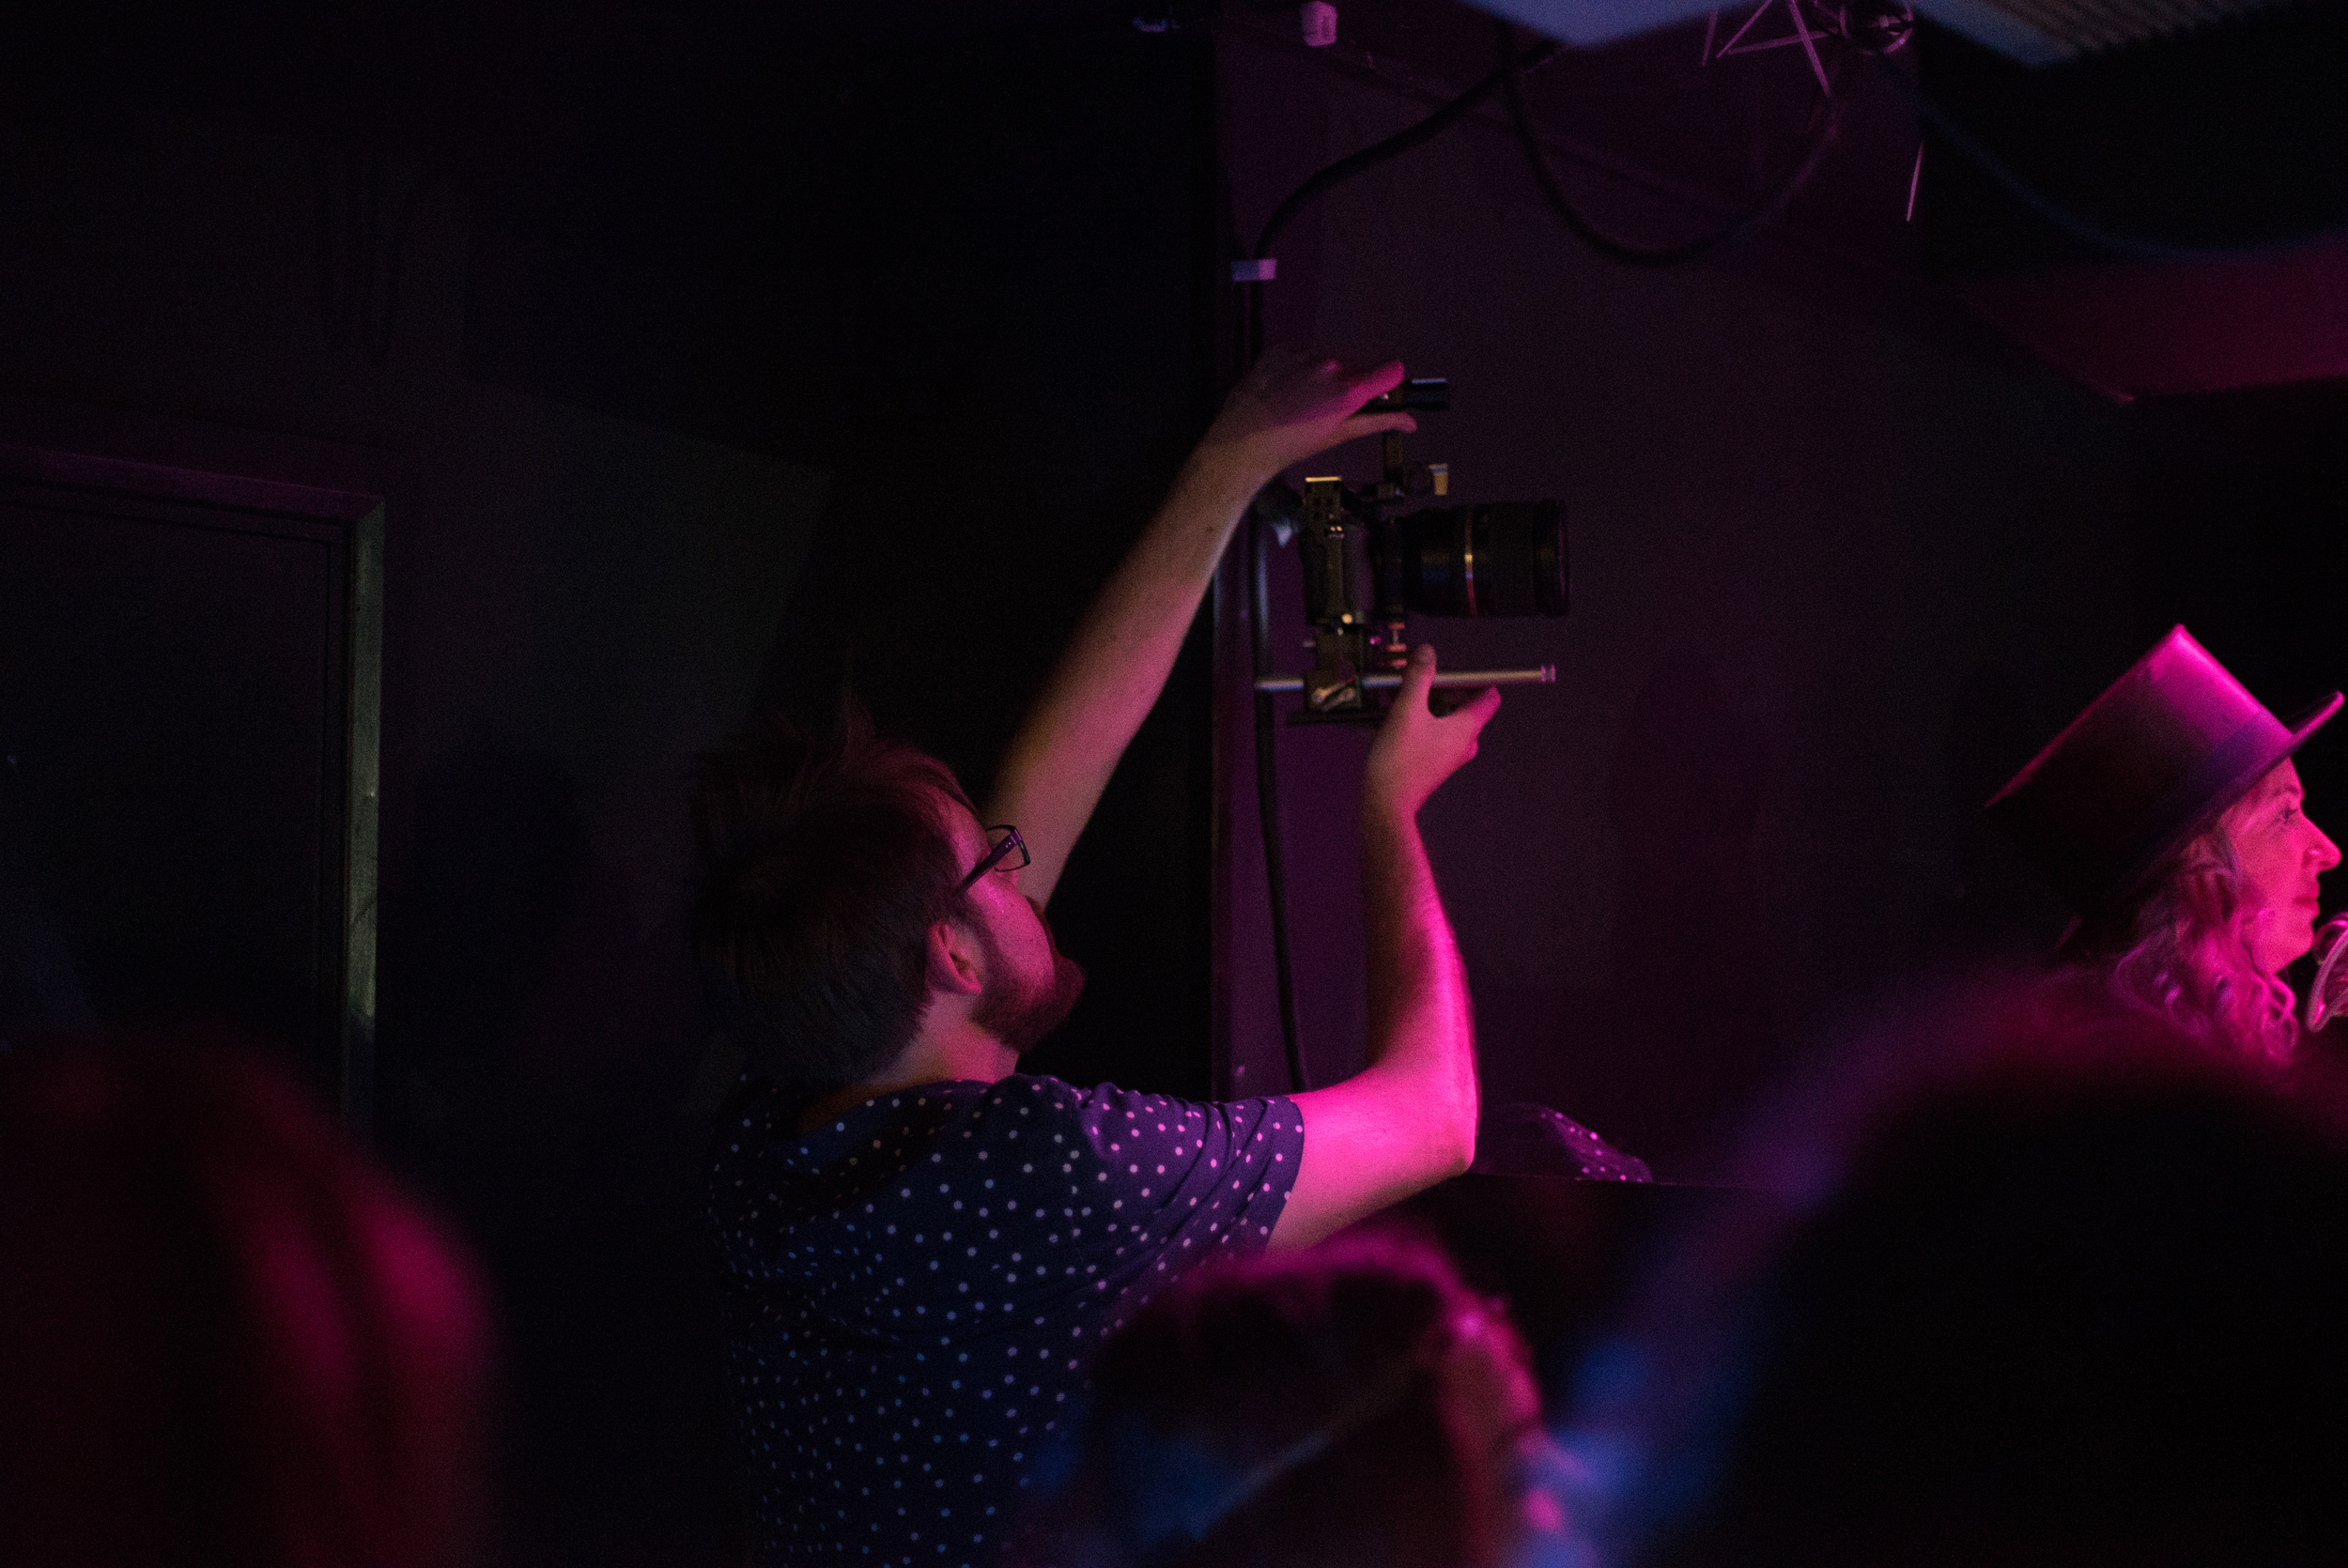
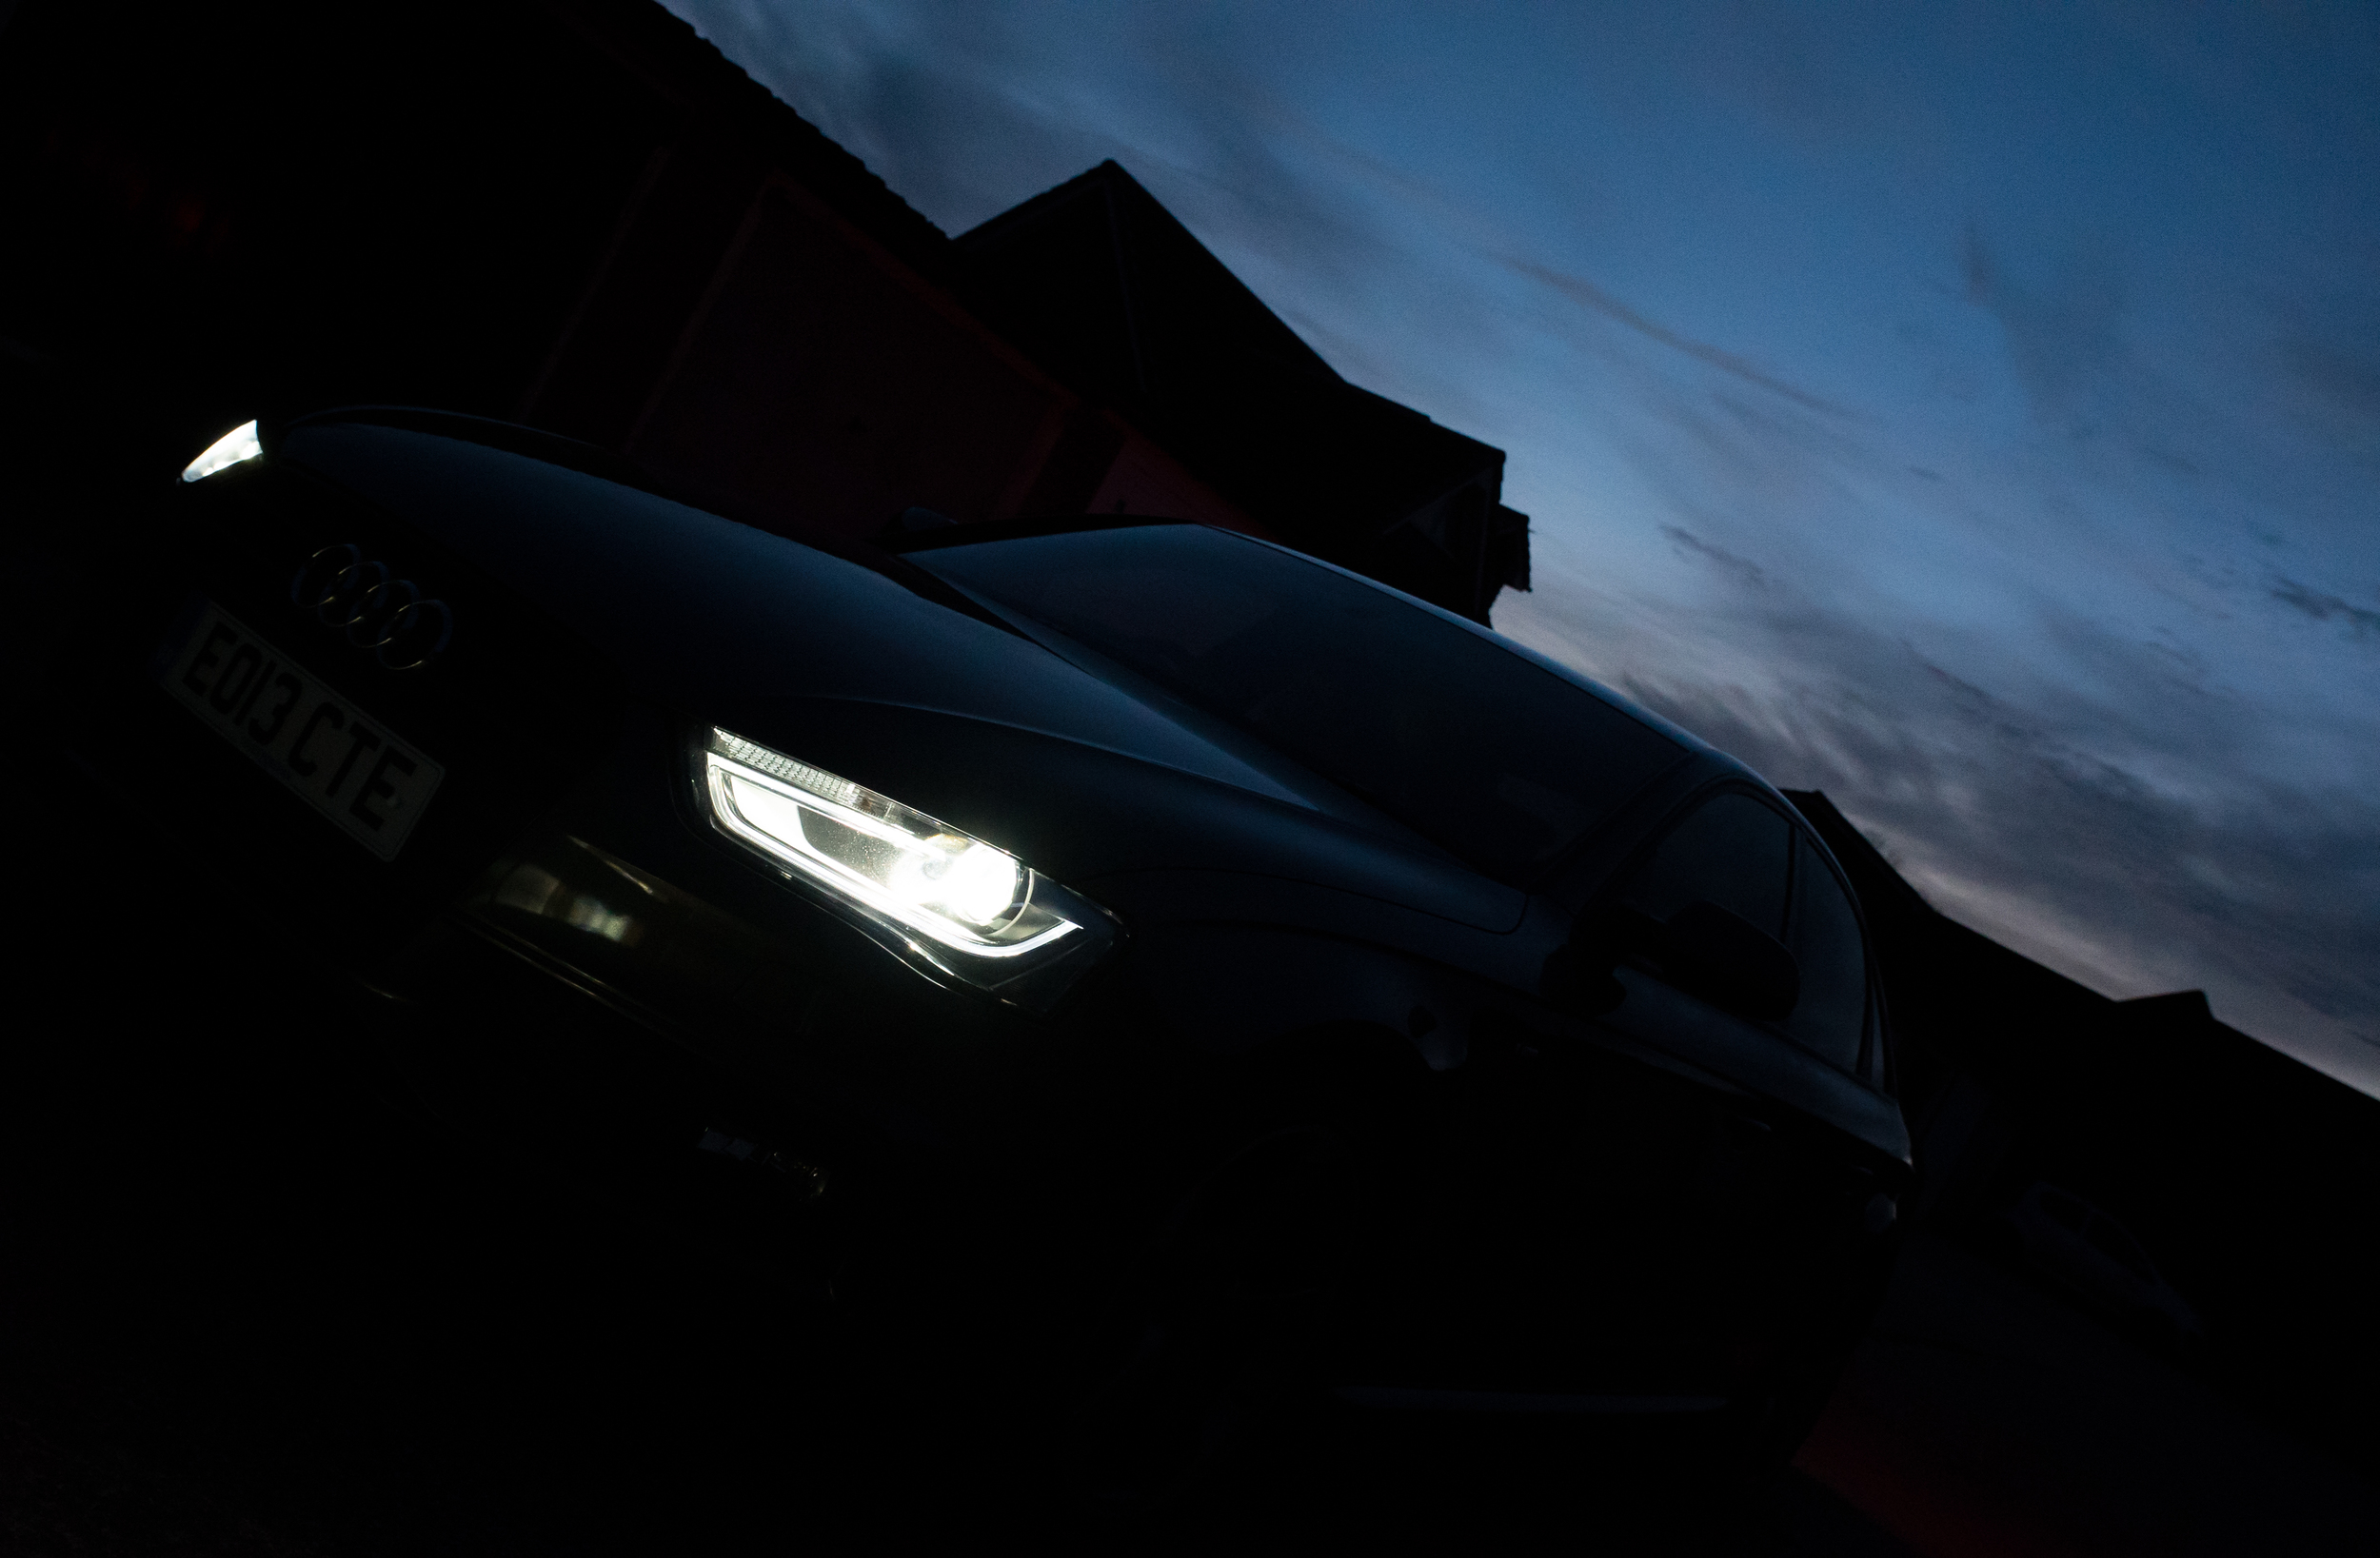
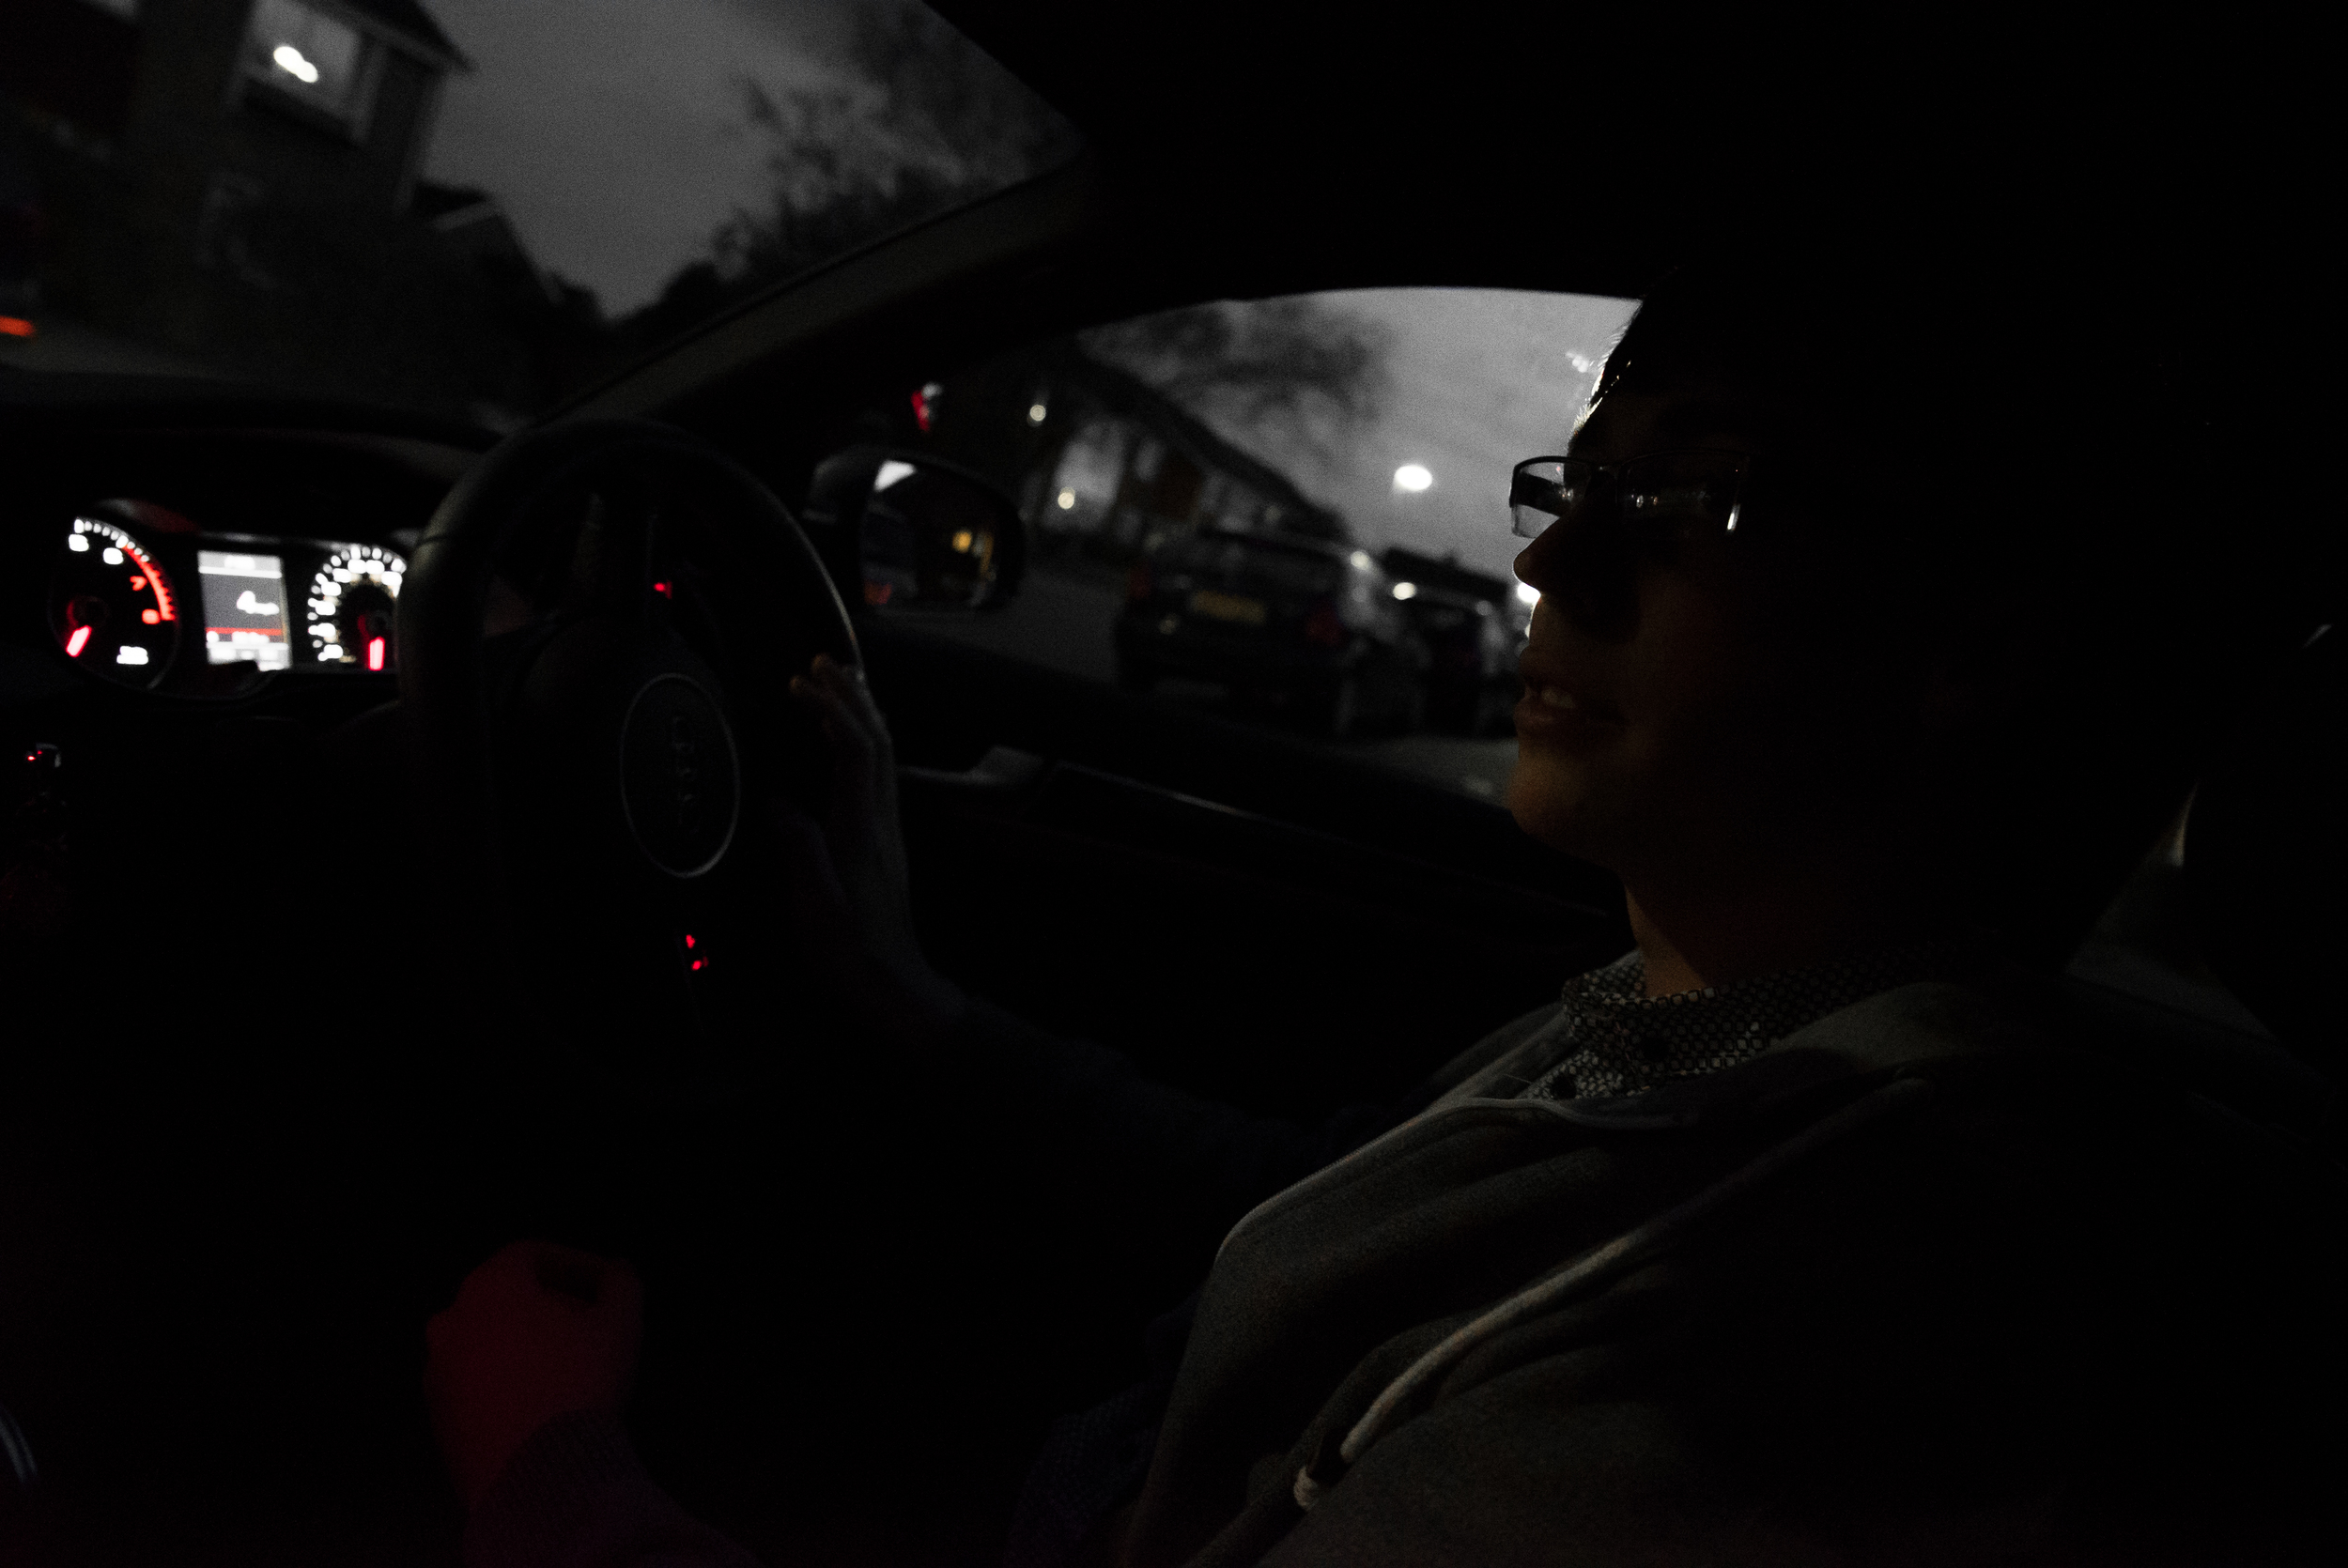
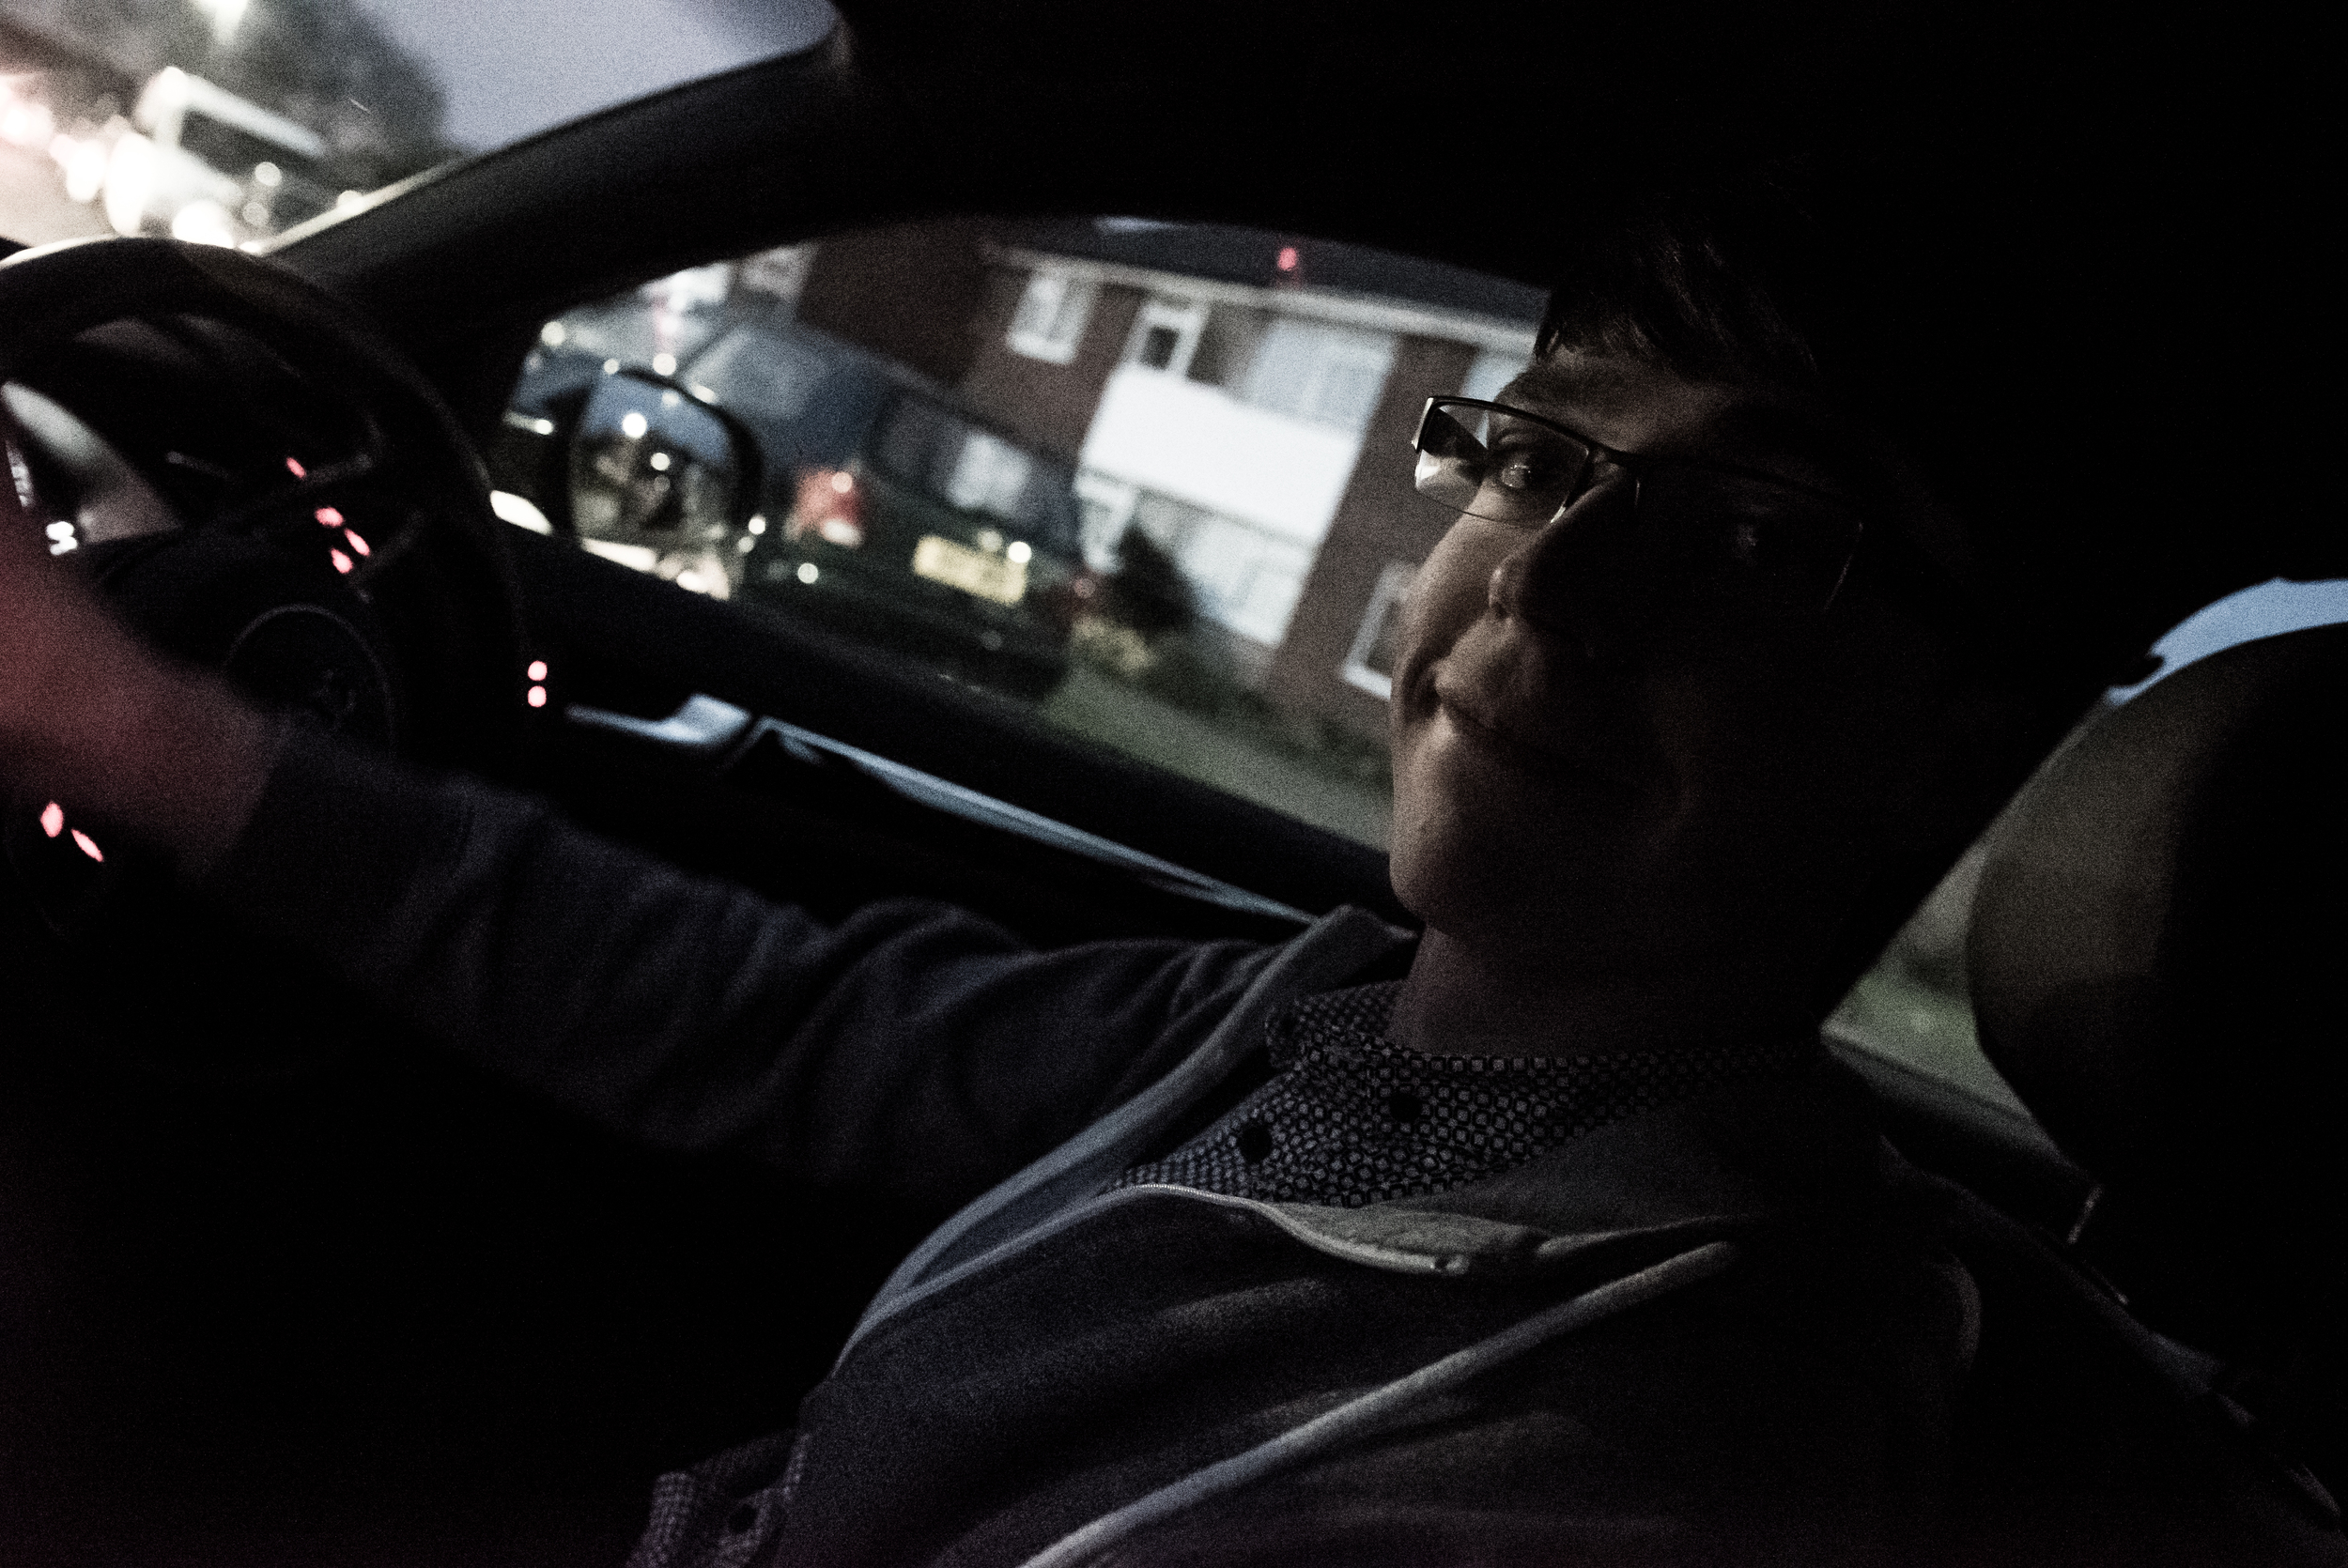
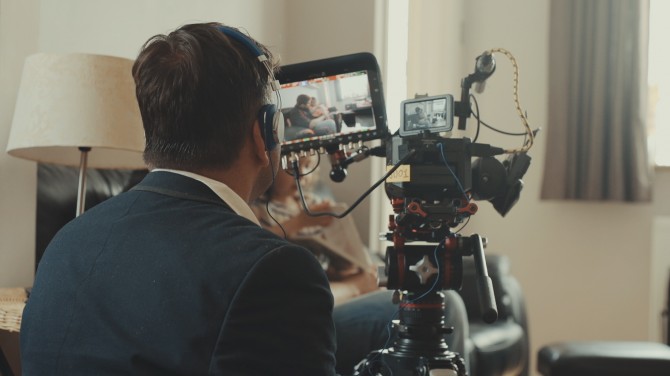
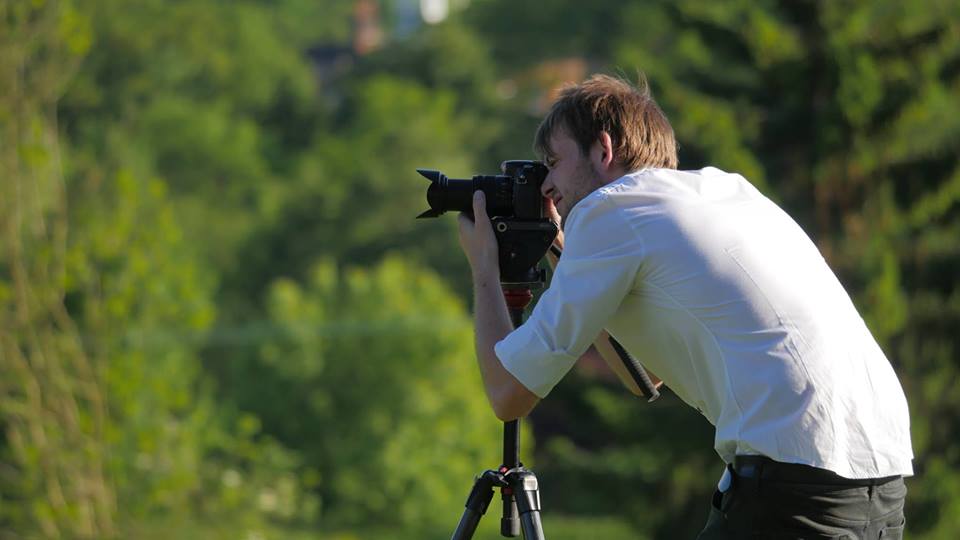
Behind The Scenes
We shoot in 4K, HD, in slow motion. We integrate with your teams, work together, collaborate and have adventures. We experiment, we create, we succeed. We are APVideo and love making video content. If you haven’t got yours, get in touch with us now!


![axiom-modules-06[1]](http://ajp1991.files.wordpress.com/2014/09/axiom-modules-061.jpg)