Finally got round to this!!
A time lapse is a method of photography and videography that captures sequential images from a static camera over a certain period of time, and then sped up in post production to create the illusion of time moving fast.
There are so many reasons why you'd want to use time lapses in your work; from establishing locations to capturing a long event like the northern lights or sunrises and sunsets. Time lapses create a visual spectacle in which time speeds up, you see nature at work and things you would normally miss or take for granted.
If you want to check out some awesome time lapse films, please watch Ron Fricke's Samsara which includes awe inspiring cinematography captured in 70mm film.
http://www.youtube.com/watch?v=P0xVp3N-M84
There are a couple of ways you can create a time lapse, dependent on the length of time you wish to capture, the changing exposure settings of the location, and the kit you have.
Cameras and Kit
I assume that most people interested in this post own a DSLR or video camera of some kind, as it is difficult to capture a time lapse otherwise. In all honesty, what model of camera you use won't make a big difference on the overall video. Whether it is a Canon 110D, 550D or 1D-C, Nikon D3200 or D90, Sony A-7 or Olympus OM-D EM1 your photos and video will look great. Just make sure you have your exposure and focus point set correctly. In regards to what lens you use, in general wide angle lenses give a better perspective of the environment; we've all seen GoPro videos, that is ultra wide, but you don't need a fish eye or specific lenses to do this. Usually the standard kit lens that comes with your camera has a wide angle, whether it be 11mm on MFT cameras or 16mm on full frame, keeping a wide field of view is key to achieving the perspective of a time lapse.
Lets start with time. The longer you wish to capture, the more memory and battery you will need so ensure you've got a fresh card and charged batteries, or even better a battery grip. Depending on what camera you are using you may also need an intervalometer; a device that plugs into the camera and releases the shutter for a pre-set duration at a pre-set interval.
Here's one made by Canon - ![Canon-Intervalometer1[1]](http://ajp1991.files.wordpress.com/2014/02/canon-intervalometer11.jpg)
So, if you wanted to capture a sunset, you will be shooting for a couple of hours. This little device will release the shutter and take a picture for you, however you need to set the interval duration. The longer the interval, the greater the difference between each image as the objects in the frame move and change. For a sunrise or sunset, an interval of 10 seconds should suffice, as the sun and clouds move slowly.
If you were in a city shooting a TL of a busy public place, a shorter interval should be used so the objects or people move smoothly through the frame and don't jump around.
What are you capturing?
Where will you be shooting the time lapse? Bright daylight at the beach, or in arctic winter? Or star trails and fireworks at night? Your DSLR's shutter speed will allow you to control the amount of time the shutter is exposed to light, so a longer shutter speed (anything under 1/30 can be used when the sun or bright light is not available) should be used at night when light levels are low. You can also use the BULB setting I believe to capture exposures longer than 30 seconds if you are capturing star trails.In the opposite situation, you can set your shutter to a reasonable speed depending on the light available; but remember changing light is inevitable and uncontrollable in nature so using shutter priority mode (T) or aperture priority mode (A).
REMEMBER YOUR TRIPOD! Shooting for long periods of time need a steady support, to keep the camera locked off and weighed down if needs be! My Manfrotto tripods work a treat.
Experiment and test at the time to judge your exposure settings. Keep your aperture or F stop small so that all objects in the frame are in focus; something like F/11 down to F/22 if in bright light or you can increase the aperture to F/4 up to F/2.8 if you're working at night. Increasing your ISO to 1000 or 1250 is perfectly fine if your doing a night-lapse, so no worries about that.
Also use the digital zooming capabilities on the camera to get critical focus on a key static point.
If you have less time for a time lapse, then you can always hit record on your camera and film continuously for as long as it can. This is an easy option for those out and about shooting as you can simply wait for 10 minutes or so. Obviously here you have the time restriction to only 10 minutes, so this works best for short burst time lapses of clouds, people & crowds and quick changing landscapes.
For any other setting it would be better to use an invervalometer, mainly as keeping your camera recording will suck the juice out of your battery like anything.
For savvy videographers and photographers alike who may have Magic Lantern already, there is an intervalometer built into the ML firmware which acts just like an internal one. If you don't want to pay for an external device then Magic Lantern which is open source and free is your best option. Plus having ML on your camera expands its video capabilities greatly.
Post Production - If you have taken a series of photos
You've captured an amazing sunset, it has taken you hours and all you want to do is see the finished product. Some methods of editing time lapses are long, boring and not neccessary; taking the photos into After Effects for example, its not needed!
Adobe Premiere Pro is a much simpler and quicker method of getting your TL into a video. Firstly, create your project as you would normally, setting scratch disks to your project folder where the photos are stored. Next, create a sequence dependent on what resolution you would like the video to be. Nearly all photos taken on a DSLR are larger in size than 1080p high definition, so this is a good place to start.
Depending on where you are in the world, your frame rate should be 25fps for UK/EU/Rest of world, or 30fps for USA. This will play your video back at the same frame rate as television and internet, so the time lapse will be smooth.
Now you have your sequence open in the timeline, go to Edit>Preferences>General. Here you can set the default 'still frame' (picture) duration to ONE frame; in timecode this will appear like: 00:00:00:01. This sets the sequence of images to play one after the other with 25 pictures in each second.
Now you are ready to import your photos! Simply Ctrl-I or Cmd-I to open the import window, select the folder with your time lapse images and click 'Import Folder'. Premiere will now import all the photos in the folder and set the duration. You can now simply drag the folder with the photos into the sequence, and your time lapse is now a video. Make sure you render (hit Enter) and watch it back in case you need to correct any frames.
If it looks like the photos are going too quickly, you can change the duration of all the photos very simply; select all the photos in the sequence, right click > Speed/Duration. Here you can increase the frame duration from 00:00:00:01 to 02 frames instead. Here you will need to see what suits your time lapse best. One last tip is to highlight/select all the photos in the sequence, right click, and click 'Frame Blend'. This calculates the interpolation (movement) of subjects between two images, so it fills in the gaps so to speak.
Post Production - Long Video Files
So you've taken the easy road! This method is just as simple as above, and is a quick way of processing a short time lapse. Once you have followed the steps to create your sequence, you can import the video file like you would the photos, instead you simply click the video file needed and click 'Import'. Then drag the video file into the sequence; here if you have been videoing in a different video format Premiere will let you know that the video and the sequence do not match. It is easier to stick with the format of your original video, so if this happens click 'Change Sequence Settings'.

With the video now in the timeline, right click and click 'Speed/Duration'. Here you can increase the speed % to make it faster, and again will need some experimenting to see which looks the best. Remember the higher the speed increase percentage, the faster the time lapse happens.
Colour Correcting
You can add any colour correction to the time lapse by creating an 'Adjustment Layer' and adding brightness and contrast, curves, levels, tint, whatever you like to make the time lapse look great.

For a 'tilt-shift effect - like the incredible New York Sandbox video you will need to use additional plug ins like Magic Bullet, or add the effect in Photoshop before importing to premiere.
http://www.youtube.com/watch?v=Fk9EBOOAYiU
Exporting - finally creating the time lapse video!

Once you are all done, with the sequence selected go to File>Export. If you are uploading to the web, then the H.264 format will work the best for quality and compression. From the drop down menu select H.264 and the Vimeo, Youtube or any other format you wish. There are loads, and plenty of confusing settings so don't get bogged down in the different types for now. When you think you are ready, and have chosen your file destination and name, you can hit 'Export', or if you wish to carry on working in Premiere on another project you can 'Queue' to export to Adobe Media Encoder which will export it in the background!
[youtube=http://youtu.be/QMwpA02IKdI]
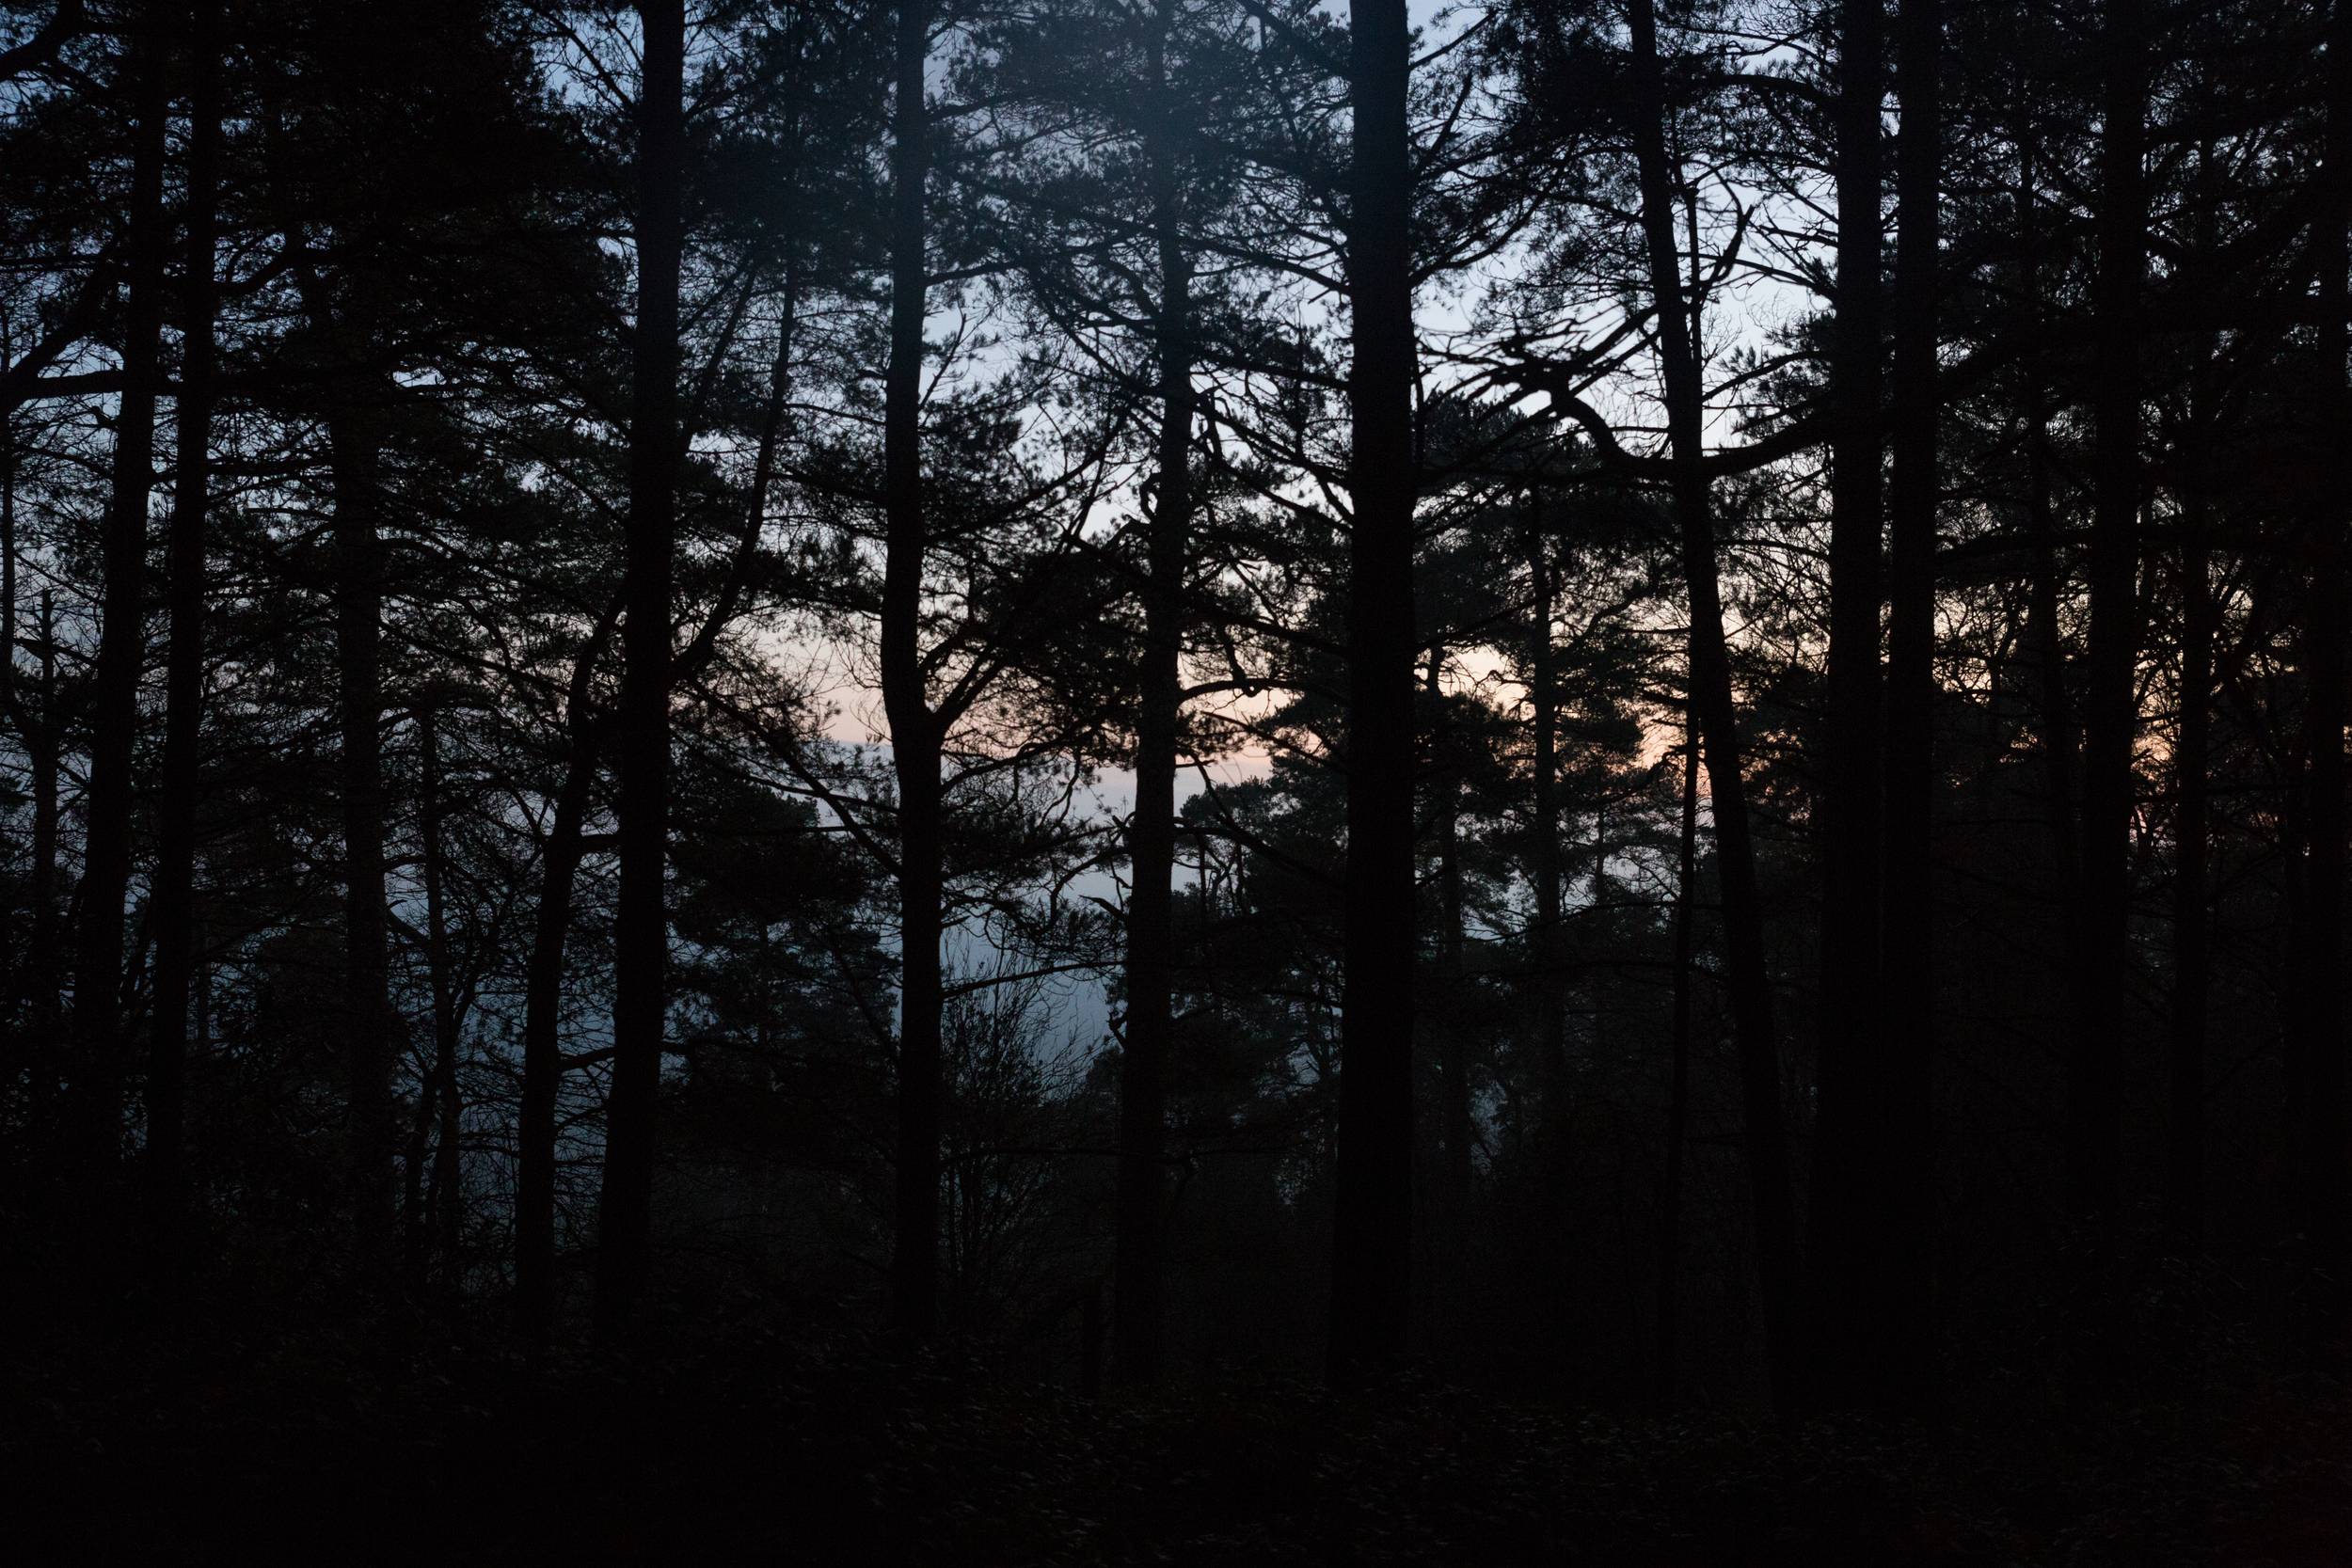
A little example of a video time lapse I shot at Epsom Downs!
I hope this covers your time lapse photography and videography questions? If there is anything I've missed or if you have other questions please send them in!
[contact-form][contact-field label='Name' type='name' required='1'/][contact-field label='Comment' type='textarea' required='1'/][/contact-form]

















![Canon-Intervalometer1[1]](http://ajp1991.files.wordpress.com/2014/02/canon-intervalometer11.jpg)


