

I take a look at Adobe Photoshop Lightroom Mobile for iPhone photography, capable of taking photos in DNG format and more prescise editing features.

Our Video Production Blog
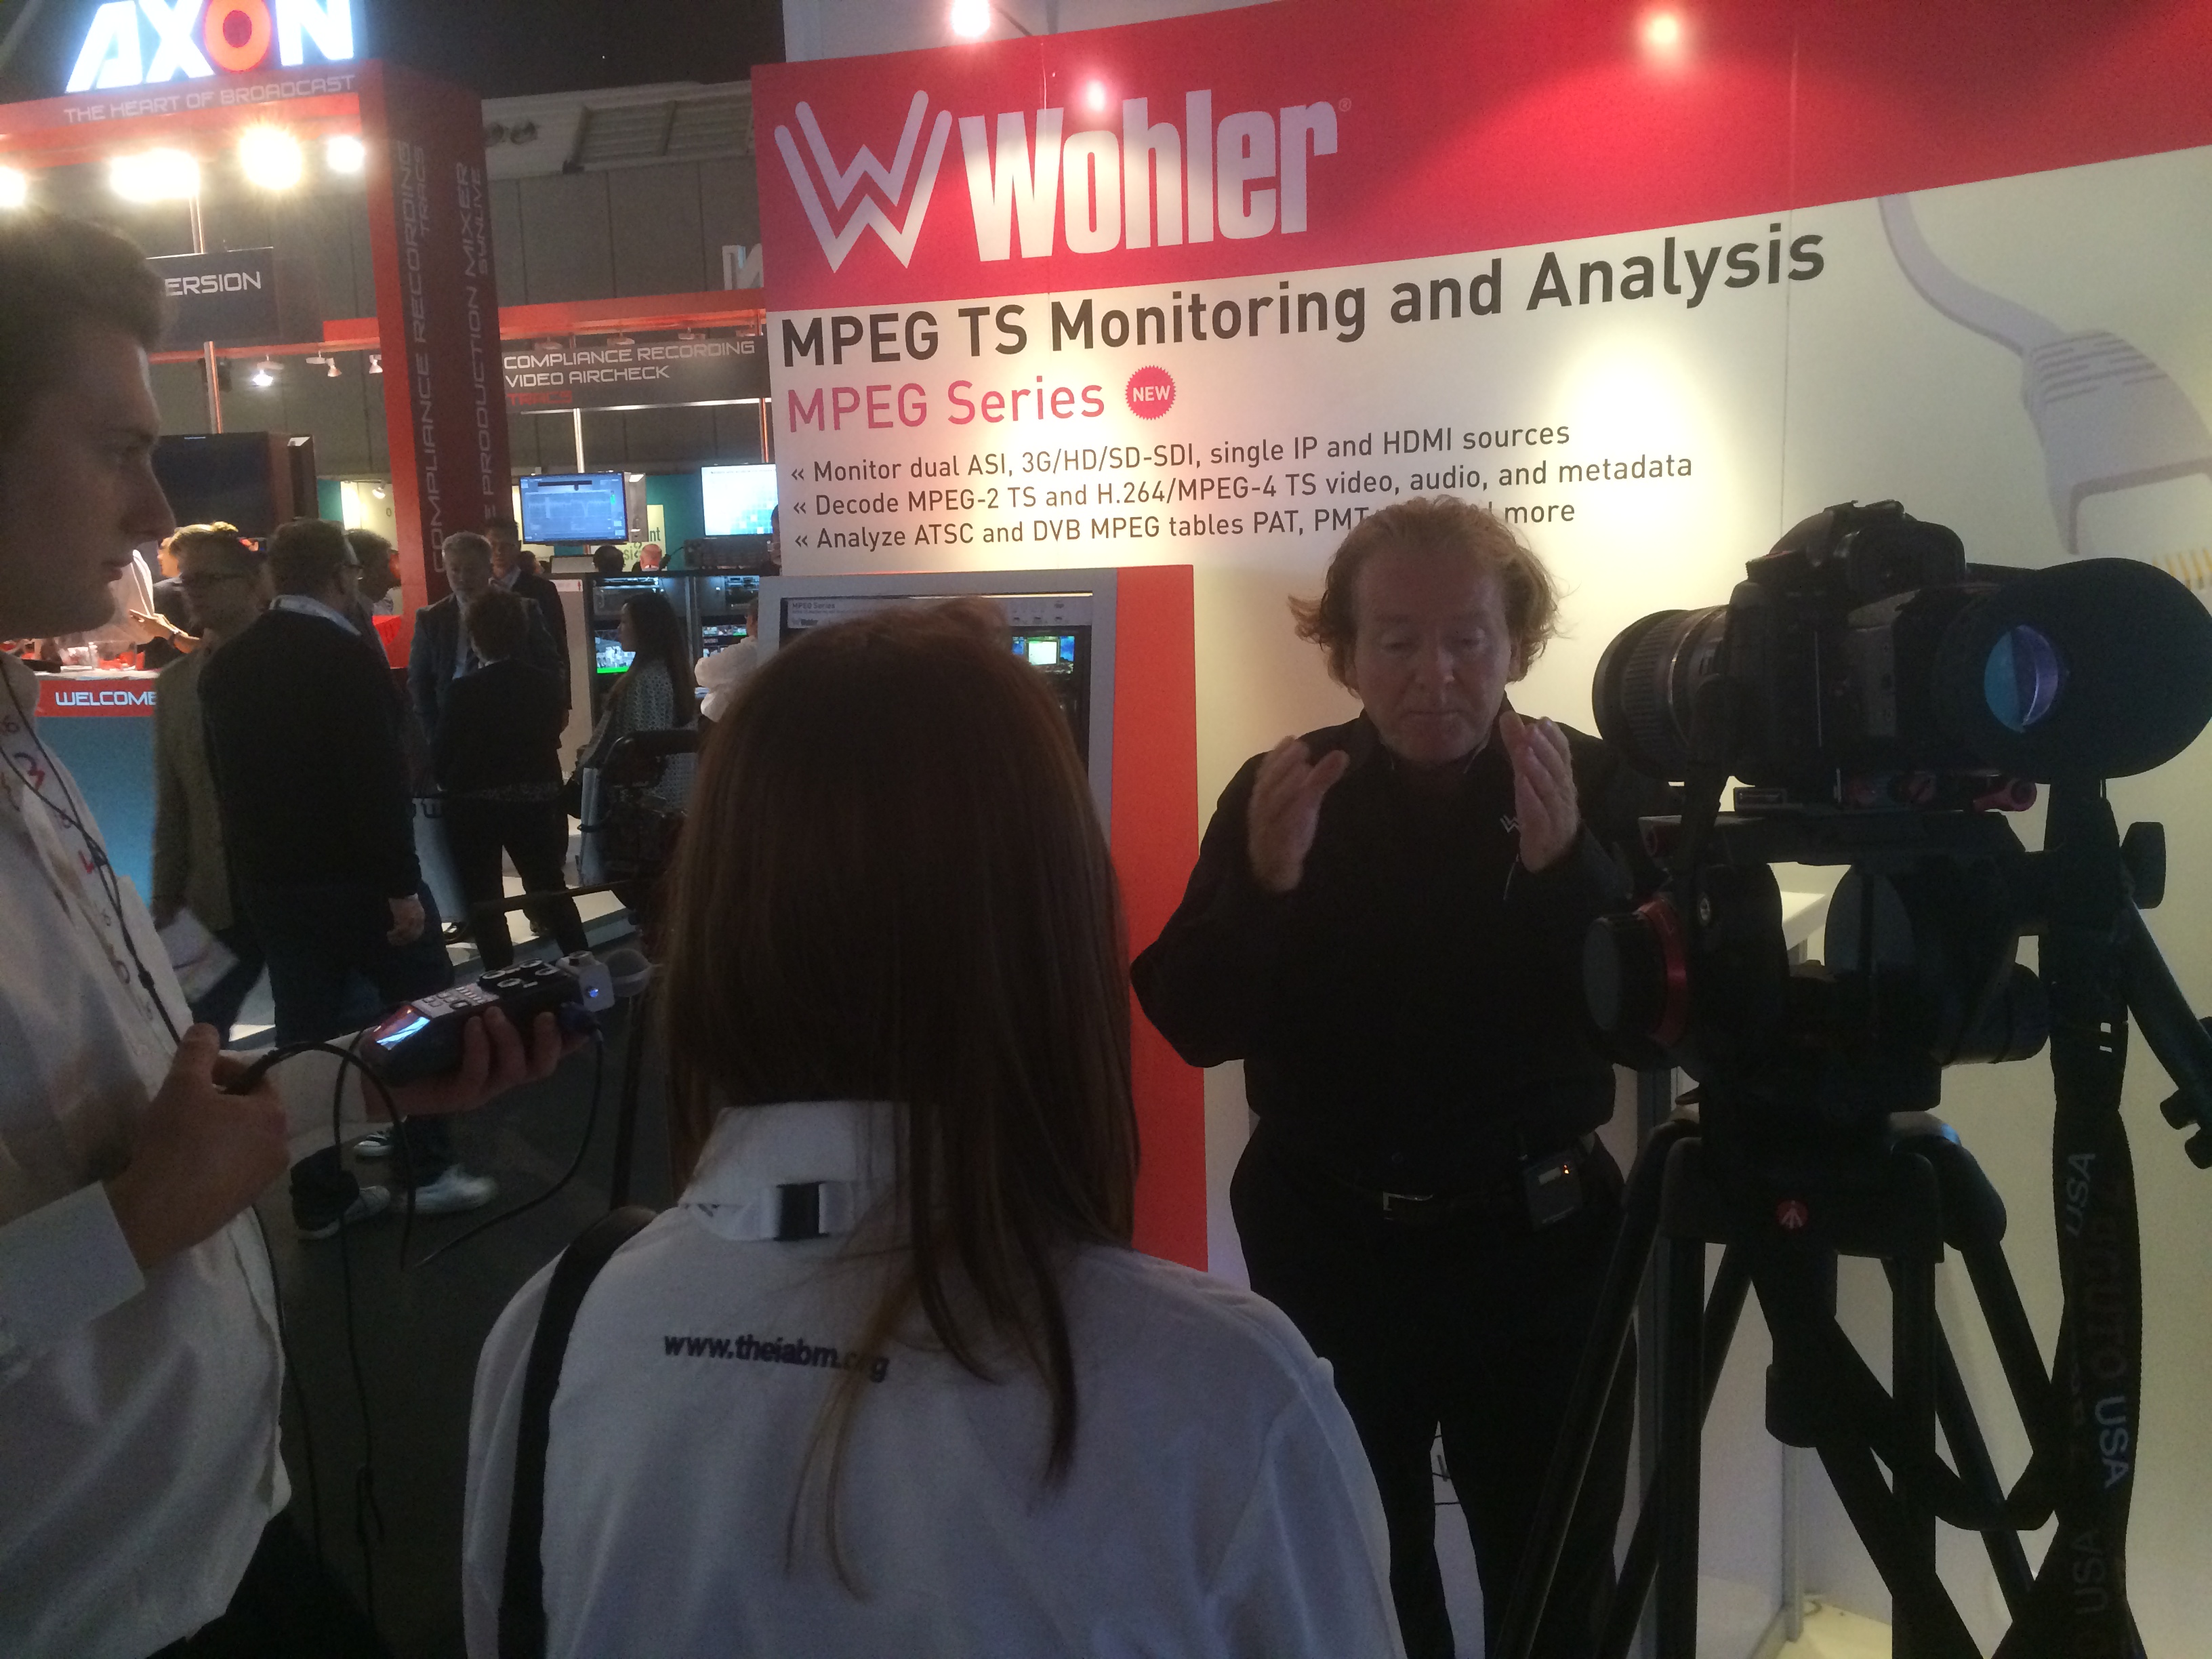
I'm doing a few productions for the IABM in the lead up to their annual conference in December, which included a video shoot in London at IBM; a panel discussion on the key topics of the conference, and the industry at the moment.
John Ive, the director of business and technology at the IABM chaired the discussion, with six of the top decision makers in the industry around the table, which included: Dominic Stone (Our host at IBM and multimedia executive), Rob Roberts (Avid), Marc Risby (Boxer), David Peto (Aframe), Chris Steele (Marquis), Paul Glasgow (Chyron Hego).
It was an early start for myself and Glen, to get a head start in the traffic heading up to the South Bank. Usually I would get the train, but as this was a full setup I required my little cars assistance to get the equipment there!

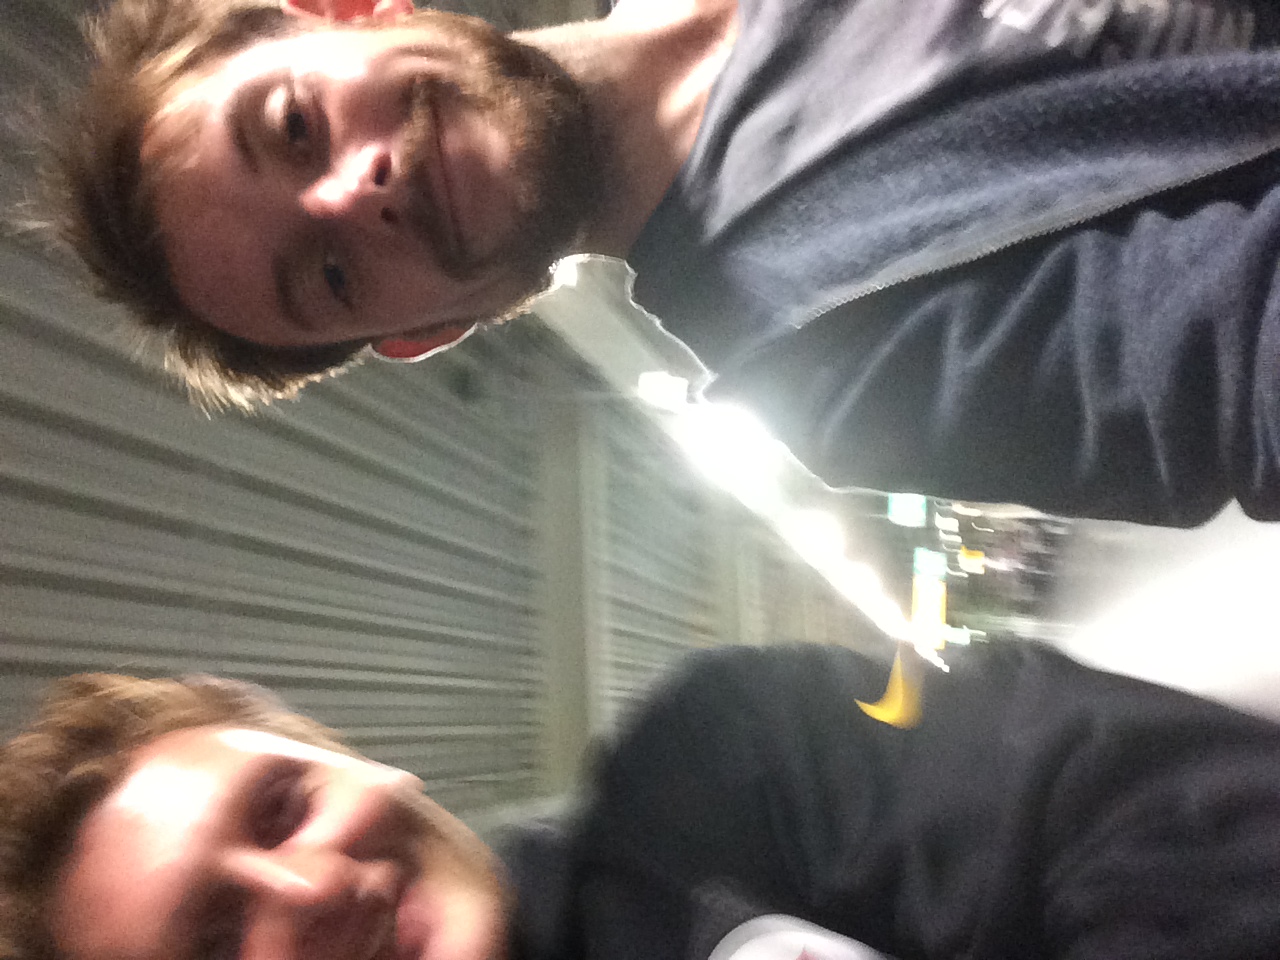
Glen at IBM

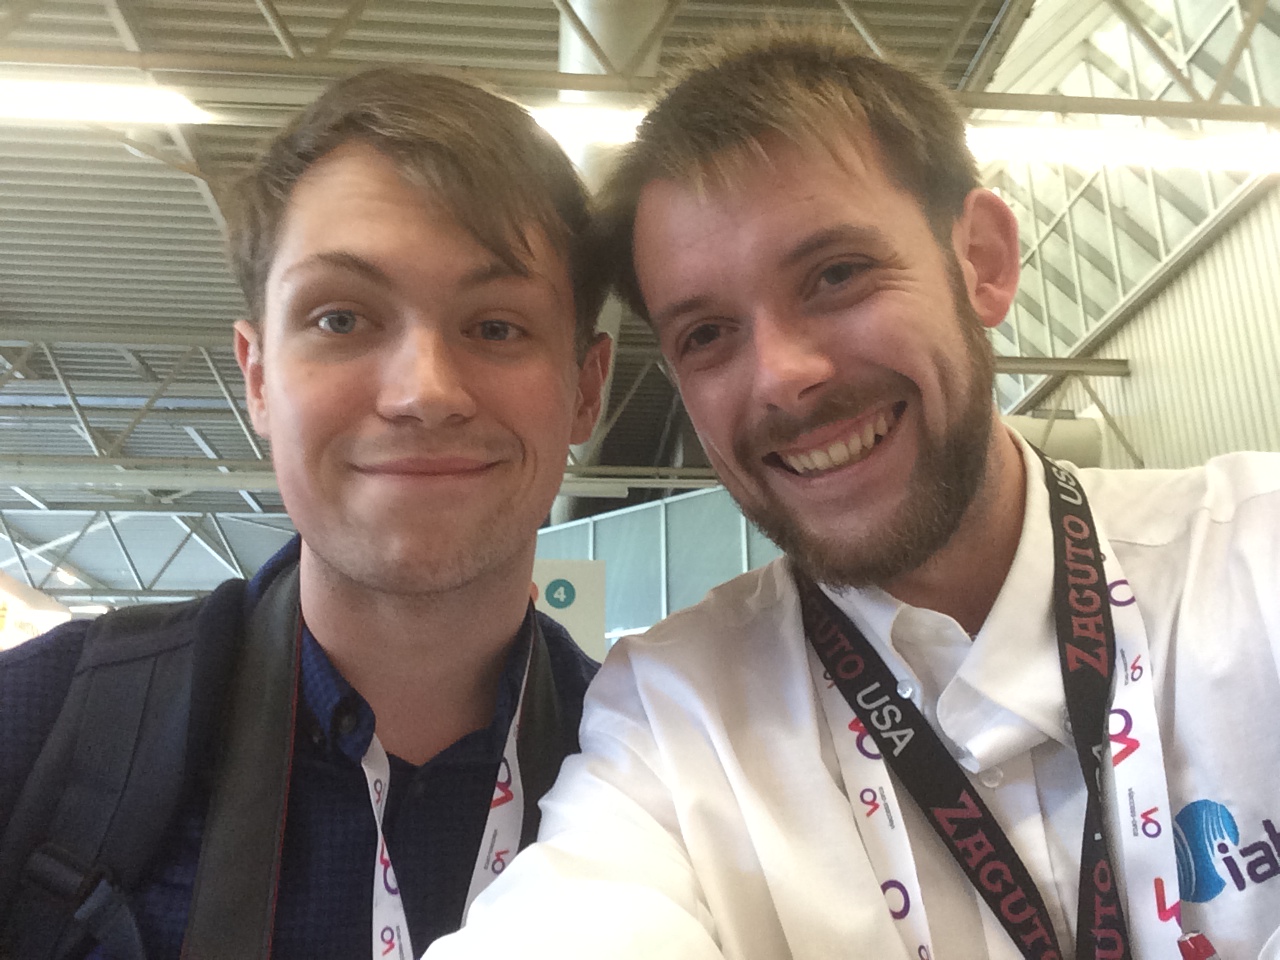
Me at IBM!
We arrived at the IBM office on the South Bank with plenty of time to spare, and after unloading the equipment in the loading bay we parked up in the National Theater and met our host for the day, Dominic. A wonderful chap with a wealth of experience as a television producer, many thanks for your hospitality throughout the day!

Trolley fulla gear!
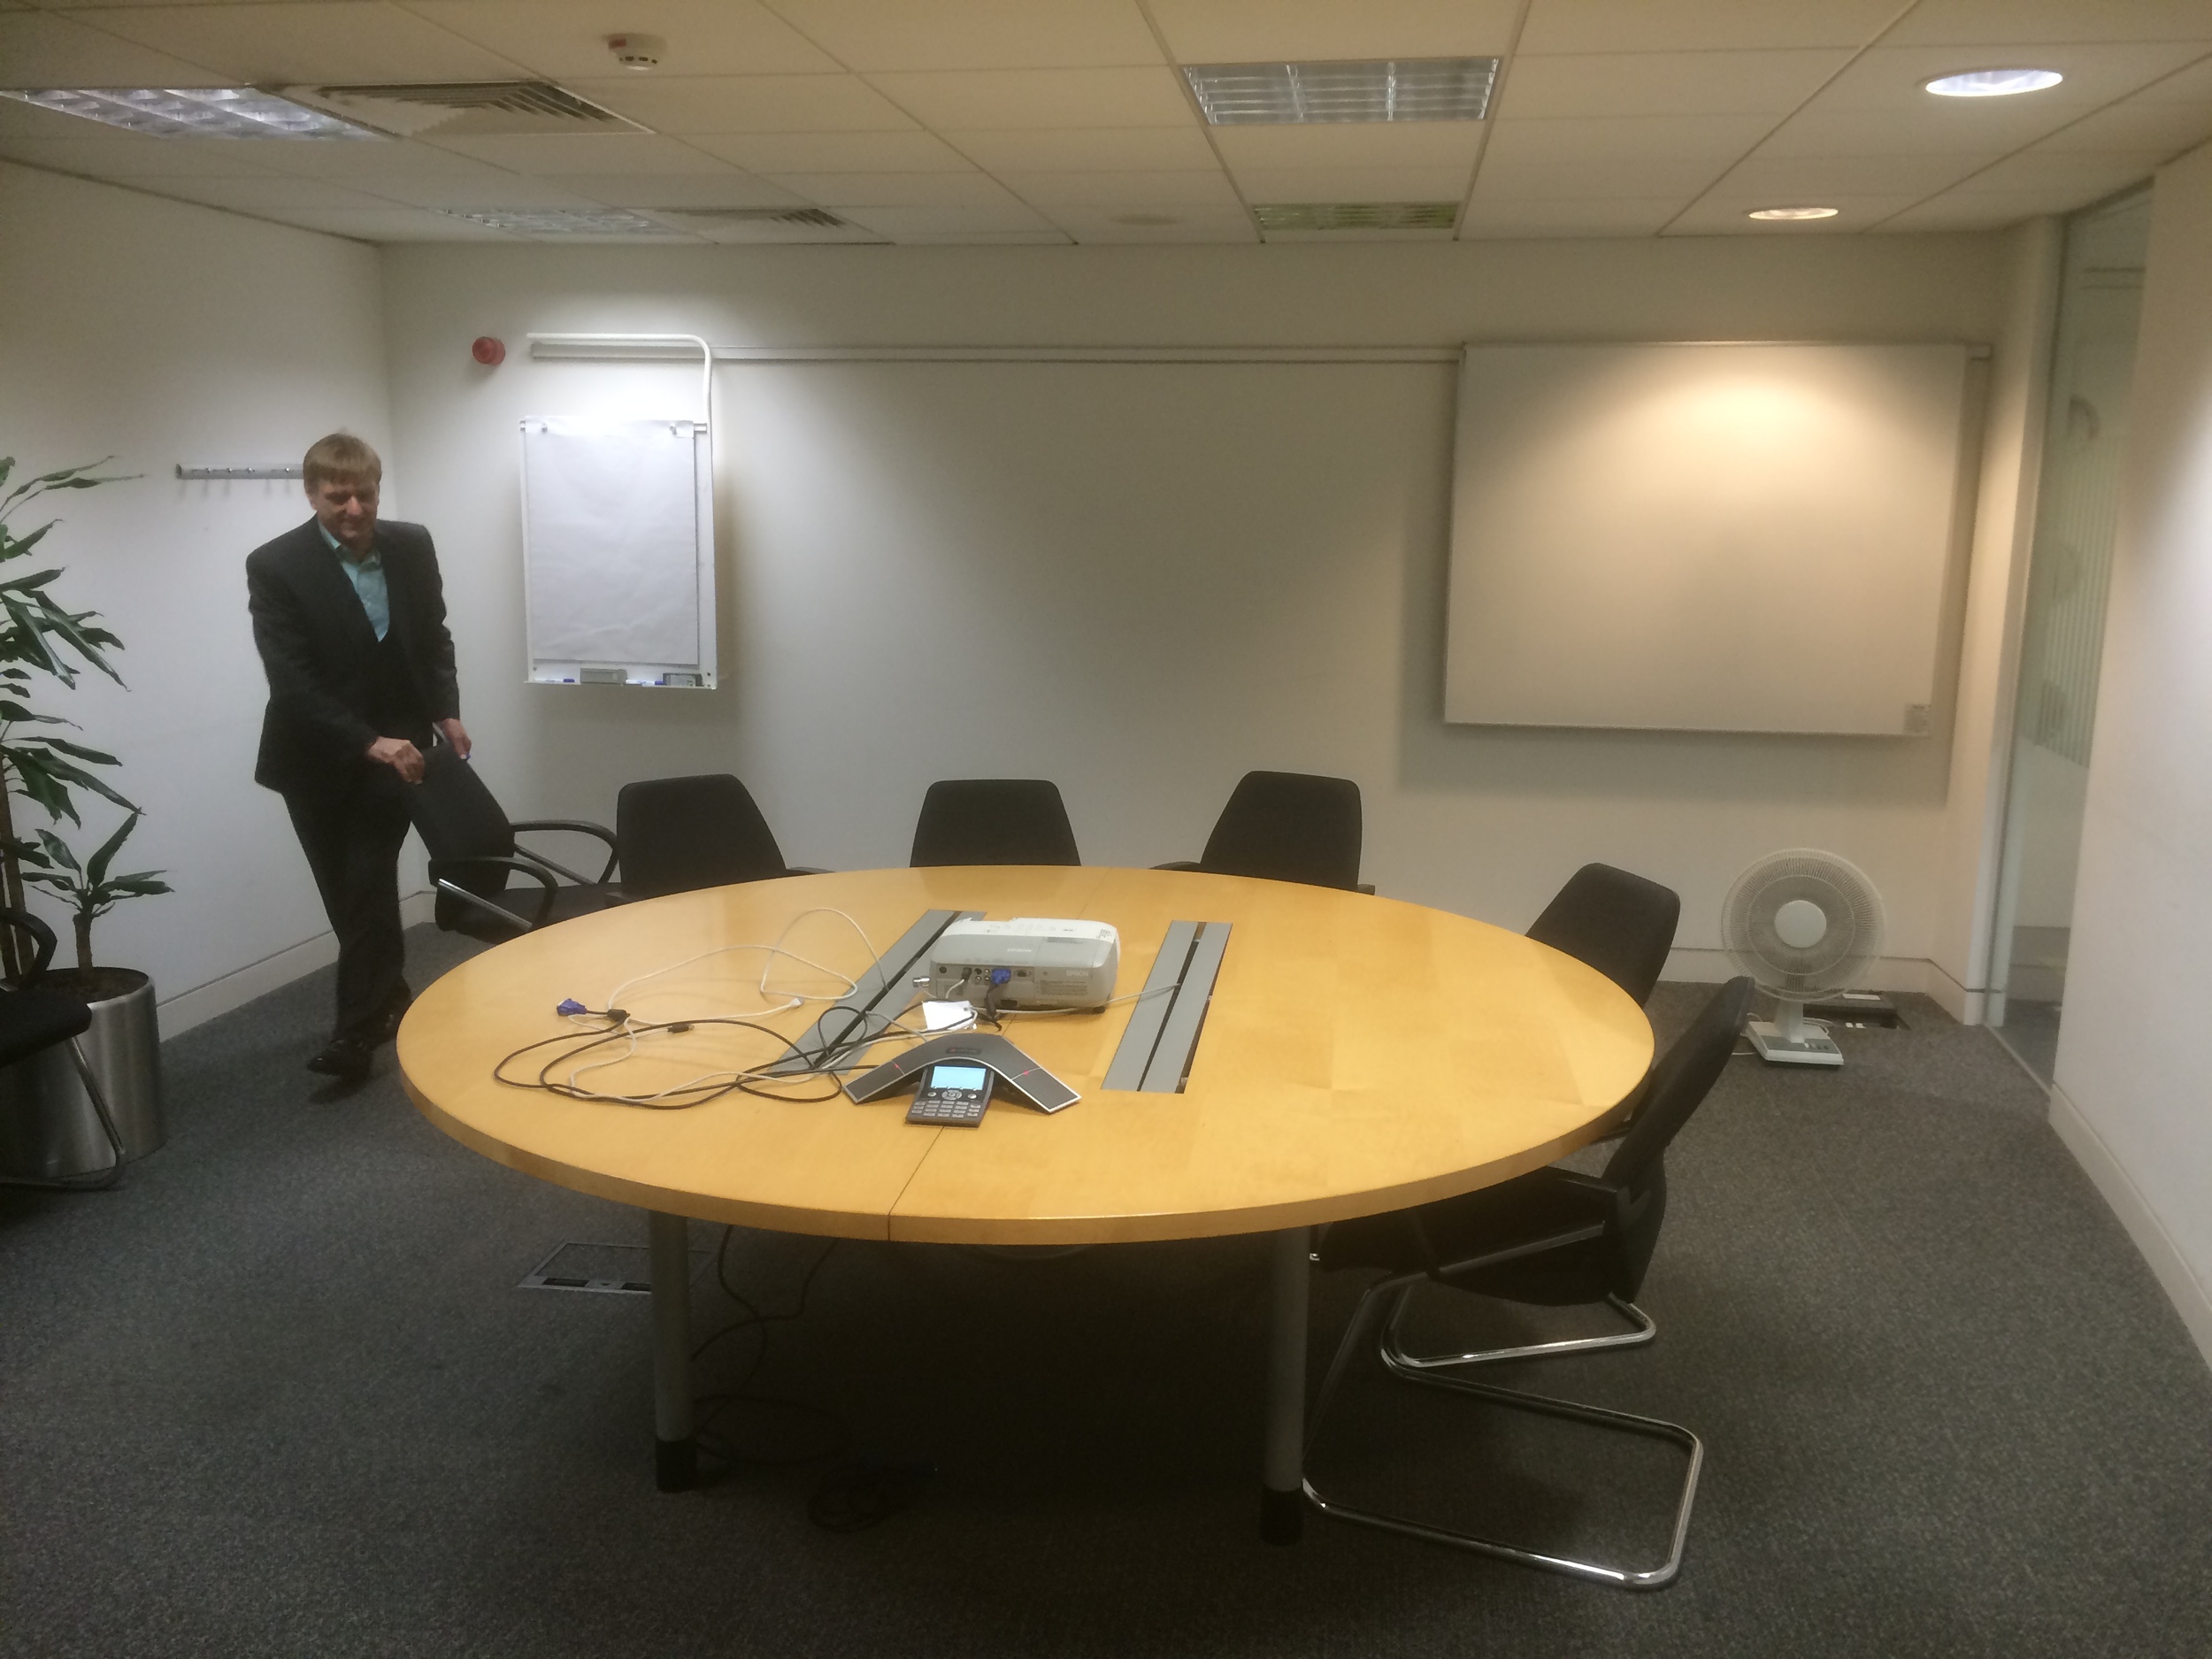
What the conference room at IBM looked like before we got our hands on it!
Once we had access to the conference room, we began the setup and moved any unnecessary furniture out of the way. Manfrotto has greatly helped me on this as much of the kit is new and definitely new to this kind of video environment too, and after IBC I was very keen to try out the new tripods; which now can be lowered to almost ground level with innovative locking joints. Also, although I'm using a 5D and telephoto lenses to shoot with (so the load is not very heavy), but having steady and smooth shots are imperative to keeping a good composition, both the tripod and video head allow me to achieve shake free pans and tilts, which can be counter balanced depending on your camera, lens and accessory setup.
The new light stands are awesome. I know it is something simple, but it makes a massive difference. Stands and poles can often get mislaid, damaged in transit or in use, or simply can't withhold a wide variety of lights and accessories. These on the other hand have a brilliant locking system to hold multiple stands together, meaning they can be carried and transported very easily. They are not heavy, and can take a heavy load (not that these SPECTRA 1X1 LED panels are that heavy)!

Panel video setup with Manfrotto 1x1 bi-colour LED light
After lunch, we checked the colour temperature on the four lights; the two front facing the panel, one giving a back light onto the speakers and background, and a smaller 900 panel to push a little extra light into the right panelists. All of the lights are bi-colour, which gives maximum flexibility when the video scenario changes so frequently.
The lights I used were: Manfrotto Spectra 1x1FT x 3, Spectra 900FT and the 1004BAC pro light stands.
To make sure all of the cameras were exposed and set correctly, we did a custom white balance and orientated around the cameras and lights to make sure we achieved the best out of the setup.
I transported the camera and audio equipment in the Manfrotto Pro Backpack50 as its large capacity was required for the amount of kit I needed which included:
I also had the Manfrotto 536 MPRO tripod and 504 HD video head in the large tripod bag, and the ProCX-3 and Pro-B for the other cameras.
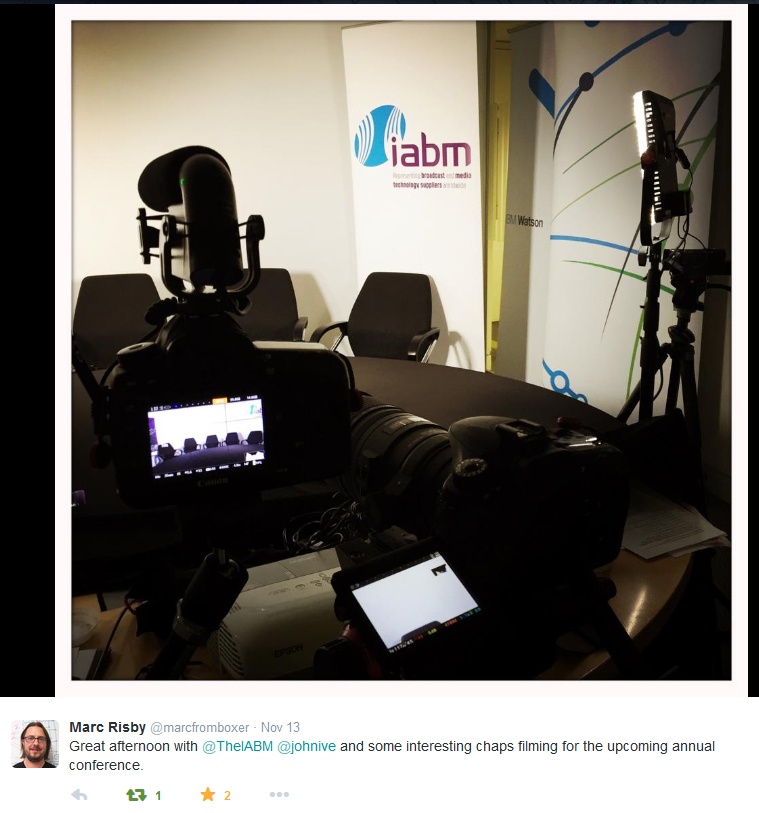
Marc Risby, one of the panelists tweets about his experience!
While we were setting up!

Shortly after our panelists arrived, and they were eager to get started in discussion; I put the lapel mics on and plugged them into the H6. John kindly allowed us to use a couple of cameras and microphones for the extensive number of panelists. The Sony ECM-77 are great lav mics with good audible response, as is the Rode Lavalier which I used with the MiCon-1 connector into the ENG-G3 wireless kit.
I got the panel talking for a practice run through while I checked the audio levels on the H6, which was placed under John's chair (due to the cable length I could not monitor the camera from my filming position).
If you've been following me on Twitter, you'll have seen I have been looking for a wide angle lens for both an APS-C and FF sensor (so far Canon's 16-35 F/2.8 is best), so I was without my Tamron 17-50mm (my standard lens on the 60D as a wide). To compensate for this, I alternated my usual video setup from 5D and Sigma 70-200mm for an MCU and 60D and 17-50mm for a wide to; 5D and Tamron 24-70mm for a wide and 60D and 70-200mm for an MCU which allowed me to capture a good wide angle of the whole panel, as well as a great MCU on the speaker.
The 504HD video head has integrated fluid drag and resistance which makes panning and tilting a dream for video; it is smooth, yet easily changed depending on the subject and timing of the camera moves. A large pan-handle makes the motion firm and steady throughout.
With a vast experience in broadcasting from all of the panelists, it was difficult not to get distracted into the conversation. After each discussion we shot some VoxPops for the conference with the other panelists that did not participate in that panel, which will be used throughout the presentations and panels at the IABM annual conference in December.
Unlike the Zoom H4N, the H6 has an incredible power consumption rate meaning on four AA batteries it can record multiple channels (four in this care) for a good 2 hours without needing to change! This meant I could rely on it recording stand-alone under Johns seat without monitoring, after each channel was correctly set (with a general limiter on).
In terms of the camera settings I was using:
- VisionTech2 Picture Profile
- F/4.5 on the MCU so focusing between panelists was minimum
- Because of light setting, as well as not much fast motion happening I reduced the electronic shutter to 1/33.
- ISO between 400 and 640 due to the good light produced from the 1x1's!
Once the filming was complete, we quickly de-rigged the setup so we could get out of London as quickly as possible; not to get held up with traffic queues etc.. Thankfully, all of the Manfrotto gear we had is fast to setup and tear down so we were ready to leave within half an hour or so!
Once I got back home, I begun the ingest and backup process; remembering to have 3 copies of the footage and audio on separate drives in case any fail. I also began re-naming the files so it is easier for me to locate specific panelists microphones when doing the audio mix-down.
Although the Zoom H6 is an awesome recorder, it for some reason records track 3 and 4 together (as a stereo channel) so I had to split the Tr3-4 into separate Track 3 and Track 4 files using Audition. This is a simple process, but I wonder if this can be changed in the device itself?

Here you can see the top track is different to the other, this is because the T3 and T4 inputs were from different speaker microphones, but recorded together. To resolve this, I simply solo'd the track I needed, selected ALL and copied, created a new audio stereo track and pasted the track there; this creates a Left or Right track for you in the new audio file.

Here, I've created a new stereo audio track and pasted the solo'd track into it. The new stereo audio file then replicated the audio on both tracks. I then saved this as a new audio track.
In Pluraleyes, I created the four camera sources and imported their respective video files, and then singularly imported each audio track into a new audio recorder as a new audio source (instead of importing the five tracks into the same audio recorder). This would allow me to control not only each track individually, but also when I separate the four sections into their own multi-camera sequences I have separate audio tracks rather than one reallyyy long one.


You can see here that the audio tracks from each microphone are separated in the sync.

I was amazed at the speed of the sync, only 1 minute 8 seconds to sync all of the video and audio from many different sources! I then exported the sync as both an XML and XML with replaced audio from Pluraleyes, and created a new Premiere Pro project for this production.
I imported the XML file into the new project, which imports and creates a new sequence with the synced footage in place. So easy! I then placed the footage into their respective sequences depending on the discussion topic, and prepared them for multi-camera editing!


The sequences are now ready to be cut using the Multi-camera interface! Unfortunately I can't show anymore as this is an IABM member exclusive video, but I hope you have enjoyed seeing how videos like this are produced on a small scale!

Surrey North Downs Way, Adam Plowden Videography
I've been waiting for a clear skied afternoon to film some autumn material for another personal project. Heading for the open North Downs Way, accompanied by the 5D mkIII, Tamron 24-70, Sigma 70-200, Samyang 14mm, Canon 100mm, Manfrotto 055 tripods and 701 head on the Pro Media Gear Dual-arc slider.
The video is to come very soon, I want to go out and shoot some more in the early morning!
#Latenightediting

Soundbox Studio opening, feat Rebecca James.

What a week it was! There was no doubts we would be busy filming and editing videos for The IABM to release, but not on the scale we anticipated! Overall, Adam Plowden Videography captured and produced at least 8-10 videos each day, an incredible 6 times more video content delivered in one week than previously in the whole of 2013!
I did include a run-down of my kit choices before I left, but here is a quick summary of my chosen equipment to capture the IBC Show:
Manfrotto 546GB twin leg tripod with a 504HD head (A Cam).
Canon 5D mkIII, Tamron 24-70mm, Sigma 70-200mm, Samyang 14mm, 35mm, 85mm, Canon 100mm L.
Manfrotto 755CX3G tripod with a MVH500AH head (B Cam).
Canon 60D, Tamron 17-50mm, Canon 50mm.
Manfrotto Hydra Arm and super clamp.
Zoom H6, Sennheiser ENG-G3 RxTx kit, Roto-mic.

(This is the kit we took each day to film with!)
I had to have the above tripod gear after testing them out at my Manfrotto Takeover day, I was impressed by the fluidity of the 504 head when using it with telephoto lenses (as you can see above), however for lightweight, portable and quick 'run and gun' filming, the 755CX3G is a cracking go to set of legs. (Pictured above with the ProMediaGear Arc-Slider) and 701HDV head.
My main camera was: Canon 5D mkIII, and I was frequently using the Tamron 24-70 F/2.8 VC and Sigma 70-200 F/2.8 DC OS for 'go to' lenses around the show. They have a stabilizer in the lens, which means that shake and wobble can be eliminated. I also purchased the Canon 100mm F/2.8L macro lens before the trip for detail shots, but I fell in love with it for capturing everything; crisp and beautifully shallow portraits too.
For establishing and wide shots, the Samyang 14mm T/3.1 cine lens came into it's own. On a full frame camera it has a huge wide angle view allowing to capture the biggest of expanses with clarity.
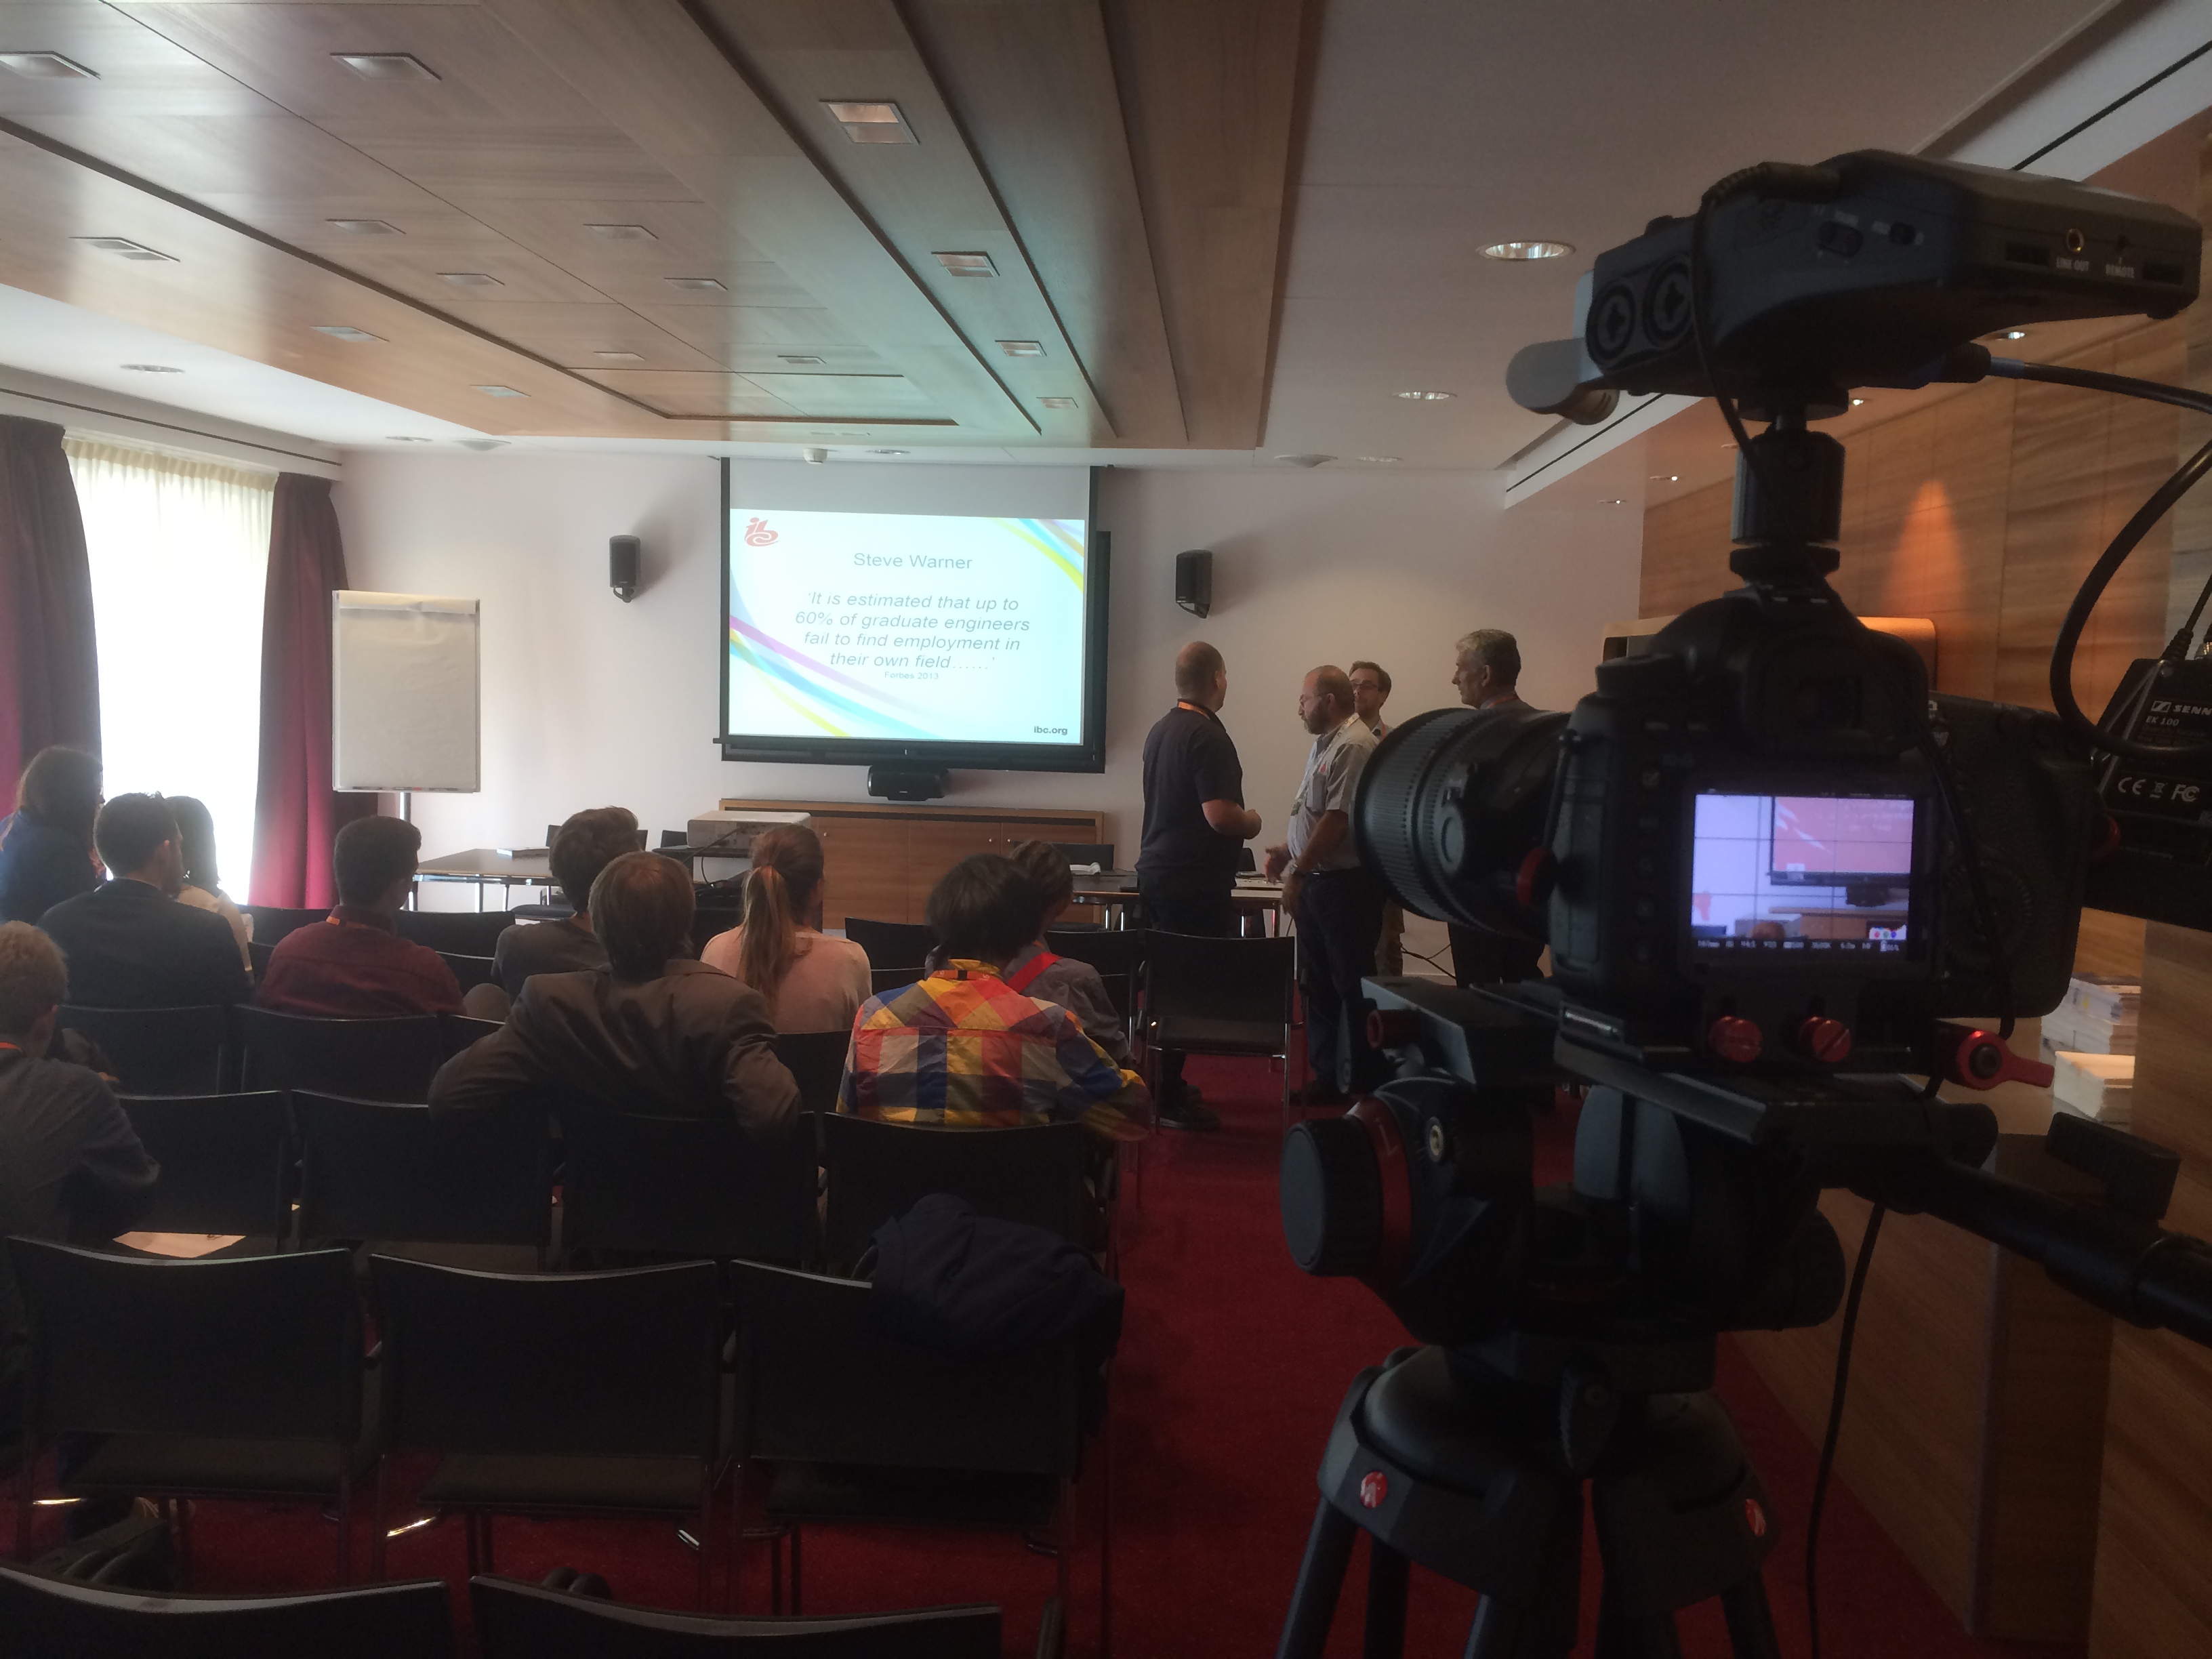
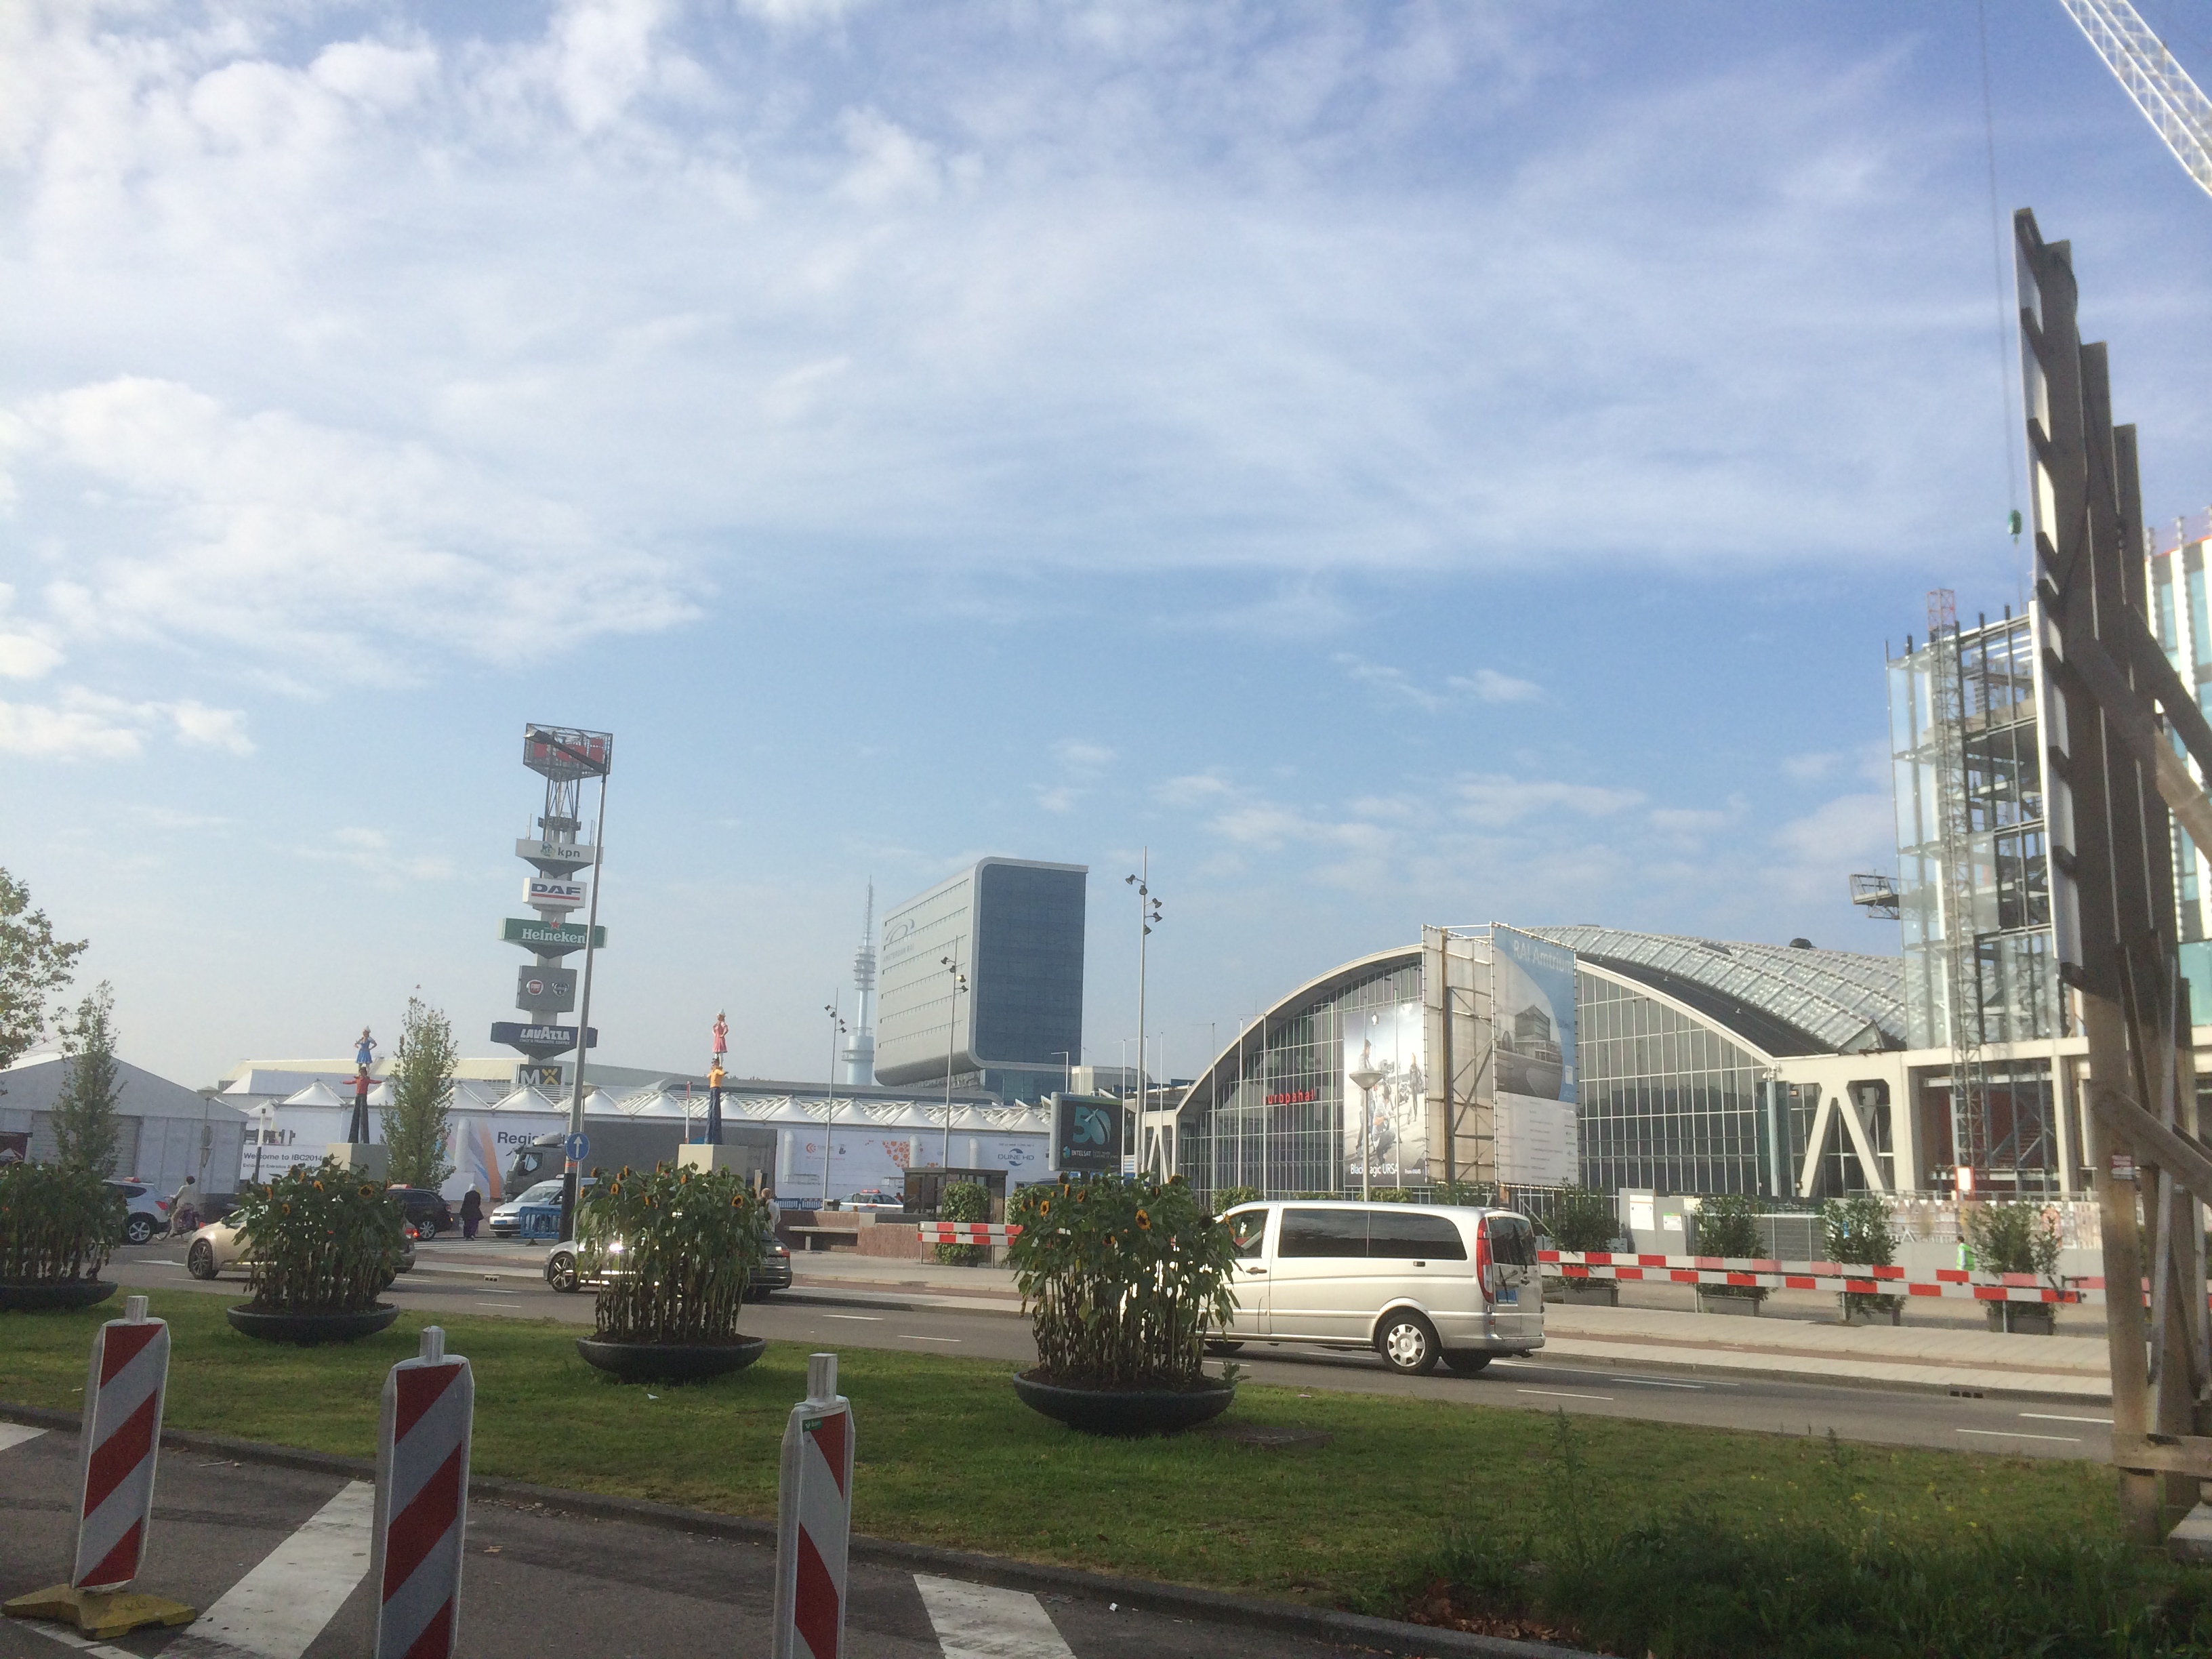
Day 2 - Thursday 11th September - Welcome to IBC
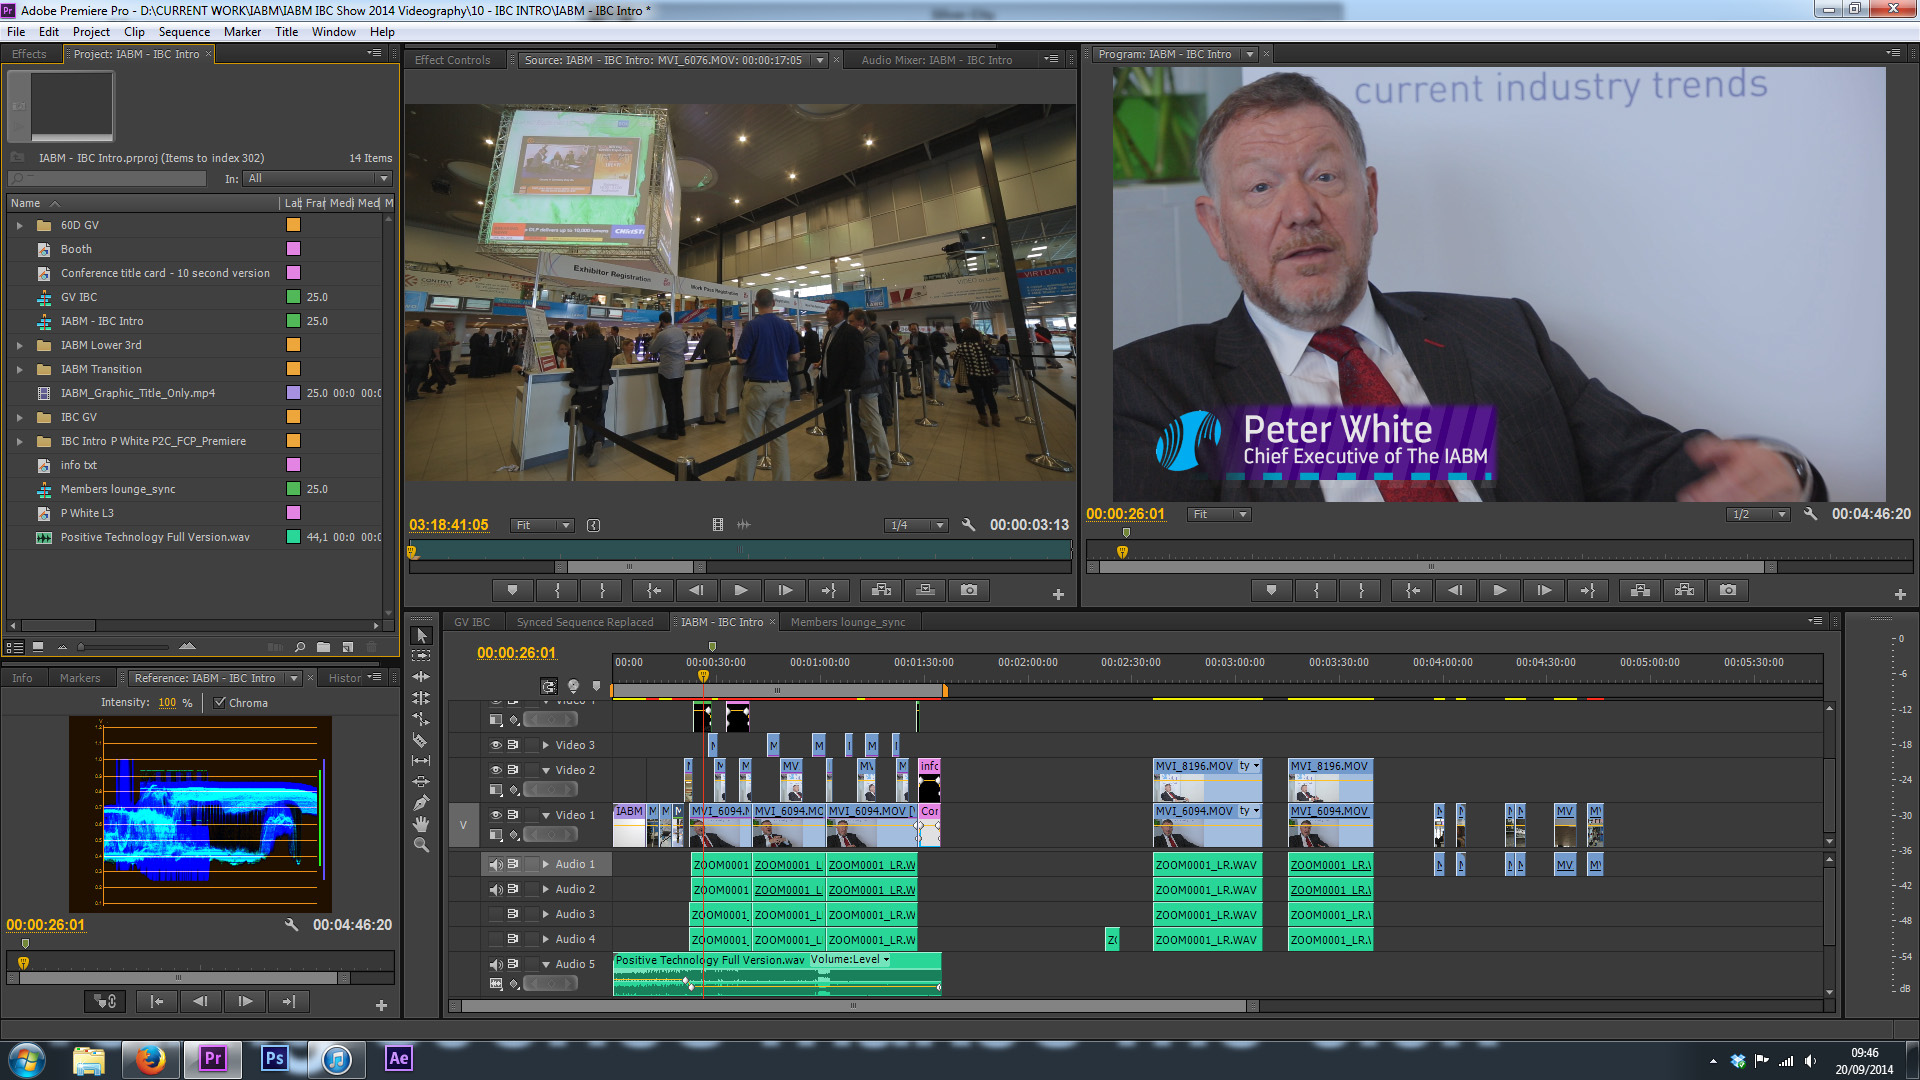
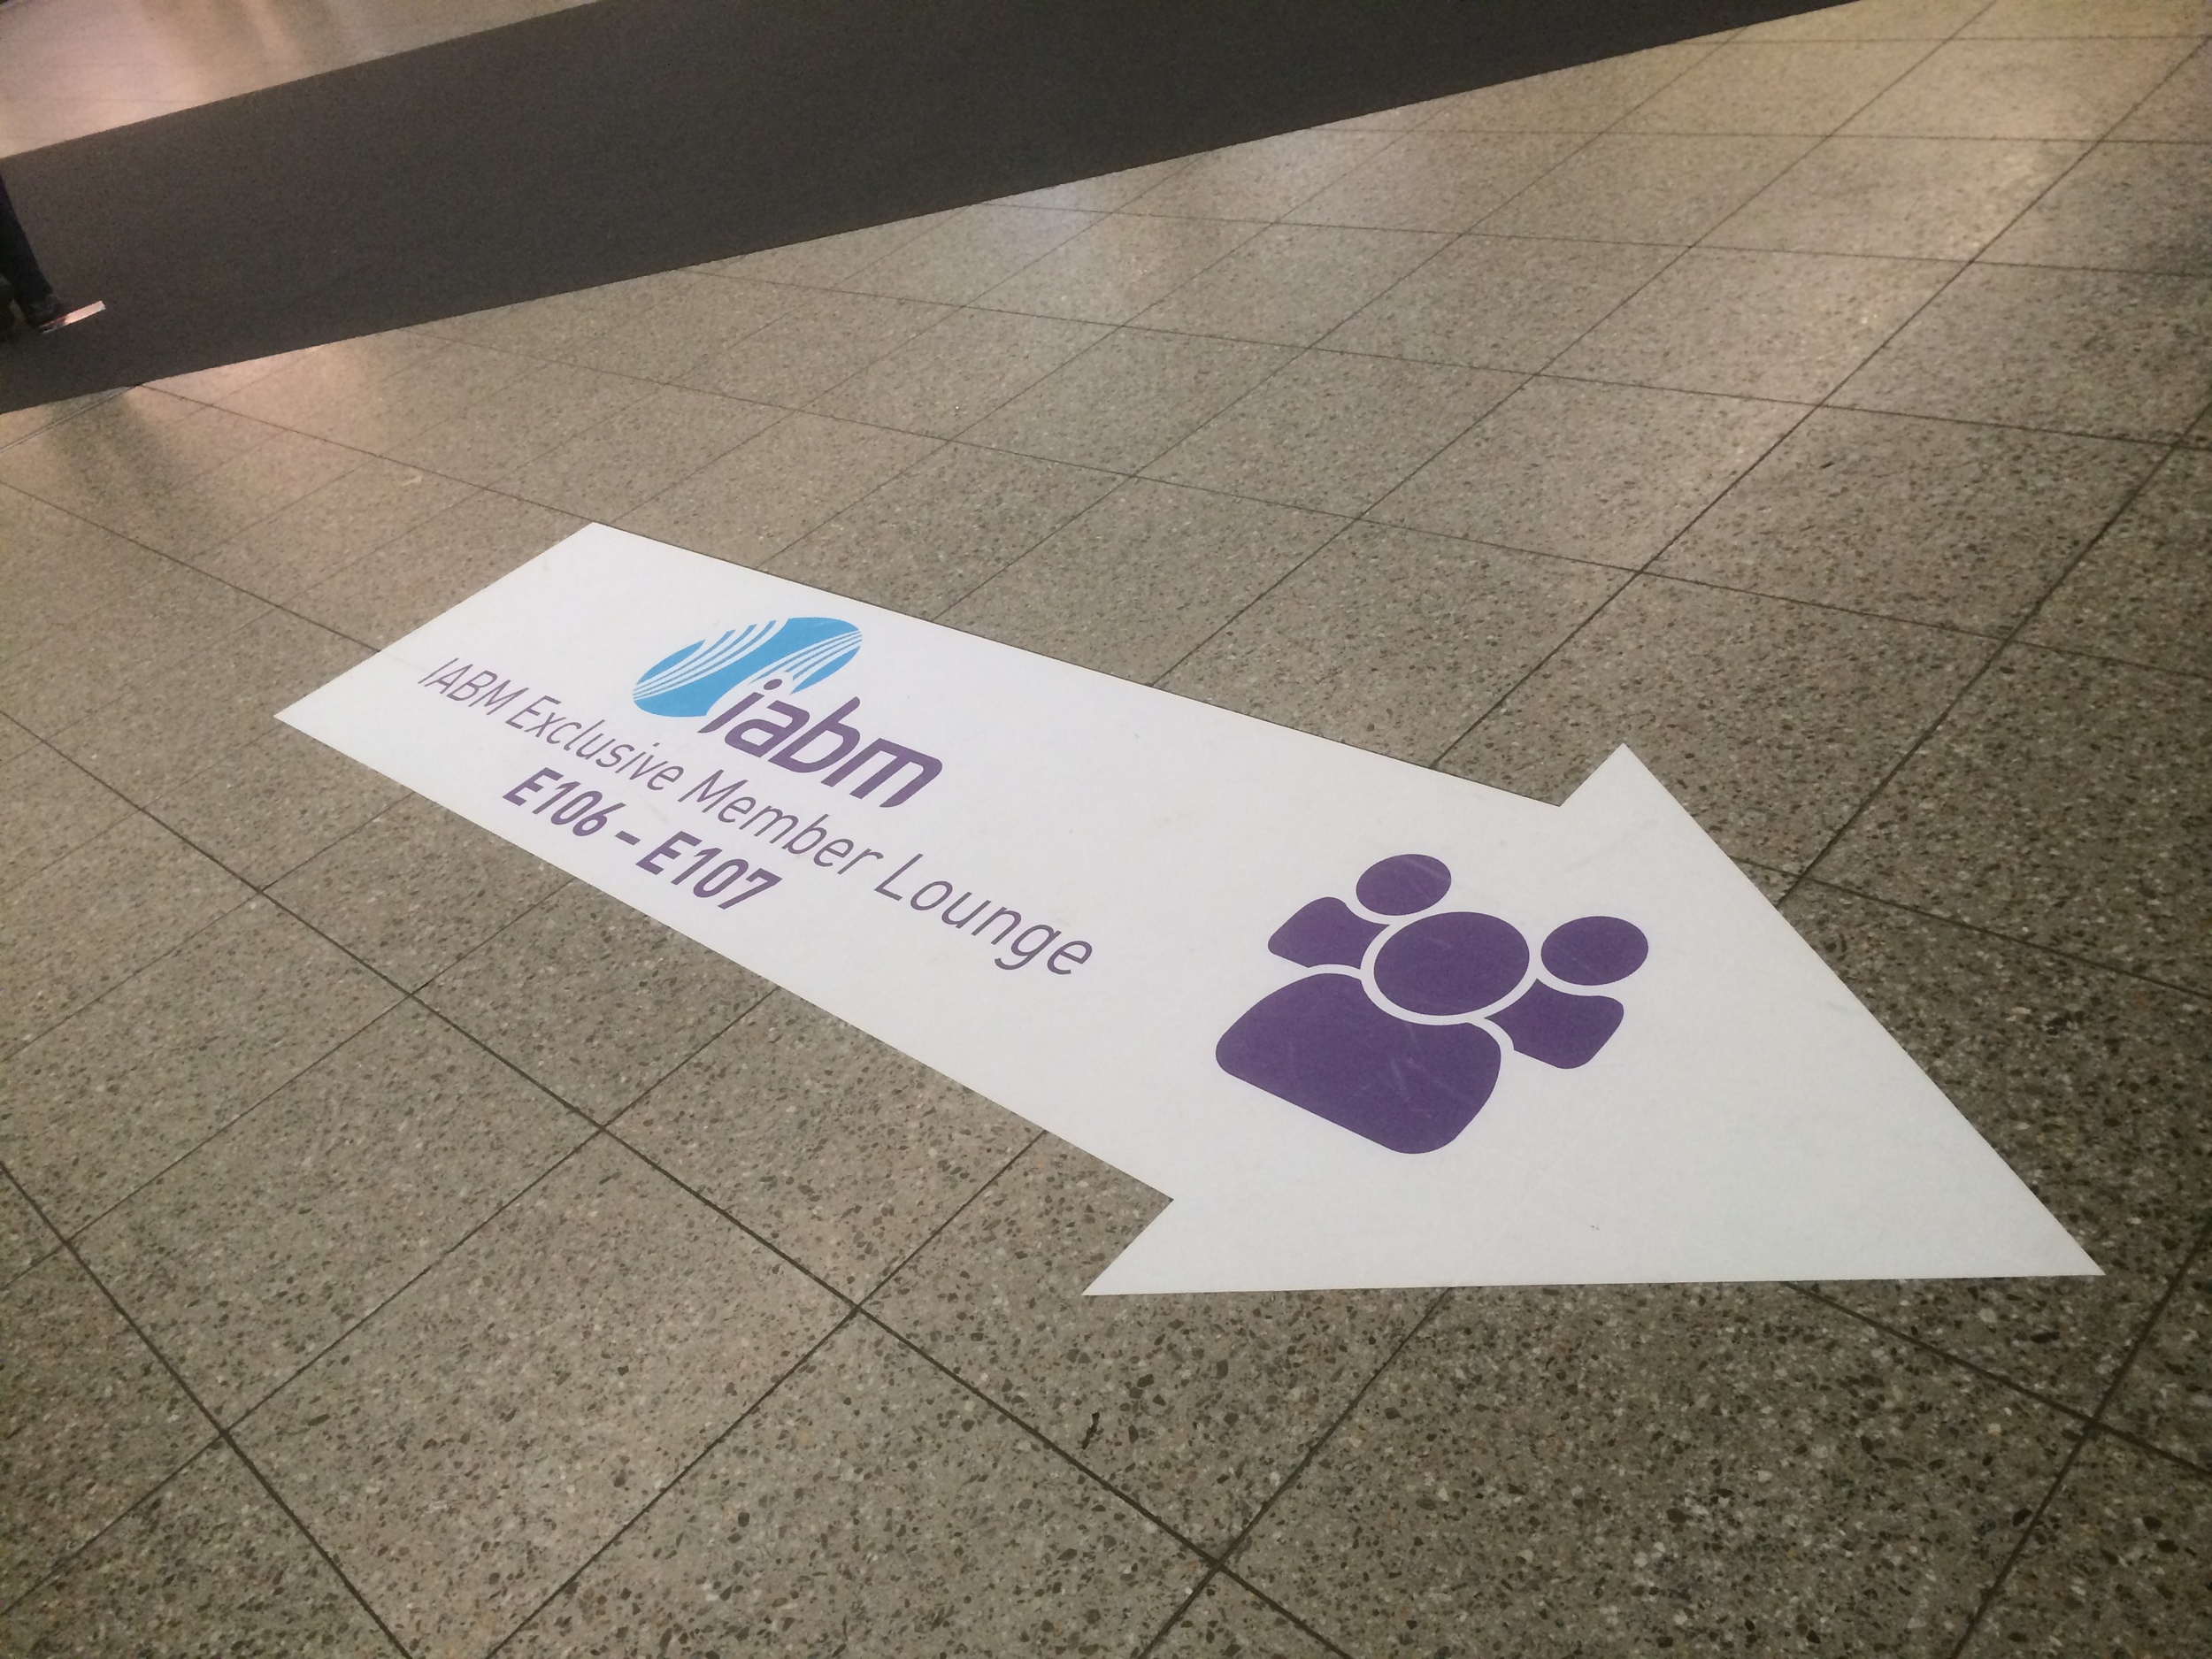
Things are gearing up at the RAI; exhibitors are flooding through the doors, the stands are quickly being finished and the equipment is on display. IBC Show 2014 is getting ready to open its doors to 50,000 broadcasting, media and IT professionals from across the globe. We began filming the exterior the the RAI with visitors entering the venue and registering in the main foyer; the arc slider and 14mm lens create a wonderful moving perspective. After a short explore around hall 10 and 11 we made our way to The IABM Members Lounge to film an exclusive interview with Peter White, CEO of The IABM.
The IABM is a global broadcasting organization, representing nearly 80% of the broadcasting industry. The members have access to an exclusive members lounge, the IABM business conference, design & innovation awards and much more. It was our job to capture the events, conferences and members at IBC to promote and inform others about the successes at the show. For the interview, I used the Canon 5D mkIII, Tamron 24-70mm, the B cam was a Canon 60D with Canon 50mm F/1.8. For a reliable audio source I used the Zoom H6 (multi-channel recorder) with the MS mic attachment, as well as the Sennheiser ENG-G3 wireless mic kit; this was so I could attach a lav mic on the interviewees for clear sound.
Yes, this did mean throughout the week we had different video and audio sources, but Red Giant Pluraleyes aided greatly in syncing up the V&A for editing in Adobe Premiere Pro CS6.
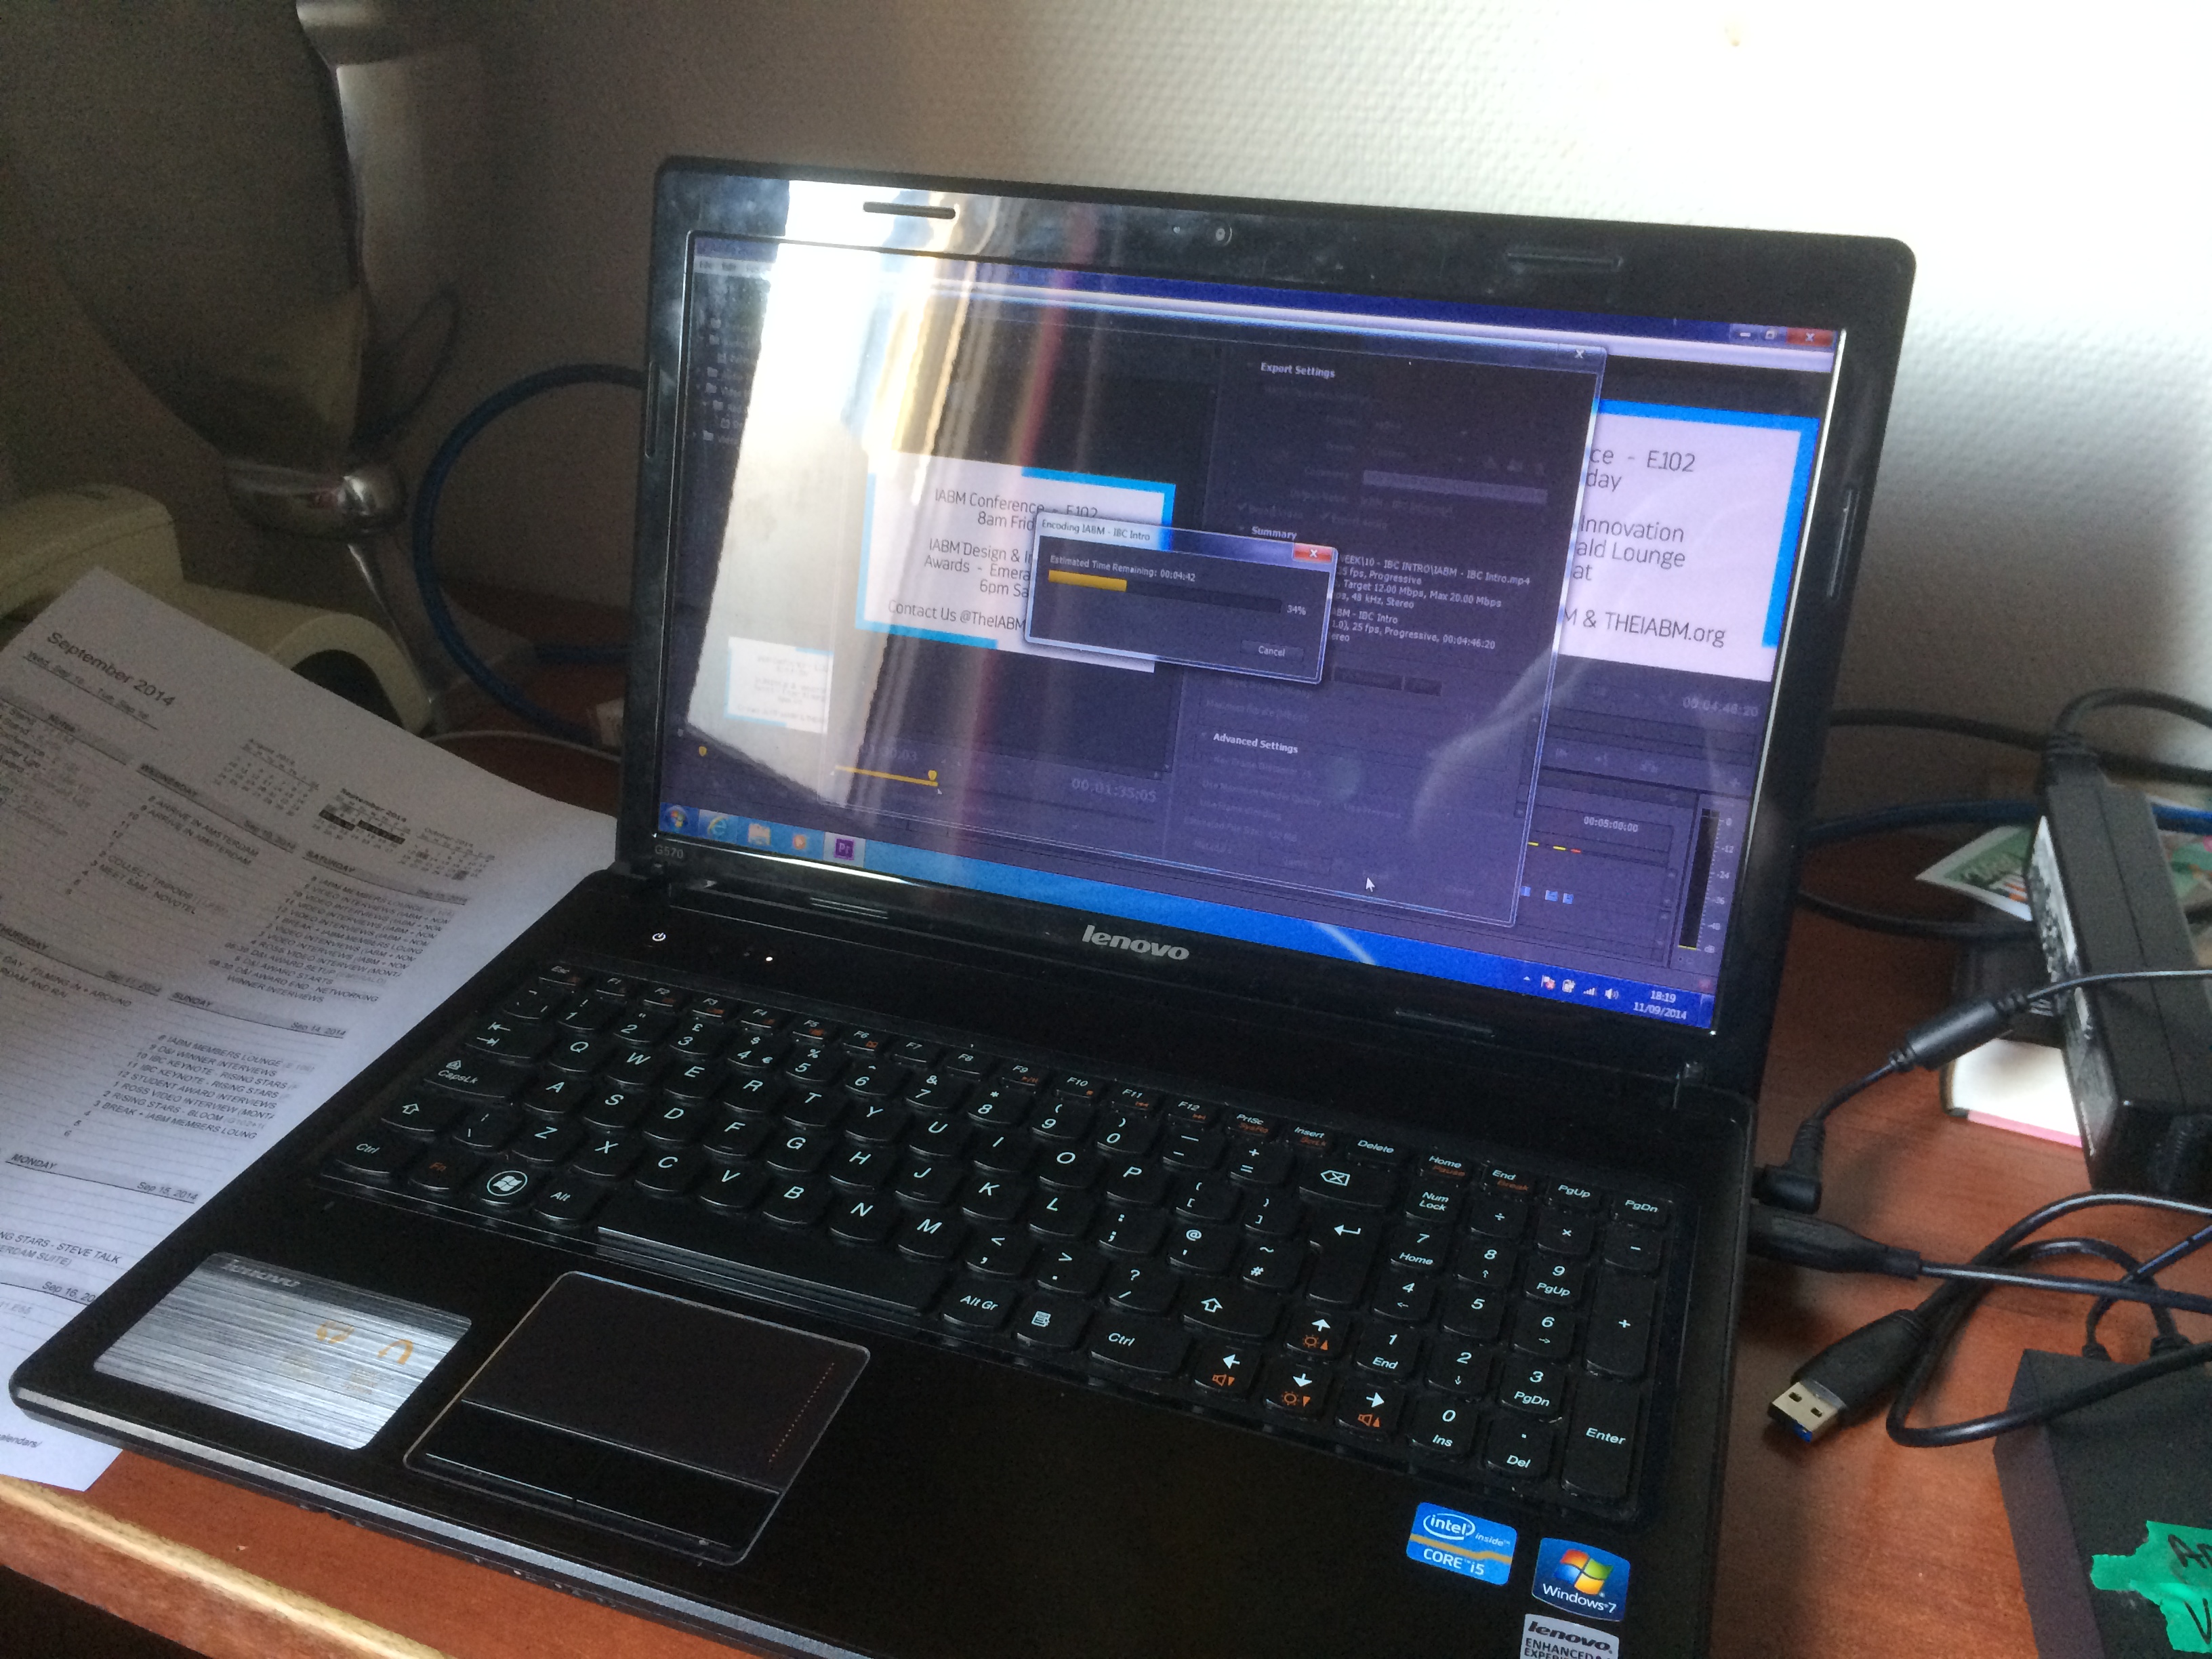
Editing the IBC Intro video with Peter White on my laptop, yes, Windows laptop!
After capturing the buzz and excitement of pre-IBC, we headed back to our hotel to edit the intro video for the IABM members to see. The editing was fast, but the uploading was terrible via Wi-Fi, having learned our lesson, we uploaded the rest of the videos in the press room at IBC instead! Unfortunately, the video is only viewable for IABM members, so here is a quick screenshot.
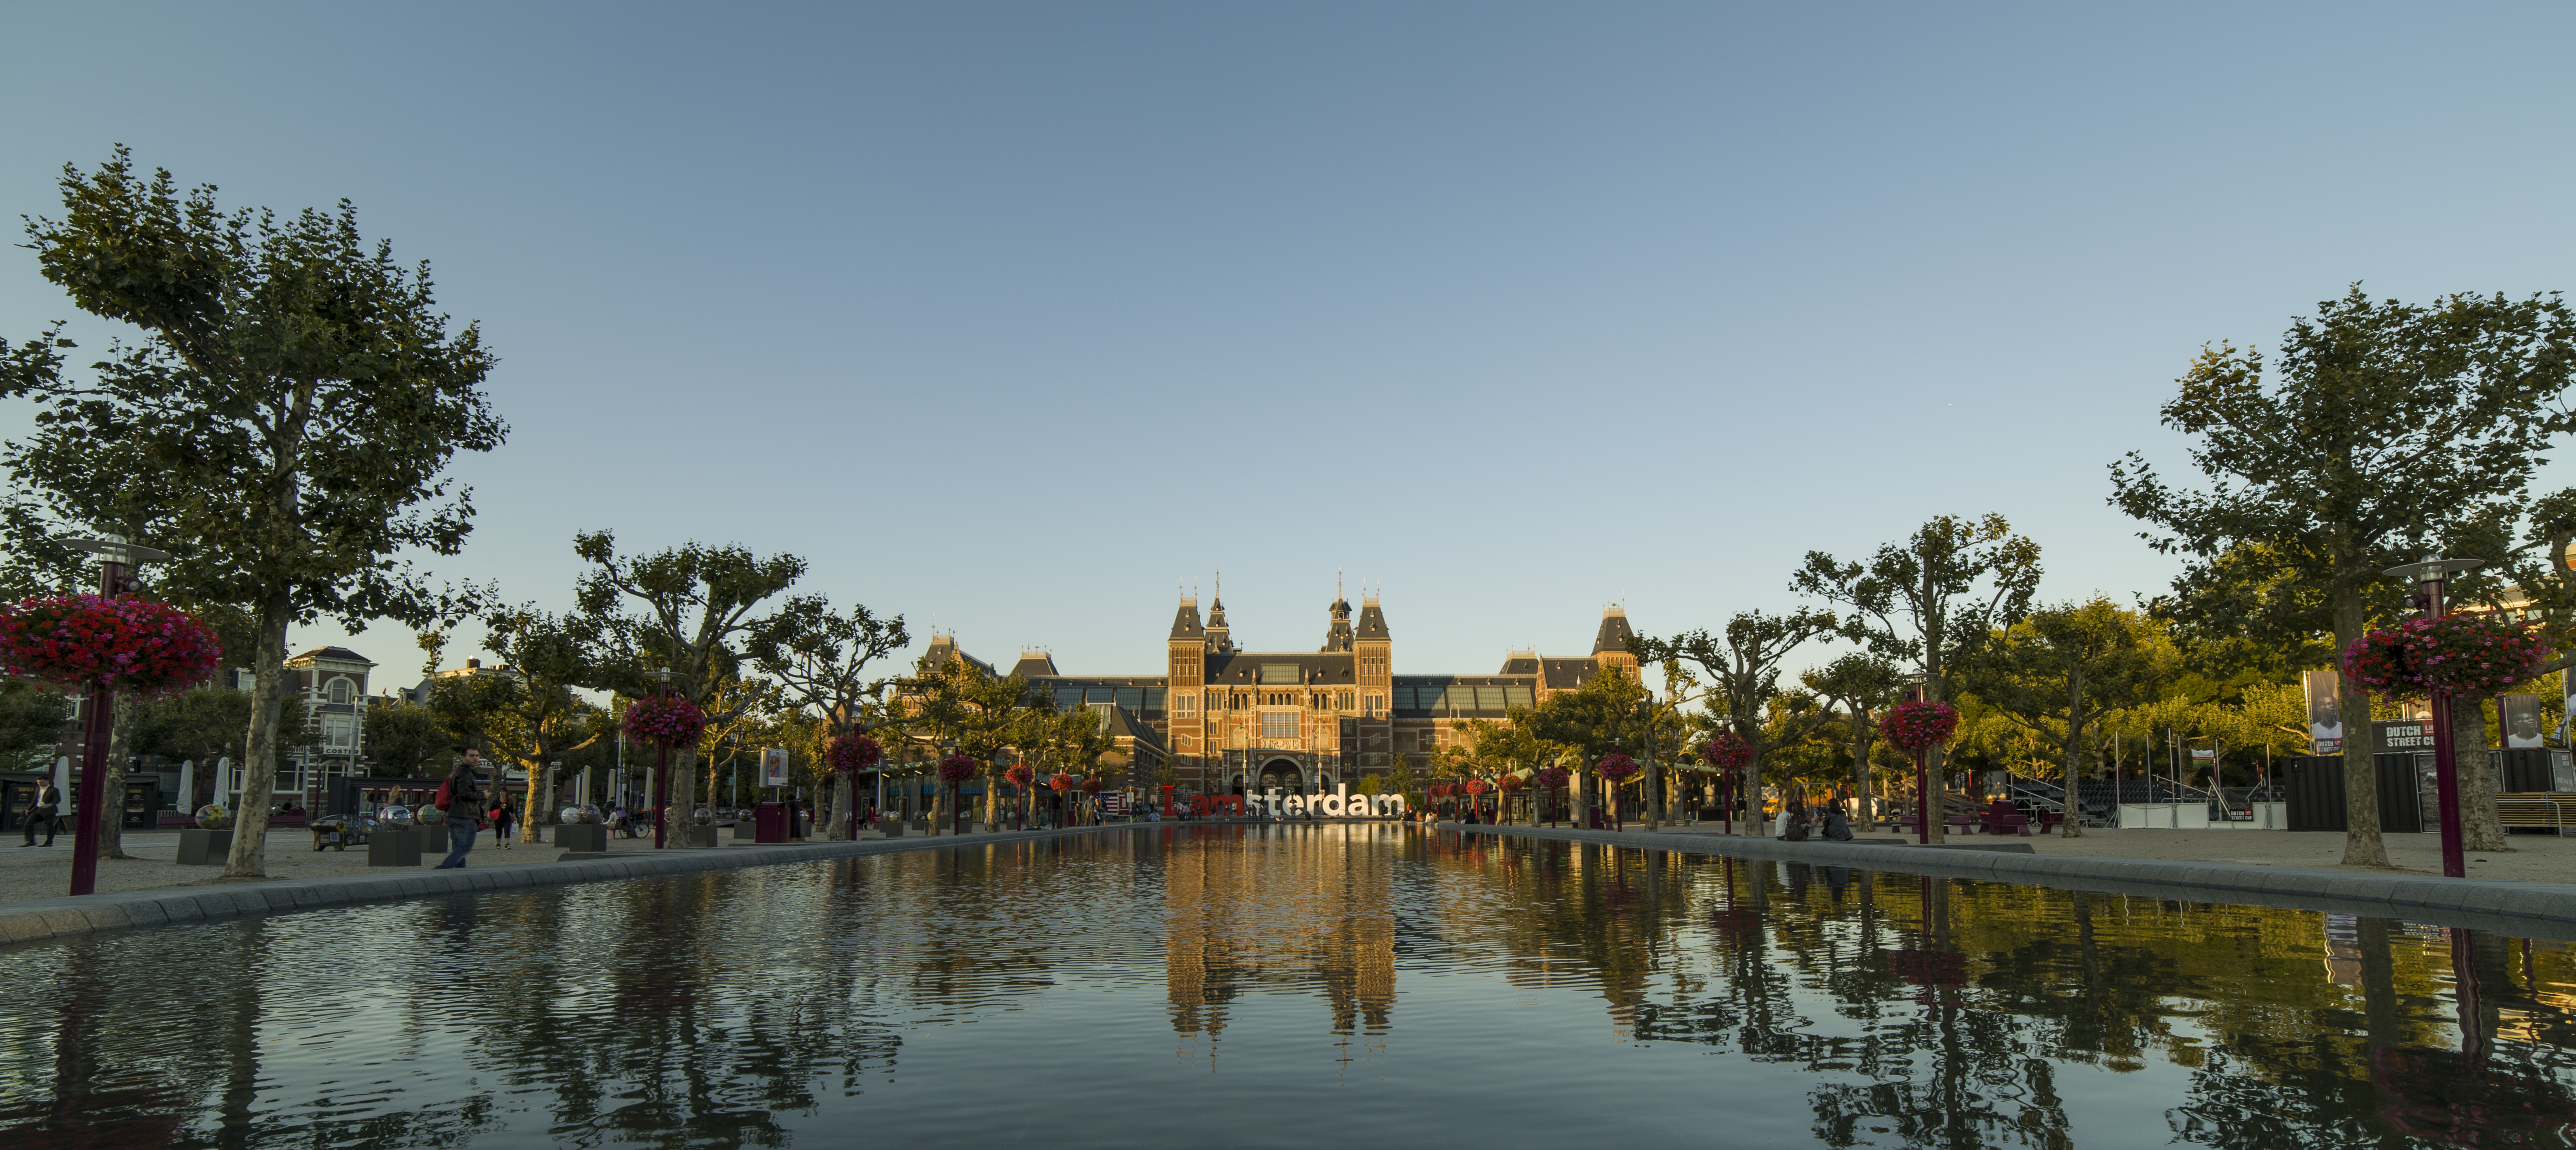
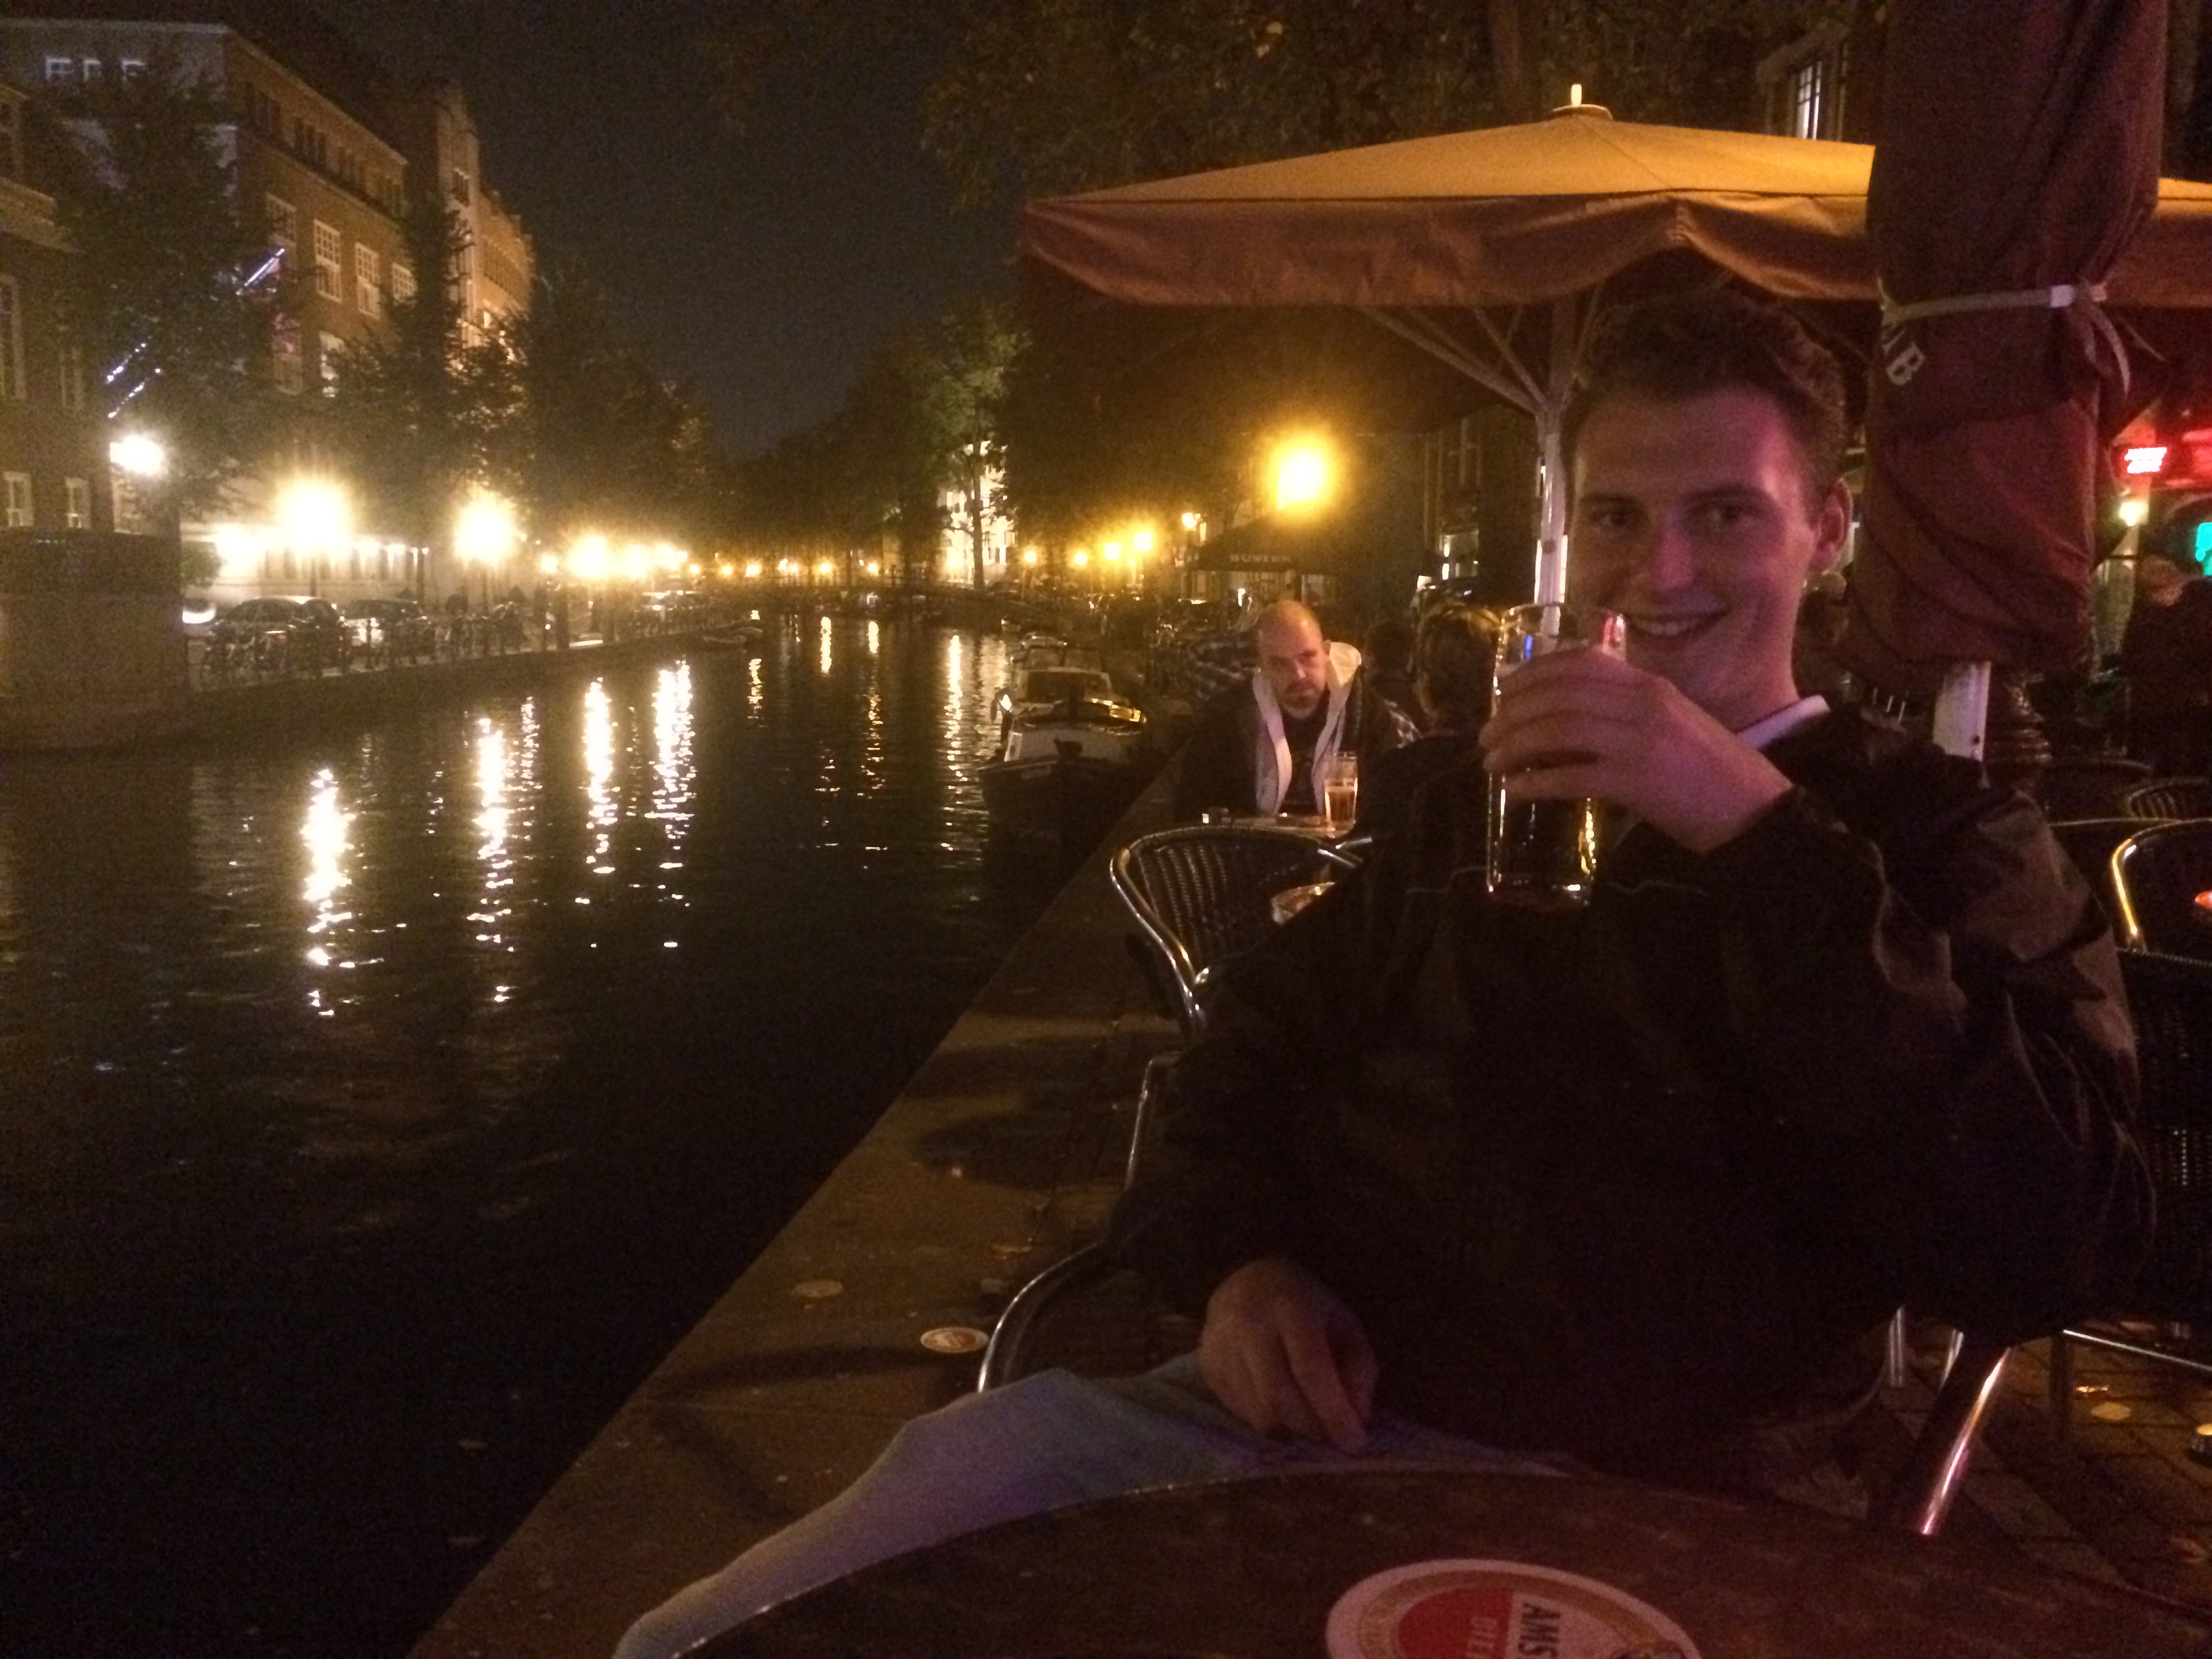
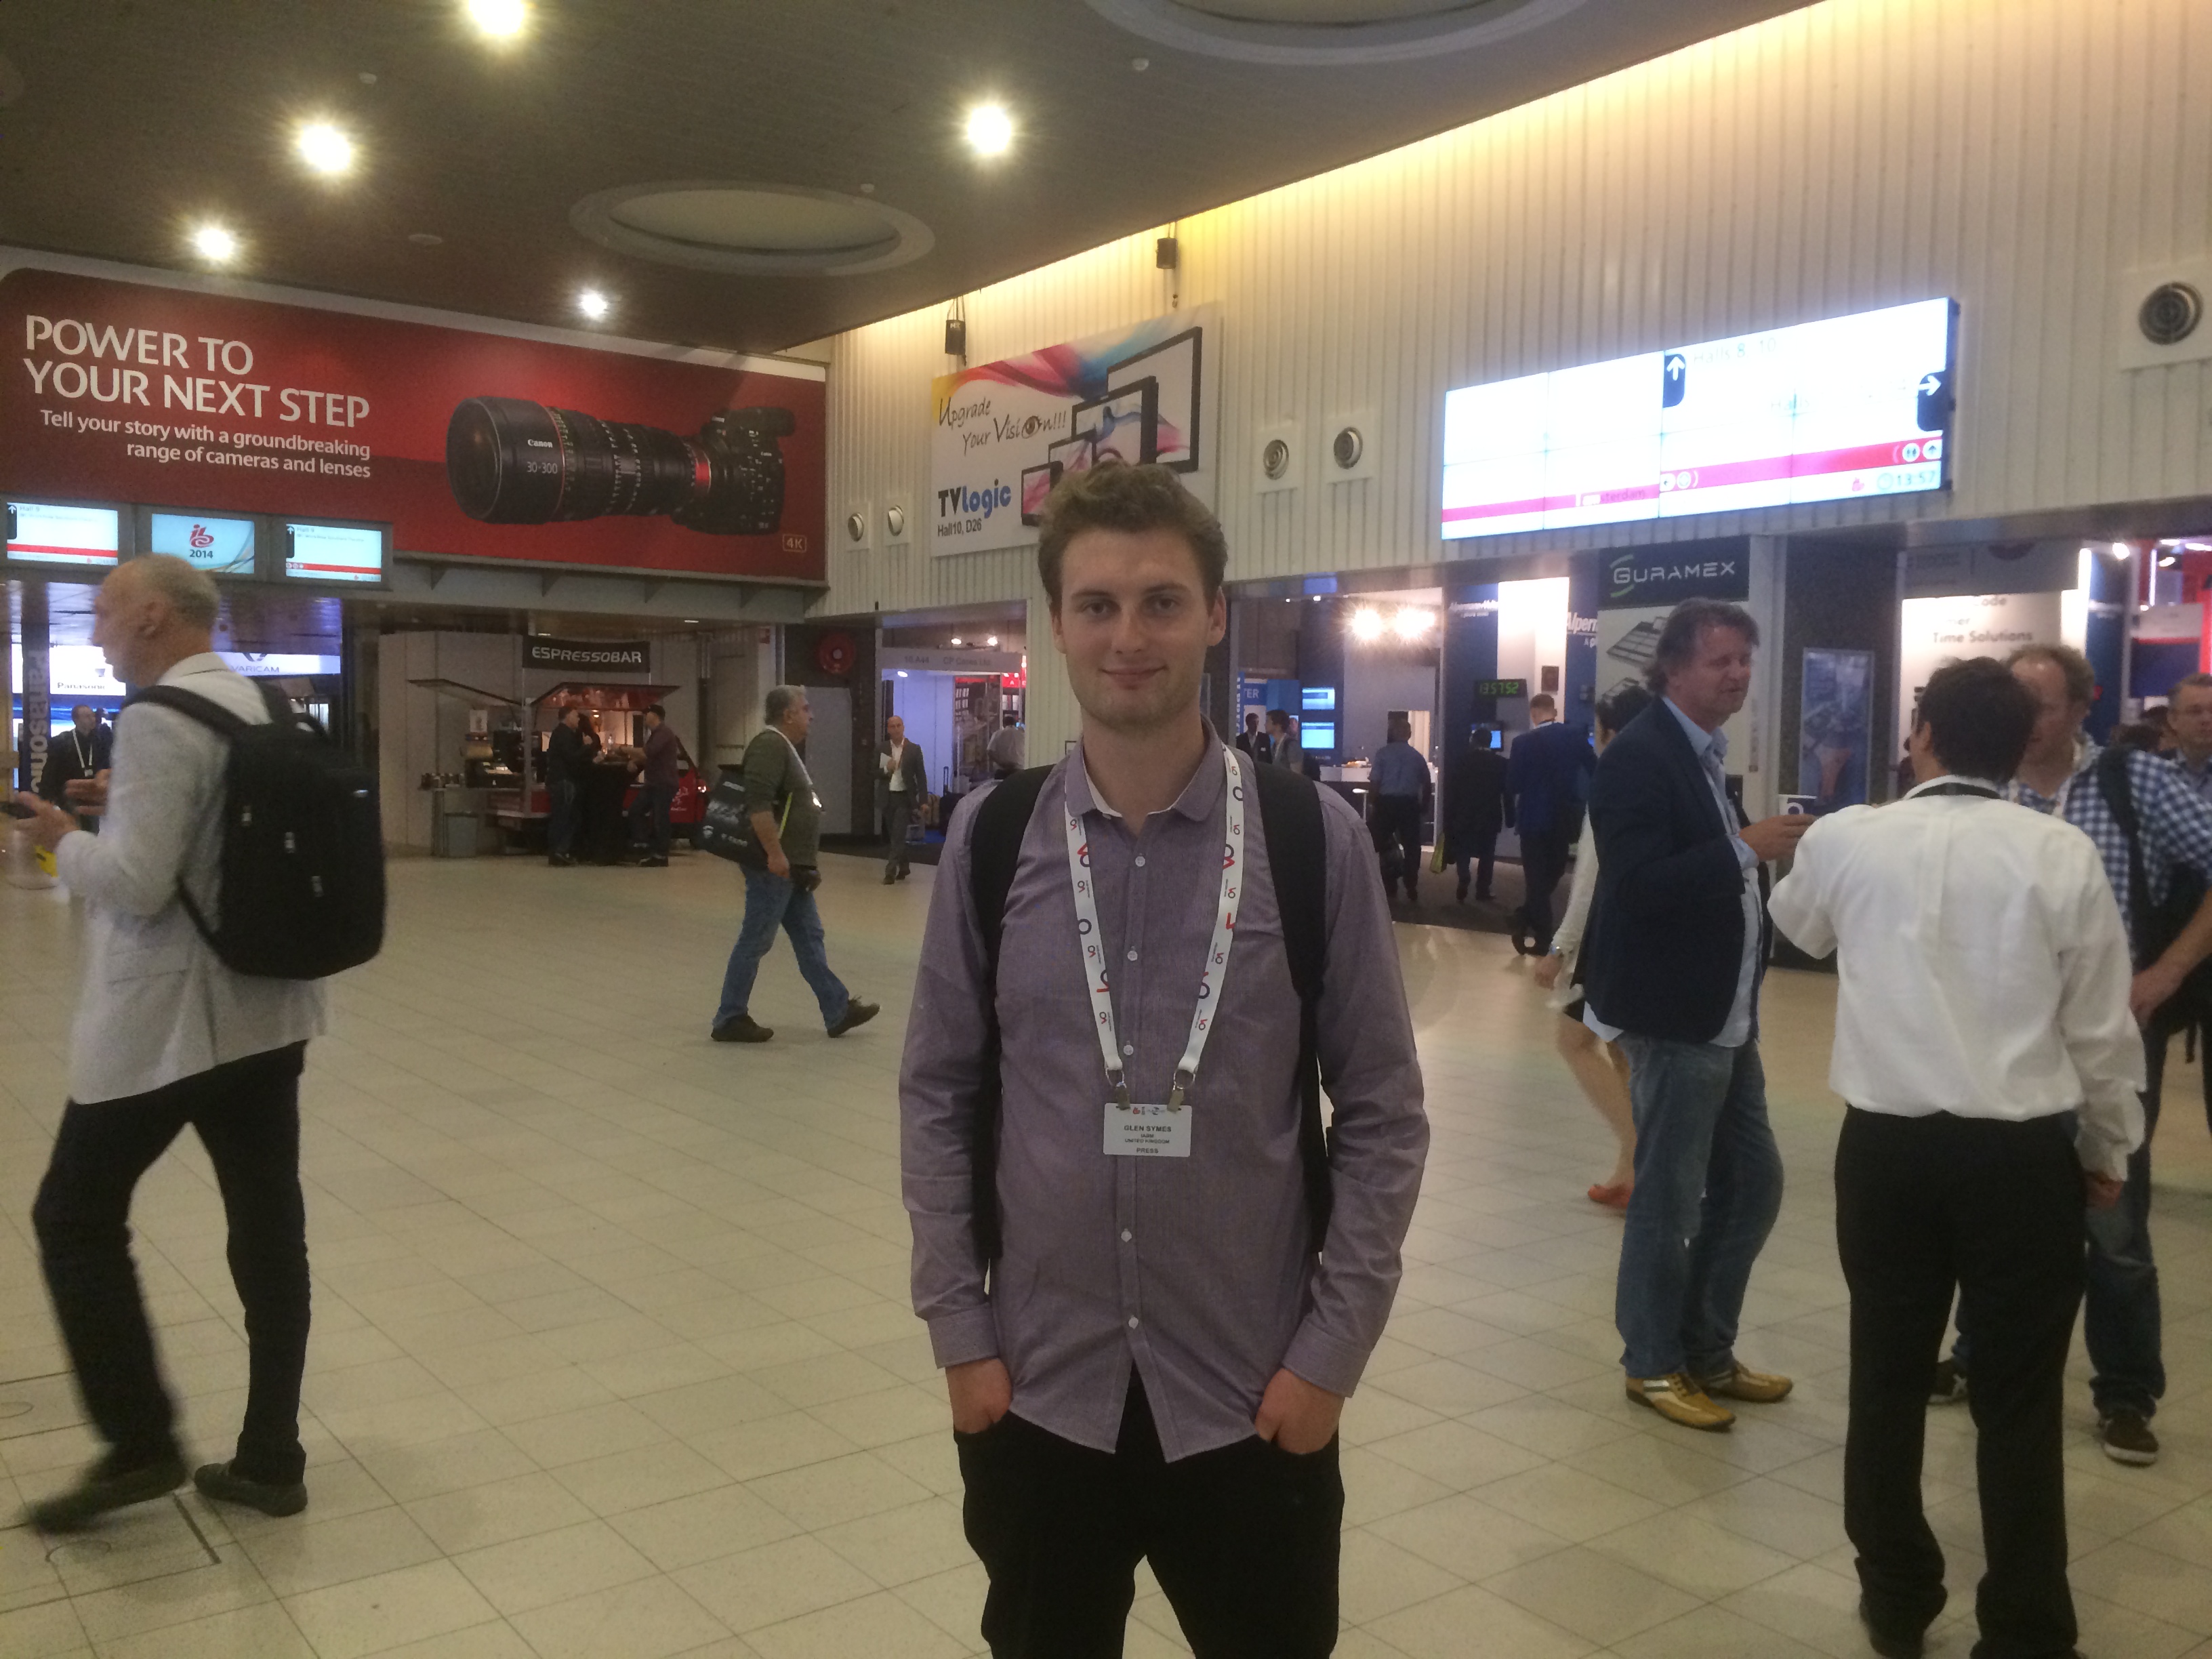
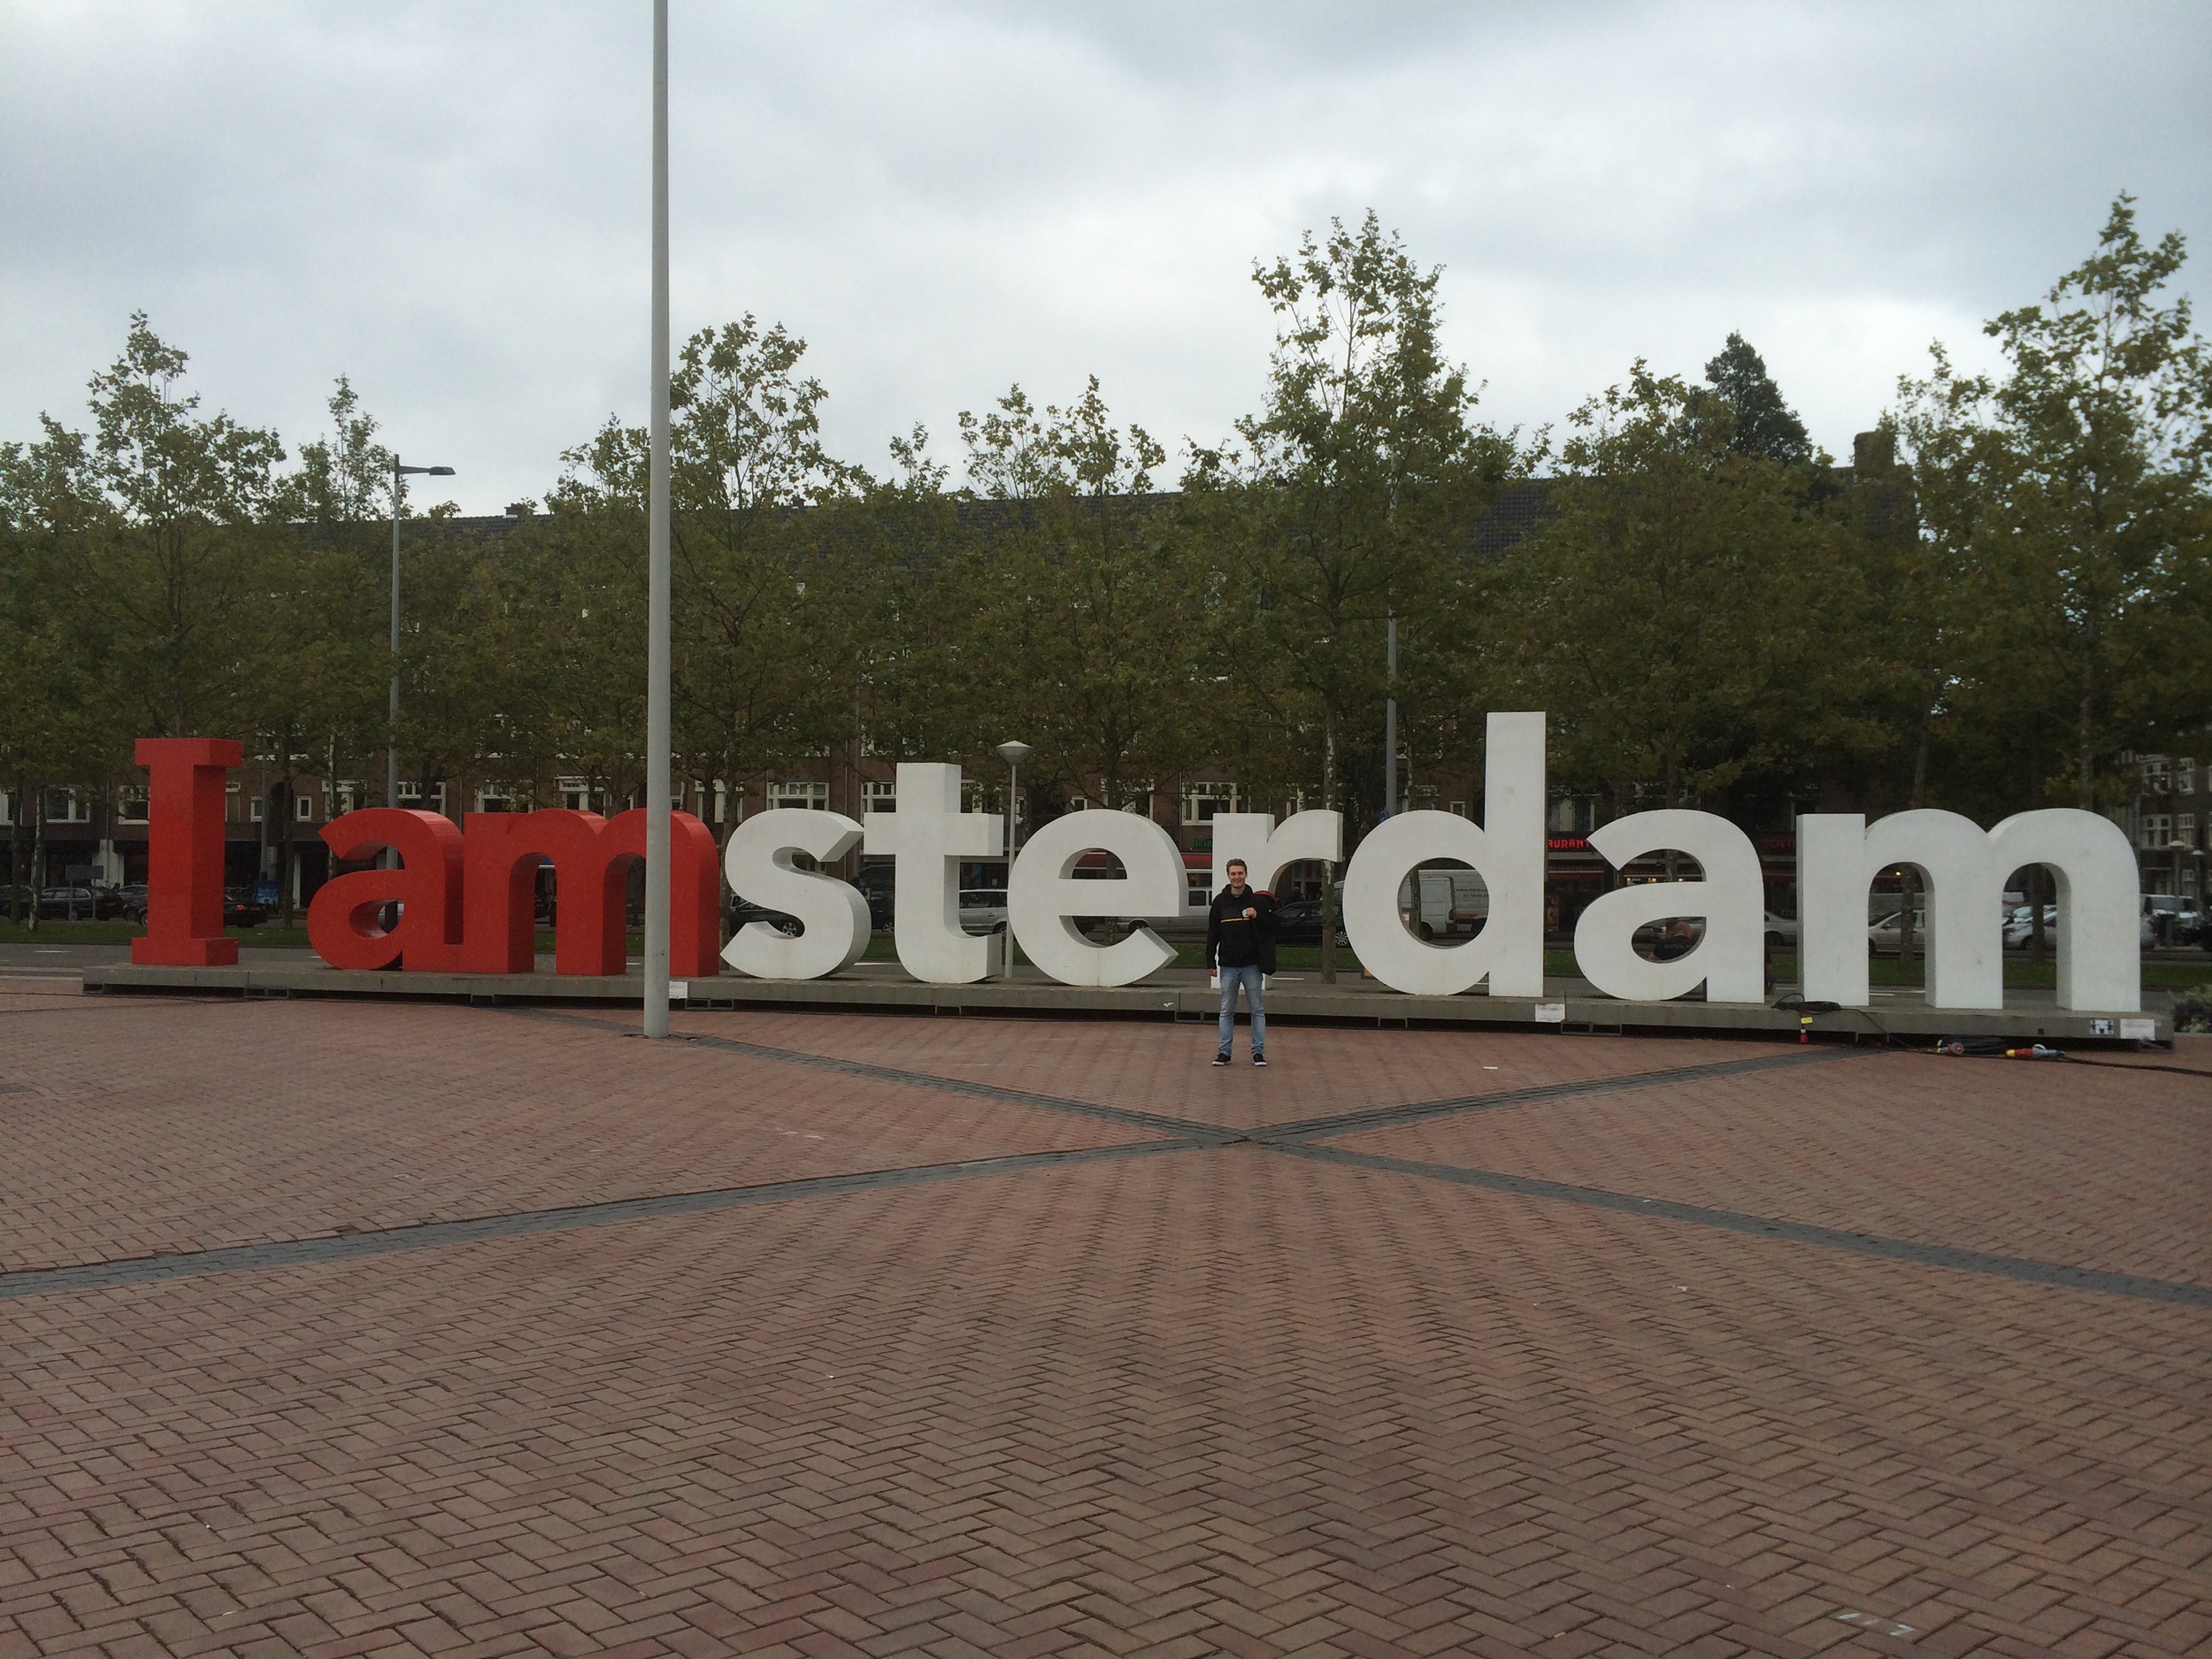
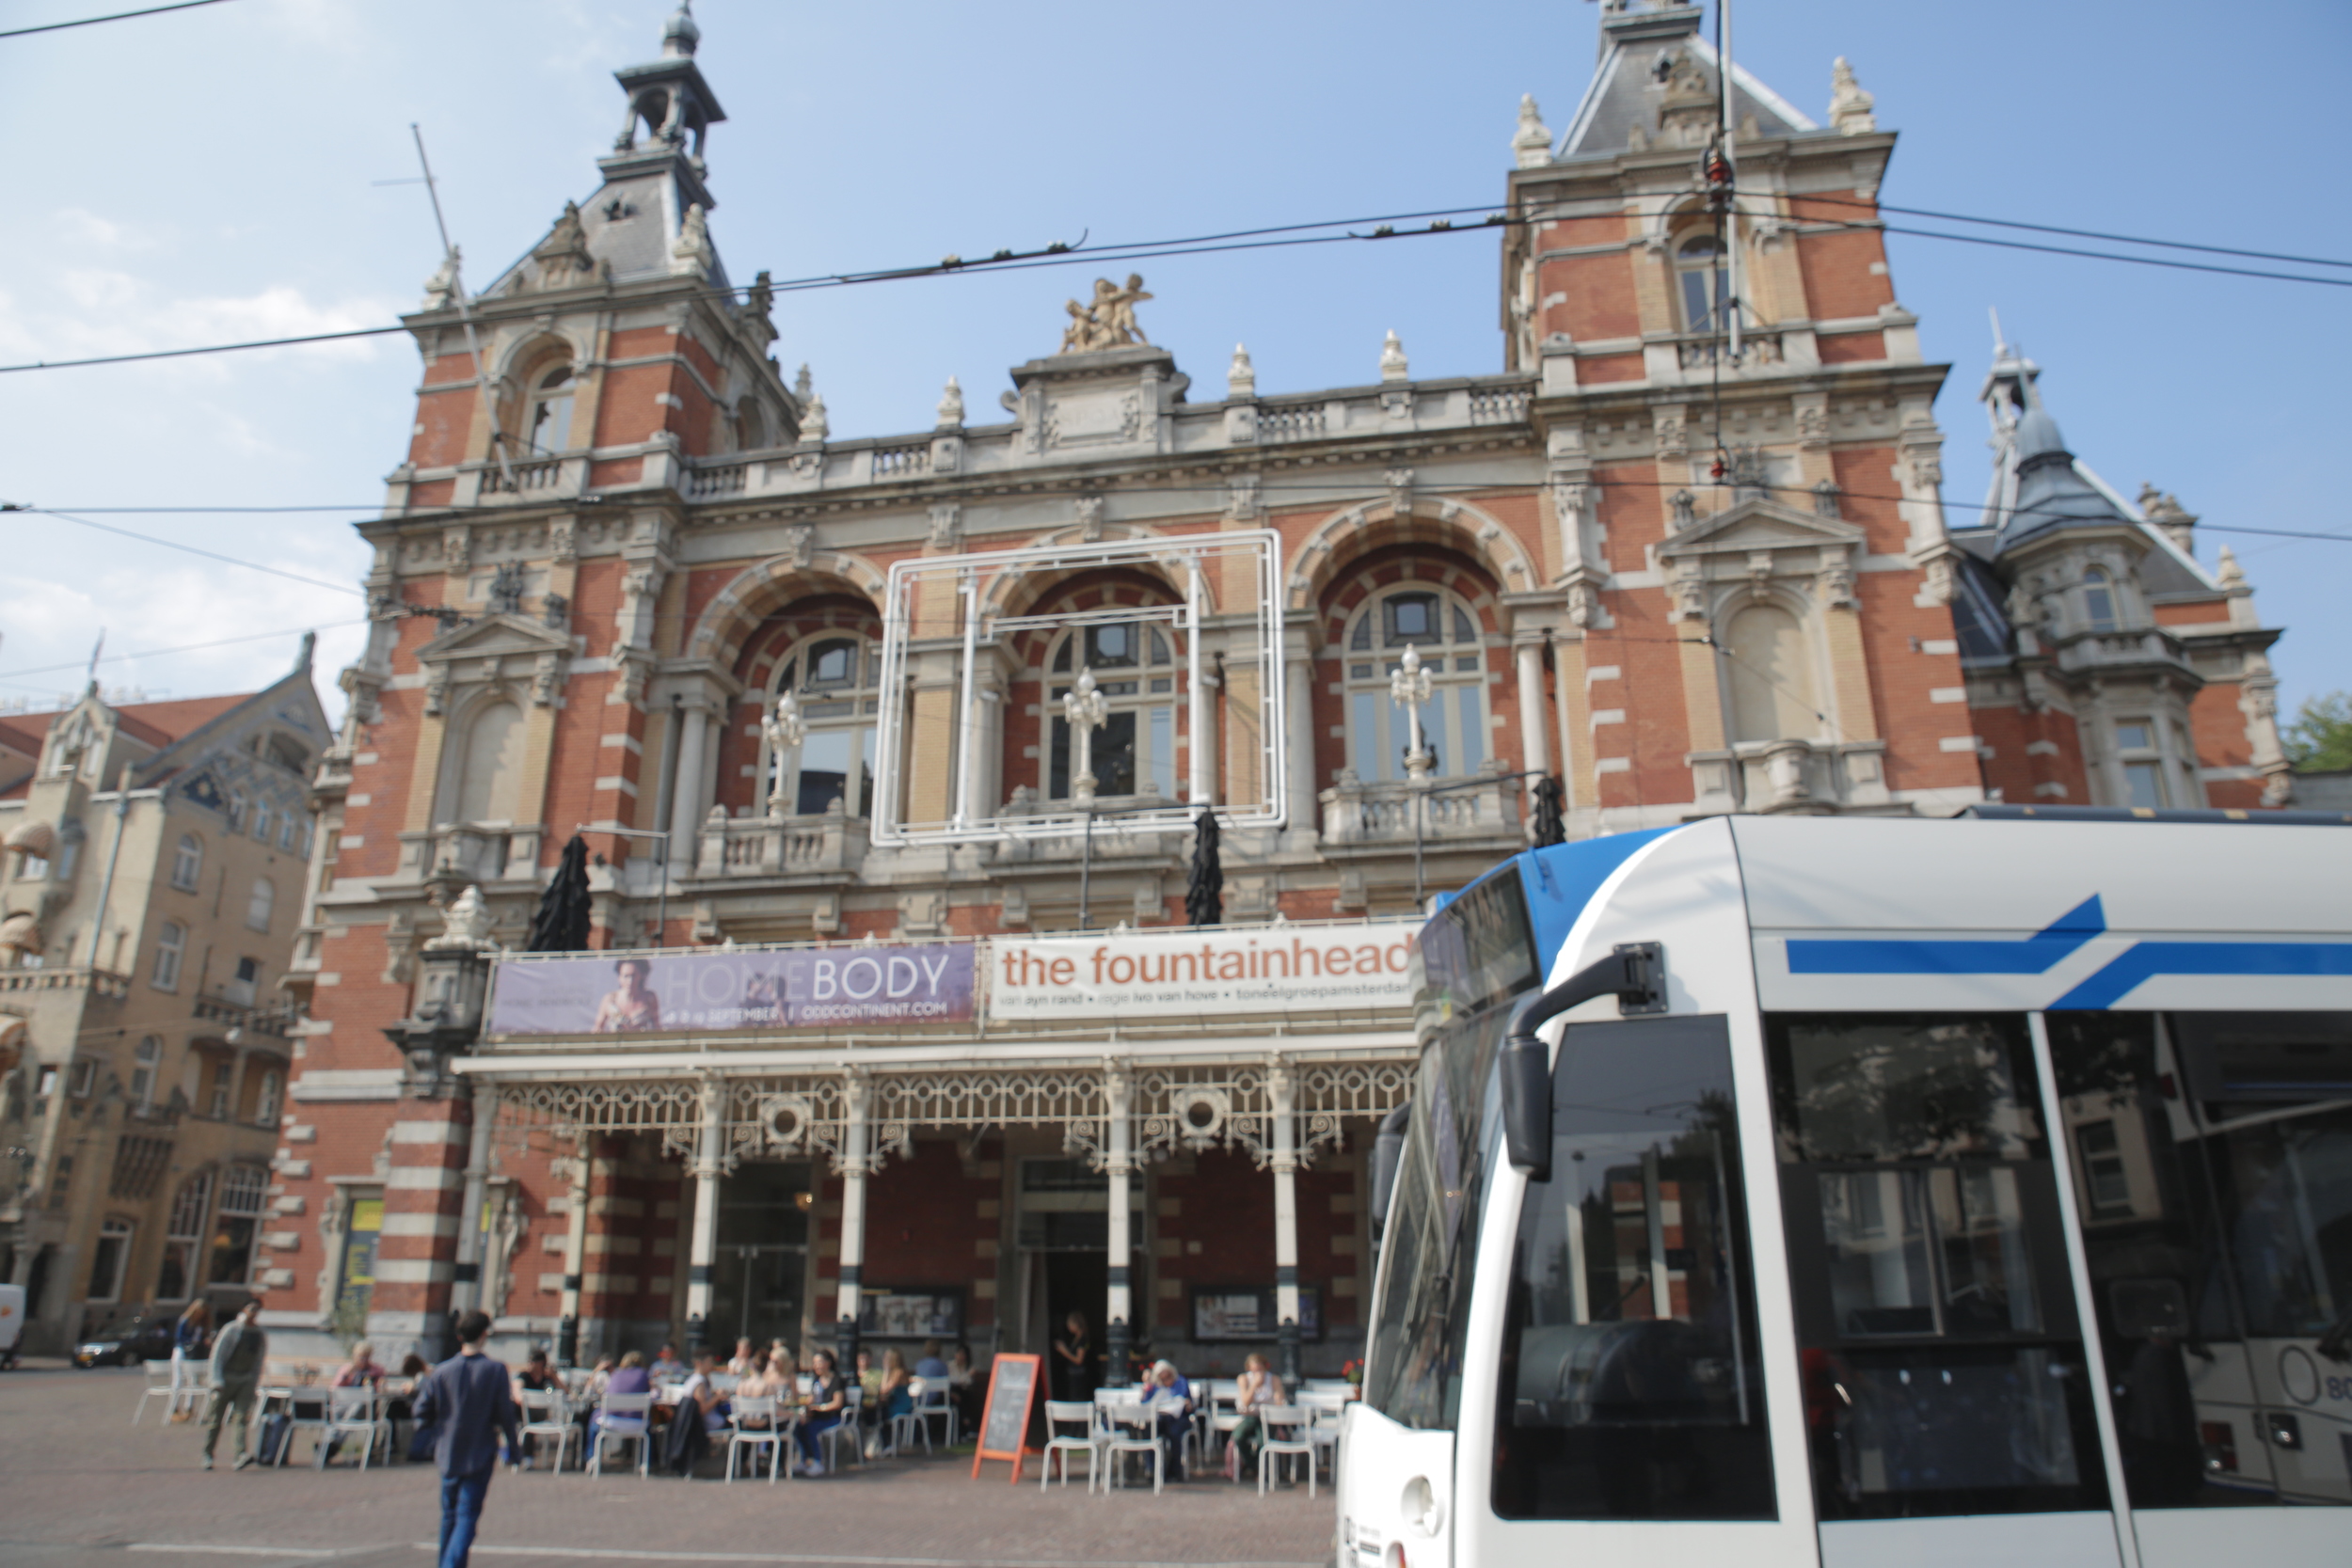
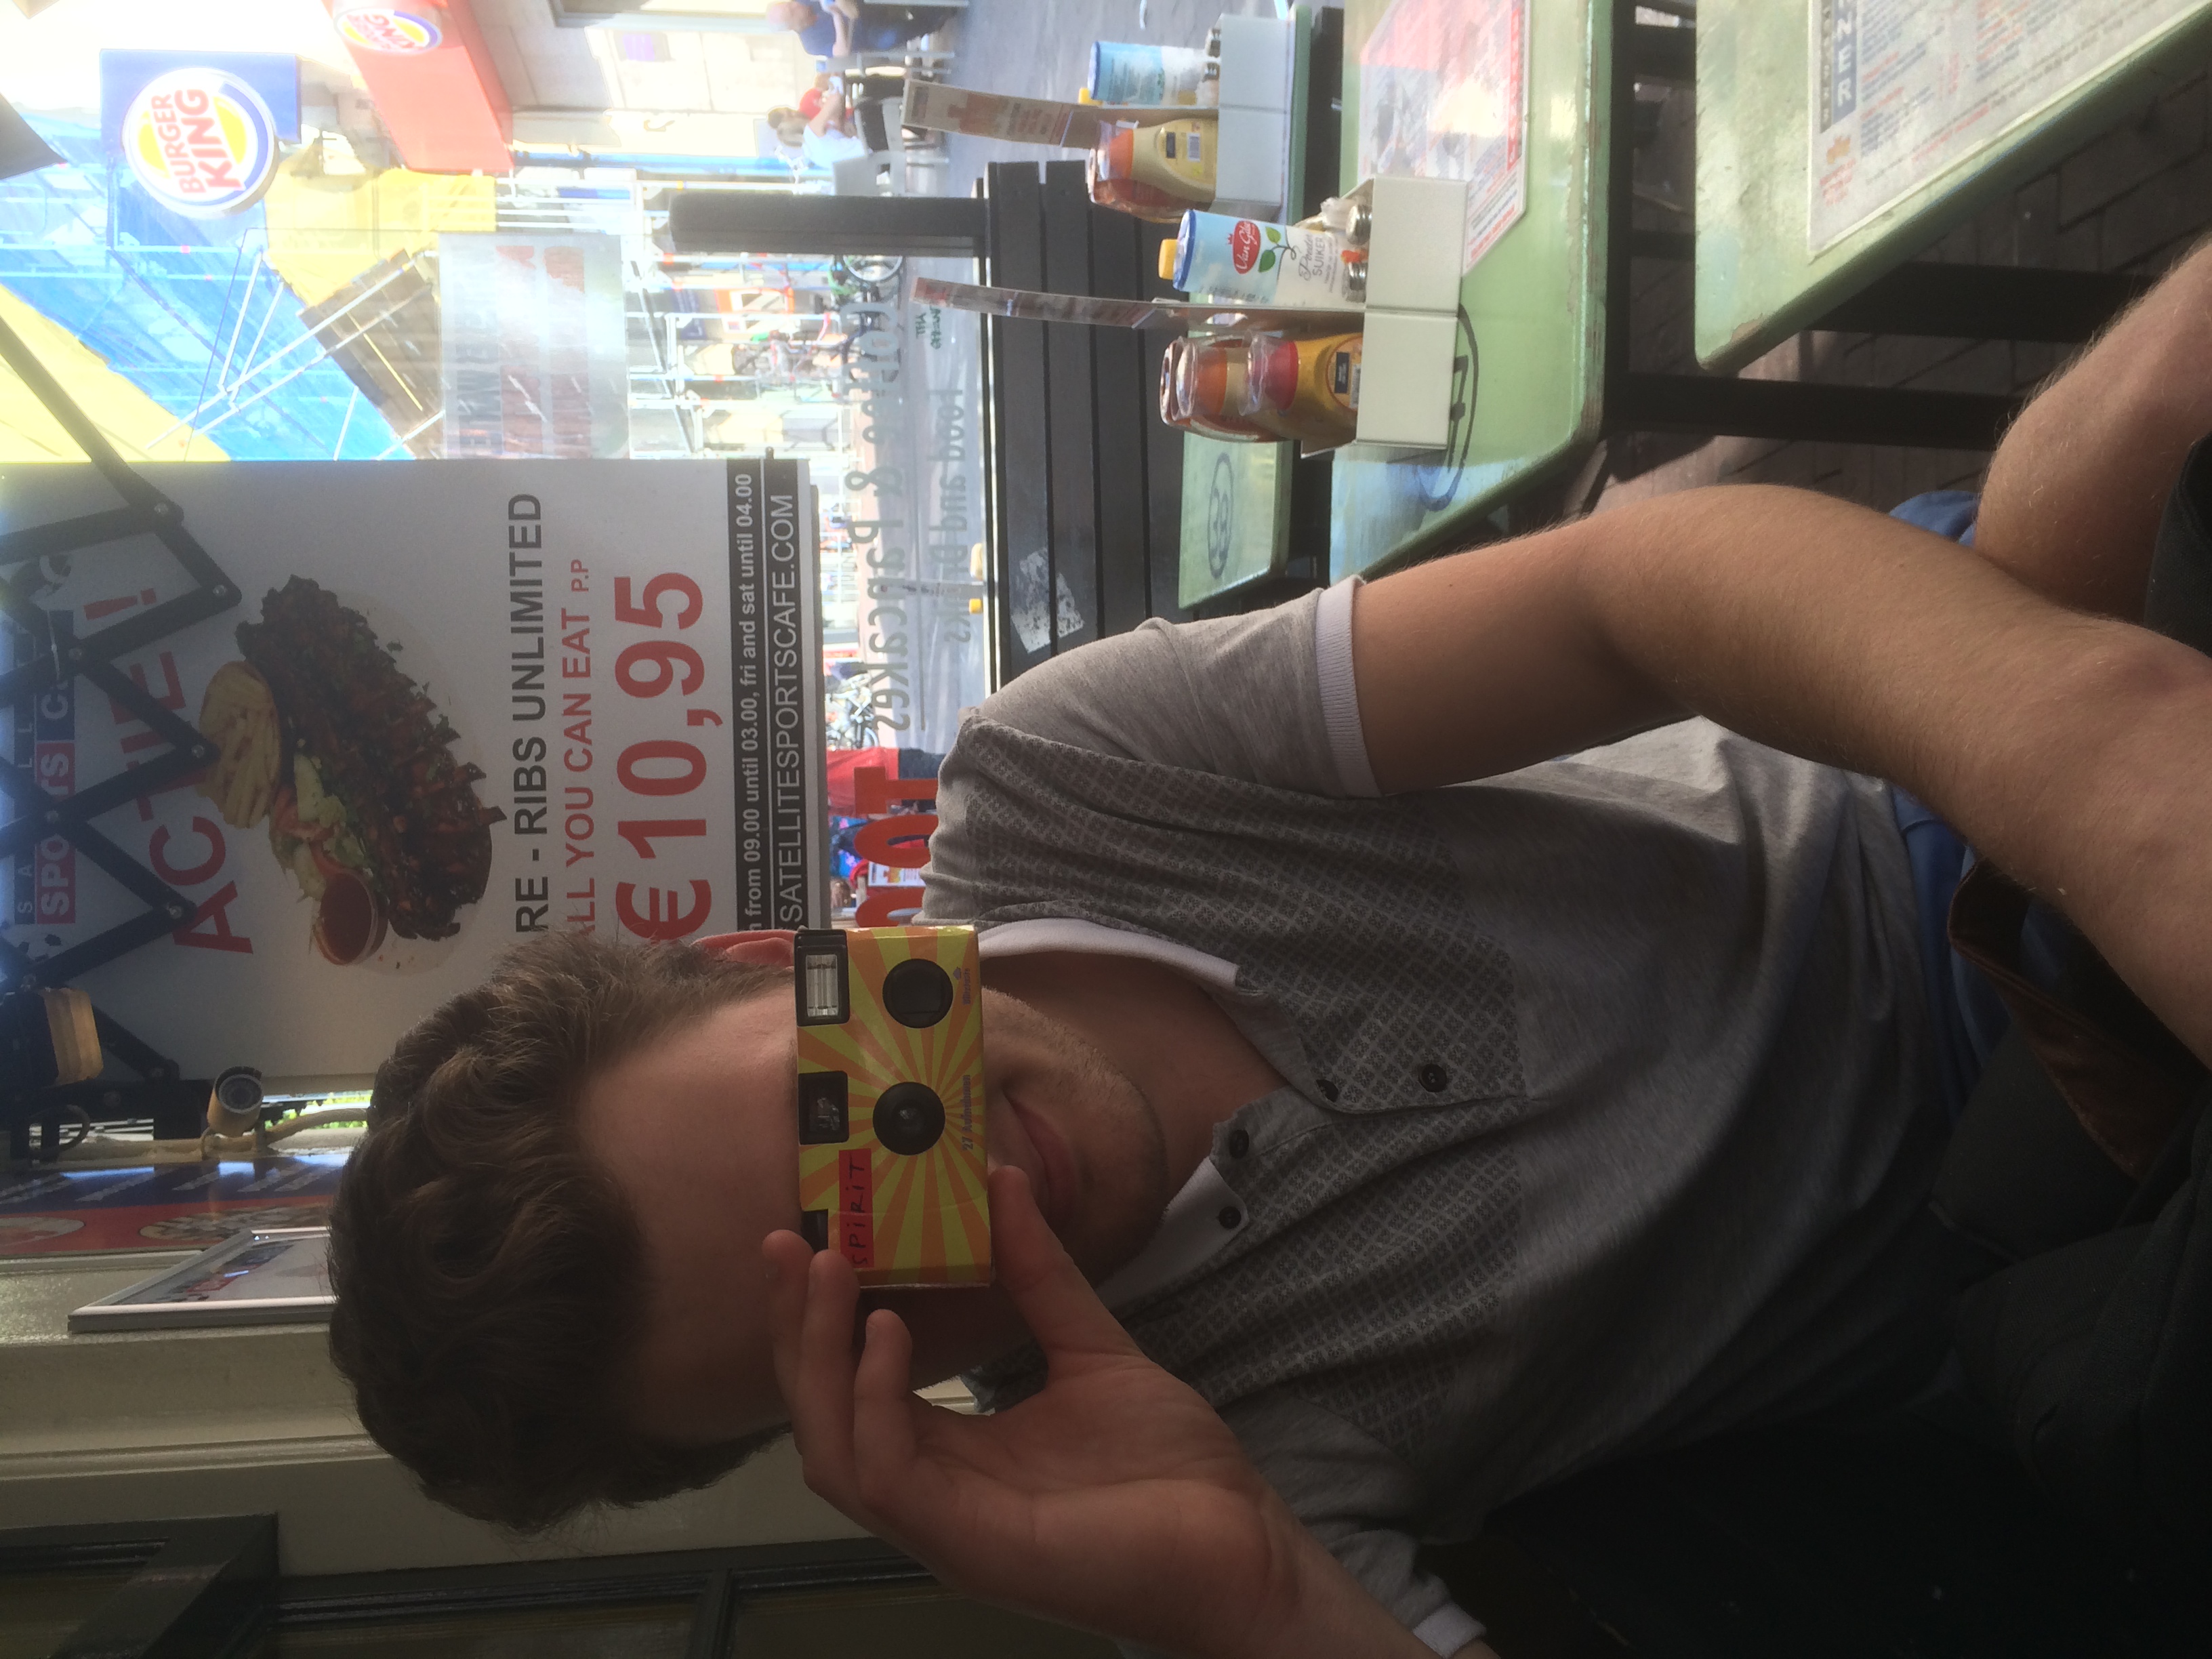
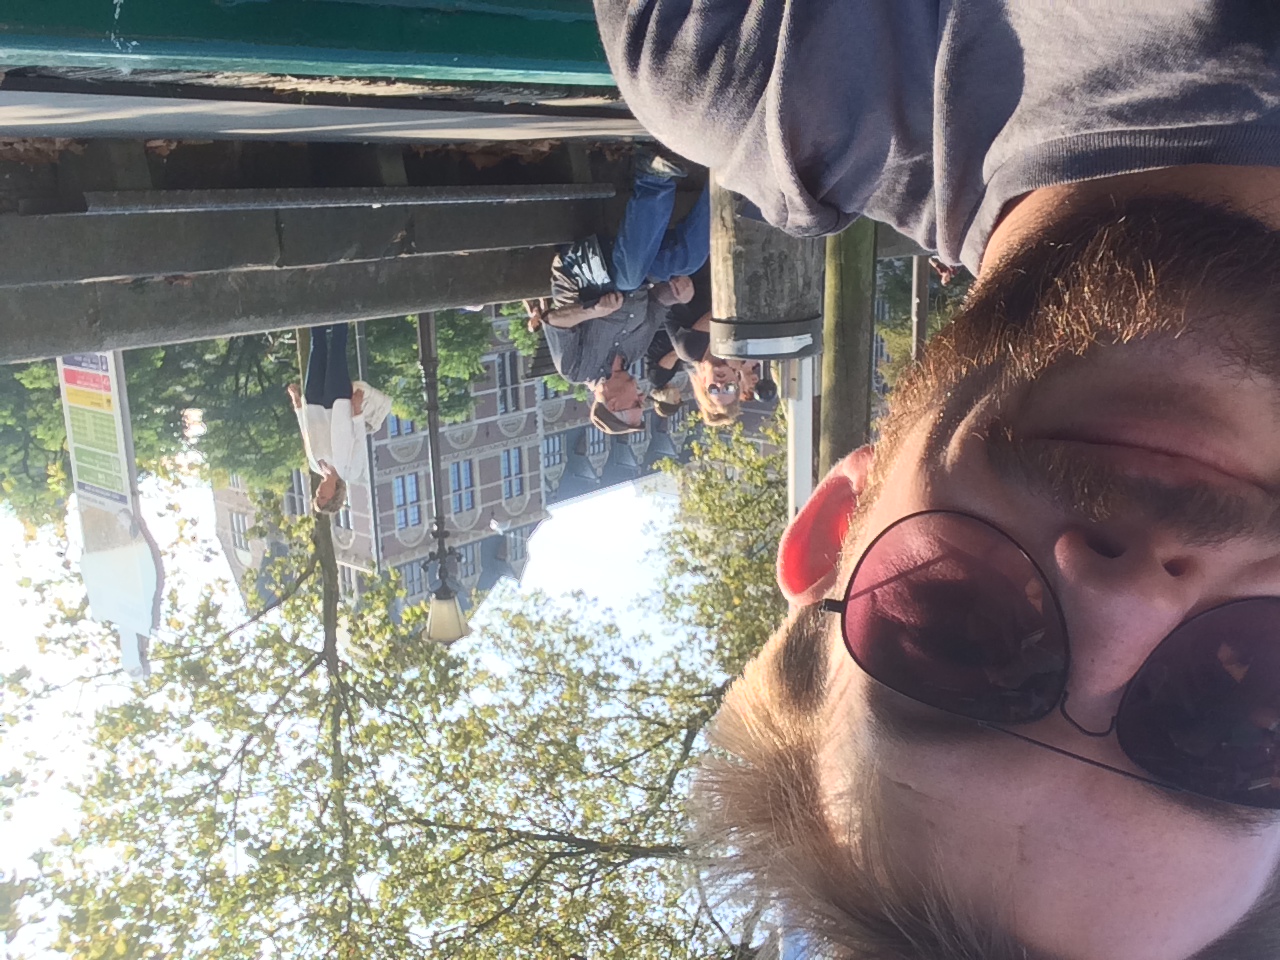
Later on, we ventured out into the city of Amsterdam. It was Glen's first time, so I look him for a tour around the sights.
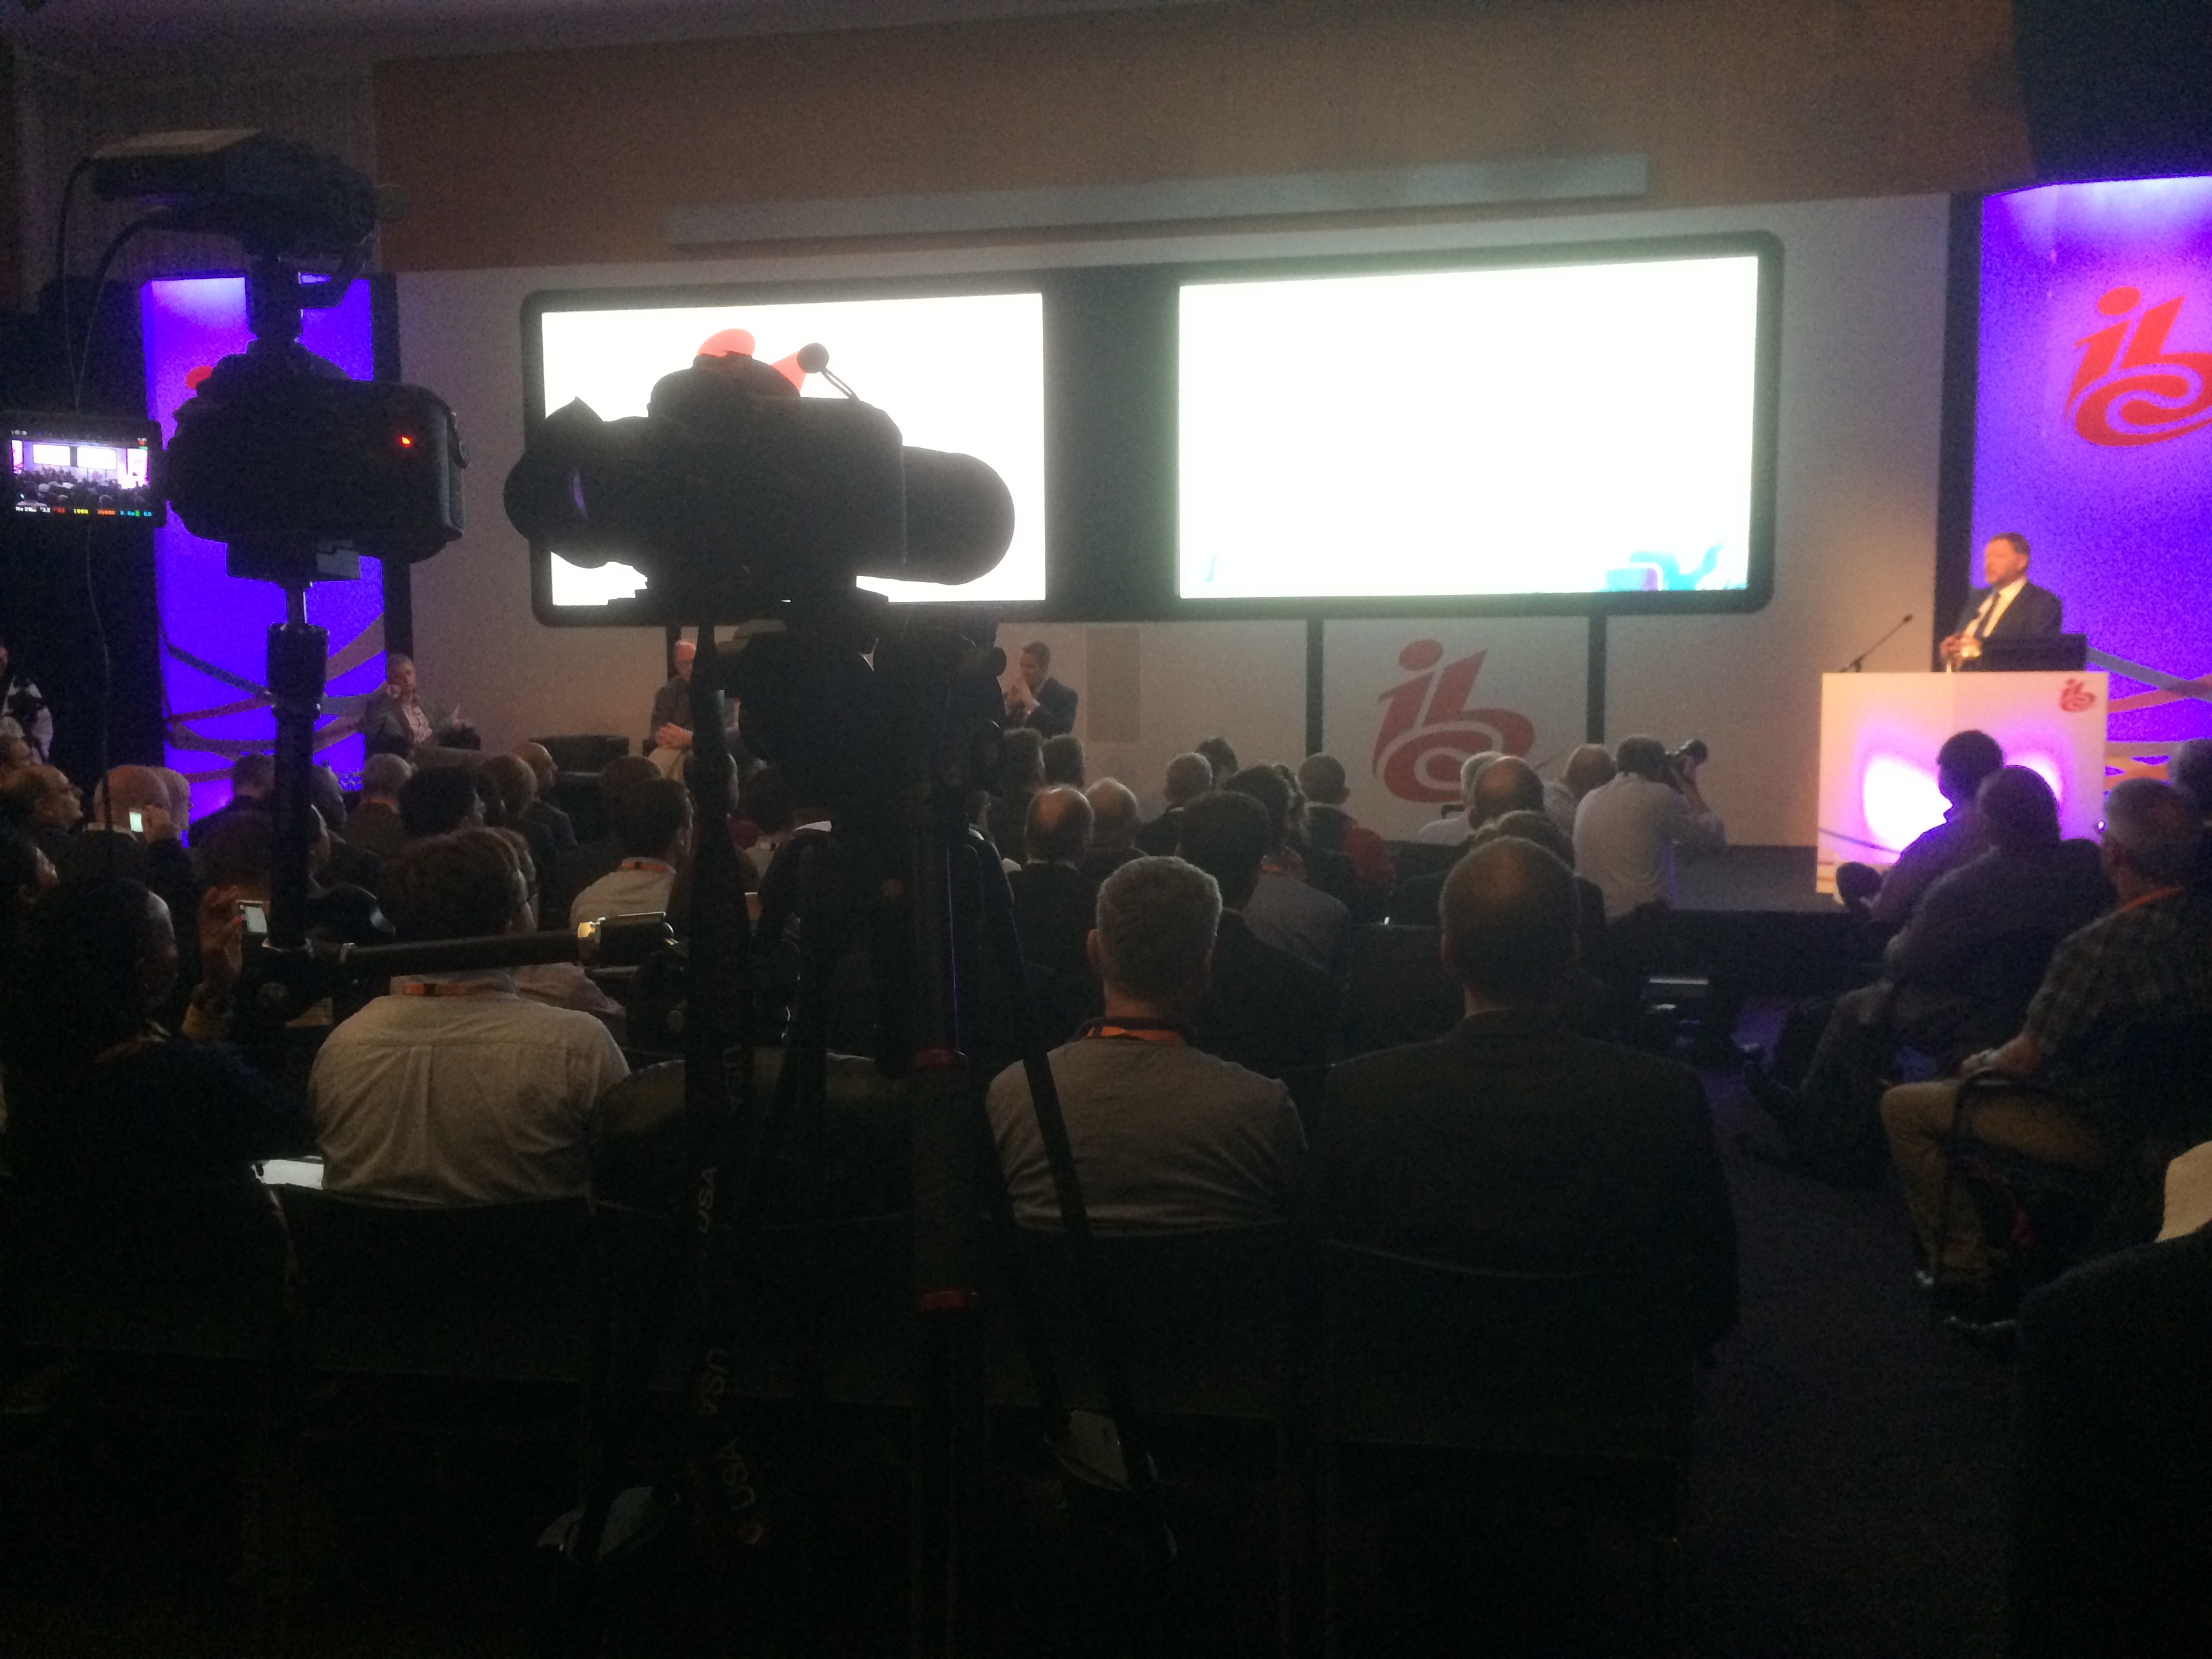
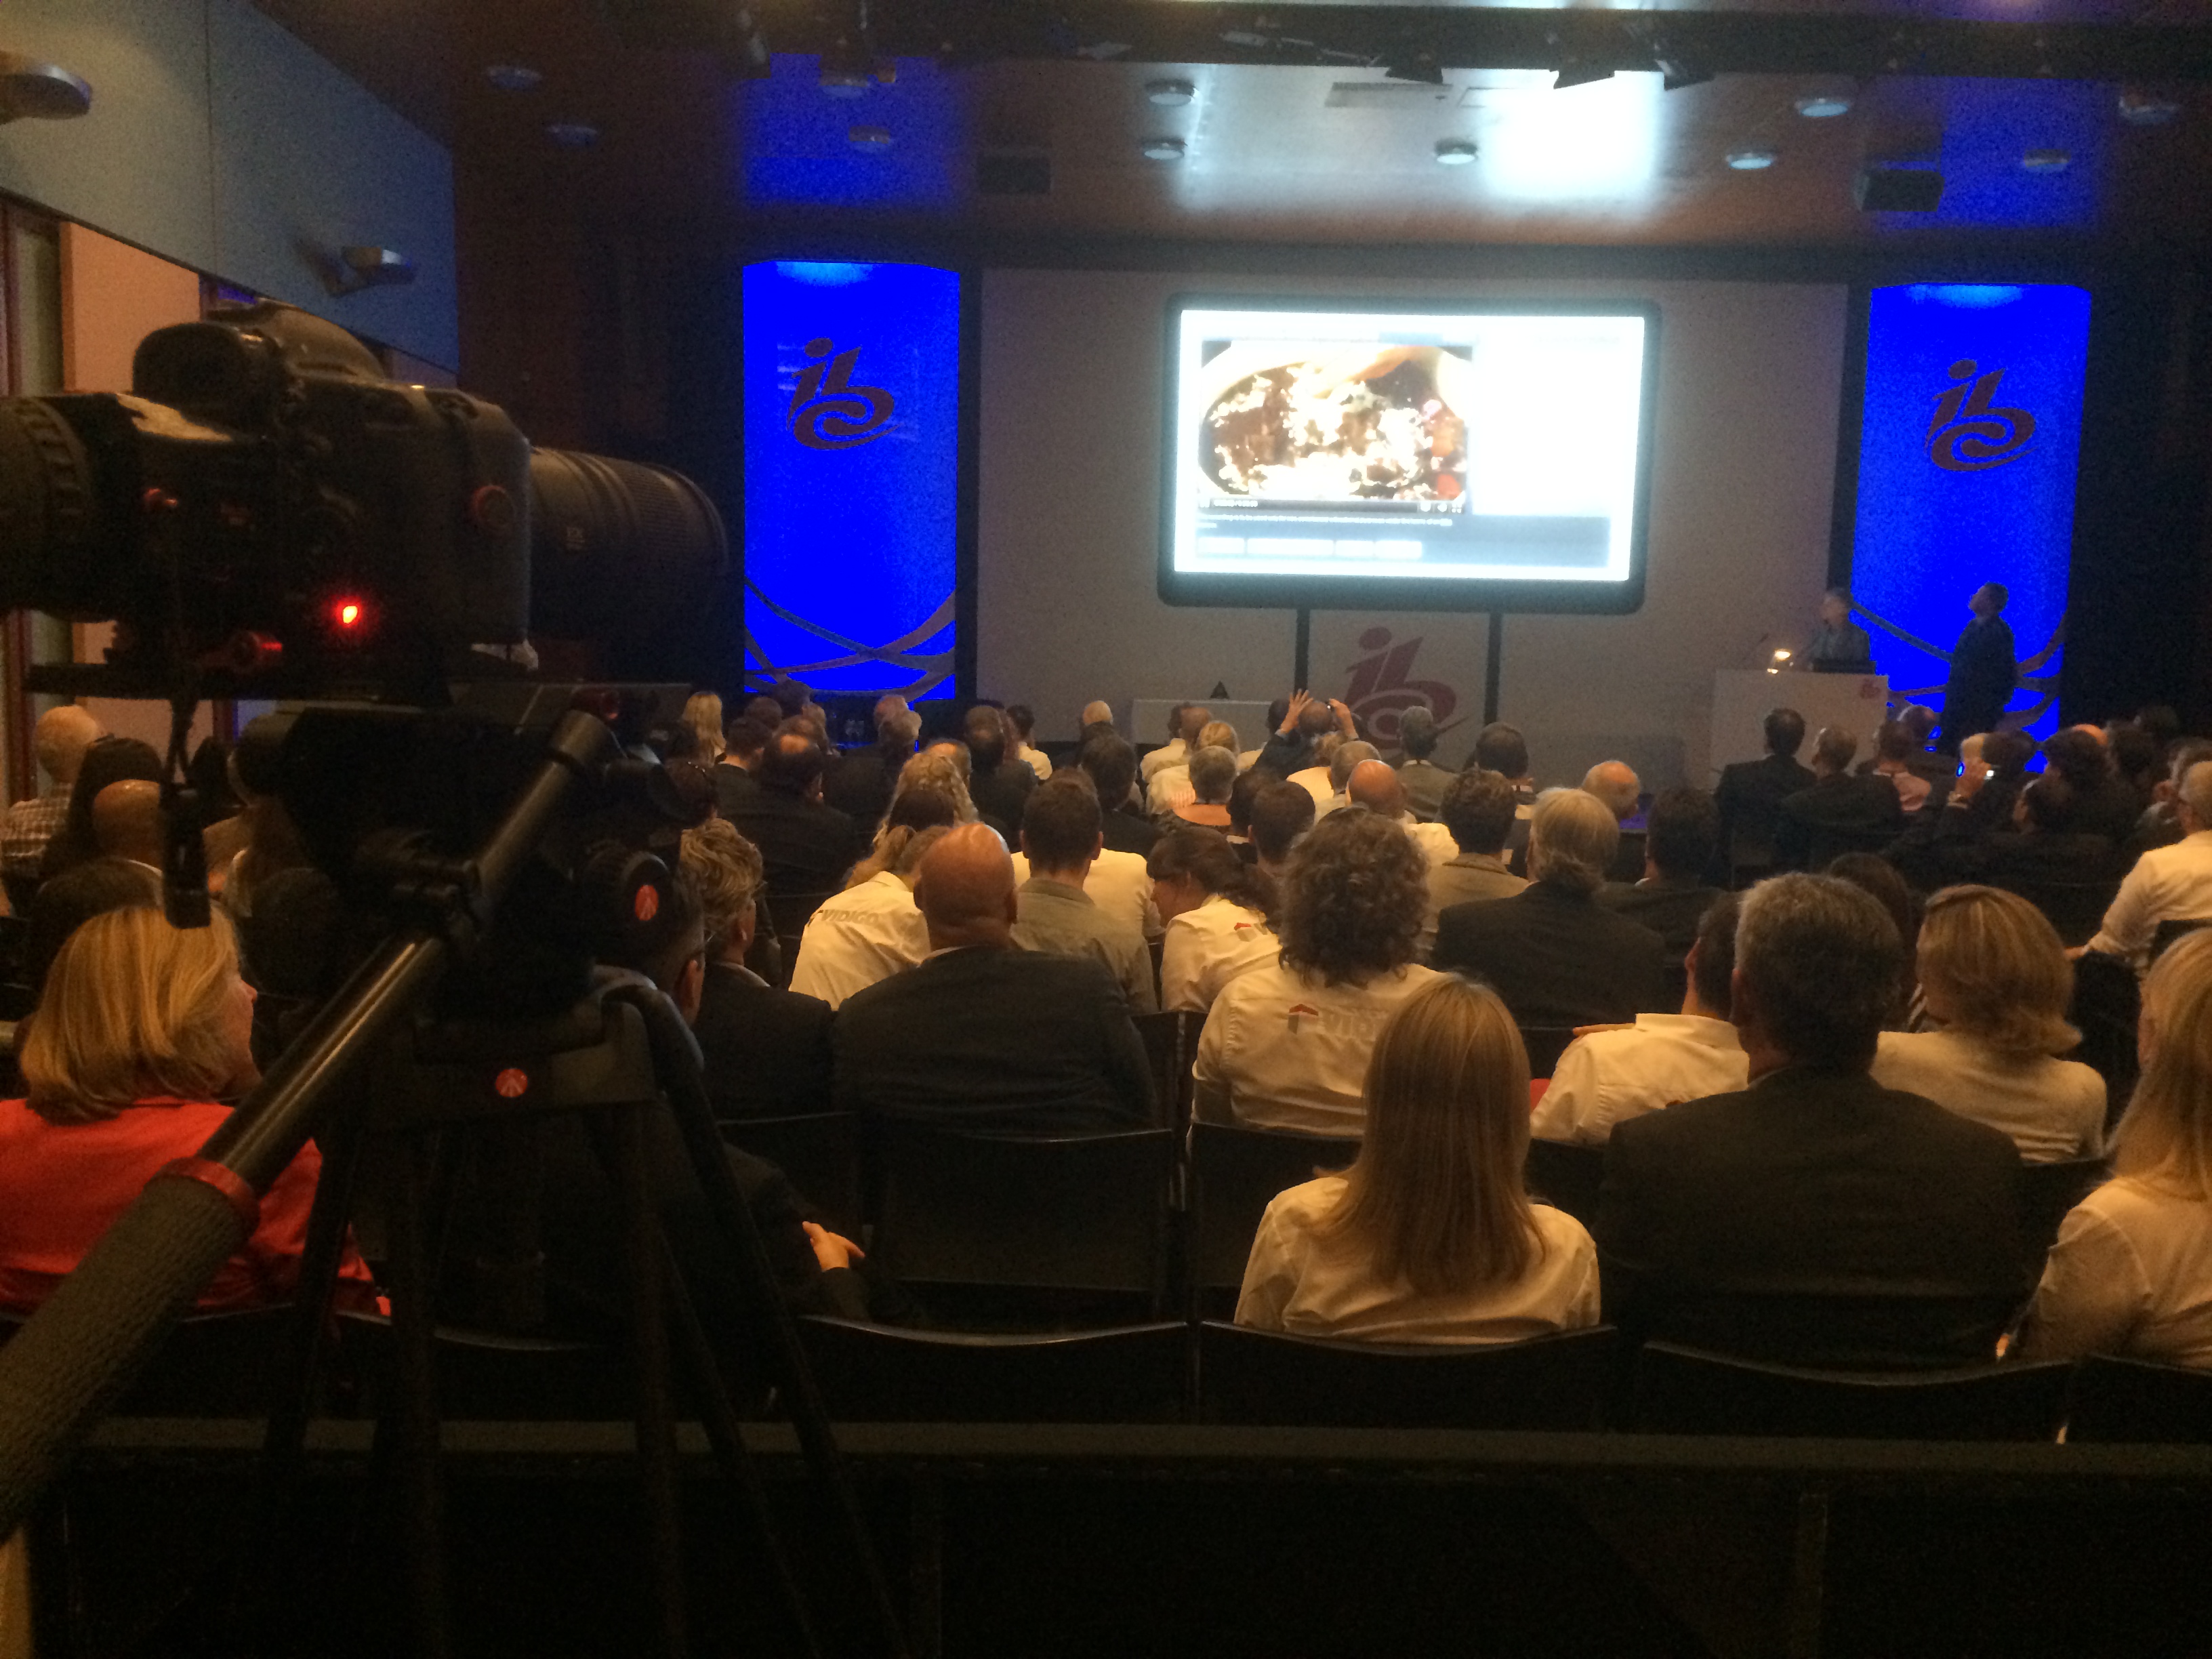
Day 3 - Friday 12th September - IABM Business Conference 'The Future of Broadcasting' and member interviews.
It was an early start on Friday, we arrived at the RAI for the IABM business conference at 6:45am to set up and capture the members breakfast, the conference and the post networking before the show got underway that day. For added motion, I used the ProMediaGear Arc-slider for some of the opening shots, but the main conference was shot on 3 static cameras.
For a mid shot of the speaker, I shot on the Sigma 70-200mm, and for a wide I used the 60D with the 17-50mm. Glen was filming from the front for a reverse angle on the 60D and Canon 100m L, which captured some stunning reaction shots of the attendees in low light. Unfortunately, this video is only available to watch for IABM members.
As our responsibility was to capture and edit videos for a same day or next day release, our two man filming team split so that Glen could begin ingesting, backing up and editing the conference video while I went out into the show and interviewed a number of IABM members. This turned out to be a godsend tactic to release a stream of high quality videos each day. It was, however, difficult to keep track of all the media from SD and CF cards...
That day, I filmed interviews with Georacing, Harmonic, Nexidia that we edited out for same day release:
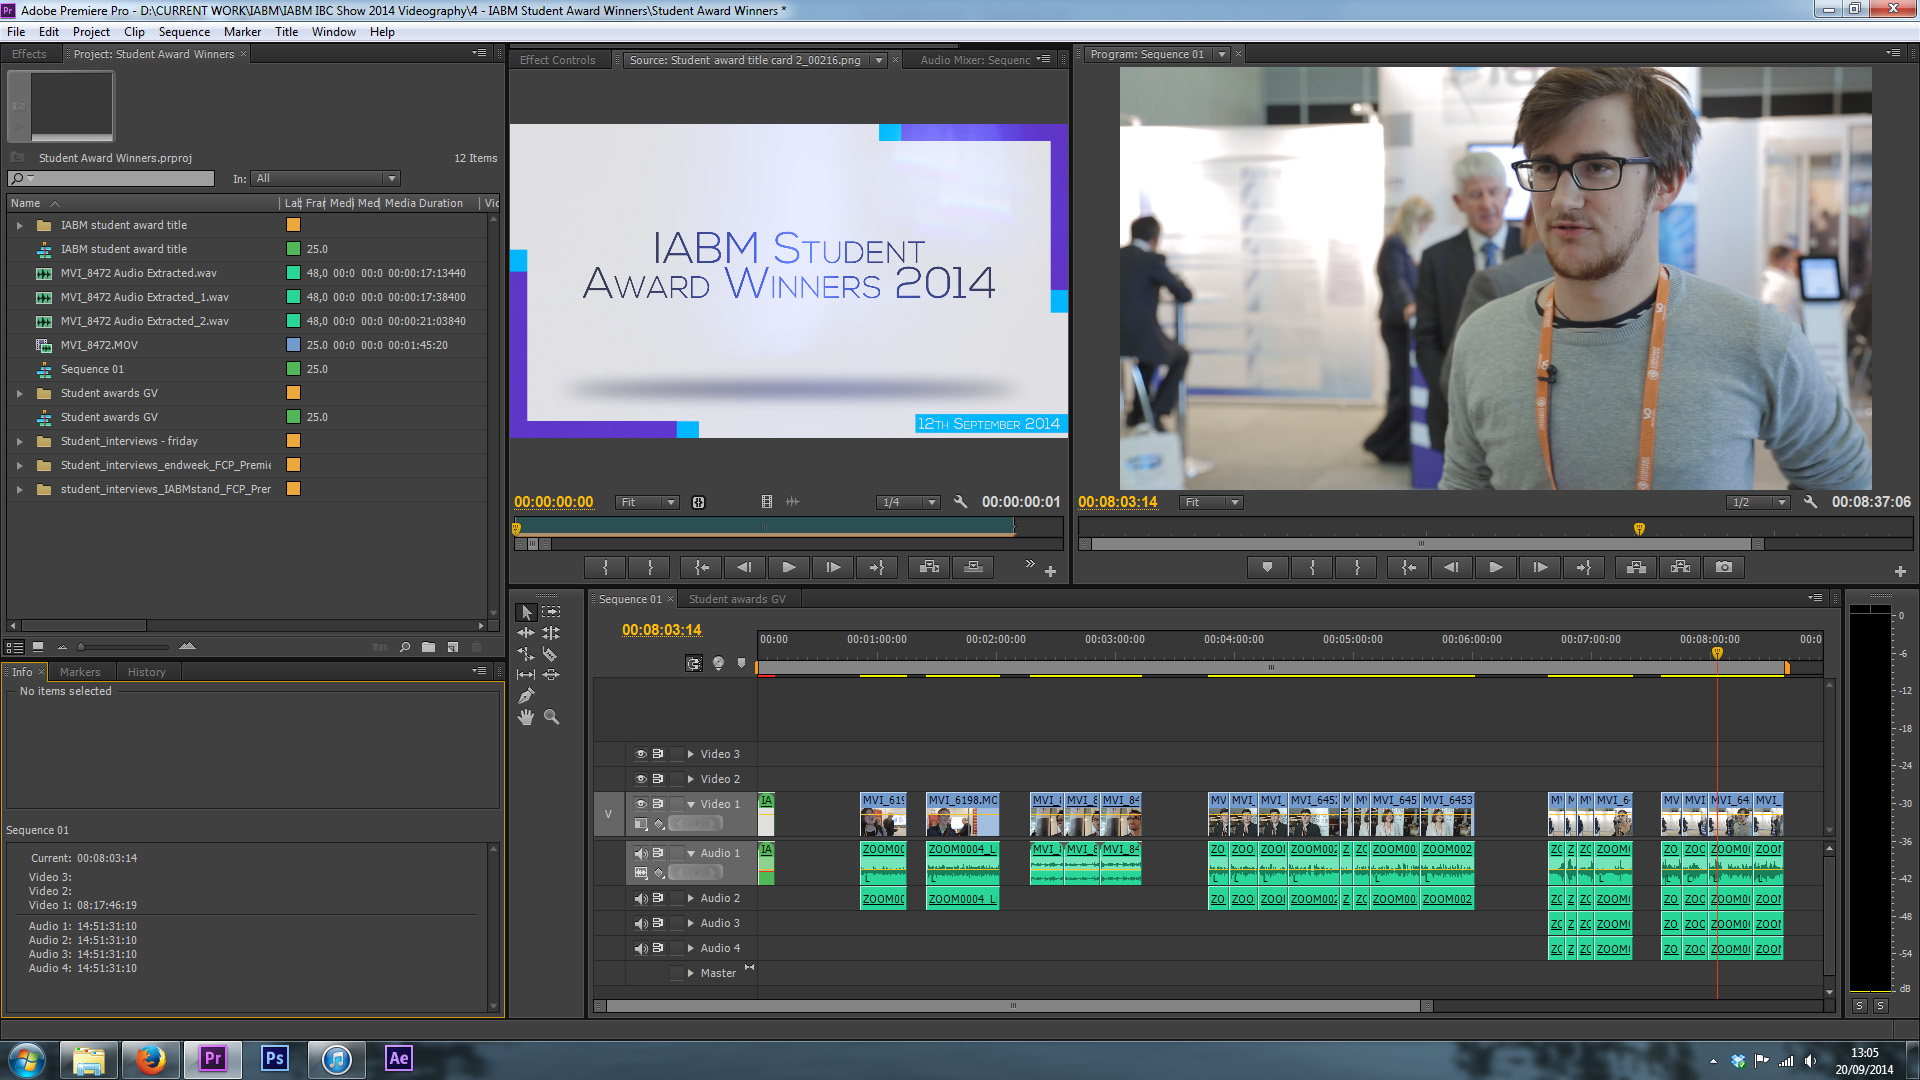
I then jetted off to The IABM stand to meet the new winners of the Student award from The IABM (I won last year), to capture some interviews with them about their study and what they are looking forward to at IBC!
Day 4 - Design & Innovation Awards and member interviews
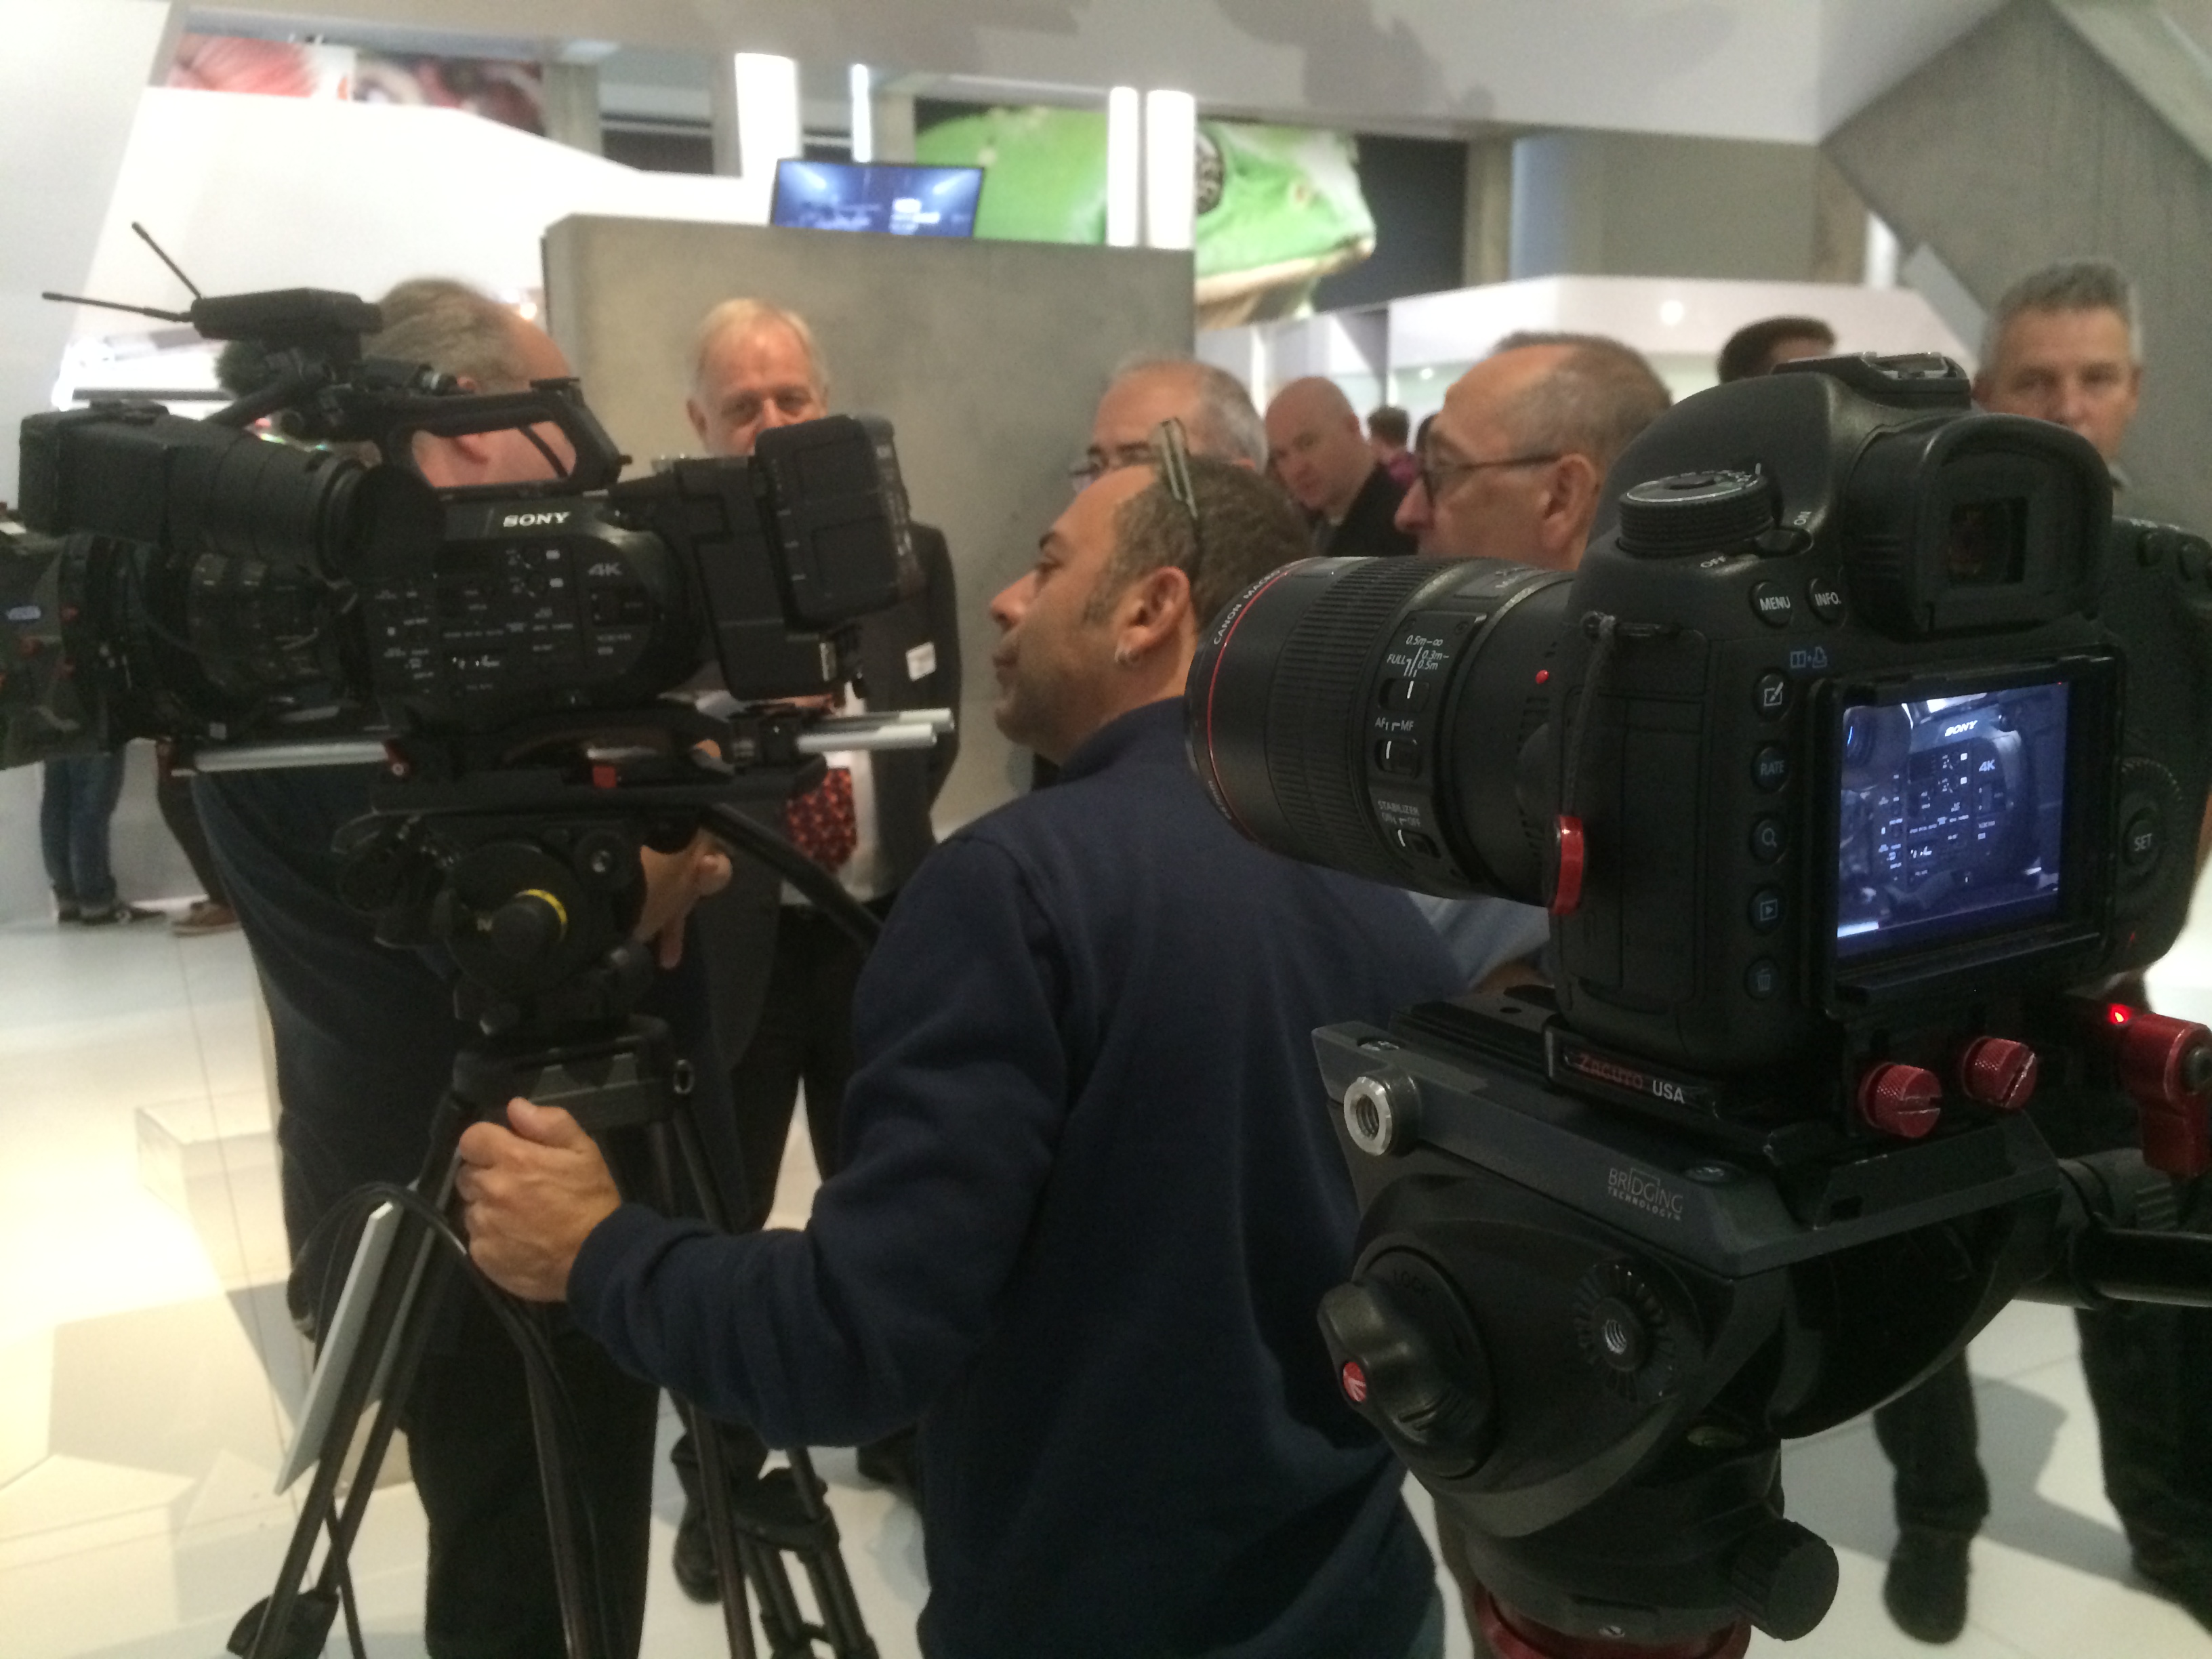
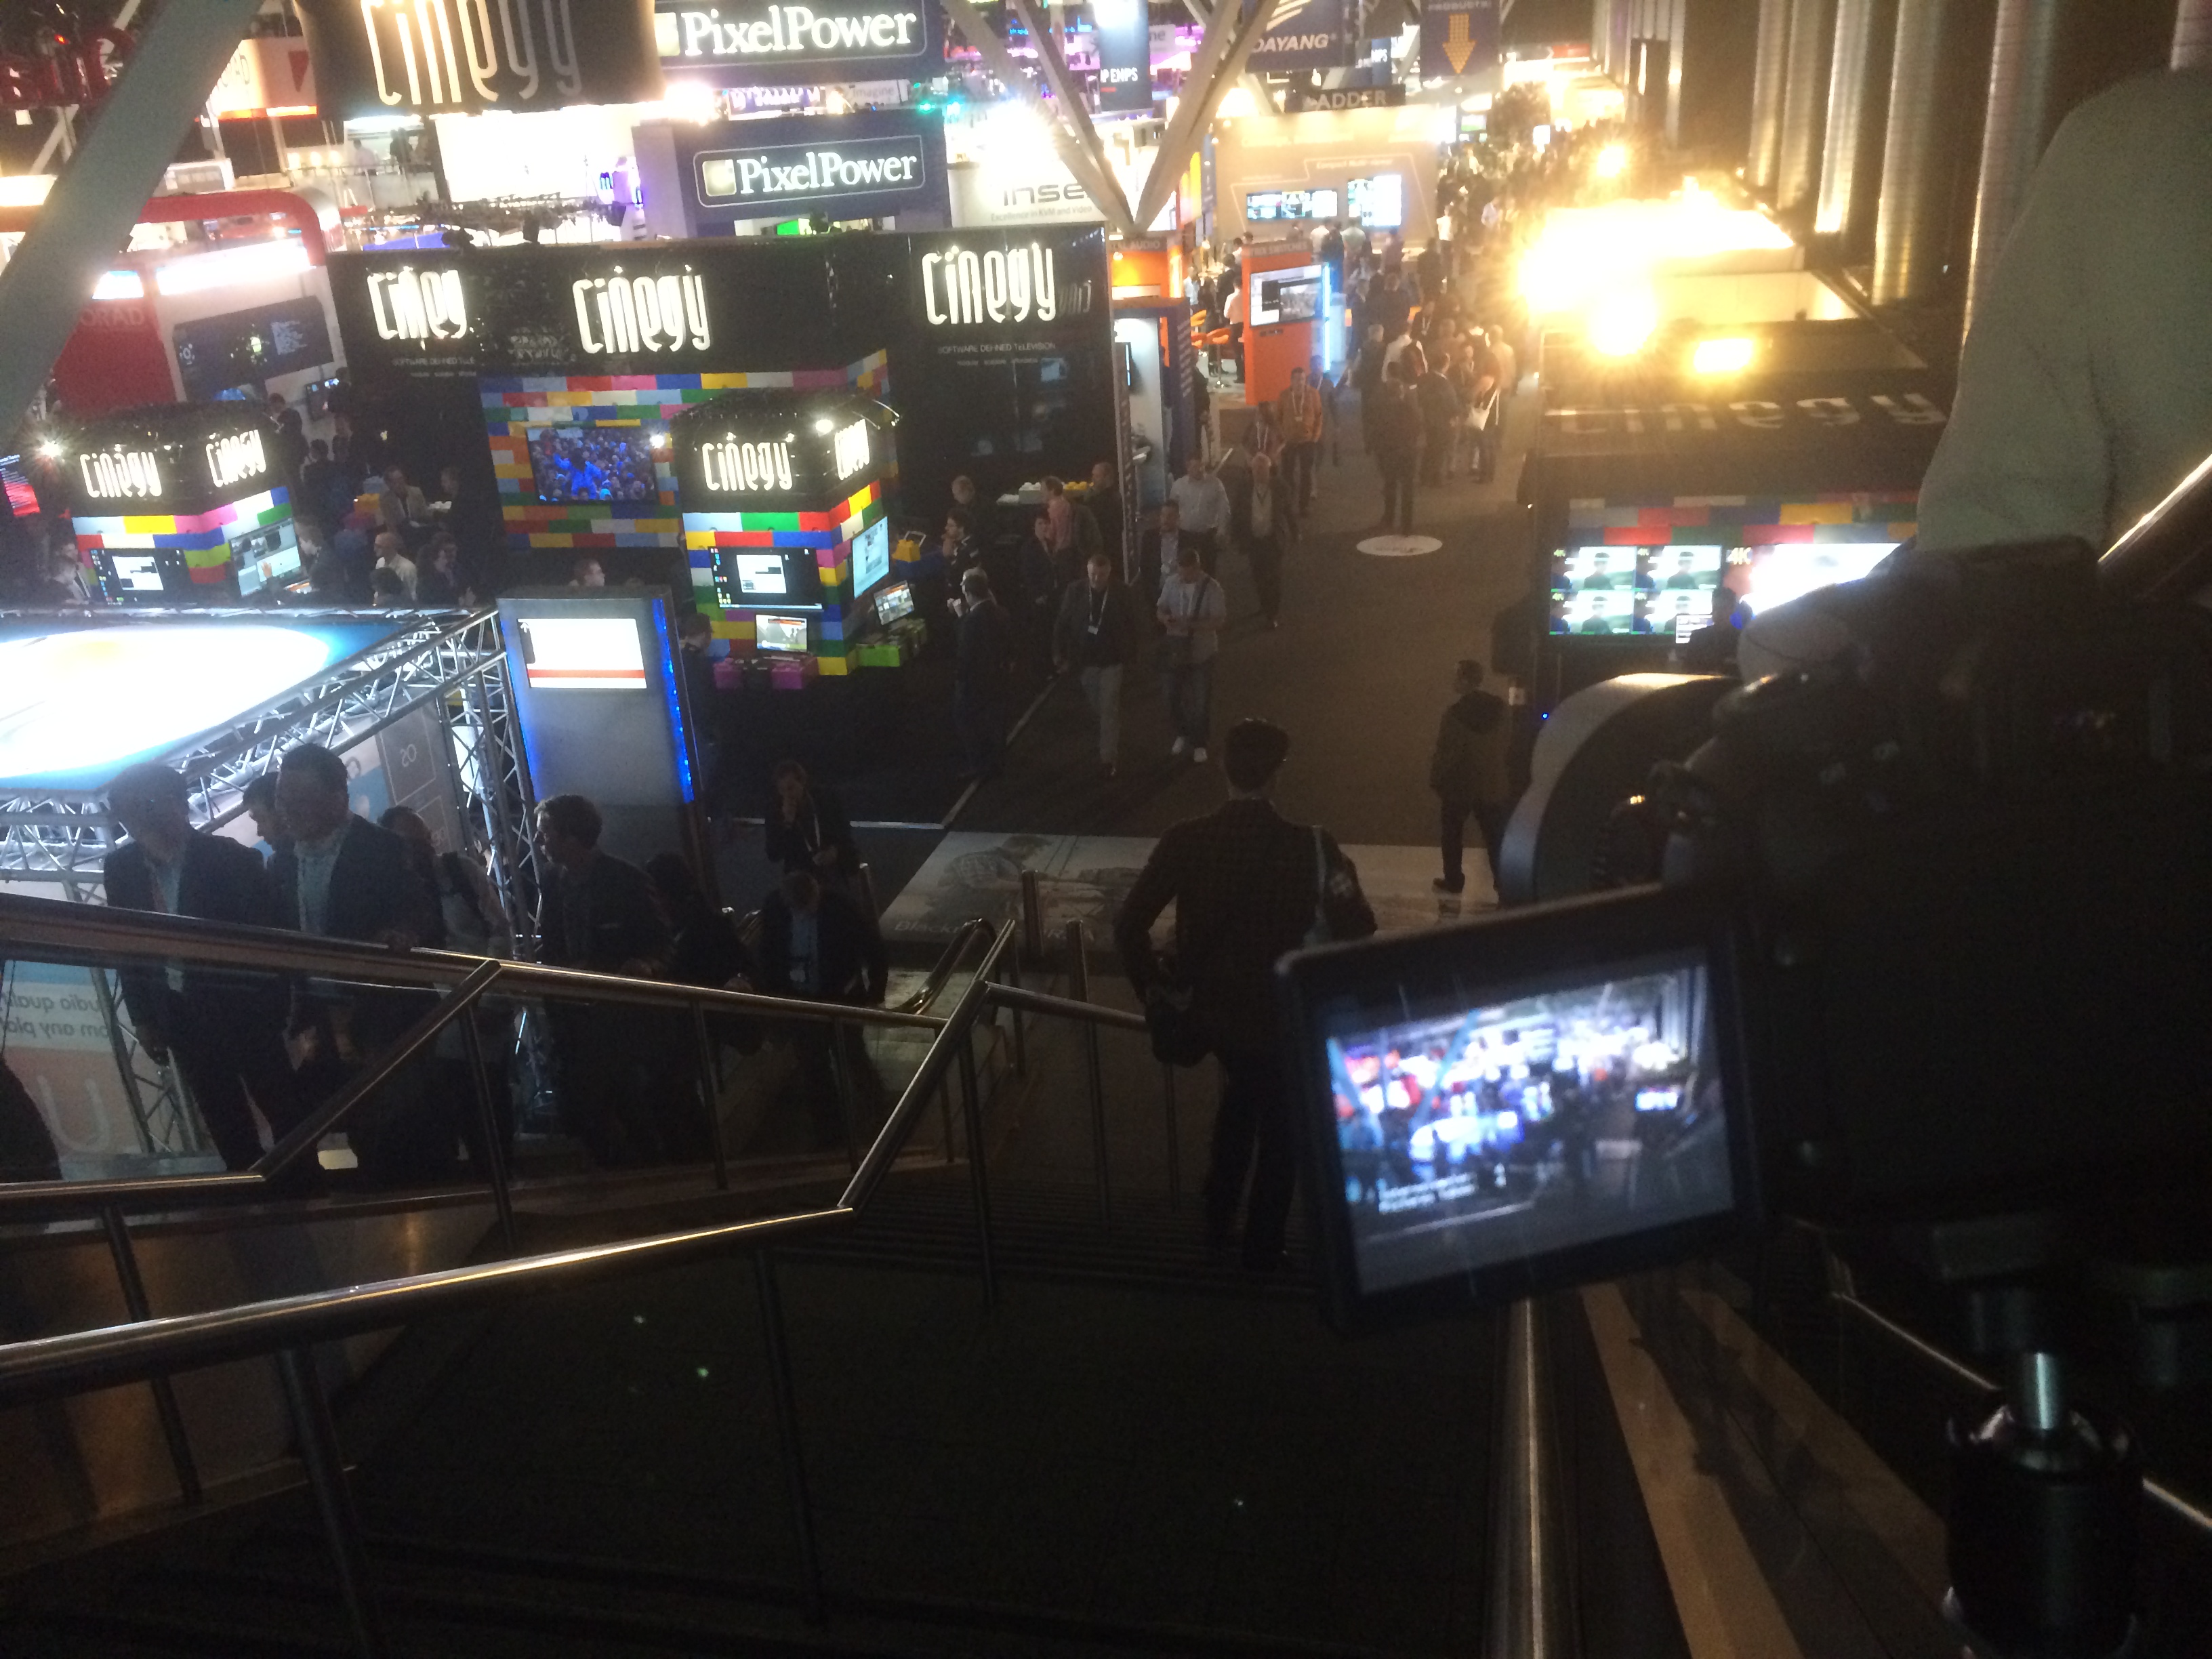
We were already half way through our IBC experience when Saturday struck, after a successful few days of filming and editing we geared ourselves up for a long day ahead. The day begun with a selection of IABM member interviews from around the show, including; Blackmagic Design, Avid, Newtek, Sony and many more. If you have been to IBC or NAB before you'll know how long it takes to get from one place to another, but with video kit it was a challenge to navigate around the thousands of people at the show!
I had a great time at the Sony booth, interviewing Peter Sykes about the new innovations; camera, 4K transmission, projectors, storage devices. They can be seen here:
I was intrigued by the Sony A7s, a full frame SLR with great low light and DR features.. There was lots of hype around the camera, and I had noticed a lot of the News Shooter guys using them with Atomos Ninja/Blade recorders (we were working next to Dan Chung and News Shooter in the press room), they rated it very well in a variety of conditions and shooting styles.
Bad luck struck on Saturday afternoon... My Canon 60D and 14mm cine lens was capturing a timelapse when it was moved/taken/stolen from where I left it.. Knowing that this would impact the video production of the D&I awards I quickly got help from RAI security to try and locate it. No luck, so later on that afternoon I borrowed a camera from an IABM member to capture a static wide shot of the awards ceremony. Luckily, when I arrived home I got a call from the RAI security who informed me they had found my camera!

We then got set up and prepared for The IABM Design and Innovation Awards 2014, celebrating and awarding outstanding technical developments in the broadcasting and media industry. Before IBC I edited and produced the 9 nominee category videos and graphics presented throughout the awards. Using the same setup as the IABM conference (A cam - Tele, B cam - wide, C cam - reactions) we captured the night in full, showing the excitement and buzz around winning the awards. I got to have a quick chat with some of the winner companies too!
I edited together the highlights of the IABM Design and Innovation Awards, which can be viewed here -
The individual winner interviews can be viewed here:
Systems - VidiGo
Testing - Cube-tec
Storage - Ardis
Post Production - Quantel
Playout - Elemental Technologies
Content + Infrastructure - NTT Electronics
Audio - Sennheiser
Acquisition + Production - Trimaran
The realities of working 12-14 hour days were catching up with us when we returned to our hotel to ingest and back up the footage. Finally, but 1:30am on Sunday all of the footage was synced and ready to be edited. At that point, we both thought its time to call it a day.
Day 5 - Delivering D&I Award Videos and member interviews
By Sunday, the main haul of event capture had been completed, with the remaining tasks being mainly interviews with members around the IBC show. As our editing 'system' had worked so well previously, Glen stayed in the press room using both our laptops to edit, export and upload the winner videos from the awards while I conducted interviews with more exhibitors and IBC members.
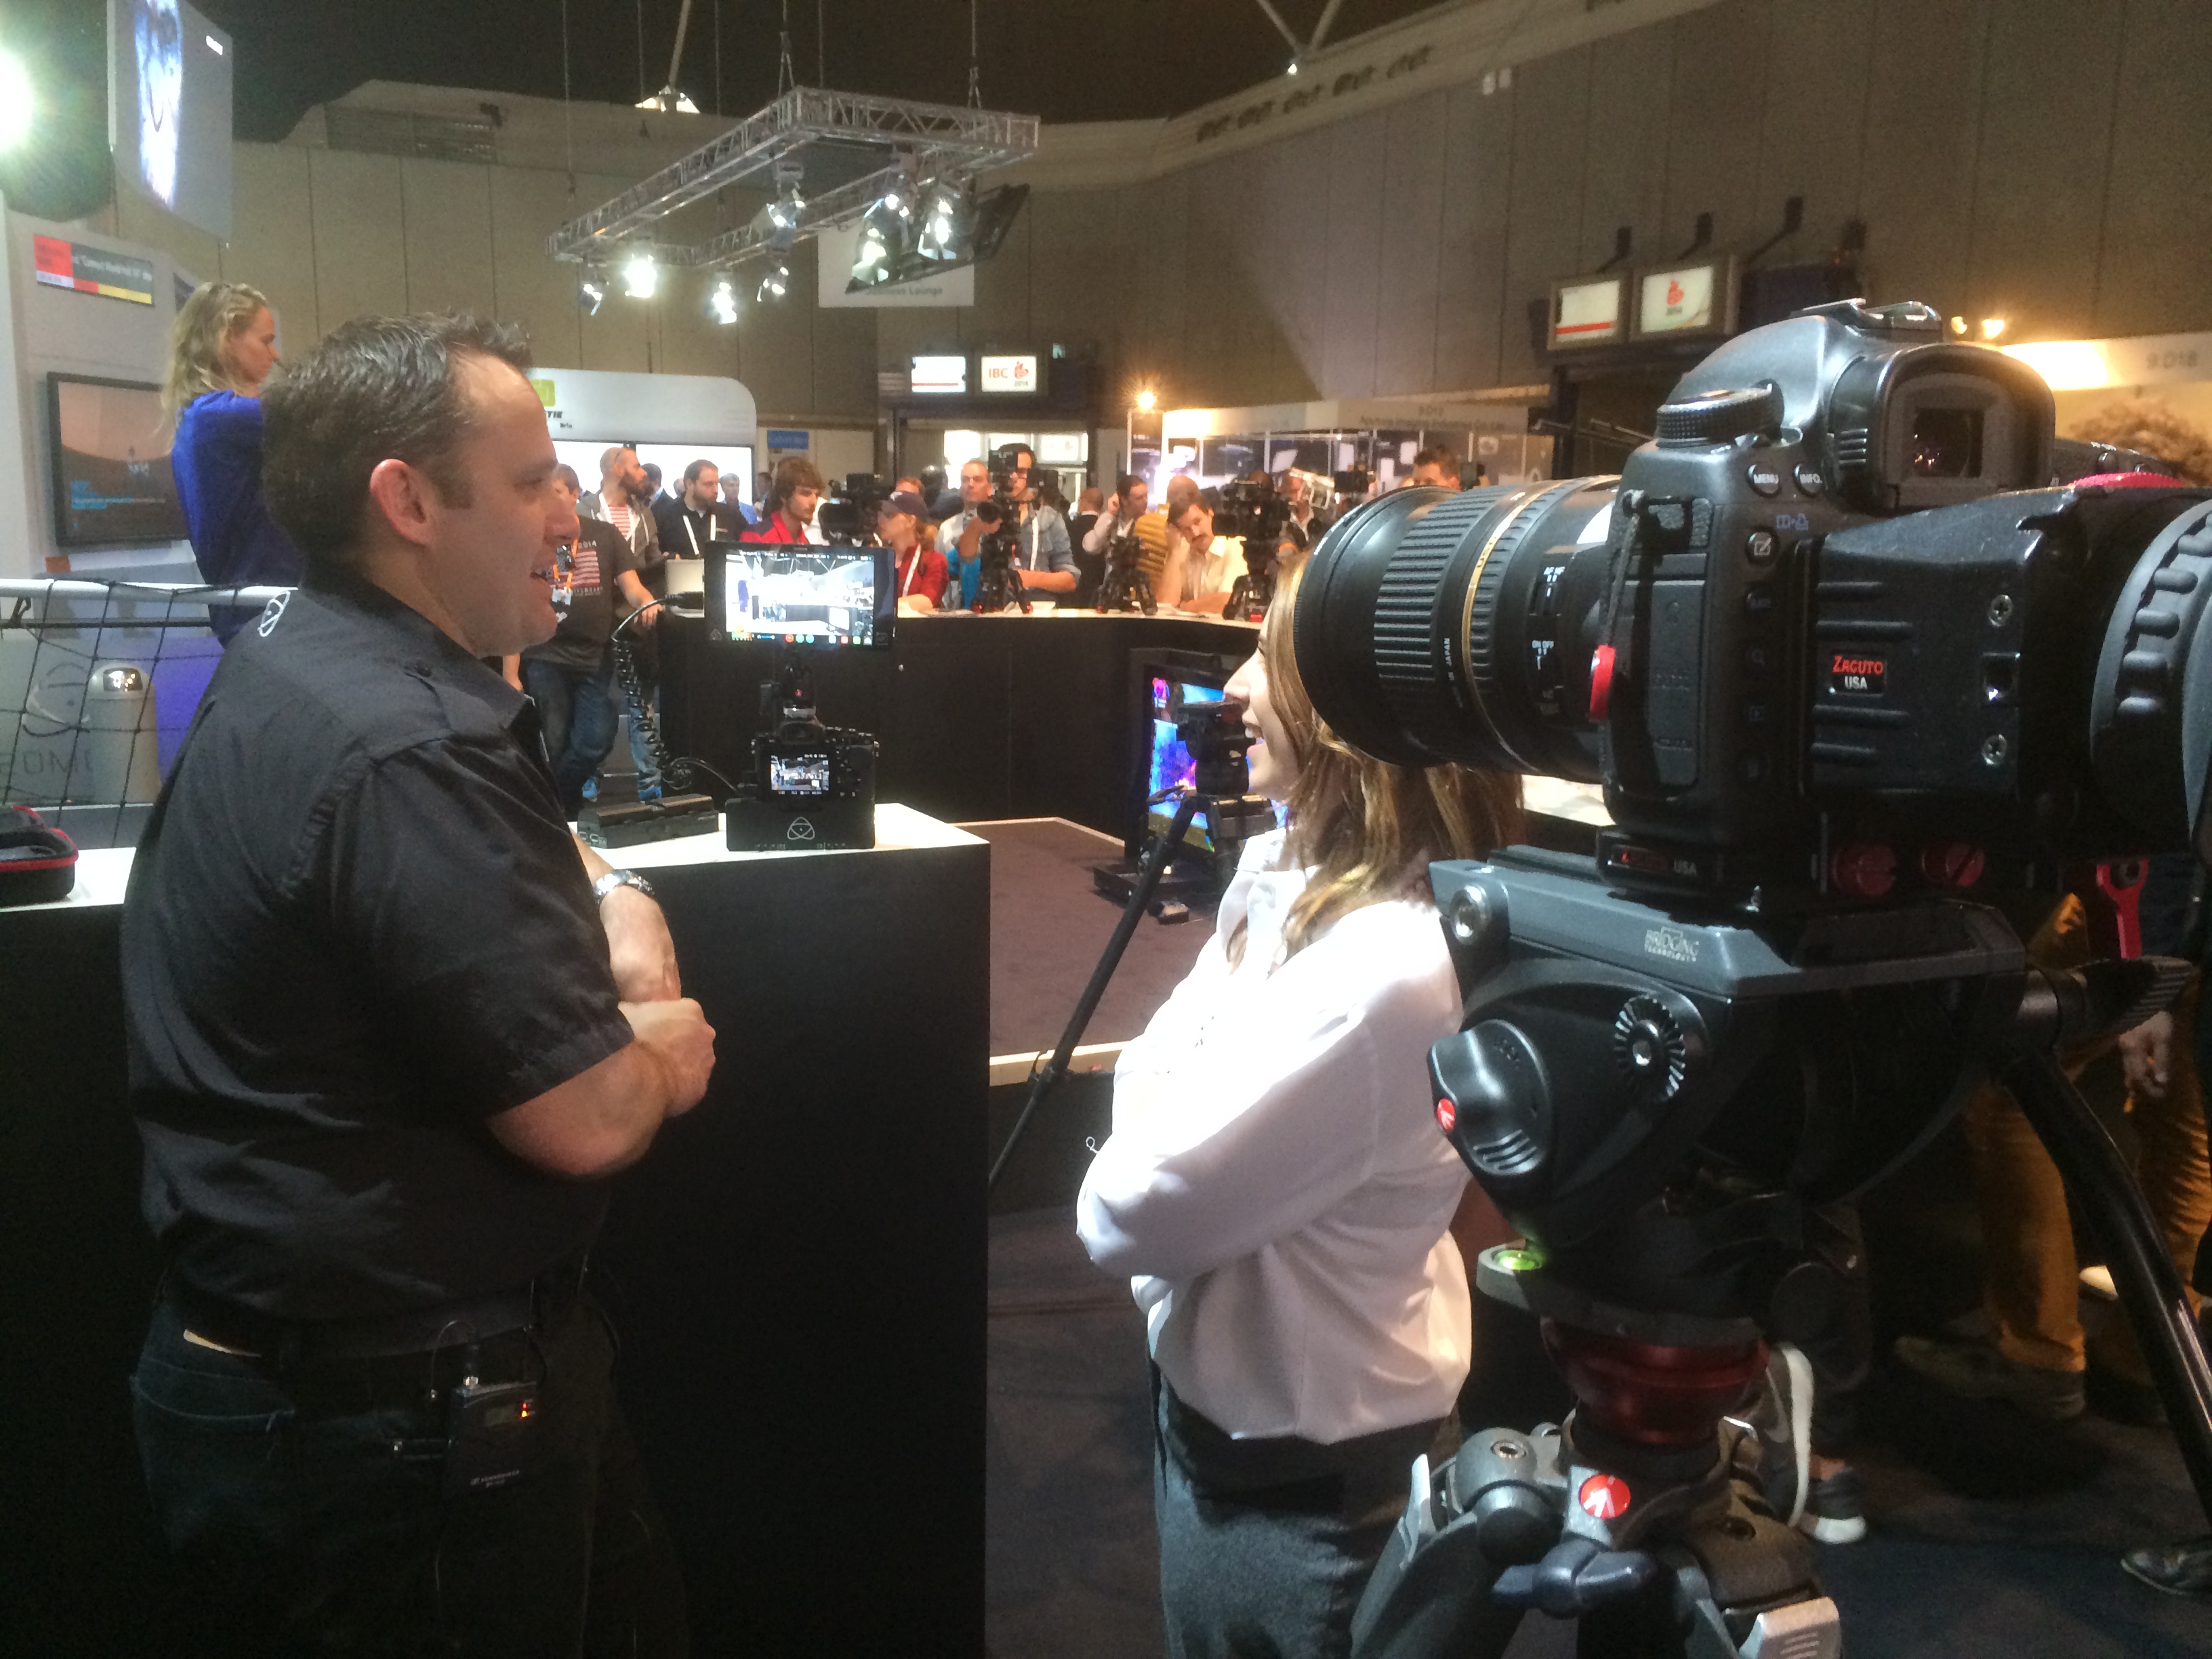
I had a great time at the Atomos booth interviewing Jeromy the CEO about the new Shogun for 4K recording and the power pack!
Atomos Interview -
Later that day I bumped into Joe, my old uni housemate who was visiting the show for a day. Later, Glen and myself went for Mexican for dinner and met up with our hotel receptionist, Klaudija for a few drinks in Vondelpark!
At this point, I was completely over my missing 60D and the tiredness. Visiting IBC and Amsterdam for work is a very rare opportunity, so we plowed through and continued to produce great day by day coverage of the show for The IABM. Glen, bless him saw less and less daylight each day!
Day 5 - Rising Stars and more member interviews
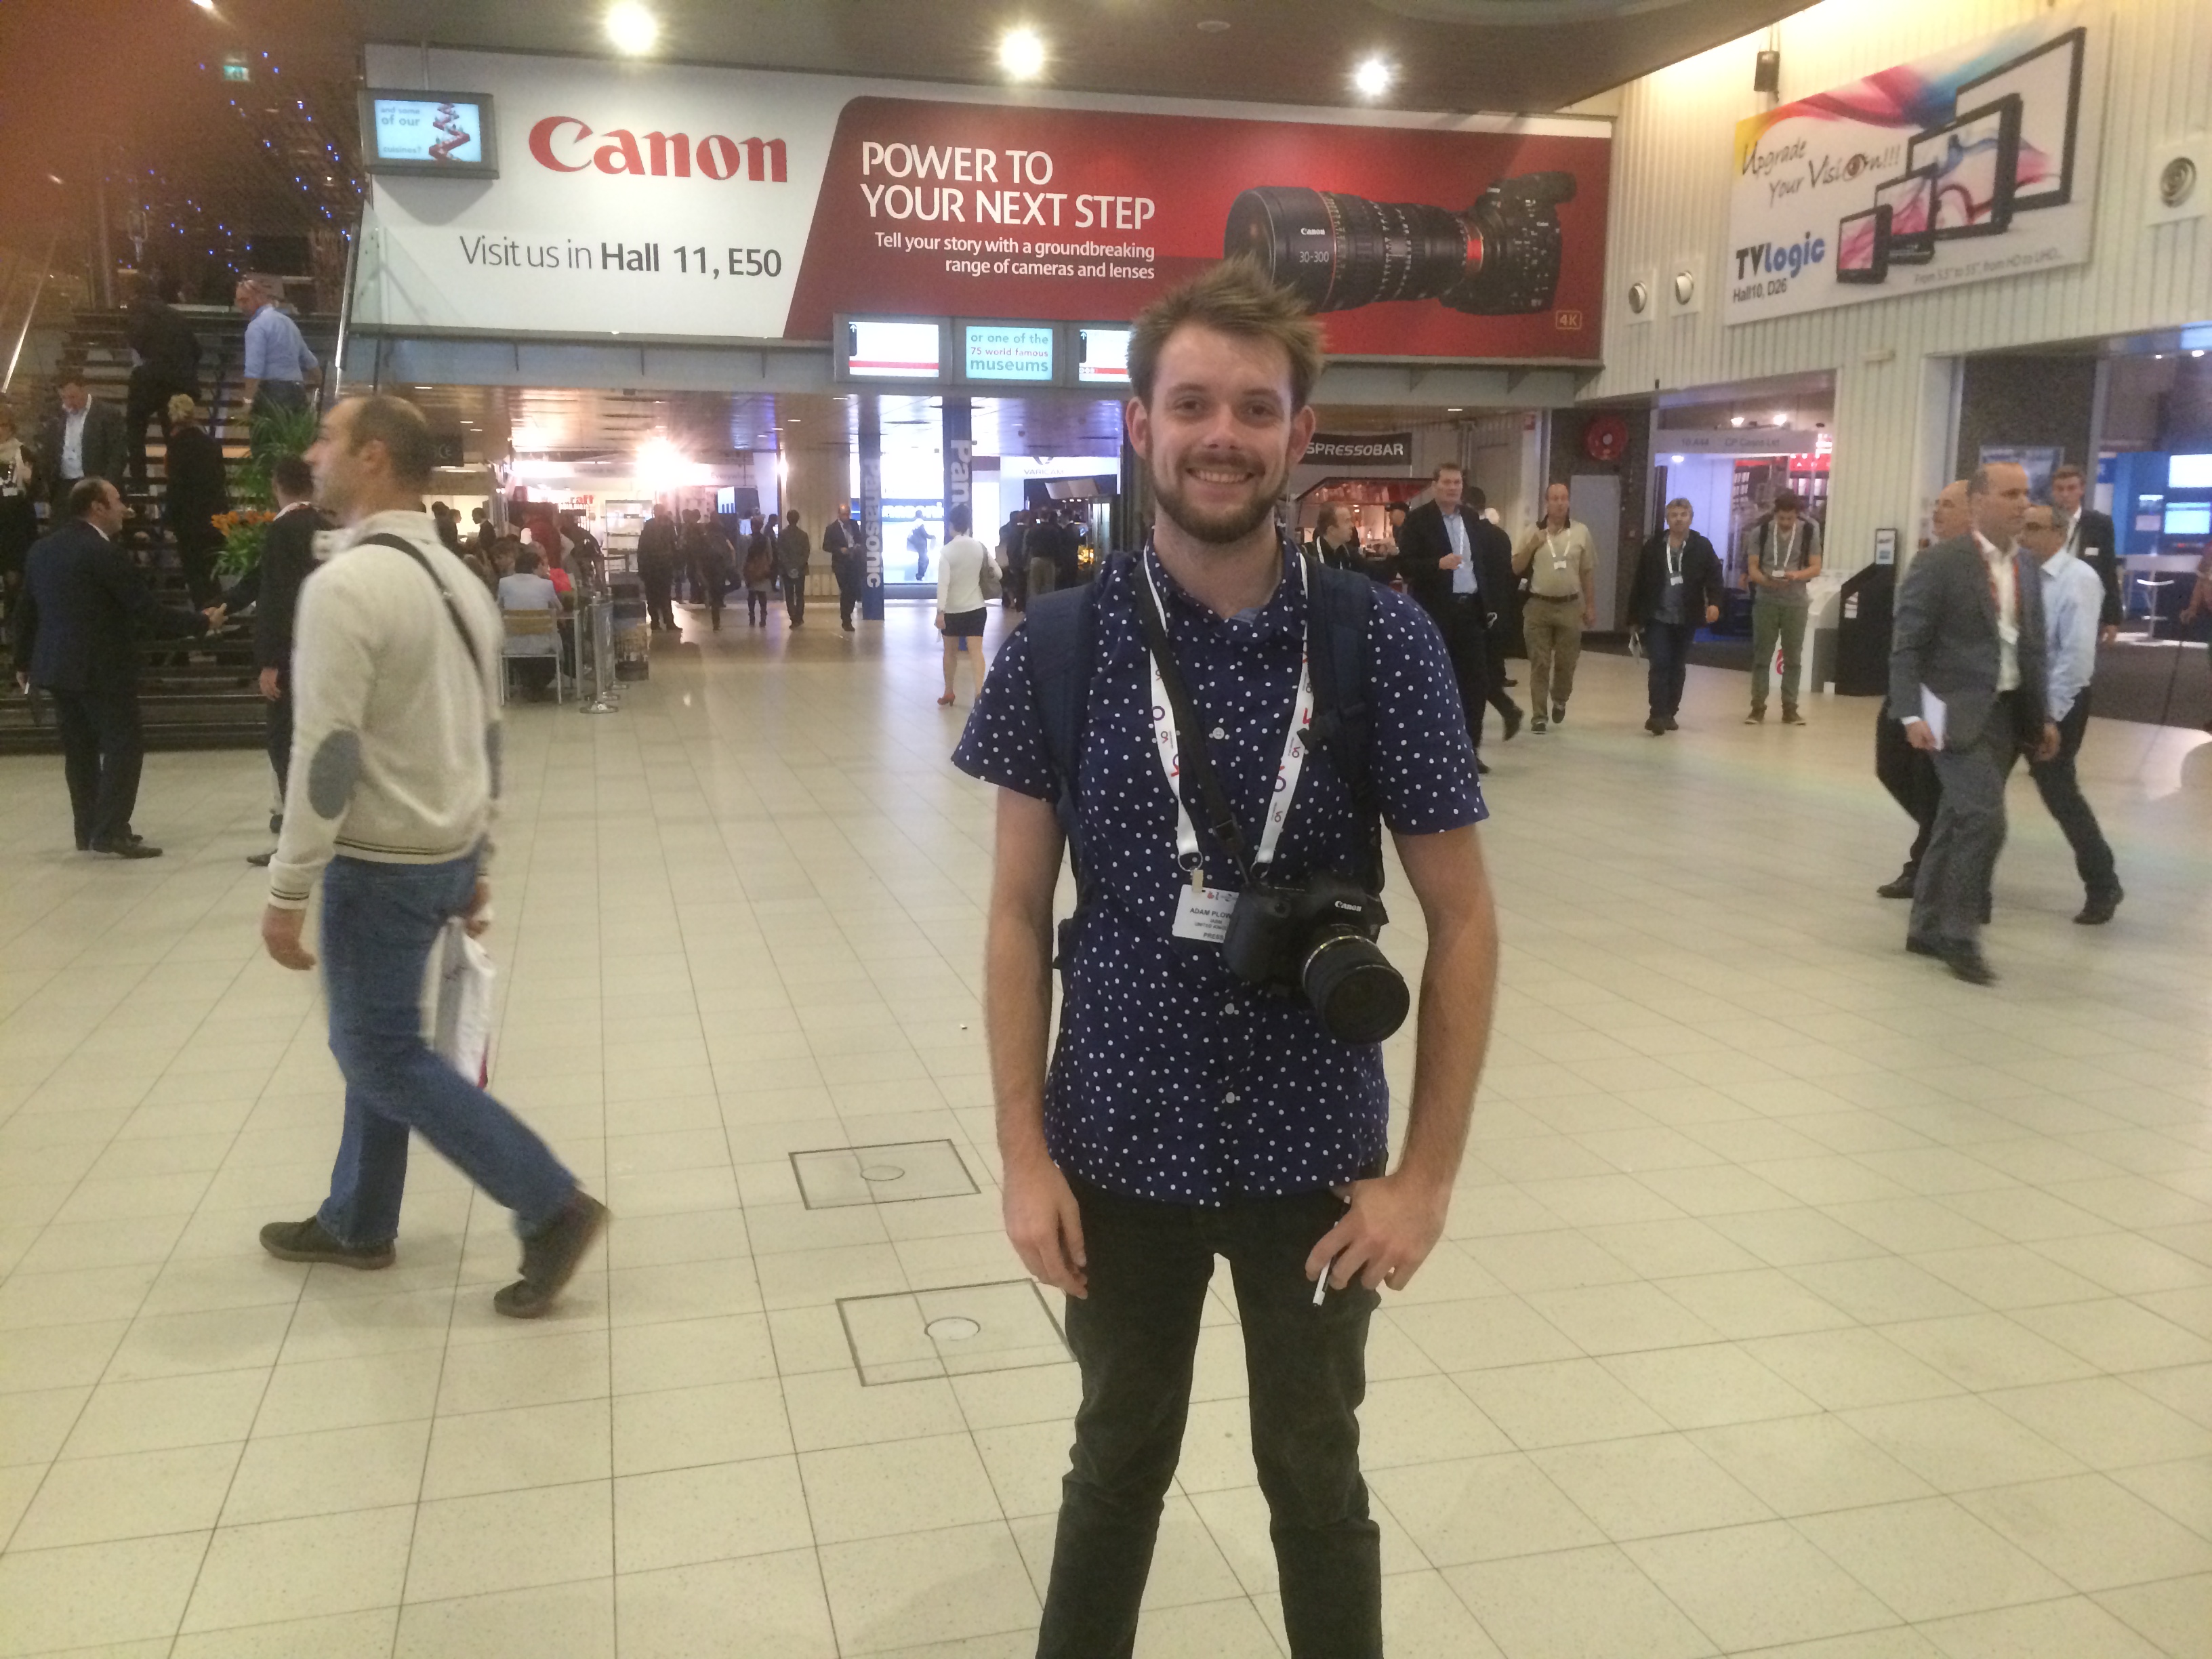
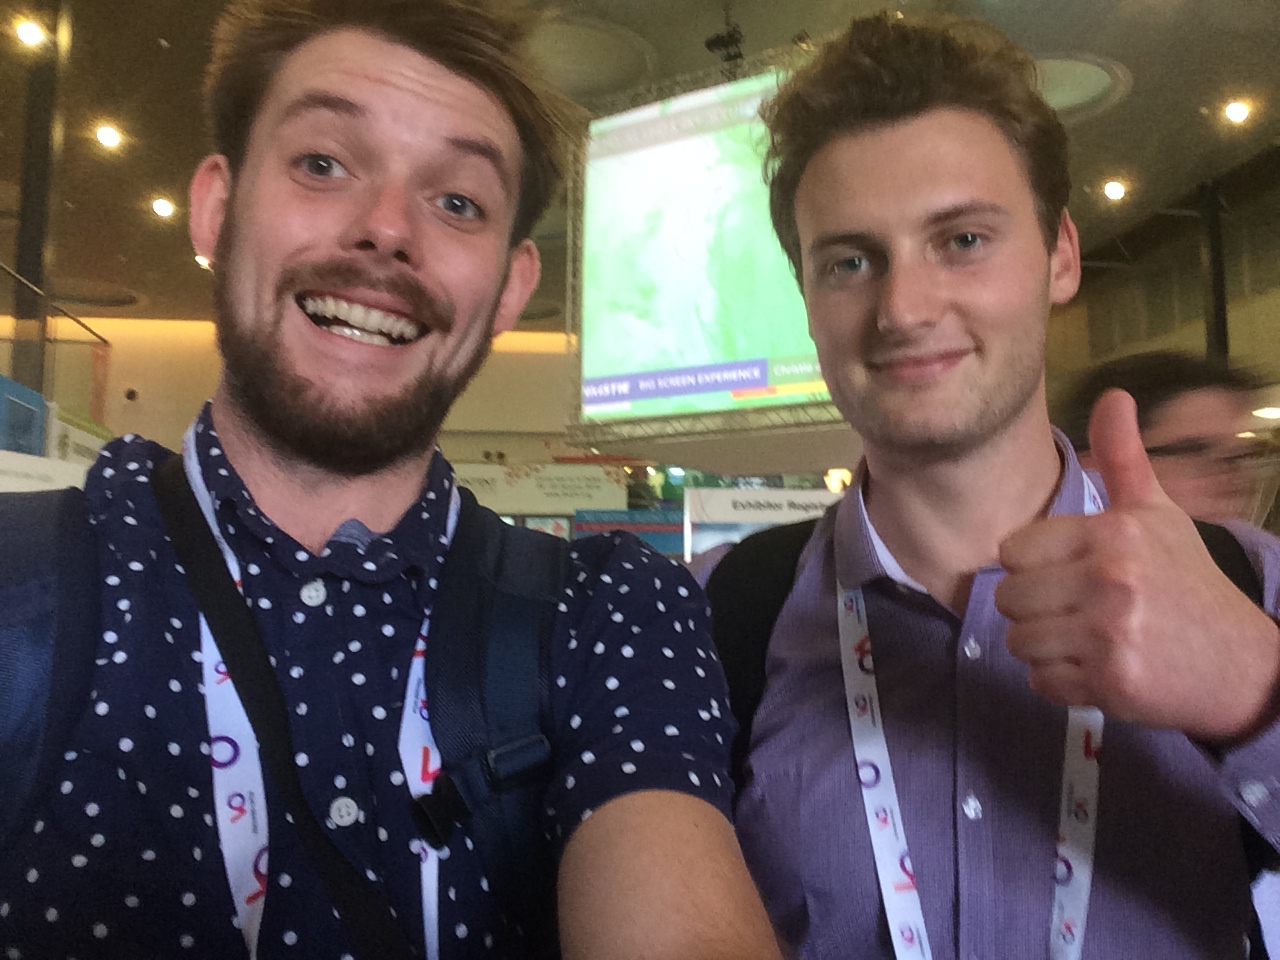
Arriving at IBC a little later than usual, Glen and myself parked up the the press area and set up the laptops to upload the previous days interviews to vimeo. Before we headed out to Steve Warners talk at Rising Stars I bumped into Nino Leitner who was off to Photokina that afternoon, so I grabbed a quick pic! Nino had been very busy with Cinema 5D coverage of the show producing their 'On The Couch' series with Philip Bloom, HaZ Dullul and more.

At this point, we had captured around 350Gb of video footage and delivered numerous interviews and event videos for The IABM, they were very pleased! We headed over to The Rising Stars lounge; a part of the show dedicated to young professionals in the industry where Steve Warner (training manager of The IABM) was doing a talk on CV's and representing yourself. Even for me, it was quite interesting to hear what recruiters actually look out for and research!
Catch the full video here -
The team then split so I could conduct some interviews with The IABM student award winners, and with a couple more members for The IABM annual conference in December. It was a short and sweet day; shooting multi-cam on talks and conferences made editing fairly straight forward so we were able to deliver the videos pretty much on the same day. Glen did an awesome job and editing videos out quickly. while I was filming more content!
Day 6 - Last interviews
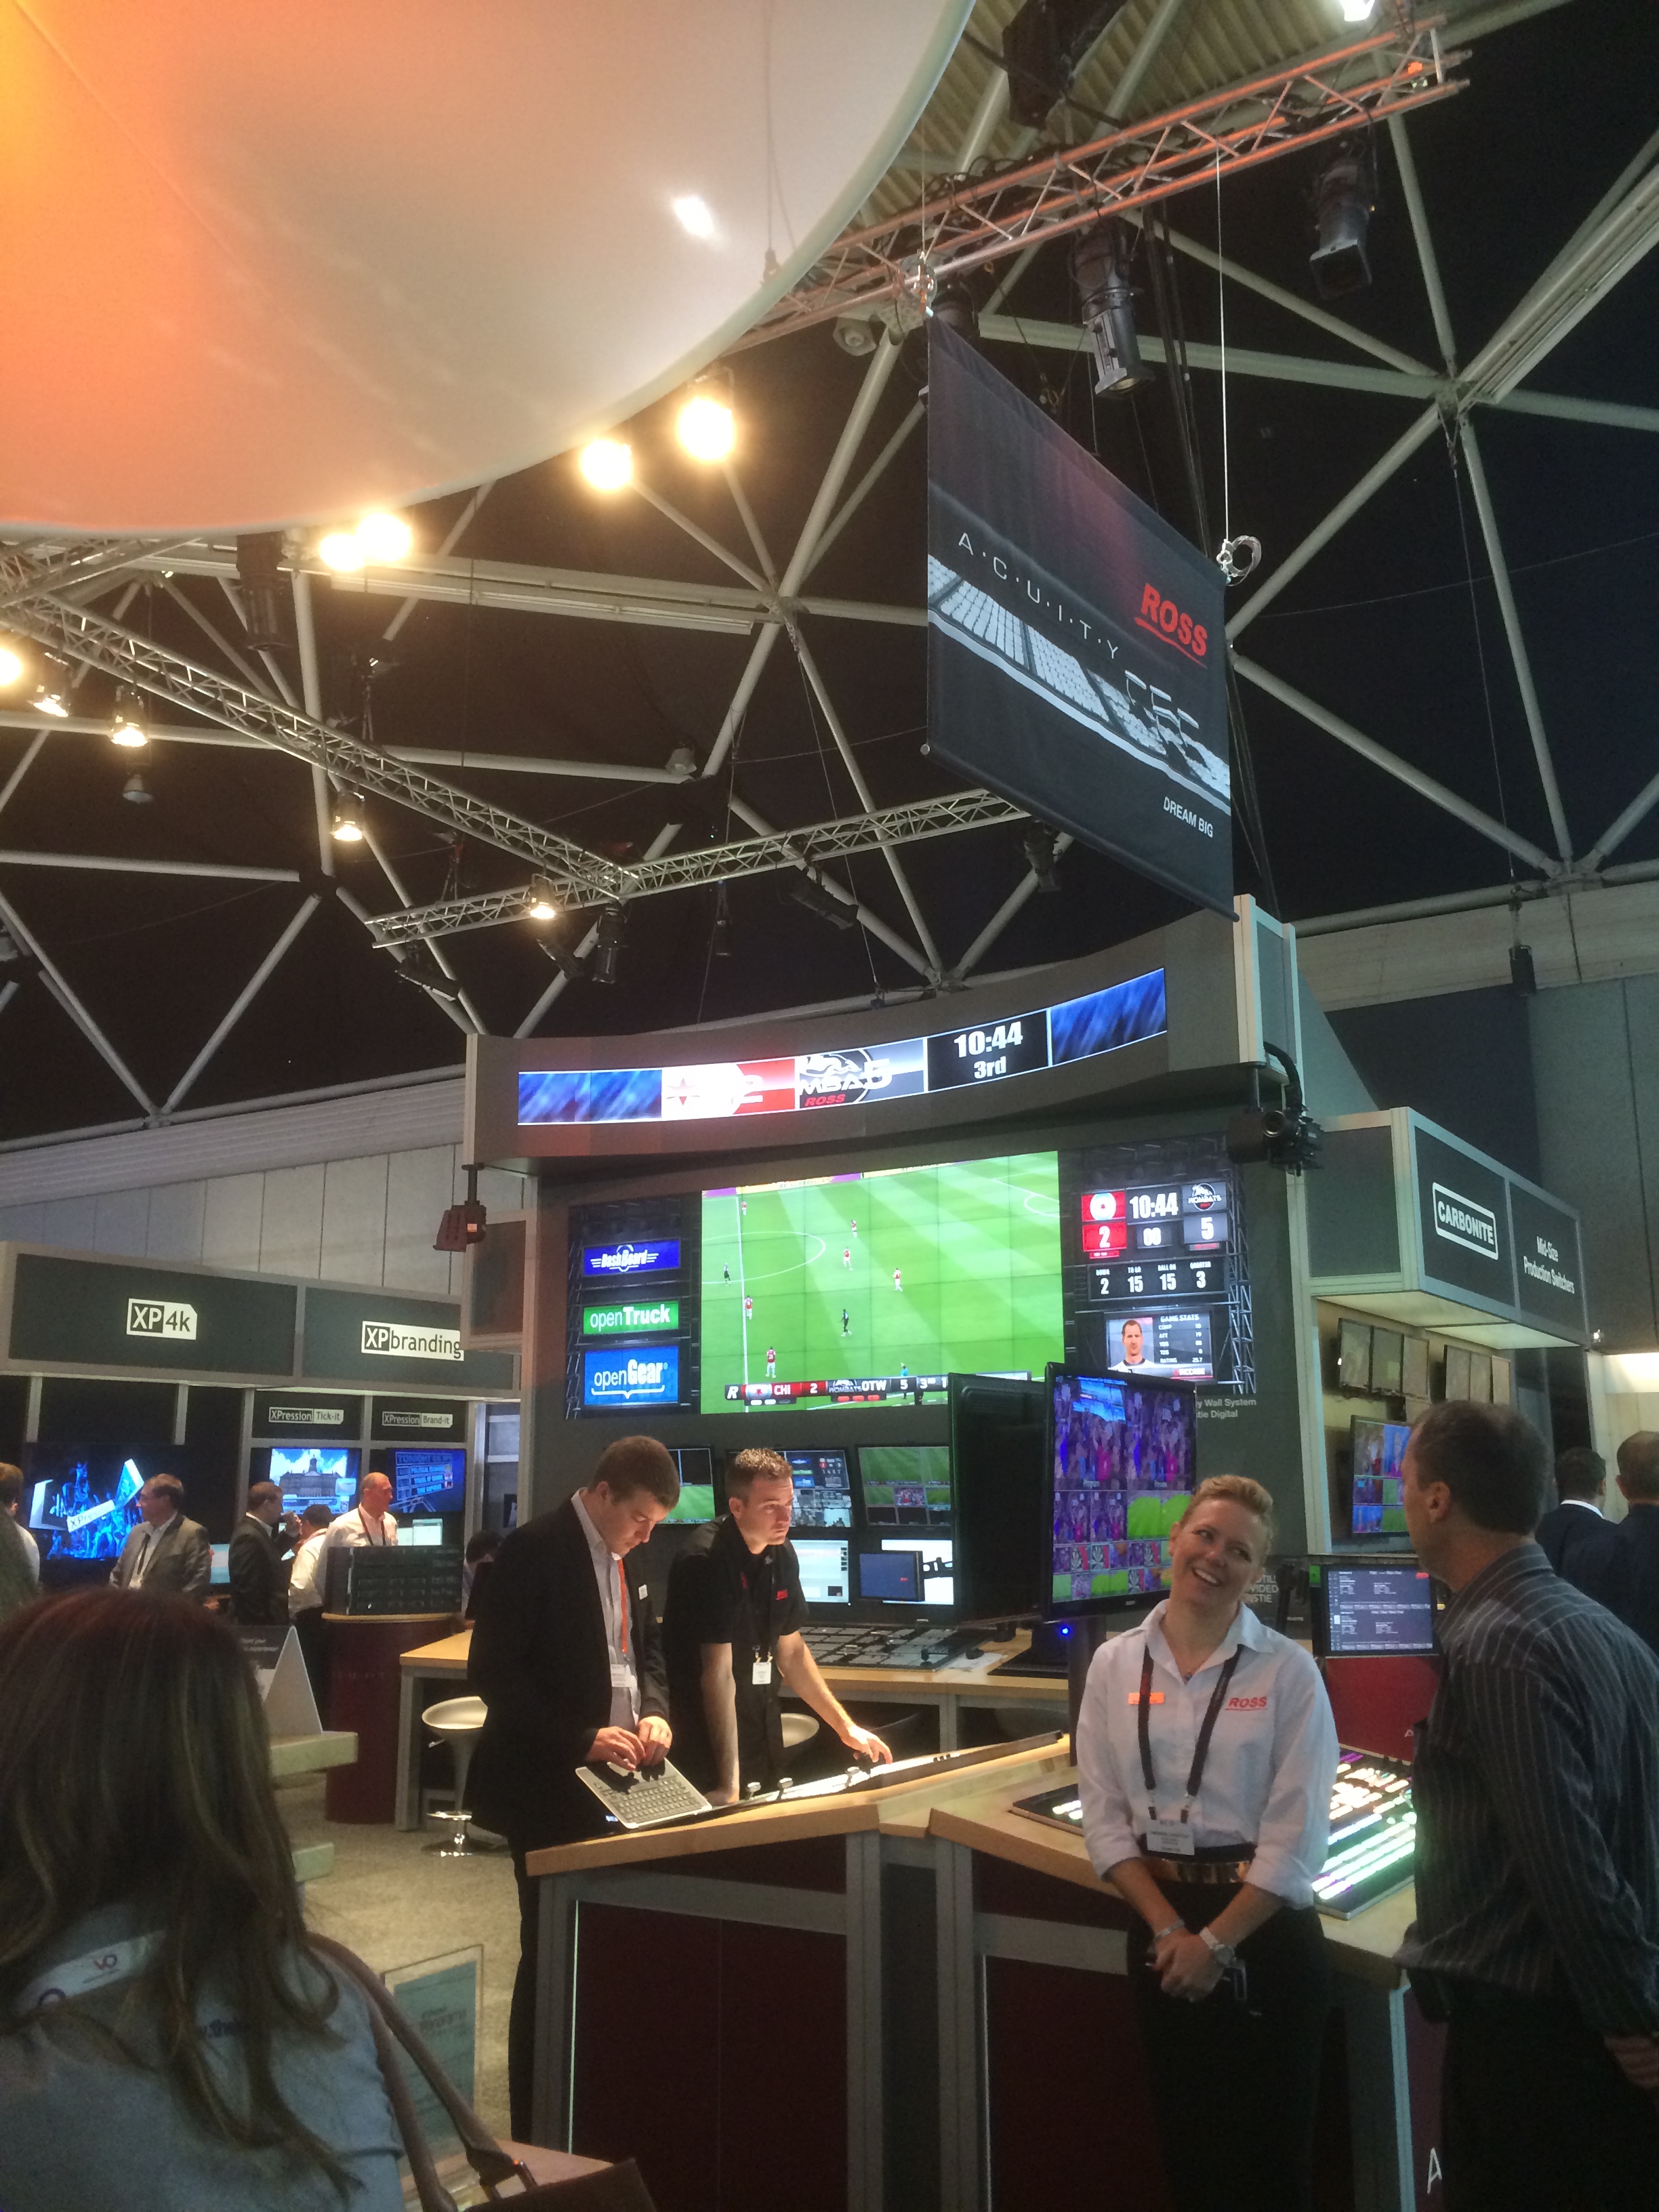
Day 6 was our opportunity to capture the last interview and glimpse of the show until next year. As we were interviewing members and covering events, we didn't get to see that much of the show itself, but made time to visit some cool stands before we left on Tuesday afternoon.
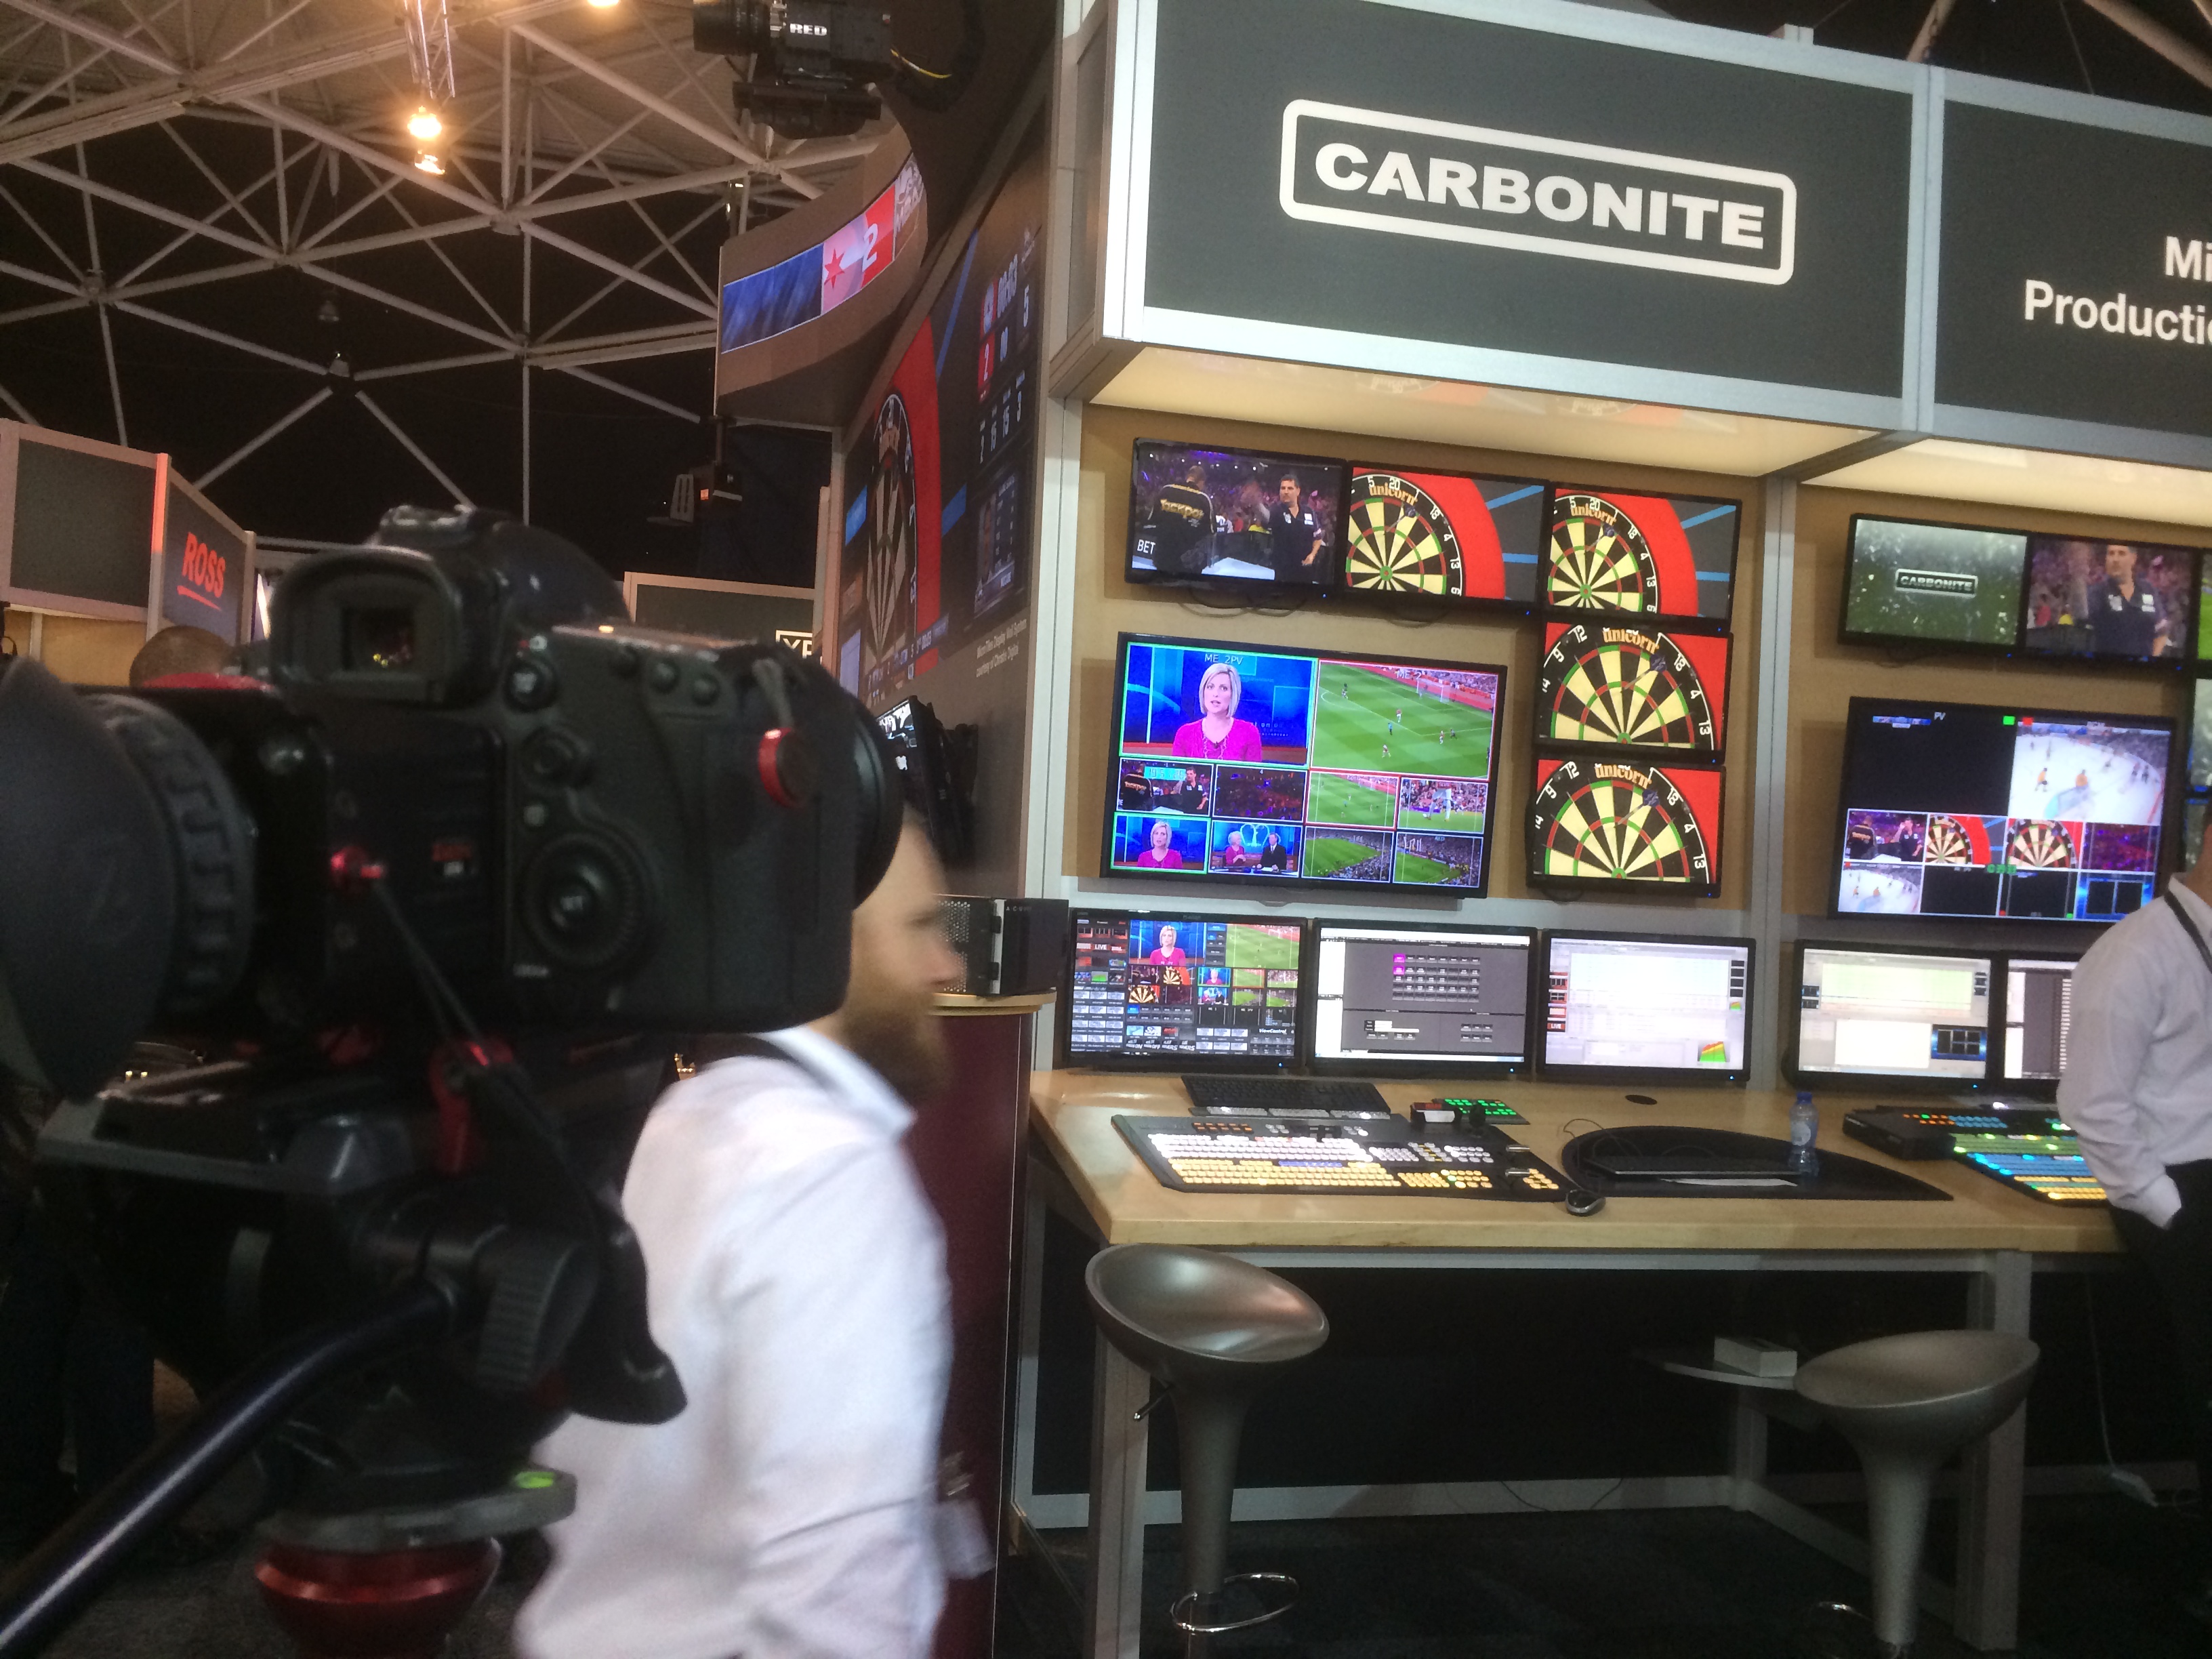
We visited the Ross Video stand, to interview Pete Ross for The IABM annual conference, it was interesting to hear about how the company developed the first vision mixers and lead the way for broadcast production throughout the 20th century, definitely worth recognition.

Well, what an incredible time it has been.. We captured over 400Gb of footage and audio, combined with hours of graphics produced before the show. We delivered (and are continuing to deliver) over 55 videos online for The IABM. What a show, what a success! My huge thanks go to the other half of the team, Glen Symes for his help and dedication to getting the videos out, and dealing with my stresses of production and post throughout! Also thanks to The IABM for giving me the opportunity to cover The IBC Show 2014 for you.
Ooh, I almost forgot I stopped by the Vitec Videocom stand to say hi to the Manfrotto reps and return the tripods and grip we borrowed for filming. While we were there I asked Sofia for a short piece to camera on the new Manfrotto tripods and kit; I was over the moon to hear a new follow focus has been developed to go with the SYMPLA rig!
Check out the video with Manfrotto here -
I've met up with old friends, and made many new ones. My experience has been overwhelming this year, now I cannot wait to do it all again at The IABM Annual Conference and hopefully IBC 2015! If you have any questions about how we produced the videos, or IBC then drop me a tweet @Plowman91 or comment!
I'm still editing and uploading more videos, so keep updated by checking out The IABM website for more videos and content, and I will have an IBC 2014 wrap up video coming soon. UNTIL NEXT YEAR!


Remember to keep up to date with the news and events by following this blog and on twitter - @plowman91! See you there!
I'm doing a new VLOG tomorrow, hosted by myself and Glen Symes as we cover the IBC Show for The IABM. We'll be giving the low down on our kit choices and capturing the events, news and products from the expo and conference floor. We depart on Wednesday for Amsterdam where I'll be catching up with Steve Warner (IABM Training), Nino Leitner (Cinematographer and Cinema5D), HaZ Dullul (SYNC) and many companies including DJI Phantom, Schneider Kreuznach, Sony and many more.
You can keep up to date here on the blog or -
Ooh, I got the Canon 100mm F/2.8L Macro lens, and the Peak Design Leash too ;)
Also been trekking on with the graphics for all of The IABM video content, a little teaser for you;
It's been an extreme summer season! From epic weddings with drone flying to creating the videos for The IABM for IBC, it has been immense.

Now nearly 9 months since starting Adam Plowden Videography properly, I am over the moon with the great clients and people I've worked and am working with.
I still have a number of productions on the go, and I will be attending The IBC Show in September so there is much more great stuff to come!
Massive shout out to the team over at Manfrotto who have been a great help with sorting out equipment for my travels abroad!
Keep those creative juices flowing!
[vimeo http://vimeo.com/103717010]
[vimeo http://vimeo.com/75340958]
Inspired by Framestores recent Eastenders tv advert, in which they created cinemagraphs to depict the suspected murderers of Lucy, I decided to embark on my own cinemagraph to complete my showreel. I'm deep into After Effects, for this kind of animation I am using one still image, with no plate to make it difficult for myself. However, its a good job the subjects have high contrast against the white background or I would really struggle with this! I will be uploading more as I go, but for now I must dive back in!

The Epsom and Ewell Borough Council Recycling video is hereby complete! Wow it feels good to get the videos finally exporting. This has been a great project to work on, combining 2D animation with live action video which is something I haven't done in a while!
I'm so happy I've had the chance to work on this, it has made me realize much more about how we as a community treat this green land, and I hope that this video makes a difference.
The finished video will be uploaded and shared very soon!
I have had the Rotolight Sound and Light kit for a little while now, and I like it. I like it even more so because Rotolight has been the only manufacturer to really think about what consumers moving into the industry, and already established creatives would need from the outset. Without light you have no picture, and without sound you only have 50% of that video.Videos with bad or unprepared sound are noticeable, just if the subject of the video was not lit correctly. Unfortunately we are now used to watching and seeing very high quality, glossy pictures with filmic motifs, and excellent sound including orchestral scores. We aspire to work on these 'big budget' productions, or to make videos that look like them, but without thinking about your lighting and sound, you are very far off. I produced this review and the music video using the Canon 5D mark III, and a range of Samyang Cine lenses. To keep the light source and sound as pure as possible, I only used the Rotolight RL-48 B ring light and Roto-Mic. I also used my custom camera rig, which is manufactured by CamSmart, as well as a 5" Lilliput field monitor. I used Adobe Premiere Pro, After Effects and Speedgrade to edit and post-produce the videos.

RL-48 B LED Ring Light
Out of the box, you get everything you need (apart from batteries) to start shooting straight away. The inclusion of a Rotolight belt-bag is fantastic for getting the light out quickly if you are shooting on the run, and for storage while traveling and keeping the batteries, light and accessories safe. One pain I always have, as I am a single shooter is that to change parts of my equipment setup; which means opening my big bag, routing through to find the bit I need and then carrying on. With Rotolights ingenious solutions they have removed that need entirely!
Inside the LED light is a set of ND, skin, colour and minus green filters that can be applied directly inside the housing of the unit itself; no need to carry around filters, gels and pegs to achieve your desired brightness and tone. This is great as no longer do you rely on a bag of old gels to adjust the temperature and brightness of the light source, and all filters are supplied by LEE, so you know you can trust them. The LED's being naturally daylight at 5600K, you are set to use the light in most conditions! For photography and video with people and models, Rod from Rotolight recommended using a softening ND and the skin filter which gently soft lights the subject, with a peachy, wrapping beam. There are no shadows, and the result is a beautiful glimmer of light in the subjects eyes giving them emotion and life.

During my time with the Sound and Light kit, I tested out its practicality when out filming indoors and out on location. Above is a still grab from the indoor shots of Josh performing his lines to the camera; you can see a hint of light in his eyes, and a soft-neutral coverage of his face. This was the look I wanted to achieve; an intimate piece-to-camera. I used the ring light and mic mounted on the hot shoe of my camera setup, this gave a direct beam onto the subject, and would work for any subjects in front of the camera. Indoors the RL-48 ring light gives out a beautiful 140 degree beam of light that wraps around your subject, without any hot spots (usually on the forehead). I was filming a music video, but would work exceptionally well in model and fashion work, where beauty is exaggerated through the images.

It took some innovative thinking to get the lighting right for this continuous tracking shot. Although I was shooting in the afternoon sun, I still needed a key light to keep Josh's face illuminated throughout. The night before we were at the location shooting the same scene, but had the ring light mounted on the camera. This time I needed the source to be much closer, so I whipped out the Manfrotto Magic Arm and Superclamp and clamped the light to the boot of my car. In the still grab above, the light is only a foot away from the left of Josh!
What I found here was the need for a brighter light. The 48-LED ring light provided great overall coverage of my subject, but I required a brighter beam to achieve the desired soft-skin and glimmer in the eye look. Although Rotolight produce large LED lights (Anova) for videography and cinematography, I didn't need that much more power. I think for video it would be great to see this model brighter, or have different brightness levels, as usually you require more light than less - especially when adhering to the 180 degree shutter rule. Once your shutter and aperture are set, the only exposure controlling parameters you have is the ISO/ASA or your light sources brightness, and where you're unable to move the light closer or further away from the subject; having a brighter light from the outset is more beneficial. This is a small niggle from myself, but can be shown with examples in these still grabs -
 (Here the light from a street lamp came in very handy.)

This shot was taken on a 14mm T/3.1 lens at ISO 1250. Although I have remedied the low light in Adobe Speedgrade, a green tint is visible across the frame. A minus green filter is included in the kit which can be used where the green spike (due to LED technology) is prominent, but as I was filming in near darkness I chose not to use the filter to get maximum light output, which by the way is 100w! During the shoot I also used the light hand-held to get intimate with my subject, but not blasting them in the face with an offensive flash gun or LED panel light.
Roto-Mic
Like I mentioned earlier, video is (in most cases) useless without good quality sound. Imagine watching a film or TV program and the sound is noisy and fades in and out as the presenter moves around the frame. It is distracting and essentially draws the audience away from the video, it is suddenly and mostly subconsciously hard to watch and enjoy. With current trends in pro-sumers moving to DSLR to make films and video, there is more pressure on achieving good quality sound when acquiring your footage; the built-in mic does not do your pictures justice.

Here, Rotolight have entered the sound game by producing an on camera directional shotgun mic, with excellent pickup response and sound to noise ratio. When I first started out in freelance videography 3 years ago, I got myself the original Rode VideoMic; it was the best I could afford at the time, and it did the job I needed - to capture good quality audio that will enhance my video. Since then, Sennheizer, Audio-Technica, Hama and many more brands have seen the need for on camera mics for DSLR videographers, and a competitive market has emerged. One that the Roto-Mic will compete very well in due to its superb signal processing and price - an attractive offer to anyone seeking to invest in a cost-effective solution. You will need a 9V battery to power the Roto-mic, but it will last you a good 100 hours.
One very annoying problem with on camera microphones is noise added by the mic's shock mount. The Rode VideoMic I have is notorious for that, creating a squeaking noise as you move or walk with the camera that was audible and therefore recorded into the sound of the video - very unwanted! The Roto-Mic shock mount has been specially designed to minimize any movement the mic may be affected by, holding the capsule stiff, without wobbling on the mount; keeping unwanted noise out.
Rotolight considered many filming scenarios when designing the new mic; it includes a gain adjustment of -10dB to +10dB which is very handy when you are far away from the subject or action, or are filming in a loud and noisy environment. A two step high pass filter is also built into the body of the mic which removes any wind noise and rumbles from the captured sound; perfect when filming outdoors. These small but important features show that Rotolight have done their research into where DSLR videographers are working, and how they need to use their kit.
I was really pleased with the results of the sound recorded with the Roto-Mic, I was expecting another Rode VideoMic moment but it never came. The mic surprised me with its quality recording, and with a little noise reduction in post production the final sound recording is clean and crisp.

Rotolight has also been innovative in their mounting options, considering many different setups with the light and mic together. This makes a lovely change from complex accessories hanging off the camera to use two hot shoe mounts. The option to use the light mount, or to mount the light on the microphone gives you many different setup options that doesn't restrict your shooting, and is not fiddly or complicated to change! I was using the mic and light together; here the mic mounts onto the camera hot shoe, and then the light can be pushed onto the barrel of the microphone. Although I was dubious of this at first, as it would add extra weight to the shock mount and possibly interfere with the sound recording; it has proved me wrong with being fully functional no matter how the light and mic is set up.

My verdict
Of course with every review there are some constructive criticism comments, but not many for me as my experience working with the Rotolight Sound and Light kit has been very pleasant. Firstly, a higher power portable light would be ideal for video, with intensity control. Secondly, now Rotolight has entered the sound game it would be great to see other microphones like hand held bi-directional or even lav mics, and a boost in the recording quality (maybe a Zoom competitor??!). Thirdly, and this isn't criticism, more a request for a flexible light stand or arm so the light can be positioned in extreme and unusual angles.
I am recommending you to go out and get this kit if you're into your DSLR video and photography and need a light source and microphone that you can take to every shoot you go to! It will definitely be coming with me in the future, and I can imagine the RL-48 LED light working fantastically for wedding films and interviews, teamed up with the Roto-Mic and you have a perfect, all in one, on camera 'run and gun' solution to your filmmaking and photography.
You can check out the video I produced for Rotolight demo'ing the new Sound and Light Kit here, and the music video will be released very soon!
[vimeo http://vimeo.com/87515700]
Blimey, wiping the dust from my blog I can see it has been neglected over the last couple of weeks. I can explain this, I've buried my head deep into working on a recycling video for my local council. For this I have designed and animated original graphics in Illustrator and After Effects, to be edited together in Premiere Pro. I can't give too much of what I'm working on away until the video is publicly released on the council website and other displays around the town of Epsom! But as you are a dedicated lot, and showing you the techniques I used won't do any harm!
Here's a screenshot from my AE window. Here you can see the little graphics floating around in the background, and overlaid on top is animated text.
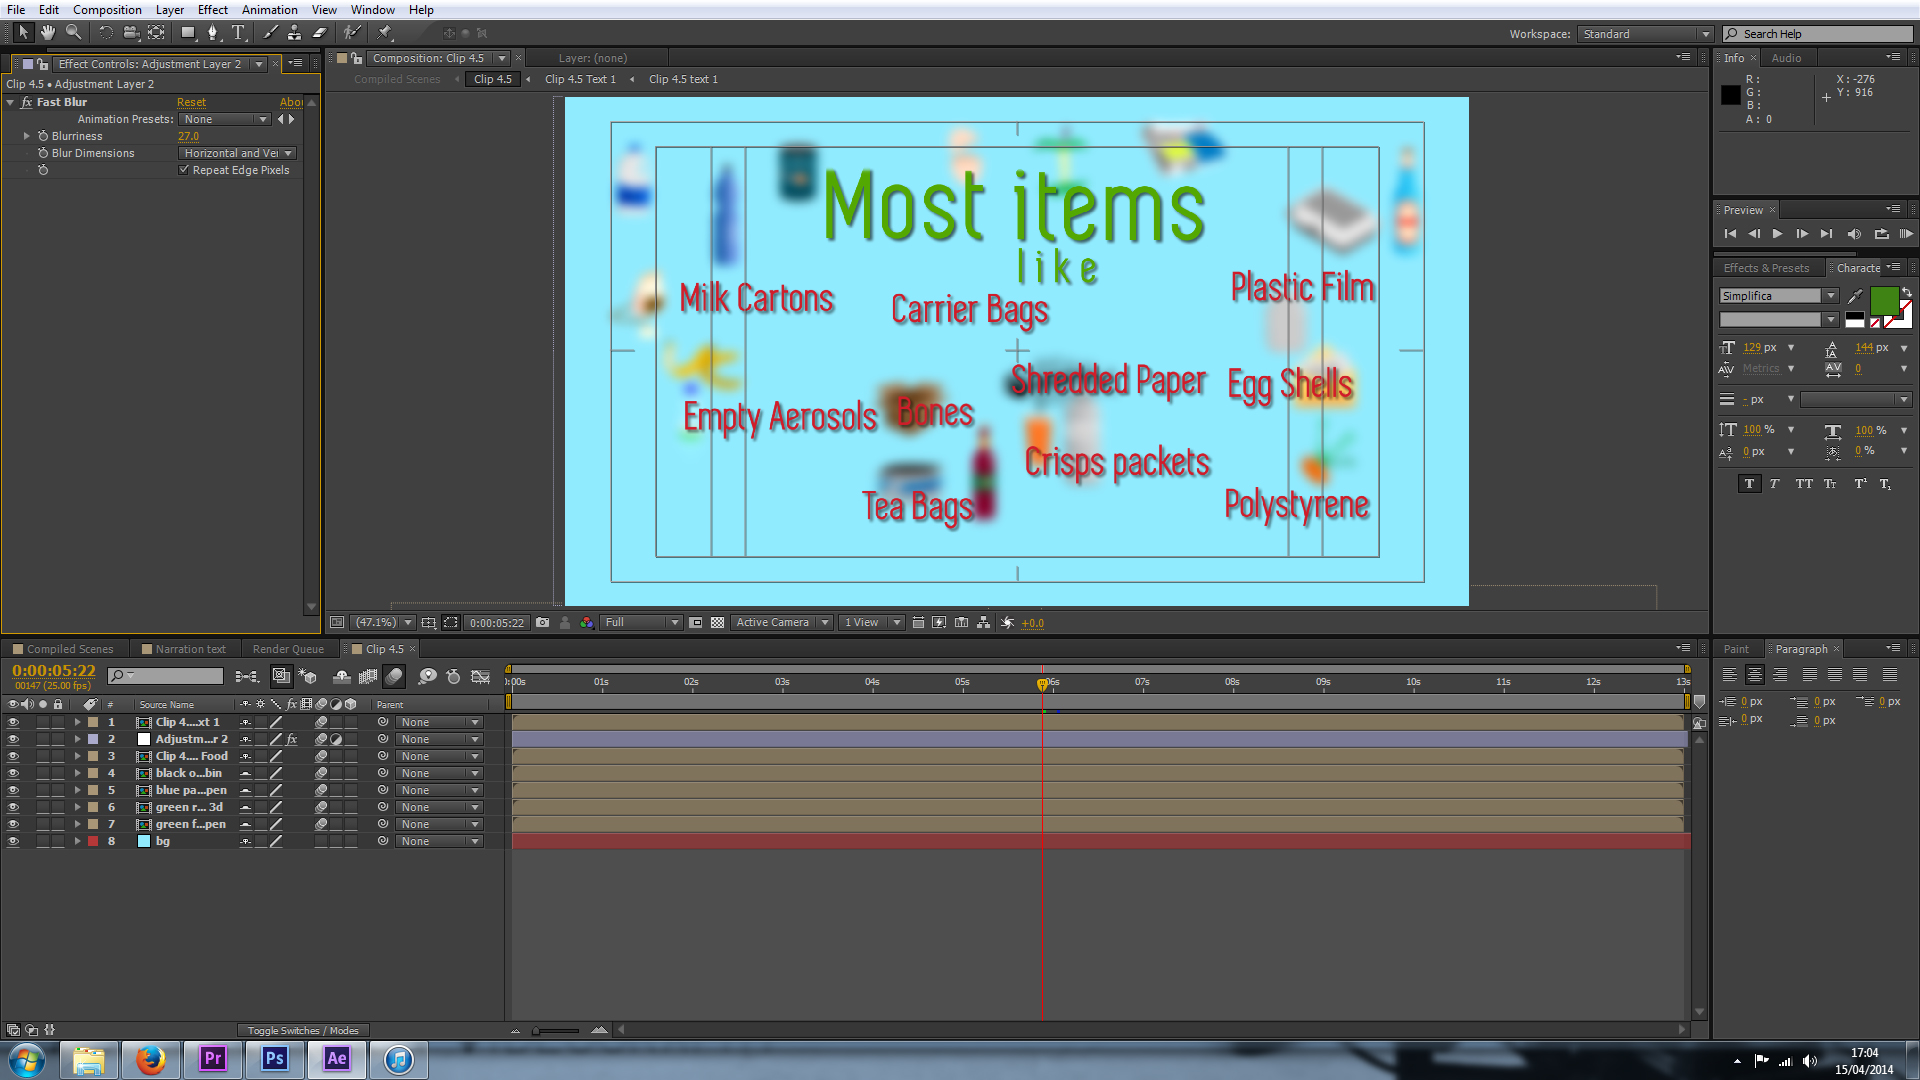 I've used pre-comps here to create different sections of each 'clip'. This allowed me to keep my timeline and frame tidy as I would only be working on specific parts of the clip at a time. For example, in the above frame the little graphics are pre-composed with their animation keyframes, so I can layer up the blur and text on top to be revealed later. For each 'clip' I also pre-composed all of the text as these are animated individually using various effects.
 Some of the more complex motion graphics, here I used falling particles (Particle World II) to fill up the alpha channel of a recyclable object, where a mask then revealed a solid; making the object look like it is filling up with the falling particles. To create this effect I changed the physics parameters to allow the particles to fall slowly, and spread as they go. Remember to use random seed when duplicating effects like this too ;)
 To add to the emotive feeling of the video, it was important to include human thoughts and processes on why recycling is important and beneficial to the environment and us! This is me interviewing Alan about how easy it is for him to recycle.
Equipment used includes: Canon 5D mkIII, Tamron 24-70mm F/2.8 VC, Zoom H6, Sennheiser ENG-G3, Rotolight RL-48, Manfrotto 755 carbon fibre pro tripod and MVH500.
This was a quick and easy shoot, using DSLR for videography means I have great light sensitivity in post places and it is easy to set up. I used the Rotolight to kick a little more into Alan's face, and recorded using a wireless lav mic and the XY stereo mic on the Zoom for a backup. Setup-interview-de-rig took one hour.
Pleased with the outcome, I got onto editing the sequences together now that the animation was looking good!
 In Premiere Pro, I used the Luma Corrector and RGB Curves to adjust the exposure and colour balance of the clips, here you can see the split view with the original on the right and the edited on the left. The Luma Corrector does a great job of removing Gamma, which takes out a gamma curve (grey) from the footage and can be used with contrast to create a really punchy, cinematic look.
With still more to go, and an aerial shot from a DJI to go and film, I am eager to see peoples reactions when the video is complete!
The Rotolight Sound and Light kit video I produced for Rotolight featuring Josh McDonough is being taken on tour to America, where it will be shown to a live audience of 30,000 film students! If you haven't already, you can check out the video here!
[vimeo http://vimeo.com/87515700]
Check out Josh's new studio too, and get recording there - Just Jam Studios!
Got a meeting about the recycling project today, then will be getting my new iPhone (about time I know)!

Happy creating you awesome bunch of people, and thanks for all your support so far!
Blimey lots has been going on over the last week, I hope it has been as hectic for you as it has been for me! Monday started with continuing the design of the graphics for a recycling animation, a daunting task which put my drawing skills to the test. Bearing in mind I've spent the majority of the last year behind a camera, I took my time to learn the techniques I would need to use Illustrator properly. I would usually use Photoshop over Illustrator, but until I recently found out PS is not truly vector, and as I would be using a combination of the Pen tool and others to design the images this was very important, as I would need to transform the graphics later in After Effects.
My best mate Glen came down from Wycombe for a surprise week to, so I spent plenty of time catching up with him and chatting about work. He gave me so very important advice; "Everything is too complicated these days, you should keep it simple and your audience won't know the difference, especially if it is moving and animated anyway." True words, and I took Glens advice which not only sped up the process, but made me more confident with the work I was producing.
Here's a screenshot to show all of them! (I think I am working on a 10K canvas).

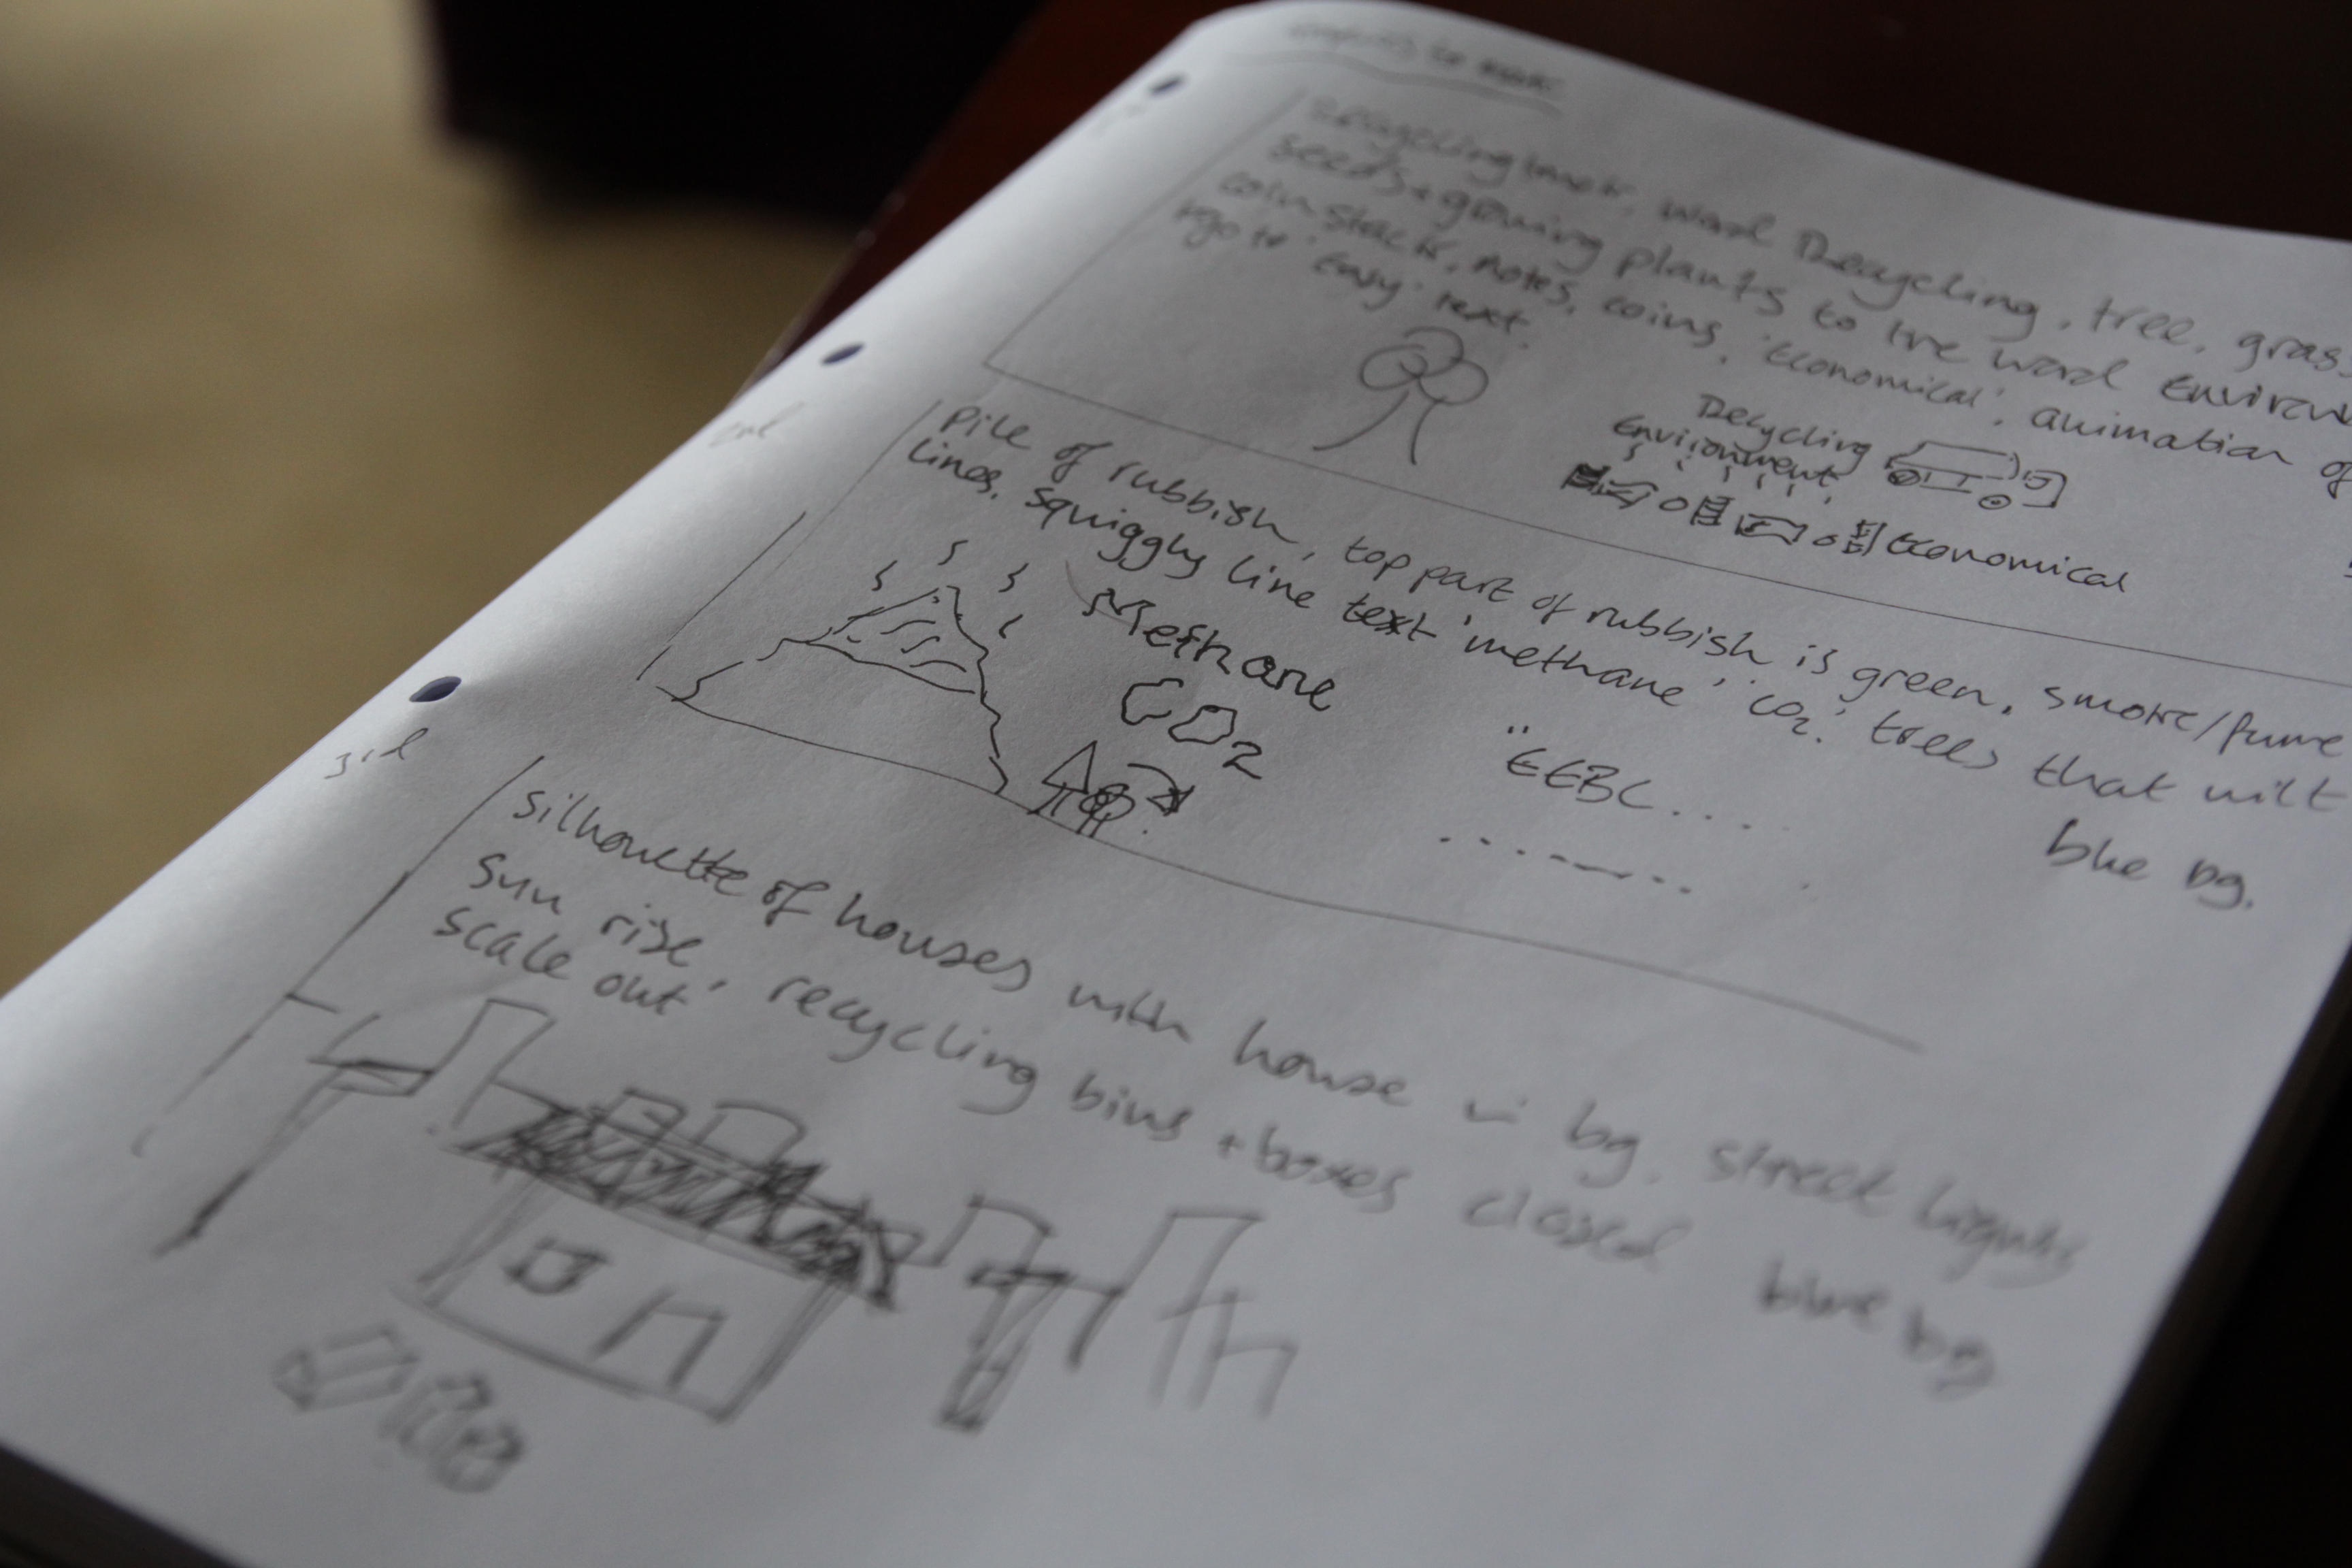
The graphics design has been on-going, I practiced when I was first commissioned, but it just shows how familiarizing yourself with the tools and applications can ease your work! A very very important part of this process was to intensively storyboard and plan each scene, so I know what graphics can be generated beforehand, so I spent a good couple of days story boarding and sketching the graphics I would need, followed by a long list of assets I would go on to to create.
Pre-vis sketches:

For the rest of the week I started importing the graphics into After Effects, and setting up the 15 scenes. I am finally starting to see progress! I am still working on this section, and it will take another week or so to complete all the animations. Again, I storyboarded this in the planning, so I know exactly what to produce for which scene which saves so much time. Also, the best thing about this planning part is that it does not have to be a work of art to depict your ideas, just a simple sketch to represent what you will need to create.
On Thursday I joined a crew of fashion designers, hair stylists and models to film a magazine photoshoot for Sherman Hawthorne (the hair stylist and creative director of the shoot) at The Lemonade Factory studios on Queenstown road. With eccentric styles and art direction, I set about to capture high contrast, dramatic footage which will compliment the photos. It was an early start, here I am waiting for my train at Clapham Junction;

I was a single shooter, I had the pleasure of transporting the equipment to the shoot which included a steadicam vest that I ended up not using. I've learned my lesson here not to take extra kit!
My kit list was as follows:
Canon 5DmkIII (A camera), Canon 60D (B camera)
Tamron 24-70 F/2.8 VC, Samyang 14mm T/3.1 cine, Samyang 35mm T/1.5 cine, Nikkor 50mm F/1.4 manual, Samyang 85mm T/1.5 cine, Sigma 70-200 F/2.8 OS
Manfrotto 755CX3, Manfrotto MVH700AH, Manfrotto Hydra arm and super clamp,
CamSmart camera rig + Lilliput field monitor, CamSmart Stabilizer vest, Flycam Nano
Zoom H6, Rotolight Roto-mic.
As with all of these shoots, time runs short so I was restricted to short burst of filming time with the models to capture the specific ethereal and industrial motif, but I also shot around the photographer to maximize my usable footage. I made use of the 50fps slow motion for the moving shots, so that the models movements are exaggerated, as well as stabilizing the shot.
As the props included wire fencing and chicken wire, aliasing was a problem when shooting shallow depth of field, or at an angle to the object. To remedy this I used a lower aperture (F/4-5.6) for some shots, but also I can add a Gaussian blur in Premiere Pro when editing to soften the lines, gently smoothing out unwanted aliasing.
A couple of frame grabs from the shoot!
 Here I'm using a moving shot to create a distorted perspective from outside of the set.
 Here I use a low angle shot, removing the identity of the model to create a 'trapped' and 'mysterious' feel to the model, and why she is in the box.
Weekends are always working weekend for creatives and freelancers. I spent yesterday working on the animation of the recycling project again, continuing to compose the scenes using simple 2D shapes and animation styles that have become very popular recently.
I also came across this post from Chase Jarvis about how to manage your time properly, its a great post with a detailed outline of 90-minute working slots that should improve your productivity, I urge you to read it if you're someone like me who can't stop working, then apply the plan to your working life. I know I will be!
Do Less = Do More by Chase Jarvis
I haven't had many #videoquestions come in recently, so please keep them coming so I can help with tips for the community of videographers and creatives! Send them over to me @Plowman91 on Twitter.
Finally, ending with a must watch video, check out Philip Bloom's video shot with the Blackmagic Production Camera, the 4K one at Miami Beach, what do you think of it? Is it worth investing now the Panasonic GH4 is on pre-order and it looks like Sony will have a 4K DSLR announcement coming at NAB2014 too..!!
Philip Blooms Four Corners Miami Beach (Blackmagic 4K camera)
That's all for now folks! Keep the creative juices flowing!
A new #videoquestions is out today on how to plan your video production so it runs smoothly, and is within your time and money budgets! I'm out for a pre-vis meeting this morning for a video that combines animation, where planning has been a very important role in creating a narrative and generating an estimate price for the production. I'll share my work with you in this#videoquestions later today!

Finally got round to this!! A time lapse is a method of photography and videography that captures sequential images from a static camera over a certain period of time, and then sped up in post production to create the illusion of time moving fast.
There are so many reasons why you'd want to use time lapses in your work; from establishing locations to capturing a long event like the northern lights or sunrises and sunsets. Time lapses create a visual spectacle in which time speeds up, you see nature at work and things you would normally miss or take for granted.
If you want to check out some awesome time lapse films, please watch Ron Fricke's Samsara which includes awe inspiring cinematography captured in 70mm film.
http://www.youtube.com/watch?v=P0xVp3N-M84
There are a couple of ways you can create a time lapse, dependent on the length of time you wish to capture, the changing exposure settings of the location, and the kit you have.
Cameras and Kit
I assume that most people interested in this post own a DSLR or video camera of some kind, as it is difficult to capture a time lapse otherwise. In all honesty, what model of camera you use won't make a big difference on the overall video. Whether it is a Canon 110D, 550D or 1D-C, Nikon D3200 or D90, Sony A-7 or Olympus OM-D EM1 your photos and video will look great. Just make sure you have your exposure and focus point set correctly. In regards to what lens you use, in general wide angle lenses give a better perspective of the environment; we've all seen GoPro videos, that is ultra wide, but you don't need a fish eye or specific lenses to do this. Usually the standard kit lens that comes with your camera has a wide angle, whether it be 11mm on MFT cameras or 16mm on full frame, keeping a wide field of view is key to achieving the perspective of a time lapse.
Lets start with time. The longer you wish to capture, the more memory and battery you will need so ensure you've got a fresh card and charged batteries, or even better a battery grip. Depending on what camera you are using you may also need an intervalometer; a device that plugs into the camera and releases the shutter for a pre-set duration at a pre-set interval.
Here's one made by Canon - ![Canon-Intervalometer1[1]](http://ajp1991.files.wordpress.com/2014/02/canon-intervalometer11.jpg)
So, if you wanted to capture a sunset, you will be shooting for a couple of hours. This little device will release the shutter and take a picture for you, however you need to set the interval duration. The longer the interval, the greater the difference between each image as the objects in the frame move and change. For a sunrise or sunset, an interval of 10 seconds should suffice, as the sun and clouds move slowly.
If you were in a city shooting a TL of a busy public place, a shorter interval should be used so the objects or people move smoothly through the frame and don't jump around.
What are you capturing?
Where will you be shooting the time lapse? Bright daylight at the beach, or in arctic winter? Or star trails and fireworks at night? Your DSLR's shutter speed will allow you to control the amount of time the shutter is exposed to light, so a longer shutter speed (anything under 1/30 can be used when the sun or bright light is not available) should be used at night when light levels are low. You can also use the BULB setting I believe to capture exposures longer than 30 seconds if you are capturing star trails.In the opposite situation, you can set your shutter to a reasonable speed depending on the light available; but remember changing light is inevitable and uncontrollable in nature so using shutter priority mode (T) or aperture priority mode (A).
REMEMBER YOUR TRIPOD! Shooting for long periods of time need a steady support, to keep the camera locked off and weighed down if needs be! My Manfrotto tripods work a treat.
Experiment and test at the time to judge your exposure settings. Keep your aperture or F stop small so that all objects in the frame are in focus; something like F/11 down to F/22 if in bright light or you can increase the aperture to F/4 up to F/2.8 if you're working at night. Increasing your ISO to 1000 or 1250 is perfectly fine if your doing a night-lapse, so no worries about that.
Also use the digital zooming capabilities on the camera to get critical focus on a key static point.
If you have less time for a time lapse, then you can always hit record on your camera and film continuously for as long as it can. This is an easy option for those out and about shooting as you can simply wait for 10 minutes or so. Obviously here you have the time restriction to only 10 minutes, so this works best for short burst time lapses of clouds, people & crowds and quick changing landscapes.
For any other setting it would be better to use an invervalometer, mainly as keeping your camera recording will suck the juice out of your battery like anything.
For savvy videographers and photographers alike who may have Magic Lantern already, there is an intervalometer built into the ML firmware which acts just like an internal one. If you don't want to pay for an external device then Magic Lantern which is open source and free is your best option. Plus having ML on your camera expands its video capabilities greatly.
Post Production - If you have taken a series of photos
You've captured an amazing sunset, it has taken you hours and all you want to do is see the finished product. Some methods of editing time lapses are long, boring and not neccessary; taking the photos into After Effects for example, its not needed!
Adobe Premiere Pro is a much simpler and quicker method of getting your TL into a video. Firstly, create your project as you would normally, setting scratch disks to your project folder where the photos are stored. Next, create a sequence dependent on what resolution you would like the video to be. Nearly all photos taken on a DSLR are larger in size than 1080p high definition, so this is a good place to start.
Depending on where you are in the world, your frame rate should be 25fps for UK/EU/Rest of world, or 30fps for USA. This will play your video back at the same frame rate as television and internet, so the time lapse will be smooth.
Now you have your sequence open in the timeline, go to Edit>Preferences>General. Here you can set the default 'still frame' (picture) duration to ONE frame; in timecode this will appear like: 00:00:00:01. This sets the sequence of images to play one after the other with 25 pictures in each second.
Now you are ready to import your photos! Simply Ctrl-I or Cmd-I to open the import window, select the folder with your time lapse images and click 'Import Folder'. Premiere will now import all the photos in the folder and set the duration. You can now simply drag the folder with the photos into the sequence, and your time lapse is now a video. Make sure you render (hit Enter) and watch it back in case you need to correct any frames.
If it looks like the photos are going too quickly, you can change the duration of all the photos very simply; select all the photos in the sequence, right click > Speed/Duration. Here you can increase the frame duration from 00:00:00:01 to 02 frames instead. Here you will need to see what suits your time lapse best. One last tip is to highlight/select all the photos in the sequence, right click, and click 'Frame Blend'. This calculates the interpolation (movement) of subjects between two images, so it fills in the gaps so to speak.
Post Production - Long Video Files
So you've taken the easy road! This method is just as simple as above, and is a quick way of processing a short time lapse. Once you have followed the steps to create your sequence, you can import the video file like you would the photos, instead you simply click the video file needed and click 'Import'. Then drag the video file into the sequence; here if you have been videoing in a different video format Premiere will let you know that the video and the sequence do not match. It is easier to stick with the format of your original video, so if this happens click 'Change Sequence Settings'.

With the video now in the timeline, right click and click 'Speed/Duration'. Here you can increase the speed % to make it faster, and again will need some experimenting to see which looks the best. Remember the higher the speed increase percentage, the faster the time lapse happens.
Colour Correcting
You can add any colour correction to the time lapse by creating an 'Adjustment Layer' and adding brightness and contrast, curves, levels, tint, whatever you like to make the time lapse look great.

For a 'tilt-shift effect - like the incredible New York Sandbox video you will need to use additional plug ins like Magic Bullet, or add the effect in Photoshop before importing to premiere.
http://www.youtube.com/watch?v=Fk9EBOOAYiU
Exporting - finally creating the time lapse video!

Once you are all done, with the sequence selected go to File>Export. If you are uploading to the web, then the H.264 format will work the best for quality and compression. From the drop down menu select H.264 and the Vimeo, Youtube or any other format you wish. There are loads, and plenty of confusing settings so don't get bogged down in the different types for now. When you think you are ready, and have chosen your file destination and name, you can hit 'Export', or if you wish to carry on working in Premiere on another project you can 'Queue' to export to Adobe Media Encoder which will export it in the background!
[youtube=http://youtu.be/QMwpA02IKdI]
A little example of a video time lapse I shot at Epsom Downs!
I hope this covers your time lapse photography and videography questions? If there is anything I've missed or if you have other questions please send them in!
[contact-form][contact-field label='Name' type='name' required='1'/][contact-field label='Comment' type='textarea' required='1'/][/contact-form]
I've been working on the title graphic for the Rotolight BVE video, sometimes I can get going straight away with designing and animating however (and I presume this is due to getting up early to start working) I was stuck for ideas.. VideoHive is a great resource for re-made graphics sequences for After Effects, but they are also great for getting inspiration on how to create the atmosphere and effects for your own work. I spend a good half hour looking through the pre-made effects and gathered some ideas.
One key point I've found to make the graphics seem realistic, and to give it an ambience there are a couple of things you can do to make it more life like. Number one is to use a particle generator to create dust to naturally drift around the environment. The particles can be given physical attributes like gravity and wind, which makes the animation more realistic.

Number two, using light and lens flares; this leak of light appears to give the environment in which your text, graphics etc seem to be in a 3D space shot through a camera - these are naturally occurring when out filming and in our eyes, so it can be used too.
Number three; textures and patterns; for a graphic based (not so much vfx based) title, tiling textures and patterns to create a wallpaper background is visually appealing, as is only using a number of tones from a simple colour pallet.
Number four; interpolation and motion blur. Again just like in real life, our brains process the images we see at around 16 frames per second, and fills in the spaces in between. In graphics this motion blur needs to be added, to correctly interpolate the animation and blur of a subject or object. The local and global motion blur (bouncing ball) icons are easily found on the timeline so be sure to click!
Number five; depth of field. In cinematography the director uses the depth of field to move the audiences attention through the frame to reveal new parts, to uncover secrets and ideas. This can be done in motion graphics too, by using a Camera. When you have a camera in your composition, be sure to check 'enable depth of field' and to set your aperture to a low F stop (F/1.8 for example) and increase the blur amount. After Effects then generates depth of field using the camera settings; making objects close and far away from the camera blurred.

Here's a snap of the working-graphic for the title, for a cinematic look to the video I have also applied an anamorphic aspect ratio overlay. I might make some changes later, but for now it is off for comments and feedback. If you have any questions about the graphics or videography then give me a shout!
Its been incredibly busy over the last few weeks, so apologies for not posting for a while! Lets fill you in. February has been a tough month. Work as been here and there, it is always difficult at this time of year and made even more difficult by starting a new business. I expected a lull at the beginning, so not to lose hope I kept myself busy. Although I haven't been posting, I have been out filming all the time, especially these last couple of days.

Rotolight sent down their awesome ring light and roto-mic, which I have been testing out and reviewing in what feels like all weather conditions! One minute it is sunny, the next it is bucketing it down. A couple of times I got stranded in the downpours with my kit, a prolific moment was this, up in a quiet and forgotten playground near Epsom Downs. I only got 3 shots that day, then the rain came and we retreated.

Since then, the weather has picked up, and so has the tempo of production! I got an email from Rotolight asking if its possible to put a short video together for BVE with the footage I got when using the roto-mic and ring light. Feeling up for a challenge I accepted, and have been busy producing a music video to coincide with the video for BVE! I reeled in one of my good mates Josh McDonough is an awesome musician and producer, currently working on a new studio build to perform in the video, and in return he can have the music video to kick start his recording-producing business.

To show how you can maximize the creativity and convey the flexibility of the Rotolight Sound and Light kit, I used various techniques including mounting on a camera, hand held, and playing with the light to create unique blooming and light effects. I had a few ideas of what the visuals would look like, an intimate piece to camera in the soon to be studio, as well as getting out and using the light in low light situations to add an urban feel.
There will be much more later, but right now I need to continue with the editing and graphics for the Rotolight video!
I'm a big fan on Andrew Kramers work and contribution to the industry, running the After Effects tutorial and blog website, creating the title sequence for Star Trek Into Darkness film, it has had a big impact on my learning.
![tron_1[1] videocopilot](http://ajp1991.files.wordpress.com/2014/02/tron_11.jpg)
I first started using VideoCopilot when I was 16, designing a title sequence for a series of webisodes I had written and was planning to film, direct and produce. It never got made, and I'm sure I've got the original work somewhere. My point being is that to this day I still use this amazing resource for my work now, learning new techniques for effects creation. If you haven't checked it out before, I urge you to do so immediately!
Here's the latest tutorial, creating '3D' volumetric light rays which will look great in mysterious, dark trailers or titles!
http://www.youtube.com/watch?v=frXQxwMKh6c
DIT, Digital Imaging Technician, Camera Operator, Camera Assistant, TV Crew, TV Production, Film Production, Film Crew, UKTV, BBC Studios, Channel 4, Channel 5