gfx

What a few months it has been!

Blimey, my last post was a while ago.. Honestly, since then work has got heavy and much of my time is either spent behind the camera or the screen. One exception was the Manfrotto Pro Backpack50 review, shot by Glen Symes for me where I actually appear in a video! Manfrotto pro backpack50 review video adam plowden and glen symes videography

Some of the things I've been up to range from filming quite a few weddings [embed]https://vimeo.com/98328657[/embed] to filming and editing for a series of videos on health and wellbeing.

eebc health and wellbeing video edit adam plowden videography

On the side, I've talked at EEHS about going through uni and starting a business, am preparing for my Manfrotto Tour videography seminar and other bits and bobs.. I'm sure if you follow me on twitter or facebook you'll have an idea of the things!

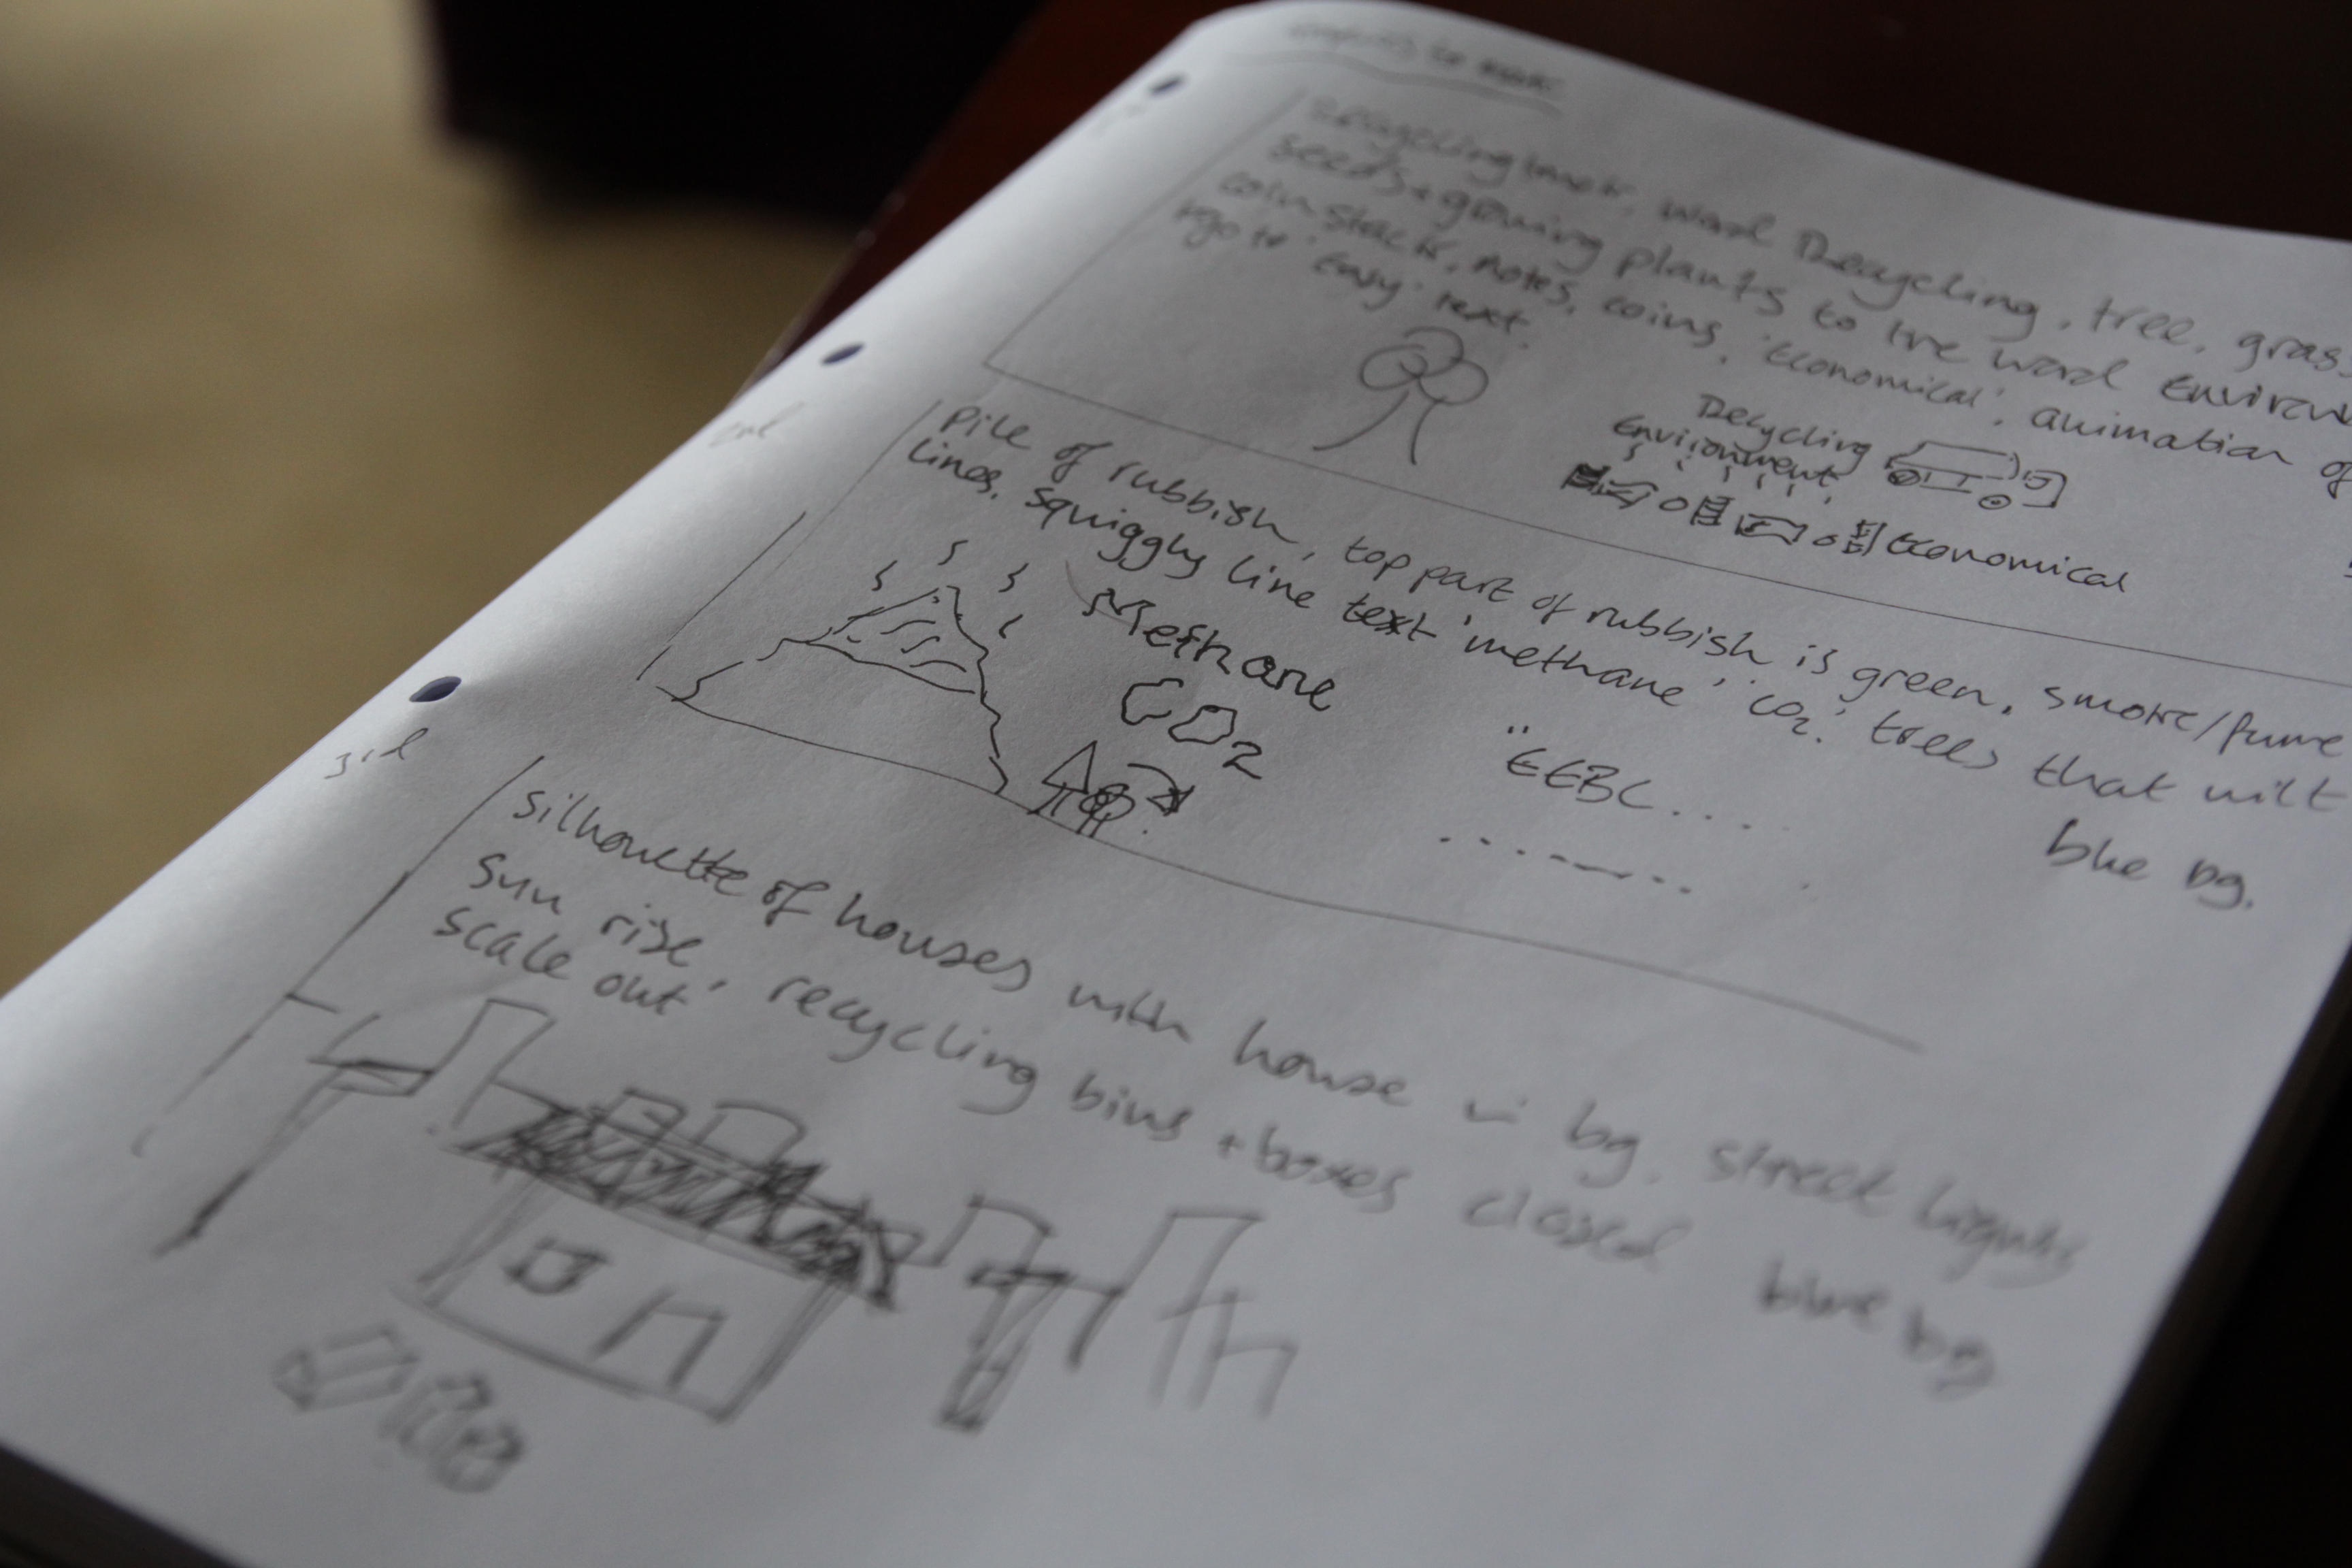
Going back a few weeks, my main projects have been the EEBC Health and Wellbeing video series, and an animation on Telecare. This is a predominantly piece to camera series, with additional b-roll shots to add to the videos messages which range from stopping smoking, to eating a healthy and balanced diet. The standard production of information videos ensued, editing down from around 45-50 minutes to a concise 2 minutes providing the relevant facts and summaries on prevention. Editing in Premiere Pro, I used the very good Luma Corrector tool for exposure changes and a simple RGB curves adjustment for the colour temperature.

I find the Luma Corrector better to work with, as by adjusting the Gamma control slightly, it removes the washed grey look to push out the prominent shadows and highlights meaning that it is very simple to correct/match shots; especially as I filmed using daylight as my key.

adobe premiere pro screenshot luma corrector effect adjust exposure

As per the clients request I have also added subtitles, which I created using the dynamic link into After Effects (noting at this point that if you're doing several stages of an edit, to duplicate the sequence you are working on before you start the next stage as Premiere and AE require you to save your work for updates to take place, meaning no Ctrl-Z/Command-Z to get back to a timeline with the clips rather than your 'replace in AE linked composition').

premiere pro dynamic link sequence editing

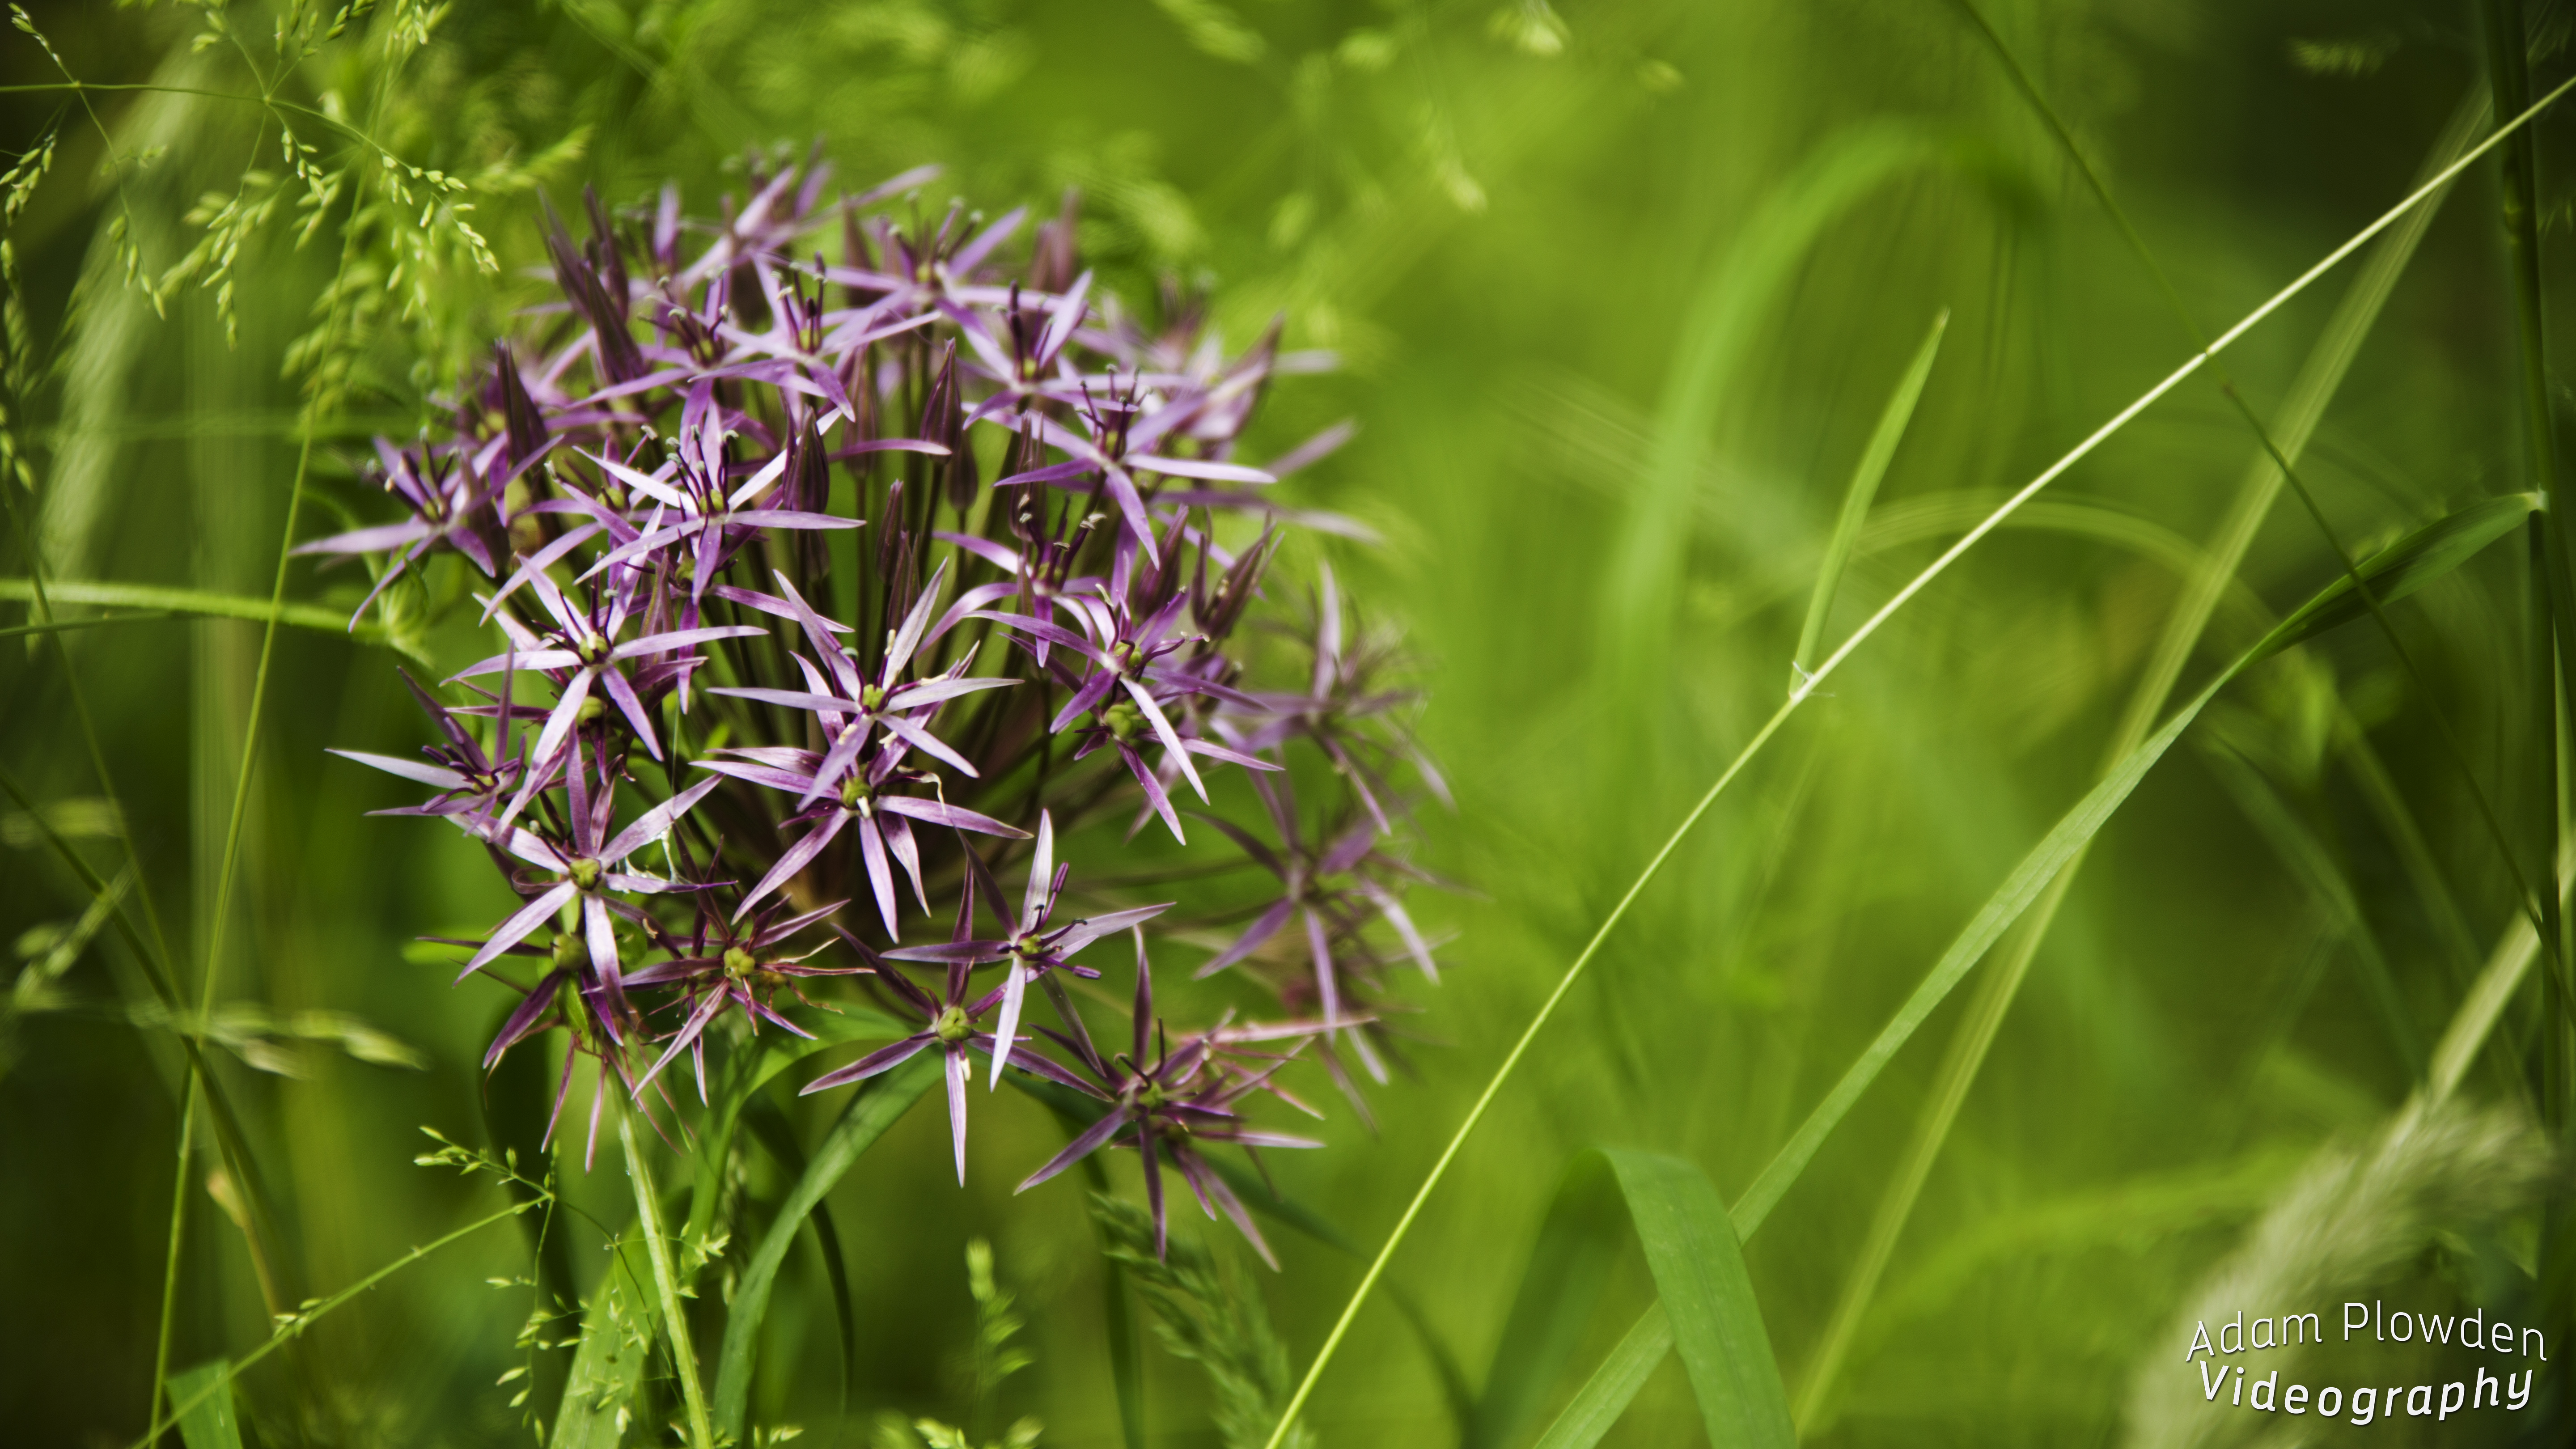
I was also out photographing flowers for a wedding, for the florist Madeleine Pink a few weeks ago too! Taken on a range of lenses with the Canon 5D mkIII (Tamron 24-70mm, Sigma 70-200mm, Samyang 14, 35, 85mm cine, and Nikkor 50mm).

Madeleine pink floral wedding flower photography adam plowden videography Madeleine pink floral wedding flower photography adam plowden videography button hole Madeleine pink floral wedding flower photography adam plowden videography button hole 2 Madeleine pink floral wedding flower photography adam plowden videography brides bouquet Madeleine pink floral wedding flower photography adam plowden videography table bouquet Madeleine pink floral wedding flower photography adam plowden videography table bouquet silhouette Madeleine pink floral wedding flower photography adam plowden videography table bouquet 2 Madeleine pink floral wedding flower photography adam plowden videography table bouquet 3 Madeleine pink floral wedding flower photography adam plowden videography table bouquet 4

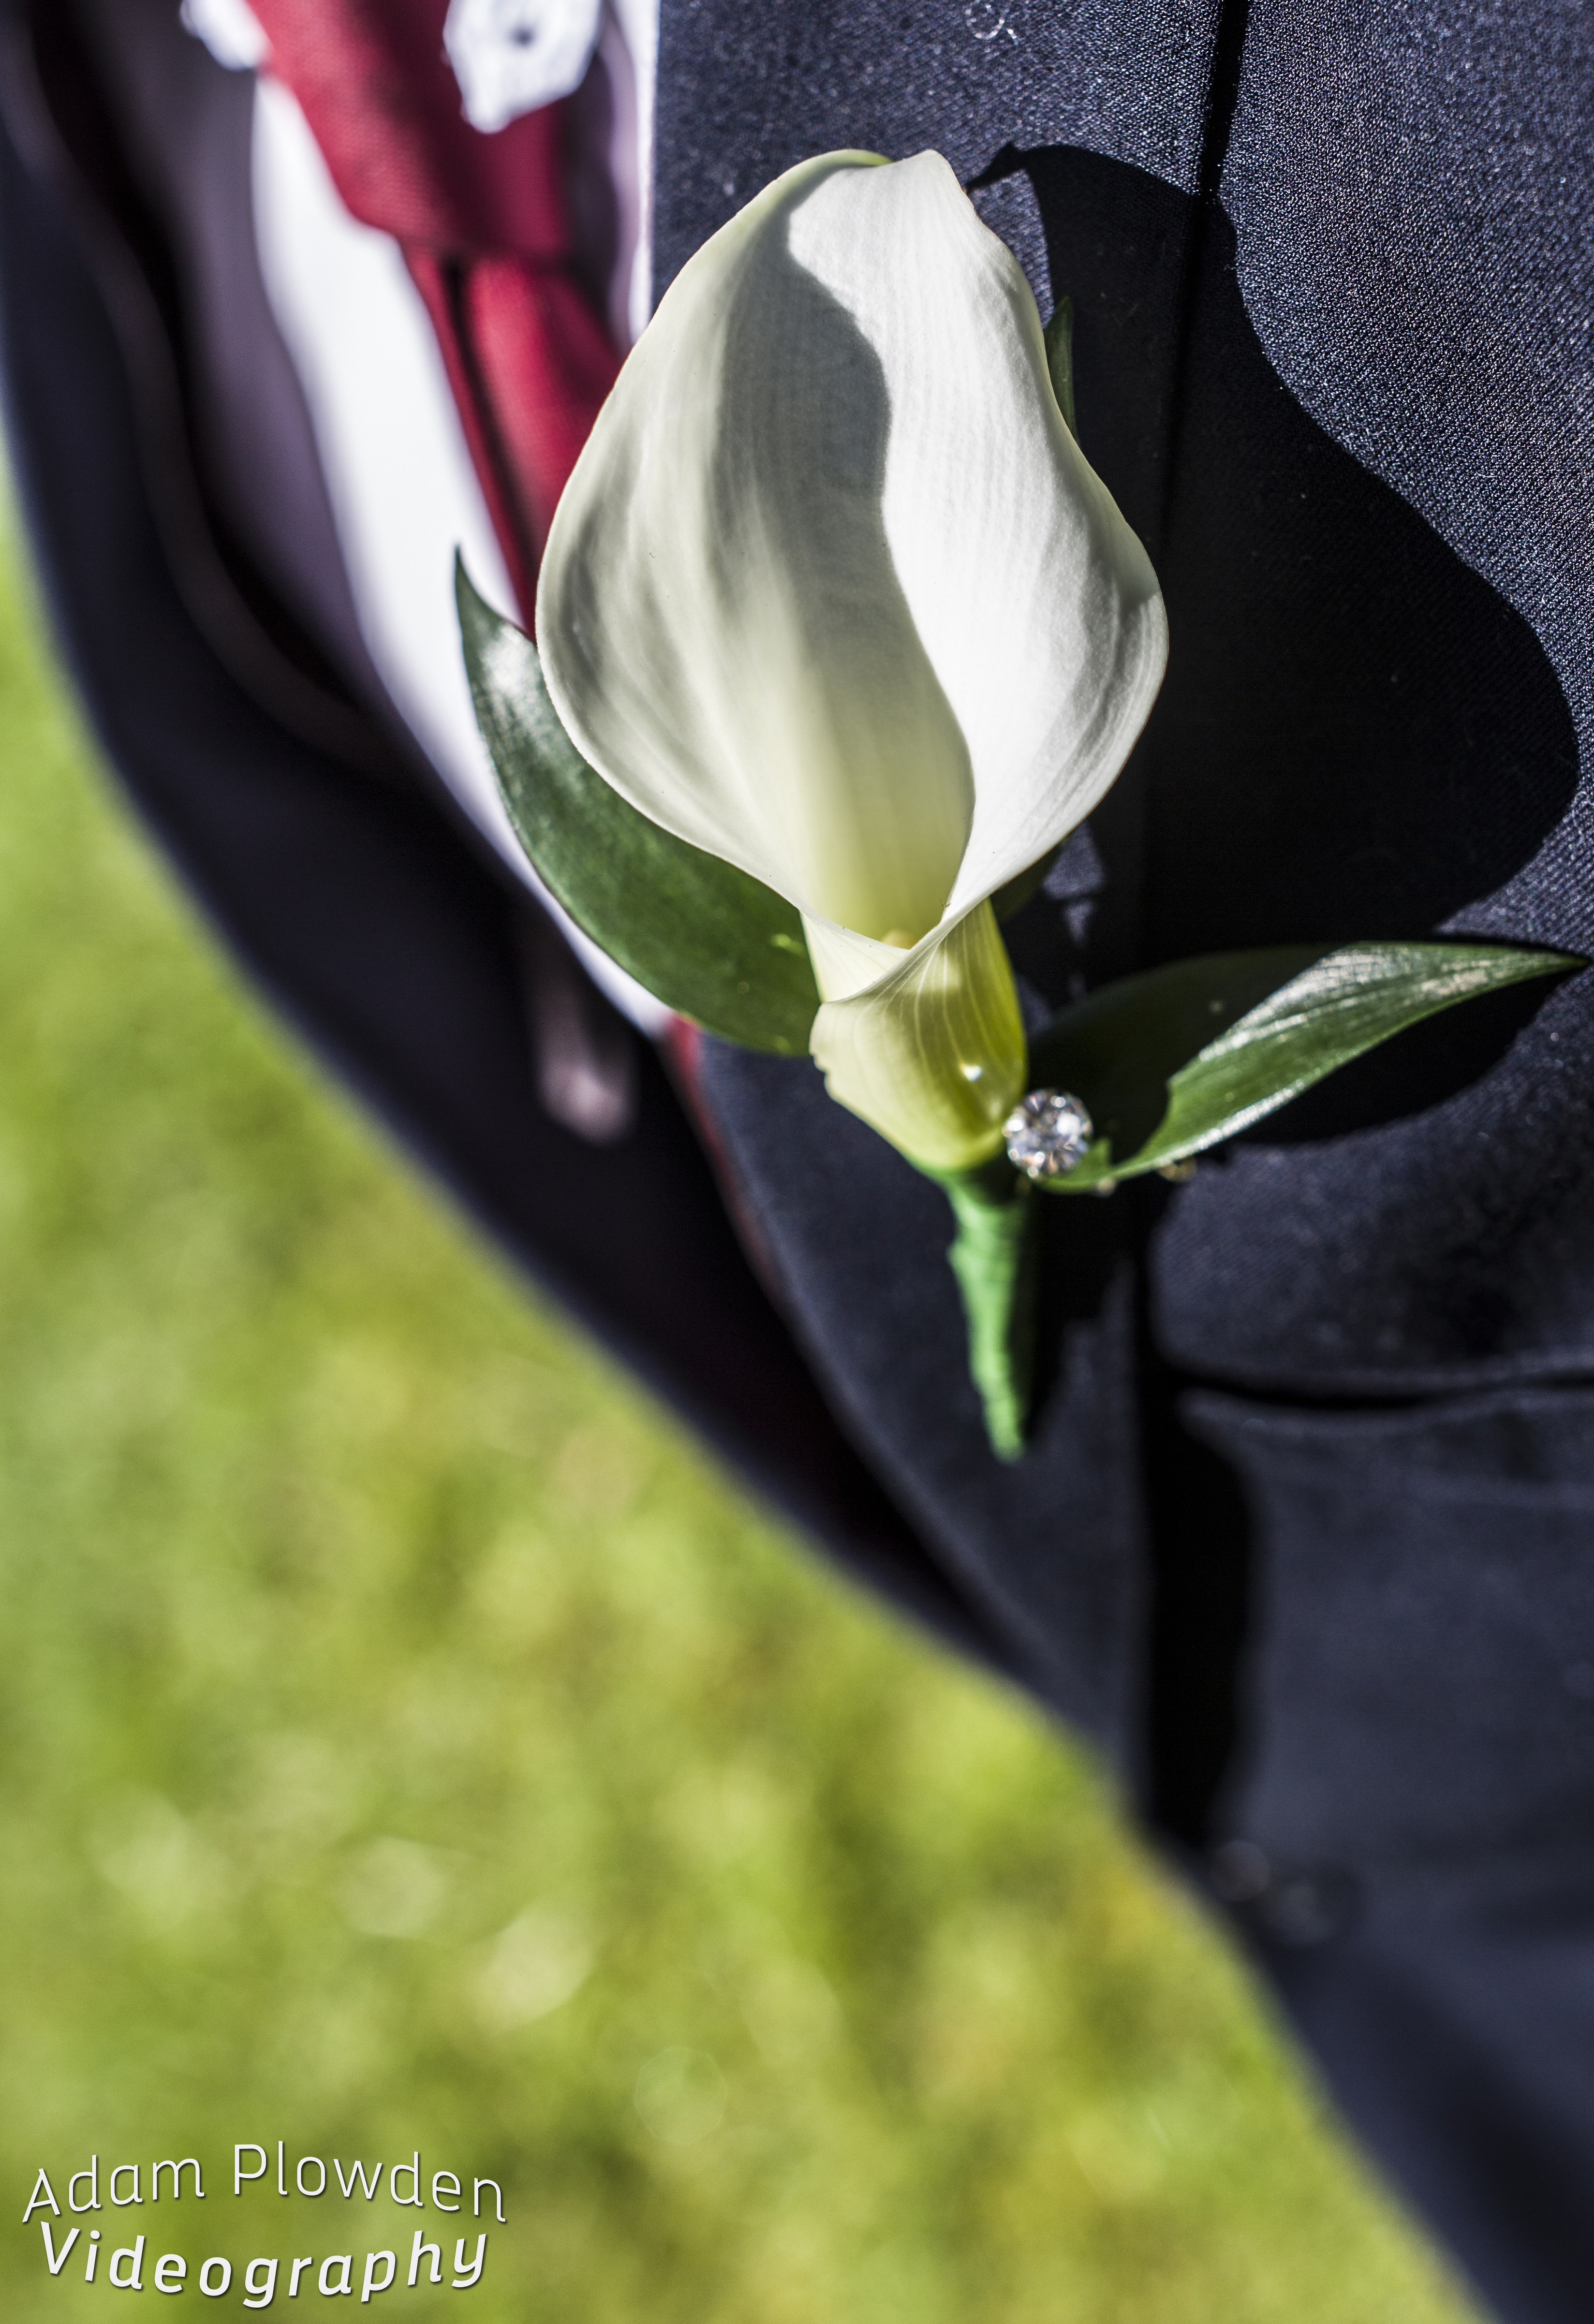
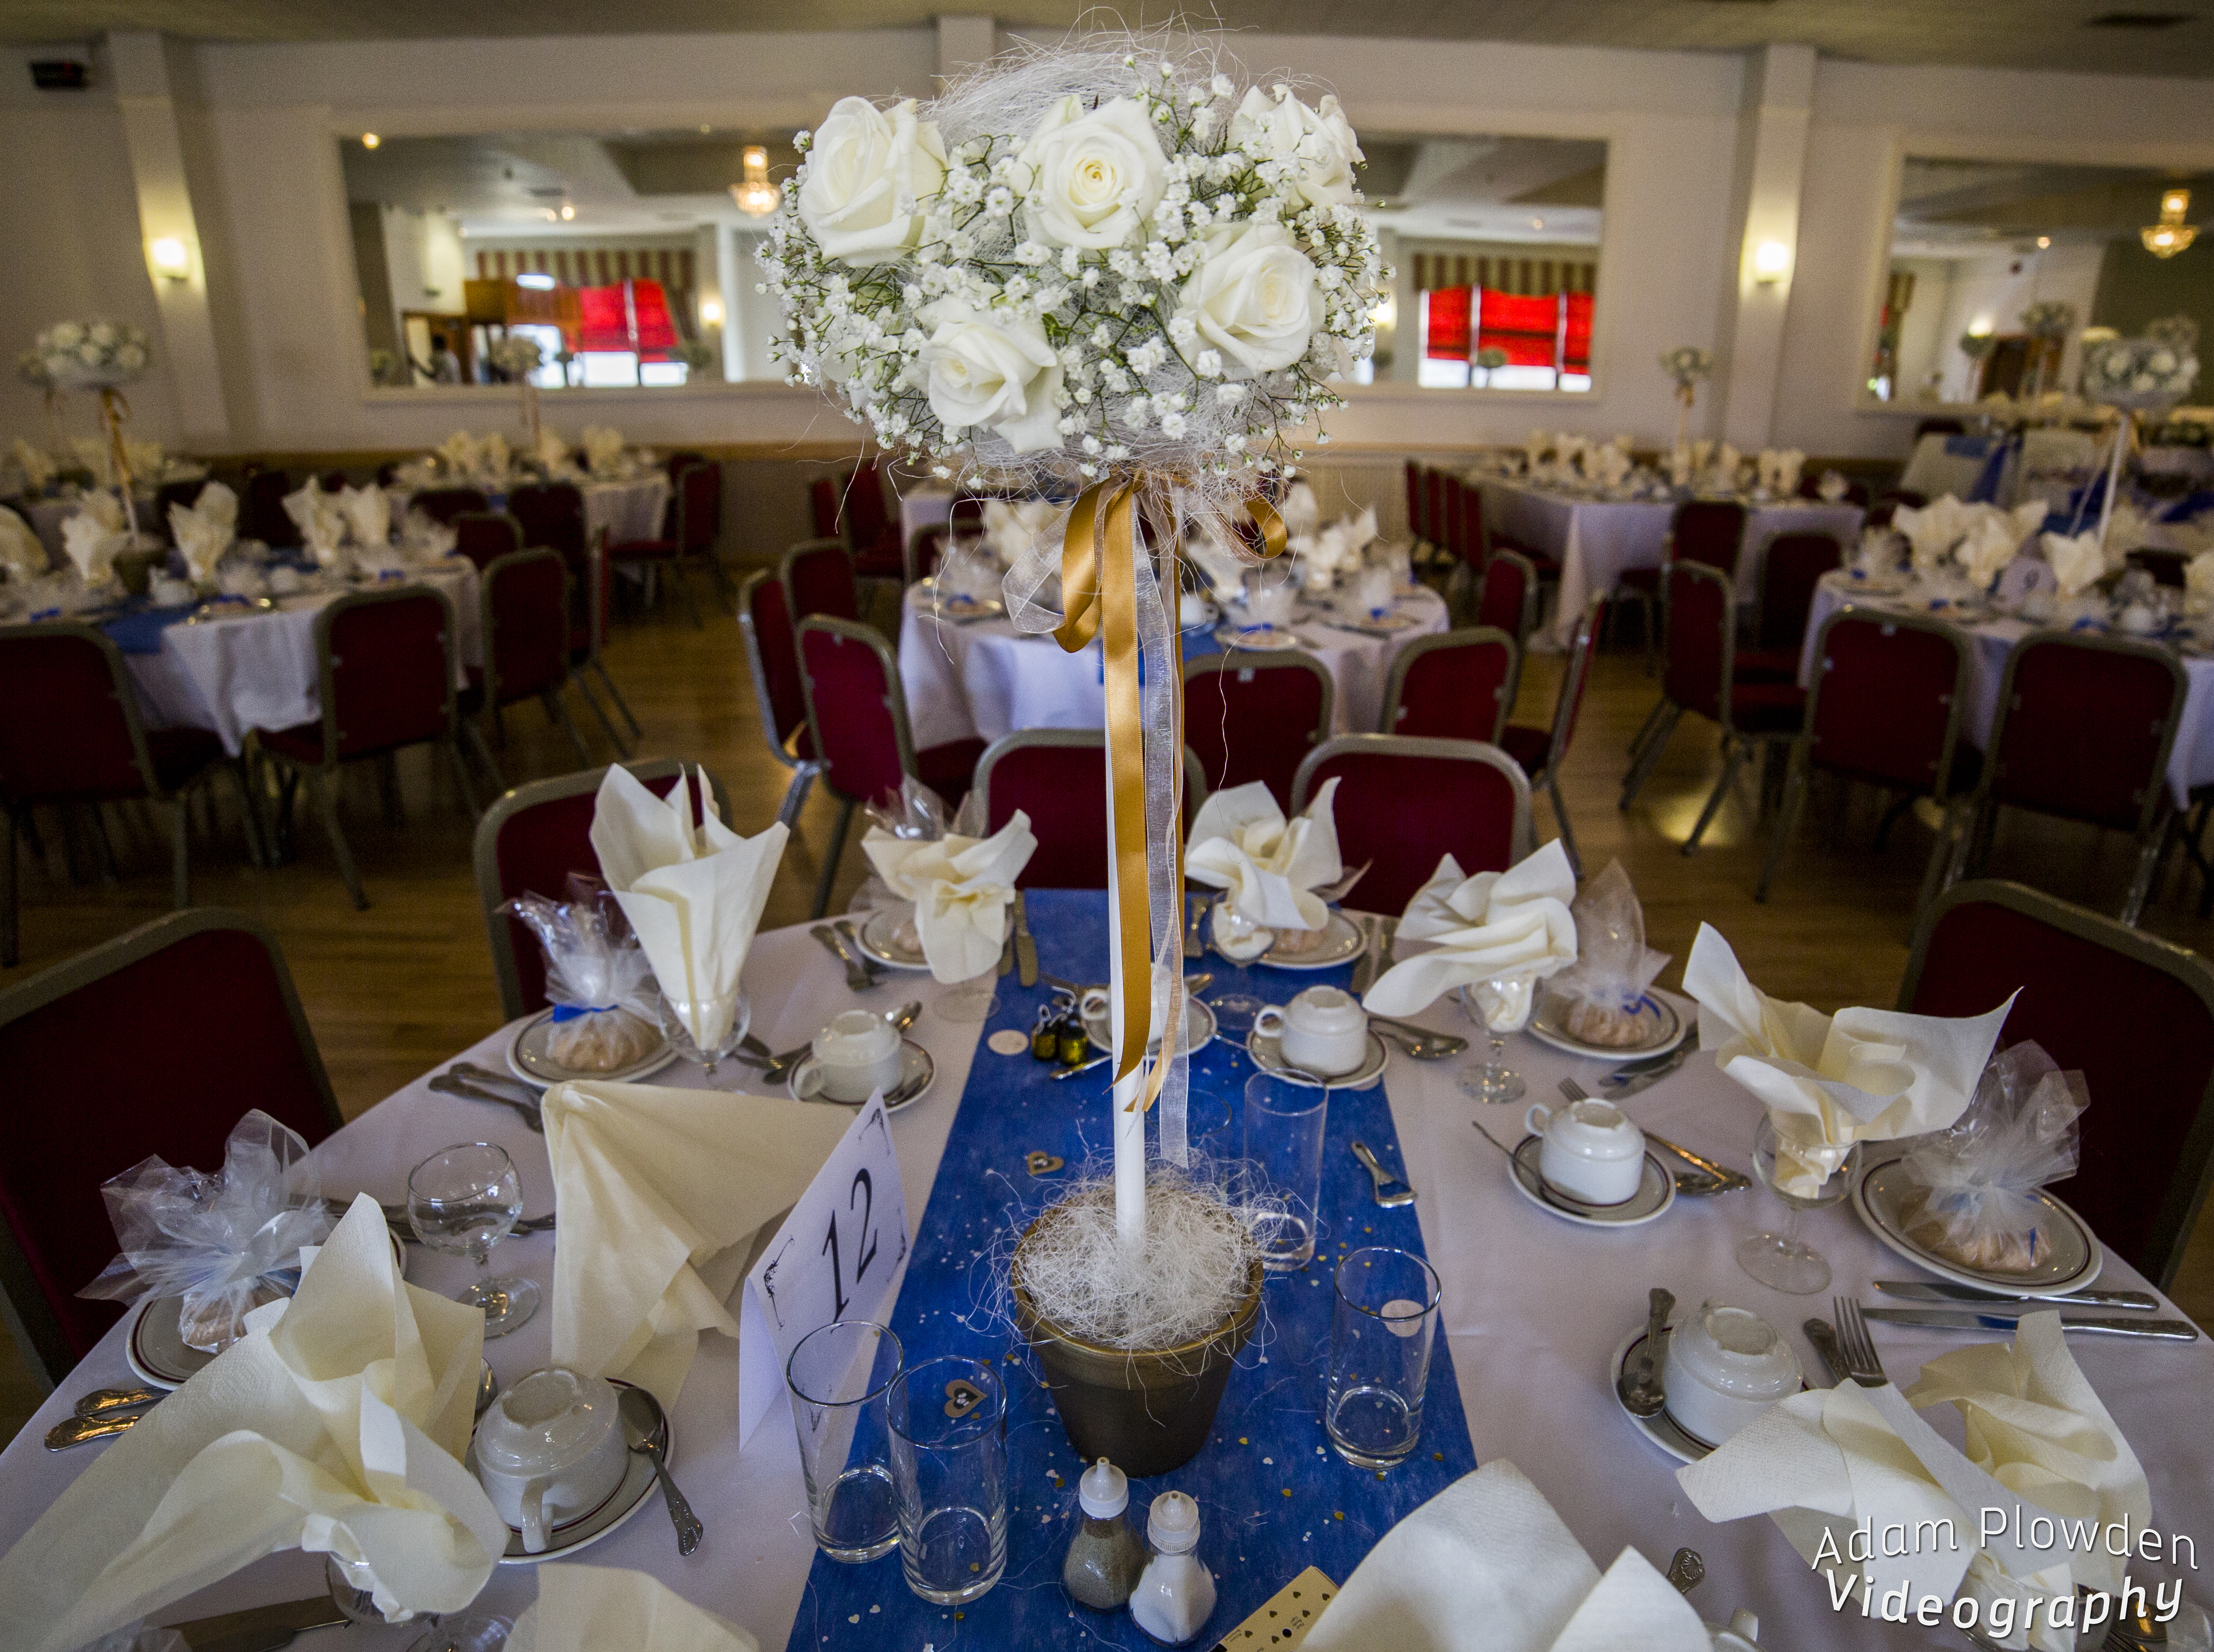
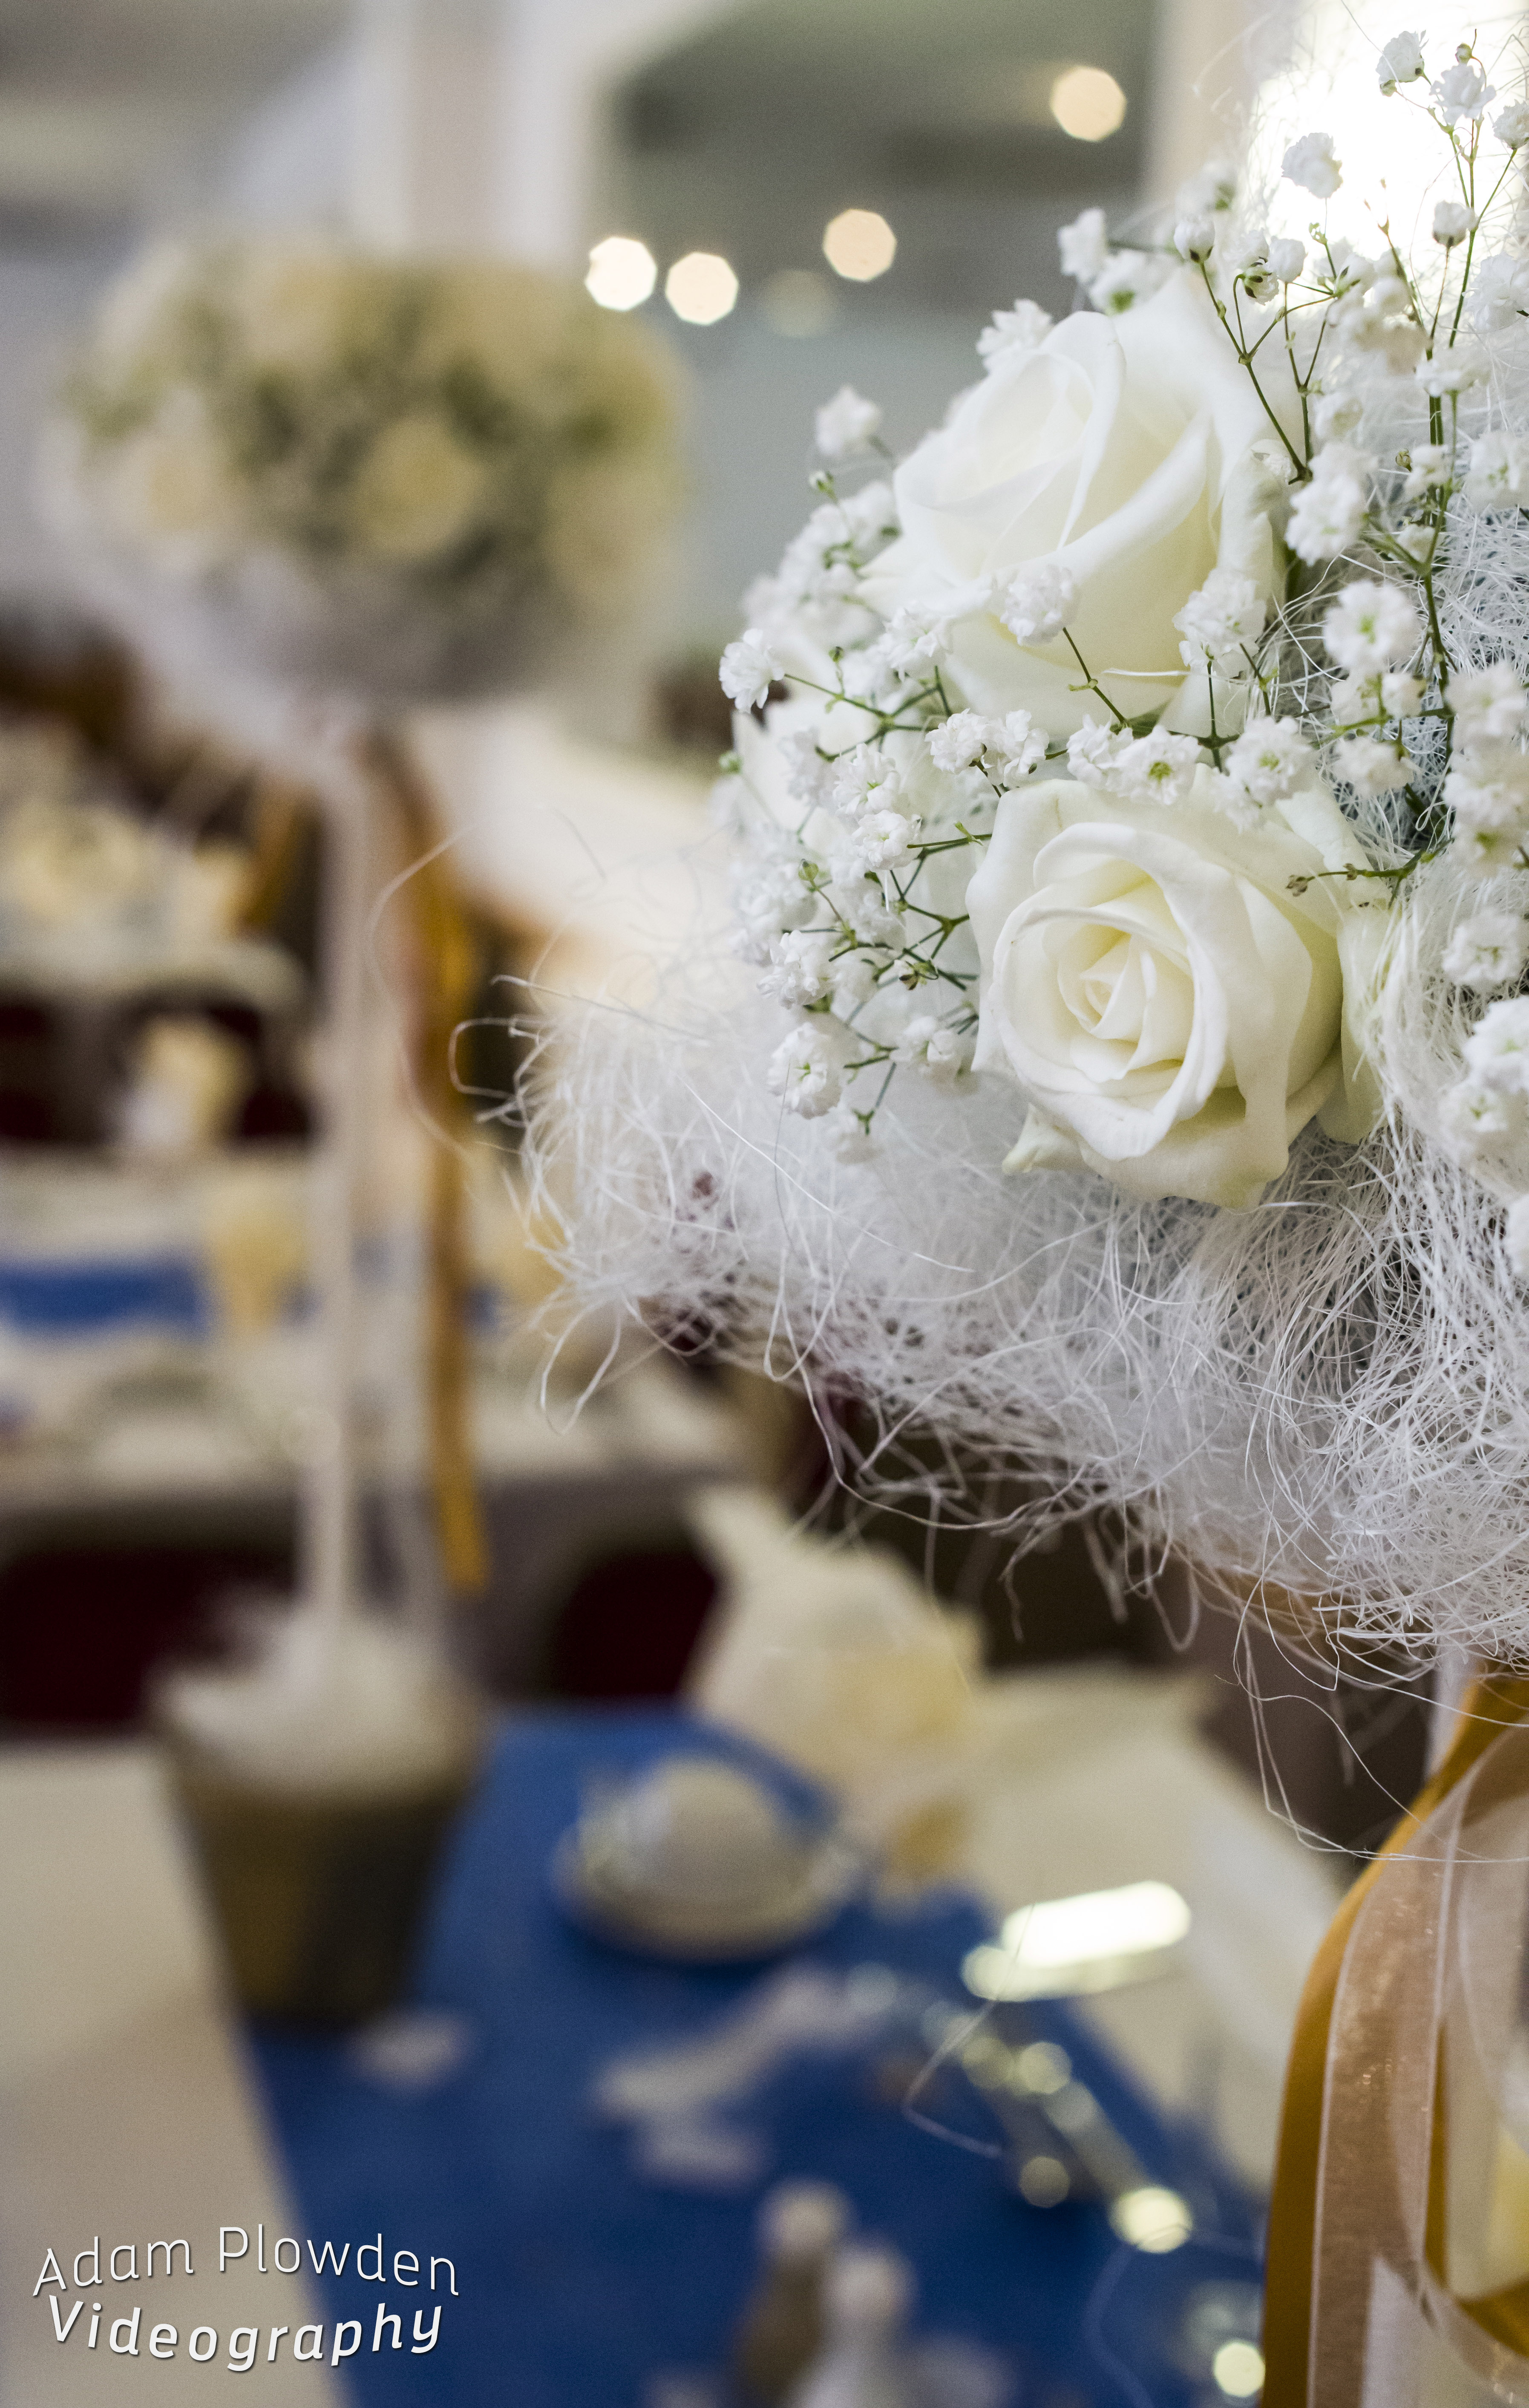
Since then, I ventured into using Lightroom to edit the photos as well, still learning bits and bobs but found a range of fantastic presets here that create some great looks. I'd appreciate your thoughts on the photos and the looks as well, as it's mostly stab in the dark/emotive based :P

[gallery ids="4278,4279,4280,4281,4282,4283,4284,4285,4286,4287"]

A couple of weeks ago I had the pleasure of filming Dan and Kelly's wedding in Ashford + Foxhills where I met the awesome Ash; a unique wedding photographer! Check out the wedding film here [embed]https://vimeo.com/97953644[/embed], and definitely check out Ash's work over at Ash Darling Photography! Highly recommended by me :D and I believe I'll be working with Ash soon on an up coming wedding, really looking forward to it!


Believe it or not, I have been doing some videography too! In between editing the health and wellbeing videos, and on the pre-production sketches of the telecare animation I spent a couple of afternoons in The Woodland Garden in Bushy Park; one of my favorite places to go to switch off work mode, relax and shoot some video for personal projects. I've named this one 'Waterhouse', it's the name of the part of the garden where a balcony looks over a pond with a waterhouse to the left. It poses interesting thoughts to its original function, the bricks and foundations holding strong throughout years of use and bad weather. Virginia Creepers pursue to edge up its sides, gripping on to reach the sunlight through the tree canopy.

beautiful blooming purple Allium flower photography adam plowden video waterhouse

The edit is complete, but I am now working on a quirky hipster logo/title animation for the beginning of the video so as soon as it has been animated and comped into the footage I will upload!

The kit I used for the 'Waterhouse' video include; Manfrotto 755Cx-3 tripod, Edelkrone Slider+ v2, Canon 5D mkIII, Canon 100mm F/2.8 macro (hence why the shake on the slider is slightly more visible than without IS/OS, but I have used Warp Stabilizer where I can). Tamron 24-70mm, Sigma 70-200mm, Samyang 14, 35, 85mm cine, Nikkor 50mm. After using the Canon macro lens, I have totally decided to purchase the Sigma 105mm F/2.8 OS macro lens; firstly because of future video productions where a small minimum focus distance is necessary (product, people, detail shots), also it has optical stabilization which I found was needed when moving the camera and lens on the slider, and lastly its around £400.. Bargain!


Things I've learned so far from doing this kind of work;

  • Shoot with a widespread histogram (unless I wish to isolate the subject from shadows behind).
  • Lightroom is awesome, try playing with the presets I linked to work on the developer tools.
  • Regardless if it has been a long day filming, if you want to talk to someone, always, always, always do it!
  • I want a macro lens for intricate detailed shots, as my current range does not let me get close enough to the subject.
  • Take some hand held lights for kicks and fills; the venue room where the table decorations were photographed was very dark. With a tripod and a couple of lights I would have had much more control over the lighting composition.
  • Dabble in a variety of work types, to keep it interesting and different!
  • I need a slider for cinematic moving shots; I have made my choice; not the Edelkrone! There will be a whole blog post on this coming soon.

Adams video week roundup!

Blimey lots has been going on over the last week, I hope it has been as hectic for you as it has been for me! Monday started with continuing the design of the graphics for a recycling animation, a daunting task which put my drawing skills to the test. Bearing in mind I've spent the majority of the last year behind a camera, I took my time to learn the techniques I would need to use Illustrator properly. I would usually use Photoshop over Illustrator, but until I recently found out PS is not truly vector, and as I would be using a combination of the Pen tool and others to design the images this was very important, as I would need to transform the graphics later in After Effects.

My best mate Glen came down from Wycombe for a  surprise week to, so I spent plenty of time catching up with him and chatting about work. He gave me so very important advice; "Everything is too complicated these days, you should keep it simple and your audience won't know the difference, especially if it is moving and animated anyway." True words, and I took Glens advice which not only sped up the process, but made me more confident with the work I was producing.

Here's a screenshot to show all of them! (I think I am working on a 10K canvas).

screenshot graphics design drawing art 2d vector create illustrator

The graphics design has been on-going, I practiced when I was first commissioned, but it just shows how familiarizing yourself with the tools and applications can ease your work! A very very important part of this process was to intensively storyboard and plan each scene, so I know what graphics can be generated beforehand, so I spent a good couple of days story boarding and sketching the graphics I would need, followed by a long list of assets I would go on to to create.

Pre-vis sketches:

design plan planning graphics creation motion animation

For the rest of the week I started importing the graphics into After Effects, and setting up the 15 scenes. I am finally starting to see progress! I am still working on this section, and it will take another week or so to complete all the animations. Again, I storyboarded this in the planning, so I know exactly what to produce for which scene which saves so much time. Also, the best thing about this planning part is that it does not have to be a work of art to depict your ideas, just a simple sketch to represent what you will need to create.

graphic storyboard plan pre-production animation motion graphics

On Thursday I joined a crew of fashion designers, hair stylists and models to film a magazine photoshoot for Sherman Hawthorne (the hair stylist and creative director of the shoot) at The Lemonade Factory studios on Queenstown road. With eccentric styles and art direction, I set about to capture high contrast, dramatic footage which will compliment the photos. It was an early start, here I am waiting for my train at Clapham Junction;

video shoot equipment kit list manfrotto camera dslr fashion hair photoshoot lemonade factory

I was a single shooter, I had the pleasure of transporting the equipment to the shoot which included a steadicam vest that I ended up not using. I've learned my lesson here not to take extra kit!

My kit list was as follows:

Canon 5DmkIII (A camera), Canon 60D (B camera)

Tamron 24-70 F/2.8 VC, Samyang 14mm T/3.1 cine, Samyang 35mm T/1.5 cine, Nikkor 50mm F/1.4 manual, Samyang 85mm T/1.5 cine, Sigma 70-200 F/2.8 OS

Manfrotto 755CX3, Manfrotto MVH700AH, Manfrotto Hydra arm and super clamp,

CamSmart camera rig + Lilliput field monitor, CamSmart Stabilizer vest, Flycam Nano

Zoom H6, Rotolight Roto-mic.

As with all of these shoots, time runs short so I was restricted to short burst of filming time with the models to capture the specific ethereal and industrial motif, but I also shot around the photographer to maximize my usable footage. I made use of the 50fps slow motion for the moving shots, so that the models movements are exaggerated, as well as stabilizing the shot.

As the props included wire fencing and chicken wire, aliasing was a problem when shooting shallow depth of field, or at an angle to the object. To remedy this I used a lower aperture (F/4-5.6) for some shots, but also I can add a Gaussian blur in Premiere Pro when editing to soften the lines, gently smoothing out unwanted aliasing.

A couple of frame grabs from the shoot!

fashion photo video shoot at the lemonade factory cinematic videography steadicam Here I'm using a moving shot to create a distorted perspective from outside of the set.

fashion photo video shoot the lemonade factory cinematic videography trapped cage bw Here I use a low angle shot, removing the identity of the model to create a 'trapped' and 'mysterious' feel to the model, and why she is in the box.

Weekends are always working weekend for creatives and freelancers. I spent yesterday working on the animation of the recycling project again, continuing to compose the scenes using simple 2D shapes and animation styles that have become very popular recently.

I also came across this post from Chase Jarvis about how to manage your time properly, its a great post with a detailed outline of 90-minute working slots that should improve your productivity, I urge you to read it if you're someone like me who can't stop working, then apply the plan to your working life. I know I will be!

Do Less = Do More by Chase Jarvis

I haven't had many #videoquestions come in recently, so please keep them coming so I can help with tips for the community of videographers and creatives! Send them over to me @Plowman91 on Twitter.

Finally, ending with a must watch video, check out Philip Bloom's video shot with the Blackmagic Production Camera, the 4K one at Miami Beach, what do you think of it? Is it worth investing now the Panasonic GH4 is on pre-order and it looks like Sony will have a 4K DSLR announcement coming at NAB2014 too..!!

Philip Blooms Four Corners Miami Beach (Blackmagic 4K camera)

That's all for now folks! Keep the creative juices flowing!

Andrew Kramer (VideoCopilot) does it again!

I'm a big fan on Andrew Kramers work and contribution to the industry, running the After Effects tutorial and blog website, creating the title sequence for Star Trek Into Darkness film, it has had a big impact on my learning. tron_1[1] videocopilot

I first started using VideoCopilot when I was 16, designing a title sequence for a series of webisodes I had written and was planning to film, direct and produce. It never got made, and I'm sure I've got the original work somewhere. My point being is that to this day I still use this amazing resource for my work now, learning new techniques for effects creation. If you haven't checked it out before, I urge you to do so immediately!

Here's the latest tutorial, creating '3D' volumetric light rays which will look great in mysterious, dark trailers or titles!

http://www.youtube.com/watch?v=frXQxwMKh6c

Mesmirizing fractals in After Effects

I've often pondered whether it is possible to generate geometrical, point and fractal graphics using algorithms in After Effects. Fascinated by expressions since starting in CS3, I have always experimented with different types of generation and control to create more organic motion graphics, and animate them. After learning and working with Trapcode Particular and Form, which specialize in amazing particle effects, I further played around with ideas and animations combining the particles with expressions, auxillary particles and physics to recreate a realistic particle graphic. I had varied success, but I still couldn't find a unique effect.

It has been a while since I stepped back into After Effects; I usually float between applications until I need to use them so I got myself back up to speed with AE and tried my hand back at fractals - not the ones generated by fractal noise or turbulent noise either.

After a couple of days experimenting (bearing in mind I am still working on my laptop, and not my editing supercomputer) I had got to grips with generating graphics, but with this technique the results are partly random generations so occasionally I end up with a result that is completely different to what I expected but looks fantastic! With the curves following Bezier, they look naturally pleasing too.

My fractal tests -[gallery ids="979,978,977,976,975,974,973"]


GLF Promo Video Title is now complete!

I've been working on the title sequence for the GLF video; started in Photoshop to create the graphics (using the original GLF logo created by CleverBox as a template). I then imported the elements into After Effects to animate them, as well as adding background footage of the schools and students! Its uploading to Vimeo now so here is a screenshot from a draft render :) title

Thank you very much Sam for sending over the fonts!

I'll post a link up to the video very soon, or just keep updated on my Facebook or Twitter or LinkedIn or even my Website!

Still editing! Motion GFX actually..

I'm working on the title sequence to the GLF conference promotional video, incorporating their new logo and house style as well as colour graded cine-footage to show the schools and students! edit2