Lighting is crucial to our video productions,. Check out why we chose the LED200B III from PiXAPRO for our video productions and filming.

Our Video Production Blog
Its always interesting when you come across new pieces of tech that surprise you. I’ve been on the look out for a camera monitor for quite a while, and have always had the smallHD Focus at the top of the list, while previously using the Atomos Shogun and Ninja Inferno.
That’s why I was pleasantly surprised when I came across the Andycine A6 4K monitor, a sub £200.00 HDMI monitor which would fit perfectly with my filming setup (in this case the Sony a7SII, SmallRig cage, Sennheiser AVX). Let’s take a look at the monitors performance and features.

Andycine A6 4K monitor with a Sony a7SII and SmallRig cage.
Straight out of the box, I was impressed by the build quality of the monitor. I've used (lets call them) budget monitors in the past and this way surpassed the design and construction of those.
All of the menu and function buttons are accessed by the top of the monitor, and there are three mounting points for the bracket arm, or if you choose to use a ball head. The menu is simple to navigate using the left/right/up/down buttons, although this could be somewhat larger on screen. The image quality is sharp, and the brightness can be adjusted to suit indoor and outdoor filming.

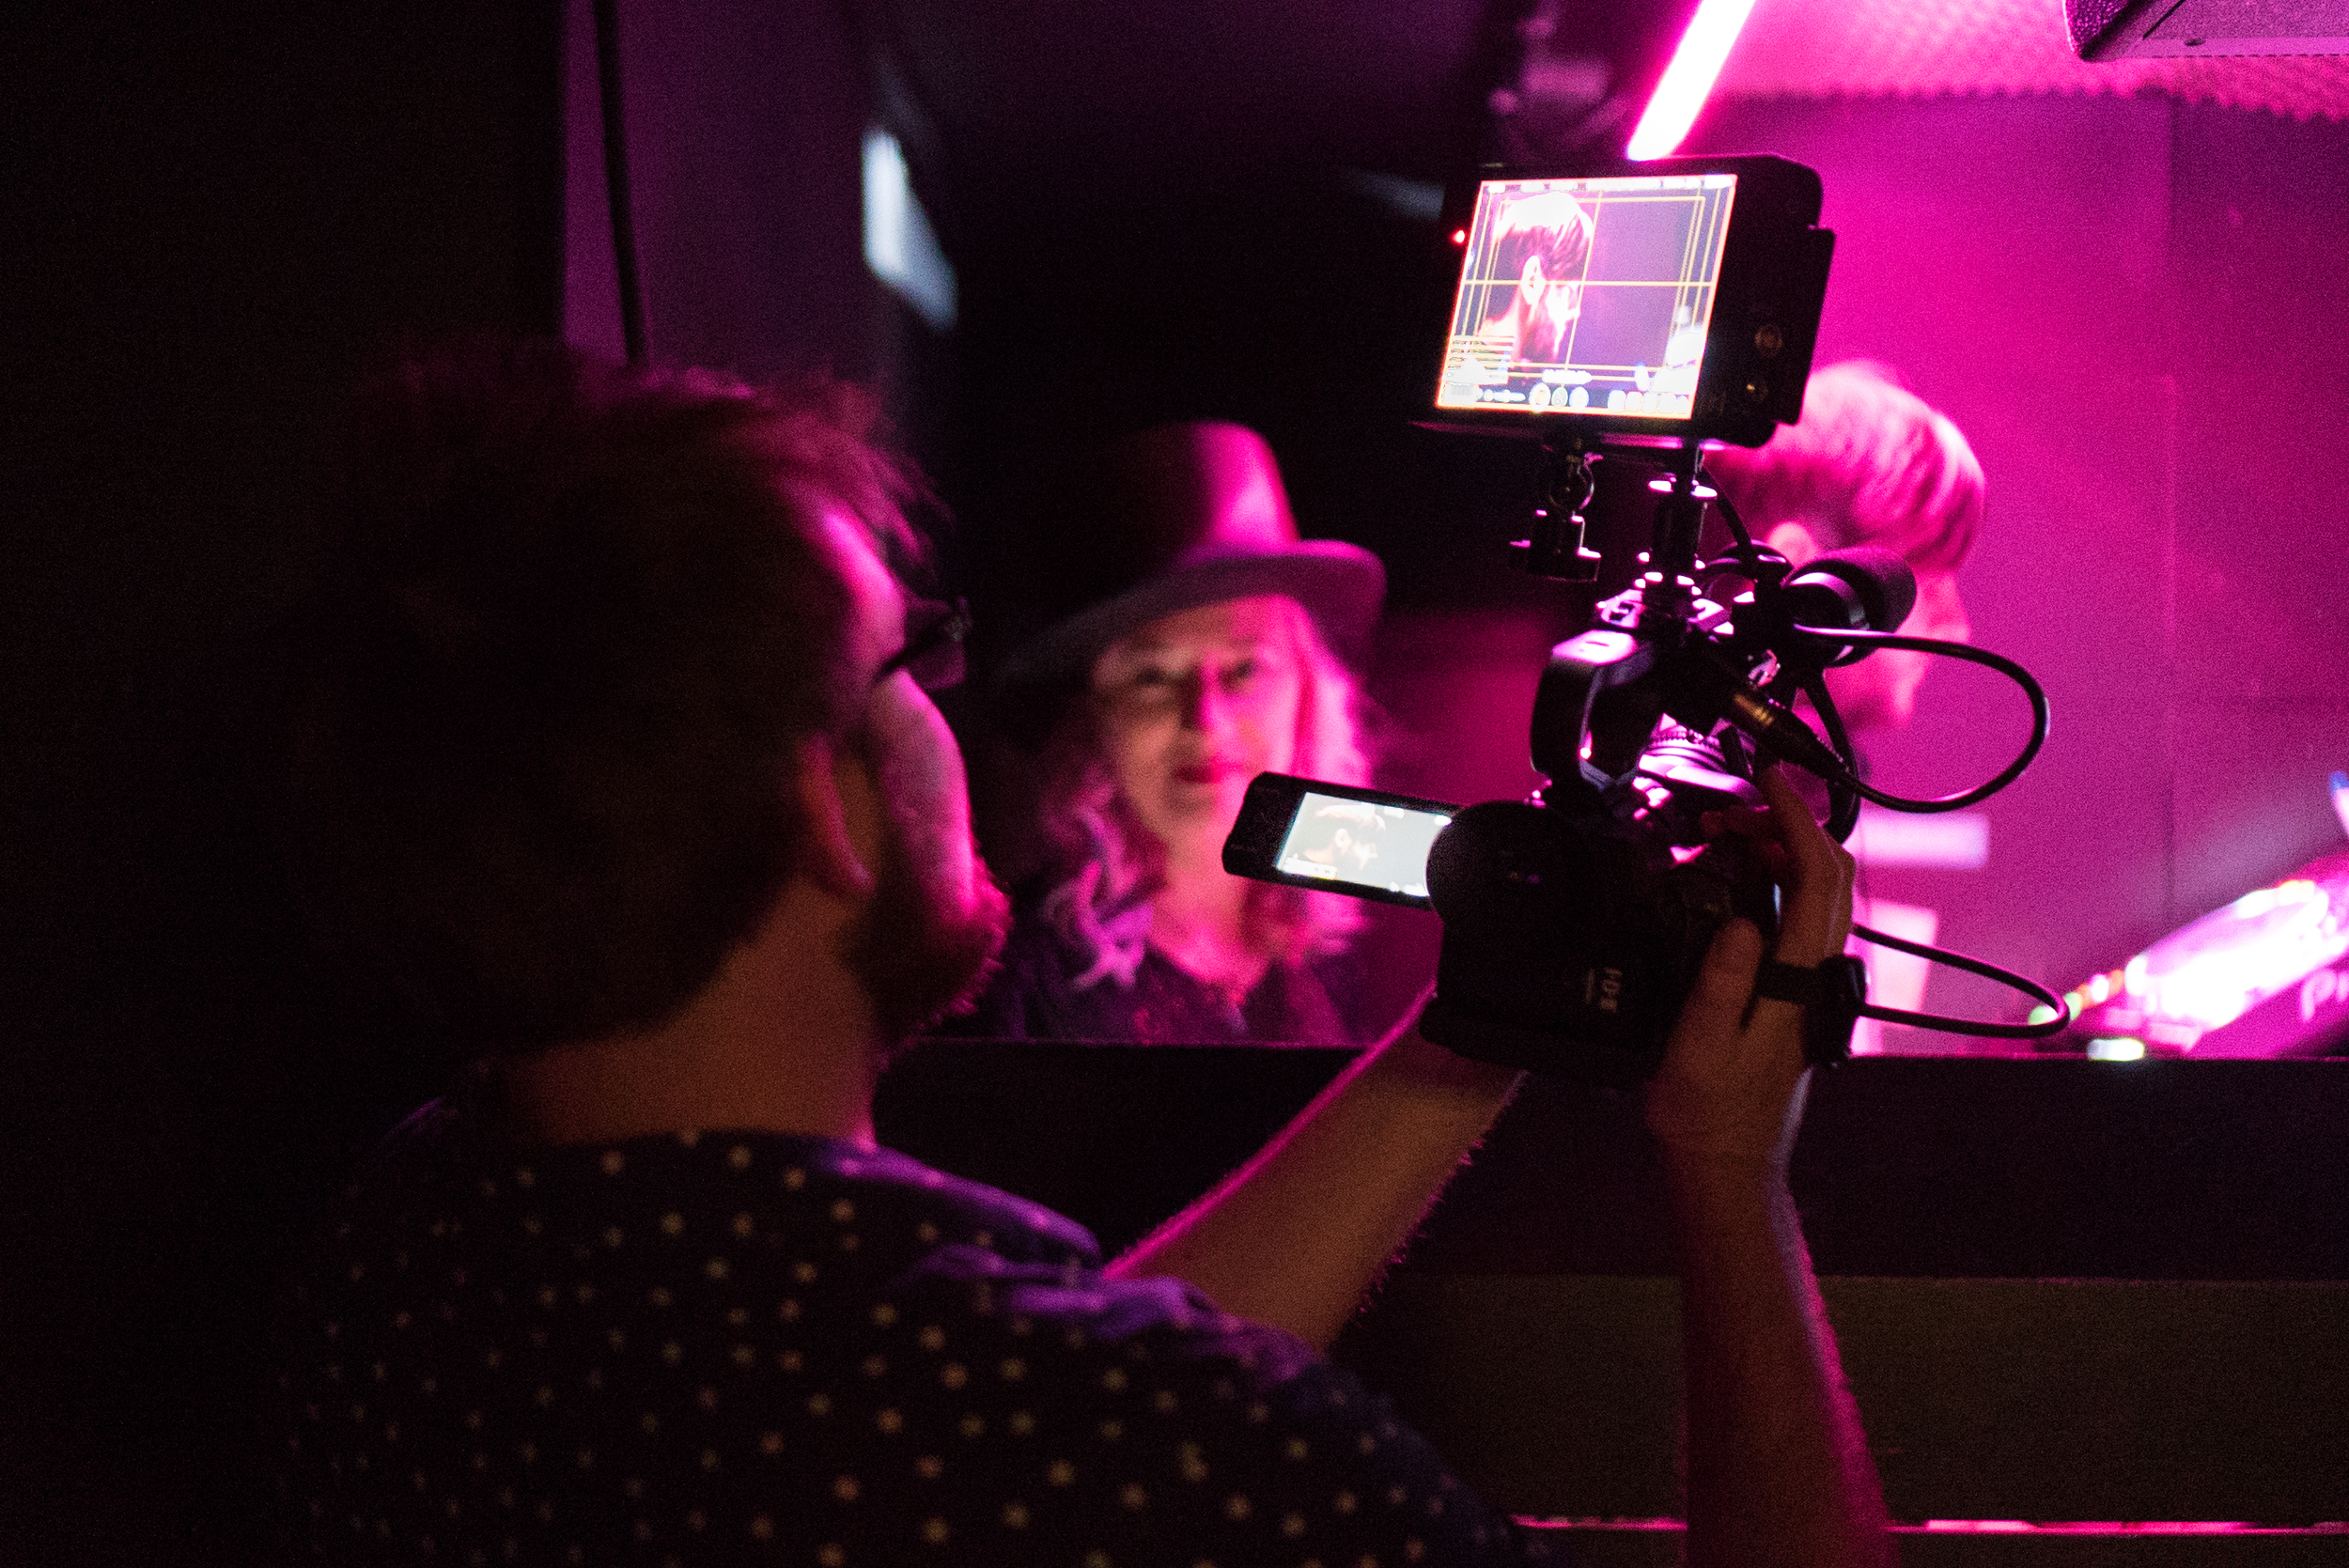
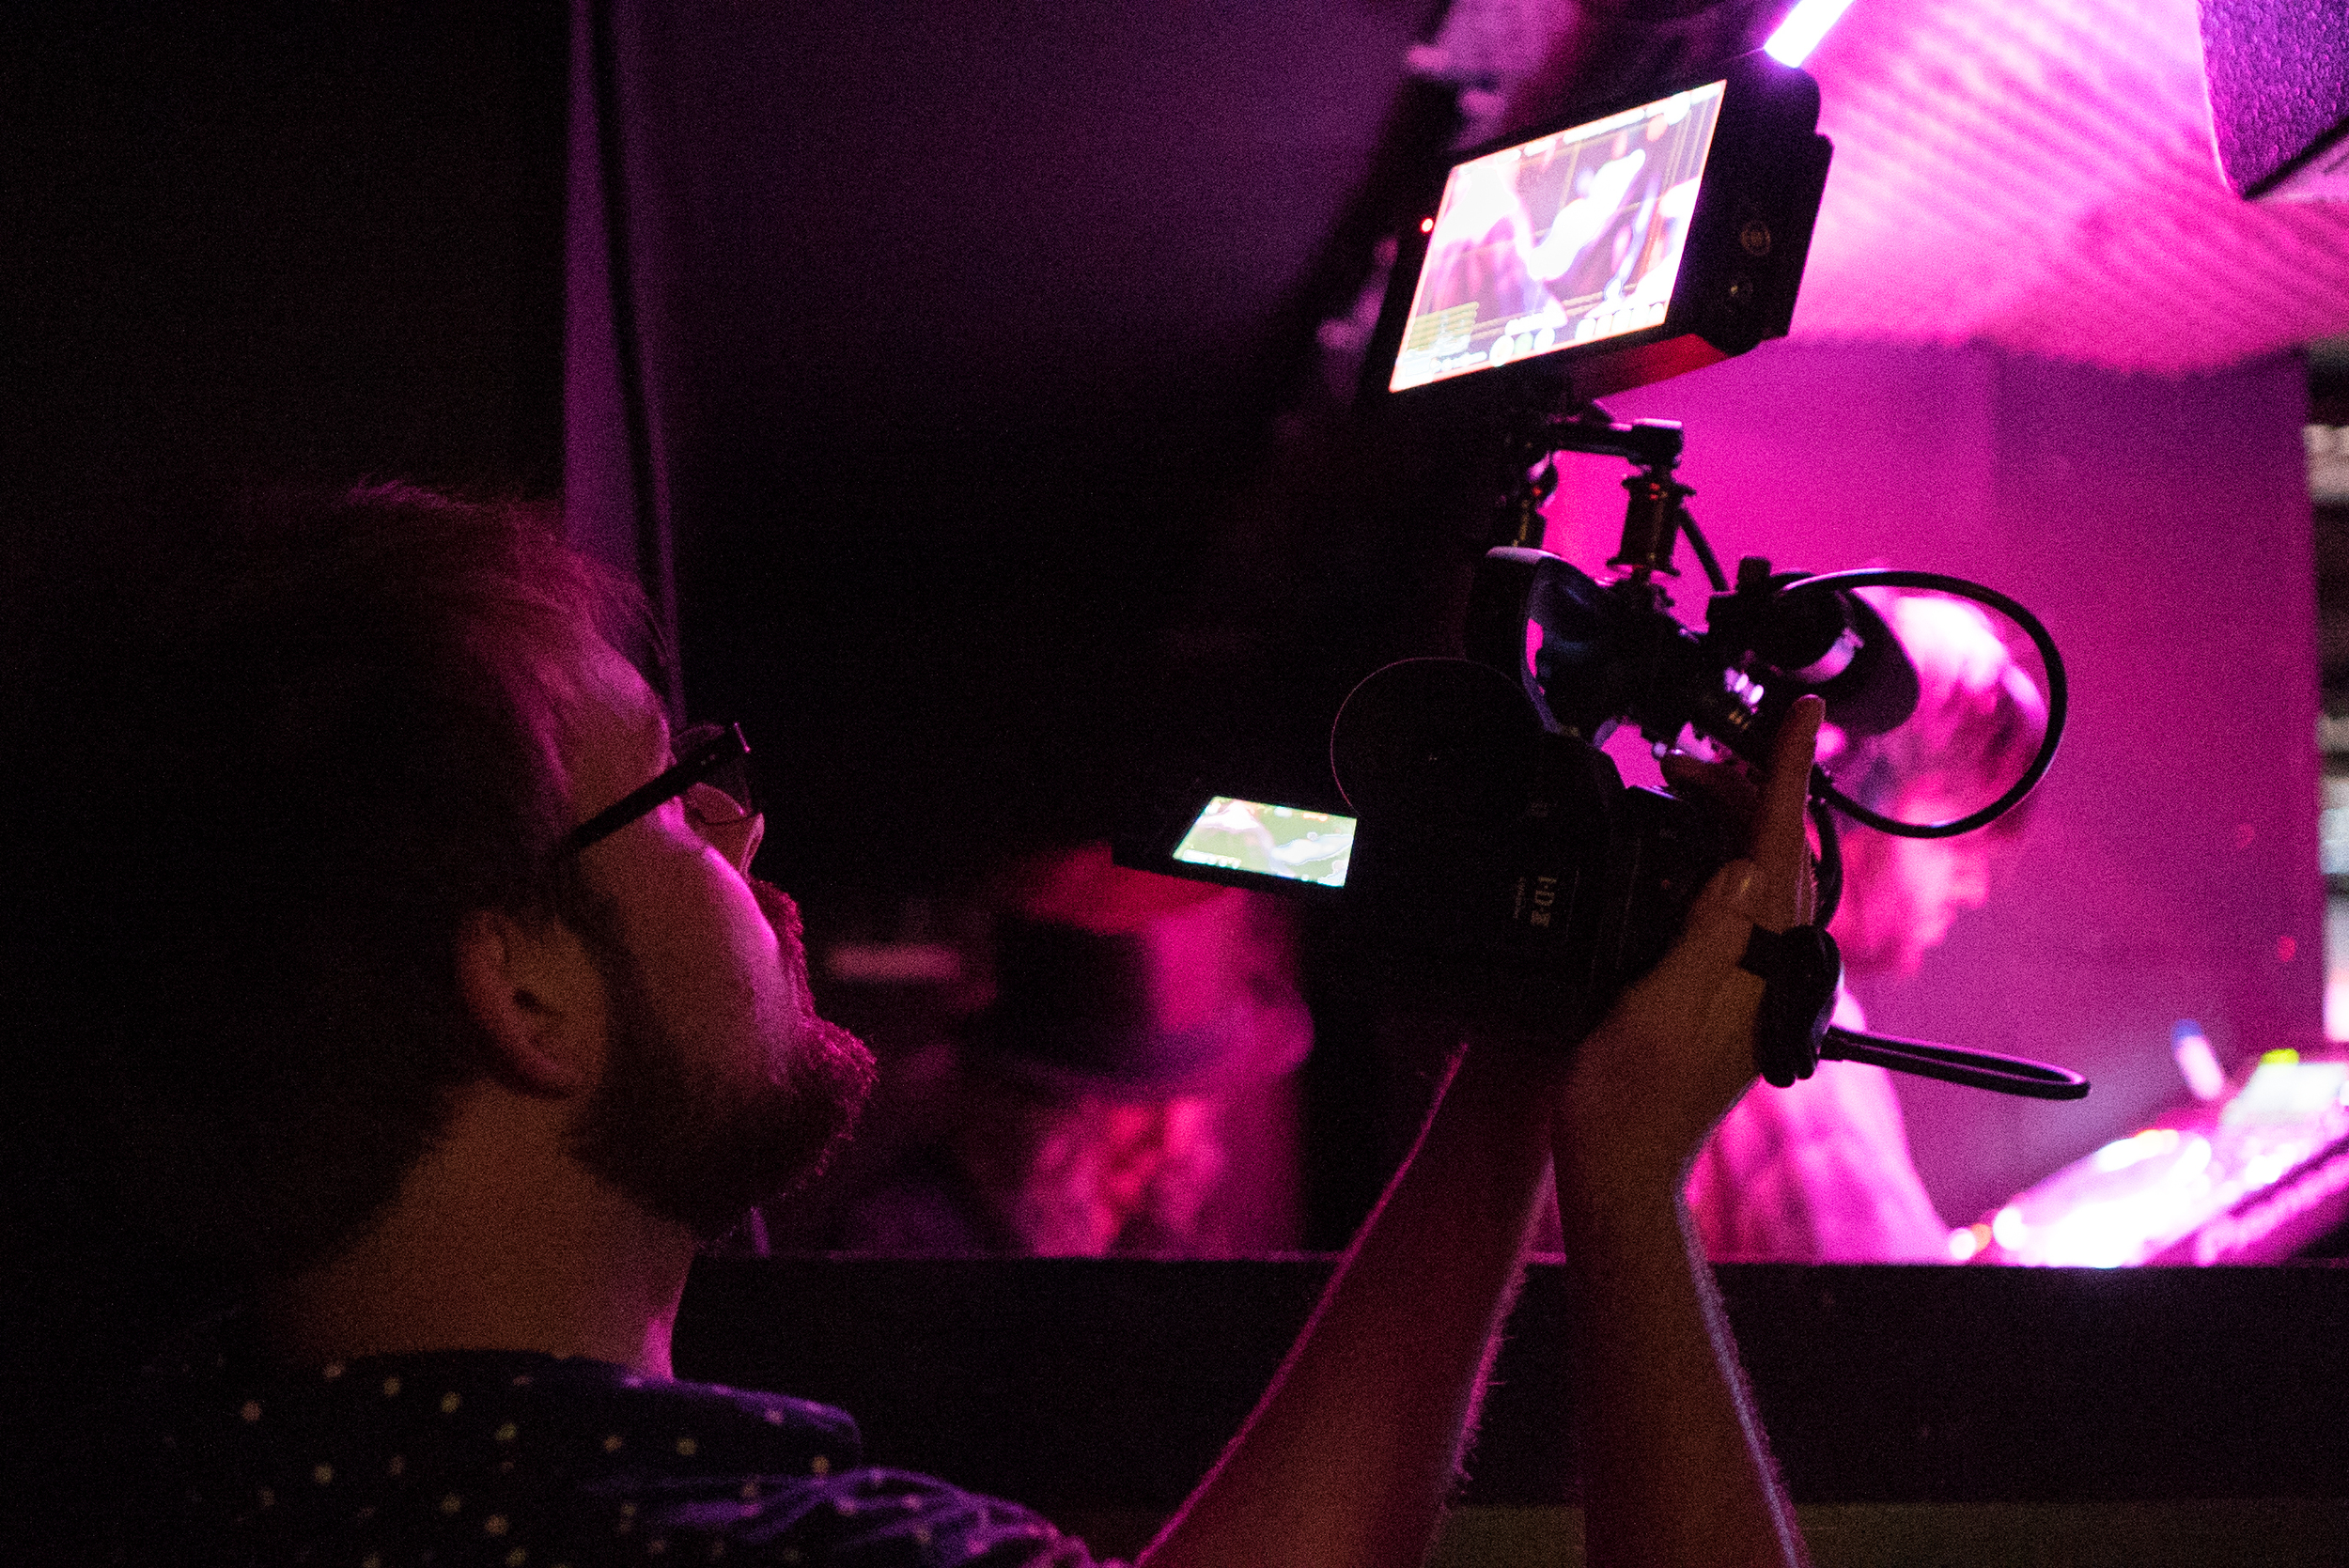
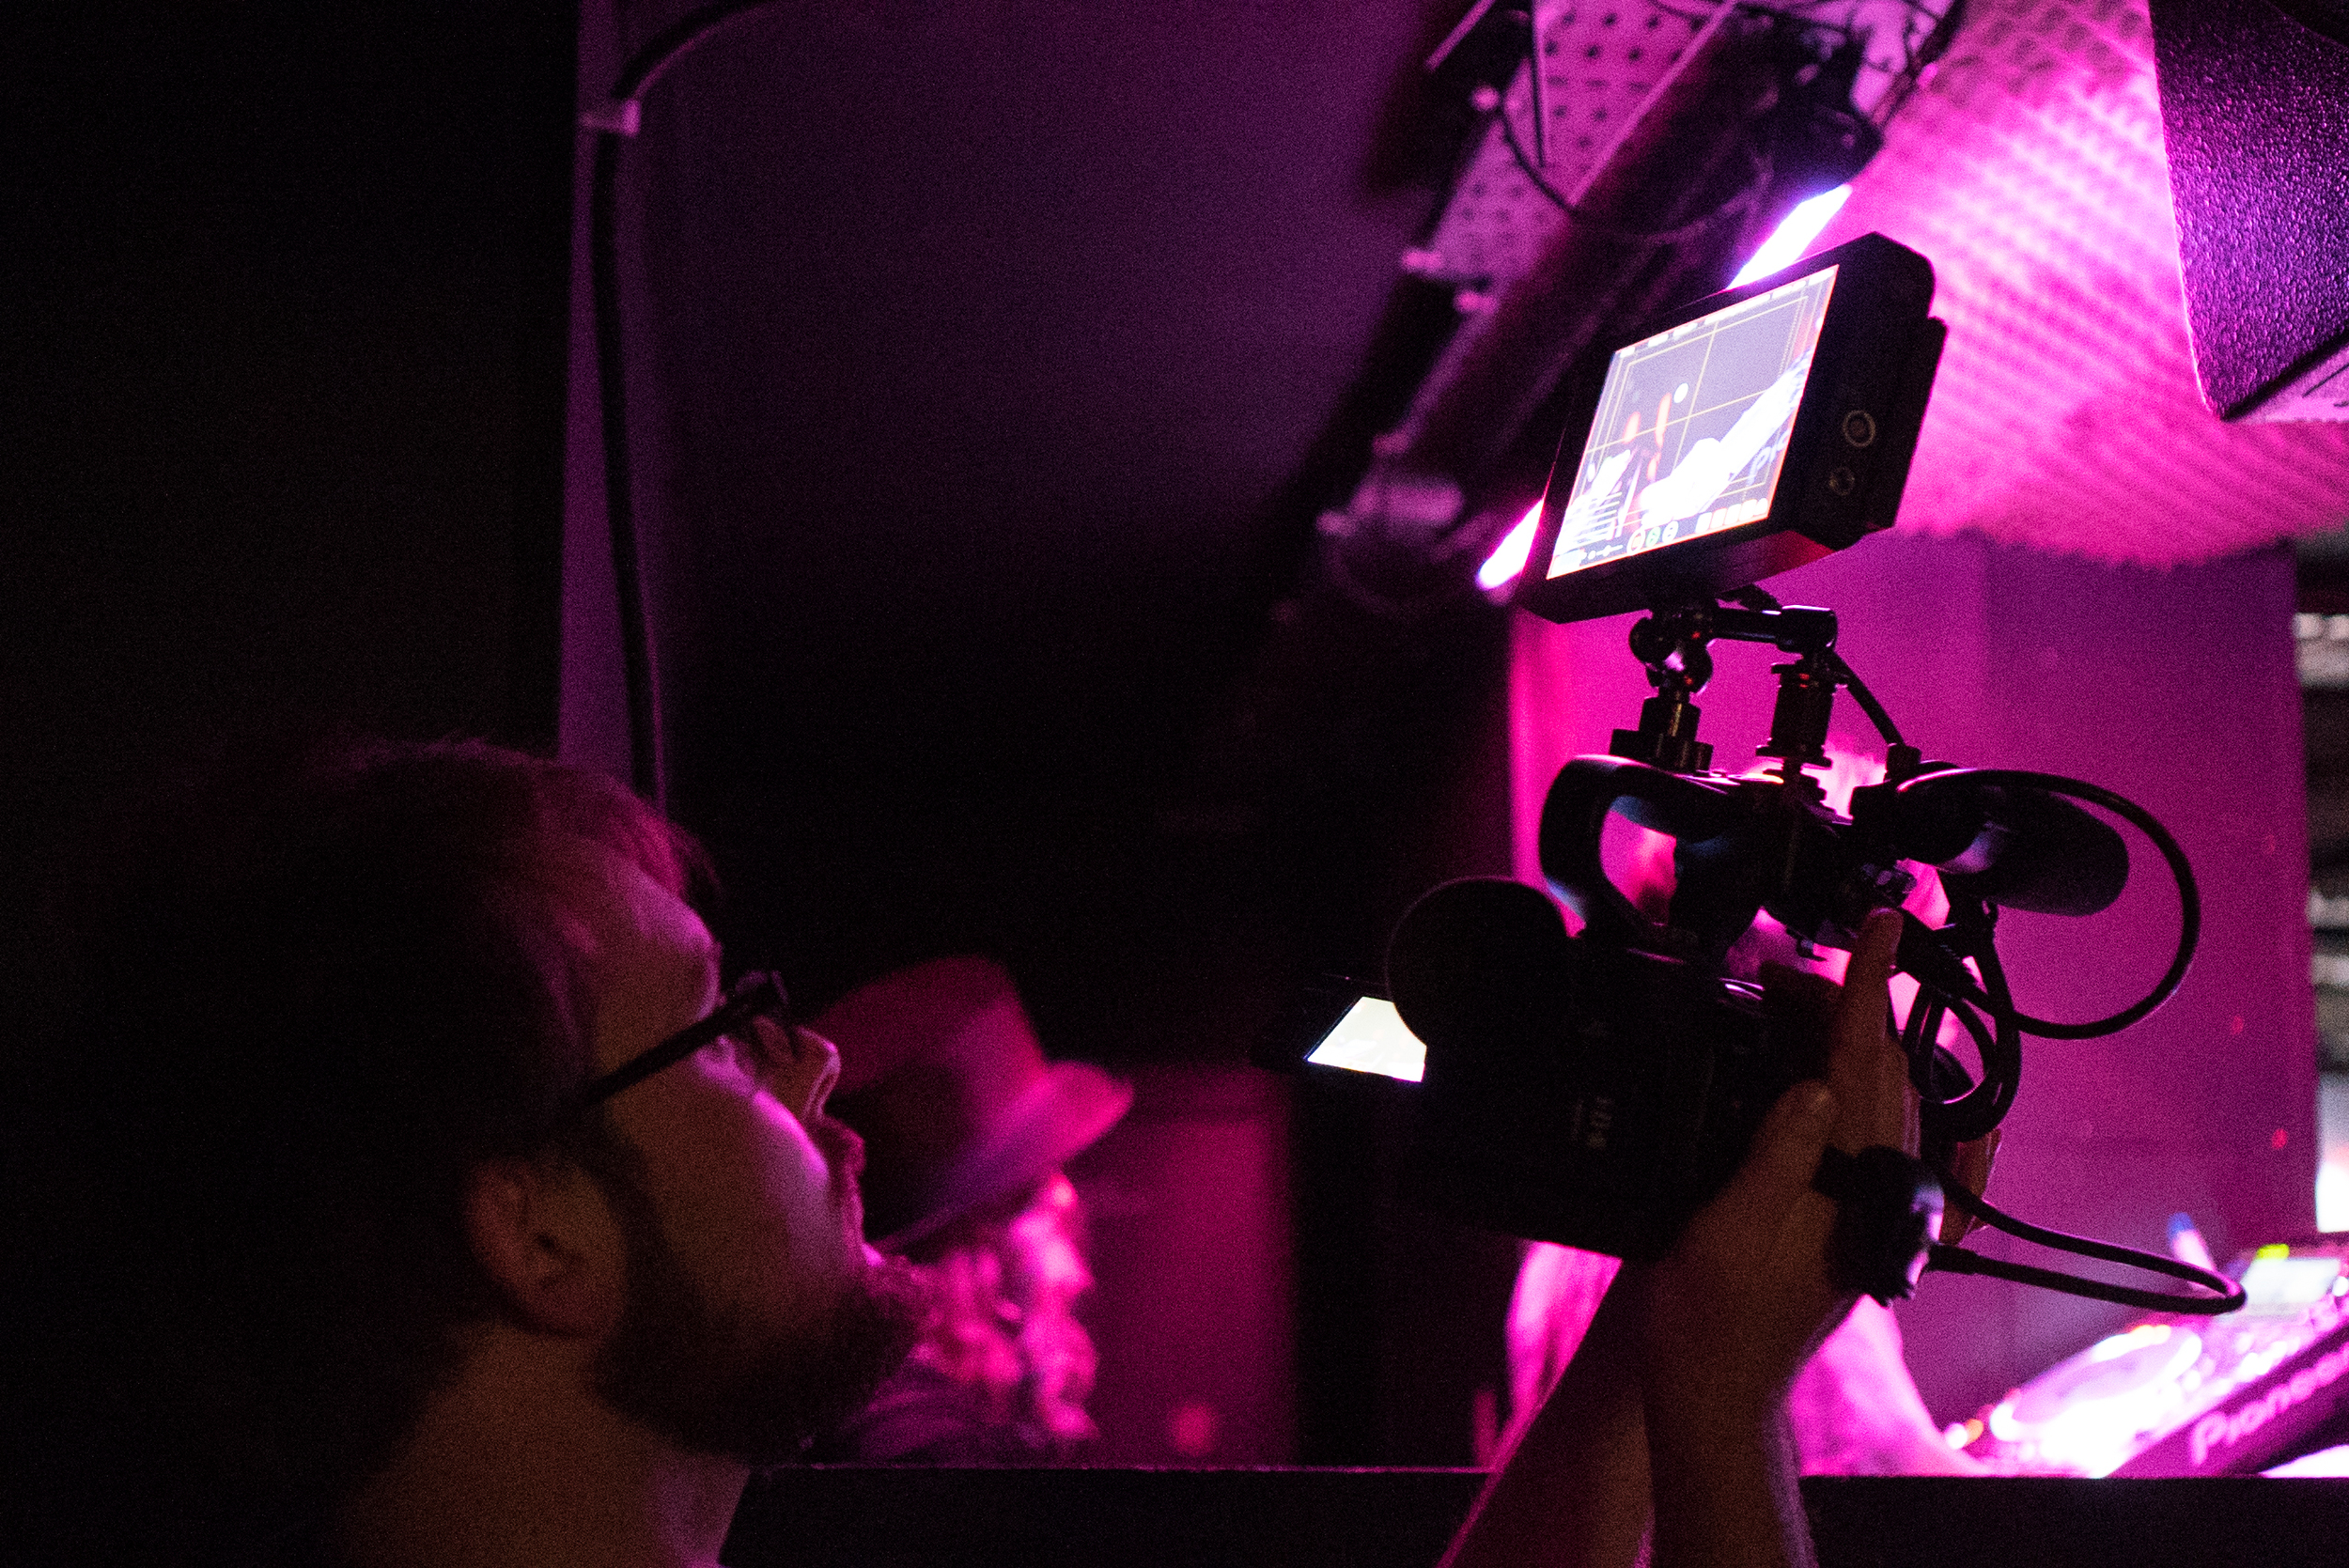
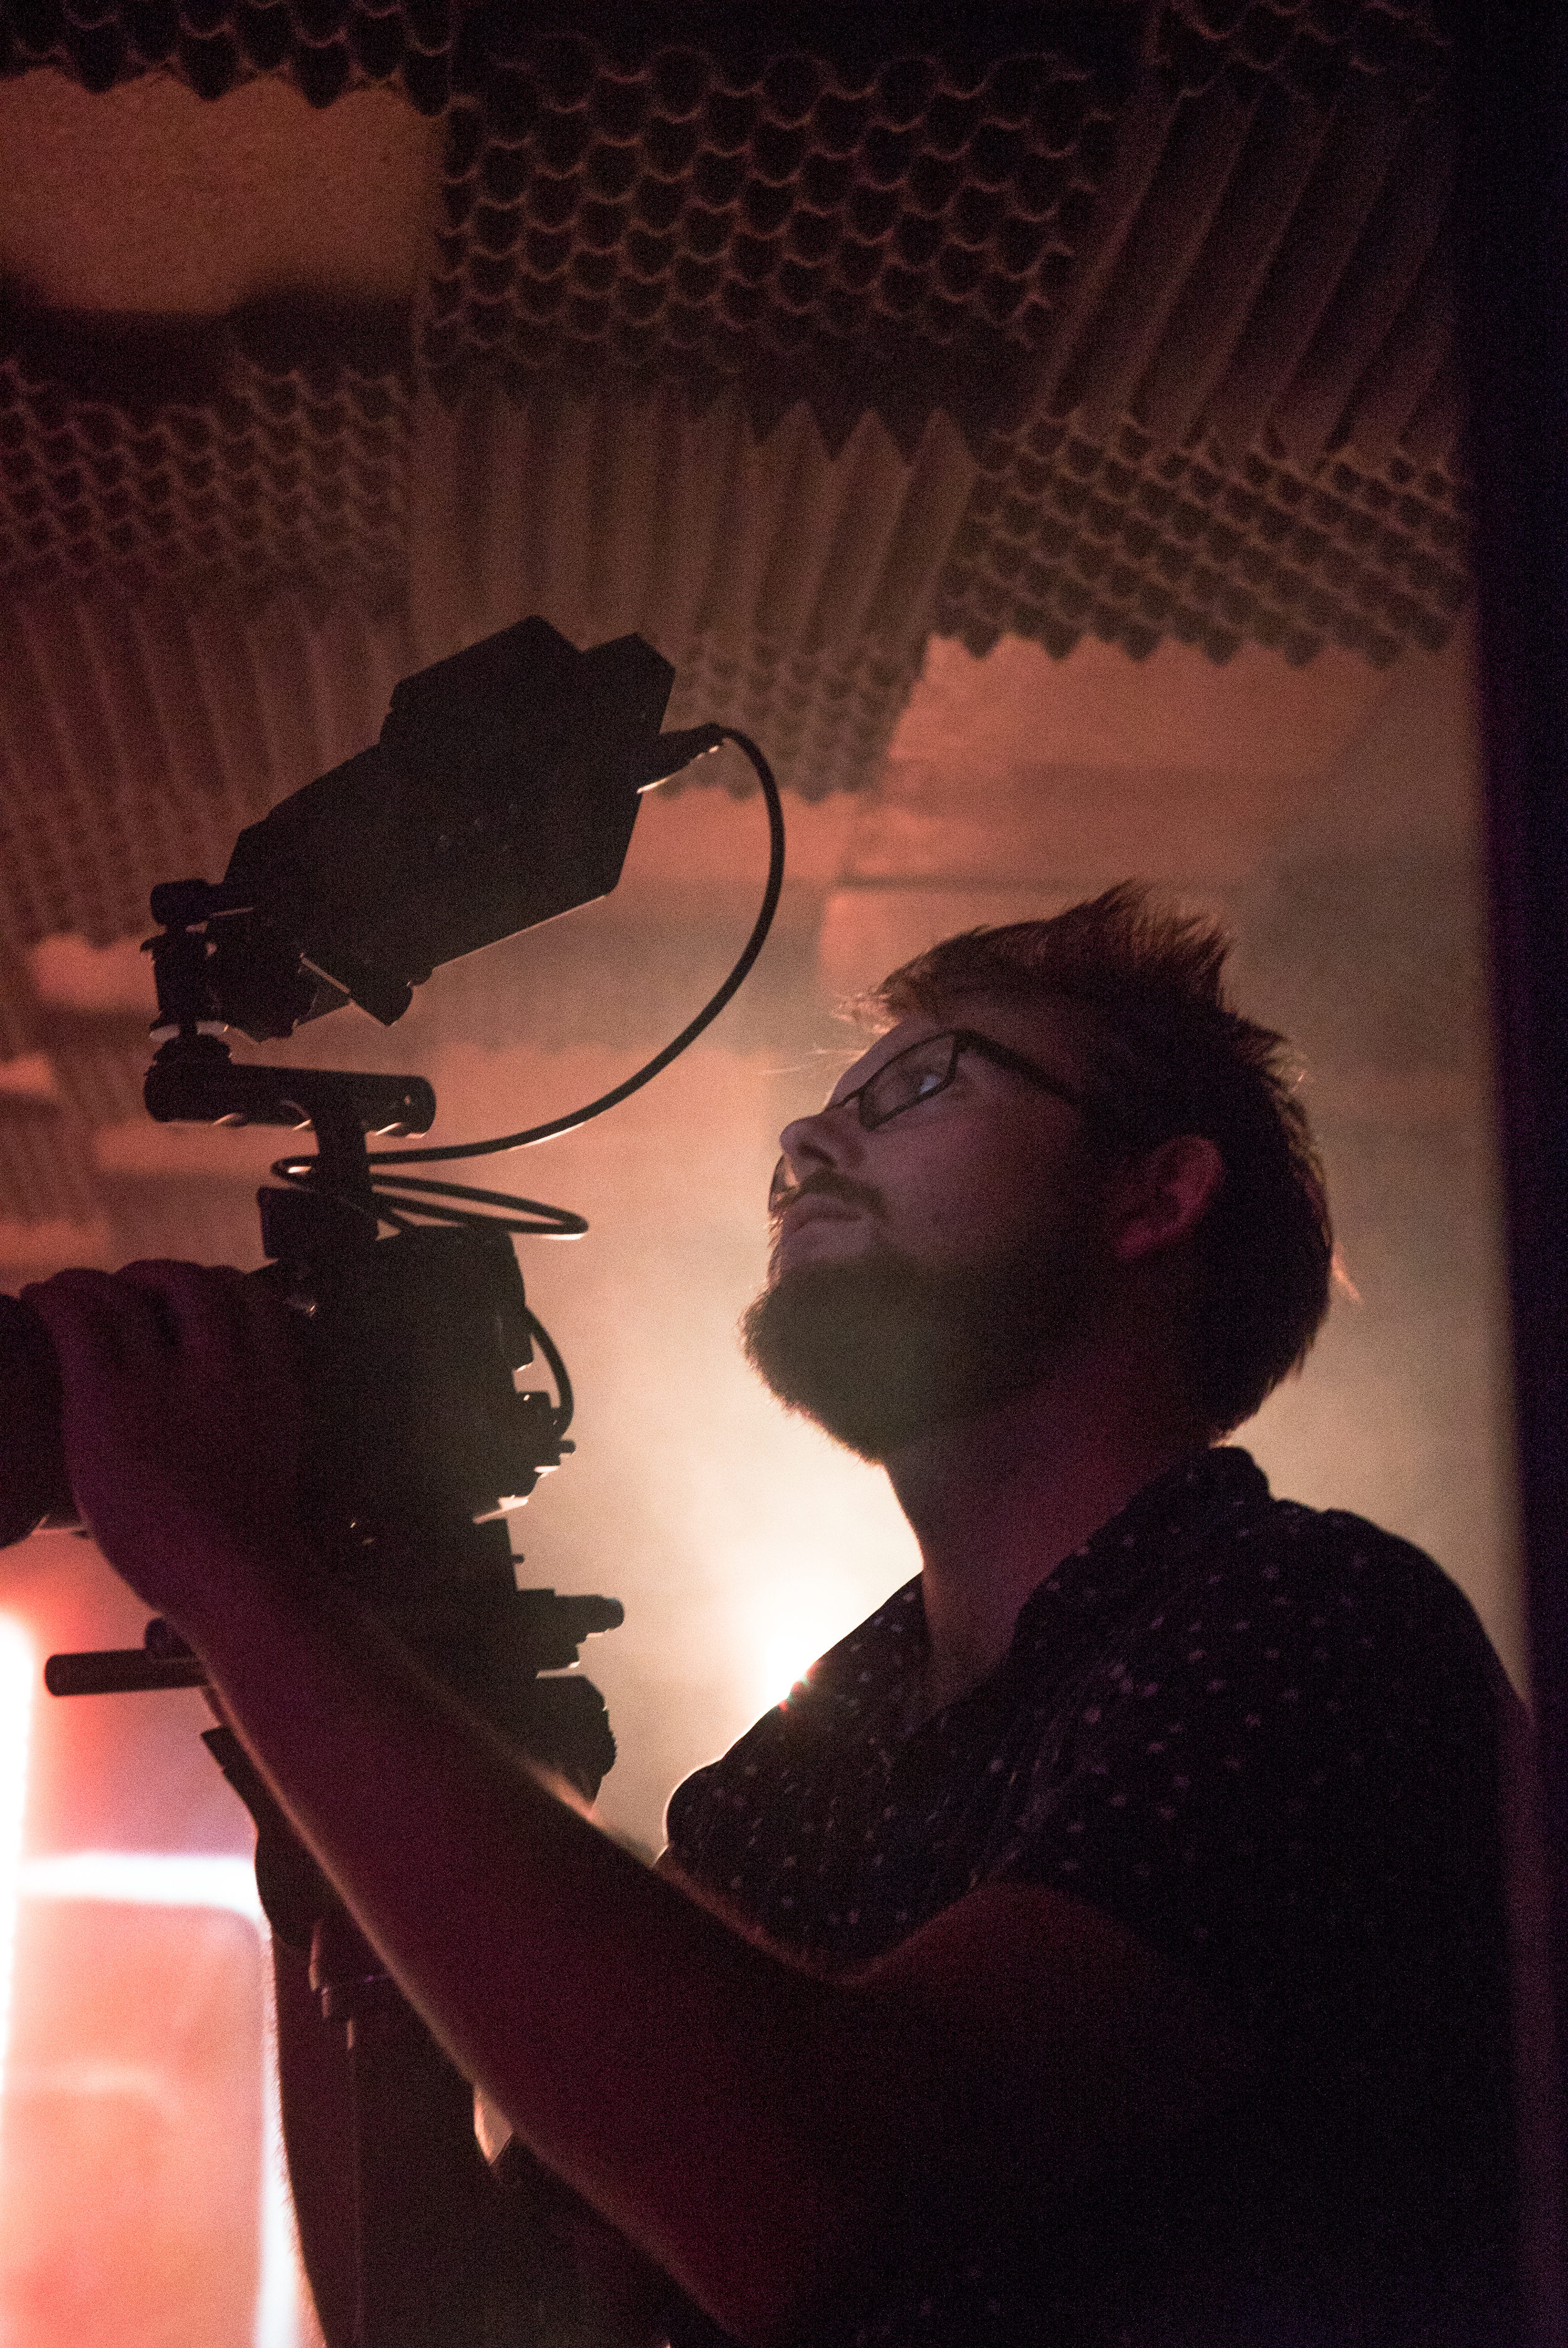
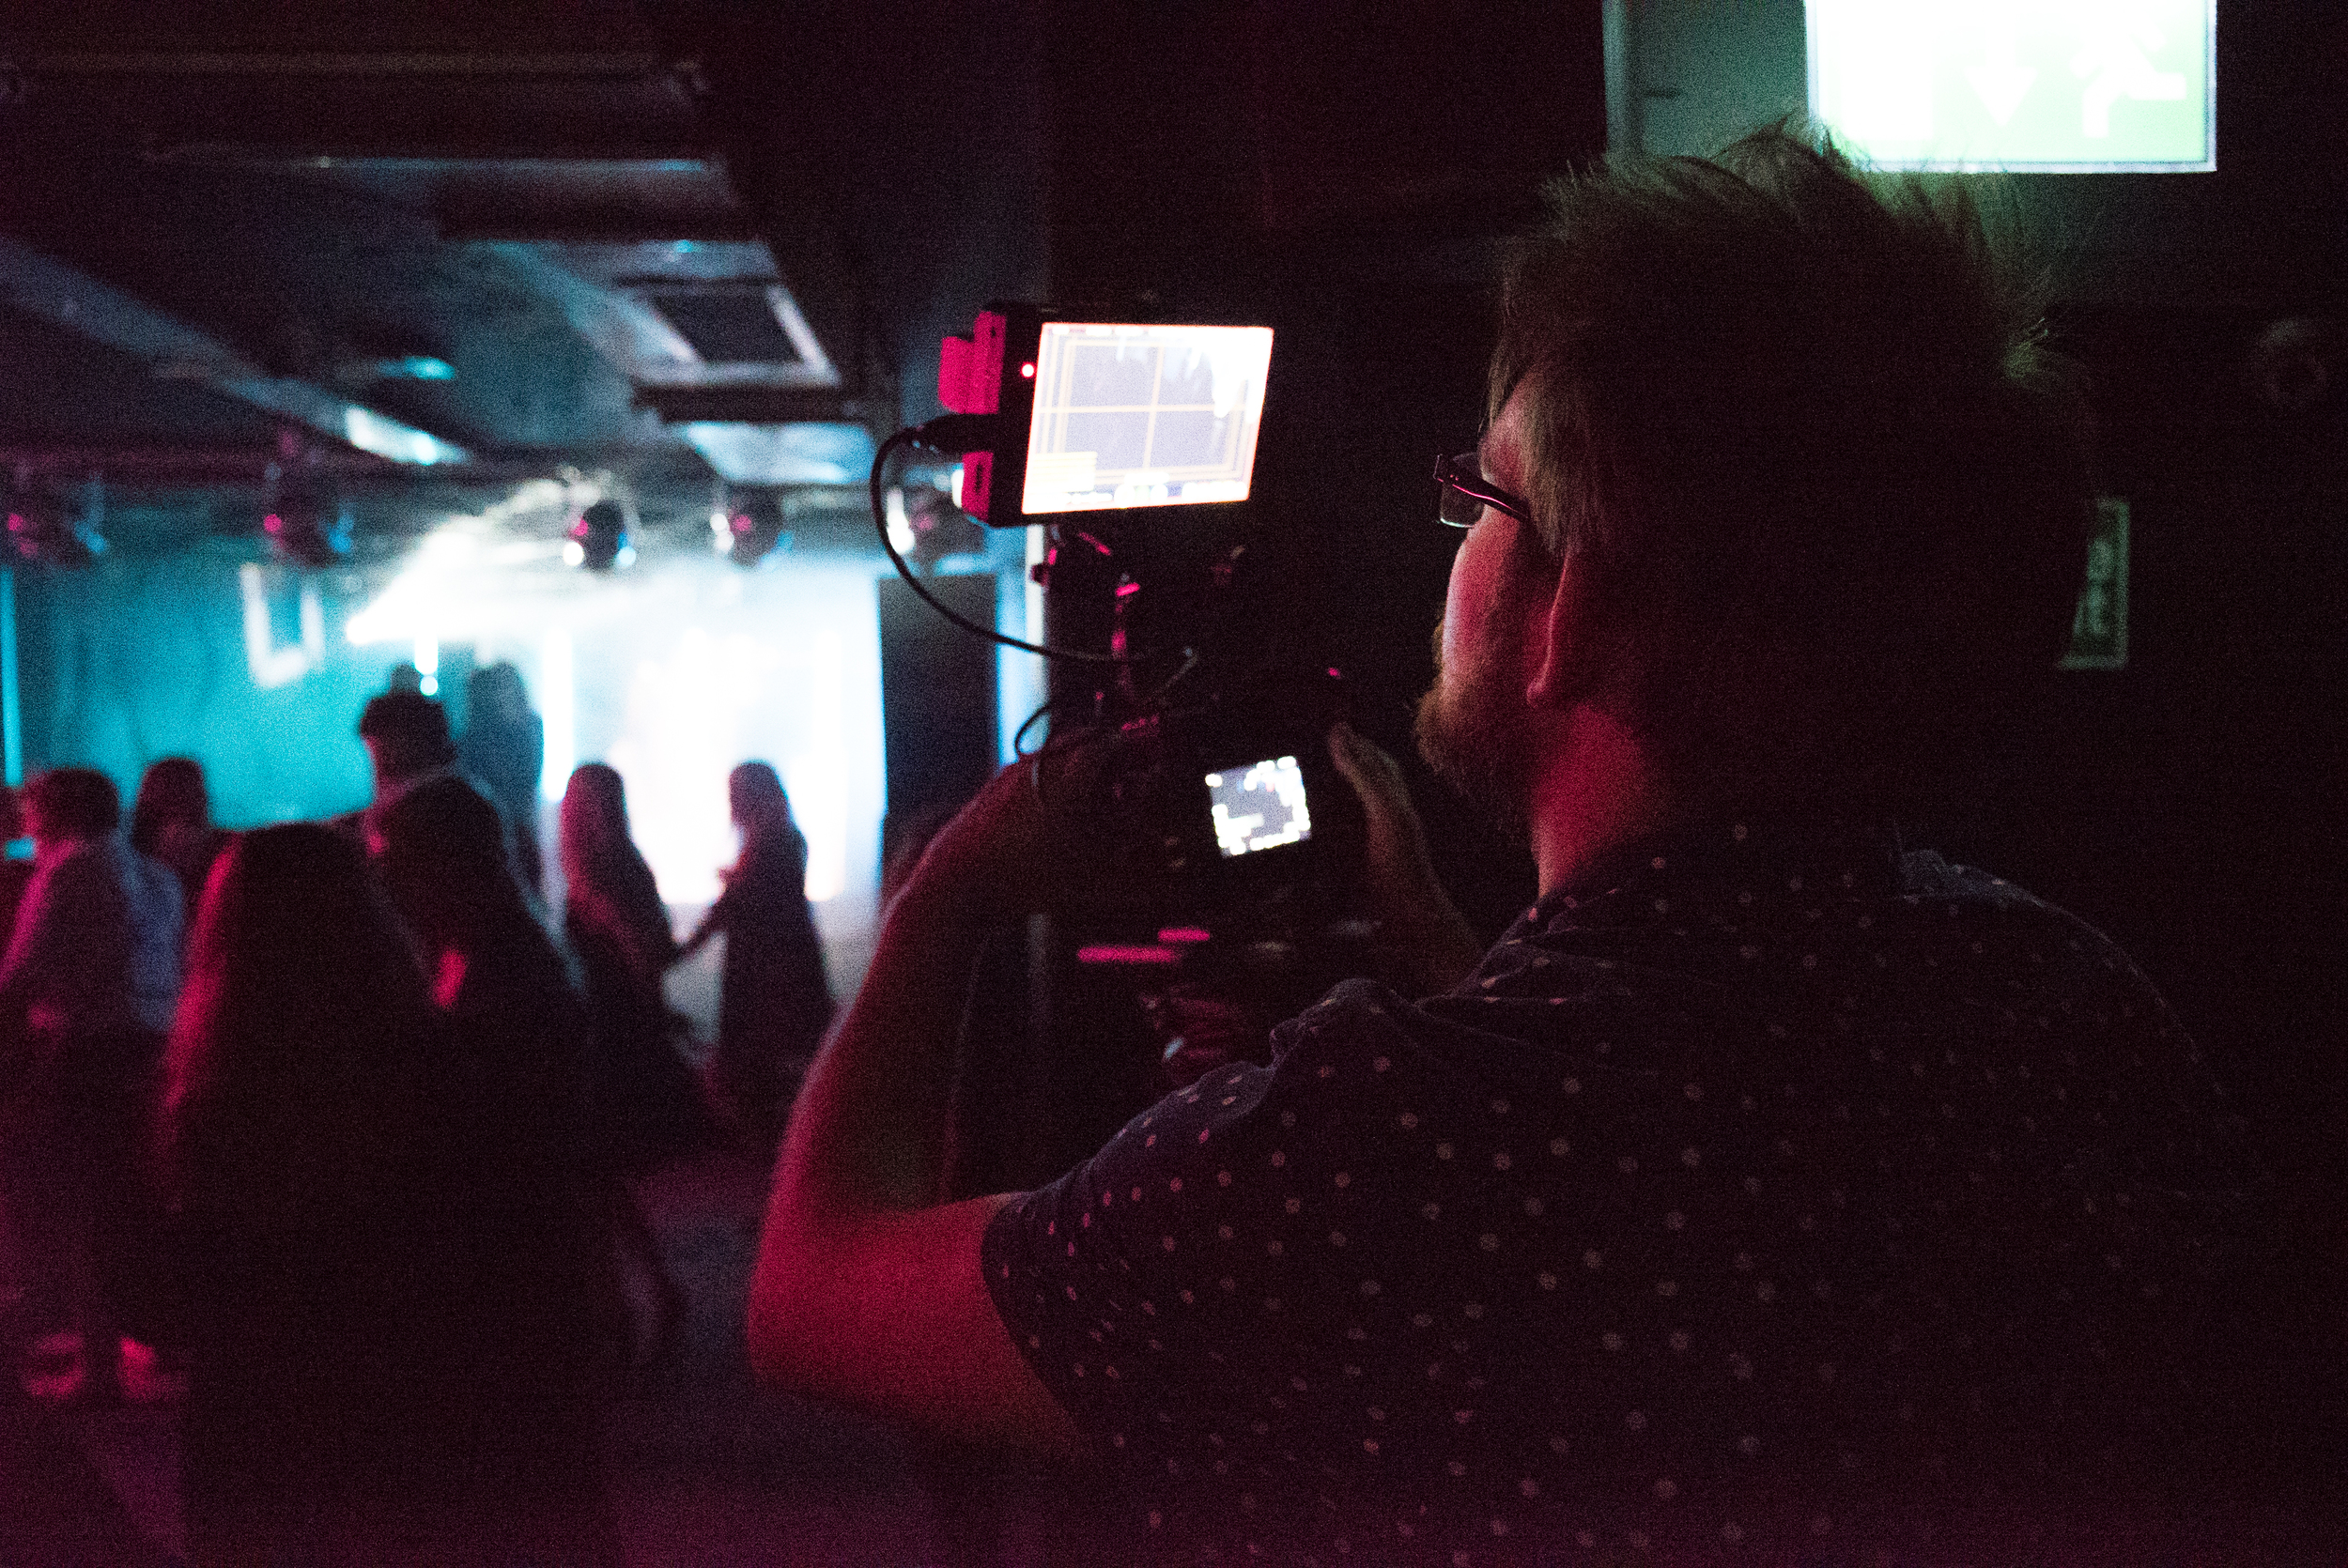
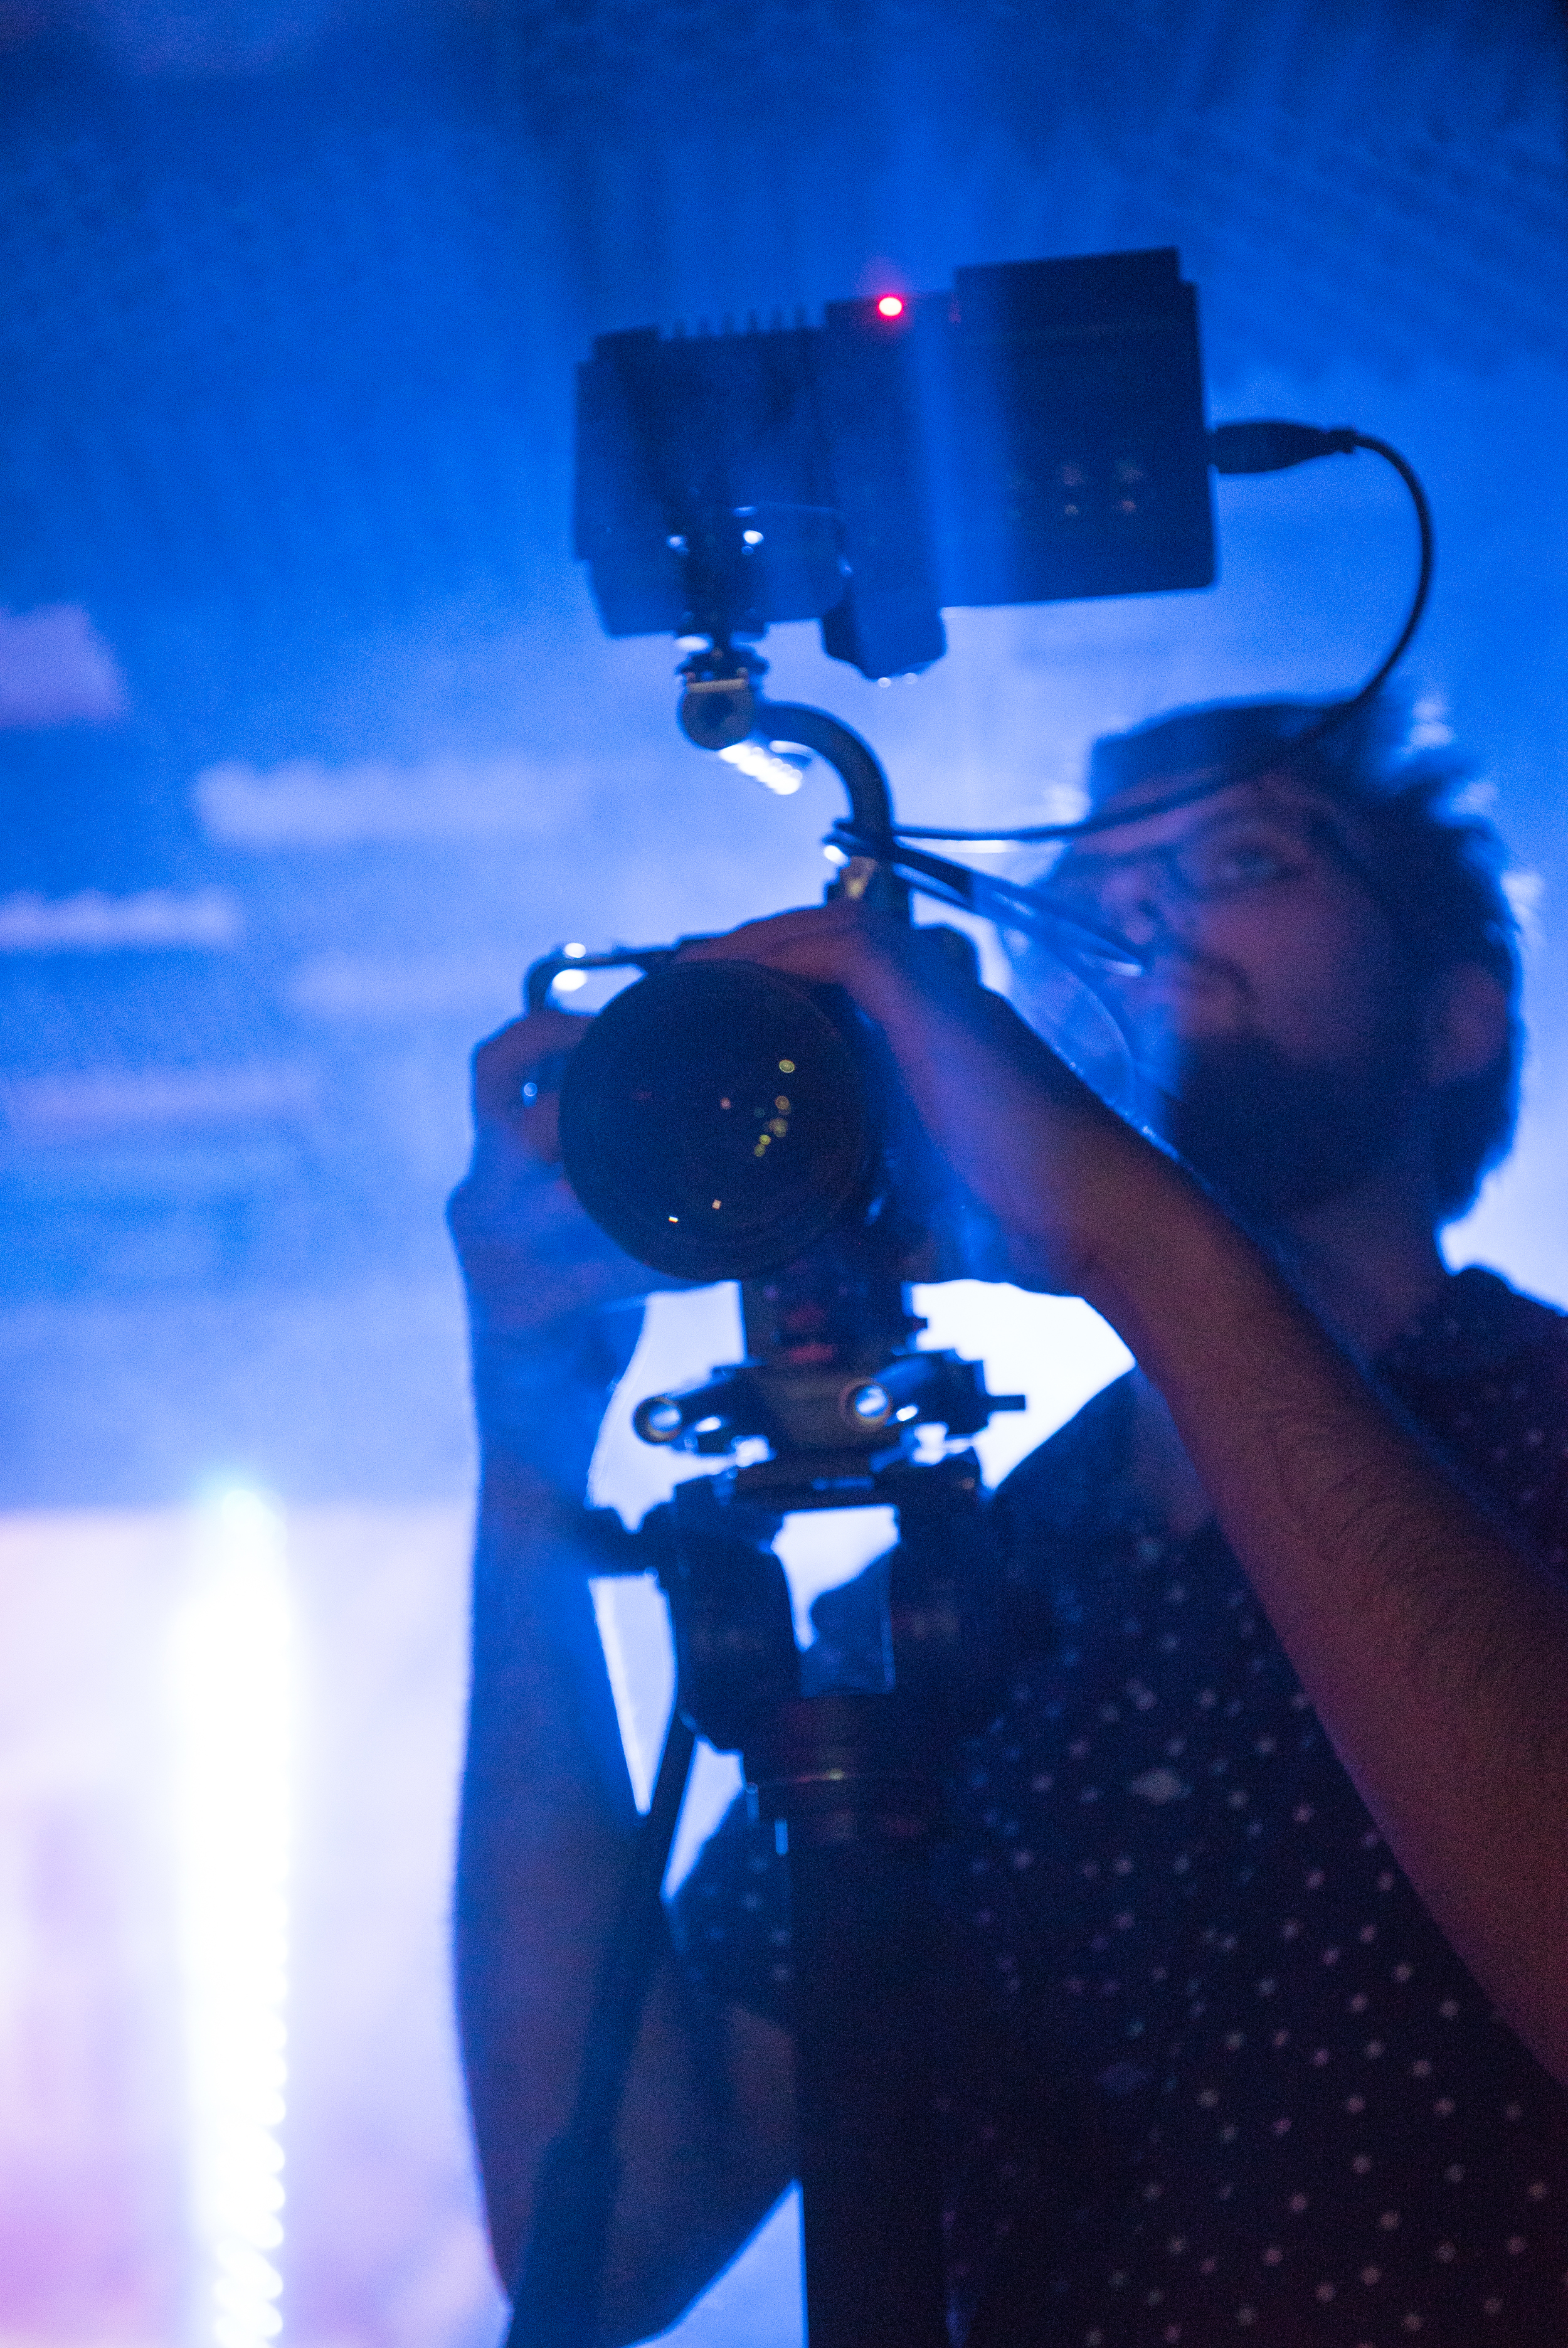
Filming with Ellie Goulding in Switzerland

Modular Filming Setup With The Sony a7SII and Andycine A6
The screen (5.7inch and 1920x1080) itself is brighter than expected, rated at 460nits and 1400:1 contrast ratio, again much brighter than other budget monitors, this is compared to the nearest popular competitor, the smallHD Focus monitor, that is rated at 800nits which has a display resolution of 1280x720 but higher pixel density. When filming in the snow and in bright sunlight, I was pleasantly surprised that I could still preview the image with ease.

Andycine A6 4K monitor interview setup with the Sennheiser AVX.
The A6 is feature-full, well, the tools that you would expect in a field monitor including;
Focus assist
False colour
Histogram
Over exposure (zebras)
Markers
Frame guides (2.35:1, 1.85:1, 16:9, 15:9, 14:9, 13:9, 4:3)
Anamorphic mode (letterboxes the image)
Audio levels display
There are four function buttons that can be preset to any of the features for quick access.

Andycine A6 4K monitor with the Sony NPF-750 battery and Sennheiser AVX.
From initial use, I was pleasantly surprised at the battery life. I use the NPF-750 (Sony/SWIT) type batteries with the monitor brightness at 50%. After four hours, the battery life was at 40%, so I’m confident you could get a whole days shooting out of a couple, if not one large NPF battery.
The colour reproduction was accurate for use with the Sony a7SII on this setup, but I would certainly look for a higher quality monitor if shooting in HDR, HLG or with a 10-bit O/P camera.
I did notice two downsides; the position of the HMDI port on the left side isn't convenient if you would like to use additional hot shoe mountable accessories on a cage. Of course there is the option to mount the monitor on the left of a cage and use the built in cold shoe to mount additional accessories like a microphone.
The other downside is that there are no LUT overlays or previews, which would make shooting in Log profiles a bit tricky. For a 4K monitor that is under £200.00, there has to be a shortfall somewhere, but this would be an ideal feature to include in future models.
However, the colour rendition, brightness, build quality, features and of course the price make up for that.
In the box, the A6 monitor comes with a mini HDMI cable, sunshade and bracket arm. If you're hoping to power your camera via the DC output, remember to purchase this accessory separately as it doesn't come with the monitor.

Sony a7SII 4K camera rig setup.
If I needed a small monitor and was on a budget, the Andycine A6 4K monitor is a great choice. It is easily rigged into a camera setup and performs as you would hope and expect. The battery life is a winning feature for me, but if you’re looking for LUT overlays, head for the smallHD Focus or Swit S-1053F. The monitor is light, and with a small NPF battery would be a great combination with a gimbal like the Zhiyun Crane 2.
Want to get your hands on the Andycine A6 4K monitor, follow the link to Amazon here.
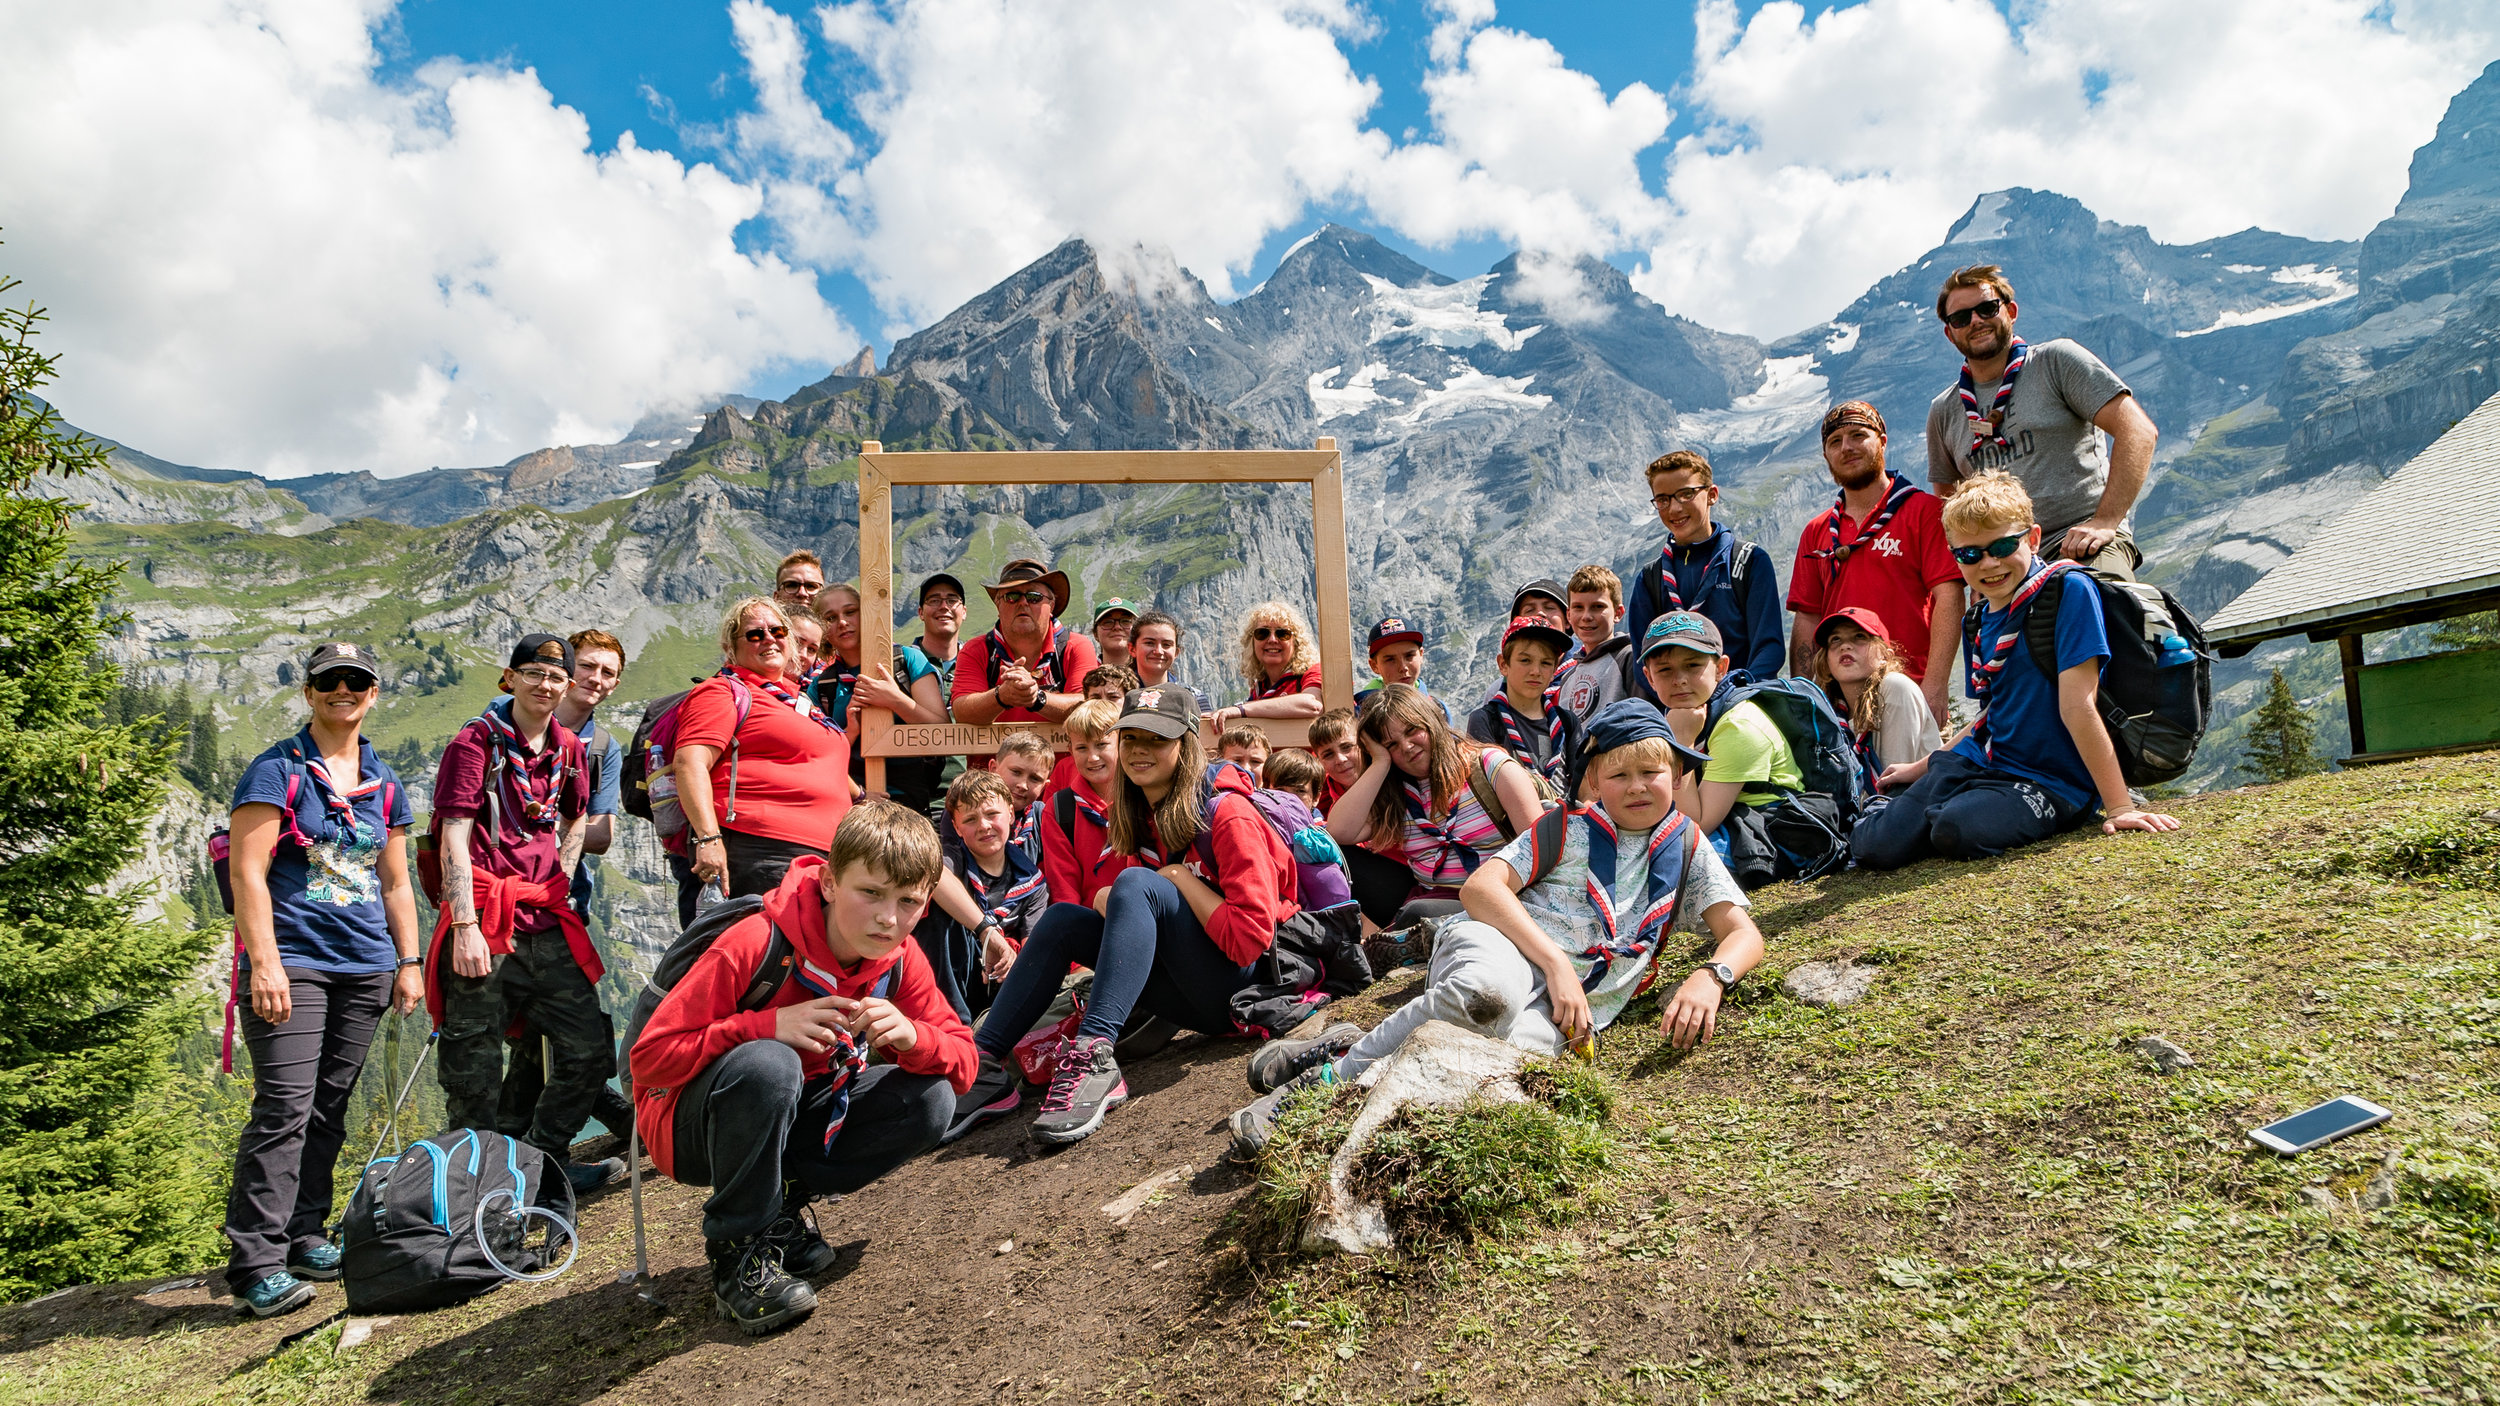
The above quote is taken from The Scouts blog post.
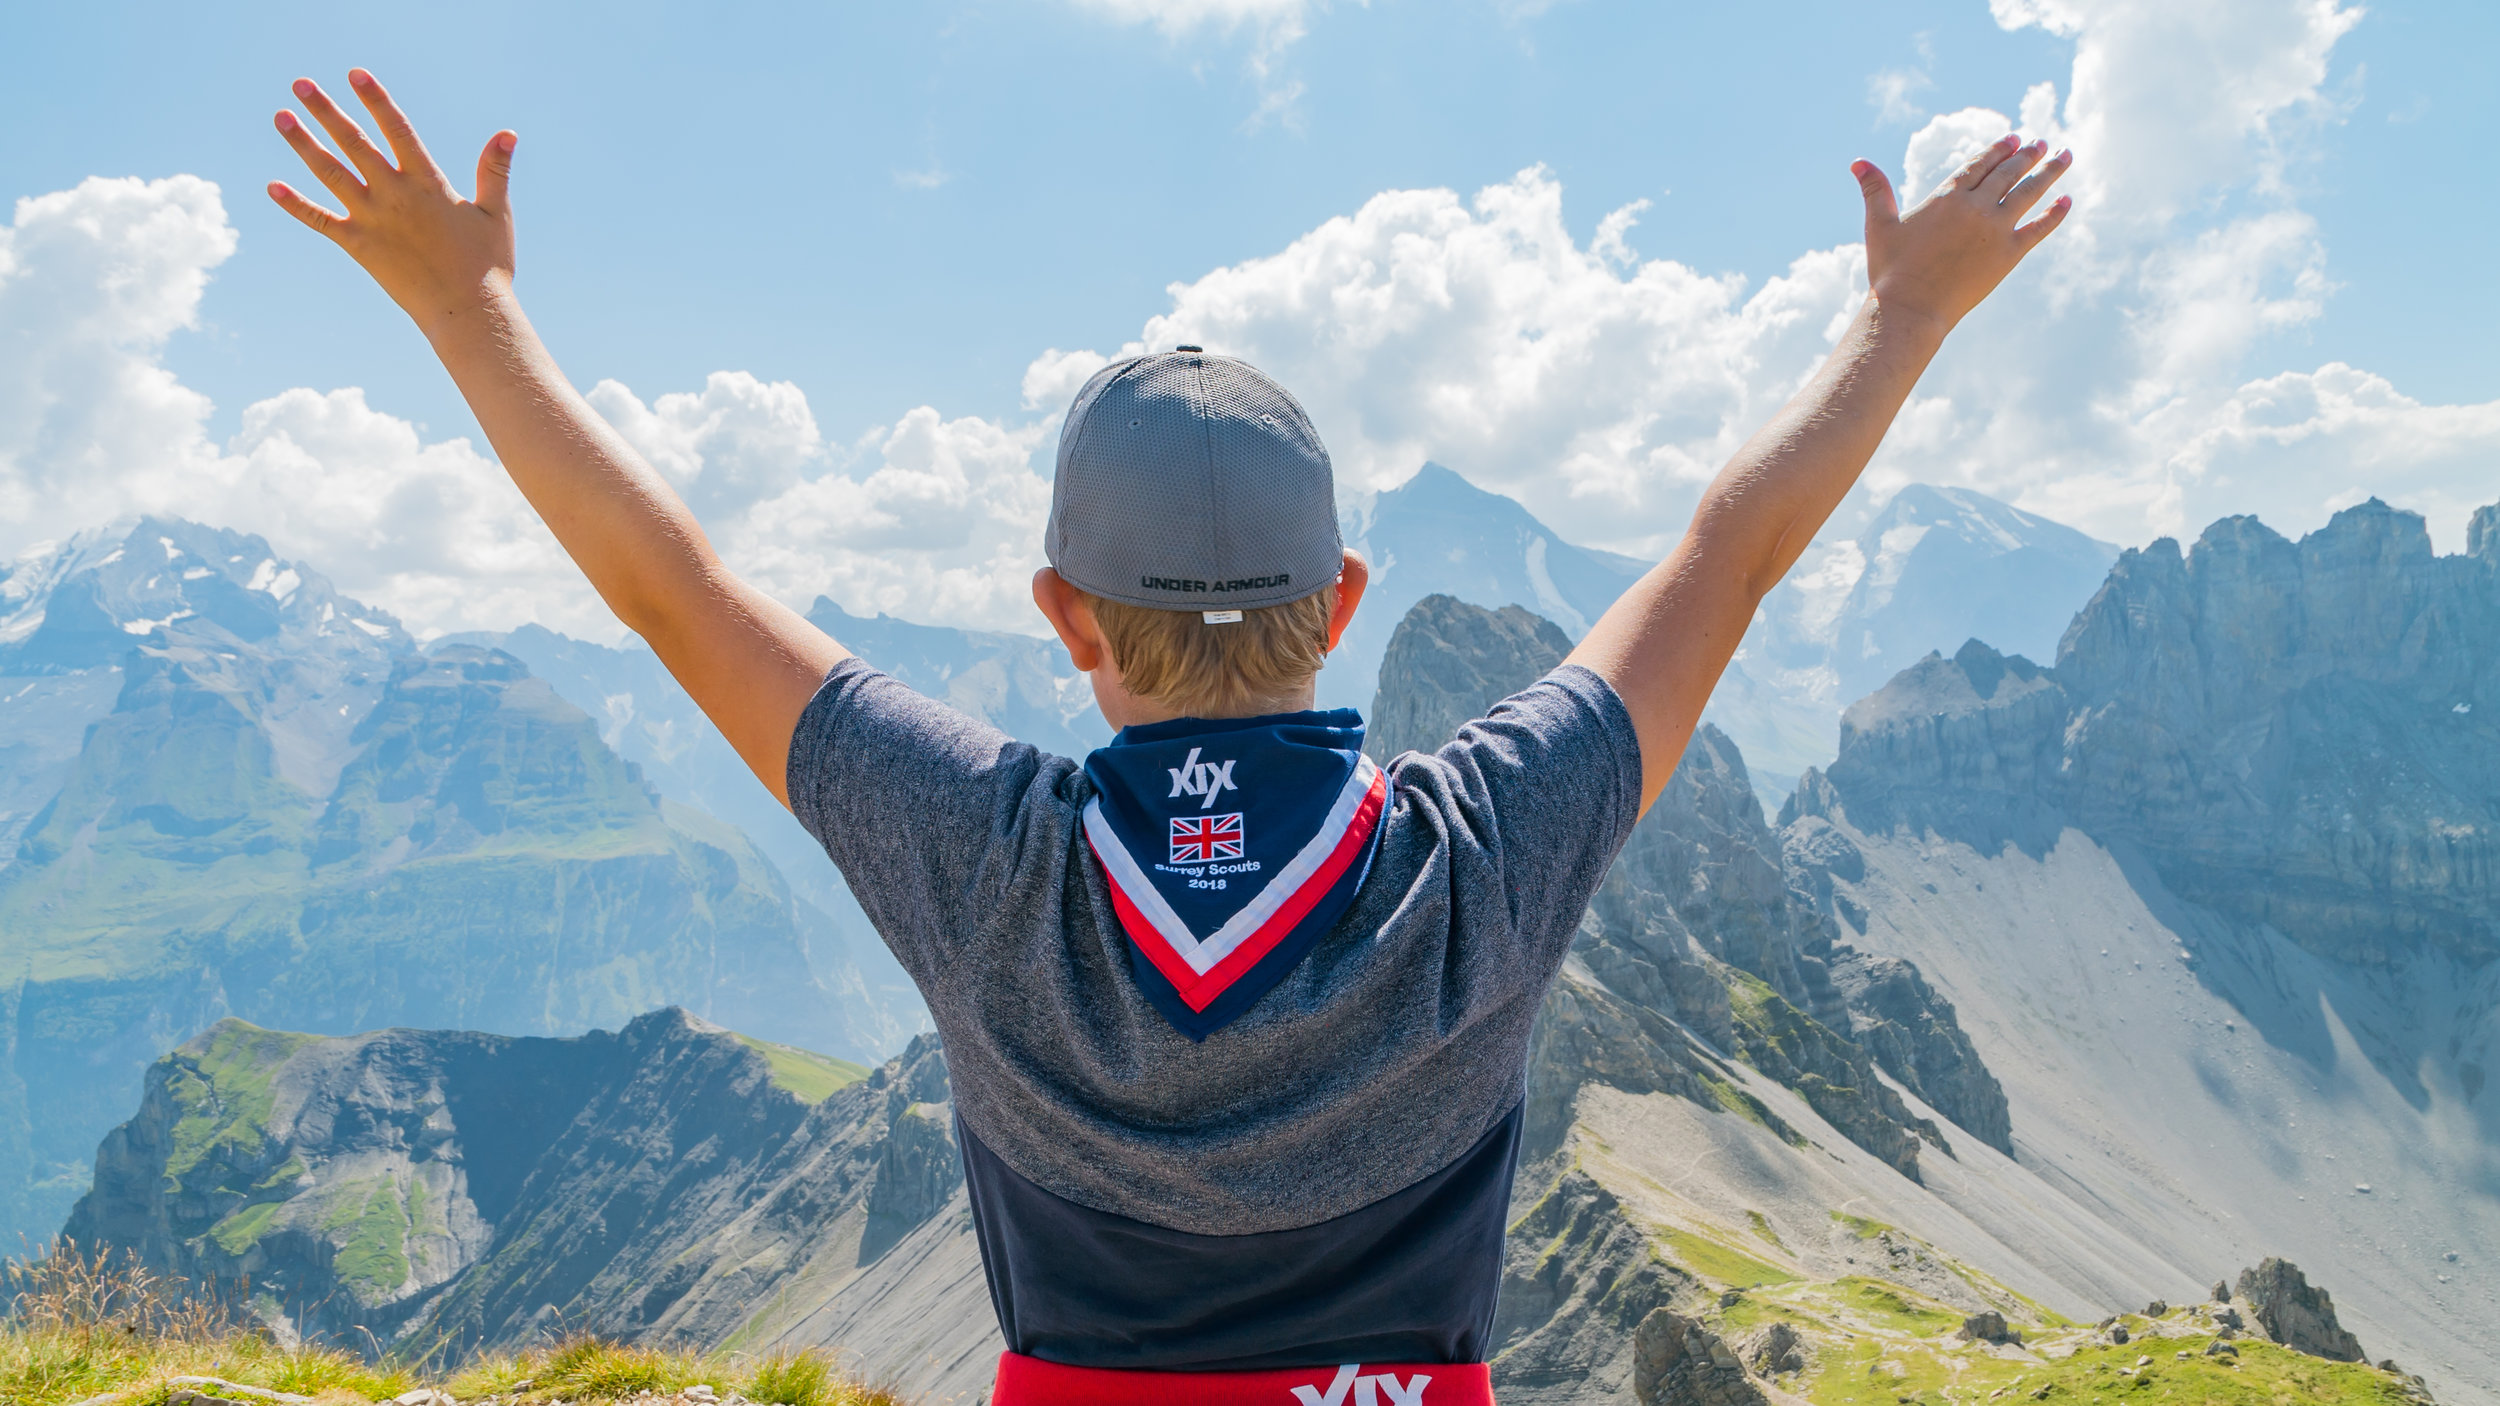
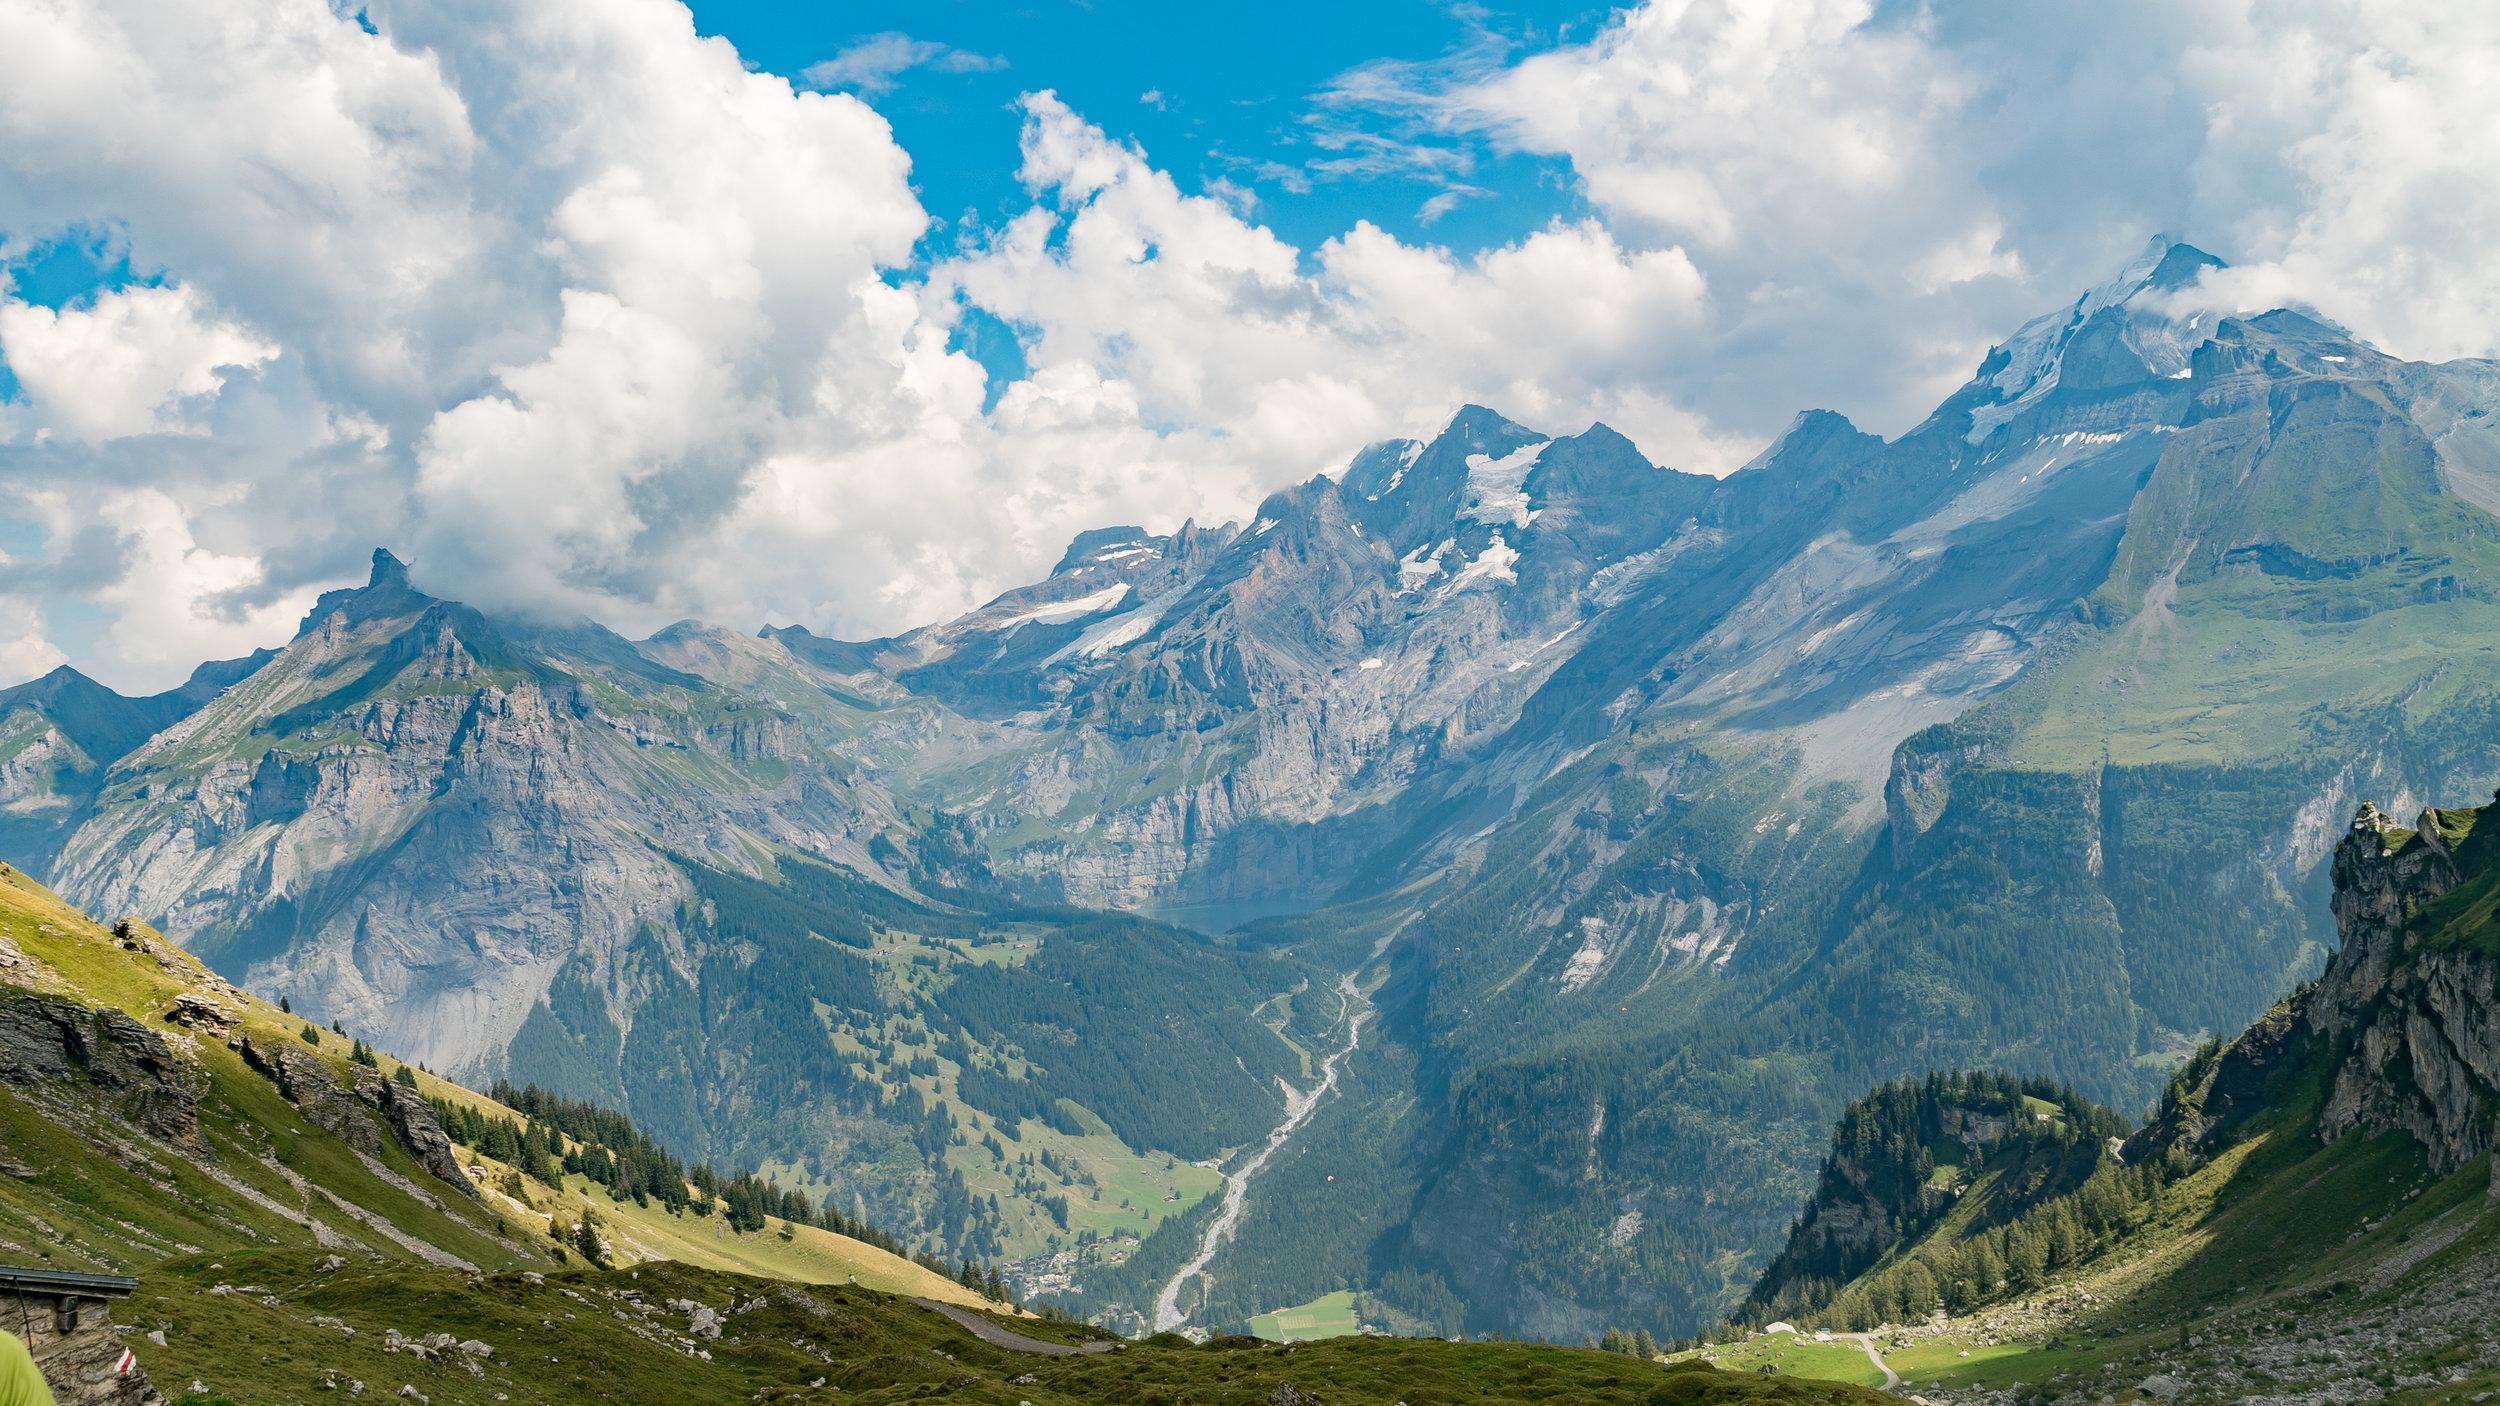
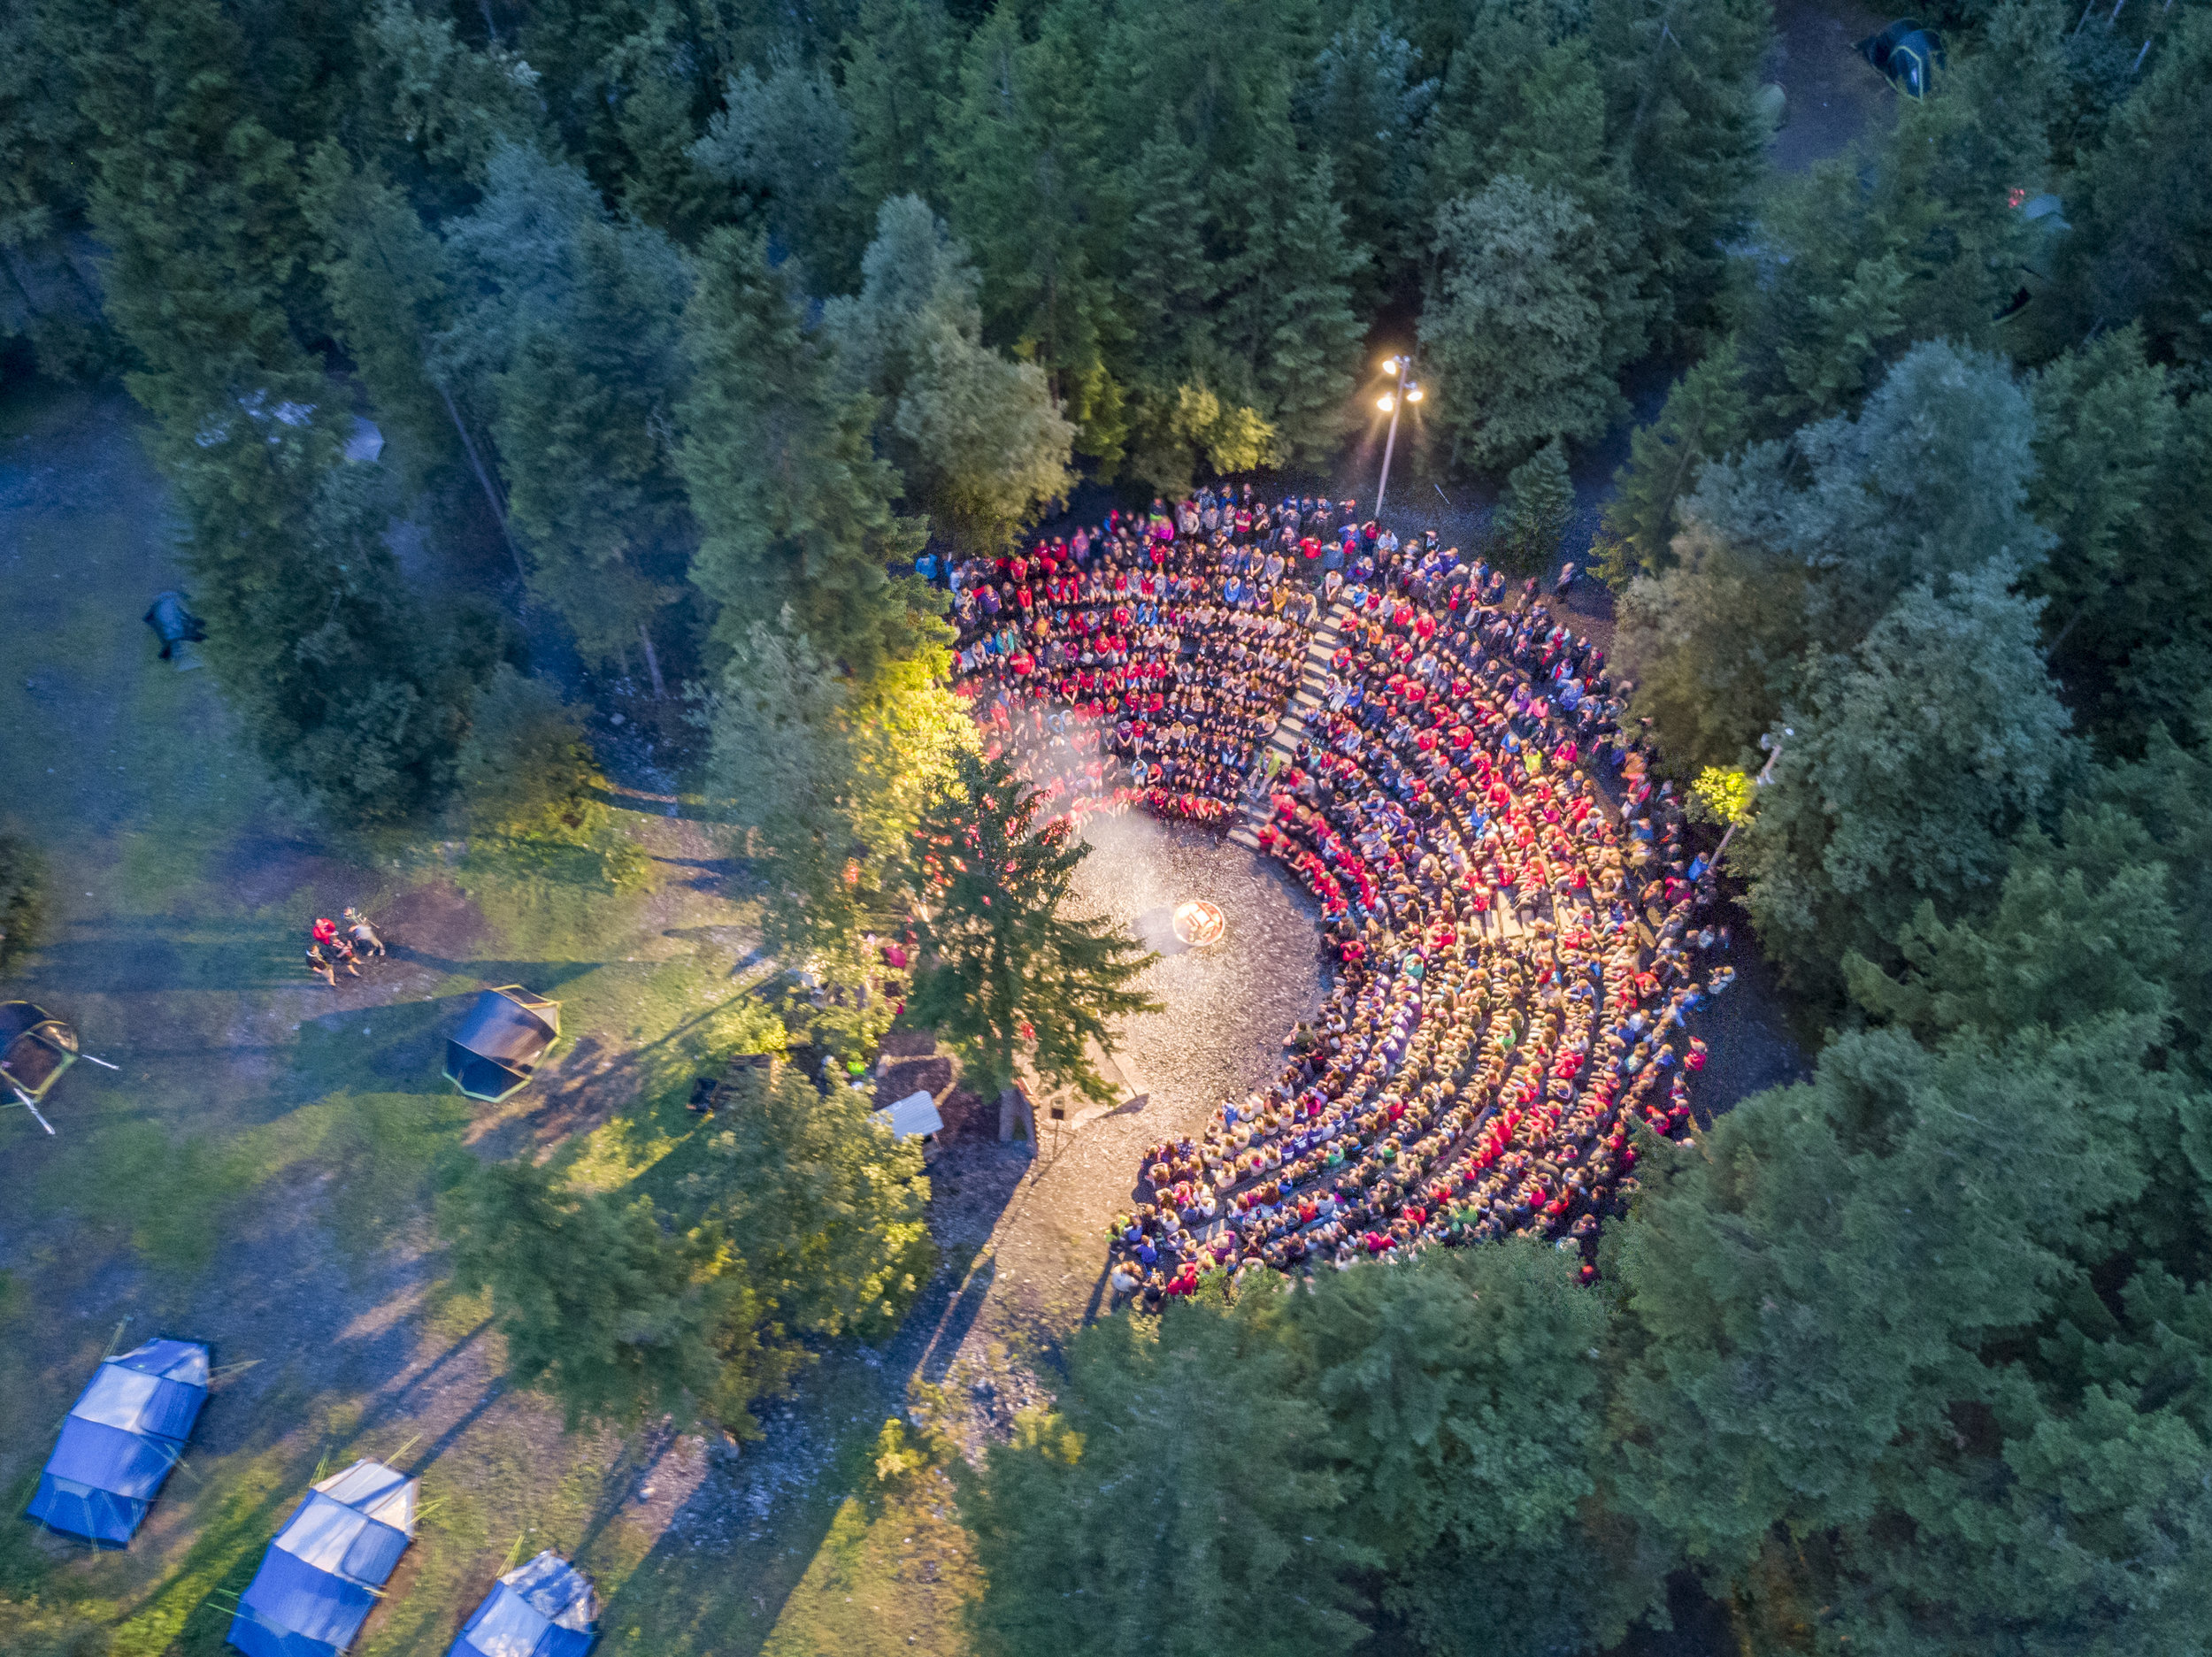
During the Summer of 2018, over 500 Surrey Scouts visited the Kandersteg International Scouting Centre in Switzerland. Part of my role in the County media team was to document the trip and share the amazing experiences with the world.
Little did I know that the above photo would become so famous. It’s been used extensively by The Scouts as it embodies everything that Scouting is about; worldwide friendship, adventure and a sense of belonging.
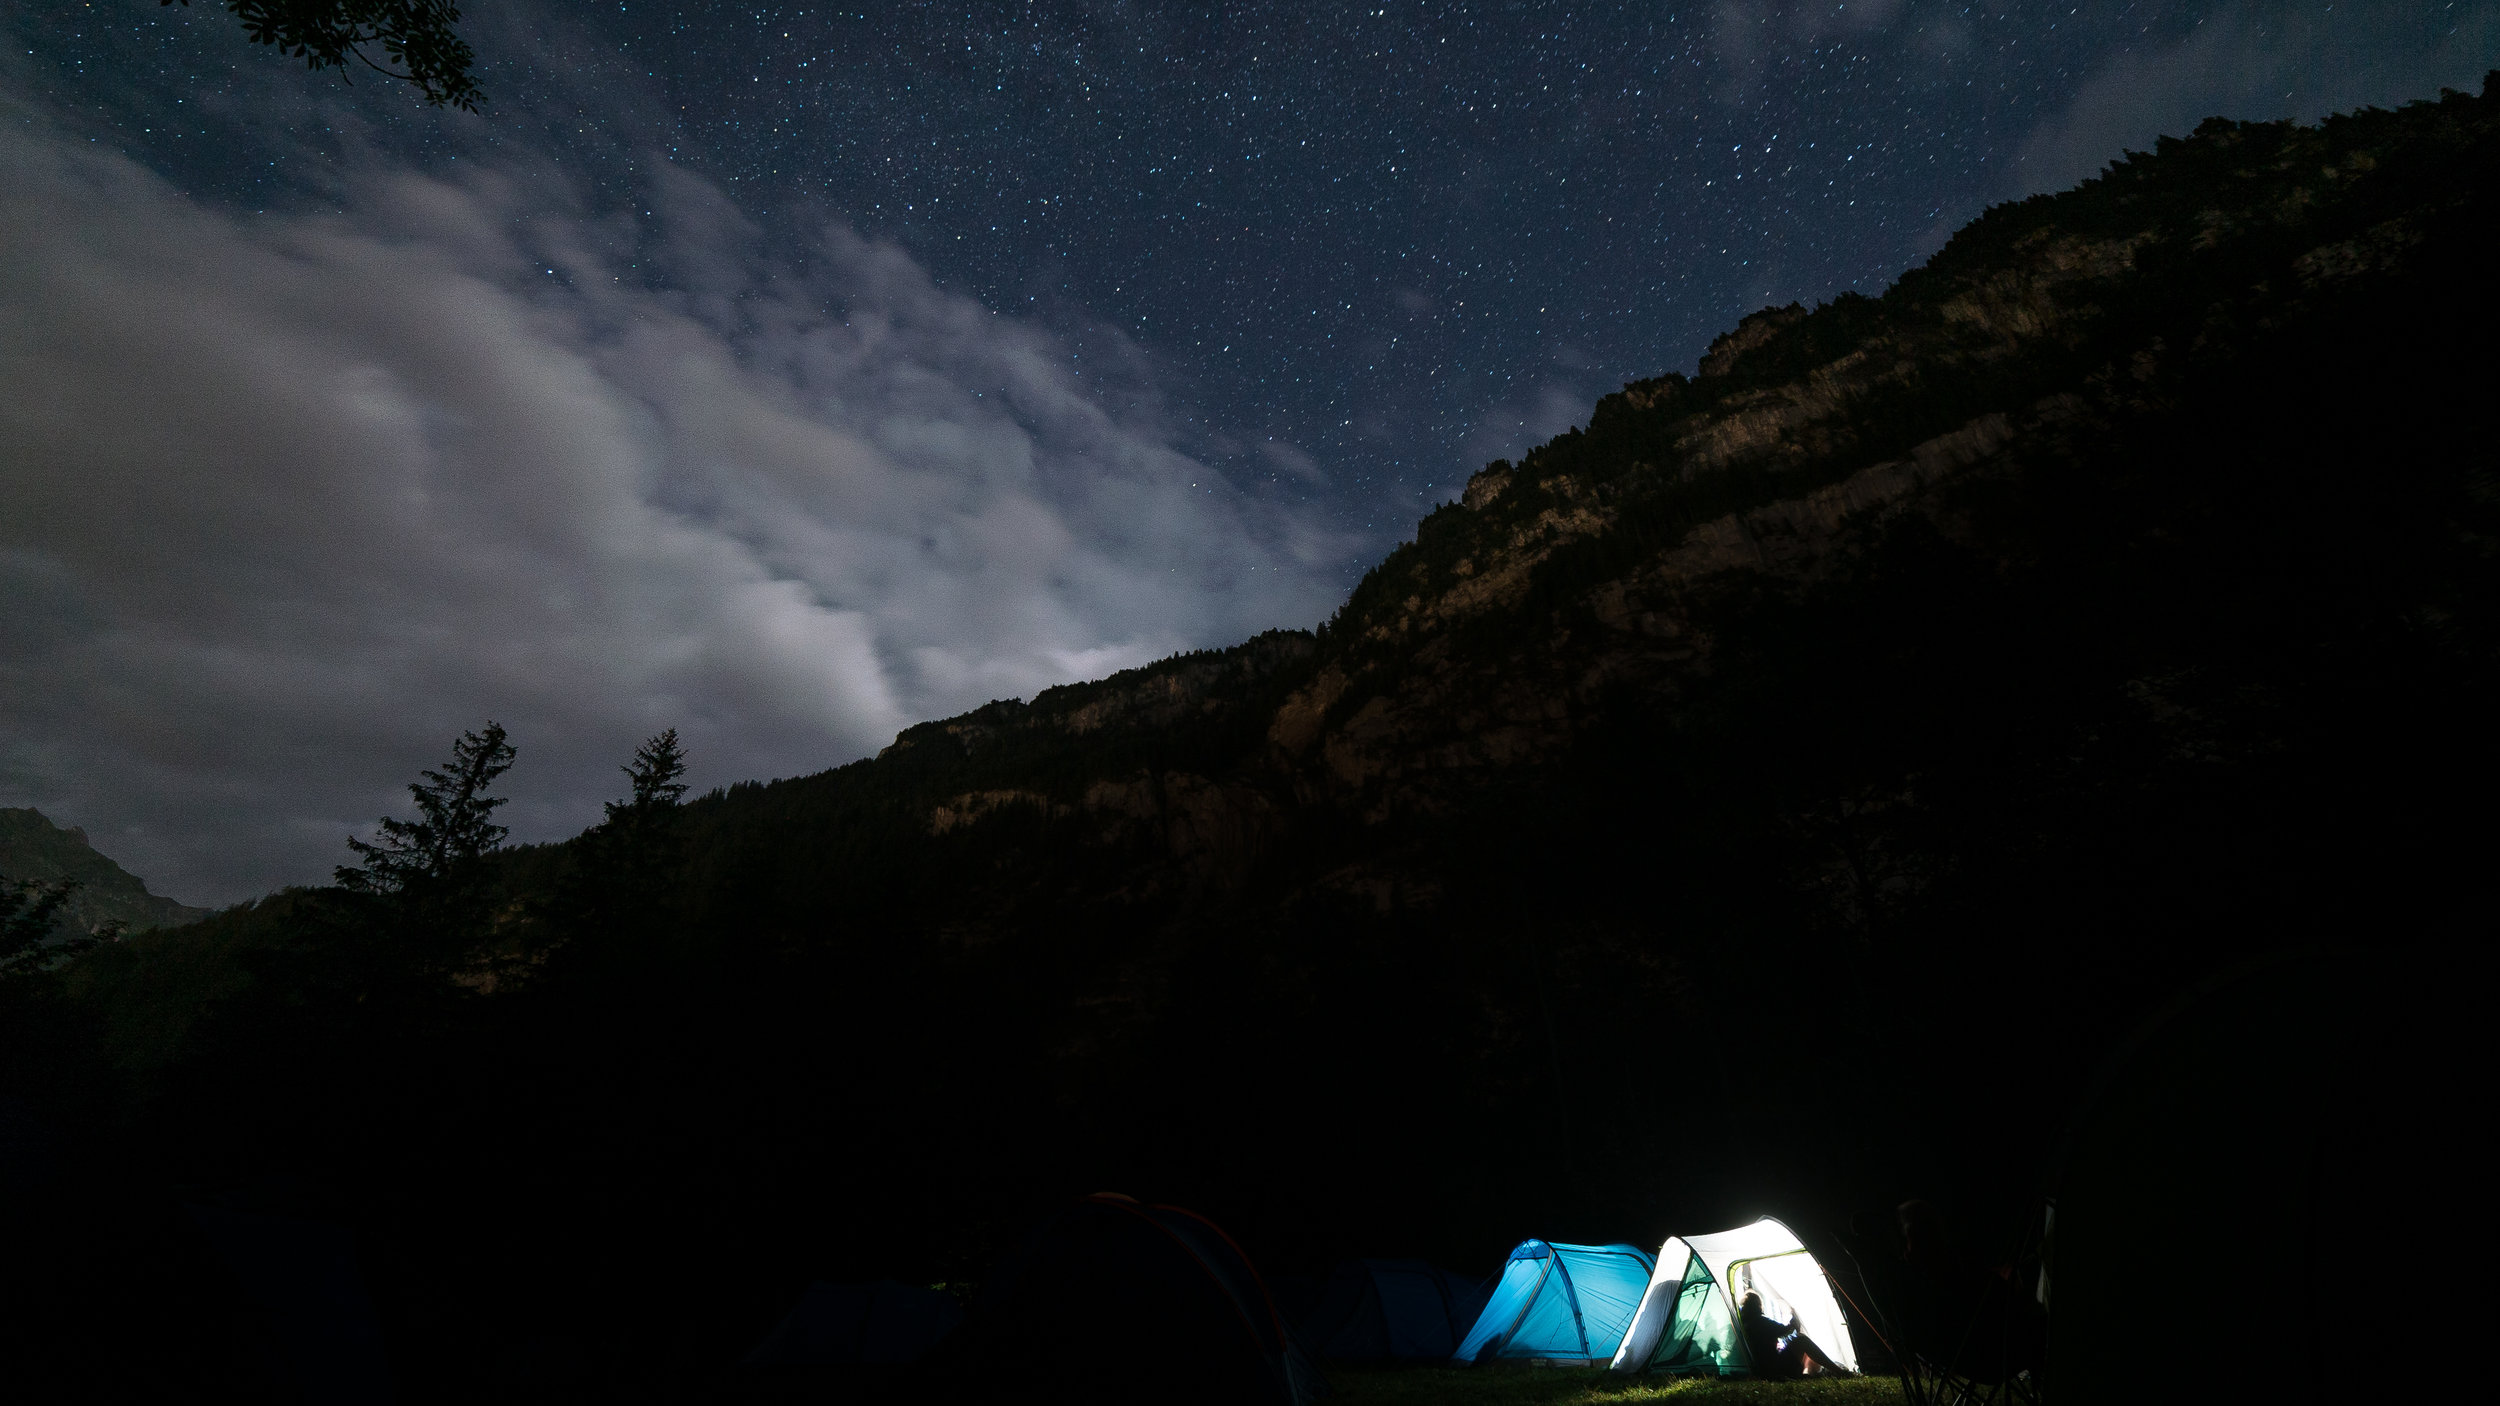
“The shot was captured using a drone.
I could see the camera downlink from the drone to my phone, which helped get it into position to capture some video footage. You can’t fly directly over the top of people for safety, which is why I composed it with the group slightly off centre, getting the tents and parts of the forest in there too. The drone itself can only fly for 15 minutes before you have to change the battery, which doesn’t give you a lot of time to fly, film and take photos! In the mountains it gets dark very quickly, so it was quite a challenge to get the drone to the right height, the right angle and in the right position – I was battling against the fading light and fast-moving cloud, which would quickly cover the drone.”
You can read the full article by The Scouts here.
Check out our KIX18 highlights reel:
The aerial photograph was captured using the DJI Mavic Air in HDR mode just as the sun set. The flood lights made the sea of red and surrounding forest glow out of the darkness.

The photo resounded with The Scouts so much that it has been selected as an ‘Image Of The Year’ and has also been included on the first Scout Monopoly board game, which is on sale now in the Scout Shop.
Note: I am a Sony shooter so won't be looking in depth at the capabilities of the Crane 2 with other manufacturers, I have done some follow focus tests with the Canon 5D III as an example.
Feature wise, the Zhiyun Tech Crane 2 packs much more into the gimbal than the Crane 1 and Crane v2 combined. It's increased payload means that shooters using Canon 5D's or Sony a7's with Metabones adapters can comfortably operate the gimbal with less stress on the motors. I've even seen Canon cinema cameras, RED cameras and Sony FS5's rigged on them!

Using the Zhiyun Crane 2 while filming for Manfrotto
A brand new feature is the follow focus, in which I've seen some great examples of Crane 2 operators pulling and tracking focus on moving subjects. Zhiyun Tech has since updated the gimbal firmware so that a number of the camera control features are now available when filming on Canon, Sony, Nikon and Panasonic cameras!
The biggest improvement for me has been using a Manfrotto standard quick release plate, that simply slides on and off the gimbal. It means you can go from filming on a tripod or monopod straight onto the Crane 2. No hassle, no screws to undo and then re-balance the gimbal. It's simple, and it works.

On a recent shoot, I swapped between filming with the Sony a7S II and Sony a6500 on the Crane 2, which was ideal!
Dual handles for the Crane 2 allow for more accessories such as a monitor or microphone to be added to the setup. There is also a follow focus unit now available too, that hooks up to the focus wheel on the handle. For more info about the gimbal and accessories, check out the product page here.
I use the Zhiyun Crane 2 on pretty much all of my video shoots, and combining it with 4K or slow motion really adds a level of production value that I hadn't been able to achieve before. Check out the next blog on the making of 'The Great Outdoors' for more gimbal action with the ZEISS Milvus Super Speed Primes!

The F Word Creative Technologies Guest Lecture at Kingston University
Here are the lecture notes and podcast entitled 'The F Word'. Can you guess what the F word is?
You probably guessed it, freelancing was the topic of the guest lecture at Kingston University for students in the 'Creative Technologies' courses. I graduated in Television and Video Tech (a course that is sadly no longer running) back in 2013/14, and since then freelancing has been a big part of the journey I'm currently on.
I showed a number of films that I worked on, including the BTS film for 'OSTRICH' which was created to promote the Tokina Cinema Lenses;
More recently, I worked with HaZ Dulull on his latest feature entitled 'The Beyond';
Later in the lecture, I showed a diagram that a TV producer showed me on a packed DLR train after BVE a couple of years ago. It's a graphical way of working out the steps to get to where you want to be, whether that is for work or for creativity. I've called it 'The 4 stages of career development and creative enlightenment!'

The 4 stages of career development and creative enlightenment!
Enjoy the podcast and videos, it was great to go back again and I look forward to the workshops that are in the plans.

The awards ceremony was part of the event video coverage.
Filming and videography for business conferences, presentations or award ceremonies are a staple of the work calendar, but how can you turn a rather simple event into a video people will want to watch?
I take a look at the techniques, tips and tricks I use when capturing events with video, often with a same day turnaround.
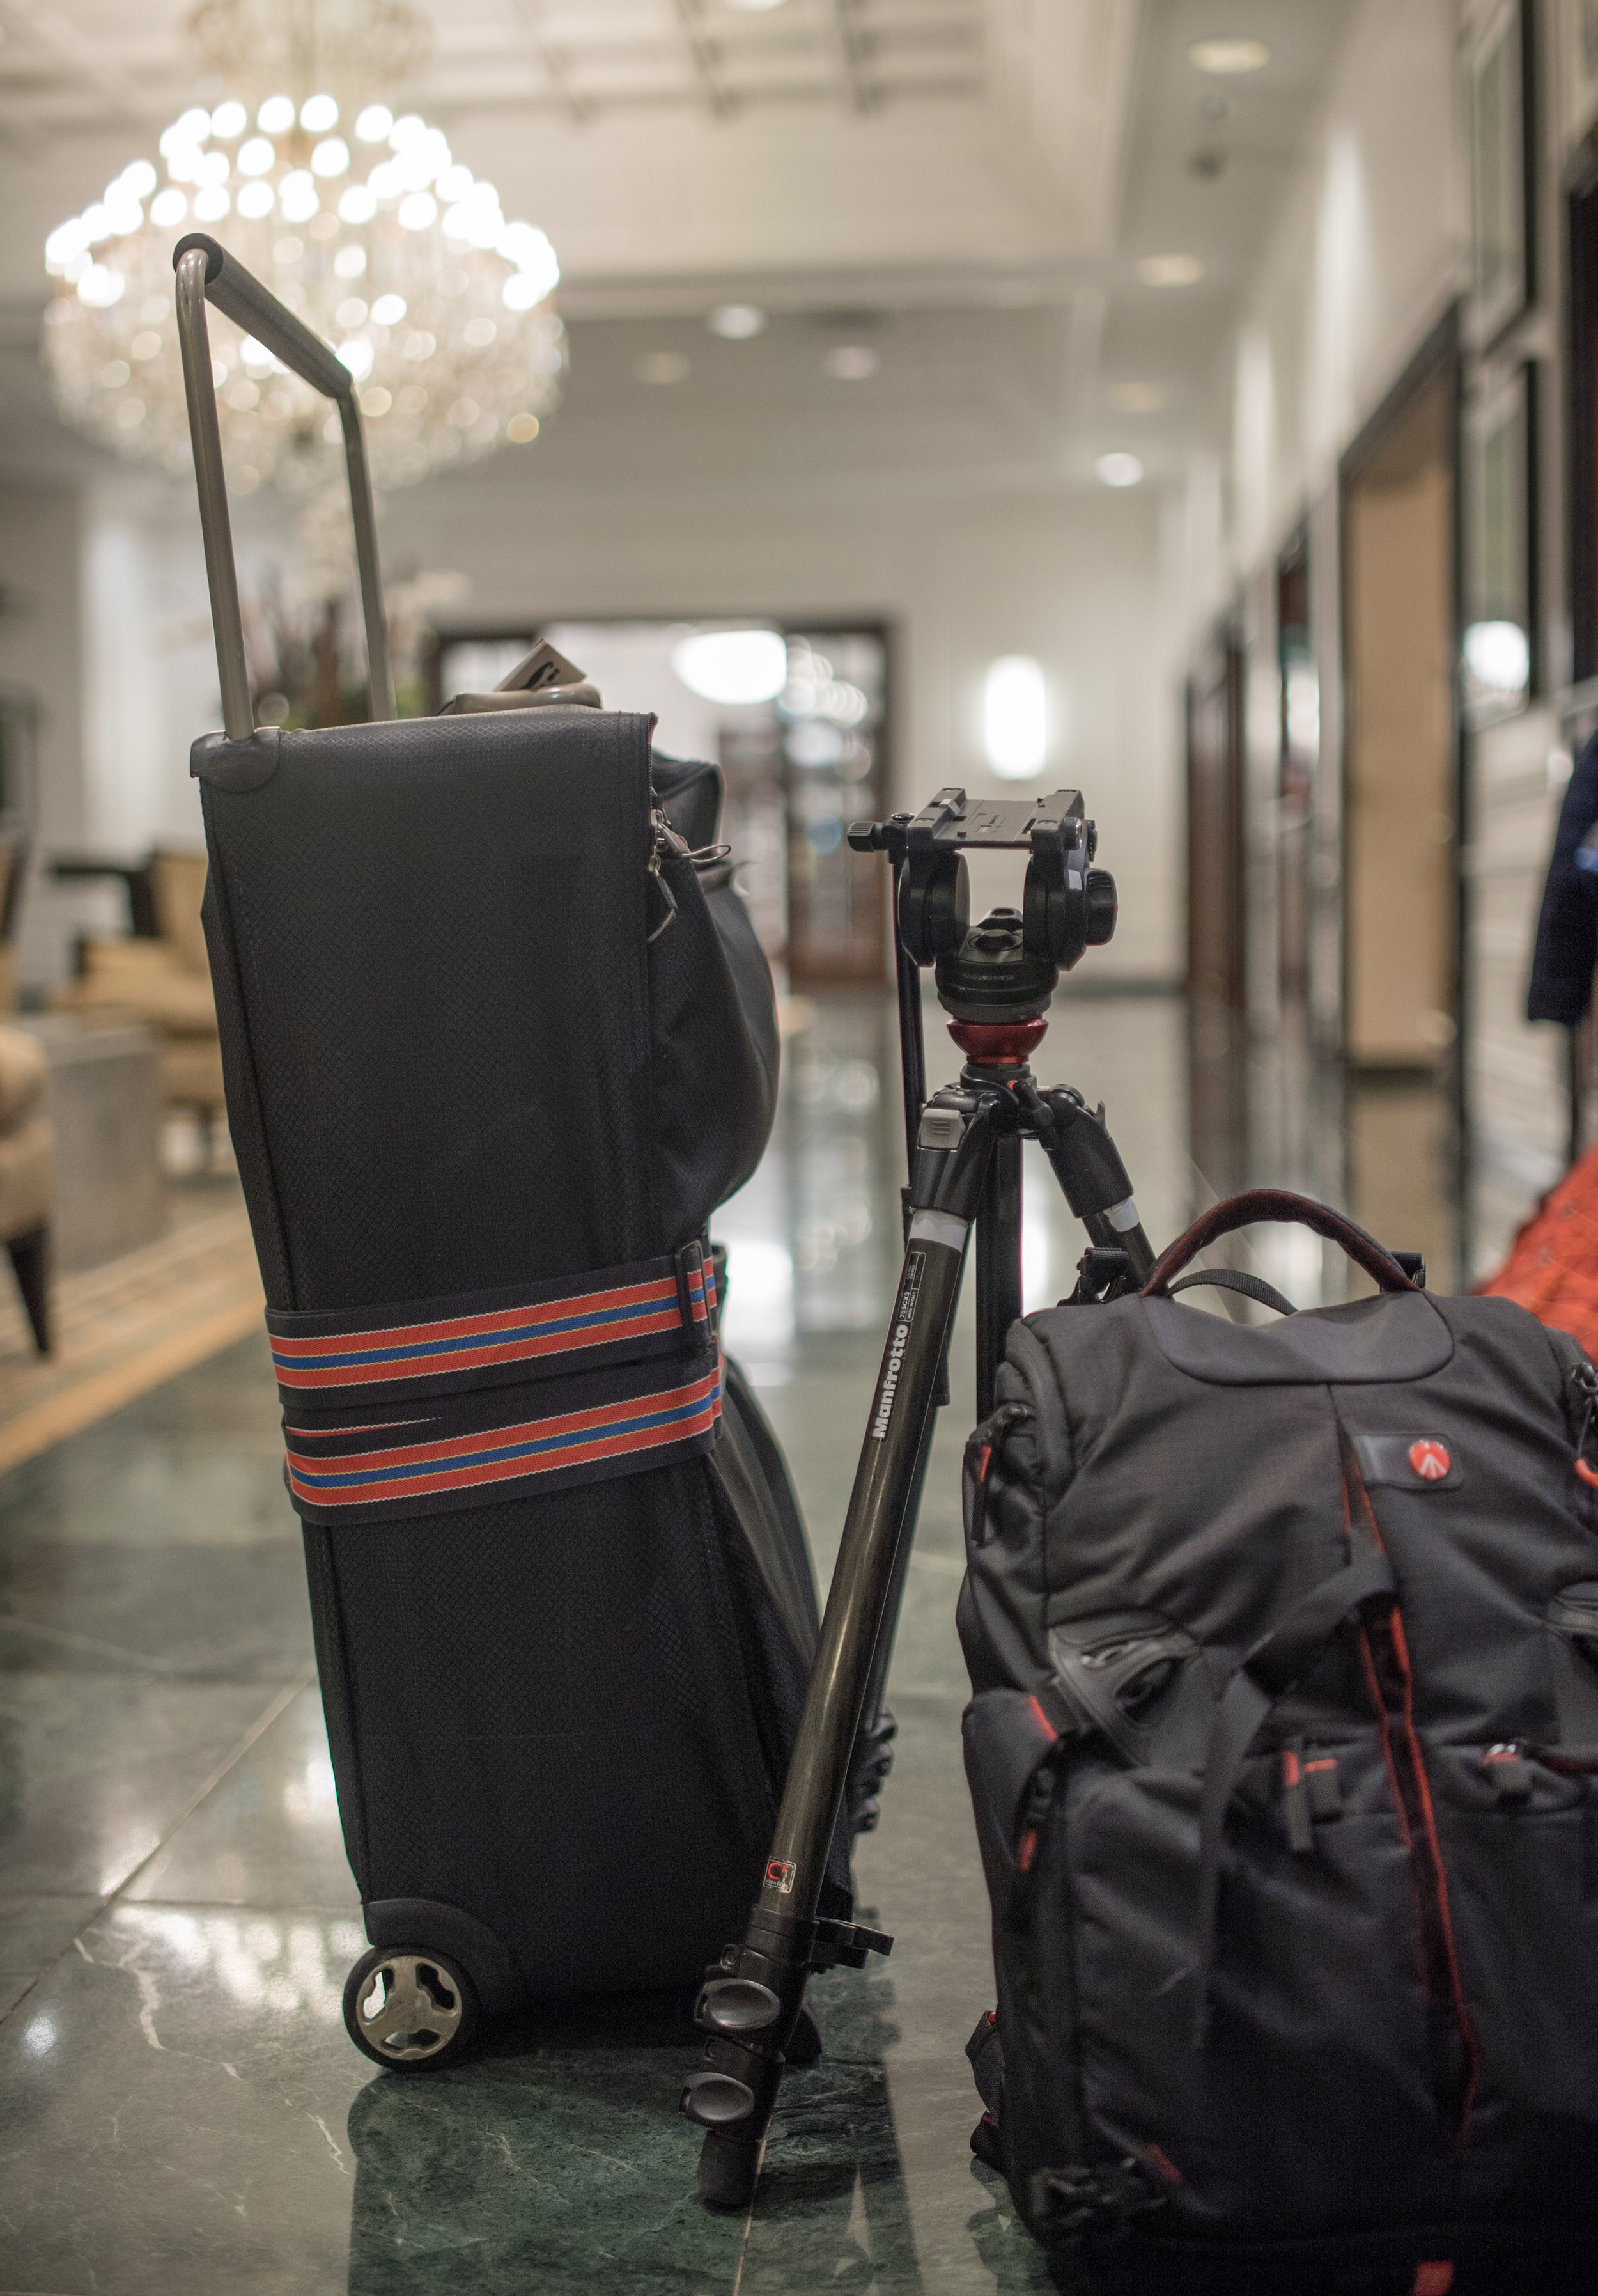
You’ve all probably seen the ‘what’s in my kit bag’ photos and videos, and yes it’s fantastic to have a variety of lenses, camera bodies, microphones and other kit for any job that could come around the corner. However, I’ve found that having a minimalist approach to equipment is necessary for event coverage. For this shoot, I used the Sony a7S, in the Movcam cage.
For lenses, a standard zoom lens like a 24-70mm covers wide establishing shots of the location, audience or stage, as well as closer mid shots, possibly of details such as the event branding, or for interviews with attendees. A telephoto lens, or a prime is a great additional lens to have for closer shots of the subjects, or needing a shallow depth of field, or more light in darker scenarios. I also used the Samyang 35mm T/1.5 and 85mm T/1.5.
A sturdy tripod with a fluid video head will give you steady shots, with smooth panning and tilting for some additional movement. Even a small tripod like the Manfrotto Befree Live is a fantastic option that can be easily carried around and used at any time. Having a tripod for interviews is also key, to keep the viewers’ attention on the interviewee. The Manfrotto 755 CX 3 accompanied myself on this shoot.
Sound is often at the bottom of the pile, but many options for small and high quality microphones are out there, like the Rode VideoMicro. Whether it’s capturing some dialogue from a presentation, or an interview, what you hear builds up the atmosphere of what you see in the video. I’d also recommend a Sennheiser AVX lavalier (clip on) microphone for interviews too.
An LED light can be a lifesaver if you’re filming in a dark environment, they are small and often have a bi-colour option to adjust the colour temperature. The last thing you would want to do is crank up the cameras ISO, resulting in a noisy image when you could have used a light. The LYKOS LED lights are very portable, but for something smaller the SPECTRA lights are a good choice.
Hand held gimbals and stabilizers are now smaller and more affordable than ever before, and give a unique dynamic to shots with movement. Using a gimbal or a slider is a great choice to up the production value of the videos.
Lastly, a bag to store all that kit! There are plenty of choices or styles to choose from, whether you need quick access, or to store other kit like a drone. My bag of choice is the Pro Light 35, as its small enough to fit all of my video kit in, and very comfortable.

The Manfrotto Pro Light 35 backpack stored all the necessary equipment for the event filming and editing.
Get to know the ins and outs of the event, what is happening throughout the day, any key moments you need to capture, and plan time for editing if you have a same day delivery for the video. At a recent event, I would shoot some video material and interviews for an hour, then import the footage ready to be edited.
Get any details from the event organizers about timings, as well as the names of any interviewees which might be needed for lower 3rd graphics later on.
When you’re filming, a rule of thumb I use is to capture plenty of b-roll, or additional shots that can be used to add to the ‘story’ you’re going to tell through the video. Whether its shots of the audience, location, or little details like logos and branding, they can all save you in the edit when you need a cut point, or to add variety, rather than a fixed camera shot of the stage.
Filming lots of alternative angles using wide and telephoto lenses.
Create a file structure for when you import all your footage; it keeps everything organized when it comes to editing and backing up the project. It might be files for interviews, conference parts, establishing shots, for example.

When you’re editing, using sequence templates will also speed up the editing process too. You could create a sequence with a title graphic at the beginning, a lower 3rd graphic for an interview piece, and the end credit graphic at the end. All you would need to do then is drop in your footage, cut it together and then export it.
This process is particularly handy for same day editing, when time is limited to complete edits.
I shot plenty of location b-roll at the St Regis Bal Harbour Hotel, North Beach, Miami. Taken on the Sony a7S and Samyang 35mm T/1.5
Lastly and most importantly, creating a good video that the client likes is great; you’ve completed your brief. However to really wow your client, give a little extra to the videos you make, whether it’s a timelapse, working a little later than intended or delivering more videos. That little bit extra could make the client choose you for the next event they put on.
Sunrise on North Beach, taken on the Sony a7S and Tamron 24-70 F/2.8
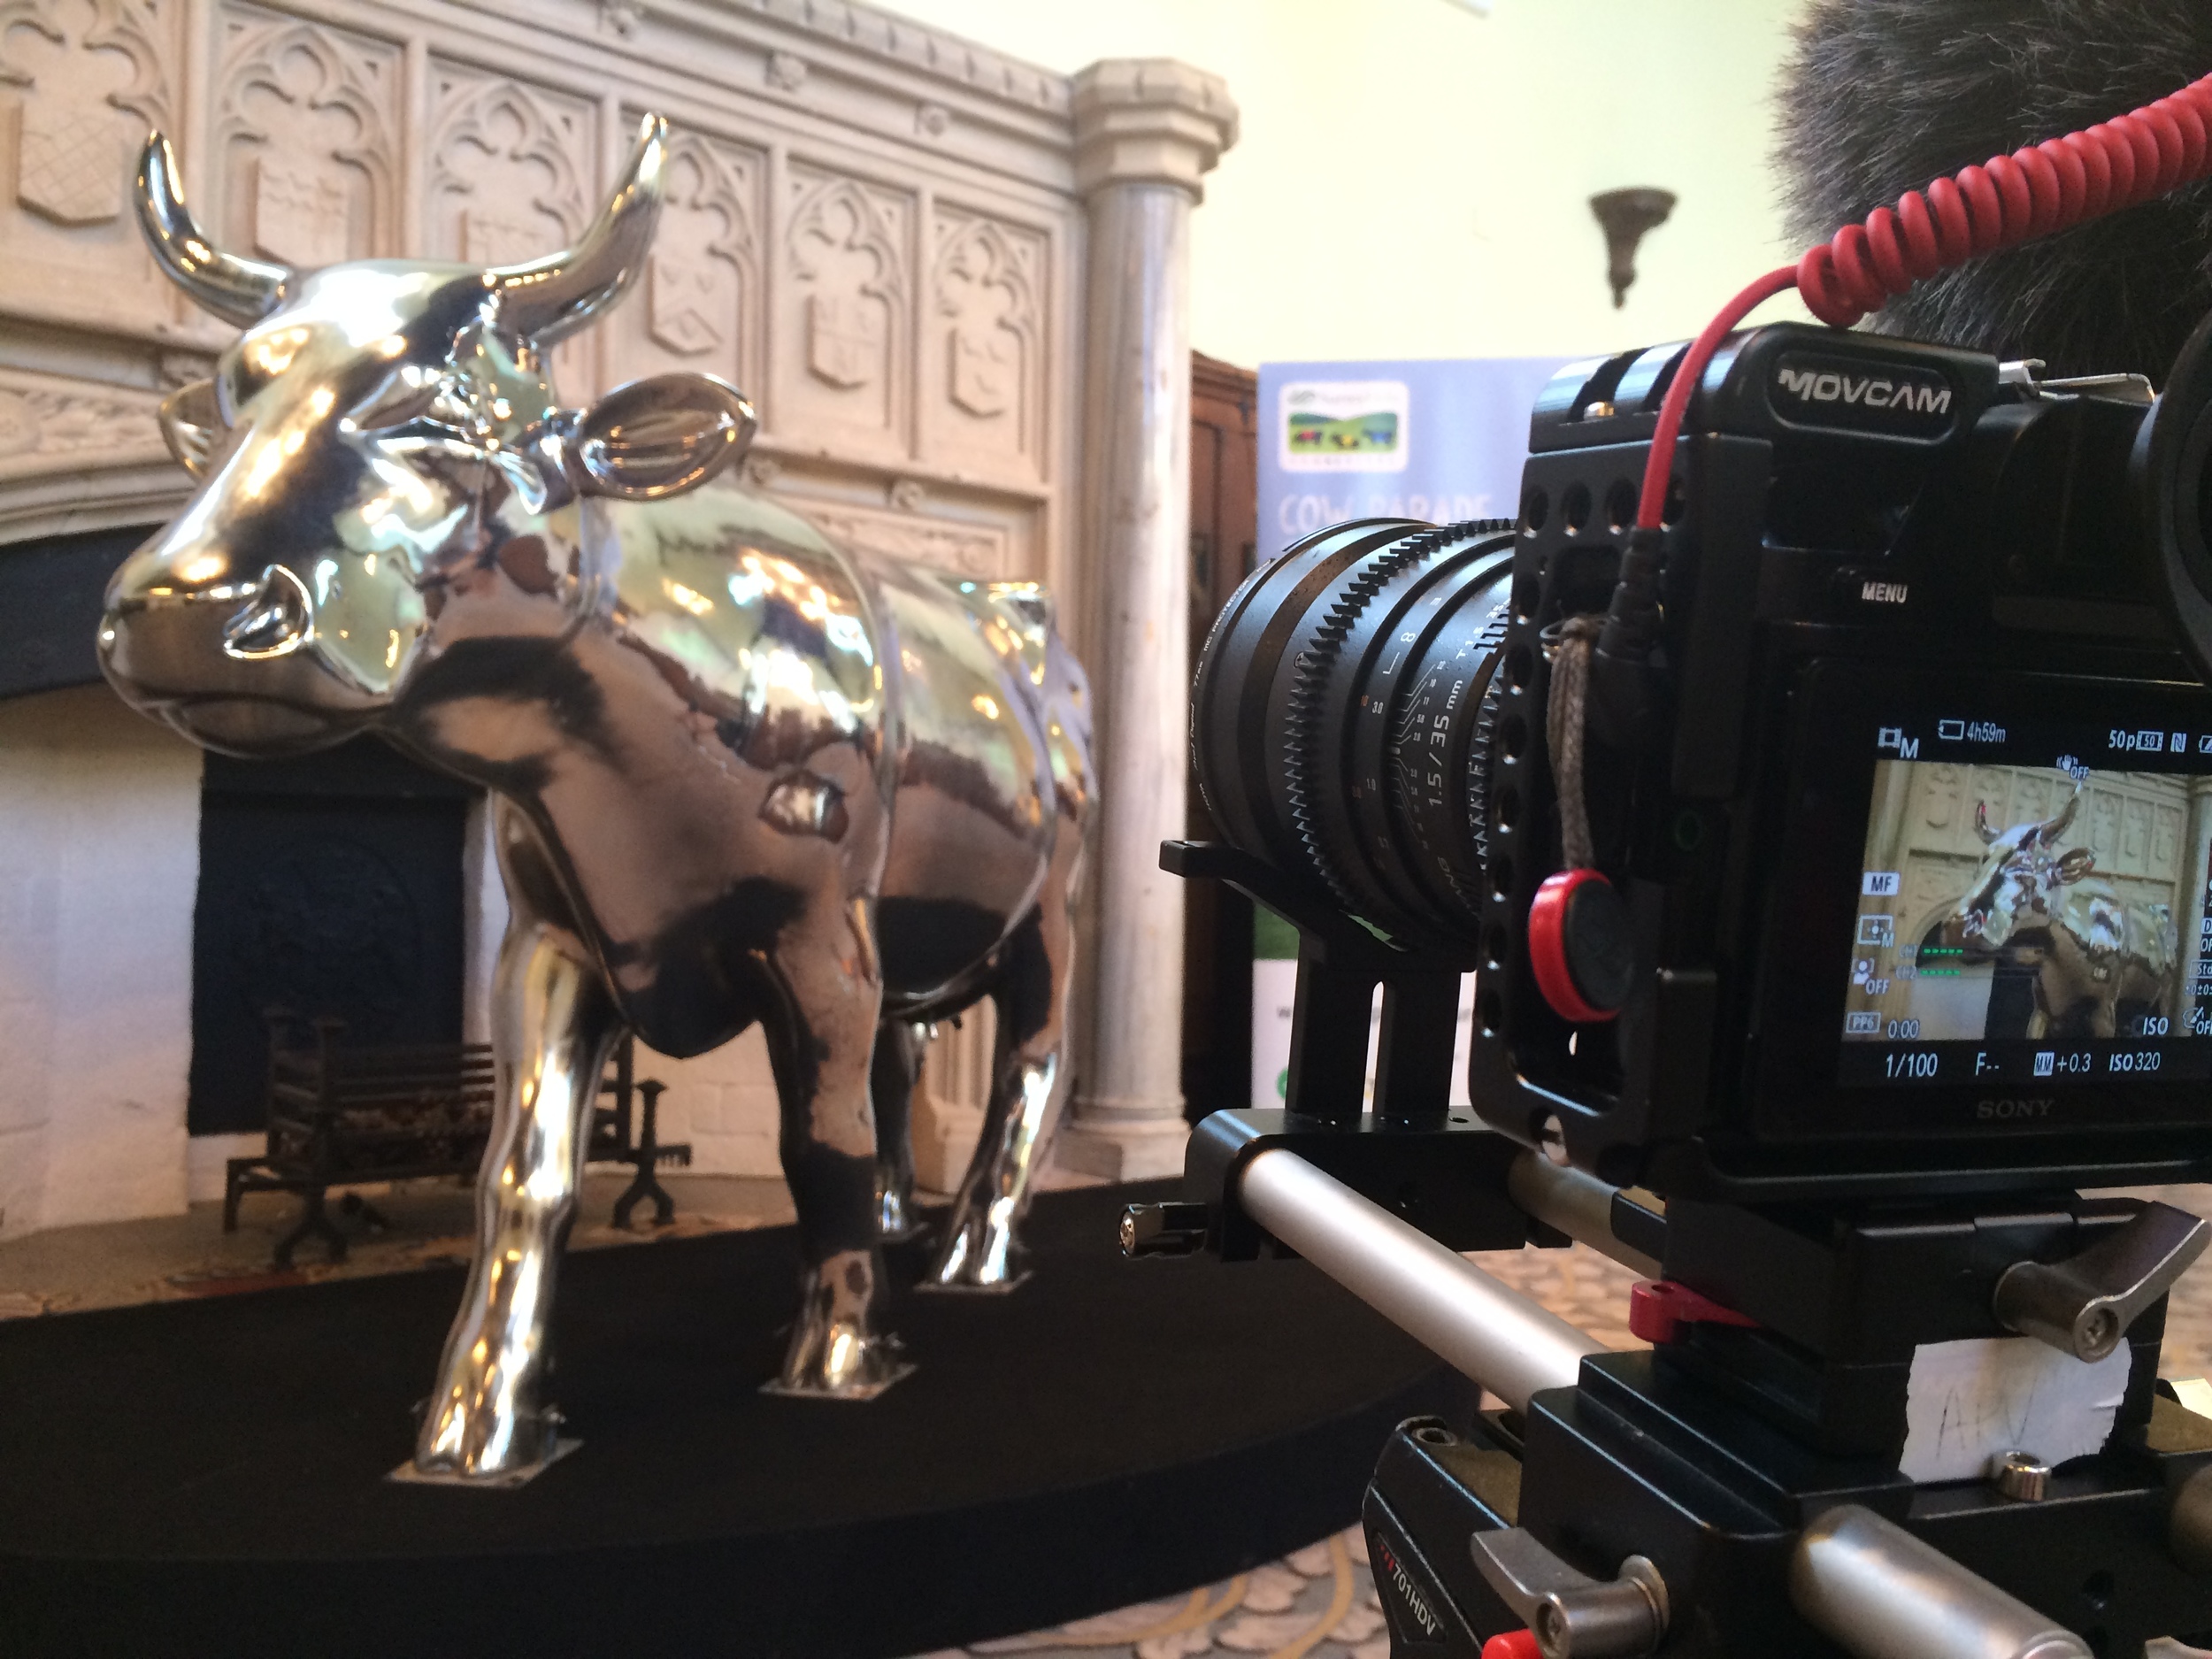
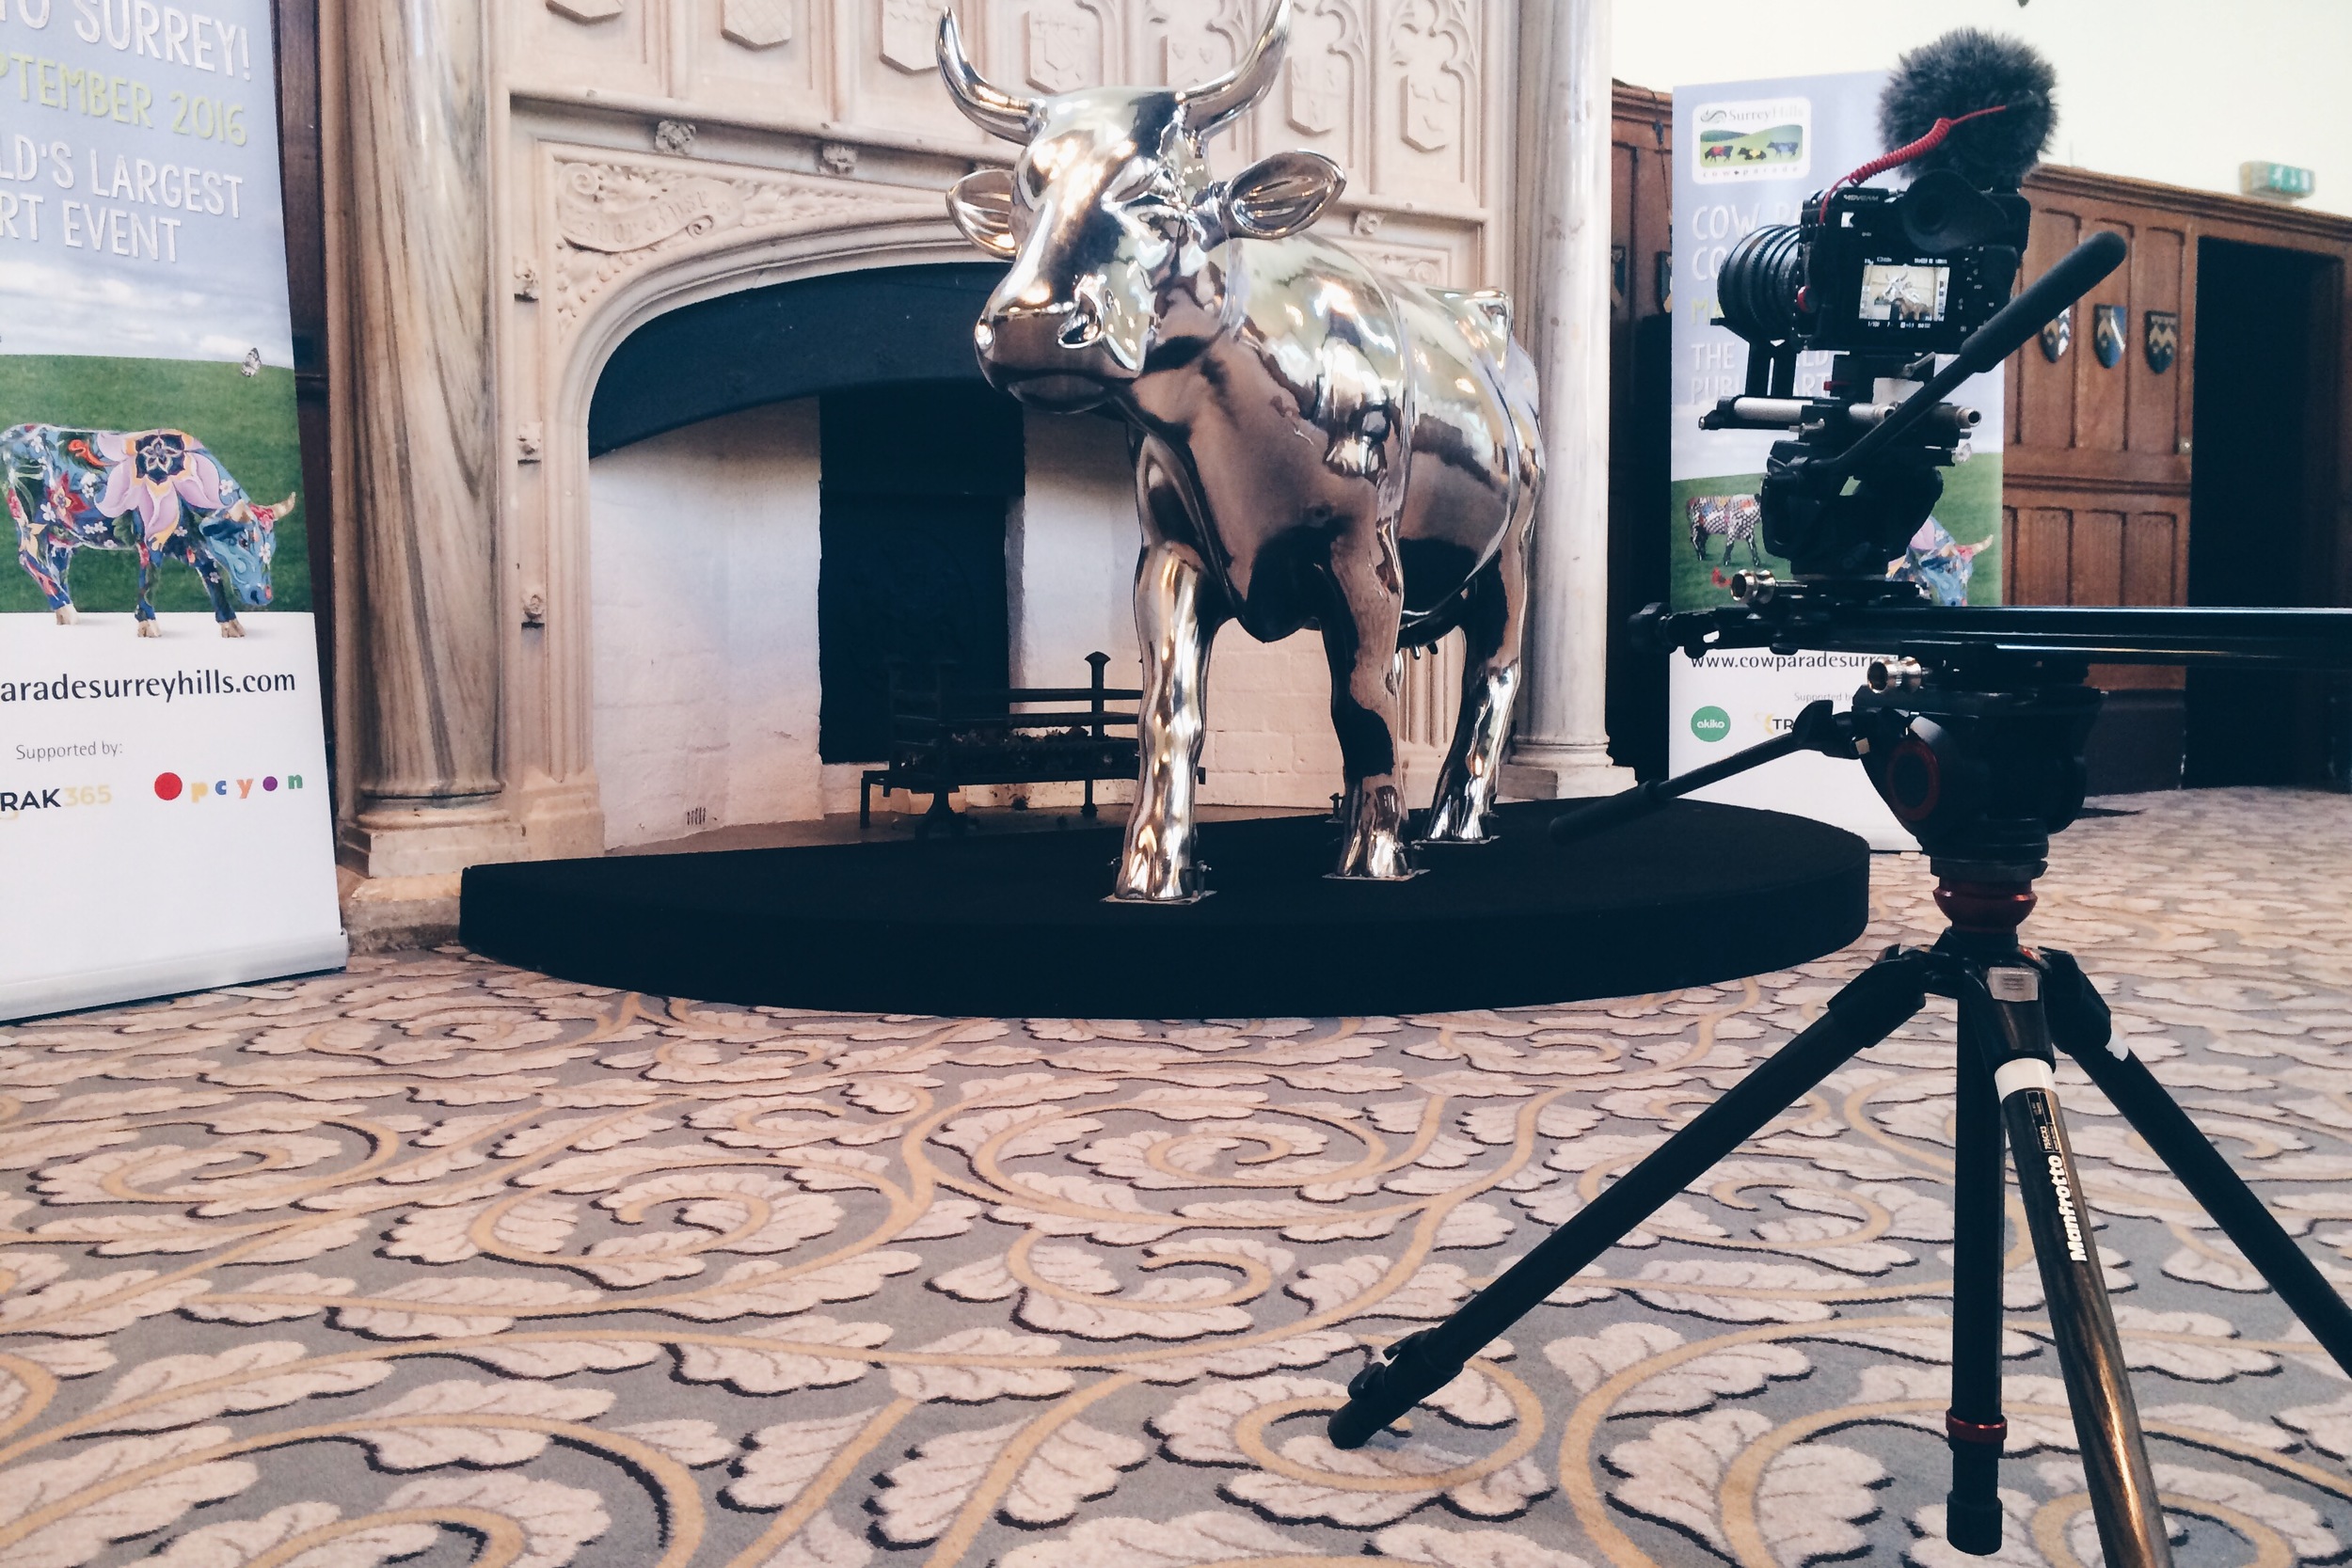
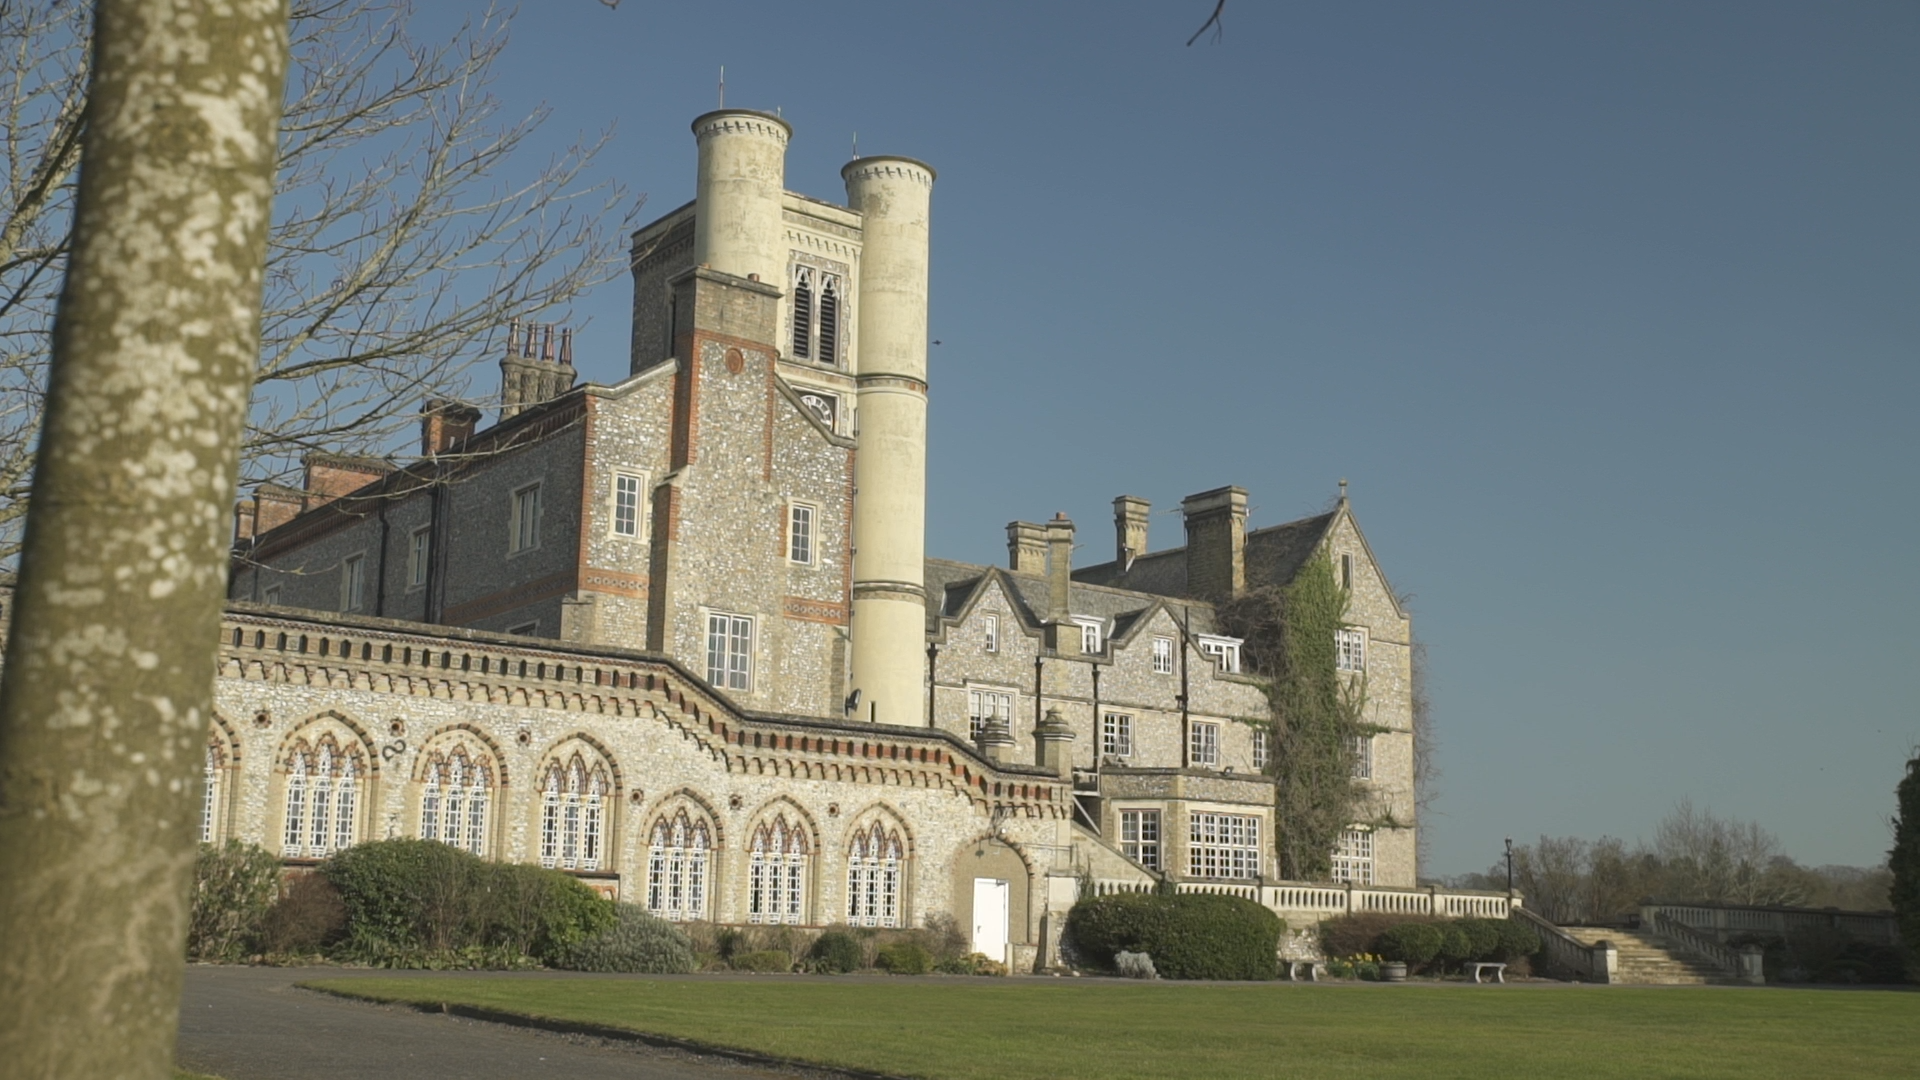
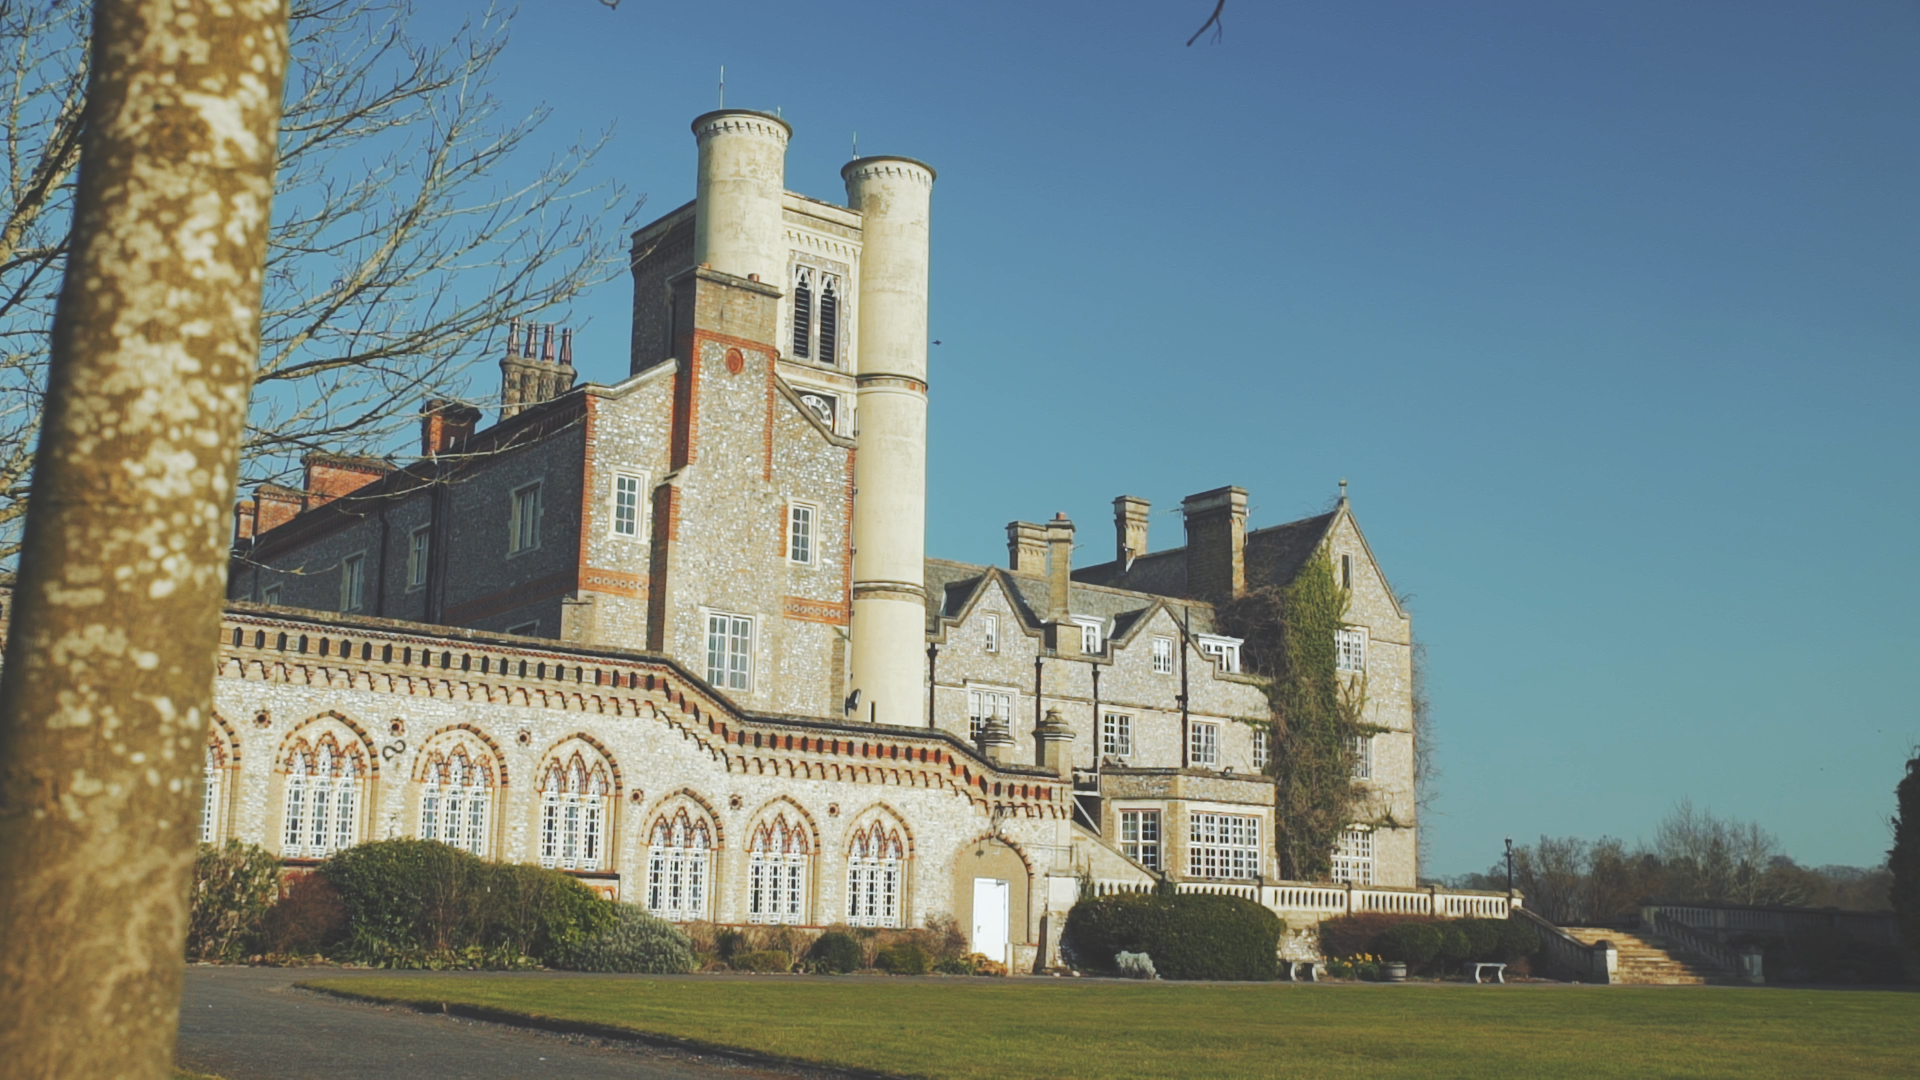
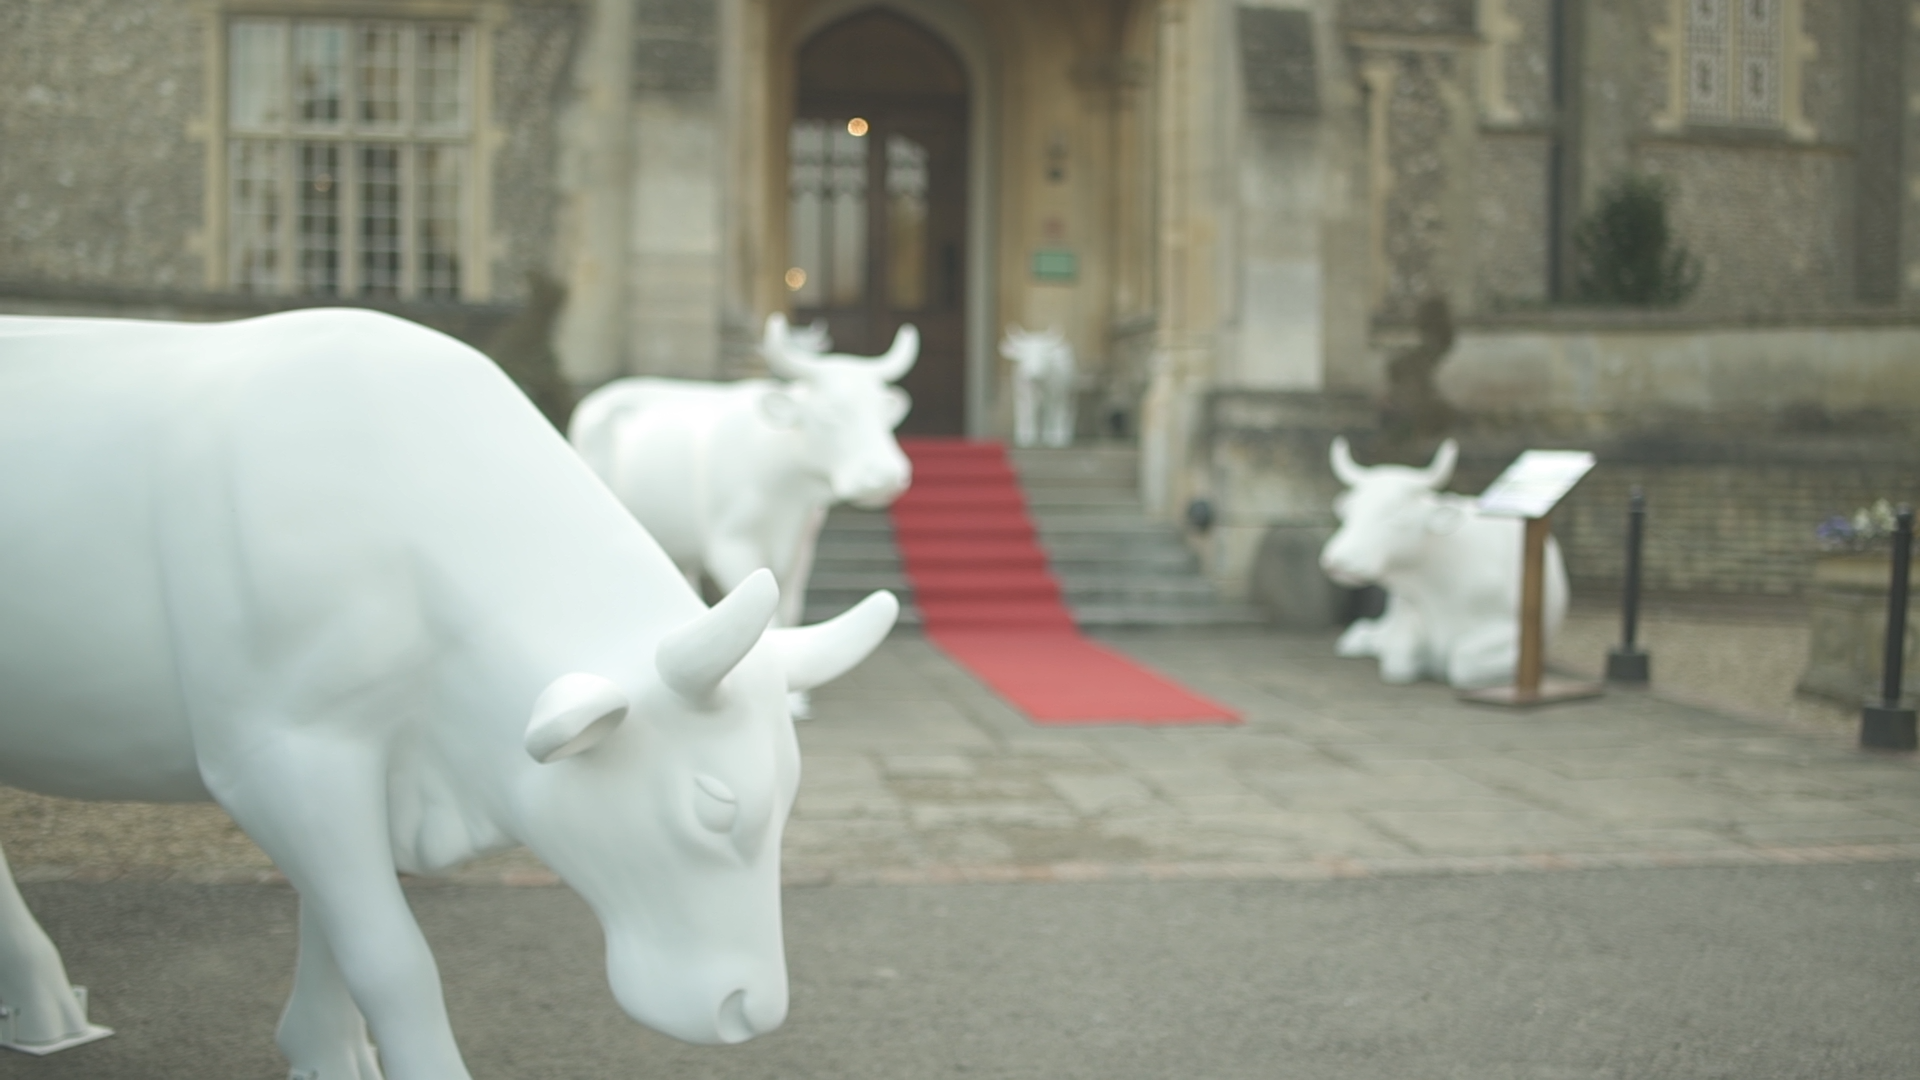
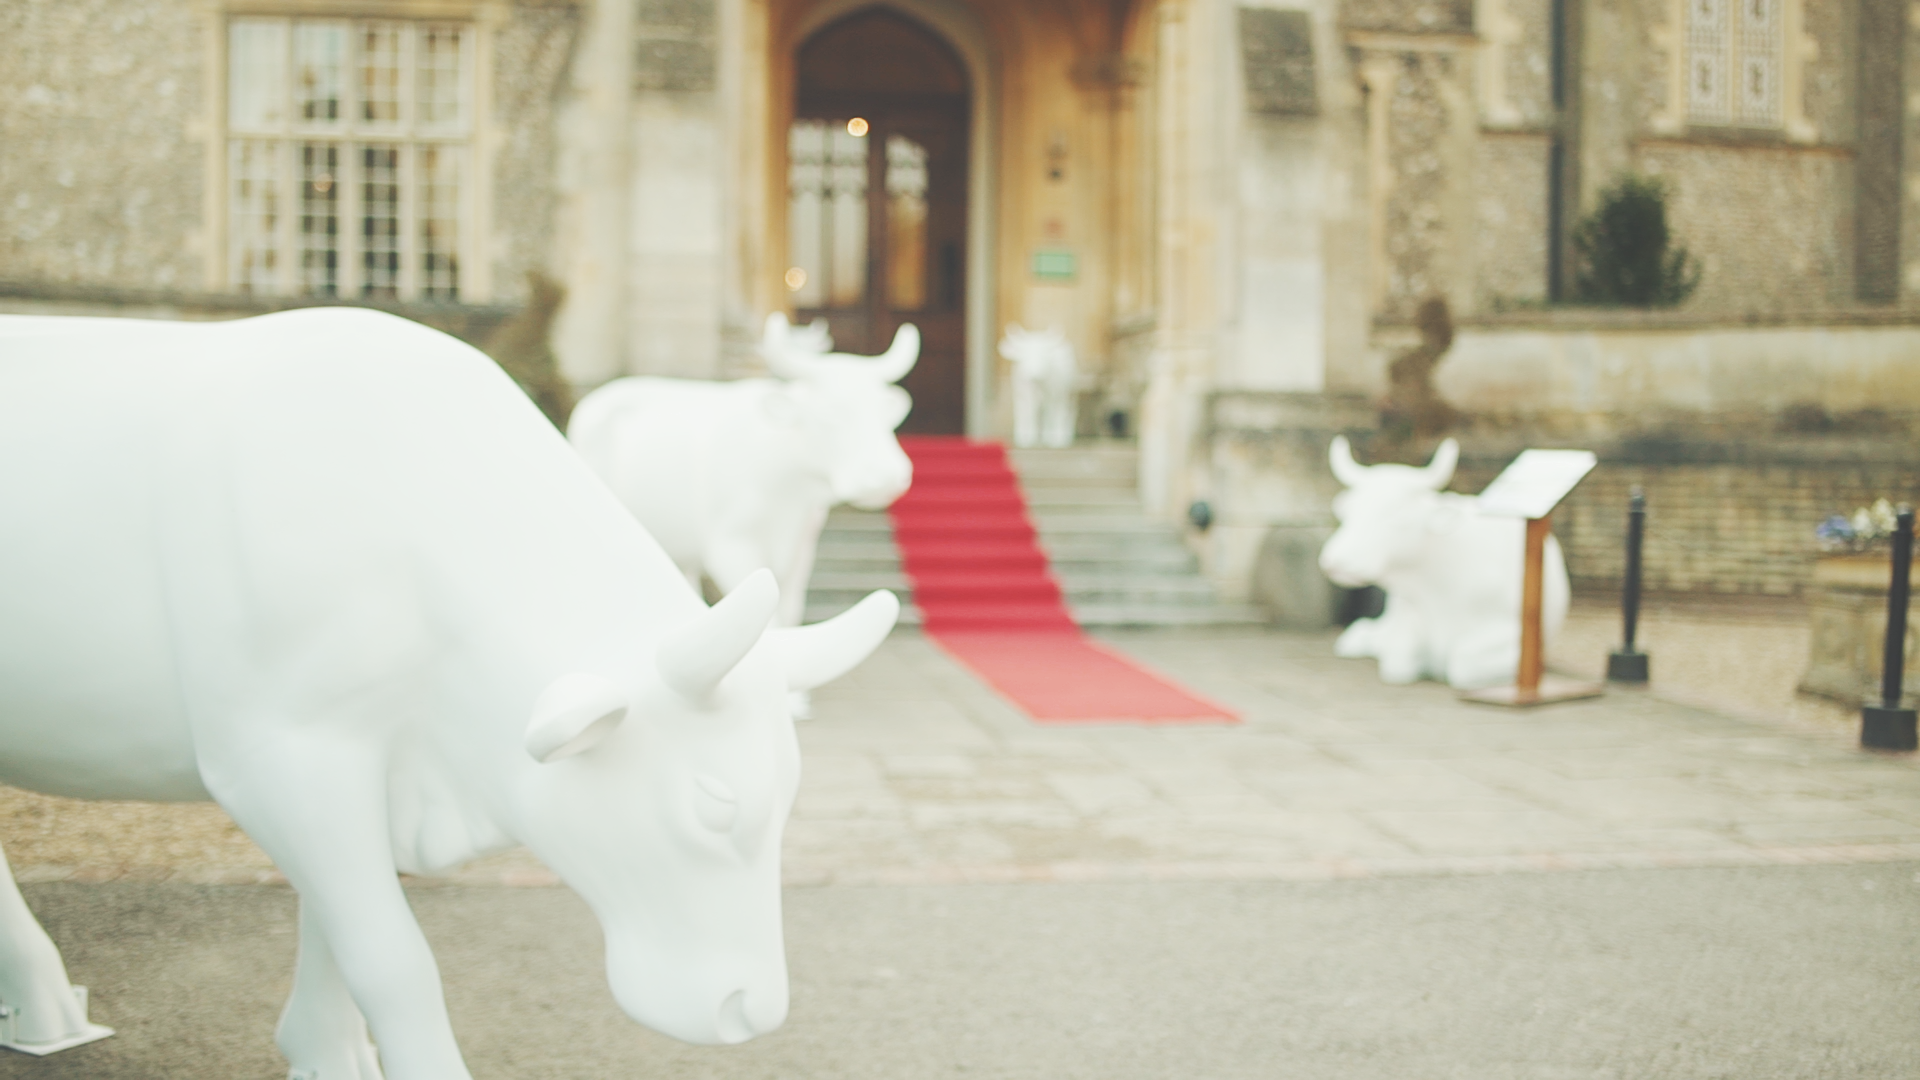
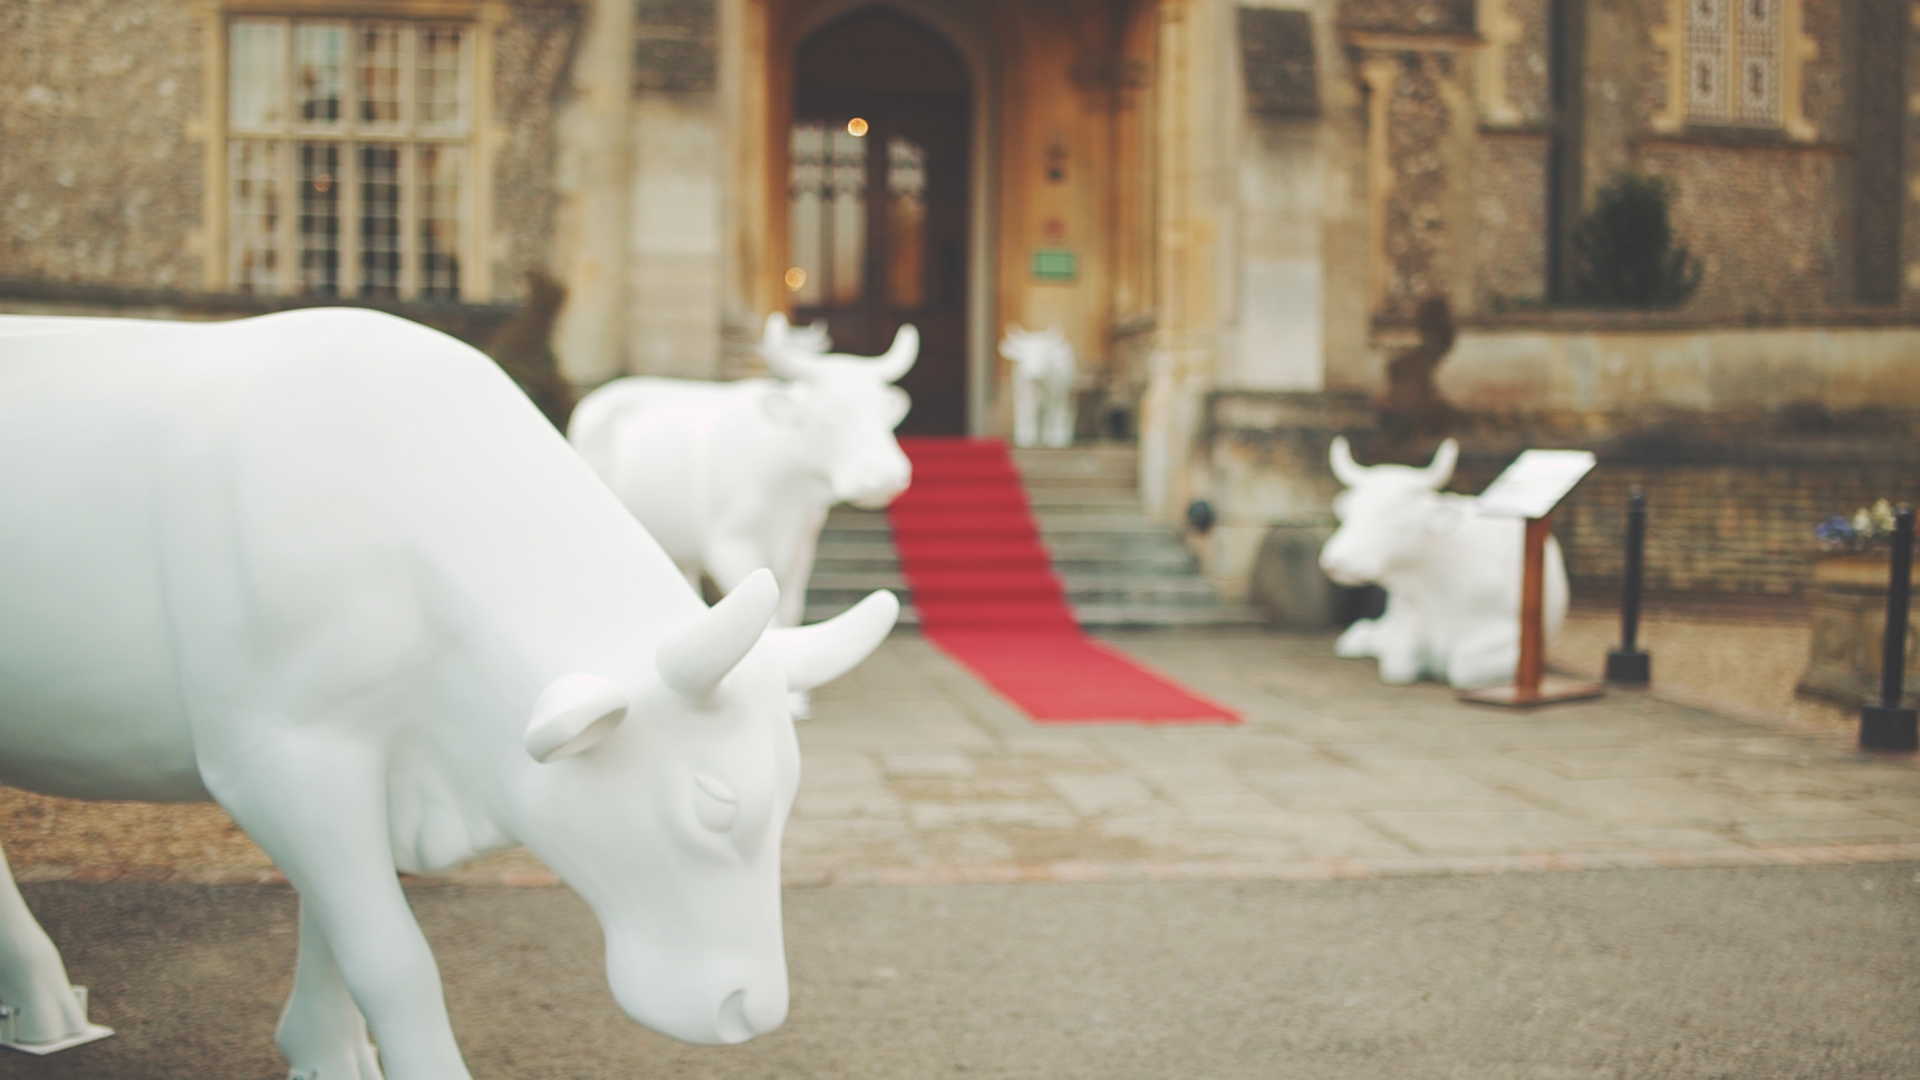
Cow Parade is the largest outdoor public art exhibition and will see hundreds of decorated cows dotted around Surrey towns, businesses, villages and countryside. A approached the Cow Parade as a charity project for APVideo, offering video to raise the profile of the exhibition as well as the businesses, artists and charities involved.
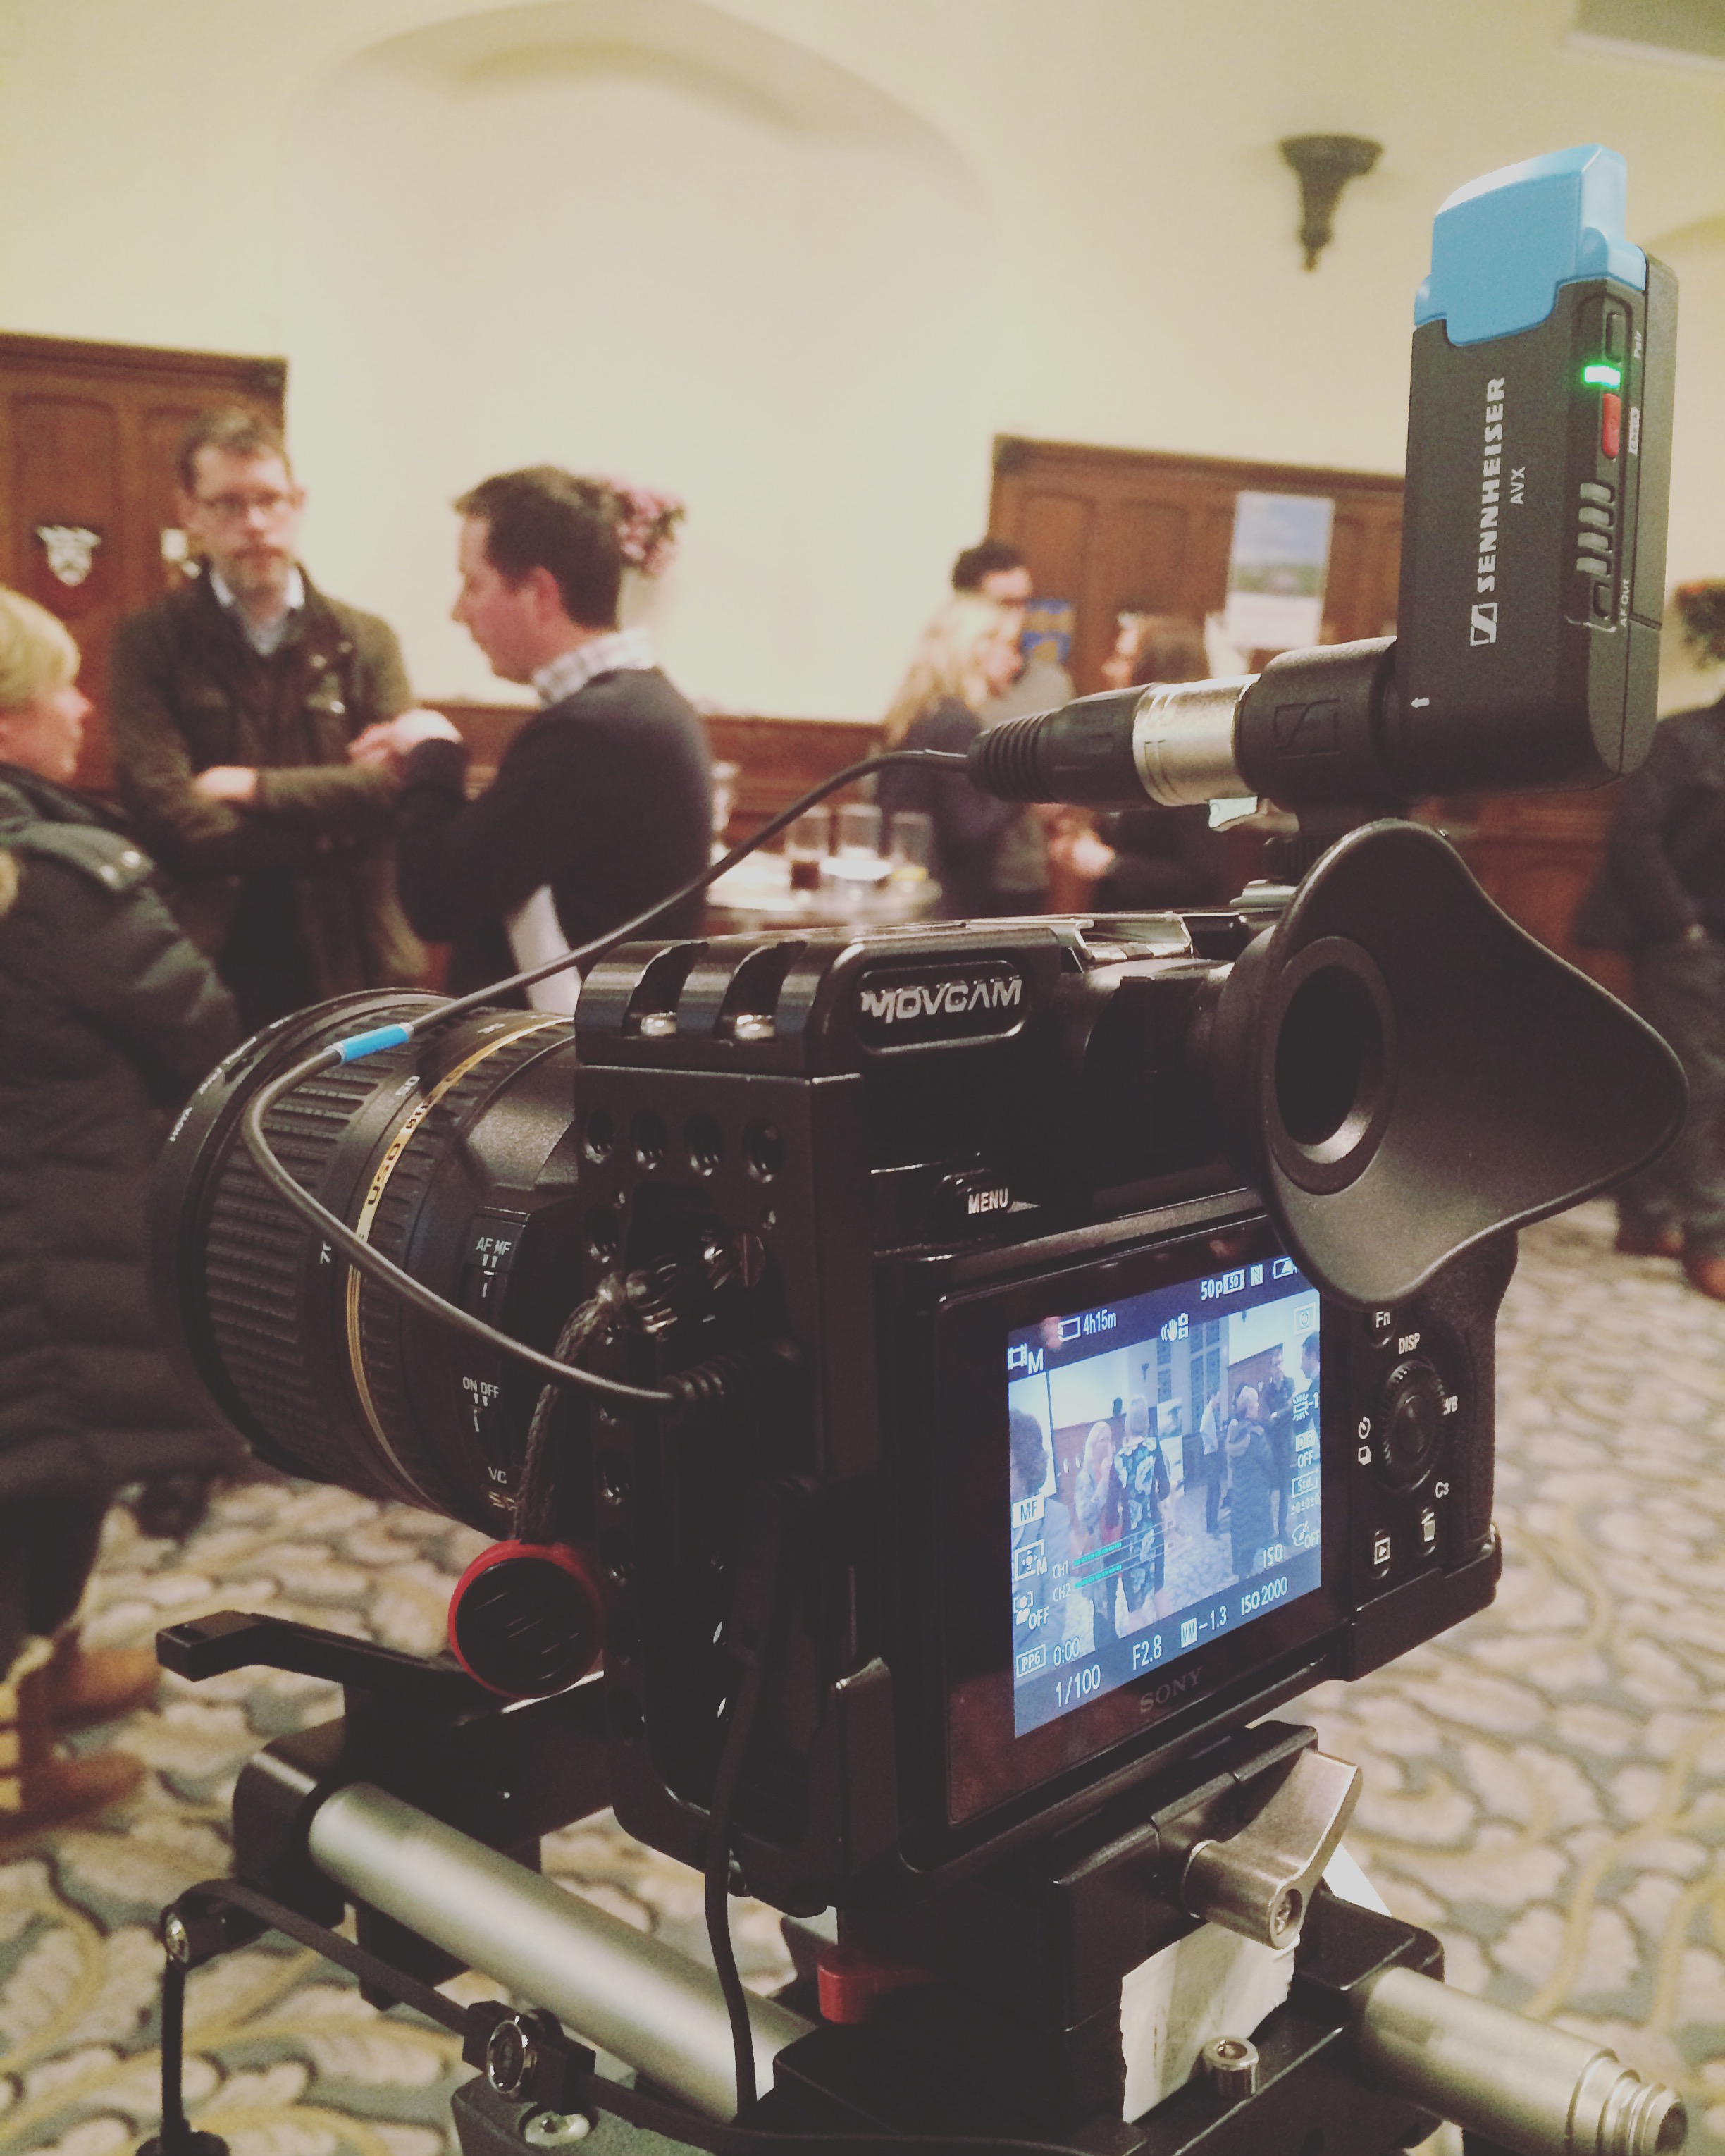
On Thursday, Horsley Towers played host to the Cow Parade Networking Event where many people gathered to find out more about the event. I took the camera along and filmed some interviews as well as the cows and stunning location too.
The kit list for the shoot was simple and effective, keeping the setup footprint small.
I arrived about an hour prior to the event starting to capture some location shots and the decorated cows before the attendees arrived. The sun was shining which complimented the Towers and surrounding greenery perfectly.
Horsley Towers, Tamron 24-70 with ND filter and Dual Arc Slider
Using the Samyang 35mm with an ND filter adds depth to the picture.
The arc side of the slider creates a paralax type effect where the background moves with the foreground, which looked great for moving shots of the cows. The majority was shot in 50p to give me the option to slow the footage down later on if needed, it also works well of you need to add the warp stabilizer to eliminate shakes.
Once the main B-roll and detail shots were captured, I switched to using the Manfrotto MVM500A monopod and hooked up the Sennheiser AVX Pro MKE2 audio kit for the interviews.
The wireless mic receiver sits nicely on the cage, and is small and maneuverable enough for other kit to be mounted on the hot shoes too. The XLR to mini jack adapter cable is also ideal for one man band videographers as you don't need a separate audio recording setup; in the past I've used the Zoom H6 but now I don't! This also means no syncing in post is needed! My only comment about the audio setup is the microphone does pick up quite a lot of ambient sound as well as the voice of the interviewee, but not so much that the subject audio is inaudible.
As the interviewees weren't prepared to be talking to camera, I made sure to capture lots and lots of b-roll so that when editing the sequences together I can cut out 'ums' and 'arrs' and overlay b-roll to mask the cut.
Putting the first video together was a relatively fast process as no audio syncing was needed, and Premiere Pro CC handles the video files very easily. After sorting the footage into bins and trimming the clips in's and out's, I added the establishing shots that can open the video.
The audio I used was sourced from Art List, a new music collection and licensing site that I'm beta testing. It has a good collection of original music from bands and artists for a variety of video genres, so after some searching I found a folky and country-esque piece to compliment the footage. Check Art List out here.

Checkout www.art-list.io
Once the main sequence was tied down, I moved on to colour the video in Lumetri and using James Miller DeLUT's. A big misconception with using LUT's is that you can just chuck it on and it will be fine. The reality is that simply putting one on to grade footage doesn't work and you should take time to adjust the intensity of the LUT and the other colour settings. This keeps the individual clips consistent in their colour throughout the video.
Another example of adding and adjusting a LUT >>
From these examples you can see where even if shots are well composted in camera, adding a LUT straight on (in this case) over exposed the shots and shifted the colours. It is simple to adjust the brightness, contrast, highlights and colour balance in Lumetri until the shot matches the others, and compliments the composition.
Here is the video!
Thanks to Manfrotto and Sennheiser, and good luck to the Cow Parade! APVideo will be following the journey of the parade throughout the summer so watch this space for more updates.
I'm a big advocate of the Red Giant suites having used them for a number of years. I got my hands on the Shooter Suite a year or so ago, so expand the tool set I had for editing and gain the invaluable syncing software - PluralEyes.
Yesterday, Red Giant released the new Shooter Suite package with lots of tasty updates! The Shooter Suite also includes 'Offload' - for ingesting and backing your media on/offset safely (checking for corruption or bad copies), as well as 'Instant 4K' - a brilliant resolution scaler and 'Frames' which can be used for interpreting mixed format footage, de-interlacing for example.
The new Shooter Suite from Red Giant has lots of updated features, one that particularly interests me is the PluralEyes 4 update which is now offered as a plug-in for Premiere. This is a big step forward for the software, as previously it took another step of workflow to open PluralEyes, import the footage and audio, sync it and then export an XML file to import into Premiere.
Now, there is no need to use the stand-alone syncing software as it is now a plug-in, in Premiere! I can see this having a big impact on editing turnaround and post production workflow, as previous attempts at syncing inside of Premiere haven't been perfect. PluralEyes has also had a re-design in its standalone application too.
New PluralEyes extension in Premiere Pro CC
After-sync, a new sequence is created
I opt to shoot dual system video and audio the majority of the time because of using an A7S (or 5DIII) that doesn't have XLR inputs or a good enough audio interface for monitoring and recording. Instead I use the Zoom H6 recorder to capture the sounds from wireless mics, gun mics and the like. This of course means that they need syncing with the video in post. Even today, I have a new sync waiting in PluralEyes 3 to be exported.

Part 2 of the editing workflow after ingesting footage, the sync process in external software, PluralEyes version 3 - very clunky.
The updated features in PluralEyes include -
Having PluralEyes inside of Premiere means no back and forth between applications, a faster syncing time, no need to import footage into PluralEyes and then into Premiere (which may create duplicates in the project). I can see it as a streamlined operation, using the other tools in the Shooter Suite such as Offload to speed up and make the editing workflow more efficient! I'll definitely be updating!
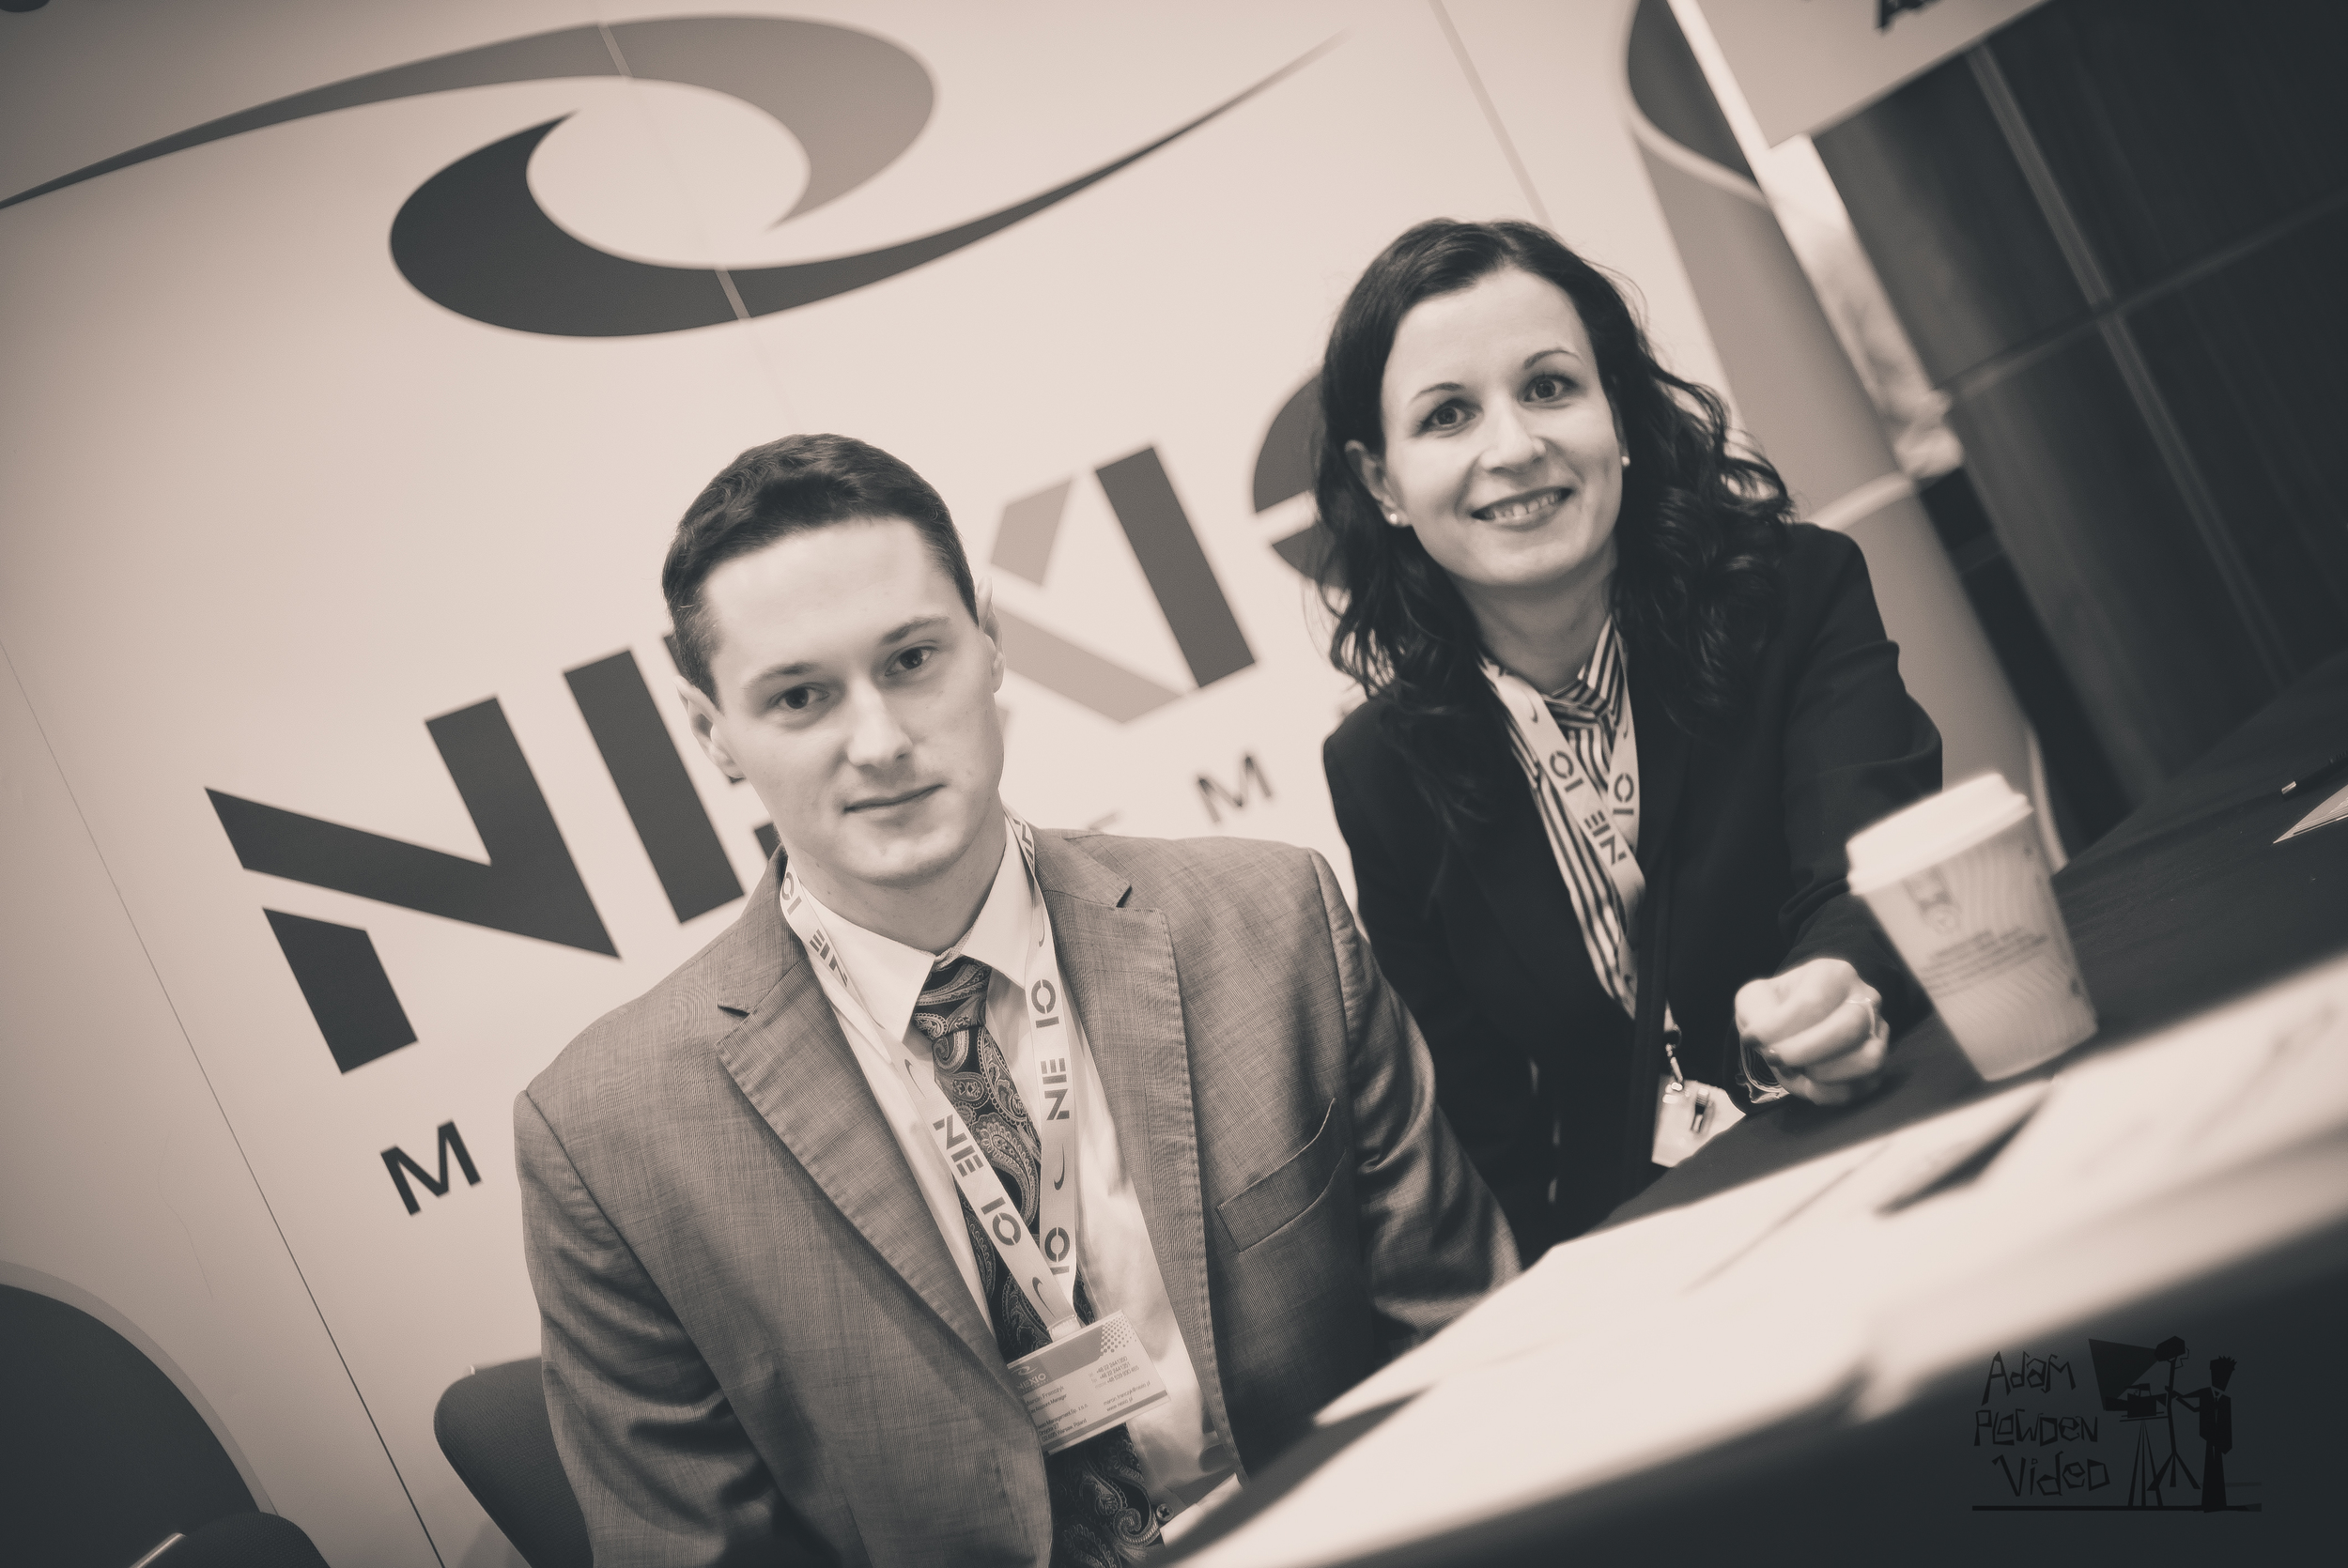
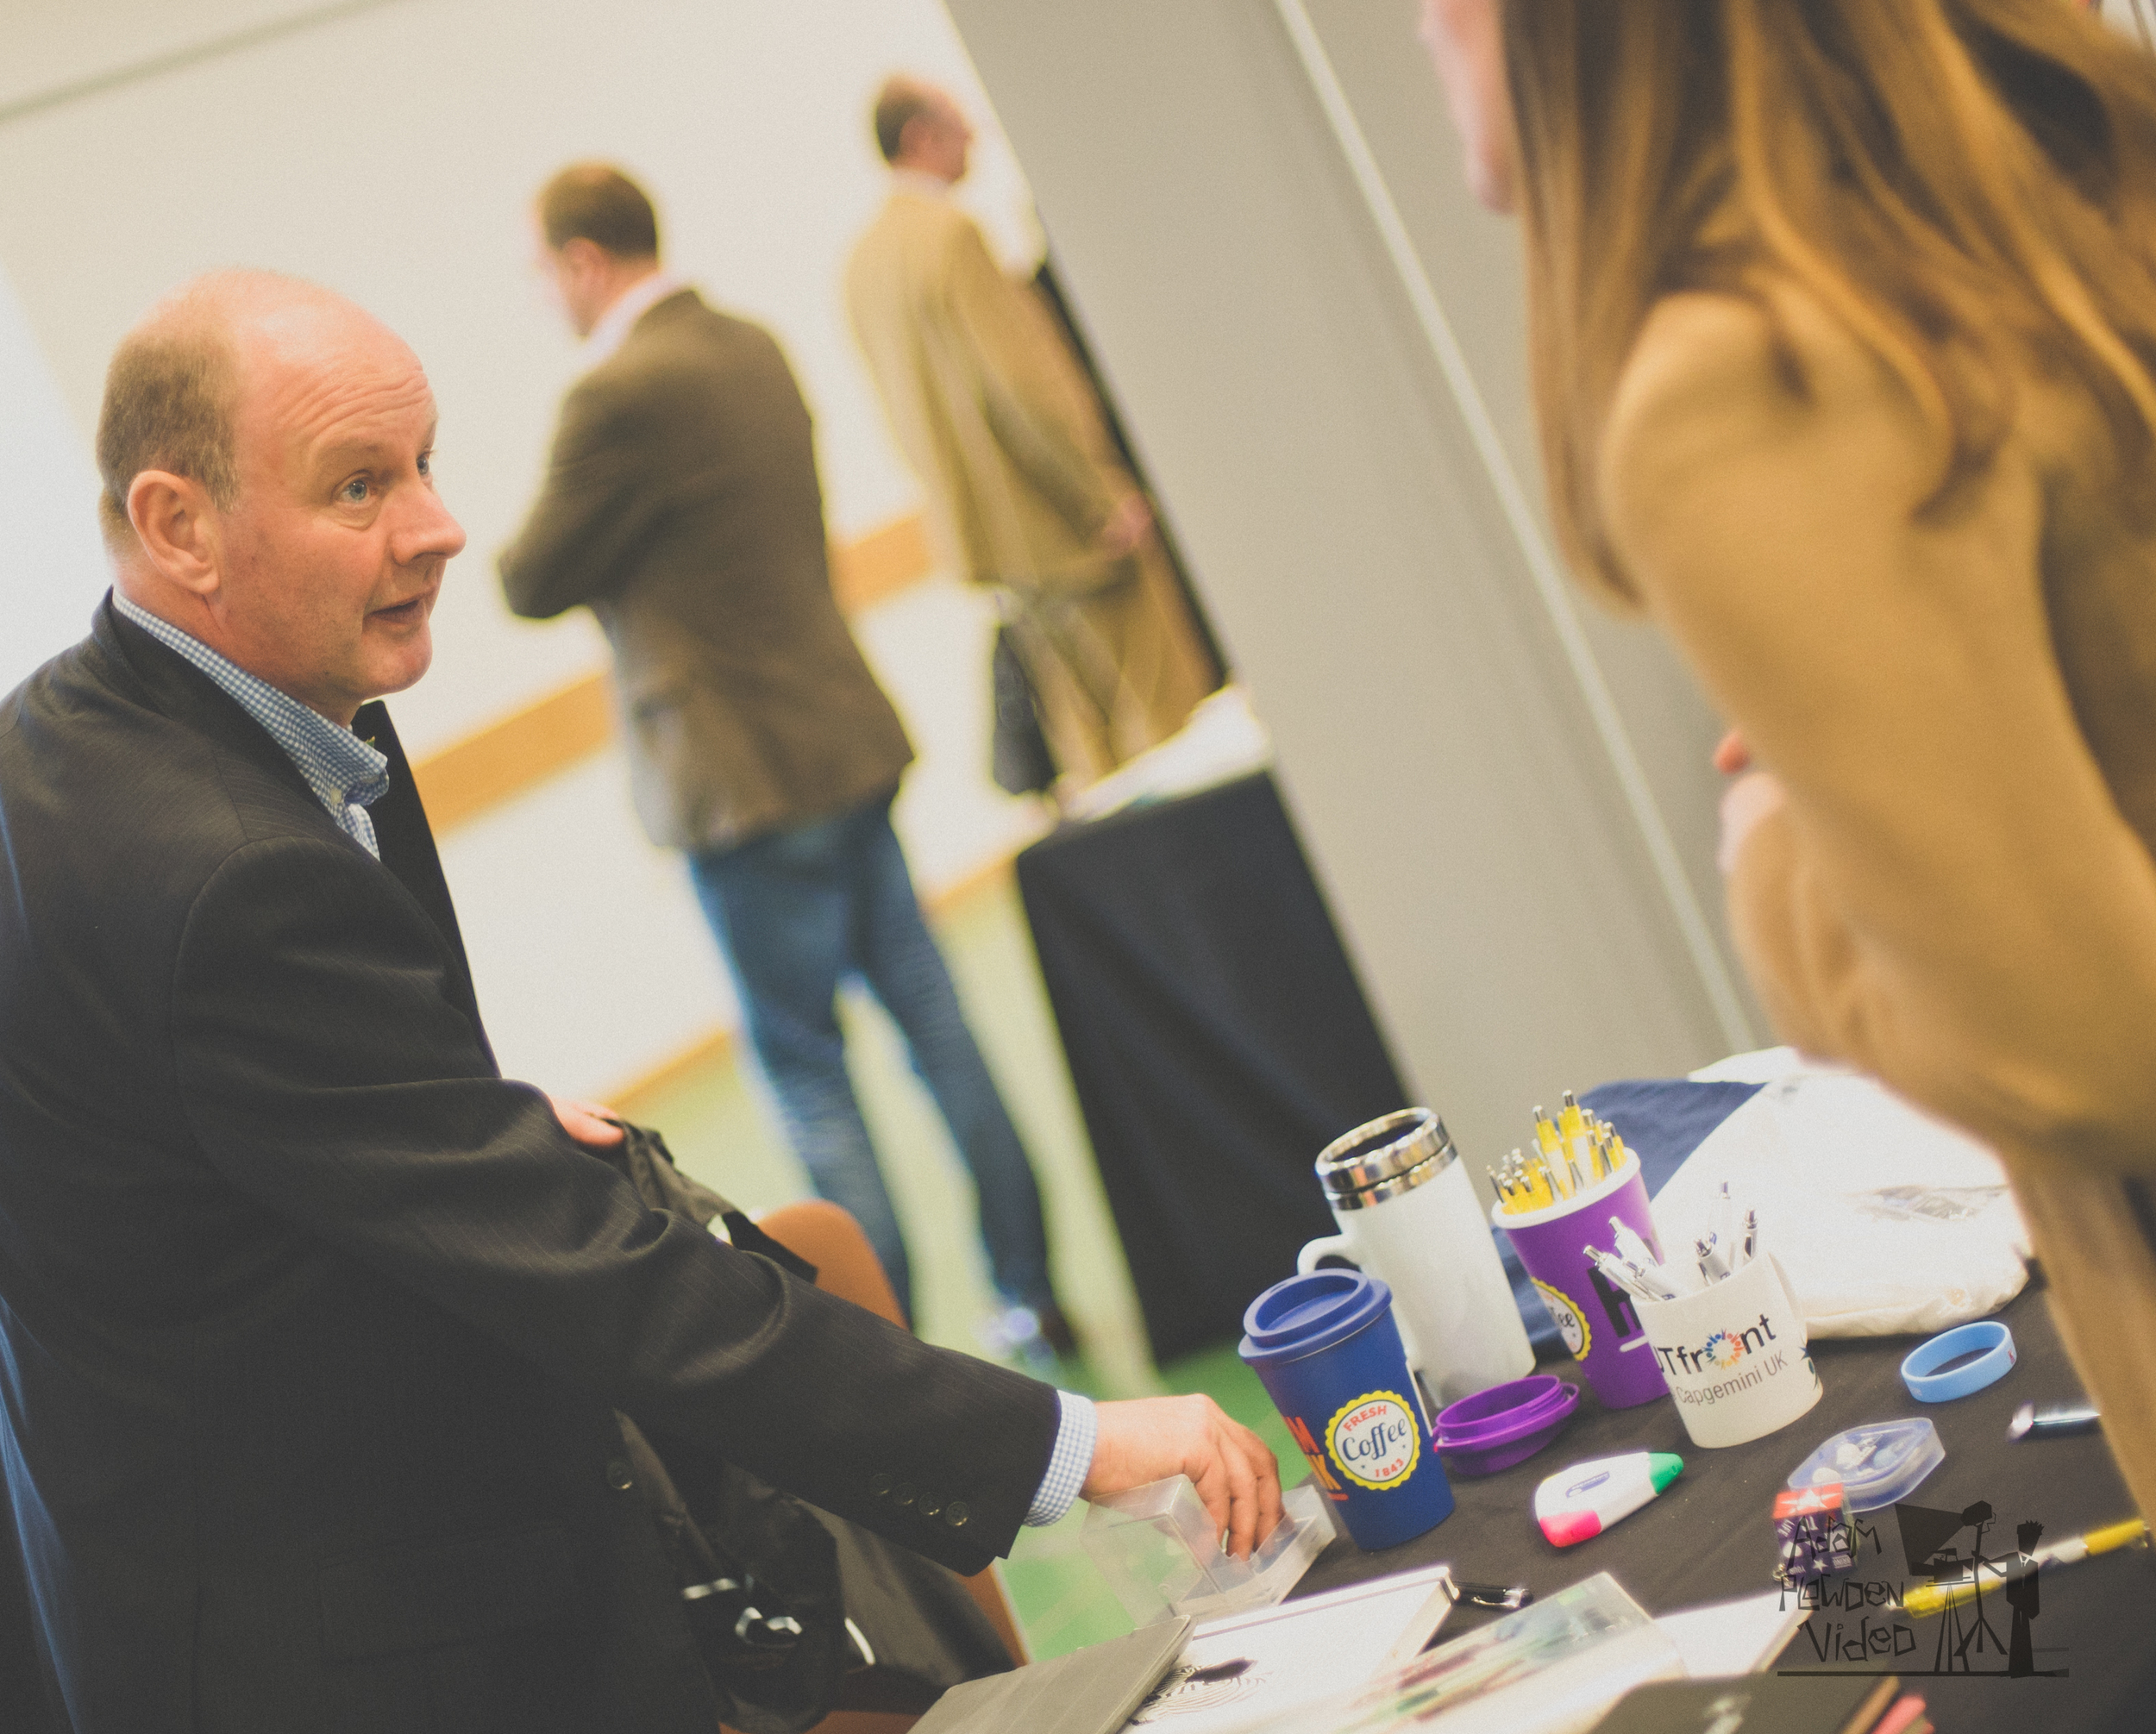
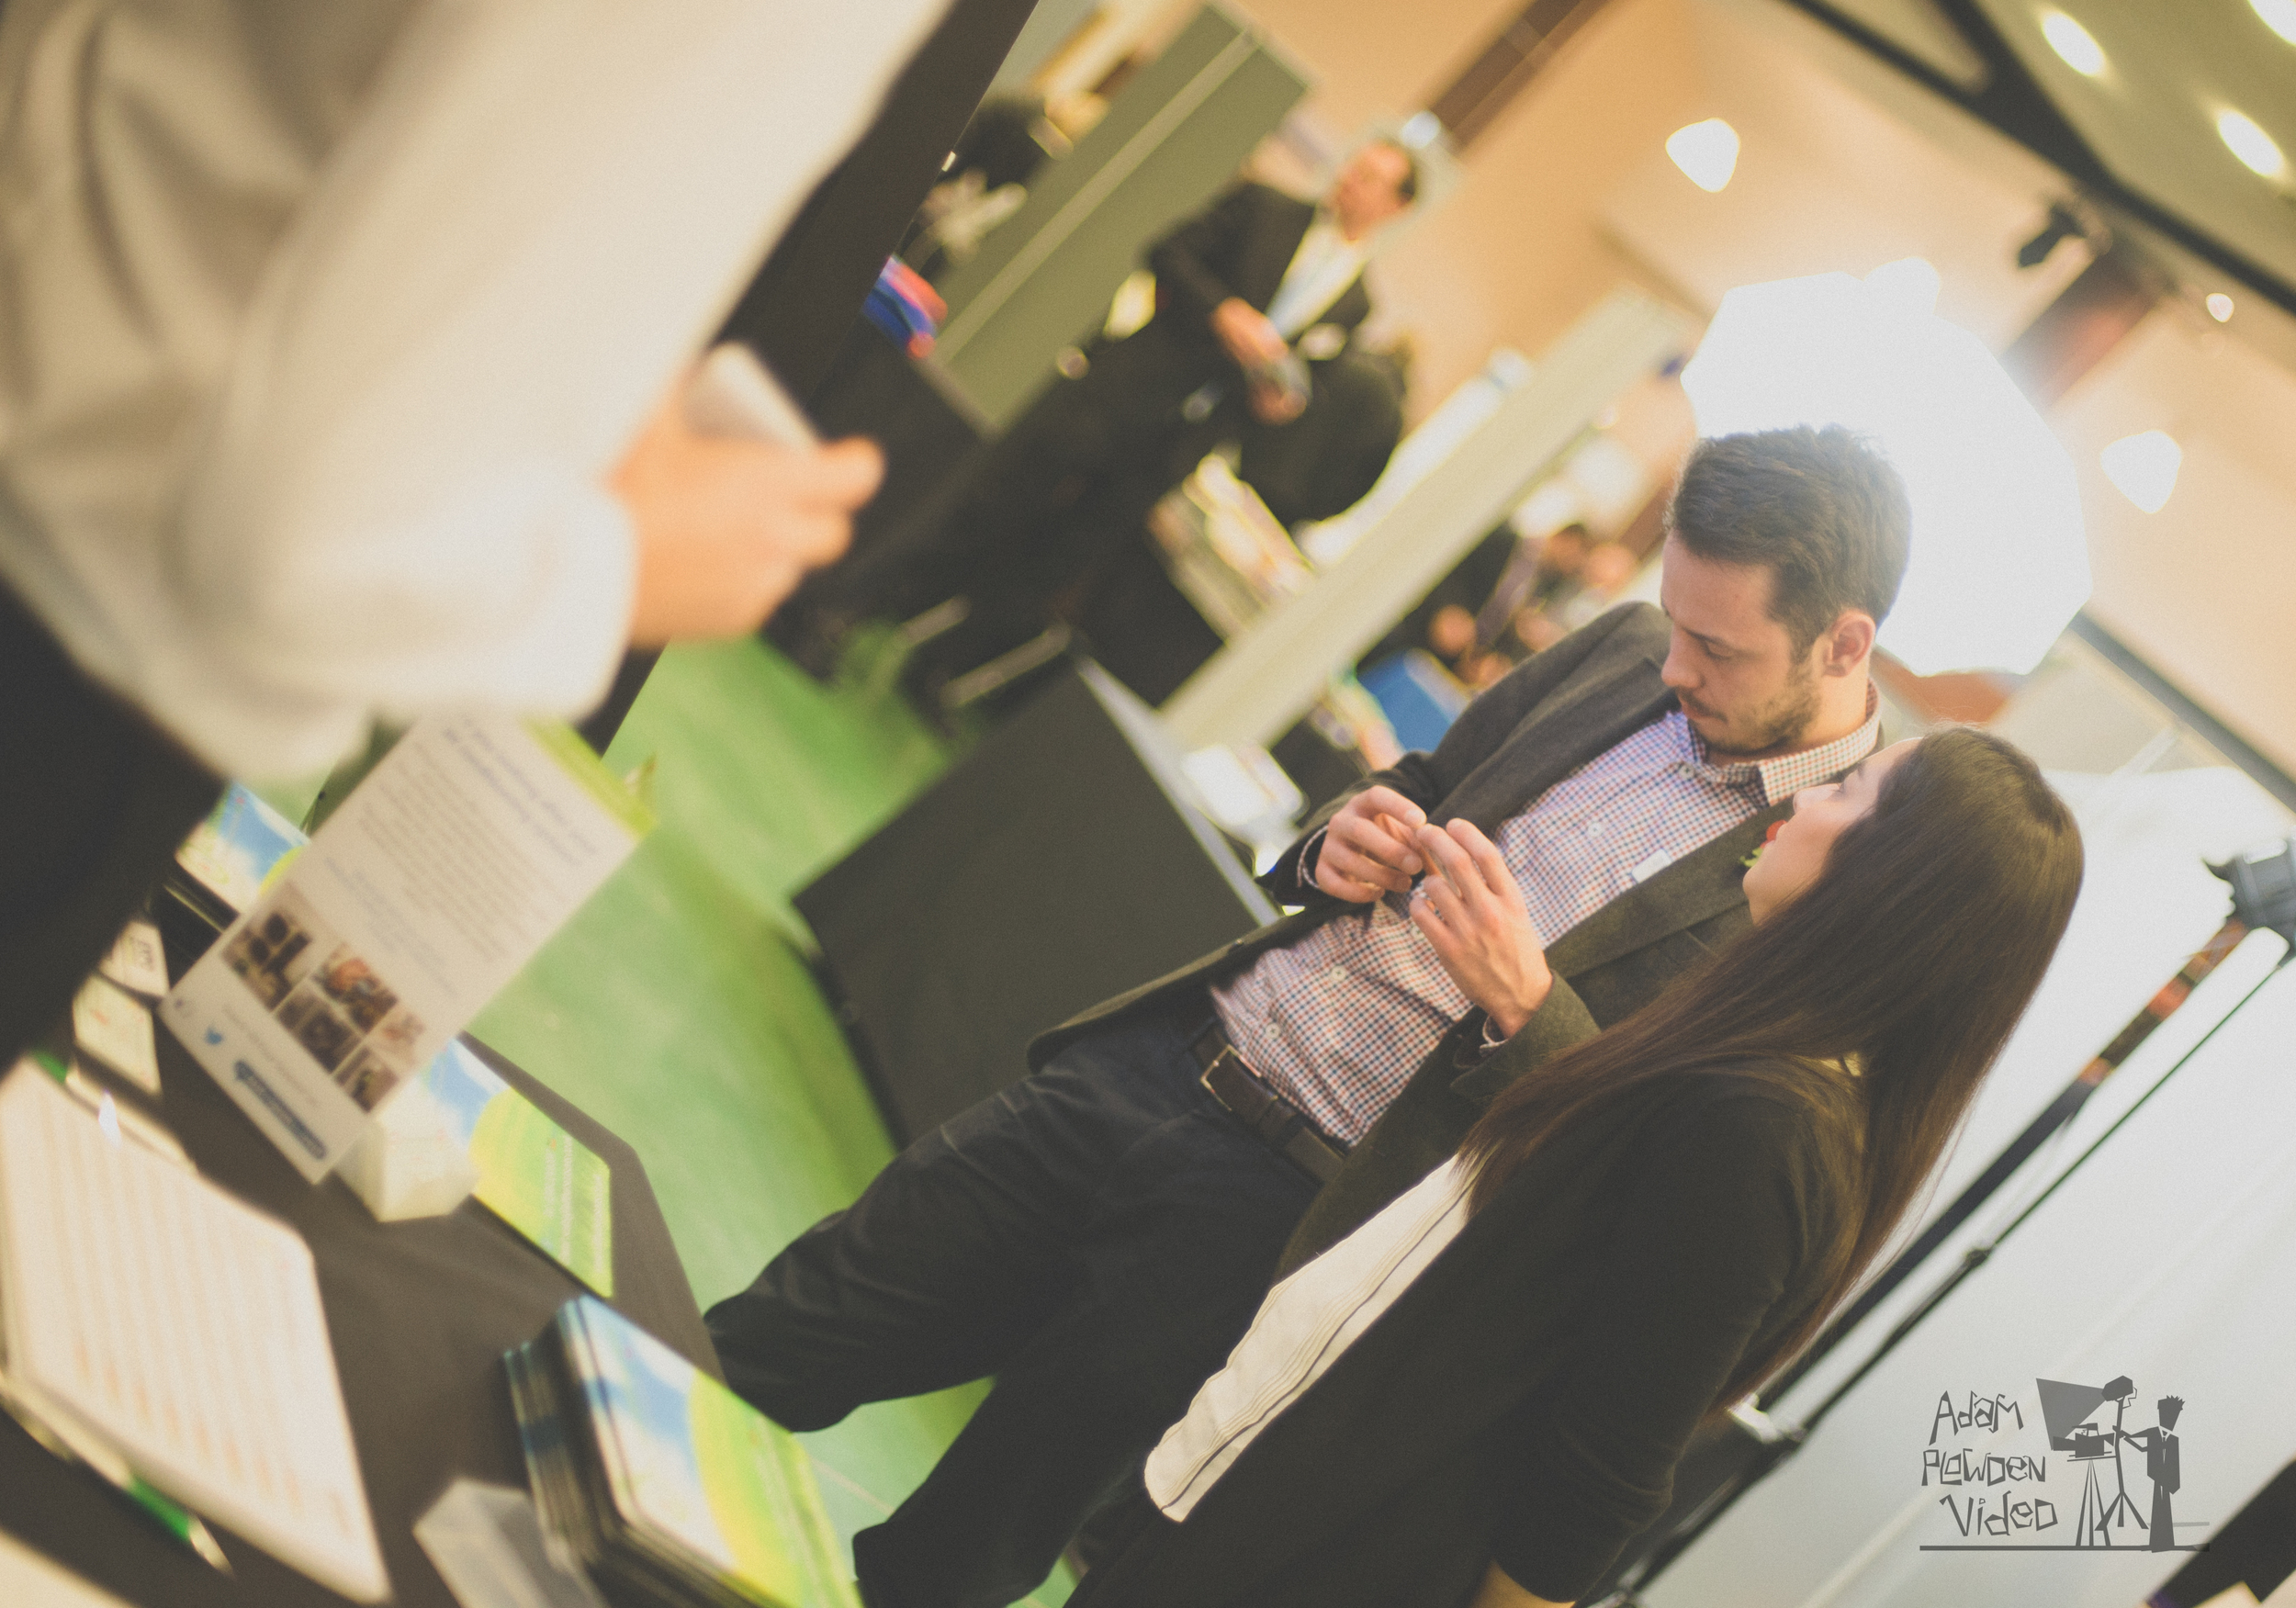
Stills taken at the local and regional business expo today by APVideo, hosted at The Duchess Stand, Epsom Downs. Organizers were Exposure Events, sponsored by The Best of Epsom and Ewell.
Watch this space for the Expo highlights film!
As a local business, I visited the expo for the day, shot a load of lovely video and networked away. The list of exhibitors featured in the film will be posted here for you guys too.
Evening all! It's been a long summer, made even longer by fantastic work with friends and brilliant clients. My last post 'Filming with the JVC GY-LS300..' has actually been in the works for months, but I didn't see fit to release it without a couple of the accompanying videos. As well as completing productions for Screen Systems, I also worked with NewsShooter.com to produce the coverage and blogs over IBC 2015. It was great to work with Dan, Elliot, Matt and the others from the NewsShooter team, more on IBC in another post.
On returning from IBC, I met up with Dan and we played around with some old 'budget' manual lenses with the LS300 and got some interesting results. Many of the lenses were purchased for £5 or at least under £10, giving it the budget aspect. The LS300 is also somewhat of a budget option for a video camera, but with the eagerly anticipated J-LOG gamma curve firmware update, much more visual quality and dynamic range can be captured. Together, that makes the 'budget lens challenge', in which you purchase a cheap lens, and make a short vid with it on a budget setup!
Can you do the 'Budget Lens Challenge'? Send over your results and #budgetlens on twitter to @plowman91 and @theNewsshooter!
Coming up, I am working on part 3 and 4 of the JVC GY-LS300 camera review which will include using J-LOG; filming and grading with it, as well as including the budget lenses I've acquired as part of the budget lens challenge!
Thanks to Manfrotto and WTS Broadcast for your support.


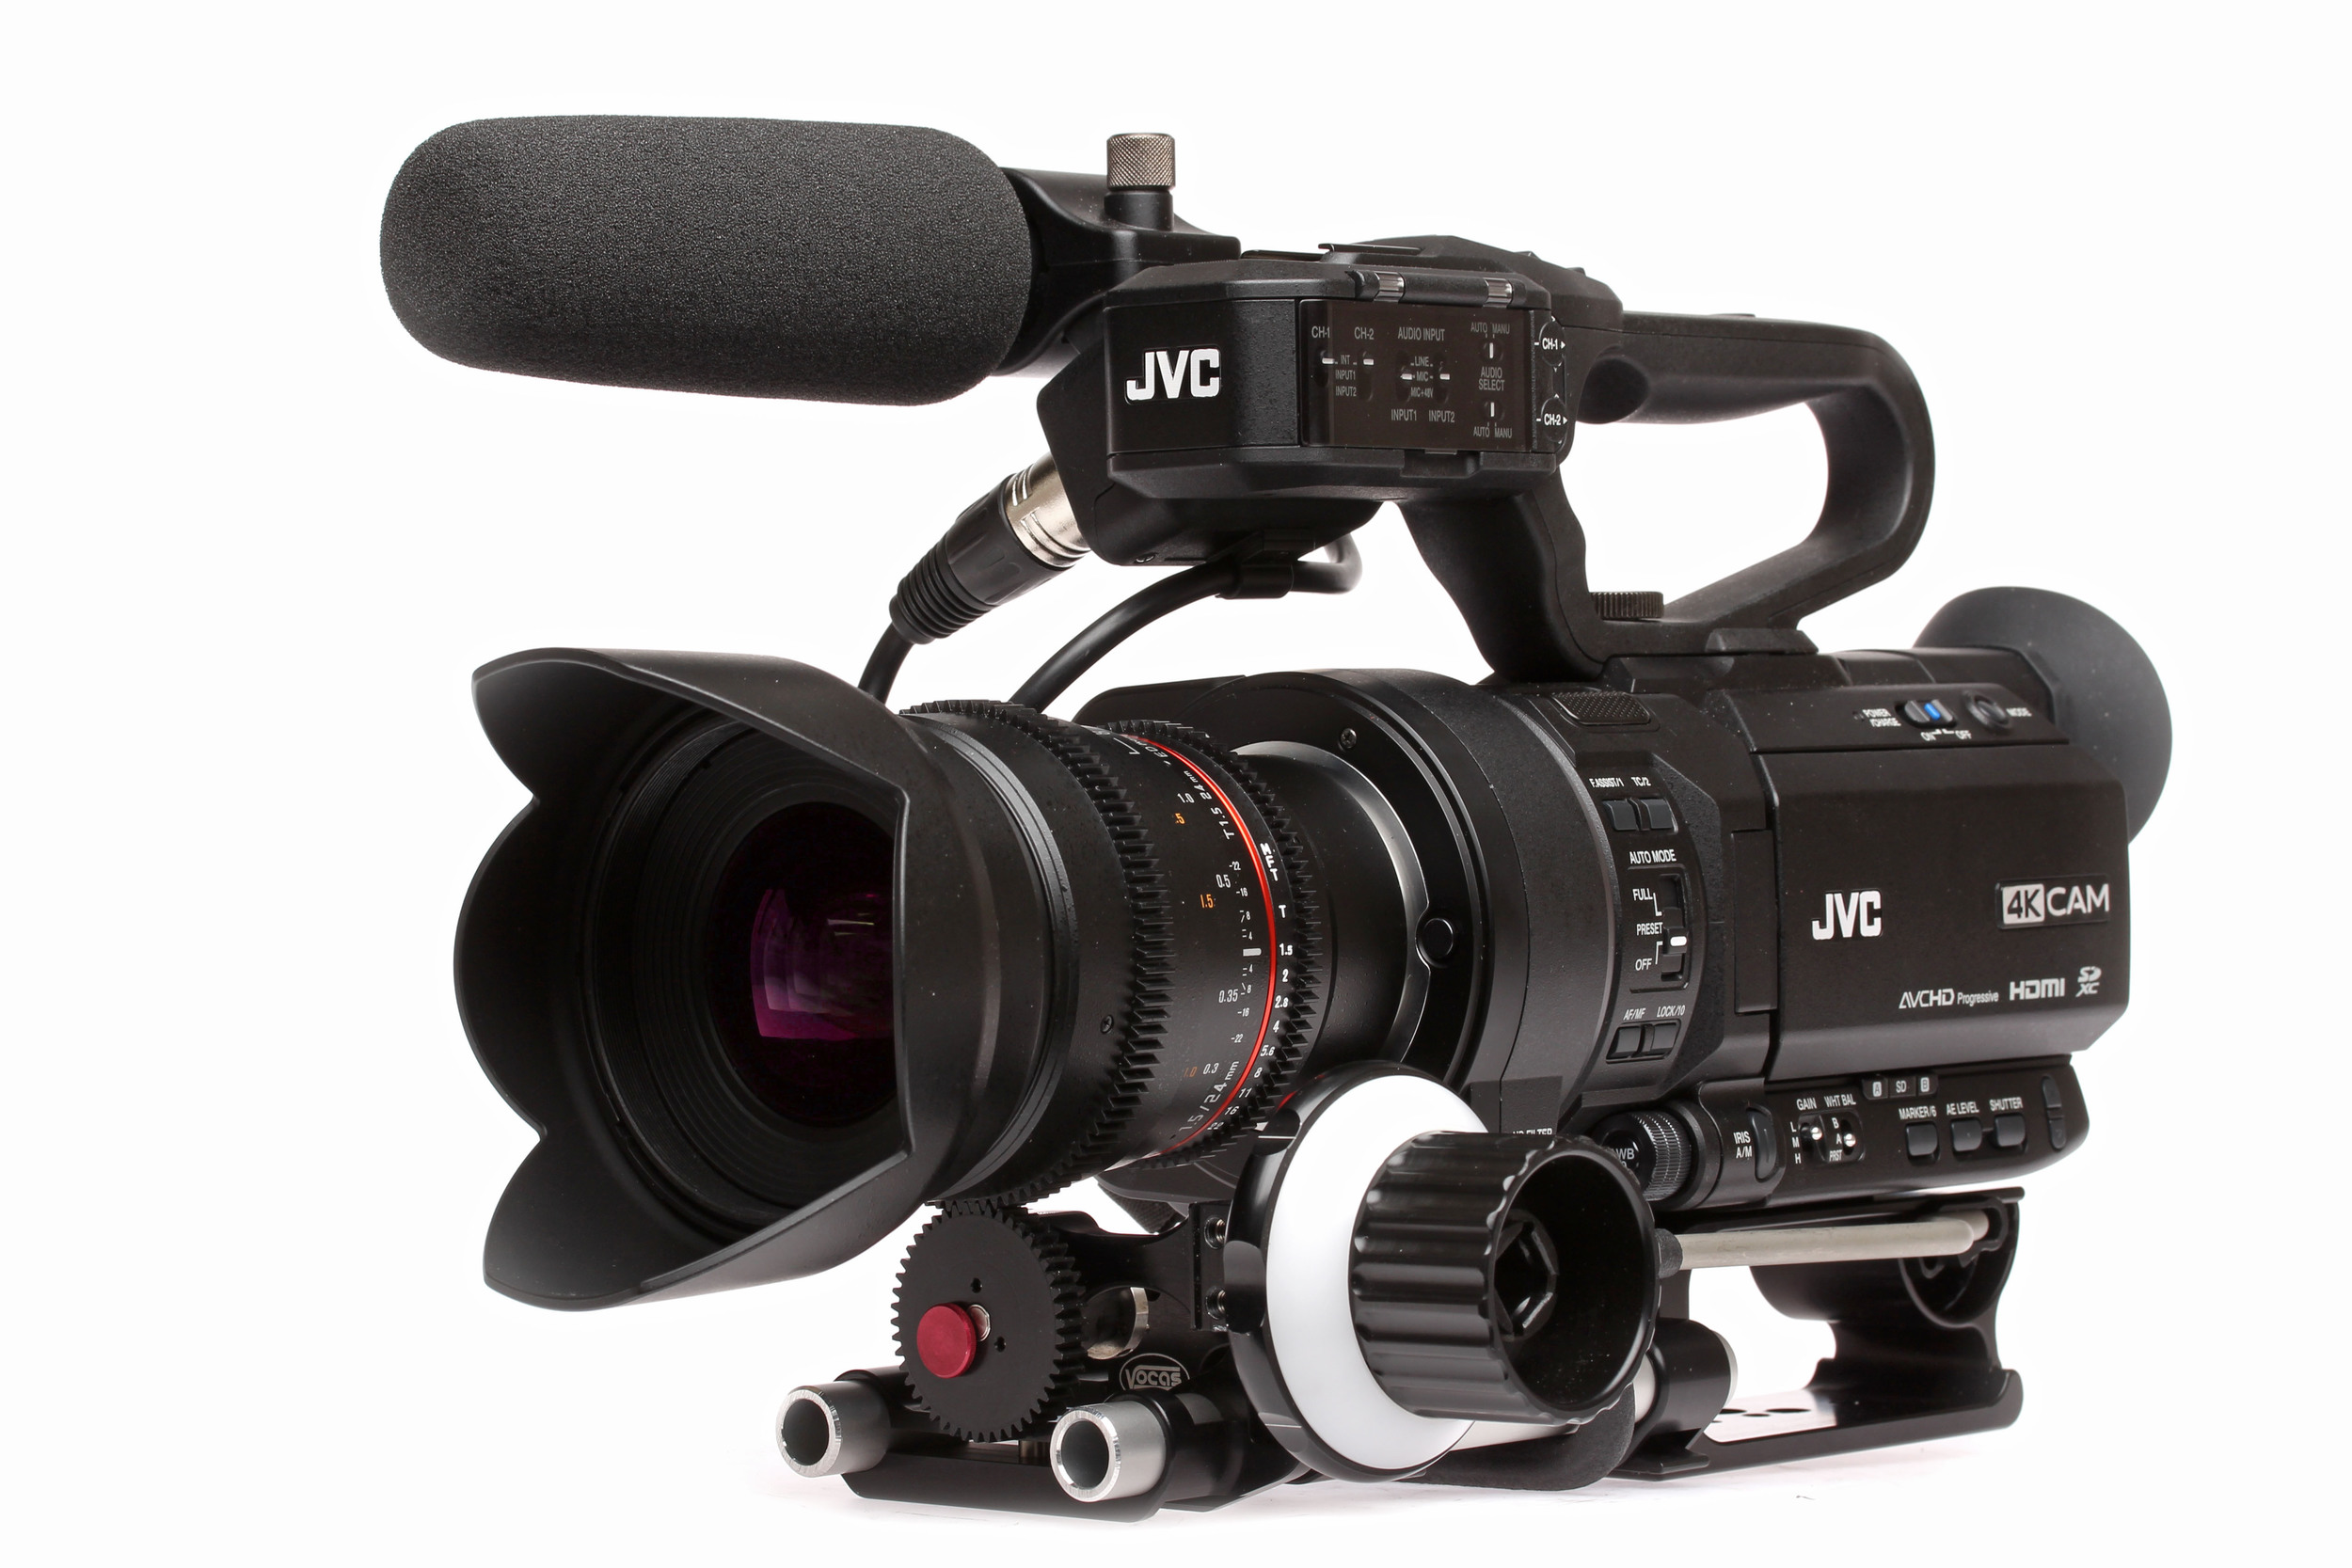
I first met the LS300 at BVE 2015 in London where I went to the soft launch of JVC's 4K flagship video camera. There I met with Mike and John from JVC Pro UK who gave me of the walk through of the prototype they had on show.
Since then the camera has intrigued me as a production camera for filming and video. On paper it has similar specifications to the Canon C300 mk II and FS7, but only working with it would determine whether it weighs in as a contender. Time was rather tight for actually filming with the camera itself, so I timed it right for a music gig and extra time away from the desk to get out and shoot some material.

The wonderful guys at WTS Broadcast helped me out with the camera as I was looking to test it out and they had one in stock. I've got a great relationship with Alex at WTS and after a long conversation back and forth I was tempted to finally use the camera for filming, so I loaned one out for a gig and test shoot.

Coincidentally, James from LogoLogo (Brighton) was up in London for an appointment, and keen to meet up after getting to know each other at Shadows and Light, this was the perfect opportunity to talk tech and film together at the Fleetmac Wood gig I had lined up for us at Birthdays in Dalston. We met up at WTS Media HQ in Fitzrovia where I introduced James to Duncan, and caught up over a drink overlooking the busyness of Oxford Street. It's awesome to meet up with a new friend, there are always so many stories to share.

We made our way to Dalston on the hot and sticky underground. Luckily I had no backpack as I'd packed all the kit (including the LS300) into the Manfrotto Roller Bag 70. It is a well padded case, and with varying foam dividers I simply constructed the bag sections before leaving home to accommodate the JVC camera, top handle, microphone, for example. It's an awesome bag for (definitely more than) two reasons - transportation and diversity. Transportation in which I can comfortably travel with the bag, and diversity in which I can securely store both photography lenses and pro production cameras.

The Manfrotto Roller Bag 70 also accompanied on my recent trip to Hollywood, and on both occasions it was perfect for the job. When I arrived at WTS Media I simply rearranged the dividers to accommodate the larger LS300 and its accessories. Flexibility is definitely at the heart of this bag.
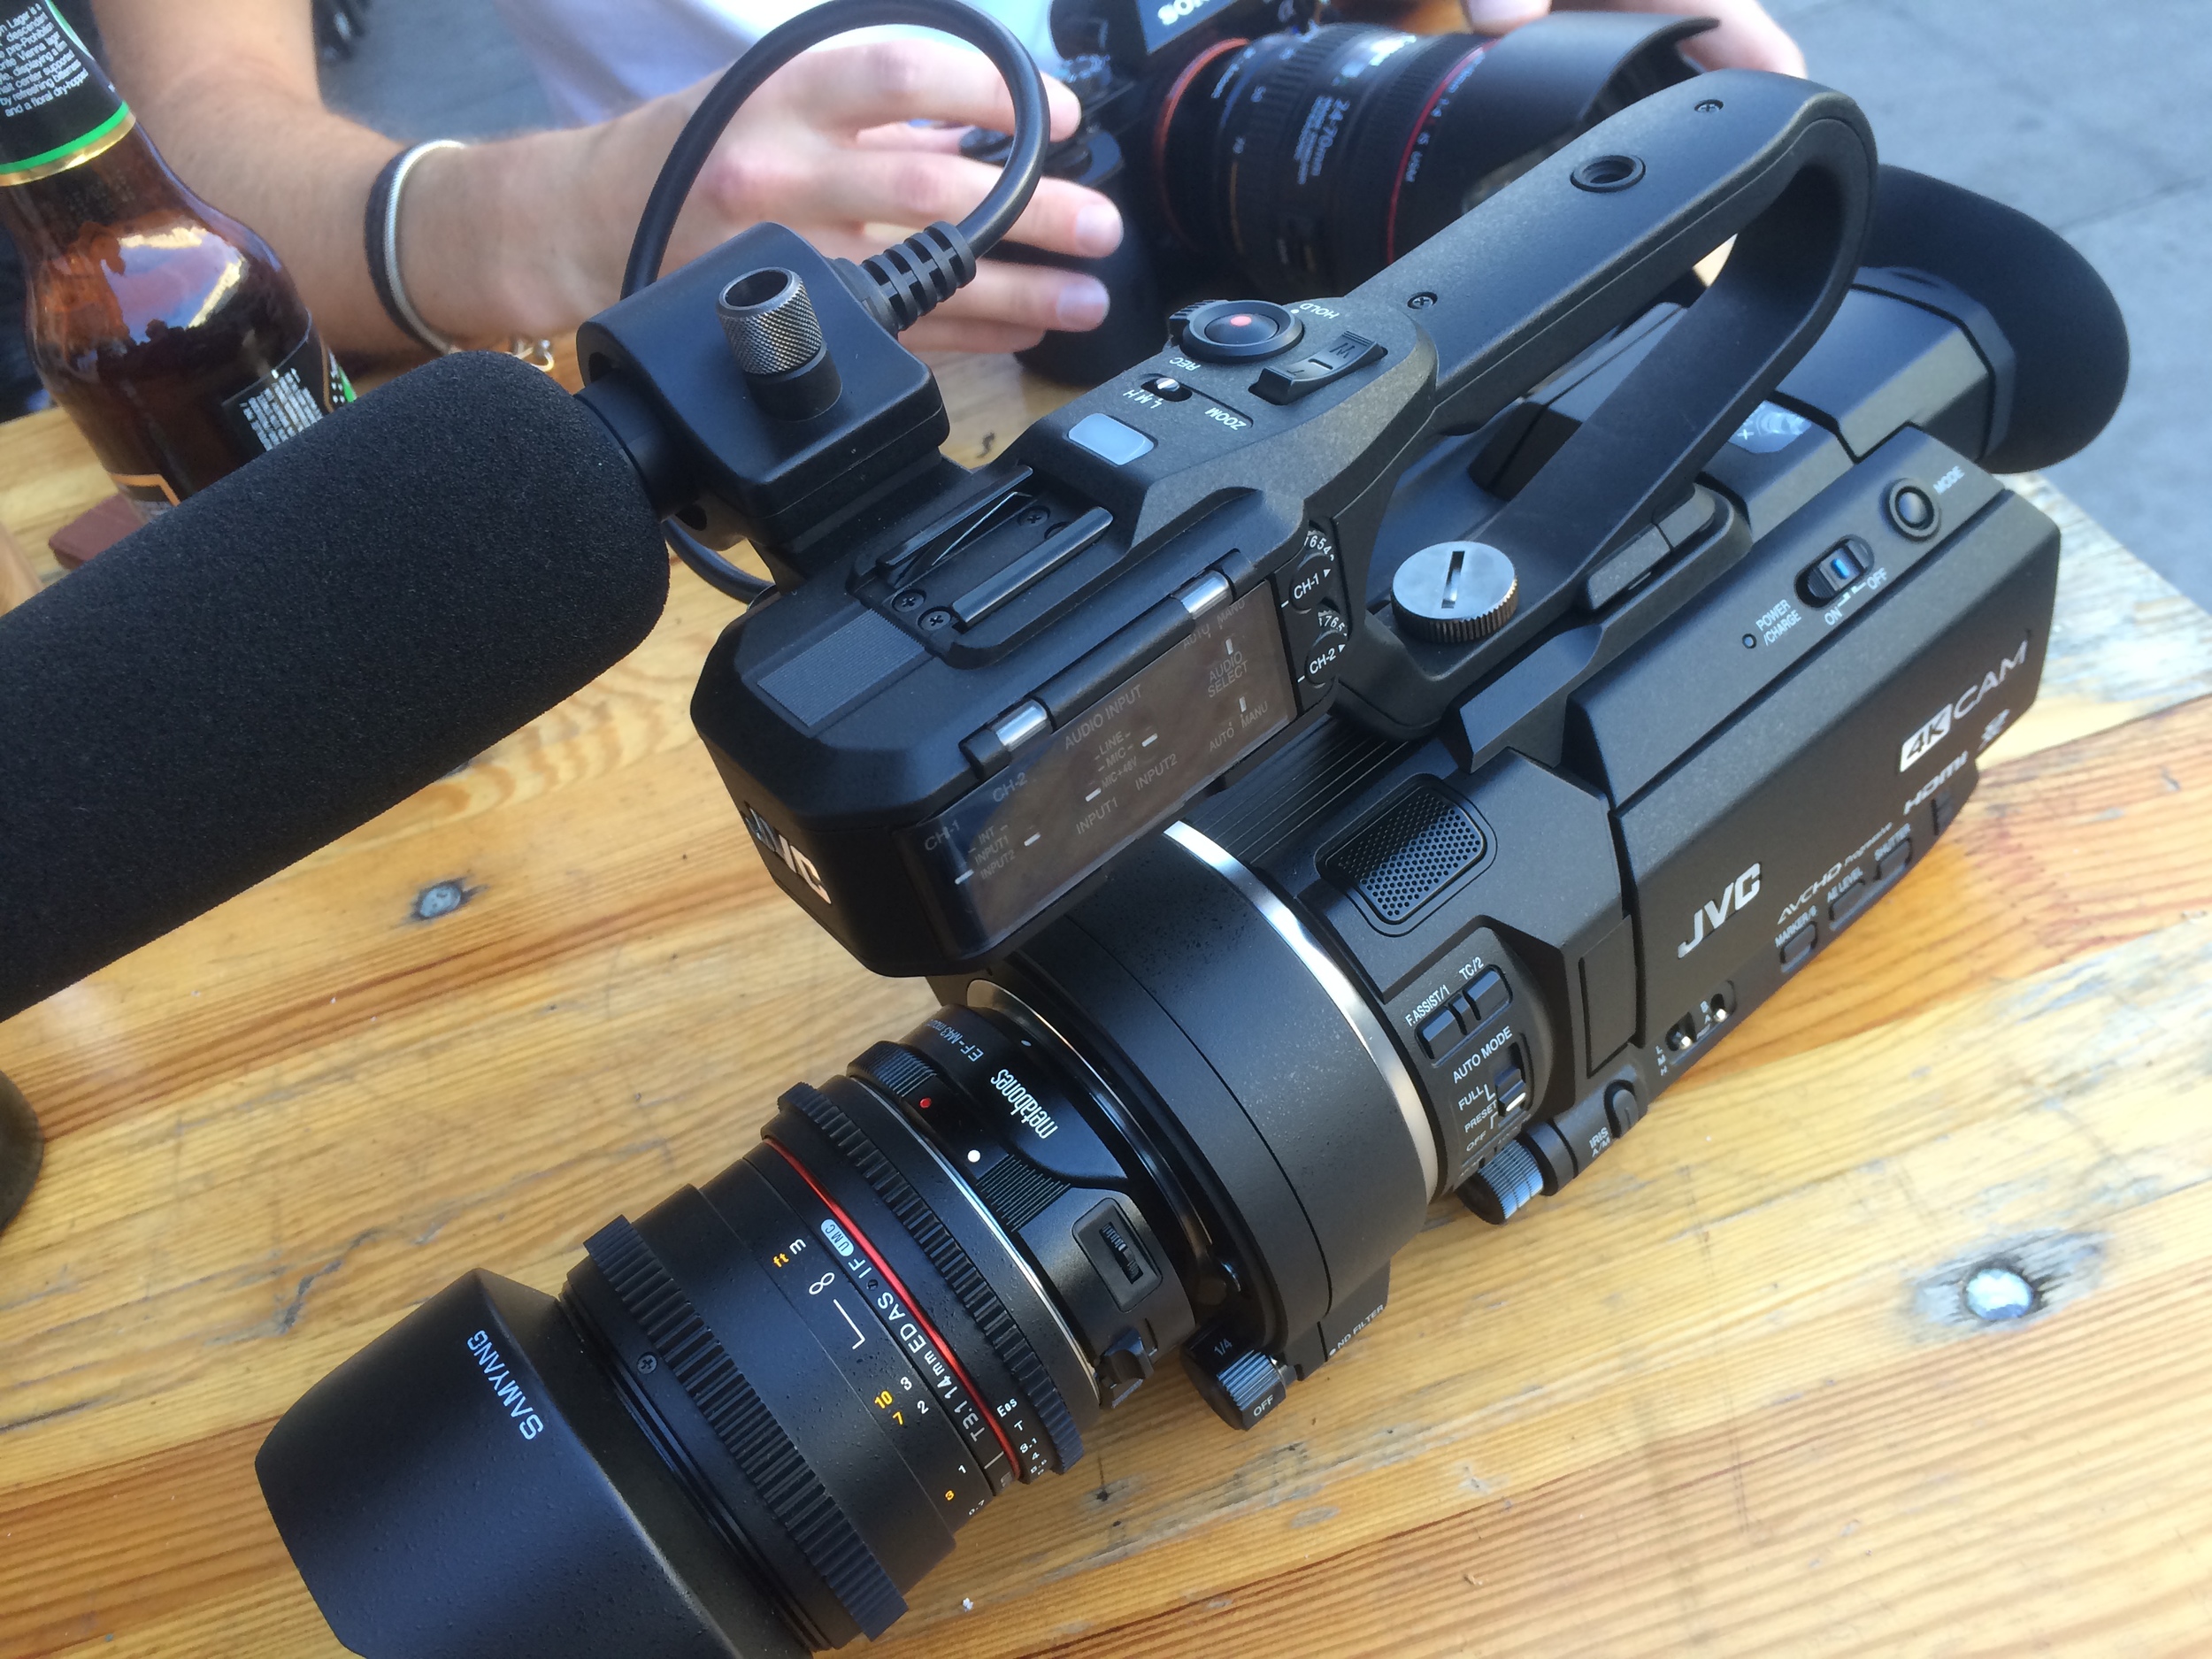
In the restaurant across the road I got the camera set up and ready to film with, attaching the Metabones EF-MFT lens adapter and the Sigma 35mm T/1.5 lens. On arrival at the venue (Birthdays), I discovered that the settings are not easy to navigate; it takes a silly amount of time to locate the essential settings such as changing the video resolution, codec and format. Not very functional for run and gun or quick shooting work especially when you like switching between real-time and slow-mo, or using the VSM feature.

I went a bit retro with using a 17-50mm for APS-C on the A7S to give it the vignetting, and I like the outcome!
Because of the MFT mount and sensor size, it's possible to use EF-S or APS-C lenses with this camera, and also Micro Four Thirds (when you use VSM). I have the Tamron 17-50mm VC that I use on the 60D which is an ideal wide angle lens, however I chose to use the 24-70 (full frame) instead, which made the camera + lens combo extremely front heavy. However even with a smaller lens, the build of the camera itself seems somewhat plastic-like and unbalanced. I'd expect if the camera was rigged out with a shoulder pad, V-lock battery and recorder it would be much more balanced, but the camera isn't constructed for this, or at least it didn't feel like it.
Note: If you are using native MFT lenses directly to the camera mount, the combo is much smaller and lighter. Of course, you will have to use the VSM to crop in on the sensor to around 80% for the correct sensor coverage.
From JVC Pro with adapter and EF lens

From HD Warrior with MFT lens
Honestly, I was rather disappointed with the quality of the flip out LCD screen and back eyepiece. I guess I've been spoiled with the A7S' viewfinder which is fantastic in quality and contrast. The LS300's didn't stack up, and I often found myself needing to use the eyepiece instead of the screen to judge the focus and exposure. What became difficult was finding the critical focus in contrasty situations. I could have used the digital zoom (expanded focus), but didn't know it existed.
The LS300 with Samyang 14mm T/3.1, which on this camera equates to around 20mm.
Unfortunately I didn't have a lot of time in between eating and the gig to sus the camera out apart from checking the resolution, setting the white balance, setting pre-rec run etc. As we were filming a DJ gig I didn't want to have the camera (I was borrowing) out for long in case it got damaged or covered in booze.
Filming Fleetmac Wood was fantastic, Lisa and Alex are brilliant DJ's and their tambourines definitely lit up the dance floor. The added visuals from old music videos added to the eclectic experience, combined with mixes from many talented producers made the night one to remember.
As you would imagine, the venue was dark, only lit by a couple of LED lights and the projector. Almost immediately I ruled out using the LS300 after capturing a couple of shots of the venue and booth, in what the camera seemed to think was candle light. In these scenarios, I don't believe the camera would hold up unless you had the time, space and equipment for a lighting setup. Sure, you could shoot at T/1.5 but you'll get nothing in focus if you're filming crowds dancing, plus with the gain up to +12dB your picture becomes noisy.
James took some brilliant photos and videos of the night, some of which are below in the gallery and also included in the Fleetmac Wood @ Birthdays film.
While filming the Fleetmac Wood gig I did switch lenses a couple of times, firstly to the Samyang 35mm T/1.5 which although was heavy, had a wonderful bokeh and combined with the super 35 sensor made for great video. I also teamed it up with the Atomos Shogun (in HD) rather than 4K via SDI, which captured the video in ProRes HQ.
By my reckoning, you'll need to spec up this camera with additional extras to make it what you want to be. Out of the box it comes with all you would need to start (minus the SD cards and microphone and some spare batteries), but you'll need a tripod or monopod to keep it steady, especially if you're using primes of lenses without image stabilization/vibration control.
Saying that, if you weren't filming a music gig in low light you would have a lot more options and time to compose the frame... I come on to that in a moment.
I've cut all of the footage together for this edit which includes filming from the A7S, LS300, A7S with the Shogun in 25p and 50p, LS300 with the Shogun in 25p (HD), and footage from James Beer (LogoLogo) on the A7S in 50p and 100p.
Photography by James Beer @ LogoLogo
I had the LS300 loaned out for a week to put it through its paces, filming in a number of different scenarios. I shot quite a number of clips out in my garden just to get a feel for the camera and figure out it's settings. Of course, Alfie the cat was a willing subject!

From testing out the VSM feature, I can't see a big degredation in light or quality when you change the sensor scan mode from 100% down to 80% for MFT lenses, however I was using great quality lenses (Tamron and Samyang) rather than MFT lenses which have a smaller in-lens depth of field, so there is more light coming through the lens for the sensor to capture.
The built in ND filters are a god-send, and a very welcome adittion to a camera that would be used with large-aperture lenses. If you wish to shoot at T/1.5 for a very shallow look, using 1/64 ND in the bright daylight is probably your only option. Saying that, unlike using ND filters in front of the lens, there isn't a noticable colour cast of image degredation like with other filters. However, more ND stops please!! Going from 1/4 to 1/16 to 1/64 are big jumps, and in some cases, 1/64 was not enough!

While out and about filming in Ewell, I simply had the LS300 with the JVC50 battery, 1 SD card and the Tamron 24-70 on a Manfrotto 755CX-3 tripod. For run and gunning, despite the build of the camera it works extremely well for this kind of filming.

Unlike the FS7 and Canon Cinema cameras, the LS300 doesn't have any log capabilities for a wider dynamic range, which was expected as JVC marketed this camera for higher-end productions. It would be interesting to see how well the camera performs with a log curve and higher bitrate recording for filming that needs it. From filming with the 'standard' colour setting and 'detail' knocked all the way down the image is rather pleasing, much better than I expected. I guess the viewfinder/eyepiece gave me lesser expectations of what the captured image would look like, so I was pleasnatly suprised to see the results.

However, like mentioned before, the viewfinder/eyepiece is not the best quality and without using the 'focus extender' function, it was difficult to achieve critical focus. Some of this is evident in one of the demo films I've produced with the camera. I also noticed that the form factor of the camera doesn't allow you to get a nice, steady shot like a shoulder mount camera would where you have numerous contact points on your body. With a top-mounted eyepiece it doesn't feel natural to hold the camera in front of your chest (for hand held or monopod filming), and is not steady, even with IS or vibration control.
Despite other things, the battery life is a winner, on one battery (JVC50) giving you over 200 minutes of filming time. I took the camera out to a local business networking night put on by What's On In My Town and Hobbledown, as I am joining forces with them to promote local business and talent it was a perfect opportunity to capture some of the event and talk to other companies about how films can help them.
It was a wonderful summer evening at Hobbledown children's farm, kindly the hosts for the networking, with attendees getting a full tour of the venue and a go on the new high ropes activity! David the manager and his team were fantastic and played great hosts with the BBQ.
With this beautiful golden hour of filming, the LS300 really shone as a camera. Yes, I probably shot at F/3.2 with ND 1/16 because I wanted a shallow depth of field, but ND 1/4 at F/8 was too bright. I was pulling focus all the time during the piece to camera from Whats On MD, Paul. I also found that as he walked from the shadows into highlights, he would become over exposed, so high contrast filming wouldn't be practical (unless you had some control over lighting) with this camera.
Revisiting this post about a week on from my last entry..
It was really rather easy to work with the footage from the LS300, and knowing there is a focus expander gives me more confidence in it. However, as you will have seen from the footage in the film above I do focus creep due to not being certain using the LCD screen or eyepiece. Premiere handled the 4K footage very well, without having to render until I added some colour correction, scaling and graphics.
You'll also probably notice the shots where I attempted to go handheld, this is where the form factor of the camera somewhat let it down, but hey ho that's what a rig or tripod is for.
In the longer piece to camera with Paul, the image captured was lovely and had a pleasing depth of field to work with (not too shallow like the A7S, but not too deep like the GH4). Of course you can use any wide aperture lens with the camera if you wanted it to be bokelicious!
(Starring my thumb...)
I'm surrounded by greenery where I live, so making the most of the great weather I headed out with the camera to capture some local landmarks (for another archiving/history project I'm working on). This would be a real high-contrast/dynamic range test for the camera.
When thinking about purchasing this camera, it boils down to what I can get for the price, especially in comparison to other internal 4K cameras (Panasonic GH4, Sony A7R II). They are smaller, both will require a lens adapter (as will the LS300) and new batteries, SD cards, rig, and are cheaper than the LS300 (without a microphone).
I've been away for a little while, so the review was put on hold until my return. On which I found out some interesting news from JVC, who have decided to upgrade the firmware of the LS-300 with new features..
READ THE FULL PRESS RELEASE from JVC PRO HERE
Considering these new updates, the camera is now more capable of competing against higher level players, rather than the DSLR/mirrorless market. I'm due to test the camera out again in September, hopefully with the new firmware 2.0 to compare!
Finally, big thanks to WTS Broadcast for lending me the camera for a week to test it out. To Manfrotto for their Roller Bag 70 and 755Cx-3 tripod, and to Fleetmac Wood & Whats On In My Town for letting me film their events.
It's been a rather amazing few weeks for me here at APVideo. So here is the low down on what I did, what kit I used and what is coming up next!
Jump back to the beginning of June and I get a call from NewsShooter.com asking if I'm available to cover CineGear in Hollywood for them. With an empty space in the diary, I jumped on the chance to visit LA and begun the prep to cover the expo with video.
To familiarise myself with the exhibitors, I checked out the interactive map and visited the websites of companies of interests and viewed the latest press releases to get clued up on the news. (Always be prepared).
Manfrotto provided me with the fantastic Roller Bag 70 for my trip overseas, into which I moulded the foam inserts to protect the cameras and kit I'd be taking. Since it was a short trip, I only took the bare neccessities!!
Told you it was bare!
It was a couple of long flights over to LAX.. Some snaps from the journey on the A7S.
It was my first time flying to America, so I was keen to snap up as much as I can, and enjoy the Virgin Atlantic hospitality!
I highly recommend the Mondrian Hotel on West Sunset Blvd, it is bloody amazing. Rooftop restaurant and bar, amazing hotel views, and staff that feel like family!

The following morning I constructed the Movcam cage rig with the kit I brought, which compacted all of the filming kit into one tiny hand held rig which I could put on the Manfrotto 755Cx-3 tripod.
I got myself one of these handy little hot/cold shoe mounts for anything with a 1/4" screw hole; in this case I was using it with the Zoom H6 but it fits most accessories. If I were using the Atomos Shogun, I'd of used a magic arm (just for flexibility in adjusting the screen angle), but as I was monitoring the audio with headphones and checked the levels beforehand I didn't need to see the monitor per se. An alternate is to simply use a ball mount, but I find these sometimes don't lock down the position strongly enough (especially cheaper ones).
Very lightweight packing for a 3 night trip.
I took of the video head by unscrewing the locking screws at the base.
I got an UBER from the hotel to the studios, and after registering and waiting for the show to open, I made my way to the stages to begin filming! I had about 10 interviews to do on the first day to get a head start and the main content back to NewsShooter (who are a day ahead time wise).
Cool-Lux, Atomos, SLR Magic, Beeworks and a host of other manufacturers were on the list to capture. For the setup, I shot using PB's recommended video settings (cine-4 etc see previous blog post) with the Zoom H6 recording dual audio both on the stereo XY mic and via the Rode Lavalier which I clipped onto the interviewees.
Thats Andrew from SLR Magic talking about their new Rangefinder, Anamorphot and Noktor lenses.
The plan was to shoot the 10 interviews with plenty of B-roll and begin editing that night. It was a late one, staying up until 4am editing the first batch of videos. I got the SLR Magic one out that morning before my head hit the pillow.
4 hours later.
Up I was to complete the last of the edits in Premiere Pro. The videos follow the same format, so after opening the exported XML sequence from Pluraleyes I could simply drop in the titles and credits, the lower 3rd and QC the video before exporting.
The show opened later that day, so I made my way down that afternoon. The Manfrotto tripod I was using was perfect for this kind of filming. Being mobile and having a small footprint is a real issue when covering events, and you should try and stay as small and quick on your feet as possible.

The rig was so convenient I carried around on my shoulder all day!
That evening it was recovery time from the lack of sleep and jet lag carrying over from the previous night, but while I was putting my feet up watching Jurassic Park in the hotel I had Premiere whizzing away with the new footage I had shot that day.
Because of the format, replication of sequences was rather fast. Using Premiere means no rendering time and instant playback, so I spent little to no time waiting around as I queued up the finalized sequences into Media Encoder, and batch exported while I was editing together the next sequence. Keeping check on the white balance and varying exposure of indoor and outdoor shooting meant no colour correction was needed in the edit, which also sped up the production process, I could get the news from the show quicker out to NewsShooter!
The beauty of shooting on the A7S was that I could shoot at F/11 and beyond outside due to the wonderful Hollywood weather, but inside if I needed extra light I could punch up the ISO to 2400-6000 with no real visual difference (unless you want to pixel peep).
The Rode Lavalier is a real workhorse for me. Before leaving I set it up with the small wind jammer and the Micon-5 XLR adapter so it would plug comfortably into the H6. For an inexpensive microphone it does a fantastic job of capturing the subject and cancelling out the background noise, which at an expo is quite loud in some cases.
In case you need advice on SD cards, I use the Transcend Ultimate 600x 64Gb U3 cards (purply pink label) as they are XAVC and S-log compatible.. Not that I have shot using the S-log yet.
Feel like I should say 'Mirror, mirror, on the huge podium in the centre of my hotel room'.
Just as quickly as I arrived, it was time for me to depart. I got an UBER to LAX where I picked up a couple of snacks to munch on while I edited the remaining videos to be exported when I got back home.

That guy sitting above my laptop was vaping away on an e-cig by the gate. I thought to myself 'surely this wouldn't be legal in England'.. It isn't!
Bye bye wonderful Mondrian and LA
I returned home after a stop over in Las Vegas for probably about 20 minutes. So no gambling or anything like that as it was a quick transfer. So quick in fact that I needed to run to the gate (again, thanks to Delta, grr).
A fun filled 12 hour flight across the states and Canada, across the ocean and back into England was compiled of all 3 Hobbit films (as I was yet to watch them), followed by a hilarious comedy film called 'What We Do In The Shadows' by the same guys that made 'Flight Of The Concords'.

Damn its dry down there.. No forests or green!
Overall it was a brilliant working trip to Paramount to cover CineGear 2015 for NewsShooter, and a wonderful experience visiting the US too. I look forward to working again with NewsShooter at future events!
It's been a very busy week here at APVideo, as I was covering the CineGear 2015 expo at Paramount Pictures (LA) for NewsShooter.com! It was a fantastic show, and great to catch up with the likes of ARRI, SLRMagic, Atomos, Litepanels and many more. Check out the 'Showcase' page for a couple of the videos..
Adam in Paramount Pictures Backlot!
All of the interviews/video features are available to watch here at NewsShooter.com!
I've also been out working with Jonathan, who I met at the Shadows and Light workshop a few months back at the WHSmith Travel conference at the Sofitel. We were doing the complete AV production including PA and camera setup, next day edit and so forth. It was awesome working with Jonathan and there's no doubt we'll be teaming up again soon!

Simple PA setup with wireless.
Tony Parsons guest speaker
Paralympian Natasha Baker guest speaker
I'm now taking a break to recover from non-stop working, in the mean time I will be looking at selling umptuous amounts of Lilliput monitors and camera rigs, so watch this space for more!
I am still testing out the many brilliant features and benefits of the 4K combo I now have, one biggie was being able to grade the footage much more than what you're able to with internal camera recording.
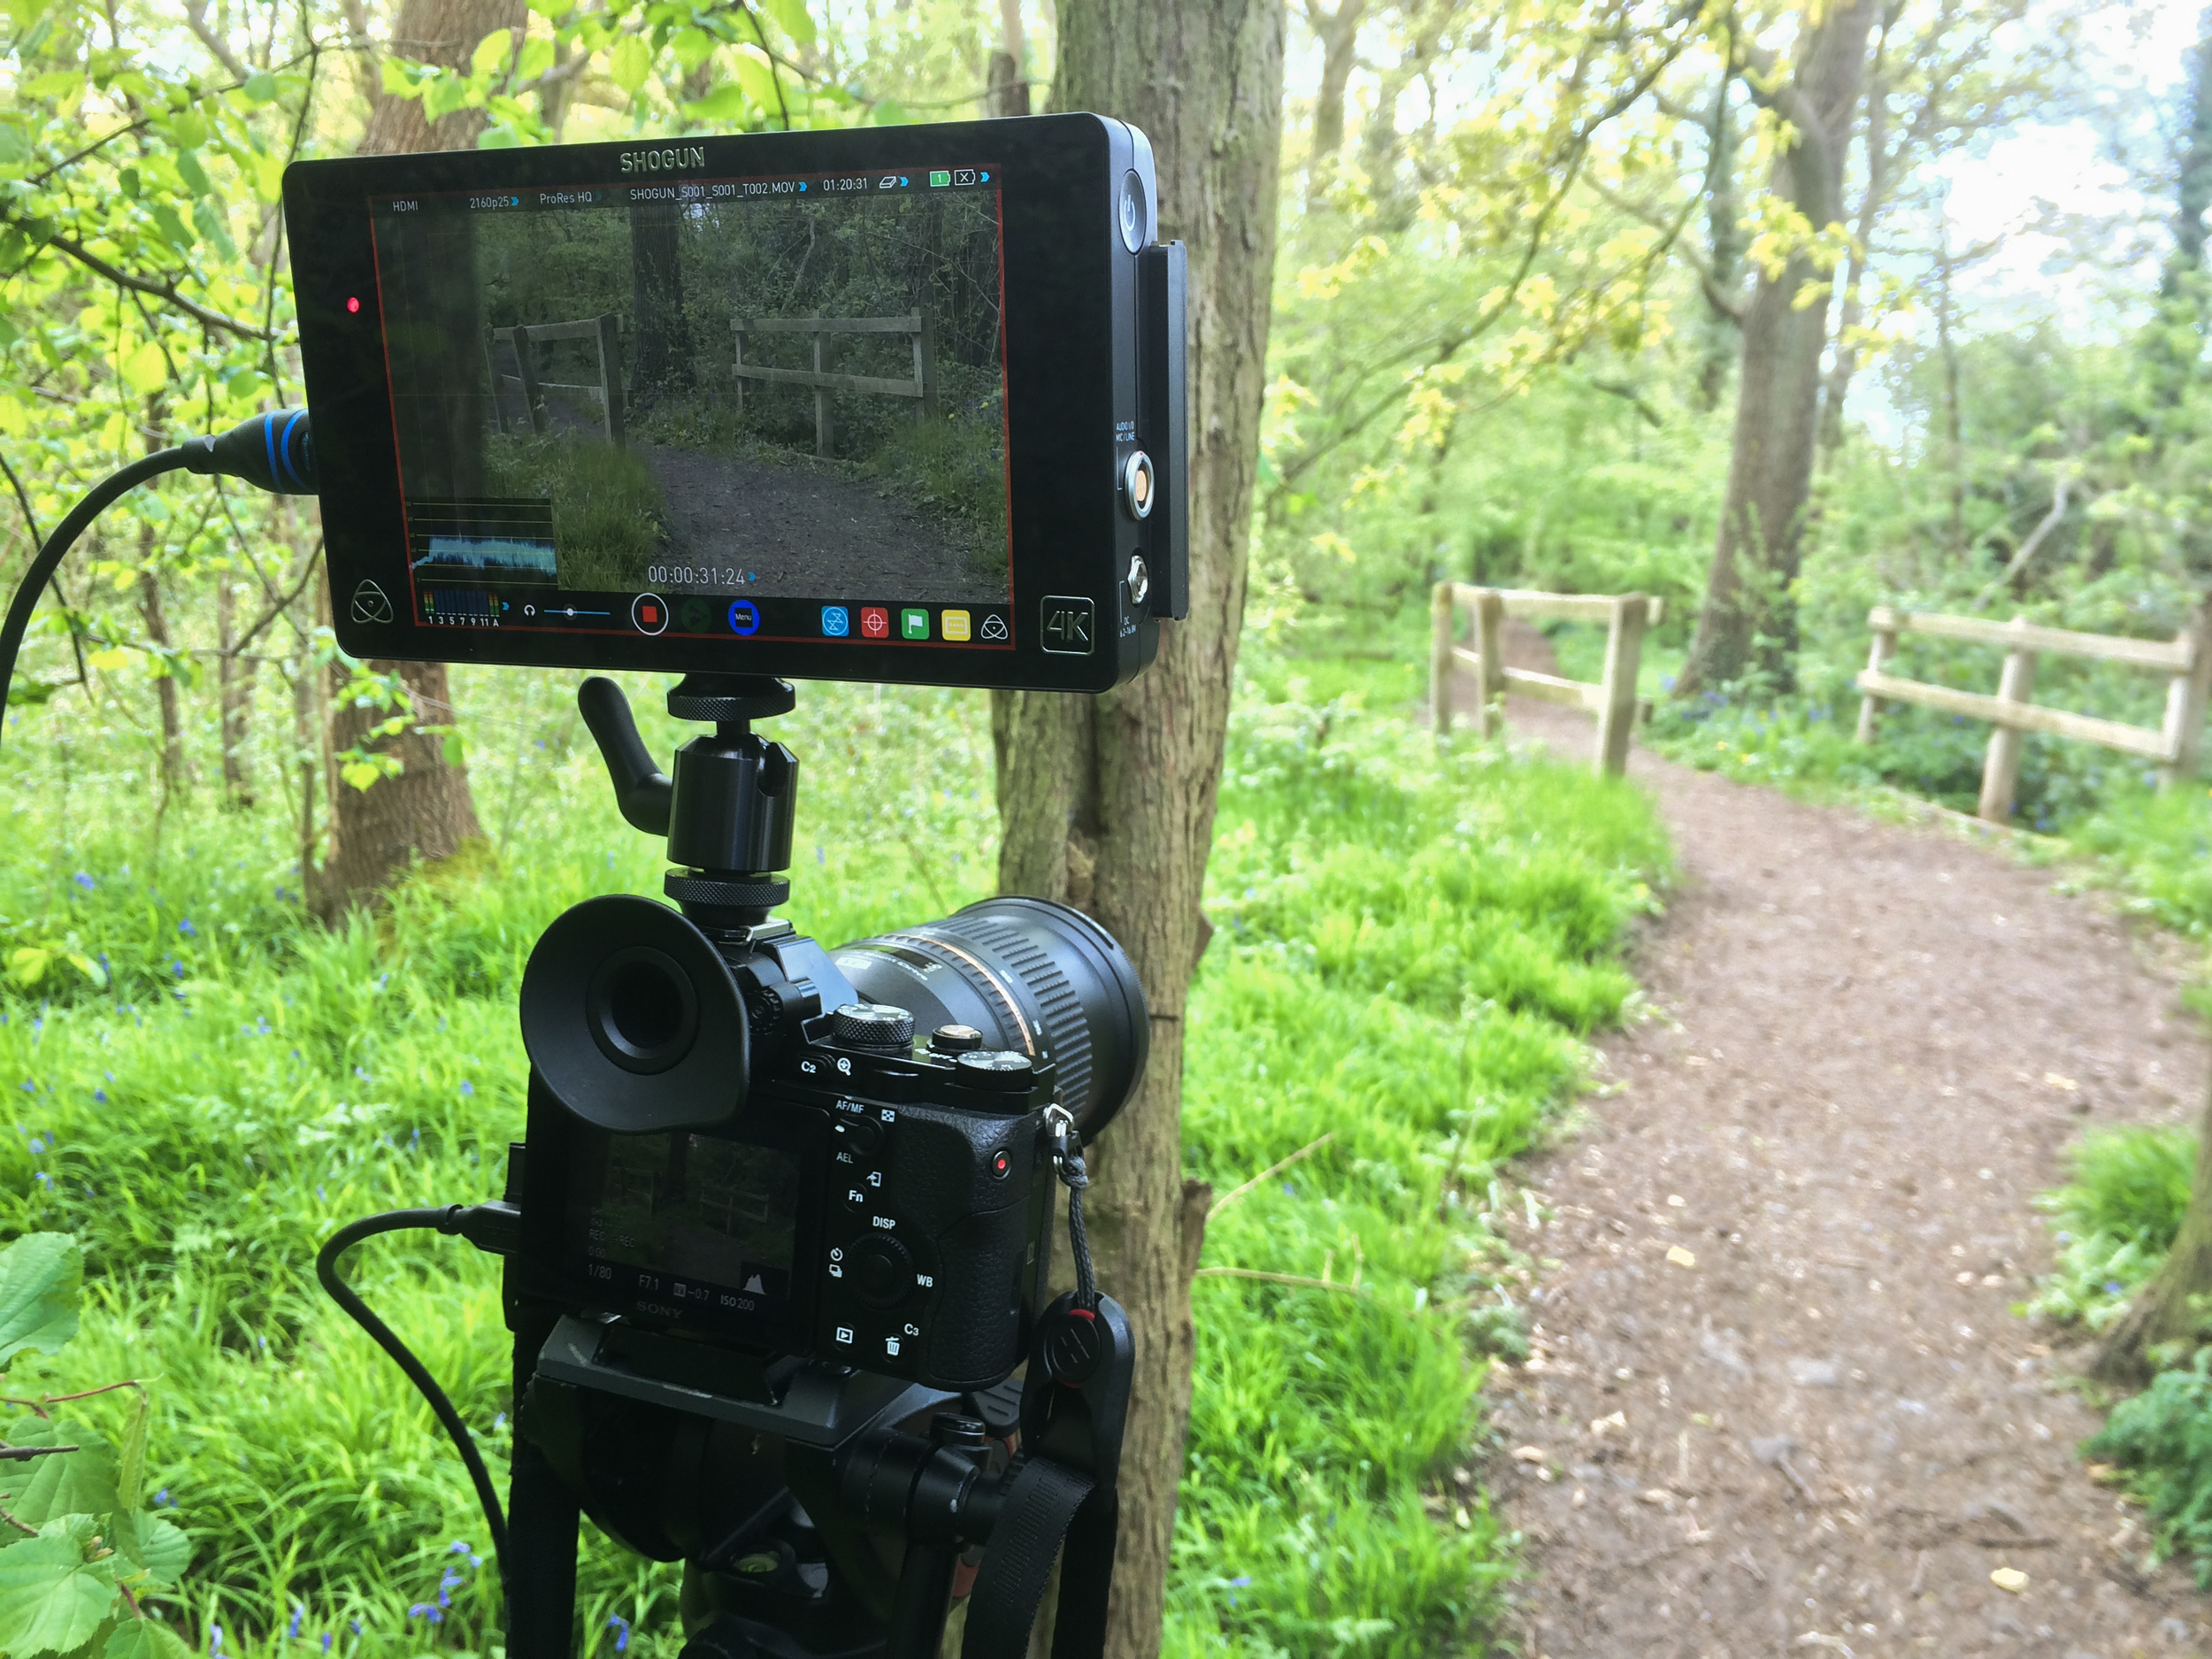
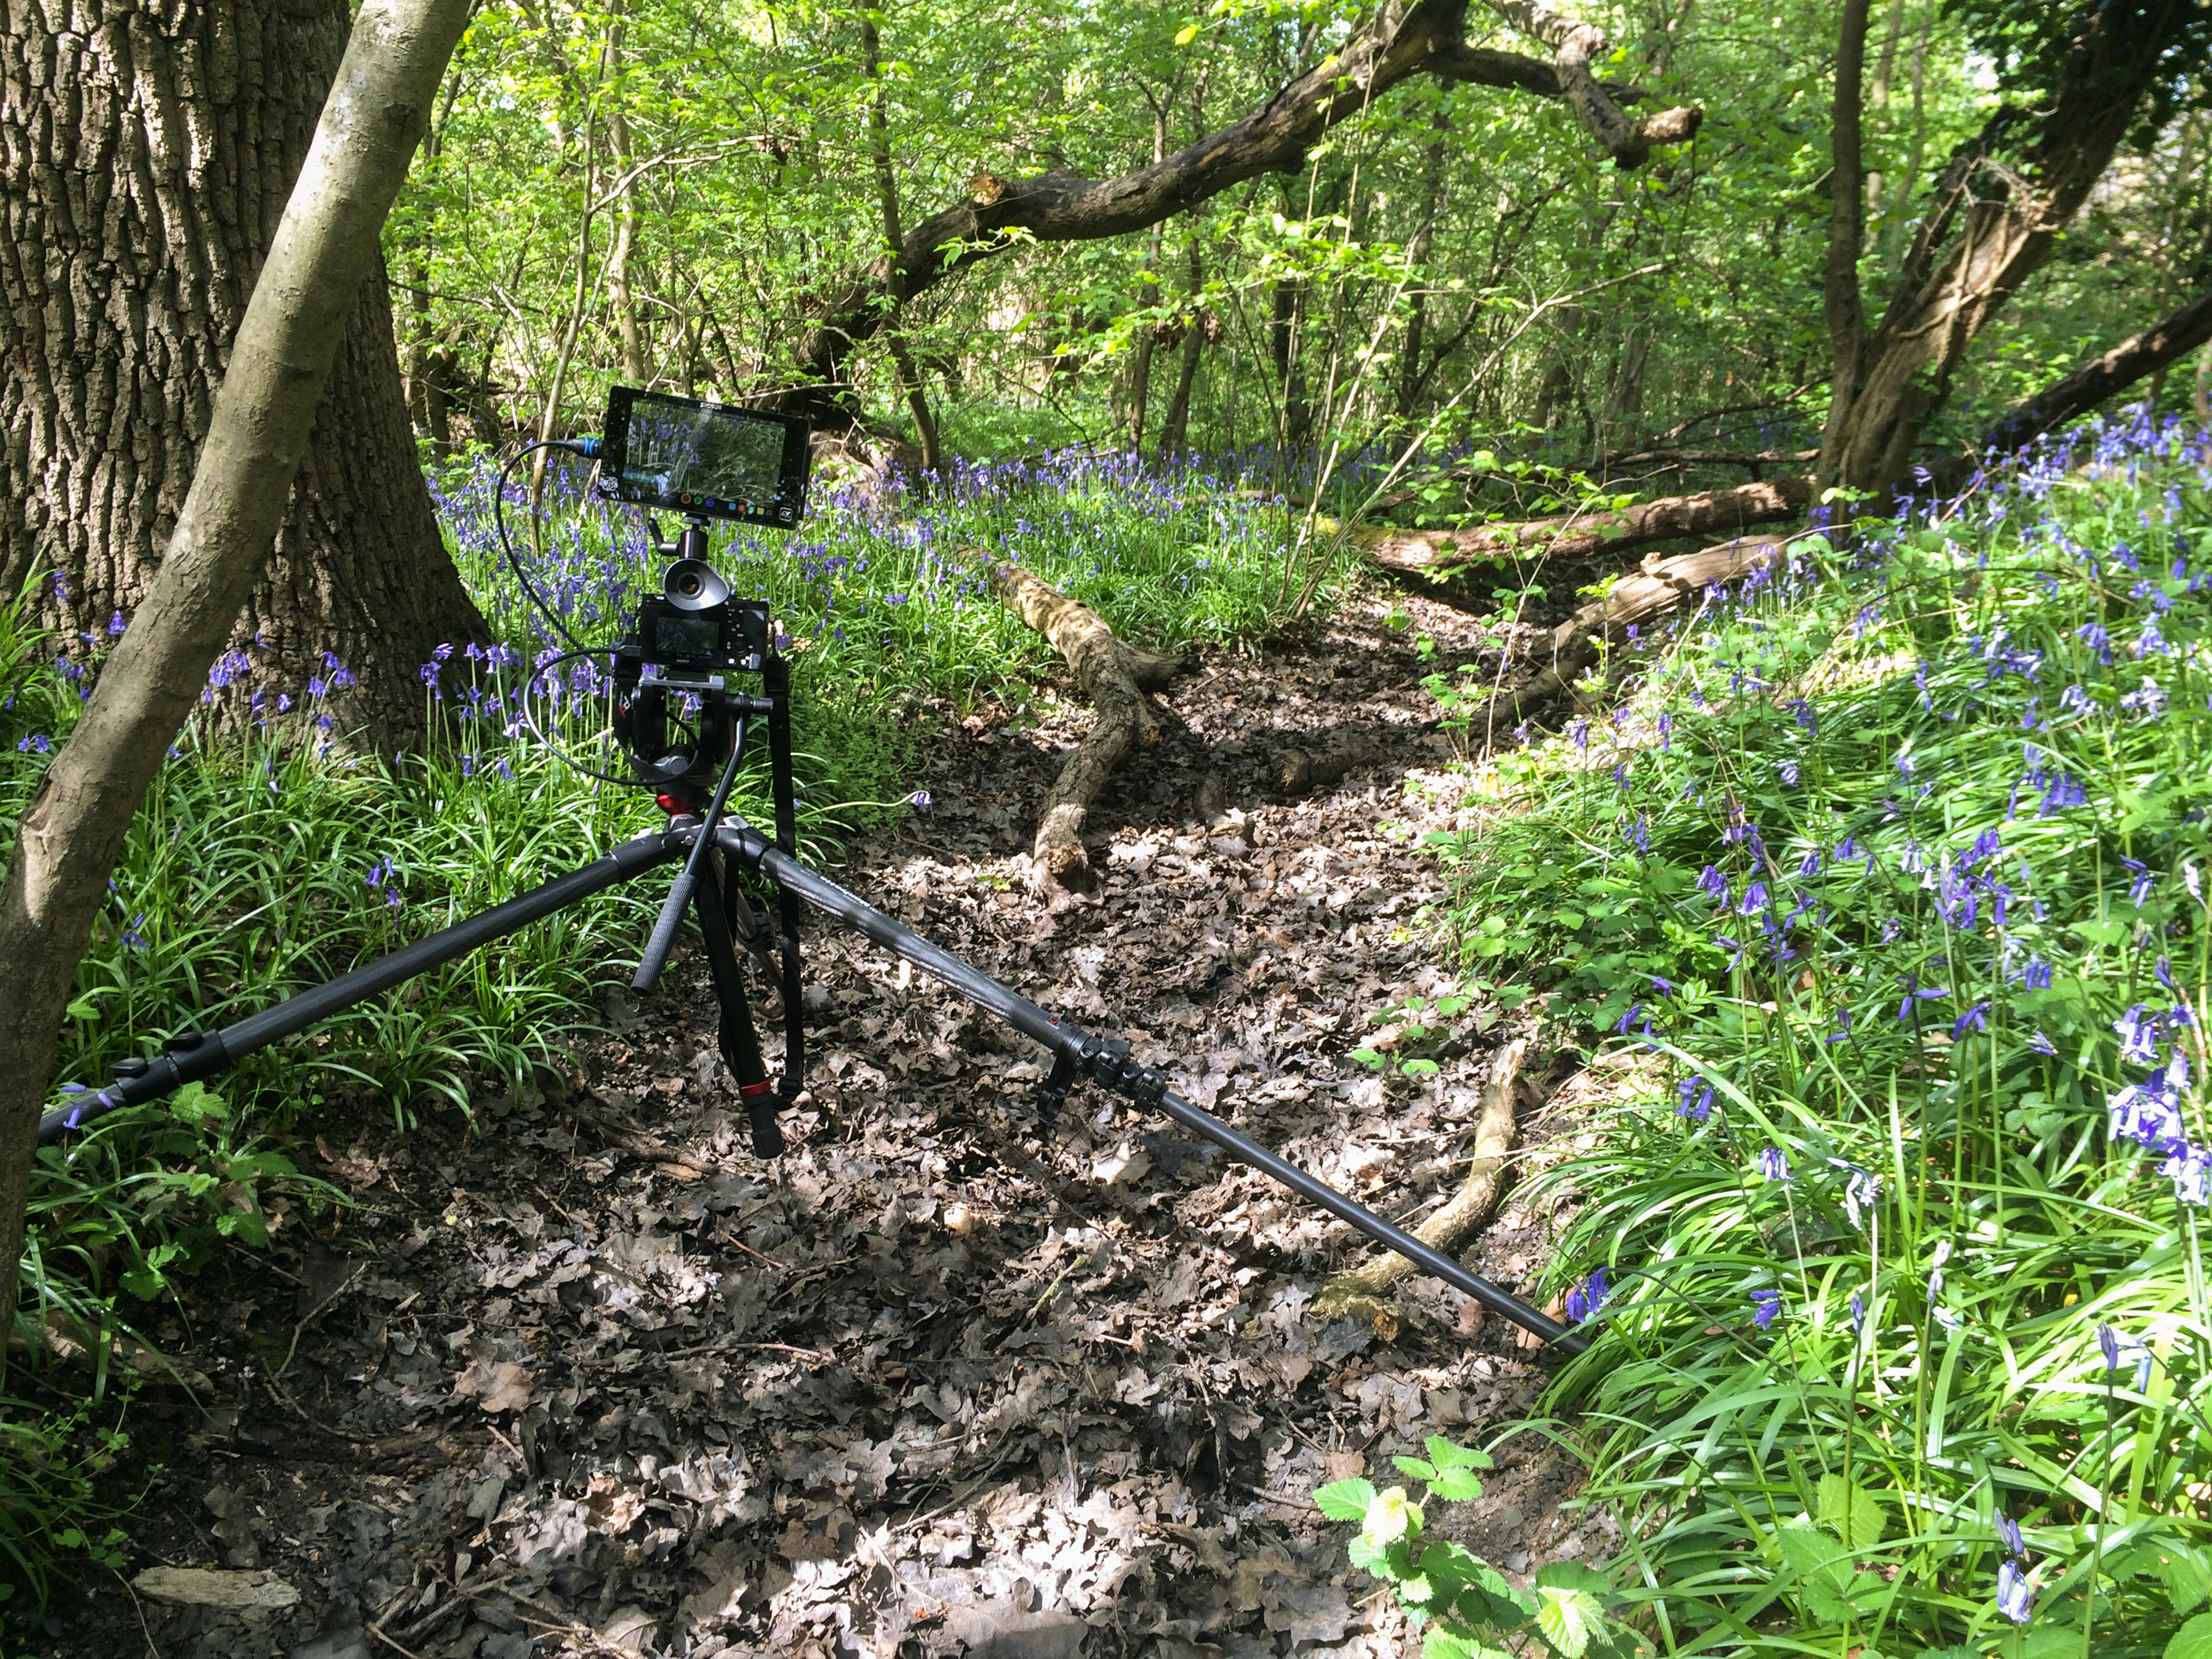
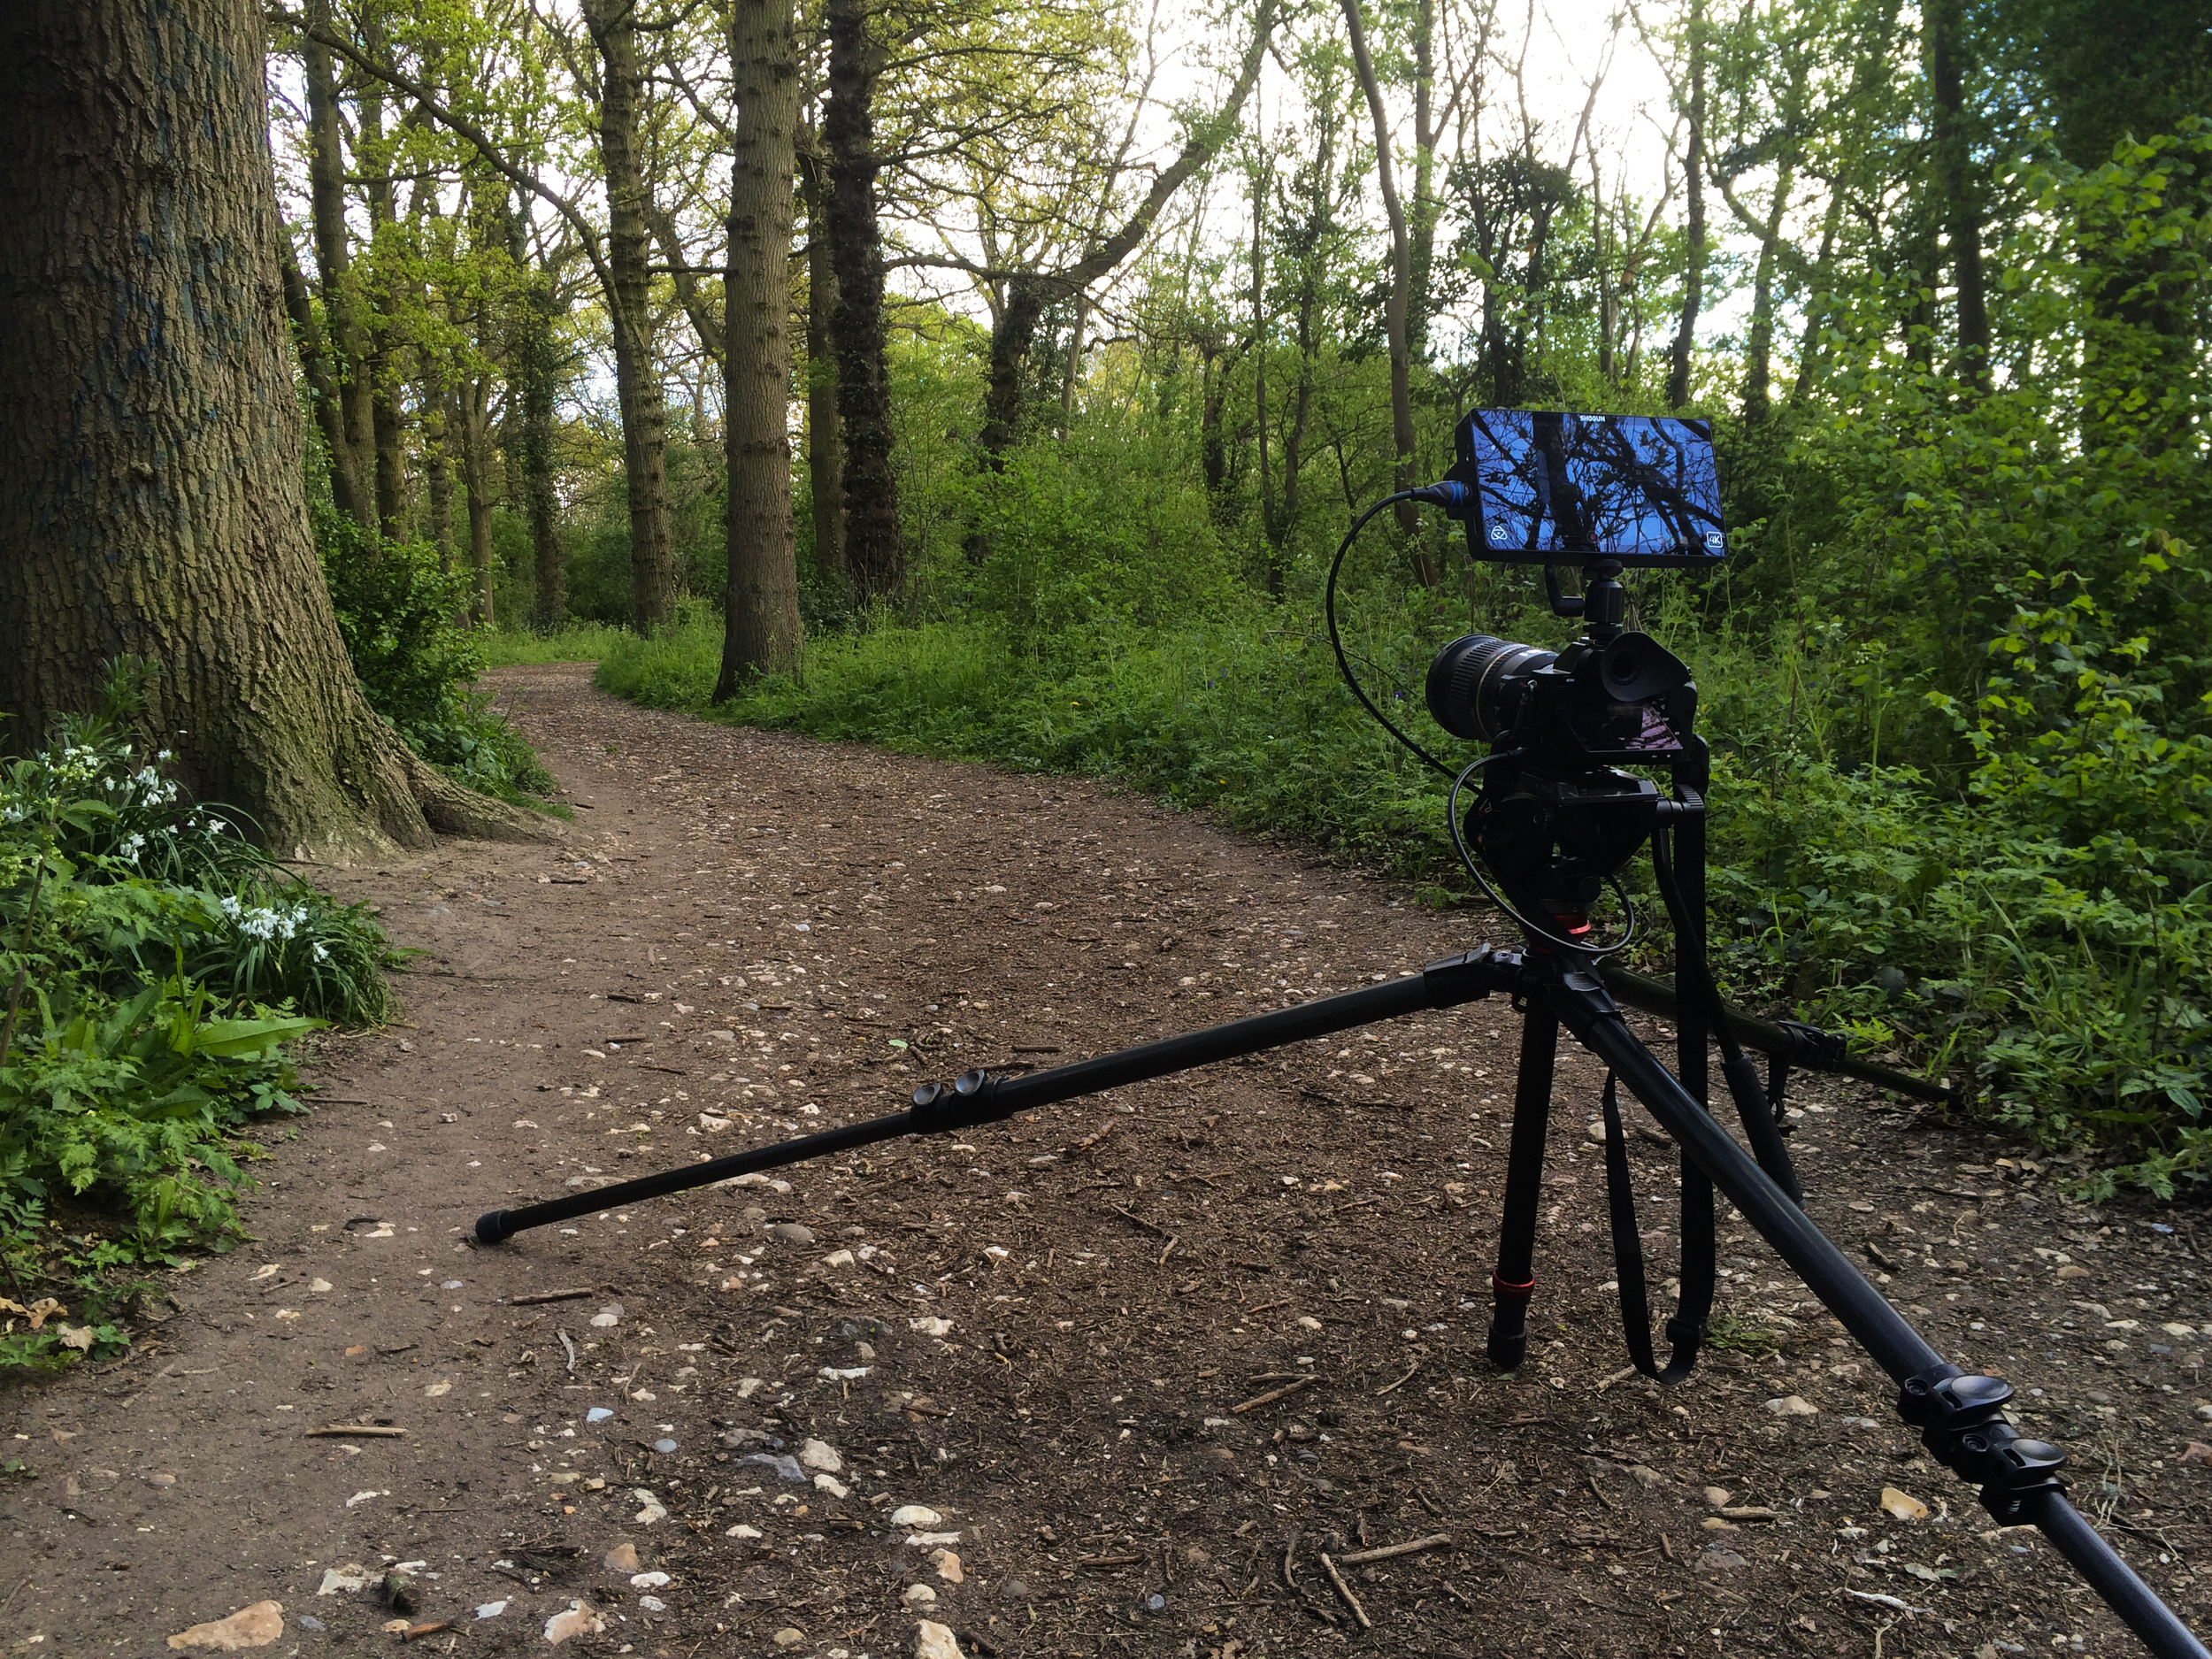
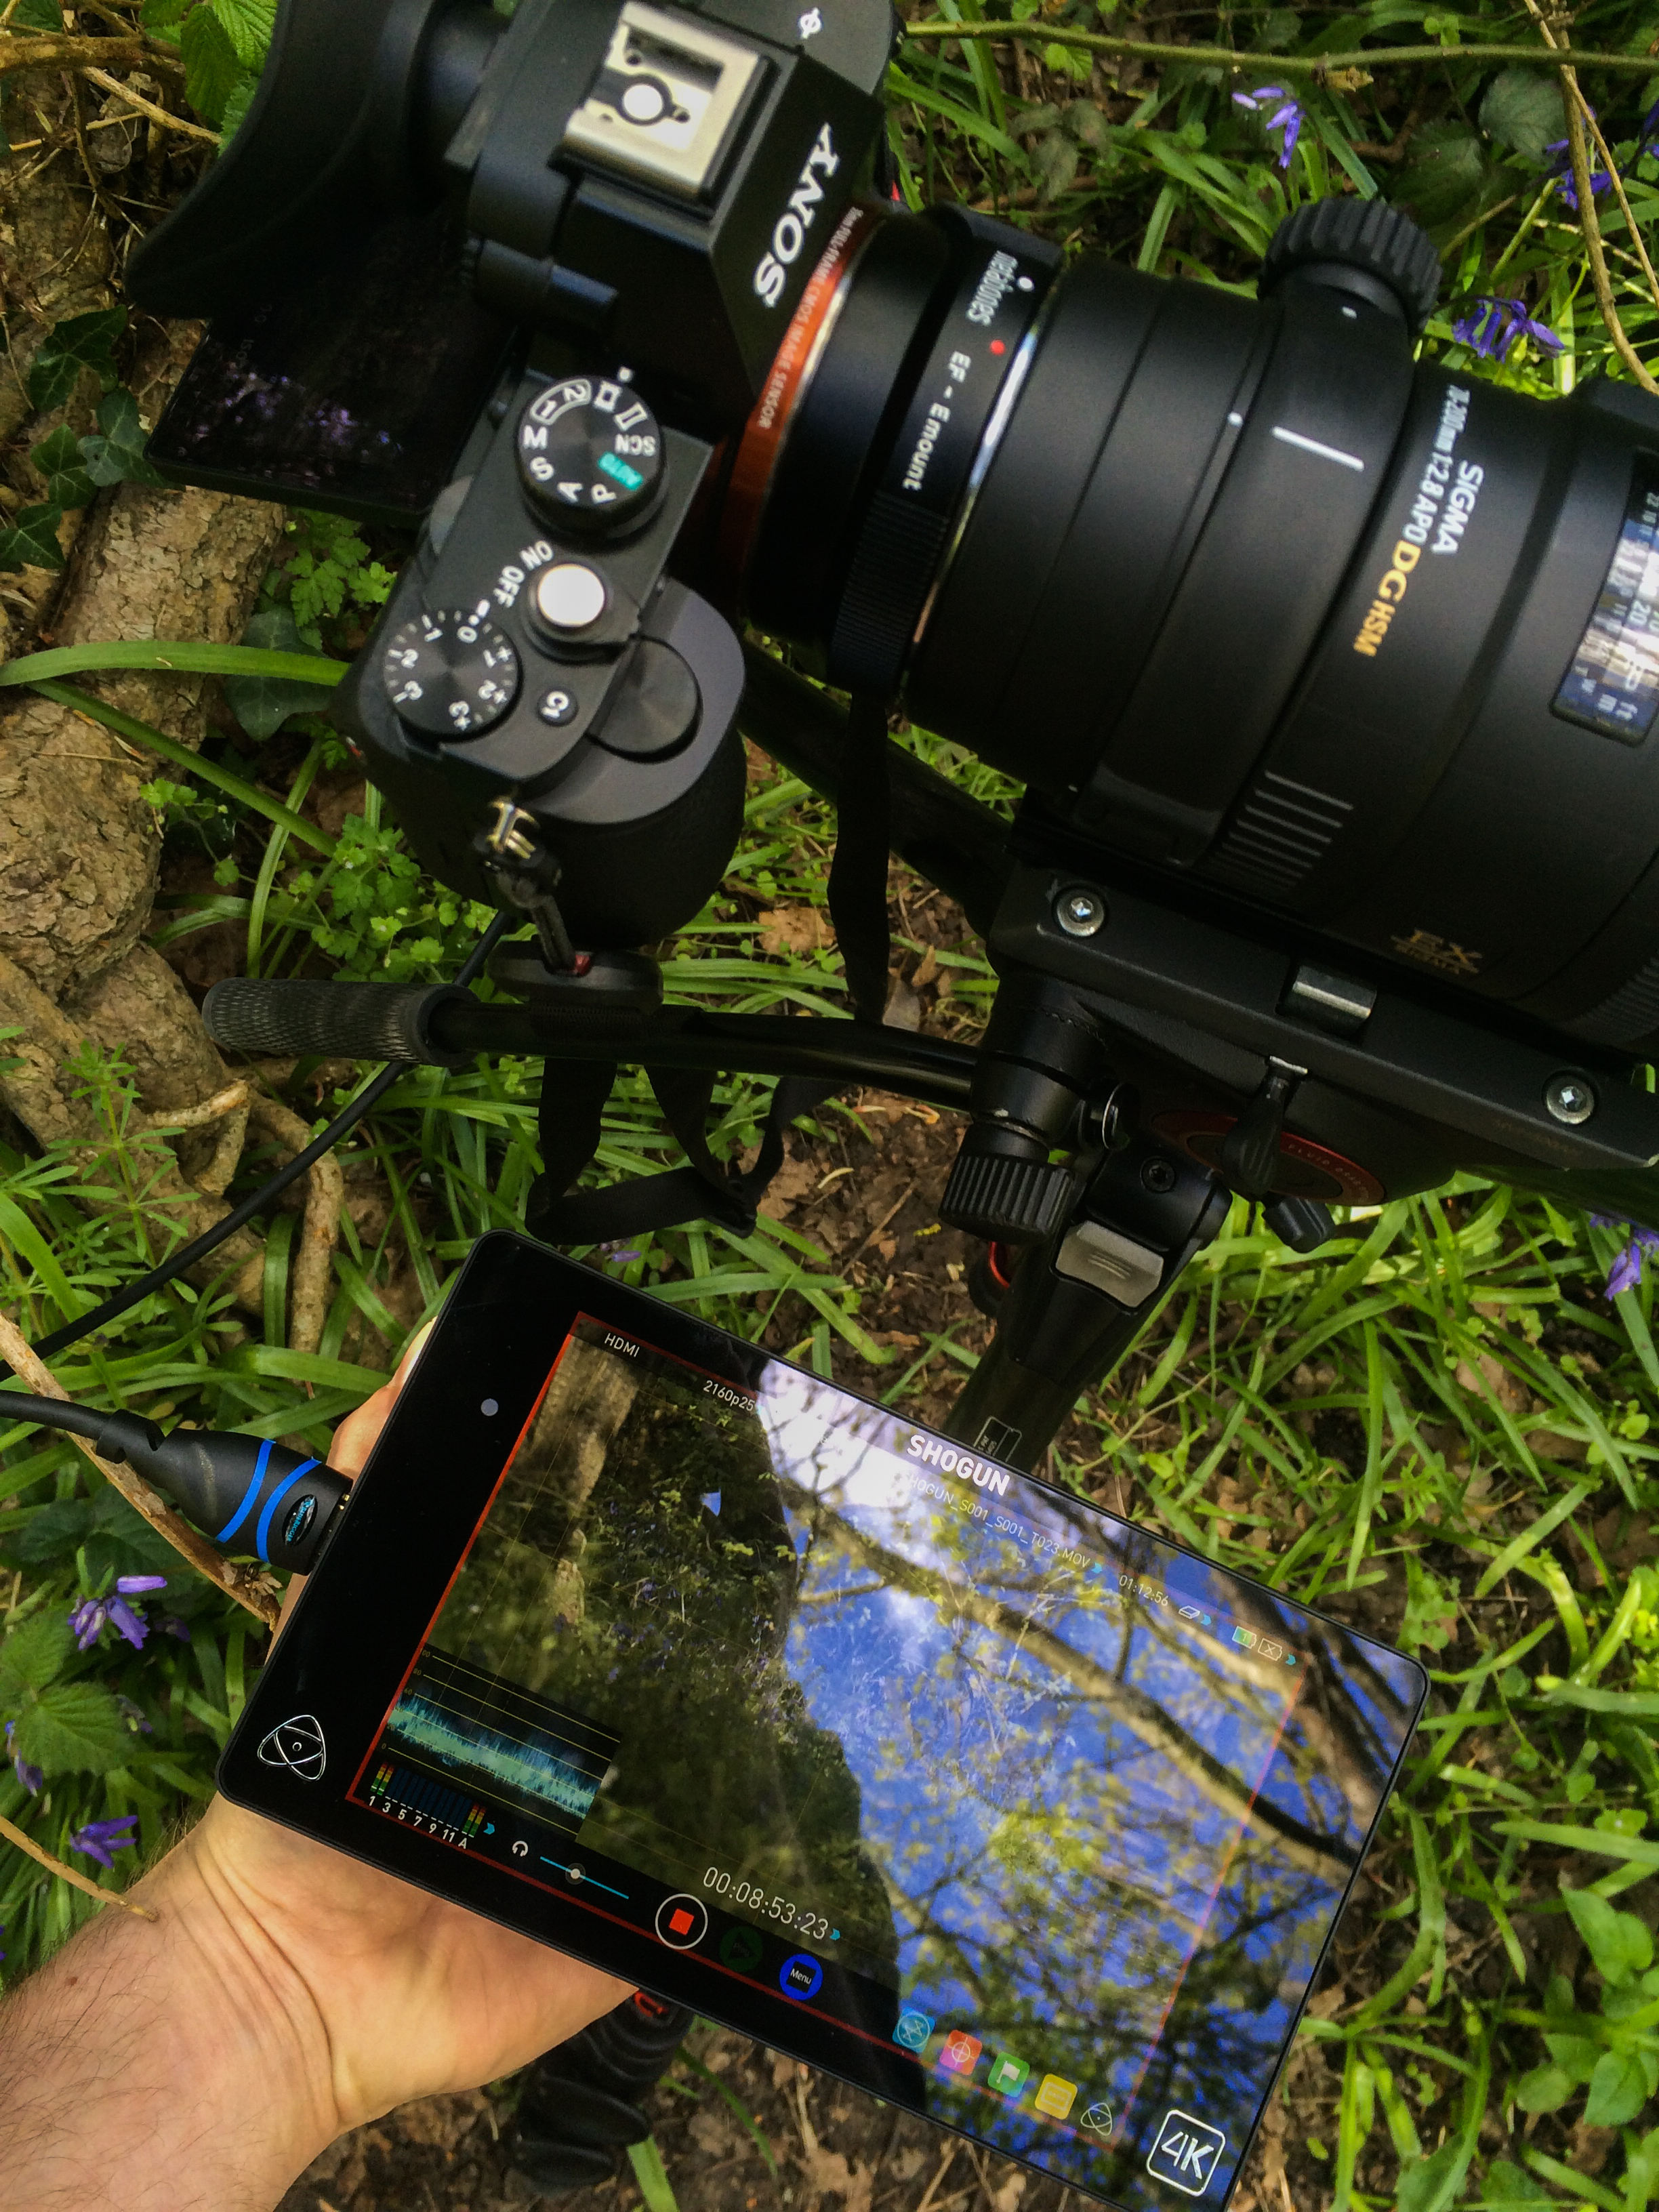
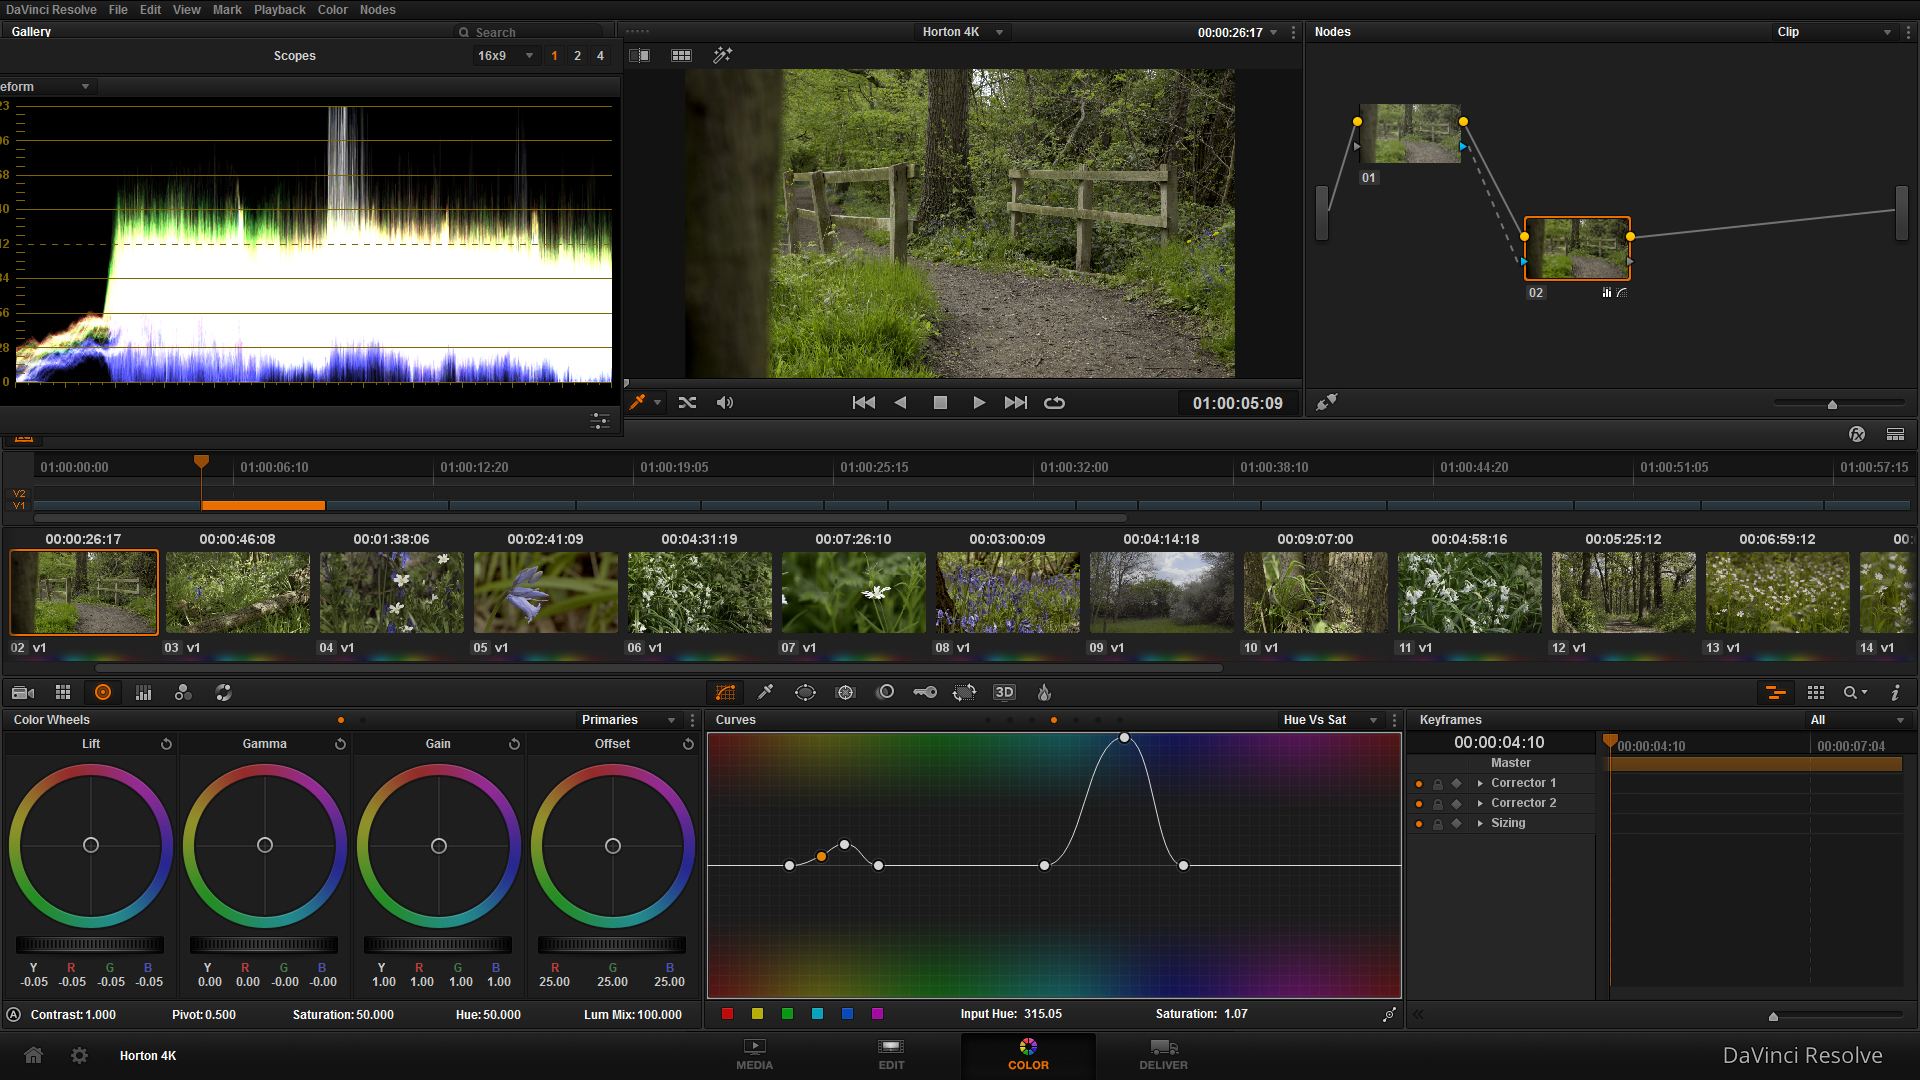
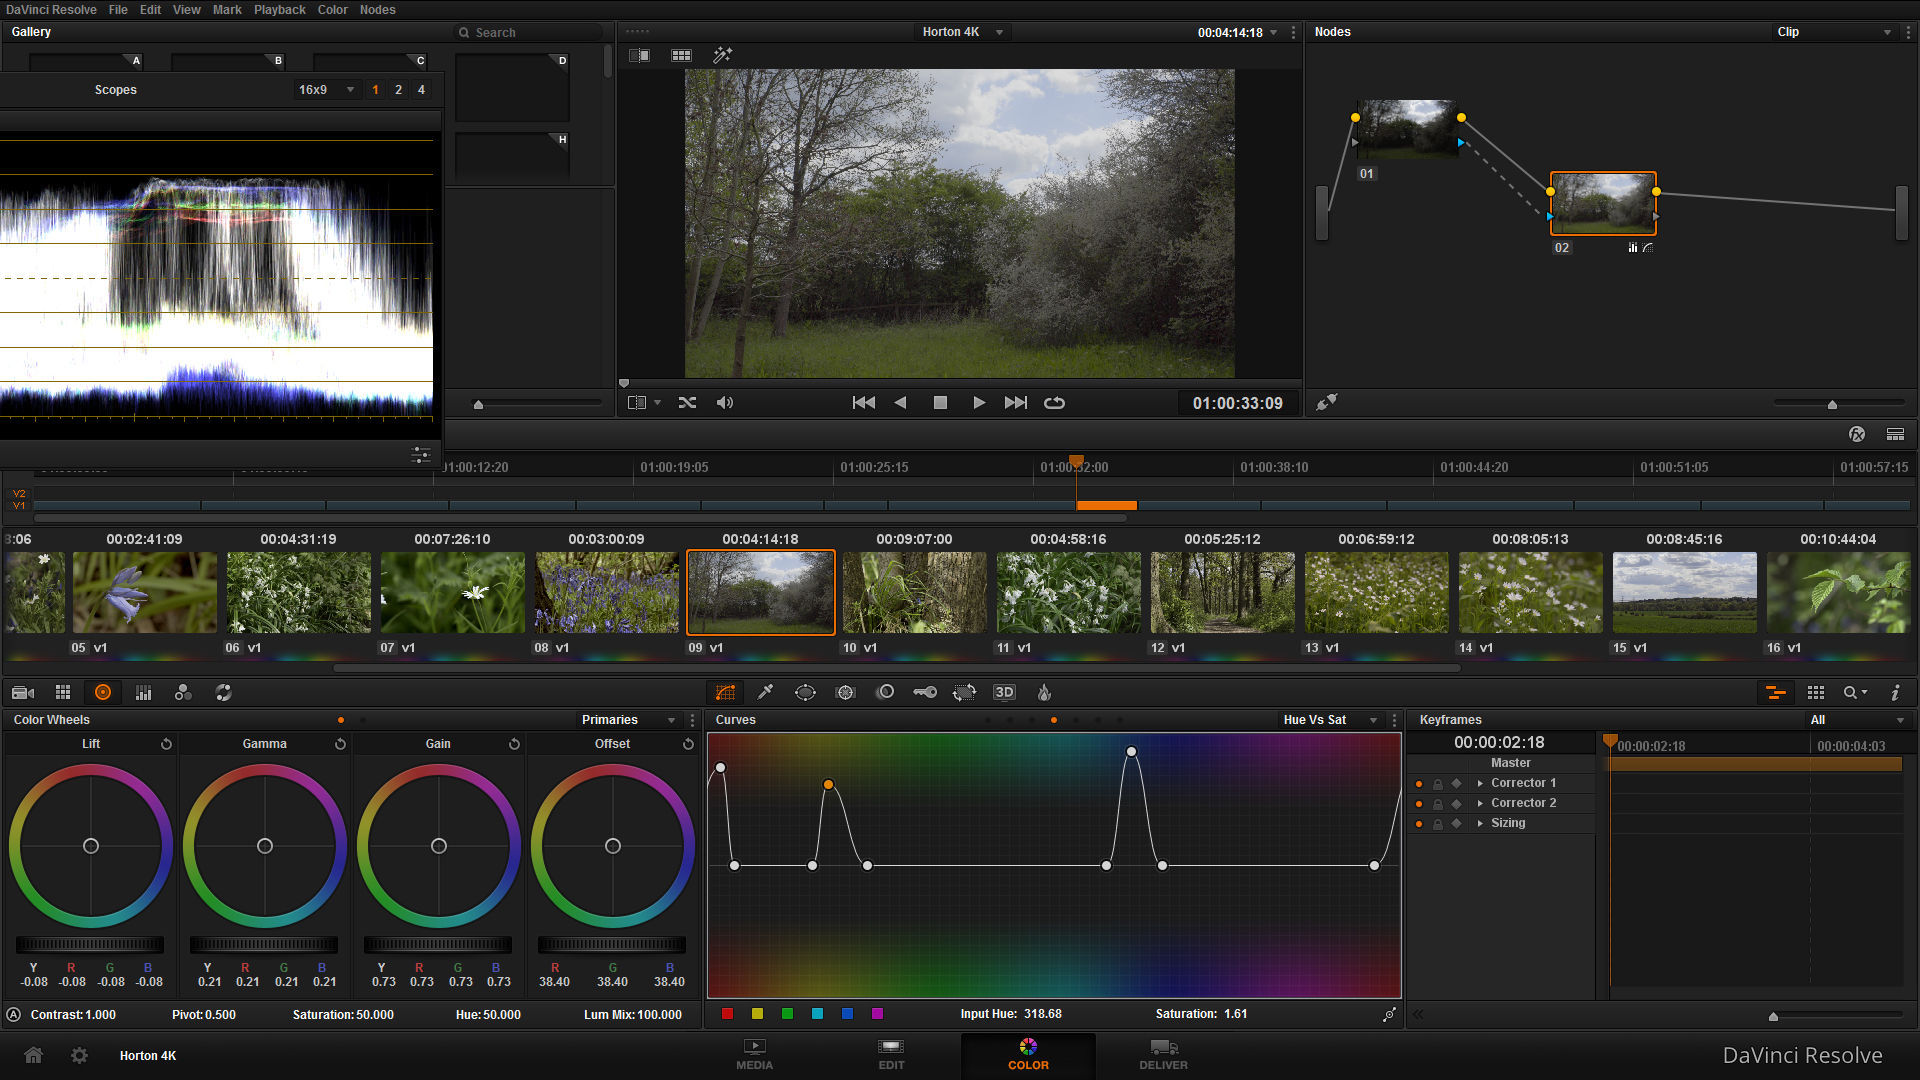
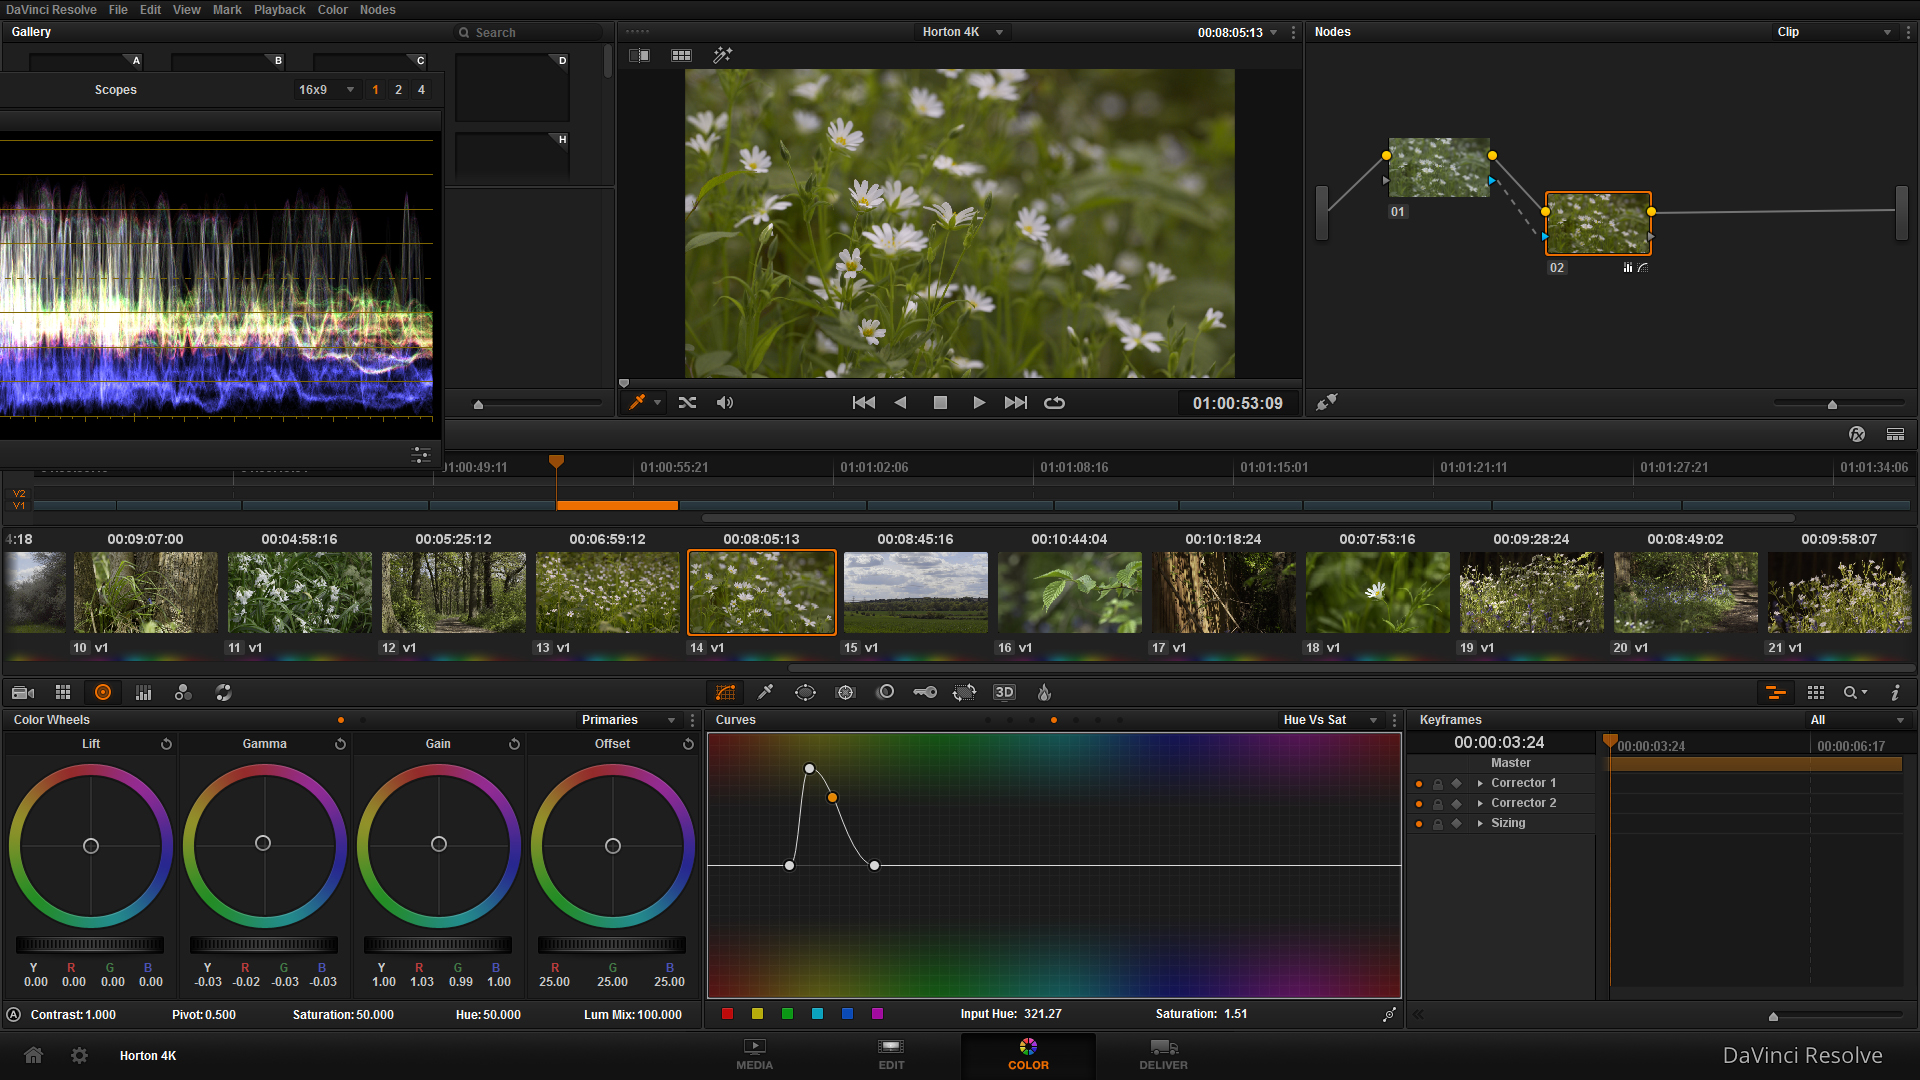
I headed out to a local country park to catch some of the spring bluebells flowering, as well as to try out the dynamic range of the 4K Prores HQ footage and really push it in the grade.
A couple of photos while I was out and about, lovely day!
I took the Manfrotto 755CX-3 tripod with me as it is brilliantly lightweight, and despite the center column it can get pretty low to the ground for shots needing some perspective.
Still no Movcam cage yet, so I'm pretty nervous about having the Shogun on a ball mount, on the hot shoe, I did take care when moving around and took out the HDMI cable just in case.
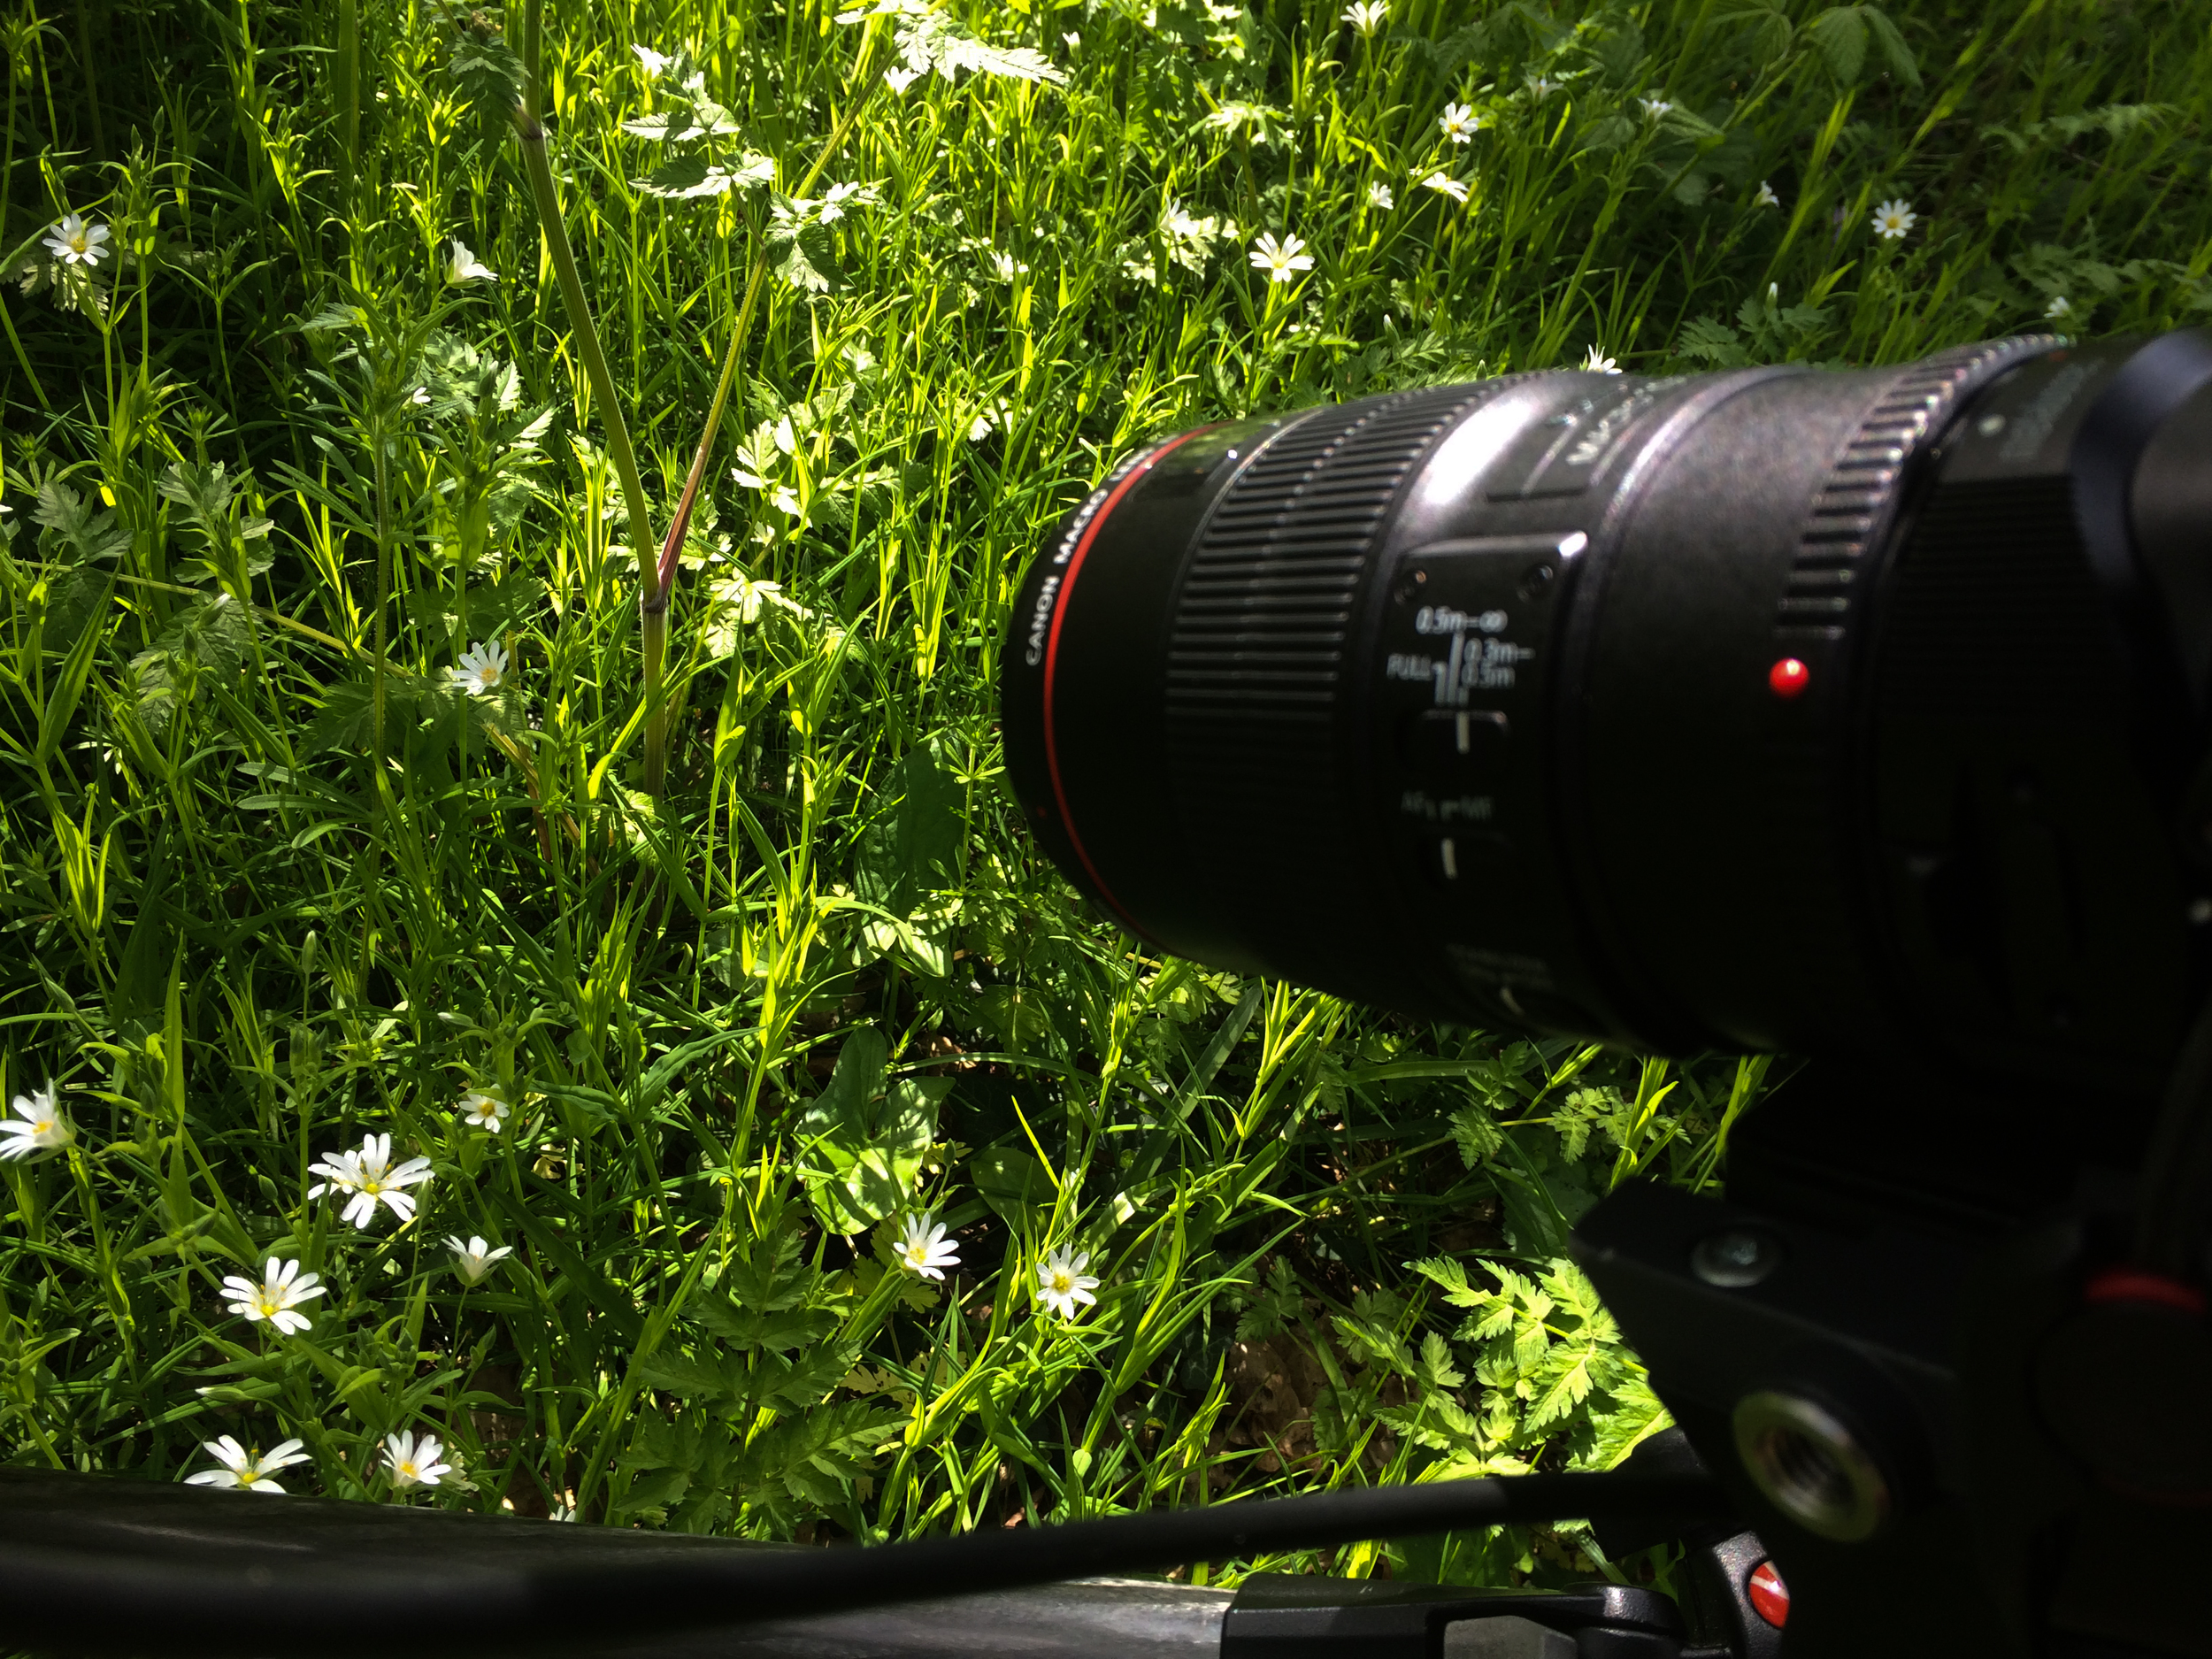
I had 3 lenses with me, the Tamron 24-70, Sigma 70-200 and Canon 100mm L as I wanted to have a simple setup, one Manfrotto bag, essential kit, batteries etc.
After watching Philip Bloom's talk hosted by B&H a few months back, I set the camera settings to what he advised and went from there. Using PP7 for S-log increases the native ISO to 3200, so is not practical for bright scenes without ND filters, so here are my settings.
PP6 (allows ISO 200, practical for bright shoots) - Black Level 0, Gamma Cine 4, Color mode S-gamut, Saturation 0, Detail -7.
It was a bright sunny day and the Shogun was the perfect tool for the job. It's screen is very clear, unlike cheaper monitors which don't have a high contrast ratio or use LCD screens. Exposing for the highlights, I used the in-built Waveform monitor to gague exposure as well as the 2:1 crop in for getting critical focus - definitely needed for the wide landscape and macro shots.
You will not be surprised to see the HUGE file size of recording 4K in Prores HQ, averaging at about 2GB for 20 seconds.
It's less than 10 minutes worth of footage, in fact!
I did find this out while I was trying out the different outputs and recording formats.. For the PAL region the A7S has THREE HDMI output settings -
- 1080 50p, 1080 50i, 4K 25p.
The Shogun will not record 25p footage from the camera when the HDMI output is set to 1080 50p, but you can record 1080 50p slow motion on the Shogun. Remember to set the A7S' recording format to 50p/50, instead of 25p for normal speed filming.
The Shogun will only record 1080 25p footage from the camera when the HDMI output is set to 1080 50i, with a 2:2 frame drop set. Remember to set the A7S' recording format to 25p/50.
You must set the '4K HDMI' setting in the A7S to output the 4K signal, and record in 4K 25p on the Shogun.
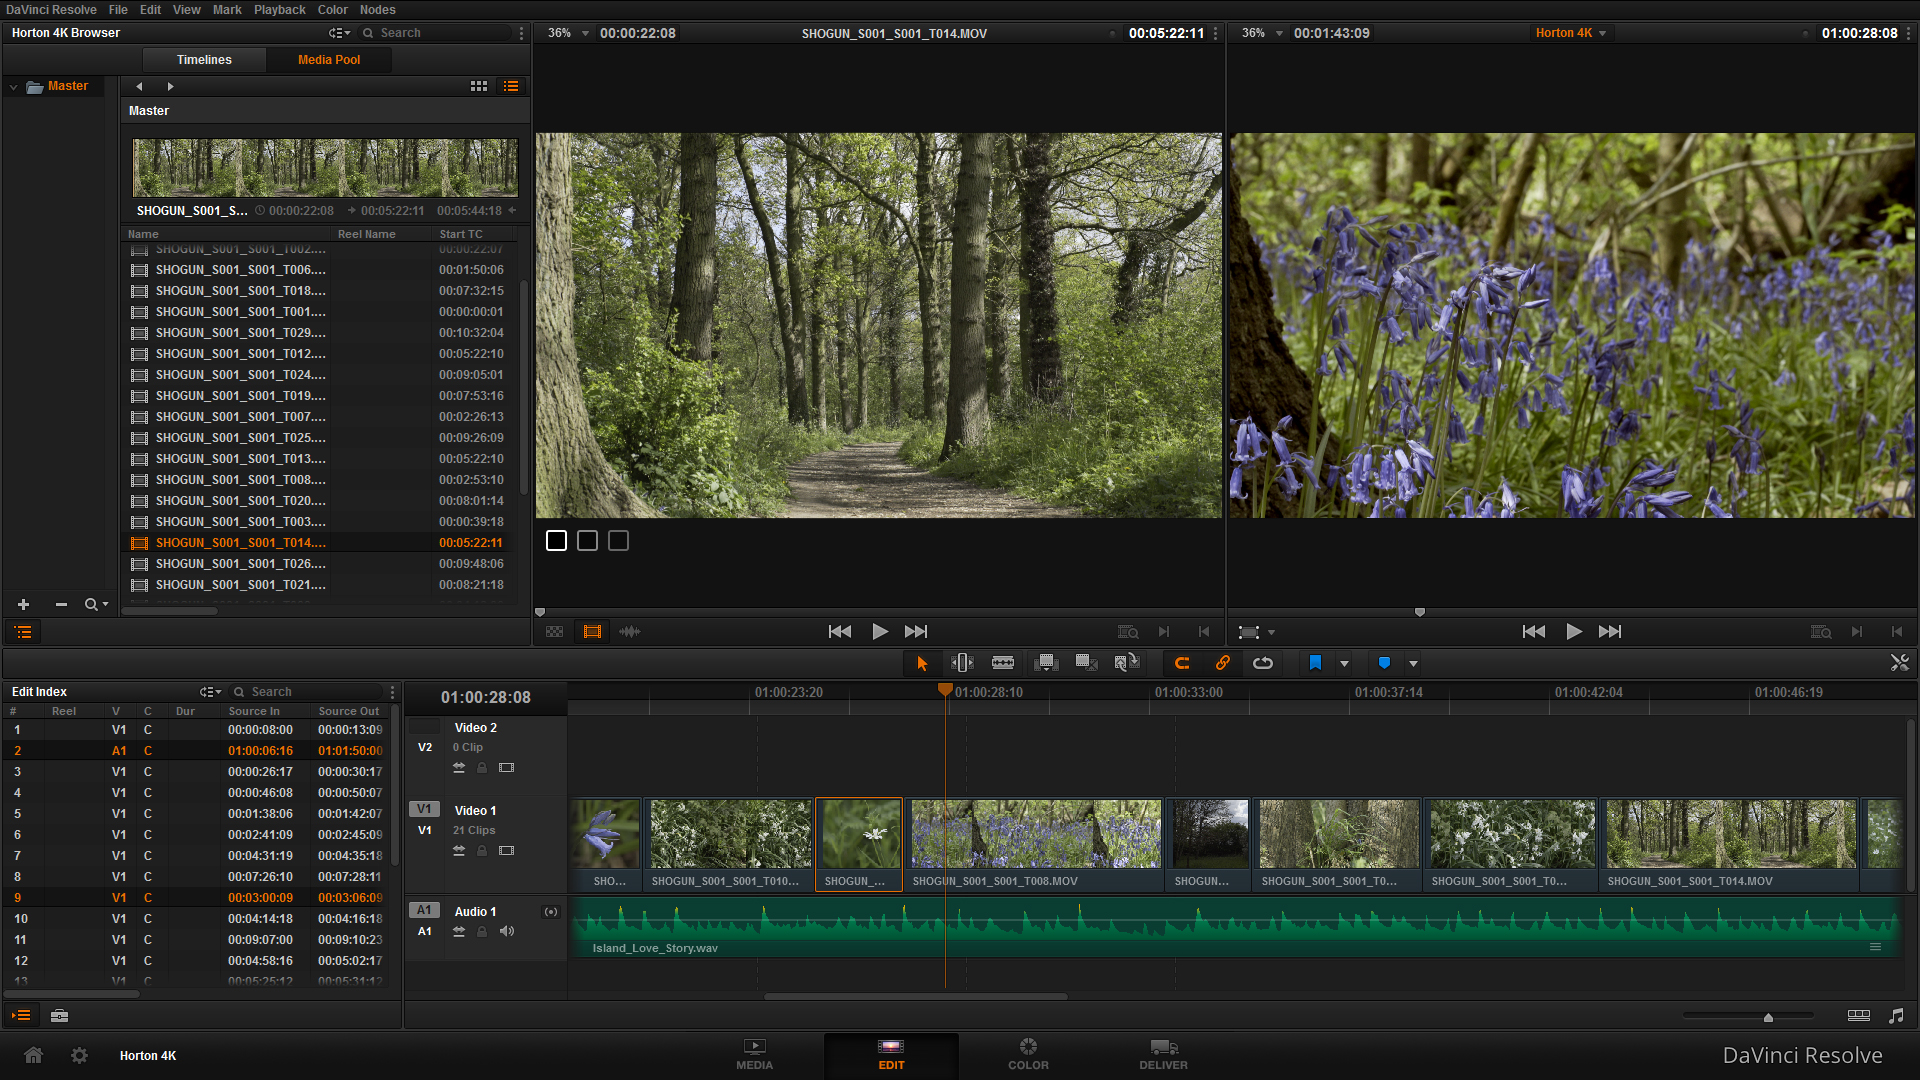
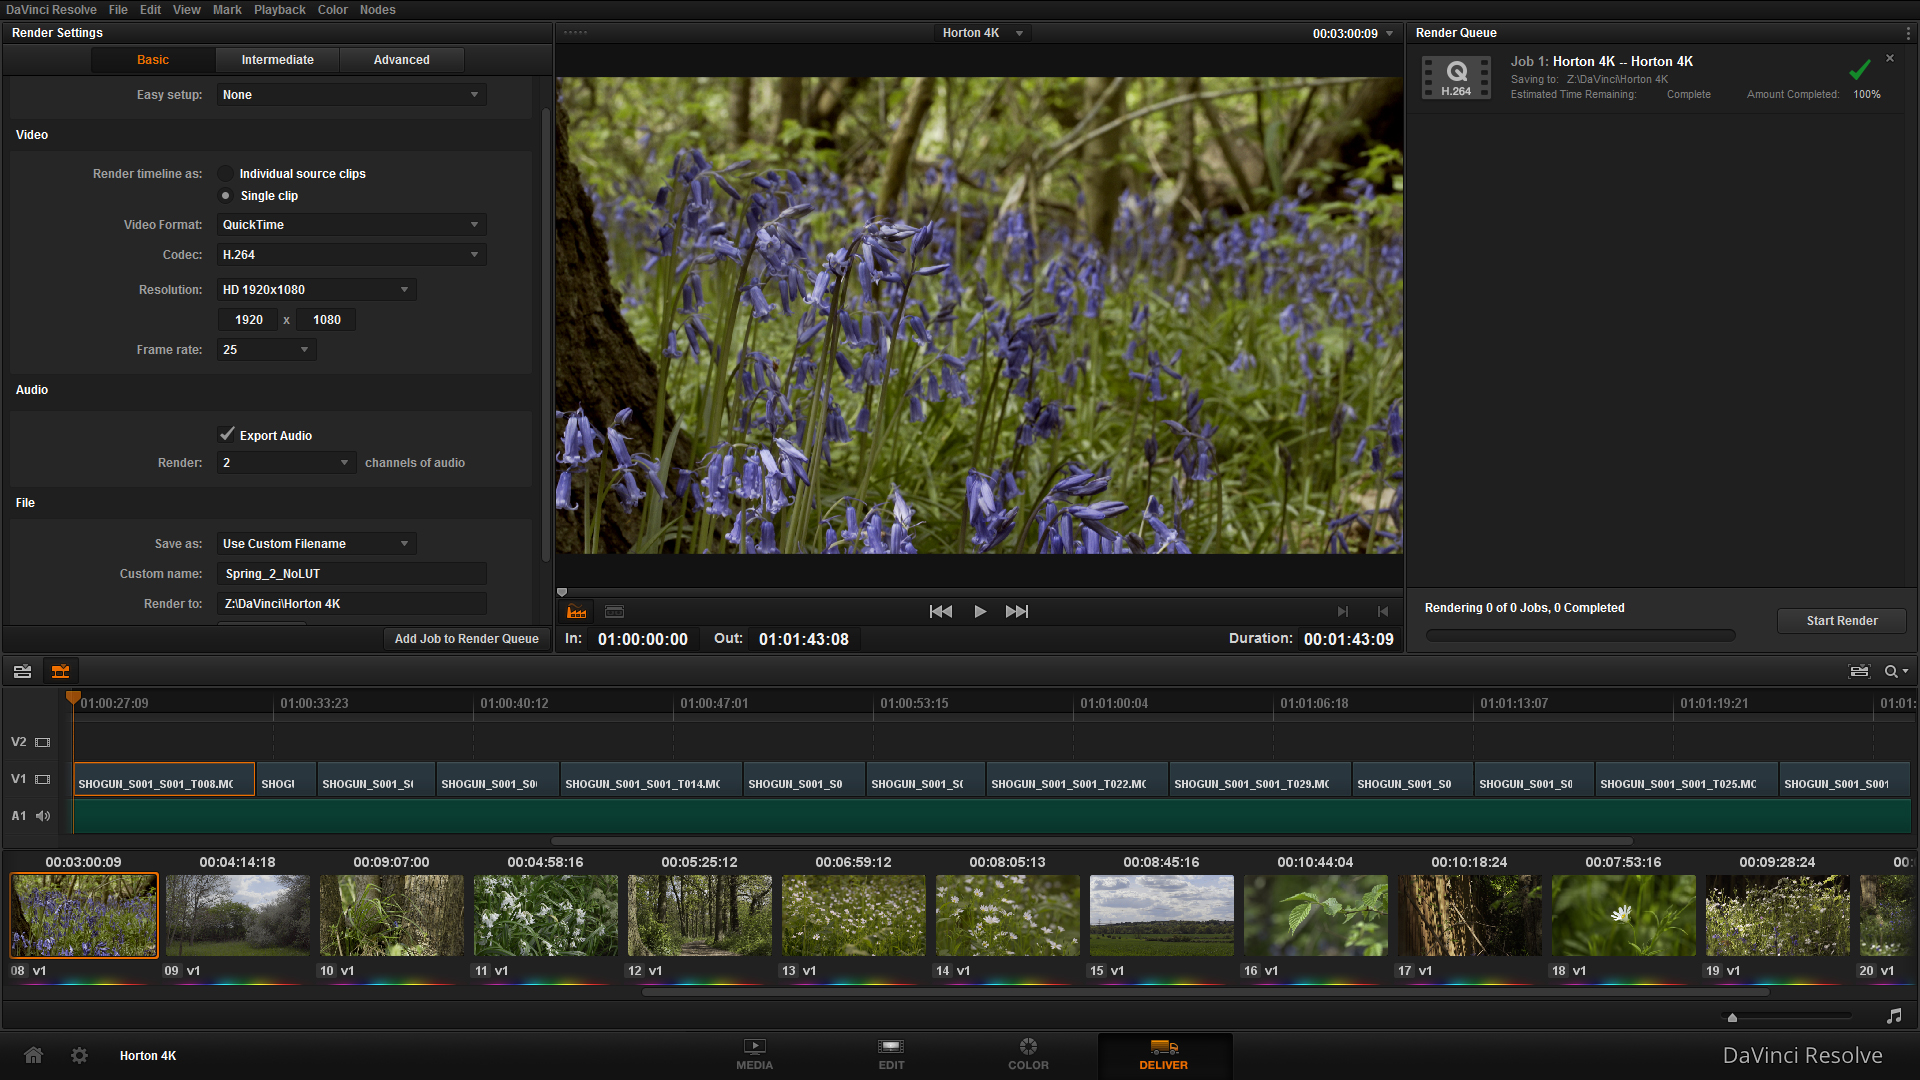
As part of the new 4K workflow, I am using Davinci Resolve Lite (FREE) for the colour grading process, but as this is a short video I tried out it's NLE which worked great. Similar look and feel to FCPX, but it gives you the ability to change edit points, manipulate scale, track and much more. It even has a keyer!
First Image - Editing interface, Second Image - Adjusting saturation in Color interface, Third Image - High contrast image BEFORE correction/grade, Fourth Image - High contrast image AFTER correction/grade, Fifth Image - Delivery interface.
Here is the ungraded version, with footage captured on the Shogun.
Here is a work-in-progress edit that is down-ressed to 1080 to upload it to Vimeo, the Youtube version in 4K (remember to change the resolution to 2160) is below!
I look forward to hearing your comments on the videos I've put up!
Nino just posted this brilliant article on Cinema5D following Philip Bloom's A7S workshop and B&H, focusing on key settings to properly set up the camera for video! Definitely worth a read, thanks for the share.
Hello all! Great news comes from APV in the form of the latest revolution in cinematography; capturing and delivering video and media content in 4K (3840x2160p) or Ultra High Definition using the Sony A7S camera and Atomos Shogun recorder.
Seeing the release of both the Sony A7S and Atomos Shogun at industry events, I was so keen to get my hands on this kit. Unlike DSLR's the A7S is mirrorless which means it's body is around 1/3 the size of the Canon 5D mkIII, it has incredible light sensitivity, the features to film in both slow-motion and using the S-Log gamma curve make it an ideal production camera in a tiny body.
I first saw the Shogun outside of an expo at the Shadows and Light workshop, a friend was showing me some footage he shot the evening before on the setup in 4K. He showed me the captured footage, and then applied the LUT in the Shogun to show what the result would be after grading.. I was blown away. Both as a monitor and a recorder, the Shogun excels at capturing HD and 4K video and audio with in-built monitors such as waveform and vectorscope, peaking, zebras, as well as recording in a range of formats at a much higher bit-rate than in camera recording - 220Mbit/s HD and 440Mbit/s 4K (I think) which is perfect for grading and video-focused productions to filmmaking.
I invested into Canon EF equipment a couple of years back as the 5D mkIII was to best option for large sensor filming, so instead of spending out on native Sony E mount lenses I purchased both the Metabones EF-E mount mk IV and the Commlite EF-E mount to use my current lenses.
Also knowing that the batteries for the A7S (FW-50) are much smaller in capacity than the LP-E6 Canon batteries, I ordered another 4 Sony's with the camera and two from Amazon with another charger (EX-Pro). Inevitably, all of the accessories came before the camera did.. So I eagerly charged and labelled up the kit and get it ready for the camera to arrive!
The camera came last week and not having any new toys for a while I was keen to play around and check out the cameras features straight away! Glen came over as the camera arrived, so he became my willing subject. I hooked up the Tamron 24-70 to the Metabones which worked fine and shot some handheld video, as the lenses vibration control was active. I also have an eyecup for the little viewfinder for another point of contact, to reduce the shake if I need to hand-hold for some shots.
As I was waiting for numerous deliveries to arrive (including the Shogun), I was housebound for a while so I made do with the plants in the garden and my cat for things to film. Here's some of the first footage captured -
A7S and Soligor 35-140 with metabones waiting for the Sparrows
A7S and Tamron 24-70 with metabones in the cage. Soon to be replaced by the Movcam rails kit.
A mix of footage shot for the first time on the Sony A7S, probably in No Picture Profile. Really love the image with the lenses that I have, very organic with fantastic light sensitivity. It was also impressive hooking up the Atomos Shogun to the 5D mk III for 1080p in ProRes HQ, which gives much more latitude for colour grading and post work because of the much higher bit rate.
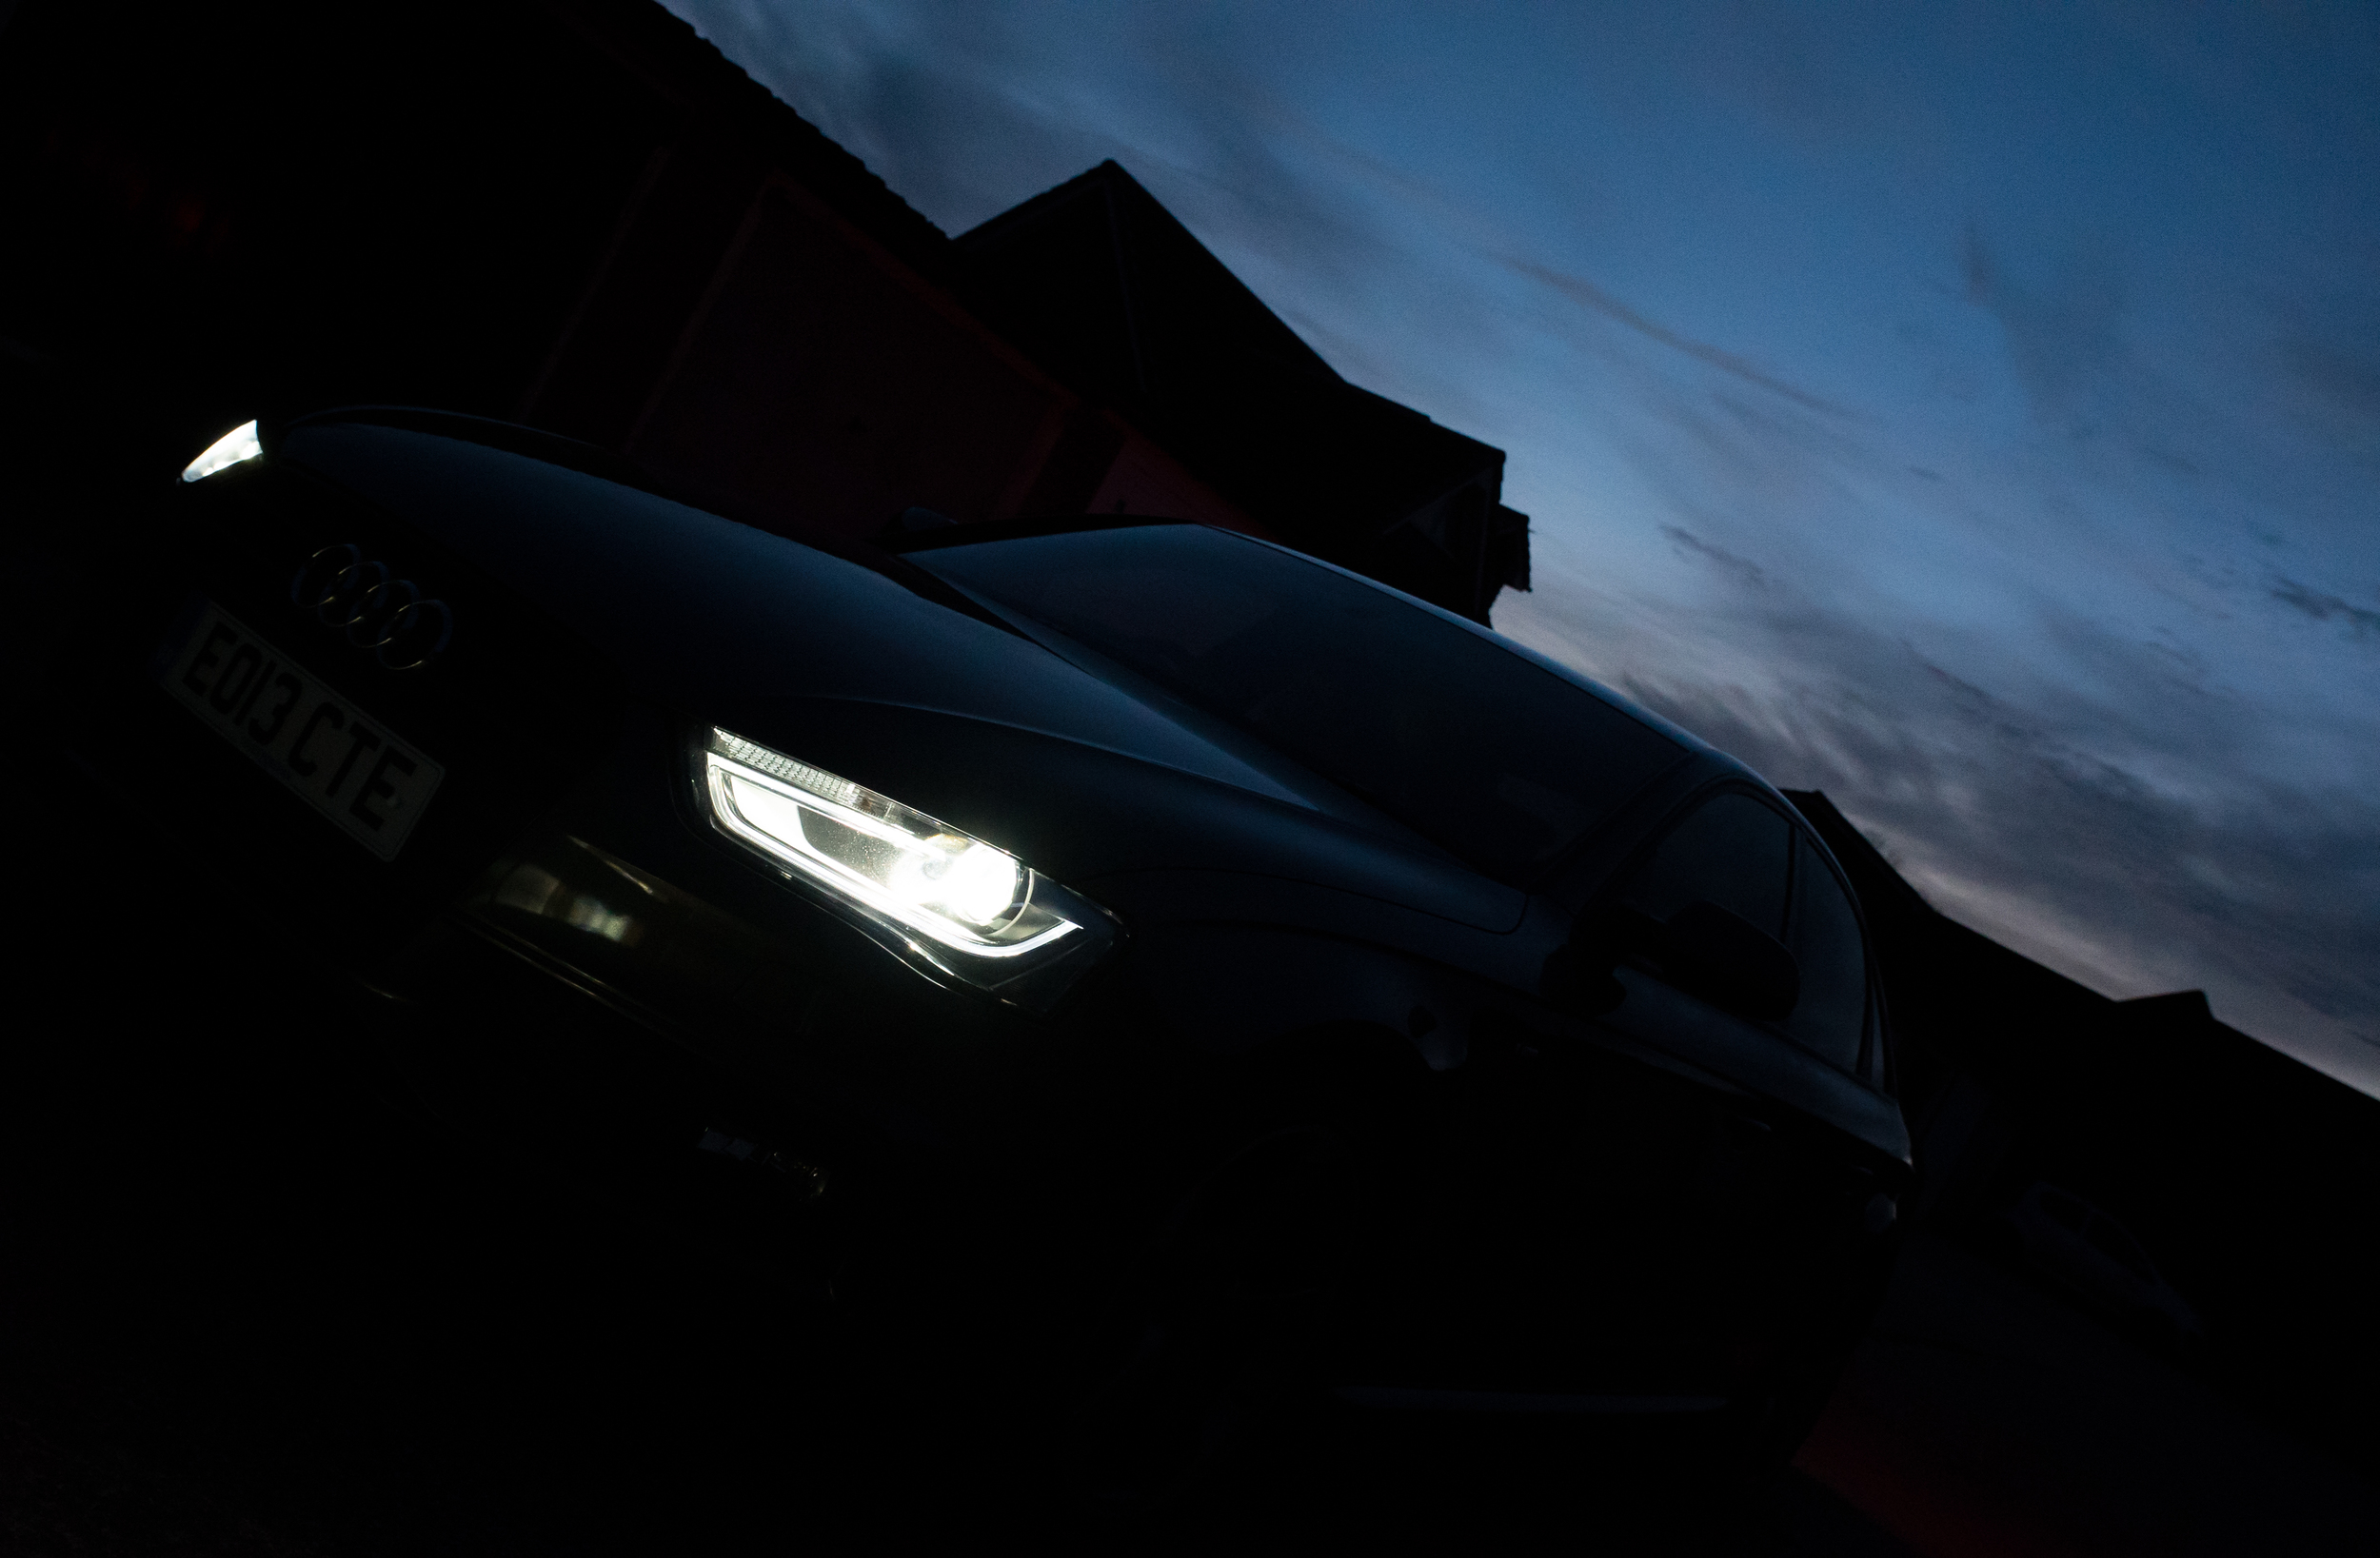
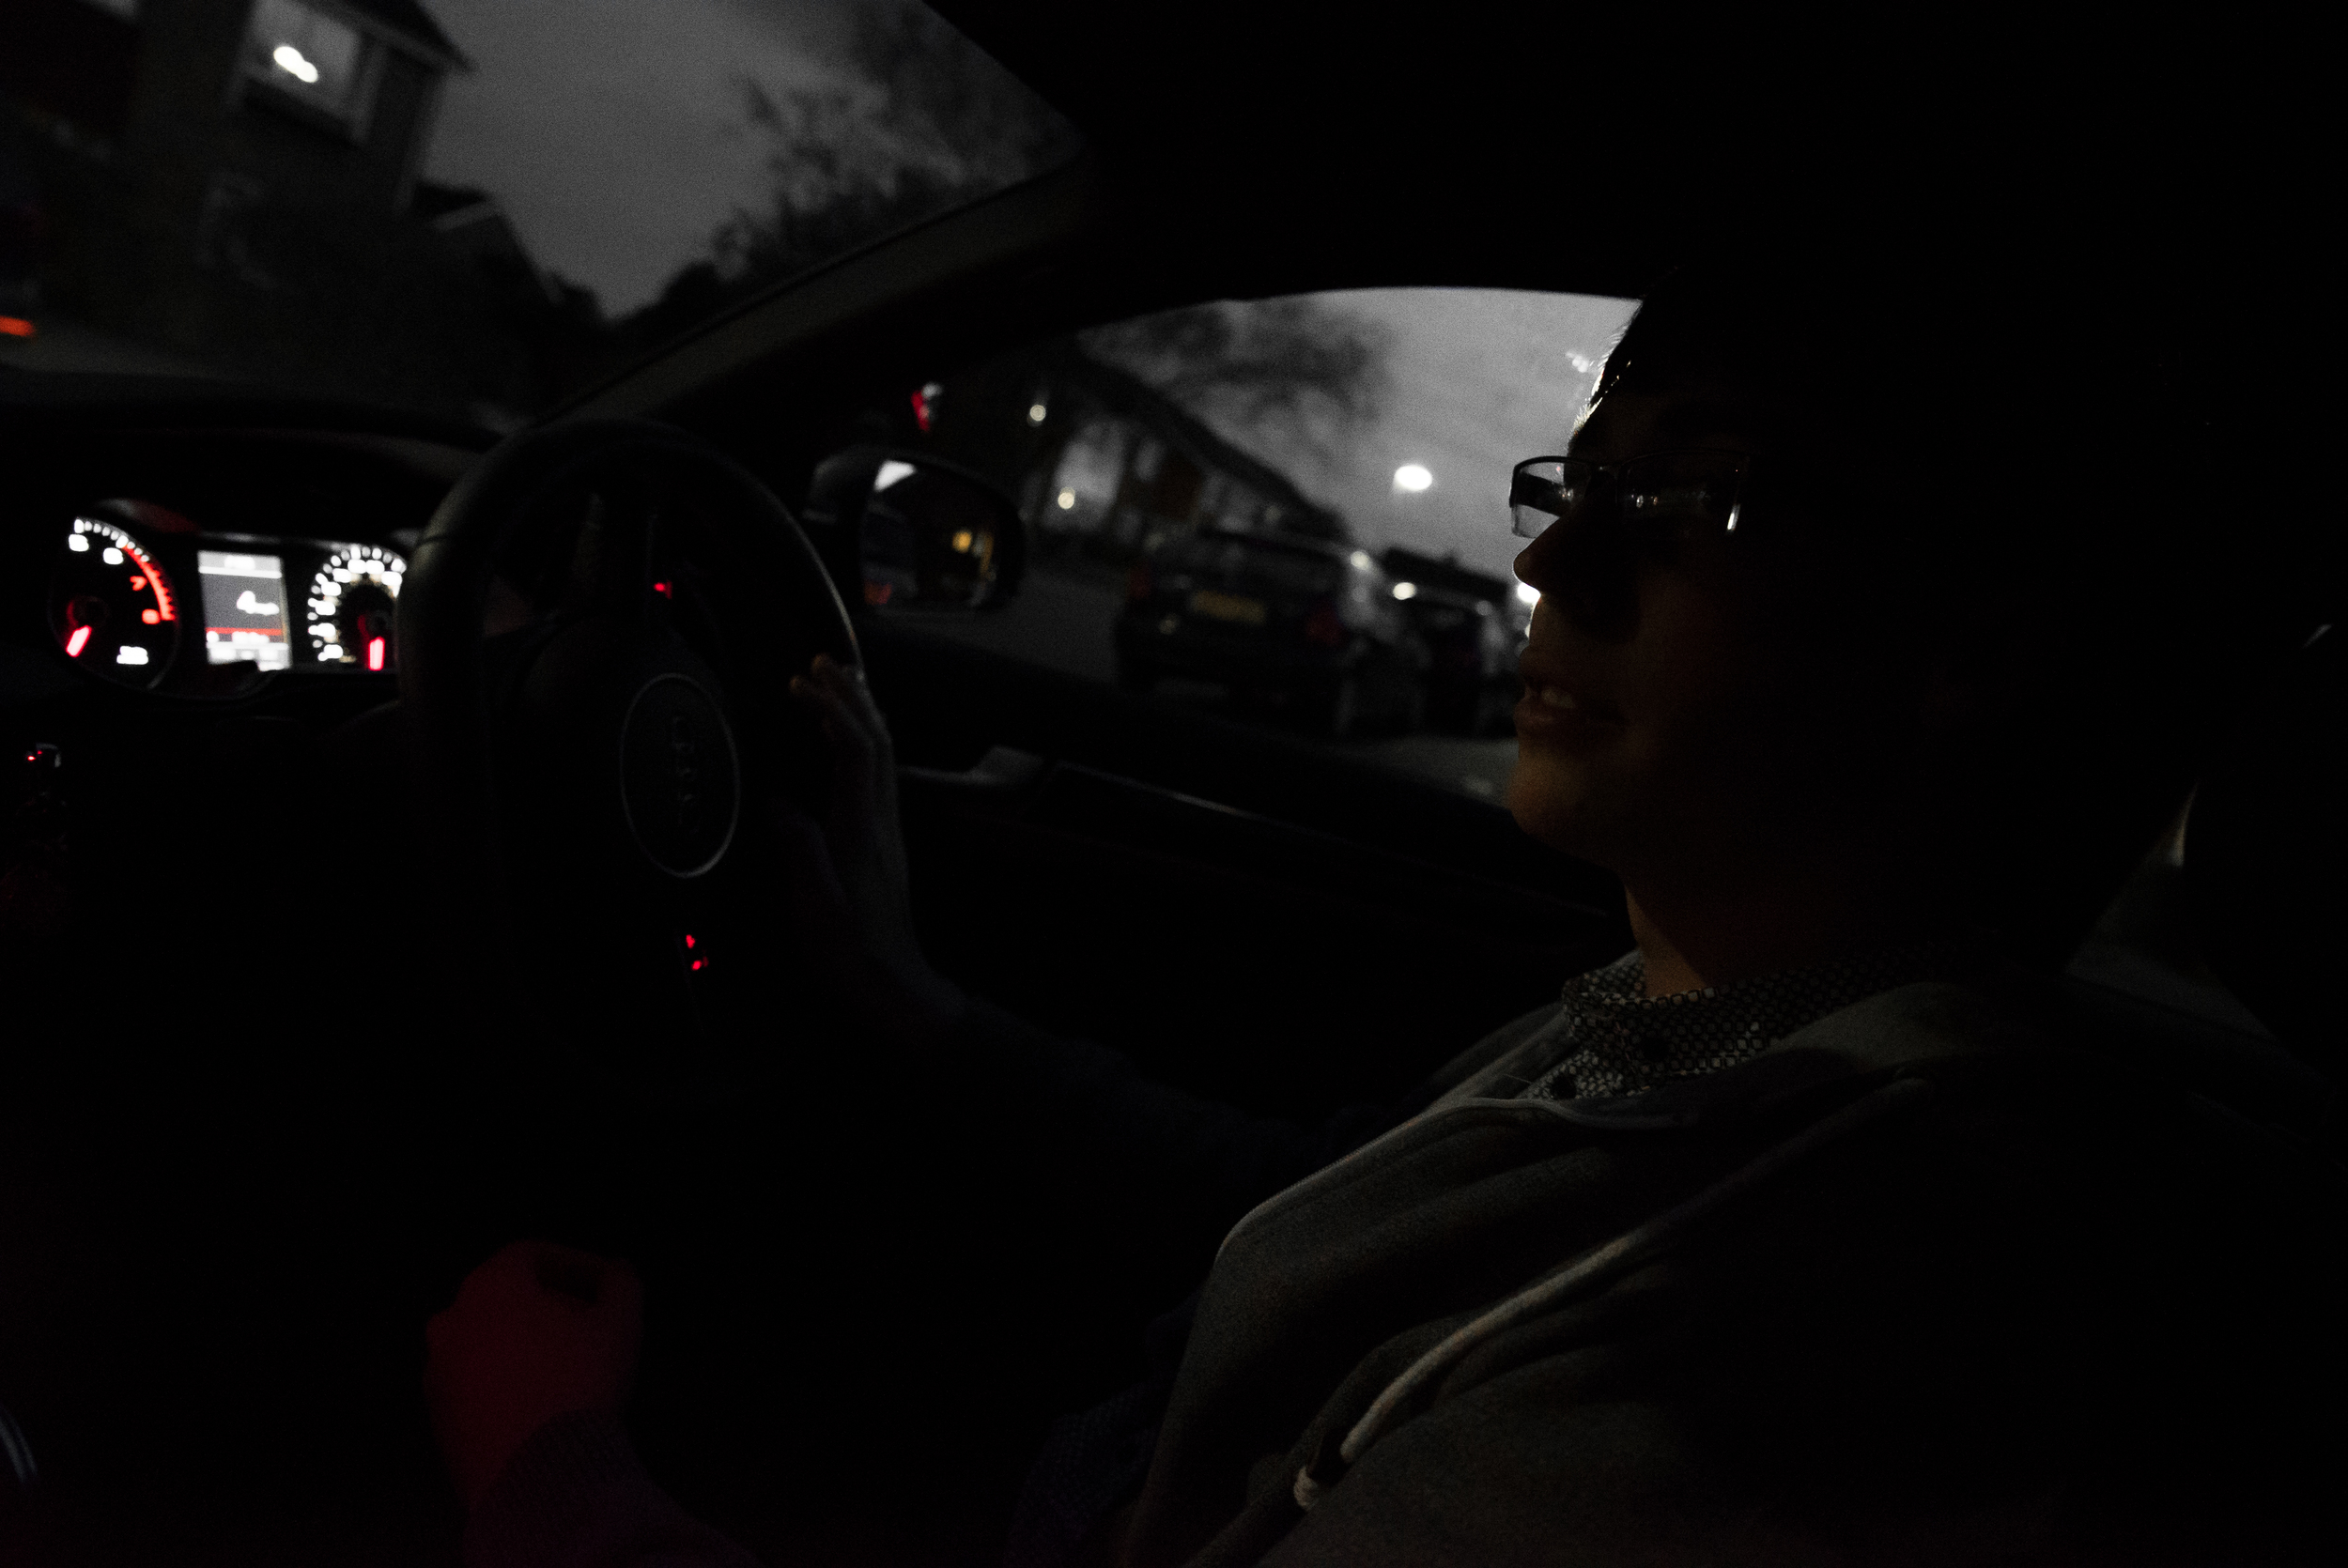
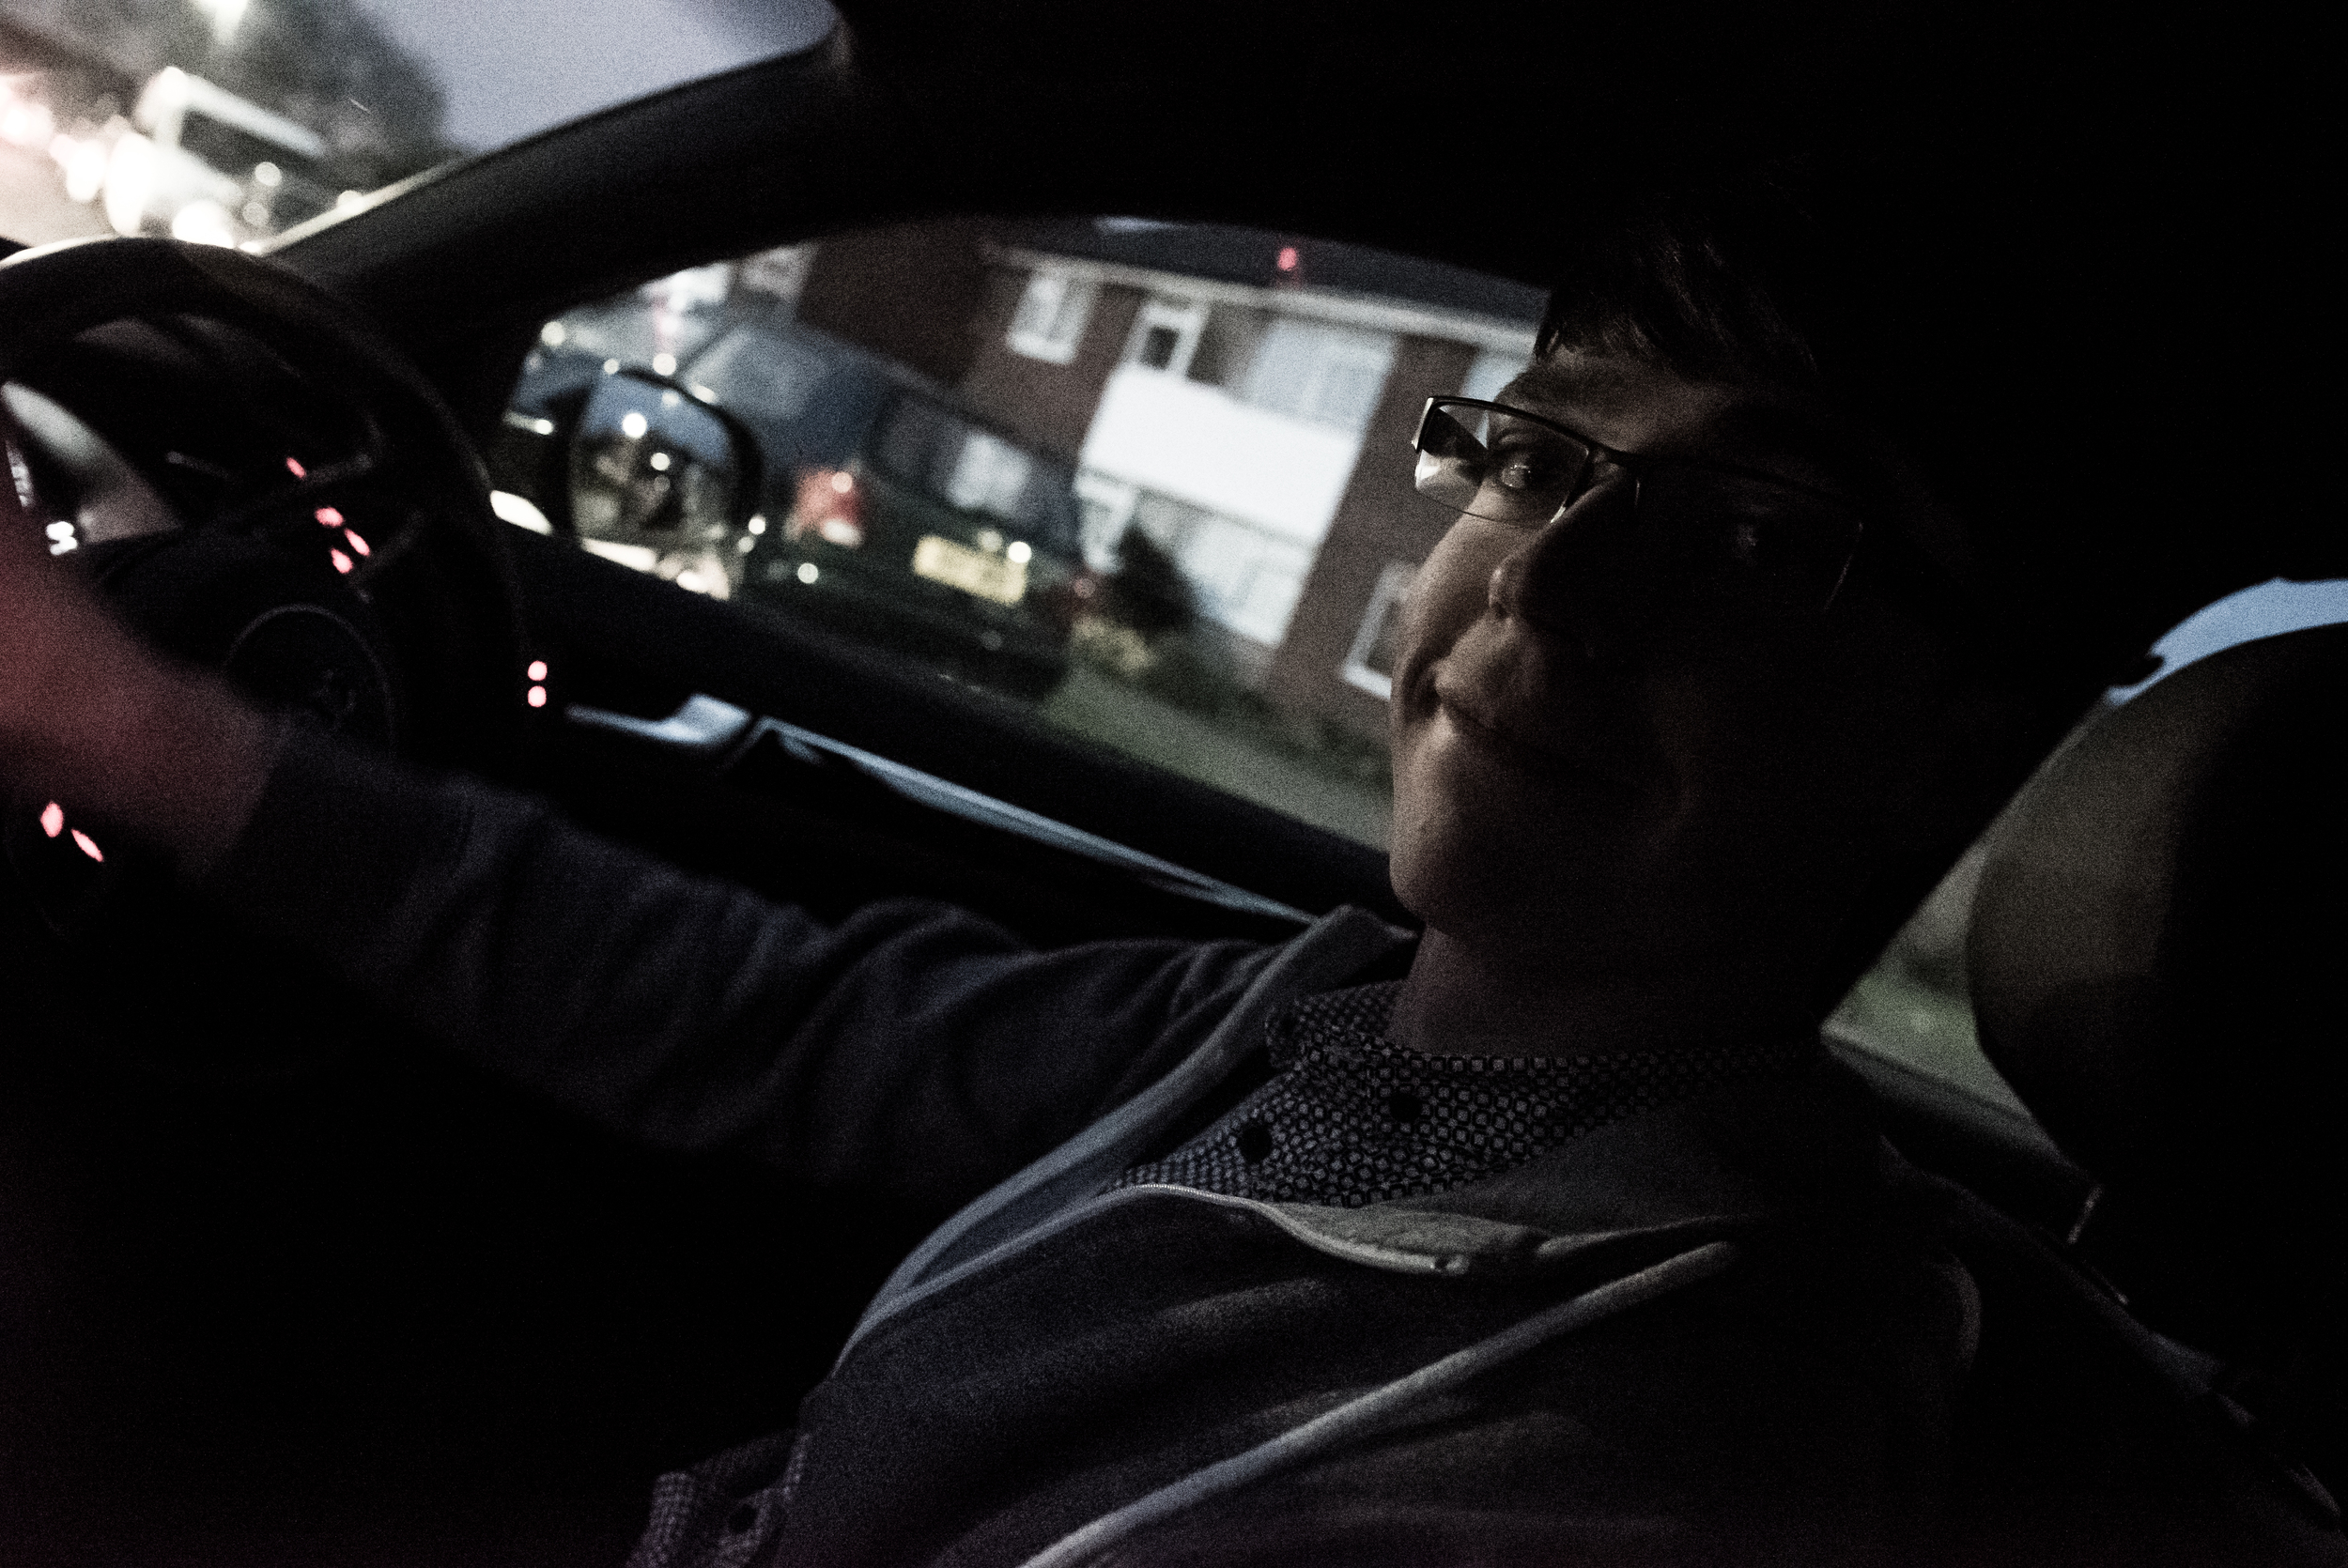
The best friend has bought a swanky new Audi, so he took me for a spin! I was still getting used to the photo mode and controls, it was past 8pm with the sun only just set so the ISO was wacked up reasonably high.
Because the cable for connecting the A7S to the Shogun hadn't arrived yet (from Atomos) I went searching around Epsom with no avail for a micro HDMI to HDMI cable. I ordered one off Amazon for evening delivery, which came while I took the photos of Sams new car!
I was overly happy with the recorded images that I captured in the mean time with the Shogun hooked up to the 5D mk III. I decided to record them in ProRes HQ to see how far I could push the footage in colour correction, post and grading. It worked fantastically, so much in fact that I'm deeply considering teaming the 5D mk III with another Atomos recorder for the same reasons as above.
I finally got my hands on a micro HDMI cable to road test the 4K HDMI output from the A7S to the Shogun, and just as I began to film, Alfie the cat decided he wanted to join in! I don't remember the picture profile, but it was shot with a pretty wide aperture on the Tamron 24-70. I also tried out the down-ressing method that I'll be using for 4K filming but delivering in HD, so I edited the 4K sequence twice, one in native 4K resolution and the other in a 1080p sequence with some clips scaled down or cropped. NOTE - please change the resolution to the highest possible for the best results!
4K still from the Shogun recorder, shot in 4K ProRes HQ
Let me know what you think!
NOTE - Change resolution to 2160!!!
A short first test filming in 3820x2160 UHD-4K resolution in ProRes HQ on the Atomos Shogun, with the Sony A7S camera. No correction/sharpening/grading in camera or post. Exported in H.264 with a target bitrate of 100Mbits, hoping it holds! I tried to shoot some orchids, but my cat Alfie saw what was going on and wanted to join in!
4K version on Vimeo, remember Vimeo does not have 4K playback yet so this has been down-ressed by Vimeo. Please watch the Youtube video above for the 4K version.
As a comparison, this is the down-res version of the 'Creatives and their cats' video originally shot in 3840x2160 4K-UHD using the Atomos Shogun and Sony A7S. View the original here - This version has been scaled down in Premiere by 50%, with some re-framing in a 1080p sequence, with 4K footage. No correction, sharpening, grading in camera or post. Originally shot in ProRes HQ. I tried to shoot some orchids, but my cat Alfie saw what was going on and wanted to join in! The cropping and re-framing of 4K footage for 1080p HD delivery is a brilliant feature to have, meaning high quality footage can be future-proofed and still delivered in great HD resolution.
I also shot some Picture Profile tests to compare the colours, DR, contrast and noise, this is to come later!
DIT, Digital Imaging Technician, Camera Operator, Camera Assistant, TV Crew, TV Production, Film Production, Film Crew, UKTV, BBC Studios, Channel 4, Channel 5