microphone

Filming in LA 'CineGear 2015' in Hollywood with Sony A7S, Manfrotto + Rode

APVideo: CineGear 2015 @ Paramount Pictures, LA

It's been a rather amazing few weeks for me here at APVideo. So here is the low down on what I did, what kit I used and what is coming up next!

Jump back to the beginning of June and I get a call from NewsShooter.com asking if I'm available to cover CineGear in Hollywood for them. With an empty space in the diary, I jumped on the chance to visit LA and begun the prep to cover the expo with video.

To familiarise myself with the exhibitors, I checked out the interactive map and visited the websites of companies of interests and viewed the latest press releases to get clued up on the news. (Always be prepared).

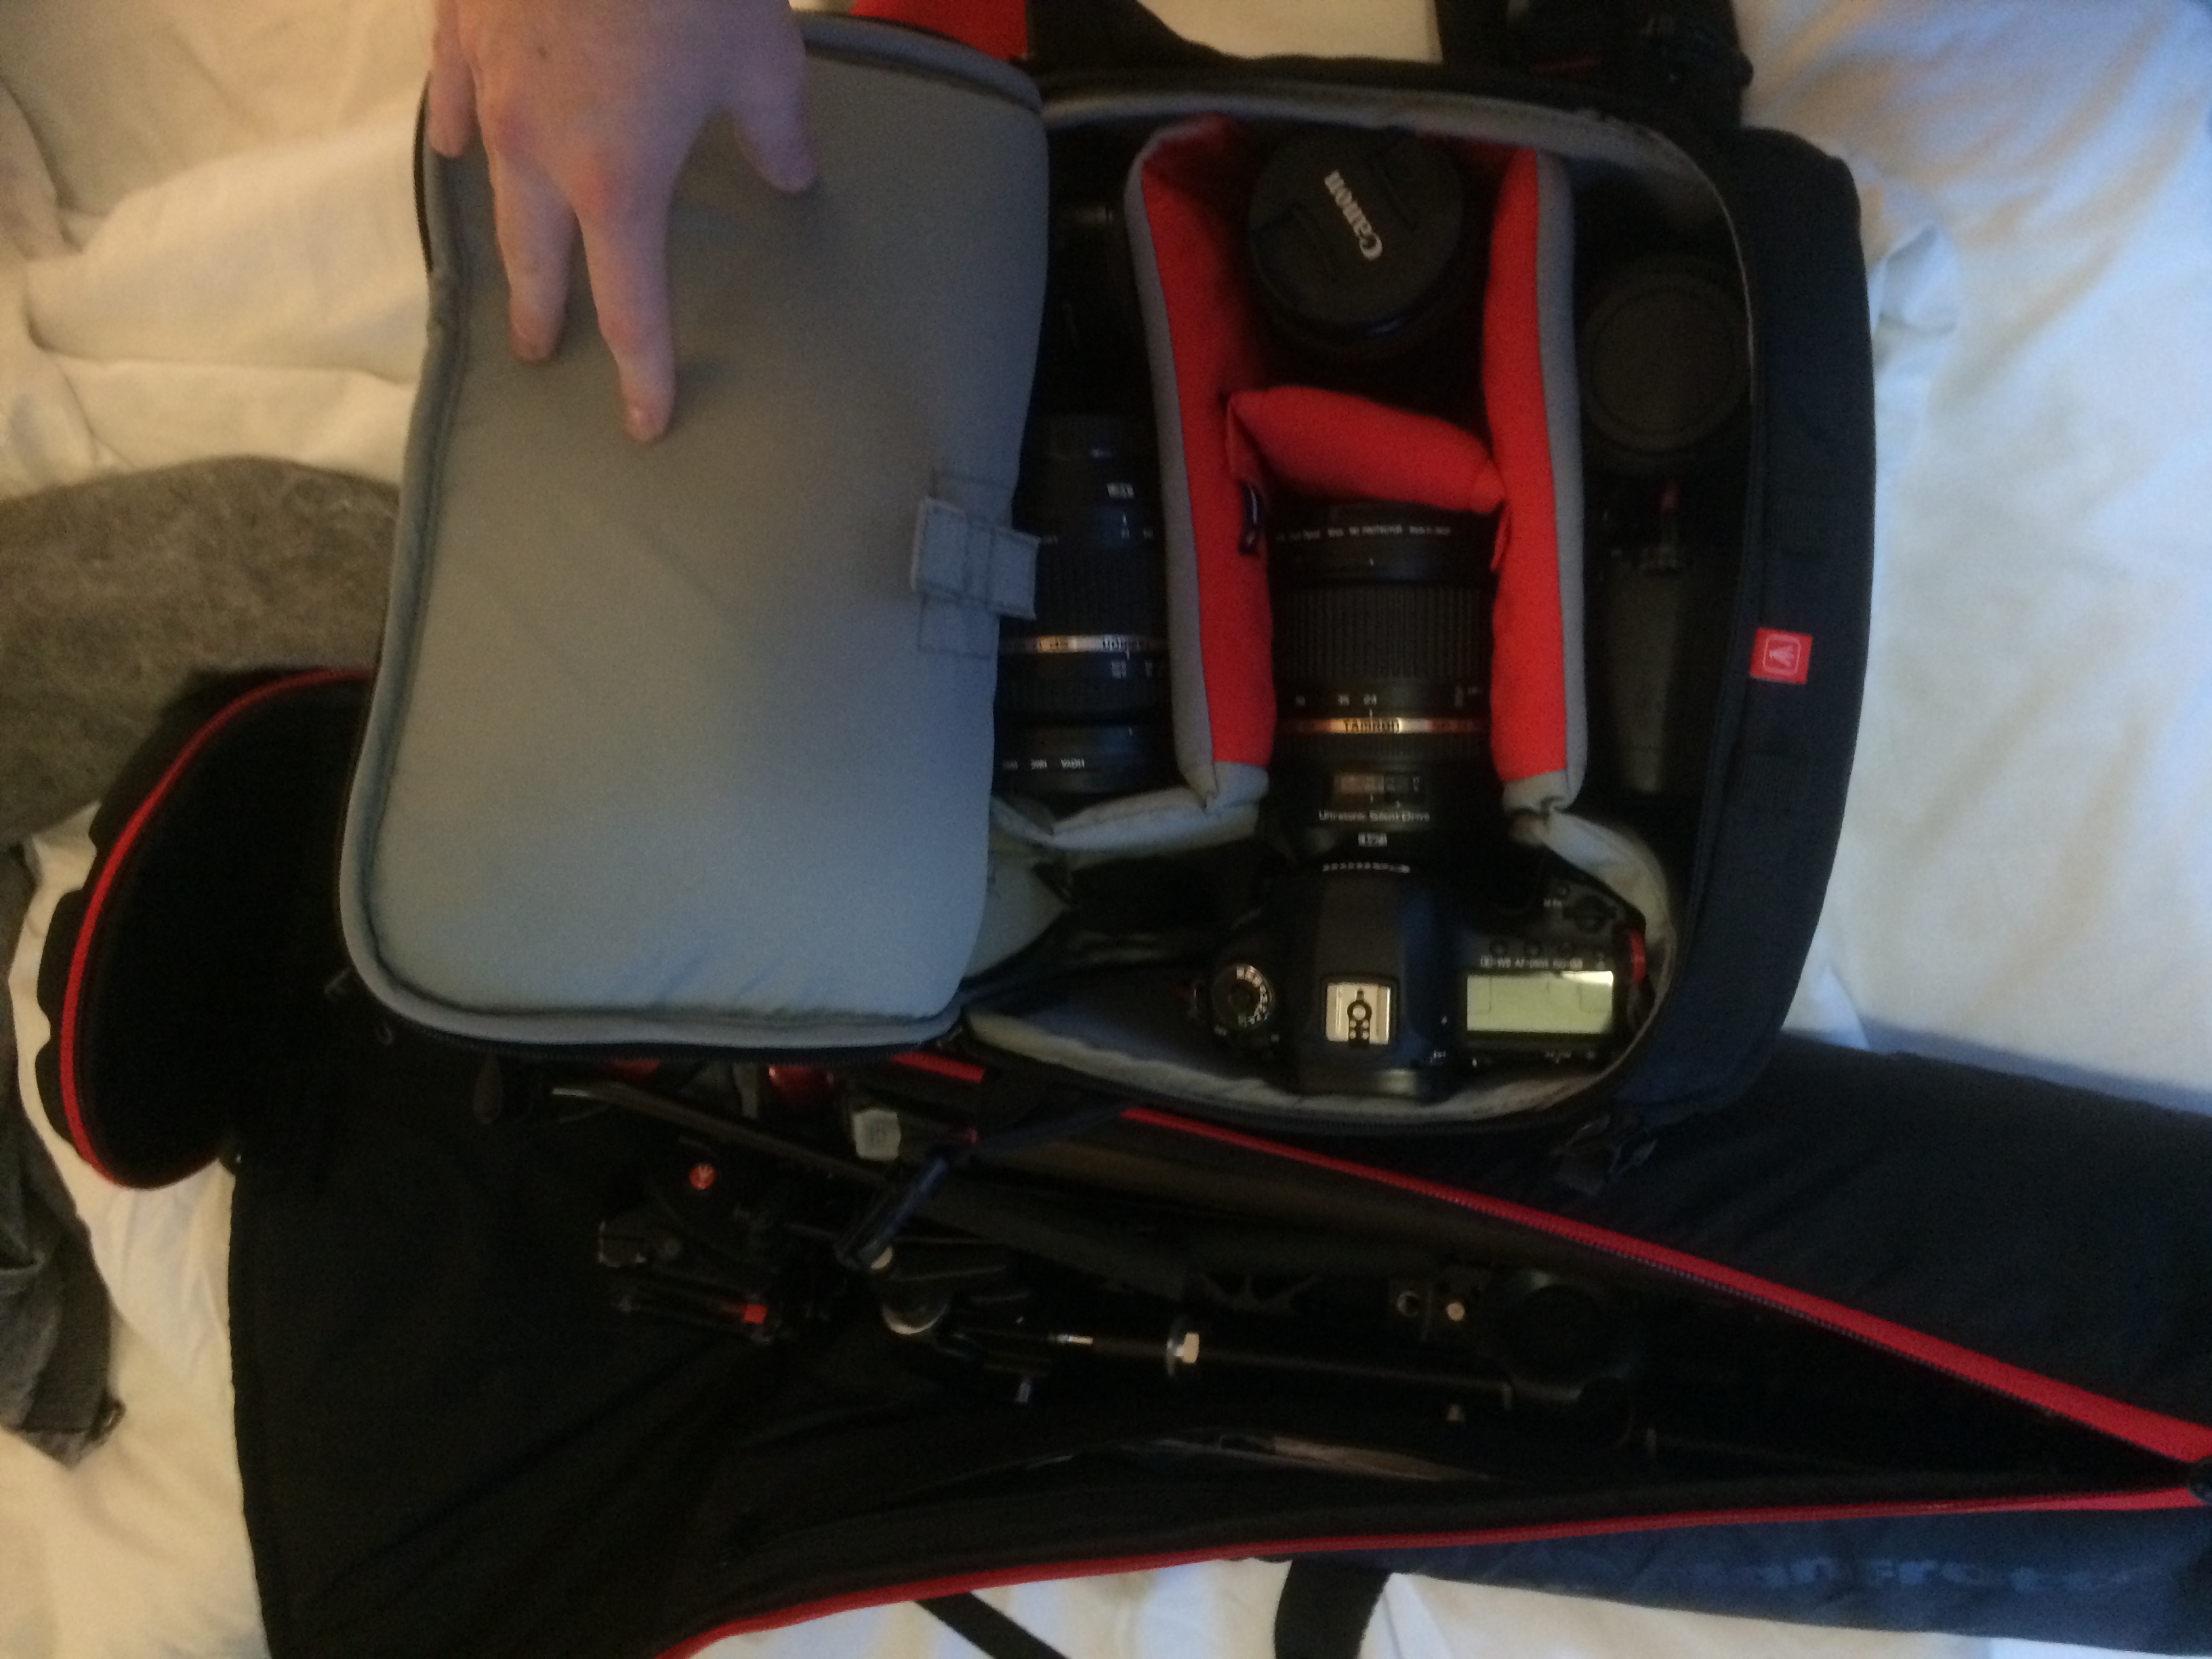
Manfrotto provided me with the fantastic Roller Bag 70 for my trip overseas, into which I moulded the foam inserts to protect the cameras and kit I'd be taking. Since it was a short trip, I only took the bare neccessities!!

  • Sony A7S in Movcam cage and Metabones Adapter mk IV
  • Tamron 24-70
  • Nikon 50mm F/1.4
  • Zoom H6
  • Rode Lavalier
  • Manfrotto 755CX-3 + MVH500AH

Told you it was bare!

It was a couple of long flights over to LAX.. Some snaps from the journey on the A7S.

It was my first time flying to America, so I was keen to snap up as much as I can, and enjoy the Virgin Atlantic hospitality!

I highly recommend the Mondrian Hotel on West Sunset Blvd, it is bloody amazing. Rooftop restaurant and bar, amazing hotel views, and staff that feel like family!

View from Mondrian LA

The following morning I constructed the Movcam cage rig with the kit I brought, which compacted all of the filming kit into one tiny hand held rig which I could put on the Manfrotto 755Cx-3 tripod.

I got myself one of these handy little hot/cold shoe mounts for anything with a 1/4" screw hole; in this case I was using it with the Zoom H6 but it fits most accessories. If I were using the Atomos Shogun, I'd of used a magic arm (just for flexibility in adjusting the screen angle), but as I was monitoring the audio with headphones and checked the levels beforehand I didn't need to see the monitor per se. An alternate is to simply use a ball mount, but I find these sometimes don't lock down the position strongly enough (especially cheaper ones).

Very lightweight packing for a 3 night trip.

I took of the video head by unscrewing the locking screws at the base.

I got an UBER from the hotel to the studios, and after registering and waiting for the show to open, I made my way to the stages to begin filming! I had about 10 interviews to do on the first day to get a head start and the main content back to NewsShooter (who are a day ahead time wise).

Cool-Lux, Atomos, SLR Magic, Beeworks and a host of other manufacturers were on the list to capture. For the setup, I shot using PB's recommended video settings (cine-4 etc see previous blog post) with the Zoom H6 recording dual audio both on the stereo XY mic and via the Rode Lavalier which I clipped onto the interviewees.

Thats Andrew from SLR Magic talking about their new Rangefinder, Anamorphot and Noktor lenses.

The plan was to shoot the 10 interviews with plenty of B-roll and begin editing that night. It was a late one, staying up until 4am editing the first batch of videos. I got the SLR Magic one out that morning before my head hit the pillow.

4 hours later.

Up I was to complete the last of the edits in Premiere Pro. The videos follow the same format, so after opening the exported XML sequence from Pluraleyes I could simply drop in the titles and credits, the lower 3rd and QC the video before exporting.

The show opened later that day, so I made my way down that afternoon. The Manfrotto tripod I was using was perfect for this kind of filming. Being mobile and having a small footprint is a real issue when covering events, and you should try and stay as small and quick on your feet as possible.

Michael from ARRI at Cinegear

The rig was so convenient I carried around on my shoulder all day!

That evening it was recovery time from the lack of sleep and jet lag carrying over from the previous night, but while I was putting my feet up watching Jurassic Park in the hotel I had Premiere whizzing away with the new footage I had shot that day.

Because of the format, replication of sequences was rather fast. Using Premiere means no rendering time and instant playback, so I spent little to no time waiting around as I queued up the finalized sequences into Media Encoder, and batch exported while I was editing together the next sequence. Keeping check on the white balance and varying exposure of indoor and outdoor shooting meant no colour correction was needed in the edit, which also sped up the production process, I could get the news from the show quicker out to NewsShooter!

The beauty of shooting on the A7S was that I could shoot at F/11 and beyond outside due to the wonderful Hollywood weather, but inside if I needed extra light I could punch up the ISO to 2400-6000 with no real visual difference (unless you want to pixel peep).

The Rode Lavalier is a real workhorse for me. Before leaving I set it up with the small wind jammer and the Micon-5 XLR adapter so it would plug comfortably into the H6. For an inexpensive microphone it does a fantastic job of capturing the subject and cancelling out the background noise, which at an expo is quite loud in some cases.

In case you need advice on SD cards, I use the Transcend Ultimate 600x 64Gb U3 cards (purply pink label) as they are XAVC and S-log compatible.. Not that I have shot using the S-log yet.

Feel like I should say 'Mirror, mirror, on the huge podium in the centre of my hotel room'.

Just as quickly as I arrived, it was time for me to depart. I got an UBER to LAX where I picked up a couple of snacks to munch on while I edited the remaining videos to be exported when I got back home.

That guy sitting above my laptop was vaping away on an e-cig by the gate. I thought to myself 'surely this wouldn't be legal in England'.. It isn't!

That guy sitting above my laptop was vaping away on an e-cig by the gate. I thought to myself 'surely this wouldn't be legal in England'.. It isn't!

Bye bye wonderful Mondrian and LA

I returned home after a stop over in Las Vegas for probably about 20 minutes. So no gambling or anything like that as it was a quick transfer. So quick in fact that I needed to run to the gate (again, thanks to Delta, grr).

A fun filled 12 hour flight across the states and Canada, across the ocean and back into England was compiled of all 3 Hobbit films (as I was yet to watch them), followed by a hilarious comedy film called 'What We Do In The Shadows' by the same guys that made 'Flight Of The Concords'.

Bye bye LAX!

Damn its dry down there.. No forests or green!

Overall it was a brilliant working trip to Paramount to cover CineGear 2015 for NewsShooter, and a wonderful experience visiting the US too. I look forward to working again with NewsShooter at future events!

BVE Show 2015!

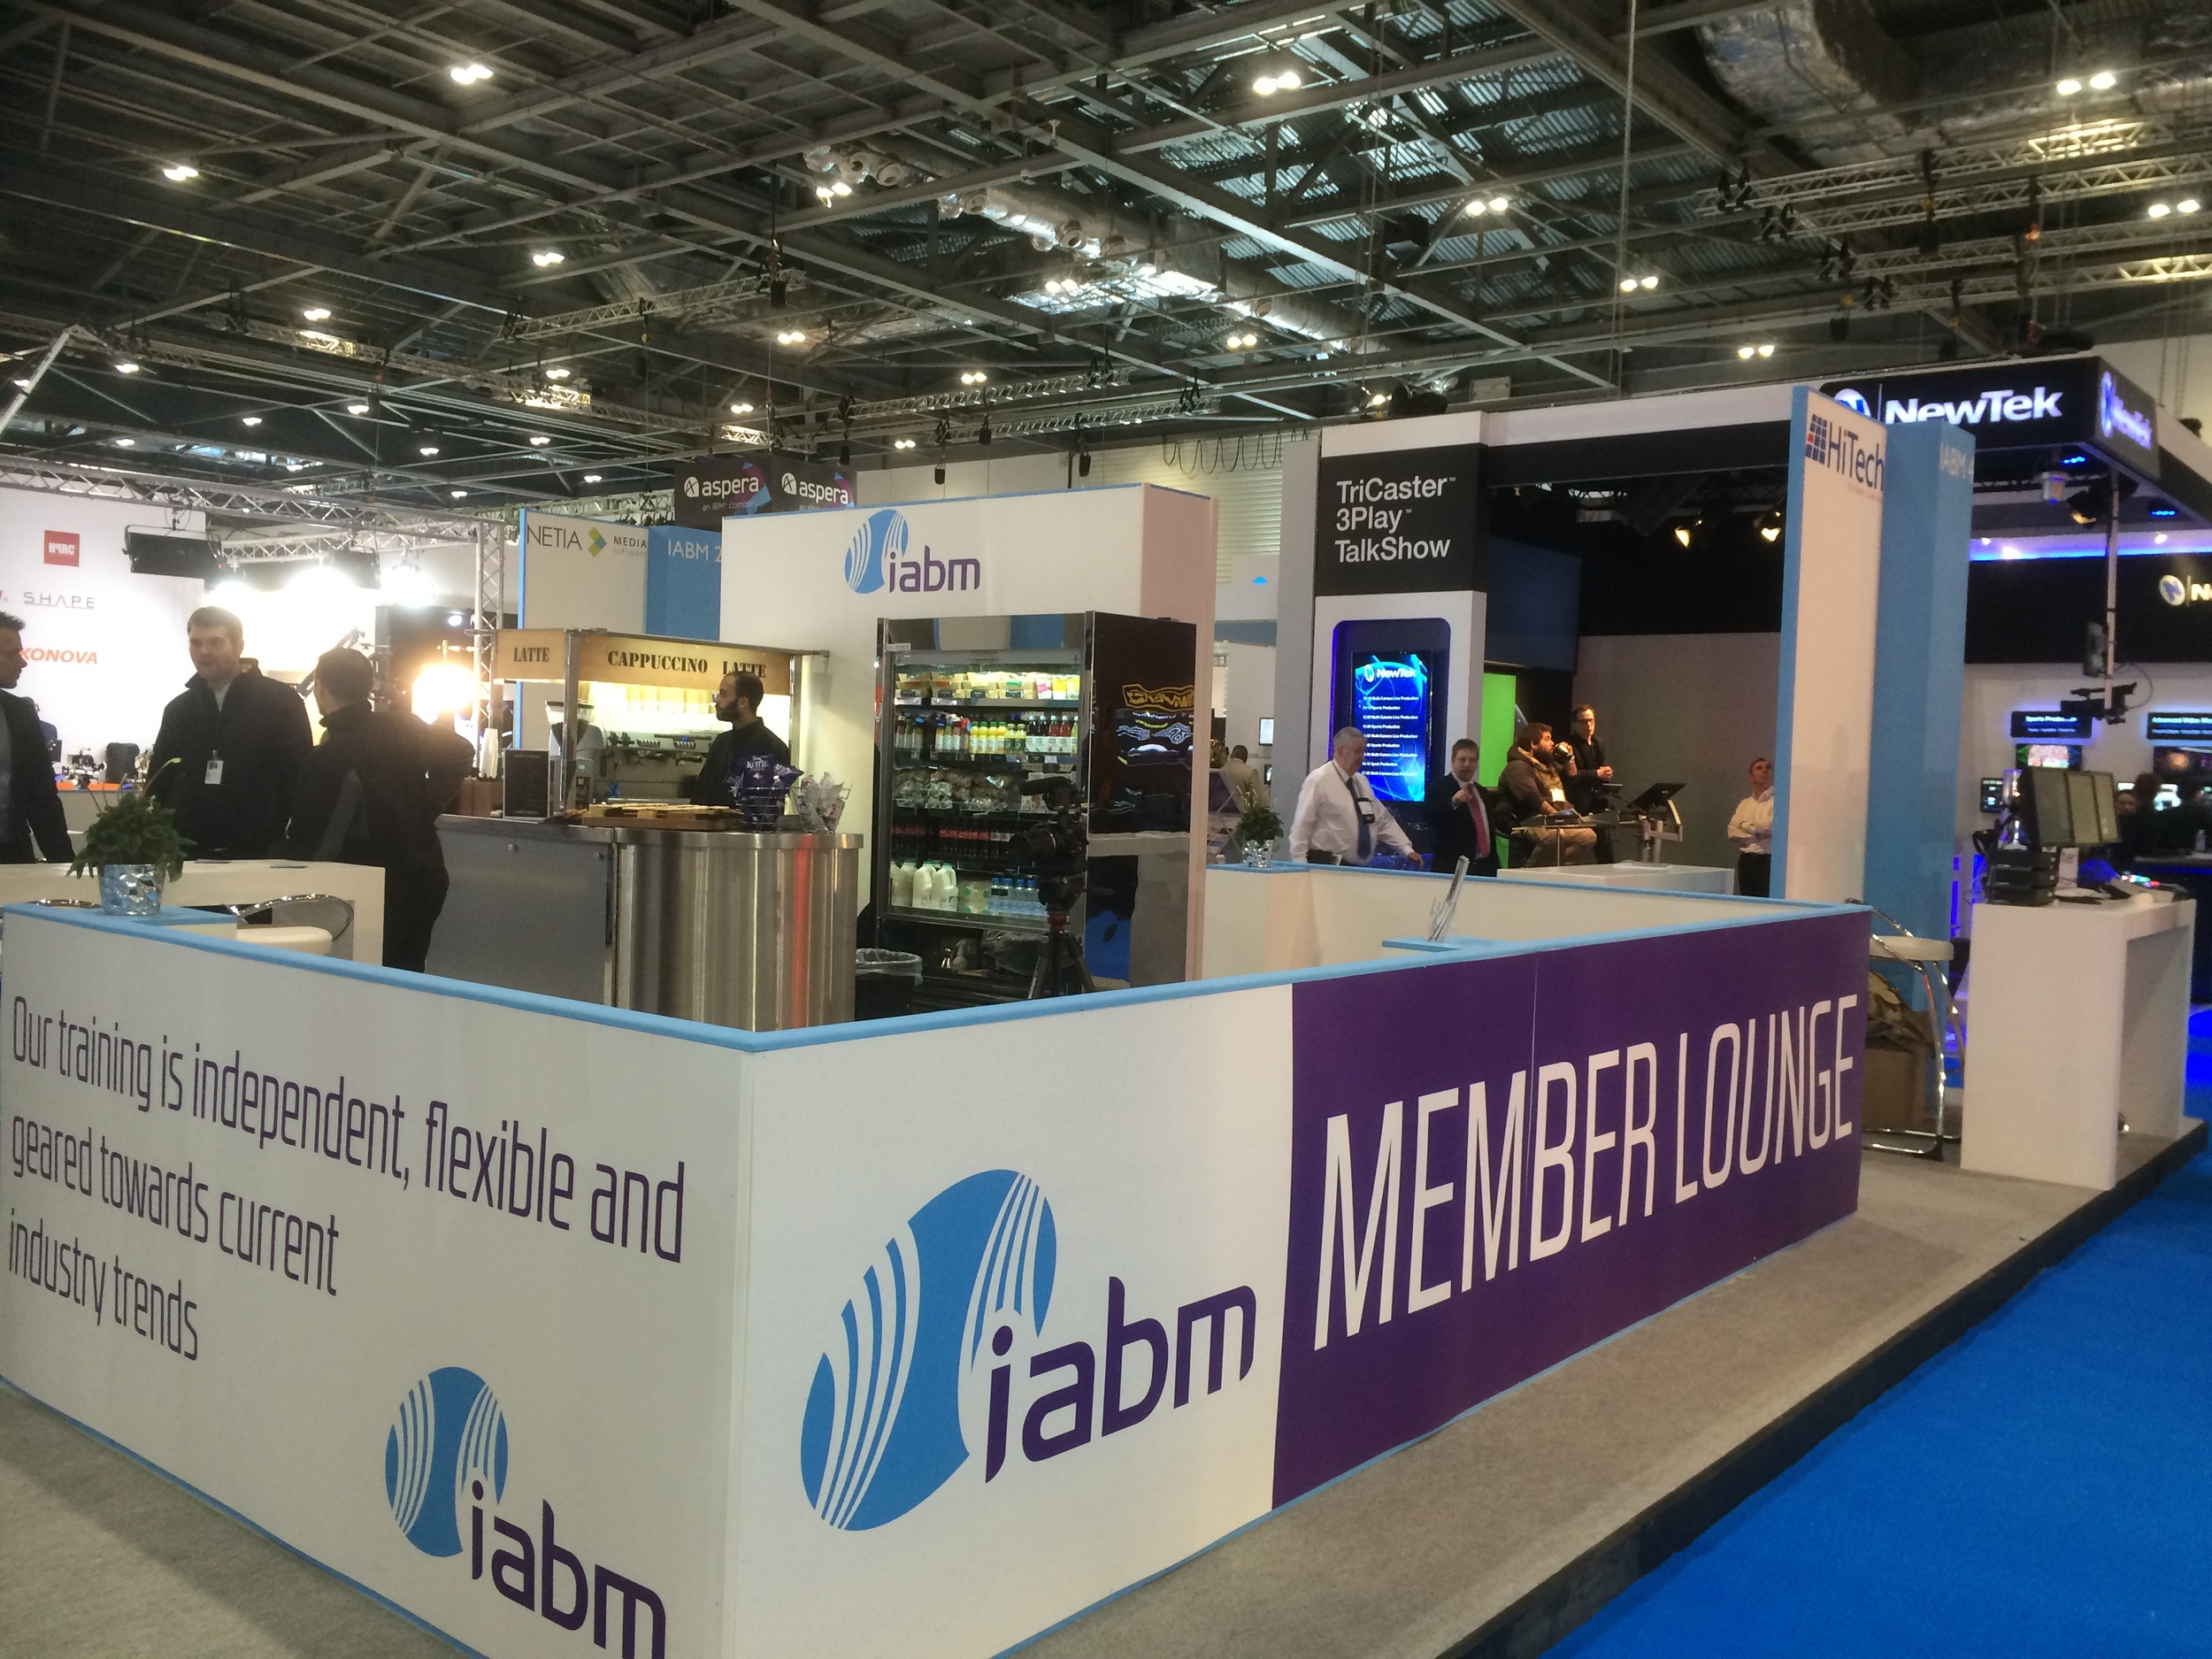
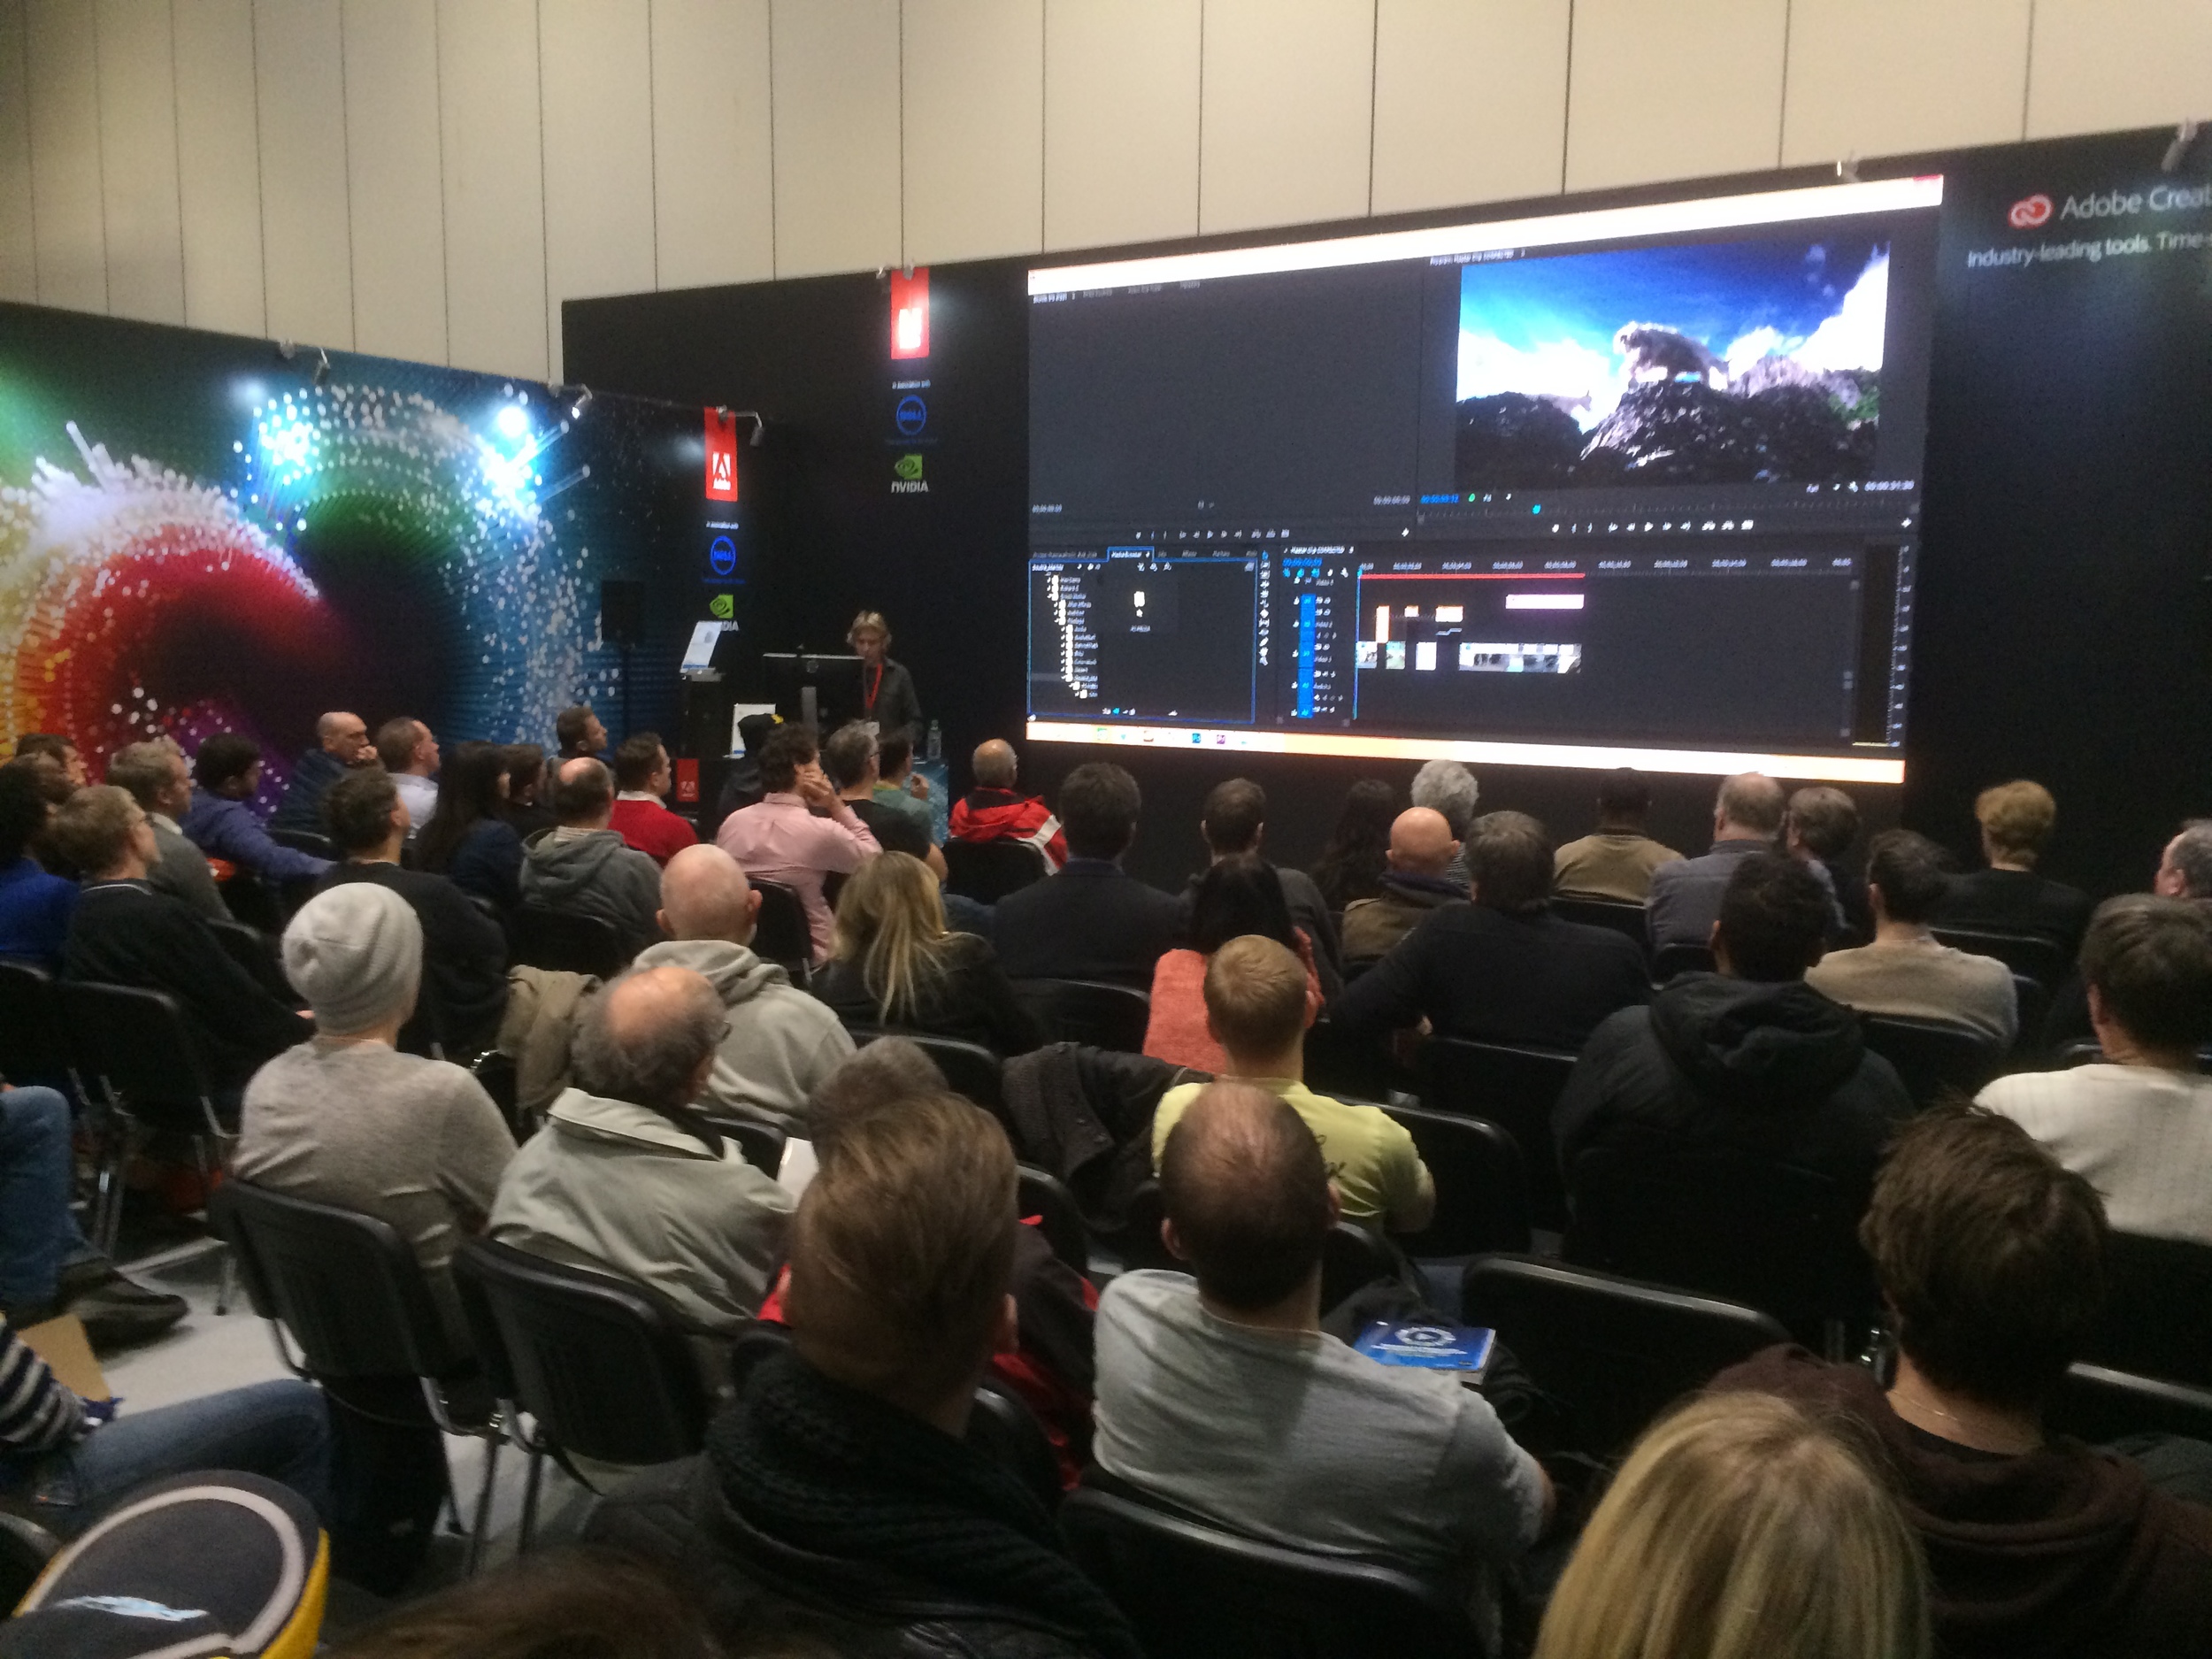
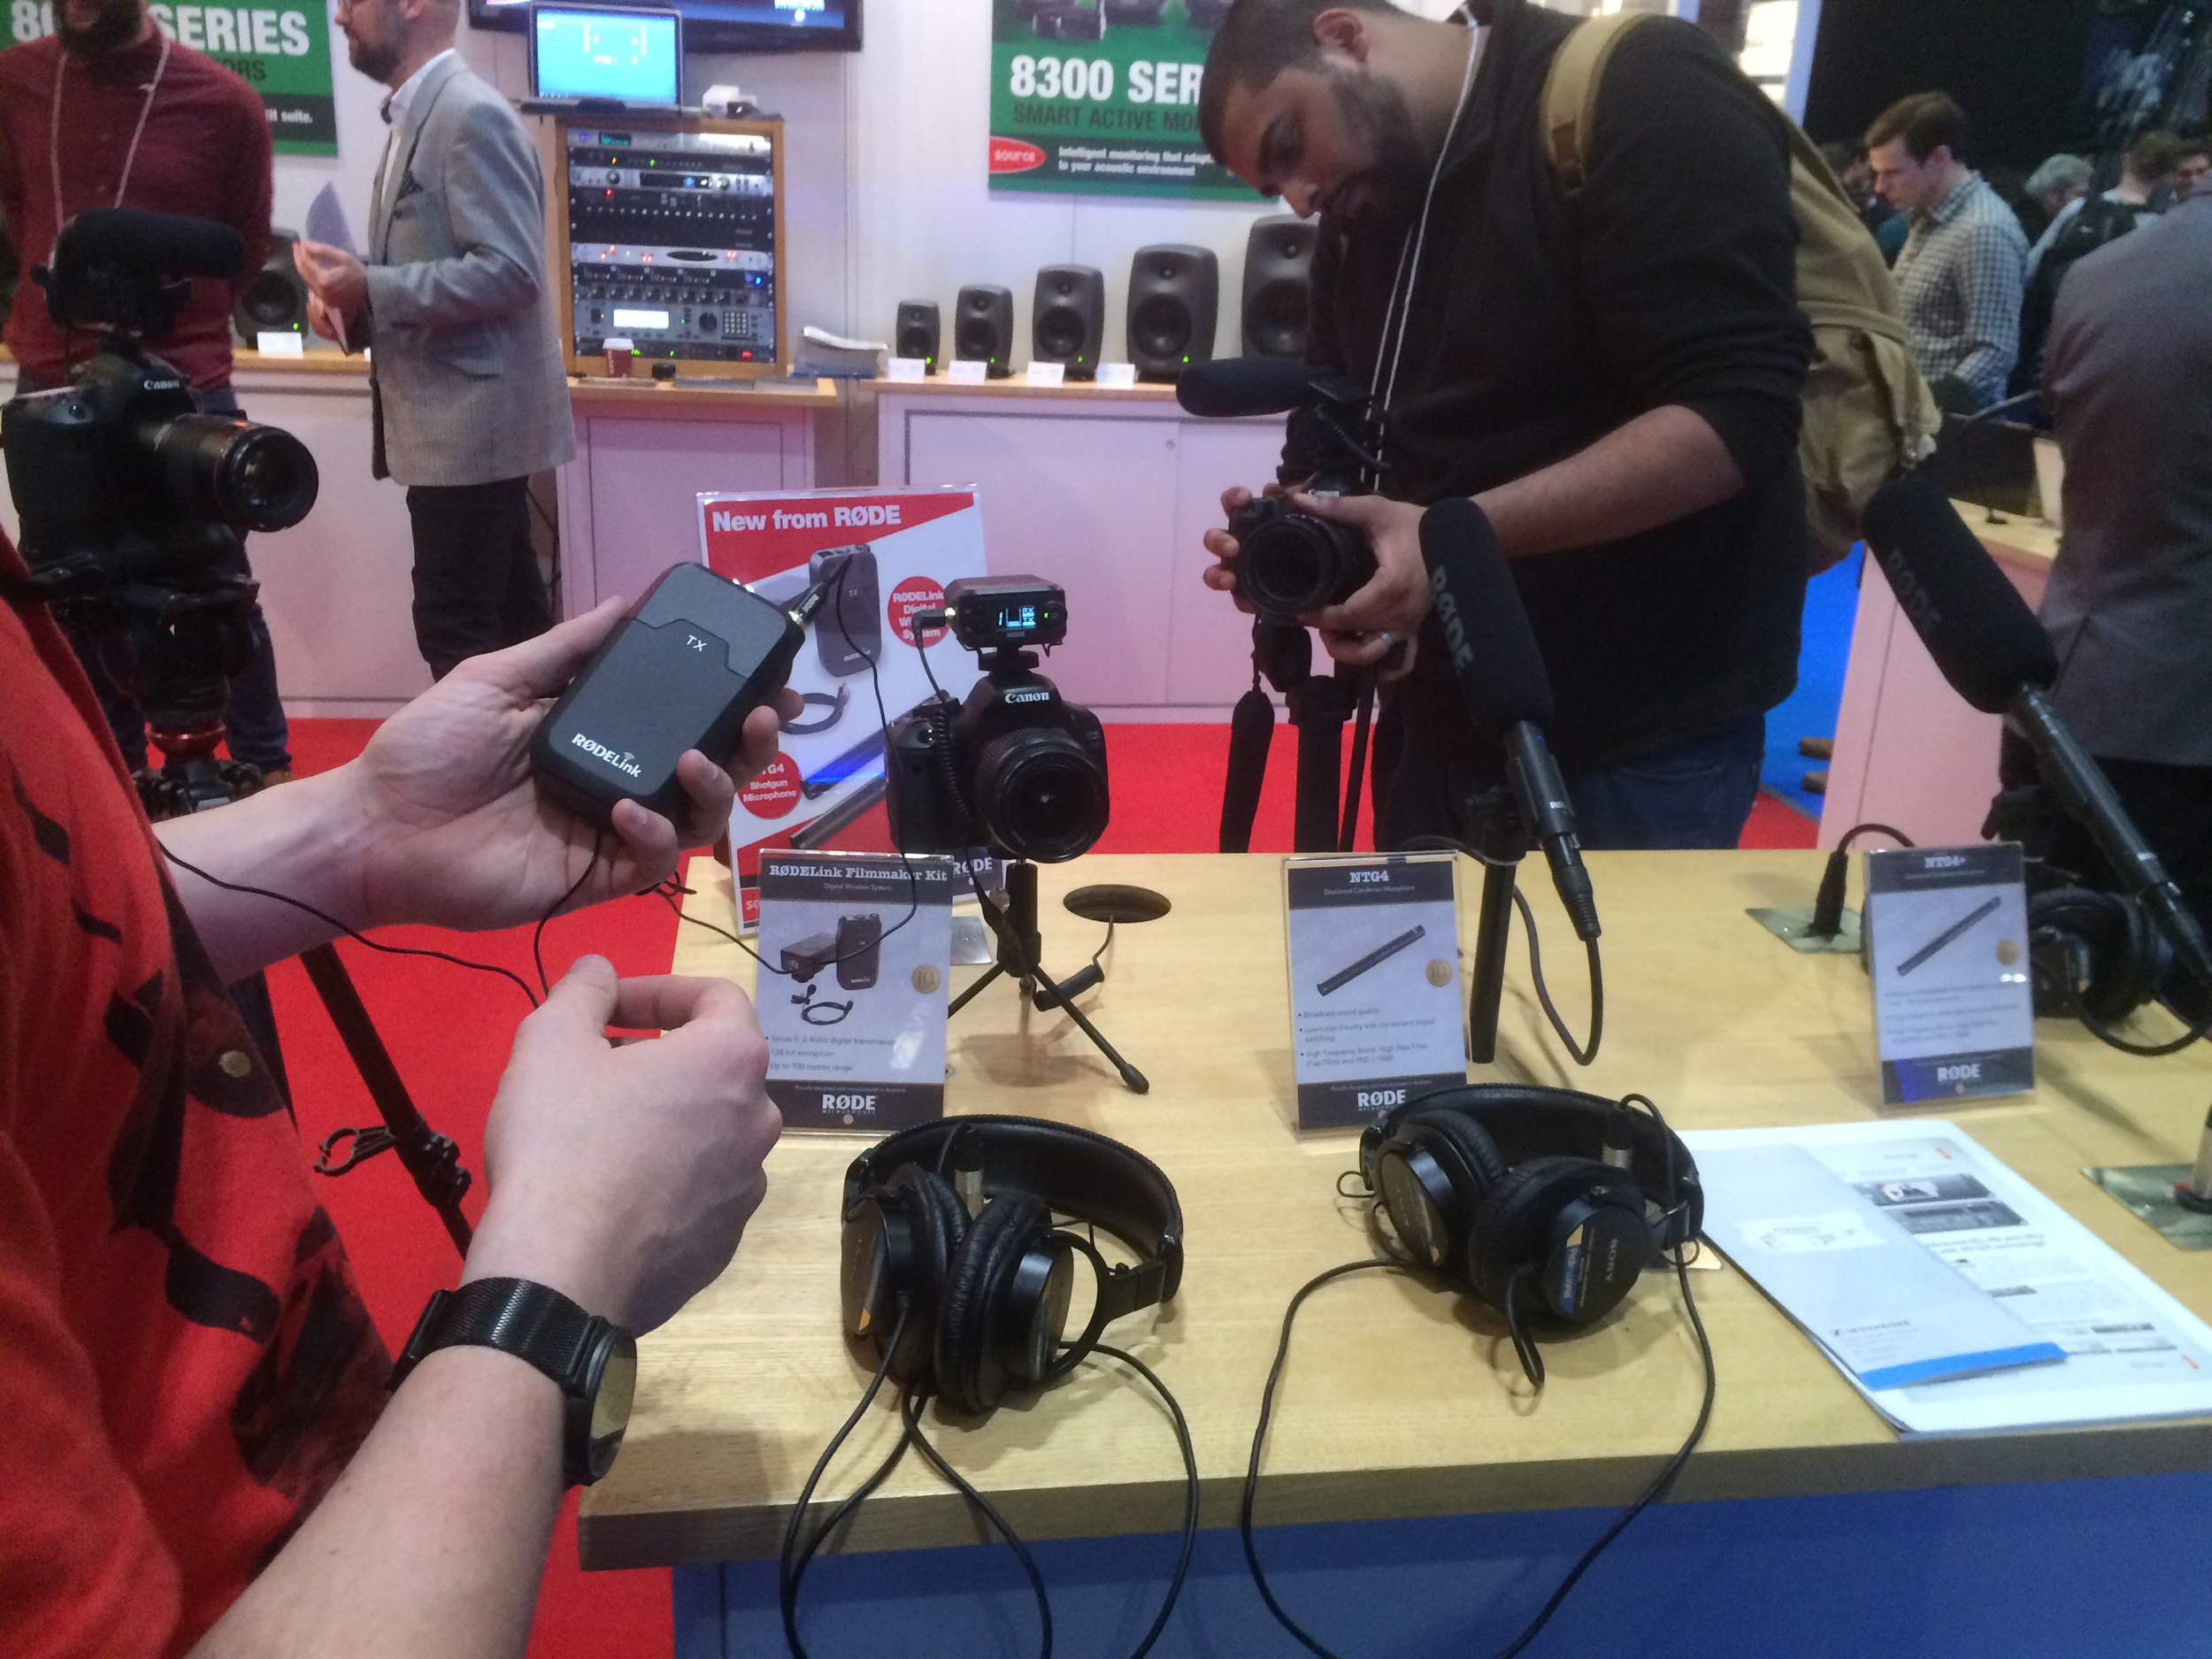
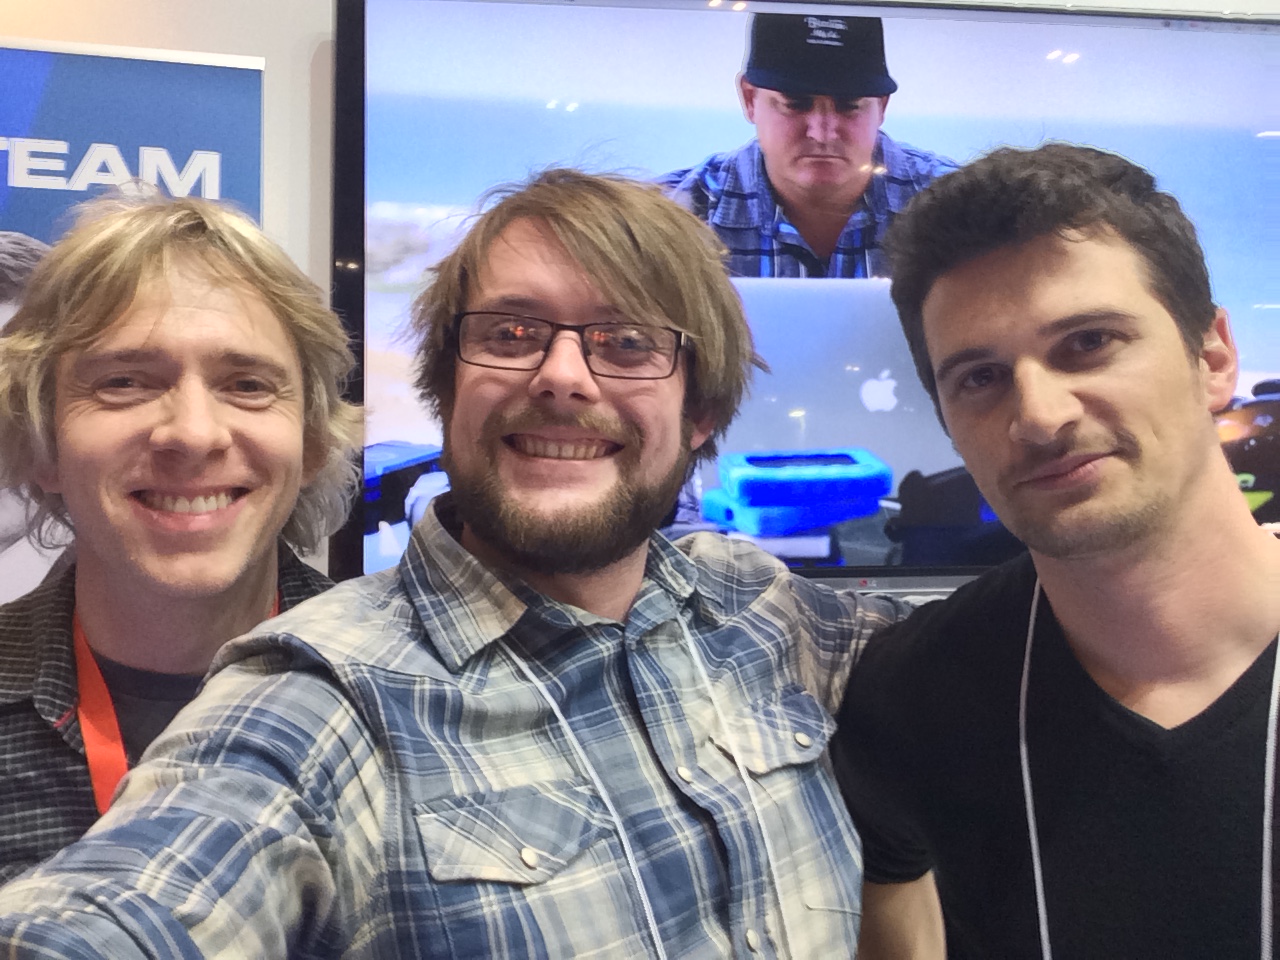
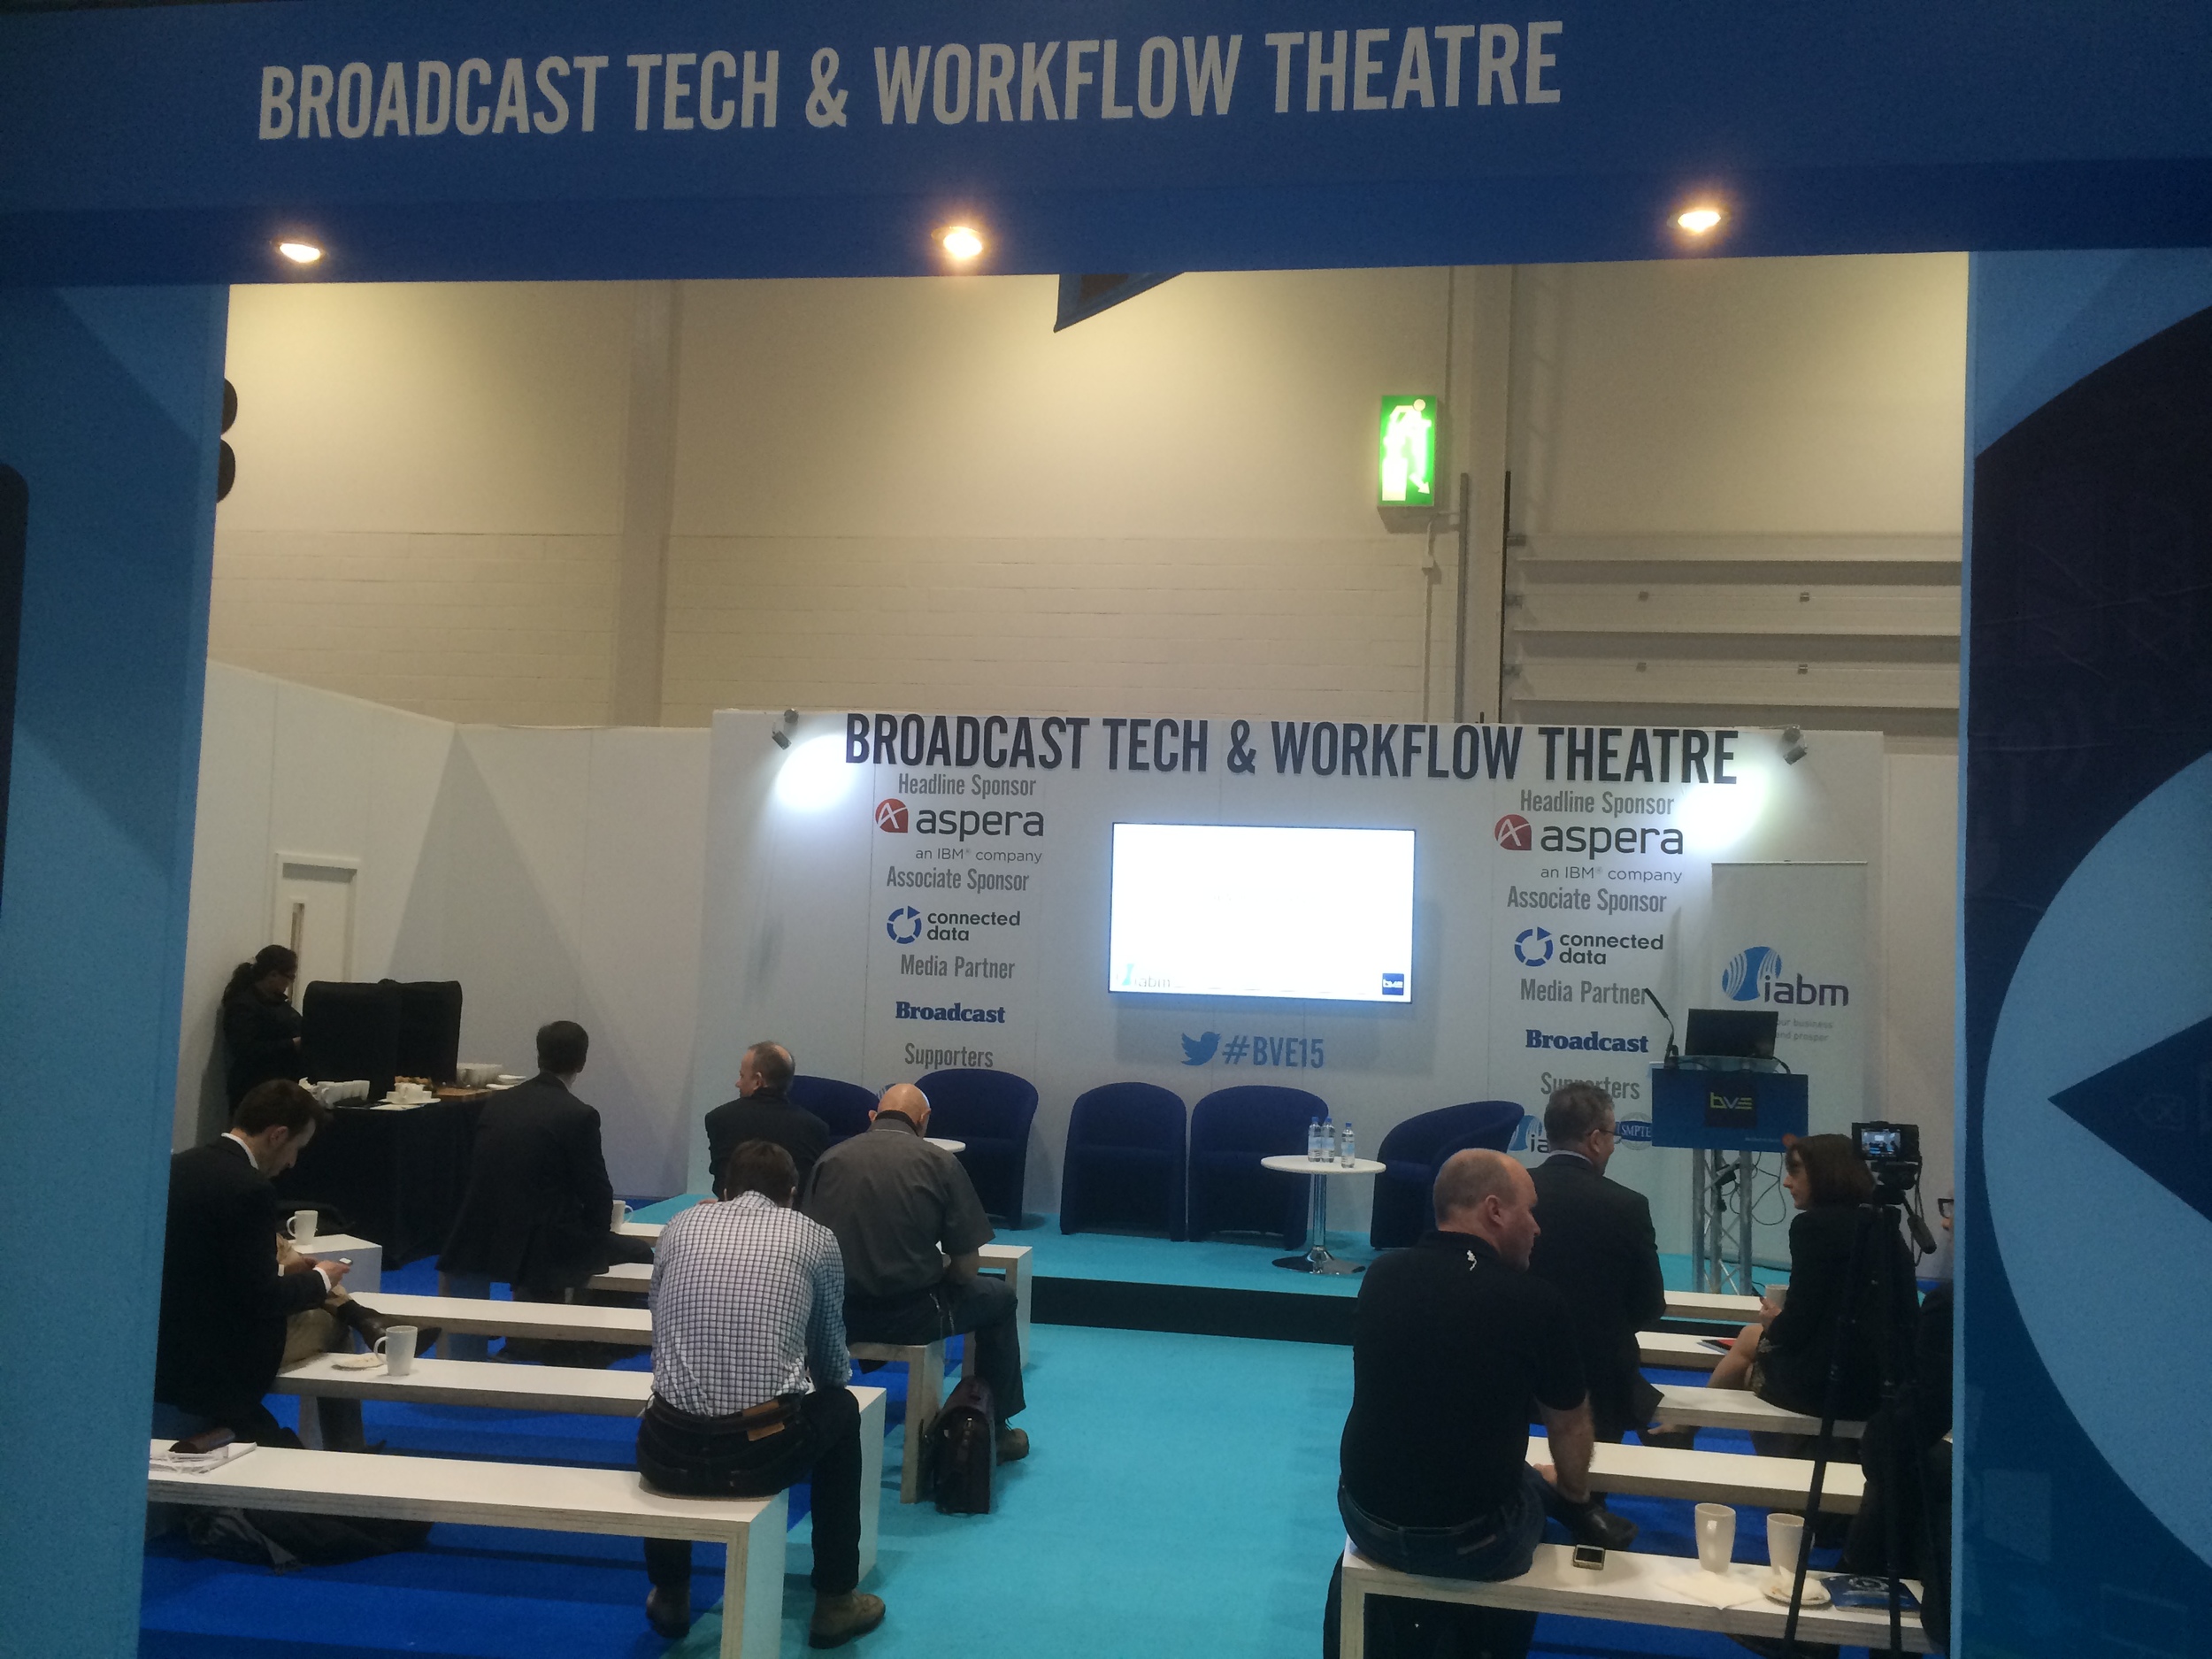
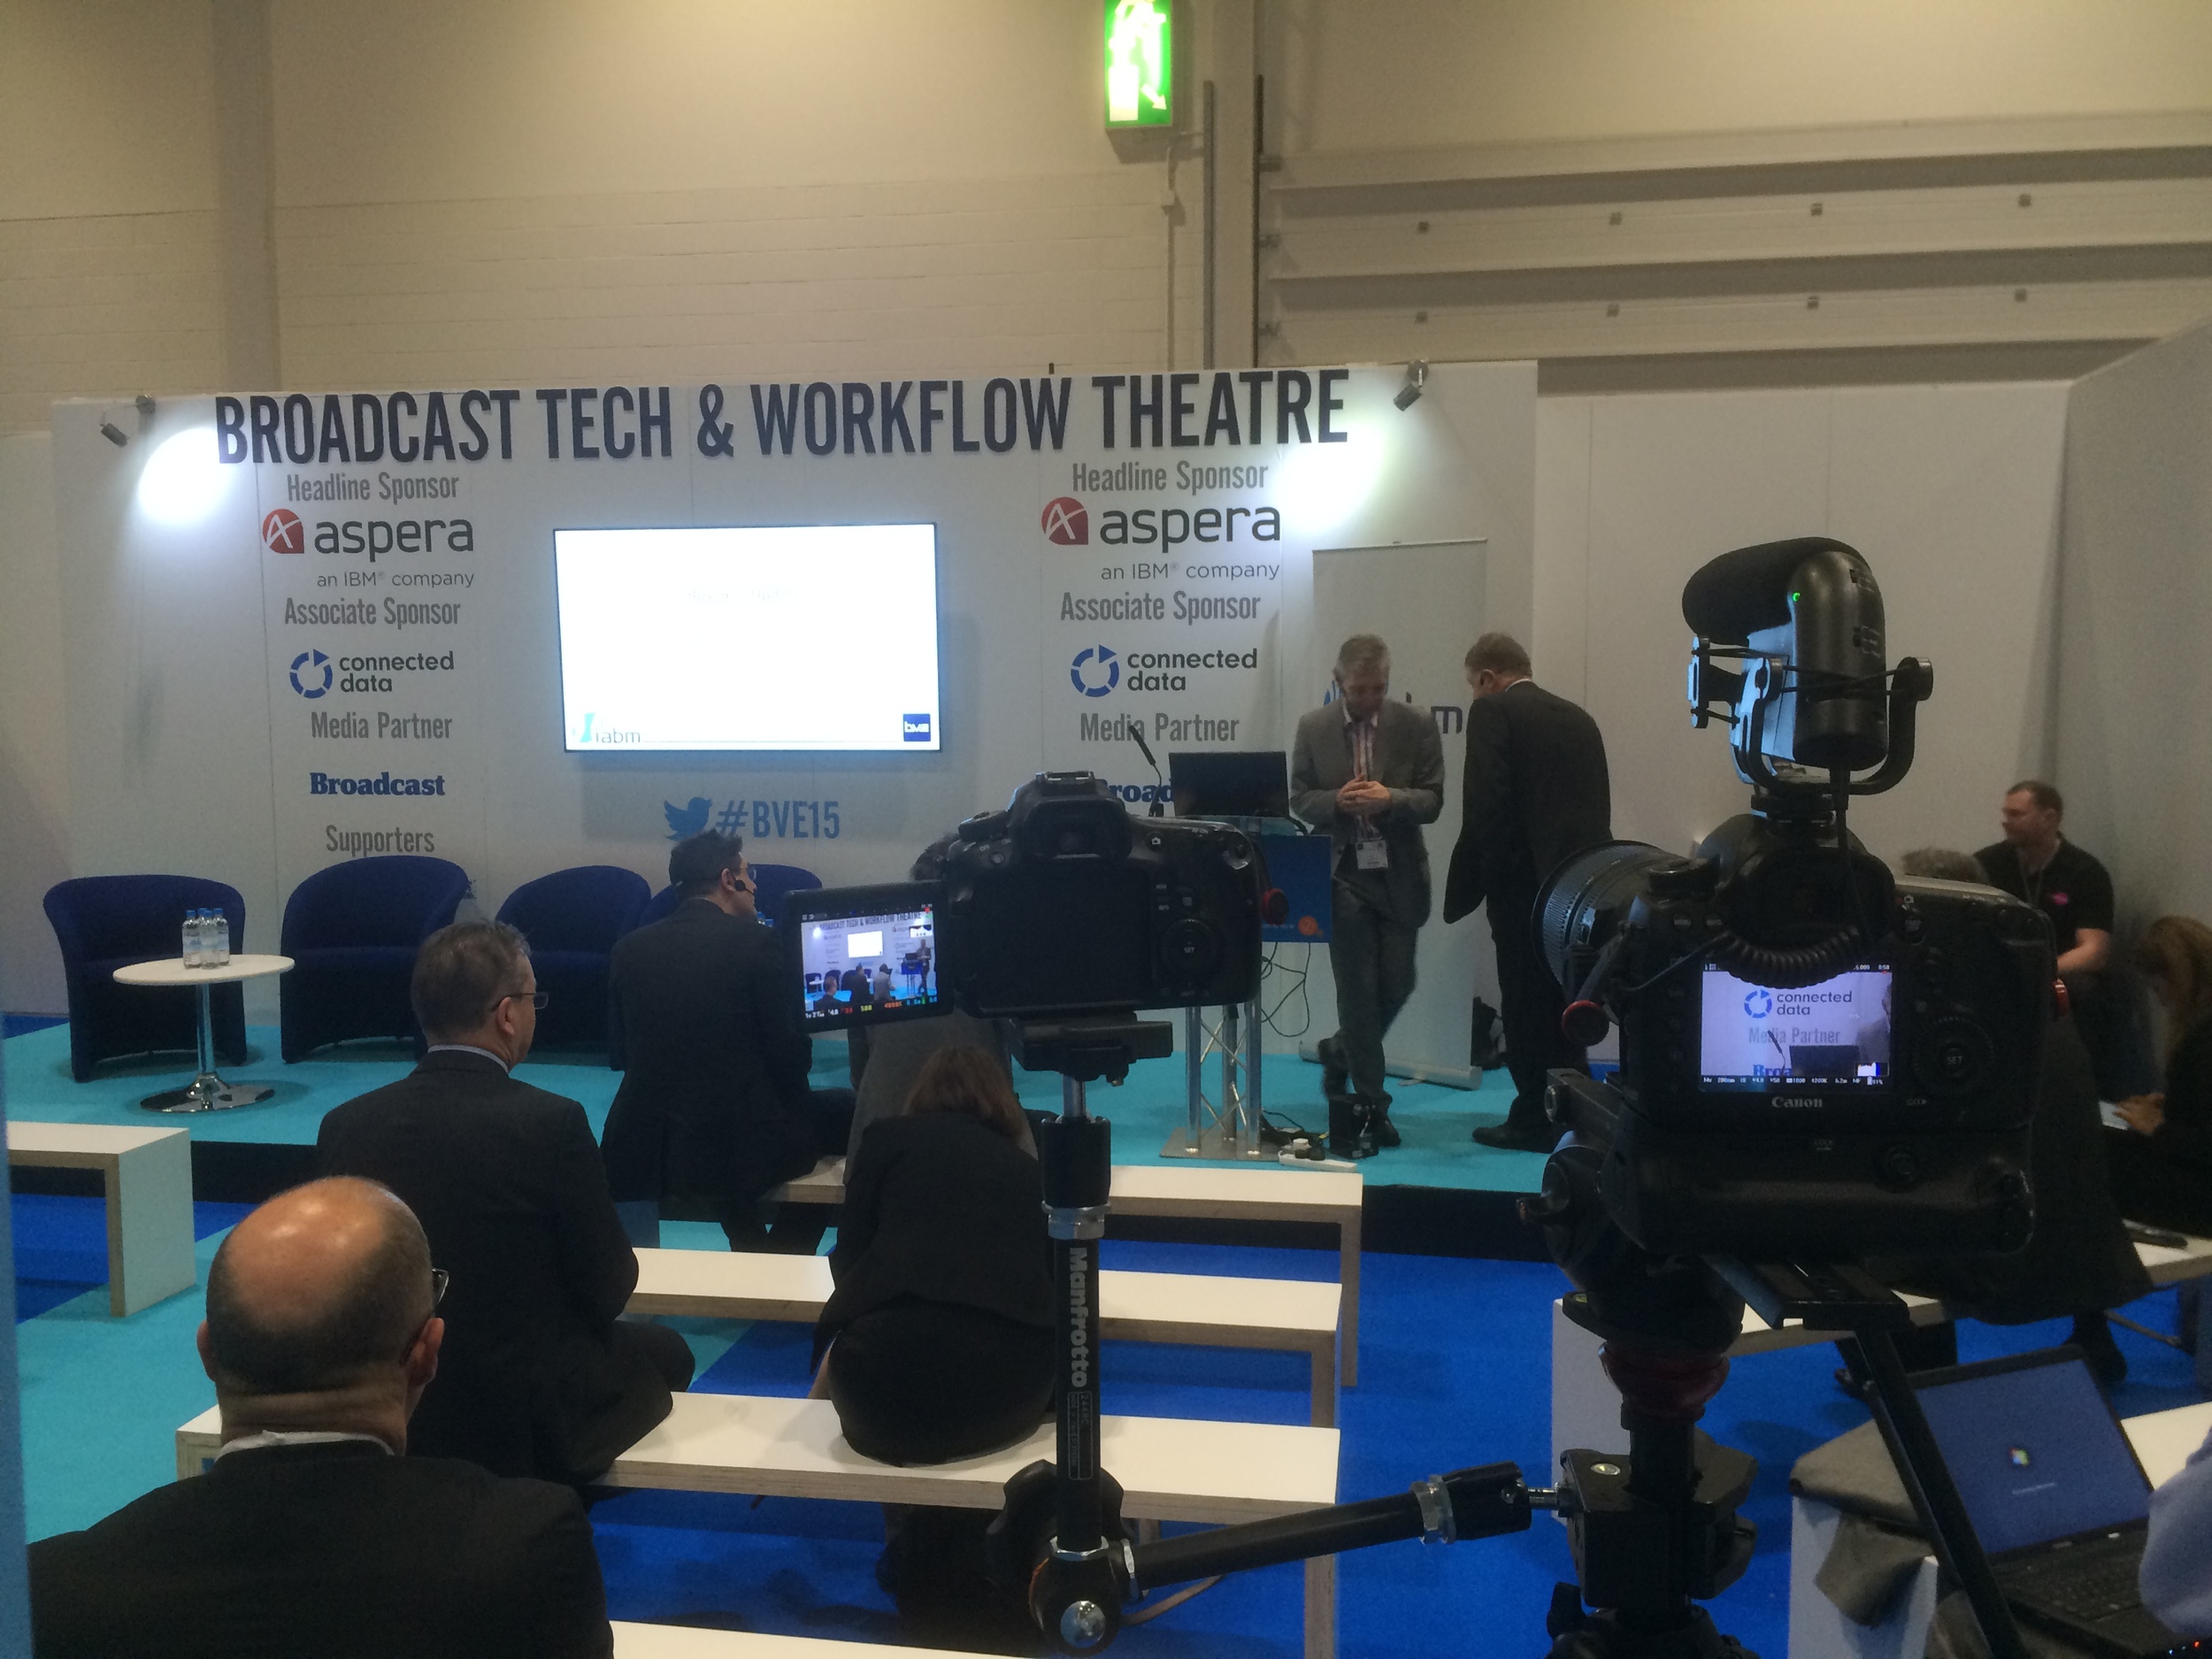
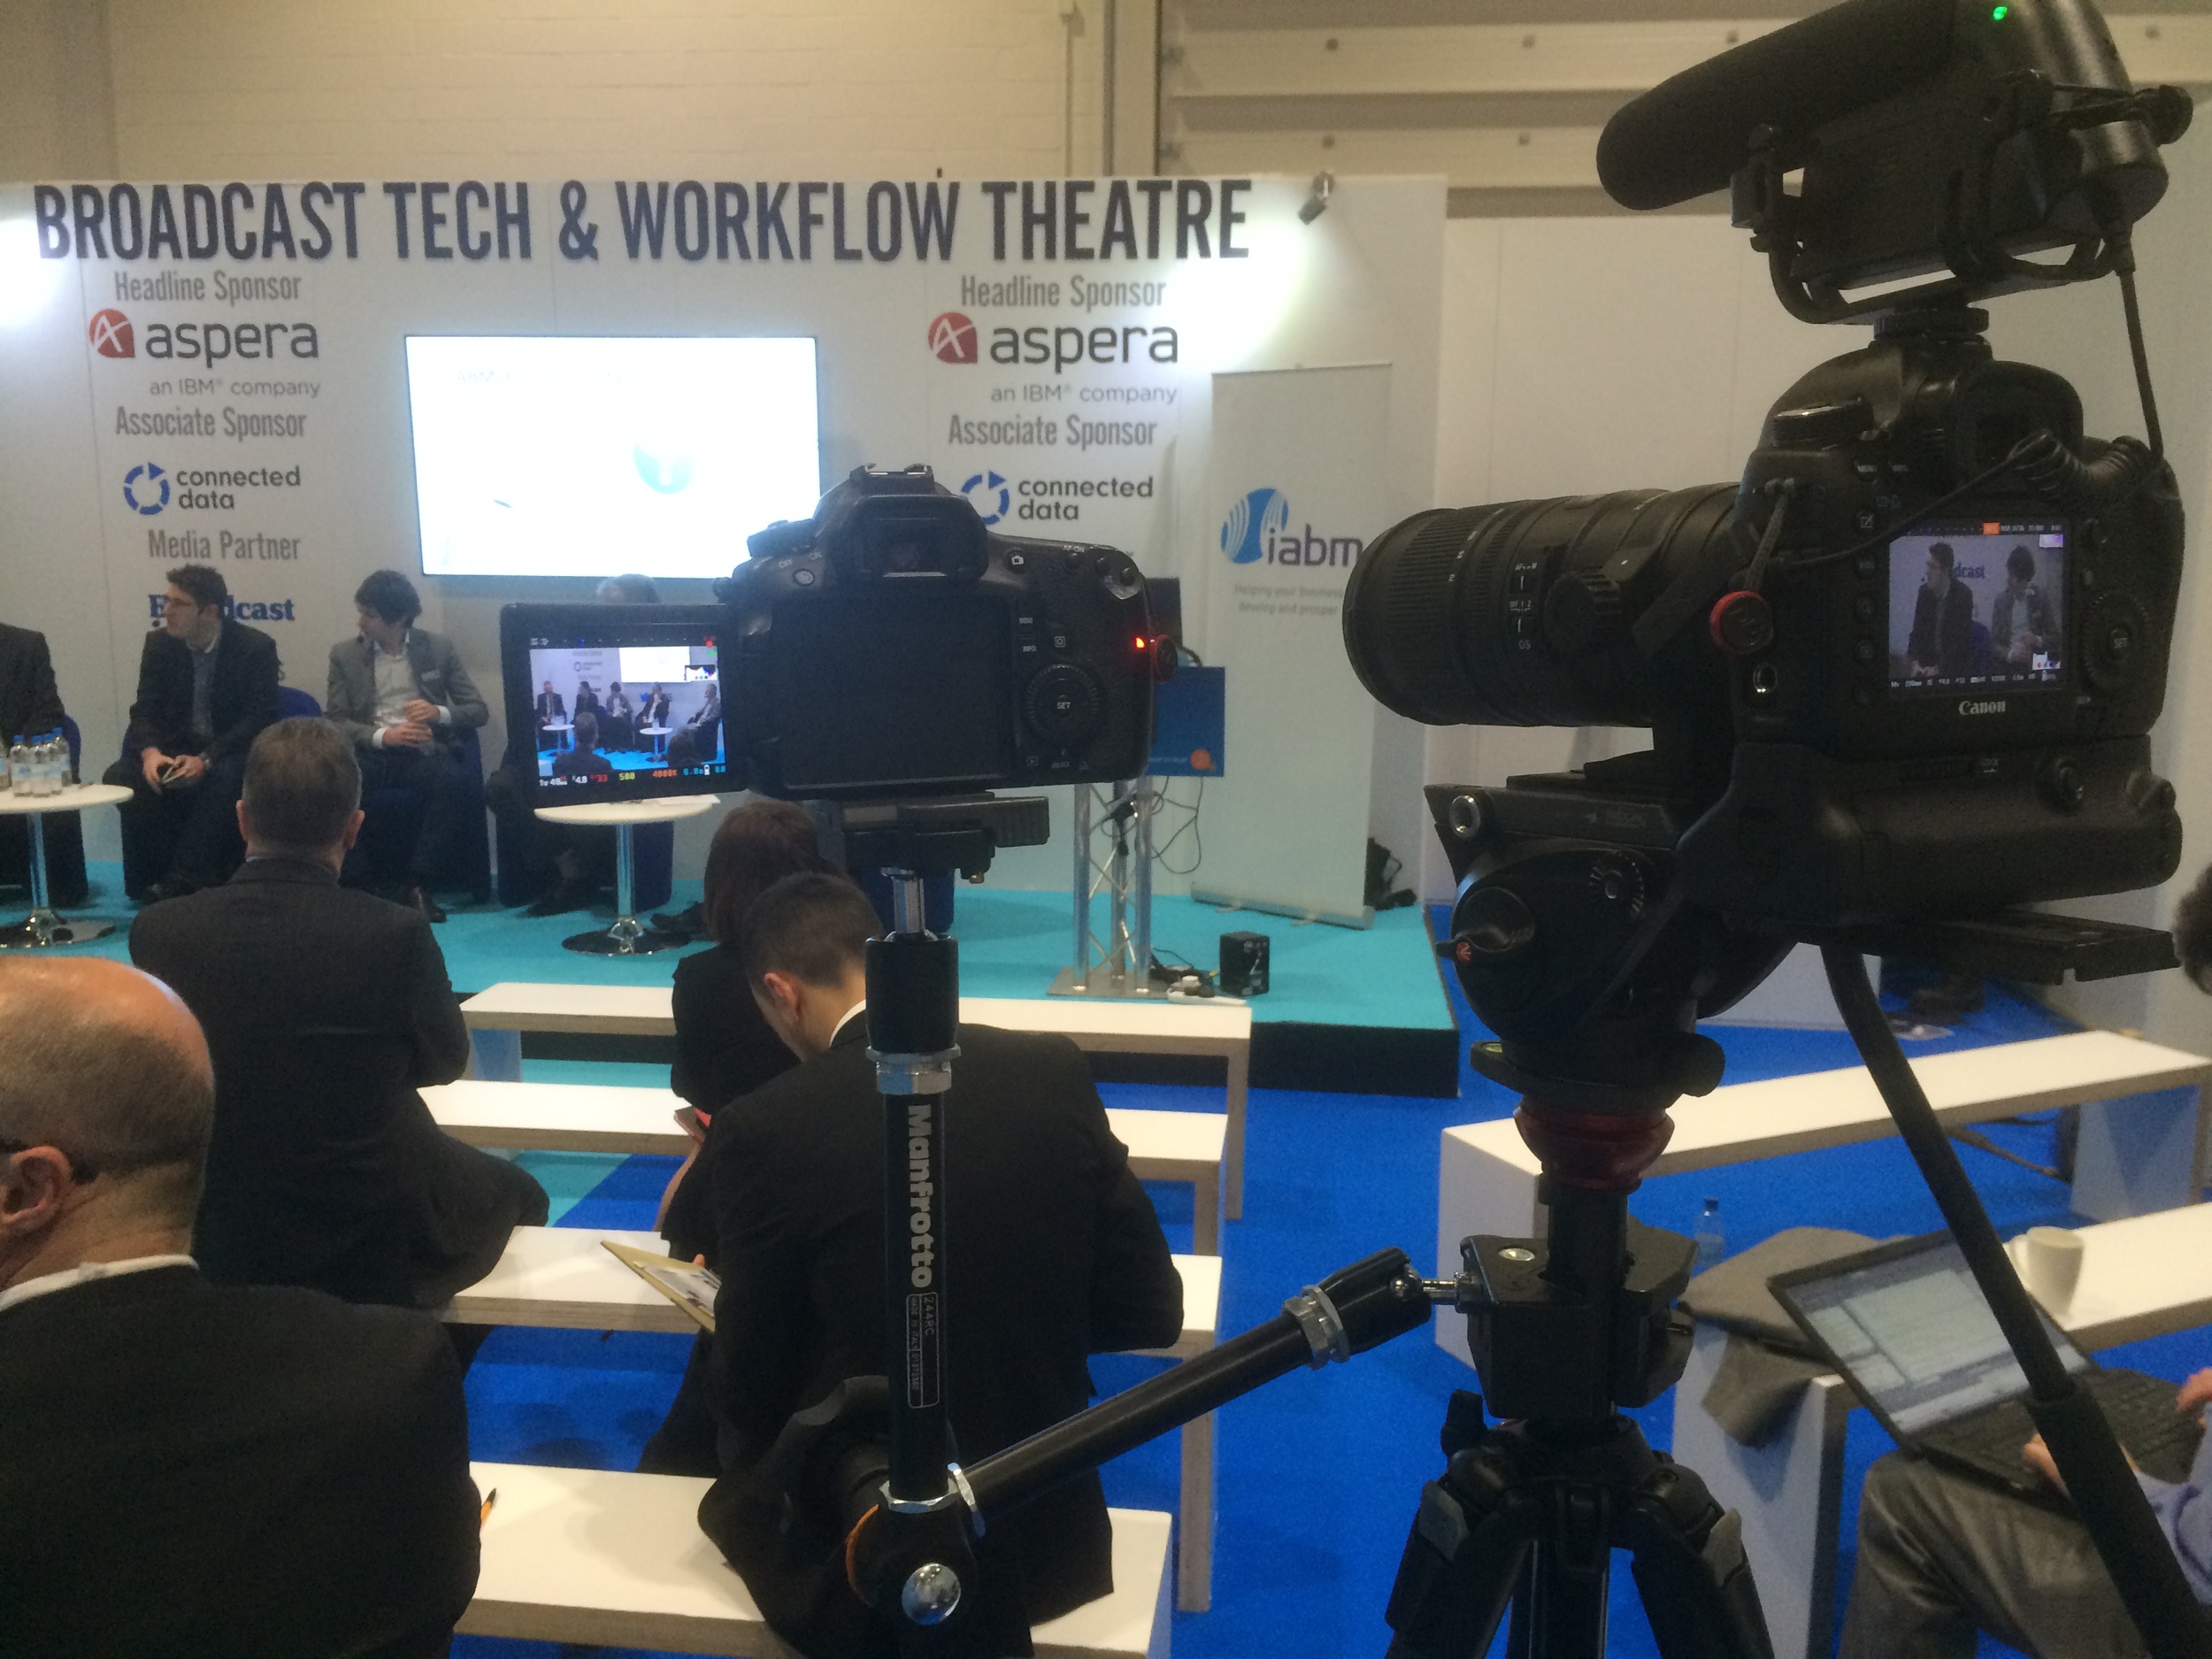
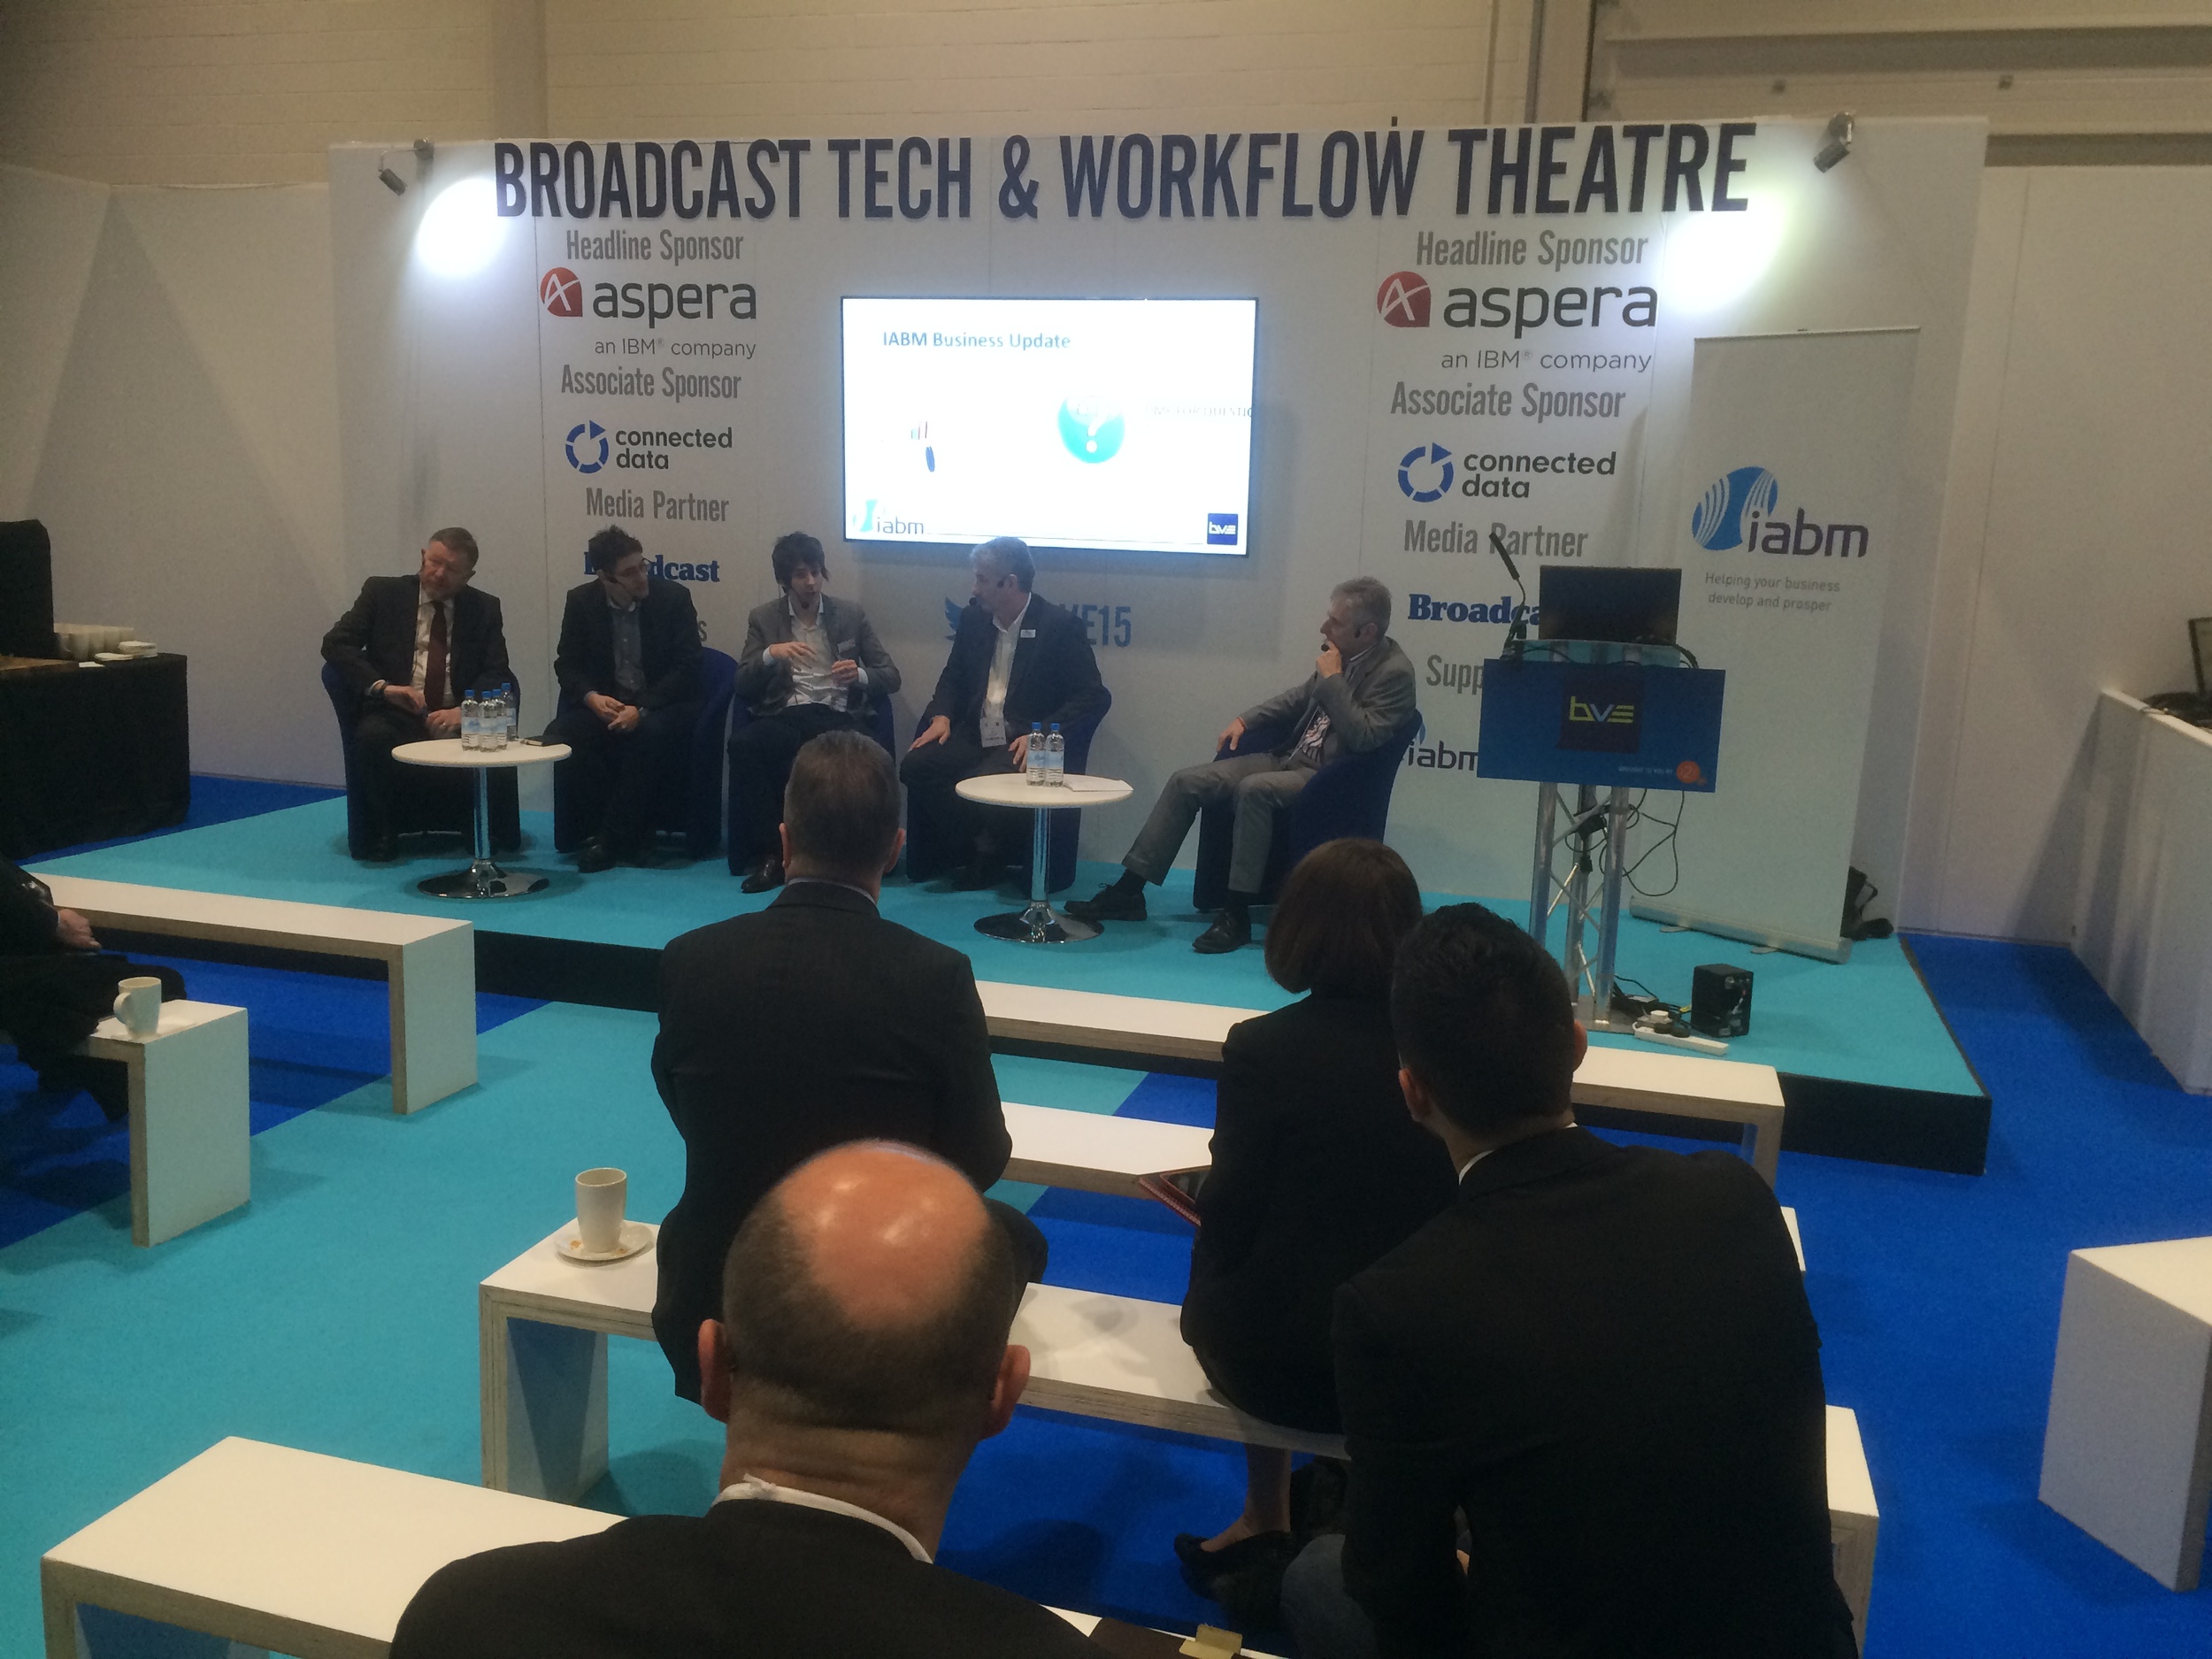
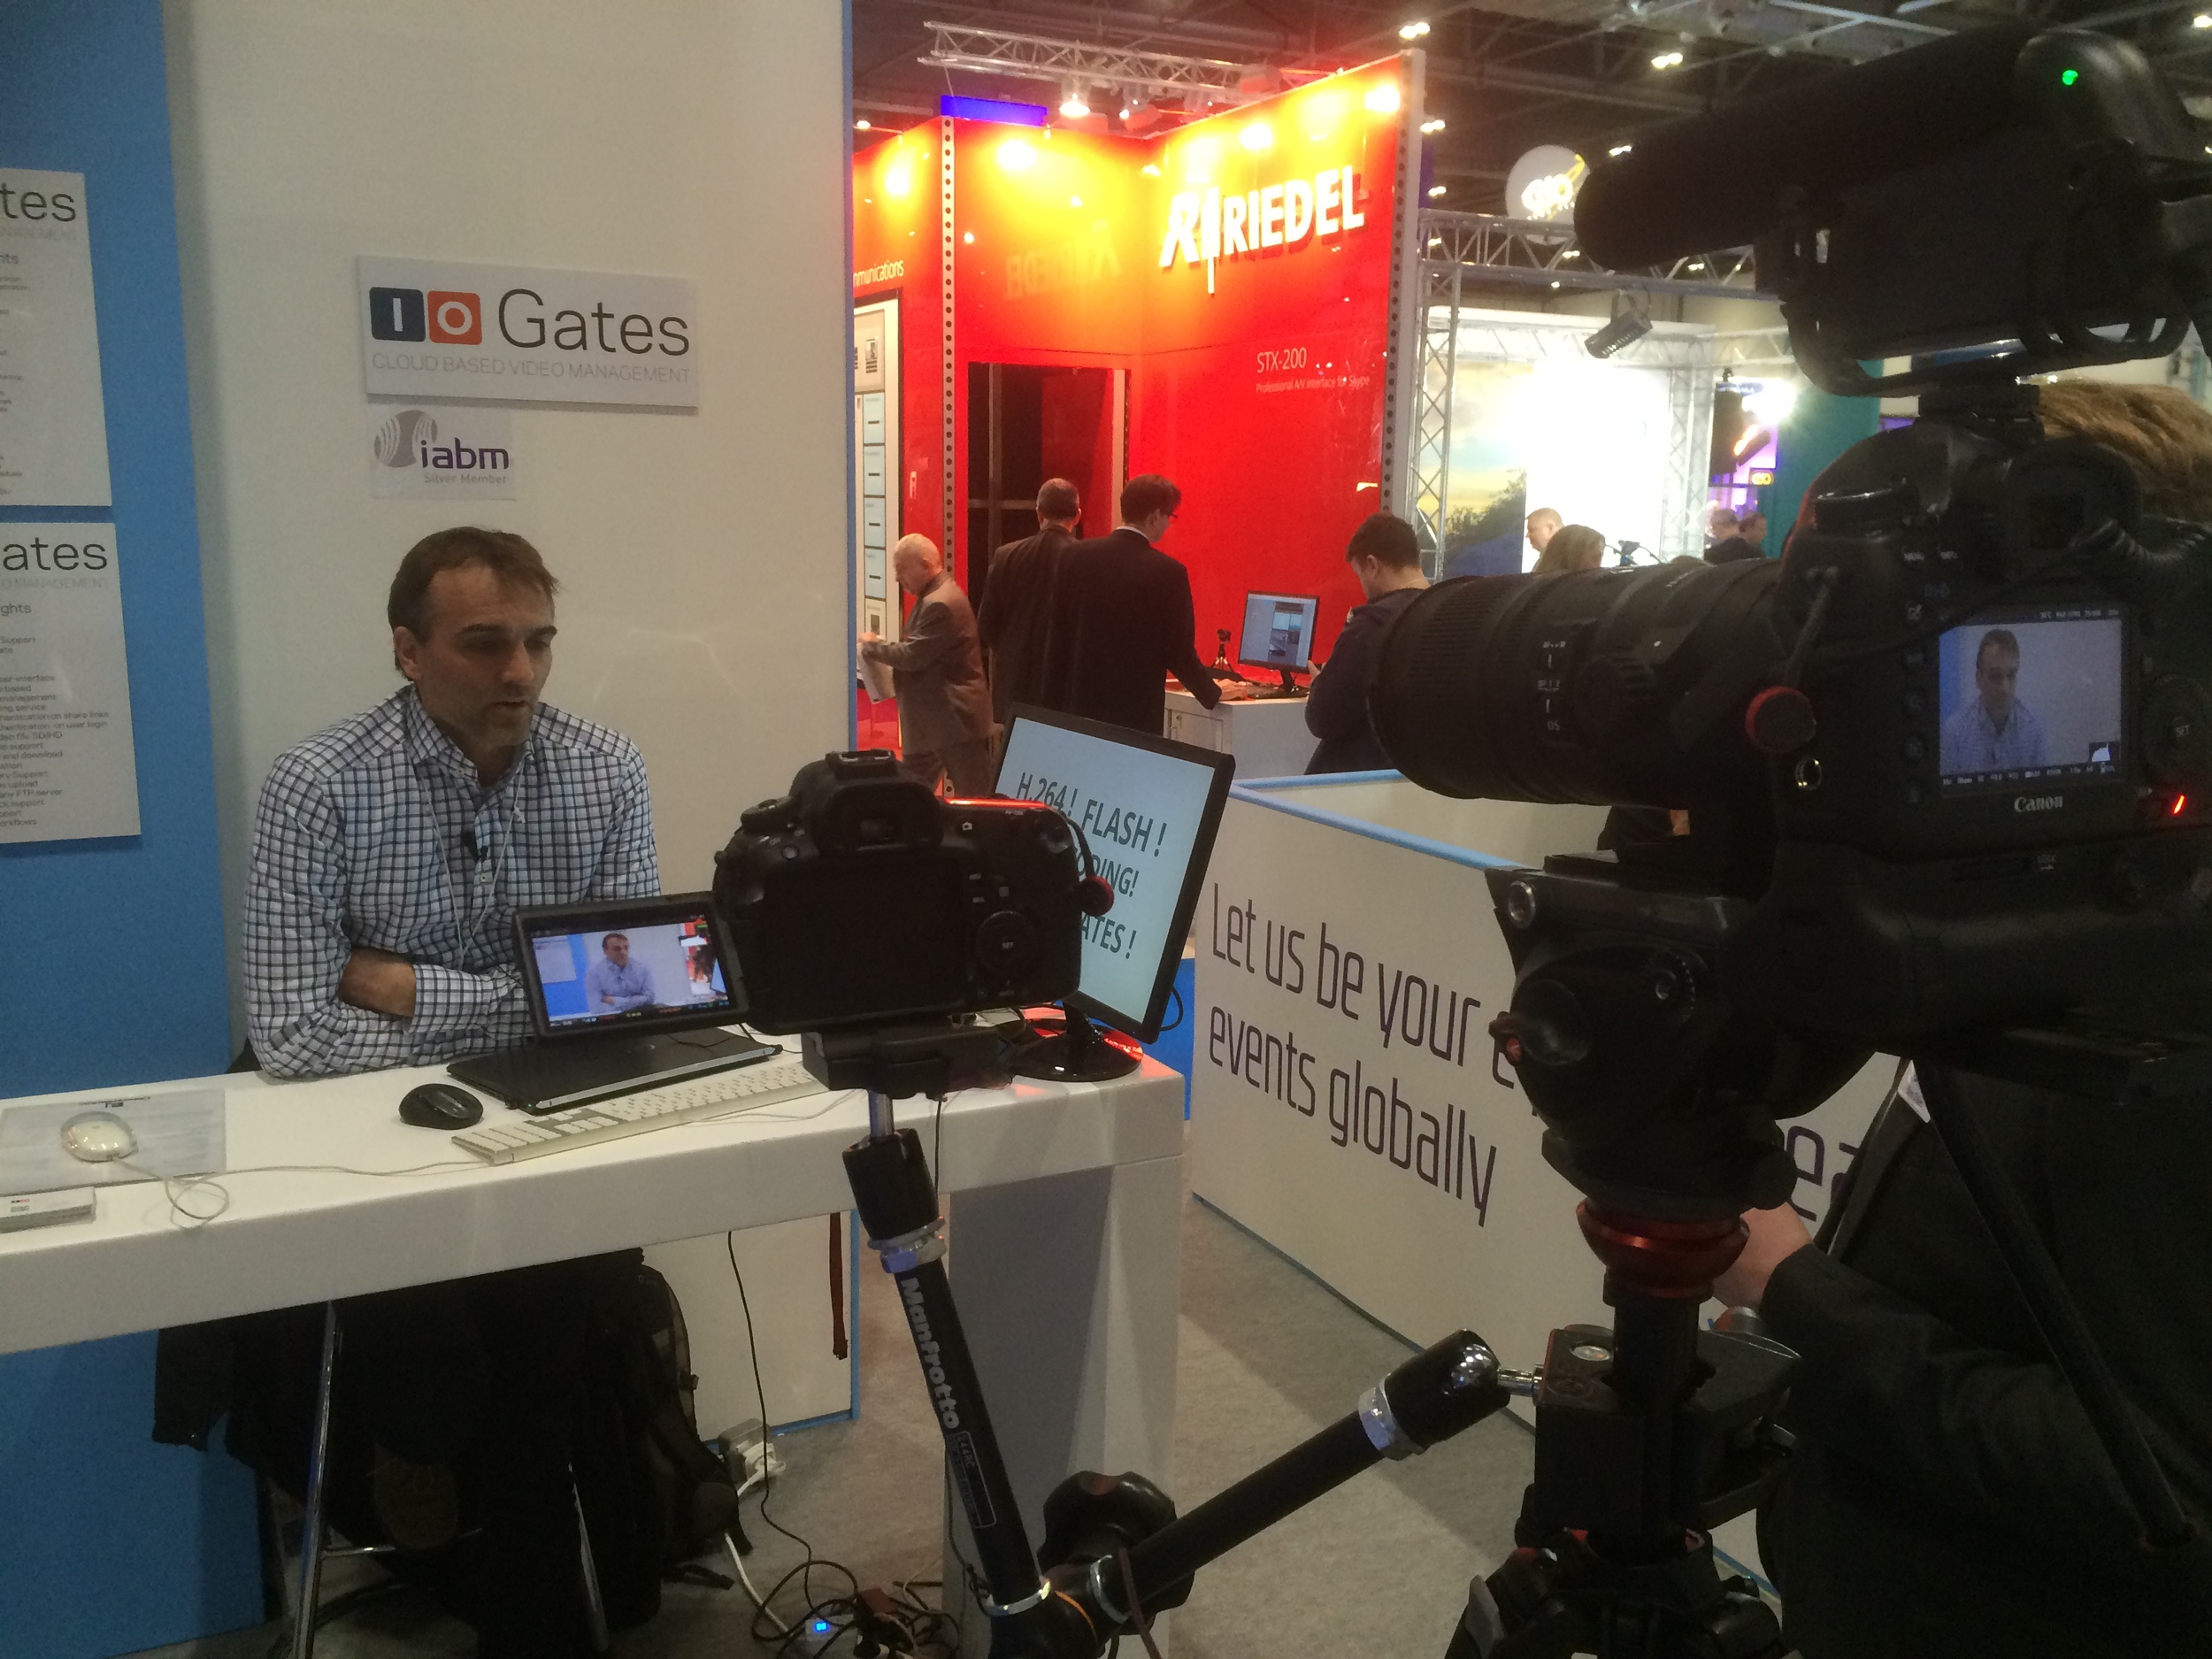
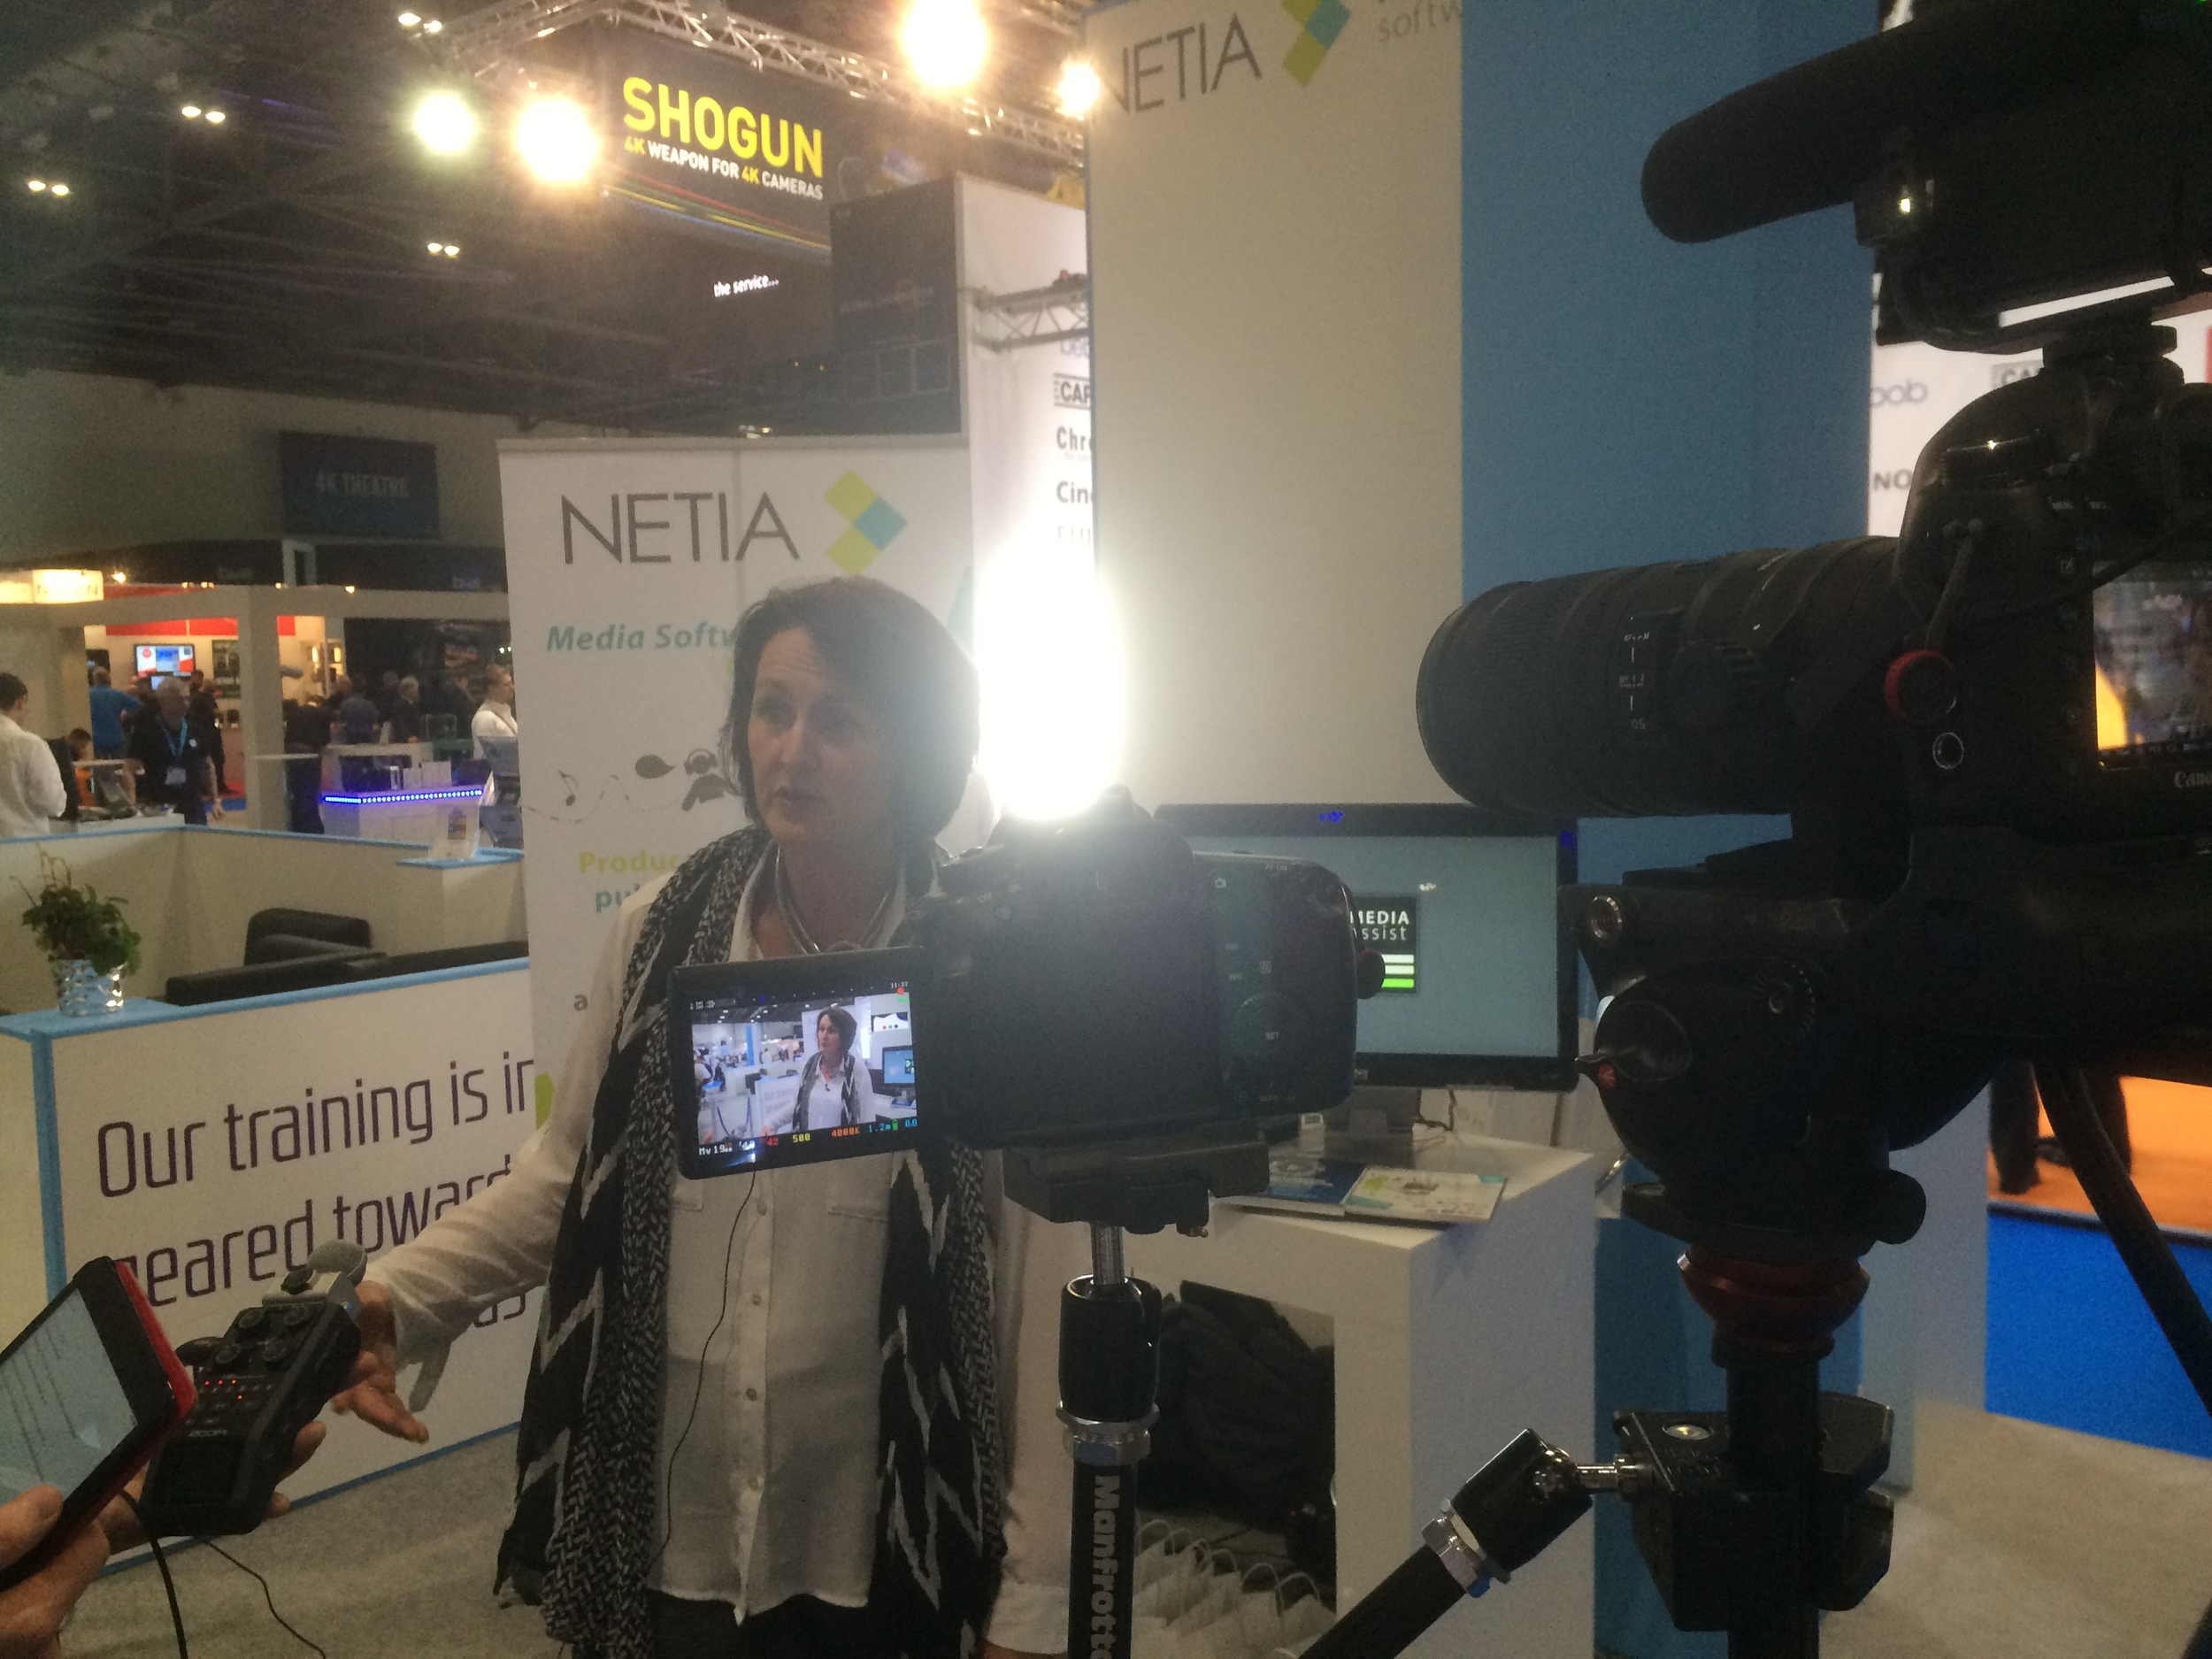
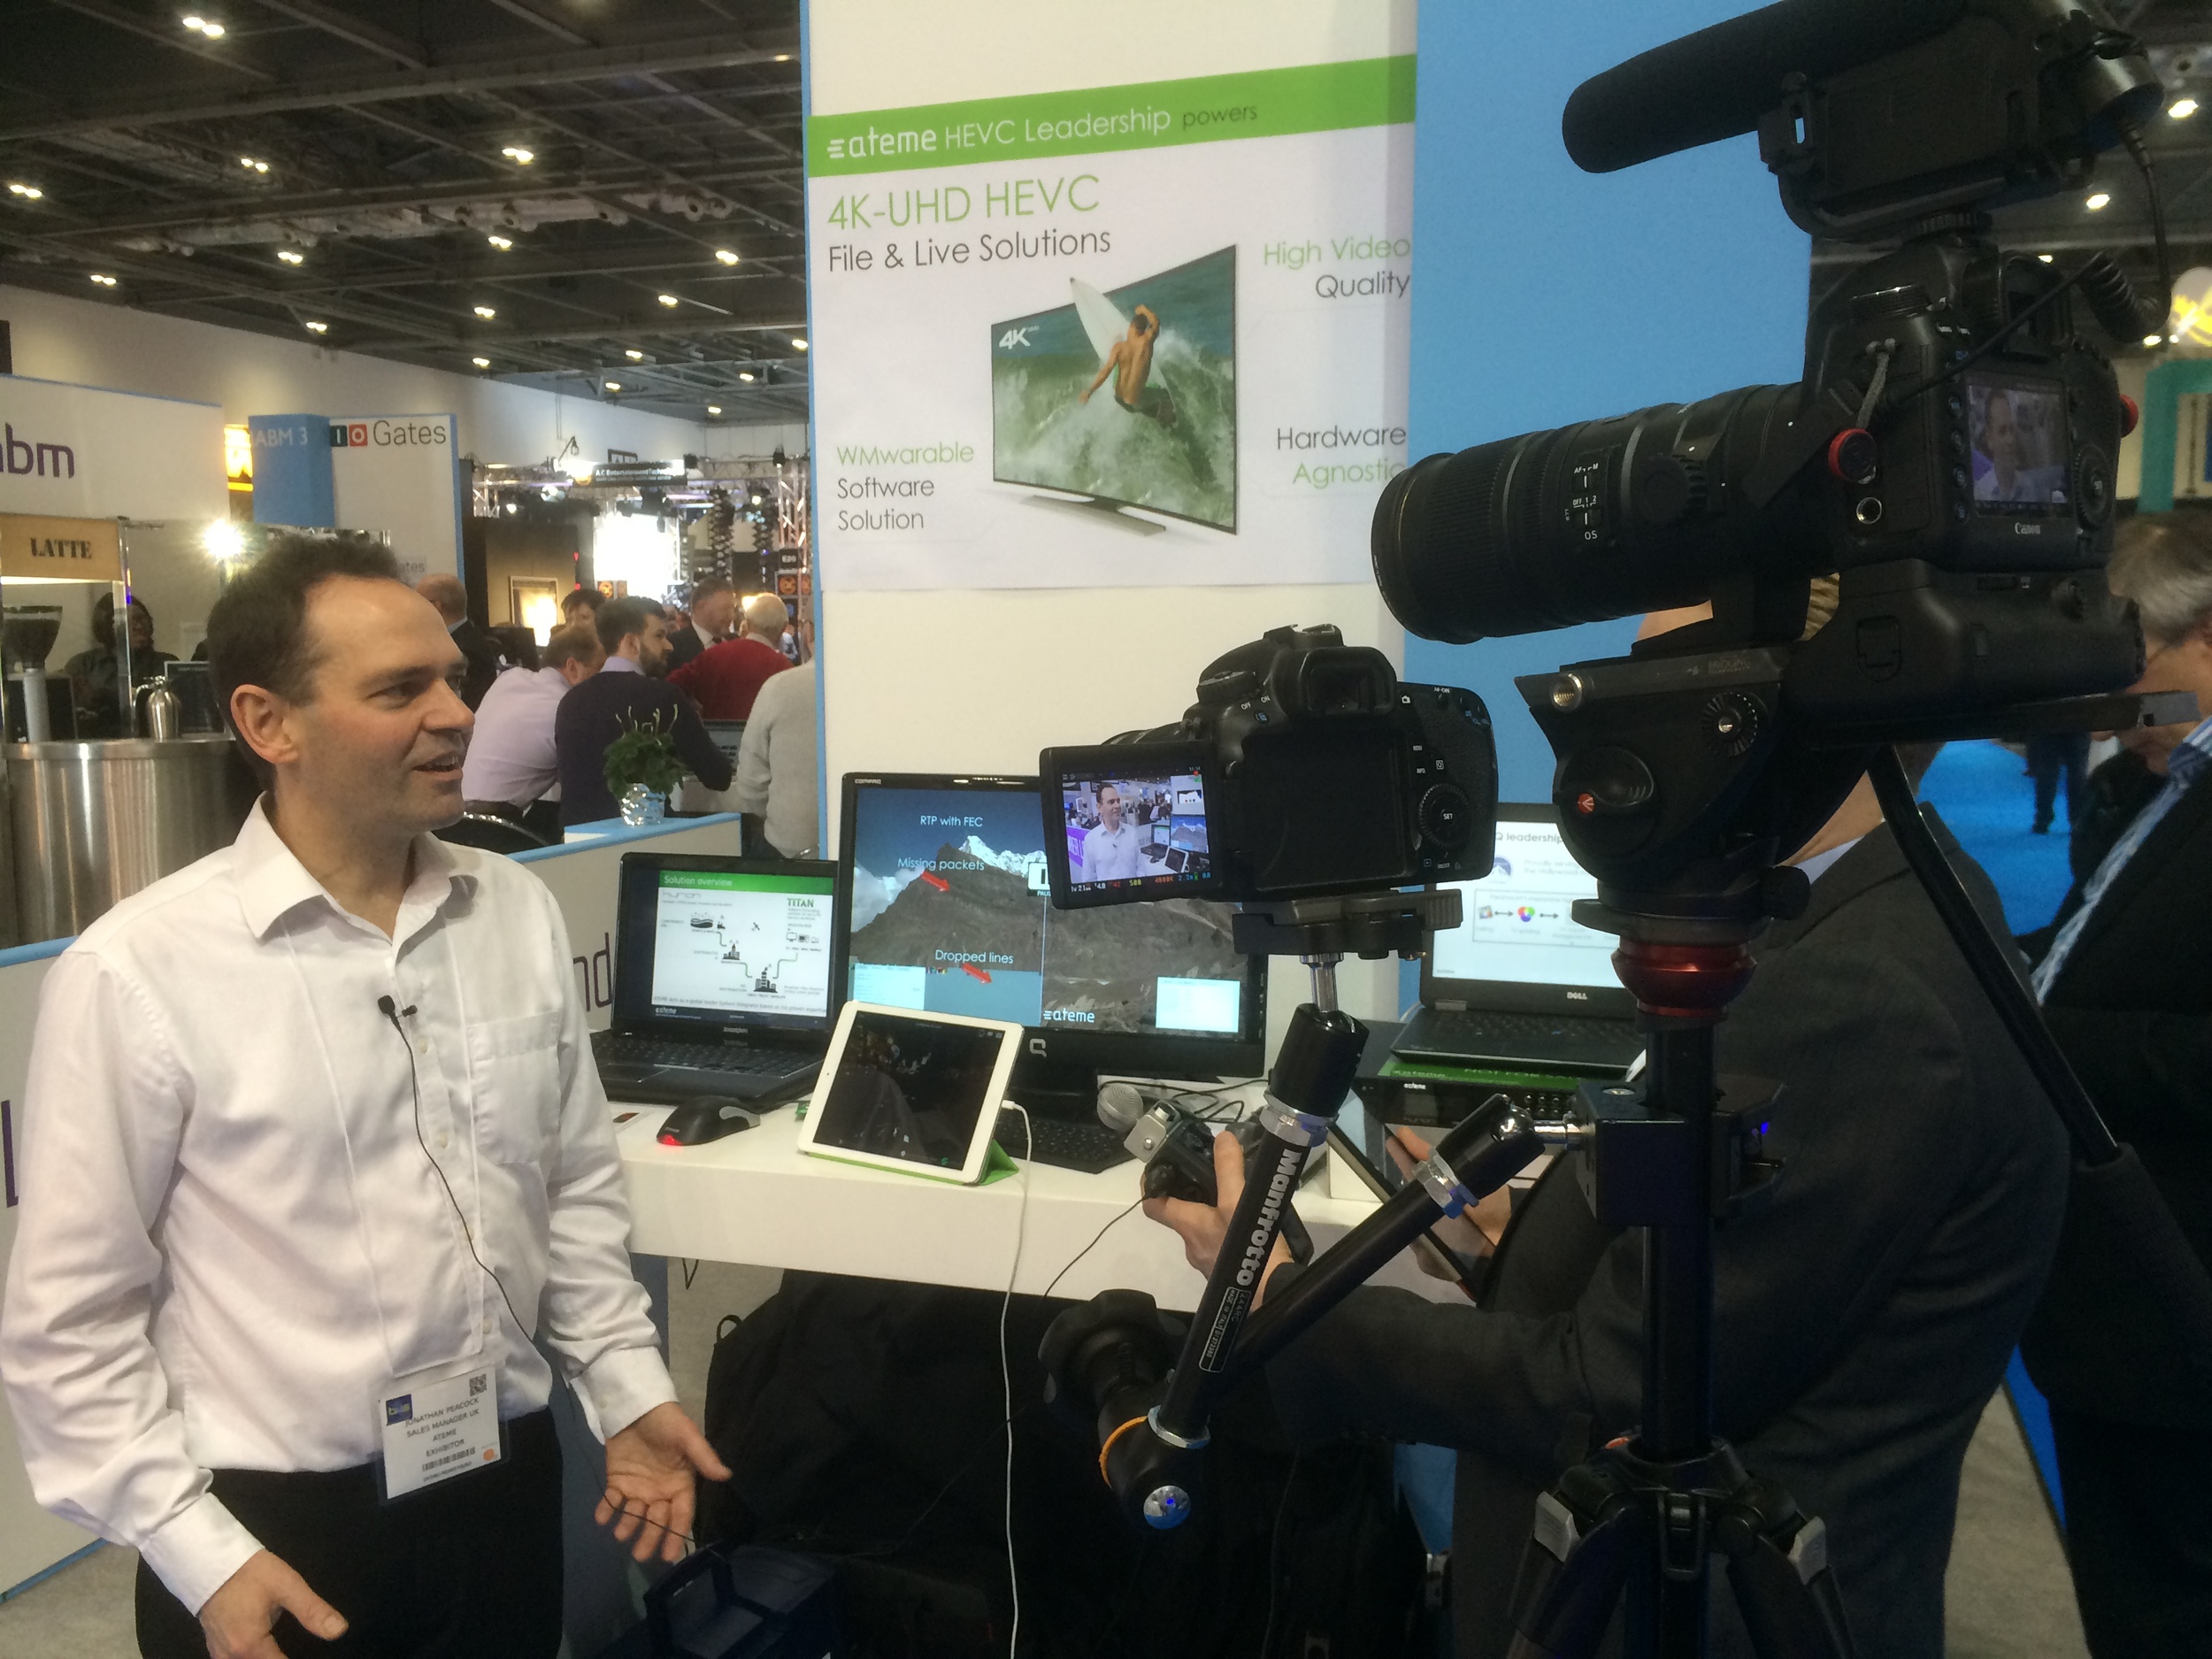
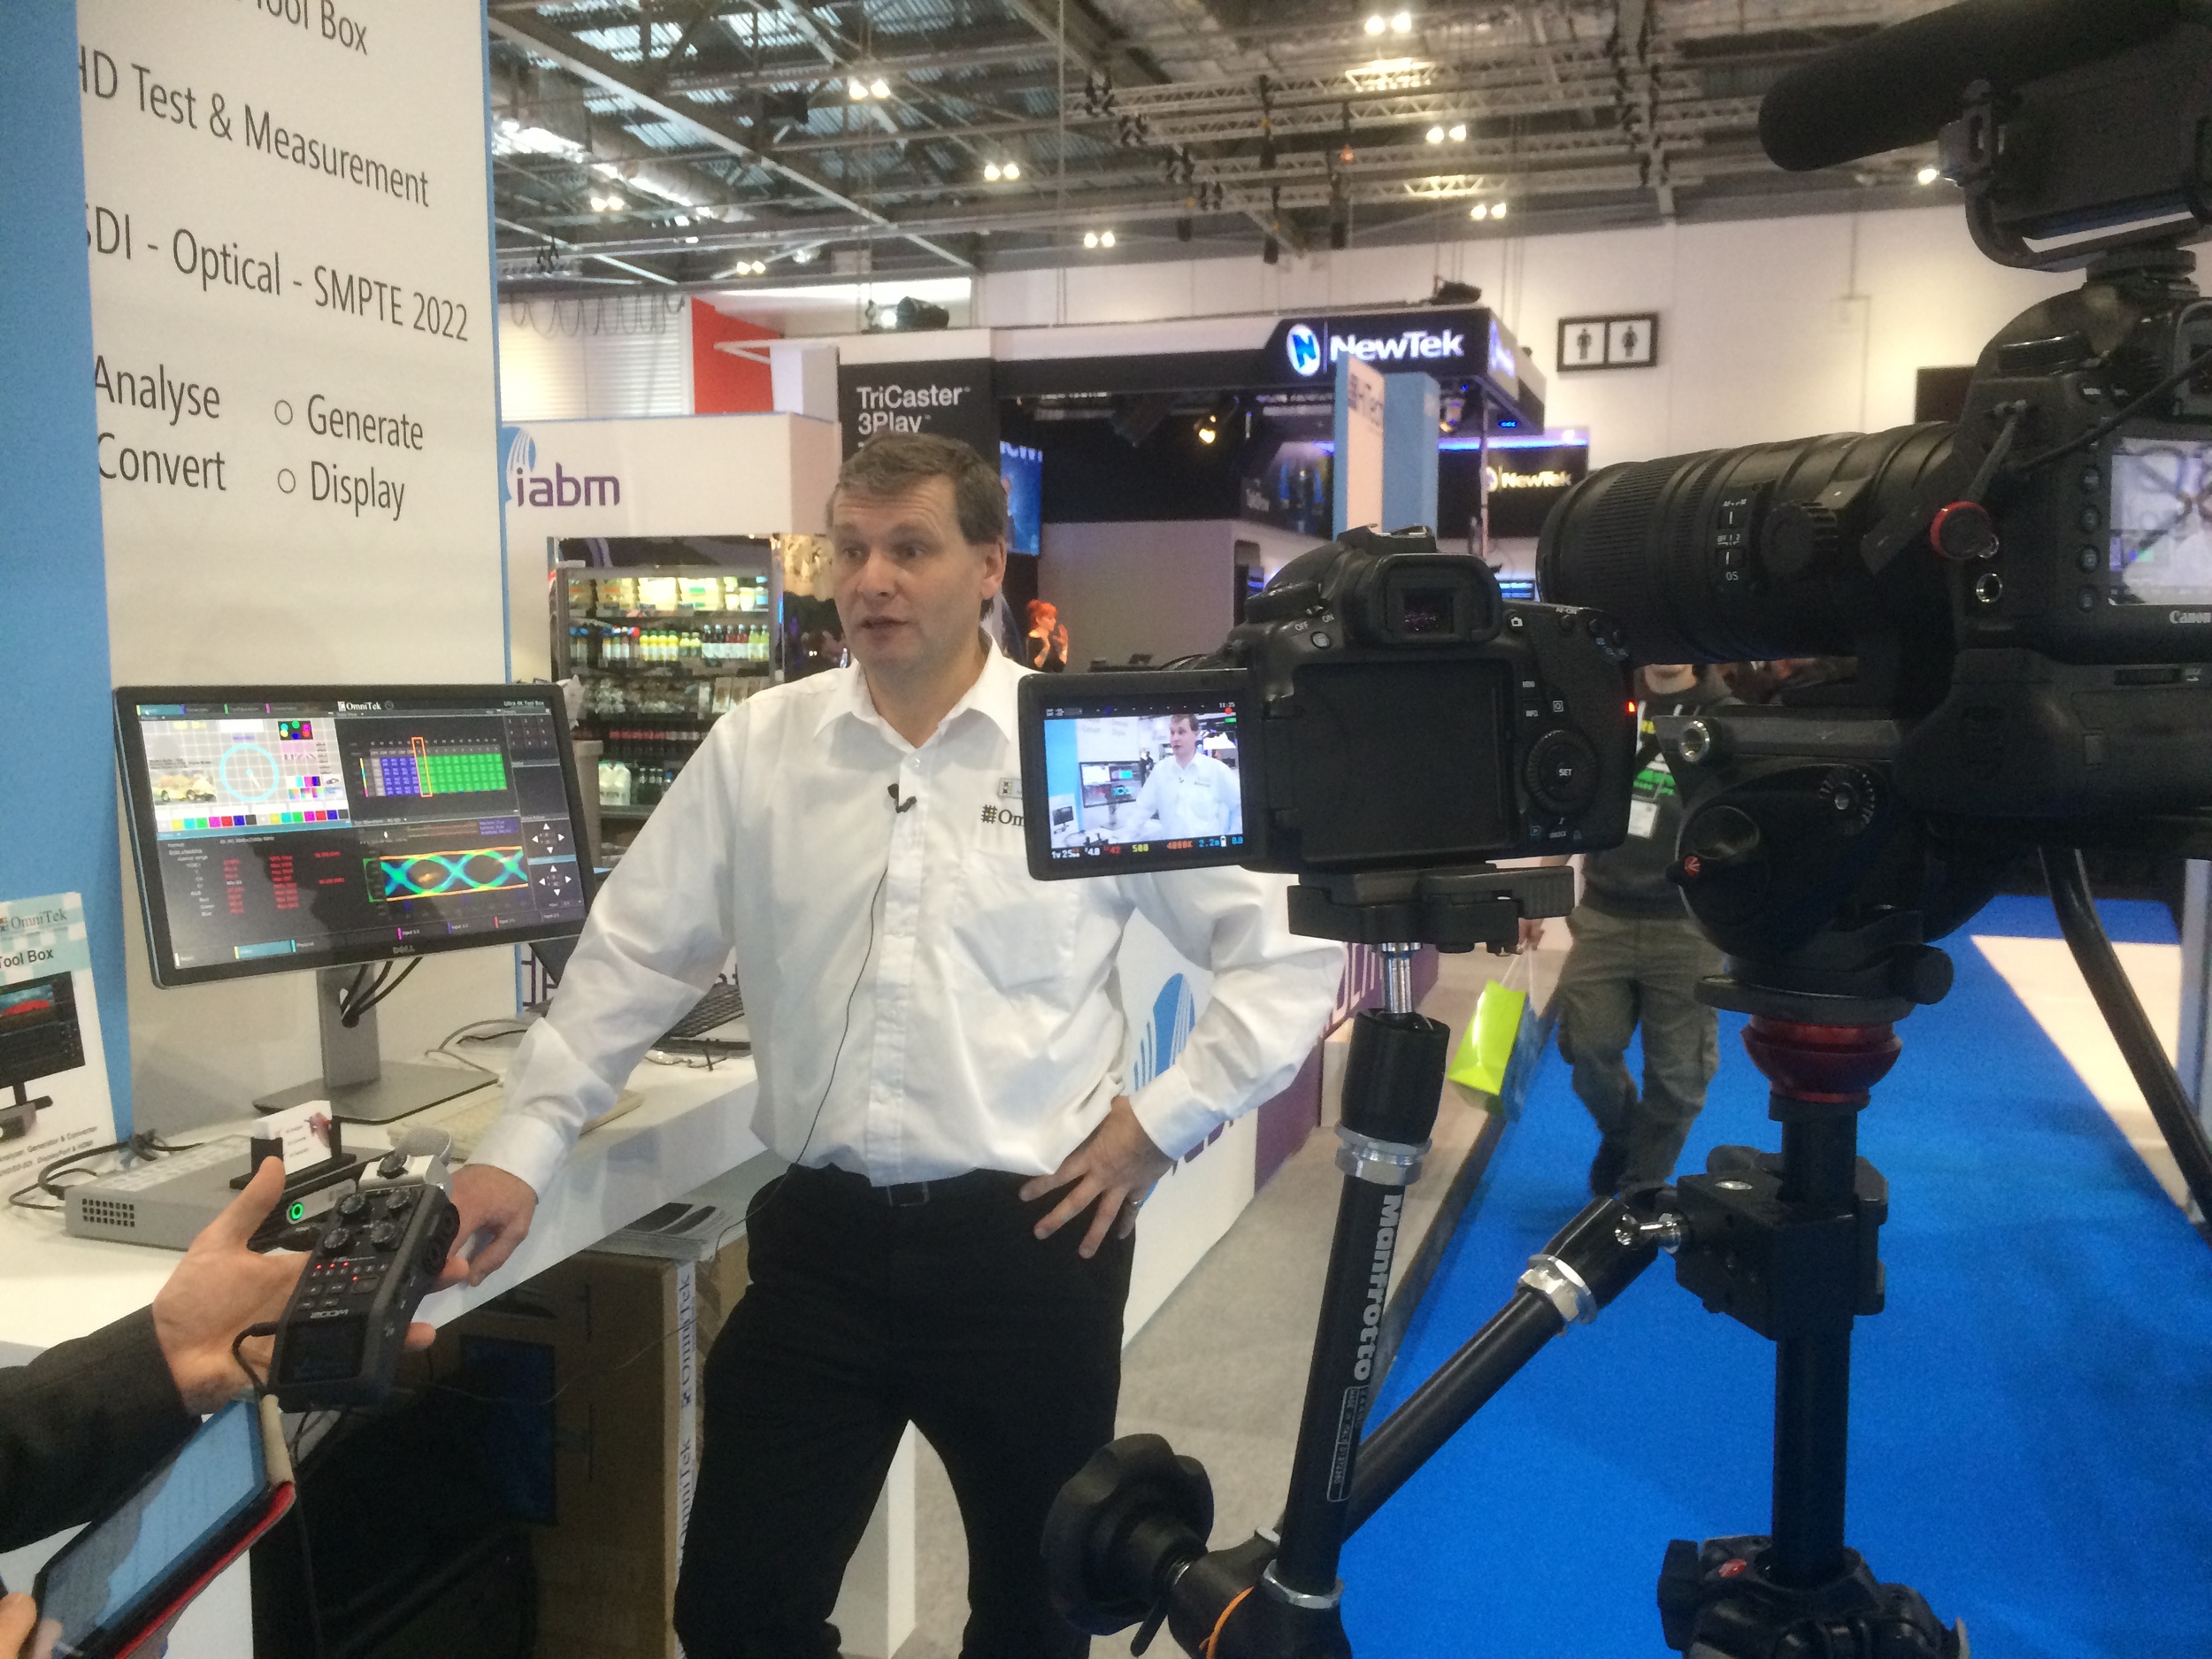
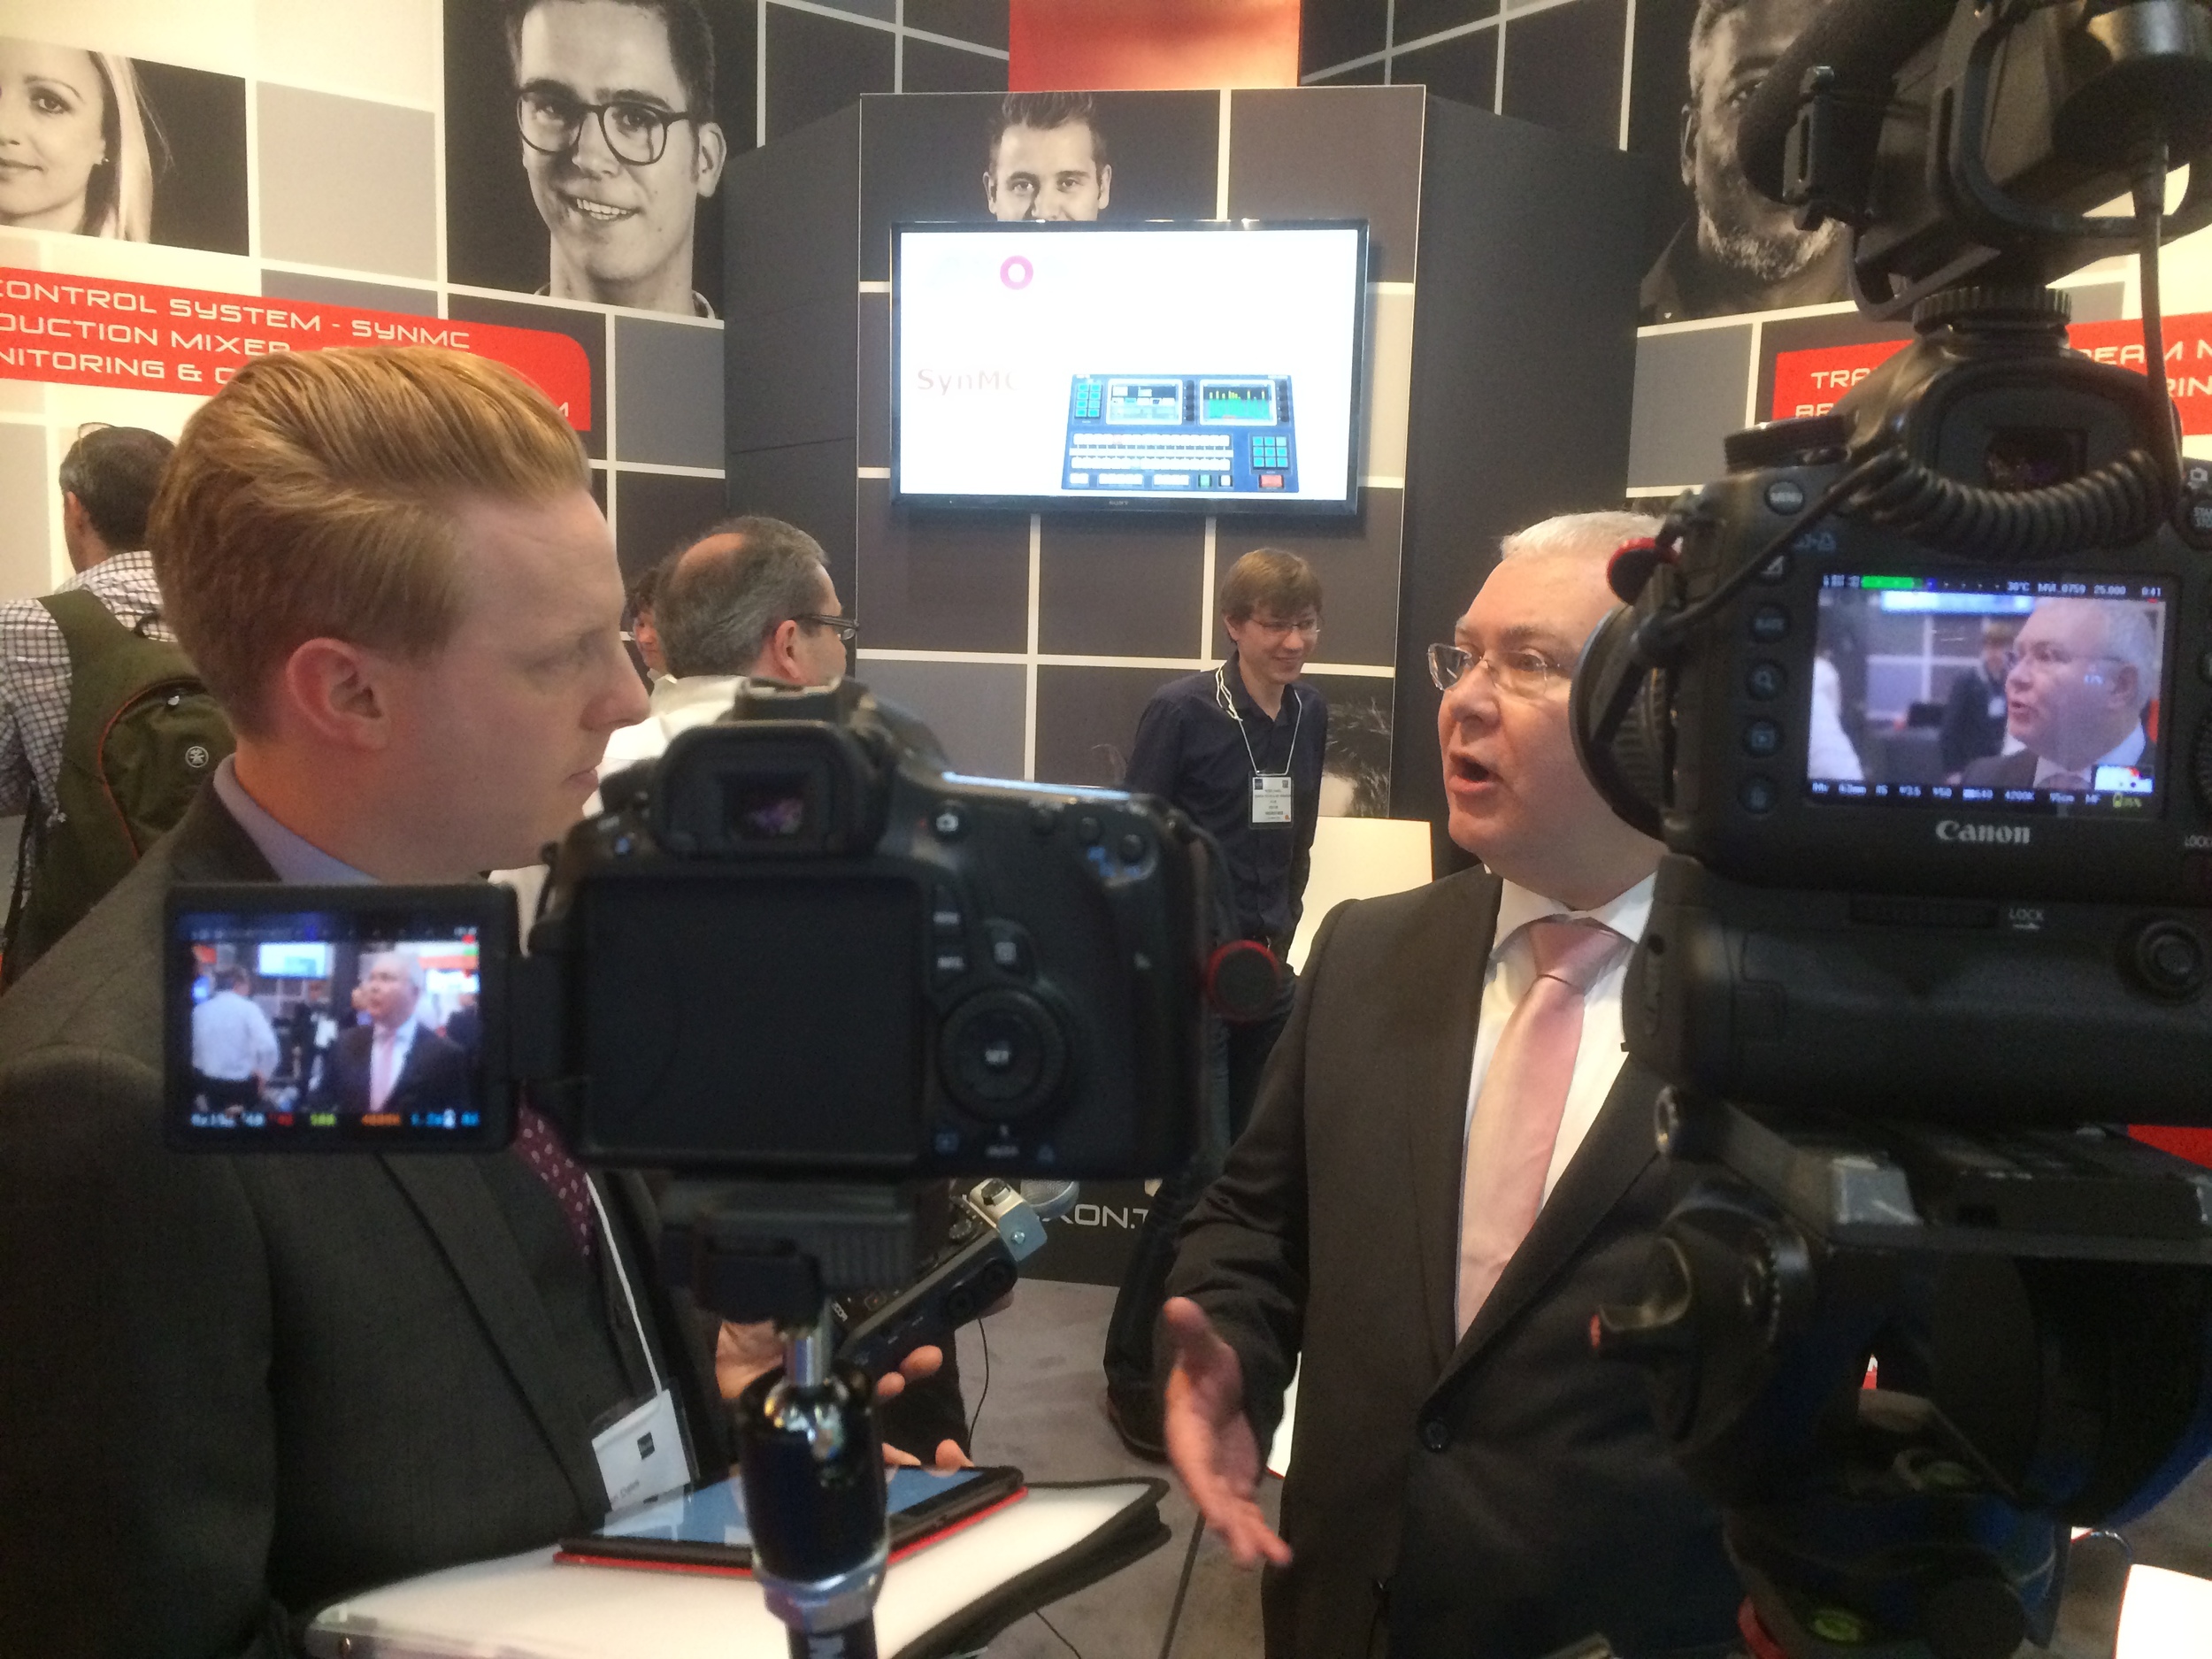
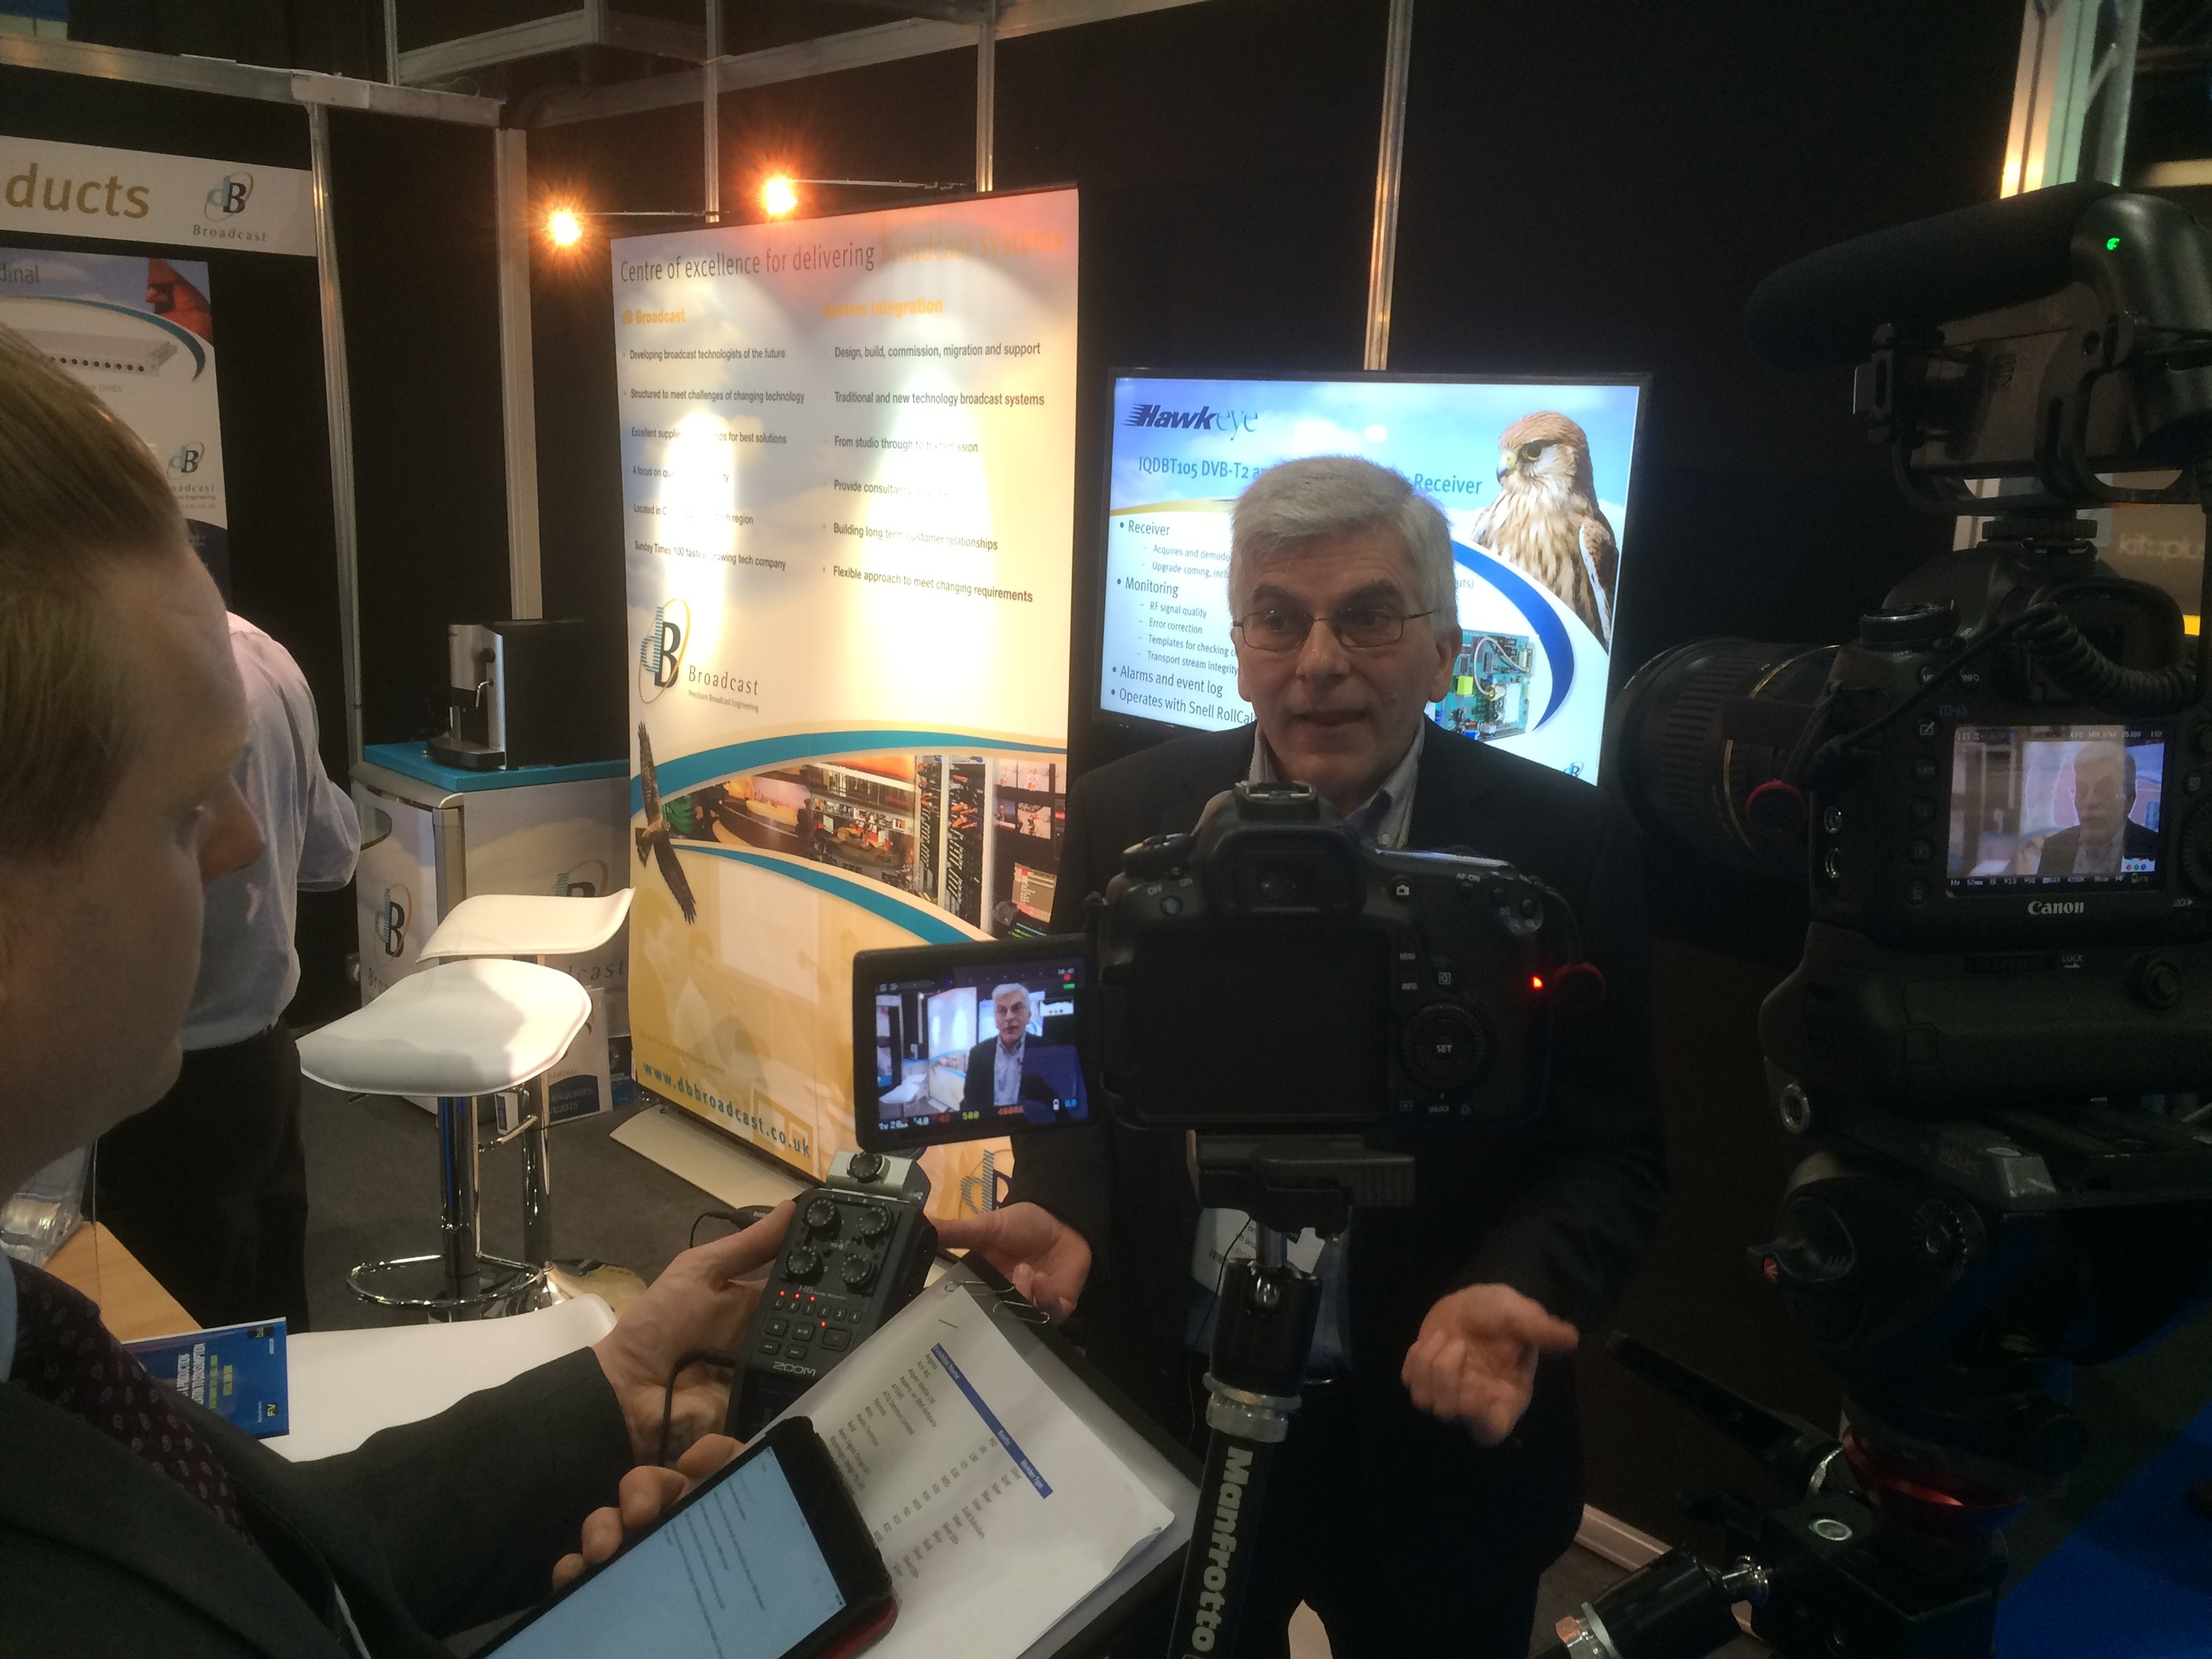
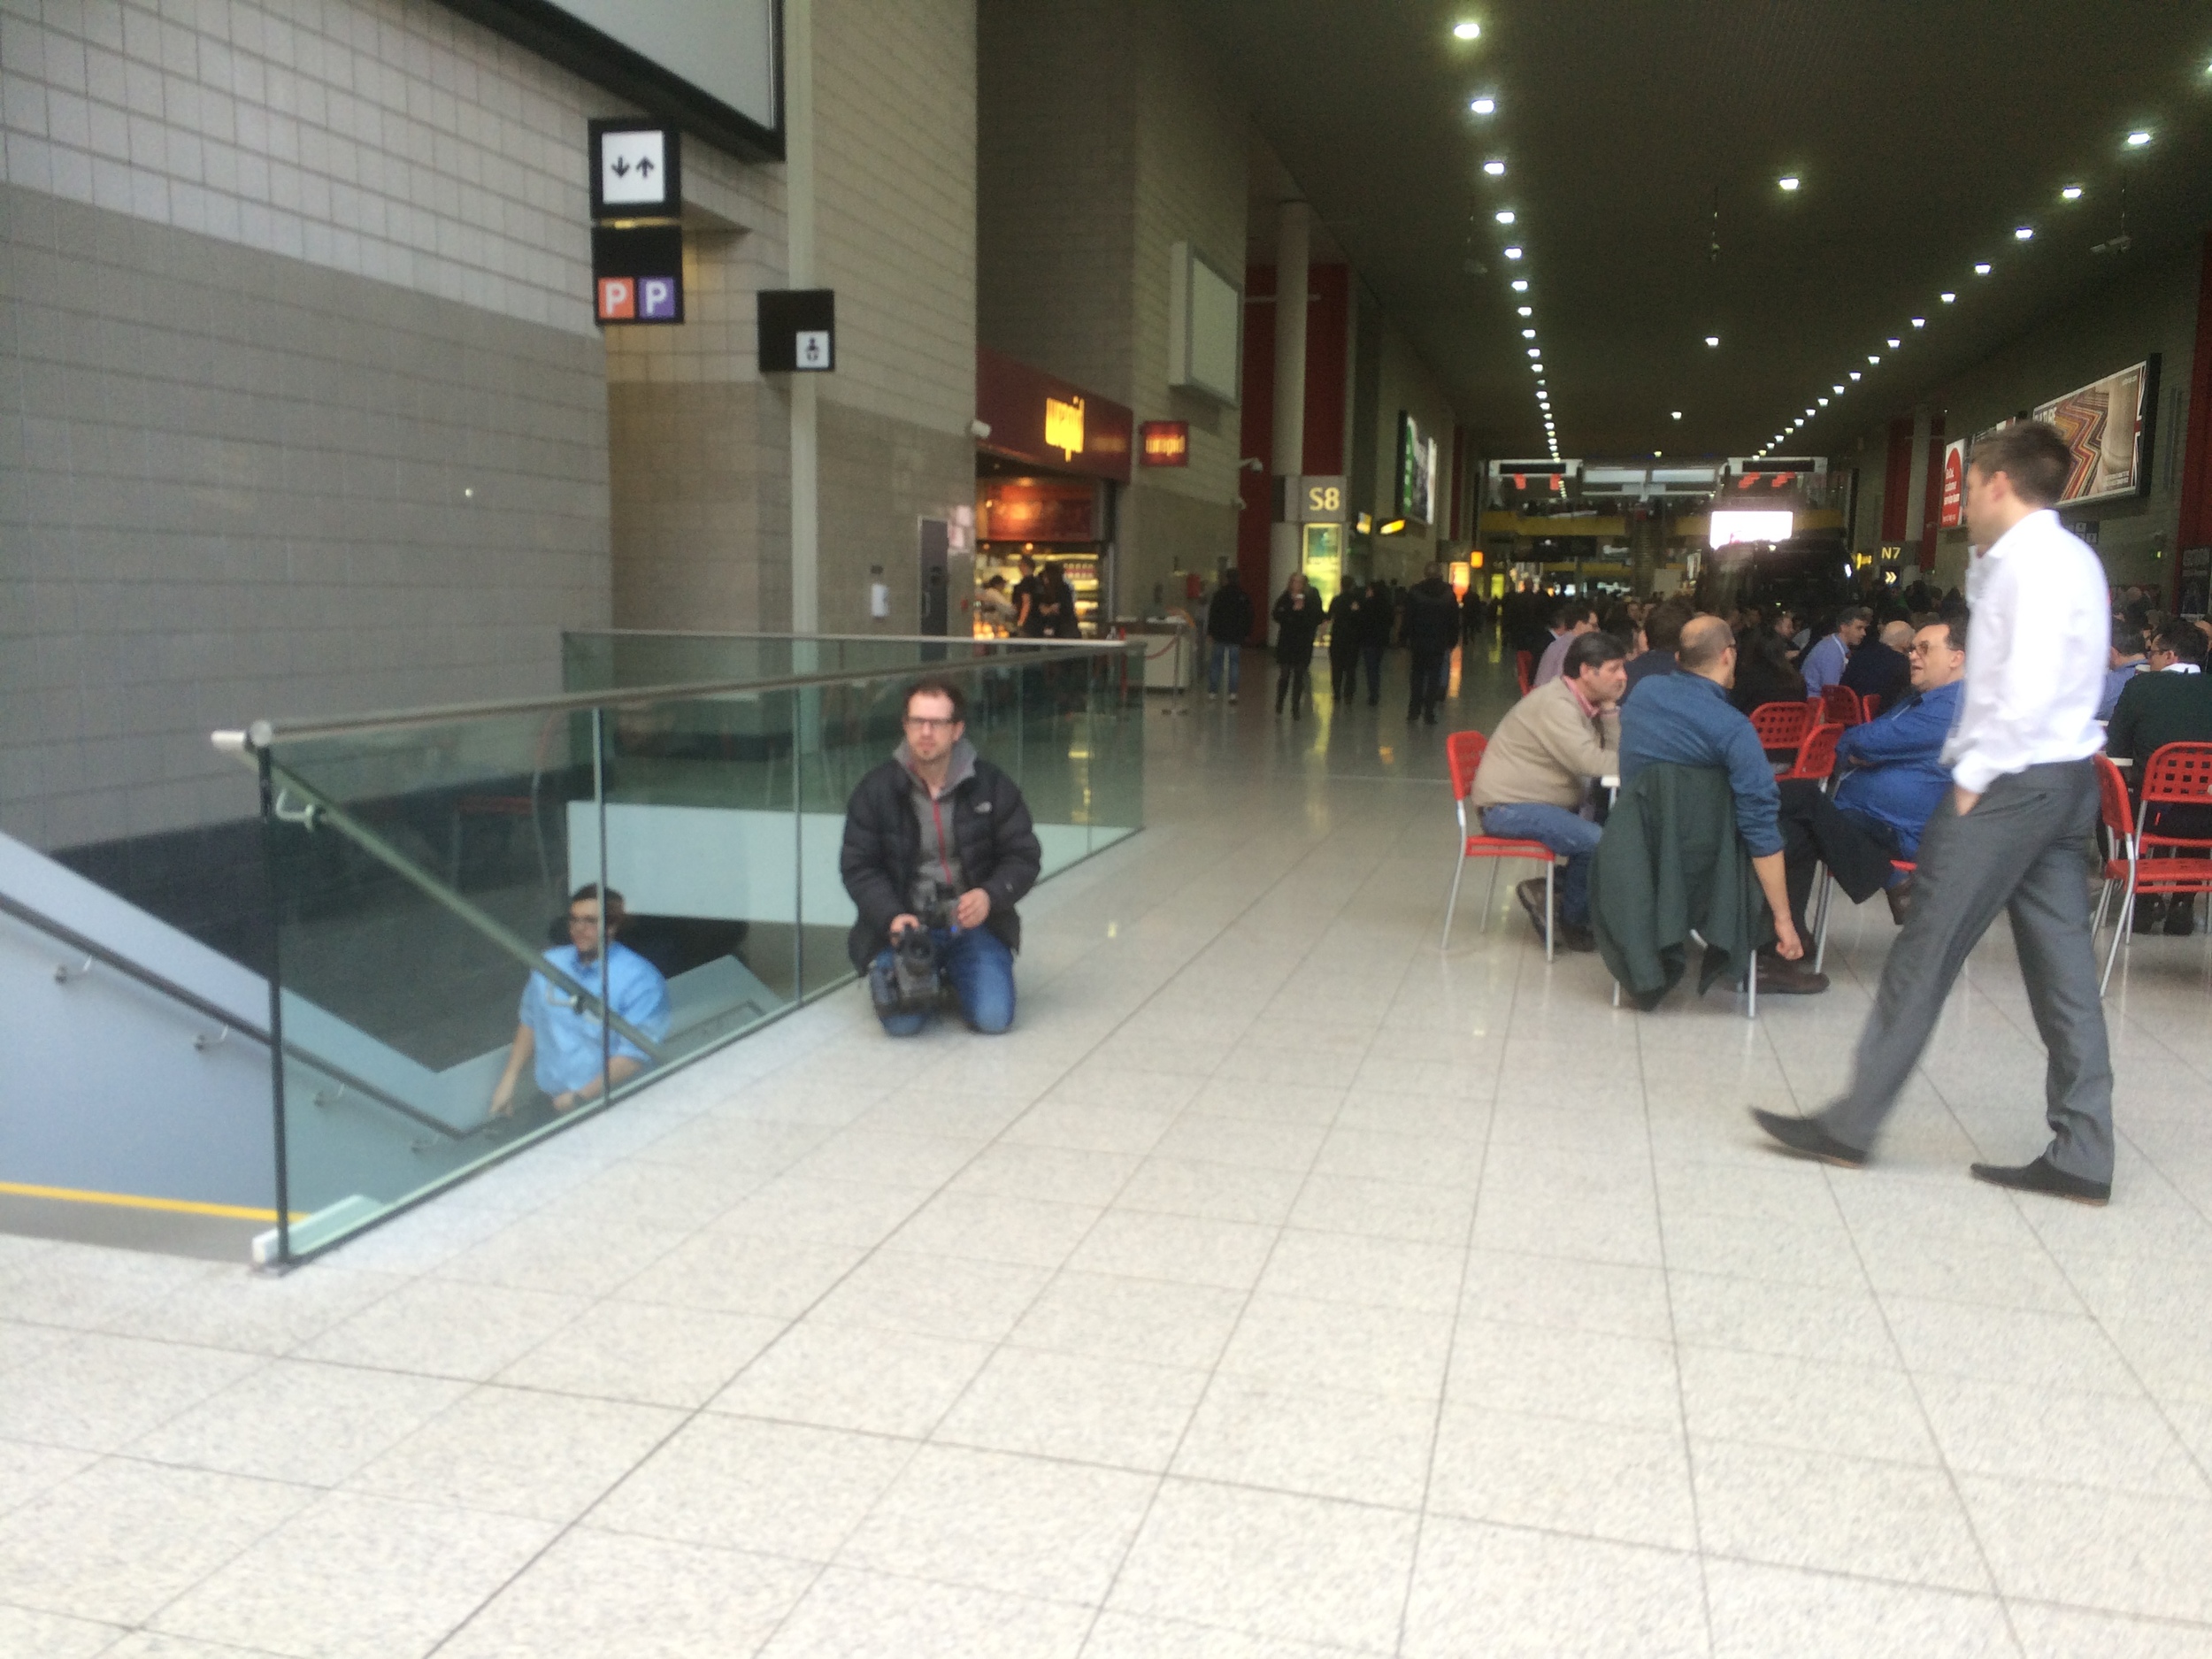
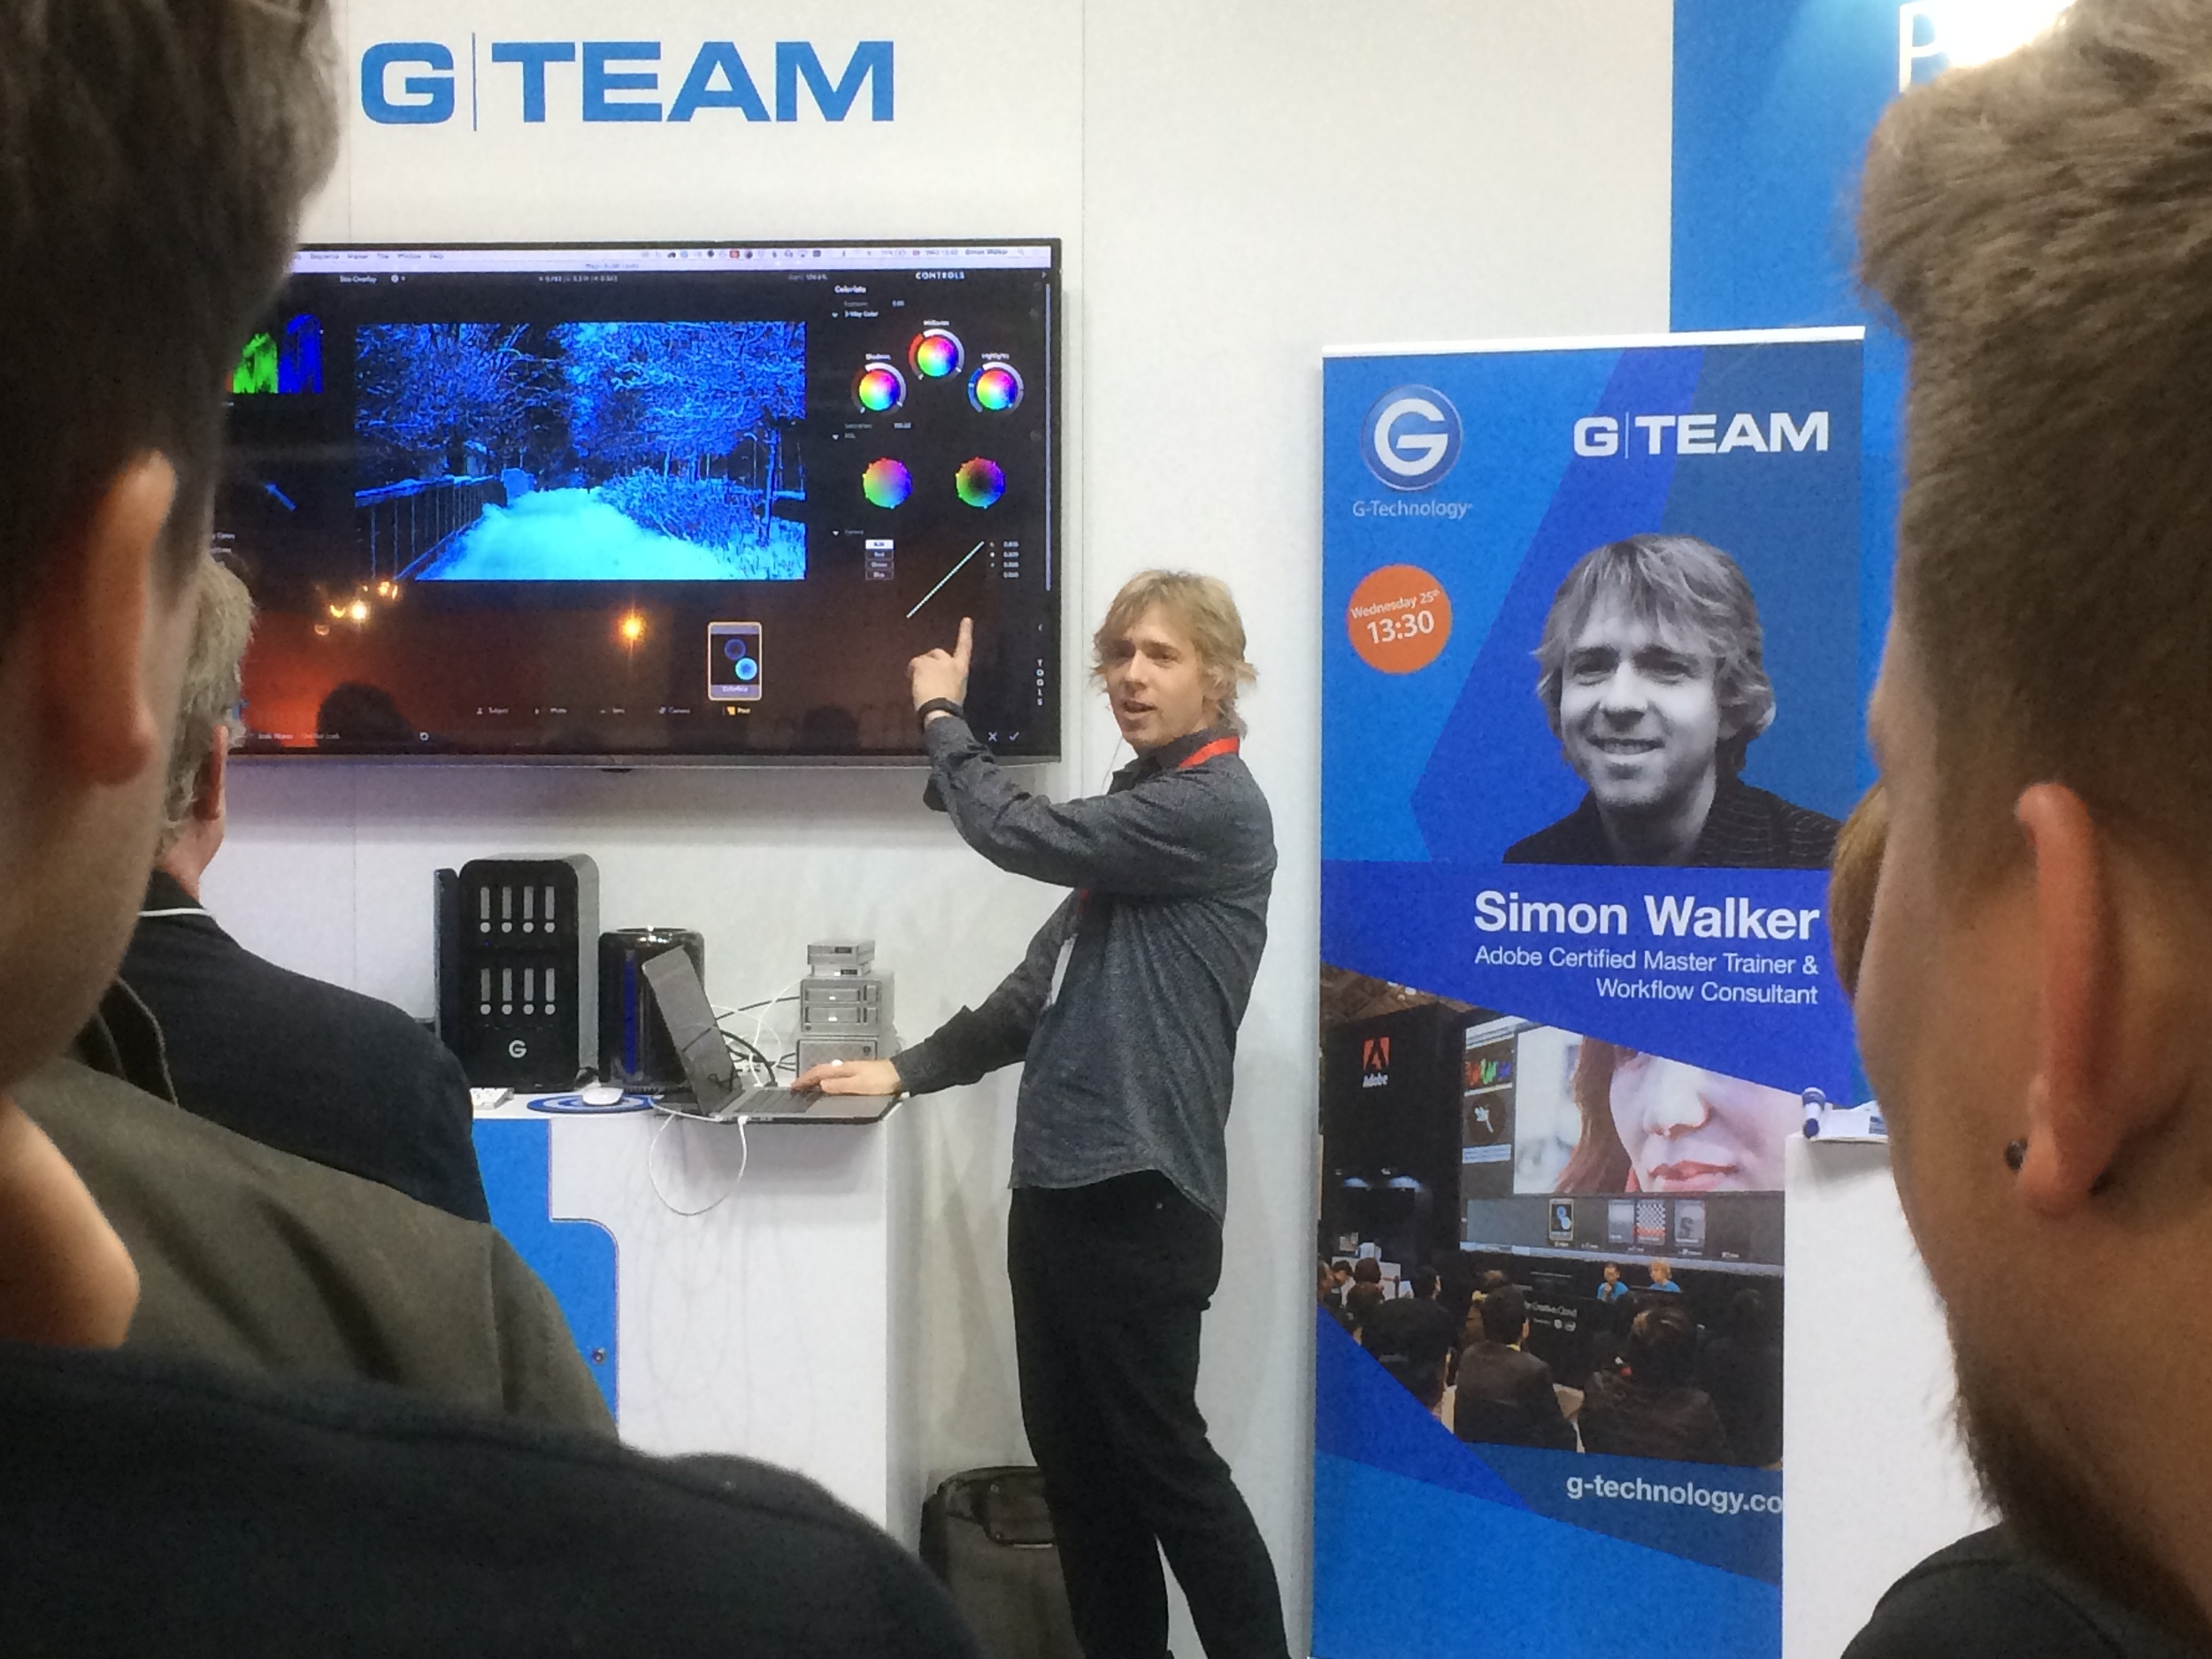
Wow what a show! I cut my stay short to come home and begin editing, which I am still working on now.. But here are a couple of photos from around the show (from my phone) of the various interviews and people I saw!

Exclusive blogs coming later from: Rode, Movidiam, JVC, Sony, Manfrotto and more.

Five things I wish I knew when I started as a videographer....

Five things I wish I knew when I first jumped into the creative videograpy adventure that is my life:

1. It does not matter what camera you use, invest wisely in reliable glass.

Entitled 'F**k with nature and nature f**ks with you', after previewing it appears it loads as a playlist, so please skip down to the bottom! Shot on my first DSLR; Nikon D5000 and 17-50mm F/3.5 -5.6, a uni project.

2. Work for free (yes, it's the only way you'll generate enough video content, but you'll make friends, have a good laugh, experience terrible mistakes and awesome times).

Produced by Adam Plowden Videography, edited by Joe Bannister. Shot on Canon 60D, Tamron 17-50, Canon 50mm F/1.8, Canon 18-135mm

3. Fix it in post doesn't exist, in fact, trying to fix it in post can do more harm than good (at least with low budget DSLR productions like mine still are.. For now..).

I had to return to Sian Williams' house because I had over exposed a shot, and didn't get good enough sound during her interview.. Produced by Adam Plowden Videography, 'Behind The Scenes' uni project and mini web series.

4. Think of the sound and the light, our primary senses for absorbing content.

A quick example video shot for my Manfrotto Takeover seminar showing the use of sound and light in short video drama to add emotion. 5DmkIII, Samyang 35mm, Tamron 24-70

5. Be yourself and create things that inspire you.. IE: Put you in your work. Copying other artists doesn't make you stand out, you can learn from them and implement your flair and style into whatever you do. That way, when you begin to get clients you know they are interested in not just what you make, but the person behind it.

A personal favorite is filming plants and nature, a good excuse to get away from the computer! 'Waterhouse' produced by Adam Plowden Videography.

Bonus tip. It is kind of included as part of No.2: Collaborate and work with others from different mediums; actors, musicians, vfx artists etc. It is how new ideas are generated!

SYNC is HaZ Dulull's new short film, I worked with him as well as DP Adam Batchelor on the production! It is backed by Blackmagic Design, Adobe, HP and more so give some support!!!

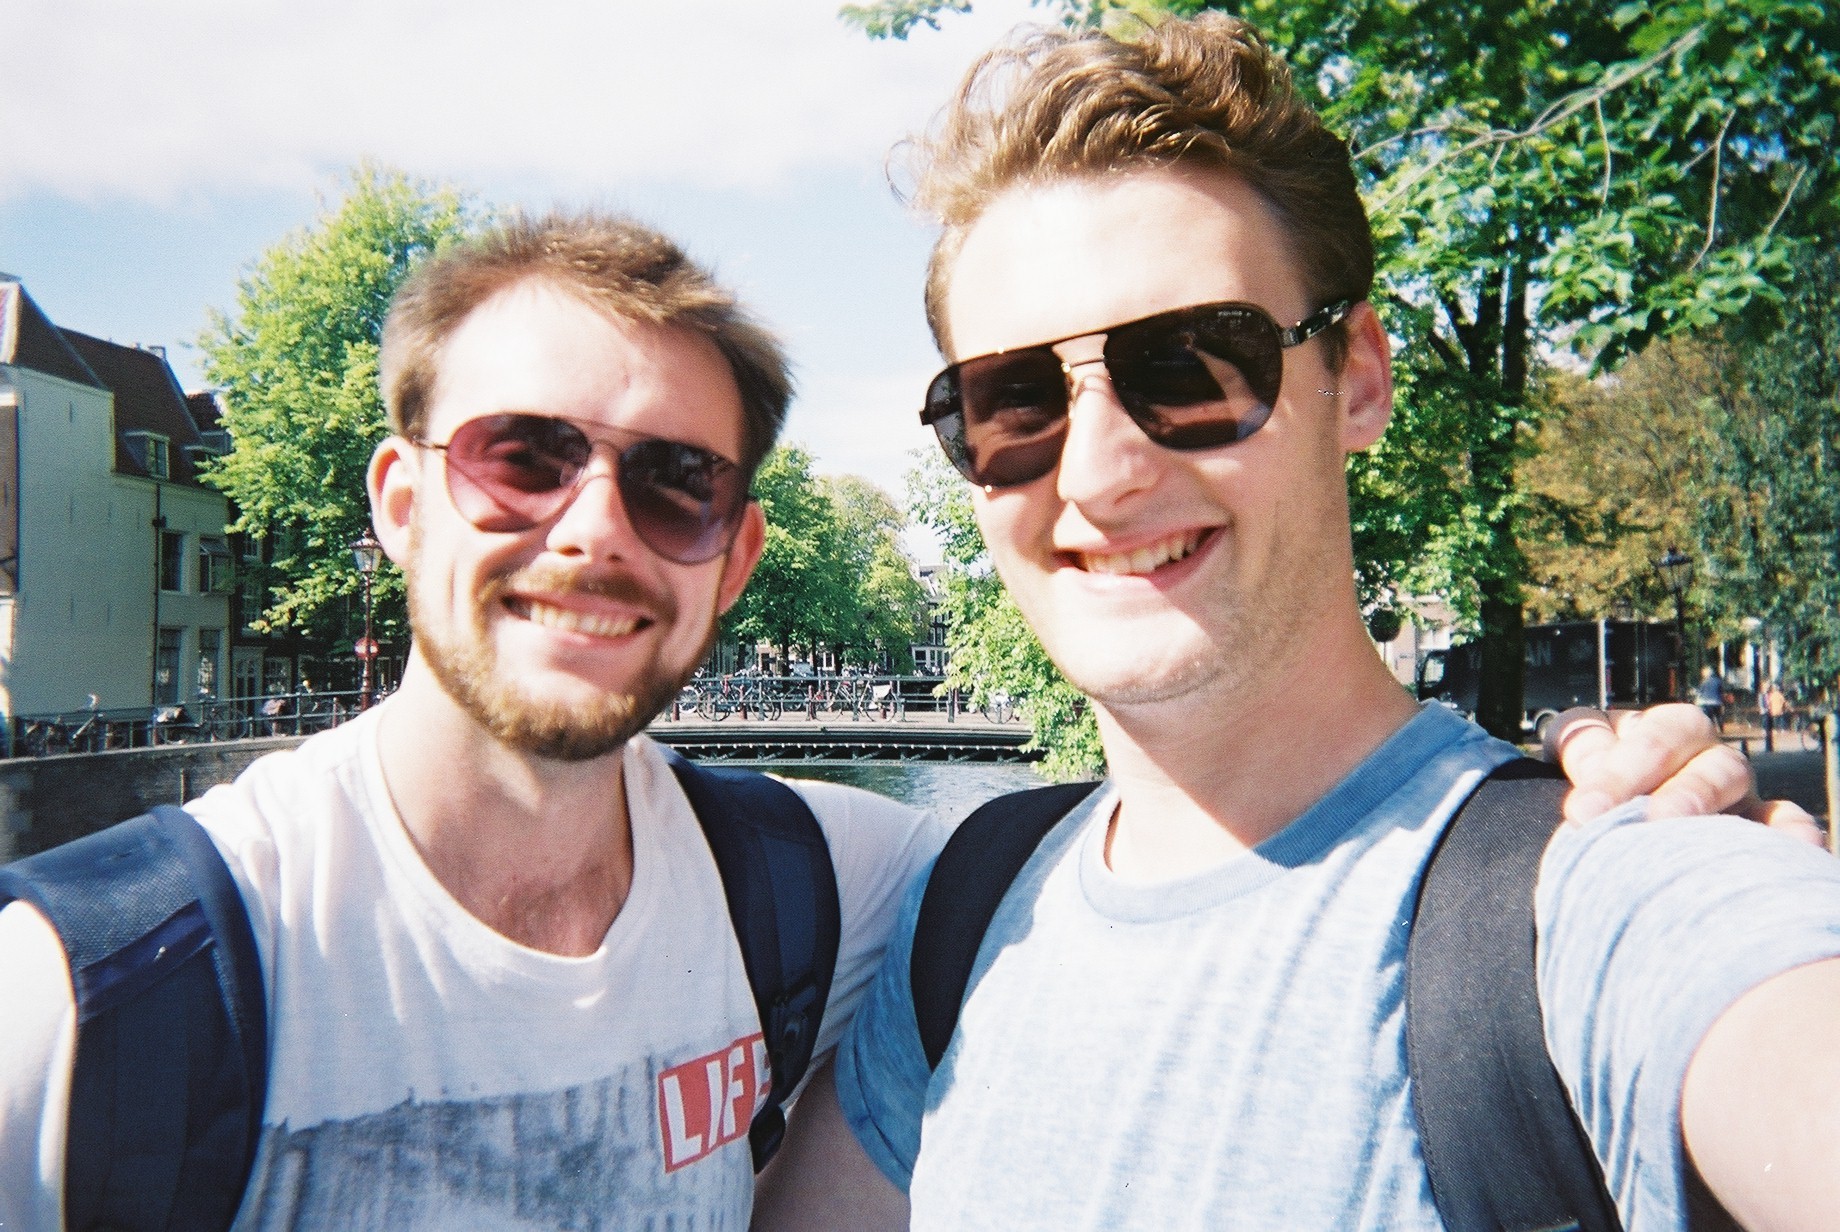
Adam and Glen 1st day in Amsterdam for IBC 2014! Taken on a disposable camera by Glen Symes.

I hope these little tips will serve you well, a shout out to Dave Beck at Avenger and John Harris at John Harris Media too I couldn't have done it without you! And Glen and Sam. Much love.

Working with the new Panasonic GH4

We had another toying test day yesterday, with new glass too; the Panasonic/Leica 25mm F/1.4 (equivalent to 50mm F/1.4) and the Panasonic 100-300mm F/2.8 (equivalent to 200-600mm F/2.8). We keep finding great features and little things that make this camera wow us!  

[gallery ids="4182,4184,4185,4186,4187,4188,4181,4180,4179,4178"]

We were out filming and testing out the capabilities of the camera at Epsom's Thai festival taster, we used the 14-140mm F/3.5-5.6 OIS lens recording in 4K. The video will be uploaded and shared soon!

Rotolight Sound and Light Kit Review!

I have had the Rotolight Sound and Light kit for a little while now, and I like it. I like it even more so because Rotolight has been the only manufacturer to really think about what consumers moving into the industry, and already established creatives would need from the outset. Without light you have no picture, and without sound you only have 50% of that video.Videos with bad or unprepared sound are noticeable, just if the subject of the video was not lit correctly. Unfortunately we are now used to watching and seeing very high quality, glossy pictures with filmic motifs, and excellent sound including orchestral scores. We aspire to work on these 'big budget' productions, or to make videos that look like them, but without thinking about your lighting and sound, you are very far off. I produced this review and the music video using the Canon 5D mark III, and a range of Samyang Cine lenses. To keep the light source and sound as pure as possible, I only used the Rotolight RL-48 B ring light and Roto-Mic. I also used my custom camera rig, which is manufactured by CamSmart, as well as a 5" Lilliput field monitor. I used Adobe Premiere Pro, After Effects and Speedgrade to edit and post-produce the videos.

rotolight sound and light videography video kit review led ring light

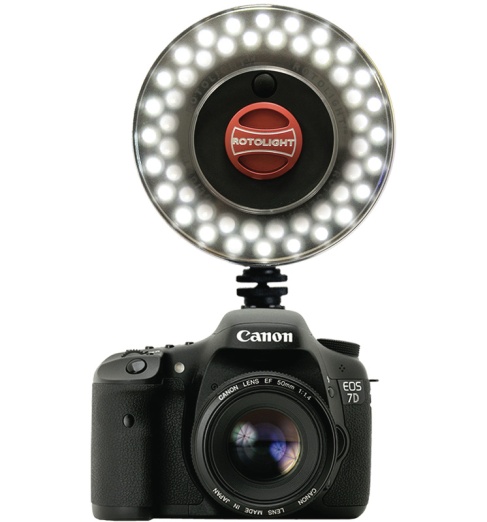
RL-48 B LED Ring Light

Out of the box, you get everything you need (apart from batteries) to start shooting straight away. The inclusion of a Rotolight belt-bag is fantastic for getting the light out quickly if you are shooting on the run, and for storage while traveling and keeping the batteries, light and accessories safe. One pain I always have, as I am a single shooter is that to change parts of my equipment setup; which means opening my big bag, routing through to find the bit I need and then carrying on. With Rotolights ingenious solutions they have removed that need entirely!

Inside the LED light is a set of ND, skin, colour and minus green filters that can be applied directly inside the housing of the unit itself; no need to carry around filters, gels and pegs to achieve your desired brightness and tone. This is great as no longer do you rely on a bag of old gels to adjust the temperature and brightness of the light source, and all filters are supplied by LEE, so you know you can trust them. The LED's being naturally daylight at 5600K, you are set to use the light in most conditions! For photography and video with people and models, Rod from Rotolight recommended using a softening ND and the skin filter which gently soft lights the subject, with a peachy, wrapping beam. There are no shadows, and the result is a beautiful glimmer of light in the subjects eyes giving them emotion and life.

rotolight sound and light videography video kit review music video filmmaking shoot videography model light

During my time with the Sound and Light kit, I tested out its practicality when out filming indoors and out on location. Above is a still grab from the indoor shots of Josh performing his lines to the camera; you can see a hint of light in his eyes, and a soft-neutral coverage of his face. This was the look I wanted to achieve; an intimate piece-to-camera. I used the ring light and mic mounted on the hot shoe of my camera setup, this gave a direct beam onto the subject, and would work for any subjects in front of the camera. Indoors the RL-48 ring light gives out a beautiful 140 degree beam of light that wraps around your subject, without any hot spots (usually on the forehead). I was filming a music video, but would work exceptionally well in model and fashion work, where beauty is exaggerated through the images.

rotolight sound and light videography video kit review music video filmmaking shoot videography

It took some innovative thinking to get the lighting right for this continuous tracking shot. Although I was shooting in the afternoon sun, I still needed a key light to keep Josh's face illuminated throughout. The night before we were at the location shooting the same scene, but had the ring light mounted on the camera. This time I needed the source to be much closer, so I whipped out the Manfrotto Magic Arm and Superclamp and clamped the light to the boot of my car. In the still grab above, the light is only a foot away from the left of Josh!

What I found here was the need for a brighter light. The 48-LED ring light provided great overall coverage of my subject, but I required a brighter beam to achieve the desired soft-skin and glimmer in the eye look. Although Rotolight produce large LED lights (Anova) for videography and cinematography, I didn't need that much more power. I think for video it would be great to see this model brighter, or have different brightness levels, as usually you require more light than less - especially when adhering to the 180 degree shutter rule. Once your shutter and aperture are set, the only exposure controlling parameters you have is the ISO/ASA or your light sources brightness, and where you're unable to move the light closer or further away from the subject; having a brighter light from the outset is more beneficial.  This is a small niggle from myself, but can be shown with examples in these still grabs -

rotolight sound and light videography video kit review music video filmmaking shoot videography night videoshoot filming car tracking model dark (Here the light from a street lamp came in very handy.)

rotolight sound and light videography video kit review music video filmmaking shoot videography night videoshoot test greet tint

This shot was taken on a 14mm T/3.1 lens at ISO 1250. Although I have remedied the low light in Adobe Speedgrade, a green tint is visible across the frame. A minus green filter is included in the kit which can be used where the green spike (due to LED technology) is prominent, but as I was filming in near darkness I chose not to use the filter to get maximum light output, which by the way is 100w! During the shoot I also used the light hand-held to get intimate with my subject, but not blasting them in the face with an offensive flash gun or LED panel light.

Roto-Mic

Like I mentioned earlier, video is (in most cases) useless without good quality sound. Imagine watching a film or TV program and the sound is noisy and fades in and out as the presenter moves around the frame. It is distracting and essentially draws the audience away from the video, it is suddenly and mostly subconsciously hard to watch and enjoy. With current trends in pro-sumers moving to DSLR to make films and video, there is more pressure on achieving good quality sound when acquiring your footage; the built-in mic does not do your pictures justice.

rotolight sound and light videography video kit review on camera dslr microphone

Here, Rotolight have entered the sound game by producing an on camera directional shotgun mic, with excellent pickup response and sound to noise ratio. When I first started out in freelance videography 3 years ago, I got myself the original Rode VideoMic; it was the best I could afford at the time, and it did the job I needed - to capture good quality audio that will enhance my video. Since then, Sennheizer, Audio-Technica, Hama and many more brands have seen the need for on camera mics for DSLR videographers, and a competitive market has emerged. One that the Roto-Mic will compete very well in due to its superb signal processing and price - an attractive offer to anyone seeking to invest in a cost-effective solution. You will need a 9V battery to power the Roto-mic, but it will last you a good 100 hours.

One very annoying problem with on camera microphones is noise added by the mic's shock mount. The Rode VideoMic I have is notorious for that, creating a squeaking noise as you move or walk with the camera that was audible and therefore recorded into the sound of the video - very unwanted! The Roto-Mic shock mount has been specially designed to minimize any movement the mic may be affected by, holding the capsule stiff, without wobbling on the mount; keeping unwanted noise out.

Rotolight considered many filming scenarios when designing the new mic; it includes a gain adjustment of -10dB to +10dB which is very handy when you are far away from the subject or action, or are filming in a loud and noisy environment. A two step high pass filter is also built into the body of the mic which removes any wind noise and rumbles from the captured sound; perfect when filming outdoors. These small but important features show that Rotolight have done their research into where DSLR videographers are working, and how they need to use their kit.

I was really pleased with the results of the sound recorded with the Roto-Mic, I was expecting another Rode VideoMic moment but it never came. The mic surprised me with its quality recording, and with a little noise reduction in post production the final sound recording is clean and crisp.

rotolight sound and light videography video kit review music video filmmaking shoot videography night led light mic kit

Rotolight has also been innovative in their mounting options, considering many different setups with the light and mic together. This makes a lovely change from complex accessories hanging off the camera to use two hot shoe mounts. The option to use the light mount, or to mount the light on the microphone gives you many different setup options that doesn't restrict your shooting, and is not fiddly or complicated to change! I was using the mic and light together; here the mic mounts onto the camera hot shoe, and then the light can be pushed onto the barrel of the microphone. Although I was dubious of this at first, as it would add extra weight to the shock mount and possibly interfere with the sound recording; it has proved me wrong with being fully functional no matter how the light and mic is set up.

rotolight sound and light videography video kit review music video filmmaking shoot videography night videoshoot filming car tracking

My verdict

  • Fantastic kit if you are starting out in DSLR videography - a must have kit to get you started.
  • Ring light provides excellent soft light for work with models, people, macro and prominent subjects.
  • Filters included is really handy, although as I am heavy handed they are sometimes difficult to apply.
  • Battery life is second to none - 4 hours with recommended lithium AA batteries (x3) or regular lithium AA (x3) for 3 hours.
  • Various mounting options means shooting is not restricted.
  • Mic is broadcast quality - remember sound is just as important as video.
  • Gain adjustment is handy in quiet and noisy locations.
  • The Rotolight bag keeps your hands free!

Of course with every review there are some constructive criticism comments, but not many for me as my experience working with the Rotolight Sound and Light kit has been very pleasant. Firstly, a higher power portable light would be ideal for video, with intensity control. Secondly, now Rotolight has entered the sound game it would be great to see other microphones like hand held bi-directional or even lav mics, and a boost in the recording quality (maybe a Zoom competitor??!). Thirdly, and this isn't criticism, more a request for a flexible light stand or arm so the light can be positioned in extreme and unusual angles.

I am recommending you to go out and get this kit if you're into your DSLR video and photography and need a light source and microphone that you can take to every shoot you go to! It will definitely be coming with me in the future, and I can imagine the RL-48 LED light working fantastically for wedding films and interviews, teamed up with the Roto-Mic and you have a perfect, all in one, on camera 'run and gun' solution to your filmmaking and photography.

You can check out the video I produced for Rotolight demo'ing the new Sound and Light Kit here, and the music video will be released very soon!

[vimeo http://vimeo.com/87515700]

Creating ambience in motion graphics

I've been working on the title graphic for the Rotolight BVE video, sometimes I can get going straight away with designing and animating however (and I presume this is due to getting up early to start working) I was stuck for ideas.. VideoHive is a great resource for re-made graphics sequences for After Effects, but they are also great for getting inspiration on how to create the atmosphere and effects for your own work. I spend a good half hour looking through the pre-made effects and gathered some ideas.

One key point I've found to make the graphics seem realistic, and to give it an ambience there are a couple of things you can do to make it more life like. Number one is to use a particle generator to create dust to naturally drift around the environment. The particles can be given physical attributes like gravity and wind, which makes the animation more realistic.

after effects particles atmosphere ambience rotolight

Number two, using light and lens flares; this leak of light appears to give the environment in which your text, graphics etc seem to be in a 3D space shot through a camera - these are naturally occurring when out filming and in our eyes, so it can be used too.

Number three; textures and patterns; for a graphic based (not so much vfx based) title, tiling textures and patterns to create a wallpaper background is visually appealing, as is only using a number of tones from a simple colour pallet.

Number four; interpolation and motion blur. Again just like in real life, our brains process the images we see at around 16 frames per second, and fills in the spaces in between. In graphics this motion blur needs to be added, to correctly interpolate the animation and blur of a subject or object. The local and global motion blur (bouncing ball) icons are easily found on the timeline so be sure to click!

Number five; depth of field. In cinematography the director uses the depth of field to move the audiences attention through the frame to reveal new parts, to uncover secrets and ideas. This can be done in motion graphics too, by using a Camera. When you have a camera in your composition, be sure to check 'enable depth of field' and to set your aperture to a low F stop (F/1.8 for example) and increase the blur amount. After Effects then generates depth of field using the camera settings; making objects close and far away from the camera blurred.

rotolight title graphic after effects camera blur

Here's a snap of the working-graphic for the title, for a cinematic look to the video I have also applied an anamorphic aspect ratio overlay. I might make some changes later, but for now it is off for comments and feedback. If you have any questions about the graphics or videography then give me a shout!

rotolight rotomic ring light tiele motion graphic video


And no I haven't forgotten about new videos!

It hasn't slipped my mind that a number of new videos are on the horizon showing you guys my videography setup, going through the equipment and techniques to set up for a reliable interview scene using the new Rotolight LED ring light and the Rotolight microphone. The weather has been terrible here over the last week so I haven't had a chance to get out and do much filming and testing out of the new Rotolight products, but this is the job for today and next week!

Watch this space for plenty of 'Video Questions' videos and samples using the Rotolight kit!

canon 5dmkIII with samyang 85mm moda camera rig Canon 5DmkIII with Samyang 85mm cine lens

Video Questions; Choosing the right camera, picture profiles and using ND filters!

Heyo all! Thanks for sending in your questions, I will try to answer as many as I can will practical, real world examples! If you have any more, please send them my way! Question from Chris via Facebook: "Can you recommend any camcorders for HD video and good low light performance?"

Answer: A DSLR for video is not the right choice everytime. Why do you think television broadcasters use camcorders and system cameras? For broadcasting, there are regulations and legal limits that must be followed for the final video to be shown live; there are many including the compression of the video signal, the black and white level (check out waveform monitors and video signal) to name a couple. DSLR's do not adhere to these regulations hence we don't see TV crews running around with 5D's in London.

Where DSLR's produce a great image due to the large CMOS sensor, they have big restrictions such as needing to change lenses, poor audio support (unless you invest in audio equipment), rolling shutting, aliasing, moire.. I could keep going.

So, taking camcorders in the equation; most have long zoom ranges (20x and more!) at wide apertures, with additional digital gain, in built ND filters, built in stereo microphone and audio in/out. The sensors are different too, some using CCD (which splits the 3 colour channels) for better colour rendition and less compression.

These days, manufacturers such as Sony, Canon, JVC produce ENG (electronic news gathering) camcorders with those above features, meaning no extra kit to carry, most are hand held or shoulder mount for ease of use. Therefore it is seemingly easier to video on a camcorder, until you require a large sensor camera for artistic video.

Product recommendations for camcorders - Sony AX and VG range, Canon Legria, XA and XF range, JVC produce great camcorders too and have stepped up their game over the last year with the GM-HY range including a 4K model too.

If you want to spend a little more, the Sony HXr-NX3 (recently reviewed by Den Lennie) looks incredible for what you get in one camera - http://www.sony.co.uk/pro/article/broadcast-products-get-close-up-hxr-nx3

Next question from SAHIB on Twitter: "Do you use a neutral picture style when shooting, and do you use neutral density filters?"

Answer: For those unaware of picture profiles on your camera, check them out in the 3rd section of the movie shooting (red) menu (for Canon users). There are a number of options listed, which alter the way the picture is recorded depending on your choice, you can also customize these profiles too using the INFO button.

Canon picture styles - Standard, Portrait, Landscape, Neutral, Faithful, Monochrome.

I will not be detailing the ins and outs of all the picture styles, more of a visual comparison.

What does a picture profile do? Much like LUTS, picture styles adjust the intensity level of the; Sharpness, Contrast, Saturation and Colour Tone in the image, so what picture profile you use can change the 'look' of the video you capture.

Check out this video I put together today showing the results of the cameras picture profiles, and others I have loaded onto the camera. You can see a clear change in the image, but it is subtle differences that will make your video work stand out.

https://vimeo.com/85655816

I previously used the Neutral picture profile, customized to reduce the contrast, saturation and colour tone to produce a very grey and flat image. I was using this profile to achieve this look, as it is how RAW footage is captured to then be graded in post production. Neutral does replicate this 'flat' look, but after doing research into other profiles, Neutral reduces the data that is required in the picture (the contrast and saturation) that I would then put back in in post. This causes noise to be generated in the image, and can cause it to look unnatural and crushed, as the contrast and saturation that had been removed by the picture profile is being added back in later in the workflow.

That was long, but I hope it makes sense. If you compare the 'Standard' to 'Neutral' there is an evident drop in saturation and contrast, with a loss of detail in the top of the trees. If you compare 'Neutral' to 'VisionColor', there is an increase in saturation and contrast in the shadows and highlights.

The 'Neutral' picture style, similar to Technicolor CineStyle reduces the data the sensor captures, so I would not recommend using it if you plan to do colour correction and grading in your workflow. REMEMBER - whatever you capture when out filming will 'burn in' the detail, colours, sharpness and contrast into the image, making it harder to edit and remove unwanted errors. So, it would be better to use a profile that holds the data and detail so if wanted, you could work on grading the footage later.

From tests and experimenting, I favor the VisionColor profile; it is not as destructive as Neutral, holding colour and contrast without making the image flat. I definitely recommend checking them out here.

Next Question from SAHIB on Twitter: "Can ND filters change the style of video?"

Answer: This does depend on what and where your video shoot is. If you are working indoors, or with lighting that can be controlled by you then neutral density filters may not be required as you can alter the brightness of the scene by reducing the intensity of the lights. However, if you're out filming in a situation where you have little to no control over the lighting, then ND filters are key.

Personally I use variable ND filters, currently from Polaroid but much better filters are available from Hoya & Tiffen. The function of these filters is to reduce the light entering the lens, meaning camera settings can be kept the same. This allows you to follow the 180 degree shutter rule, which means keeping your electronic shutter speed at 1/50th to reproduce film-like and realistic motion blur.

So, with your shutter speed locked at 1/50, and your chosen aperture has been set, the only other exposure altering options you have is to ride the camera ISO to make the image brighter or darker.

PROBLEM!

With a fast aperture of F/2.8, and you are currently shooting in sunny daylight, your image is going to be very over exposed. Reducing the aperture to F/8 or F/11 may correctly expose the image but you have lost your depth of field! What to do!

Get some Variable ND Filters!

These ND filters rotate, allowing a variable ND amount to be set externally, without changing your cameras settings! This means that you can keep your cinematic depth of field and realistic motion blur without reducing the shutter speed to 1/250th or your aperture to F/11.

I recently shot this video using an ND filter on an 85mm T/1.5, which allowed me to shoot continually at T/1.5 for extreme shallow depth of field.

Making a quick edit: Variable ND filters are one of many options. ND Filters also come in stops; increasing by a factor of doubling so 2, 4, 8 etc. If you can stretch to separate stop ND filters they work just as well, and with the lower end (under £100 products) they will be better quality than one under £100.

In videography and cinematography, ND filters are applied in the matte box in front of the lens. So if you plan to use one, look in to matte boxes with the ability to add filters, but prepare to pay for it!

http://vimeo.com/84790518

Well, that covers Video Questions for today! I hope to have answered and covered all bases, and remember they are from my personal knowledge and experience.

Got any more? Send them my way!

Planning a product promo + review shoot!

I've been working on the plans for a number of videoshoots to test out the awesome Rotolight mic and LED ring light. As the kit works especially well with people and subject focused shots, I am orchestrating a model/fashion/lifestyle shoot to show off the equipment to its full potential. rotolight training LED ring light microphone property of Rotolight and Jason Lanier (Photo from Rotolight website - Rotolight and Jason Lanier)

I spent the morning trawling through various fashion sites, blogs and Pinterest for inspiration on make up, clothing and models. I've never used it before, and from my experience it is a great resource for mass data collection. (The reason I'm not signed up to Pinterest is due to its Terms and Conditions). Building up a mood board, I've narrowed down some ideas and will spend tomorrow wandering around my town to find unexpected gem locations!

If you know any models; male and female, make up artists, fashion designers that would be interested in collaborating then please get them to contact me!!

rotolight led ring light video shoot pinterest womens indie fashion

I've had this idea in my mind, of a young woman running toward the camera as it tracks backwards, she holds her shirt together around her chest, hanging on to lace summer sandals. Cuts to her feet as she skips to slip her sandals on, slow motion playing a big part here.

Close up of her glorious smiling face as she races forward, her hair like silk in the wind flowing as she exits the frame. Tracking behind, as the young woman continues her path, into the horizon and out of focus as the camera slows and tracks high in the air.

8-forest-road-landscape-photography[1]

(Ideas Intellectual Property of Adam Plowden 2014) muah!

That is all your getting for now, a teaser while I magic up the rest!

I'll be posting later about the questions I got via Twitter and Facebook; choosing your camera - is a camcorder an option for you? As well as analyzing picture profiles and how using filters can help your video! Much more to come, so share!

Wonderful SWPP email, Rotolight + more!

I just got a fantastic email from a photographer I got chatting to at SWPP about video! It's great to offer help and tips in such a vast industry - so if you're looking for any info about video on DSLR, equipment, conferences, cinematography, audio, graphics.. Just check out previous posts!

Another positive; Rotolight (design and manufacture of the awesome circular LED lights) are sending a review kit of their new Rotolight LED light and microphone!

Also, the last components for my custom PC built should arrive today, so the next time I post shall be from a multimedia supercomputer!!Image

Little leak from B&H.. ZOOM H5

I've stumbled across a leak from B&H photo detailing a new ZOOM handy recorder; H5.

Will be interesting to see how this works with the current Tascam DR-60D and DR-100mkII recorders, however I do know the H4N does have a number of problems, maybe it was time for an upgrade.. It is a sigh of relief for videographers, bands, journos who don't need the 6 channel power of the H6 but would like the option of external XLR/TRS microphone/device inputs.

Check out the article here - http://news.doddleme.com/equipment/zoom-announces-h5-handy-recorder/

Trials of editing audio

For those that who have ever been at a gig and lunged their phone or camera in the air to try and capture some of the performance will know that the only sound recorded by the terrible on board mic will be CCCCCCCCRRRRRRRRRRRRRRRGGGGGHHHHHHHHHHHHHHHHHHHHHHHHHHHHH, or just distorted noise. Luckily, I record with external microphones when I film performances, usually because there isn't another option. Bands these days can't afford to hire a PA system with a multi channel mixer w/EQ, especially for one off performances, so it is common to see, so always be prepared!

There will always, however be background noise and hissing that will need to be removed from the recorded audio, I'm using Adobe Audition at the moment to eradicate that from the John Sinclair performance, as its functions for calculating and removing frequencies from audio tracks is phenomenal.

audio

Want creative and cinematic promotional video, and need to keep costs down?

Get 10% off all productions until the 15th November '13!

Are you in need of innovative, cinematic and artistic promotional video's and media, that makes your business, product, event or service stand out, attract a wide audience and immerse them in the visuals and sound?

My portfolio includes video/media work with - Moet Hennessy, Broadcast Magazine, The BBC, AstraZeneca, Manfrotto & more.

I'm offering 10% off on all productions until the 15th of November 2013! Check out my work at

www.adamplowden.co.uk

and get in contact!

New Lilliput 7" HD Field Monitor

I got a surprise through the post today, it was the new Lilliput 7" HD Field Monitor, this one has great features including HDMI, YPbPr, composite and audio inputs, as well as audio monitoring which is handy. Here are some snaps from my play around today. [gallery ids="377,376,375,374,373,372,371,370,369,368,367"]

The colour reproduction, contrast and screen resolution is much better than the Camax model, yielding a more realistic picture. Still some functionality and operation issues to iron out but over all a great product out of the box!

I will be putting up a video soon, including filming in studio and on-location situations, as well as testing out the screen quality too, so keep updated, and if you have any questions just send them in!

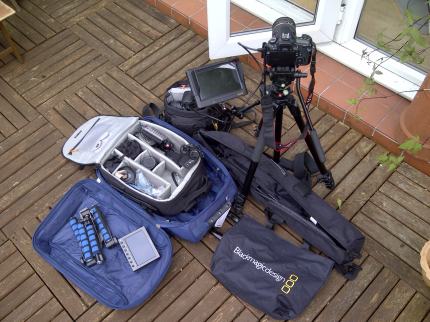
I thought it was about time to sort out all of my equipment too, as I have them in bags and boxes all over the place, organization is rather important to avoid losing things! I got this great suitcase from The Olympic Broadcasting Service when I worked at the London 2012 Olympics, so I put my big camera bag, as well as my rig, batteries, and a BlackmagicDesign bag full of cables in it. Can't believe I lug this amount of kit around though! (Minus the Nikon in the little bag as that rarely sees the light of day :( ).

Epsom and Ewell-20131002-00275

Give us a share and a shout!