nikon

New Rokinon/Samyang 12mm lens!

Rokinon/Samyang have been pioneering high quality photography and VDSLR lenses for a number of years now, and with the introduction of their Cine lens range they are a must have for intermediate kit choice for a number of reasons:

  • Incredible build quality results in top images; compared with Canon L series, this glass holds up nicely.
  • Price; cheap enough to get a whole kit for the price of one L series lens.
  • Manual control; much better for video, allowing subtle aperture changes and precise control.
  • Small size; I've got 3 and they all come out with me. They aren't large lenses to carry or use on camera.
New Rokinon 12mm cine lens

Rokinon announce another cine lens to their line up; the 12mm F/2.8 (digital photo) or T/3.1 in the VDSLR model. An ultra-wide fisheye, perfect for large landscapes, extreme perspectives, fast sports and music vids.

Personally, if I was to purchase this new lens I would go for the 12mm F/2.8 digital photo model for use on crop sensor cameras for an effective ~18mm focal length.

What are your thoughts?

Five things I wish I knew when I started as a videographer....

Five things I wish I knew when I first jumped into the creative videograpy adventure that is my life:

1. It does not matter what camera you use, invest wisely in reliable glass.

Entitled 'F**k with nature and nature f**ks with you', after previewing it appears it loads as a playlist, so please skip down to the bottom! Shot on my first DSLR; Nikon D5000 and 17-50mm F/3.5 -5.6, a uni project.

2. Work for free (yes, it's the only way you'll generate enough video content, but you'll make friends, have a good laugh, experience terrible mistakes and awesome times).

Produced by Adam Plowden Videography, edited by Joe Bannister. Shot on Canon 60D, Tamron 17-50, Canon 50mm F/1.8, Canon 18-135mm

3. Fix it in post doesn't exist, in fact, trying to fix it in post can do more harm than good (at least with low budget DSLR productions like mine still are.. For now..).

I had to return to Sian Williams' house because I had over exposed a shot, and didn't get good enough sound during her interview.. Produced by Adam Plowden Videography, 'Behind The Scenes' uni project and mini web series.

4. Think of the sound and the light, our primary senses for absorbing content.

A quick example video shot for my Manfrotto Takeover seminar showing the use of sound and light in short video drama to add emotion. 5DmkIII, Samyang 35mm, Tamron 24-70

5. Be yourself and create things that inspire you.. IE: Put you in your work. Copying other artists doesn't make you stand out, you can learn from them and implement your flair and style into whatever you do. That way, when you begin to get clients you know they are interested in not just what you make, but the person behind it.

A personal favorite is filming plants and nature, a good excuse to get away from the computer! 'Waterhouse' produced by Adam Plowden Videography.

Bonus tip. It is kind of included as part of No.2: Collaborate and work with others from different mediums; actors, musicians, vfx artists etc. It is how new ideas are generated!

SYNC is HaZ Dulull's new short film, I worked with him as well as DP Adam Batchelor on the production! It is backed by Blackmagic Design, Adobe, HP and more so give some support!!!

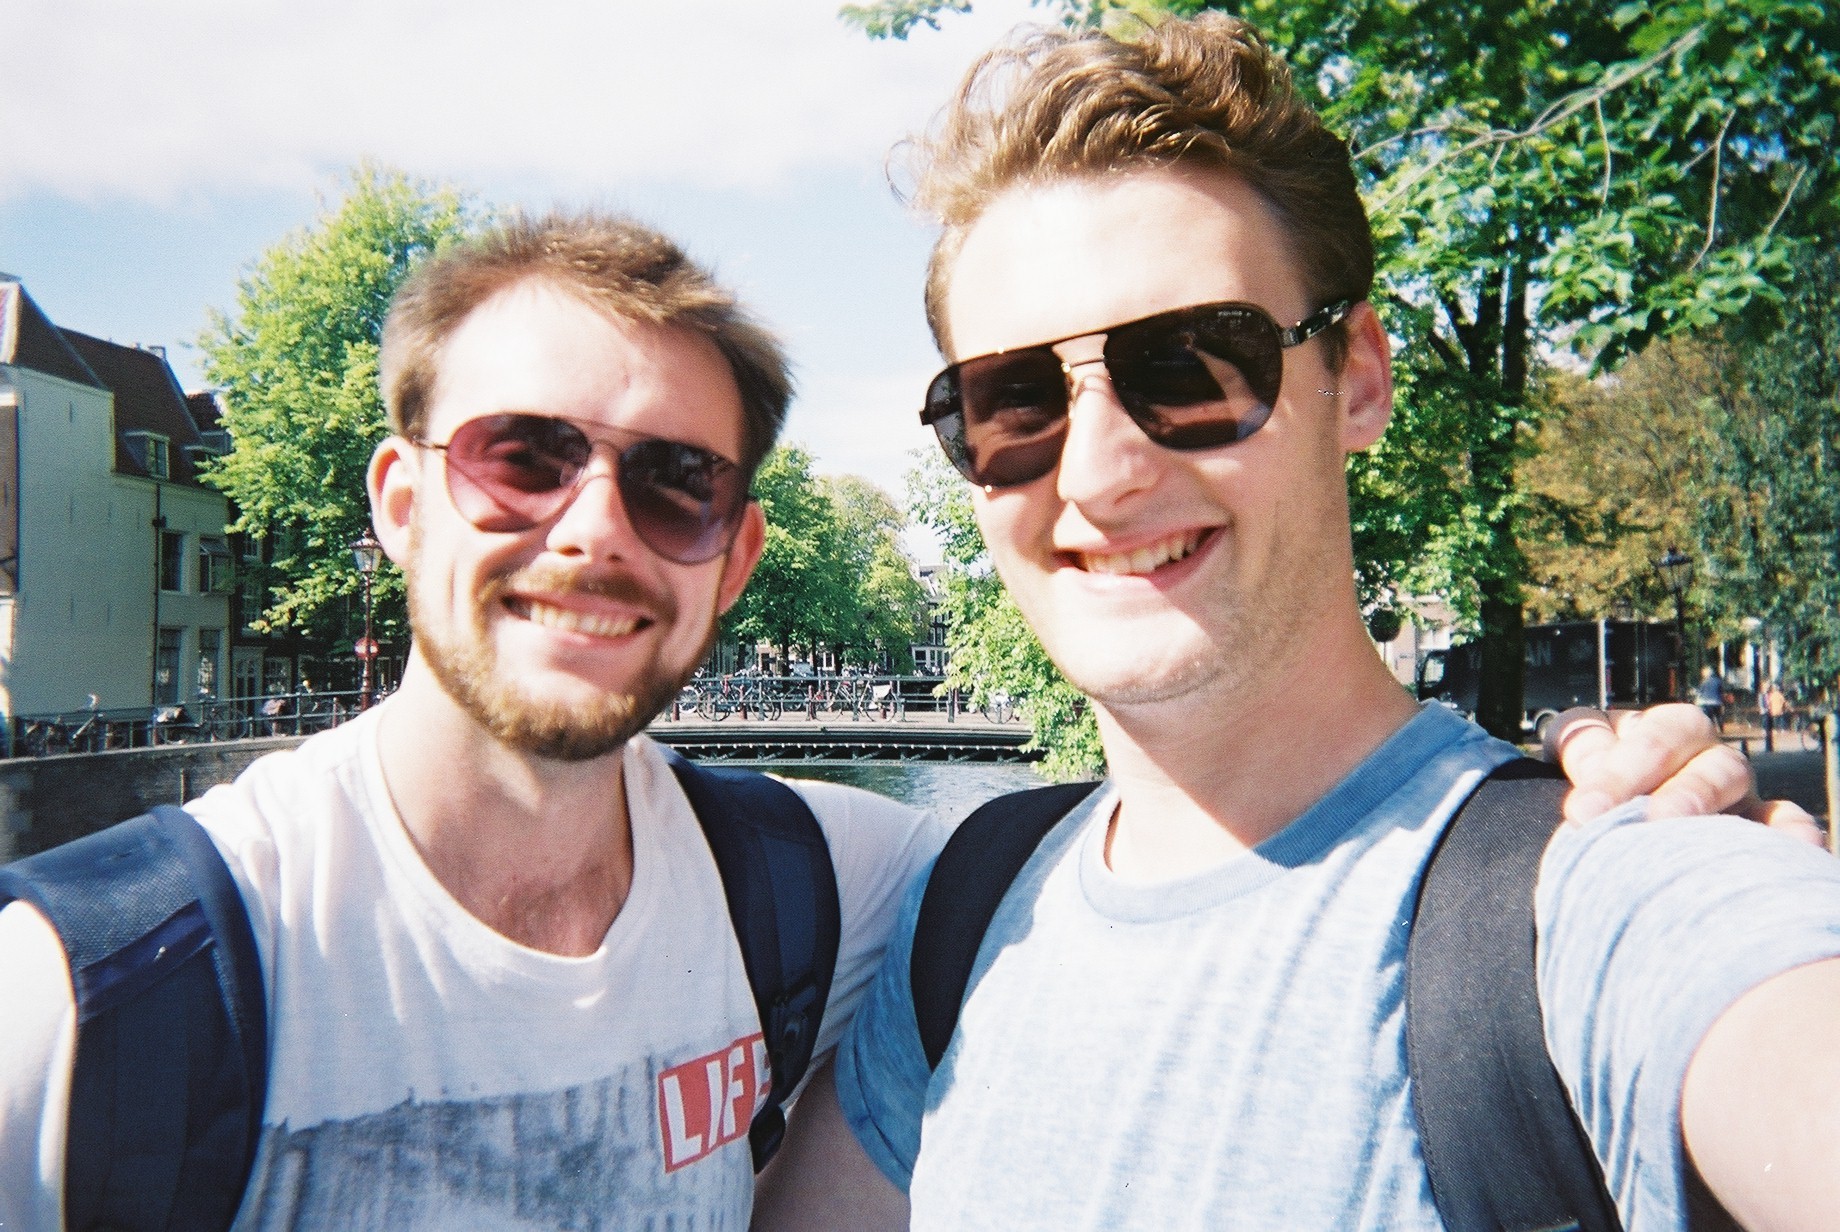
Adam and Glen 1st day in Amsterdam for IBC 2014! Taken on a disposable camera by Glen Symes.

I hope these little tips will serve you well, a shout out to Dave Beck at Avenger and John Harris at John Harris Media too I couldn't have done it without you! And Glen and Sam. Much love.

T minus 1 day til IBC Show!

Remember to keep up to date with the news and events by following this blog and on twitter - @plowman91! See you there!

What a few months it has been!

Blimey, my last post was a while ago.. Honestly, since then work has got heavy and much of my time is either spent behind the camera or the screen. One exception was the Manfrotto Pro Backpack50 review, shot by Glen Symes for me where I actually appear in a video! Manfrotto pro backpack50 review video adam plowden and glen symes videography

Some of the things I've been up to range from filming quite a few weddings [embed]https://vimeo.com/98328657[/embed] to filming and editing for a series of videos on health and wellbeing.

eebc health and wellbeing video edit adam plowden videography

On the side, I've talked at EEHS about going through uni and starting a business, am preparing for my Manfrotto Tour videography seminar and other bits and bobs.. I'm sure if you follow me on twitter or facebook you'll have an idea of the things!

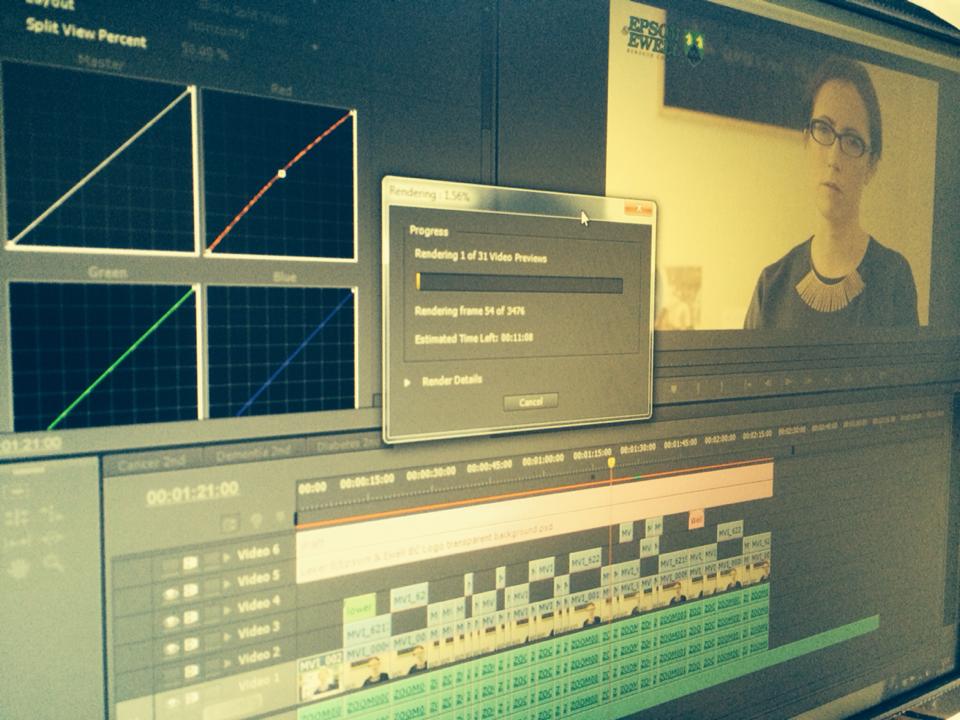
Going back a few weeks, my main projects have been the EEBC Health and Wellbeing video series, and an animation on Telecare. This is a predominantly piece to camera series, with additional b-roll shots to add to the videos messages which range from stopping smoking, to eating a healthy and balanced diet. The standard production of information videos ensued, editing down from around 45-50 minutes to a concise 2 minutes providing the relevant facts and summaries on prevention. Editing in Premiere Pro, I used the very good Luma Corrector tool for exposure changes and a simple RGB curves adjustment for the colour temperature.

I find the Luma Corrector better to work with, as by adjusting the Gamma control slightly, it removes the washed grey look to push out the prominent shadows and highlights meaning that it is very simple to correct/match shots; especially as I filmed using daylight as my key.

adobe premiere pro screenshot luma corrector effect adjust exposure

As per the clients request I have also added subtitles, which I created using the dynamic link into After Effects (noting at this point that if you're doing several stages of an edit, to duplicate the sequence you are working on before you start the next stage as Premiere and AE require you to save your work for updates to take place, meaning no Ctrl-Z/Command-Z to get back to a timeline with the clips rather than your 'replace in AE linked composition').

premiere pro dynamic link sequence editing

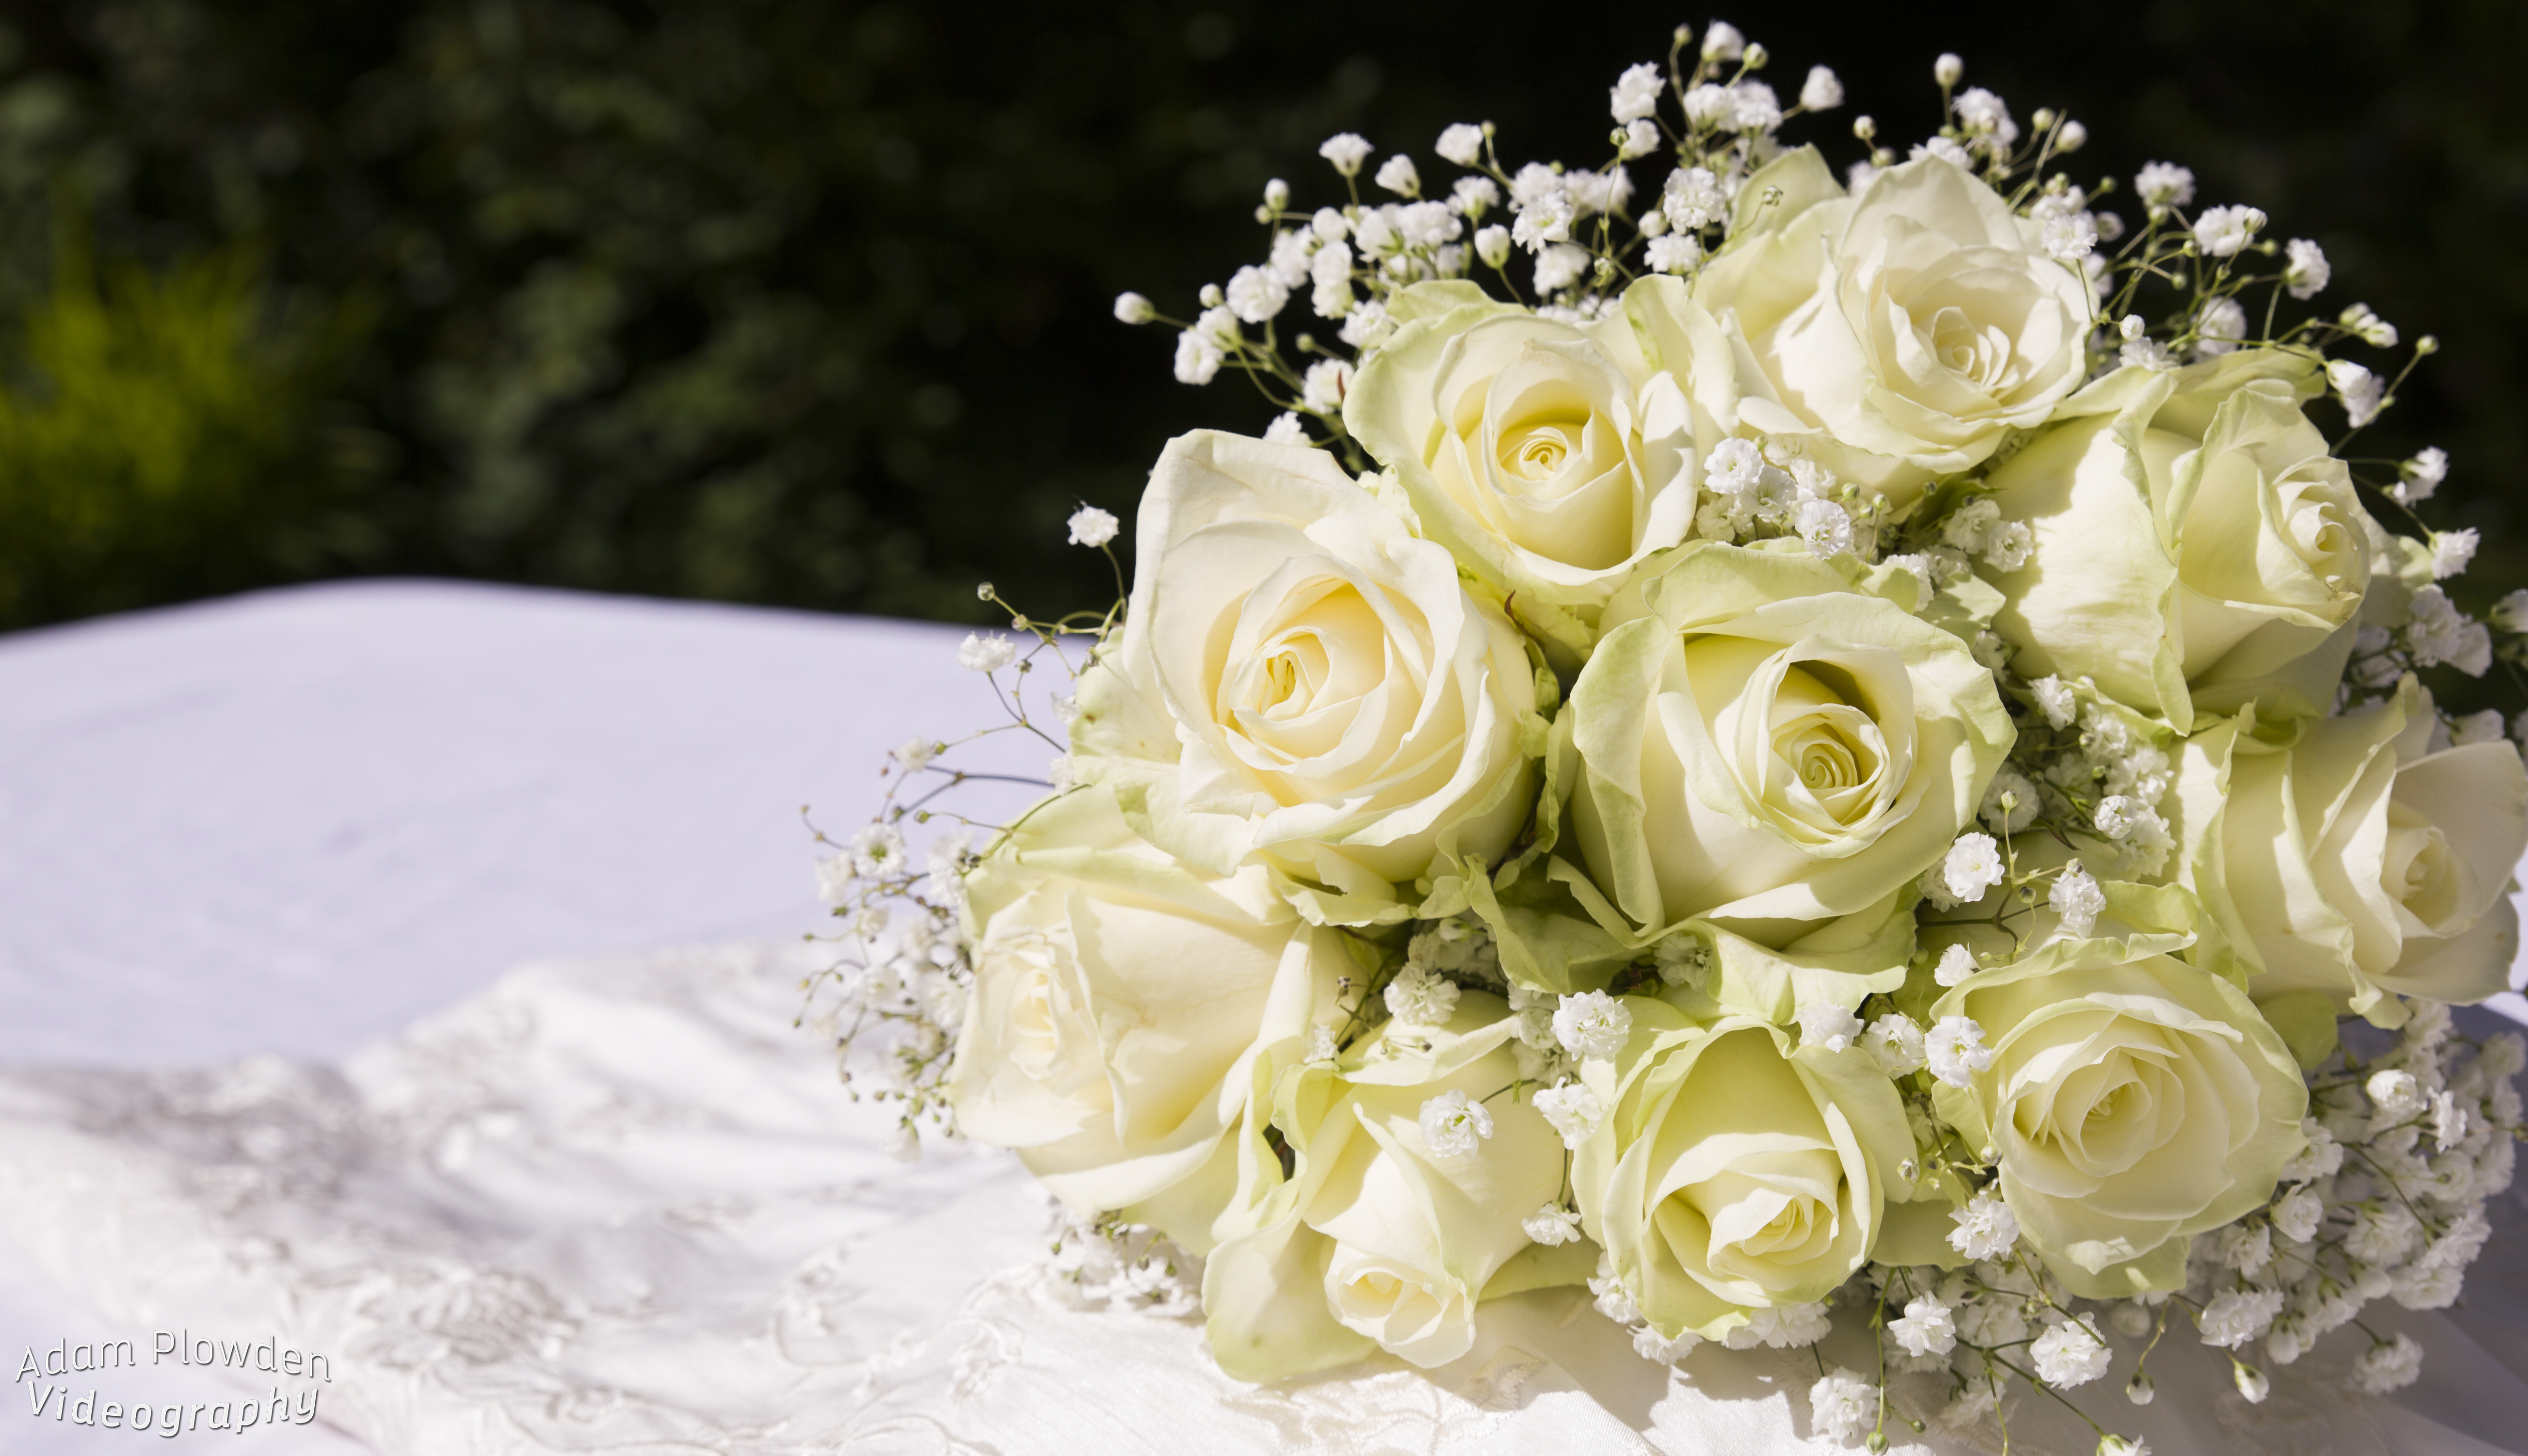
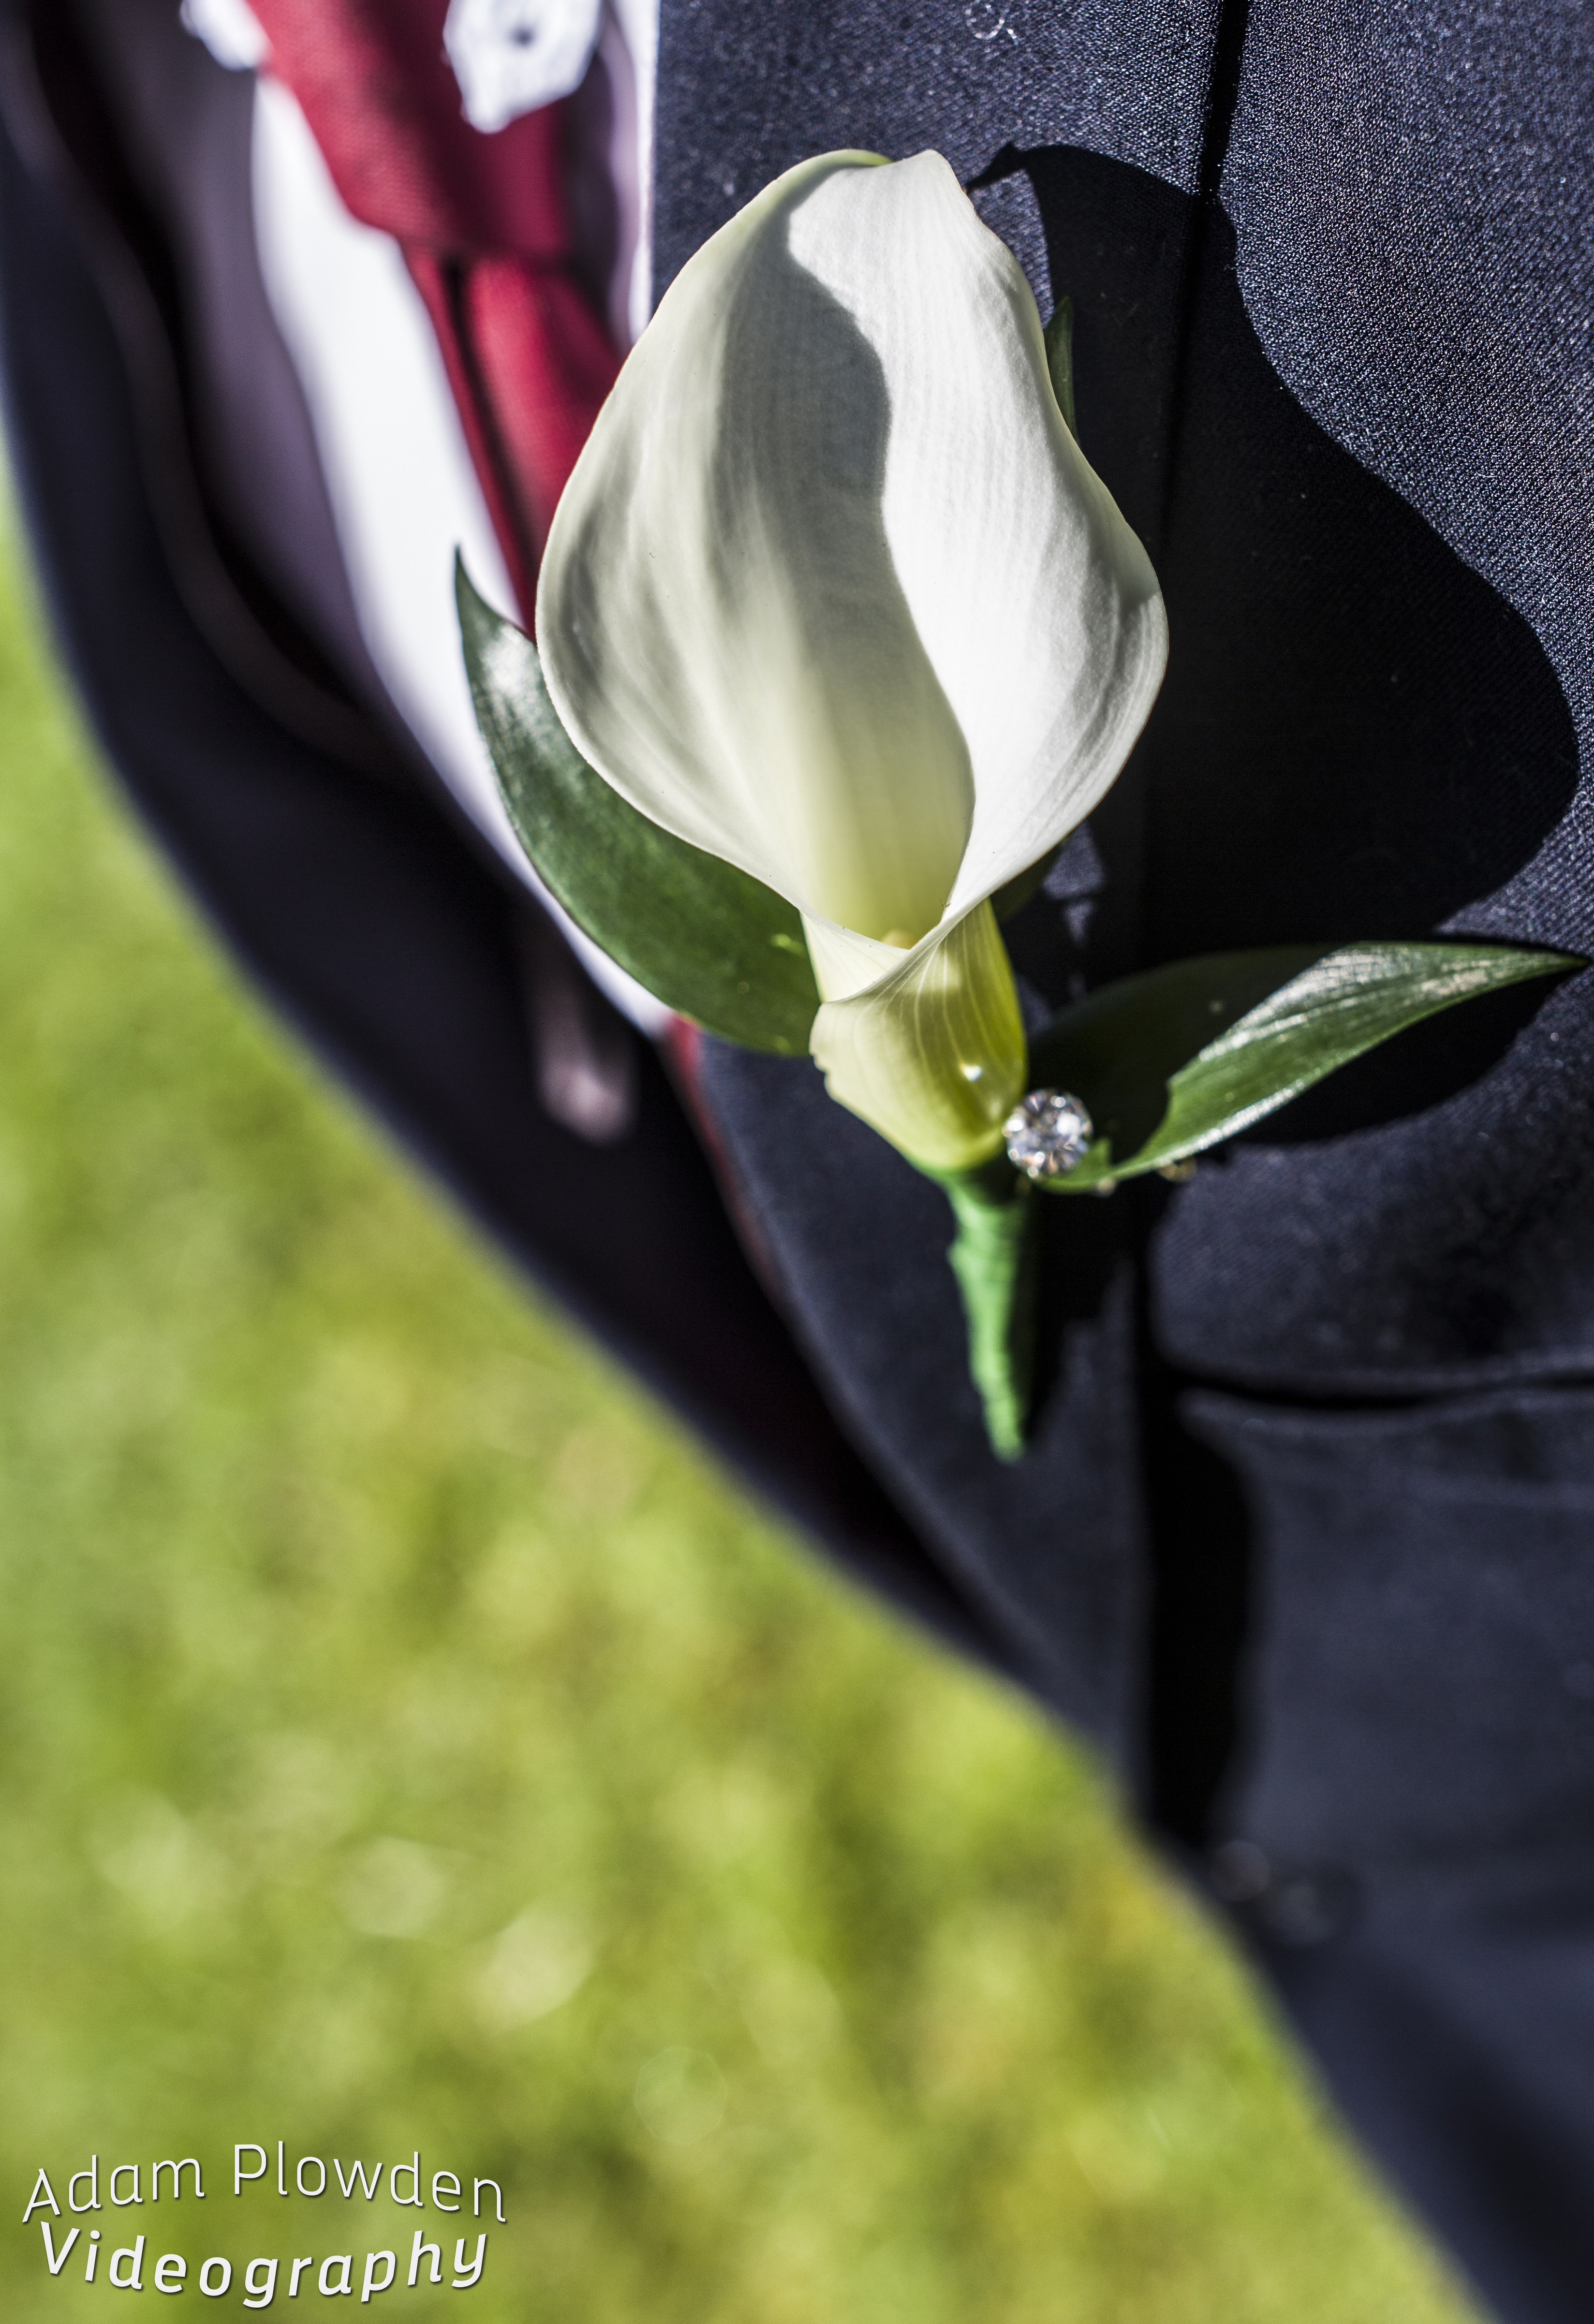
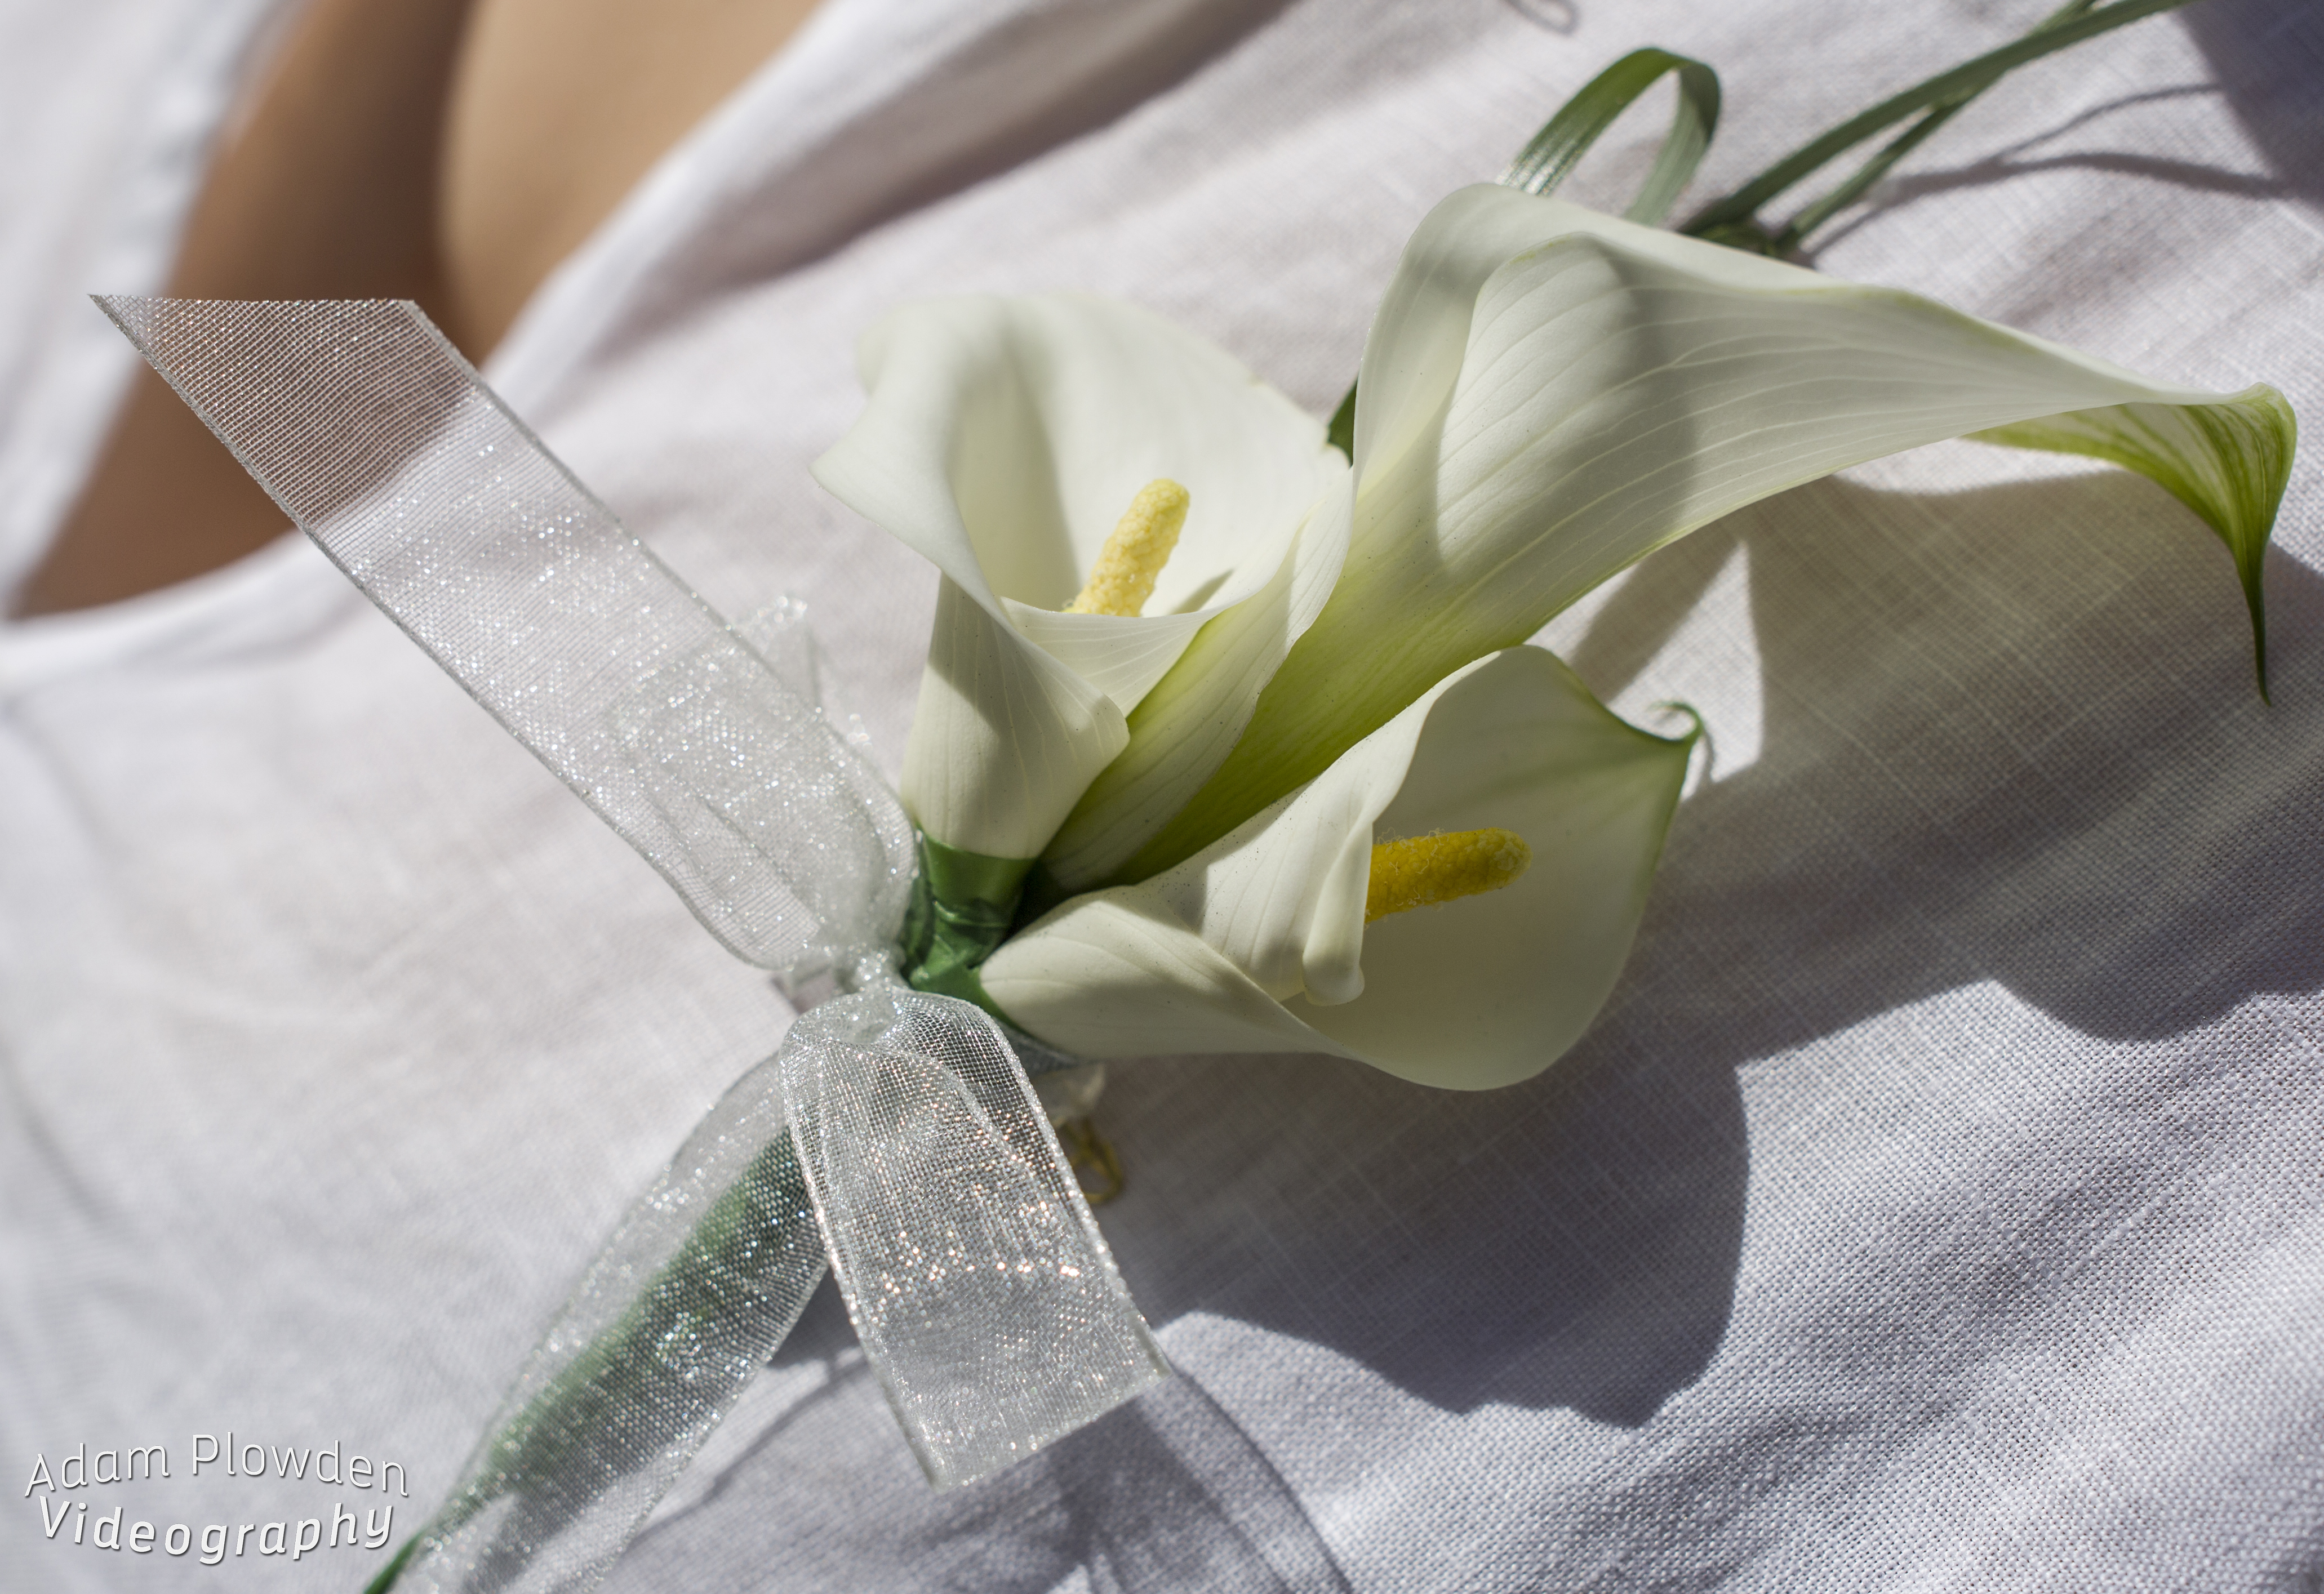
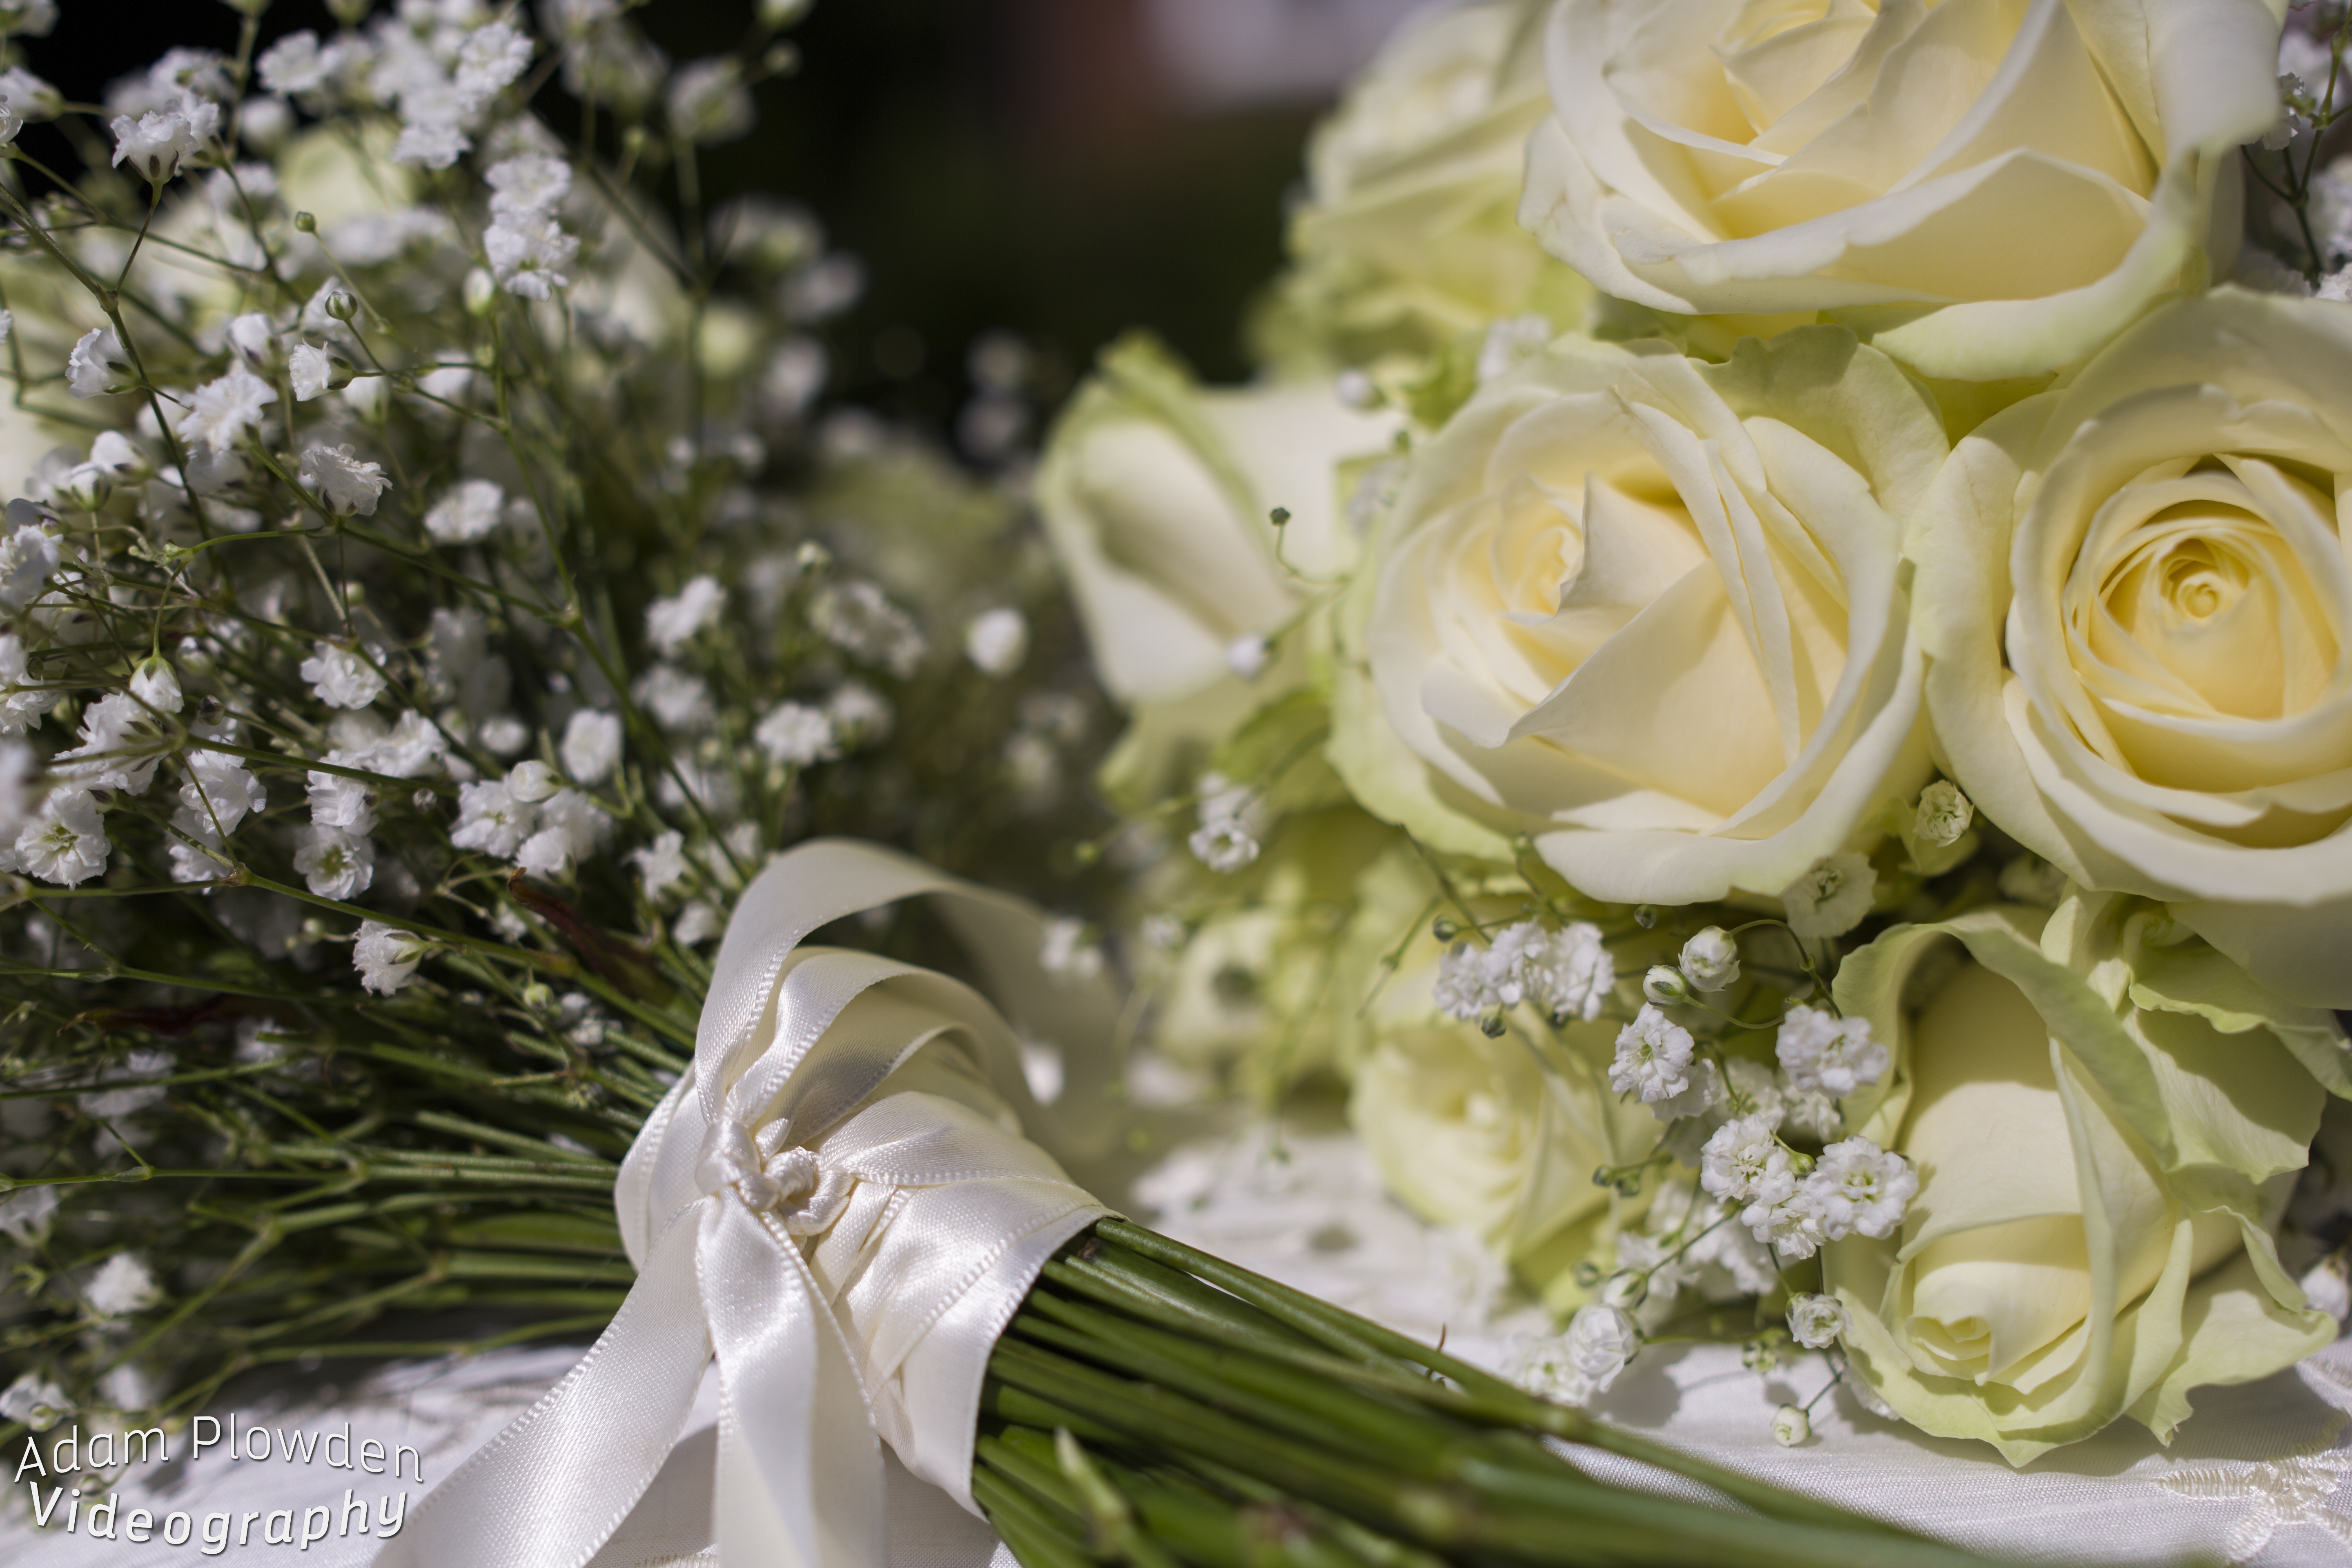
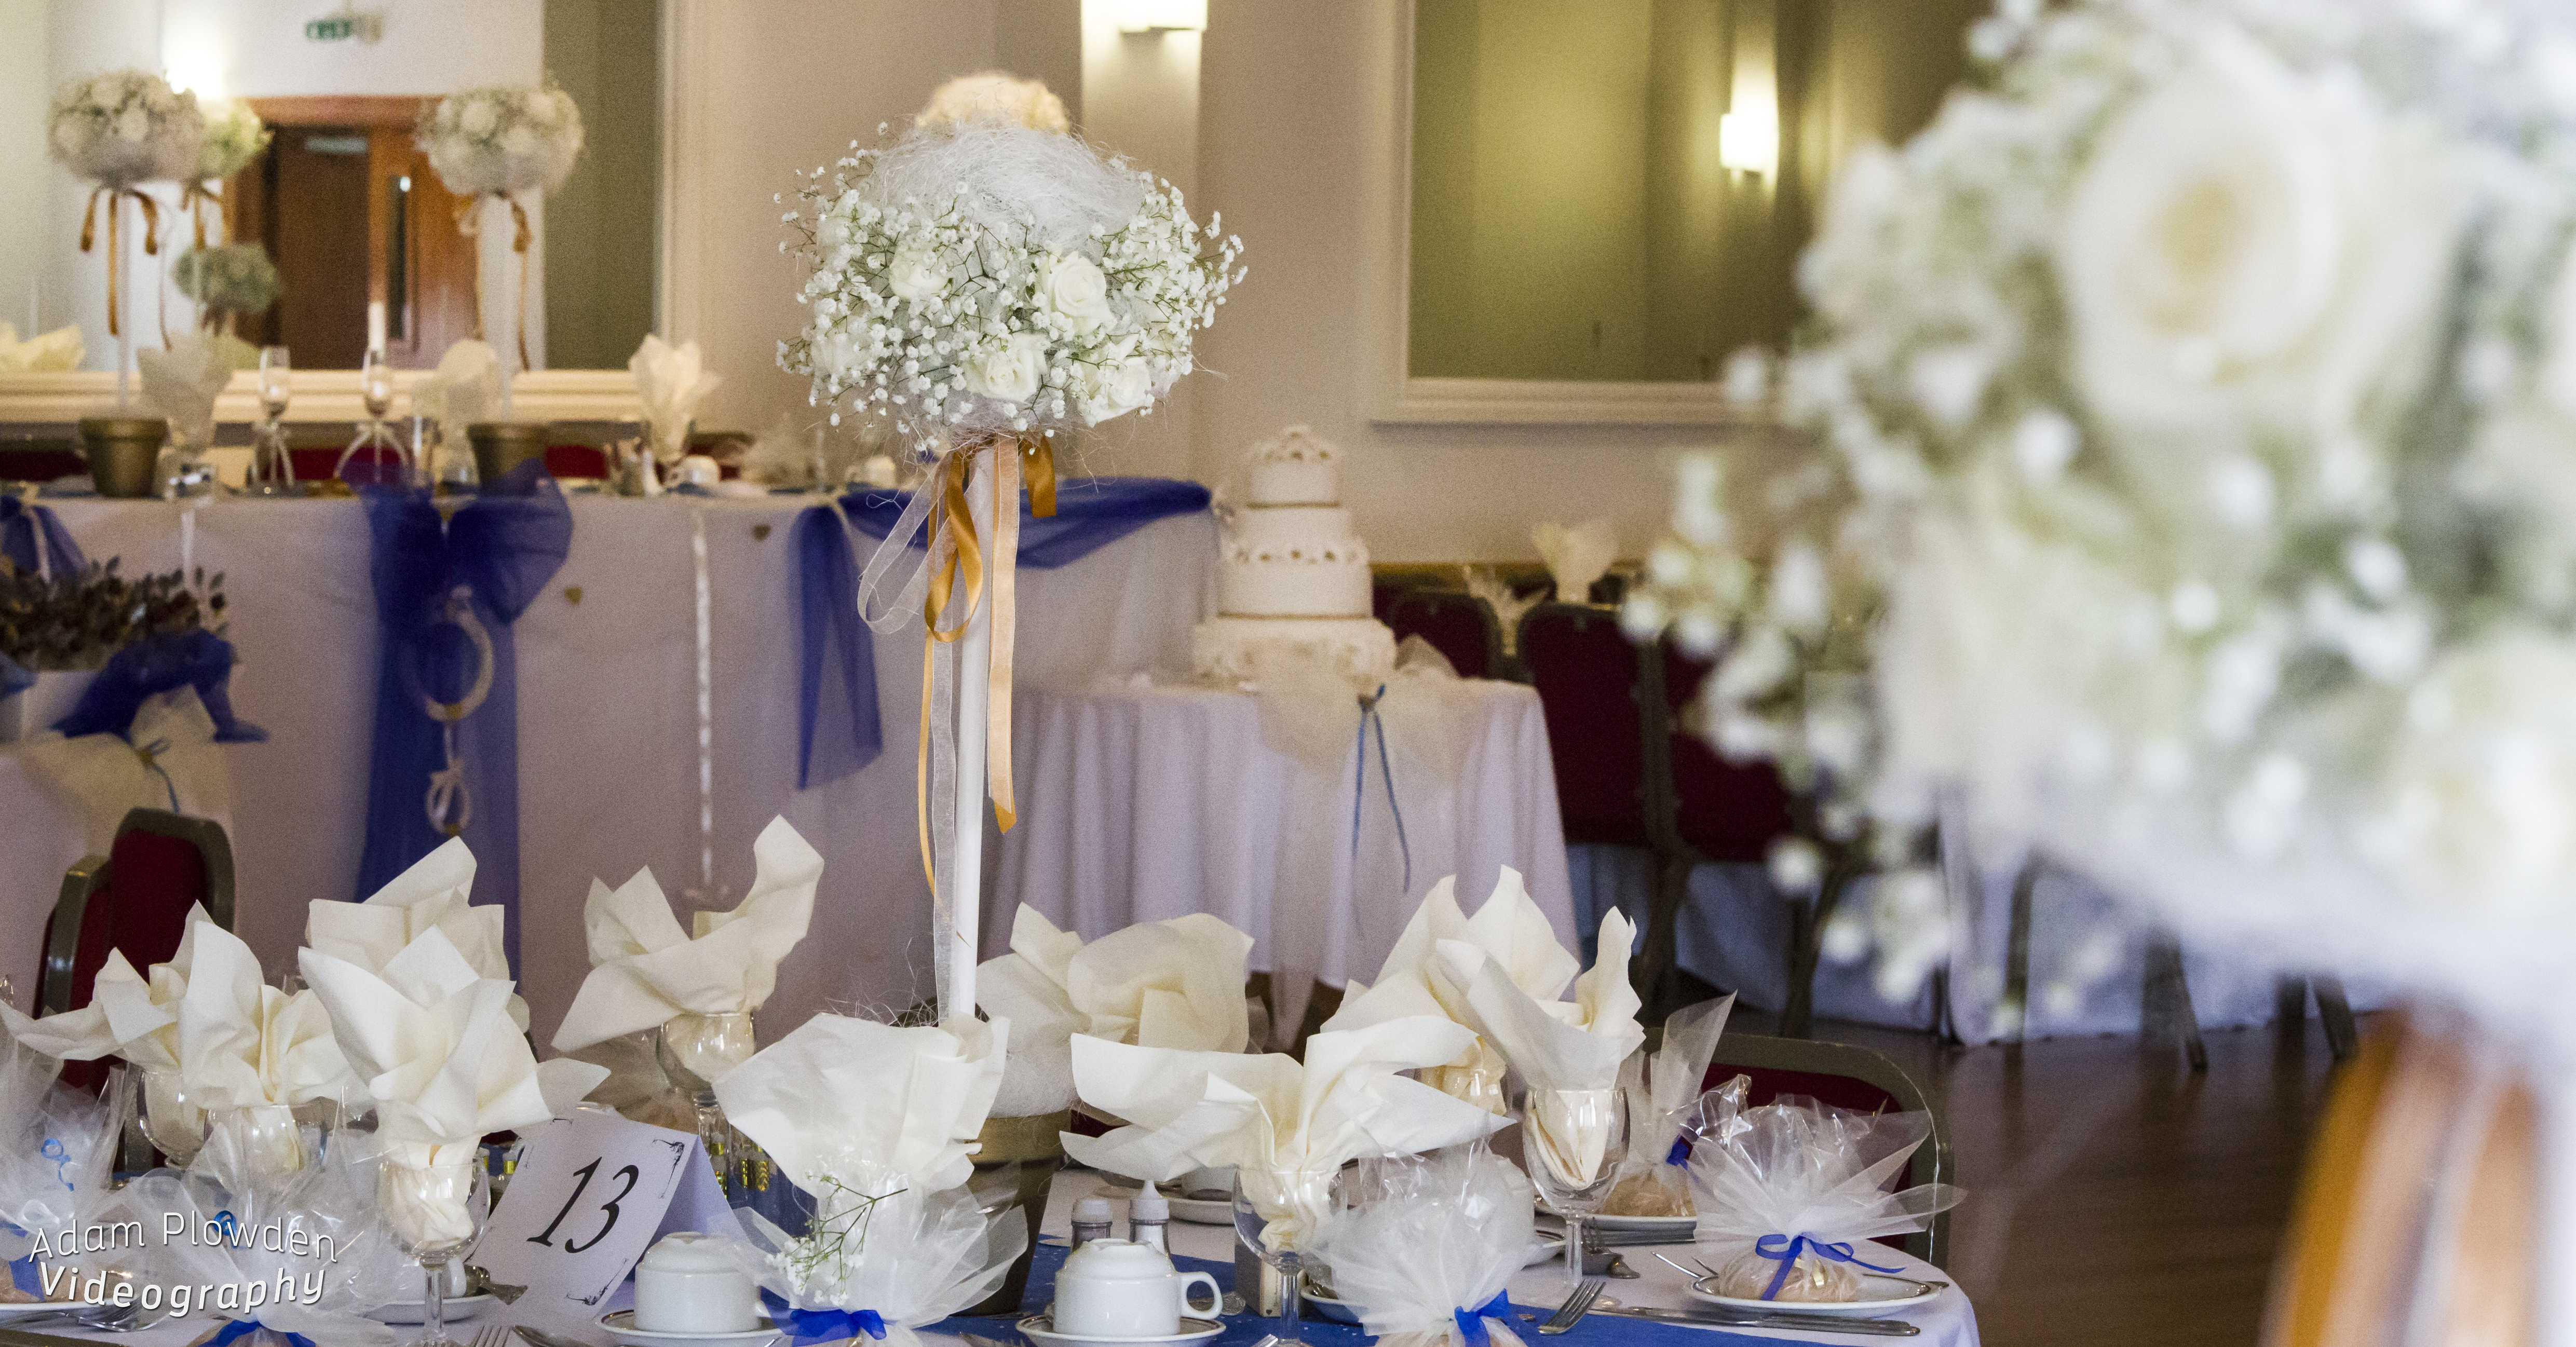
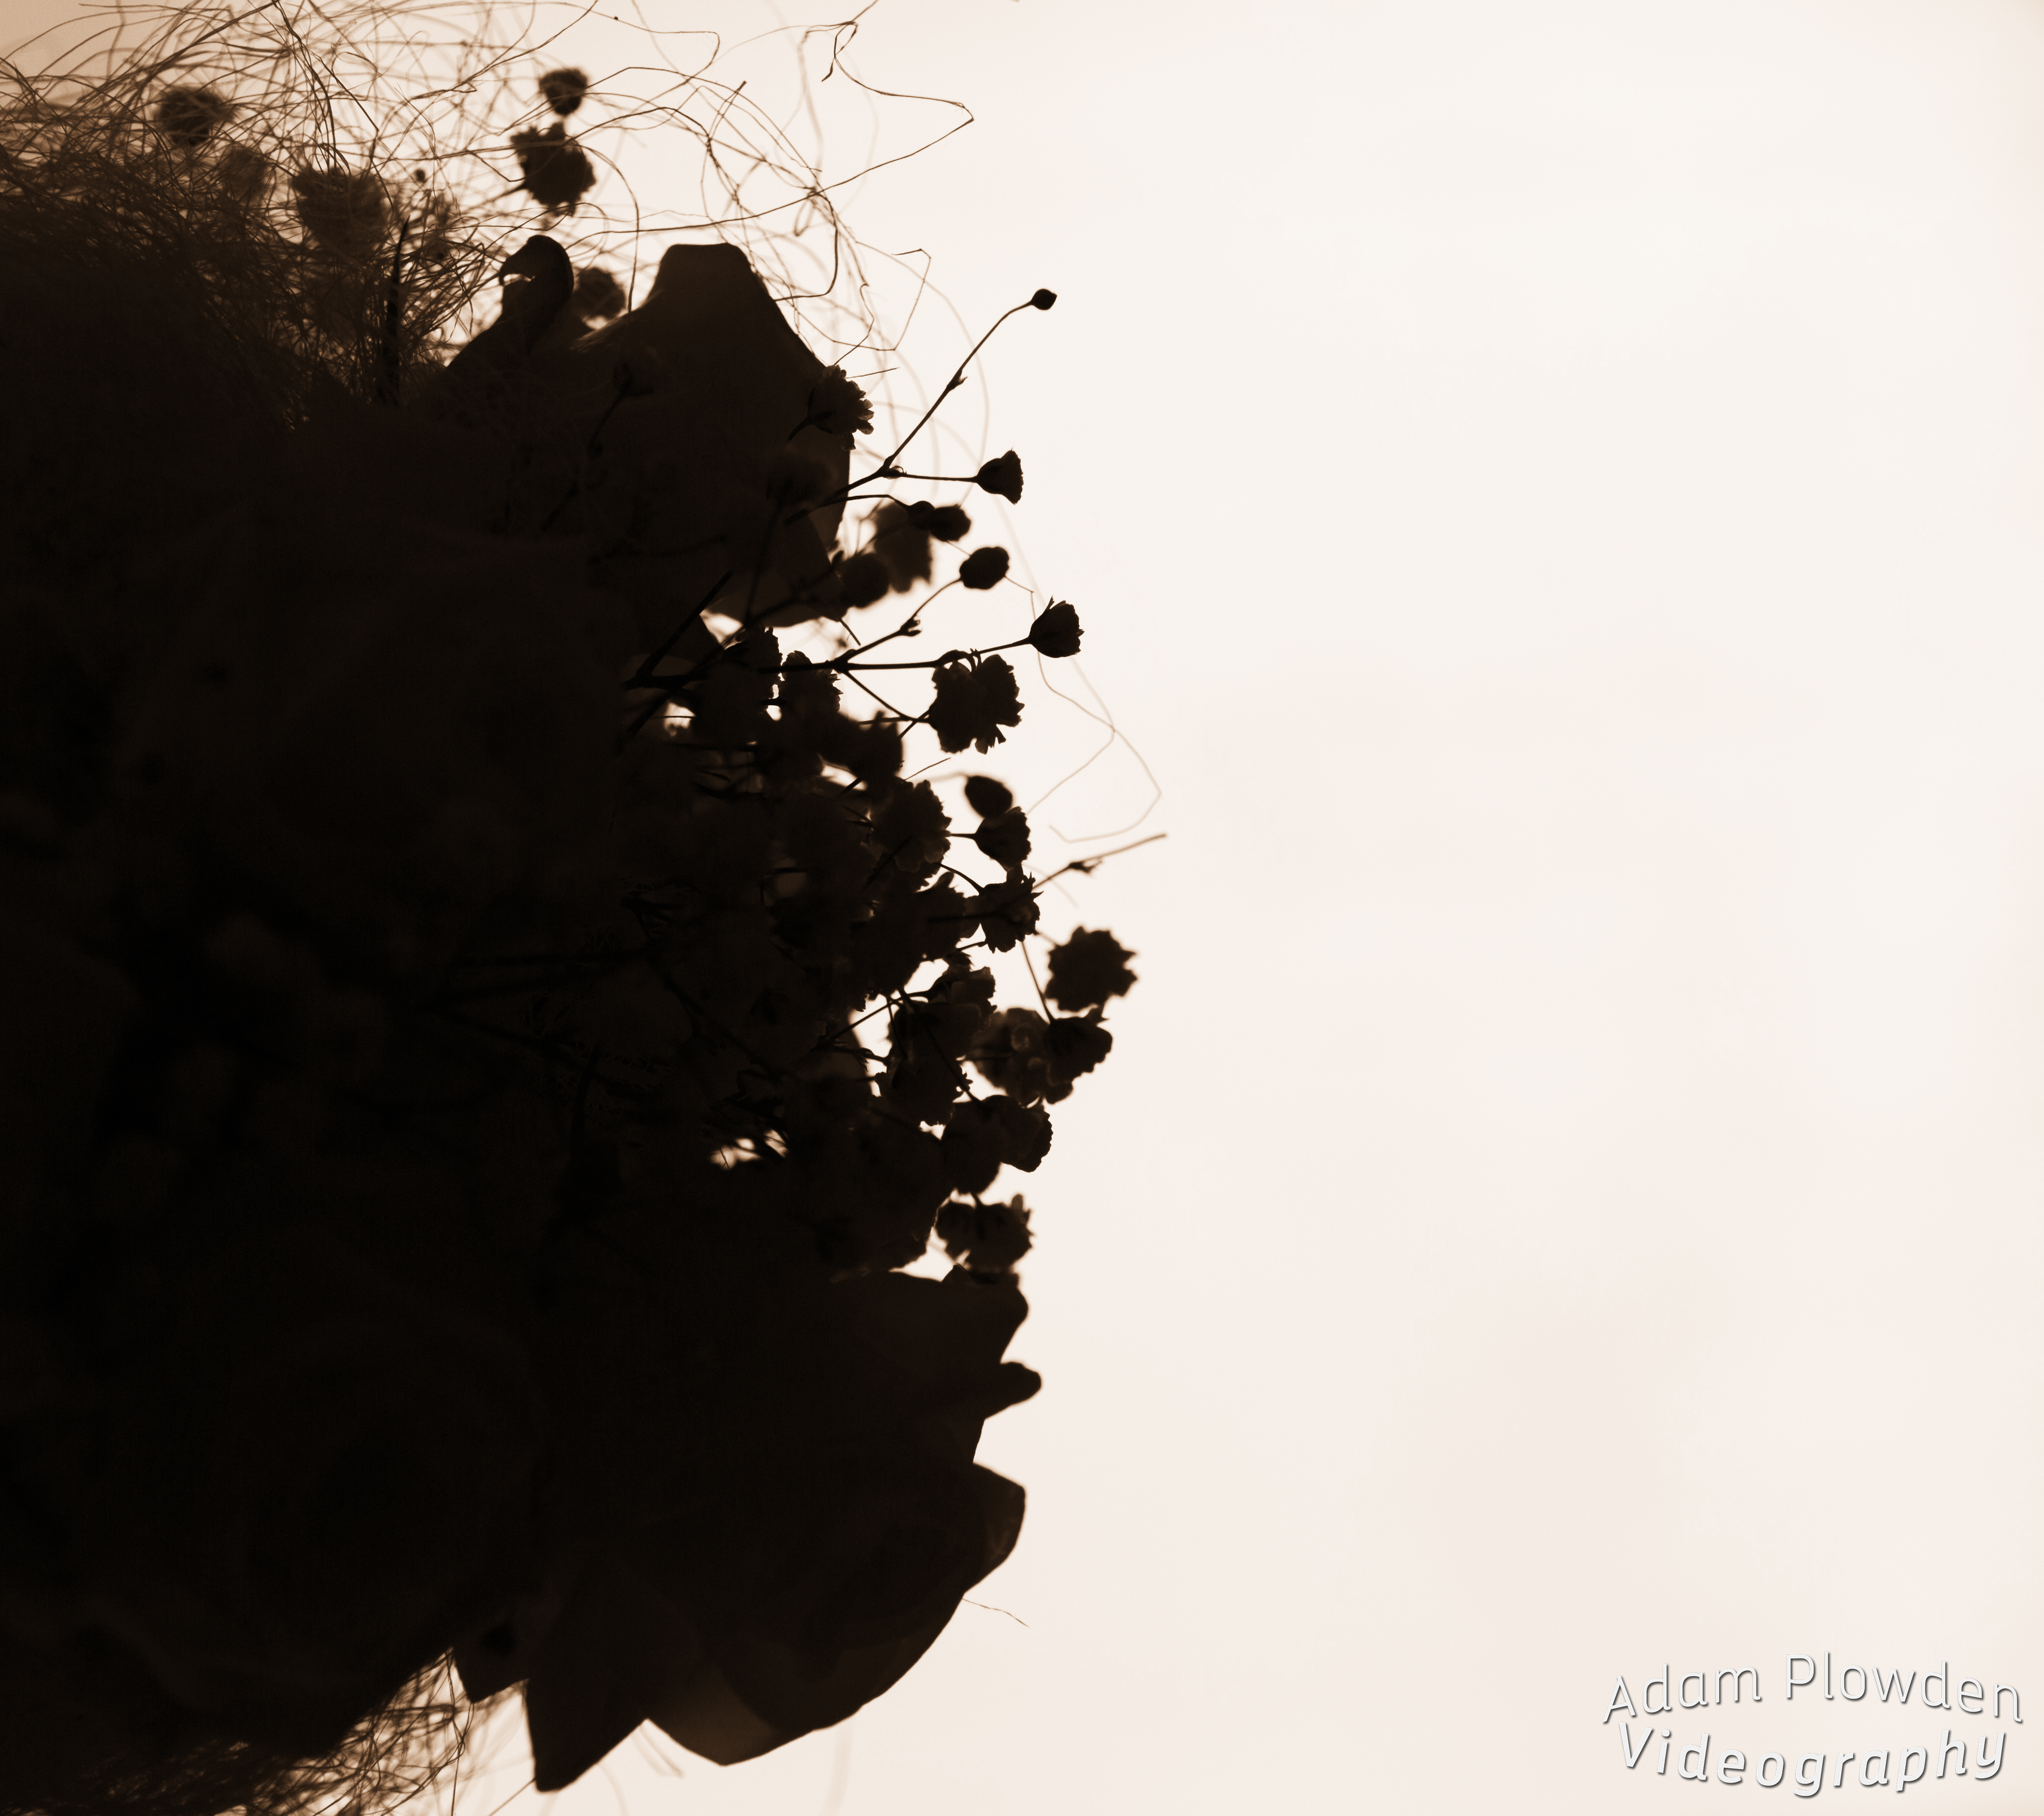
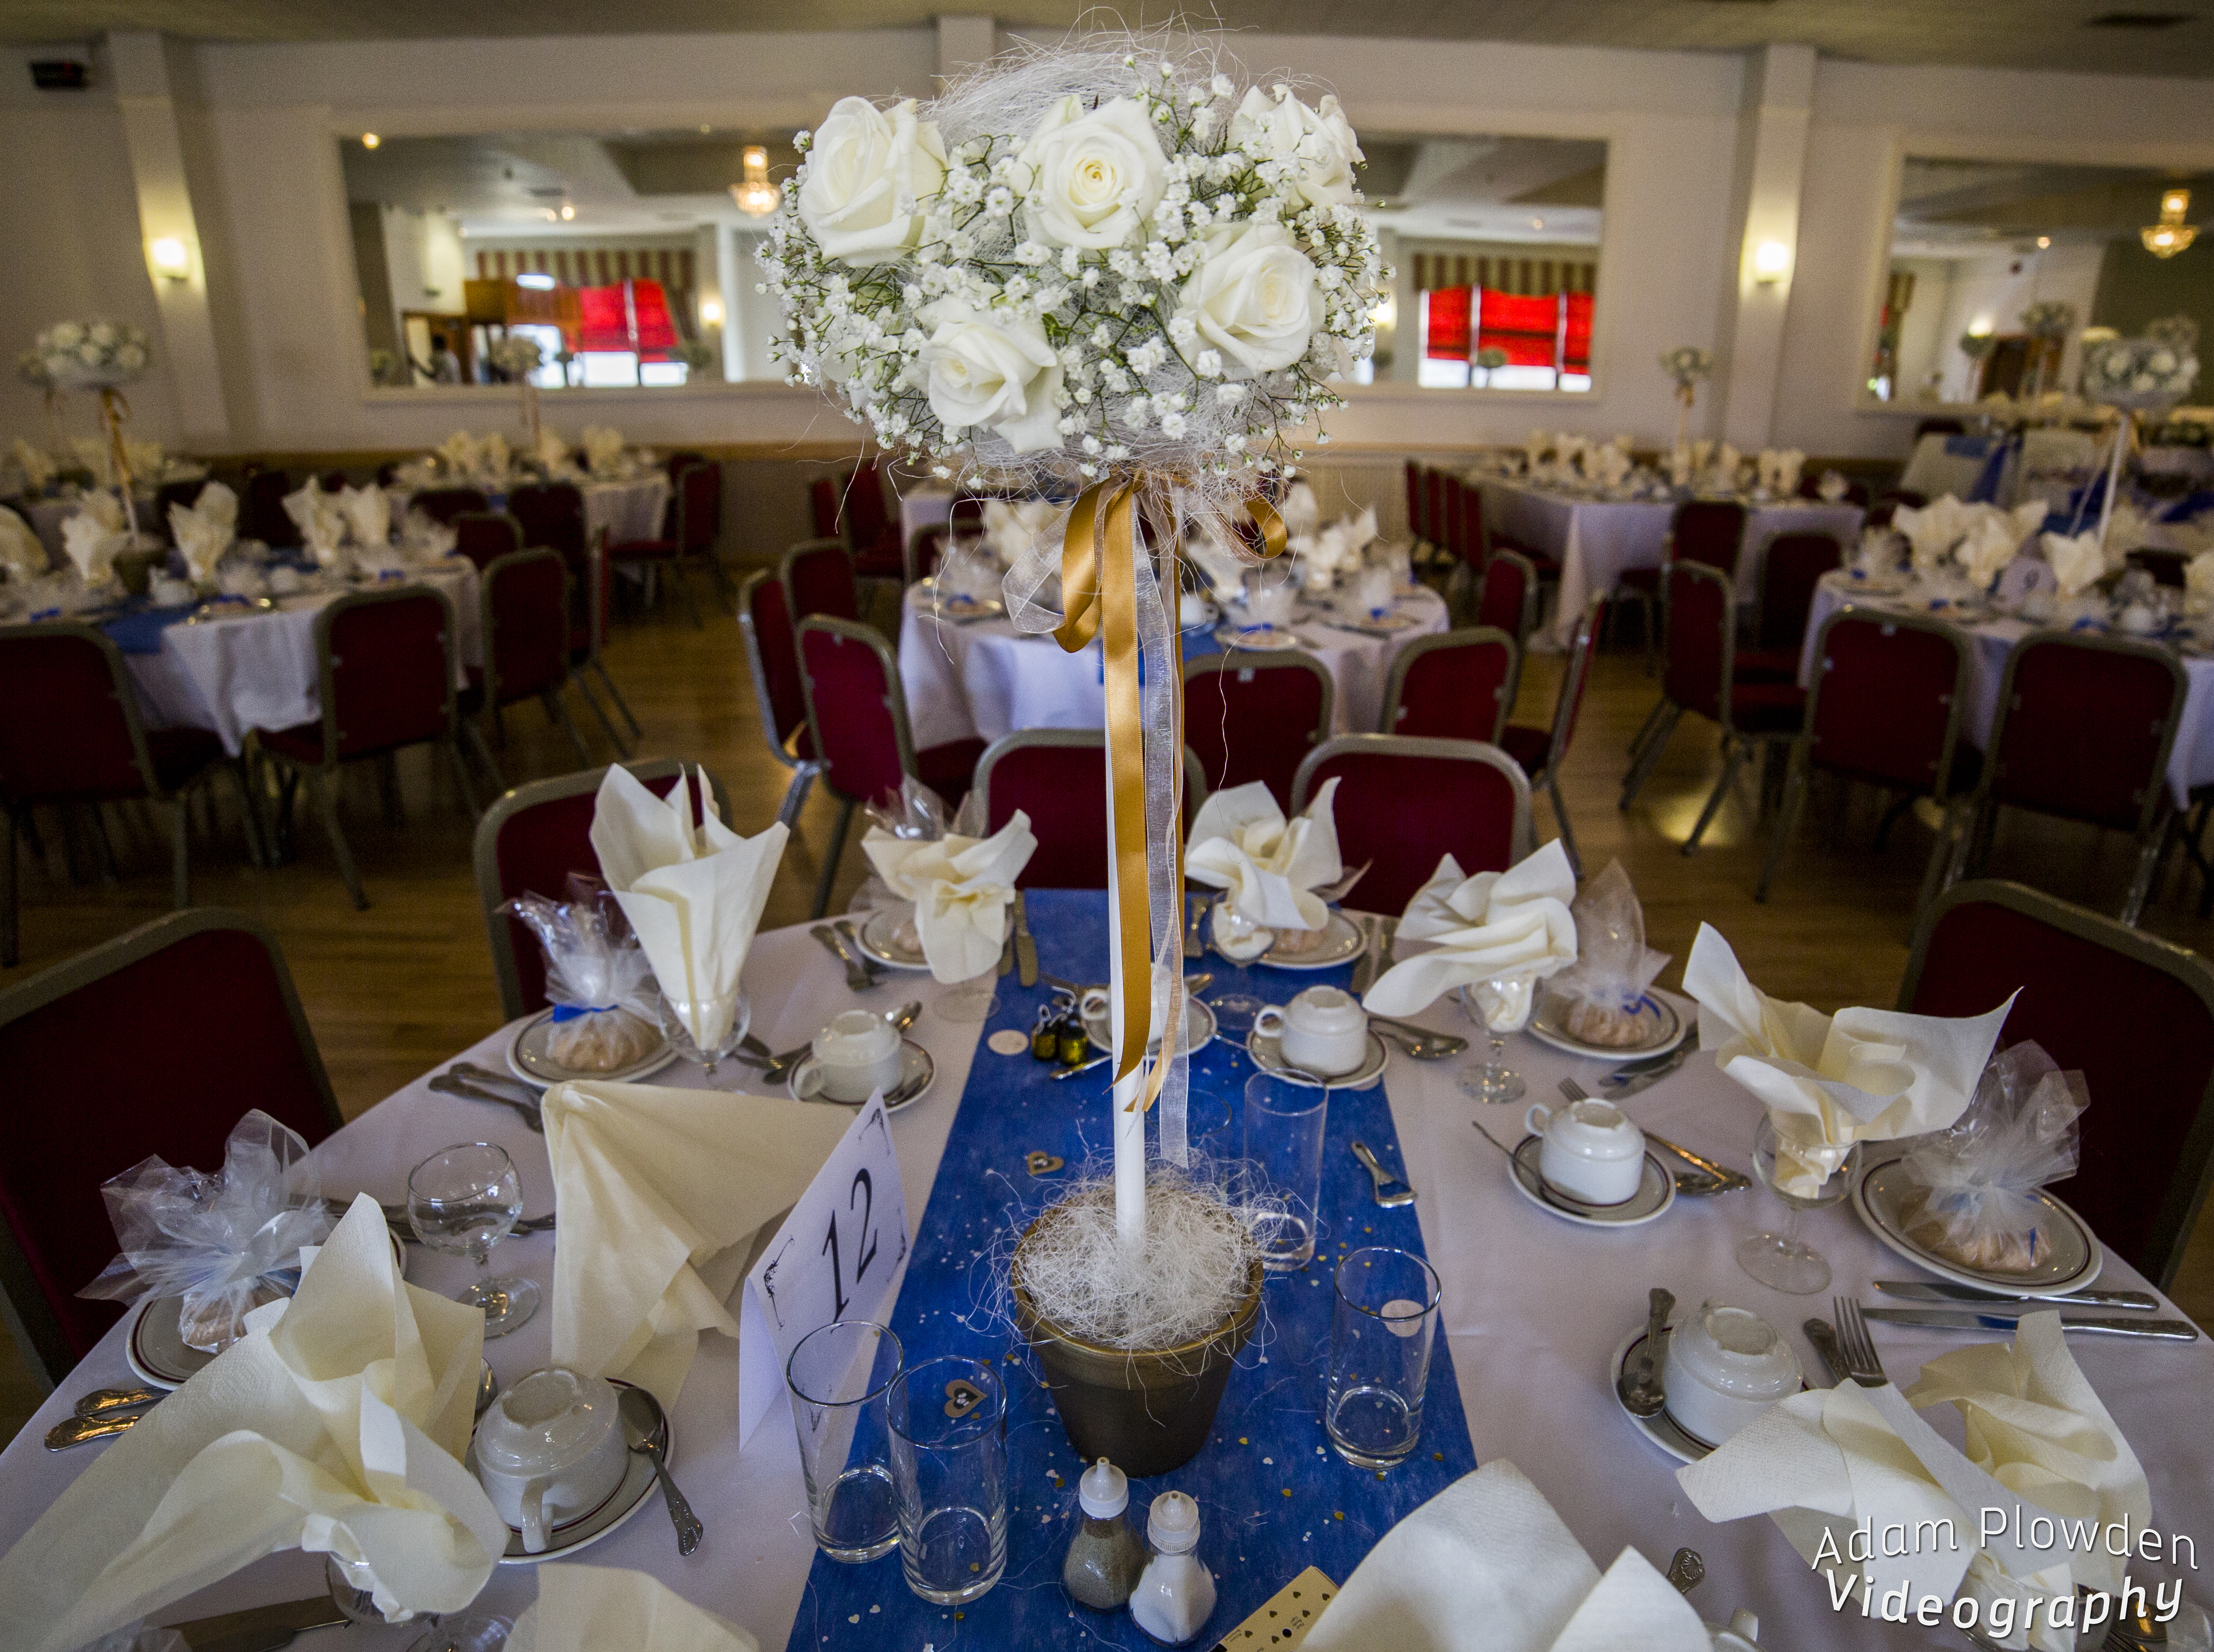
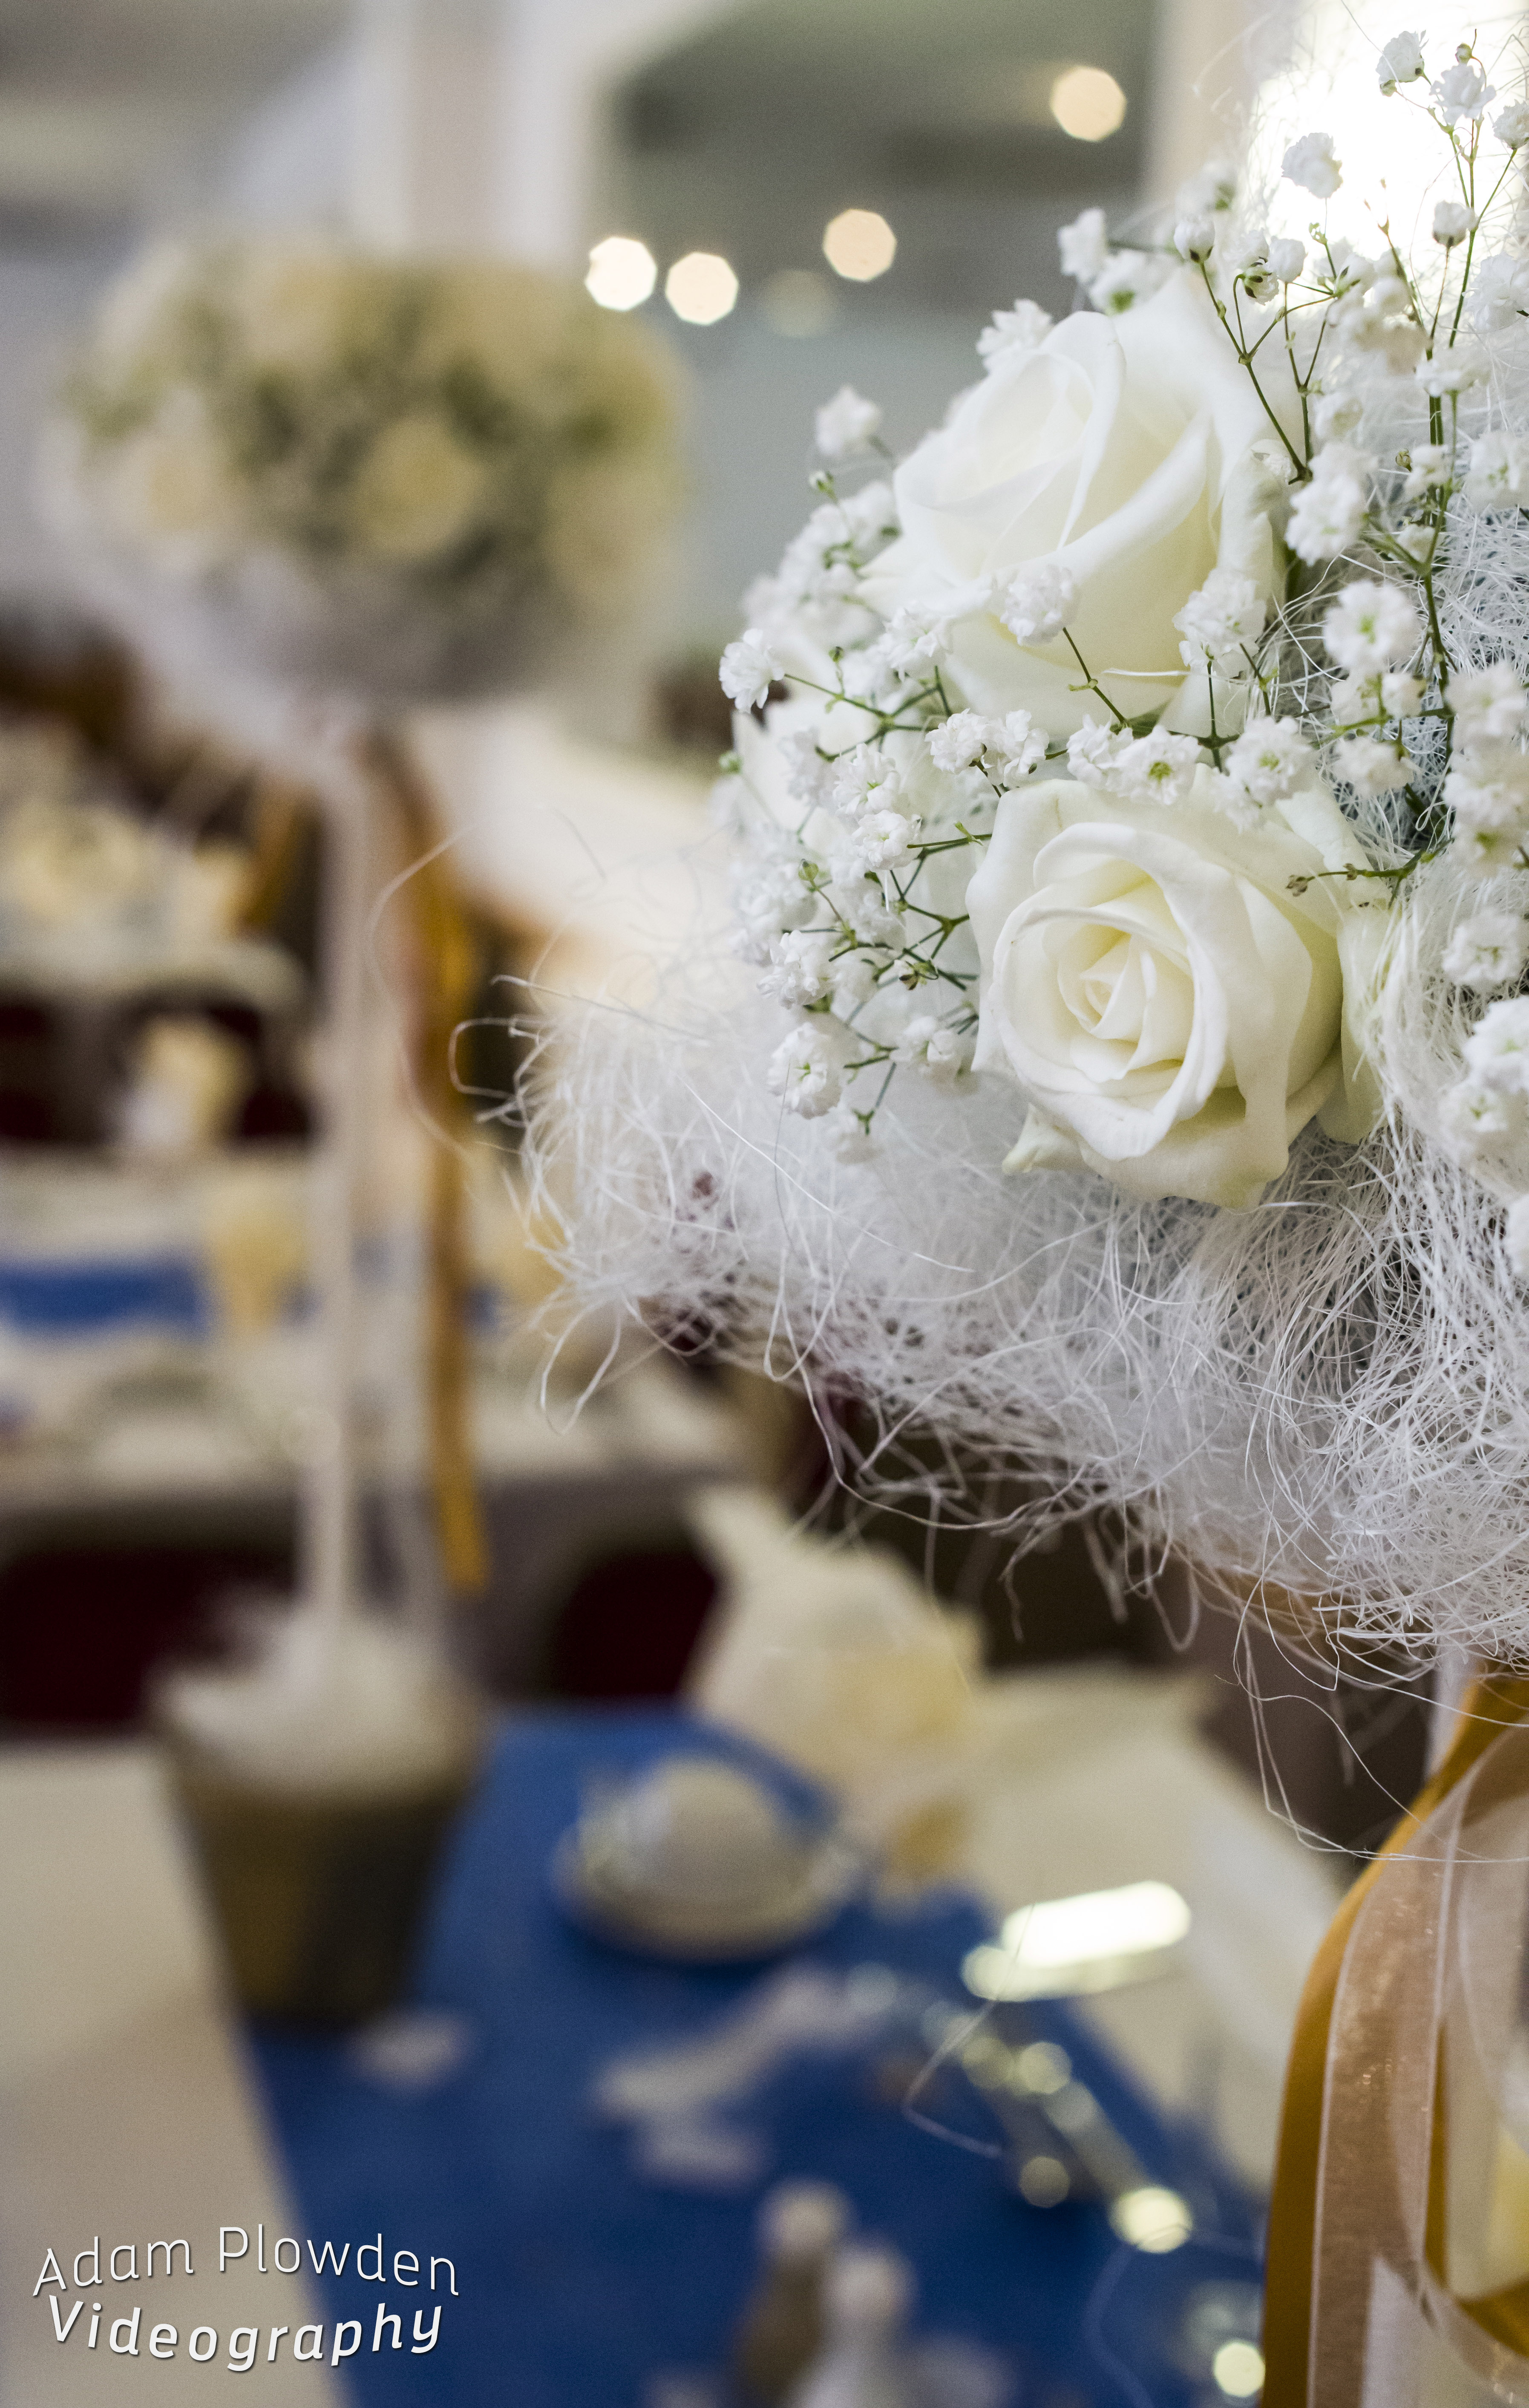
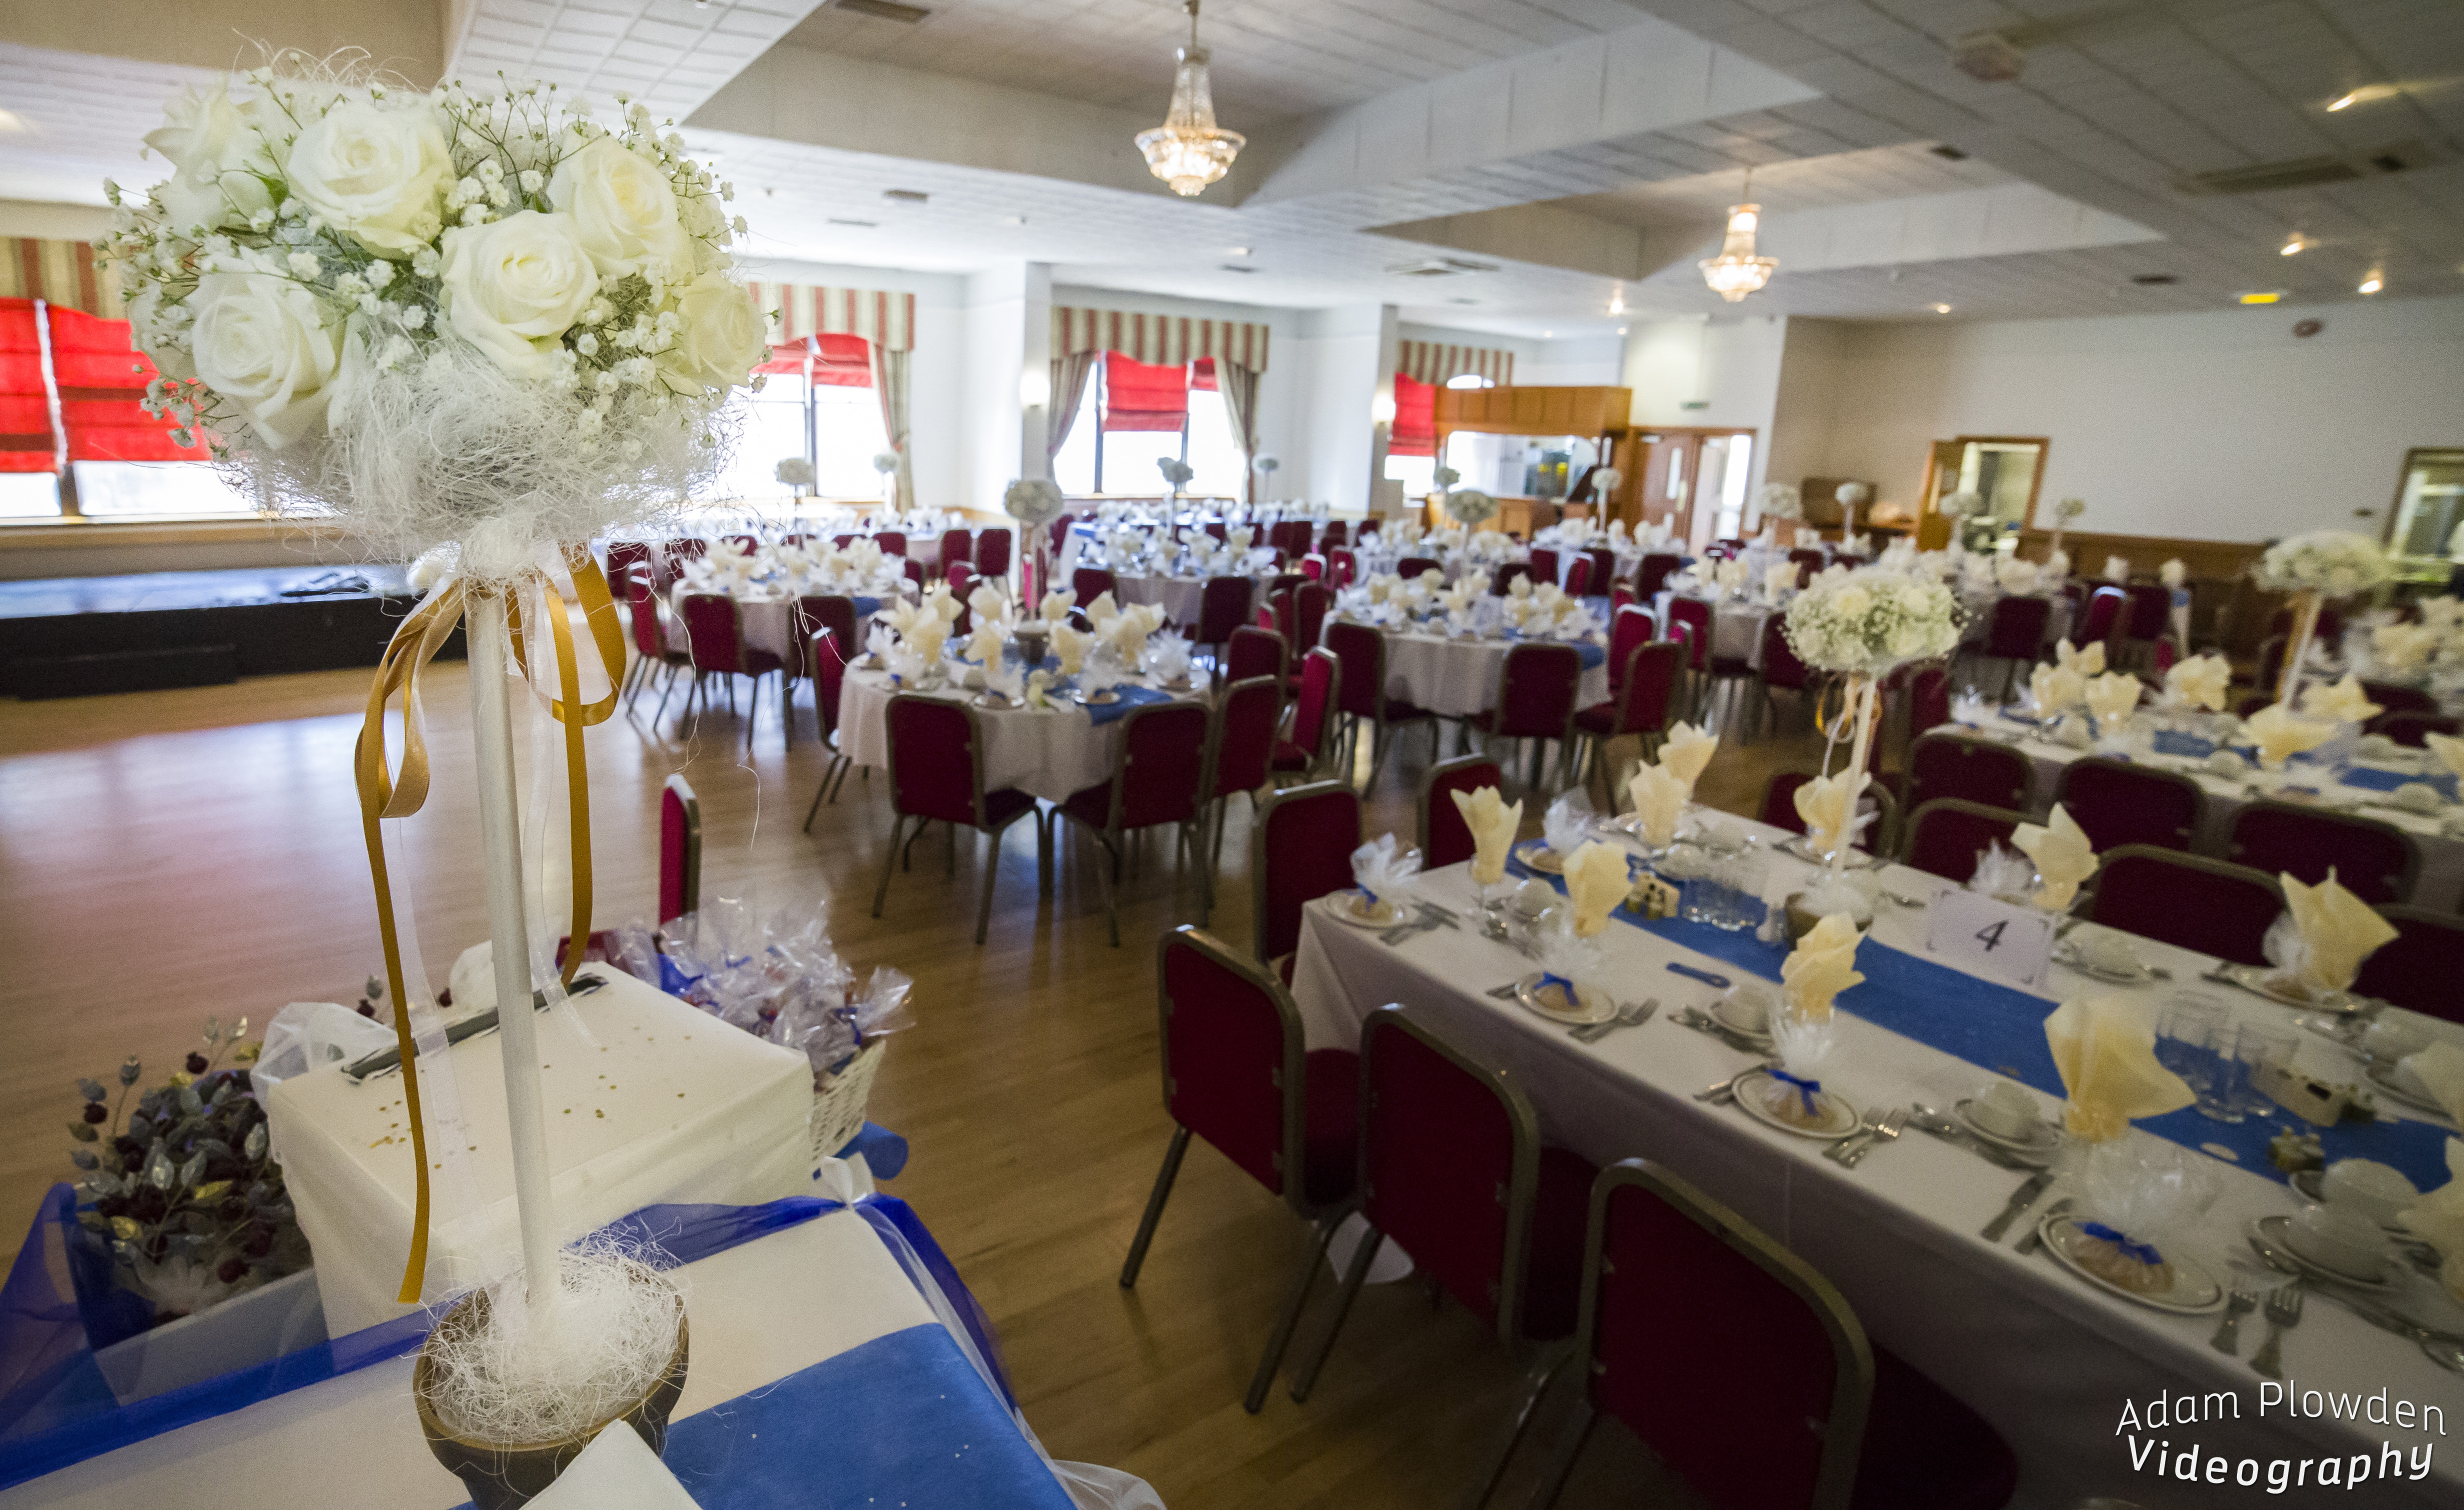
I was also out photographing flowers for a wedding, for the florist Madeleine Pink a few weeks ago too! Taken on a range of lenses with the Canon 5D mkIII (Tamron 24-70mm, Sigma 70-200mm, Samyang 14, 35, 85mm cine, and Nikkor 50mm).

Madeleine pink floral wedding flower photography adam plowden videography Madeleine pink floral wedding flower photography adam plowden videography button hole Madeleine pink floral wedding flower photography adam plowden videography button hole 2 Madeleine pink floral wedding flower photography adam plowden videography brides bouquet Madeleine pink floral wedding flower photography adam plowden videography table bouquet Madeleine pink floral wedding flower photography adam plowden videography table bouquet silhouette Madeleine pink floral wedding flower photography adam plowden videography table bouquet 2 Madeleine pink floral wedding flower photography adam plowden videography table bouquet 3 Madeleine pink floral wedding flower photography adam plowden videography table bouquet 4

Since then, I ventured into using Lightroom to edit the photos as well, still learning bits and bobs but found a range of fantastic presets here that create some great looks. I'd appreciate your thoughts on the photos and the looks as well, as it's mostly stab in the dark/emotive based :P

[gallery ids="4278,4279,4280,4281,4282,4283,4284,4285,4286,4287"]

A couple of weeks ago I had the pleasure of filming Dan and Kelly's wedding in Ashford + Foxhills where I met the awesome Ash; a unique wedding photographer! Check out the wedding film here [embed]https://vimeo.com/97953644[/embed], and definitely check out Ash's work over at Ash Darling Photography! Highly recommended by me :D and I believe I'll be working with Ash soon on an up coming wedding, really looking forward to it!


Believe it or not, I have been doing some videography too! In between editing the health and wellbeing videos, and on the pre-production sketches of the telecare animation I spent a couple of afternoons in The Woodland Garden in Bushy Park; one of my favorite places to go to switch off work mode, relax and shoot some video for personal projects. I've named this one 'Waterhouse', it's the name of the part of the garden where a balcony looks over a pond with a waterhouse to the left. It poses interesting thoughts to its original function, the bricks and foundations holding strong throughout years of use and bad weather. Virginia Creepers pursue to edge up its sides, gripping on to reach the sunlight through the tree canopy.

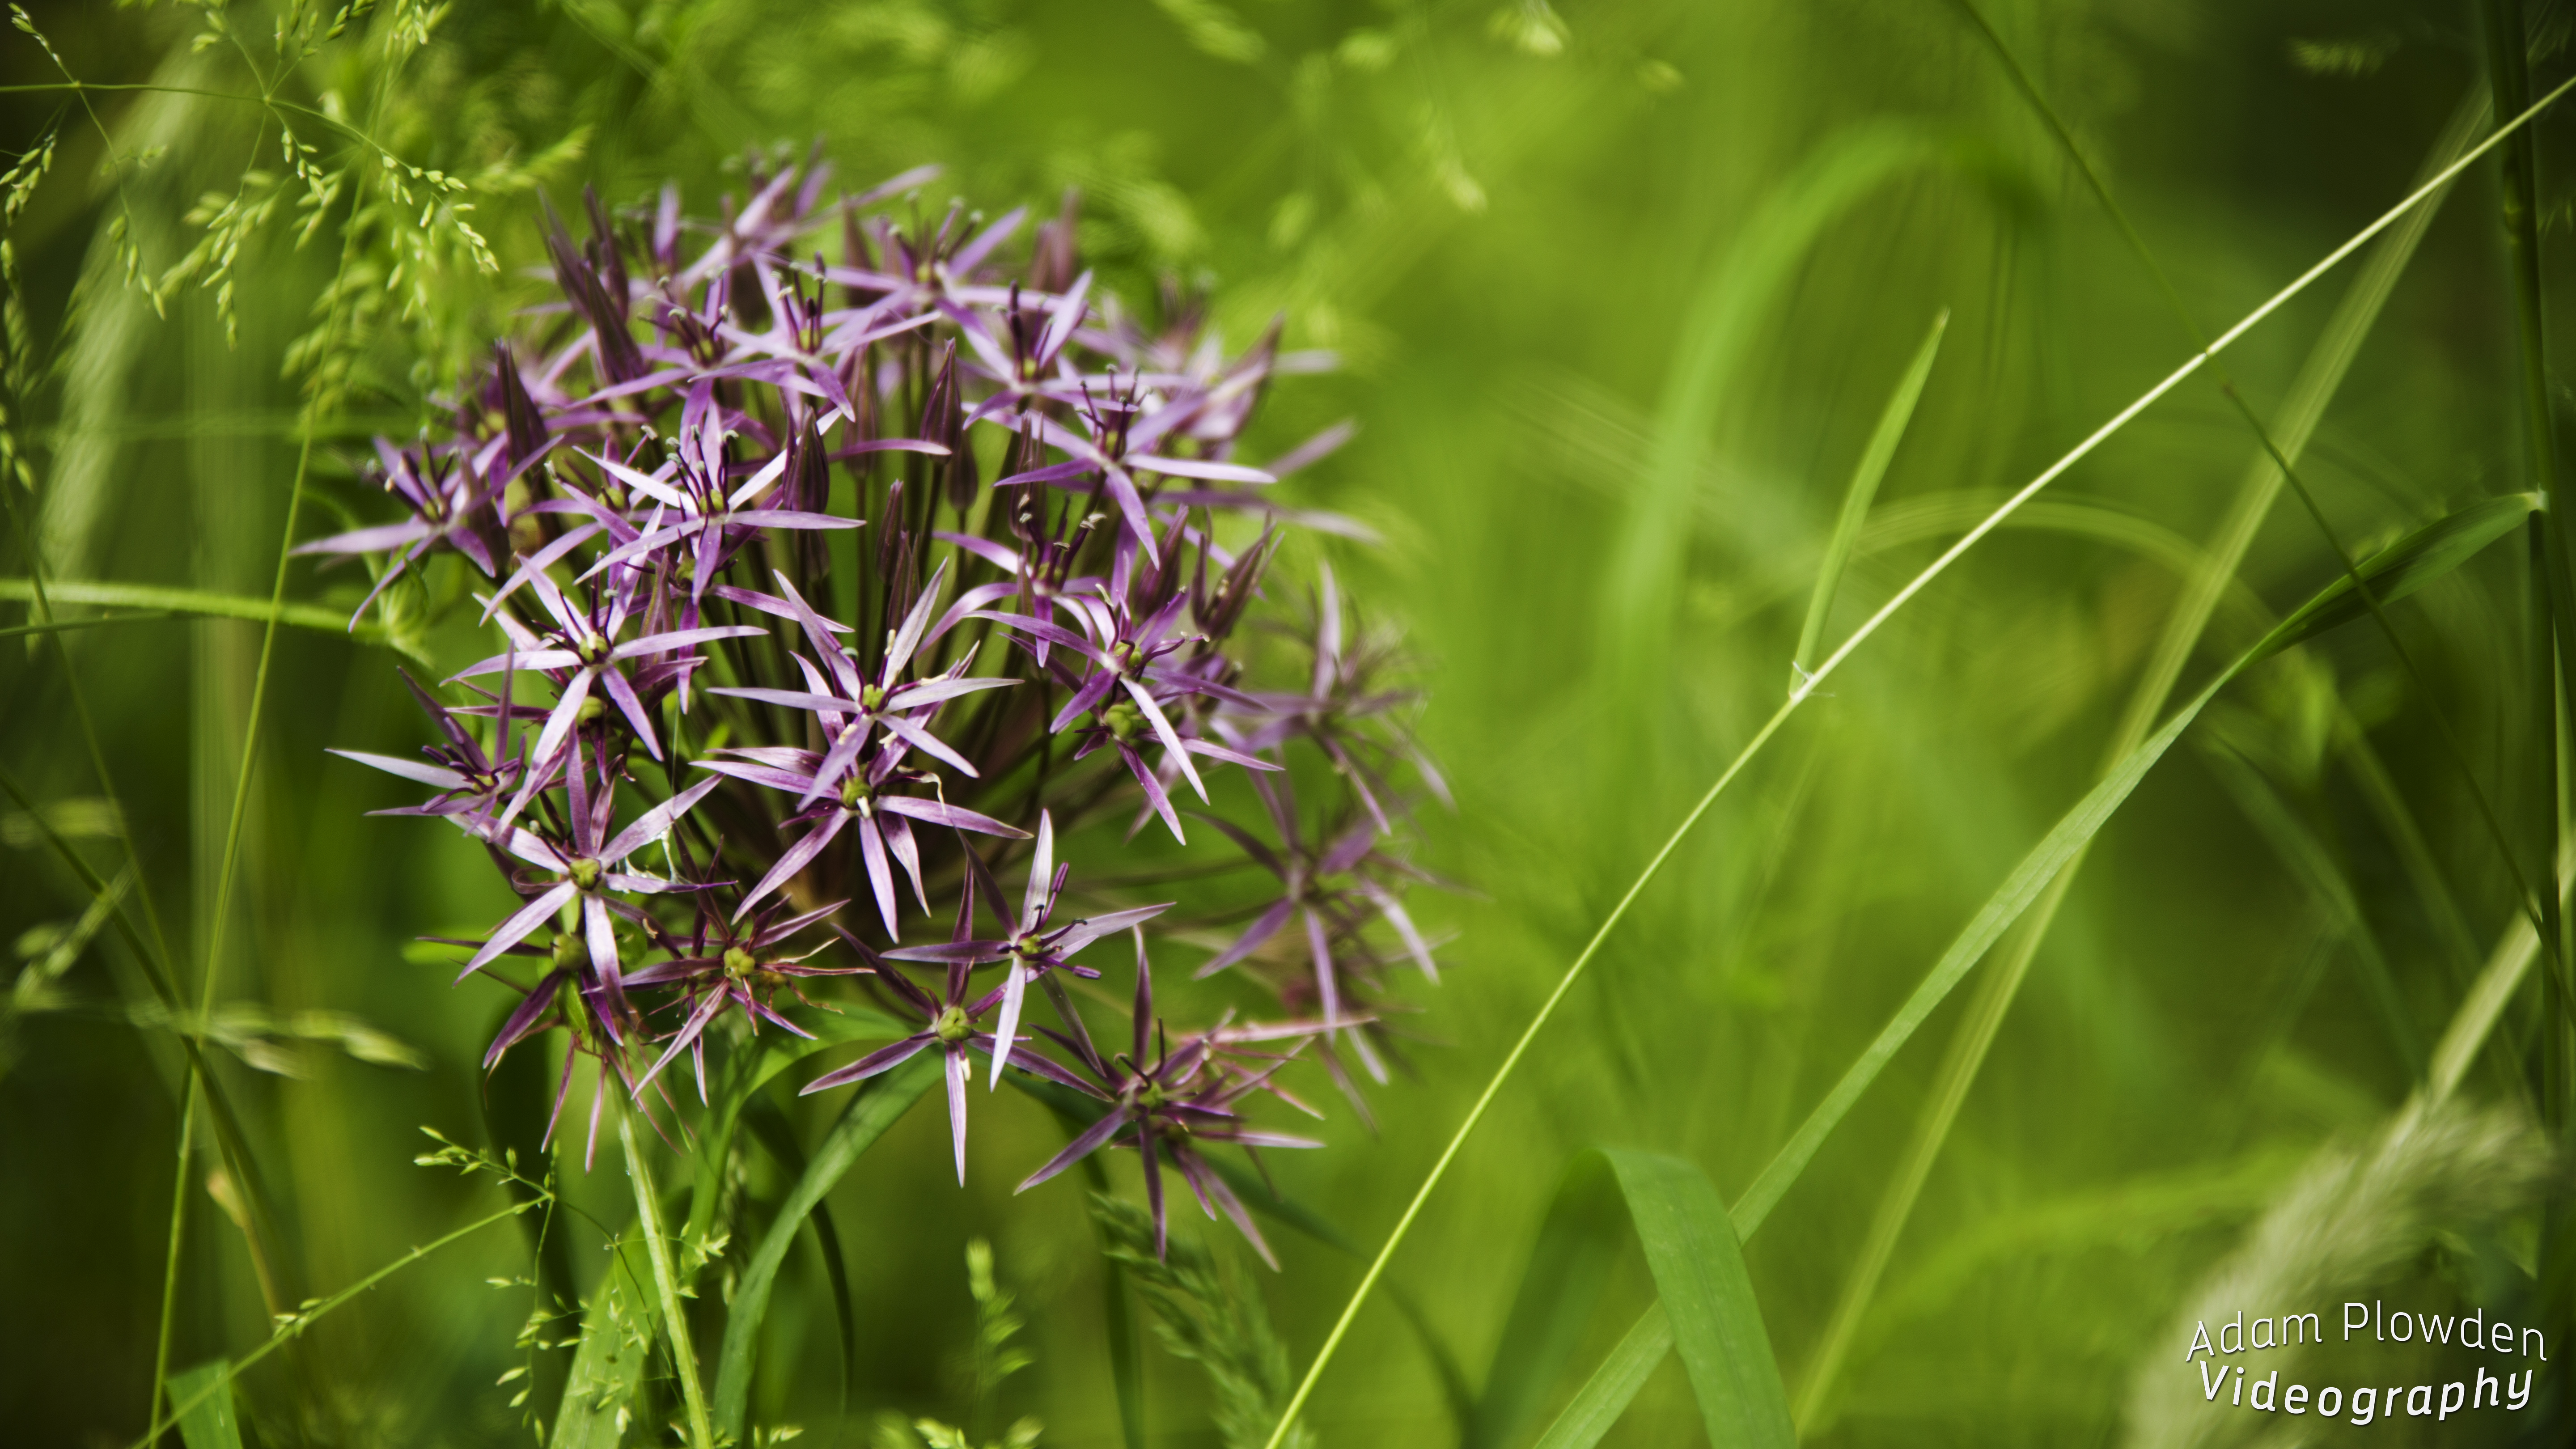
beautiful blooming purple Allium flower photography adam plowden video waterhouse

The edit is complete, but I am now working on a quirky hipster logo/title animation for the beginning of the video so as soon as it has been animated and comped into the footage I will upload!

The kit I used for the 'Waterhouse' video include; Manfrotto 755Cx-3 tripod, Edelkrone Slider+ v2, Canon 5D mkIII, Canon 100mm F/2.8 macro (hence why the shake on the slider is slightly more visible than without IS/OS, but I have used Warp Stabilizer where I can). Tamron 24-70mm, Sigma 70-200mm, Samyang 14, 35, 85mm cine, Nikkor 50mm. After using the Canon macro lens, I have totally decided to purchase the Sigma 105mm F/2.8 OS macro lens; firstly because of future video productions where a small minimum focus distance is necessary (product, people, detail shots), also it has optical stabilization which I found was needed when moving the camera and lens on the slider, and lastly its around £400.. Bargain!


Things I've learned so far from doing this kind of work;

  • Shoot with a widespread histogram (unless I wish to isolate the subject from shadows behind).
  • Lightroom is awesome, try playing with the presets I linked to work on the developer tools.
  • Regardless if it has been a long day filming, if you want to talk to someone, always, always, always do it!
  • I want a macro lens for intricate detailed shots, as my current range does not let me get close enough to the subject.
  • Take some hand held lights for kicks and fills; the venue room where the table decorations were photographed was very dark. With a tripod and a couple of lights I would have had much more control over the lighting composition.
  • Dabble in a variety of work types, to keep it interesting and different!
  • I need a slider for cinematic moving shots; I have made my choice; not the Edelkrone! There will be a whole blog post on this coming soon.

Rotolight Sound and Light Kit Review!

I have had the Rotolight Sound and Light kit for a little while now, and I like it. I like it even more so because Rotolight has been the only manufacturer to really think about what consumers moving into the industry, and already established creatives would need from the outset. Without light you have no picture, and without sound you only have 50% of that video.Videos with bad or unprepared sound are noticeable, just if the subject of the video was not lit correctly. Unfortunately we are now used to watching and seeing very high quality, glossy pictures with filmic motifs, and excellent sound including orchestral scores. We aspire to work on these 'big budget' productions, or to make videos that look like them, but without thinking about your lighting and sound, you are very far off. I produced this review and the music video using the Canon 5D mark III, and a range of Samyang Cine lenses. To keep the light source and sound as pure as possible, I only used the Rotolight RL-48 B ring light and Roto-Mic. I also used my custom camera rig, which is manufactured by CamSmart, as well as a 5" Lilliput field monitor. I used Adobe Premiere Pro, After Effects and Speedgrade to edit and post-produce the videos.

rotolight sound and light videography video kit review led ring light

RL-48 B LED Ring Light

Out of the box, you get everything you need (apart from batteries) to start shooting straight away. The inclusion of a Rotolight belt-bag is fantastic for getting the light out quickly if you are shooting on the run, and for storage while traveling and keeping the batteries, light and accessories safe. One pain I always have, as I am a single shooter is that to change parts of my equipment setup; which means opening my big bag, routing through to find the bit I need and then carrying on. With Rotolights ingenious solutions they have removed that need entirely!

Inside the LED light is a set of ND, skin, colour and minus green filters that can be applied directly inside the housing of the unit itself; no need to carry around filters, gels and pegs to achieve your desired brightness and tone. This is great as no longer do you rely on a bag of old gels to adjust the temperature and brightness of the light source, and all filters are supplied by LEE, so you know you can trust them. The LED's being naturally daylight at 5600K, you are set to use the light in most conditions! For photography and video with people and models, Rod from Rotolight recommended using a softening ND and the skin filter which gently soft lights the subject, with a peachy, wrapping beam. There are no shadows, and the result is a beautiful glimmer of light in the subjects eyes giving them emotion and life.

rotolight sound and light videography video kit review music video filmmaking shoot videography model light

During my time with the Sound and Light kit, I tested out its practicality when out filming indoors and out on location. Above is a still grab from the indoor shots of Josh performing his lines to the camera; you can see a hint of light in his eyes, and a soft-neutral coverage of his face. This was the look I wanted to achieve; an intimate piece-to-camera. I used the ring light and mic mounted on the hot shoe of my camera setup, this gave a direct beam onto the subject, and would work for any subjects in front of the camera. Indoors the RL-48 ring light gives out a beautiful 140 degree beam of light that wraps around your subject, without any hot spots (usually on the forehead). I was filming a music video, but would work exceptionally well in model and fashion work, where beauty is exaggerated through the images.

rotolight sound and light videography video kit review music video filmmaking shoot videography

It took some innovative thinking to get the lighting right for this continuous tracking shot. Although I was shooting in the afternoon sun, I still needed a key light to keep Josh's face illuminated throughout. The night before we were at the location shooting the same scene, but had the ring light mounted on the camera. This time I needed the source to be much closer, so I whipped out the Manfrotto Magic Arm and Superclamp and clamped the light to the boot of my car. In the still grab above, the light is only a foot away from the left of Josh!

What I found here was the need for a brighter light. The 48-LED ring light provided great overall coverage of my subject, but I required a brighter beam to achieve the desired soft-skin and glimmer in the eye look. Although Rotolight produce large LED lights (Anova) for videography and cinematography, I didn't need that much more power. I think for video it would be great to see this model brighter, or have different brightness levels, as usually you require more light than less - especially when adhering to the 180 degree shutter rule. Once your shutter and aperture are set, the only exposure controlling parameters you have is the ISO/ASA or your light sources brightness, and where you're unable to move the light closer or further away from the subject; having a brighter light from the outset is more beneficial.  This is a small niggle from myself, but can be shown with examples in these still grabs -

rotolight sound and light videography video kit review music video filmmaking shoot videography night videoshoot filming car tracking model dark (Here the light from a street lamp came in very handy.)

rotolight sound and light videography video kit review music video filmmaking shoot videography night videoshoot test greet tint

This shot was taken on a 14mm T/3.1 lens at ISO 1250. Although I have remedied the low light in Adobe Speedgrade, a green tint is visible across the frame. A minus green filter is included in the kit which can be used where the green spike (due to LED technology) is prominent, but as I was filming in near darkness I chose not to use the filter to get maximum light output, which by the way is 100w! During the shoot I also used the light hand-held to get intimate with my subject, but not blasting them in the face with an offensive flash gun or LED panel light.

Roto-Mic

Like I mentioned earlier, video is (in most cases) useless without good quality sound. Imagine watching a film or TV program and the sound is noisy and fades in and out as the presenter moves around the frame. It is distracting and essentially draws the audience away from the video, it is suddenly and mostly subconsciously hard to watch and enjoy. With current trends in pro-sumers moving to DSLR to make films and video, there is more pressure on achieving good quality sound when acquiring your footage; the built-in mic does not do your pictures justice.

rotolight sound and light videography video kit review on camera dslr microphone

Here, Rotolight have entered the sound game by producing an on camera directional shotgun mic, with excellent pickup response and sound to noise ratio. When I first started out in freelance videography 3 years ago, I got myself the original Rode VideoMic; it was the best I could afford at the time, and it did the job I needed - to capture good quality audio that will enhance my video. Since then, Sennheizer, Audio-Technica, Hama and many more brands have seen the need for on camera mics for DSLR videographers, and a competitive market has emerged. One that the Roto-Mic will compete very well in due to its superb signal processing and price - an attractive offer to anyone seeking to invest in a cost-effective solution. You will need a 9V battery to power the Roto-mic, but it will last you a good 100 hours.

One very annoying problem with on camera microphones is noise added by the mic's shock mount. The Rode VideoMic I have is notorious for that, creating a squeaking noise as you move or walk with the camera that was audible and therefore recorded into the sound of the video - very unwanted! The Roto-Mic shock mount has been specially designed to minimize any movement the mic may be affected by, holding the capsule stiff, without wobbling on the mount; keeping unwanted noise out.

Rotolight considered many filming scenarios when designing the new mic; it includes a gain adjustment of -10dB to +10dB which is very handy when you are far away from the subject or action, or are filming in a loud and noisy environment. A two step high pass filter is also built into the body of the mic which removes any wind noise and rumbles from the captured sound; perfect when filming outdoors. These small but important features show that Rotolight have done their research into where DSLR videographers are working, and how they need to use their kit.

I was really pleased with the results of the sound recorded with the Roto-Mic, I was expecting another Rode VideoMic moment but it never came. The mic surprised me with its quality recording, and with a little noise reduction in post production the final sound recording is clean and crisp.

rotolight sound and light videography video kit review music video filmmaking shoot videography night led light mic kit

Rotolight has also been innovative in their mounting options, considering many different setups with the light and mic together. This makes a lovely change from complex accessories hanging off the camera to use two hot shoe mounts. The option to use the light mount, or to mount the light on the microphone gives you many different setup options that doesn't restrict your shooting, and is not fiddly or complicated to change! I was using the mic and light together; here the mic mounts onto the camera hot shoe, and then the light can be pushed onto the barrel of the microphone. Although I was dubious of this at first, as it would add extra weight to the shock mount and possibly interfere with the sound recording; it has proved me wrong with being fully functional no matter how the light and mic is set up.

rotolight sound and light videography video kit review music video filmmaking shoot videography night videoshoot filming car tracking

My verdict

  • Fantastic kit if you are starting out in DSLR videography - a must have kit to get you started.
  • Ring light provides excellent soft light for work with models, people, macro and prominent subjects.
  • Filters included is really handy, although as I am heavy handed they are sometimes difficult to apply.
  • Battery life is second to none - 4 hours with recommended lithium AA batteries (x3) or regular lithium AA (x3) for 3 hours.
  • Various mounting options means shooting is not restricted.
  • Mic is broadcast quality - remember sound is just as important as video.
  • Gain adjustment is handy in quiet and noisy locations.
  • The Rotolight bag keeps your hands free!

Of course with every review there are some constructive criticism comments, but not many for me as my experience working with the Rotolight Sound and Light kit has been very pleasant. Firstly, a higher power portable light would be ideal for video, with intensity control. Secondly, now Rotolight has entered the sound game it would be great to see other microphones like hand held bi-directional or even lav mics, and a boost in the recording quality (maybe a Zoom competitor??!). Thirdly, and this isn't criticism, more a request for a flexible light stand or arm so the light can be positioned in extreme and unusual angles.

I am recommending you to go out and get this kit if you're into your DSLR video and photography and need a light source and microphone that you can take to every shoot you go to! It will definitely be coming with me in the future, and I can imagine the RL-48 LED light working fantastically for wedding films and interviews, teamed up with the Roto-Mic and you have a perfect, all in one, on camera 'run and gun' solution to your filmmaking and photography.

You can check out the video I produced for Rotolight demo'ing the new Sound and Light Kit here, and the music video will be released very soon!

[vimeo http://vimeo.com/87515700]

Meet the Panasonic GH4

We've been waiting a few months for more info on the Panasonic GH4. It briefly appeared at BVE, and only 8 were shown at The Photography Show. Due to Panasonic UK announcing the launch of the GH4 early from the trade show and professional demand, more people are asking the whats and hows of the GH4's video capabilities; in regards to 4K. It is the first consumer DSLR to offer 4K, which is a fantastic leap forward into the future of video production that will inevitably get bigger (Moore's law). We have seen recent demonstrations of Super Hi-Vision (8K) at the London Olympic games from collaboration between NHK and The BBC, but for the first time have we seen 4K possibilities coming home with us. It is now in reach.

Today, John from JHWF, his son Sam and myself headed down to Park Cameras in Burgess Hill for the Panasonic GH4 demo. Eager to try out the camera, and by that I mean actually get your hands on it and play with it, checking out the range of functions and lenses that can be used (something not so easy at trade shows), it was the perfect opportunity to get a glimpse into the reachable future for us as producers. Even more so for John, as he as already invested!

panasonic gh4 demo day dslr 4k camera dslm video

Adam from Panasonic was on hand to answer our many questions, and to demonstrate the innovative features the camera has to offer, which include continuous auto-focus in video mode, as well as how the 4K is achieved from an MFT sensor, and many more..

First of all, the body is tiny. If you compare the body to that of my Canon 5DmkIII it could easily be half the size; which for run and gun videographers, and to keep discreet is a perfect solution. Not only that, but like the Sony A7, you have a large pixel count/density sensor so regardless of the body size the image result will be incredible.

panasonic gh4 demo day dslr 4k camera dslm video recording format screen

The sensor offers the two 4K resolution standards; cinema 4K at 4096 x 2160 and UHD 4K at 3840 x 2160 up to 30fps at either 200Mbps (All-intra compression) or at 100Mbps (IPB compression), which is much better in terms of .mov image quality in comparison to the 5D mkIII max 90Mbits at All-Intra compression. Essentially this means that your image is being recorded in a better quality format, giving richer colours, wider dynamic range and more latitude for grading in post. The HD video format is top notch, offering up to 200Mbps in MP4 format, much better than nearly all DSLR's on the market today.

Due to the MFT sensor, the focal length of the lenses you mount are doubled for the equivalent. For example a 12-35mm F/2.8 is equivalent to  24-70MM f/2.8 ON A Micro Four Thirds sensor. This means that suddenly the size of the lenses you use get greatly reduced, meaning a smaller kit bag and less back ache at the end of the day.

panasonic gh4 demo day dslr 4k camera dslm video recording format screen mft lens 100 300mm

A run and gun kit using the GH4 could include the 12-35mm as mentioned above, and the 14-140mm F/3.5-5.6 is enough to cover your indoor and outdoor shots, and can fit in a small shoulder bag. What more could you ask for?

The dual OLED screens replicate the live sensor beautifully, with such clarity too. Now a live view finder has been implemented into the view finder, you get an incredible 10,000:1 contrast ratio which is extremely high speed, unlike LCD which refresh rate is much slower. No need for a Z-finder anymore! Oh by the way it is touch screen too, and you can focus and take a photo by tapping the area of the screen you would like to focus on!

IMpanasonic gh4 demo day dslr 4k camera dslm video recording format screen mft lens OLED dual live view finder touch screen

Another incredible feature was the built in Wi-Fi which can be used to control most of the cameras functions INCLUDING touch sensitive focusing and recording (in 4K) via your Apple of Android device! So, leave your camera set up with the Wi-Fi connected to your device and set up your shot from elsewhere! In the right situation, this feature could be killer, much like the GoPro's wi-fi function for those awkward and obscure shots!

panasonic gh4 demo day dslr 4k camera wi fi

More professional video features include; zebra bars for setting exposure, center marker for image composition, colour bars and 1KHz tone, synchro scan which is useful for suppressing TV and fluorescent light flicker and a Cinelike gamma curves which can be applied. This would come in handy for productions where heavy grading and LUT's can be applied.

There is also the YAGH interface, which was not at the demo, but its functionality is to provide a DC-12V power input to the camera and interface, which allows 4:2:2/10 bit recording with XLR inputs, timecode, VU meters, which turns the camera from a pro-videography/cine camera to a full system camera for broadcasting. Adam showed us some setups on his phone from recent Hollywood productions using the GH3.

As you may know, I purchased my 5D mkIII in December, for videography/cinematography. To me, I don't know if I should feel pissed off that I should have waited for the GH4 to be released so I can future-proof my productions, or whether I should jump in and get another A camera right there and then. But then I thought, I have an incredible camera system right here already, and just because this (yes rather amazing) new resolution has become available, doesn't mean my potential clients will want it. At the moment the current structure and system for broadcasting 4K in the mainstream media of television is non-existent, until the big change happens which means either updating current HD systems to cope with the greater requirements of 4K, or a completely new 4K network is created, the only channel for viewing will be the internet, or cinema. So, if your deliverables are all for YouTube, then go for it, you have a way to get your work out there in its native resolution already. Otherwise, be prepared to down-scale to 1080 HD for normal playback. This may have fantastic results for you, and keeps the incredible clarity, colour richness and the 'wow' factor that 4K is now being renown for.

http://www.youtube.com/watch?v=hHKJ5eE7I1k

If you are a current Canon/Nikon or other brand shooter, then the answer to your question is not "You will need to buy new lenses for this camera". A few manufacturers haave designed and produced many workarounds to lens to mount converters; famously Metabones, but also LensAdaptor are worth checking out if you currently shoot with non-MFT lenses. These adapters fit onto the body and lens and effectively allow the lens to be used with a different lens mount.

To conclude, if I had the money I would happily invest in the Panasonic GH4 and not only for the 4K. The high data rates even for 1080p HD are high enough to be broadcasted which opens up what I can deliver for my clients, the kit is smaller so I get less back ache, the Depth From Defocus system allows continuous auto-focus during video, up to 96fps slow motion recording in 1080p HD, Wi-Fi control. I'd be really interested in testing this camera out in a 'Great Camera Shootout' review, so clear up the rest of the questions I have about not only capturing video in 4K, but also to see how the MFT 16Mp sensor holds up against the Canon 5D mk III which with Magic Lantern can record RAW.. We shall see, only the future will tell!

panasonic gh4 4k dslr camera demo test day park cameras 1

Please bear in mind that I have never captured footage in 4K, or worked with a 4K camera, footage or system. So what knowledge I am basing this on is my university dissertation in implementing 4K programming into the current UK broadcasting industry, copious research into 4K cameras, technology and productions, attending IBC and many other trade shows to understand the up-to-date technology available.


All new #VideoQuestions is live!

How do you make a timelapse? Video Questions

Finally got round to this!! A time lapse is a method of photography and videography that captures sequential images from a static camera over a certain period of time, and then sped up in post production to create the illusion of time moving fast.

There are so many reasons why you'd want to use time lapses in your work; from establishing locations to capturing a long event like the northern lights or sunrises and sunsets. Time lapses create a visual spectacle in which time speeds up, you see nature at work and things you would normally miss or take for granted.

If you want to check out some awesome time lapse films, please watch Ron Fricke's Samsara which includes awe inspiring cinematography captured in 70mm film.

http://www.youtube.com/watch?v=P0xVp3N-M84

There are a couple of ways you can create a time lapse, dependent on the length of time you wish to capture, the changing exposure settings of the location, and the kit you have.

Cameras and Kit

I assume that most people interested in this post own a DSLR or video camera of some kind, as it is difficult to capture a time lapse otherwise. In all honesty, what model of camera you use won't make a big difference on the overall video. Whether it is a Canon 110D, 550D or 1D-C, Nikon D3200 or D90, Sony A-7 or Olympus OM-D EM1 your photos and video will look great. Just make sure you have your exposure and focus point set correctly. In regards to what lens you use, in general wide angle lenses give a better perspective of the environment; we've all seen GoPro videos, that is ultra wide, but you don't need a fish eye or specific lenses to do this. Usually the standard kit lens that comes with your camera has a wide angle, whether it be 11mm on MFT cameras or 16mm on full frame, keeping a wide field of view is key to achieving the perspective of a time lapse.

Lets start with time. The longer you wish to capture, the more memory and battery you will need so ensure you've got a fresh card and charged batteries, or even better a battery grip. Depending on what camera you are using you may also need an intervalometer; a device that plugs into the camera and releases the shutter for a pre-set duration at a pre-set interval.

Here's one made by Canon - Canon-Intervalometer1[1]

So, if you wanted to capture a sunset, you will be shooting for a couple of hours. This little device will release the shutter and take a picture for you, however you need to set the interval duration. The longer the interval, the greater the difference between each image as the objects in the frame move and change. For a sunrise or sunset, an interval of 10 seconds should suffice, as the sun and clouds move slowly.

If you were in a city shooting a TL of a busy public place, a shorter interval should be used so the objects or people move smoothly through the frame and don't jump around.

What are you capturing?

Where will you be shooting the time lapse? Bright daylight at the beach, or in arctic winter? Or star trails and fireworks at night? Your DSLR's shutter speed will allow you to control the amount of time the shutter is exposed to light, so a longer shutter speed (anything under 1/30 can be used when the sun or bright light is not available) should be used at night when light levels are low. You can also use the BULB setting I believe to capture exposures longer than 30 seconds if you are capturing star trails.In the opposite situation, you can set your shutter to a reasonable speed depending on the light available; but remember changing light is inevitable and uncontrollable in nature so using shutter priority mode (T) or aperture priority mode (A).

REMEMBER YOUR TRIPOD! Shooting for long periods of time need a steady support, to keep the camera locked off and weighed down if needs be! My Manfrotto tripods work a treat.

Experiment and test at the time to judge your exposure settings. Keep your aperture or F stop small so that all objects in the frame are in focus; something like F/11 down to F/22 if in bright light or you can increase the aperture to F/4 up to F/2.8 if you're working at night. Increasing your ISO to 1000 or 1250 is perfectly fine if your doing a night-lapse, so no worries about that.

Also use the digital zooming capabilities on the camera to get critical focus on a key static point.

If you have less time for a time lapse, then you can always hit record on your camera and film continuously for as long as it can. This is an easy option for those out and about shooting as you can simply wait for 10 minutes or so. Obviously here you have the time restriction to only 10 minutes, so this works best for short burst time lapses of clouds, people & crowds and quick changing landscapes.

For any other setting it would be better to use an invervalometer, mainly as keeping your camera recording will suck the juice out of your battery like anything.

For savvy videographers and photographers alike who may have Magic Lantern already, there is an intervalometer built into the ML firmware which acts just like an internal one. If you don't want to pay for an external device then Magic Lantern which is open source and free is your best option. Plus having ML on your camera expands its video capabilities greatly.

Post Production - If you have taken a series of photos

You've captured an amazing sunset, it has taken you hours and all you want to do is see the finished product. Some methods of editing time lapses are long, boring and not neccessary; taking the photos into After Effects for example, its not needed!

Adobe Premiere Pro is a much simpler and quicker method of getting your TL into a video. Firstly, create your project as you would normally, setting scratch disks to your project folder where the photos are stored. Next, create a sequence dependent on what resolution you would like the video to be. Nearly all photos taken on a DSLR are larger in size than 1080p high definition, so this is a good place to start.

Depending on where you are in the world, your frame rate should be 25fps for UK/EU/Rest of world, or 30fps for USA. This will play your video back at the same frame rate as television and internet, so the time lapse will be smooth.

Now you have your sequence open in the timeline, go to Edit>Preferences>General. Here you can set the default 'still frame' (picture) duration to ONE frame; in timecode this will appear like: 00:00:00:01. This sets the sequence of images to play one after the other with 25 pictures in each second.

Now you are ready to import your photos! Simply Ctrl-I or Cmd-I to open the import window, select the folder with your time lapse images and click 'Import Folder'. Premiere will now import all the photos in the folder and set the duration. You can now simply drag the folder with the photos into the sequence, and your time lapse is now a video. Make sure you render (hit Enter) and watch it back in case you need to correct any frames.

If it looks like the photos are going too quickly, you can change the duration of all the photos very simply; select all the photos in the sequence, right click > Speed/Duration. Here you can increase the frame duration from 00:00:00:01 to 02 frames instead. Here you will need to see what suits your time lapse best. One last tip is to highlight/select all the photos in the sequence, right click, and click 'Frame Blend'. This calculates the interpolation (movement) of subjects between two images, so it fills in the gaps so to speak.

Post Production - Long Video Files

So you've taken the easy road! This method is just as simple as above, and is a quick way of processing a short time lapse. Once you have followed the steps to create your sequence, you can import the video file like you would the photos, instead you simply click the video file needed and click 'Import'. Then drag the video file into the sequence; here if you have been videoing in a different video format Premiere will let you know that the video and the sequence do not match. It is easier to stick with the format of your original video, so if this happens click 'Change Sequence Settings'.

video time lapse adobe premiere tutorial

With the video now in the timeline, right click and click 'Speed/Duration'. Here you can increase the speed % to make it faster, and again will need some experimenting to see which looks the best. Remember the higher the speed increase percentage, the faster the time lapse happens.

Colour Correcting

You can add any colour correction to the time lapse by creating an 'Adjustment Layer' and adding brightness and contrast, curves, levels, tint, whatever you like to make the time lapse look great.

timelapse videography adobe premiere pro colour correction

For a 'tilt-shift effect - like the incredible New York Sandbox video you will need to use additional plug ins like Magic Bullet, or add the effect in Photoshop before importing to premiere.

http://www.youtube.com/watch?v=Fk9EBOOAYiU

Exporting - finally creating the time lapse video!

timelapse premiere pro export settings tutorial video

Once you are all done, with the sequence selected go to File>Export. If you are uploading to the web, then the H.264 format will work the best for quality and compression. From the drop down menu select H.264 and the Vimeo, Youtube or any other format you wish. There are loads, and plenty of confusing settings so don't get bogged down in the different types for now. When you think you are ready, and have chosen your file destination and name, you can hit 'Export', or if you wish to carry on working in Premiere on another project you can 'Queue' to export to Adobe Media Encoder which will export it in the background!

[youtube=http://youtu.be/QMwpA02IKdI]

A little example of a video time lapse I shot at Epsom Downs!

I hope this covers your time lapse photography and videography questions? If there is anything I've missed or if you have other questions please send them in!

[contact-form][contact-field label='Name' type='name' required='1'/][contact-field label='Comment' type='textarea' required='1'/][/contact-form]

Panasonic announces the GH4 - 4K DSLM movies!

Check out the specs of the new model here - http://www.panasonic.com/uk/consumer/cameras-camcorders/lumix-g-compact-system-cameras-dslm/dmc-gh4heb.html DMC-GH4HEG-Product_ImageGlobal_Europe-1_de_de[1] Photo from Panasonic website.

Looks very impressive, but as usual a highly compressed Youtube product demo doesn't do it justice.. For all those interested in having the extra resolution to work with, as well as a newly developed MOS sensor then this camera may be your first port of call instead of the previously available Canon 1D-C.

It will be interesting to see how the industry responds to this new release,  as many more productions working in a higher res to downscale later.

What interests me about it, is not only being able to capture footage in 4K/2K, but also 1080p HD slow motion at 50 and 60fps. My main drawback at the moment is using the 5D mark III setting of 720p for 50fps, which is fixed at that resolution. The higher bit-rate is very appealing too, despite recording in MOV file formats 100Mbps is a great advantage over the highly compressed Canon DSLR movie output files.

Lots of points to consider, and no mention of a price yet.. Hopefully Panasonic will be at BVE so I can get my hands on this bad boy!

A romantic video experience with Manfrotto gear (How to choose the right tripod and head).

When you start working with a piece of equipment time and time again, you build up a relationship with it; understanding its ins and outs, the fastest or best way to set it up. For me, I have this affinity with Manfrotto products. Since starting out in video during university, I had invested in a sturdy Manfrotto 055Pro-B tripod and a fluid video head. 3 years on and to this day it proves to be a great piece of kit to have around; I use it for my custom built camera jib now so it lives in my boot with that!

manfrotto tripod video photo manfrotto tripod video photo ed2 1069411_10151479423471712_1309410177_n

Through various university and freelance projects I used my trusty MF 055Pro-B legs, strapped tightly to a Lowepro backpack.. Not the most comfortable or lightweight solutions. The aluminium legs begun to take their toll when more equipment was required too, and as a videographer I had a bag full of lenses, audio kit and a monopod too. I occasionally used a Glidetrack slider too, which worked very well on the legs, and did not have to be spread really far apart or use any weights.

Check out a couple of my video's featuring Manfrotto gear -

Manfrotto Backpack50 - http://vimeo.com/84398932

Manfrotto ML240 LED - http://vimeo.com/41688532

But, how do you choose the right Manfrotto tripod and video head for what you do?

Key points to consider - Budget is always something to keep in mind, it can get expensive!

- What cameras, lenses and accessories you will be using with it.

- Where/shooting situations; are you going to be traveling so need a lightweight option, or more corporate indoor, weddings, adventure.

- Are you working with video or photo, or both!

Budget - everyone should have a decent set of tripod legs and head that can be their go-to choice no matter what the client, production or location. This could be a heavy duty two-leg tripod with video fluid head for news/docu/TV footage acquisition - go for Manfrotto twin leg kit! But for photography you may consider a lighter option that can be grabbed and carried quickly - go for Manfrotto BeFree! Remember that a tripod/head kit should last you a lifetime so keep your budget in mind, and look for products and kits around £100-£150 for your first investment (no, I'm not suggesting you save up to spend £150, your budget is what ever you can work within so have a rough max figure that you would aim to spend - dependent of the following..).

Cameras, lenses and accessories - If you are a keen amateur, you may be working with small DSLR bodies and lenses; like the Canon 600D with an 18-135mm for example. This setup not weighing much tends to lean you towards a light, single leg tripod with a two way or ball head mount - 180X Pro B with 804RC2 head. However, for more professional setups; Canon 5D mark III and a 70-200 telephoto lens your looking at +3Kg of weight, so a more stable solution needs to be found - Lightweight Fluid System.

Shooting situation - If you are out and about all the time, a tripod with locking legs and extendable center column is a great feature to have; its great for getting very low angle shots while keeping the tripod steady, not to mention the ball leveling mount feature which levels the head without adjusting the legs. If you are the opposite, and work in studios and generally terrain free environment, a standard set of legs will be appropriate. Remember you can mount the tripod onto dolly wheels for easy motion and movement in a studio or indoors.

Video or photo? Generally video requires the use of moving or 'tracking' shots, where the camera focuses and follows a subject through a scene. Remember talking about ball and fluid heads? This is where they become important! A fluid video head uses liquid to smooth the panning and tilting movement when adjusting the head, creating smooth camera movements. This is not entirely possible using two-way or ball heads due to the lack of fluid in the head and a pan handle. It can be done, but be prepared to video a number of times to achieve steady movement! If you look further into video and movement, many equipment manufacturers have also created stabilizers that counter balance the camera's weight, creating flying and smooth flowing movement!

For photo, as you are taking still images, the focus on being able to move the camera while the shutter is open diminishes, and the need to find and focus on a subject quickly, from many angles becomes key. This is where a ball head or two way head works best, allowing quick movement between camera angles.

manfrotto tripod video photo carbon fiber fliud head ball head mount manfrotto tripod video photo carbon fiber fliud head ball head mount manfrotto tripod video photo carbon fiber fliud head ball head mount canon dslr manfrotto tripod video photo carbon fiber fliud head ball head mount canon dslr

If you mix between both, producing work like timelapse, hyperlapses, long exposures and night time shooting, you should consider the weight of the tripod and camera gear together; will you need to weigh down the tripod to keep it steady, will the camera be subject to movement when using a lighter tripod and head? These factors will affect your image or video if not considered!

A great example; myself and Ashleigh were filming a wedding at Horsley Towers for John Harris Wedding Films and we got the message to setup and run a timelapse for the evening. It was windy out, not great conditions for a TL, and with only a Canon 60D and 15mm fish eye lens the setup was not at all weighty. After about 15 minutes I went to check on the TL camera and it was nowhere to be seen.. The tripod and camera got blown over (not damaged) in the wind. No more timelapse that day!

Hope that helps in your choice of Manfrotto kit to use! It's always good to examine the details of your needs and what the product can do, to find the best solution. Remember if you start out with a single-leg, ball head setup and are looking to move into video in the future, you may need to invest again. Its not always possible, but try to future-proof your investment in case you have a change of heart in what you do.

The reason why choosing the Manfrotto 055ProB tripod and 701HDV worked so well for me is that I could use it on everything I worked on; from being my A camera support to supporting a camera jib and slider - an all round solution to my needs.

Back to the story.. After 3 years, it was time to move on. I had been researching equipment I would invest in, and sticking with the DSLR camera type my requirements for tripod legs and video head did not stray too far away from my original purchase. However, after experiencing carrying around all of the video equipment, and an extra bag for grip, it was about time I got a carbon fiber tripod to ease the weight issue. As I am a one man band videographer, I carry all the gear. So with a full camera bag, tripod, monopod, even a slider maybe, my options need to be lightweight but just as functional.

Manfrotto have gone above and beyond on the engineering of the 755CX3 and MVH500AH. Carbon fiber legs provide an ultra portable solution, able to hold loads up to 8Kg which is perfect for my Canon 5DmkIII, cine lenses, field monitor etc.

manfrotto tripod video photo carbon fiber manfrotto tripod video photo carbon fiber fliud head manfrotto tripod video photo carbon fiber fliud head

still from quiet sunshine by Adam Plowden Videography winter nature landscape stream water lake canon samyang

1464738_10153571677610510_1940877368_n[1]

The new plate mount on the video head is incredible too, and saves so much faffing around with the previously notorious screw to lock the plate in place. Now, the plate simply slides in from above, and a spring pings the clamp into place. A great innovation especially for use with camera rigs so you don't have to bend down, find the screw to start unlocking the plate and camera to the rig. So, for fast shooting situations, the new head is a must!

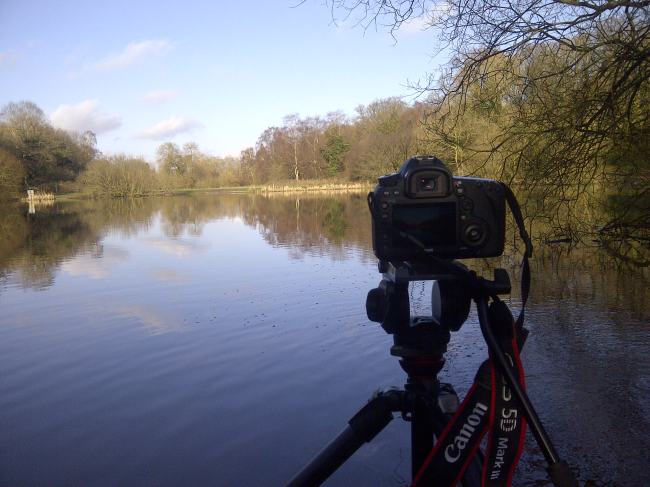
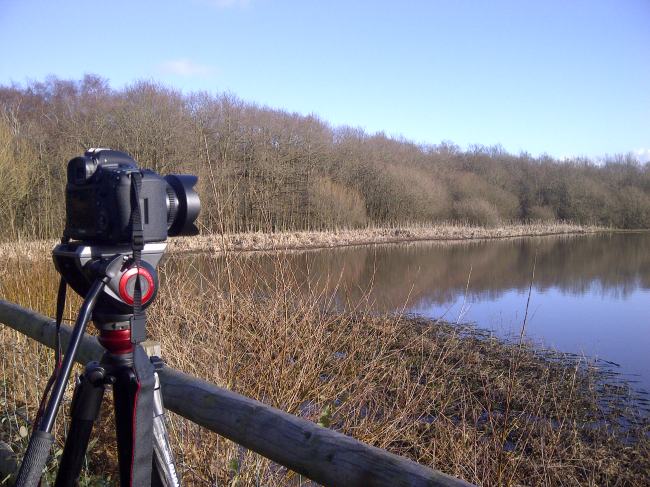
The sad thing about all of this is that after searching through my old photos and videos I don't have any; specifically featuring the Manfrotto gear! What I can say though, is for every single videoshoot I've worked on, my Manfrotto gear has been there, supporting me no matter of the situation. So I went out a shot some stills that I've included in the blog, and did indeed find pictures of the gear in action!

Camsmart MODA rig with canon 5Dmk iii

Lilliput monitor with the Canon 60D

If you want to see more of my work featuring Manfrotto equipment, check out my vimeo page - https://vimeo.com/apvideography

They say you should only by a set of legs once, make the right choice, make it Manfrotto! Like this post? Share it!

Capturing local beauty

Film making and videography isn't all about big budget productions with expensive kit. Its great to take time out to see what stories you can tell and images you can capture in your local area. Luckily for me, I live in Surrey which is full of green spaces. My chosen location for today's adventure was Epsom Common, I used to and hope to continue fishing at the lake. Since being a kid I remember it being a beautiful place in the winter, so despite the recent flooding I made my way down!

Image

Accompanied by the awesome Manfrotto 055 Carbon Fiber tripod and 055AH video head; my grip was sorted in a lightweight solution. I took my whole kit bag in case I wanted to record some foley audio or shoot on a range of lenses. I tried to stick to the Samyang Cine lenses I have (14mm, 35mm, 85mm), so I can test them out on a range of shoots. I also came across a 72mm variable ND filter that fits onto the Samyang 85mm, which means I can achieve T/1.5 and a beautiful bokeh in broad daylight.

Image

As you may have previously read, I also installed some new picture styles on my camera from VisionColor, today I used Cinelook to see what the footage looks like out of camera, without grading. So far, without adjustment the picture was punchy with a good colour tone present, not flat and neutral like I previously used. It certainly has given the footage a baked in 'look' while recording which will definitely speed up the post-production process.

ImageImage

It was great being in the outdoors, I often spend way too much time on the computer and neglect our very green, rural backyard, which deserves to be appreciated, remembered and captured in moving image.

ImageImage

I've processed all of the footage now, using most of what I shot. It is simply put to music, in this case the serene 1:1 by Brian Eno, which was very fitting for the scene. I have applied no colour correction, grading or effects to the clips whatsoever, to demonstrate the cinematography at hand.

I will post the link up later!

Image

I hope you like it, and please share around!!

CamSmart 2014 Road Map

For those unaware, I have spent the last 18 months working with a photography and videography equipment company in China, called CamSmart! Many of you may have bought their DSLR Camera Rig from Amazon..

I am their European Rep, and product developer. I designed the professional camera rig that will be available to buy in February 2014, focusing on the different scenarios you will use a camera rig for, no matter what camera, location or type of shoot!

Michael is visiting England for the first time this week, with his wife Kaitlyn, we spent yesterday discussing the future plans for our products, marketing, advertisement and much much more, and topped it off with a wonderful meal in the Hilton.

I am ever more excited to receive the camera rig (which is currently on its journey from China to me), as it is the physical representation of the hard work and effort that has gone into 18 months of work. A product that I hope to share with every video producer that needs an alternative solution to a camera rig, at a fantastic price.

Image


How I now spend my days rendering..

After fixing the awful format issue I was having, which kept crashing Premiere; I finally got the project to work again after exporting the synced Nikon clips (720px @24p) to a Quicktime 25p sequence. It is now happy and rendering :D However, I now spend most of my day staring at the render screen!

blog

Review: Manfrotto Backpack50

Hello all! Here is the anticipated review of the new Manfrotto Backpack50, the flagship range of professional photography and videography bags for cameras and equipment. edt1

The new range comes in a variety of sizes depending on the equipment and lenses you use. If you are going to be shooting for ENG, or know you will need fast access to your camera and lens kit then the Holster range may be for you, or if you're looking for a perma-home for a vast range of bodies, lenses and accessories then a Roller Bag or Backpack will be for you.

screen1

I got a great surprise through the post a couple of weeks ago, it was the Backpack50, which I have been using out on photo and video shoots, testing it to the extreme in a wide range of shooting situations such as weddings, on location video and corporate events.

First things first, as you can see the bag is BIG! Not too big that it is laborious to carry around, as the support straps provide great comfort for a fully packed bag. Having a bigger bag eliminates the need to bring extra sling bags if you take laptops and tablets on shoots, as there two separate zip pockets for both, and also allows me (predominantly shooting video) to keep all of my essentials in one place. For example, the bag is currently full with my kit needed for a shoot for Tesco on Friday, so a 7" HD field monitor, clamps, Rode VideoMic, 2x DSLR bodies and 6 lenses sit snugly in the protective separators. I have all I need in one convenient place, a perfect solution especially as I am a SINGLE shooter.

IMG_1918_1

Overview of the Backpack50's features:

DSC_0173_1

Unlike other camera bags which open from the side or the back, the Backpack50 opens from the top, which allowed me to quickly grab my camera (with lens attached) almost immediately with ease. If you've got the waist support done up then this is even quicker as you can swing the bag from your back to front and grab the camera that way. The other handy feature of this is that you can have a telephoto lens attached to the camera and still take it out with ease, as the support pads can be customized to fit your individual kit needs.

DSC_0179_1

Here you can see the bag open, the top flap unzips all the way down revealing many side pockets, 3 zip pockets on the flap (which I use for little bits that I can grab quickly such as batteries, SD cards, hot shoe adapters etc). There is even a protected zip pocket for a tablet if you have one too!

The capacity of the Backpack50 is fantastic! As I mentioned before I filled it up with various accessories for shooting video, but it will comfortably hold a large DSLR body and telephoto lens attached in the middle section, up to 8 standard lenses in the side sections, as well as two ideally large and deep side pockets. These would be great for clamps and arms, but I use mine for my microphone and a little tool box for emergencies!

IMG_1861_1

A small but memorable Manfrotto logo on the main flap of the bag, the branding is not in your face which keeps the bag discrete.

IMG_1892_1

With a fully packed bag (including a laptop, EVF) it is heavy as you would expect, however the inclusion of a very comfortable, padded waist strap distributes the weight evenly through the body, rather than putting the pressure on your shoulders, reducing fatigue, and it was a welcome relief for me to see too! All the straps are padded, and are very heavy duty for a camera bag which is fantastic when shooting in rugged and fast paced environments, or for a very long time.

The Backpack50 also includes a waterproof cover, essential for protecting your beloved kit in times of heavy downpour, however it would have been better to see this built into the bag rather than a separate part, as this reduces the risk of forgetting it!! It also has a side strap for tripods which is a welcoming sight. Previously I used a Lowepro bag and simply strapped my Manfrotto 055B tripod and 701 head to the main straps, which is heavy and also puts lots of strain on the bags fastenings (i don't recommend this). The external strap loops through a heavy duty fabricated patch on the side of the bag, and the strap can be secured around the head of the tripod. It is quick release too, so you can get the tripod off the bag and set up quickly. A great improvement.

IMG_1903_1

Overall, I am delighted with Manfrotto's new Backpack50 as it caters for the pro photographer AND videographer, protecting our livelihood (equipment) with fantastically engineered bag sections, as well as providing flexibility when out shooting which many backpacks restrict due to their bulky and un-ergonomic design. Manfrotto have overcome this by designing a bag with the pro in mind, and have produced a very successful and ergonomic addition to the growing kit list of photographers and videographers alike.

Check out the new range on Manfrotto's website here - http://www.manfrotto.co.uk/collection/8615.1065.17520.0.0/Professional

Manfrotto Shoot #2 "Backpack50"

Manfrotto's all new Backpack50. [gallery ids="557,558,559,560,561,562,563,564,565,566,567,568,569,570,571,572,573,574" orderby="rand"]

There will be much more later, its been a long day! I took the photos on my Canon 60D and Nikkor 50mm F/1.4 manual for a beautiful soft background to complement the autumn colour tone, landscape and chilly weather at Epsom Downs!

Surprise from Manfrotto!

For those that don't know, I'm a Manfrotto local hero, and get to test out, review and video various pieces of equipment. Today I got the Backpack 50 through the post, here are a couple of box shots as I am currently working on the CC of the GLF video! MFB50_1

MFB50_2

More to come, photos and videos later!

Shooting with Manfrotto Gear

For those that are unfamiliar with my work, I'm a Manfrotto Ambassador for Videography! Look at this picture... ed2

Can you see the Manfrotto tripod and video head?

I do not know I would do without them, and without a doubt Manfrotto equipment provides photographers and videographers alike a quality, reliable and affordable priced equipment that can be used in more than a variety of situations.


I'm a videographer, and growing up with Vinten legs and heads made me realize the difference in useability and functionality that Manfrotto provides for me. I use the 055PROXB Tripod and Mini video fluid head, and for the package price of £150 it provides the perfect solution.

I've used the above kit for a couple of years now, and only now am I finding the need to change my legs to a lighter option; not even changing the type. I am going to buy exactly the same legs in a carbon fiber model. That's how good these legs are.

The functionality of a ball head is useful for every tripod without one, but the extension column provides a unique 90 degree angle view with is essential for tabletop animations for a versatile producer like myself.

ed1

Is that a superclamp I see? Ye it is! The Manfrotto superclamp is one of those pieces of kit that should never leave your bag. Need I say more? The superclamp can hold up to 17Kg and includes a winch screw for micro-adjustment, as well as a stand adapter socket if you are using a lighting stand or lighting adapter to add more fixtures to the clamp. I use it with a magic arm and Lilliput 7" HD LCD monitor with it, allowing multi angle viewing for many different camera angles.

I hope you have seen my adoration for Manfrotto gear, and I will be working with Bjorn Thomassen on more Manfrotto and Canon sponsored shoots, and I am looking forward to trying out new gear Mr Dave Beck!

My previous work with Manfrotto includes the production of the ML240 LED Light advert - http://vimeo.com/41688532


GLF Promo Video Title is now complete!

I've been working on the title sequence for the GLF video; started in Photoshop to create the graphics (using the original GLF logo created by CleverBox as a template). I then imported the elements into After Effects to animate them, as well as adding background footage of the schools and students! Its uploading to Vimeo now so here is a screenshot from a draft render :) title

Thank you very much Sam for sending over the fonts!

I'll post a link up to the video very soon, or just keep updated on my Facebook or Twitter or LinkedIn or even my Website!

Samyang cine lenses getting my head in a tizz

Urgh.. I hate not being able to make up my mind about what equipment to get, as it is so hard to tell without good experience and field testing, getting to know the kit before you buy it. I'm having this problem with the Samyang Cine Lenses. They look fantastic, well constructed lenses, fully manual in a range of focal lengths and de-clicked apertures from T1.5. This however is the question; would it be better to buy the Samyang Cine Lens kit, or a 24-70, 70-200 f2.8 IS (with the samyang 14mm and 85mm)???

I'm predominantly a videographer, but I enjoy having the flexibility of zoom lenses, especially for ENG style work, live event filming etc, and the fixed aperture and stabilization is key for video. So, a couple of fast zooms seems sensible to keep in the kit bag for everyday use.

However, what about for those sharp, cinematic, shallow depth of field shots that can only be achieved with a cine lens..


Any advice, please share! Ooh and check out the link below for a similar situation if you are stuck like me!

http://bit.ly/19kUk8I

Want creative and cinematic promotional video, and need to keep costs down?

Get 10% off all productions until the 15th November '13!

Are you in need of innovative, cinematic and artistic promotional video's and media, that makes your business, product, event or service stand out, attract a wide audience and immerse them in the visuals and sound?

My portfolio includes video/media work with - Moet Hennessy, Broadcast Magazine, The BBC, AstraZeneca, Manfrotto & more.

I'm offering 10% off on all productions until the 15th of November 2013! Check out my work at

www.adamplowden.co.uk

and get in contact!