

Manfrotto Ambassadors Jim Marks (Director and Photographer), and Adam Plowden (Videographer and Motion Graphics Artist) chat to Manfrotto about why they use the tripods, bags, grip and lights for their everyday work!
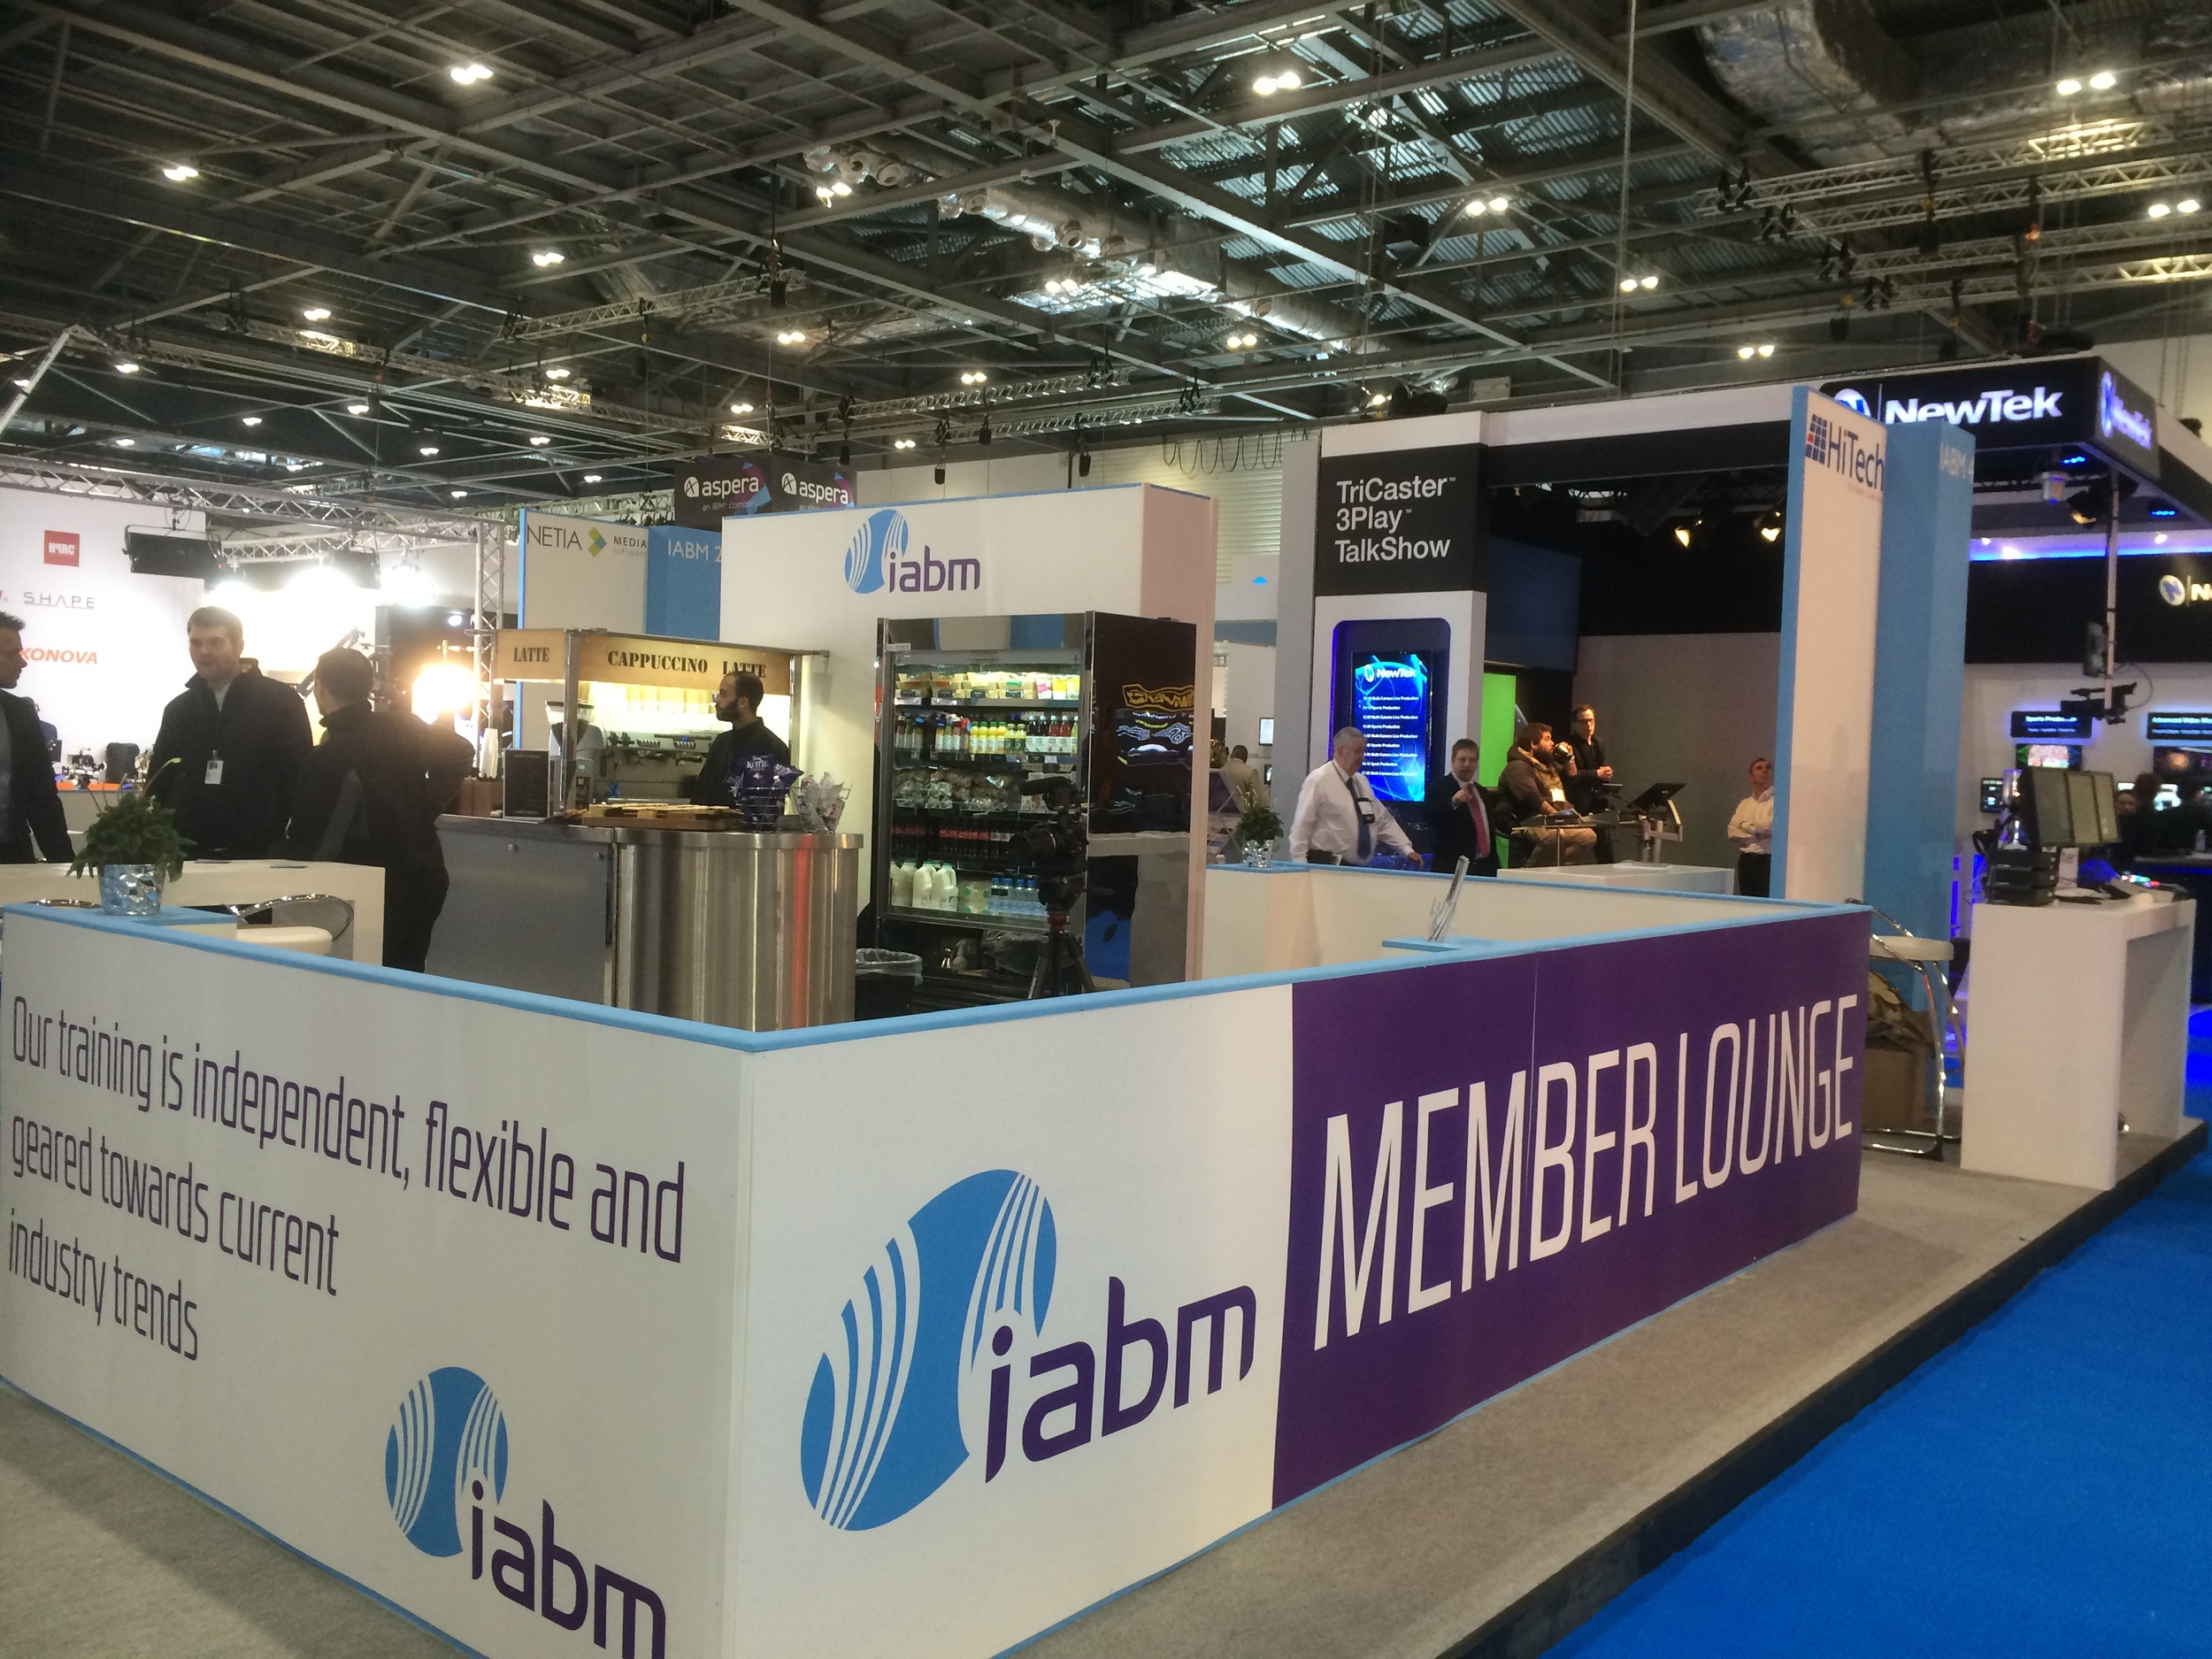
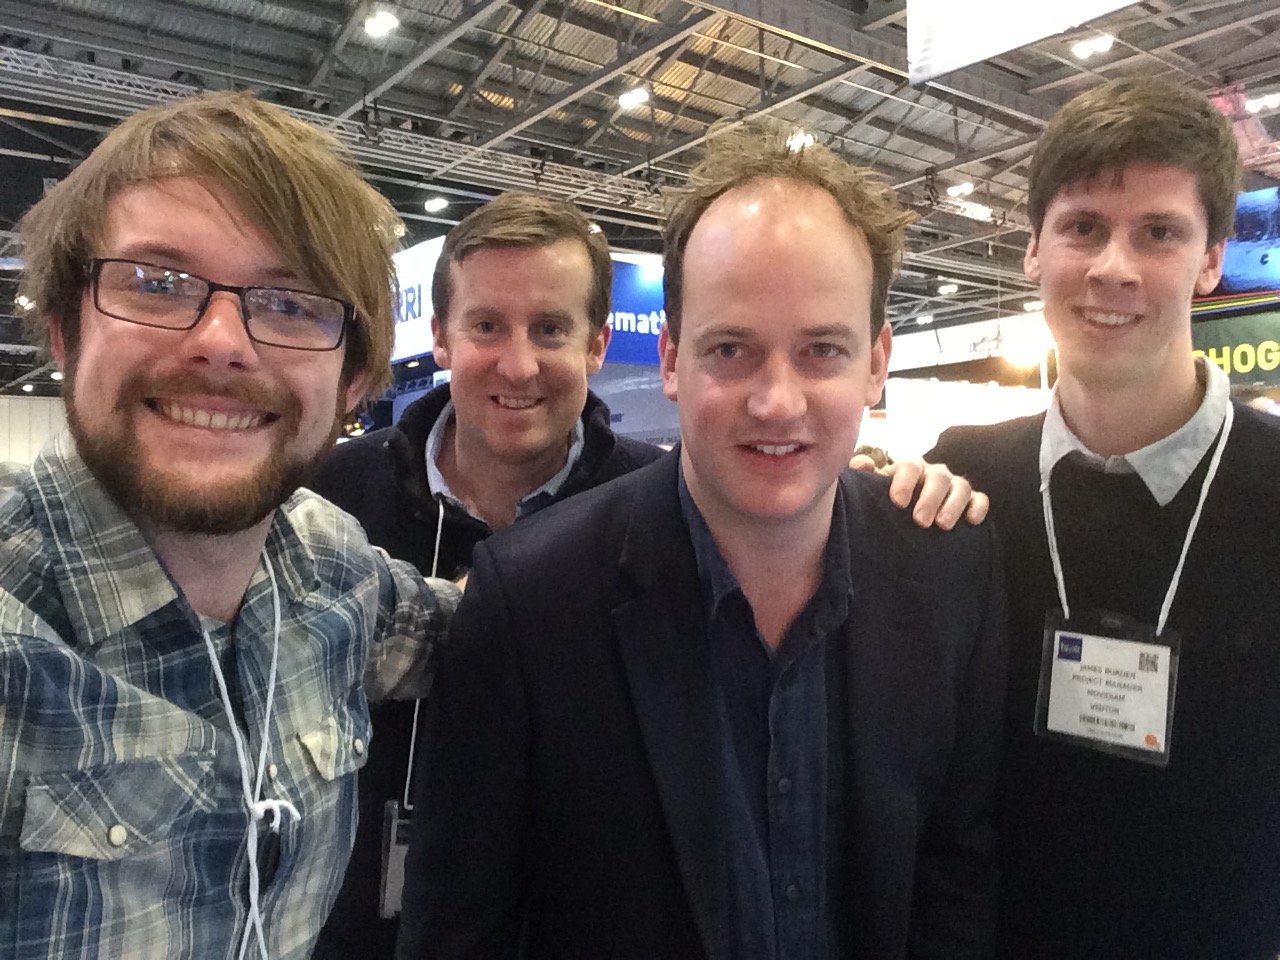
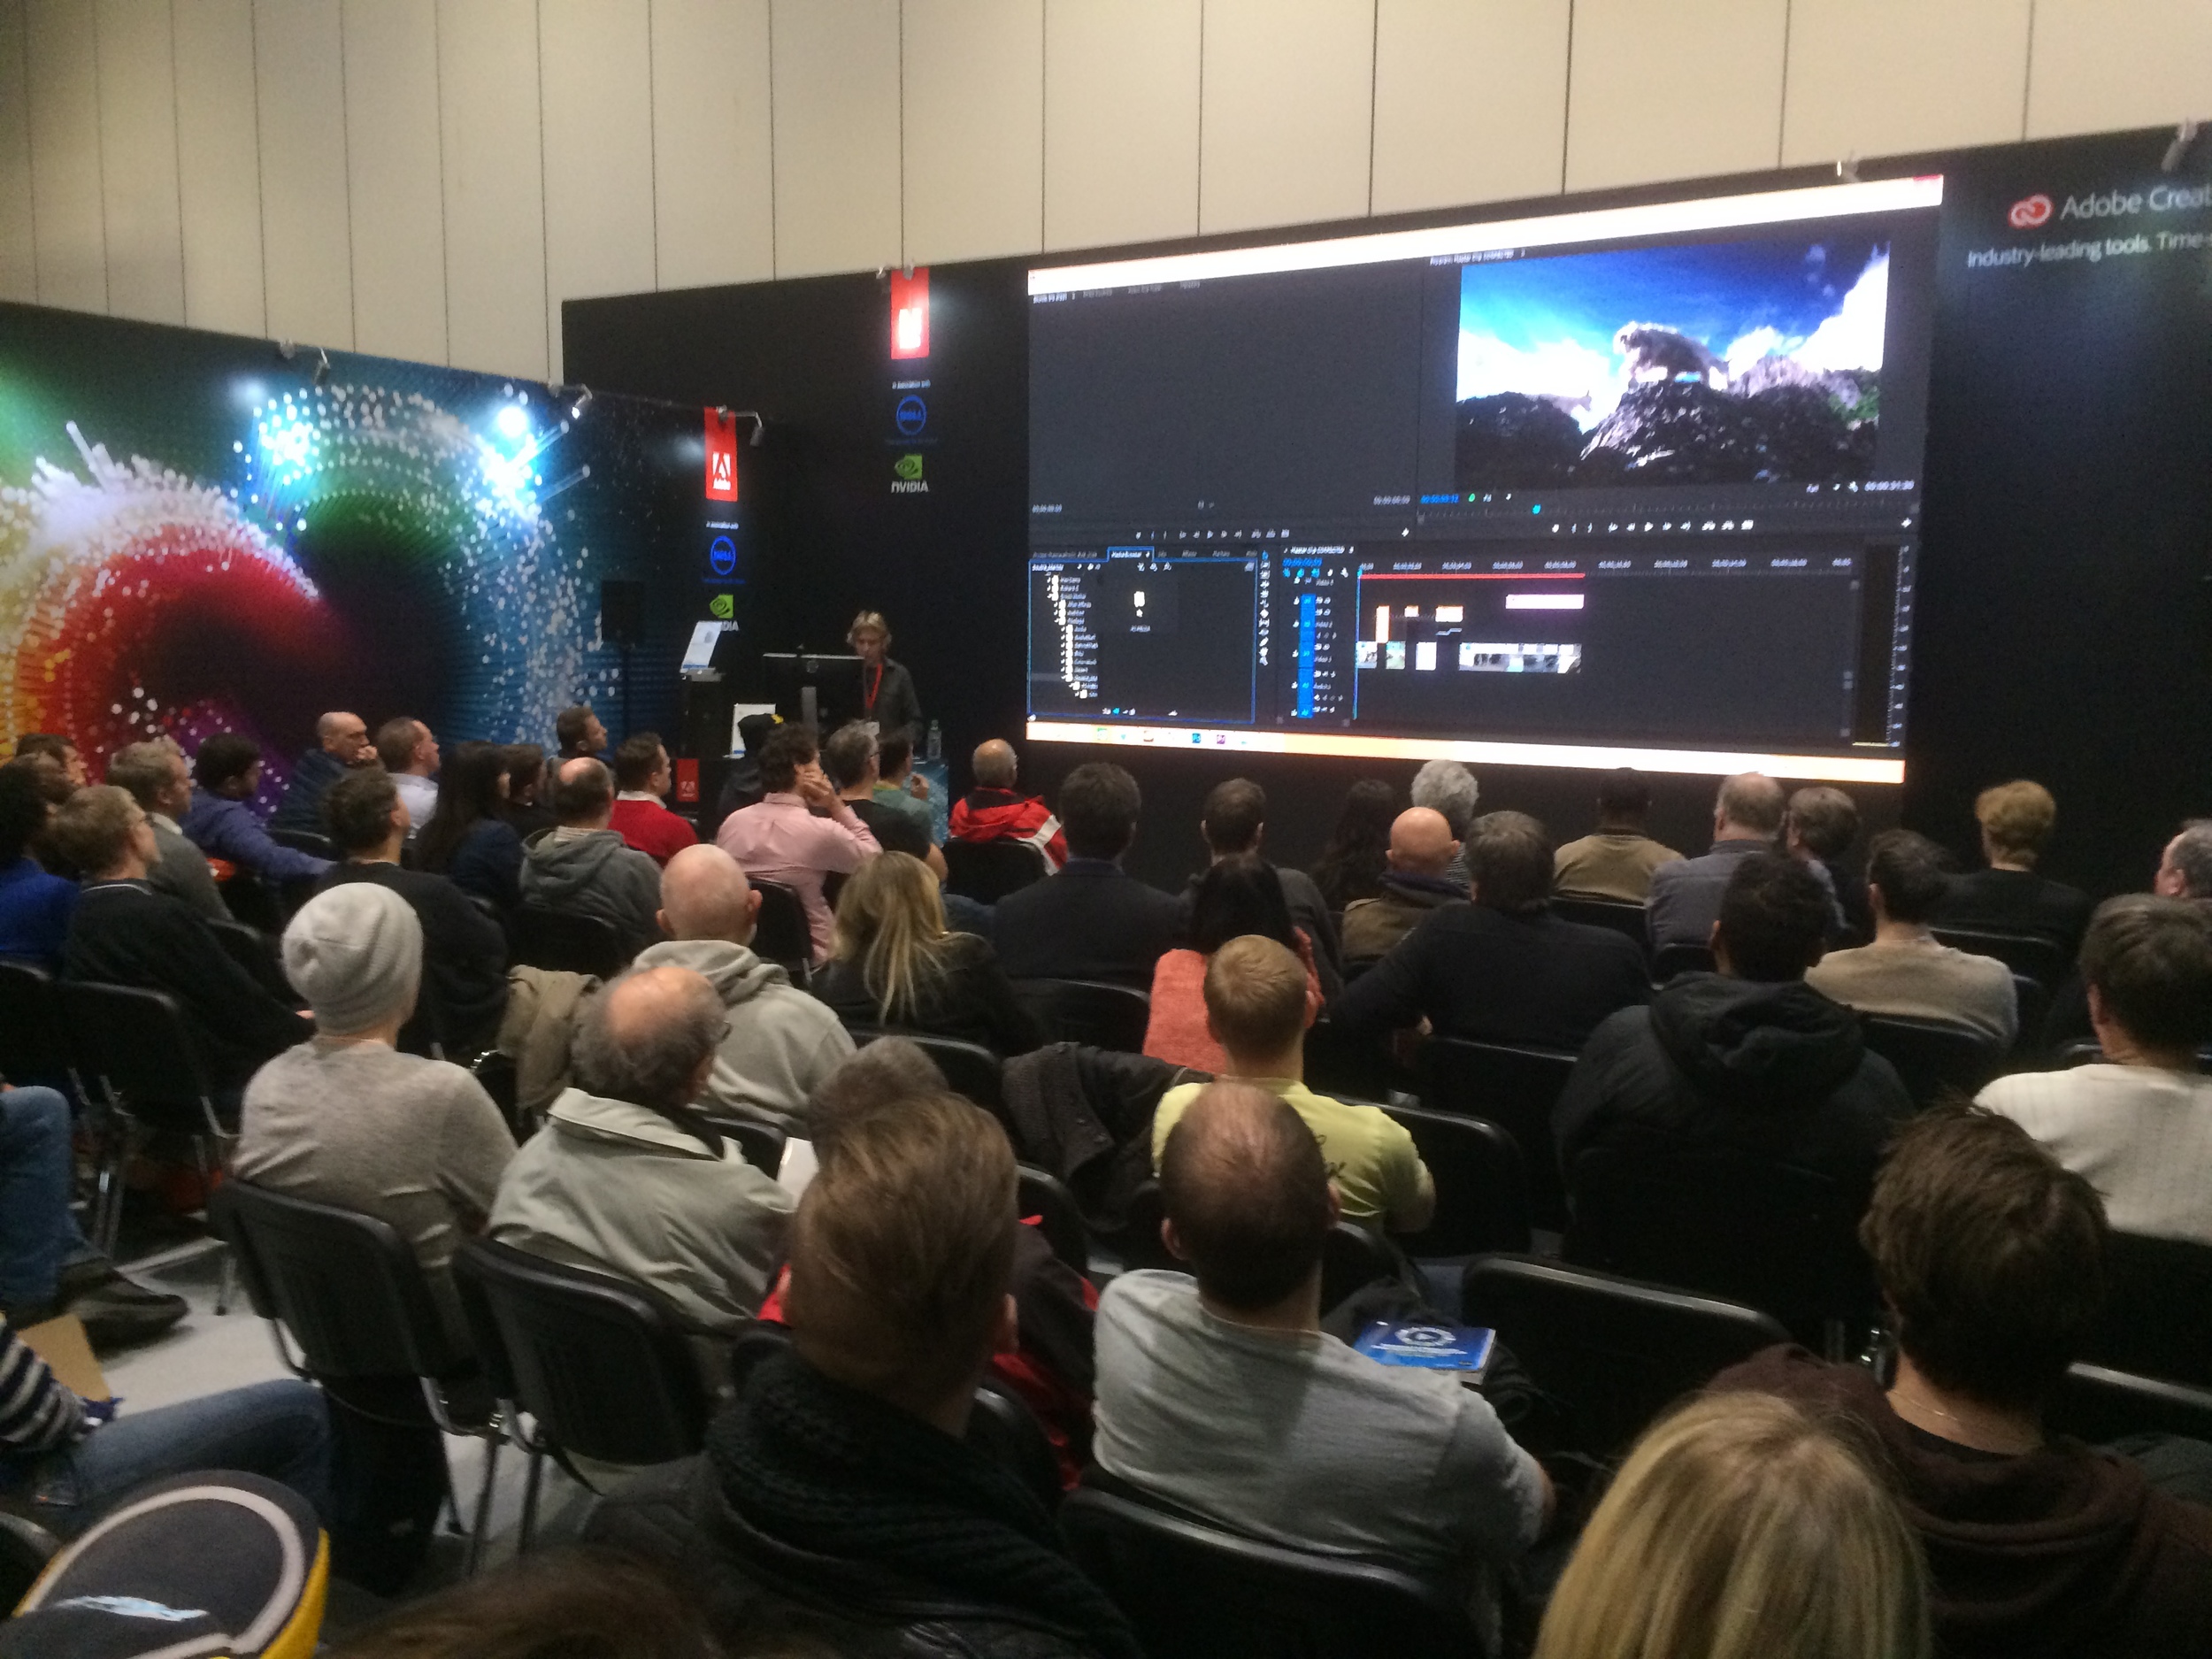
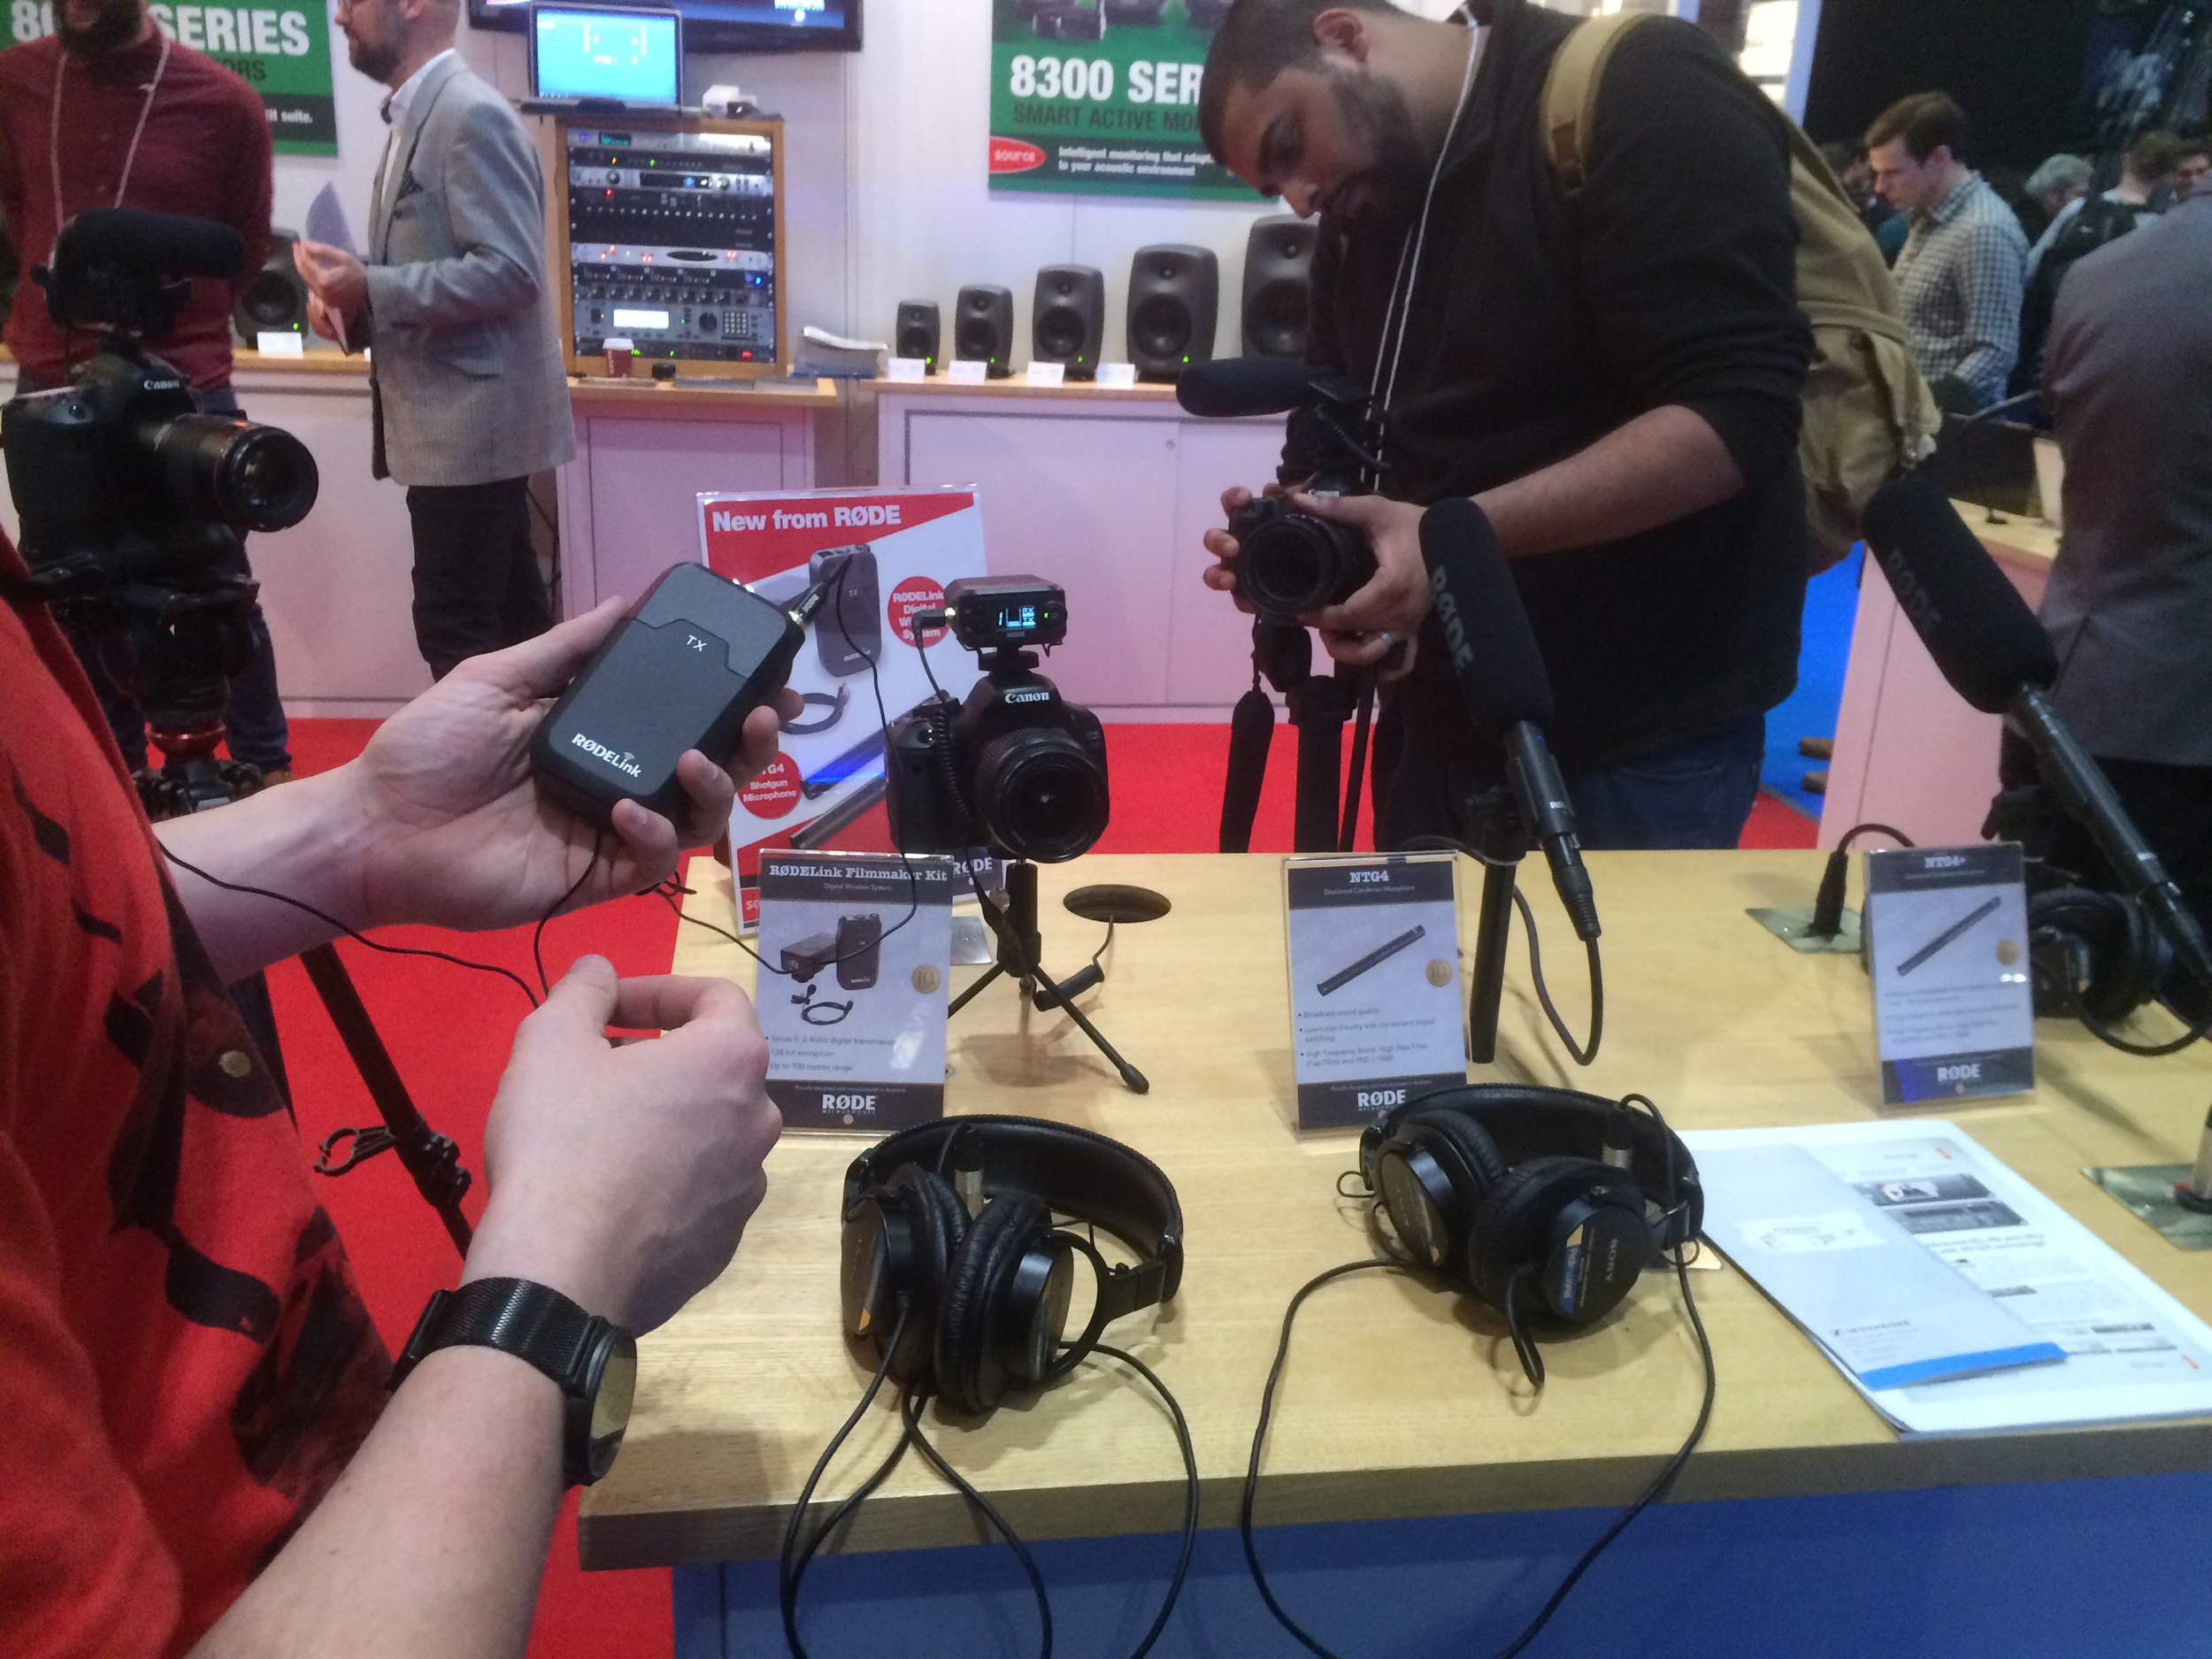
BVE Show 2015!
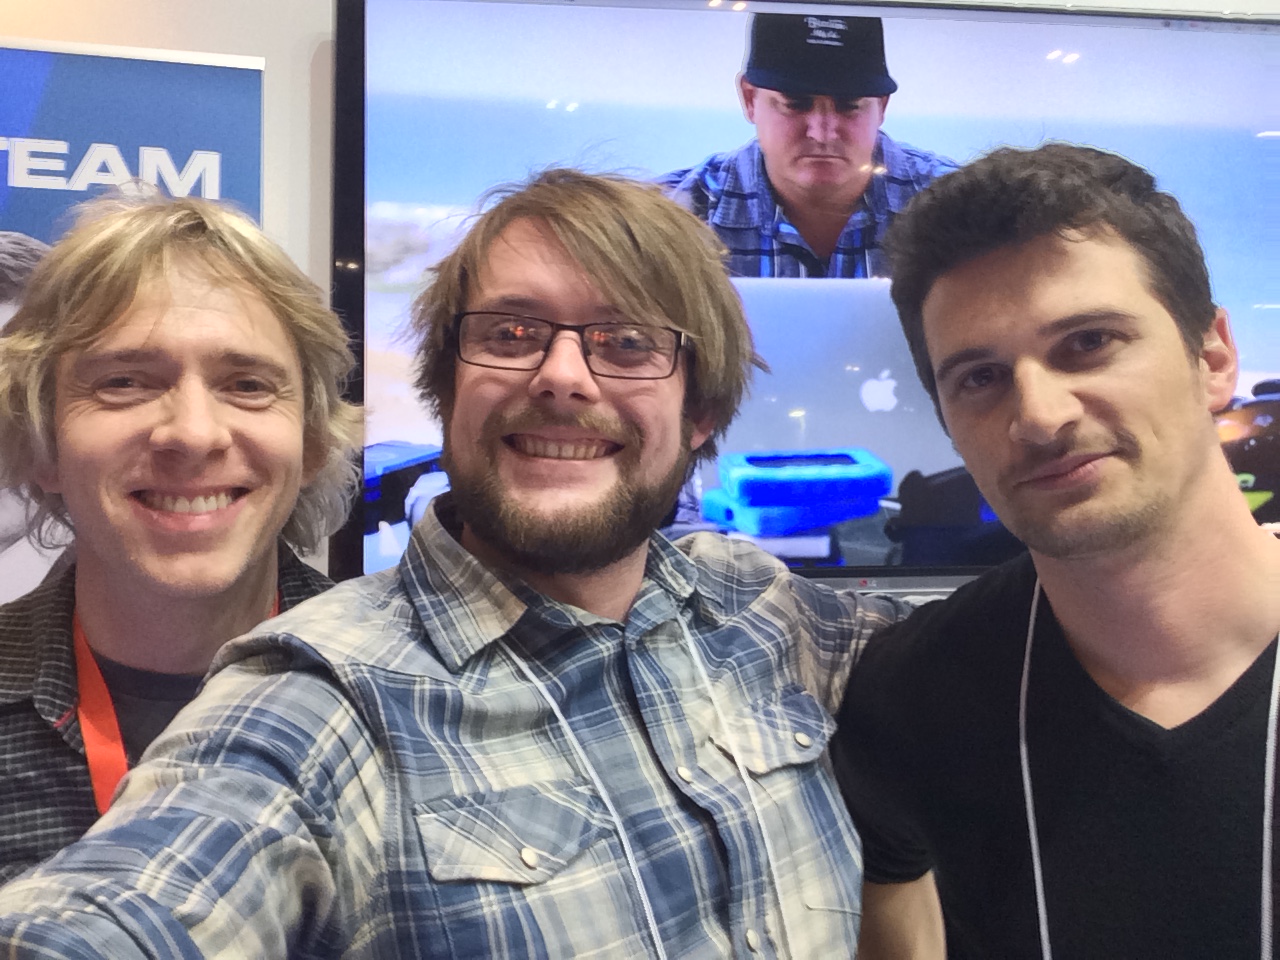
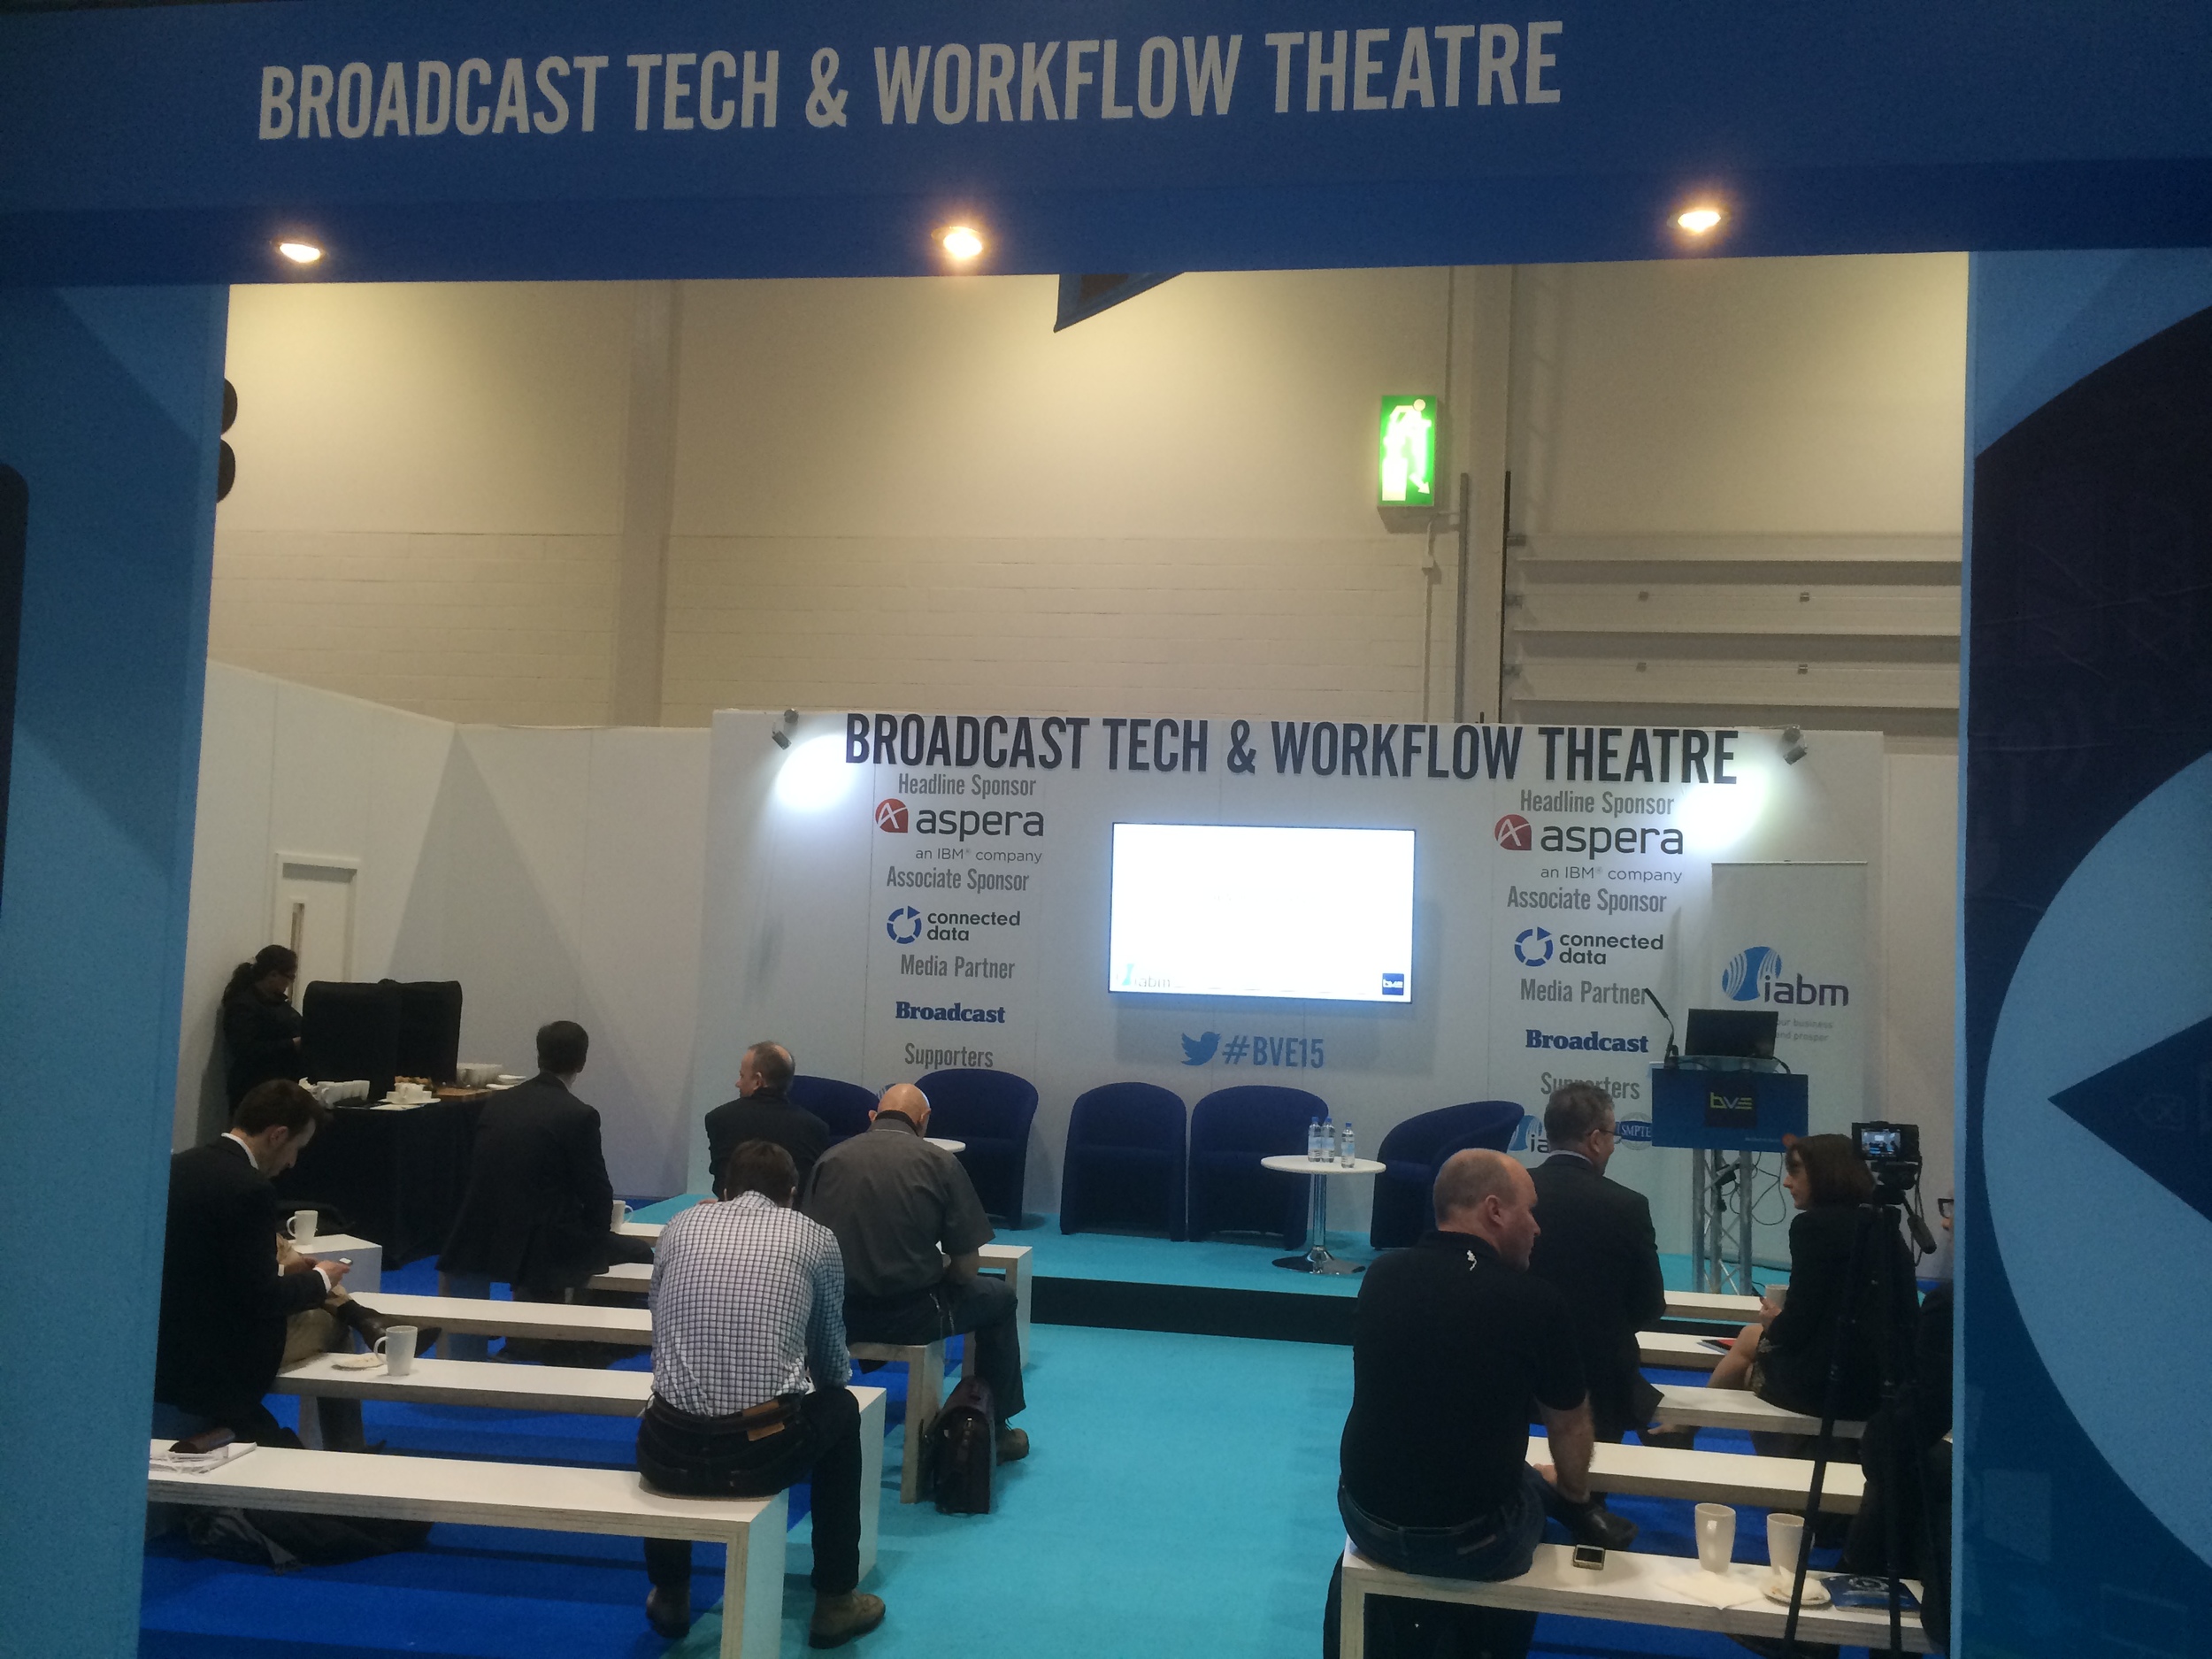
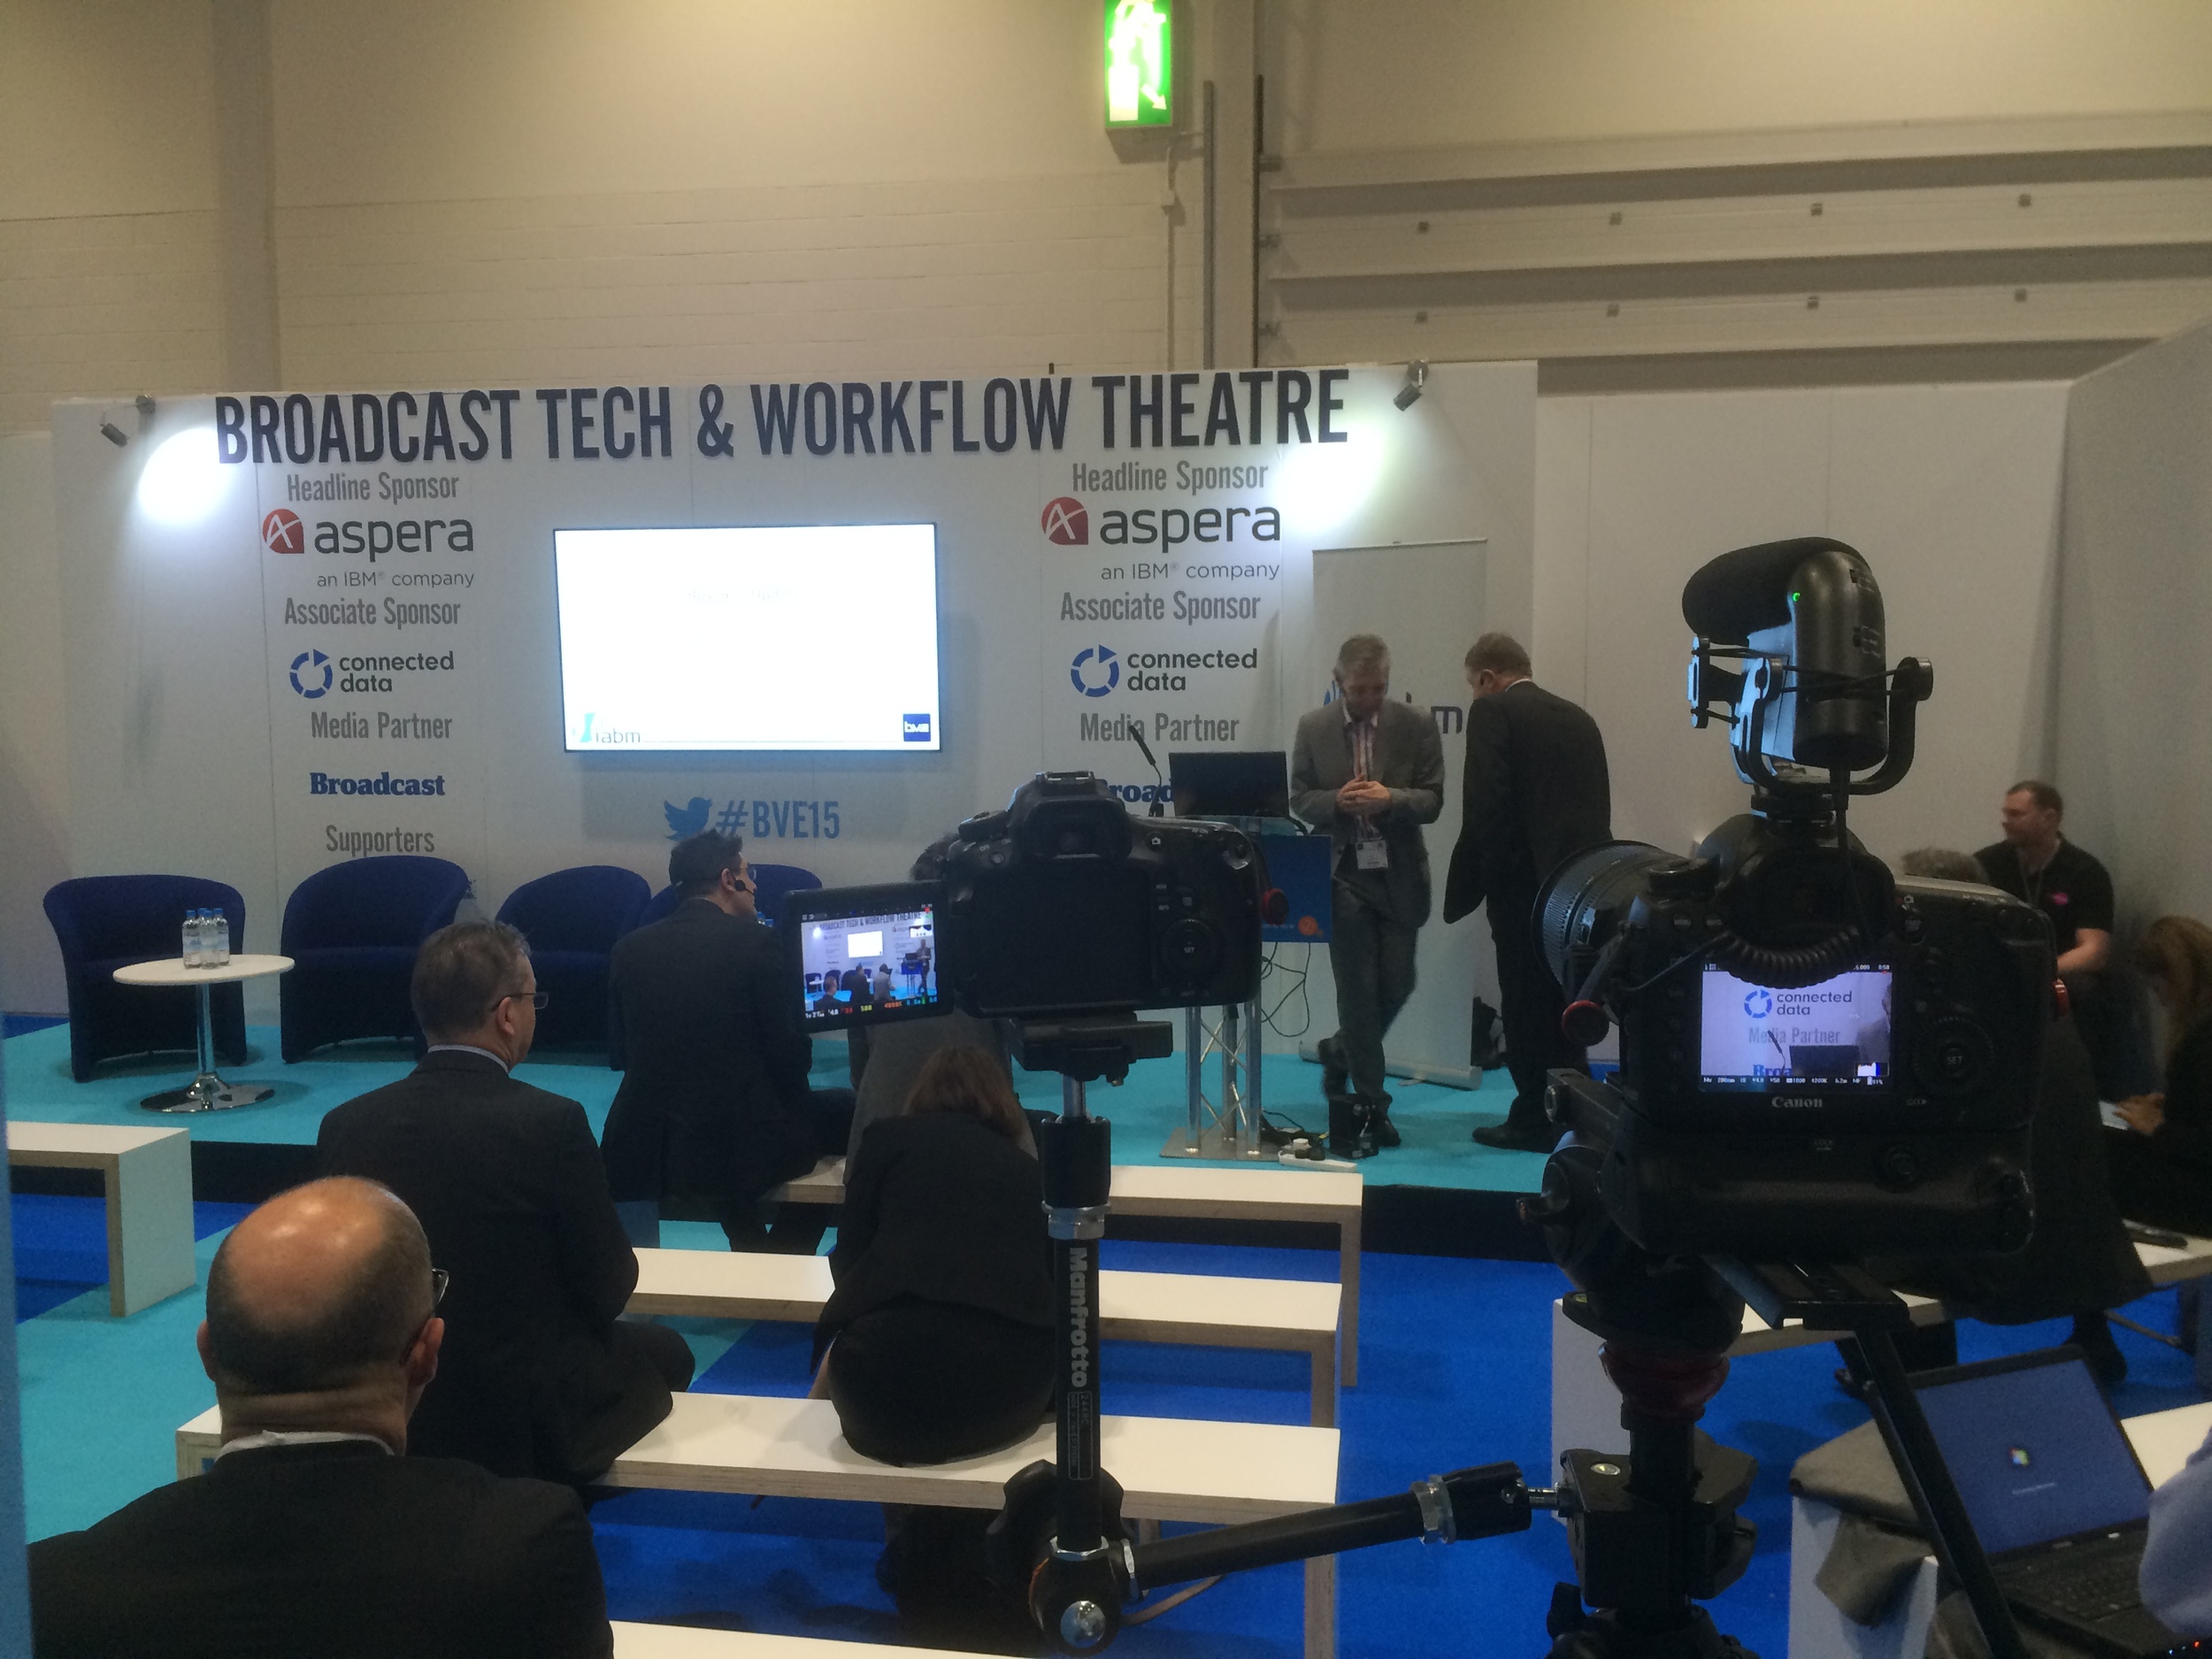
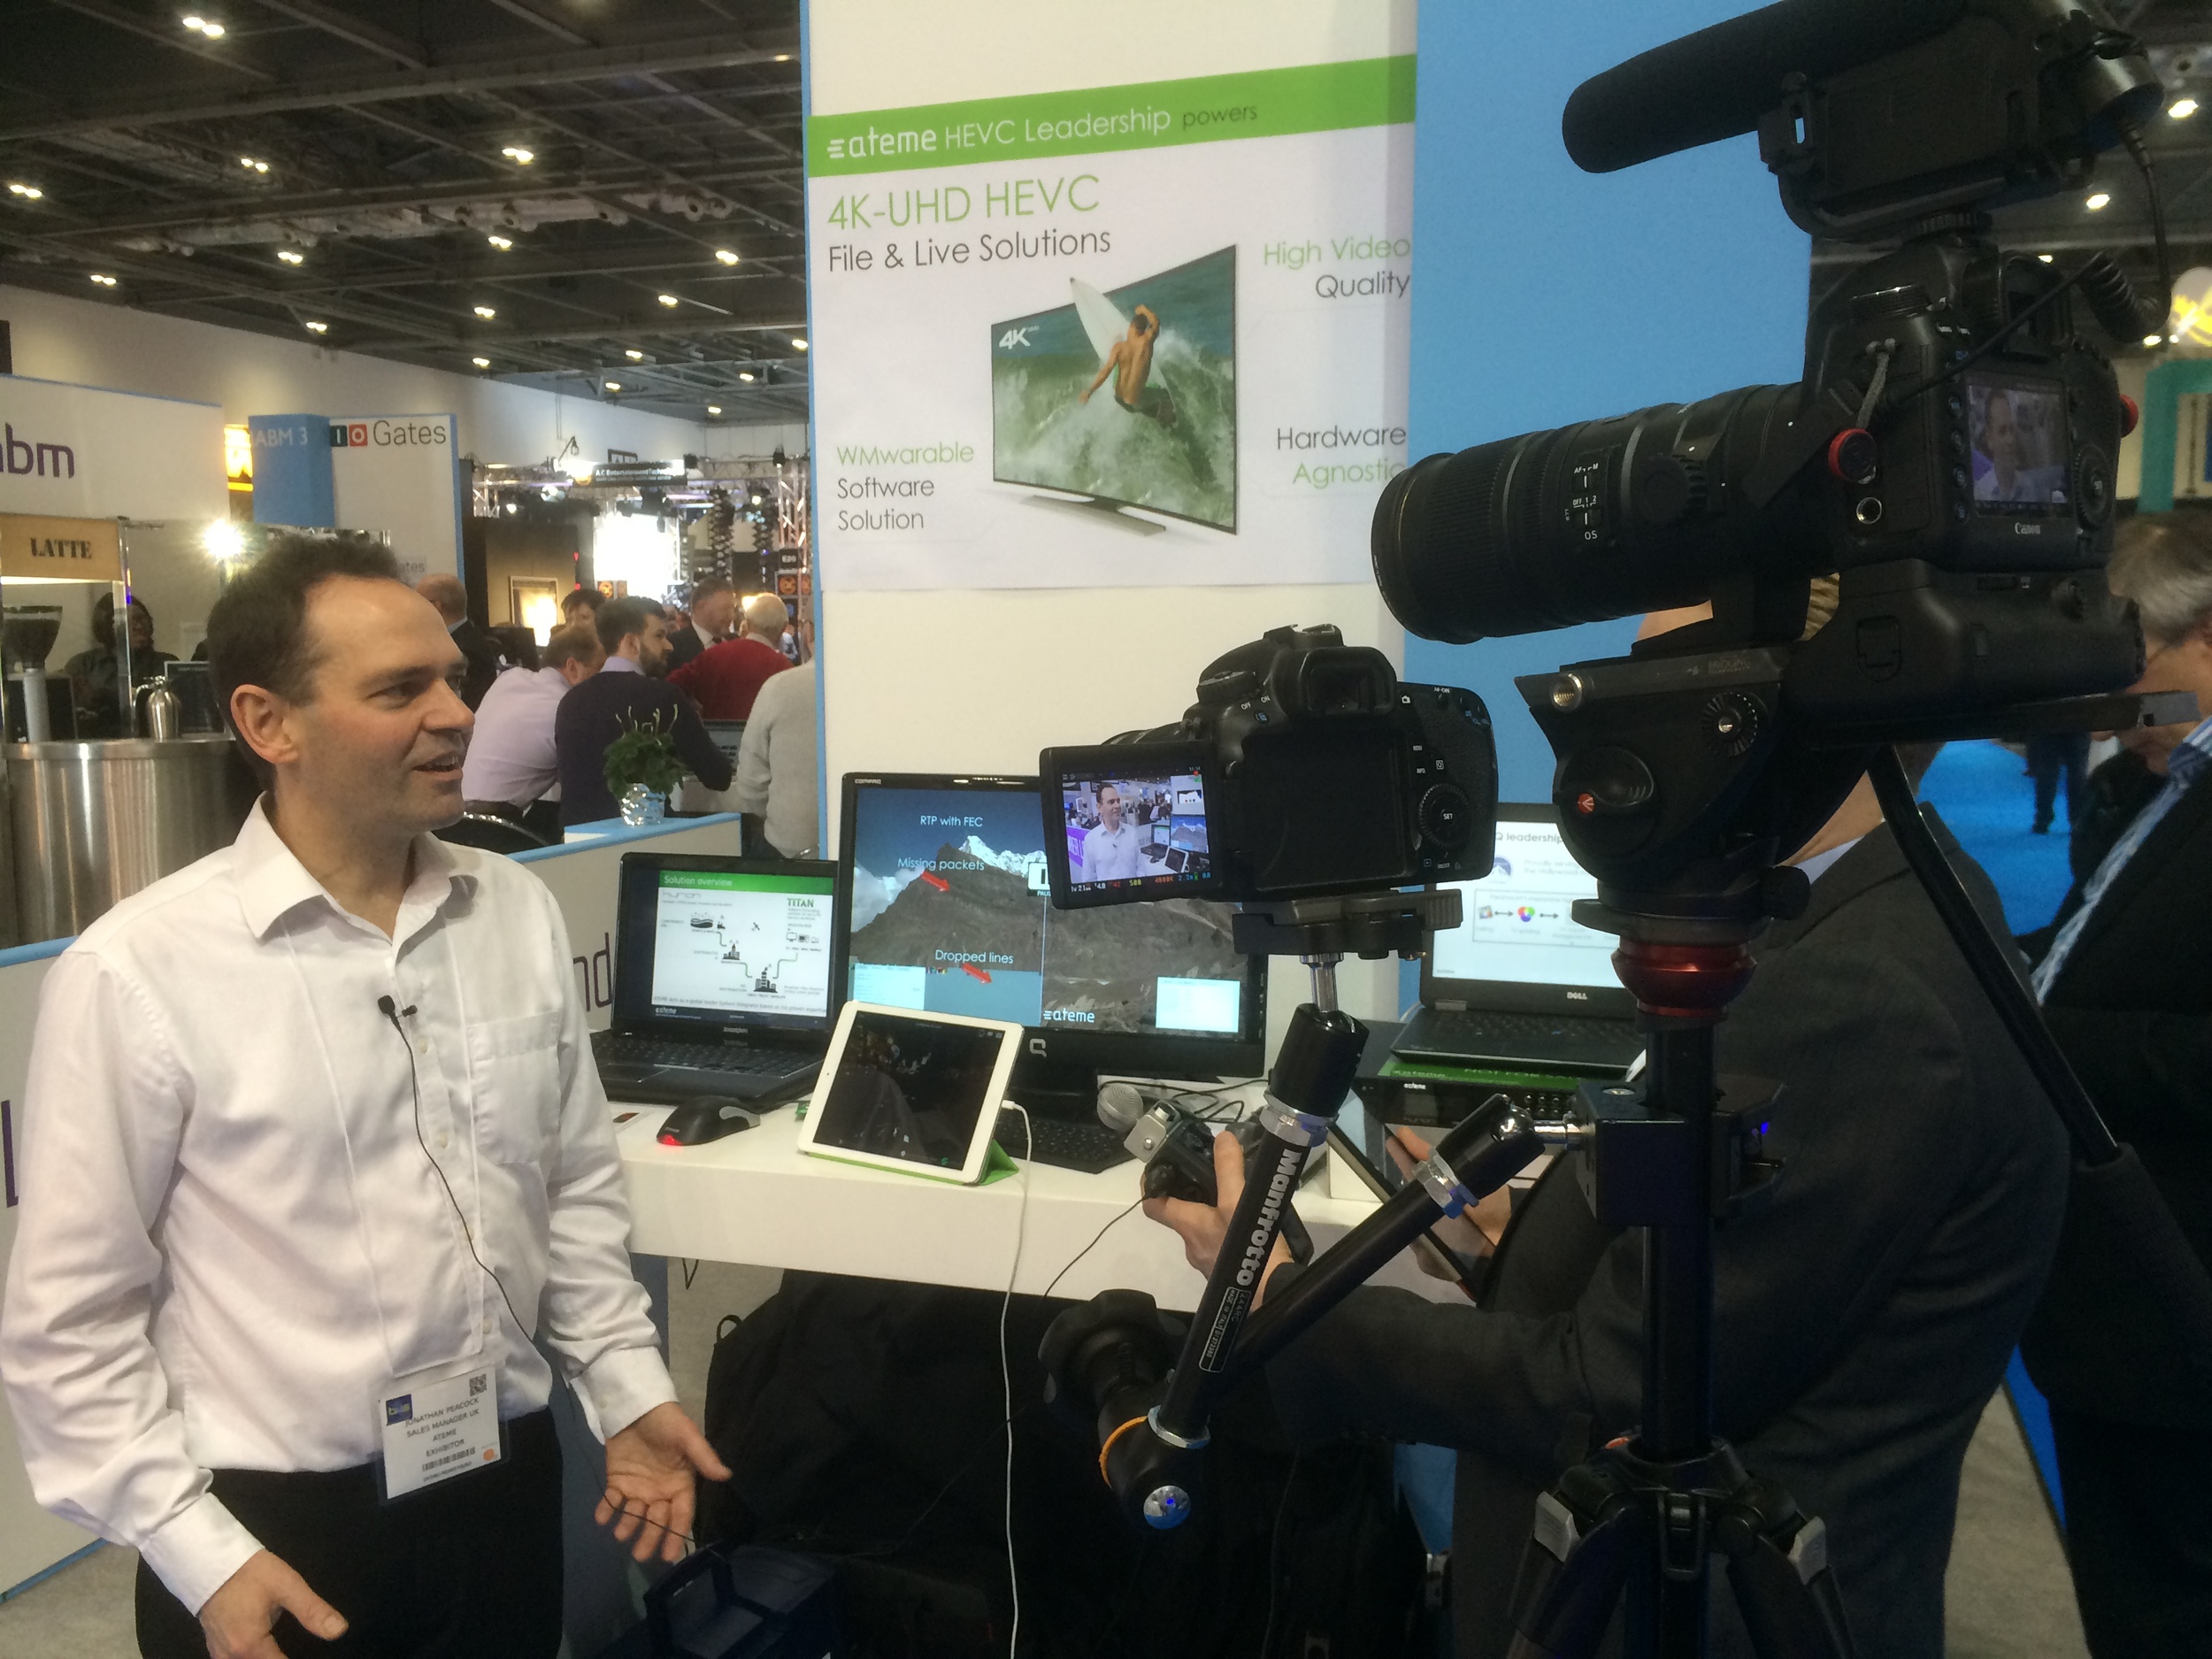
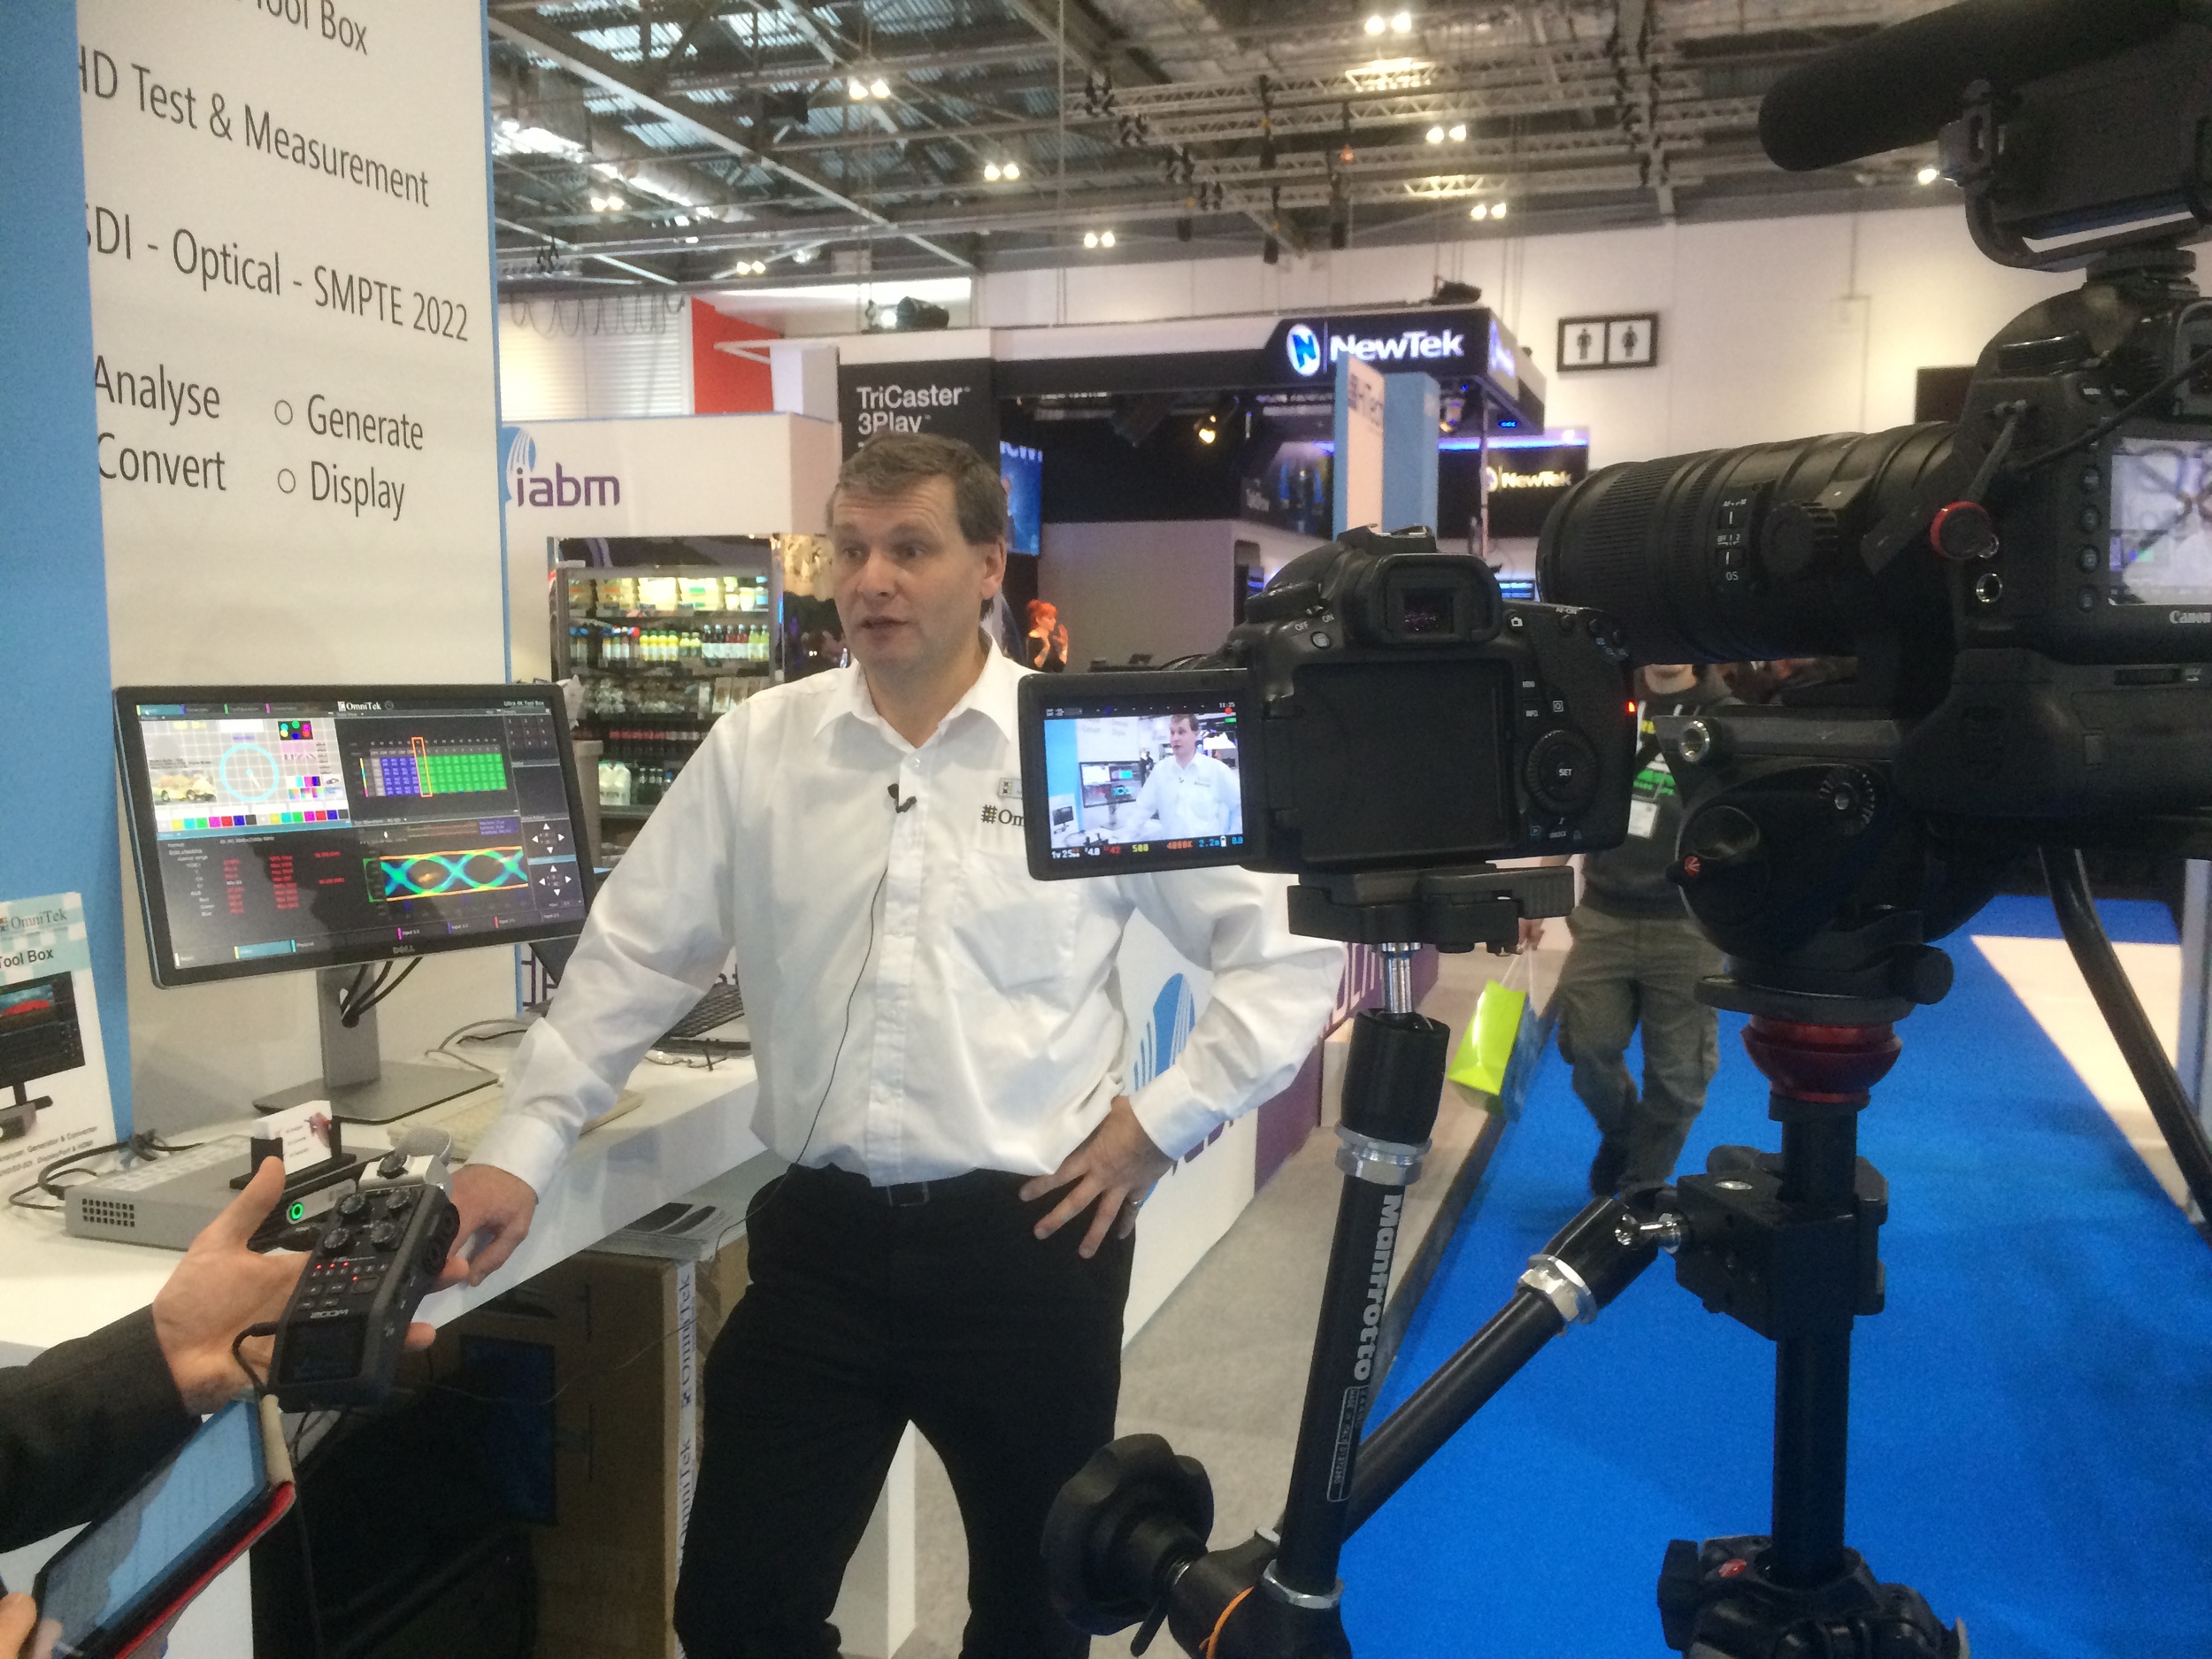
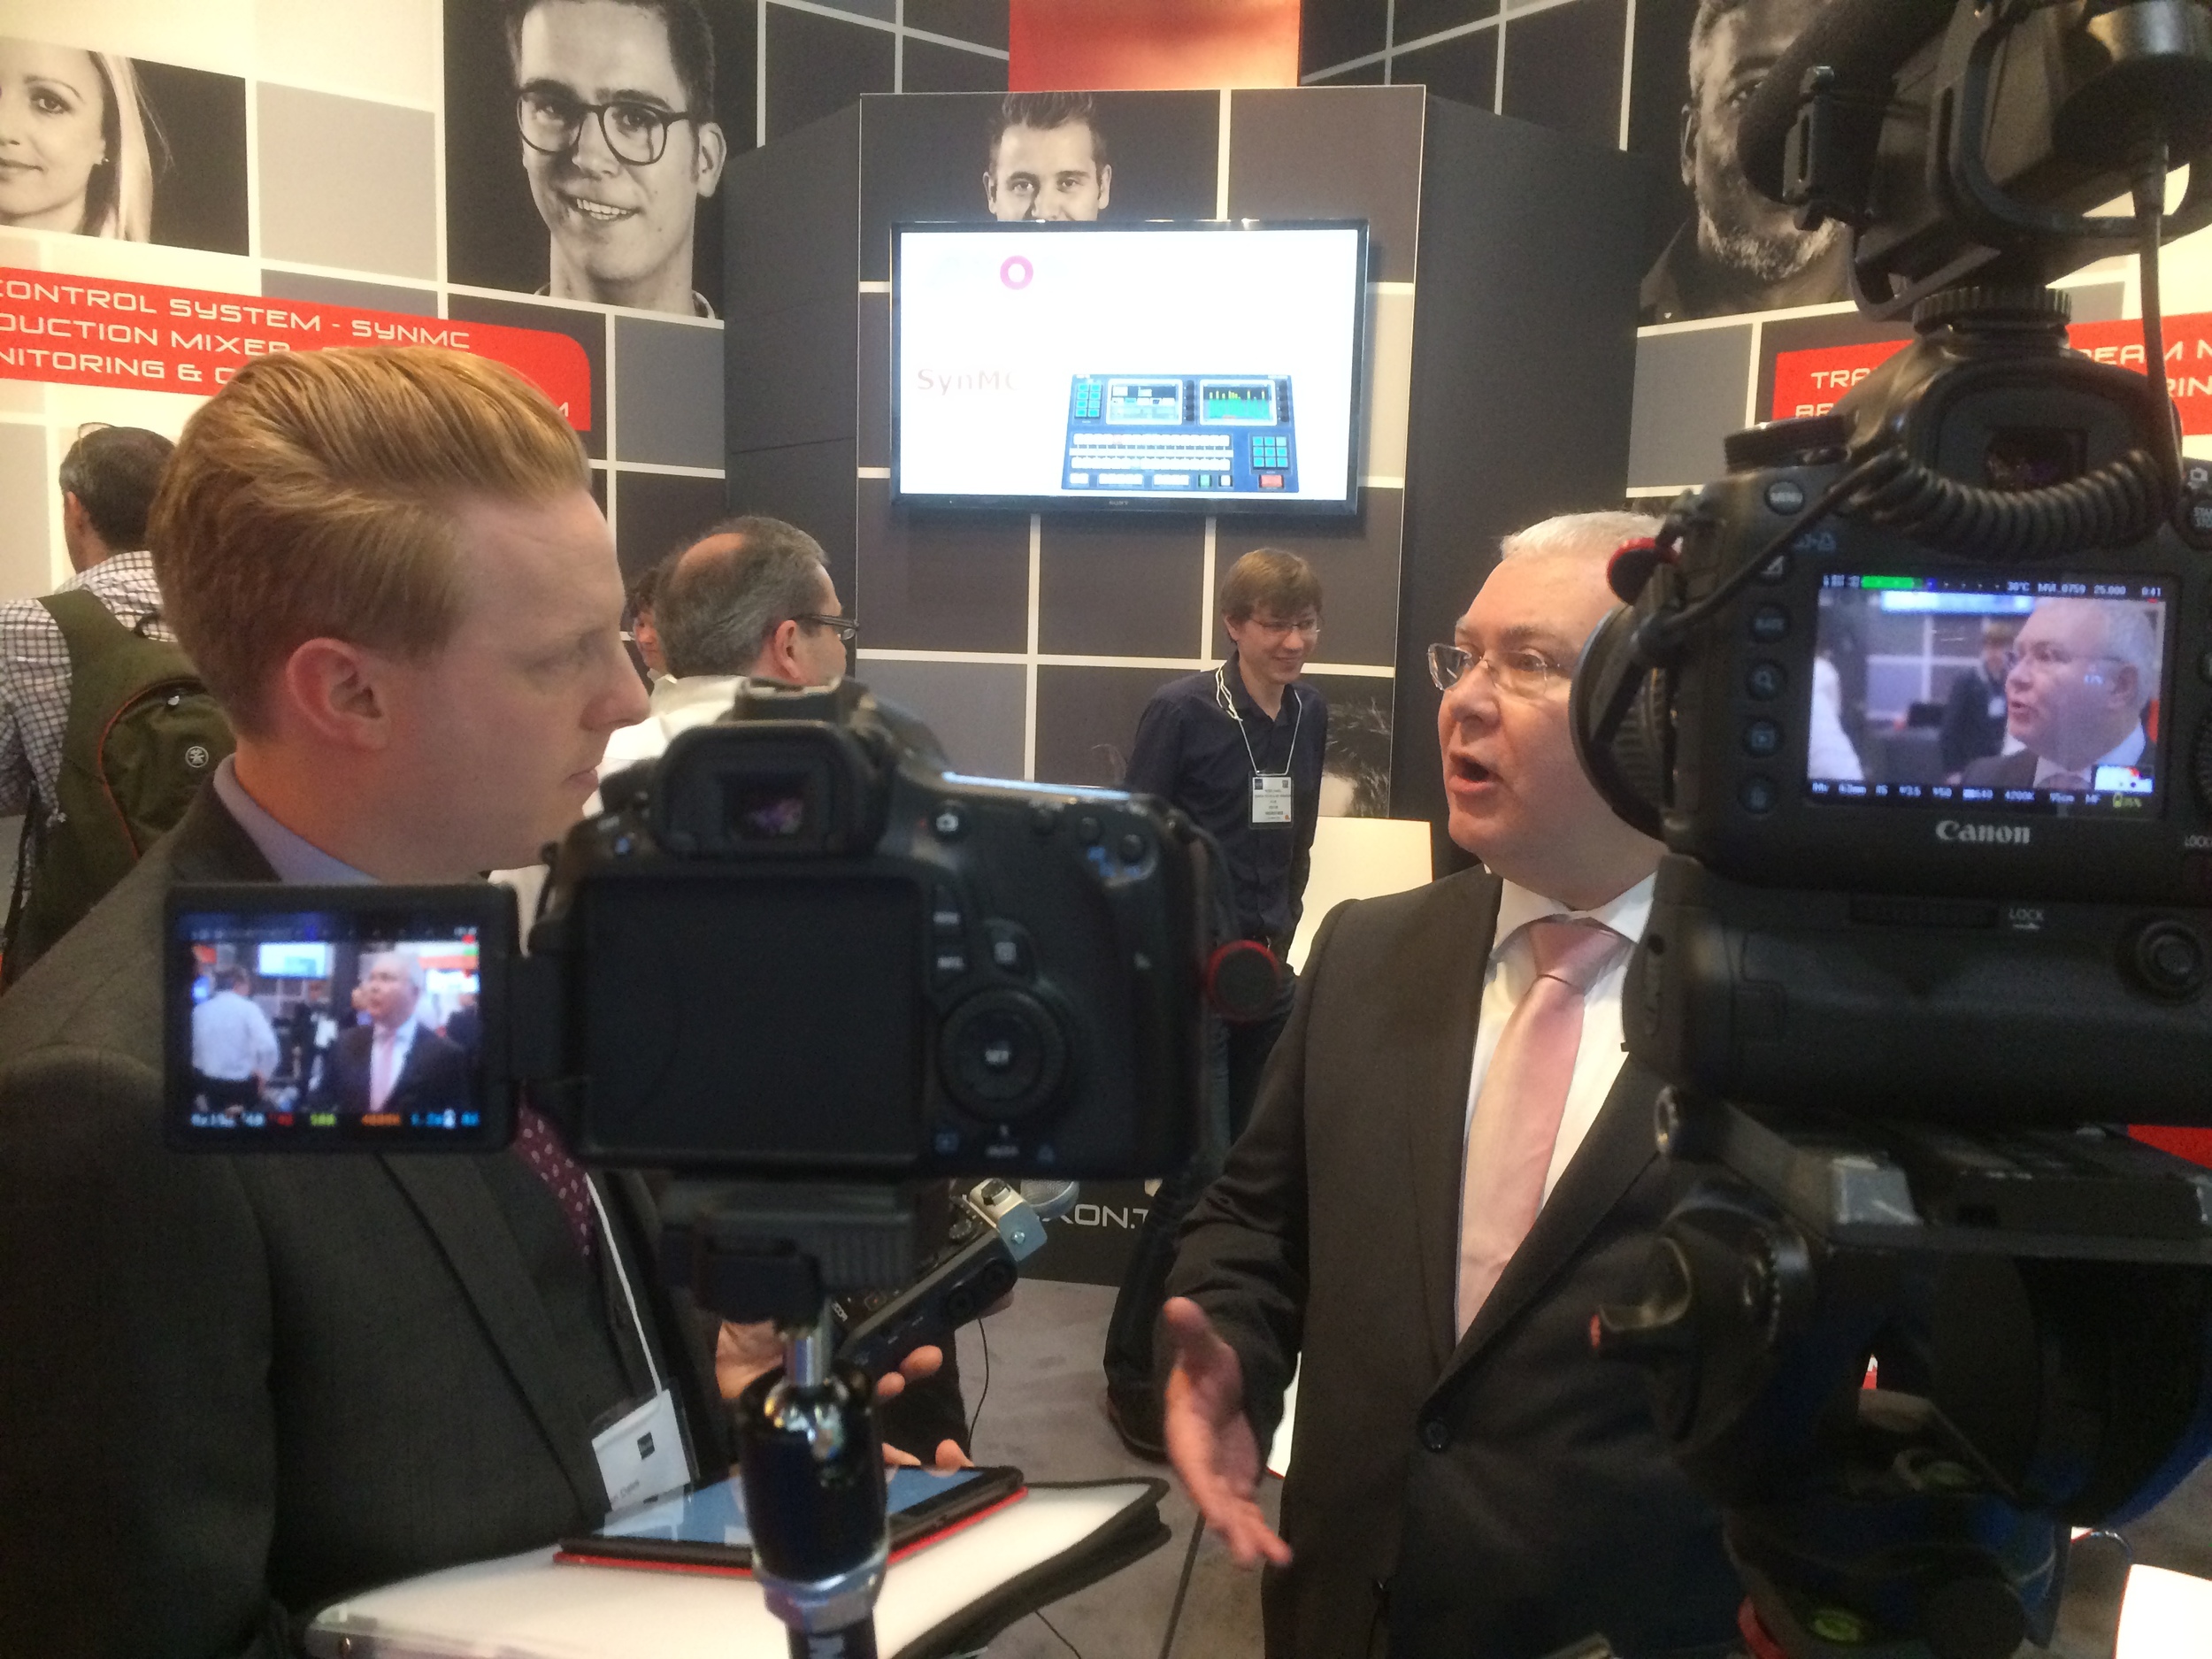
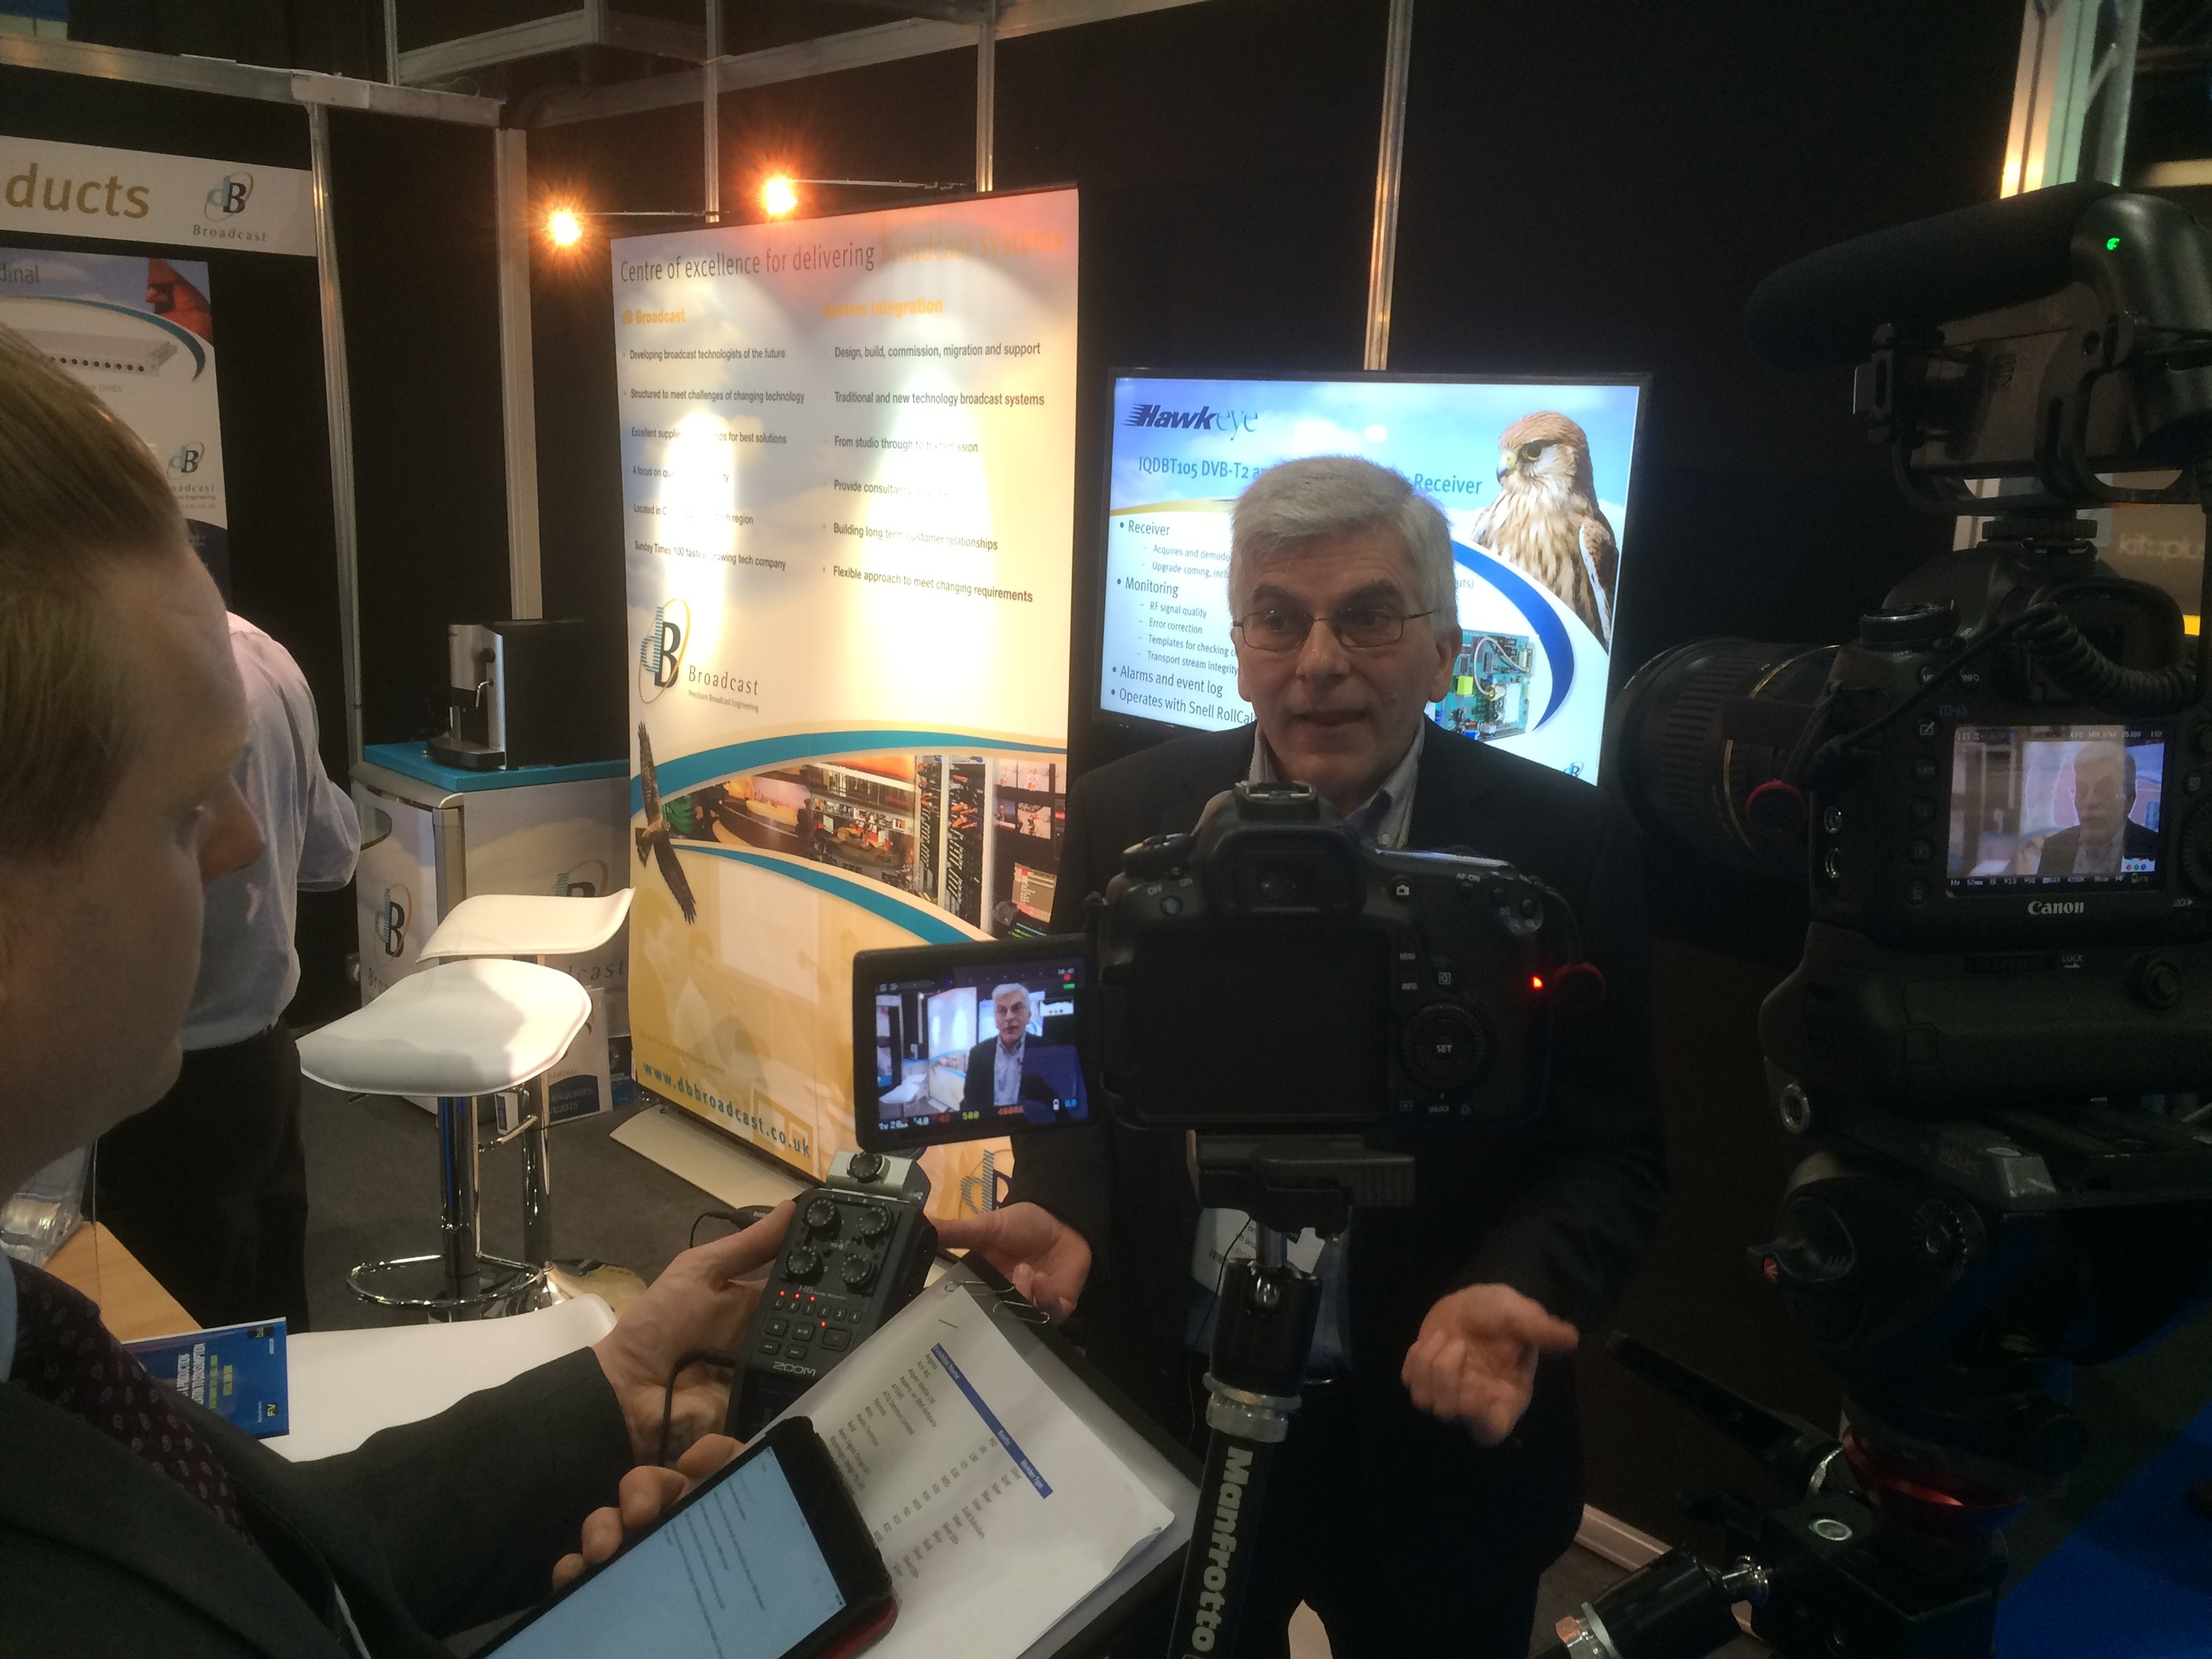
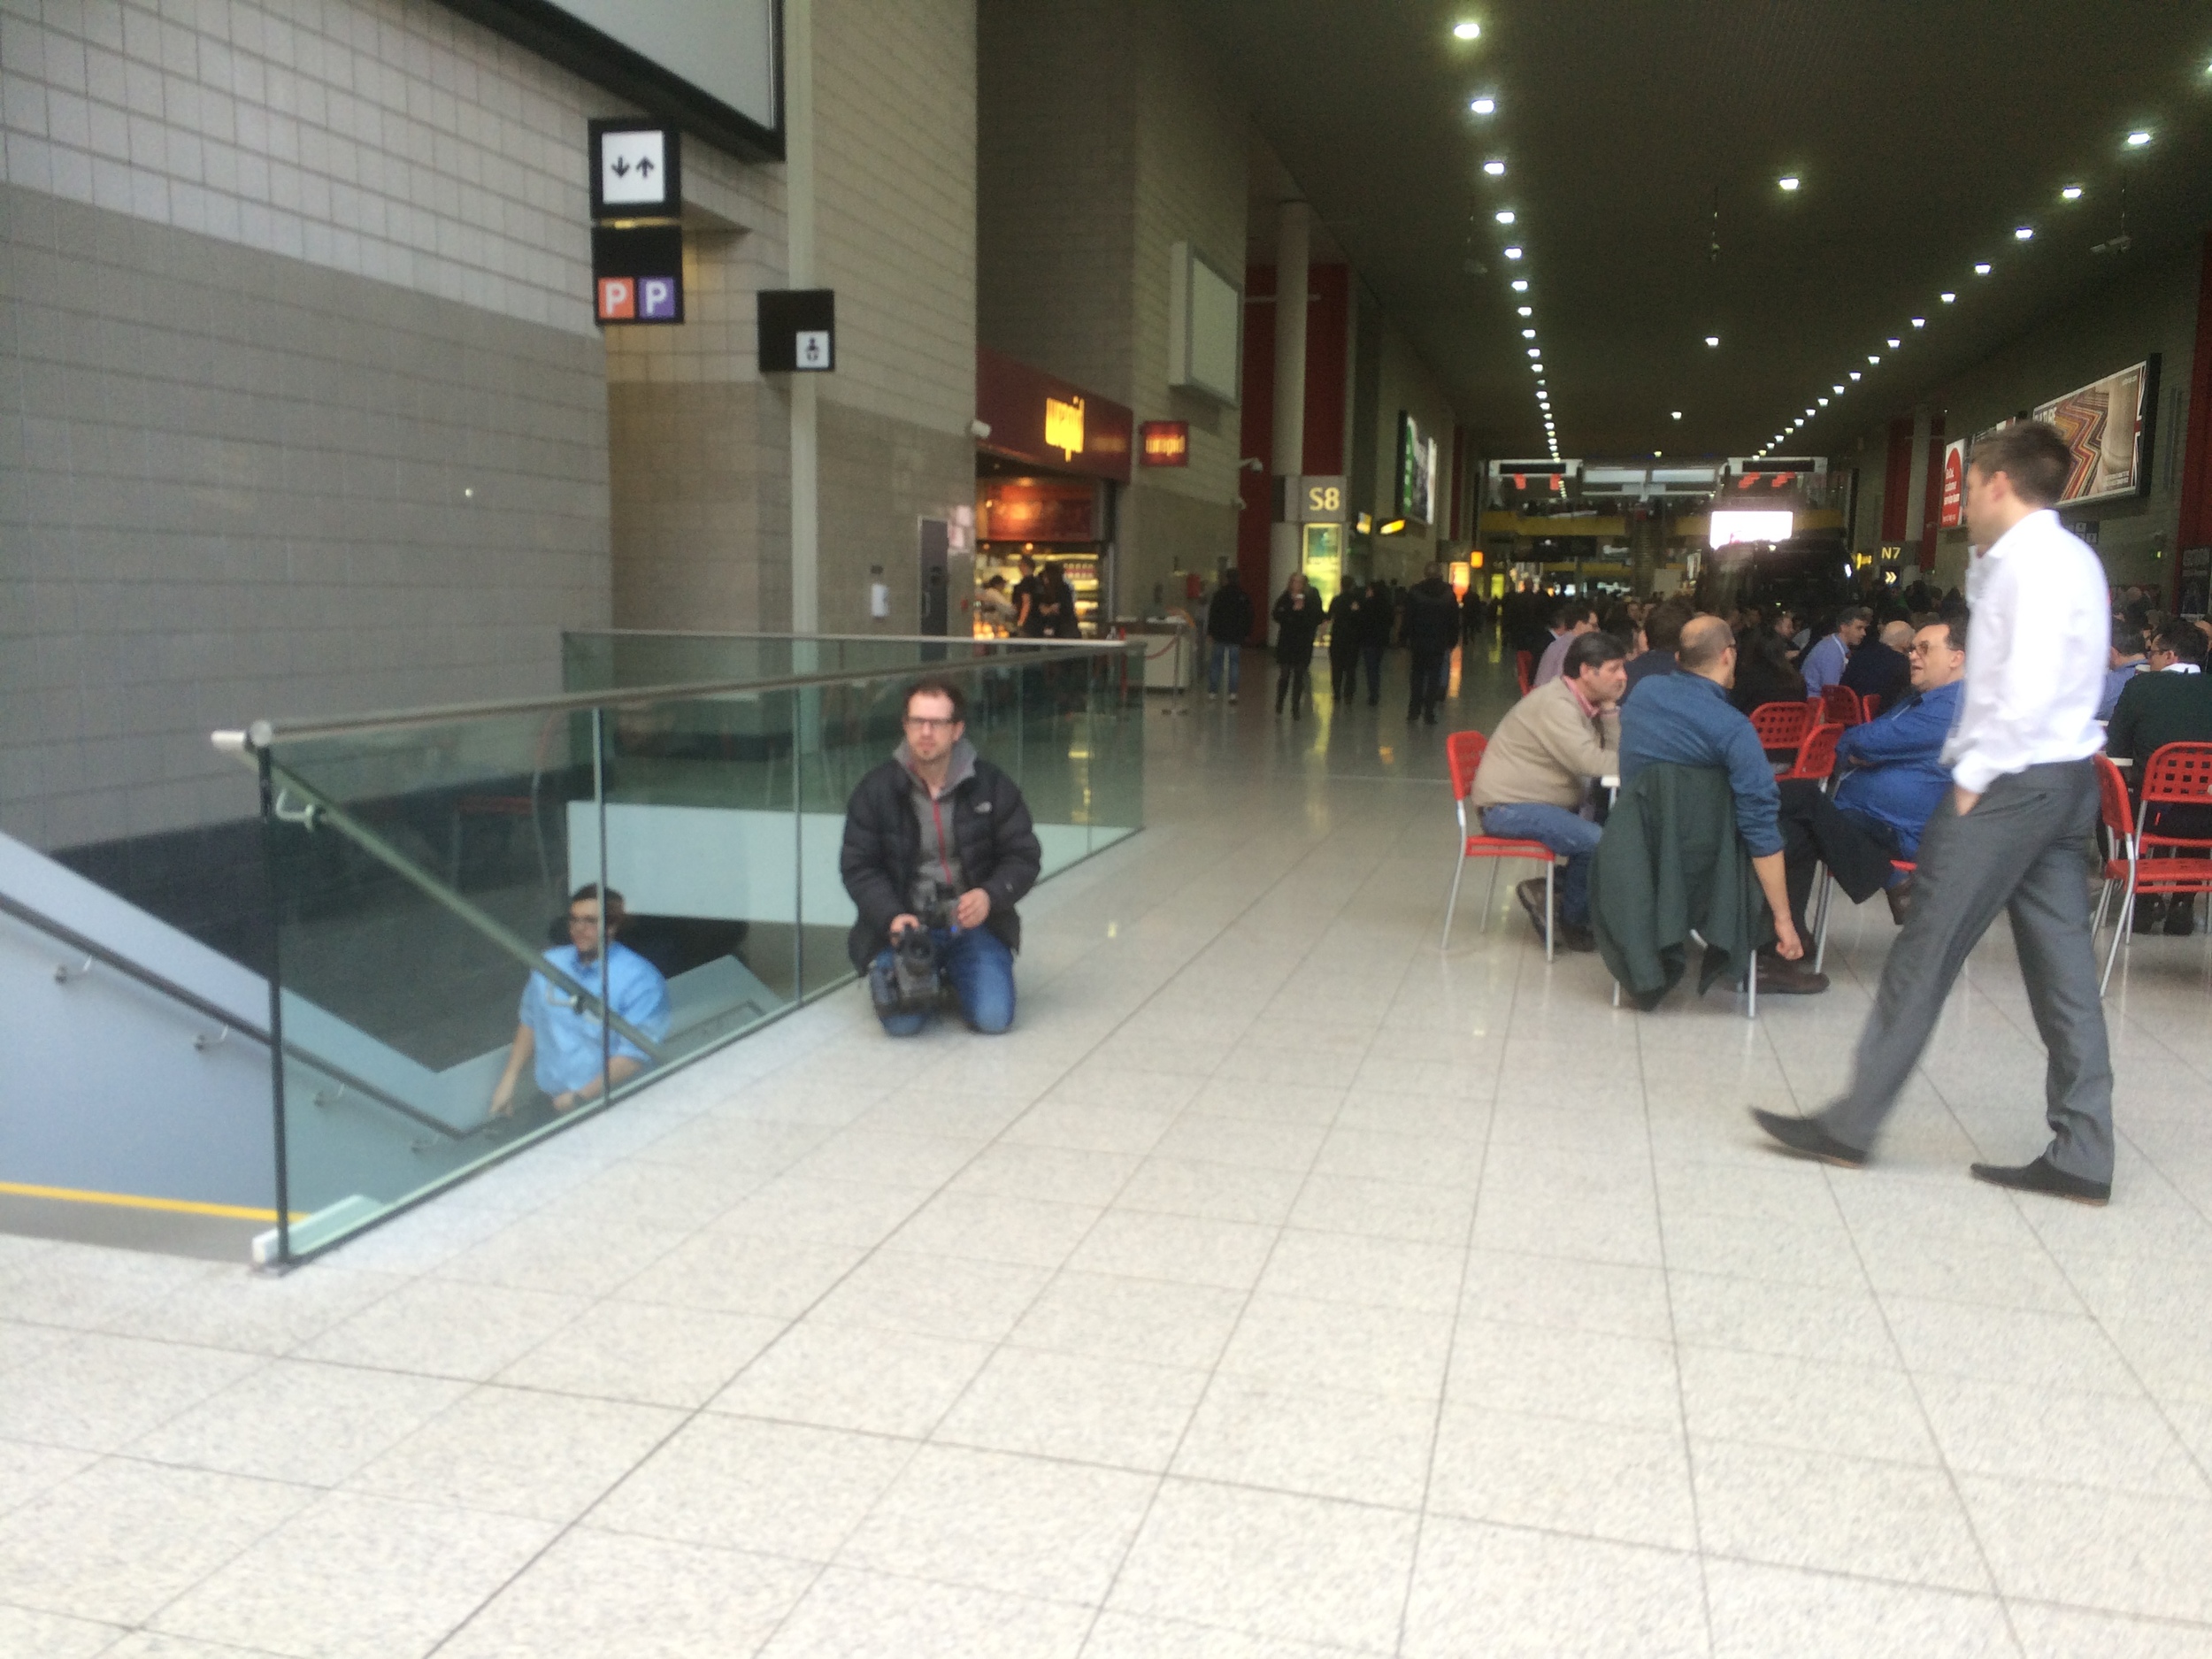
Wow what a show! I cut my stay short to come home and begin editing, which I am still working on now.. But here are a couple of photos from around the show (from my phone) of the various interviews and people I saw!
Exclusive blogs coming later from: Rode, Movidiam, JVC, Sony, Manfrotto and more.
Welcome to the boardroom
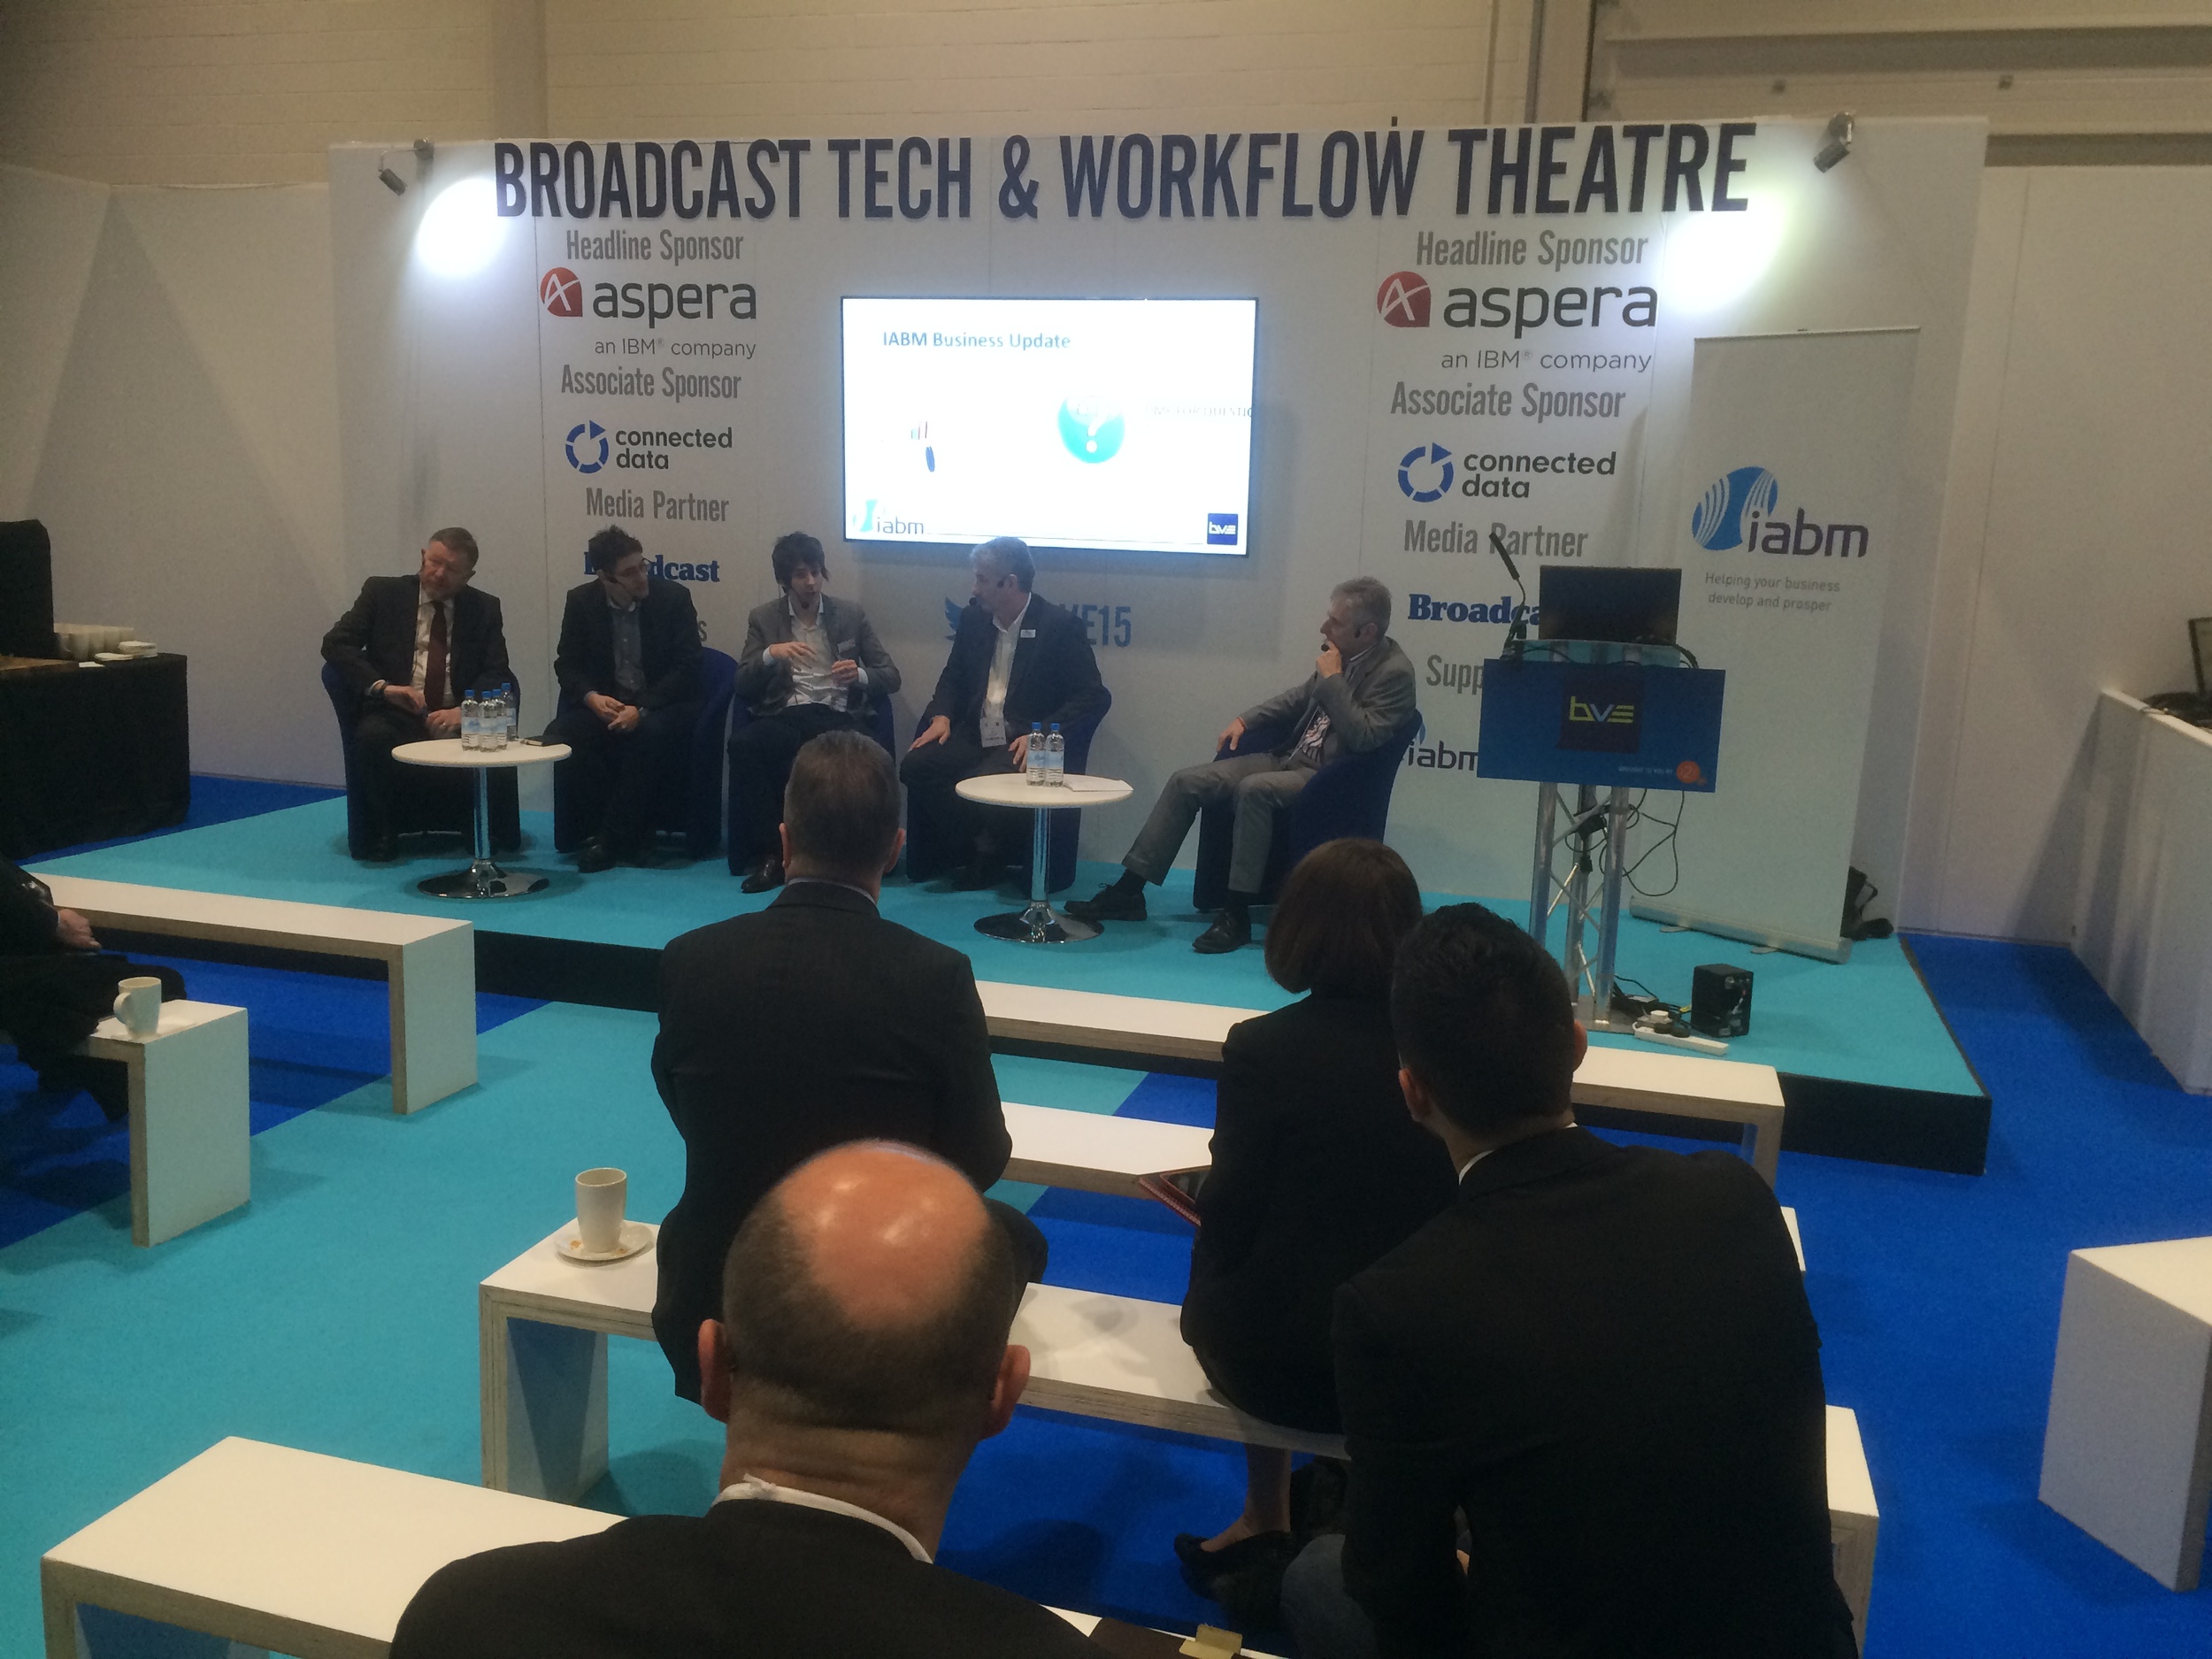
I'm doing a few productions for the IABM in the lead up to their annual conference in December, which included a video shoot in London at IBM; a panel discussion on the key topics of the conference, and the industry at the moment.
John Ive, the director of business and technology at the IABM chaired the discussion, with six of the top decision makers in the industry around the table, which included: Dominic Stone (Our host at IBM and multimedia executive), Rob Roberts (Avid), Marc Risby (Boxer), David Peto (Aframe), Chris Steele (Marquis), Paul Glasgow (Chyron Hego).
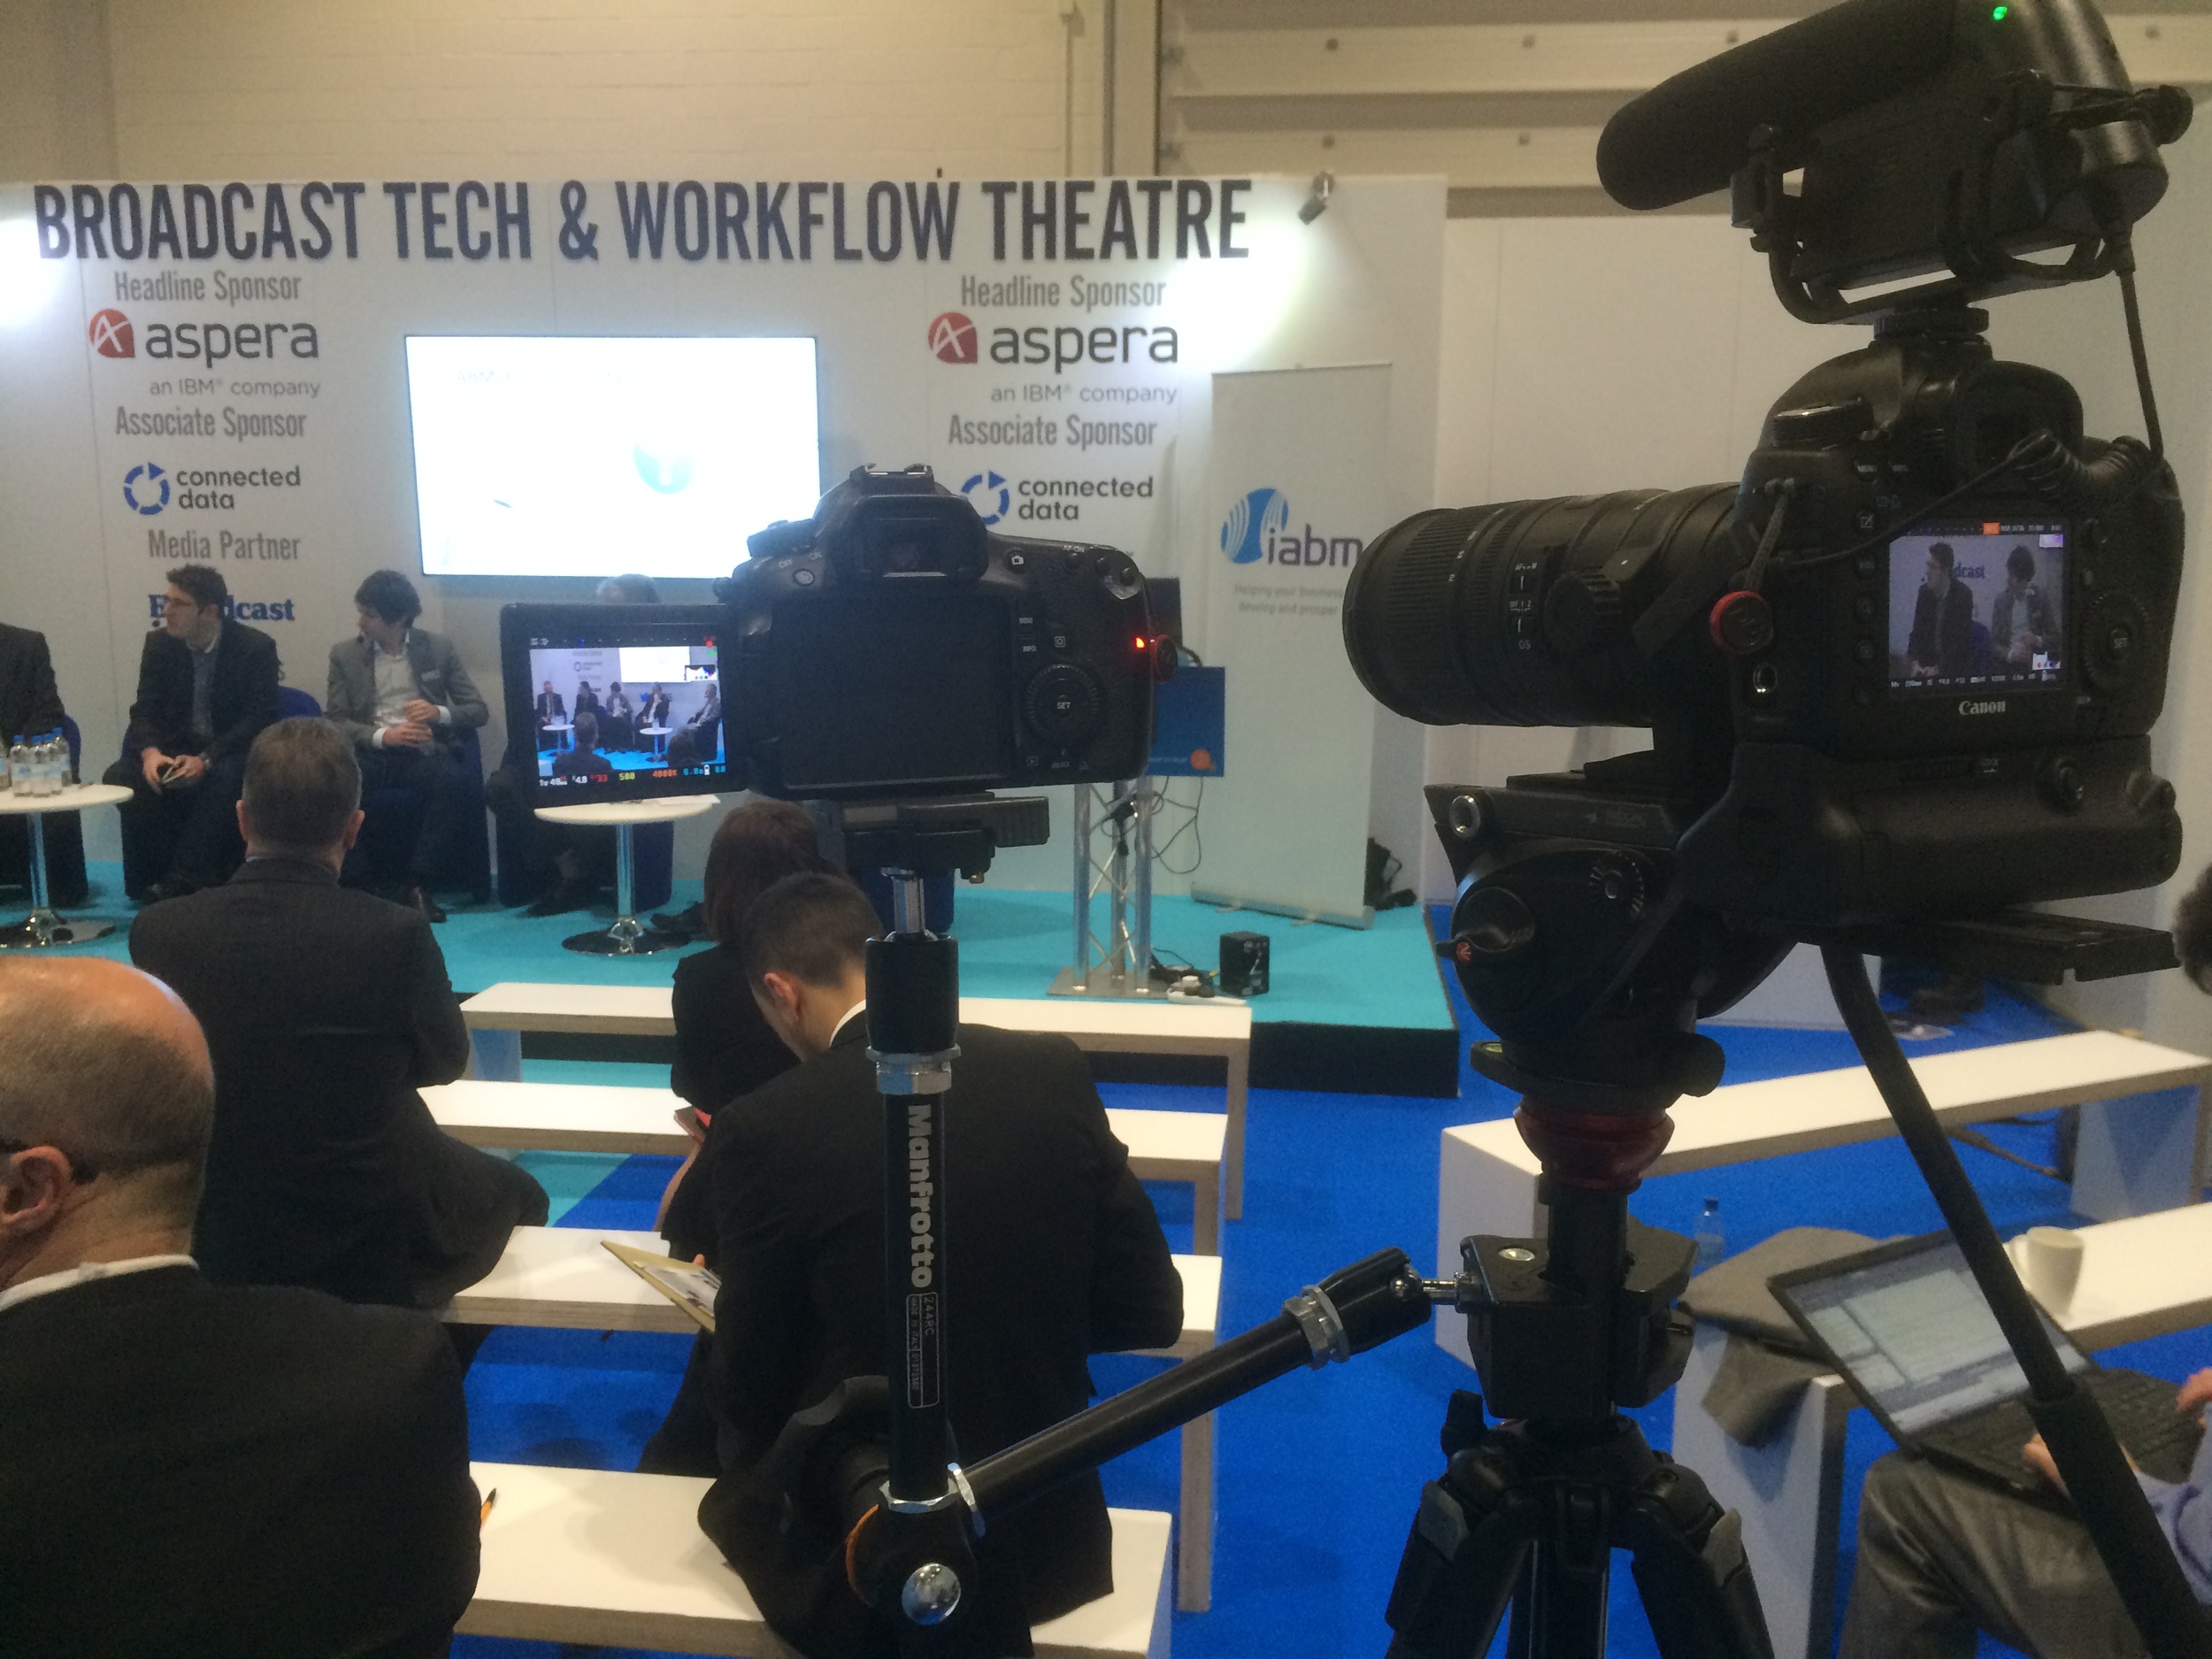
It was an early start for myself and Glen, to get a head start in the traffic heading up to the South Bank. Usually I would get the train, but as this was a full setup I required my little cars assistance to get the equipment there!

Glen at IBM

Me at IBM!
We arrived at the IBM office on the South Bank with plenty of time to spare, and after unloading the equipment in the loading bay we parked up in the National Theater and met our host for the day, Dominic. A wonderful chap with a wealth of experience as a television producer, many thanks for your hospitality throughout the day!

Trolley fulla gear!
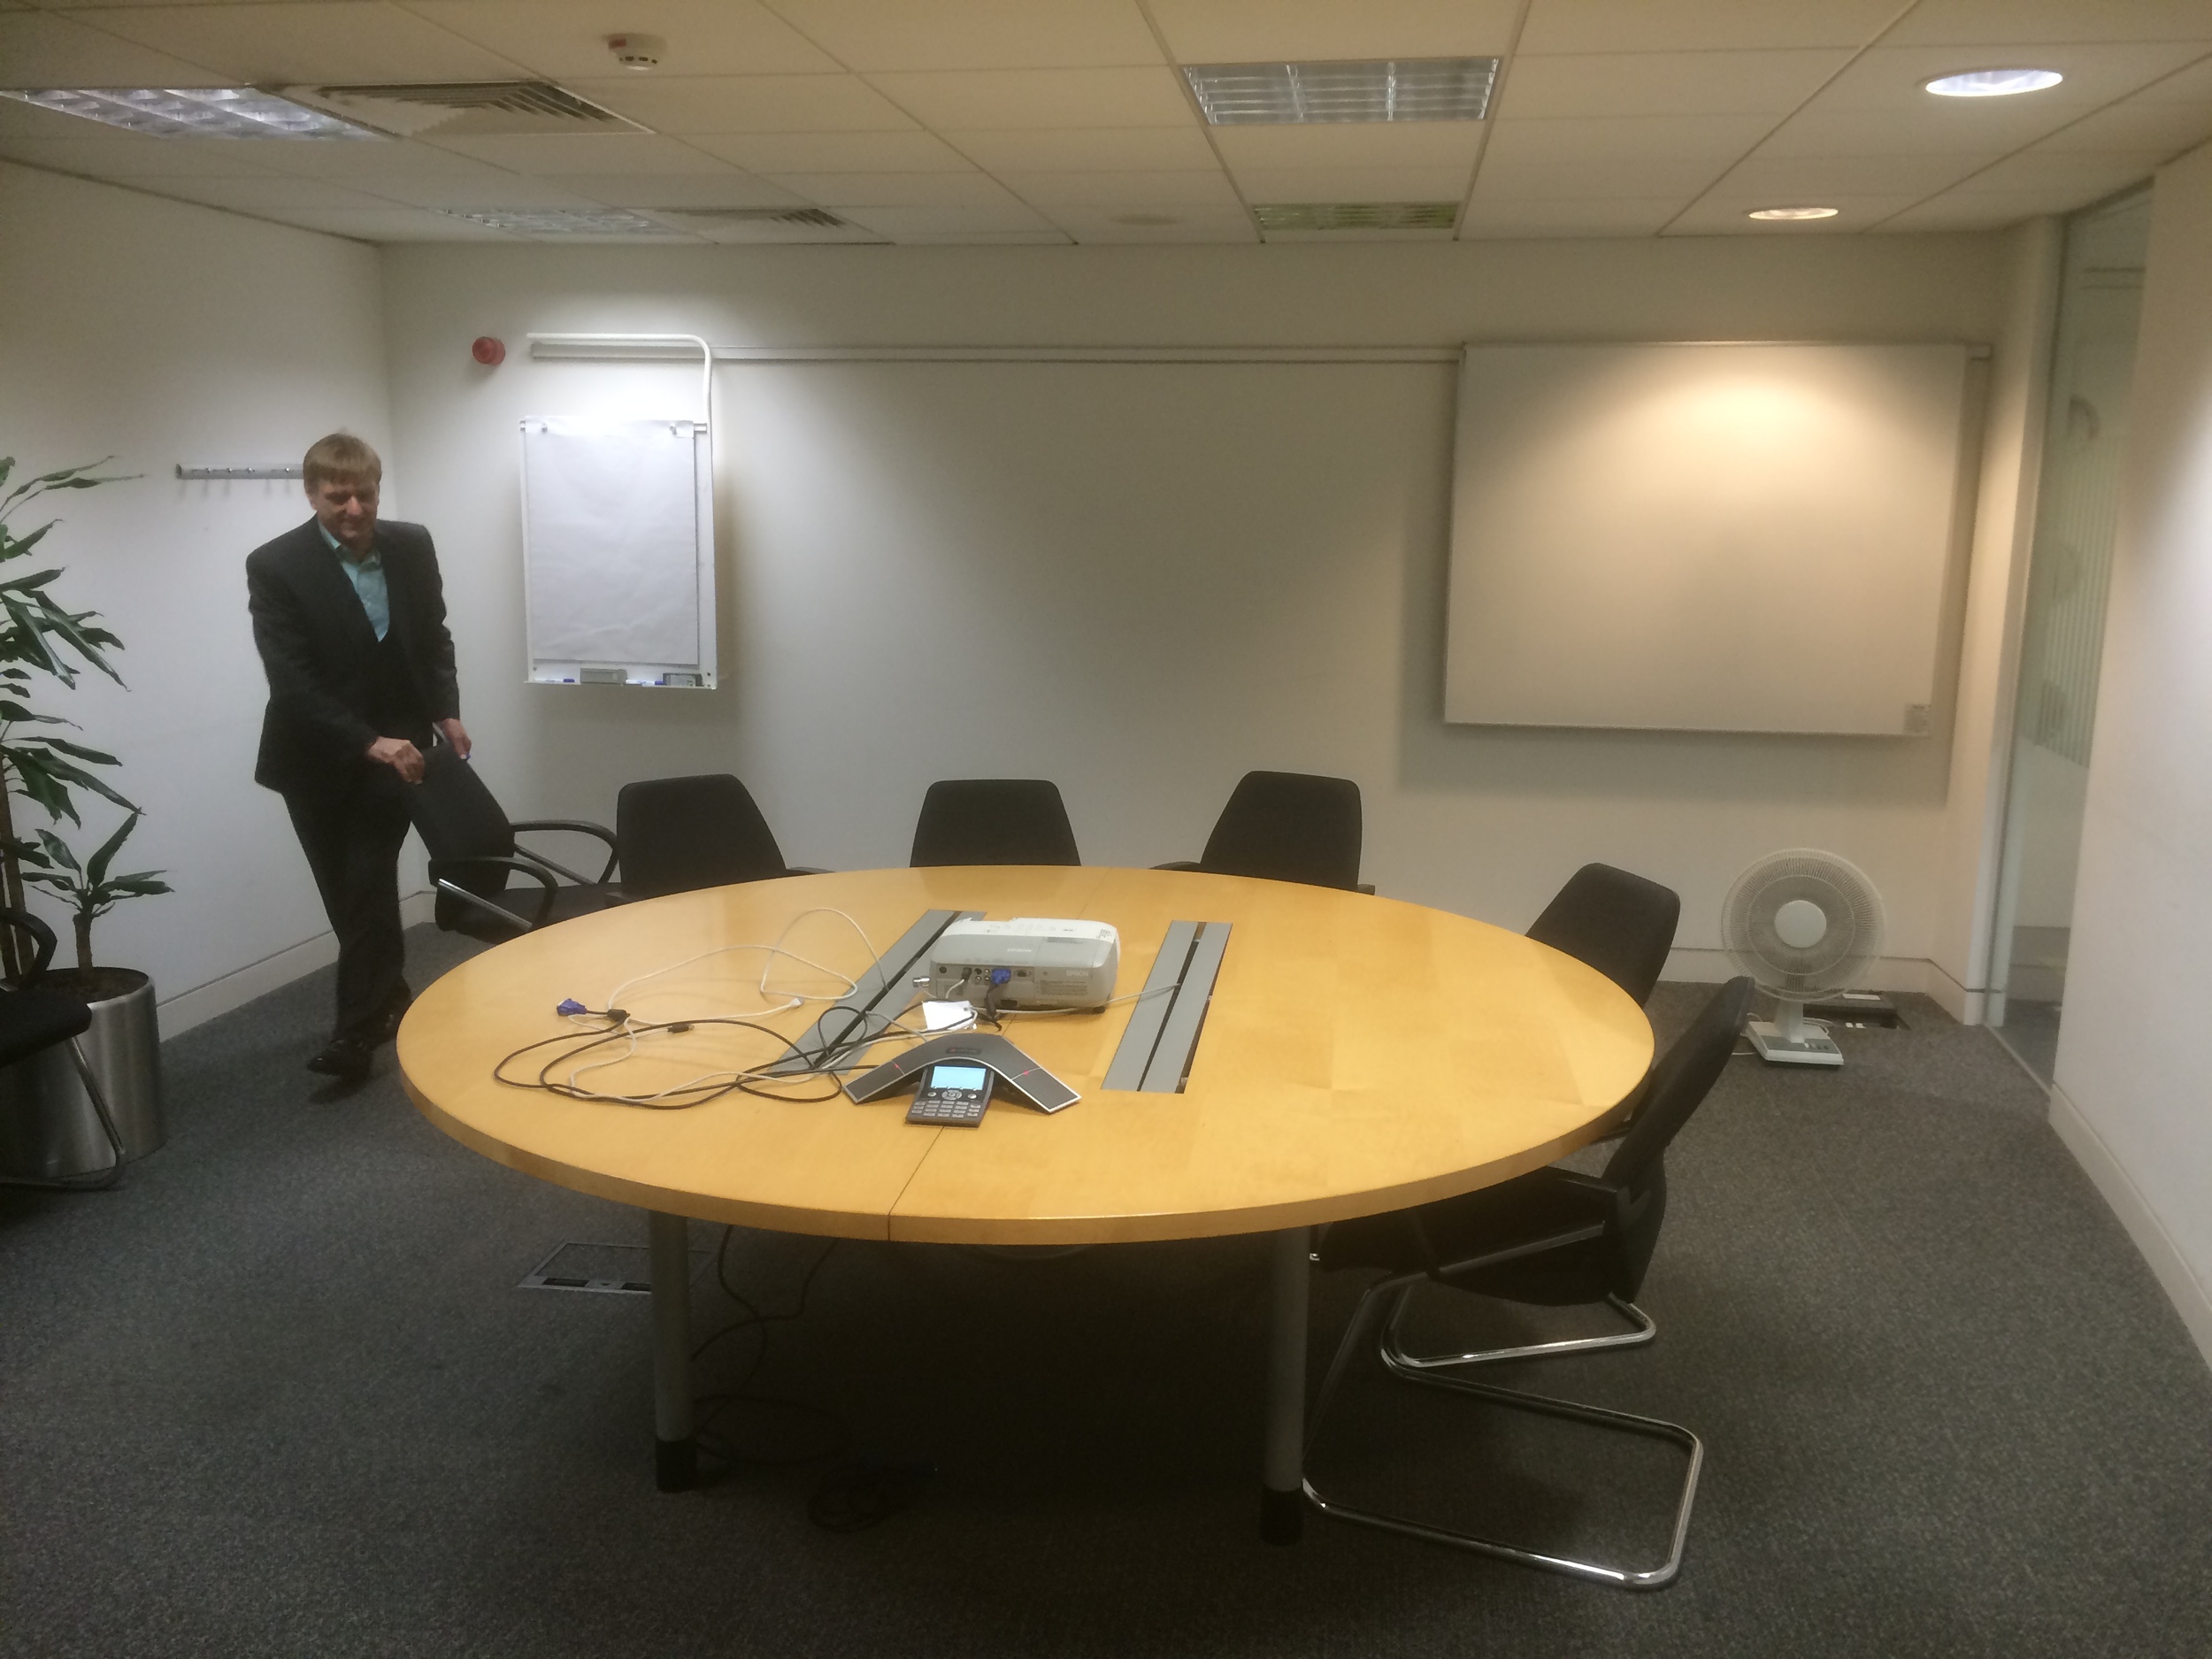
What the conference room at IBM looked like before we got our hands on it!
Once we had access to the conference room, we began the setup and moved any unnecessary furniture out of the way. Manfrotto has greatly helped me on this as much of the kit is new and definitely new to this kind of video environment too, and after IBC I was very keen to try out the new tripods; which now can be lowered to almost ground level with innovative locking joints. Also, although I'm using a 5D and telephoto lenses to shoot with (so the load is not very heavy), but having steady and smooth shots are imperative to keeping a good composition, both the tripod and video head allow me to achieve shake free pans and tilts, which can be counter balanced depending on your camera, lens and accessory setup.
The new light stands are awesome. I know it is something simple, but it makes a massive difference. Stands and poles can often get mislaid, damaged in transit or in use, or simply can't withhold a wide variety of lights and accessories. These on the other hand have a brilliant locking system to hold multiple stands together, meaning they can be carried and transported very easily. They are not heavy, and can take a heavy load (not that these SPECTRA 1X1 LED panels are that heavy)!

Panel video setup with Manfrotto 1x1 bi-colour LED light
After lunch, we checked the colour temperature on the four lights; the two front facing the panel, one giving a back light onto the speakers and background, and a smaller 900 panel to push a little extra light into the right panelists. All of the lights are bi-colour, which gives maximum flexibility when the video scenario changes so frequently.
The lights I used were: Manfrotto Spectra 1x1FT x 3, Spectra 900FT and the 1004BAC pro light stands.
To make sure all of the cameras were exposed and set correctly, we did a custom white balance and orientated around the cameras and lights to make sure we achieved the best out of the setup.
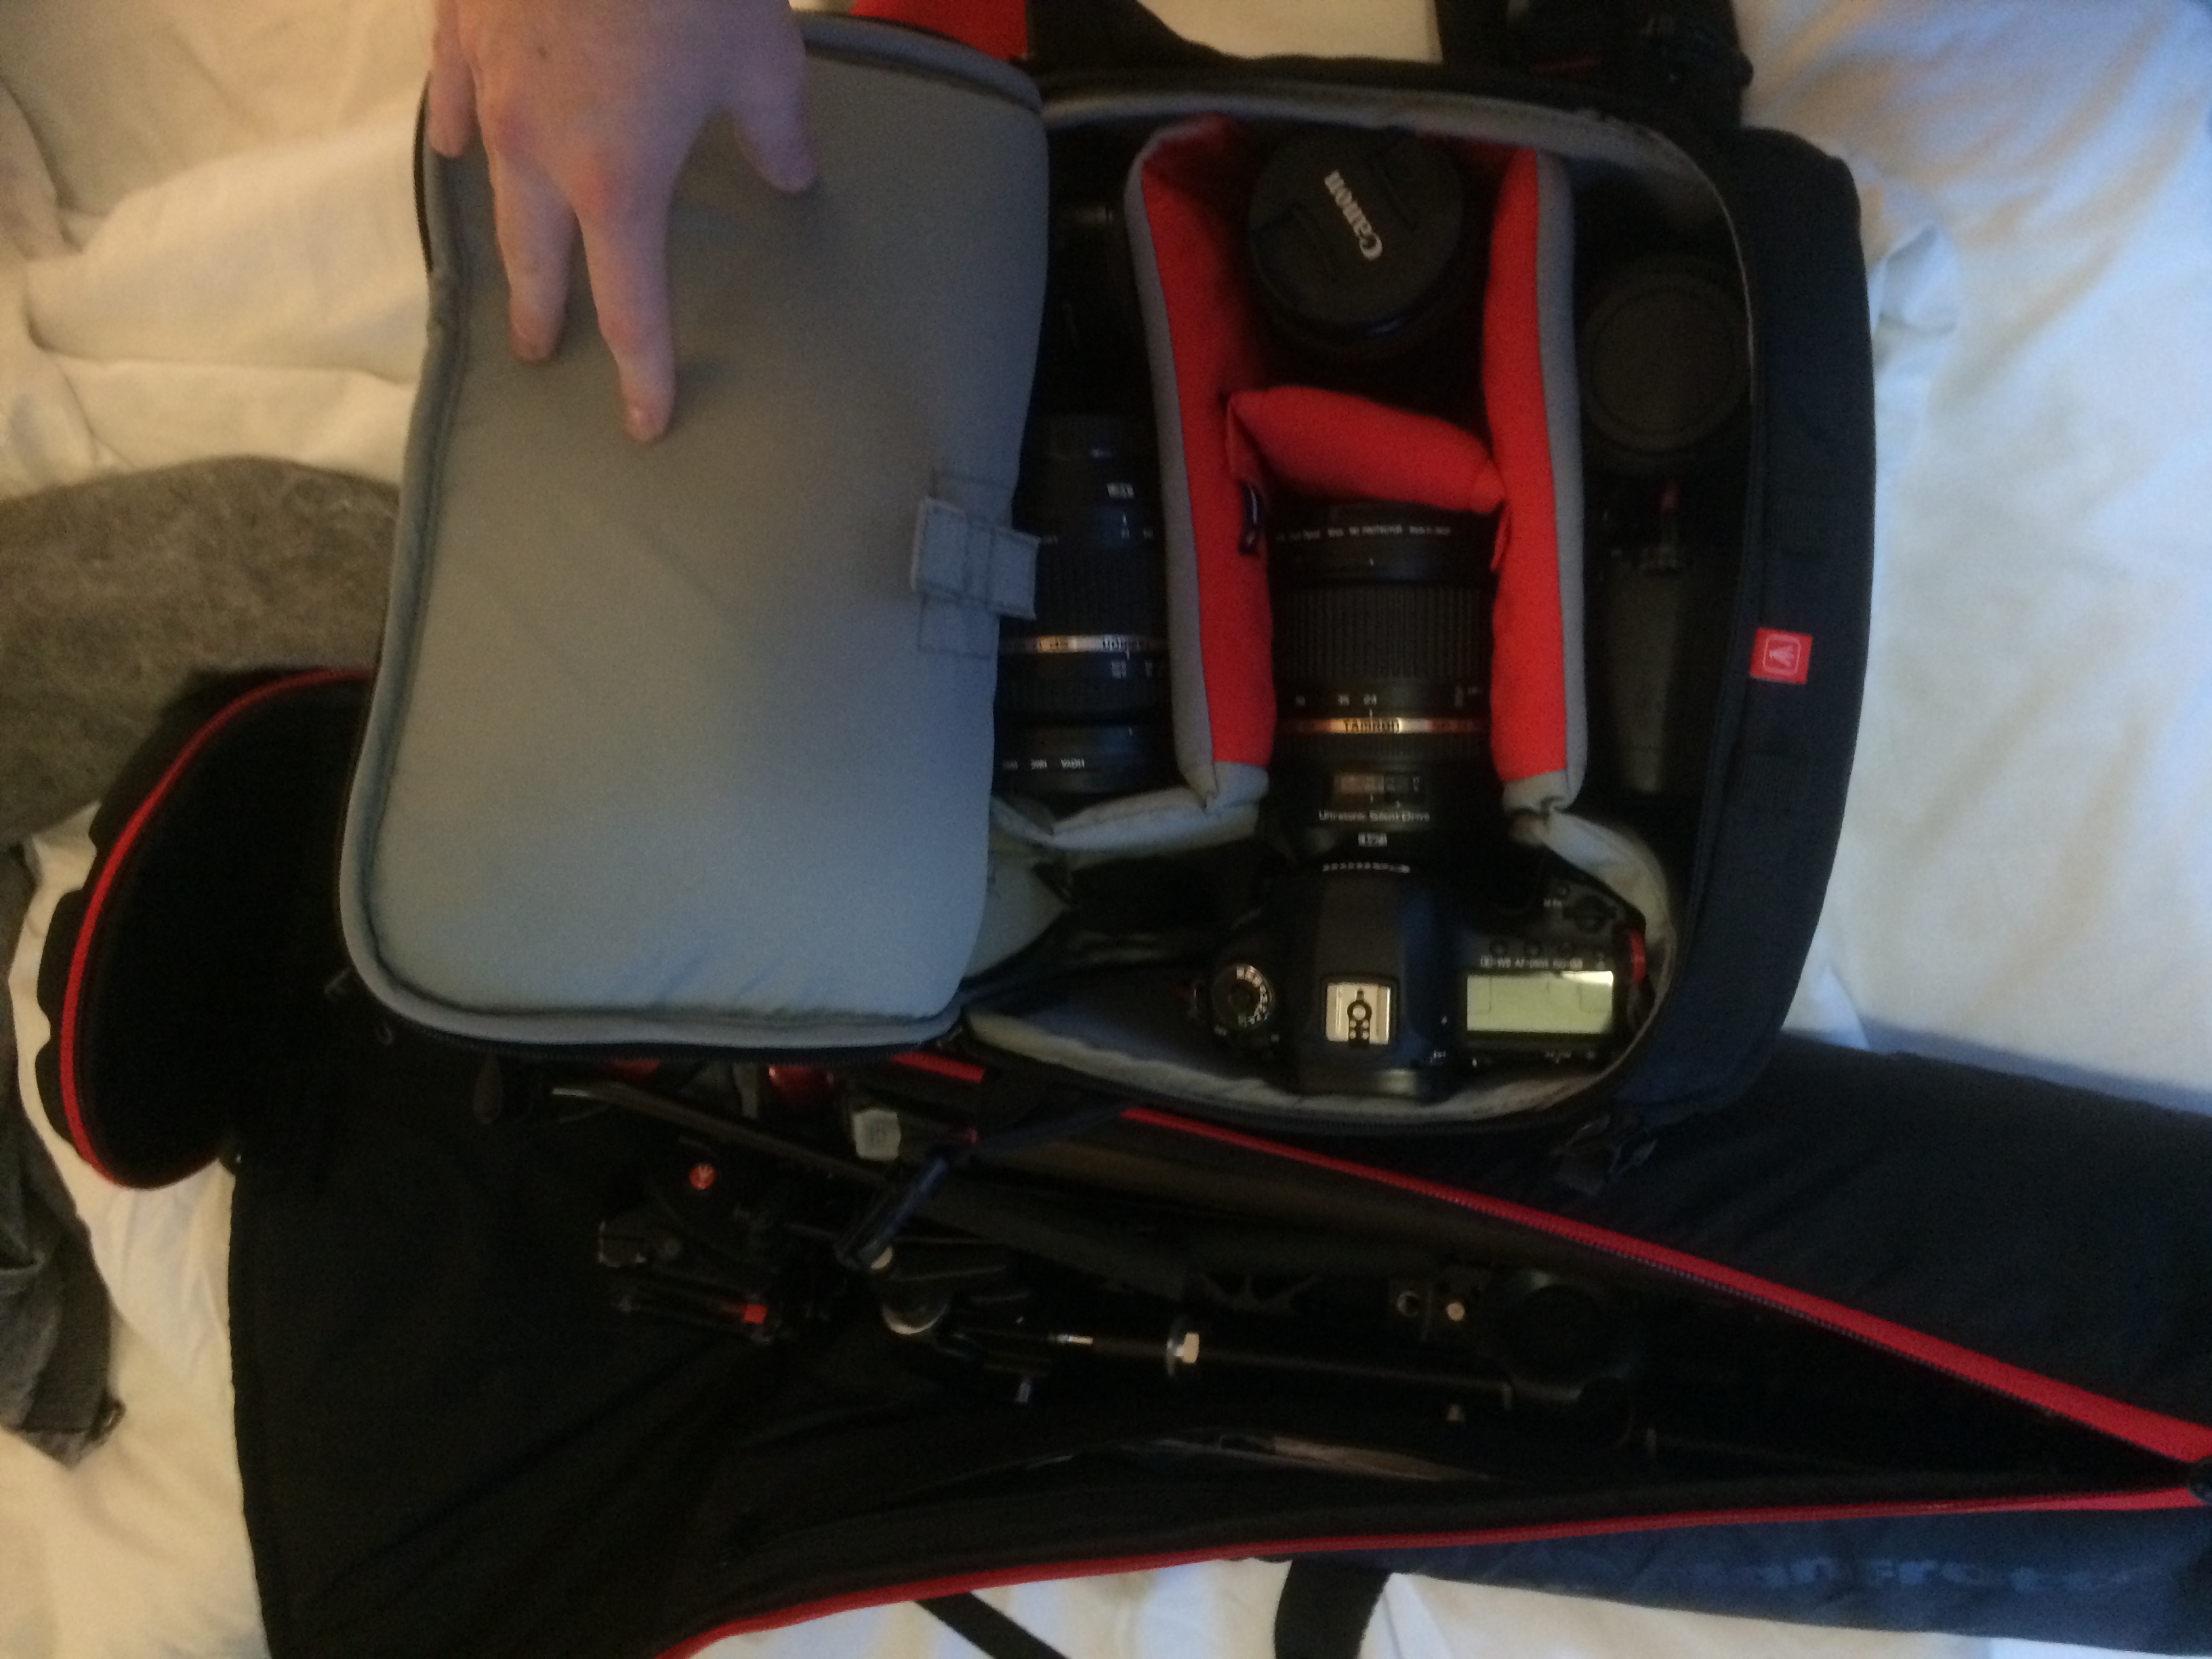
I transported the camera and audio equipment in the Manfrotto Pro Backpack50 as its large capacity was required for the amount of kit I needed which included:
- Canon 5D mkIII
- Canon 60D
- Tamron 24-70
- Sigma 70-200
- Samyang 35mm
- Samyang 14mm
- Zoom H1
- Zoom H6
- Sennheizer ENG-G3
- Rode Lavalier
- Roto-mic
- Canon batteries, AA batteries for microphones and audio recorders, chargers for all.
I also had the Manfrotto 536 MPRO tripod and 504 HD video head in the large tripod bag, and the ProCX-3 and Pro-B for the other cameras.
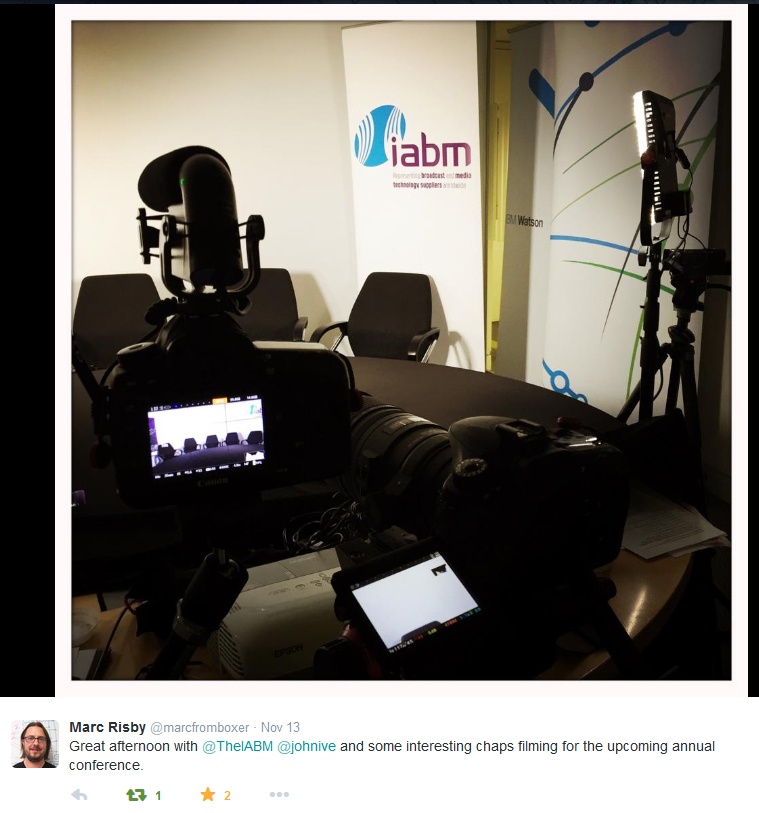
Marc Risby, one of the panelists tweets about his experience!
While we were setting up!

Shortly after our panelists arrived, and they were eager to get started in discussion; I put the lapel mics on and plugged them into the H6. John kindly allowed us to use a couple of cameras and microphones for the extensive number of panelists. The Sony ECM-77 are great lav mics with good audible response, as is the Rode Lavalier which I used with the MiCon-1 connector into the ENG-G3 wireless kit.
I got the panel talking for a practice run through while I checked the audio levels on the H6, which was placed under John's chair (due to the cable length I could not monitor the camera from my filming position).
If you've been following me on Twitter, you'll have seen I have been looking for a wide angle lens for both an APS-C and FF sensor (so far Canon's 16-35 F/2.8 is best), so I was without my Tamron 17-50mm (my standard lens on the 60D as a wide). To compensate for this, I alternated my usual video setup from 5D and Sigma 70-200mm for an MCU and 60D and 17-50mm for a wide to; 5D and Tamron 24-70mm for a wide and 60D and 70-200mm for an MCU which allowed me to capture a good wide angle of the whole panel, as well as a great MCU on the speaker.
The 504HD video head has integrated fluid drag and resistance which makes panning and tilting a dream for video; it is smooth, yet easily changed depending on the subject and timing of the camera moves. A large pan-handle makes the motion firm and steady throughout.
With a vast experience in broadcasting from all of the panelists, it was difficult not to get distracted into the conversation. After each discussion we shot some VoxPops for the conference with the other panelists that did not participate in that panel, which will be used throughout the presentations and panels at the IABM annual conference in December.
Unlike the Zoom H4N, the H6 has an incredible power consumption rate meaning on four AA batteries it can record multiple channels (four in this care) for a good 2 hours without needing to change! This meant I could rely on it recording stand-alone under Johns seat without monitoring, after each channel was correctly set (with a general limiter on).
In terms of the camera settings I was using:
- VisionTech2 Picture Profile
- F/4.5 on the MCU so focusing between panelists was minimum
- Because of light setting, as well as not much fast motion happening I reduced the electronic shutter to 1/33.
- ISO between 400 and 640 due to the good light produced from the 1x1's!
Once the filming was complete, we quickly de-rigged the setup so we could get out of London as quickly as possible; not to get held up with traffic queues etc.. Thankfully, all of the Manfrotto gear we had is fast to setup and tear down so we were ready to leave within half an hour or so!
Once I got back home, I begun the ingest and backup process; remembering to have 3 copies of the footage and audio on separate drives in case any fail. I also began re-naming the files so it is easier for me to locate specific panelists microphones when doing the audio mix-down.
Although the Zoom H6 is an awesome recorder, it for some reason records track 3 and 4 together (as a stereo channel) so I had to split the Tr3-4 into separate Track 3 and Track 4 files using Audition. This is a simple process, but I wonder if this can be changed in the device itself?

Here you can see the top track is different to the other, this is because the T3 and T4 inputs were from different speaker microphones, but recorded together. To resolve this, I simply solo'd the track I needed, selected ALL and copied, created a new audio stereo track and pasted the track there; this creates a Left or Right track for you in the new audio file.

Here, I've created a new stereo audio track and pasted the solo'd track into it. The new stereo audio file then replicated the audio on both tracks. I then saved this as a new audio track.
In Pluraleyes, I created the four camera sources and imported their respective video files, and then singularly imported each audio track into a new audio recorder as a new audio source (instead of importing the five tracks into the same audio recorder). This would allow me to control not only each track individually, but also when I separate the four sections into their own multi-camera sequences I have separate audio tracks rather than one reallyyy long one.


You can see here that the audio tracks from each microphone are separated in the sync.

I was amazed at the speed of the sync, only 1 minute 8 seconds to sync all of the video and audio from many different sources! I then exported the sync as both an XML and XML with replaced audio from Pluraleyes, and created a new Premiere Pro project for this production.
I imported the XML file into the new project, which imports and creates a new sequence with the synced footage in place. So easy! I then placed the footage into their respective sequences depending on the discussion topic, and prepared them for multi-camera editing!


The sequences are now ready to be cut using the Multi-camera interface! Unfortunately I can't show anymore as this is an IABM member exclusive video, but I hope you have enjoyed seeing how videos like this are produced on a small scale!
Thinking of making the jump to 4K?
You are in the same boat as me.. Having bought my 5D mkIII last December, there was no accessible 4K option until the Panasonic GH4 made its appearance in the Spring. I was devastated. Having invested heavily in Canon gear, any future move I make will need to fit with my current EF mount lenses, not to mention everything else such as batteries, memory cards and my overall production workflow.
http://www.eoshd.com/2014/04/panasonic-gh4-vs-sony-a7s-compared-wins-4k-battle-paper/
(EOS HD comparison between the cameras).
At the moment, there are two options on the table. Said to be like comparing apples and oranges, the Sony A7s and GH4 are the current competing professional cameras that offer 4K functionality, however for people that own the cameras and have been comparing the two have found it difficult. This is for a few reasons:
Sensor size: The A7s is full frame, the GH4 is MFT.
4K in camera: The GH4 can record 4K internally, the A7s requires an external recorder such as an Odyssey or Shogun.
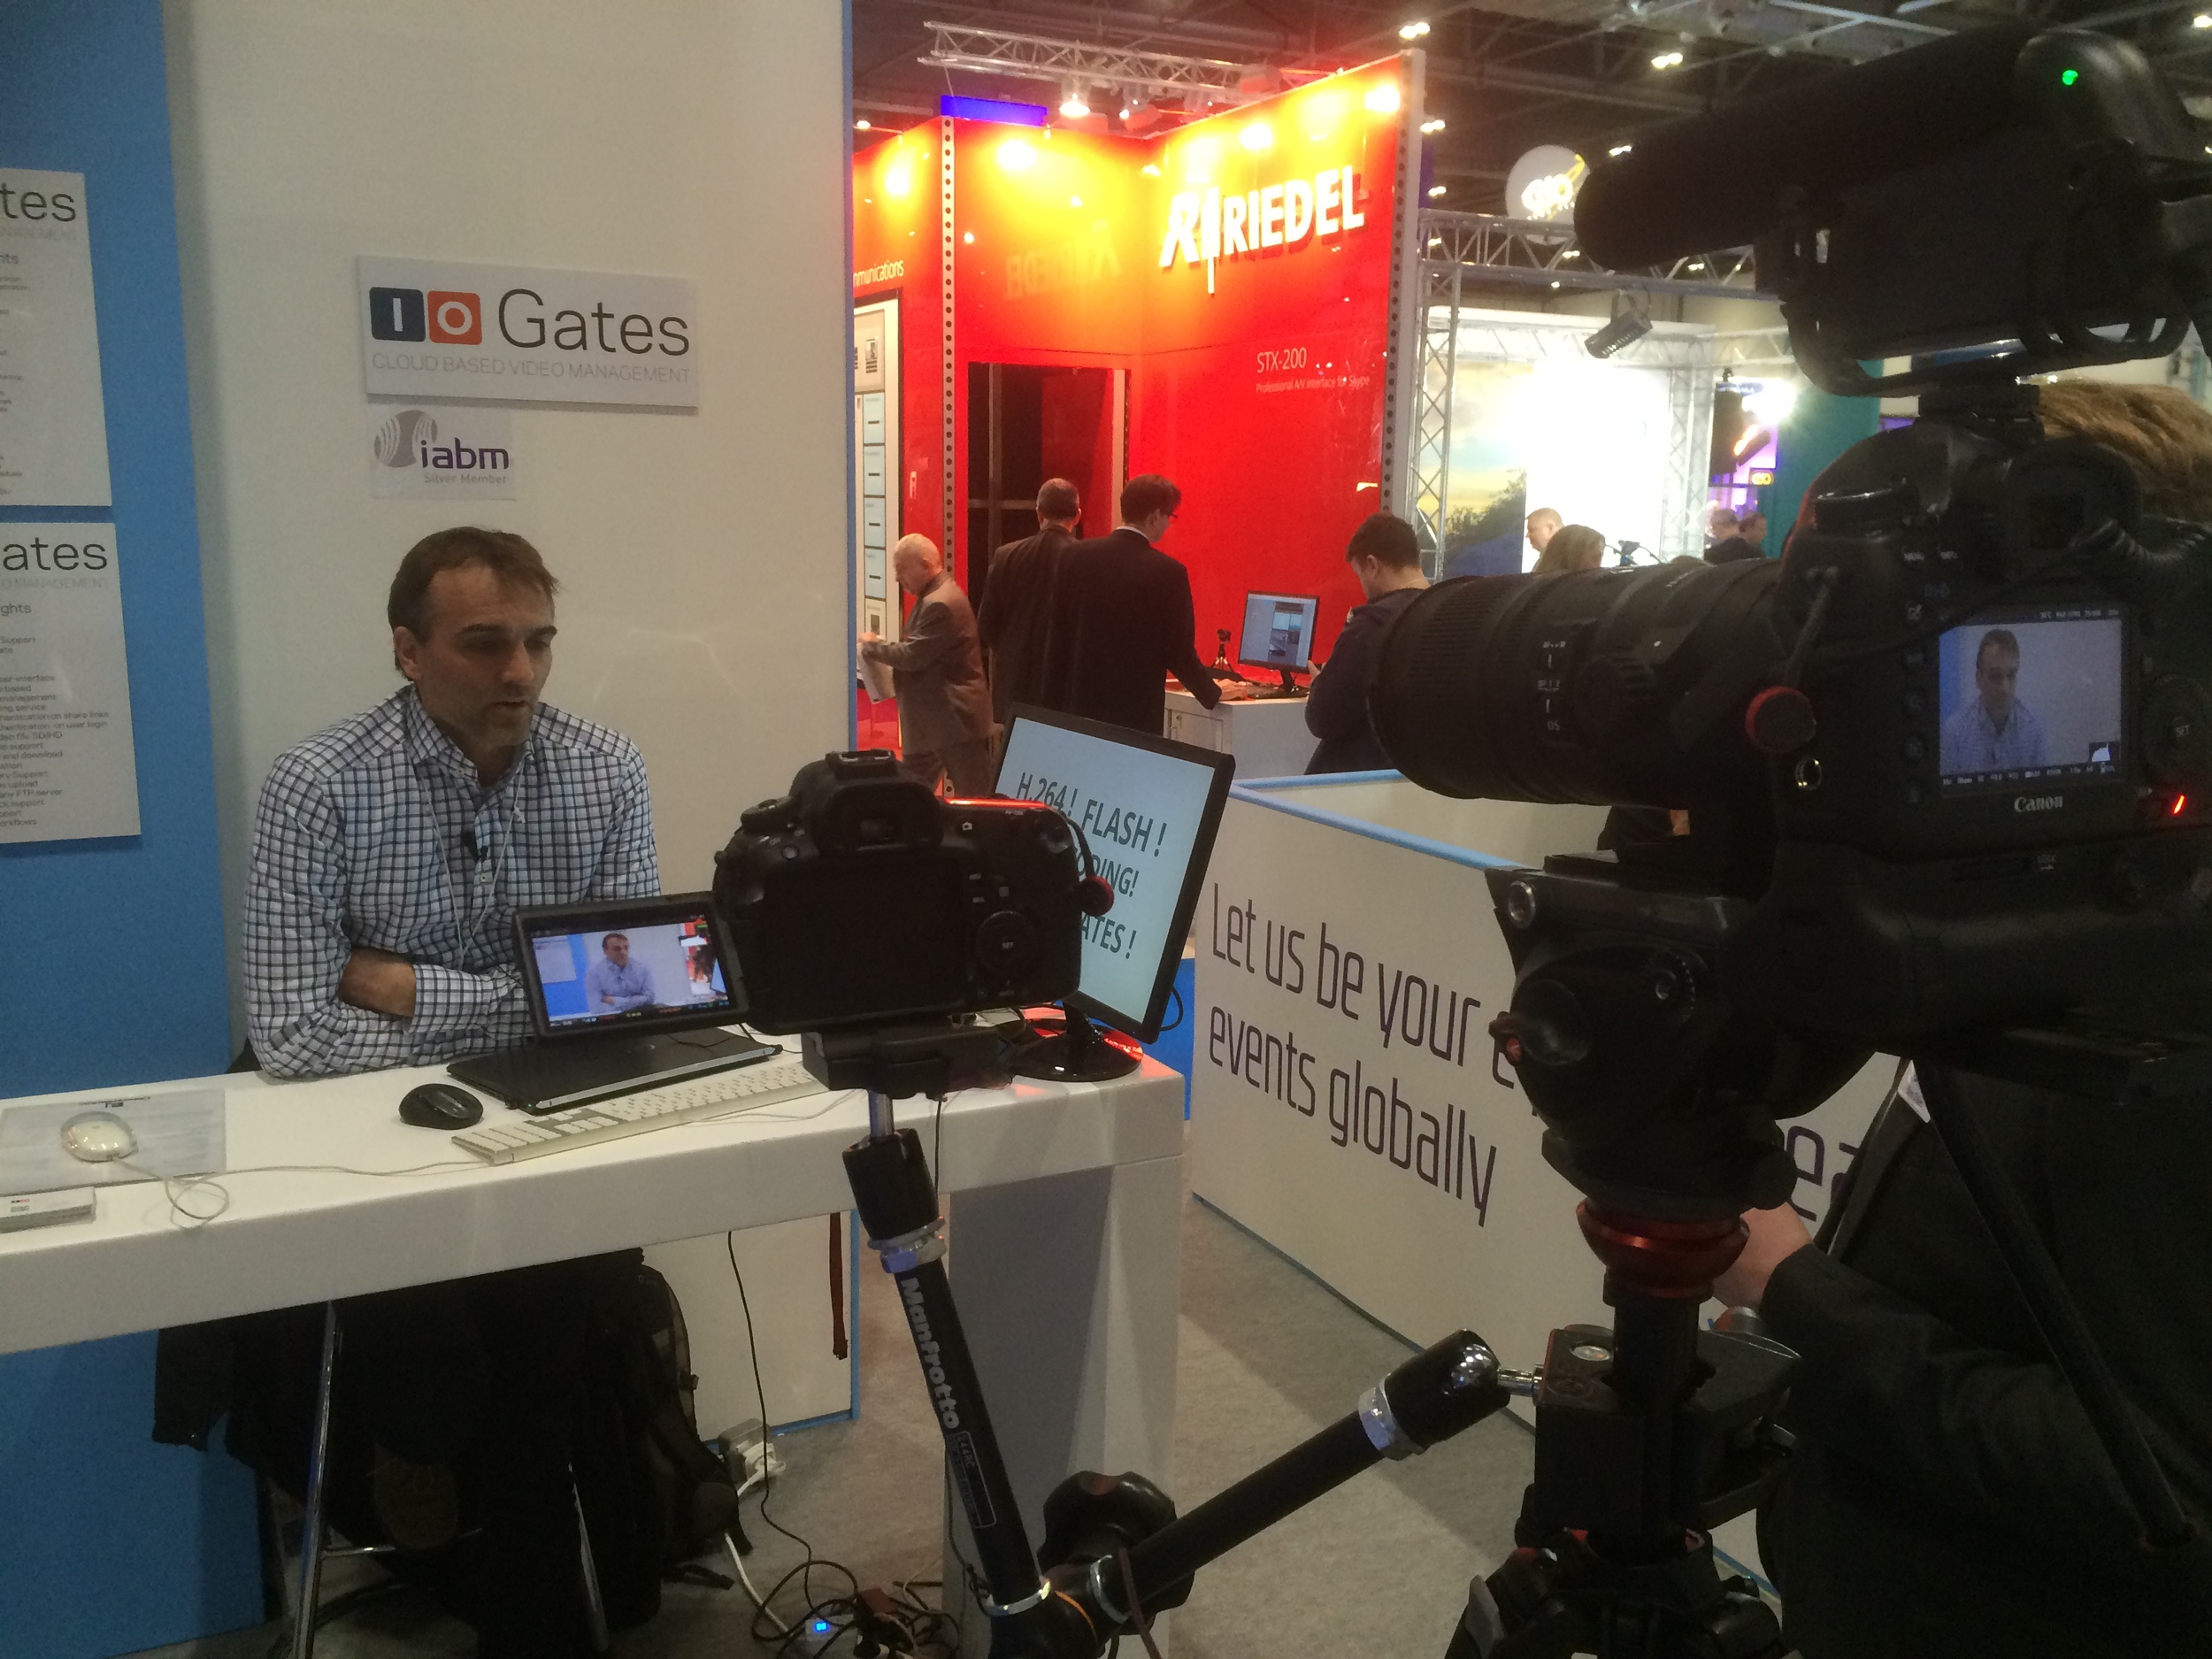
Jeromy, CEO of Atomos talking to me and Sam from The IABM about new products and the IBC Show.
Now, many people will be arguing that what does the increased resolution allow you to do, that HD doesn't? The image produced from the 5D is great; good in low light, versatile, fits my style of filming... But it also has big downfalls for being a DSLR, and not a video camera.
Something that is unique about these two cameras is that their 'out of the box' functionality has been fine tuned for video applications, as well as high end photography. This is what Canon has left behind in their non Cinema line cameras, and Magic Lantern has struck gold on with their firmware hack enabling awesome video functions.
I have only recently installed ML on my 5D mkIII due to the current firmware on the camera. It was shipped with version 1.2.3, I was hesitant to downgrade the firmware and was patient in waiting for ML to develop a tested and working version for 1.2.3. Now having access to on screen aid such as waveform monitors and audio levels make such a difference, and restart movie for the longer filming durations is great. It turns your 'photography' camera into basically a video camera.
From: About DSLR (Youtube).
For my type of videography, the benefits of having not only 4K, but a wider range of options for recording will allow me to crop and downscale any 4K acquisition to HD and hold incredible picture detail, dynamic range and depth of field.
The recording bit rates are higher, meaning more data is stored for post production editing, compositing or grading.
Lastly, it should increase the production value of what I produce. Now, I am not stating that better equipment makes better videos. It does give you the opportunity to step up with what you can do in your work, and especially as it keeps you up to date in a world of ever changing and improving technology.
So, what is my investment cost?
This is dependent on your current shooting kit, and whether you can merge your current system with a new one. Perhaps you already shoot Sony or Panny, so you're in luck.
For me, all my lenses are Canon EF mount, some are electronic, others are manual, so an adapter would be needed in my case. The price of this is dependent on the glass you use, or are going to use.
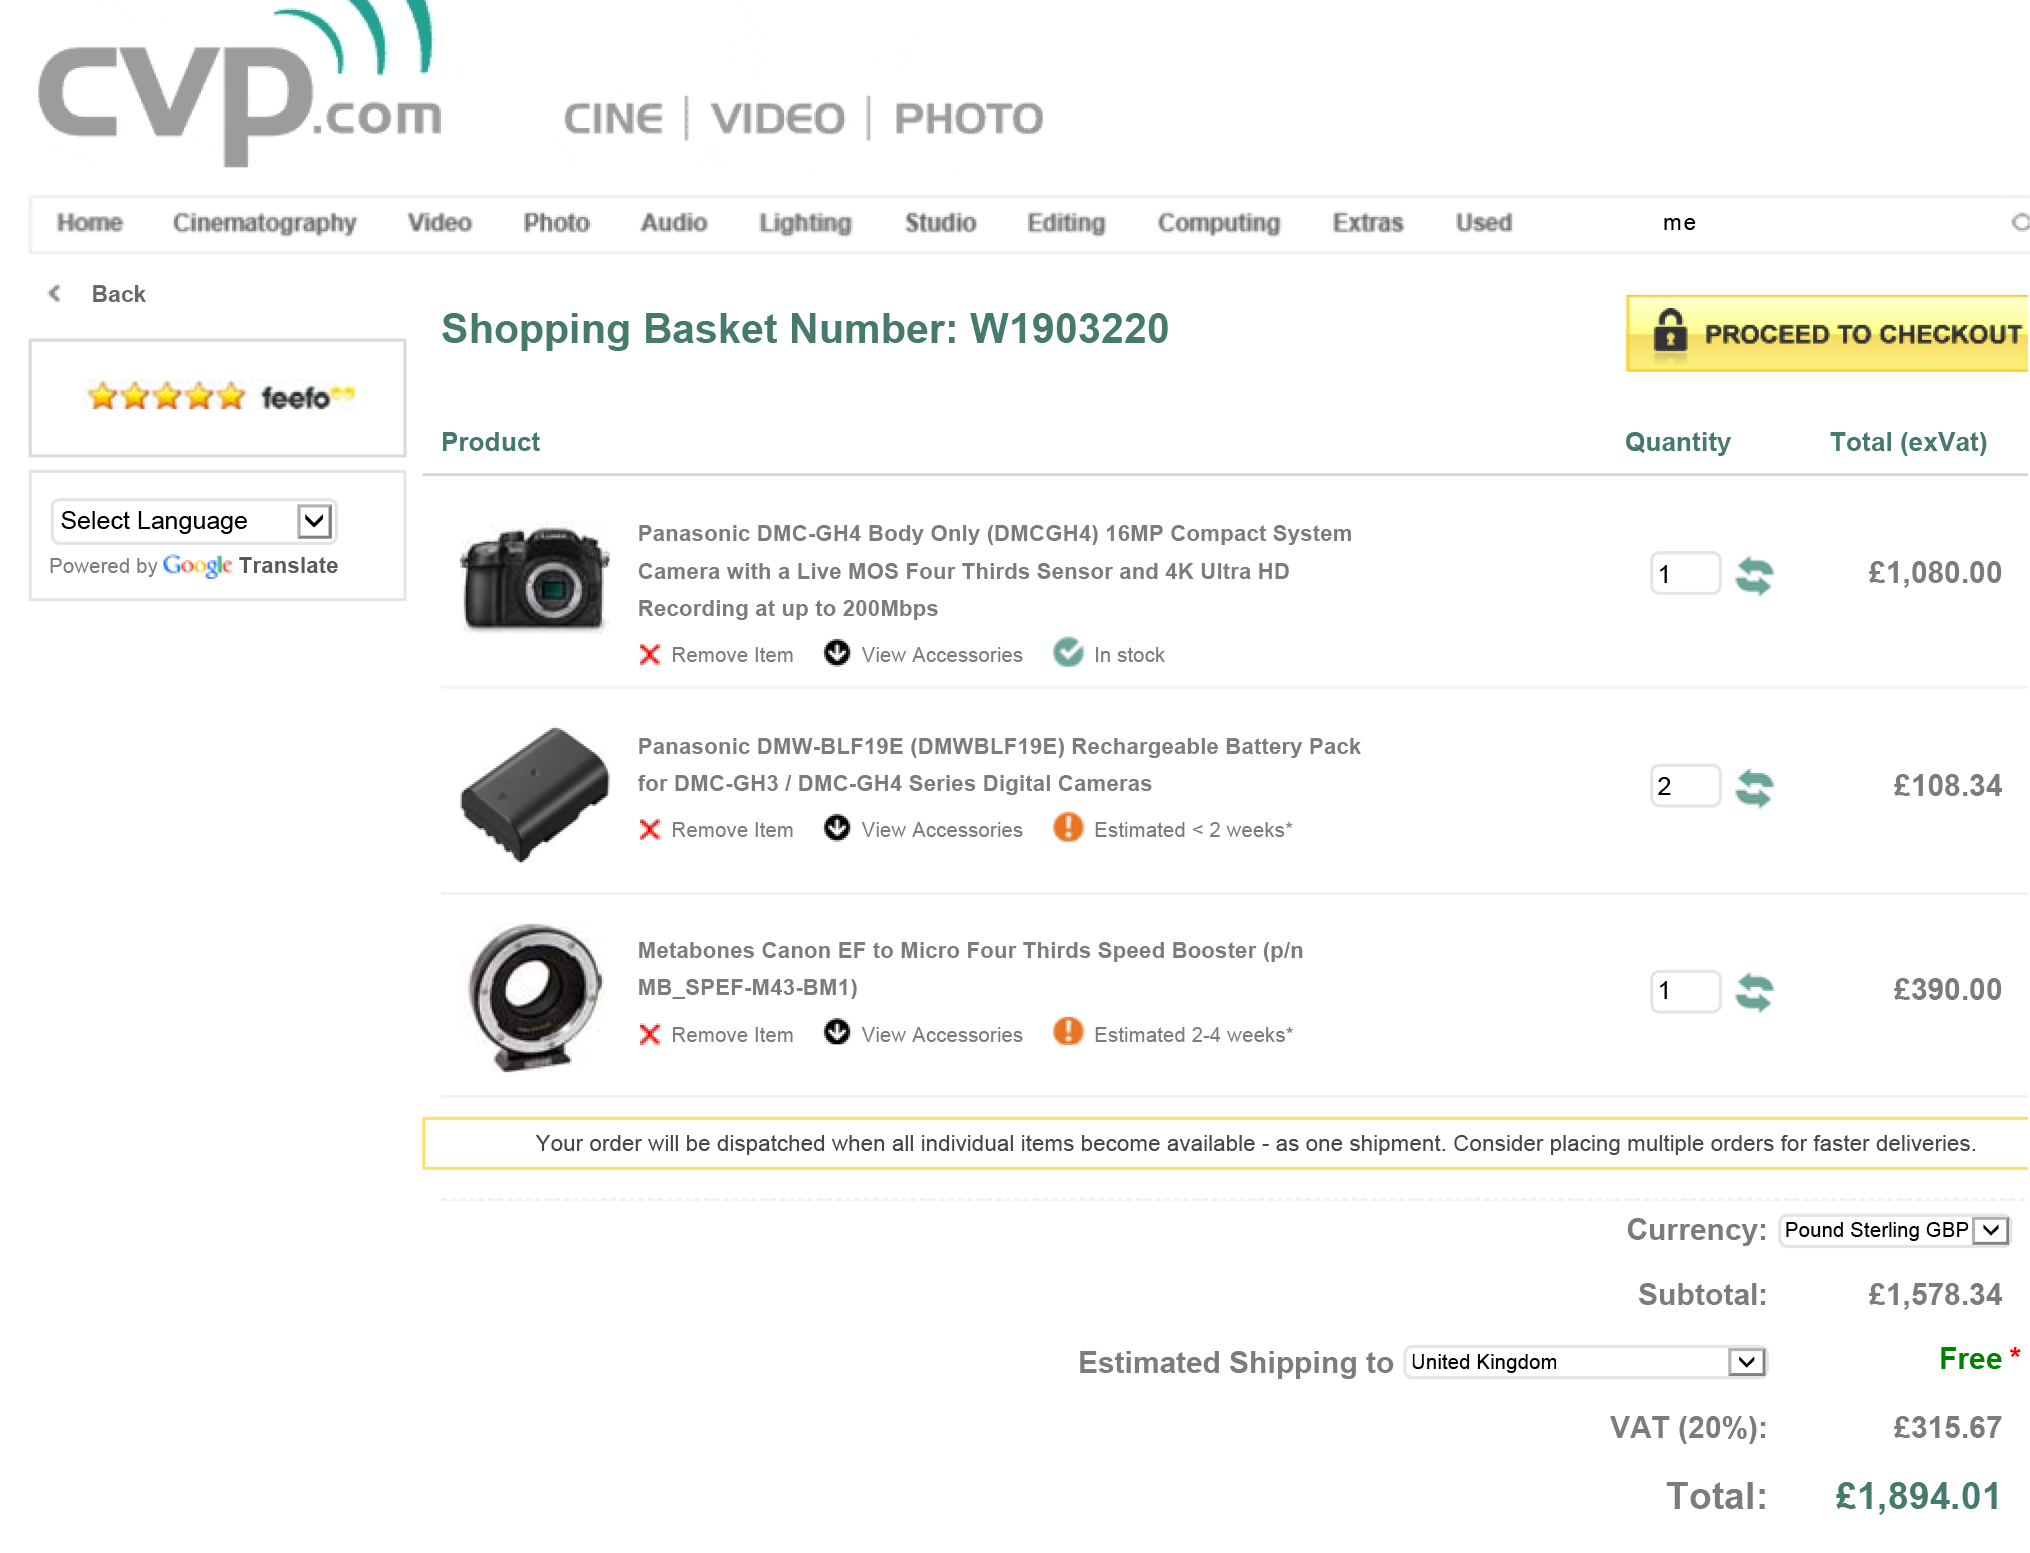
Let's look at the Panasonic GH4 to start with.
Panasonic GH4 (body only) - £1296.00
Metabones Speedbooster EF to MFT (smart with electronics) - £468.00
GH4 batteries x 2 -£130
Transcend 600x ultimate SD card x 2 (Amazon price) - £36
Now, as the GH4 is MFT, I might purchase a wide angle lens because my current ultra wide angle 14mm T/3.1 would be almost 28mm T/6 due to the sensor equivalence. So, my options would be either:
Panasonic 12 - 35mm F/2.8 - £829.00
I did have the Samyang 12mm T/2, realizing it does not come in MFT mount.. So the above would be my option. I have used it before, it has great OIS and has a decent depth of field for an F/5.6 equivalent lens.
Total GH4 investment inc extra lens - £2759.00 (excluding extra lens - £1930.00)
That £1930 was pretty much the same price I paid for the 5D mkIII body only.
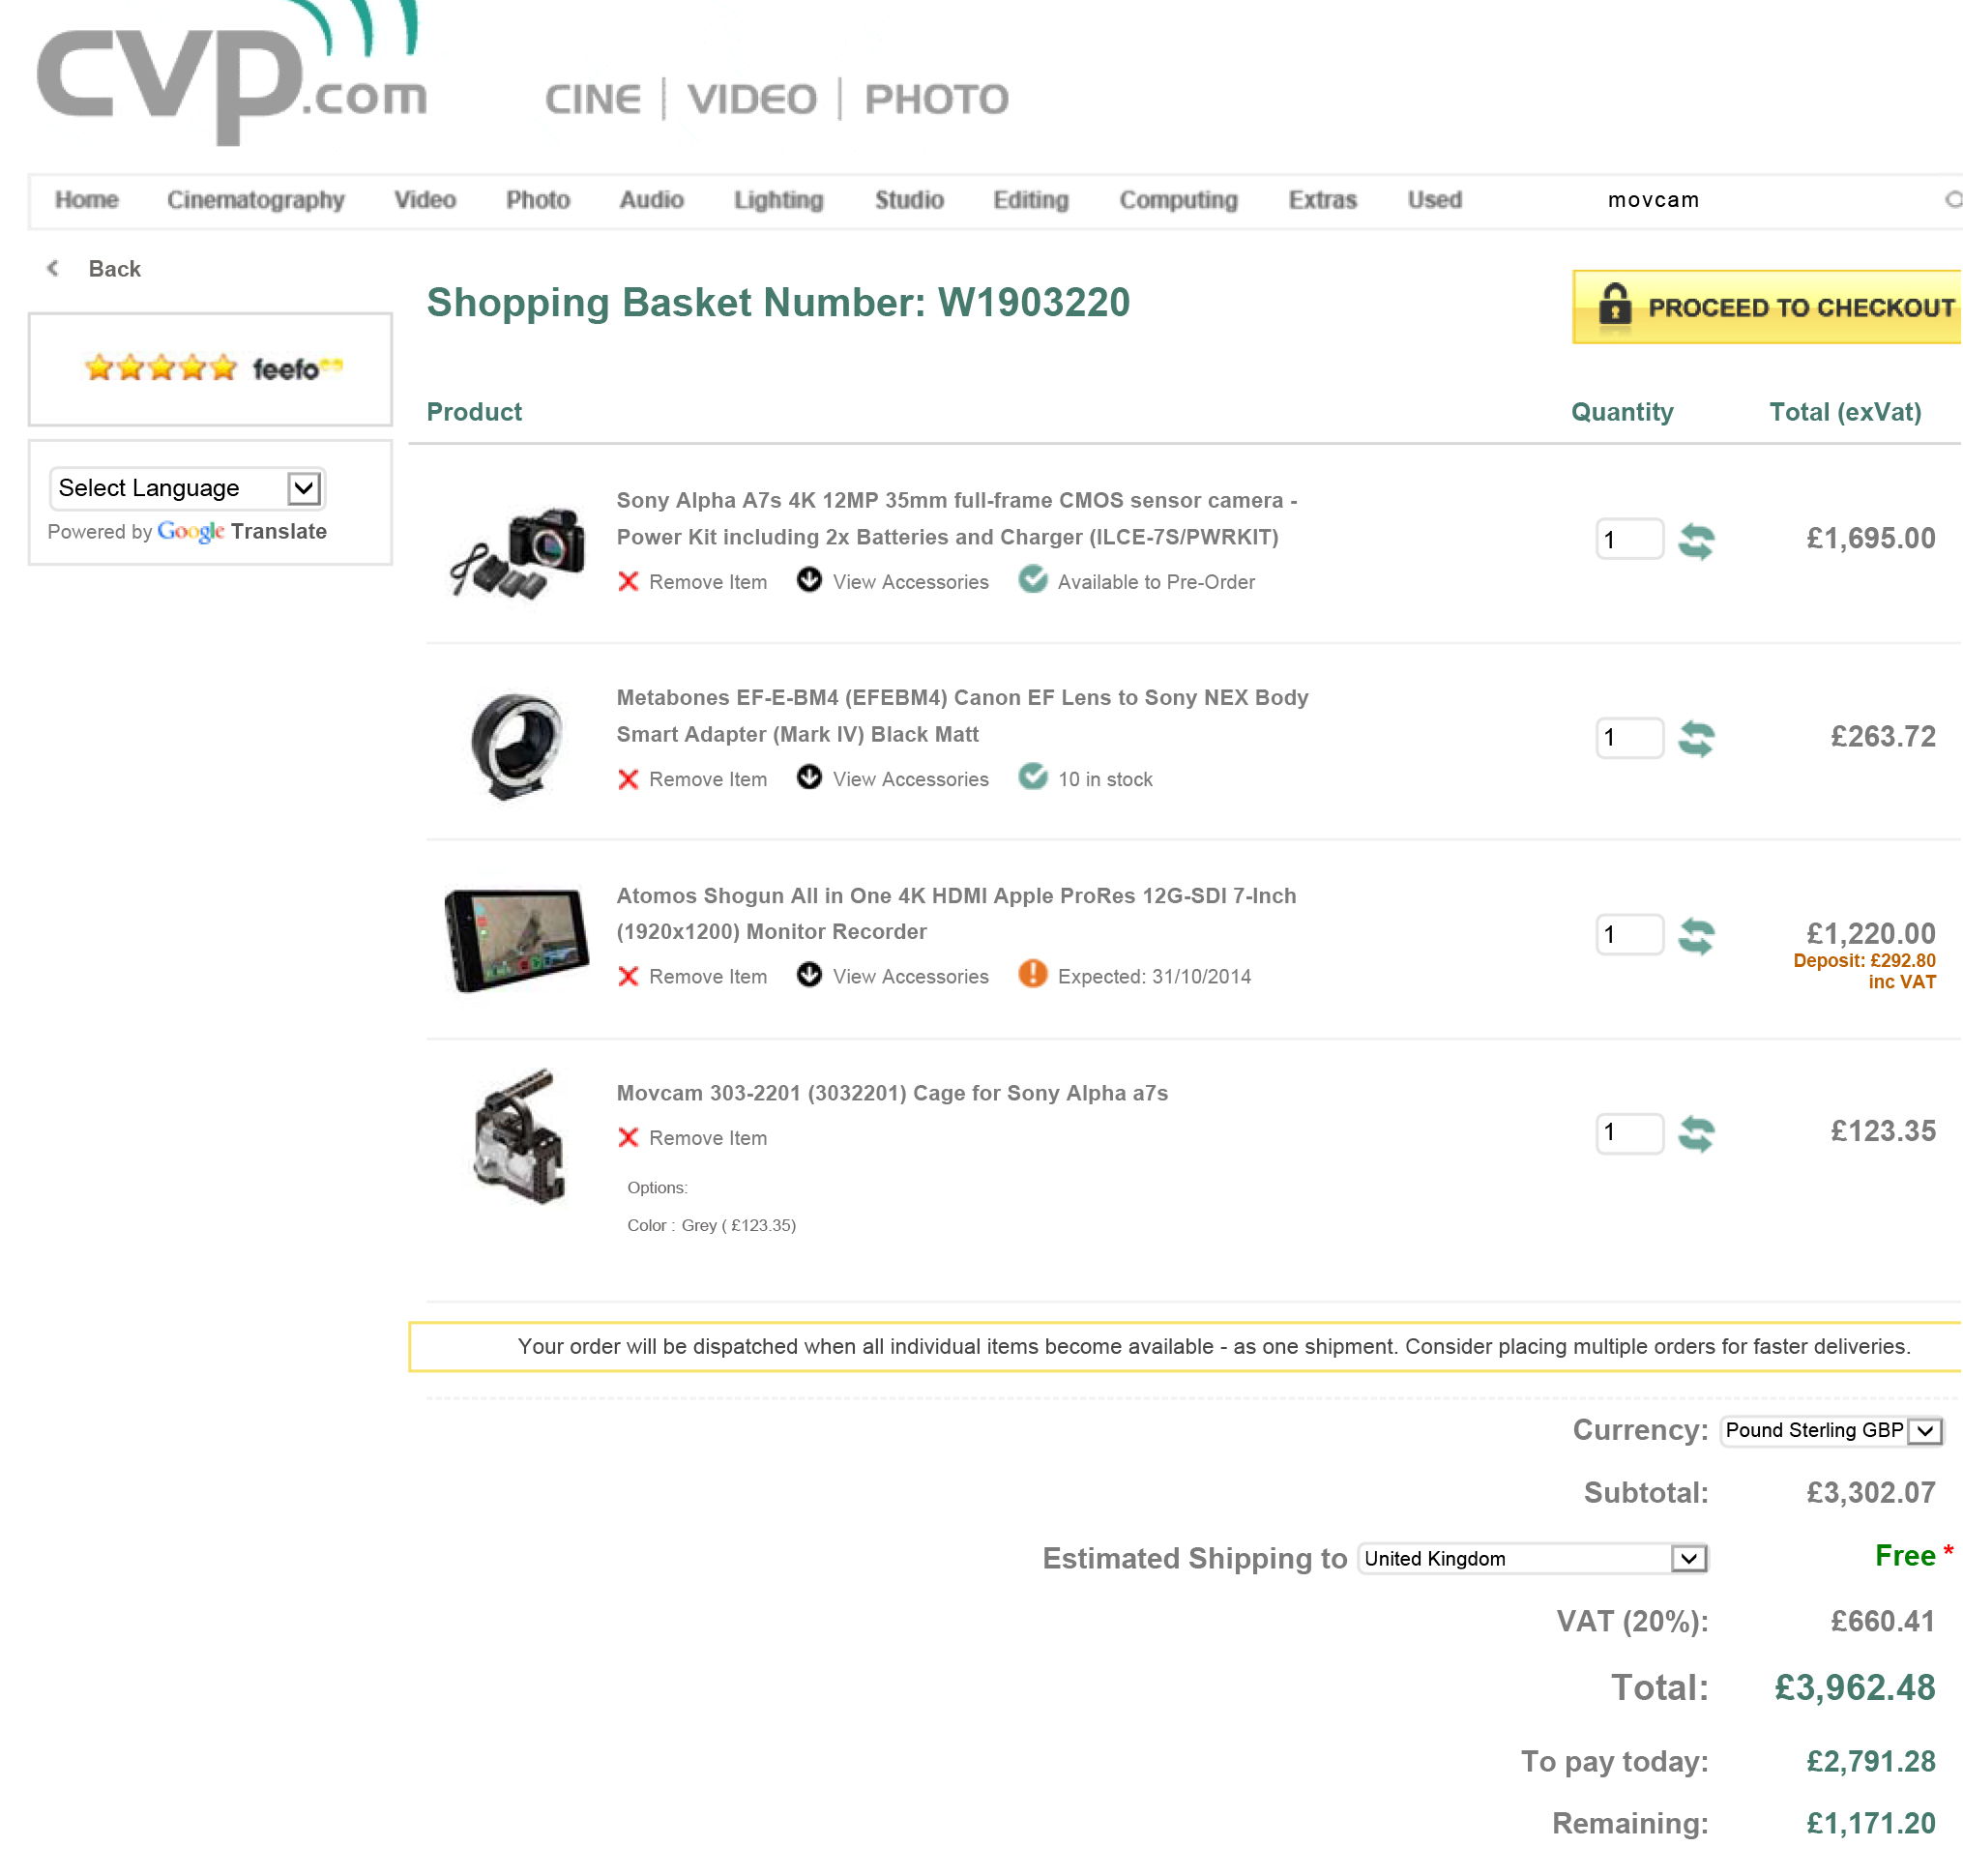
Now the Sony A7s.
Sony A7s (body and battery/PWR kit) - £2034.00
Metabones Speedbooster EF to E (smart with electronics) - £316.46
Transcend 600x ultimate SD card x 2 (Amazon price) - £36
The A7s does not record 4K internally, so I would need to purchase the Atomos Shogun recorder at - £1464.00
Also, as the A7s is compact in size, a cage is required to make it more accessible with the recorder and mics etc.
Movcam A7s cage - £148.02
Total A7s investment - £3998.48
(All prices are including VAT from CVP).
Now.. I've shot on the Panasonic GH4 and I like it. When I've talked to Panasonic reps about the product they all had the same comment that Panasonic listened to videographers, and you can tell. The available recording formats and codecs allow a range of uses for the camera, and the features it packs into its tiny form are perfect for those that already utilize DSLR for video.
(Look back to earlier this year to the Park Camera's Panasonic open day - https://ajp1991.wordpress.com/2014/03/16/meet-the-panasonic-gh4/)
Personally, and this is very subjective to the way I was filming when using the camera, the captured video looked like video. Some will understand what I mean, others won't, but for those that have been shooting on a full frame camera, the 'look' is there. Obviously the sensor plays a large part in that, but if I purchased a GH4 kit outright (disregarding my current EF mount lenses).. I would purchase the Voightlander 25mm and the trusted Samyang cine lenses which might just combat the 'look' issue I feel like I have. As well as high quality ND filters so my shutter can remain at 1/50th.
Really quick GH4 test:
Trying out the 4K, and again a basic test:
(Please if you have experience, tips, footage or photos that you would like to share, please do!)
What am I going to do then?
My dad taught me something really great; good things come to those who wait. In other words, have patience.
As others test out, review and produce videos using the GH4 and A7s (and other cameras that pop up here and there), I will be closer to making my decision. For now, I know to hold off. A good thing for me to do would be to road test both cameras, work it with all of it's video functions and produce a couple of vids that I can look back on. The folks at Park Camera's are great at in store demos, but I can also wait for BVE in Feb 2015.
So, I can frustratingly wait a little longer for my jump to the next innovation of video production and delivery.
In the mean time I can always look at Blackmagic Design's options that shoot 4K, as well as the Apertus AXIOM modular camera, and keep the new Arri Alexa 65 and RED Dragon for my dreams.
![axiom-modules-06[1]](http://ajp1991.files.wordpress.com/2014/09/axiom-modules-061.jpg)
From - https://www.apertus.org/
Using Magic Lantern on 5D mark III firmware 1.2.3... Help!
I am very keen to hear from any Canon 5D owners that have successfully loaded Magic Lantern onto their mk III with the firmware version 1.2.3. This update is the most recent, and fixed a number of 'phenomenons' which can be found on Canon's site.
 Photo from Magic Lantern website.
From what I have seen on the vast internet that most creatives using ML on the mark III have rolled back their firmware to 1.1.3, which is the most up to date fw ML can install on. The results are fantastic, especially for shooting RAW; a particular interest of mine.
 Photo from EOSHD website.
If you've ever installed Magic Lantern before, you would have seen on the complete screen details of a 'Bootflag' which had been successfully changed to allow ML to run.
The problem now occurs that with the recent Canon firmware update to 1.2.3 they changed something to do with the 'Bootflag' making it difficult for ML to be loaded onto the camera.
I know nothing about programming and developing so most of what is discussed in this forum is jargon to me, but it looks like it will take some time and very smart coders to work around this rather unhelpful nudge away from 3rd party hacks to develop Magic Lantern to run on the new firmware.
http://www.magiclantern.fm/forum/index.php?topic=8764.0
Why don't I roll back my firmware to 1.1.3 you ask? I don't want to! It was installed by Canon for a reason, to make the camera as best as it can be, and I would rather avoid stepping back a number of versions just in case it compromises the camera and my work. As you know, I'm a videographer so photo updates aren't too important to me, but it is all key to keeping the camera functioning properly.
For anyone owning a Canon camera, please install Magic Lantern on it, it is an incredible plug in to assist your video and photo needs, providing you with great solutions to make shooting on a DSLR easier. You can learn more and download it here! Remember to support them too!
Please get in touch if you have been successful installing ML on firmware 1.2.3, I need you!!
Strategic grading with 'burnt in' footage.. Canon/Manfrotto/Elinchrom Promo for SWPP Conference 2014
I continue to work on the promo videos for Canon/Manfrotto/Elinchom today. After shooting the material in a 'neutral' picture style, there was still a lot of contrast, sharpness and saturation in the image. This has caused a couple of problems with the adjustment of the levels and colours when grading. Burnt in footage is where detail is lost due to a crushed dynamic range, out of focus picture, or a mis-interpreted colour balance (and plenty more). This footage is notably harder to work with due to the loss of detail; and when you come to colour correct or grade the shots, life becomes more difficult as hues and light levels are burnt in to the image. Applying numerous filters and effects to remedy this can only add noise and grain, and degrade the footage so it is important to remember to flatten the image before shooting!
Even with a neutral picture style selected, the internal settings for contrast, saturation etc sometimes remain the same, so remember to go into the picture style settings and set them all to the lowest. This will achieve a flat picture which is much easier to work with in post. For those who don't wish to apply heavy corrections or grading to your shots, shooting in neutral will work fine too, just add contrast when editing to remove the gamma grey curve and punch out the sharpness!
I've had to resort to black and white images for some shots due to burning in detail in low light shooting situations.
Here are some example frames of what I have been working with, and how I have graded them.


These are the frames from the second video. I was in a studio conversion for the MUA part, and Bjorn's place for the shoot. White balance wise it was cool, and when shooting directly into the the window I got a lovely hazy light effect.


We shot the first part at Gylly beach in Falmouth with Carly who runs an extreme fitness group called BootyCamp. Going for a gritty, filmic look for the gym part I used negative bleach bypass. For the beach, I tried to add some drama to the already crashing sea, unluckily for us it was freezing cold so we weren't up for staying there for long.
Captured with the Canon 5D Mark III, Tamron 24-70 F/2.8 VC, Sigma 70-200 F/2.8 OS, Samyang 14mm T/3.1, 35mm and 85mm T/1.5. Post production in Adobe Premiere Pro CS6 and graded using the in built colour correction tools and Red Giant Magic Bullet Looks.
When all the components to my new editing system arrive I am going to be transferring the grading workflow to Adobe SpeedGrade instead of Magic Bullet due to its ease of use, features and tools for cinematic grading as well as having an accelerated 2GB GPU with CUDA graphics... :D
The videos will be released next week on Vimeo, so watch this space for updates! If you can't wait until then, get down to SWPP on Saturday where I will be showing the video with Bjorn and talking about working with video on DSLR!
This gives you a bit of an example of what I've done to work with footage that has some lacking detail, creating a visual style to convey the subject of the video.
Interested in more of what I do? Check out my website, follow me on twitter, watch my videos! Oh and please share my blog and website if you can :)
Got any questions? Send them my way!
[contact-form][contact-field label='Name' type='name' required='1'/][contact-field label='Email' type='email' required='1'/][contact-field label='Comment' type='textarea' required='1'/][/contact-form]
Stills Copyright Adam Plowden Videography 2014.
Colour grading to achieve a 'gritty' yet cinematic look.
As you know I filmed some great material for a Canon/Manfrotto/Elinchrom promo video, which is going to be shown at The Societies SWPP conference next week. Todays challenge was to grade one of the videos; here are a couple of screenshots to show you what I was working with. The first is my first grade, which I then changed shown in the second.

The colour balance was not good in the gym that we were shooting in, so try and overcome the warm/green hue I applied a blue tint to the image, as well as adding negative bleach bypass to give it that film process look. I then adjusted the grade, removing the blue tint as throughout the clips it did not look good all the way through. I then added a knock of contrast to enhance the colour and depth of the image.

The video will be available to watch possibly next week or the week after!
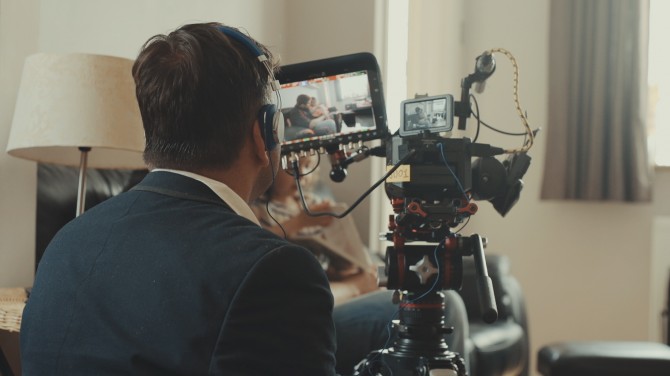
Shooting with Manfrotto Gear
For those that are unfamiliar with my work, I'm a Manfrotto Ambassador for Videography! Look at this picture...

Can you see the Manfrotto tripod and video head?
I do not know I would do without them, and without a doubt Manfrotto equipment provides photographers and videographers alike a quality, reliable and affordable priced equipment that can be used in more than a variety of situations.
I'm a videographer, and growing up with Vinten legs and heads made me realize the difference in useability and functionality that Manfrotto provides for me. I use the 055PROXB Tripod and Mini video fluid head, and for the package price of £150 it provides the perfect solution.
I've used the above kit for a couple of years now, and only now am I finding the need to change my legs to a lighter option; not even changing the type. I am going to buy exactly the same legs in a carbon fiber model. That's how good these legs are.
The functionality of a ball head is useful for every tripod without one, but the extension column provides a unique 90 degree angle view with is essential for tabletop animations for a versatile producer like myself.

Is that a superclamp I see? Ye it is! The Manfrotto superclamp is one of those pieces of kit that should never leave your bag. Need I say more? The superclamp can hold up to 17Kg and includes a winch screw for micro-adjustment, as well as a stand adapter socket if you are using a lighting stand or lighting adapter to add more fixtures to the clamp. I use it with a magic arm and Lilliput 7" HD LCD monitor with it, allowing multi angle viewing for many different camera angles.
I hope you have seen my adoration for Manfrotto gear, and I will be working with Bjorn Thomassen on more Manfrotto and Canon sponsored shoots, and I am looking forward to trying out new gear Mr Dave Beck!
My previous work with Manfrotto includes the production of the ML240 LED Light advert - http://vimeo.com/41688532
Want creative and cinematic promotional video, and need to keep costs down?

Are you in need of innovative, cinematic and artistic promotional video's and media, that makes your business, product, event or service stand out, attract a wide audience and immerse them in the visuals and sound?
My portfolio includes video/media work with - Moet Hennessy, Broadcast Magazine, The BBC, AstraZeneca, Manfrotto & more.
I'm offering 10% off on all productions until the 15th of November 2013! Check out my work at
and get in contact!
Tokina's NEW Cine Lenses!
At IBC 2013, Tokina announced a new range of cine lenses for Super35 and Full Frame sensors which include a full line up from 11-16mm, 16-26mm and 50-135mm, all at T3, and all manual.

I had a chat with Chris, the General Manager of Tokina about the lenses at their booth. He was just as excited as I was about the release of the new range, the 11-16mm especially. This is due to the small sensor size of the Black Magic Cinema Camera, which has a 2x (+-) magnification factor. This causes a standard 16mm lens to be multiplied to around 40mm, so achieving wide angle shots becomes rather difficult.

However (and I had no idea people had been converting the already famous Tokina 11-16mm ATX for Super35 mounts) Tokina saw the potential and grabbed the chance to deliver a sharp, accurate and very bright lens. The build quality is fantastic, and the resulting image is a wonderful wide angle!

Chris also talked about the range including the 16-28mm and 50-135mm which is to be released in November this year, I cannot wait to get my hands on one! They did not have the 50-135mm on display, but as you can see from the size of the 16-28mm it will probably be a beast of a piece of glass! I am expecting a separate lens barrel stand or some kind of rig-rail to keep it on the camera!

I'm in contact with the guys over at Tokina so I will keep updating on the progress of the lenses and new models!
IAmsterdam - My trip to the city of diamonds
Update! Just checked on the video upload on Vimeo, and I was hoping to be able to share it on here for you, but Vimeo once again disappointing me with its ridonculous conversion time! Still 20 minutes to go. :(
Back to normal for freelance videography
A week since IBC, things are pretty much back to normal for here in Epsom. I have been furiously emailing the companies and people I met to get my foot in the door for some videography or digital media content production.. We shall see! Oh yeah, immersive experience, here is what I am listening to - http://8tracks.com/monkcoco/amsterdams-jams
I have been working on an edit for a video of a day trip around Amsterdam city, just a few shots of what I though was worthy of being included! ("You only get one" quote from Glen Symes). It is currently taking a looonngggg time exporting in Adobe Media Encoder due to down-res'ing from 1080p to 720p for the web, as well as some heavy grading done in Magic Bullet, which always takes time anyway.
Here is a couple of photos from the edit, and the grade to show you how :)


What can I say, do your clients pay for render time? XD
I'm going to upload the video of Amsterdam later today, so keep updated as I shall post it on here! I used Adobe Premiere Pro CS6 to edit the video, and Red Giant Magic Bullet to grade. I did a couple of timelapses so just sped them up and used 'Frame Blending' to create the smooth motion blur. I shot most of it on my Canon 60D and Tamron 17-50 F/2.8, also using Sams GoPro Hero3 for the other shots. I chose Zero 7 "Destiny" for the backing music as it is chilled and ambient, just like the culture over there!
In the meantime I am developing my marketing strategy for the videography business I am trying to get funding for, through The Start Up Loans company (James Caan), but that hasn't been at the top my list, although it really should be.. If you've got any tips for start ups and writing business plans then please forward them this way!
I am also working on videos in the edit suite which include interviews with F&V, NHK, Tokina, Ikegami, and NanGuang, so keep updated for those too!
Ciao for now :D
My experience of IBC 2013 Part 1
I had never been to IBC before, I wanted to go a couple of years ago but I was a little last minute with extremely expensive prices, but now after all the hard uni work and starting myself up as a freelance videographer, a trip to Amsterdam for IBC 2013 was just what I needed! It was also the first time I've been on a plane in 11 years, so I was super excited, and acted rather like a tourist for the first couple of days.. But, I have no regrets!
 Myself outside Amsterdam Schipol Airport, great smoking area with all the sunflowers, how Dutch!
Just had a quick thought, for you readers to enjoy your experience reading my blog further, you can listen to what I am listening to while I write it, having withdrawl symptoms from Amsterdam lead me to searching for "Coffeeshop" "Soul" on 8Tracks, hoping for a chilled result :) So here is the playlist you can listen to while reading! Street Cues Sound Clues Amsterdam Withdrawl Playlist on 8Tracks
Amazing Mexican restaurant called 'La Margarita' just off the canal, near Amsterdam University (https://plus.google.com/105150292043799825469/about?gl=uk&hl=en) They do great cocktails too, definitely recommend it.
 Amsterdam's coffee shop culture is something to be admired, the liberal and relaxed lifestyle suits me perfectly, and I'm not going to pretend I disagree with coffee shops, because they are awesome. I met more friendly people and generated more work in coffee shops than I do in Starbucks in The UK. In the photo you can see The Bulldog, and further down is the original coffee shop. I did pop in to these, but both were really busy so I skipped off to another in the pouring rain. (https://plus.google.com/112706500562557581286/about?gl=uk&hl=en).
 This rather lovely looking church turned out to be a brothel.
 Taken from outside The Greenhouse Seed Co Coffee shop, near Dam Square. Sitting outside having a drink by the river is so cool. We had a couple beers over there on the first evening, Duvel! (Cafe Rock Planet)
 The view from my hotel window, the Pathe Cinema! (Rembrandtplein).
On the Friday (13th) myself, Amy and Sam made our way to the Amsterdam RAI. We jumped on the tram outside our hotel on Rembrandtplein which took us all the way to IBC, very convenient although it was rammed with suited business-people attending the show! IBC provided free tram travel for the duration of the show which was great for getting around town, until I lost mine.

We made our way to The IABM stand, near the Future Zone in one of the 14 halls of this massive place, where we met Steve Warner and Sam Hawkins and were presented with the prize money. We also met the other Engineering Student Award winners who came from across the world for IBC; Zoe Wyeth of the University of Salford, Julian Theis of the RheinMain University of Applied Sciences, Adam Plowden and Amy Tinker of Kingston University, Pierre Hamme-Gerome and Antonin Morel of the Université de Valenciennes, Kathryn Savage of Southampton Solent University, Lennard Bredenkamp of HTWK Leipzig, and Evgenii Smirnov and Anna Nikolaeva of St. Petersburg State University of Film and Television. (Photos are coming from The IABM in the next couple of days).
The rest of the day was spent wondering around, wowing and touching all the amazing new technology and equipment, which I will upload the photos of soon! There will also be video blog entries uploaded very soon too, including interviews with manufacturers, designers, and a film of Amsterdam too, yes 'Ive been busy!
BlackMagic Design had a fantastic booth exhibiting many of their Cinema and Pocket cameras in different set-ups, as well as demonstrations of the new 6G production switcher, and the newly released DaVinci Resolve 10. As I am looking to upgrade cameras, the BMCC is definitely an option for me, as the price of the unit and features weigh it up considerably as a mid range cinema camera, rather than a simple DSLR upgrade. Also, as I discovered, Tokina had been hard at work on an 11-16mm T3 cine lens for Super35 sensors, demonstrated on a BMCC at their booth; finally opening up wide angle shots which had previously been restricted due to the 2.2x mag factor. More info on the NEW Tokina releases can be seen in an upcoming video with the Director of Tokina himself!
There will be much much much more coming soon, I just have to get through the video editing and chuck it all together, but please be patient, they are coming :)
As for future work and plans, I was due to produce a couple of videos for some classic RV's, with Joel from London Event Photography however thanks to the terrific English weather it was called off. Also got some top secret work with a manufacturer coming up, as well as a possible booking to go back to Amsterdam for the end of November.. IE.. My 22nd Birthday!! We shall see..
All the best for now you wonderful people! If you haven't checked out this kind of teaser video then please do :)