fluid

Welcome to the boardroom

I'm doing a few productions for the IABM in the lead up to their annual conference in December, which included a video shoot in London at IBM; a panel discussion on the key topics of the conference, and the industry at the moment.

John Ive, the director of business and technology at the IABM chaired the discussion, with six of the top decision makers in the industry around the table, which included: Dominic Stone (Our host at IBM and multimedia executive), Rob Roberts (Avid), Marc Risby (Boxer), David Peto (Aframe), Chris Steele (Marquis), Paul Glasgow (Chyron Hego).

It was an early start for myself and Glen, to get a head start in the traffic heading up to the South Bank. Usually I would get the train, but as this was a full setup I required my little cars assistance to get the equipment there!

Glen at IBM

Glen at IBM

Me at IBM!

Me at IBM!

We arrived at the IBM office on the South Bank with plenty of time to spare, and after unloading the equipment in the loading bay we parked up in the National Theater and met our host for the day, Dominic. A wonderful chap with a wealth of experience as a television producer, many thanks for your hospitality throughout the day!

Trolley fulla gear!

Trolley fulla gear!

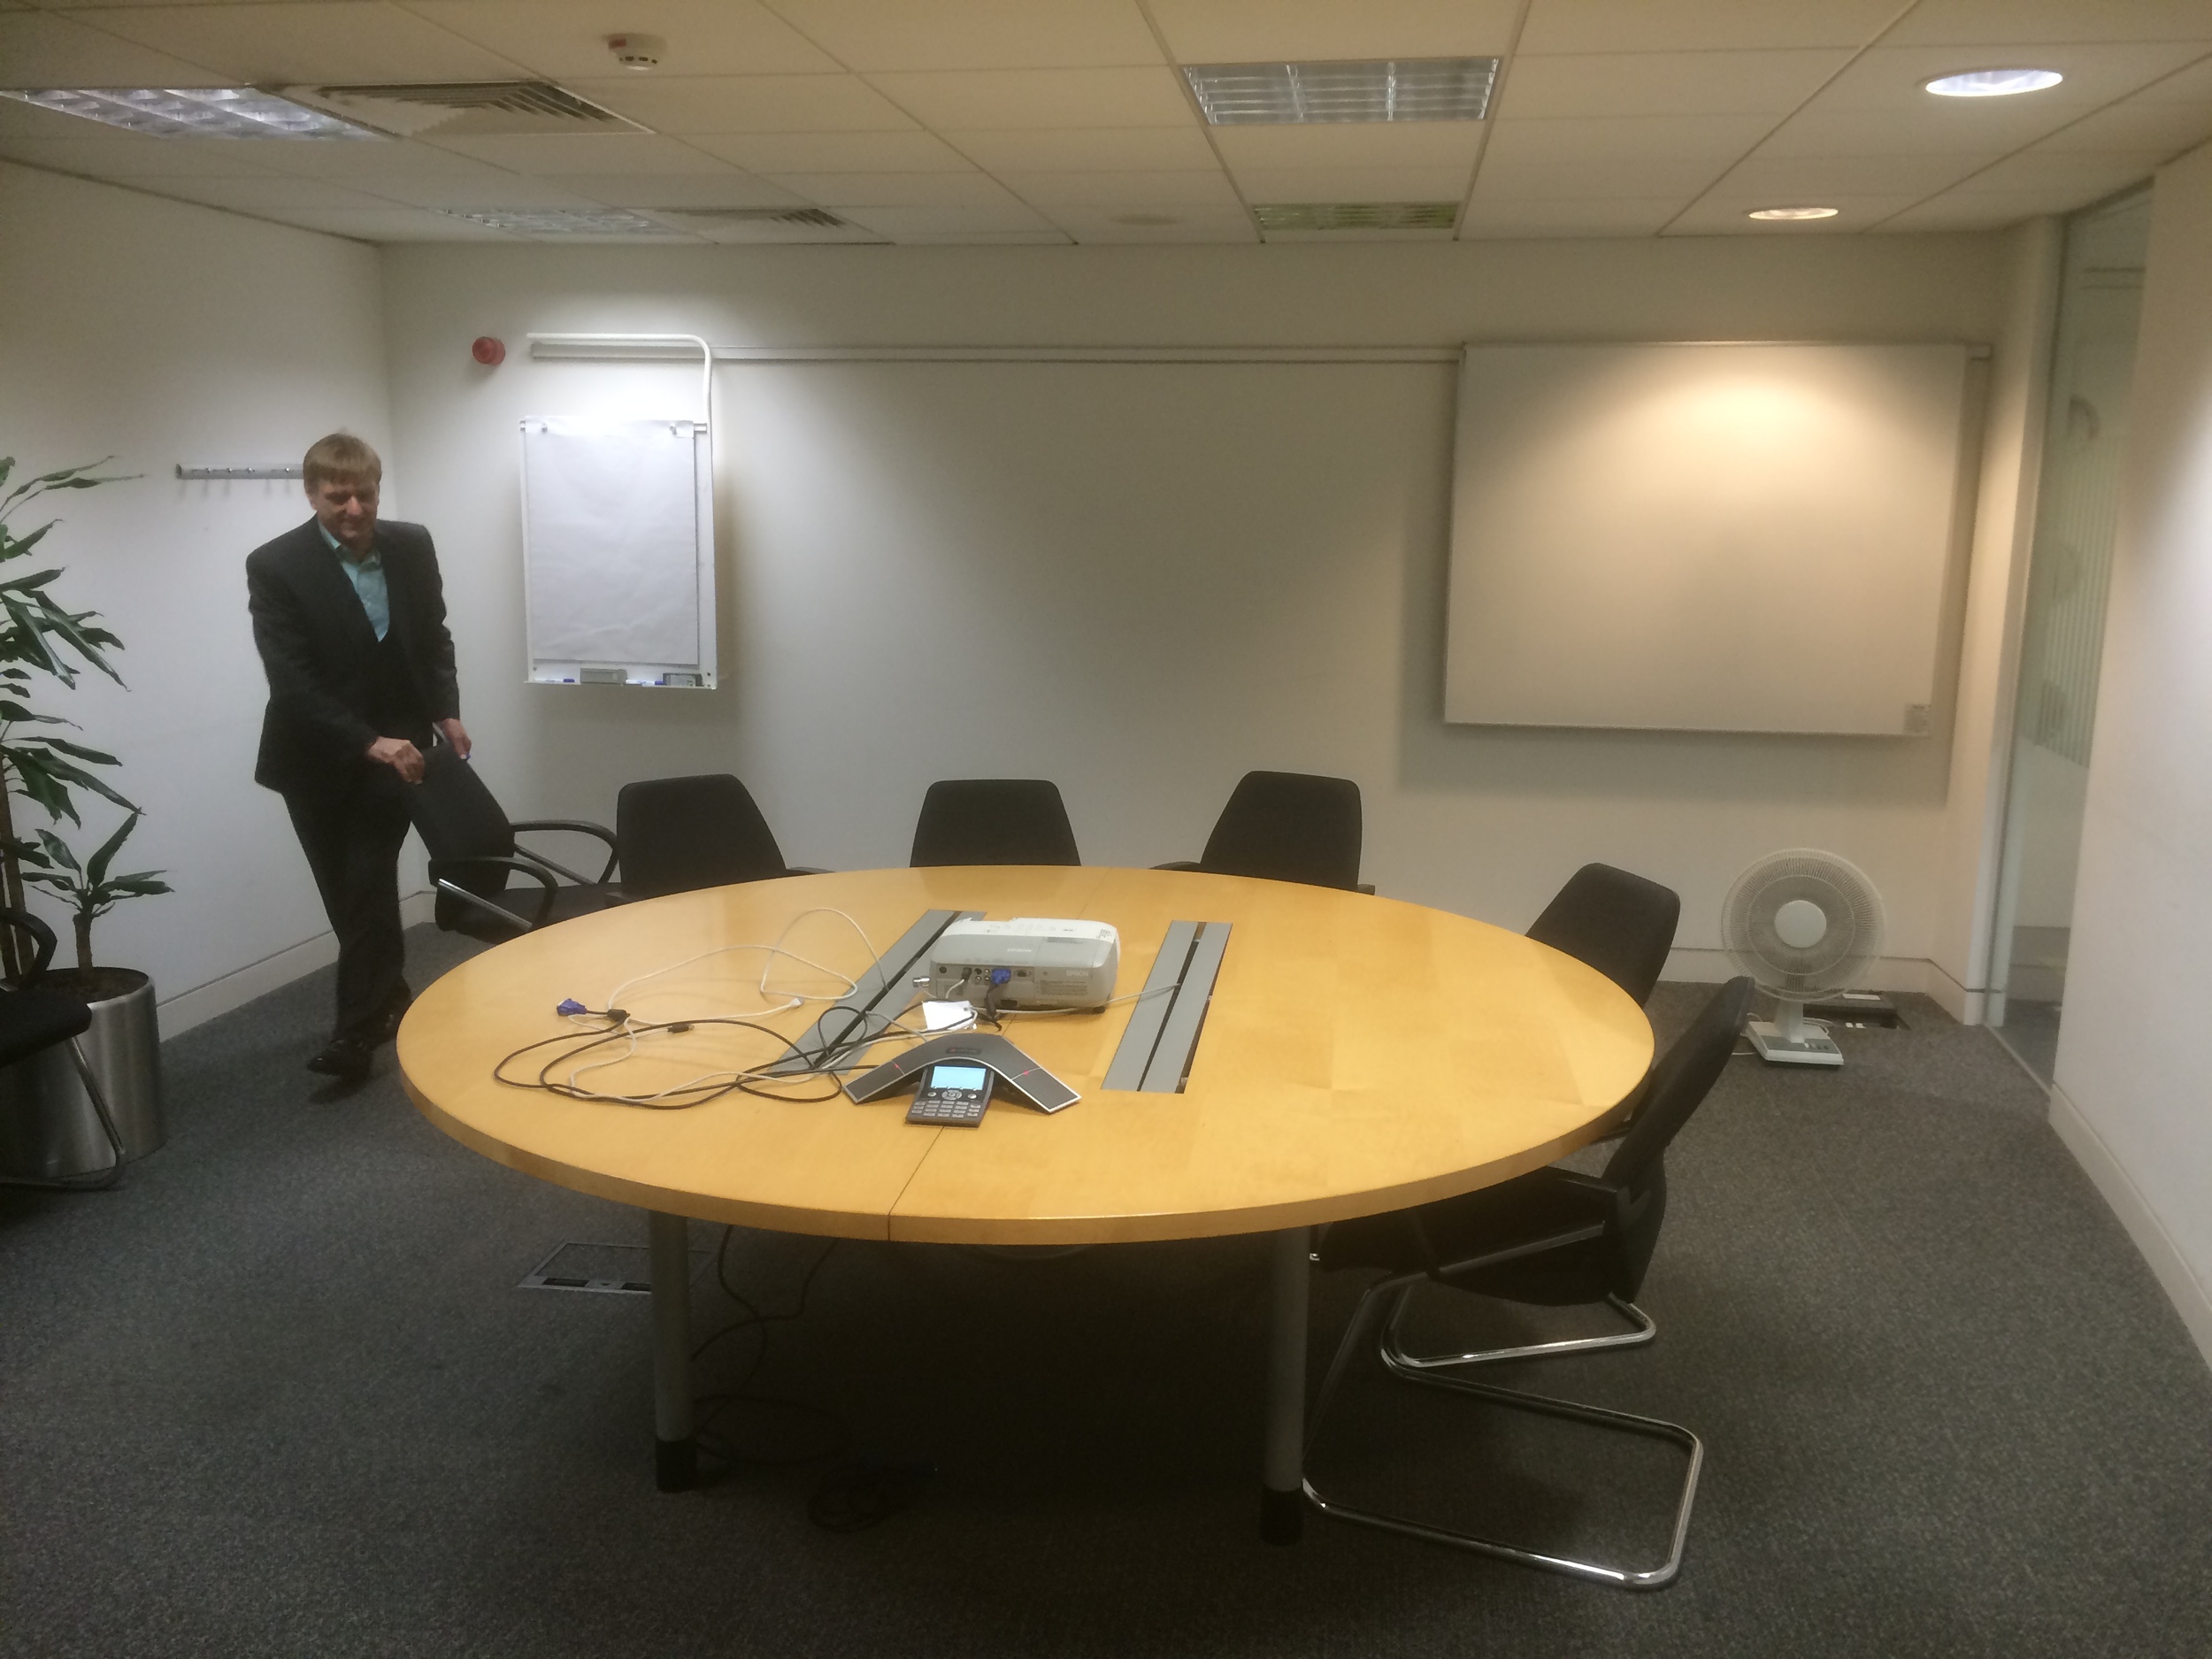
What the conference room at IBM looked like before we got our hands on it!

What the conference room at IBM looked like before we got our hands on it!

Once we had access to the conference room, we began the setup and moved any unnecessary furniture out of the way. Manfrotto has greatly helped me on this as much of the kit is new and definitely new to this kind of video environment too, and after IBC I was very keen to try out the new tripods; which now can be lowered to almost ground level with innovative locking joints. Also, although I'm using a 5D and telephoto lenses to shoot with (so the load is not very heavy), but having steady and smooth shots are imperative to keeping a good composition, both the tripod and video head allow me to achieve shake free pans and tilts, which can be counter balanced depending on your camera, lens and accessory setup.

The new light stands are awesome. I know it is something simple, but it makes a massive difference. Stands and poles can often get mislaid, damaged in transit or in use, or simply can't withhold a wide variety of lights and accessories. These on the other hand have a brilliant locking system to hold multiple stands together, meaning they can be carried and transported very easily. They are not heavy, and can take a heavy load (not that these SPECTRA 1X1 LED panels are that heavy)!

Panel video setup with Manfrotto 1x1 bi-colour LED light

Panel video setup with Manfrotto 1x1 bi-colour LED light

After lunch, we checked the colour temperature on the four lights; the two front facing the panel, one giving a back light onto the speakers and background, and a smaller 900 panel to push a little extra light into the right panelists. All of the lights are bi-colour, which gives maximum flexibility when the video scenario changes so frequently.

The lights I used were: Manfrotto Spectra 1x1FT x 3, Spectra 900FT and the 1004BAC pro light stands.

To make sure all of the cameras were exposed and set correctly, we did a custom white balance and orientated around the cameras and lights to make sure we achieved the best out of the setup.

I transported the camera and audio equipment in the Manfrotto Pro Backpack50 as its large capacity was required for the amount of kit I needed which included:

  • Canon 5D mkIII
  • Canon 60D
  • Tamron 24-70
  • Sigma 70-200
  • Samyang 35mm
  • Samyang 14mm
  • Zoom H1
  • Zoom H6
  • Sennheizer ENG-G3
  • Rode Lavalier
  • Roto-mic
  • Canon batteries, AA batteries for microphones and audio recorders, chargers for all.

I also had the Manfrotto 536 MPRO tripod and 504 HD video head in the large tripod bag, and the ProCX-3 and Pro-B for the other cameras.

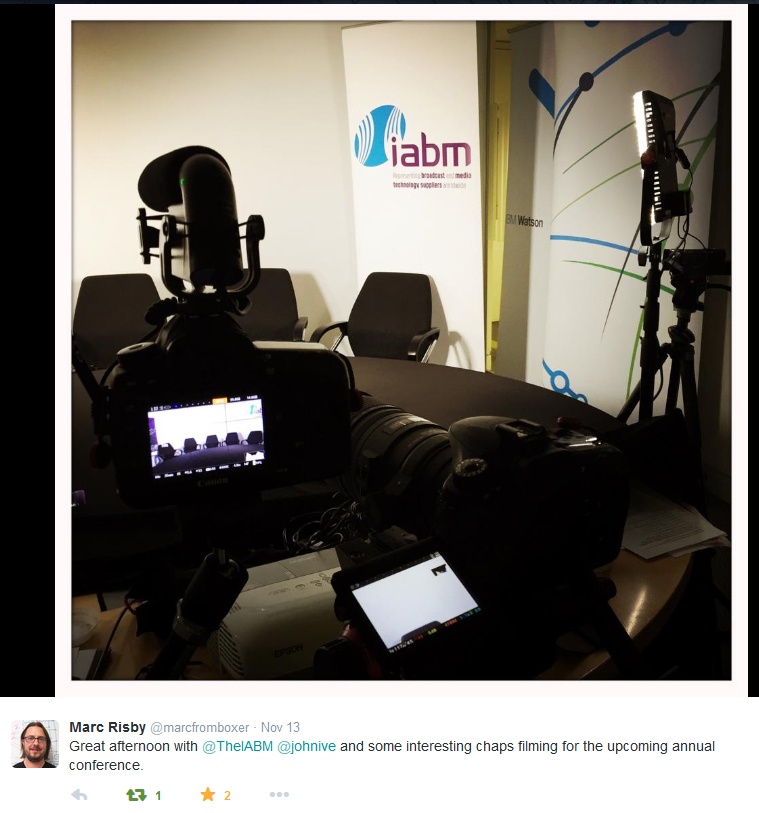
Marc Risby, one of the panelists tweets about his experience!

Marc Risby, one of the panelists tweets about his experience!

While we were setting up!

Adam Plowden Video setup

Shortly after our panelists arrived, and they were eager to get started in discussion; I put the lapel mics on and plugged them into the H6. John kindly allowed us to use a couple of cameras and microphones for the extensive number of panelists. The Sony ECM-77 are great lav mics with good audible response, as is the Rode Lavalier which I used with the MiCon-1 connector into the ENG-G3 wireless kit.

I got the panel talking for a practice run through while I checked the audio levels on the H6, which was placed under John's chair (due to the cable length I could not monitor the camera from my filming position).

If you've been following me on Twitter, you'll have seen I have been looking for a wide angle lens for both an APS-C and FF sensor (so far Canon's 16-35 F/2.8 is best), so I was without my Tamron 17-50mm (my standard lens on the 60D as a wide). To compensate for this, I alternated my usual video setup from 5D and Sigma 70-200mm for an MCU and 60D and 17-50mm for a wide to; 5D and Tamron 24-70mm for a wide and 60D and 70-200mm for an MCU which allowed me to capture a good wide angle of the whole panel, as well as a great MCU on the speaker.

The 504HD video head has integrated fluid drag and resistance which makes panning and tilting a dream for video; it is smooth, yet easily changed depending on the subject and timing of the camera moves. A large pan-handle makes the motion firm and steady throughout.

With a vast experience in broadcasting from all of the panelists, it was difficult not to get distracted into the conversation. After each discussion we shot some VoxPops for the conference with the other panelists that did not participate in that panel, which will be used throughout the presentations and panels at the IABM annual conference in December.

Unlike the Zoom H4N, the H6 has an incredible power consumption rate meaning on four AA batteries it can record multiple channels (four in this care) for a good 2 hours without needing to change! This meant I could rely on it recording stand-alone under Johns seat without monitoring, after each channel was correctly set (with a general limiter on).

In terms of the camera settings I was using:

 - VisionTech2 Picture Profile

 - F/4.5 on the MCU so focusing between panelists was minimum

 - Because of light setting, as well as not much fast motion happening I reduced the electronic shutter to 1/33.

 - ISO between 400 and 640 due to the good light produced from the 1x1's!

Once the filming was complete, we quickly de-rigged the setup so we could get out of London as quickly as possible; not to get held up with traffic queues etc.. Thankfully, all of the Manfrotto gear we had is fast to setup and tear down so we were ready to leave within half an hour or so!

Once I got back home, I begun the ingest and backup process; remembering to have 3 copies of the footage and audio on separate drives in case any fail. I also began re-naming the files so it is easier for me to locate specific panelists microphones when doing the audio mix-down.

Although the Zoom H6 is an awesome recorder, it for some reason records track 3 and 4 together (as a stereo channel) so I had to split the Tr3-4 into separate Track 3 and Track 4 files using Audition. This is a simple process, but I wonder if this can be changed in the device itself?

splitting stereo track mix adobe audition APV

Here you can see the top track is different to the other, this is because the T3 and T4 inputs were from different speaker microphones, but recorded together. To resolve this, I simply solo'd the track I needed, selected ALL and copied, created a new audio stereo track and pasted the track there; this creates a Left or Right track for you in the new audio file.

replaced stereo audio file APV

Here, I've created a new stereo audio track and pasted the solo'd track into it. The new stereo audio file then replicated the audio on both tracks. I then saved this as a new audio track.

In Pluraleyes, I created the four camera sources and imported their respective video files, and then singularly imported each audio track into a new audio recorder as a new audio source (instead of importing the five tracks into the same audio recorder). This would allow me to control not only each track individually, but also when I separate the four sections into their own multi-camera sequences I have separate audio tracks rather than one reallyyy long one.

importing footage to pluraleyes APV
separate audio recorder devices per microphone APV

You can see here that the audio tracks from each microphone are separated in the sync.

video audio sync pluraleyes complete APV

I was amazed at the speed of the sync, only 1 minute 8 seconds to sync all of the video and audio from many different sources! I then exported the sync as both an XML and XML with replaced audio from Pluraleyes, and created a new Premiere Pro project for this production.

I imported the XML file into the new project, which imports and creates a new sequence with the synced footage in place. So easy! I then placed the footage into their respective sequences depending on the discussion topic, and prepared them for multi-camera editing!

adobe premiere pro sync footage edit APV
synced footage adobe premiere pro APV

The sequences are now ready to be cut using the Multi-camera interface! Unfortunately I can't show anymore as this is an IABM member exclusive video, but I hope you have enjoyed seeing how videos like this are produced on a small scale!

Success at the Manfrotto Takeover!

Adam Plowden videography seminar manfrotto takeover park camera london

I had a great day at the Manfrotto Takeover on Wednesday at Park Cameras London, I hope all the visitors enjoyed their day too! I'm very busy at the moment, heading out to film a wedding today and tomorrow and have a growing collection of editing that needs to be completed too.. Better to be busy than to be sitting around doing nothing though!

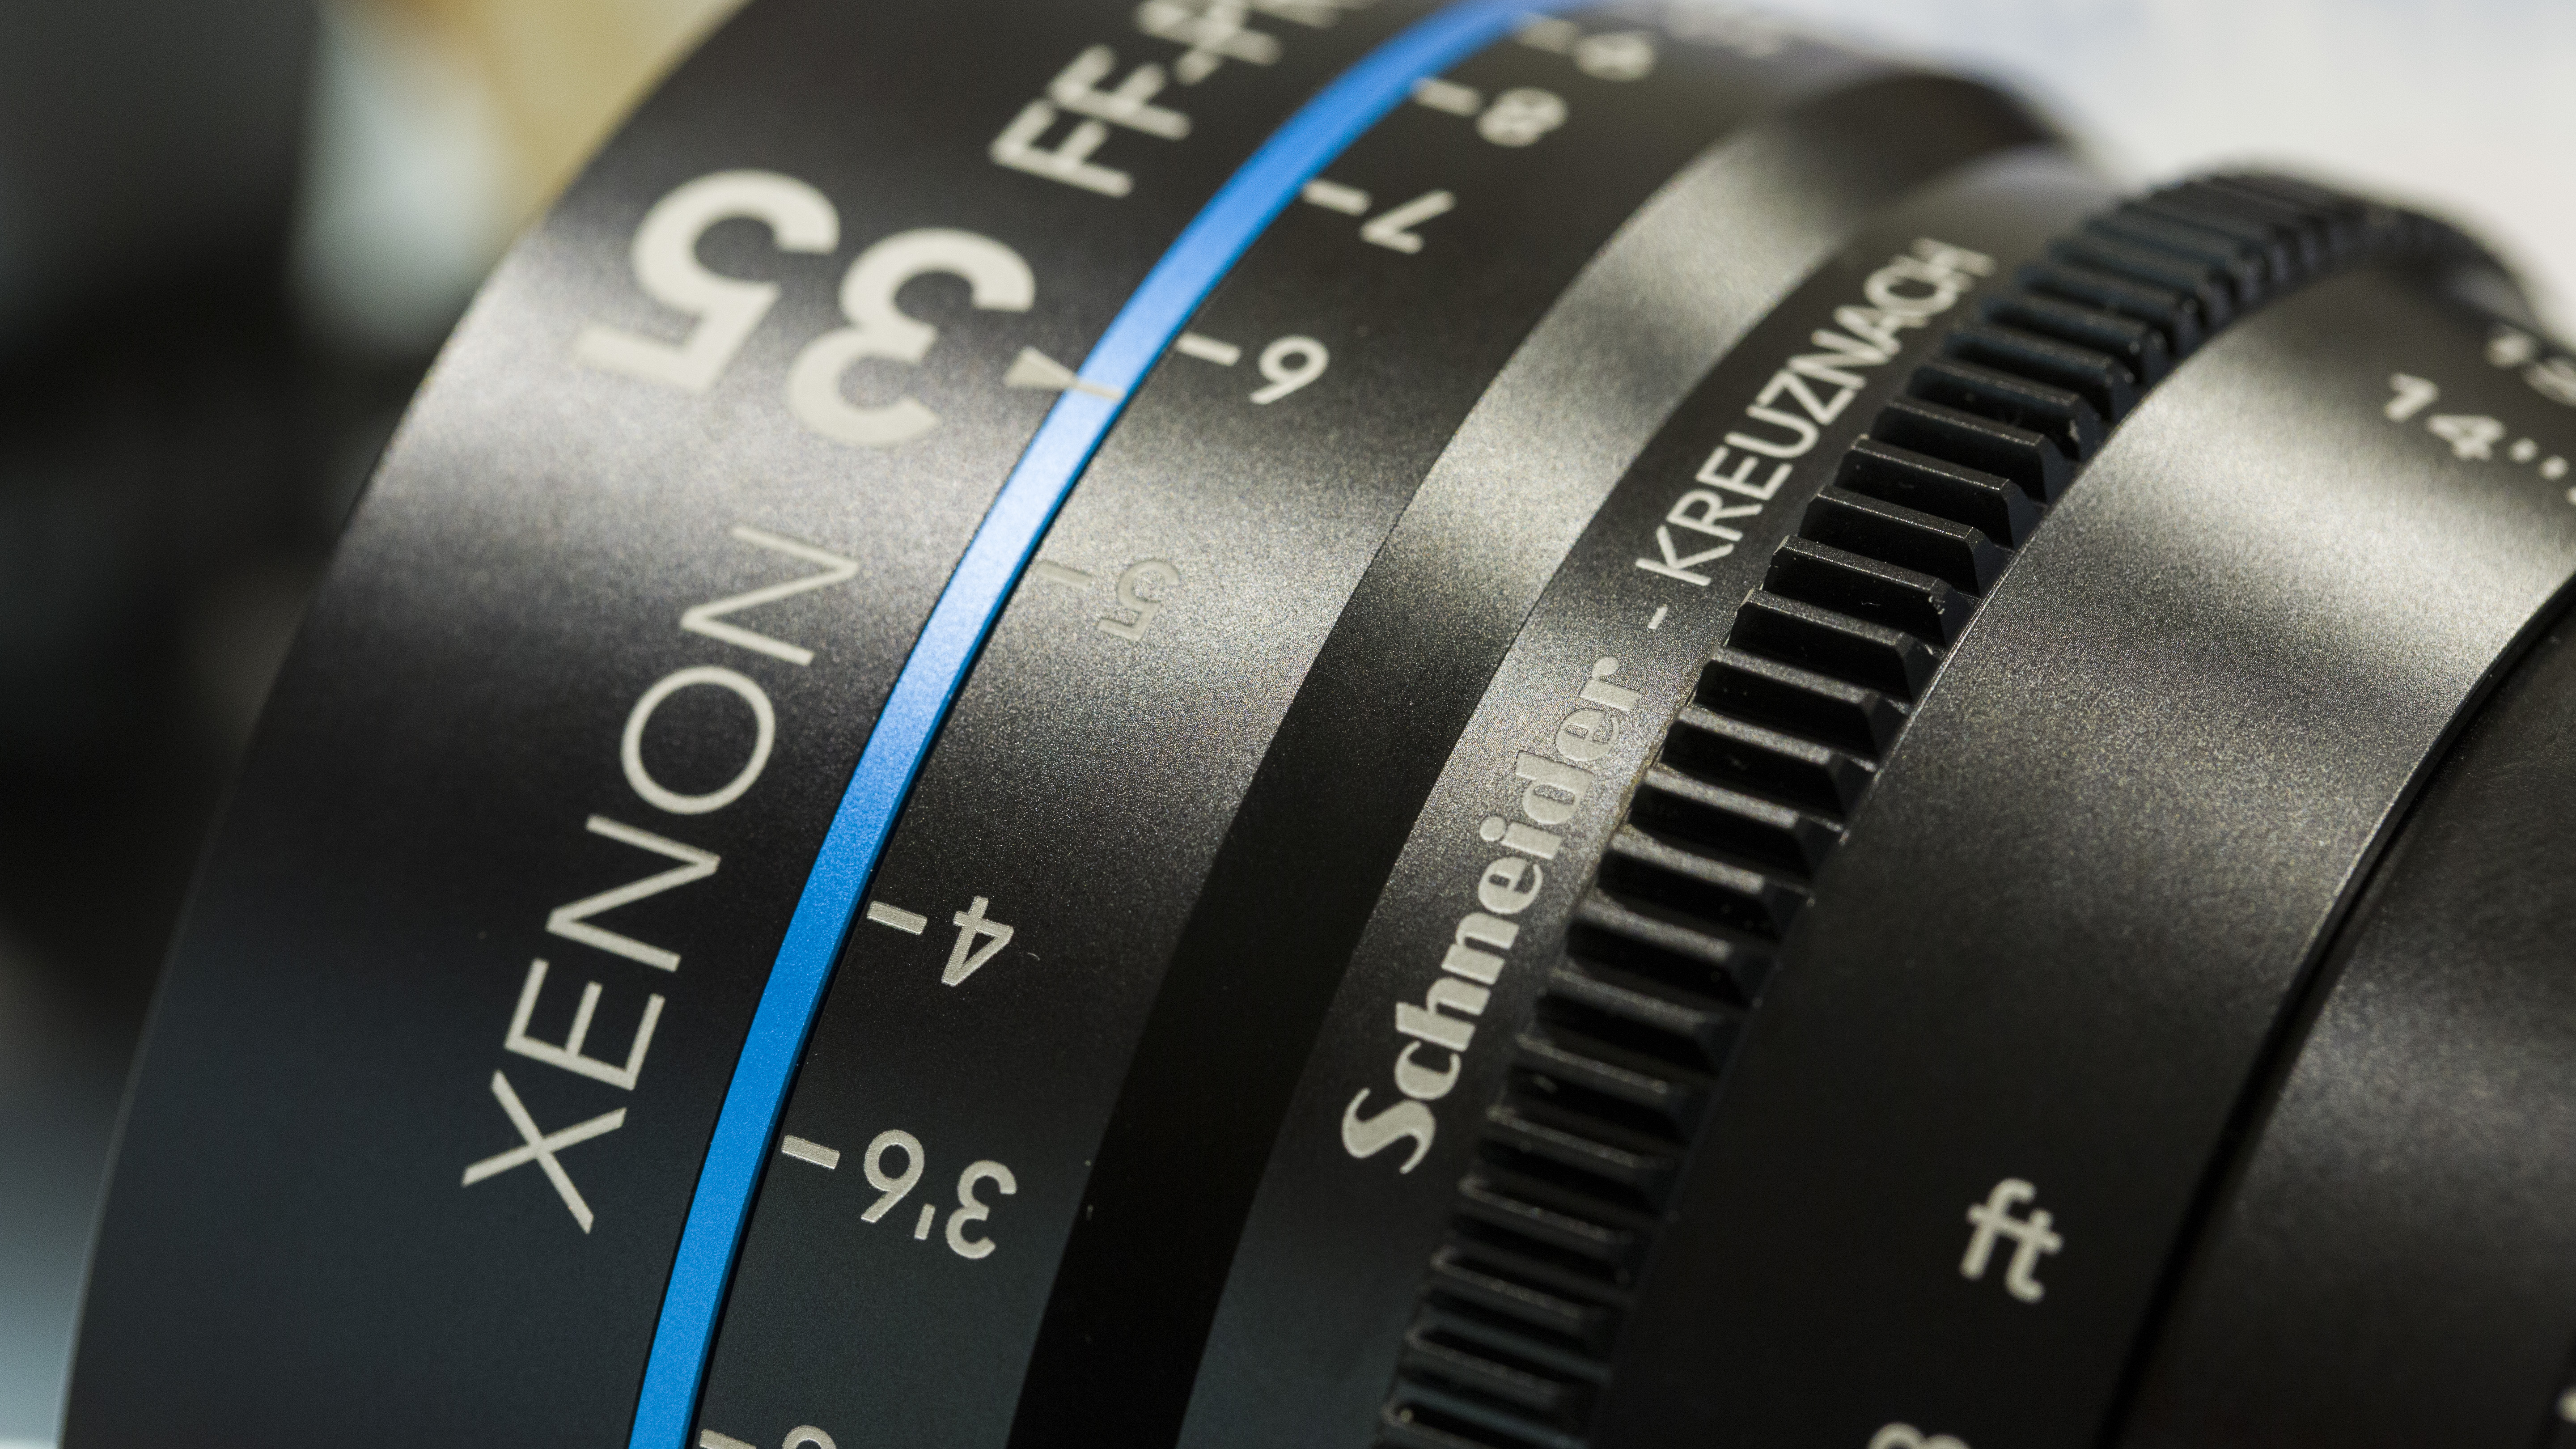
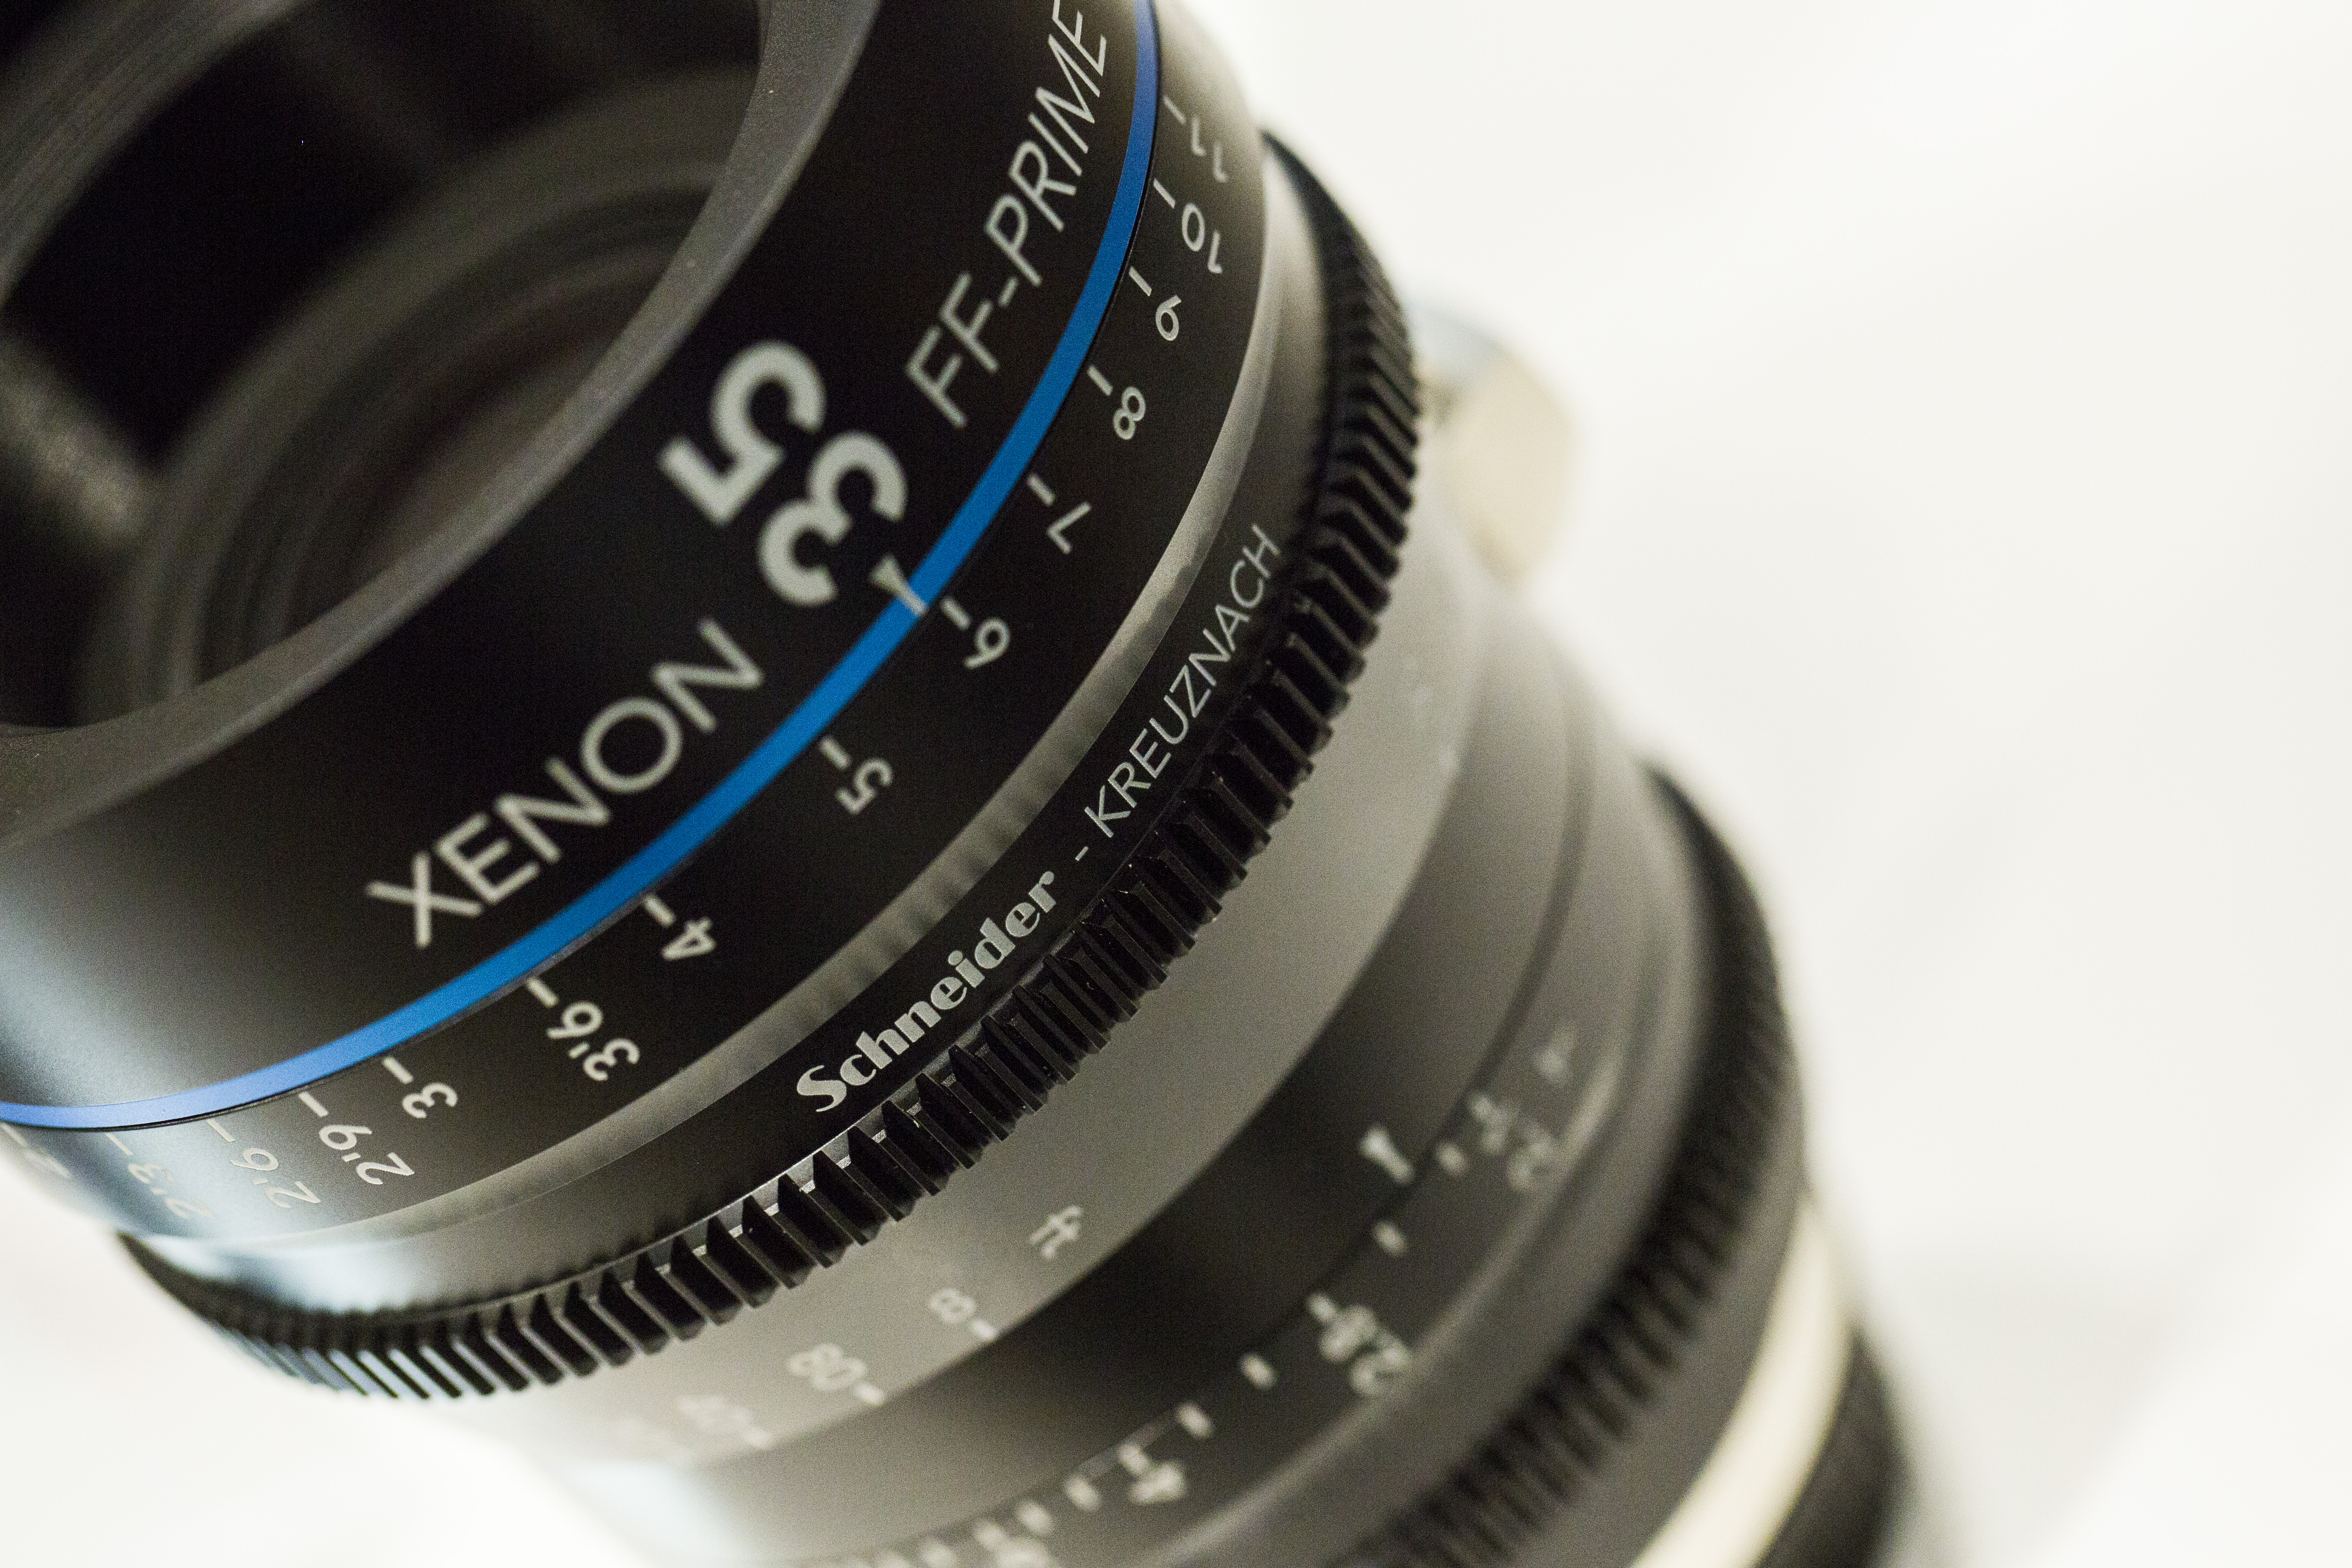
I got to test the new Schneider Xenon cinematography lenses on Wednesday too; built for 4K cine productions, the T/2.1 prime lenses have focal lengths of 35, 50 and 75mm with other models soon to be available, and I'll be using them on my productions later on down the line. I was blown away by their performance, it's like looking through a new pair of eyes.

More to come later! Keep creative!

Schneider Kreuznach 35mm cine prime lens optic Manfrotto takeover 1
Schneider Kreuznach 35mm cine prime lens optic Manfrotto takeover 2

For those that couldn't make the day, or my seminar on videography a podcast will be uploaded later when I get back from the wedding and I am putting together a highlights video of the day (shot on Panasonic GH4 in Cinema 4K and on 5D mark III with the Schneider cine optics).

A romantic video experience with Manfrotto gear (How to choose the right tripod and head).

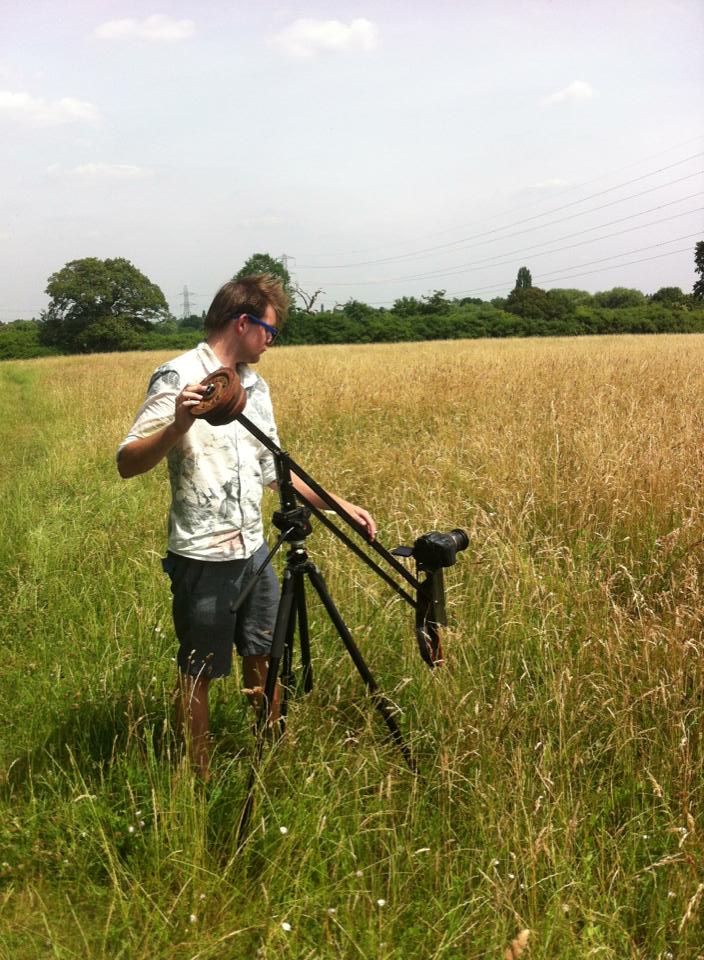
When you start working with a piece of equipment time and time again, you build up a relationship with it; understanding its ins and outs, the fastest or best way to set it up. For me, I have this affinity with Manfrotto products. Since starting out in video during university, I had invested in a sturdy Manfrotto 055Pro-B tripod and a fluid video head. 3 years on and to this day it proves to be a great piece of kit to have around; I use it for my custom built camera jib now so it lives in my boot with that!

manfrotto tripod video photo manfrotto tripod video photo ed2 1069411_10151479423471712_1309410177_n

Through various university and freelance projects I used my trusty MF 055Pro-B legs, strapped tightly to a Lowepro backpack.. Not the most comfortable or lightweight solutions. The aluminium legs begun to take their toll when more equipment was required too, and as a videographer I had a bag full of lenses, audio kit and a monopod too. I occasionally used a Glidetrack slider too, which worked very well on the legs, and did not have to be spread really far apart or use any weights.

Check out a couple of my video's featuring Manfrotto gear -

Manfrotto Backpack50 - http://vimeo.com/84398932

Manfrotto ML240 LED - http://vimeo.com/41688532

But, how do you choose the right Manfrotto tripod and video head for what you do?

Key points to consider - Budget is always something to keep in mind, it can get expensive!

- What cameras, lenses and accessories you will be using with it.

- Where/shooting situations; are you going to be traveling so need a lightweight option, or more corporate indoor, weddings, adventure.

- Are you working with video or photo, or both!

Budget - everyone should have a decent set of tripod legs and head that can be their go-to choice no matter what the client, production or location. This could be a heavy duty two-leg tripod with video fluid head for news/docu/TV footage acquisition - go for Manfrotto twin leg kit! But for photography you may consider a lighter option that can be grabbed and carried quickly - go for Manfrotto BeFree! Remember that a tripod/head kit should last you a lifetime so keep your budget in mind, and look for products and kits around £100-£150 for your first investment (no, I'm not suggesting you save up to spend £150, your budget is what ever you can work within so have a rough max figure that you would aim to spend - dependent of the following..).

Cameras, lenses and accessories - If you are a keen amateur, you may be working with small DSLR bodies and lenses; like the Canon 600D with an 18-135mm for example. This setup not weighing much tends to lean you towards a light, single leg tripod with a two way or ball head mount - 180X Pro B with 804RC2 head. However, for more professional setups; Canon 5D mark III and a 70-200 telephoto lens your looking at +3Kg of weight, so a more stable solution needs to be found - Lightweight Fluid System.

Shooting situation - If you are out and about all the time, a tripod with locking legs and extendable center column is a great feature to have; its great for getting very low angle shots while keeping the tripod steady, not to mention the ball leveling mount feature which levels the head without adjusting the legs. If you are the opposite, and work in studios and generally terrain free environment, a standard set of legs will be appropriate. Remember you can mount the tripod onto dolly wheels for easy motion and movement in a studio or indoors.

Video or photo? Generally video requires the use of moving or 'tracking' shots, where the camera focuses and follows a subject through a scene. Remember talking about ball and fluid heads? This is where they become important! A fluid video head uses liquid to smooth the panning and tilting movement when adjusting the head, creating smooth camera movements. This is not entirely possible using two-way or ball heads due to the lack of fluid in the head and a pan handle. It can be done, but be prepared to video a number of times to achieve steady movement! If you look further into video and movement, many equipment manufacturers have also created stabilizers that counter balance the camera's weight, creating flying and smooth flowing movement!

For photo, as you are taking still images, the focus on being able to move the camera while the shutter is open diminishes, and the need to find and focus on a subject quickly, from many angles becomes key. This is where a ball head or two way head works best, allowing quick movement between camera angles.

manfrotto tripod video photo carbon fiber fliud head ball head mount manfrotto tripod video photo carbon fiber fliud head ball head mount manfrotto tripod video photo carbon fiber fliud head ball head mount canon dslr manfrotto tripod video photo carbon fiber fliud head ball head mount canon dslr

If you mix between both, producing work like timelapse, hyperlapses, long exposures and night time shooting, you should consider the weight of the tripod and camera gear together; will you need to weigh down the tripod to keep it steady, will the camera be subject to movement when using a lighter tripod and head? These factors will affect your image or video if not considered!

A great example; myself and Ashleigh were filming a wedding at Horsley Towers for John Harris Wedding Films and we got the message to setup and run a timelapse for the evening. It was windy out, not great conditions for a TL, and with only a Canon 60D and 15mm fish eye lens the setup was not at all weighty. After about 15 minutes I went to check on the TL camera and it was nowhere to be seen.. The tripod and camera got blown over (not damaged) in the wind. No more timelapse that day!

Hope that helps in your choice of Manfrotto kit to use! It's always good to examine the details of your needs and what the product can do, to find the best solution. Remember if you start out with a single-leg, ball head setup and are looking to move into video in the future, you may need to invest again. Its not always possible, but try to future-proof your investment in case you have a change of heart in what you do.

The reason why choosing the Manfrotto 055ProB tripod and 701HDV worked so well for me is that I could use it on everything I worked on; from being my A camera support to supporting a camera jib and slider - an all round solution to my needs.

Back to the story.. After 3 years, it was time to move on. I had been researching equipment I would invest in, and sticking with the DSLR camera type my requirements for tripod legs and video head did not stray too far away from my original purchase. However, after experiencing carrying around all of the video equipment, and an extra bag for grip, it was about time I got a carbon fiber tripod to ease the weight issue. As I am a one man band videographer, I carry all the gear. So with a full camera bag, tripod, monopod, even a slider maybe, my options need to be lightweight but just as functional.

Manfrotto have gone above and beyond on the engineering of the 755CX3 and MVH500AH. Carbon fiber legs provide an ultra portable solution, able to hold loads up to 8Kg which is perfect for my Canon 5DmkIII, cine lenses, field monitor etc.

manfrotto tripod video photo carbon fiber manfrotto tripod video photo carbon fiber fliud head manfrotto tripod video photo carbon fiber fliud head

still from quiet sunshine by Adam Plowden Videography winter nature landscape stream water lake canon samyang

1464738_10153571677610510_1940877368_n[1]

The new plate mount on the video head is incredible too, and saves so much faffing around with the previously notorious screw to lock the plate in place. Now, the plate simply slides in from above, and a spring pings the clamp into place. A great innovation especially for use with camera rigs so you don't have to bend down, find the screw to start unlocking the plate and camera to the rig. So, for fast shooting situations, the new head is a must!

The sad thing about all of this is that after searching through my old photos and videos I don't have any; specifically featuring the Manfrotto gear! What I can say though, is for every single videoshoot I've worked on, my Manfrotto gear has been there, supporting me no matter of the situation. So I went out a shot some stills that I've included in the blog, and did indeed find pictures of the gear in action!

Camsmart MODA rig with canon 5Dmk iii

Lilliput monitor with the Canon 60D

If you want to see more of my work featuring Manfrotto equipment, check out my vimeo page - https://vimeo.com/apvideography

They say you should only by a set of legs once, make the right choice, make it Manfrotto! Like this post? Share it!