

I'm doing a few productions for the IABM in the lead up to their annual conference in December, which included a video shoot in London at IBM; a panel discussion on the key topics of the conference, and the industry at the moment.
John Ive, the director of business and technology at the IABM chaired the discussion, with six of the top decision makers in the industry around the table, which included: Dominic Stone (Our host at IBM and multimedia executive), Rob Roberts (Avid), Marc Risby (Boxer), David Peto (Aframe), Chris Steele (Marquis), Paul Glasgow (Chyron Hego).
It was an early start for myself and Glen, to get a head start in the traffic heading up to the South Bank. Usually I would get the train, but as this was a full setup I required my little cars assistance to get the equipment there!

Glen at IBM

Me at IBM!
We arrived at the IBM office on the South Bank with plenty of time to spare, and after unloading the equipment in the loading bay we parked up in the National Theater and met our host for the day, Dominic. A wonderful chap with a wealth of experience as a television producer, many thanks for your hospitality throughout the day!

Trolley fulla gear!
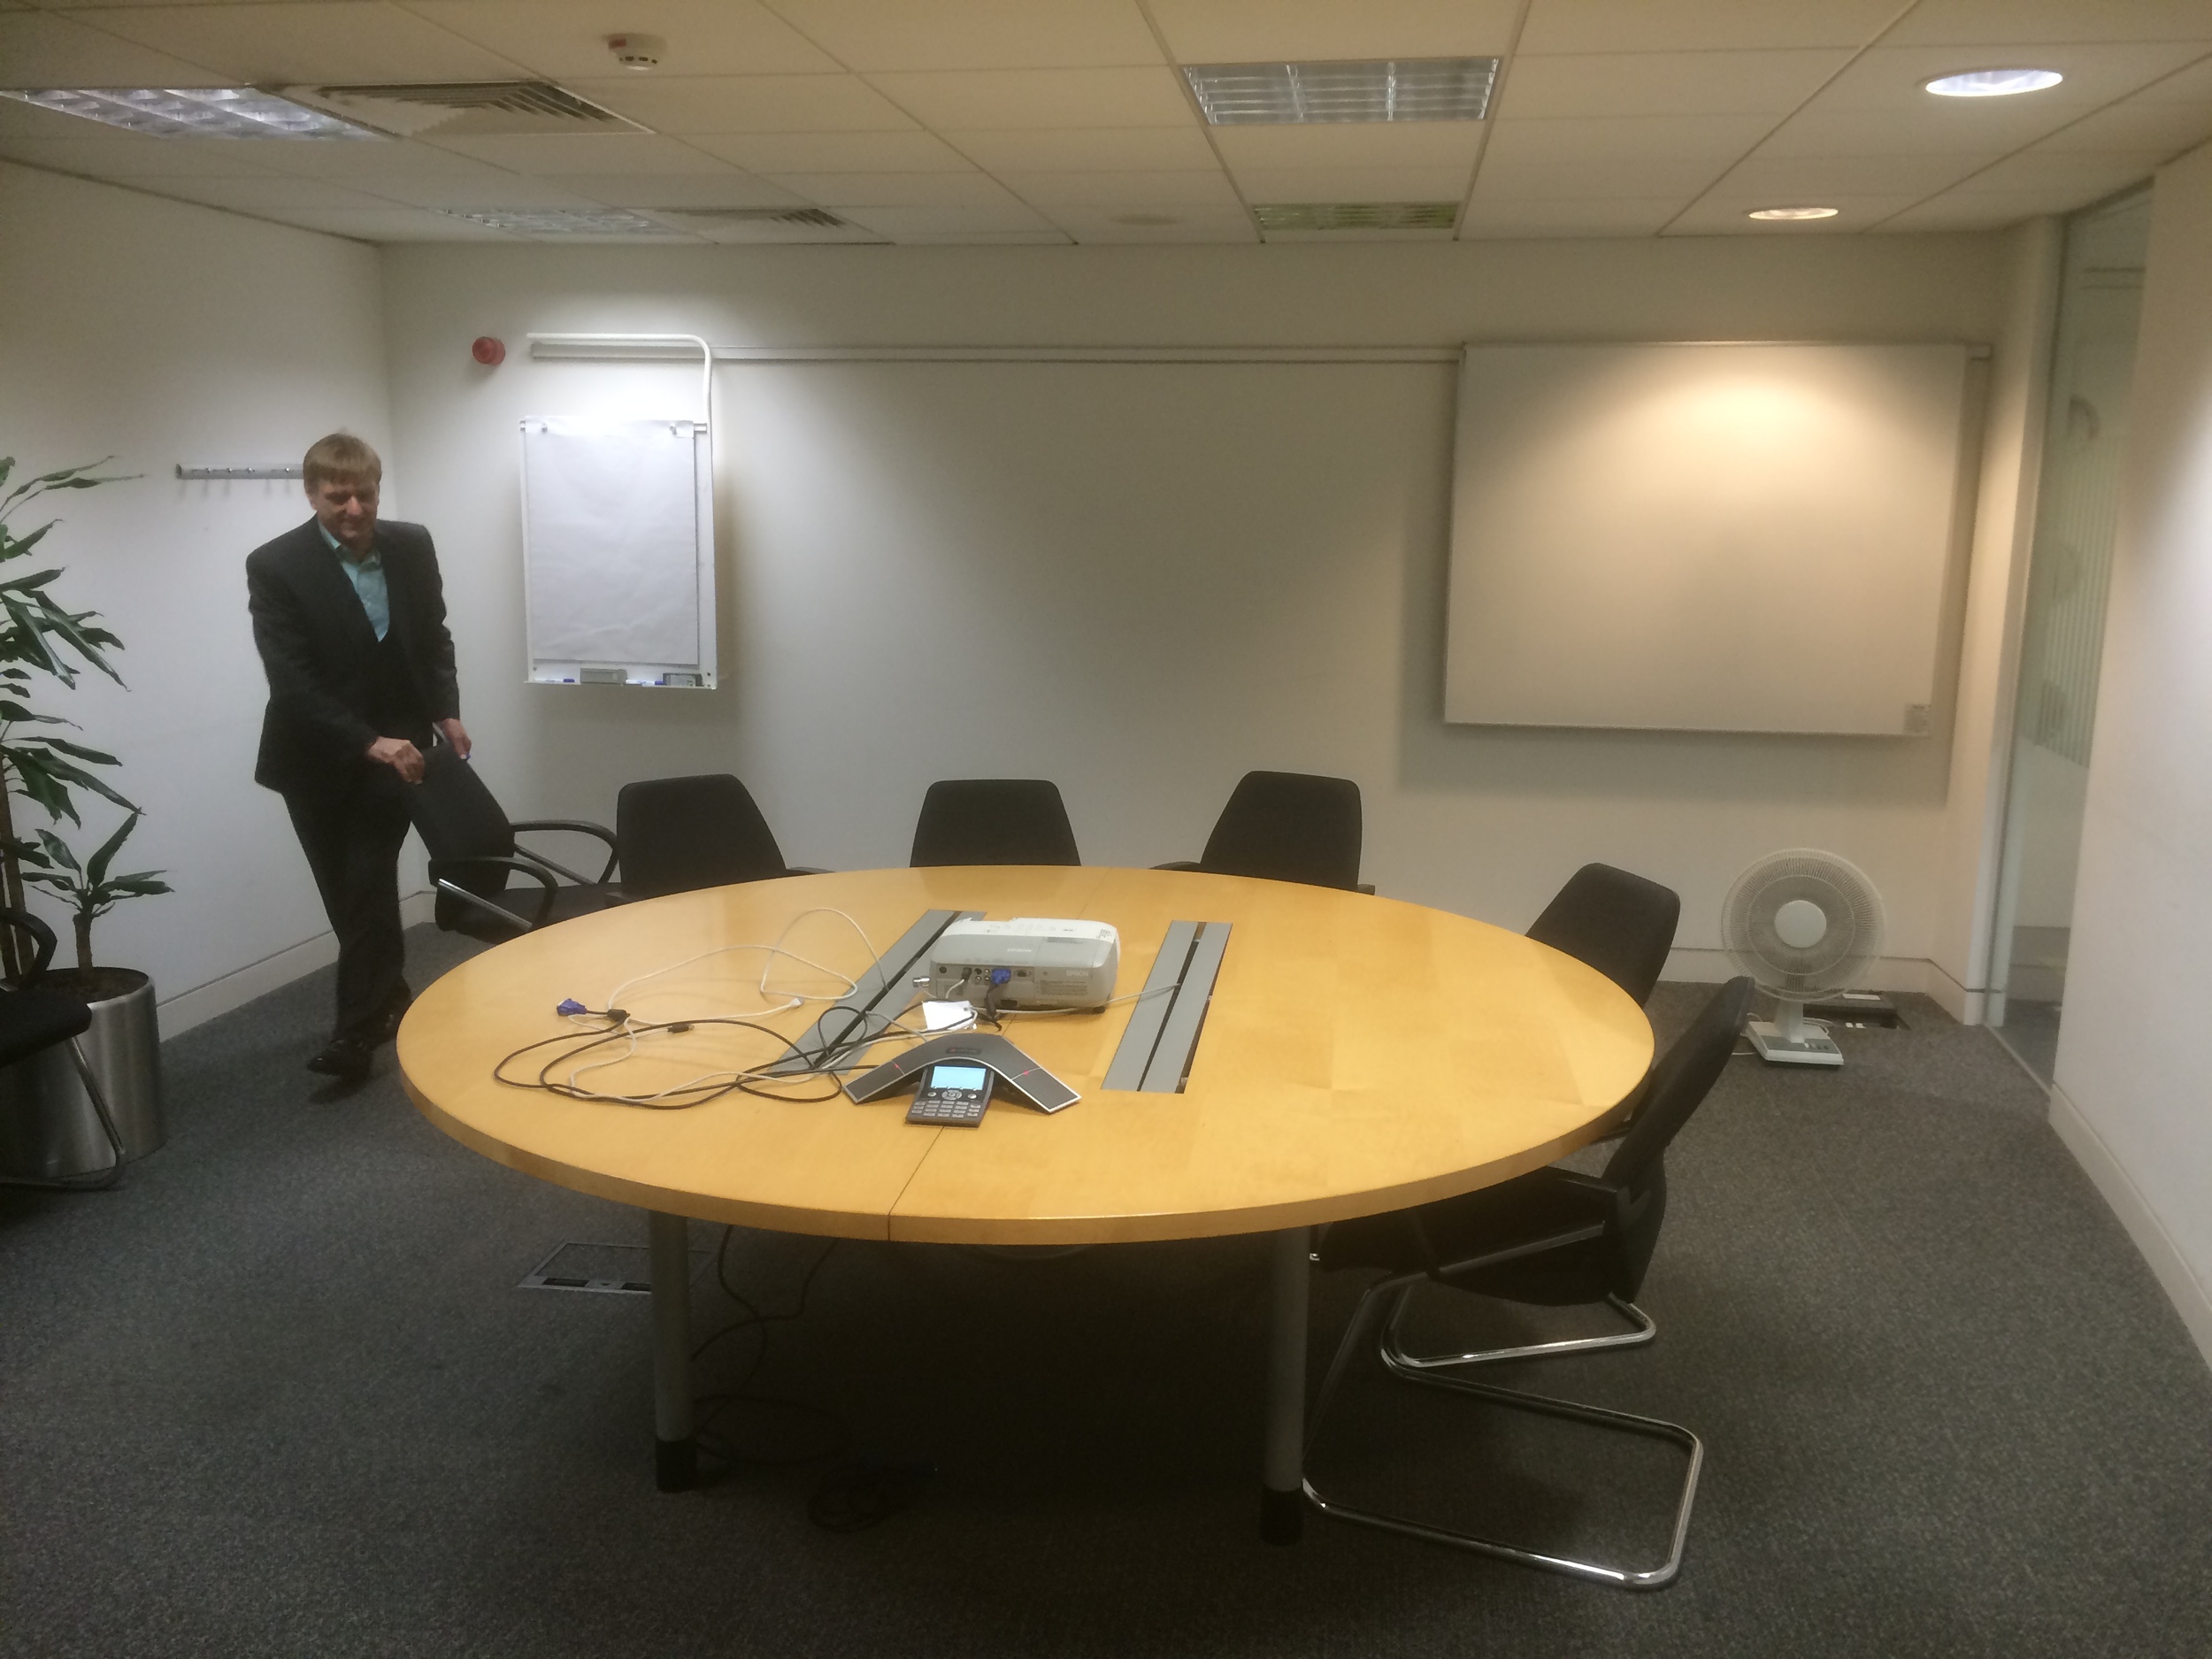
What the conference room at IBM looked like before we got our hands on it!
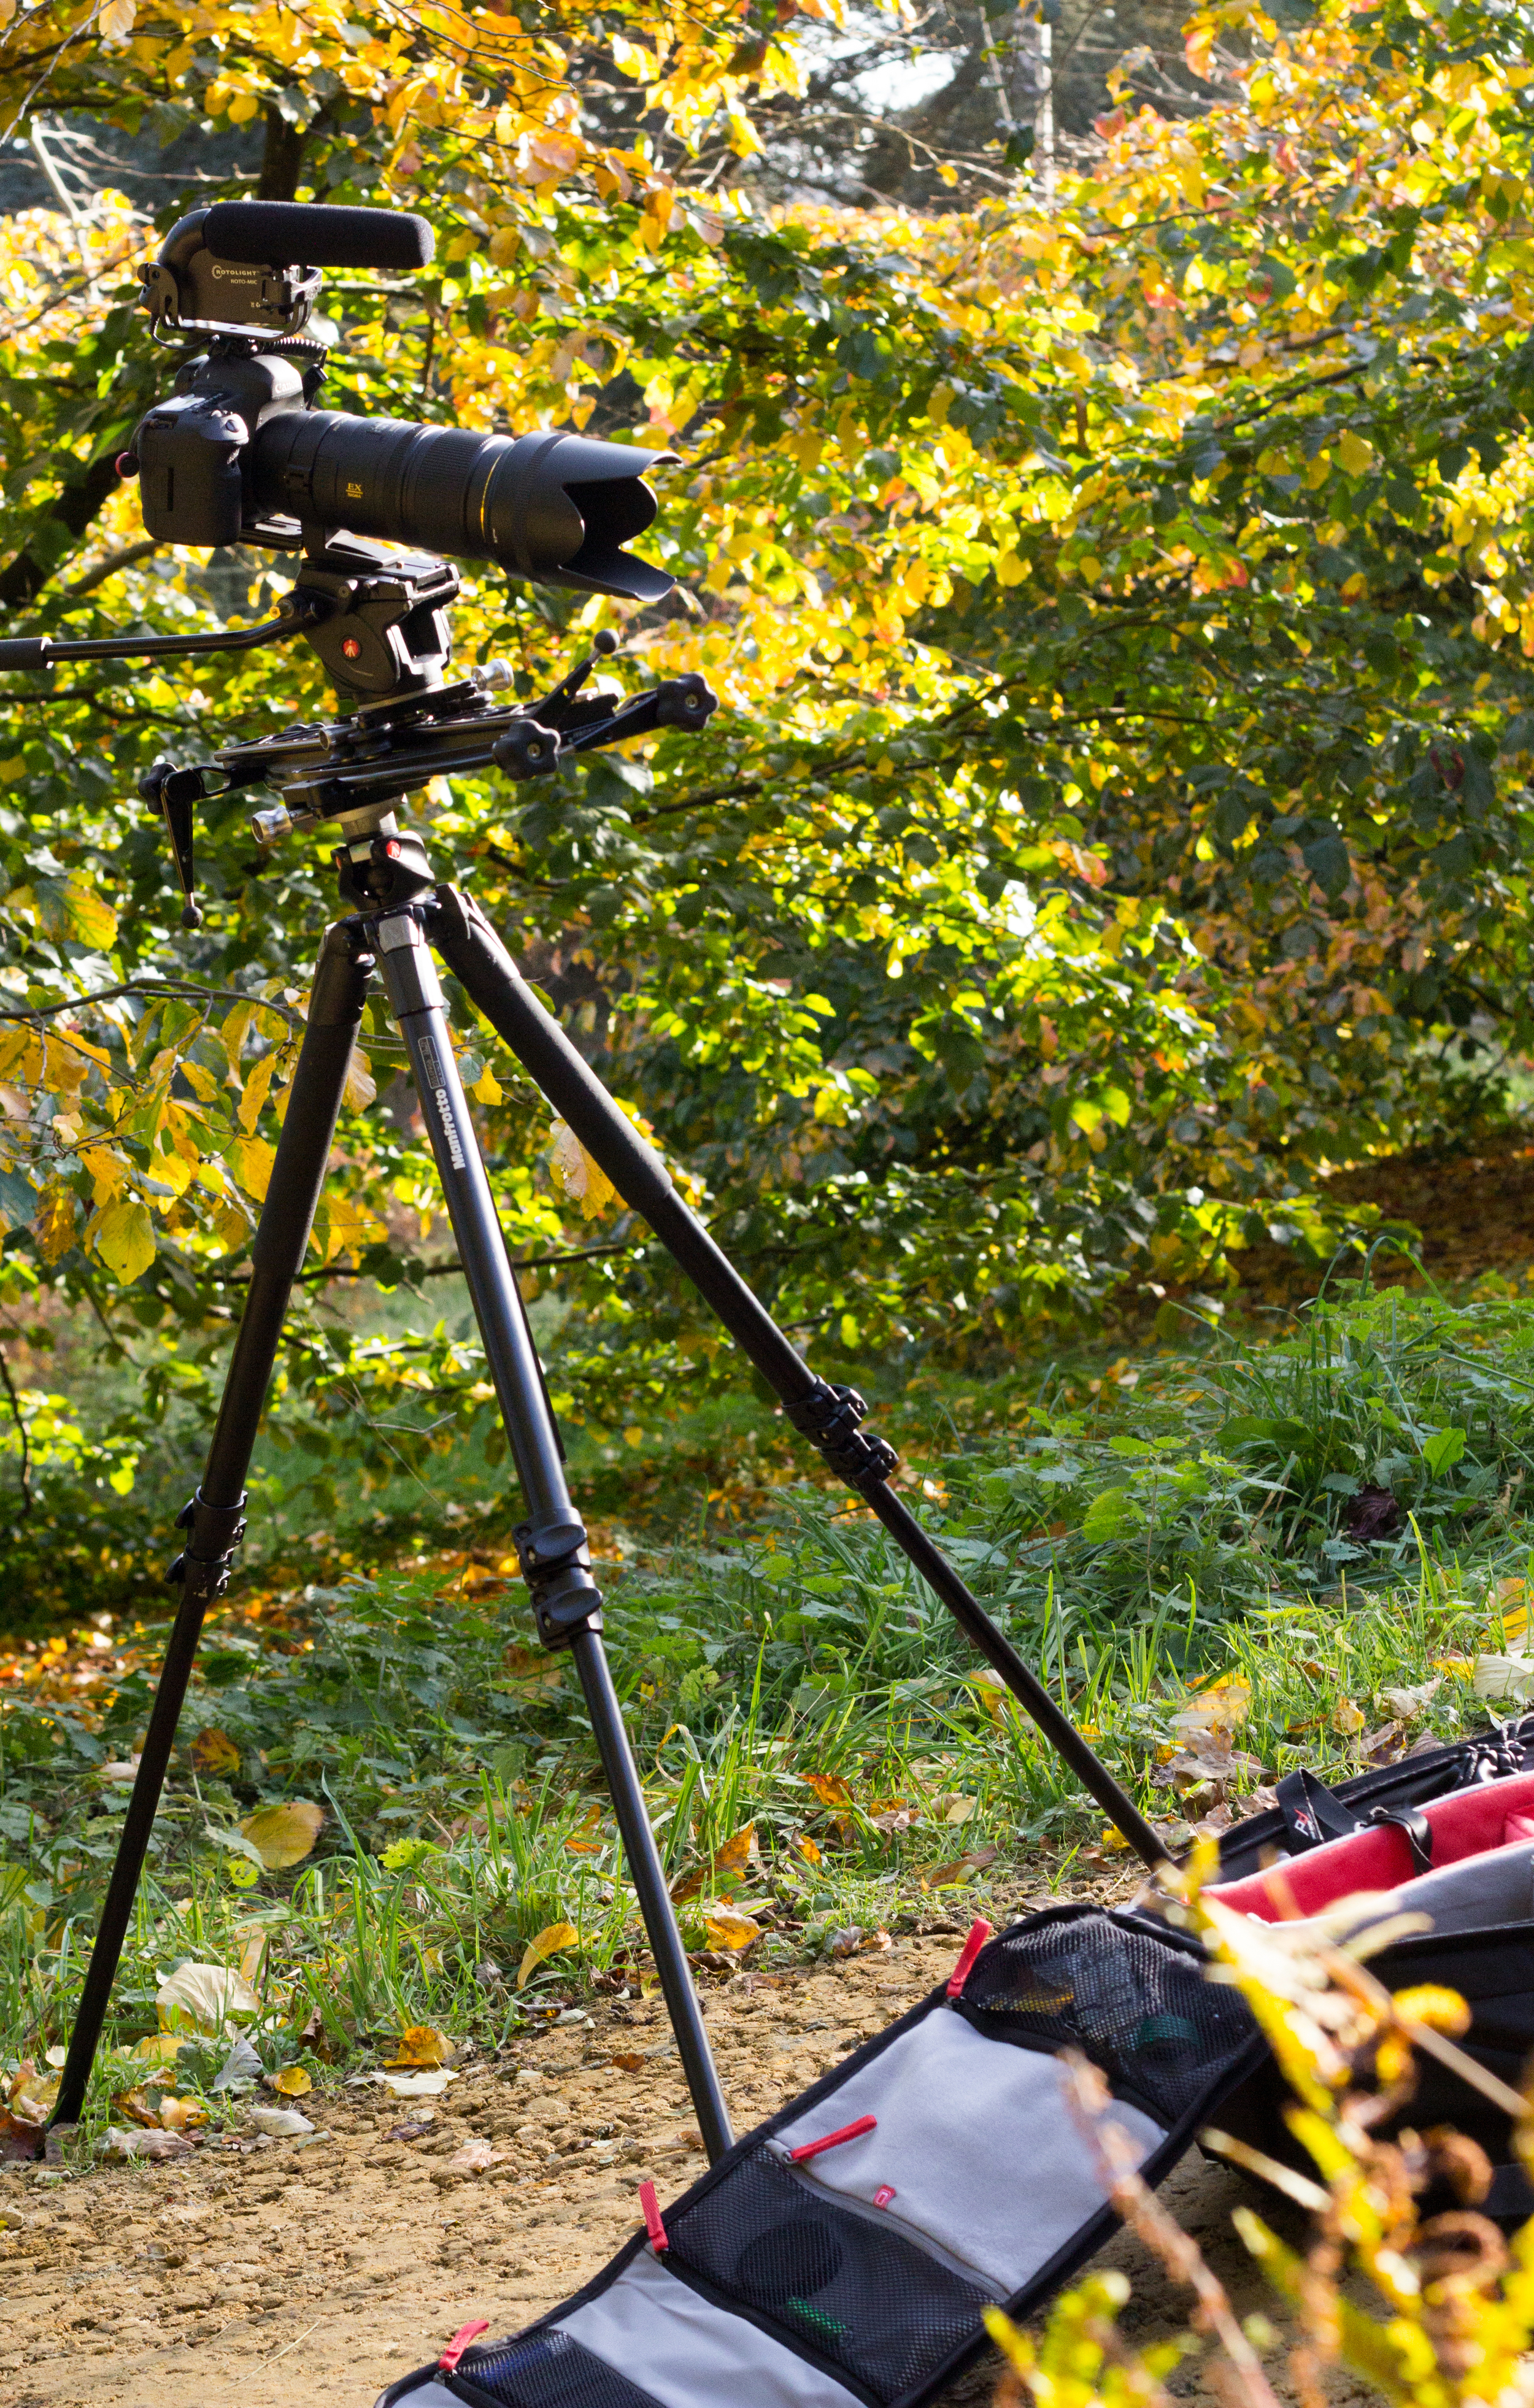
Once we had access to the conference room, we began the setup and moved any unnecessary furniture out of the way. Manfrotto has greatly helped me on this as much of the kit is new and definitely new to this kind of video environment too, and after IBC I was very keen to try out the new tripods; which now can be lowered to almost ground level with innovative locking joints. Also, although I'm using a 5D and telephoto lenses to shoot with (so the load is not very heavy), but having steady and smooth shots are imperative to keeping a good composition, both the tripod and video head allow me to achieve shake free pans and tilts, which can be counter balanced depending on your camera, lens and accessory setup.
The new light stands are awesome. I know it is something simple, but it makes a massive difference. Stands and poles can often get mislaid, damaged in transit or in use, or simply can't withhold a wide variety of lights and accessories. These on the other hand have a brilliant locking system to hold multiple stands together, meaning they can be carried and transported very easily. They are not heavy, and can take a heavy load (not that these SPECTRA 1X1 LED panels are that heavy)!

Panel video setup with Manfrotto 1x1 bi-colour LED light
After lunch, we checked the colour temperature on the four lights; the two front facing the panel, one giving a back light onto the speakers and background, and a smaller 900 panel to push a little extra light into the right panelists. All of the lights are bi-colour, which gives maximum flexibility when the video scenario changes so frequently.
The lights I used were: Manfrotto Spectra 1x1FT x 3, Spectra 900FT and the 1004BAC pro light stands.
To make sure all of the cameras were exposed and set correctly, we did a custom white balance and orientated around the cameras and lights to make sure we achieved the best out of the setup.
I transported the camera and audio equipment in the Manfrotto Pro Backpack50 as its large capacity was required for the amount of kit I needed which included:
- Canon 5D mkIII
- Canon 60D
- Tamron 24-70
- Sigma 70-200
- Samyang 35mm
- Samyang 14mm
- Zoom H1
- Zoom H6
- Sennheizer ENG-G3
- Rode Lavalier
- Roto-mic
- Canon batteries, AA batteries for microphones and audio recorders, chargers for all.
I also had the Manfrotto 536 MPRO tripod and 504 HD video head in the large tripod bag, and the ProCX-3 and Pro-B for the other cameras.
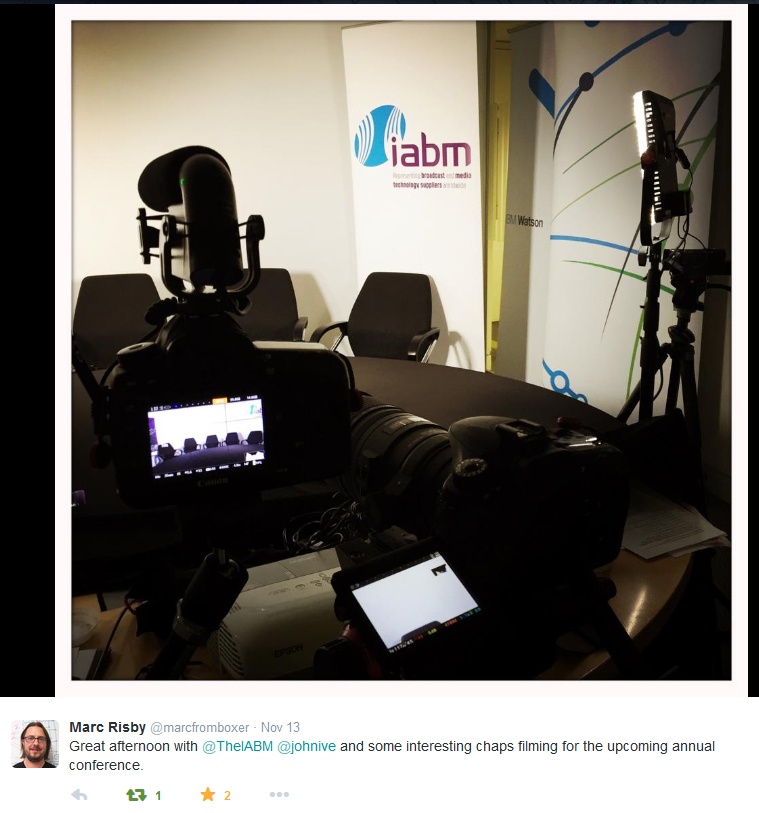
Marc Risby, one of the panelists tweets about his experience!
While we were setting up!

Shortly after our panelists arrived, and they were eager to get started in discussion; I put the lapel mics on and plugged them into the H6. John kindly allowed us to use a couple of cameras and microphones for the extensive number of panelists. The Sony ECM-77 are great lav mics with good audible response, as is the Rode Lavalier which I used with the MiCon-1 connector into the ENG-G3 wireless kit.
I got the panel talking for a practice run through while I checked the audio levels on the H6, which was placed under John's chair (due to the cable length I could not monitor the camera from my filming position).
If you've been following me on Twitter, you'll have seen I have been looking for a wide angle lens for both an APS-C and FF sensor (so far Canon's 16-35 F/2.8 is best), so I was without my Tamron 17-50mm (my standard lens on the 60D as a wide). To compensate for this, I alternated my usual video setup from 5D and Sigma 70-200mm for an MCU and 60D and 17-50mm for a wide to; 5D and Tamron 24-70mm for a wide and 60D and 70-200mm for an MCU which allowed me to capture a good wide angle of the whole panel, as well as a great MCU on the speaker.
The 504HD video head has integrated fluid drag and resistance which makes panning and tilting a dream for video; it is smooth, yet easily changed depending on the subject and timing of the camera moves. A large pan-handle makes the motion firm and steady throughout.
With a vast experience in broadcasting from all of the panelists, it was difficult not to get distracted into the conversation. After each discussion we shot some VoxPops for the conference with the other panelists that did not participate in that panel, which will be used throughout the presentations and panels at the IABM annual conference in December.
Unlike the Zoom H4N, the H6 has an incredible power consumption rate meaning on four AA batteries it can record multiple channels (four in this care) for a good 2 hours without needing to change! This meant I could rely on it recording stand-alone under Johns seat without monitoring, after each channel was correctly set (with a general limiter on).
In terms of the camera settings I was using:
- VisionTech2 Picture Profile
- F/4.5 on the MCU so focusing between panelists was minimum
- Because of light setting, as well as not much fast motion happening I reduced the electronic shutter to 1/33.
- ISO between 400 and 640 due to the good light produced from the 1x1's!
Once the filming was complete, we quickly de-rigged the setup so we could get out of London as quickly as possible; not to get held up with traffic queues etc.. Thankfully, all of the Manfrotto gear we had is fast to setup and tear down so we were ready to leave within half an hour or so!
Once I got back home, I begun the ingest and backup process; remembering to have 3 copies of the footage and audio on separate drives in case any fail. I also began re-naming the files so it is easier for me to locate specific panelists microphones when doing the audio mix-down.
Although the Zoom H6 is an awesome recorder, it for some reason records track 3 and 4 together (as a stereo channel) so I had to split the Tr3-4 into separate Track 3 and Track 4 files using Audition. This is a simple process, but I wonder if this can be changed in the device itself?

Here you can see the top track is different to the other, this is because the T3 and T4 inputs were from different speaker microphones, but recorded together. To resolve this, I simply solo'd the track I needed, selected ALL and copied, created a new audio stereo track and pasted the track there; this creates a Left or Right track for you in the new audio file.

Here, I've created a new stereo audio track and pasted the solo'd track into it. The new stereo audio file then replicated the audio on both tracks. I then saved this as a new audio track.
In Pluraleyes, I created the four camera sources and imported their respective video files, and then singularly imported each audio track into a new audio recorder as a new audio source (instead of importing the five tracks into the same audio recorder). This would allow me to control not only each track individually, but also when I separate the four sections into their own multi-camera sequences I have separate audio tracks rather than one reallyyy long one.


You can see here that the audio tracks from each microphone are separated in the sync.

I was amazed at the speed of the sync, only 1 minute 8 seconds to sync all of the video and audio from many different sources! I then exported the sync as both an XML and XML with replaced audio from Pluraleyes, and created a new Premiere Pro project for this production.
I imported the XML file into the new project, which imports and creates a new sequence with the synced footage in place. So easy! I then placed the footage into their respective sequences depending on the discussion topic, and prepared them for multi-camera editing!


The sequences are now ready to be cut using the Multi-camera interface! Unfortunately I can't show anymore as this is an IABM member exclusive video, but I hope you have enjoyed seeing how videos like this are produced on a small scale!


![8-forest-road-landscape-photography[1]](http://ajp1991.files.wordpress.com/2014/02/8-forest-road-landscape-photography1.jpg)