colour

APV Now Captures In 4K UHD!

Hello all! Great news comes from APV in the form of the latest revolution in cinematography; capturing and delivering video and media content in 4K (3840x2160p) or Ultra High Definition using the Sony A7S camera and Atomos Shogun recorder.

Seeing the release of both the Sony A7S and Atomos Shogun at industry events, I was so keen to get my hands on this kit. Unlike DSLR's the A7S is mirrorless which means it's body is around 1/3 the size of the Canon 5D mkIII, it has incredible light sensitivity, the features to film in both slow-motion and using the S-Log gamma curve make it an ideal production camera in a tiny body.

I first saw the Shogun outside of an expo at the Shadows and Light workshop, a friend was showing me some footage he shot the evening before on the setup in 4K. He showed me the captured footage, and then applied the LUT in the Shogun to show what the result would be after grading.. I was blown away. Both as a monitor and a recorder, the Shogun excels at capturing HD and 4K video and audio with in-built monitors such as waveform and vectorscope, peaking, zebras, as well as recording in a range of formats at a much higher bit-rate than in camera recording - 220Mbit/s HD and 440Mbit/s 4K (I think) which is perfect for grading and video-focused productions to filmmaking.

I invested into Canon EF equipment a couple of years back as the 5D mkIII was to best option for large sensor filming, so instead of spending out on native Sony E mount lenses I purchased both the Metabones EF-E mount mk IV and the Commlite EF-E mount to use my current lenses.

Also knowing that the batteries for the A7S (FW-50) are much smaller in capacity than the LP-E6 Canon batteries, I ordered another 4 Sony's with the camera and two from Amazon with another charger (EX-Pro). Inevitably, all of the accessories came before the camera did.. So I eagerly charged and labelled up the kit and get it ready for the camera to arrive!

The camera came last week and not having any new toys for a while I was keen to play around and check out the cameras features straight away! Glen came over as the camera arrived, so he became my willing subject. I hooked up the Tamron 24-70 to the Metabones which worked fine and shot some handheld video, as the lenses vibration control was active. I also have an eyecup for the little viewfinder for another point of contact, to reduce the shake if I need to hand-hold for some shots.

As I was waiting for numerous deliveries to arrive (including the Shogun), I was housebound for a while so I made do with the plants in the garden and my cat for things to film. Here's some of the first footage captured -

A7S and Soligor 35-140 with metabones waiting for the Sparrows

A7S and Tamron 24-70 with metabones in the cage. Soon to be replaced by the Movcam rails kit.

A mix of footage shot for the first time on the Sony A7S, probably in No Picture Profile. Really love the image with the lenses that I have, very organic with fantastic light sensitivity. It was also impressive hooking up the Atomos Shogun to the 5D mk III for 1080p in ProRes HQ, which gives much more latitude for colour grading and post work because of the much higher bit rate.

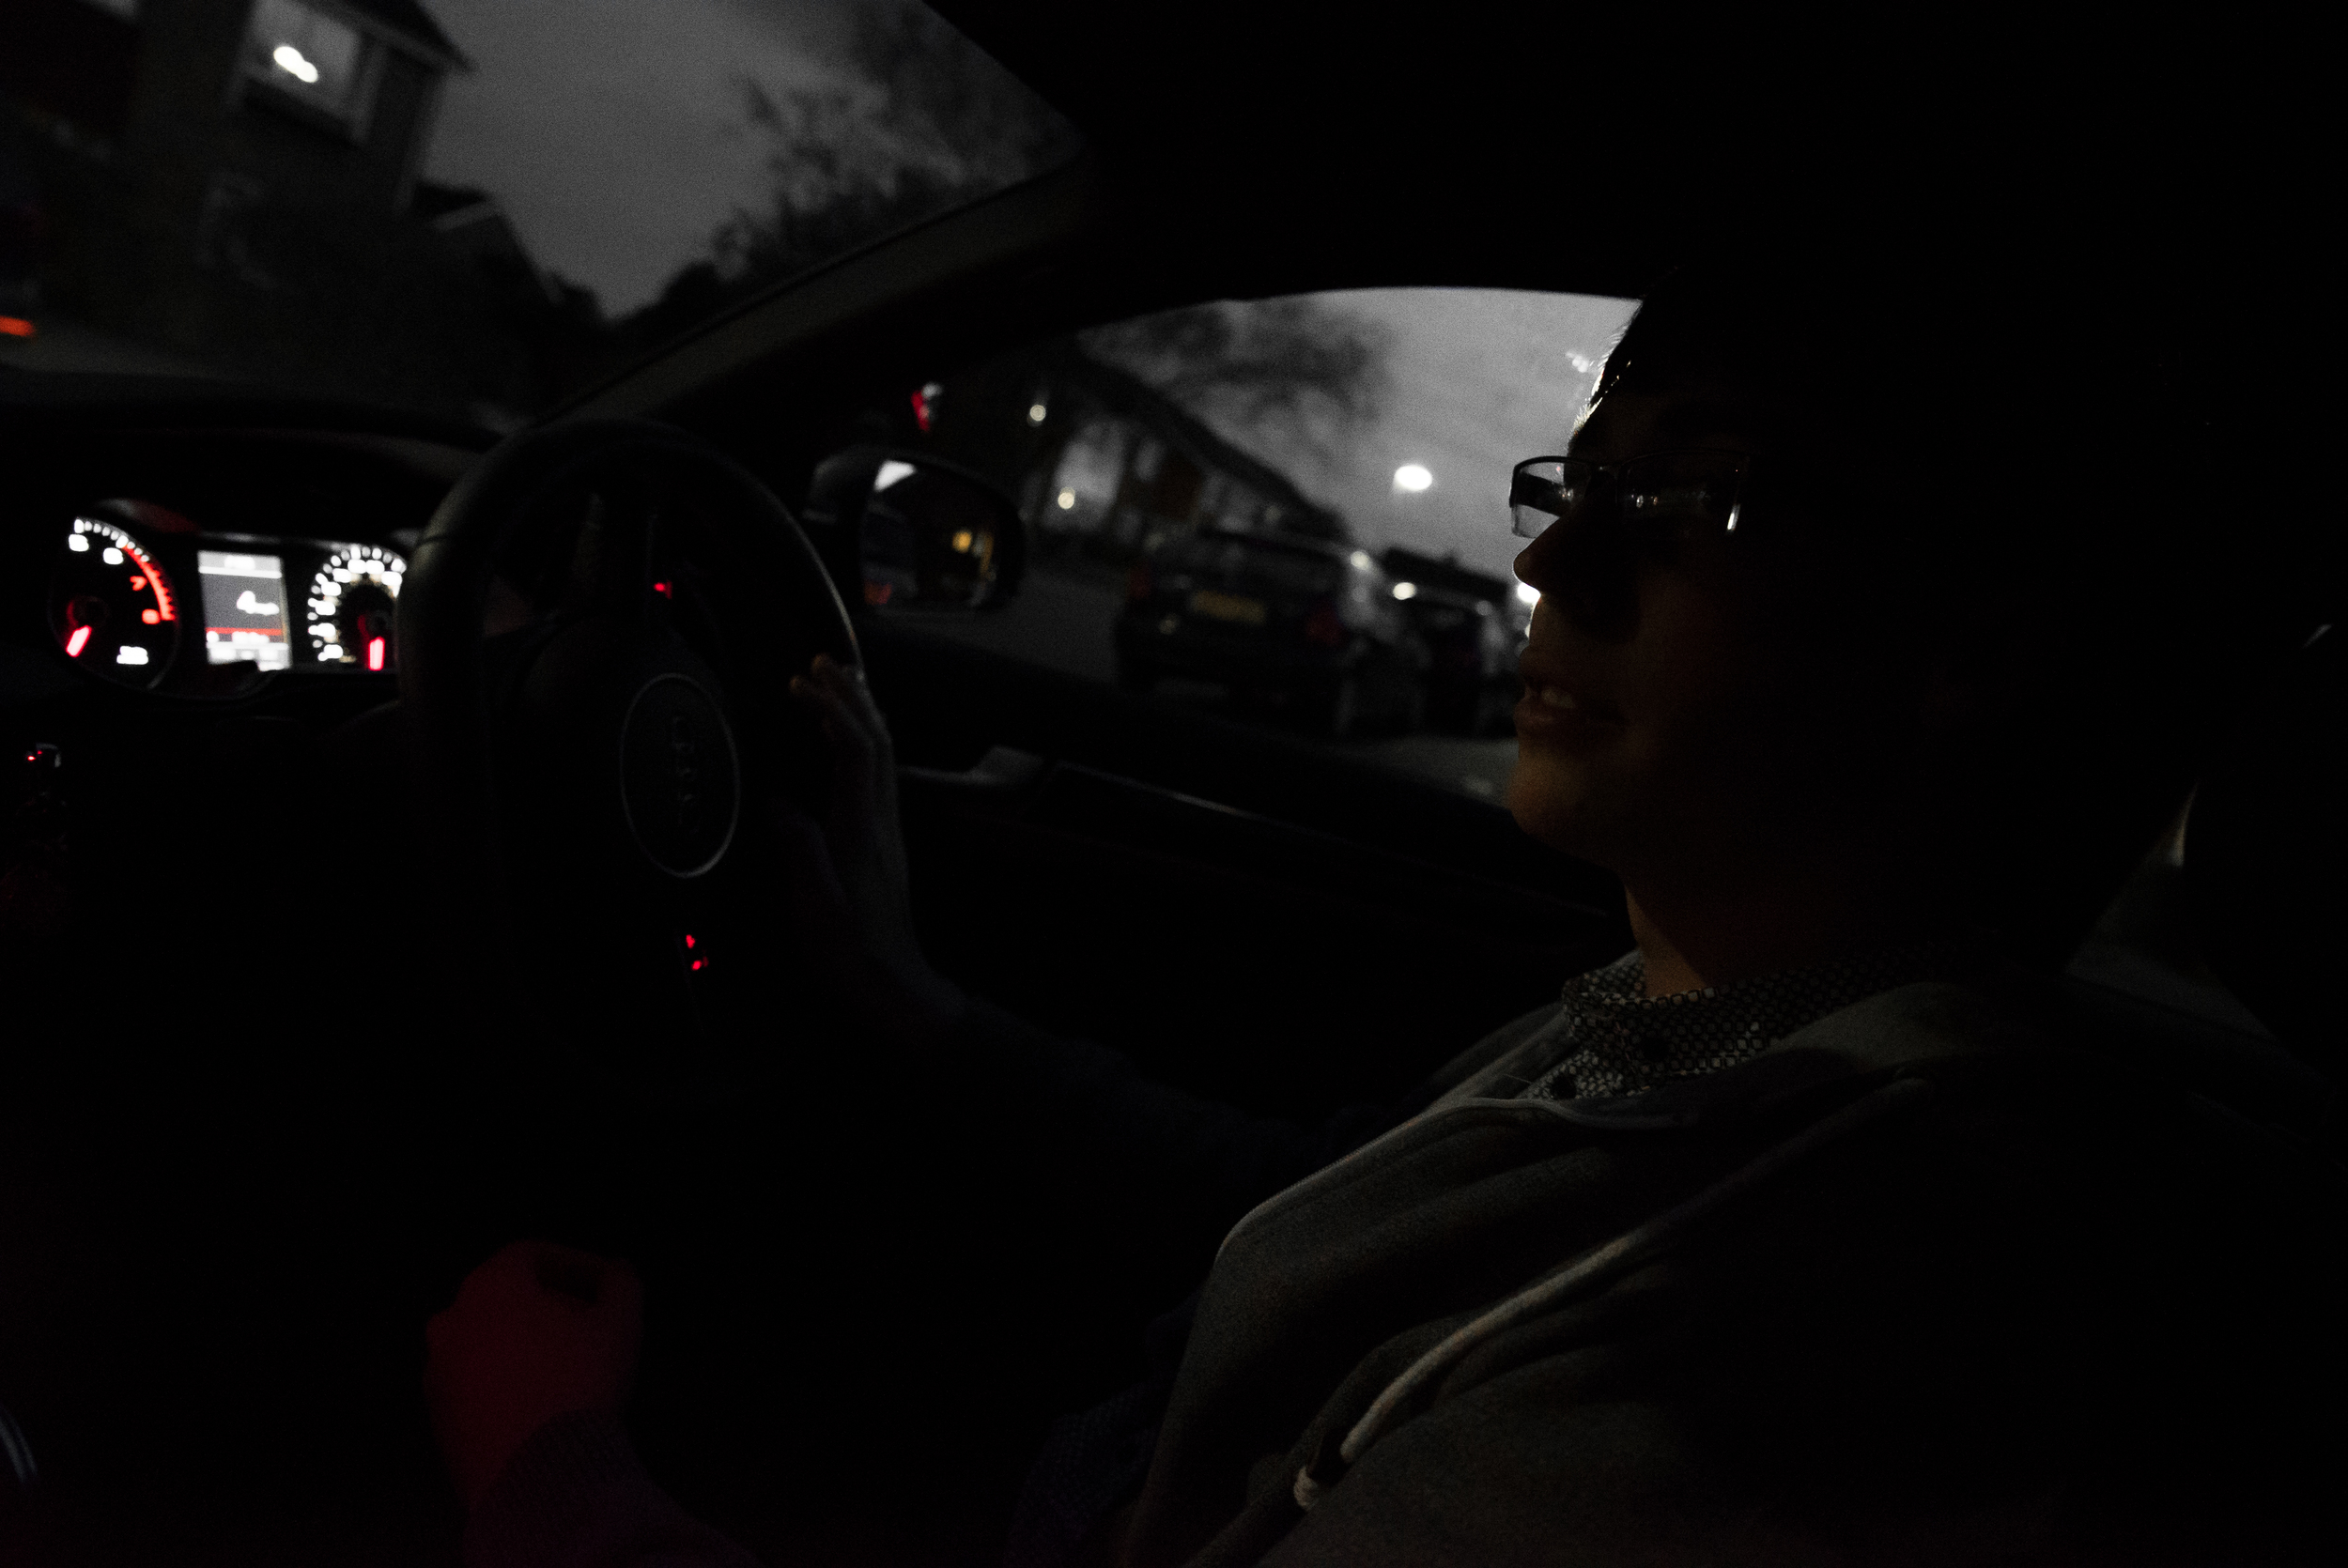
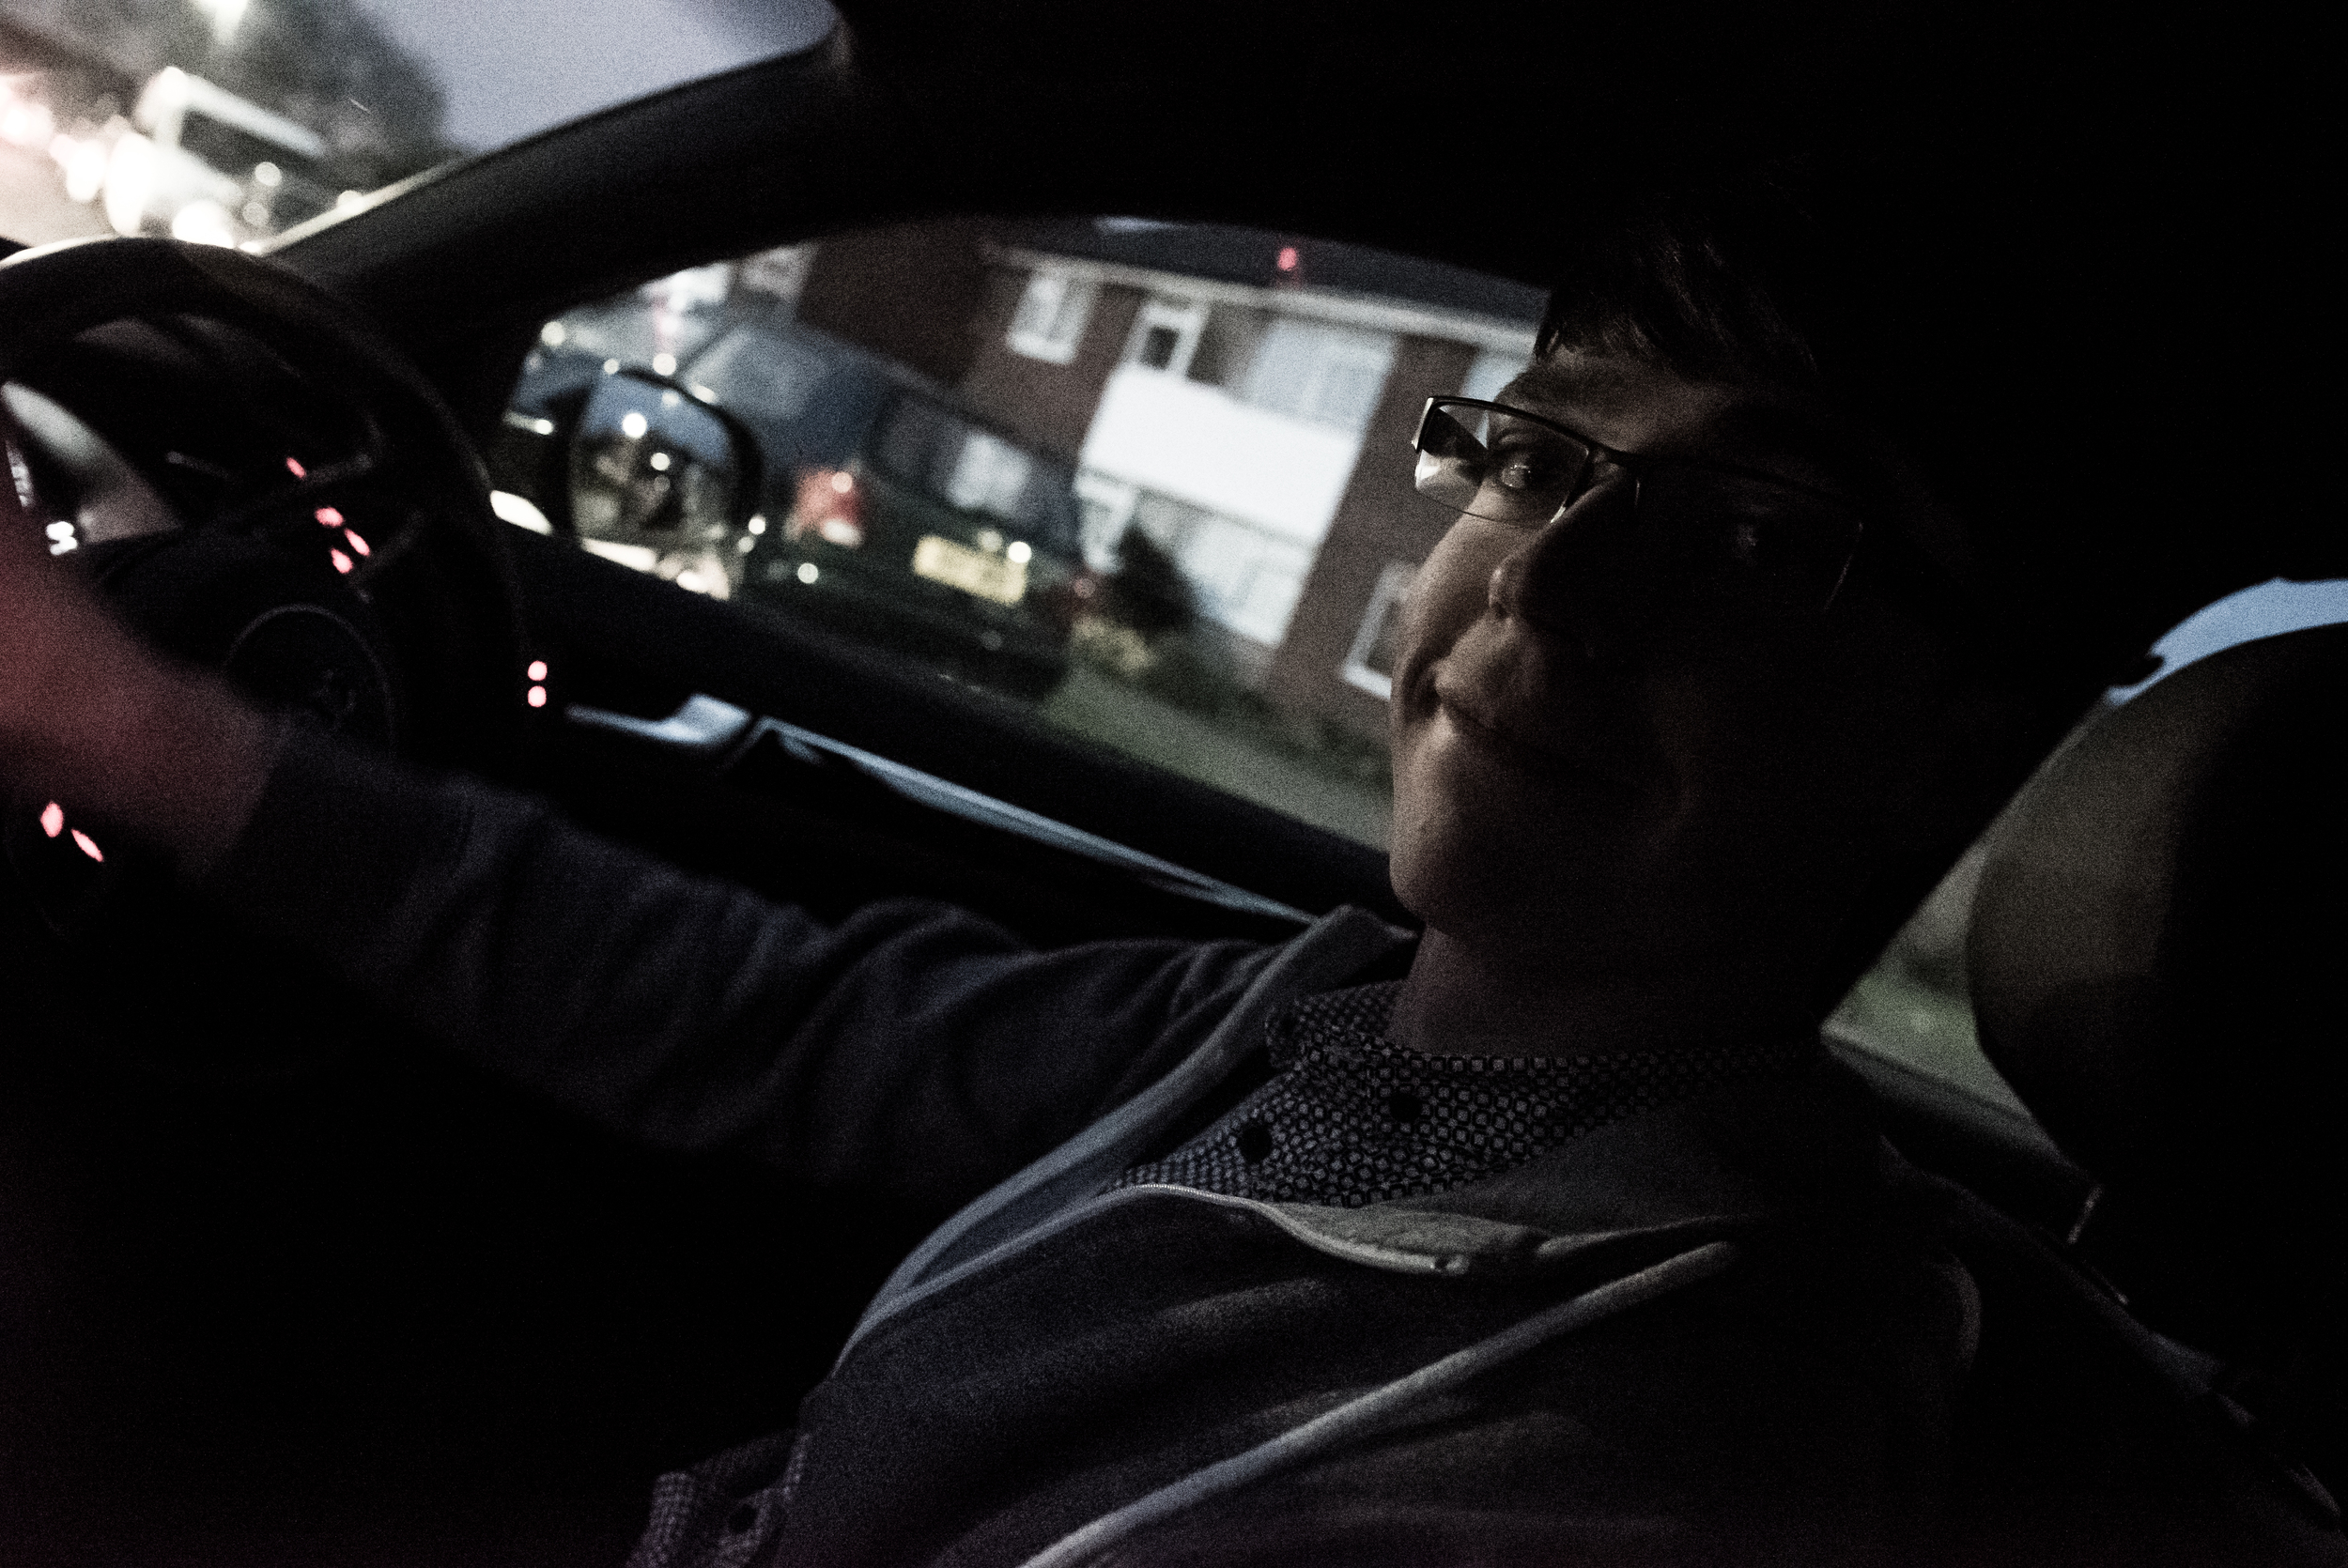
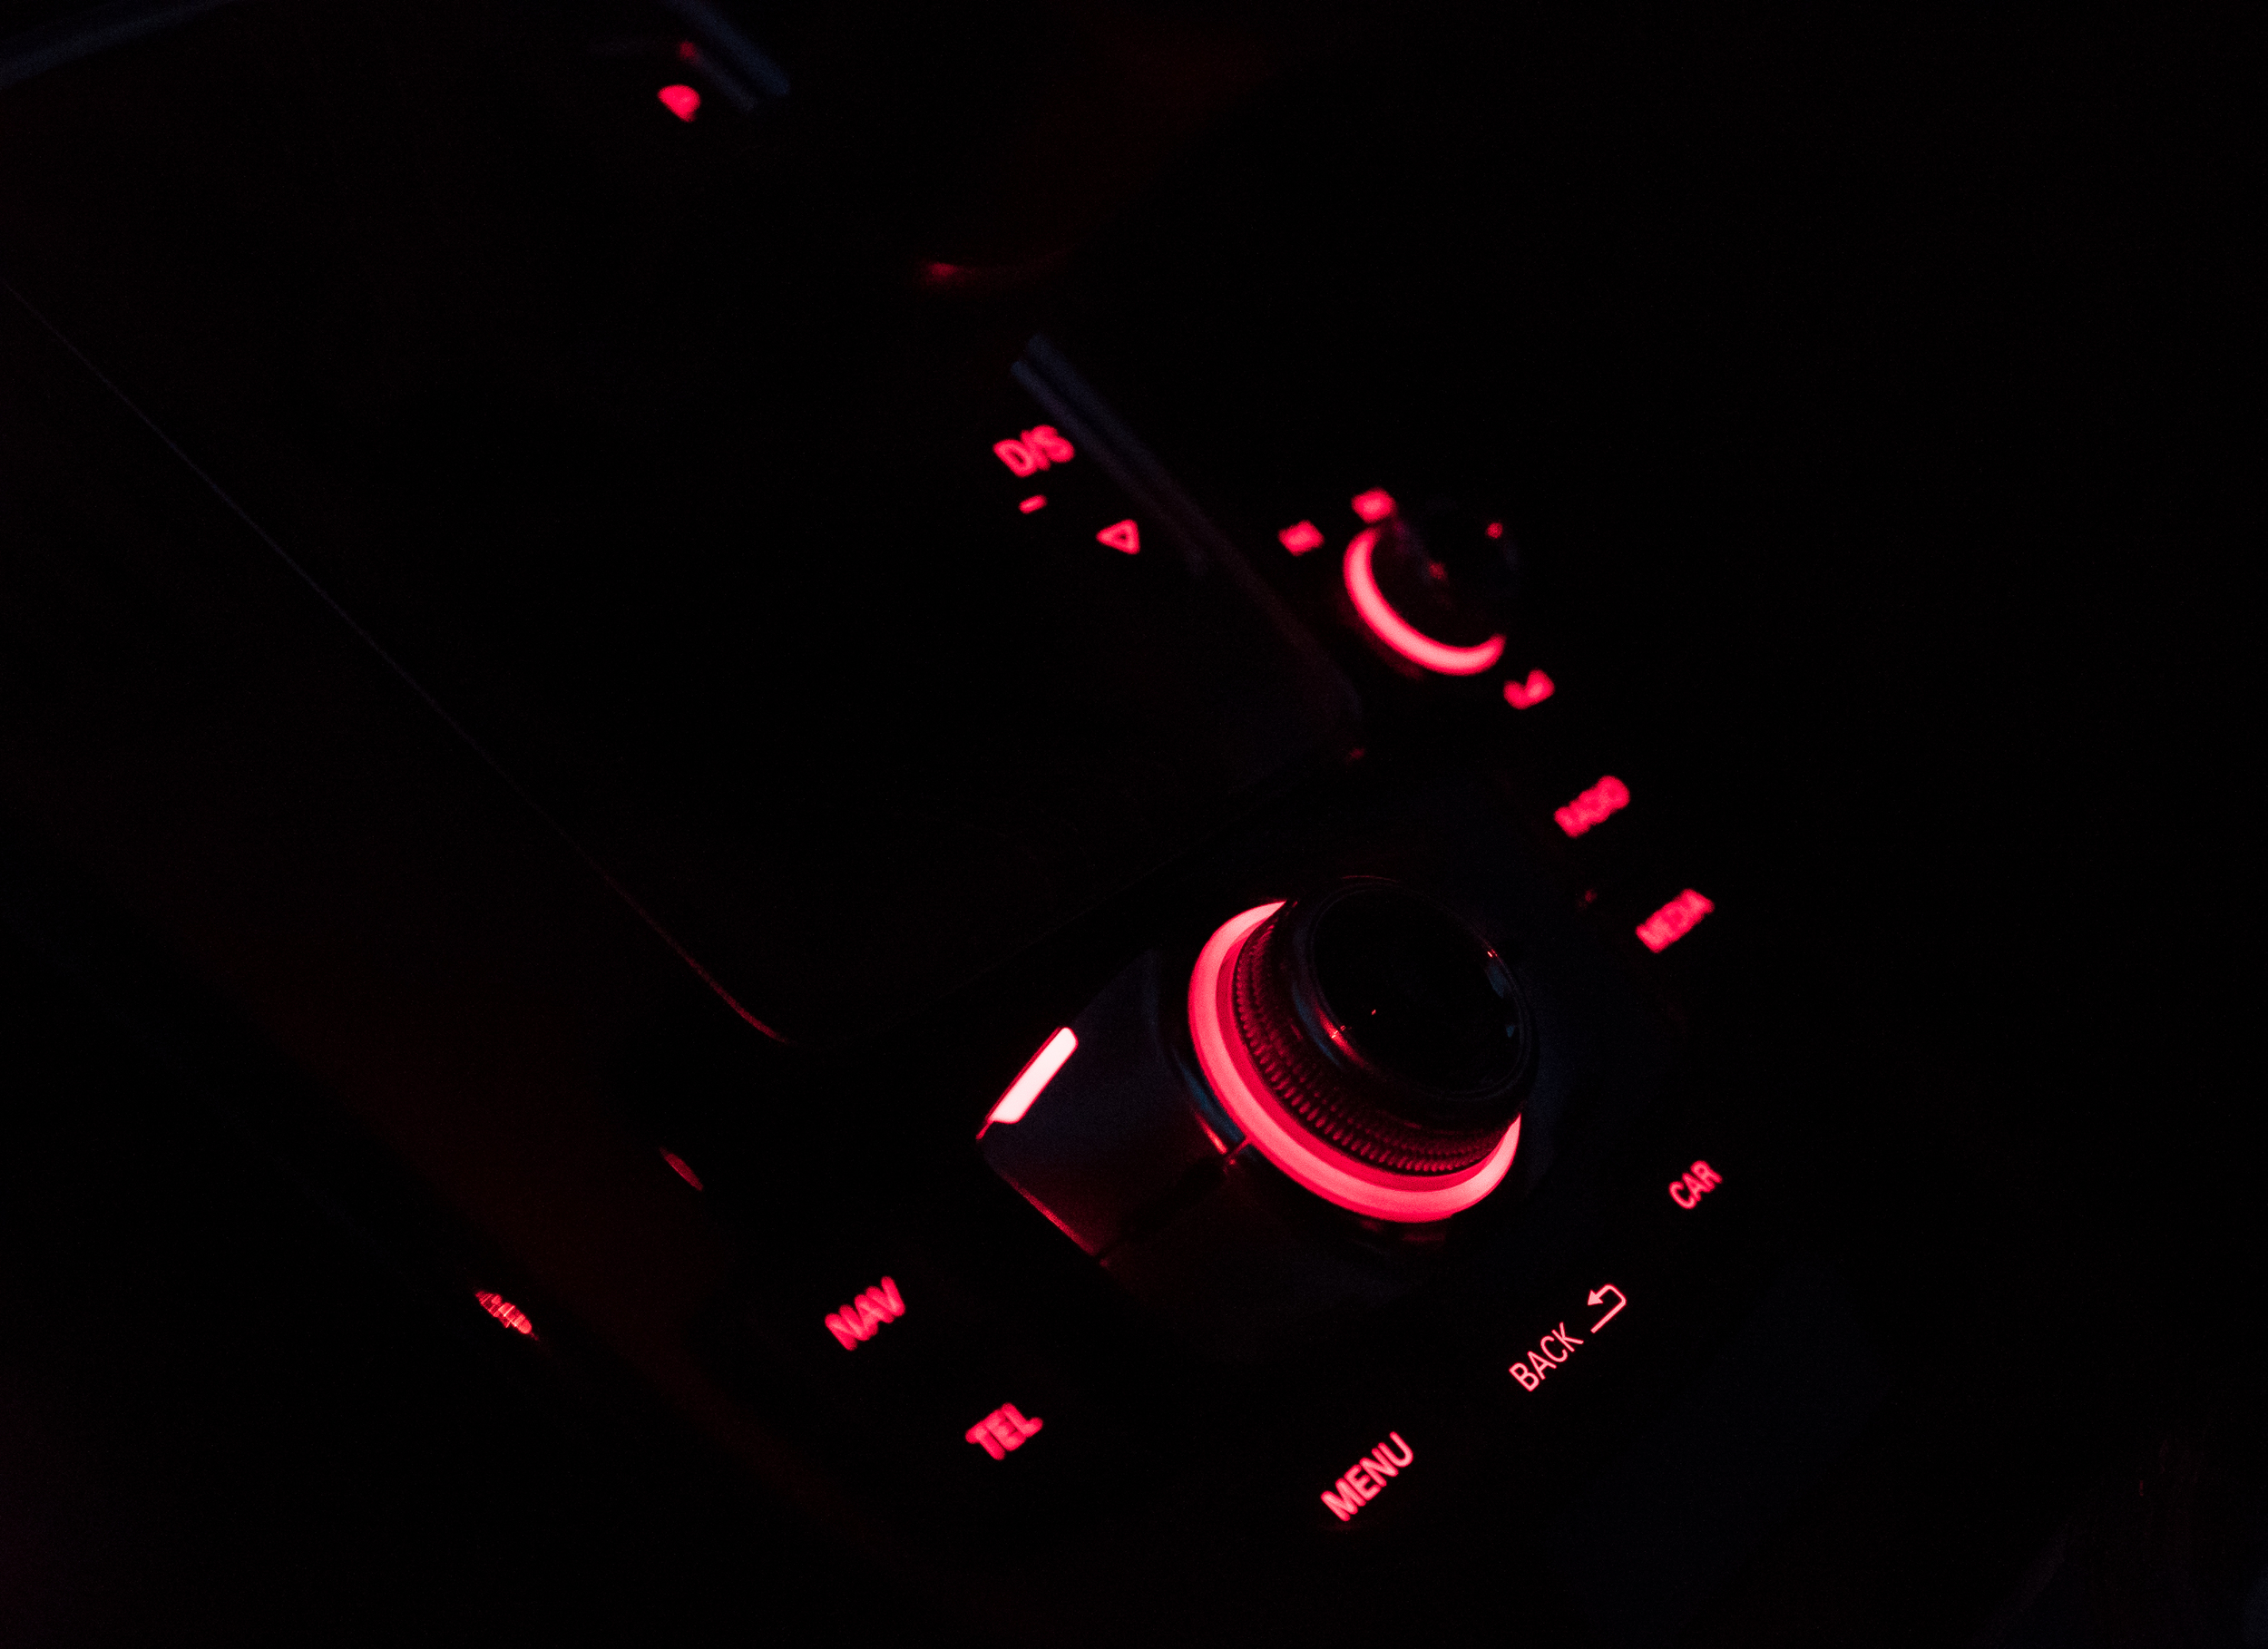
The best friend has bought a swanky new Audi, so he took me for a spin! I was still getting used to the photo mode and controls, it was past 8pm with the sun only just set so the ISO was wacked up reasonably high.
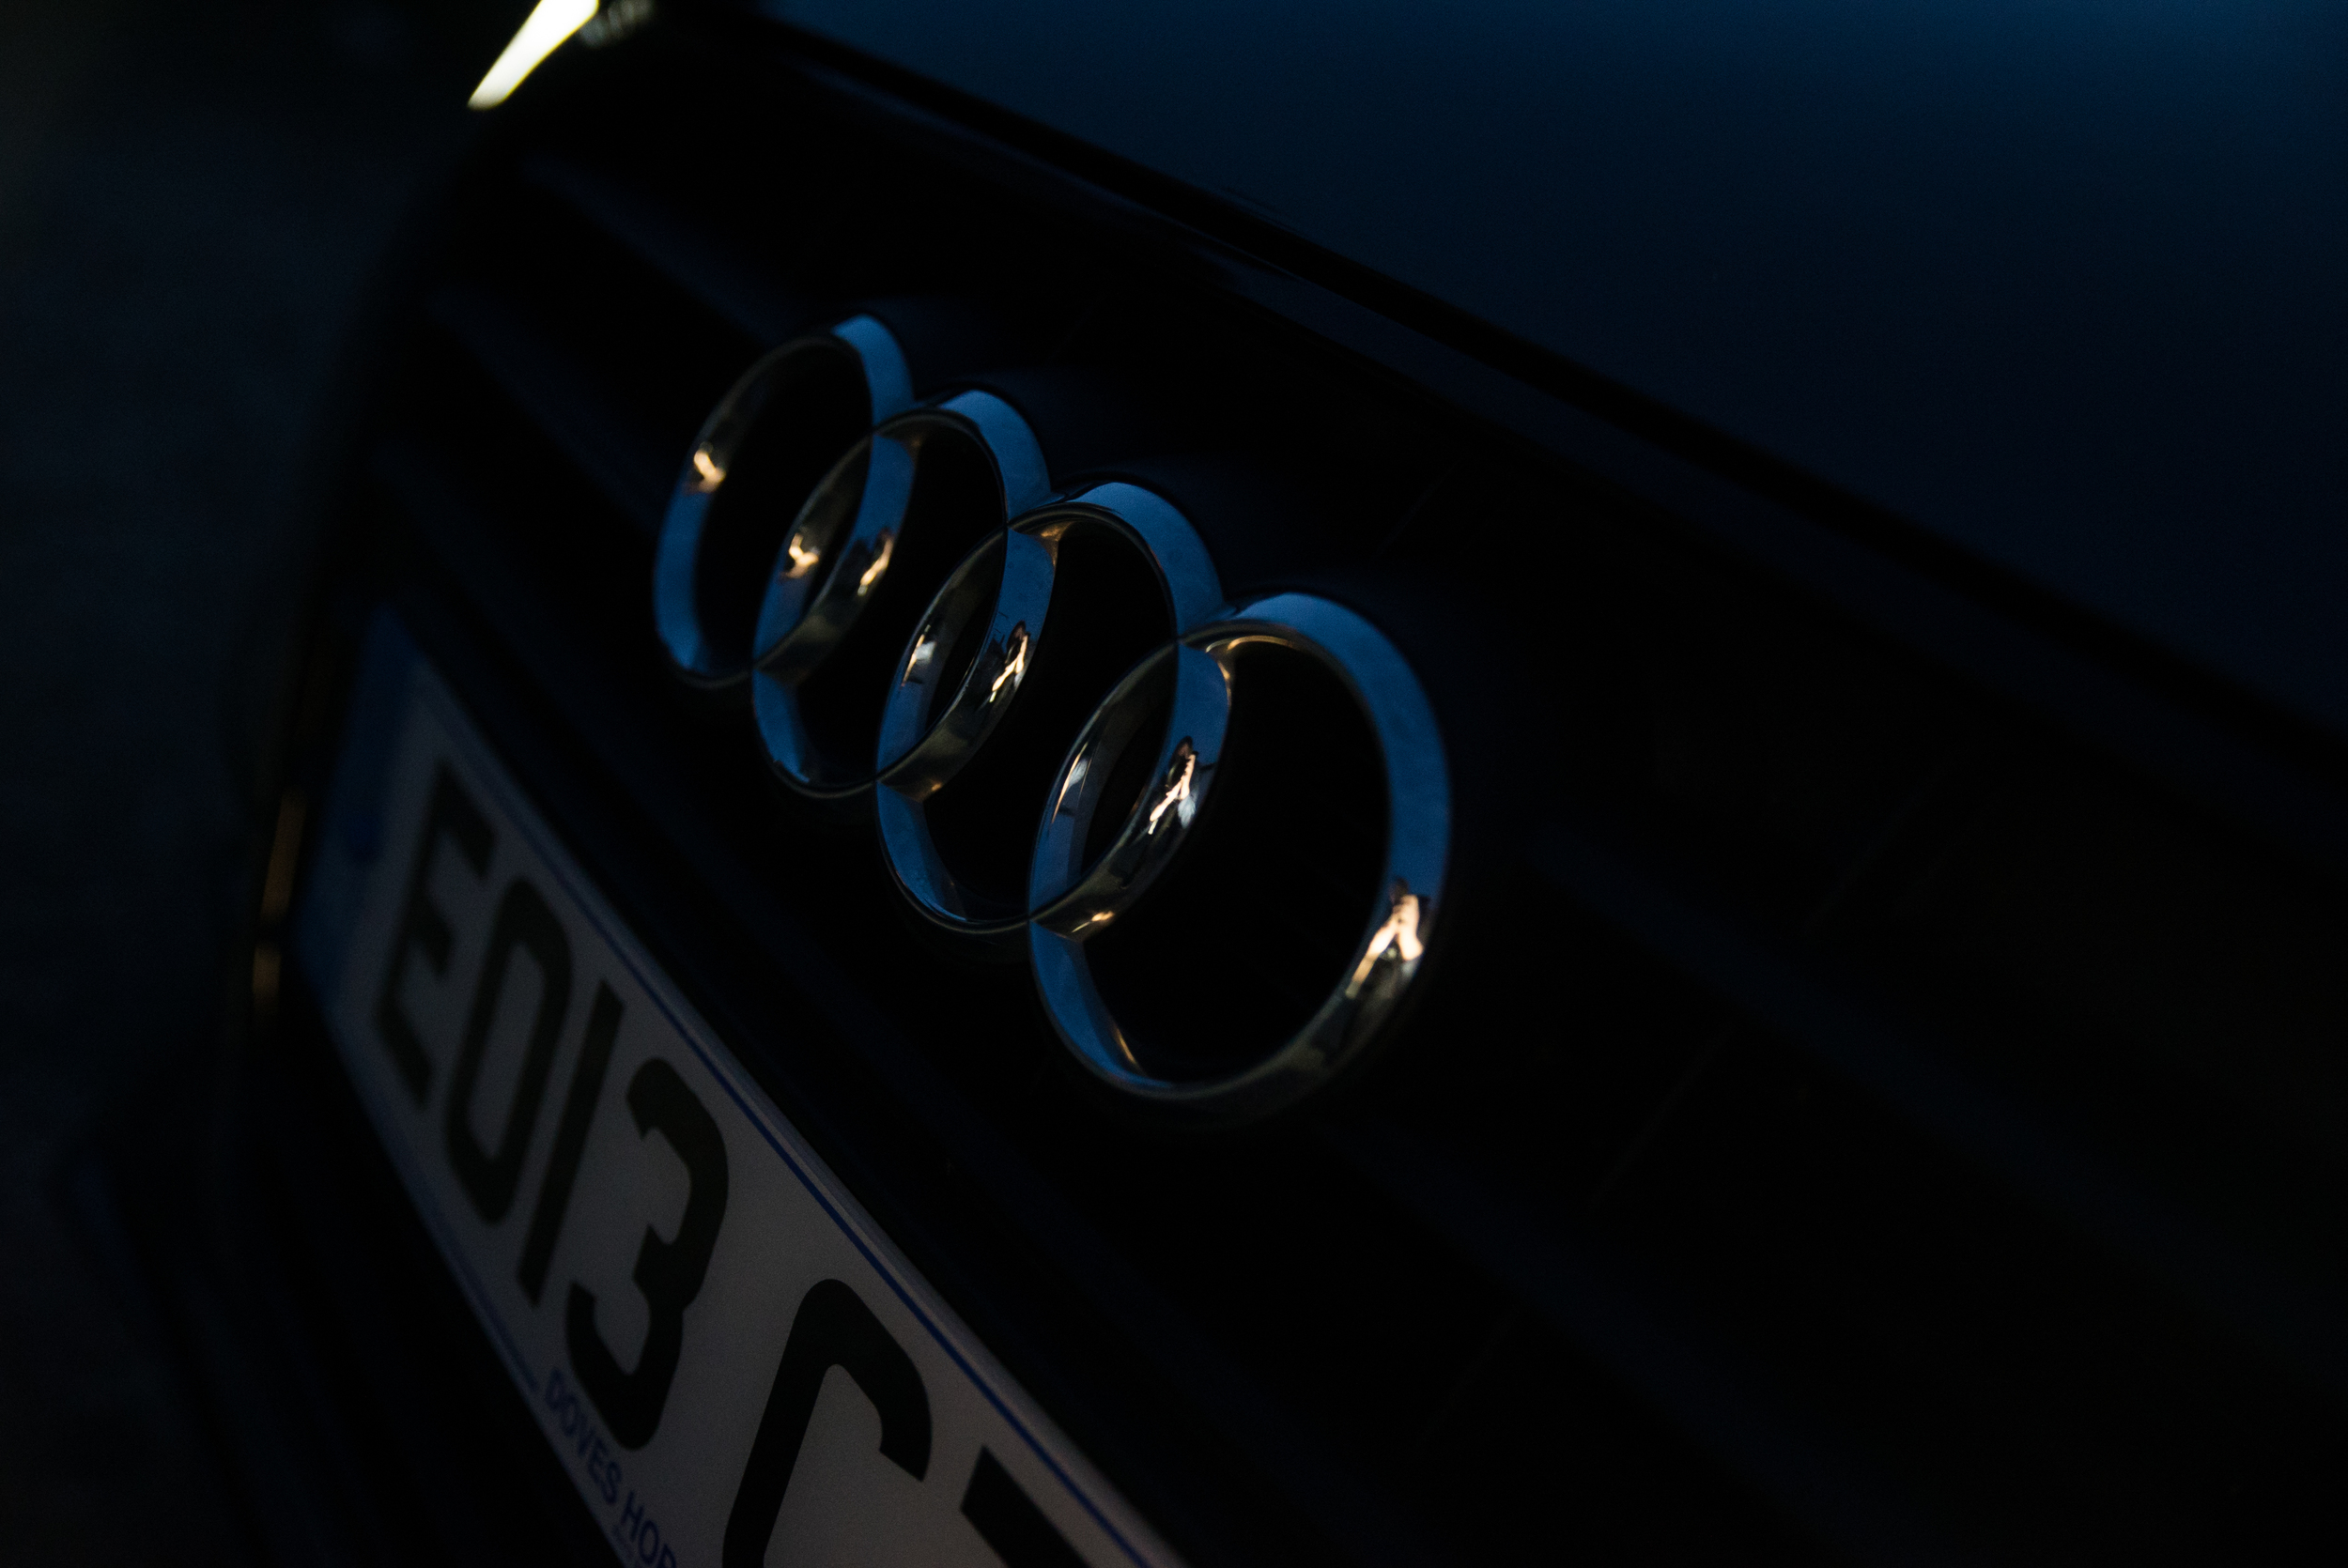
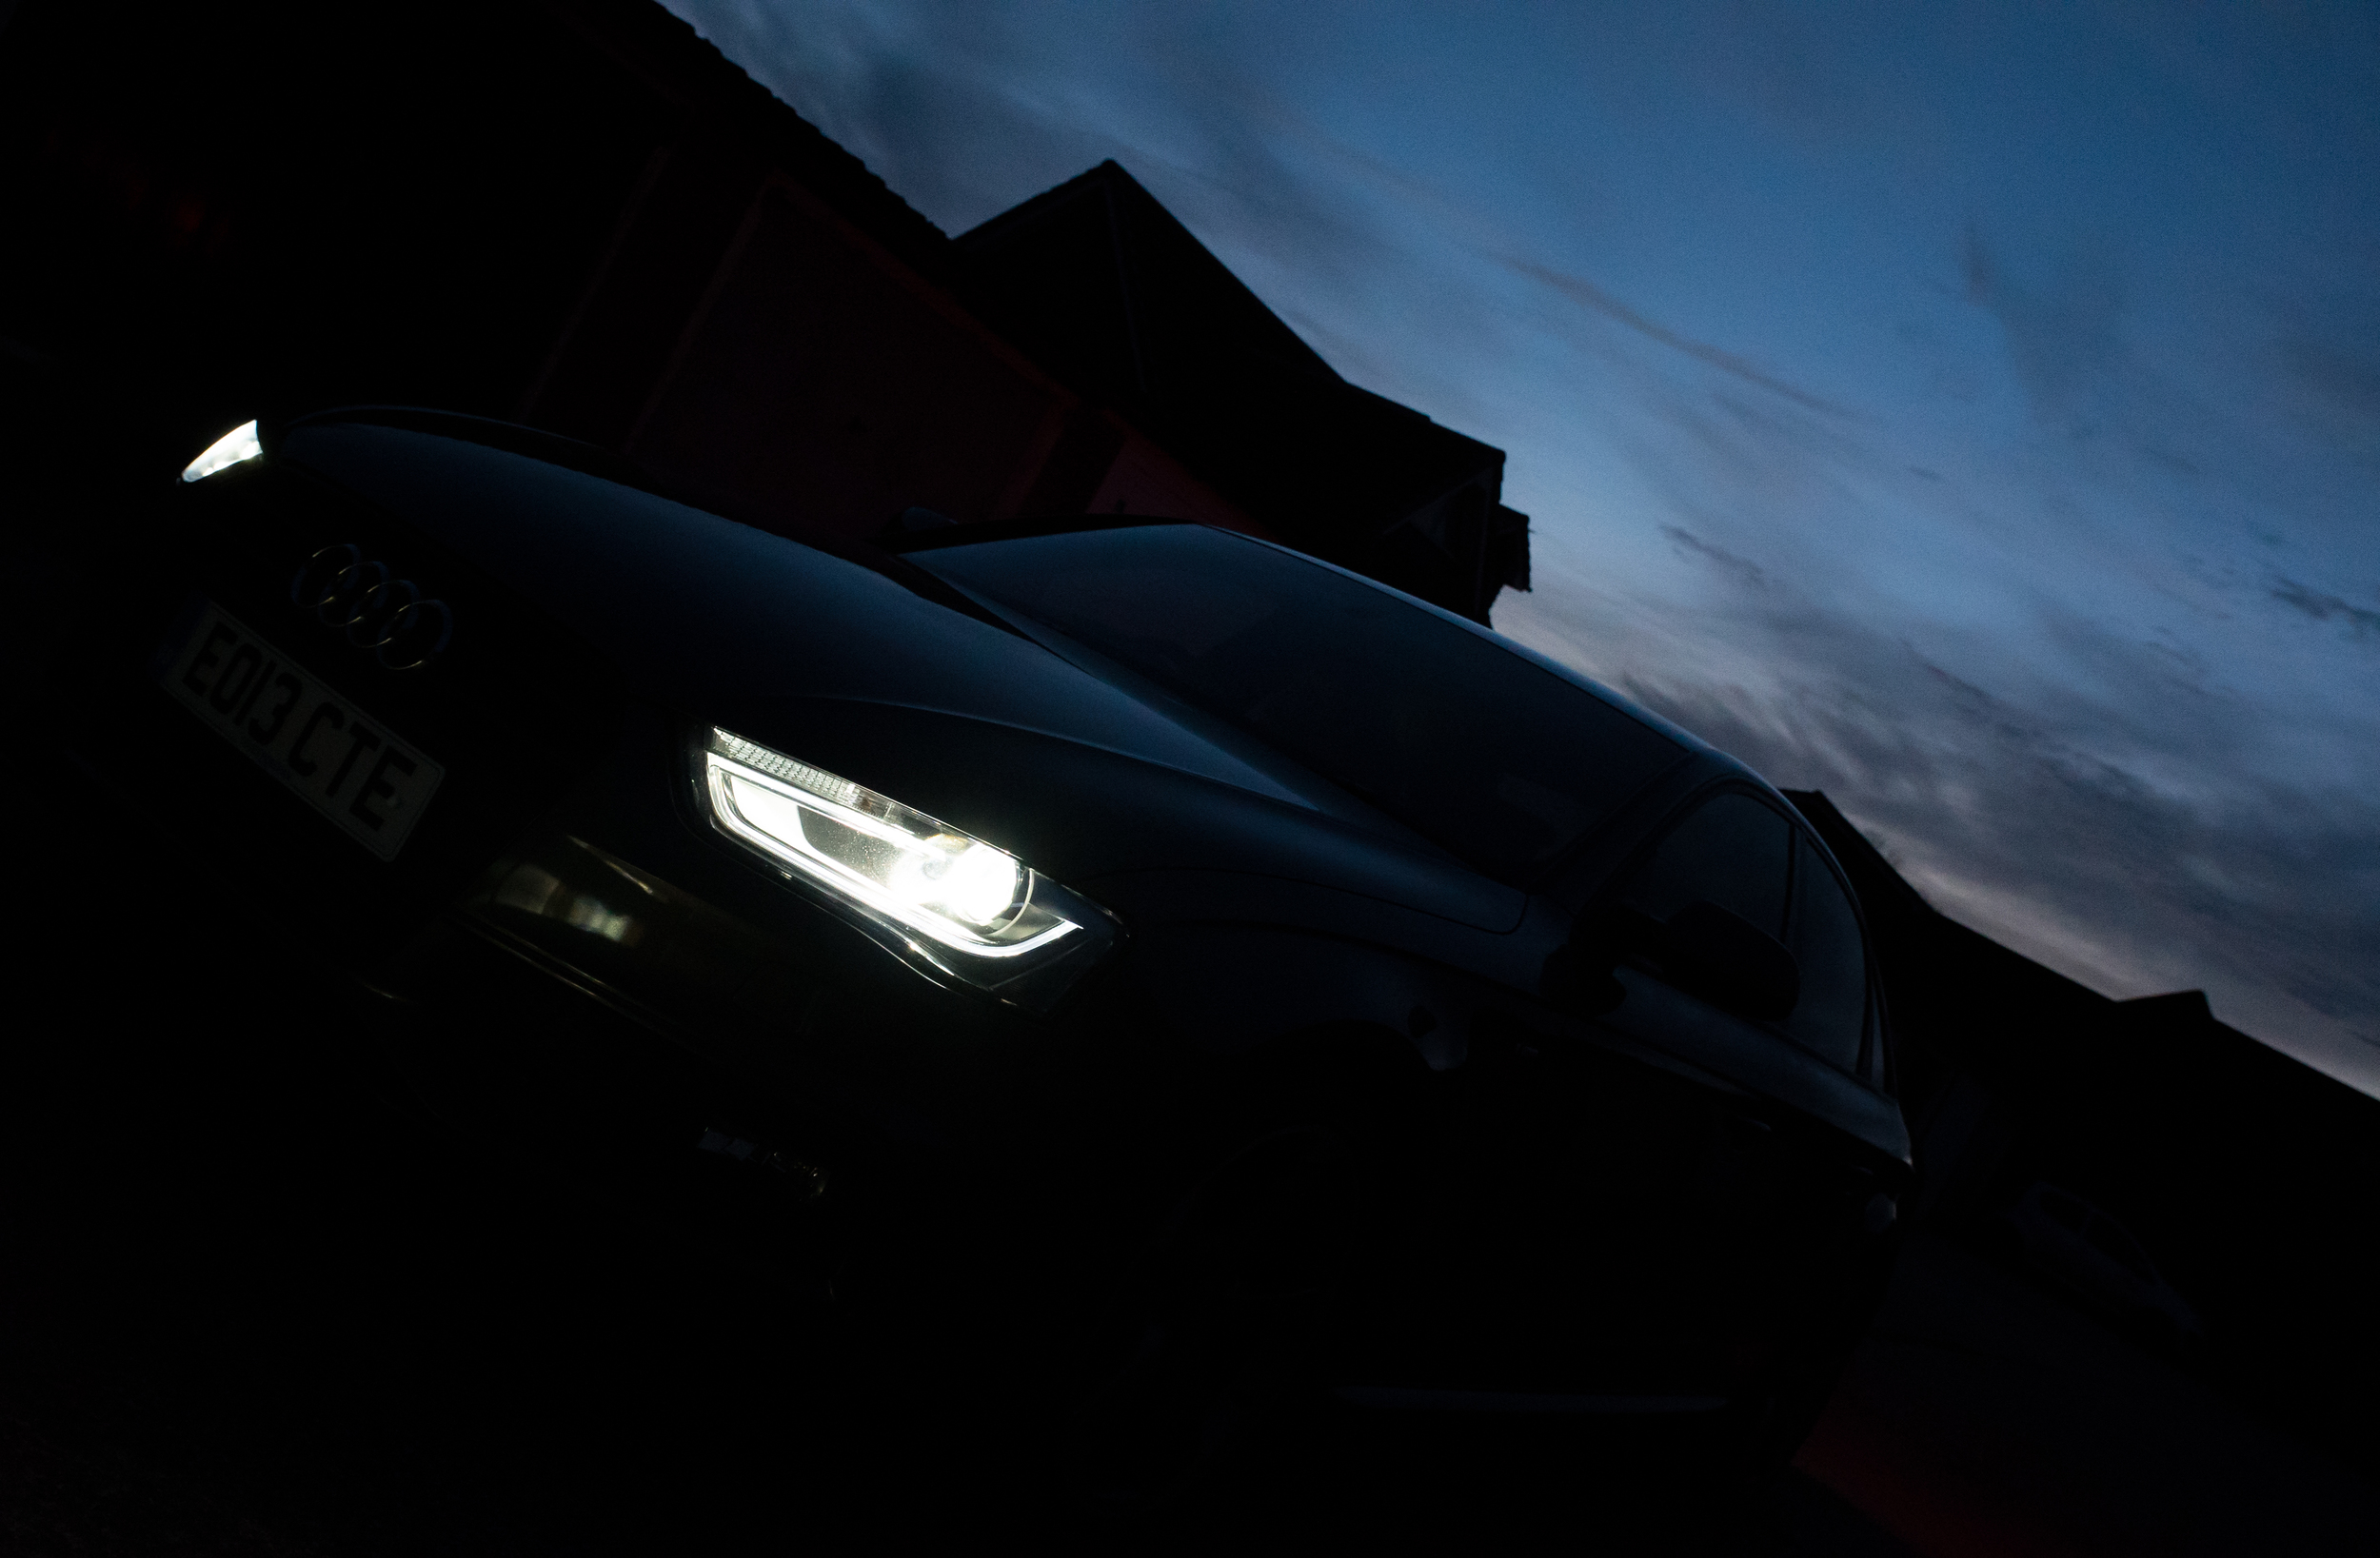
Because the cable for connecting the A7S to the Shogun hadn't arrived yet (from Atomos) I went searching around Epsom with no avail for a micro HDMI to HDMI cable. I ordered one off Amazon for evening delivery, which came while I took the photos of Sams new car!

I was overly happy with the recorded images that I captured in the mean time with the Shogun hooked up to the 5D mk III. I decided to record them in ProRes HQ to see how far I could push the footage in colour correction, post and grading. It worked fantastically, so much in fact that I'm deeply considering teaming the 5D mk III with another Atomos recorder for the same reasons as above.

I finally got my hands on a micro HDMI cable to road test the 4K HDMI output from the A7S to the Shogun, and just as I began to film, Alfie the cat decided he wanted to join in! I don't remember the picture profile, but it was shot with a pretty wide aperture on the Tamron 24-70. I also tried out the down-ressing method that I'll be using for 4K filming but delivering in HD, so I edited the 4K sequence twice, one in native 4K resolution and the other in a 1080p sequence with some clips scaled down or cropped. NOTE - please change the resolution to the highest possible for the best results!

4K still from the Shogun recorder, shot in 4K ProRes HQ

Let me know what you think!

NOTE - Change resolution to 2160!!!

A short first test filming in 3820x2160 UHD-4K resolution in ProRes HQ on the Atomos Shogun, with the Sony A7S camera. No correction/sharpening/grading in camera or post. Exported in H.264 with a target bitrate of 100Mbits, hoping it holds! I tried to shoot some orchids, but my cat Alfie saw what was going on and wanted to join in!

4K version on Vimeo, remember Vimeo does not have 4K playback yet so this has been down-ressed by Vimeo. Please watch the Youtube video above for the 4K version.

As a comparison, this is the down-res version of the 'Creatives and their cats' video originally shot in 3840x2160 4K-UHD using the Atomos Shogun and Sony A7S. View the original here - This version has been scaled down in Premiere by 50%, with some re-framing in a 1080p sequence, with 4K footage. No correction, sharpening, grading in camera or post. Originally shot in ProRes HQ. I tried to shoot some orchids, but my cat Alfie saw what was going on and wanted to join in! The cropping and re-framing of 4K footage for 1080p HD delivery is a brilliant feature to have, meaning high quality footage can be future-proofed and still delivered in great HD resolution.

I also shot some Picture Profile tests to compare the colours, DR, contrast and noise, this is to come later!
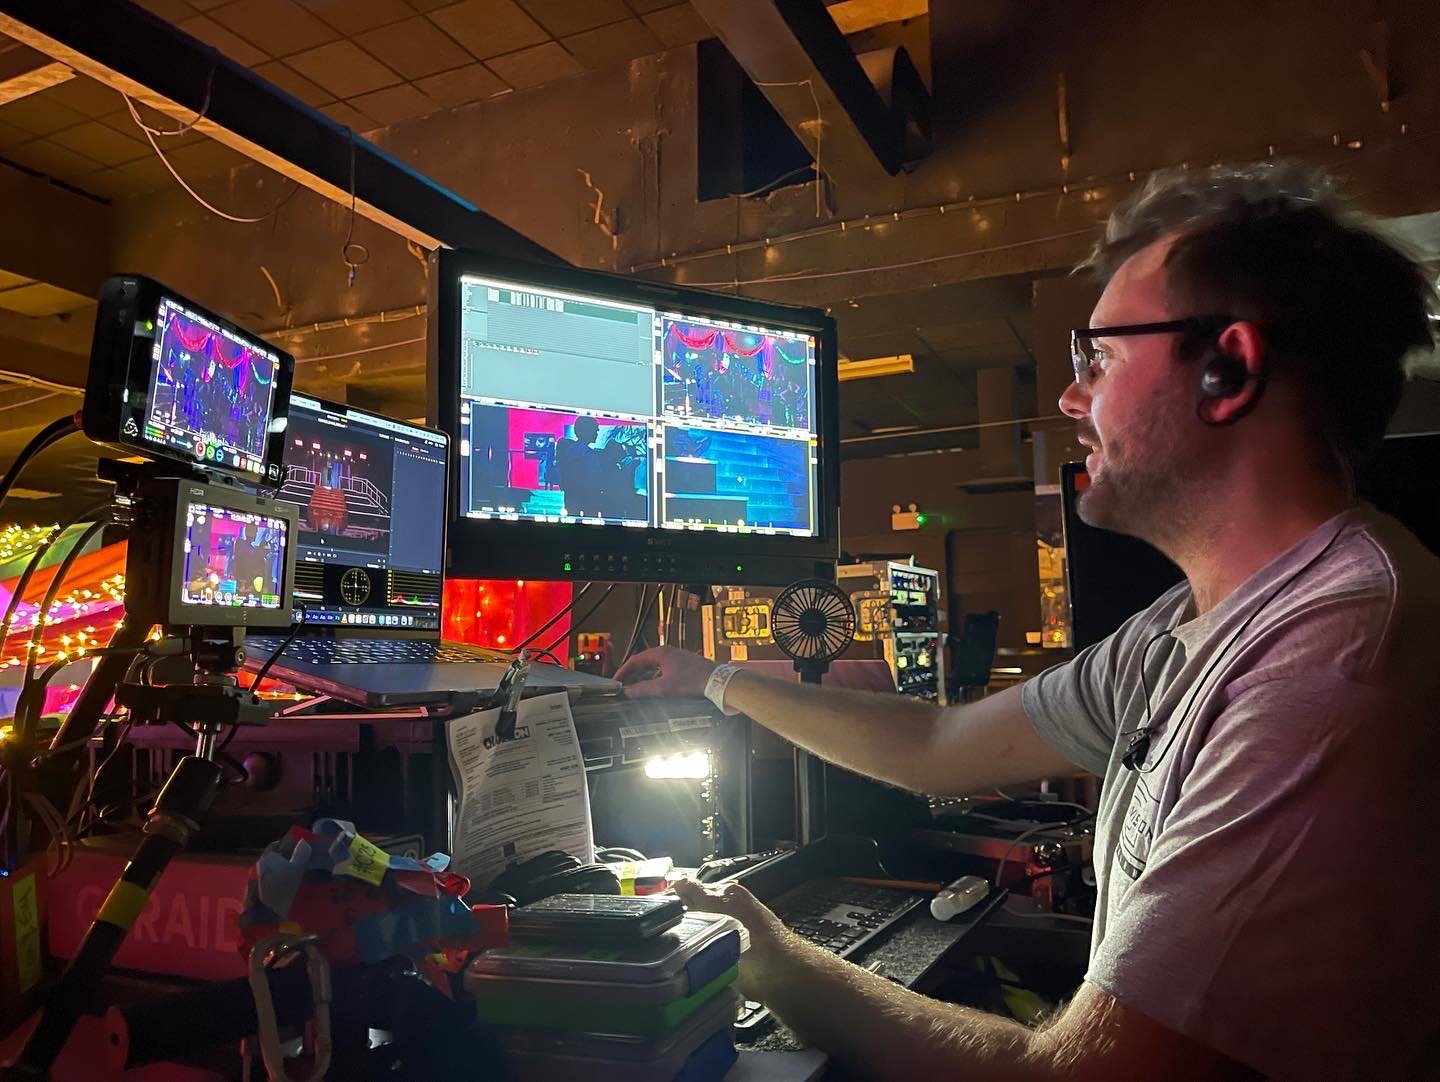
Shadows and Light was INCREDIBLE!

I arrived for the brand new 'Shadows and Light' two day filmmaking workshop on Sunday evening, excited to hone in on skills and meet new friends. The drive was smooth, only an hour from Surrey down to Brighton where I was greeted by lovely staff and great room at the Umi (on the seafront).

I dumped my stuff and met my good friend and VFX/Director mastermind HaZ before heading to the pre-drinks to meet everyone. Informal drinks like this are perfect for networking, so remember business cards!!

I met Olly, the 'behind the scenes' filmmaker for the night and the first day and got chatting as he was using a 5D mkIII like me. I also caught up with Nino, and met the wonderful organizer of the event, Fraser, who did a great job of running the event, keeping everything in check.

HaZ and I also chatted to Ollie Kenchington about production for grading and many other things, another great person to meet!!

I also met Yusuf at the pre-drinks when talking about shooting on the A7S, and on returning to the hotel I met Giordano Borghi, an Italian wedding filmmaker who I really enjoyed chatting to over a whisky on the rocks.

Day one was hosted at 'Dukes at Komedia' theatre in Brighton town, great venue with comfortable seats for recovery from the late night.. I was enthralled by Vincent Laforets presentation about motion, in which I got grilled by Vincent in front of the professionals and attendees over my 'Seasons Are Changing' video. He commented it was beautifully shot, but the long takes with unmotivated movement would make the audience somewhat bored. It was fantastic feedback from him, despite the public screening!!

Technical Difficulties?

After a break, HaZ presented his talk about VFX in low budget film making, and also considering and directing it in your films. As always HaZ is just a fantastic chap and screened the whole SYNC film, which I was the 1st AC on (shot in Southend), and features one of my shots on the jib!

It was then I met James, who is incorporating film into his company. He's a fantastic dude, and it was great to meet him and chat more throughout the day. I look forward to collaborating in the future :)

Another talk that got me thinking was 'Colour Grading' by Olly Kenchington, who got in deep with shadows and light, and colour theory, and how to produce such grades in Resolve with ease, as well as enhancing the shots/scenes from OK to GREAT!

Day 1 ended with Philip Bloom's talk, followed by the party! Well done to the raffle winners, great prizes donated from the events sponsors; Miller, Rode, Adobe and more.

Day 2 comprised of intense group workshops covering many areas of filmmaking. We were divided into groups which was great for networking with new people attending, and headed to Philip Bloom's workshop on using gimbals (like the MoVI) for filming motion. We got hands on with a range of equipment to see what it's like to operate/walk around using an M5 with a Sony A7S.

I was impressed by this little Defy G2X gimball.

Next on to James Miller's 'Lens Whacking' workshop, very hands on with old manual lenses out in the street. I met one of the models, Ruby, and had a great time filming her while trying to get the hang of 'whacking' the lens for 'ethereal' looking light leaks and almost 'tilt-shift' esque focusing.

Luckilly for us, the sun was beaming through the clouds which was perfect for trying to get some leaks in the frame. We stopped for lunch, then continued on to Vincent's workshop.. The BEST of the day!

Vincent talked through a number of movies with a moving camera, breaking down the scene to show how the narrative flows and is complemented by moving the camera, and the characters in frame. We then got hands on blocking out a small scene, which was fantastic to see to get to grips with working as a director when moving the camera.

Lastly was my good mate, Nino, who was talking about filming interviews and using motion control to add interest to otherwise uninspiring corporates. Using a bright window, we set up an interview scene with LED lights and the Kessler second shooter device to move the camera on the pocket dolly. This added much needed life to an otherwise 'standard' two camera shoot.

It was how big, Nino?!

I had an awesome time, and was happy to give a piece to camera about my thoughts on the workshop. Over the two days I learned an incredible amount that I can directly apply to my work to make films that are more engaging and that have motivated movement! I made loads of new friends too, both from the UK and internationally. For networking and collaboration, there was no better place to be.

'Adam's 5 Golden Rules of Videography'!

I was asked by Manfrotto to list my 5 golden rules of videography, and while I think creativity shouldn't be bound by rules to follow, these 'pointers' will keep you heading in the right direction to make awesome videos and films!

Check out the rules here..

http://www.manfrottoschoolofxcellence.com/2014/12/adam-plowdens-five-golden-rules/#.VJK9FbFXspV

Manfrotto 5 golden rules videography

Filming on the North Downs Way

Surrey North Downs Way, Adam Plowden Videography

Surrey North Downs Way, Adam Plowden Videography

I've been waiting for a clear skied afternoon to film some autumn material for another personal project. Heading for the open North Downs Way, accompanied by the 5D mkIII, Tamron 24-70, Sigma 70-200, Samyang 14mm, Canon 100mm, Manfrotto 055 tripods and 701 head on the Pro Media Gear Dual-arc slider.

The video is to come very soon, I want to go out and shoot some more in the early morning!

Working with the new Panasonic GH4

We had another toying test day yesterday, with new glass too; the Panasonic/Leica 25mm F/1.4 (equivalent to 50mm F/1.4) and the Panasonic 100-300mm F/2.8 (equivalent to 200-600mm F/2.8). We keep finding great features and little things that make this camera wow us!  

[gallery ids="4182,4184,4185,4186,4187,4188,4181,4180,4179,4178"]

We were out filming and testing out the capabilities of the camera at Epsom's Thai festival taster, we used the 14-140mm F/3.5-5.6 OIS lens recording in 4K. The video will be uploaded and shared soon!

New supercomputer is built!

I've been waiting months to finally have a computer that can handle the work that I do!! Previously working on laptops (which coincidentally die each year) I needed to step up the game to a high performance desktop which will expand my capabilities in not only video editing, but also motion graphics and compositing. I got myself an i7, NVIDIA 650TI 2Gb graphics card and all the rest to allow working speedily in Adobe applications (taking advantage of the mercury playback engines) and also allowing me to use Speedgrade and DaVinci Resolve for professional colour grading as the new graphics card is CUDA enabled!! My workflow speed will go through the roof!

Throughout all of January, the components dribbled in one by one, until it was only the PSU to come. Amaz0n buggered up my order, which I was expecting in 2-4 weeks. The order then got pushed back another 2-4 weeks, which I was furious about, so got on to Amazon support who clarified the 'warehouse' issue.. Everything is computerized these days so I don't understand how a major marketplace cannot get there warehouse stock levels and back order numbers right!!

I cancelled my order with Amazon, and put it through Scan instead, who delivered the Corsair 1000w PSU in only 2 days. Top service!

Being impatient (eager), I wanted to get the new computer going as quickly as possible so I begun assembling the components in the case. I had never done this before so the nerves were running riot, washing my hands every couple of minutes to make sure I wasn't getting grease or dirt on the motherboard. It was stressful, but I managed to get most of the bits it, bar the CPU and hard drives.

Yesterday Sam helped me put together the rest of the components and the cabling, and the building of my new workstation - could not have done it without him!

newcomputer blank canvas The blank canvas of my computer.

Now all I have to do is fill it up with my work and data, install Adobe and then I can get working!

Video Questions; Choosing the right camera, picture profiles and using ND filters!

Heyo all! Thanks for sending in your questions, I will try to answer as many as I can will practical, real world examples! If you have any more, please send them my way! Question from Chris via Facebook: "Can you recommend any camcorders for HD video and good low light performance?"

Answer: A DSLR for video is not the right choice everytime. Why do you think television broadcasters use camcorders and system cameras? For broadcasting, there are regulations and legal limits that must be followed for the final video to be shown live; there are many including the compression of the video signal, the black and white level (check out waveform monitors and video signal) to name a couple. DSLR's do not adhere to these regulations hence we don't see TV crews running around with 5D's in London.

Where DSLR's produce a great image due to the large CMOS sensor, they have big restrictions such as needing to change lenses, poor audio support (unless you invest in audio equipment), rolling shutting, aliasing, moire.. I could keep going.

So, taking camcorders in the equation; most have long zoom ranges (20x and more!) at wide apertures, with additional digital gain, in built ND filters, built in stereo microphone and audio in/out. The sensors are different too, some using CCD (which splits the 3 colour channels) for better colour rendition and less compression.

These days, manufacturers such as Sony, Canon, JVC produce ENG (electronic news gathering) camcorders with those above features, meaning no extra kit to carry, most are hand held or shoulder mount for ease of use. Therefore it is seemingly easier to video on a camcorder, until you require a large sensor camera for artistic video.

Product recommendations for camcorders - Sony AX and VG range, Canon Legria, XA and XF range, JVC produce great camcorders too and have stepped up their game over the last year with the GM-HY range including a 4K model too.

If you want to spend a little more, the Sony HXr-NX3 (recently reviewed by Den Lennie) looks incredible for what you get in one camera - http://www.sony.co.uk/pro/article/broadcast-products-get-close-up-hxr-nx3

Next question from SAHIB on Twitter: "Do you use a neutral picture style when shooting, and do you use neutral density filters?"

Answer: For those unaware of picture profiles on your camera, check them out in the 3rd section of the movie shooting (red) menu (for Canon users). There are a number of options listed, which alter the way the picture is recorded depending on your choice, you can also customize these profiles too using the INFO button.

Canon picture styles - Standard, Portrait, Landscape, Neutral, Faithful, Monochrome.

I will not be detailing the ins and outs of all the picture styles, more of a visual comparison.

What does a picture profile do? Much like LUTS, picture styles adjust the intensity level of the; Sharpness, Contrast, Saturation and Colour Tone in the image, so what picture profile you use can change the 'look' of the video you capture.

Check out this video I put together today showing the results of the cameras picture profiles, and others I have loaded onto the camera. You can see a clear change in the image, but it is subtle differences that will make your video work stand out.

https://vimeo.com/85655816

I previously used the Neutral picture profile, customized to reduce the contrast, saturation and colour tone to produce a very grey and flat image. I was using this profile to achieve this look, as it is how RAW footage is captured to then be graded in post production. Neutral does replicate this 'flat' look, but after doing research into other profiles, Neutral reduces the data that is required in the picture (the contrast and saturation) that I would then put back in in post. This causes noise to be generated in the image, and can cause it to look unnatural and crushed, as the contrast and saturation that had been removed by the picture profile is being added back in later in the workflow.

That was long, but I hope it makes sense. If you compare the 'Standard' to 'Neutral' there is an evident drop in saturation and contrast, with a loss of detail in the top of the trees. If you compare 'Neutral' to 'VisionColor', there is an increase in saturation and contrast in the shadows and highlights.

The 'Neutral' picture style, similar to Technicolor CineStyle reduces the data the sensor captures, so I would not recommend using it if you plan to do colour correction and grading in your workflow. REMEMBER - whatever you capture when out filming will 'burn in' the detail, colours, sharpness and contrast into the image, making it harder to edit and remove unwanted errors. So, it would be better to use a profile that holds the data and detail so if wanted, you could work on grading the footage later.

From tests and experimenting, I favor the VisionColor profile; it is not as destructive as Neutral, holding colour and contrast without making the image flat. I definitely recommend checking them out here.

Next Question from SAHIB on Twitter: "Can ND filters change the style of video?"

Answer: This does depend on what and where your video shoot is. If you are working indoors, or with lighting that can be controlled by you then neutral density filters may not be required as you can alter the brightness of the scene by reducing the intensity of the lights. However, if you're out filming in a situation where you have little to no control over the lighting, then ND filters are key.

Personally I use variable ND filters, currently from Polaroid but much better filters are available from Hoya & Tiffen. The function of these filters is to reduce the light entering the lens, meaning camera settings can be kept the same. This allows you to follow the 180 degree shutter rule, which means keeping your electronic shutter speed at 1/50th to reproduce film-like and realistic motion blur.

So, with your shutter speed locked at 1/50, and your chosen aperture has been set, the only other exposure altering options you have is to ride the camera ISO to make the image brighter or darker.

PROBLEM!

With a fast aperture of F/2.8, and you are currently shooting in sunny daylight, your image is going to be very over exposed. Reducing the aperture to F/8 or F/11 may correctly expose the image but you have lost your depth of field! What to do!

Get some Variable ND Filters!

These ND filters rotate, allowing a variable ND amount to be set externally, without changing your cameras settings! This means that you can keep your cinematic depth of field and realistic motion blur without reducing the shutter speed to 1/250th or your aperture to F/11.

I recently shot this video using an ND filter on an 85mm T/1.5, which allowed me to shoot continually at T/1.5 for extreme shallow depth of field.

Making a quick edit: Variable ND filters are one of many options. ND Filters also come in stops; increasing by a factor of doubling so 2, 4, 8 etc. If you can stretch to separate stop ND filters they work just as well, and with the lower end (under £100 products) they will be better quality than one under £100.

In videography and cinematography, ND filters are applied in the matte box in front of the lens. So if you plan to use one, look in to matte boxes with the ability to add filters, but prepare to pay for it!

http://vimeo.com/84790518

Well, that covers Video Questions for today! I hope to have answered and covered all bases, and remember they are from my personal knowledge and experience.

Got any more? Send them my way!

Strategic grading with 'burnt in' footage.. Canon/Manfrotto/Elinchrom Promo for SWPP Conference 2014

I continue to work on the promo videos for Canon/Manfrotto/Elinchom today. After shooting the material in a 'neutral' picture style, there was still a lot of contrast, sharpness and saturation in the image. This has caused a couple of problems with the adjustment of the levels and colours when grading. Burnt in footage is where detail is lost due to a crushed dynamic range, out of focus picture, or a mis-interpreted colour balance (and plenty more). This footage is notably harder to work with due to the loss of detail; and when you come to colour correct or grade the shots, life becomes more difficult as hues and light levels are burnt in to the image. Applying numerous filters and effects to remedy this can only add noise and grain, and degrade the footage so it is important to remember to flatten the image before shooting!

Even with a neutral picture style selected, the internal settings for contrast, saturation etc sometimes remain the same, so remember to go into the picture style settings and set them all to the lowest. This will achieve a flat picture which is much easier to work with in post. For those who don't wish to apply heavy corrections or grading to your shots, shooting in neutral will work fine too, just add contrast when editing to remove the gamma grey curve and punch out the sharpness!

I've had to resort to black and white images for some shots due to burning in detail in low light shooting situations.

Here are some example frames of what I have been working with, and how I have graded them.

pregrade frame canon manfrotto elinchrom promo videopostgrade20

pregrade frame canon manfrotto elinchrom promo video Copyright Adam Plowden Videography 2014

postgrade frame canon manfrotto elinchrom promo video Copyright Adam Plowden Videography 2014

These are the frames from the second video. I was in a studio conversion for the MUA part, and Bjorn's place for the shoot. White balance wise it was cool, and when shooting directly into the the window I got a lovely hazy light effect.

pregrade frame canon manfrotto elinchrom promo video Copyright Adam Plowden Videography 2014 postgrade frame canon manfrotto elinchrom promo video Copyright Adam Plowden Videography 2014

pregrade frame canon manfrotto elinchrom promo video Copyright Adam Plowden Videography 2014 postgrade frame canon manfrotto elinchrom promo video Copyright Adam Plowden Videography 2014

pregrade frame canon manfrotto elinchrom promo video Copyright Adam Plowden Videography 2014 postgrade frame canon manfrotto elinchrom promo video Copyright Adam Plowden Videography 2014

We shot the first part at Gylly beach in Falmouth with Carly who runs an extreme fitness group called BootyCamp. Going for a gritty, filmic look for the gym part I used negative bleach bypass. For the beach, I tried to add some drama to the already crashing sea, unluckily for us it was freezing cold so we weren't up for staying there for long.

Captured with the Canon 5D Mark III, Tamron 24-70 F/2.8 VC, Sigma 70-200 F/2.8 OS, Samyang 14mm T/3.1, 35mm and 85mm T/1.5. Post production in Adobe Premiere Pro CS6 and graded using the in built colour correction tools and Red Giant Magic Bullet Looks.

When all the components to my new editing system arrive I am going to be transferring the grading workflow to Adobe SpeedGrade instead of Magic Bullet due to its ease of use, features and tools for cinematic grading as well as having an accelerated 2GB GPU with CUDA graphics... :D

The videos will be released next week on Vimeo, so watch this space for updates! If you can't wait until then, get down to SWPP on Saturday where I will be showing the video with Bjorn and talking about working with video on DSLR!

This gives you a bit of an example of what I've done to work with footage that has some lacking detail, creating a visual style to convey the subject of the video.

Interested in more of what I do? Check out my website, follow me on twitter, watch my videos! Oh and please share my blog and website if you can :)

Got any questions? Send them my way!

[contact-form][contact-field label='Name' type='name' required='1'/][contact-field label='Email' type='email' required='1'/][contact-field label='Comment' type='textarea' required='1'/][/contact-form]

Stills Copyright Adam Plowden Videography 2014.


Colour grading to achieve a 'gritty' yet cinematic look.

As you know I filmed some great material for a Canon/Manfrotto/Elinchrom promo video, which is going to be shown at The Societies SWPP conference next week. Todays challenge was to grade one of the videos; here are a couple of screenshots to show you what I was working with. The first is my first grade, which I then changed shown in the second.

grading in magic bullet for canon promo video

The colour balance was not good in the gym that we were shooting in, so try and overcome the warm/green hue I applied a blue tint to the image, as well as adding negative bleach bypass to give it that film process look. I then adjusted the grade, removing the blue tint as throughout the clips it did not look good all the way through. I then added a knock of contrast to enhance the colour and depth of the image.

grading in magic bullet for canon promo video

The video will be available to watch possibly next week or the week after!

Golden Hour - Manfrotto Backpack50

Another snap from the shoot today for Manfrotto's new professional bag for photographers and videographers "Backpack50". edt1

Manfrotto Shoot #2 "Backpack50"

Manfrotto's all new Backpack50. [gallery ids="557,558,559,560,561,562,563,564,565,566,567,568,569,570,571,572,573,574" orderby="rand"]

There will be much more later, its been a long day! I took the photos on my Canon 60D and Nikkor 50mm F/1.4 manual for a beautiful soft background to complement the autumn colour tone, landscape and chilly weather at Epsom Downs!

What is GAMMA? Colour Correction Advice!

When out capturing footage, how many of you use the 'Standard' picture style in your camera? Do you shoot 'Neutral', 'Cinestyle' or ever RAW? It is always interesting to find out, as the workflow and manipulation of the footage is different depending on your input video signal.. Did you burn in your brightness and contrast, or did you give enough dynamic range to push and pull your shadows and highlights when colour correcting and grading in post production? As I capture my footage on a Canon 60D, it records in compressed .MOV format, which is not great due to the compressed signal. However, by making your image 'flatter' or what looks like hazy and grey, you are able to add or remove detail that may have been baked in during acquisition.

A little case study for you, take my footage that I am working on currently. Here is a screenshot of a clip before I took it into Premiere Pro -

post1

I then colour corrected or 'graded' the clip using a couple of the video effects built into Premiere Pro, namely the 'Luma Corrector' and 'Three Way Colour Corrector' to perform the basic exposure and colour balance corrections.

Where using the 'Luma Corrector' has its advantages over using the 'Brightness & Contrast' or 'RGB Curves' effects is that the 'Luma Corrector' allows you to adjust the Gamma level of the image. Gamma being a extra luma curve that is added to the image after the sensor captures the data which allows the image to be constantly correctly exposed when played back on old school CRT displays. Now, these displays are not so common these days, but it is still a standard practice to apply a gamma curve to the processed video signal.

The advantage of increasing or reducing the gamma using the 'Luma Corrector' is that it removes the 'flattened' or neutral look to the image, while still retaining a constant contrast, resulting in a sharp and nicely graded shot. Here is another shot of the Luma Corrector and Three Way Colour Corrector being used on the same clip as above -

post2

I hope this example demonstrates the advantage of capturing your footage a neutral setting to get the most out of your final product!

Still editing! Motion GFX actually..

I'm working on the title sequence to the GLF conference promotional video, incorporating their new logo and house style as well as colour graded cine-footage to show the schools and students! edit2

Look! A UFO! What I was doing today..

Look! A UFO! What I was doing today..

Today I had the pleasure of working with Glen Symes, who has worked with many on many projects before. I was shooting the footage for a compositing project in The Foundry Nuke; gotta make a film trailer and use nodal based post production for effects and grading, which will be interesting! I'm importing all the footage now to make a rough cut in Adobe Premiere, export as AVI uncompressed (720p HD) and then read into Nuke to add the visual effects; a space ship/ufo perhaps, as well as chroma keying and grading to give it a filmic look.