

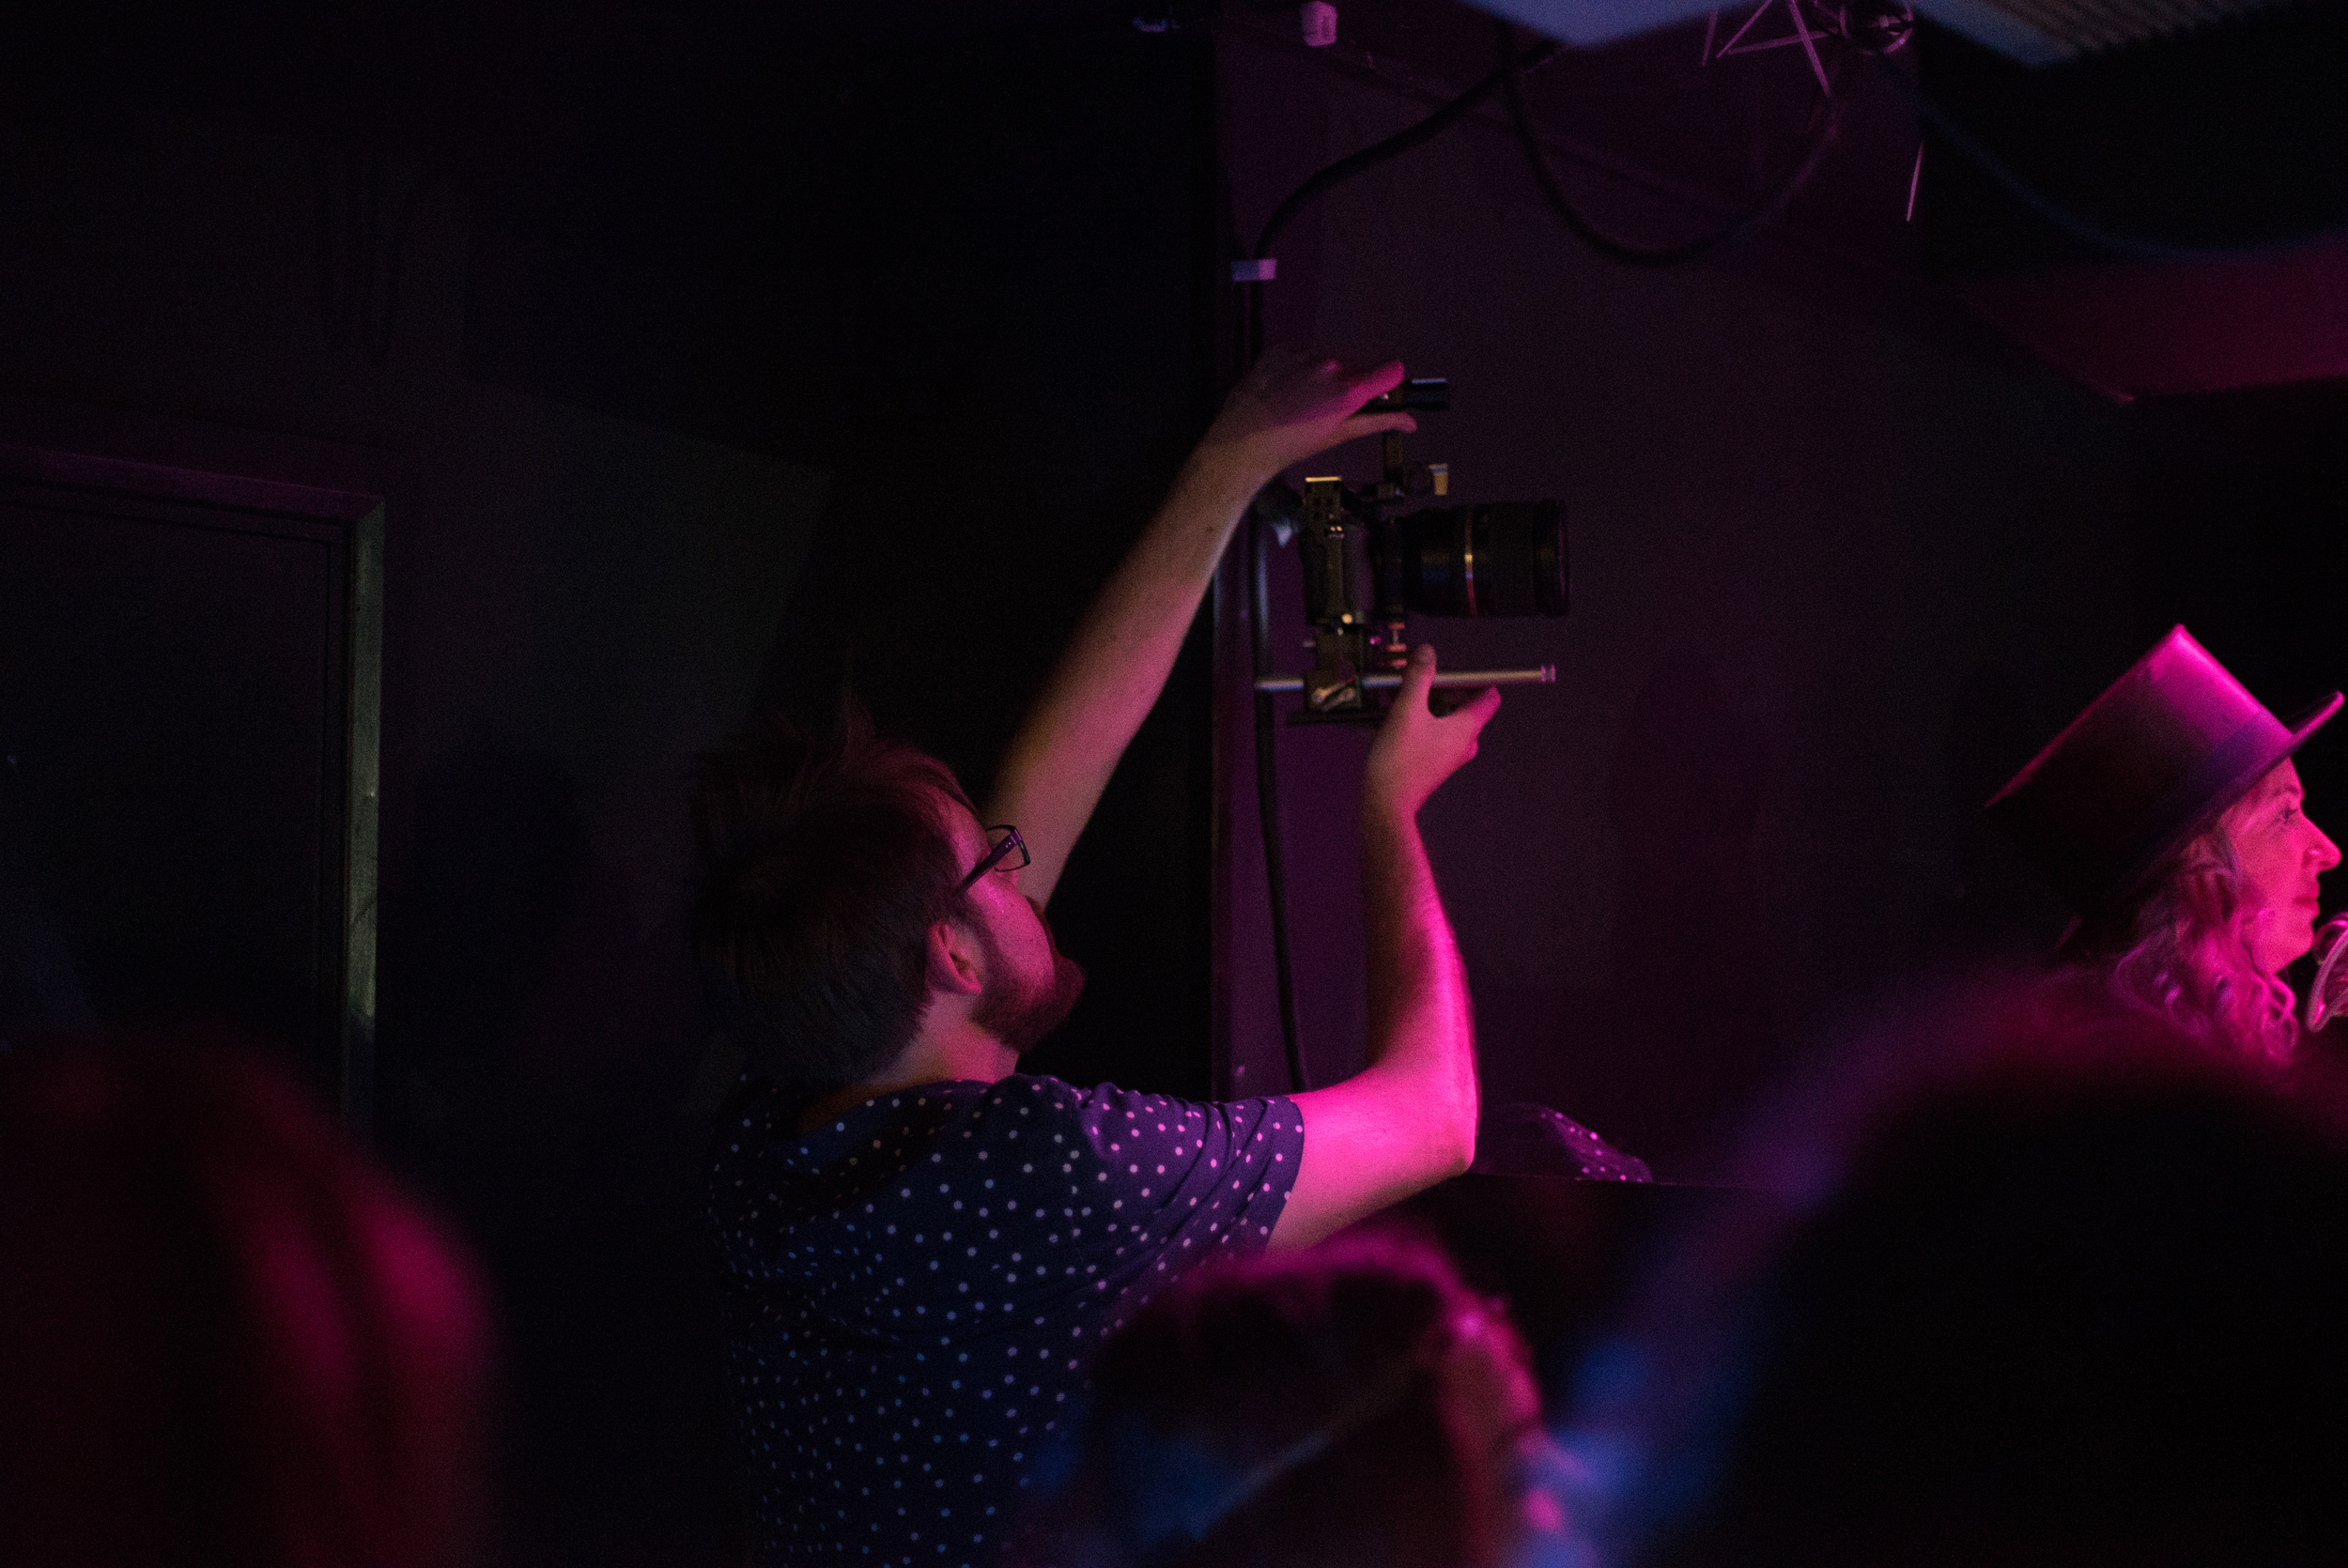
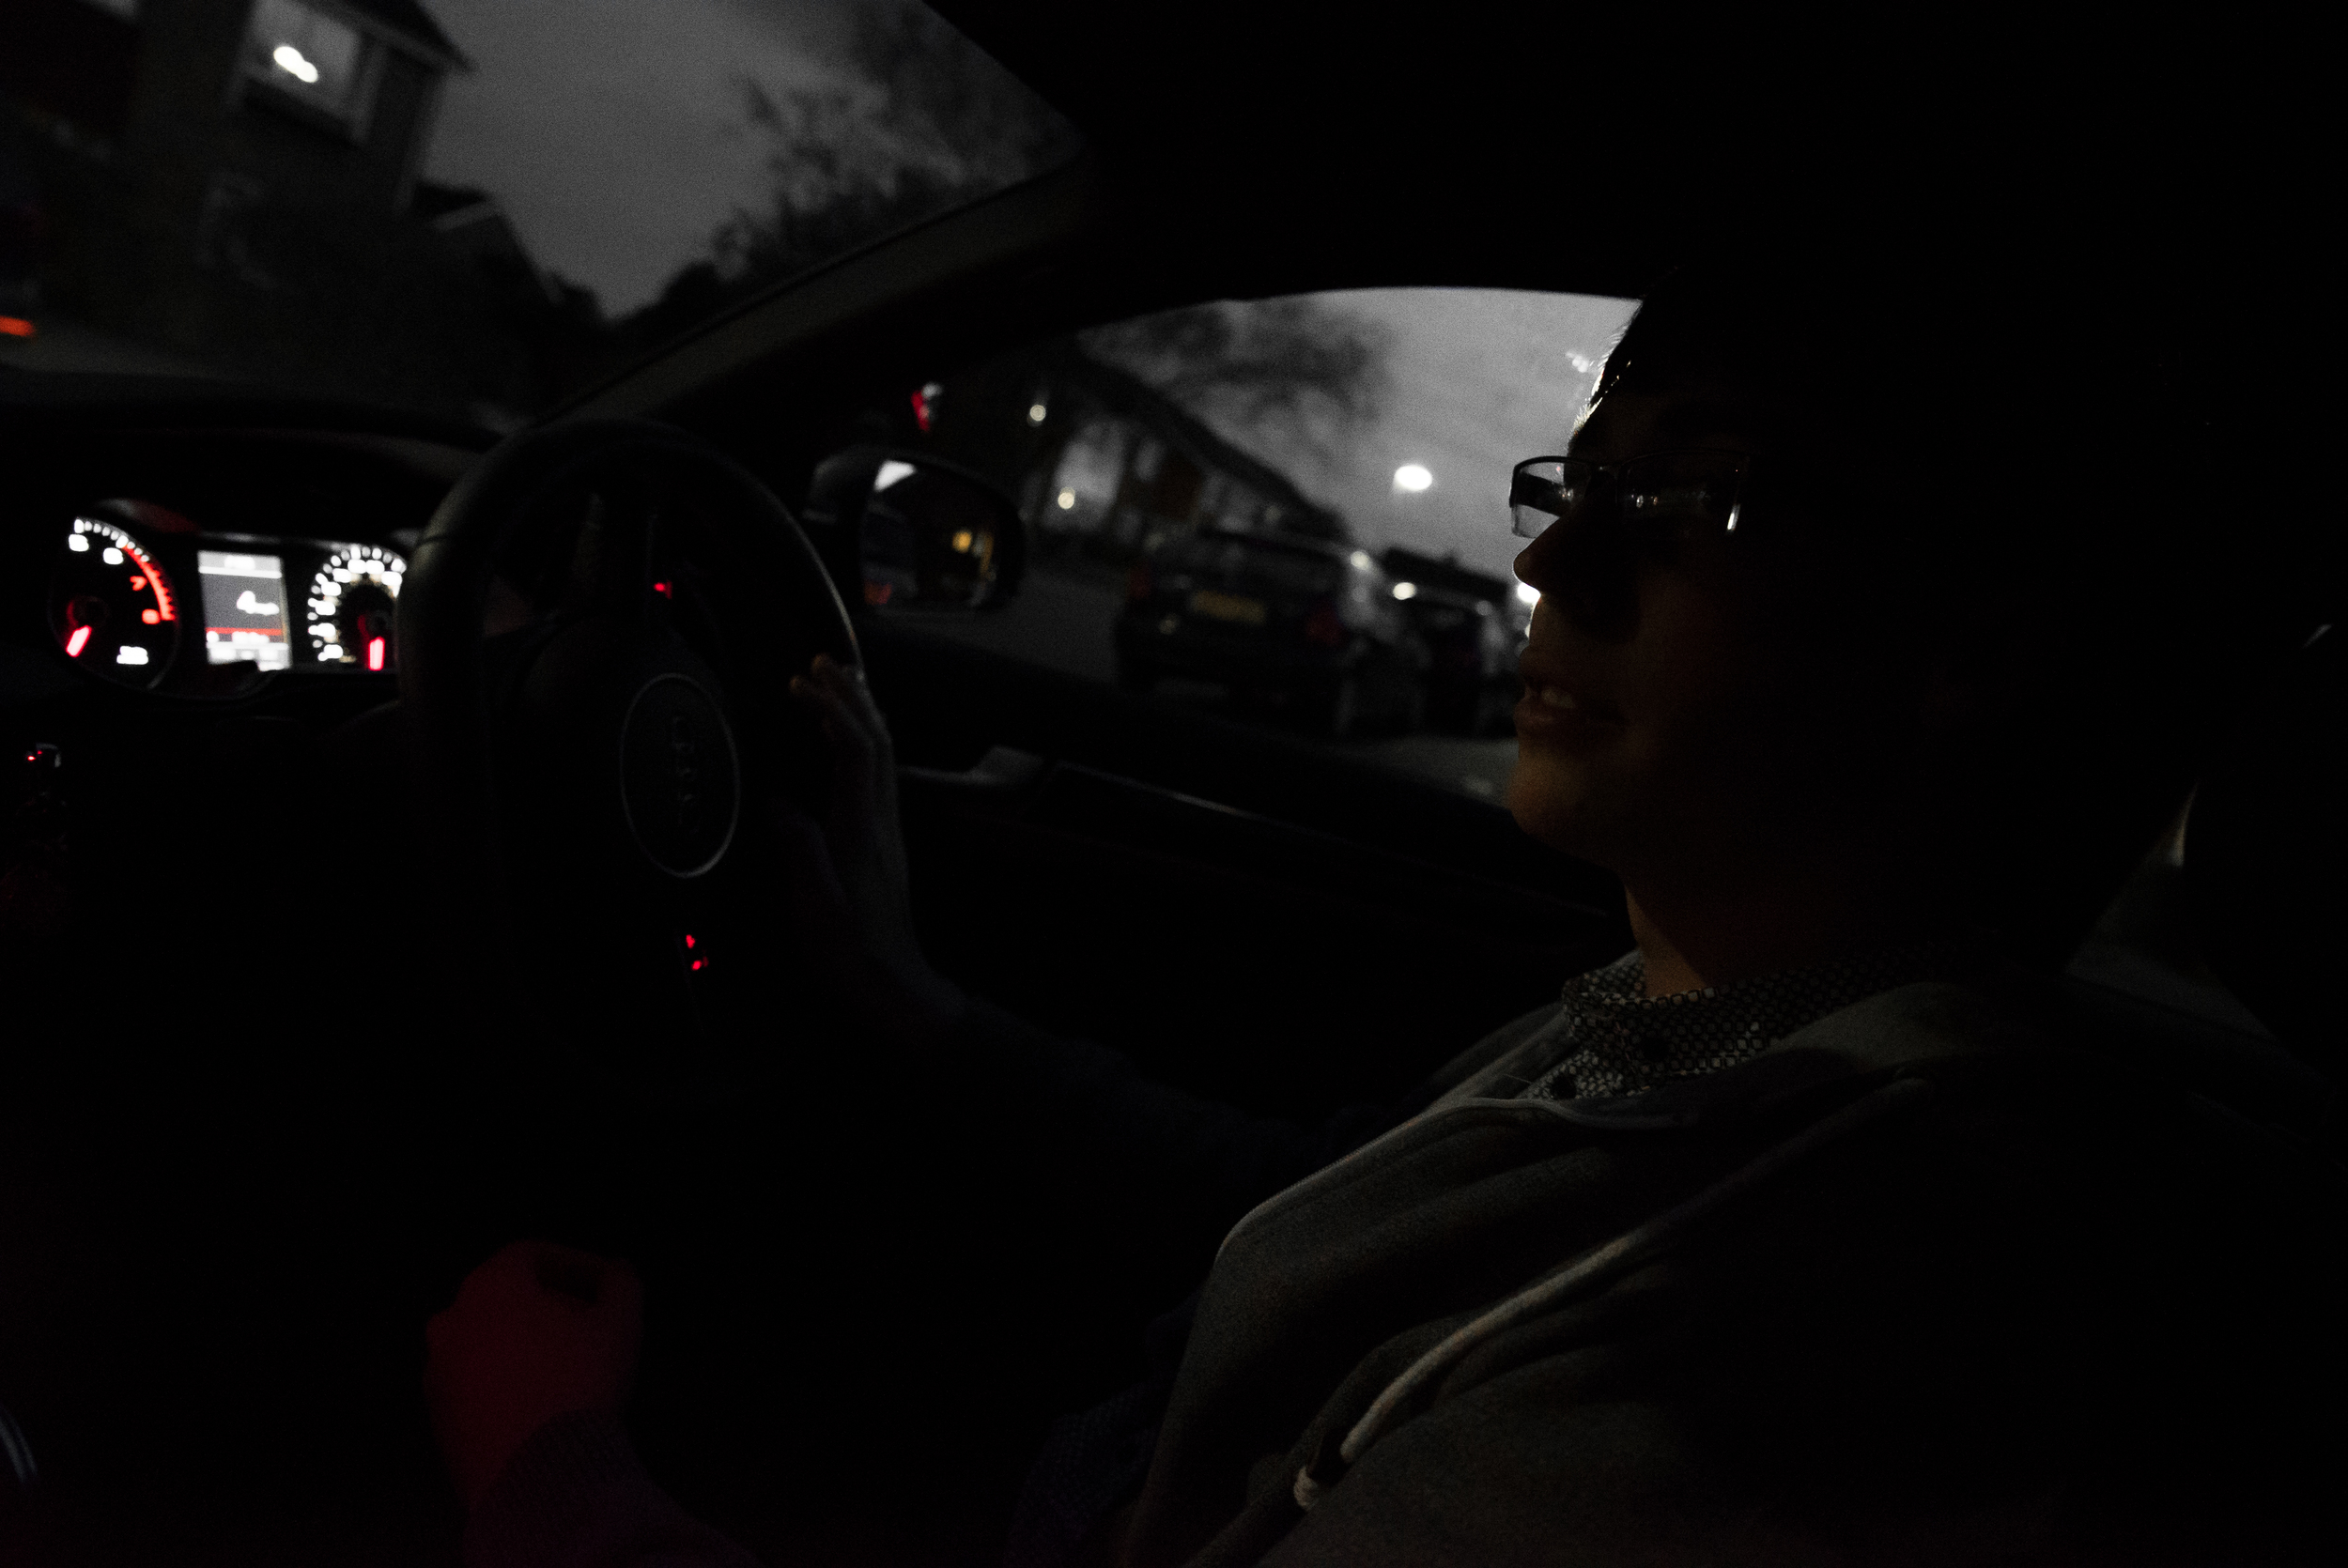
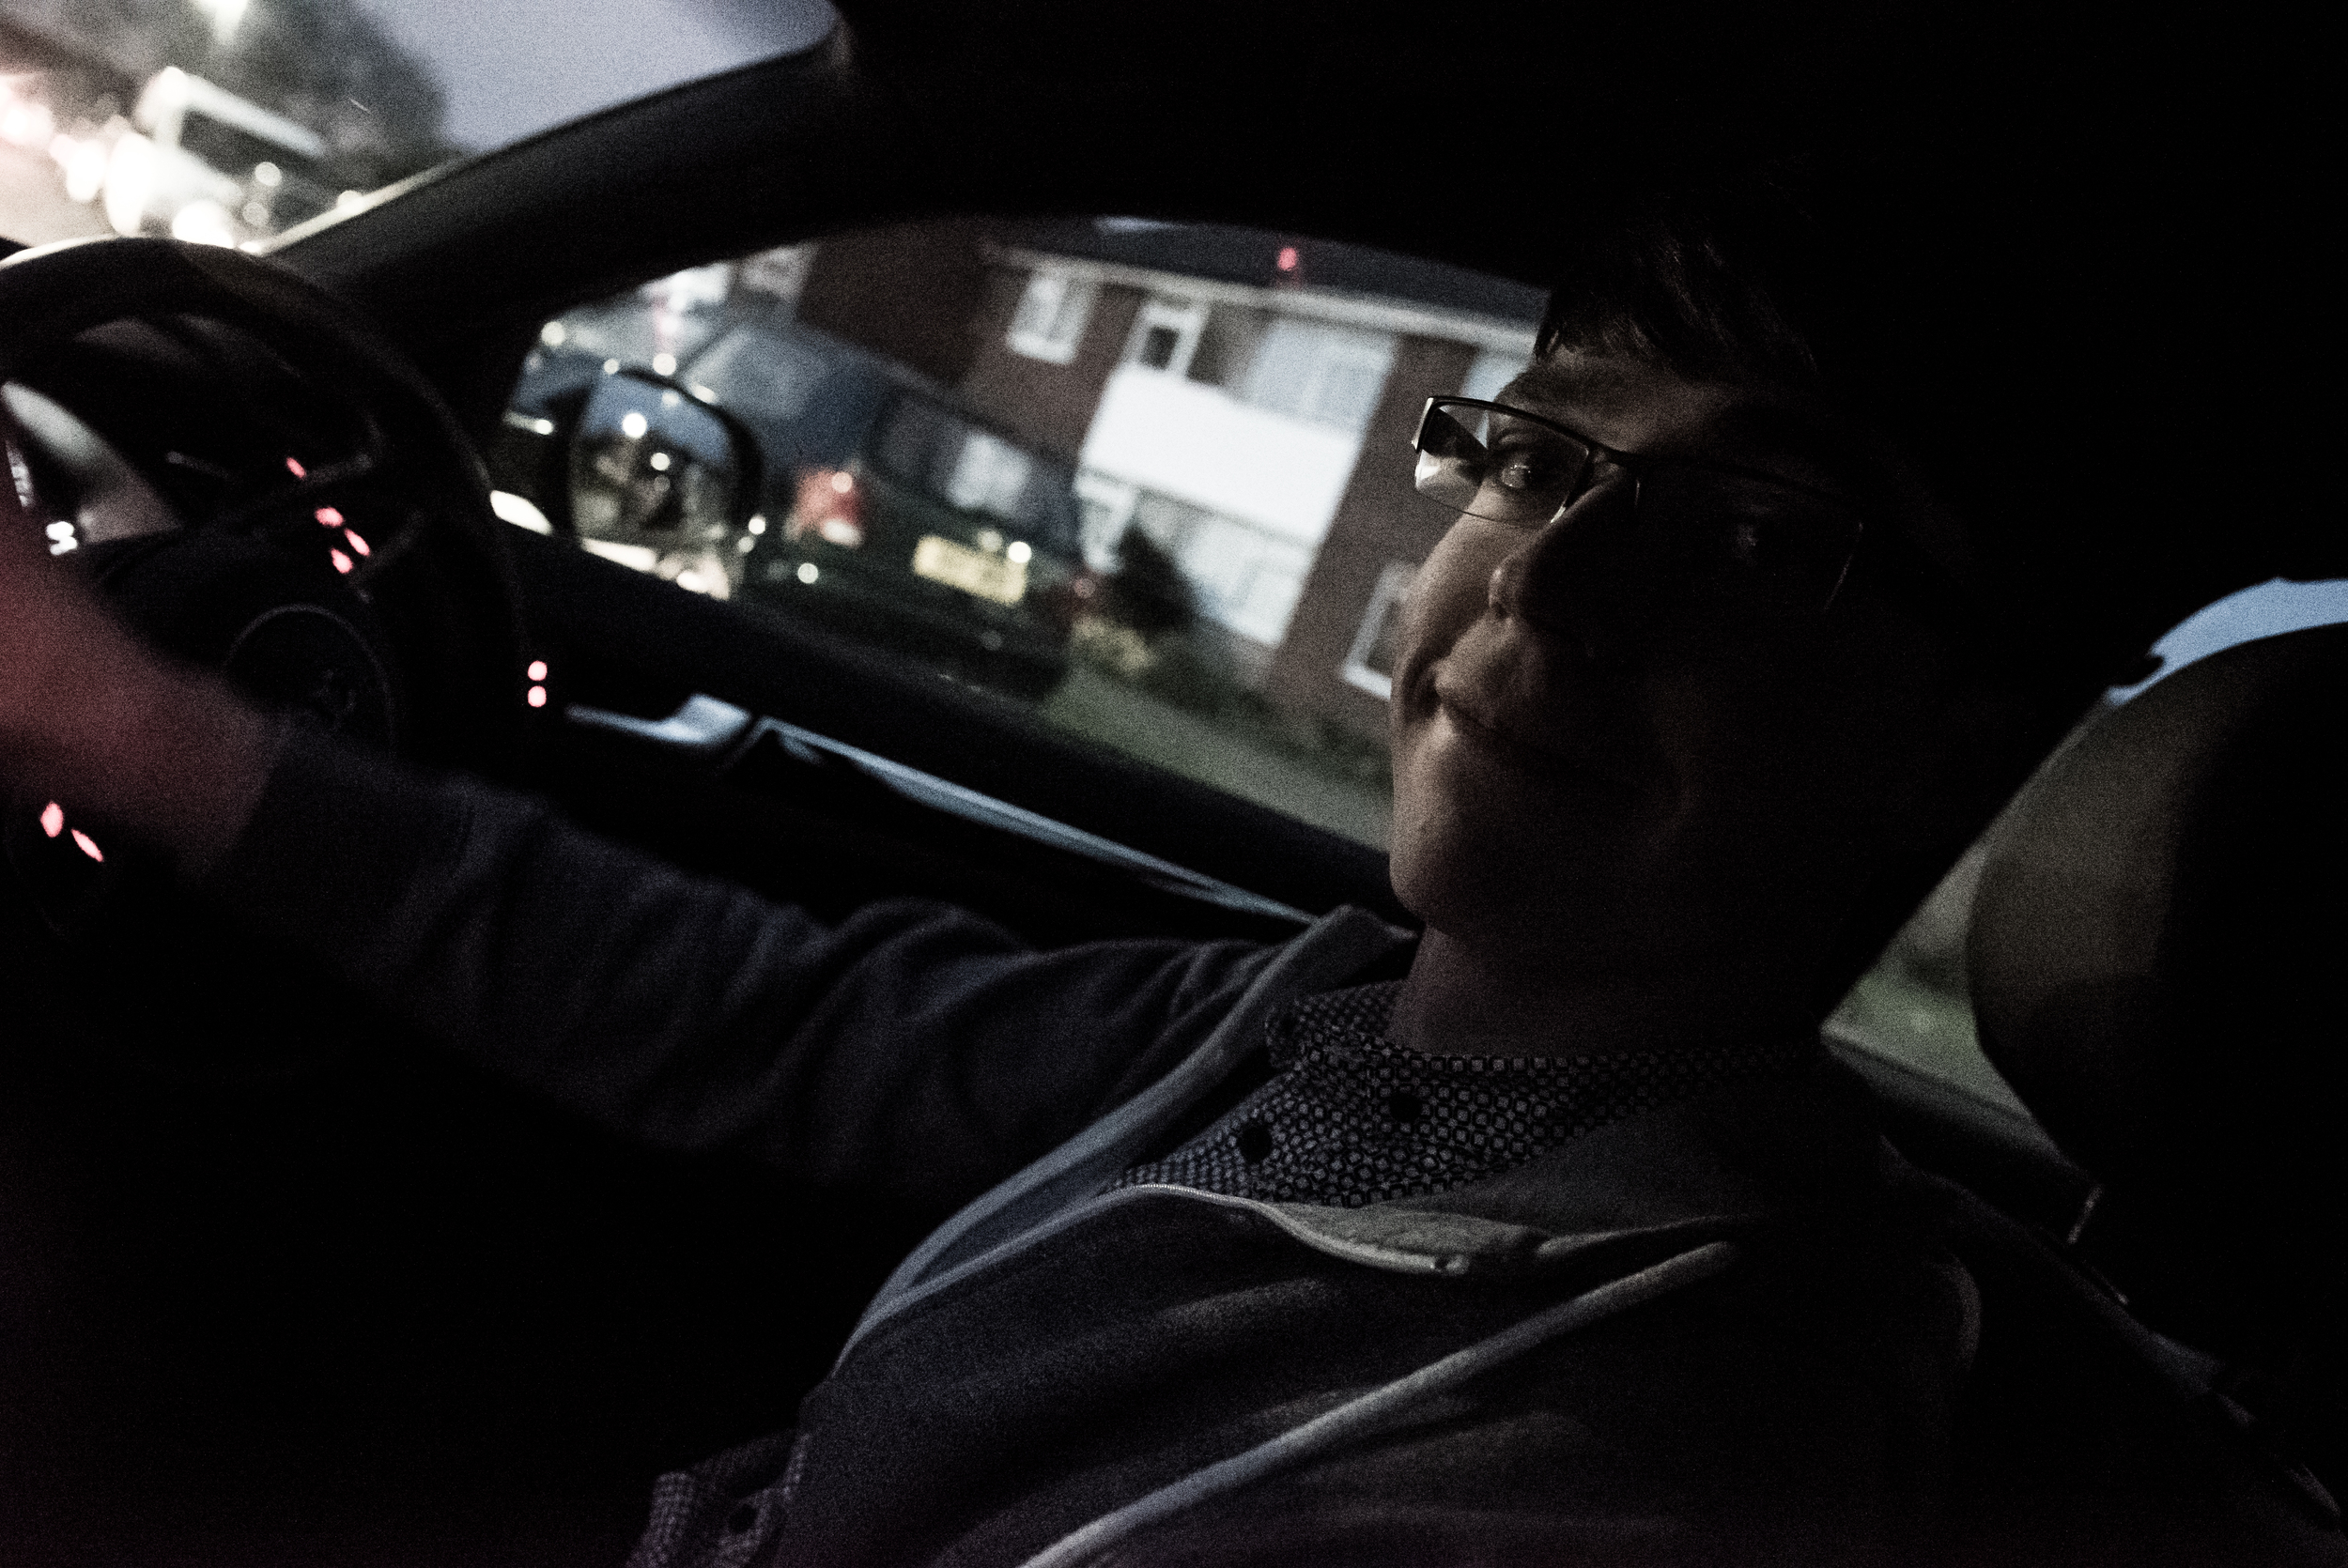
Our approach to creating a fully loaded video campaign for the largest independent vehicle sales company in the UK; Wilsons.
2018 Has Been The Best Year For APVideo!
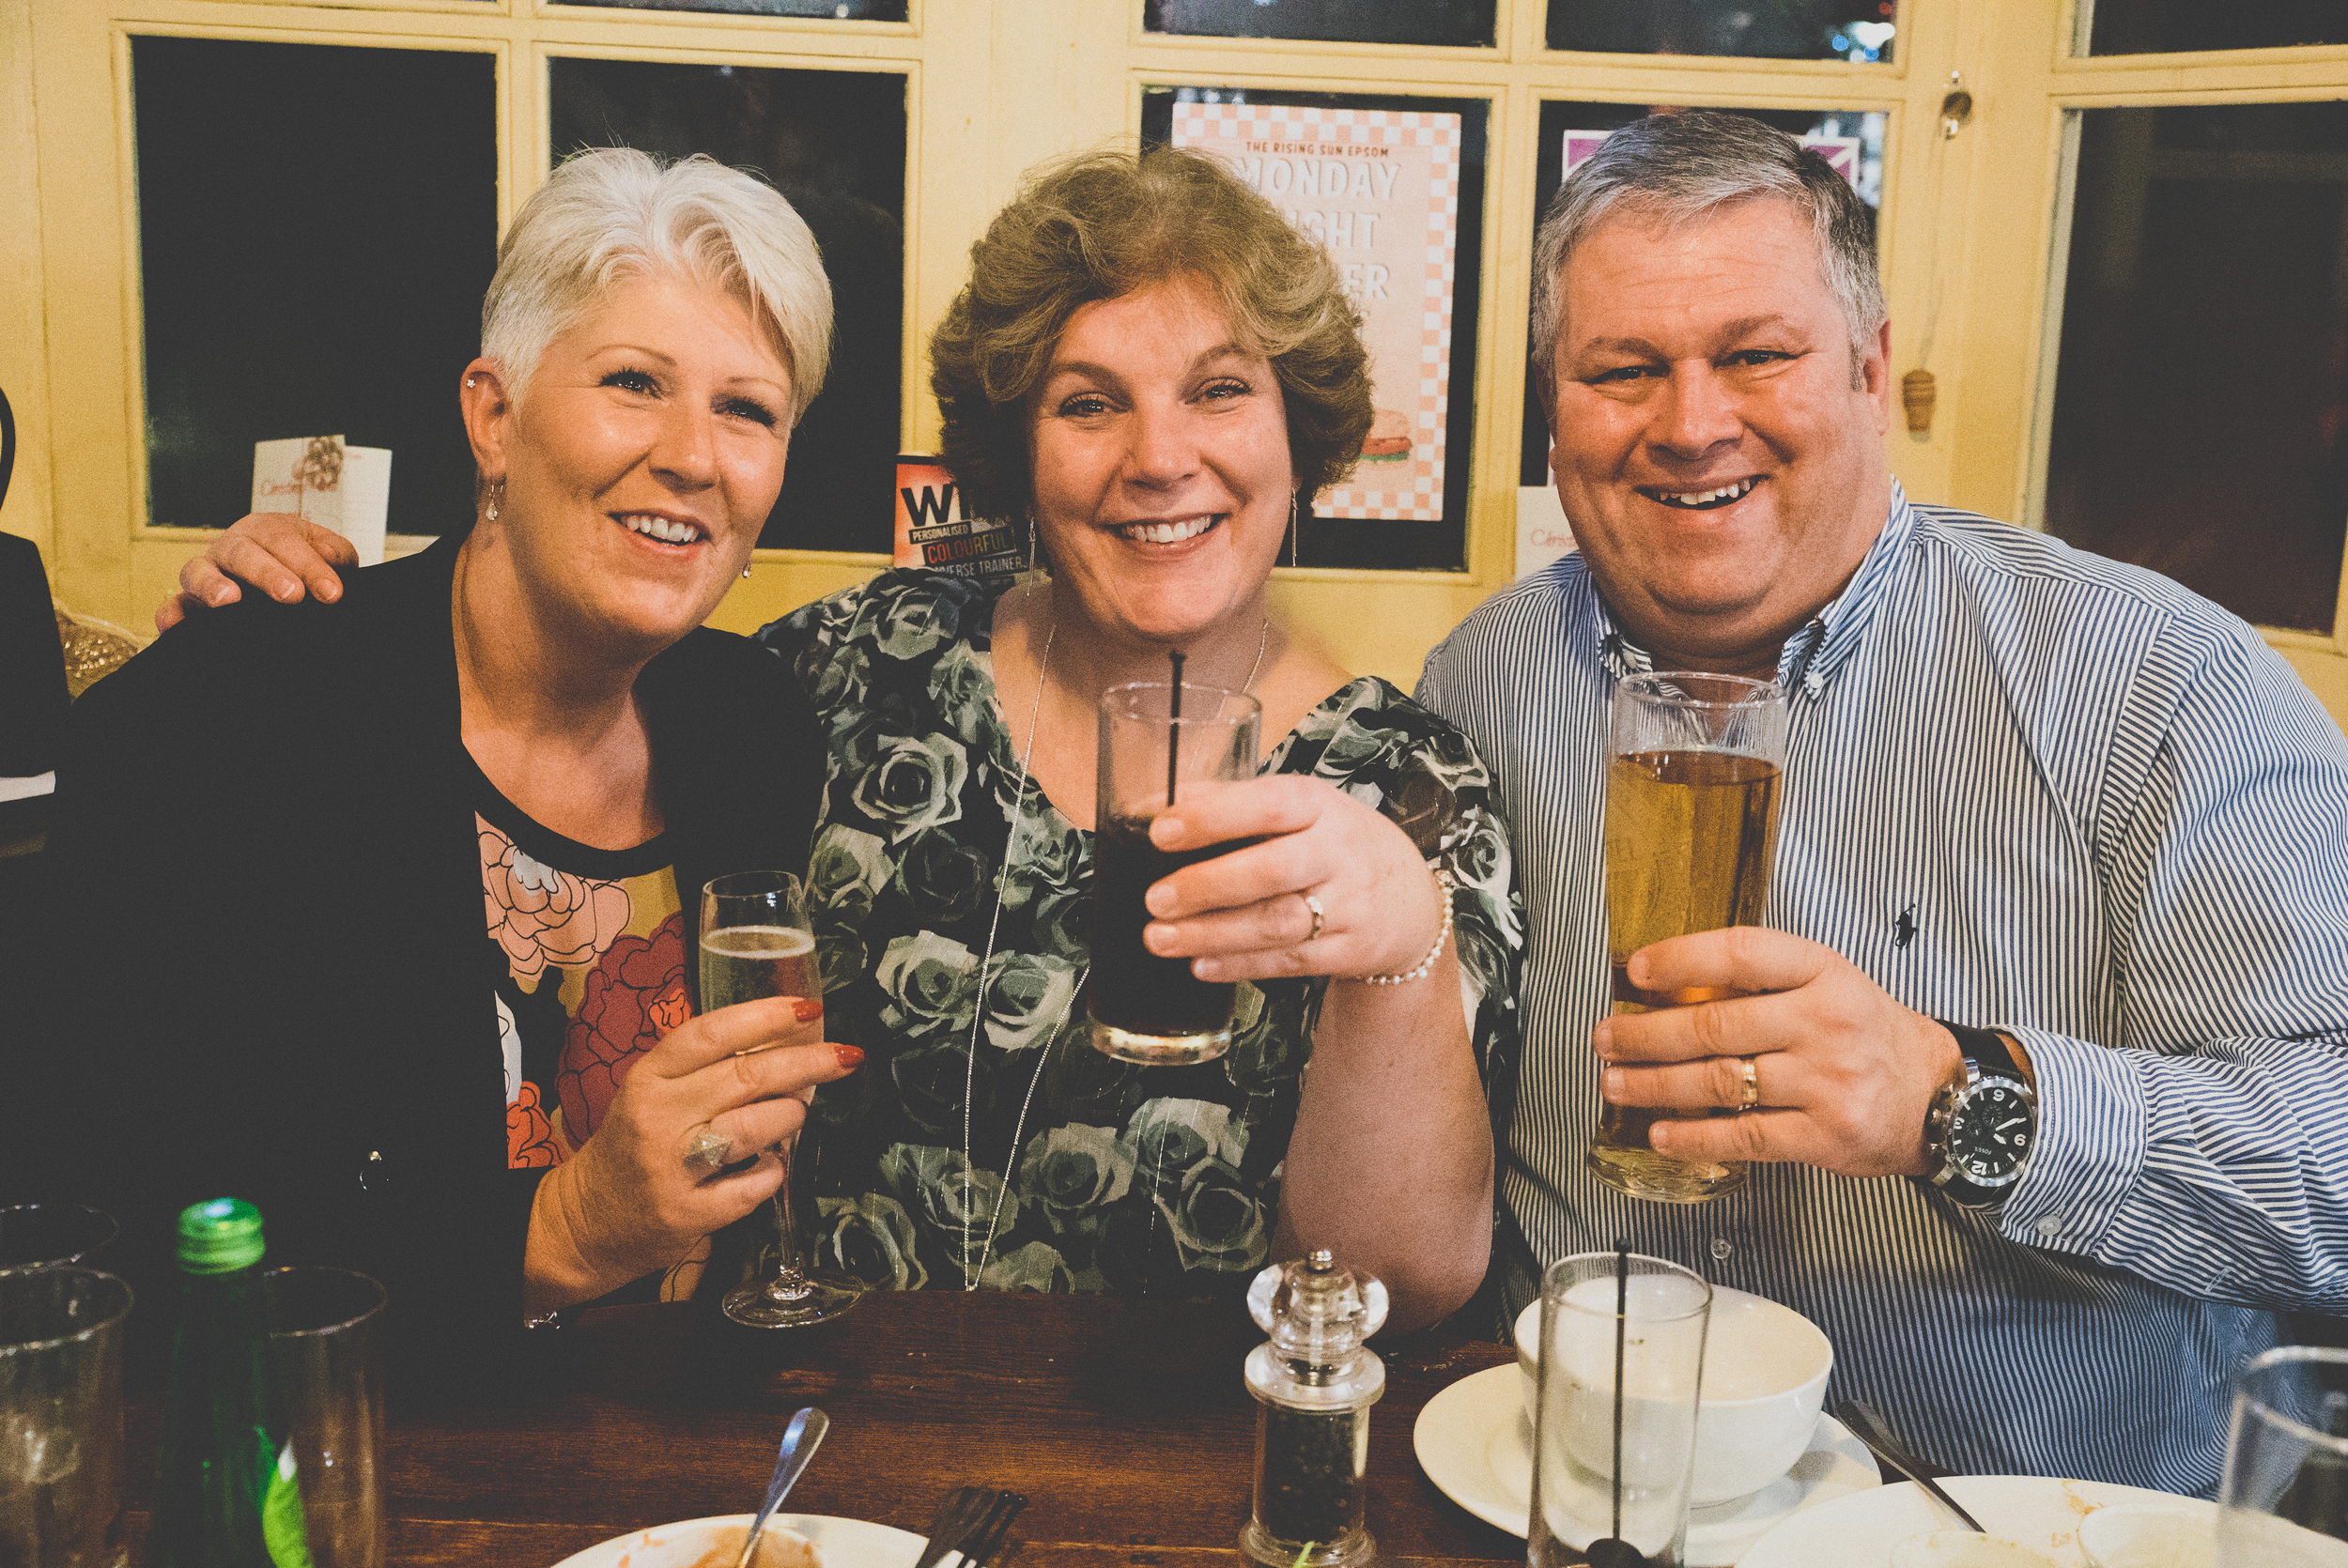
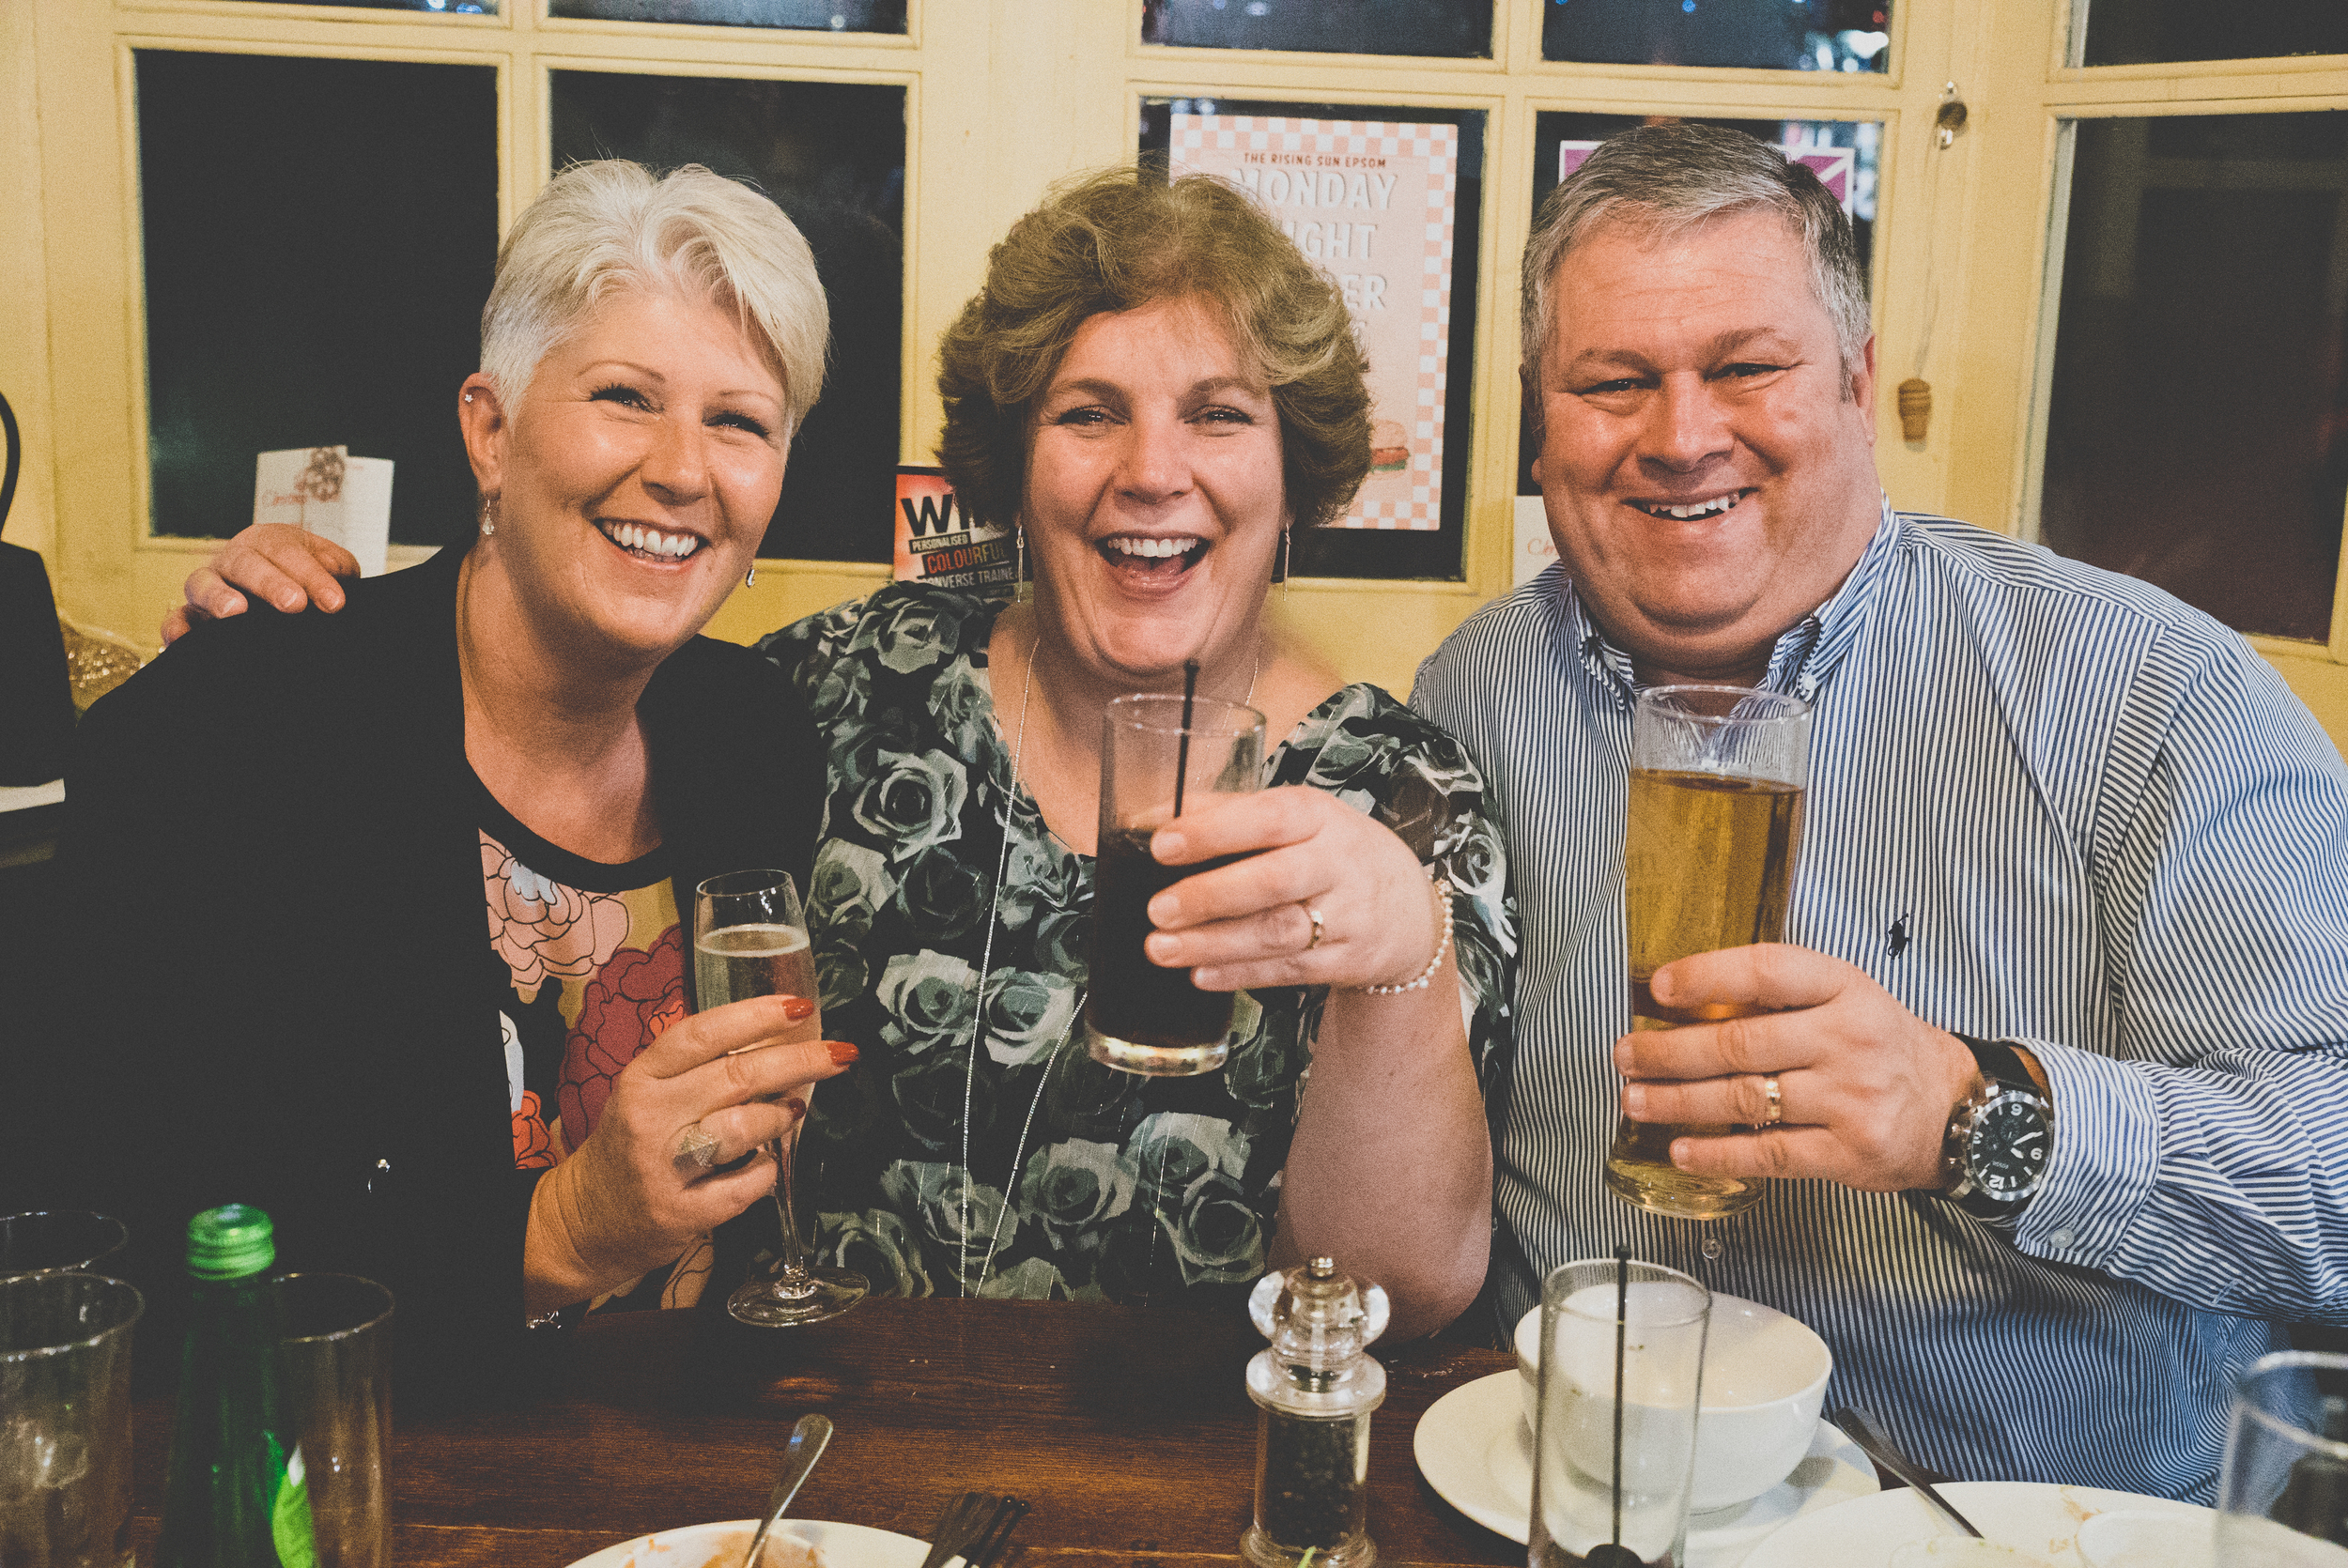
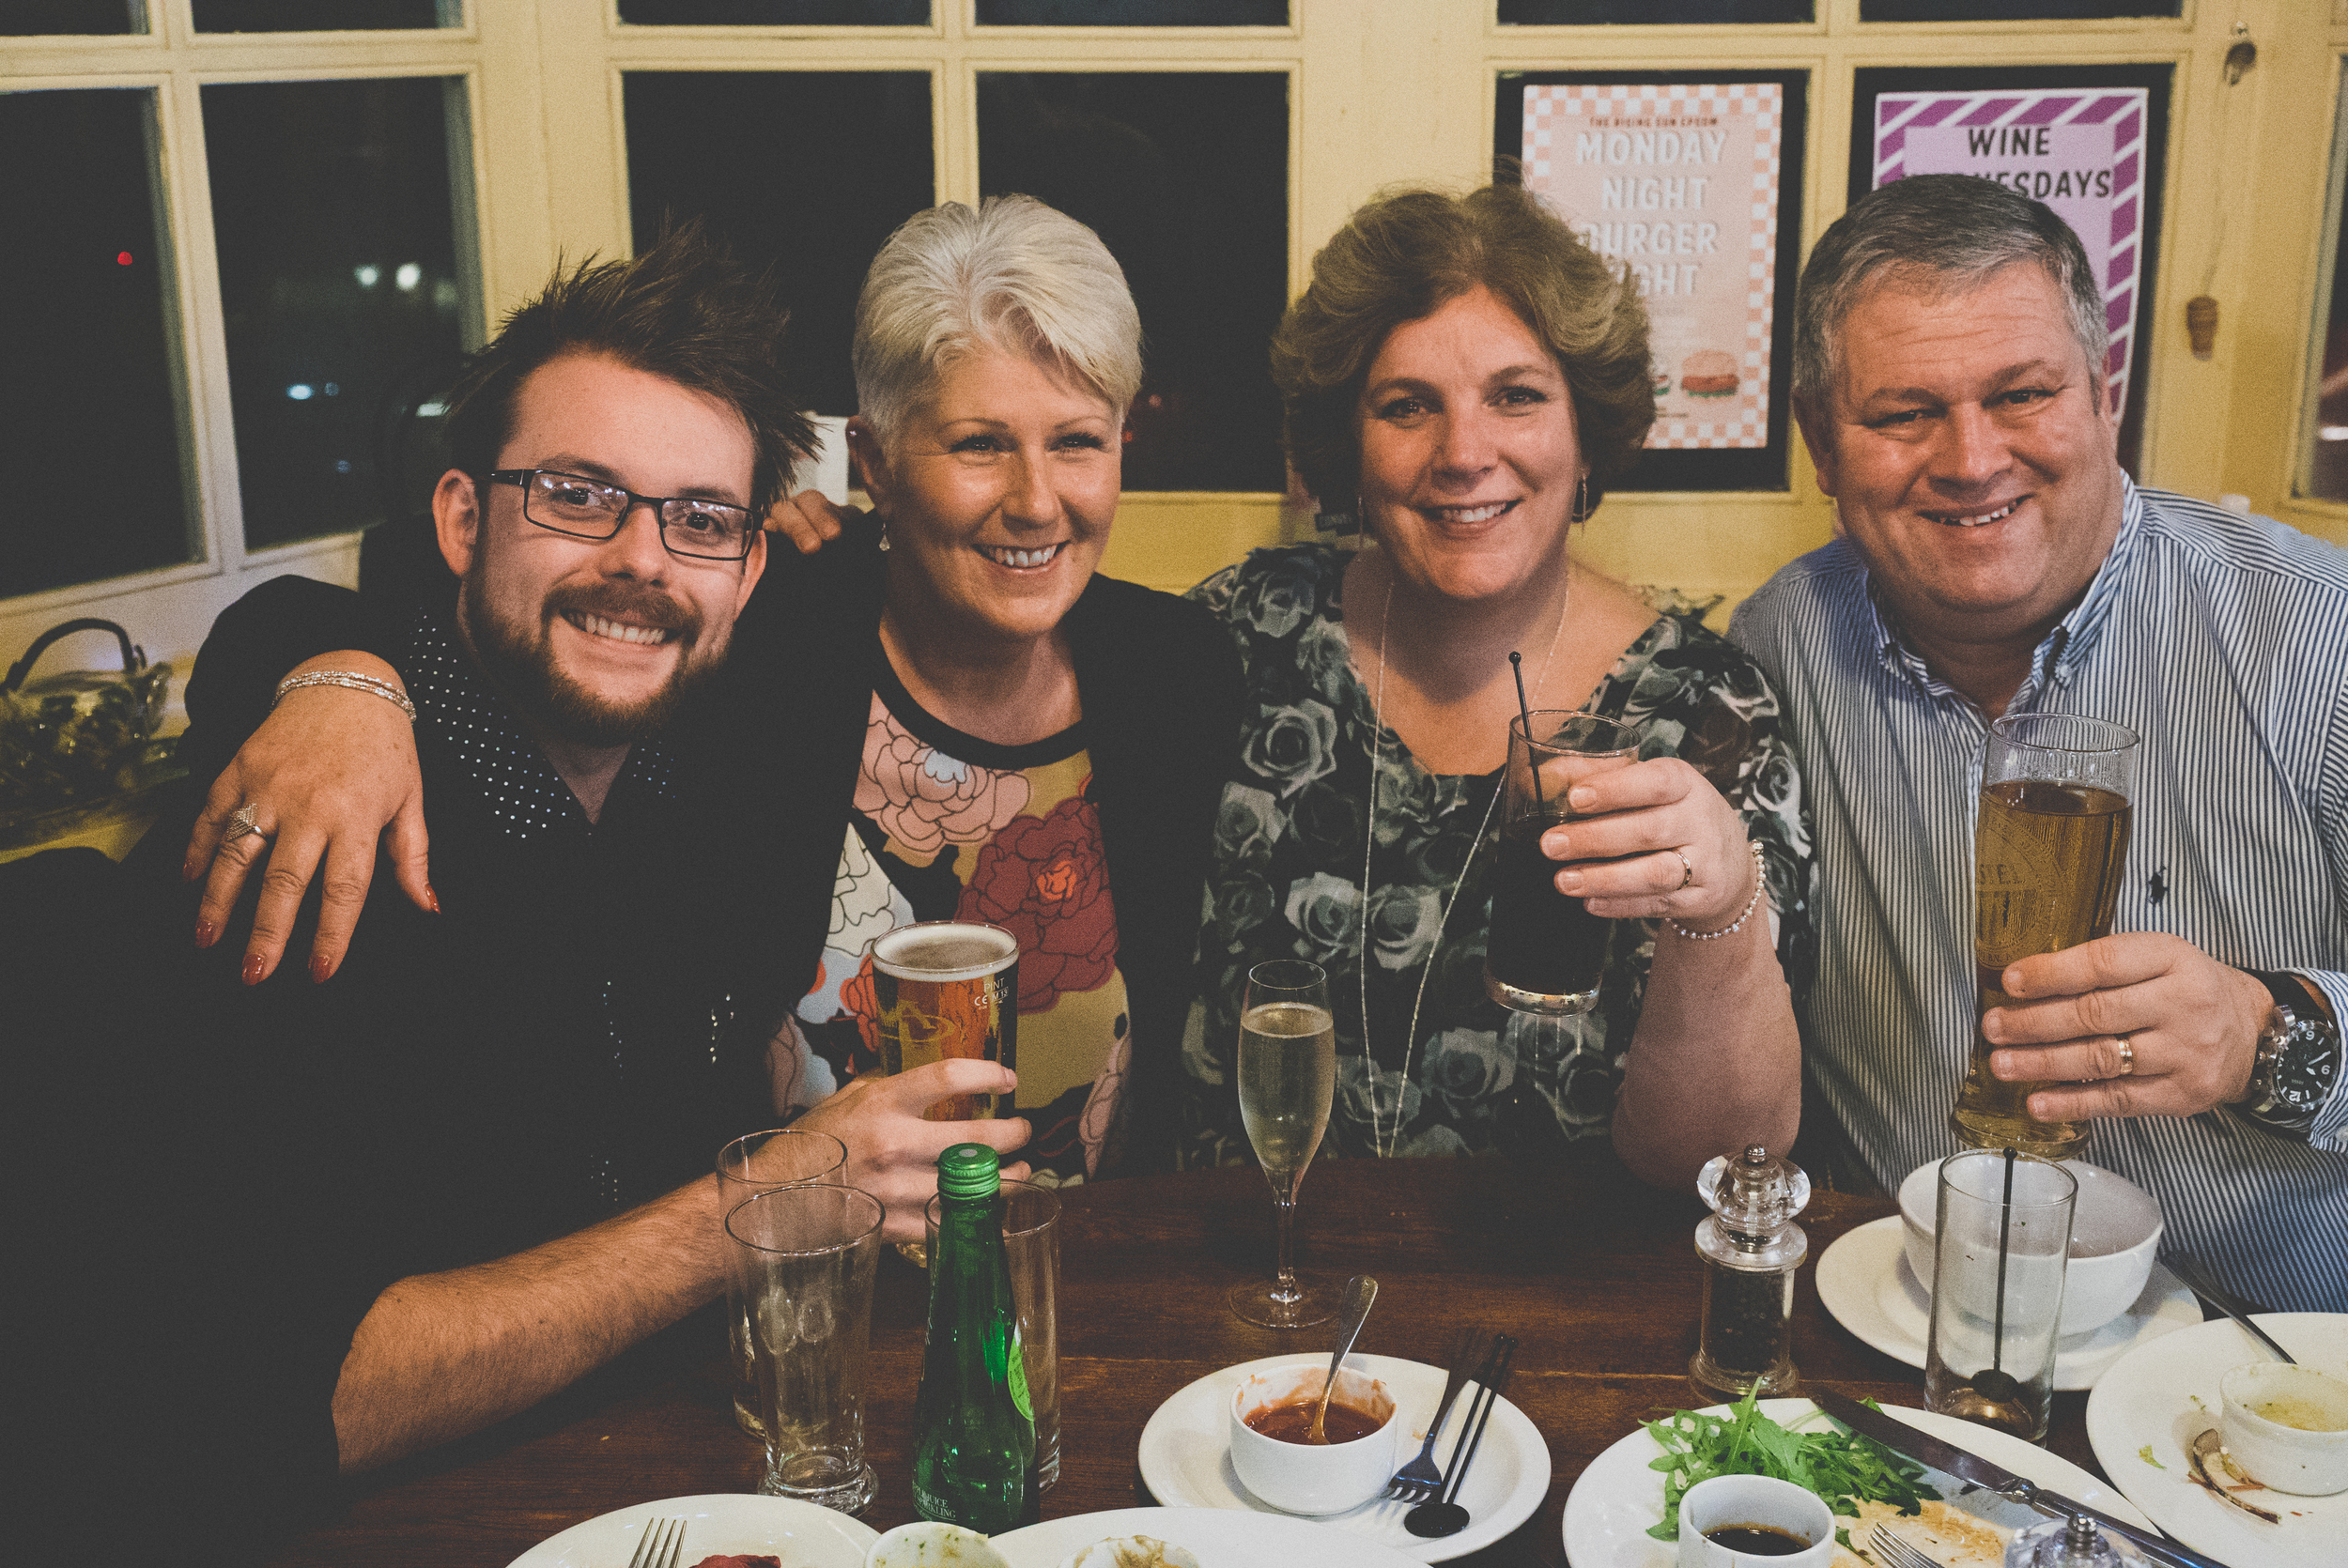
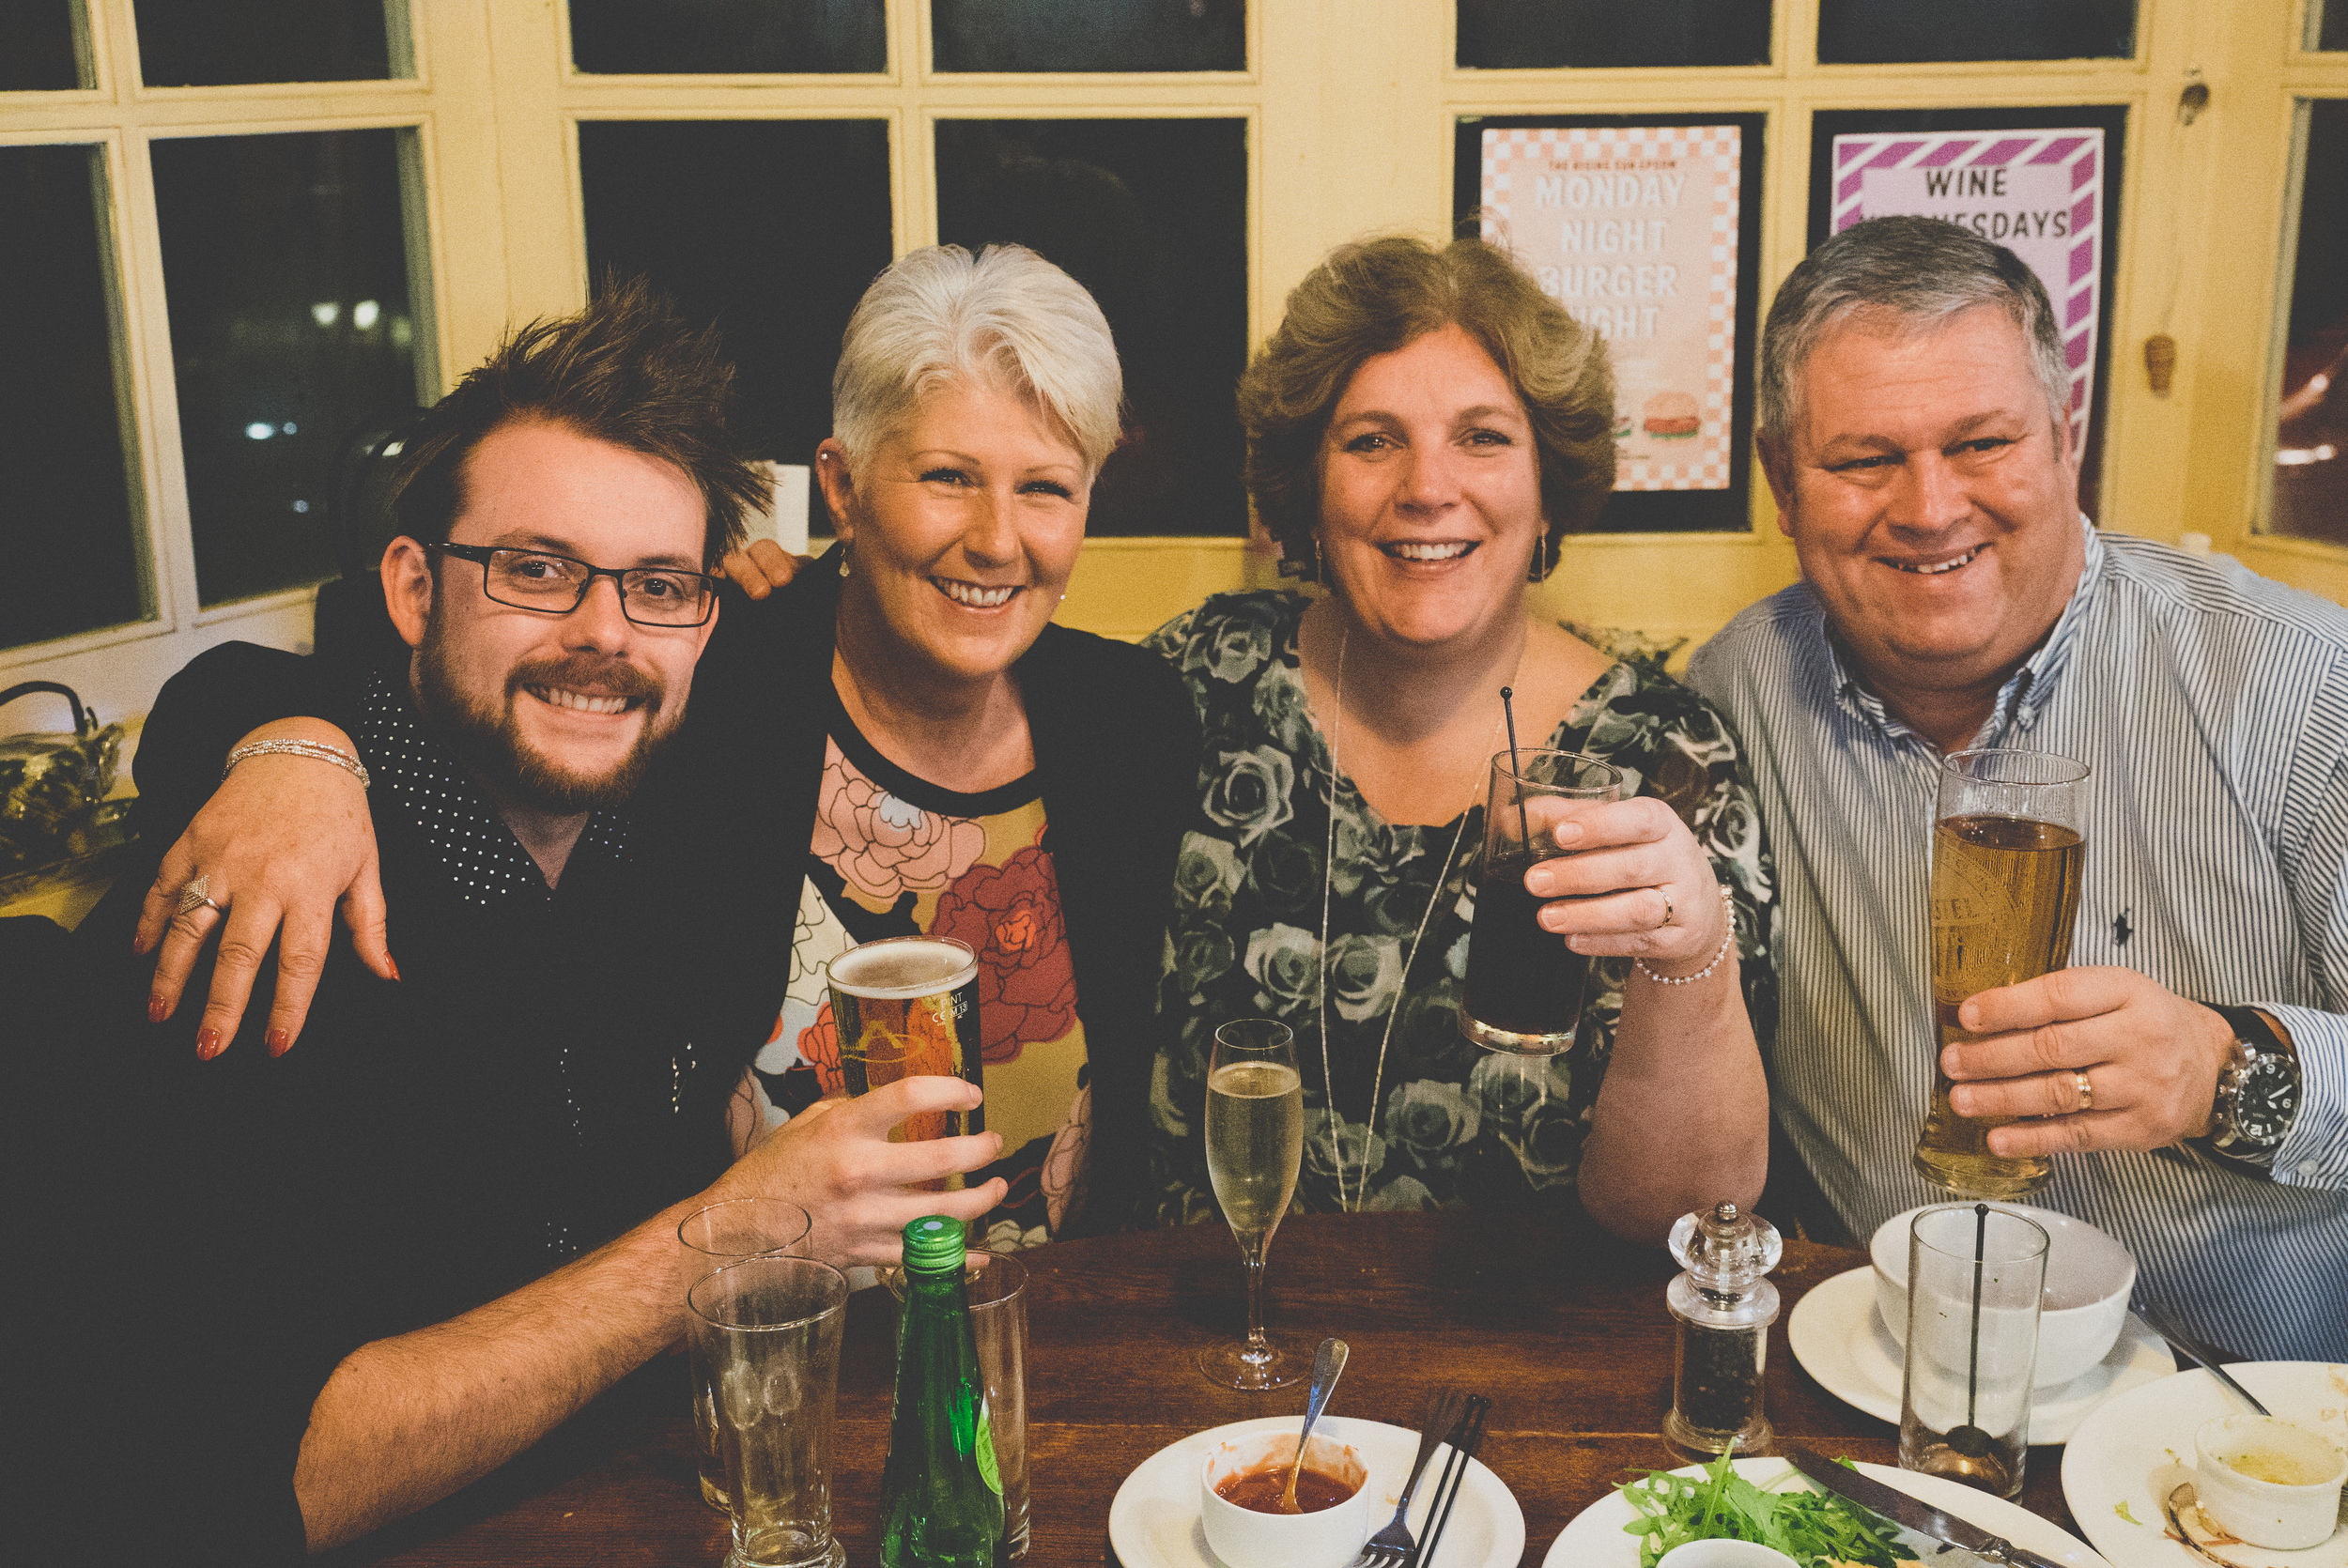
We’re celebrating! Not just because it’s Christmas, but because 2018 was our most successful year producing video content in Surrey and Internationally!
Let’s take a look back at what we’ve been up to… First up, CVP Pro Repairs.
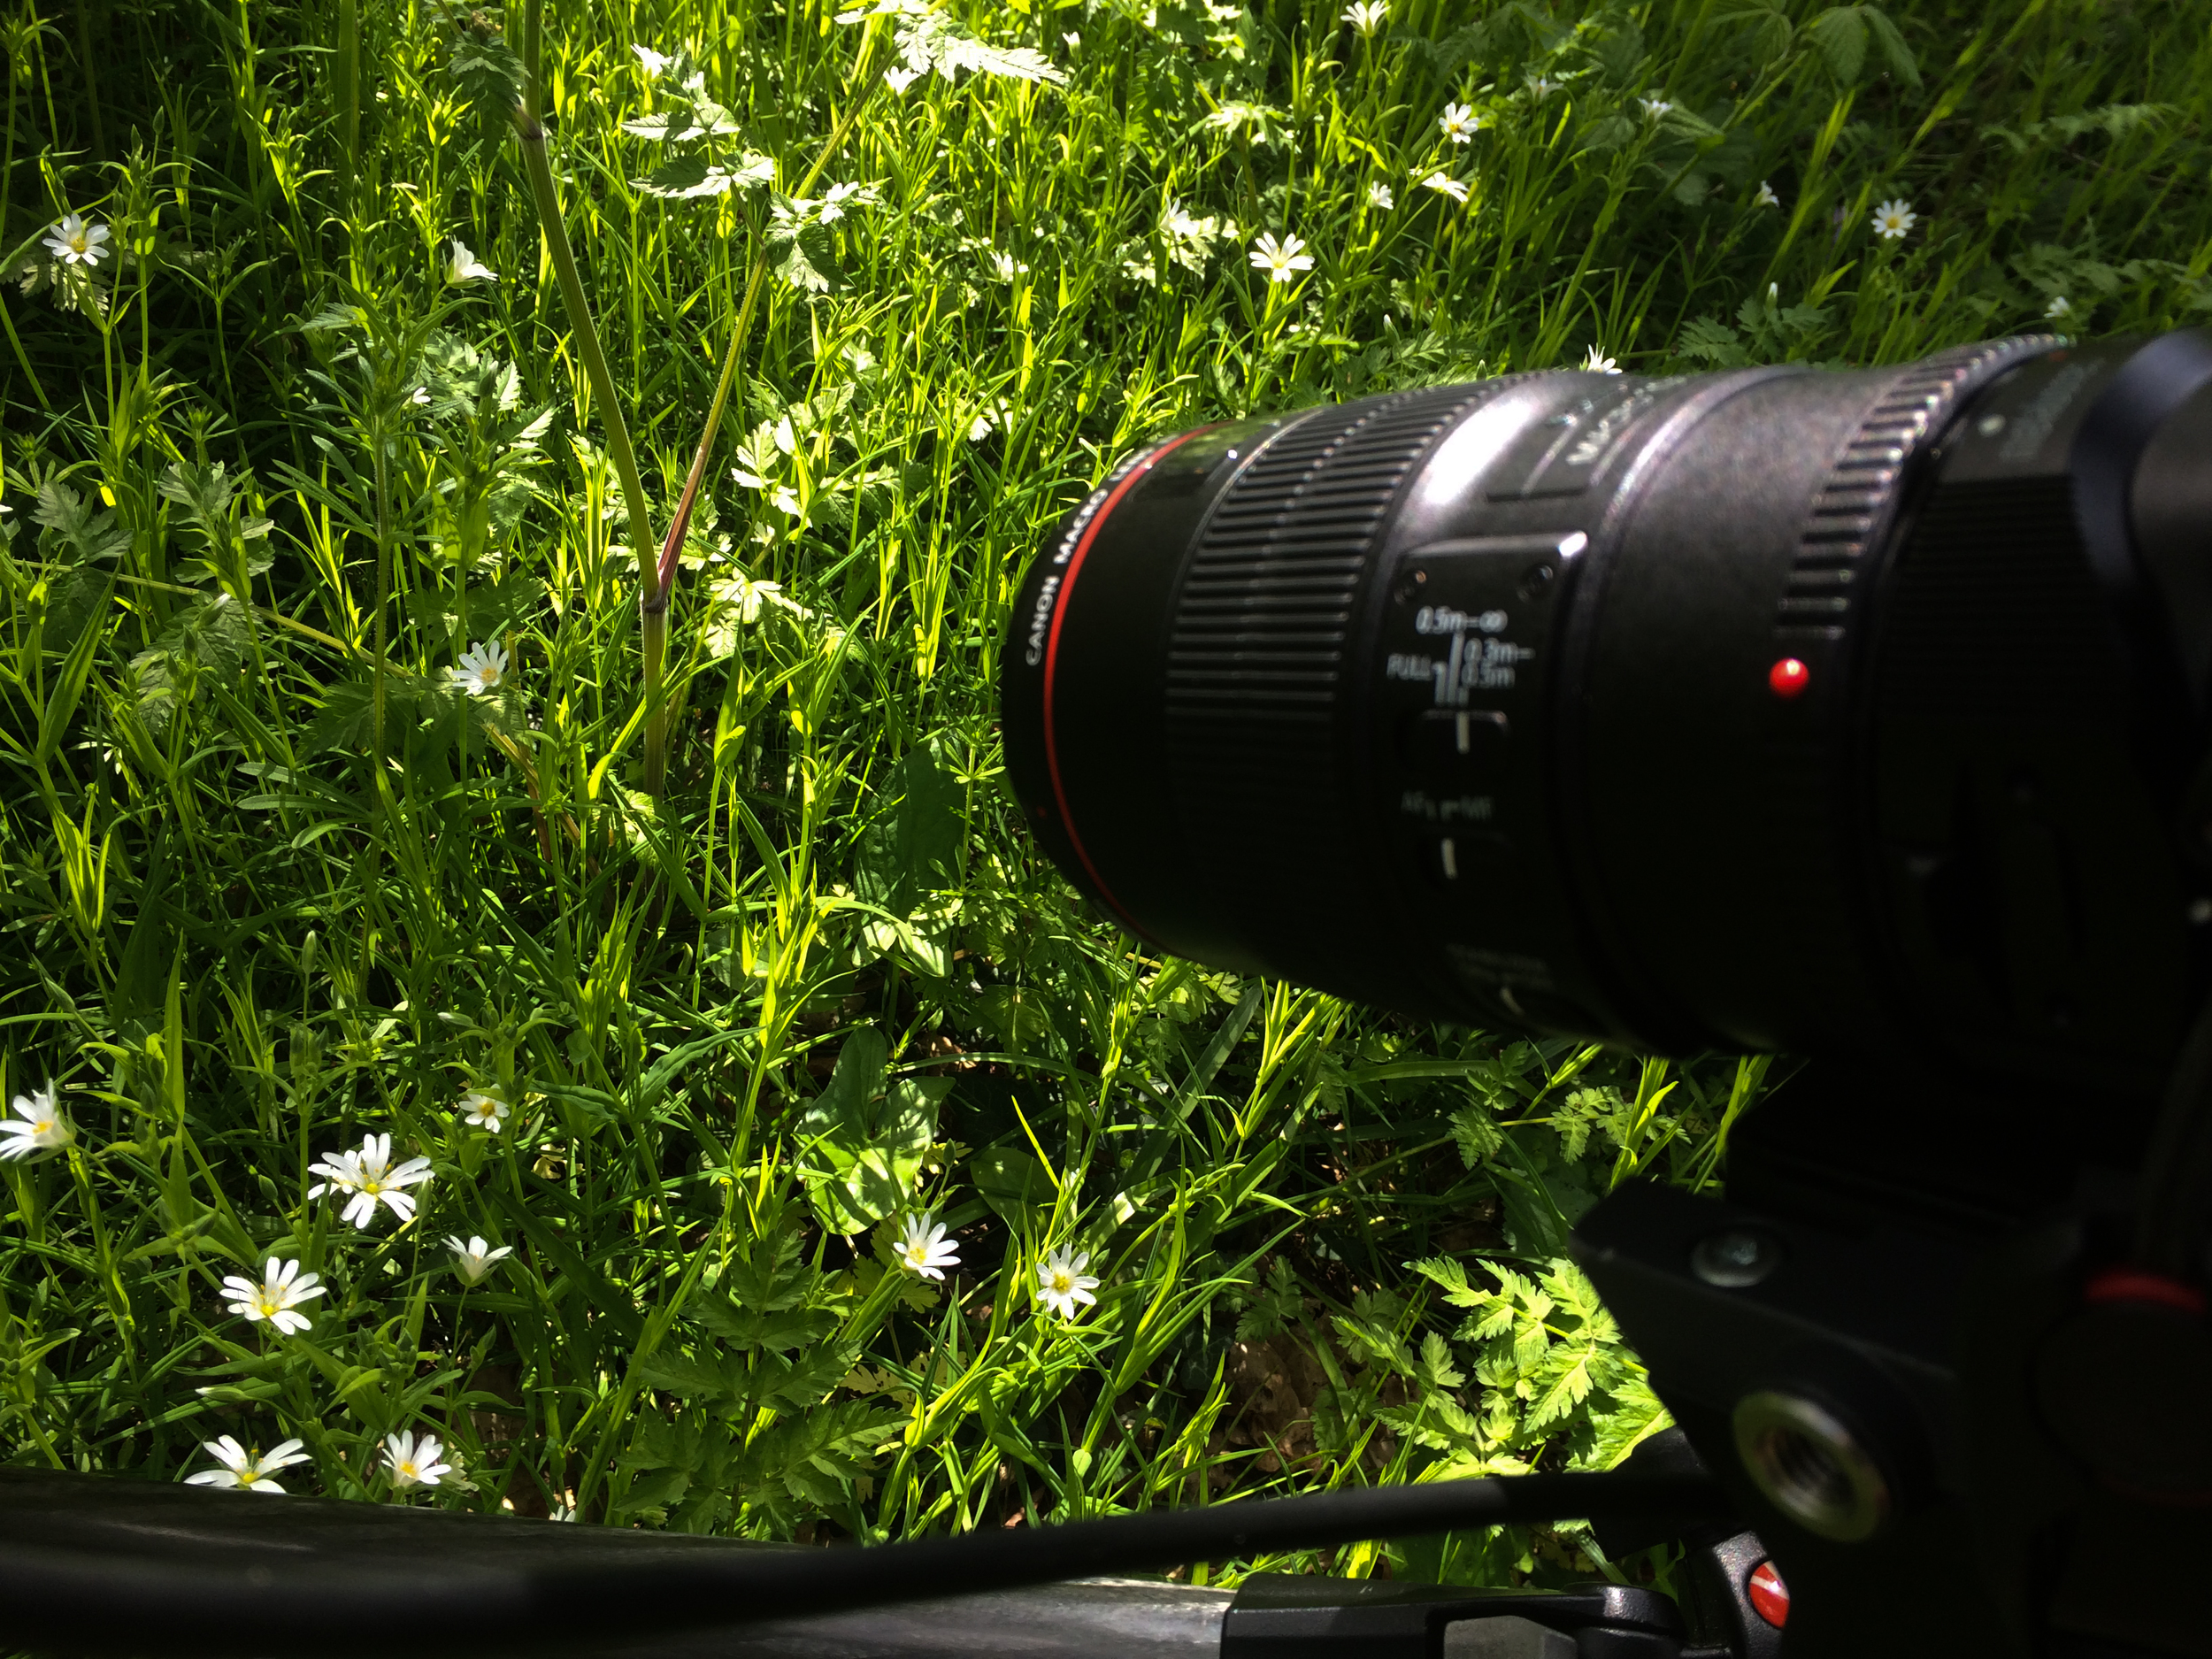
Earlier this year we were very excited to release the three videos we produced for CVP, promoting their Pro Repairs department with a rebrand. We worked with the CVP engineers to capture the intricacy and details of deconstructing Cooke cinema prime lenses, stripping the Sony F55, and analyzing the optical performance of lenses in the testing room.
The video content was paramount to the marketing campaign which included showing the 30 second edit before and after every presentation at BSC 2018. We’re really proud of this production, and CVP love it!
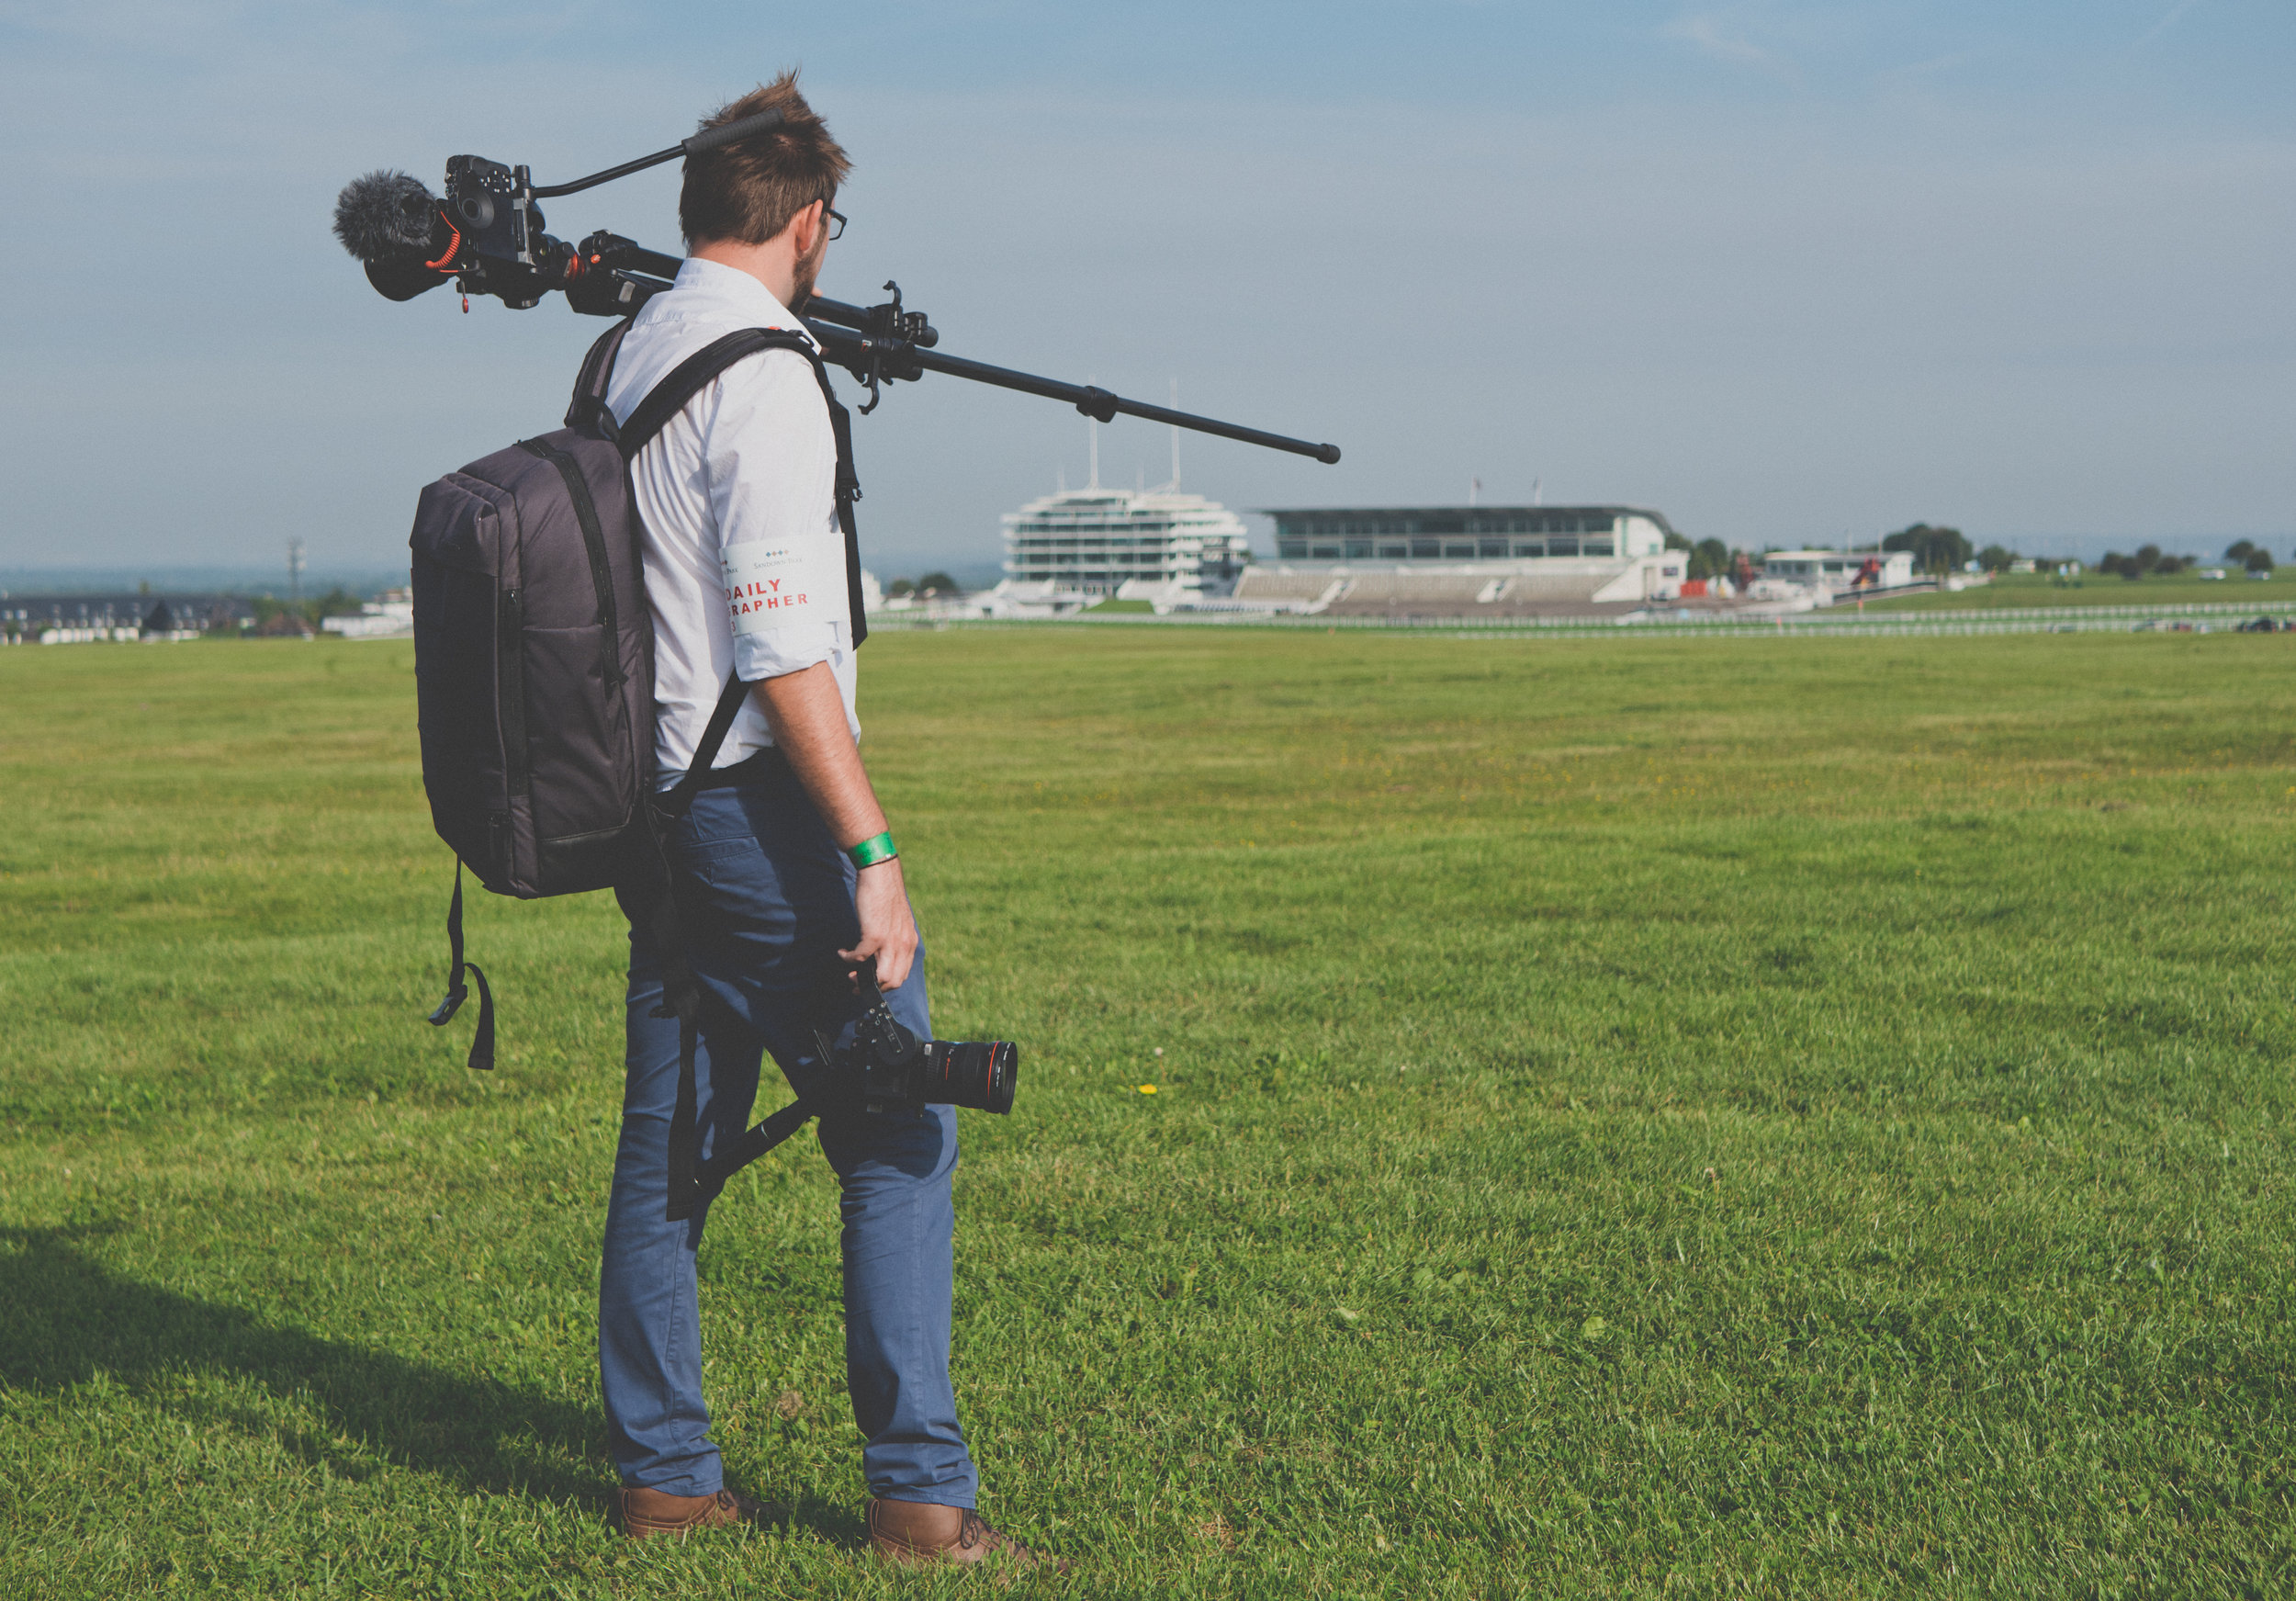
The Jockey Club - Epsom Downs Racecourse
At the beginning of the year we also began working with The Jockey Club, in particular Epsom Downs Racecourse to produce a series of fashion based videos to support the Investec Derby campaign. The series featured local milliner, Jessica Rea. We also edited the videos in 16:9 and 1:1 aspect ratios so the videos can be published on a variety of social media platforms.

Preparing for the world class racing at Epsom Downs.
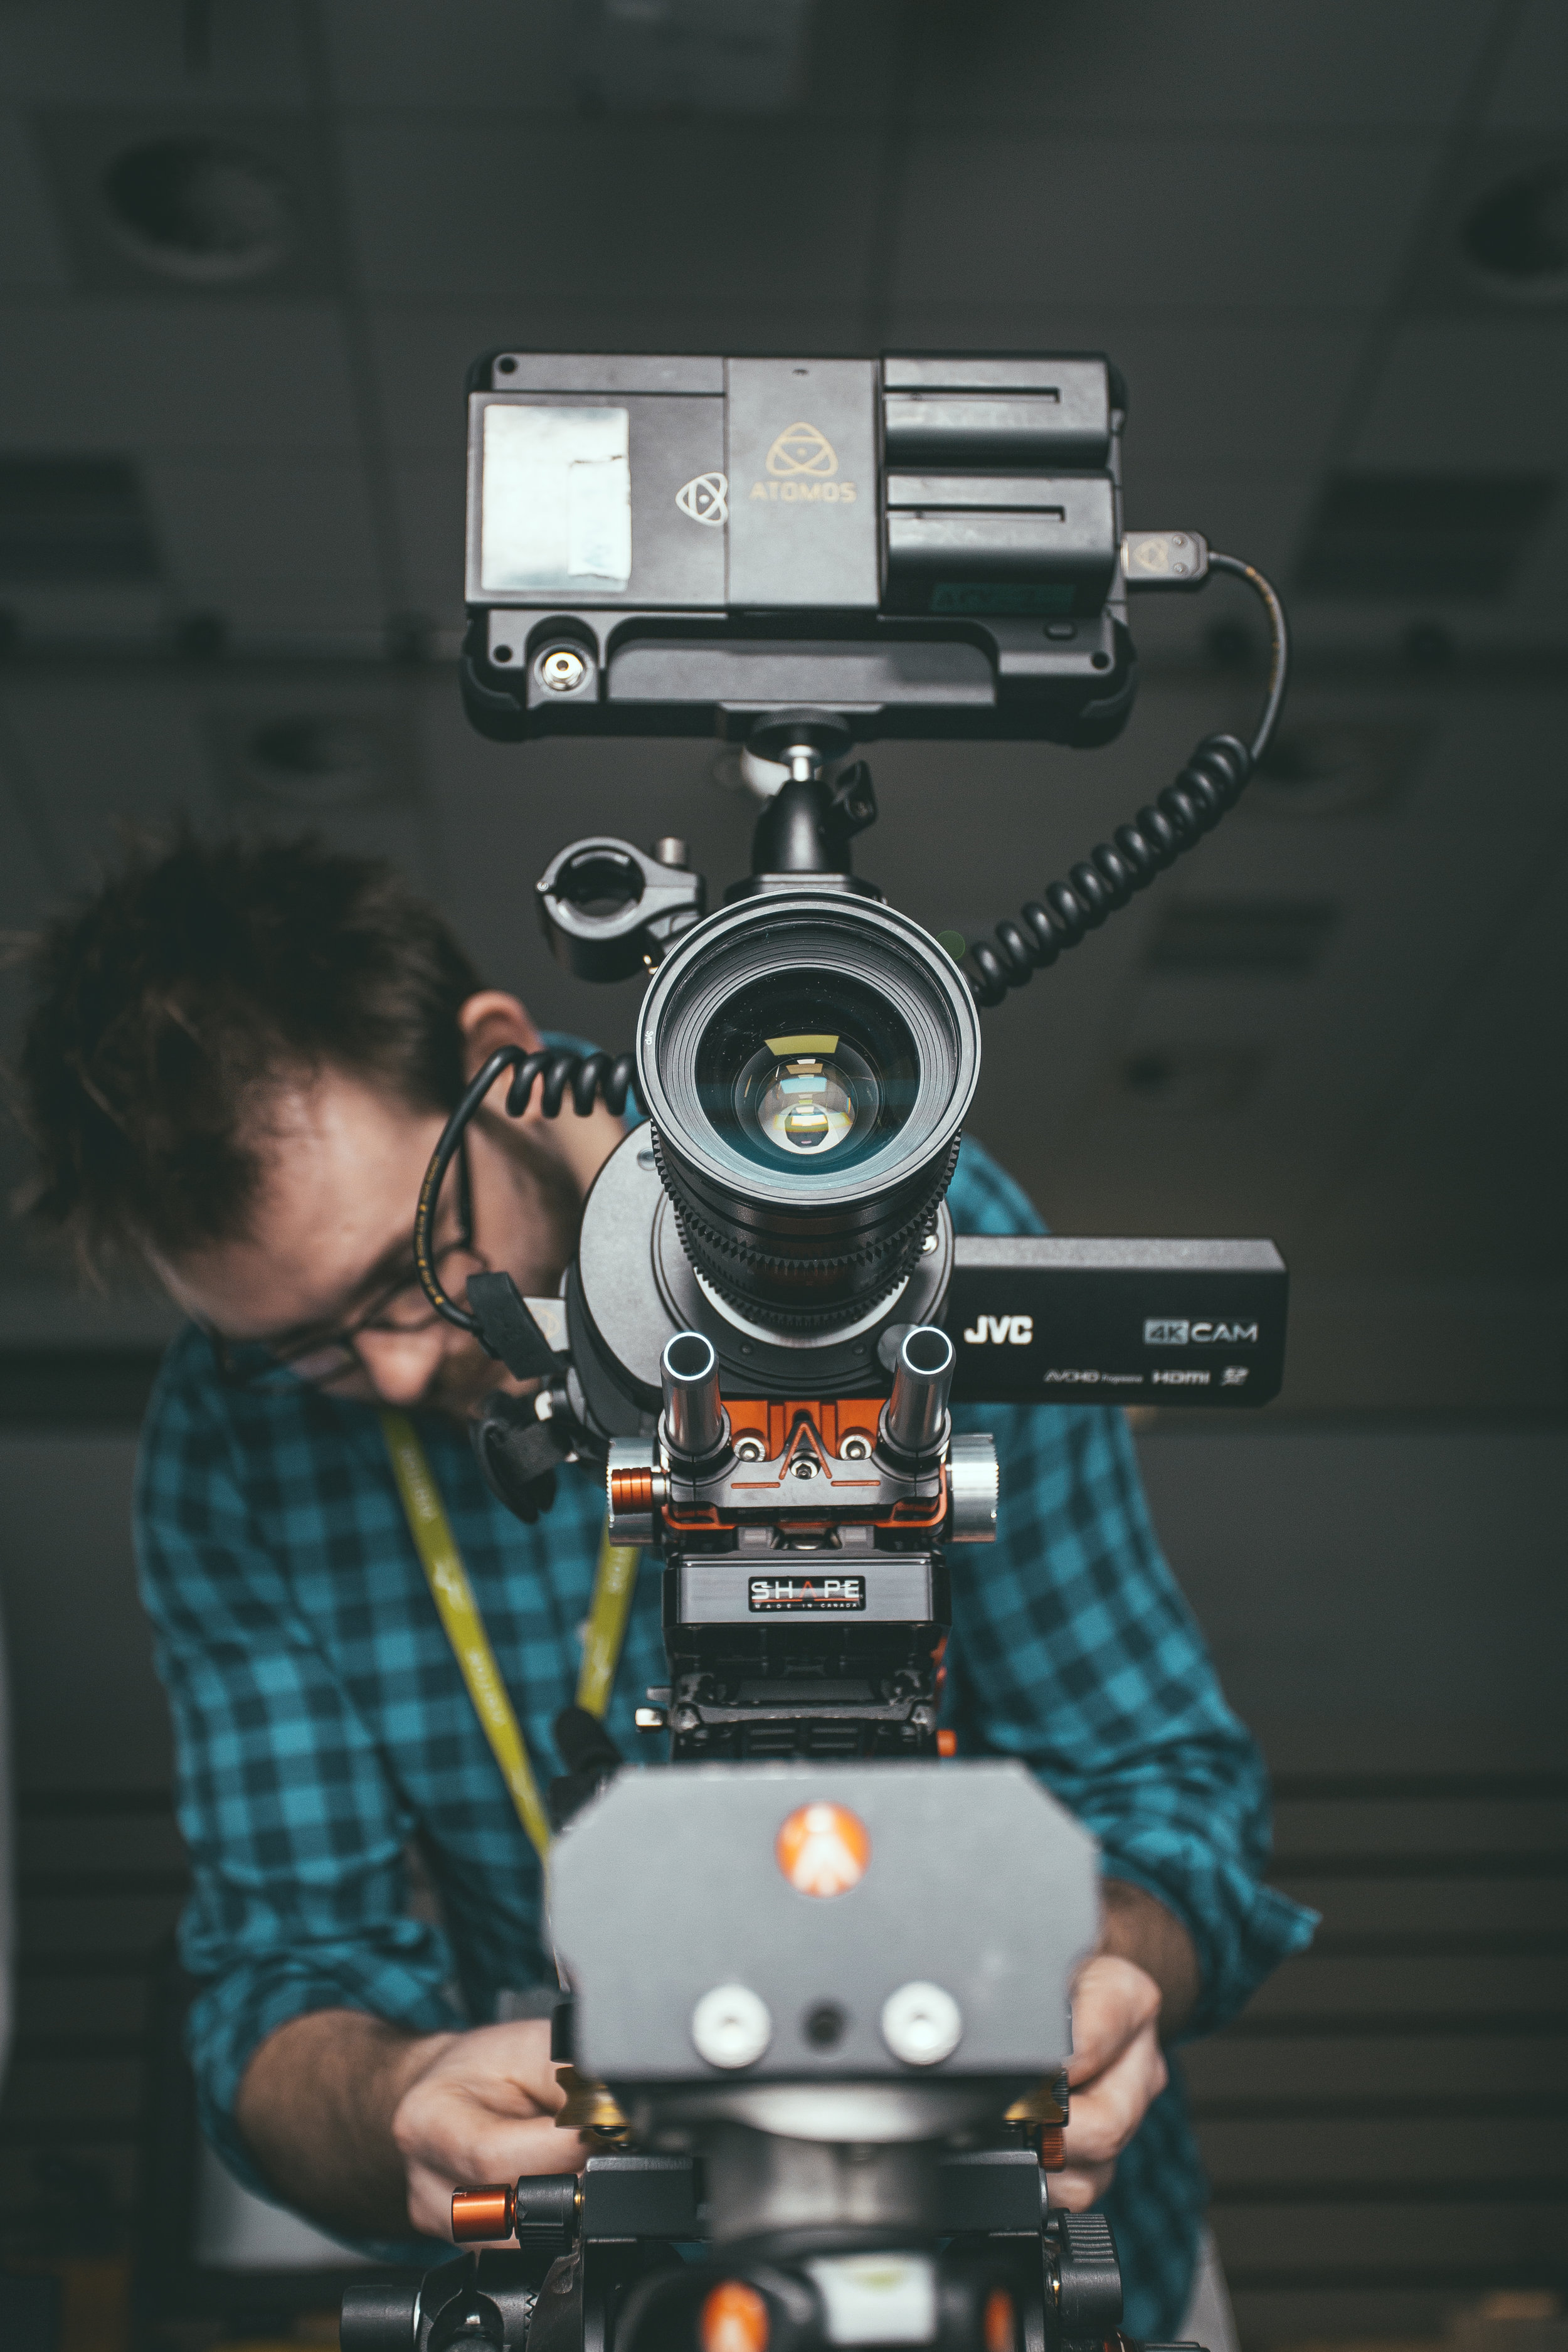
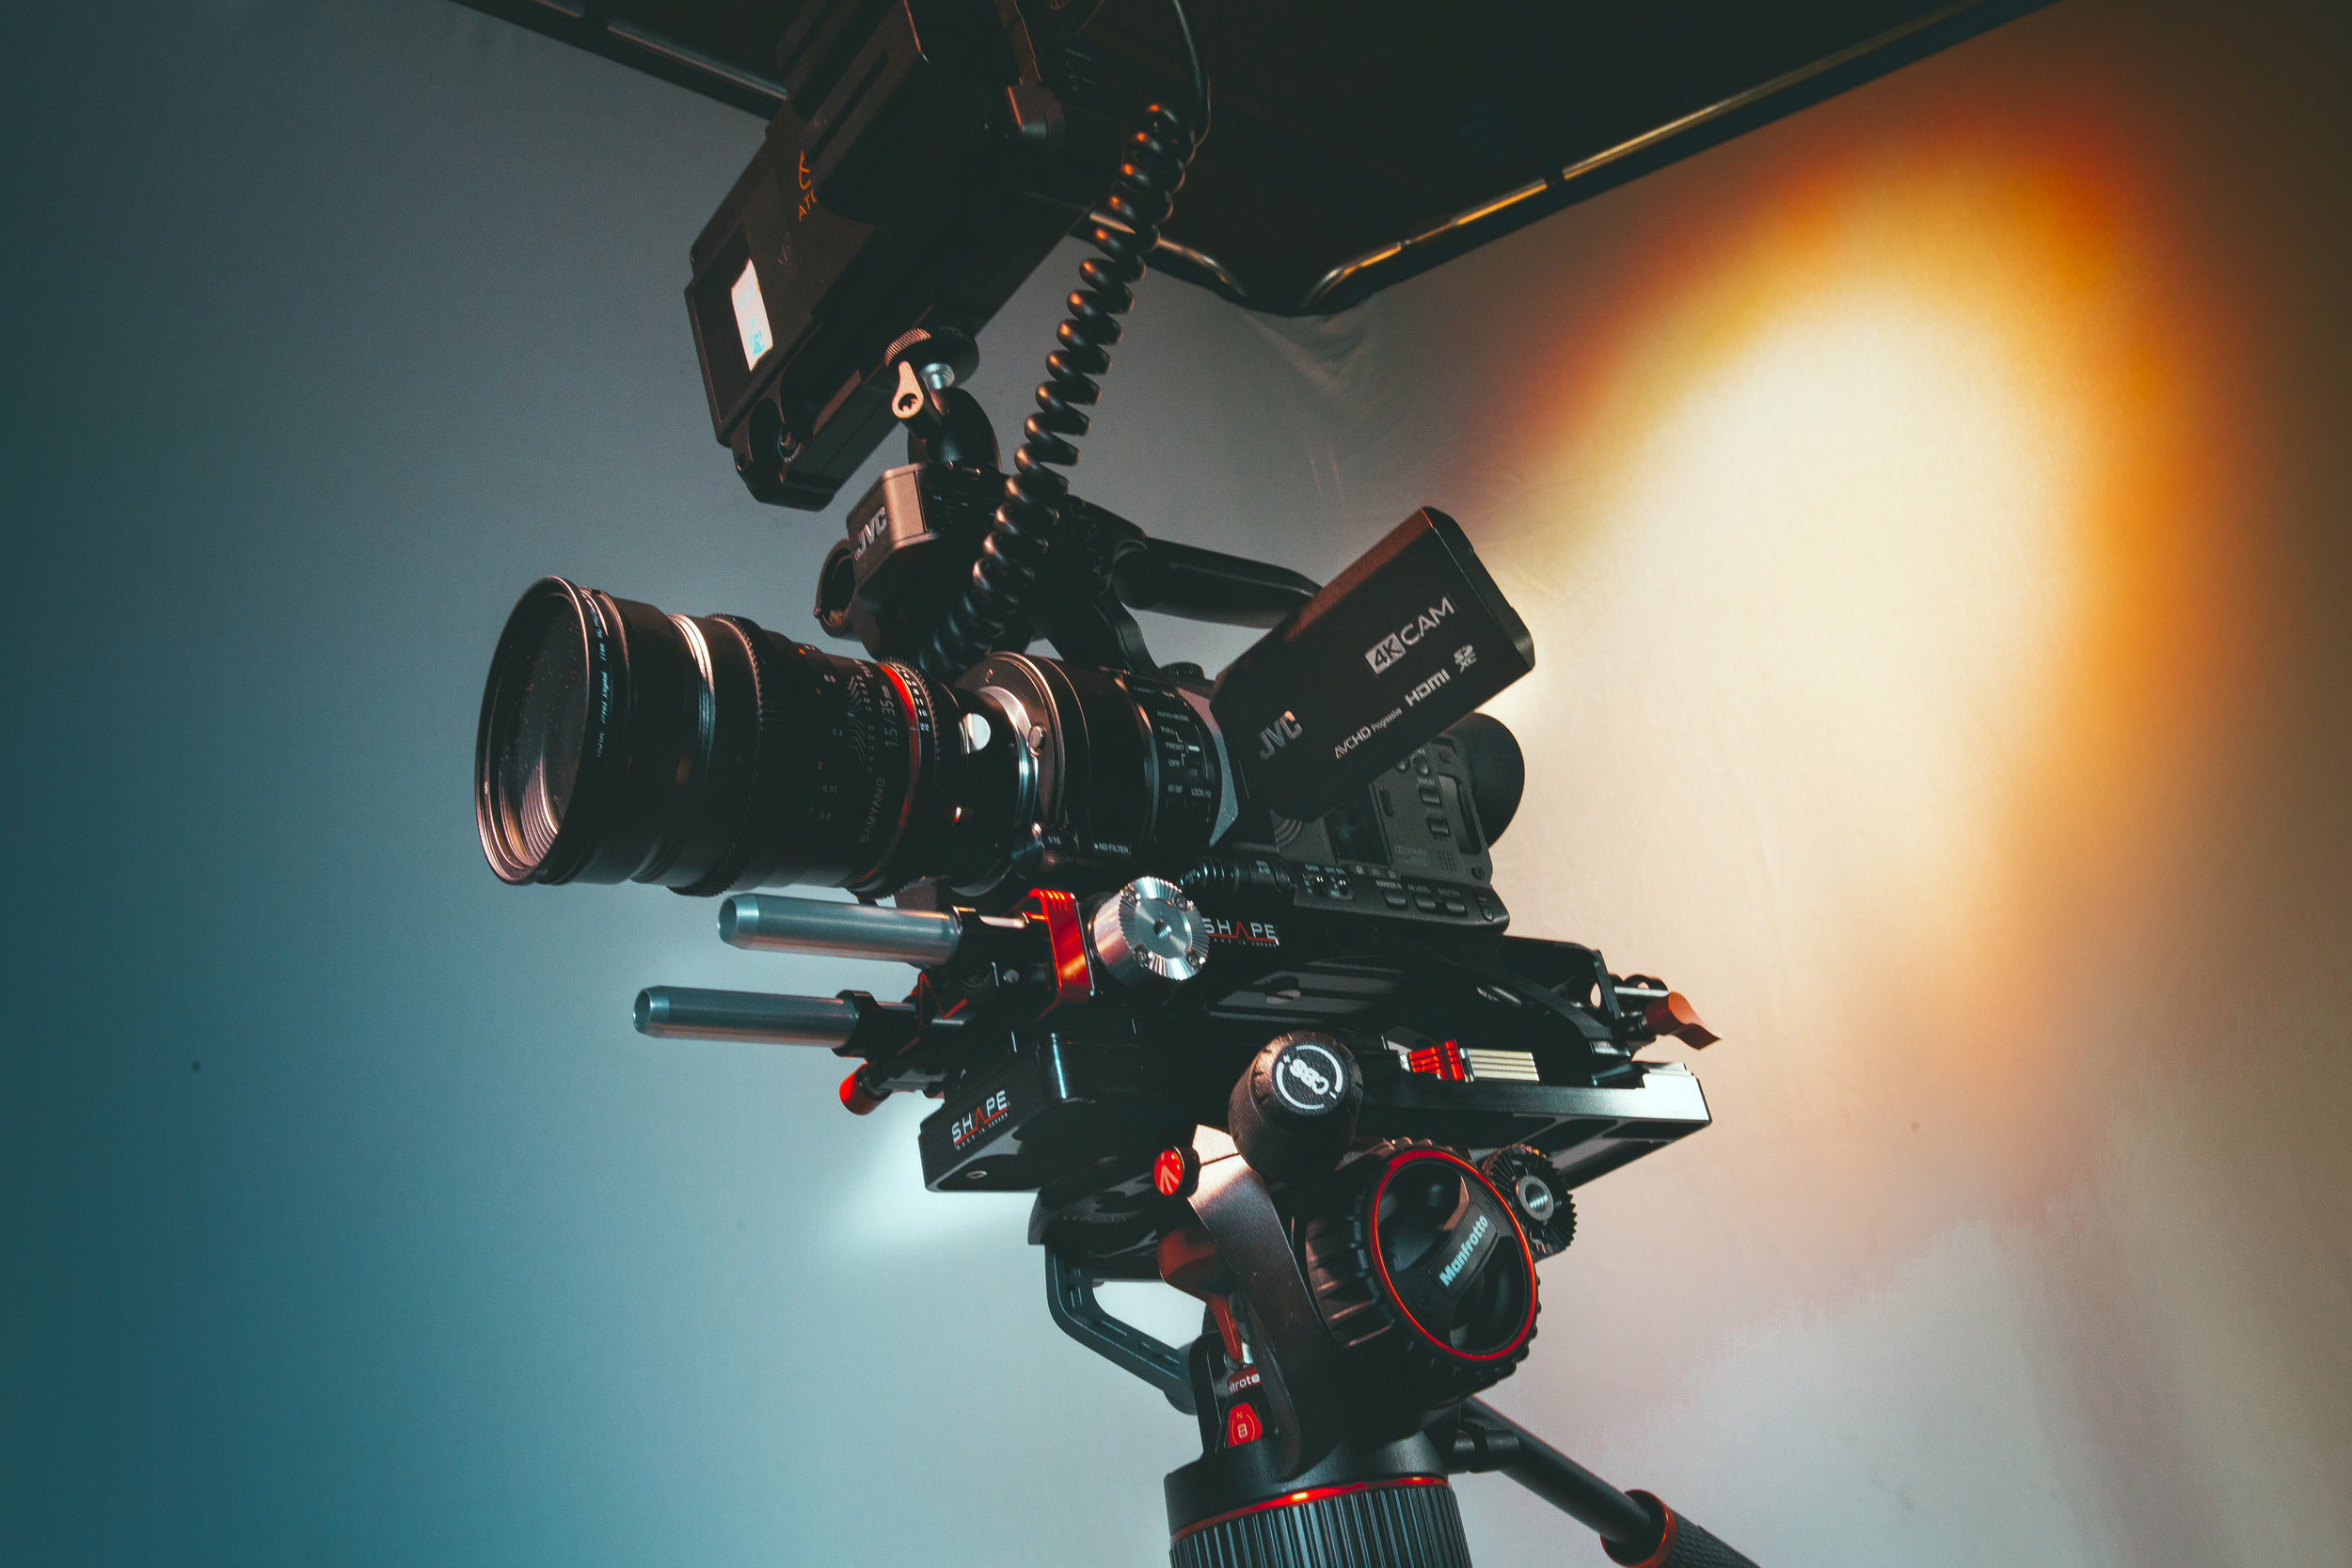
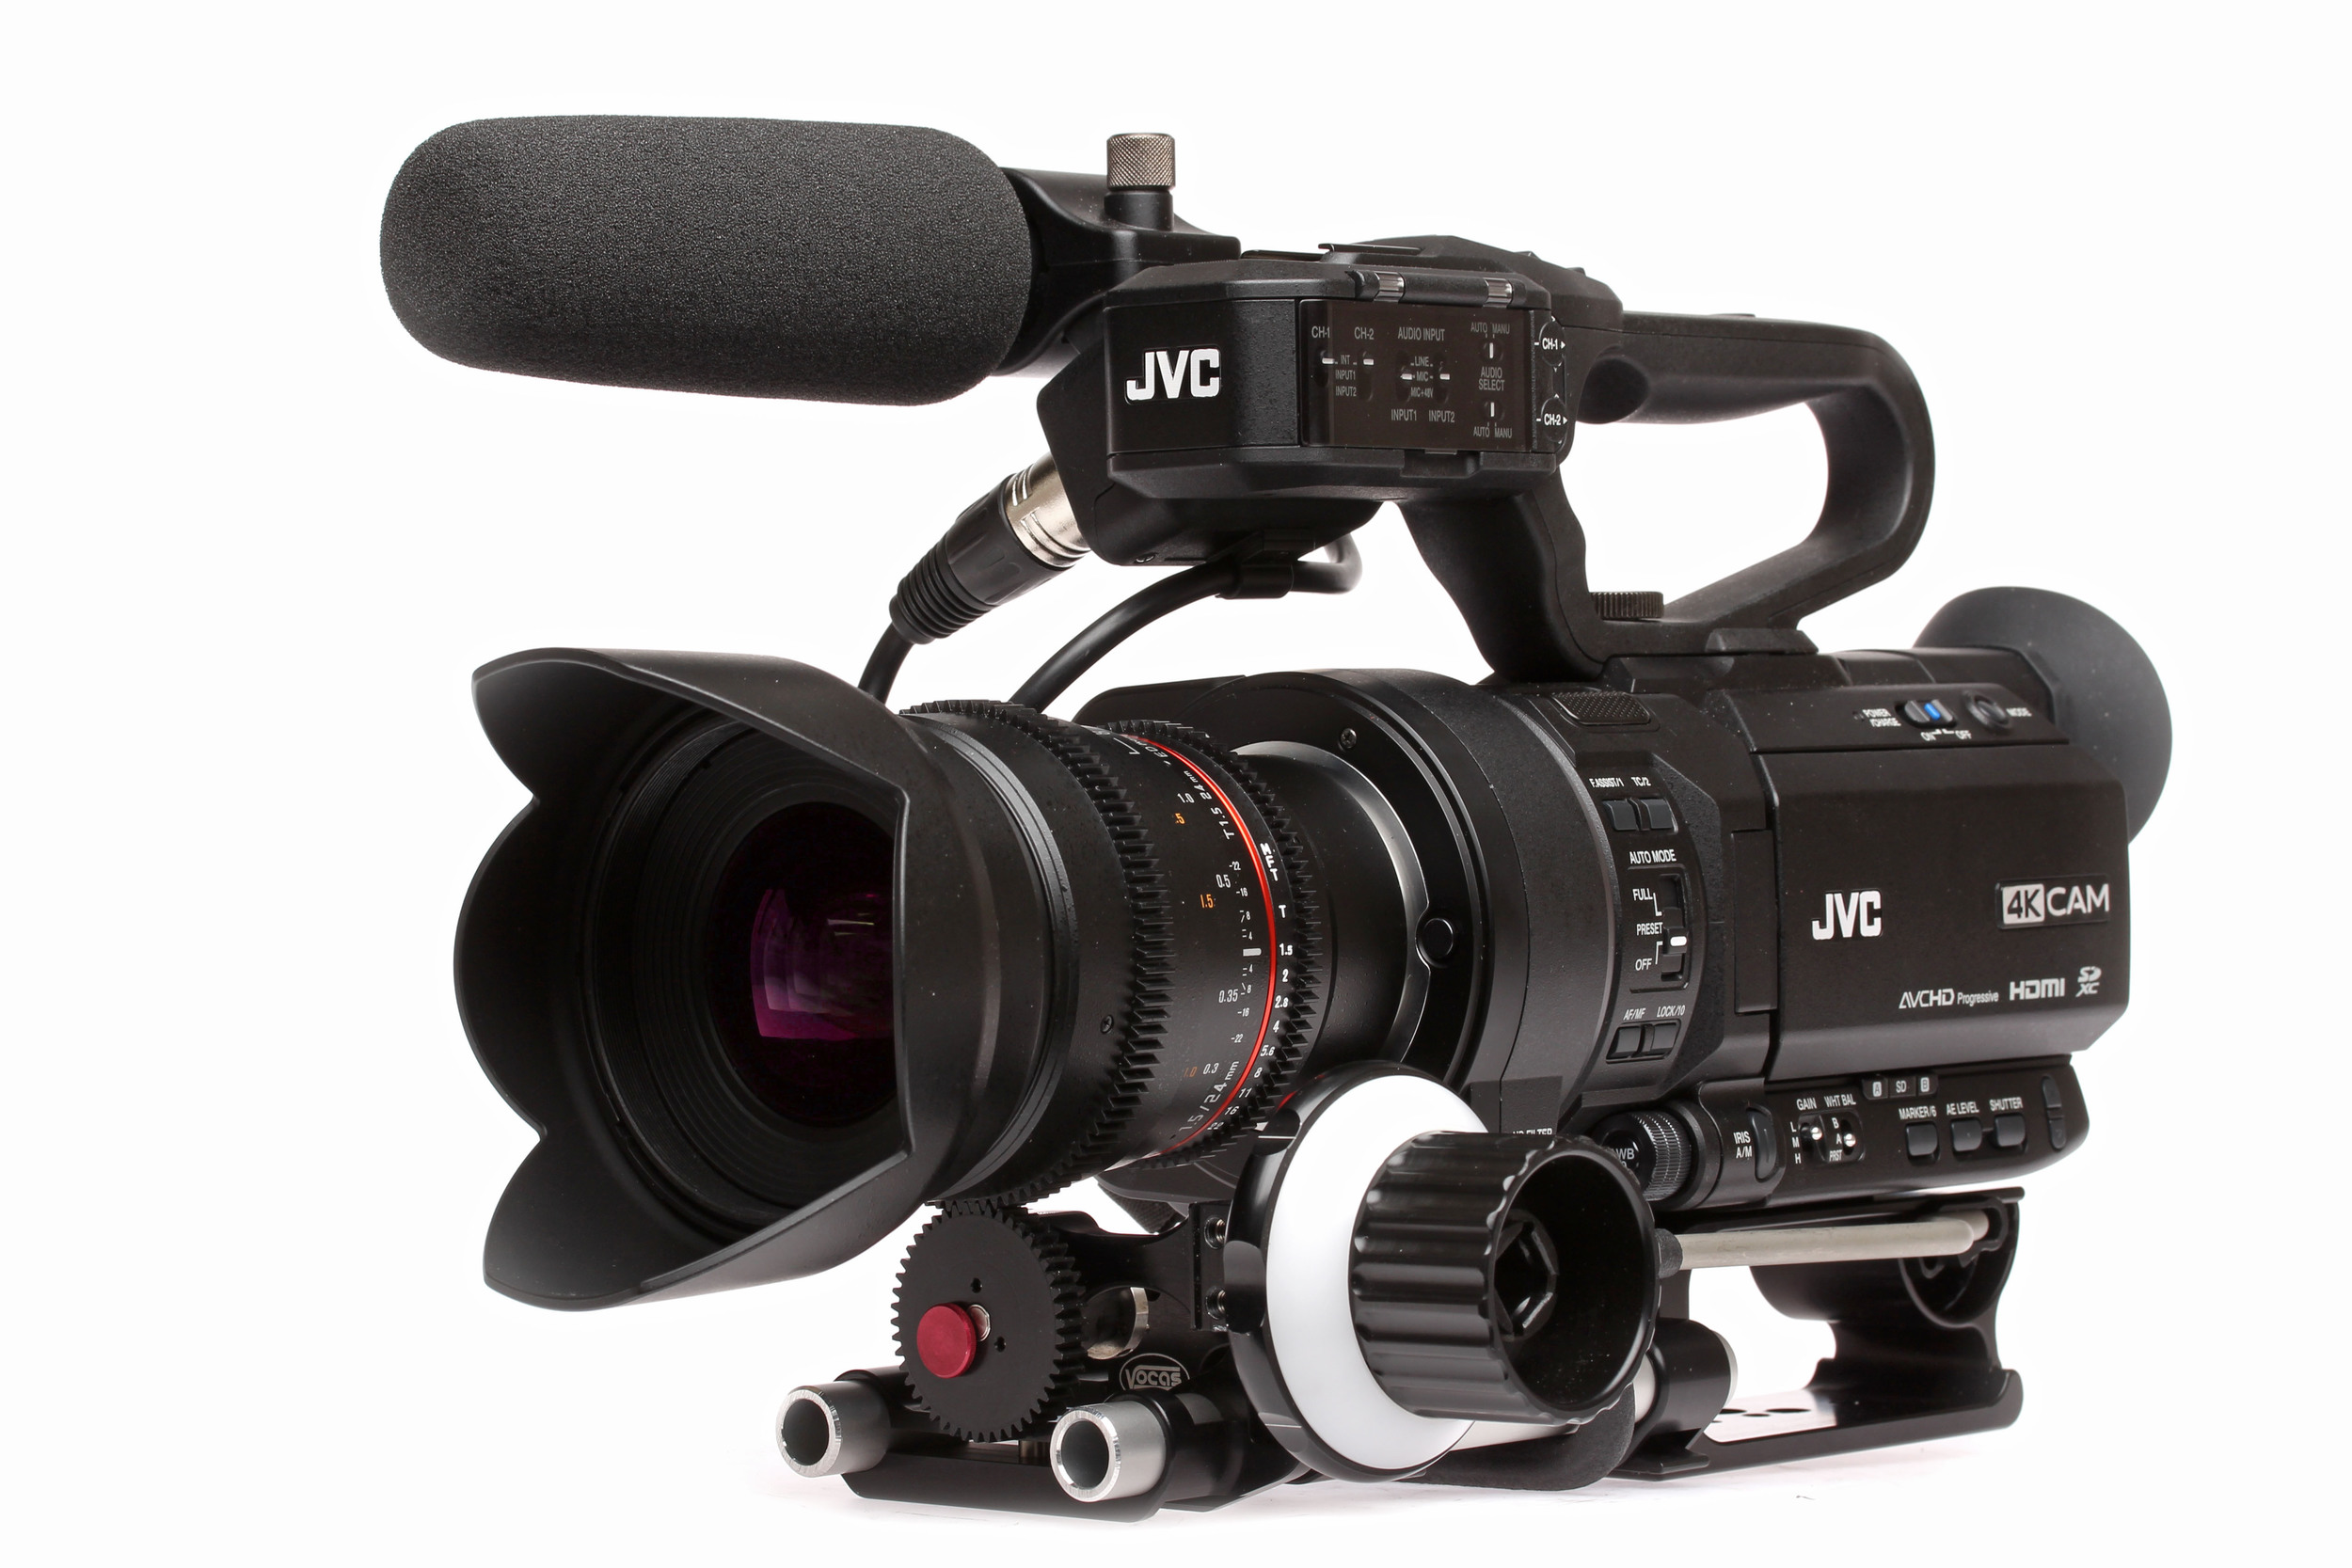
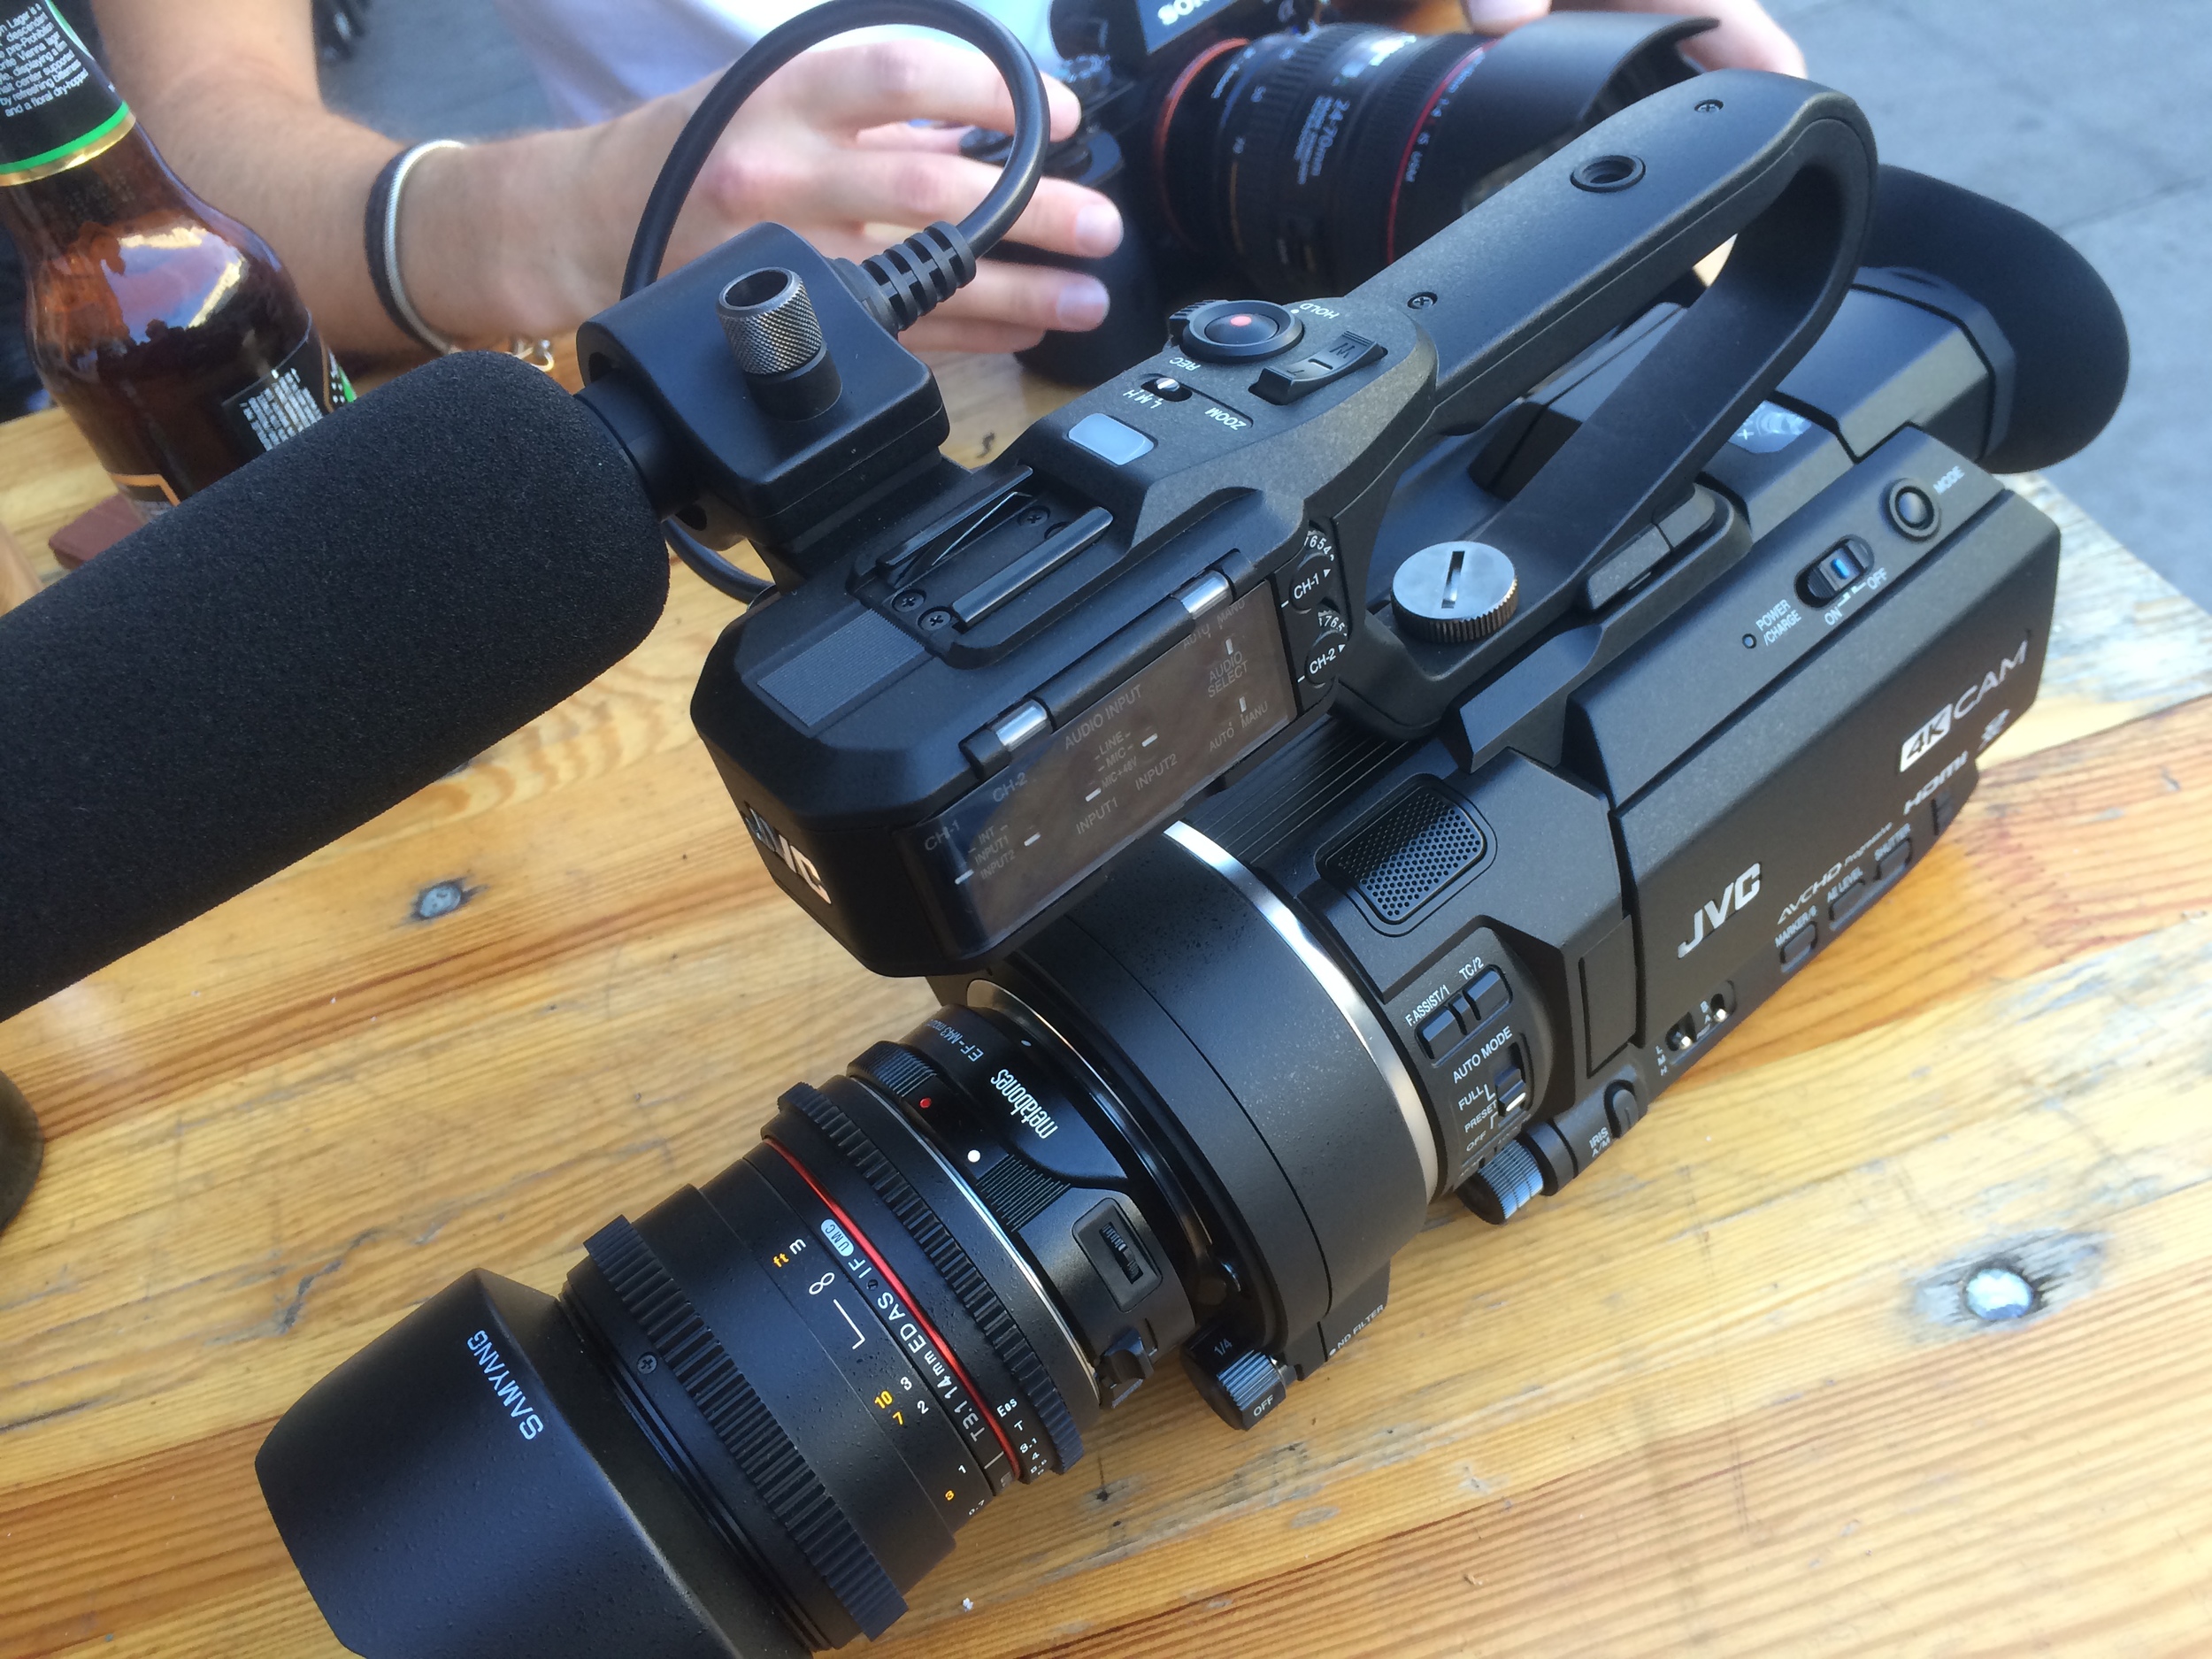
JVC Professional
We embarked on a large studio production for JVC Professional all about their professional video and broadcasting products. Based at South Essex College, we took over the theatrical space and shot the footage for 5 videos that will be used online and at trade shows across the world.
We also collaborated with Atomos, Shape, Bright Tangerine, SoftPanels and Manfrotto to bring the production to life.

Screen Subtitling Systems
We’ve worked with Screen Subtitling Systems for a number of years, producing bespoke animations for a range of their leading global subtitling products and solutions. The products are complex, so animation was the perfect medium to communicate what the products do, and why broadcasters need them.
Additionally, we produced a series of software walkthroughs to demonstrate how to use their ‘WinCaps’ software. The series is based upon screen recordings and voice overs that go through the software operations step by step.
Manfrotto - The Great Outdoors
As part of the global photography and filmmaking equipments Spring marketing strategy, we worked to produce an adventure based video about bushcraft and stand up paddleboarding while demonstrating the use of the new Pro Light Cinematic Expand Backpack.
Don’t use video? You’re missing out.
ZEISS Lenspire
We also collaborated with ZEISS on this production, and reviewed the Milvus Super Speed prime lenses, as well as contributed to their Lenspire blog.
Sandown Park Racecourse - The Jump Finale 2018
We LOVE filming events, so it was really exciting when Sandown Park Racecourse approached us to create an after movie for The Jump Finale Raceday. It’s exhillerating filming live events like this, that’s why producing event video content is our speciality! (We do film conferences, presentations and award ceremonies too).
Shot on Sony a7SII, a6500, Manfotto grip year, Zhiyun Crane 2.
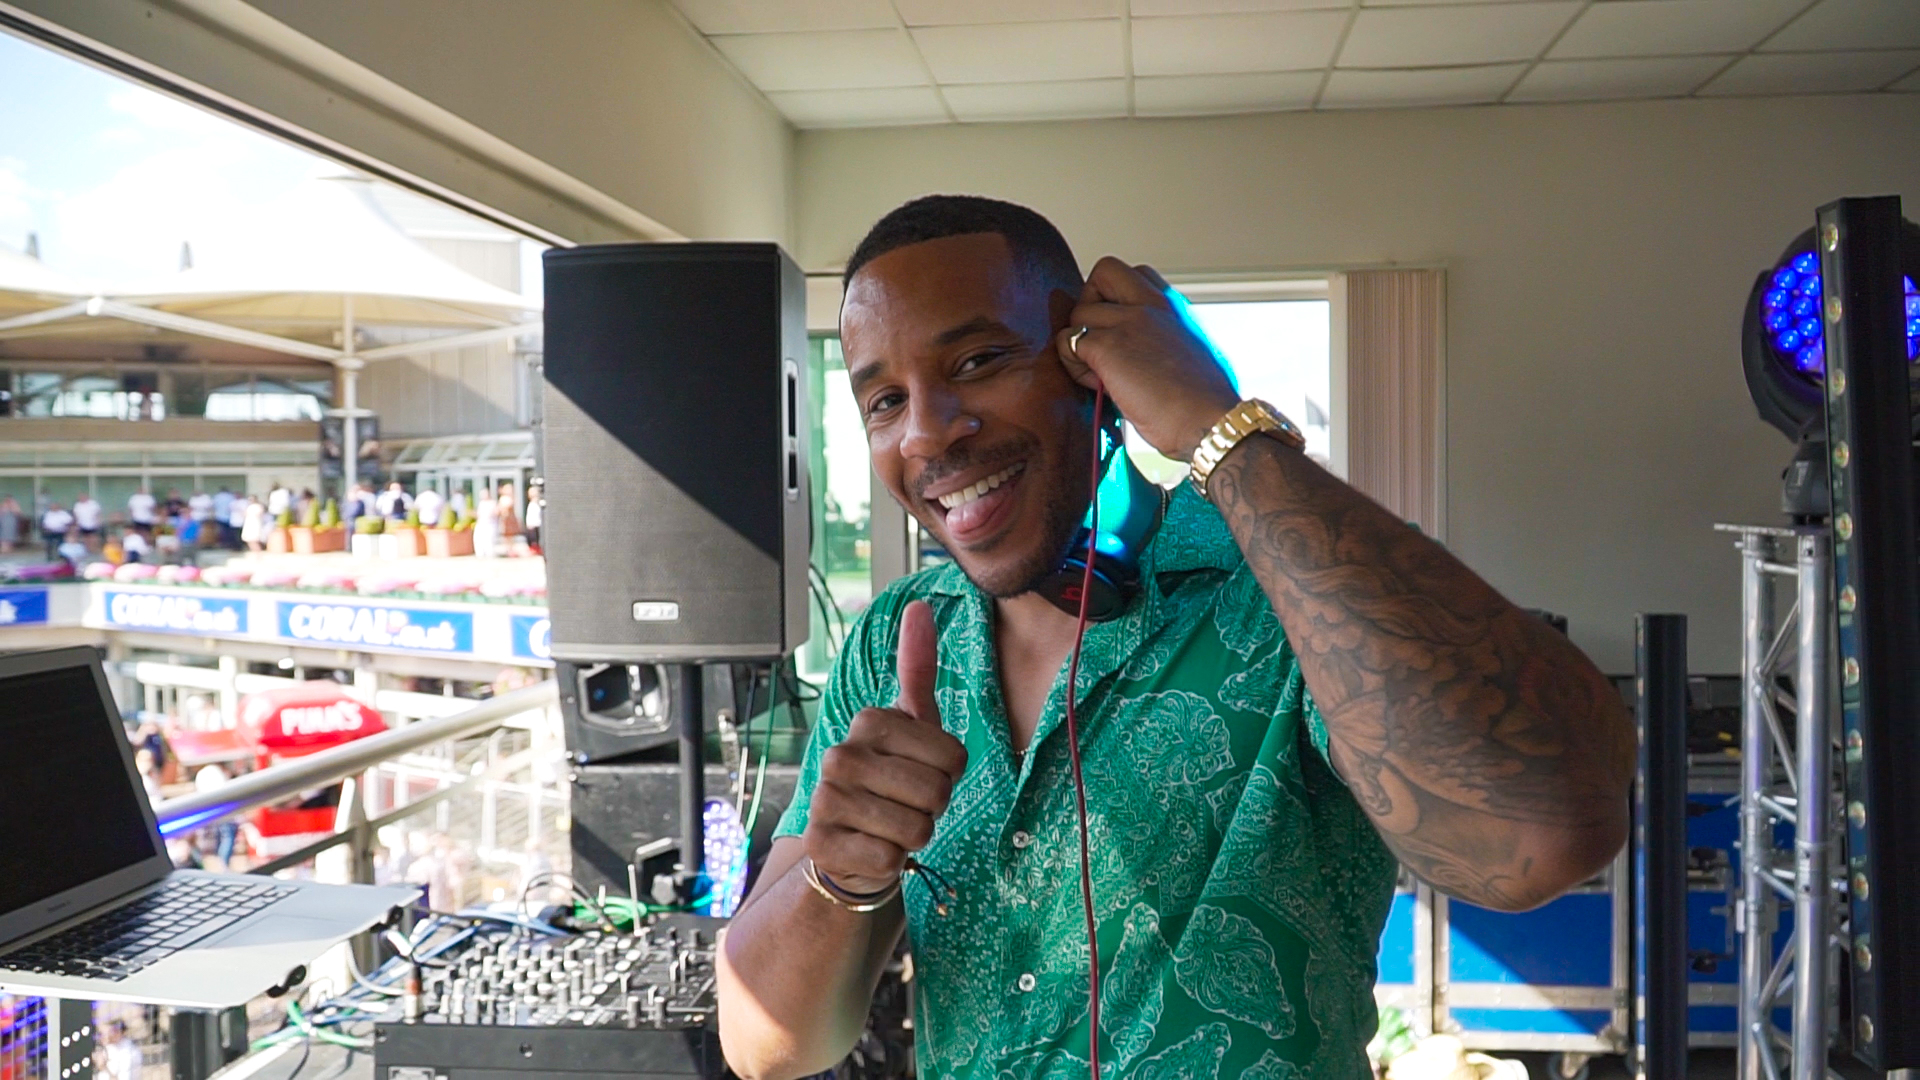
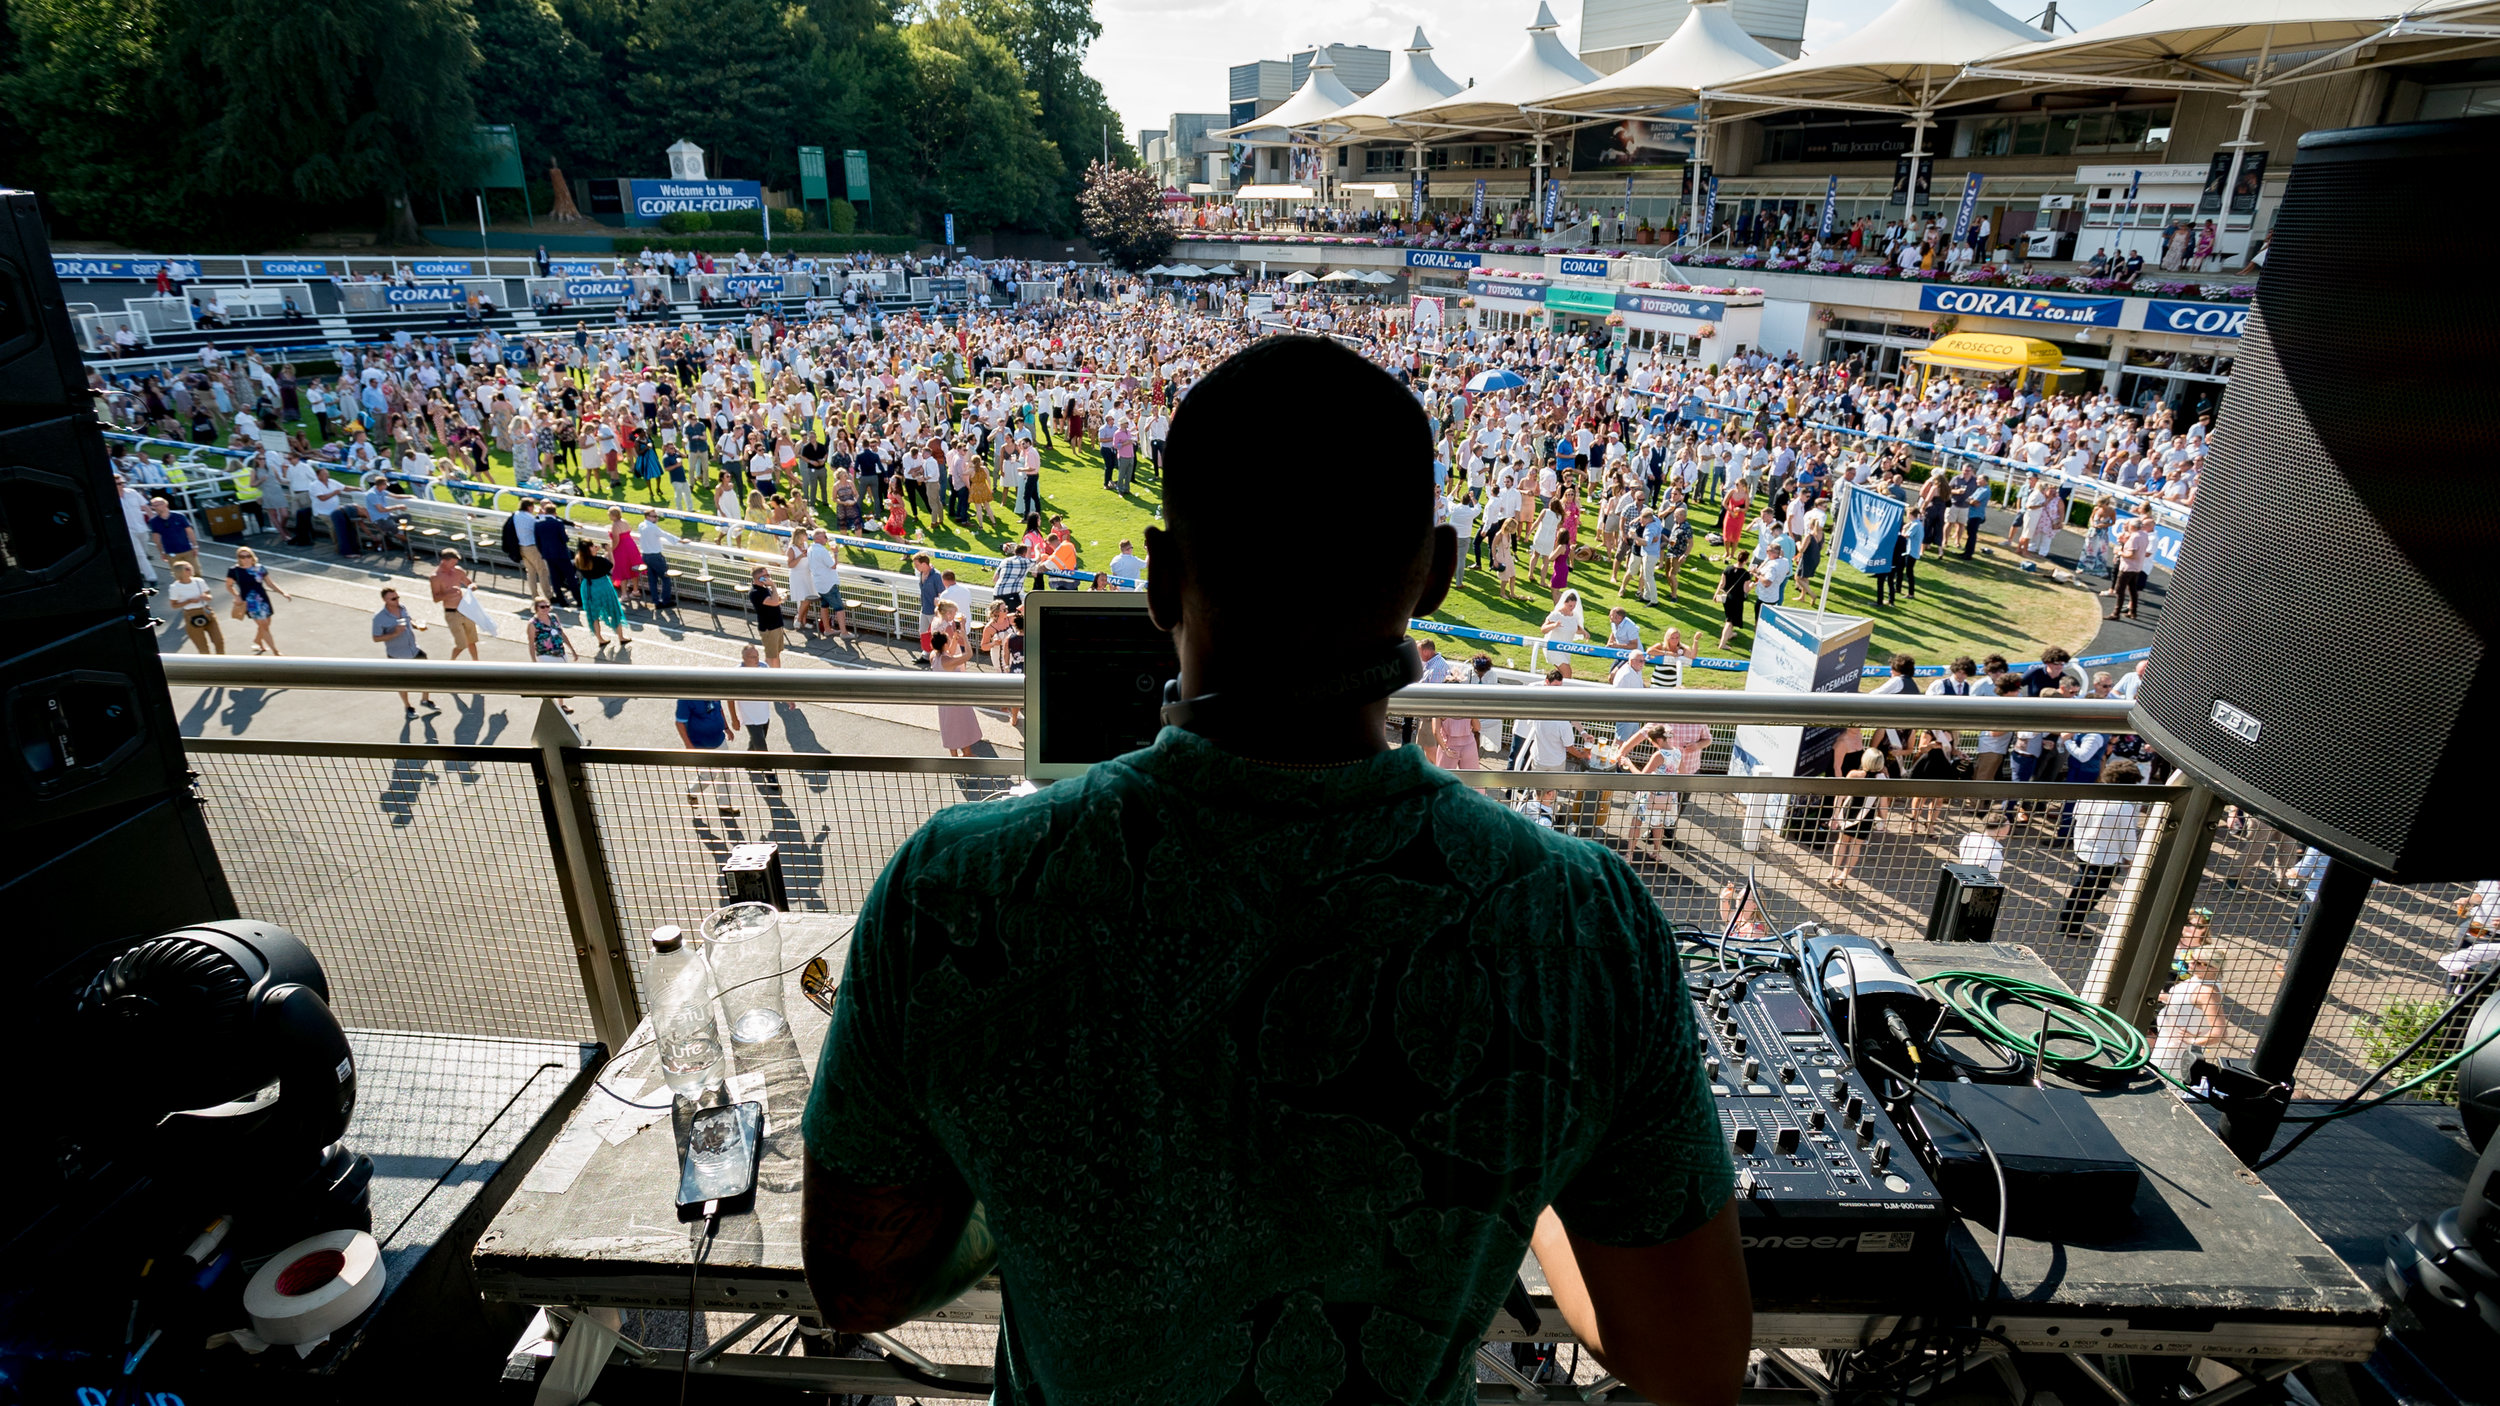
Sandown Park Racecourse - Brigadier Gerard, Apres, Promoting the Coral Eclipse Summer Festival with GB Ladies Hockey Players.
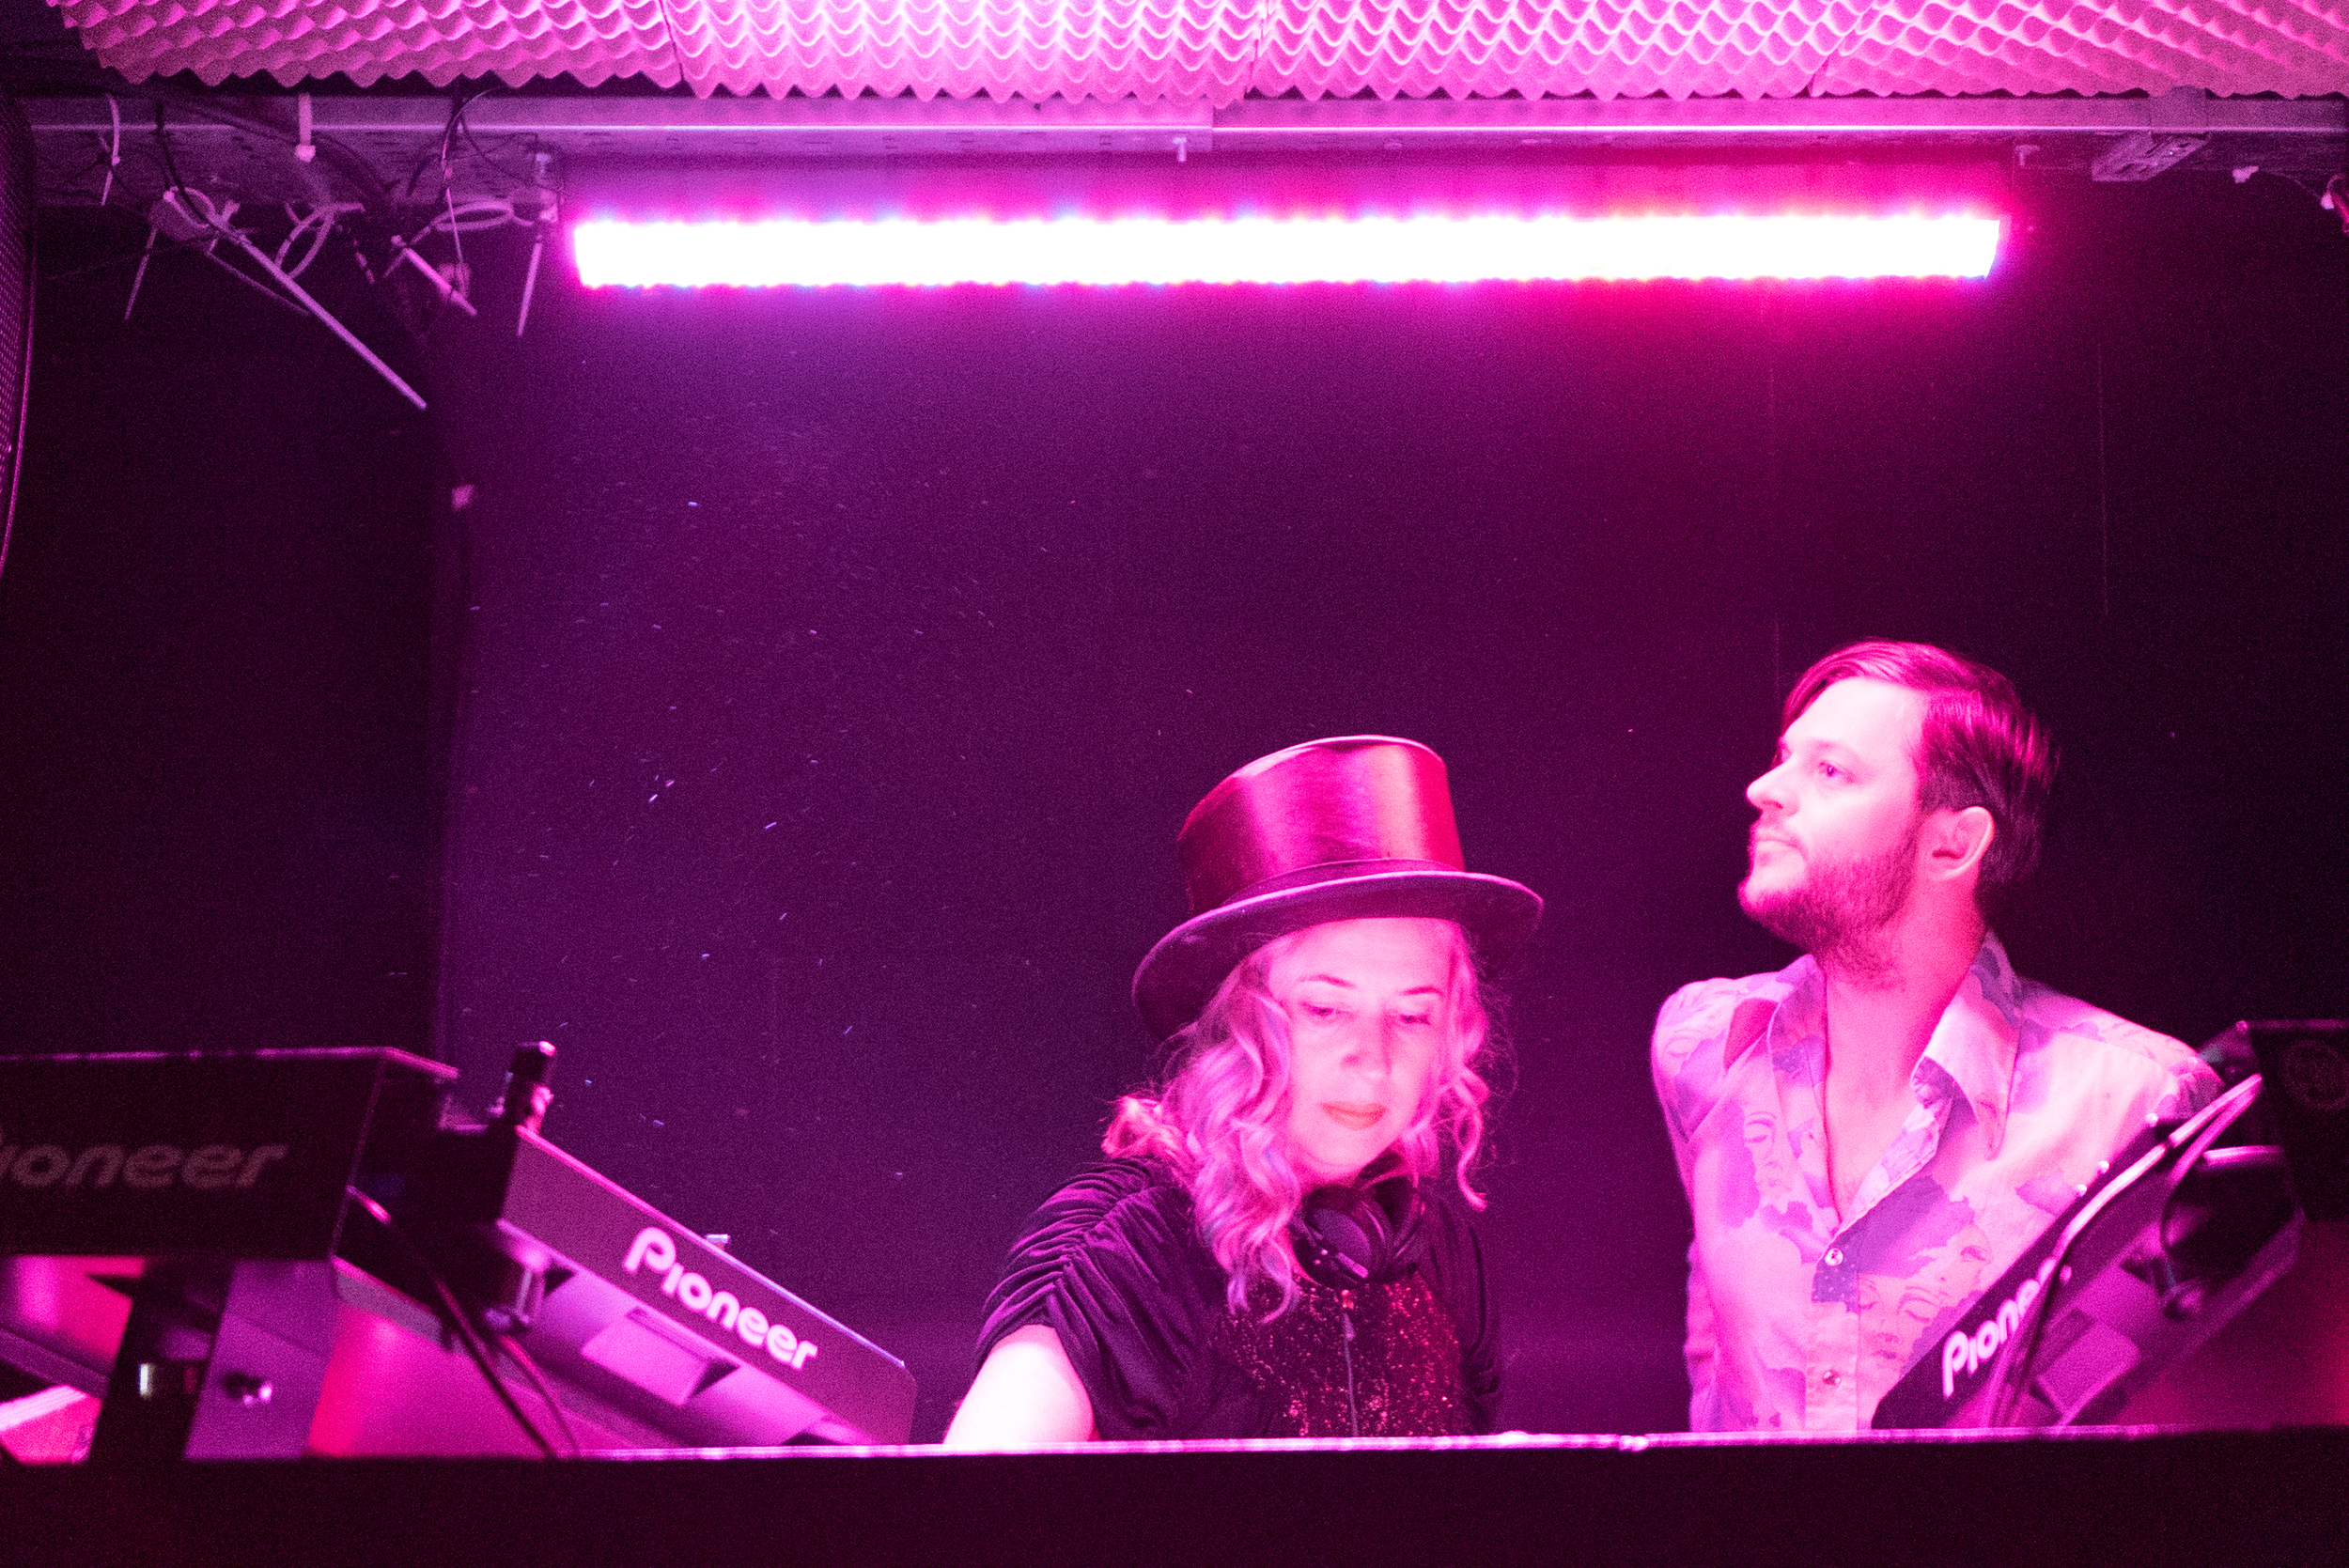
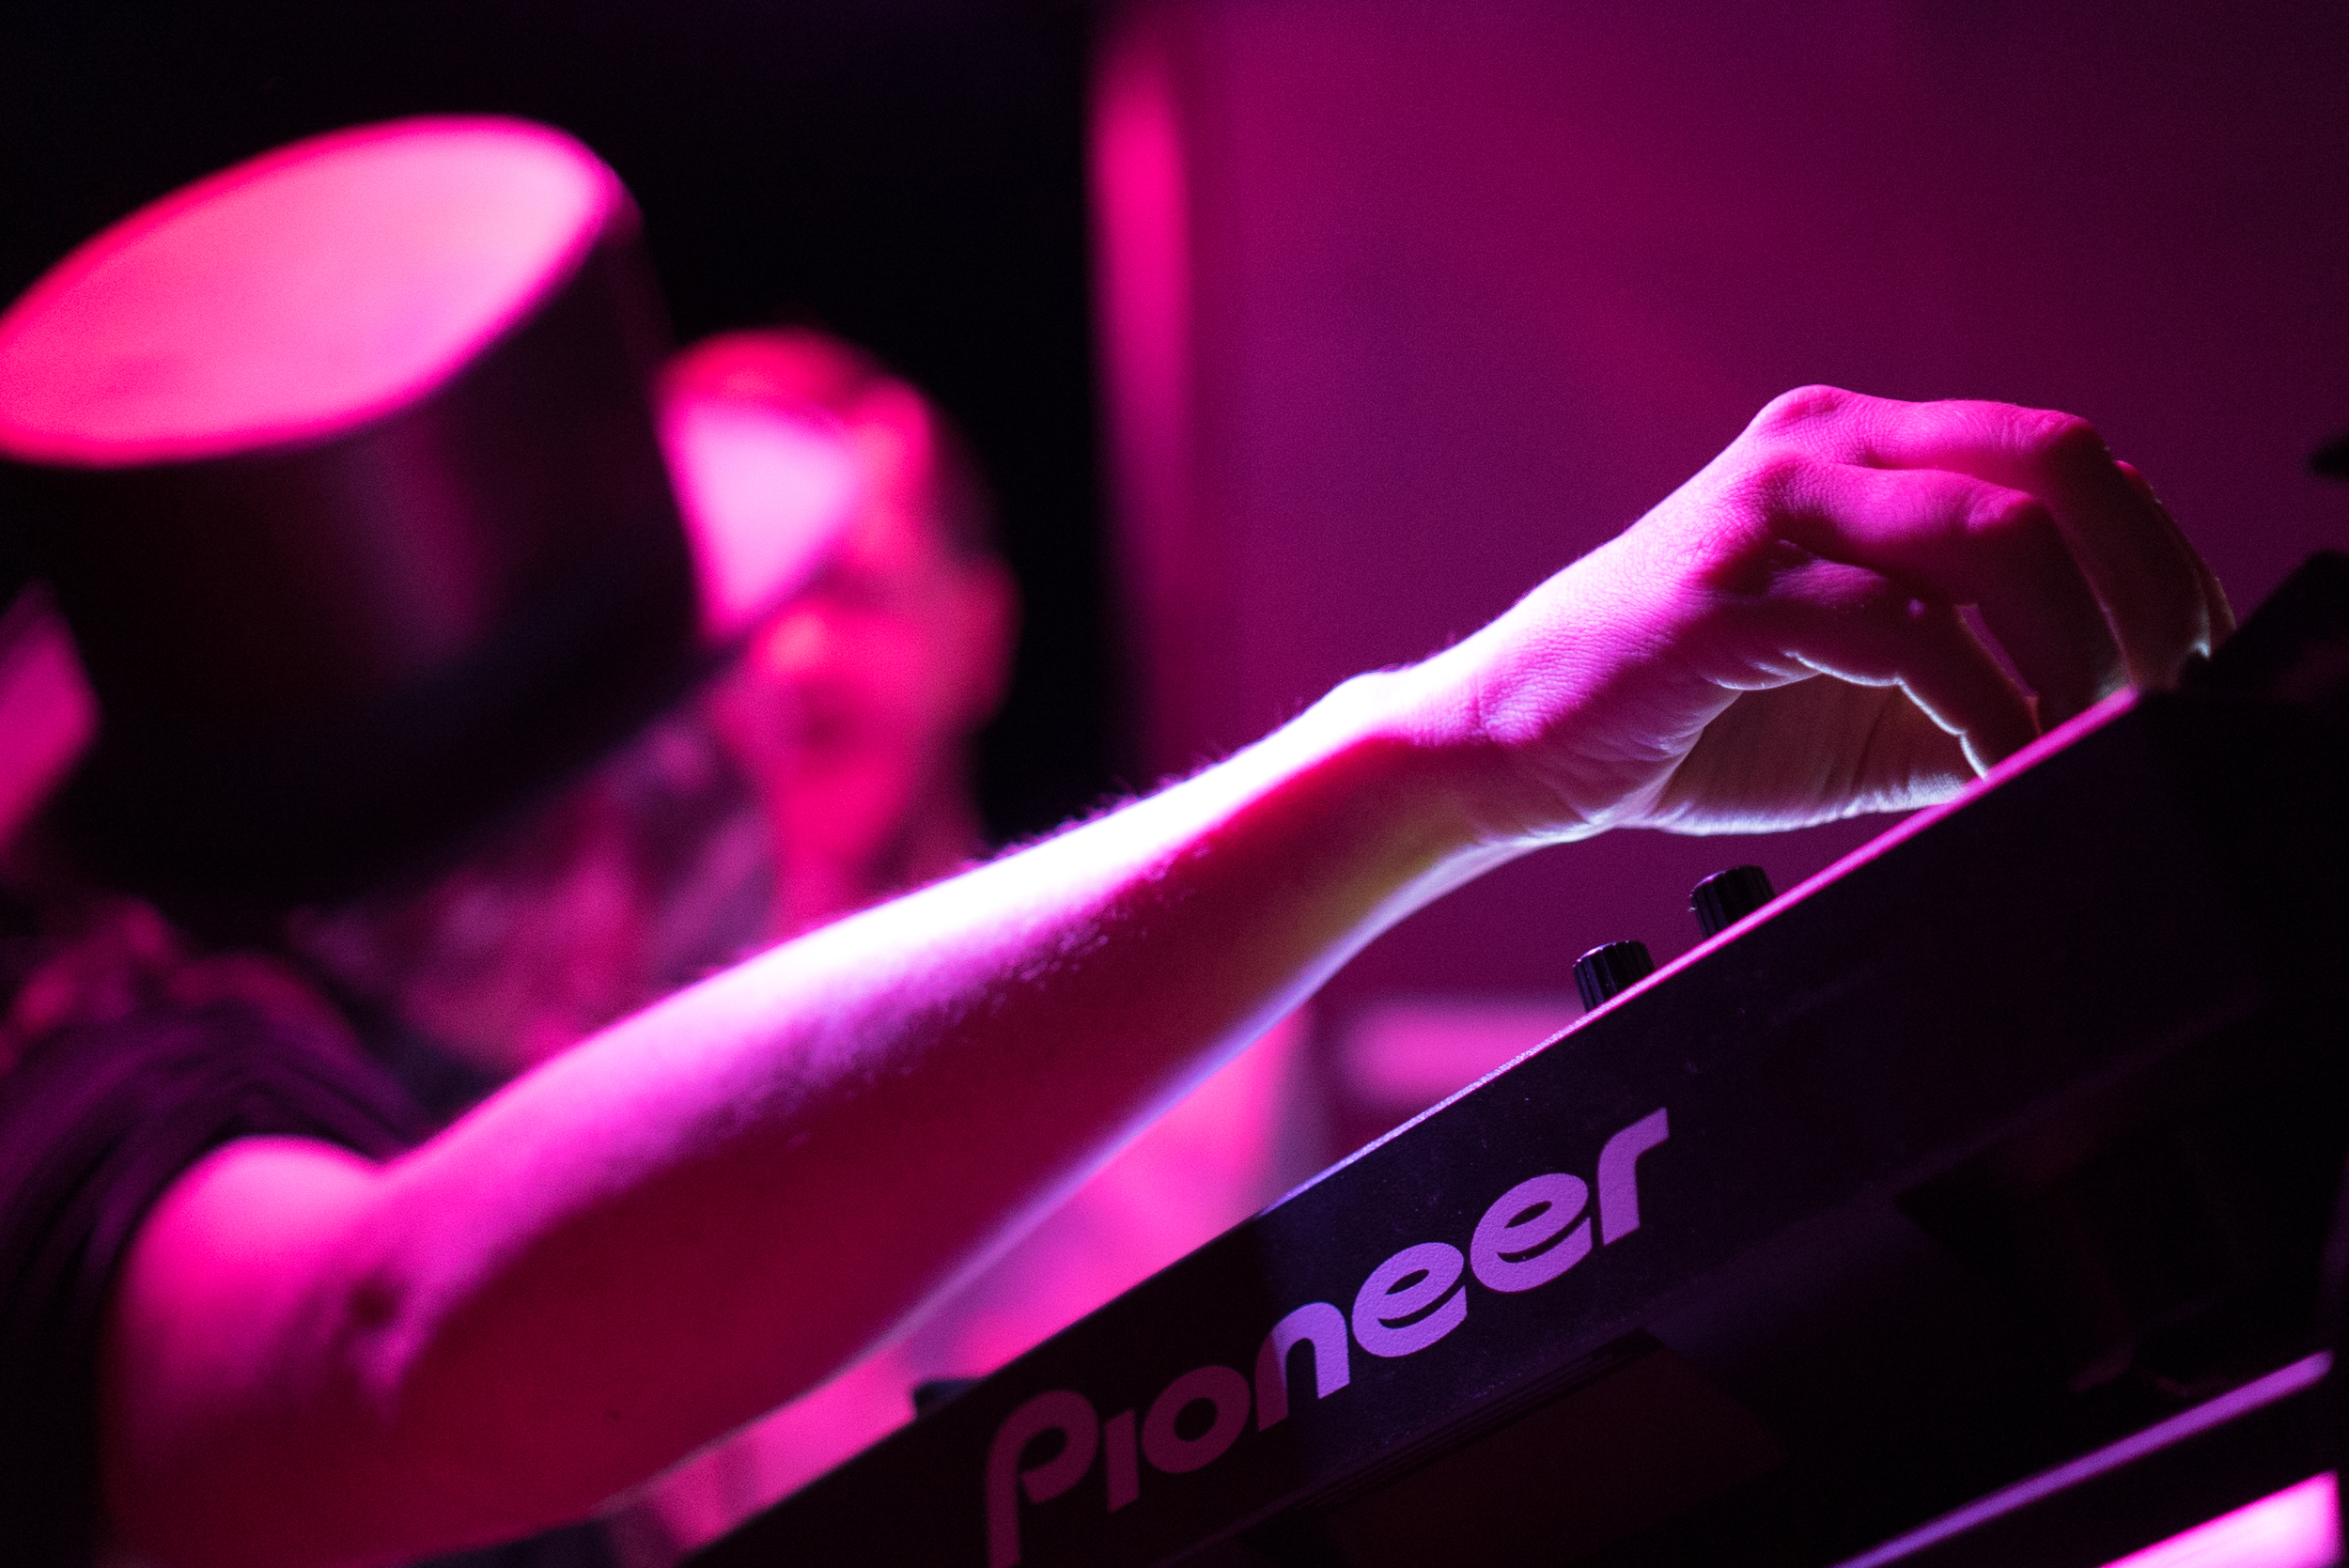
After the success of The Jump Finale 2018 video production, we returned to Sandown Park Racecourse to capture the Brigadier Gerard raceday and the Apres area. To promote the Coral Eclipse Summer Festival we also produced a series of videos with members of the GB Ladies Hockey Team! This was great fun, but a challenge to keep up with the ladies! DJ Reggie Yates gave a sterling set after the racing, he was great to film.

Epsom Downs Racecourse - Investec Derby and Summer Nights Live Music
Continuing our relationship with The Jockey Club, we were asked to film at the world famous Investec Derby 2018. This involved visiting the many areas and attractions of the racecourse and ‘The Hill’, capturing content for sponsorship purposes.
Later that month we also produced four videos to play on the racecourse CCTV and giant screens around the racecourse. This included using archive footage from Derby winners throughout the decades, and creating bespoke animations for iconic moments too.
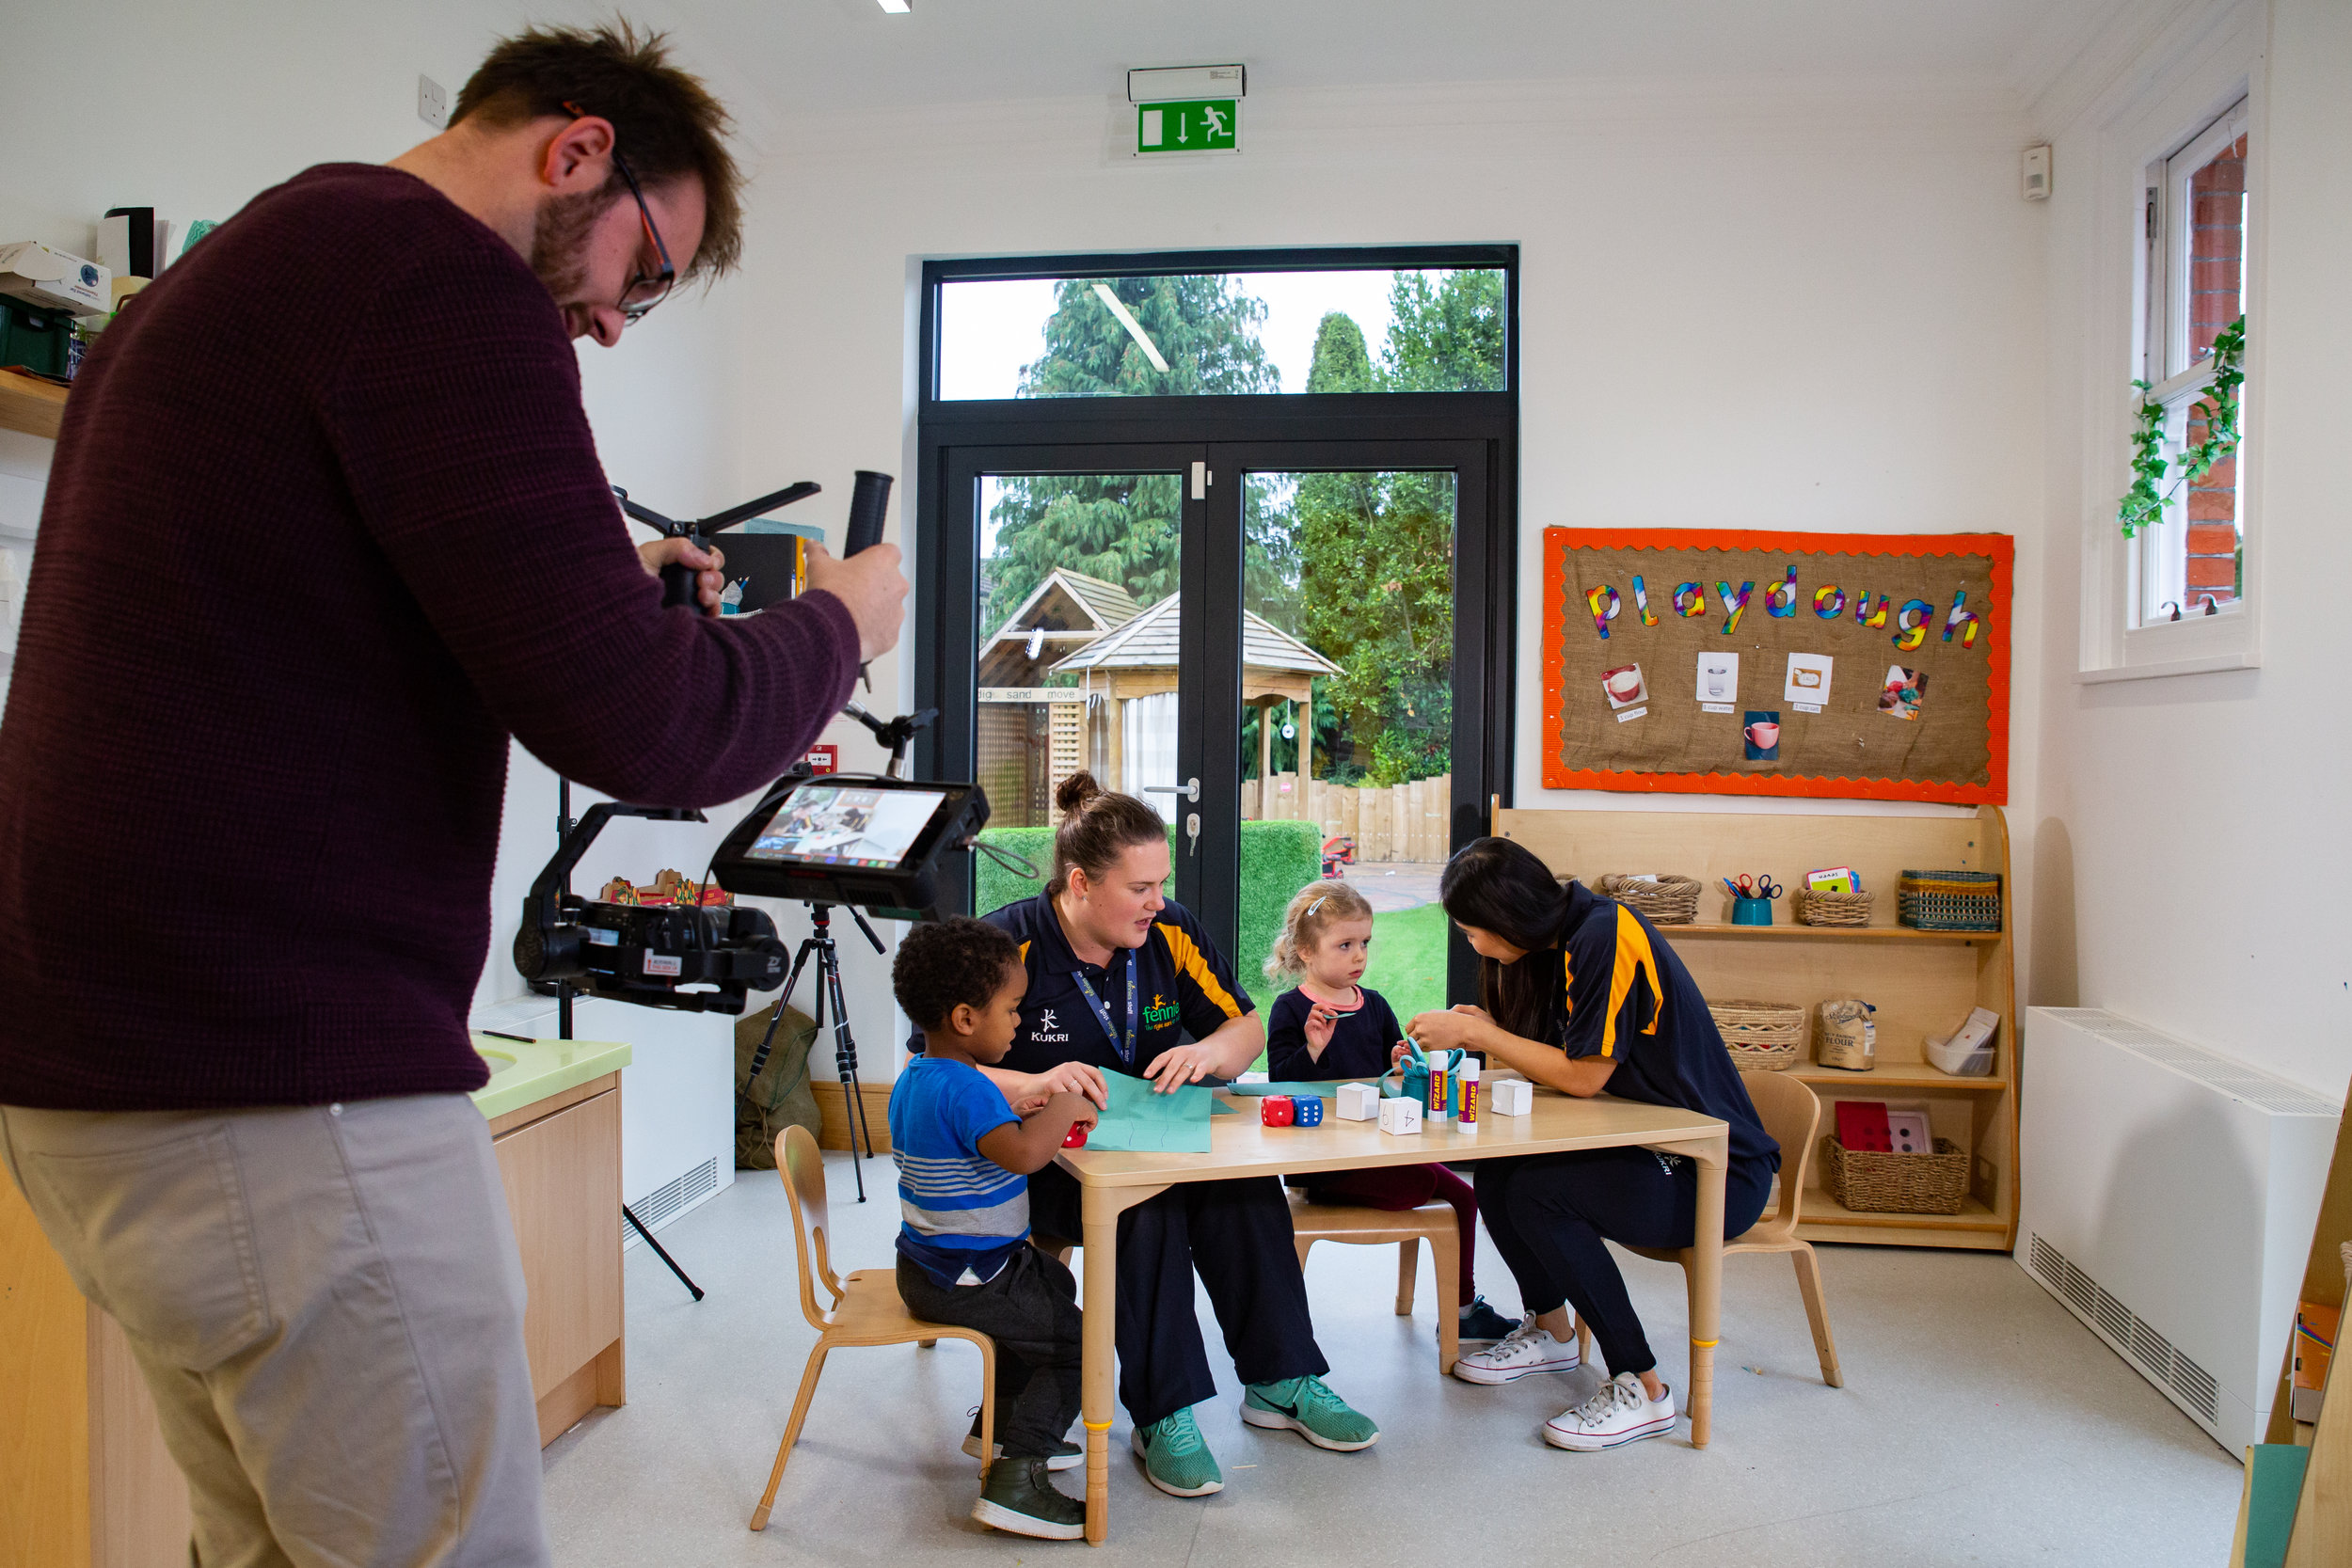
Fennies - Promotion, Recruitment and the Day of Inspiration
In 2017 we began producing video content for Fennies, a leading nursery group based in the South of England. This summer we were invited back to produce a range of videos to promote the nurseries and it’s facilities, to show their staff in action, and to capture their staff ‘Day of Inpiration’. It’s great fun filming at the nurseries, all of the staff are extremely friendly and the results really work for the nursery group.
KIX18 - Surrey Scouts
Adam is a Scout leader and member of the Surrey Scouts media team. This Summer, Adam travelled with 500 Scouts and leaders to Kandersteg, Switzerland, and captured the journey and adventure all of the young people (and adults) had!
You can read the ‘Sense Of Belonging’ blog post by The Scouts here.
cinema5D - IBC (Amsterdam) and Photokina (Cologne) 2018
We’ve contribued to the worldwide online cinematography and filmmaking website, cinema5D.com for a number of years. Part of the role includes reporting all of the glorious tech news from global trade shows like IBC and Photokina. We produce fast turnaround video edits and articles during the trade shows to ensure cinema5D covers the news extensively and to the highest quality.
Don’t use video? You’re missing out.
Screen Subtitling Systems - Animations Galore!
As it’s written above, we work with Screen Subtitling Systems on a regular basis which includes updating their animations with new products. This animation is core to the global companies marketing and promotion at worldwide tradeshows.
Kempton Park Racecourse - 32Red Winter Festival Stingers
We were over the moon to expand our video productions for The Jockey Club into Kempton Park Racecourse. On Boxing Day and the 27th, Kempton Park Racecourse will play host to the infamous Winter Festival, sponsored by 32Red. We were tasked with producing a range of stings to count down to the festival. The shoot was challenging; a lovely sunny day when we really wanted cloud!
We adapted to meet the racecourses needs by grading the footage and applying effects to give the stings a wintery feel. This was accompanied by custom graphics, again, following the wintery theme.
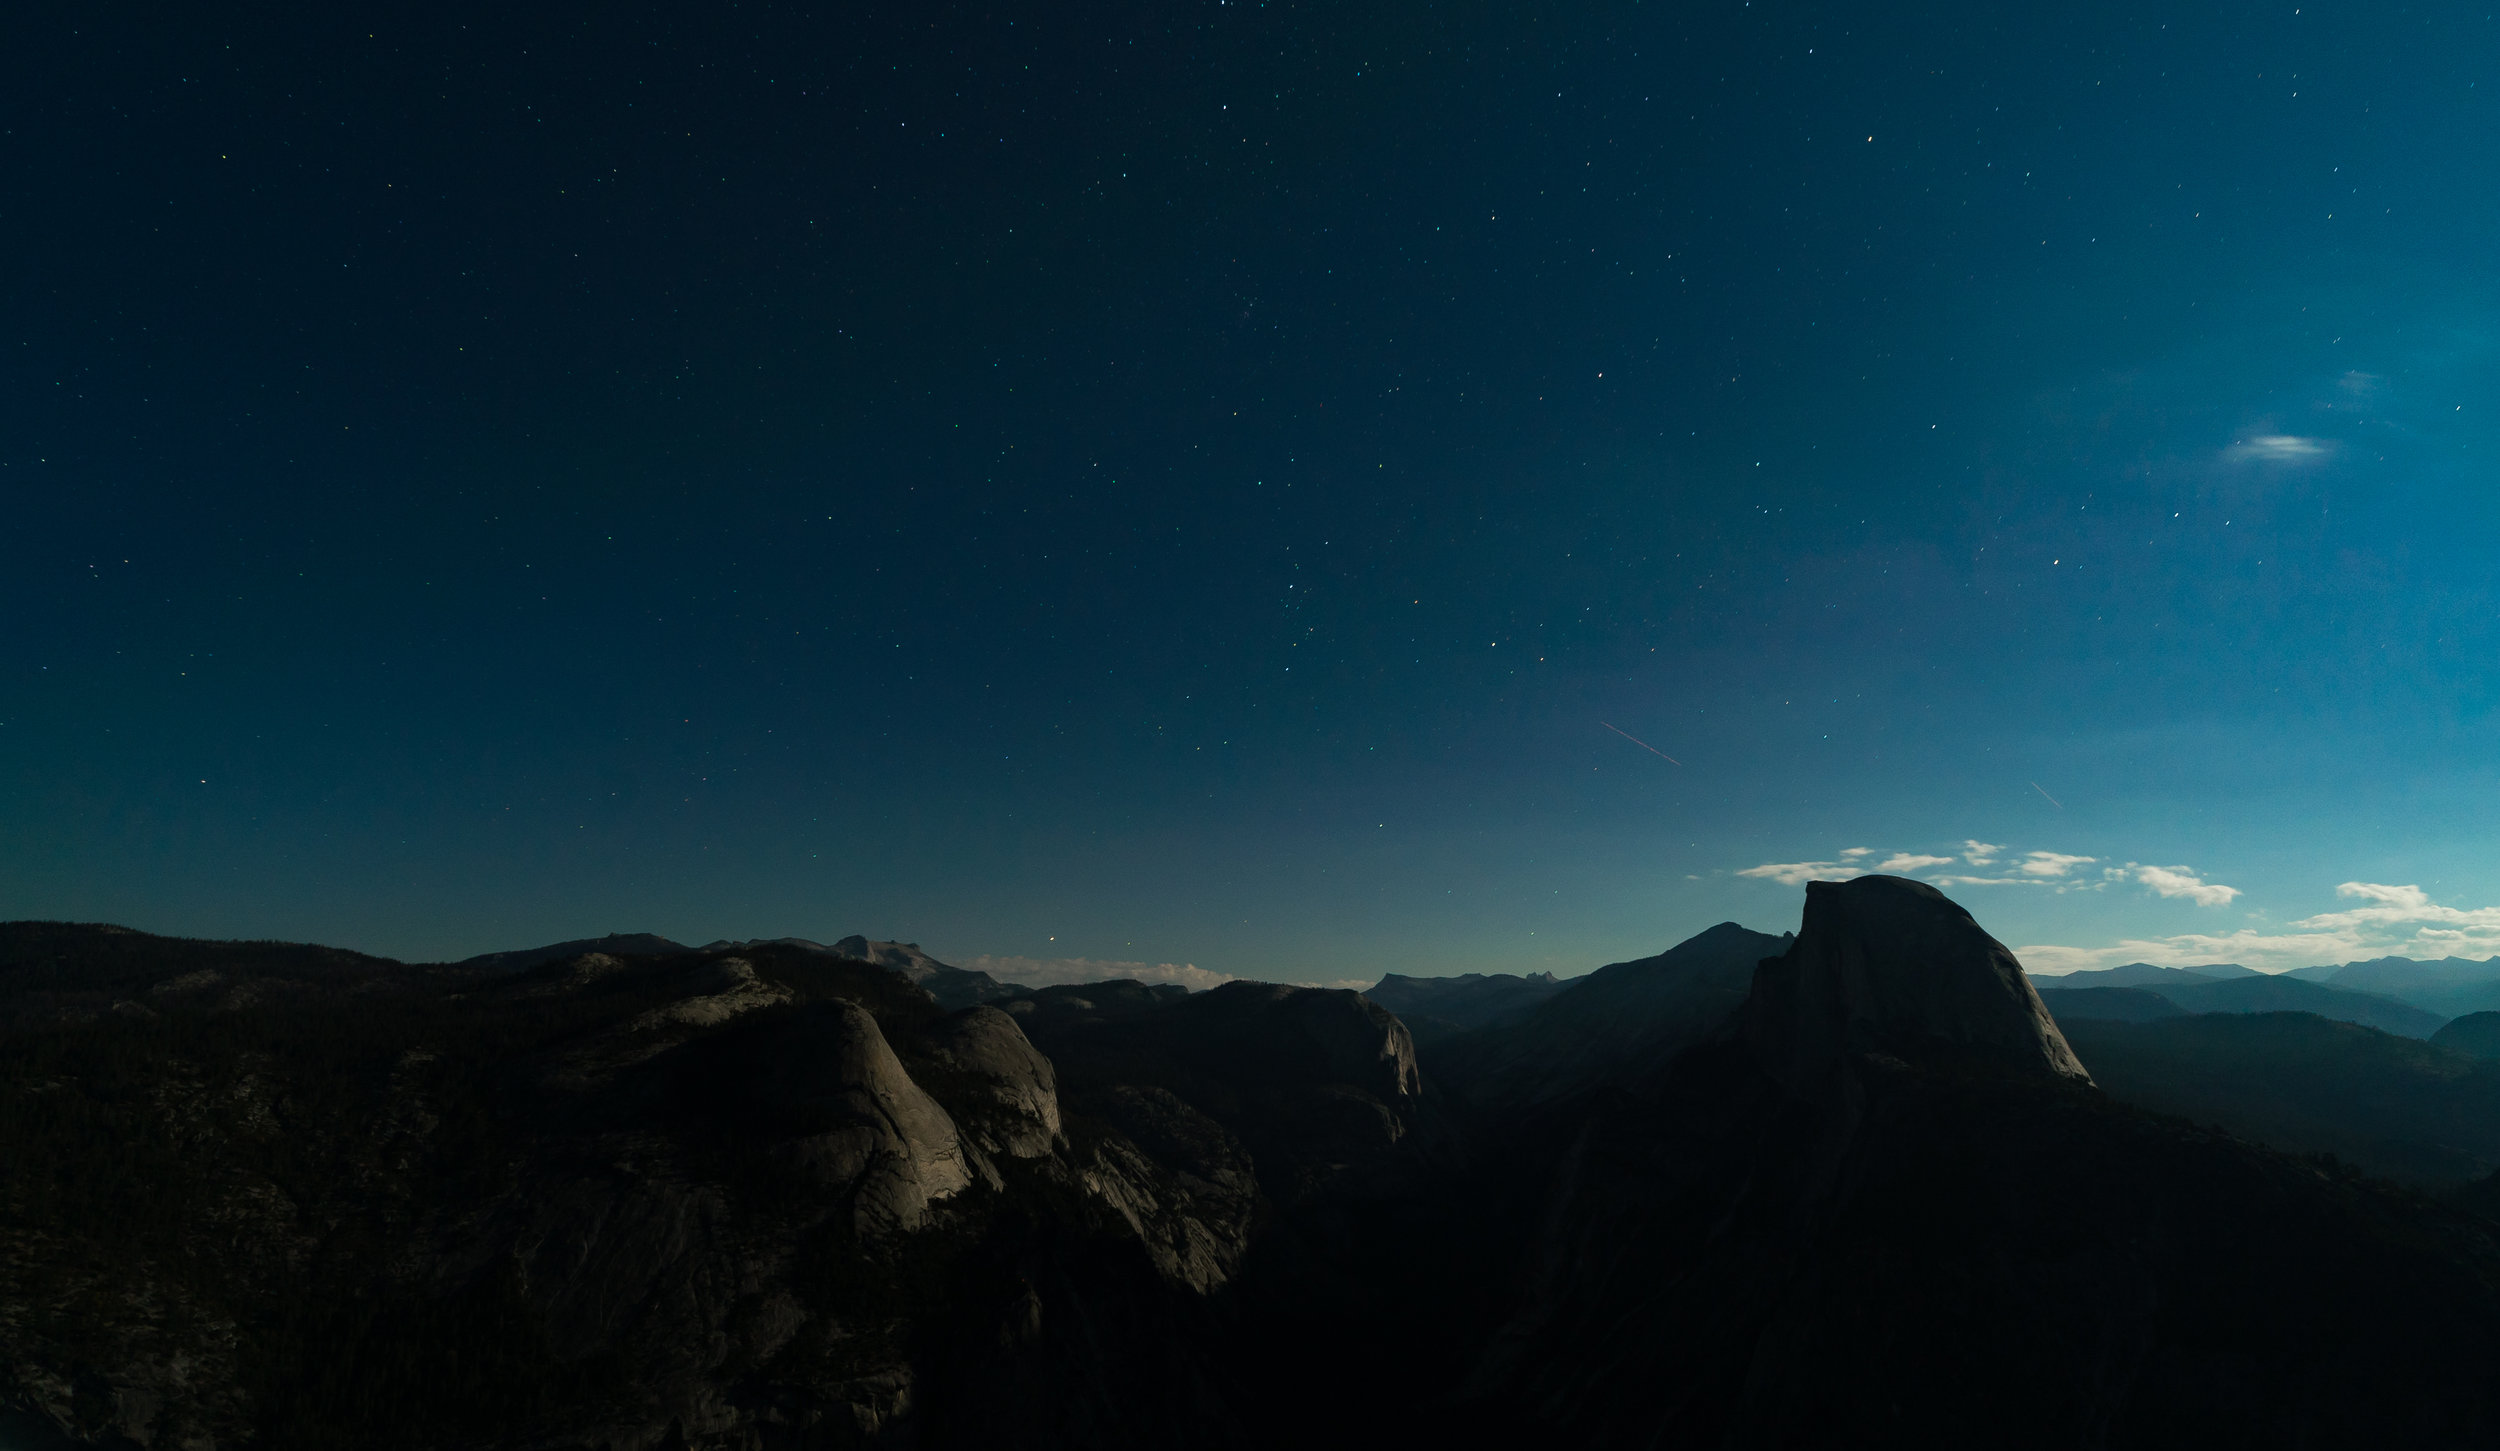
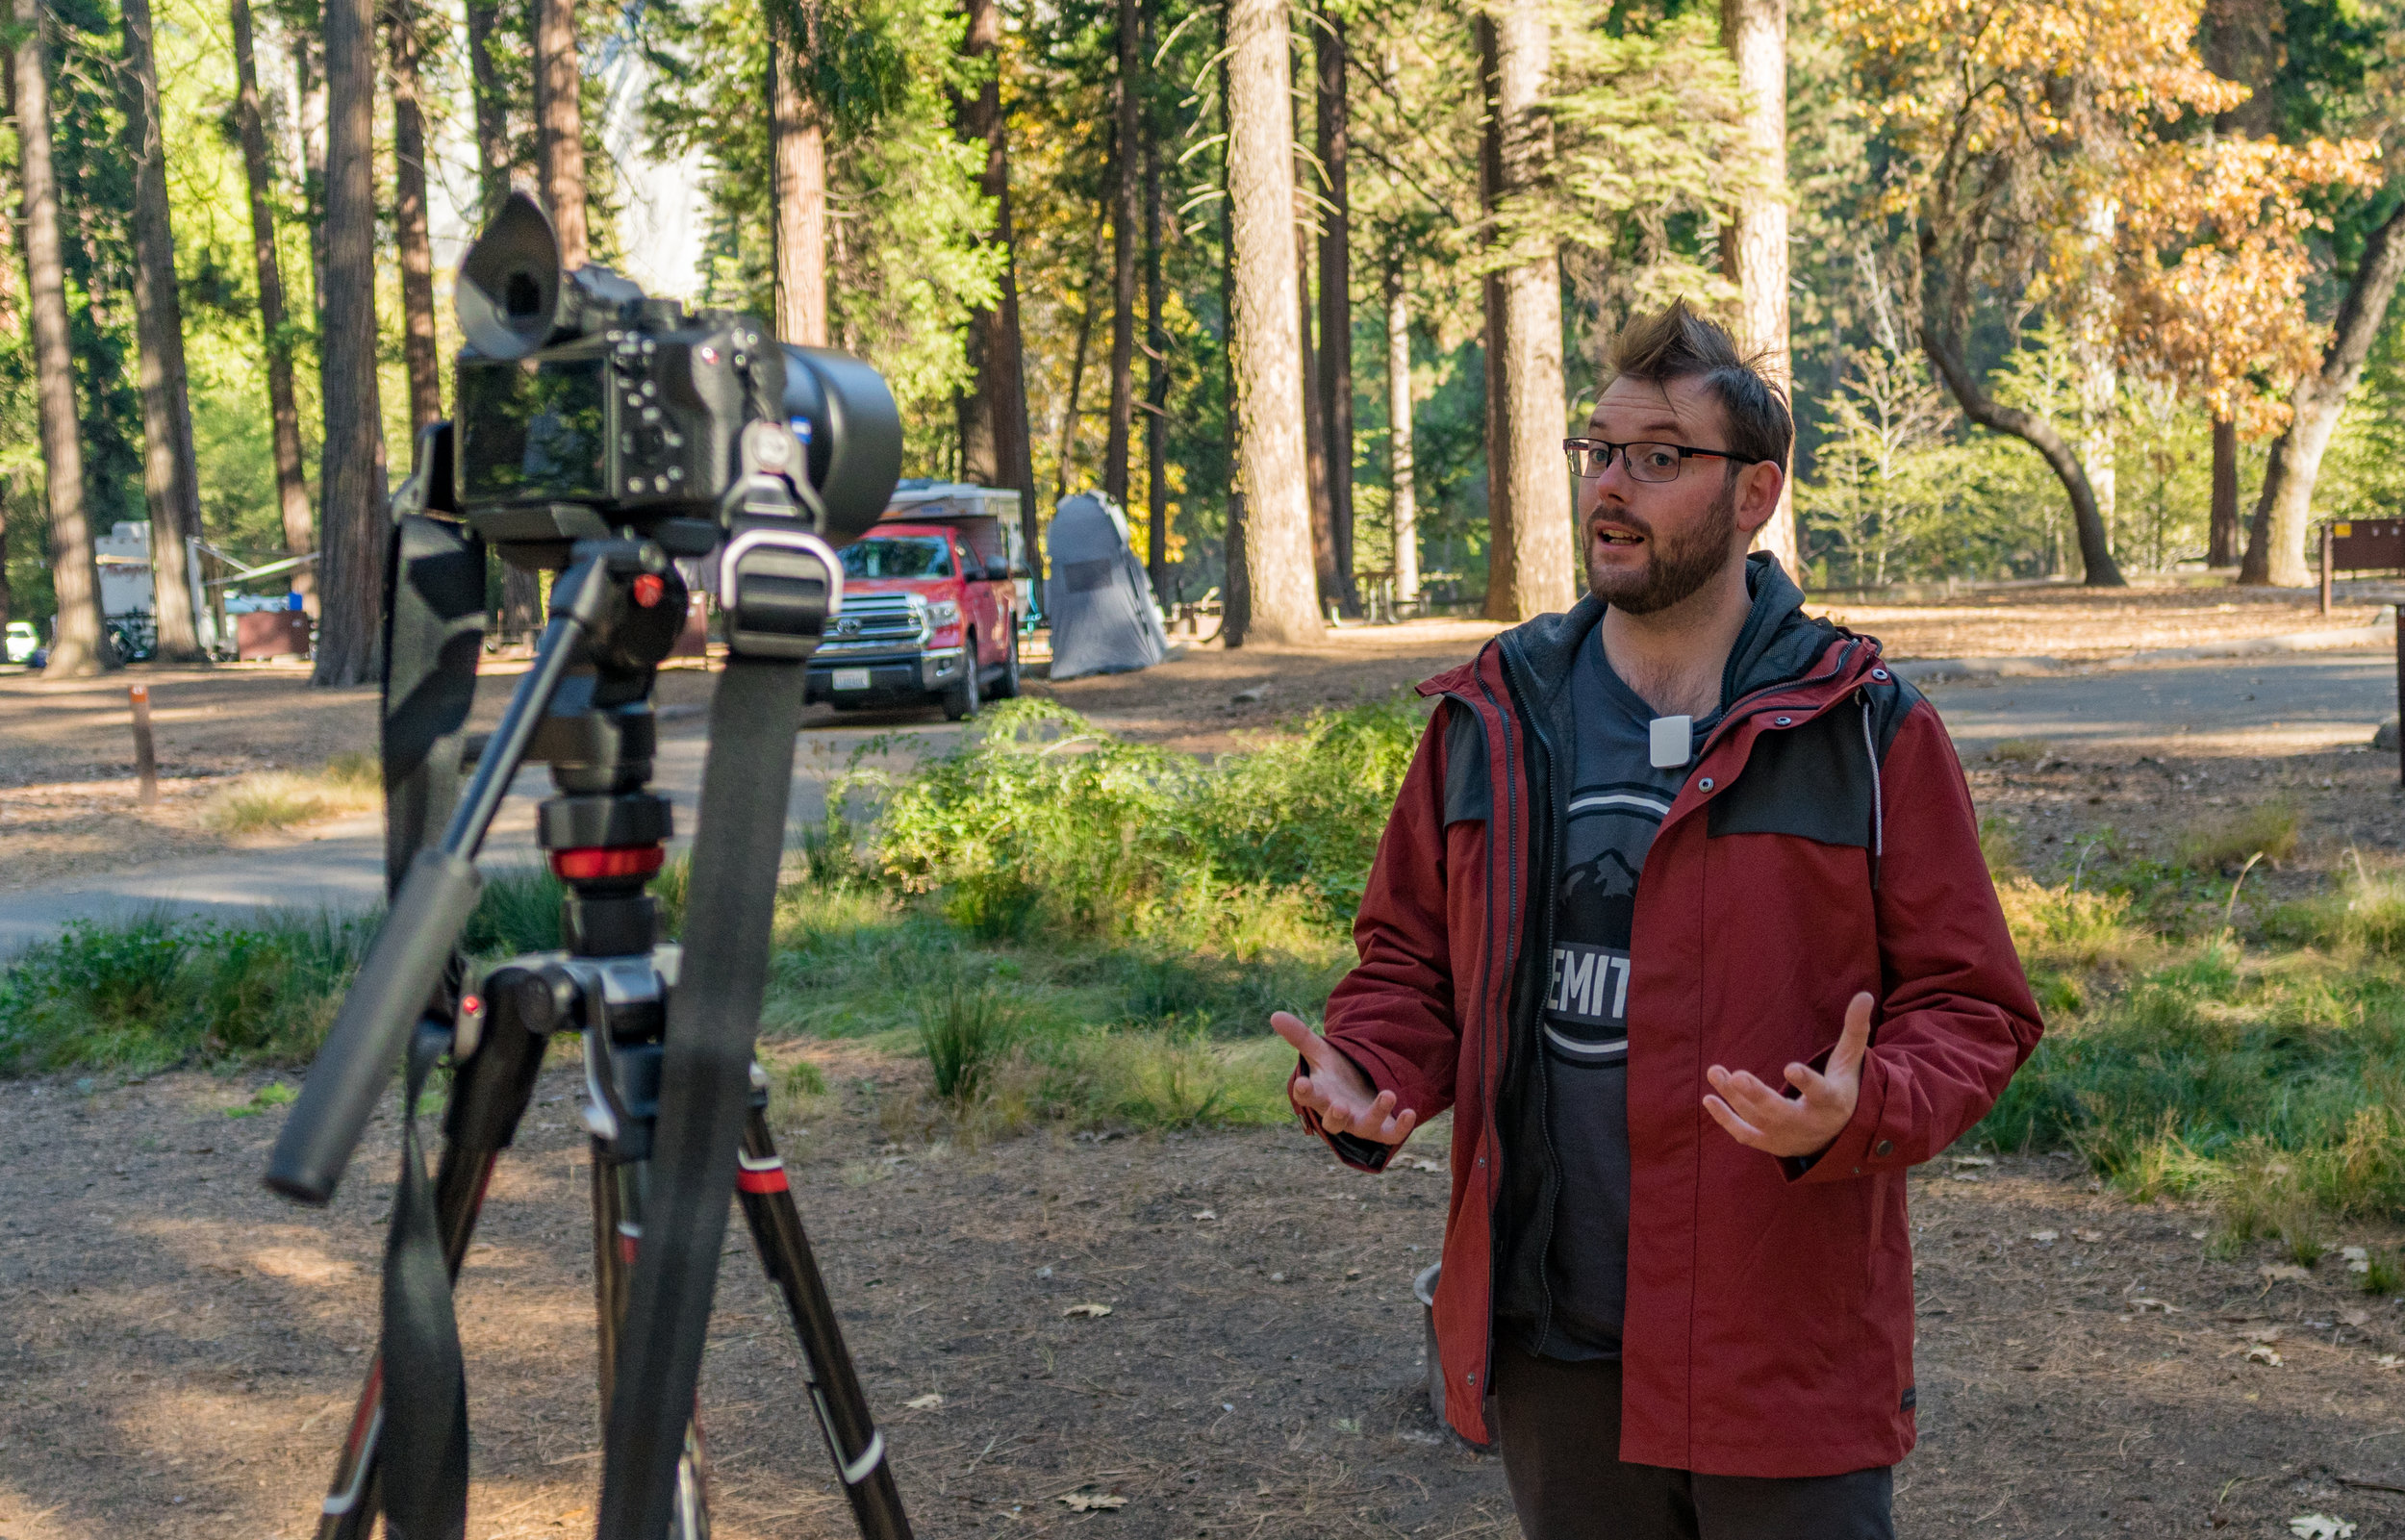
Yosemite - On Top Of The World
In October we travelled to Yosemite National Park on a collaborative project between APVideo, Manfrotto, ZEISS, Sennheiser, GoPro and Zhiyun-Tech. We wanted to demonstrate how to capture incredible photos and video while having an adventure. We were priviliged in using one of the first ZEISS Batis 2/40 CF lenses available, as well as capturing 360 degree sound using the Sennheiser Ambeo Smart Headset. This project is currently in the post production stage.

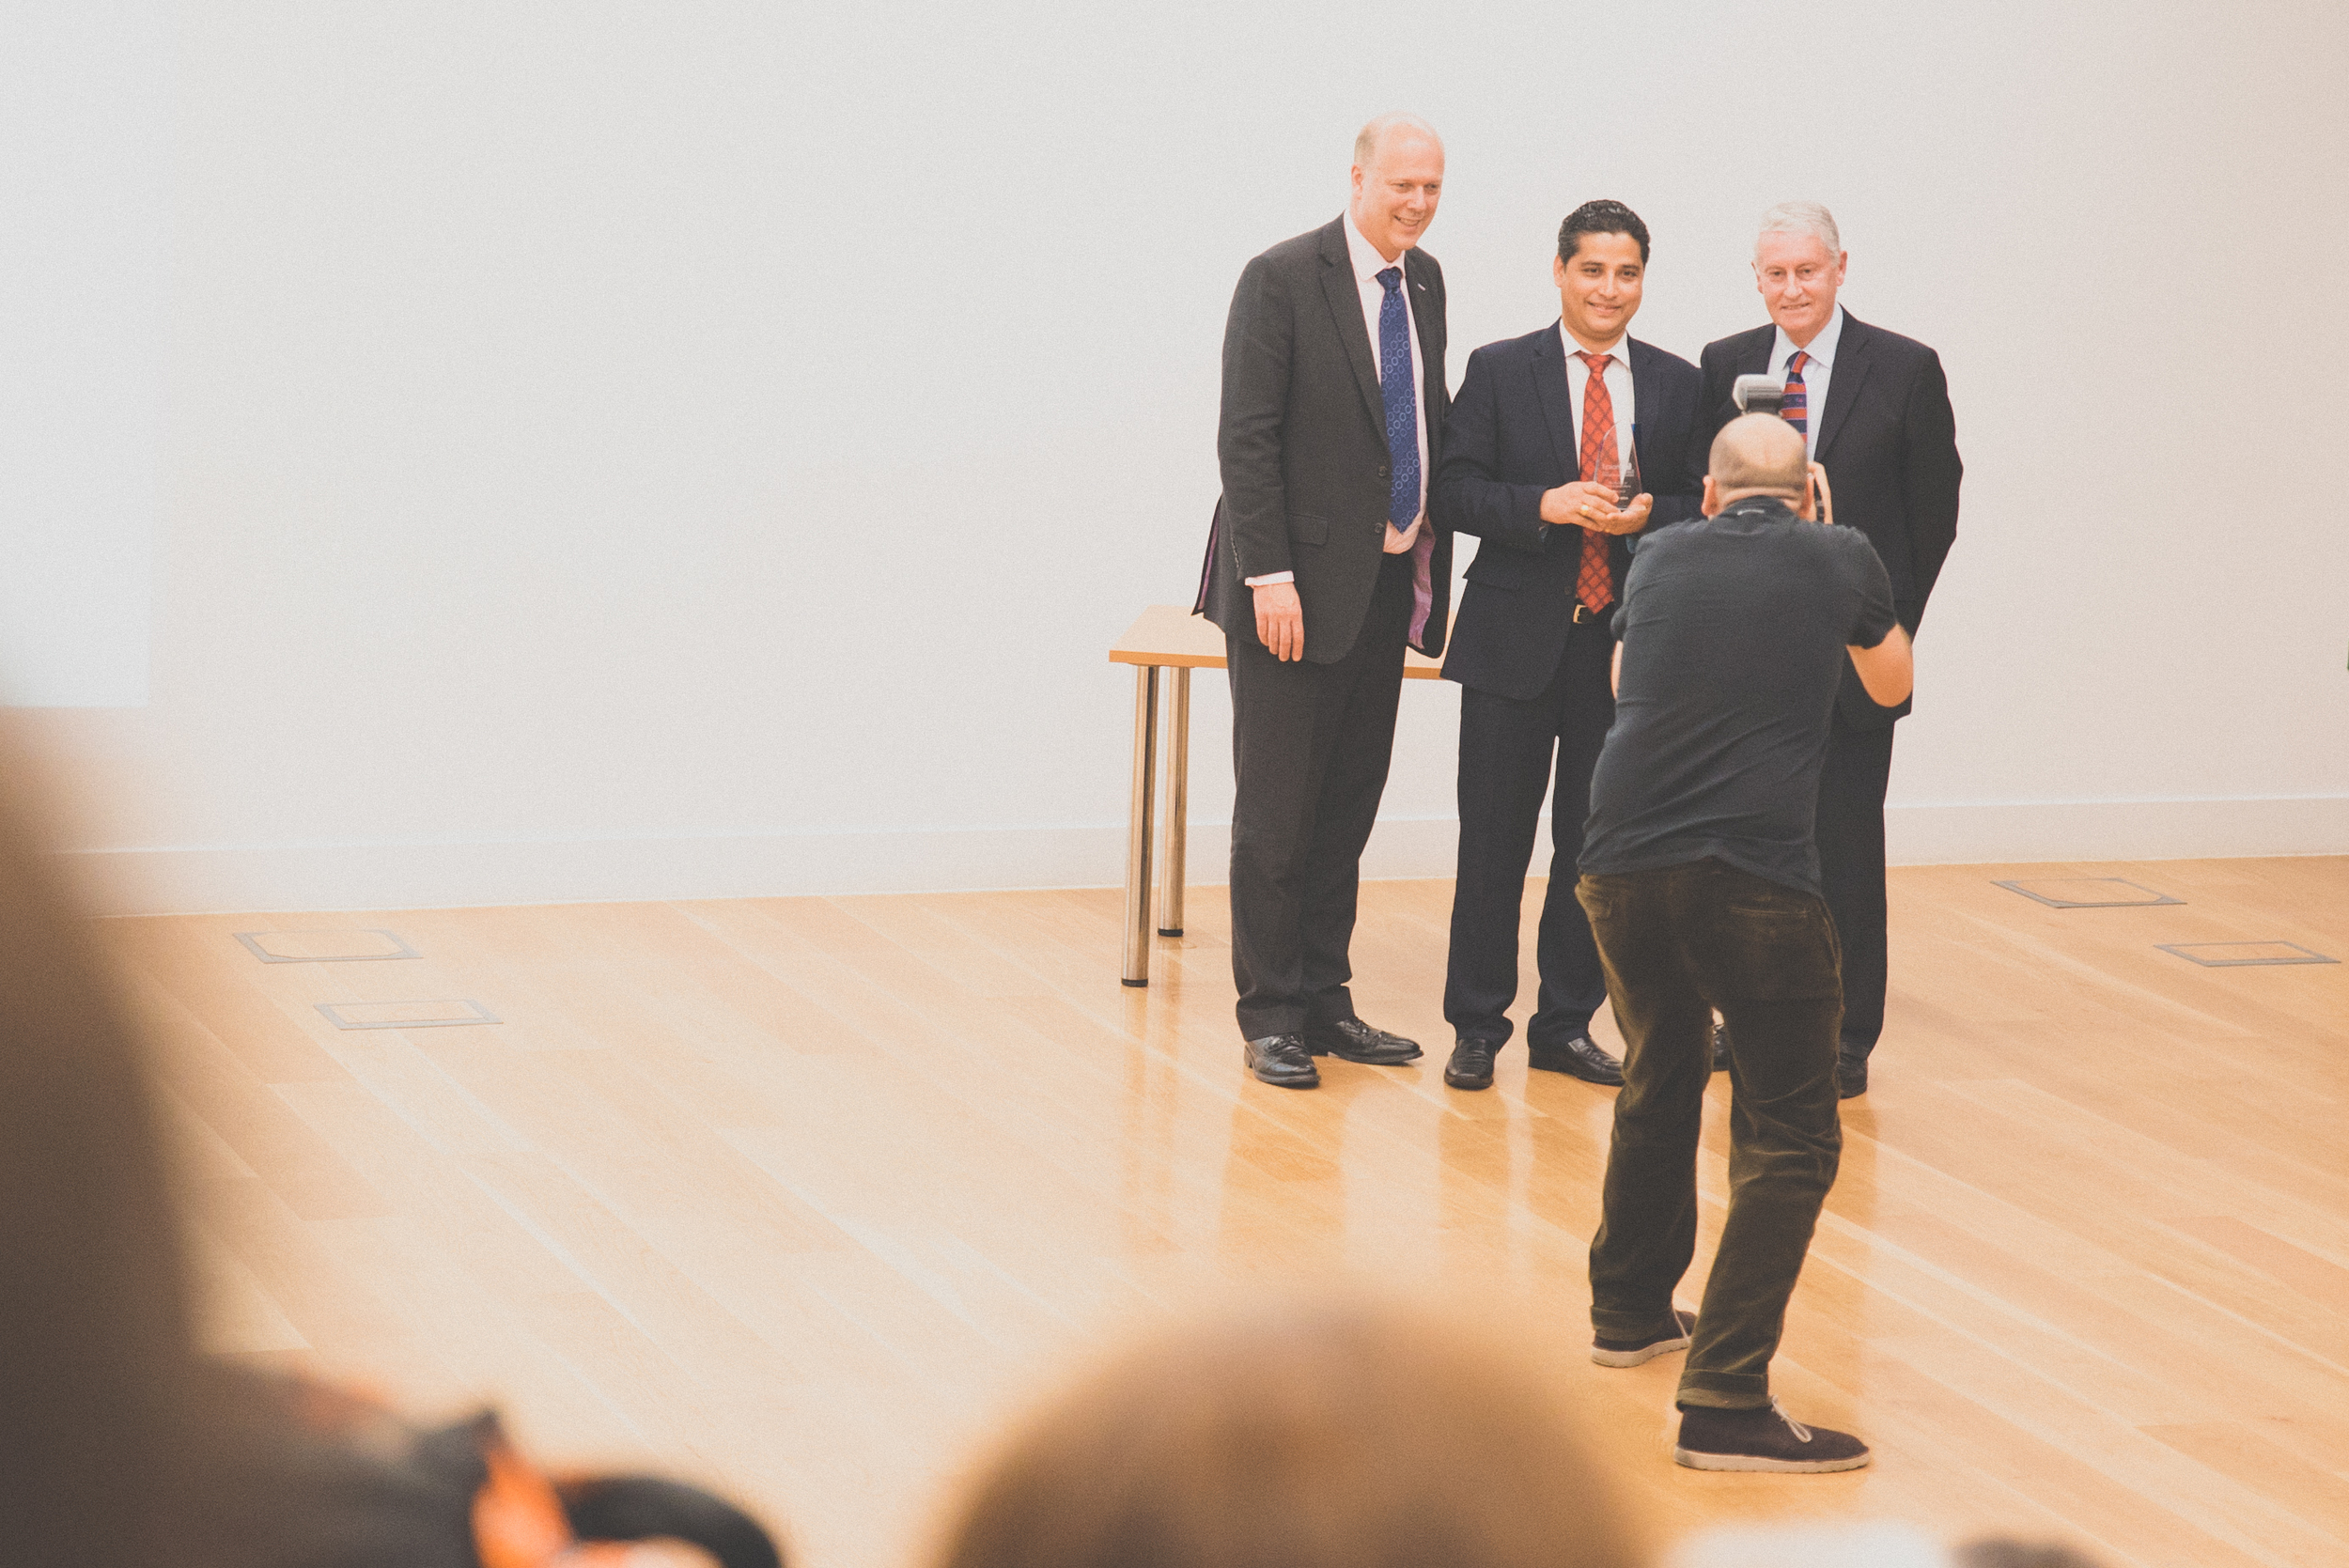
APVideo Wins ‘Best Business For Design or Technology’
We are over the moon to have been recognised for our hard work at the business awards! We support both local and global businesses, organizations and events with bespoke video content, and getting the award brought home all of the hard work we put in for our fantastic clients.

The Ashley Centre - Christmas Light Switch On
For the last four years we’ve worked with The Ashley Centre, another local business in Epsom to capture the Christmas Light Switch On. It’s family fun at it’s best with entertainers, the pantomime cast and of course Santa! It’s wonderful to support another local business.
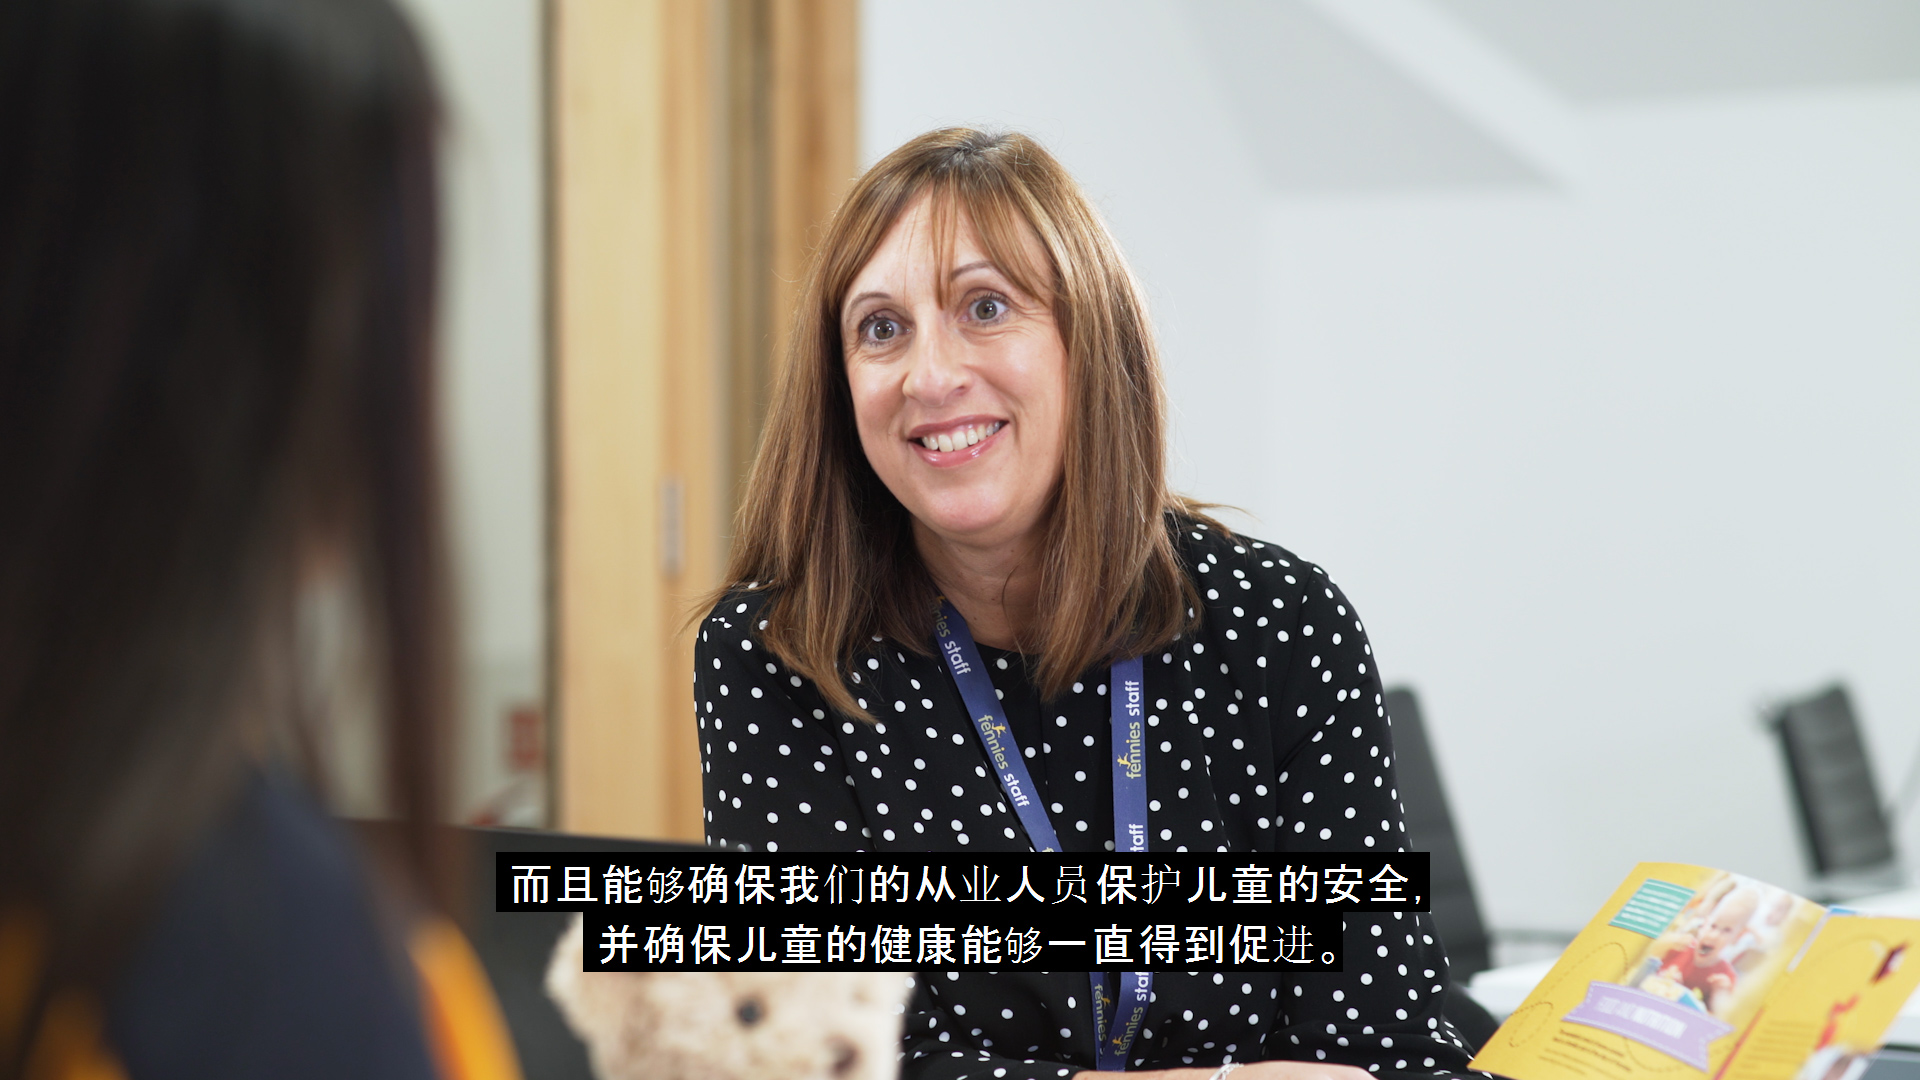
Fennies International - Multi Language Video Poduction
Fennies is expanding internationally, and with that they wanted a narrative based video production with multi language subtitles. From start to finish, we worked closely with the Fennies marketing team to develop the storyboard, narrative content and the creation of the subtitles in both English and Chinese. We provided a range of video delivery options including ‘burnt in’ subtitles in both languages, as well as the subtitle text files for use on online video platforms.


To Review…
As you can see, APVideo has had an incredible year, and we can’t wait for 2019 to start so we can continue the filmmaking adventure. We’re looking to invest into more equipment, expand our team and continue to grow to be the most successful video production company in Surrey.
As well as all of those video productions (and more we can’t share just yet), we’ve also been very grateful to work with our filmmaking friends like Teralon, Warner Vision, JHWF and providing guest lectures and workshops at Kingston University. Collaboration is key in this industry, and we’re always looking to join new teams and crews to produce fantastic content.
So, you’ve seen what we do, let’s work together to create something amazing.
Behind The Scenes
We shoot in 4K, HD, in slow motion. We integrate with your teams, work together, collaborate and have adventures. We experiment, we create, we succeed. We are APVideo and love making video content. If you haven’t got yours, get in touch with us now!

The Making Of 'The Great Outdoors' For Manfrotto
Get behind the scenes with our production for Manfrotto's 'The Great Outdoors' campaign, featuring ZEISS Milvus Super Speed prime lenses and the DJI Mavic Air.
Spring is here, and so are Manfrotto's new backpacks in the form of the Pro Light Cinematic Expand, and Pro Light Cinematic Balance. They are larger than the original Pro Light range which makes them ideal for carrying a plethora of filmmaking gear, in this case the ZEISS Milvus Super Speed prime lenses, DJI Mavic Air and Zhiyun Tech Crane 2.

Checking out the views with the Manfrotto Pro Light Cinematic Expand backpack and ZEISS Milvus Super Speed 1.4/25.
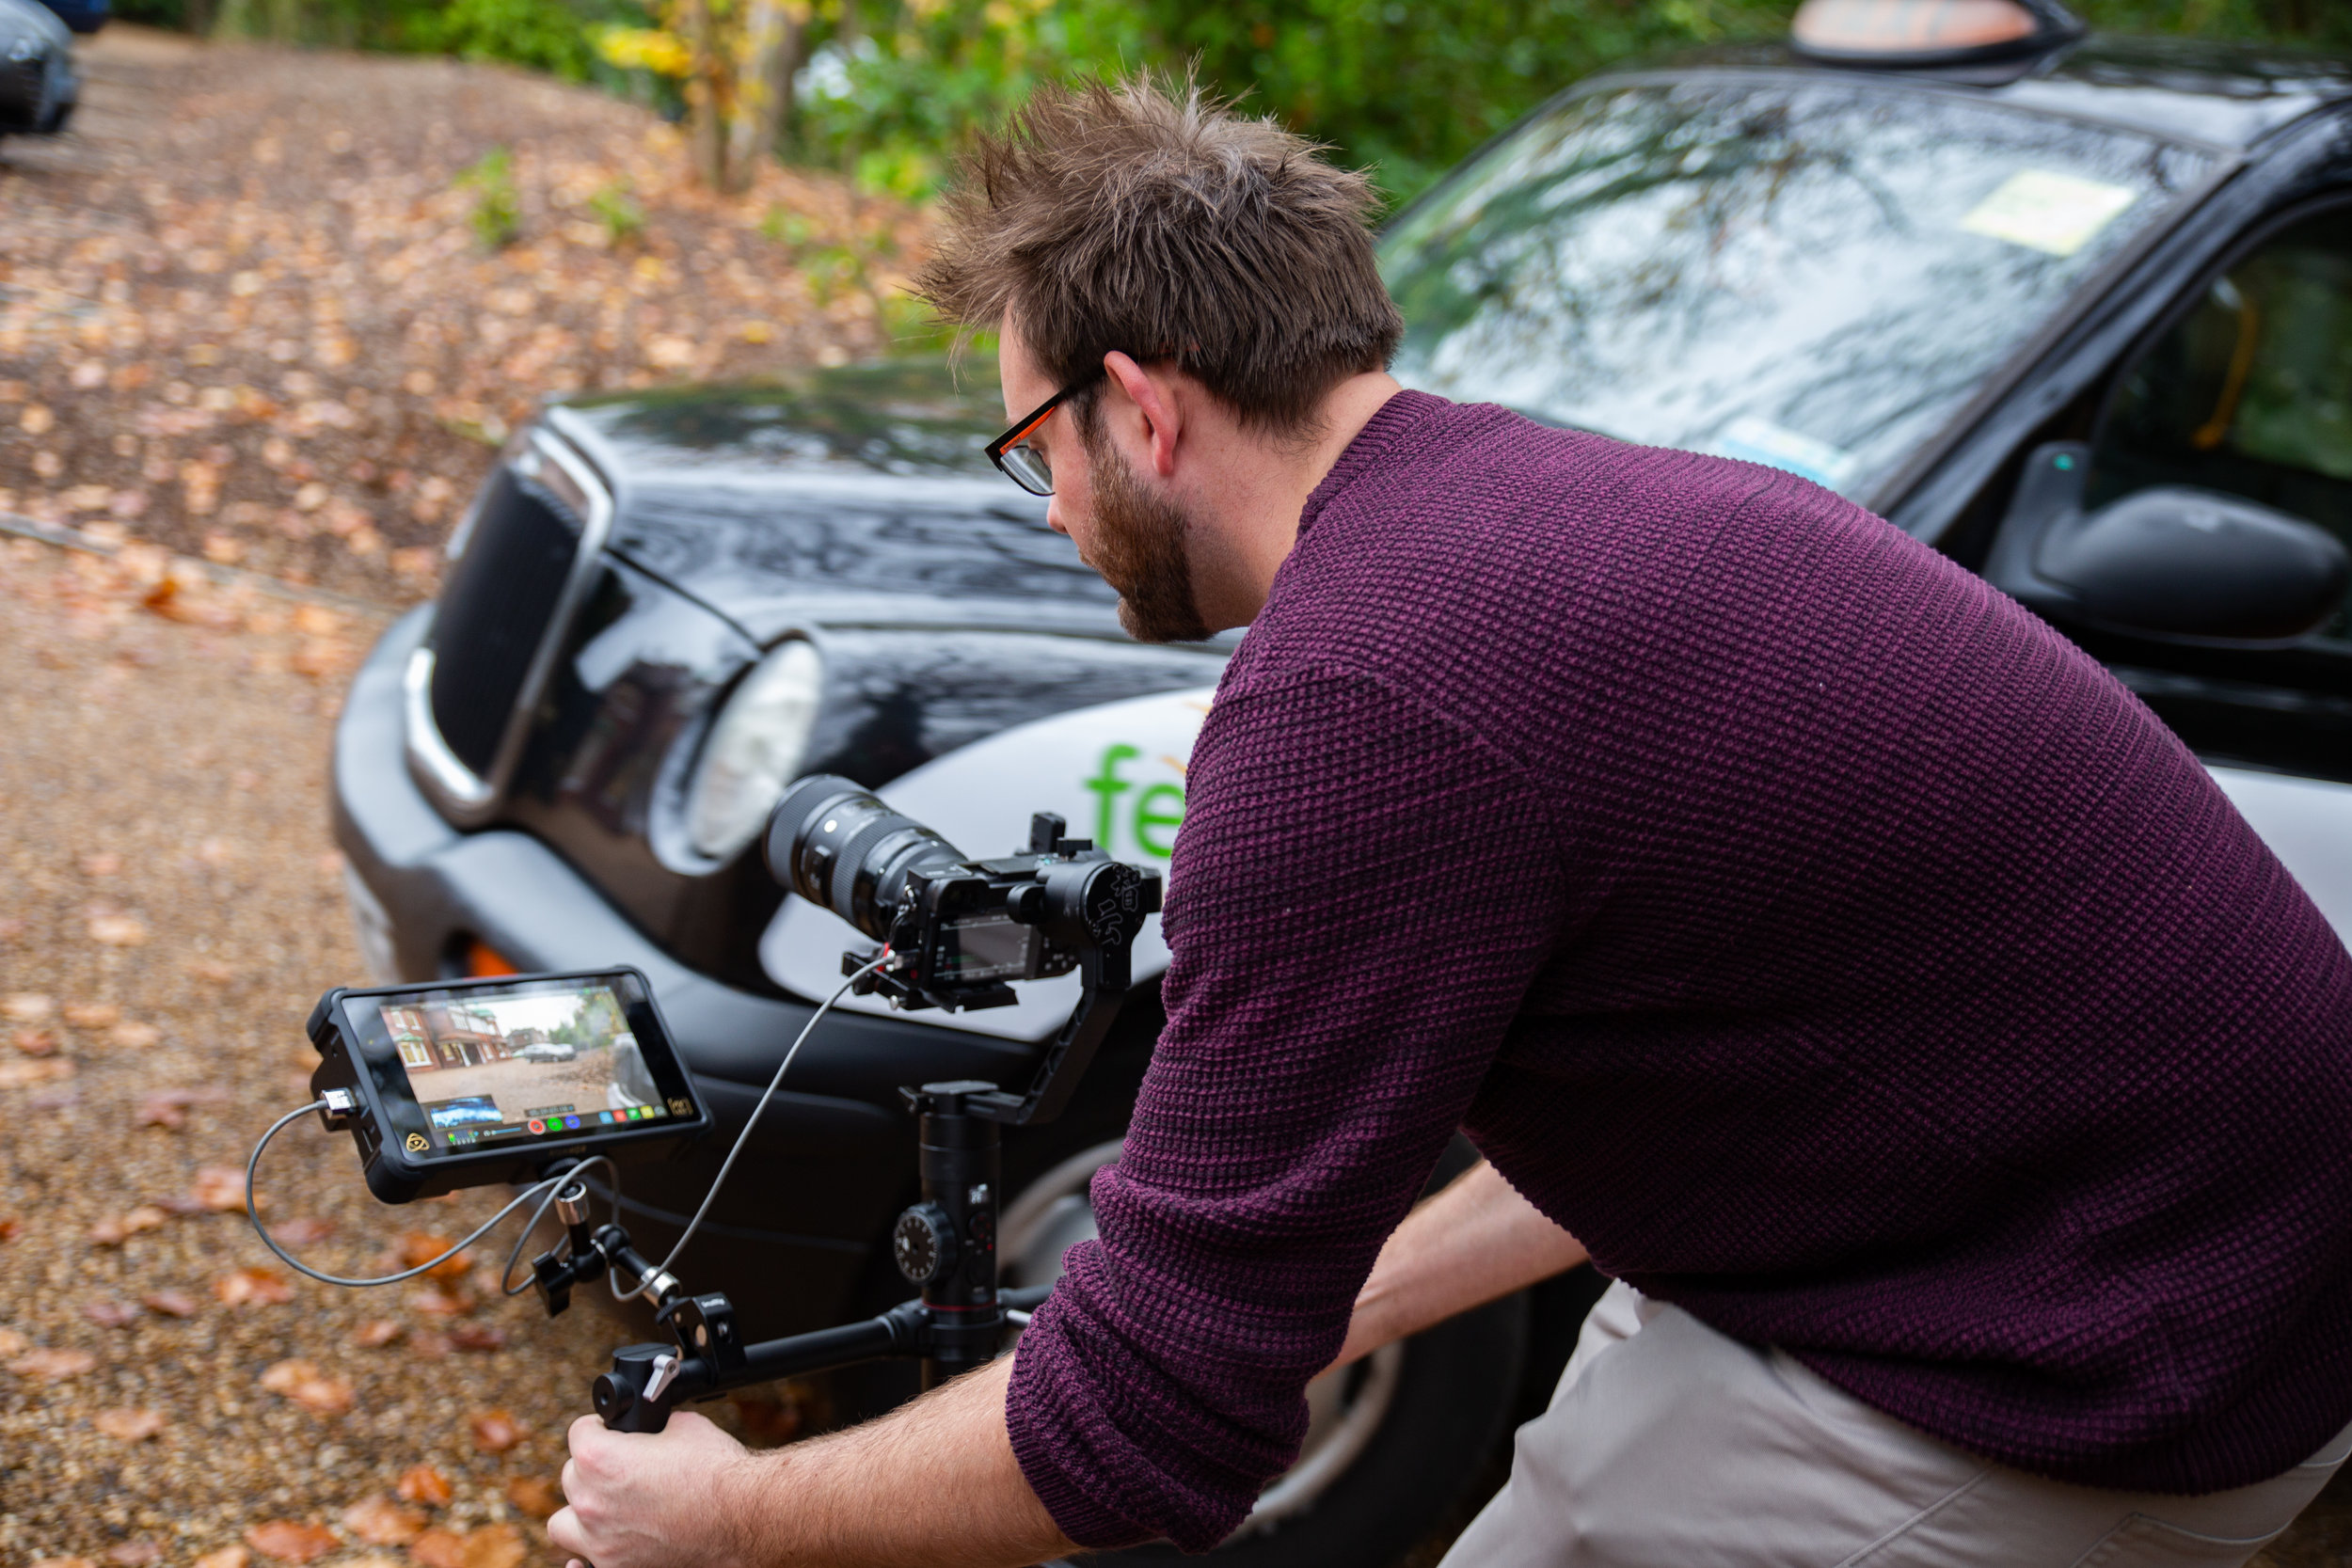
I headed out to the beautiful Surrey Hills to test out the new backpack and absorb the landscapes while out filming. Rich accompanied me to capture some awesome behind the scenes photos and video content too.
We spent a rainy day wandering around Holmbury St Mary and Leith Hill, recce'ing locations for filming that week. Luckily for us, the sun shone through the clouds for our 3 days filming!
Here is the kit list for the shoot:
Sony a7S II (with the SmallRig cage)
Sony a6500
Canon 5D III (BTS stills)
ZEISS Milvus Super Speed Primes (1.4/25, 1.4/35, 1.4/50, 1.4/85)
Zhiyun Crane 2
DJI Mavic Air
Canon 25-105mm F/4
Canon 17-40mm F/4
Samyang 35mm T/1.5
Manfrotto NITRO N8 video head and 535 MPRO tripod
All of the main filming kit fitted into the Manfrotto Pro Light Cinematic Expand.

The range of equipment used in The Great Outdoors filming. Inc Manfrotto NITRO N8, 535 MPRO, ZEISS Milvus Super Speed Primes
Choosing The Surrey Hills Locations
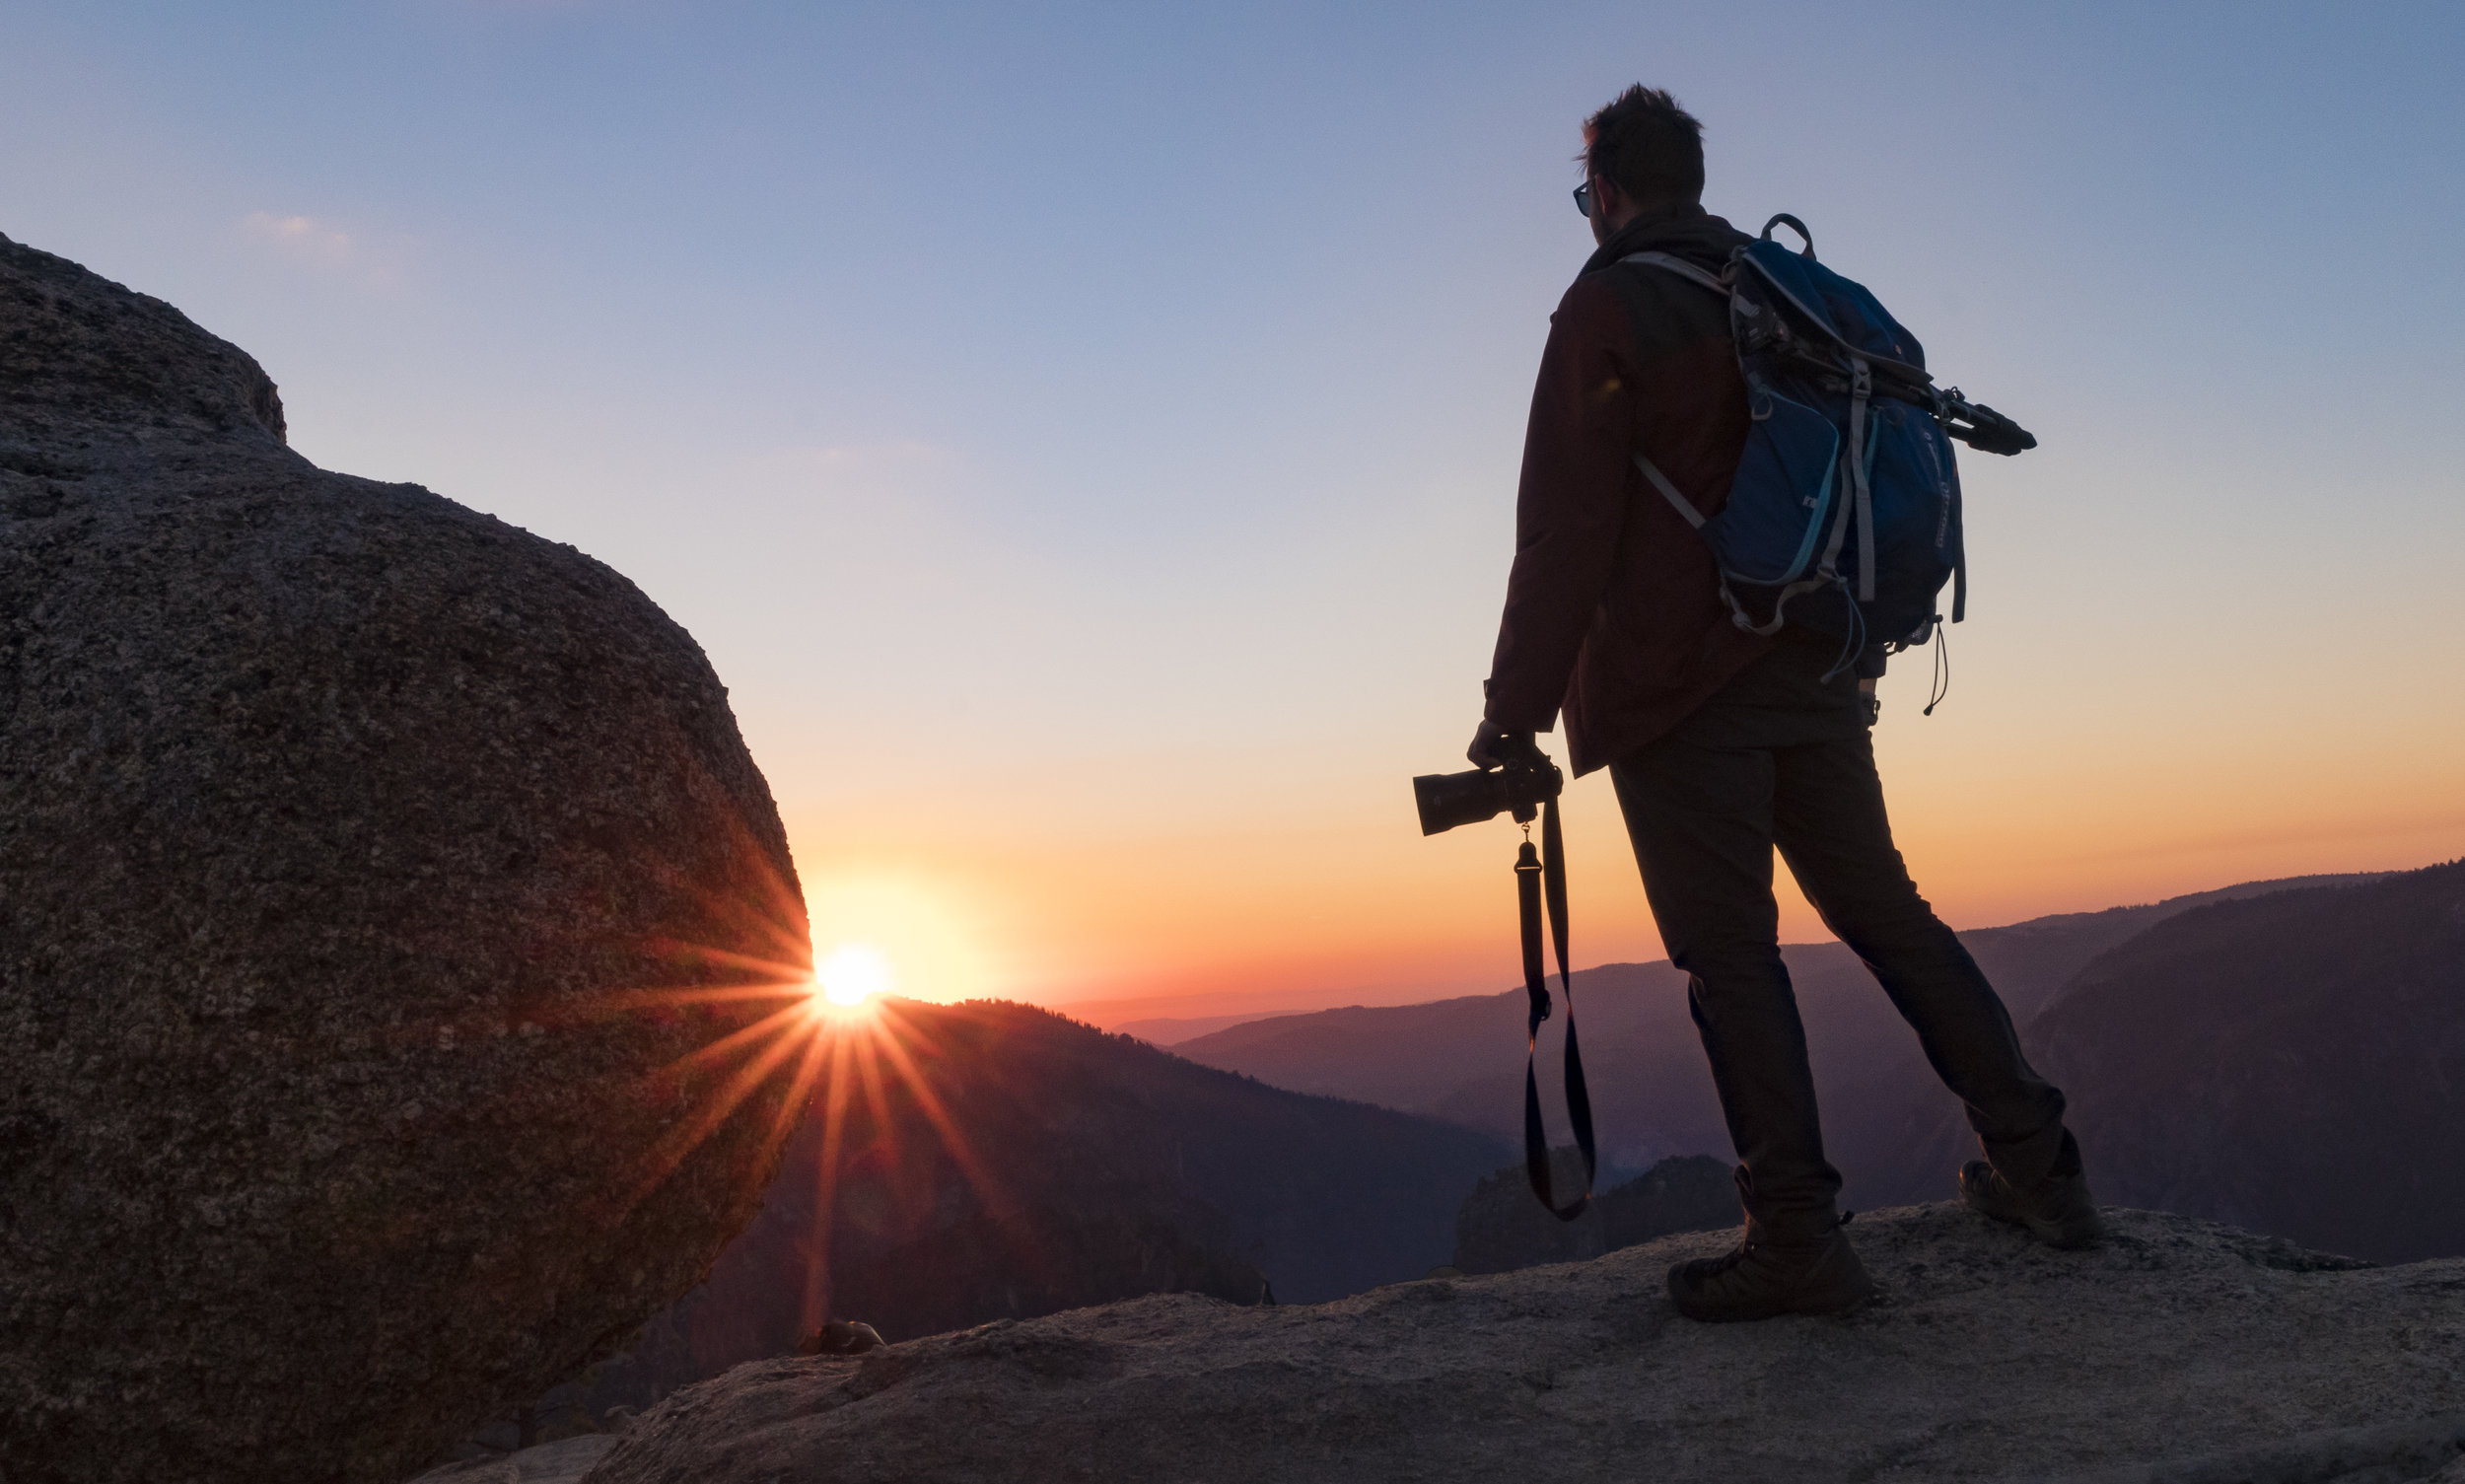
We captured some fantastic shots around the hills, featuring well known beauty spots like Leith Hill. Going on an adventure around familiar and unfamiliar territory, capturing the environment and landscapes that surrounded us was a great way to test the kit.
To add to the narrative of the production, Scott from The Surrey Hills Adventure Company invited us to the lagoon where he instructs SUP (stand up paddleboarding) as well as bushcraft, to shoot some material there. The weather wasn't the best, but Scott headed out on the paddleboard which made for some great aerial shots.
The sharpness of the ZEISS Milvus Super Speed 85mm was ideal for getting shots of the boat house, which was deliberately framed like a Wes Anderson shot!
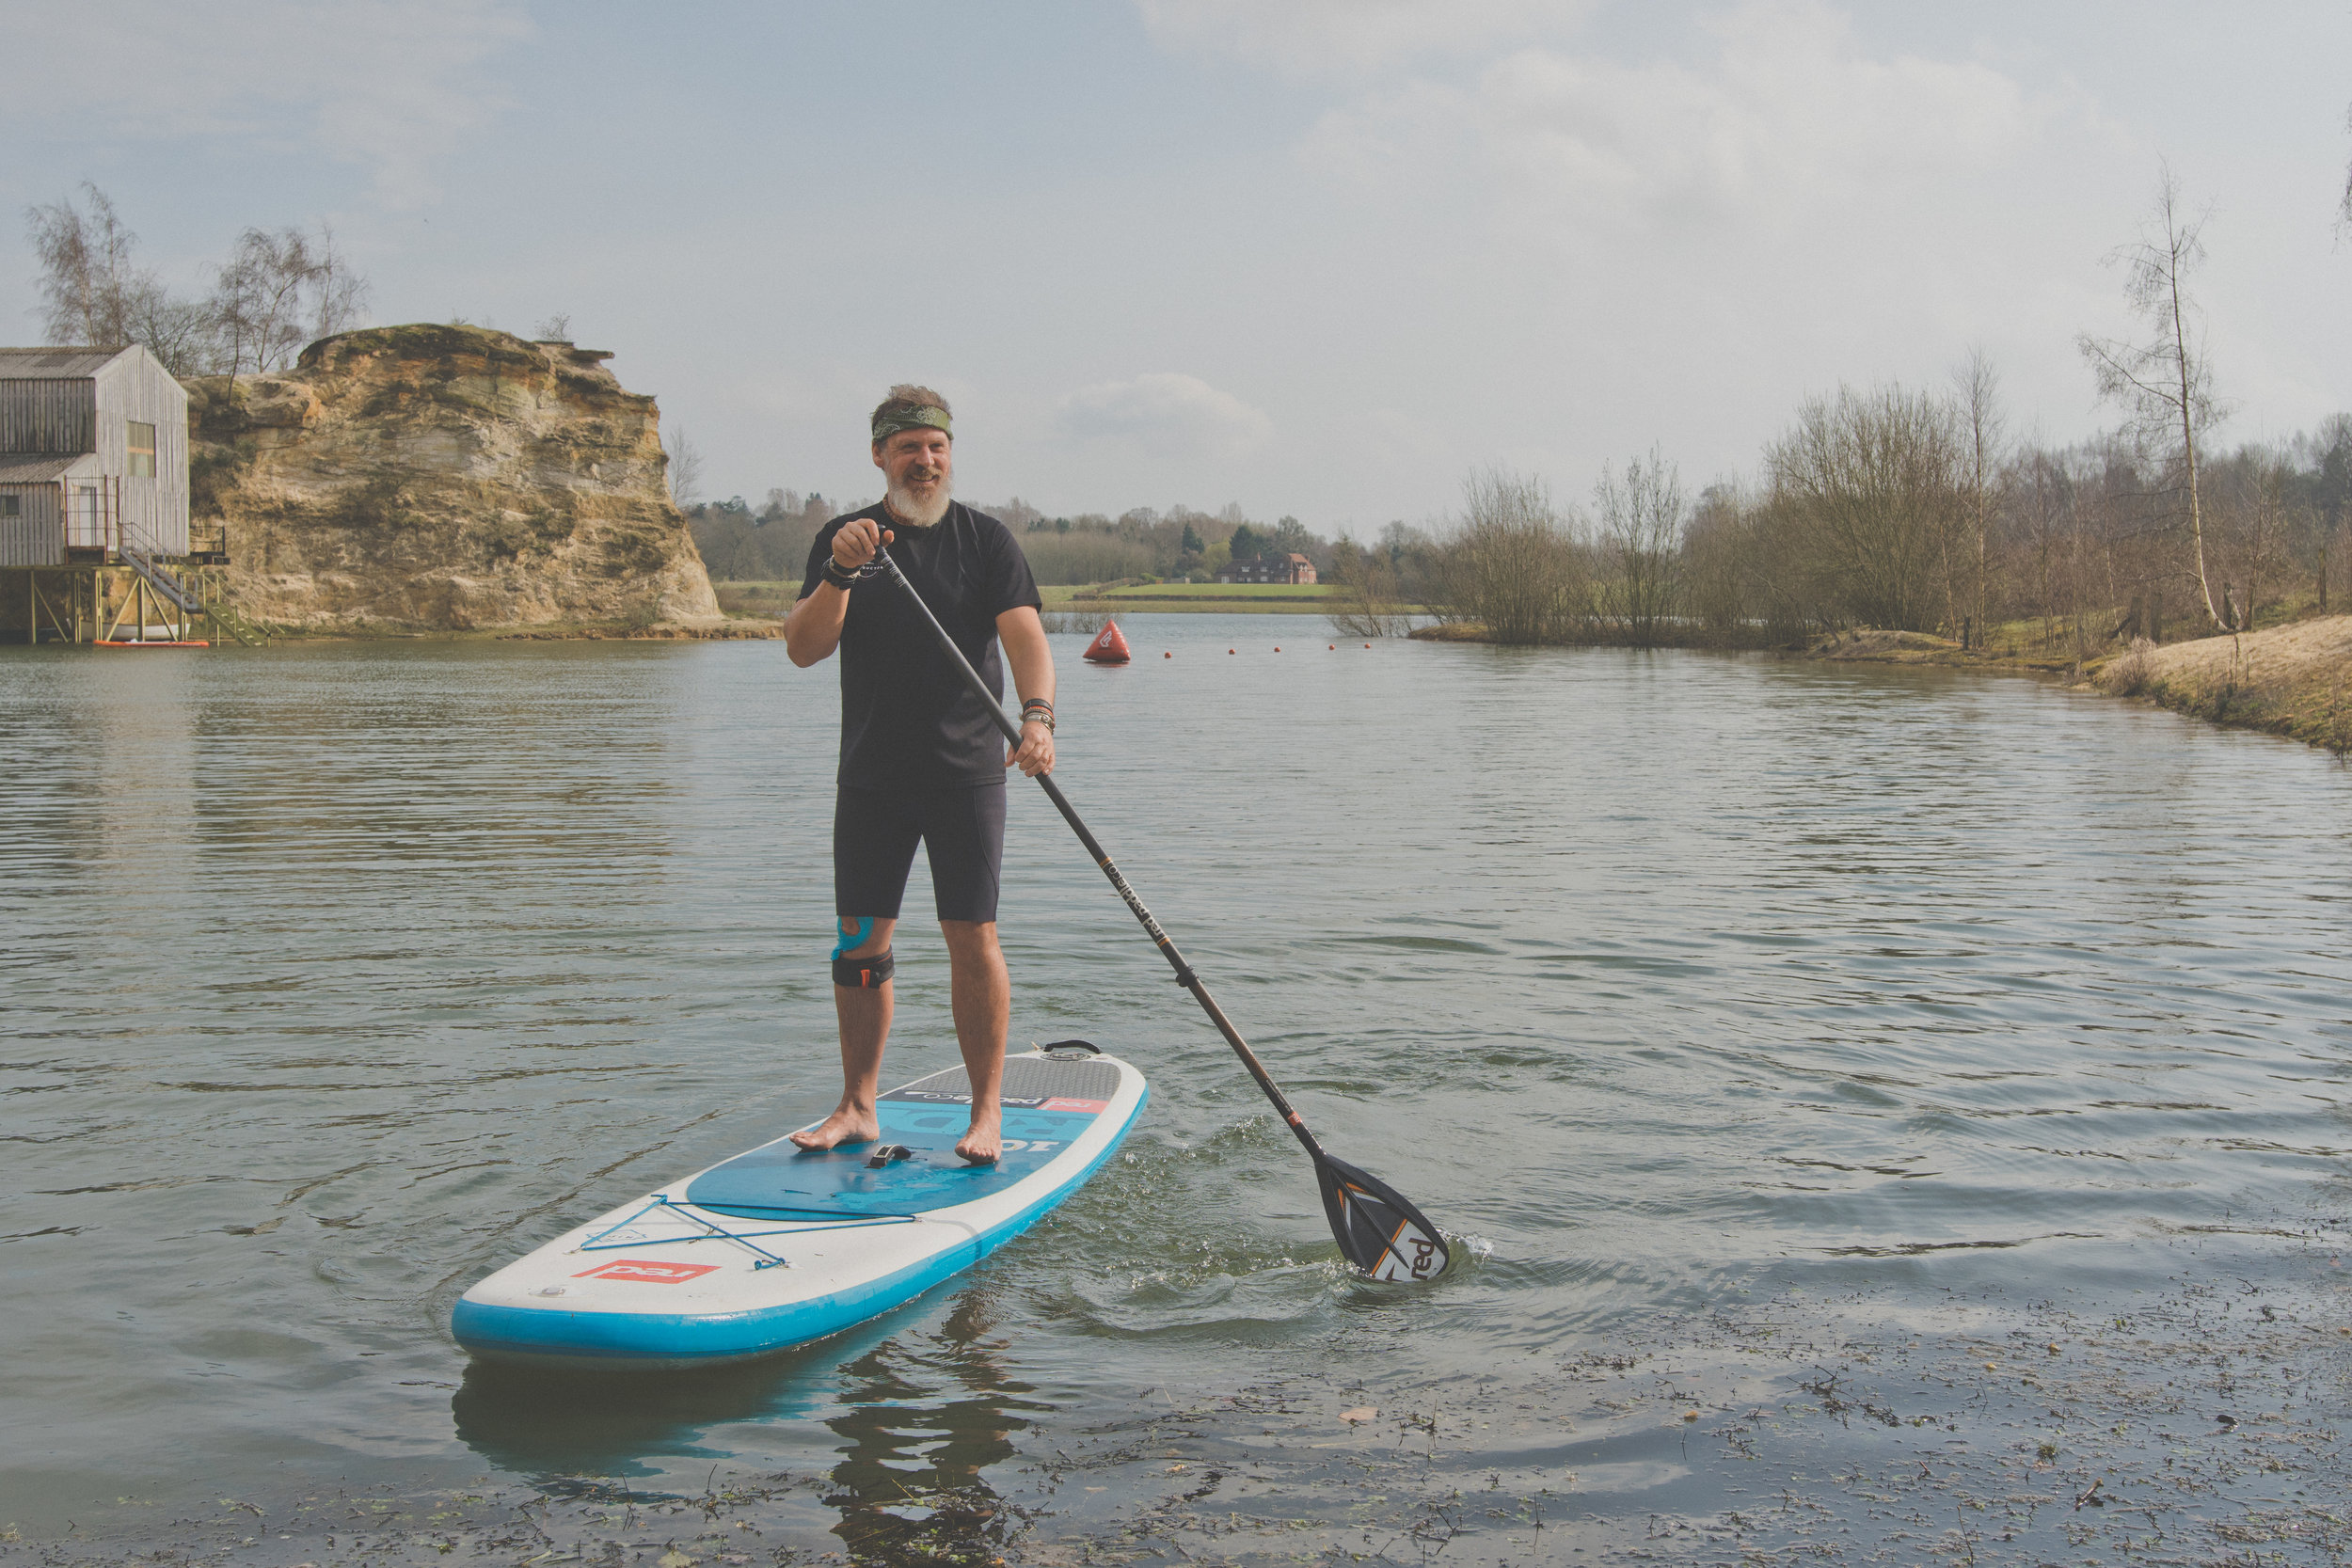
Scott from The Surrey Hills Adventure Company taking his SUP for a spin.
The ZEISS Milvus Super Speed Primes have a constant aperture of F/1.4 and can have the gear ring attached for use with a follow focus system. The lenses are of incredible visual quality (rendering 6K plus resolution images), and were ideal for filming on the Sony a7S II with the Sigma MC-11 adapter. I rigged up the camera and lens in the Small Rig cage, and attached the Manfrotto Follow Focus too, for precise focus pulling control at wide apertures.

The gear ring attached to the ZEISS Milvus 1.4/85 for a Manfrotto follow focus unit
For the silky smooth motion shots, the a7SII was rigged up with the Zhiyun Tech Crane 2, and even with the heavy ZEISS Milvus lenses, the gimbal performed very well (upon balancing correctly). The stabilised sensor aids greatly to reduce the up and down motion of walking, with the Crane 2 keeping everything else lovely and steady. As a handheld gimbal, I cannot recommend it enough.
Working With The DJI Mavic Air
I had the opportunity to shoot some lovely aerials around the area too on the DJI Mavic Air. This is my first little drone venture and is fantastic fun. The Fly More combo has enough batteries for between 45 minutes and 1 hours and comes with a nice carry bag too. I've managed to fit the drone, 3 batteries, controller and a set of Polar Pro ND filters in there too.

The DJI Mavic Air is a fantastic addition to the kit bag (Manfrotto Pro Light Cinematic Expand), and fits into the bag very well!
By the way, those Polar Pro ND filters are really needed to keep the shutter at 1/50 or 1/100 for slow mo. I've set the drone to Cinelike-D profile with reduced contrast, and then applying an S-like curve in post to bring back the colour and contrast. Shooting in 4K and 2.5K resolutions is great for post-production flexibility, when delivering a HD sequence.
Another technique to improve the colour richness, especially in the sky is to export the Mavic Air footage from your NLE as a PNG sequence, and then import it into Lightroom to apply the 'Dehaze' tool, which makes the colours more vibrant. It's a bit of a round-trip, but this effect/feature isn't available in Premiere Pro CC, yet.
One downside to the DJI Mavic Air is that the shadows are quite noisy, even when the image is exposed well, so keep an eye out for that. Below are some of the outtake drone shots of the Surrey Hills from the campaign.
The edit was where the story of 'The Great Outdoors' was to be built, and with some voice over recording and subtle soundtrack, the first part of the video began to come together. There was a lot to say about the shoot and the Pro Light Cinematic Expand backpack, in such a short amount of time. The visuals had to tell the story more than just what I was saying.
Rather than making the campaign video just a review, I chose to make the second part of the video different; changing the soundtrack and pace. This part was showing what you can do with the kit, what you can create and what stories you can tell.
I must say a massive thank you to Rich Tarr who accompanied myself on this production, capturing the BTS photos and video content. Without him, this couldn't have been possible! Also to Scott from The SHAC, if you're into outdoors, seriously check them out!

Rich Tarr, BTS producer
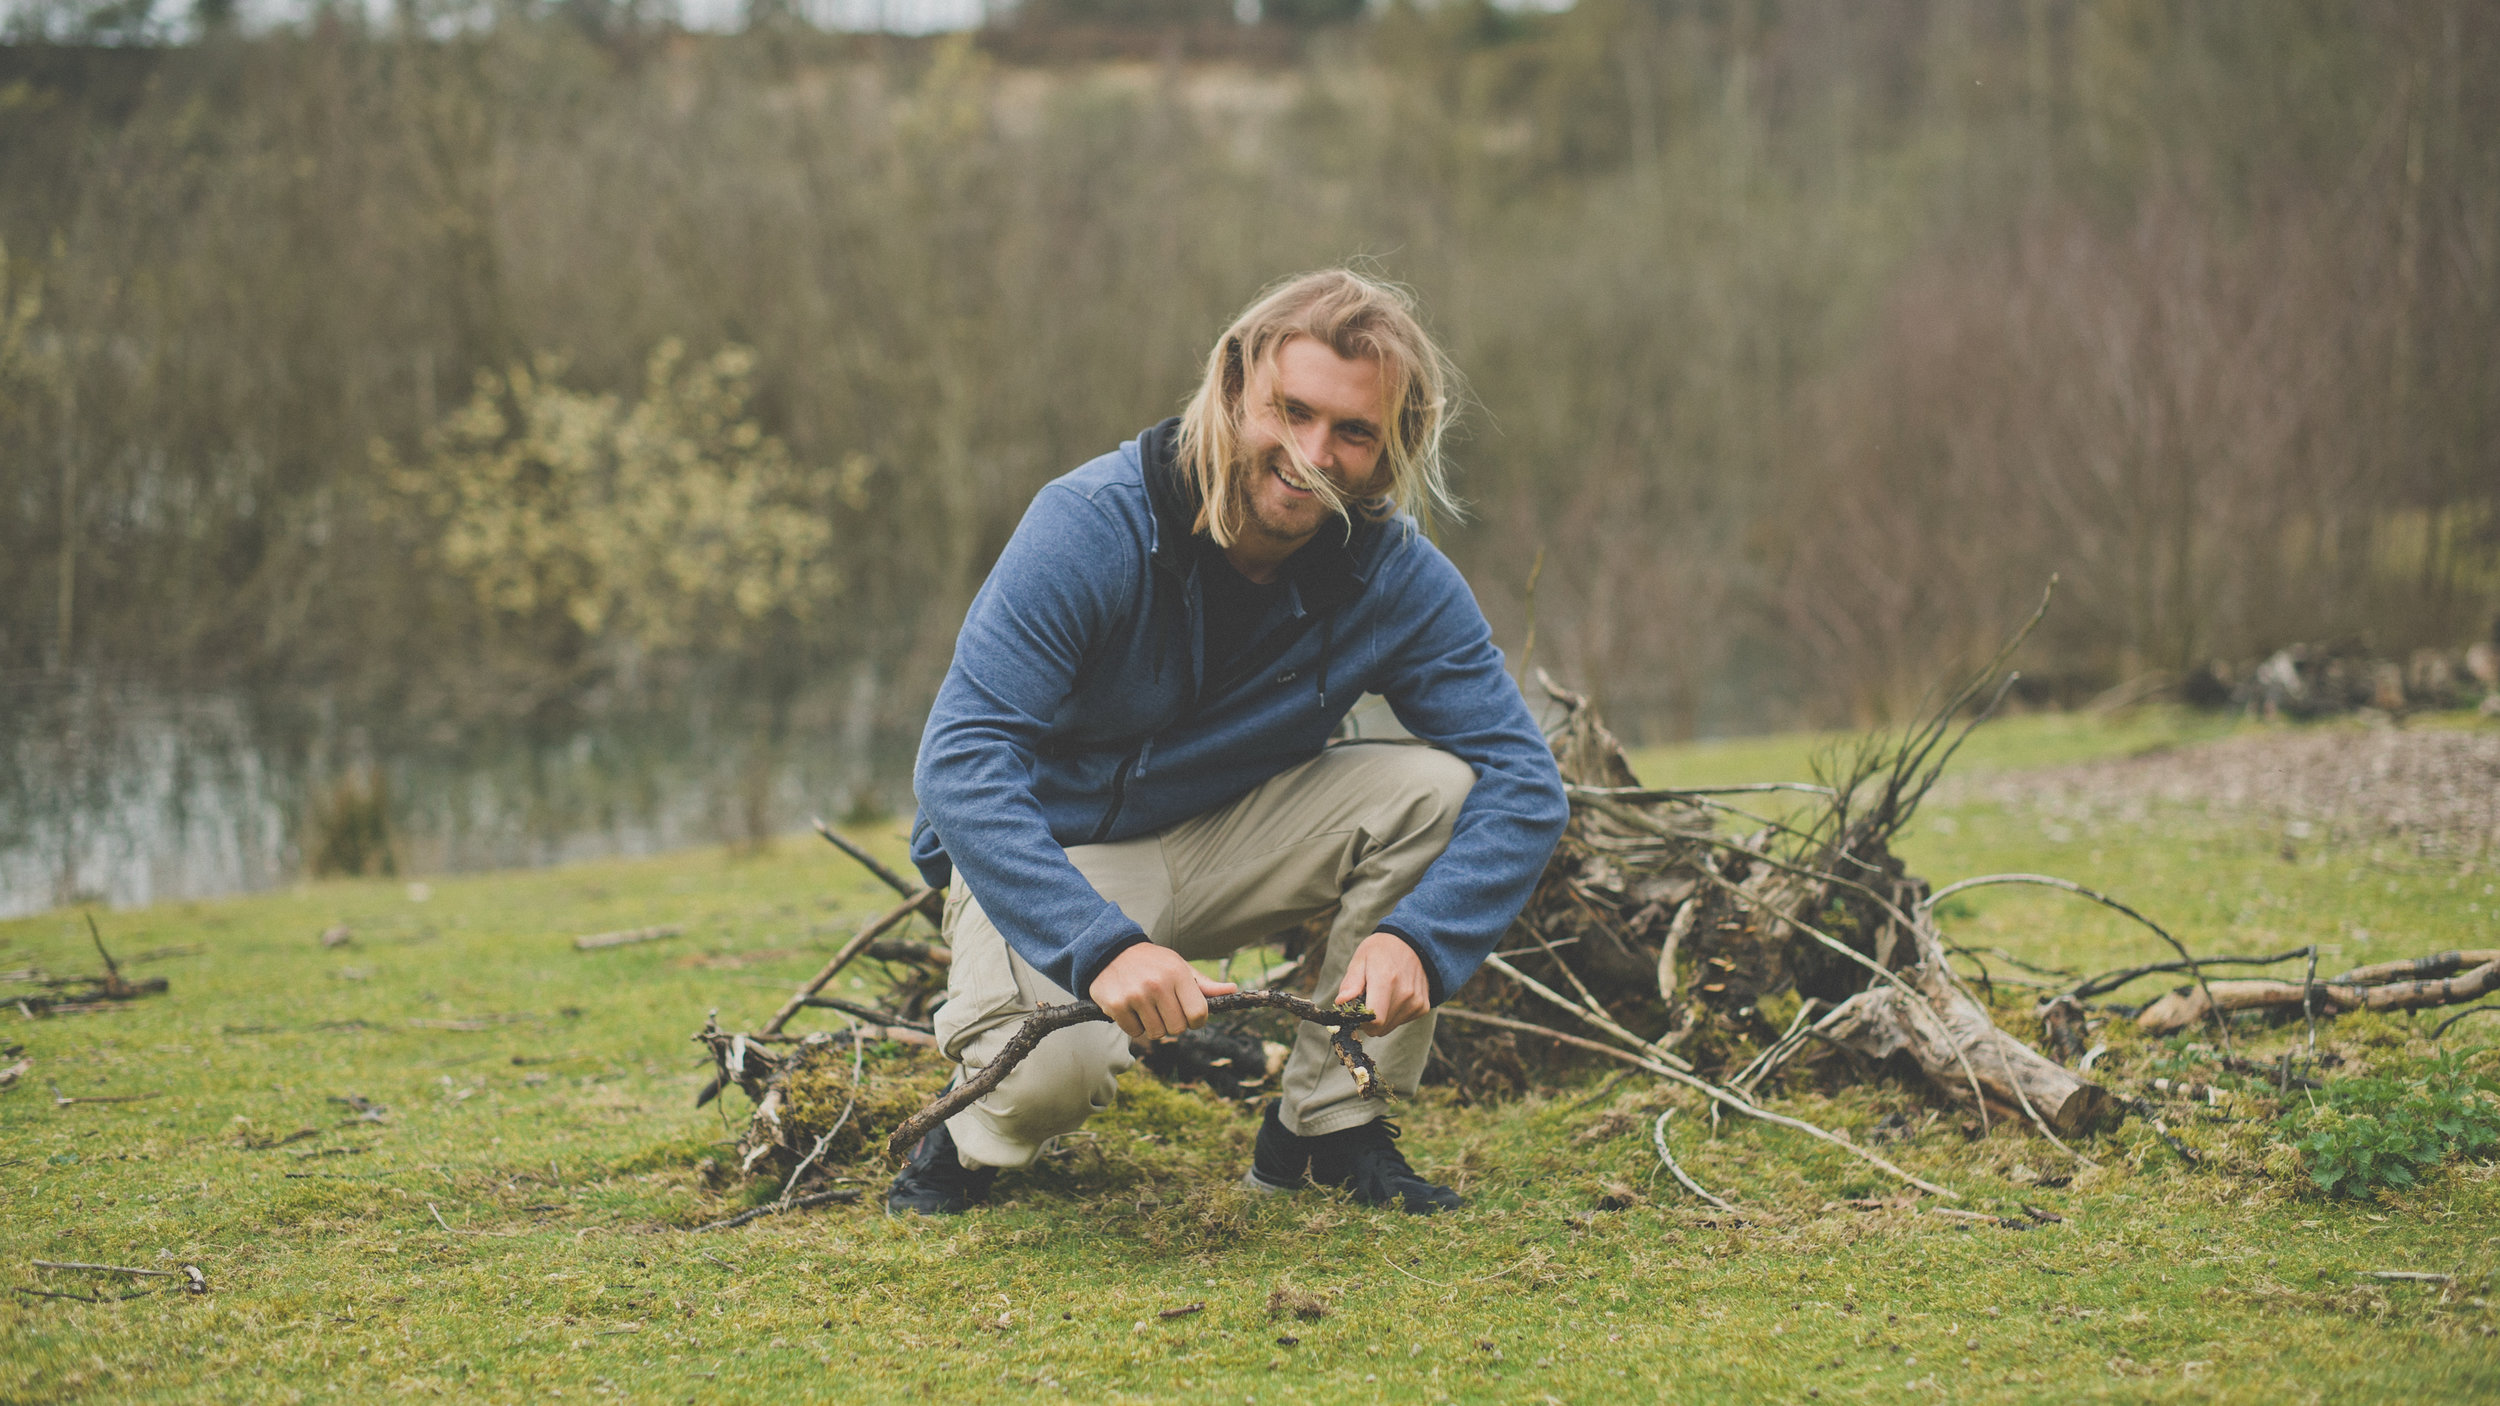
Rich getting back to basics
My verdict on the Pro Light Cinematic Expand? It's come with me for every shoot since this campaign. It's large and comfortable enough to carry a two camera setup with a set of 4/5 lenses and a telephoto. There is always extra room for mics and clamps, stands and the like by expanding the bag or making use of the quick access pockets. Try the bag out for yourself, it really suited my filming kit choice.
Overall, the campaign had a great reception and myself, Rich and Scott were really pleased with the result. To add to that, ZEISS will also be featuring a blog post and unique video about using the Milvus Super Speed prime lenses on their LENSPIRE website, so keep an eye out for that soon!
If you've got any questions about the Manfrotto Pro Light Cinematic Expand, filming with the ZEISS Milvus Super Speeds, flying with the DJI Mavic Air, then just get in touch!
Zhiyun-Tech Crane 2: The Best Hand Held Gimbal Out There?
Zhiyun-Tech has taken the indie film world by storm over the last year. Their products are affordable and produce results that can be easily compared to much more costly gimbal systems. I've been using the Crane 2 for months now, here is my experience of using it.
Note: I am a Sony shooter so won't be looking in depth at the capabilities of the Crane 2 with other manufacturers, I have done some follow focus tests with the Canon 5D III as an example.
Feature wise, the Zhiyun Tech Crane 2 packs much more into the gimbal than the Crane 1 and Crane v2 combined. It's increased payload means that shooters using Canon 5D's or Sony a7's with Metabones adapters can comfortably operate the gimbal with less stress on the motors. I've even seen Canon cinema cameras, RED cameras and Sony FS5's rigged on them!

Using the Zhiyun Crane 2 while filming for Manfrotto
A brand new feature is the follow focus, in which I've seen some great examples of Crane 2 operators pulling and tracking focus on moving subjects. Zhiyun Tech has since updated the gimbal firmware so that a number of the camera control features are now available when filming on Canon, Sony, Nikon and Panasonic cameras!
The biggest improvement for me has been using a Manfrotto standard quick release plate, that simply slides on and off the gimbal. It means you can go from filming on a tripod or monopod straight onto the Crane 2. No hassle, no screws to undo and then re-balance the gimbal. It's simple, and it works.

On a recent shoot, I swapped between filming with the Sony a7S II and Sony a6500 on the Crane 2, which was ideal!
Dual handles for the Crane 2 allow for more accessories such as a monitor or microphone to be added to the setup. There is also a follow focus unit now available too, that hooks up to the focus wheel on the handle. For more info about the gimbal and accessories, check out the product page here.
I use the Zhiyun Crane 2 on pretty much all of my video shoots, and combining it with 4K or slow motion really adds a level of production value that I hadn't been able to achieve before. Check out the next blog on the making of 'The Great Outdoors' for more gimbal action with the ZEISS Milvus Super Speed Primes!
'The F Word' Kingston University Creative Technologies Guest Lecture
Here at APVideo we are advocates for the growth and development of new members in the creative industries, students being one aspect of this. We occasionally guest lecture for the Creative Technologies courses at Kingston University.

The F Word Creative Technologies Guest Lecture at Kingston University
Here are the lecture notes and podcast entitled 'The F Word'. Can you guess what the F word is?
You probably guessed it, freelancing was the topic of the guest lecture at Kingston University for students in the 'Creative Technologies' courses. I graduated in Television and Video Tech (a course that is sadly no longer running) back in 2013/14, and since then freelancing has been a big part of the journey I'm currently on.
I showed a number of films that I worked on, including the BTS film for 'OSTRICH' which was created to promote the Tokina Cinema Lenses;
More recently, I worked with HaZ Dulull on his latest feature entitled 'The Beyond';
Later in the lecture, I showed a diagram that a TV producer showed me on a packed DLR train after BVE a couple of years ago. It's a graphical way of working out the steps to get to where you want to be, whether that is for work or for creativity. I've called it 'The 4 stages of career development and creative enlightenment!'

The 4 stages of career development and creative enlightenment!
Enjoy the podcast and videos, it was great to go back again and I look forward to the workshops that are in the plans.
The Manfrotto Manhattan Mover-50 Backpack Review
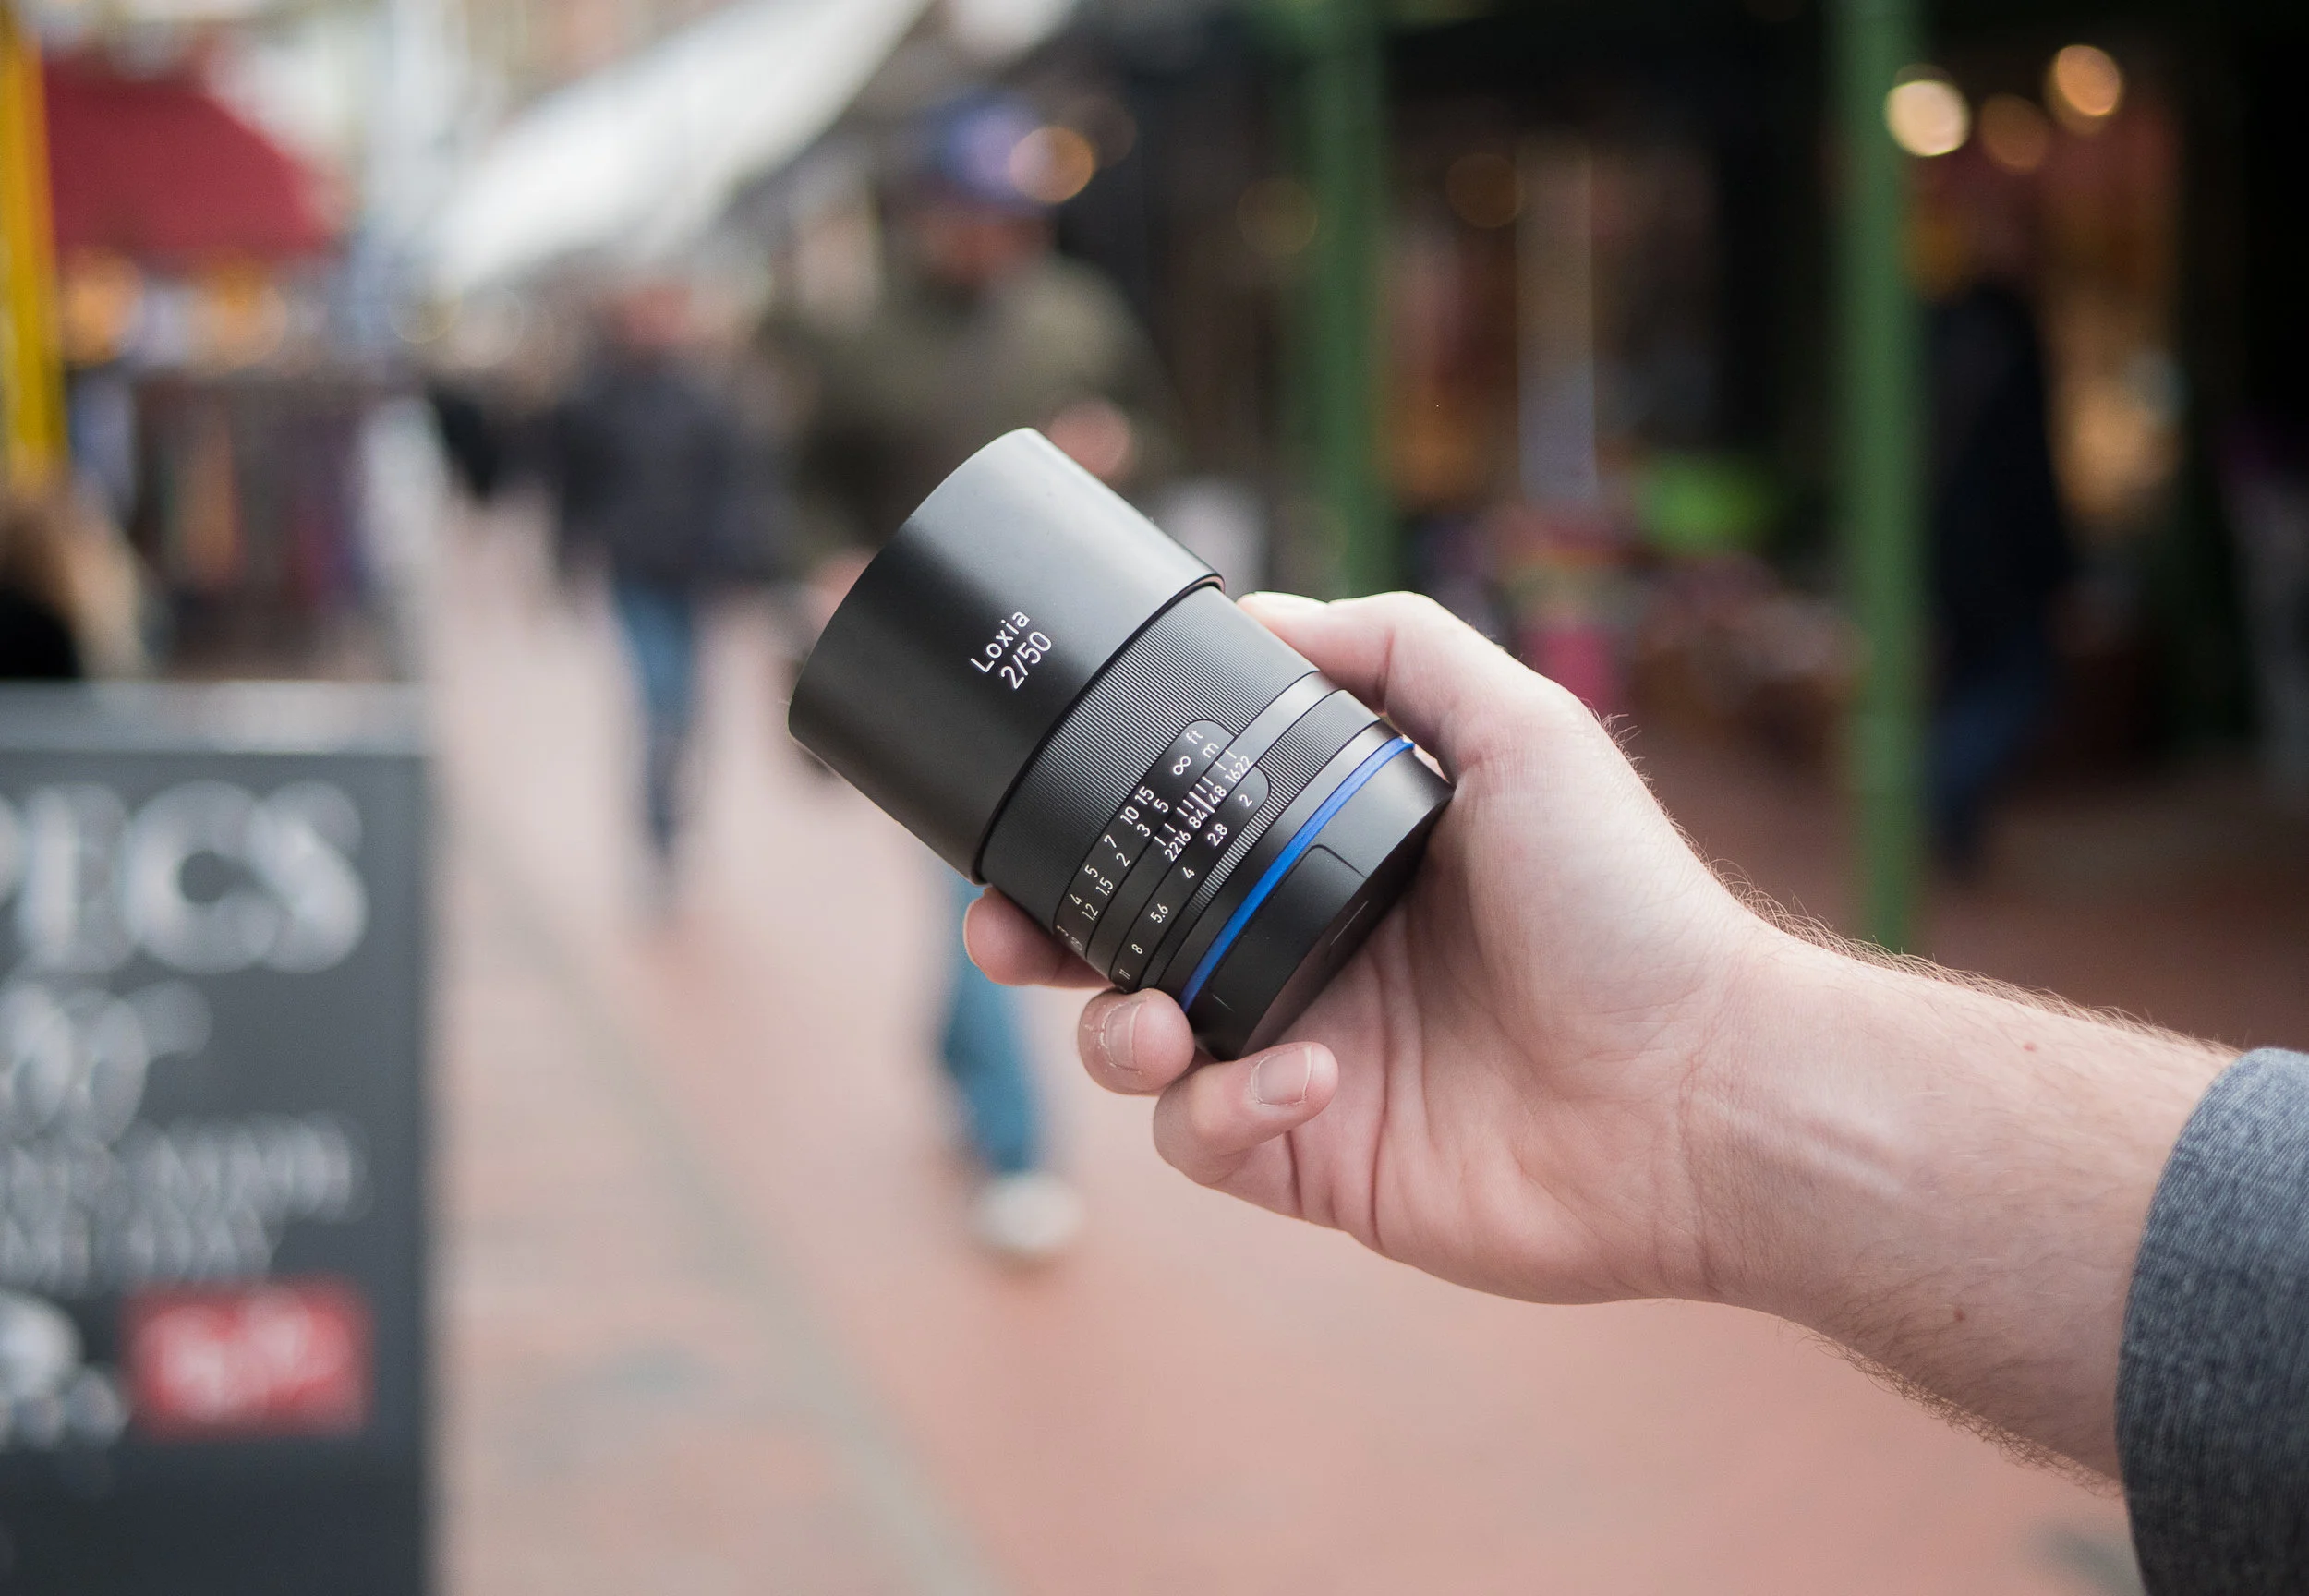
Prime Lenses for Sony E Mount Cameras? ZEISS Loxia Prime Lens Review
Movement For Video: Sliders, Gimbals and More!

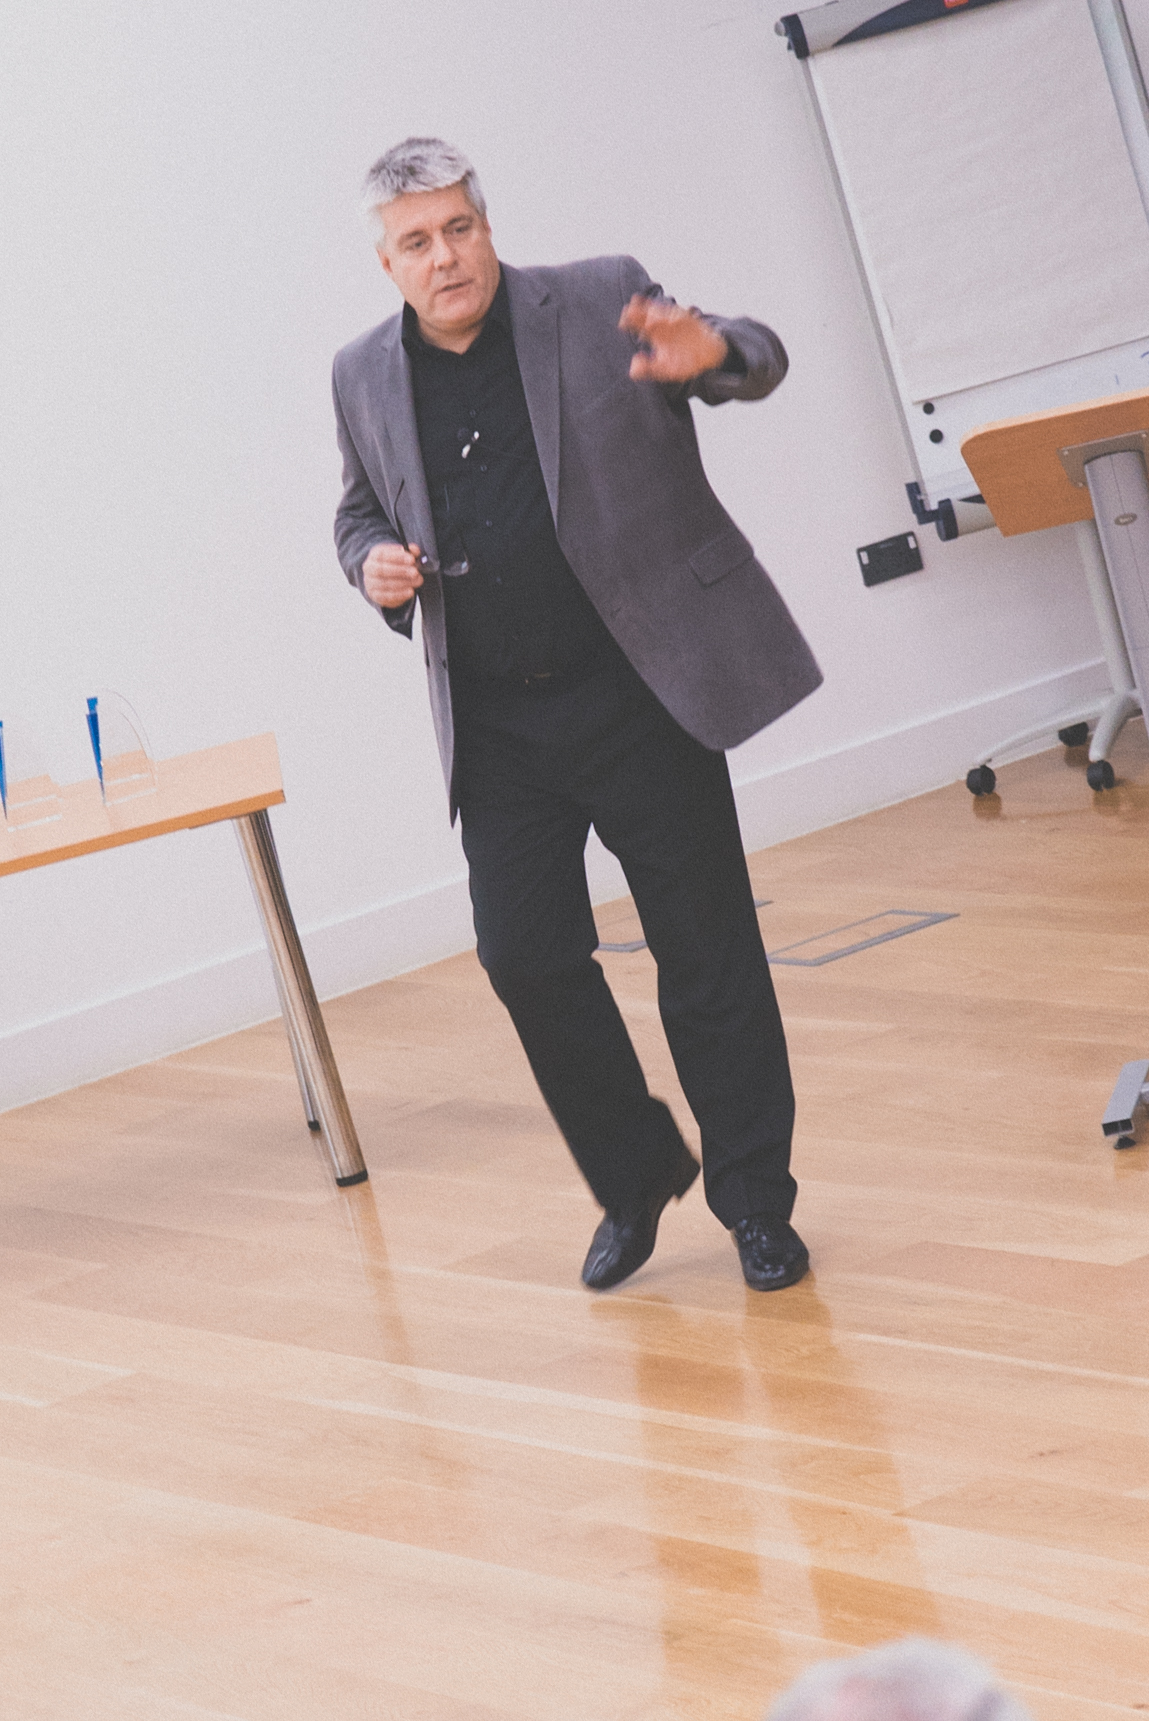
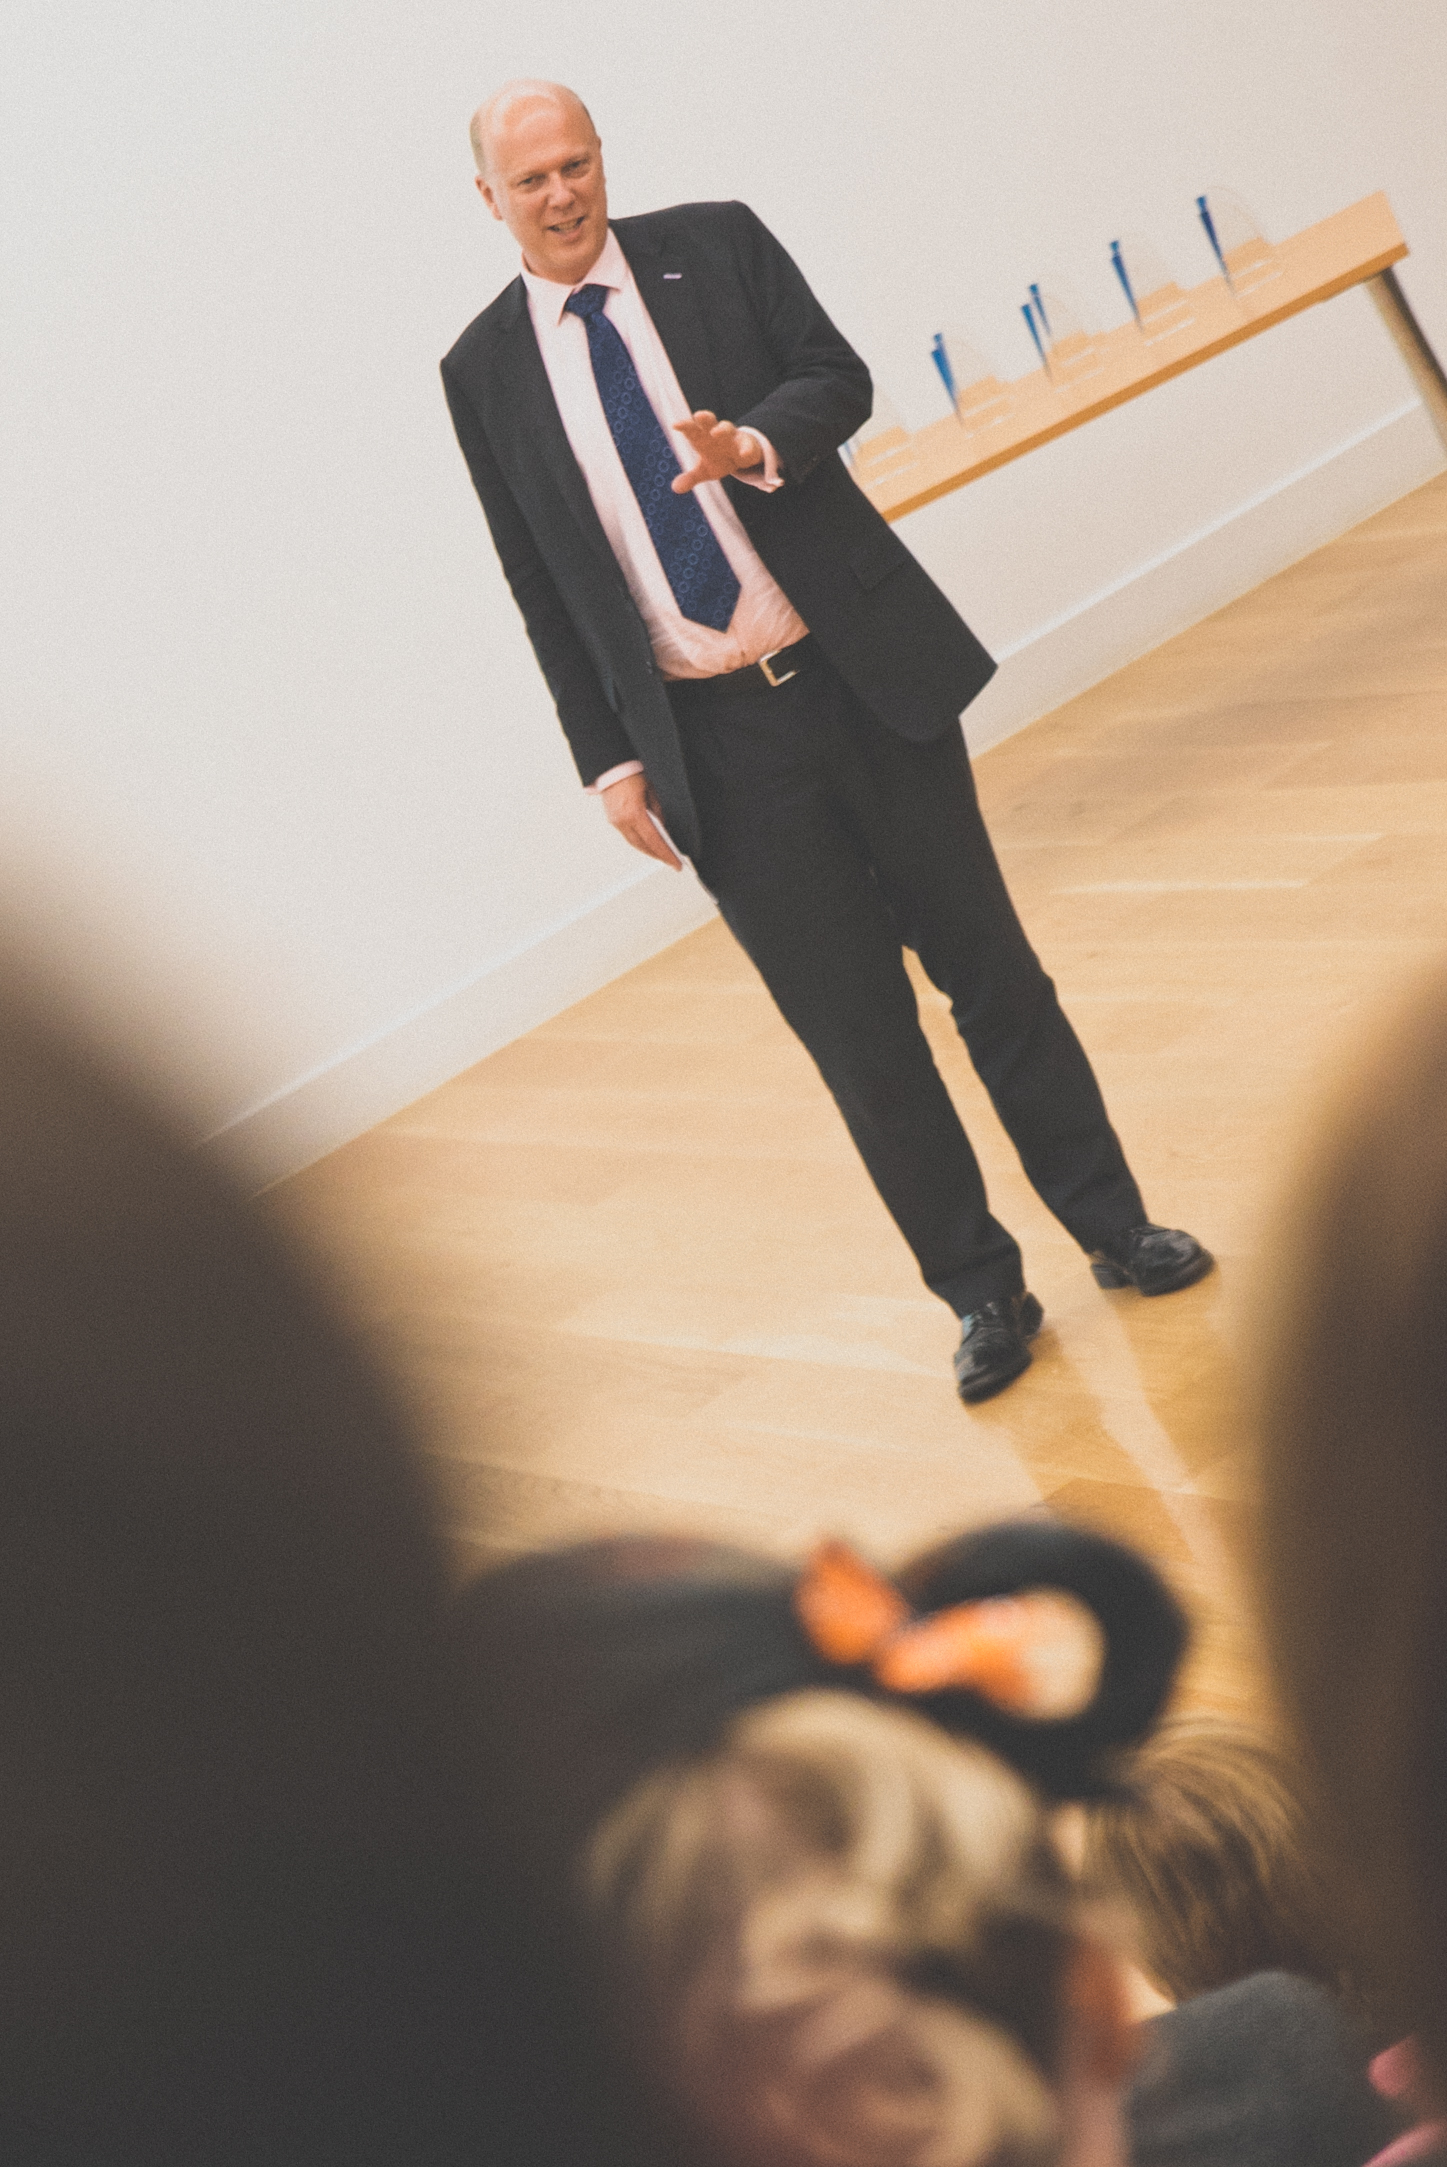
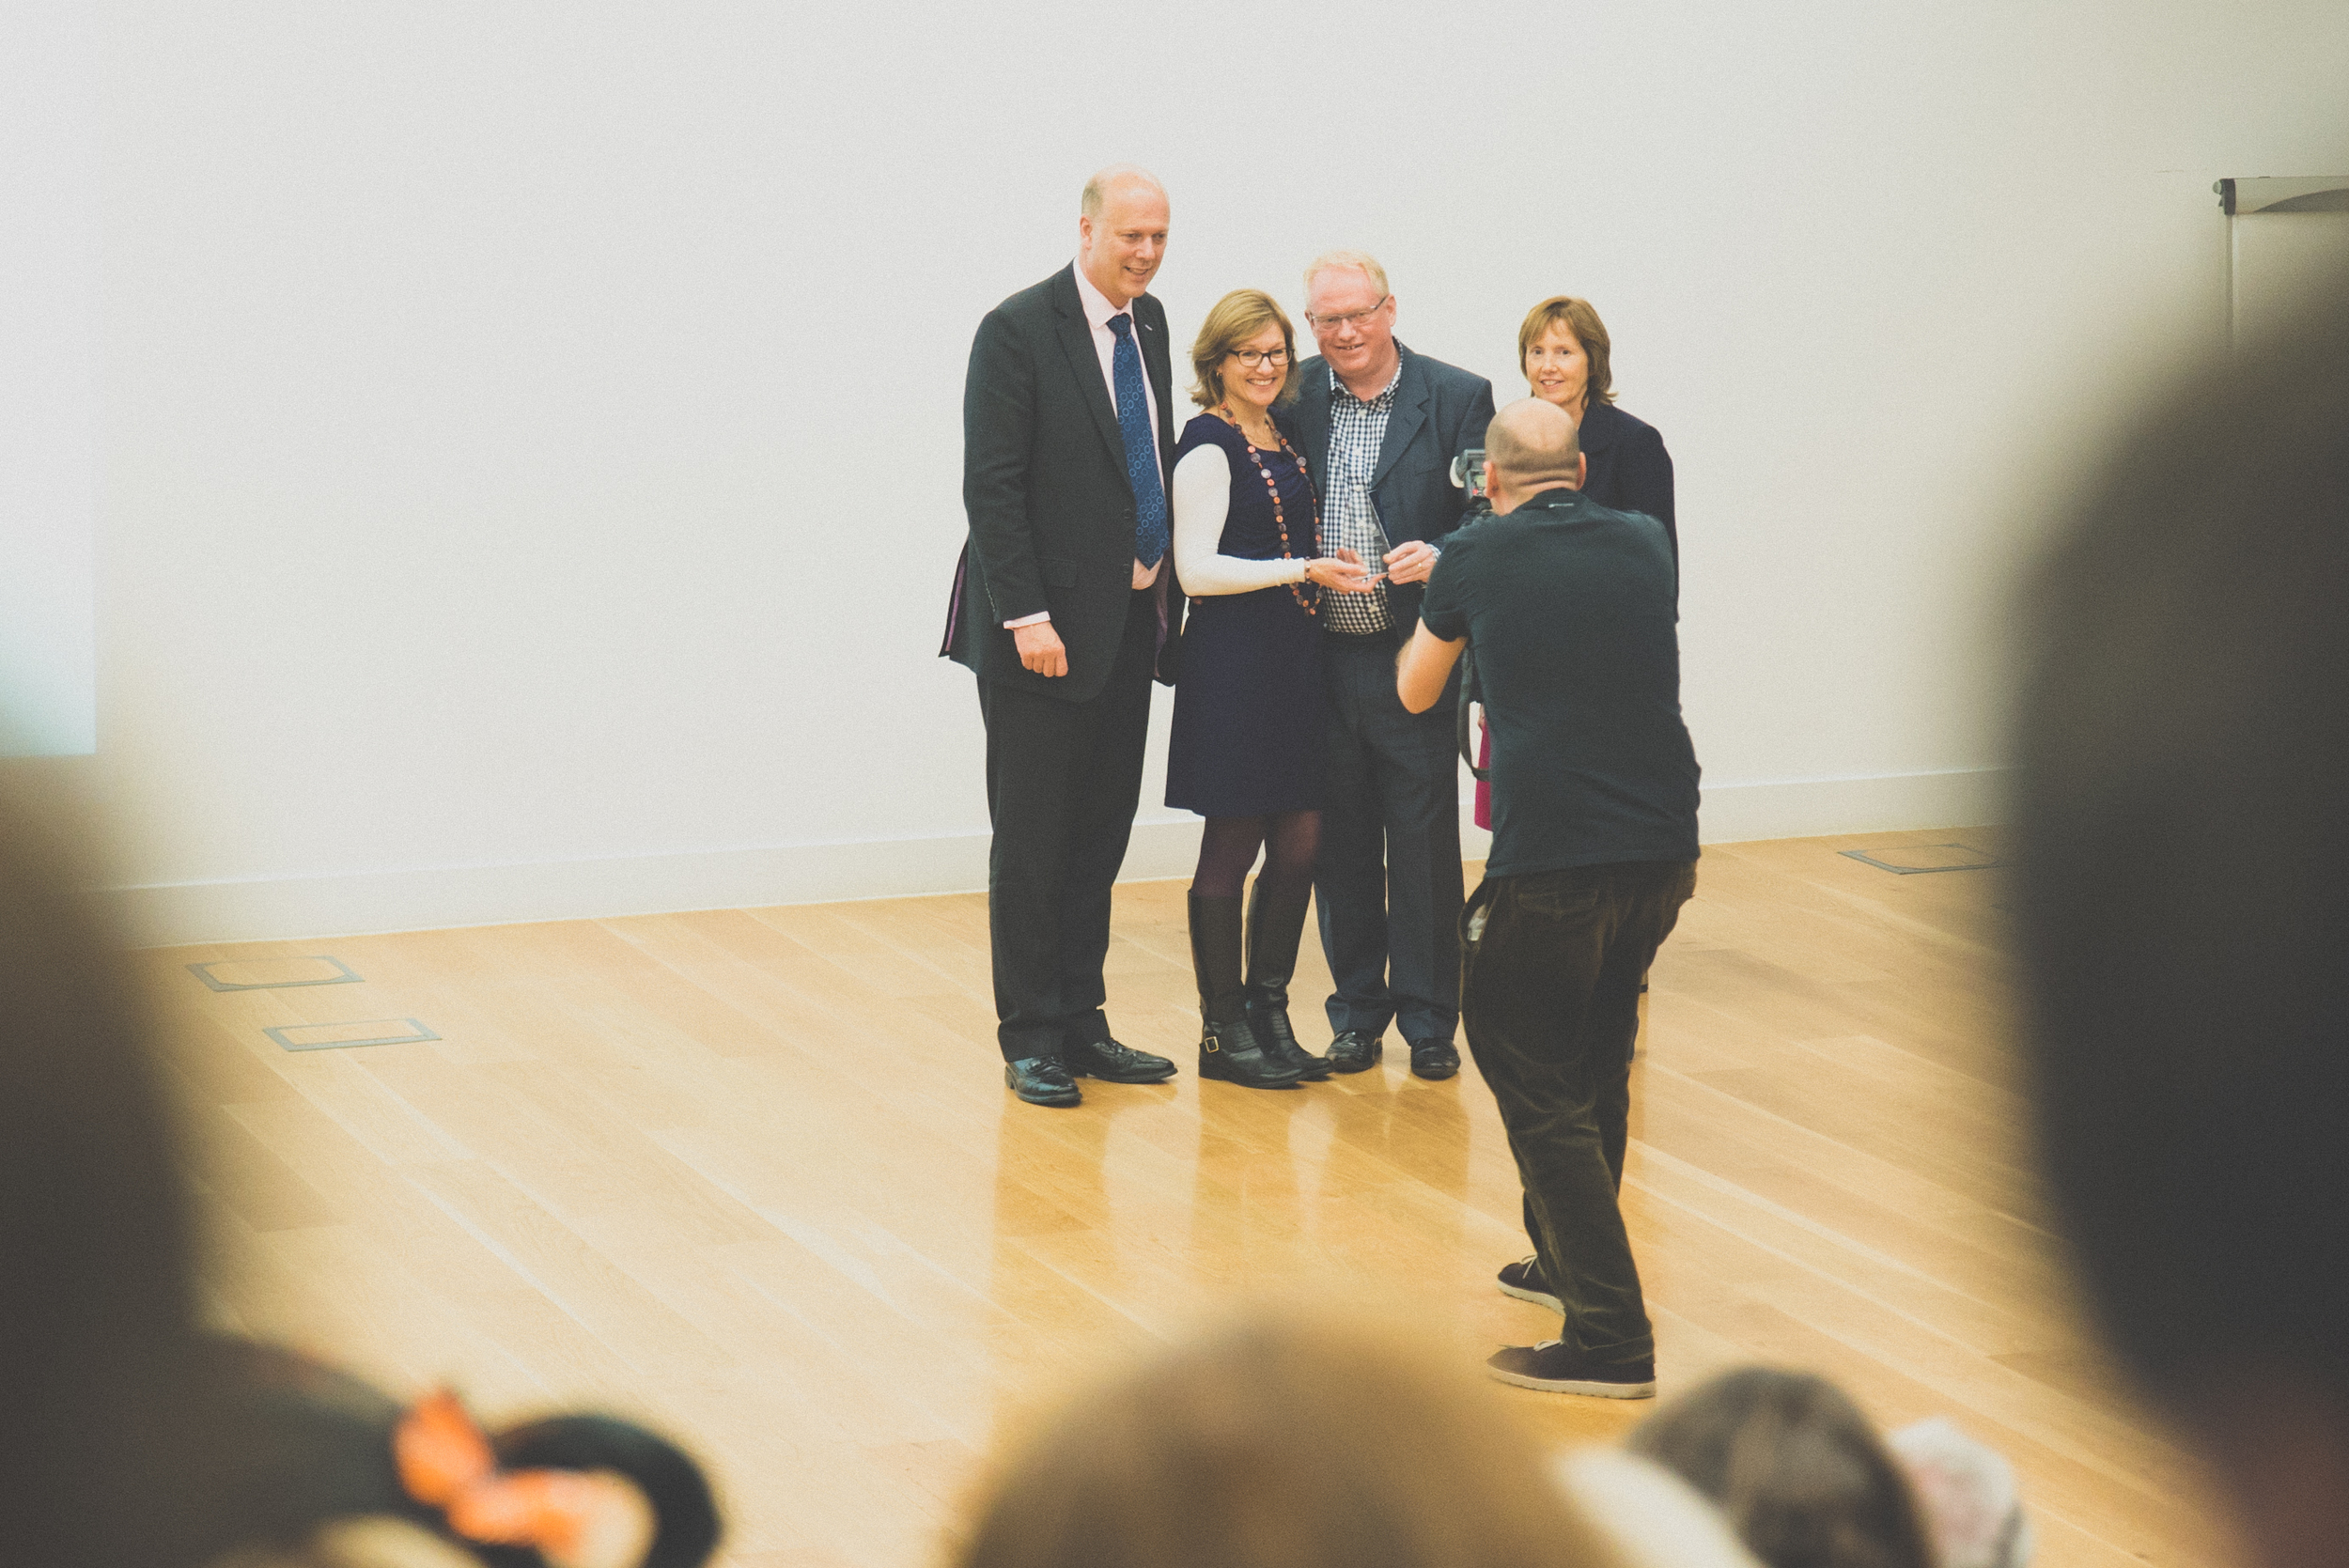
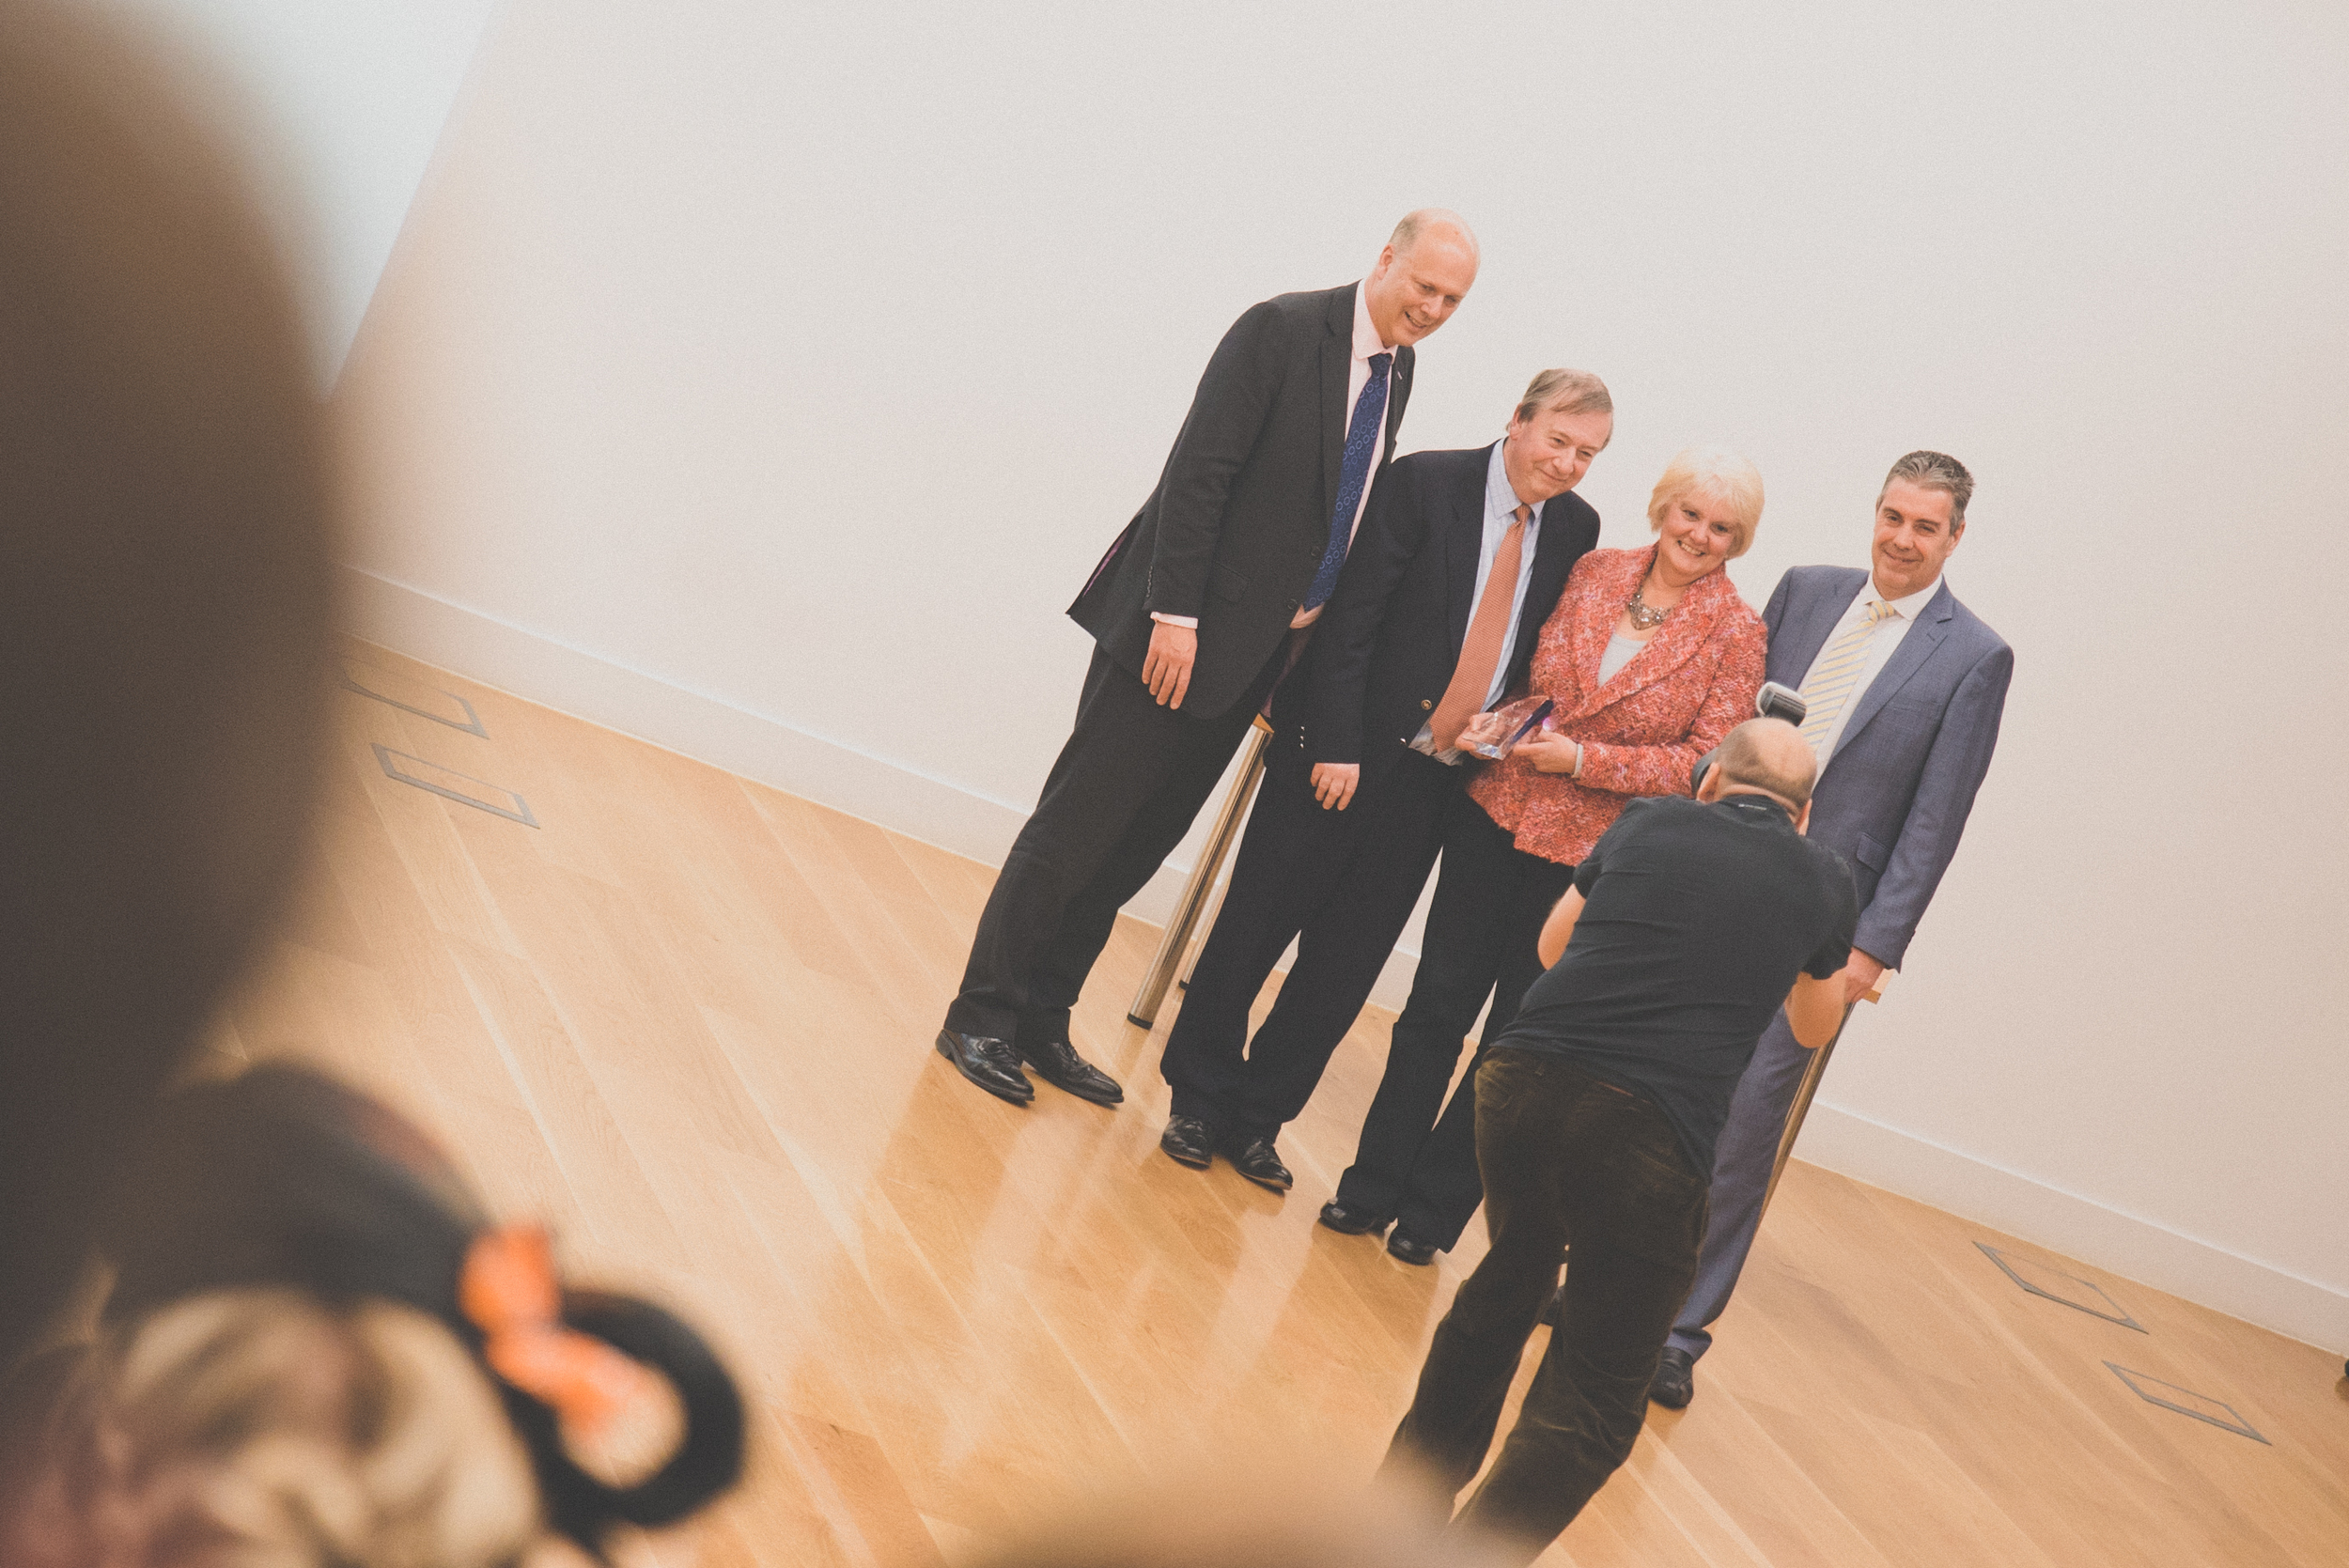
From Conferences to Award Ceremonies, Filming Events; My Tips and Tricks
From Conferences to Award Ceremonies, Filming Events; My Tips and Tricks

The awards ceremony was part of the event video coverage.
Filming and videography for business conferences, presentations or award ceremonies are a staple of the work calendar, but how can you turn a rather simple event into a video people will want to watch?
I take a look at the techniques, tips and tricks I use when capturing events with video, often with a same day turnaround.
Be Minimal With Equipment
You’ve all probably seen the ‘what’s in my kit bag’ photos and videos, and yes it’s fantastic to have a variety of lenses, camera bodies, microphones and other kit for any job that could come around the corner. However, I’ve found that having a minimalist approach to equipment is necessary for event coverage. For this shoot, I used the Sony a7S, in the Movcam cage.
For lenses, a standard zoom lens like a 24-70mm covers wide establishing shots of the location, audience or stage, as well as closer mid shots, possibly of details such as the event branding, or for interviews with attendees. A telephoto lens, or a prime is a great additional lens to have for closer shots of the subjects, or needing a shallow depth of field, or more light in darker scenarios. I also used the Samyang 35mm T/1.5 and 85mm T/1.5.
A sturdy tripod with a fluid video head will give you steady shots, with smooth panning and tilting for some additional movement. Even a small tripod like the Manfrotto Befree Live is a fantastic option that can be easily carried around and used at any time. Having a tripod for interviews is also key, to keep the viewers’ attention on the interviewee. The Manfrotto 755 CX 3 accompanied myself on this shoot.
Sound is often at the bottom of the pile, but many options for small and high quality microphones are out there, like the Rode VideoMicro. Whether it’s capturing some dialogue from a presentation, or an interview, what you hear builds up the atmosphere of what you see in the video. I’d also recommend a Sennheiser AVX lavalier (clip on) microphone for interviews too.
An LED light can be a lifesaver if you’re filming in a dark environment, they are small and often have a bi-colour option to adjust the colour temperature. The last thing you would want to do is crank up the cameras ISO, resulting in a noisy image when you could have used a light. The LYKOS LED lights are very portable, but for something smaller the SPECTRA lights are a good choice.
Hand held gimbals and stabilizers are now smaller and more affordable than ever before, and give a unique dynamic to shots with movement. Using a gimbal or a slider is a great choice to up the production value of the videos.
Lastly, a bag to store all that kit! There are plenty of choices or styles to choose from, whether you need quick access, or to store other kit like a drone. My bag of choice is the Pro Light 35, as its small enough to fit all of my video kit in, and very comfortable.

The Manfrotto Pro Light 35 backpack stored all the necessary equipment for the event filming and editing.
Plan, Plan, Plan
Get to know the ins and outs of the event, what is happening throughout the day, any key moments you need to capture, and plan time for editing if you have a same day delivery for the video. At a recent event, I would shoot some video material and interviews for an hour, then import the footage ready to be edited.
Get any details from the event organizers about timings, as well as the names of any interviewees which might be needed for lower 3rd graphics later on.
Know Your Workflow
When you’re filming, a rule of thumb I use is to capture plenty of b-roll, or additional shots that can be used to add to the ‘story’ you’re going to tell through the video. Whether its shots of the audience, location, or little details like logos and branding, they can all save you in the edit when you need a cut point, or to add variety, rather than a fixed camera shot of the stage.
Filming lots of alternative angles using wide and telephoto lenses.
Create a file structure for when you import all your footage; it keeps everything organized when it comes to editing and backing up the project. It might be files for interviews, conference parts, establishing shots, for example.

When you’re editing, using sequence templates will also speed up the editing process too. You could create a sequence with a title graphic at the beginning, a lower 3rd graphic for an interview piece, and the end credit graphic at the end. All you would need to do then is drop in your footage, cut it together and then export it.
This process is particularly handy for same day editing, when time is limited to complete edits.
Over Deliver on Expectations
I shot plenty of location b-roll at the St Regis Bal Harbour Hotel, North Beach, Miami. Taken on the Sony a7S and Samyang 35mm T/1.5
Lastly and most importantly, creating a good video that the client likes is great; you’ve completed your brief. However to really wow your client, give a little extra to the videos you make, whether it’s a timelapse, working a little later than intended or delivering more videos. That little bit extra could make the client choose you for the next event they put on.
Sunrise on North Beach, taken on the Sony a7S and Tamron 24-70 F/2.8
The Filmmaking Masterclass 2015.. Behind The Scenes Part 2

The Filmmaking Masterclass 2015.. Behind The Scenes (Part 1)
Producing a video with storytelling (Part 1)
I jumped at the chance to film the BTS when I saw Philip Bloom and Nino Leitner's 'Filmmaking Masterclass' were coming to Surrey for their 2015 workshop. Having captured many events before, this was a chance for me to hone in on my videography skills and produce a great BTS film to show what the workshop is about and help promote it for future events. Of course, filming for Nino and Philip put more pressure onto producing something amazing.
As I'm a one man band producer, I roped in help from good friends of mine to help film other aspects of the workshop (which spanned over 3 days). Meticulous planning was required to make sure we captured everything we could, and that the equipment was ready for the next days shooting on location. Keeping in mind the"shoot 20% content and 80% b-roll" tip was definitely important for this production, so there was plenty of emphasis on attendee interviews at different stages of the workshop to capture progress, and filming them working as a crew producing a short film too. This together helped form the basis of the beginning, middle and end narrative; a structure that is familiar, but works to add progression and pace to a video.
Preparing the treatment
To keep the production tightly knit and not over shooting, I produced a treatment for each crew member so we knew exactly what was going on, where, with what kit. This helped us work to capturing something different each day and follow the narrative -
1. Brief the crew with the aims and expectations of the overall production.
2. Confirm the details of the location, including the best travel routes from their location (avoiding major motorways and roads during congesting).
3. Choose the best equipment for the job. Never over pack the kit bag, go simple and strategic for the look and style of production.
4. Prepare an equipment list to check off each day and familiarize crew of the production setup with camera techniques, settings and audio.
5. List all key moments and shots to acquire throughout each filming day, which may include interviews, specific time lapses, and drone or gimbal shots for example.
On the day:
6. When you are working in a crew, they are your family.
7. Introduce the crew to the key people at the event; from the event organizers to the mentors, to ensure that they are all comfortable and acknowledged as part of the BTS crew.
8. Film a couple of shots with the crew to demonstrate the style of production and tips for filming in that location/settings.

Adam and Ed

Ed and Mikey
The Kit
The kit prep was a challenge as it's always tempting to take too much, which in some cases makes you less mobile. For the workshop, crews would be spread over a large location (indoors and outdoors) so being portable with a small footprint was the cornerstone of what kit was used.

Manfrotto Backpack 35-PL

A personal favourite of mine is using the 100mm macro lens for portraits or specific subjects or objects as it beautifully crushes the background into a lovely bokeh, as if it was taken on a much better lens and camera. That combined with the Shogun shooting in 4K gives so beautiful images. Also, as much of the first and last days shooting was indoors, I often ramped up the ISO to 6400 and happily shot away knowing that the resultant image would be pleasantly clean.

Audio wise, I had the Rode VideoMicro hooked up to the A7S for the entire production, its an awesome little microphone which sits neatly on the cage. I’ve found previous on camera mics clunky and often require a 9V battery, but the little VideoMicro uses the camera power and packs a load of great audio quality into a tiny price tag. For the interviews, I hooked up the Rode NTG4+ into the H6 and handheld. No need for a clamp and magic arm in this case.
The Shoot
The night before the workshop got the attendees together to meet and chat, I took this opportunity to interview some of the attendees to get their expectations of the workshop (the beginning part of the narrative). The pre-event networking is a brilliant way to break the ice with people who'll become part of your crew, and become new friends. The interviews were shot on the Tamron 24-70, it was rather dark so I remember shooting quite shallow with a high ISO. For the audio, I used the NTG4+ but this still captured a fair bit of background noise.
Day 1 was based around working together as a crew and planning the shoot for the following day. Throwing the participants in the deep end, they were set the task of producing a short video using 'in camera editing', a challenging task for them that revealed how the crews communicate and work together. I captured plenty of the crews shooting their scenes, and grabbed some vox pops from the group mentors on the fly to add some narrative to filming. I simply shot this on a monopod using the VideoMicro for audio, as I was in close quarters with the mentors.


Throughout the day I shot more of the participants networking (one of the key reasons to come to events like this as, it's not what you know, it's who you know), and their presentations in the afternoon. For the presentations I shot mainly on the 755CX-3 tripod to get nice steady shots on a long lens, while using the 100mm macro got me wonderfully close for portrait style shots of the participants.
Sometimes I shot on the Manfrotto MVM500AH monopod, just to get into tighter spaces or be more maneuverable on my feet.

Come the end of the day I grabbed essential interviews with Philip, Nino and Johnnie in a couple of locations to add some variety. What the mentors say will act as an audio-narrative for the BTS films as the questions flowed from 'Why do you recommend coming on an intensive workshop like this?' I also grabbed some interviews with the attendees, getting their thoughts and experiences from the first day, that would then help me build up the storytelling narrative of progression for the BTS film.
Part 2 of this blog will look at the second workshop day where the attendees capture and edit their short films, as well as the post production process I used to edit the BTS film together!
Reviving the 5D mk III for HD Video with Atomos Ninja Blade!

Epsom Business Awards 2015
APVideo was a finalist in the Epsom Business Awards 2015 in the 'Best Young Entrepreneur' category. Unfortunately we didn't win, but it was good fun to spend the evening with What's On In Epsom, Mary Zoeller Associates and AJ's Tanning, Nail and Beauty.


Exciting things to come at APVideo
October Update with lots of 4K
Evening all! It's been a long summer, made even longer by fantastic work with friends and brilliant clients. My last post 'Filming with the JVC GY-LS300..' has actually been in the works for months, but I didn't see fit to release it without a couple of the accompanying videos. As well as completing productions for Screen Systems, I also worked with NewsShooter.com to produce the coverage and blogs over IBC 2015. It was great to work with Dan, Elliot, Matt and the others from the NewsShooter team, more on IBC in another post.
On returning from IBC, I met up with Dan and we played around with some old 'budget' manual lenses with the LS300 and got some interesting results. Many of the lenses were purchased for £5 or at least under £10, giving it the budget aspect. The LS300 is also somewhat of a budget option for a video camera, but with the eagerly anticipated J-LOG gamma curve firmware update, much more visual quality and dynamic range can be captured. Together, that makes the 'budget lens challenge', in which you purchase a cheap lens, and make a short vid with it on a budget setup!
Can you do the 'Budget Lens Challenge'? Send over your results and #budgetlens on twitter to @plowman91 and @theNewsshooter!
Coming up, I am working on part 3 and 4 of the JVC GY-LS300 camera review which will include using J-LOG; filming and grading with it, as well as including the budget lenses I've acquired as part of the budget lens challenge!
Thanks to Manfrotto and WTS Broadcast for your support.


Filming with JVC GY-LS300. Is it the next underestimated camera? (Part 1 and 2)
Filming with the JVC GY-LS300 (PART 1)
I first met the LS300 at BVE 2015 in London where I went to the soft launch of JVC's 4K flagship video camera. There I met with Mike and John from JVC Pro UK who gave me of the walk through of the prototype they had on show.
Since then the camera has intrigued me as a production camera for filming and video. On paper it has similar specifications to the Canon C300 mk II and FS7, but only working with it would determine whether it weighs in as a contender. Time was rather tight for actually filming with the camera itself, so I timed it right for a music gig and extra time away from the desk to get out and shoot some material.
I got the GY-LS300 from WTS Broadcast

The wonderful guys at WTS Broadcast helped me out with the camera as I was looking to test it out and they had one in stock. I've got a great relationship with Alex at WTS and after a long conversation back and forth I was tempted to finally use the camera for filming, so I loaned one out for a gig and test shoot.

- Internal 4K (UHD) 3840x2160 at 150Mbit/s in 24/25/30p.
- HD in 24/25/30/50/60 interlaced and progressive.
- Wireless video transmission capability.
- Super 35 size sensor.
- MFT mount.
- Variable Scan Mapping (VSM).
- Dual SD card slots.
Coincidentally, James from LogoLogo (Brighton) was up in London for an appointment, and keen to meet up after getting to know each other at Shadows and Light, this was the perfect opportunity to talk tech and film together at the Fleetmac Wood gig I had lined up for us at Birthdays in Dalston. We met up at WTS Media HQ in Fitzrovia where I introduced James to Duncan, and caught up over a drink overlooking the busyness of Oxford Street. It's awesome to meet up with a new friend, there are always so many stories to share.

We made our way to Dalston on the hot and sticky underground. Luckily I had no backpack as I'd packed all the kit (including the LS300) into the Manfrotto Roller Bag 70. It is a well padded case, and with varying foam dividers I simply constructed the bag sections before leaving home to accommodate the JVC camera, top handle, microphone, for example. It's an awesome bag for (definitely more than) two reasons - transportation and diversity. Transportation in which I can comfortably travel with the bag, and diversity in which I can securely store both photography lenses and pro production cameras.

The Manfrotto Roller Bag 70 also accompanied on my recent trip to Hollywood, and on both occasions it was perfect for the job. When I arrived at WTS Media I simply rearranged the dividers to accommodate the larger LS300 and its accessories. Flexibility is definitely at the heart of this bag.
In the restaurant across the road I got the camera set up and ready to film with, attaching the Metabones EF-MFT lens adapter and the Sigma 35mm T/1.5 lens. On arrival at the venue (Birthdays), I discovered that the settings are not easy to navigate; it takes a silly amount of time to locate the essential settings such as changing the video resolution, codec and format. Not very functional for run and gun or quick shooting work especially when you like switching between real-time and slow-mo, or using the VSM feature.

I went a bit retro with using a 17-50mm for APS-C on the A7S to give it the vignetting, and I like the outcome!
Because of the MFT mount and sensor size, it's possible to use EF-S or APS-C lenses with this camera, and also Micro Four Thirds (when you use VSM). I have the Tamron 17-50mm VC that I use on the 60D which is an ideal wide angle lens, however I chose to use the 24-70 (full frame) instead, which made the camera + lens combo extremely front heavy. However even with a smaller lens, the build of the camera itself seems somewhat plastic-like and unbalanced. I'd expect if the camera was rigged out with a shoulder pad, V-lock battery and recorder it would be much more balanced, but the camera isn't constructed for this, or at least it didn't feel like it.
Note: If you are using native MFT lenses directly to the camera mount, the combo is much smaller and lighter. Of course, you will have to use the VSM to crop in on the sensor to around 80% for the correct sensor coverage.
From JVC Pro with adapter and EF lens

From HD Warrior with MFT lens
Honestly, I was rather disappointed with the quality of the flip out LCD screen and back eyepiece. I guess I've been spoiled with the A7S' viewfinder which is fantastic in quality and contrast. The LS300's didn't stack up, and I often found myself needing to use the eyepiece instead of the screen to judge the focus and exposure. What became difficult was finding the critical focus in contrasty situations. I could have used the digital zoom (expanded focus), but didn't know it existed.
The LS300 with Samyang 14mm T/3.1, which on this camera equates to around 20mm.
Unfortunately I didn't have a lot of time in between eating and the gig to sus the camera out apart from checking the resolution, setting the white balance, setting pre-rec run etc. As we were filming a DJ gig I didn't want to have the camera (I was borrowing) out for long in case it got damaged or covered in booze.
Filming Fleetmac Wood was fantastic, Lisa and Alex are brilliant DJ's and their tambourines definitely lit up the dance floor. The added visuals from old music videos added to the eclectic experience, combined with mixes from many talented producers made the night one to remember.
As you would imagine, the venue was dark, only lit by a couple of LED lights and the projector. Almost immediately I ruled out using the LS300 after capturing a couple of shots of the venue and booth, in what the camera seemed to think was candle light. In these scenarios, I don't believe the camera would hold up unless you had the time, space and equipment for a lighting setup. Sure, you could shoot at T/1.5 but you'll get nothing in focus if you're filming crowds dancing, plus with the gain up to +12dB your picture becomes noisy.
James took some brilliant photos and videos of the night, some of which are below in the gallery and also included in the Fleetmac Wood @ Birthdays film.
While filming the Fleetmac Wood gig I did switch lenses a couple of times, firstly to the Samyang 35mm T/1.5 which although was heavy, had a wonderful bokeh and combined with the super 35 sensor made for great video. I also teamed it up with the Atomos Shogun (in HD) rather than 4K via SDI, which captured the video in ProRes HQ.
By my reckoning, you'll need to spec up this camera with additional extras to make it what you want to be. Out of the box it comes with all you would need to start (minus the SD cards and microphone and some spare batteries), but you'll need a tripod or monopod to keep it steady, especially if you're using primes of lenses without image stabilization/vibration control.
Saying that, if you weren't filming a music gig in low light you would have a lot more options and time to compose the frame... I come on to that in a moment.
I've cut all of the footage together for this edit which includes filming from the A7S, LS300, A7S with the Shogun in 25p and 50p, LS300 with the Shogun in 25p (HD), and footage from James Beer (LogoLogo) on the A7S in 50p and 100p.


Photography by James Beer @ LogoLogo
Filming with the GY-LS300 under normal circumstances (PART 2)
I had the LS300 loaned out for a week to put it through its paces, filming in a number of different scenarios. I shot quite a number of clips out in my garden just to get a feel for the camera and figure out it's settings. Of course, Alfie the cat was a willing subject!

From testing out the VSM feature, I can't see a big degredation in light or quality when you change the sensor scan mode from 100% down to 80% for MFT lenses, however I was using great quality lenses (Tamron and Samyang) rather than MFT lenses which have a smaller in-lens depth of field, so there is more light coming through the lens for the sensor to capture.
The built in ND filters are a god-send, and a very welcome adittion to a camera that would be used with large-aperture lenses. If you wish to shoot at T/1.5 for a very shallow look, using 1/64 ND in the bright daylight is probably your only option. Saying that, unlike using ND filters in front of the lens, there isn't a noticable colour cast of image degredation like with other filters. However, more ND stops please!! Going from 1/4 to 1/16 to 1/64 are big jumps, and in some cases, 1/64 was not enough!

While out and about filming in Ewell, I simply had the LS300 with the JVC50 battery, 1 SD card and the Tamron 24-70 on a Manfrotto 755CX-3 tripod. For run and gunning, despite the build of the camera it works extremely well for this kind of filming.

Unlike the FS7 and Canon Cinema cameras, the LS300 doesn't have any log capabilities for a wider dynamic range, which was expected as JVC marketed this camera for higher-end productions. It would be interesting to see how well the camera performs with a log curve and higher bitrate recording for filming that needs it. From filming with the 'standard' colour setting and 'detail' knocked all the way down the image is rather pleasing, much better than I expected. I guess the viewfinder/eyepiece gave me lesser expectations of what the captured image would look like, so I was pleasnatly suprised to see the results.

However, like mentioned before, the viewfinder/eyepiece is not the best quality and without using the 'focus extender' function, it was difficult to achieve critical focus. Some of this is evident in one of the demo films I've produced with the camera. I also noticed that the form factor of the camera doesn't allow you to get a nice, steady shot like a shoulder mount camera would where you have numerous contact points on your body. With a top-mounted eyepiece it doesn't feel natural to hold the camera in front of your chest (for hand held or monopod filming), and is not steady, even with IS or vibration control.
Despite other things, the battery life is a winner, on one battery (JVC50) giving you over 200 minutes of filming time. I took the camera out to a local business networking night put on by What's On In My Town and Hobbledown, as I am joining forces with them to promote local business and talent it was a perfect opportunity to capture some of the event and talk to other companies about how films can help them.
It was a wonderful summer evening at Hobbledown children's farm, kindly the hosts for the networking, with attendees getting a full tour of the venue and a go on the new high ropes activity! David the manager and his team were fantastic and played great hosts with the BBQ.
With this beautiful golden hour of filming, the LS300 really shone as a camera. Yes, I probably shot at F/3.2 with ND 1/16 because I wanted a shallow depth of field, but ND 1/4 at F/8 was too bright. I was pulling focus all the time during the piece to camera from Whats On MD, Paul. I also found that as he walked from the shadows into highlights, he would become over exposed, so high contrast filming wouldn't be practical (unless you had some control over lighting) with this camera.
Revisiting this post about a week on from my last entry..
It was really rather easy to work with the footage from the LS300, and knowing there is a focus expander gives me more confidence in it. However, as you will have seen from the footage in the film above I do focus creep due to not being certain using the LCD screen or eyepiece. Premiere handled the 4K footage very well, without having to render until I added some colour correction, scaling and graphics.
You'll also probably notice the shots where I attempted to go handheld, this is where the form factor of the camera somewhat let it down, but hey ho that's what a rig or tripod is for.
In the longer piece to camera with Paul, the image captured was lovely and had a pleasing depth of field to work with (not too shallow like the A7S, but not too deep like the GH4). Of course you can use any wide aperture lens with the camera if you wanted it to be bokelicious!
Capturing my local countryside (the last test)
(Starring my thumb...)
I'm surrounded by greenery where I live, so making the most of the great weather I headed out with the camera to capture some local landmarks (for another archiving/history project I'm working on). This would be a real high-contrast/dynamic range test for the camera.
When thinking about purchasing this camera, it boils down to what I can get for the price, especially in comparison to other internal 4K cameras (Panasonic GH4, Sony A7R II). They are smaller, both will require a lens adapter (as will the LS300) and new batteries, SD cards, rig, and are cheaper than the LS300 (without a microphone).
APVideo JVC LS300 Final Thoughts...
Why I would by the LS300?
- Long battery life (but need to purchase batteries) with JVC50 batteries.
- Internal 4K on SD cards, U3 600x capable.
- ND filters (1/4, 1/16, 1/64).
- Super 35 sensor with lovely picture (but you would need to shoot at T/1.5 or F/1.4 for a cinematic look to it).
- Microphone/audio inputs.
- Compatible with current lenses, but would require EF-MFT adapter.
- Wireless, 4K via HDMI and HD via HD-SDI outputs.
- HD-SDI for HD output and HDMI for 4K UHD output.
- Extended focus, to crop in digitally and acquire critical focus.
- No obvious quality drop when using the VSM at smaller scan sizes (87% and 80% MFT).
Why I wouldn't buy the LS300?
- The form factor is not ergonomic, like a large video camera rather than production camera. It would need to be rigged with a shoulder mount for use to be comfortable.
- Camera build is plastic, doesn't feel sturdy and some parts (ND filter wheel) feel delicate.
- Not enough ND filter stops, needs at least 2-3 more, with improved digital filter wheel instead of mechanical, which feels very plastic like.
- No variable 4K bit rates (up to 150Mb/s) or slow mo.
- Low light is definitely not the cameras forte unless shooting very wide.
- Terrible LCD screen and EVF quality.
- Does not include a microphone.
- The placement of the video output connectors is near the lens, which is odd considering other ports are at the back of the camera.
- The dynamic range doesn't hold up to that of the GH4 or A7S.
- The picture/colour settings are extremely limited, with no gamma curve or log option. This means the image is considerably burnt in with limited grading or colour correction options.
NEW Mid-August Update!
I've been away for a little while, so the review was put on hold until my return. On which I found out some interesting news from JVC, who have decided to upgrade the firmware of the LS-300 with new features..
- JVC-Log - supposedly increased dynamic range, for colour grading.
- Full DCI 4K and 2K resolutions - currently only UHD 4K is available, and no 2K option.
- Prime Lens Zoom - ability to use the zoom rocker to extend the focal length of prime lenses using the VSM feature.
READ THE FULL PRESS RELEASE from JVC PRO HERE
Considering these new updates, the camera is now more capable of competing against higher level players, rather than the DSLR/mirrorless market. I'm due to test the camera out again in September, hopefully with the new firmware 2.0 to compare!
Finally, big thanks to WTS Broadcast for lending me the camera for a week to test it out. To Manfrotto for their Roller Bag 70 and 755Cx-3 tripod, and to Fleetmac Wood & Whats On In My Town for letting me film their events.
MORE COMING FROM MY SEPTEMBER TESTS SOON!
APVideo is back from CineGear in Hollywood, and the WHSmith Conference!
Video coverage for NewsShooter.com at CineGear 2015!
It's been a very busy week here at APVideo, as I was covering the CineGear 2015 expo at Paramount Pictures (LA) for NewsShooter.com! It was a fantastic show, and great to catch up with the likes of ARRI, SLRMagic, Atomos, Litepanels and many more. Check out the 'Showcase' page for a couple of the videos..
Adam in Paramount Pictures Backlot!
All of the interviews/video features are available to watch here at NewsShooter.com!
APVideo collaborates with Warner Vision for WHSmith conference production!
I've also been out working with Jonathan, who I met at the Shadows and Light workshop a few months back at the WHSmith Travel conference at the Sofitel. We were doing the complete AV production including PA and camera setup, next day edit and so forth. It was awesome working with Jonathan and there's no doubt we'll be teaming up again soon!

Simple PA setup with wireless.
Tony Parsons guest speaker
Paralympian Natasha Baker guest speaker
I'm now taking a break to recover from non-stop working, in the mean time I will be looking at selling umptuous amounts of Lilliput monitors and camera rigs, so watch this space for more!
Why film, video and media is PERFECT for business, events and more! New infographics from APVideo on telling stories for you!
Now, more and more audiences are accessing content on mobile devices, all the time.
What is the best method of reaching them, promoting your products/talents/business/events, building a personality and telling a story? It's film, video and media of course!
I've researched the latest statistics from Cisco and other sources, combined with my own experience for these new infographics. The results are fantastic as it shows:
'Using film, video and rich media is proven for a high return on investment (ROI)'
Why film, video and rich media is perfect for business, organizations, online, offline, live marketing, branding, promotion, communication and advertising. Tell your story with APVideo.
The stats speak for themselves. Video is now a powerful communication tool for connecting and reaching audiences on a global, 24/7 platform. Tell your story with APVideo.
If you would like more info about how film and rich media can benefit your business, products, events then just get in touch!
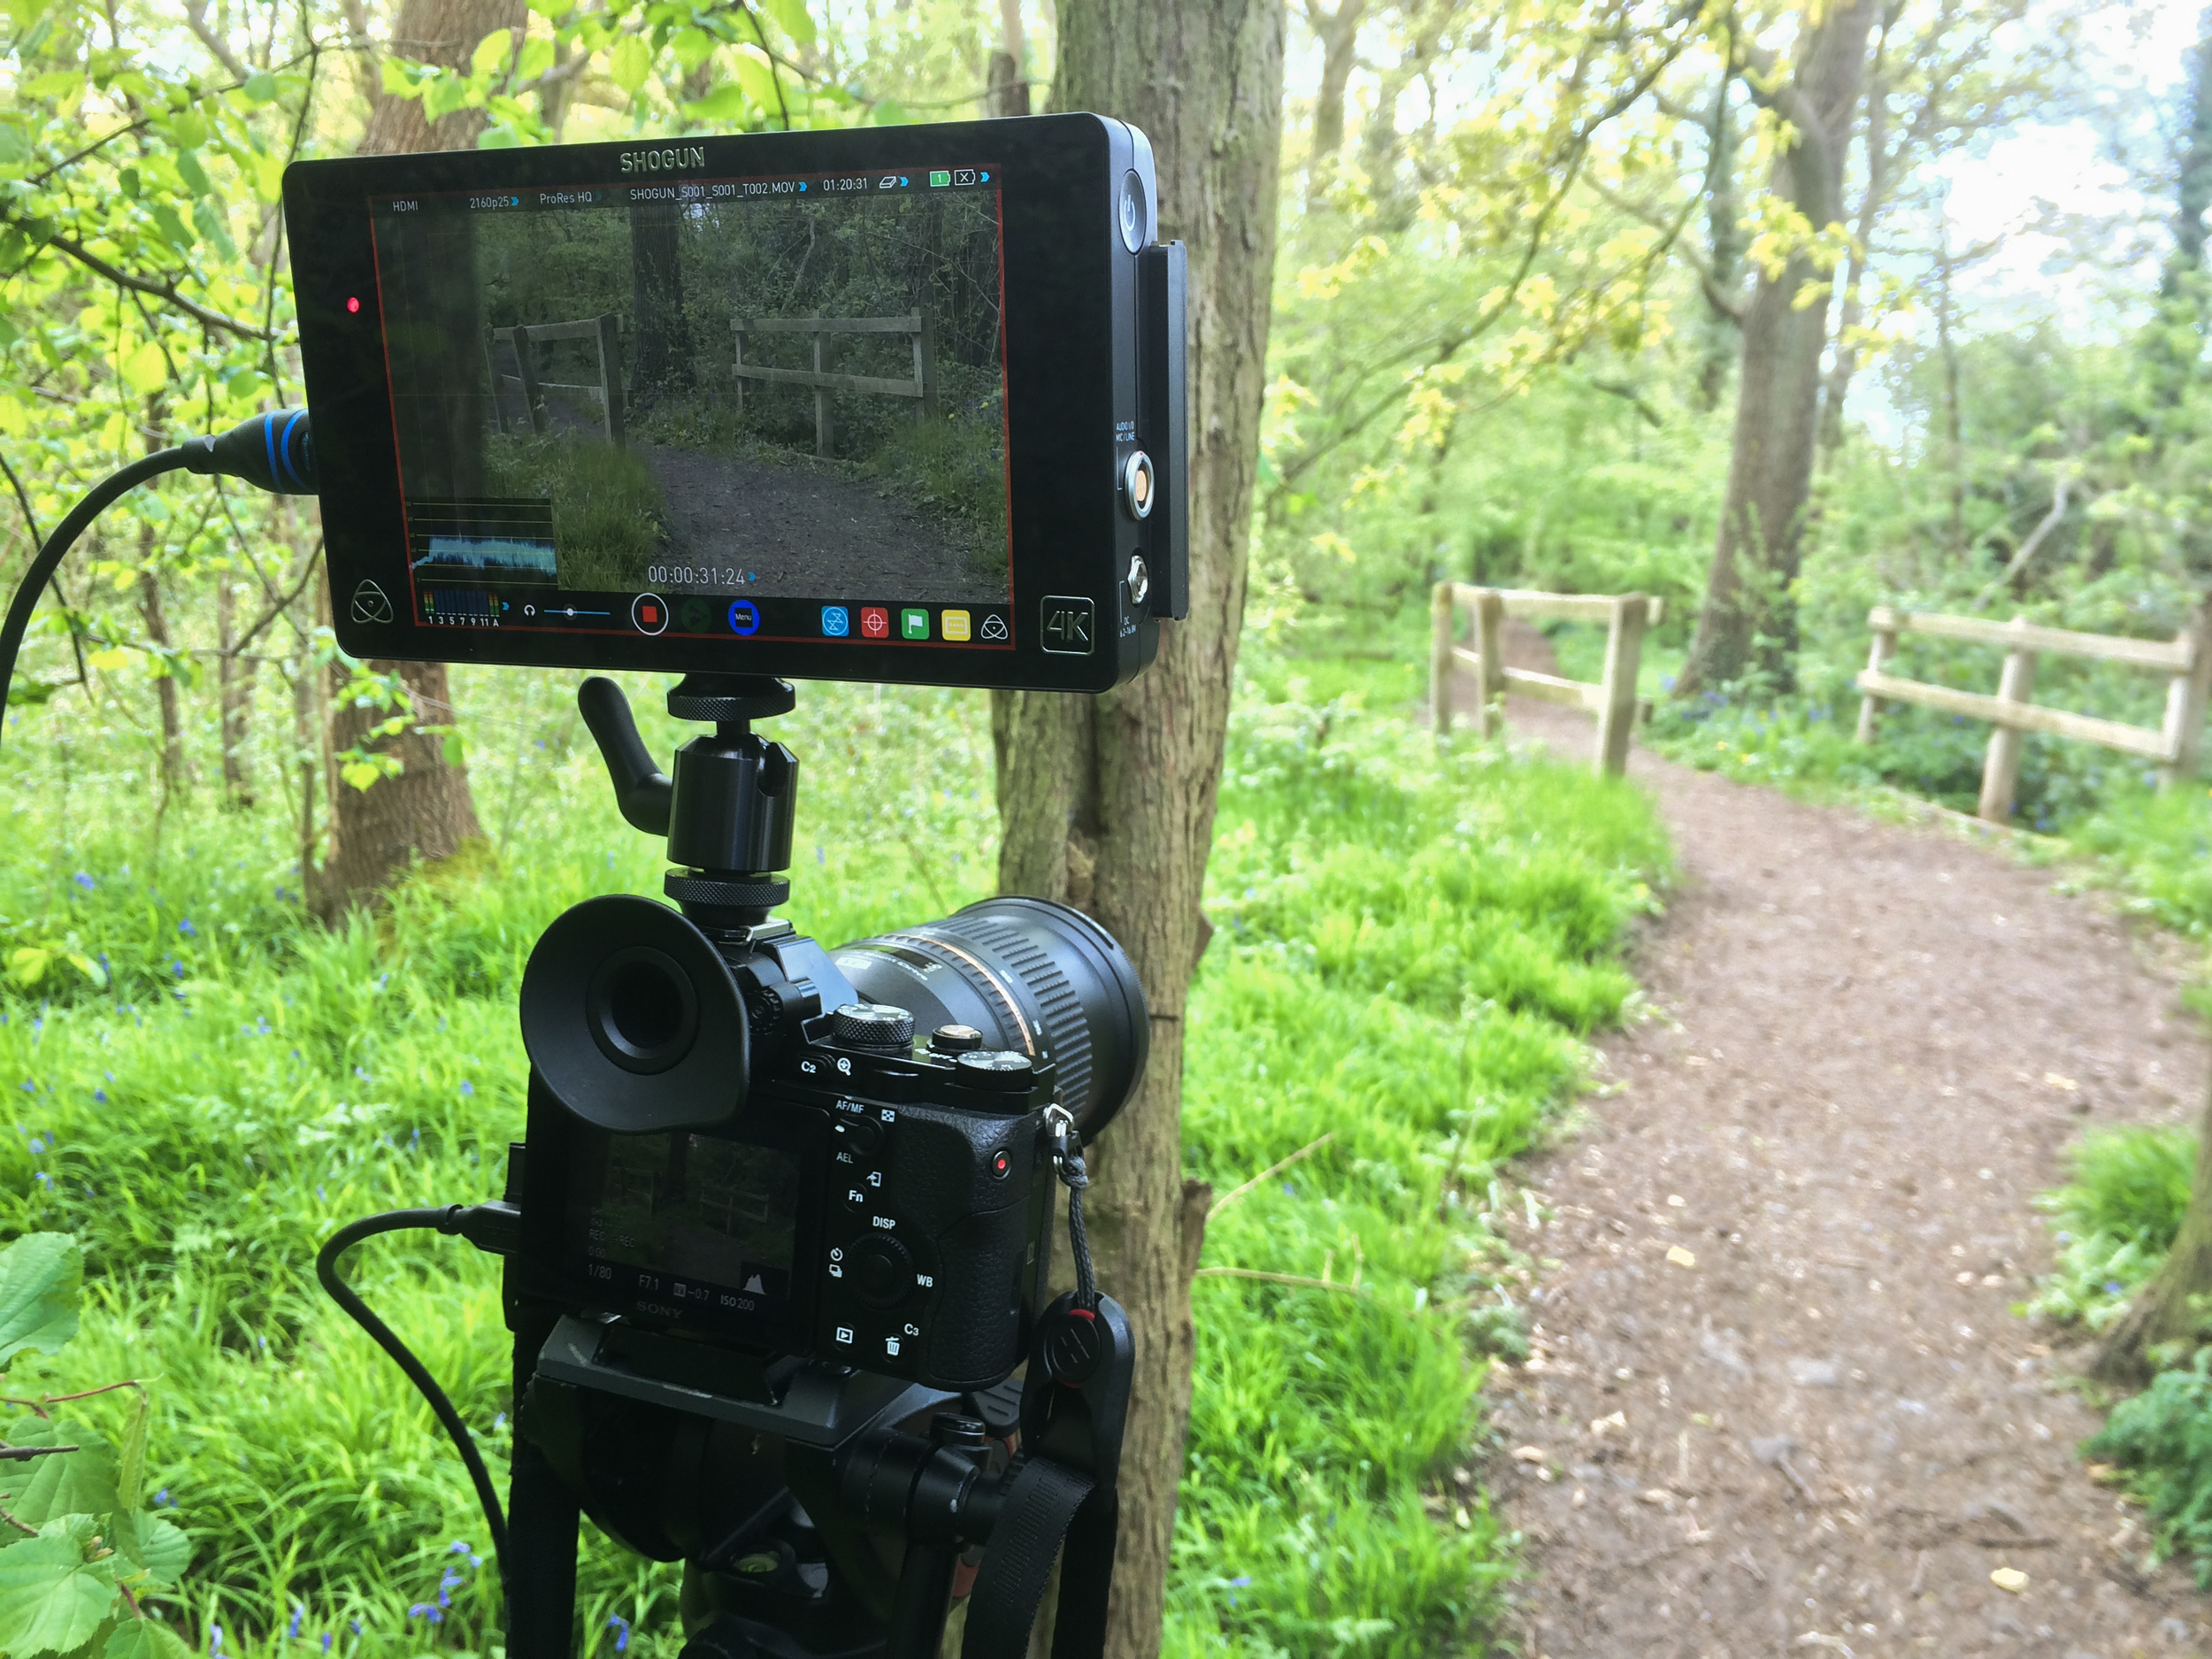
Out filming with the Sony A7S and Atomos Shogun in 4K!
I am still testing out the many brilliant features and benefits of the 4K combo I now have, one biggie was being able to grade the footage much more than what you're able to with internal camera recording.
I headed out to a local country park to catch some of the spring bluebells flowering, as well as to try out the dynamic range of the 4K Prores HQ footage and really push it in the grade.
A couple of photos while I was out and about, lovely day!

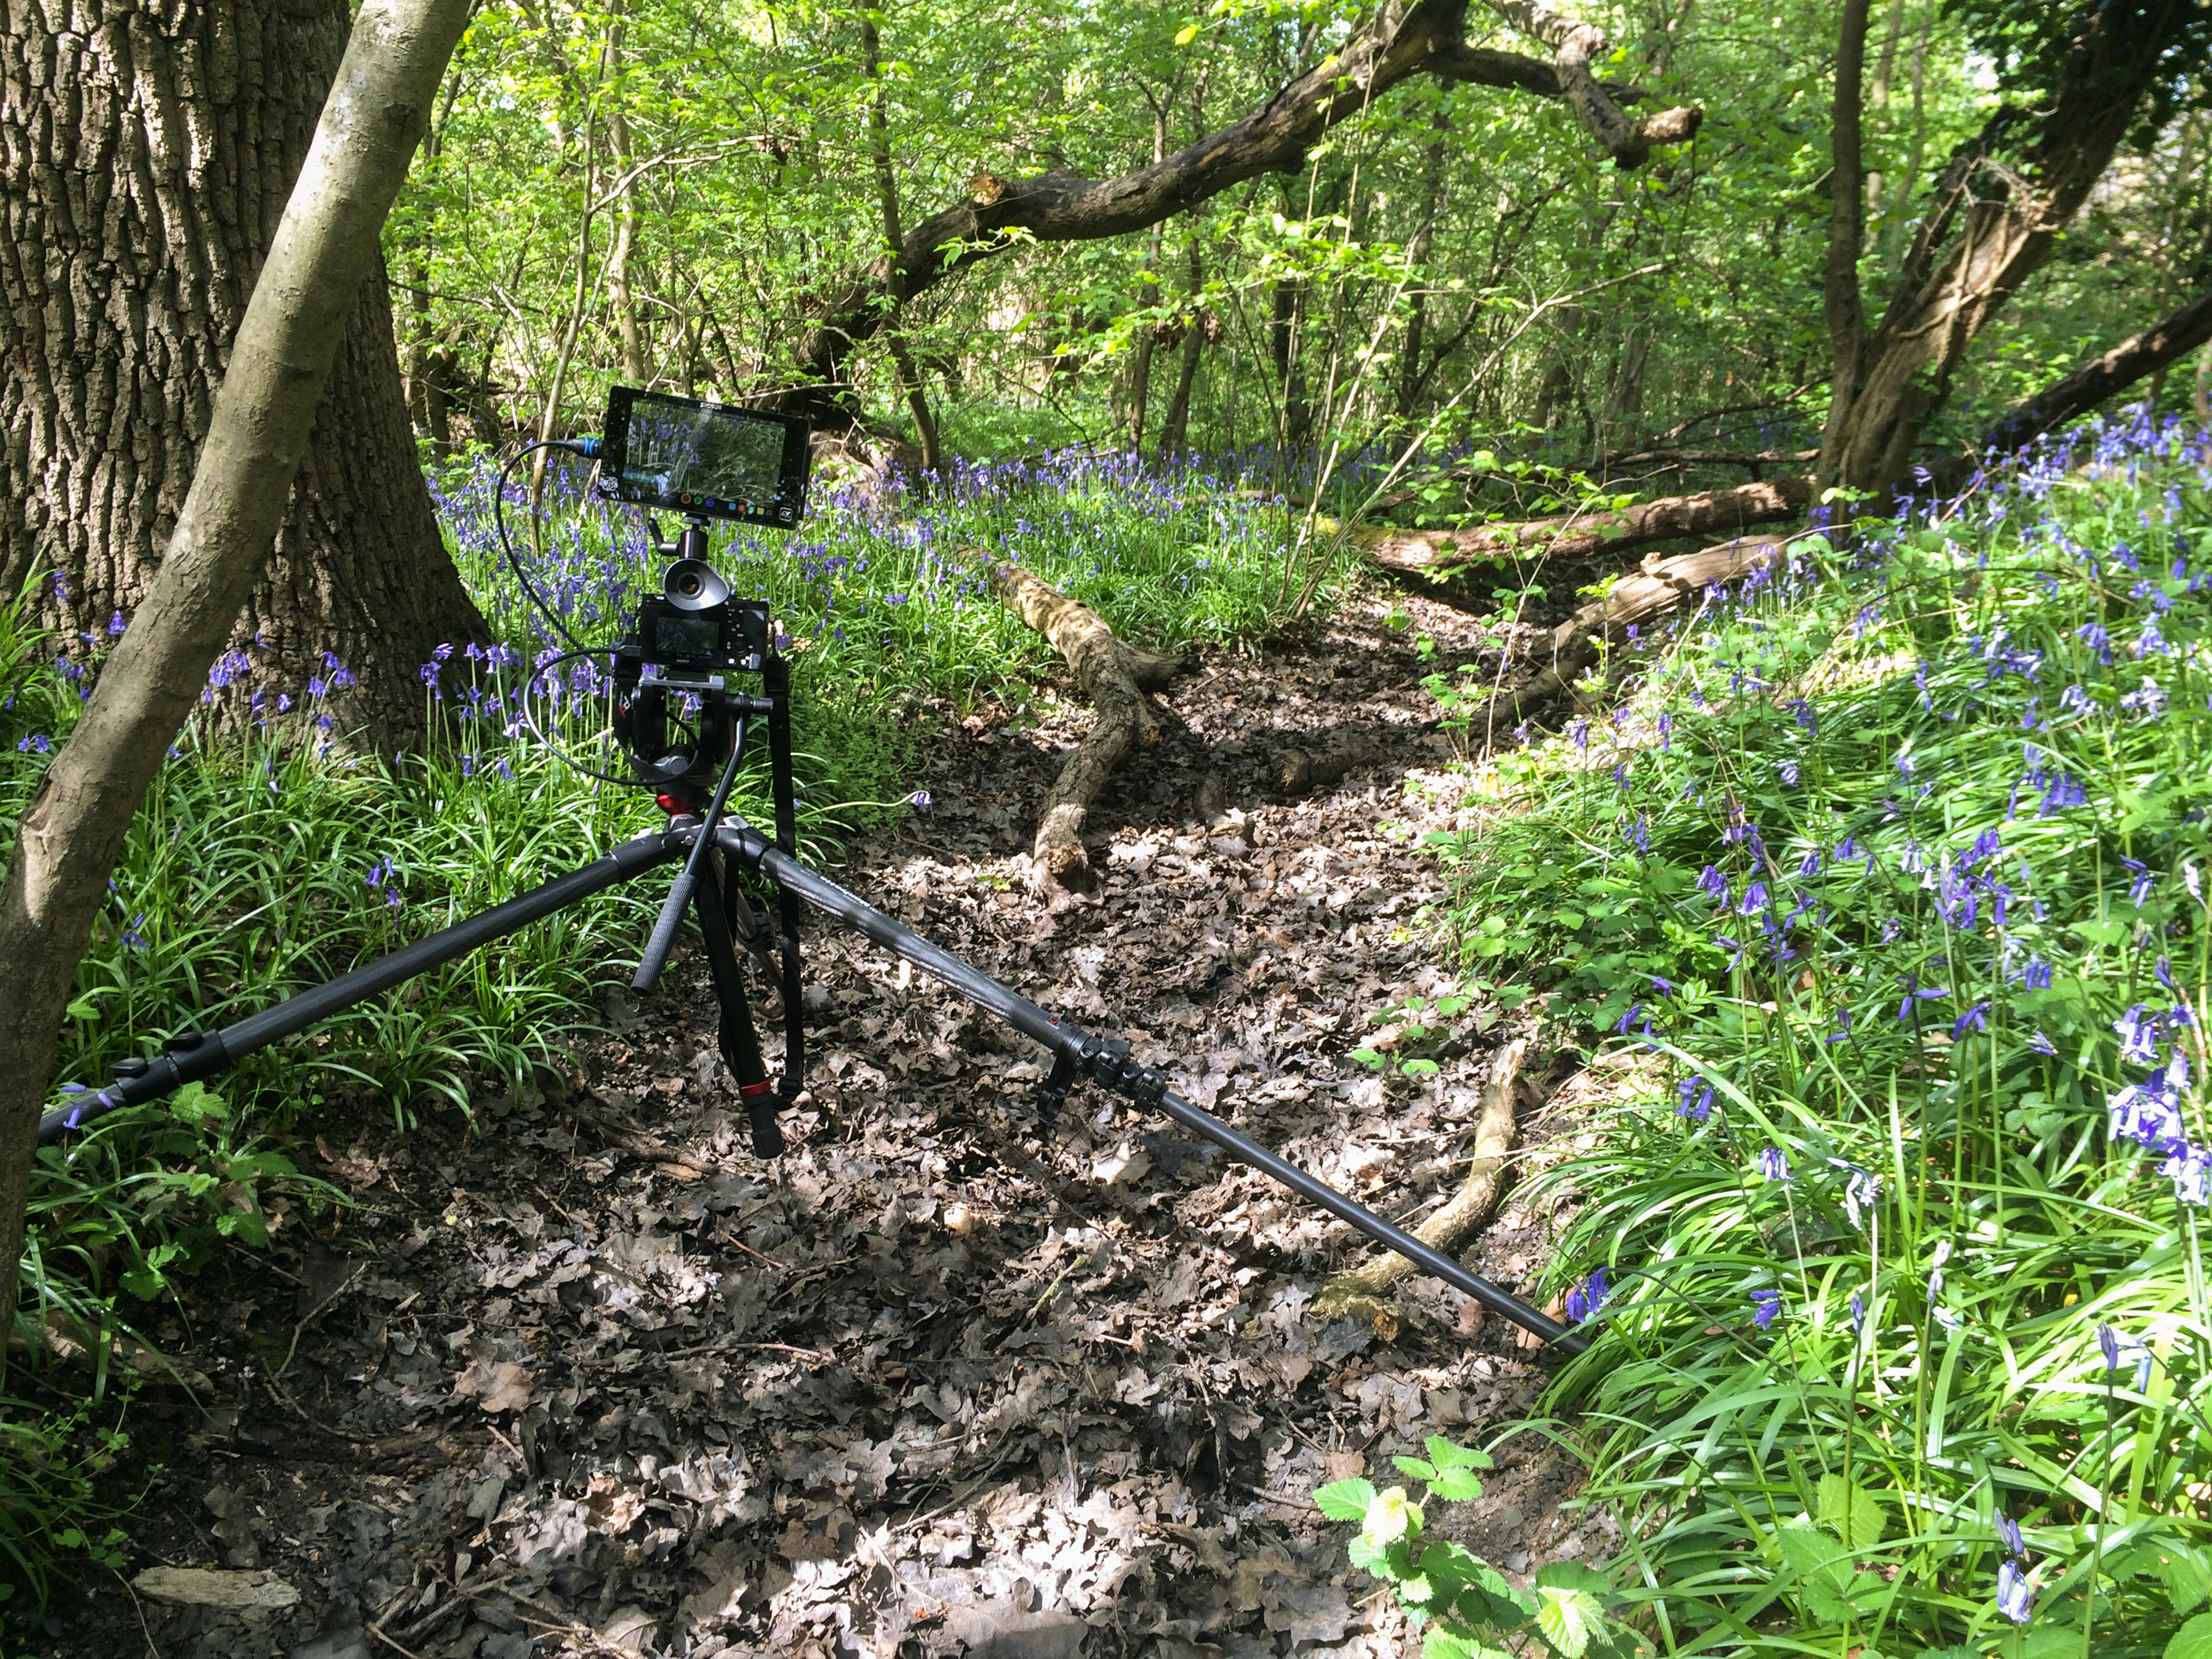
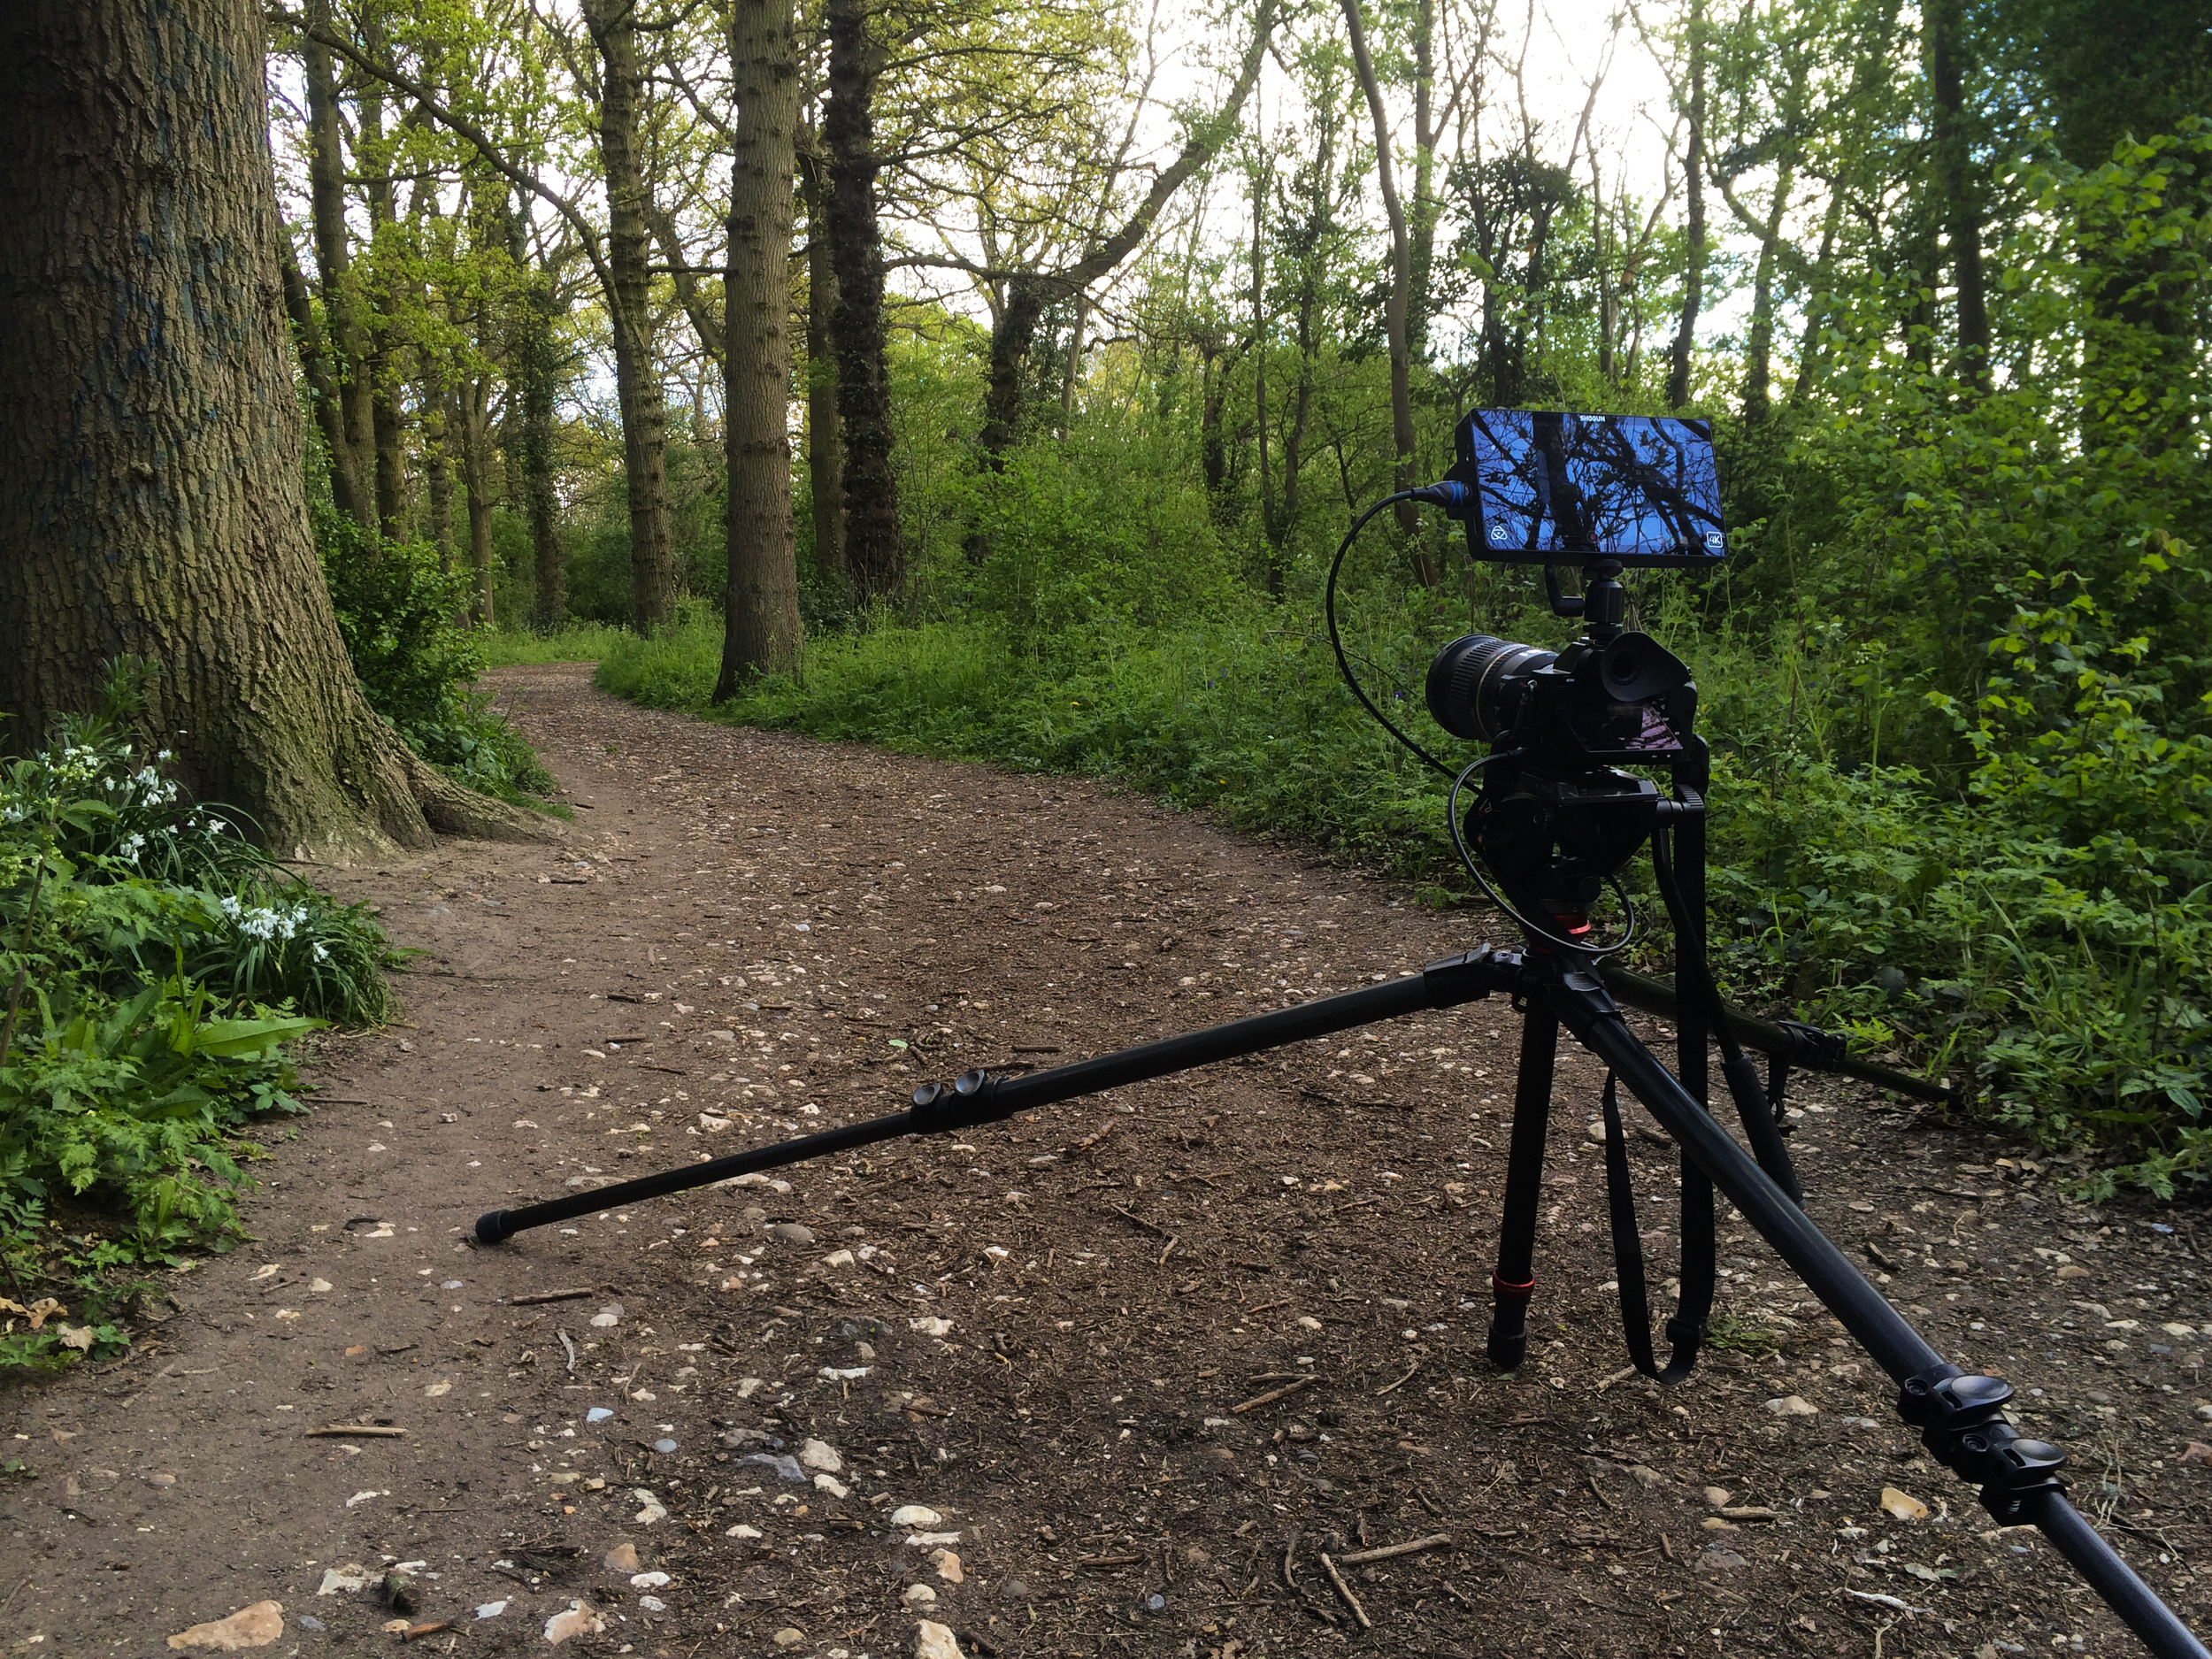
I took the Manfrotto 755CX-3 tripod with me as it is brilliantly lightweight, and despite the center column it can get pretty low to the ground for shots needing some perspective.
Still no Movcam cage yet, so I'm pretty nervous about having the Shogun on a ball mount, on the hot shoe, I did take care when moving around and took out the HDMI cable just in case.
I had 3 lenses with me, the Tamron 24-70, Sigma 70-200 and Canon 100mm L as I wanted to have a simple setup, one Manfrotto bag, essential kit, batteries etc.
After watching Philip Bloom's talk hosted by B&H a few months back, I set the camera settings to what he advised and went from there. Using PP7 for S-log increases the native ISO to 3200, so is not practical for bright scenes without ND filters, so here are my settings.
PP6 (allows ISO 200, practical for bright shoots) - Black Level 0, Gamma Cine 4, Color mode S-gamut, Saturation 0, Detail -7.
It was a bright sunny day and the Shogun was the perfect tool for the job. It's screen is very clear, unlike cheaper monitors which don't have a high contrast ratio or use LCD screens. Exposing for the highlights, I used the in-built Waveform monitor to gague exposure as well as the 2:1 crop in for getting critical focus - definitely needed for the wide landscape and macro shots.
You will not be surprised to see the HUGE file size of recording 4K in Prores HQ, averaging at about 2GB for 20 seconds.
It's less than 10 minutes worth of footage, in fact!
I did find this out while I was trying out the different outputs and recording formats.. For the PAL region the A7S has THREE HDMI output settings -
- 1080 50p, 1080 50i, 4K 25p.
The Shogun will not record 25p footage from the camera when the HDMI output is set to 1080 50p, but you can record 1080 50p slow motion on the Shogun. Remember to set the A7S' recording format to 50p/50, instead of 25p for normal speed filming.
The Shogun will only record 1080 25p footage from the camera when the HDMI output is set to 1080 50i, with a 2:2 frame drop set. Remember to set the A7S' recording format to 25p/50.
You must set the '4K HDMI' setting in the A7S to output the 4K signal, and record in 4K 25p on the Shogun.
As part of the new 4K workflow, I am using Davinci Resolve Lite (FREE) for the colour grading process, but as this is a short video I tried out it's NLE which worked great. Similar look and feel to FCPX, but it gives you the ability to change edit points, manipulate scale, track and much more. It even has a keyer!

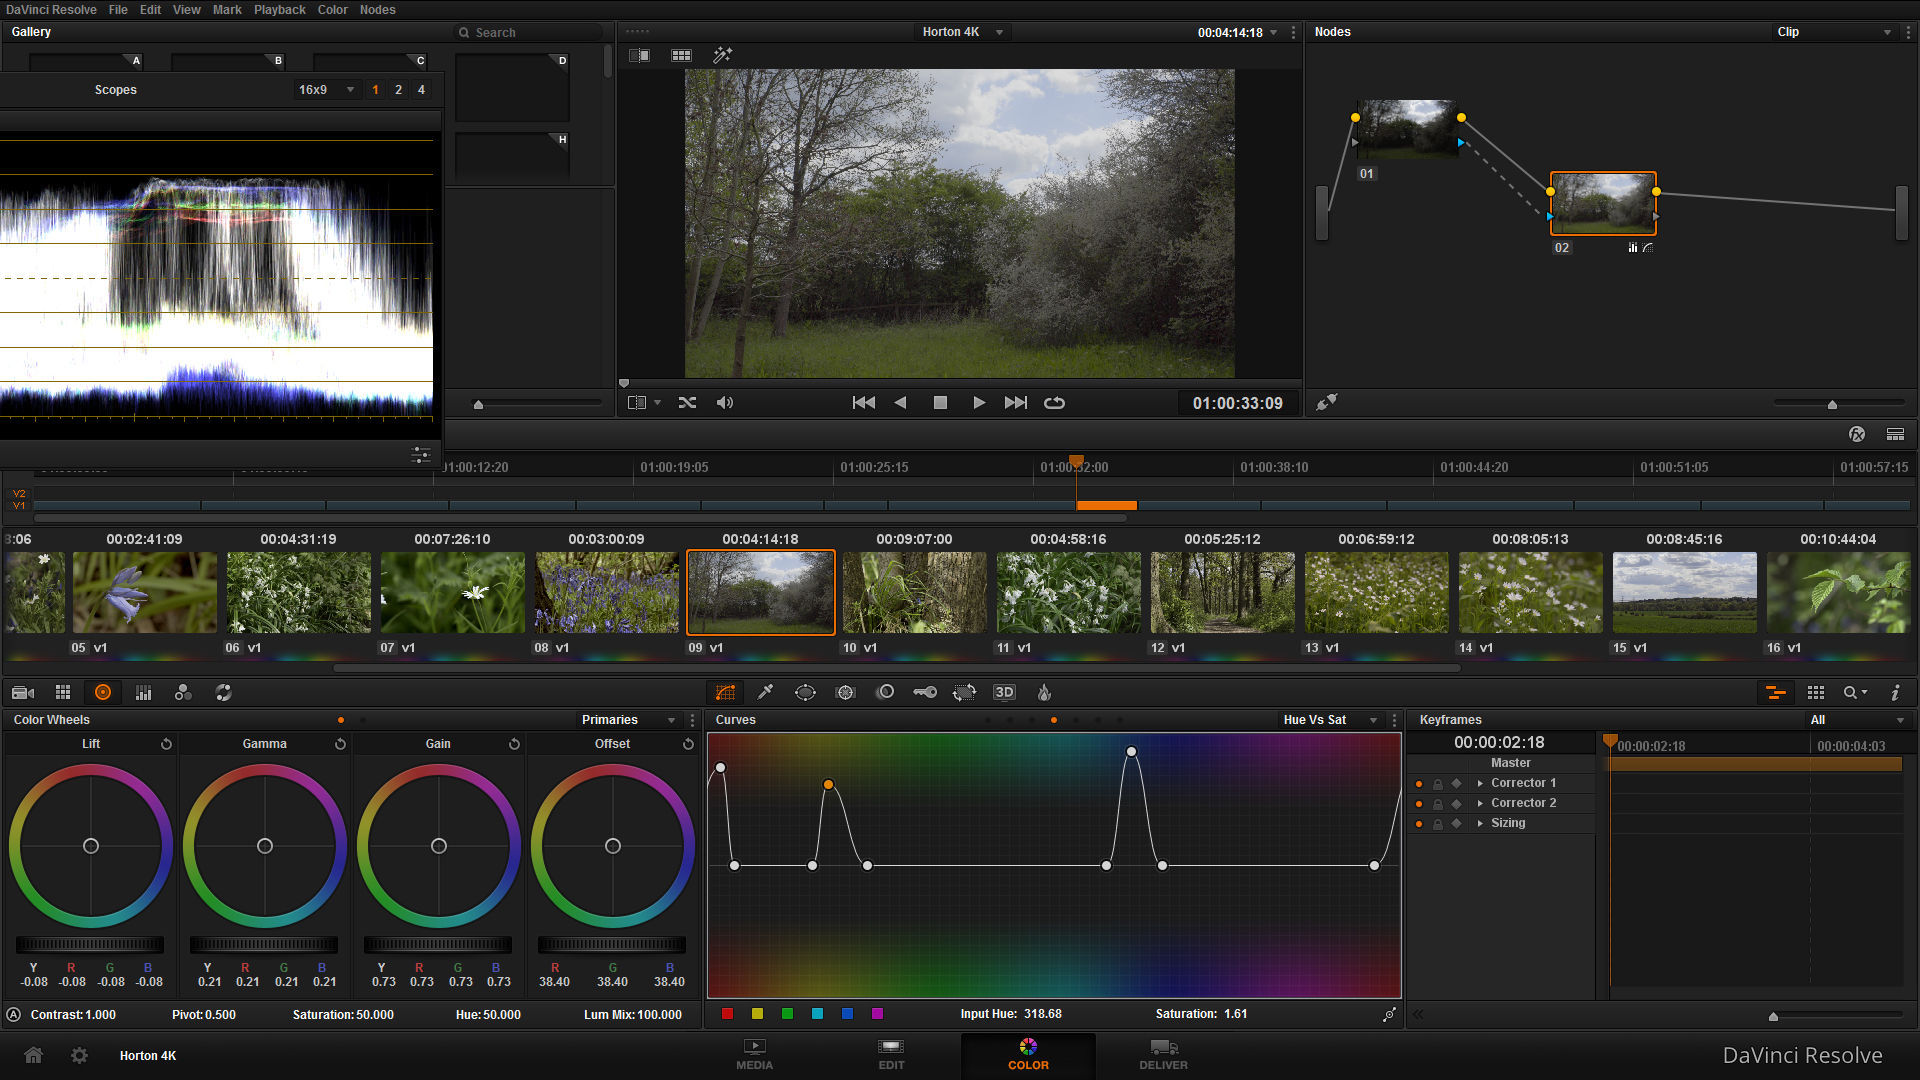
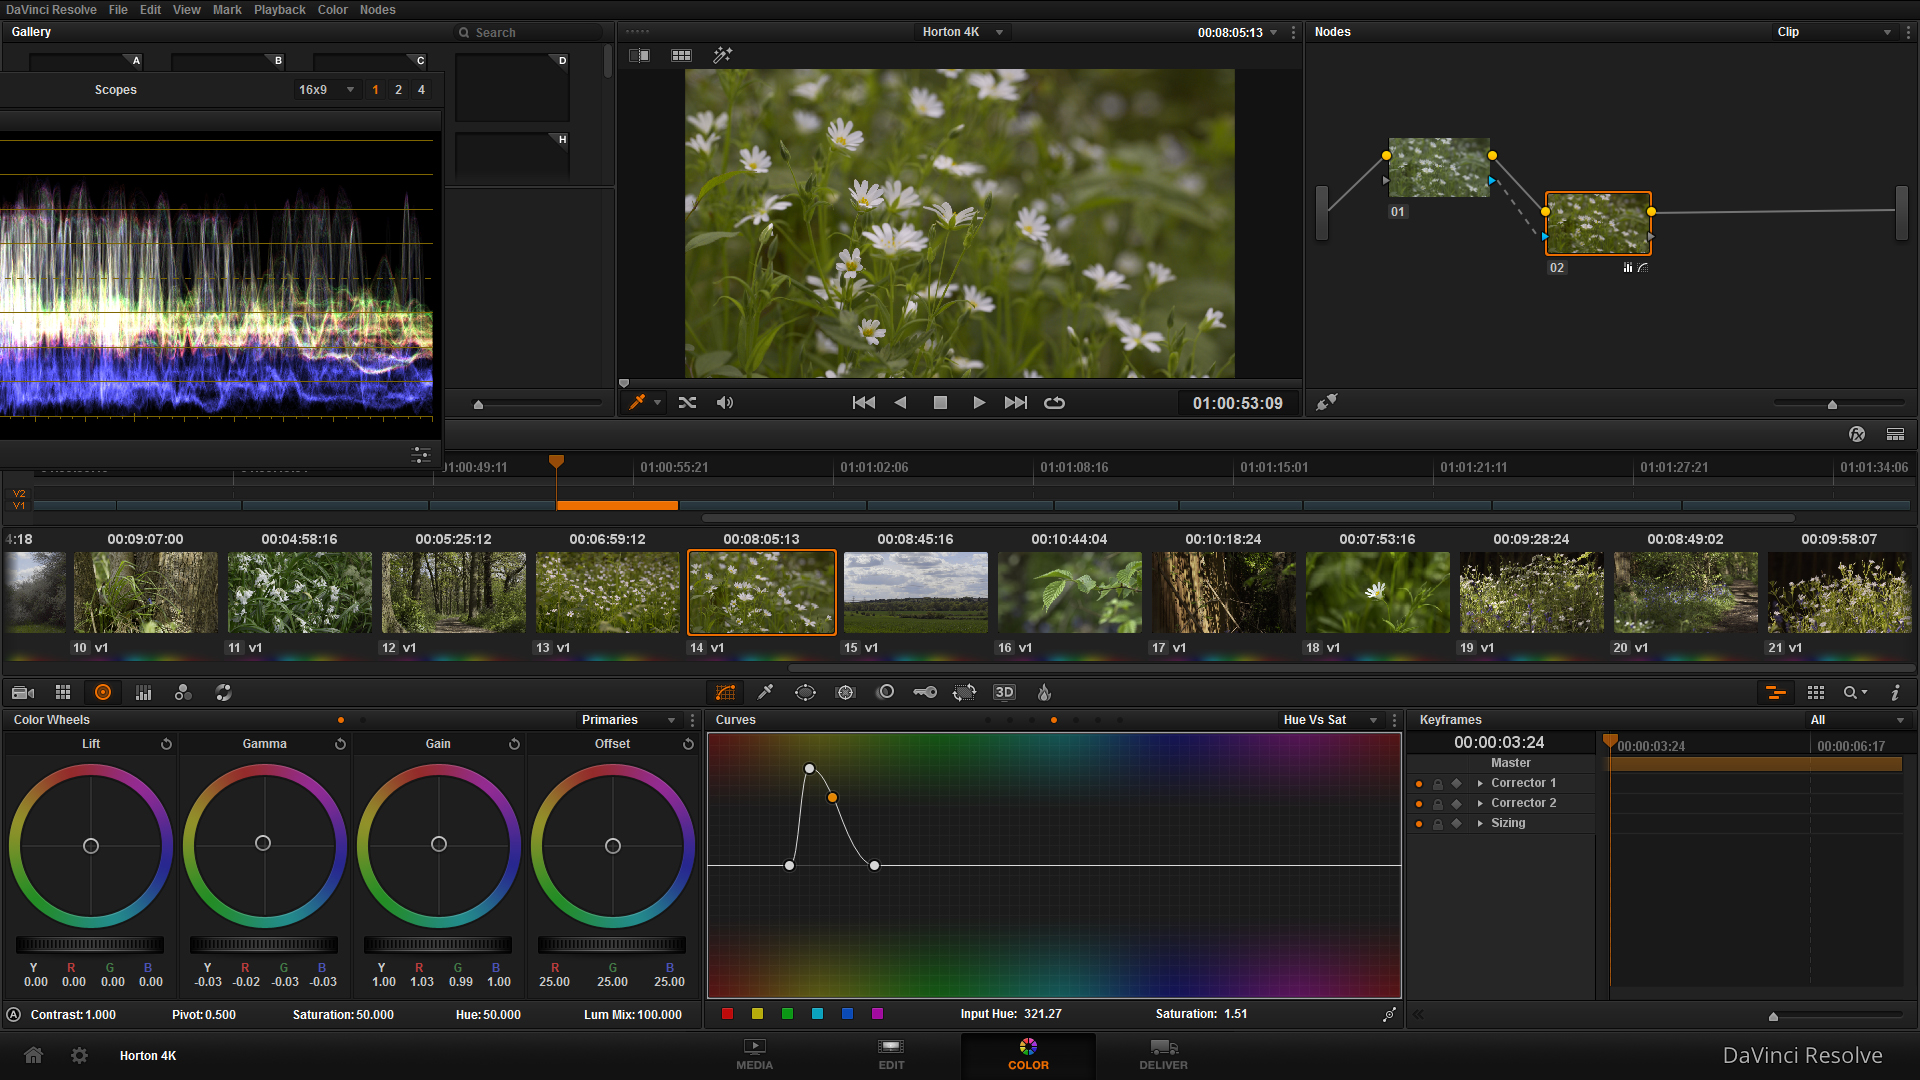
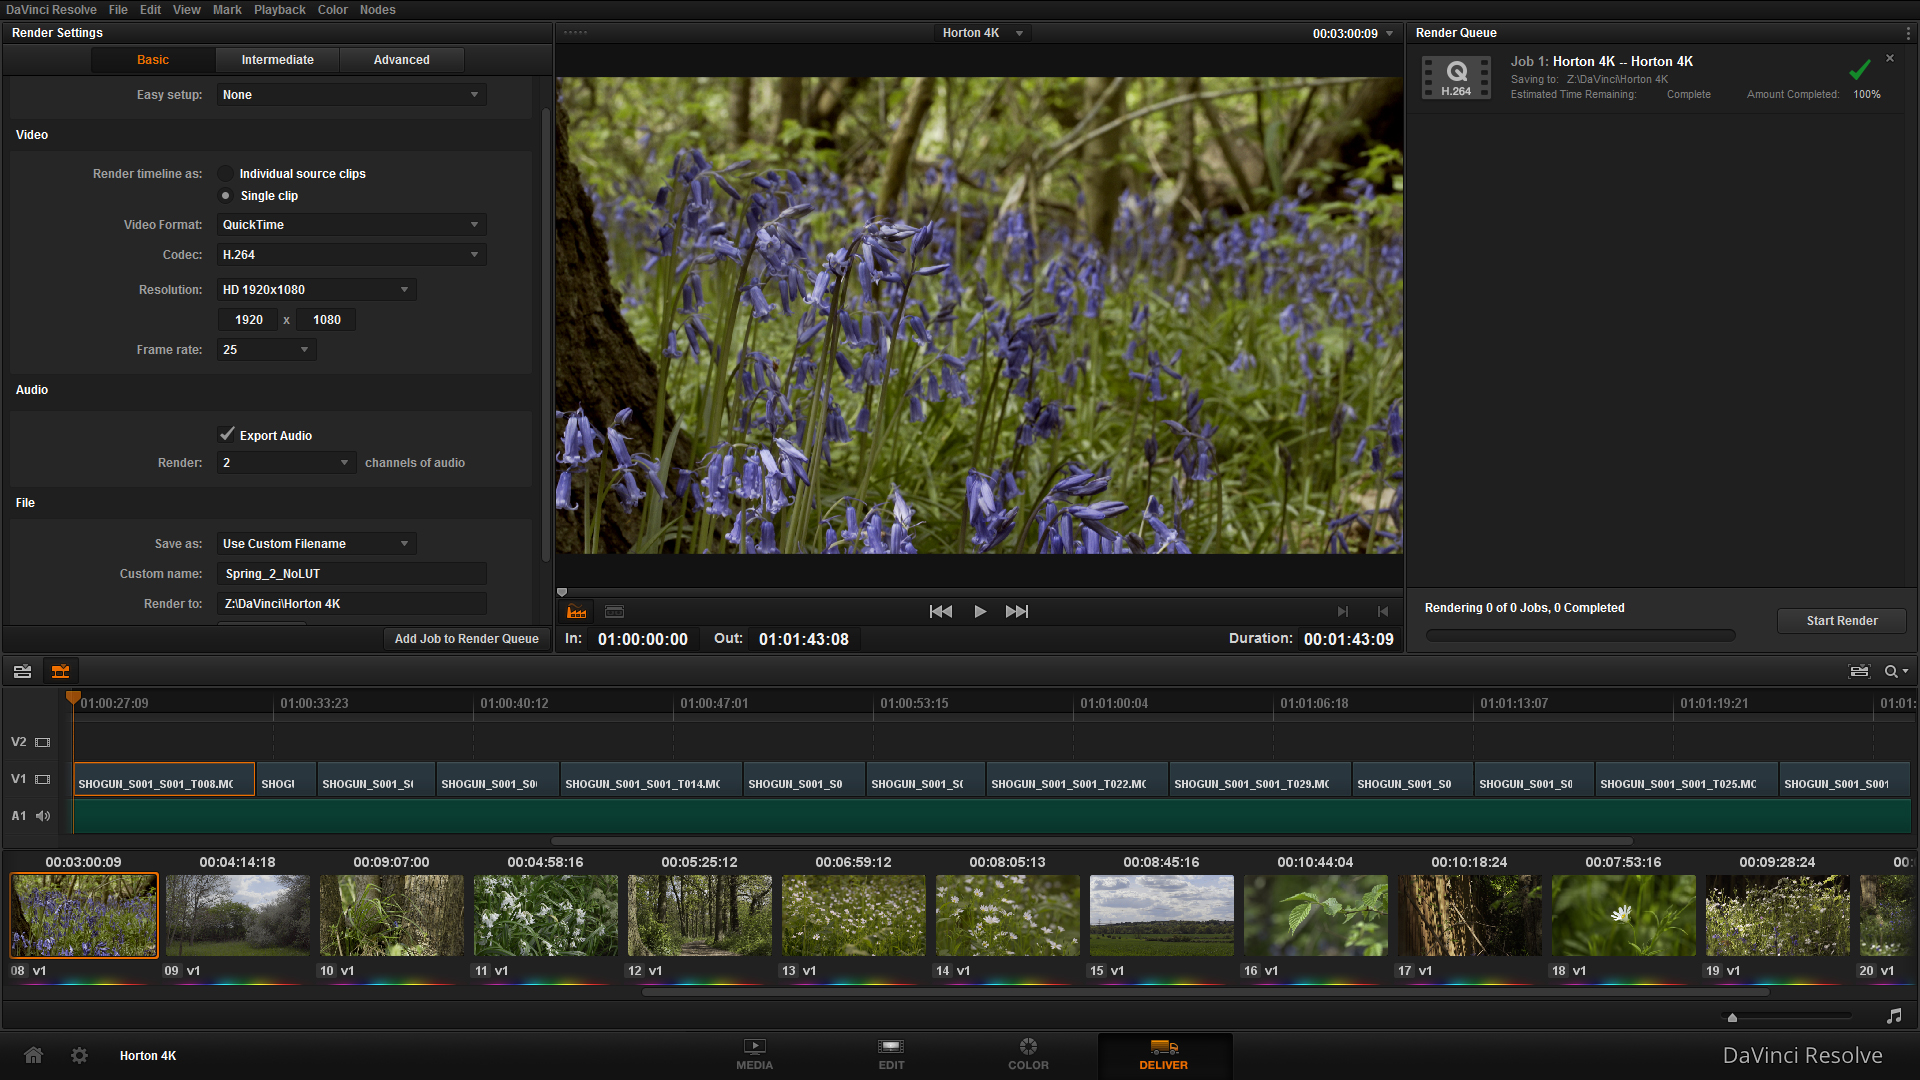
First Image - Editing interface, Second Image - Adjusting saturation in Color interface, Third Image - High contrast image BEFORE correction/grade, Fourth Image - High contrast image AFTER correction/grade, Fifth Image - Delivery interface.
Here is the ungraded version, with footage captured on the Shogun.
Here is a work-in-progress edit that is down-ressed to 1080 to upload it to Vimeo, the Youtube version in 4K (remember to change the resolution to 2160) is below!
I look forward to hearing your comments on the videos I've put up!
APV Now Captures In 4K UHD!
Hello all! Great news comes from APV in the form of the latest revolution in cinematography; capturing and delivering video and media content in 4K (3840x2160p) or Ultra High Definition using the Sony A7S camera and Atomos Shogun recorder.
Seeing the release of both the Sony A7S and Atomos Shogun at industry events, I was so keen to get my hands on this kit. Unlike DSLR's the A7S is mirrorless which means it's body is around 1/3 the size of the Canon 5D mkIII, it has incredible light sensitivity, the features to film in both slow-motion and using the S-Log gamma curve make it an ideal production camera in a tiny body.
I first saw the Shogun outside of an expo at the Shadows and Light workshop, a friend was showing me some footage he shot the evening before on the setup in 4K. He showed me the captured footage, and then applied the LUT in the Shogun to show what the result would be after grading.. I was blown away. Both as a monitor and a recorder, the Shogun excels at capturing HD and 4K video and audio with in-built monitors such as waveform and vectorscope, peaking, zebras, as well as recording in a range of formats at a much higher bit-rate than in camera recording - 220Mbit/s HD and 440Mbit/s 4K (I think) which is perfect for grading and video-focused productions to filmmaking.
I invested into Canon EF equipment a couple of years back as the 5D mkIII was to best option for large sensor filming, so instead of spending out on native Sony E mount lenses I purchased both the Metabones EF-E mount mk IV and the Commlite EF-E mount to use my current lenses.
Also knowing that the batteries for the A7S (FW-50) are much smaller in capacity than the LP-E6 Canon batteries, I ordered another 4 Sony's with the camera and two from Amazon with another charger (EX-Pro). Inevitably, all of the accessories came before the camera did.. So I eagerly charged and labelled up the kit and get it ready for the camera to arrive!
The camera came last week and not having any new toys for a while I was keen to play around and check out the cameras features straight away! Glen came over as the camera arrived, so he became my willing subject. I hooked up the Tamron 24-70 to the Metabones which worked fine and shot some handheld video, as the lenses vibration control was active. I also have an eyecup for the little viewfinder for another point of contact, to reduce the shake if I need to hand-hold for some shots.
As I was waiting for numerous deliveries to arrive (including the Shogun), I was housebound for a while so I made do with the plants in the garden and my cat for things to film. Here's some of the first footage captured -
A7S and Soligor 35-140 with metabones waiting for the Sparrows
A7S and Tamron 24-70 with metabones in the cage. Soon to be replaced by the Movcam rails kit.
A mix of footage shot for the first time on the Sony A7S, probably in No Picture Profile. Really love the image with the lenses that I have, very organic with fantastic light sensitivity. It was also impressive hooking up the Atomos Shogun to the 5D mk III for 1080p in ProRes HQ, which gives much more latitude for colour grading and post work because of the much higher bit rate.
The best friend has bought a swanky new Audi, so he took me for a spin! I was still getting used to the photo mode and controls, it was past 8pm with the sun only just set so the ISO was wacked up reasonably high.

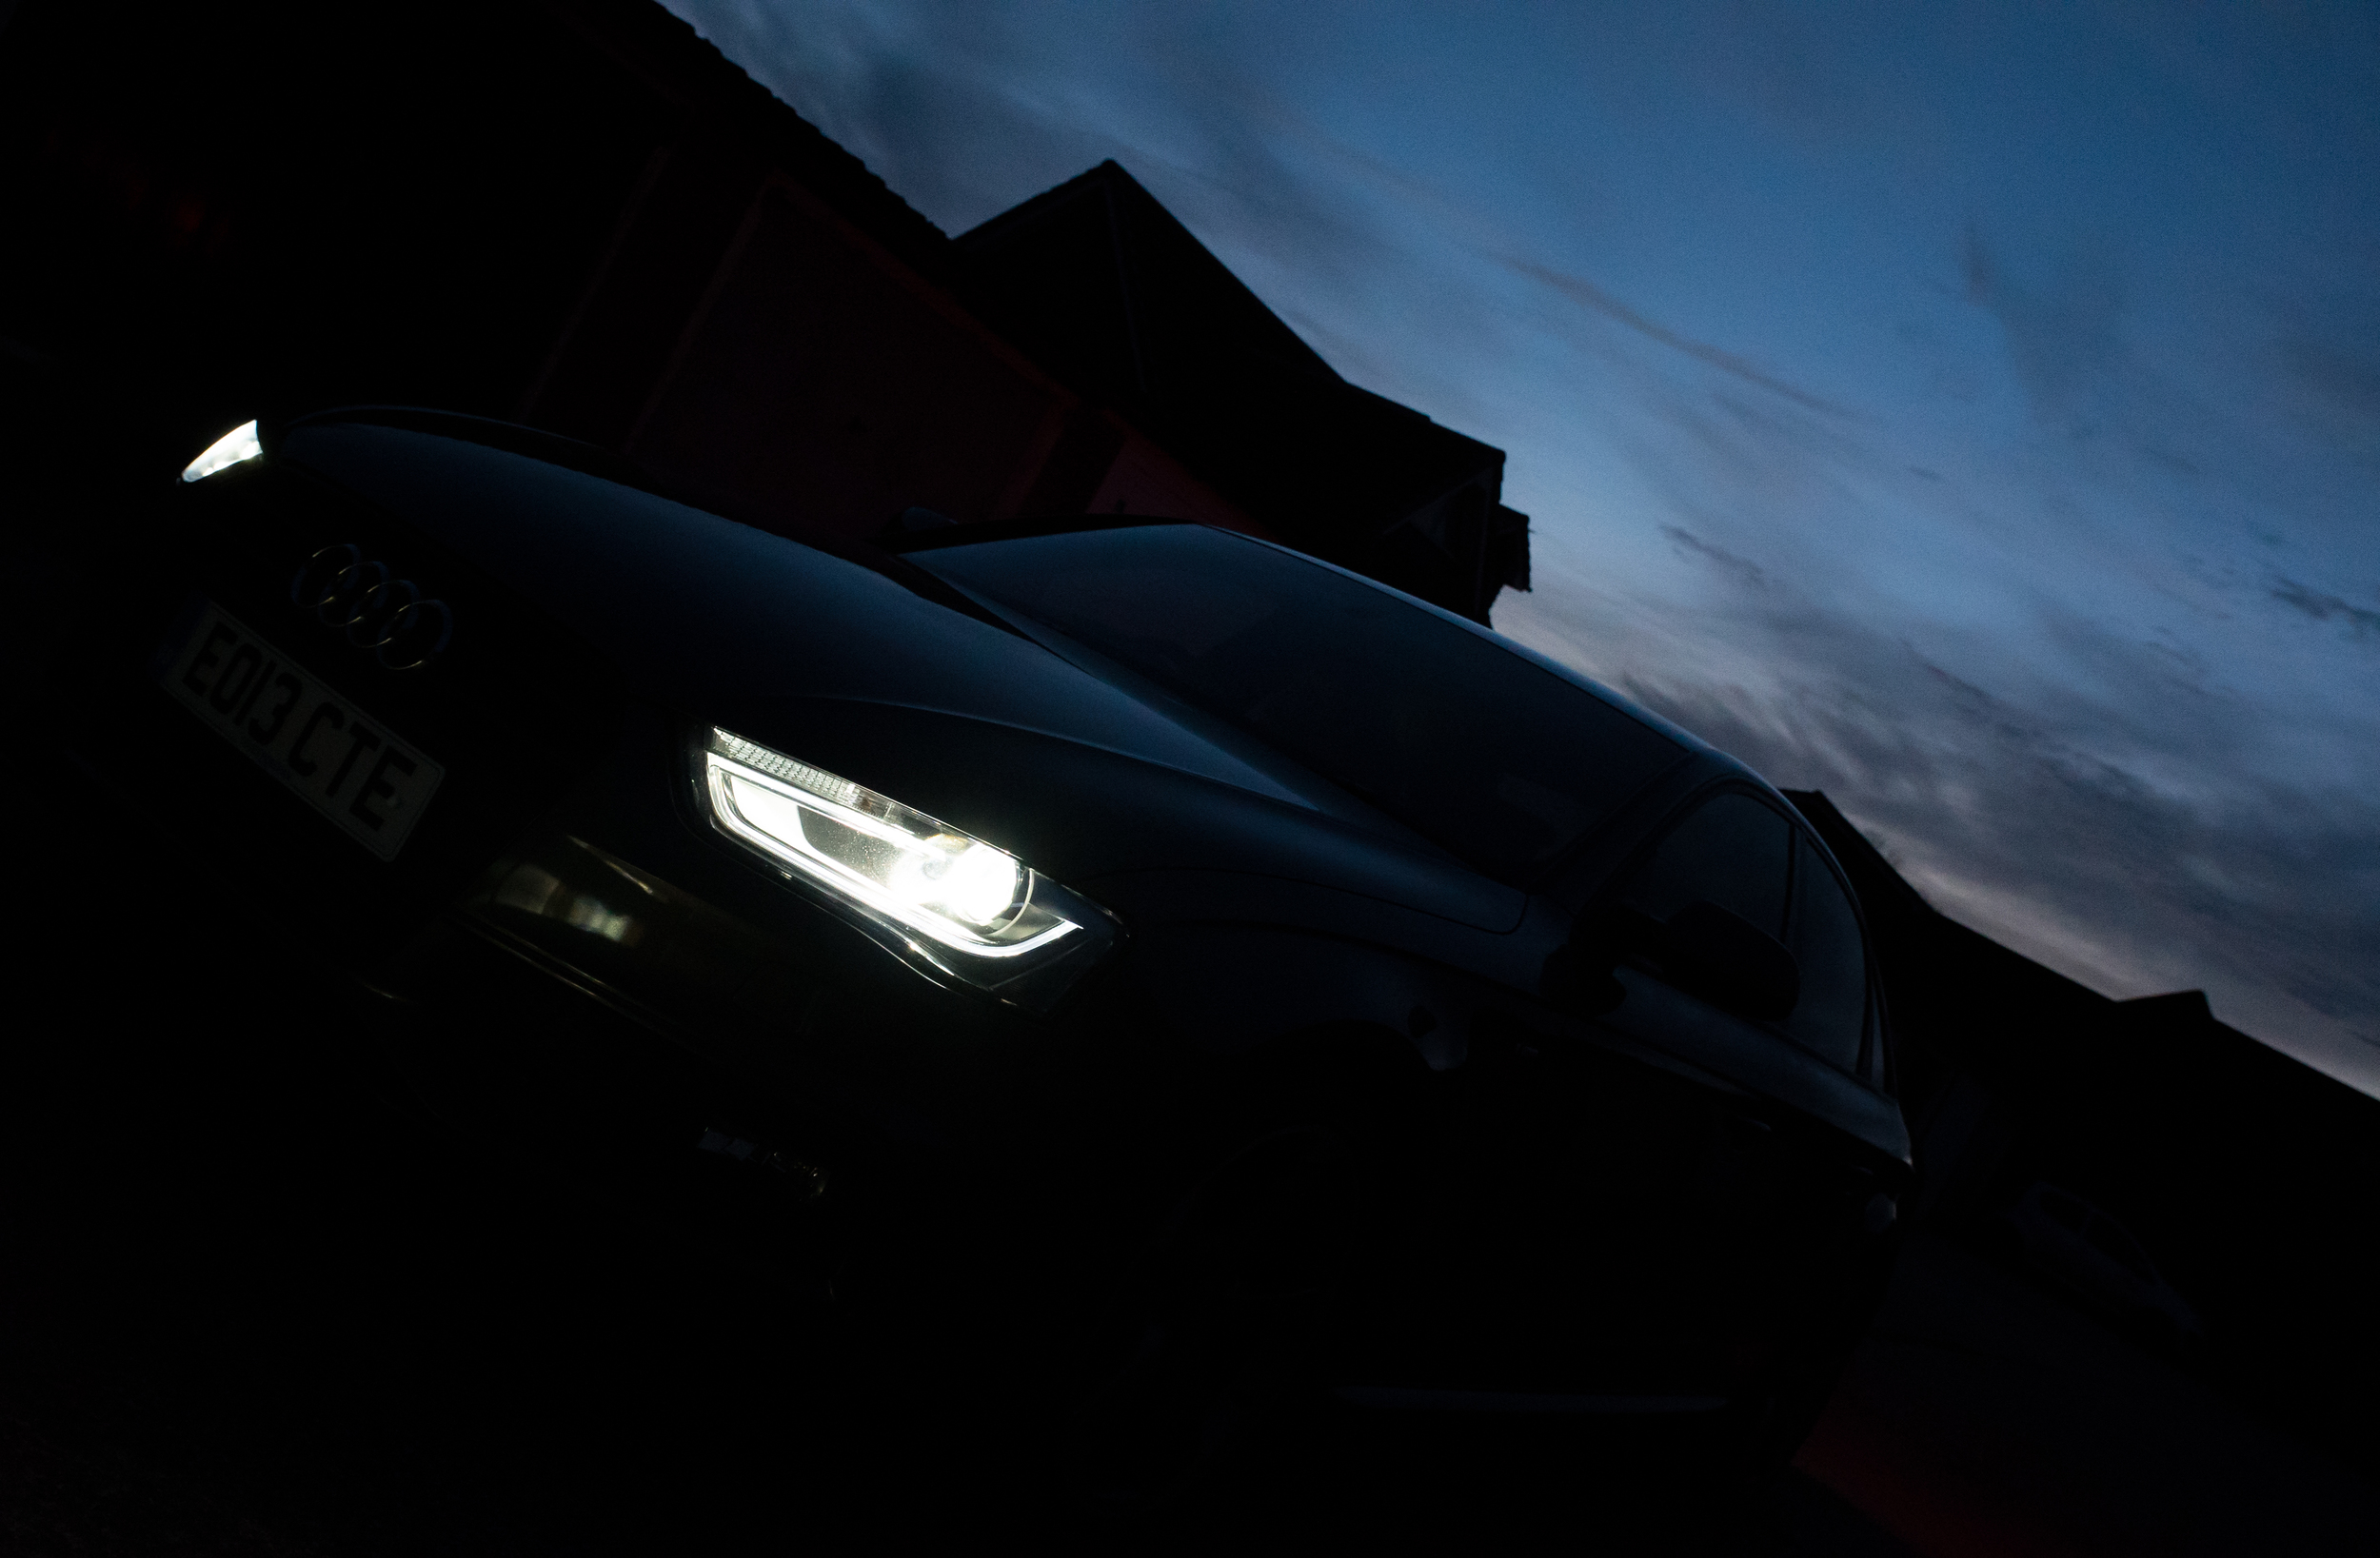
Because the cable for connecting the A7S to the Shogun hadn't arrived yet (from Atomos) I went searching around Epsom with no avail for a micro HDMI to HDMI cable. I ordered one off Amazon for evening delivery, which came while I took the photos of Sams new car!
I was overly happy with the recorded images that I captured in the mean time with the Shogun hooked up to the 5D mk III. I decided to record them in ProRes HQ to see how far I could push the footage in colour correction, post and grading. It worked fantastically, so much in fact that I'm deeply considering teaming the 5D mk III with another Atomos recorder for the same reasons as above.
I finally got my hands on a micro HDMI cable to road test the 4K HDMI output from the A7S to the Shogun, and just as I began to film, Alfie the cat decided he wanted to join in! I don't remember the picture profile, but it was shot with a pretty wide aperture on the Tamron 24-70. I also tried out the down-ressing method that I'll be using for 4K filming but delivering in HD, so I edited the 4K sequence twice, one in native 4K resolution and the other in a 1080p sequence with some clips scaled down or cropped. NOTE - please change the resolution to the highest possible for the best results!
4K still from the Shogun recorder, shot in 4K ProRes HQ
Let me know what you think!
NOTE - Change resolution to 2160!!!
A short first test filming in 3820x2160 UHD-4K resolution in ProRes HQ on the Atomos Shogun, with the Sony A7S camera. No correction/sharpening/grading in camera or post. Exported in H.264 with a target bitrate of 100Mbits, hoping it holds! I tried to shoot some orchids, but my cat Alfie saw what was going on and wanted to join in!
4K version on Vimeo, remember Vimeo does not have 4K playback yet so this has been down-ressed by Vimeo. Please watch the Youtube video above for the 4K version.
As a comparison, this is the down-res version of the 'Creatives and their cats' video originally shot in 3840x2160 4K-UHD using the Atomos Shogun and Sony A7S. View the original here - This version has been scaled down in Premiere by 50%, with some re-framing in a 1080p sequence, with 4K footage. No correction, sharpening, grading in camera or post. Originally shot in ProRes HQ. I tried to shoot some orchids, but my cat Alfie saw what was going on and wanted to join in! The cropping and re-framing of 4K footage for 1080p HD delivery is a brilliant feature to have, meaning high quality footage can be future-proofed and still delivered in great HD resolution.
I also shot some Picture Profile tests to compare the colours, DR, contrast and noise, this is to come later!
Shadows and Light was INCREDIBLE!
I arrived for the brand new 'Shadows and Light' two day filmmaking workshop on Sunday evening, excited to hone in on skills and meet new friends. The drive was smooth, only an hour from Surrey down to Brighton where I was greeted by lovely staff and great room at the Umi (on the seafront).
I dumped my stuff and met my good friend and VFX/Director mastermind HaZ before heading to the pre-drinks to meet everyone. Informal drinks like this are perfect for networking, so remember business cards!!
I met Olly, the 'behind the scenes' filmmaker for the night and the first day and got chatting as he was using a 5D mkIII like me. I also caught up with Nino, and met the wonderful organizer of the event, Fraser, who did a great job of running the event, keeping everything in check.
HaZ and I also chatted to Ollie Kenchington about production for grading and many other things, another great person to meet!!
I also met Yusuf at the pre-drinks when talking about shooting on the A7S, and on returning to the hotel I met Giordano Borghi, an Italian wedding filmmaker who I really enjoyed chatting to over a whisky on the rocks.
Day one was hosted at 'Dukes at Komedia' theatre in Brighton town, great venue with comfortable seats for recovery from the late night.. I was enthralled by Vincent Laforets presentation about motion, in which I got grilled by Vincent in front of the professionals and attendees over my 'Seasons Are Changing' video. He commented it was beautifully shot, but the long takes with unmotivated movement would make the audience somewhat bored. It was fantastic feedback from him, despite the public screening!!
Technical Difficulties?
After a break, HaZ presented his talk about VFX in low budget film making, and also considering and directing it in your films. As always HaZ is just a fantastic chap and screened the whole SYNC film, which I was the 1st AC on (shot in Southend), and features one of my shots on the jib!
It was then I met James, who is incorporating film into his company. He's a fantastic dude, and it was great to meet him and chat more throughout the day. I look forward to collaborating in the future :)
Another talk that got me thinking was 'Colour Grading' by Olly Kenchington, who got in deep with shadows and light, and colour theory, and how to produce such grades in Resolve with ease, as well as enhancing the shots/scenes from OK to GREAT!
Day 1 ended with Philip Bloom's talk, followed by the party! Well done to the raffle winners, great prizes donated from the events sponsors; Miller, Rode, Adobe and more.
Day 2 comprised of intense group workshops covering many areas of filmmaking. We were divided into groups which was great for networking with new people attending, and headed to Philip Bloom's workshop on using gimbals (like the MoVI) for filming motion. We got hands on with a range of equipment to see what it's like to operate/walk around using an M5 with a Sony A7S.
I was impressed by this little Defy G2X gimball.
Next on to James Miller's 'Lens Whacking' workshop, very hands on with old manual lenses out in the street. I met one of the models, Ruby, and had a great time filming her while trying to get the hang of 'whacking' the lens for 'ethereal' looking light leaks and almost 'tilt-shift' esque focusing.
Luckilly for us, the sun was beaming through the clouds which was perfect for trying to get some leaks in the frame. We stopped for lunch, then continued on to Vincent's workshop.. The BEST of the day!
Vincent talked through a number of movies with a moving camera, breaking down the scene to show how the narrative flows and is complemented by moving the camera, and the characters in frame. We then got hands on blocking out a small scene, which was fantastic to see to get to grips with working as a director when moving the camera.
Lastly was my good mate, Nino, who was talking about filming interviews and using motion control to add interest to otherwise uninspiring corporates. Using a bright window, we set up an interview scene with LED lights and the Kessler second shooter device to move the camera on the pocket dolly. This added much needed life to an otherwise 'standard' two camera shoot.
It was how big, Nino?!
I had an awesome time, and was happy to give a piece to camera about my thoughts on the workshop. Over the two days I learned an incredible amount that I can directly apply to my work to make films that are more engaging and that have motivated movement! I made loads of new friends too, both from the UK and internationally. For networking and collaboration, there was no better place to be.