unique

Why film, video and media is PERFECT for business, events and more! New infographics from APVideo on telling stories for you!

Now, more and more audiences are accessing content on mobile devices, all the time.

What is the best method of reaching them, promoting your products/talents/business/events, building a personality and telling a story? It's film, video and media of course!

I've researched the latest statistics from Cisco and other sources, combined with my own experience for these new infographics. The results are fantastic as it shows:

'Using film, video and rich media is proven for a high return on investment (ROI)'

Why film, video and rich media is perfect for business, organizations, online, offline, live marketing, branding, promotion, communication and advertising. Tell your story with APVideo.

The stats speak for themselves. Video is now a powerful communication tool for connecting and reaching audiences on a global, 24/7 platform. Tell your story with APVideo.

If you would like more info about how film and rich media can benefit your business, products, events then just get in touch!

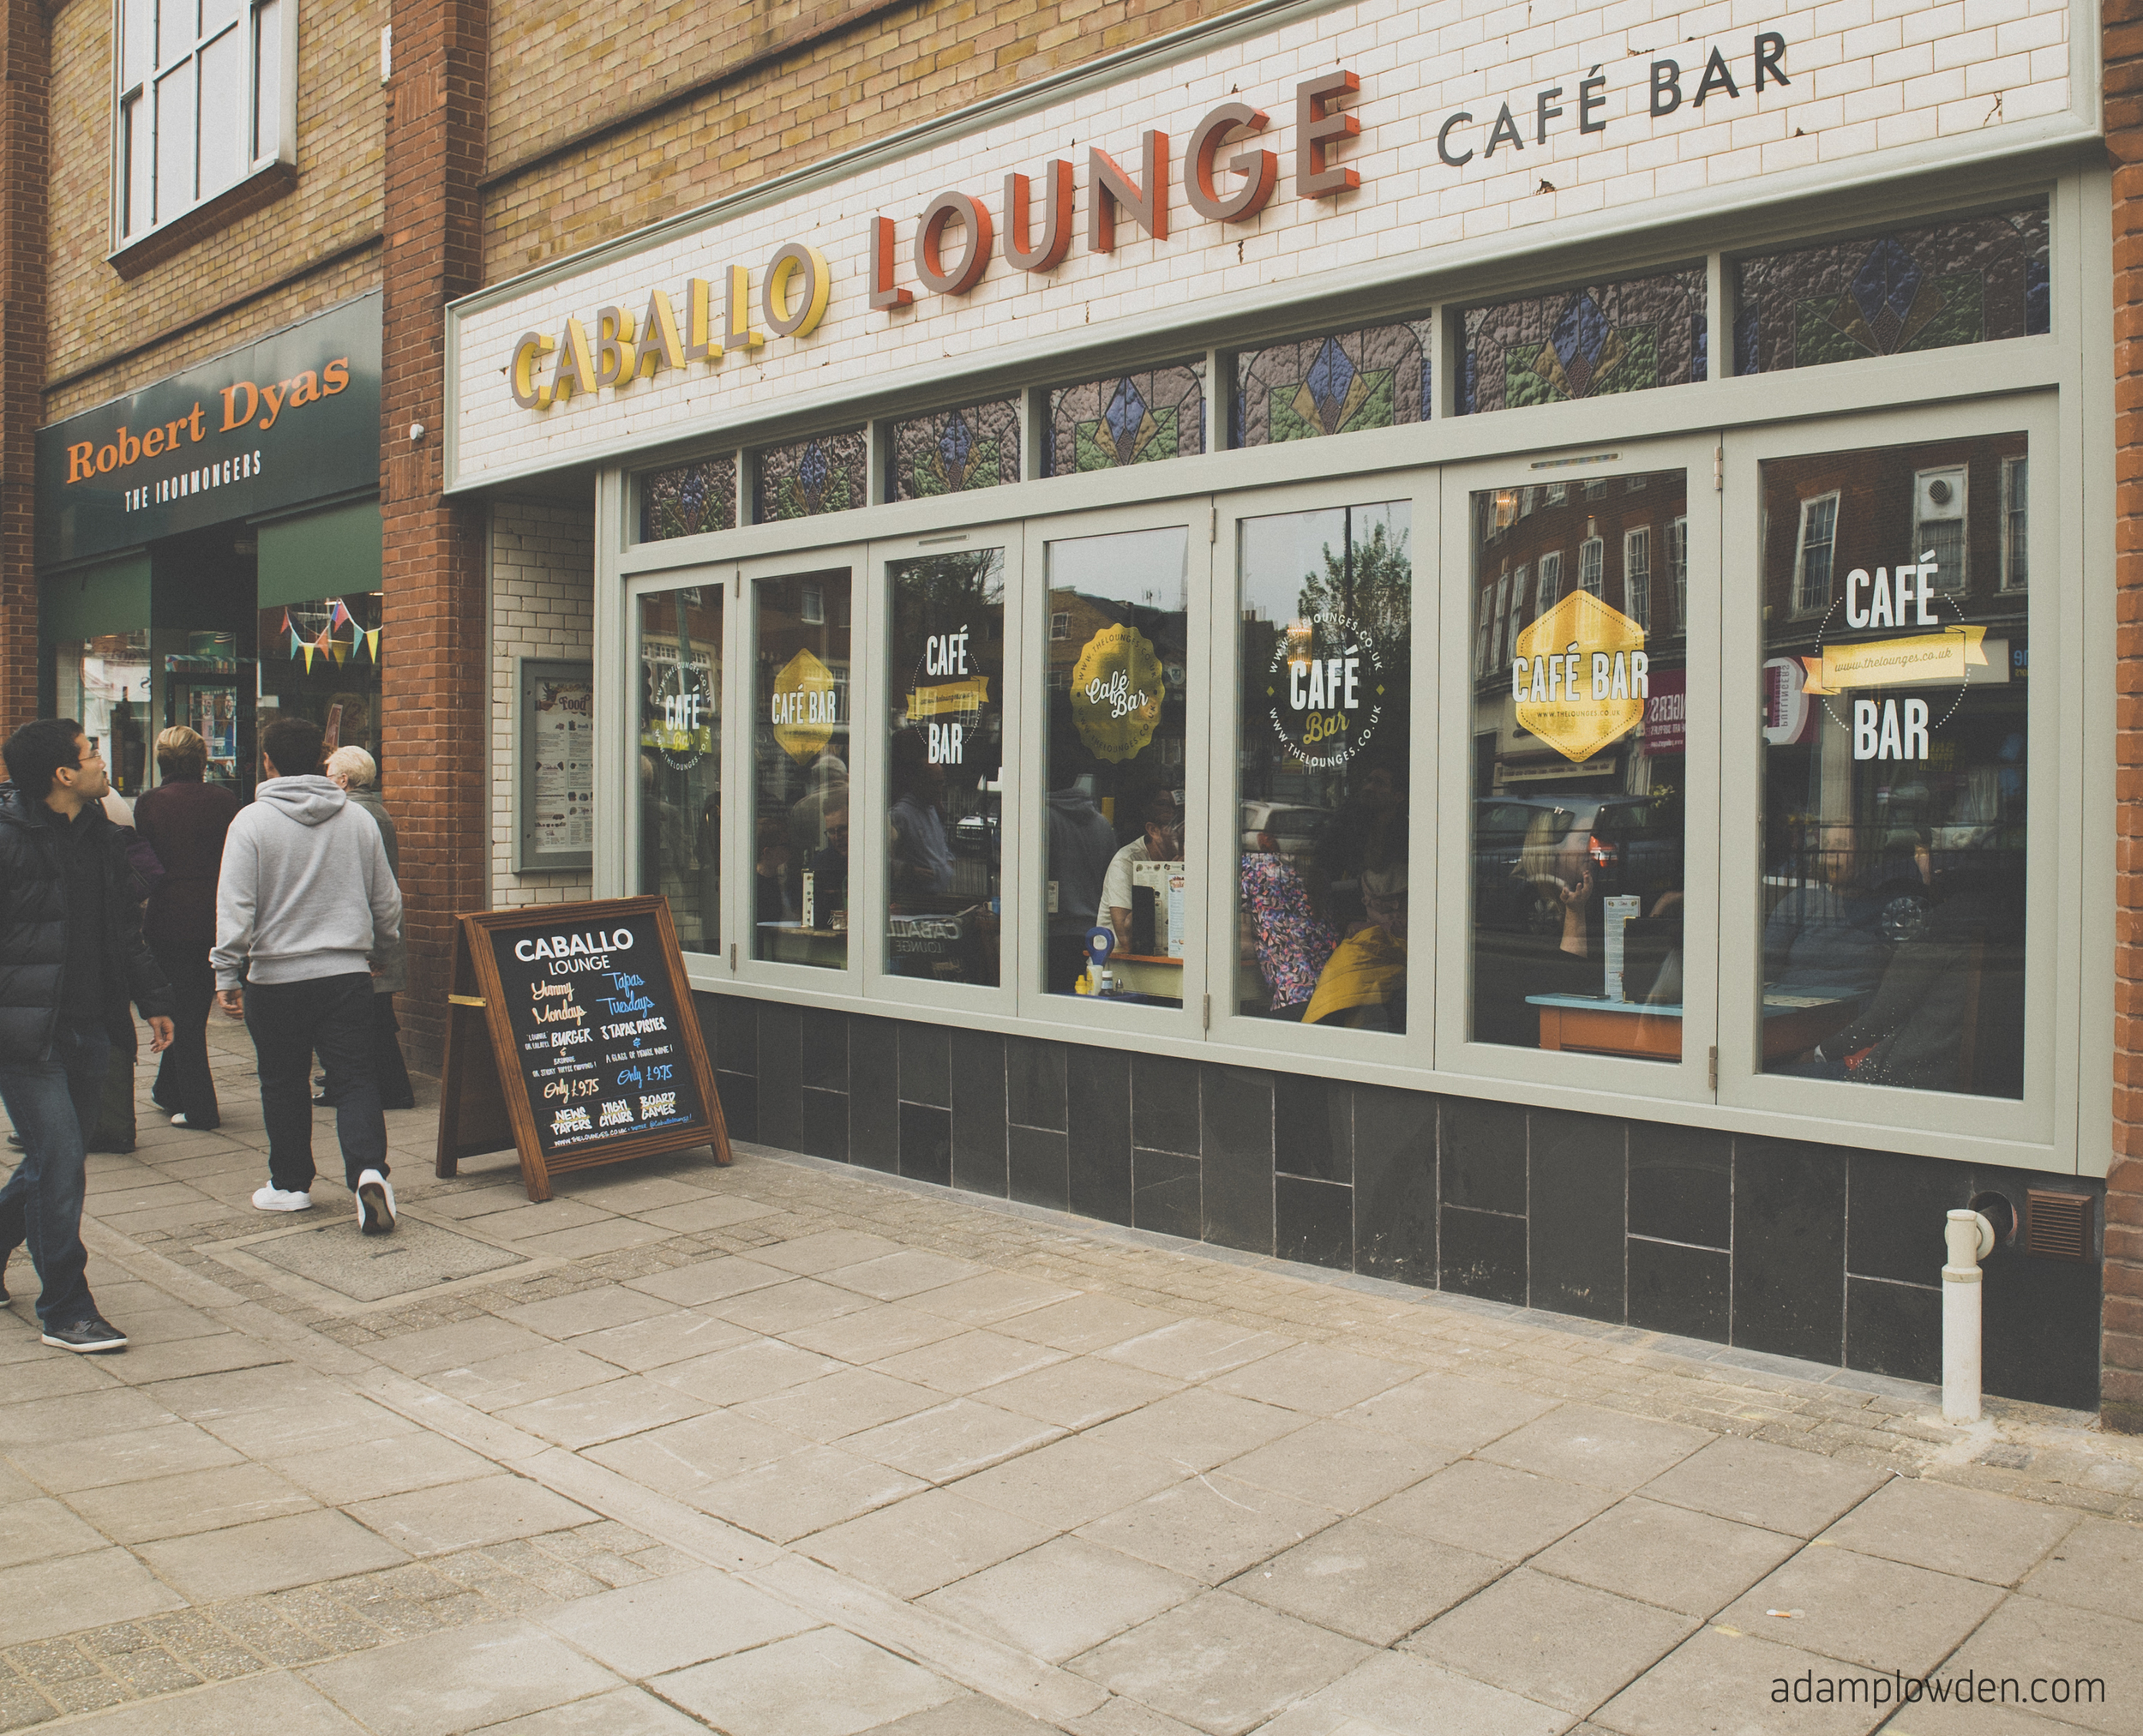
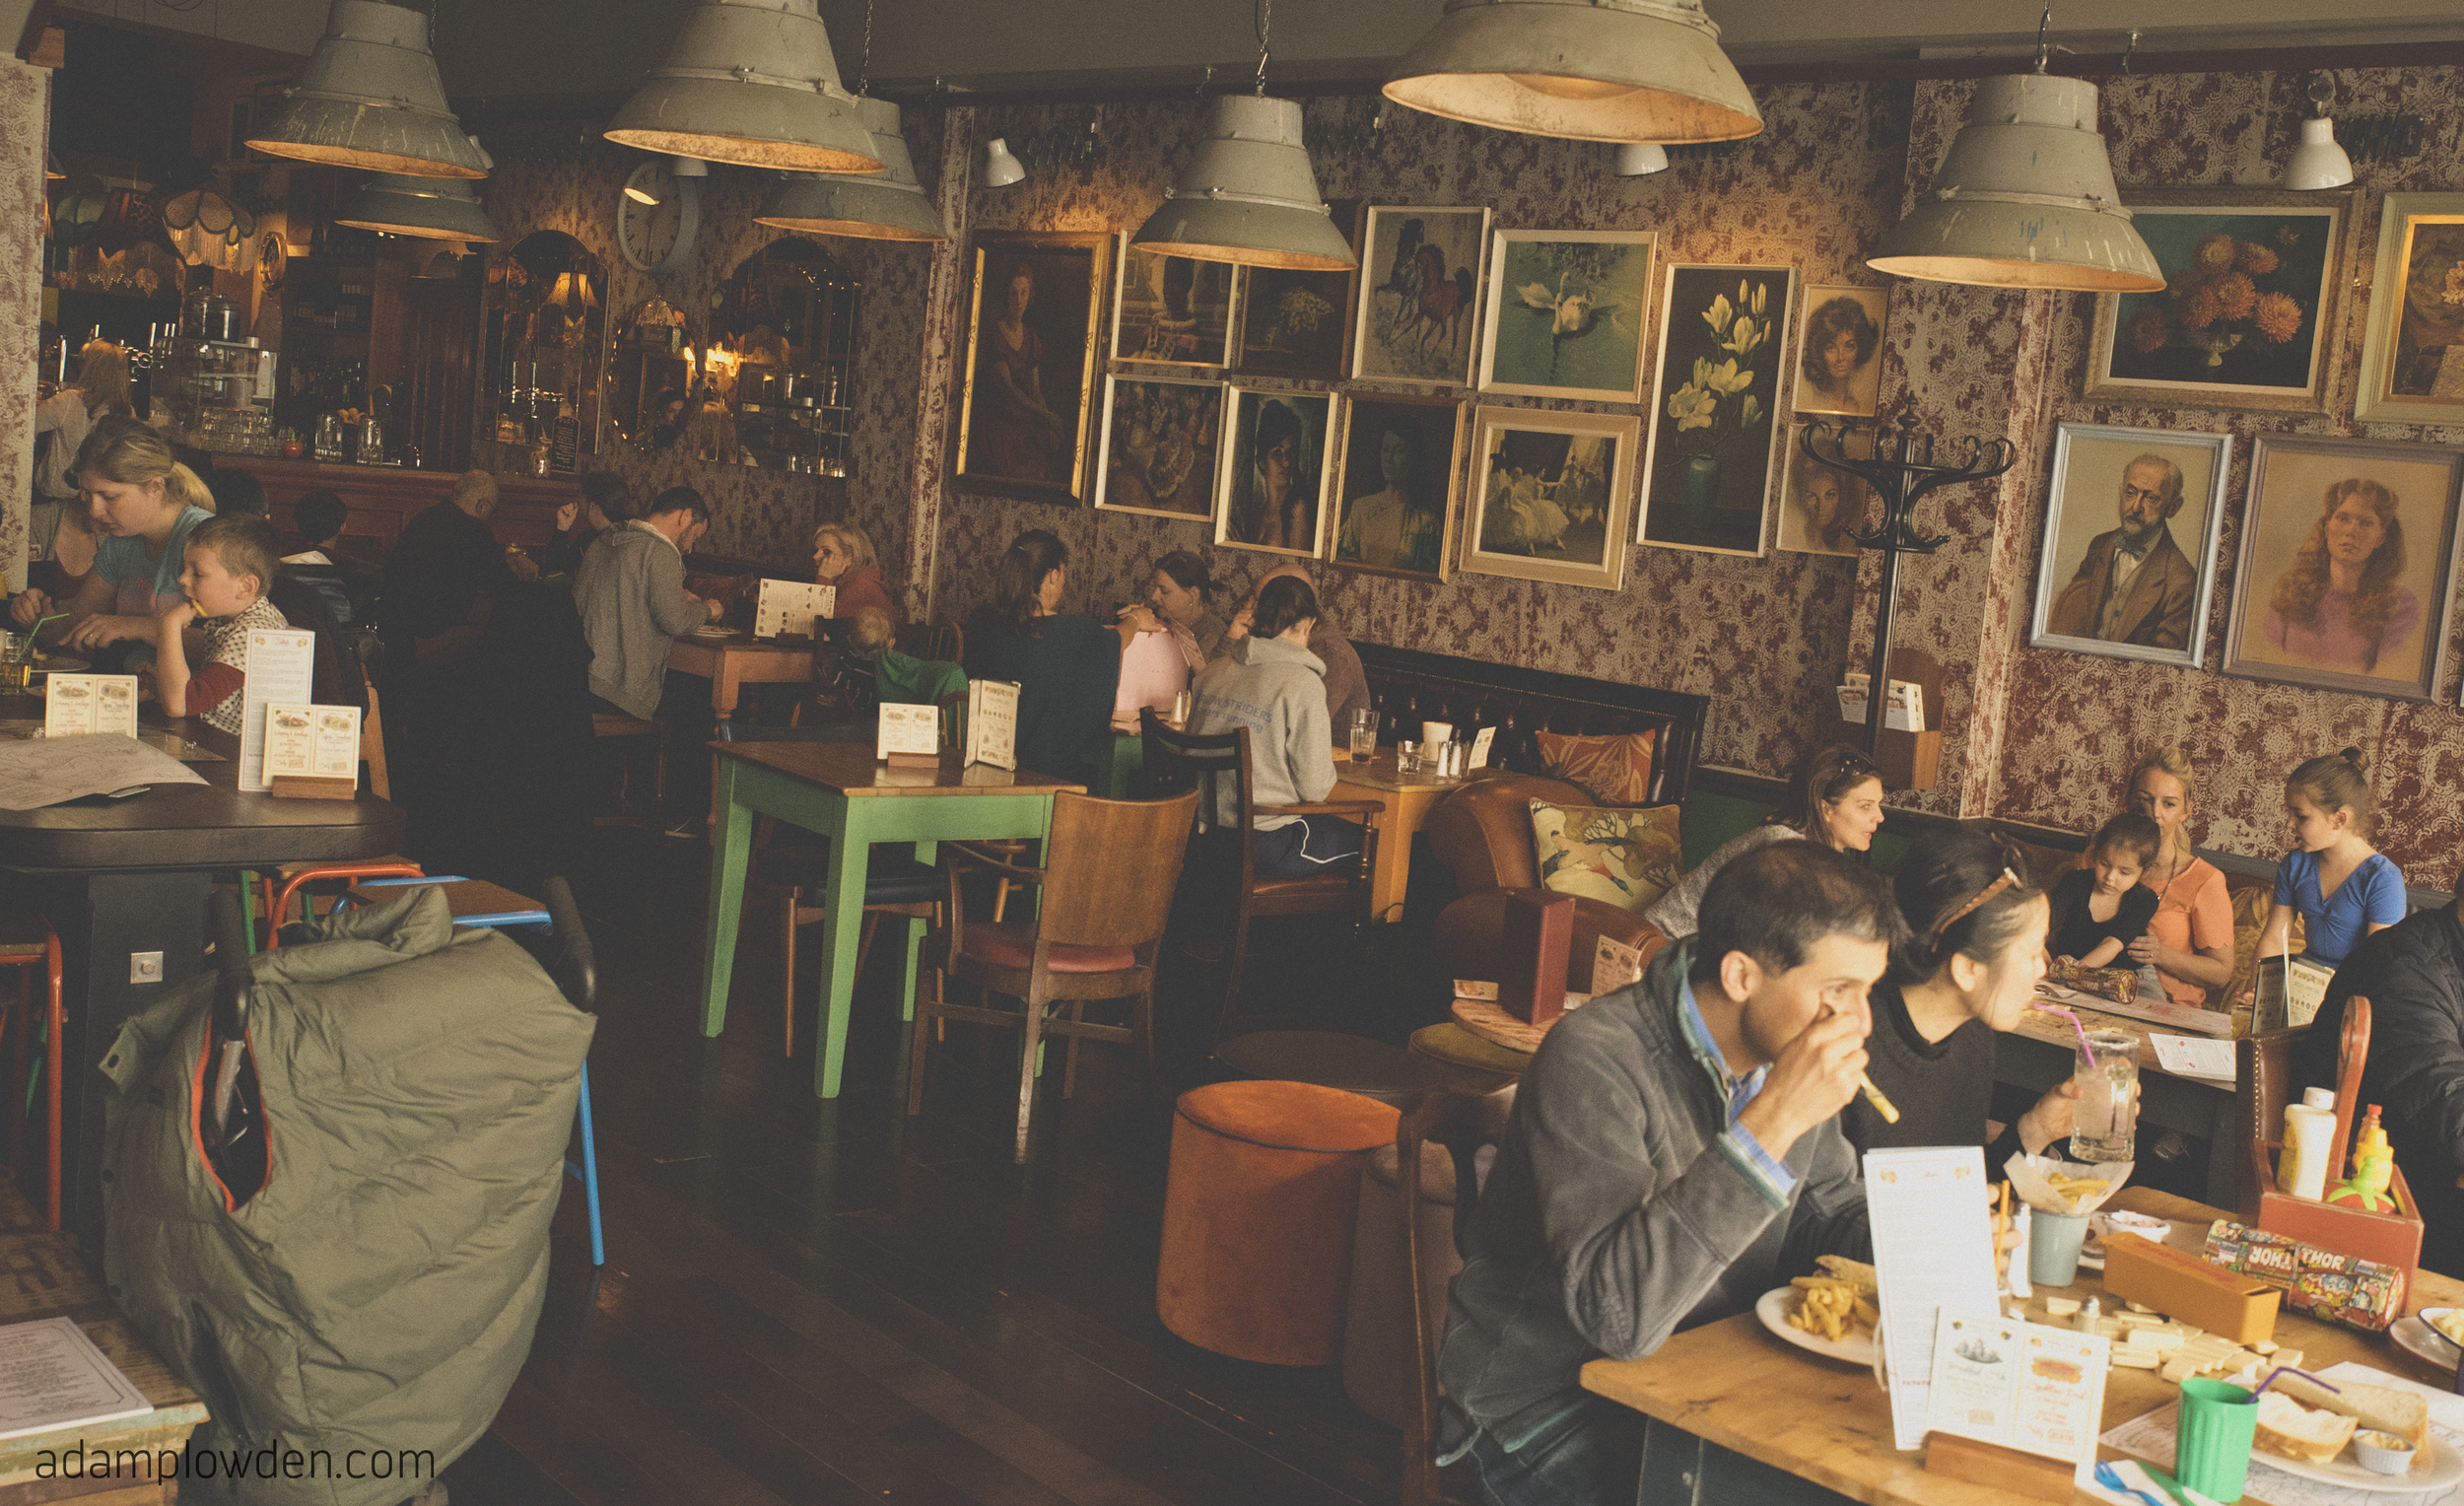
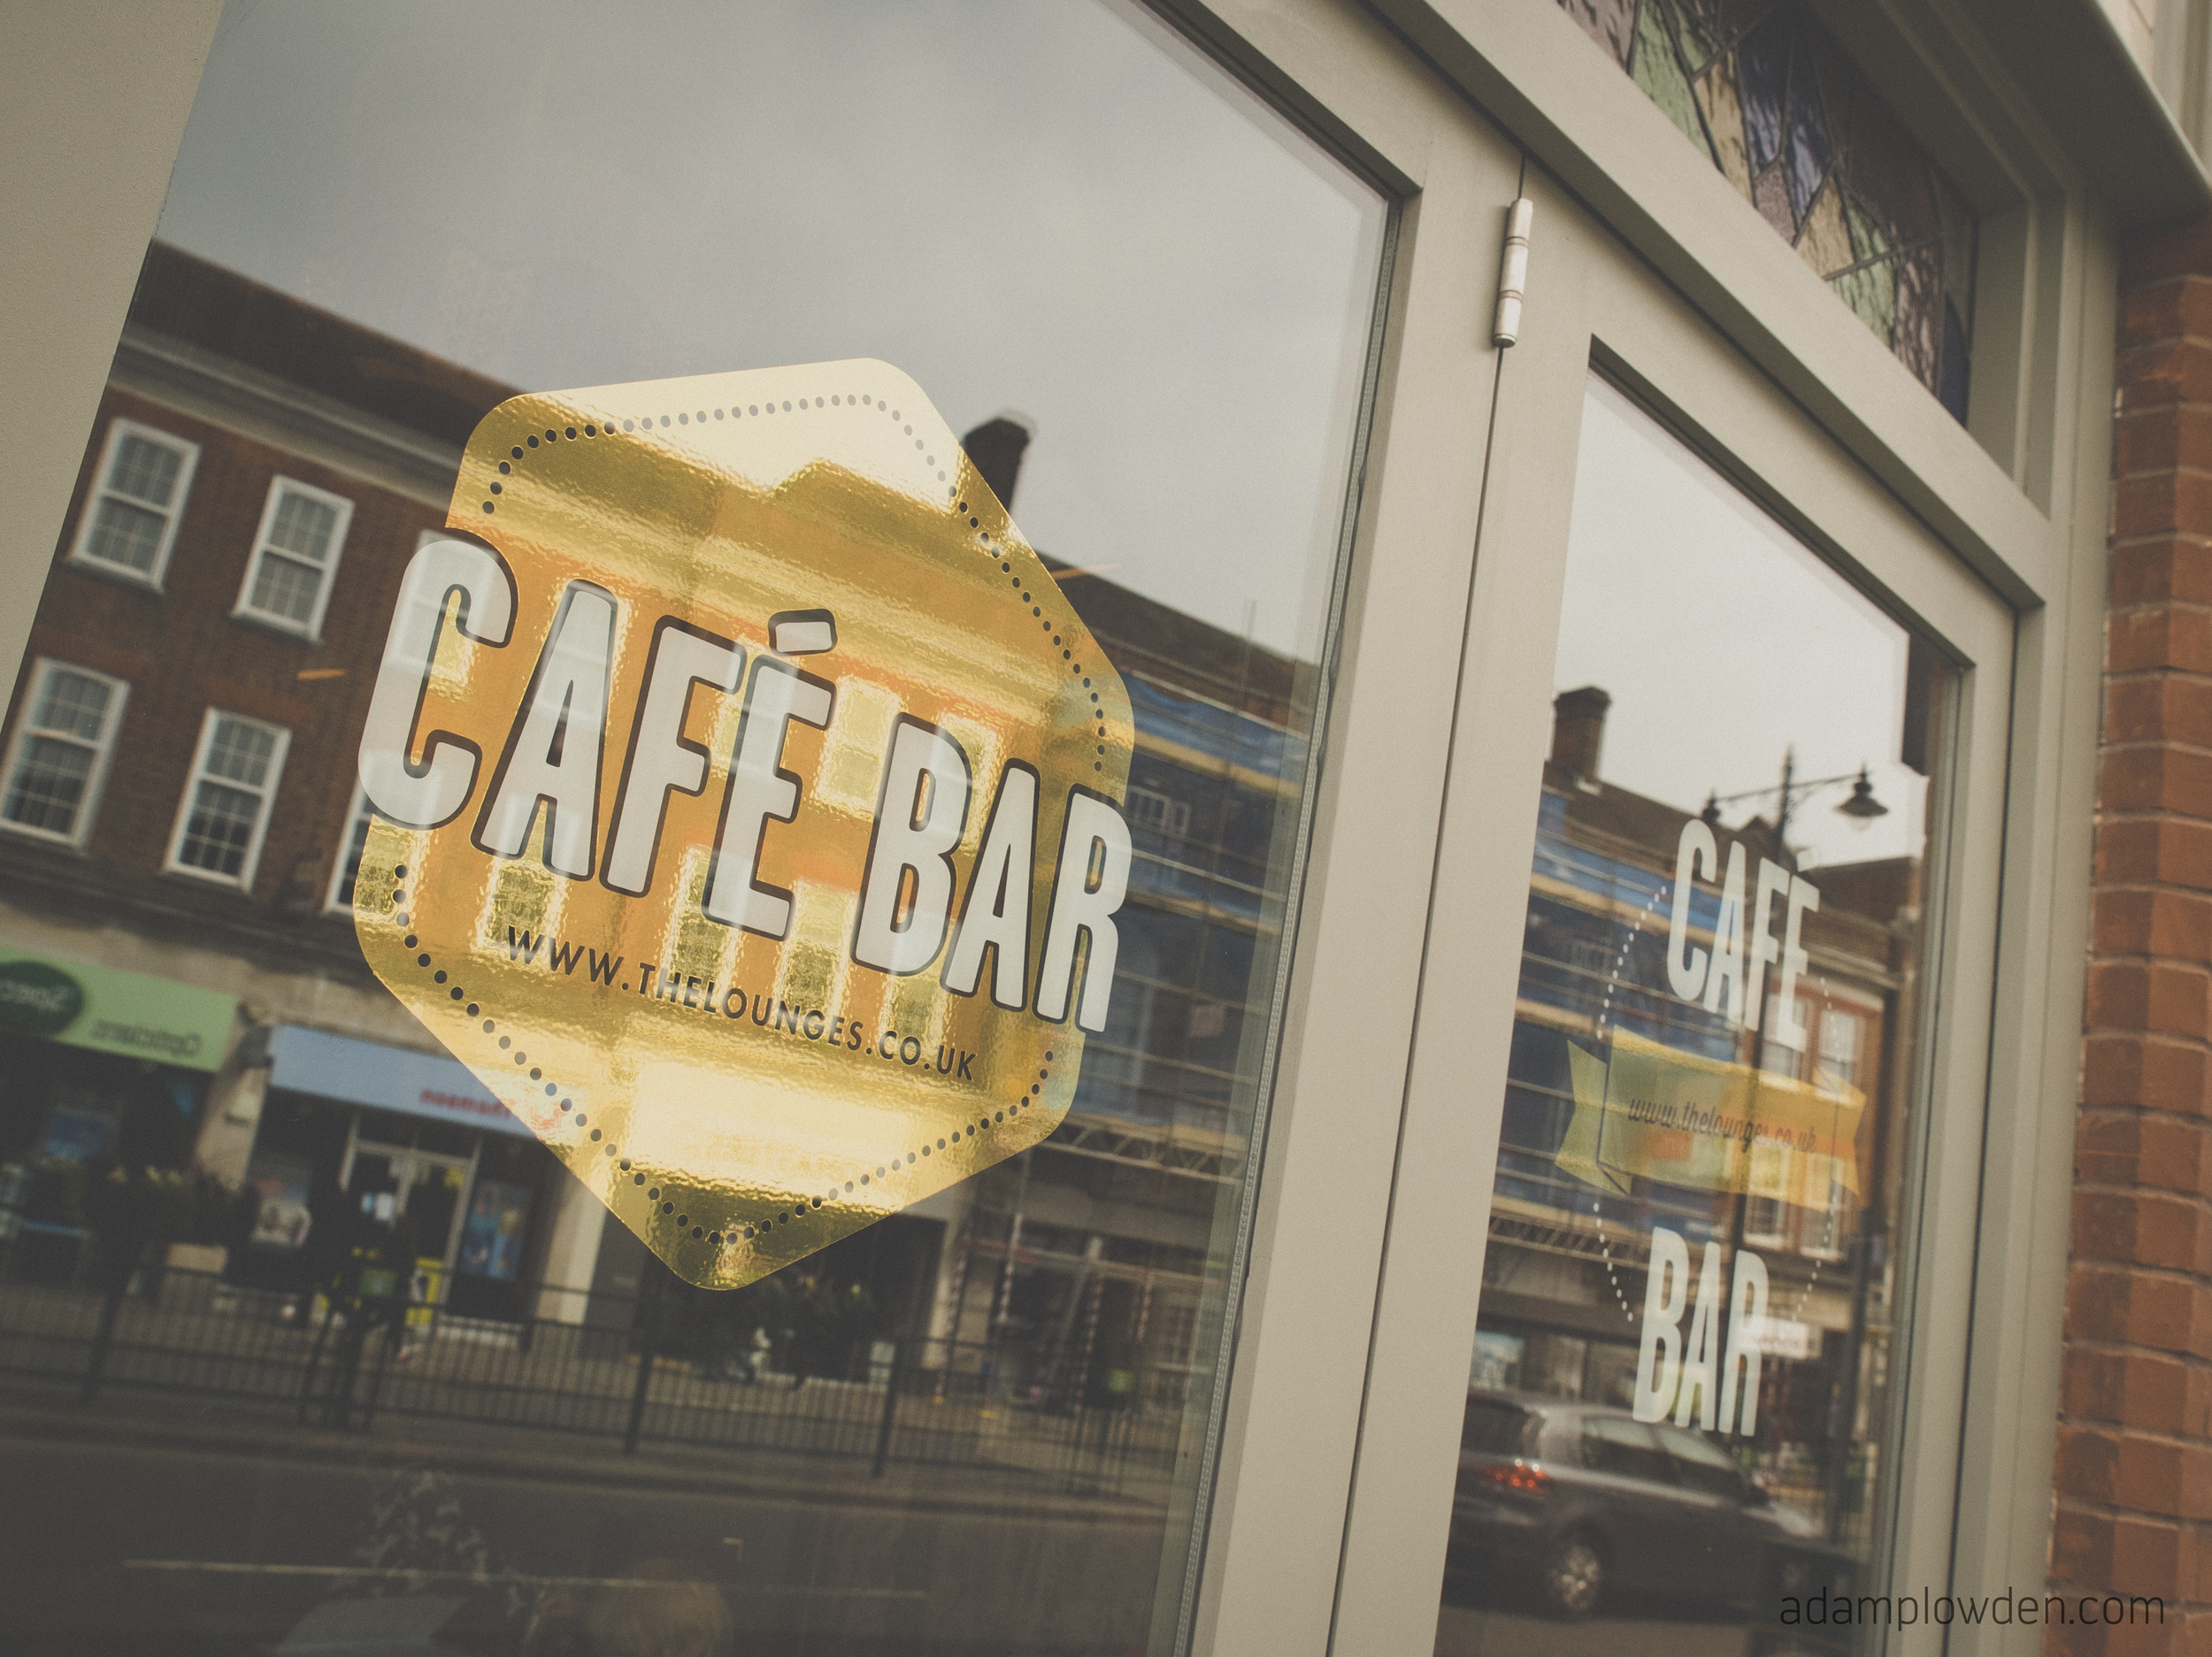
Retro Cafe & Bar 'Caballo Lounge' in Epsom

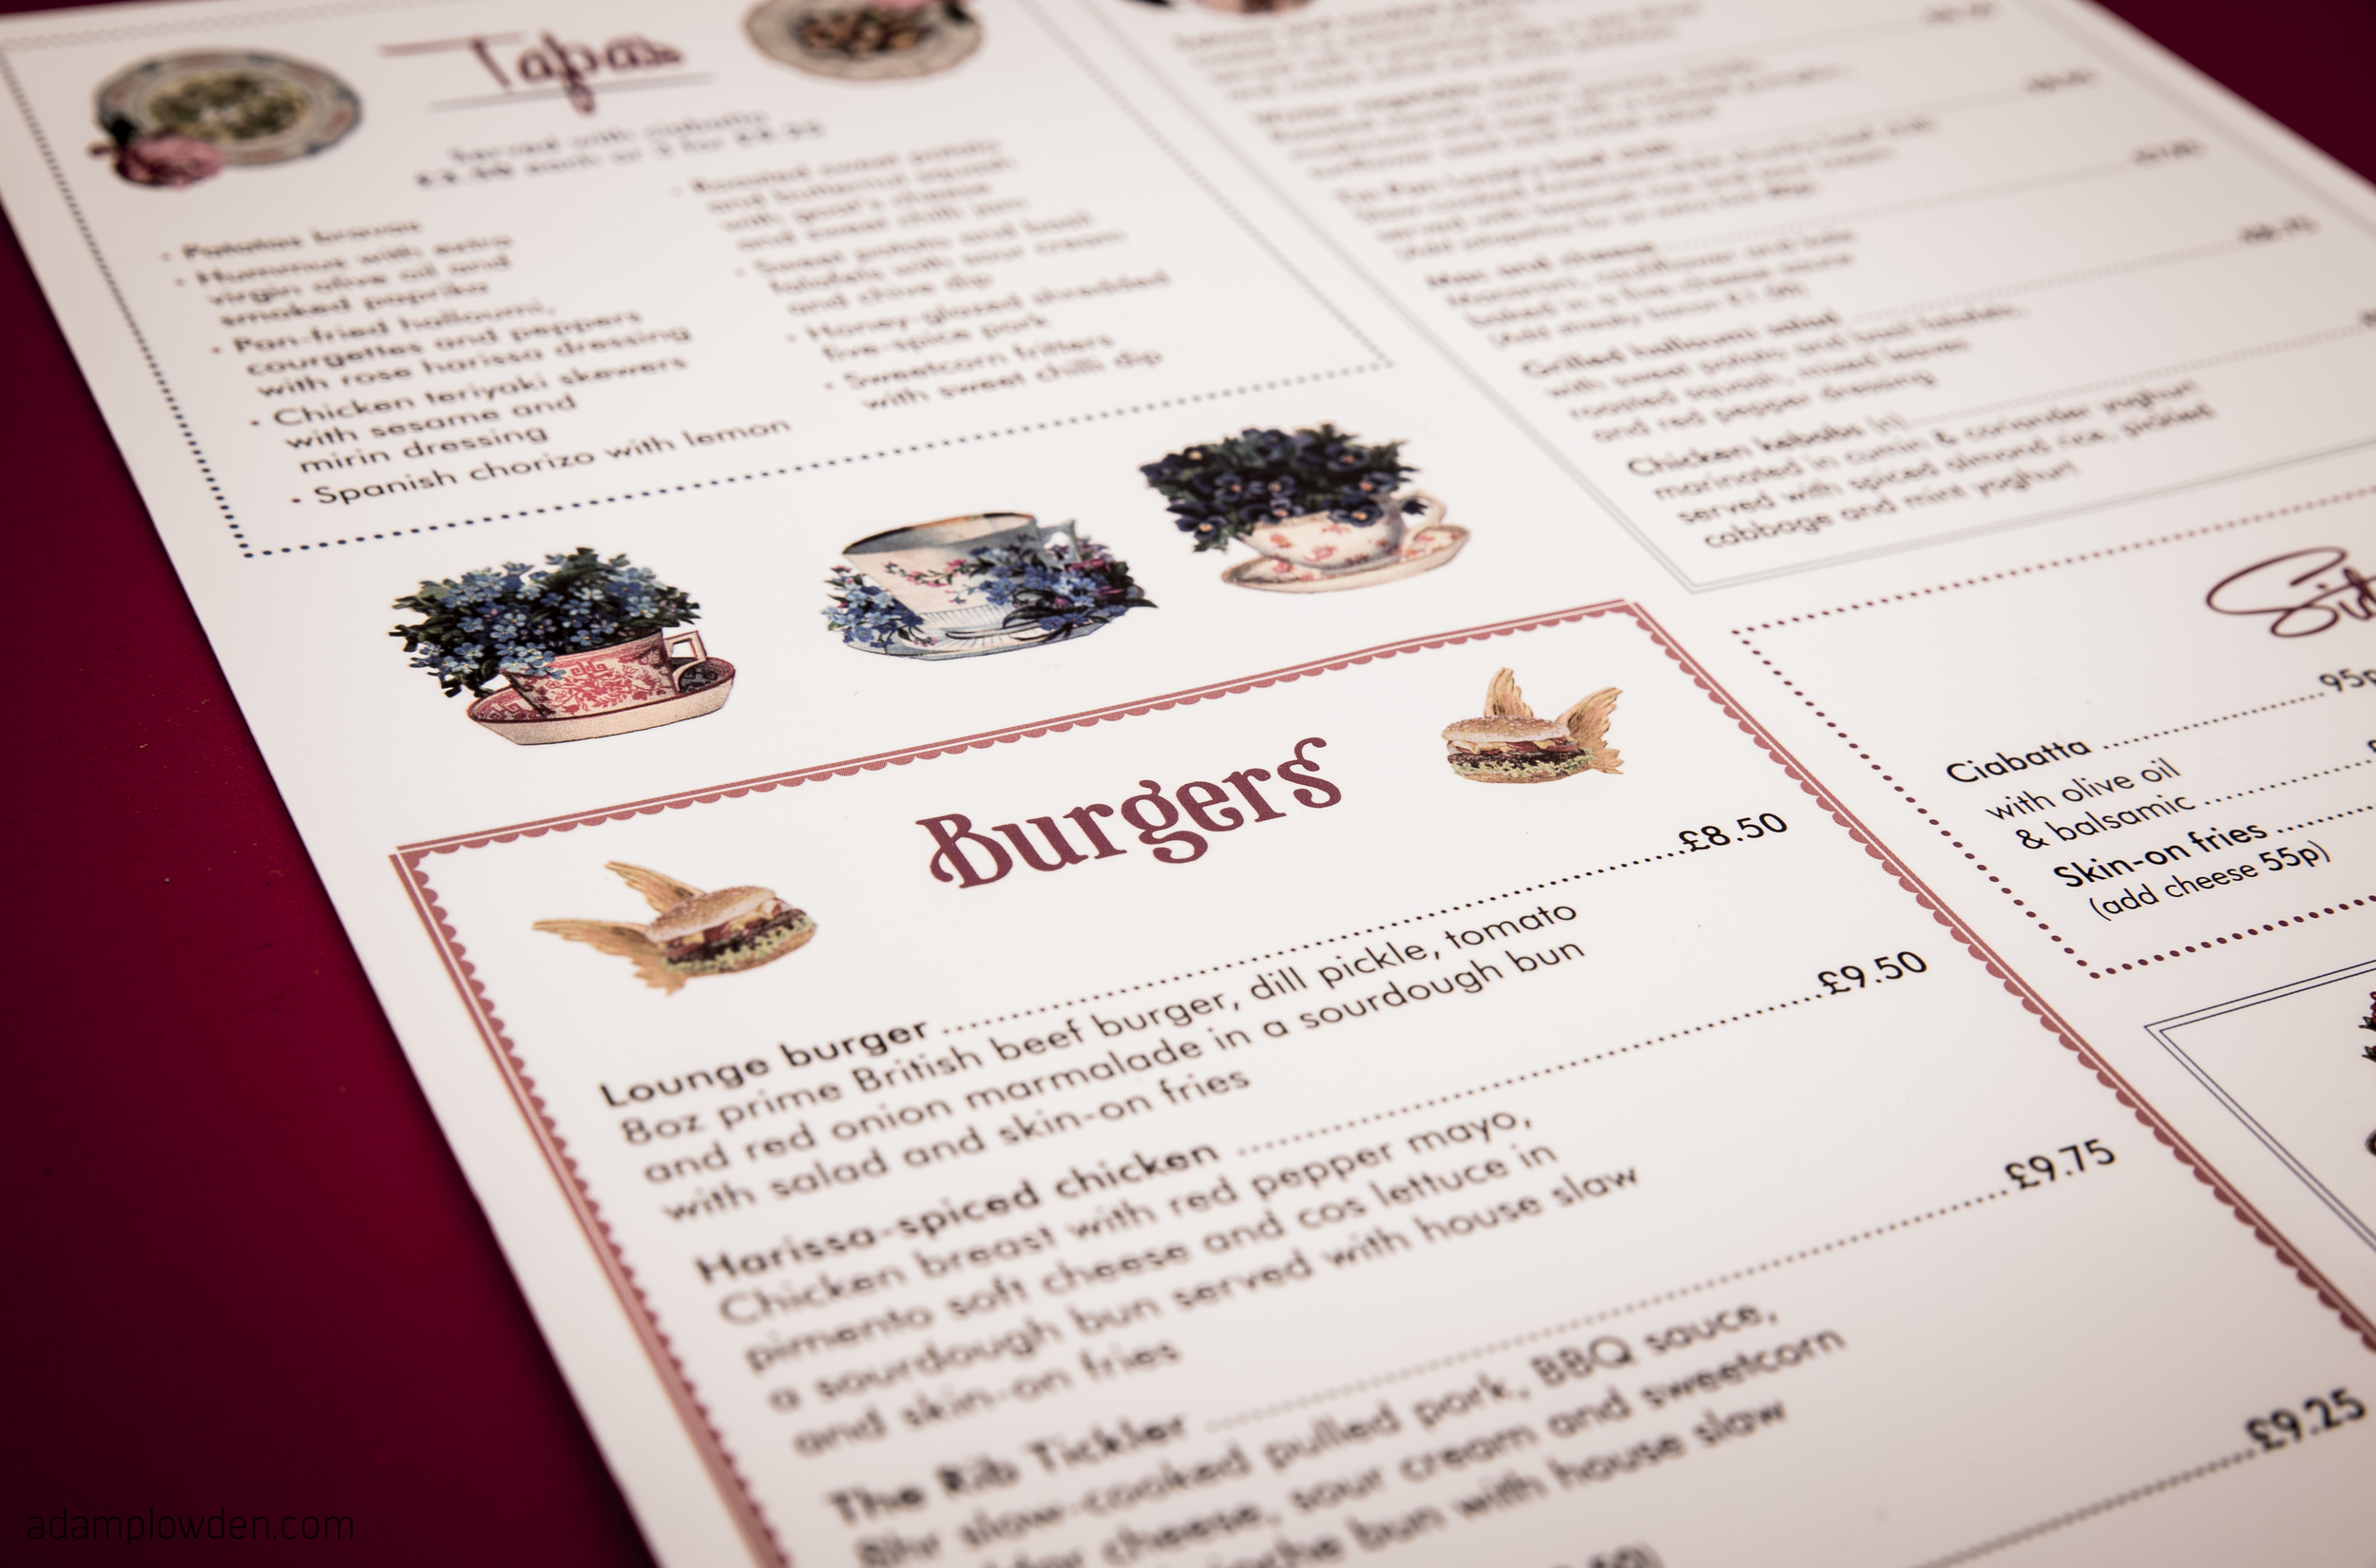
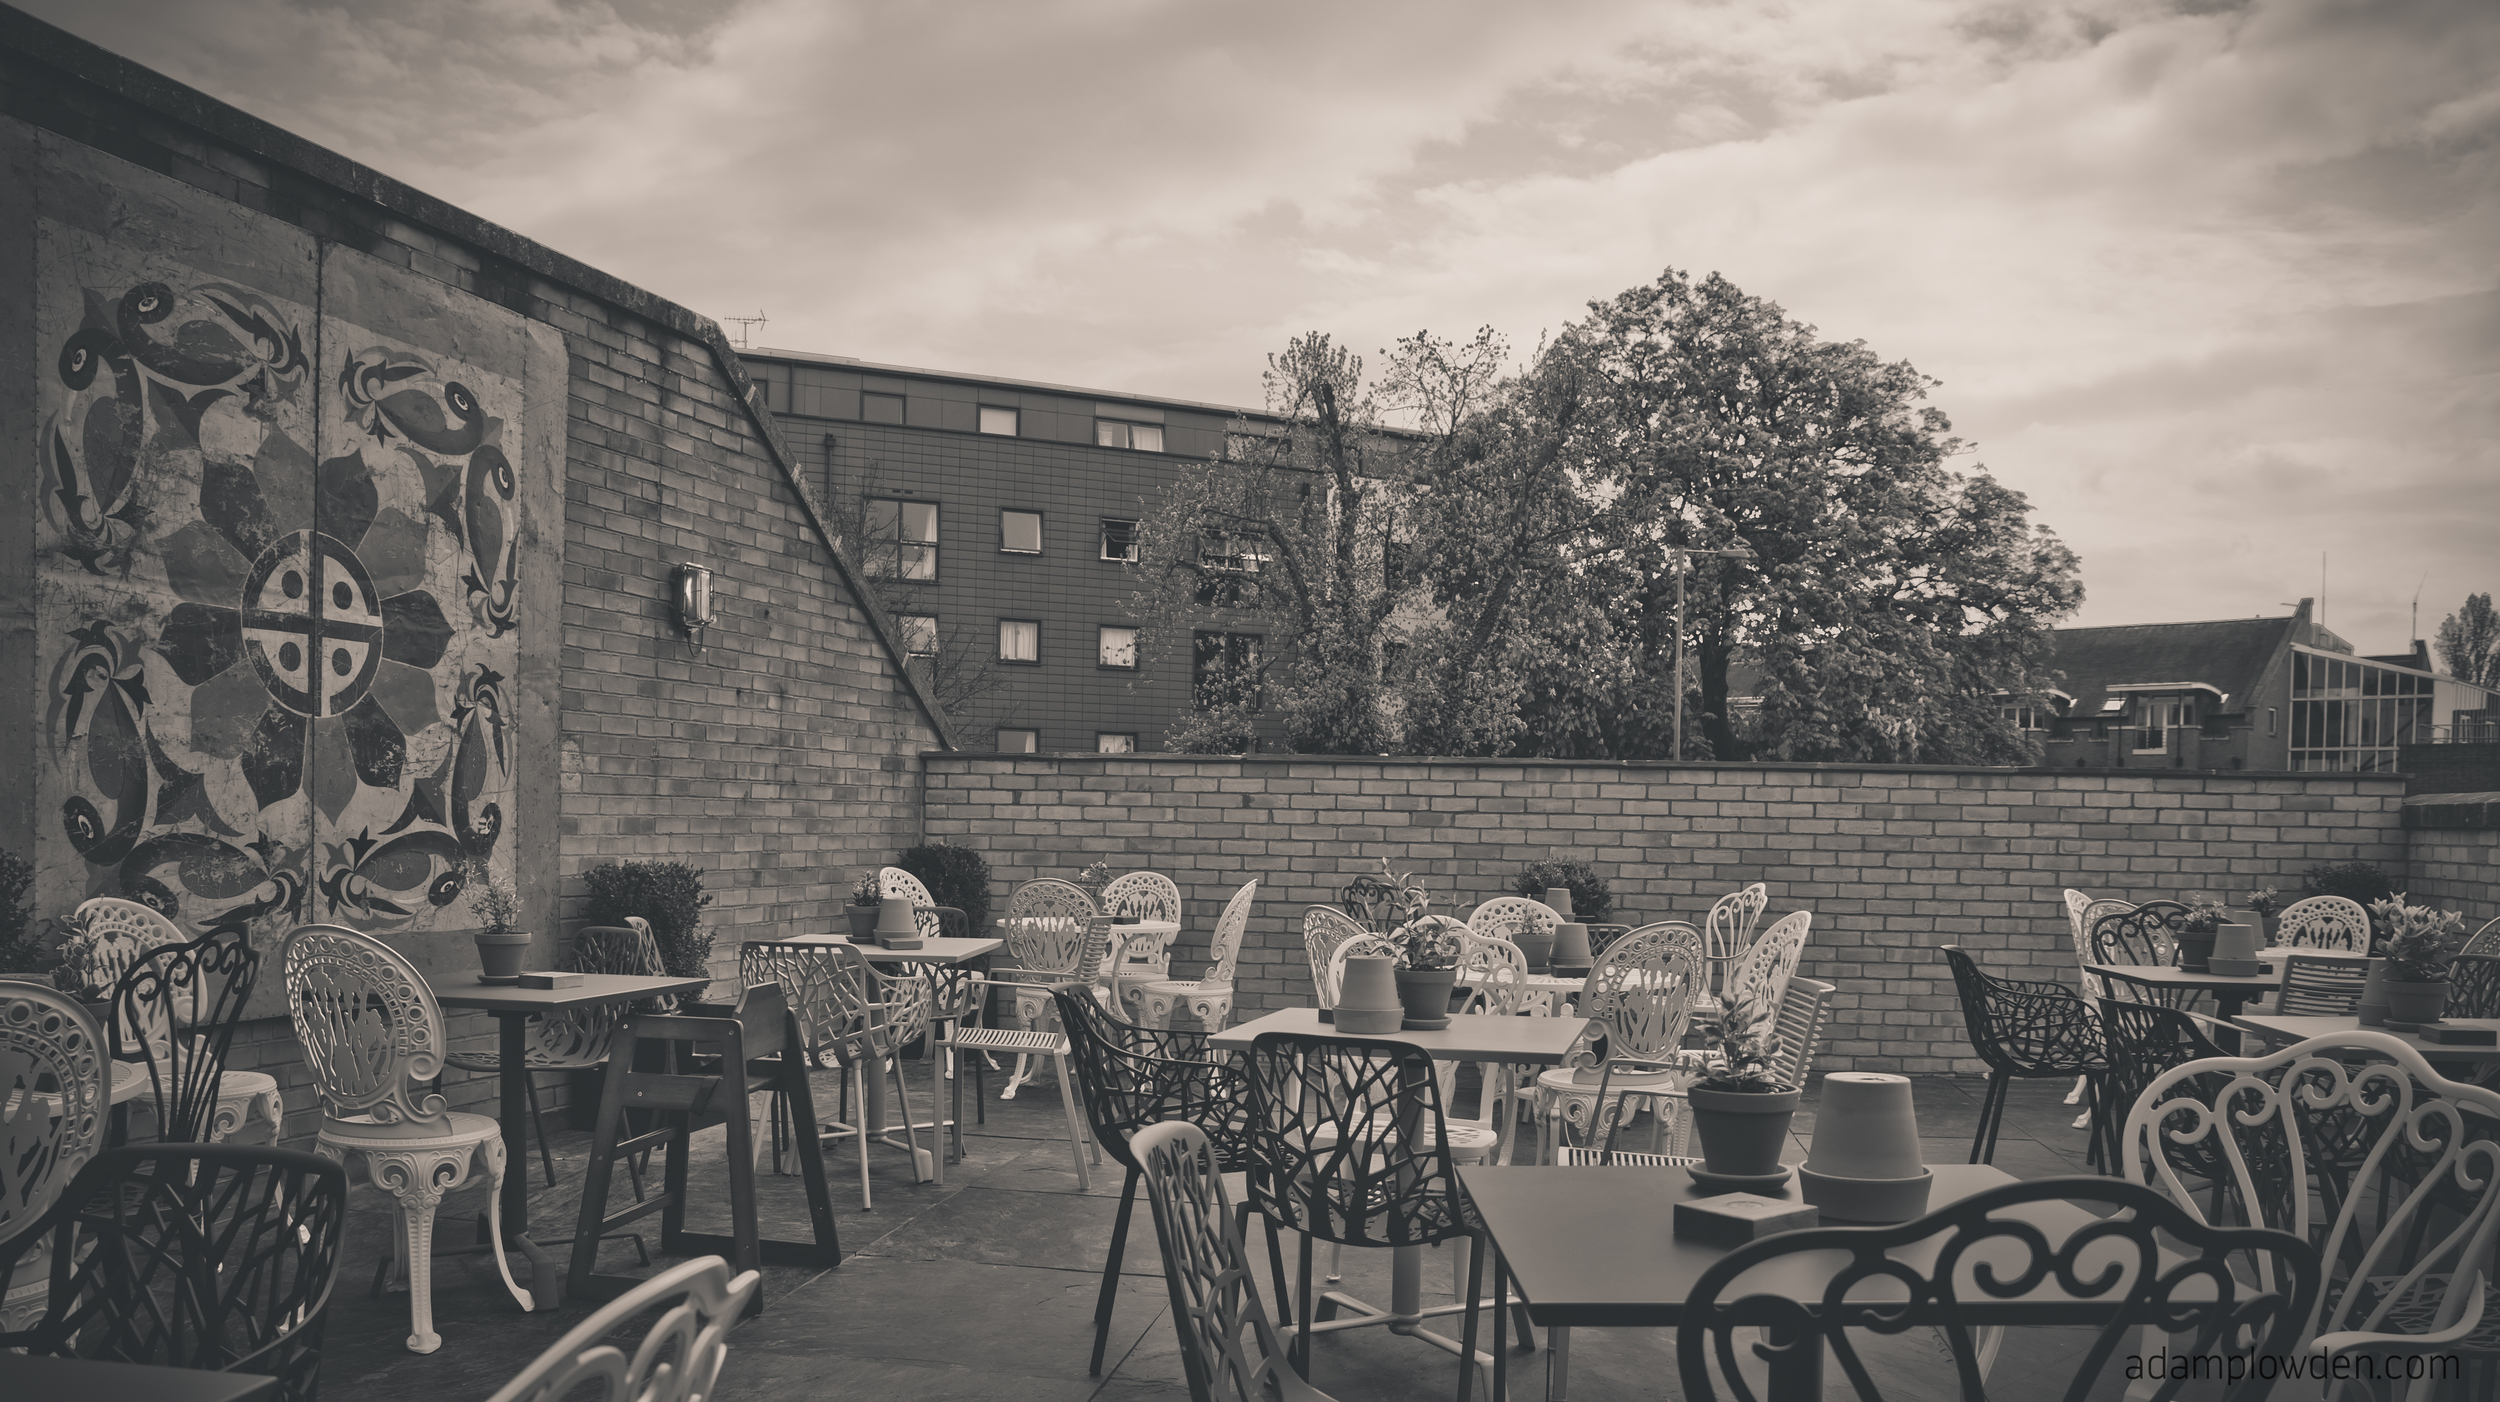
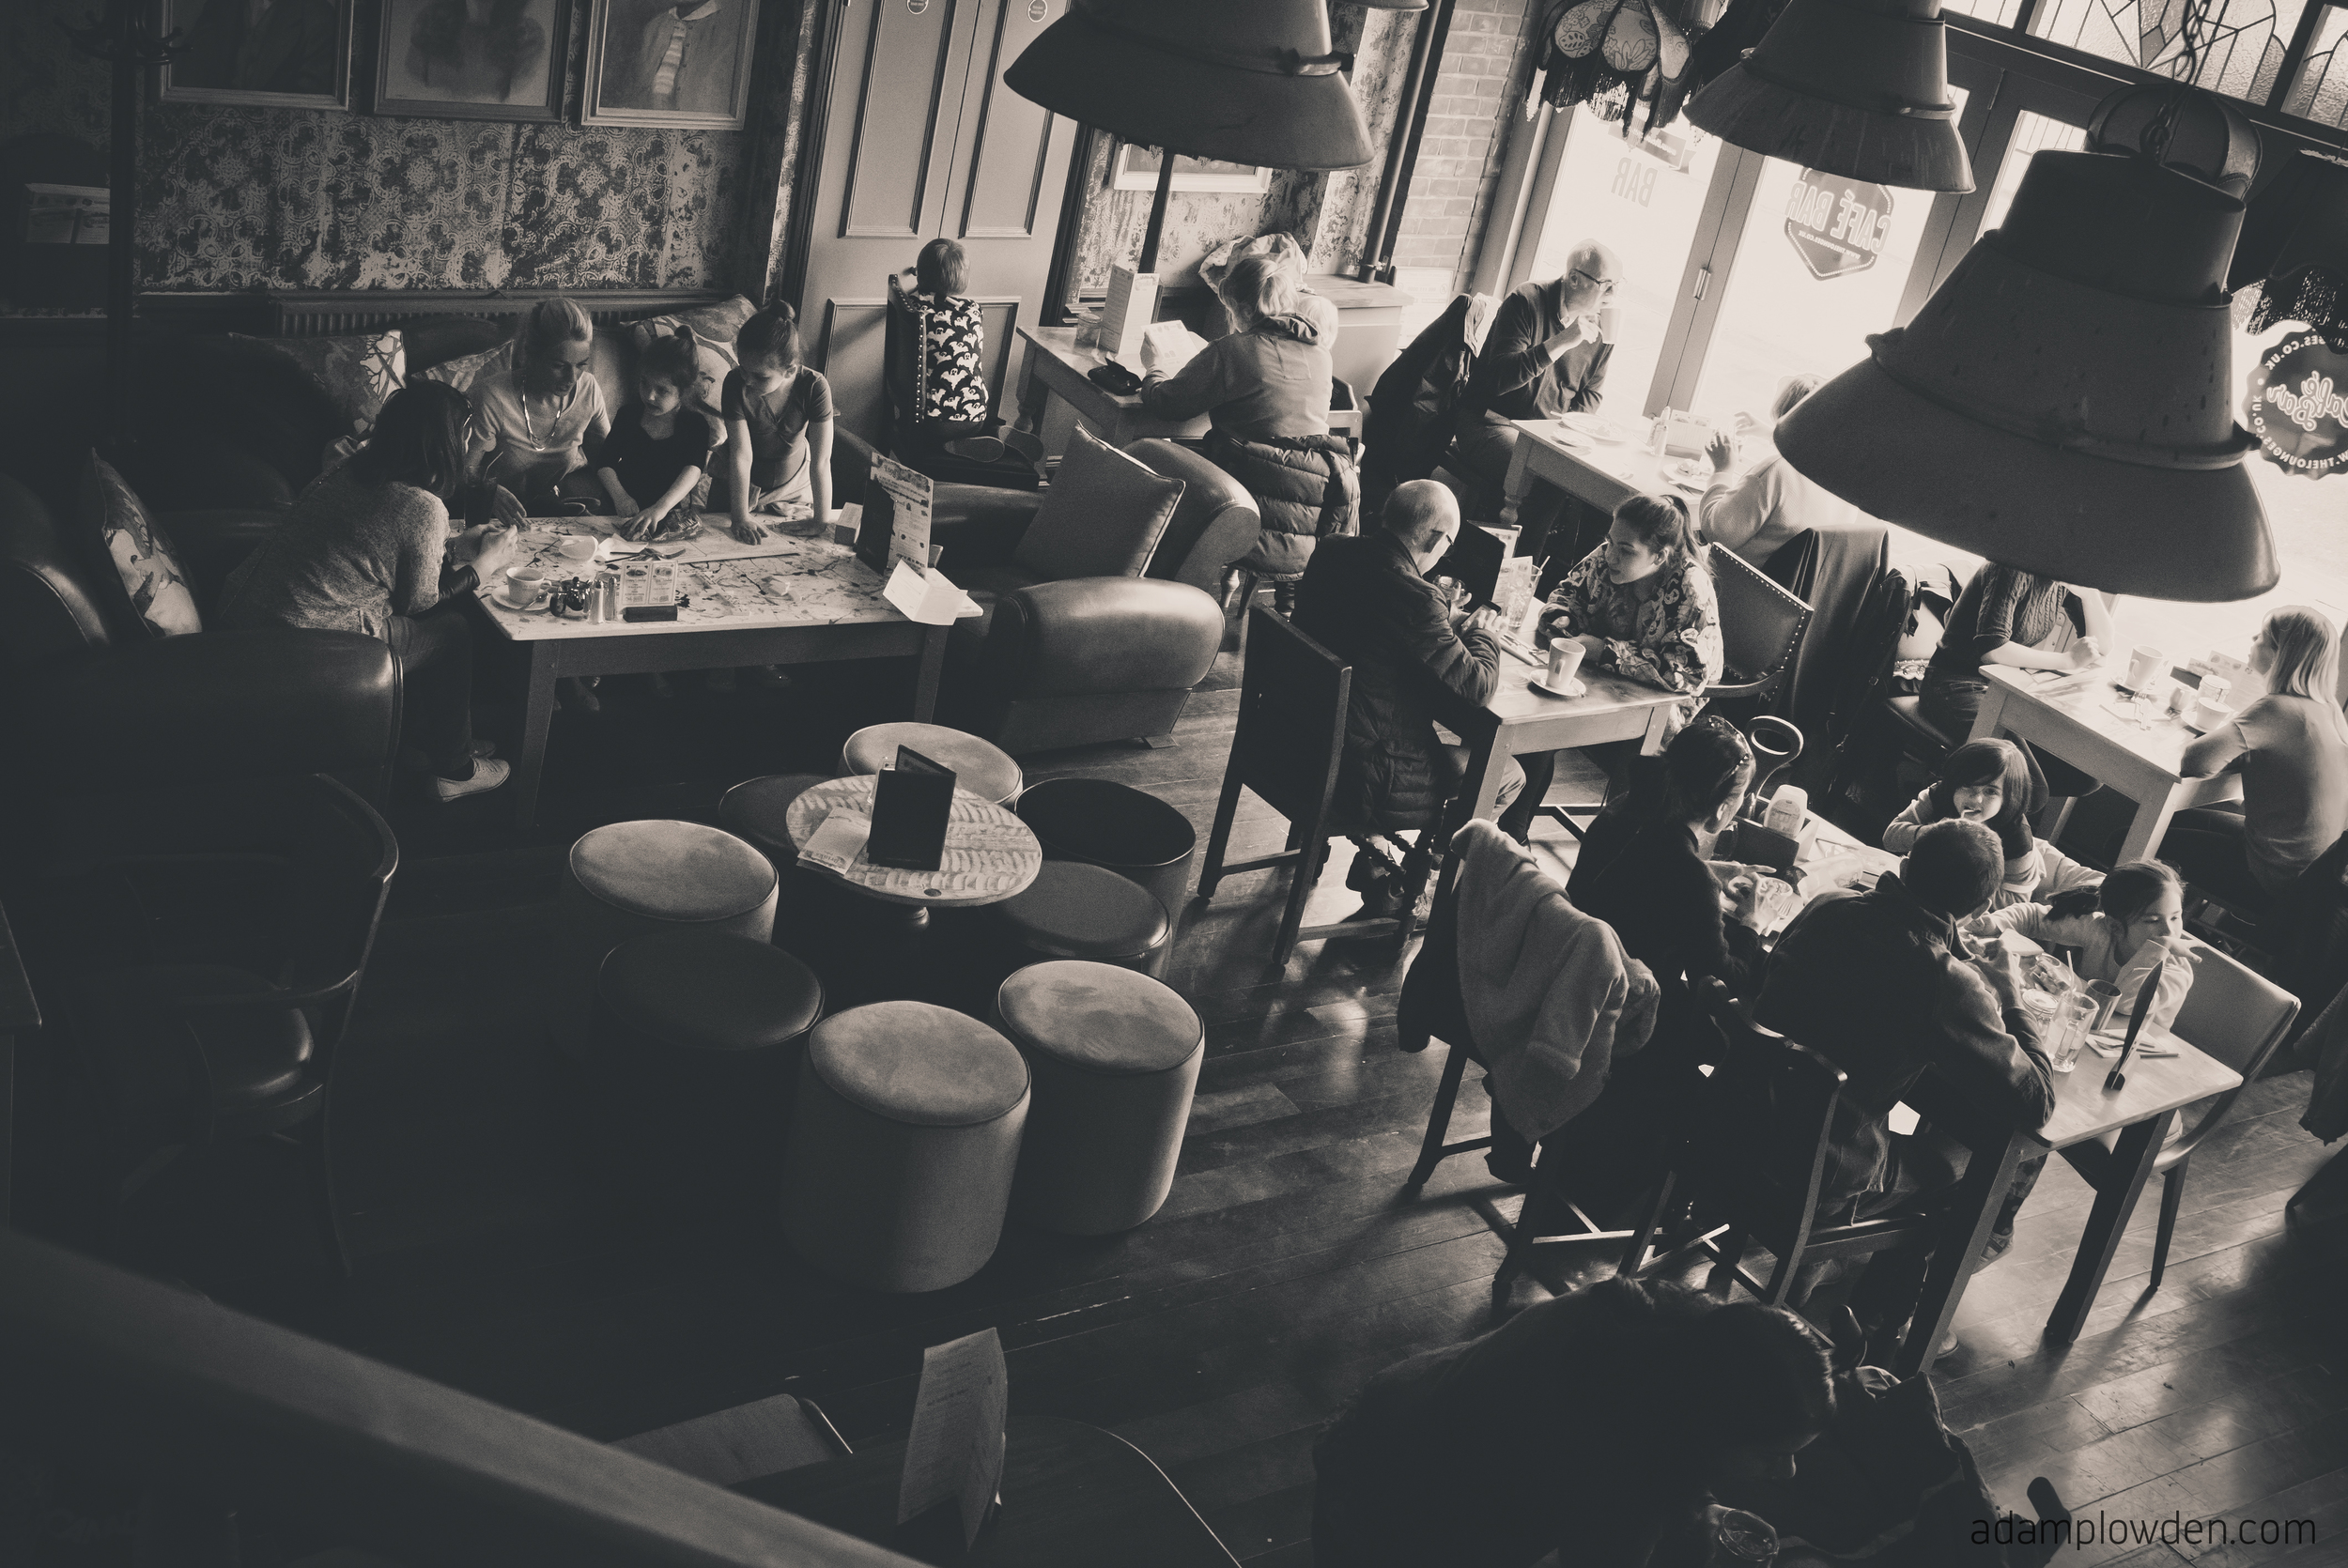
Stills from today's lunch at Epsom's new chilled hotspot, the Caballo Lounge!

I took the A7S with me, using the Metabones EF-E mkIV and Tamron 24-70 F/2.8.

I love the atmosphere, very relaxed and was playing Fleetwood Mac when I walked in so this place got my vote straight away! The exterior and interior of the new lounge has a classic feel to it, there was a bookswap (I'll be using regularly) too!

The 'Hero' burger certainly lived up to its name, with Chorizo, mature Cheddar and chillies. It needed some sauce, and with the Spanish theme some Aioli would be lovely, or spicy chipotle maybe? Definitely more skin-on fries please, although they were stunning!

Topping it all of was the brilliant staff who were friendly and keen to make you feel welcome. There is no doubt I'll be visiting again soon, hopefully when the weather is better so I can get out to the rooftop terrace :)

Rotolight Sound and Light Kit Review!

I have had the Rotolight Sound and Light kit for a little while now, and I like it. I like it even more so because Rotolight has been the only manufacturer to really think about what consumers moving into the industry, and already established creatives would need from the outset. Without light you have no picture, and without sound you only have 50% of that video.Videos with bad or unprepared sound are noticeable, just if the subject of the video was not lit correctly. Unfortunately we are now used to watching and seeing very high quality, glossy pictures with filmic motifs, and excellent sound including orchestral scores. We aspire to work on these 'big budget' productions, or to make videos that look like them, but without thinking about your lighting and sound, you are very far off. I produced this review and the music video using the Canon 5D mark III, and a range of Samyang Cine lenses. To keep the light source and sound as pure as possible, I only used the Rotolight RL-48 B ring light and Roto-Mic. I also used my custom camera rig, which is manufactured by CamSmart, as well as a 5" Lilliput field monitor. I used Adobe Premiere Pro, After Effects and Speedgrade to edit and post-produce the videos.

rotolight sound and light videography video kit review led ring light

RL-48 B LED Ring Light

Out of the box, you get everything you need (apart from batteries) to start shooting straight away. The inclusion of a Rotolight belt-bag is fantastic for getting the light out quickly if you are shooting on the run, and for storage while traveling and keeping the batteries, light and accessories safe. One pain I always have, as I am a single shooter is that to change parts of my equipment setup; which means opening my big bag, routing through to find the bit I need and then carrying on. With Rotolights ingenious solutions they have removed that need entirely!

Inside the LED light is a set of ND, skin, colour and minus green filters that can be applied directly inside the housing of the unit itself; no need to carry around filters, gels and pegs to achieve your desired brightness and tone. This is great as no longer do you rely on a bag of old gels to adjust the temperature and brightness of the light source, and all filters are supplied by LEE, so you know you can trust them. The LED's being naturally daylight at 5600K, you are set to use the light in most conditions! For photography and video with people and models, Rod from Rotolight recommended using a softening ND and the skin filter which gently soft lights the subject, with a peachy, wrapping beam. There are no shadows, and the result is a beautiful glimmer of light in the subjects eyes giving them emotion and life.

rotolight sound and light videography video kit review music video filmmaking shoot videography model light

During my time with the Sound and Light kit, I tested out its practicality when out filming indoors and out on location. Above is a still grab from the indoor shots of Josh performing his lines to the camera; you can see a hint of light in his eyes, and a soft-neutral coverage of his face. This was the look I wanted to achieve; an intimate piece-to-camera. I used the ring light and mic mounted on the hot shoe of my camera setup, this gave a direct beam onto the subject, and would work for any subjects in front of the camera. Indoors the RL-48 ring light gives out a beautiful 140 degree beam of light that wraps around your subject, without any hot spots (usually on the forehead). I was filming a music video, but would work exceptionally well in model and fashion work, where beauty is exaggerated through the images.

rotolight sound and light videography video kit review music video filmmaking shoot videography

It took some innovative thinking to get the lighting right for this continuous tracking shot. Although I was shooting in the afternoon sun, I still needed a key light to keep Josh's face illuminated throughout. The night before we were at the location shooting the same scene, but had the ring light mounted on the camera. This time I needed the source to be much closer, so I whipped out the Manfrotto Magic Arm and Superclamp and clamped the light to the boot of my car. In the still grab above, the light is only a foot away from the left of Josh!

What I found here was the need for a brighter light. The 48-LED ring light provided great overall coverage of my subject, but I required a brighter beam to achieve the desired soft-skin and glimmer in the eye look. Although Rotolight produce large LED lights (Anova) for videography and cinematography, I didn't need that much more power. I think for video it would be great to see this model brighter, or have different brightness levels, as usually you require more light than less - especially when adhering to the 180 degree shutter rule. Once your shutter and aperture are set, the only exposure controlling parameters you have is the ISO/ASA or your light sources brightness, and where you're unable to move the light closer or further away from the subject; having a brighter light from the outset is more beneficial.  This is a small niggle from myself, but can be shown with examples in these still grabs -

rotolight sound and light videography video kit review music video filmmaking shoot videography night videoshoot filming car tracking model dark (Here the light from a street lamp came in very handy.)

rotolight sound and light videography video kit review music video filmmaking shoot videography night videoshoot test greet tint

This shot was taken on a 14mm T/3.1 lens at ISO 1250. Although I have remedied the low light in Adobe Speedgrade, a green tint is visible across the frame. A minus green filter is included in the kit which can be used where the green spike (due to LED technology) is prominent, but as I was filming in near darkness I chose not to use the filter to get maximum light output, which by the way is 100w! During the shoot I also used the light hand-held to get intimate with my subject, but not blasting them in the face with an offensive flash gun or LED panel light.

Roto-Mic

Like I mentioned earlier, video is (in most cases) useless without good quality sound. Imagine watching a film or TV program and the sound is noisy and fades in and out as the presenter moves around the frame. It is distracting and essentially draws the audience away from the video, it is suddenly and mostly subconsciously hard to watch and enjoy. With current trends in pro-sumers moving to DSLR to make films and video, there is more pressure on achieving good quality sound when acquiring your footage; the built-in mic does not do your pictures justice.

rotolight sound and light videography video kit review on camera dslr microphone

Here, Rotolight have entered the sound game by producing an on camera directional shotgun mic, with excellent pickup response and sound to noise ratio. When I first started out in freelance videography 3 years ago, I got myself the original Rode VideoMic; it was the best I could afford at the time, and it did the job I needed - to capture good quality audio that will enhance my video. Since then, Sennheizer, Audio-Technica, Hama and many more brands have seen the need for on camera mics for DSLR videographers, and a competitive market has emerged. One that the Roto-Mic will compete very well in due to its superb signal processing and price - an attractive offer to anyone seeking to invest in a cost-effective solution. You will need a 9V battery to power the Roto-mic, but it will last you a good 100 hours.

One very annoying problem with on camera microphones is noise added by the mic's shock mount. The Rode VideoMic I have is notorious for that, creating a squeaking noise as you move or walk with the camera that was audible and therefore recorded into the sound of the video - very unwanted! The Roto-Mic shock mount has been specially designed to minimize any movement the mic may be affected by, holding the capsule stiff, without wobbling on the mount; keeping unwanted noise out.

Rotolight considered many filming scenarios when designing the new mic; it includes a gain adjustment of -10dB to +10dB which is very handy when you are far away from the subject or action, or are filming in a loud and noisy environment. A two step high pass filter is also built into the body of the mic which removes any wind noise and rumbles from the captured sound; perfect when filming outdoors. These small but important features show that Rotolight have done their research into where DSLR videographers are working, and how they need to use their kit.

I was really pleased with the results of the sound recorded with the Roto-Mic, I was expecting another Rode VideoMic moment but it never came. The mic surprised me with its quality recording, and with a little noise reduction in post production the final sound recording is clean and crisp.

rotolight sound and light videography video kit review music video filmmaking shoot videography night led light mic kit

Rotolight has also been innovative in their mounting options, considering many different setups with the light and mic together. This makes a lovely change from complex accessories hanging off the camera to use two hot shoe mounts. The option to use the light mount, or to mount the light on the microphone gives you many different setup options that doesn't restrict your shooting, and is not fiddly or complicated to change! I was using the mic and light together; here the mic mounts onto the camera hot shoe, and then the light can be pushed onto the barrel of the microphone. Although I was dubious of this at first, as it would add extra weight to the shock mount and possibly interfere with the sound recording; it has proved me wrong with being fully functional no matter how the light and mic is set up.

rotolight sound and light videography video kit review music video filmmaking shoot videography night videoshoot filming car tracking

My verdict

  • Fantastic kit if you are starting out in DSLR videography - a must have kit to get you started.
  • Ring light provides excellent soft light for work with models, people, macro and prominent subjects.
  • Filters included is really handy, although as I am heavy handed they are sometimes difficult to apply.
  • Battery life is second to none - 4 hours with recommended lithium AA batteries (x3) or regular lithium AA (x3) for 3 hours.
  • Various mounting options means shooting is not restricted.
  • Mic is broadcast quality - remember sound is just as important as video.
  • Gain adjustment is handy in quiet and noisy locations.
  • The Rotolight bag keeps your hands free!

Of course with every review there are some constructive criticism comments, but not many for me as my experience working with the Rotolight Sound and Light kit has been very pleasant. Firstly, a higher power portable light would be ideal for video, with intensity control. Secondly, now Rotolight has entered the sound game it would be great to see other microphones like hand held bi-directional or even lav mics, and a boost in the recording quality (maybe a Zoom competitor??!). Thirdly, and this isn't criticism, more a request for a flexible light stand or arm so the light can be positioned in extreme and unusual angles.

I am recommending you to go out and get this kit if you're into your DSLR video and photography and need a light source and microphone that you can take to every shoot you go to! It will definitely be coming with me in the future, and I can imagine the RL-48 LED light working fantastically for wedding films and interviews, teamed up with the Roto-Mic and you have a perfect, all in one, on camera 'run and gun' solution to your filmmaking and photography.

You can check out the video I produced for Rotolight demo'ing the new Sound and Light Kit here, and the music video will be released very soon!

[vimeo http://vimeo.com/87515700]

Capturing local beauty

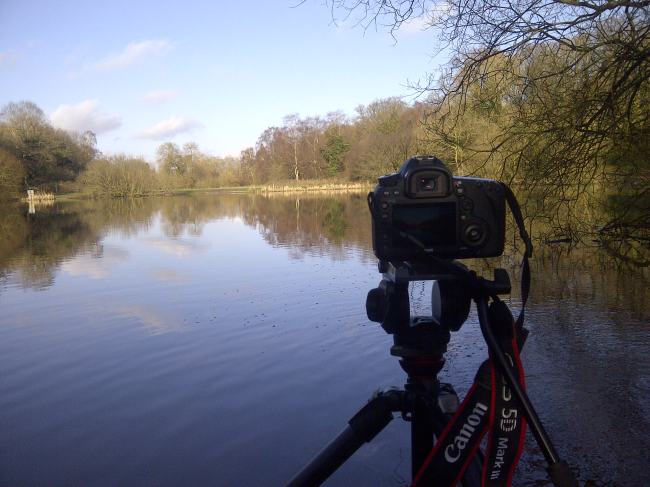
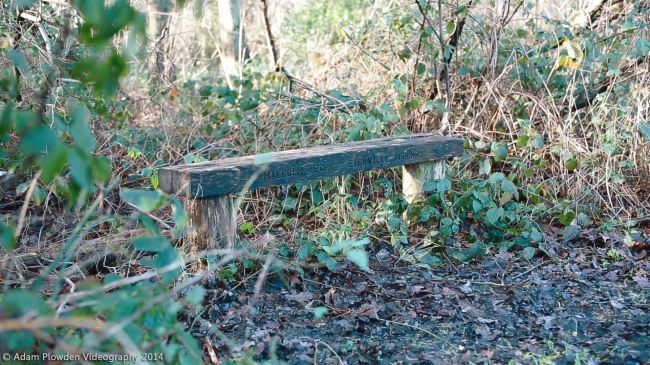
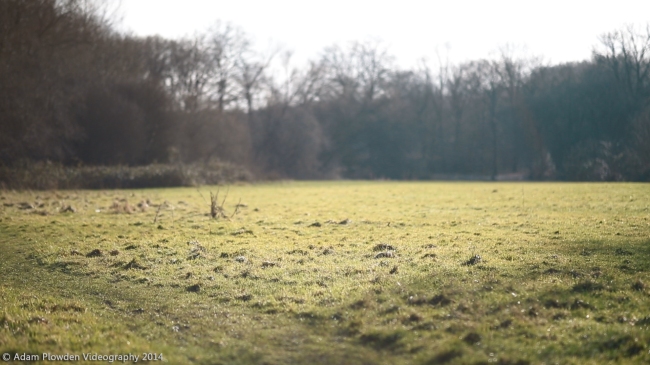
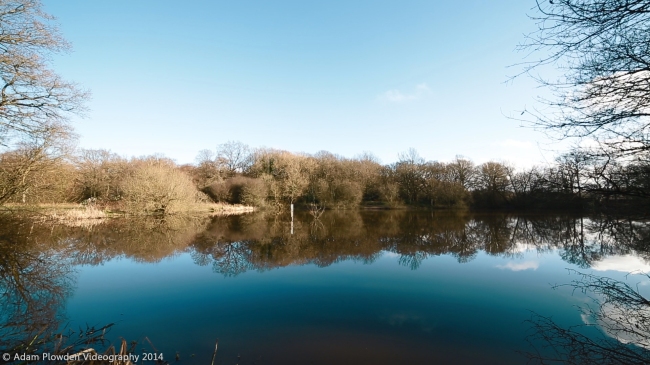
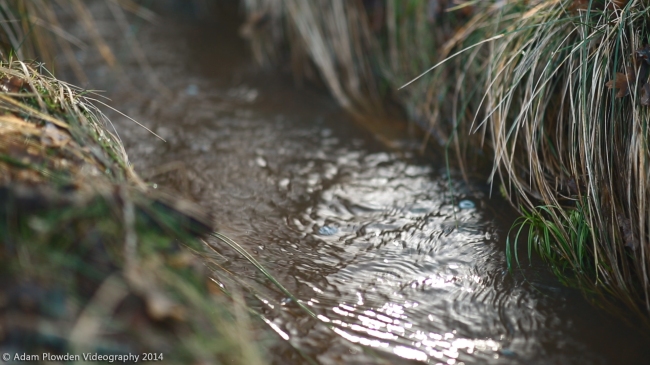
Film making and videography isn't all about big budget productions with expensive kit. Its great to take time out to see what stories you can tell and images you can capture in your local area. Luckily for me, I live in Surrey which is full of green spaces. My chosen location for today's adventure was Epsom Common, I used to and hope to continue fishing at the lake. Since being a kid I remember it being a beautiful place in the winter, so despite the recent flooding I made my way down!

Image

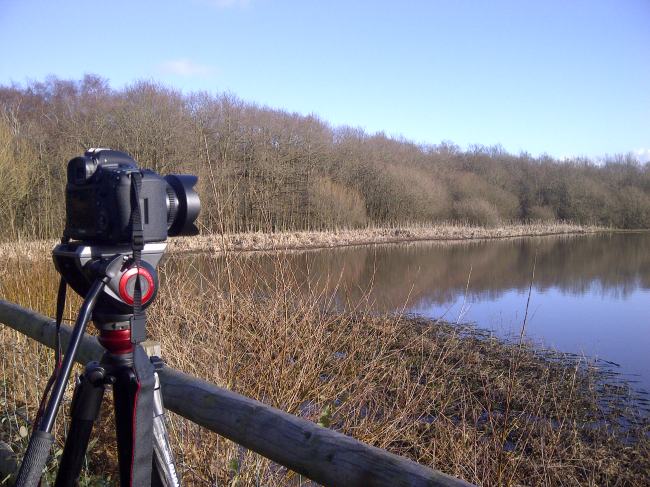
Accompanied by the awesome Manfrotto 055 Carbon Fiber tripod and 055AH video head; my grip was sorted in a lightweight solution. I took my whole kit bag in case I wanted to record some foley audio or shoot on a range of lenses. I tried to stick to the Samyang Cine lenses I have (14mm, 35mm, 85mm), so I can test them out on a range of shoots. I also came across a 72mm variable ND filter that fits onto the Samyang 85mm, which means I can achieve T/1.5 and a beautiful bokeh in broad daylight.

Image

As you may have previously read, I also installed some new picture styles on my camera from VisionColor, today I used Cinelook to see what the footage looks like out of camera, without grading. So far, without adjustment the picture was punchy with a good colour tone present, not flat and neutral like I previously used. It certainly has given the footage a baked in 'look' while recording which will definitely speed up the post-production process.

ImageImage

It was great being in the outdoors, I often spend way too much time on the computer and neglect our very green, rural backyard, which deserves to be appreciated, remembered and captured in moving image.

ImageImage

I've processed all of the footage now, using most of what I shot. It is simply put to music, in this case the serene 1:1 by Brian Eno, which was very fitting for the scene. I have applied no colour correction, grading or effects to the clips whatsoever, to demonstrate the cinematography at hand.

I will post the link up later!

Image

I hope you like it, and please share around!!

Video on the Canon 5DmkIII and Samyang Cine Lenses

Many of you intrepid videographers may have come across a unique range of VDSLR Cine lenses from Samyang (Rokinon/Walimex) depending on your region. Have you had thoughts to invest in one, or a whole range of them? Focusing on video, having electronic focusing and aperture is not essential for me, and in fact gives more control over the light entering the lens due to the de-clicked aperture. You can create smooth transitions between light and dark situations with ease by pulling the aperture.

As I've only just got the 5DmkIII and cine lenses, I thought it would be a good idea to test the kit out individually; producing a short video of the results.

I began on the Samyang 14mm T/3.1, an ultra-wide lens that does have barrel distortion if subjects or distinct lines move towards the sides of the frame. Operating the camera handheld on the MODA rig, I was not left much choice but to capture the video in 720p 50 frames per second, to eliminate obvious camera shake. This did work in my favor come later in the day when I was hanging out of a car boot filming!

adam plowden video filming canon 5dmkiii samyang 14mm

To exaggerate the ultra-wide effect, getting close to the ground, walls or your subject will show how wide the image actually is, while offering exquisite sharpness throughout the depth of the image. Moving while operating an ultra-wide also gives a unique changing perspective to the viewer; one that is appealing due to it looking unnatural to our eyes - a great effect for establishing locations in film.

What I did notice was a very strong contrast, even when shooting in Neutral picture style (for a flatter image). This is causing issues in post due to burnt in detail in the highlights and shadows.. So I have adjusted the picture style to my needs by reducing all of the parameters to the lowest level.

Overall, I am ecstatic to finally get my hands on an ultra-wide as I had no way of achieving that perspective with my old kit.

My tips would be to keep the camera stable - use a tripod, shoulder rig or steadicam to operate the camera. This gives you better control and steady visuals that won't distract the viewer from the awesome visuals.

Judge your highlights and shadows correctly - this is a manual lens, so remember it is easy to stop down to F/6.5 or F/8.3 (uncommon electronic F stops) to expose the image perfectly. With this, always check your focus (use digital zoom!!). The worst thing ever would be to find an awesome flowing shot but it being slightly out of focus.

Experiment using the manual aperture, it will take some time to get used to!

Here is a draft edit that I chucked together from the test day -

http://www.youtube.com/watch?v=JN4tb8MJpEc

On to the Samyang 35mm T/1.5

london filming canon dslr video camsmart moda camera rig

This is a beautiful lens. I've only worked with a 35mm F/1.8 for my little Nikon D5000, so as far as experience with 35mm that goes out the window.

What can I say... The 35mm focal distance works so well with the 5D's full frame sensor, and even at T/5.6 the image was sharp and had a beautiful bokeh. To the other end of the spectrum; I also shot at T/22 to achieve a silhouette effect of Glen and the Houses of Parliament in the background. At this small aperture you would expect loss of detail and softness, but the Samyang 35mm excelled.

Another fantastic benefit of this lens is its minimum focus distance (the minimum distance from the lens to the subject for it to be in focus). It is very small at only 30cm allowing you to get very close to the subject and still achieve pinpoint sharpness and shallow depth of field.

I was filming up in London with my friend Glen, the light was hard when we arrived with strong sunlight beaming through the rain clouds, so to retain good exposure throughout the frame I found myself shooting between T/4 and T/8, varying the ISO depending on the location. For demo purpoes, I also filmed Glen constructing and using the new CamSmart MODA Rig, in innovative new video and photography product aimed at all level of users to achieve exceptional visuals in a cost effective solution.

For this close up, intricate video the 35mm lens was perfect for both wide and close up shots, I get more and more impressed as time passes!

My tips for using the Samyang 35mm T/1.5 cine lens - get yourself some ND filters, or even better variable ND filters as this will reduce the light entering the lens without changing the aperture, shutter or ISO. If you have a lens that is very fast, like this model at T/1.5, to retain a shallow depth of field in a multitude of locations and light levels ND filters are crucial and should be in your kit bag.

Here is the rough edit of the 35mm film! -

http://www.youtube.com/watch?v=g66CTm38SsA

Big shout out to Manfrotto for the 055CF tripod, video head and pro backpack, makes a world of difference to my old 055 aluminium model!

Good luck with your shooting, drop us a comment if you have any questions about using the lenses or kit, and be sure to like, follow and share!!

Review: Manfrotto Backpack50

Hello all! Here is the anticipated review of the new Manfrotto Backpack50, the flagship range of professional photography and videography bags for cameras and equipment. edt1

The new range comes in a variety of sizes depending on the equipment and lenses you use. If you are going to be shooting for ENG, or know you will need fast access to your camera and lens kit then the Holster range may be for you, or if you're looking for a perma-home for a vast range of bodies, lenses and accessories then a Roller Bag or Backpack will be for you.

screen1

I got a great surprise through the post a couple of weeks ago, it was the Backpack50, which I have been using out on photo and video shoots, testing it to the extreme in a wide range of shooting situations such as weddings, on location video and corporate events.

First things first, as you can see the bag is BIG! Not too big that it is laborious to carry around, as the support straps provide great comfort for a fully packed bag. Having a bigger bag eliminates the need to bring extra sling bags if you take laptops and tablets on shoots, as there two separate zip pockets for both, and also allows me (predominantly shooting video) to keep all of my essentials in one place. For example, the bag is currently full with my kit needed for a shoot for Tesco on Friday, so a 7" HD field monitor, clamps, Rode VideoMic, 2x DSLR bodies and 6 lenses sit snugly in the protective separators. I have all I need in one convenient place, a perfect solution especially as I am a SINGLE shooter.

IMG_1918_1

Overview of the Backpack50's features:

DSC_0173_1

Unlike other camera bags which open from the side or the back, the Backpack50 opens from the top, which allowed me to quickly grab my camera (with lens attached) almost immediately with ease. If you've got the waist support done up then this is even quicker as you can swing the bag from your back to front and grab the camera that way. The other handy feature of this is that you can have a telephoto lens attached to the camera and still take it out with ease, as the support pads can be customized to fit your individual kit needs.

DSC_0179_1

Here you can see the bag open, the top flap unzips all the way down revealing many side pockets, 3 zip pockets on the flap (which I use for little bits that I can grab quickly such as batteries, SD cards, hot shoe adapters etc). There is even a protected zip pocket for a tablet if you have one too!

The capacity of the Backpack50 is fantastic! As I mentioned before I filled it up with various accessories for shooting video, but it will comfortably hold a large DSLR body and telephoto lens attached in the middle section, up to 8 standard lenses in the side sections, as well as two ideally large and deep side pockets. These would be great for clamps and arms, but I use mine for my microphone and a little tool box for emergencies!

IMG_1861_1

A small but memorable Manfrotto logo on the main flap of the bag, the branding is not in your face which keeps the bag discrete.

IMG_1892_1

With a fully packed bag (including a laptop, EVF) it is heavy as you would expect, however the inclusion of a very comfortable, padded waist strap distributes the weight evenly through the body, rather than putting the pressure on your shoulders, reducing fatigue, and it was a welcome relief for me to see too! All the straps are padded, and are very heavy duty for a camera bag which is fantastic when shooting in rugged and fast paced environments, or for a very long time.

The Backpack50 also includes a waterproof cover, essential for protecting your beloved kit in times of heavy downpour, however it would have been better to see this built into the bag rather than a separate part, as this reduces the risk of forgetting it!! It also has a side strap for tripods which is a welcoming sight. Previously I used a Lowepro bag and simply strapped my Manfrotto 055B tripod and 701 head to the main straps, which is heavy and also puts lots of strain on the bags fastenings (i don't recommend this). The external strap loops through a heavy duty fabricated patch on the side of the bag, and the strap can be secured around the head of the tripod. It is quick release too, so you can get the tripod off the bag and set up quickly. A great improvement.

IMG_1903_1

Overall, I am delighted with Manfrotto's new Backpack50 as it caters for the pro photographer AND videographer, protecting our livelihood (equipment) with fantastically engineered bag sections, as well as providing flexibility when out shooting which many backpacks restrict due to their bulky and un-ergonomic design. Manfrotto have overcome this by designing a bag with the pro in mind, and have produced a very successful and ergonomic addition to the growing kit list of photographers and videographers alike.

Check out the new range on Manfrotto's website here - http://www.manfrotto.co.uk/collection/8615.1065.17520.0.0/Professional