sound

BVE Show 2015!

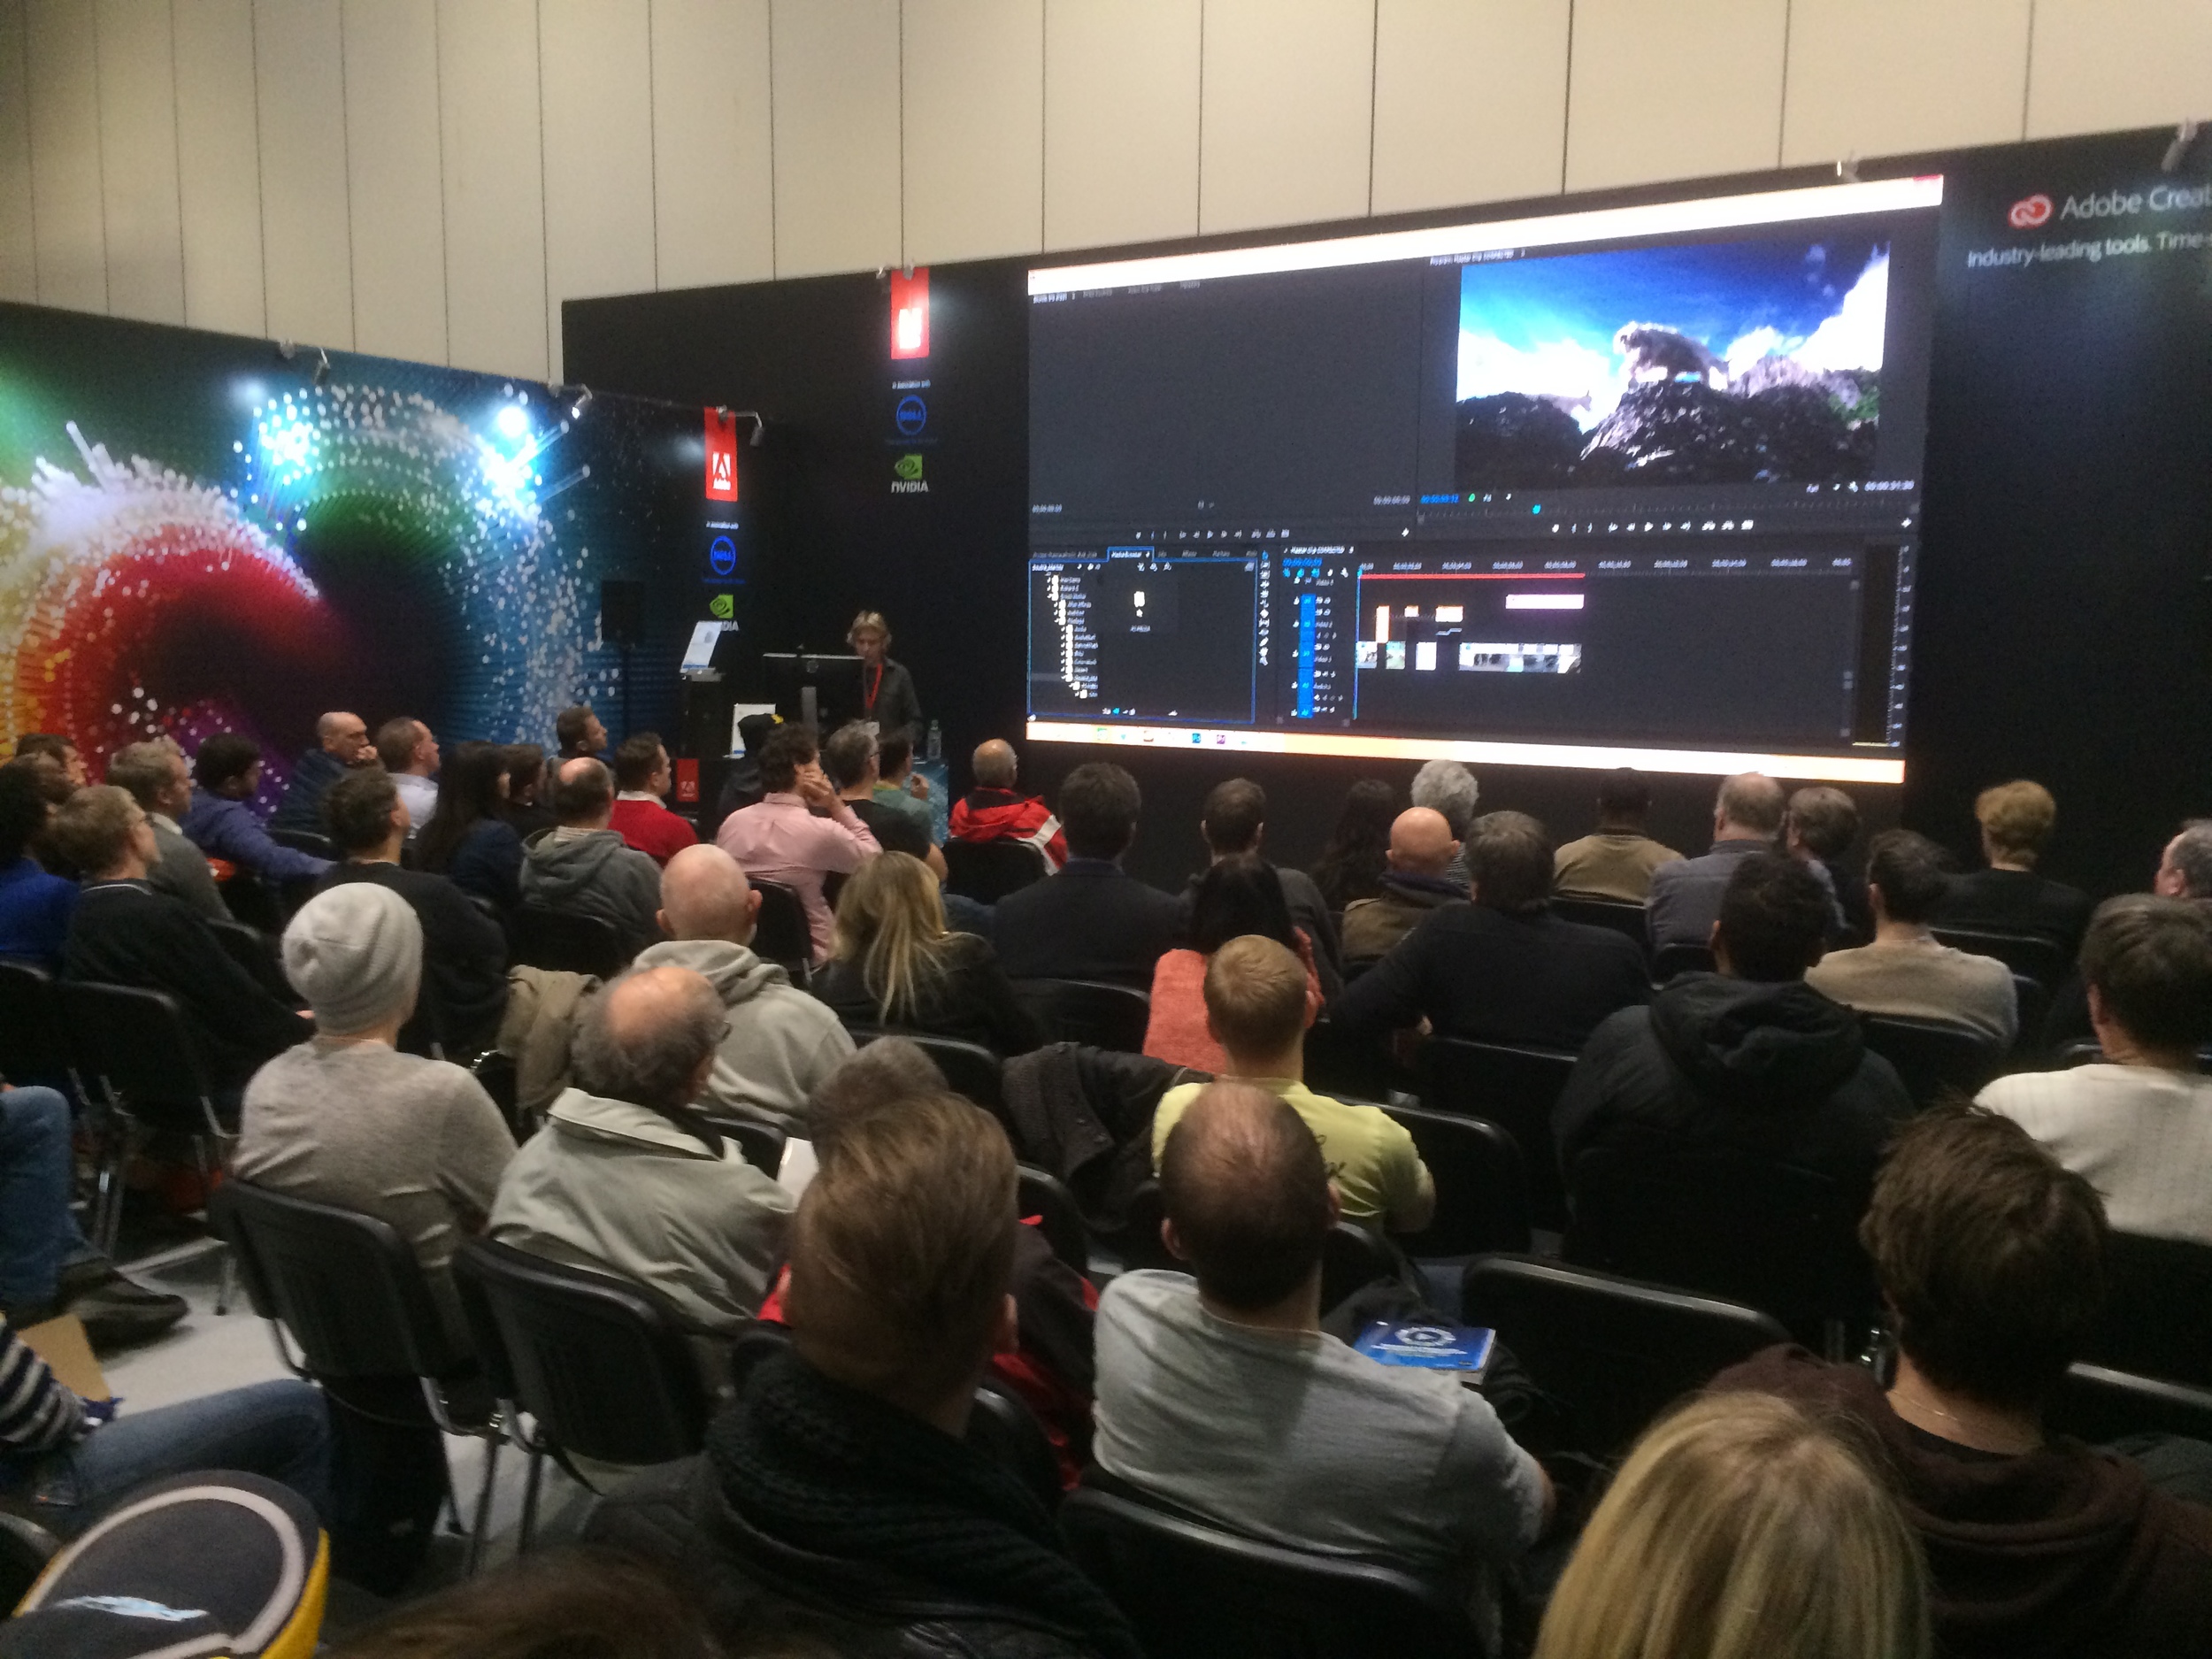
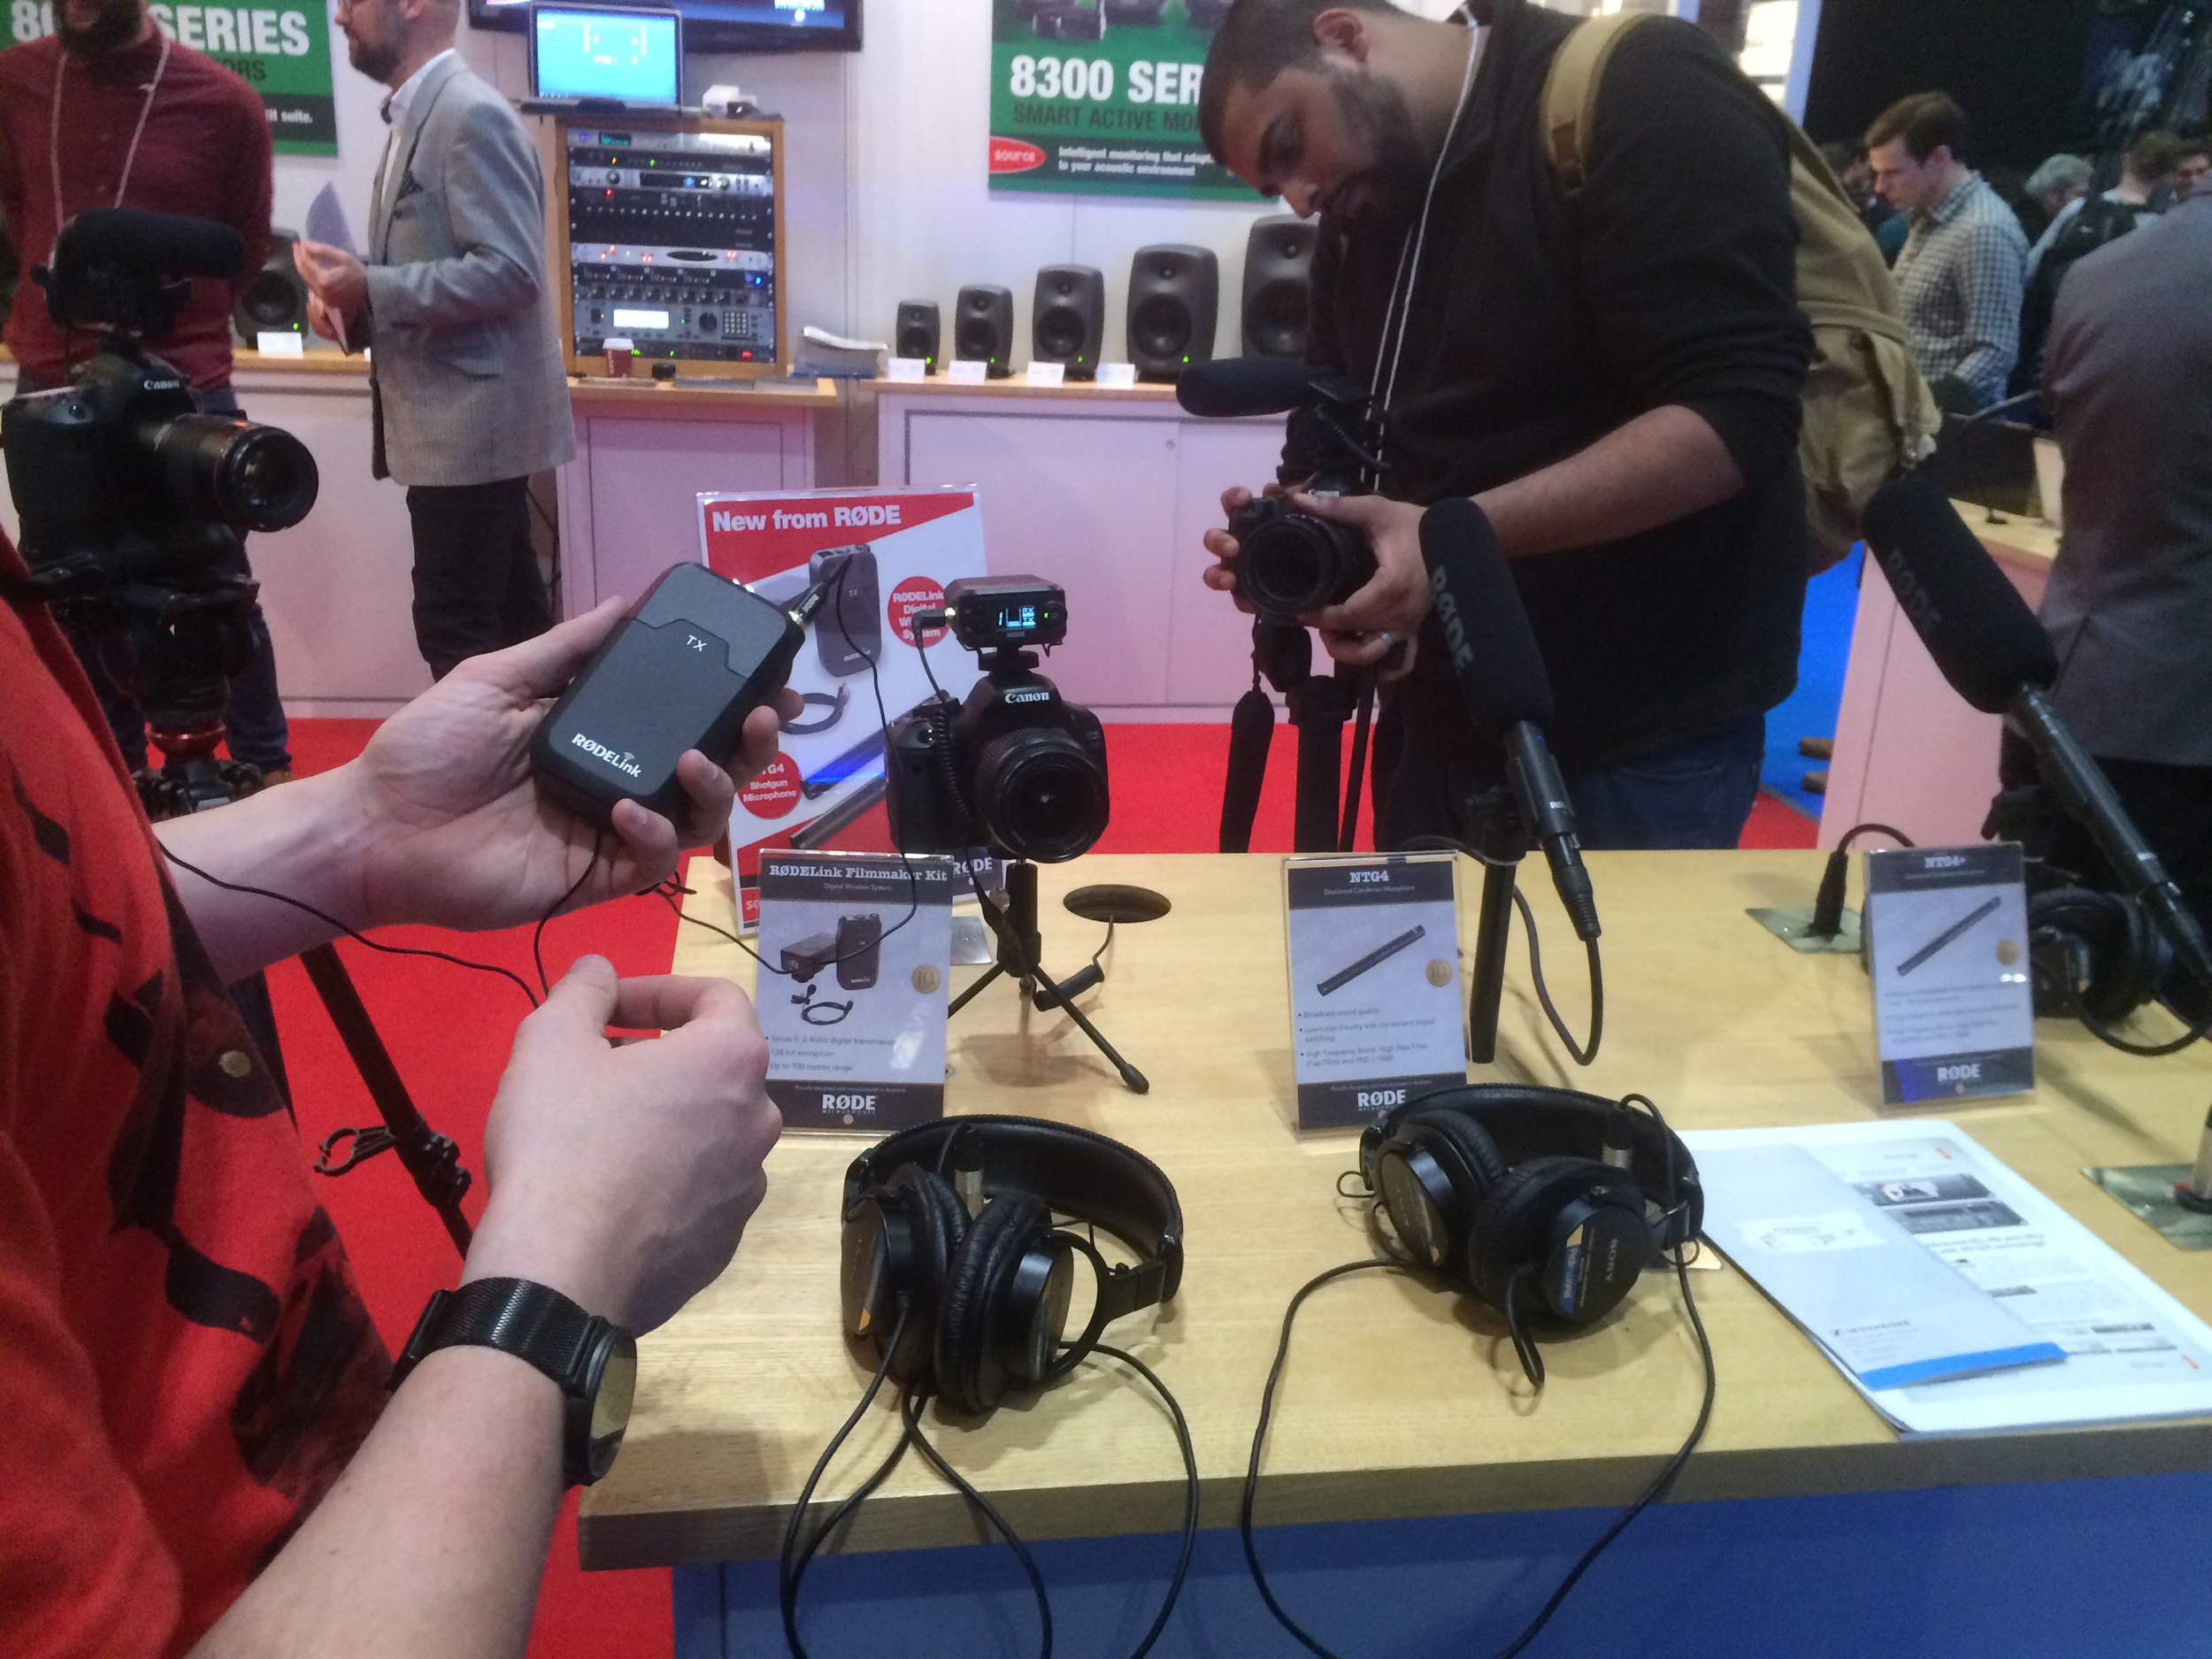
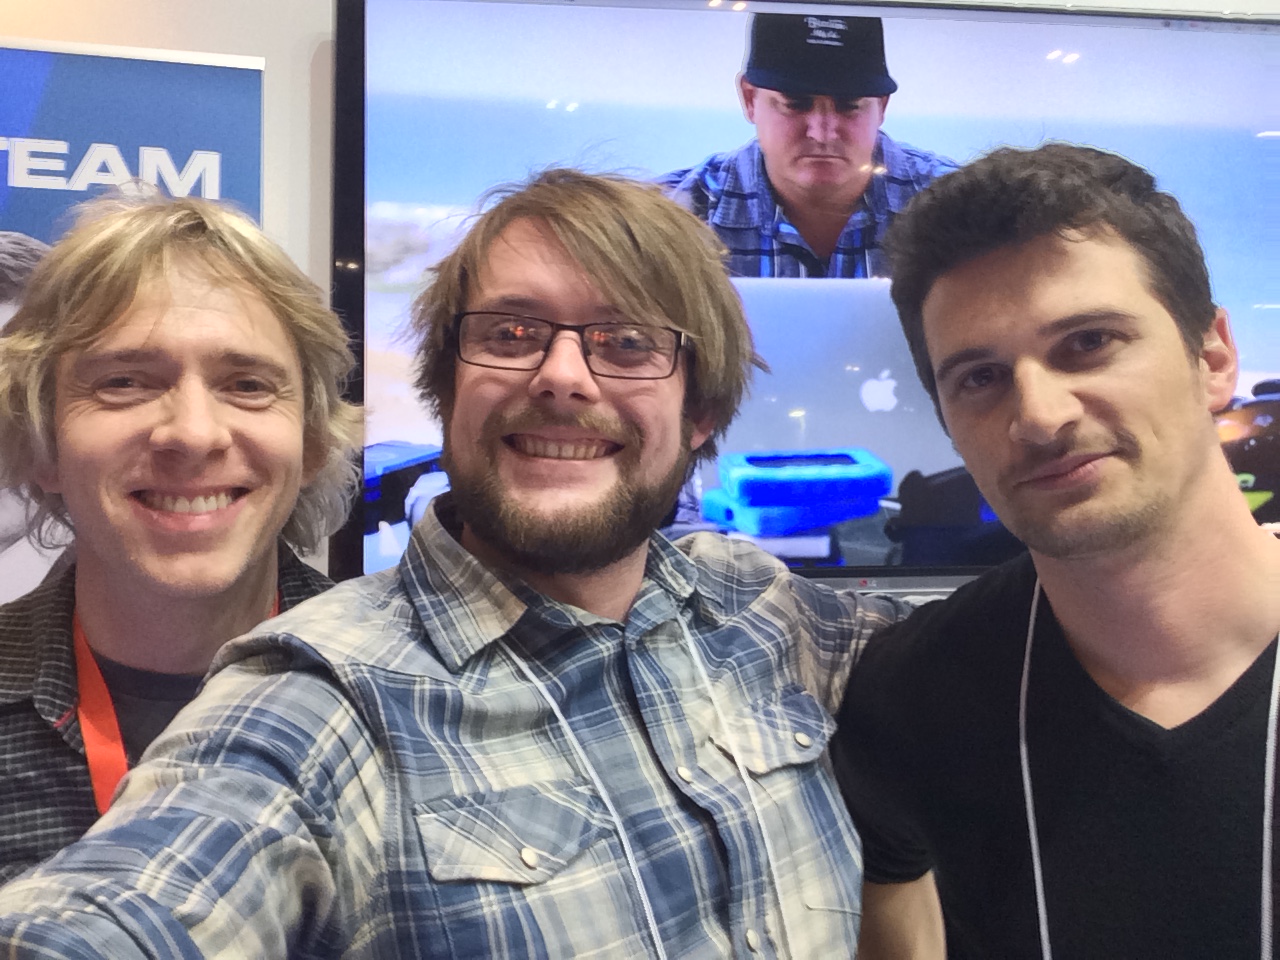
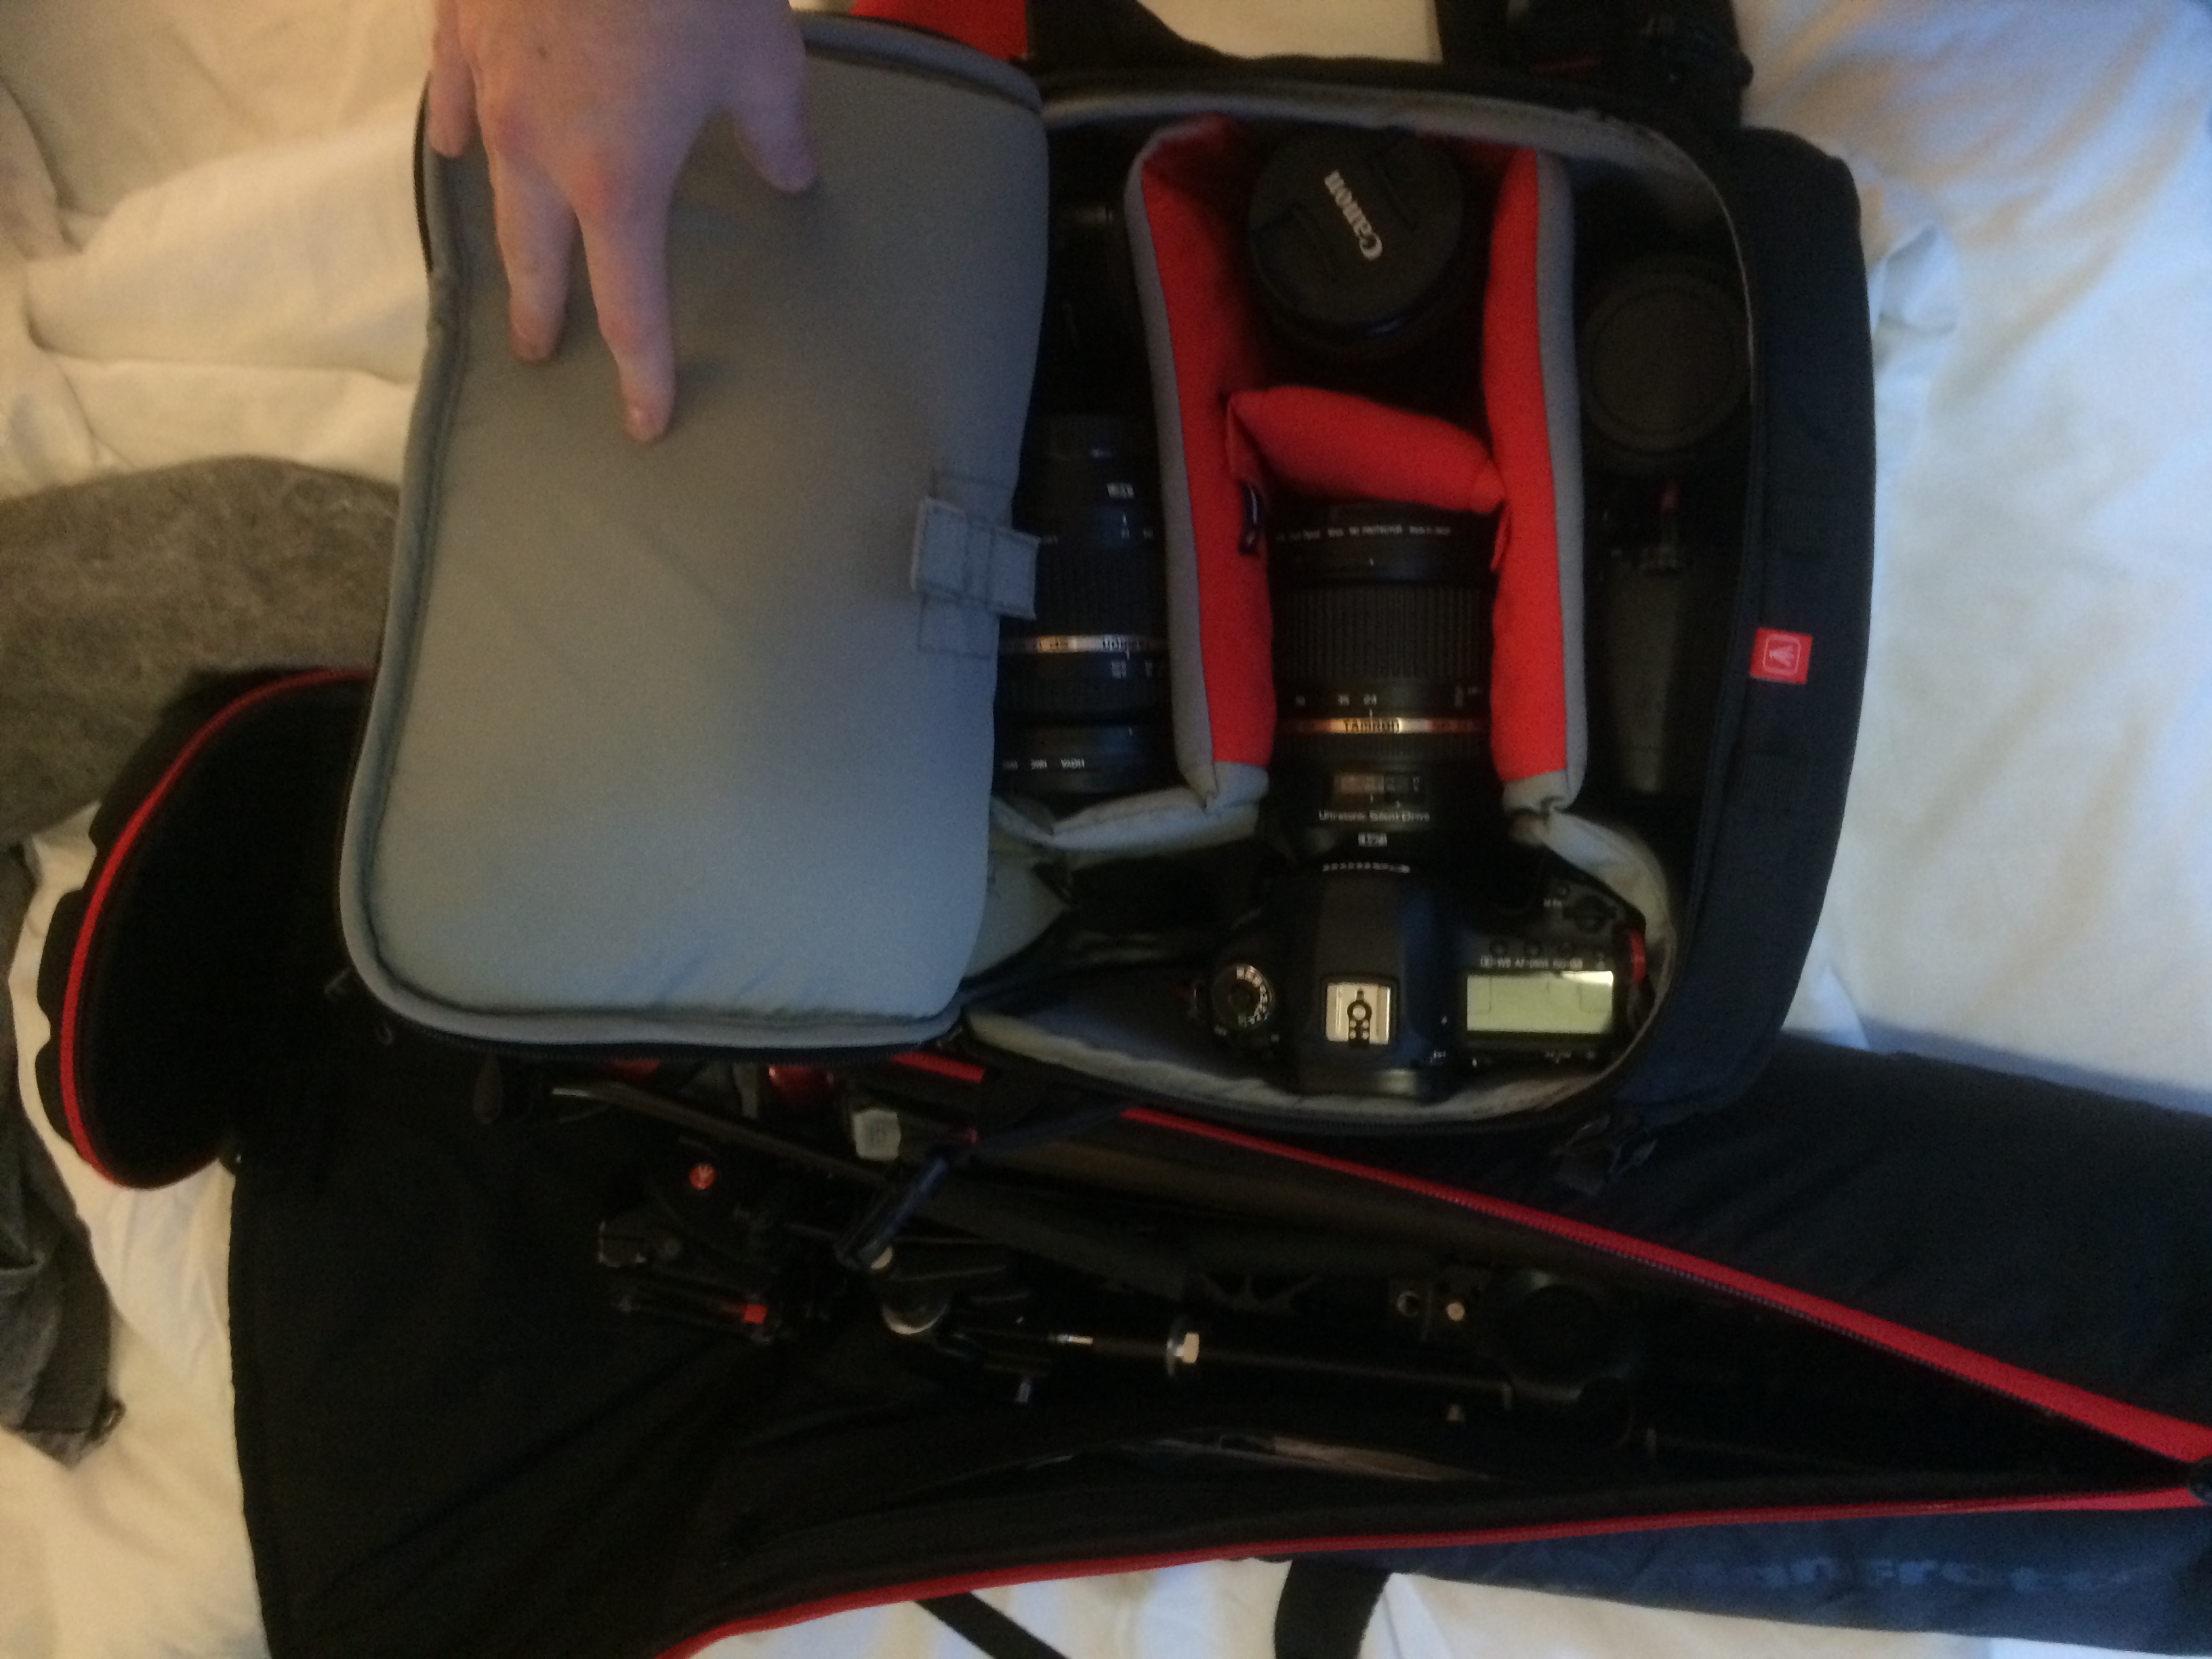
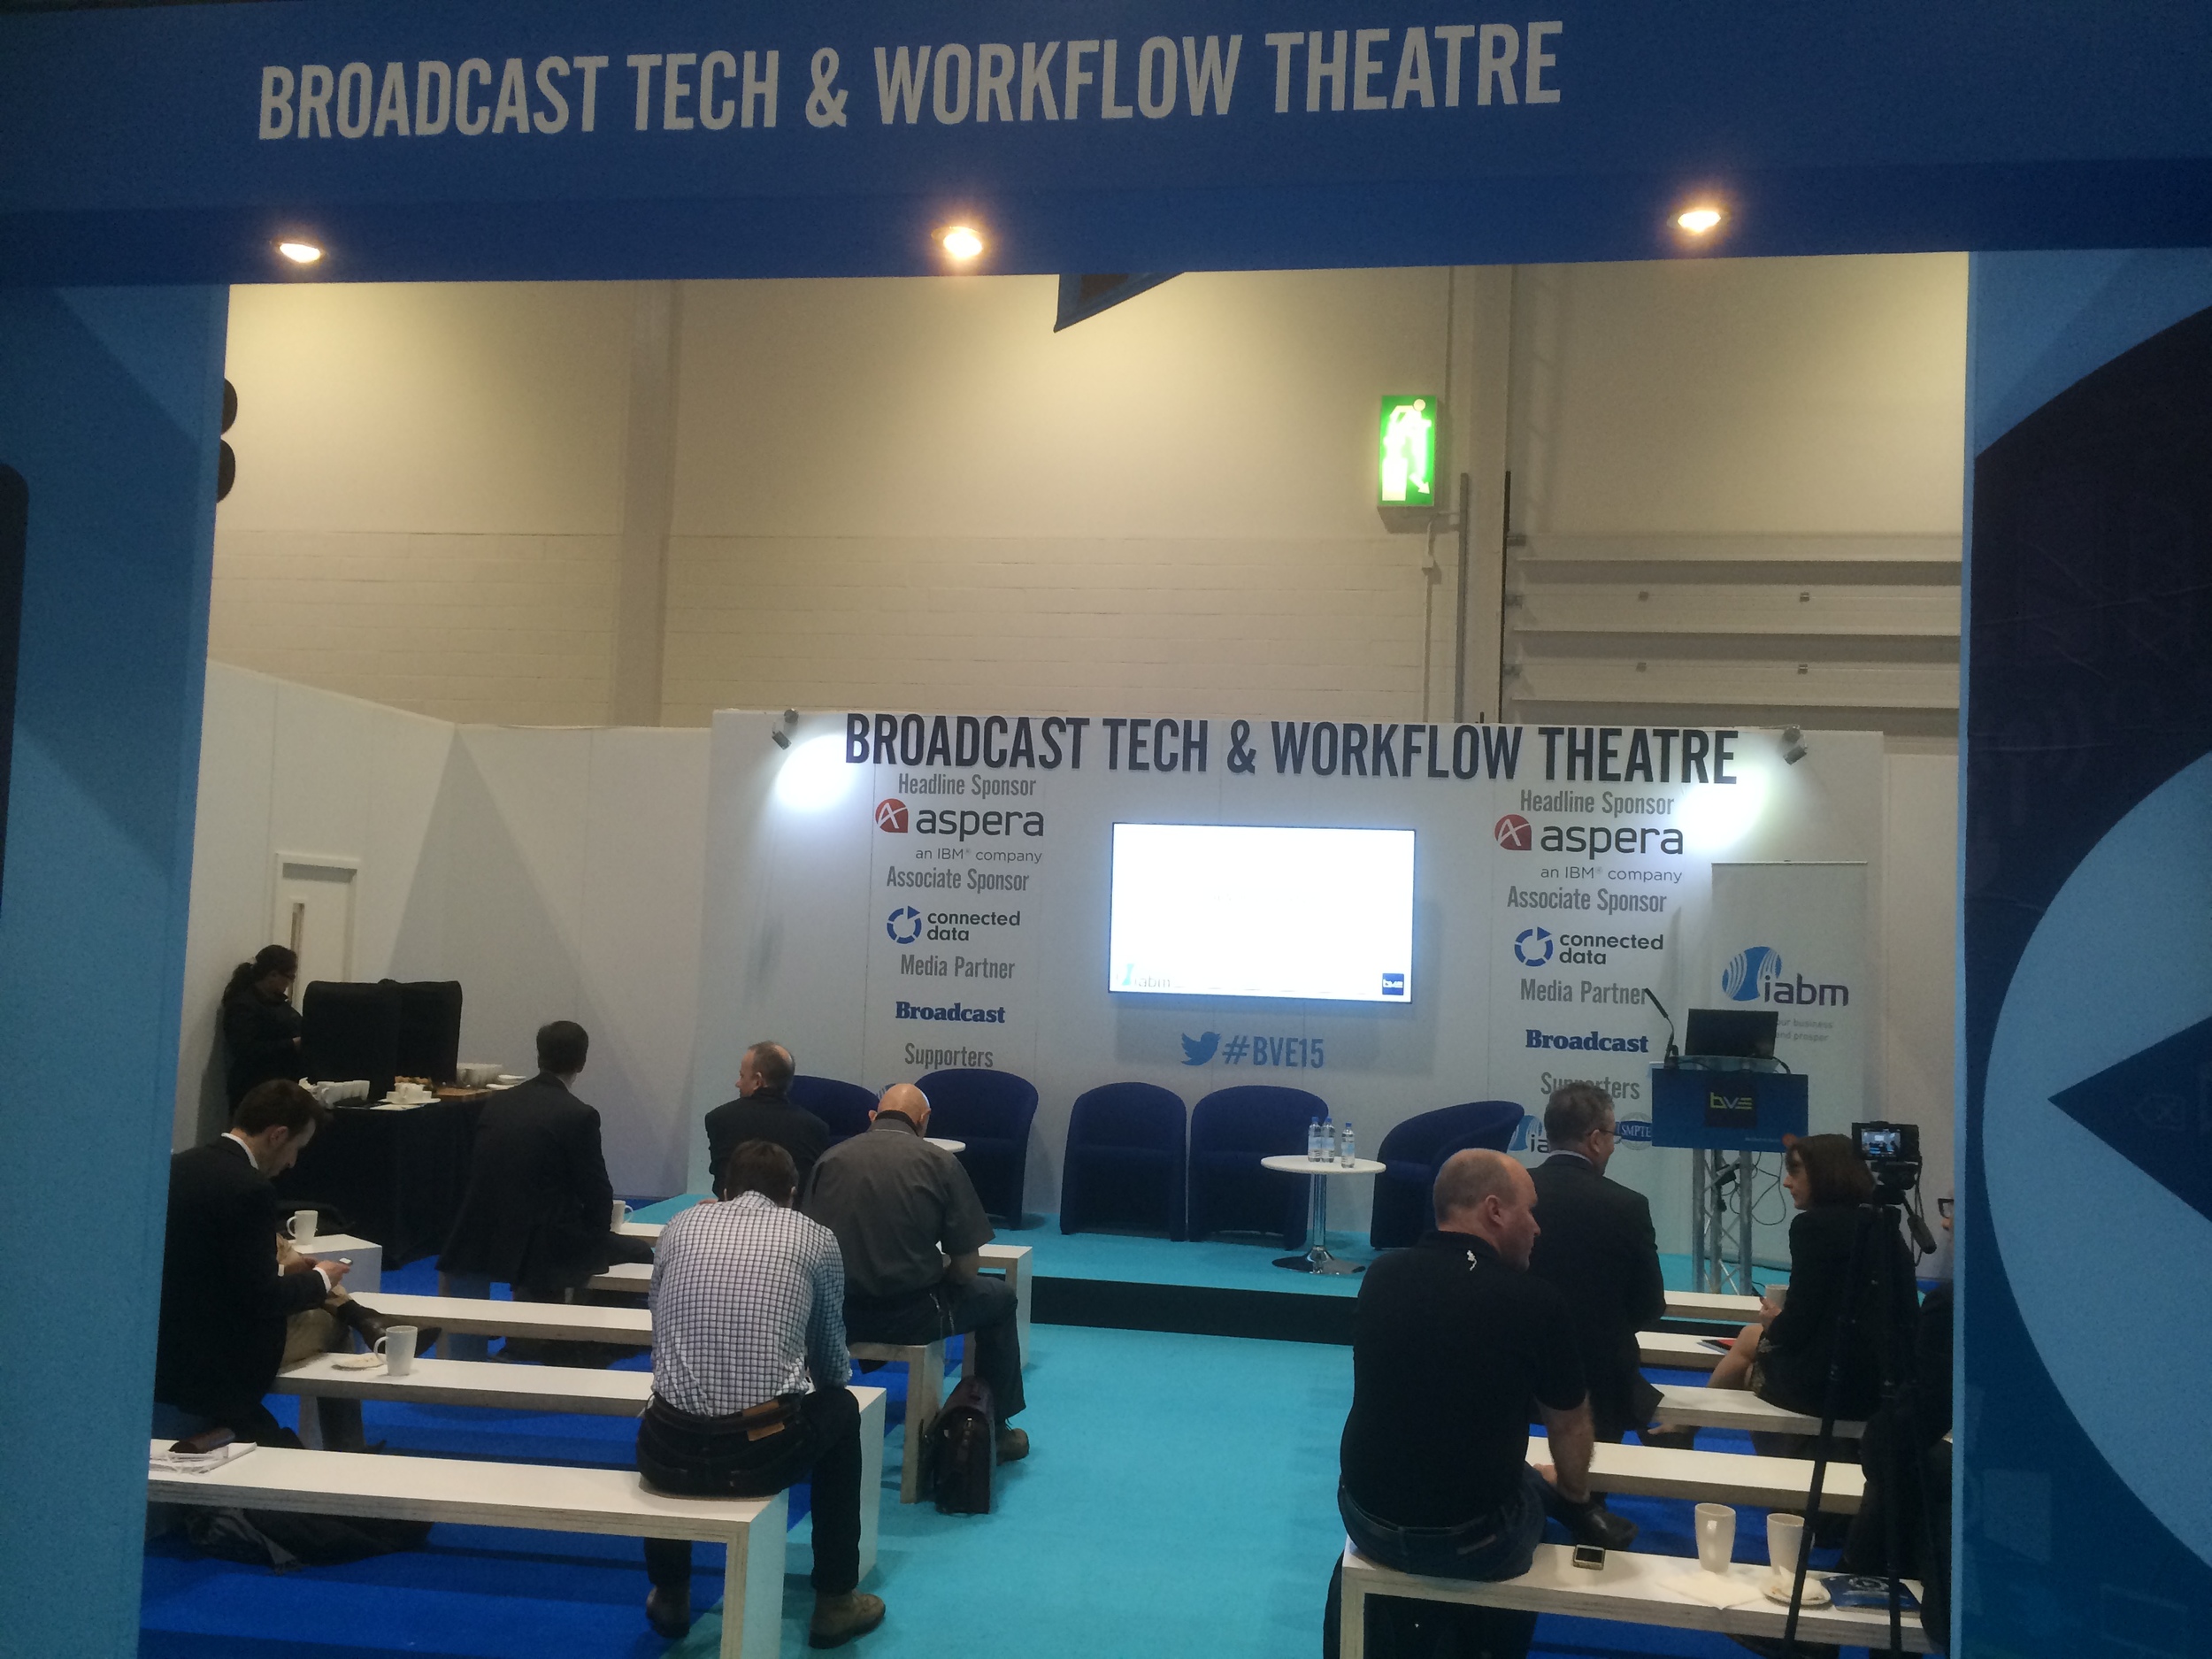
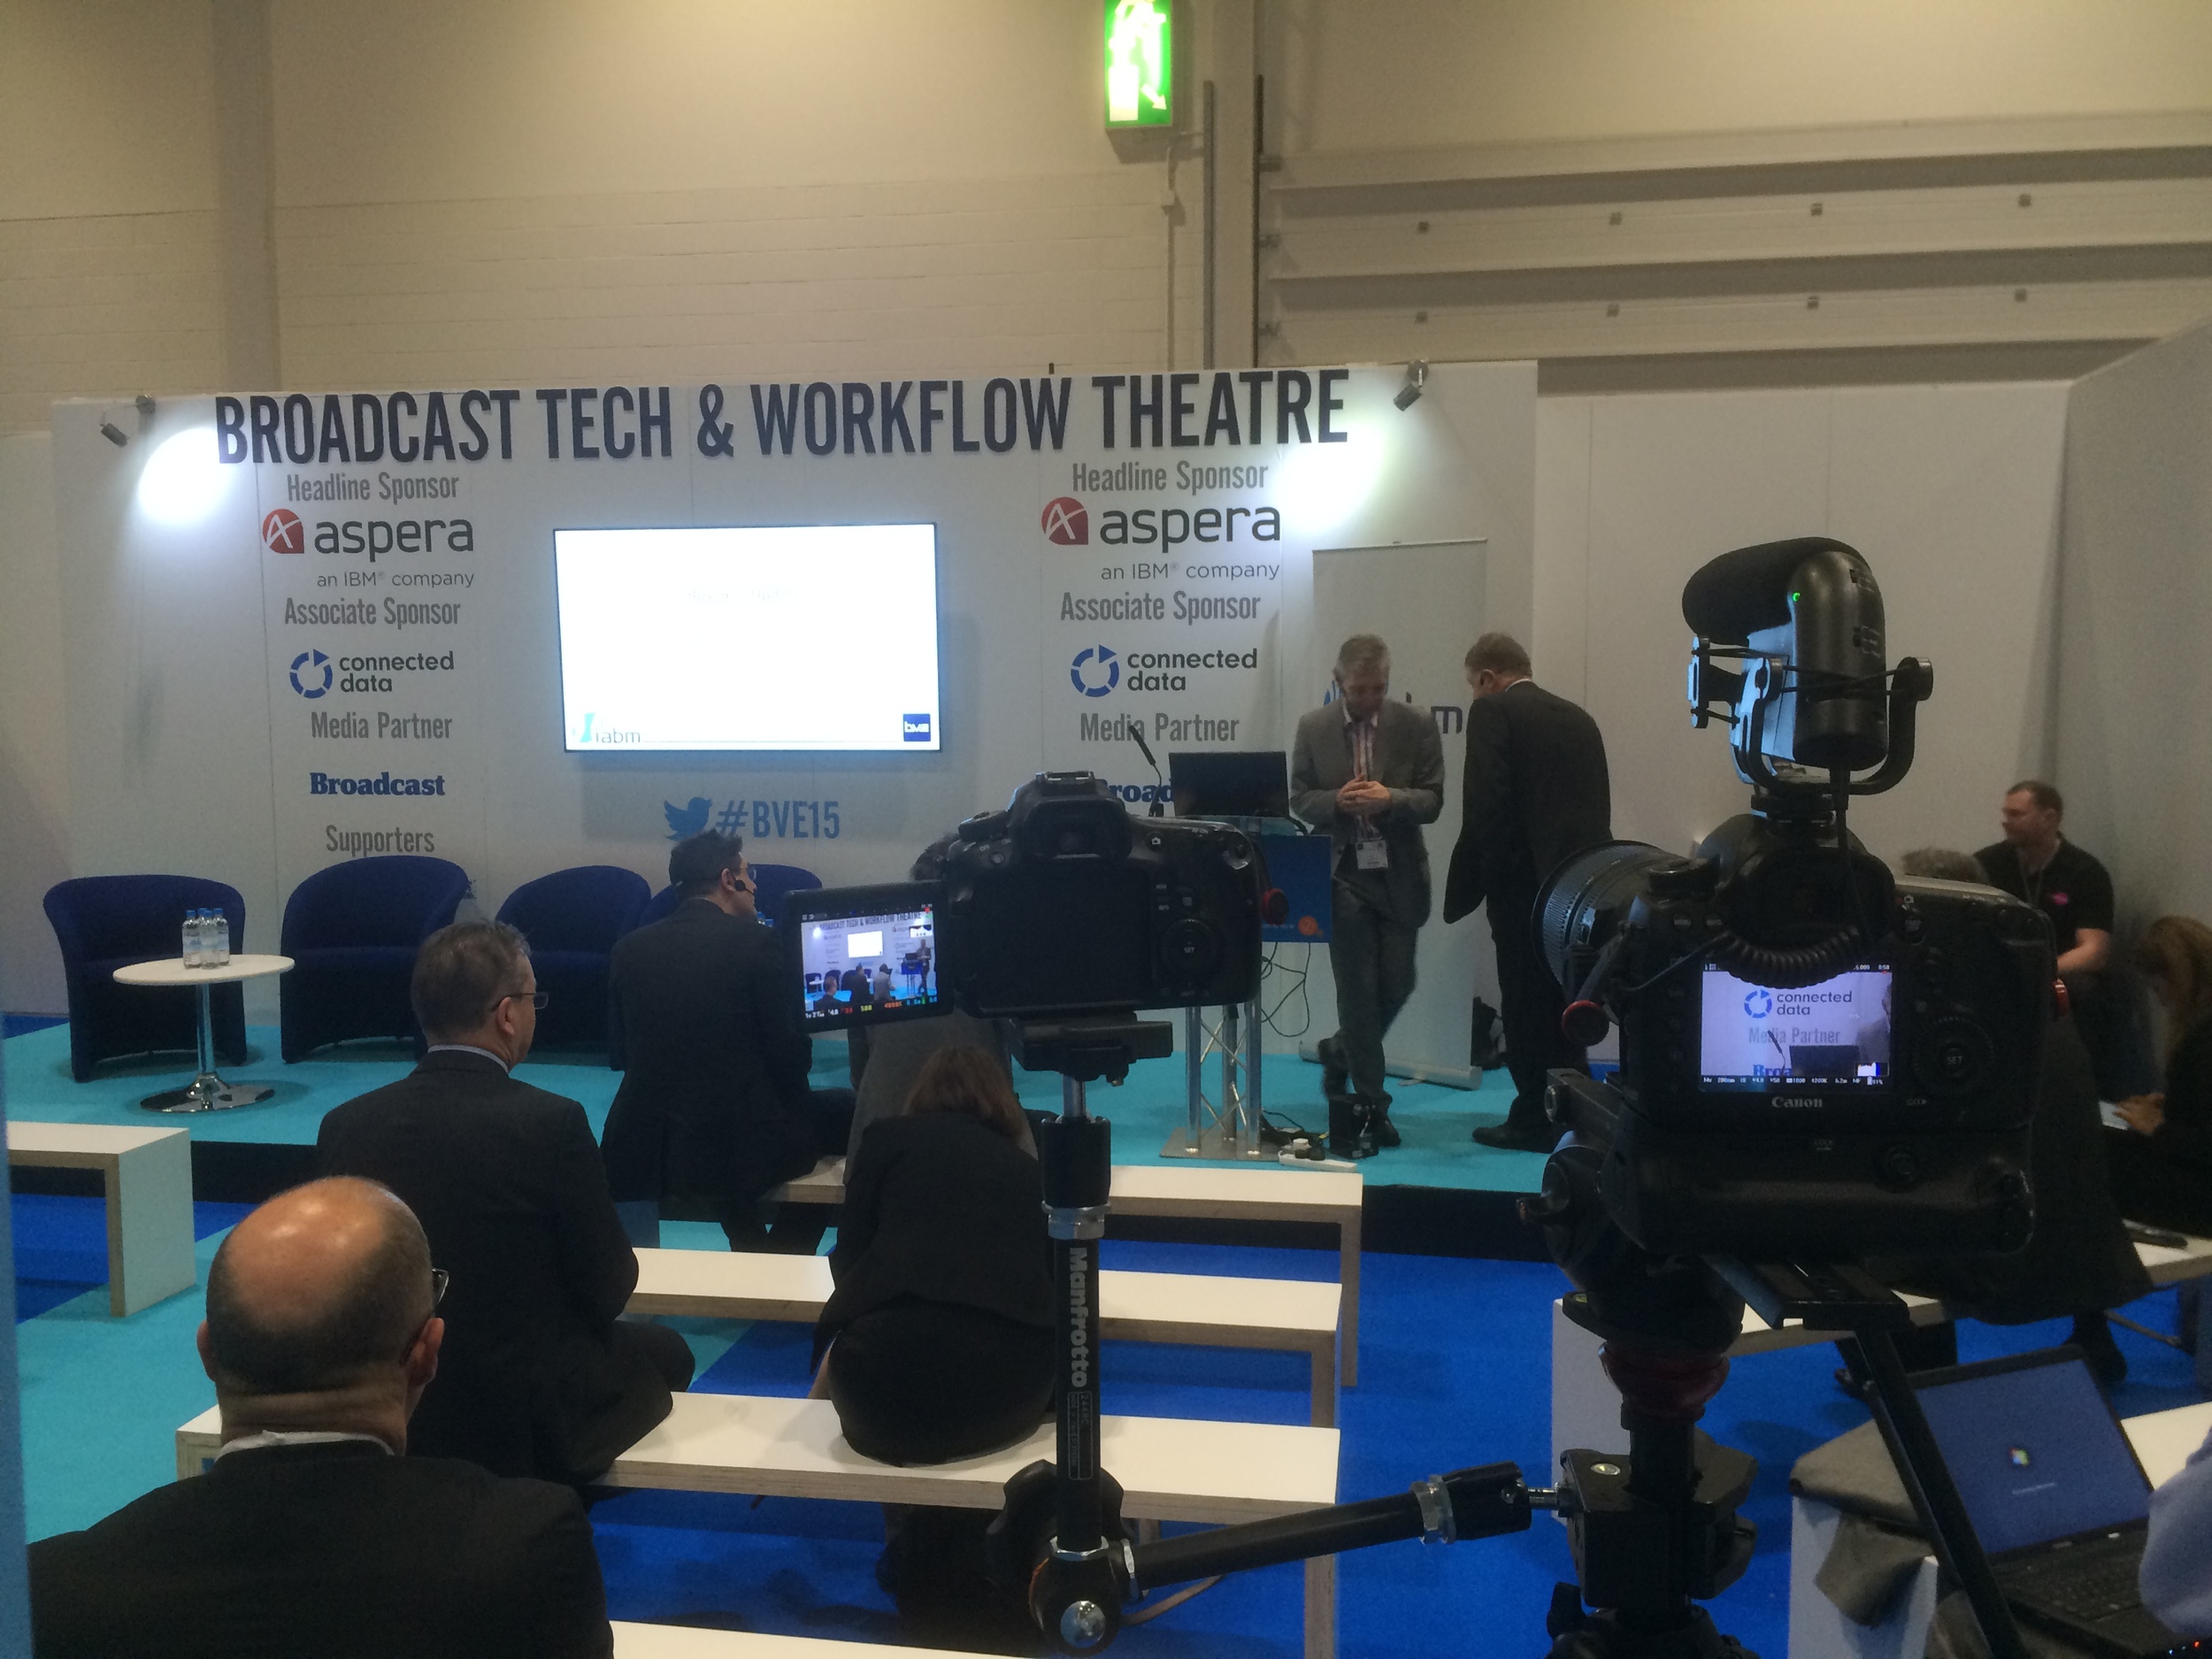
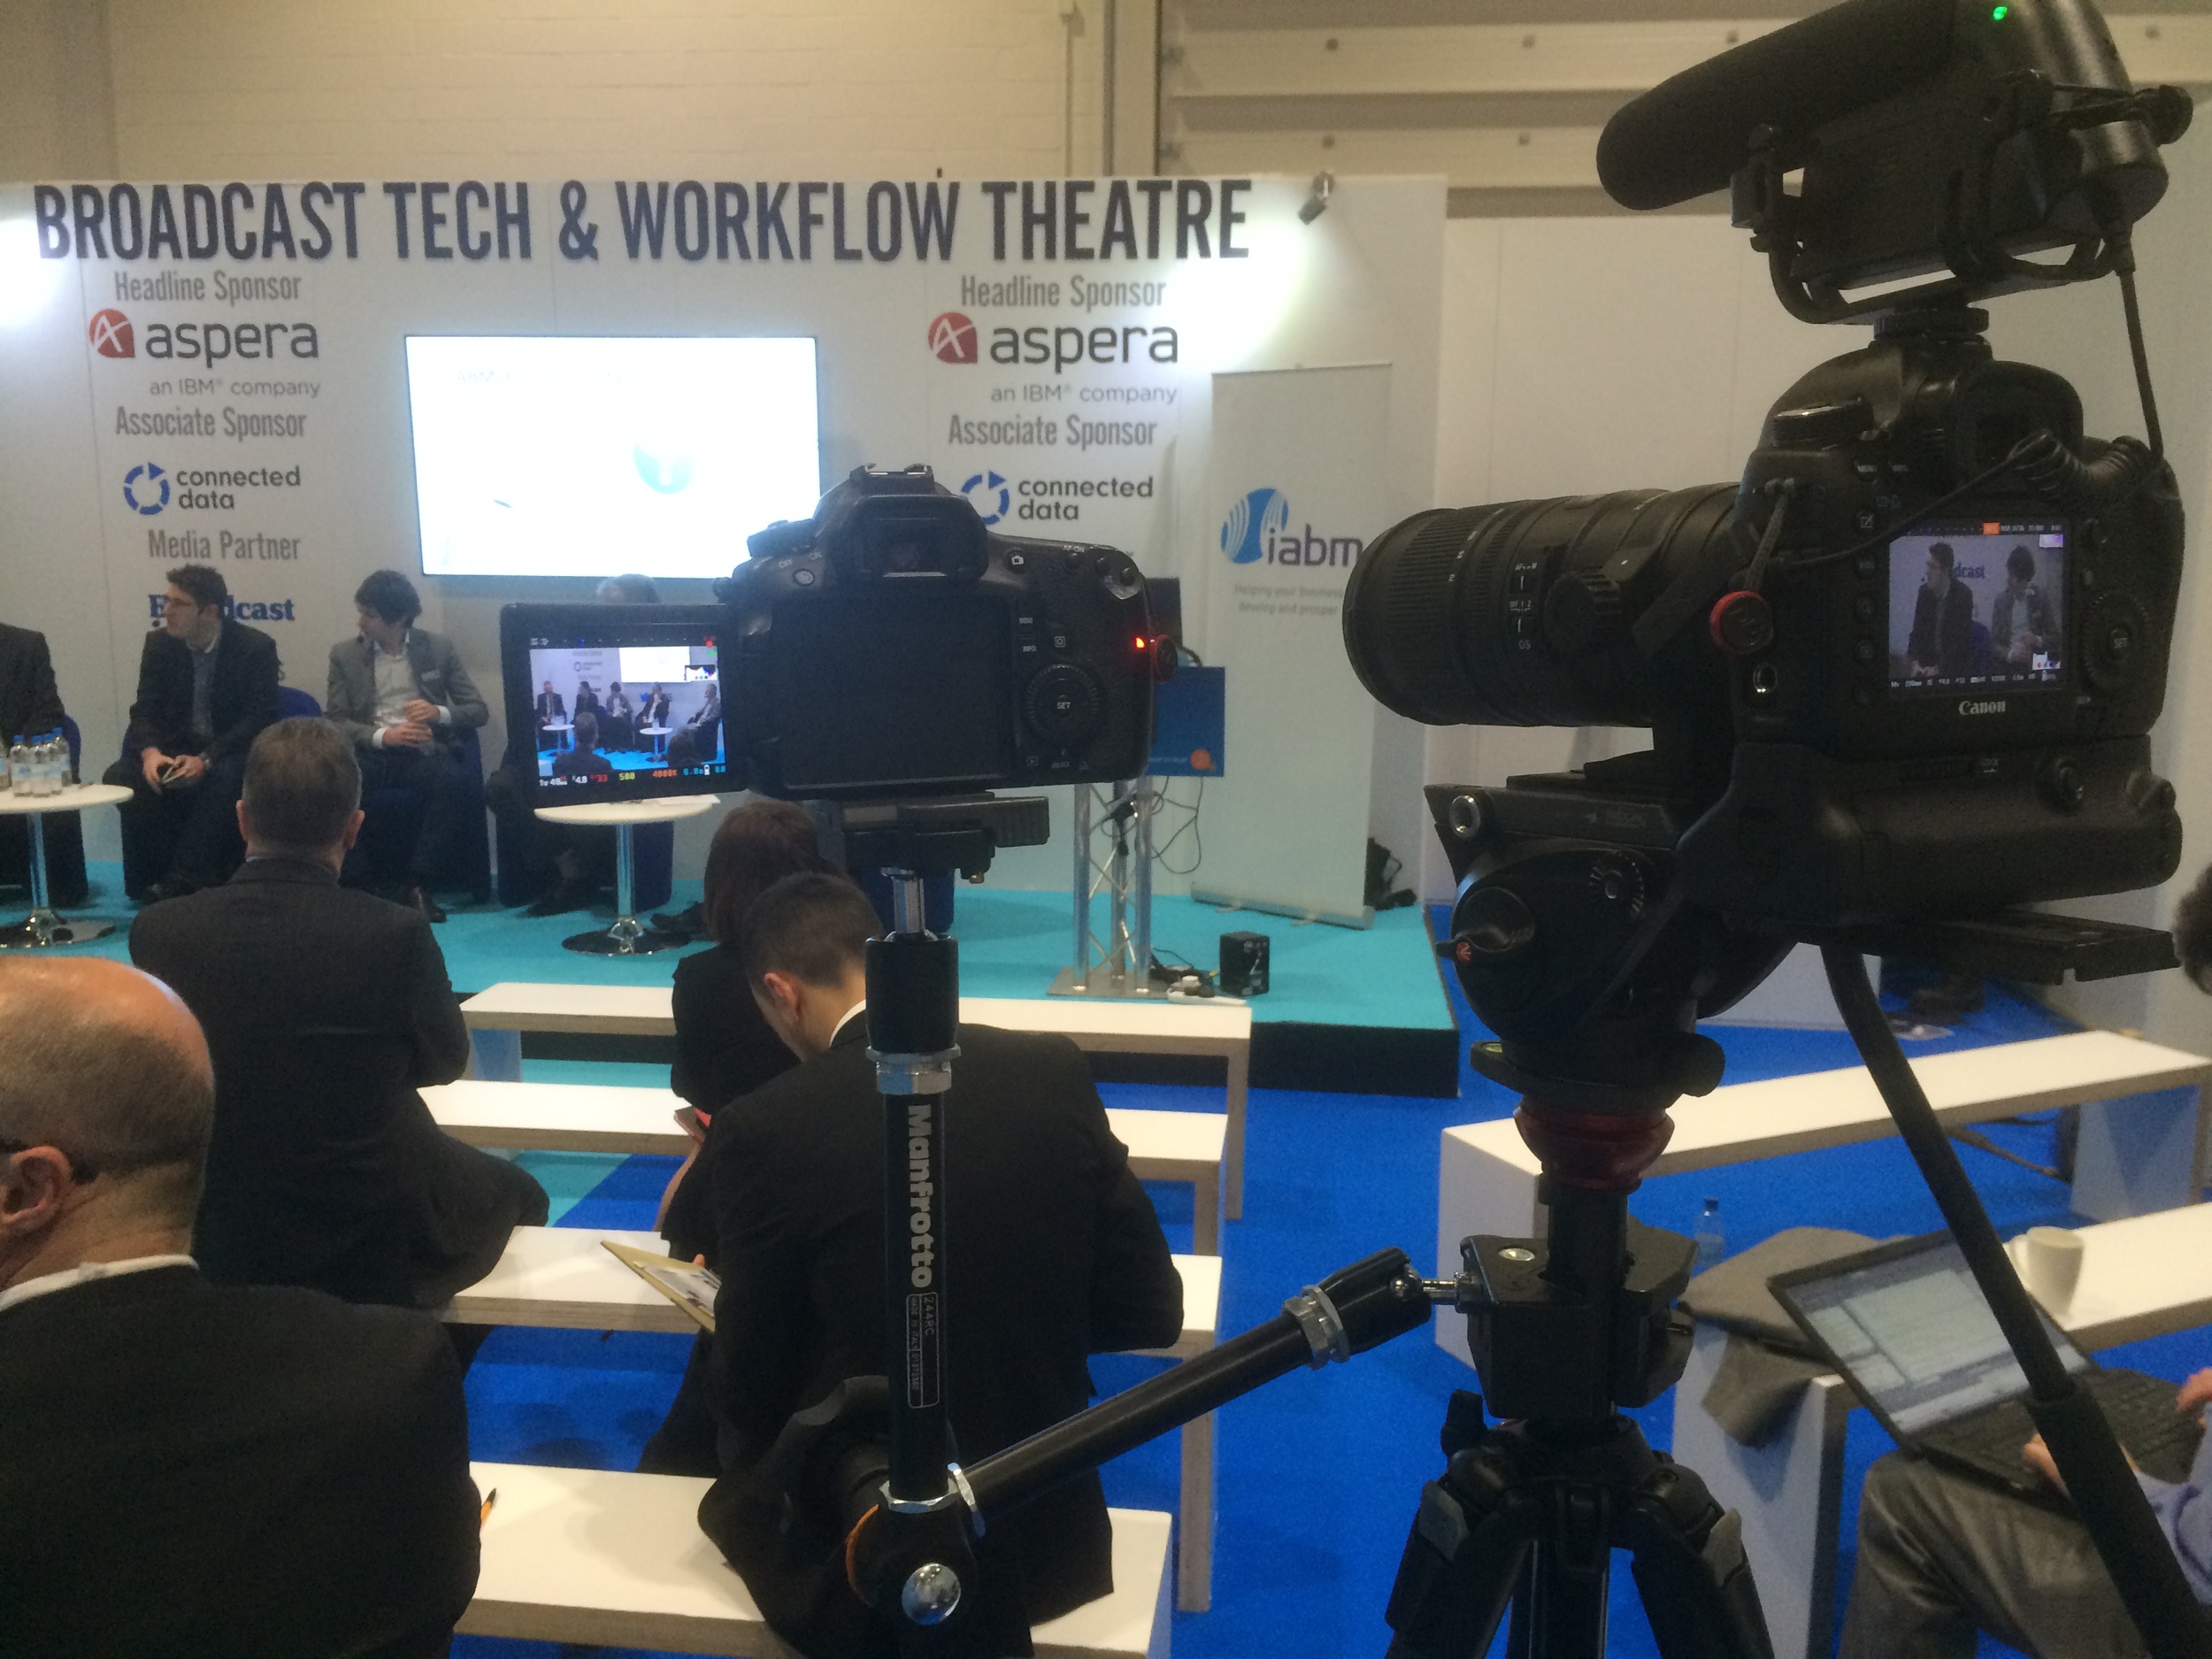
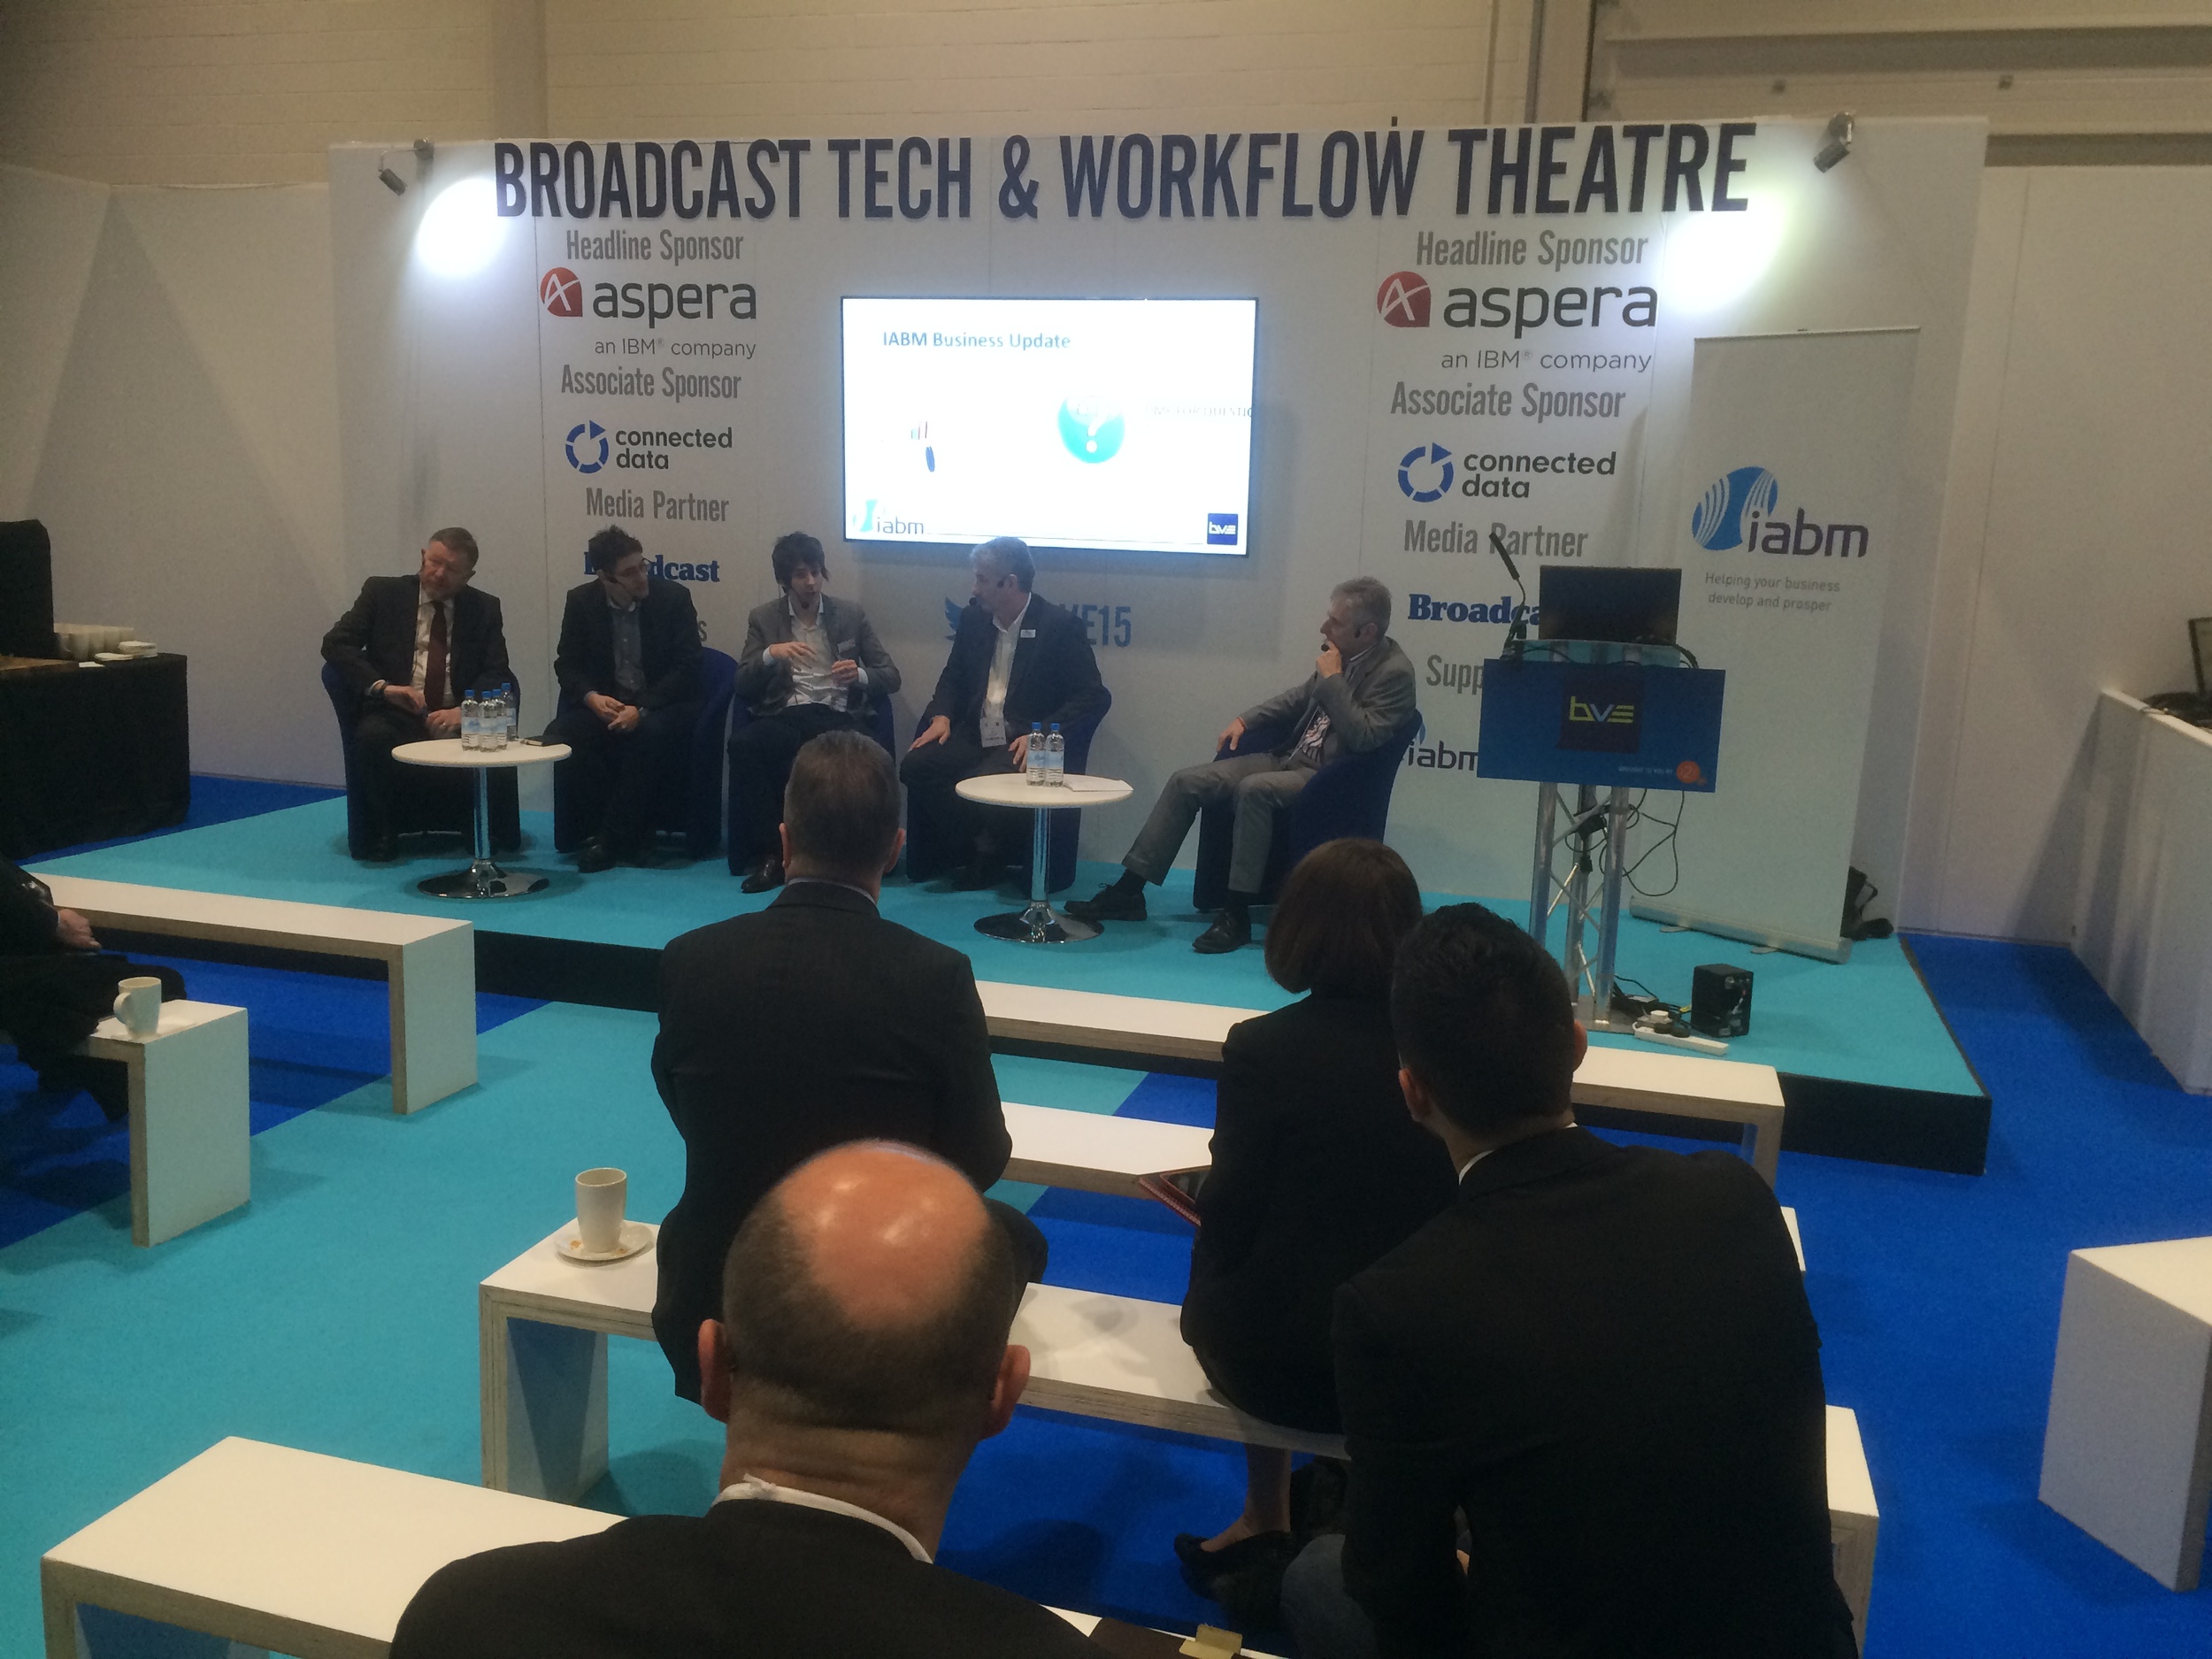
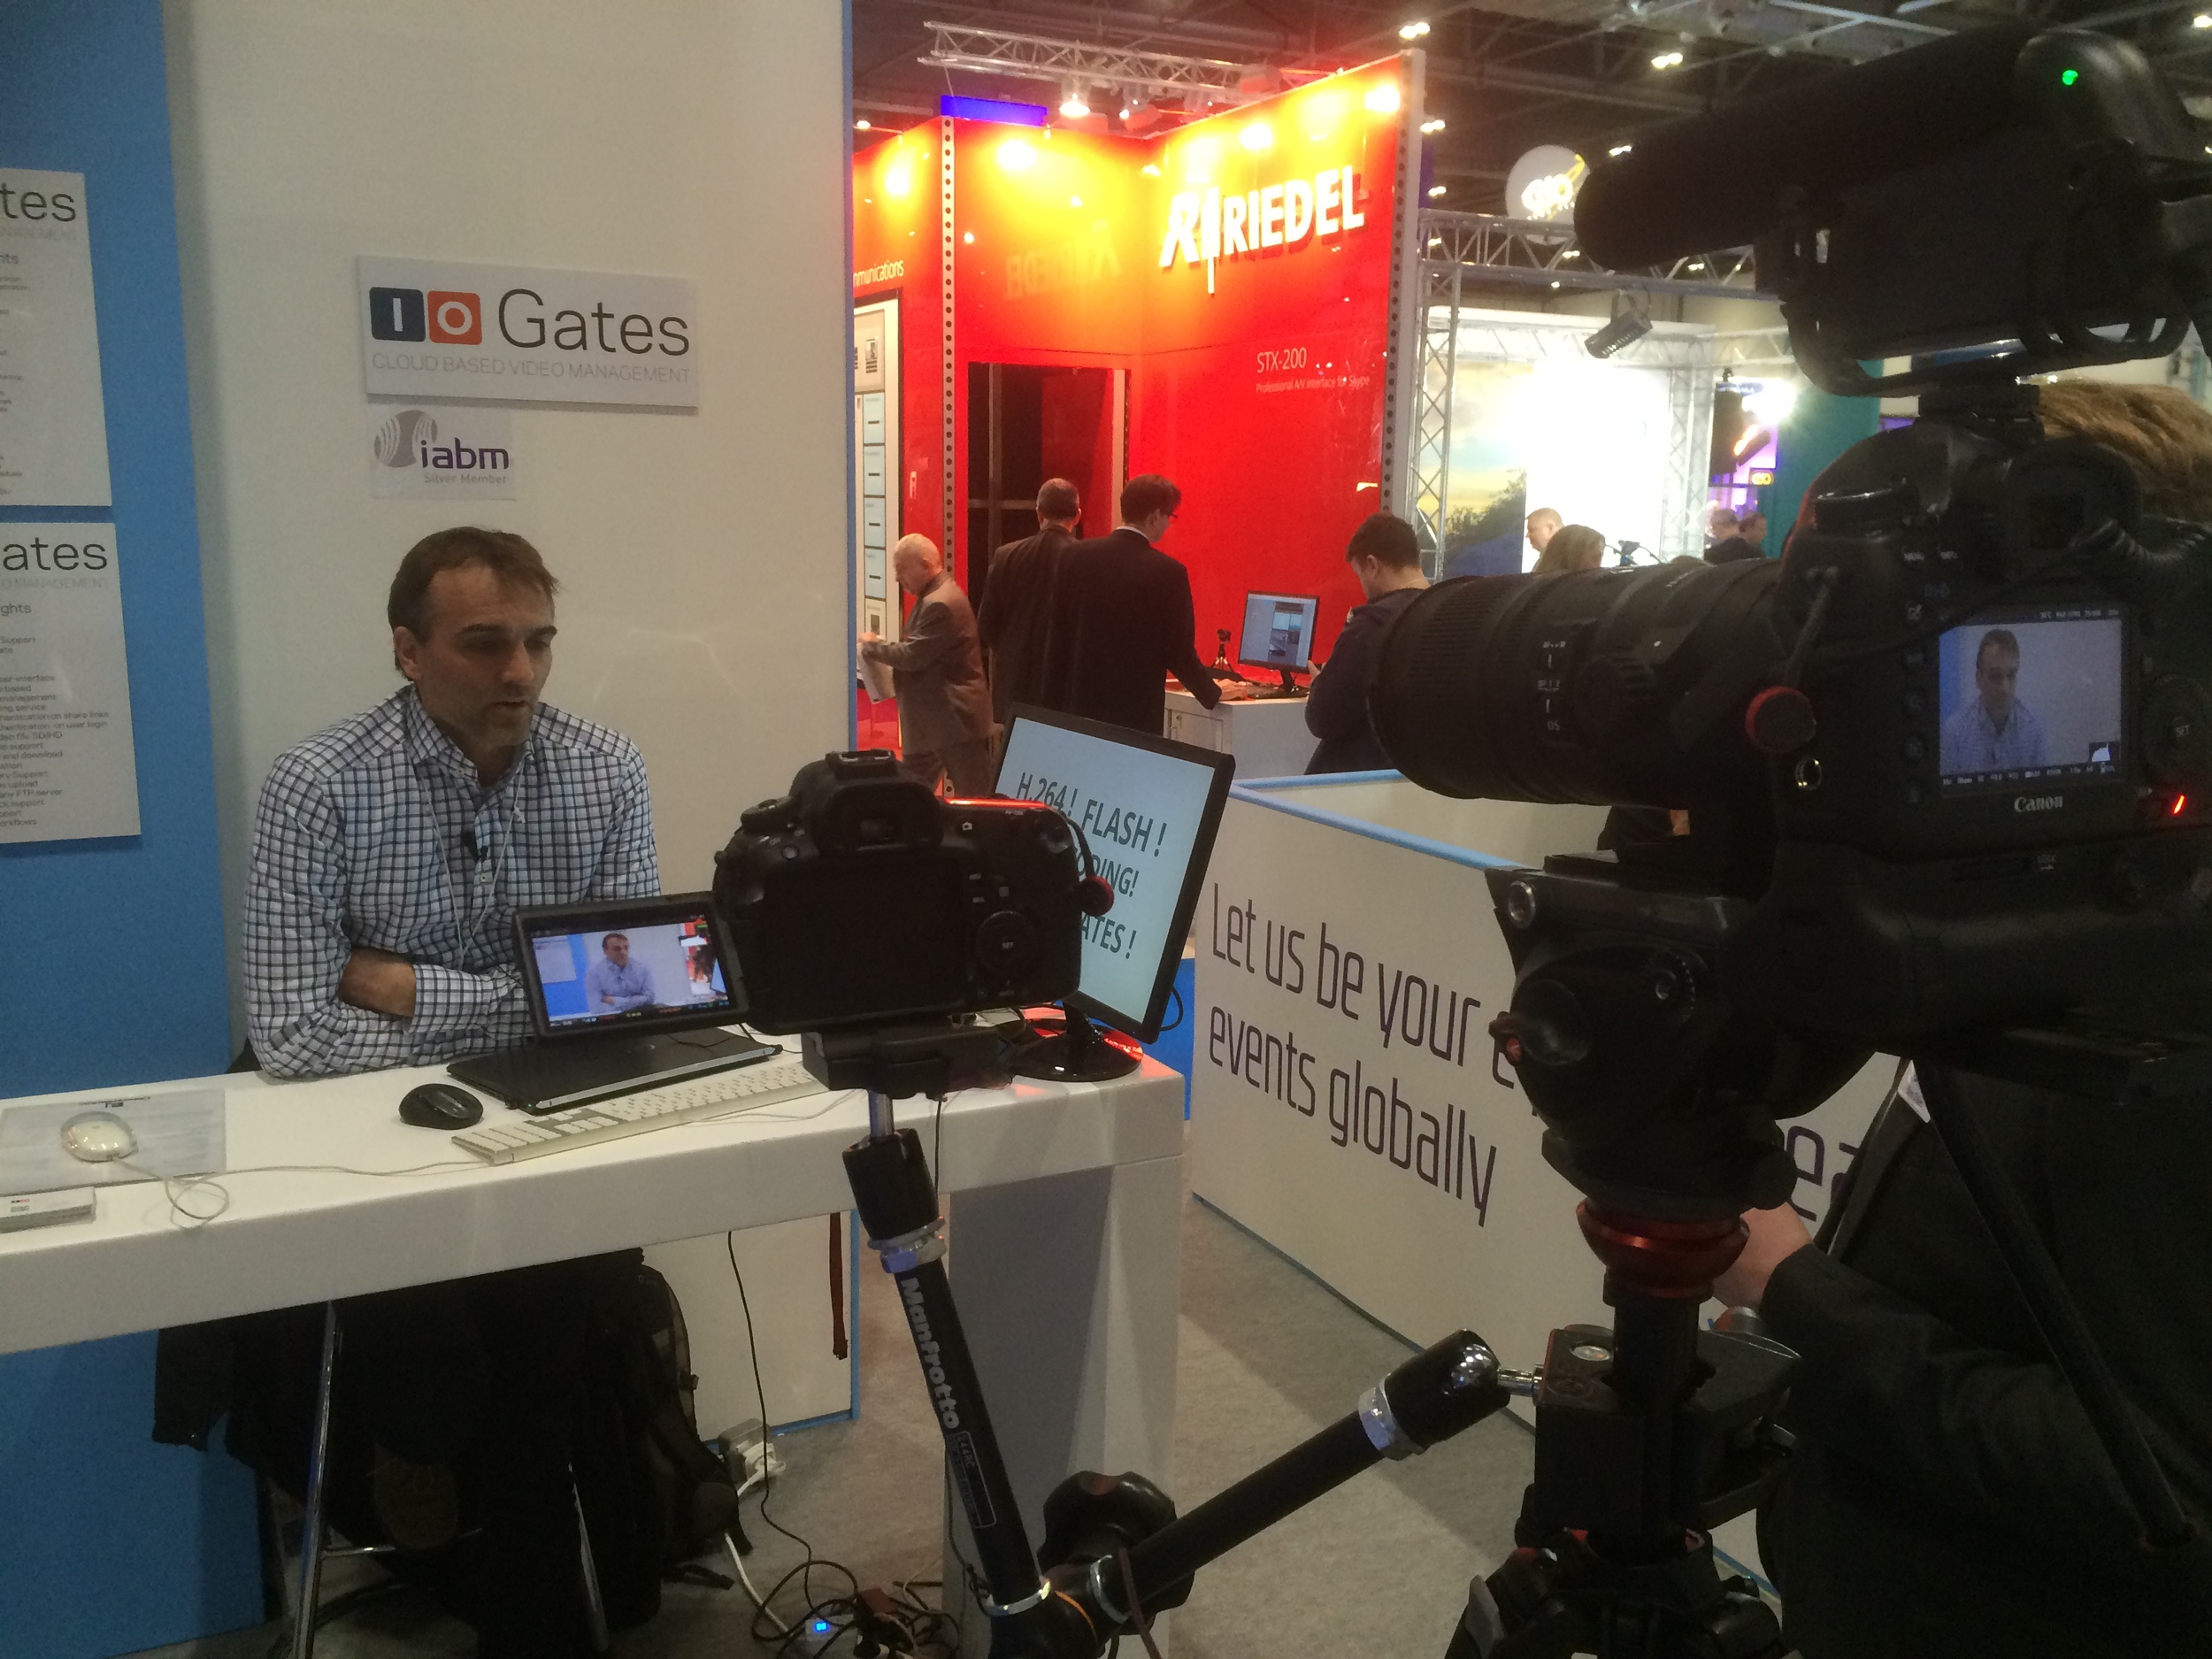
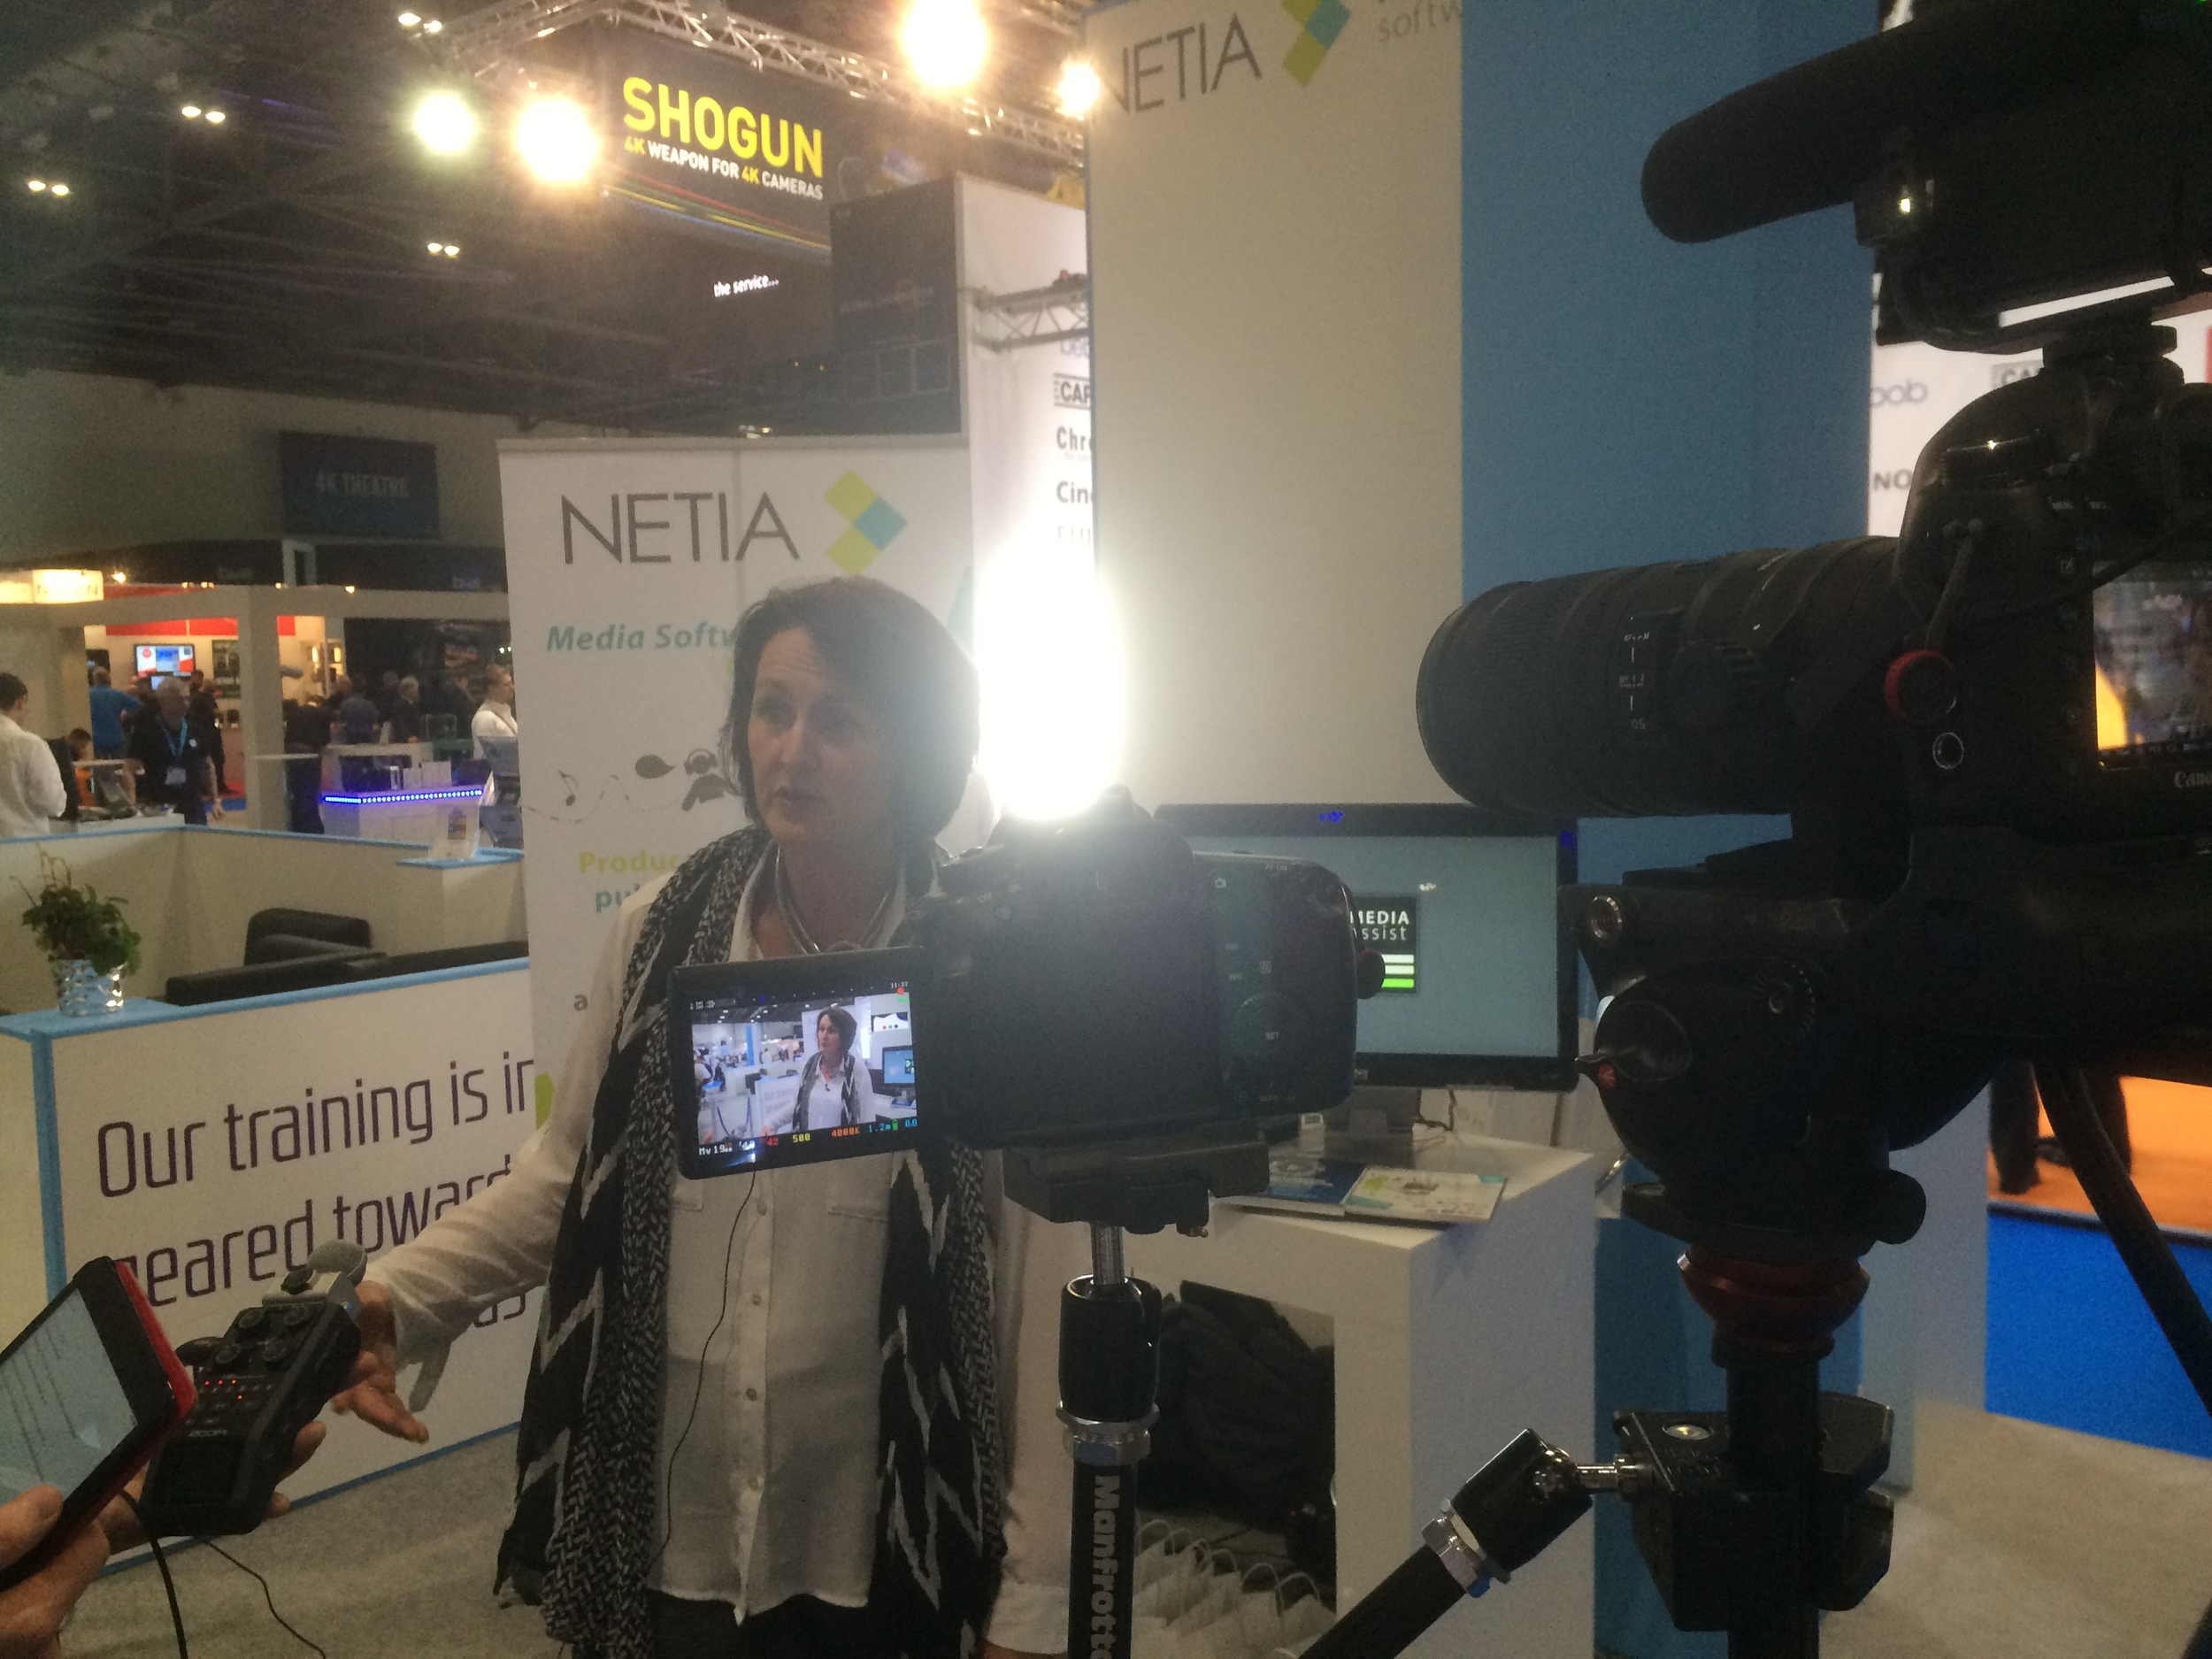
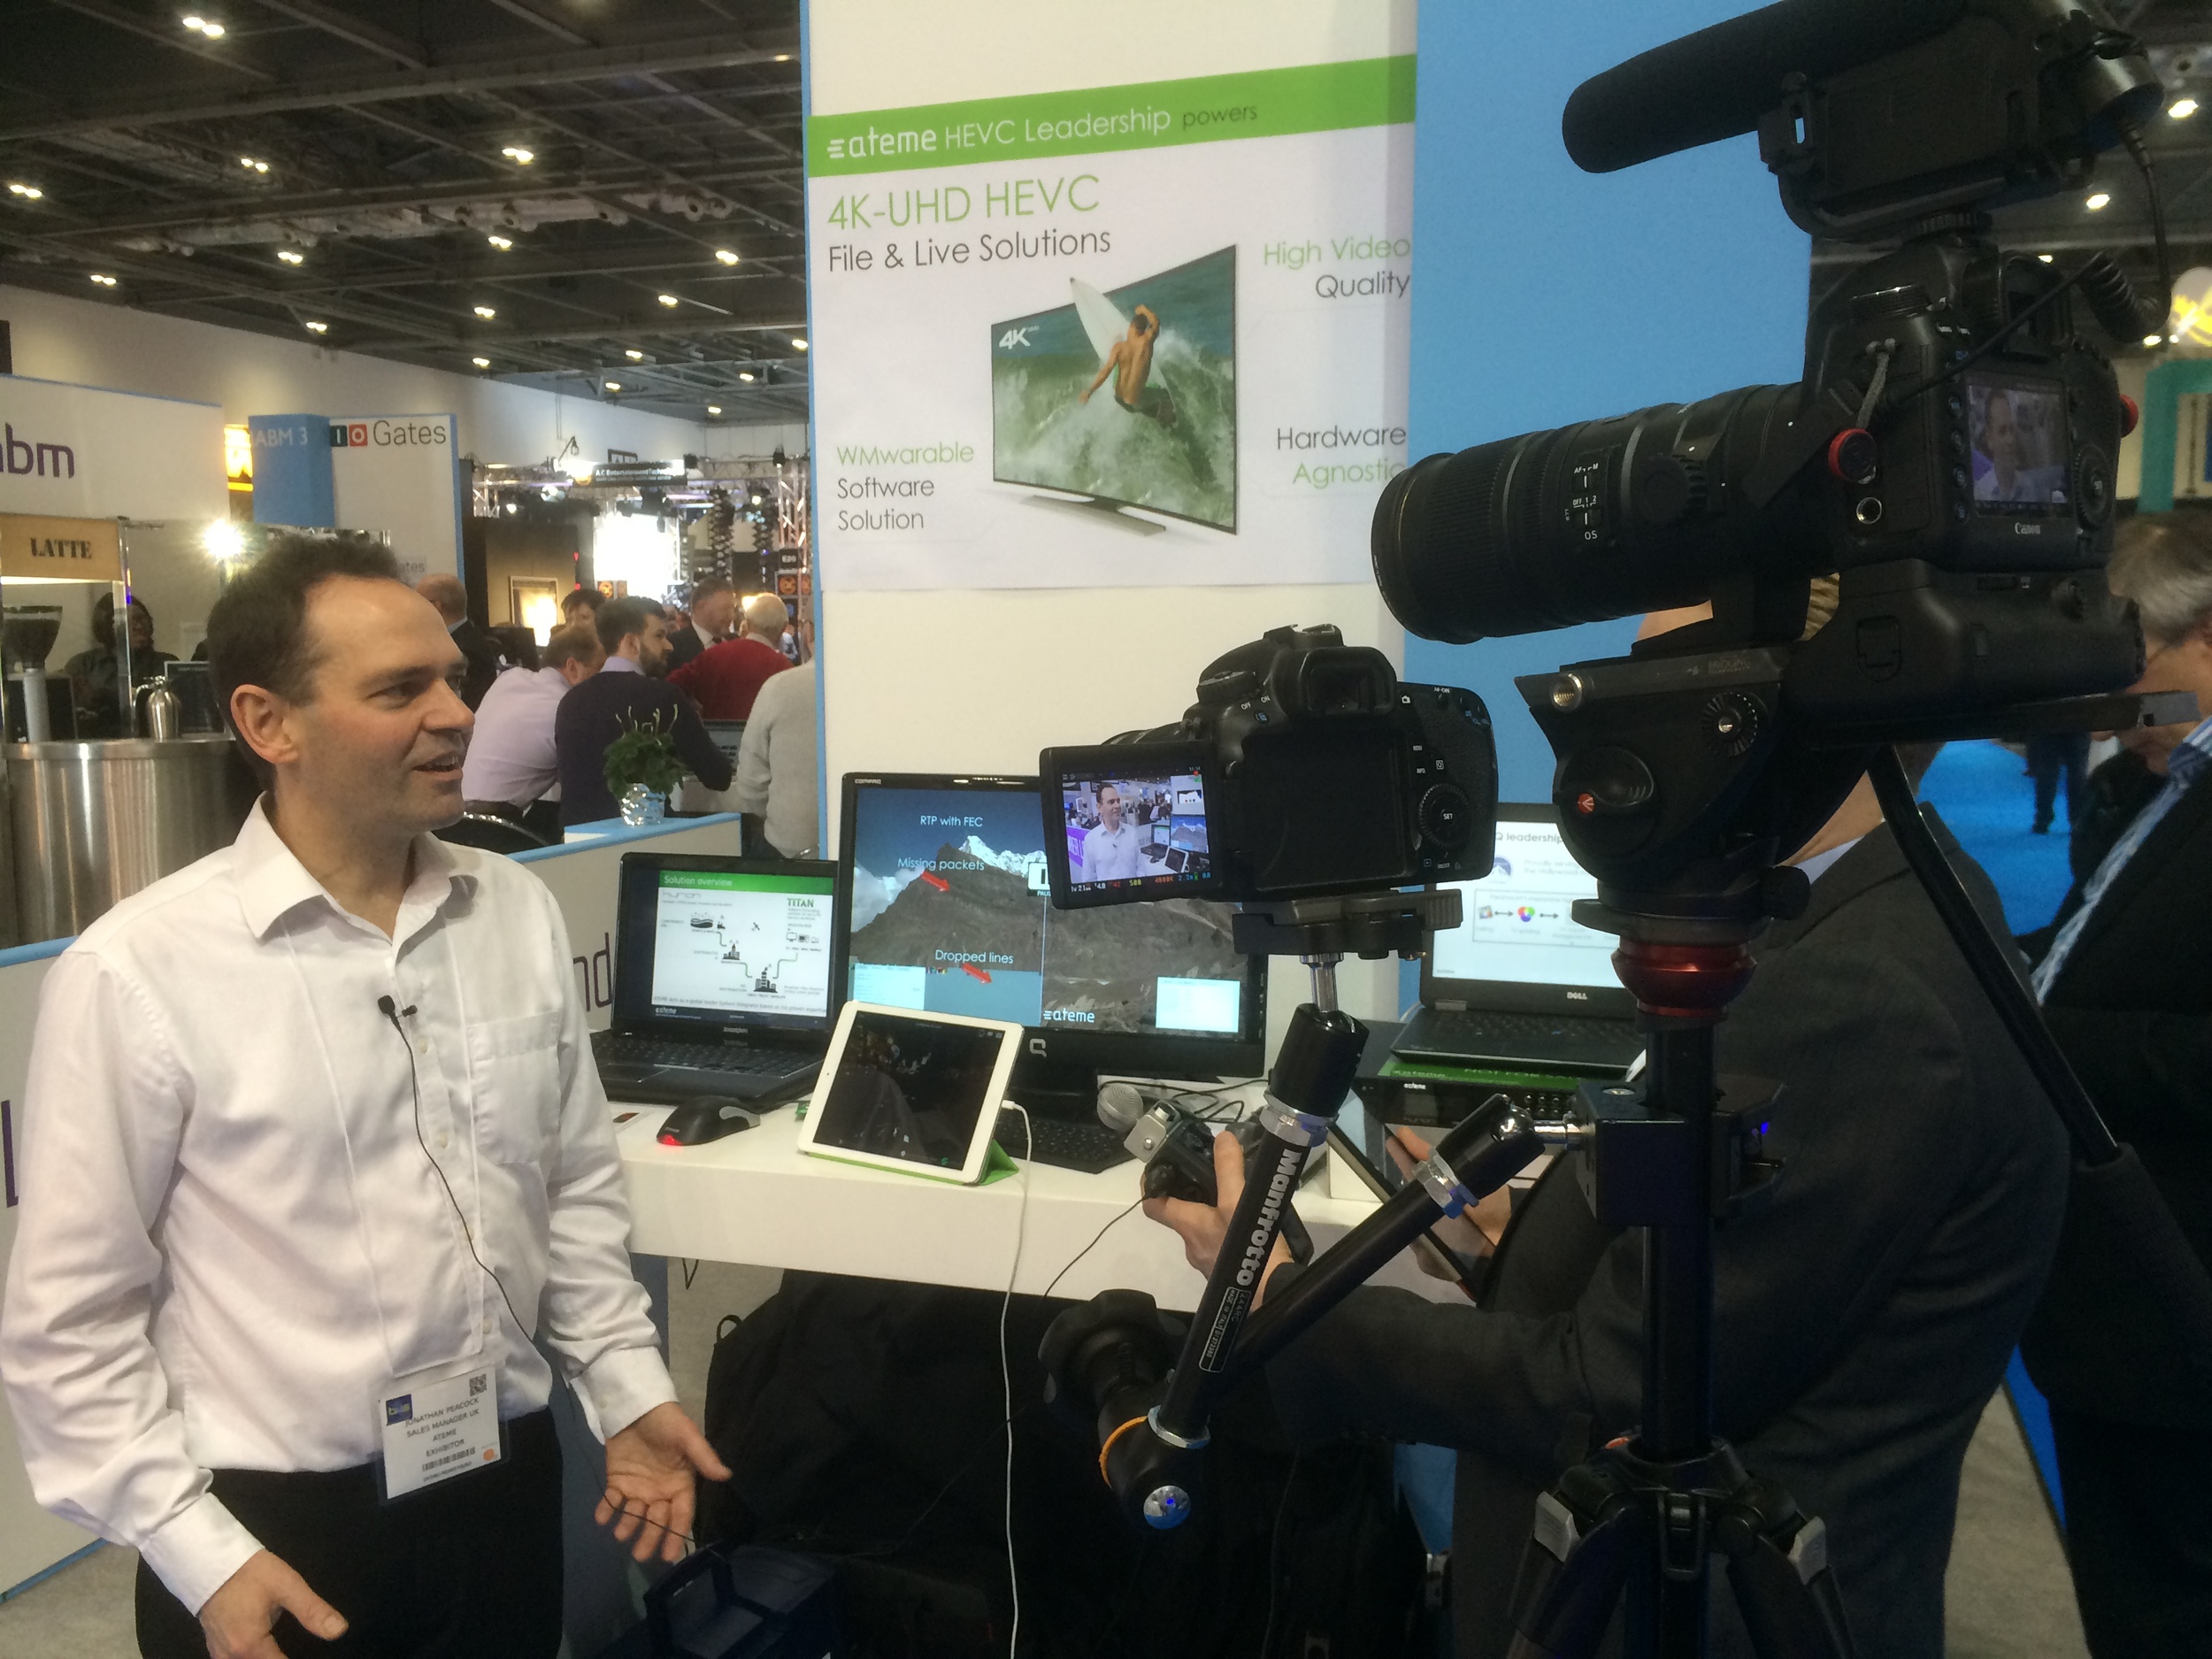
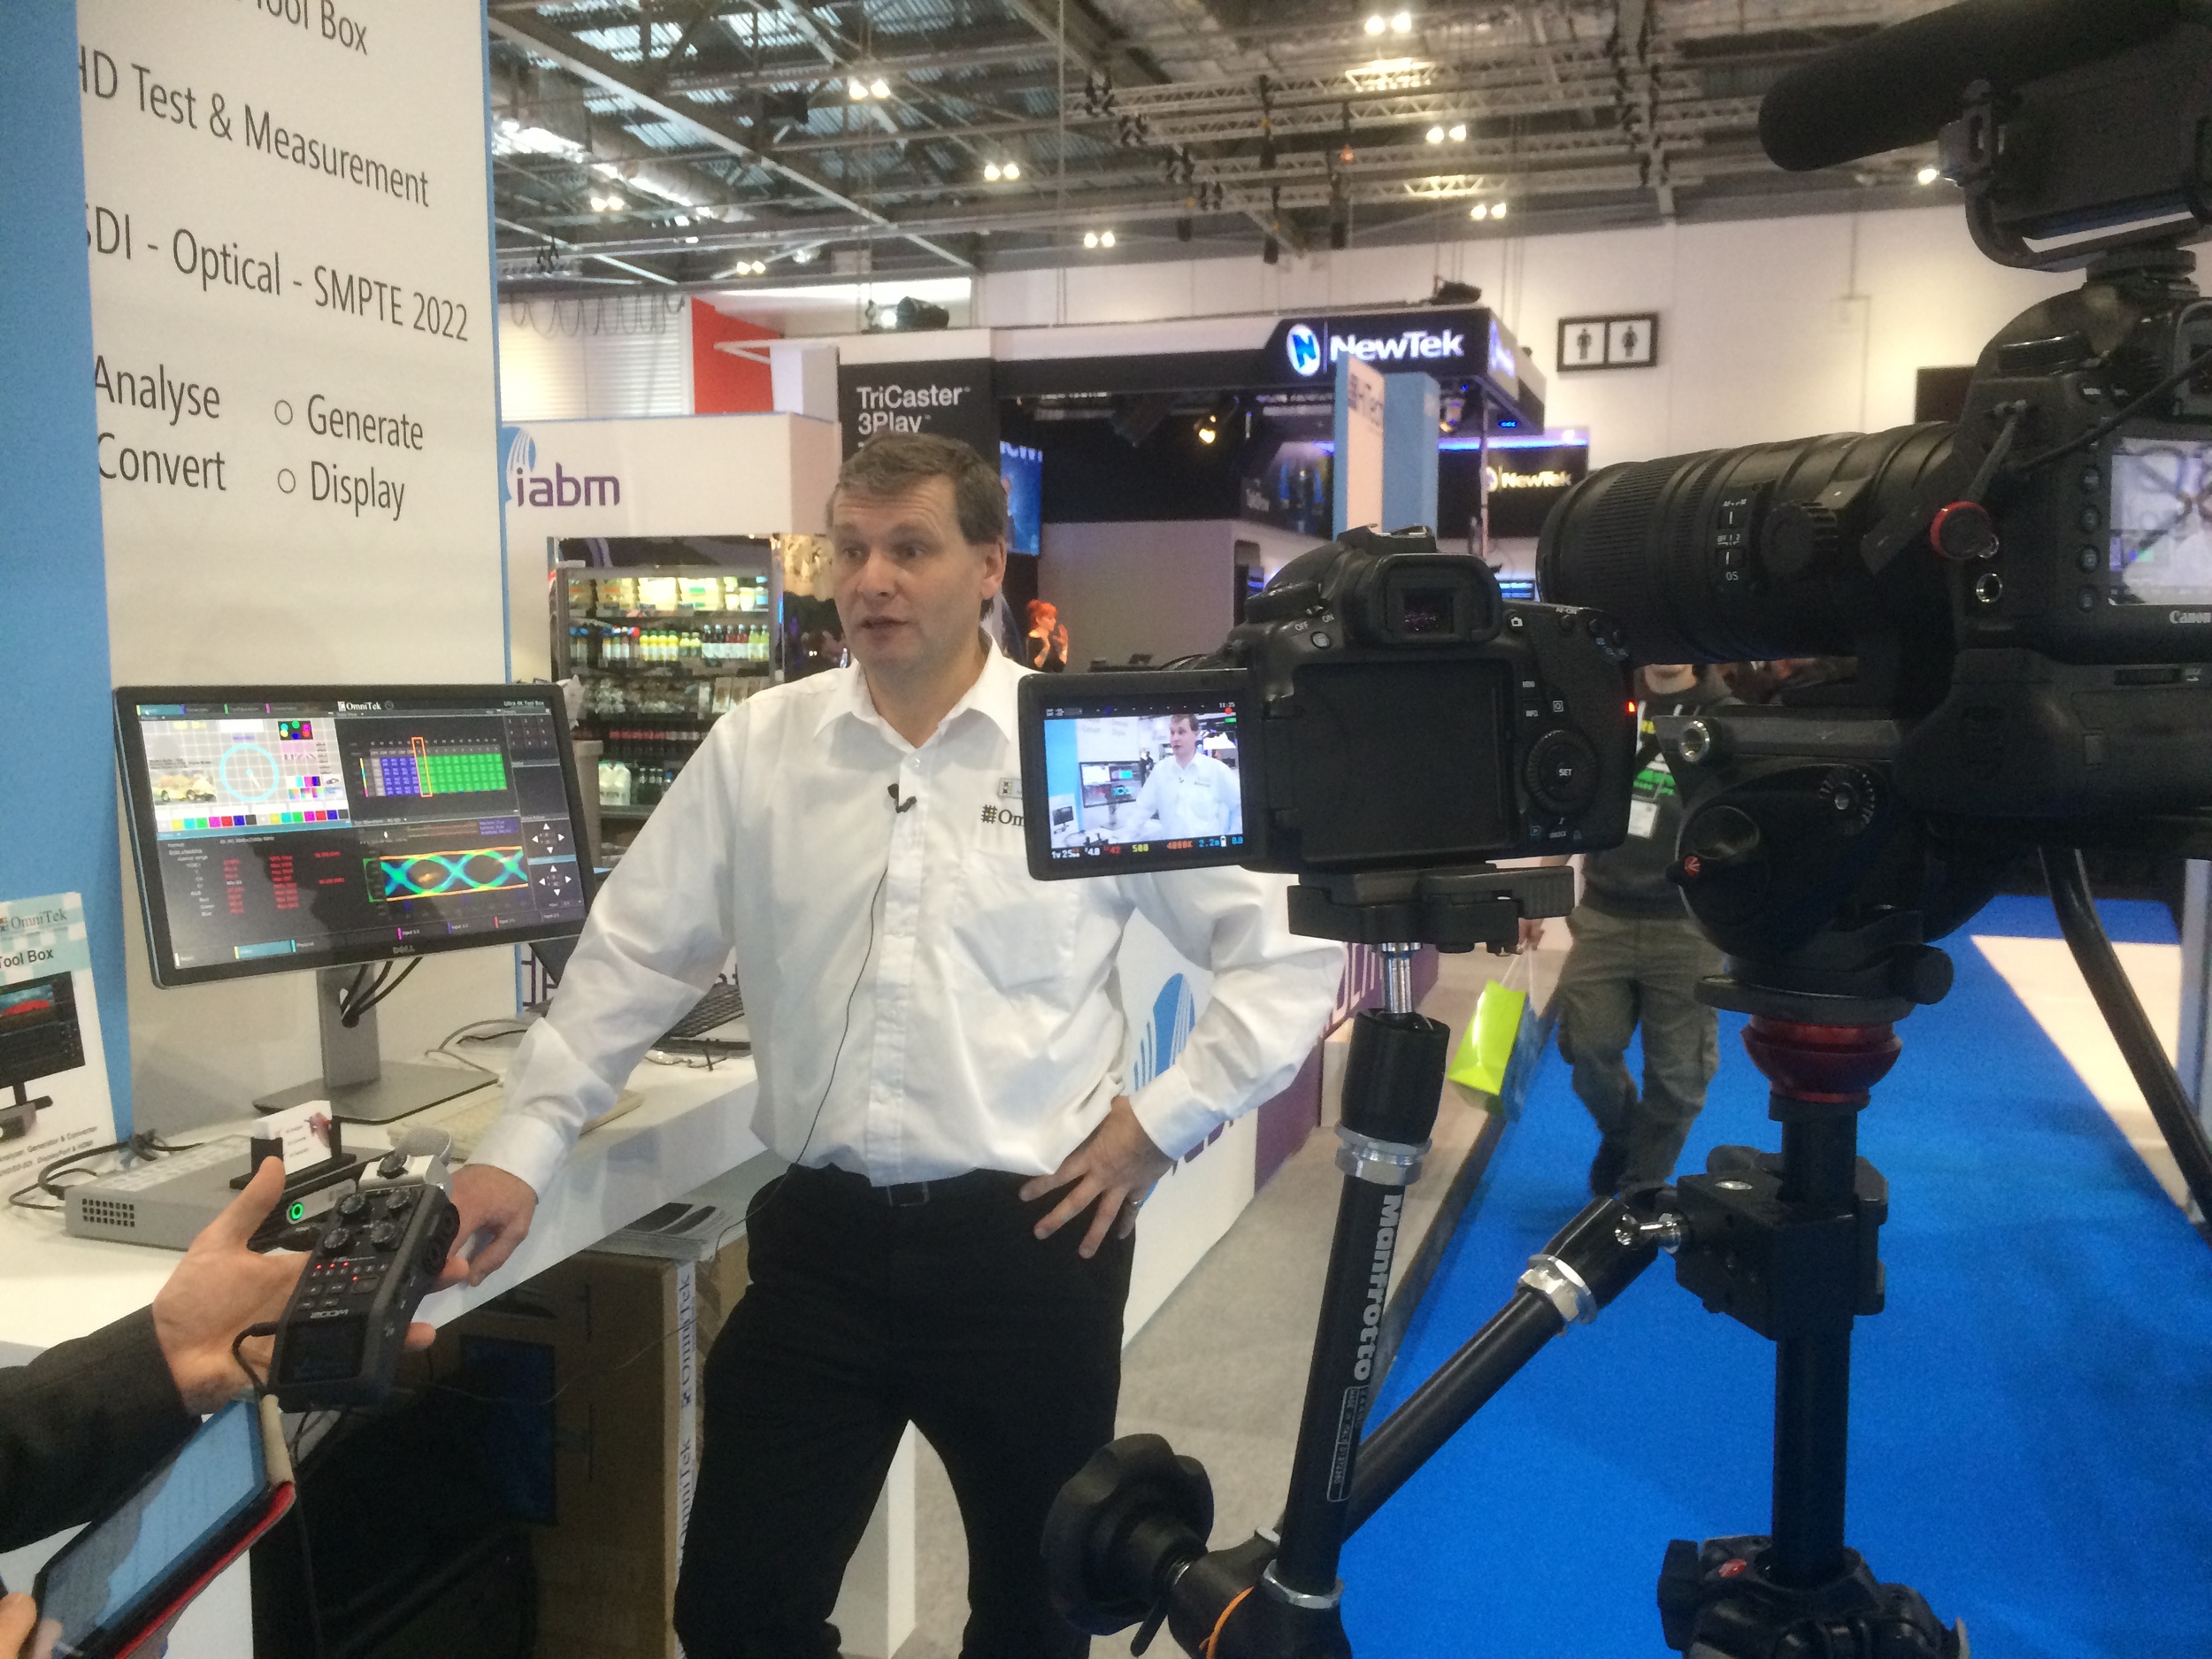
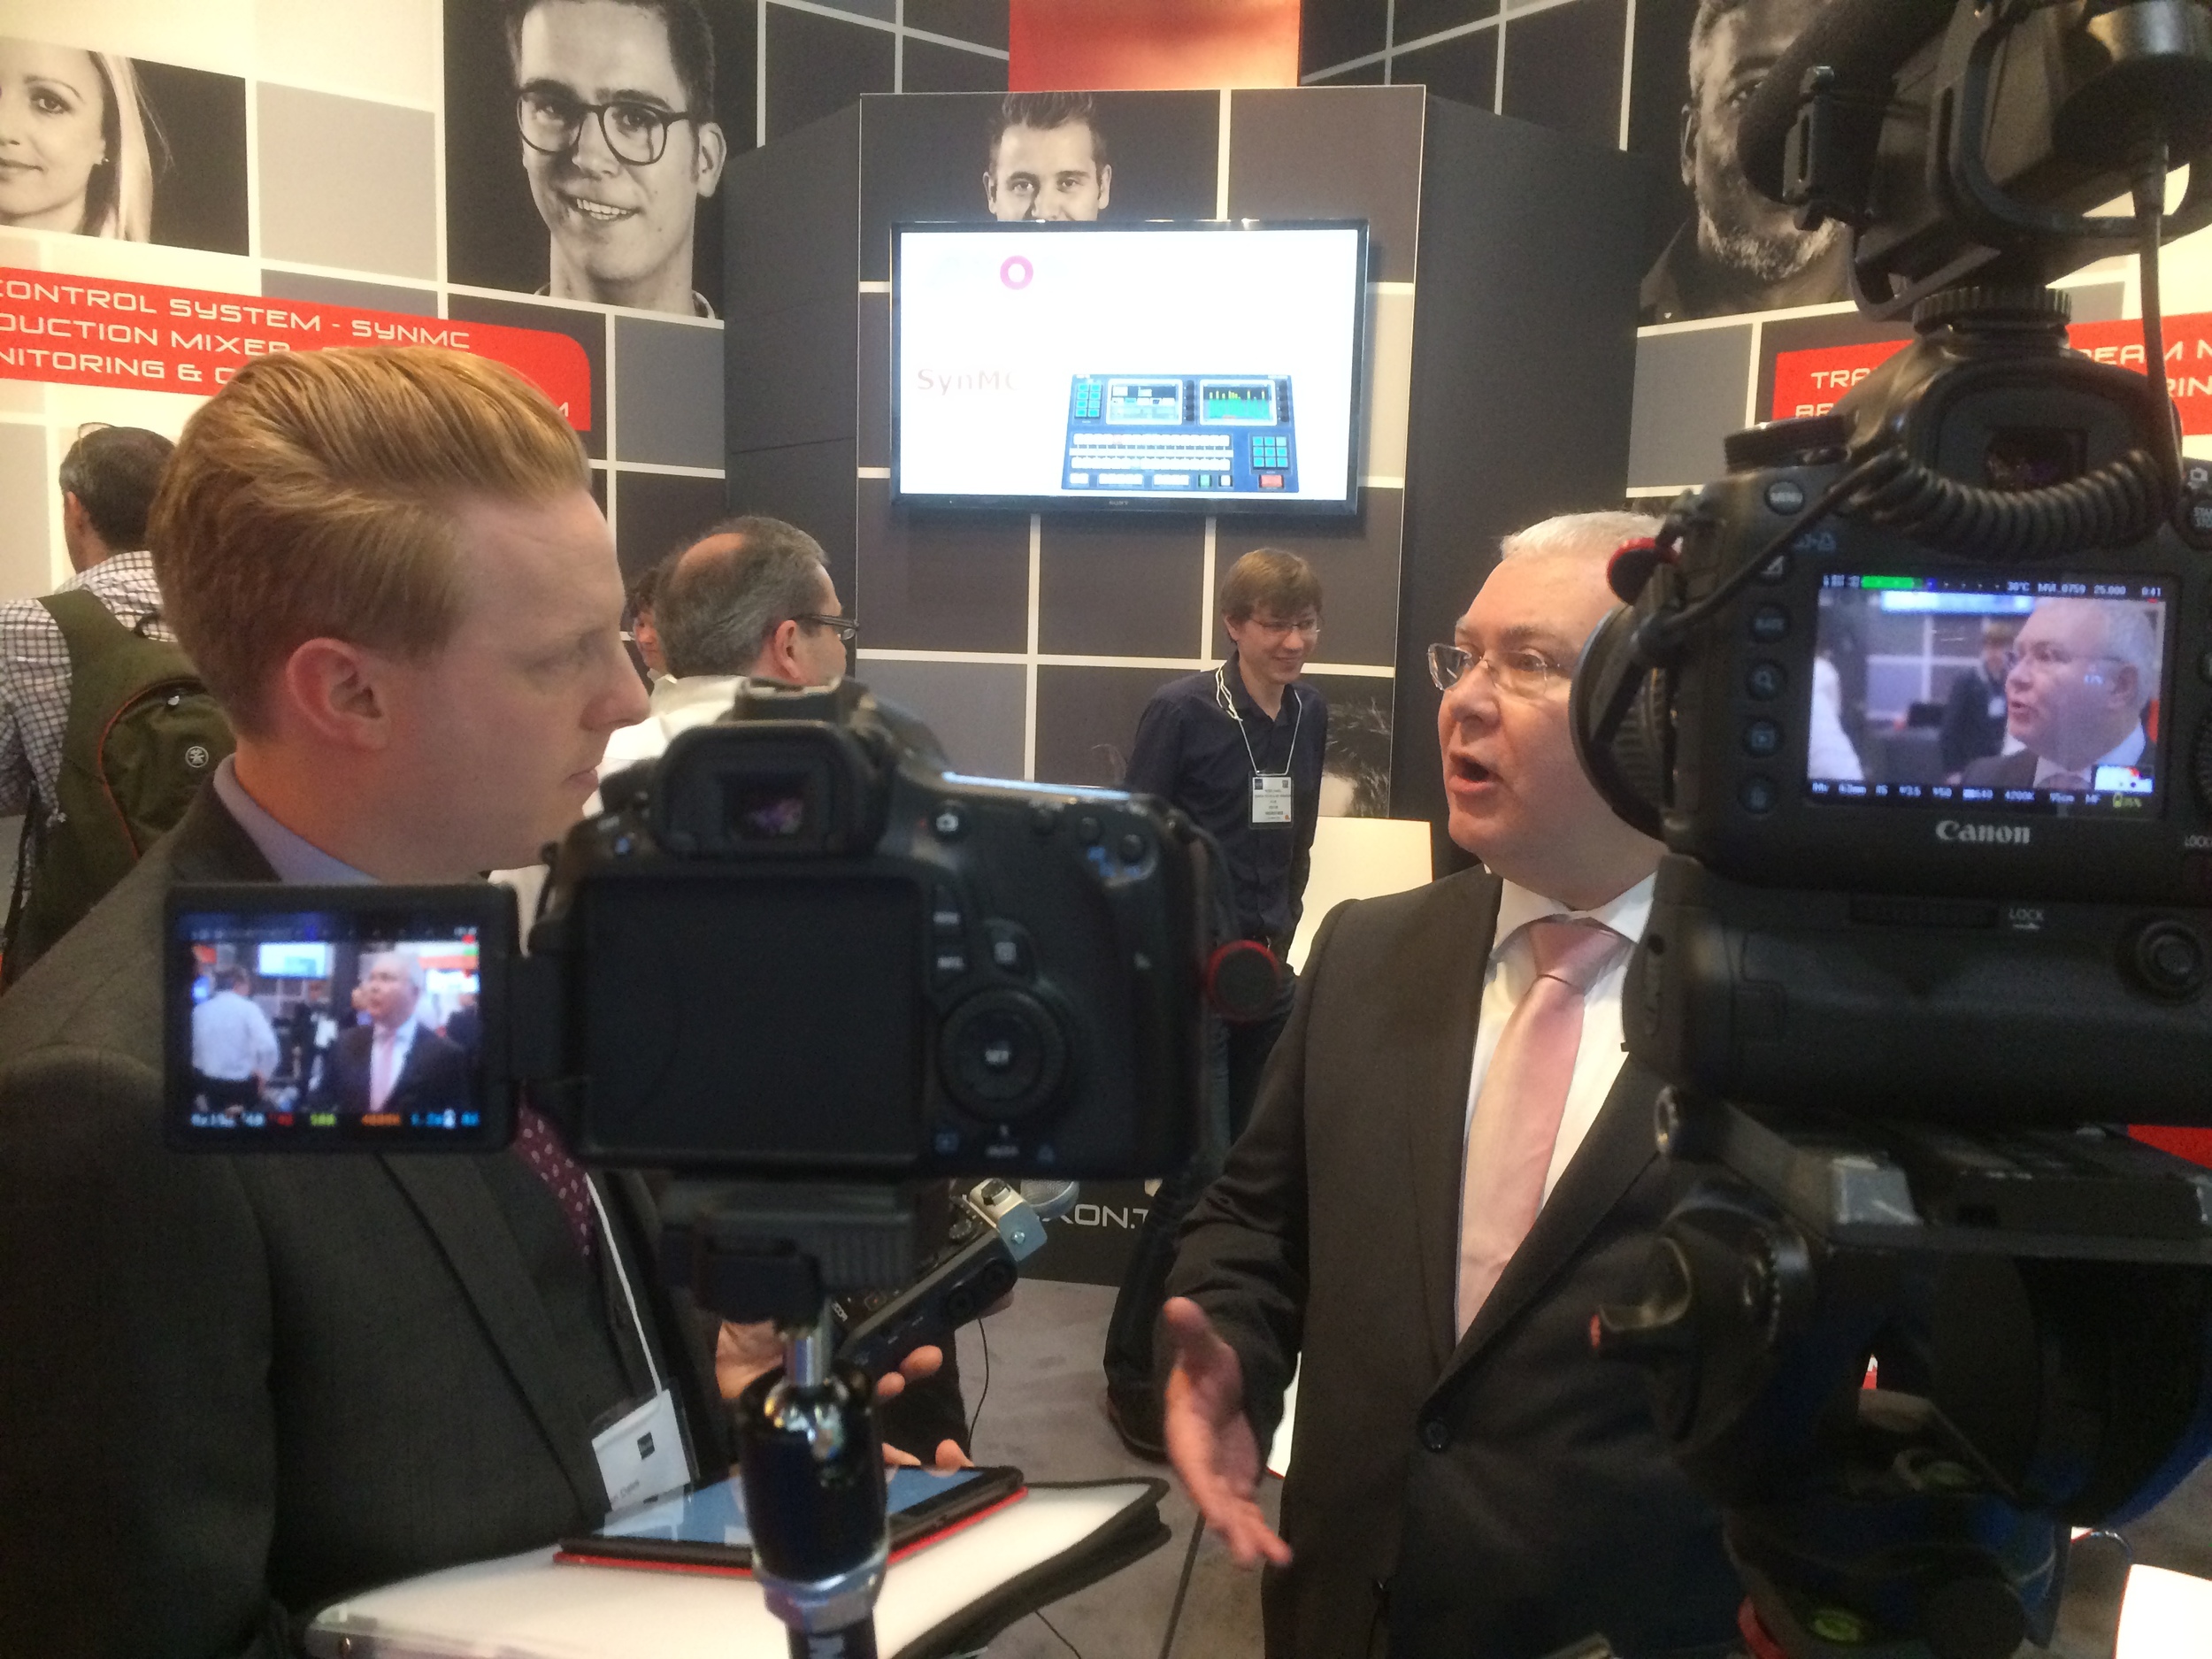
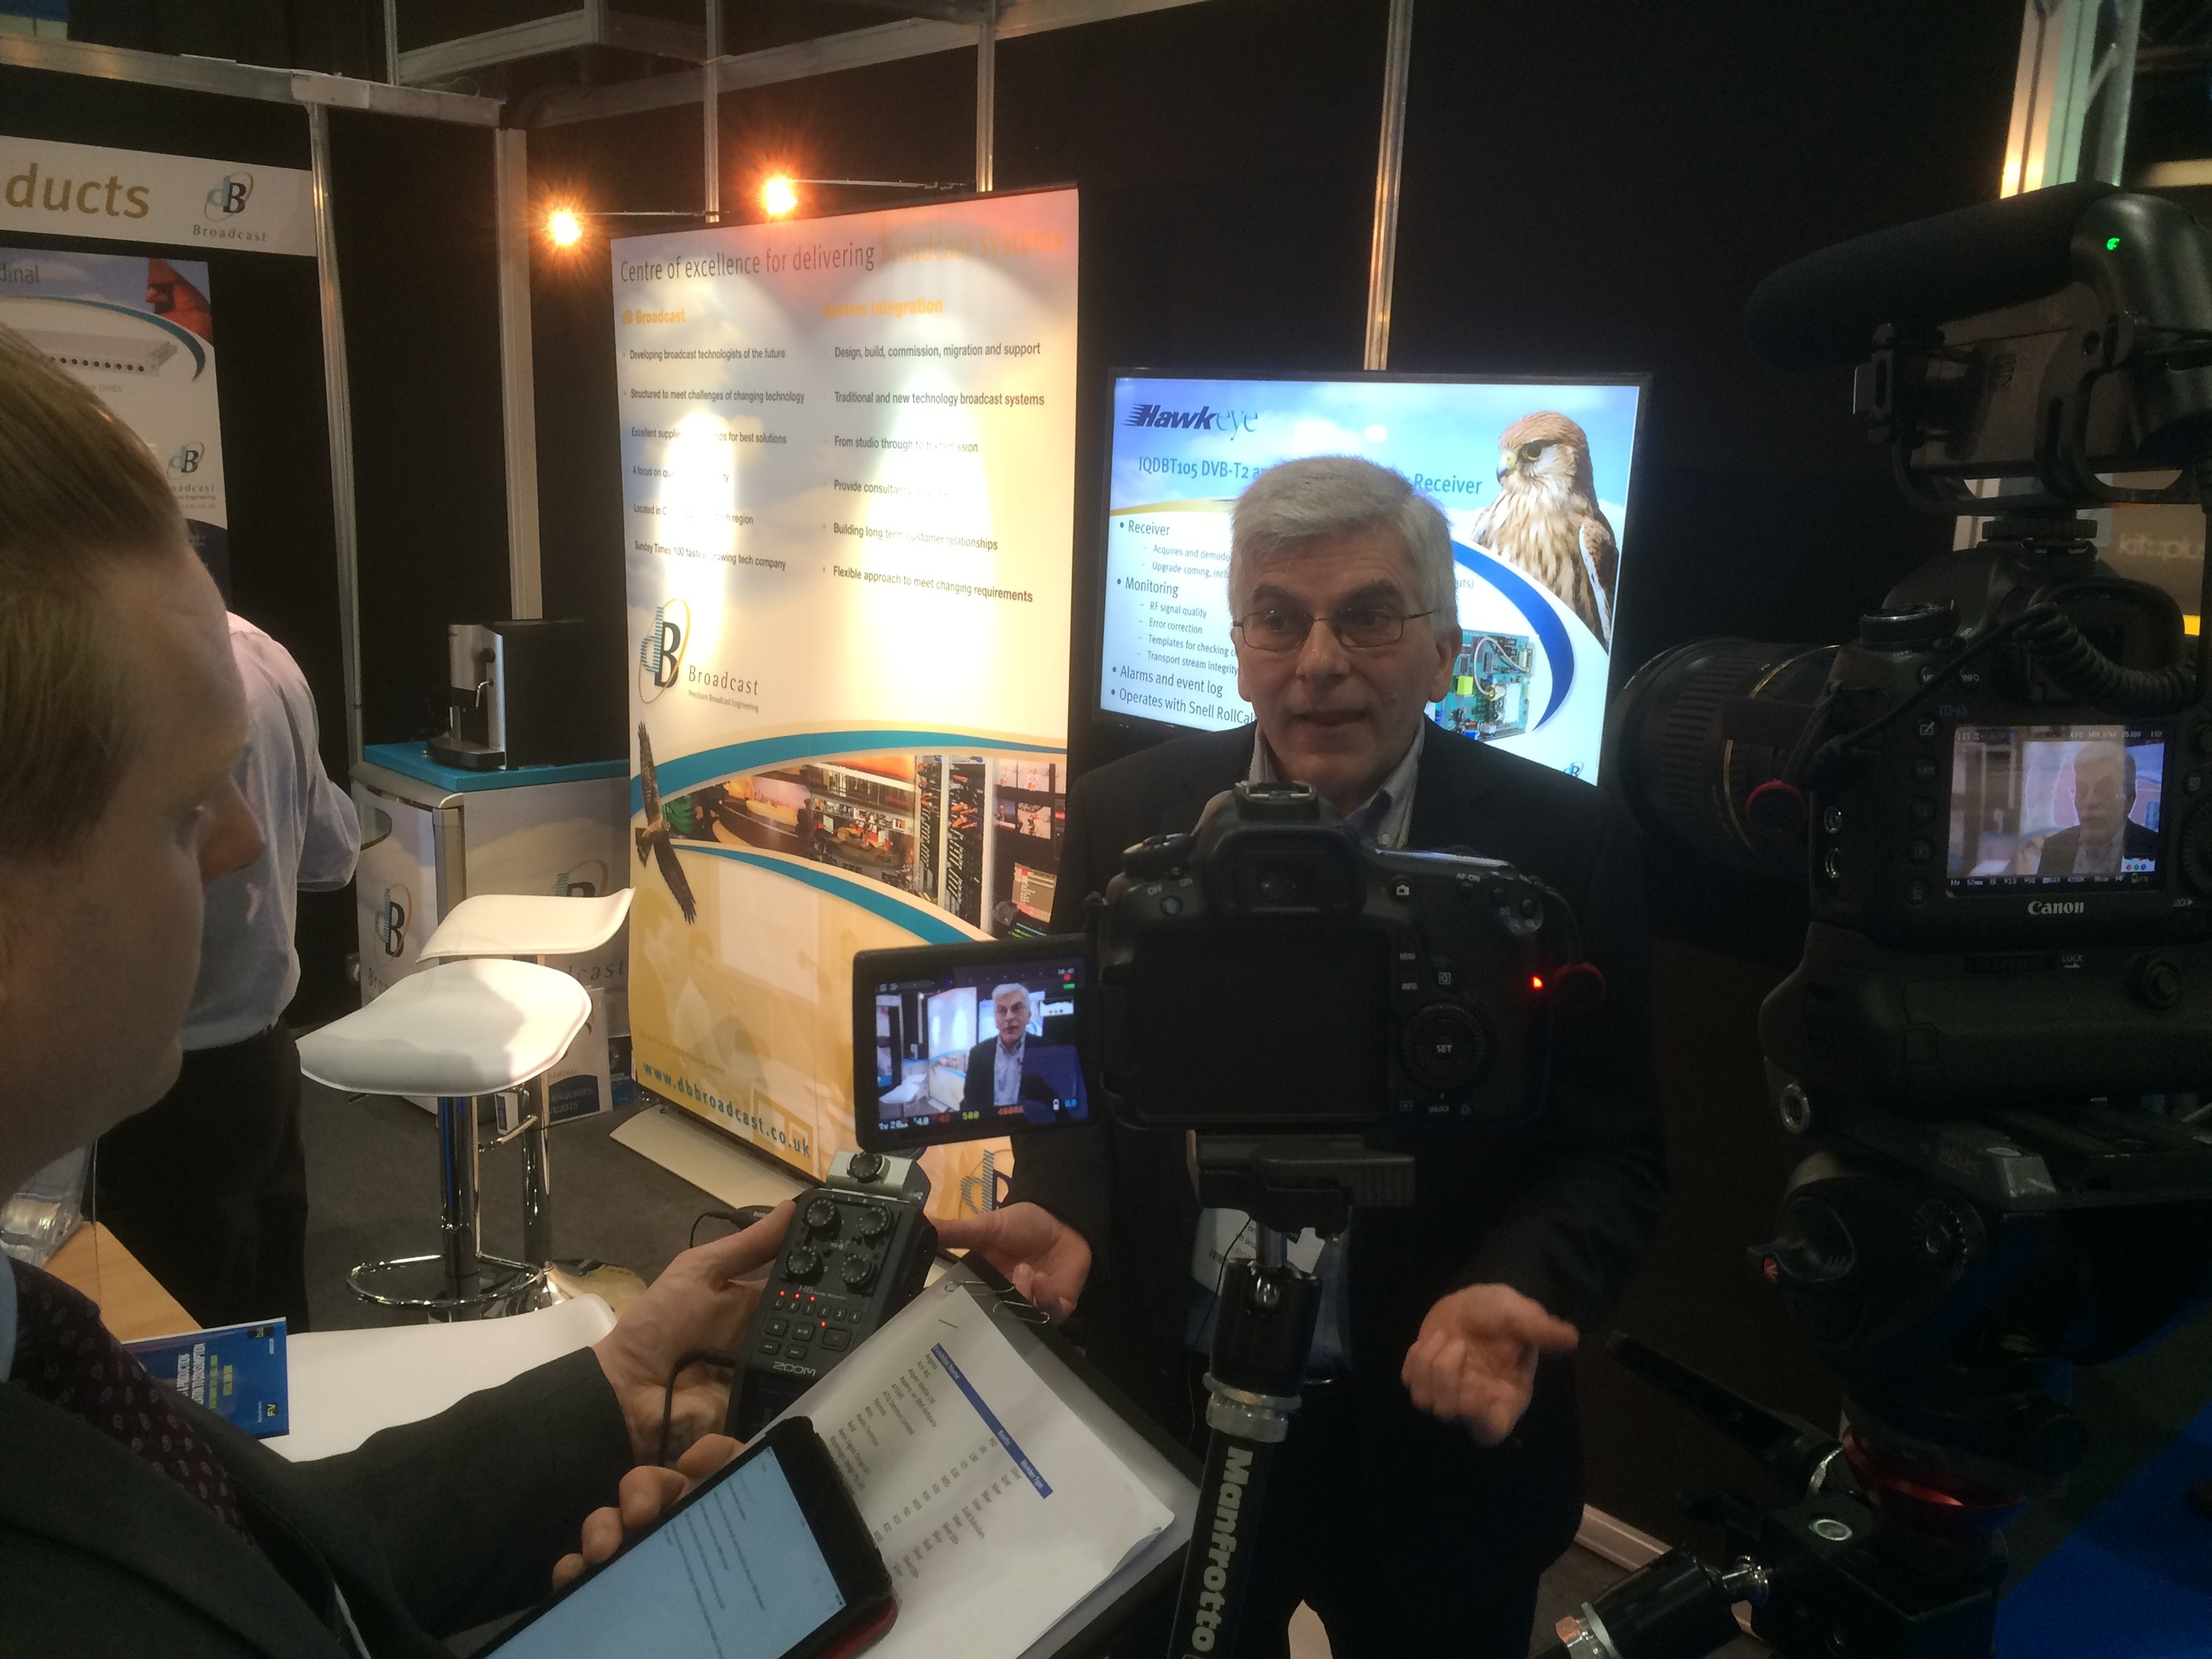
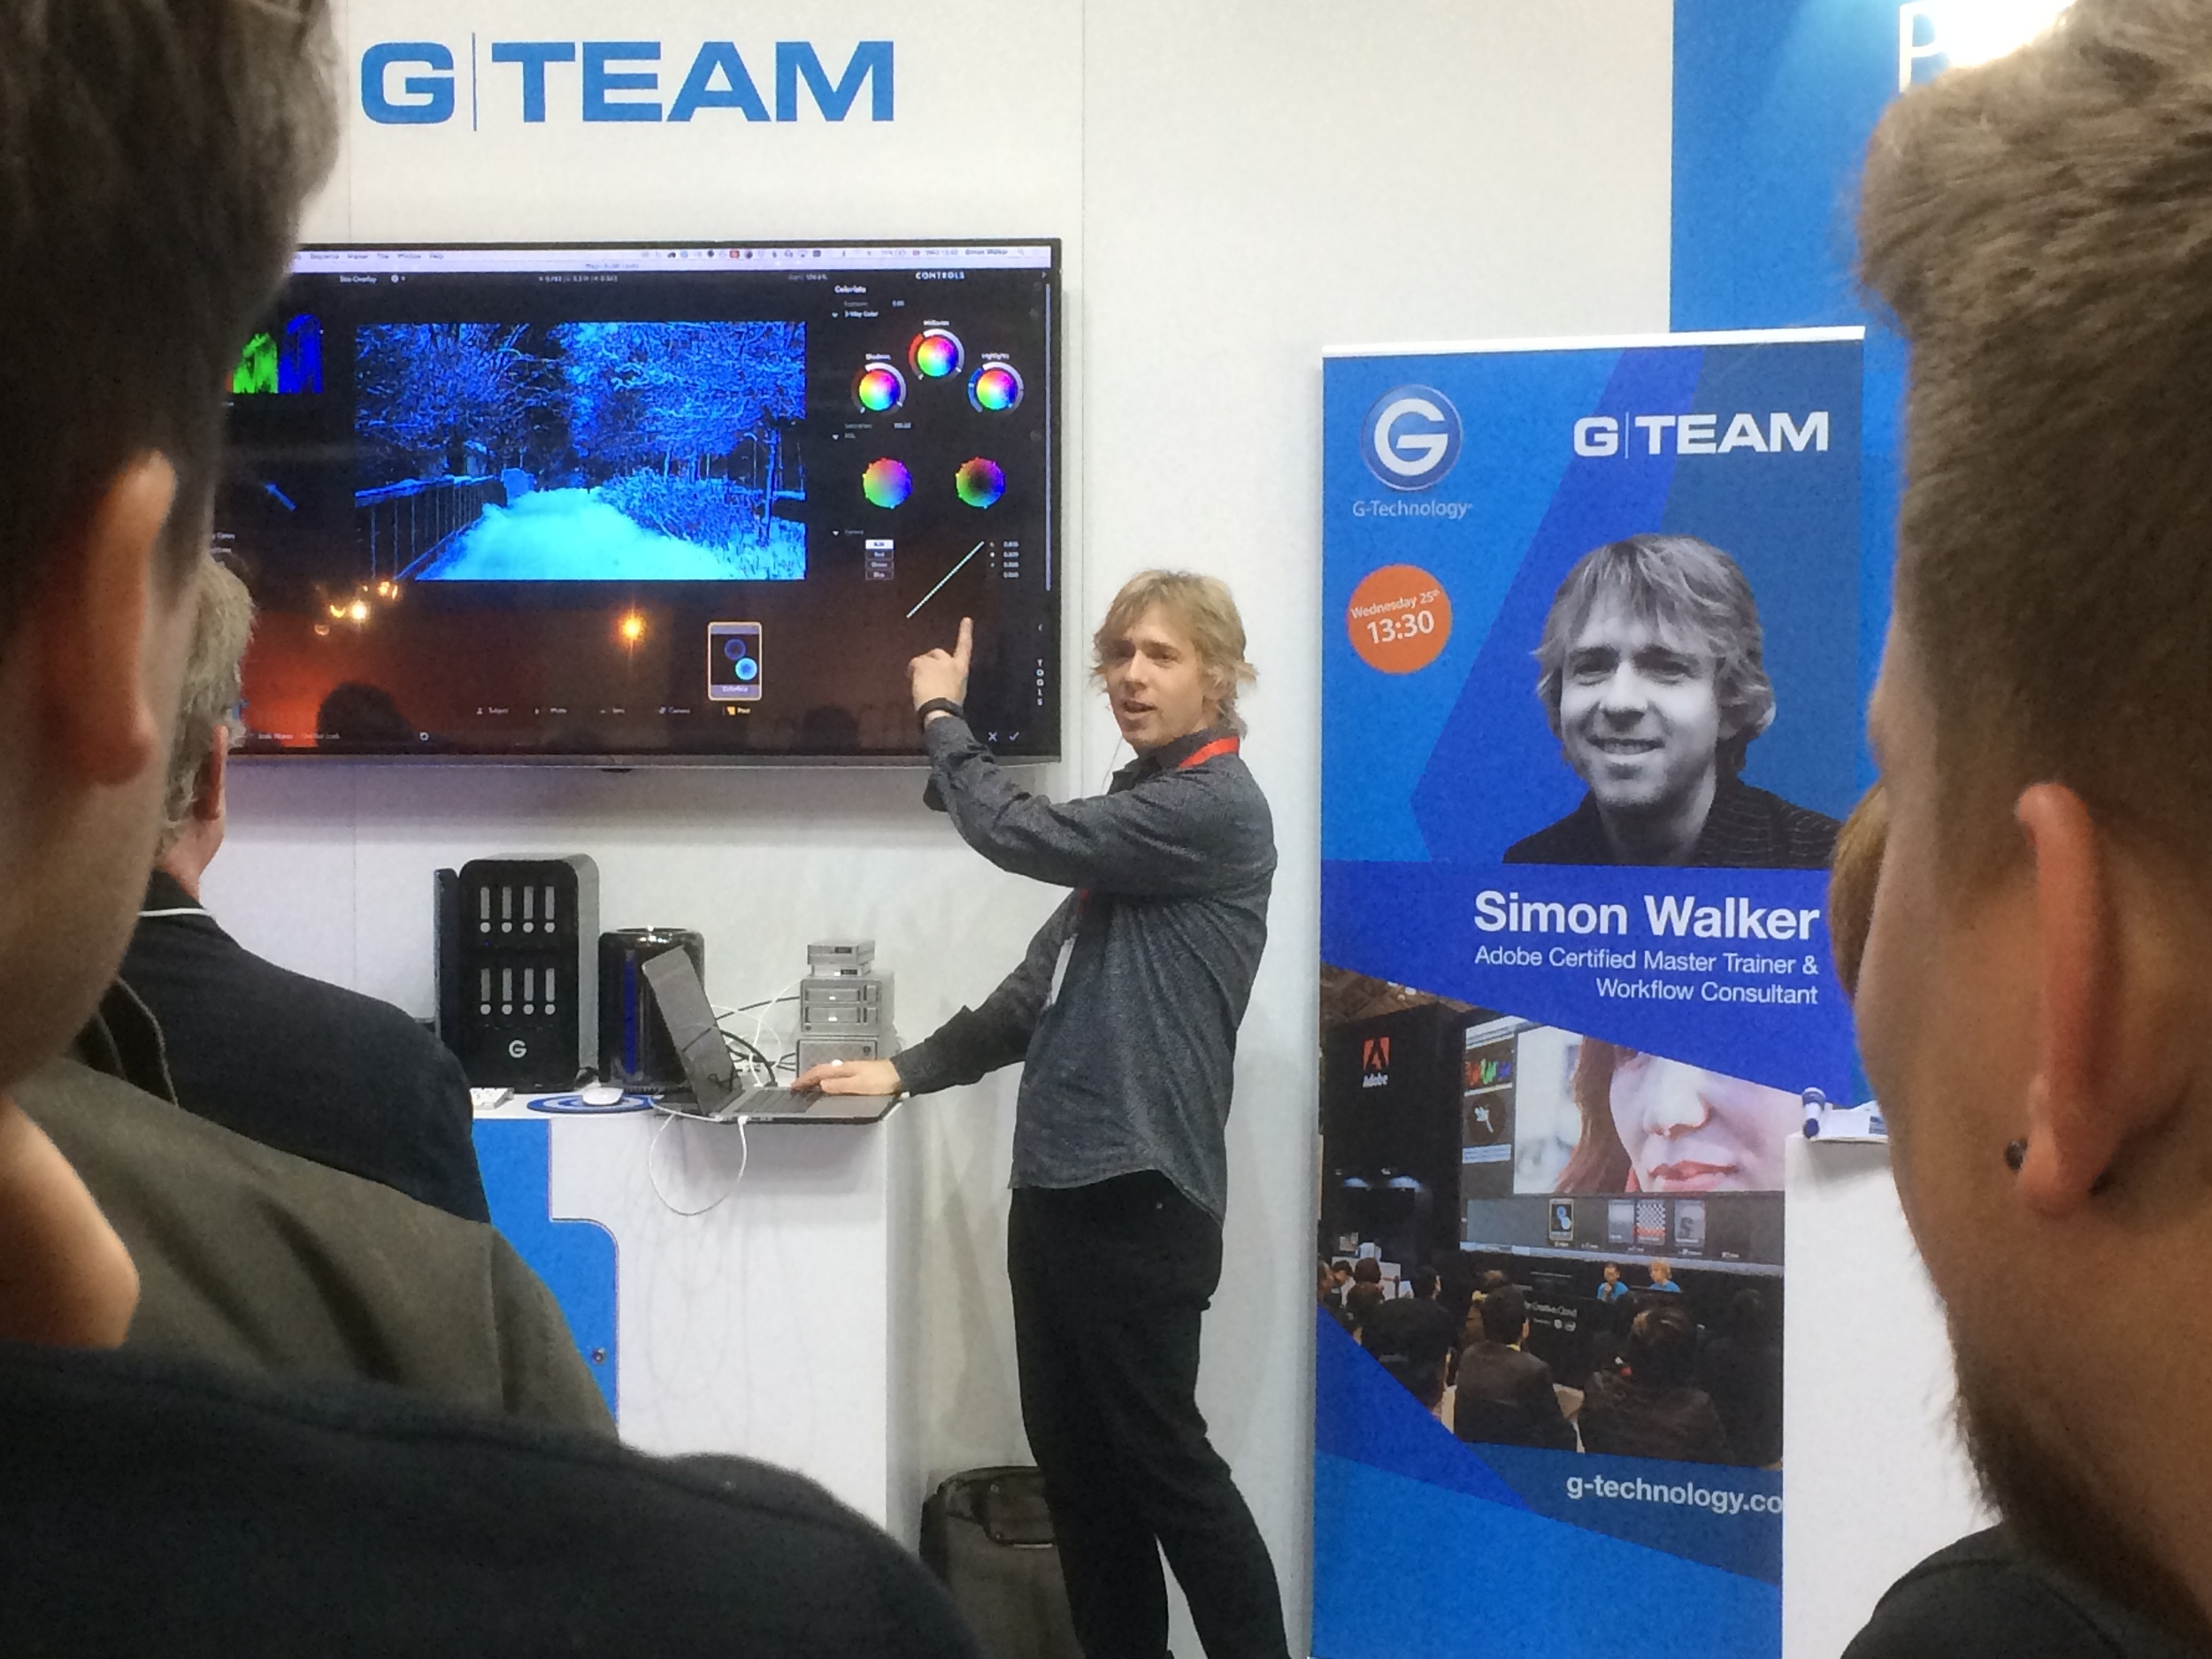
Wow what a show! I cut my stay short to come home and begin editing, which I am still working on now.. But here are a couple of photos from around the show (from my phone) of the various interviews and people I saw!

Exclusive blogs coming later from: Rode, Movidiam, JVC, Sony, Manfrotto and more.

'Adam's 5 Golden Rules of Videography'!

I was asked by Manfrotto to list my 5 golden rules of videography, and while I think creativity shouldn't be bound by rules to follow, these 'pointers' will keep you heading in the right direction to make awesome videos and films!

Check out the rules here..

http://www.manfrottoschoolofxcellence.com/2014/12/adam-plowdens-five-golden-rules/#.VJK9FbFXspV

Manfrotto 5 golden rules videography

Filming and editing the Soundbox opening video!

I thought I'd give you an insight into the production of my latest video release; the Soundbox studio opening!

The event took place before the summer, and I took along Sam to help me out with the gear and eat delicious cupcakes! We arrived with about an hour prior to the opening so I could capture some of the establishing shots and BTS of the final touches to the studio.

I had my standard video setup with me:

5D mkIII, Tamron 24-70, Sigma 70-200, Samyang 14, 35, 85.

Zoom H6, Roto-mic.

I also used the new Manfrotto Spectra LED lights, the bi-colour model is fantastic for a kick of soft light that can be easily controlled to daylight and tungsten colour temperature.

For the grip I had my trusty Manfrotto 755CX-3 and MVH-500AH as it is lightweight and easily maneuverable around small spaces, as well as the Manfrotto 681B monopod and MH054 ball head, Edelkrone slider plus and flycam nano.

Construction and tidying up was still under way when we arrived, so I captured some of the nerves and excitement leading up to the big launch. For the establishing shots I used the Edelkrone slider on the Manfrotto tripod, combined with the 14mm cine lens it gives a great moving perspective and shows off the space very well.

Natural light conditions

It was quite dark in the studio, so I struggled with aperture vs exposure and often shot very shallow to retain light. The beauty of the 35mm and 85mm cine lenses is that at T/1.5 they are extremely sharp and great for low light, however without image stabilization a tripod is recommended. I always have my 'go to' lenses on hand as they have good IS and are zoom, so for more run and gun style shooting it suits it much better than needing the time to set up and compose a shot.

soundboxstudioest1
soundboxstudioest2
soundboxstudioest3

The monopod became more useful when the eager visitors began arriving, and after a short and sweet speech, Matt and Jack opened Soundbox to the public!

soundboxopeningmatt
soundboxcupcakes

I captured the buzz and excitement of the event, you could feel the anticipation in the air to see the hard work all finished! I worked with the 5D on the monopod and tripod for most of the time, and occasionally used the Flycam Nano for some moving shots through the studio. I did have to balance the camera and lens when I arrived, as it was set up for a different body when I last used it..

One important skill that I've learned is to become invisible to the guests at the event, or if that tactic doesn't work, being a photographer is a good one too! Acting professional and friendly keeps your subjects in a relaxed and candid manor, rather than adjusting their clothes, posing or avoiding the camera all together. If your subject can feel your good aura, they should respond positively :)

soundboxrecordingstudio

The lead artist of Soundbox is Rebecca James, who was there to perform and support the launch of the studio too! She belted out some great numbers, accompanied by a group of ace musicians on bass, electric guitar and percussion. The track in the background of the video is Rebecca's new one, and will be on her upcoming EP!

rebecca james

Slow mo

As you've probably noticed, I shot a large majority of the event in 50fps (slow motion).. This was purely a creative decision on the day, and also a chance to work in a different format presents it's own set of challenges to overcome.

Now, on the 5D mkIII it will record 1080p 25fps and 720p 50fps. When recording in 50fps the picture appears much softer, and a little darker too due to the shutter speed reduction. In an already darkly lit location, either shooting shallow or with a high ISO were my options as I don't like using a light on camera.

You can push the 5D mkIII very far with it's ISO in video mode, and I often shoot at ISO 2000 and above in certain circumstances.

Gear

Shooting with the Manfrotto gear made me discreet in my filming approach, and provided me with perfect grip and stability for capturing the video. I could rest easy also knowing I stored by camera gear in the Pro Backpack50, so if anything happened to it; kicked dropped, moved, liquid spillage.. My gear is safe.

Post

Backing up the footage happened pretty much immediately after the shoot, onto both drives in my work station and a couple of EHD's. Then, in Premiere Pro I imported the footage, and split up the 25p and 50p into separate sequences so the slow mo footage can be slowed down to the right playback rate.

After cutting down the rushes to the best content, I imported the audio track which Matt from the studio sent over. It's Rebecca James' new track '1000 Roses', which will be on her new EP. To add to the rhythm and pace of the edit, I used the beat and some surprising cuts with the track, and adding in the slow mo shots of Rebecca's performance and the band playing looked good I thought!

latenightsoundbox

Anyways, I added an S curve to an adjustment layer over the whole of the sequence, which limited the black level at 16 and the white at 235. This added a neutrality and a different look I was eager to try out.

scurve

So, what are your thoughts? Got any questions about the production? Hope you enjoyed this post!


Five things I wish I knew when I started as a videographer....

Five things I wish I knew when I first jumped into the creative videograpy adventure that is my life:

1. It does not matter what camera you use, invest wisely in reliable glass.

Entitled 'F**k with nature and nature f**ks with you', after previewing it appears it loads as a playlist, so please skip down to the bottom! Shot on my first DSLR; Nikon D5000 and 17-50mm F/3.5 -5.6, a uni project.

2. Work for free (yes, it's the only way you'll generate enough video content, but you'll make friends, have a good laugh, experience terrible mistakes and awesome times).

Produced by Adam Plowden Videography, edited by Joe Bannister. Shot on Canon 60D, Tamron 17-50, Canon 50mm F/1.8, Canon 18-135mm

3. Fix it in post doesn't exist, in fact, trying to fix it in post can do more harm than good (at least with low budget DSLR productions like mine still are.. For now..).

I had to return to Sian Williams' house because I had over exposed a shot, and didn't get good enough sound during her interview.. Produced by Adam Plowden Videography, 'Behind The Scenes' uni project and mini web series.

4. Think of the sound and the light, our primary senses for absorbing content.

A quick example video shot for my Manfrotto Takeover seminar showing the use of sound and light in short video drama to add emotion. 5DmkIII, Samyang 35mm, Tamron 24-70

5. Be yourself and create things that inspire you.. IE: Put you in your work. Copying other artists doesn't make you stand out, you can learn from them and implement your flair and style into whatever you do. That way, when you begin to get clients you know they are interested in not just what you make, but the person behind it.

A personal favorite is filming plants and nature, a good excuse to get away from the computer! 'Waterhouse' produced by Adam Plowden Videography.

Bonus tip. It is kind of included as part of No.2: Collaborate and work with others from different mediums; actors, musicians, vfx artists etc. It is how new ideas are generated!

SYNC is HaZ Dulull's new short film, I worked with him as well as DP Adam Batchelor on the production! It is backed by Blackmagic Design, Adobe, HP and more so give some support!!!

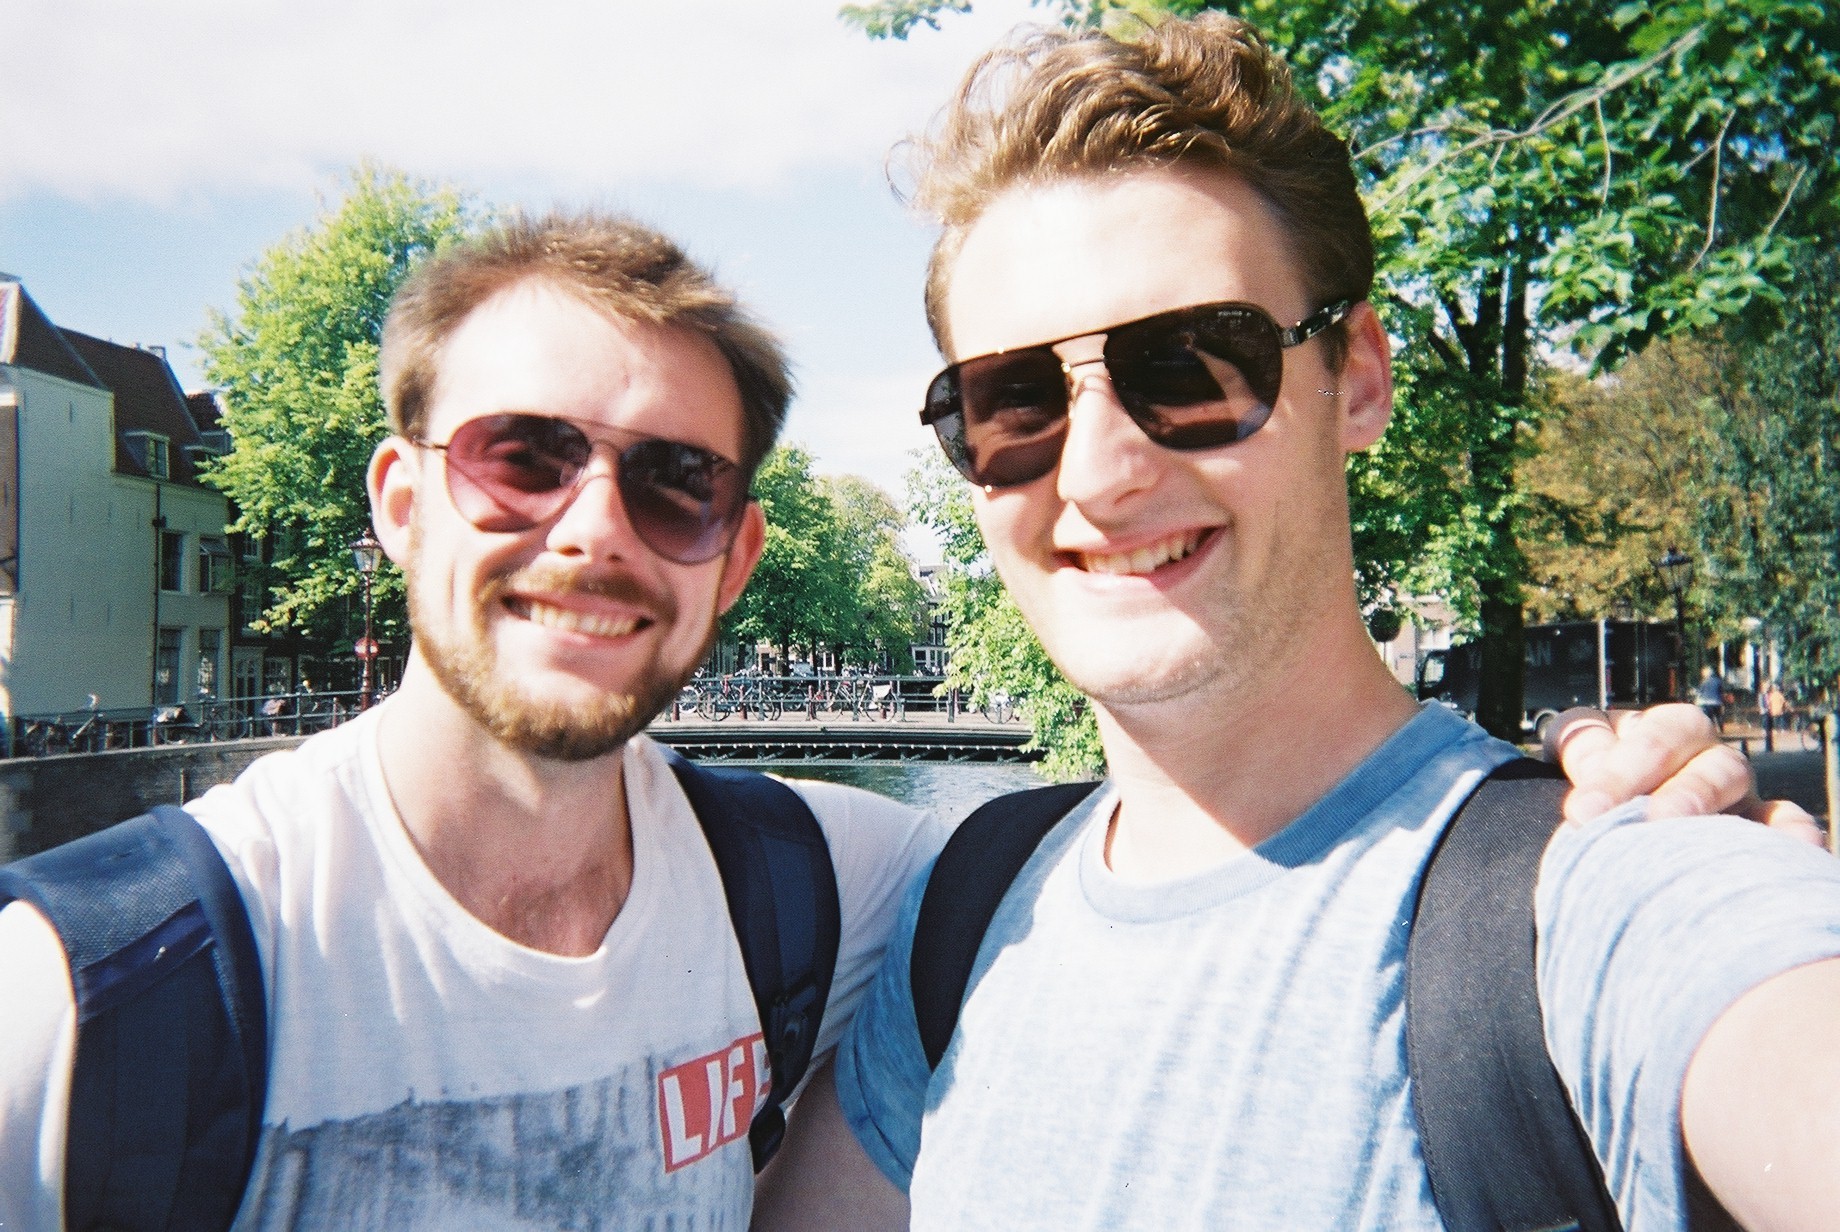
Adam and Glen 1st day in Amsterdam for IBC 2014! Taken on a disposable camera by Glen Symes.

I hope these little tips will serve you well, a shout out to Dave Beck at Avenger and John Harris at John Harris Media too I couldn't have done it without you! And Glen and Sam. Much love.

New summer post coming very soon!

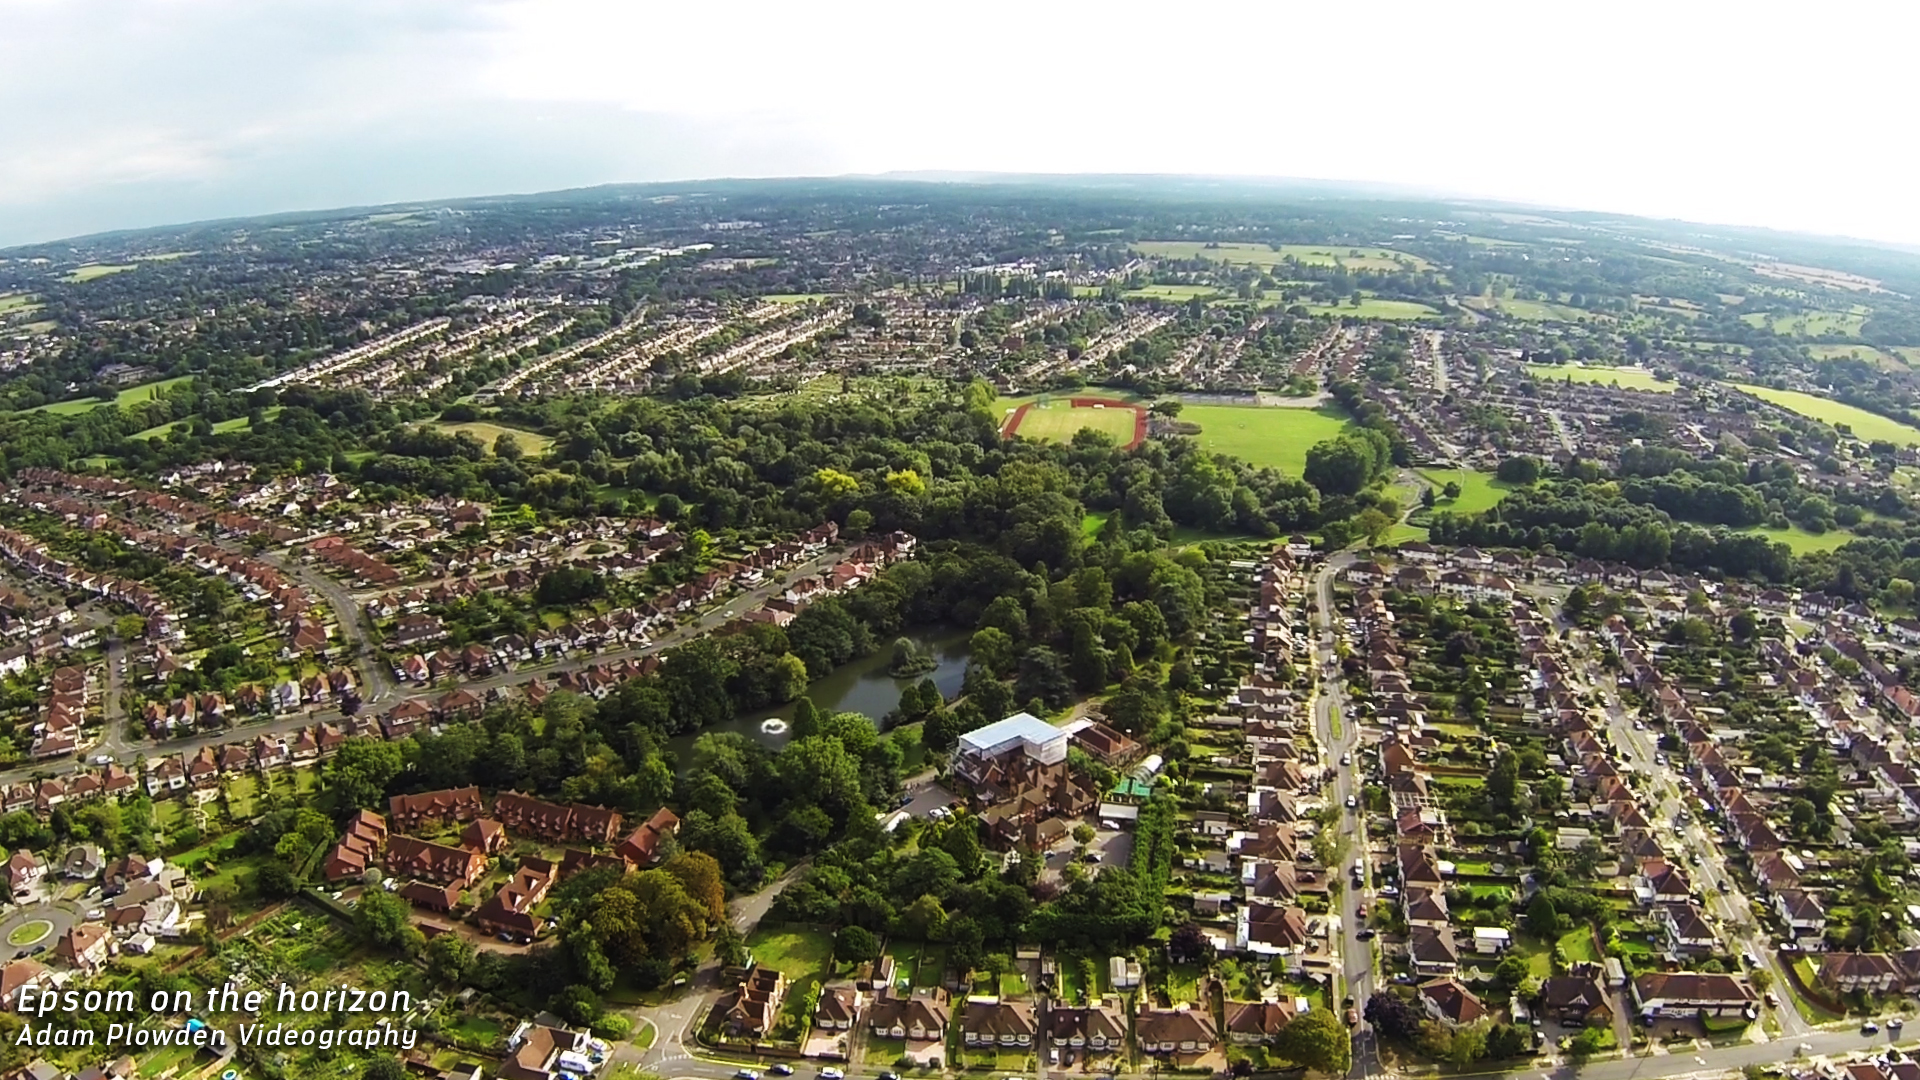
It's been an extreme summer season! From epic weddings with drone flying to creating the videos for The IABM for IBC, it has been immense. Epsom and Ewell from the air, Adam Plowden Video

Now nearly 9 months since starting Adam Plowden Videography properly, I am over the moon with the great clients and people I've worked and am working with.

I still have a number of productions on the go, and I will be attending The IBC Show in September so there is much more great stuff to come!

Massive shout out to the team over at Manfrotto who have been a great help with sorting out equipment for my travels abroad!

Keep those creative juices flowing!

[vimeo http://vimeo.com/103717010]

[vimeo http://vimeo.com/75340958]

Behind the scenes of yesterdays Wellbeing videoshoot!

06:30 Kit bag, check.

Audio kit, check.

Lighting, check.

Brain, just about.

bts early morning sky

Yesterday I was out filming talking heads and some b-roll for a Wellbeing project on behalf of EEBC. Wellbeing is our general mental and physical health, but there are many factors in the way that we live that can affect our chances of developing serious health problems in the future. These include some sensitive subjects, that I was capturing to provide an information base for those in the community that may be suffering, or have friends and relatives of those diagnosed with; Cancer, Coronary Heart Disease, Dementia and Diabetes.

I was featuring nutritional expert Yvonne McMeel throughout the videos, so I began by planning my main piece to camera with her in the Wellbeing Centre.

This was a standard video shoot, so I packed my kit bag to be prepared with whatever the day would bring! This included;

Video - Canon 5D mkIII, Tamron 24-70 F/2.8 VC, Sigma 70-200 F/2.8 OS, Canon 60D.

Audio - Zoom H6, Roto-Mic, Sennheiser ENG-G3 100 wireless.

Grip - Manfrotto 755CX3 tripod + MVH500AH, Manfrotto 190Pro-B (old version) tripod, Super clamp and magic arm.

Lighting - Daylight balanced 85W studio light with soft umbrella.

Extras - Lilliput 1018 (I am currently testing out and reviewing this product).

behind the scenes videography equipment

I took along the Lilliput 1018; the new flagship 10 inch touch screen field monitor, which produced crisp pictures and well represented colours. I ran this on a F-970 battery with HDMI through from the 5D, so I could monitor both. This did however cause the camera to heat up quite quickly. However, the monitor has awesome features usually found on high end products which include; exposure and focus peaking, on screen waveform monitors, levels and much more, which came in very handy for assessing the quality of the picture. (More coming later regarding this product).

behind the scenes make up artist Char1 behind the scenes make up artist Char2 Char doing her make up thang!

I began setup at 9am, shortly followed by Char the make up artist who set up her bits. The location for filming was the Wellbeing Centre, which as a wonderfully bright open facade with big doors and windows. Luckily enough, blaring heat and sunshine poured through the windows, so that was my key light at slightly cooler than daylight colour balance at 5200k. This also matched the daylight light fixture I was using to add a fill and kick to the subject.


Why did I use a 2-point light setup?

I could have rocked up with the intention of using just the daylight and the incandescent lights in the centre with the mentality that it will illuminate my subject well, but there are risks you have to be willing to take if you approach lighting in a casual way. Some points to remember when thinking about lighting your subjects;

  • Are they defined from the background?
  • Do they have harsh shadows on their face?
  • Moving sunlight will change throughout the day, in brightness, direction and colour.
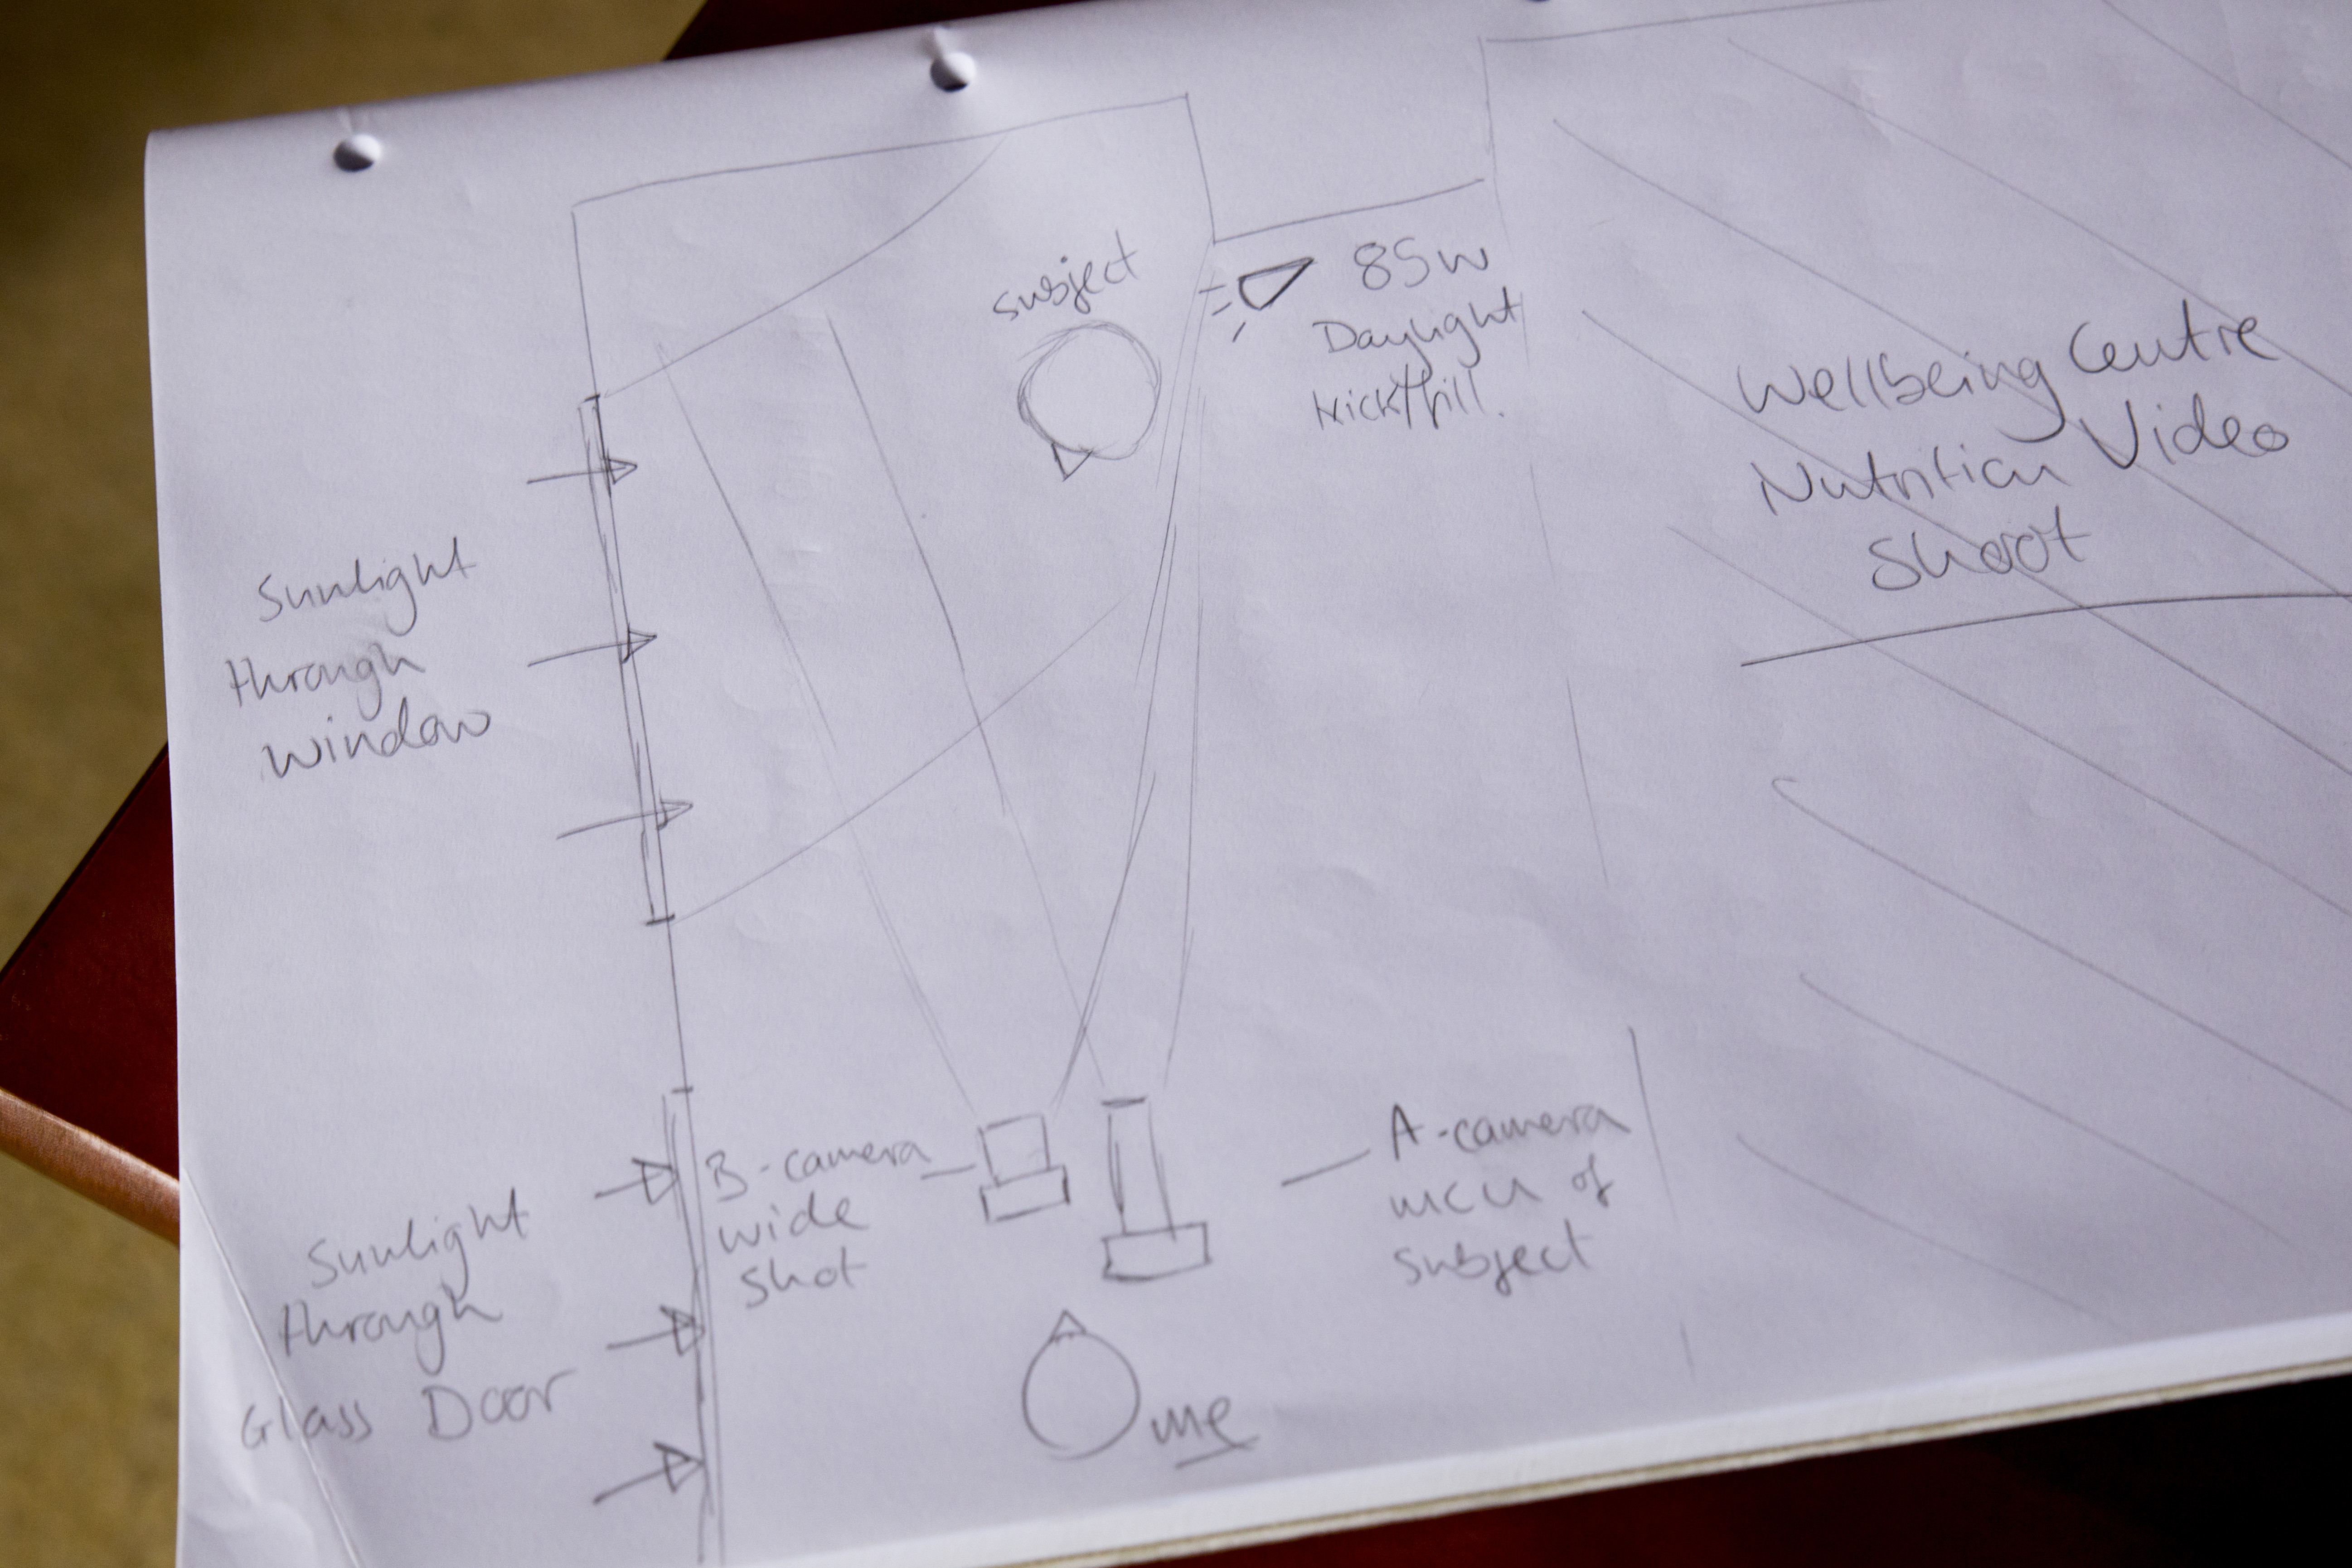
  • bts wellbeing light setup

Now, when you haven't been to the location before it is difficult to judge the lighting conditions, so firstly if you can have a RECCE of the location. It is very beneficial as you can begin to compose the scene, judging the internal and external lighting, now noisy the environment is, whether you will need a backdrop instead of a plain background.. All points to consider before you turn up with the camera kit and begin filming.

Defining the subject from the background is what makes them look 3-dimensional and not flat, this is the same for the shadows too as it shows that features are visible on the face. With DSLR's it is possible to use depth of field to define your subject from the background, but lighting can also be used to 'pop' the subject out of the BG.

Harsh shadows are caused by strong direct light, and are unwanted as they mask features and don't represent the subject properly, unless this is the effect you are looking for. For piece to cameras and interviews having soft shadows around the nose show the features of the subject, again making them look real.

The sunlight is your best friend and worst enemy at the same time... As the Earth rotates, we move further away or closer to the sun which changes the lights direction; if you start filming in the morning with your subject lit from the front, by 12 noon the sun is over head and by the late afternoon the light will be behind you. To combat this, keep continuity by filming at the same times each day, or even simpler be aware of the suns direction and gradually rotate the subject and other lights to keep a constant illumination. For me, I was filming from 11am through to 15:00 with the sunlight to my left for the whole day which was very beneficial, but not every time will I be that lucky!

Watch out for clouds that can block the sunlight, and be aware of how the colour temperature of daylight changes throughout the day; cool in the morning and warm in the evening. For me, shooting in midday sun meant a constant temperature of 5200K for both cameras, matching the other light.

The use of a kicker or fill light, pushes out the shadows caused by the key light (the sun), and gives a halo effect to the hair of the subject making them stand out. The difference is subtle but effective.


Camera Setup and Composition

Once I had my lighting up and running, it was time to set up the cameras and audio equipment. I was going to shoot using the Samyang 35mm T/1.5 cine lens, but this would result in being intimately close to Yvonne, the subject, which would be quite off putting and may add shadows/interference such as me rustling papers to the recording. Instead, I used a telephoto lens as I can be a good distance away from the subject, and create a narrow field of view that frames up as an MCU (medium close up).

My main A camera was the 5D mkIII, and although the Sigma lens can open up its aperture to F/2.8 for shallow depth of field, this was not required for today. Instead, the camera was set to F/4.5 for a still shallow depth of field, but deep enough for the subject to move forward and backwards in the frame a little, and to de-focus the background. The ISO was set to 200, although when the Sun disappeared behind clouds I would ride the ISO to 250 or 320 depending. To stick to the 180 degree shutter rule, the electronic shutter remained locked at 1/50th.

The B camera was the Canon 60D, I paired this with the sharp Tamron 24-70 F/2.8 and shot wide open, again riding the ISO when required. I did this because this camera was capturing a wide shot of the subject, so depth of field was not noticeable. To keep continuity, both cameras were set to a white balance/colour temperature of 5200K, but it appears that the 60D picture is slightly yellow/green than the 5D picture.

behind the scenes camera dslr audio setup light

Audio

The often forgotten partner to the pretty pictures you see, having top quality audio is just as important as having your subject in focus and exposed. I used the Zoom H6 as my recorder, with the XY mic attached to capture one stereo recording. I also used the Sennheiser ENG-G3 wireless mic kit, attaching a lav/lapel mic to the subject which would be my main audio source. As a back up I also used the Rotolight Roto-Mic plugged into the 5D just in case. Remember to take headphones so you can monitor the sound recording, just like you would use the cameras screen to compose the picture.

Behind the scenes wellbeing video shoot adam plowden videography canon 5D lilliput

The filming went brilliantly. As a precaution I decided to use the 'record to multiple card' function in the 5D so I had a back up of the footage in case the cards got corrupted from such long recording times. As mentioned earlier with the lighting, as the light slowly changed, I also adjusted the position of the kick/fill to push back the shadows.

I was very impressed with the Lilliput 1018 field monitor too, and although it is larger than monitors I would usually use the touch screen control and diverse functions suited the shoot well, so I could keep a close eye on the changing light levels.

After the principal piece to camera filming was complete, I ventured out into Epsom and Ewell with Yvonne to film some b-roll pieces that would add to the information and dialogue about wellbeing and health. So, we visited Shadbolt Park outdoor gym, Ewell Court Library, Epsom's Derby Square, we were going to hit the market but by that time it was 17:30 and no chance of finding fresh fruit and veg to film.. We returned to the car to go to the last location, Epsom Downs, when this happened...

adams broken down car

My car broke down. The filming day abruptly ended with a call to my insurers for recovery, while I also arranged a taxi for Yvonne to take her to the train station. That didn't put a dampener on the day though, I had captured great video and dialogue that I hope will help many people in the borough and wider community who may be suffering with cancer, heart disease, diabetes or dementia.

I then ingested the footage, and backed up a whopping 80Gb of footage and audio.. Lots to edit through, but thankfully those wonderful geniuses at Red Giant have a tool called Pluraleyes which can sync video with externally recorded video, so suddenly the issue to matching up the audio to the video disappeared, saving me potentially hours of work!

pluraleyes un-synced A bunch of un-synced video and audio clips gets transformed into this -  behind the scenes pluraleyes sync video

Pluraleyes then allows you to export the sequence as an XML that I then imported into Adobe Premiere Pro to edit! It's ready to go!


Overall, very happy with the footage and the outcome of the first day! I need to get out and shoot some more cutaways/b-roll of healthy food, socializing and some more bits and bobs to add.
Rotolight Sound and Light Kit Review!

I have had the Rotolight Sound and Light kit for a little while now, and I like it. I like it even more so because Rotolight has been the only manufacturer to really think about what consumers moving into the industry, and already established creatives would need from the outset. Without light you have no picture, and without sound you only have 50% of that video.Videos with bad or unprepared sound are noticeable, just if the subject of the video was not lit correctly. Unfortunately we are now used to watching and seeing very high quality, glossy pictures with filmic motifs, and excellent sound including orchestral scores. We aspire to work on these 'big budget' productions, or to make videos that look like them, but without thinking about your lighting and sound, you are very far off. I produced this review and the music video using the Canon 5D mark III, and a range of Samyang Cine lenses. To keep the light source and sound as pure as possible, I only used the Rotolight RL-48 B ring light and Roto-Mic. I also used my custom camera rig, which is manufactured by CamSmart, as well as a 5" Lilliput field monitor. I used Adobe Premiere Pro, After Effects and Speedgrade to edit and post-produce the videos.

rotolight sound and light videography video kit review led ring light

RL-48 B LED Ring Light

Out of the box, you get everything you need (apart from batteries) to start shooting straight away. The inclusion of a Rotolight belt-bag is fantastic for getting the light out quickly if you are shooting on the run, and for storage while traveling and keeping the batteries, light and accessories safe. One pain I always have, as I am a single shooter is that to change parts of my equipment setup; which means opening my big bag, routing through to find the bit I need and then carrying on. With Rotolights ingenious solutions they have removed that need entirely!

Inside the LED light is a set of ND, skin, colour and minus green filters that can be applied directly inside the housing of the unit itself; no need to carry around filters, gels and pegs to achieve your desired brightness and tone. This is great as no longer do you rely on a bag of old gels to adjust the temperature and brightness of the light source, and all filters are supplied by LEE, so you know you can trust them. The LED's being naturally daylight at 5600K, you are set to use the light in most conditions! For photography and video with people and models, Rod from Rotolight recommended using a softening ND and the skin filter which gently soft lights the subject, with a peachy, wrapping beam. There are no shadows, and the result is a beautiful glimmer of light in the subjects eyes giving them emotion and life.

rotolight sound and light videography video kit review music video filmmaking shoot videography model light

During my time with the Sound and Light kit, I tested out its practicality when out filming indoors and out on location. Above is a still grab from the indoor shots of Josh performing his lines to the camera; you can see a hint of light in his eyes, and a soft-neutral coverage of his face. This was the look I wanted to achieve; an intimate piece-to-camera. I used the ring light and mic mounted on the hot shoe of my camera setup, this gave a direct beam onto the subject, and would work for any subjects in front of the camera. Indoors the RL-48 ring light gives out a beautiful 140 degree beam of light that wraps around your subject, without any hot spots (usually on the forehead). I was filming a music video, but would work exceptionally well in model and fashion work, where beauty is exaggerated through the images.

rotolight sound and light videography video kit review music video filmmaking shoot videography

It took some innovative thinking to get the lighting right for this continuous tracking shot. Although I was shooting in the afternoon sun, I still needed a key light to keep Josh's face illuminated throughout. The night before we were at the location shooting the same scene, but had the ring light mounted on the camera. This time I needed the source to be much closer, so I whipped out the Manfrotto Magic Arm and Superclamp and clamped the light to the boot of my car. In the still grab above, the light is only a foot away from the left of Josh!

What I found here was the need for a brighter light. The 48-LED ring light provided great overall coverage of my subject, but I required a brighter beam to achieve the desired soft-skin and glimmer in the eye look. Although Rotolight produce large LED lights (Anova) for videography and cinematography, I didn't need that much more power. I think for video it would be great to see this model brighter, or have different brightness levels, as usually you require more light than less - especially when adhering to the 180 degree shutter rule. Once your shutter and aperture are set, the only exposure controlling parameters you have is the ISO/ASA or your light sources brightness, and where you're unable to move the light closer or further away from the subject; having a brighter light from the outset is more beneficial.  This is a small niggle from myself, but can be shown with examples in these still grabs -

rotolight sound and light videography video kit review music video filmmaking shoot videography night videoshoot filming car tracking model dark (Here the light from a street lamp came in very handy.)

rotolight sound and light videography video kit review music video filmmaking shoot videography night videoshoot test greet tint

This shot was taken on a 14mm T/3.1 lens at ISO 1250. Although I have remedied the low light in Adobe Speedgrade, a green tint is visible across the frame. A minus green filter is included in the kit which can be used where the green spike (due to LED technology) is prominent, but as I was filming in near darkness I chose not to use the filter to get maximum light output, which by the way is 100w! During the shoot I also used the light hand-held to get intimate with my subject, but not blasting them in the face with an offensive flash gun or LED panel light.

Roto-Mic

Like I mentioned earlier, video is (in most cases) useless without good quality sound. Imagine watching a film or TV program and the sound is noisy and fades in and out as the presenter moves around the frame. It is distracting and essentially draws the audience away from the video, it is suddenly and mostly subconsciously hard to watch and enjoy. With current trends in pro-sumers moving to DSLR to make films and video, there is more pressure on achieving good quality sound when acquiring your footage; the built-in mic does not do your pictures justice.

rotolight sound and light videography video kit review on camera dslr microphone

Here, Rotolight have entered the sound game by producing an on camera directional shotgun mic, with excellent pickup response and sound to noise ratio. When I first started out in freelance videography 3 years ago, I got myself the original Rode VideoMic; it was the best I could afford at the time, and it did the job I needed - to capture good quality audio that will enhance my video. Since then, Sennheizer, Audio-Technica, Hama and many more brands have seen the need for on camera mics for DSLR videographers, and a competitive market has emerged. One that the Roto-Mic will compete very well in due to its superb signal processing and price - an attractive offer to anyone seeking to invest in a cost-effective solution. You will need a 9V battery to power the Roto-mic, but it will last you a good 100 hours.

One very annoying problem with on camera microphones is noise added by the mic's shock mount. The Rode VideoMic I have is notorious for that, creating a squeaking noise as you move or walk with the camera that was audible and therefore recorded into the sound of the video - very unwanted! The Roto-Mic shock mount has been specially designed to minimize any movement the mic may be affected by, holding the capsule stiff, without wobbling on the mount; keeping unwanted noise out.

Rotolight considered many filming scenarios when designing the new mic; it includes a gain adjustment of -10dB to +10dB which is very handy when you are far away from the subject or action, or are filming in a loud and noisy environment. A two step high pass filter is also built into the body of the mic which removes any wind noise and rumbles from the captured sound; perfect when filming outdoors. These small but important features show that Rotolight have done their research into where DSLR videographers are working, and how they need to use their kit.

I was really pleased with the results of the sound recorded with the Roto-Mic, I was expecting another Rode VideoMic moment but it never came. The mic surprised me with its quality recording, and with a little noise reduction in post production the final sound recording is clean and crisp.

rotolight sound and light videography video kit review music video filmmaking shoot videography night led light mic kit

Rotolight has also been innovative in their mounting options, considering many different setups with the light and mic together. This makes a lovely change from complex accessories hanging off the camera to use two hot shoe mounts. The option to use the light mount, or to mount the light on the microphone gives you many different setup options that doesn't restrict your shooting, and is not fiddly or complicated to change! I was using the mic and light together; here the mic mounts onto the camera hot shoe, and then the light can be pushed onto the barrel of the microphone. Although I was dubious of this at first, as it would add extra weight to the shock mount and possibly interfere with the sound recording; it has proved me wrong with being fully functional no matter how the light and mic is set up.

rotolight sound and light videography video kit review music video filmmaking shoot videography night videoshoot filming car tracking

My verdict

  • Fantastic kit if you are starting out in DSLR videography - a must have kit to get you started.
  • Ring light provides excellent soft light for work with models, people, macro and prominent subjects.
  • Filters included is really handy, although as I am heavy handed they are sometimes difficult to apply.
  • Battery life is second to none - 4 hours with recommended lithium AA batteries (x3) or regular lithium AA (x3) for 3 hours.
  • Various mounting options means shooting is not restricted.
  • Mic is broadcast quality - remember sound is just as important as video.
  • Gain adjustment is handy in quiet and noisy locations.
  • The Rotolight bag keeps your hands free!

Of course with every review there are some constructive criticism comments, but not many for me as my experience working with the Rotolight Sound and Light kit has been very pleasant. Firstly, a higher power portable light would be ideal for video, with intensity control. Secondly, now Rotolight has entered the sound game it would be great to see other microphones like hand held bi-directional or even lav mics, and a boost in the recording quality (maybe a Zoom competitor??!). Thirdly, and this isn't criticism, more a request for a flexible light stand or arm so the light can be positioned in extreme and unusual angles.

I am recommending you to go out and get this kit if you're into your DSLR video and photography and need a light source and microphone that you can take to every shoot you go to! It will definitely be coming with me in the future, and I can imagine the RL-48 LED light working fantastically for wedding films and interviews, teamed up with the Roto-Mic and you have a perfect, all in one, on camera 'run and gun' solution to your filmmaking and photography.

You can check out the video I produced for Rotolight demo'ing the new Sound and Light Kit here, and the music video will be released very soon!

[vimeo http://vimeo.com/87515700]

Fantastic Rotolight Video News - Coming To A Screen Near You!!!

The Rotolight Sound and Light kit video I produced for Rotolight featuring Josh McDonough is being taken on tour to America, where it will be shown to a live audience of 30,000 film students! If you haven't already, you can check out the video here!

[vimeo http://vimeo.com/87515700]

Check out Josh's new studio too, and get recording there - Just Jam Studios!

Got a meeting about the recycling project today, then will be getting my new iPhone (about time I know)!

rotolight rotomic ring light tiele motion graphic video

Happy creating you awesome bunch of people, and thanks for all your support so far!

New Rotolight video released for BVE, produced and directed by Adam Plowden Videography!

http://vimeo.com/87515700

Video Questions; Choosing the right camera, picture profiles and using ND filters!

Heyo all! Thanks for sending in your questions, I will try to answer as many as I can will practical, real world examples! If you have any more, please send them my way! Question from Chris via Facebook: "Can you recommend any camcorders for HD video and good low light performance?"

Answer: A DSLR for video is not the right choice everytime. Why do you think television broadcasters use camcorders and system cameras? For broadcasting, there are regulations and legal limits that must be followed for the final video to be shown live; there are many including the compression of the video signal, the black and white level (check out waveform monitors and video signal) to name a couple. DSLR's do not adhere to these regulations hence we don't see TV crews running around with 5D's in London.

Where DSLR's produce a great image due to the large CMOS sensor, they have big restrictions such as needing to change lenses, poor audio support (unless you invest in audio equipment), rolling shutting, aliasing, moire.. I could keep going.

So, taking camcorders in the equation; most have long zoom ranges (20x and more!) at wide apertures, with additional digital gain, in built ND filters, built in stereo microphone and audio in/out. The sensors are different too, some using CCD (which splits the 3 colour channels) for better colour rendition and less compression.

These days, manufacturers such as Sony, Canon, JVC produce ENG (electronic news gathering) camcorders with those above features, meaning no extra kit to carry, most are hand held or shoulder mount for ease of use. Therefore it is seemingly easier to video on a camcorder, until you require a large sensor camera for artistic video.

Product recommendations for camcorders - Sony AX and VG range, Canon Legria, XA and XF range, JVC produce great camcorders too and have stepped up their game over the last year with the GM-HY range including a 4K model too.

If you want to spend a little more, the Sony HXr-NX3 (recently reviewed by Den Lennie) looks incredible for what you get in one camera - http://www.sony.co.uk/pro/article/broadcast-products-get-close-up-hxr-nx3

Next question from SAHIB on Twitter: "Do you use a neutral picture style when shooting, and do you use neutral density filters?"

Answer: For those unaware of picture profiles on your camera, check them out in the 3rd section of the movie shooting (red) menu (for Canon users). There are a number of options listed, which alter the way the picture is recorded depending on your choice, you can also customize these profiles too using the INFO button.

Canon picture styles - Standard, Portrait, Landscape, Neutral, Faithful, Monochrome.

I will not be detailing the ins and outs of all the picture styles, more of a visual comparison.

What does a picture profile do? Much like LUTS, picture styles adjust the intensity level of the; Sharpness, Contrast, Saturation and Colour Tone in the image, so what picture profile you use can change the 'look' of the video you capture.

Check out this video I put together today showing the results of the cameras picture profiles, and others I have loaded onto the camera. You can see a clear change in the image, but it is subtle differences that will make your video work stand out.

https://vimeo.com/85655816

I previously used the Neutral picture profile, customized to reduce the contrast, saturation and colour tone to produce a very grey and flat image. I was using this profile to achieve this look, as it is how RAW footage is captured to then be graded in post production. Neutral does replicate this 'flat' look, but after doing research into other profiles, Neutral reduces the data that is required in the picture (the contrast and saturation) that I would then put back in in post. This causes noise to be generated in the image, and can cause it to look unnatural and crushed, as the contrast and saturation that had been removed by the picture profile is being added back in later in the workflow.

That was long, but I hope it makes sense. If you compare the 'Standard' to 'Neutral' there is an evident drop in saturation and contrast, with a loss of detail in the top of the trees. If you compare 'Neutral' to 'VisionColor', there is an increase in saturation and contrast in the shadows and highlights.

The 'Neutral' picture style, similar to Technicolor CineStyle reduces the data the sensor captures, so I would not recommend using it if you plan to do colour correction and grading in your workflow. REMEMBER - whatever you capture when out filming will 'burn in' the detail, colours, sharpness and contrast into the image, making it harder to edit and remove unwanted errors. So, it would be better to use a profile that holds the data and detail so if wanted, you could work on grading the footage later.

From tests and experimenting, I favor the VisionColor profile; it is not as destructive as Neutral, holding colour and contrast without making the image flat. I definitely recommend checking them out here.

Next Question from SAHIB on Twitter: "Can ND filters change the style of video?"

Answer: This does depend on what and where your video shoot is. If you are working indoors, or with lighting that can be controlled by you then neutral density filters may not be required as you can alter the brightness of the scene by reducing the intensity of the lights. However, if you're out filming in a situation where you have little to no control over the lighting, then ND filters are key.

Personally I use variable ND filters, currently from Polaroid but much better filters are available from Hoya & Tiffen. The function of these filters is to reduce the light entering the lens, meaning camera settings can be kept the same. This allows you to follow the 180 degree shutter rule, which means keeping your electronic shutter speed at 1/50th to reproduce film-like and realistic motion blur.

So, with your shutter speed locked at 1/50, and your chosen aperture has been set, the only other exposure altering options you have is to ride the camera ISO to make the image brighter or darker.

PROBLEM!

With a fast aperture of F/2.8, and you are currently shooting in sunny daylight, your image is going to be very over exposed. Reducing the aperture to F/8 or F/11 may correctly expose the image but you have lost your depth of field! What to do!

Get some Variable ND Filters!

These ND filters rotate, allowing a variable ND amount to be set externally, without changing your cameras settings! This means that you can keep your cinematic depth of field and realistic motion blur without reducing the shutter speed to 1/250th or your aperture to F/11.

I recently shot this video using an ND filter on an 85mm T/1.5, which allowed me to shoot continually at T/1.5 for extreme shallow depth of field.

Making a quick edit: Variable ND filters are one of many options. ND Filters also come in stops; increasing by a factor of doubling so 2, 4, 8 etc. If you can stretch to separate stop ND filters they work just as well, and with the lower end (under £100 products) they will be better quality than one under £100.

In videography and cinematography, ND filters are applied in the matte box in front of the lens. So if you plan to use one, look in to matte boxes with the ability to add filters, but prepare to pay for it!

http://vimeo.com/84790518

Well, that covers Video Questions for today! I hope to have answered and covered all bases, and remember they are from my personal knowledge and experience.

Got any more? Send them my way!

Little leak from B&H.. ZOOM H5

I've stumbled across a leak from B&H photo detailing a new ZOOM handy recorder; H5.

Will be interesting to see how this works with the current Tascam DR-60D and DR-100mkII recorders, however I do know the H4N does have a number of problems, maybe it was time for an upgrade.. It is a sigh of relief for videographers, bands, journos who don't need the 6 channel power of the H6 but would like the option of external XLR/TRS microphone/device inputs.

Check out the article here - http://news.doddleme.com/equipment/zoom-announces-h5-handy-recorder/

Trials of editing audio

For those that who have ever been at a gig and lunged their phone or camera in the air to try and capture some of the performance will know that the only sound recorded by the terrible on board mic will be CCCCCCCCRRRRRRRRRRRRRRRGGGGGHHHHHHHHHHHHHHHHHHHHHHHHHHHHH, or just distorted noise. Luckily, I record with external microphones when I film performances, usually because there isn't another option. Bands these days can't afford to hire a PA system with a multi channel mixer w/EQ, especially for one off performances, so it is common to see, so always be prepared!

There will always, however be background noise and hissing that will need to be removed from the recorded audio, I'm using Adobe Audition at the moment to eradicate that from the John Sinclair performance, as its functions for calculating and removing frequencies from audio tracks is phenomenal.

audio

A videographers diary of a working trip to Amsterdam

I left for Amsterdam at 4am on Friday 23rd, heading for Gatwick with Sam who really kindly drove me there! Having taken some equipment with me when I went to Amsterdam for the first time for IBC, however this time I would be covering a music event with multiple cameras so the kit list looked something like the following..

3 x DSLR bodies (2 Canon 60D, 1 Nikon D5000)

6 x lenses ranging from 17mm to 85mm

2 x Manfrotto ML360 LED lights

2 x Superclamp + magic arms

1 x Zoom H2

A load of extra things to cover my back just in case!

BZrcW6DCEAEX73b[1] Copyright Adam Plowden 2013.

I got to Amsterdam at around 9am and headed for breakfast. Knowing how busy the Damrak is, I headed West and found a little cafe to chow down on breakfast. Like England, Amsterdam suffers from grim weather, so rain it was.

420_2 Copyright Adam Plowden 2013.

Now re-charghed, I headed to 420 Cafe, where Steven 'fly' works; the guy I met while I was over here in Sept, and offered me the job to come over and film the gig he is playing drums at; John Sinclair & His Vipers, on the opening night of the 2013 Cannabis Cup. For those unfamiliar with John Sinclair, he inspired John Lennon, writes amazing poetry and produces podcasts for Radio Free Amsterdam. With a huge following and message, capturing his performance was key to promoting John and moving his message forward into the age of video!

After dropping off my bags at Stevens, we had a look at the venue 'Arkhnaton' just round the corner from 420. It is a small venue with a corner stage, dark and faded which added to the aesthetic of jazzy, smoke filled Amsterdam gigs.

DSC_0005 Copyright Adam Plowden 2013.

I then got to meet Mark from Iron Man records, and Claire, a producer back in 420 and got chatting about ourselves, the anticipation for that nights performance and how we can get the best material to push John Sinclair into the limelight. Through the cloudy room appeared John and Nick fresh off the train from England! We had a great time talking and relaxing in the great ambiance of 420.

After 26 hours of traveling, walking and getting settled back into Dam life, it was time for me to crash.

Up at 4pm the next day, recovered from the day before I was ready for a meal and to get on with the production that night. Steven and myself headed to John's favorite Indian restaurant on Nieuwezijds Voorburgwal and tucked into the best chicken madras I've ever eaten. Followed by a short walk across the road, we arrived at The Arkhnaton and began setting up for the gig later.

IMG_2128 Copyright Adam Plowden 2013.

Naively, I forgot to pack the power cable for the field monitor, so I had to suffice with the on camera screen and viewfinder. I had a 60D on a tripod central to the stage with the 85mm F/1.8, with another 60D to my left a couple of feet higher than myself for a wide shot (with a superclamp and magic arm). Over to the right I had a D5000 with a 35mm F/1.8 for an extra cutaway shot.

Ready for the gig, I chilled while the band set up and rehearsed. I got some snaps and shots of John and his Vipers performing to build up a collective of promo material.

DSC_0030 DSC_0033 Copyright Adam Plowden 2013.

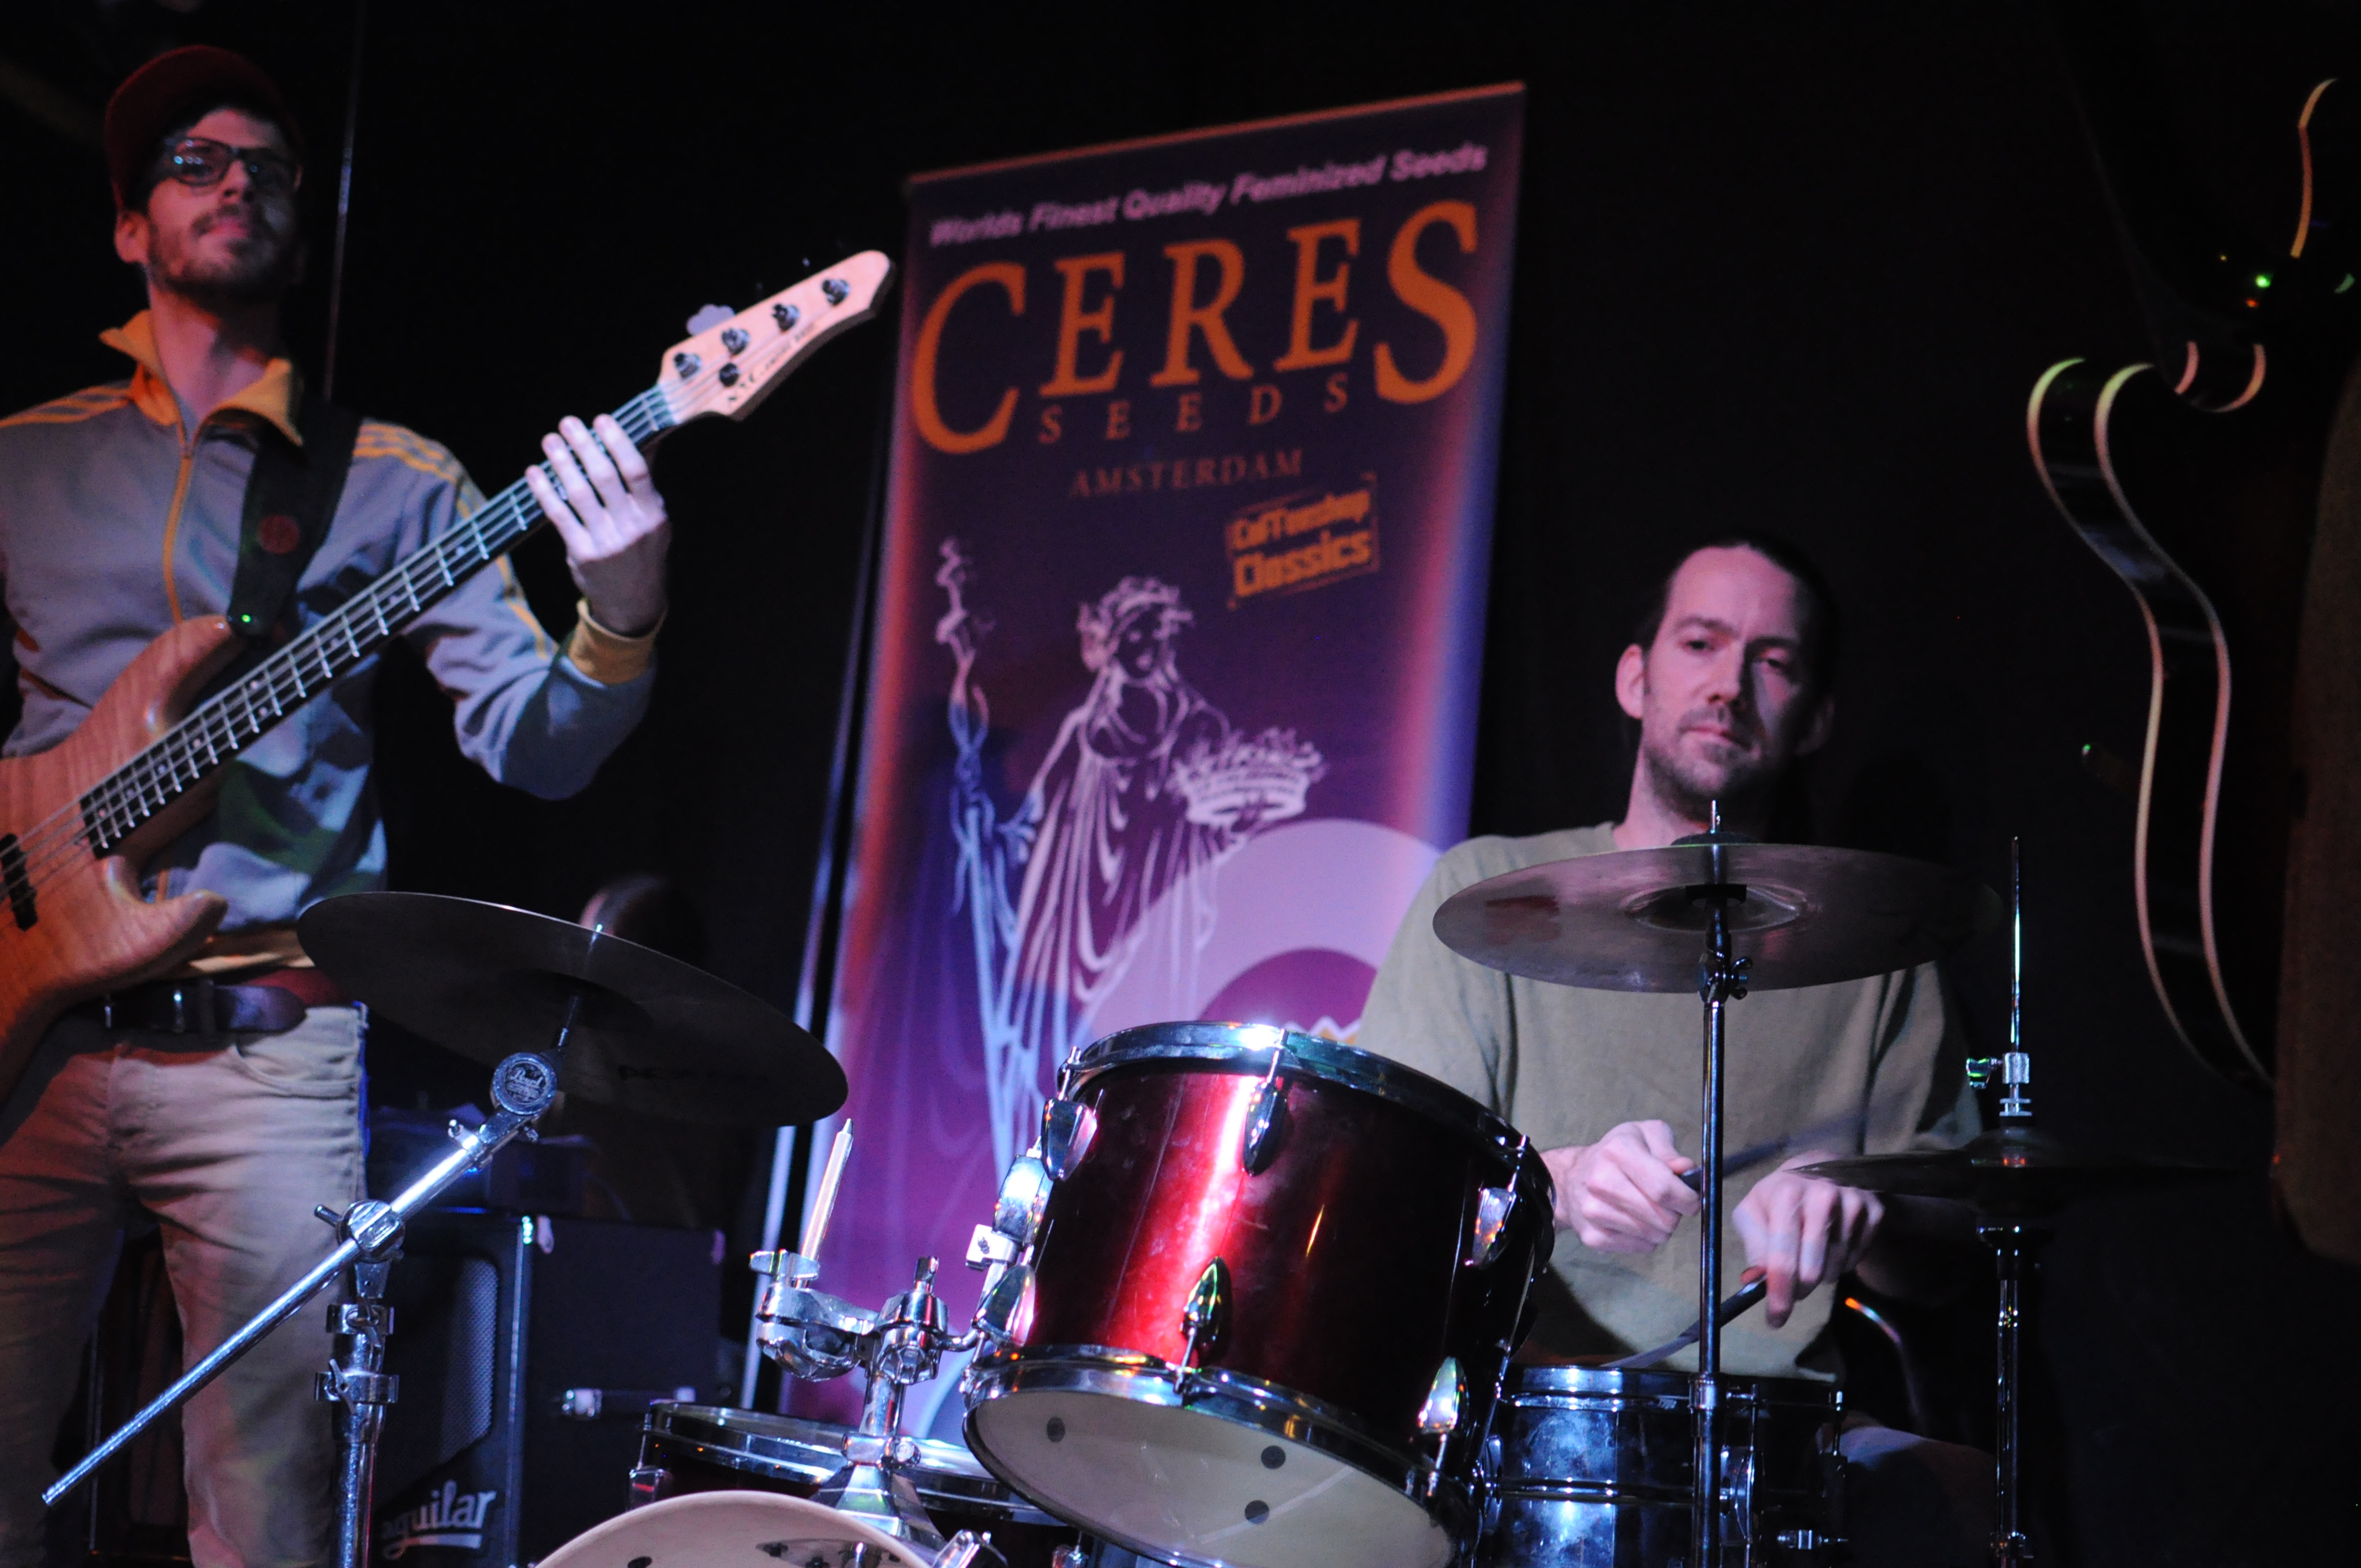
The blues and poetry were in full swing, Steve Fly on drums, Vince on guitar, accompanied by a last minute sax and horn player to add a touch of brassy class. Having Magic Lantern on the cameras eliminated the restart issue, so syncing up in post would be easier. It was a fantastic gig, and great to hear Johns poems in person.

Knackered from another late one, I turned around the memory cards and equipment the next day, racking up 70Gb of footage over 3 hours or so! It was enough of work, and time to enjoy Amsterdam.

I had a fab time with the 420 guys Janne, Eli and Tias when we went on a trip around town for a Cannabis Refugee's project, I accompanied with my camera, capturing the nights events in a number of hotspots around the city; Grey Area, Greenhouse, ending back at 420 for some more giggles and fun.

Amsterdam-20131127-003201

It was my 22nd birthday on the 27th Nov, so in true celebratory style, cake for breakfast! Followed quickly by Wok To Walk, which is like a Chinese version of McDonands which they have brought to Soho!! Thanks to Steven and the guys I had myself an exhibitor pass to the Cannabis Cup 2013, so the rest of the Cannabis Refugee filming went on the road! As a tourist, it was create to experience this new open culture and lifestyle!

cc

There's Annika! Stevens flatmate and my new found seed genius!

After that, I got to see The Wailers (minus Bob of course) at The Melkweg, a local gig venue to the Leidsplein, which was awesome!! They played all the best tunes, a great end to the day.

1474556_10153515152950510_1702651799_n[1] Copyright Adam Plowden 2013

Being a techie, its a bad habit of mine to check up on what the guys working are up to..

It was soon my last day in Amsterdam, it always comes around too quickly as I never get around to do all the things I wanted; museums, canal boat tour etc.. But it is winter and I was there for work so that is my excuse!

Now back home, I'm in the edit suite working on the multi-camera edit of the video!

bts

I'm working on my laptop, so progress is a little slower than if I was working on a full powered machine, however I have got through most of it over the last couple of days, spending most of my time re-syncing the clips together.. Working with 3 cameras in post on a 1 man live crew is certainly interesting!

If you haven't already, check out some of my other stills I took, including a performance from Steven and Vince in a Squat house!

steve4 steve3

damrak2

420

Thanks to Steven Fly for the job and for letting me stay at your place for my stay, thanks to Mark and Claire for your help with the video, as well as the guys from 420; Janne, Eli, Tias, Laura, Claire, Francesca, Annika, John and Caleb and anyone else who I've missed out!

Do you want video for your business, event or organization? Video is a powerful and vast marketing tool, get in touch at info@adamplowden.co.uk for more on what I can do for you!

apVideobanner2

Videomic Go!

RODE's new on-board microphone for small cameras!

DO YOU HAVE 5 MINUTES?!! HELP ADAM!

Got 5 minutes?!! Please help me choose two songs from this list to use as the backing soundtrack to the GLF promotional conference video!! TRACK 1 - I Know You Wanna

TRACK 2 - How's It Going?

TRACK 3 - Teenage Love Dies

TRACK 4 - Monkey Dust

[contact-form][contact-field label='First Choice' type='name' required='1'/][contact-field label='Second Choice' type='name' required='1'/][/contact-form]

Why is music so important to your production?

As videographers come and go, especially those that focus more on the visuals rather than the audio aspect of production, some may not realize the importance of the sound that accompanies the visuals. It builds atmosphere, tension, and can play on many different emotions and feelings that is just not possible through visuals (hearing someone behind you for example). Remember, AUDIO is 50% of a final video or film, the other 50% is the VISUALS. Without good audio, your audiences perception of the recreated reality portrayed in the visuals becomes blurred as it is not realistic to hear naturally, think about it!

If you are working on a production where you know the quality of the audio or visuals will be compromised, then have a back up plan! I shoot all the time on my Canon 60D, DSLR's having notoriously terrible in built microphones so I overcome this in ENG situations by using a RODE Videomic, which does the job. However, for exceptionally clean and high quality audio recording an external mic+recorder device is crucial especially for talking heads! I used the Zoom H2 audio recorder to capture the sound externally, to then sync up in post.

A GREAT TIP!! If you are in a shooting situation that allows; set the camera and audio device recording and clap. This will create a spike in the audio waveform and will make it so much easier to sync up later on!

My reason for discussing; I'm currently choosing the accompanying music for the GLF conference video. I use a site called Audio Network to source most of my audio media as it has great creative commons uses and is reasonably priced too, as well as having such a vast array of production style music.

So far, to go with the up-beat and enthusiastic, youthful visuals I have chosen these two to go with the visuals; let me know what you think!

If You Wanna

How's It Going?

I look forward to hearing your thoughts on the music, and any similar production questions or issues you may be having!

Want creative and cinematic promotional video, and need to keep costs down?

Get 10% off all productions until the 15th November '13!

Are you in need of innovative, cinematic and artistic promotional video's and media, that makes your business, product, event or service stand out, attract a wide audience and immerse them in the visuals and sound?

My portfolio includes video/media work with - Moet Hennessy, Broadcast Magazine, The BBC, AstraZeneca, Manfrotto & more.

I'm offering 10% off on all productions until the 15th of November 2013! Check out my work at

www.adamplowden.co.uk

and get in contact!

What do YOU want to know about Video, Editing, Graphics, Audio, Live?

I've had my fair share of experience over the last couple of years, working in many different situations from audio engineering at the London 2012 Olympic Games, to single filming the Prime Minister of Kuwait, to weddings, to motion graphics and more. I can write about pretty much any of the above situations, the camera skills and techniques used as well as anything else really, but I want to hear from YOU so you can learn from this blog!

What do you want me to write about? Do you have any questions about the video and media industry or its practices?

Contact me so I can help!!

[contact-form][contact-field label='Name' type='name' required='1'/][contact-field label='Email' type='email' required='1'/][contact-field label='Website/Facebook/Twitter/Blog' type='text'/][contact-field label='What do you want to know?' type='textarea' required='1'/][/contact-form]

Thinking about Audio?

One big problem that lots of solo or freelance videographers stumble across is sound. It is easy for some to focus only on the visuals, rather than both the visuals and audio; one has to remember that a piece of media is 50/50 between V and A, so capturing crisp and audible sound is just as important as in focus, well exposed images.I've had countless problems with sound over the years, more recently I have found practical solutions using the Zoom H4N, but before I had access to that portable stereo recorder I used a Rode VideoMic. Many newbies will be famililar with it; a standard on-camera shotgun mic with ok quality.. Very ok to the sub standard level. One issue I've always had with it is the amount of background room noise, but Adobe Audition does a reasonably good job of removing the sound print from the signal.

However, all that terrible tech is about to change as Zoom have begun shipping their all new H6; a 6 channel portable recorder, with interchangeable mic capsules! I've just watched the test + review from B&H and it looks incredible, and it would be hard to forget fantastic quality sound with that bulky piece of kit in the bag! I've been in contact with the Zoom team so lets hope I can get my hands on one soon!

http://www.youtube.com/watch?v=yBfJveLuANk

I talk to NHK about Super Hi-Vision at IBC 2013!

https://vimeo.com/75435793

I talk to the senior project manager at NHK research about their developments into Super Hi-vision technology since the London 2012 Olympics. Great updates include their use of HEVC to compress the video signal down to 85Mbps!

Even though 4K is just about on the horizon for cameras and broadcasting, the Future Zone featured NHK's 8K technology!