sync

Welcome to the boardroom

I'm doing a few productions for the IABM in the lead up to their annual conference in December, which included a video shoot in London at IBM; a panel discussion on the key topics of the conference, and the industry at the moment.

John Ive, the director of business and technology at the IABM chaired the discussion, with six of the top decision makers in the industry around the table, which included: Dominic Stone (Our host at IBM and multimedia executive), Rob Roberts (Avid), Marc Risby (Boxer), David Peto (Aframe), Chris Steele (Marquis), Paul Glasgow (Chyron Hego).

It was an early start for myself and Glen, to get a head start in the traffic heading up to the South Bank. Usually I would get the train, but as this was a full setup I required my little cars assistance to get the equipment there!

Glen at IBM

Glen at IBM

Me at IBM!

Me at IBM!

We arrived at the IBM office on the South Bank with plenty of time to spare, and after unloading the equipment in the loading bay we parked up in the National Theater and met our host for the day, Dominic. A wonderful chap with a wealth of experience as a television producer, many thanks for your hospitality throughout the day!

Trolley fulla gear!

Trolley fulla gear!

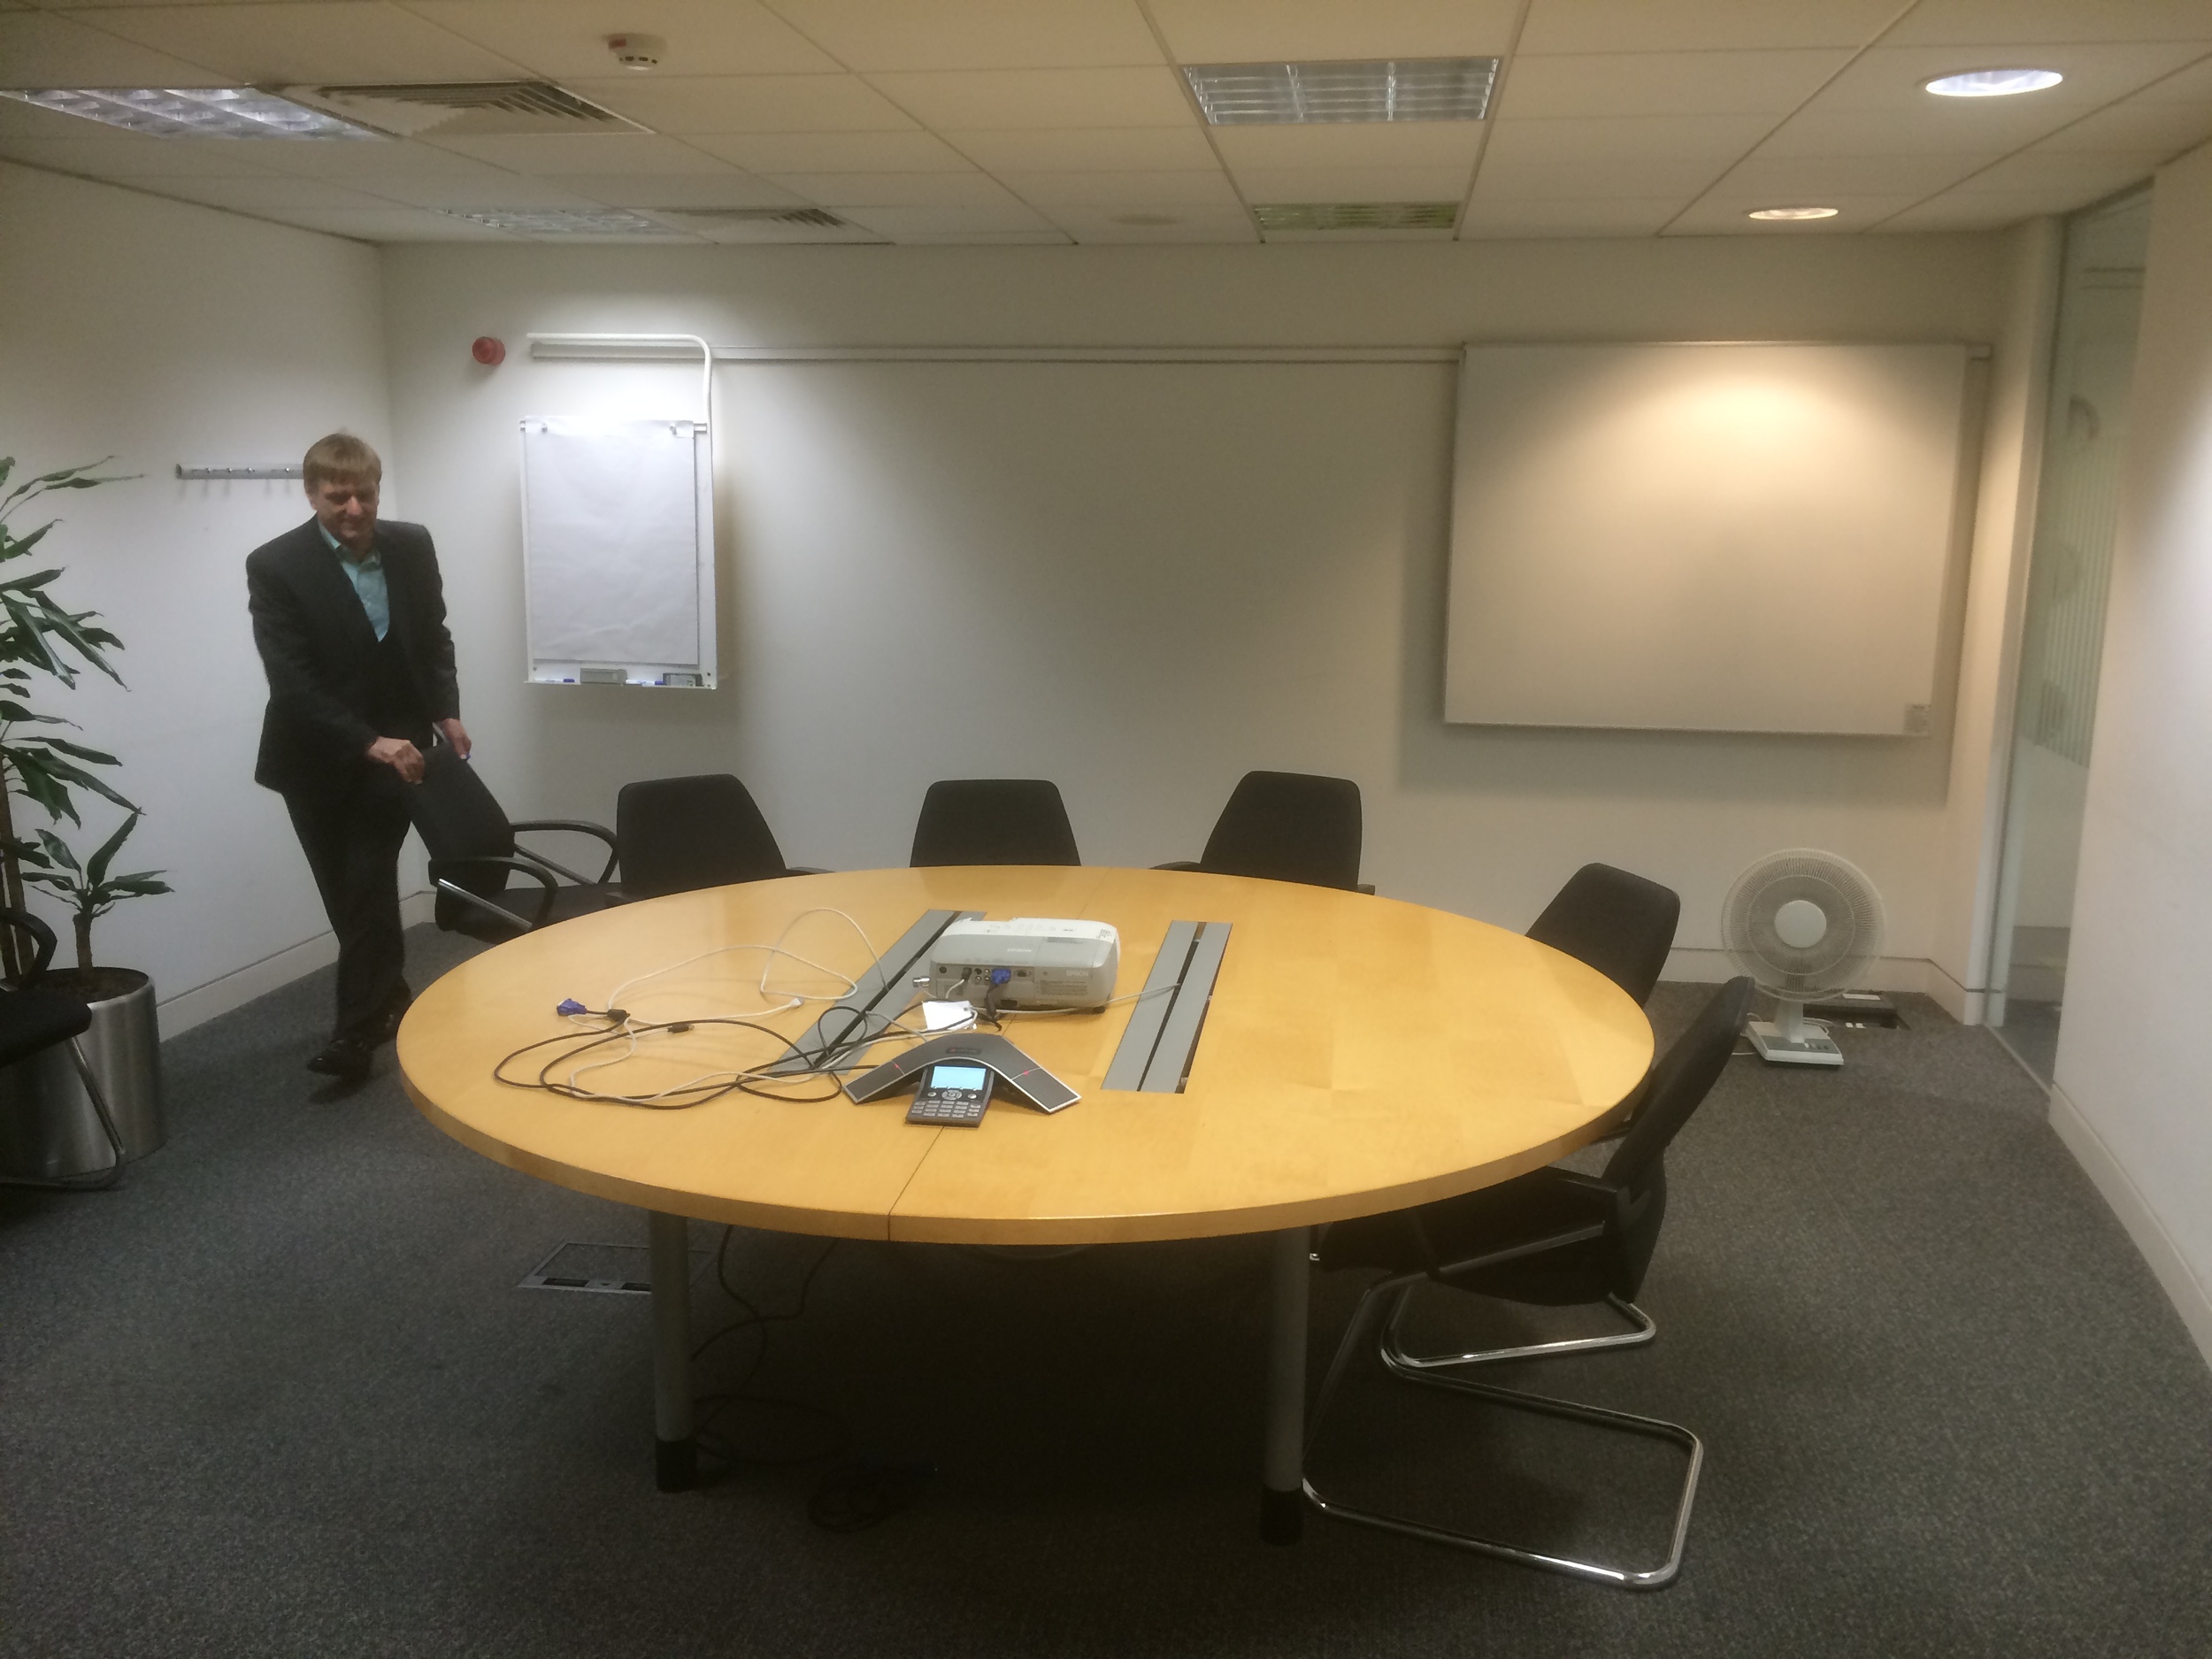
What the conference room at IBM looked like before we got our hands on it!

What the conference room at IBM looked like before we got our hands on it!

Once we had access to the conference room, we began the setup and moved any unnecessary furniture out of the way. Manfrotto has greatly helped me on this as much of the kit is new and definitely new to this kind of video environment too, and after IBC I was very keen to try out the new tripods; which now can be lowered to almost ground level with innovative locking joints. Also, although I'm using a 5D and telephoto lenses to shoot with (so the load is not very heavy), but having steady and smooth shots are imperative to keeping a good composition, both the tripod and video head allow me to achieve shake free pans and tilts, which can be counter balanced depending on your camera, lens and accessory setup.

The new light stands are awesome. I know it is something simple, but it makes a massive difference. Stands and poles can often get mislaid, damaged in transit or in use, or simply can't withhold a wide variety of lights and accessories. These on the other hand have a brilliant locking system to hold multiple stands together, meaning they can be carried and transported very easily. They are not heavy, and can take a heavy load (not that these SPECTRA 1X1 LED panels are that heavy)!

Panel video setup with Manfrotto 1x1 bi-colour LED light

Panel video setup with Manfrotto 1x1 bi-colour LED light

After lunch, we checked the colour temperature on the four lights; the two front facing the panel, one giving a back light onto the speakers and background, and a smaller 900 panel to push a little extra light into the right panelists. All of the lights are bi-colour, which gives maximum flexibility when the video scenario changes so frequently.

The lights I used were: Manfrotto Spectra 1x1FT x 3, Spectra 900FT and the 1004BAC pro light stands.

To make sure all of the cameras were exposed and set correctly, we did a custom white balance and orientated around the cameras and lights to make sure we achieved the best out of the setup.

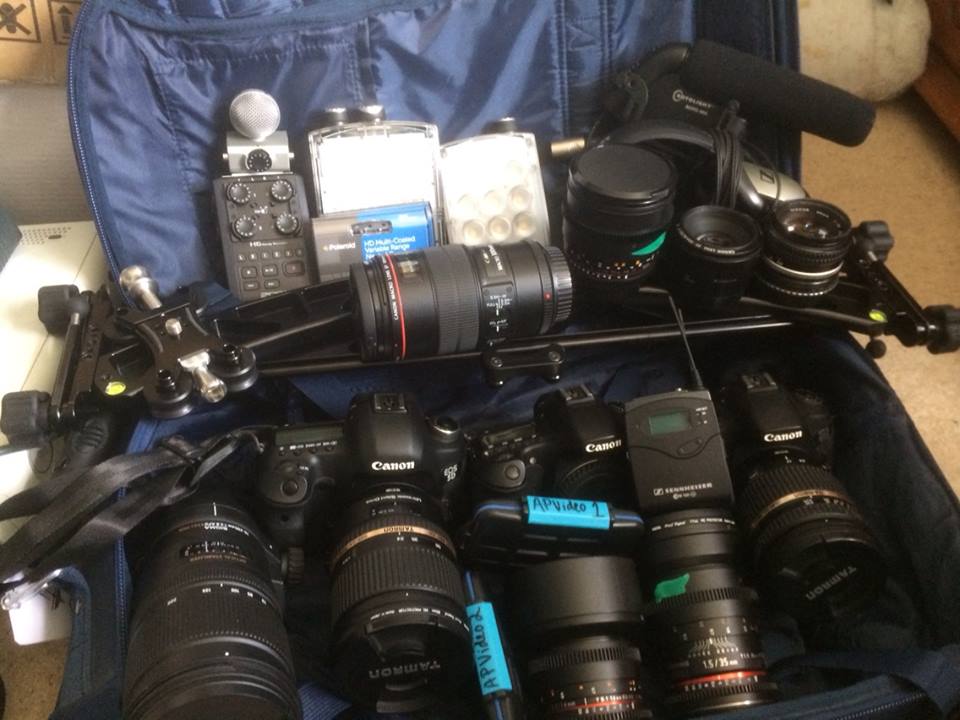
I transported the camera and audio equipment in the Manfrotto Pro Backpack50 as its large capacity was required for the amount of kit I needed which included:

  • Canon 5D mkIII
  • Canon 60D
  • Tamron 24-70
  • Sigma 70-200
  • Samyang 35mm
  • Samyang 14mm
  • Zoom H1
  • Zoom H6
  • Sennheizer ENG-G3
  • Rode Lavalier
  • Roto-mic
  • Canon batteries, AA batteries for microphones and audio recorders, chargers for all.

I also had the Manfrotto 536 MPRO tripod and 504 HD video head in the large tripod bag, and the ProCX-3 and Pro-B for the other cameras.

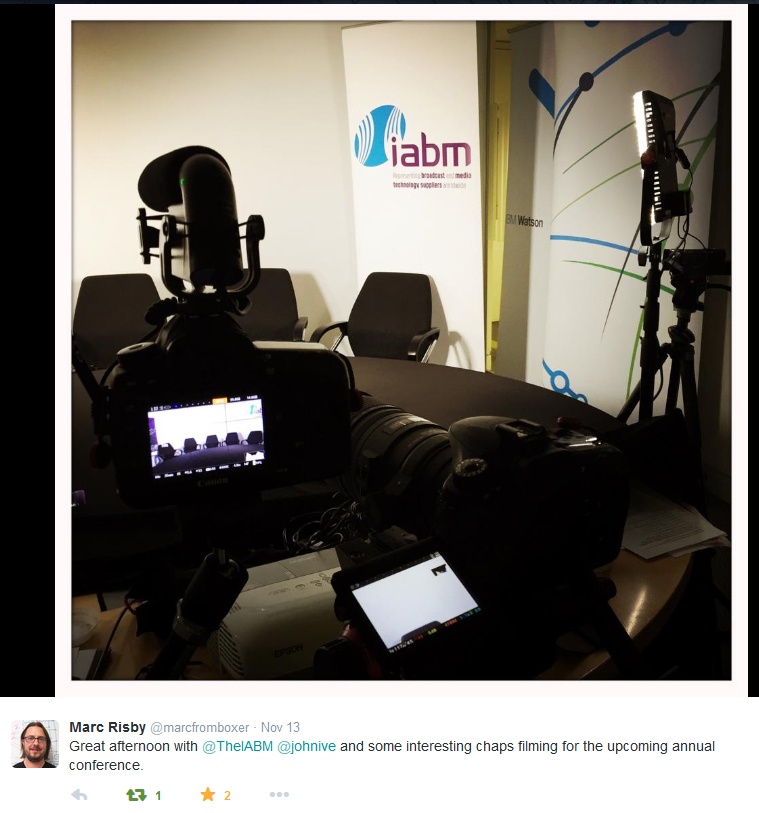
Marc Risby, one of the panelists tweets about his experience!

Marc Risby, one of the panelists tweets about his experience!

While we were setting up!

Adam Plowden Video setup

Shortly after our panelists arrived, and they were eager to get started in discussion; I put the lapel mics on and plugged them into the H6. John kindly allowed us to use a couple of cameras and microphones for the extensive number of panelists. The Sony ECM-77 are great lav mics with good audible response, as is the Rode Lavalier which I used with the MiCon-1 connector into the ENG-G3 wireless kit.

I got the panel talking for a practice run through while I checked the audio levels on the H6, which was placed under John's chair (due to the cable length I could not monitor the camera from my filming position).

If you've been following me on Twitter, you'll have seen I have been looking for a wide angle lens for both an APS-C and FF sensor (so far Canon's 16-35 F/2.8 is best), so I was without my Tamron 17-50mm (my standard lens on the 60D as a wide). To compensate for this, I alternated my usual video setup from 5D and Sigma 70-200mm for an MCU and 60D and 17-50mm for a wide to; 5D and Tamron 24-70mm for a wide and 60D and 70-200mm for an MCU which allowed me to capture a good wide angle of the whole panel, as well as a great MCU on the speaker.

The 504HD video head has integrated fluid drag and resistance which makes panning and tilting a dream for video; it is smooth, yet easily changed depending on the subject and timing of the camera moves. A large pan-handle makes the motion firm and steady throughout.

With a vast experience in broadcasting from all of the panelists, it was difficult not to get distracted into the conversation. After each discussion we shot some VoxPops for the conference with the other panelists that did not participate in that panel, which will be used throughout the presentations and panels at the IABM annual conference in December.

Unlike the Zoom H4N, the H6 has an incredible power consumption rate meaning on four AA batteries it can record multiple channels (four in this care) for a good 2 hours without needing to change! This meant I could rely on it recording stand-alone under Johns seat without monitoring, after each channel was correctly set (with a general limiter on).

In terms of the camera settings I was using:

 - VisionTech2 Picture Profile

 - F/4.5 on the MCU so focusing between panelists was minimum

 - Because of light setting, as well as not much fast motion happening I reduced the electronic shutter to 1/33.

 - ISO between 400 and 640 due to the good light produced from the 1x1's!

Once the filming was complete, we quickly de-rigged the setup so we could get out of London as quickly as possible; not to get held up with traffic queues etc.. Thankfully, all of the Manfrotto gear we had is fast to setup and tear down so we were ready to leave within half an hour or so!

Once I got back home, I begun the ingest and backup process; remembering to have 3 copies of the footage and audio on separate drives in case any fail. I also began re-naming the files so it is easier for me to locate specific panelists microphones when doing the audio mix-down.

Although the Zoom H6 is an awesome recorder, it for some reason records track 3 and 4 together (as a stereo channel) so I had to split the Tr3-4 into separate Track 3 and Track 4 files using Audition. This is a simple process, but I wonder if this can be changed in the device itself?

splitting stereo track mix adobe audition APV

Here you can see the top track is different to the other, this is because the T3 and T4 inputs were from different speaker microphones, but recorded together. To resolve this, I simply solo'd the track I needed, selected ALL and copied, created a new audio stereo track and pasted the track there; this creates a Left or Right track for you in the new audio file.

replaced stereo audio file APV

Here, I've created a new stereo audio track and pasted the solo'd track into it. The new stereo audio file then replicated the audio on both tracks. I then saved this as a new audio track.

In Pluraleyes, I created the four camera sources and imported their respective video files, and then singularly imported each audio track into a new audio recorder as a new audio source (instead of importing the five tracks into the same audio recorder). This would allow me to control not only each track individually, but also when I separate the four sections into their own multi-camera sequences I have separate audio tracks rather than one reallyyy long one.

importing footage to pluraleyes APV
separate audio recorder devices per microphone APV

You can see here that the audio tracks from each microphone are separated in the sync.

video audio sync pluraleyes complete APV

I was amazed at the speed of the sync, only 1 minute 8 seconds to sync all of the video and audio from many different sources! I then exported the sync as both an XML and XML with replaced audio from Pluraleyes, and created a new Premiere Pro project for this production.

I imported the XML file into the new project, which imports and creates a new sequence with the synced footage in place. So easy! I then placed the footage into their respective sequences depending on the discussion topic, and prepared them for multi-camera editing!

adobe premiere pro sync footage edit APV
synced footage adobe premiere pro APV

The sequences are now ready to be cut using the Multi-camera interface! Unfortunately I can't show anymore as this is an IABM member exclusive video, but I hope you have enjoyed seeing how videos like this are produced on a small scale!

Five things I wish I knew when I started as a videographer....

Five things I wish I knew when I first jumped into the creative videograpy adventure that is my life:

1. It does not matter what camera you use, invest wisely in reliable glass.

Entitled 'F**k with nature and nature f**ks with you', after previewing it appears it loads as a playlist, so please skip down to the bottom! Shot on my first DSLR; Nikon D5000 and 17-50mm F/3.5 -5.6, a uni project.

2. Work for free (yes, it's the only way you'll generate enough video content, but you'll make friends, have a good laugh, experience terrible mistakes and awesome times).

Produced by Adam Plowden Videography, edited by Joe Bannister. Shot on Canon 60D, Tamron 17-50, Canon 50mm F/1.8, Canon 18-135mm

3. Fix it in post doesn't exist, in fact, trying to fix it in post can do more harm than good (at least with low budget DSLR productions like mine still are.. For now..).

I had to return to Sian Williams' house because I had over exposed a shot, and didn't get good enough sound during her interview.. Produced by Adam Plowden Videography, 'Behind The Scenes' uni project and mini web series.

4. Think of the sound and the light, our primary senses for absorbing content.

A quick example video shot for my Manfrotto Takeover seminar showing the use of sound and light in short video drama to add emotion. 5DmkIII, Samyang 35mm, Tamron 24-70

5. Be yourself and create things that inspire you.. IE: Put you in your work. Copying other artists doesn't make you stand out, you can learn from them and implement your flair and style into whatever you do. That way, when you begin to get clients you know they are interested in not just what you make, but the person behind it.

A personal favorite is filming plants and nature, a good excuse to get away from the computer! 'Waterhouse' produced by Adam Plowden Videography.

Bonus tip. It is kind of included as part of No.2: Collaborate and work with others from different mediums; actors, musicians, vfx artists etc. It is how new ideas are generated!

SYNC is HaZ Dulull's new short film, I worked with him as well as DP Adam Batchelor on the production! It is backed by Blackmagic Design, Adobe, HP and more so give some support!!!

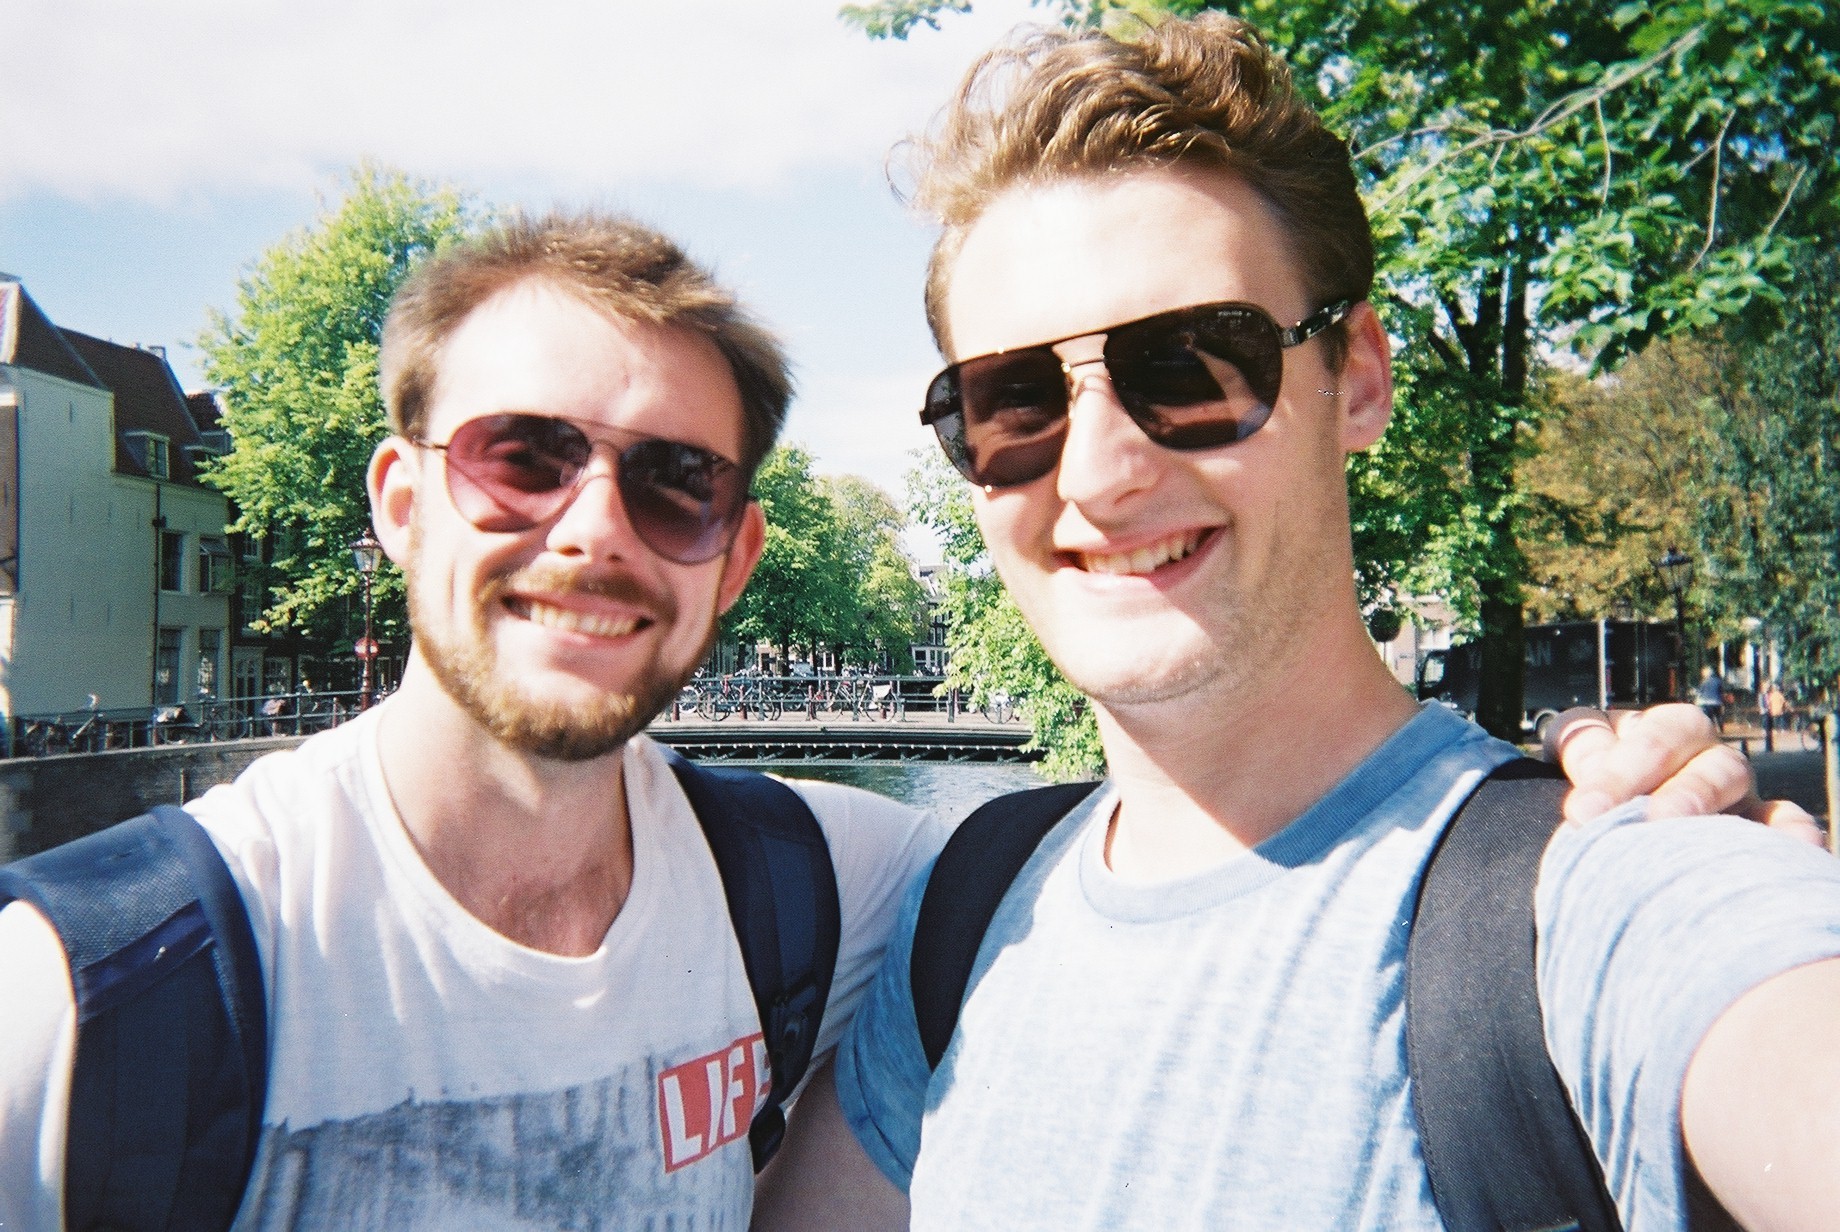
Adam and Glen 1st day in Amsterdam for IBC 2014! Taken on a disposable camera by Glen Symes.

I hope these little tips will serve you well, a shout out to Dave Beck at Avenger and John Harris at John Harris Media too I couldn't have done it without you! And Glen and Sam. Much love.

Summer Update!

It has been a very wild summer for me, lots of productions and shooting and plenty of editing! Going back to the end of July/beginning of August, I was deep into the wedding season with JHWF, filming weddings from Ashford, Kent to St Johns College Cambridge. I also got to fly the companies DJI Phantom II Drone with a GoPro Hero 3 and Zenmuse 2D gimball, it was incredible fun (for a first timer)!! [embed]https://vimeo.com/103891840[/embed]

Wedding at Eastwell Manor (Kent) via JHWF.

I also did the Ice Bucket Challenge;

[embed]https://vimeo.com/104416562[/embed]

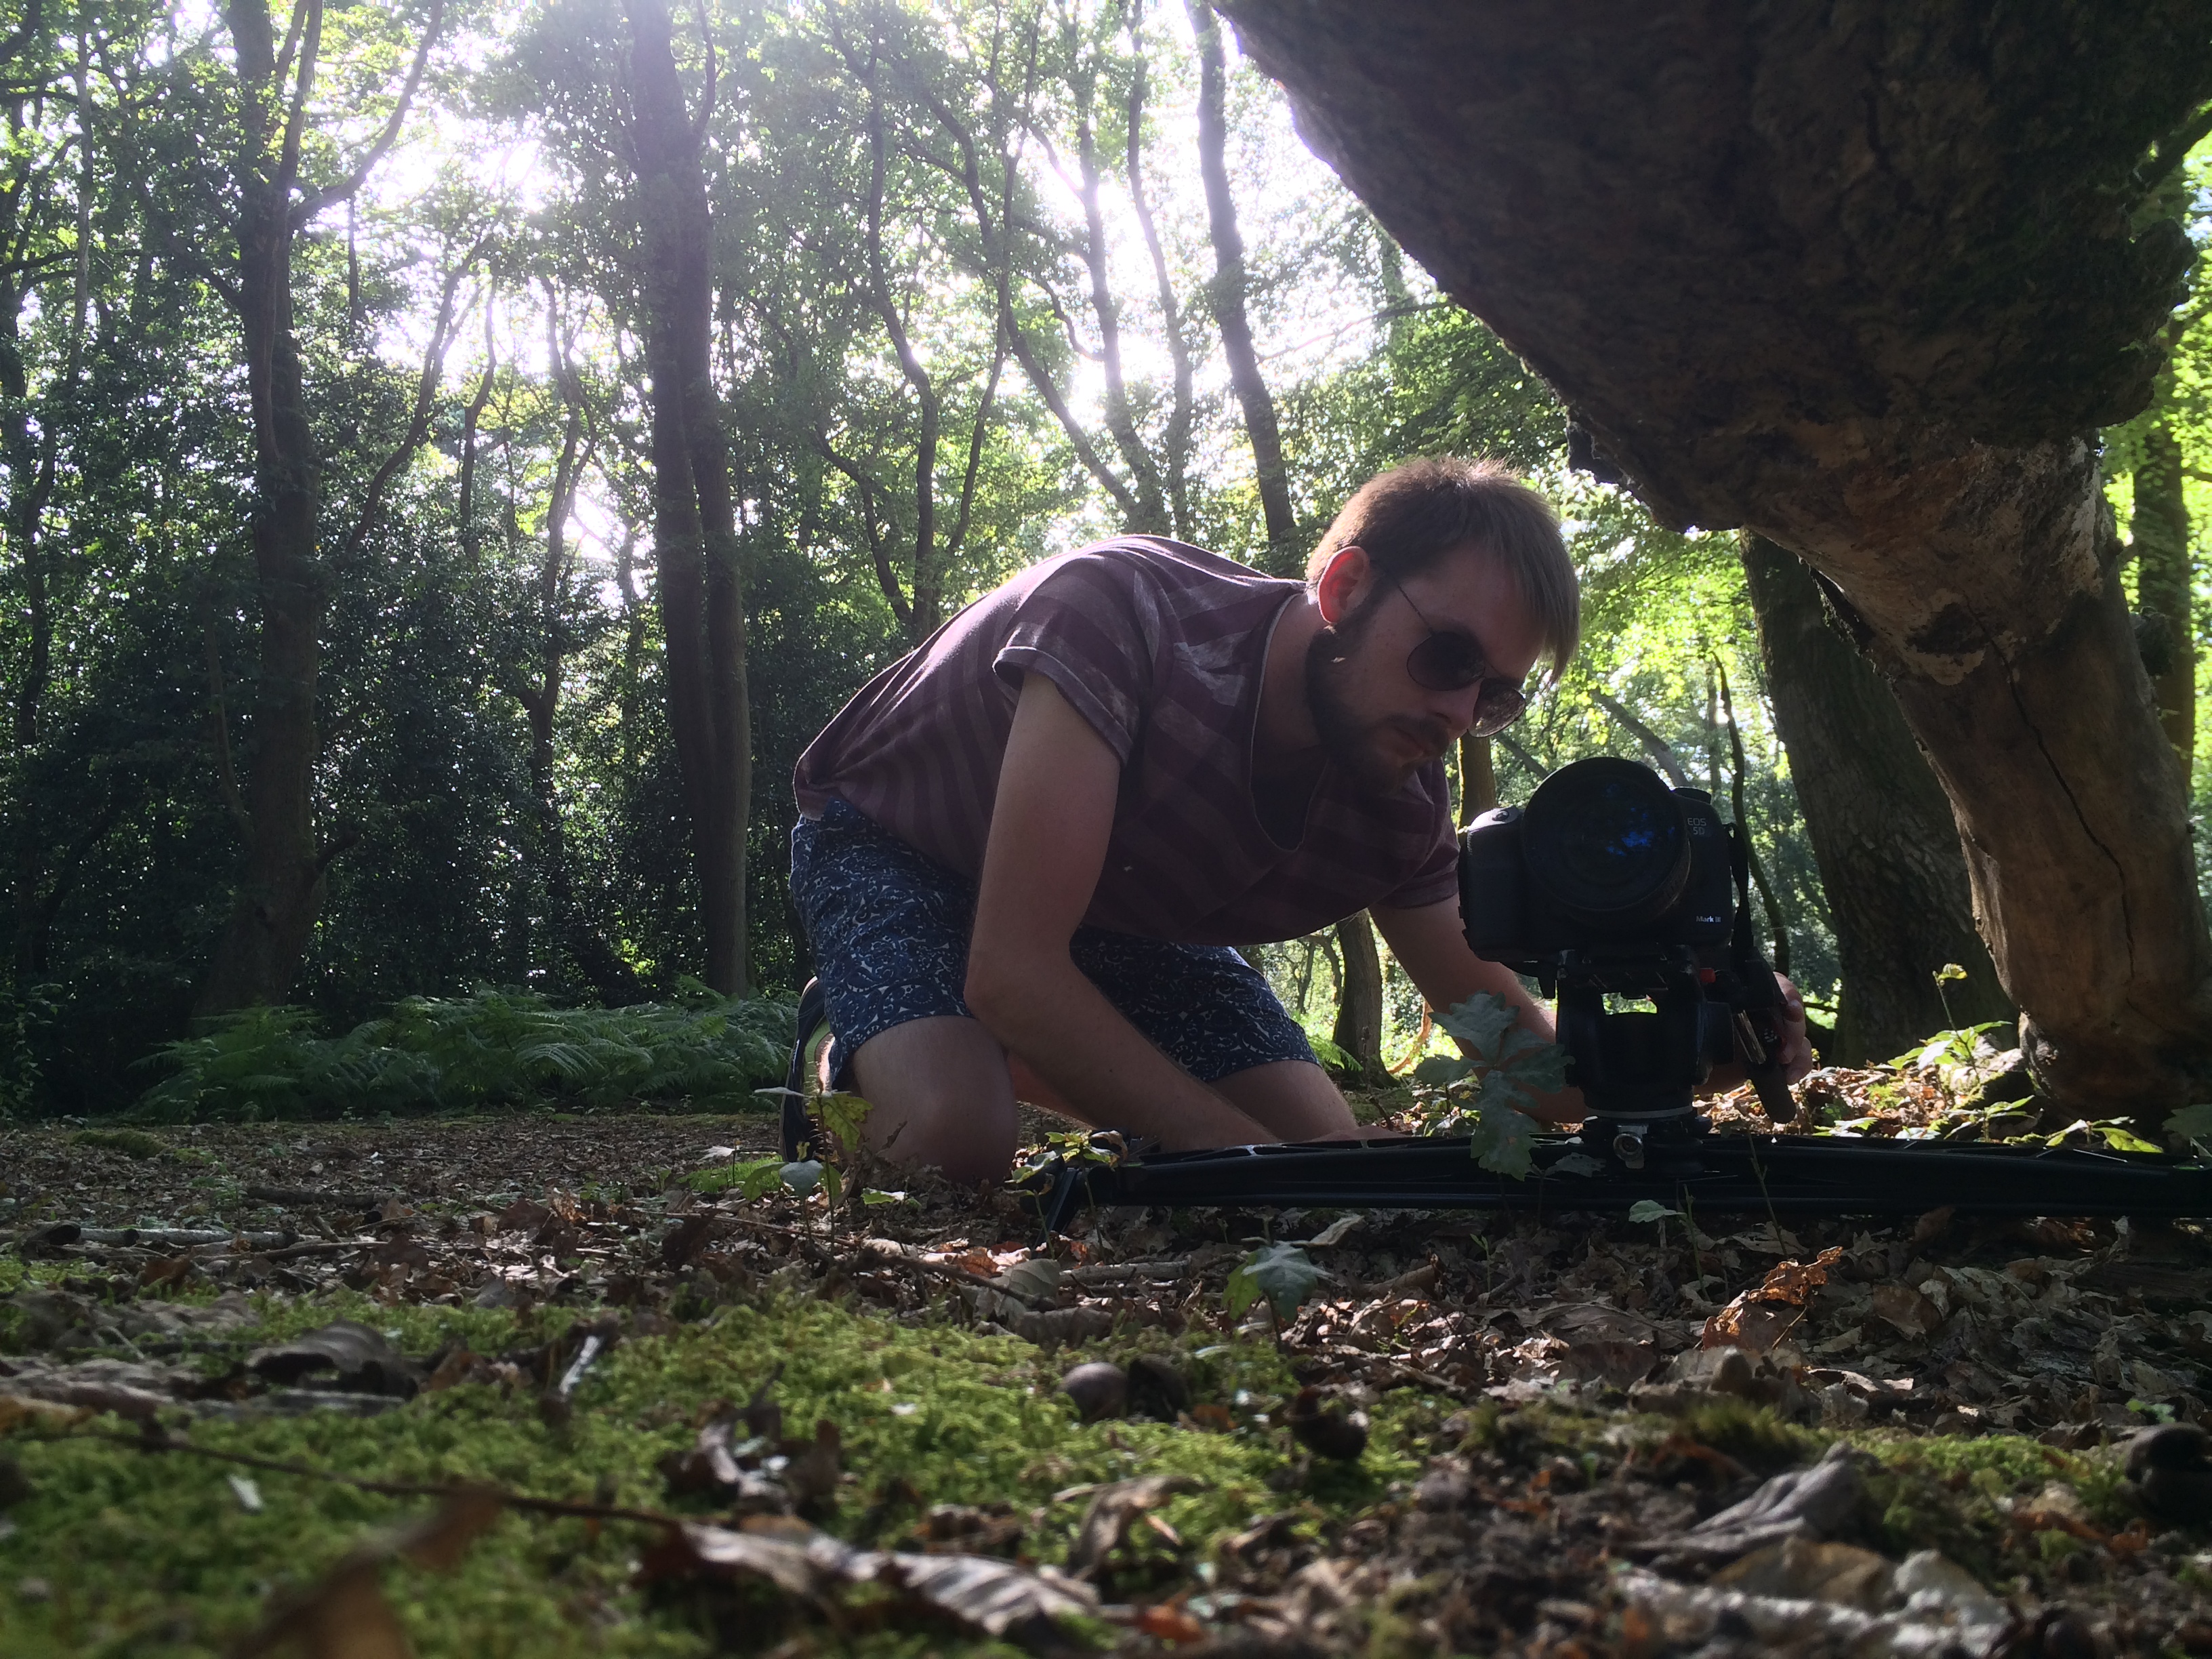
I spent most weekends out filming weddings, where I got to try out my new Pro Media Gear Duo slider; it is simply a 2ft straight slider with a curved track on the reverse side. Honestly, it is so simple I don't know how companies didn't think of it before! It is extremely easy to use and is lightweight, my 5D and Sigma 70-200mm smoothly slides along the track. It sits on a removable carriage (so you can flip the slider over) with four plastic castors. 100% recommended, I purchased directly from them in the USA, it came within the delivery time (3 days) and is cost effective in comparison to similar track based sliders out there.

[embed]https://vimeo.com/103717010[/embed]

I mount the slider onto my Manfrotto 755Pro-B tripod (without a video head) using the clamp accessory which holds it firmly in place. This is on my IBC kit list!

Pro media gear duo slider

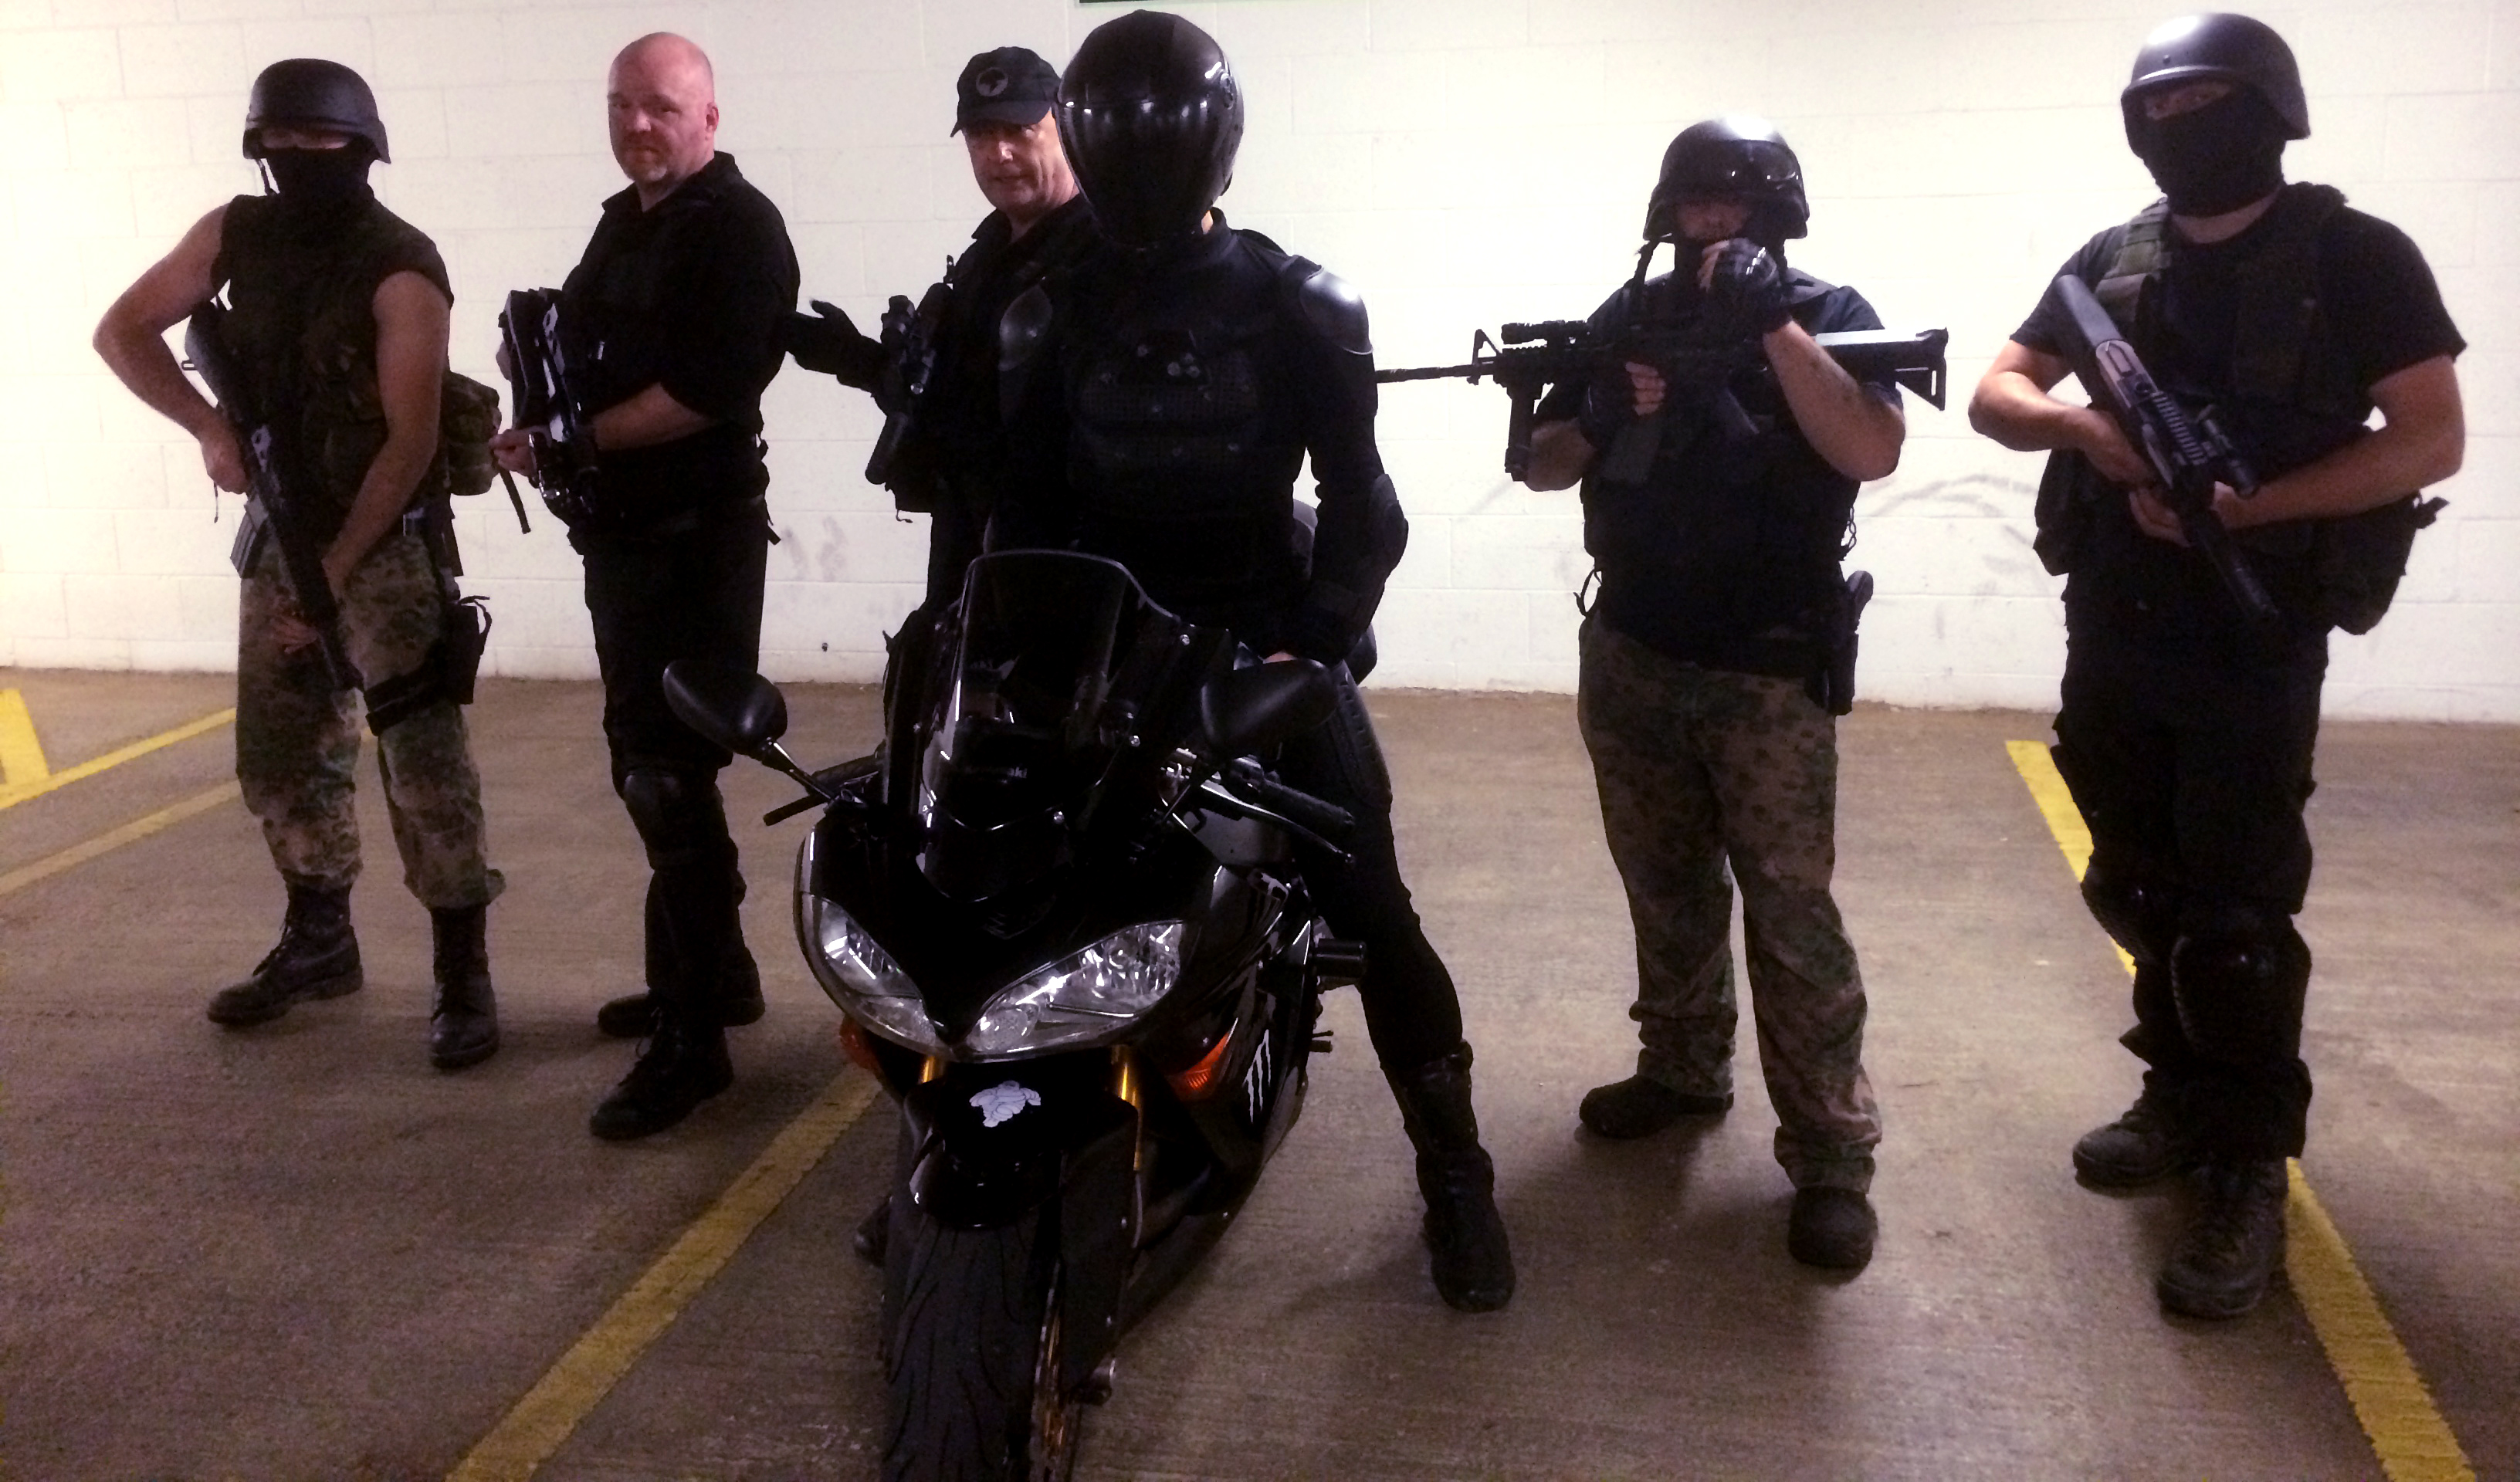
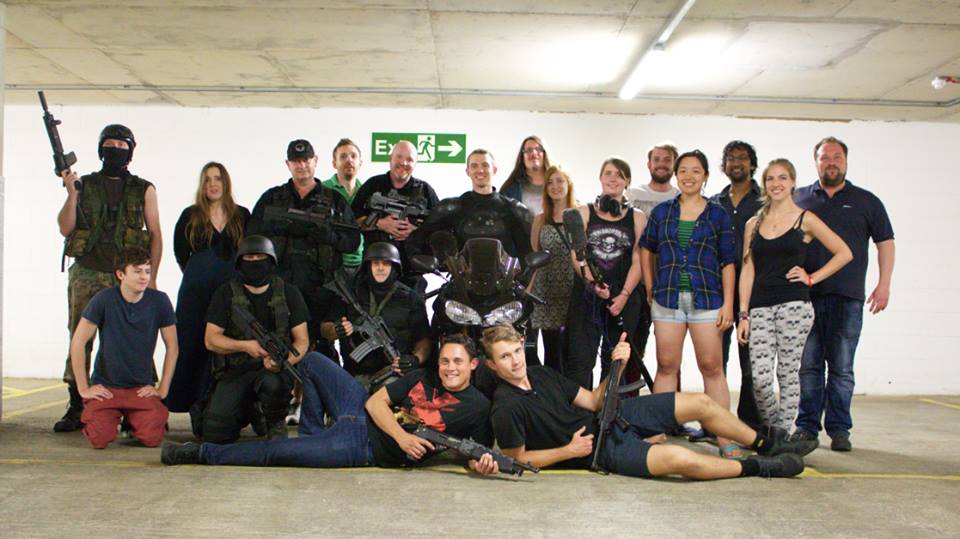
I also helped out director HaZ Dulull on the production of his new short film 'SYNC', it took place in an underground car park in Southend with a bunch of SWAT guys, two massive SUV's, Blackmagic Cinema Cameras and a Production camera. It was a great day shooting, operating the camera and jib for some shots was awesome!

SYNC film shoot

Crew pic!

SYNC film shoot crew pic

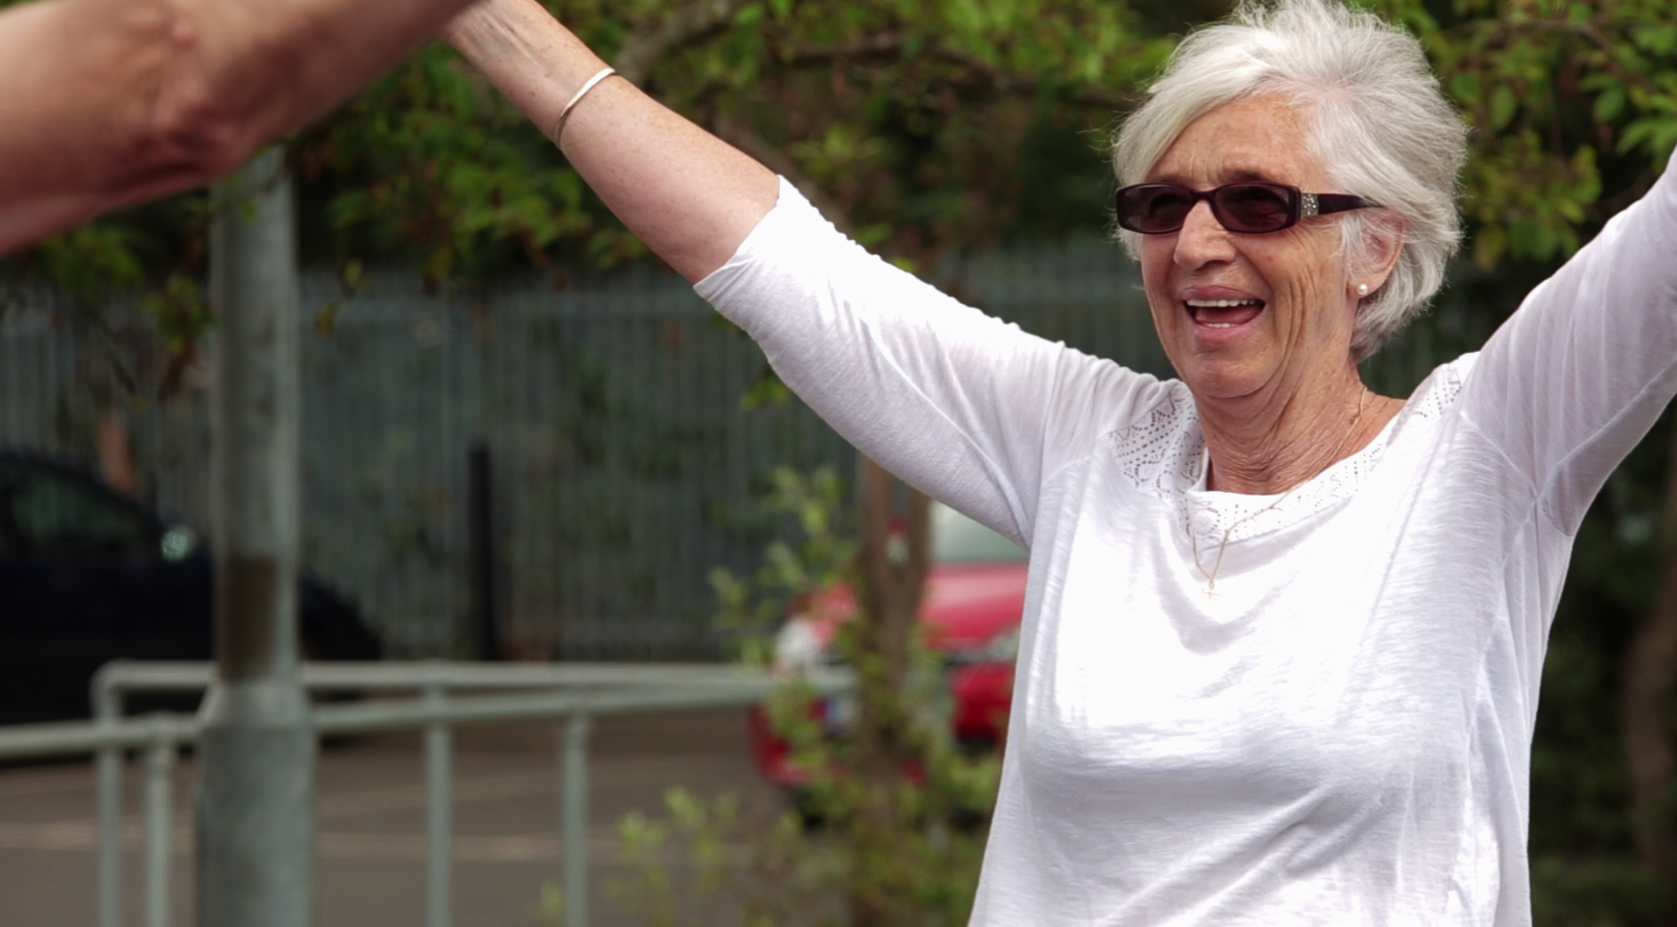
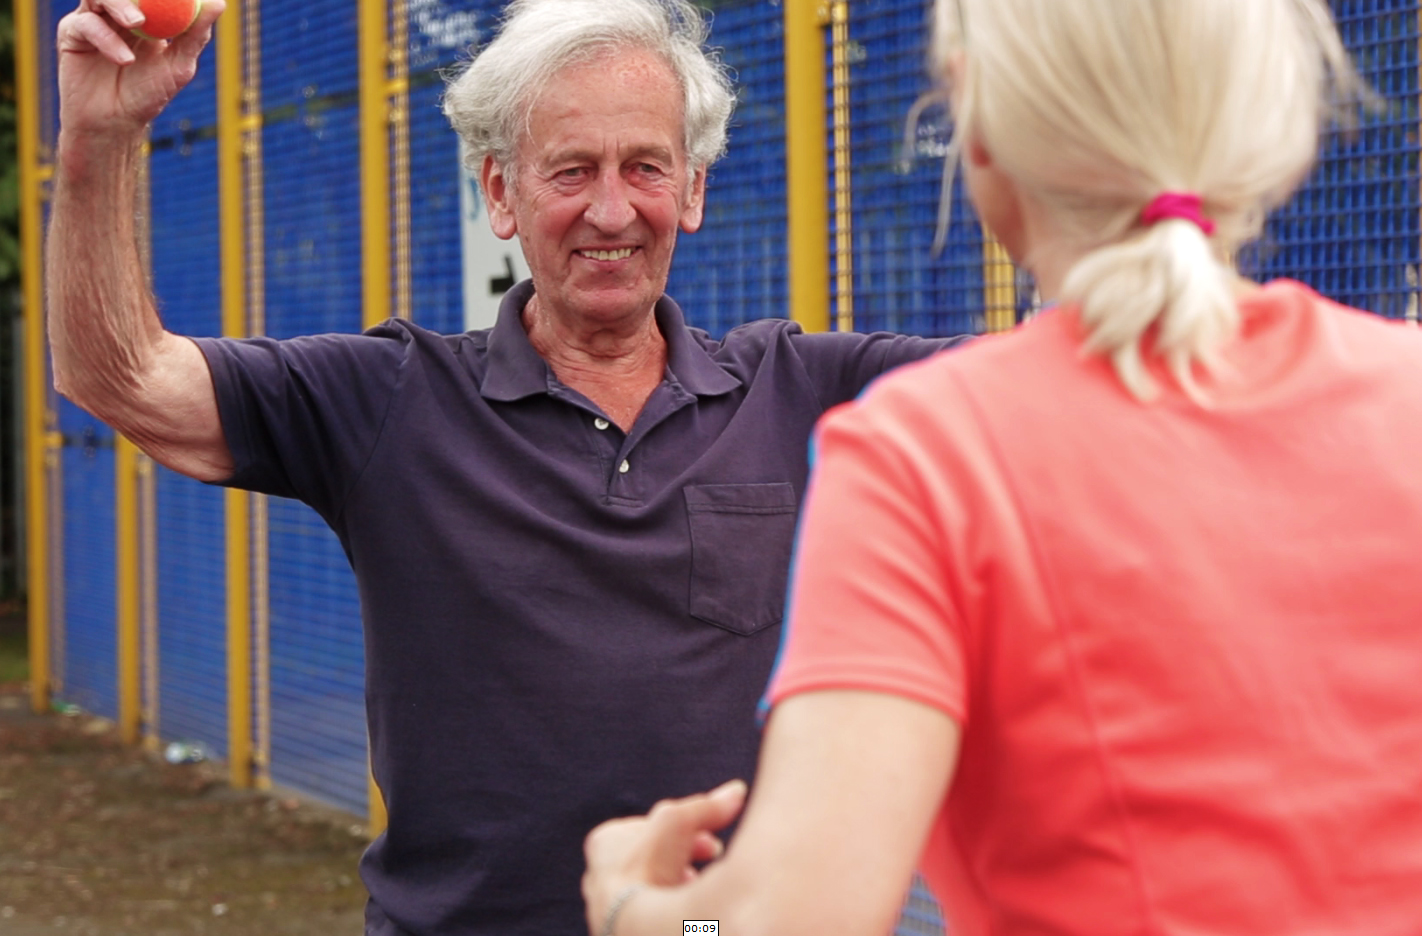
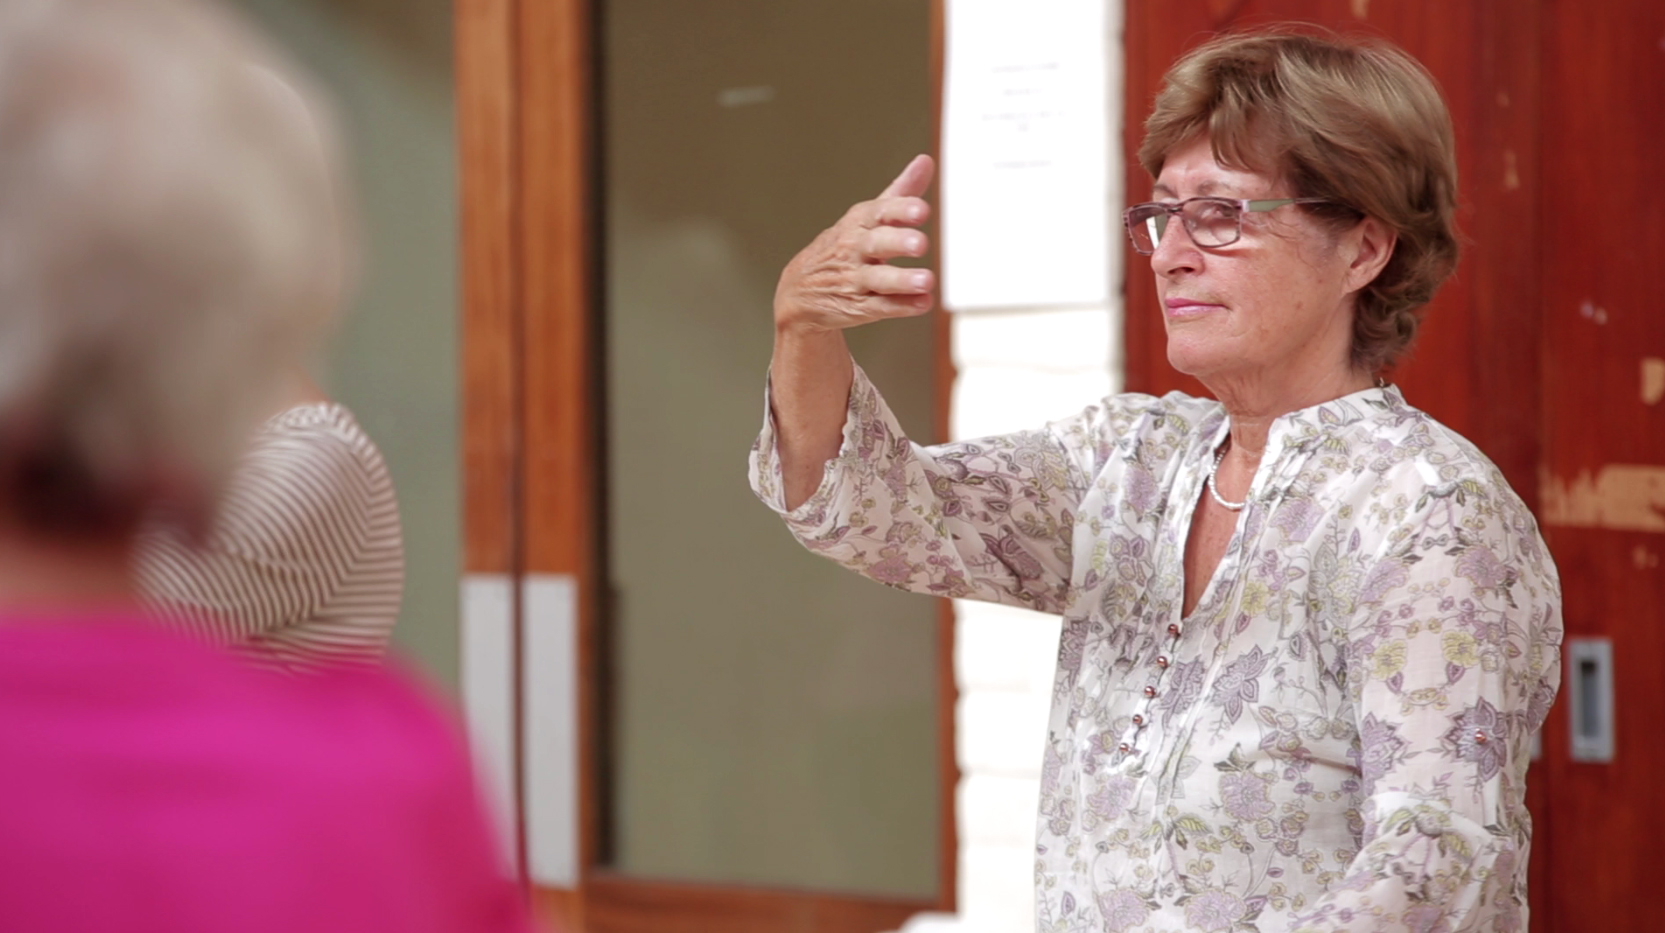
Going back a couple of weeks, I was editing the Epsom and Ewell Borough Council Health and Wellbeing videos which involved writing up captions and mastering the audio levels as I'm quite near completion. I was offered the opportunity to get some more footage of the activities that the Wellbeing Centre offers for those that suffer with dementia including tennis and Japanese mind games. I took up the offer to get some more footage for future council projects.

wellbeing tennis wellbeing tennis2

wellbeing tai chi

It was a hot and bright couple of days, so I used variable ND filters on my lenses to bring down the exposure without reducing the 5D's electronic shutter; a great tip for keeping motion blur realistic. I shot mostly on the Sigma 70-200 F/2.8 OS as it does a wonderful job of isolating subjects from the background. A great lens choice if you don't have red ring fever!

I was also working on the graphics and animation for the EEBC Telecare video; I designed the graphics in Illustrator and Photoshop, then animated in After Effects in a hipstery style using shape layers, pastel tones and lots of easing!

[vimeo http://vimeo.com/105682233]

I got some fantastic news towards the end of August, The IABM decided to go for me as their event videographer for the IBC Show and annual conference! Leading up to IBC I have been preparing a number of videos and graphics to be used and shown throughout the show and at a variety of awards, such as The IABM Design & Innovation Award.

I can't show you much at the moment as everything is under wraps until the events at the conference, but I can show you the title sequence for the videos. It's made in AE using some of the pics I took around the expo last year and other general press images from IBC.

[embed]https://vimeo.com/105437241[/embed]

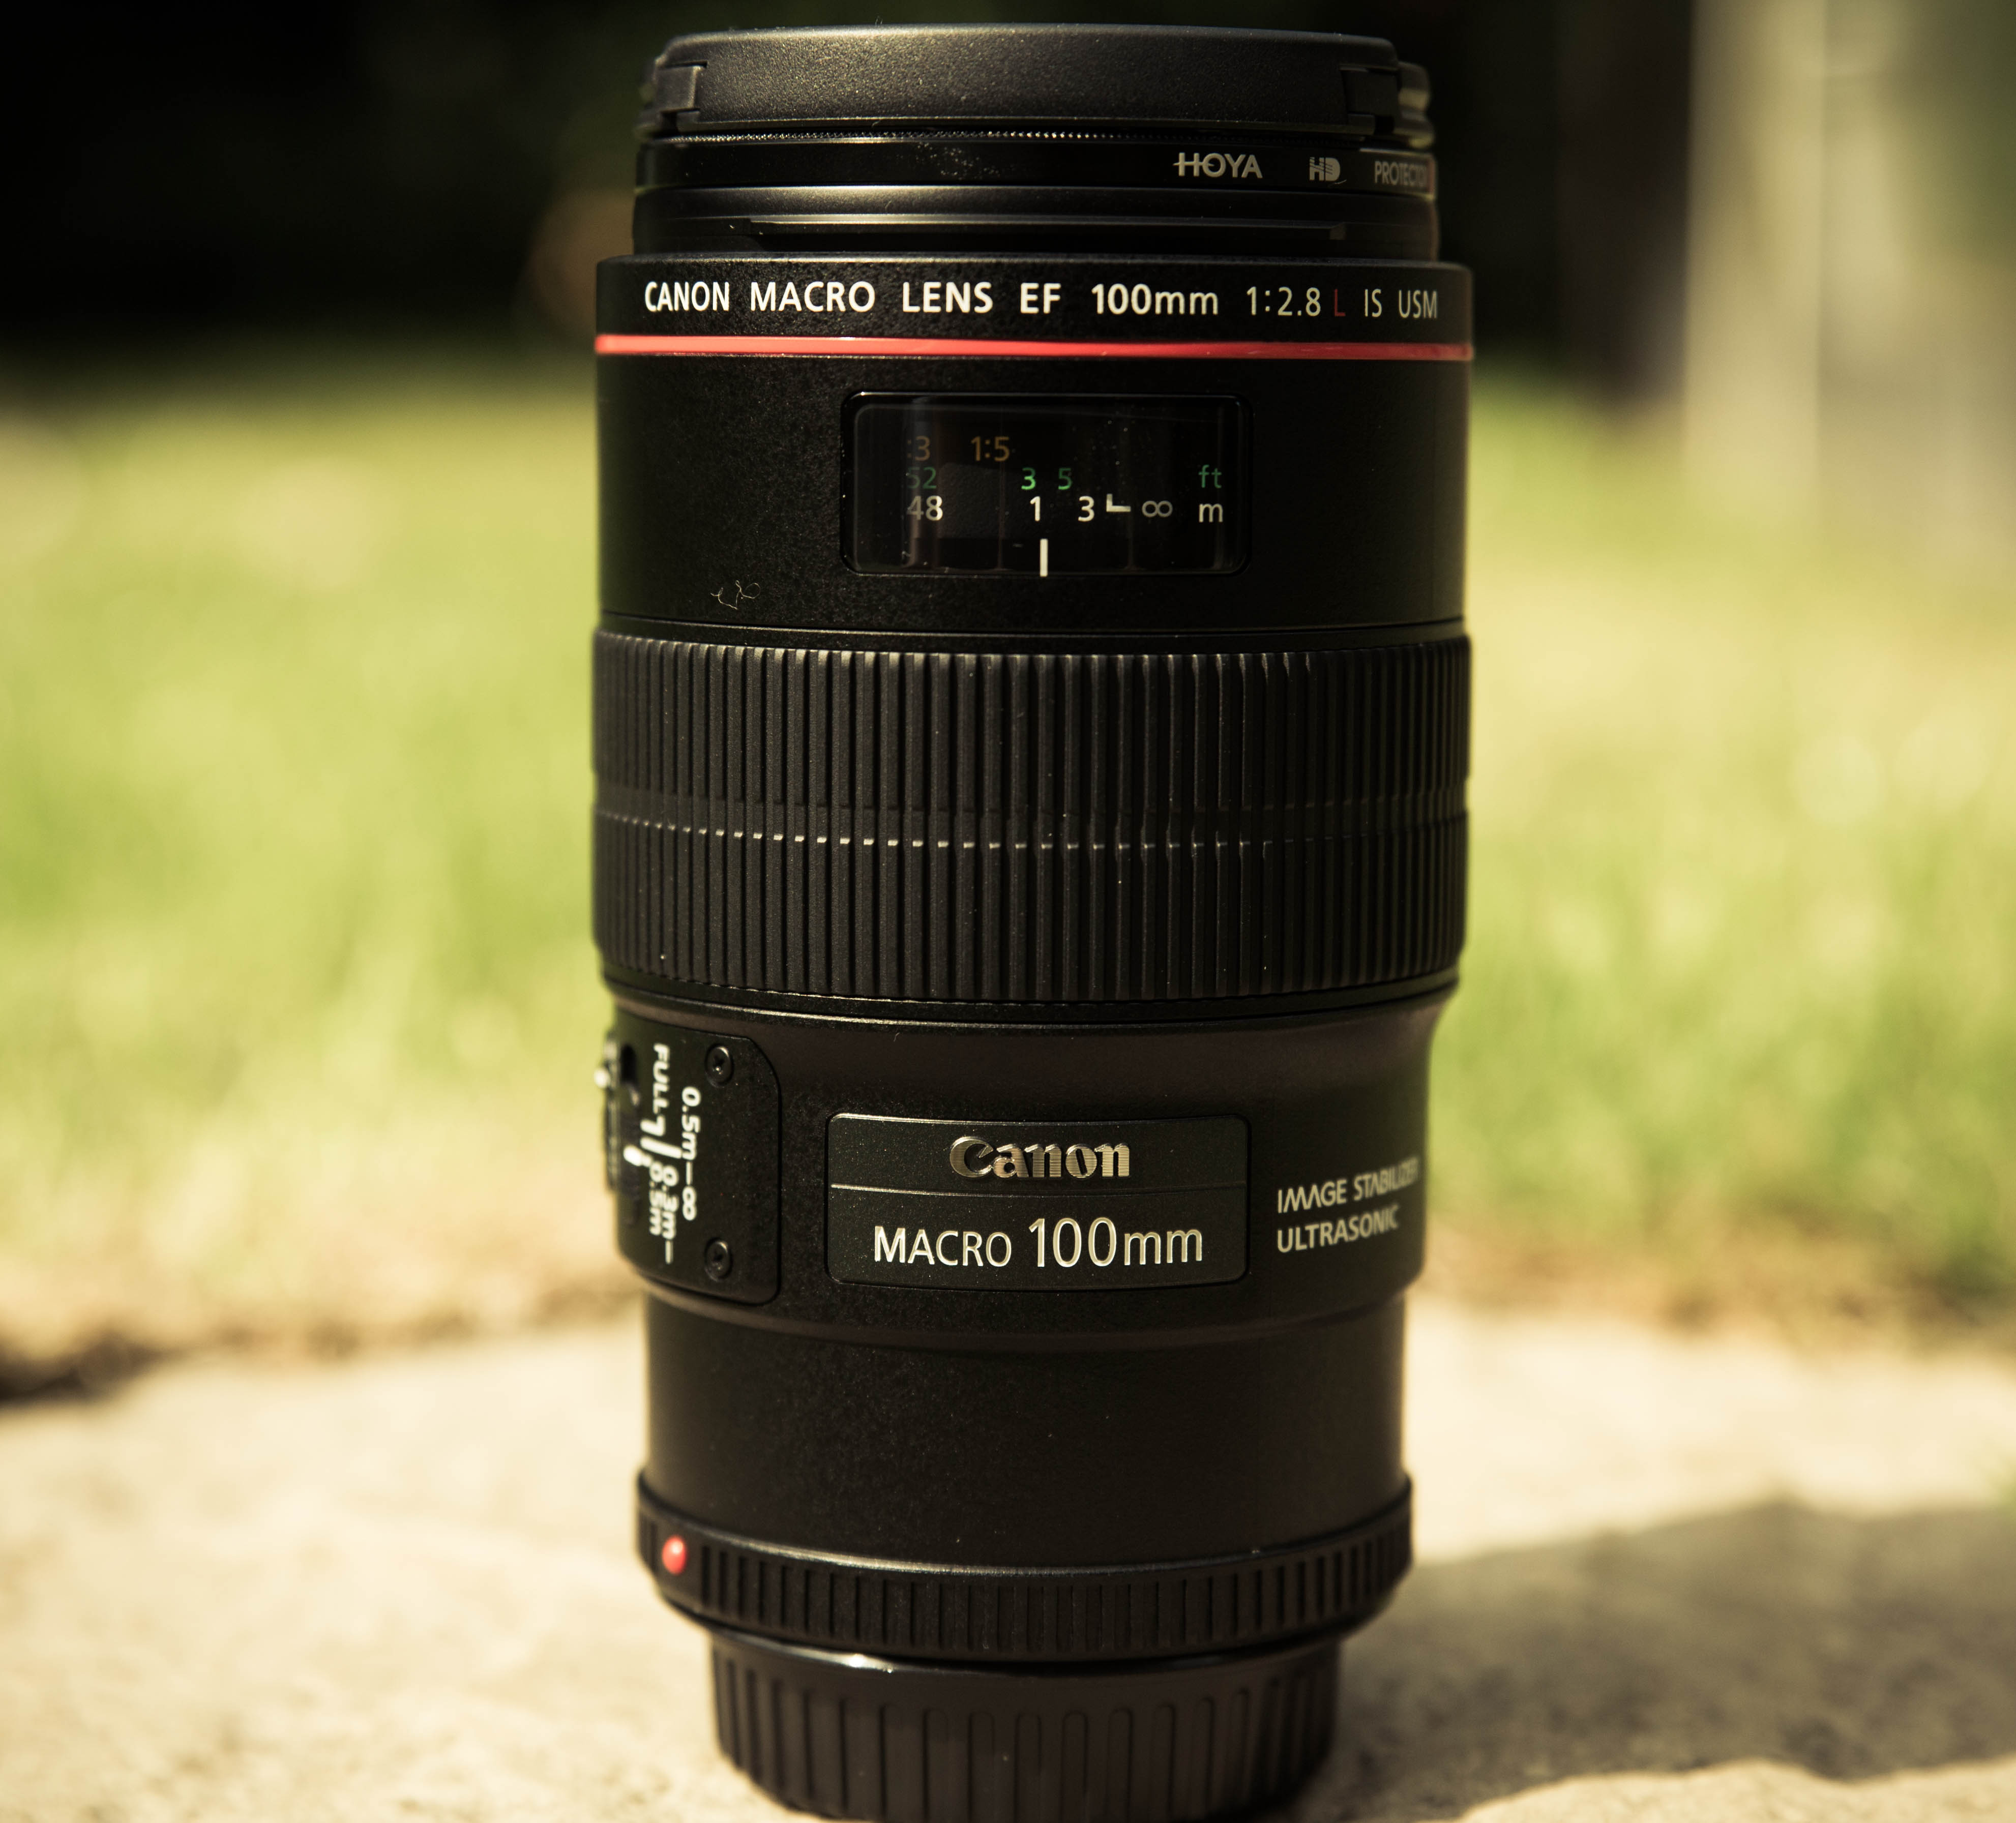
After being WOW'd by the Canon 100mm F/2.8L Macro lens at my Manfrotto Takeover day, the thought of owning one has been rattling around my head since.. I was hopeful with the Sigma 105mm, but the Canon provided the next step up in terms of stabilization, auto focusing, and personally I just preferred the feel of it. I will be using the lens throughout IBC so keep checking for dedicated pics, videos and more!

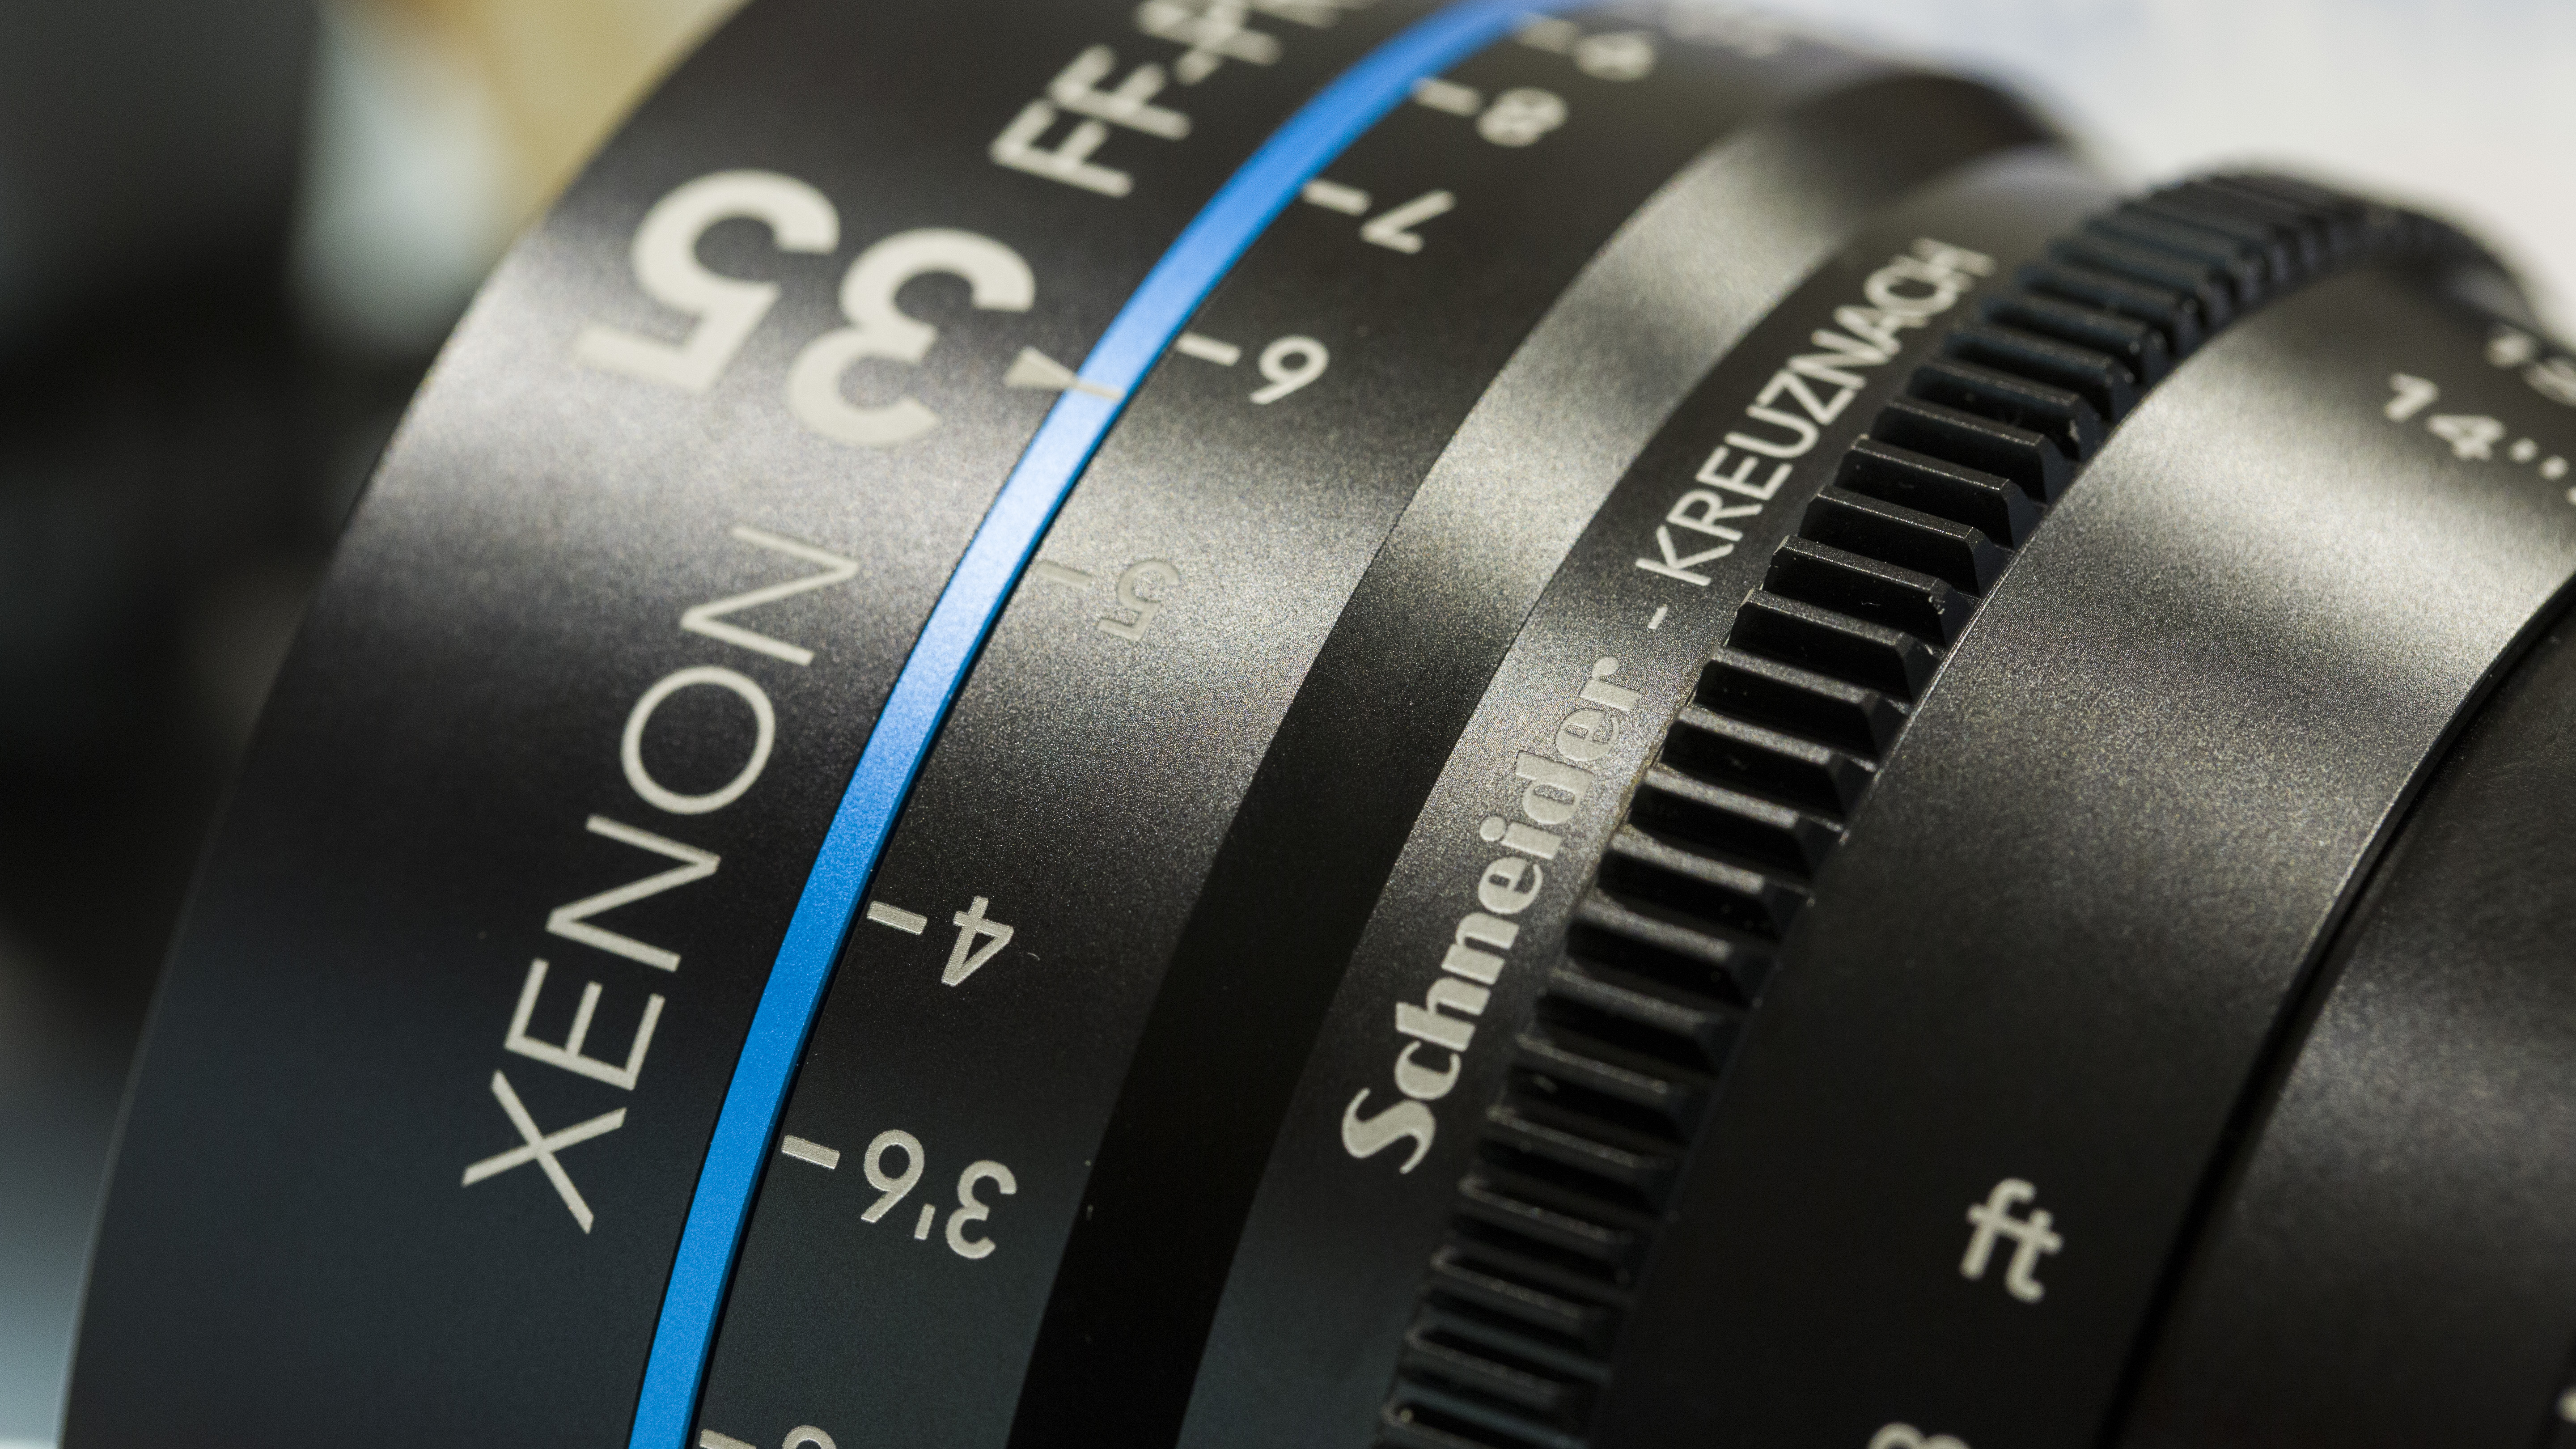
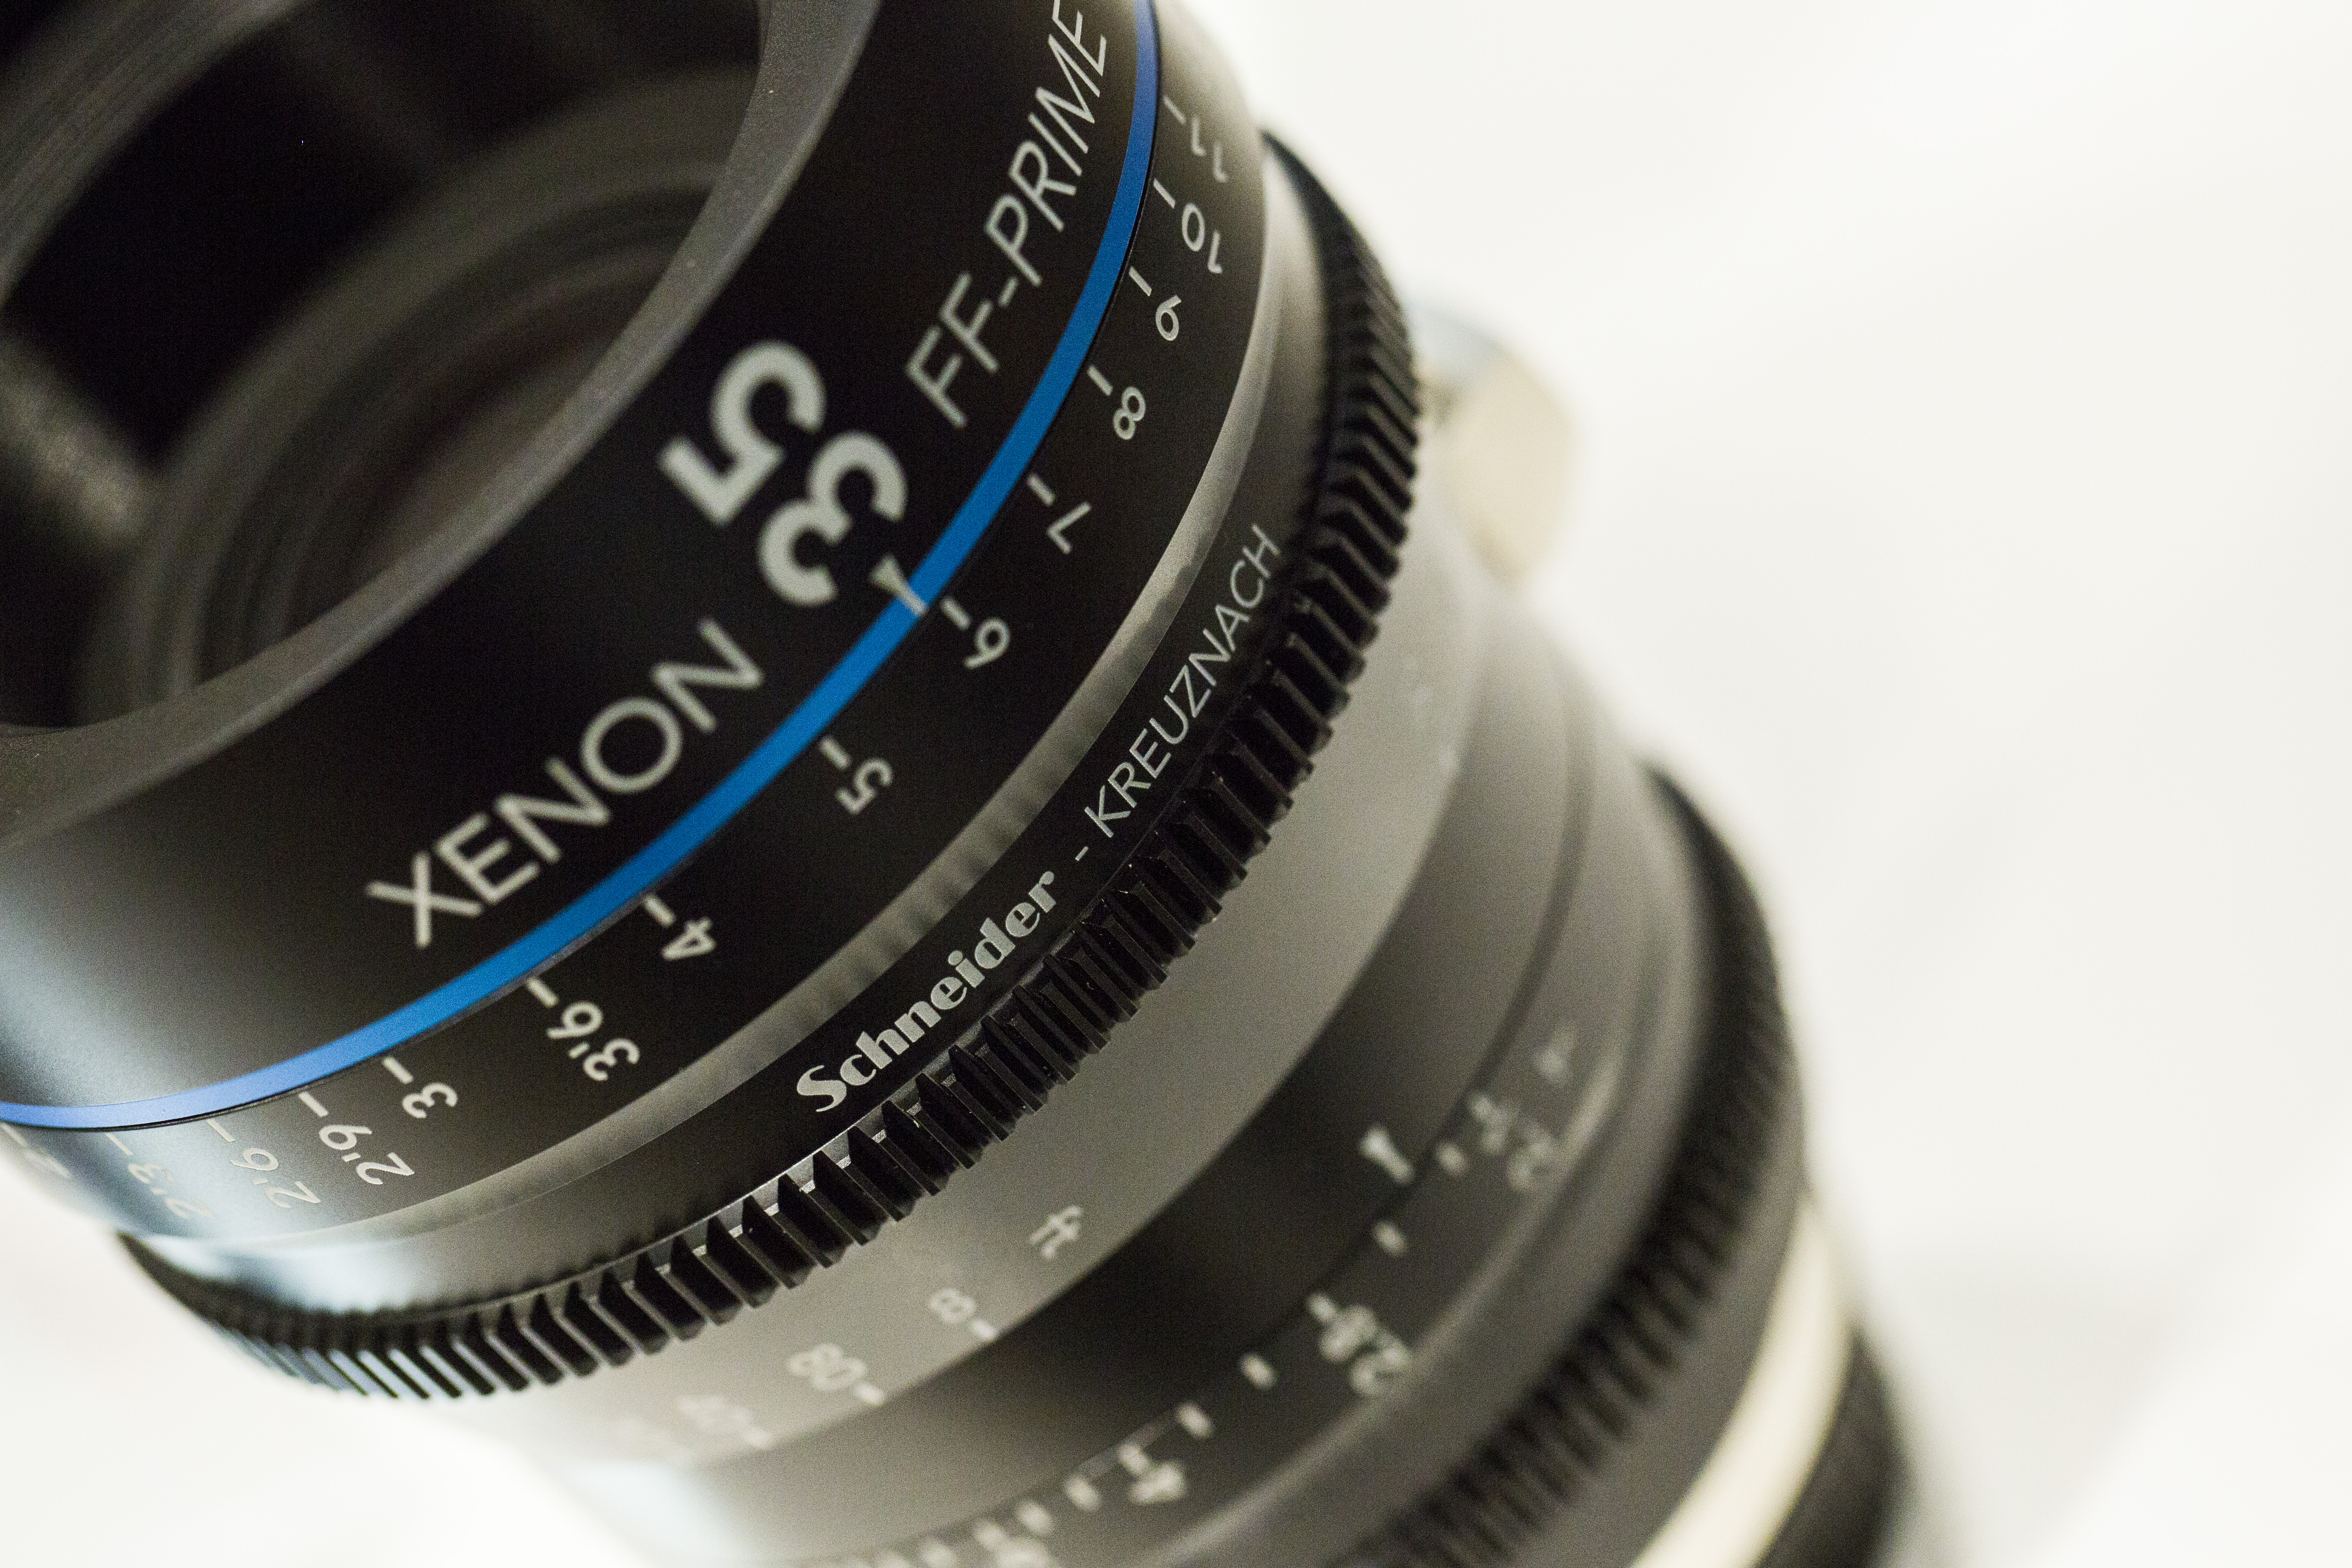
Canon 100mm f/2.8L macro lens Schneider Kreuznach 35mm cine prime lens optic Manfrotto takeover 1 Schneider Kreuznach 35mm cine prime lens optic Manfrotto takeover 2

(The above photos of Schneider Kreuznach Xenon Cine Lenses taken on the Canon 100mm F/2.8L Macro by Adam Plowden).

I also booked my first wedding for January next year, so I met up with the couple 'Sarah and Matt' for a pre-shoot at their venue with Ash (who recommended me, thanks!!). I got some beautiful footage of them in the setting sun, here is a tiny teaser :)

[embed]https://vimeo.com/103859376[/embed]

One day to go until Glen and I leave for Amsterdam to film the IBC Show for The IABM, I did a quick vlog for you, an update on the kit, what we'll be covering. I will be releasing videos most days, blogging and tweeting lots to share the news from the conference, so remember the keep checking for updates! I'm hoping to catch up with PB and Nino Leitner too :)

[embed]https://vimeo.com/105643719[/embed]

Here's the low down on my kit list:

Canon 5D mkIII

2 x Canon 60D

Tamron 24-70mm F/2.8

Sigma 70-200mm F/2.8

Canon 100mm F/2.8L

Samyang 14mm T/3.1

Samyang 35mm T/1.5

Samyang 85mm T/1.5

Canon 50mm F/1.8

Nikkor 50mm F/1.4

Manfrotto SPECTRA Bi-colour 900FT

Manfrotto SPECTRA 500F

Zoom H6

Pro Media Gear Duo arc slider

Roto-mic

Sennheiser Wireless ENG-100 Rx-Tx

Adam Plowden Video IBC kit

I'm picking up some tripods, heads and a magic arm-super clamp from the Vitec team tomorrow, they are doing me a huuuge favor so thank you Dave, Mark and Siobhann from Manfrotto/Vitec!!

Here is something I've been checking out; If you love motion graphics and After Effects, then definitely check out The School Of Motion '30 Days of AE' tutorials, a range of in depth tuts ranging from objects to typography; check it out to learn something! http://www.schoolofmotion.com/

Right, I'm up at 3am to fly at 6. You will be reading the waffle of a very tired Adam tomorrow! Keep on following for more;

@Plowman91

Adam's Videos

Adam on Facebook

Oh and I made this for a mate too:

[vimeo http://vimeo.com/105450445]


Behind the scenes of yesterdays Wellbeing videoshoot!

06:30 Kit bag, check.

Audio kit, check.

Lighting, check.

Brain, just about.

bts early morning sky

Yesterday I was out filming talking heads and some b-roll for a Wellbeing project on behalf of EEBC. Wellbeing is our general mental and physical health, but there are many factors in the way that we live that can affect our chances of developing serious health problems in the future. These include some sensitive subjects, that I was capturing to provide an information base for those in the community that may be suffering, or have friends and relatives of those diagnosed with; Cancer, Coronary Heart Disease, Dementia and Diabetes.

I was featuring nutritional expert Yvonne McMeel throughout the videos, so I began by planning my main piece to camera with her in the Wellbeing Centre.

This was a standard video shoot, so I packed my kit bag to be prepared with whatever the day would bring! This included;

Video - Canon 5D mkIII, Tamron 24-70 F/2.8 VC, Sigma 70-200 F/2.8 OS, Canon 60D.

Audio - Zoom H6, Roto-Mic, Sennheiser ENG-G3 100 wireless.

Grip - Manfrotto 755CX3 tripod + MVH500AH, Manfrotto 190Pro-B (old version) tripod, Super clamp and magic arm.

Lighting - Daylight balanced 85W studio light with soft umbrella.

Extras - Lilliput 1018 (I am currently testing out and reviewing this product).

behind the scenes videography equipment

I took along the Lilliput 1018; the new flagship 10 inch touch screen field monitor, which produced crisp pictures and well represented colours. I ran this on a F-970 battery with HDMI through from the 5D, so I could monitor both. This did however cause the camera to heat up quite quickly. However, the monitor has awesome features usually found on high end products which include; exposure and focus peaking, on screen waveform monitors, levels and much more, which came in very handy for assessing the quality of the picture. (More coming later regarding this product).

behind the scenes make up artist Char1 behind the scenes make up artist Char2 Char doing her make up thang!

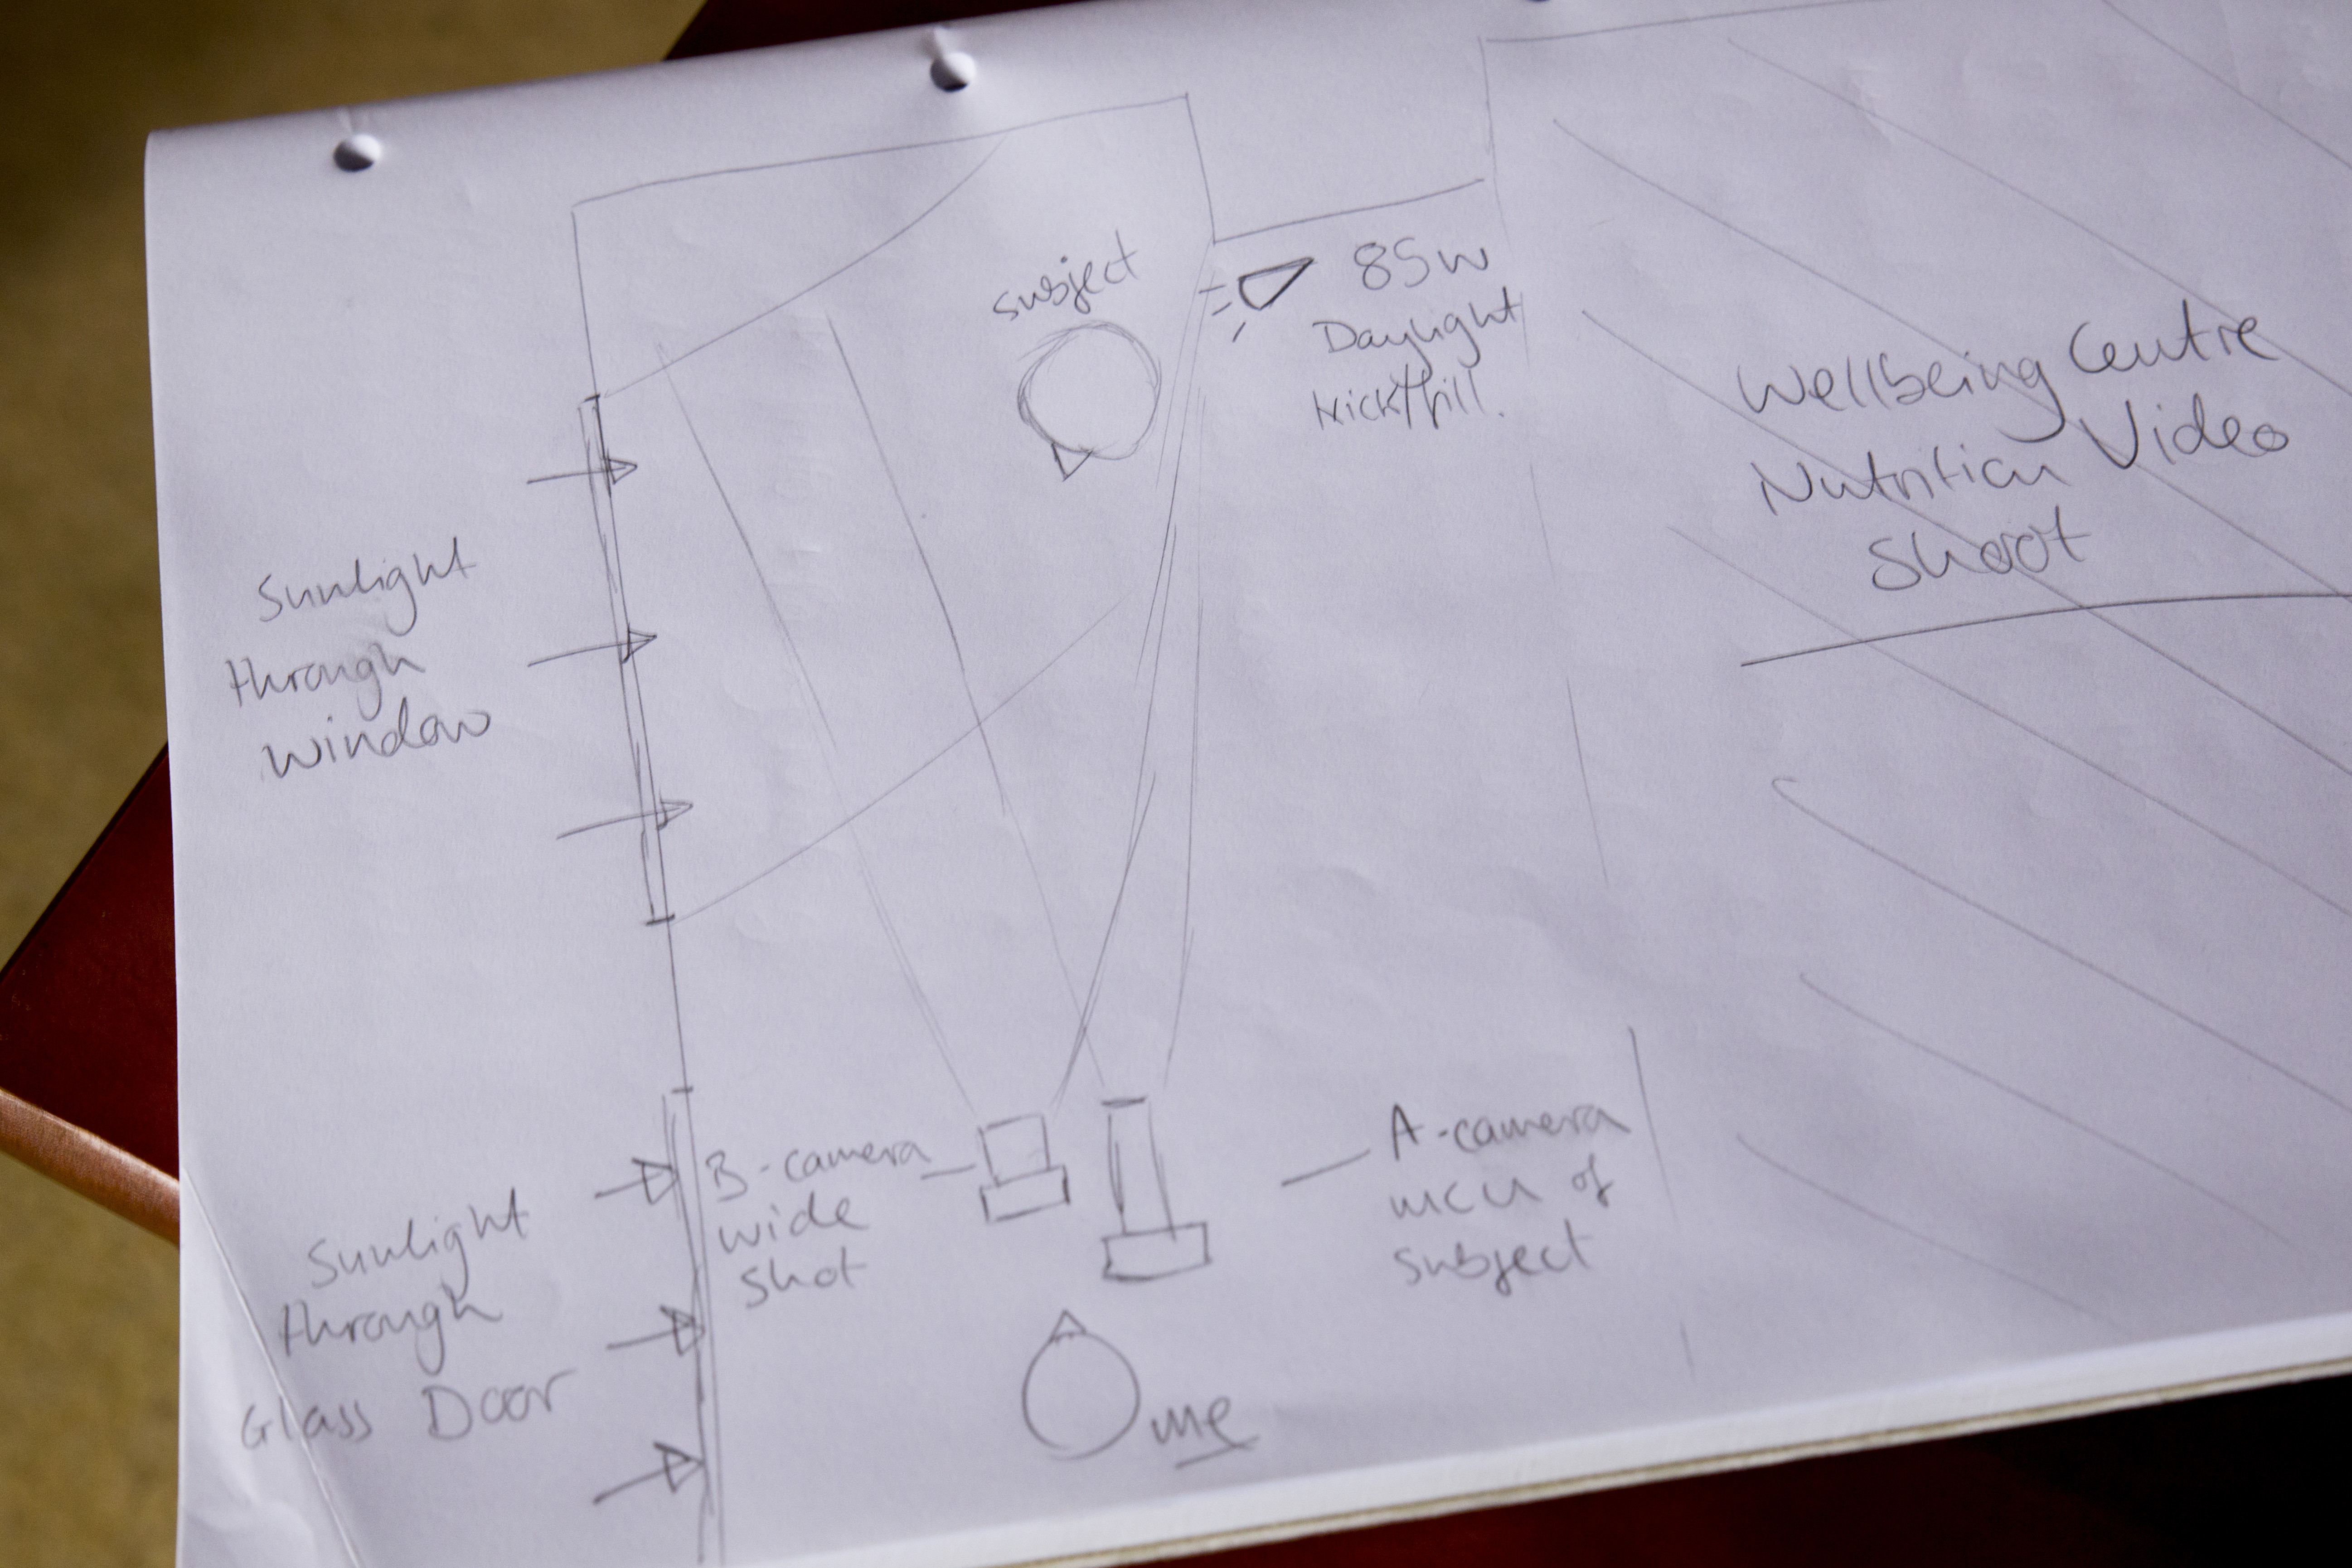
I began setup at 9am, shortly followed by Char the make up artist who set up her bits. The location for filming was the Wellbeing Centre, which as a wonderfully bright open facade with big doors and windows. Luckily enough, blaring heat and sunshine poured through the windows, so that was my key light at slightly cooler than daylight colour balance at 5200k. This also matched the daylight light fixture I was using to add a fill and kick to the subject.


Why did I use a 2-point light setup?

I could have rocked up with the intention of using just the daylight and the incandescent lights in the centre with the mentality that it will illuminate my subject well, but there are risks you have to be willing to take if you approach lighting in a casual way. Some points to remember when thinking about lighting your subjects;

  • Are they defined from the background?
  • Do they have harsh shadows on their face?
  • Moving sunlight will change throughout the day, in brightness, direction and colour.
  • bts wellbeing light setup

Now, when you haven't been to the location before it is difficult to judge the lighting conditions, so firstly if you can have a RECCE of the location. It is very beneficial as you can begin to compose the scene, judging the internal and external lighting, now noisy the environment is, whether you will need a backdrop instead of a plain background.. All points to consider before you turn up with the camera kit and begin filming.

Defining the subject from the background is what makes them look 3-dimensional and not flat, this is the same for the shadows too as it shows that features are visible on the face. With DSLR's it is possible to use depth of field to define your subject from the background, but lighting can also be used to 'pop' the subject out of the BG.

Harsh shadows are caused by strong direct light, and are unwanted as they mask features and don't represent the subject properly, unless this is the effect you are looking for. For piece to cameras and interviews having soft shadows around the nose show the features of the subject, again making them look real.

The sunlight is your best friend and worst enemy at the same time... As the Earth rotates, we move further away or closer to the sun which changes the lights direction; if you start filming in the morning with your subject lit from the front, by 12 noon the sun is over head and by the late afternoon the light will be behind you. To combat this, keep continuity by filming at the same times each day, or even simpler be aware of the suns direction and gradually rotate the subject and other lights to keep a constant illumination. For me, I was filming from 11am through to 15:00 with the sunlight to my left for the whole day which was very beneficial, but not every time will I be that lucky!

Watch out for clouds that can block the sunlight, and be aware of how the colour temperature of daylight changes throughout the day; cool in the morning and warm in the evening. For me, shooting in midday sun meant a constant temperature of 5200K for both cameras, matching the other light.

The use of a kicker or fill light, pushes out the shadows caused by the key light (the sun), and gives a halo effect to the hair of the subject making them stand out. The difference is subtle but effective.


Camera Setup and Composition

Once I had my lighting up and running, it was time to set up the cameras and audio equipment. I was going to shoot using the Samyang 35mm T/1.5 cine lens, but this would result in being intimately close to Yvonne, the subject, which would be quite off putting and may add shadows/interference such as me rustling papers to the recording. Instead, I used a telephoto lens as I can be a good distance away from the subject, and create a narrow field of view that frames up as an MCU (medium close up).

My main A camera was the 5D mkIII, and although the Sigma lens can open up its aperture to F/2.8 for shallow depth of field, this was not required for today. Instead, the camera was set to F/4.5 for a still shallow depth of field, but deep enough for the subject to move forward and backwards in the frame a little, and to de-focus the background. The ISO was set to 200, although when the Sun disappeared behind clouds I would ride the ISO to 250 or 320 depending. To stick to the 180 degree shutter rule, the electronic shutter remained locked at 1/50th.

The B camera was the Canon 60D, I paired this with the sharp Tamron 24-70 F/2.8 and shot wide open, again riding the ISO when required. I did this because this camera was capturing a wide shot of the subject, so depth of field was not noticeable. To keep continuity, both cameras were set to a white balance/colour temperature of 5200K, but it appears that the 60D picture is slightly yellow/green than the 5D picture.

behind the scenes camera dslr audio setup light

Audio

The often forgotten partner to the pretty pictures you see, having top quality audio is just as important as having your subject in focus and exposed. I used the Zoom H6 as my recorder, with the XY mic attached to capture one stereo recording. I also used the Sennheiser ENG-G3 wireless mic kit, attaching a lav/lapel mic to the subject which would be my main audio source. As a back up I also used the Rotolight Roto-Mic plugged into the 5D just in case. Remember to take headphones so you can monitor the sound recording, just like you would use the cameras screen to compose the picture.

Behind the scenes wellbeing video shoot adam plowden videography canon 5D lilliput

The filming went brilliantly. As a precaution I decided to use the 'record to multiple card' function in the 5D so I had a back up of the footage in case the cards got corrupted from such long recording times. As mentioned earlier with the lighting, as the light slowly changed, I also adjusted the position of the kick/fill to push back the shadows.

I was very impressed with the Lilliput 1018 field monitor too, and although it is larger than monitors I would usually use the touch screen control and diverse functions suited the shoot well, so I could keep a close eye on the changing light levels.

After the principal piece to camera filming was complete, I ventured out into Epsom and Ewell with Yvonne to film some b-roll pieces that would add to the information and dialogue about wellbeing and health. So, we visited Shadbolt Park outdoor gym, Ewell Court Library, Epsom's Derby Square, we were going to hit the market but by that time it was 17:30 and no chance of finding fresh fruit and veg to film.. We returned to the car to go to the last location, Epsom Downs, when this happened...

adams broken down car

My car broke down. The filming day abruptly ended with a call to my insurers for recovery, while I also arranged a taxi for Yvonne to take her to the train station. That didn't put a dampener on the day though, I had captured great video and dialogue that I hope will help many people in the borough and wider community who may be suffering with cancer, heart disease, diabetes or dementia.

I then ingested the footage, and backed up a whopping 80Gb of footage and audio.. Lots to edit through, but thankfully those wonderful geniuses at Red Giant have a tool called Pluraleyes which can sync video with externally recorded video, so suddenly the issue to matching up the audio to the video disappeared, saving me potentially hours of work!

pluraleyes un-synced A bunch of un-synced video and audio clips gets transformed into this -  behind the scenes pluraleyes sync video

Pluraleyes then allows you to export the sequence as an XML that I then imported into Adobe Premiere Pro to edit! It's ready to go!


Overall, very happy with the footage and the outcome of the first day! I need to get out and shoot some more cutaways/b-roll of healthy food, socializing and some more bits and bobs to add.

Why is music so important to your production?

As videographers come and go, especially those that focus more on the visuals rather than the audio aspect of production, some may not realize the importance of the sound that accompanies the visuals. It builds atmosphere, tension, and can play on many different emotions and feelings that is just not possible through visuals (hearing someone behind you for example). Remember, AUDIO is 50% of a final video or film, the other 50% is the VISUALS. Without good audio, your audiences perception of the recreated reality portrayed in the visuals becomes blurred as it is not realistic to hear naturally, think about it!

If you are working on a production where you know the quality of the audio or visuals will be compromised, then have a back up plan! I shoot all the time on my Canon 60D, DSLR's having notoriously terrible in built microphones so I overcome this in ENG situations by using a RODE Videomic, which does the job. However, for exceptionally clean and high quality audio recording an external mic+recorder device is crucial especially for talking heads! I used the Zoom H2 audio recorder to capture the sound externally, to then sync up in post.

A GREAT TIP!! If you are in a shooting situation that allows; set the camera and audio device recording and clap. This will create a spike in the audio waveform and will make it so much easier to sync up later on!

My reason for discussing; I'm currently choosing the accompanying music for the GLF conference video. I use a site called Audio Network to source most of my audio media as it has great creative commons uses and is reasonably priced too, as well as having such a vast array of production style music.

So far, to go with the up-beat and enthusiastic, youthful visuals I have chosen these two to go with the visuals; let me know what you think!

If You Wanna

How's It Going?

I look forward to hearing your thoughts on the music, and any similar production questions or issues you may be having!