This will be a series of posts acting as a videography diary for my latest personal project which is out filming Autumn in Surrey.
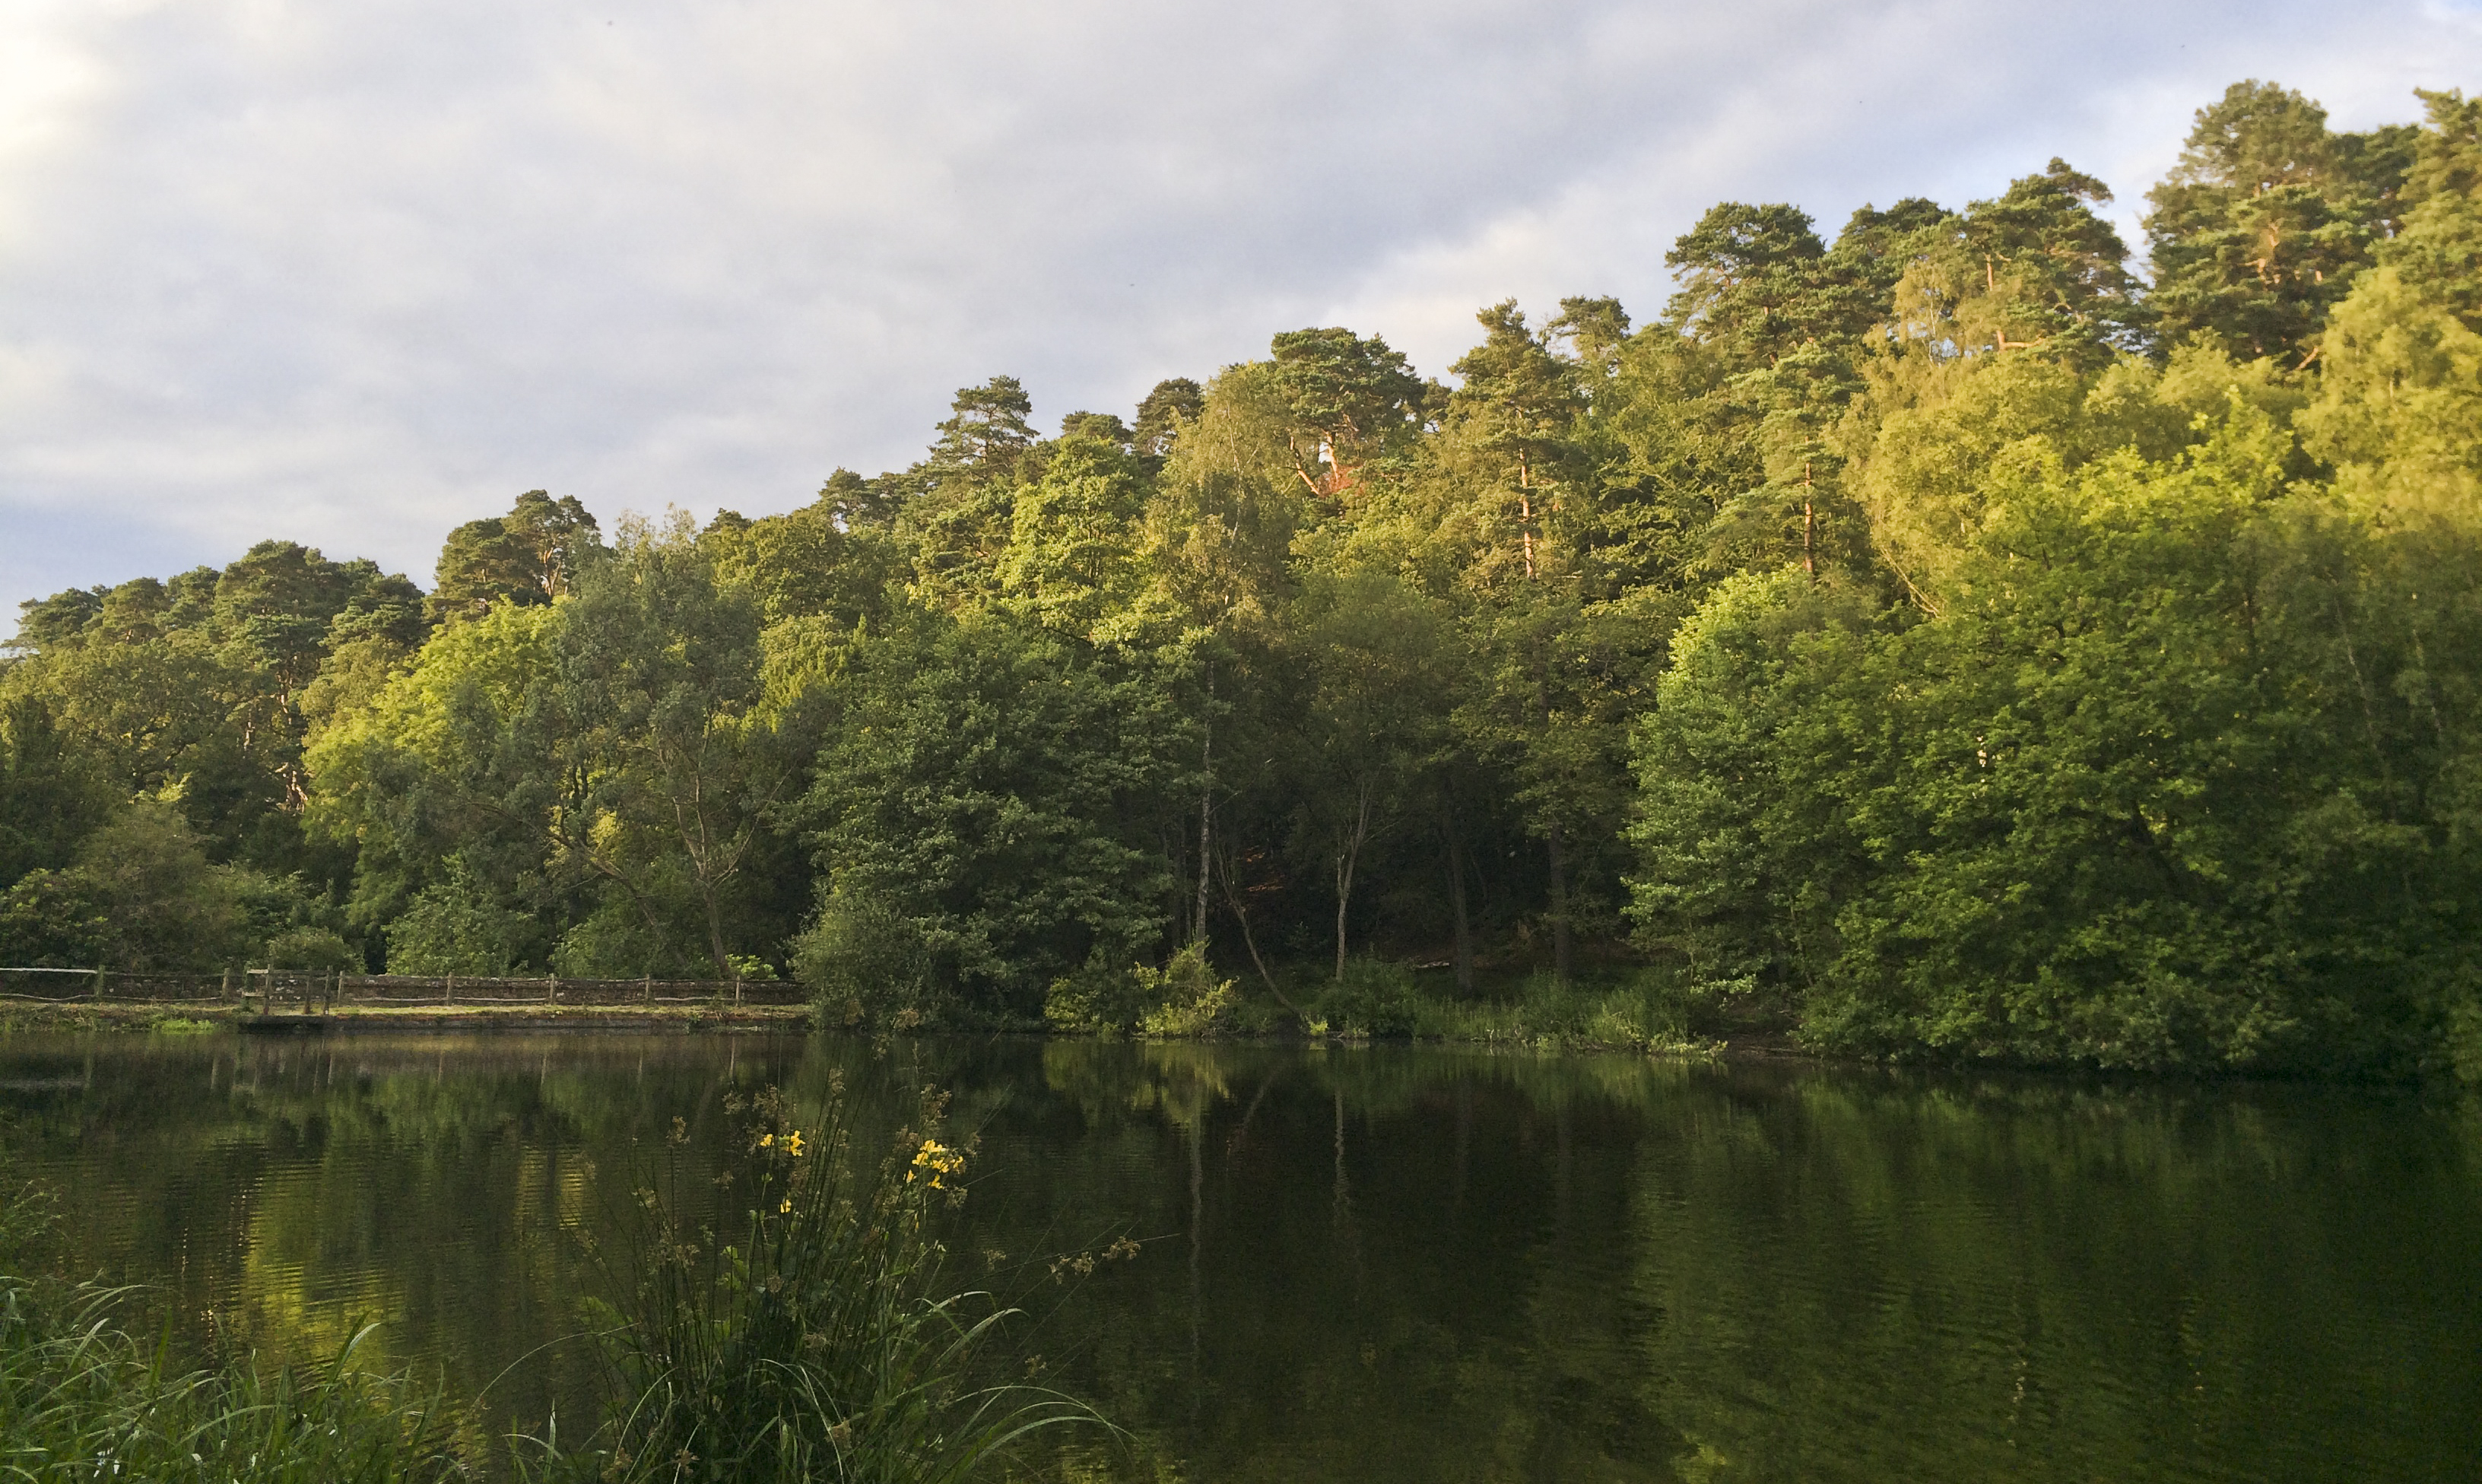
North Downs Way (Ranmore, Surrey)
This time of the year is my absolute favorite. There's a chill in the air, leaves turn stunning tones of oranges, reds and browns, hidden spider webs become visible in the morning dew. Autumn bring a series of treats from the first frost, harvest festival, Halloween and fireworks night, most of which I'll try to capture over the coming weeks as the night draws closer.

Rainbow after a passing storm
I made my first seasonal video back in Jan/Feb called 'Quiet Sunshine', I loved being out with just my camera and me. It was silent and still as I crept around the pond, capturing the life in the Winter. This was also one of the first videos I made with my new videography kit; Canon 5D mkIII, Samyang 14, 35, 85mm cine lens, Manfrotto 755CX-3 carbon fibre tripod and MHV-500AH video head. It's the ultimate in quick, steady shooting with a beautiful image from Samyang's top quality glass.
This ethos of simplicity while filming is aided greatly by wise equipment choices, good planning and being inspired. Taking a little time to research the sunset and weather, the locations you're going to visit, and checking out other creatives work all contribute to the story that is composed and told through the video. For me, my Manfrotto tripods, video heads, bags and lights give me the flexibility to film in a variety of scenarios without needing a set of heavy legs.

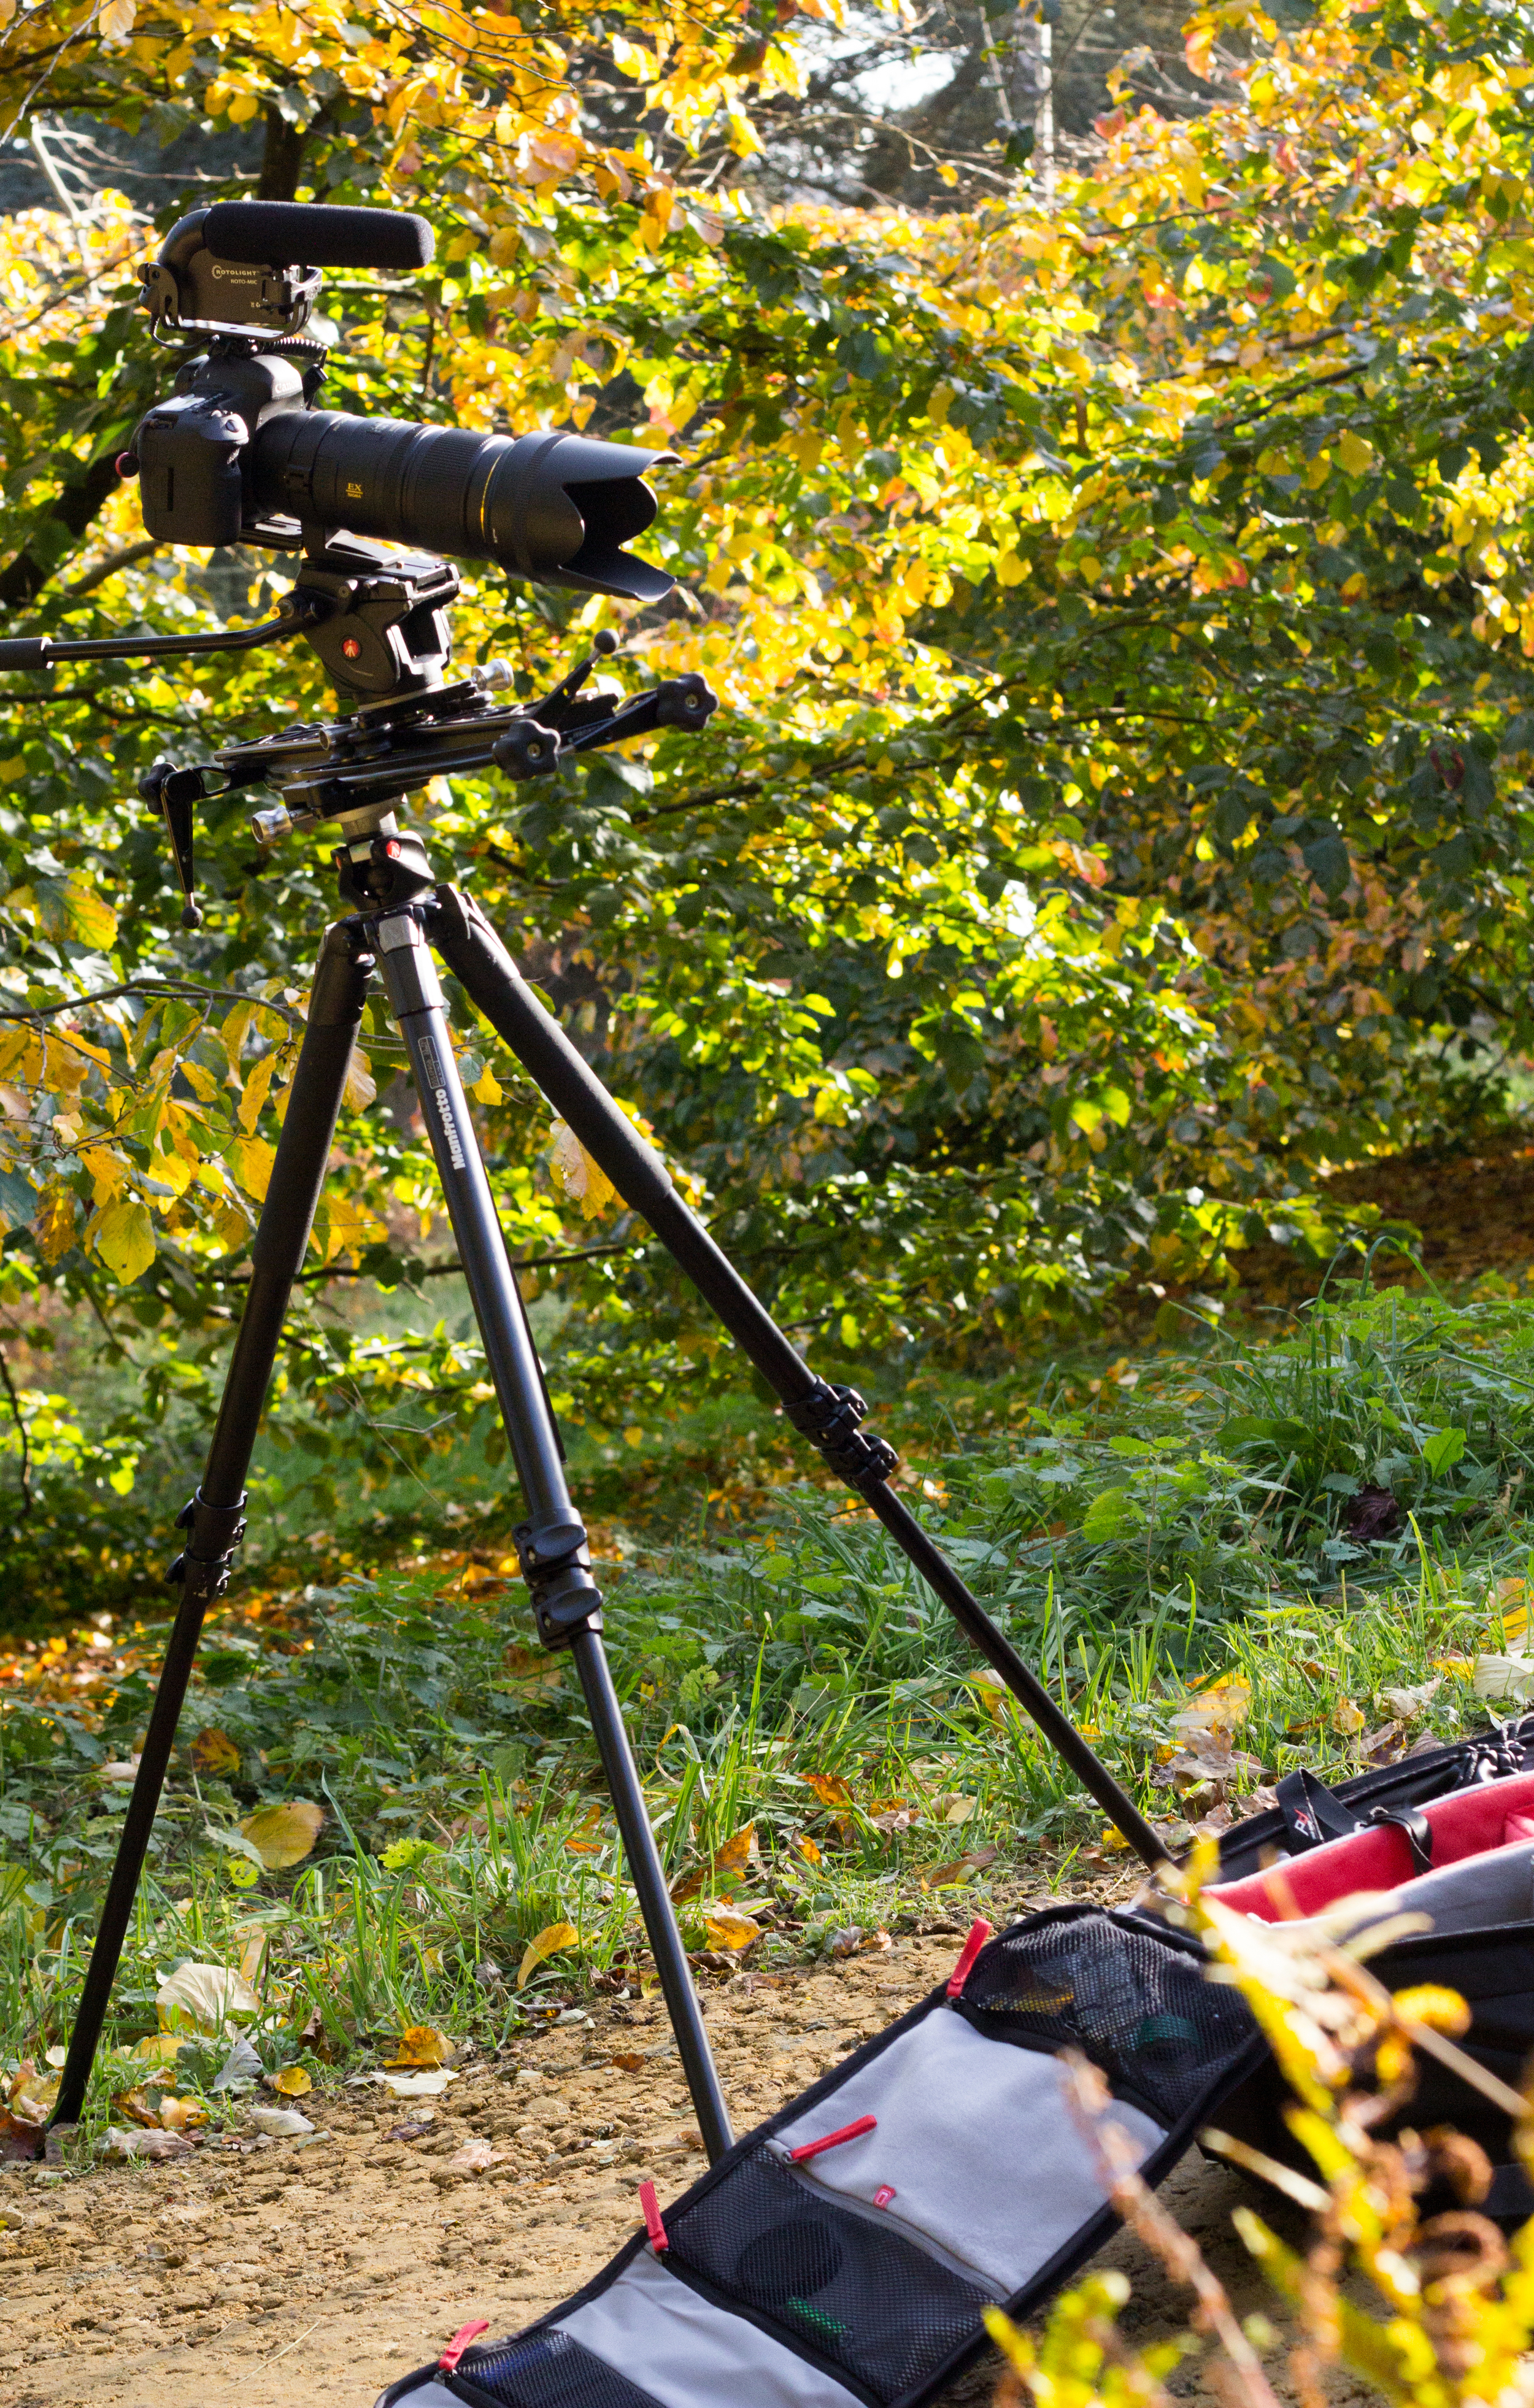
Filming the sunset.

Kit of choice for one afternoon's filming
The above pic shows how simple my setup was:
- Canon 5D mkIII (Technicolor Cinestyle picture profile).
- Tamron 24-70mm
- Sigma 70-200mm
- Canon 100mm macro
- Samyang 14mm cine
- Manfrotto 055ProB tripod
- Manfrotto 701HDV head
- Pro Media Gear dual arc slider
- ND filters
- Manfrotto SPECTRA 900FT LED light (just in case).

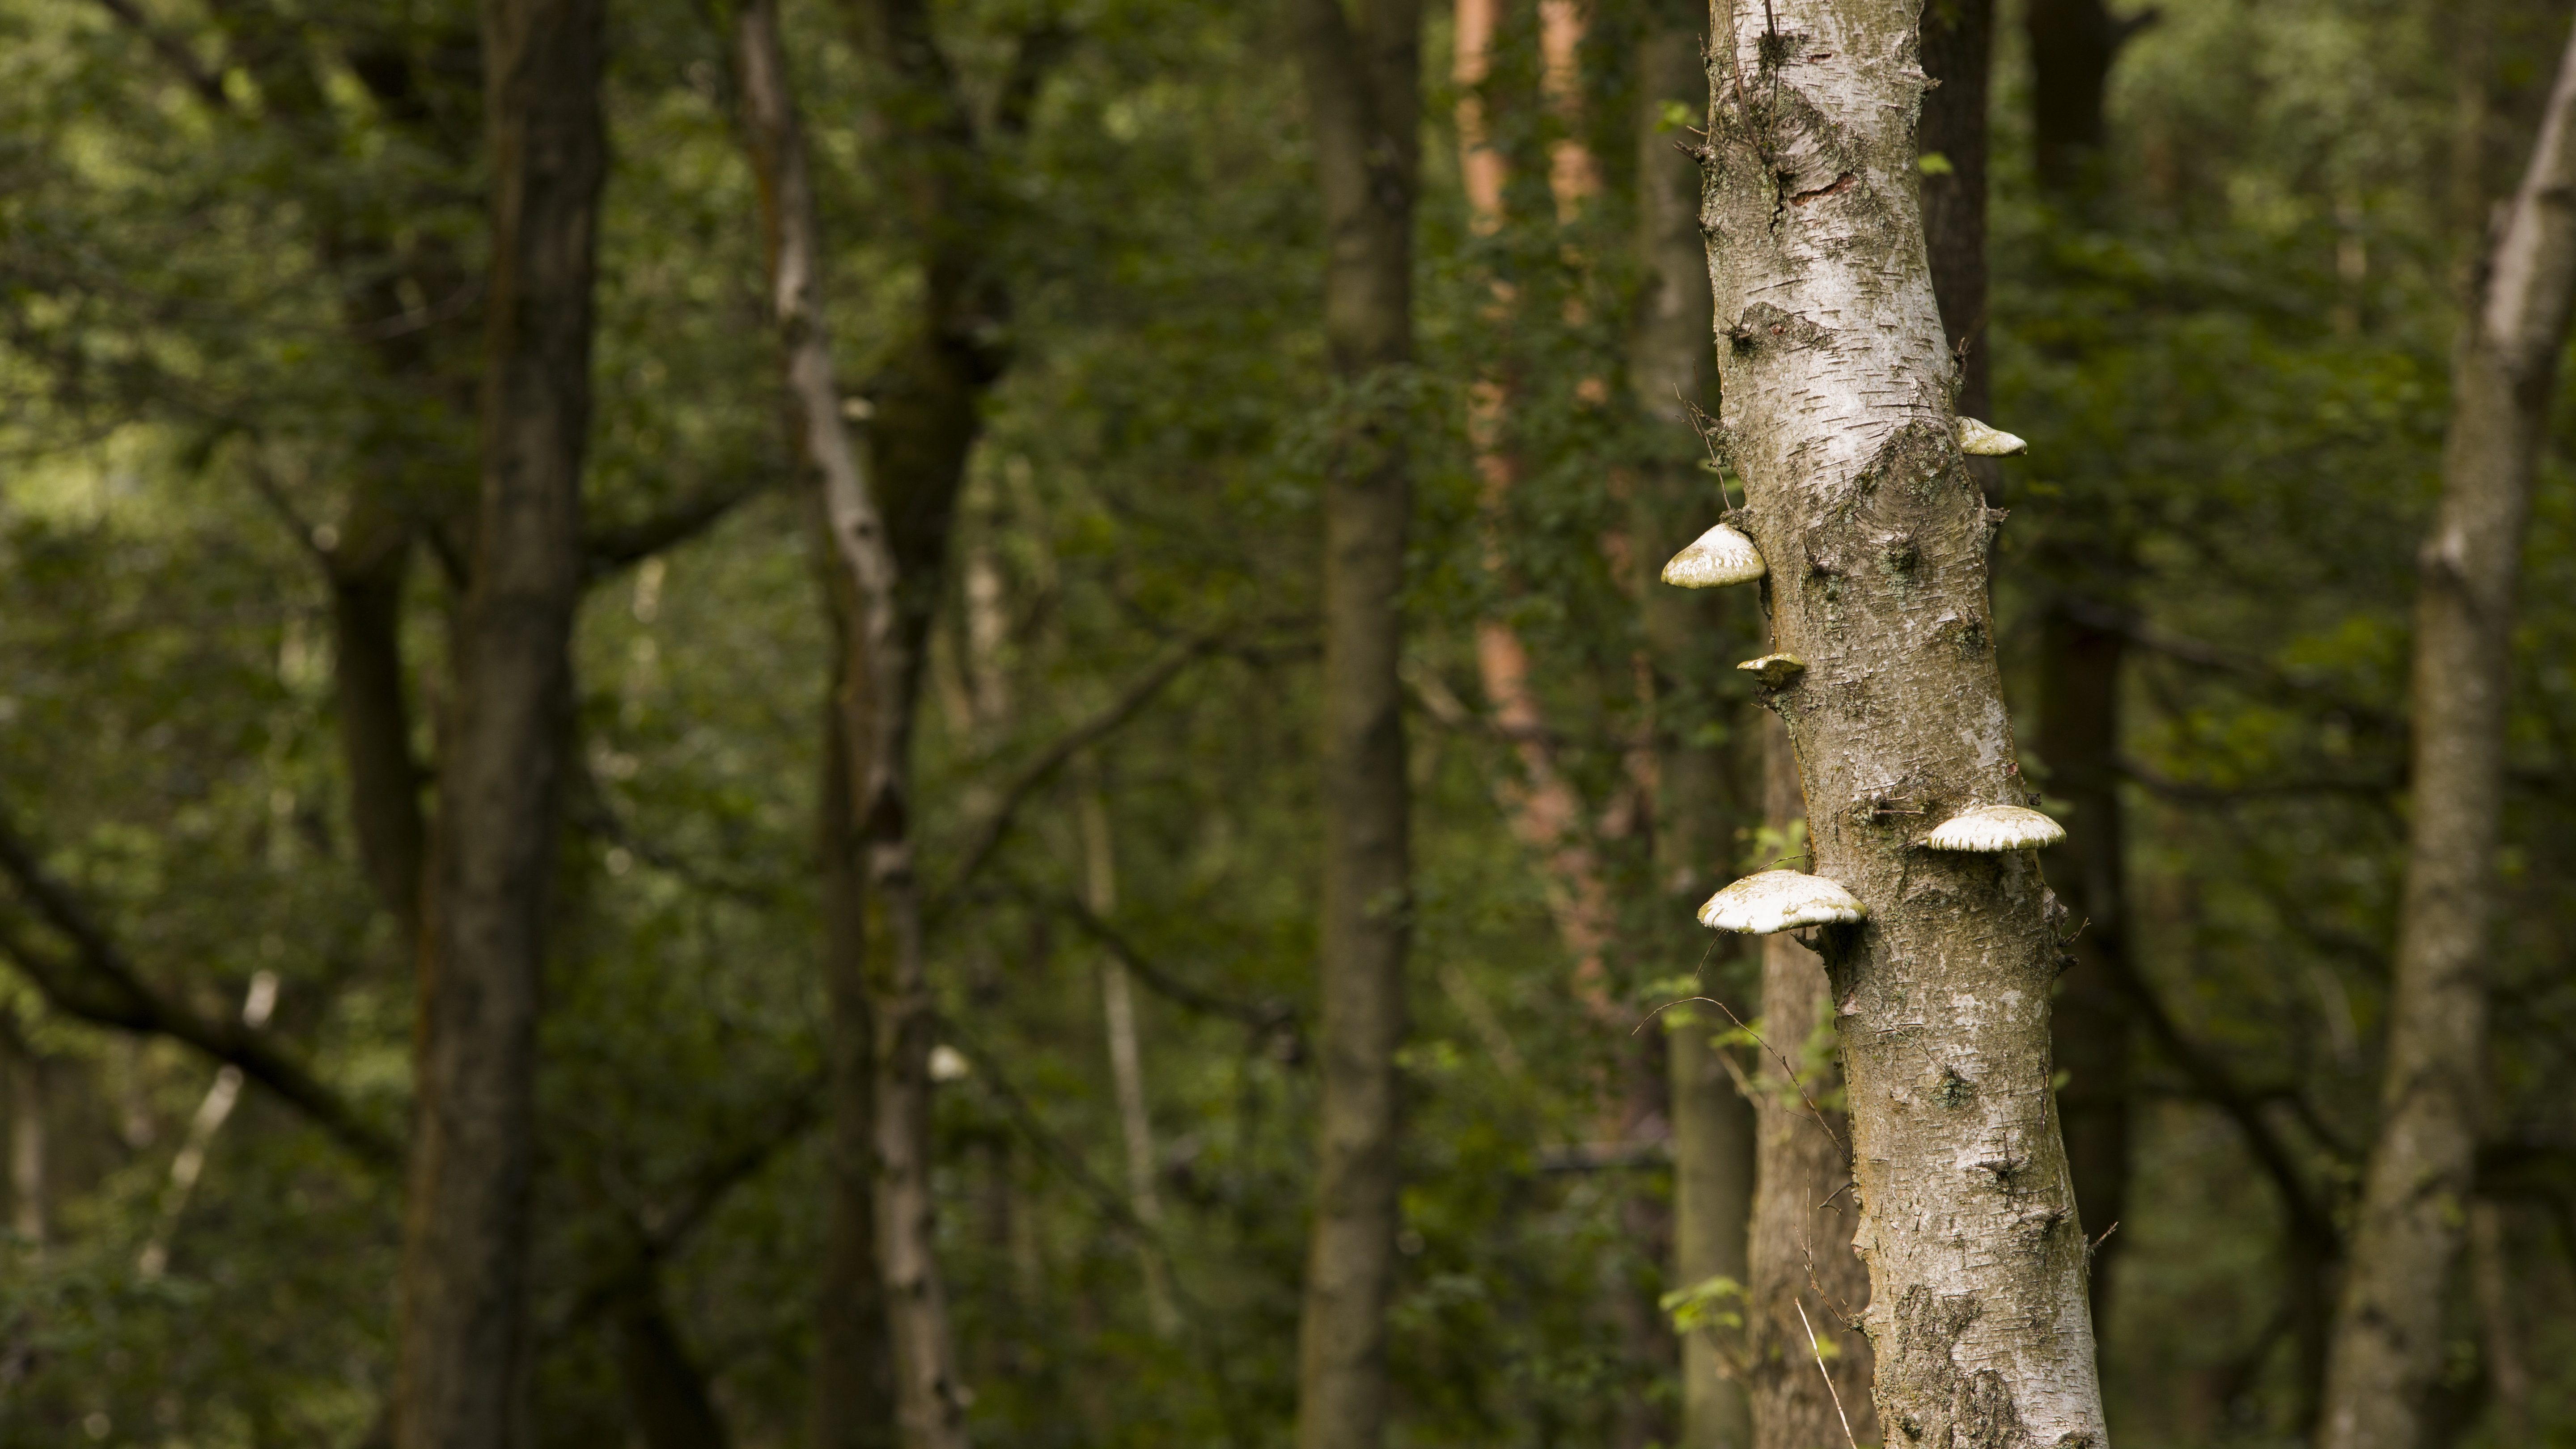
Some macro shots of fungi!
I never go out with an idea of what the final edit will look like, or what I'm distinctly looking for, apart from to give the audience of the video the experience of what it's like to be in the scene. The story is a visual meditation, taking you on a journey. Ron Fricke has mastered this art through his films 'Baraka' and 'Samsara'.
"Give your audience something new, something they perhaps haven't seen, heard, felt or experienced before. Put them in the scene and give them an immersive experience."
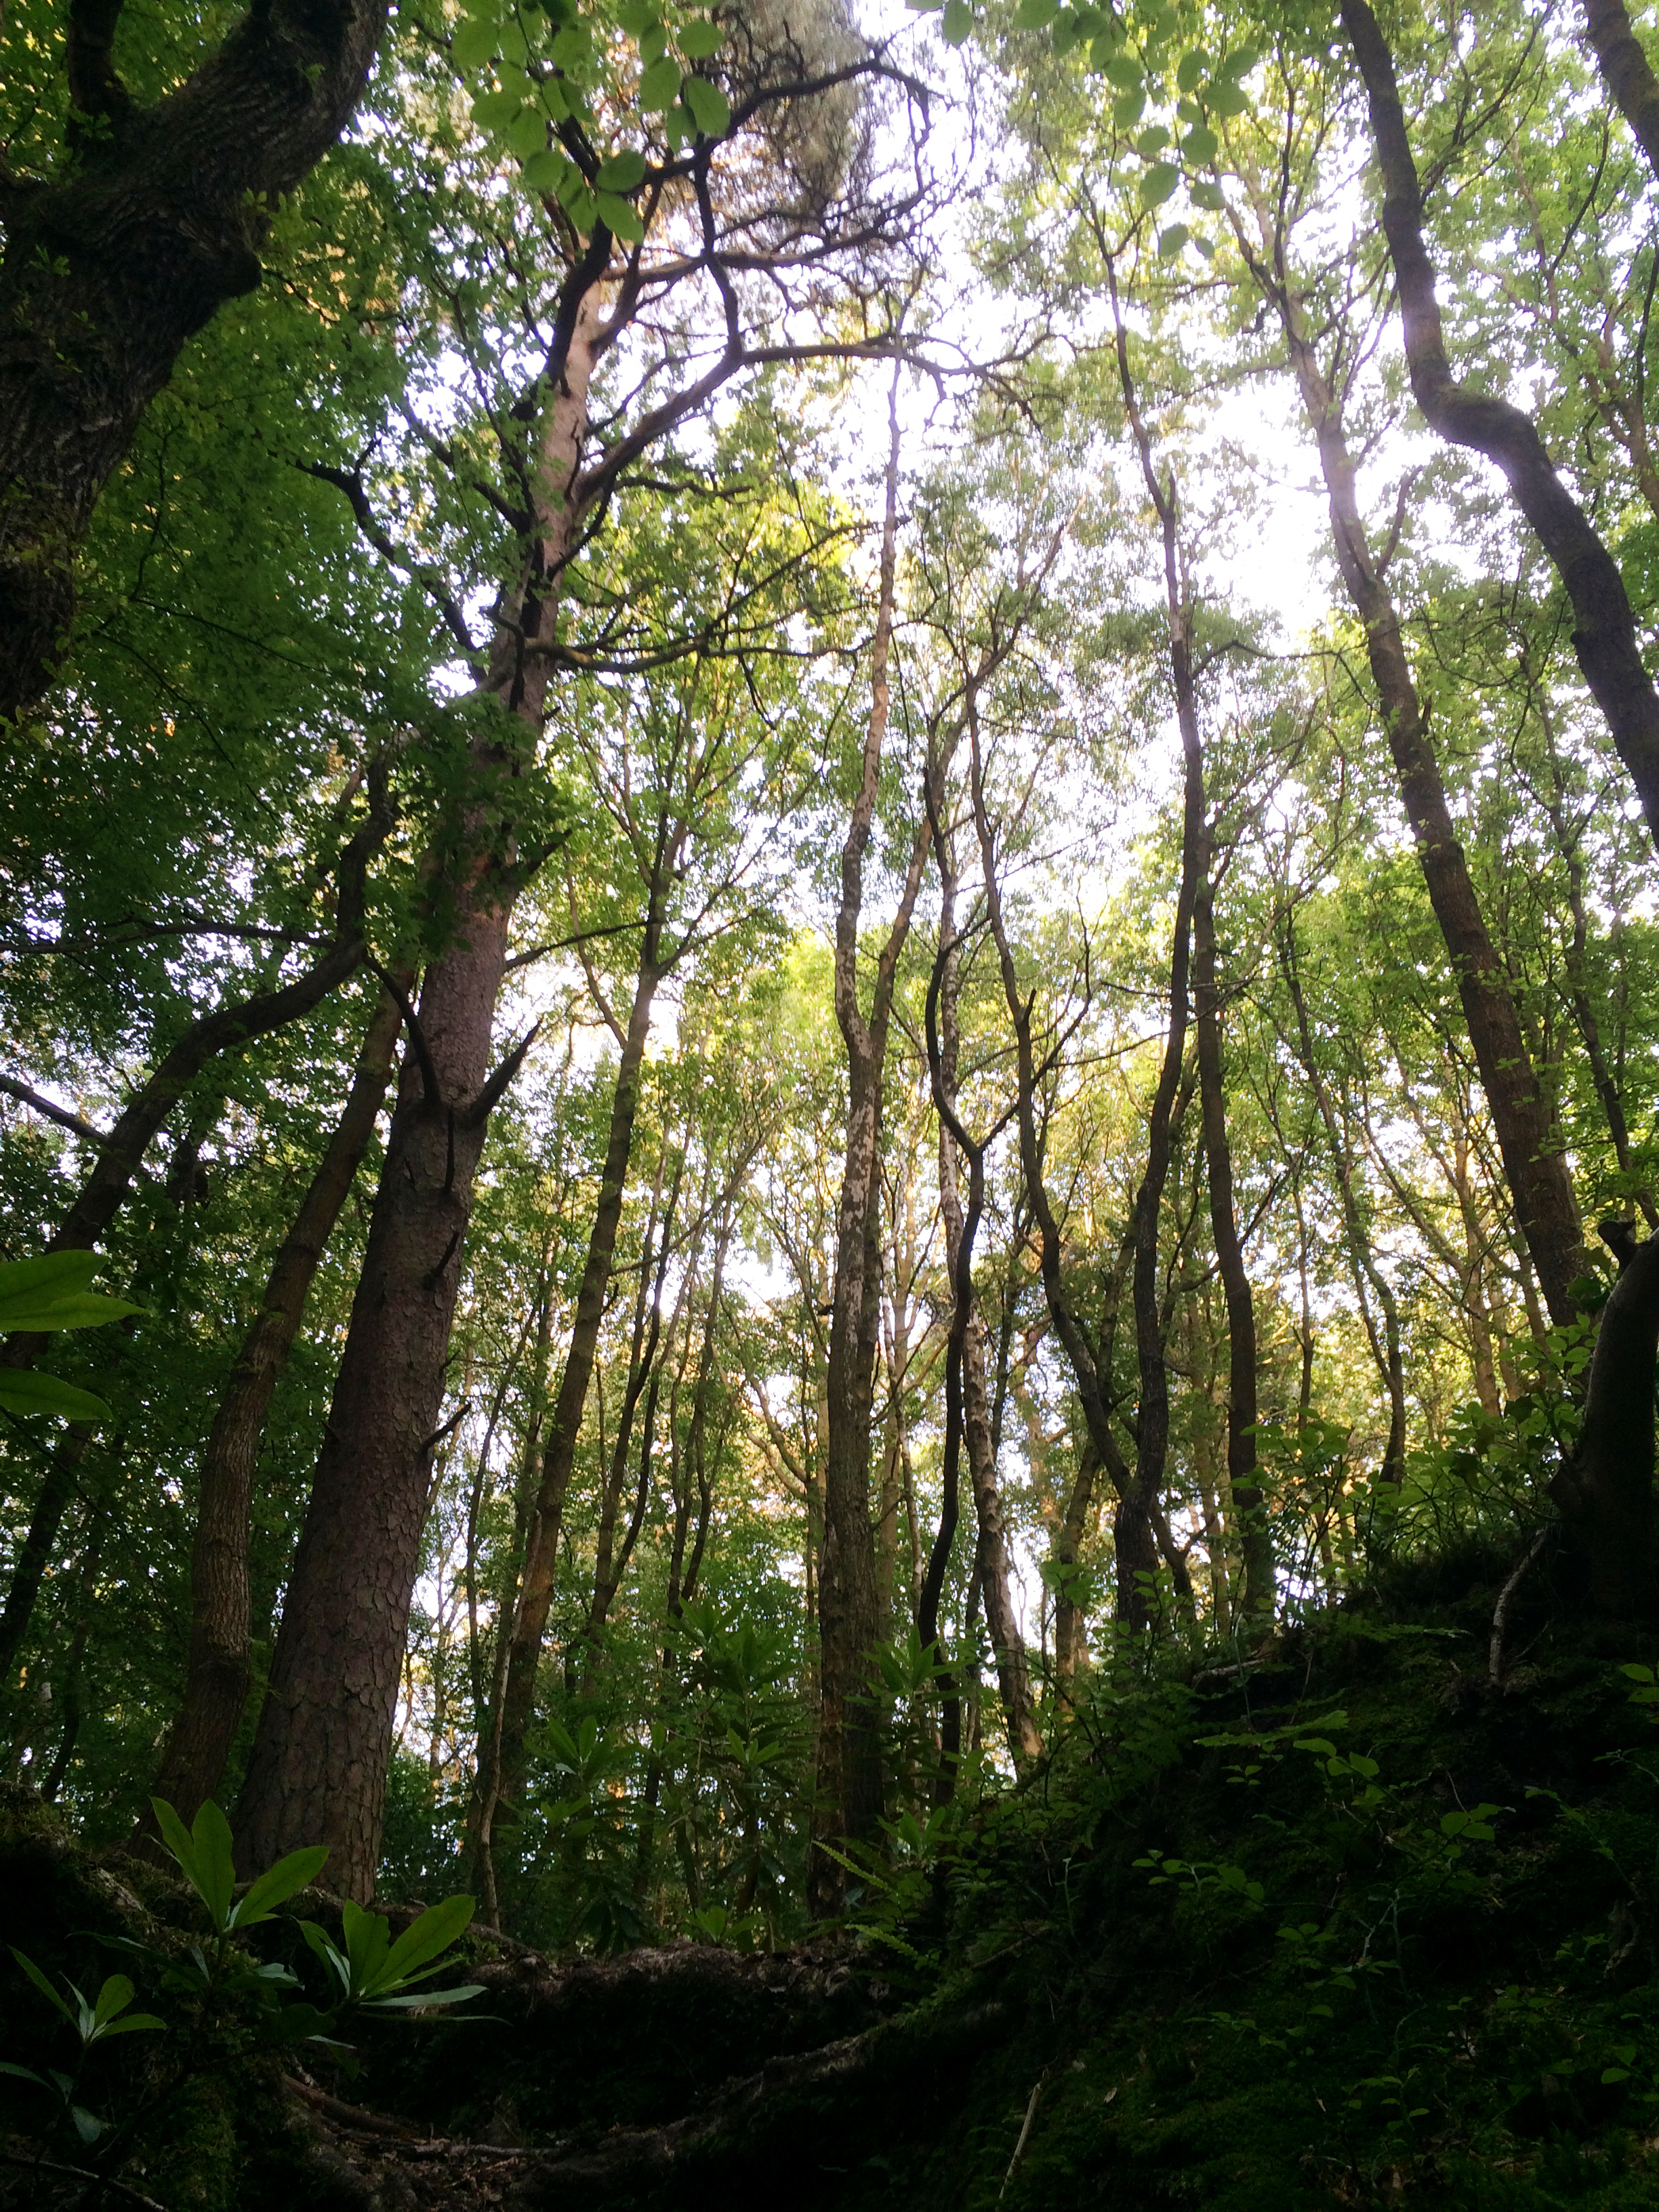
I don't think many viewers of the video would have been in a World War II Pill Box.. So I gave them that experience! It had also started to pour with rain when we arrived at North Downs Way, so the dug out shelter provided ample protection from the elements!
The little details of the changing seasons are what we have as memories of autumn. The turning of the leaves and crunch they make as you step on them. The glorious colours of sunset silhouetting the trees! Shooting with the Cinestyle picture profile allows me to capture the video with an extended DR, that I can then manipulate and restore the details in the shadows and highlights when grading in post. This really pops the colours.
If you're out walking, or somewhere new, stray off the path and discover something new. It's a tactic I use when I'm out, it's how I find 'interesting' things to shoot!

Sunset, white balance of 5800K; golden orange tones.
When I am out shooting, there aren't set rules that I follow as every scenario will be different; indoors or outdoors, subjects will vary and so will the kit you choose to use. I do however make sure I correctly set the following:
- White balance/colour temperature.
- The image is level with the horizon line (more so for landscape, unless artistically intended).
- Sound being recorded with a mic, and that it is ON, with the sound level set appropriate to the environment.
- Shutter speed set to 1/50th (on DSLR).
- The shot must show me something new, with framing and composition telling the next part of the story.
- Am I using an appropriate aperture?
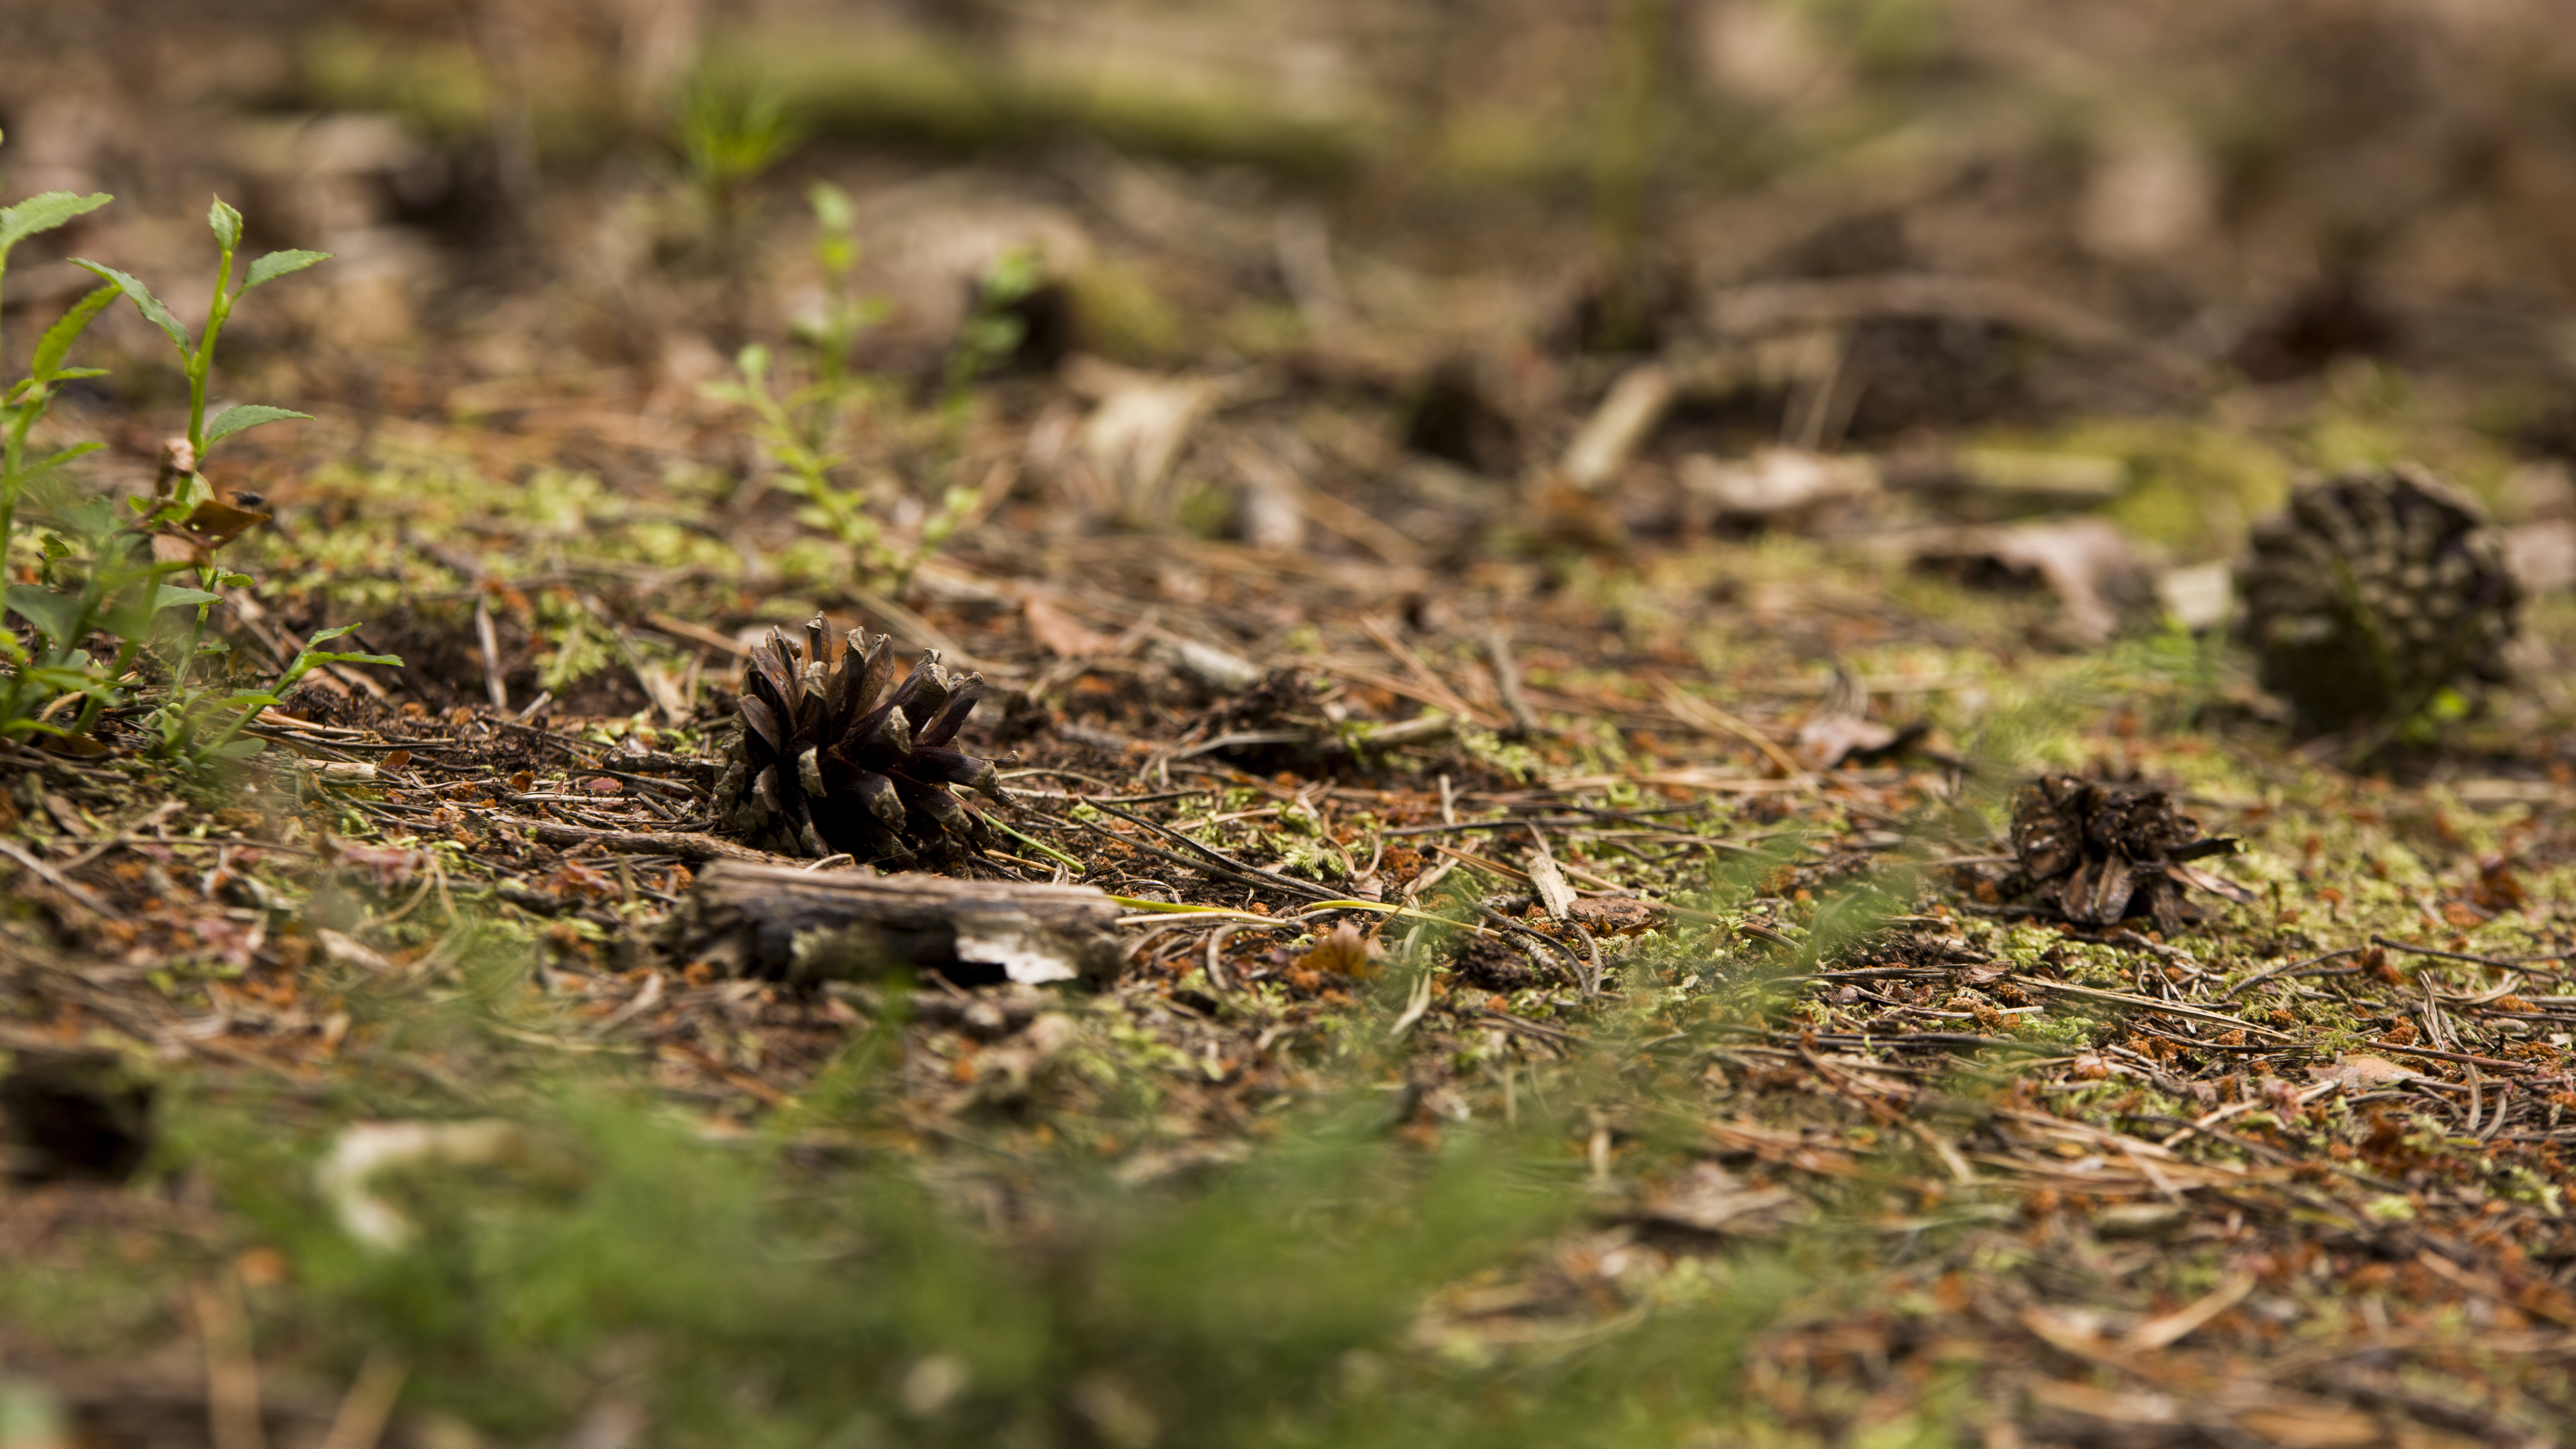
The last one about 'appropriate aperture' is more due to the variety of shots you want to capture. For example: intimate portrait with a wide aperture (F/2.8) vs large landscape with narrow aperture (F/16). Yes, shooting as wide as possible (T/1.5 is the widest I can shoot) produces incredible bokeh, extremely shallow depth of field for intimacy and can keep you shooting in darker scenarios.. But it can also produce softening at the edges (lens dependent), and may not fit the subject; a row of trees, a crowd of ravers. On the other hand, shooting with a deep depth of field (F/11 +) of a babies fingers or the dew on a spiders web does not isolate the subject, makes the image darker and sometimes produces vignetting (lens dependent).
My point being: It is subjective. There is no right answer. Find the right aperture to expose the shot as you wish, using the depth of field to move the viewers attention through the frame.
To summarize, by checking those above points, you'll save a lot of time and work later!

Taken on the North Downs Way, Ranmore, Surrey by Adam Plowden on Canon 5D mkIII and Tamron 24-70.
Winkworth Arboretum (Godalming, Surrey)
I've been wanting to visit Winkworth for months now, originally purchased by Dr Fox in the 20th Century, it is home to over 1000 trees and plant species created to 'paint a picture' of the landscape. The dream of Dr Fox lives on to the hundreds of visitors of all ages through the National Trust who were very accommodating during my days visit.
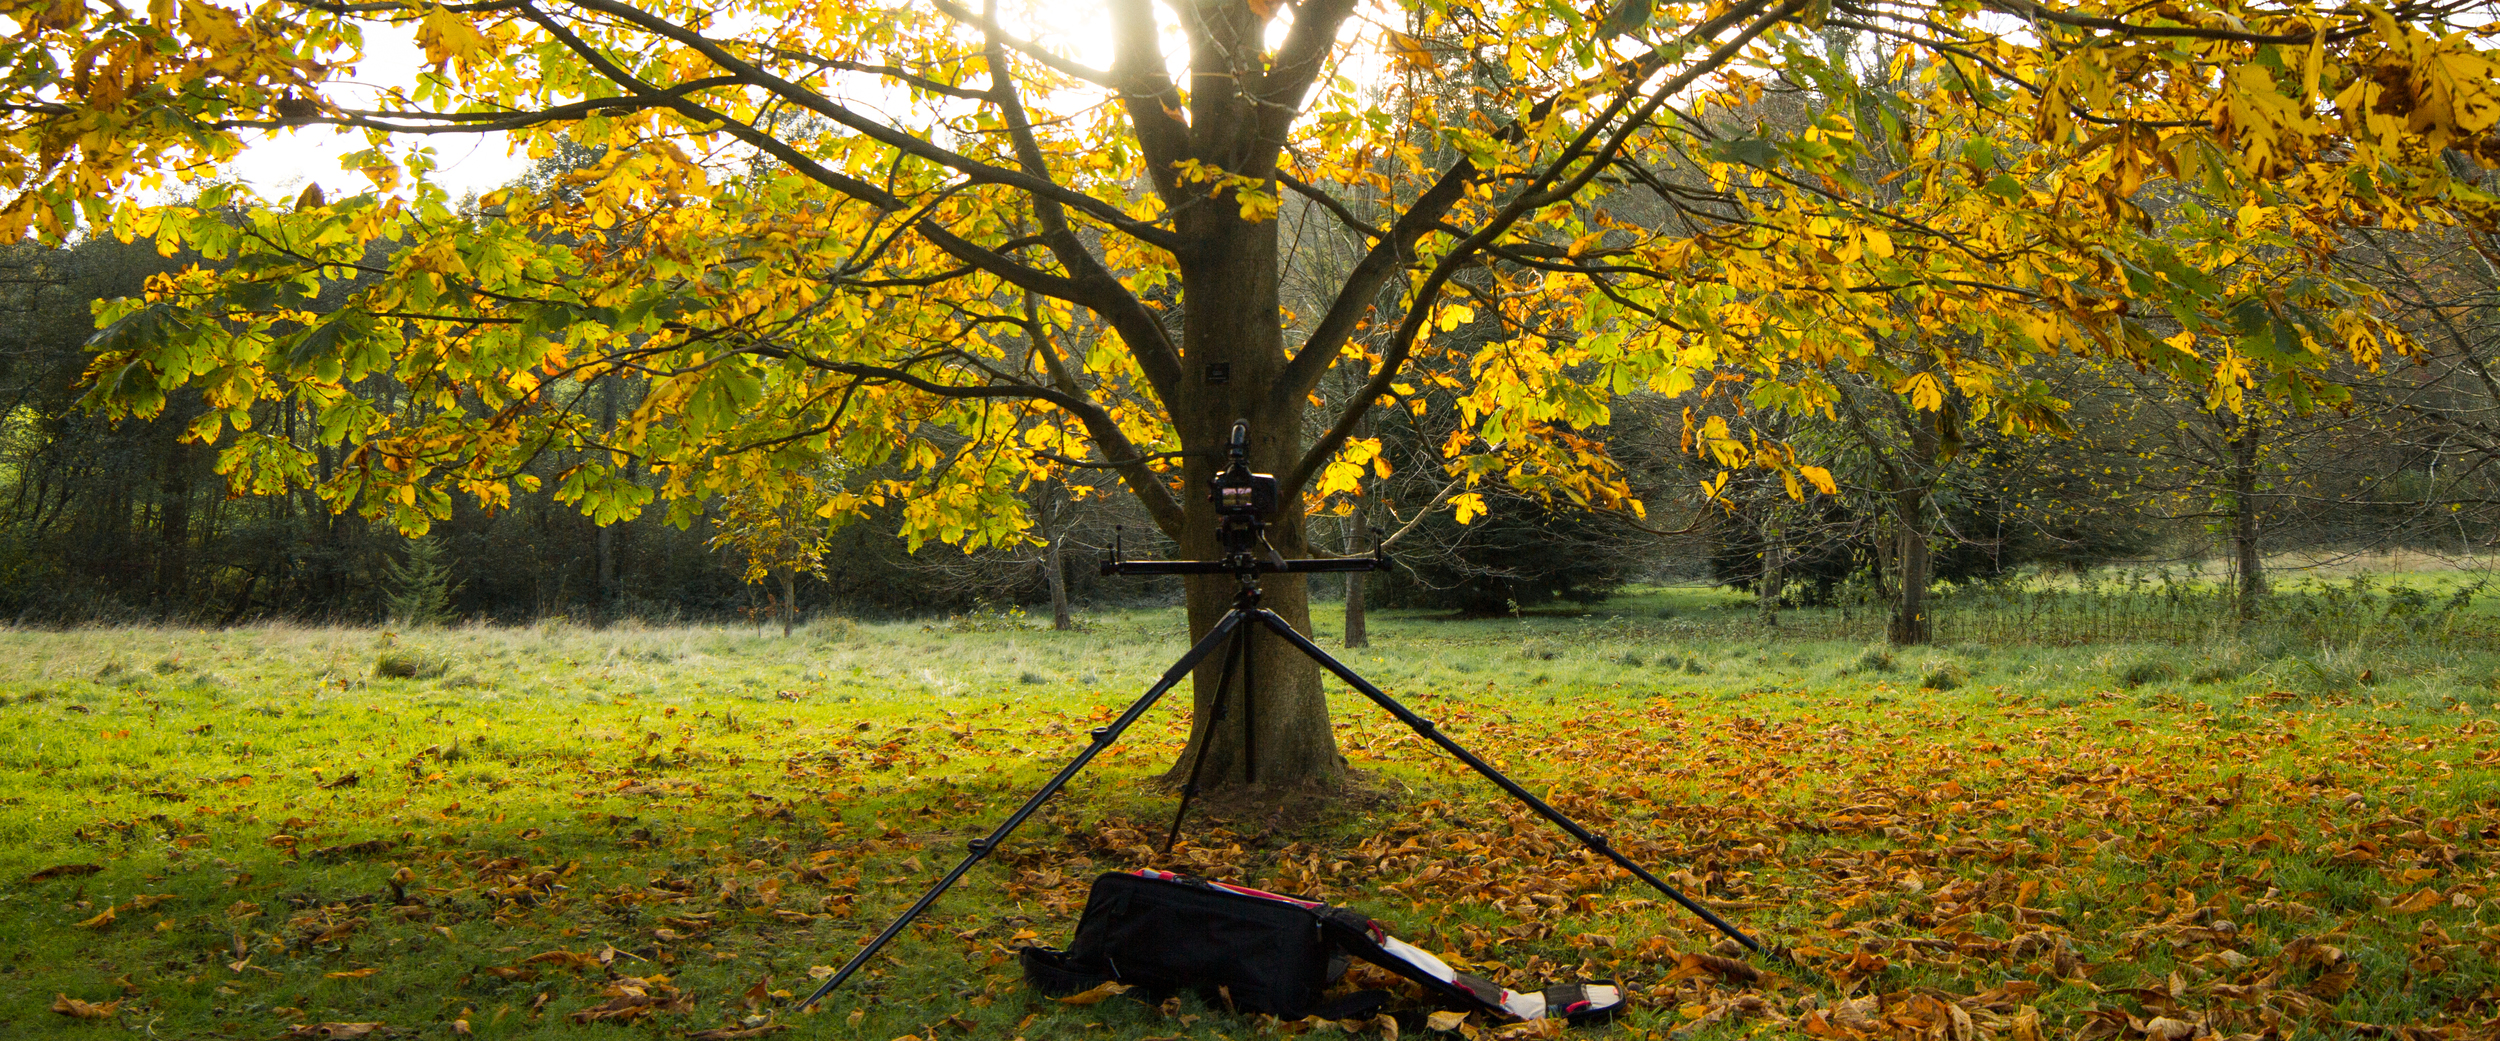
It was my first time at the arboretum, so while I was discovering the beauty of the location I also snapped up plenty of autumnal shots. My kit list varied to what I used at the North Downs Way, but I still used my trusty Manfrotto 055 ProB tripod, 701HDV head and Pro Backpack50! It's so versatile, and trust me, you really can fit everything in this bag for videography!
APV setup: 5D mkIII with Sigma 70-200 on Manfrotto 055ProB, Pro Media Gear dual arc slider, 701HDV head, Roto-mic and Manfrotto Pro Backpack50. And Peak Design strap!
I wasn't surprised at the number of photographers in the arboretum, the foliage from the range of trees was stunning, a mix of still turning greens, oranges, deep reds.

Beautiful day to be out with the camera!
Acer is my favorite species of tree because of its delicate and intricate leaves and branch structure, it has very unique leaf colours that dramatically change throughout the seasons too.

My favorite!
It was a pleasure strolling around the massive arboretum. I was up for filming anything I liked, I had my Manfrotto Pro Backpack50 filled with my favourite lenses to shoot nature with. The Canon L series 100mm F/2.8 macro lens has been gratefully welcomed into the collection, it definitely being my favorite lens! It has the intimacy and clarity I like to capture, getting the details.

Stunning colours and light, beaming through the trees.
My larger go to kit setup!
The above photo I think captures the essence of my work; simple, unique adaptive.. The ability to move the camera using the Pro Media Gear dual arc slider gives the ability to move and orientate around the subject, in the above case around the trunk of a tree, showing the array of interconnected branches and leaves.
For a number of these shots I would have been using the 14mm cine lens, at around T/11 to T/16, so that I could expose both the darker branches and the bright light bursting through the leaves.

Abundant autumnal foliage scattered the landscapes hillsides.
For photographers and videographers I would definitely recommend a trip to Winkworth. It offers a unique view into nature throughout the seasons, walk freely through the meadows or copses capturing the beauty of nature.
Thanks to the National Trust for upkeeping the arboretum and the volunteers that maintain the site, as well as Manfrotto for their continued support! Get out there and film the lip-chapping mornings, or fireworks night that is coming up soon. It's a stunning time of year, go capture it!
The autumn video is currently in post production, and I am collaborating with Tristan Noon, a composer to produce the soundtrack to accompany the visuals. I'll post up part 2 of the the autumn filming blog when the editing is complete, and the video uploaded!