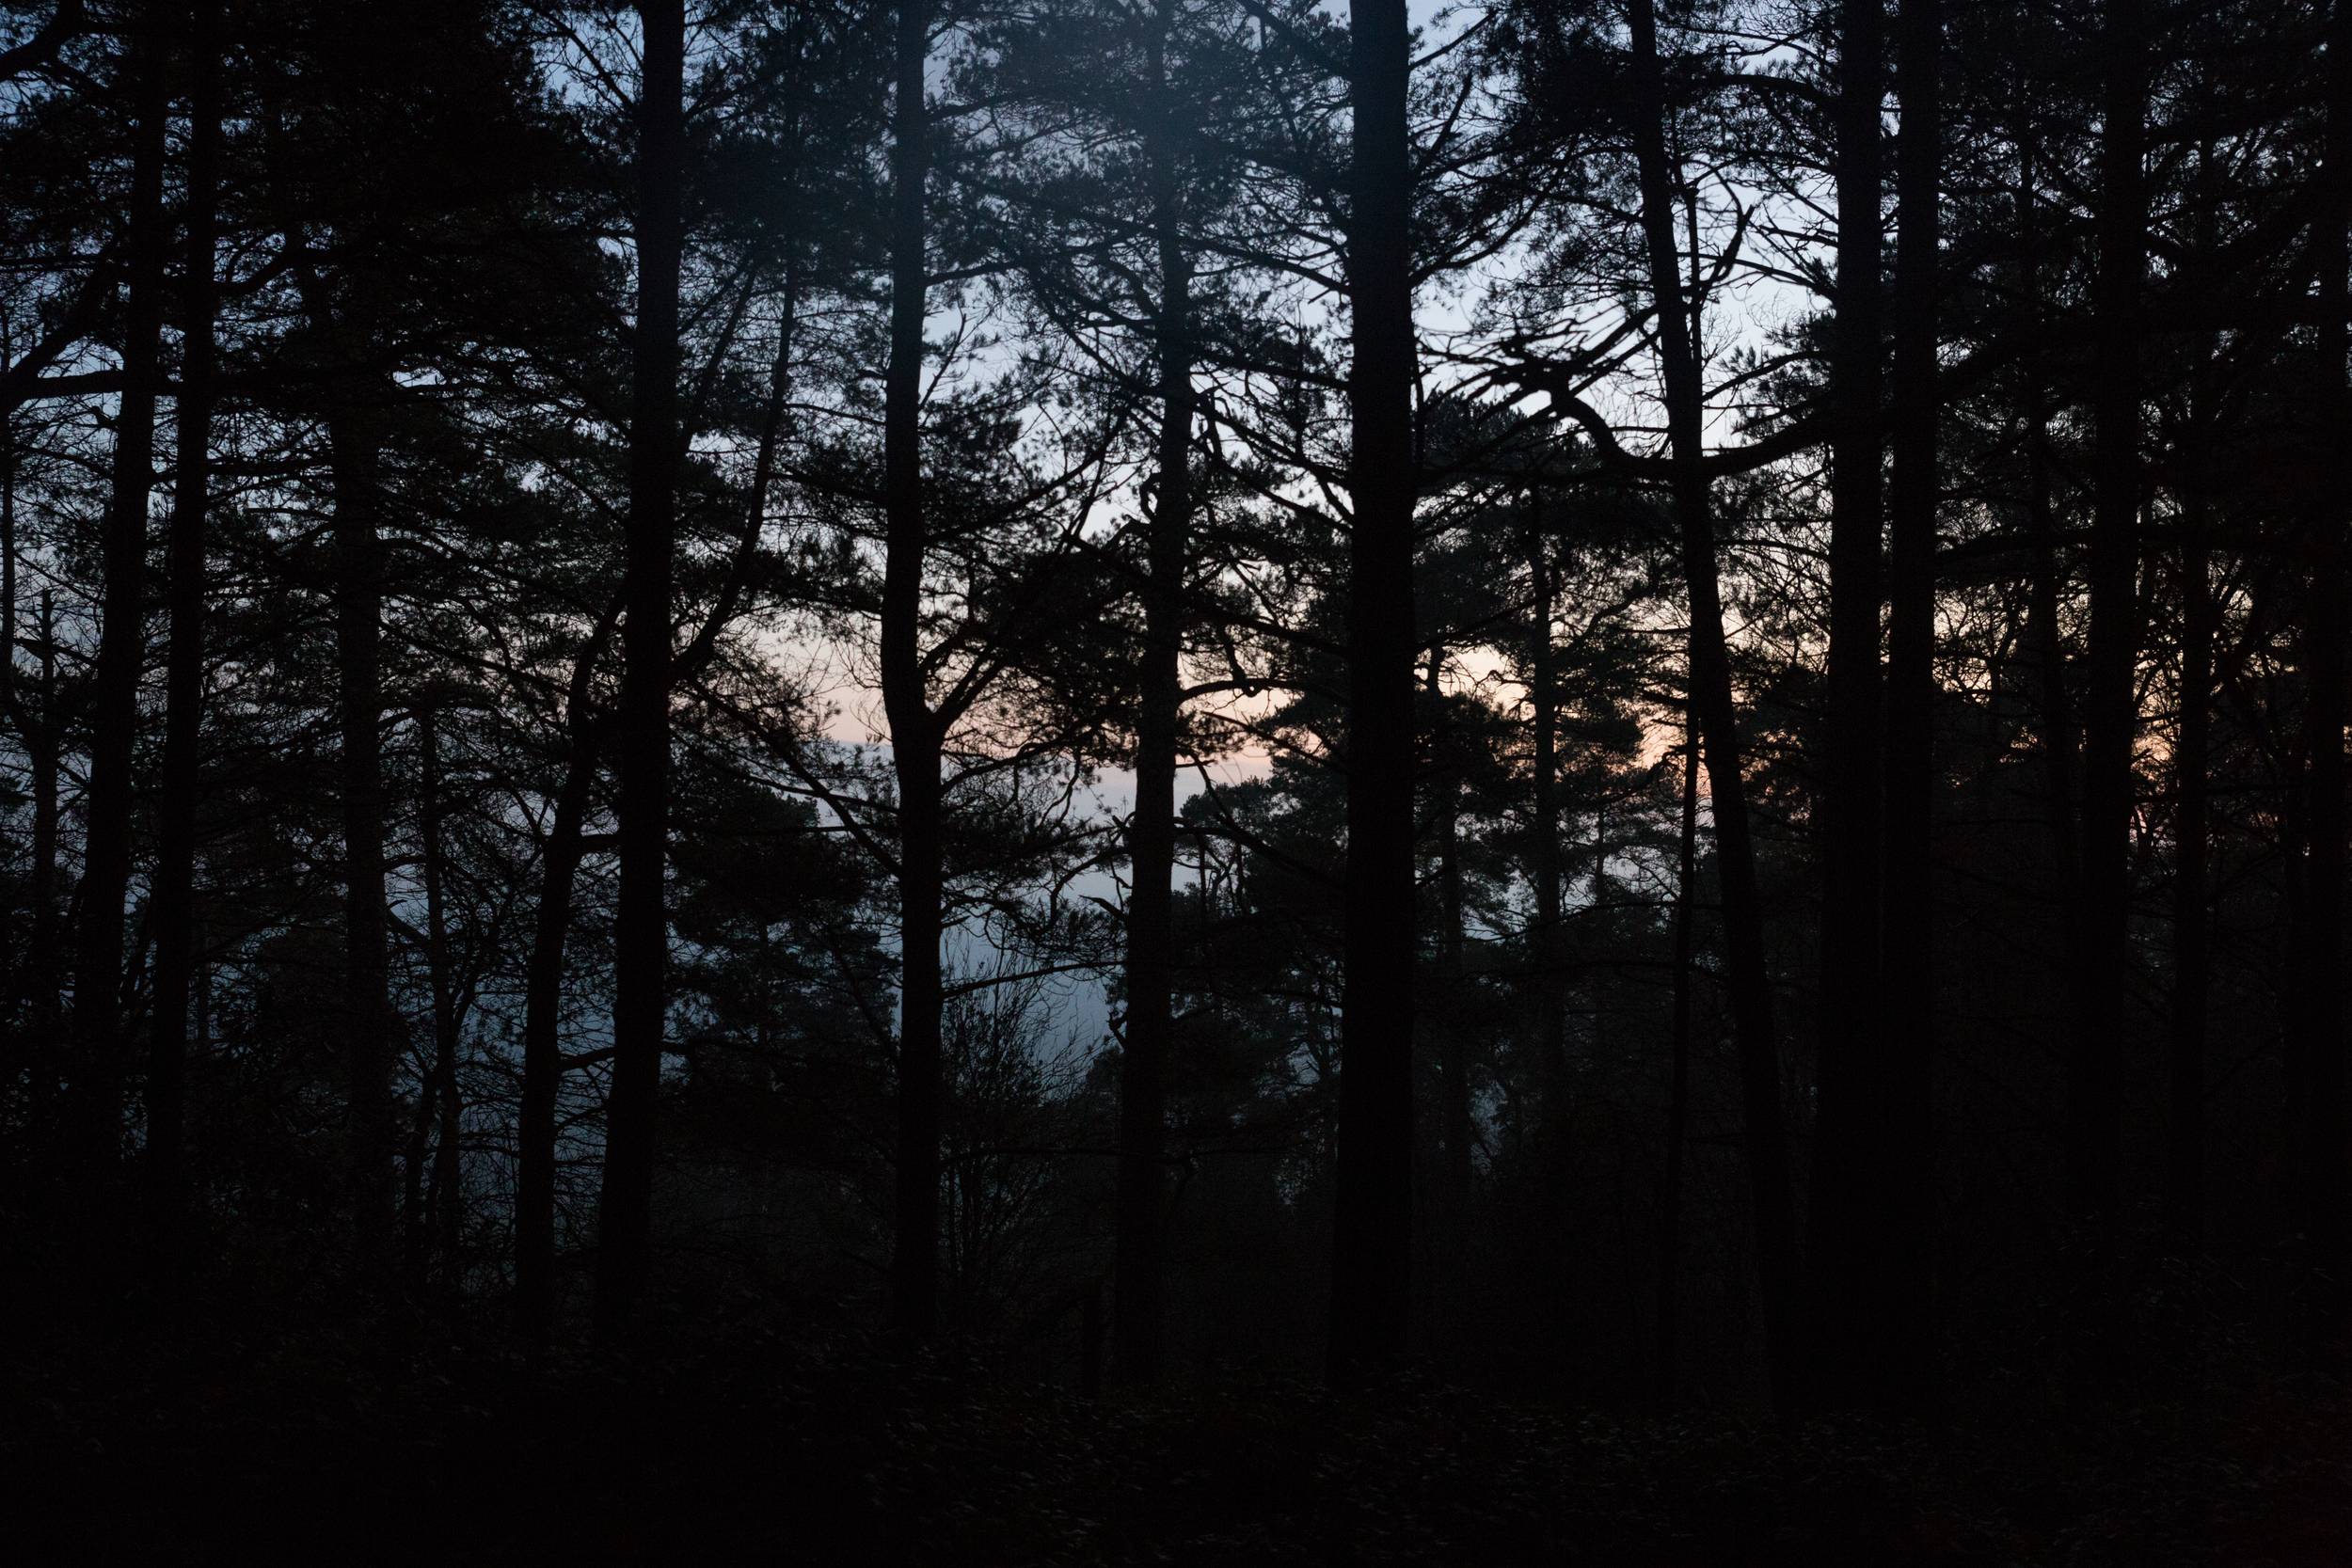
To move or not to move? There are many reasons to use both motivated and unmotivated movement while filming, but how can you achieve it? A slider? A Gimbal?

Our Video Production Blog
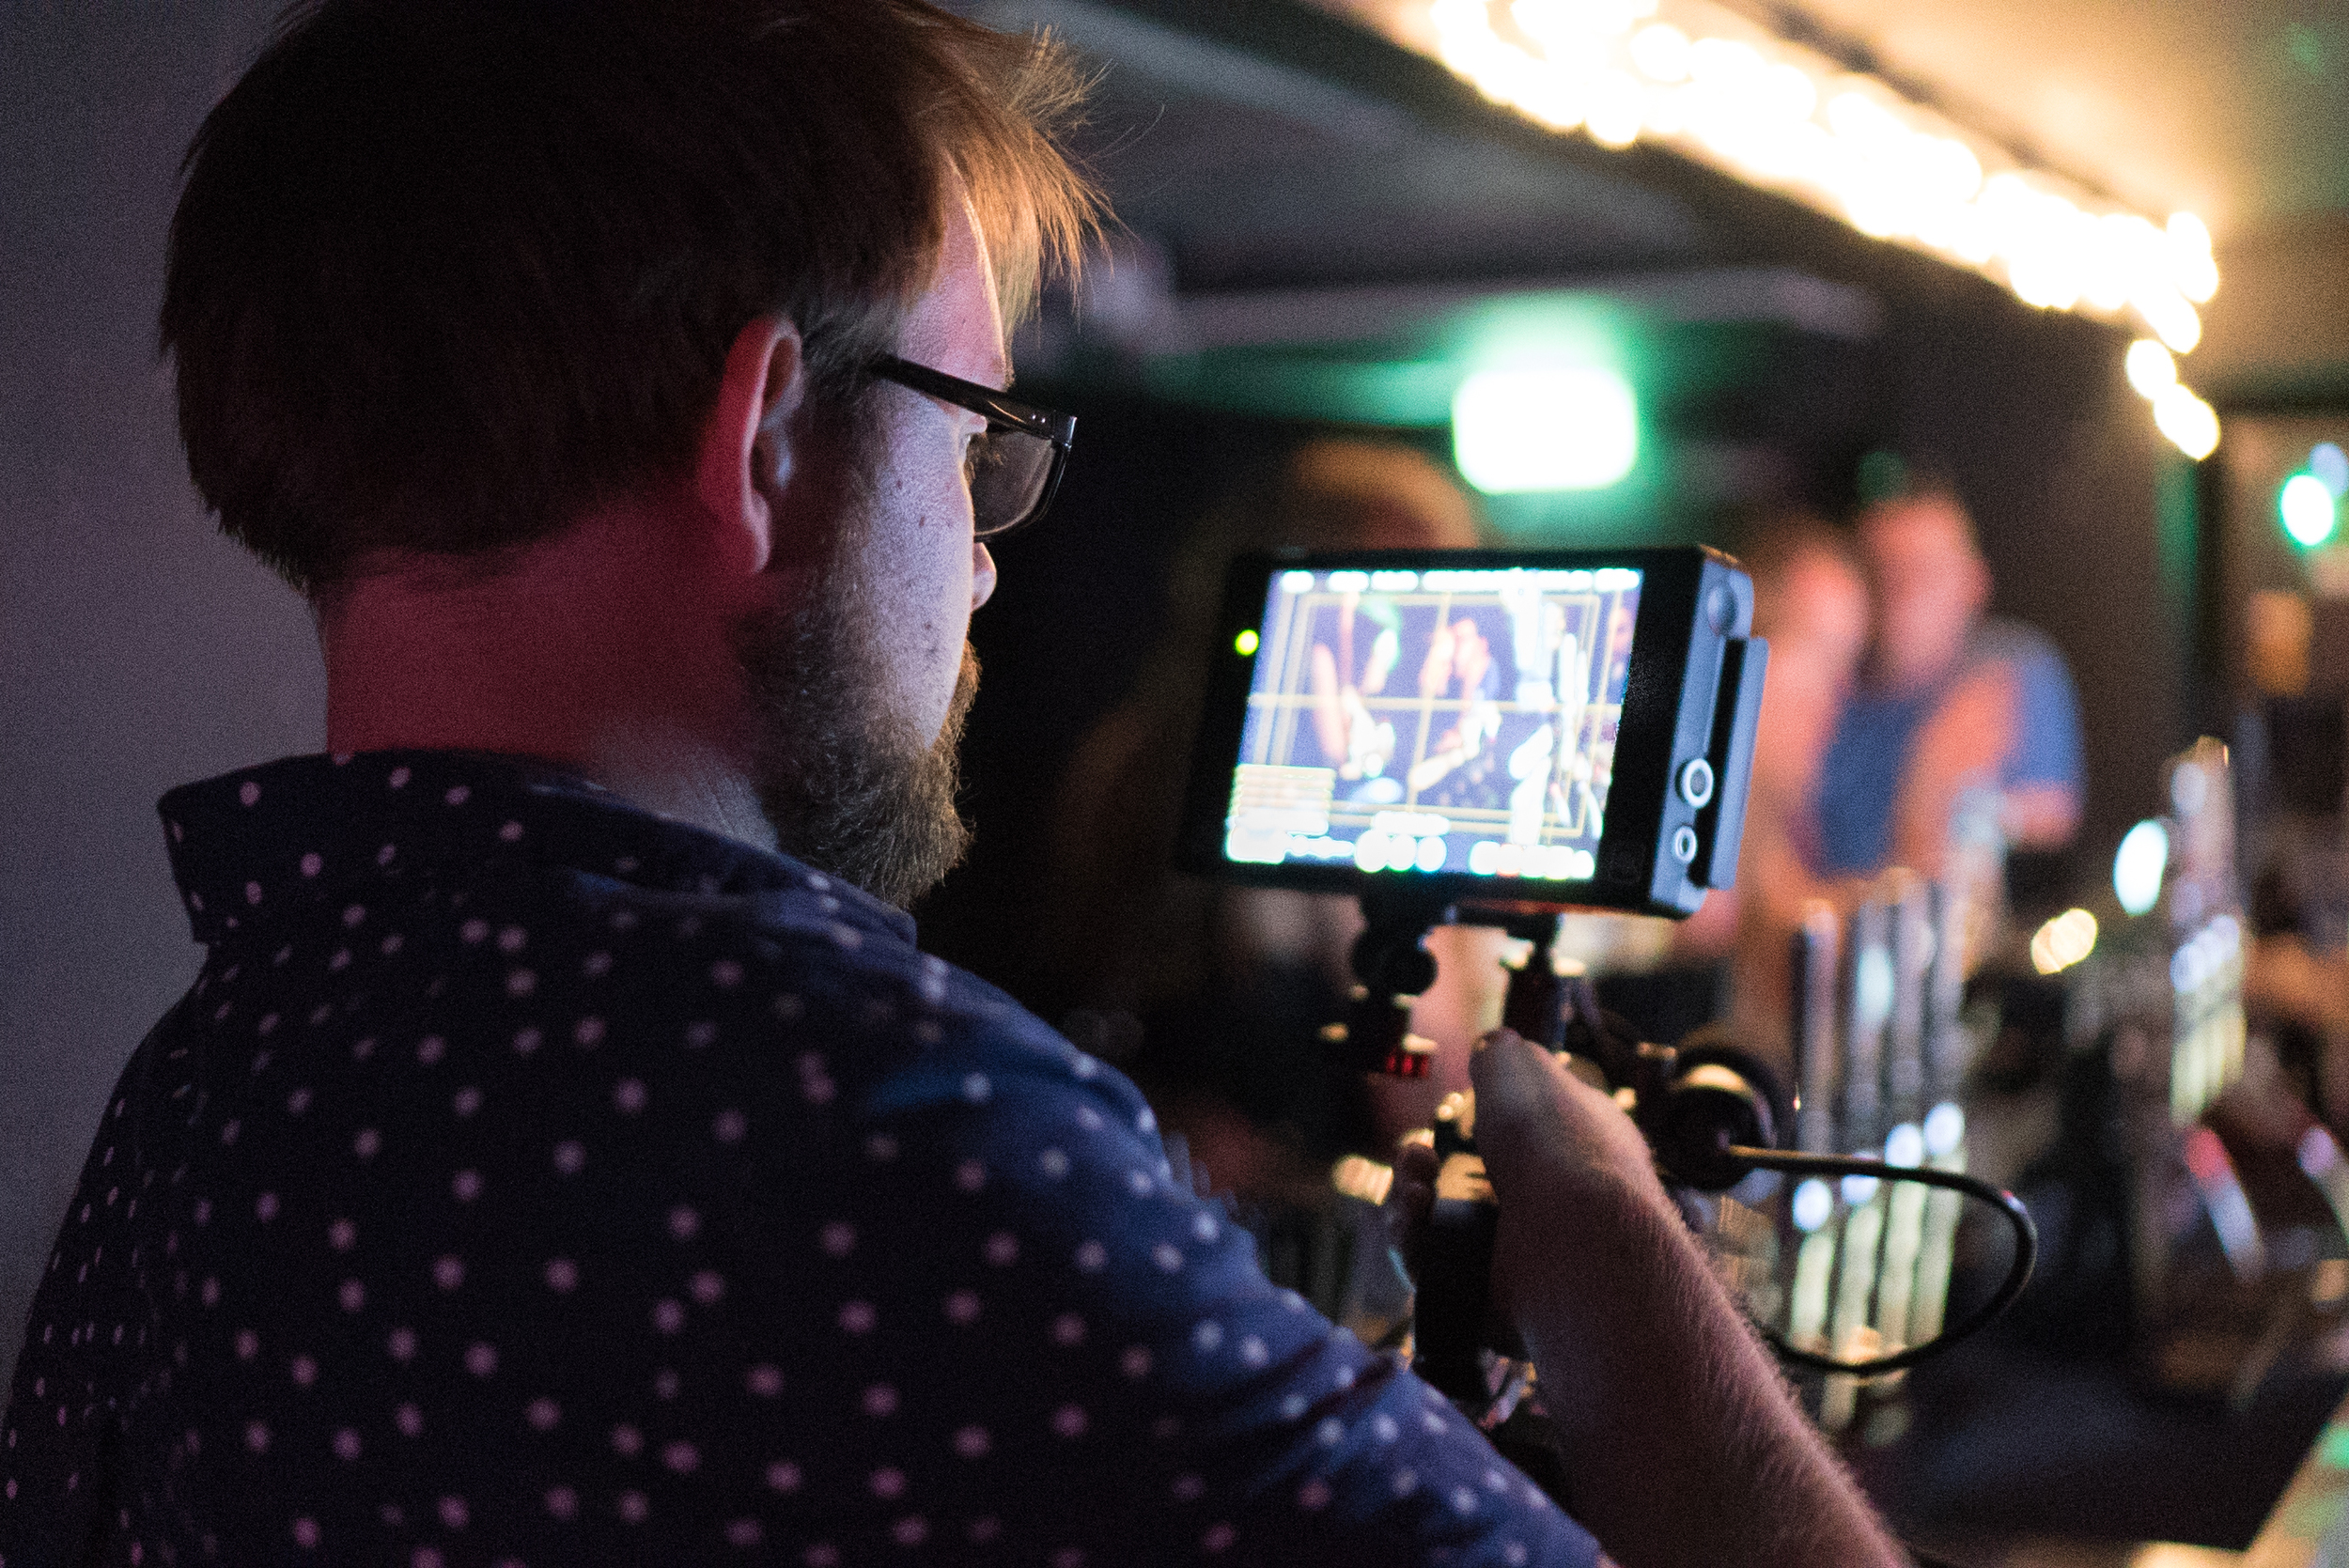
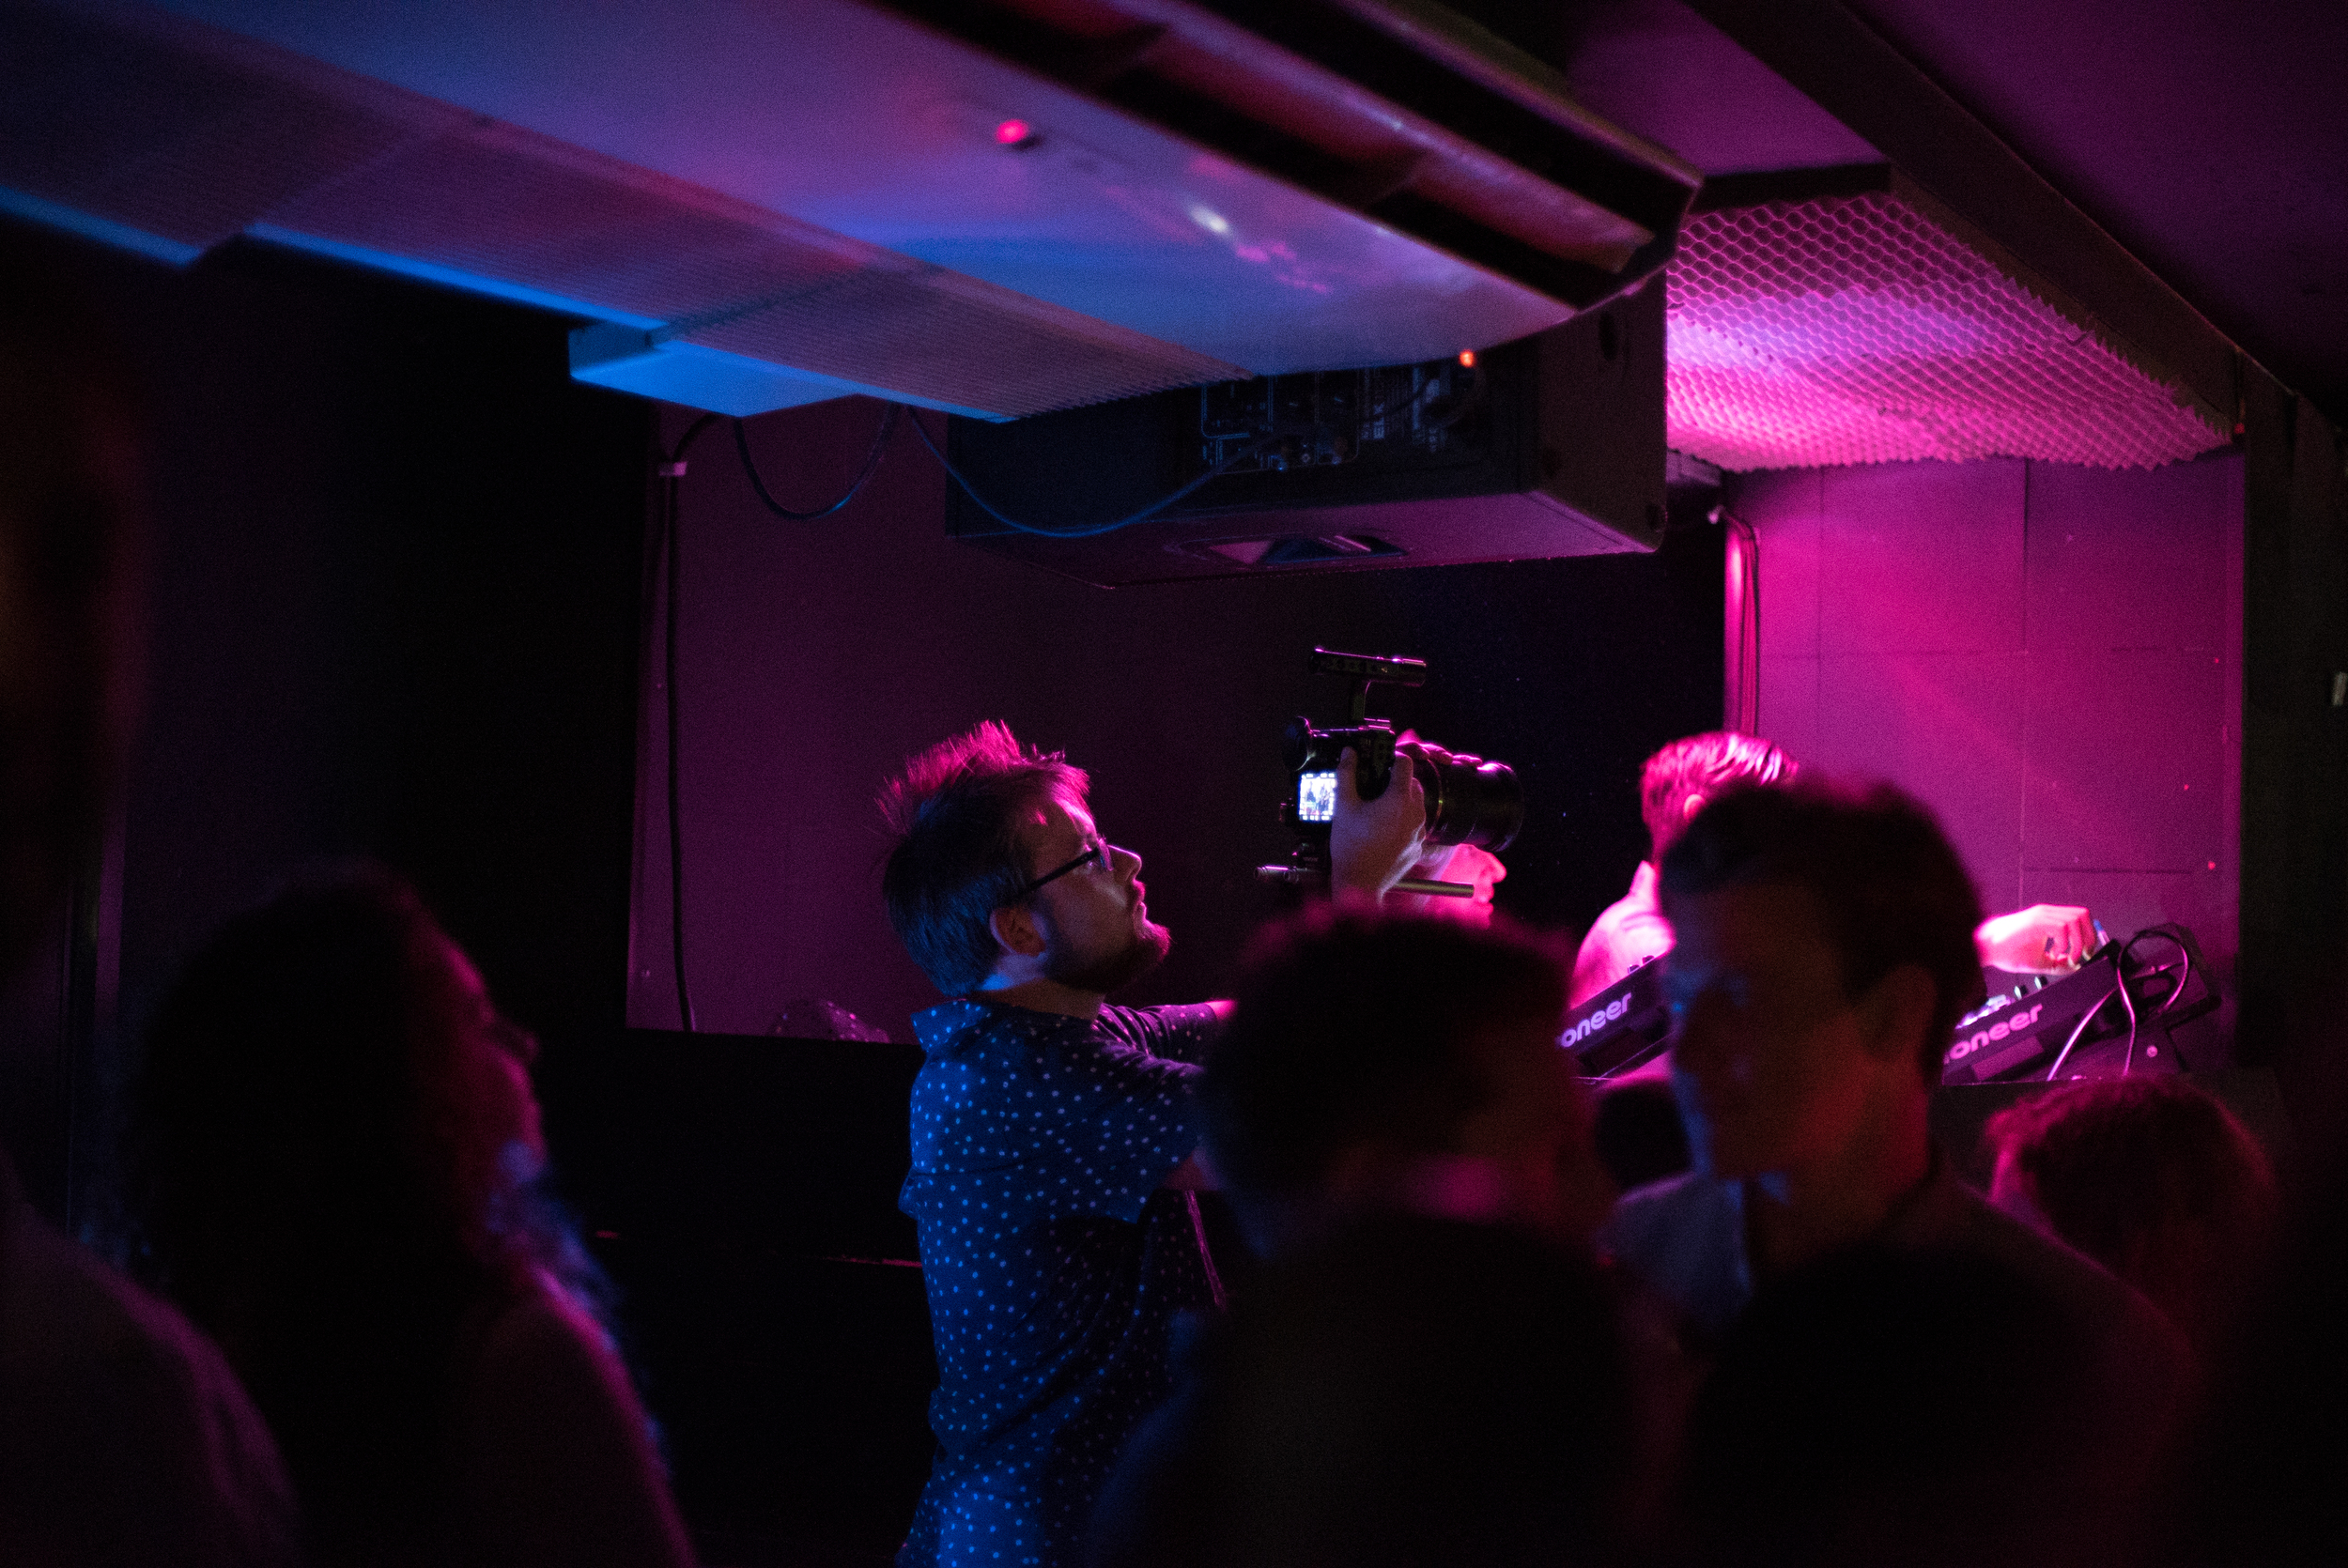
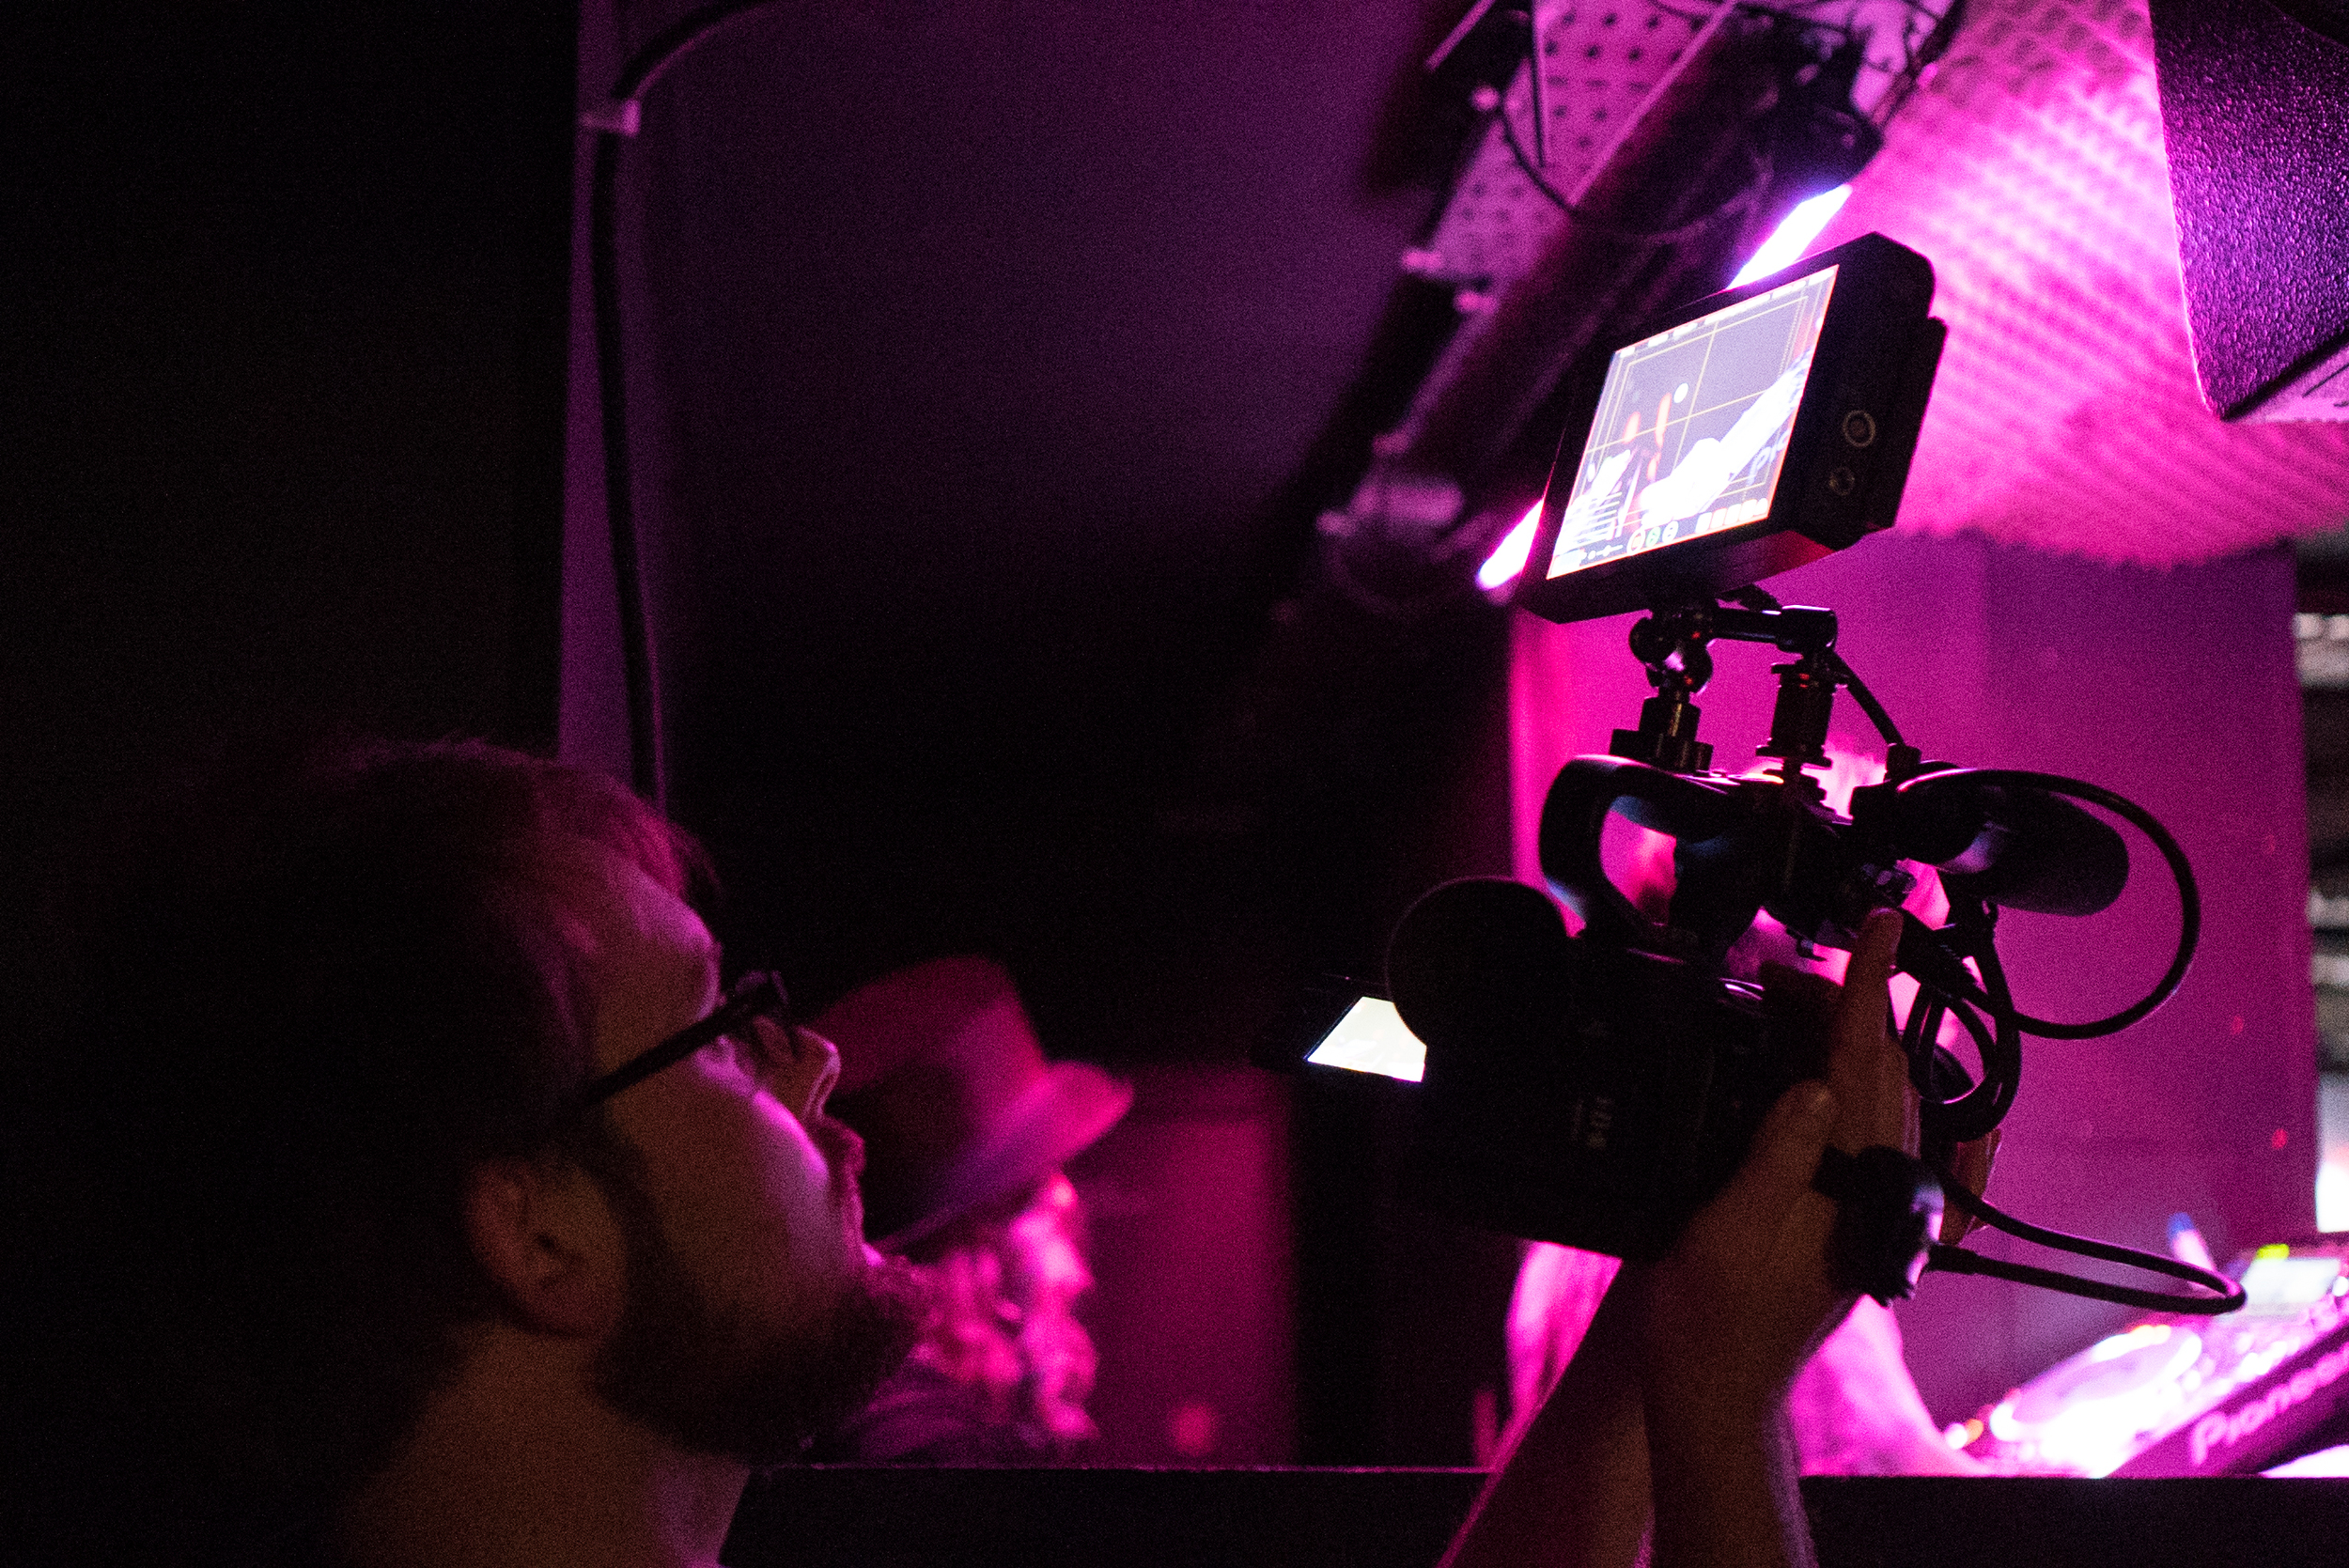
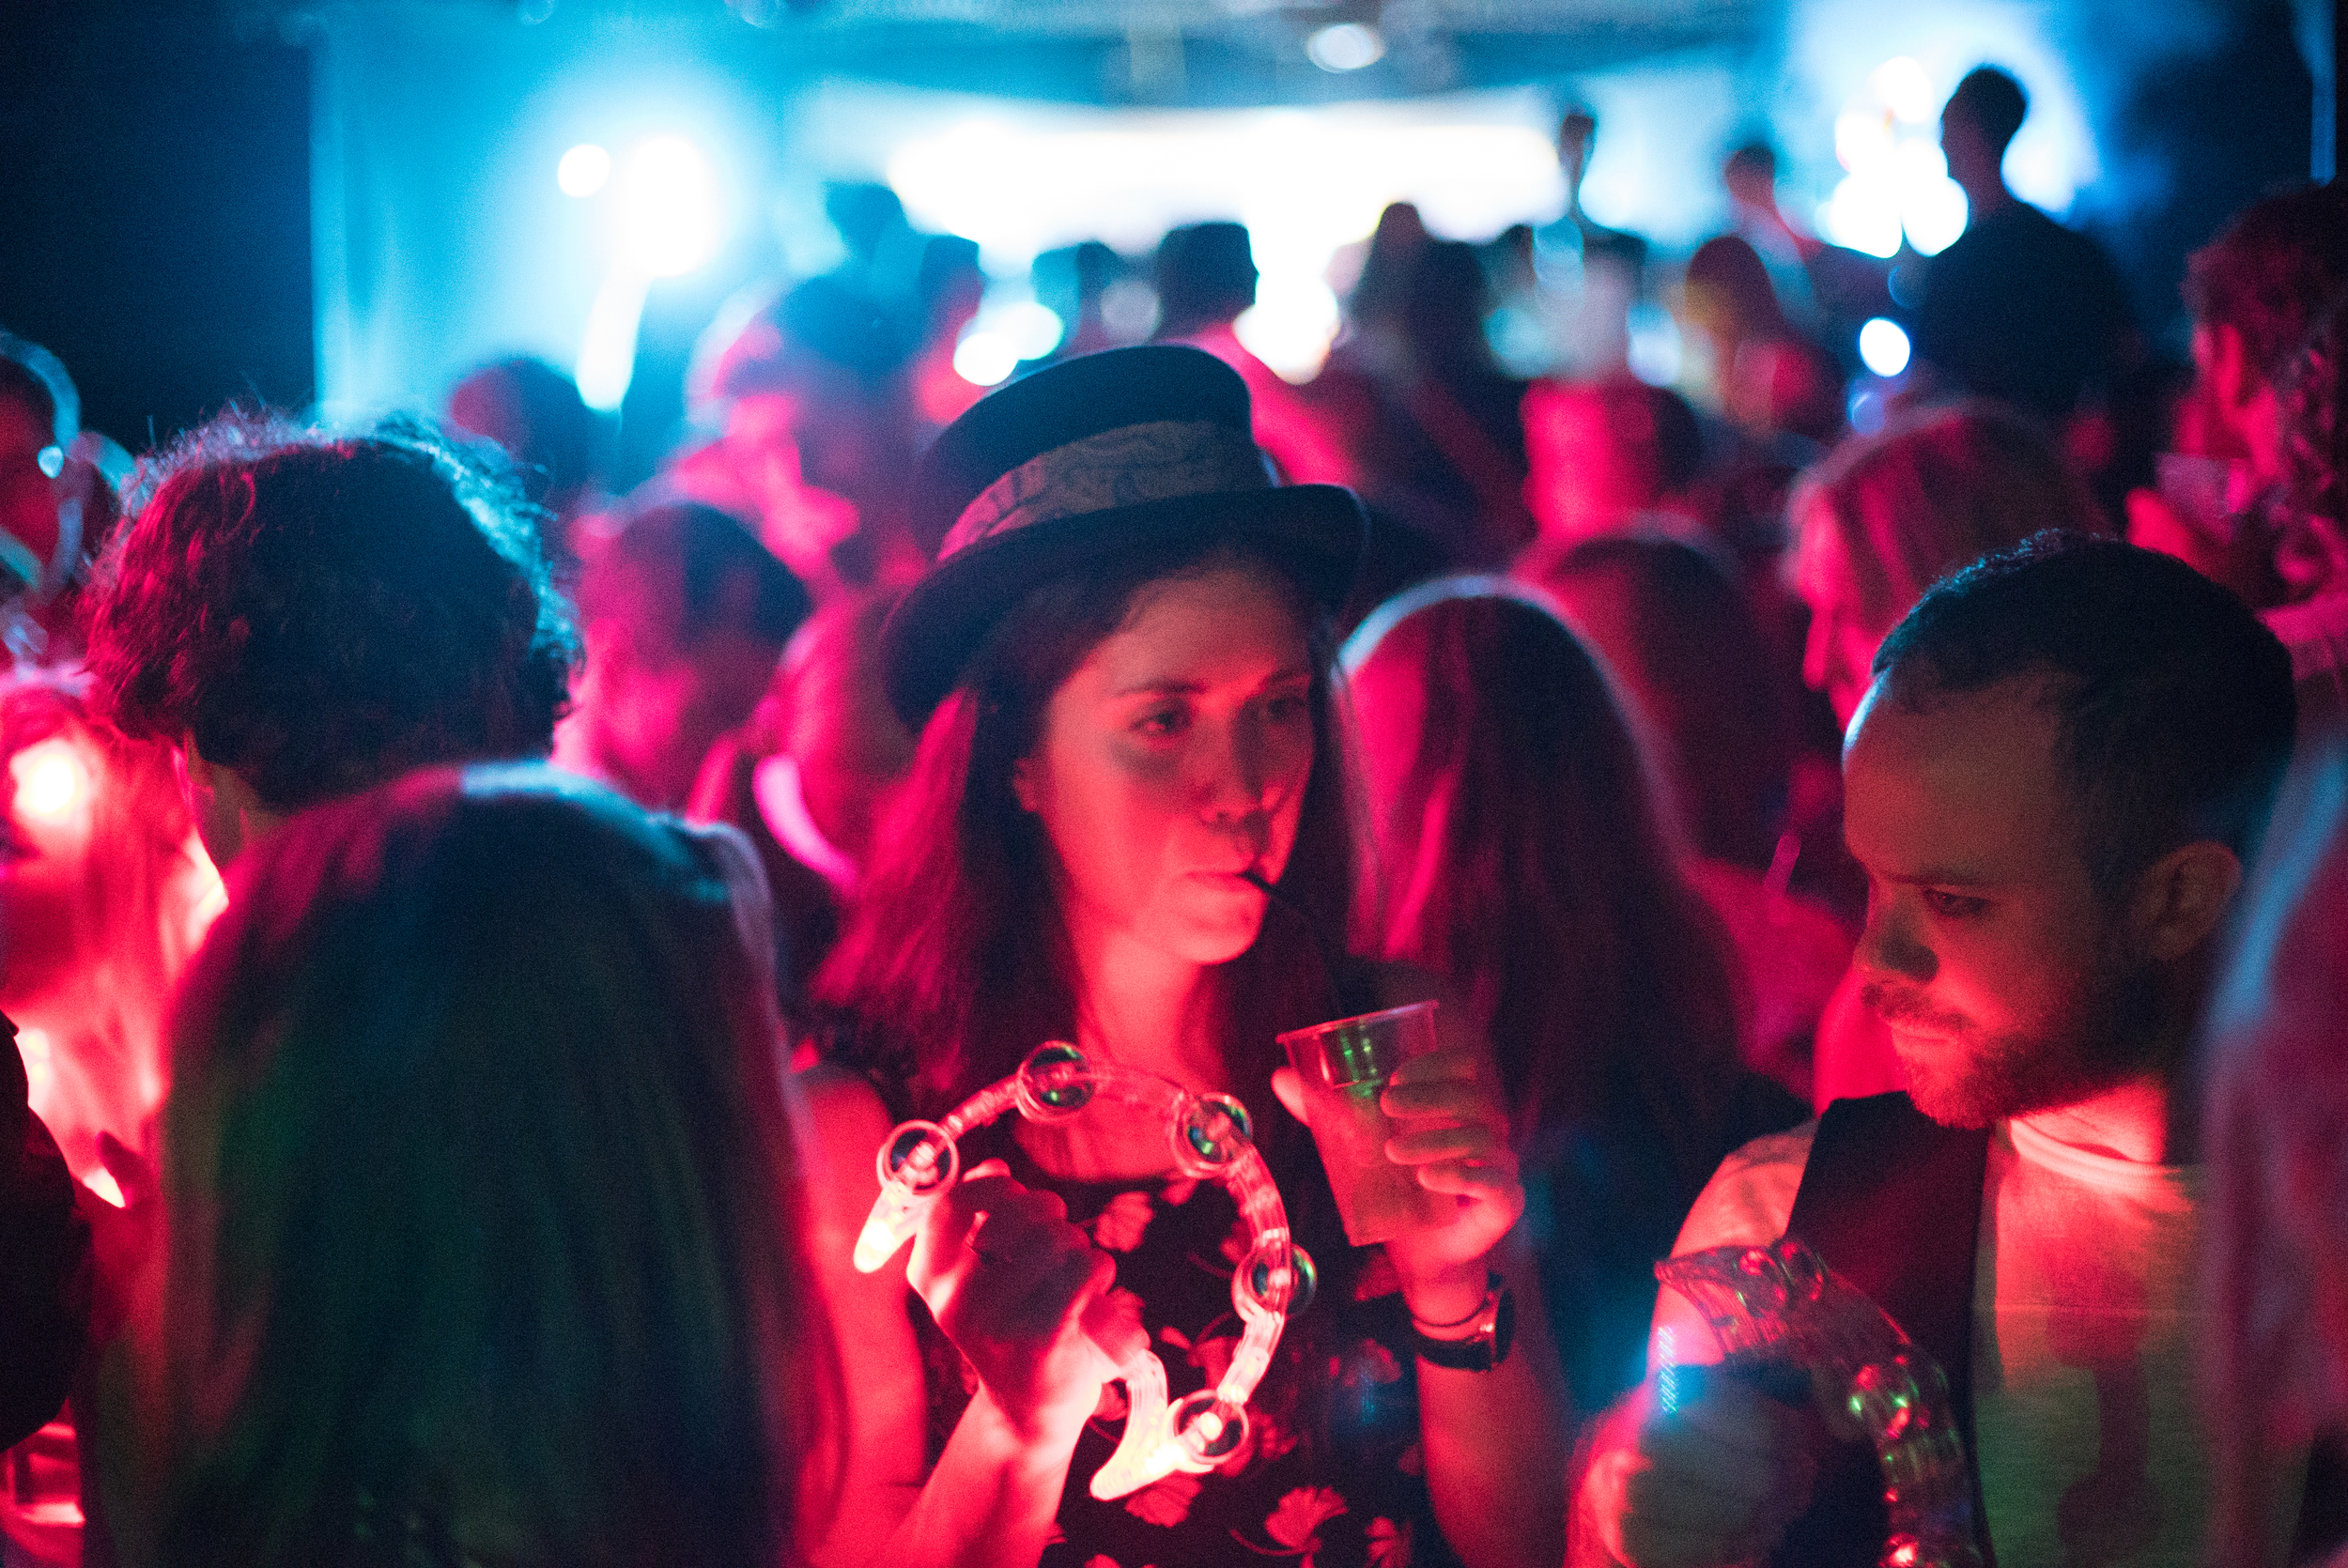
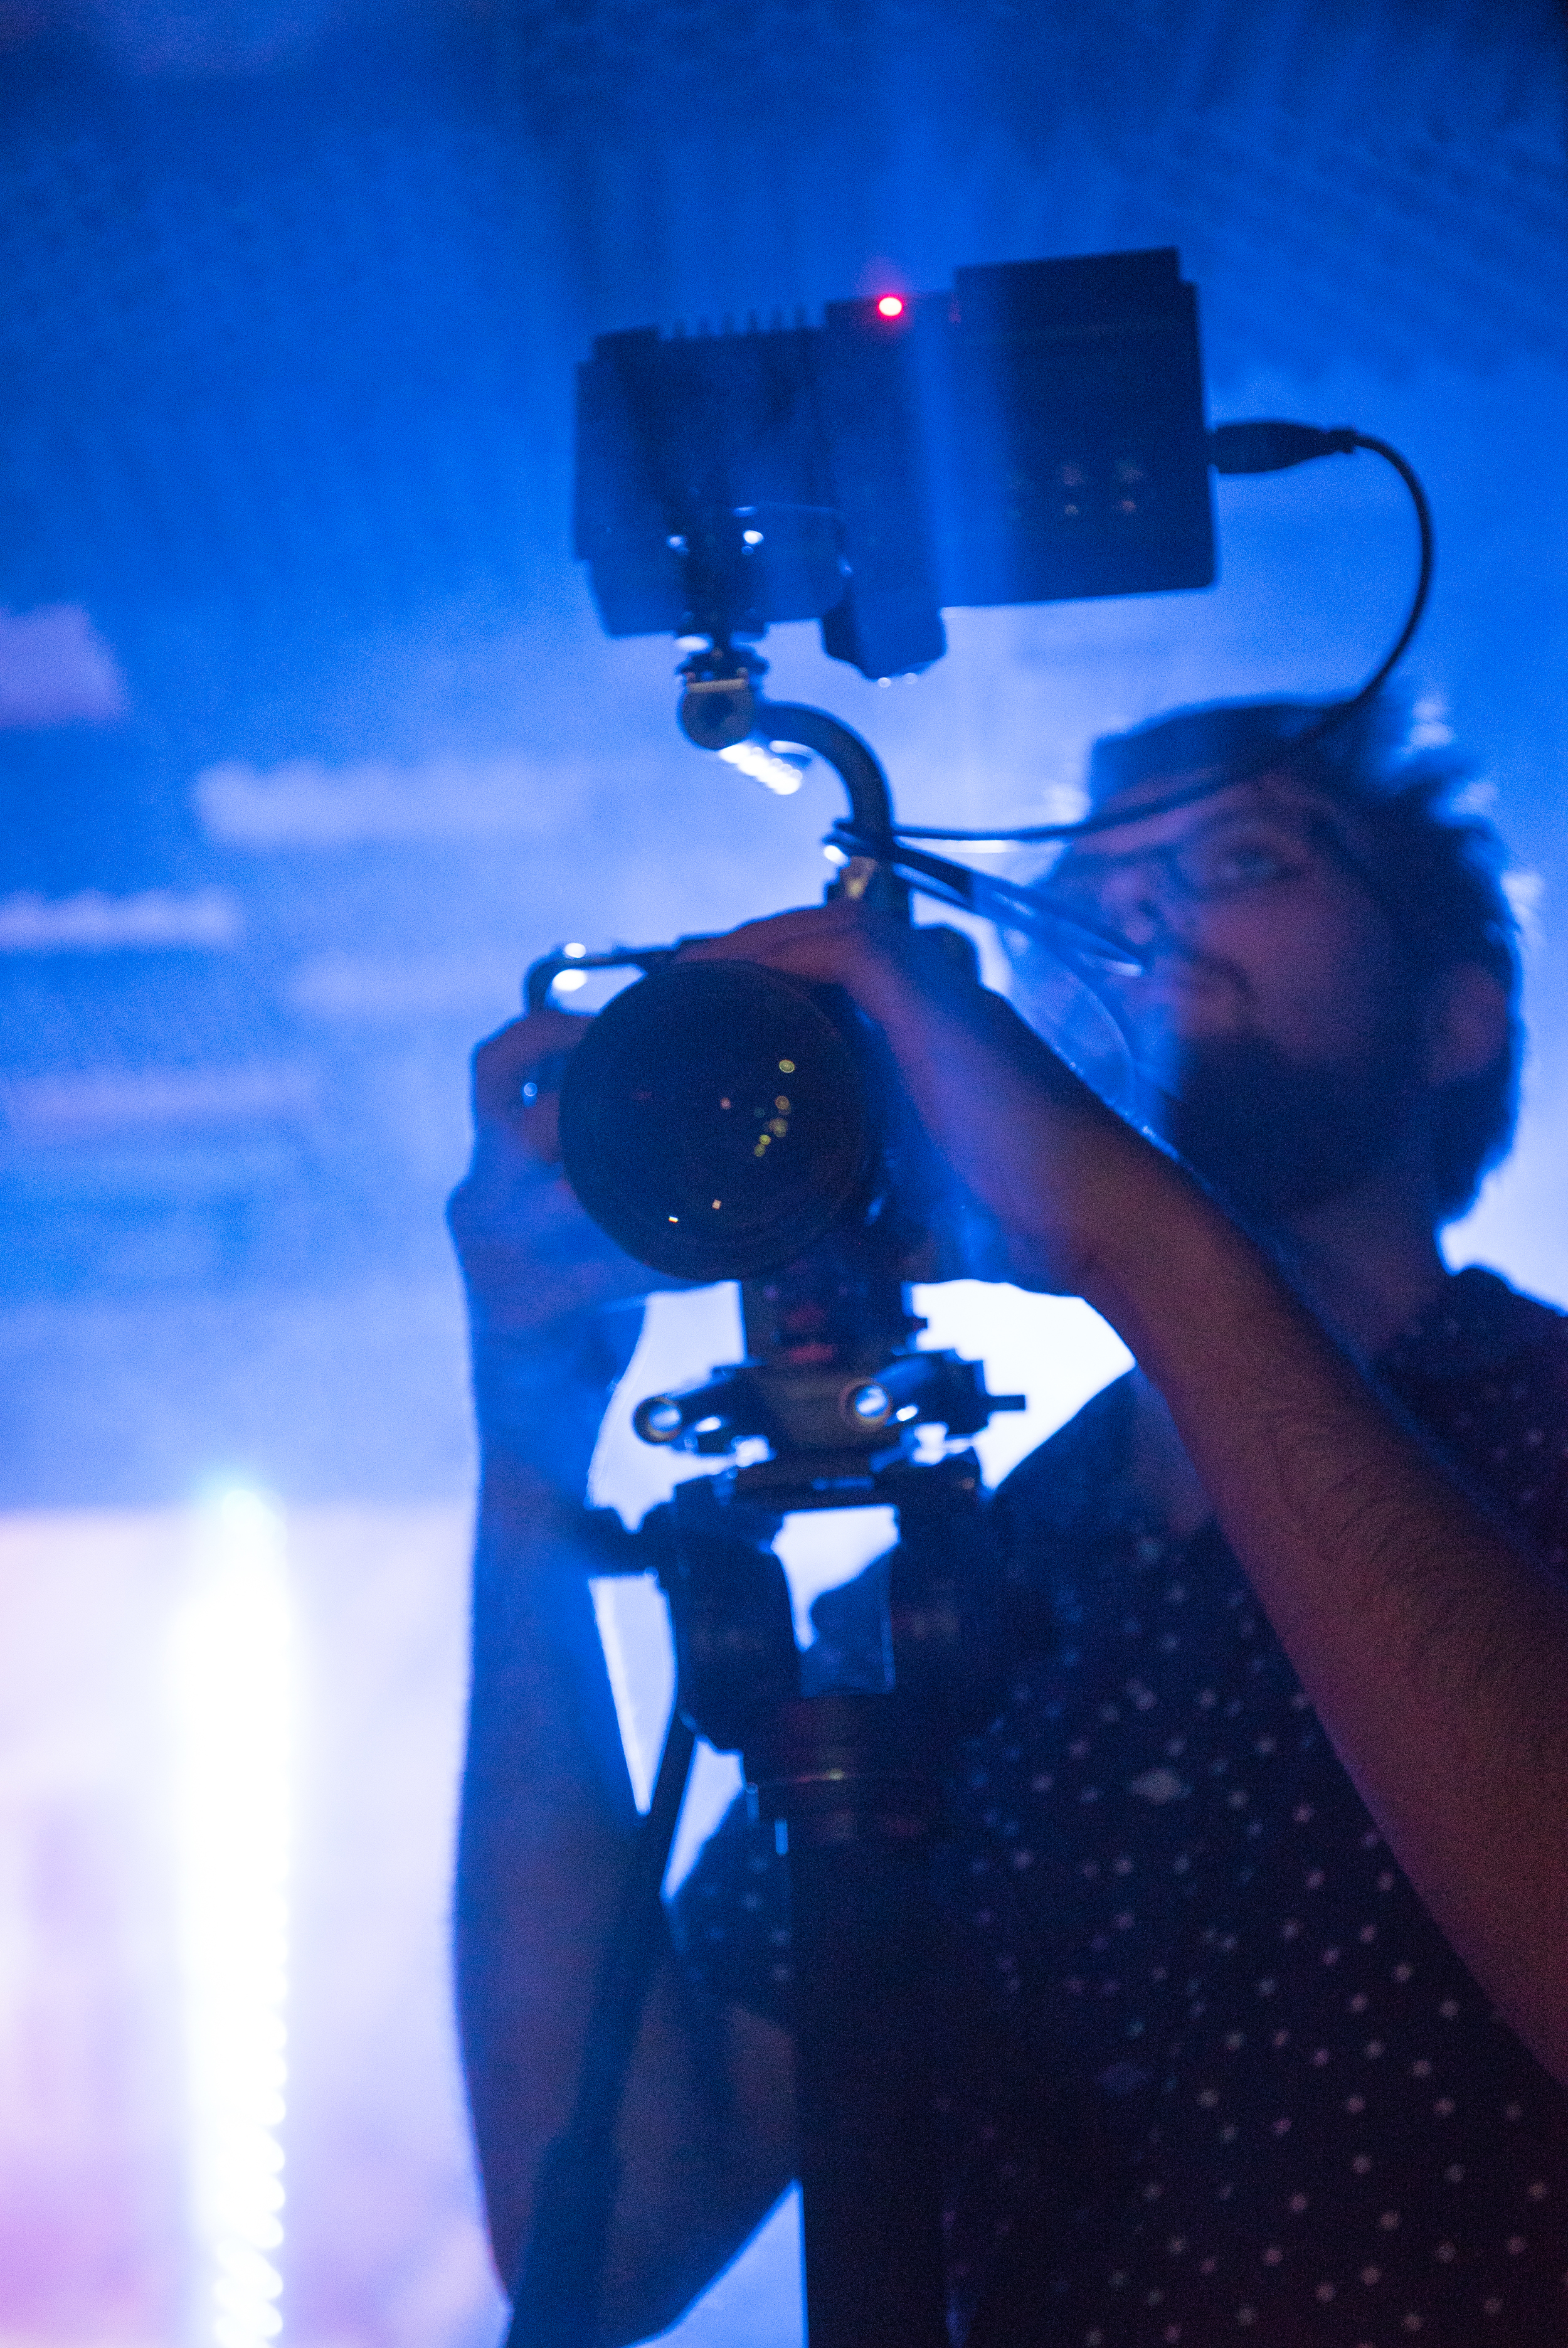
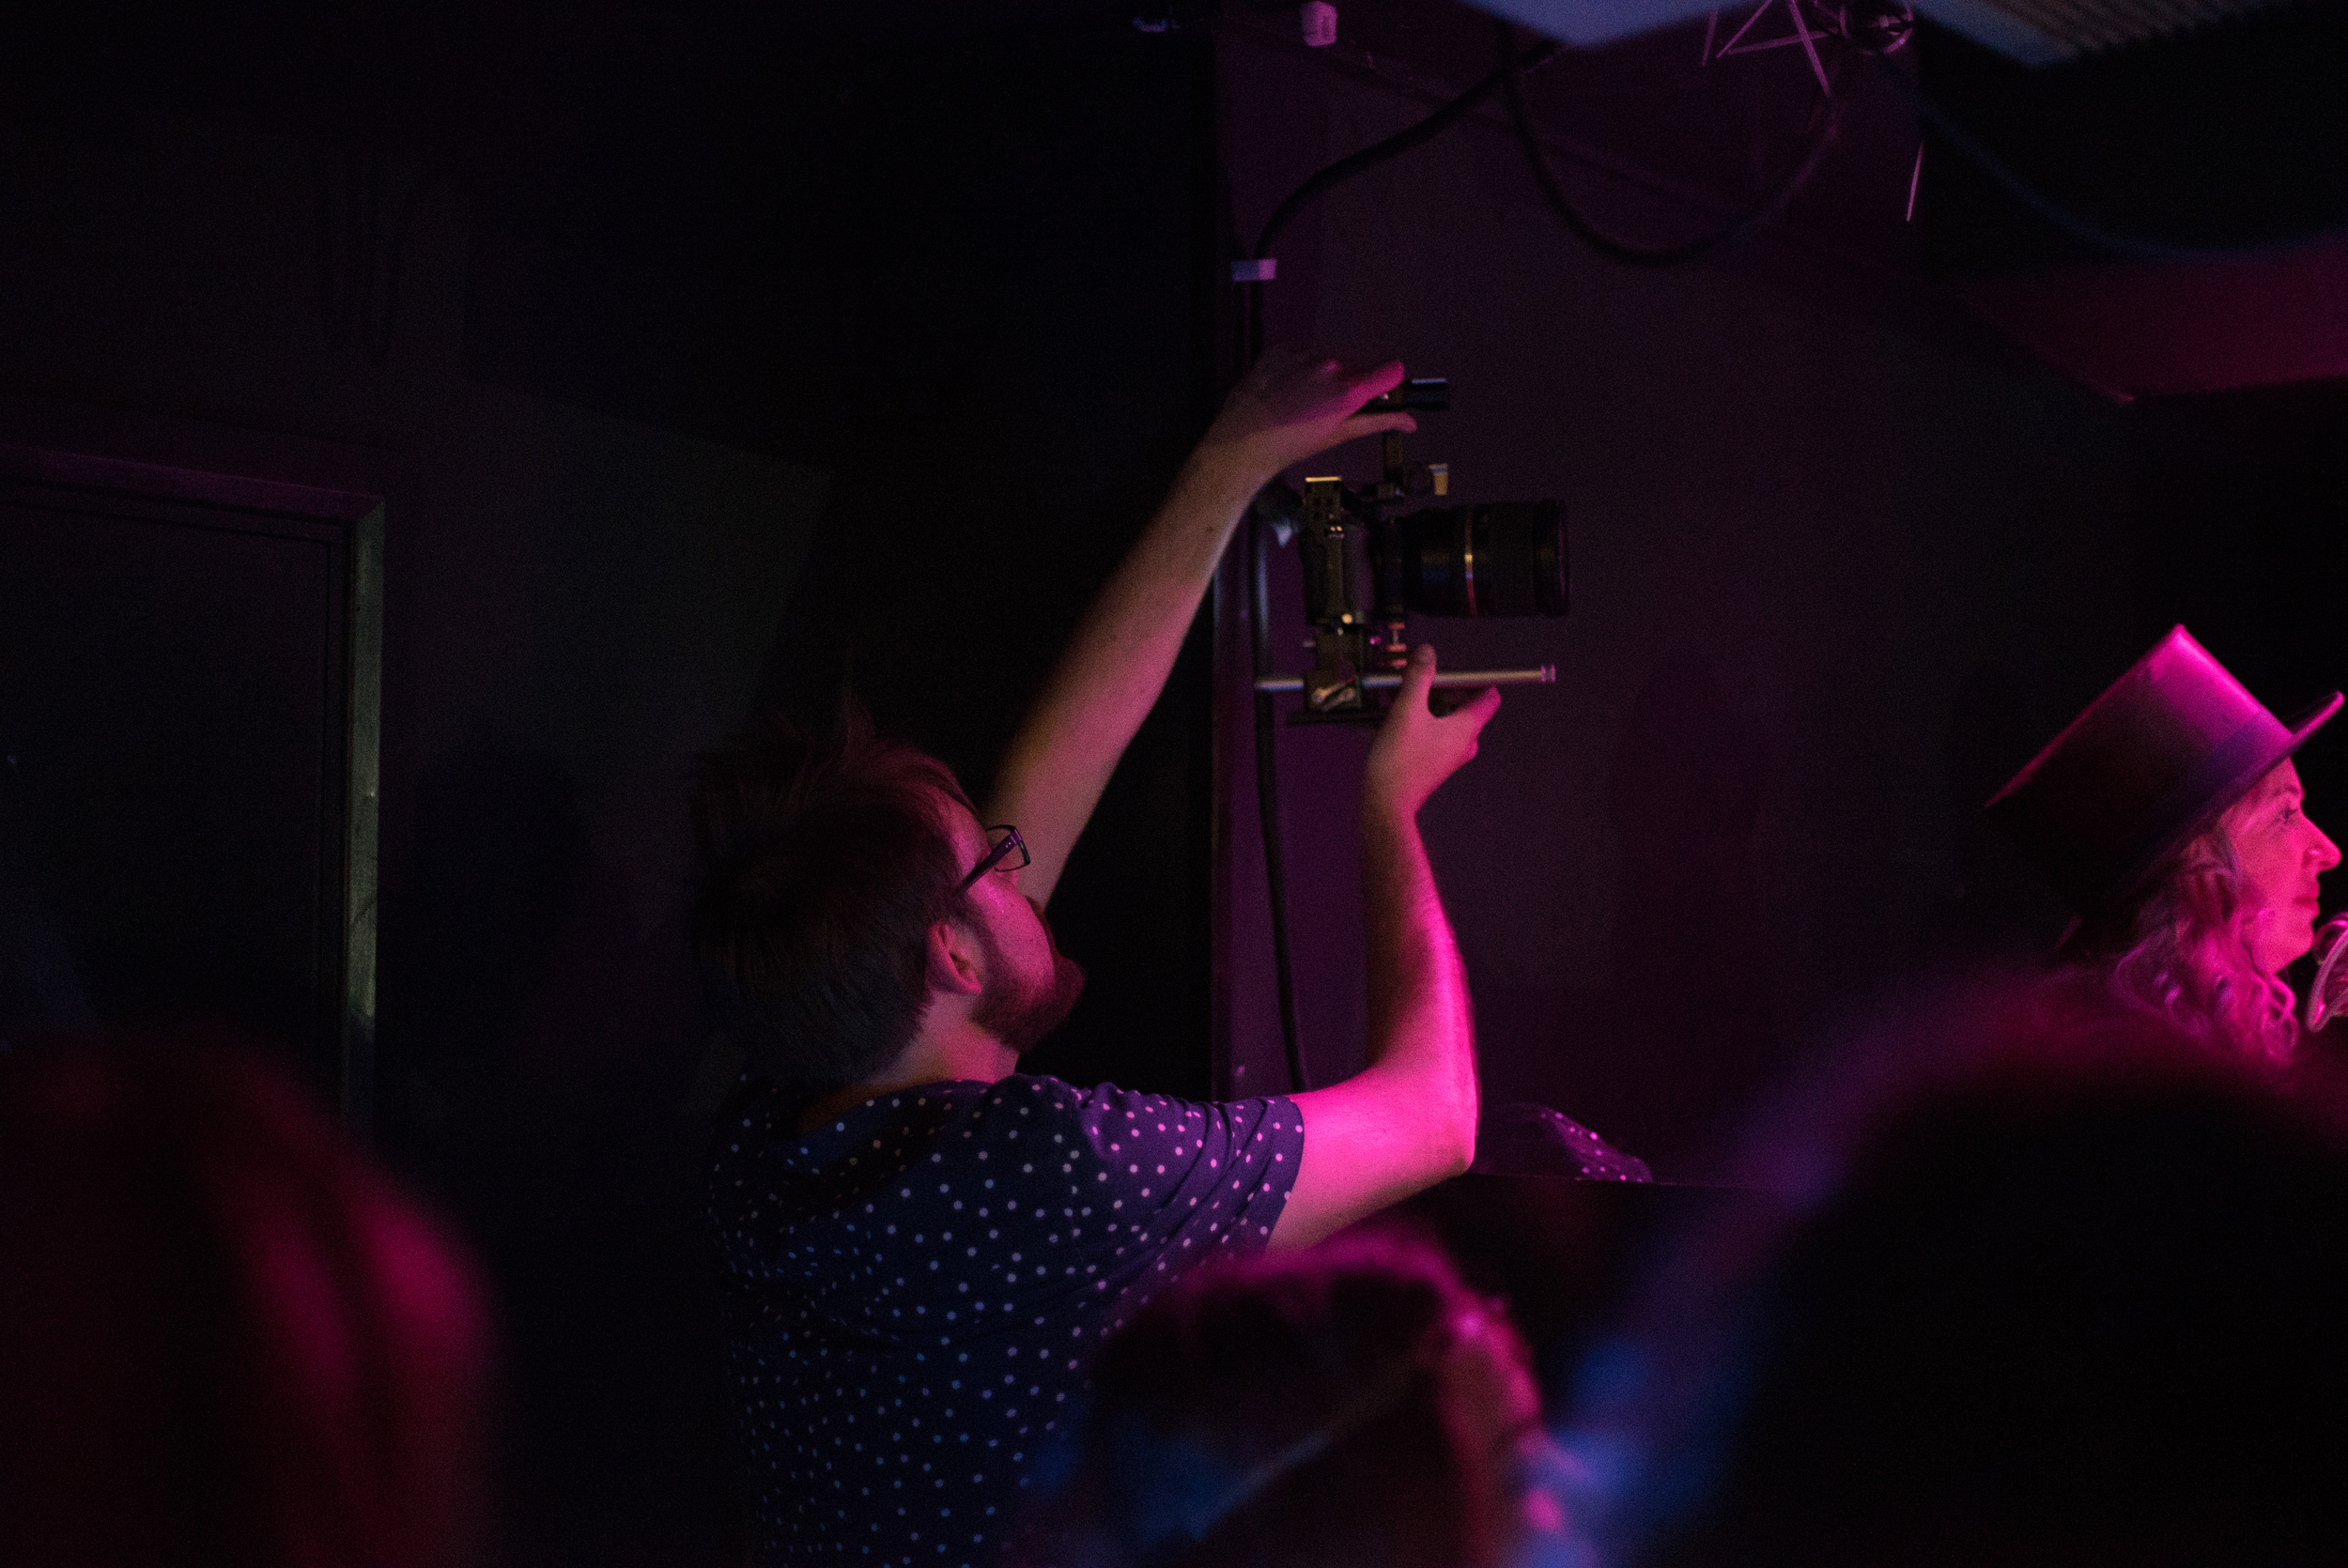
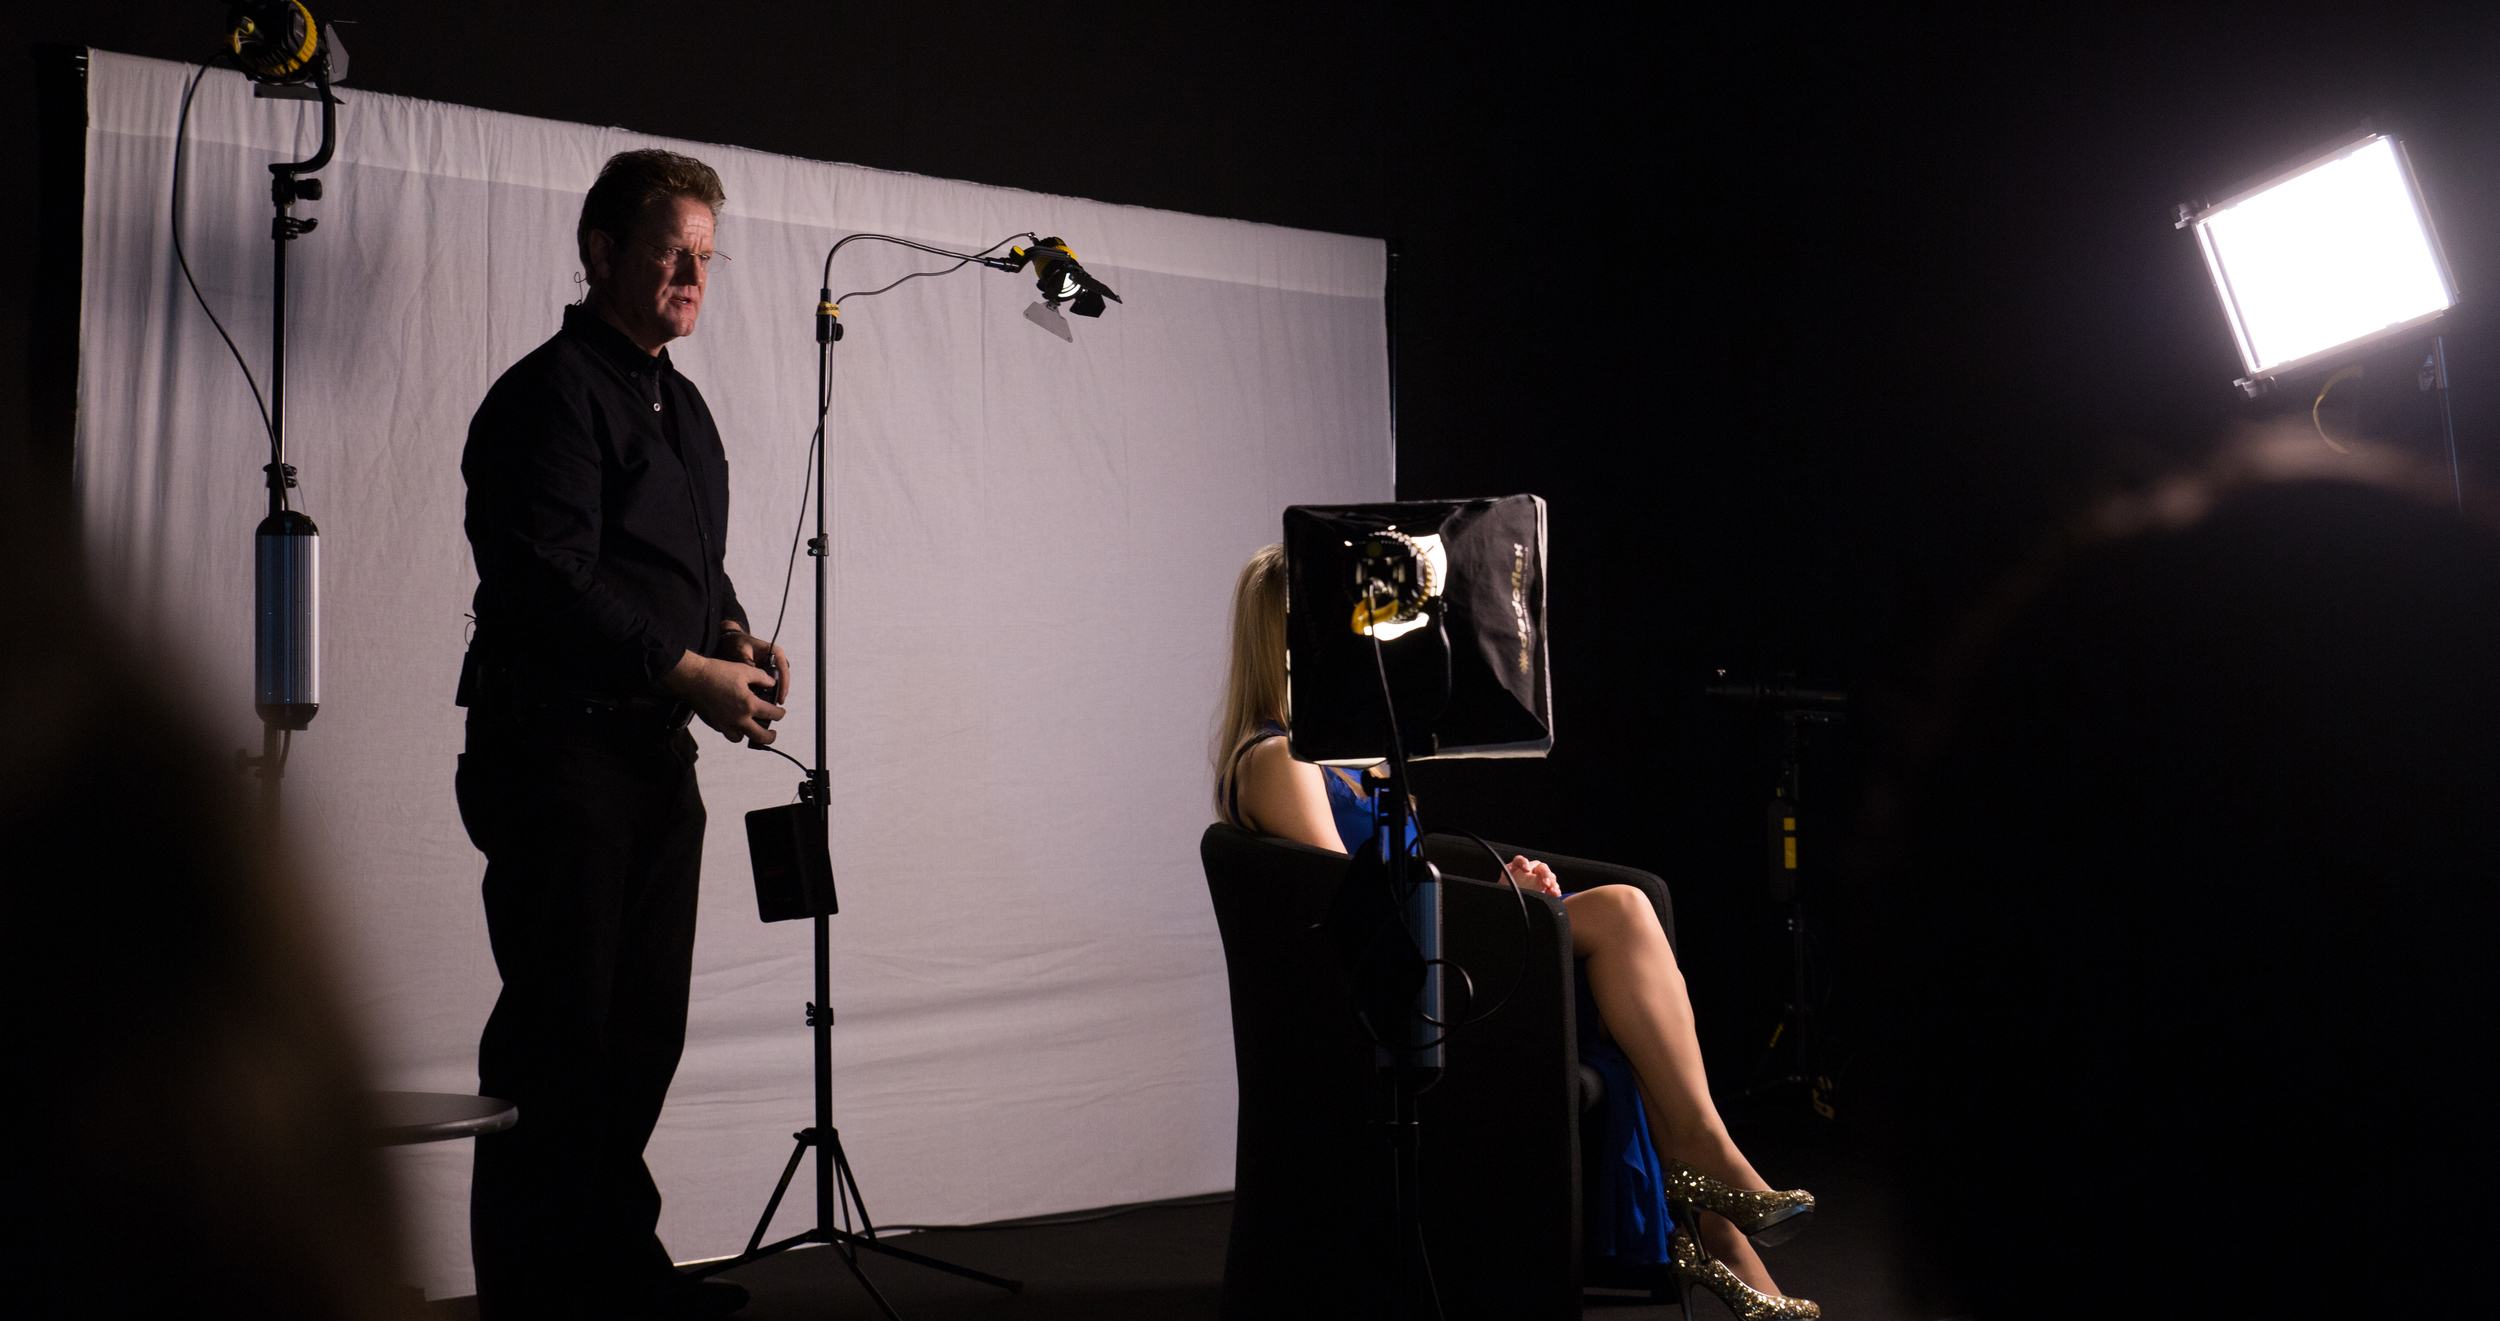
I jumped at the chance to film the BTS when I saw Philip Bloom and Nino Leitner's 'Filmmaking Masterclass' were coming to Surrey for their 2015 workshop. Having captured many events before, this was a chance for me to hone in on my videography skills and produce a great BTS film to show what the workshop is about and help promote it for future events. Of course, filming for Nino and Philip put more pressure onto producing something amazing.
As I'm a one man band producer, I roped in help from good friends of mine to help film other aspects of the workshop (which spanned over 3 days). Meticulous planning was required to make sure we captured everything we could, and that the equipment was ready for the next days shooting on location. Keeping in mind the"shoot 20% content and 80% b-roll" tip was definitely important for this production, so there was plenty of emphasis on attendee interviews at different stages of the workshop to capture progress, and filming them working as a crew producing a short film too. This together helped form the basis of the beginning, middle and end narrative; a structure that is familiar, but works to add progression and pace to a video.
To keep the production tightly knit and not over shooting, I produced a treatment for each crew member so we knew exactly what was going on, where, with what kit. This helped us work to capturing something different each day and follow the narrative -
1. Brief the crew with the aims and expectations of the overall production.
2. Confirm the details of the location, including the best travel routes from their location (avoiding major motorways and roads during congesting).
3. Choose the best equipment for the job. Never over pack the kit bag, go simple and strategic for the look and style of production.
4. Prepare an equipment list to check off each day and familiarize crew of the production setup with camera techniques, settings and audio.
5. List all key moments and shots to acquire throughout each filming day, which may include interviews, specific time lapses, and drone or gimbal shots for example.
On the day:
6. When you are working in a crew, they are your family.
7. Introduce the crew to the key people at the event; from the event organizers to the mentors, to ensure that they are all comfortable and acknowledged as part of the BTS crew.
8. Film a couple of shots with the crew to demonstrate the style of production and tips for filming in that location/settings.

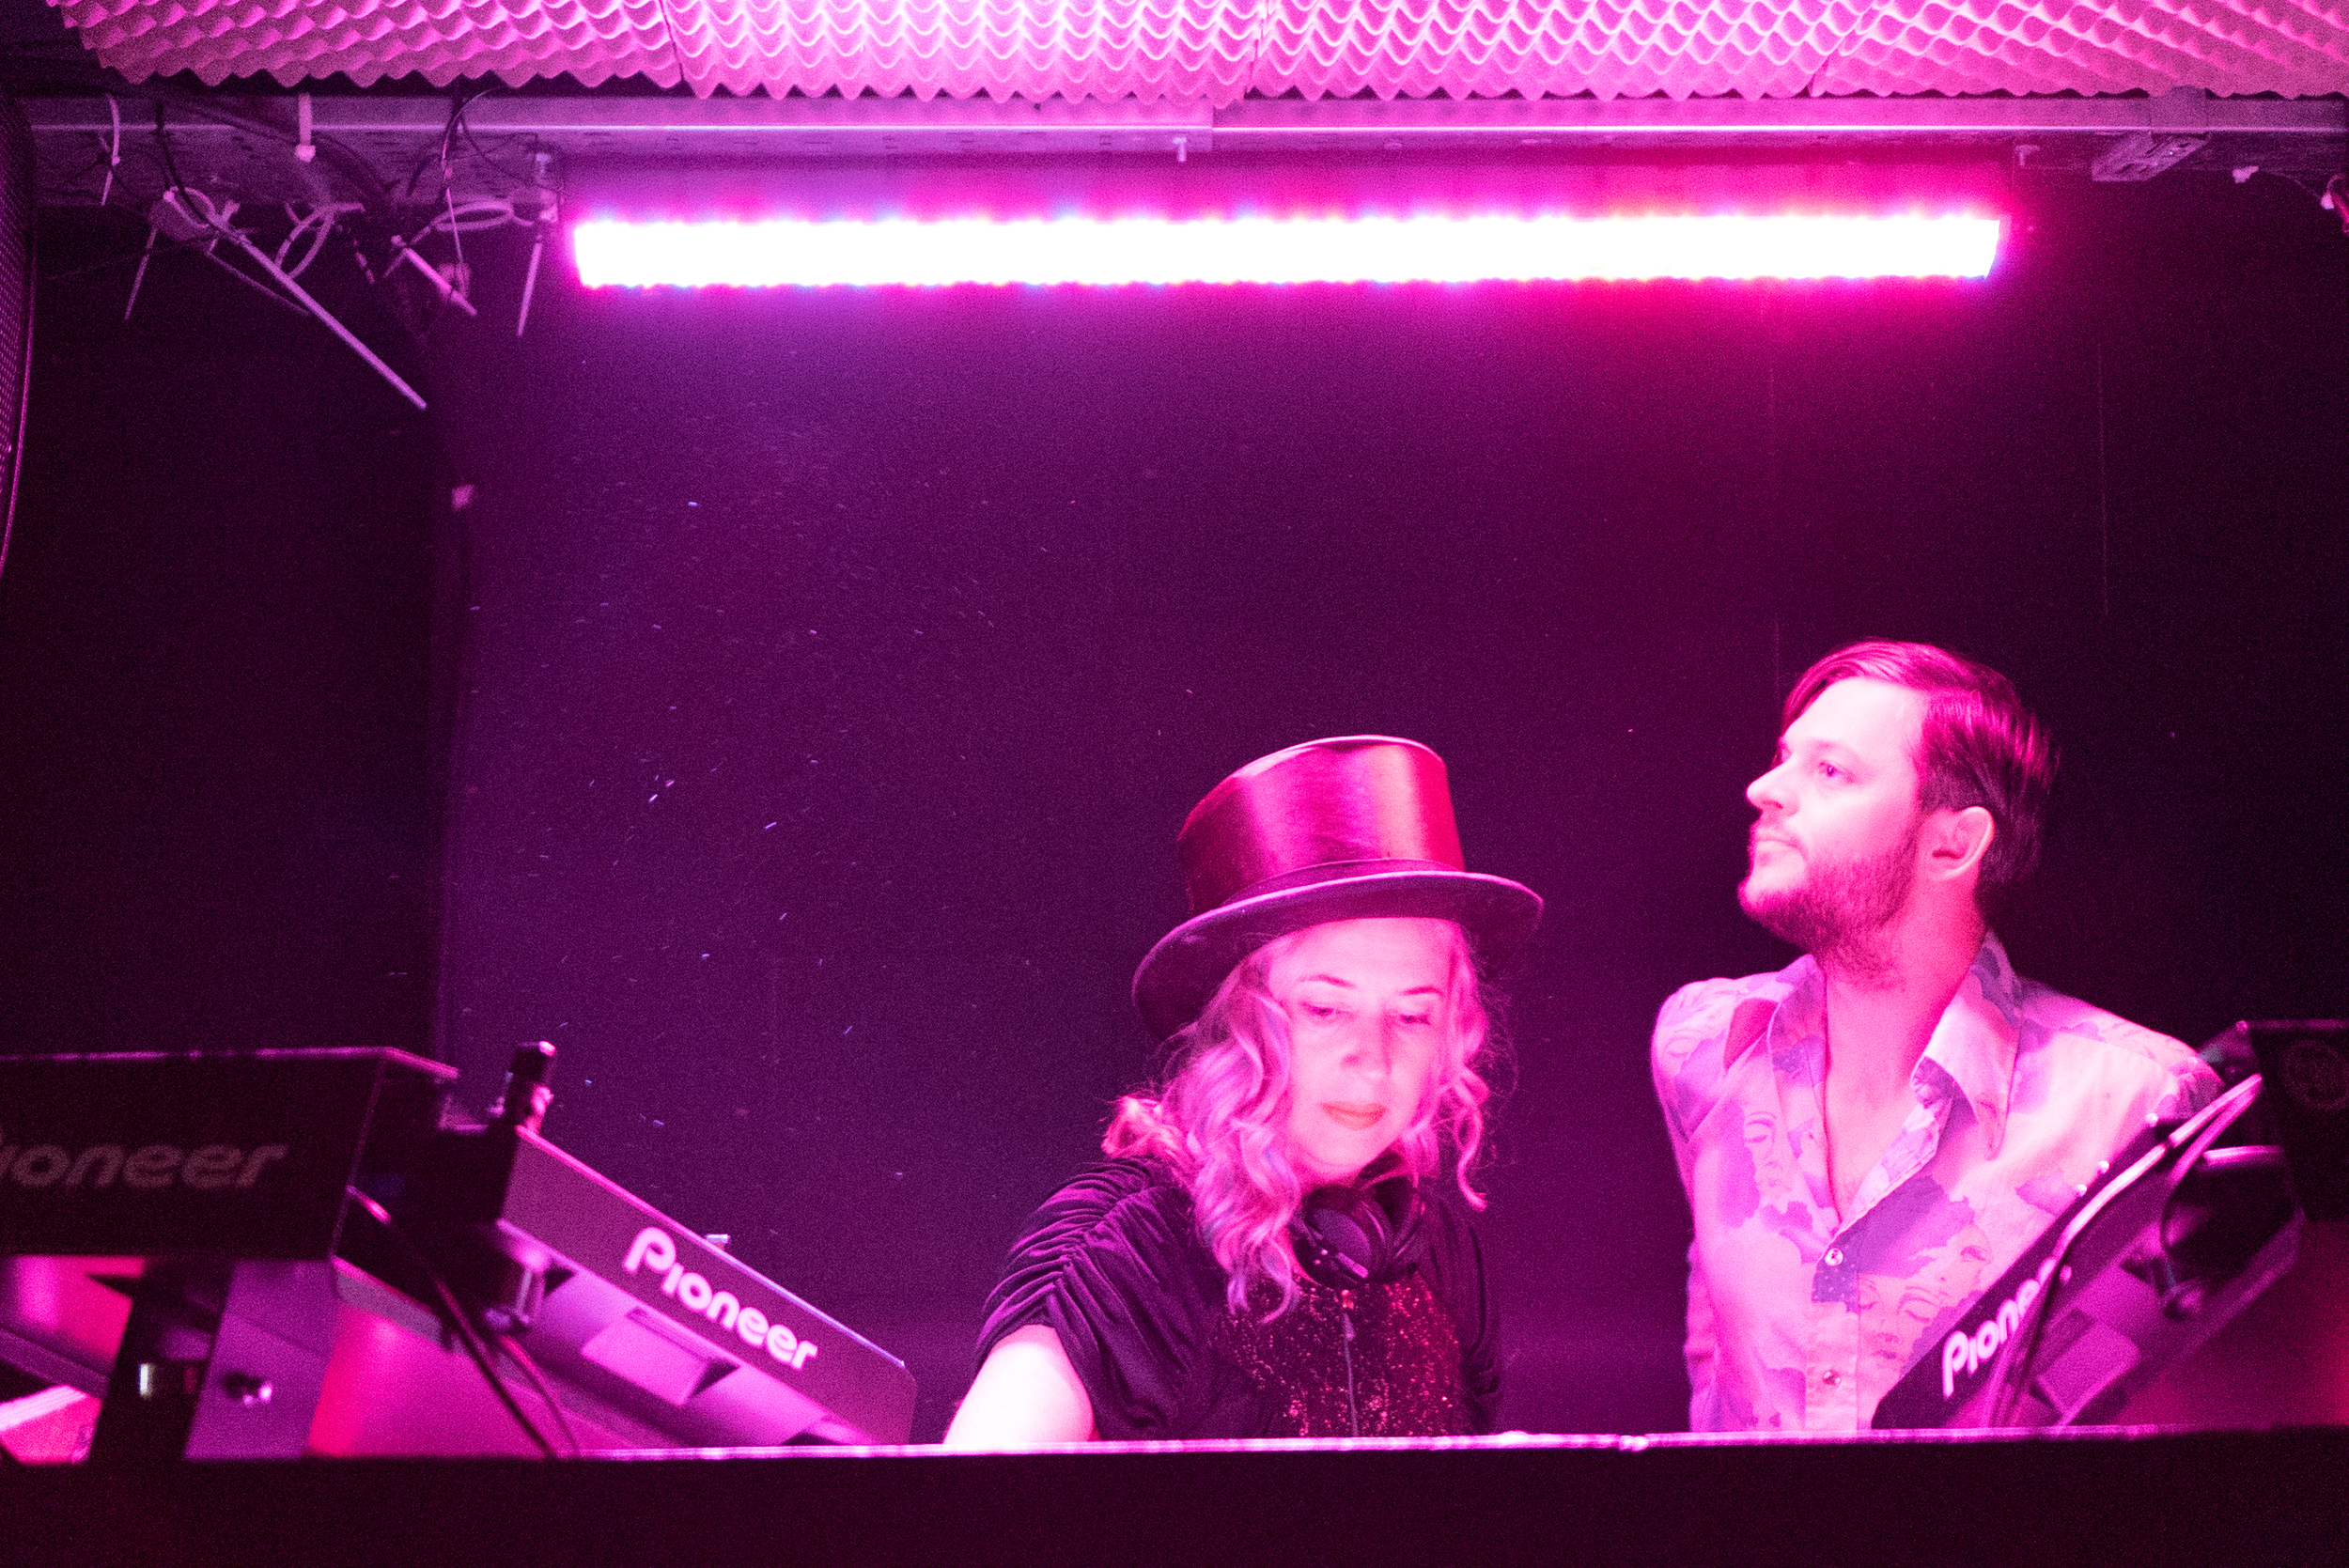
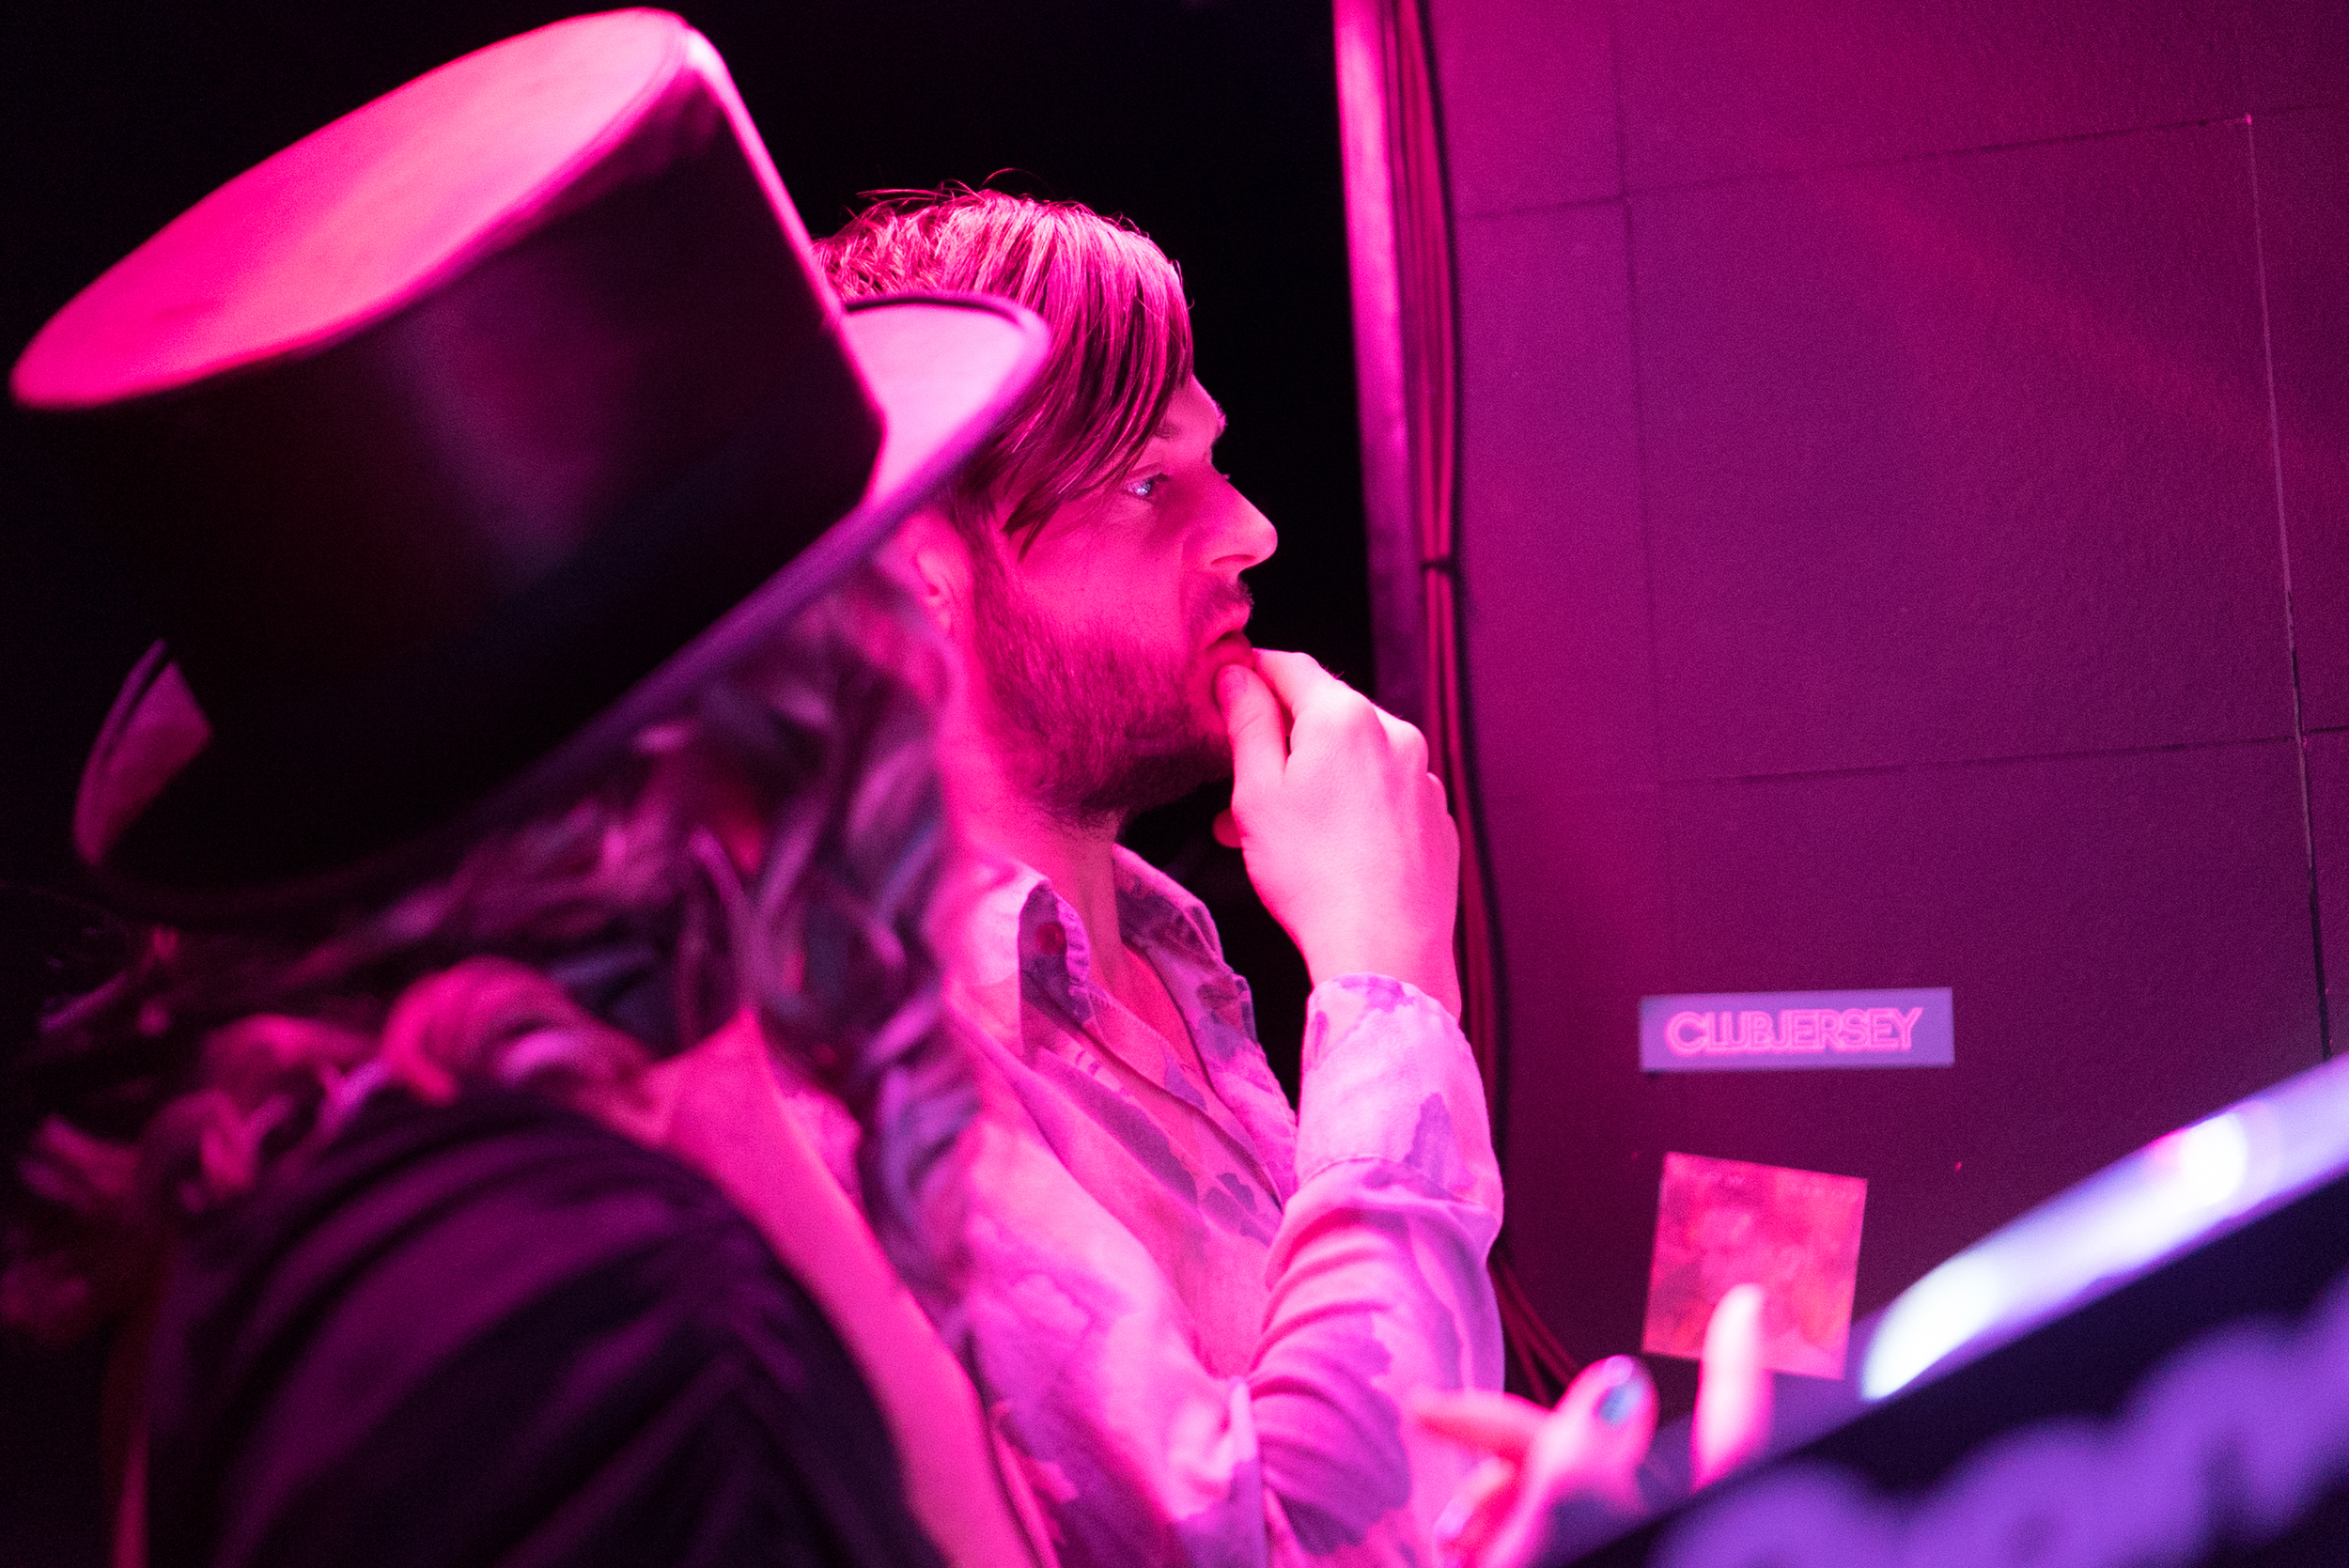
Adam and Ed

Ed and Mikey
The kit prep was a challenge as it's always tempting to take too much, which in some cases makes you less mobile. For the workshop, crews would be spread over a large location (indoors and outdoors) so being portable with a small footprint was the cornerstone of what kit was used.

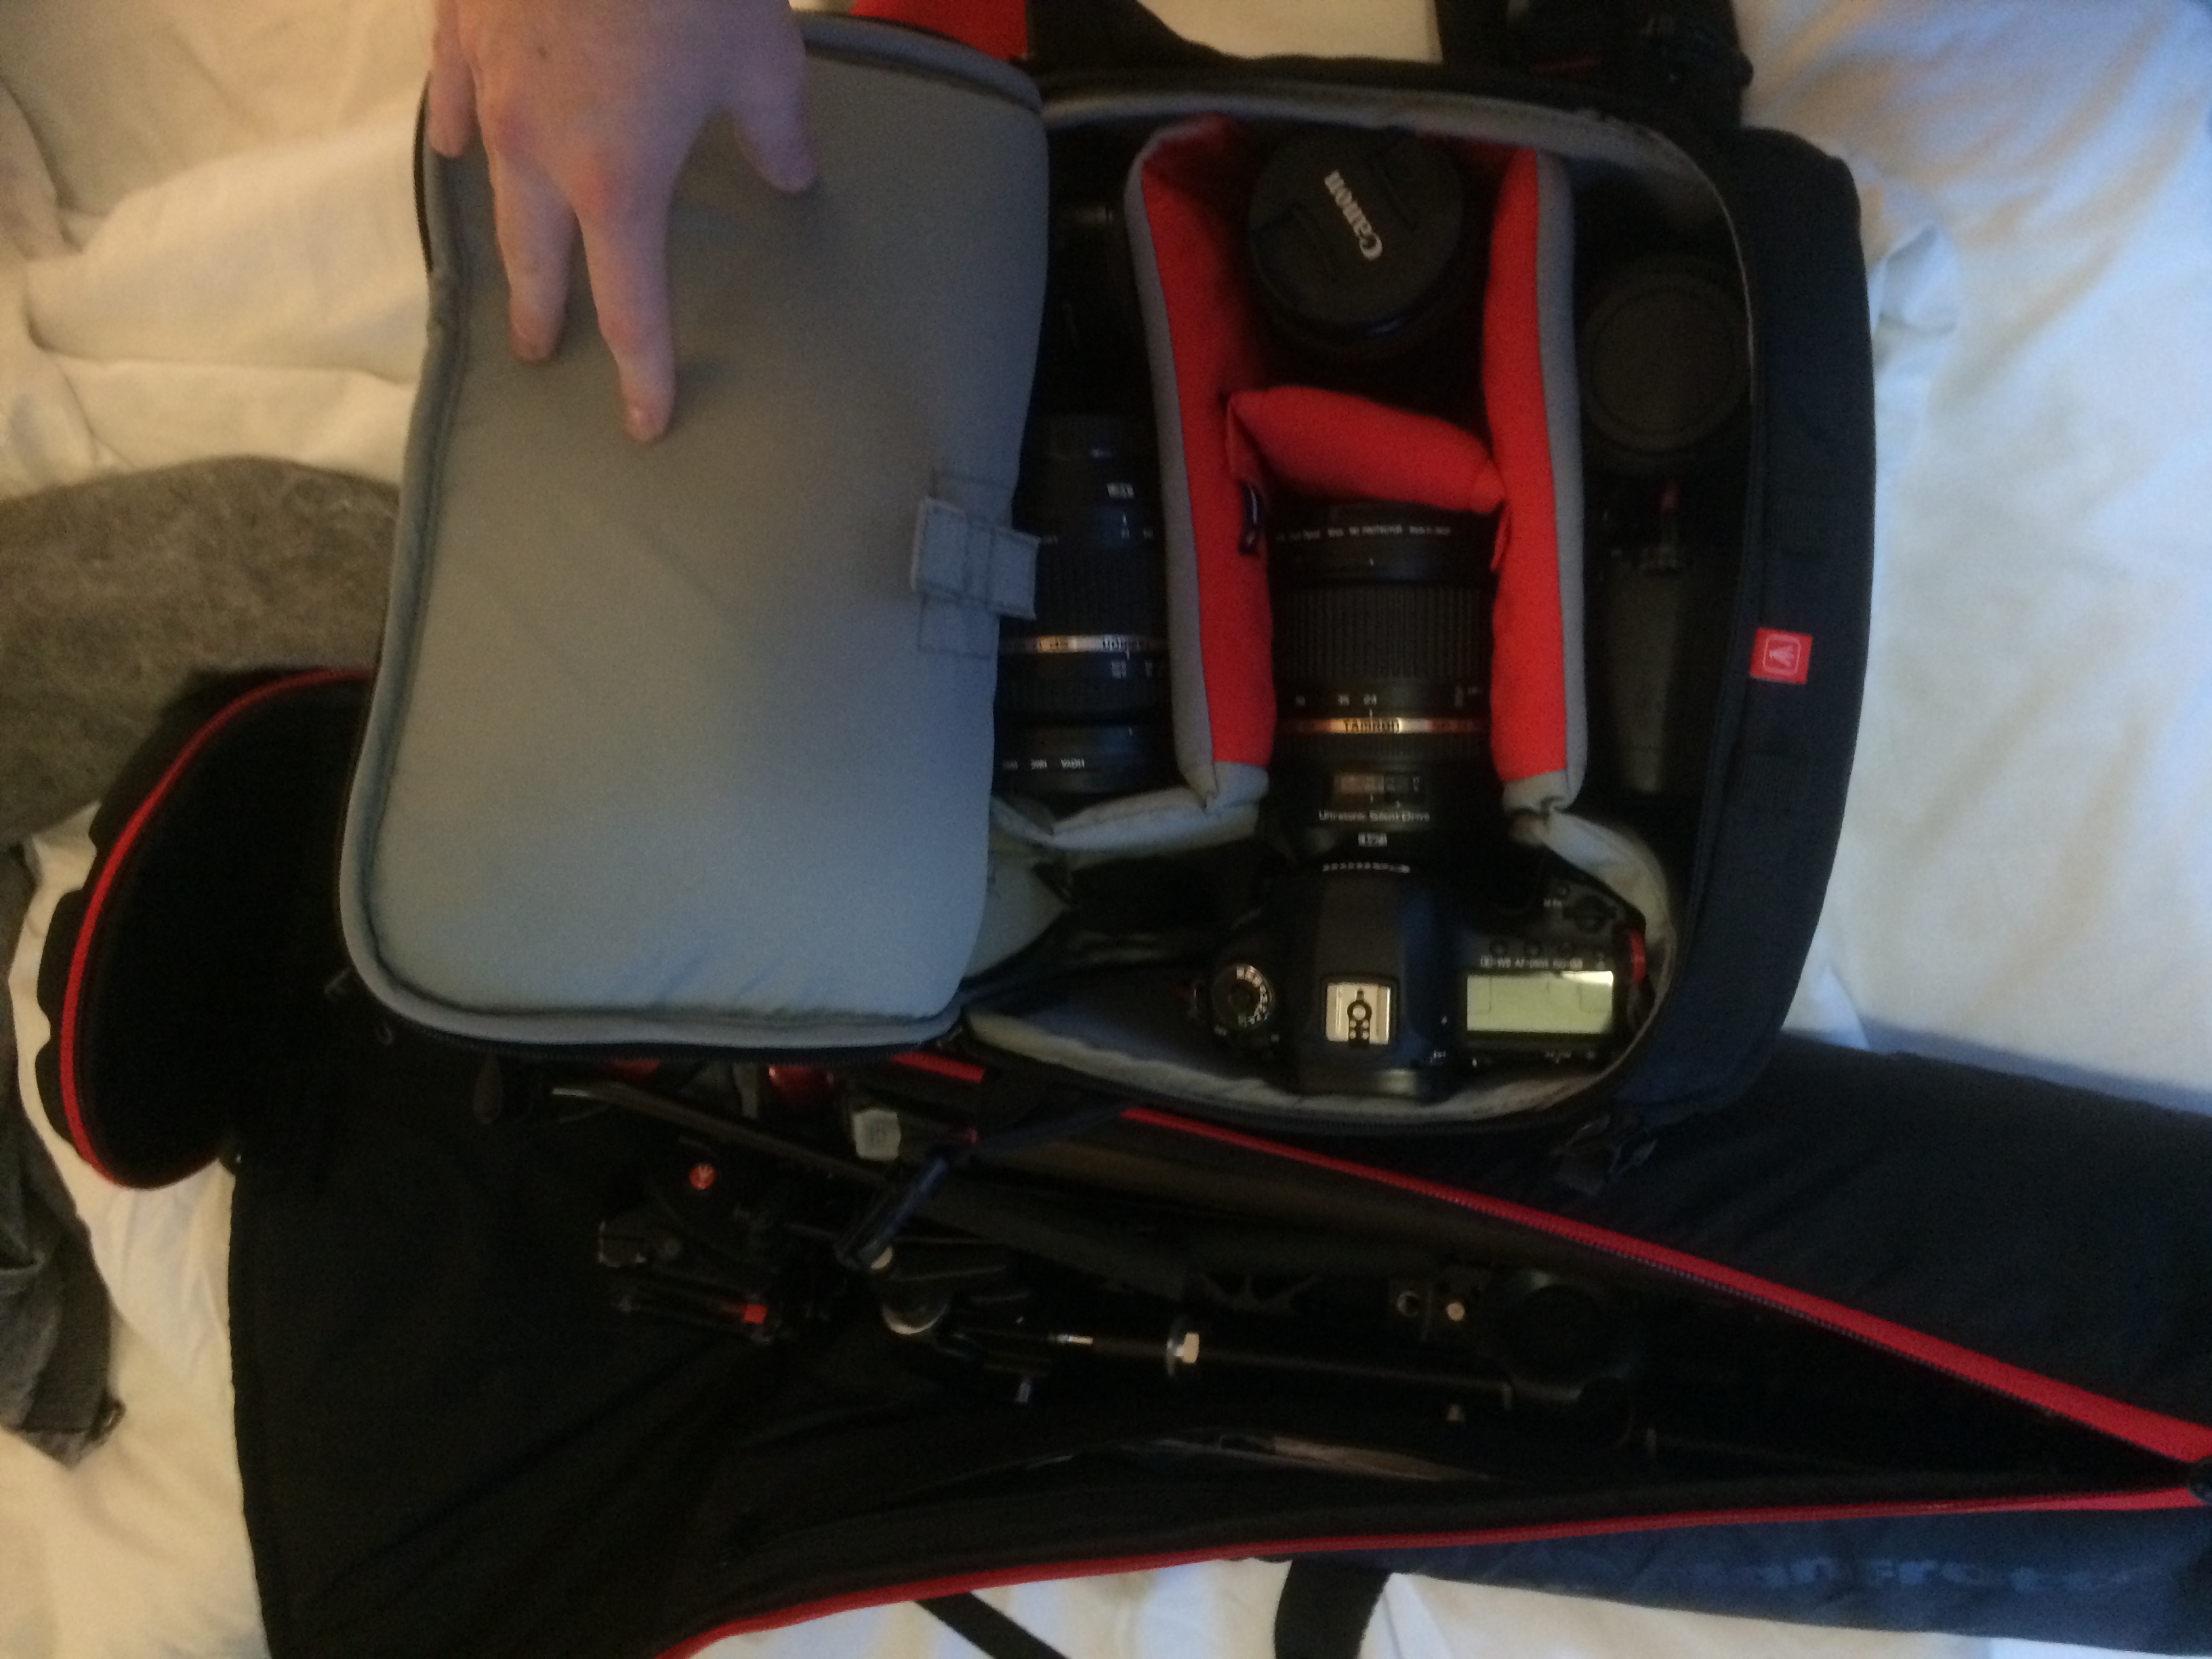
Manfrotto Backpack 35-PL

A personal favourite of mine is using the 100mm macro lens for portraits or specific subjects or objects as it beautifully crushes the background into a lovely bokeh, as if it was taken on a much better lens and camera. That combined with the Shogun shooting in 4K gives so beautiful images. Also, as much of the first and last days shooting was indoors, I often ramped up the ISO to 6400 and happily shot away knowing that the resultant image would be pleasantly clean.

Audio wise, I had the Rode VideoMicro hooked up to the A7S for the entire production, its an awesome little microphone which sits neatly on the cage. I’ve found previous on camera mics clunky and often require a 9V battery, but the little VideoMicro uses the camera power and packs a load of great audio quality into a tiny price tag. For the interviews, I hooked up the Rode NTG4+ into the H6 and handheld. No need for a clamp and magic arm in this case.
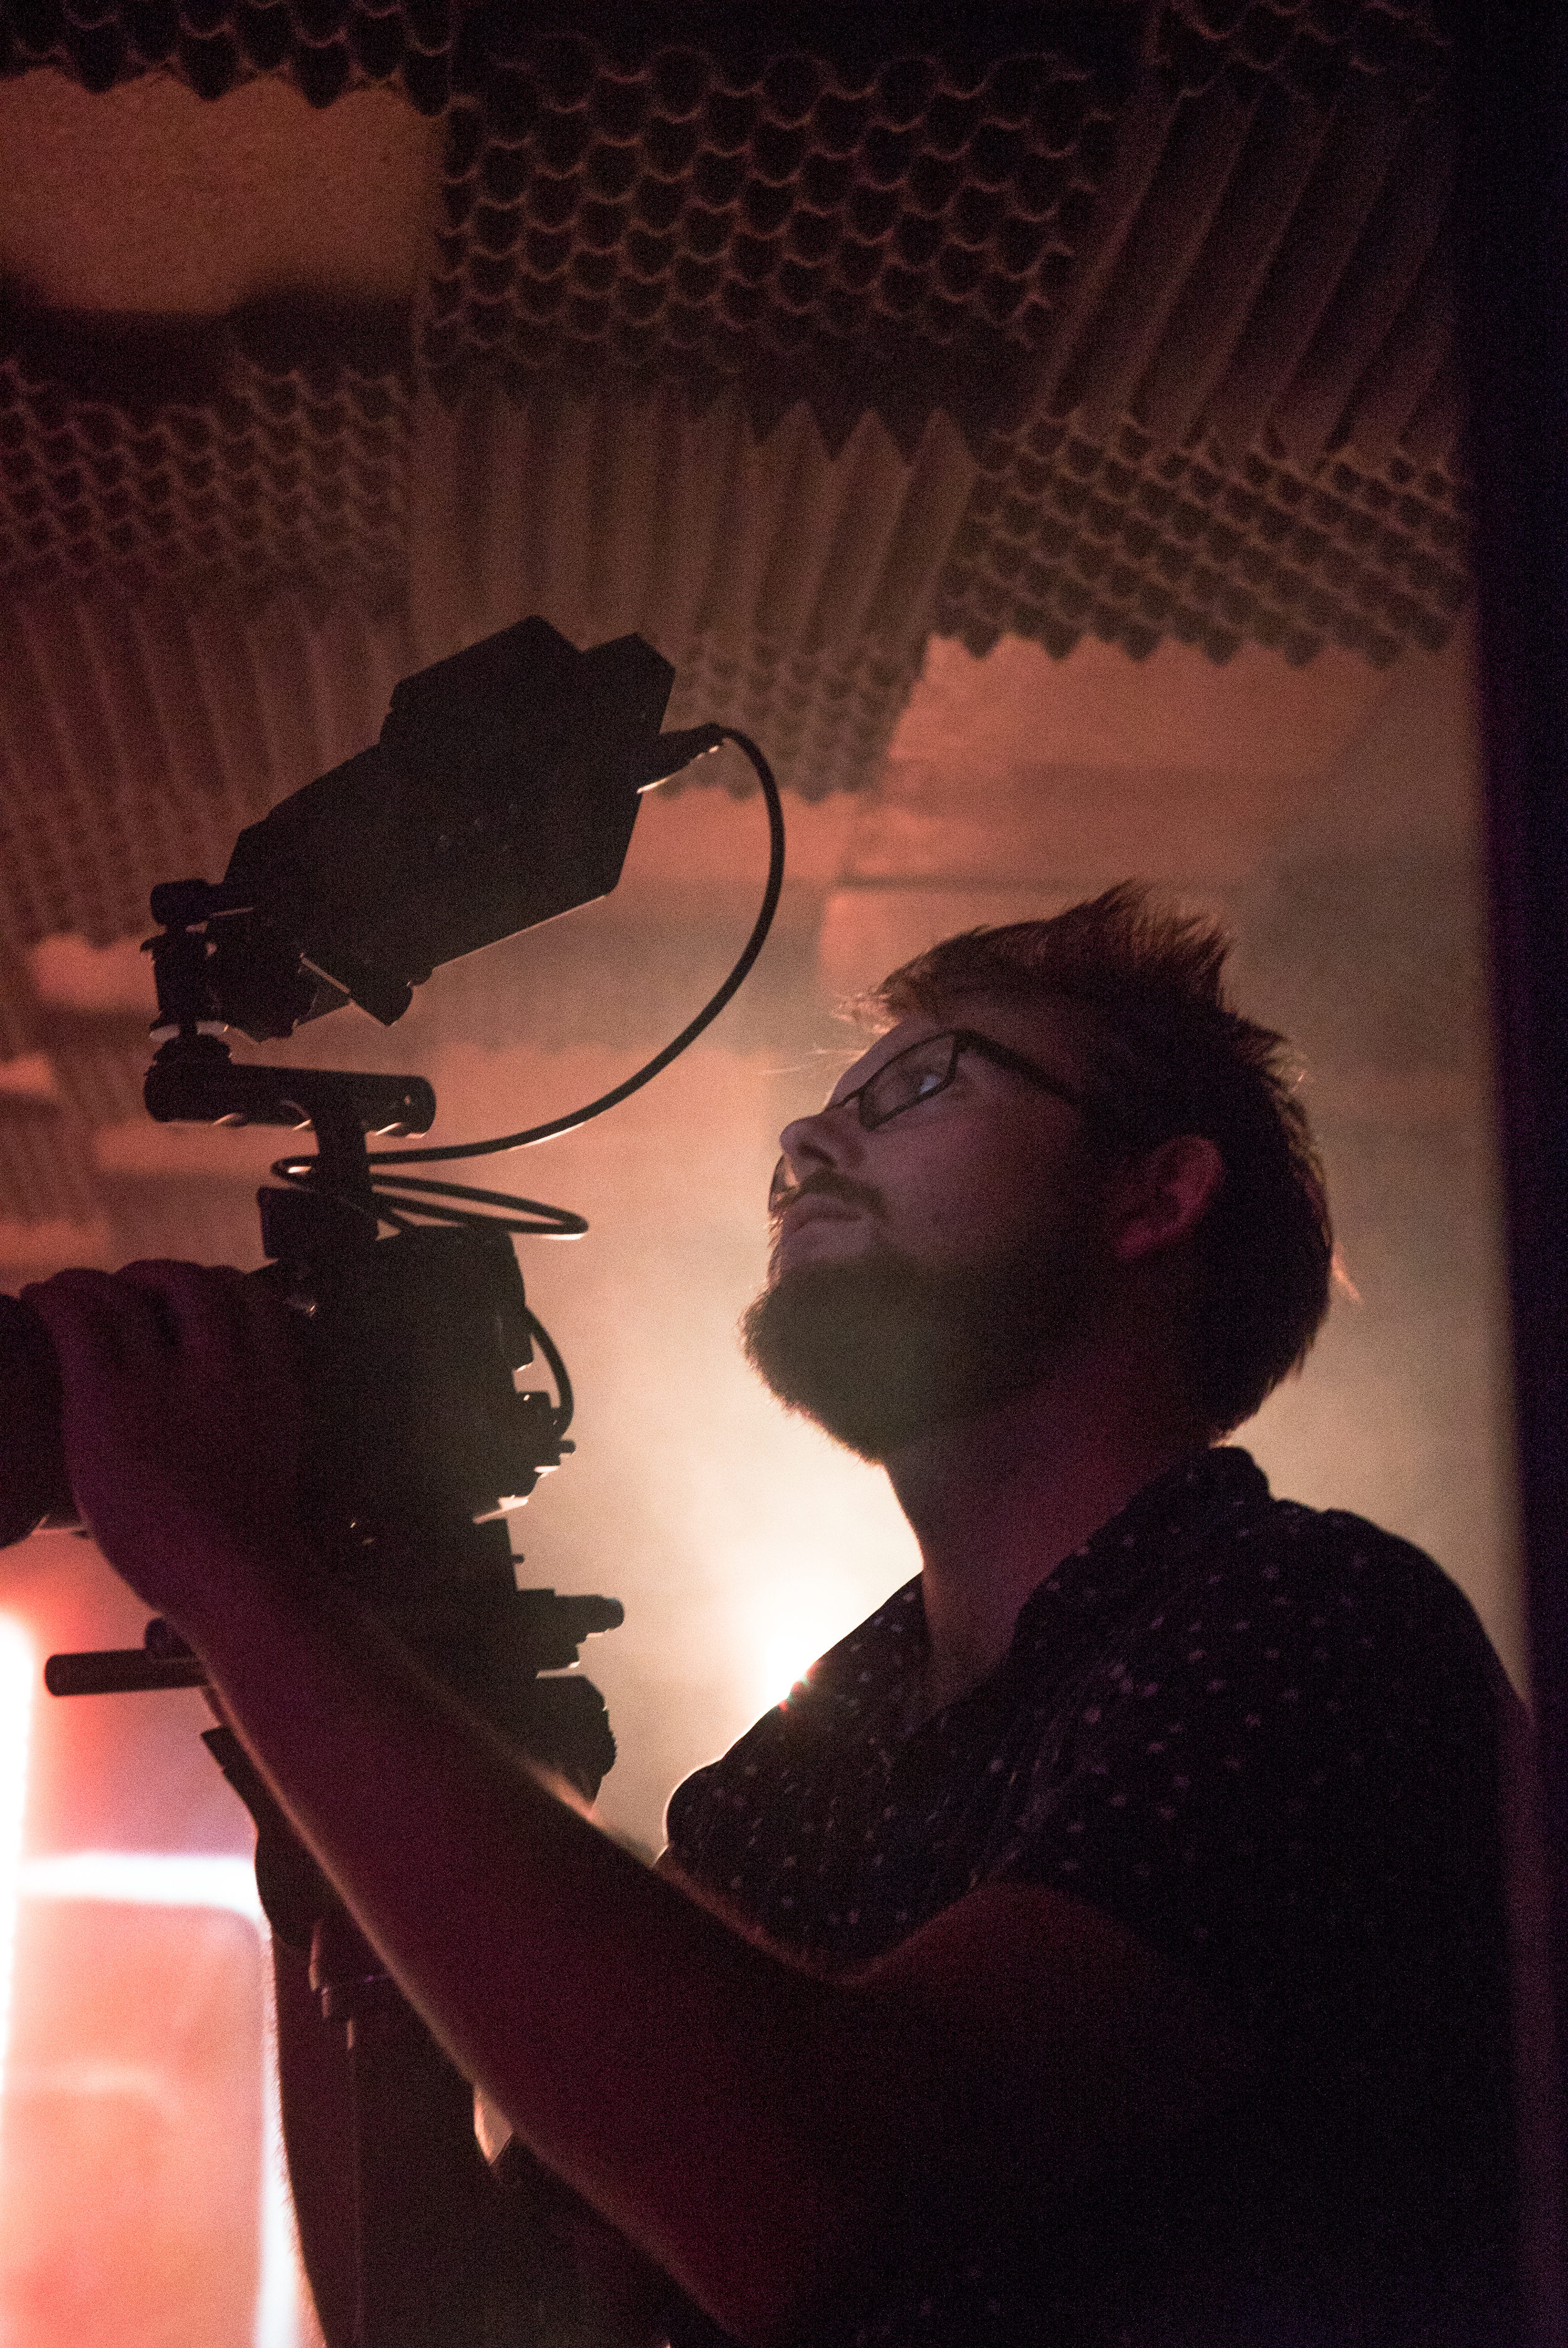
The night before the workshop got the attendees together to meet and chat, I took this opportunity to interview some of the attendees to get their expectations of the workshop (the beginning part of the narrative). The pre-event networking is a brilliant way to break the ice with people who'll become part of your crew, and become new friends. The interviews were shot on the Tamron 24-70, it was rather dark so I remember shooting quite shallow with a high ISO. For the audio, I used the NTG4+ but this still captured a fair bit of background noise.
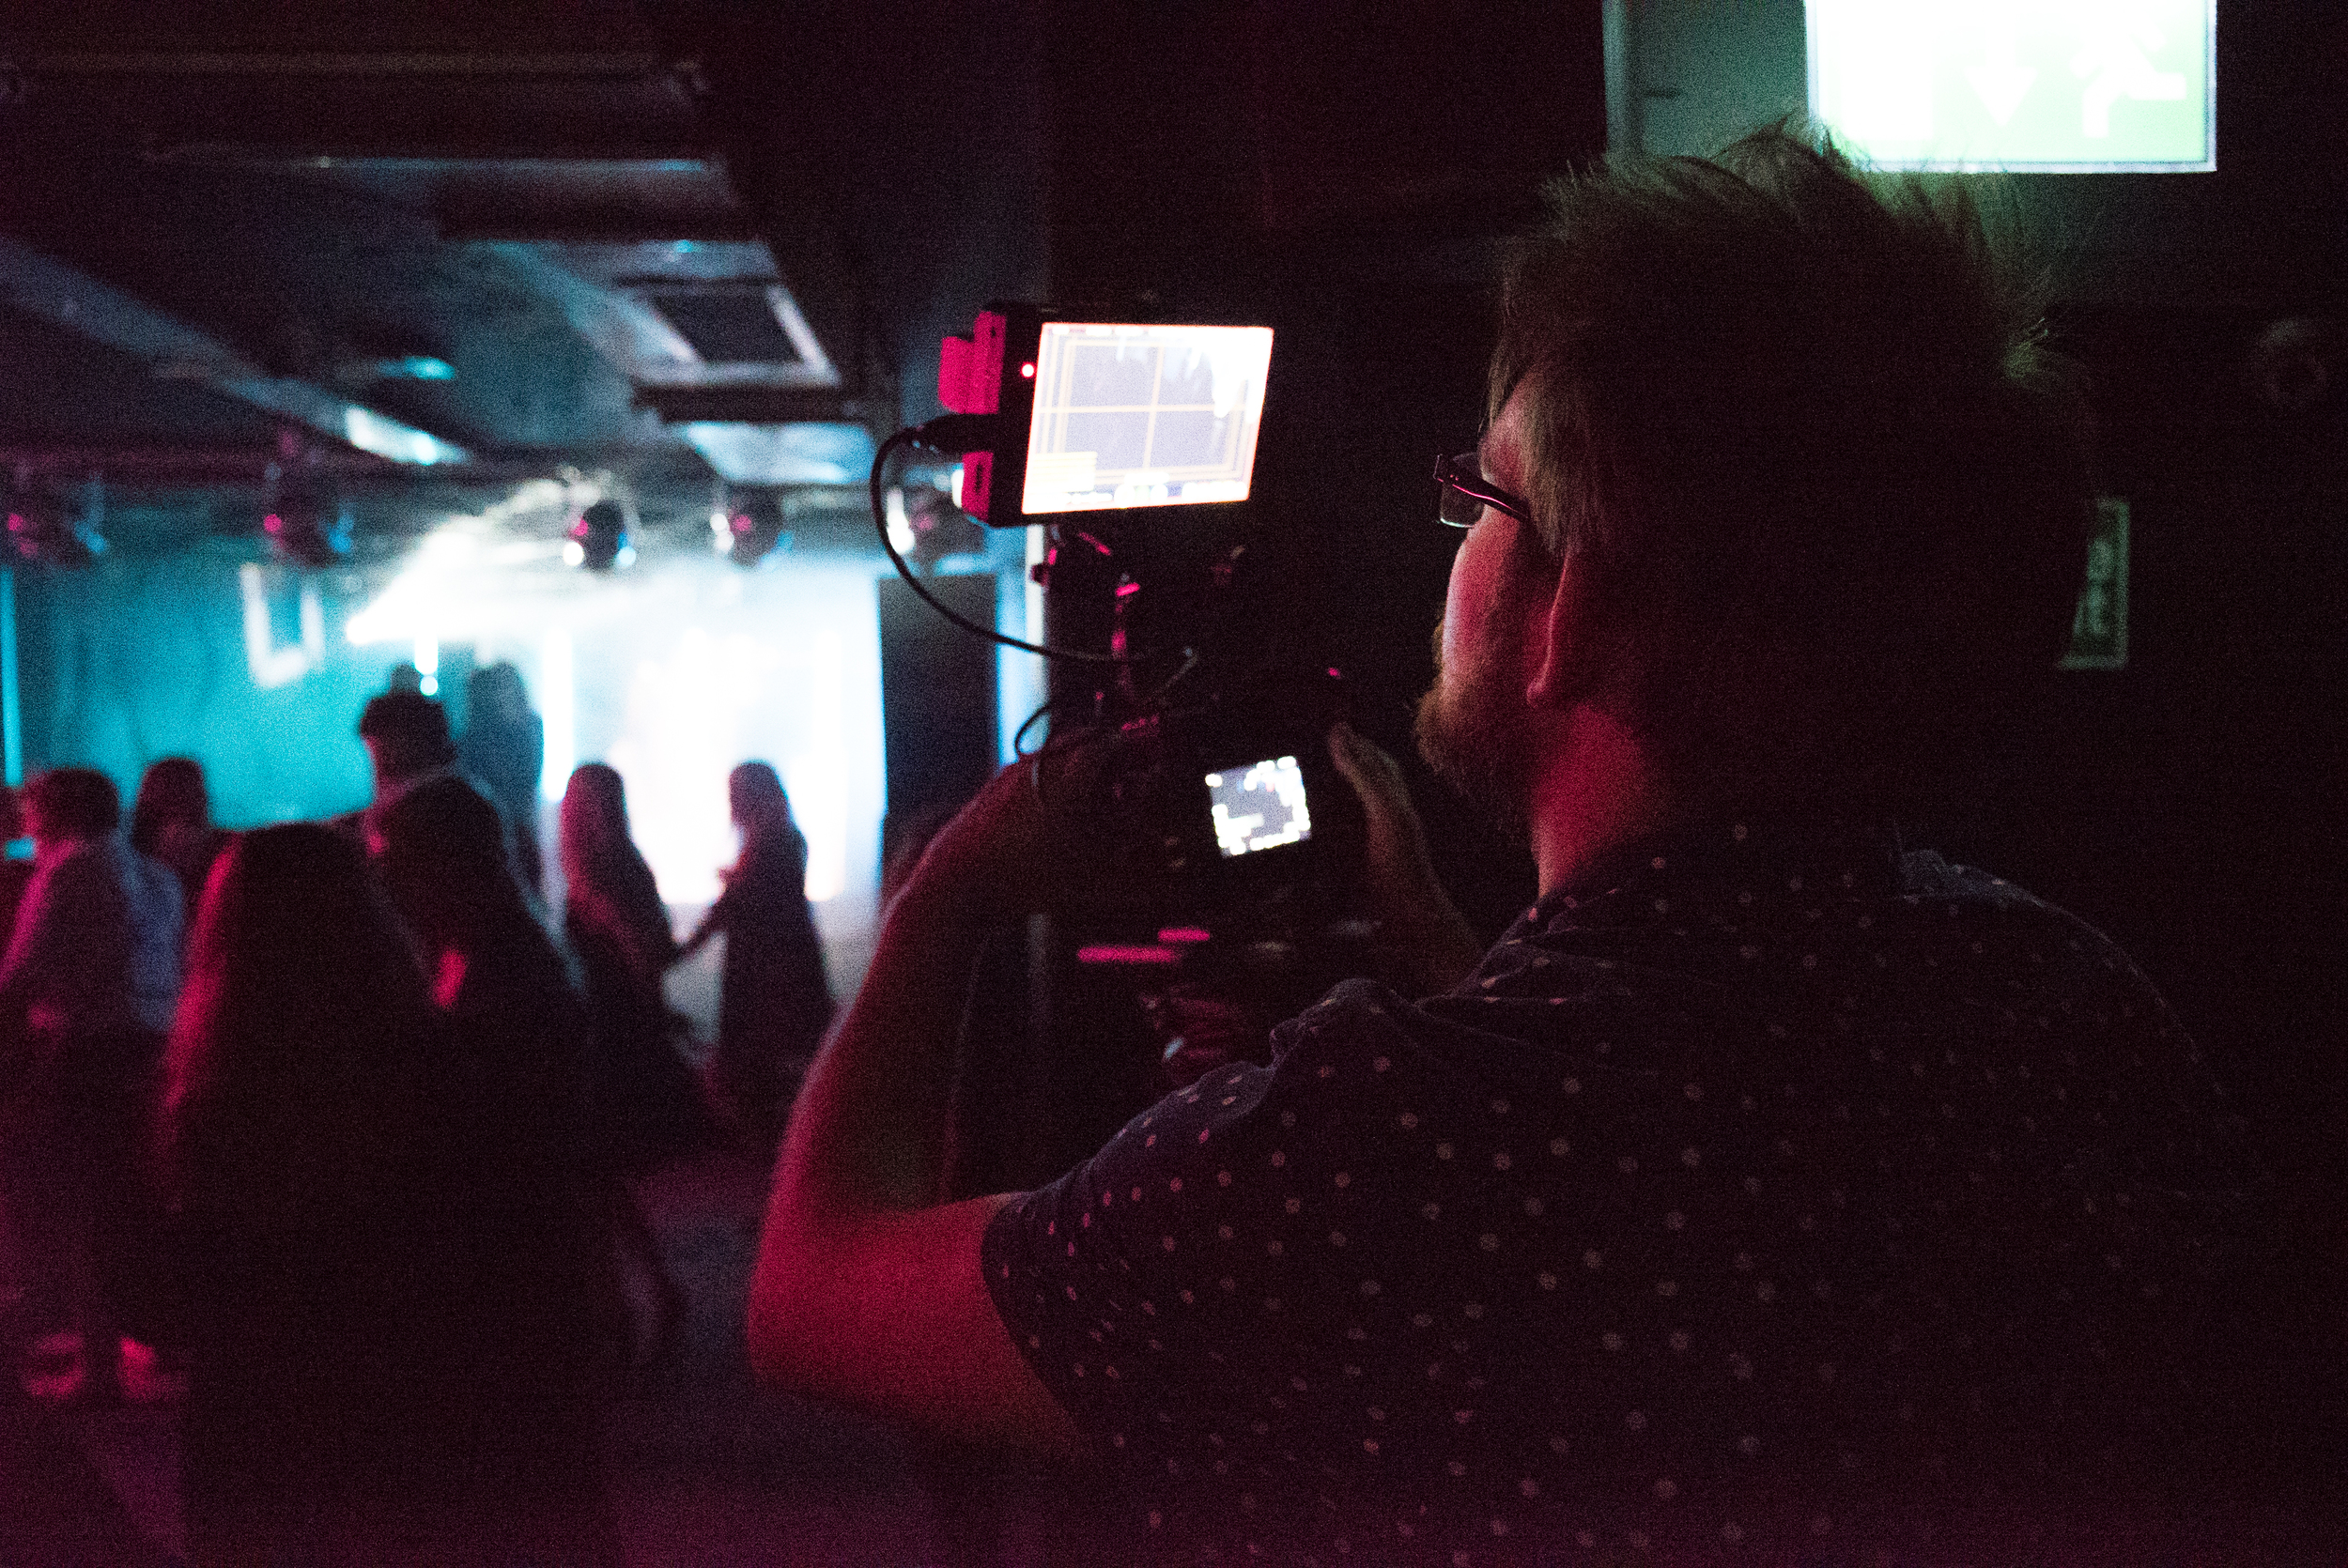
Day 1 was based around working together as a crew and planning the shoot for the following day. Throwing the participants in the deep end, they were set the task of producing a short video using 'in camera editing', a challenging task for them that revealed how the crews communicate and work together. I captured plenty of the crews shooting their scenes, and grabbed some vox pops from the group mentors on the fly to add some narrative to filming. I simply shot this on a monopod using the VideoMicro for audio, as I was in close quarters with the mentors.


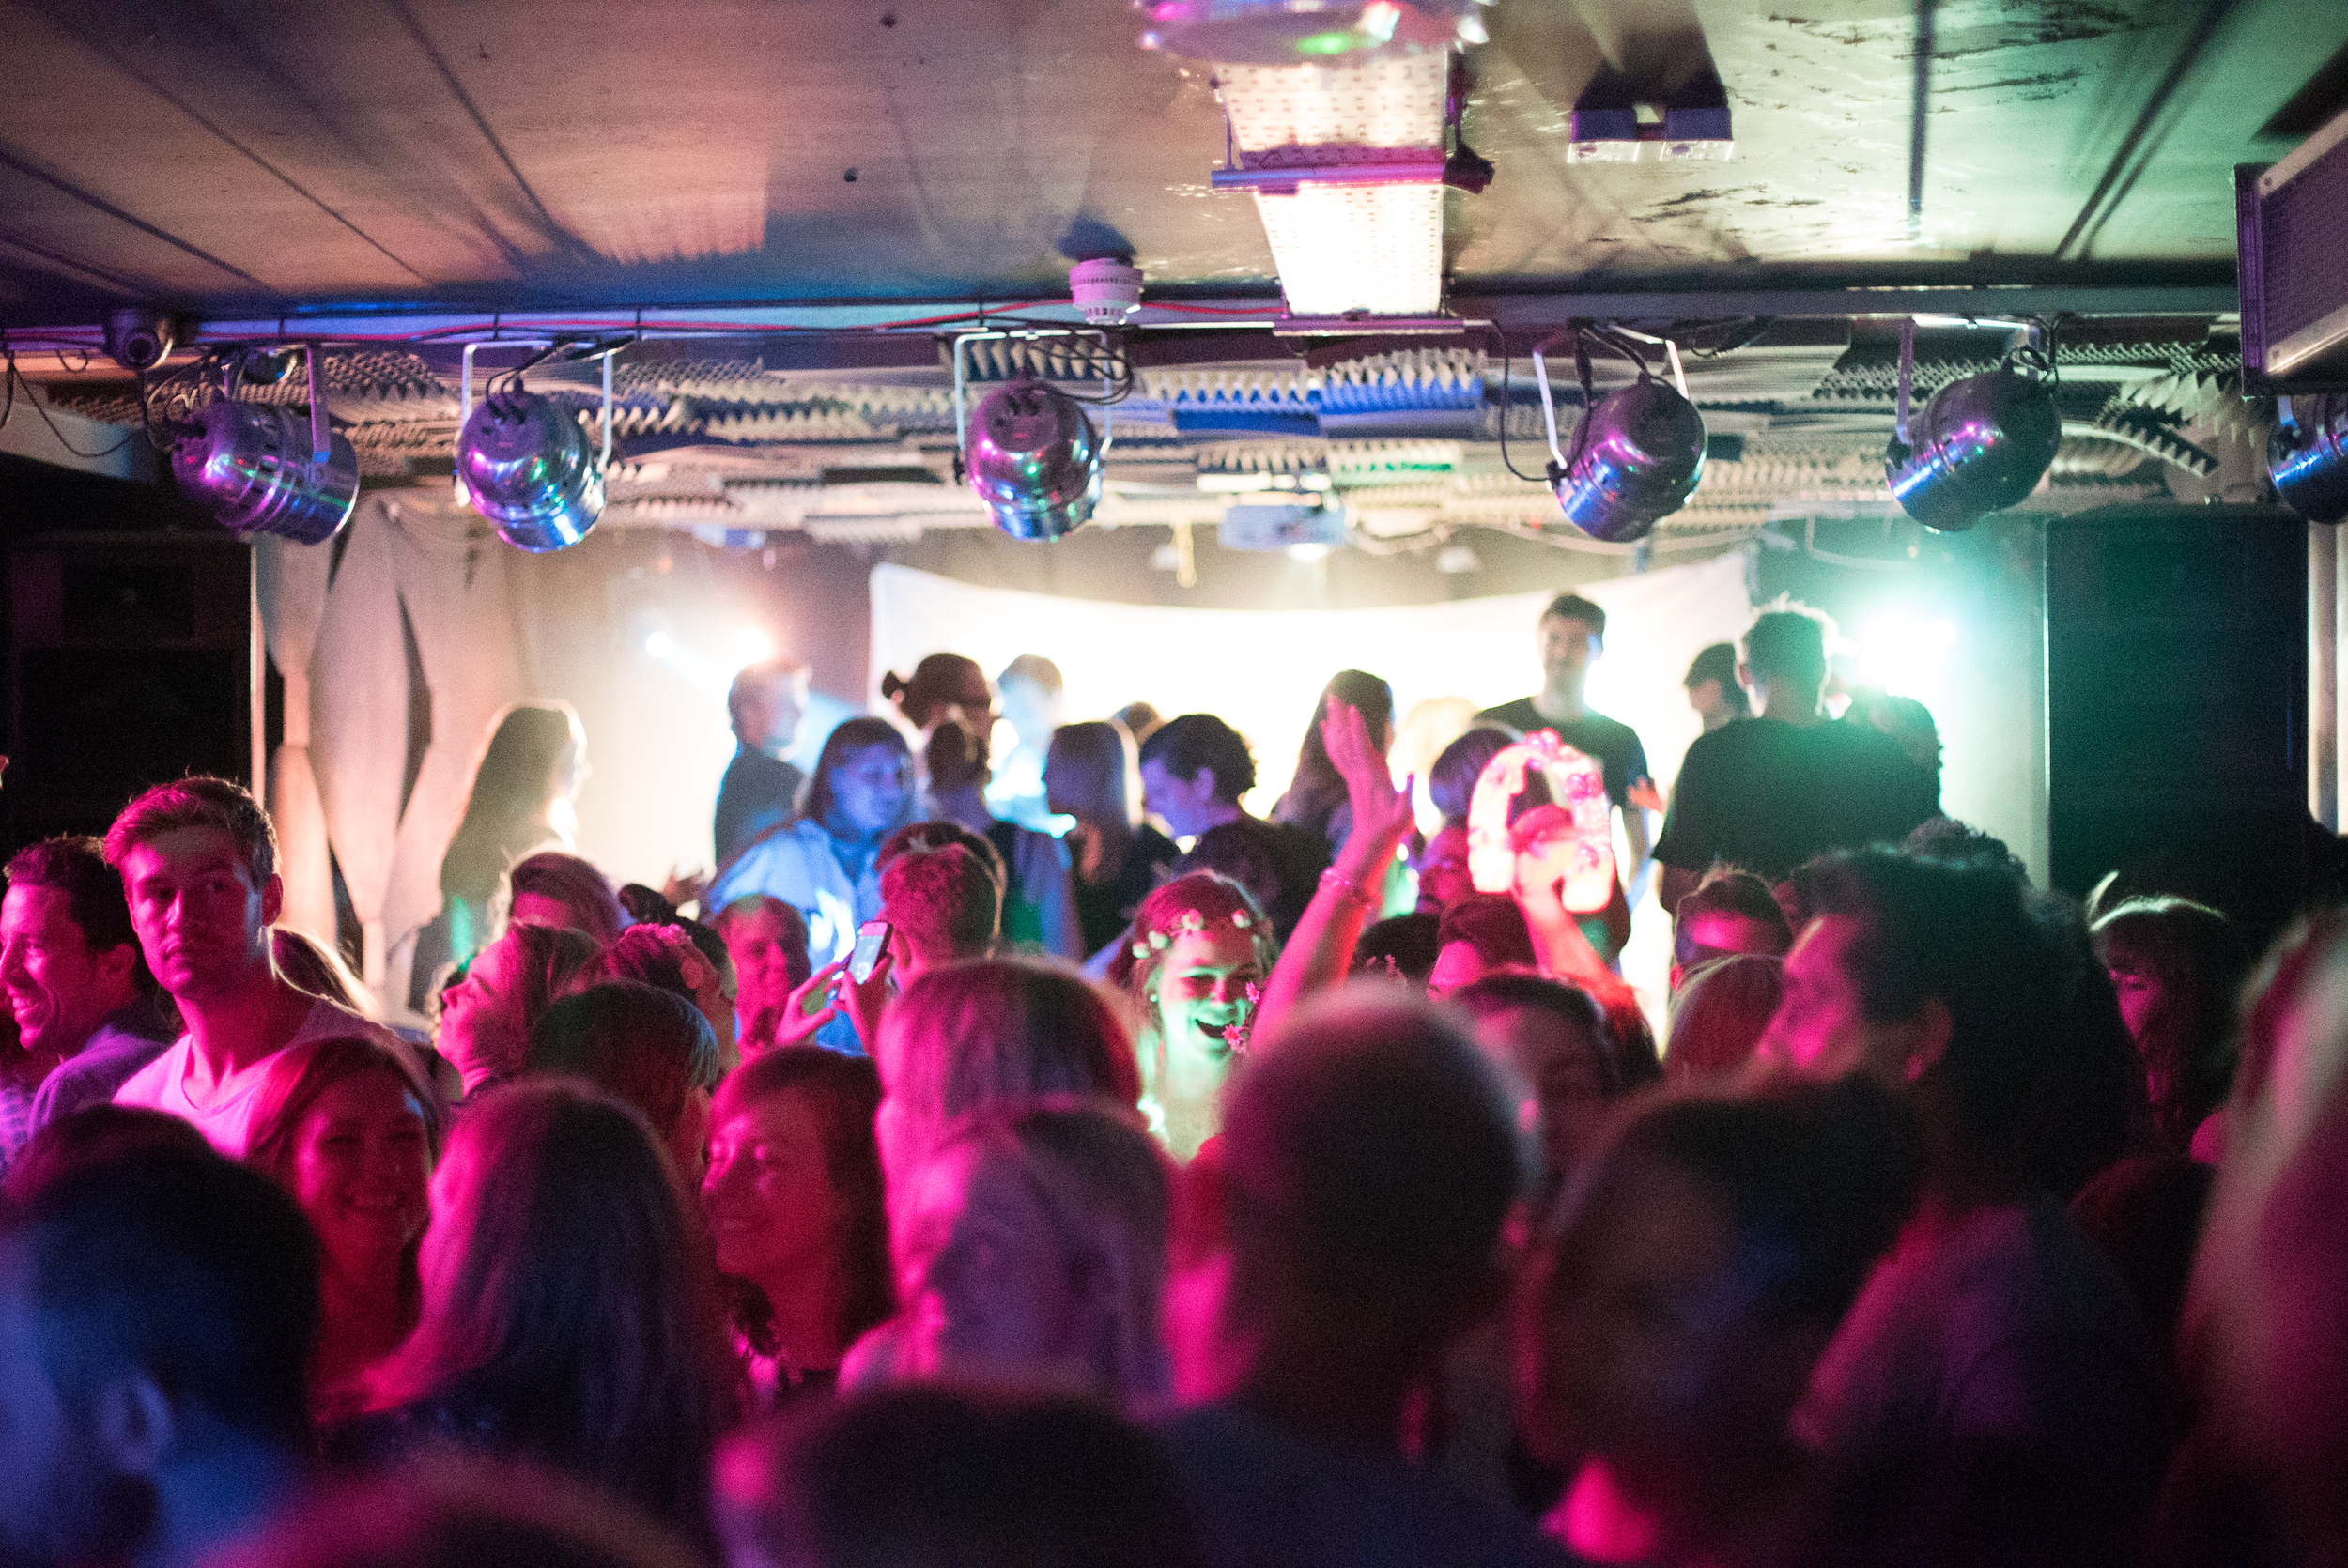
Throughout the day I shot more of the participants networking (one of the key reasons to come to events like this as, it's not what you know, it's who you know), and their presentations in the afternoon. For the presentations I shot mainly on the 755CX-3 tripod to get nice steady shots on a long lens, while using the 100mm macro got me wonderfully close for portrait style shots of the participants.
Sometimes I shot on the Manfrotto MVM500AH monopod, just to get into tighter spaces or be more maneuverable on my feet.

Come the end of the day I grabbed essential interviews with Philip, Nino and Johnnie in a couple of locations to add some variety. What the mentors say will act as an audio-narrative for the BTS films as the questions flowed from 'Why do you recommend coming on an intensive workshop like this?' I also grabbed some interviews with the attendees, getting their thoughts and experiences from the first day, that would then help me build up the storytelling narrative of progression for the BTS film.
Evening all! It's been a long summer, made even longer by fantastic work with friends and brilliant clients. My last post 'Filming with the JVC GY-LS300..' has actually been in the works for months, but I didn't see fit to release it without a couple of the accompanying videos. As well as completing productions for Screen Systems, I also worked with NewsShooter.com to produce the coverage and blogs over IBC 2015. It was great to work with Dan, Elliot, Matt and the others from the NewsShooter team, more on IBC in another post.
On returning from IBC, I met up with Dan and we played around with some old 'budget' manual lenses with the LS300 and got some interesting results. Many of the lenses were purchased for £5 or at least under £10, giving it the budget aspect. The LS300 is also somewhat of a budget option for a video camera, but with the eagerly anticipated J-LOG gamma curve firmware update, much more visual quality and dynamic range can be captured. Together, that makes the 'budget lens challenge', in which you purchase a cheap lens, and make a short vid with it on a budget setup!
Can you do the 'Budget Lens Challenge'? Send over your results and #budgetlens on twitter to @plowman91 and @theNewsshooter!
Coming up, I am working on part 3 and 4 of the JVC GY-LS300 camera review which will include using J-LOG; filming and grading with it, as well as including the budget lenses I've acquired as part of the budget lens challenge!
Thanks to Manfrotto and WTS Broadcast for your support.


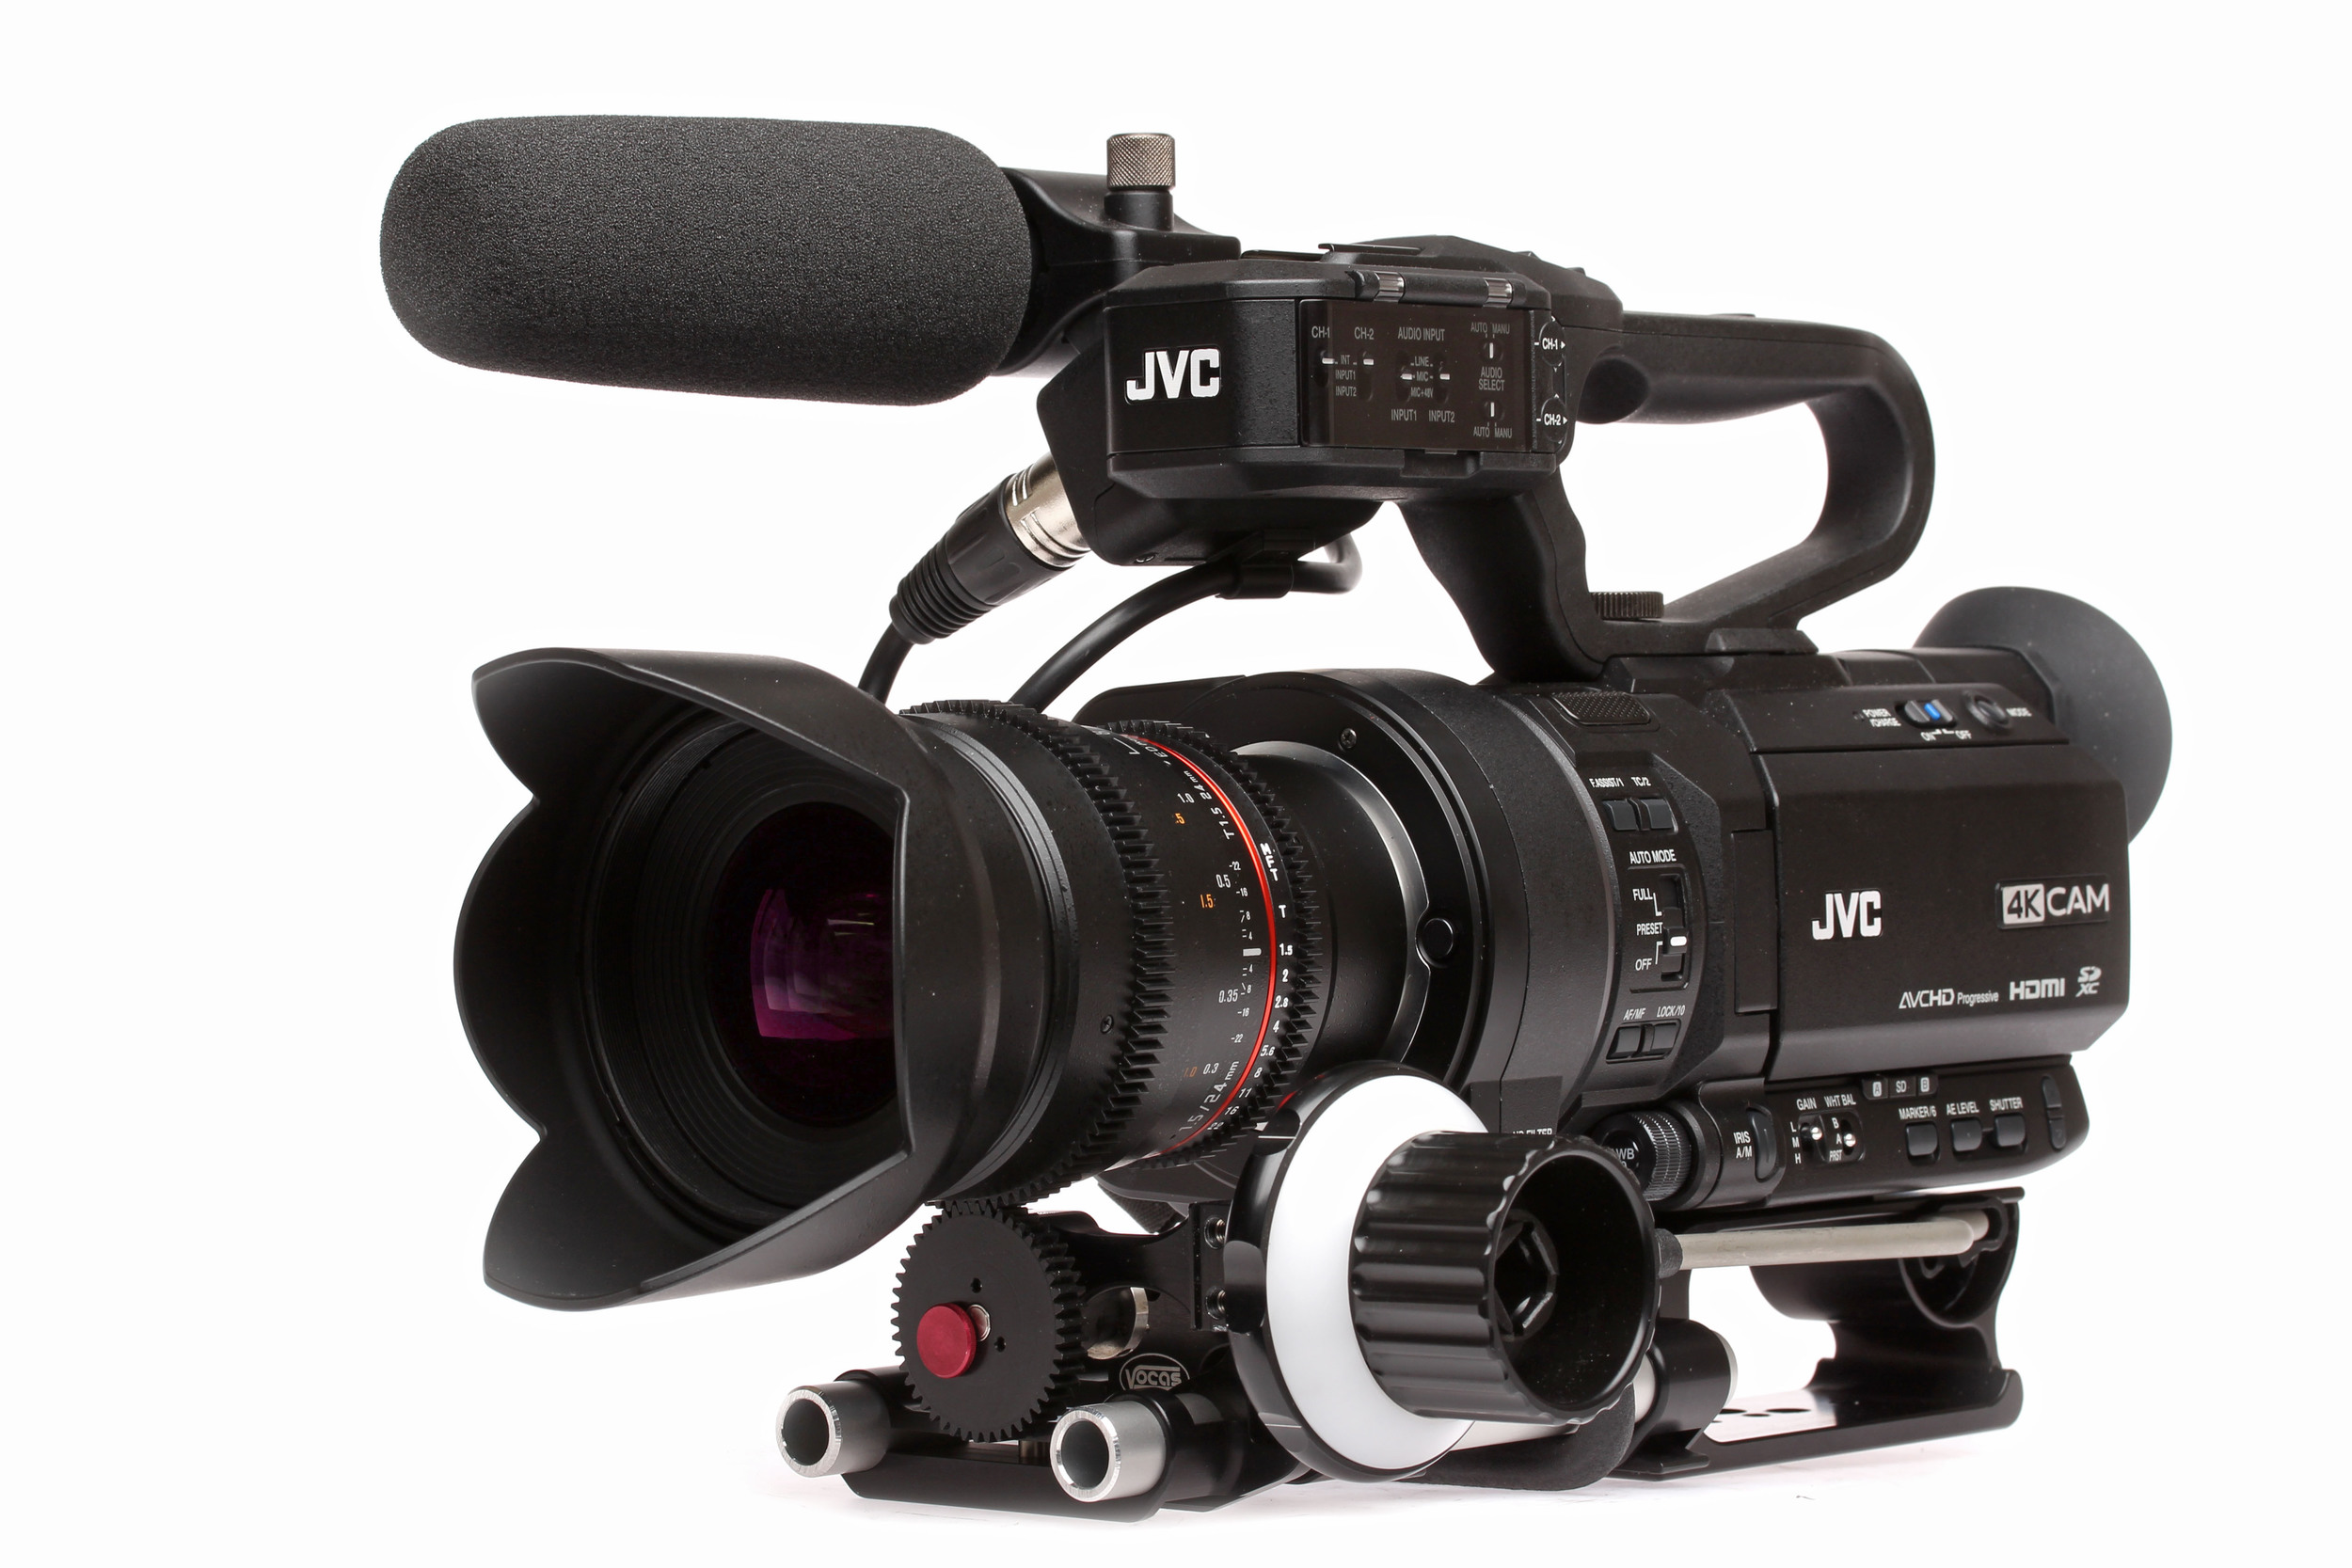
I first met the LS300 at BVE 2015 in London where I went to the soft launch of JVC's 4K flagship video camera. There I met with Mike and John from JVC Pro UK who gave me of the walk through of the prototype they had on show.
Since then the camera has intrigued me as a production camera for filming and video. On paper it has similar specifications to the Canon C300 mk II and FS7, but only working with it would determine whether it weighs in as a contender. Time was rather tight for actually filming with the camera itself, so I timed it right for a music gig and extra time away from the desk to get out and shoot some material.

The wonderful guys at WTS Broadcast helped me out with the camera as I was looking to test it out and they had one in stock. I've got a great relationship with Alex at WTS and after a long conversation back and forth I was tempted to finally use the camera for filming, so I loaned one out for a gig and test shoot.

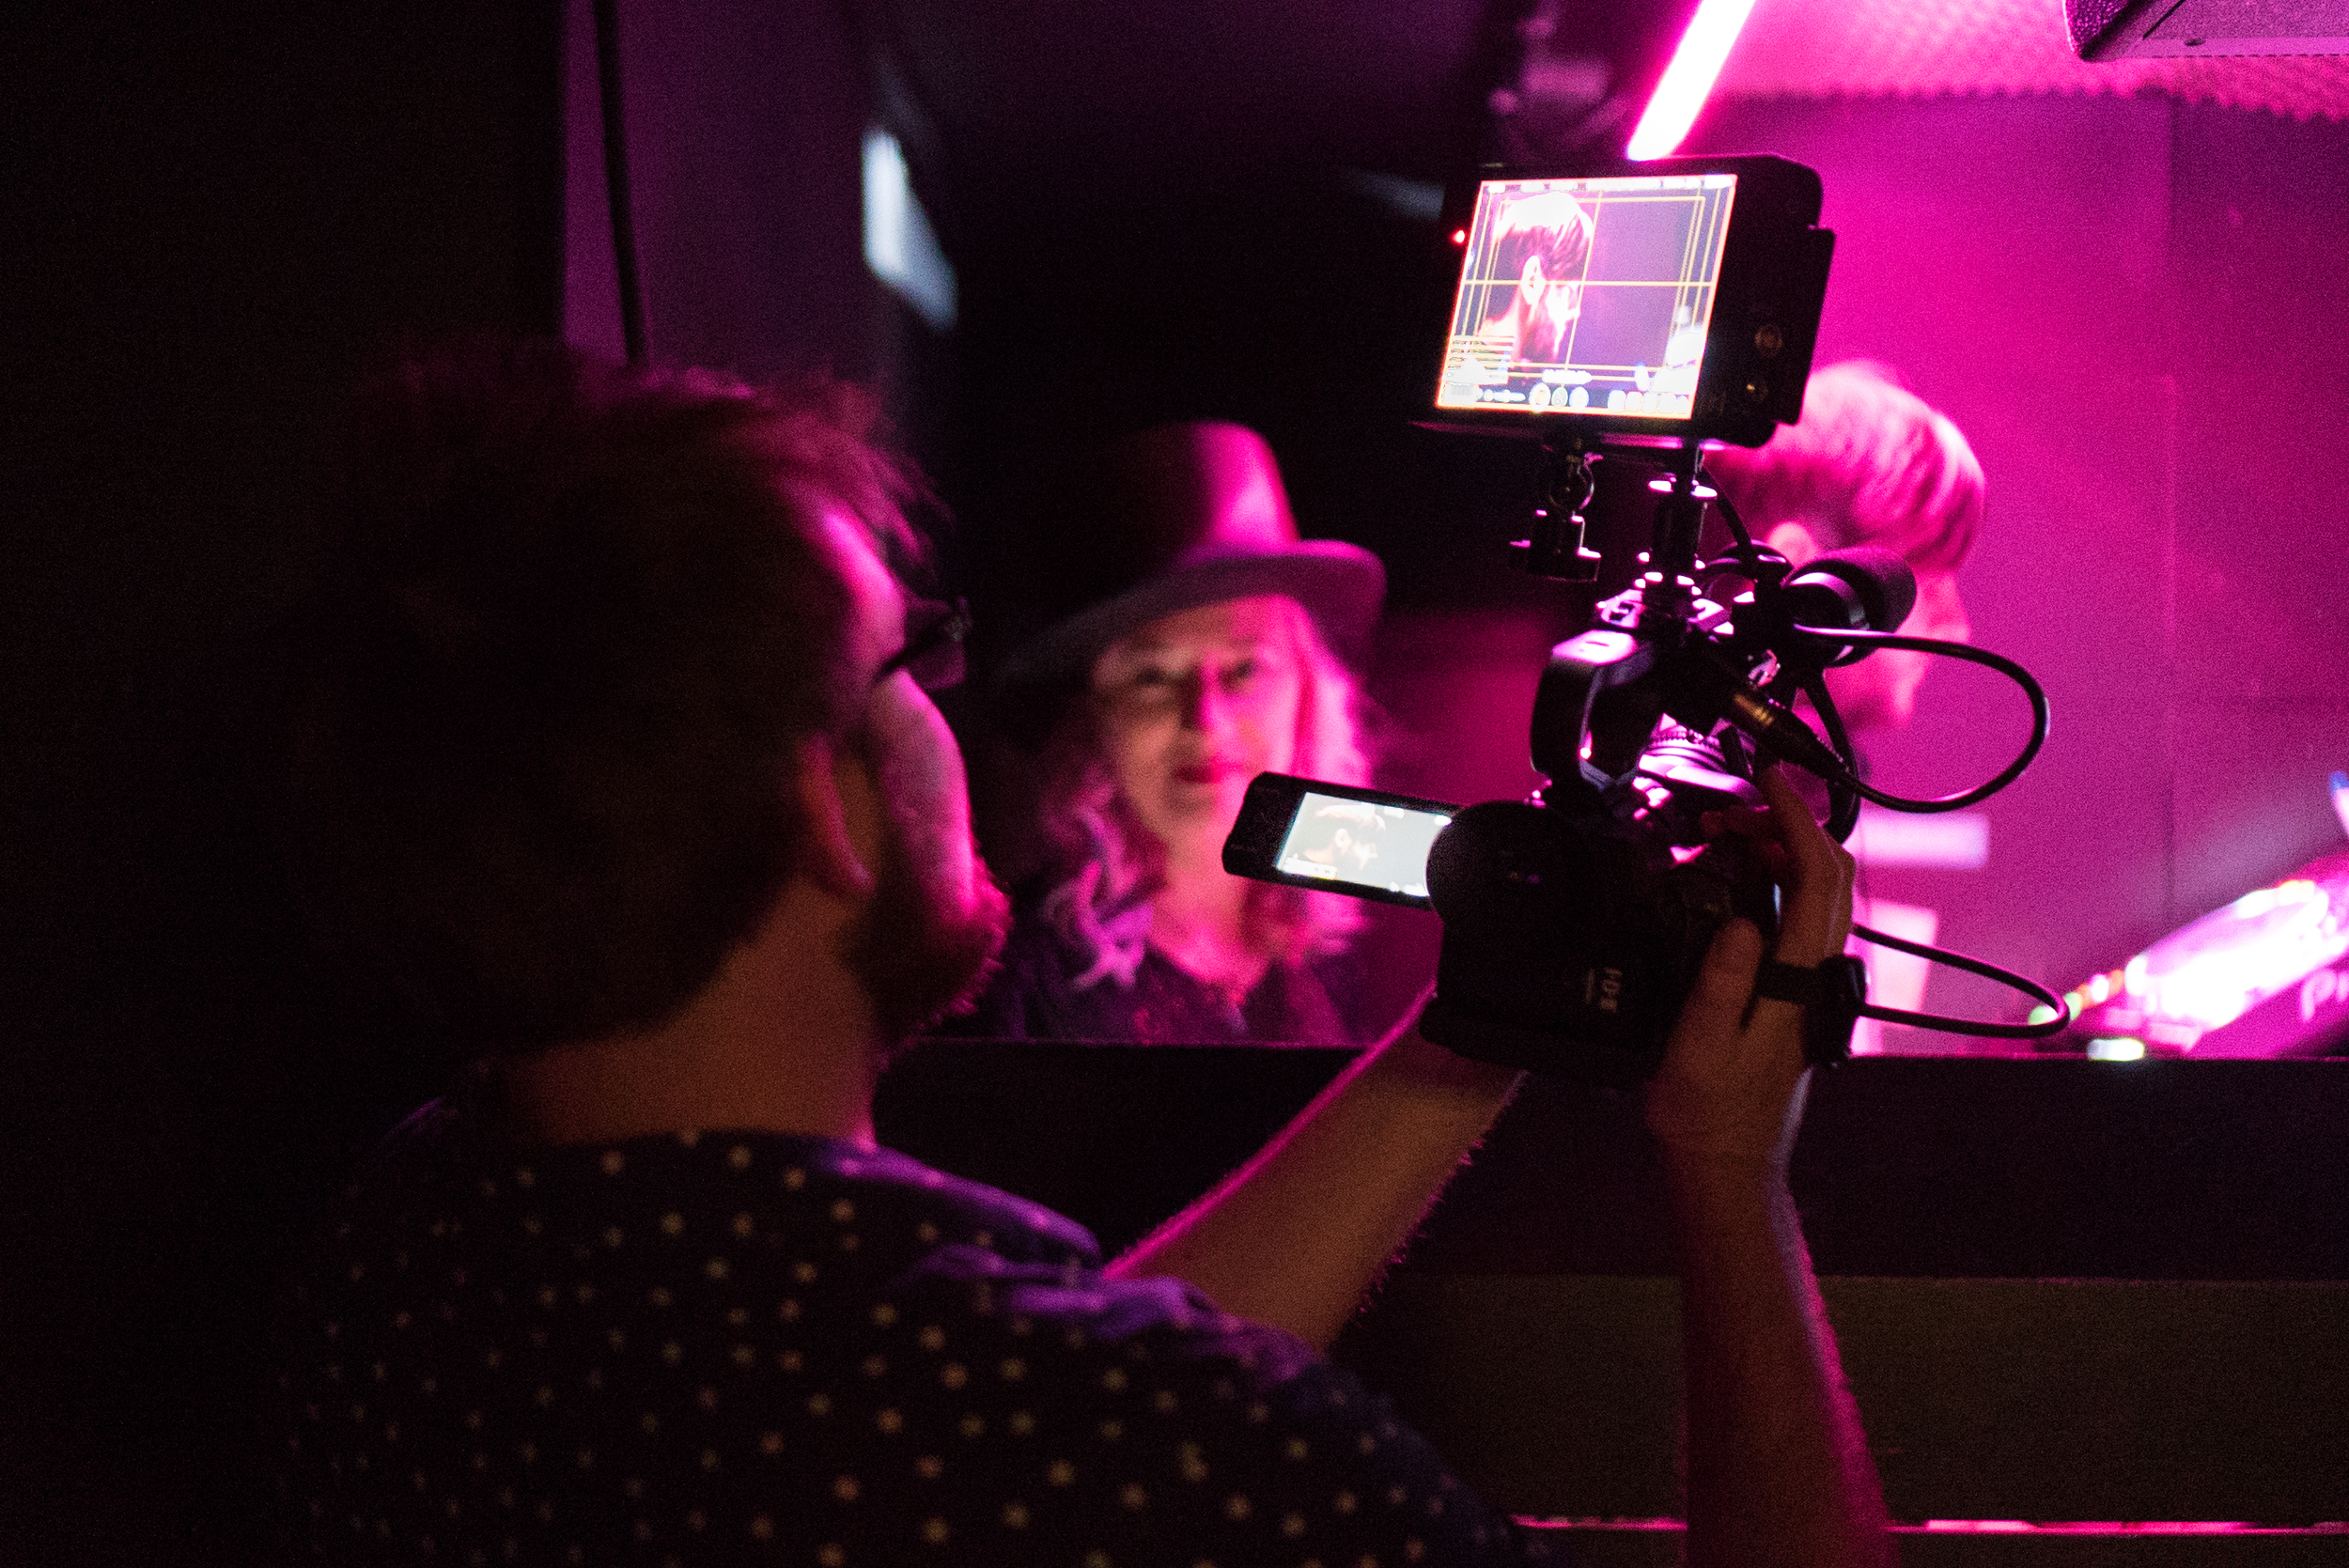
Coincidentally, James from LogoLogo (Brighton) was up in London for an appointment, and keen to meet up after getting to know each other at Shadows and Light, this was the perfect opportunity to talk tech and film together at the Fleetmac Wood gig I had lined up for us at Birthdays in Dalston. We met up at WTS Media HQ in Fitzrovia where I introduced James to Duncan, and caught up over a drink overlooking the busyness of Oxford Street. It's awesome to meet up with a new friend, there are always so many stories to share.

We made our way to Dalston on the hot and sticky underground. Luckily I had no backpack as I'd packed all the kit (including the LS300) into the Manfrotto Roller Bag 70. It is a well padded case, and with varying foam dividers I simply constructed the bag sections before leaving home to accommodate the JVC camera, top handle, microphone, for example. It's an awesome bag for (definitely more than) two reasons - transportation and diversity. Transportation in which I can comfortably travel with the bag, and diversity in which I can securely store both photography lenses and pro production cameras.

The Manfrotto Roller Bag 70 also accompanied on my recent trip to Hollywood, and on both occasions it was perfect for the job. When I arrived at WTS Media I simply rearranged the dividers to accommodate the larger LS300 and its accessories. Flexibility is definitely at the heart of this bag.
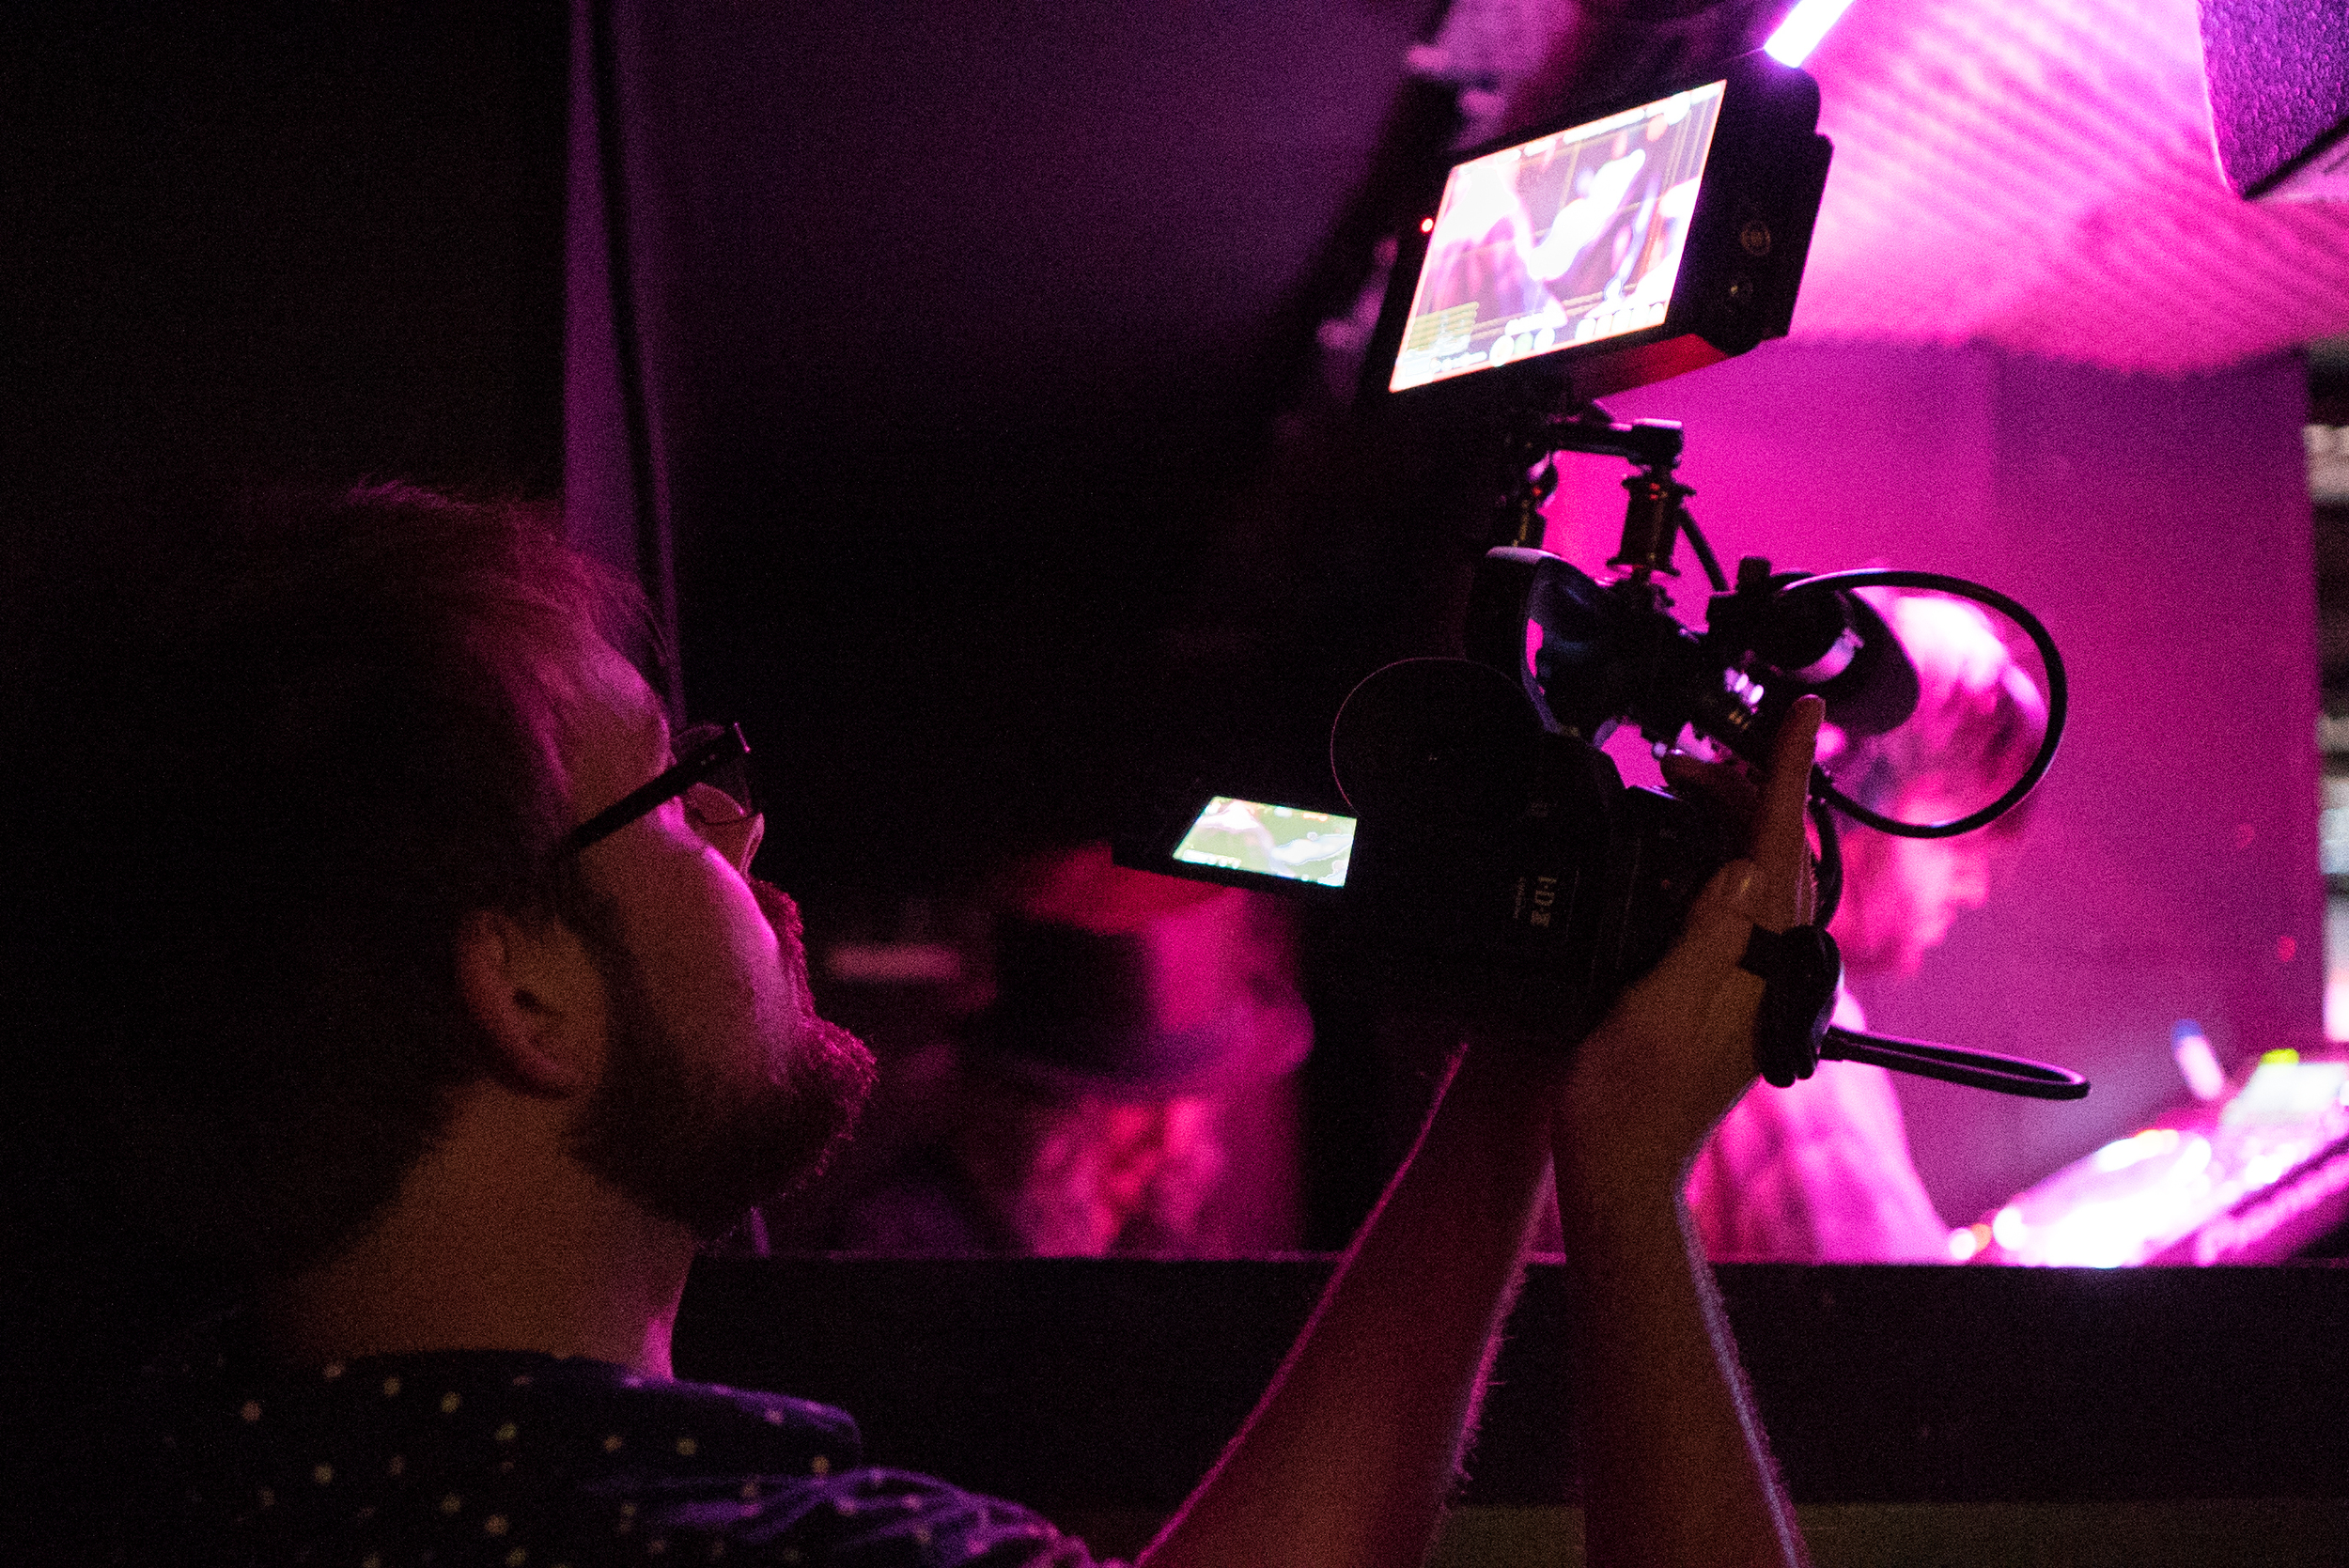
In the restaurant across the road I got the camera set up and ready to film with, attaching the Metabones EF-MFT lens adapter and the Sigma 35mm T/1.5 lens. On arrival at the venue (Birthdays), I discovered that the settings are not easy to navigate; it takes a silly amount of time to locate the essential settings such as changing the video resolution, codec and format. Not very functional for run and gun or quick shooting work especially when you like switching between real-time and slow-mo, or using the VSM feature.

I went a bit retro with using a 17-50mm for APS-C on the A7S to give it the vignetting, and I like the outcome!
Because of the MFT mount and sensor size, it's possible to use EF-S or APS-C lenses with this camera, and also Micro Four Thirds (when you use VSM). I have the Tamron 17-50mm VC that I use on the 60D which is an ideal wide angle lens, however I chose to use the 24-70 (full frame) instead, which made the camera + lens combo extremely front heavy. However even with a smaller lens, the build of the camera itself seems somewhat plastic-like and unbalanced. I'd expect if the camera was rigged out with a shoulder pad, V-lock battery and recorder it would be much more balanced, but the camera isn't constructed for this, or at least it didn't feel like it.
Note: If you are using native MFT lenses directly to the camera mount, the combo is much smaller and lighter. Of course, you will have to use the VSM to crop in on the sensor to around 80% for the correct sensor coverage.
From JVC Pro with adapter and EF lens

From HD Warrior with MFT lens
Honestly, I was rather disappointed with the quality of the flip out LCD screen and back eyepiece. I guess I've been spoiled with the A7S' viewfinder which is fantastic in quality and contrast. The LS300's didn't stack up, and I often found myself needing to use the eyepiece instead of the screen to judge the focus and exposure. What became difficult was finding the critical focus in contrasty situations. I could have used the digital zoom (expanded focus), but didn't know it existed.
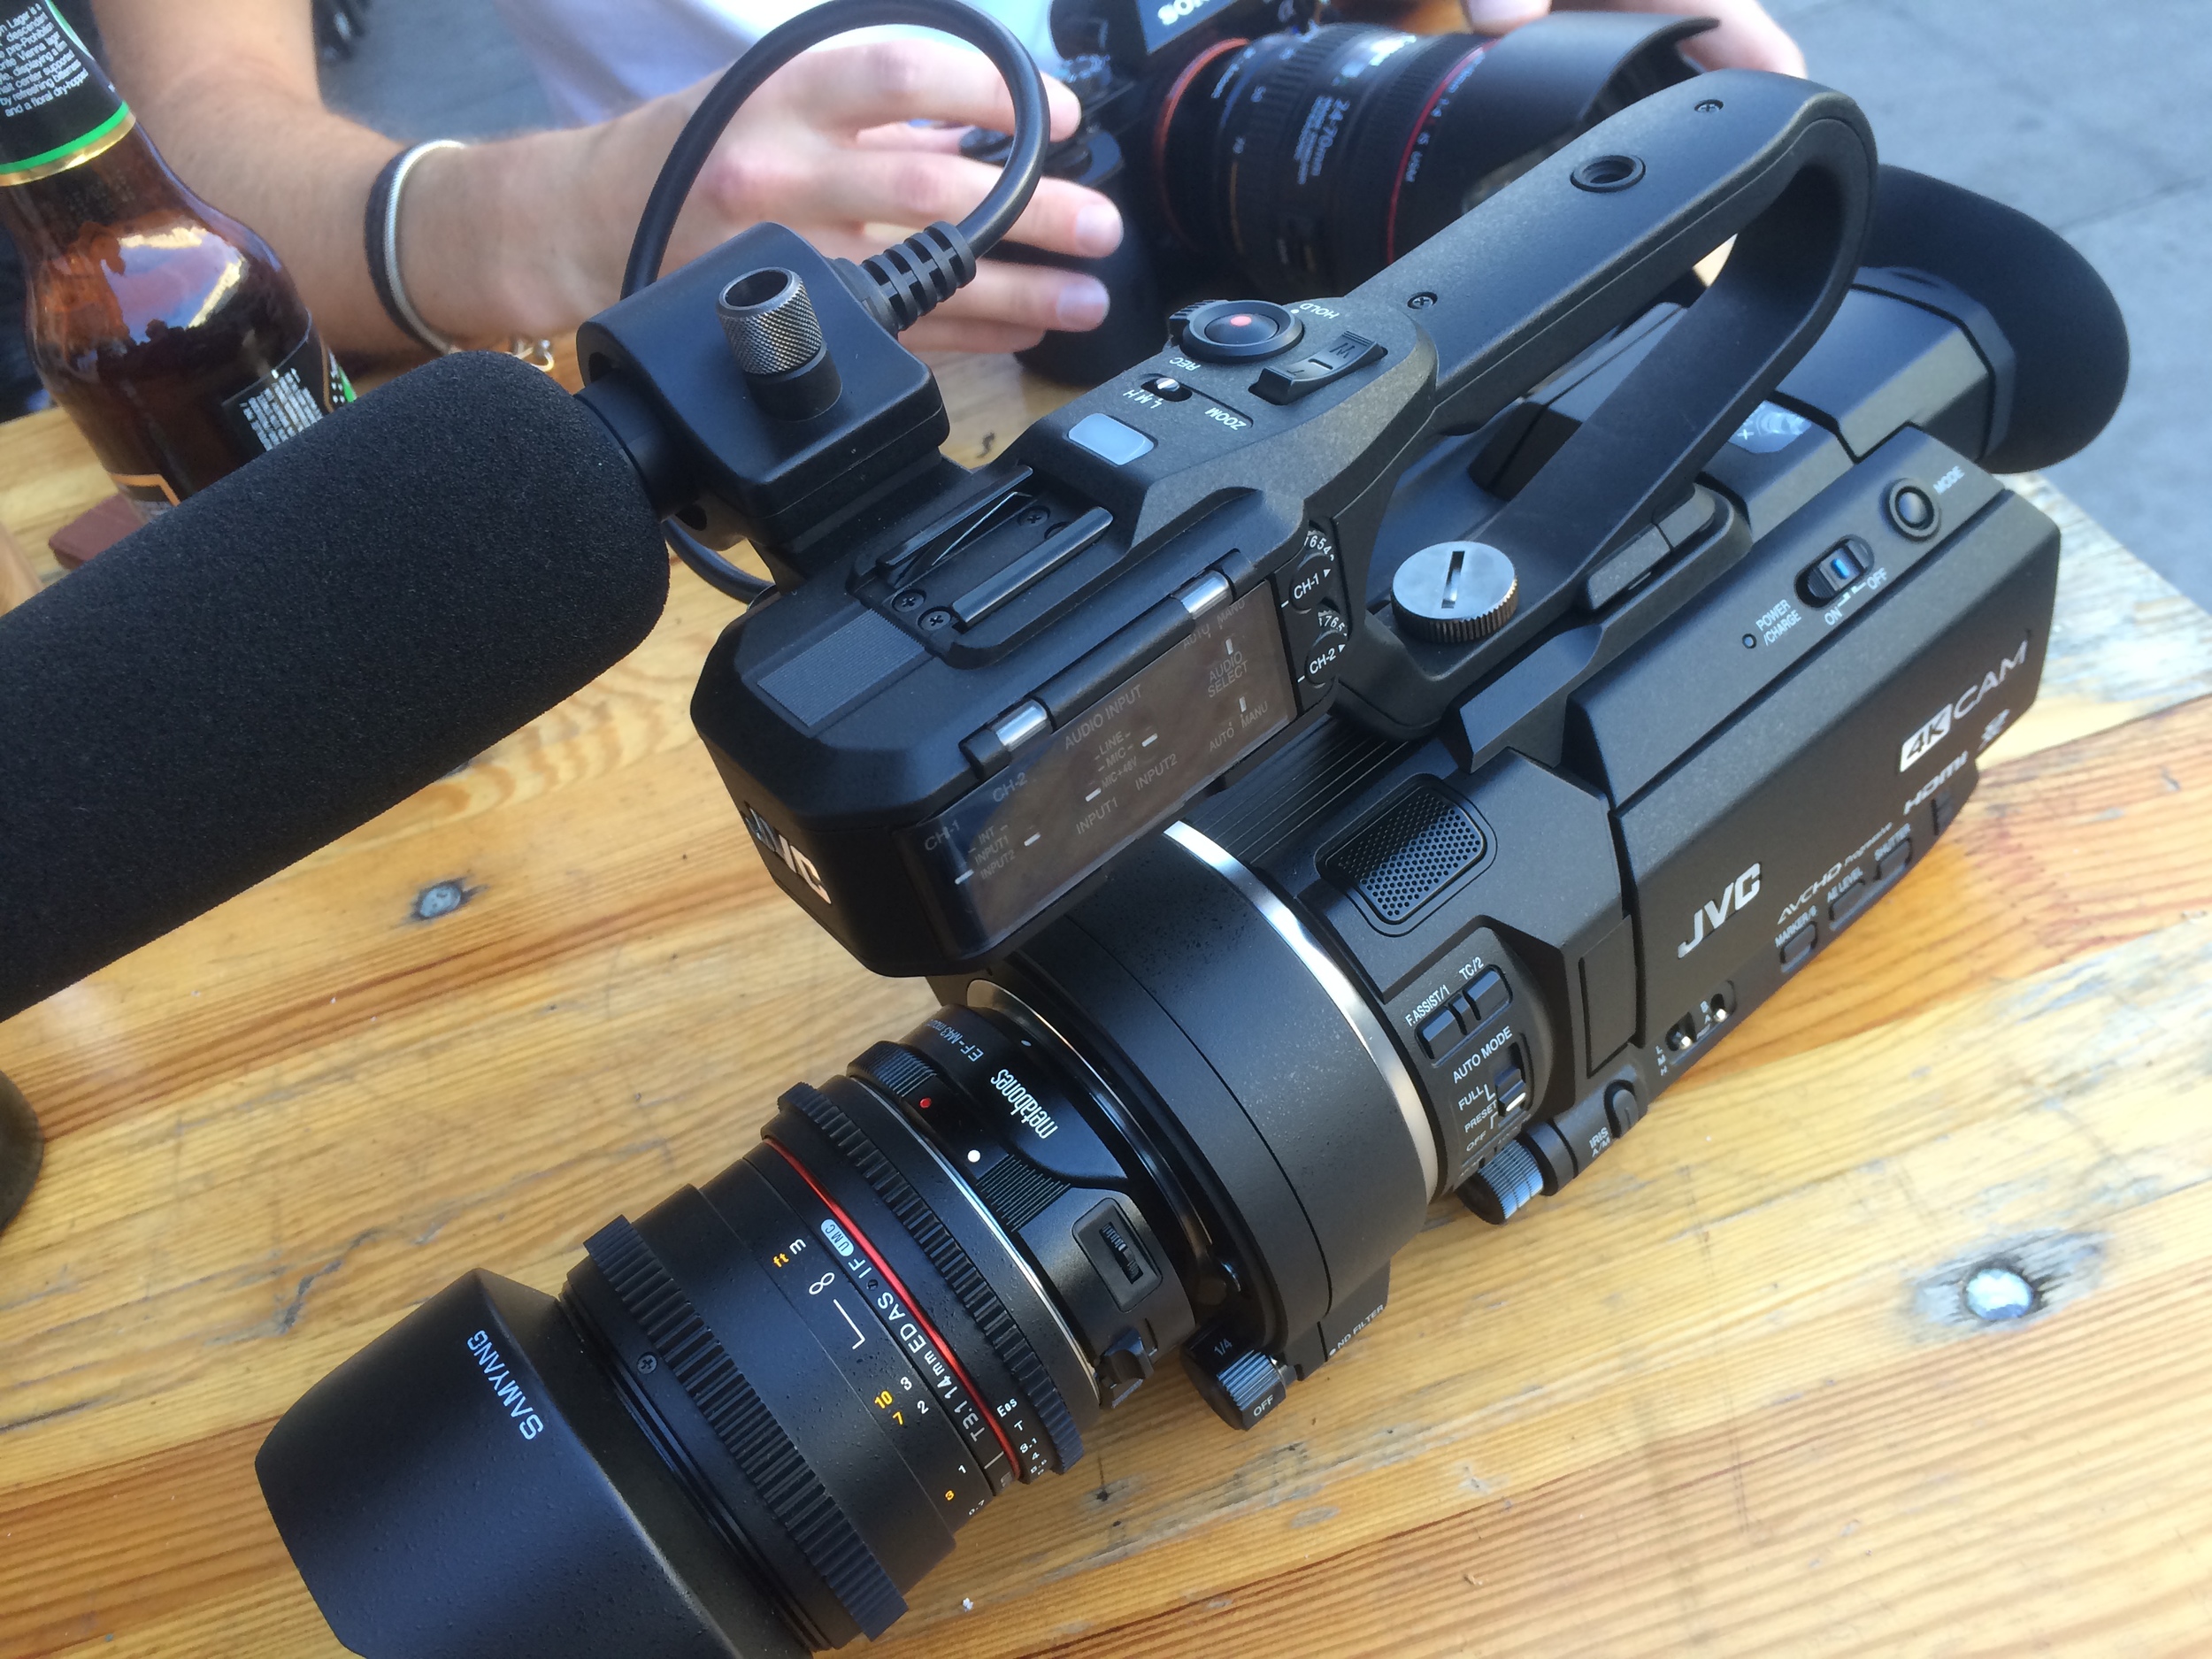
The LS300 with Samyang 14mm T/3.1, which on this camera equates to around 20mm.
Unfortunately I didn't have a lot of time in between eating and the gig to sus the camera out apart from checking the resolution, setting the white balance, setting pre-rec run etc. As we were filming a DJ gig I didn't want to have the camera (I was borrowing) out for long in case it got damaged or covered in booze.
Filming Fleetmac Wood was fantastic, Lisa and Alex are brilliant DJ's and their tambourines definitely lit up the dance floor. The added visuals from old music videos added to the eclectic experience, combined with mixes from many talented producers made the night one to remember.
As you would imagine, the venue was dark, only lit by a couple of LED lights and the projector. Almost immediately I ruled out using the LS300 after capturing a couple of shots of the venue and booth, in what the camera seemed to think was candle light. In these scenarios, I don't believe the camera would hold up unless you had the time, space and equipment for a lighting setup. Sure, you could shoot at T/1.5 but you'll get nothing in focus if you're filming crowds dancing, plus with the gain up to +12dB your picture becomes noisy.
James took some brilliant photos and videos of the night, some of which are below in the gallery and also included in the Fleetmac Wood @ Birthdays film.
While filming the Fleetmac Wood gig I did switch lenses a couple of times, firstly to the Samyang 35mm T/1.5 which although was heavy, had a wonderful bokeh and combined with the super 35 sensor made for great video. I also teamed it up with the Atomos Shogun (in HD) rather than 4K via SDI, which captured the video in ProRes HQ.
By my reckoning, you'll need to spec up this camera with additional extras to make it what you want to be. Out of the box it comes with all you would need to start (minus the SD cards and microphone and some spare batteries), but you'll need a tripod or monopod to keep it steady, especially if you're using primes of lenses without image stabilization/vibration control.
Saying that, if you weren't filming a music gig in low light you would have a lot more options and time to compose the frame... I come on to that in a moment.
I've cut all of the footage together for this edit which includes filming from the A7S, LS300, A7S with the Shogun in 25p and 50p, LS300 with the Shogun in 25p (HD), and footage from James Beer (LogoLogo) on the A7S in 50p and 100p.
Photography by James Beer @ LogoLogo
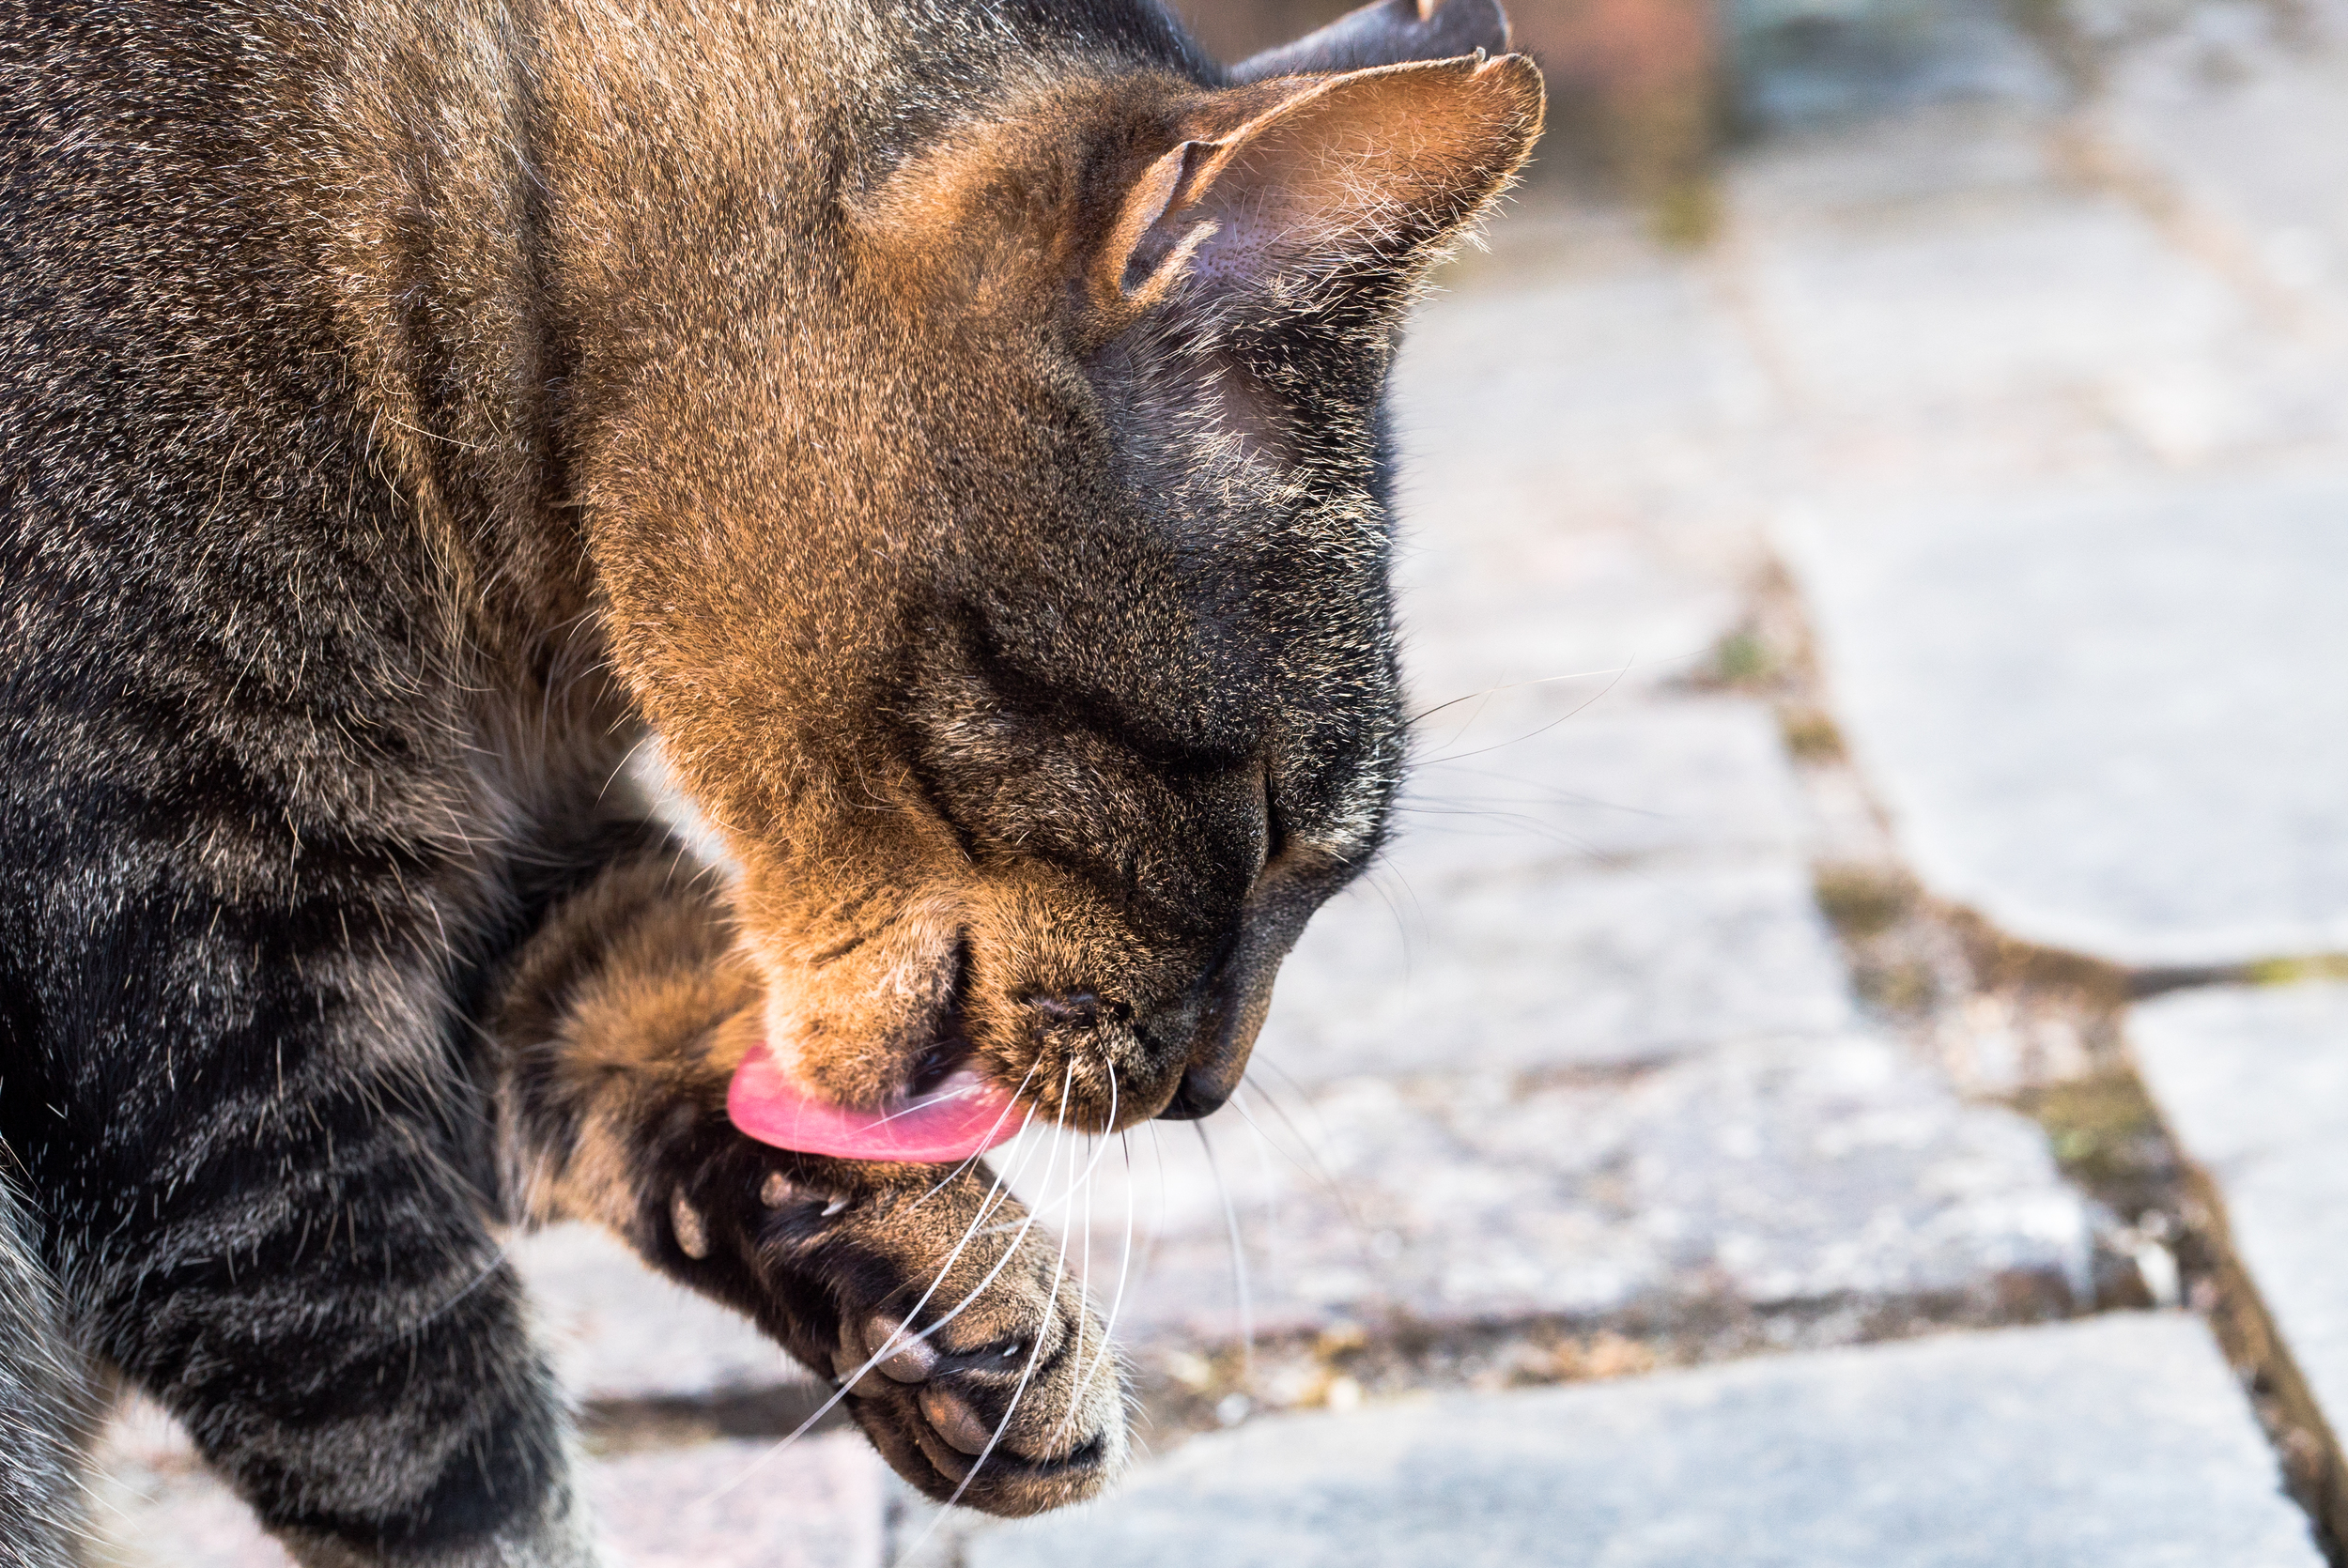
I had the LS300 loaned out for a week to put it through its paces, filming in a number of different scenarios. I shot quite a number of clips out in my garden just to get a feel for the camera and figure out it's settings. Of course, Alfie the cat was a willing subject!

From testing out the VSM feature, I can't see a big degredation in light or quality when you change the sensor scan mode from 100% down to 80% for MFT lenses, however I was using great quality lenses (Tamron and Samyang) rather than MFT lenses which have a smaller in-lens depth of field, so there is more light coming through the lens for the sensor to capture.
The built in ND filters are a god-send, and a very welcome adittion to a camera that would be used with large-aperture lenses. If you wish to shoot at T/1.5 for a very shallow look, using 1/64 ND in the bright daylight is probably your only option. Saying that, unlike using ND filters in front of the lens, there isn't a noticable colour cast of image degredation like with other filters. However, more ND stops please!! Going from 1/4 to 1/16 to 1/64 are big jumps, and in some cases, 1/64 was not enough!

While out and about filming in Ewell, I simply had the LS300 with the JVC50 battery, 1 SD card and the Tamron 24-70 on a Manfrotto 755CX-3 tripod. For run and gunning, despite the build of the camera it works extremely well for this kind of filming.

Unlike the FS7 and Canon Cinema cameras, the LS300 doesn't have any log capabilities for a wider dynamic range, which was expected as JVC marketed this camera for higher-end productions. It would be interesting to see how well the camera performs with a log curve and higher bitrate recording for filming that needs it. From filming with the 'standard' colour setting and 'detail' knocked all the way down the image is rather pleasing, much better than I expected. I guess the viewfinder/eyepiece gave me lesser expectations of what the captured image would look like, so I was pleasnatly suprised to see the results.

However, like mentioned before, the viewfinder/eyepiece is not the best quality and without using the 'focus extender' function, it was difficult to achieve critical focus. Some of this is evident in one of the demo films I've produced with the camera. I also noticed that the form factor of the camera doesn't allow you to get a nice, steady shot like a shoulder mount camera would where you have numerous contact points on your body. With a top-mounted eyepiece it doesn't feel natural to hold the camera in front of your chest (for hand held or monopod filming), and is not steady, even with IS or vibration control.
Despite other things, the battery life is a winner, on one battery (JVC50) giving you over 200 minutes of filming time. I took the camera out to a local business networking night put on by What's On In My Town and Hobbledown, as I am joining forces with them to promote local business and talent it was a perfect opportunity to capture some of the event and talk to other companies about how films can help them.
It was a wonderful summer evening at Hobbledown children's farm, kindly the hosts for the networking, with attendees getting a full tour of the venue and a go on the new high ropes activity! David the manager and his team were fantastic and played great hosts with the BBQ.
With this beautiful golden hour of filming, the LS300 really shone as a camera. Yes, I probably shot at F/3.2 with ND 1/16 because I wanted a shallow depth of field, but ND 1/4 at F/8 was too bright. I was pulling focus all the time during the piece to camera from Whats On MD, Paul. I also found that as he walked from the shadows into highlights, he would become over exposed, so high contrast filming wouldn't be practical (unless you had some control over lighting) with this camera.
Revisiting this post about a week on from my last entry..
It was really rather easy to work with the footage from the LS300, and knowing there is a focus expander gives me more confidence in it. However, as you will have seen from the footage in the film above I do focus creep due to not being certain using the LCD screen or eyepiece. Premiere handled the 4K footage very well, without having to render until I added some colour correction, scaling and graphics.
You'll also probably notice the shots where I attempted to go handheld, this is where the form factor of the camera somewhat let it down, but hey ho that's what a rig or tripod is for.
In the longer piece to camera with Paul, the image captured was lovely and had a pleasing depth of field to work with (not too shallow like the A7S, but not too deep like the GH4). Of course you can use any wide aperture lens with the camera if you wanted it to be bokelicious!
(Starring my thumb...)
I'm surrounded by greenery where I live, so making the most of the great weather I headed out with the camera to capture some local landmarks (for another archiving/history project I'm working on). This would be a real high-contrast/dynamic range test for the camera.
When thinking about purchasing this camera, it boils down to what I can get for the price, especially in comparison to other internal 4K cameras (Panasonic GH4, Sony A7R II). They are smaller, both will require a lens adapter (as will the LS300) and new batteries, SD cards, rig, and are cheaper than the LS300 (without a microphone).
I've been away for a little while, so the review was put on hold until my return. On which I found out some interesting news from JVC, who have decided to upgrade the firmware of the LS-300 with new features..
READ THE FULL PRESS RELEASE from JVC PRO HERE
Considering these new updates, the camera is now more capable of competing against higher level players, rather than the DSLR/mirrorless market. I'm due to test the camera out again in September, hopefully with the new firmware 2.0 to compare!
Finally, big thanks to WTS Broadcast for lending me the camera for a week to test it out. To Manfrotto for their Roller Bag 70 and 755Cx-3 tripod, and to Fleetmac Wood & Whats On In My Town for letting me film their events.
I've researched the latest statistics from Cisco and other sources, combined with my own experience for these new infographics. The results are fantastic as it shows:
Why film, video and rich media is perfect for business, organizations, online, offline, live marketing, branding, promotion, communication and advertising. Tell your story with APVideo.
The stats speak for themselves. Video is now a powerful communication tool for connecting and reaching audiences on a global, 24/7 platform. Tell your story with APVideo.
If you would like more info about how film and rich media can benefit your business, products, events then just get in touch!
I am still testing out the many brilliant features and benefits of the 4K combo I now have, one biggie was being able to grade the footage much more than what you're able to with internal camera recording.
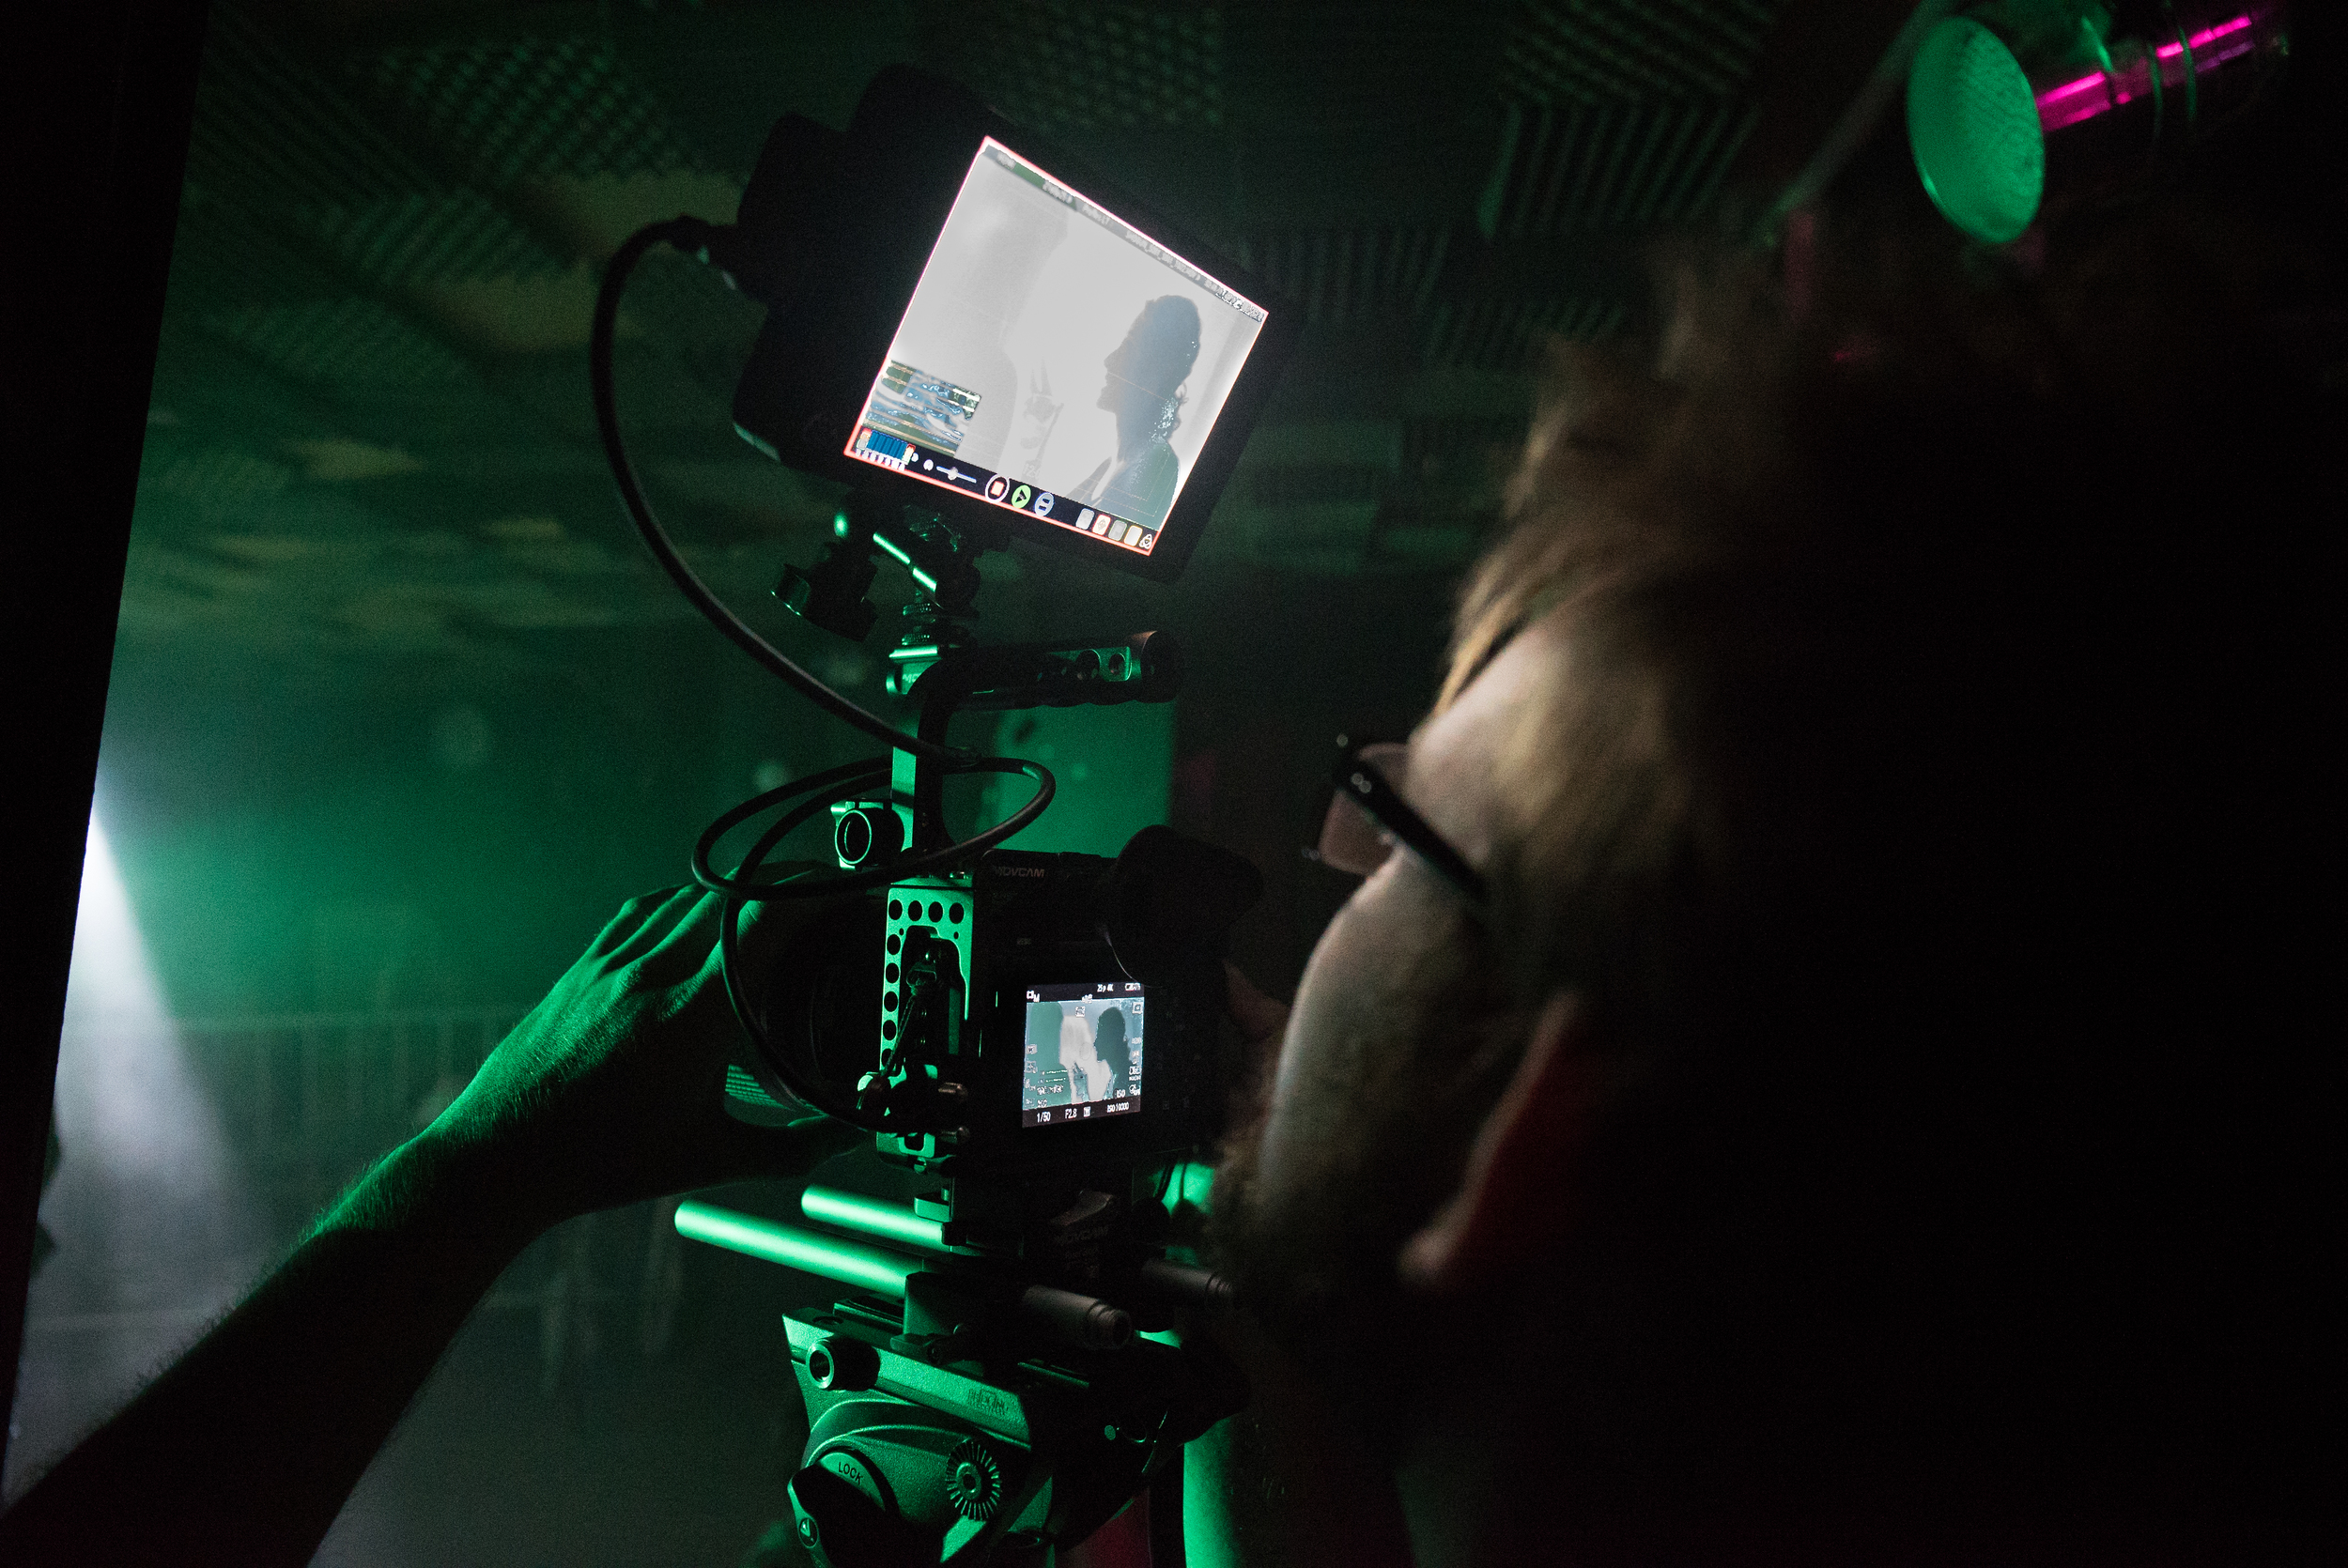
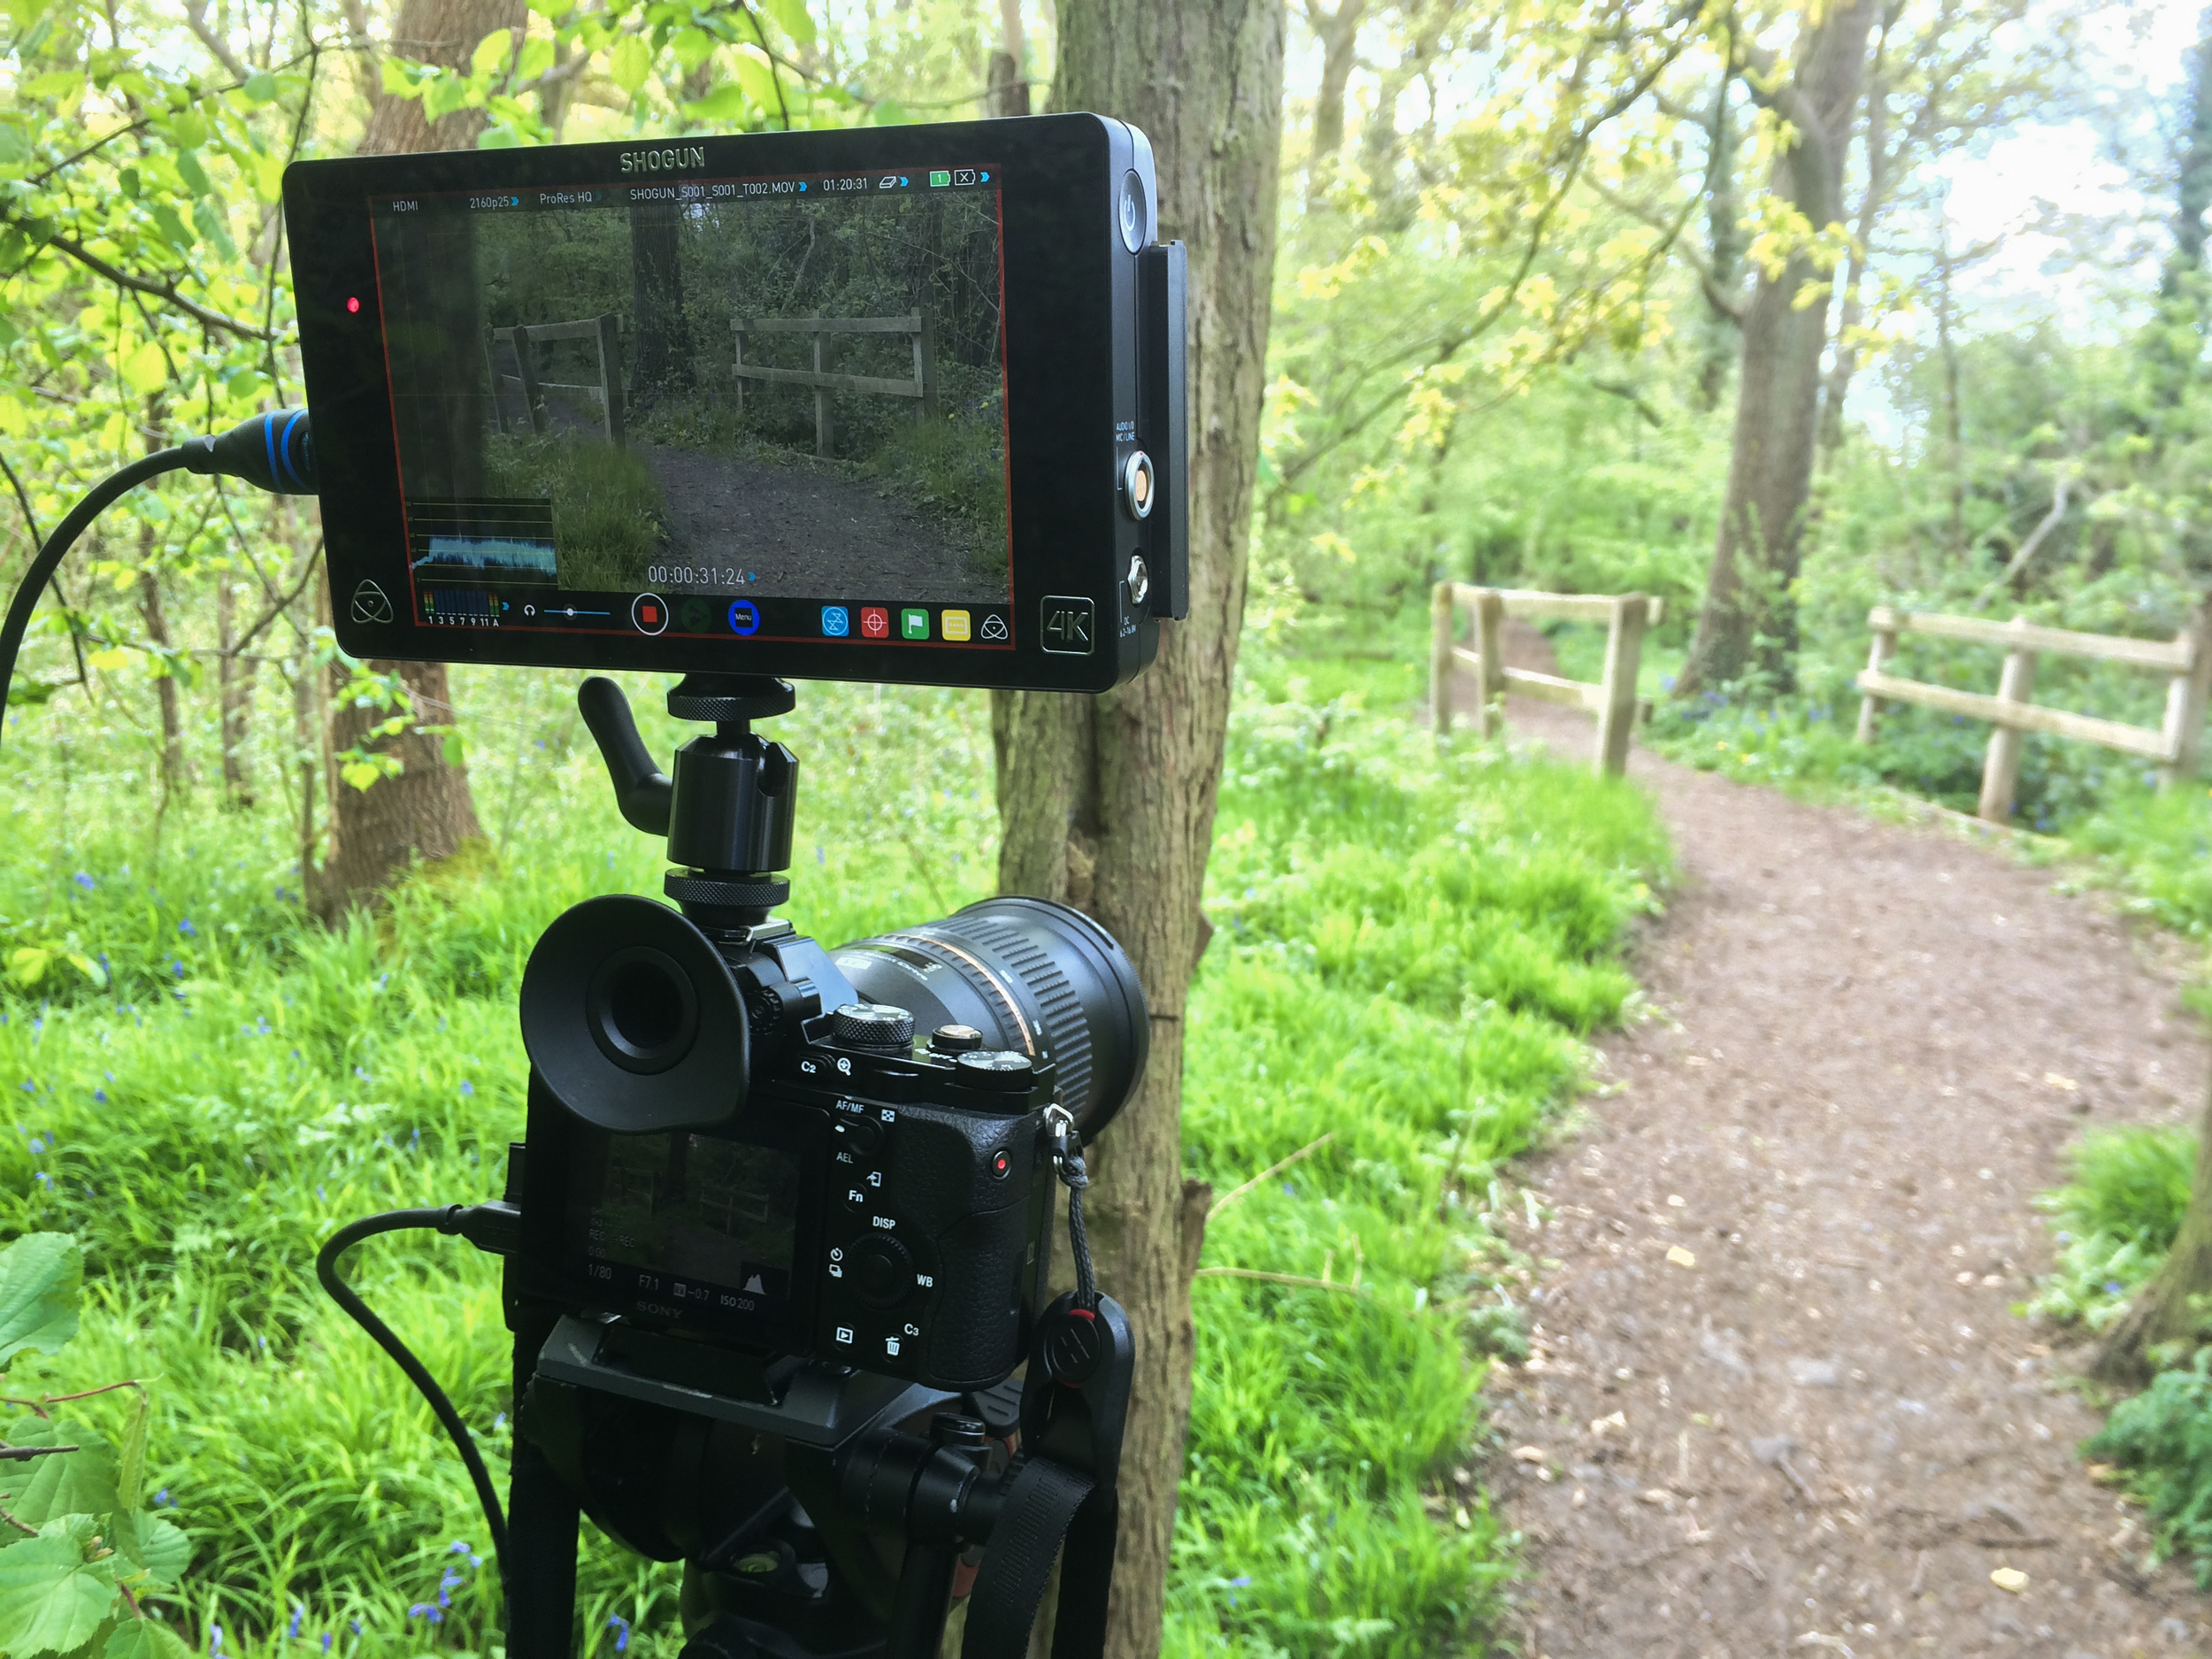
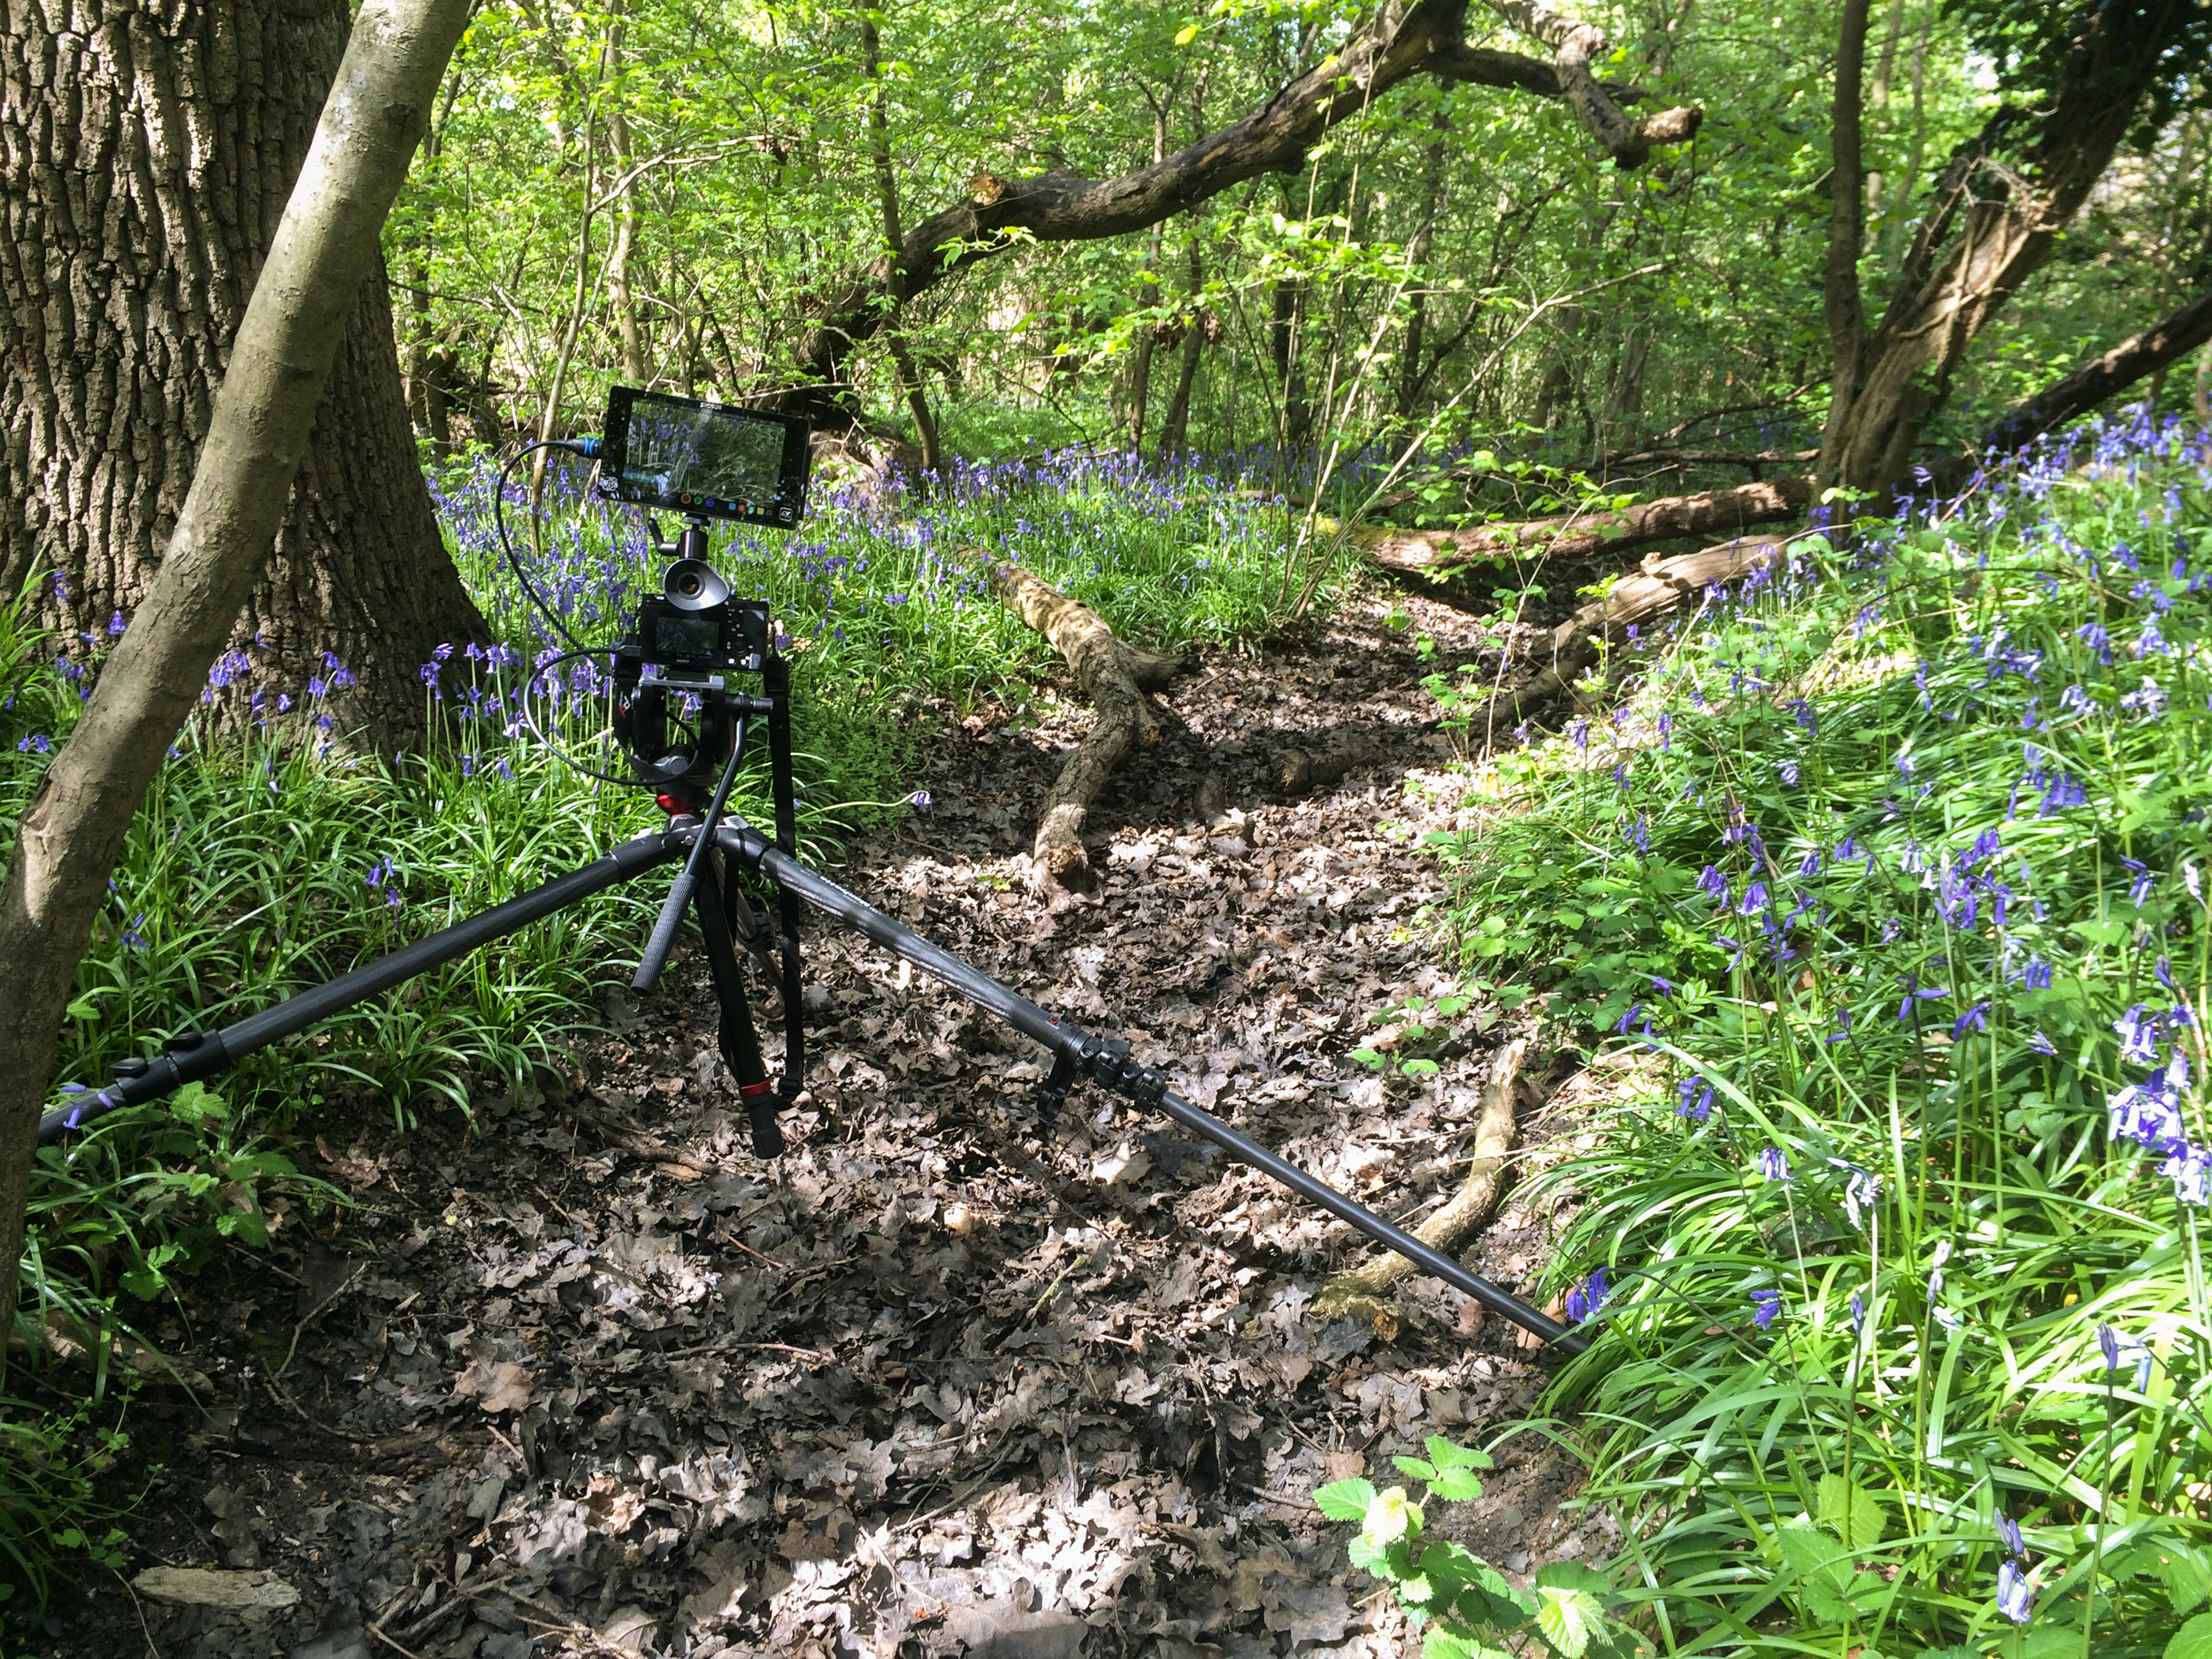
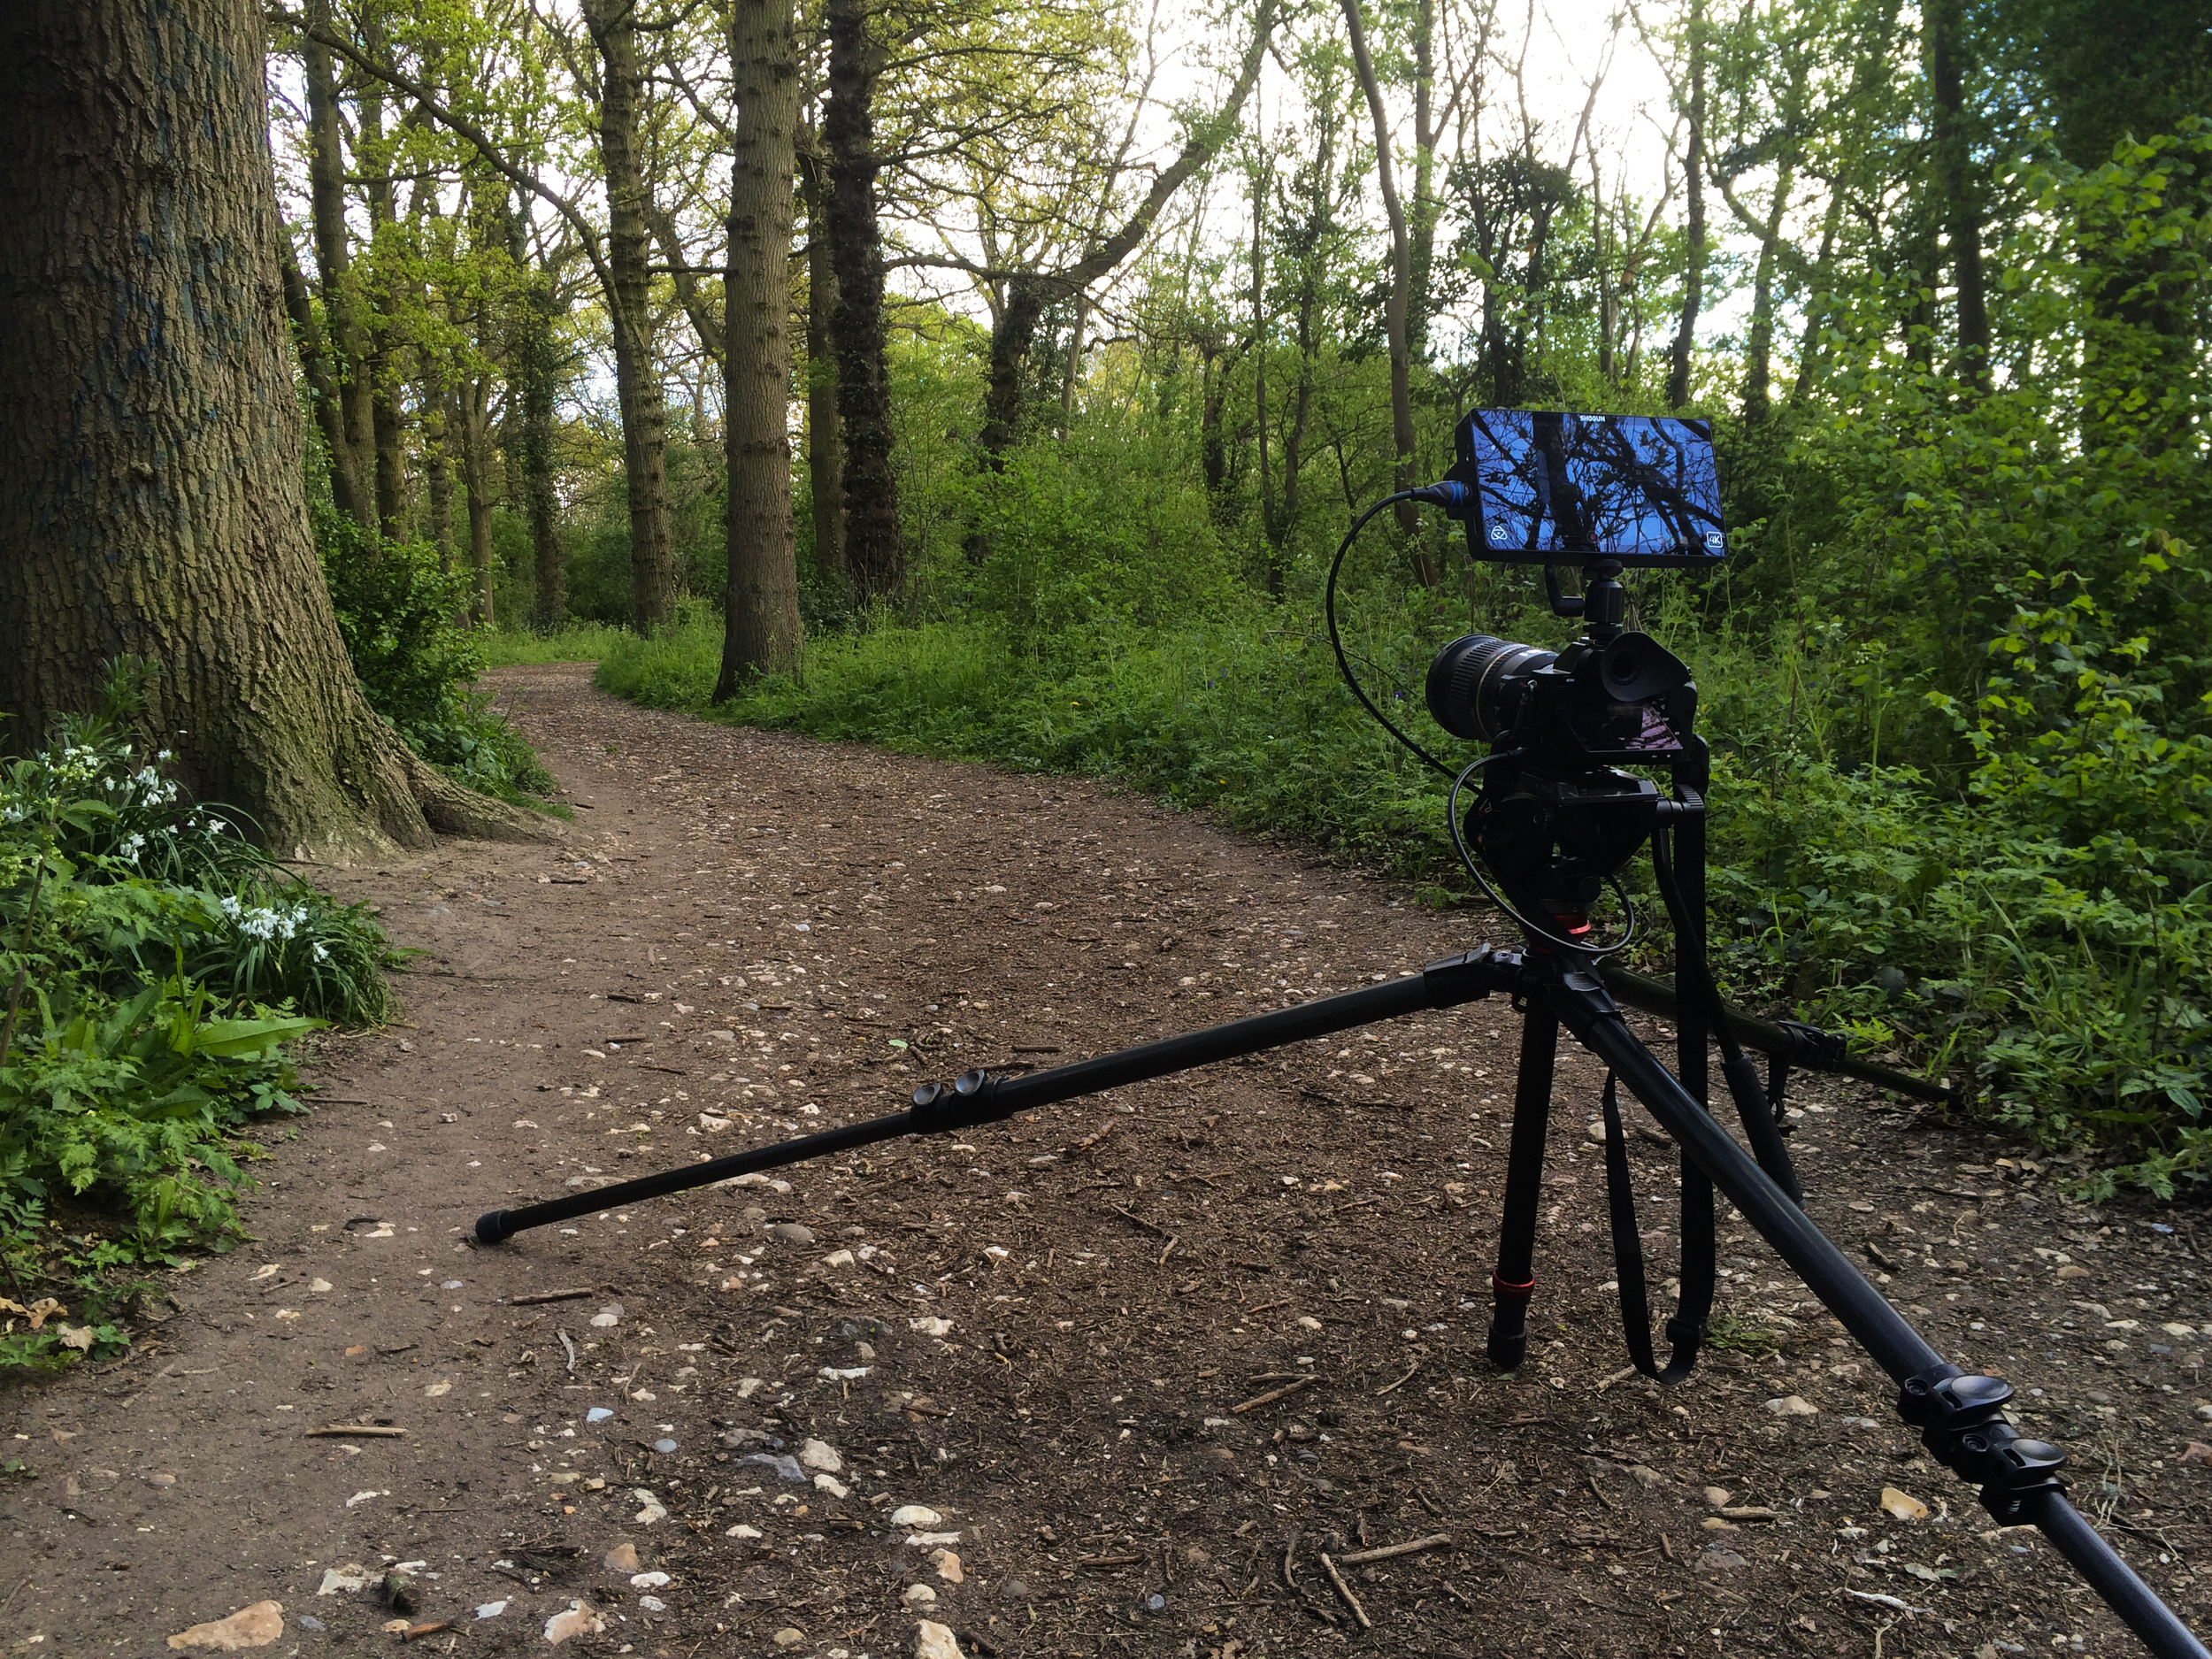
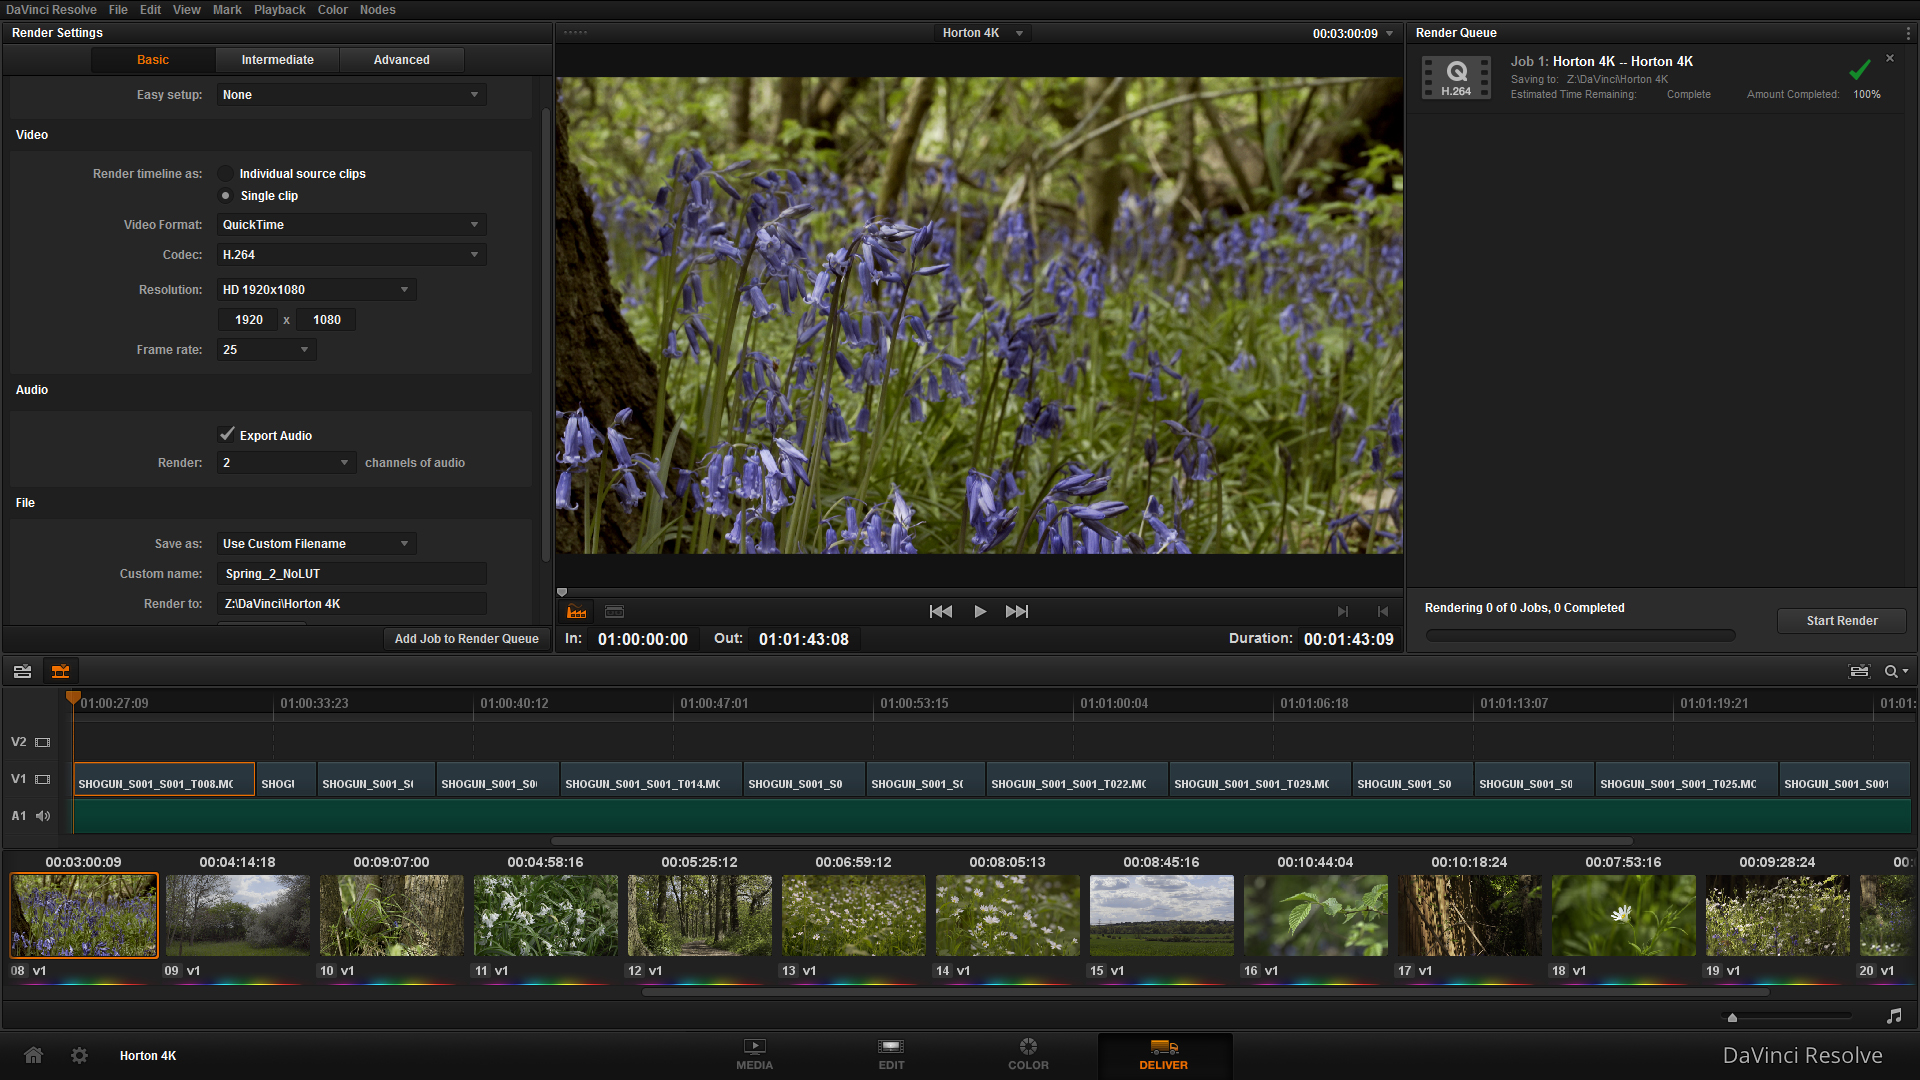
I headed out to a local country park to catch some of the spring bluebells flowering, as well as to try out the dynamic range of the 4K Prores HQ footage and really push it in the grade.
A couple of photos while I was out and about, lovely day!
I took the Manfrotto 755CX-3 tripod with me as it is brilliantly lightweight, and despite the center column it can get pretty low to the ground for shots needing some perspective.
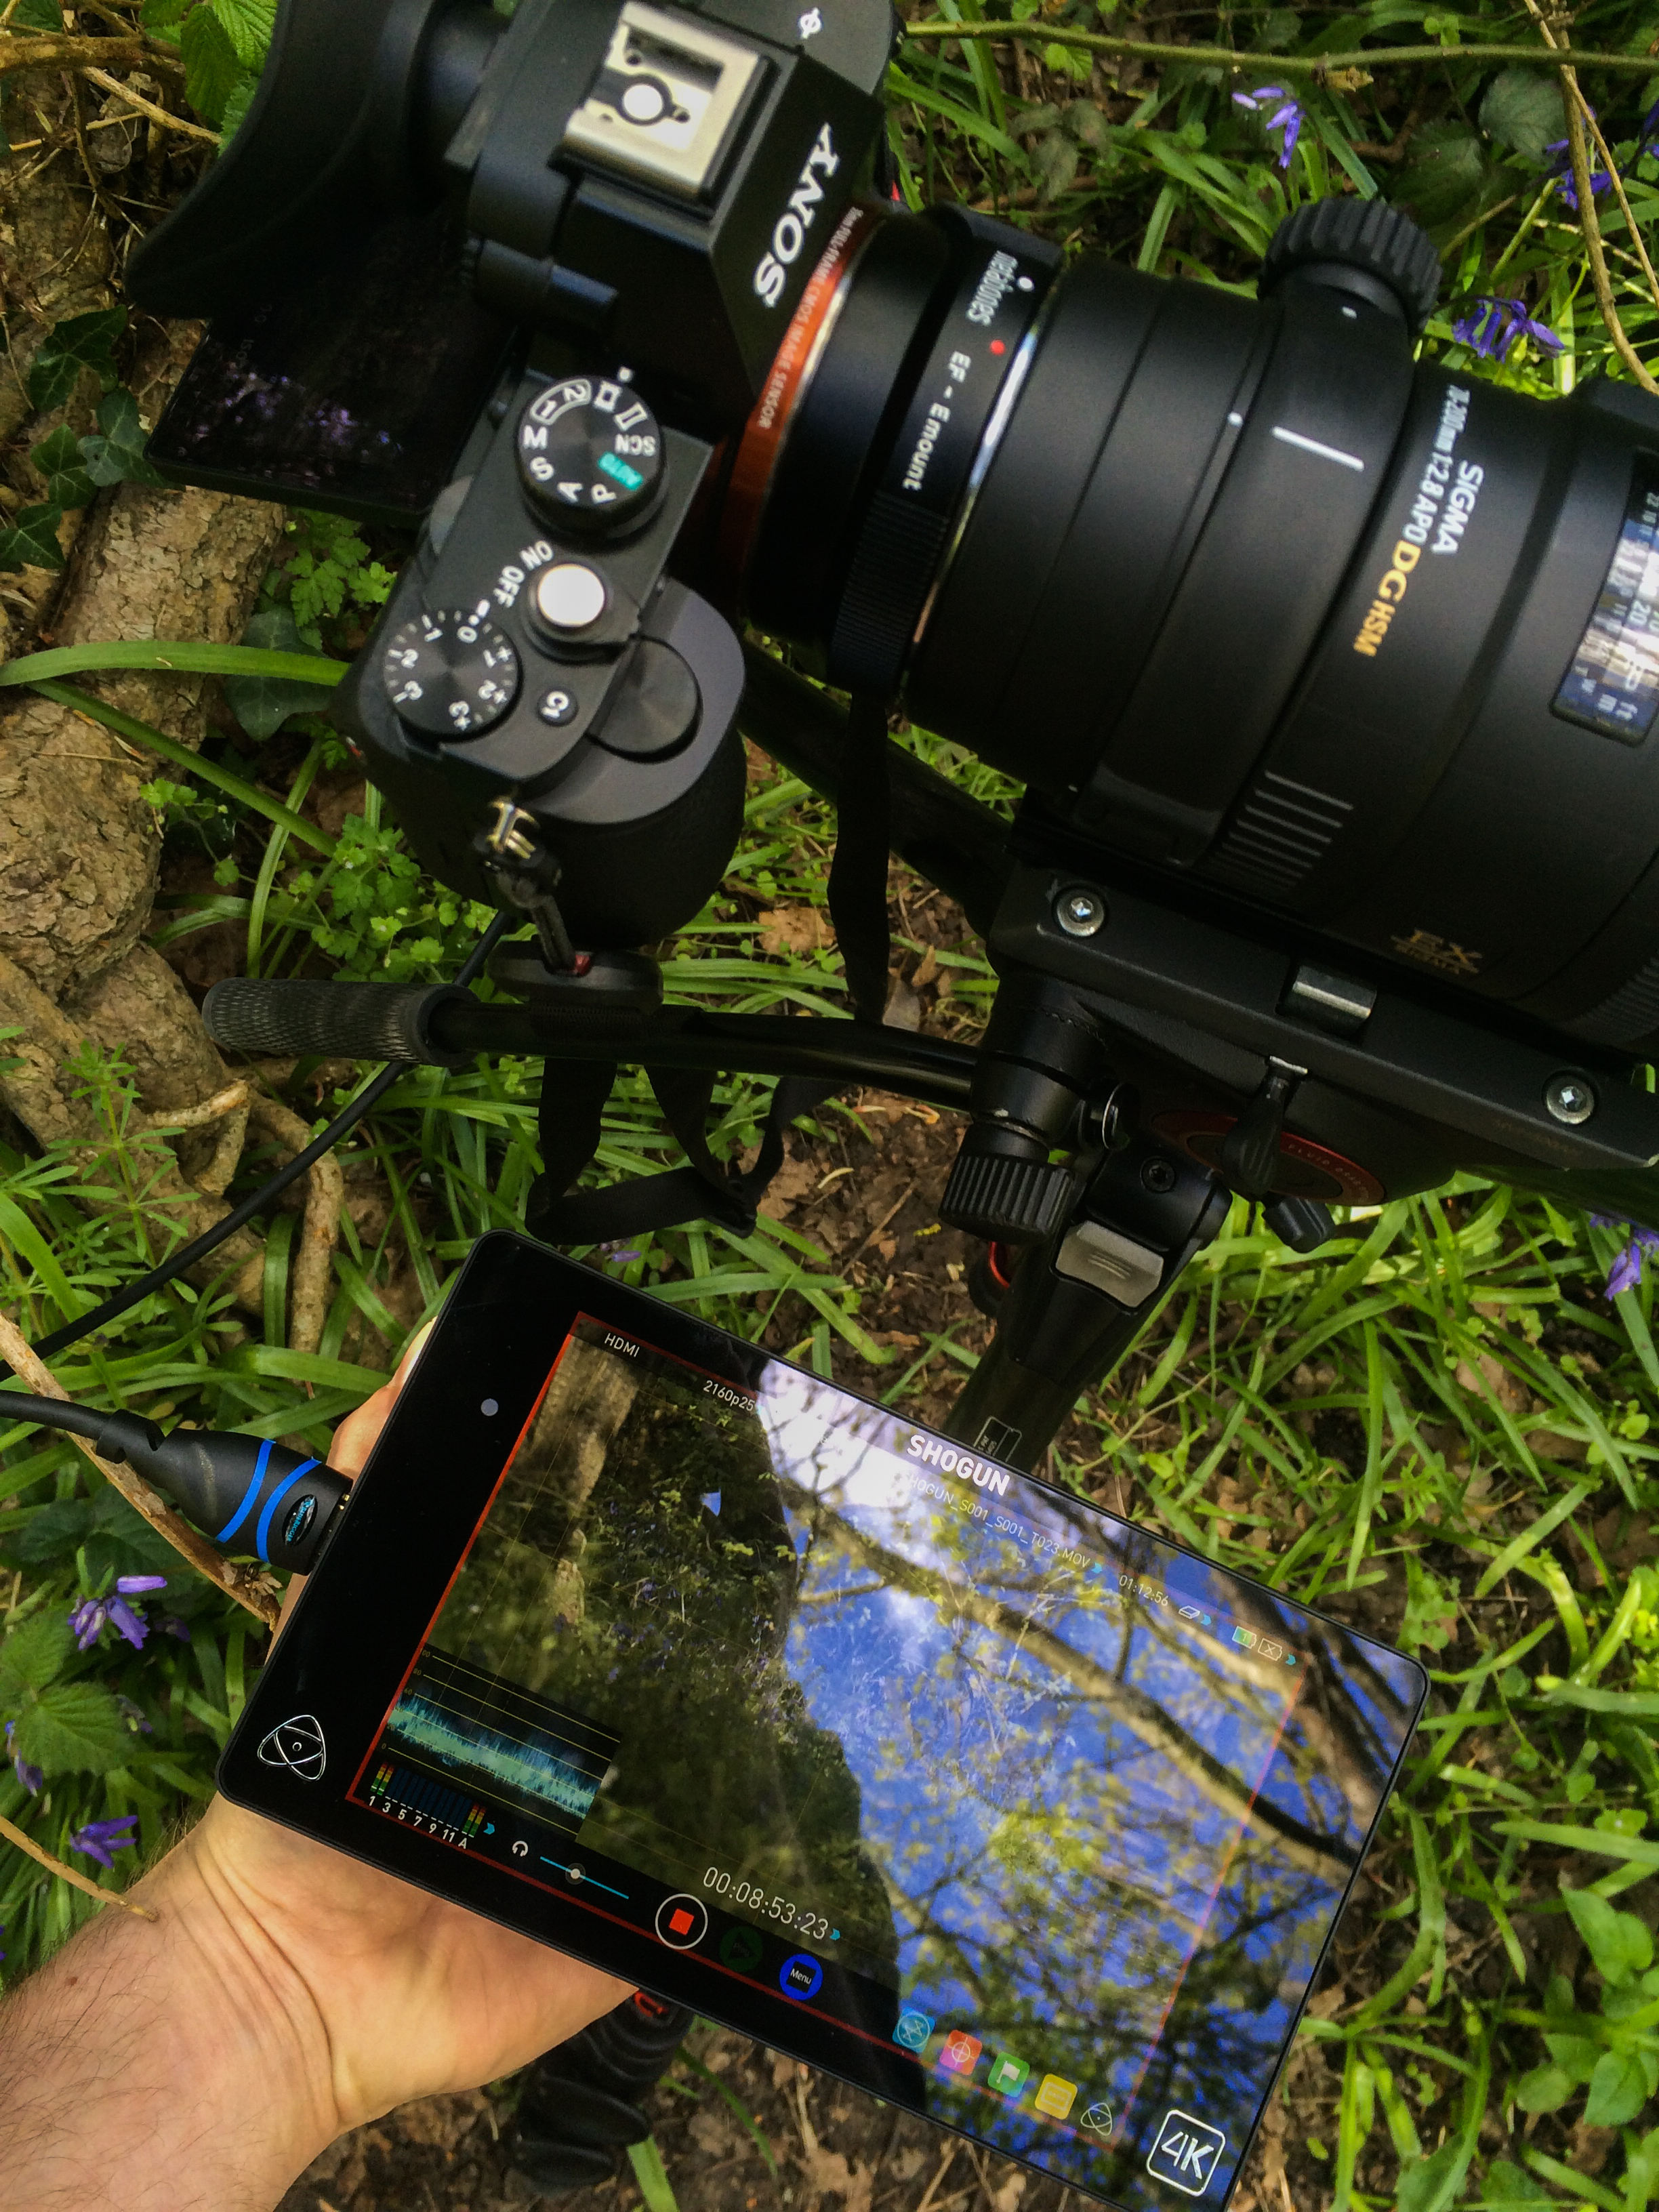
Still no Movcam cage yet, so I'm pretty nervous about having the Shogun on a ball mount, on the hot shoe, I did take care when moving around and took out the HDMI cable just in case.
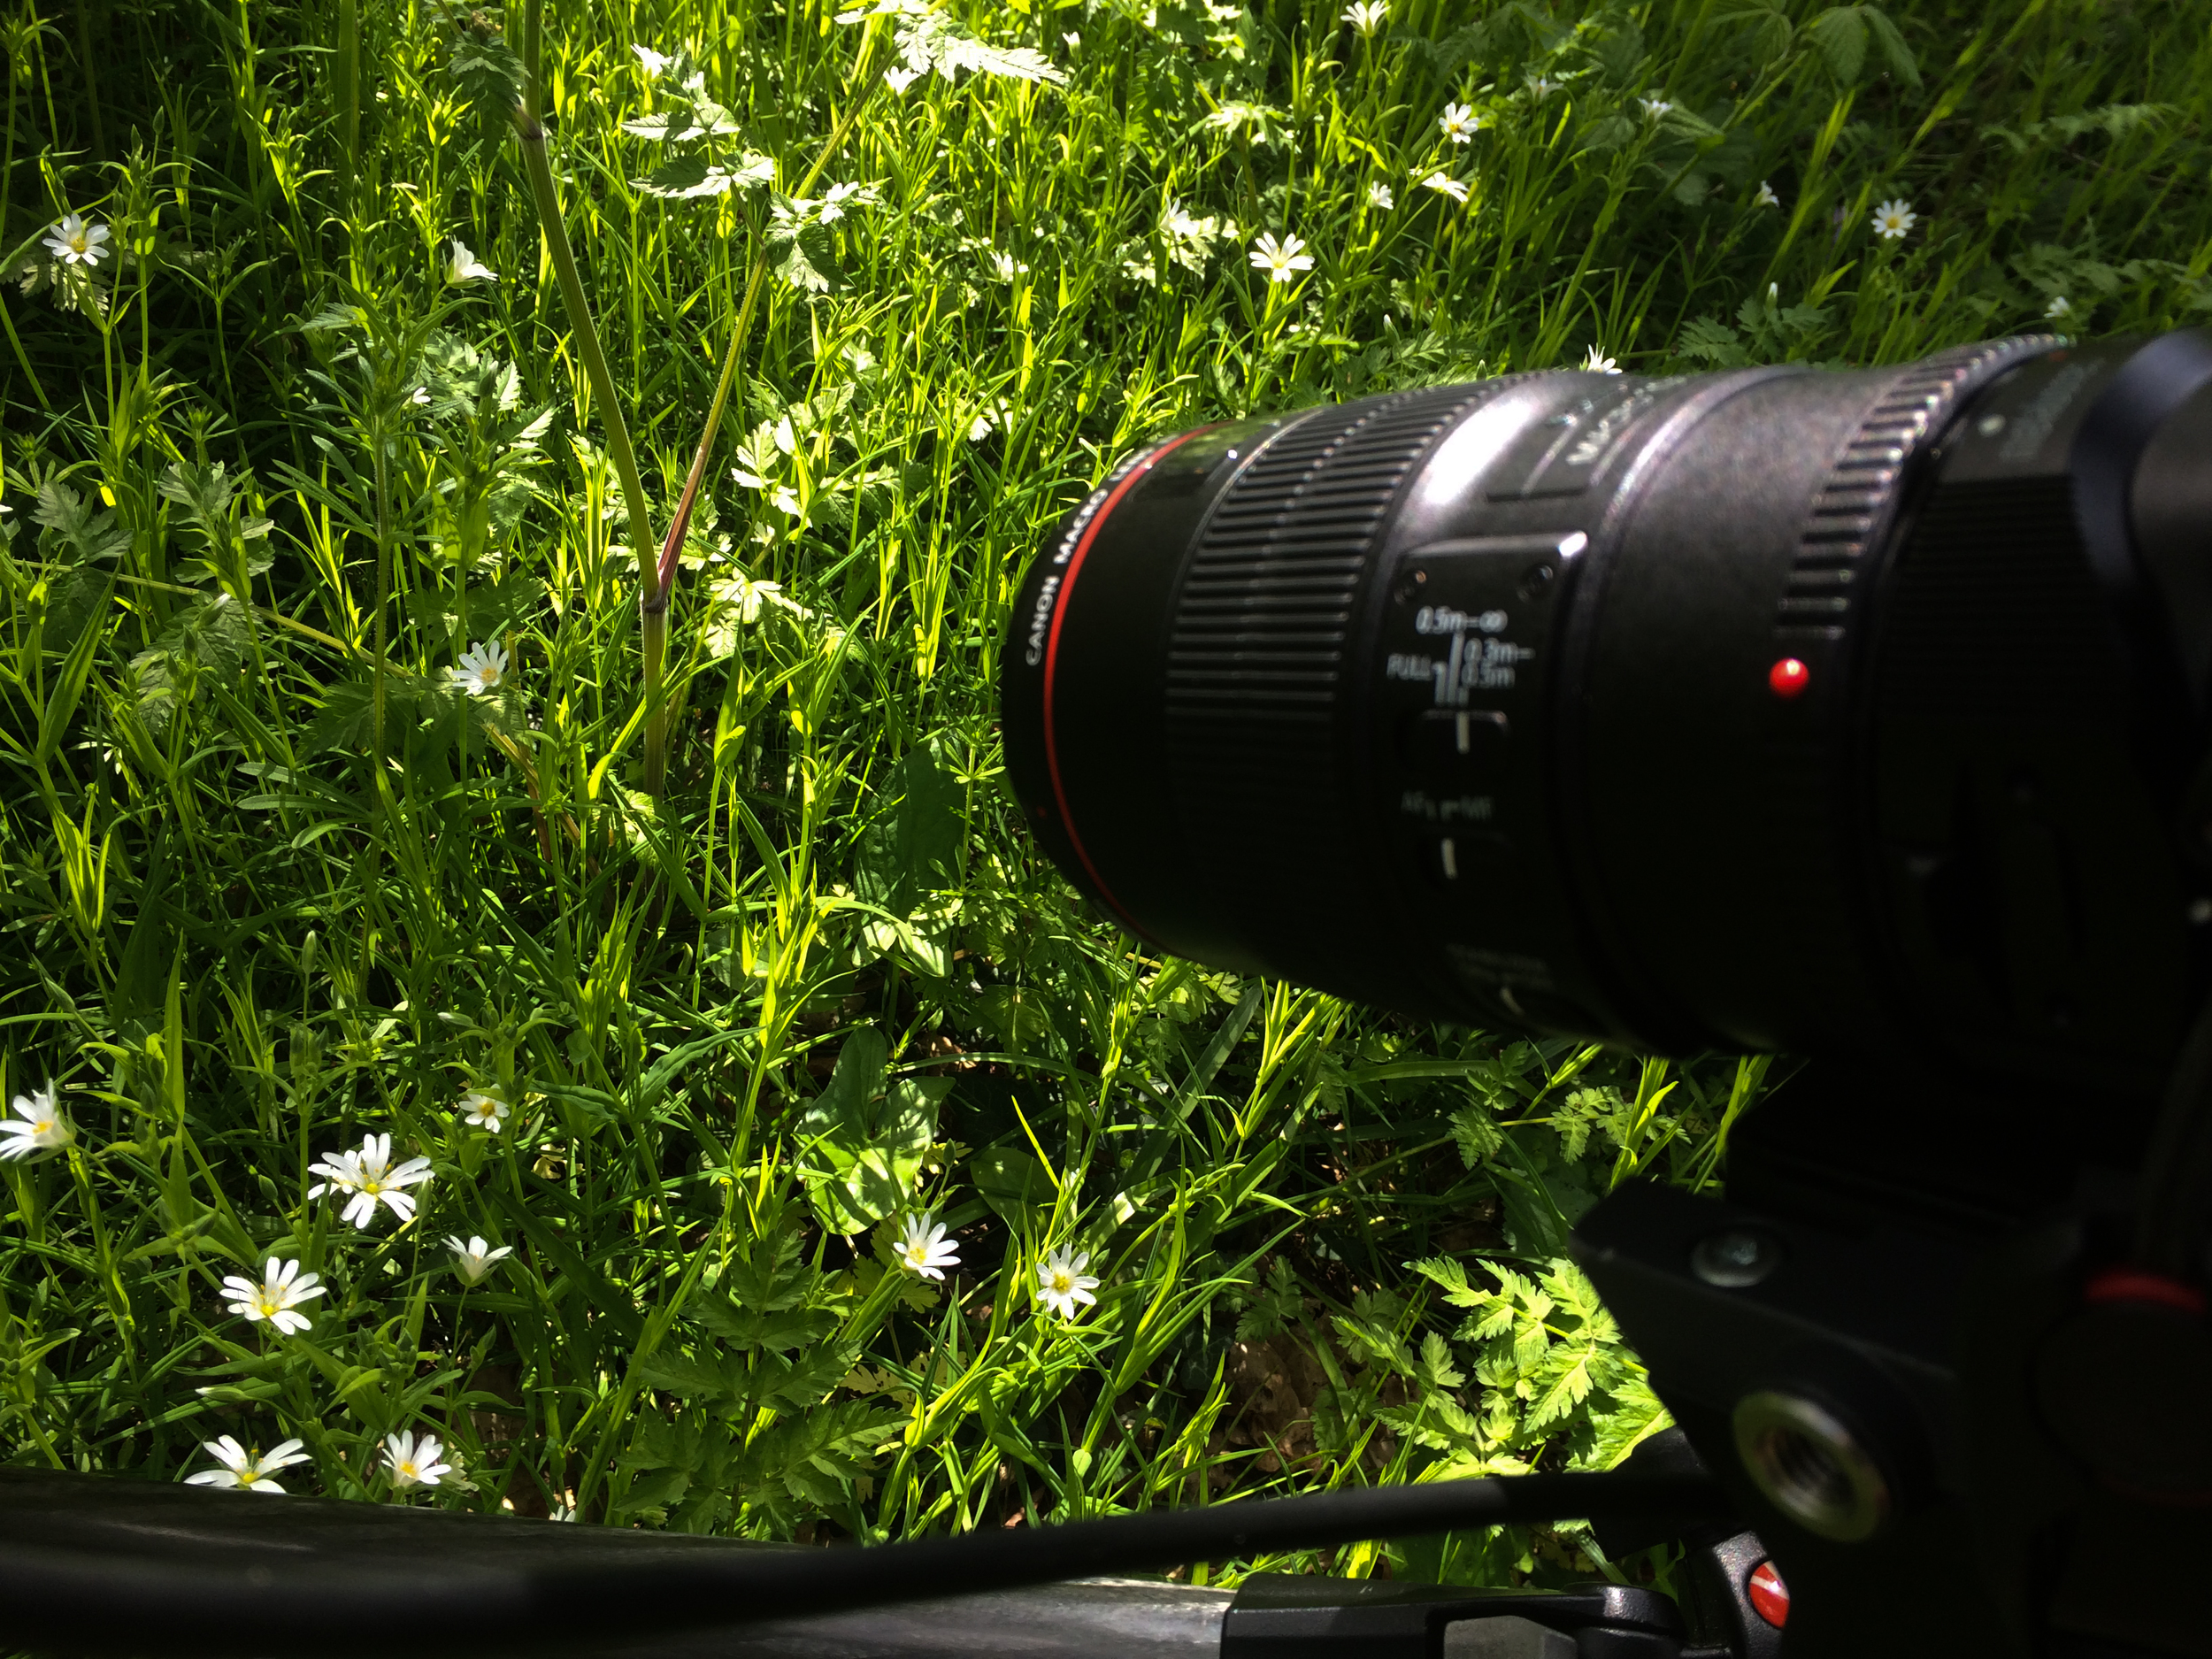
I had 3 lenses with me, the Tamron 24-70, Sigma 70-200 and Canon 100mm L as I wanted to have a simple setup, one Manfrotto bag, essential kit, batteries etc.
After watching Philip Bloom's talk hosted by B&H a few months back, I set the camera settings to what he advised and went from there. Using PP7 for S-log increases the native ISO to 3200, so is not practical for bright scenes without ND filters, so here are my settings.
PP6 (allows ISO 200, practical for bright shoots) - Black Level 0, Gamma Cine 4, Color mode S-gamut, Saturation 0, Detail -7.
It was a bright sunny day and the Shogun was the perfect tool for the job. It's screen is very clear, unlike cheaper monitors which don't have a high contrast ratio or use LCD screens. Exposing for the highlights, I used the in-built Waveform monitor to gague exposure as well as the 2:1 crop in for getting critical focus - definitely needed for the wide landscape and macro shots.
You will not be surprised to see the HUGE file size of recording 4K in Prores HQ, averaging at about 2GB for 20 seconds.
It's less than 10 minutes worth of footage, in fact!
I did find this out while I was trying out the different outputs and recording formats.. For the PAL region the A7S has THREE HDMI output settings -
- 1080 50p, 1080 50i, 4K 25p.
The Shogun will not record 25p footage from the camera when the HDMI output is set to 1080 50p, but you can record 1080 50p slow motion on the Shogun. Remember to set the A7S' recording format to 50p/50, instead of 25p for normal speed filming.
The Shogun will only record 1080 25p footage from the camera when the HDMI output is set to 1080 50i, with a 2:2 frame drop set. Remember to set the A7S' recording format to 25p/50.
You must set the '4K HDMI' setting in the A7S to output the 4K signal, and record in 4K 25p on the Shogun.
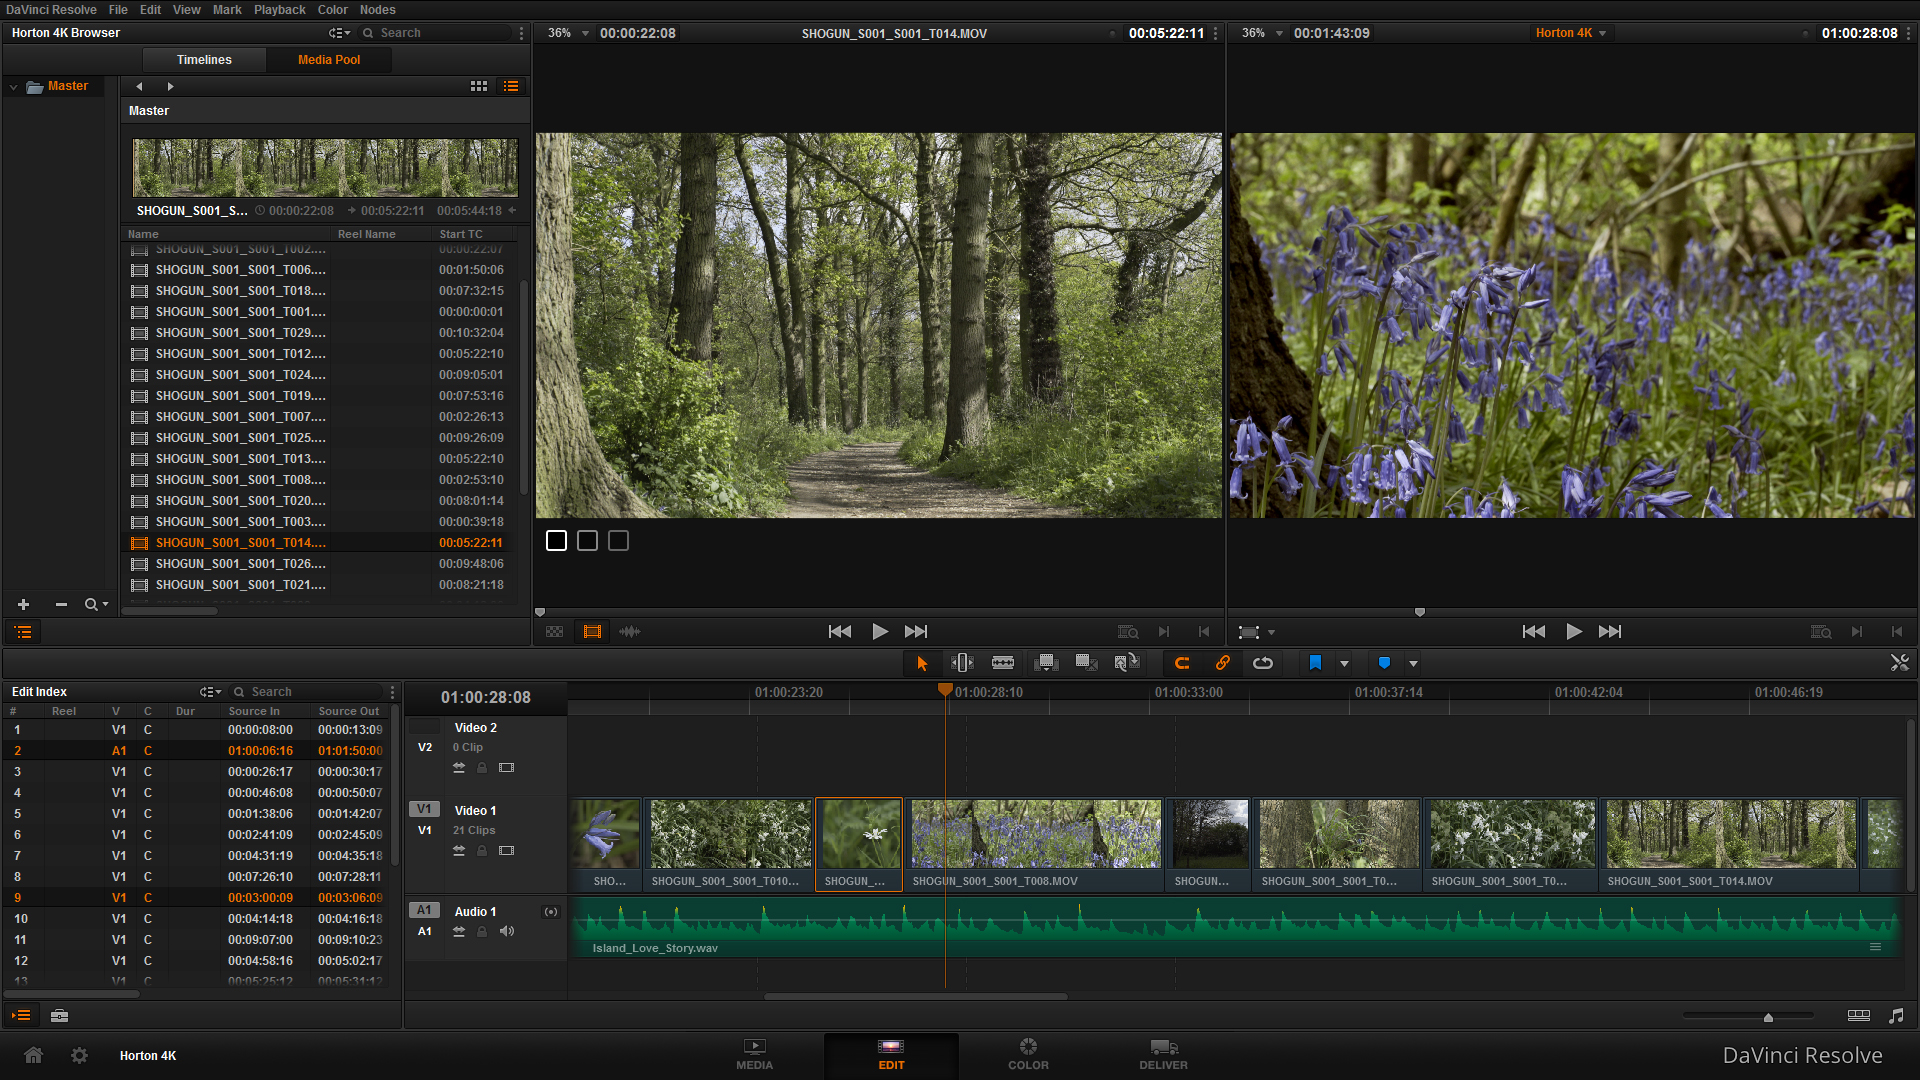
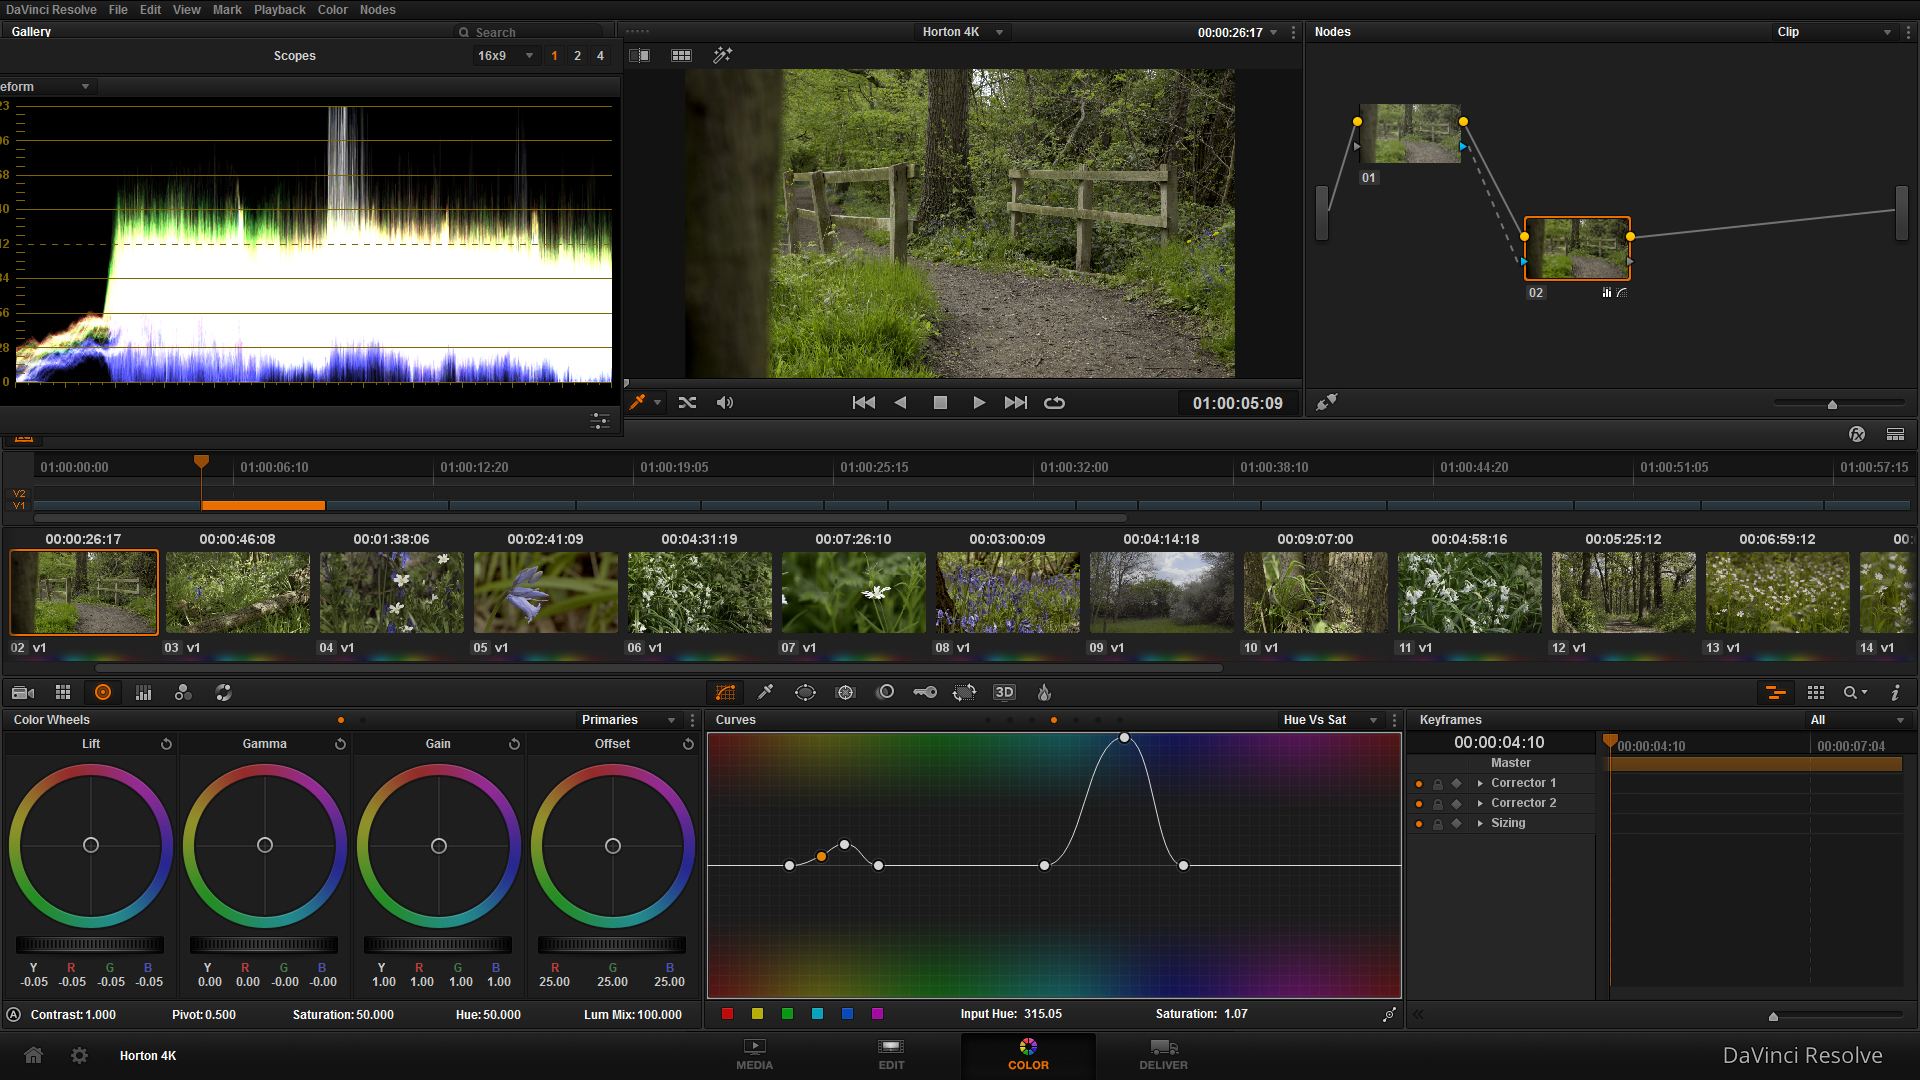
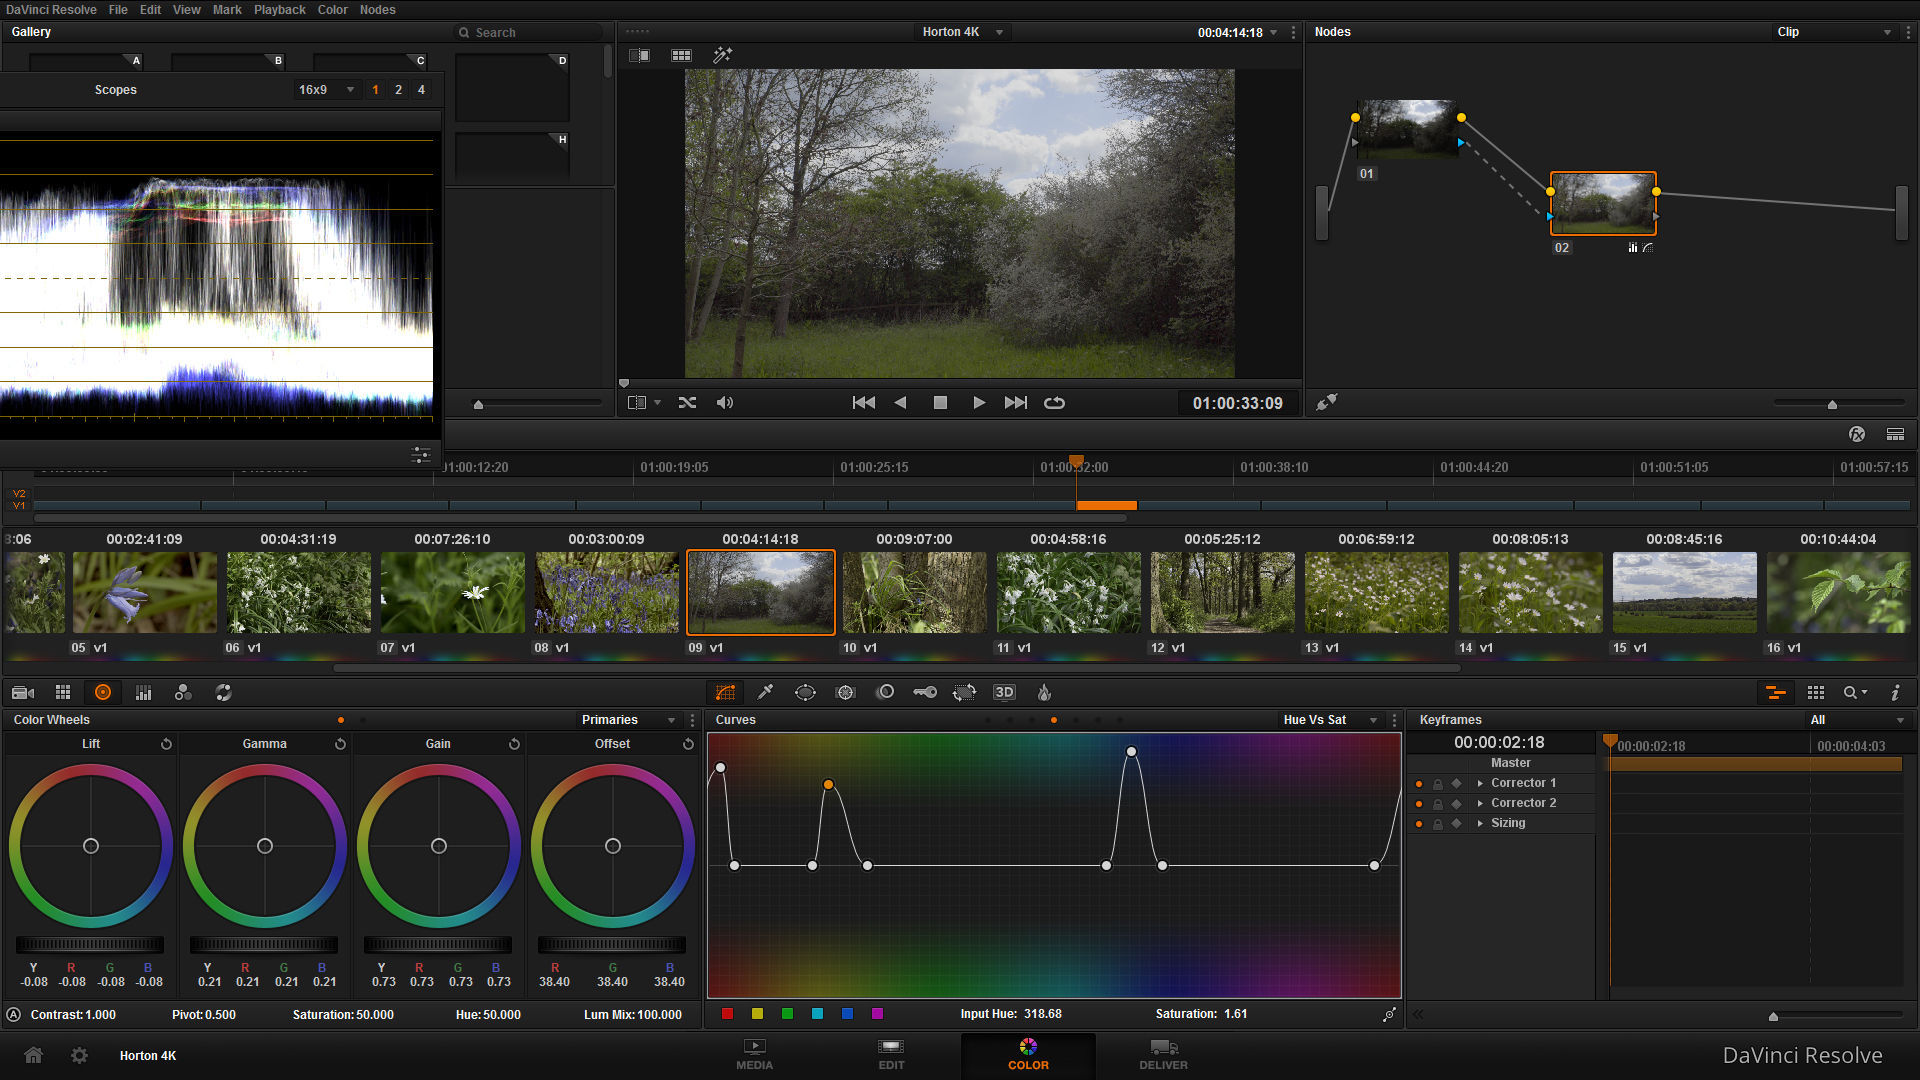
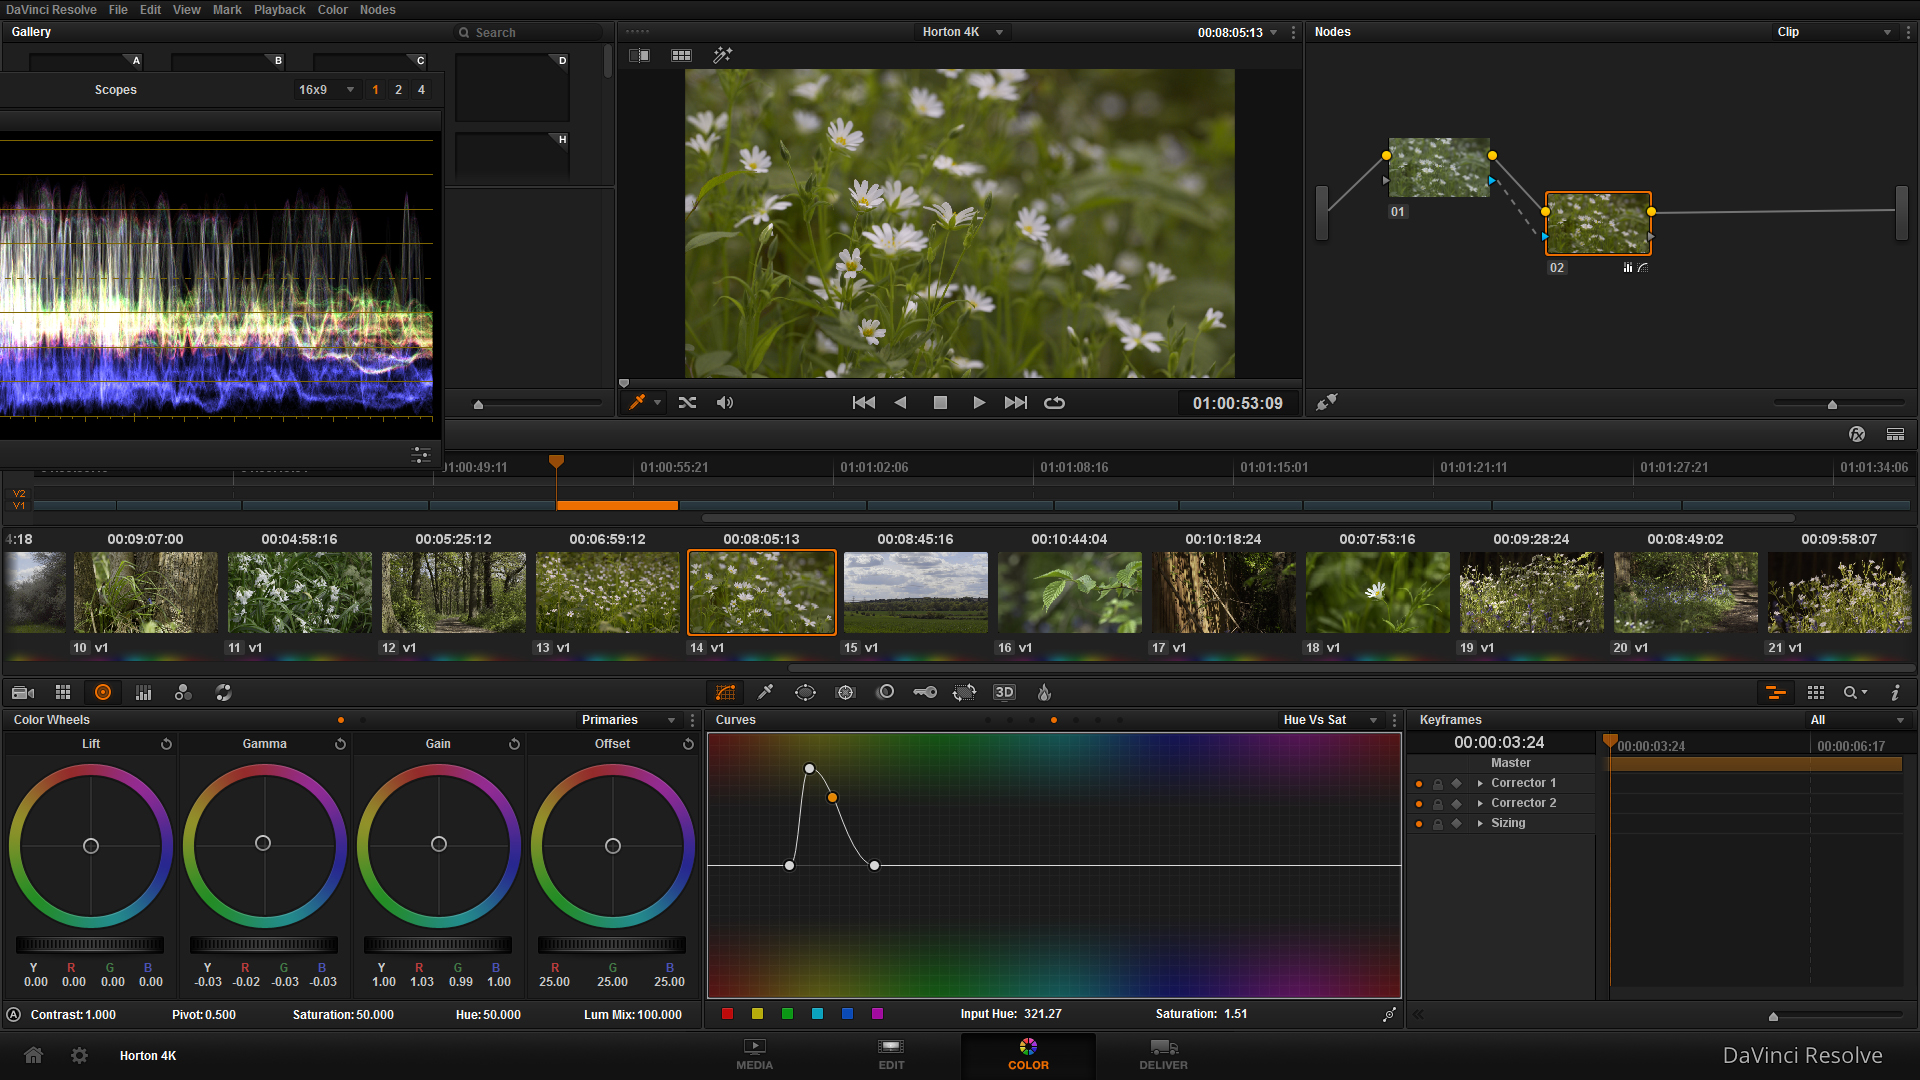
As part of the new 4K workflow, I am using Davinci Resolve Lite (FREE) for the colour grading process, but as this is a short video I tried out it's NLE which worked great. Similar look and feel to FCPX, but it gives you the ability to change edit points, manipulate scale, track and much more. It even has a keyer!
First Image - Editing interface, Second Image - Adjusting saturation in Color interface, Third Image - High contrast image BEFORE correction/grade, Fourth Image - High contrast image AFTER correction/grade, Fifth Image - Delivery interface.
Here is the ungraded version, with footage captured on the Shogun.
Here is a work-in-progress edit that is down-ressed to 1080 to upload it to Vimeo, the Youtube version in 4K (remember to change the resolution to 2160) is below!
I look forward to hearing your comments on the videos I've put up!
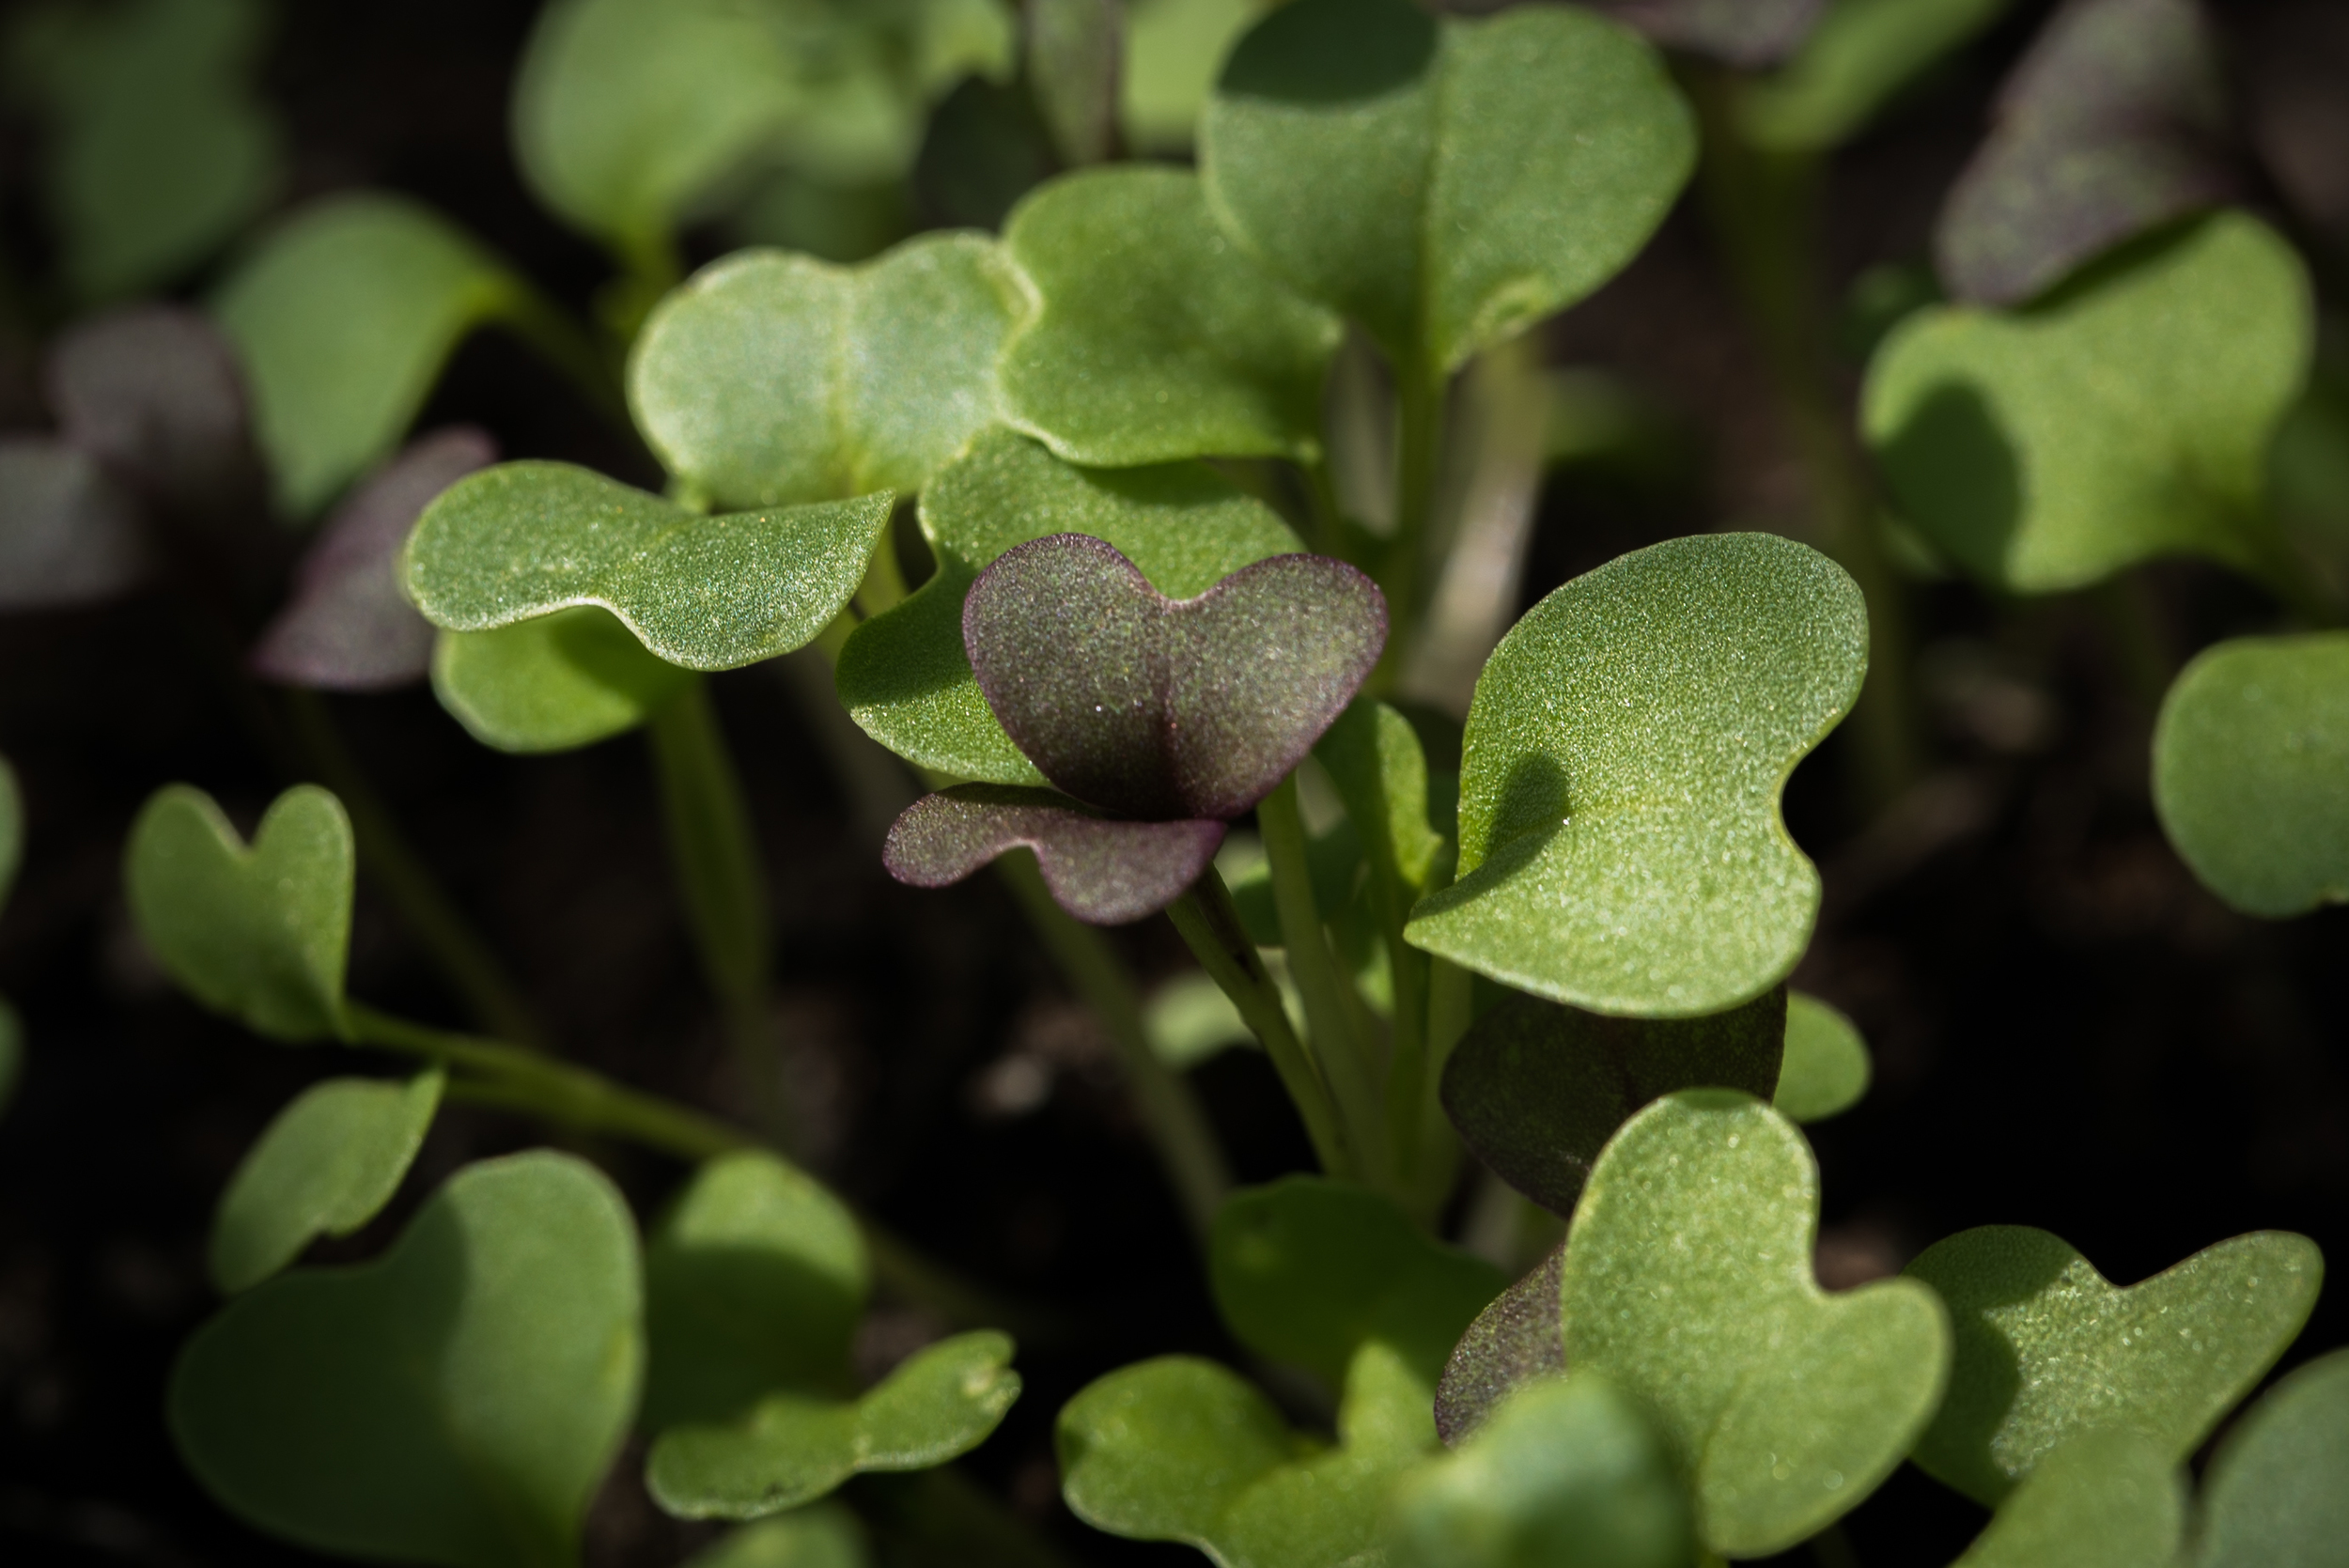
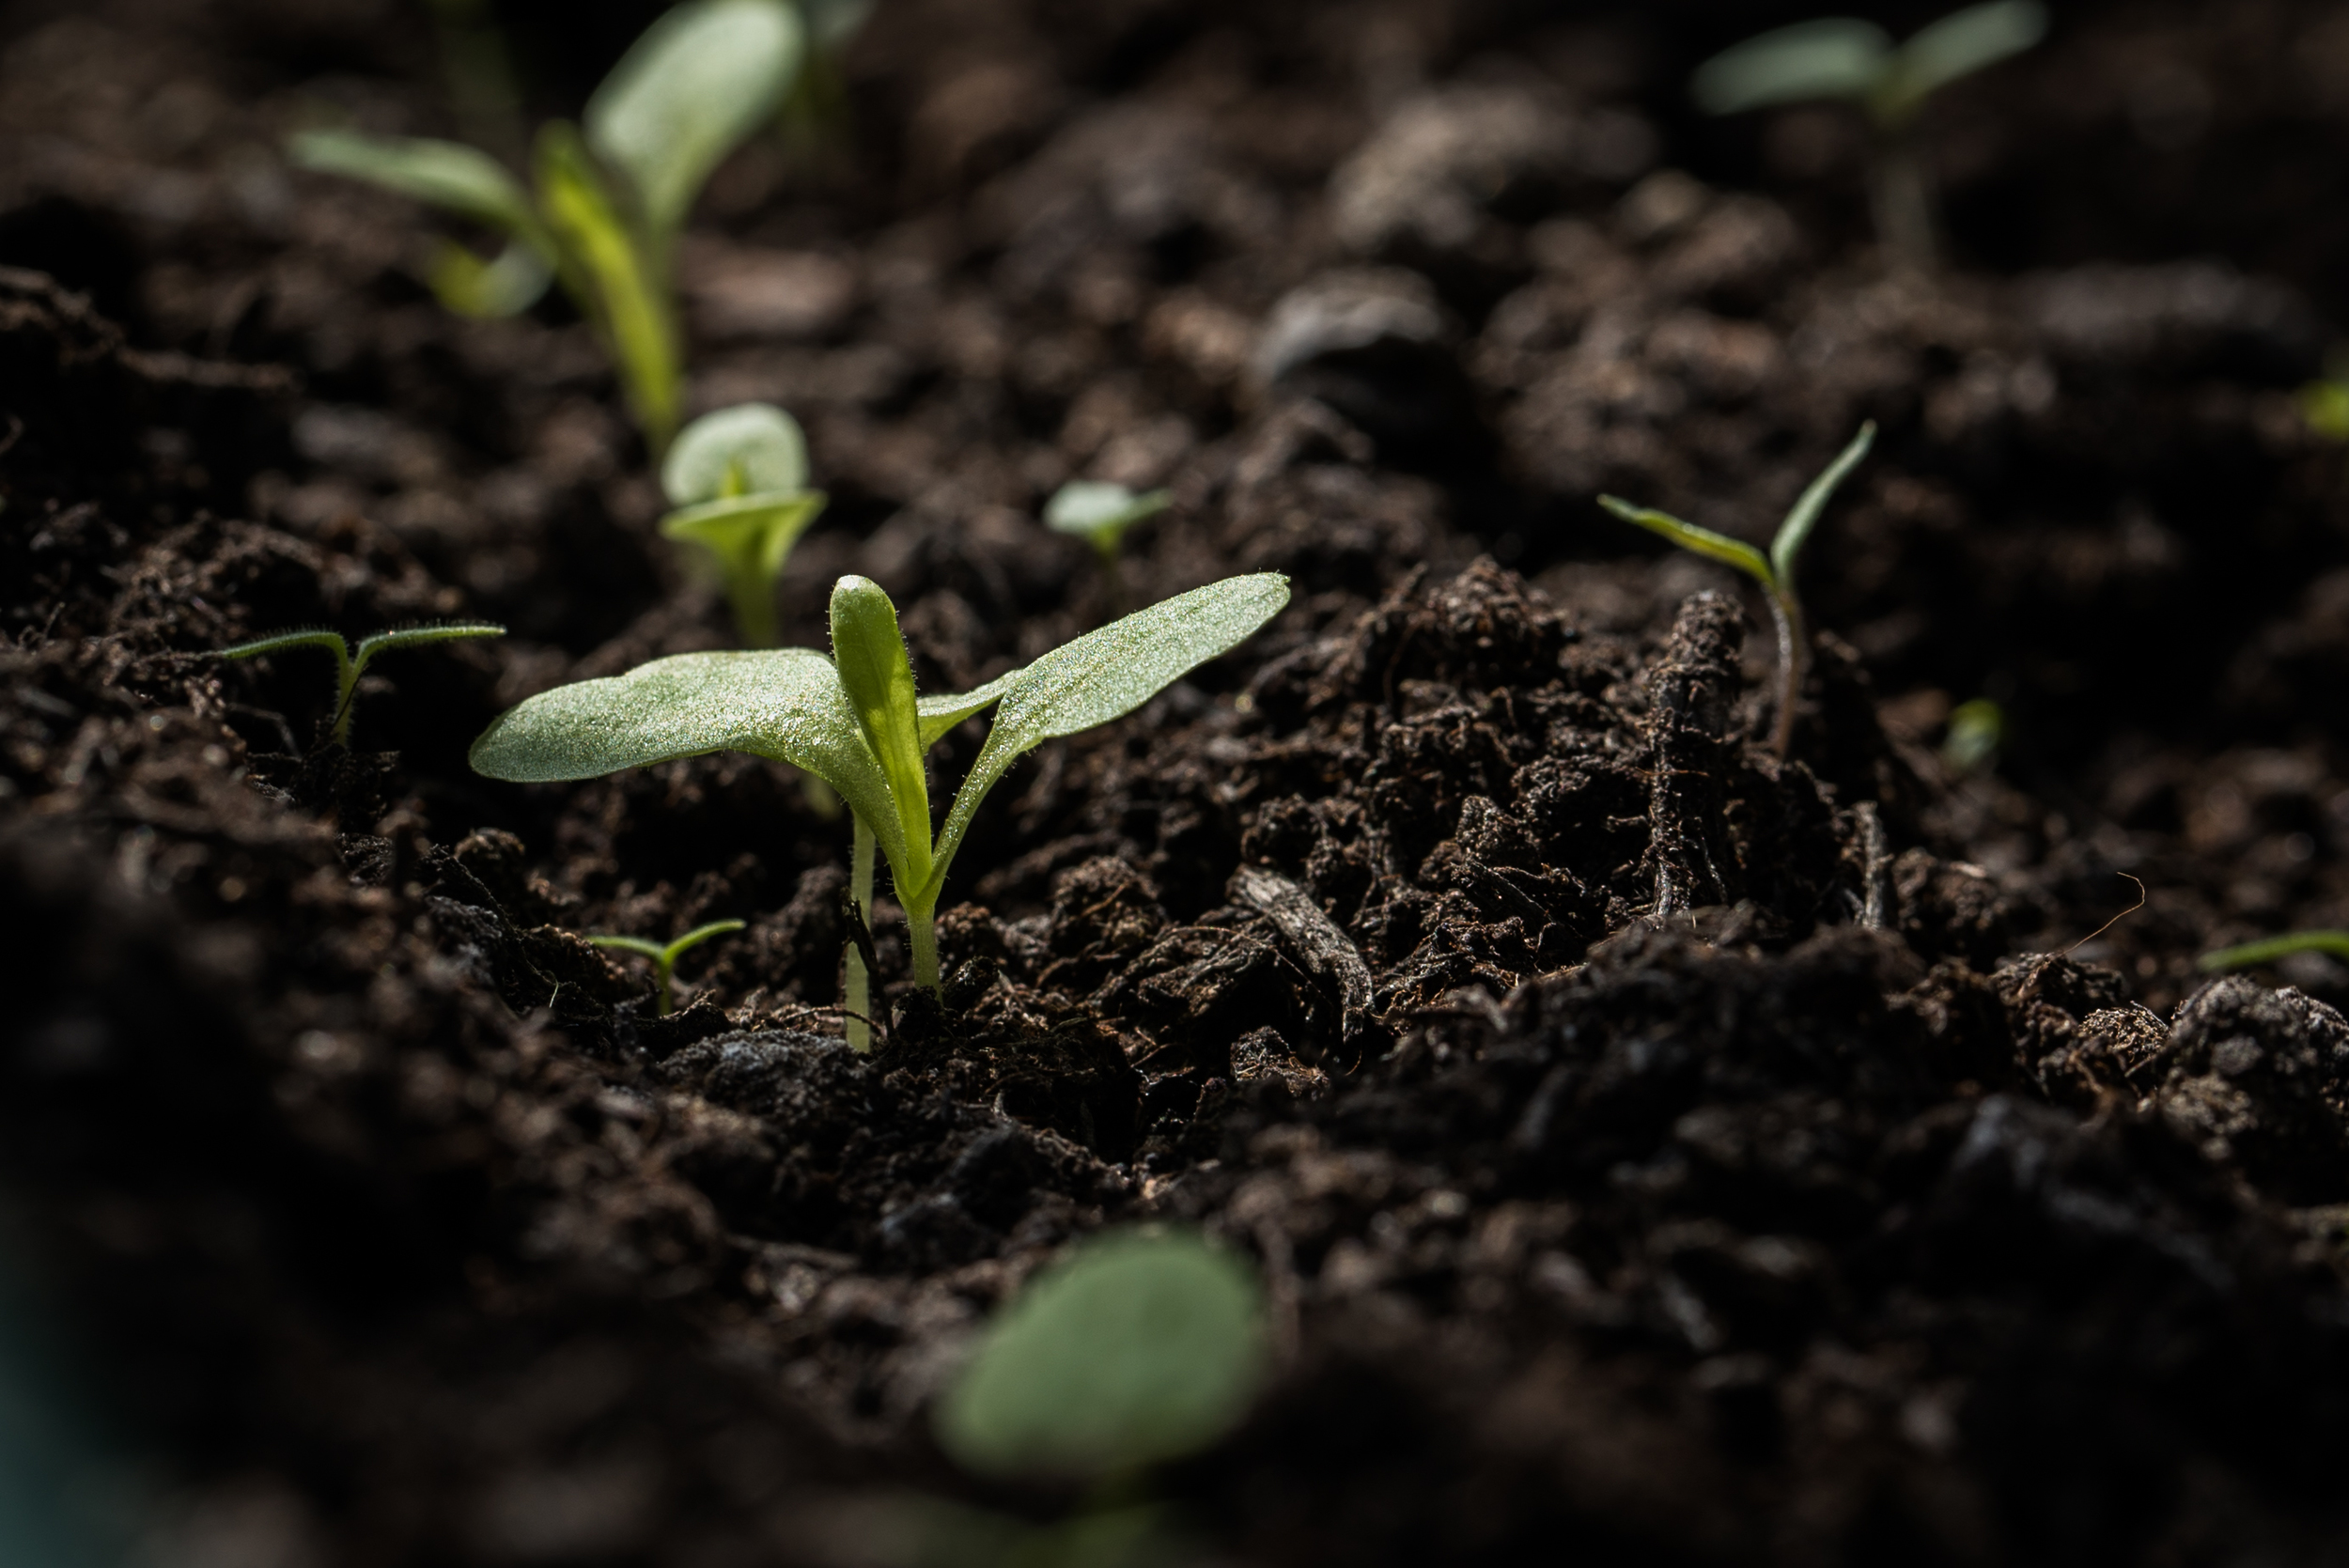
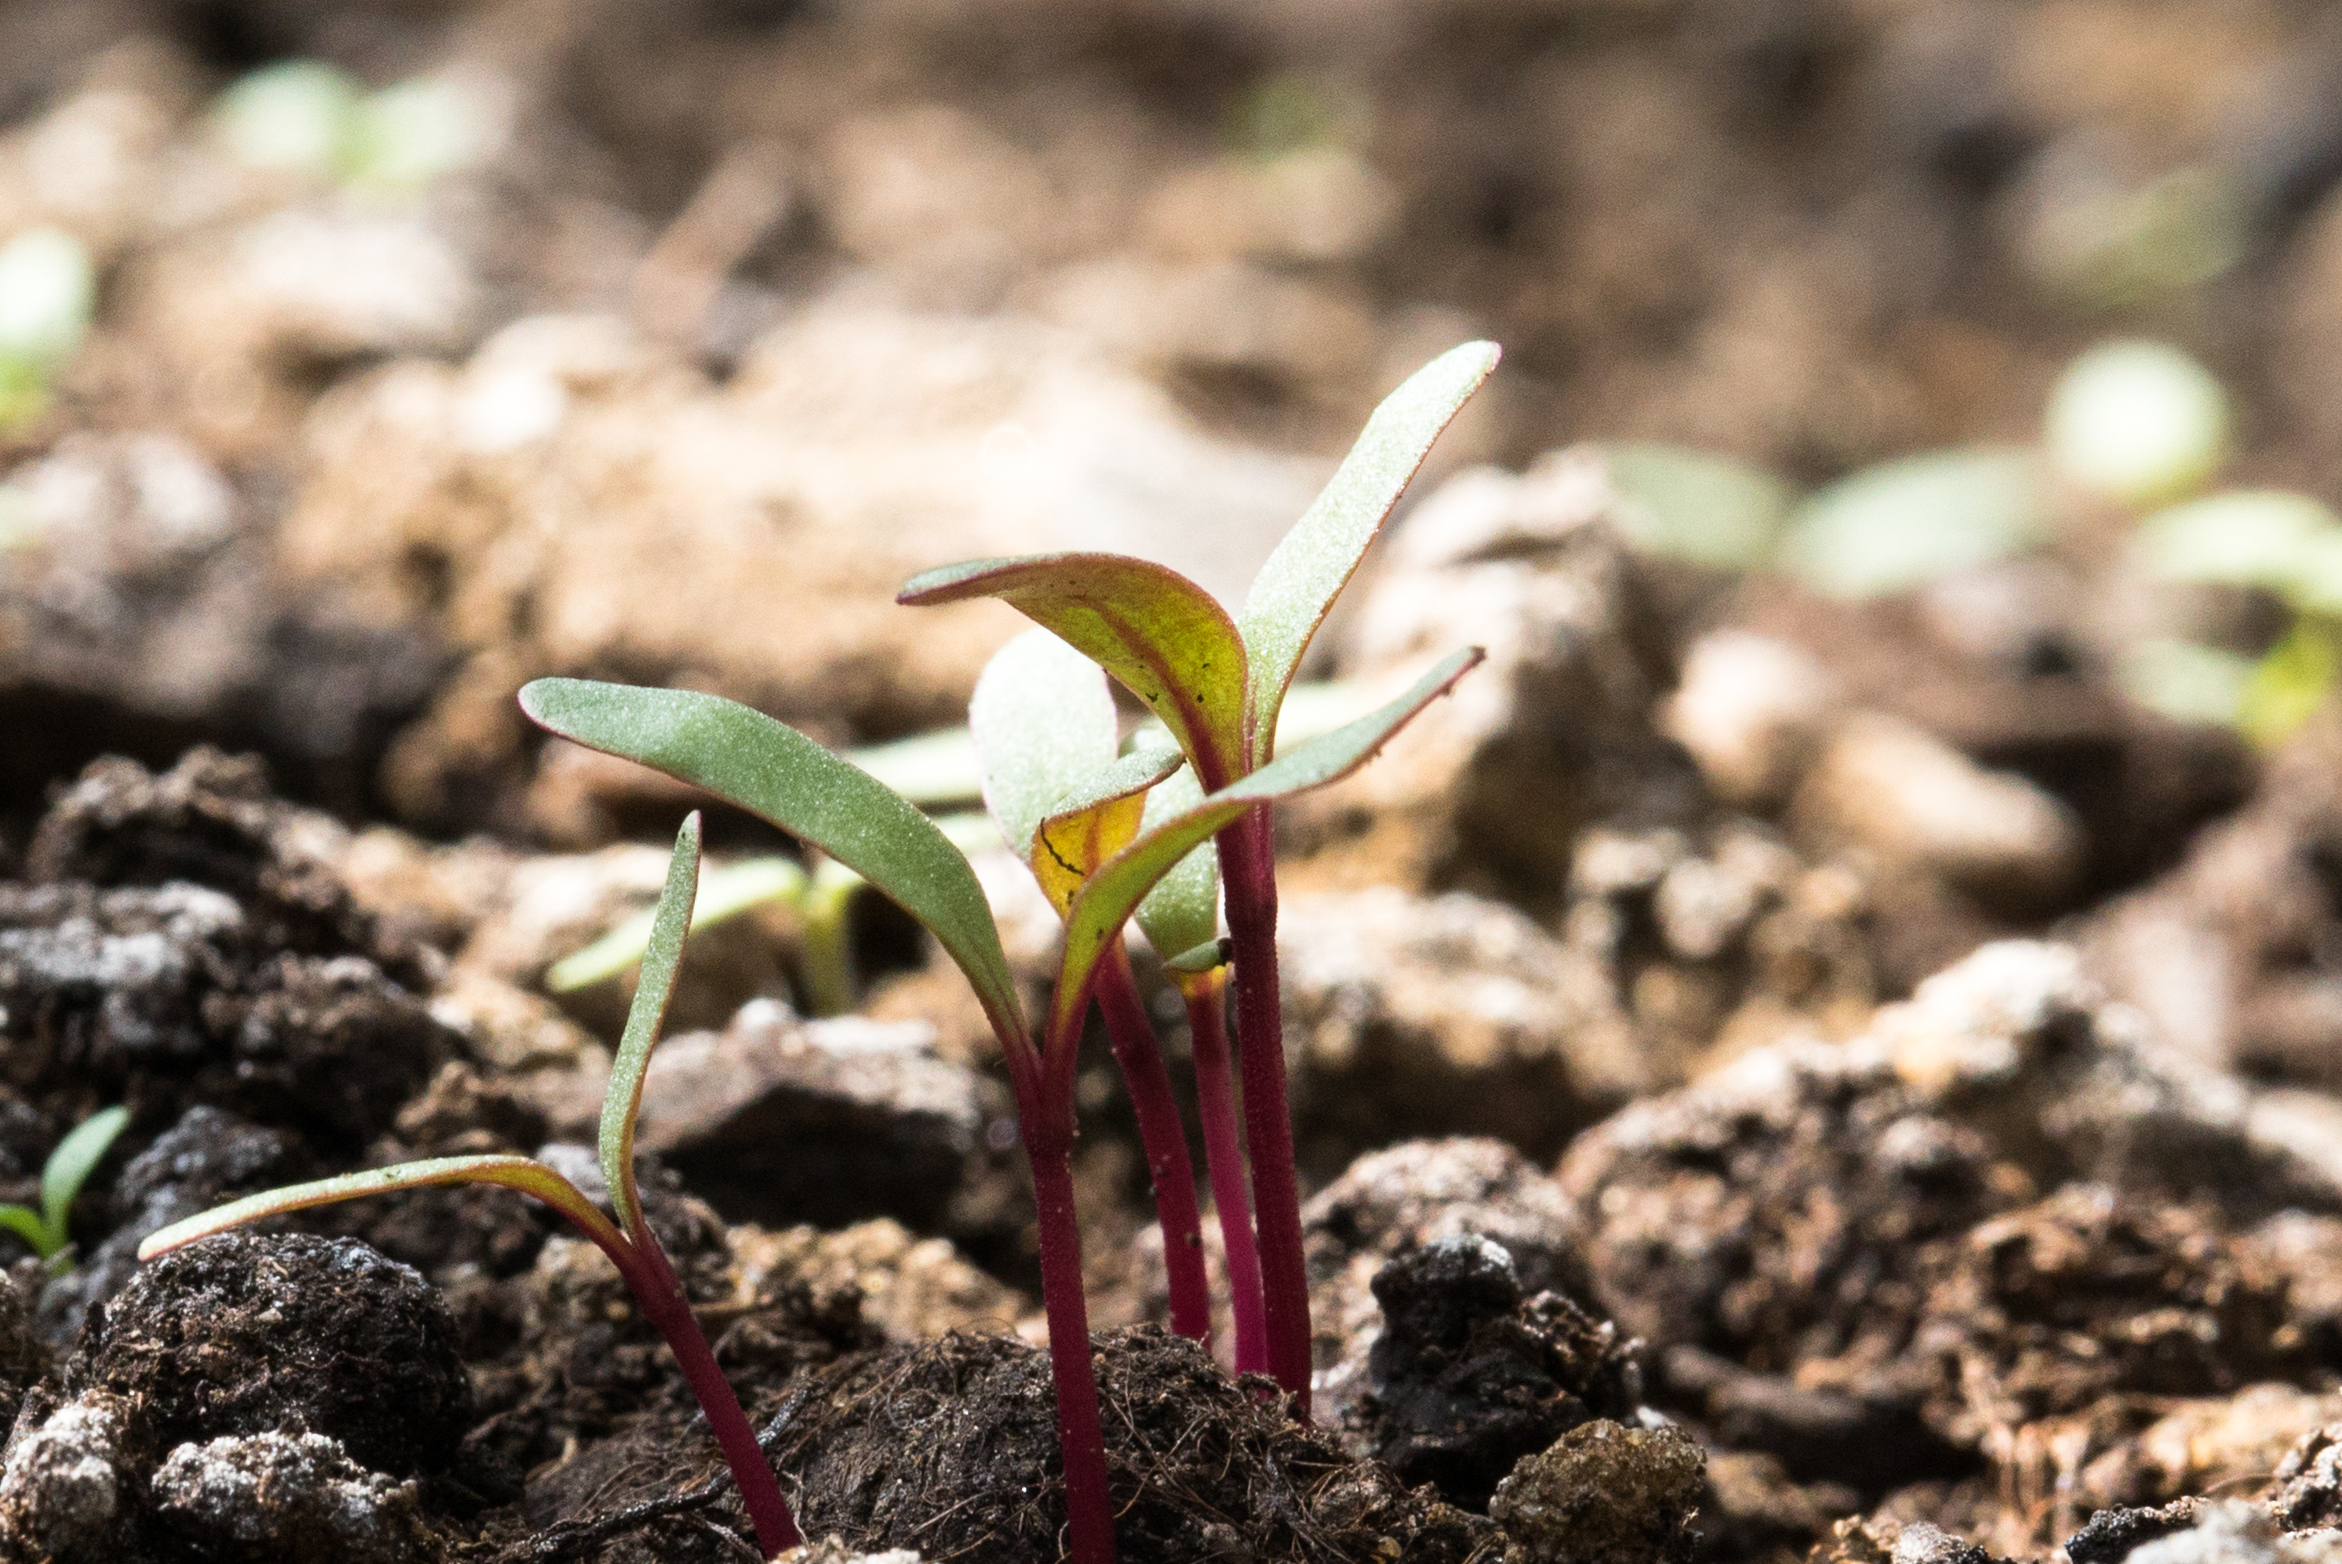
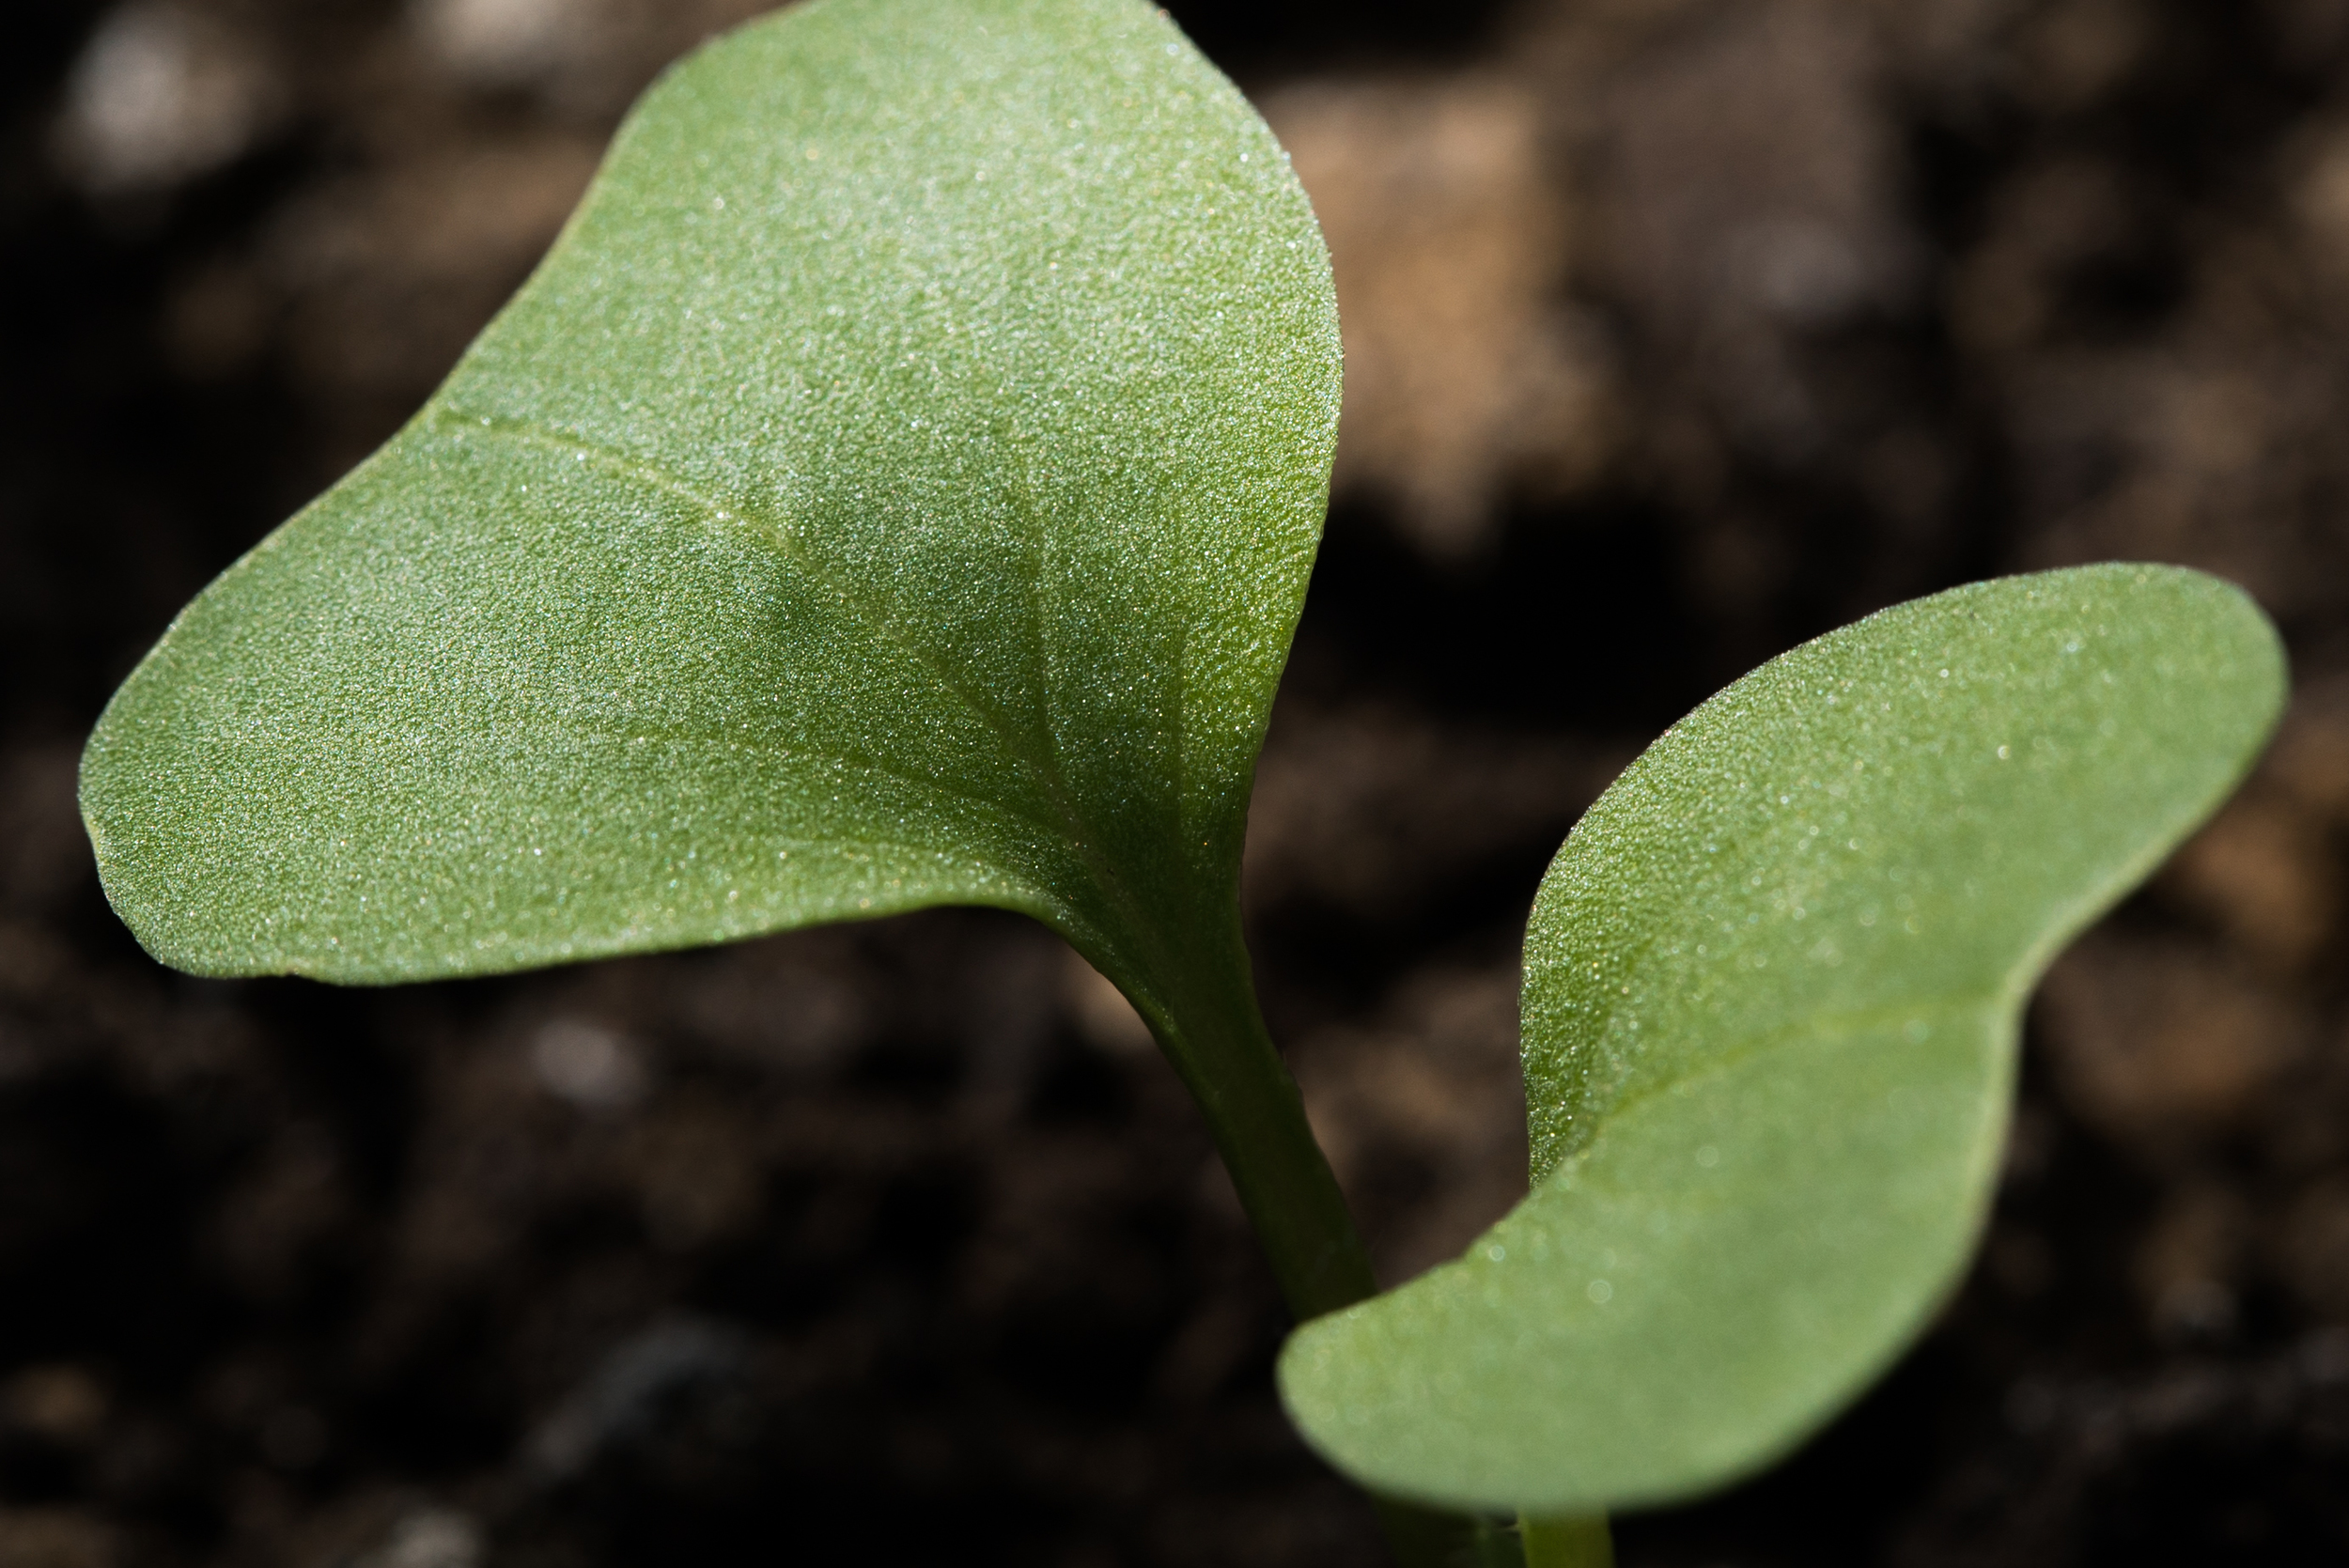


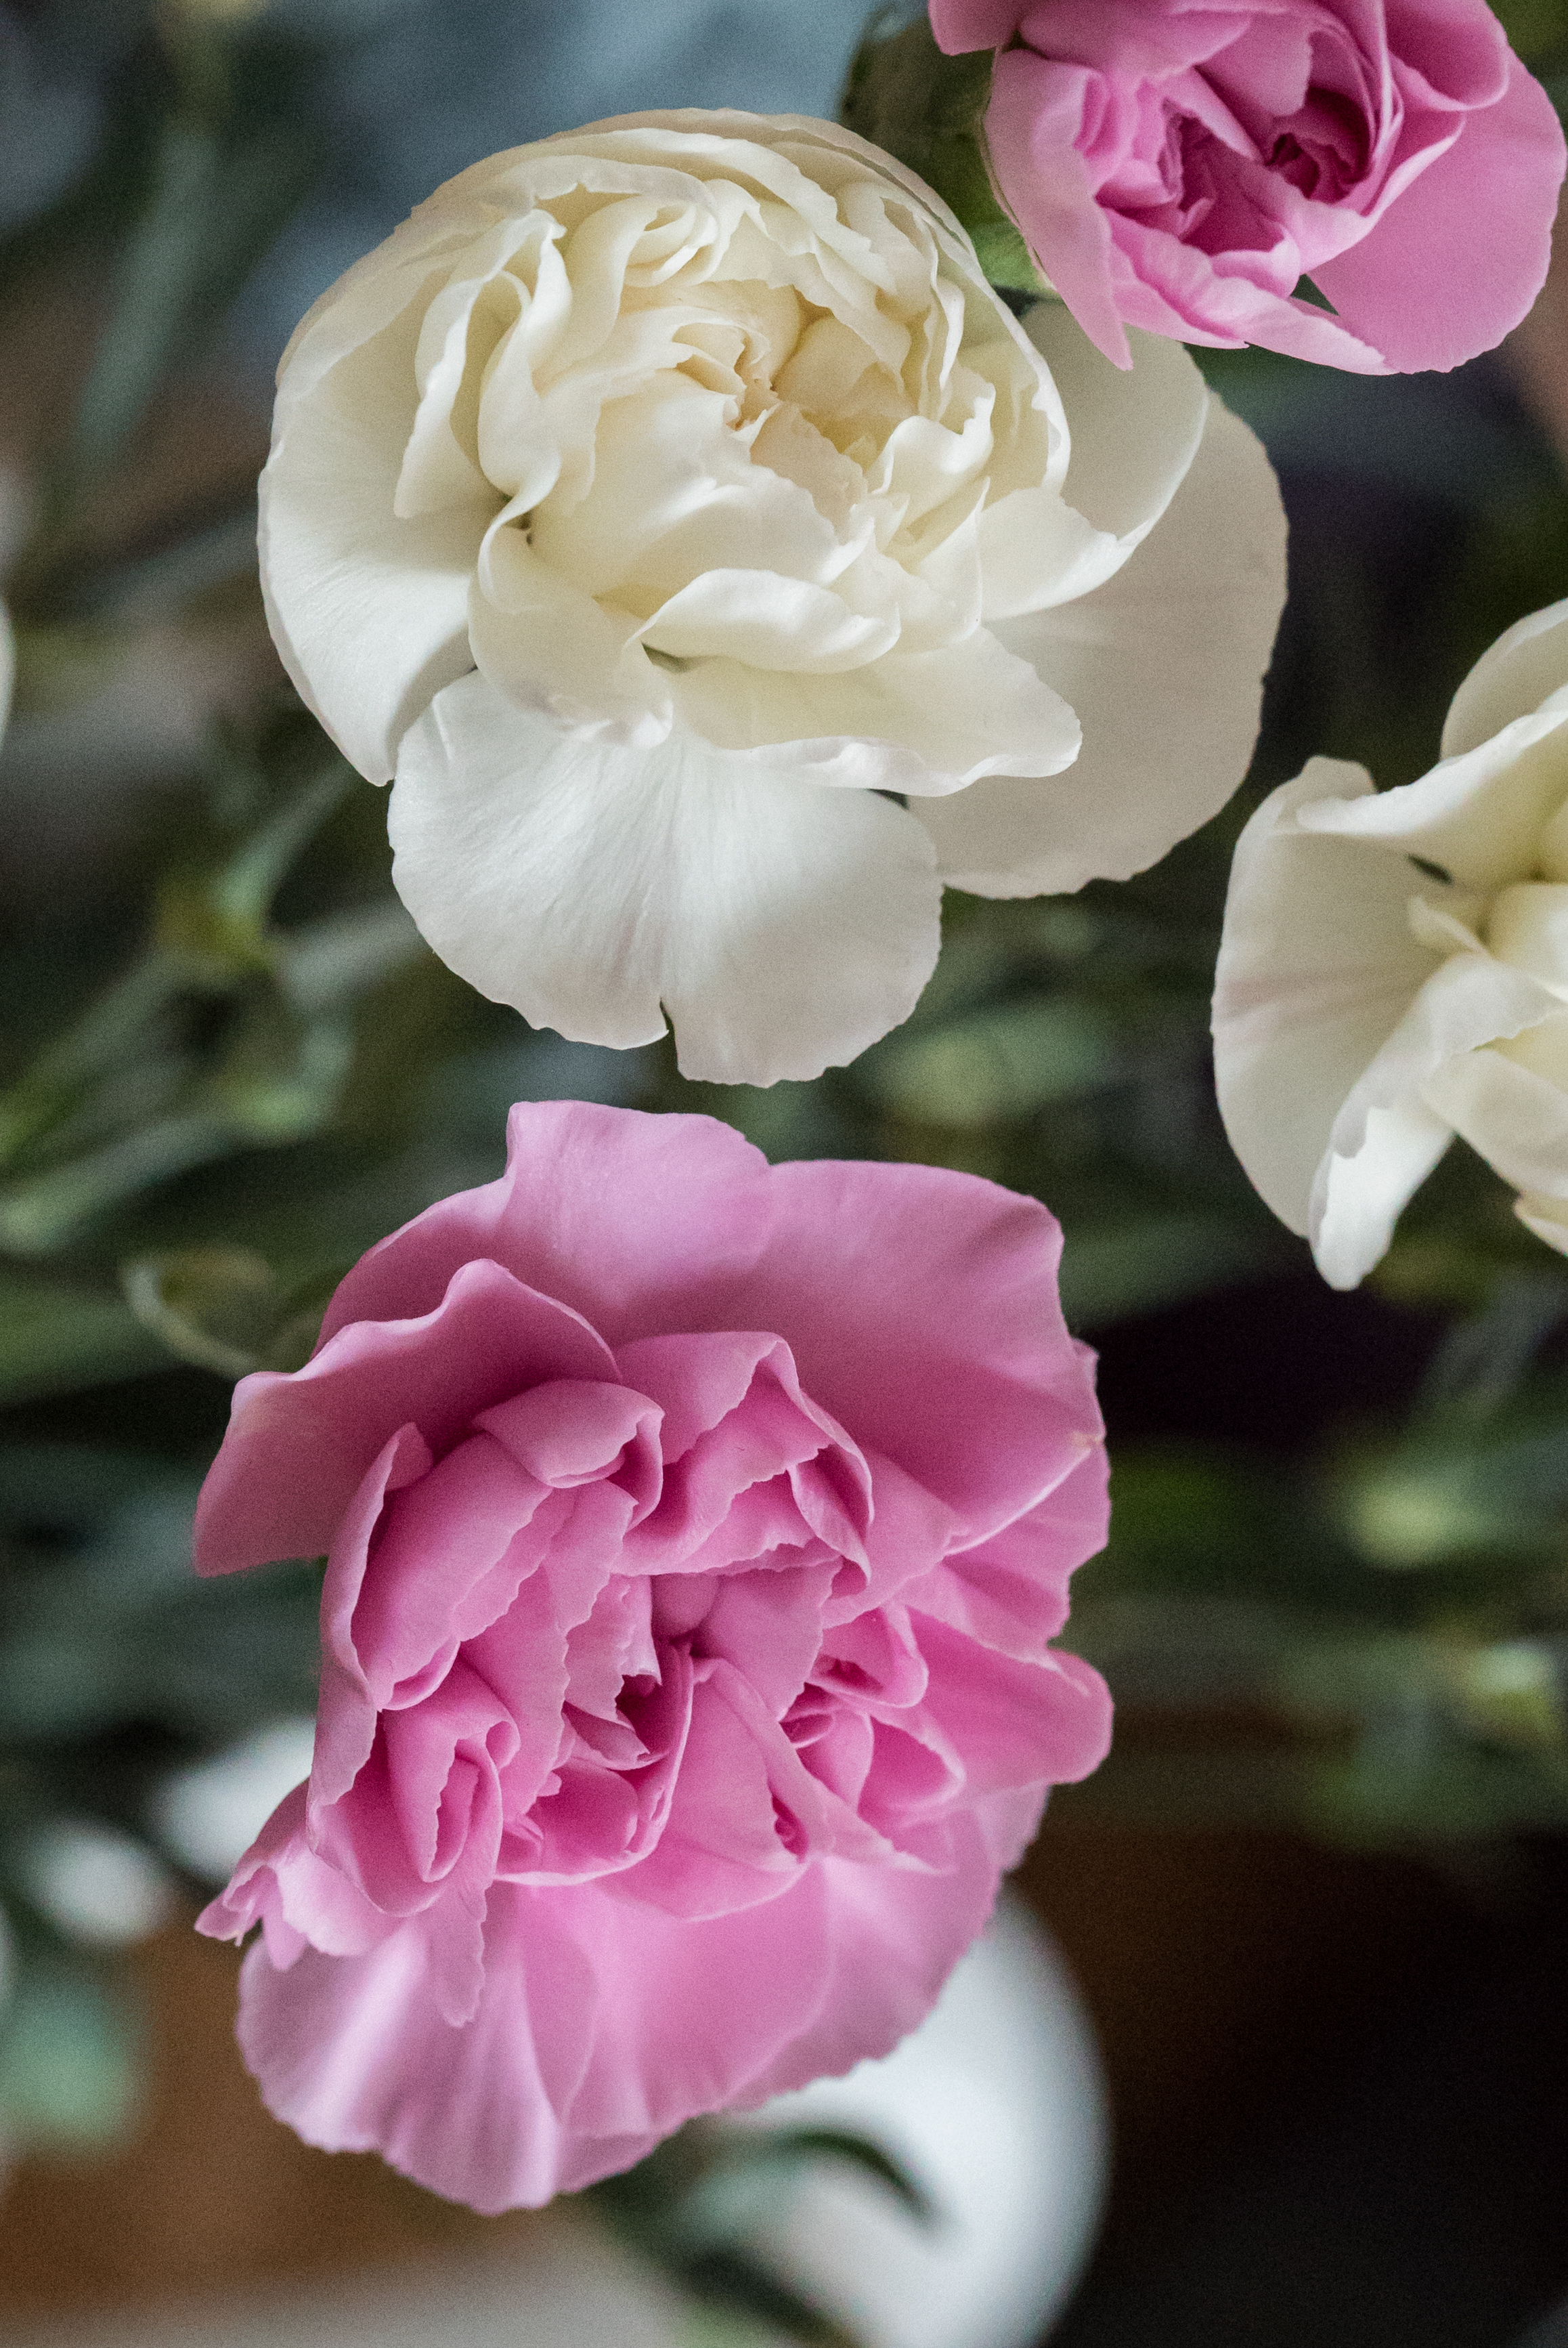
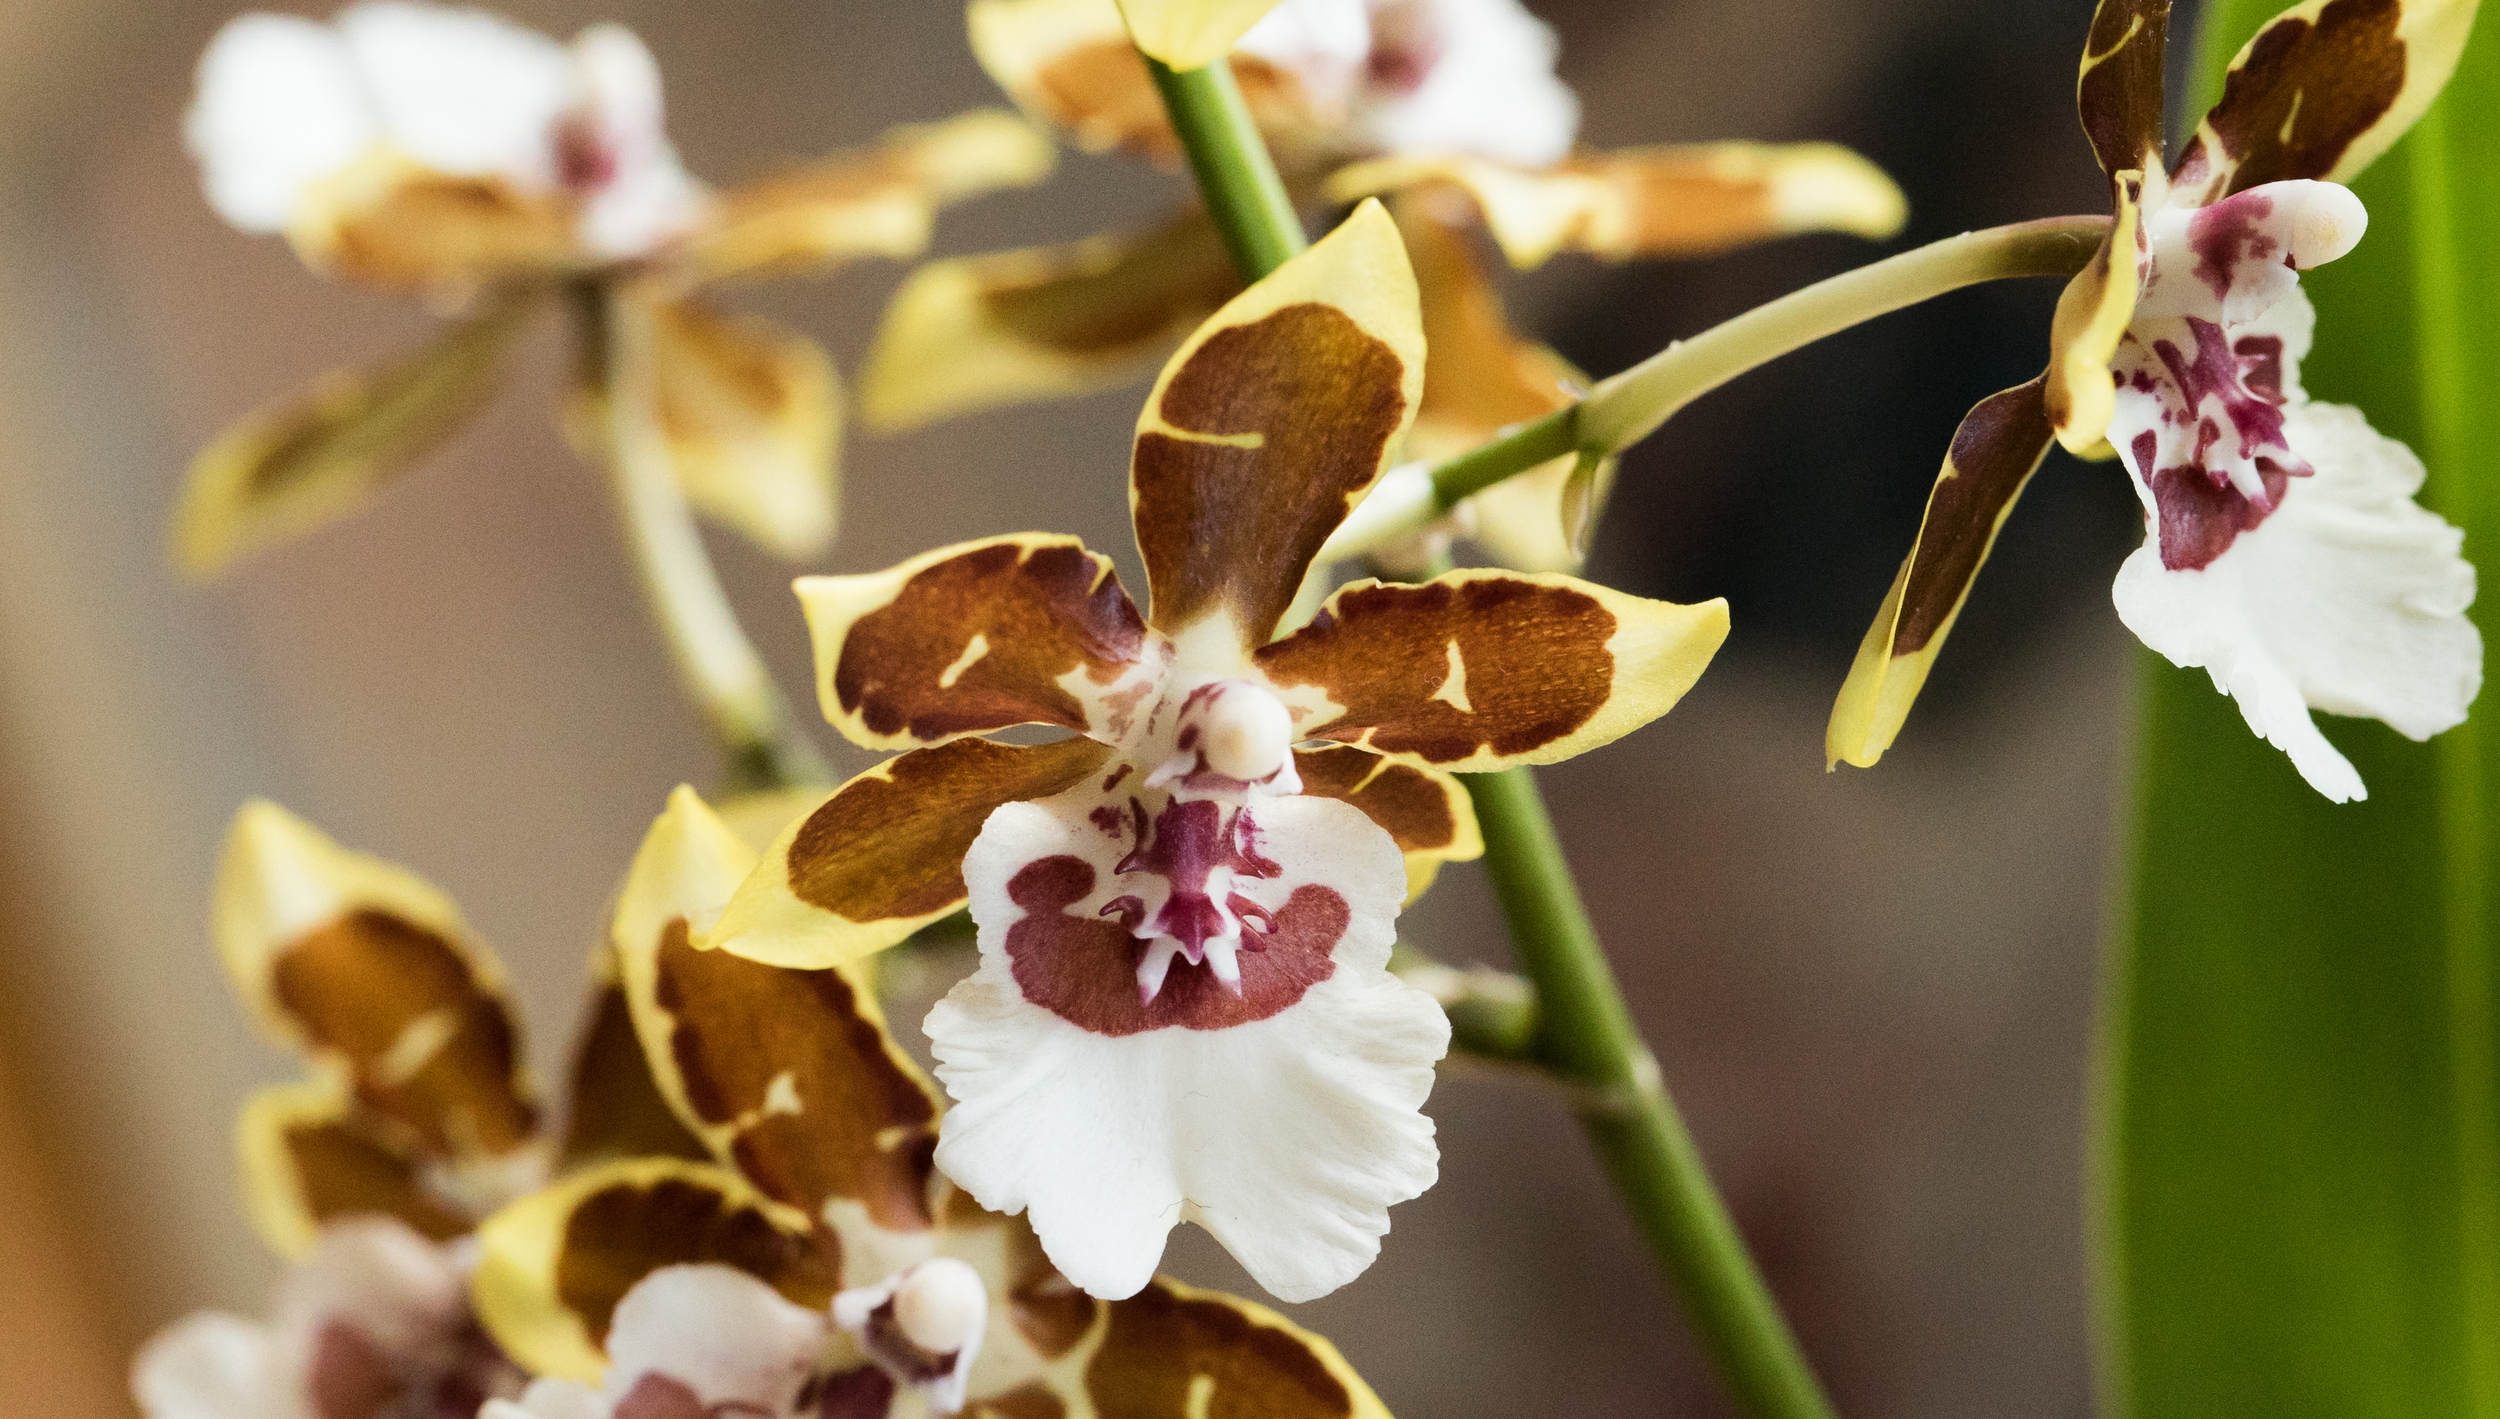


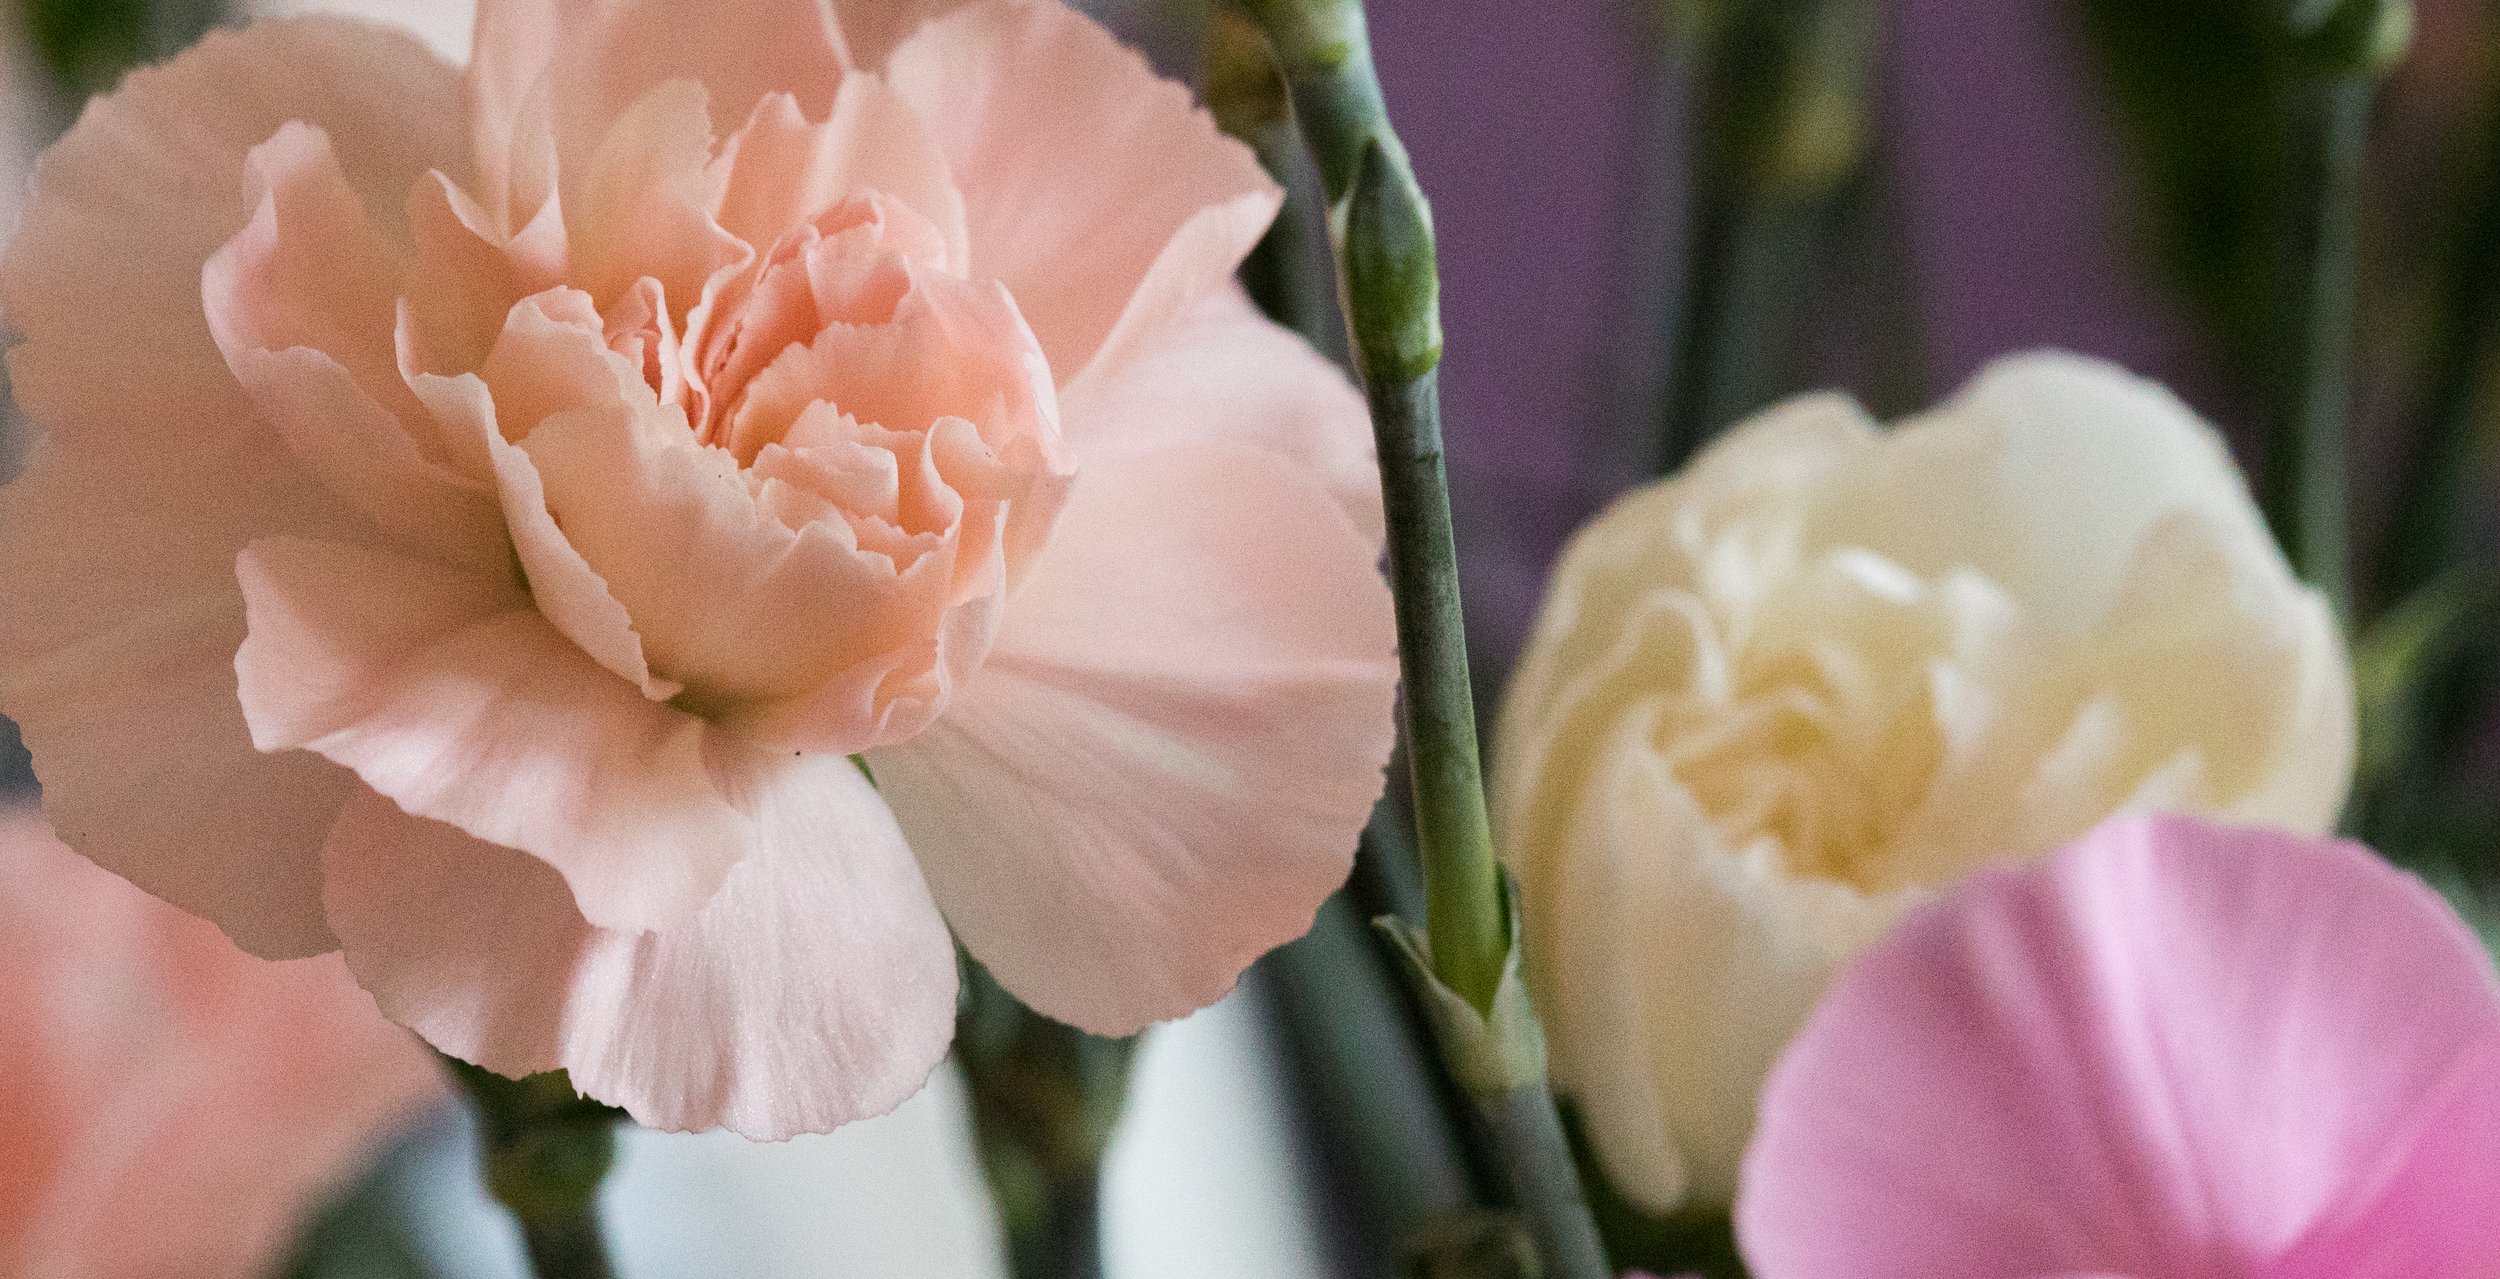

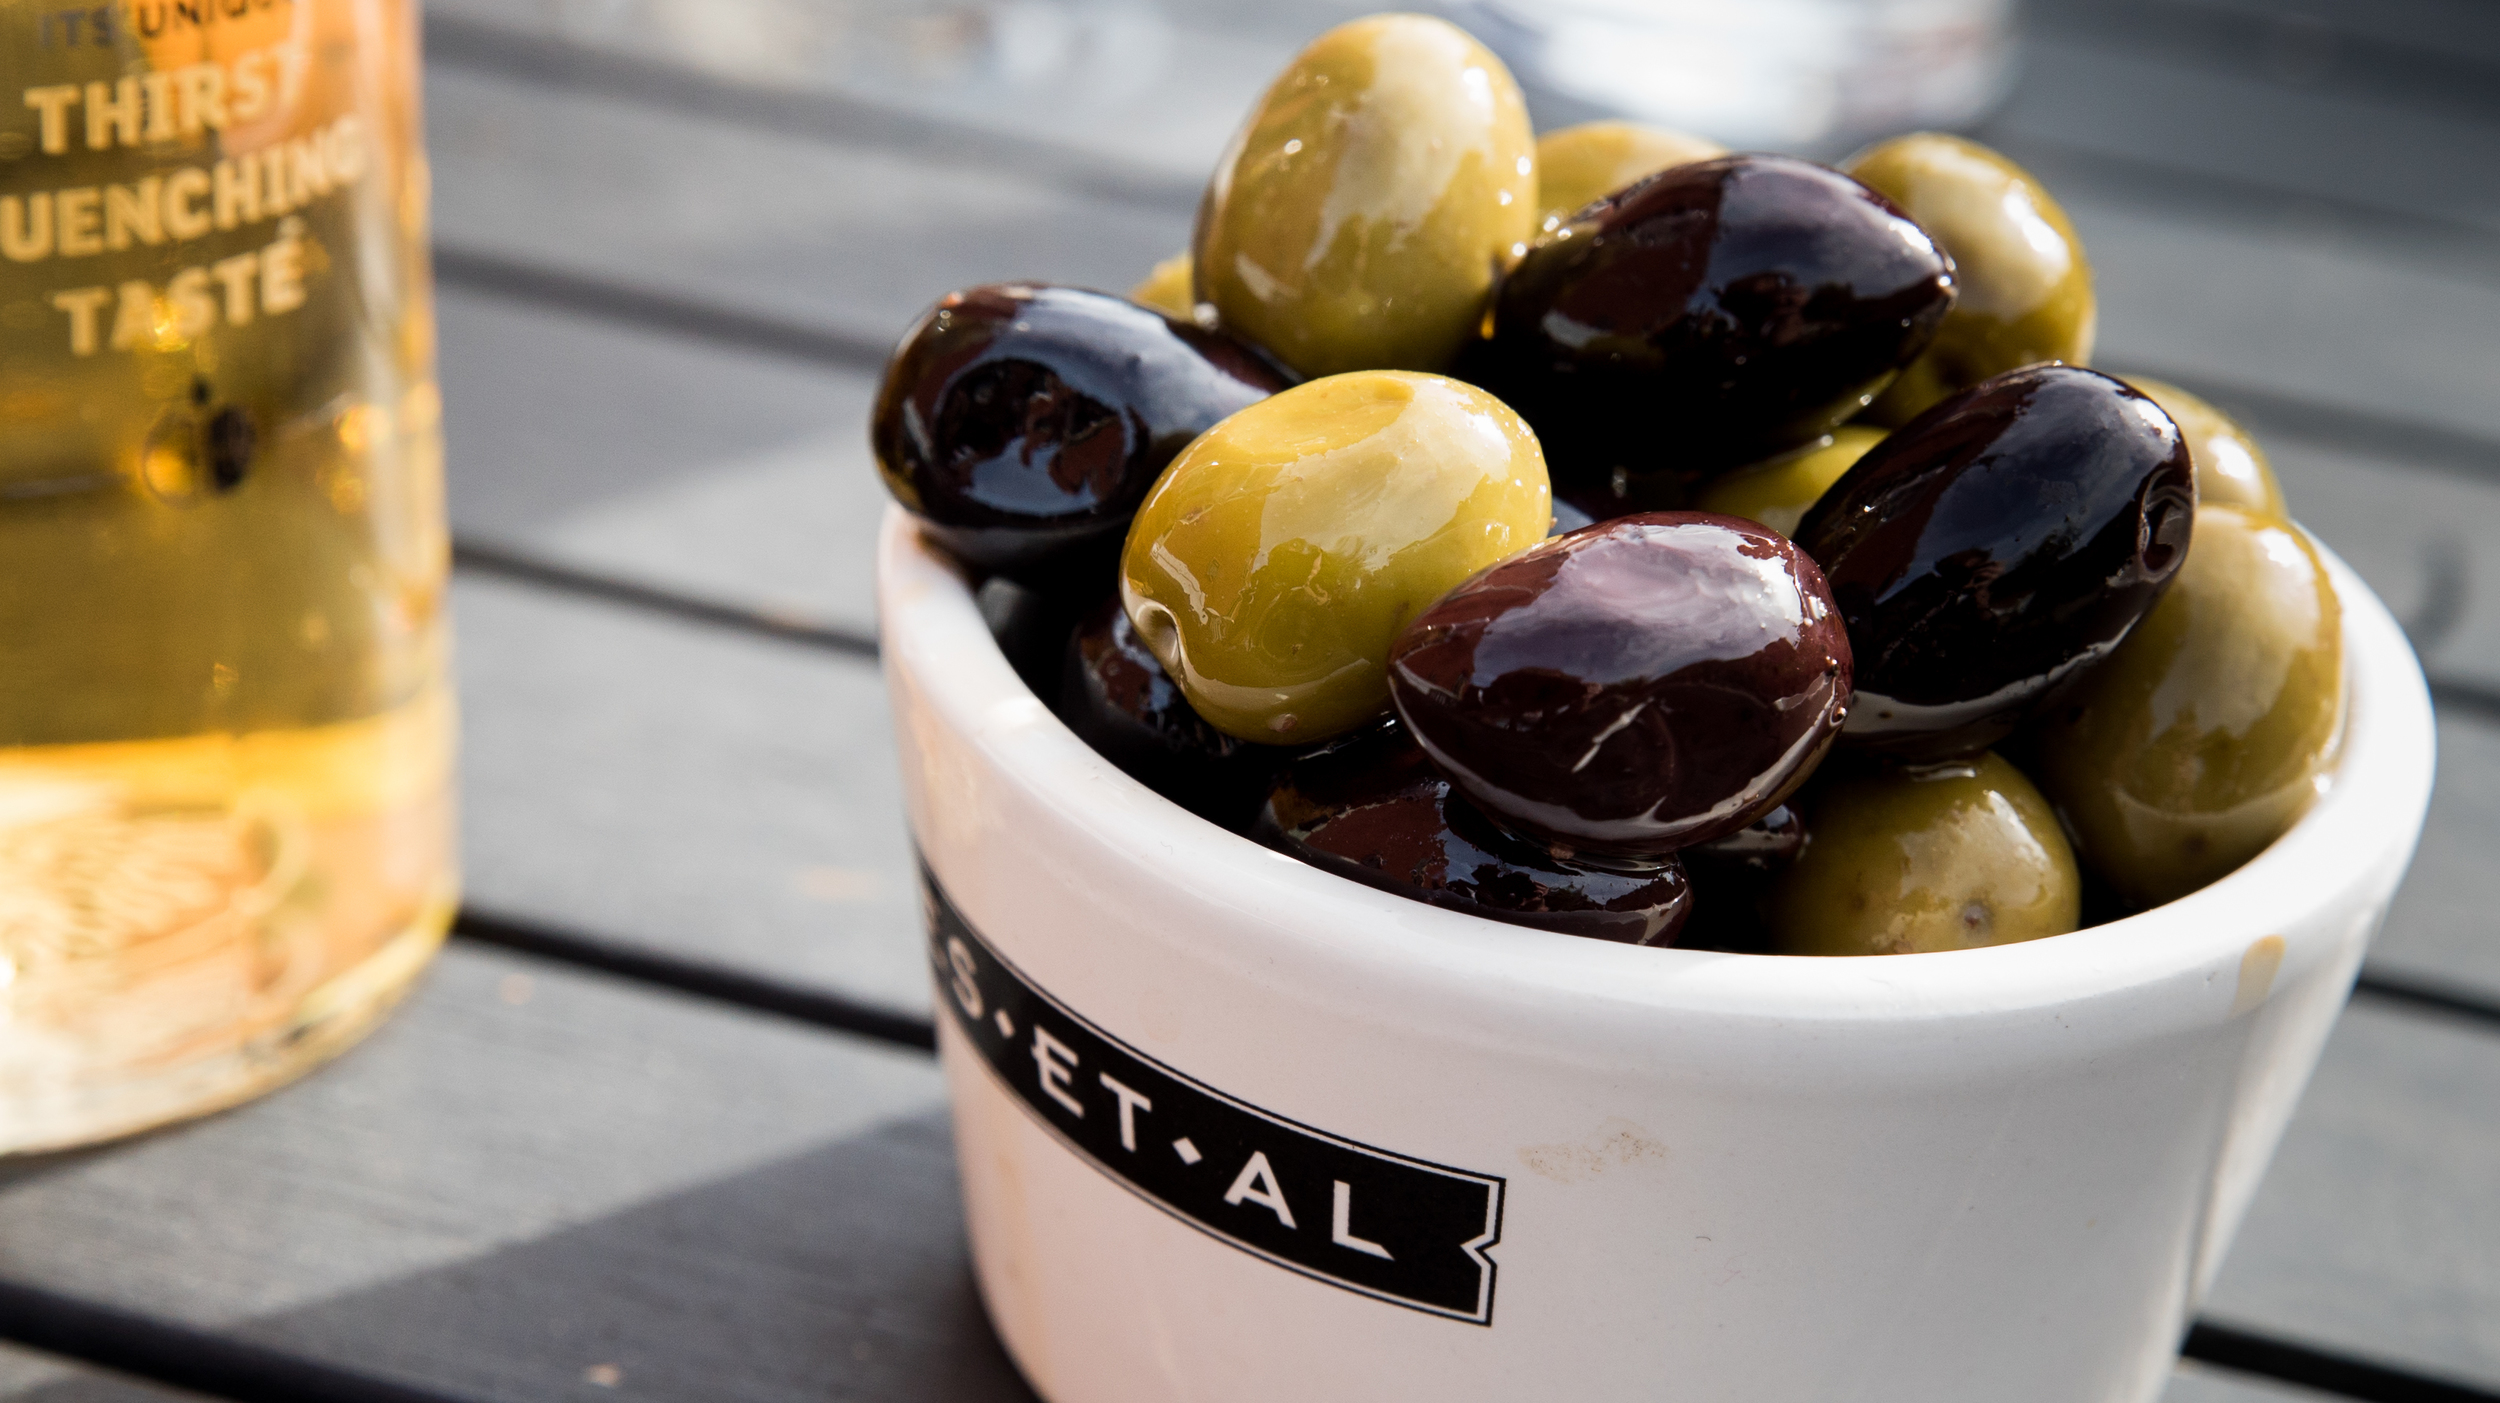
A selection of stills from the Sony A7S of my little vegetables growing in the greenhouse, Sam's new car, some flowers (Orchids and Carnations) in the house and olives from The Queen Adelaide!
Sony A7S, PP6, taken on Canon 100mm F/2.8L and Tamron 24-70 F/2.8 with a range of settings.
Hello all! Great news comes from APV in the form of the latest revolution in cinematography; capturing and delivering video and media content in 4K (3840x2160p) or Ultra High Definition using the Sony A7S camera and Atomos Shogun recorder.
Seeing the release of both the Sony A7S and Atomos Shogun at industry events, I was so keen to get my hands on this kit. Unlike DSLR's the A7S is mirrorless which means it's body is around 1/3 the size of the Canon 5D mkIII, it has incredible light sensitivity, the features to film in both slow-motion and using the S-Log gamma curve make it an ideal production camera in a tiny body.
I first saw the Shogun outside of an expo at the Shadows and Light workshop, a friend was showing me some footage he shot the evening before on the setup in 4K. He showed me the captured footage, and then applied the LUT in the Shogun to show what the result would be after grading.. I was blown away. Both as a monitor and a recorder, the Shogun excels at capturing HD and 4K video and audio with in-built monitors such as waveform and vectorscope, peaking, zebras, as well as recording in a range of formats at a much higher bit-rate than in camera recording - 220Mbit/s HD and 440Mbit/s 4K (I think) which is perfect for grading and video-focused productions to filmmaking.
I invested into Canon EF equipment a couple of years back as the 5D mkIII was to best option for large sensor filming, so instead of spending out on native Sony E mount lenses I purchased both the Metabones EF-E mount mk IV and the Commlite EF-E mount to use my current lenses.
Also knowing that the batteries for the A7S (FW-50) are much smaller in capacity than the LP-E6 Canon batteries, I ordered another 4 Sony's with the camera and two from Amazon with another charger (EX-Pro). Inevitably, all of the accessories came before the camera did.. So I eagerly charged and labelled up the kit and get it ready for the camera to arrive!
The camera came last week and not having any new toys for a while I was keen to play around and check out the cameras features straight away! Glen came over as the camera arrived, so he became my willing subject. I hooked up the Tamron 24-70 to the Metabones which worked fine and shot some handheld video, as the lenses vibration control was active. I also have an eyecup for the little viewfinder for another point of contact, to reduce the shake if I need to hand-hold for some shots.
As I was waiting for numerous deliveries to arrive (including the Shogun), I was housebound for a while so I made do with the plants in the garden and my cat for things to film. Here's some of the first footage captured -
A7S and Soligor 35-140 with metabones waiting for the Sparrows
A7S and Tamron 24-70 with metabones in the cage. Soon to be replaced by the Movcam rails kit.
A mix of footage shot for the first time on the Sony A7S, probably in No Picture Profile. Really love the image with the lenses that I have, very organic with fantastic light sensitivity. It was also impressive hooking up the Atomos Shogun to the 5D mk III for 1080p in ProRes HQ, which gives much more latitude for colour grading and post work because of the much higher bit rate.
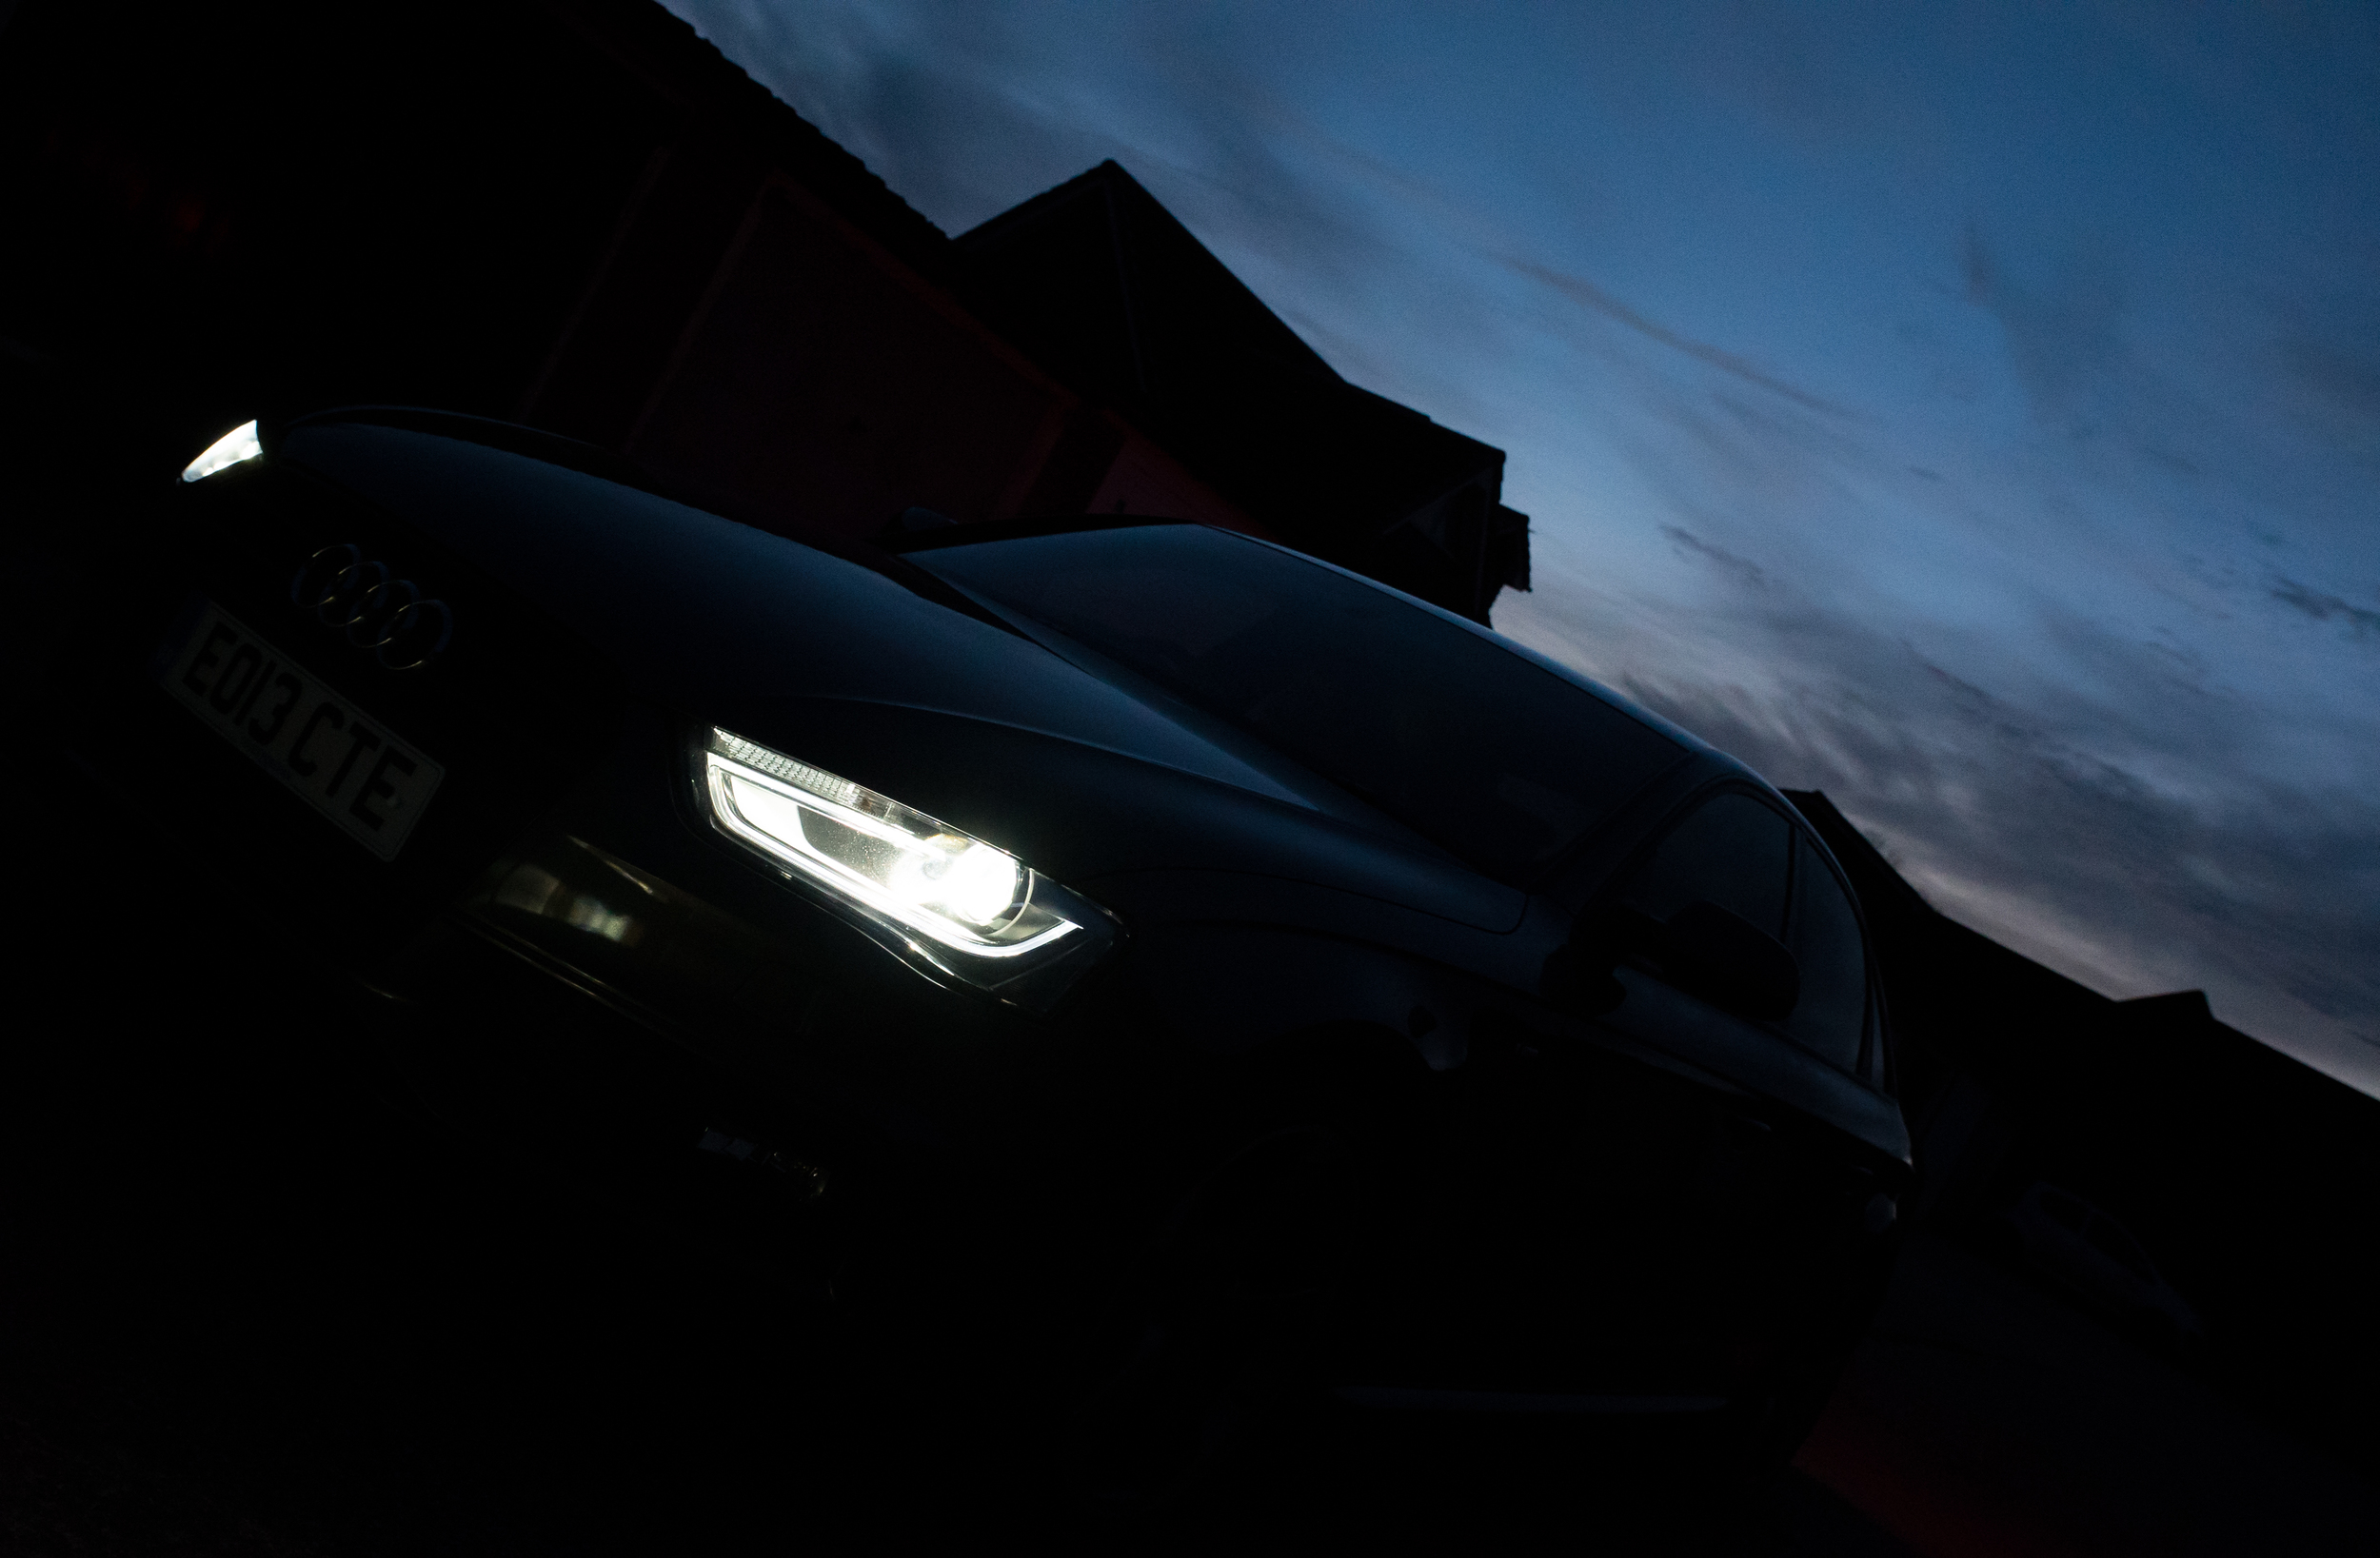
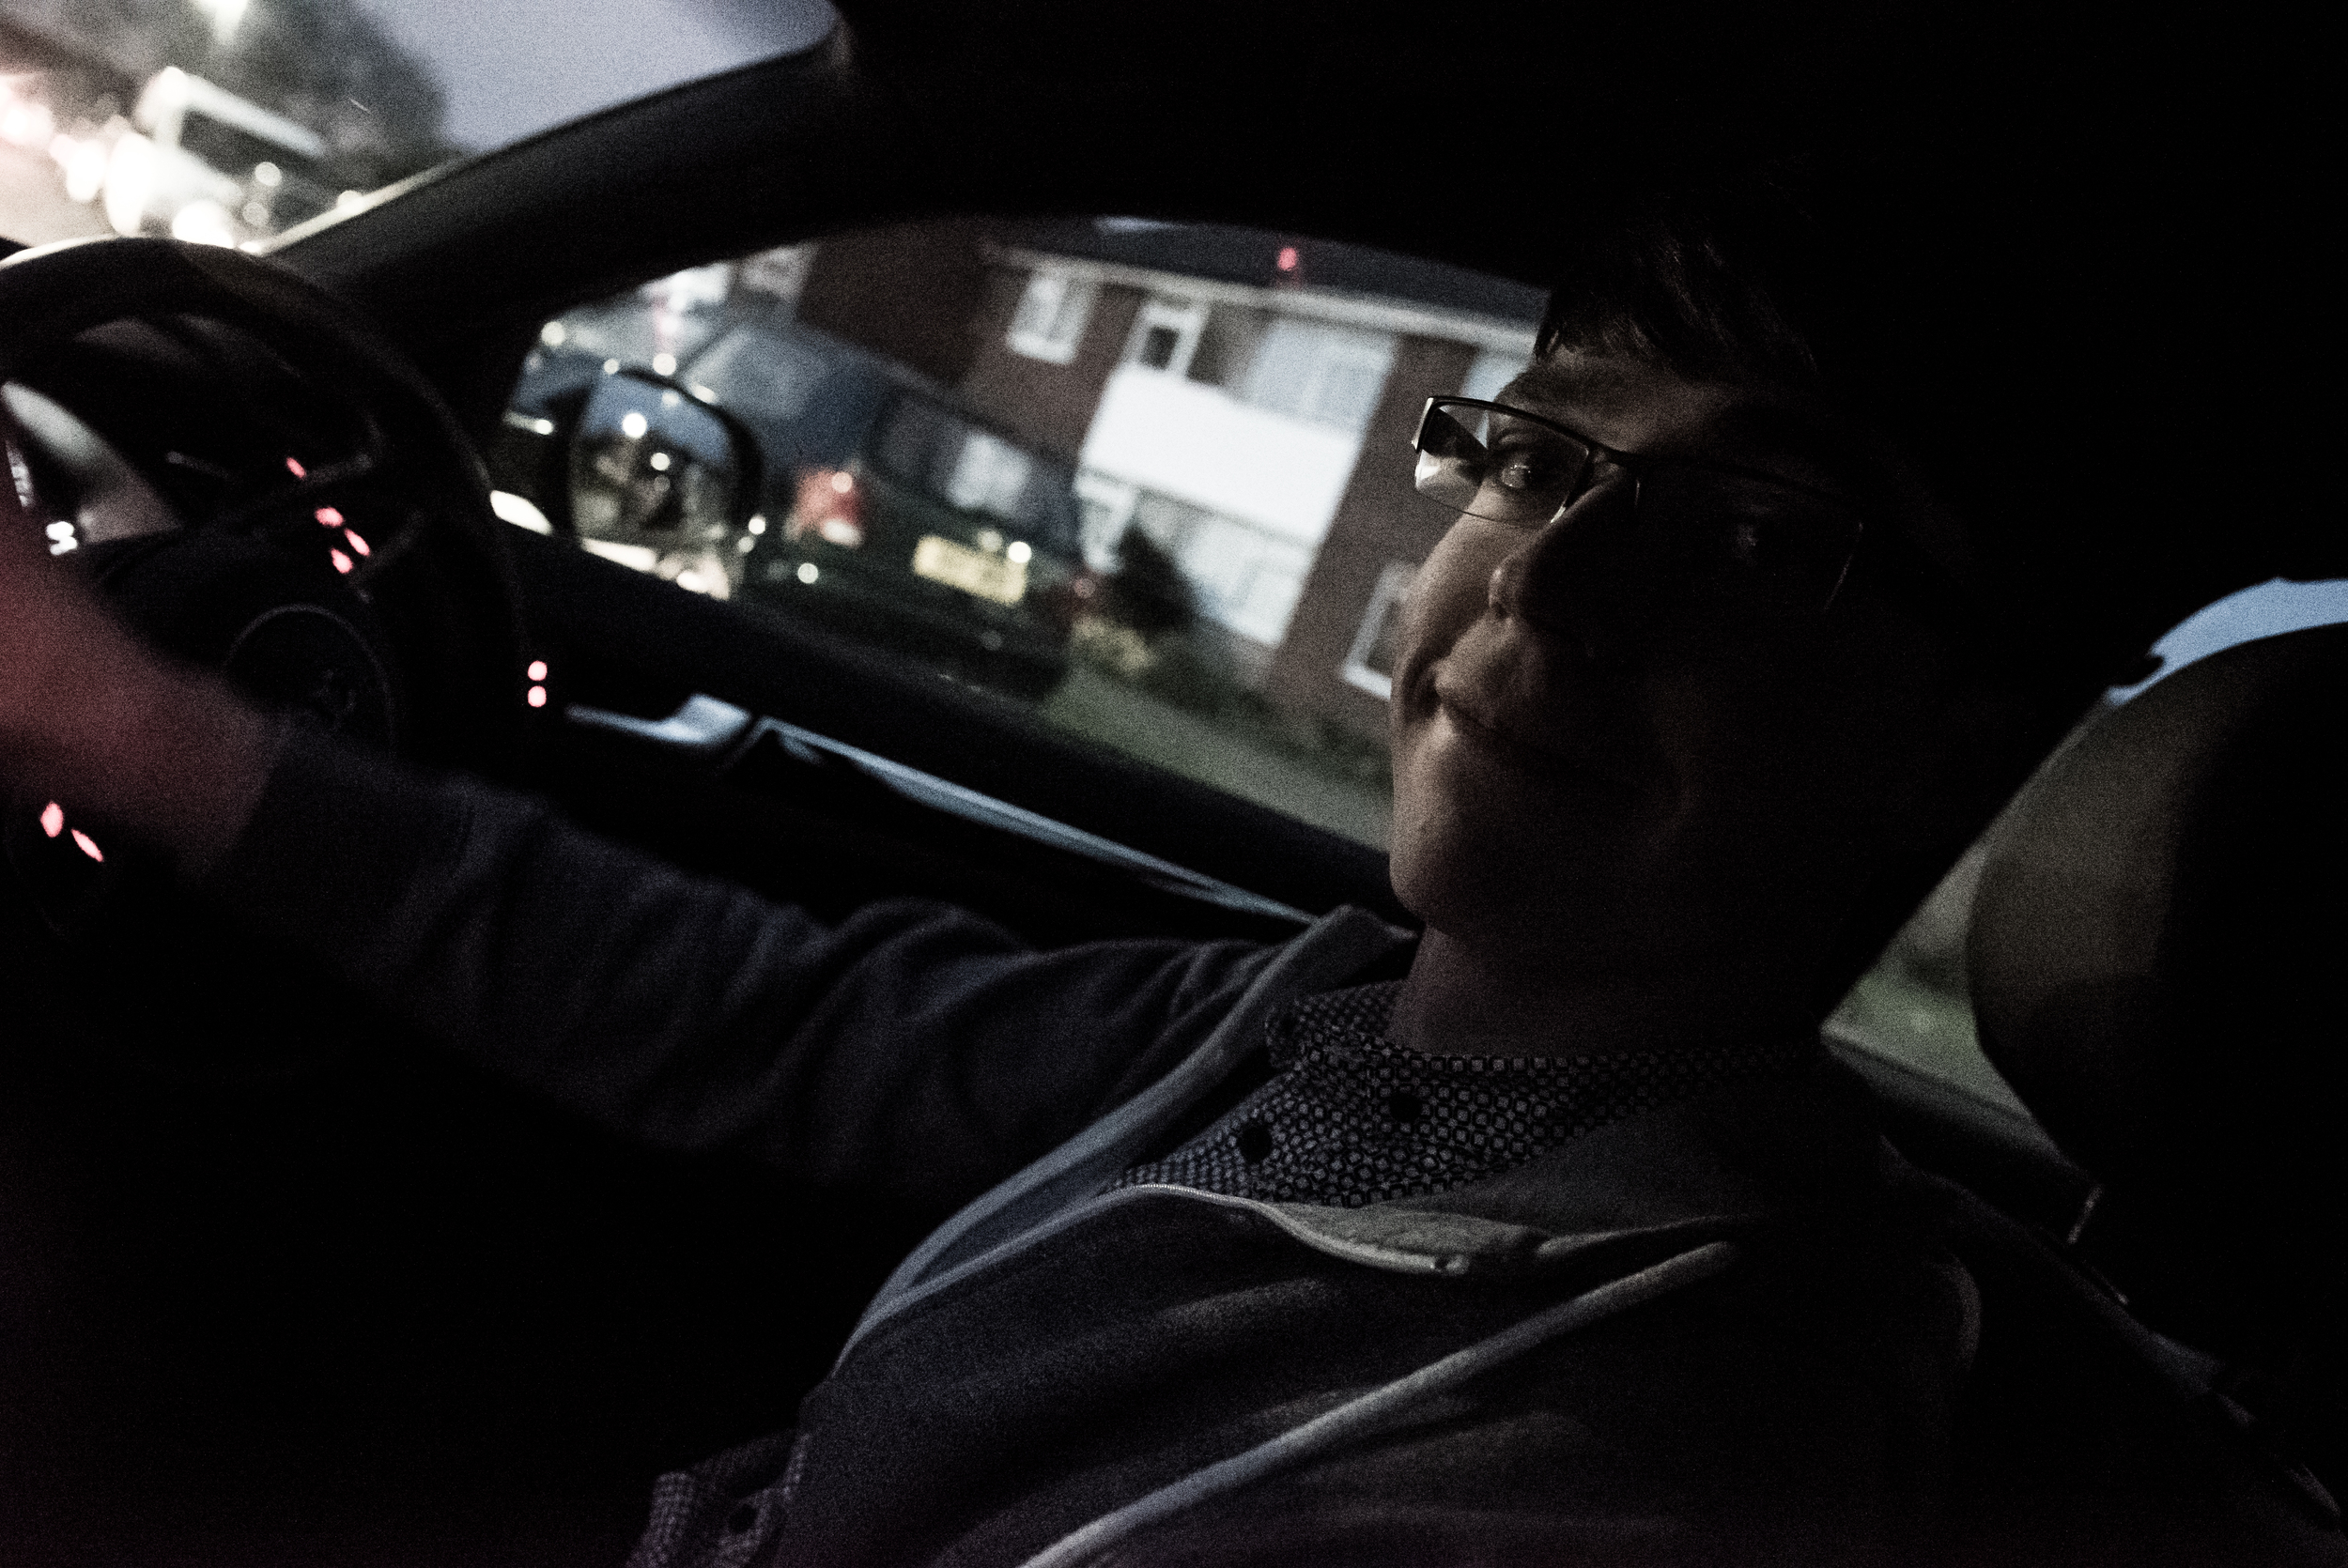
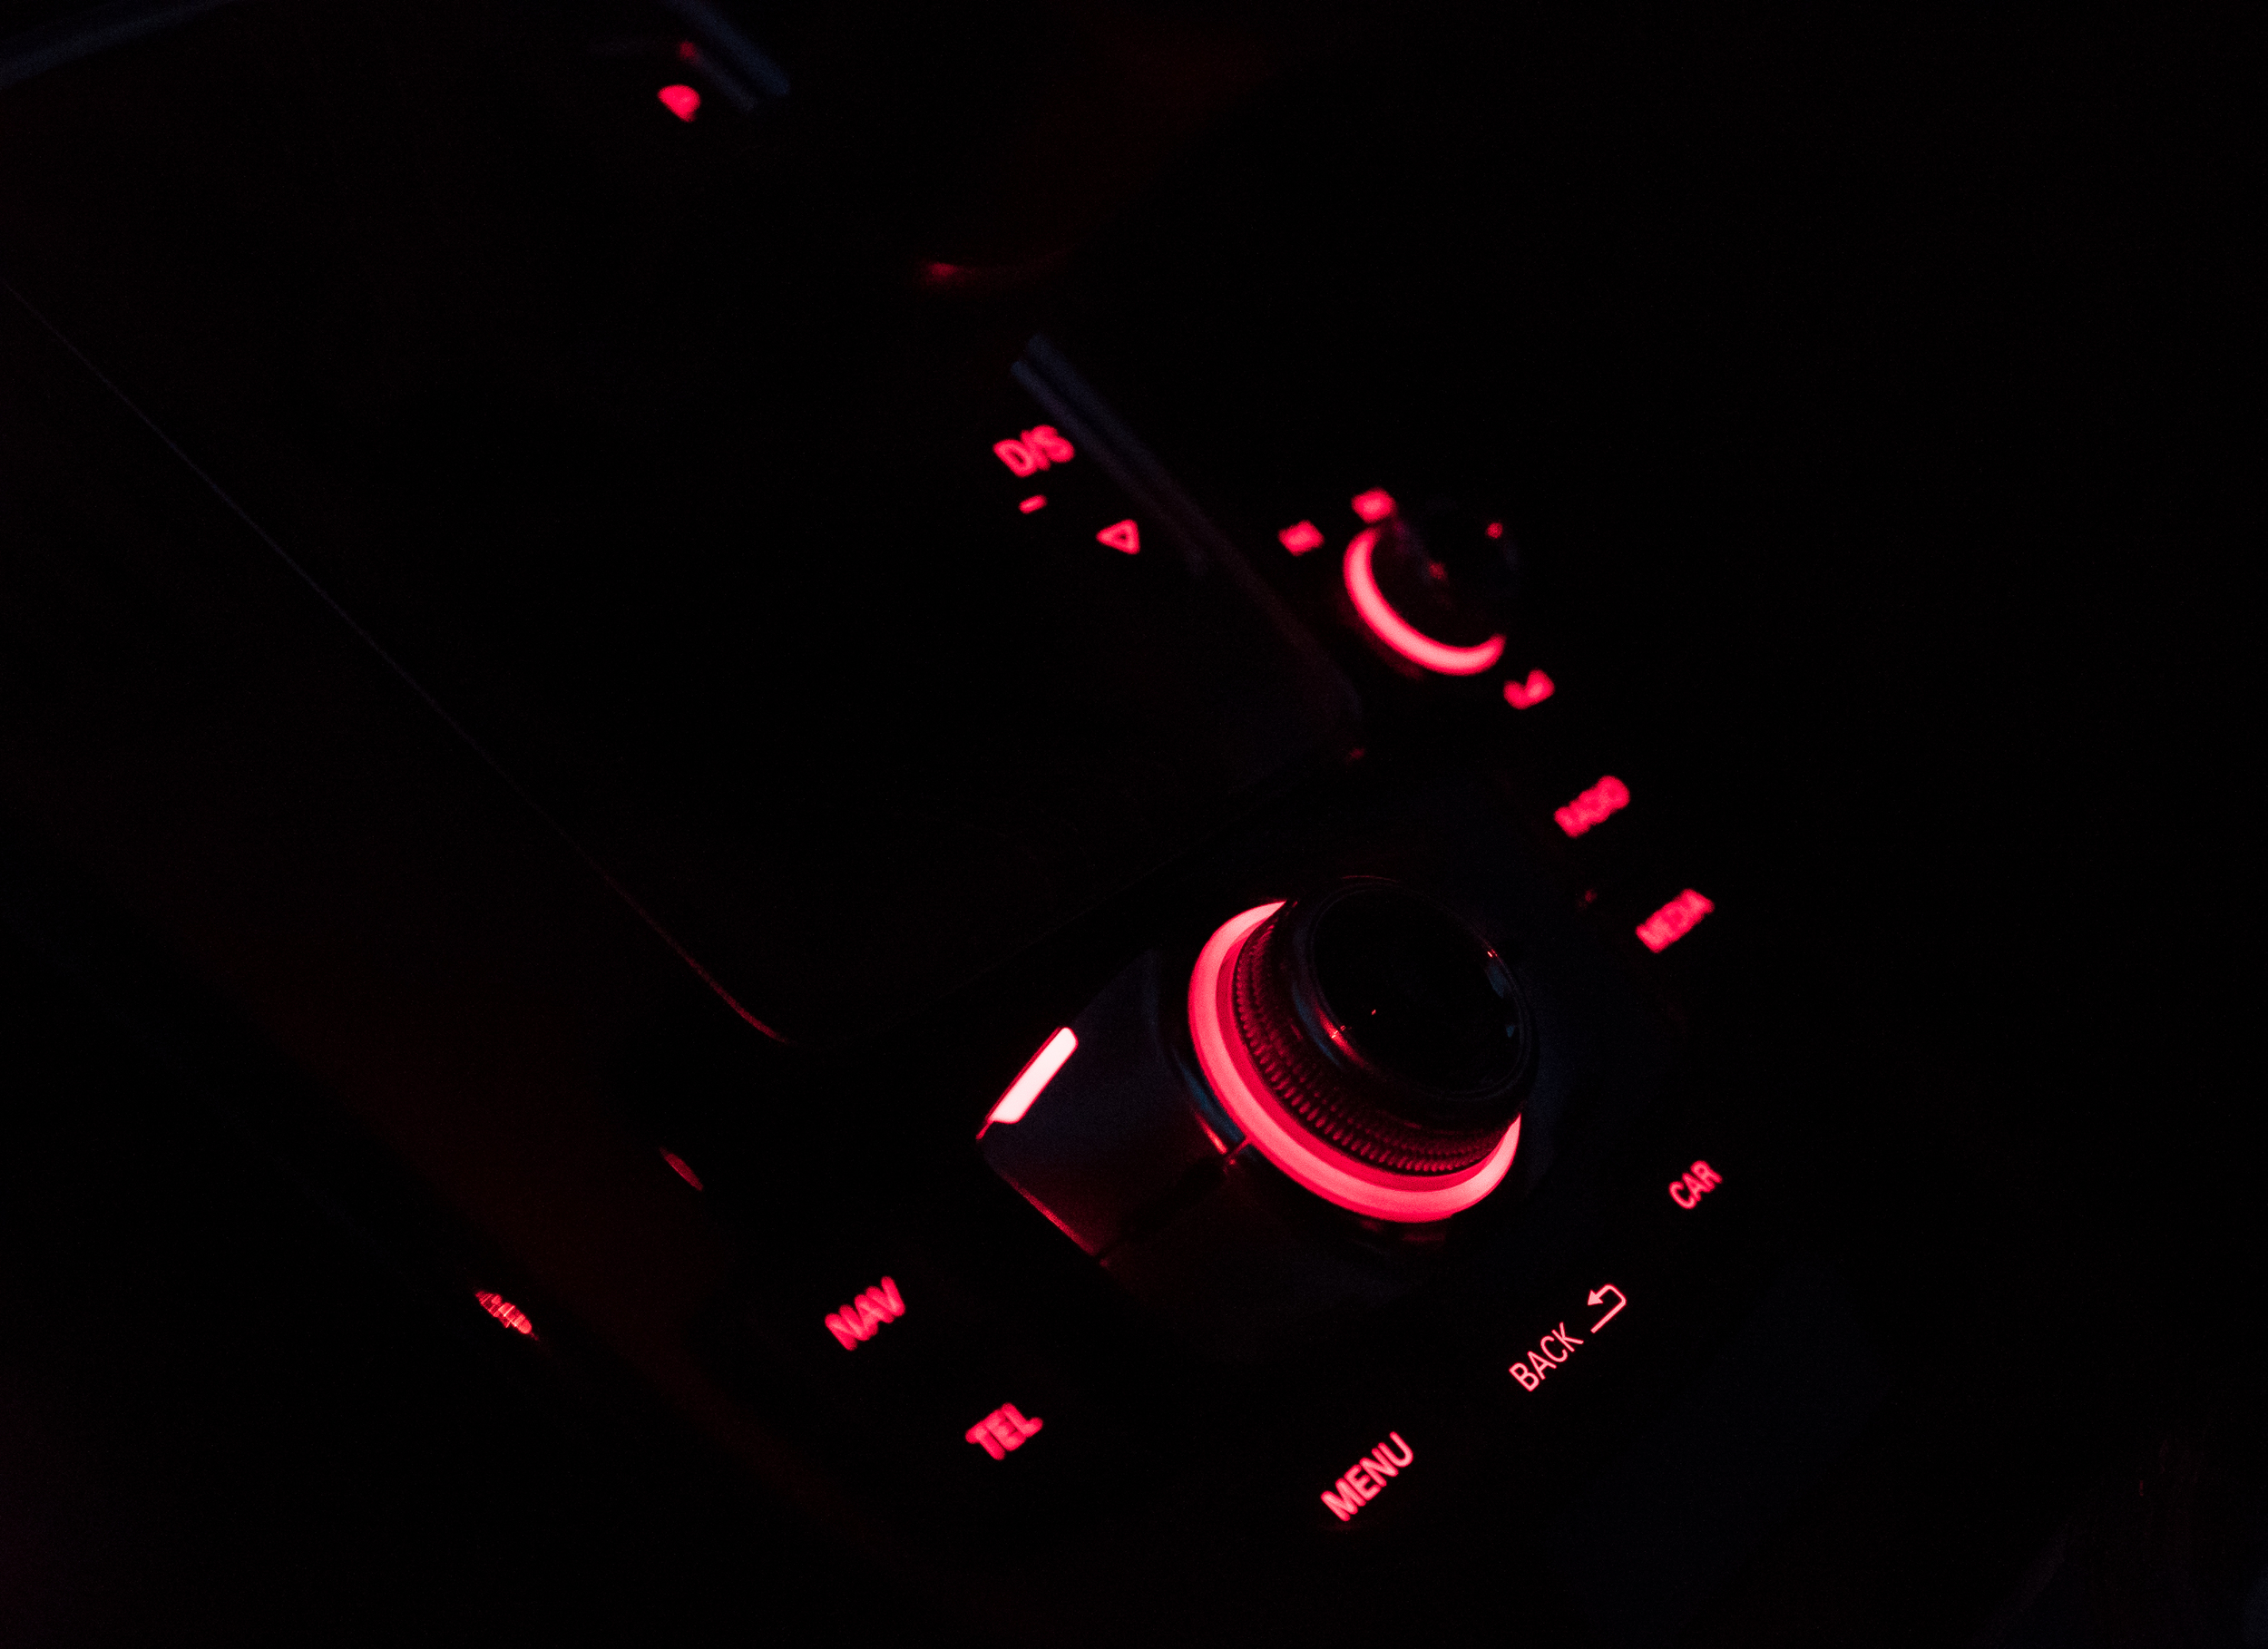
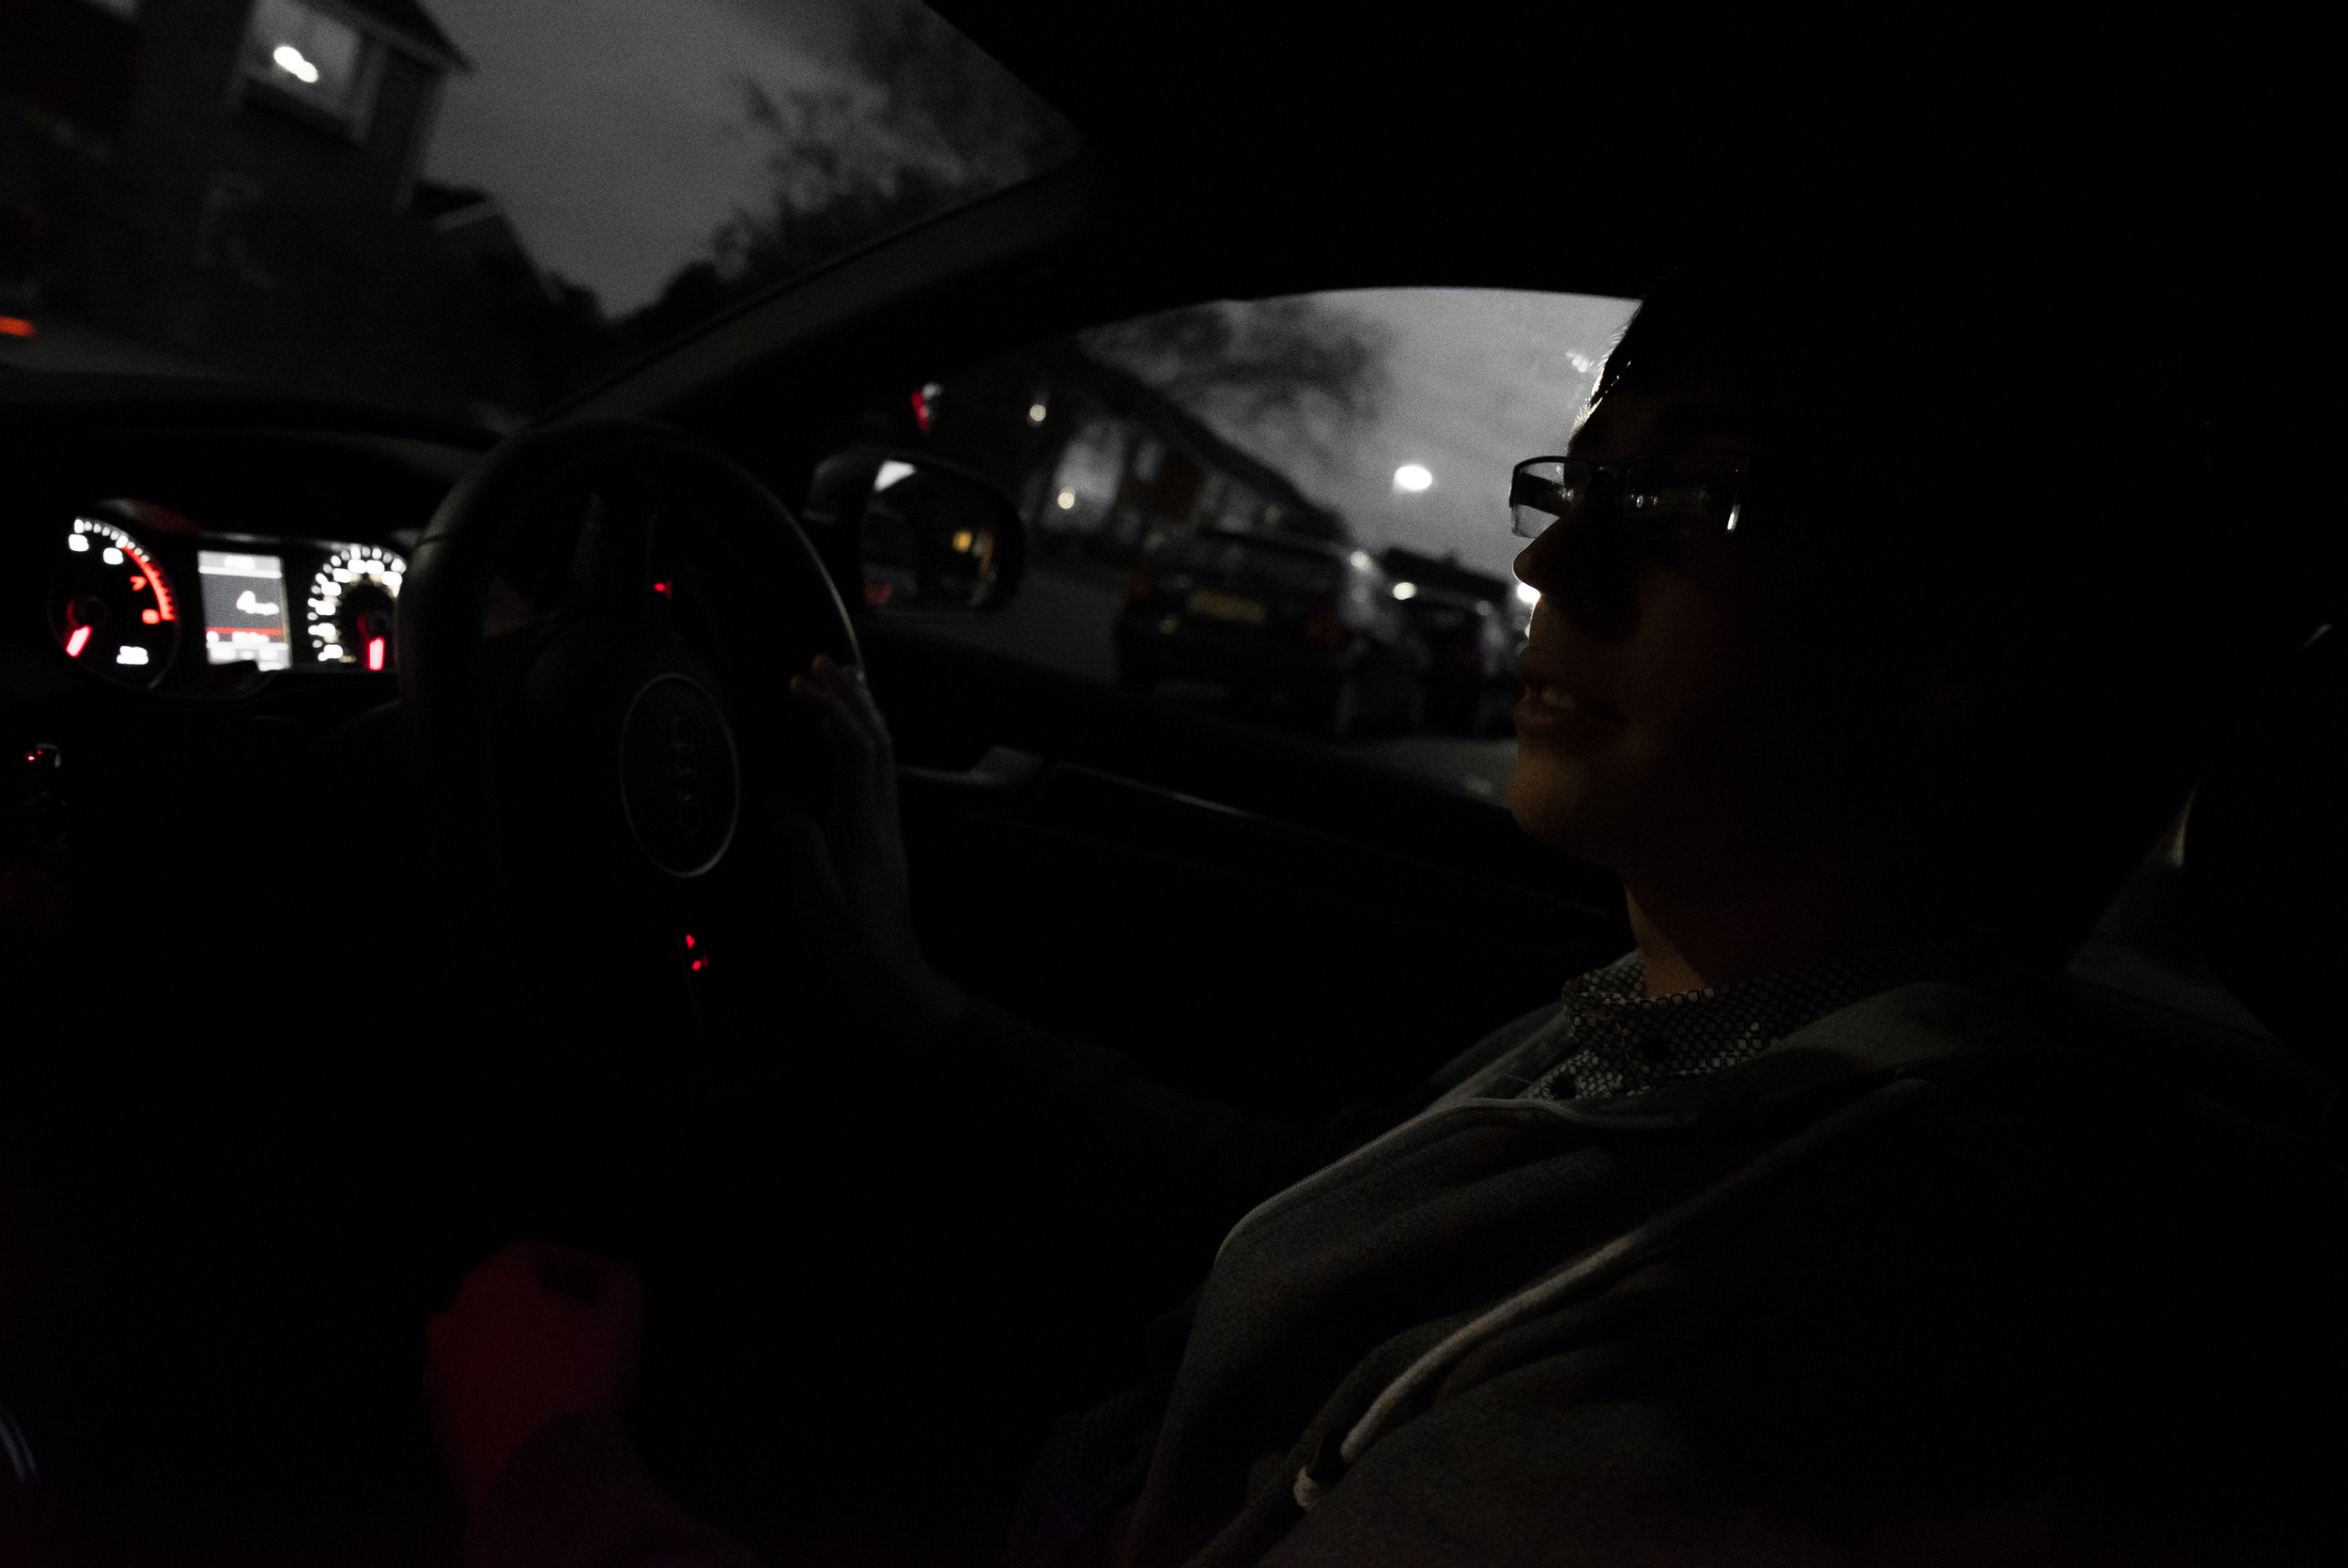
The best friend has bought a swanky new Audi, so he took me for a spin! I was still getting used to the photo mode and controls, it was past 8pm with the sun only just set so the ISO was wacked up reasonably high.
Because the cable for connecting the A7S to the Shogun hadn't arrived yet (from Atomos) I went searching around Epsom with no avail for a micro HDMI to HDMI cable. I ordered one off Amazon for evening delivery, which came while I took the photos of Sams new car!
I was overly happy with the recorded images that I captured in the mean time with the Shogun hooked up to the 5D mk III. I decided to record them in ProRes HQ to see how far I could push the footage in colour correction, post and grading. It worked fantastically, so much in fact that I'm deeply considering teaming the 5D mk III with another Atomos recorder for the same reasons as above.
I finally got my hands on a micro HDMI cable to road test the 4K HDMI output from the A7S to the Shogun, and just as I began to film, Alfie the cat decided he wanted to join in! I don't remember the picture profile, but it was shot with a pretty wide aperture on the Tamron 24-70. I also tried out the down-ressing method that I'll be using for 4K filming but delivering in HD, so I edited the 4K sequence twice, one in native 4K resolution and the other in a 1080p sequence with some clips scaled down or cropped. NOTE - please change the resolution to the highest possible for the best results!
4K still from the Shogun recorder, shot in 4K ProRes HQ
Let me know what you think!
NOTE - Change resolution to 2160!!!
A short first test filming in 3820x2160 UHD-4K resolution in ProRes HQ on the Atomos Shogun, with the Sony A7S camera. No correction/sharpening/grading in camera or post. Exported in H.264 with a target bitrate of 100Mbits, hoping it holds! I tried to shoot some orchids, but my cat Alfie saw what was going on and wanted to join in!
4K version on Vimeo, remember Vimeo does not have 4K playback yet so this has been down-ressed by Vimeo. Please watch the Youtube video above for the 4K version.
As a comparison, this is the down-res version of the 'Creatives and their cats' video originally shot in 3840x2160 4K-UHD using the Atomos Shogun and Sony A7S. View the original here - This version has been scaled down in Premiere by 50%, with some re-framing in a 1080p sequence, with 4K footage. No correction, sharpening, grading in camera or post. Originally shot in ProRes HQ. I tried to shoot some orchids, but my cat Alfie saw what was going on and wanted to join in! The cropping and re-framing of 4K footage for 1080p HD delivery is a brilliant feature to have, meaning high quality footage can be future-proofed and still delivered in great HD resolution.
I also shot some Picture Profile tests to compare the colours, DR, contrast and noise, this is to come later!
I began the pre-production of the Screen animations at the beginning of the year, developing a house style and recognized visual aesthetic that can be followed for future productions, this became the identity and format of the animations. Getting pencil on paper is my favourite way of developing ideas, especially for a graphics-based production. It allows you to clearly visualize ideas, inspiration and lay out the beginning, middle and end of the story.
The assets were all created in Illustrator or After Effects (using the Shape Layer tools), in 4K. I chose to offer this resolution because it would allow the Screen Systems marketing team to re-purpose the animation for print and digital media as well as future proofing for years to come.
After the assets and basic storyline was set, I blocked out the animation with voice over ideas to determine the duration and visual content - motion infographics must be entertaining and eye-catching, but must also convey the branding and professionalism of the client. An animation that is too long will bore viewers, so I capped the duration at 1:45.
I kept the marketing team up to date with progress and idea updates as well as a number of drafts through Vimeo, and after a number of months of production the animation was completed just before the NAB deadline. Screen are over the moon with the results, and so am I!
Screen will be displaying the animation on their stand at NAB Show 2015, in its native 4K resolution! Check out the animation here, and read the feedback/testimonial below.
Dean Wales (PR and Marketing, Screen Subtitling Systems) gives his fantastic feedback -
"Fresh, keen, knowledgeable, assertive, great to work with and incredibly talented. They're attributes you don't find together too often these days in one person but Adam has them all. Having met Adam at IBC when he filmed a colleague of mine, we knew he'd be the guy to produce our corporate, animated video. He grasped the brief instantly and completely understood our company, its values, our brand and indeed the industry within which we operate. And as for the video? Well the results are amazing. So much so we've commissioned him to produce individual product presentation animations for us. Thanks Adam."
I arrived for the brand new 'Shadows and Light' two day filmmaking workshop on Sunday evening, excited to hone in on skills and meet new friends. The drive was smooth, only an hour from Surrey down to Brighton where I was greeted by lovely staff and great room at the Umi (on the seafront).
I dumped my stuff and met my good friend and VFX/Director mastermind HaZ before heading to the pre-drinks to meet everyone. Informal drinks like this are perfect for networking, so remember business cards!!
I met Olly, the 'behind the scenes' filmmaker for the night and the first day and got chatting as he was using a 5D mkIII like me. I also caught up with Nino, and met the wonderful organizer of the event, Fraser, who did a great job of running the event, keeping everything in check.
HaZ and I also chatted to Ollie Kenchington about production for grading and many other things, another great person to meet!!
I also met Yusuf at the pre-drinks when talking about shooting on the A7S, and on returning to the hotel I met Giordano Borghi, an Italian wedding filmmaker who I really enjoyed chatting to over a whisky on the rocks.
Day one was hosted at 'Dukes at Komedia' theatre in Brighton town, great venue with comfortable seats for recovery from the late night.. I was enthralled by Vincent Laforets presentation about motion, in which I got grilled by Vincent in front of the professionals and attendees over my 'Seasons Are Changing' video. He commented it was beautifully shot, but the long takes with unmotivated movement would make the audience somewhat bored. It was fantastic feedback from him, despite the public screening!!
Technical Difficulties?
After a break, HaZ presented his talk about VFX in low budget film making, and also considering and directing it in your films. As always HaZ is just a fantastic chap and screened the whole SYNC film, which I was the 1st AC on (shot in Southend), and features one of my shots on the jib!
It was then I met James, who is incorporating film into his company. He's a fantastic dude, and it was great to meet him and chat more throughout the day. I look forward to collaborating in the future :)
Another talk that got me thinking was 'Colour Grading' by Olly Kenchington, who got in deep with shadows and light, and colour theory, and how to produce such grades in Resolve with ease, as well as enhancing the shots/scenes from OK to GREAT!
Day 1 ended with Philip Bloom's talk, followed by the party! Well done to the raffle winners, great prizes donated from the events sponsors; Miller, Rode, Adobe and more.
Day 2 comprised of intense group workshops covering many areas of filmmaking. We were divided into groups which was great for networking with new people attending, and headed to Philip Bloom's workshop on using gimbals (like the MoVI) for filming motion. We got hands on with a range of equipment to see what it's like to operate/walk around using an M5 with a Sony A7S.
I was impressed by this little Defy G2X gimball.
Next on to James Miller's 'Lens Whacking' workshop, very hands on with old manual lenses out in the street. I met one of the models, Ruby, and had a great time filming her while trying to get the hang of 'whacking' the lens for 'ethereal' looking light leaks and almost 'tilt-shift' esque focusing.
Luckilly for us, the sun was beaming through the clouds which was perfect for trying to get some leaks in the frame. We stopped for lunch, then continued on to Vincent's workshop.. The BEST of the day!
Vincent talked through a number of movies with a moving camera, breaking down the scene to show how the narrative flows and is complemented by moving the camera, and the characters in frame. We then got hands on blocking out a small scene, which was fantastic to see to get to grips with working as a director when moving the camera.
Lastly was my good mate, Nino, who was talking about filming interviews and using motion control to add interest to otherwise uninspiring corporates. Using a bright window, we set up an interview scene with LED lights and the Kessler second shooter device to move the camera on the pocket dolly. This added much needed life to an otherwise 'standard' two camera shoot.
It was how big, Nino?!
I had an awesome time, and was happy to give a piece to camera about my thoughts on the workshop. Over the two days I learned an incredible amount that I can directly apply to my work to make films that are more engaging and that have motivated movement! I made loads of new friends too, both from the UK and internationally. For networking and collaboration, there was no better place to be.
Taking up the chance to learn more about filmmaking from industry pro's, I'm attending the first 'Shadows and Light' event with Philip Bloom, Nino Leitner, Vincent Laforet and my friend HaZ Dulull who I worked with on SYNC.
It's a two day event full of learning and hands on workshops, I'm really looking forward to it!
Keep updated on my twitter @Plowman91!
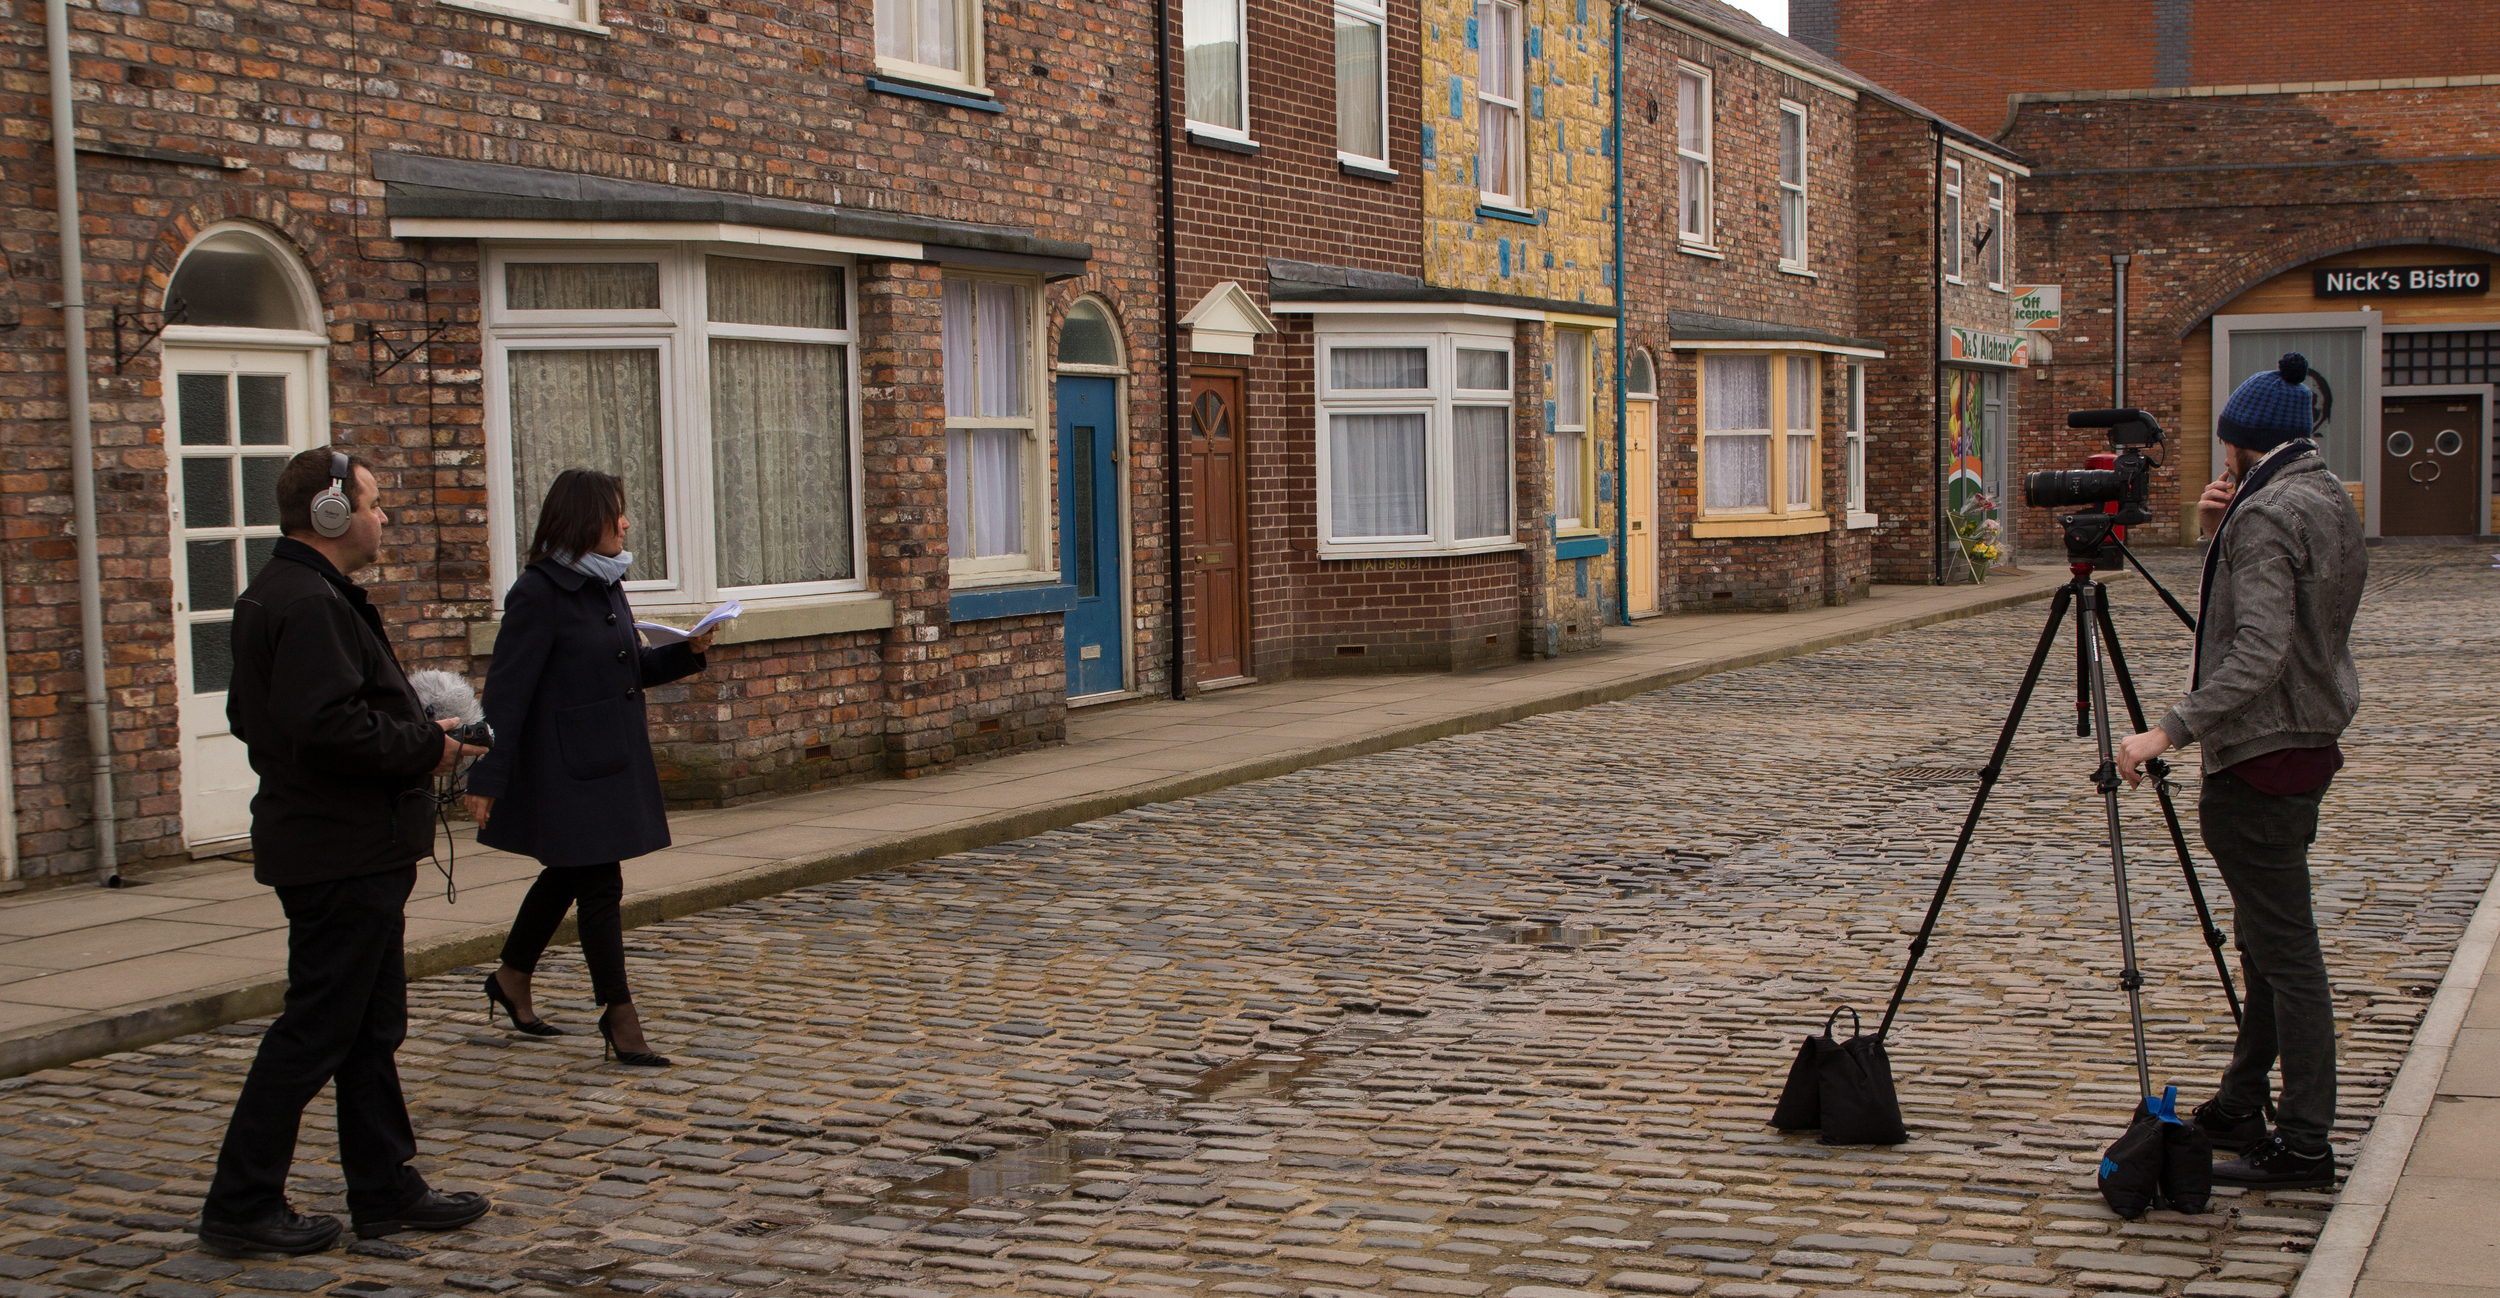
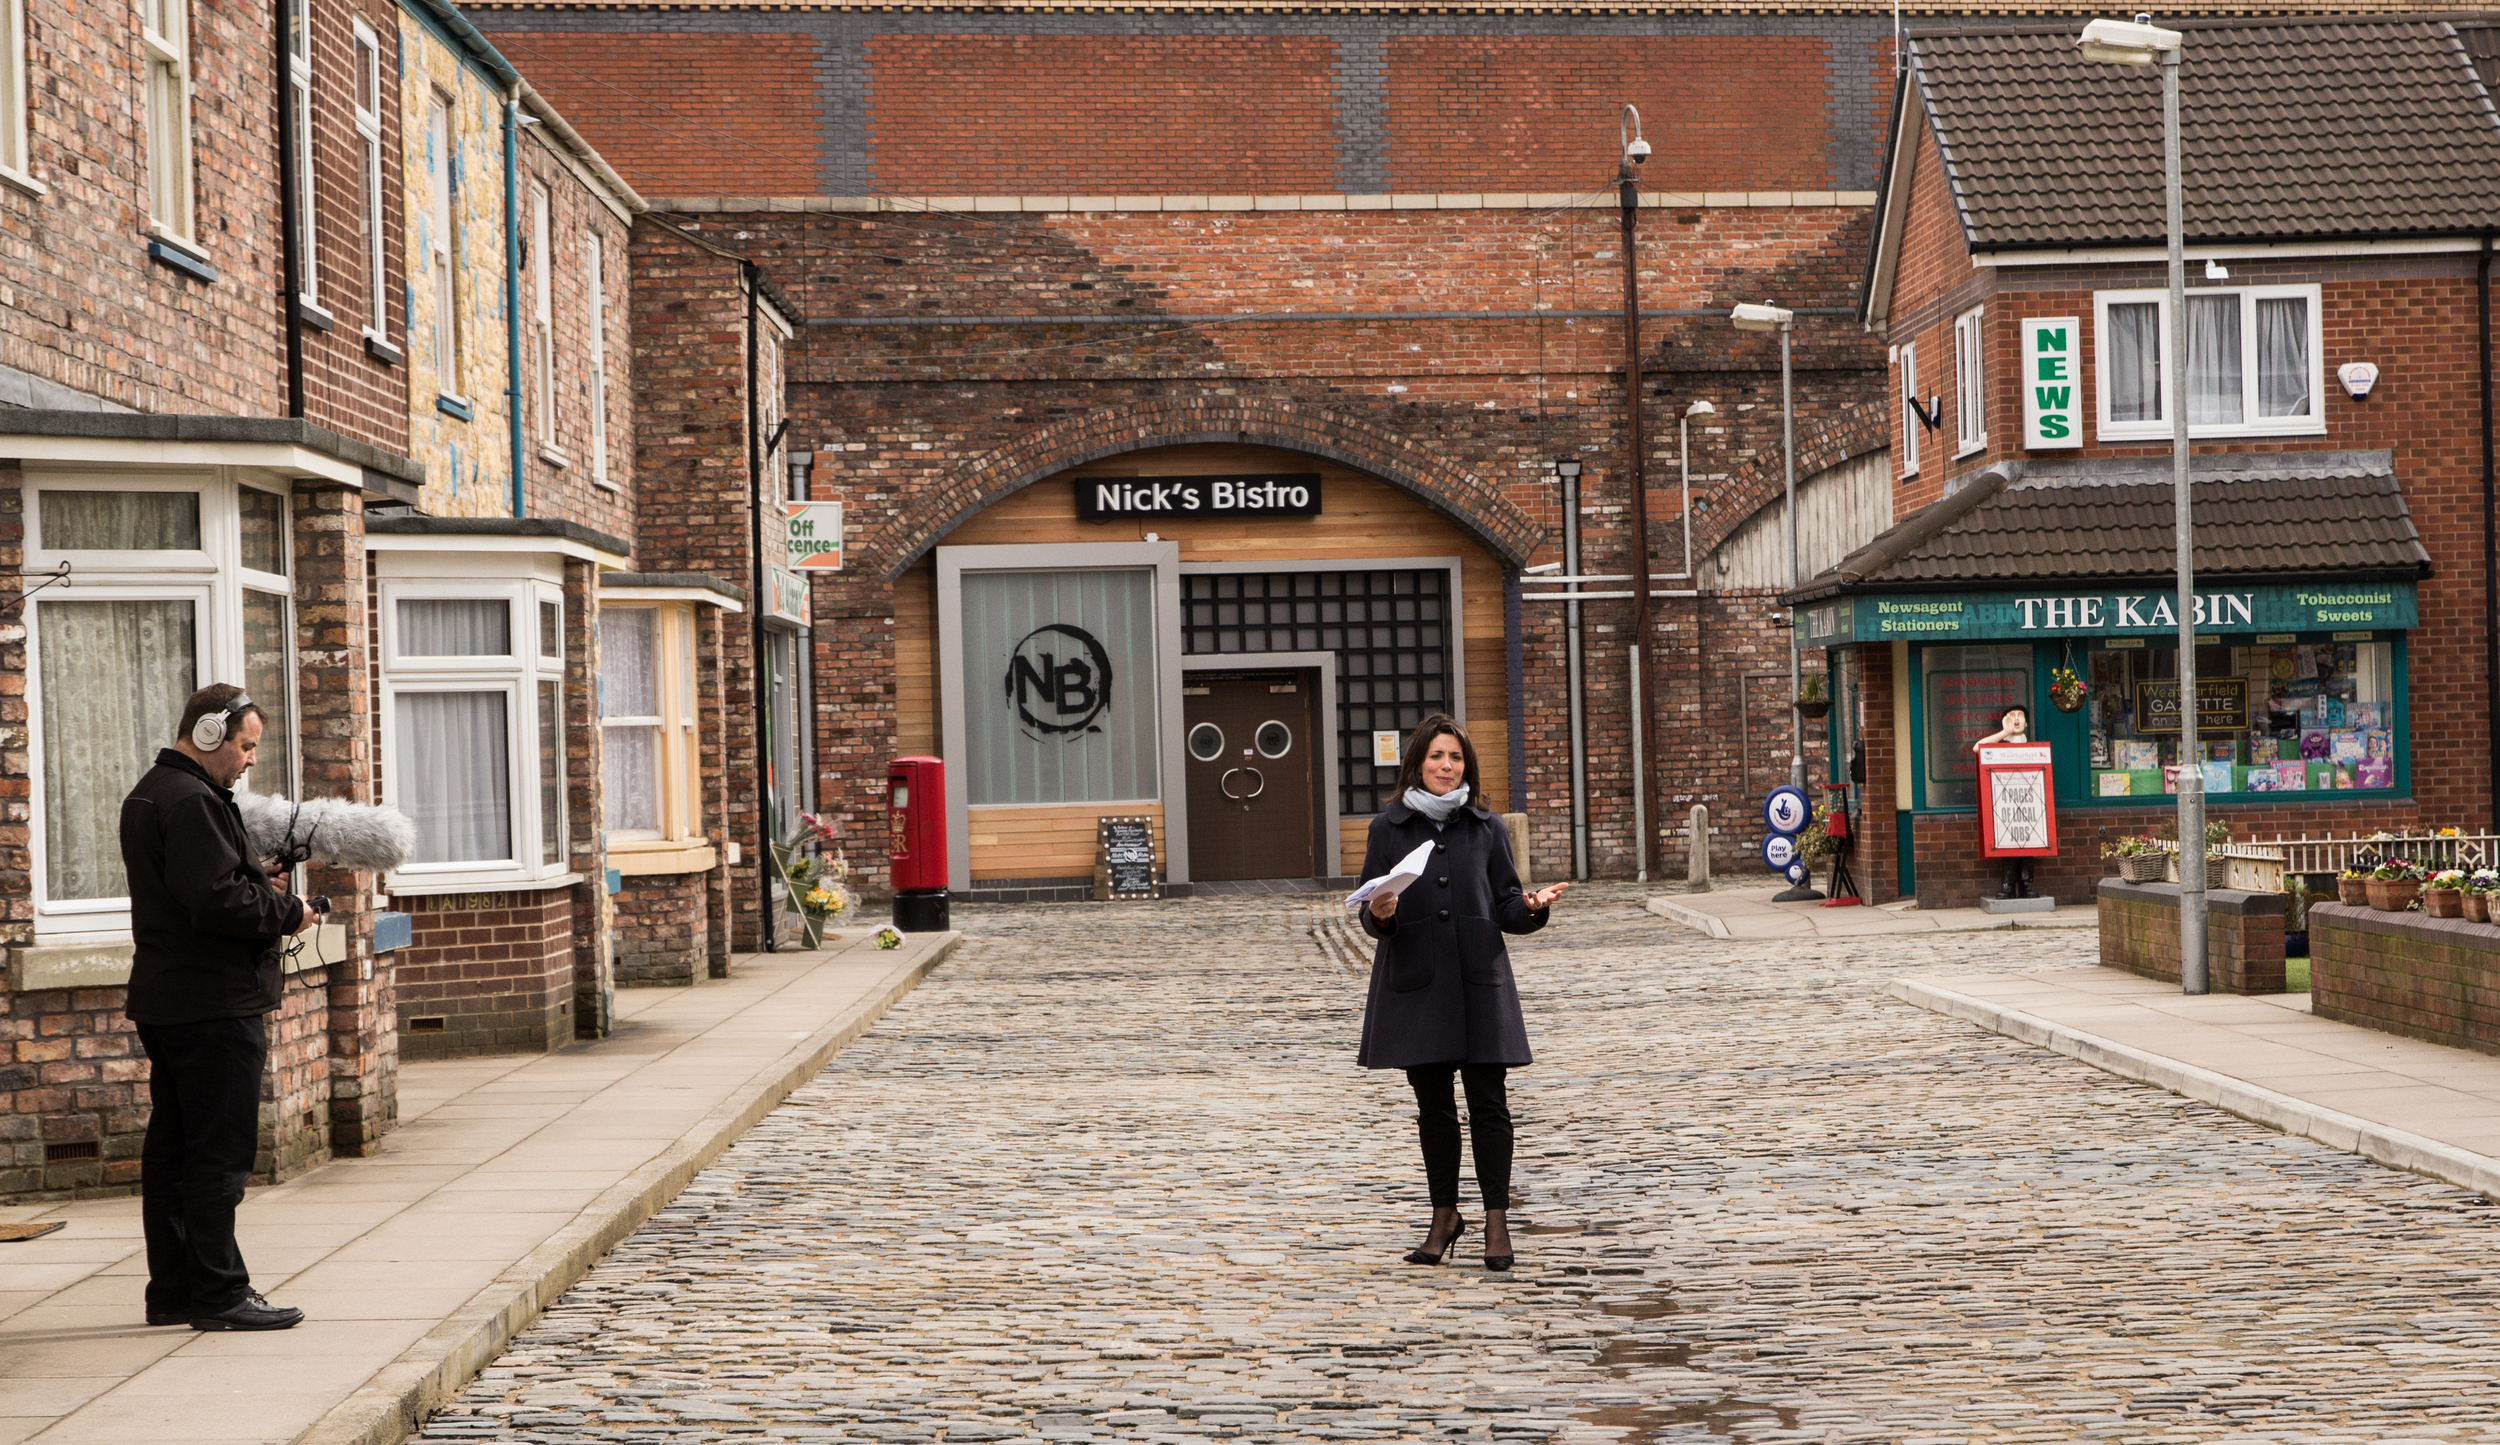
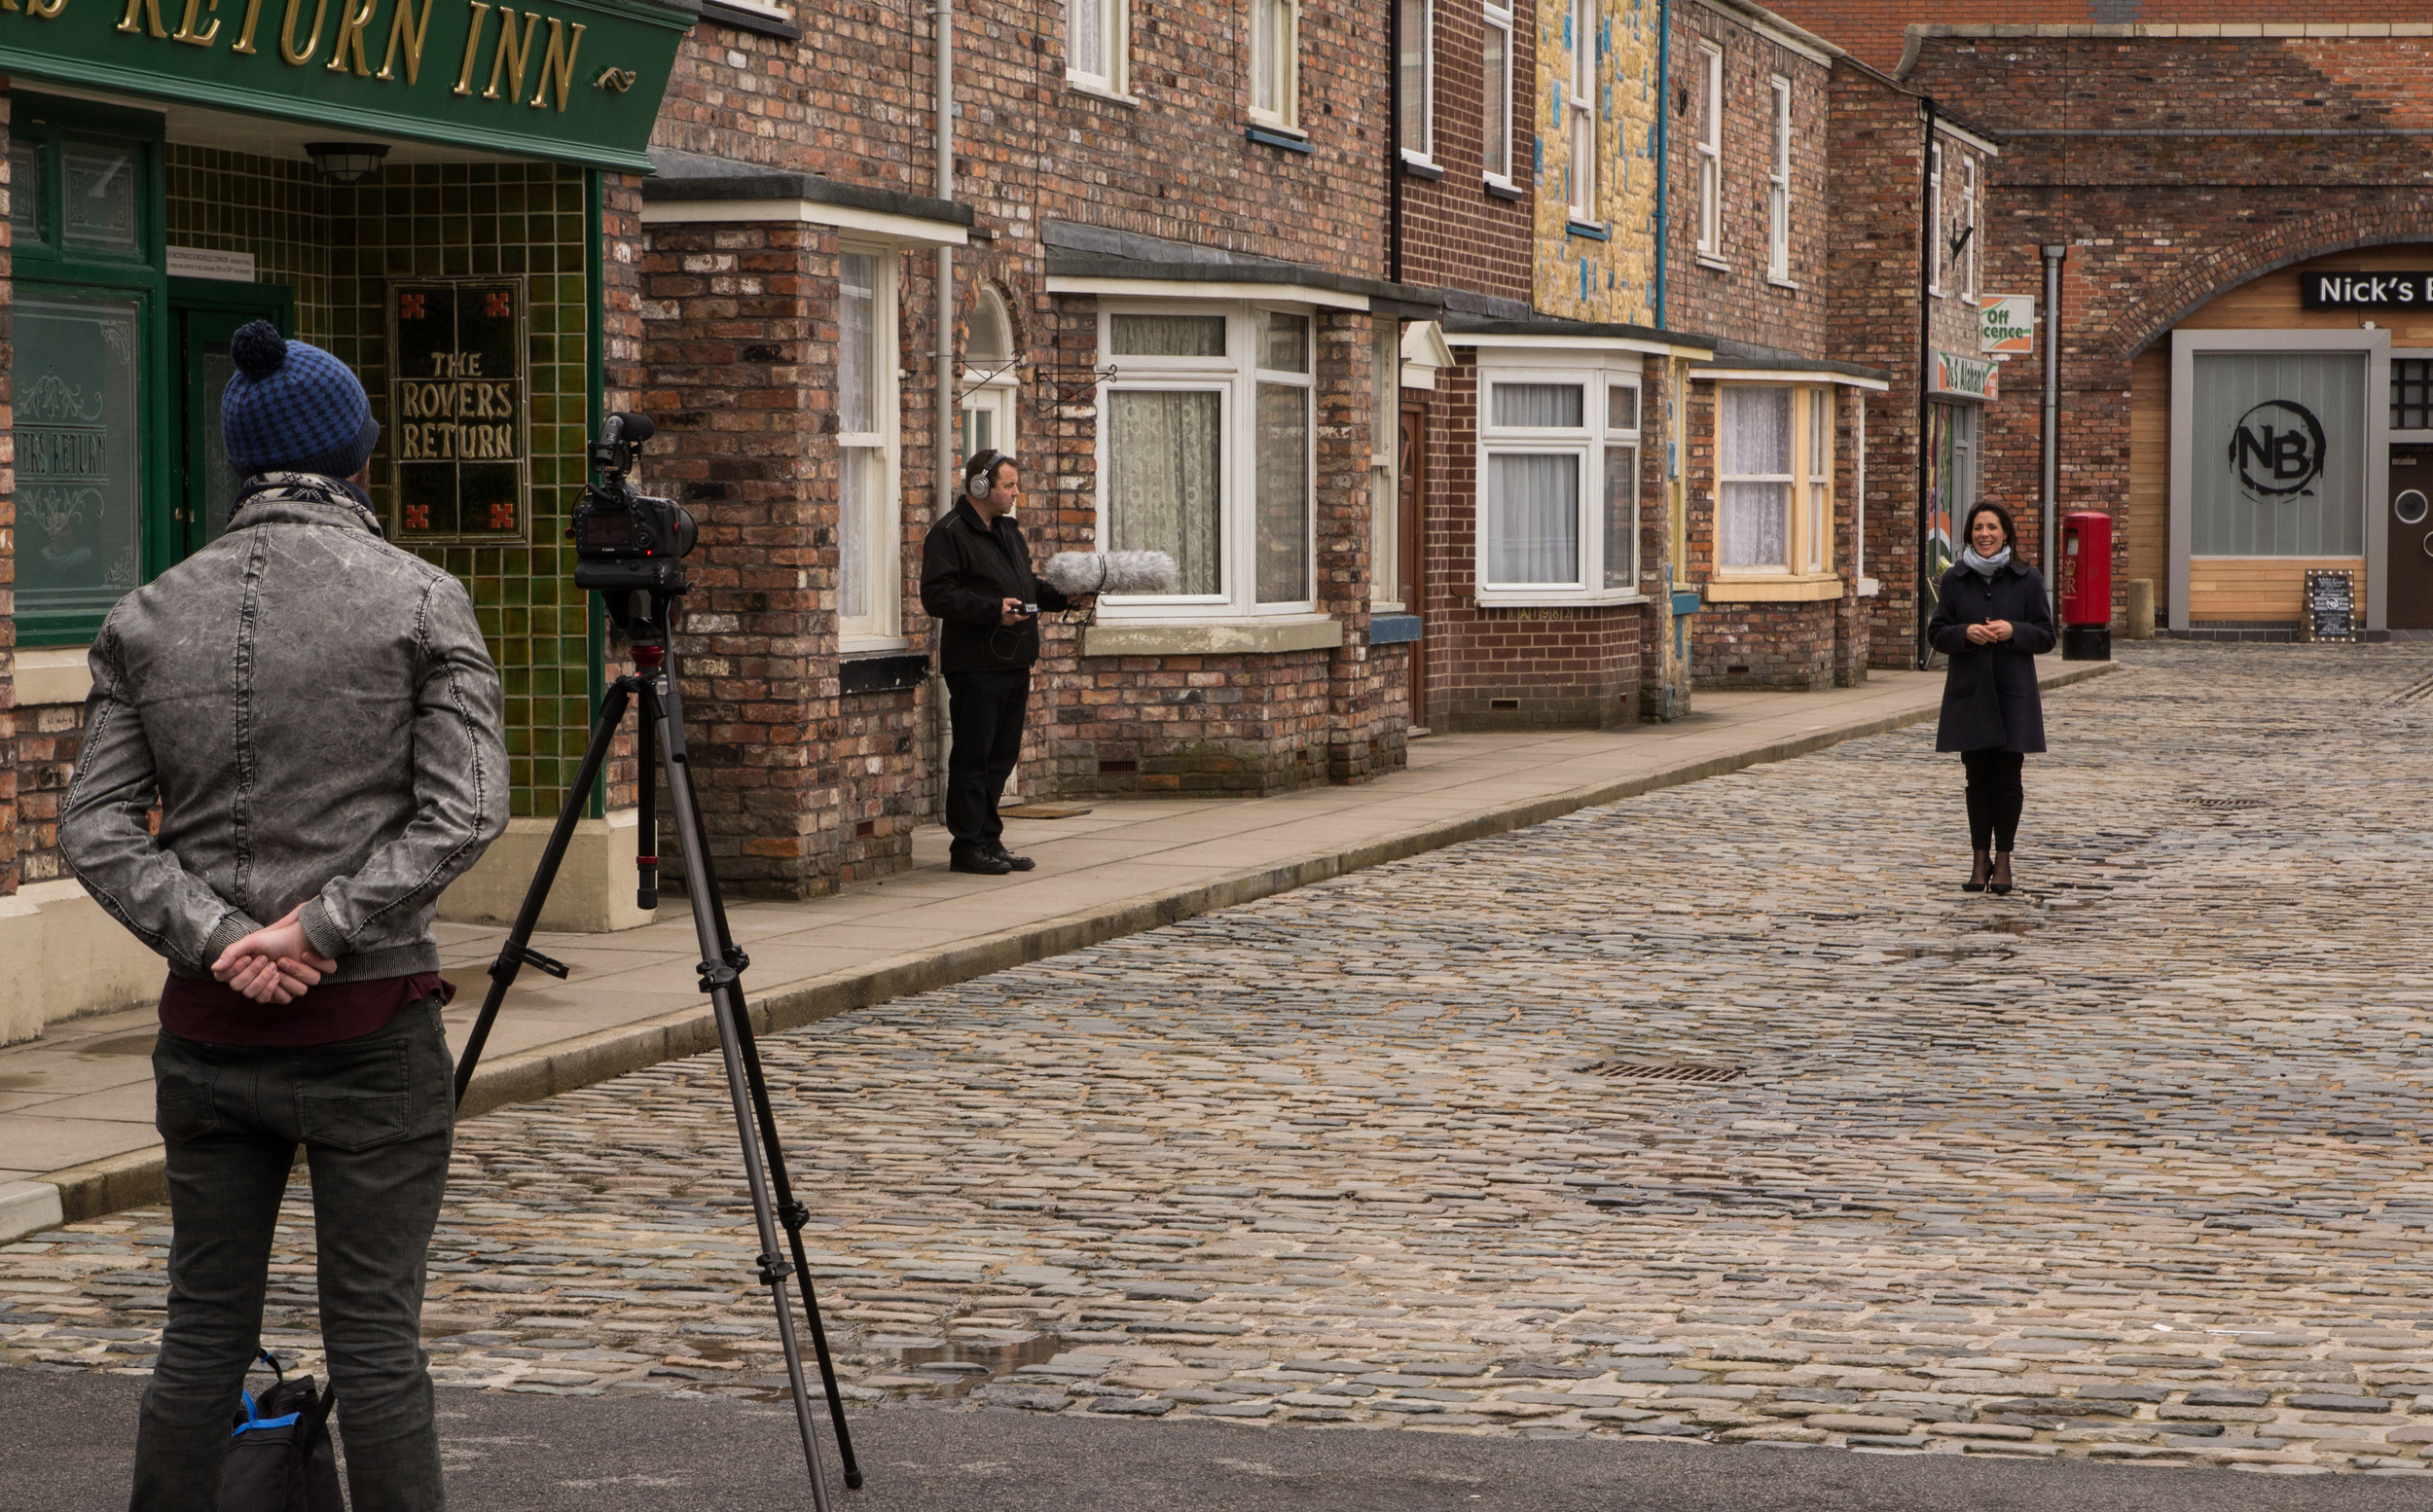
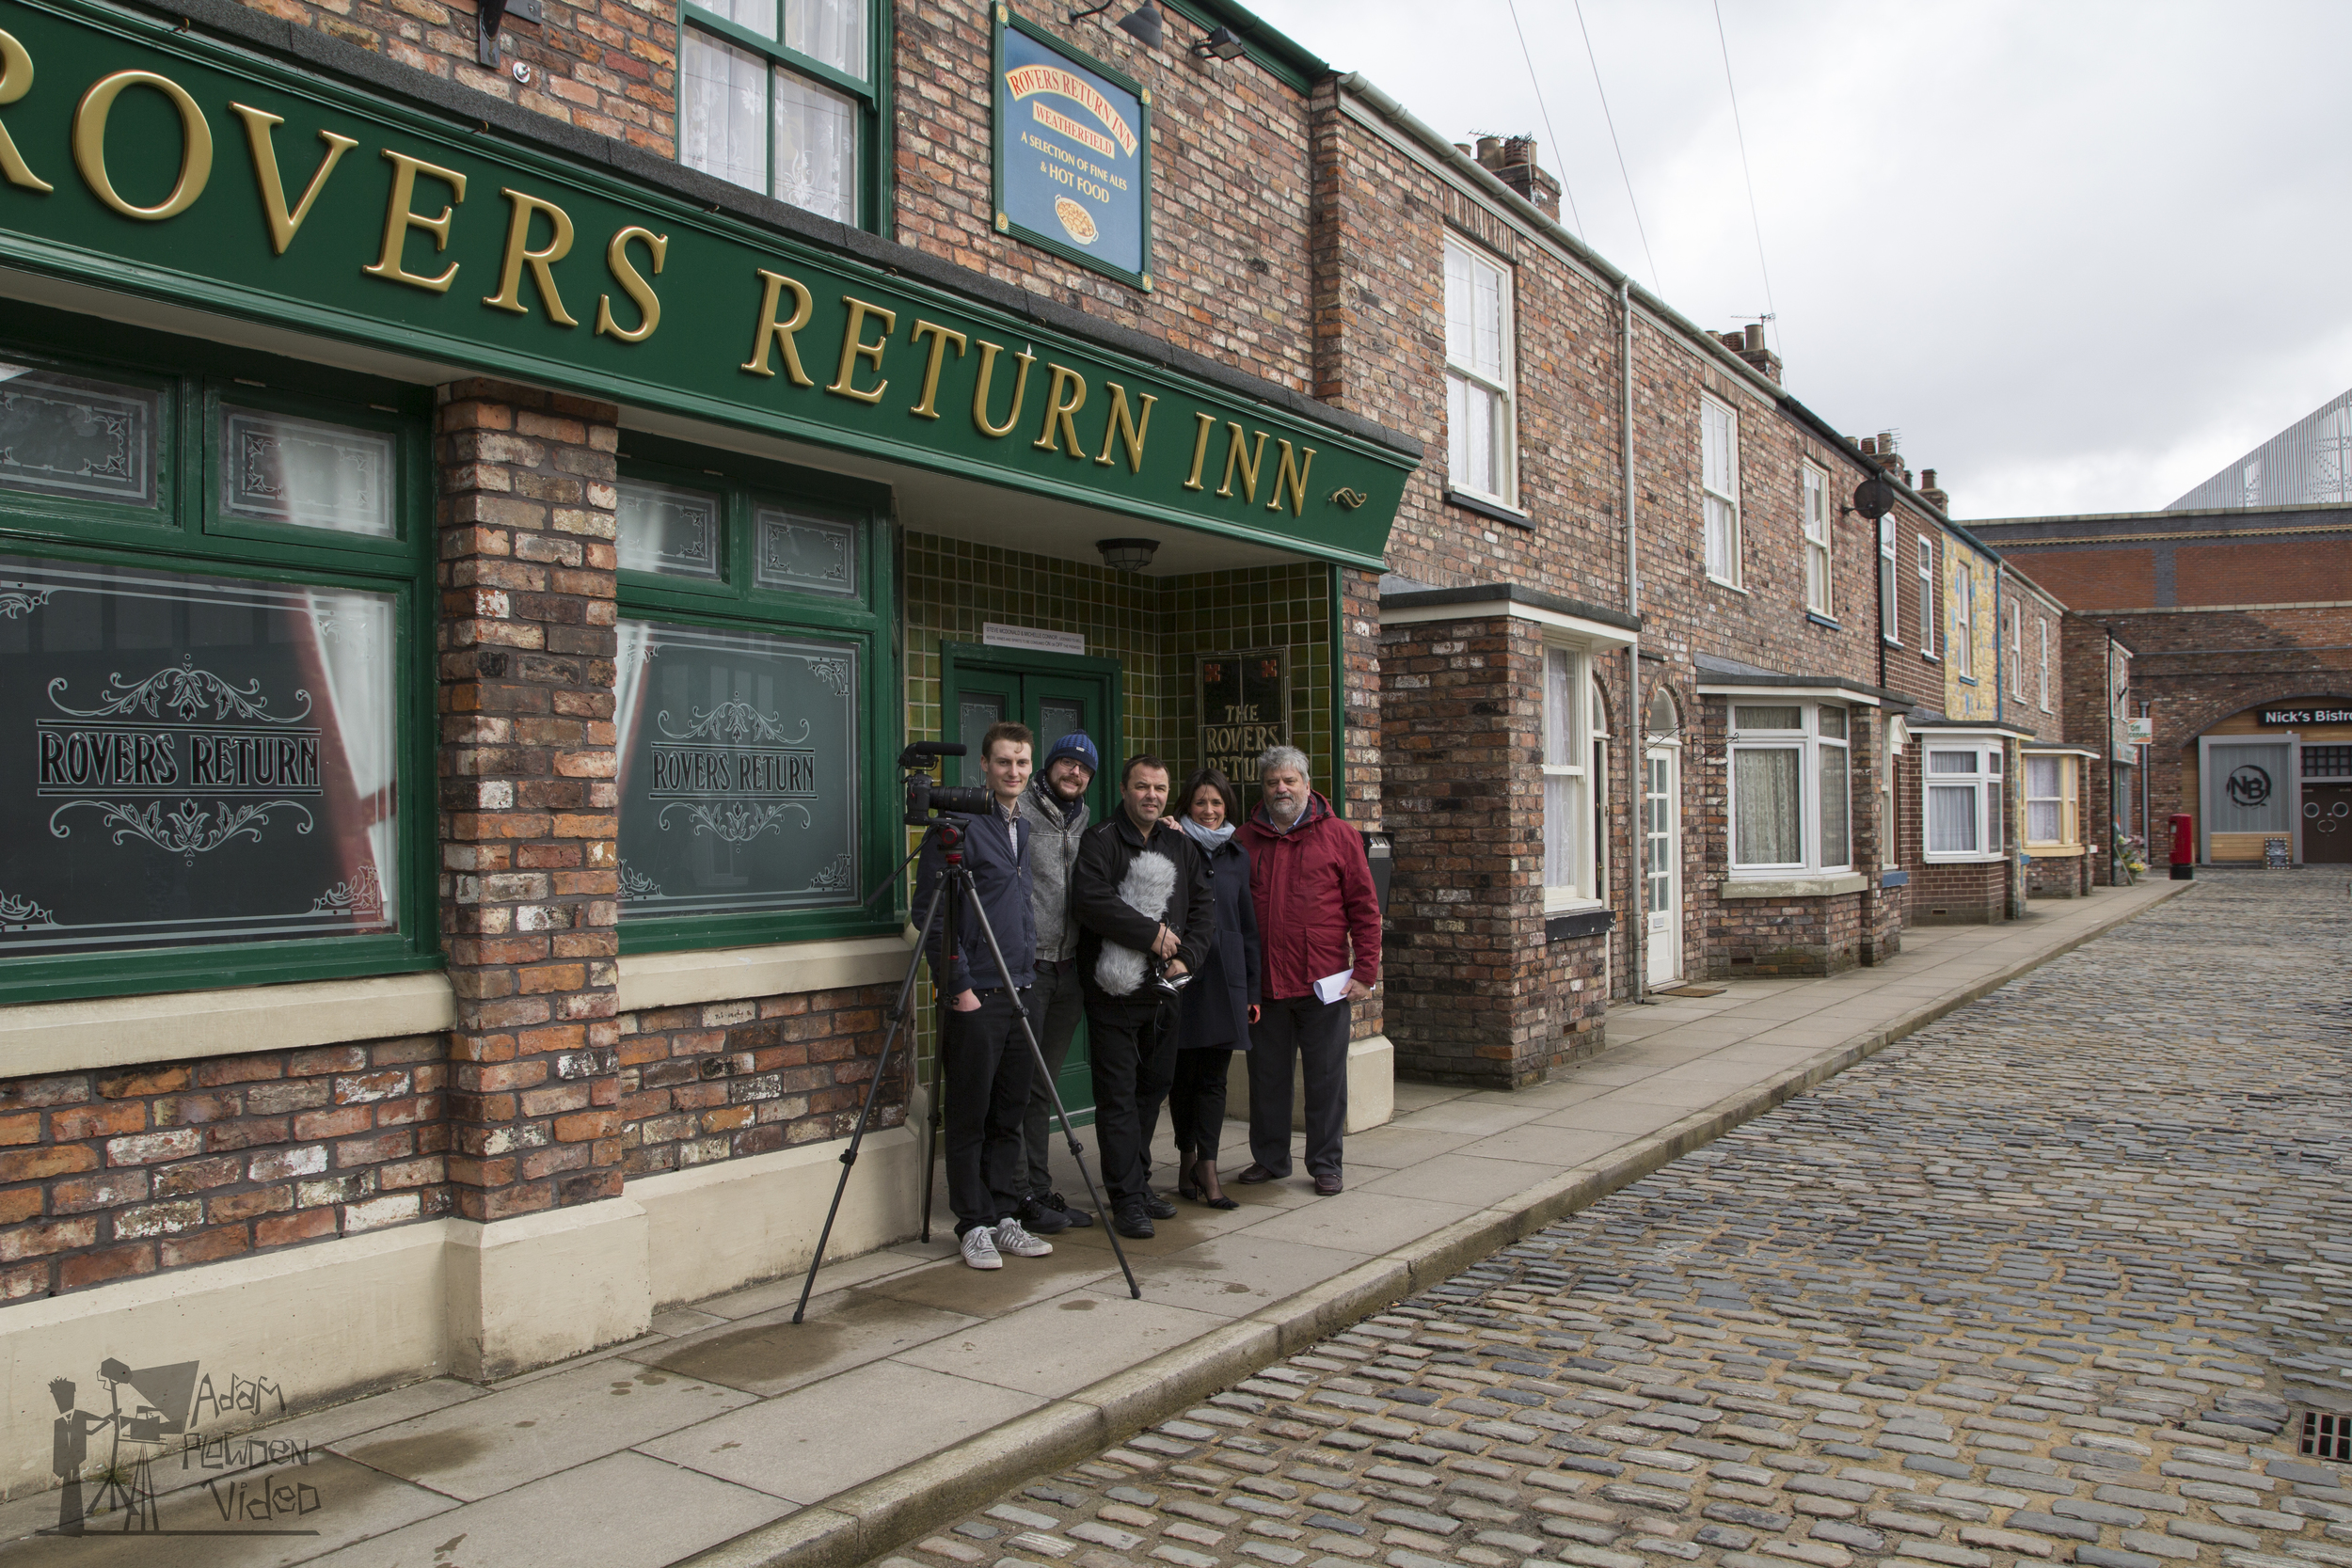
Way back in November, myself and Dick Hobbs began the pre-production of a new training video covering the behind the scenes of a television studio for the IABM. Unfortunately for me, it was difficult to pin down a location that close to Christmas and New Year with access to studios, galleries and other areas. Dick luckily got the go ahead for filming at the Corrie studios mid-way through BVE, so prep quickly began after.
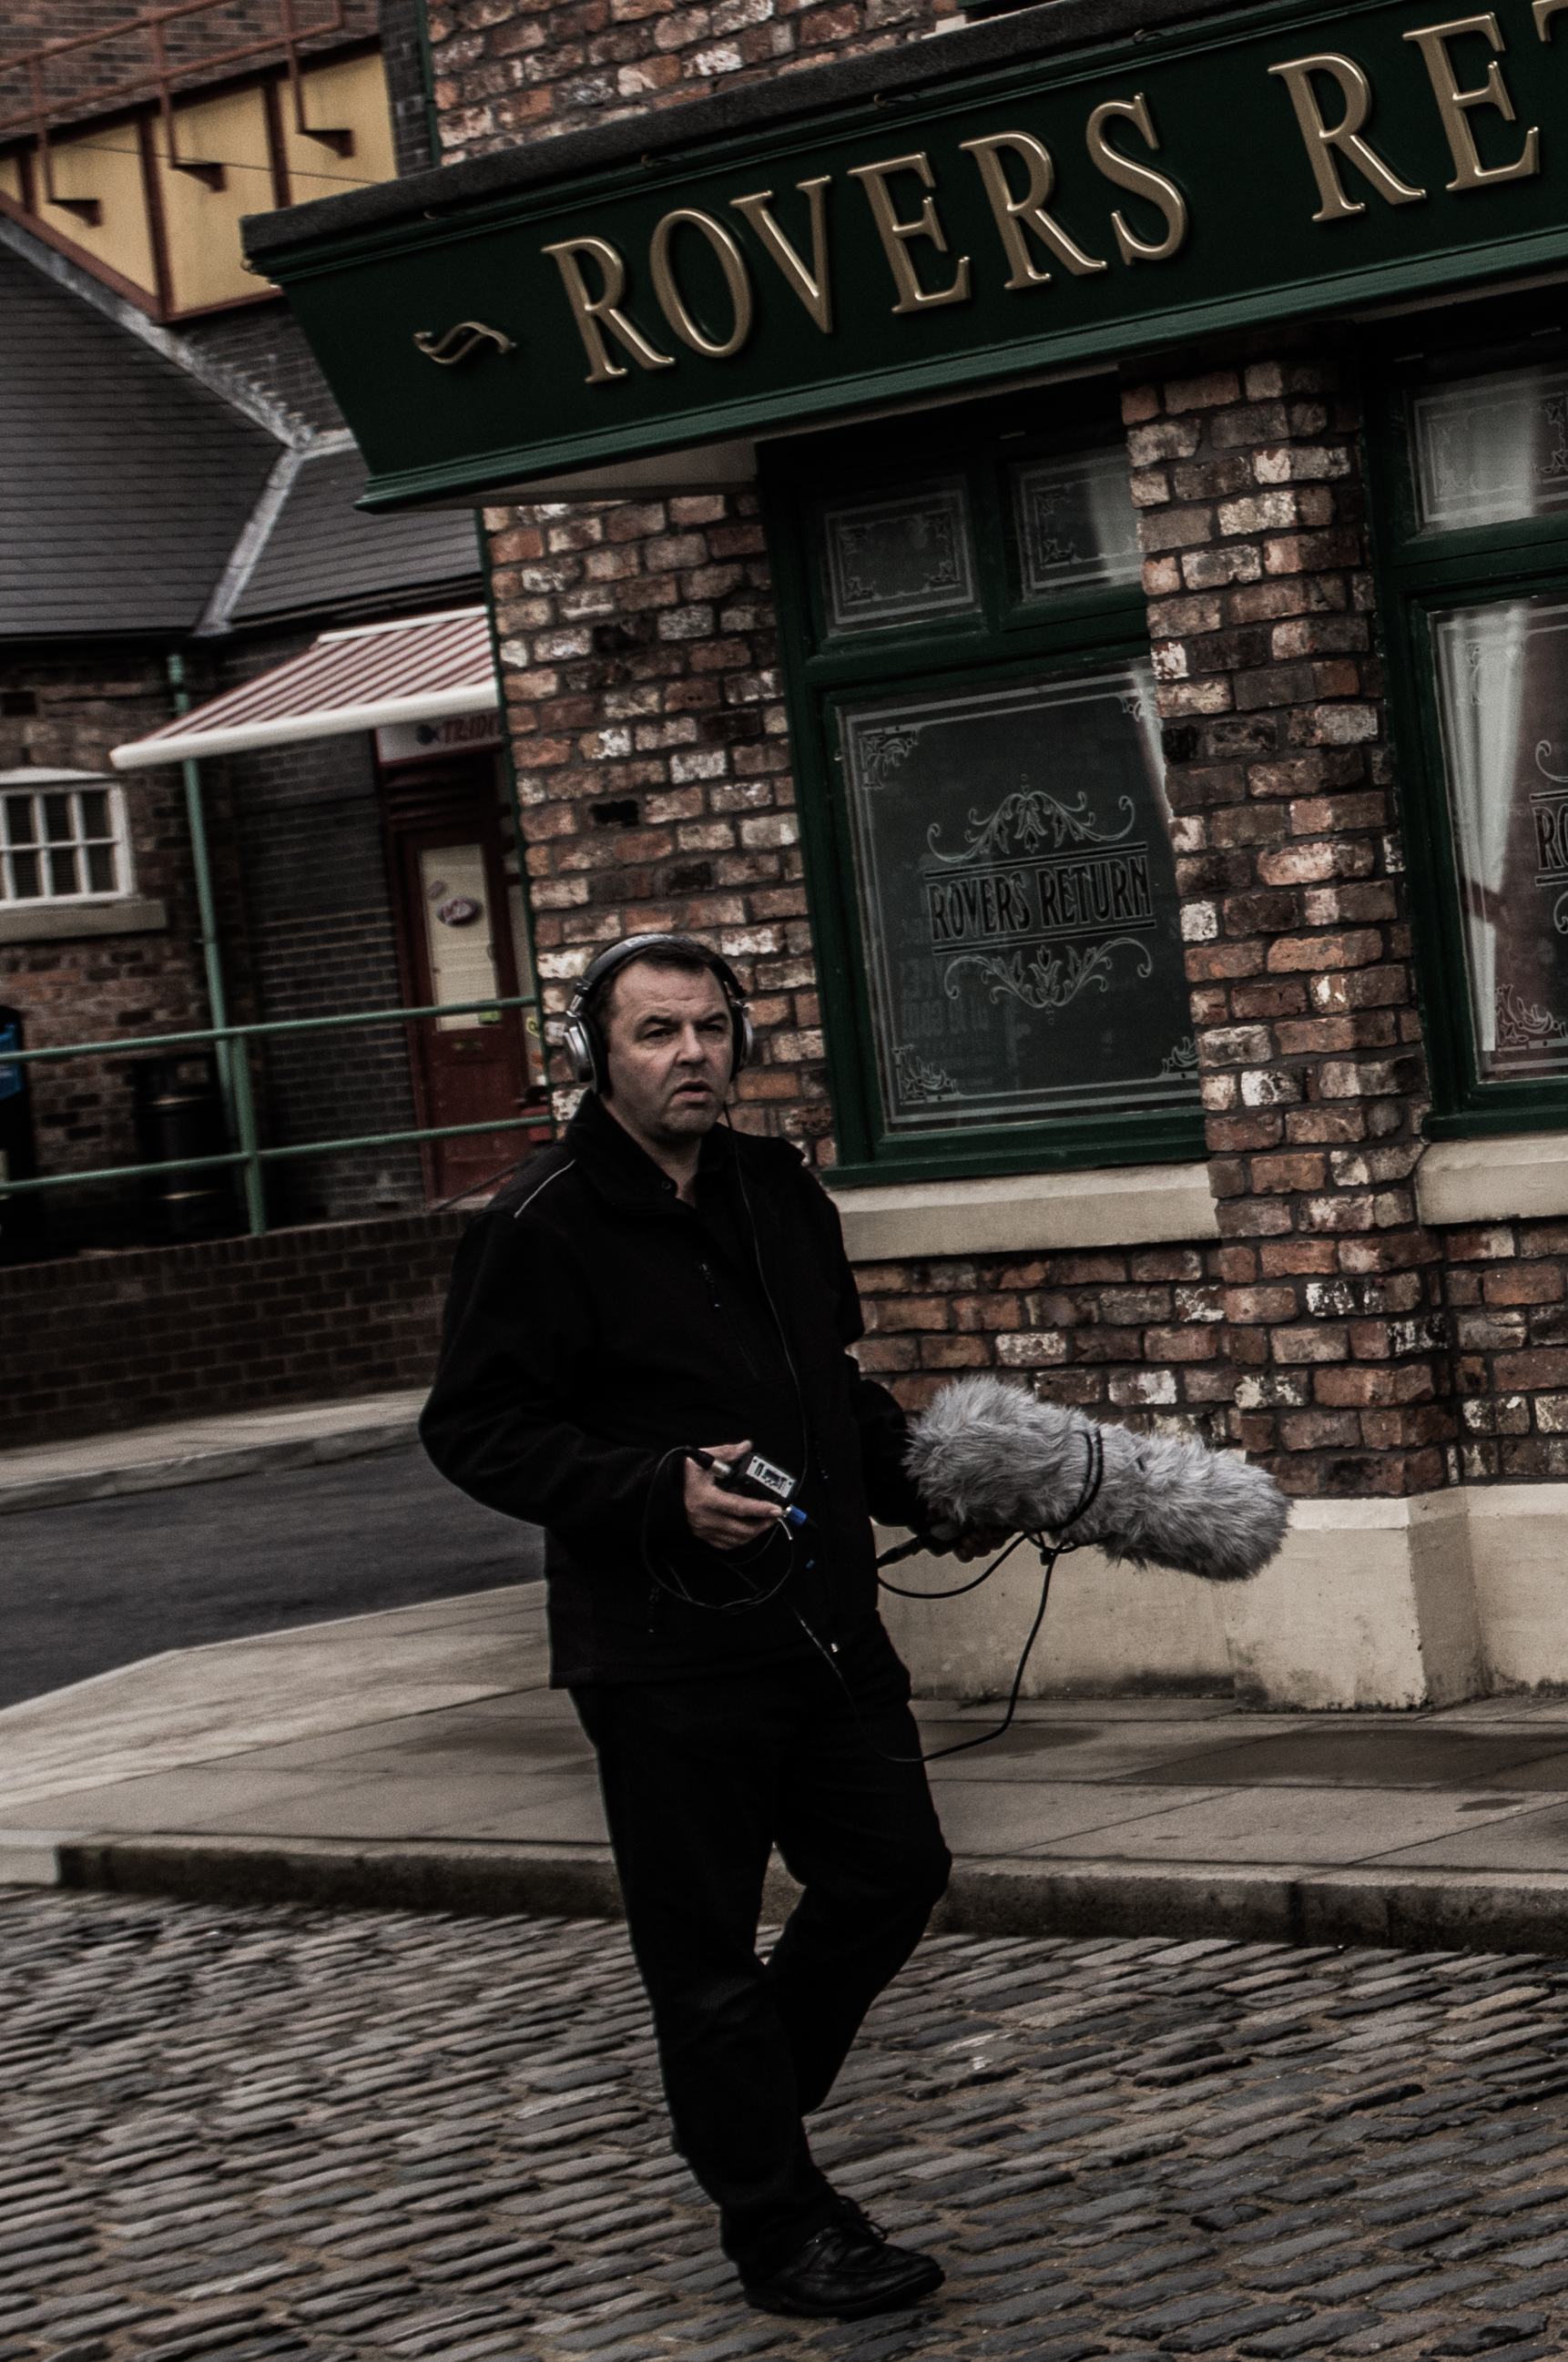
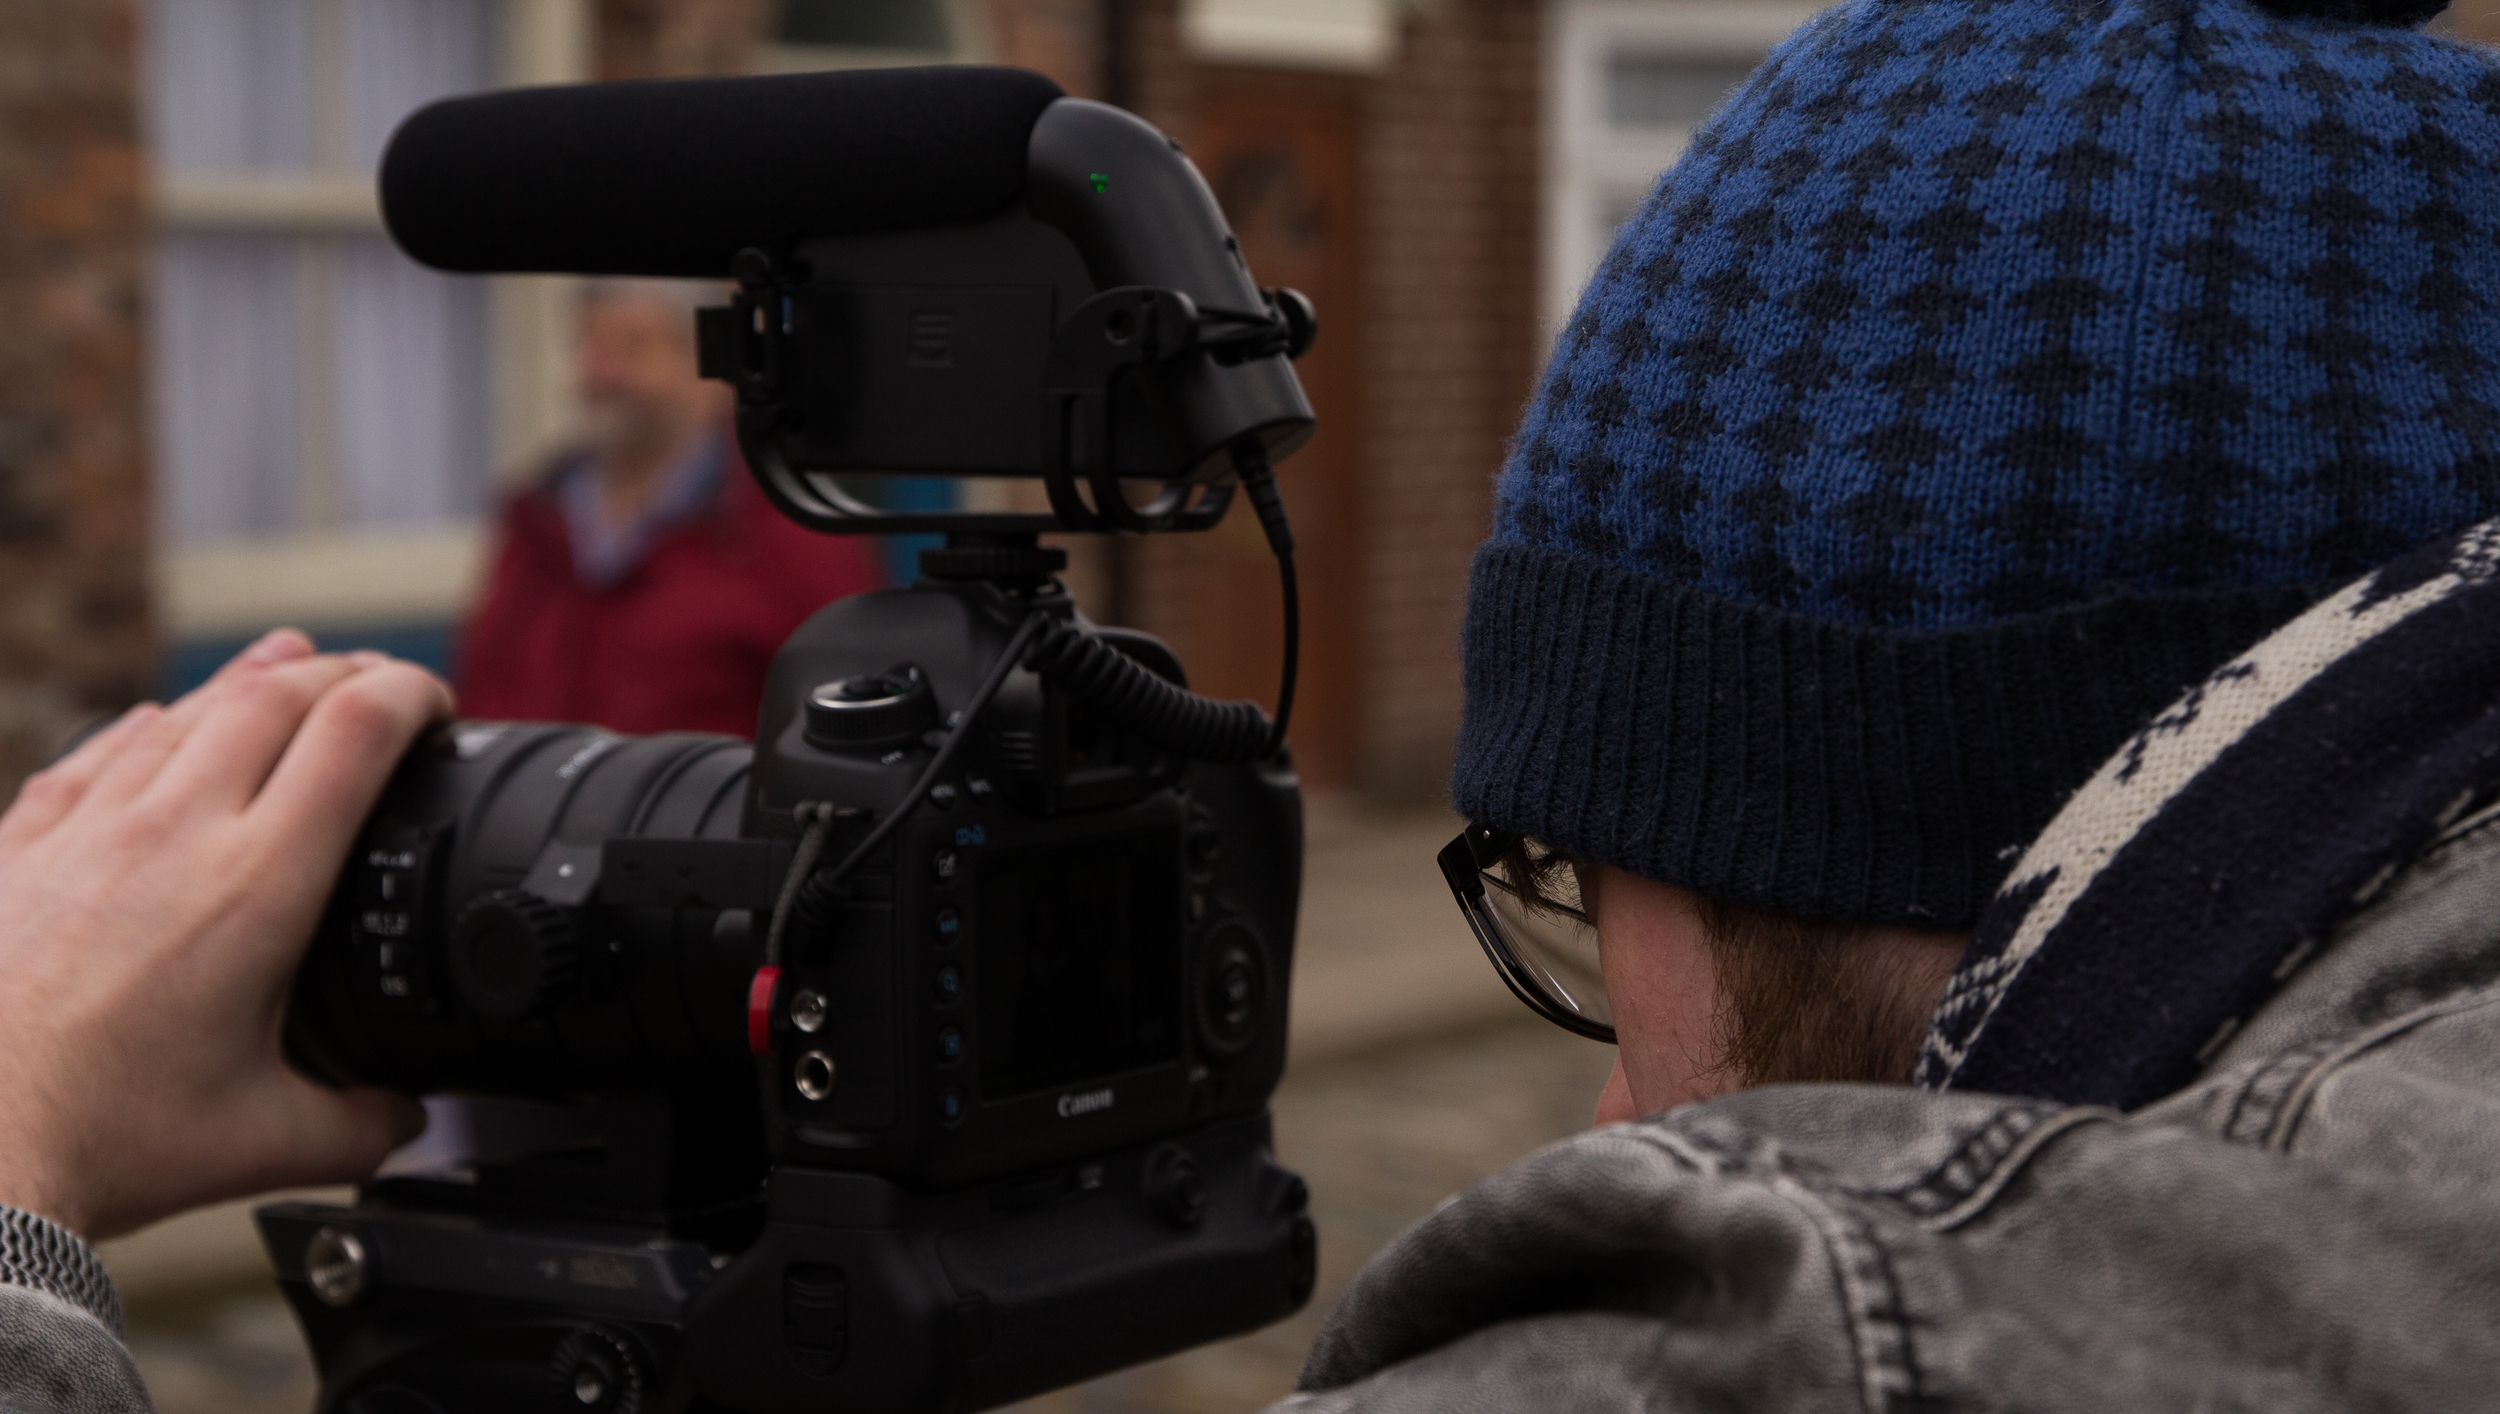
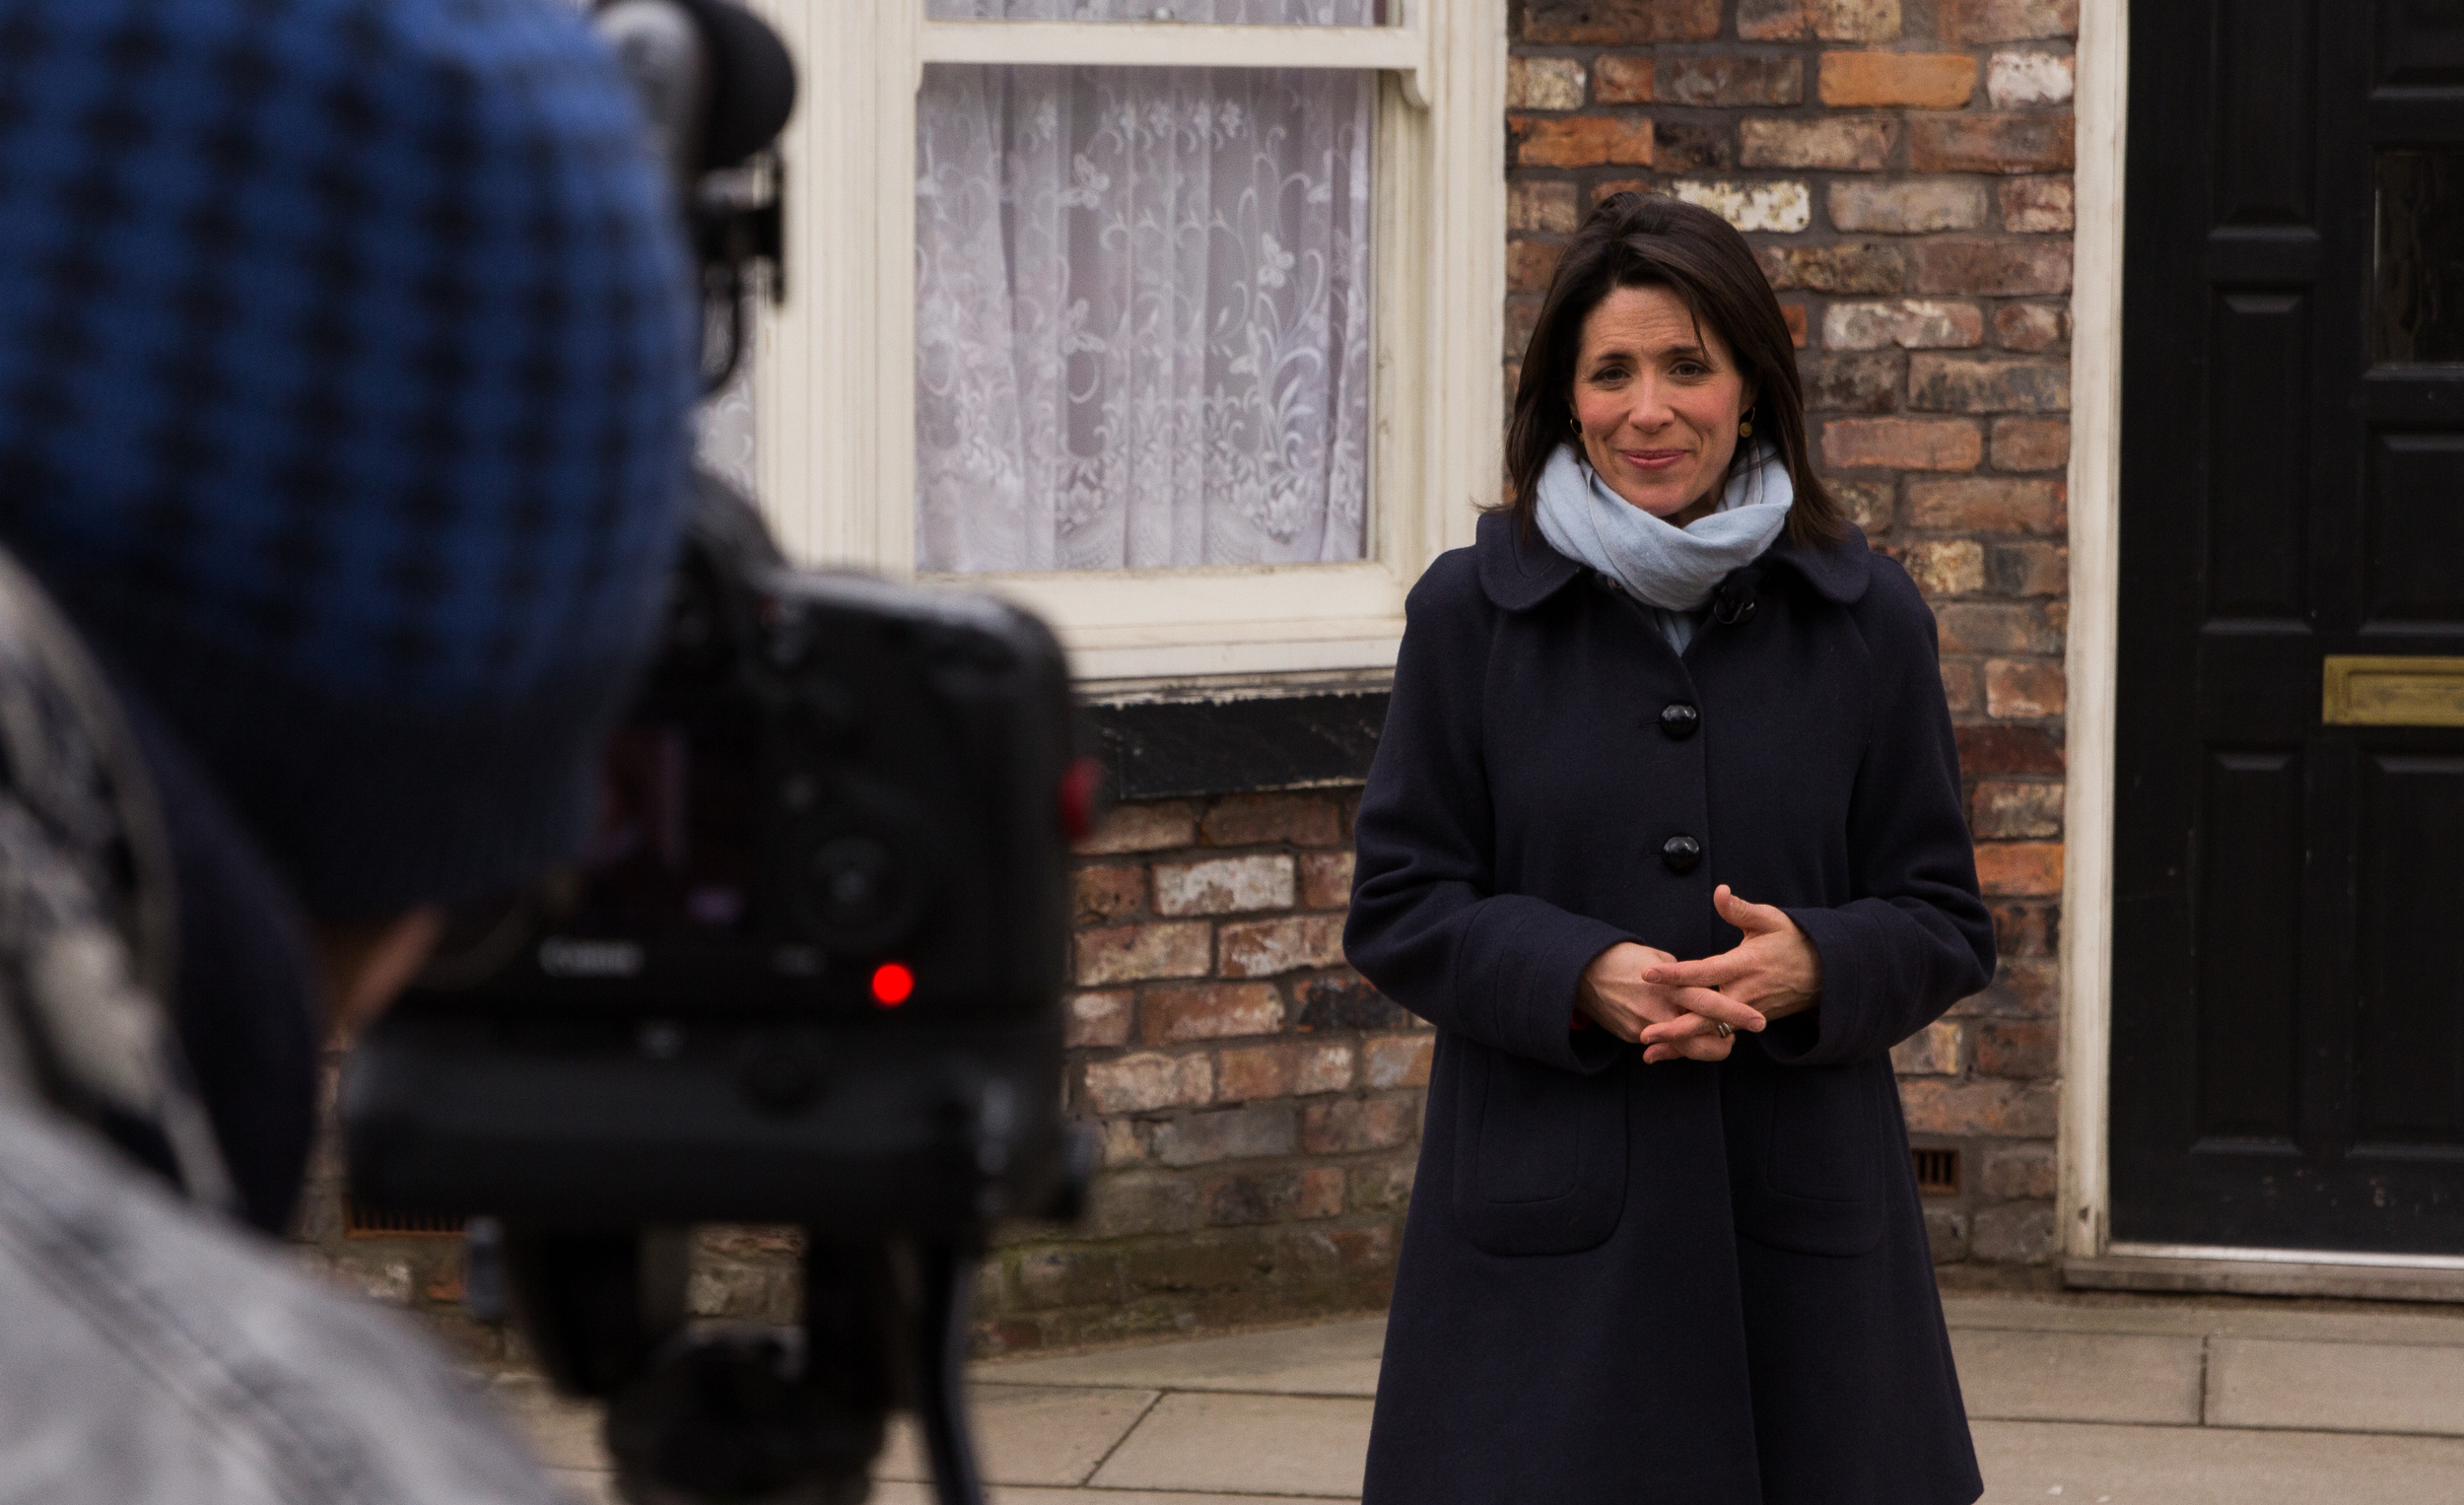
My trusty crew was Glen, who operated the AutoScript for our presenter Georgie, and John Harris on audio (from JHWF). Dick made sure we were all in check with the script while I lugged around the camera and prompter :)
As there were three of us travelling up to Manchester on the Monday night, I chose to drive from Surrey, which was pretty straightforward, just a heck of a long journey to make at the end of the day. We arrived after a couple of toilet and coffee stops at 9:30, dropped the gear and headed to the table Georgie and Dick had. Beer was served and all was well!
As Dick and myself had planned the shoot well, I selected just the right amount of equipment needed. We were on a restricted budget so I opted to stick with my camera and audio setup rather than hire in a camera. We also borrowed an AutoScript from Vitec, to relay the rather technically heavy (at some points) script to our brilliant presenter.
The equipment list (rather sparing for this shoot!):
Canon 5D mk III
Canon 60D
Sigma 70-200mm F/2.8 OS
Tamron 24-70mm F/2.8 VC
Tamron 17-50mm F/2.8 VC
Canon 50mm F/1.8
Manfrotto 536 Carbon Fibre tripod
Manfrotto 755CX3 Carbon fibre tripod + MVH500 AH head
Manfrotto Spectra 900FT LED light
Zoom H6 audio recorder
Rode Lavalier microphone
Sennheiser ENG-G3 wireless RxTx for lav mic
AutoScript prompter
All of camera and audio kit fitted into the AWESOME Manfrotto Pro Light 35 Backpack: I use the top compartment for the audio gear and accessories, the main sections for camera storage, and the back compartment for my laptop. It's a very comfortable carry regardless of the weight, and if I was walking/traveling for a longer time I just strapped on the waist support to take the weight off my shoulders. The front pockets are especially handy for grabbing memory card wallets and batteries quickly, as that is the most common thing I go to my bag for! Glen wheeled the prompter station around on it's pelicase, there was no way all of that could have fitted in! I did check the other day for AutoScript on tablets, which would be a much more viable solution for me.
In the MF bag for the big tripod I also brought a set of rails (just in case we needed them for the prompter) and the hydrostatic arm with the super clamp attached. You never know when they will come in handy, and when we were there I spotted one on the set!

For anyone working at MediaCity needing to spend the night somewhere, the Holiday Inn right in the center is perfect. From above the first floor is the dock10 studios, offices and editing HQ, but you would have no idea it was there when you reach the 8th - 15th floor for your room. Plushly furnished, executive desk/workspace and a wonderful bathroom. One of the best I've been in!!
Day 1
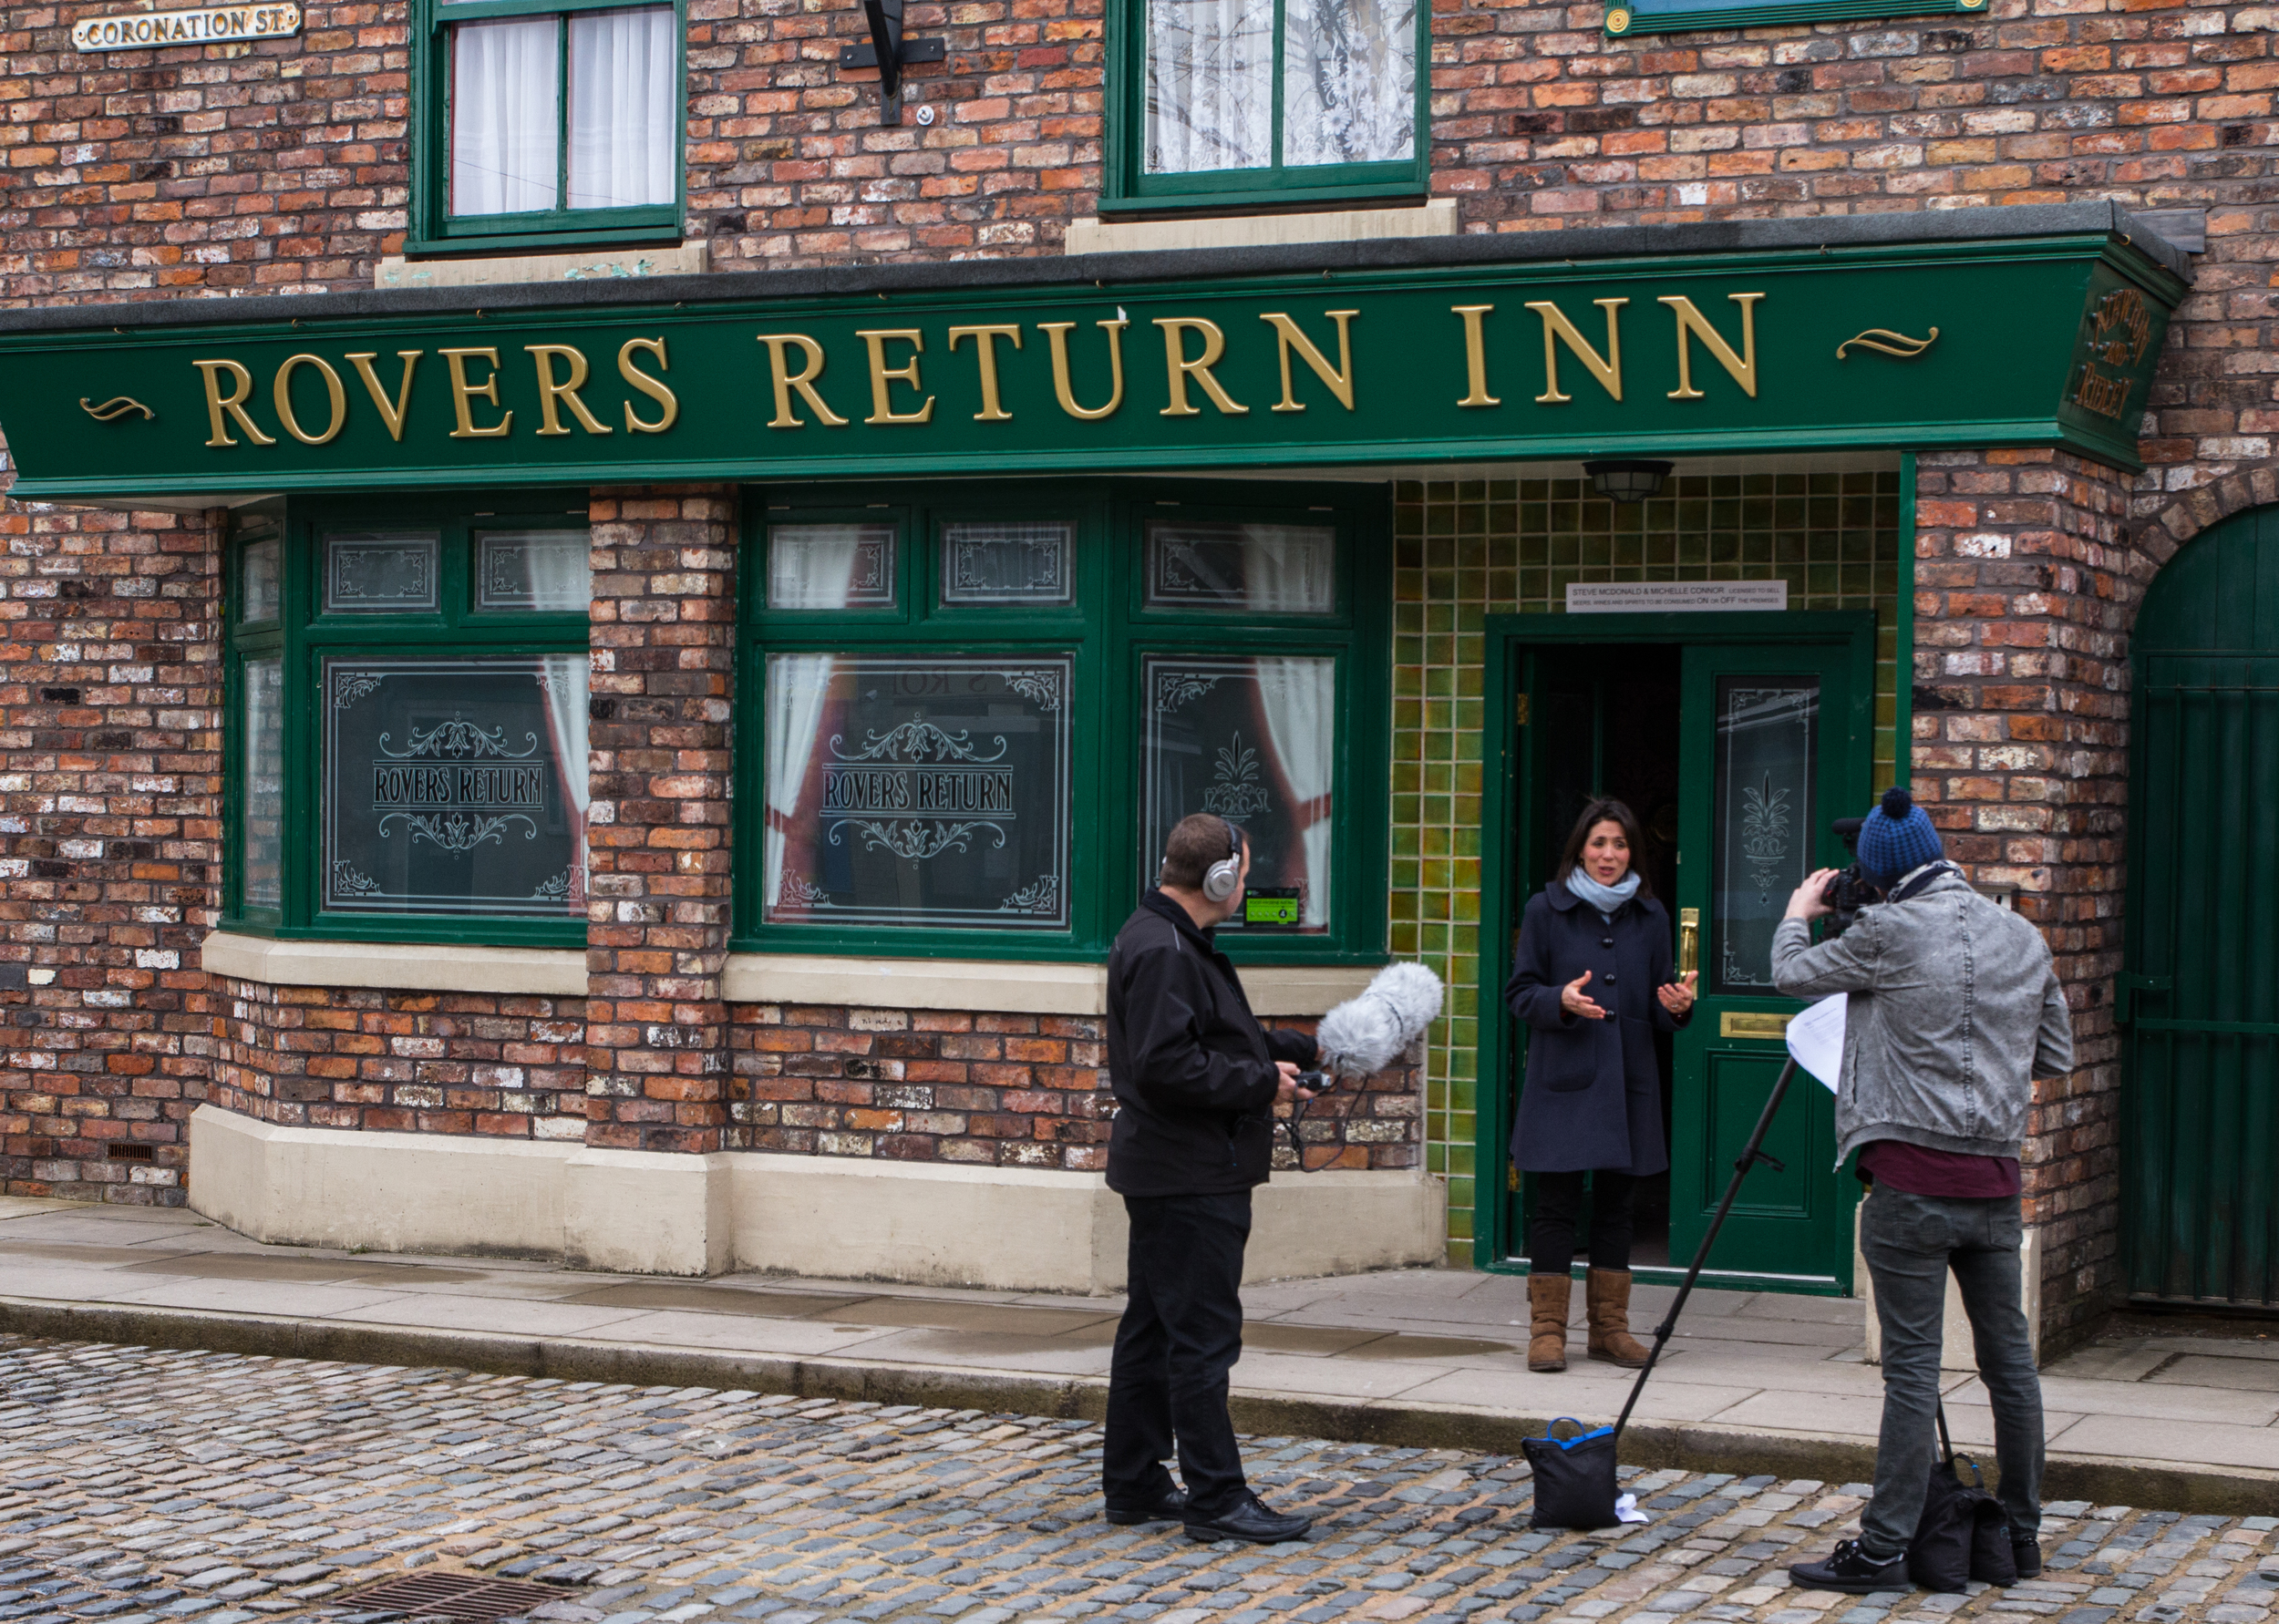
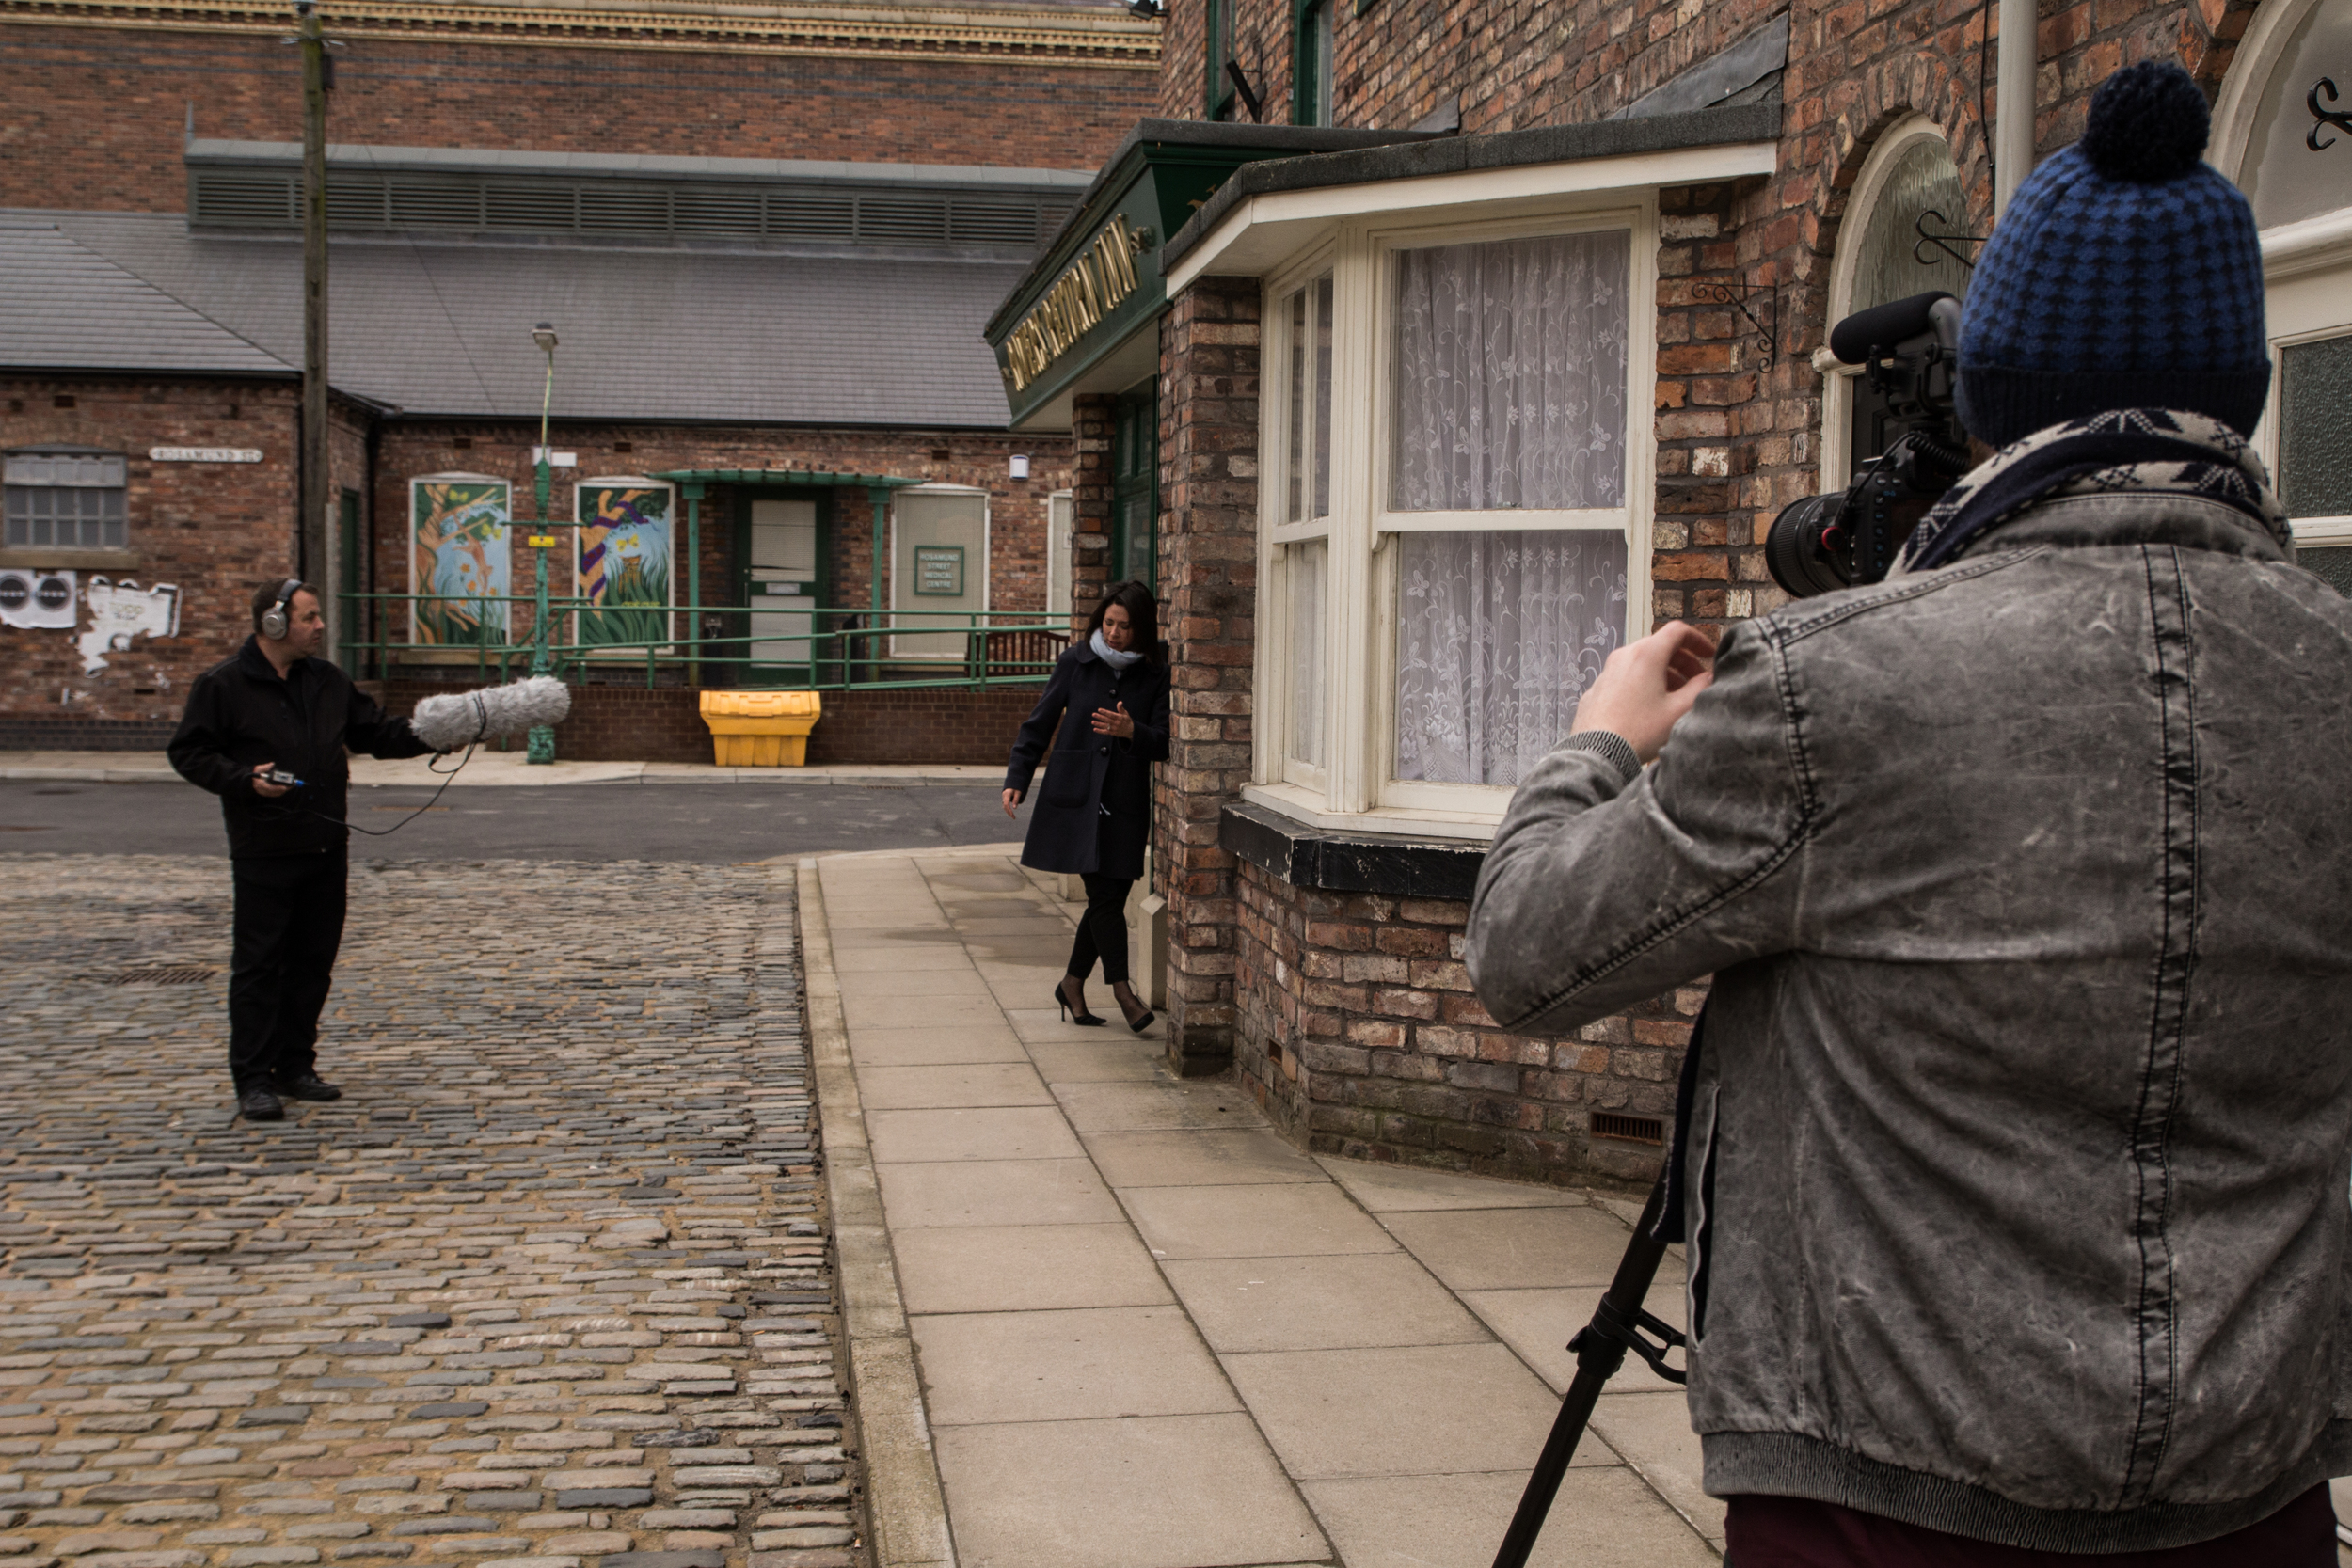
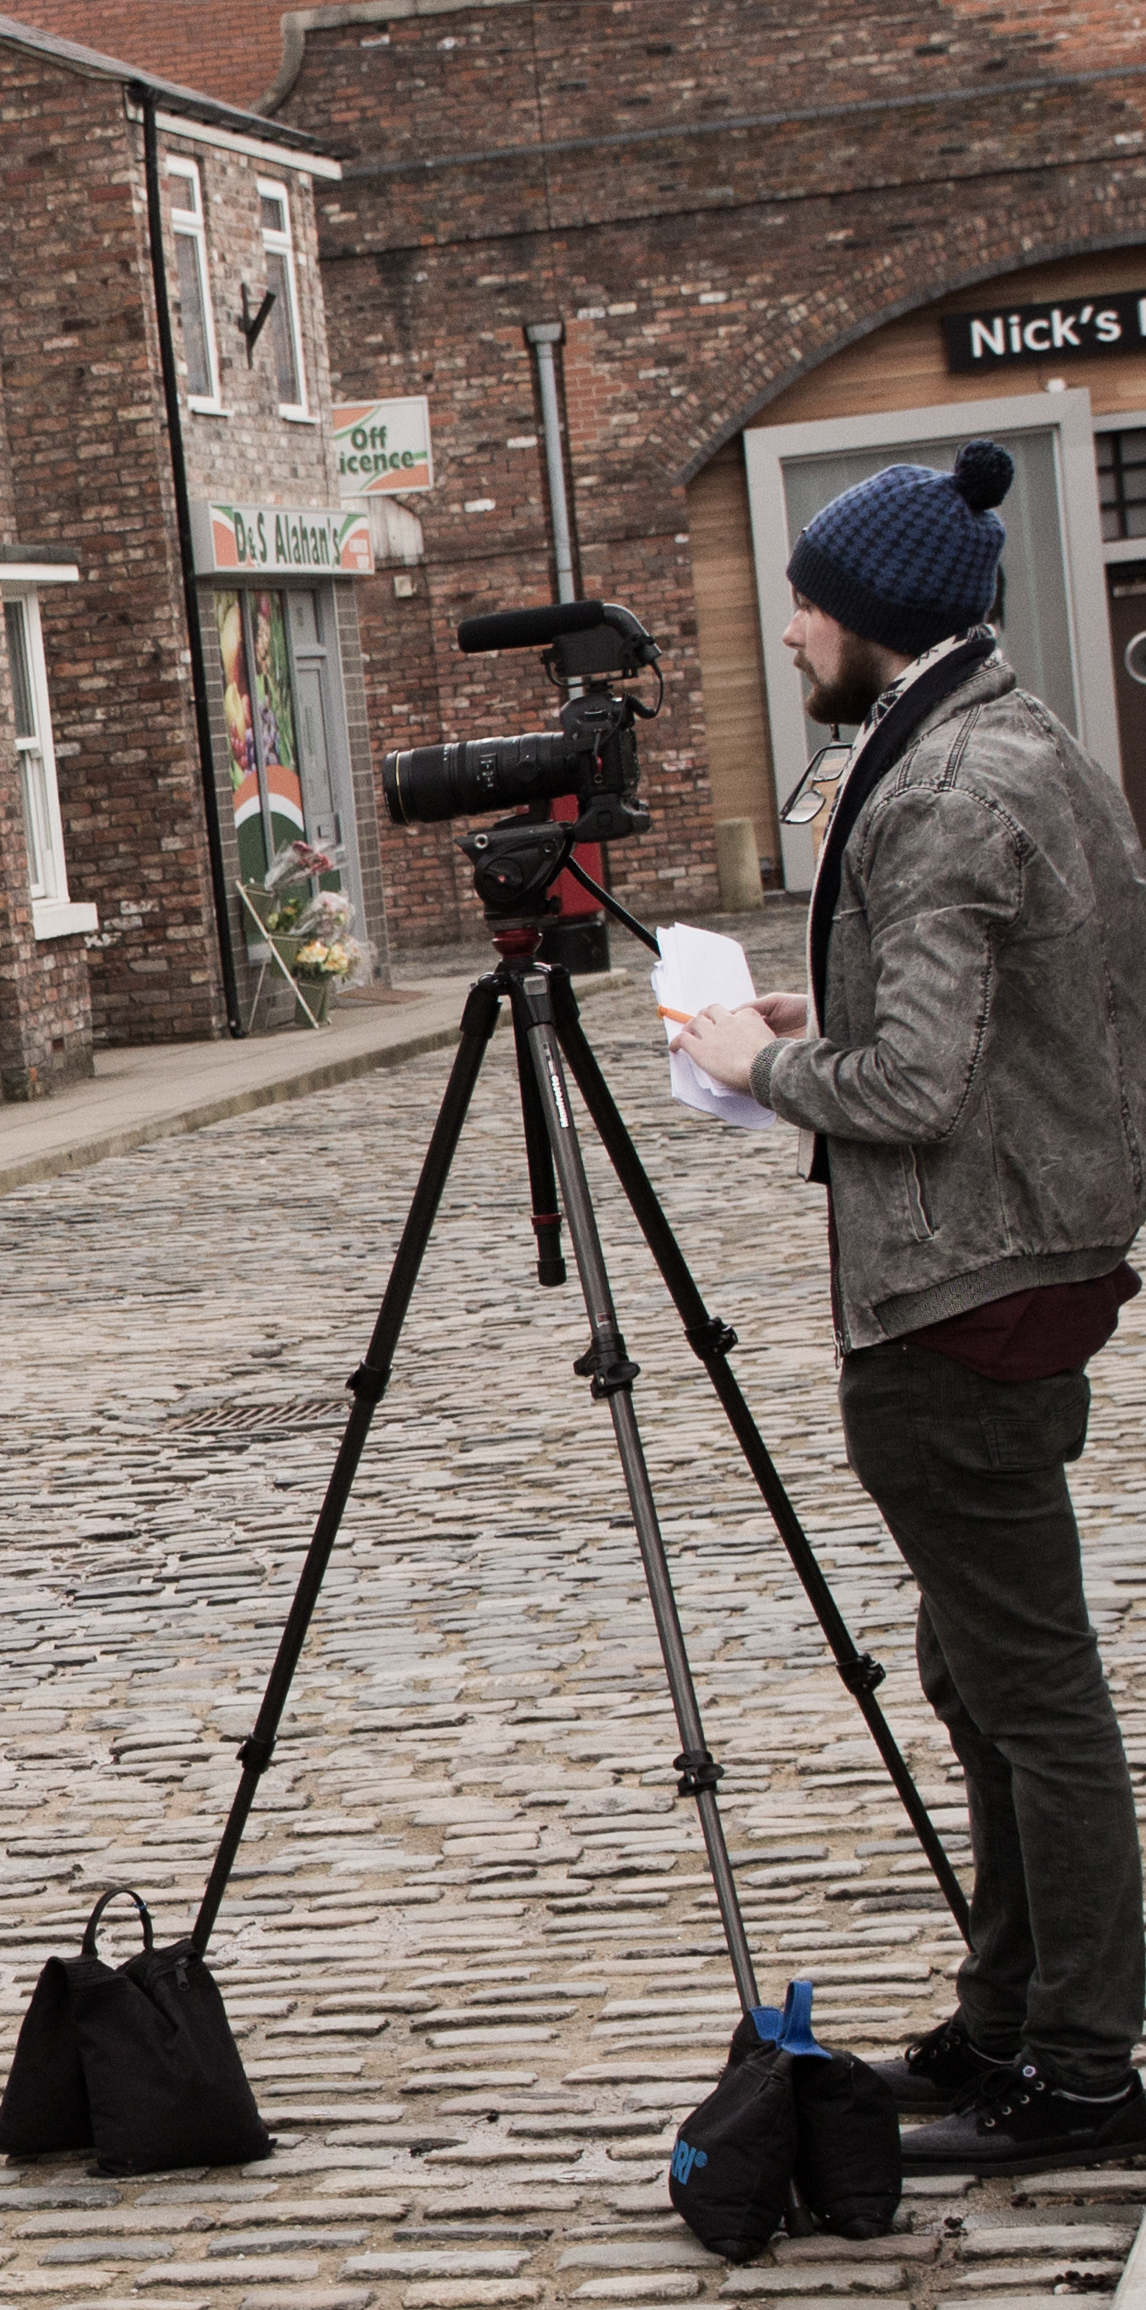
We had a talk about the shoot ahead, as it would be hit and miss on the locations we were aiming to film in due to working around the current productions at Corrie (4 different crews filming that day), we needed to make the most of our available time. After a short walk across the quay, opposite Old Trafford stands the new Coronation Street and ITV Studios.
Upon arrival, we were greeted with coffee, then a guided tour of the facility to get to grips with our new location for the next two days. It was quite nerve-racking for me being a tiny video producer in the shadow of ITV, but I was also in awe of the scale and technology that has been used to make Coronation Street such an iconic television program.
We began the filming in what I now know as the 'Windas' flat, capturing some GV and B-roll of the system cameras, microphone booms, lighting setups and the set itself, clips that would be used throughout the video.
“Camera settings: Tungsten white balance to match set lights, sticking to 1/50 shutter, aperture of F/5.6 and ISO ranging from 400-1600.
Mostly shot on Tamron 24-70 F/2.8 and Sigma 70-200 F/2.8.”
I also shot some more material in the Rovers interior set, which has a new LED lighting rig, in comparison to the other tungsten lit sets. It was impressive being in there, and was much smaller in reality, but we pulled up a chair at one of the booths and started recording the voice overs as the prompter hadn't arrived for the shoot yet!
For lavalier microphones, remember to attach them upwards or downwards depending on your subjects speech to avoid pops and hisses. Try to always record a back up audio track too, just in case your plan fails. Here we have 3 separate tracks recording on the H6: lavalier on presenter, gun mic and the mid side mic attachment on the device.
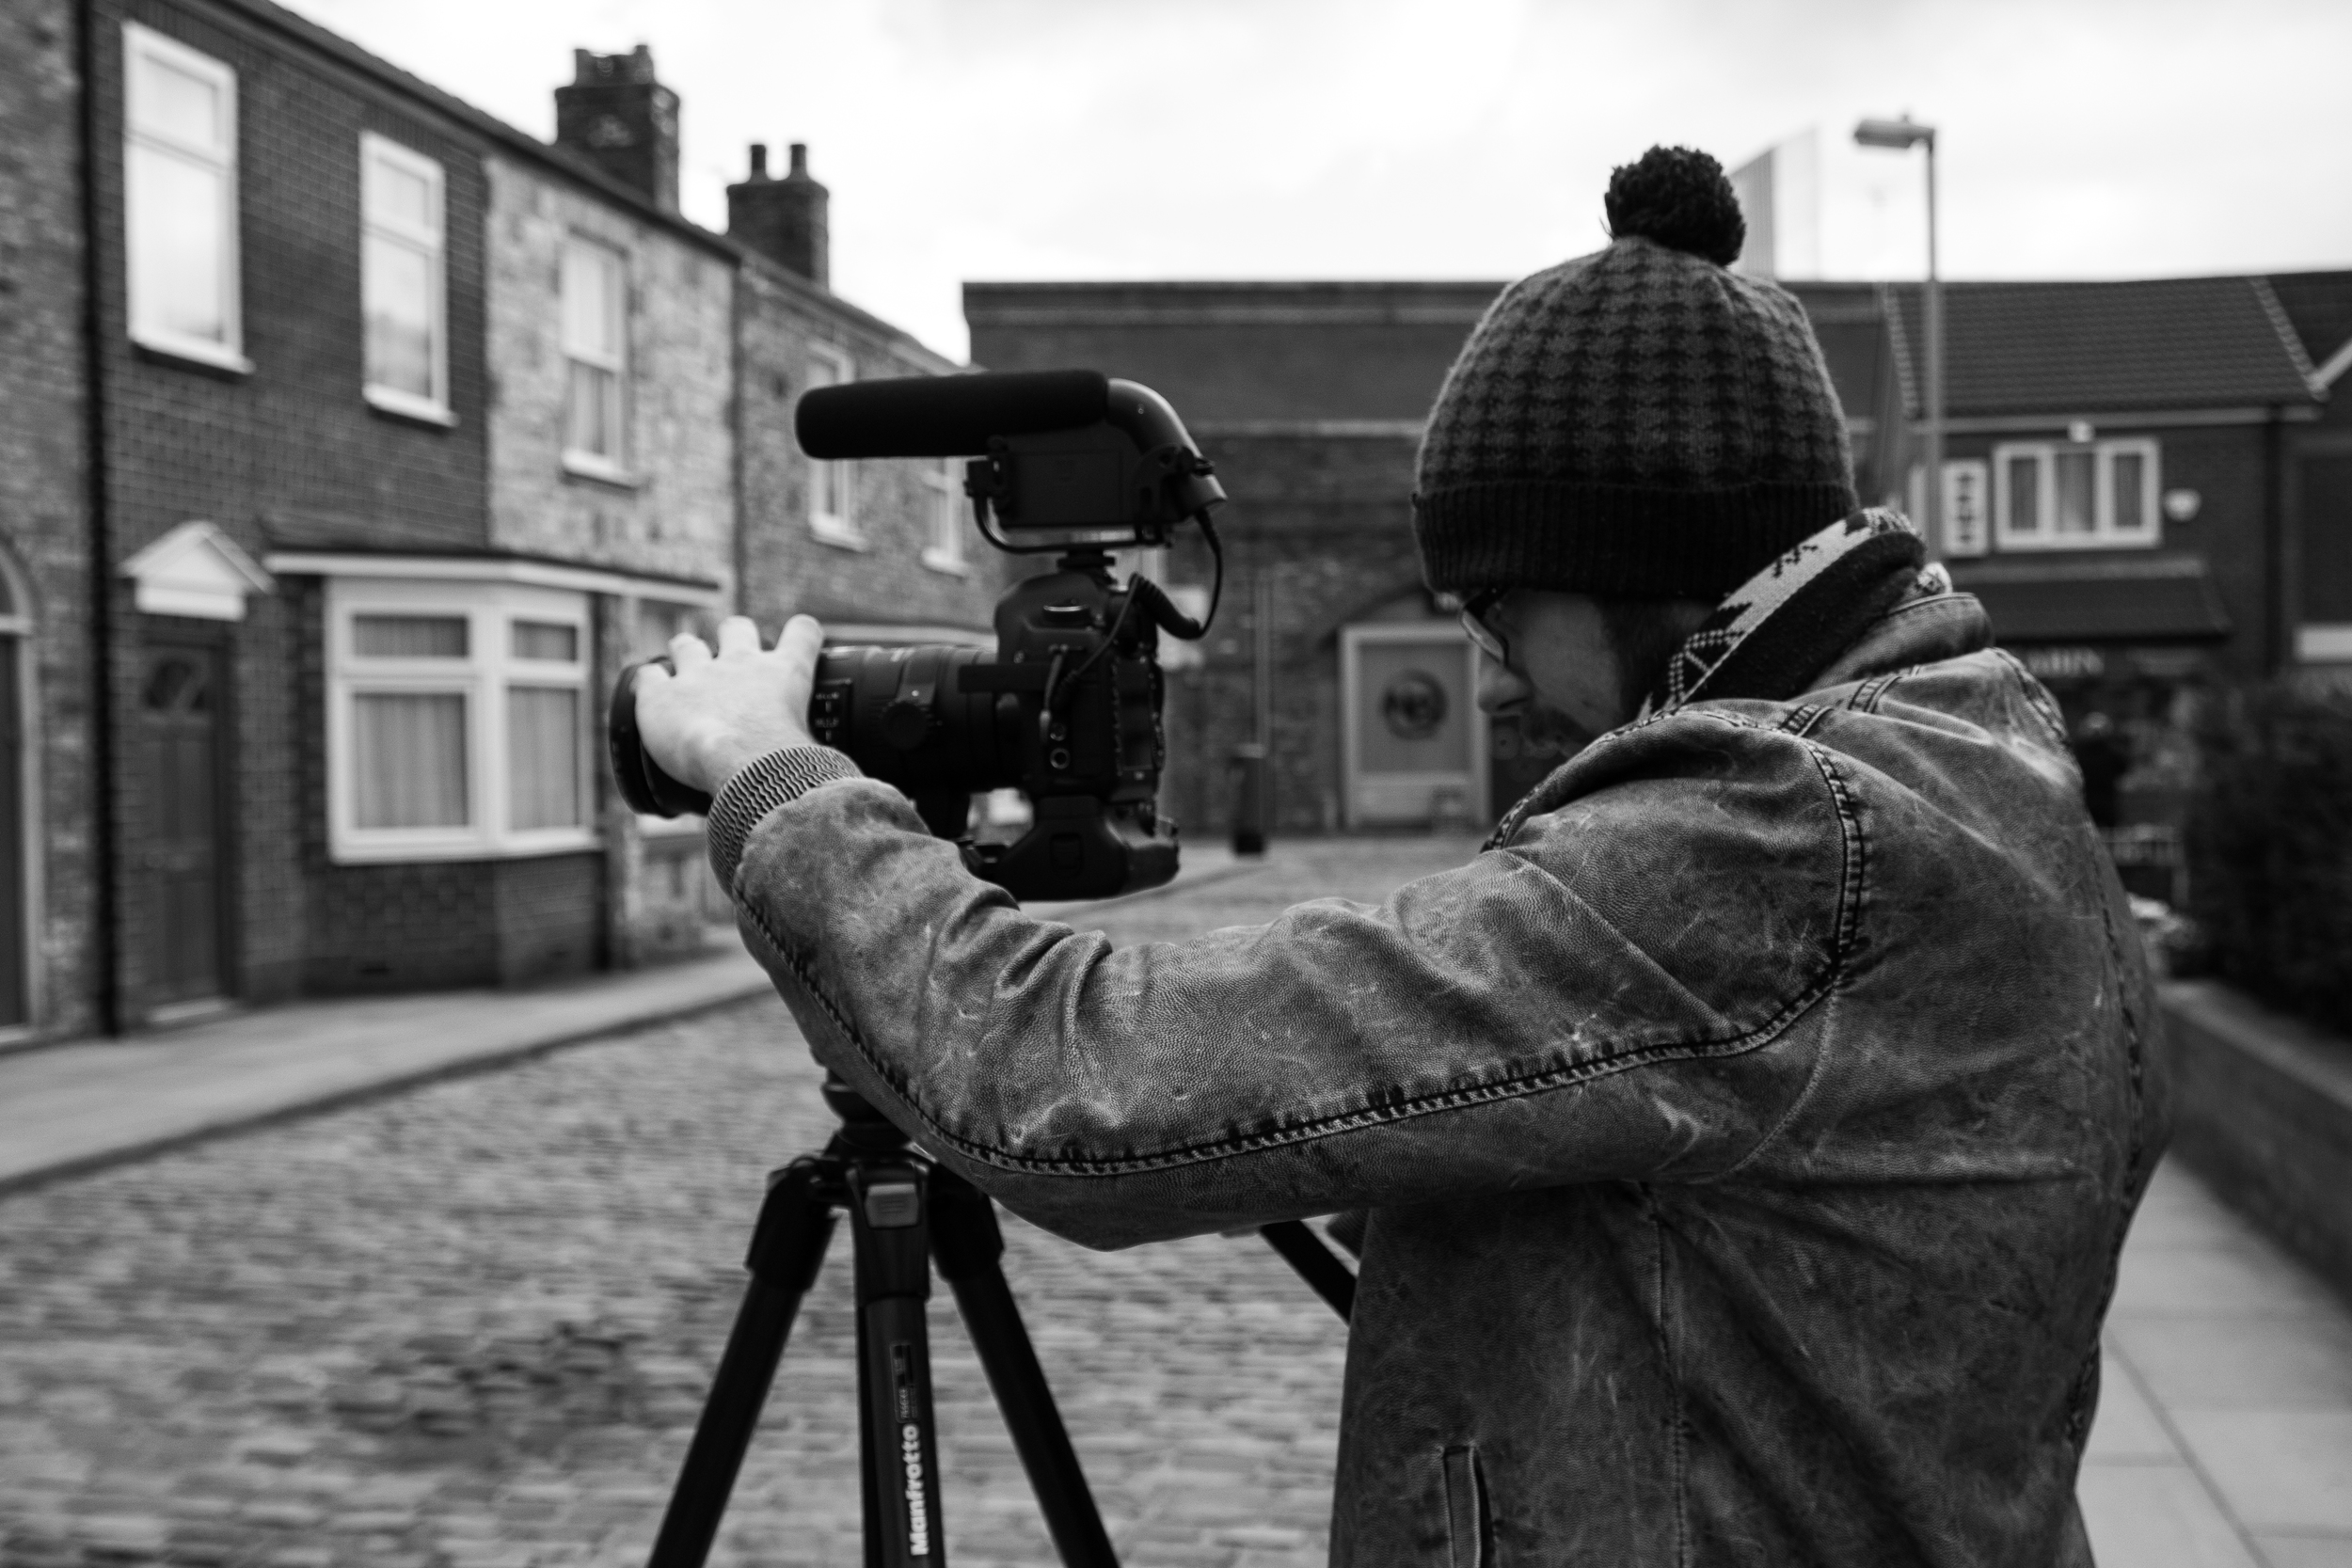
After recording all of the VO, we headed to the lot of the cobbled streets where a scene was being filmed as we overlooked and walked through! I shot some more cutaways of the street and crew in action on the 5D and 70-200. We had a fantastic guide who gave us many technical secrets into the new production facility, it was fantastic!!

The AutoScript had arrived!!! We quickly got set to putting it together, however John, Glen and myself had no experience in putting one together, so to the internet it was! A few minutes later we had the prompter up and running, the camera set, working lights on, microphone levels set and were ready to roll.
As you can see, the normally small 5D and 70-200 filming combo goes out the window when using a prompter. Very front heavy!
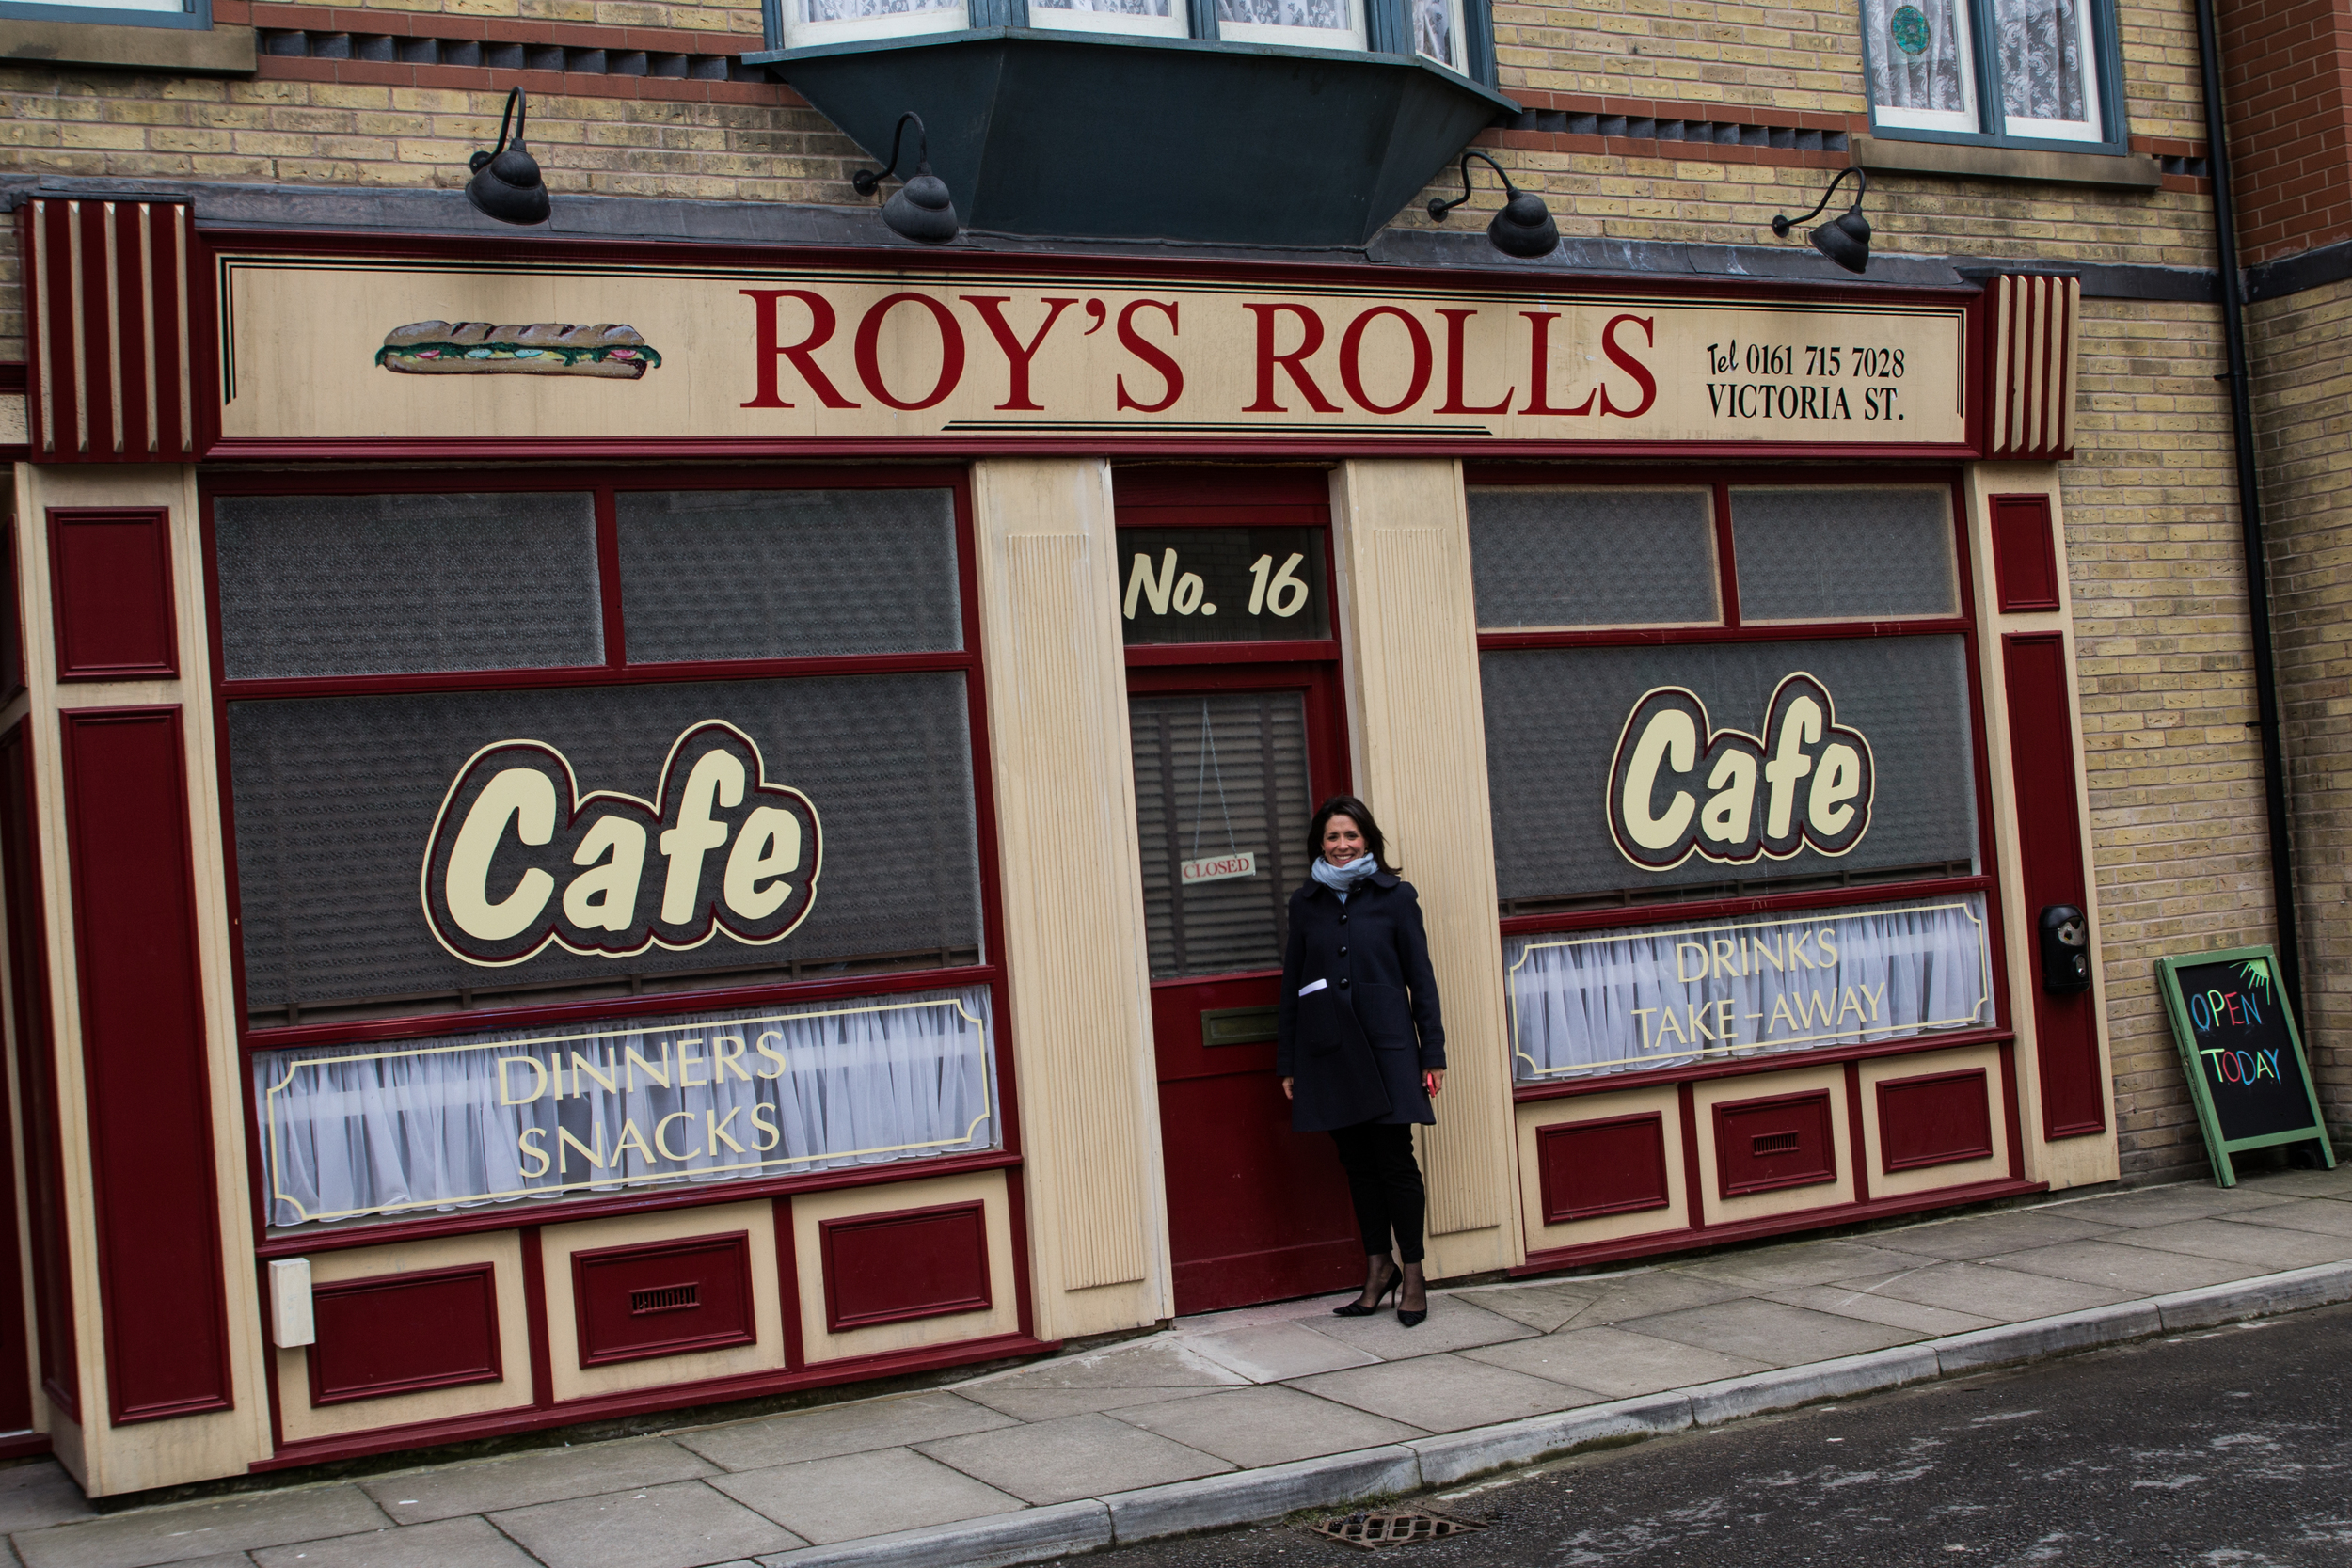
Our filming took us all around the studios including Roy's Rolls and the Rovers, showing how a drama program is produced. Our access also allowed us into the production galleries, editing and grading suites for more 'piece to camera' filming as well as capturing plenty of GV showing the equipment in action.
We wrapped up day 1 late that evening which allowed us to capture most of the content for the video: we shot scenes 1 through to 7, great progress and took the pressure off day 2 as we didn't know what access we would have.
When we got back to the hotel, the importing and backing up began. I like to play the 'guess the gigabyte' game, simply guessing the total file size of the captured material. Although we were working loads throughout the day, I think the day 1 total was around 60Gb all in all. I backed up onto 3 drives that night just in case.
Day 2
We started a little later to recover from the long day before, enjoyed a big breakfast, plenty of coffee and headed over to the studios with our suitcases as it was our last day. We had access to the edit and grading suites in the morning, where I shot plenty of B roll just in case, as it turned out we wouldn't get access to the finishing or dubbing suites so this came in handy.
As Corrie filming had finished on the street, we quickly went out to shoot the final 'conclusion' scene of the training video outside the Rovers and on the cobbles. The prompter required a power supply, so we de-rigged it for this scene, I used the 5D and 70-200 only for these shots. Most of the time I shot at around F/11-16 as it was rather bright outside, but it also keeps some of the background visible instead of blowing it out with bokeh.
The machine room was a challenge due to the heavy air conditioning for the racks and racks of networking, storage and server equipment to keep it cool. Not particularly for the vision, but John did a great job of operating the H6 and monitoring the audio with so much background noise. The gun mic was out of the question, so we captured solely using the Rode Lavalier mic, which worked well for this environment.
As a back up I also captured plenty of B roll, and John captures a voice over from Georgie of the machine room scene just in case the native sound was too distracting. Luckilly, the Rode lavalier coped well!!
I had access to the working production galleries as scenes were being recorded under Tony Warren, Coronation Streets award winning director. It was amazing to watch him and his team work! I'm not allowed to talk about what I saw being captured though :)
That was the last filming stop at Corrie before we departed, saying a massive thank you to our guide and staff at the facility who were so welcoming and helpful. It was a breezy walk back to the Holiday Inn, as I thought I had lost my car keys, before the very long drive home!
The team did a fantastic job over the intense two day shoot, it was Glen's first job operating a prompter and although it was a challenge putting it together he quickly picked up the operation. For me, it was awesome seeing the technology behind a drama serial that captures its programs like live television. Being a completely new facility, the studios had brand new vision mixers, racks, lighting and sound control which was fascinating to see and learn more about.
Highlights/reel of the Coronation Street video shoot coming soon!
Manfrotto Ambassadors Jim Marks (Director and Photographer), and Adam Plowden (Videographer and Motion Graphics Artist) chat to Manfrotto about why they use the tripods, bags, grip and lights for their everyday work!
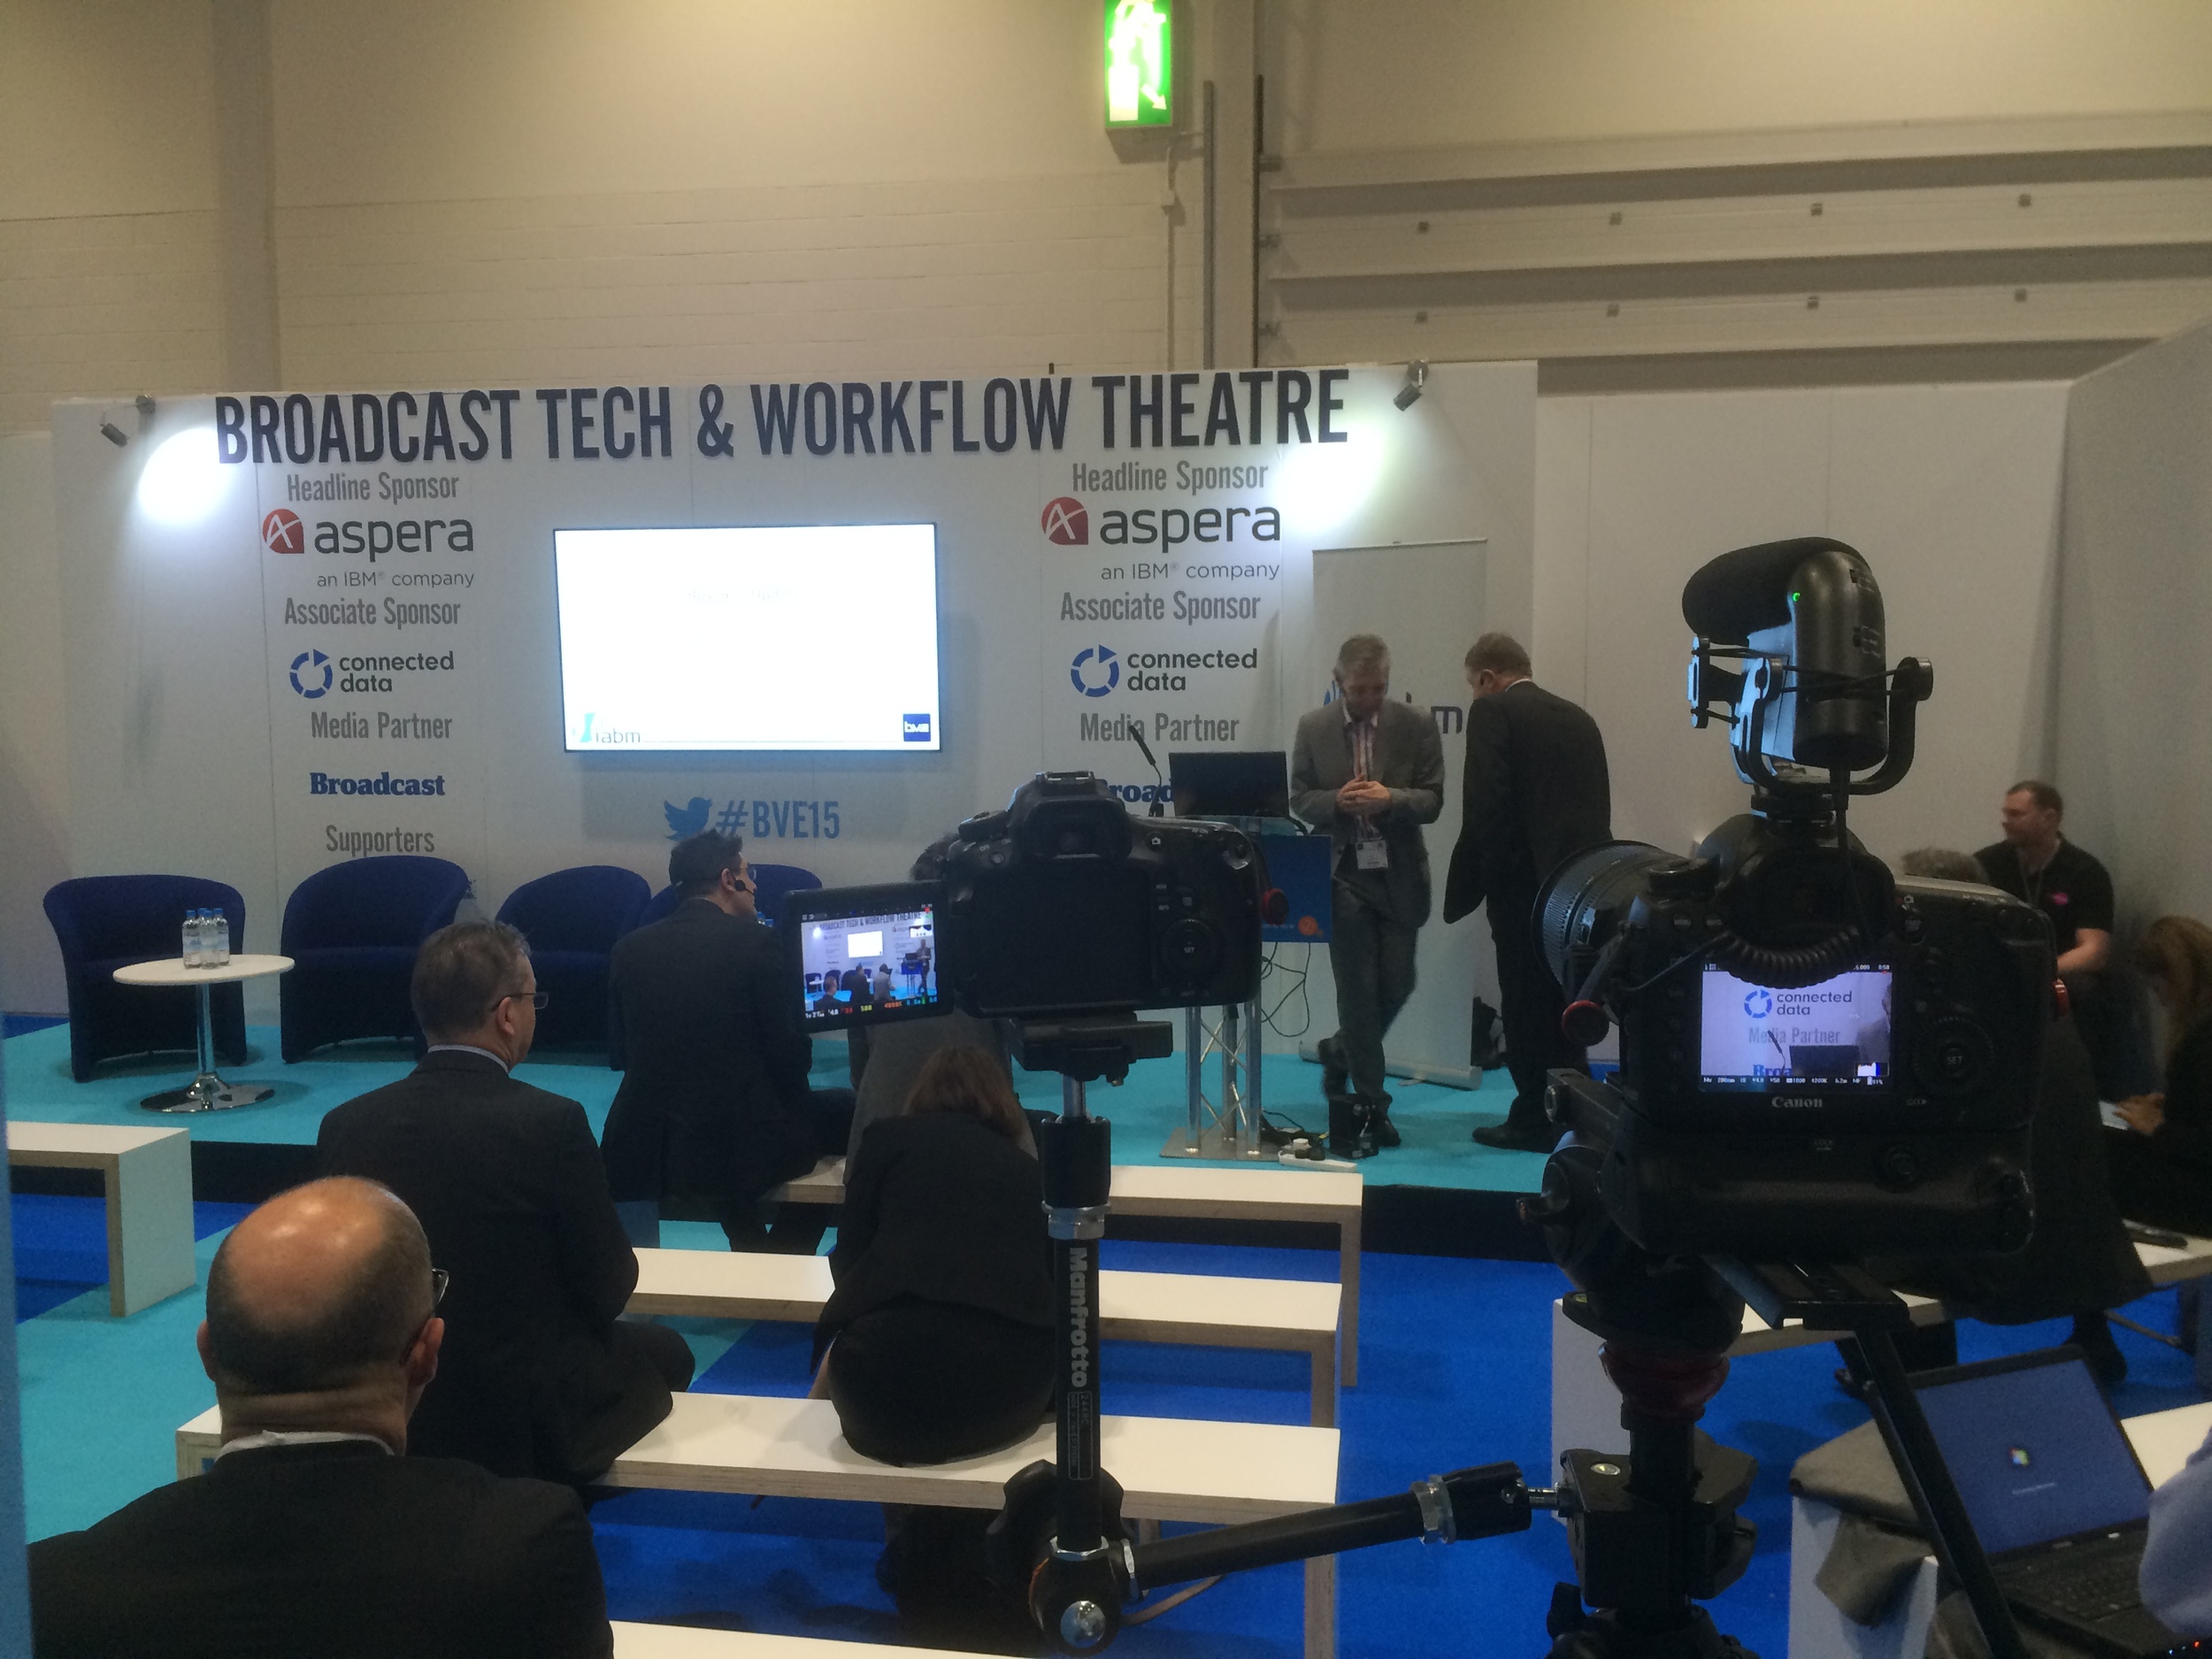
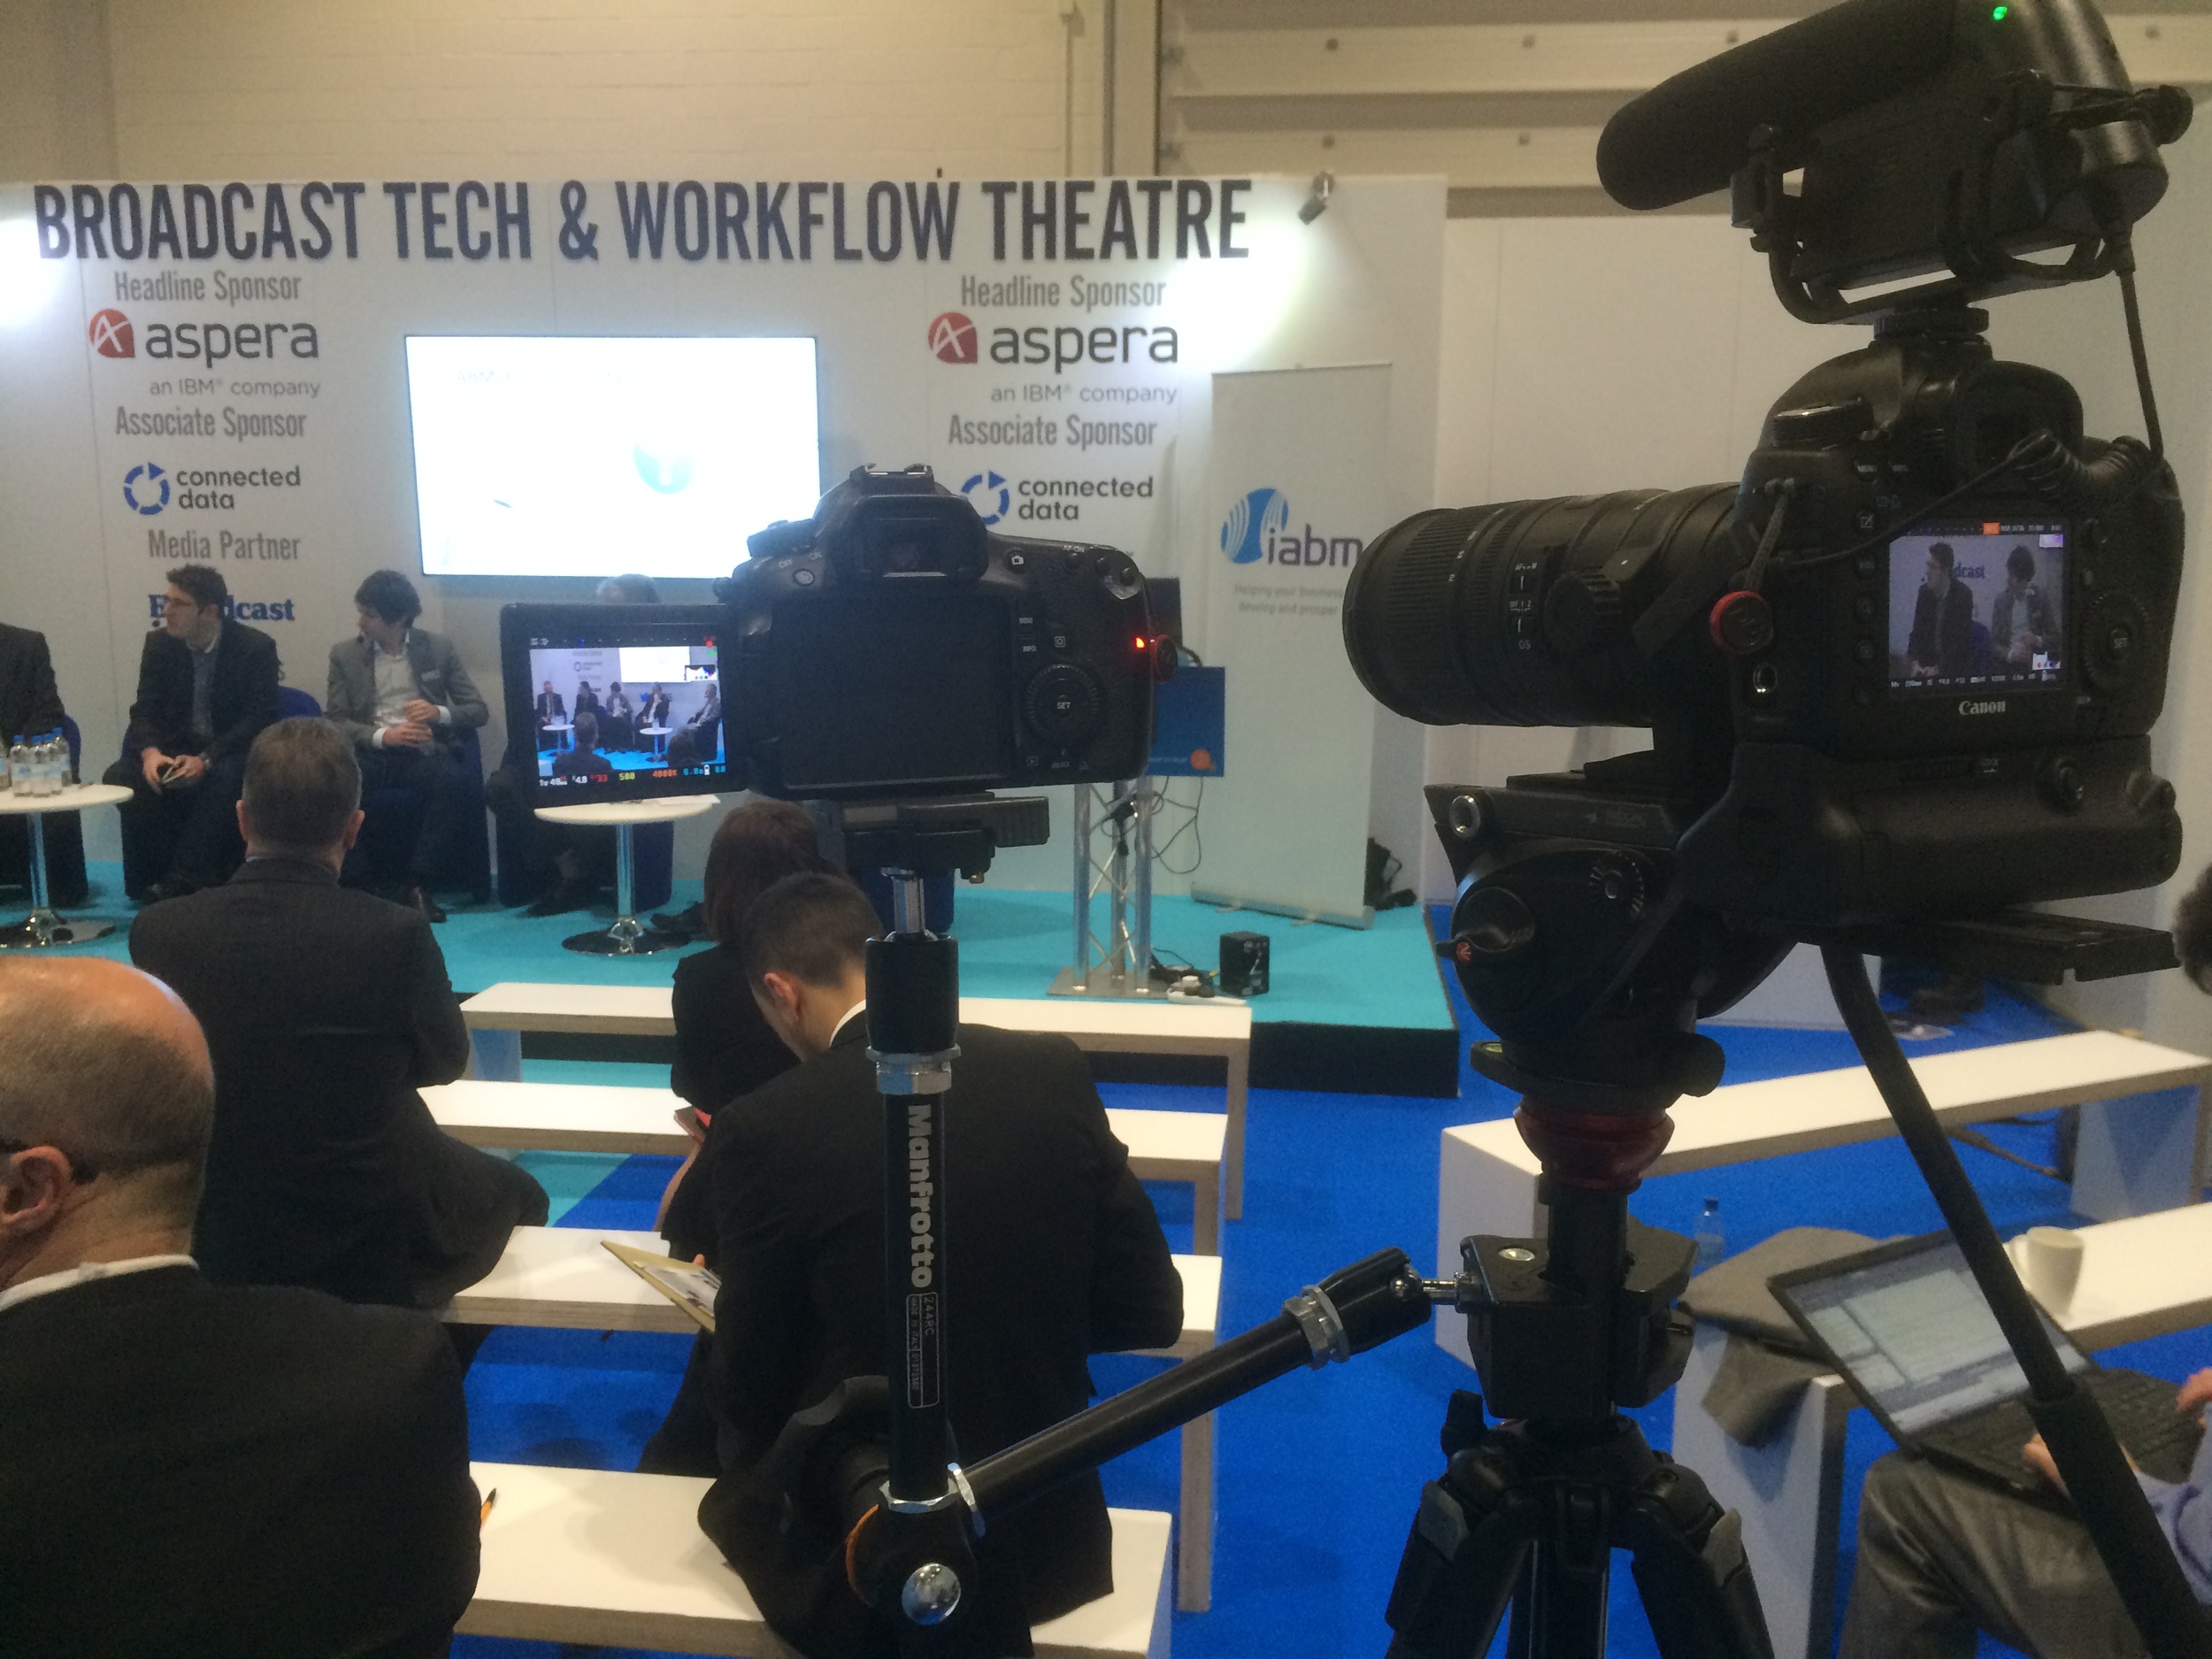
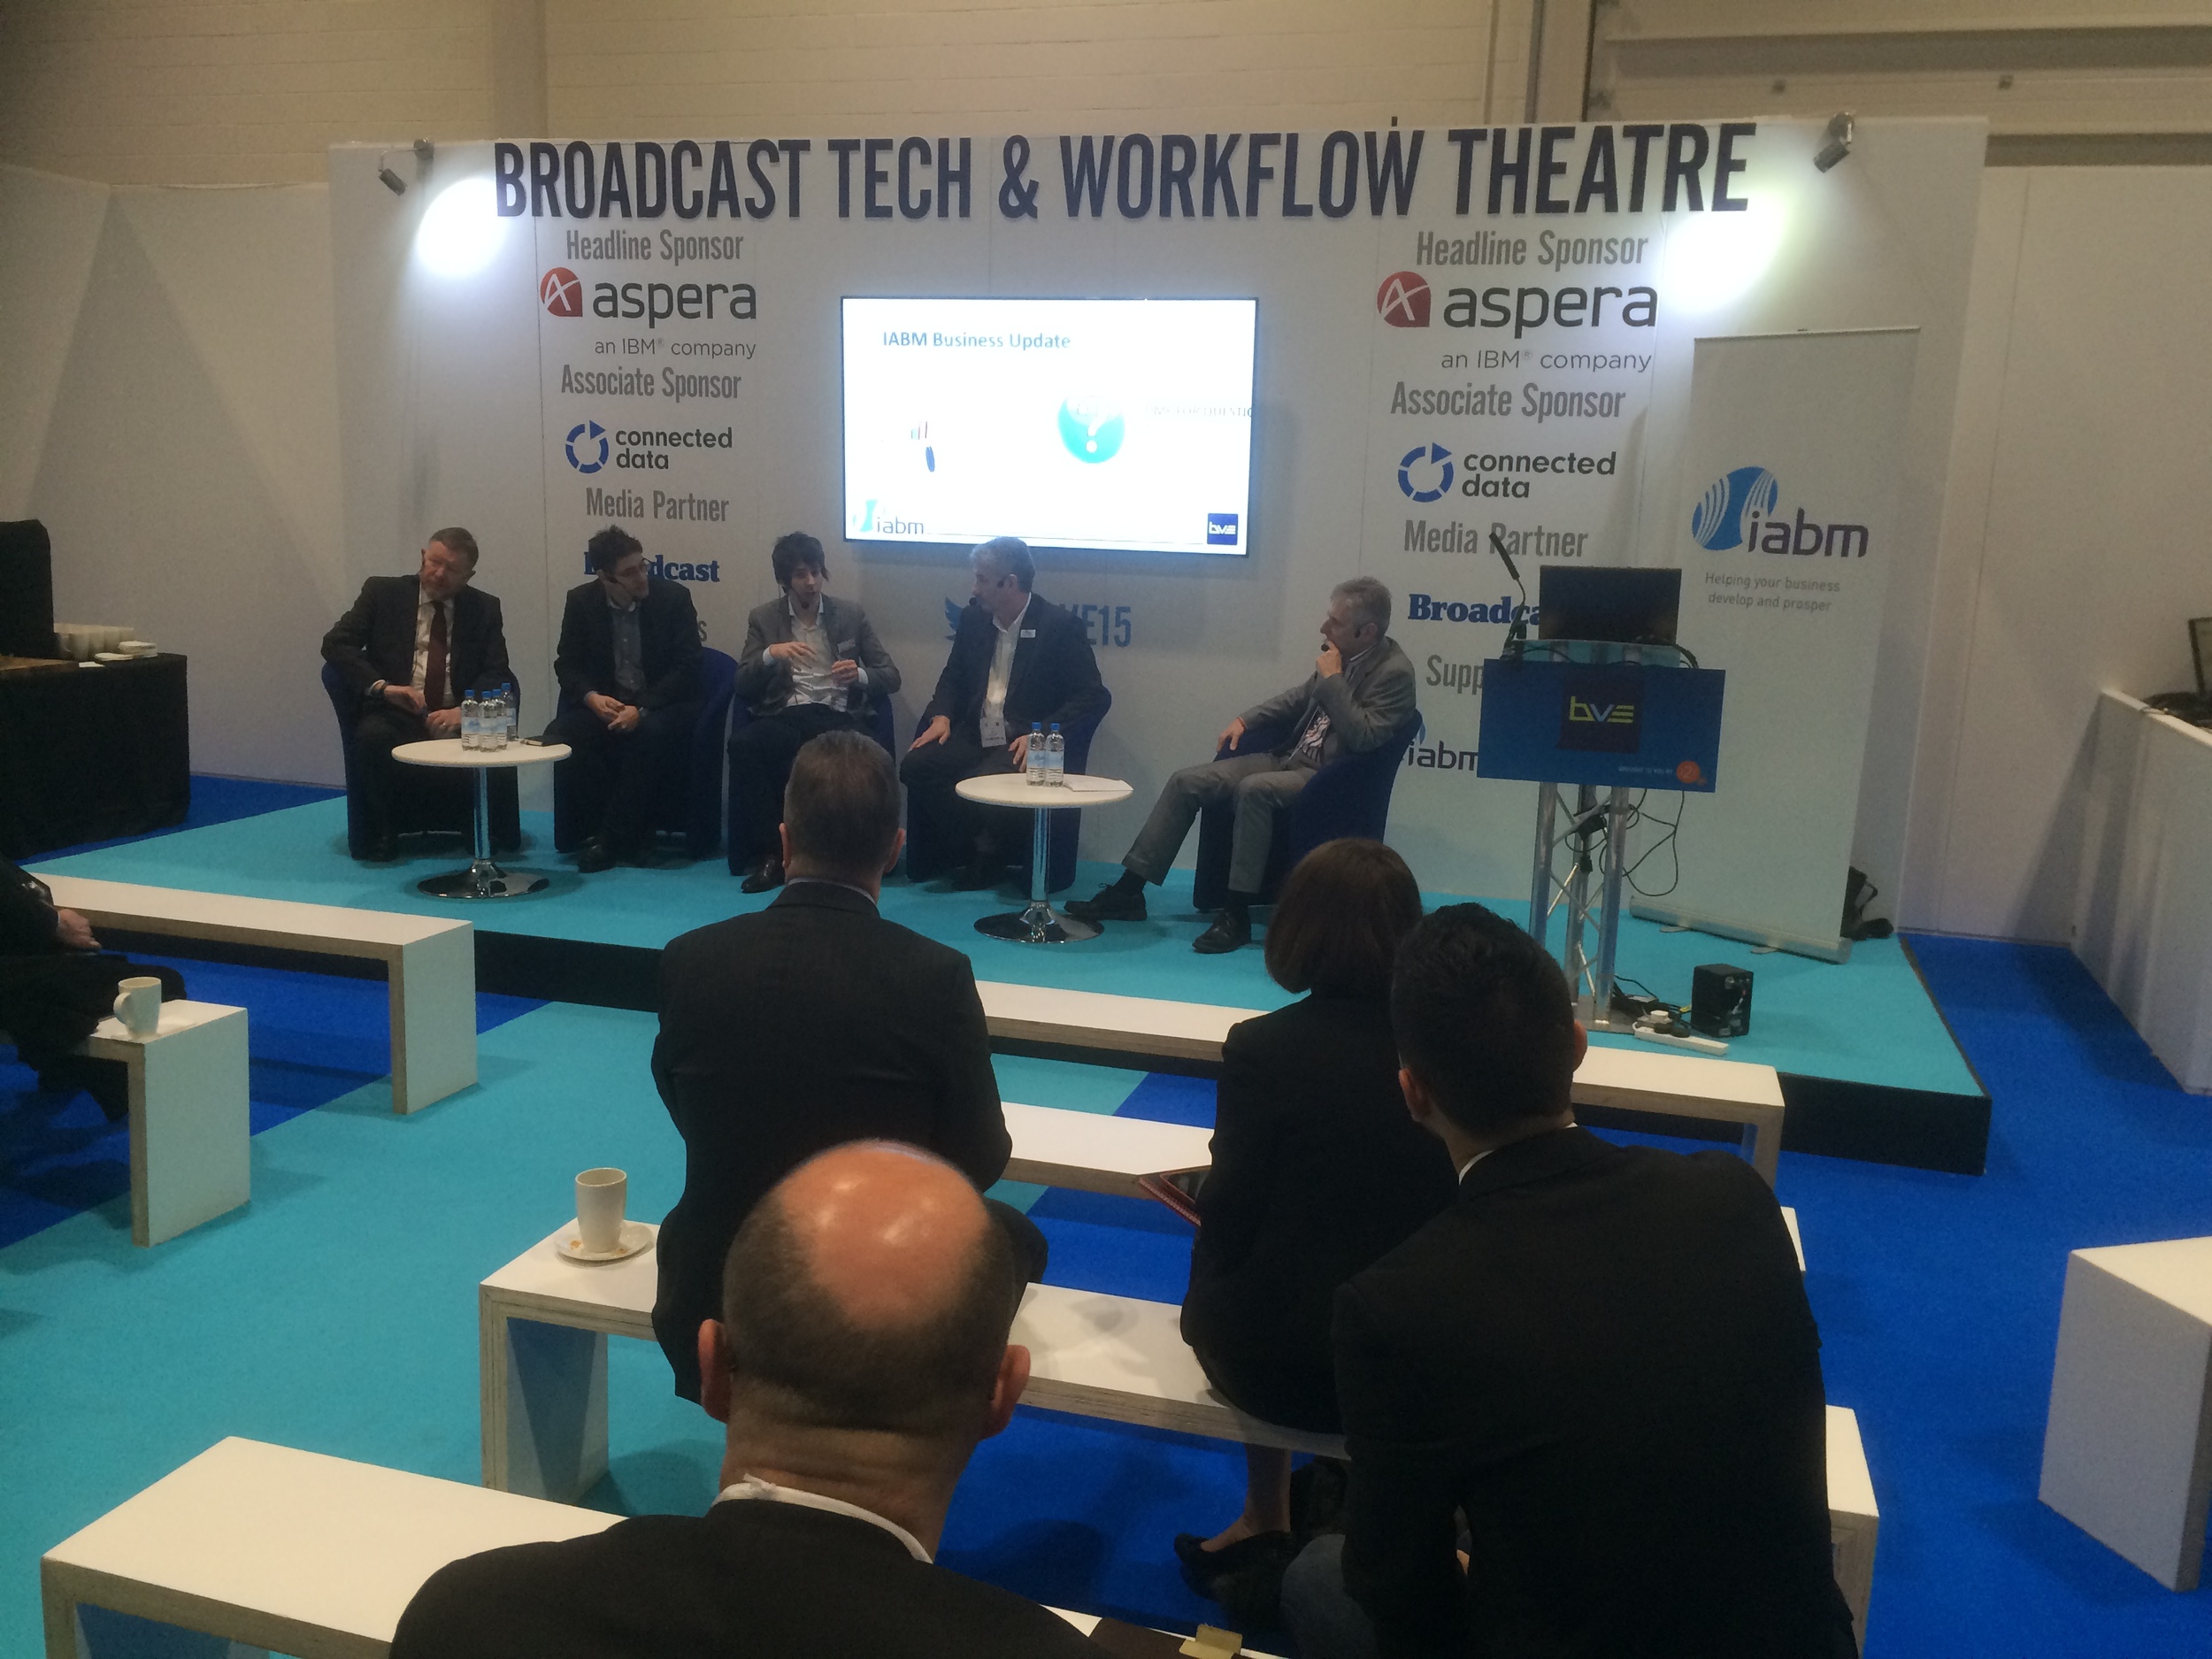
While I was doing interviews and checking out the tech at the UK's premiere broadcasting event, BVE 2015, I picked up 5 key trends..
Next year, BVE 2016 will be the main event of London Entertainment Week 2016! As the event grew into London ExCeL to become a key place to be in the broadcasting and media calendar, event organizers i2i Group comments:
““In recent years we have seen increasing overlap from theatre, film, AV and social media into the traditional ‘broadcast’ space, and have reflected this in our free seminar programme and the composition of the exhibition at BVE. In recognition of this increasing convergence, BVE is poised to become the centre of an all-encompassing celebration of the UK’s global position as an innovator in the creative industries, acknowledging all those involved in delivering world class film, TV, commercials, theatre, live events and gaming, while maintaining the integrity and relevance of the current show.””
2016 is sure to see our industry boom!
More posts to come: JVC, Movidiam, Rode, Manfrotto and more.
Wow what a show! I cut my stay short to come home and begin editing, which I am still working on now.. But here are a couple of photos from around the show (from my phone) of the various interviews and people I saw!
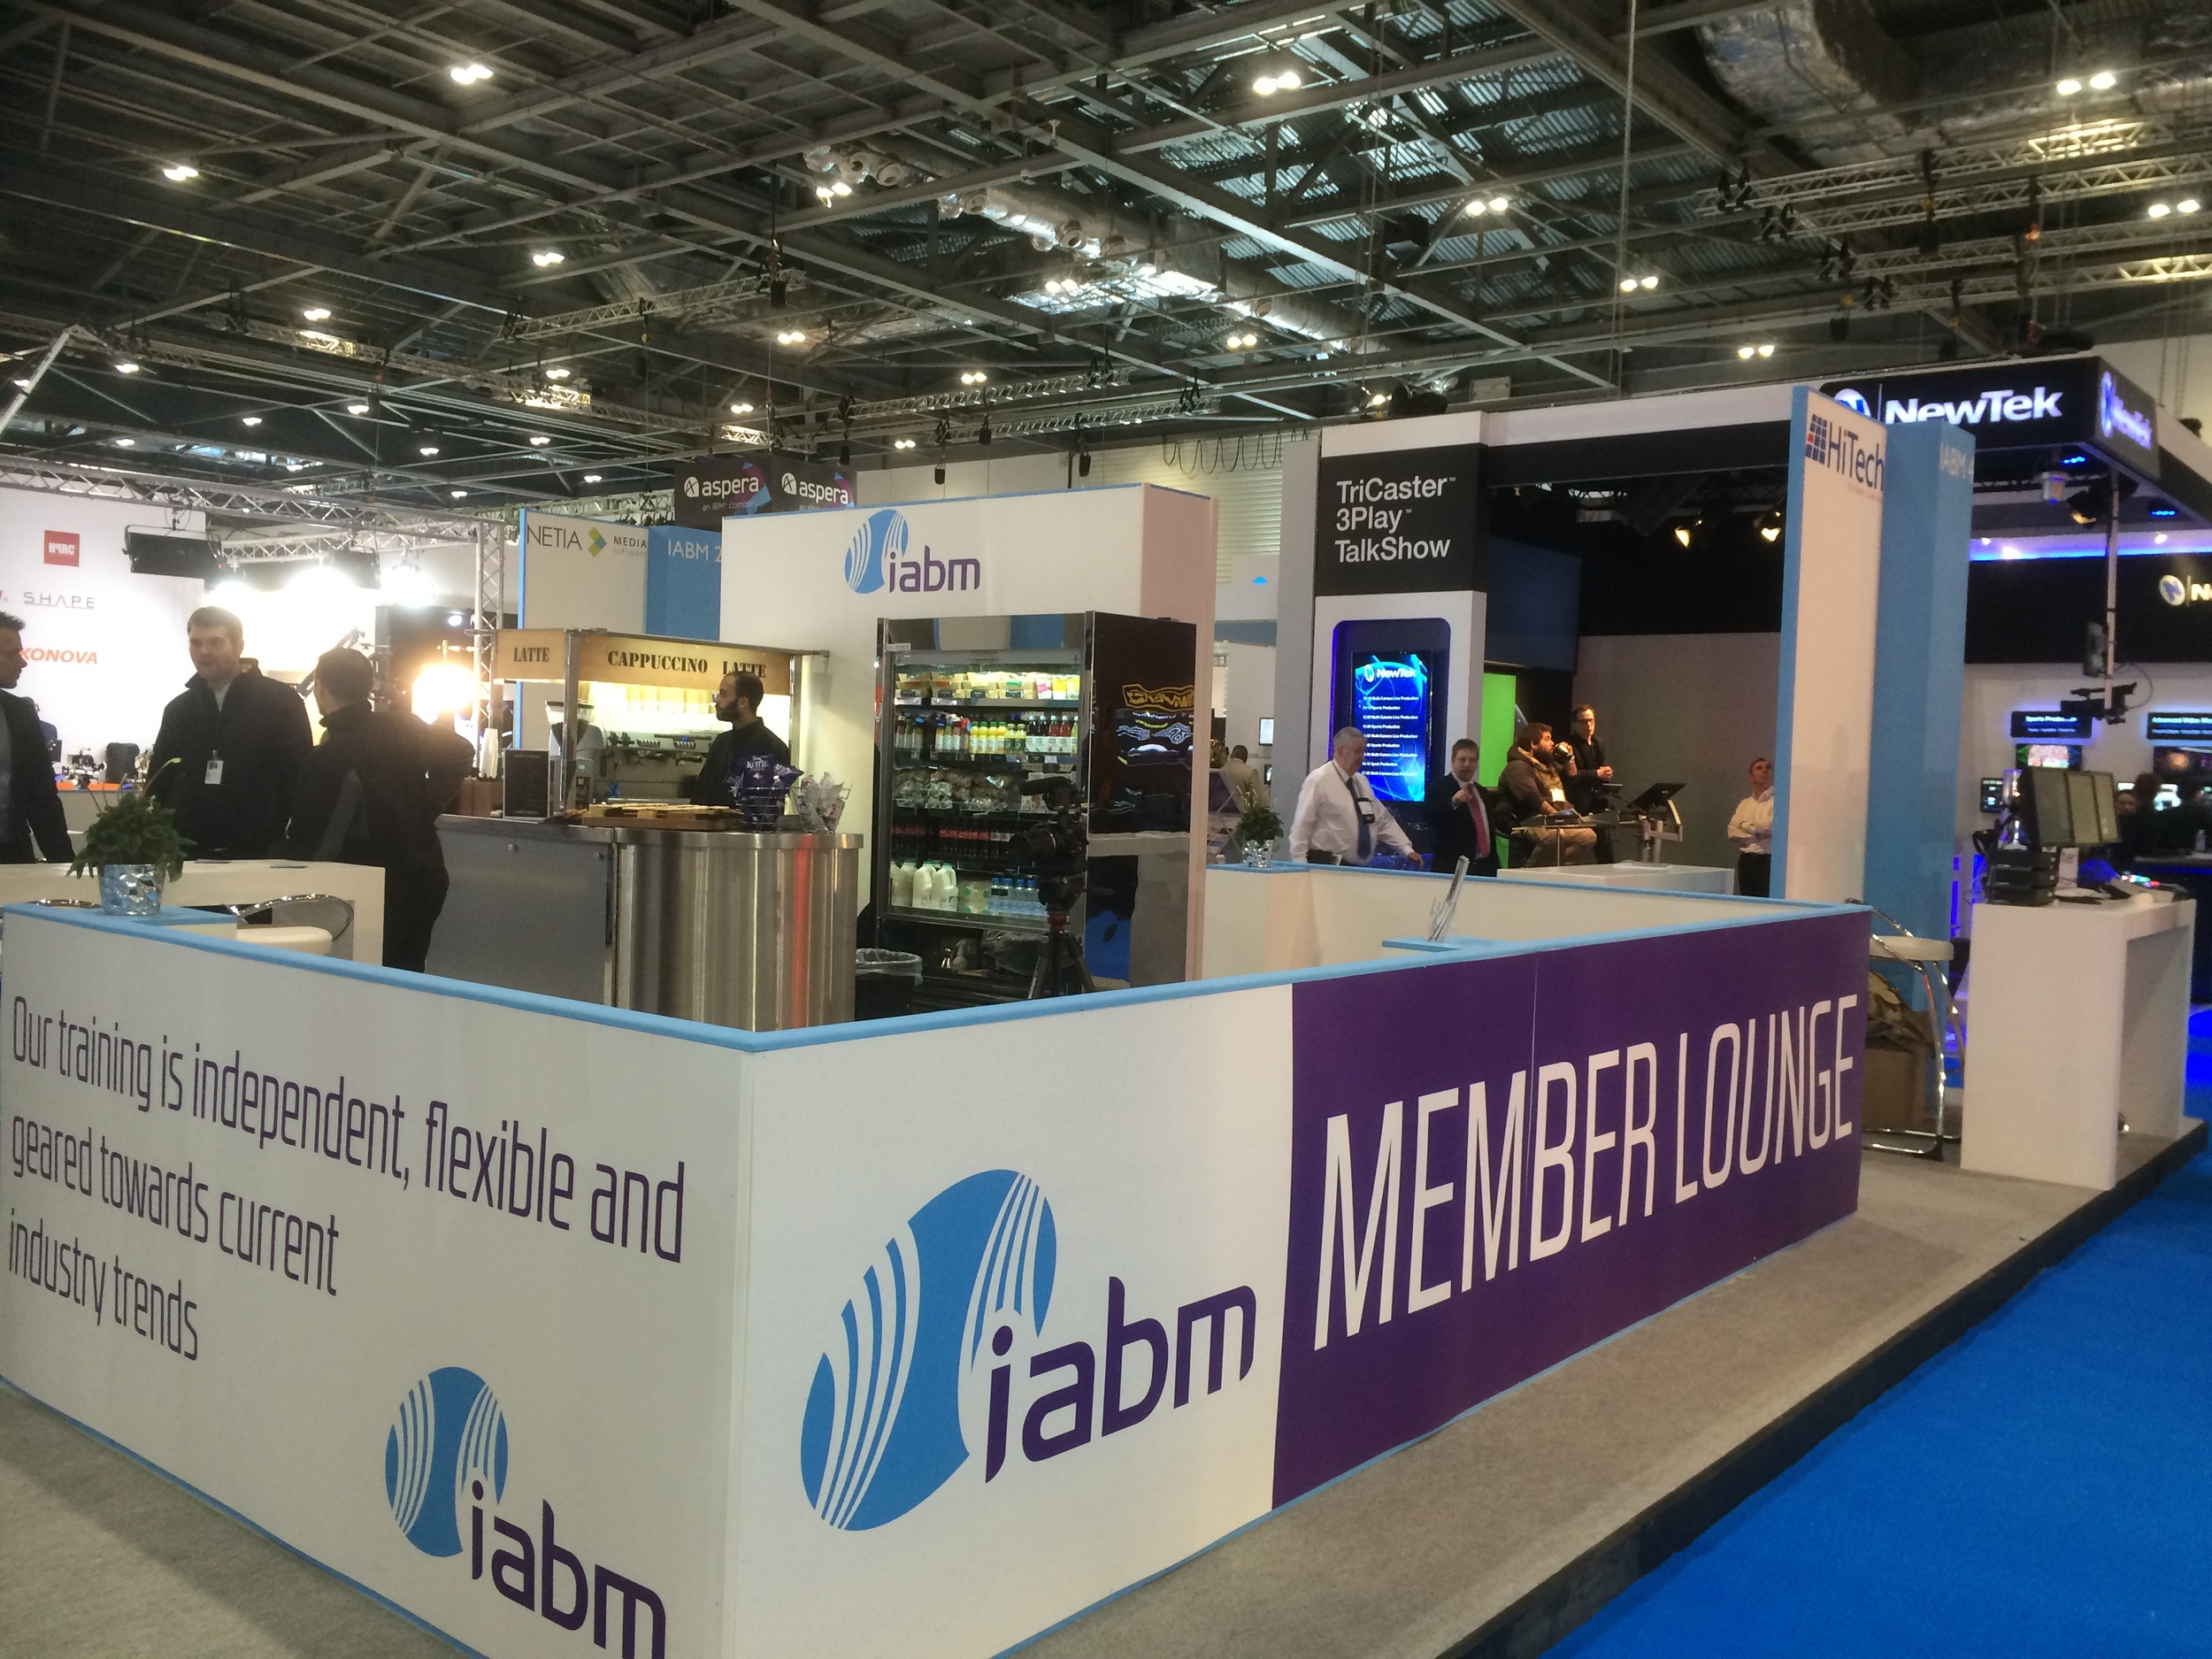
The new IABM Pavilion attracted lots of interest!
I had a great chat with George and the Movidiam team about their new platform. Exclusive blog post coming soon, with video.
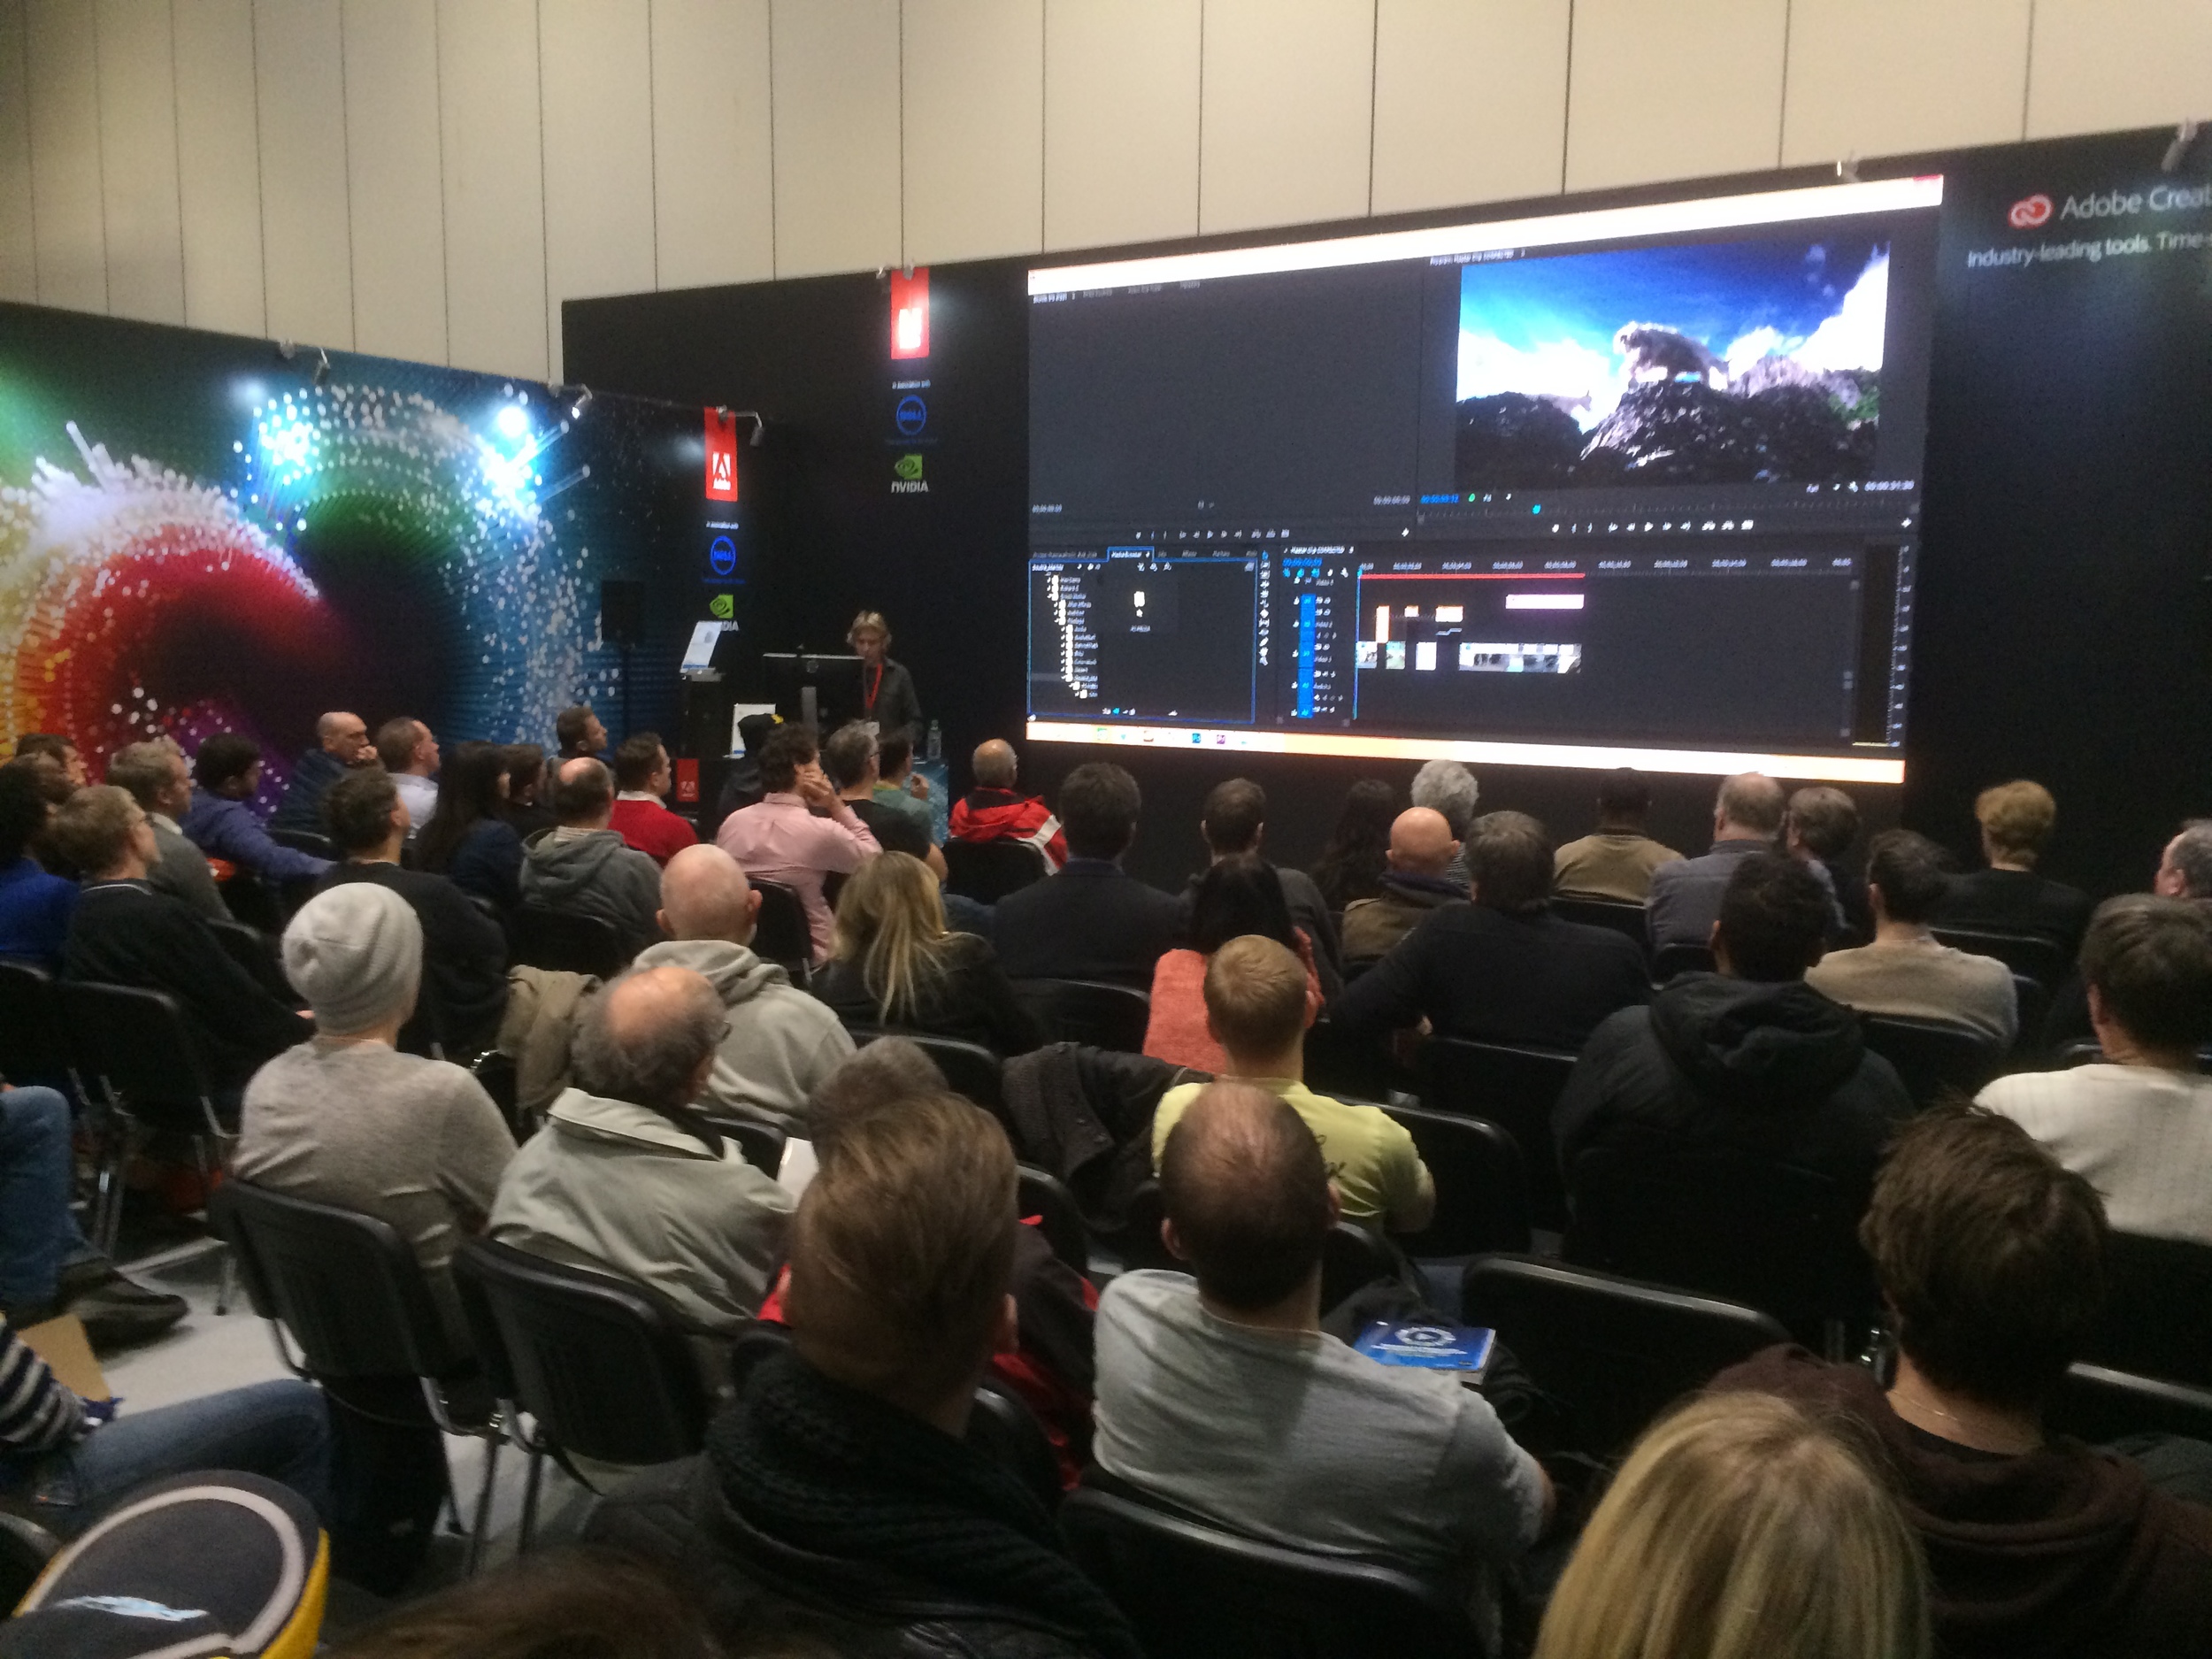
Adobe and G-Tech guru, Simon Walker talks at the Adobe theatre.
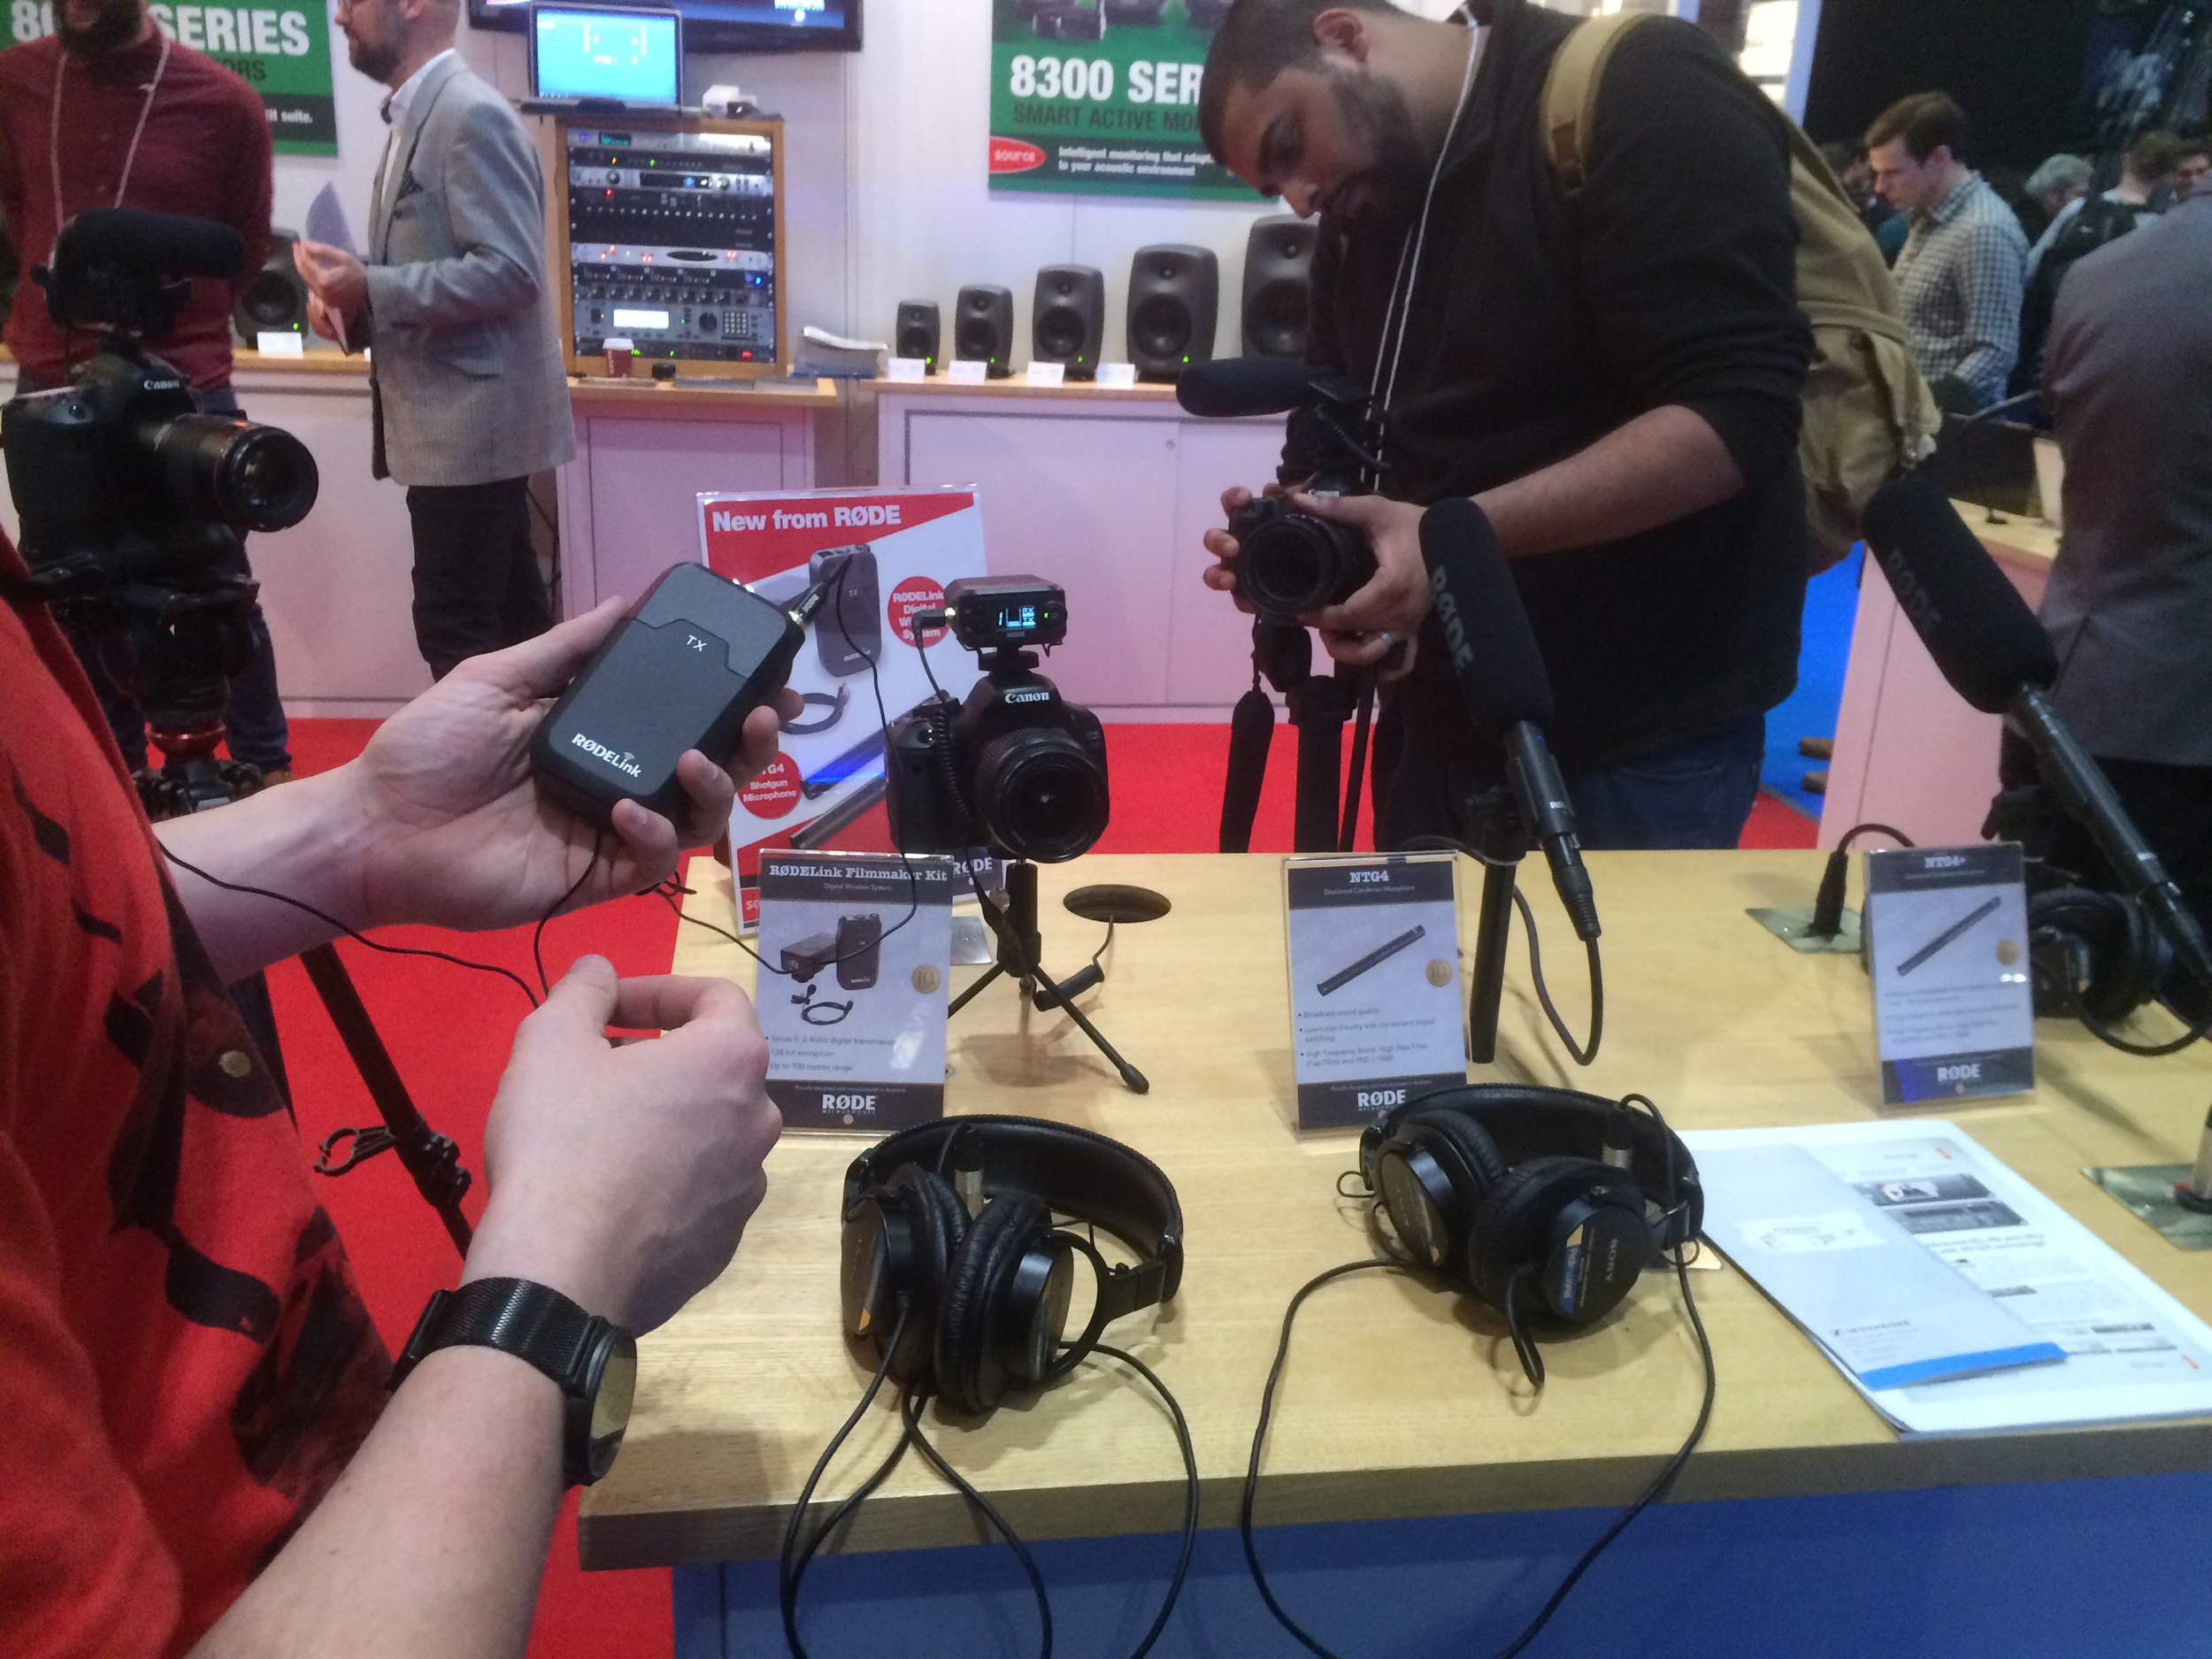
Price still to be confirmed, but this prototype was a great demo of what is to be expected in the coming months from Rode, which includes the RxTx and Lavalier mic.
Simon and Nino were giving talks at the G-Tech stand, I came by to say hi!
Lots of interest over my camera setup, using a carbon fibre tripod for A cam, and the Manfrotto magic arm and super clamp for B cam.
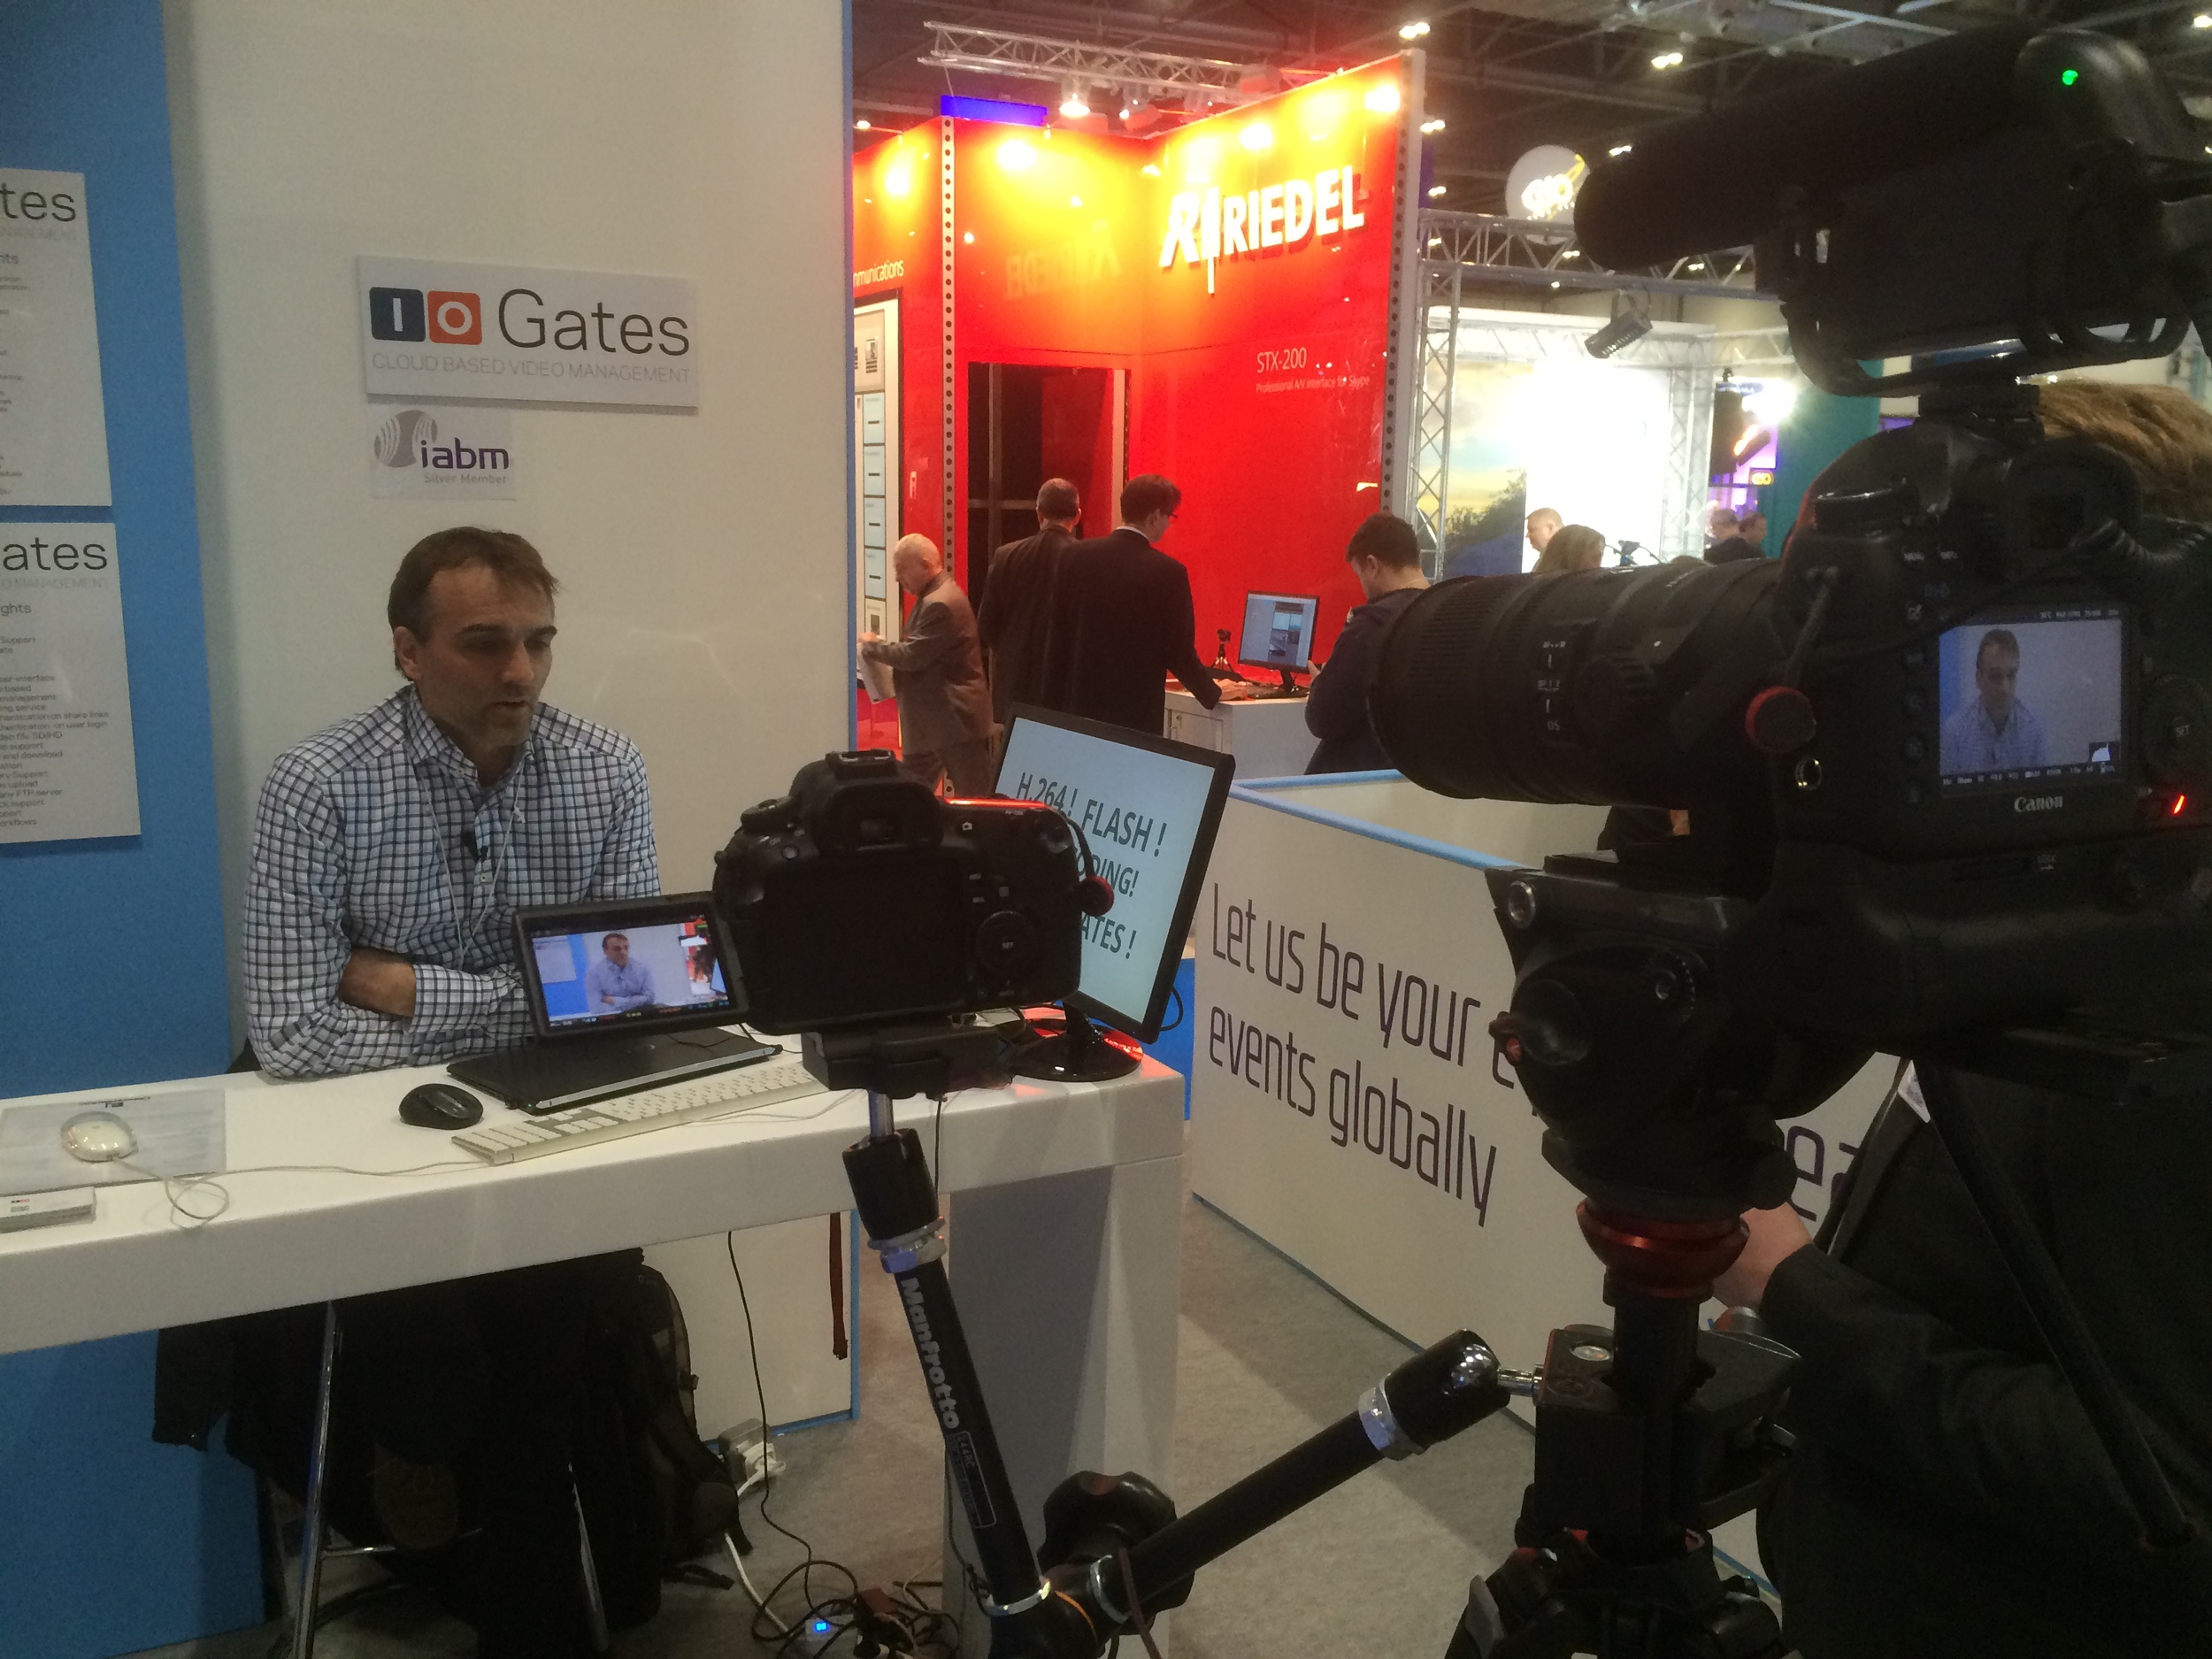
Jesper from ioGates talks to IABM TV about their BVE show experience and benefits of being a member. ioGates provide cloud based storage, preview and delivery for broadcast and media.
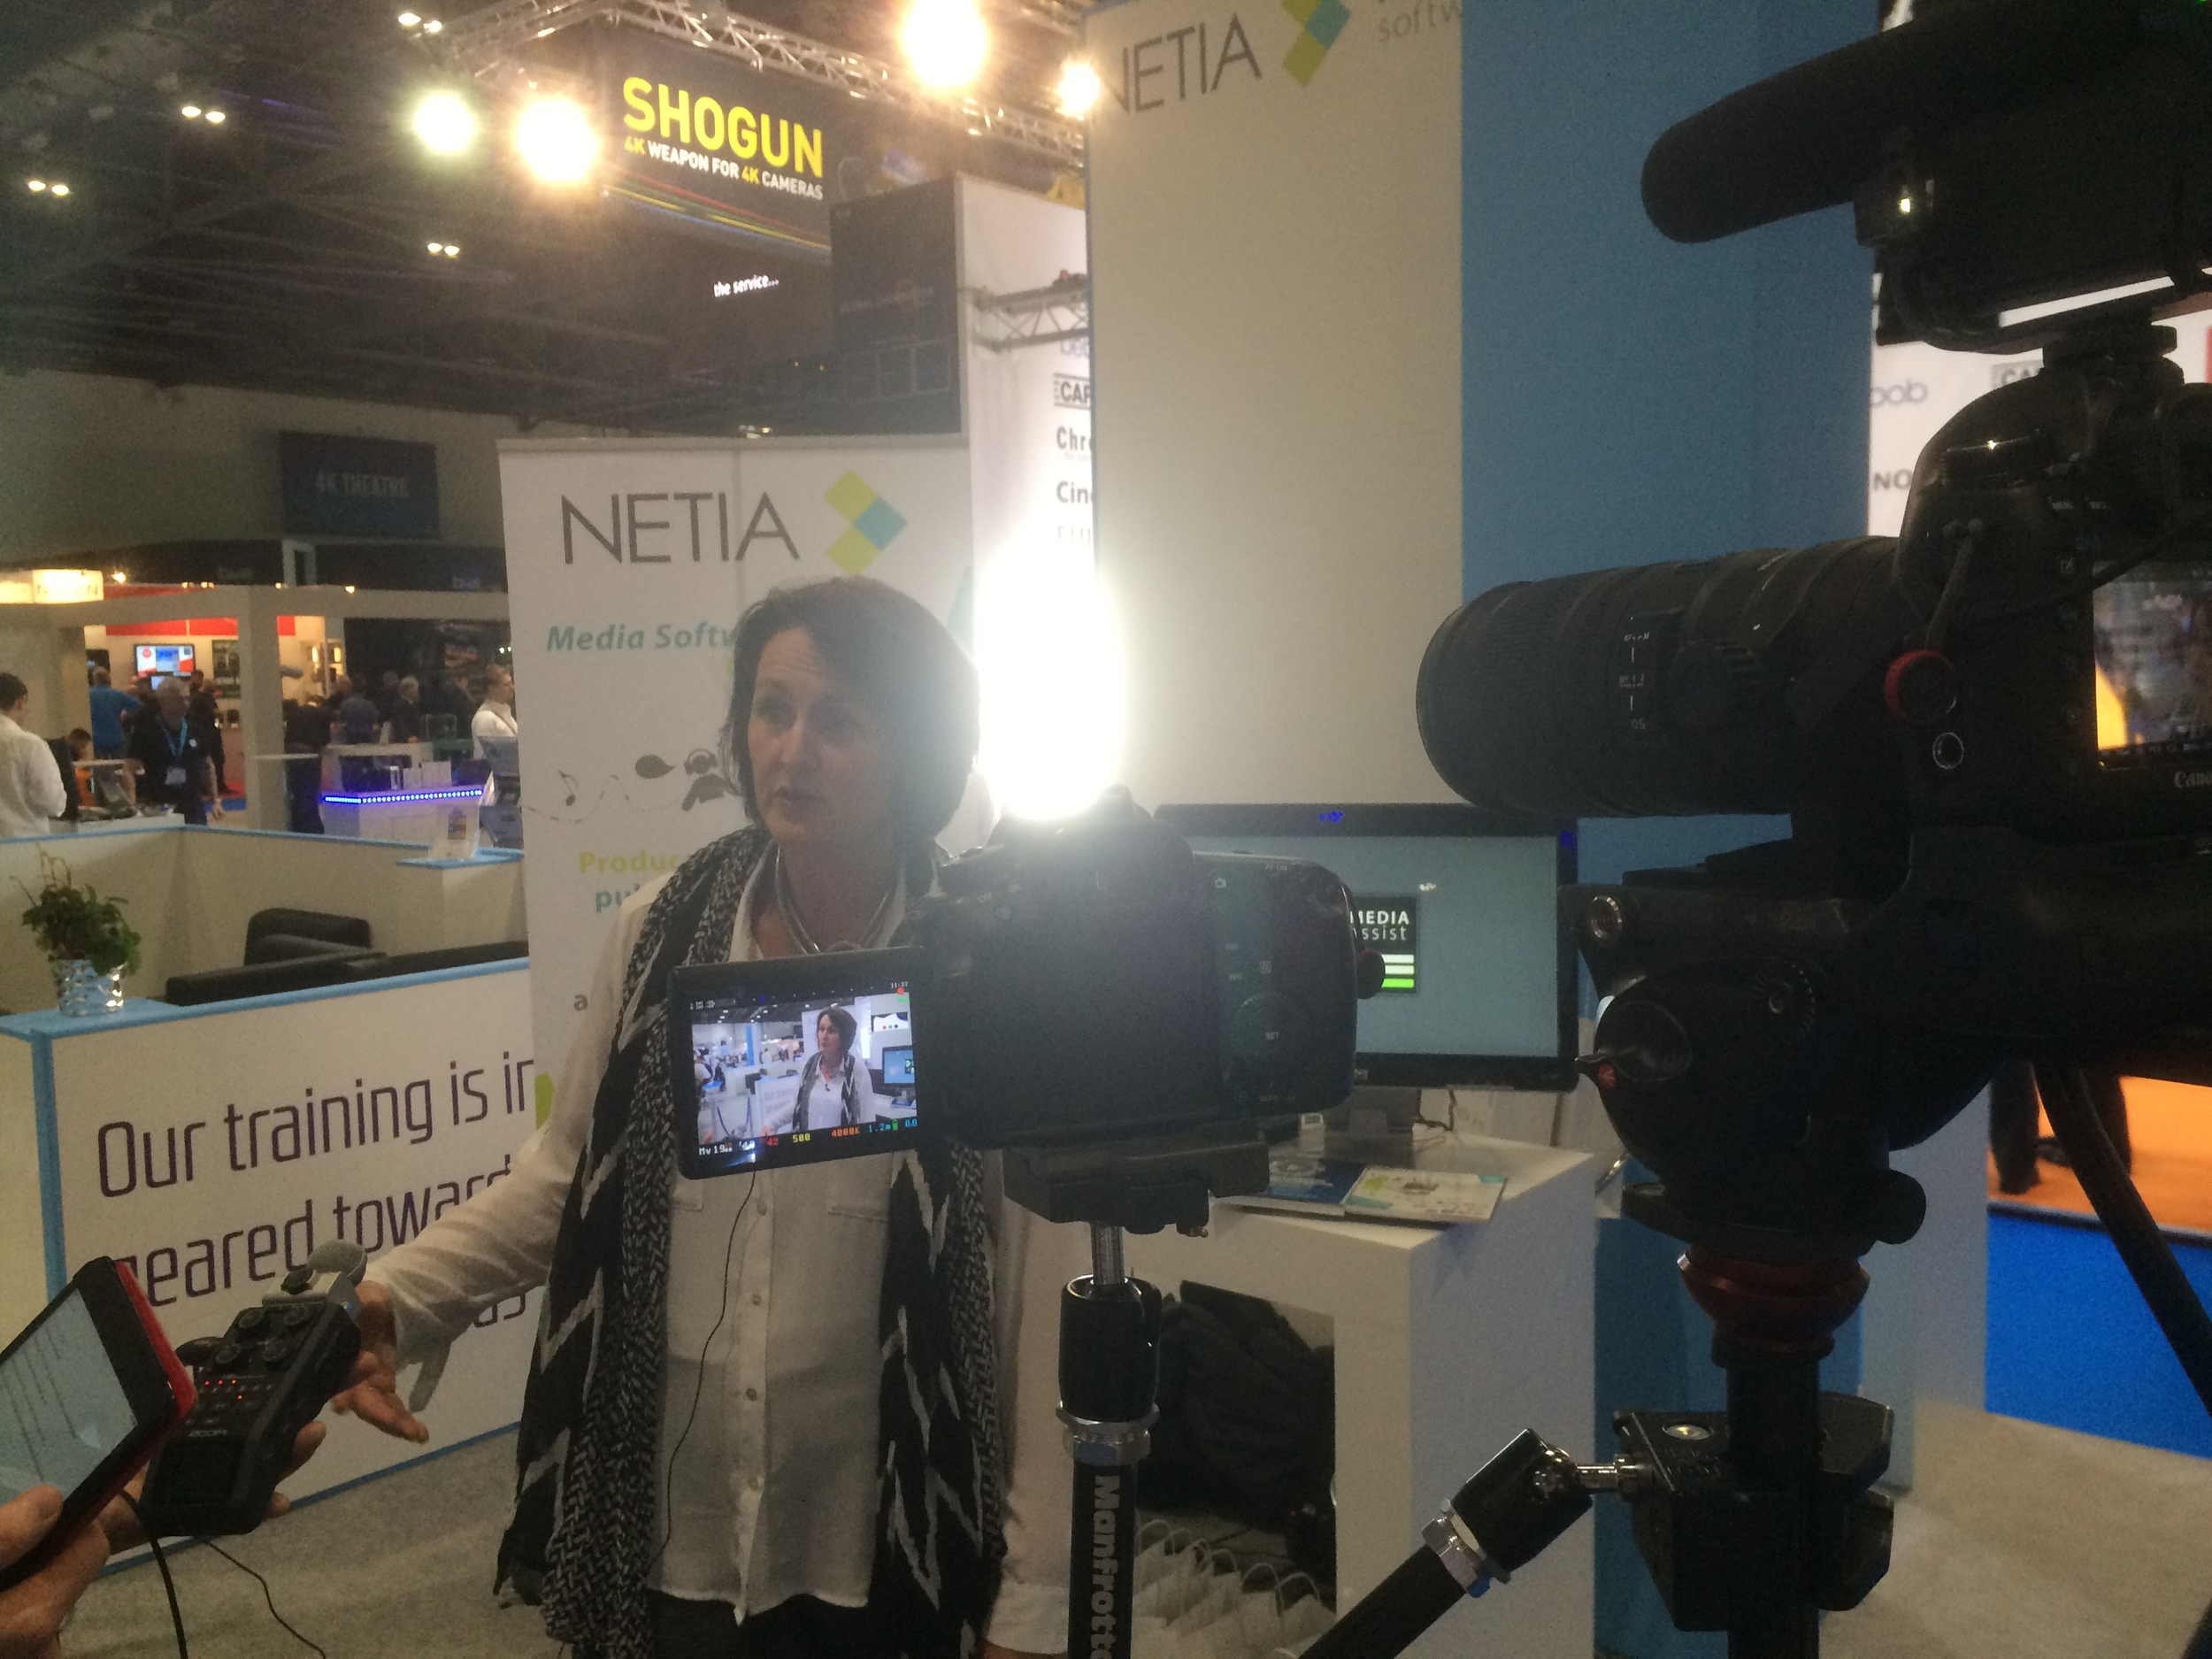
Isabelle from Netia talks to IABM TV about their BVE show experience and benefits of being a member
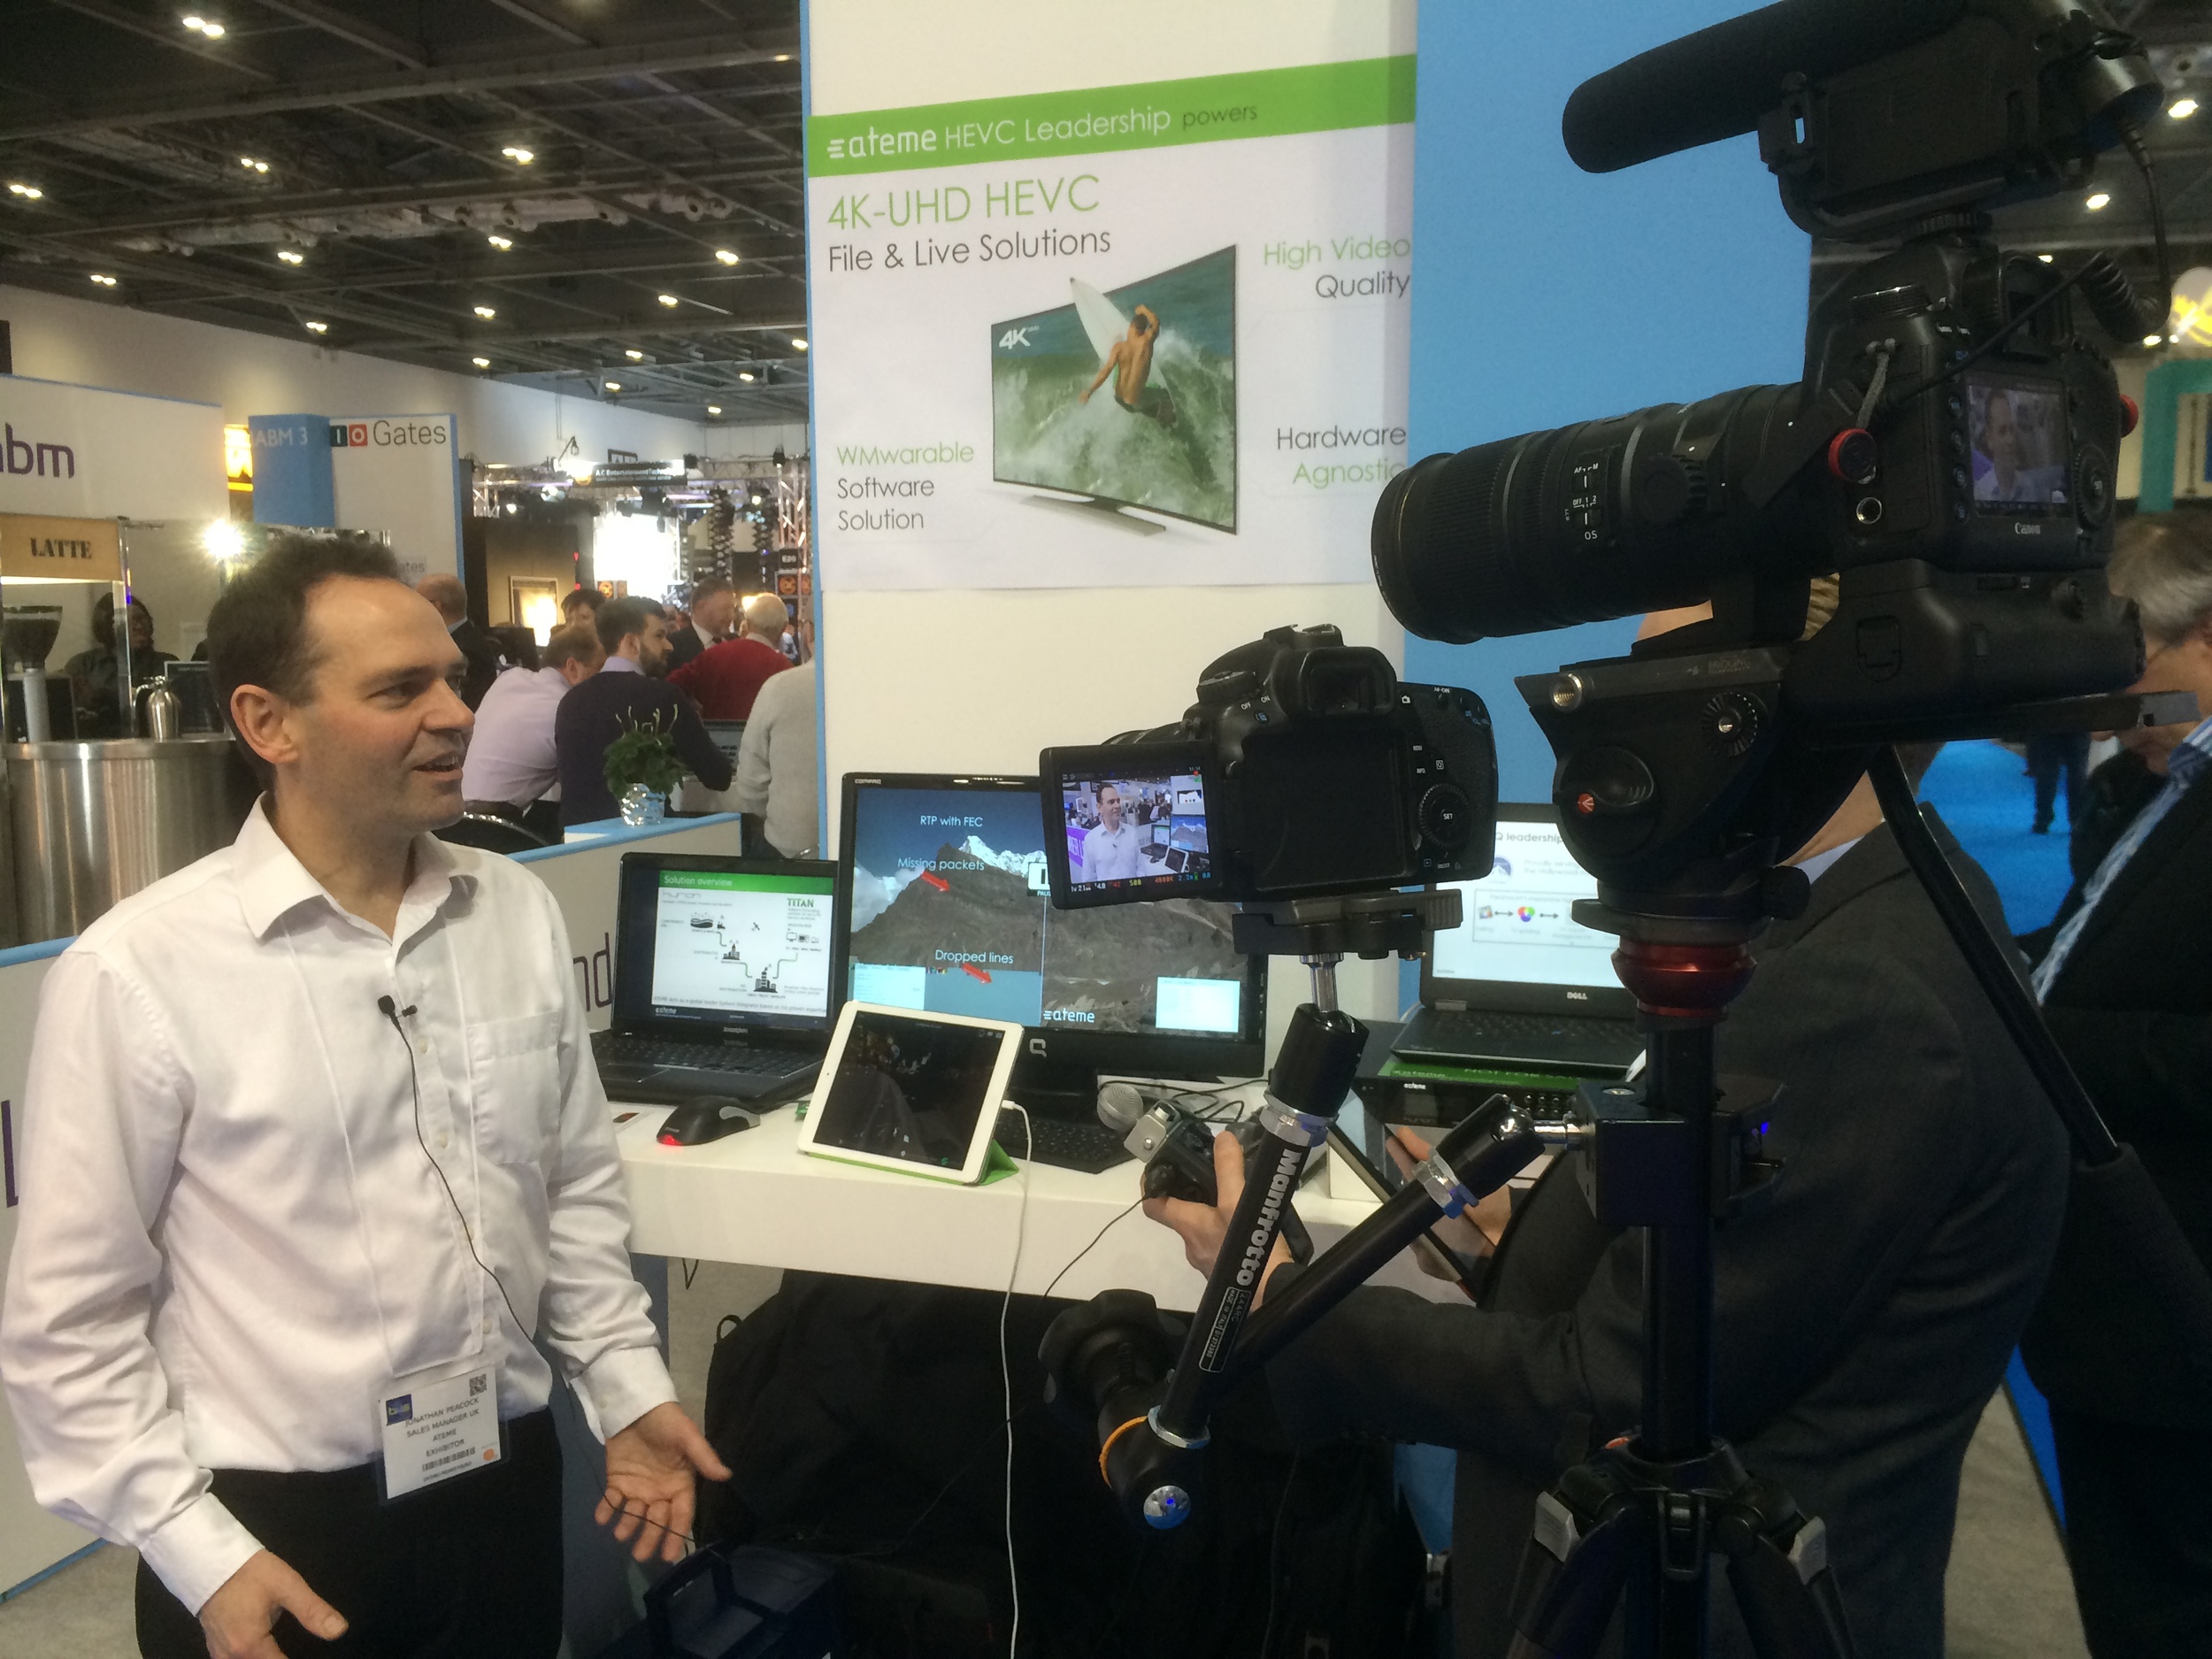
Jonathan from Ateme talks to IABM TV about their BVE show experience and benefits of being a member
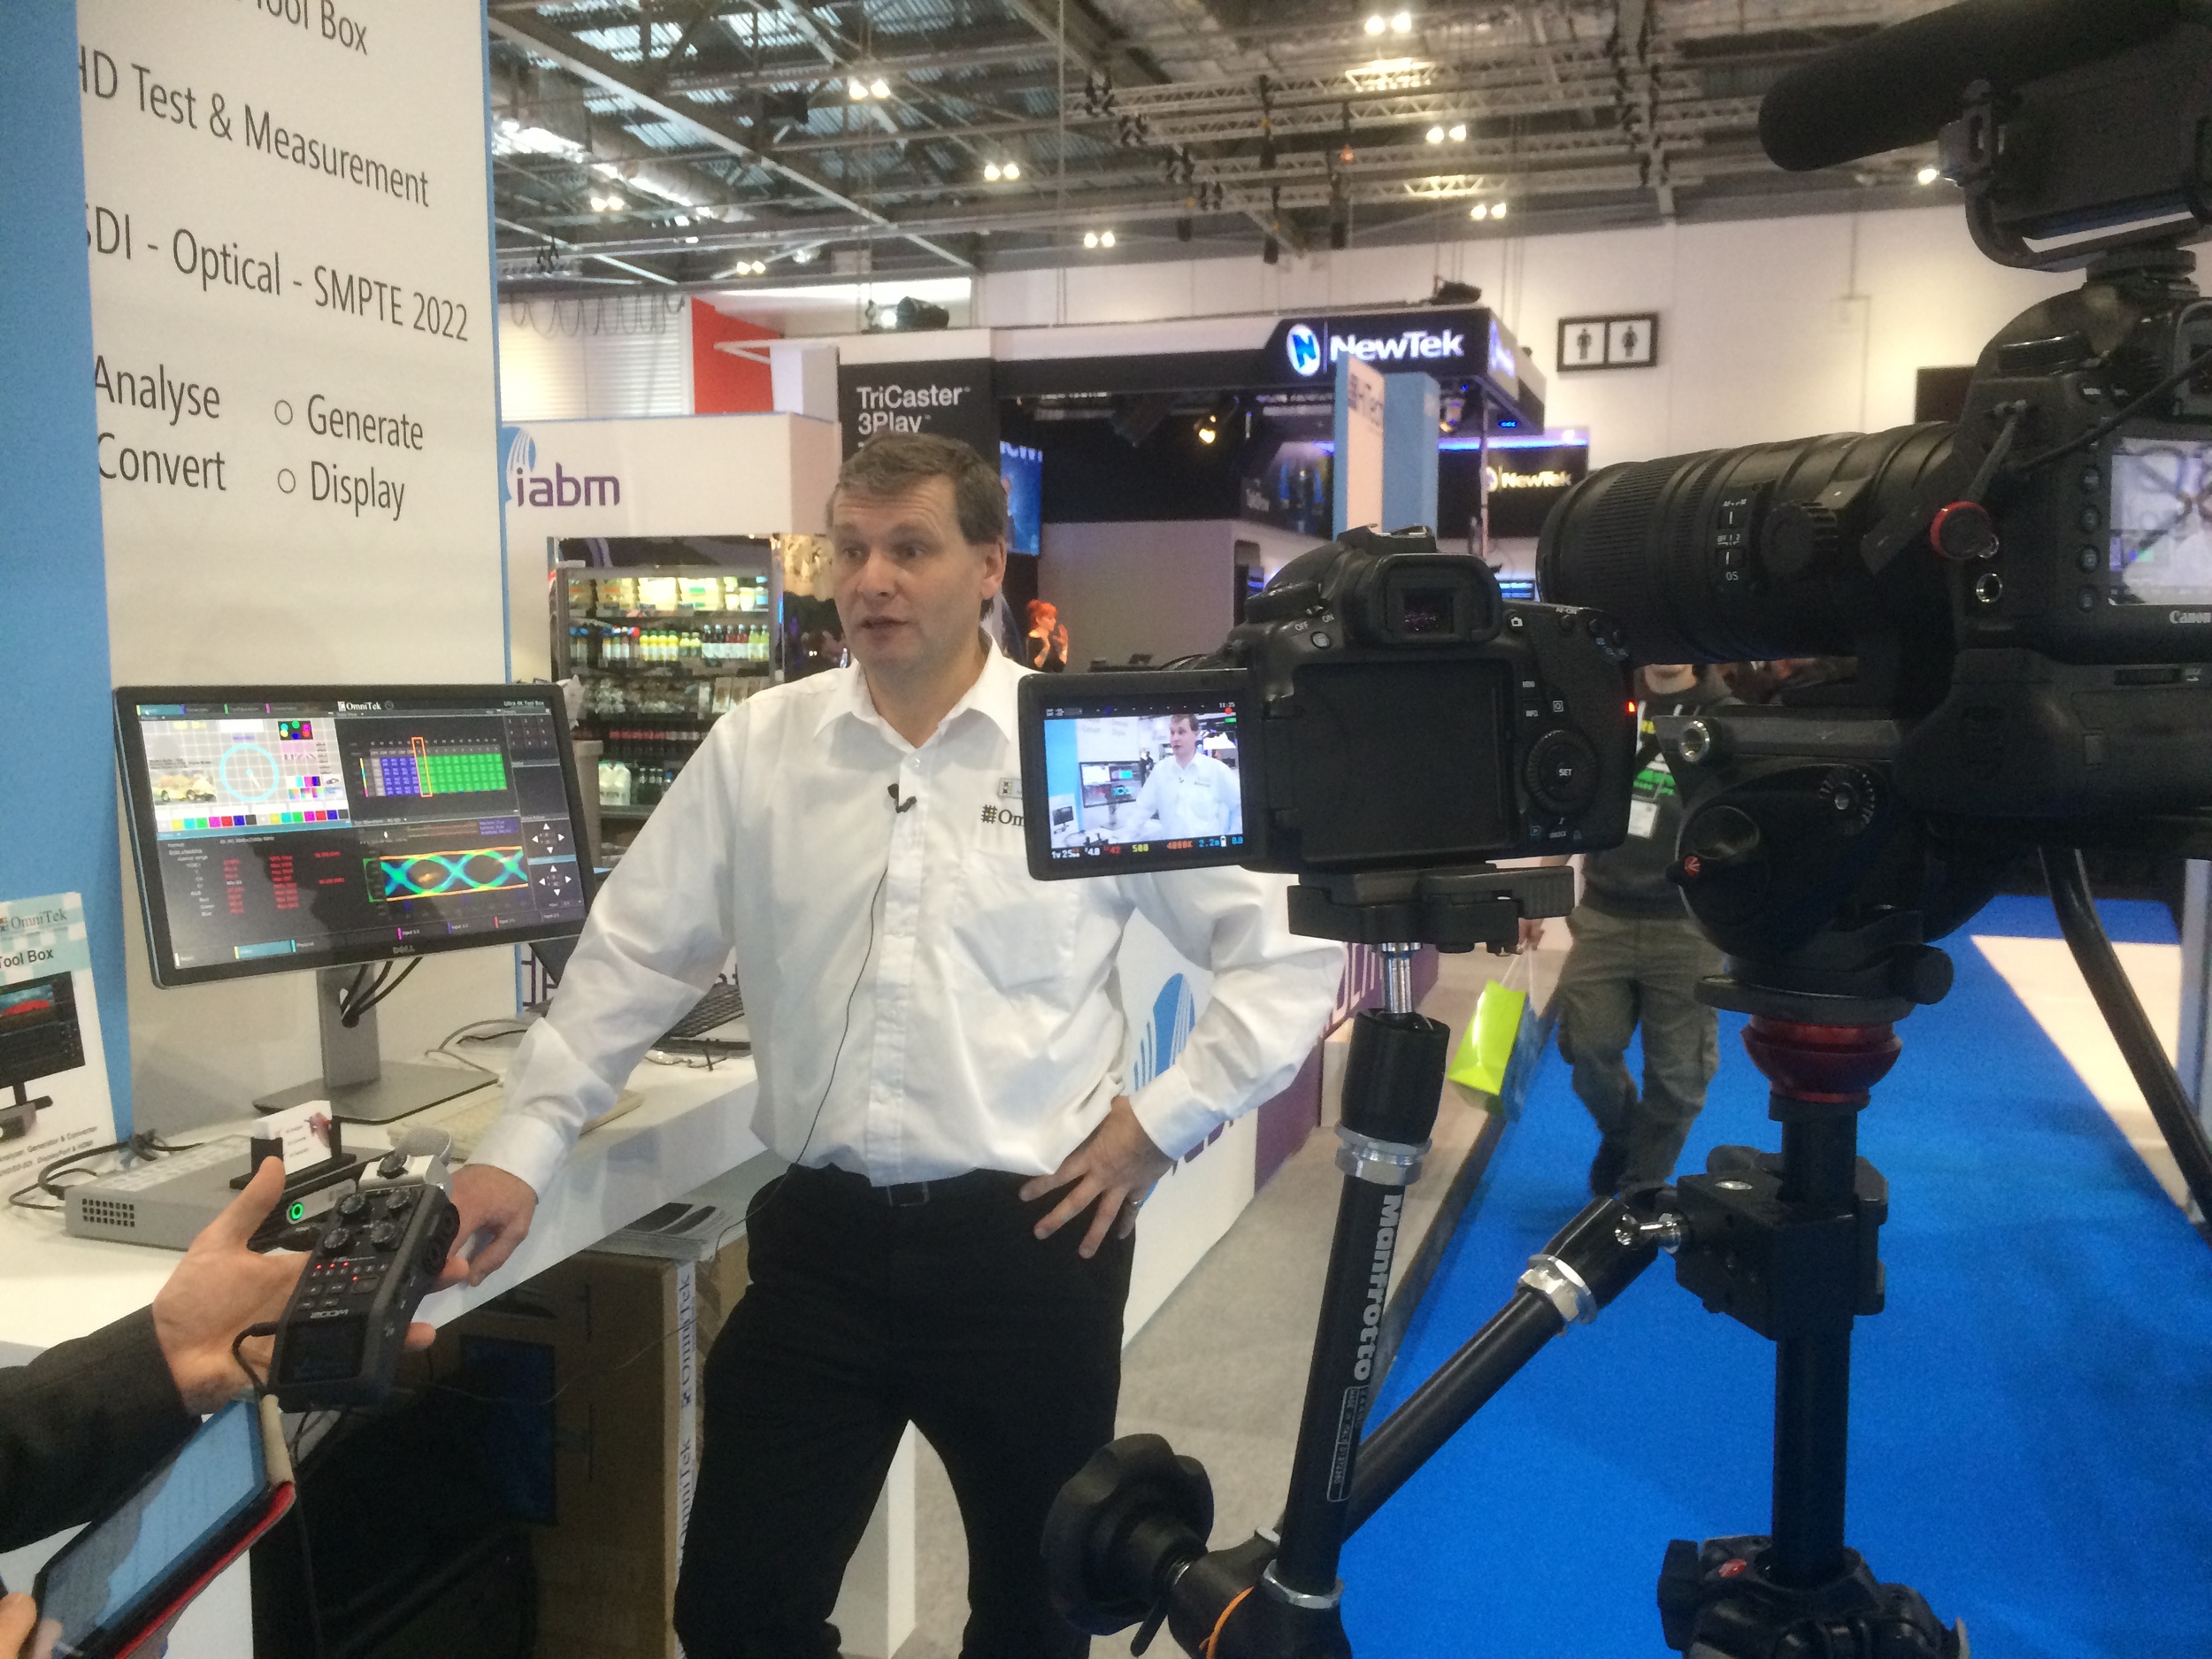
David from OmniTek talks to IABM TV about their BVE show experience and benefits of being a member.
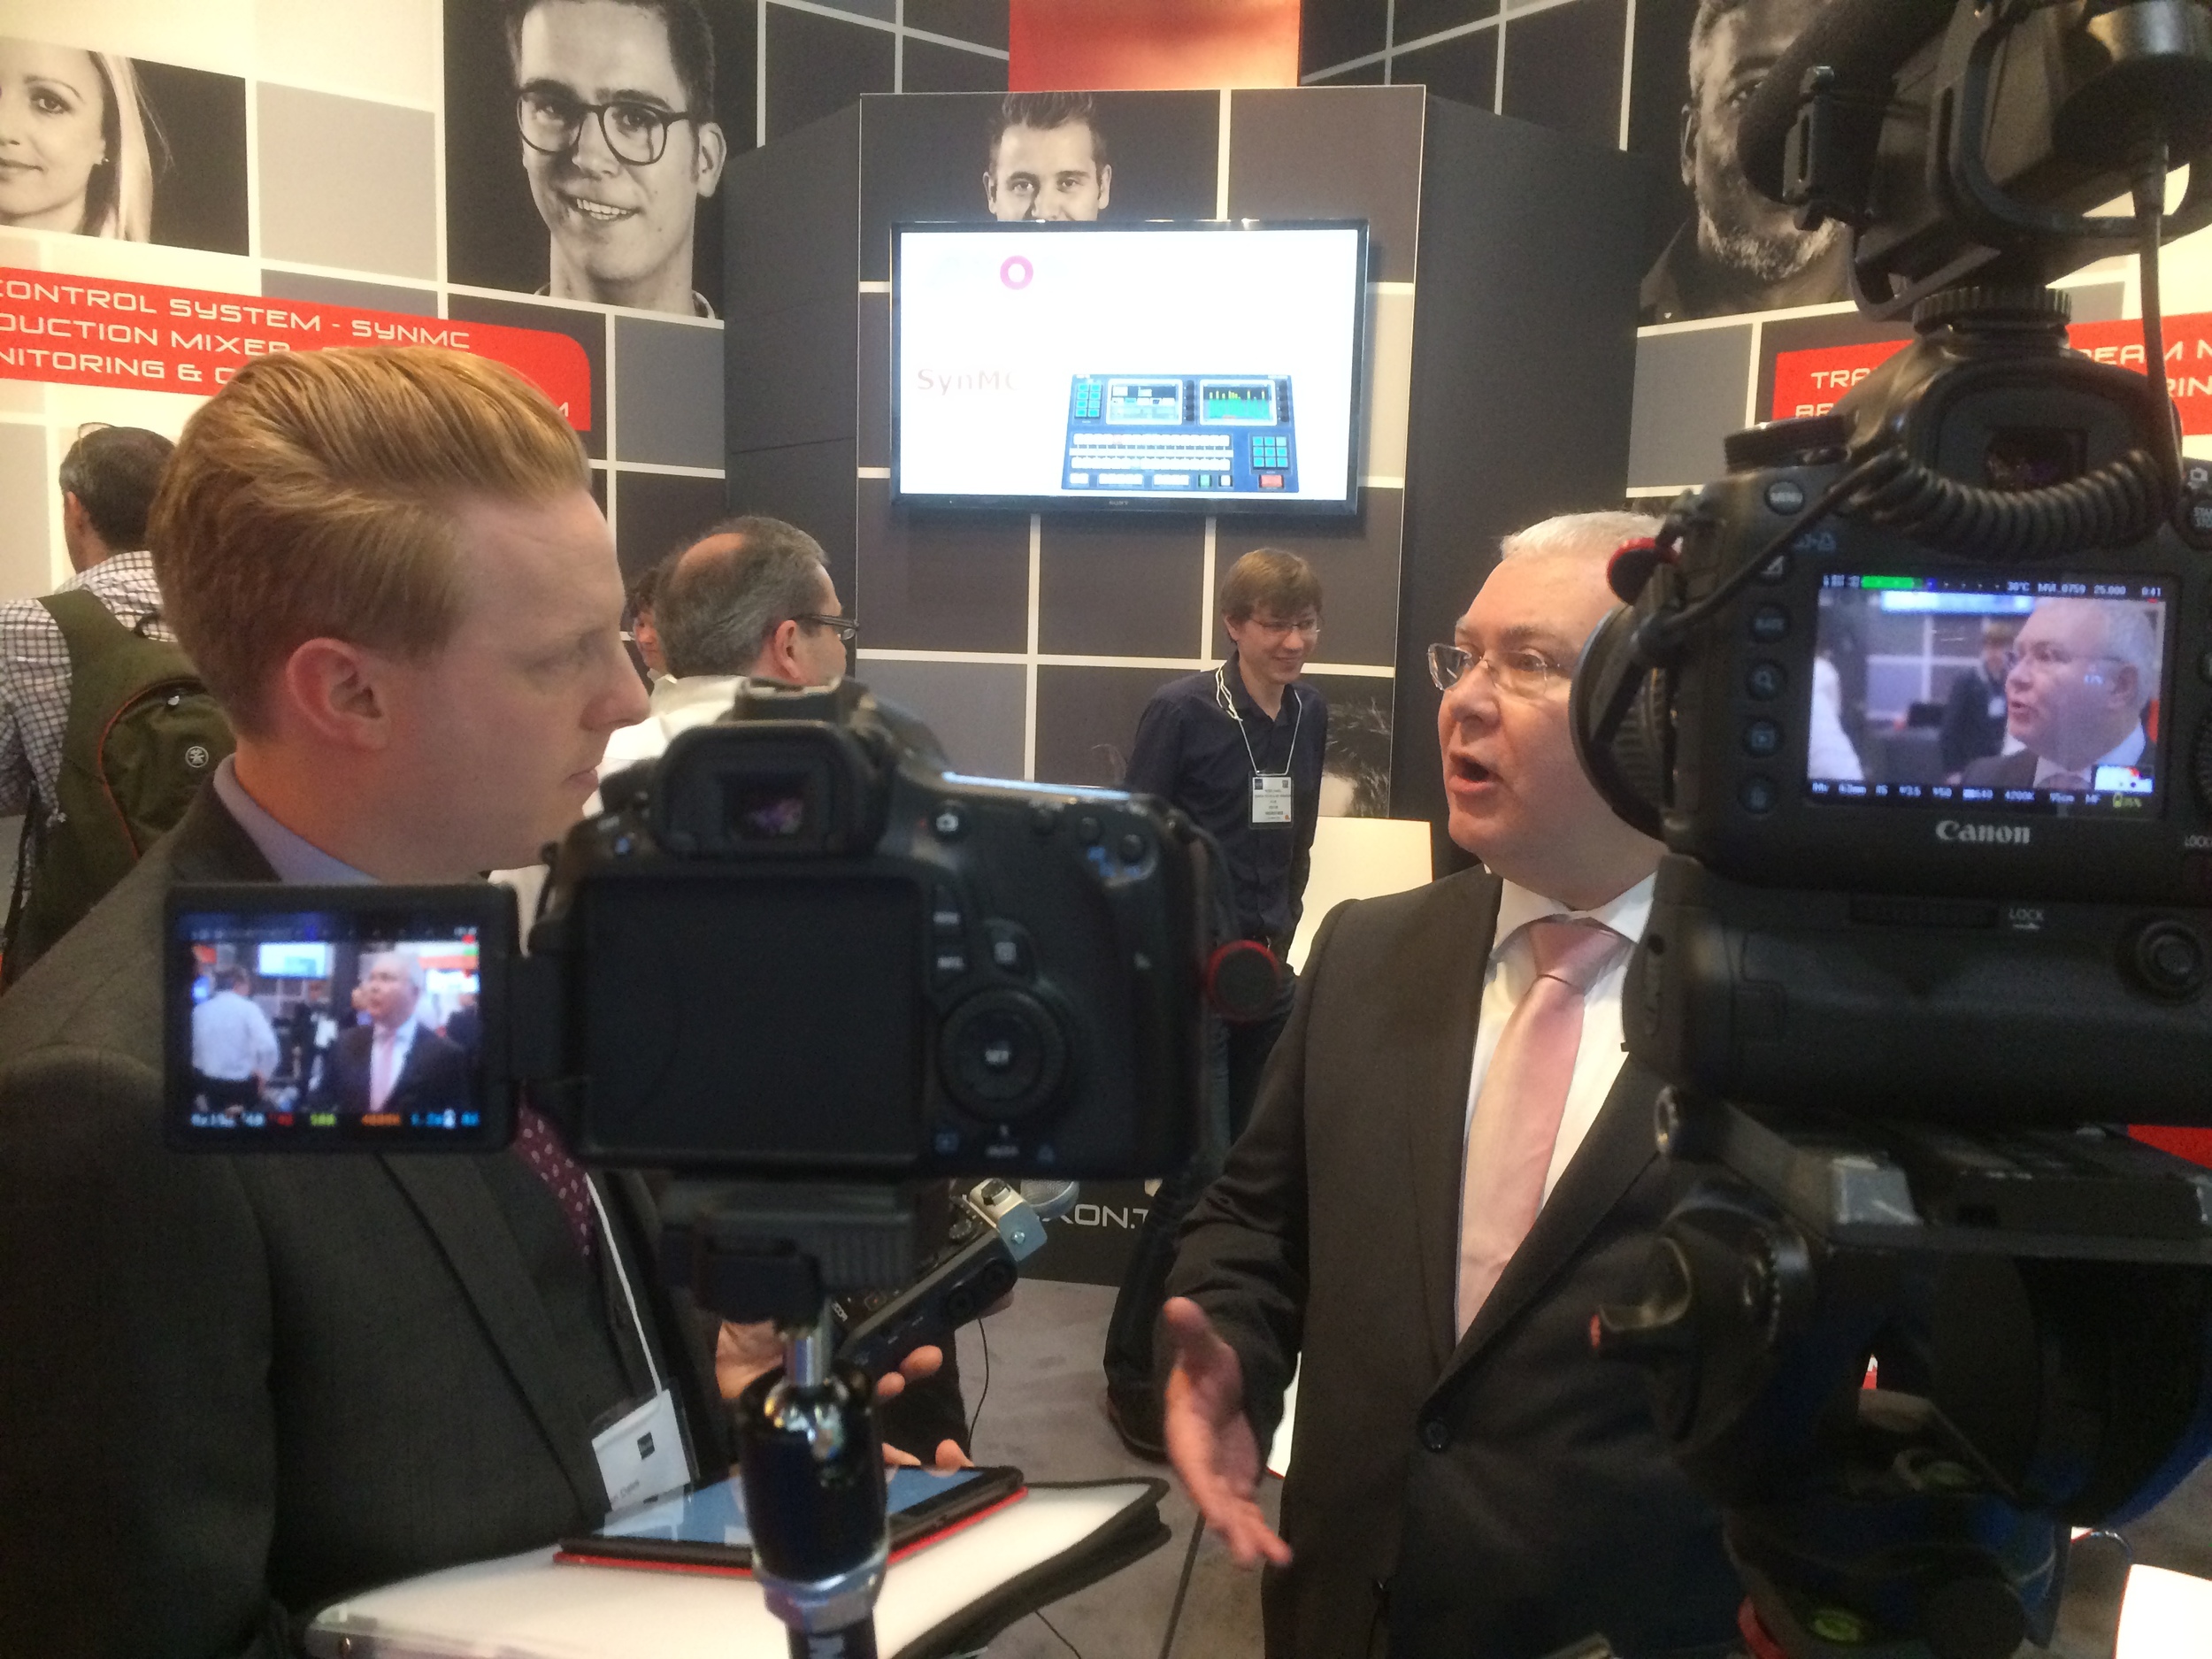
Adrian from AXON Digital Design talks to IABM TV about their BVE show experience and benefits of being a member.
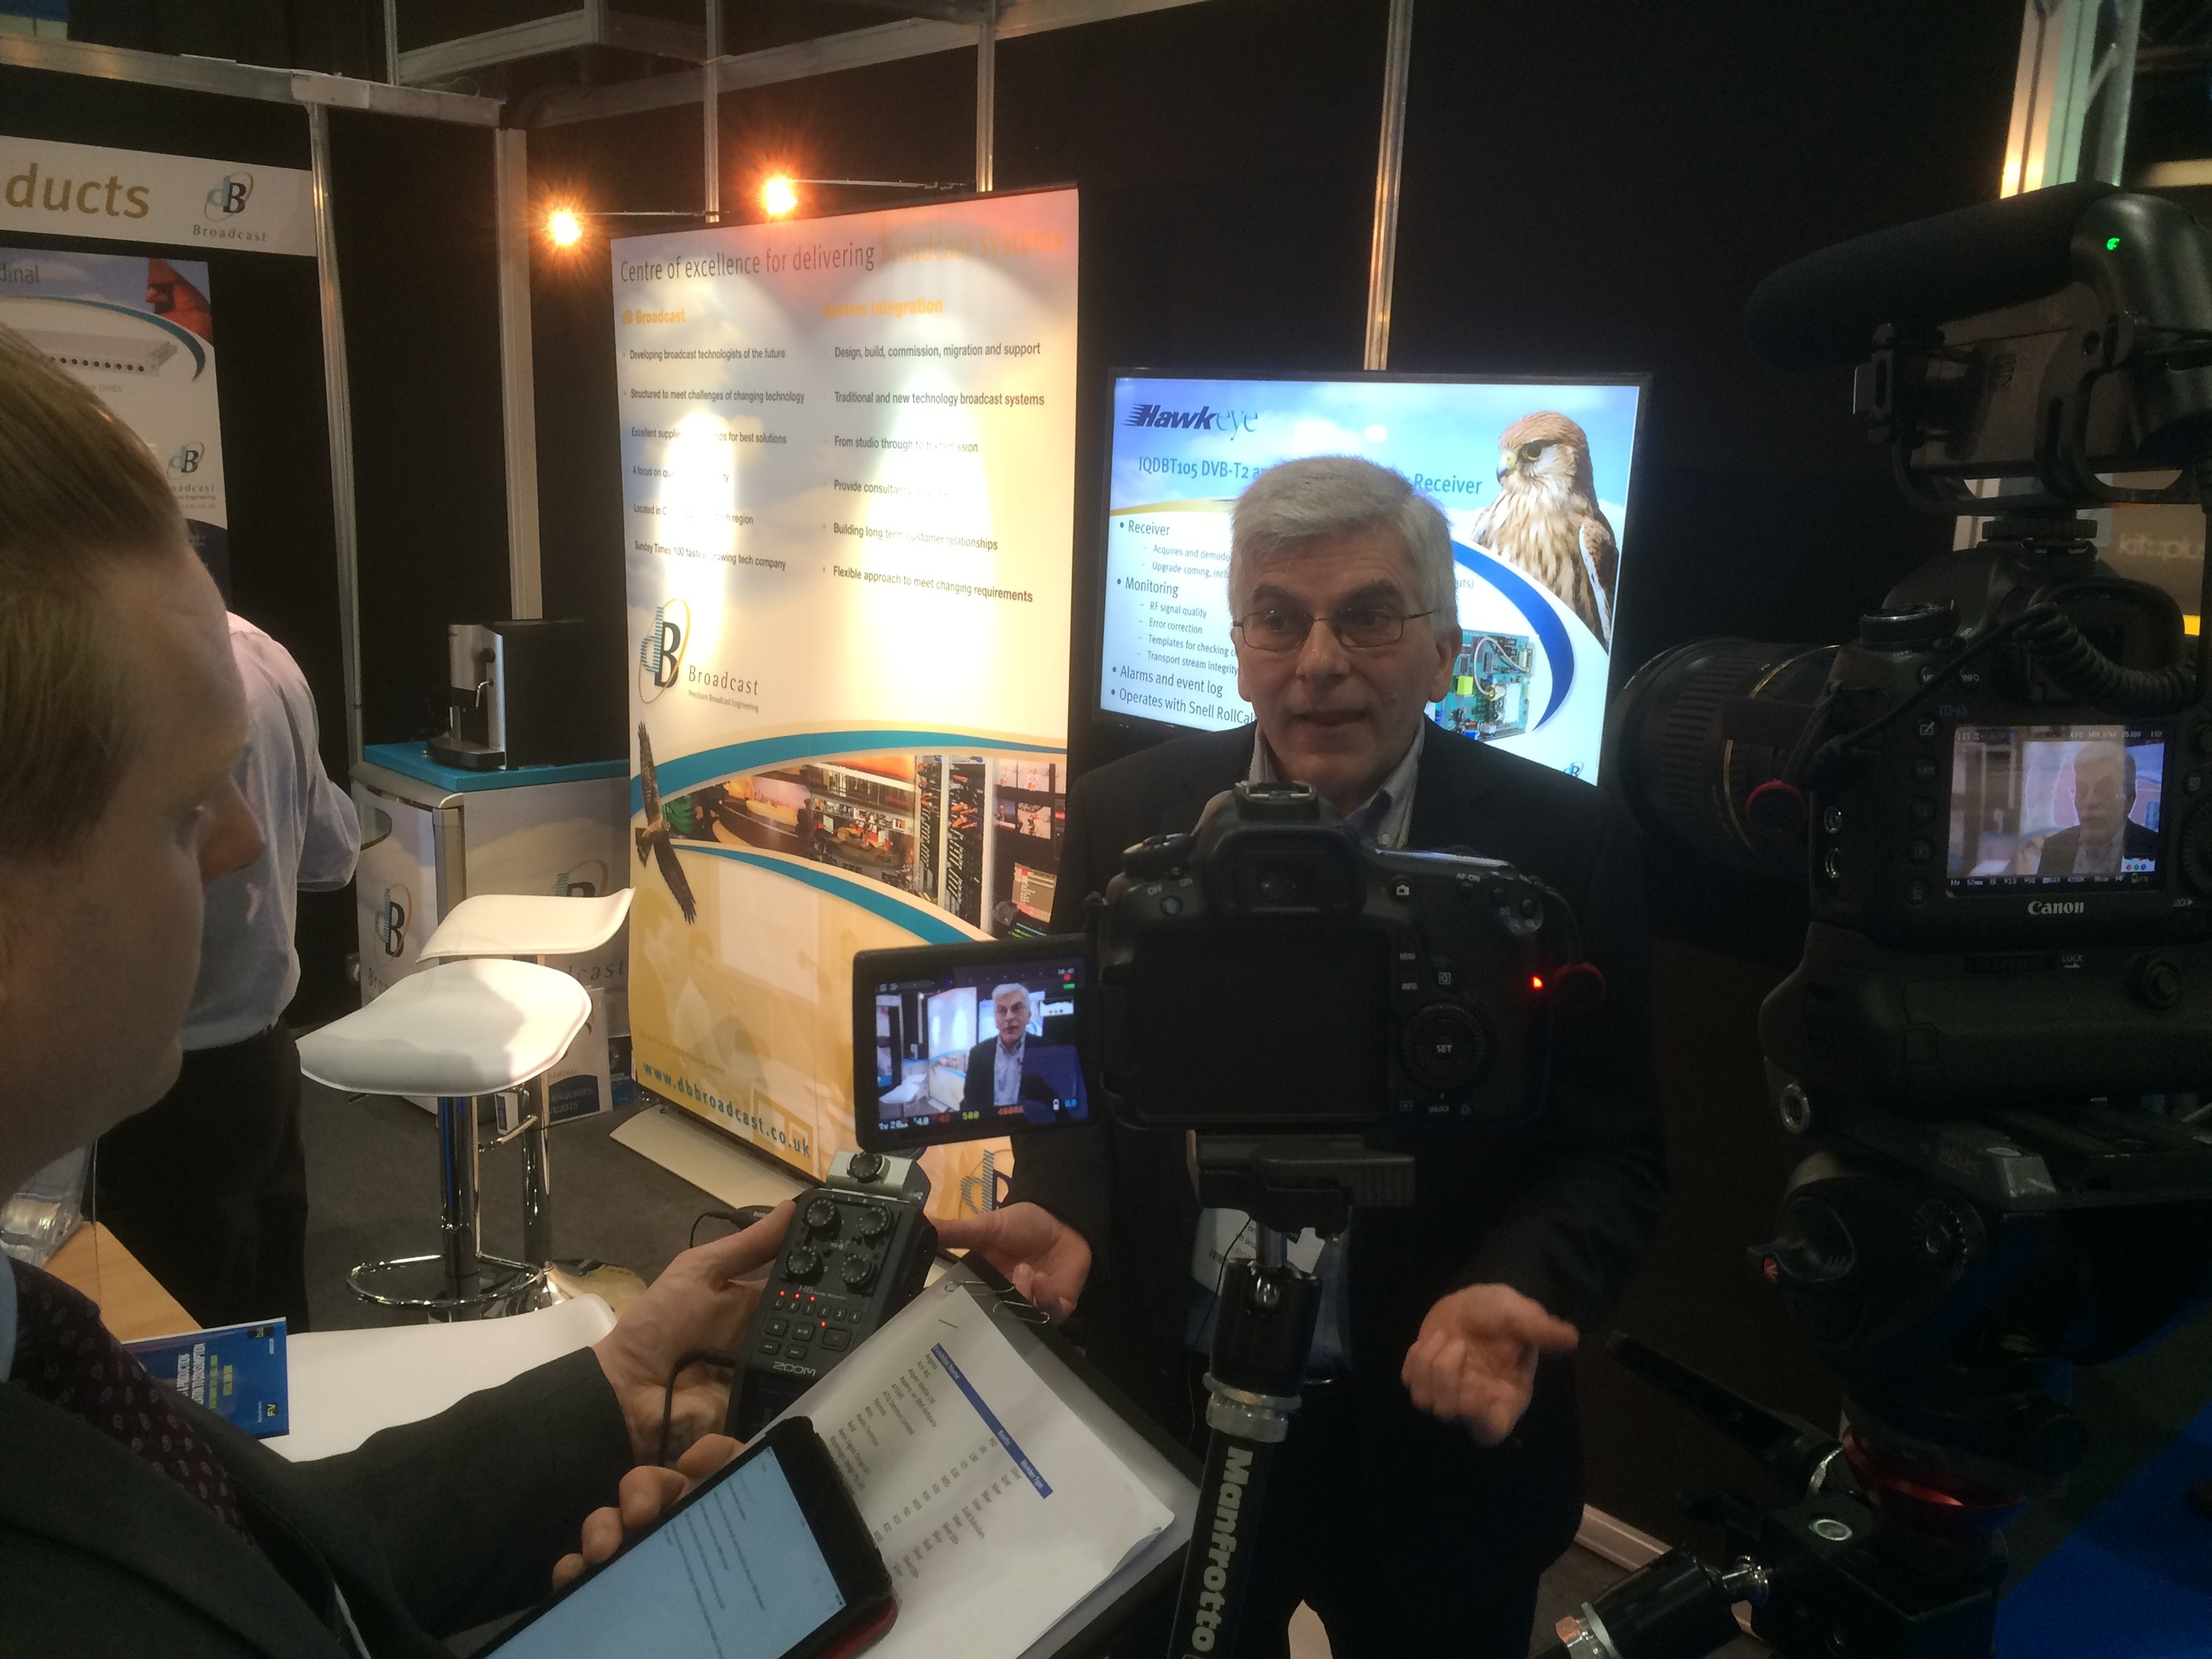
Tom from dB Broadcast talks to IABM TV about their BVE show experience and benefits of being a member.
The Newsshooter crew taking the Arri Alexi Mini out for a test run!
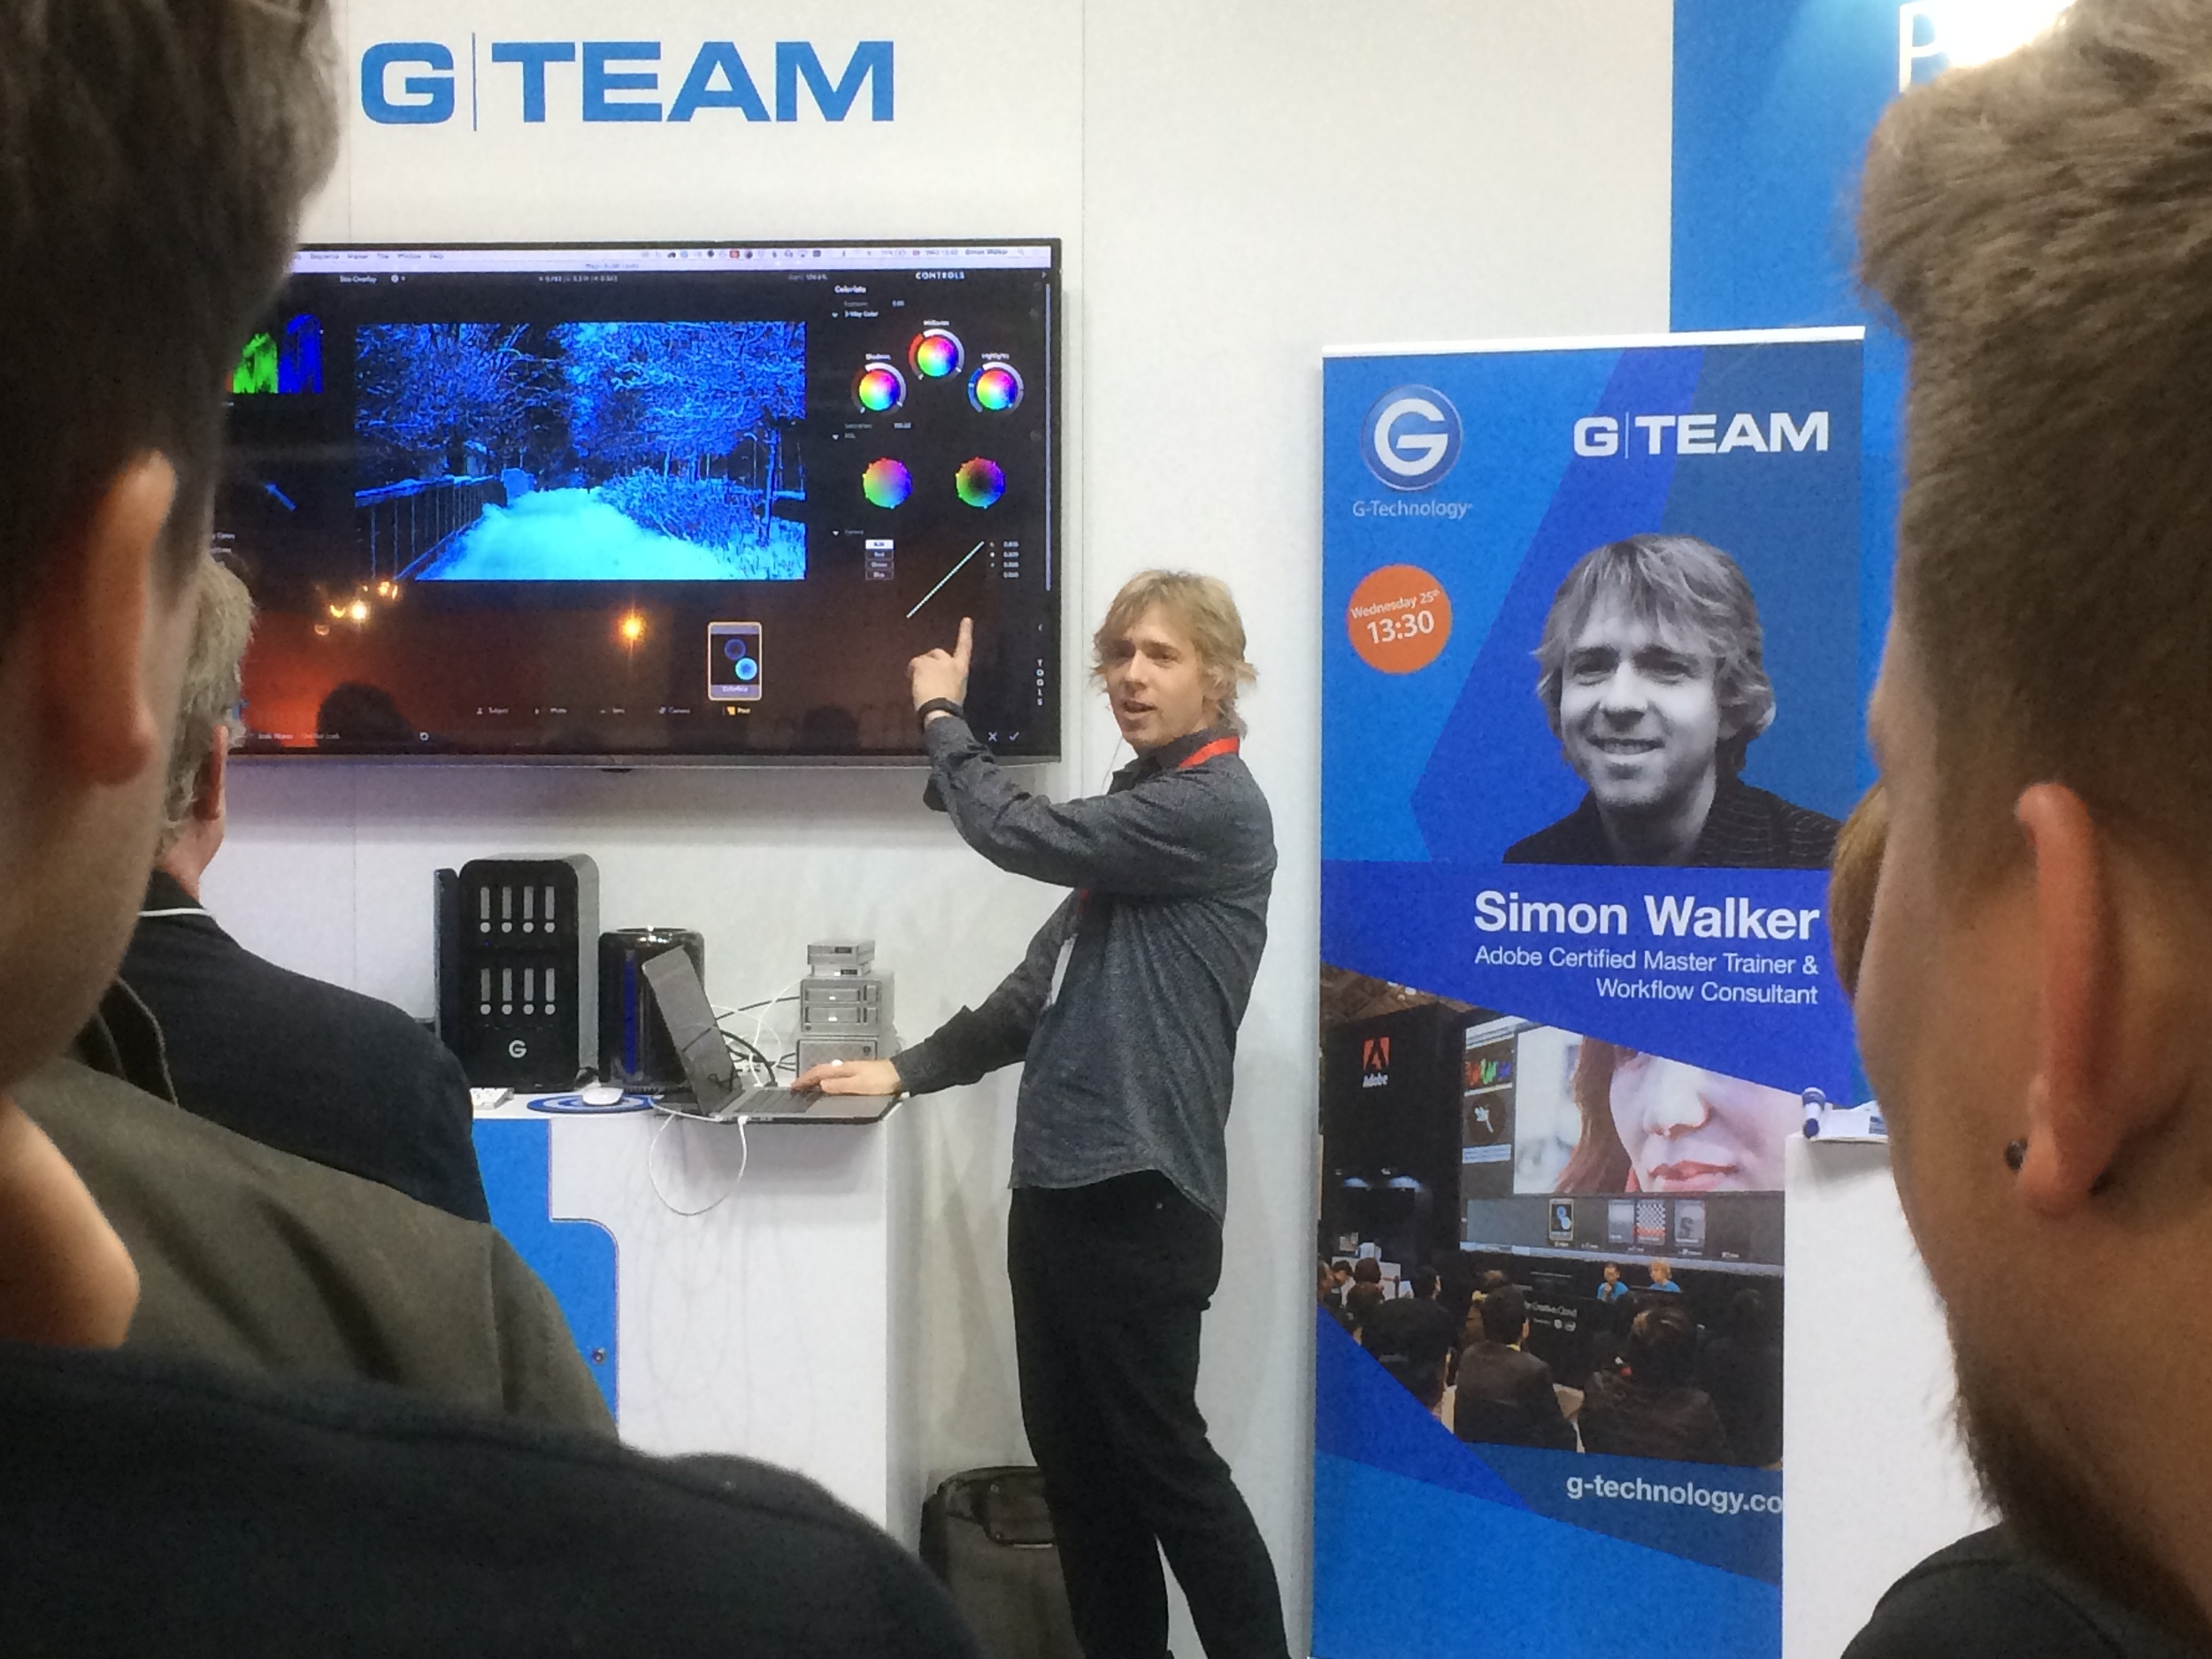
Simon Walker talking at G-Tech
Exclusive blogs coming later from: Rode, Movidiam, JVC, Sony, Manfrotto and more.
The week of London's best and largest broadcasting and video expo has arrived! The doors to the ExCeL open tomorrow to visitors with hundreds of worldwide manufacturers, organizations and plenty of seminars to learn and help businesses grow!
My highlights of last years BVE: Schneider cinema optics at Manfrotto
I'll be there for the 3 days covering the event for The IABM, with exclusive interviews with members as well as the Broadcasting Industry Breakfast. I will also be checking out all of the new tech; Sony FS7-K is riding high on the list so I'm sure the folks at CVP will soon get sick of answering my questions!
Lighting talk at the cinematography theatre
Things to see and do this year! Richard Ayoade's keynote is a MUST!!!
If you're there, drop me a tweet and say hi!

View from London ExCeL Docklands
As it reads above, I have been very busy recently with pre-production for a number of up coming projects, one of which is with Screen Subtitling Systems!
Screen is creating new branding for sales and online, and to go with that I've been set the task of producing a number of animations for them. I've done plenty of research into Screen, and have a great relationship with the marketing team, which means we have very good communication.

Tip No.1: build relationships from the outset of meeting someone.
Since our last meeting, I've developed a number of mood boards and narrative/VO ideas of the script/dialogue and a storyboard to go with it to represent the animations on screen. After drawing a number of ideas and storyboards I managed to narrow down the content for the first animation, and the graphics as well. I've then worked this into an After Effects storyboard with still images for preparation for a presentation.

Tp No.2: preparation and planning what you are going to do, for when, any why is really important. In terms of the animations I'm working with, that means producing mood boards, storyboards, sketches and basic designs, building into digital mock ups. These can then be used as elements in the animations!
I've also been out with Glen, we had a walk around Leith Hill a couple of weekends ago, I took the 24-70 and 100mm L on the 5D mk III. The hill was so high up that we were in cloud, combined with a constant beautiful golden hour made for beautiful photos. Glen took his film camera with him, and captured some gorgeous shots. Here's some of mine..
I'm still working on the videography business/investment post, it is a long one as you can imagine but it will be coming soon. I'll be going the the CVP Sony A7S event featuring Philip Bloom on the 11th which will be a great contributor to my knowledge. As well as narrowing down potential kit choices for this years video productions, I may be able to get some info from the CVP team about my potential kit choices and finance options.
“UPDATE (06/02/2015) Canon have now officially announced two new 5D model DSLR’s with a 50MP count, with a photography focus rather than video. This reinforces industry voices that Canon are pushing video pro’s up to their high end cinema cameras.. Sony for me I think!”
Tip No.3: Never stop learning. Get yourself to BVE for FREE from the 24th-26th Feb for seminars on 4K, editing, lighting, broadcast and the great expo!
Lastly, back in the beginning of January I was out filming Sarah and Matt's wedding. I started with the preparations while Glen was at the venue capturing some shots of the location, Matt and the guests arriving. I had the Pro Media Gear Dual-arc slider on Manfrotto 055 Pro-B legs, with a range of lenses for shooting in potential low light (not knowing what the day or location might turn out like later on, and if the weather changes..)

Chosen equipment for filming a funky wedding - Canon 5D plus a range of fast zooms and primes. Not to forget audio!
I captured some of the days footage in 50fps slow mo, when the light was available for a little bit of luxury with moving shots. When in video mode on the 5D mk III the 50fps mode is only available in 720p, not 1080p. This does make the footage softer, but I've found using the Red Giant 'Instant 4K' plug-in works well to upscale the clips to 1080, and sharpen them a little.

Throughout the day I switched mainly between the Tamron 24-70 and Canon 100mm L for wide/standard framing and then more detail/close ups. I've found this works well as there is no 24-135 F/2.8.. If you are working with a Canon 60D, or an APS-C camera you get a lovely look when using an 85mm or 100mm (as the focal length is multiplied), with a pretty bokeh as well. For cool-perspective ultra wide angle, the Samyang 14mm T/3.1 works a treat, for skate videos and music videos where you want to warp reality a little!
There will be more on the wedding film production in an up coming Manfrotto Ambassador blog!
Tip No.4: tell a story through your video/film, narrative-speaking there is a beginning, middle and end set around key events. It may sound like redundant advice, but many videos I watch fail to build the narrative or story through the visuals. It provides an immersive experience for your viewers, getting them involved with what you've produced.
*Now following up a few days later, the meeting with Screen went very well, I traveled up to their Suffolk HQ, a beautiful old building in the country. Myself, the marketing dept and business development were present as I showed my basic concepts and ideas, and we discussed further the ideas and terminology.
Tip No.5: if you're working with clients in a different industry to yours, do your best to learn as much as you can about their business, products, services, strategies, and what their clients want.
This has been fantastic progress for the end of January, which is usually a slow month for productions. With the wedding film almost complete, and the design beginning for the Screen Systems project I am confident it's the beginning to a great year. Not to mention the potential of IABM event coverage too! I'm due to visit the IABM team next week to talk further about this years videography.
After the CVP event with PB I'm sure to have worked to some conclusion for the video business investment post, but it may have to wait until BVE.. We shall see!
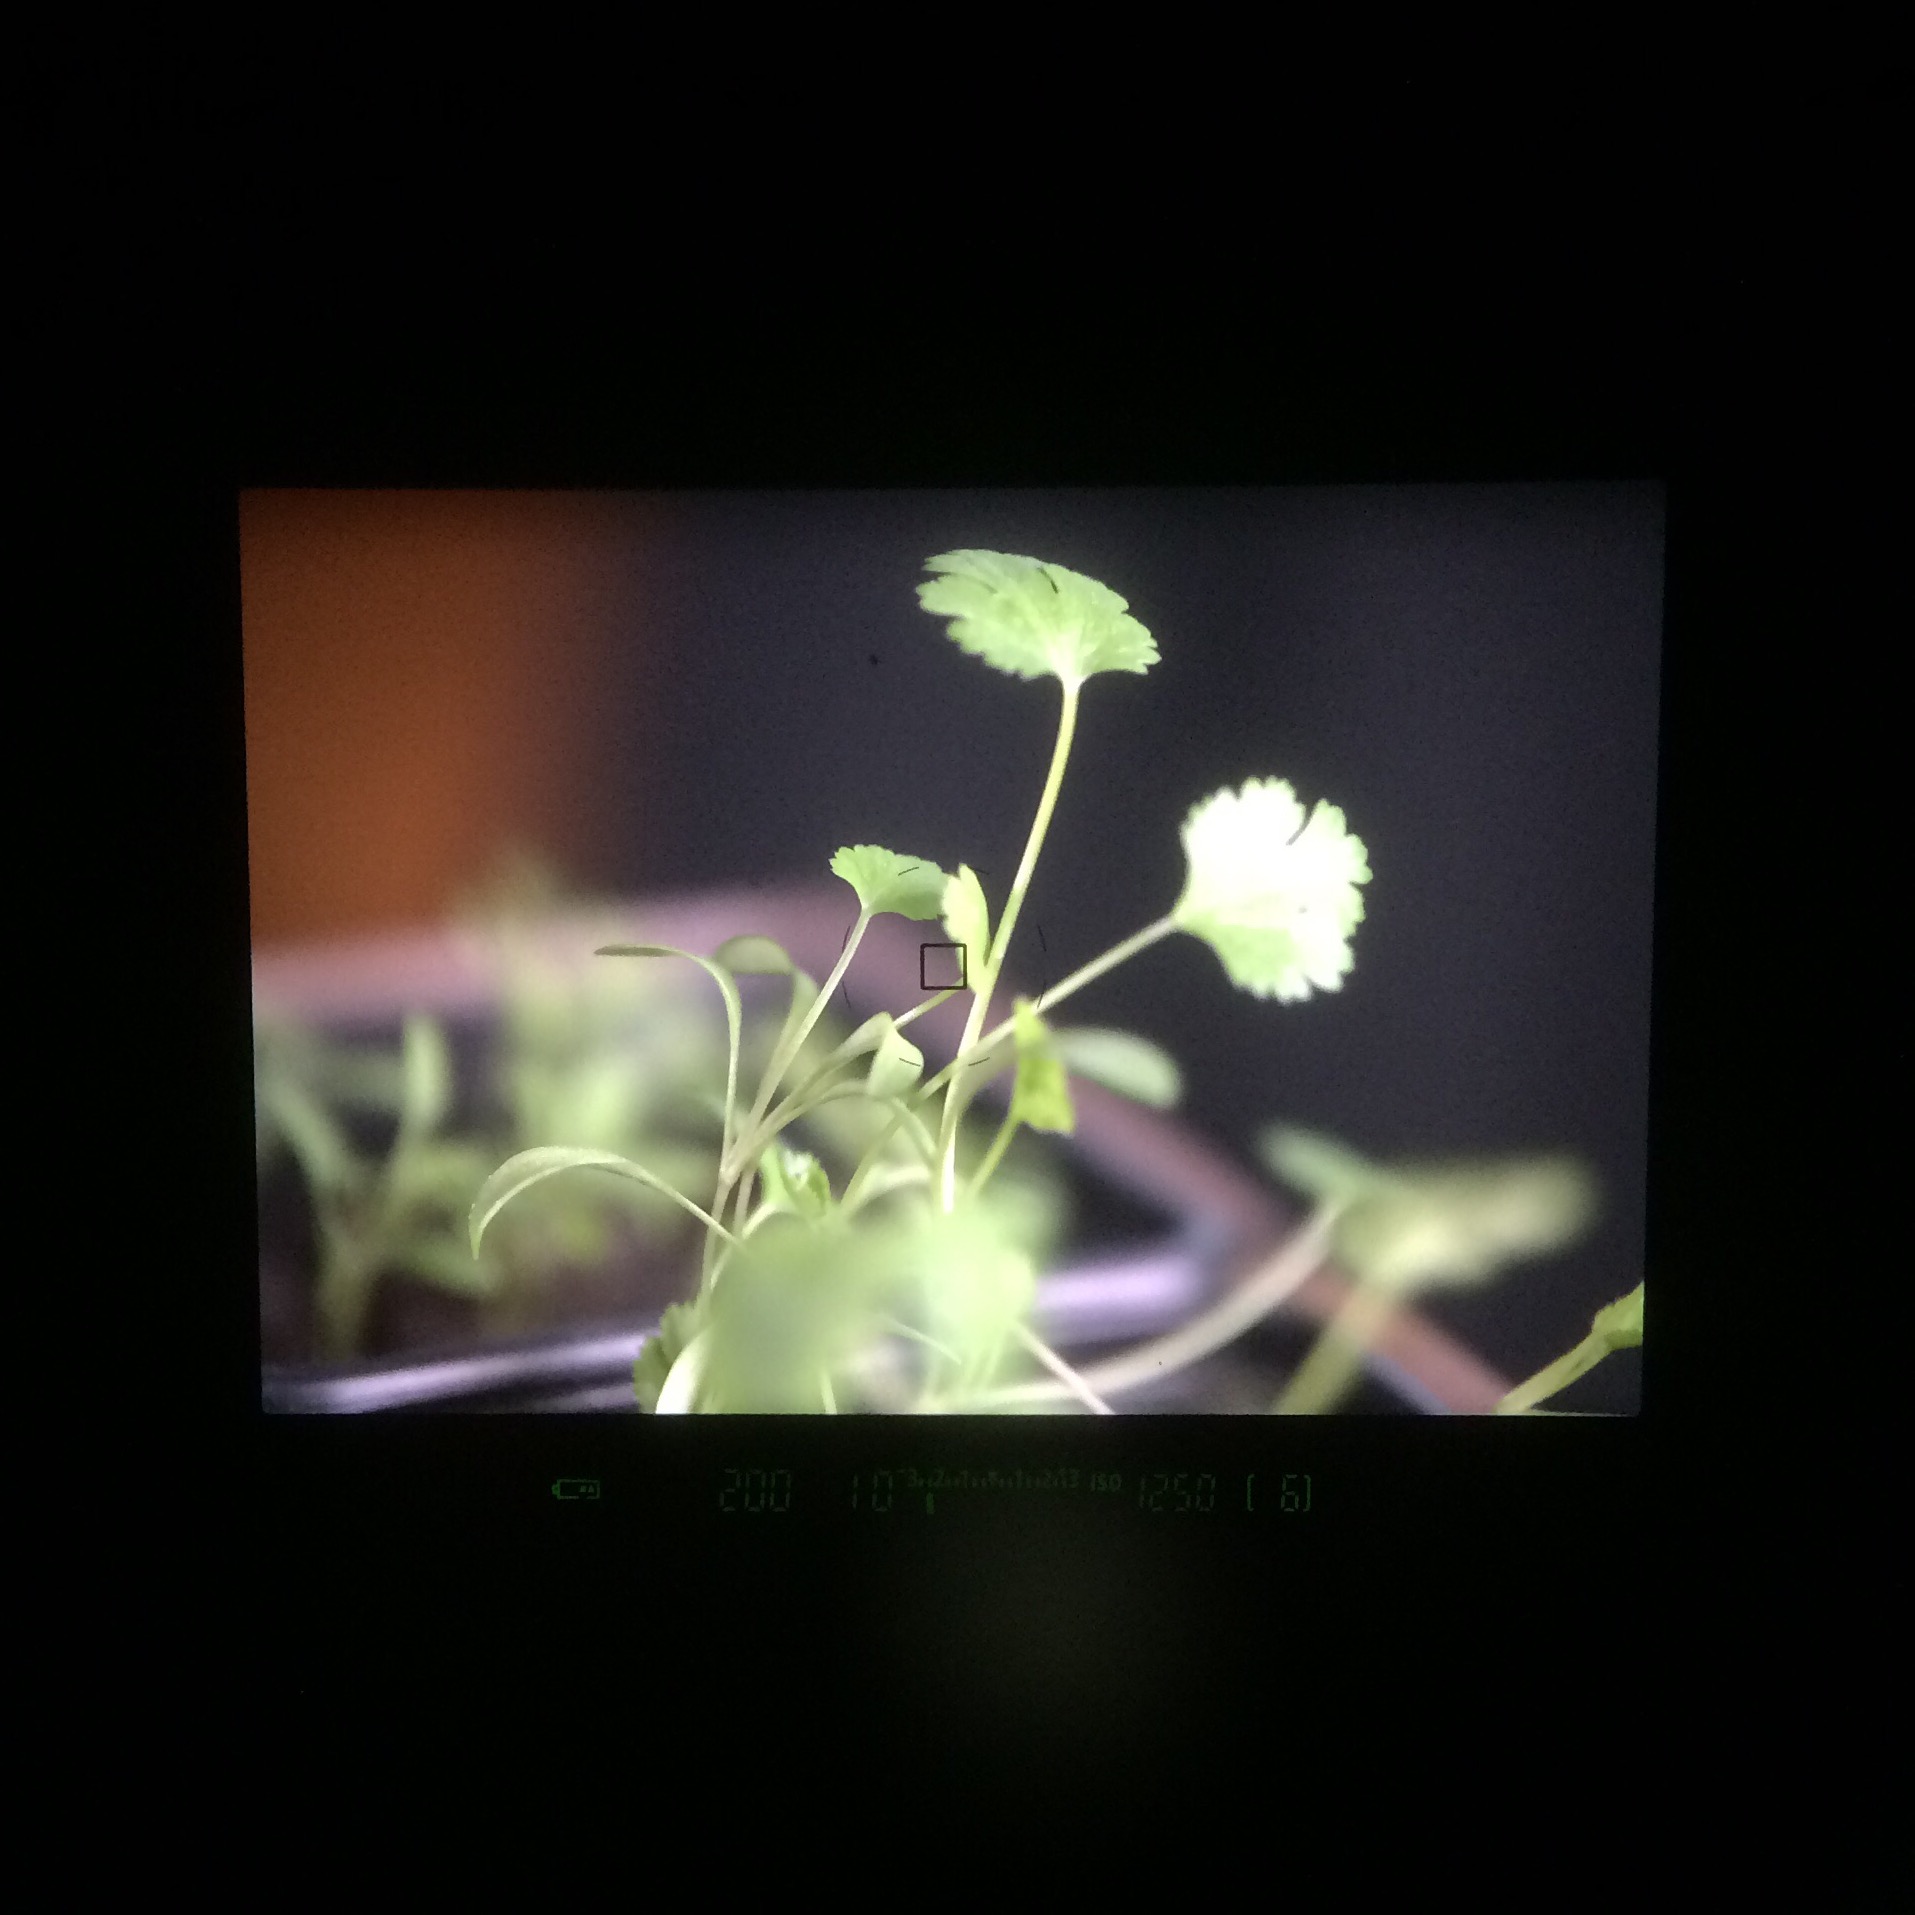
Some macro photography going on in the background, little herbs going!
From a quick walk in the morning.. Kids in Epsom and Ewell leaving their childhood behind!
Keep an eye out for my new Manfrotto Ambassador blog about filming weddings with Manfrotto gear, and I'm going up to London tonight for some night photography so I'll share the results with you later!
As I've been writing for a while about new Samyang lenses, we've expected a 135mm since the 50mm cine lens announcement. I even had a chat with the execs of Walimex/Rokinon (also Samyang) about the mystery lens in their line up, the hints were pointing towards the 135mm then too.

I shared the leak from the US eBay site last night, but here's more details on the lens, following suit of the preceding high quality manual lenses. Here's the specs for the full frame -
As always, the great optical quality and price are paramount for Samyang's customers, so I'm glad to see they have another affordable lens to add to the lineup!


From this weeks wedding! Matt looking nervous as he waits for Sarah at the aisle.
2014 was an incredible year for APV, started from the ground up in late December '13 and now producing media content for many international businesses and organizations, something must be going right!
The coming of the new year is a great excuse to have an overhaul of your business practices and to set some resolutions for yourself to aid in 2015 being just as successful as the last.
I came across this post from PetaPixel earlier, it has some great ideas to do photography set to a theme of that week, but it's completely translatable into video. To keep content fresh and interesting, I'll be embarking on this challenge, and hopefully I'll learn lots of new things along the way!
Have a go, and remember to share your work with me here or on facebook and twitter!
DIT, Digital Imaging Technician, Camera Operator, Camera Assistant, TV Crew, TV Production, Film Production, Film Crew, UKTV, BBC Studios, Channel 4, Channel 5