Surrey

Filming for Cow Parade Surrey!

Cow Parade is the largest outdoor public art exhibition and will see hundreds of decorated cows dotted around Surrey towns, businesses, villages and countryside. A approached the Cow Parade as a charity project for APVideo, offering video to raise the profile of the exhibition as well as the businesses, artists and charities involved.

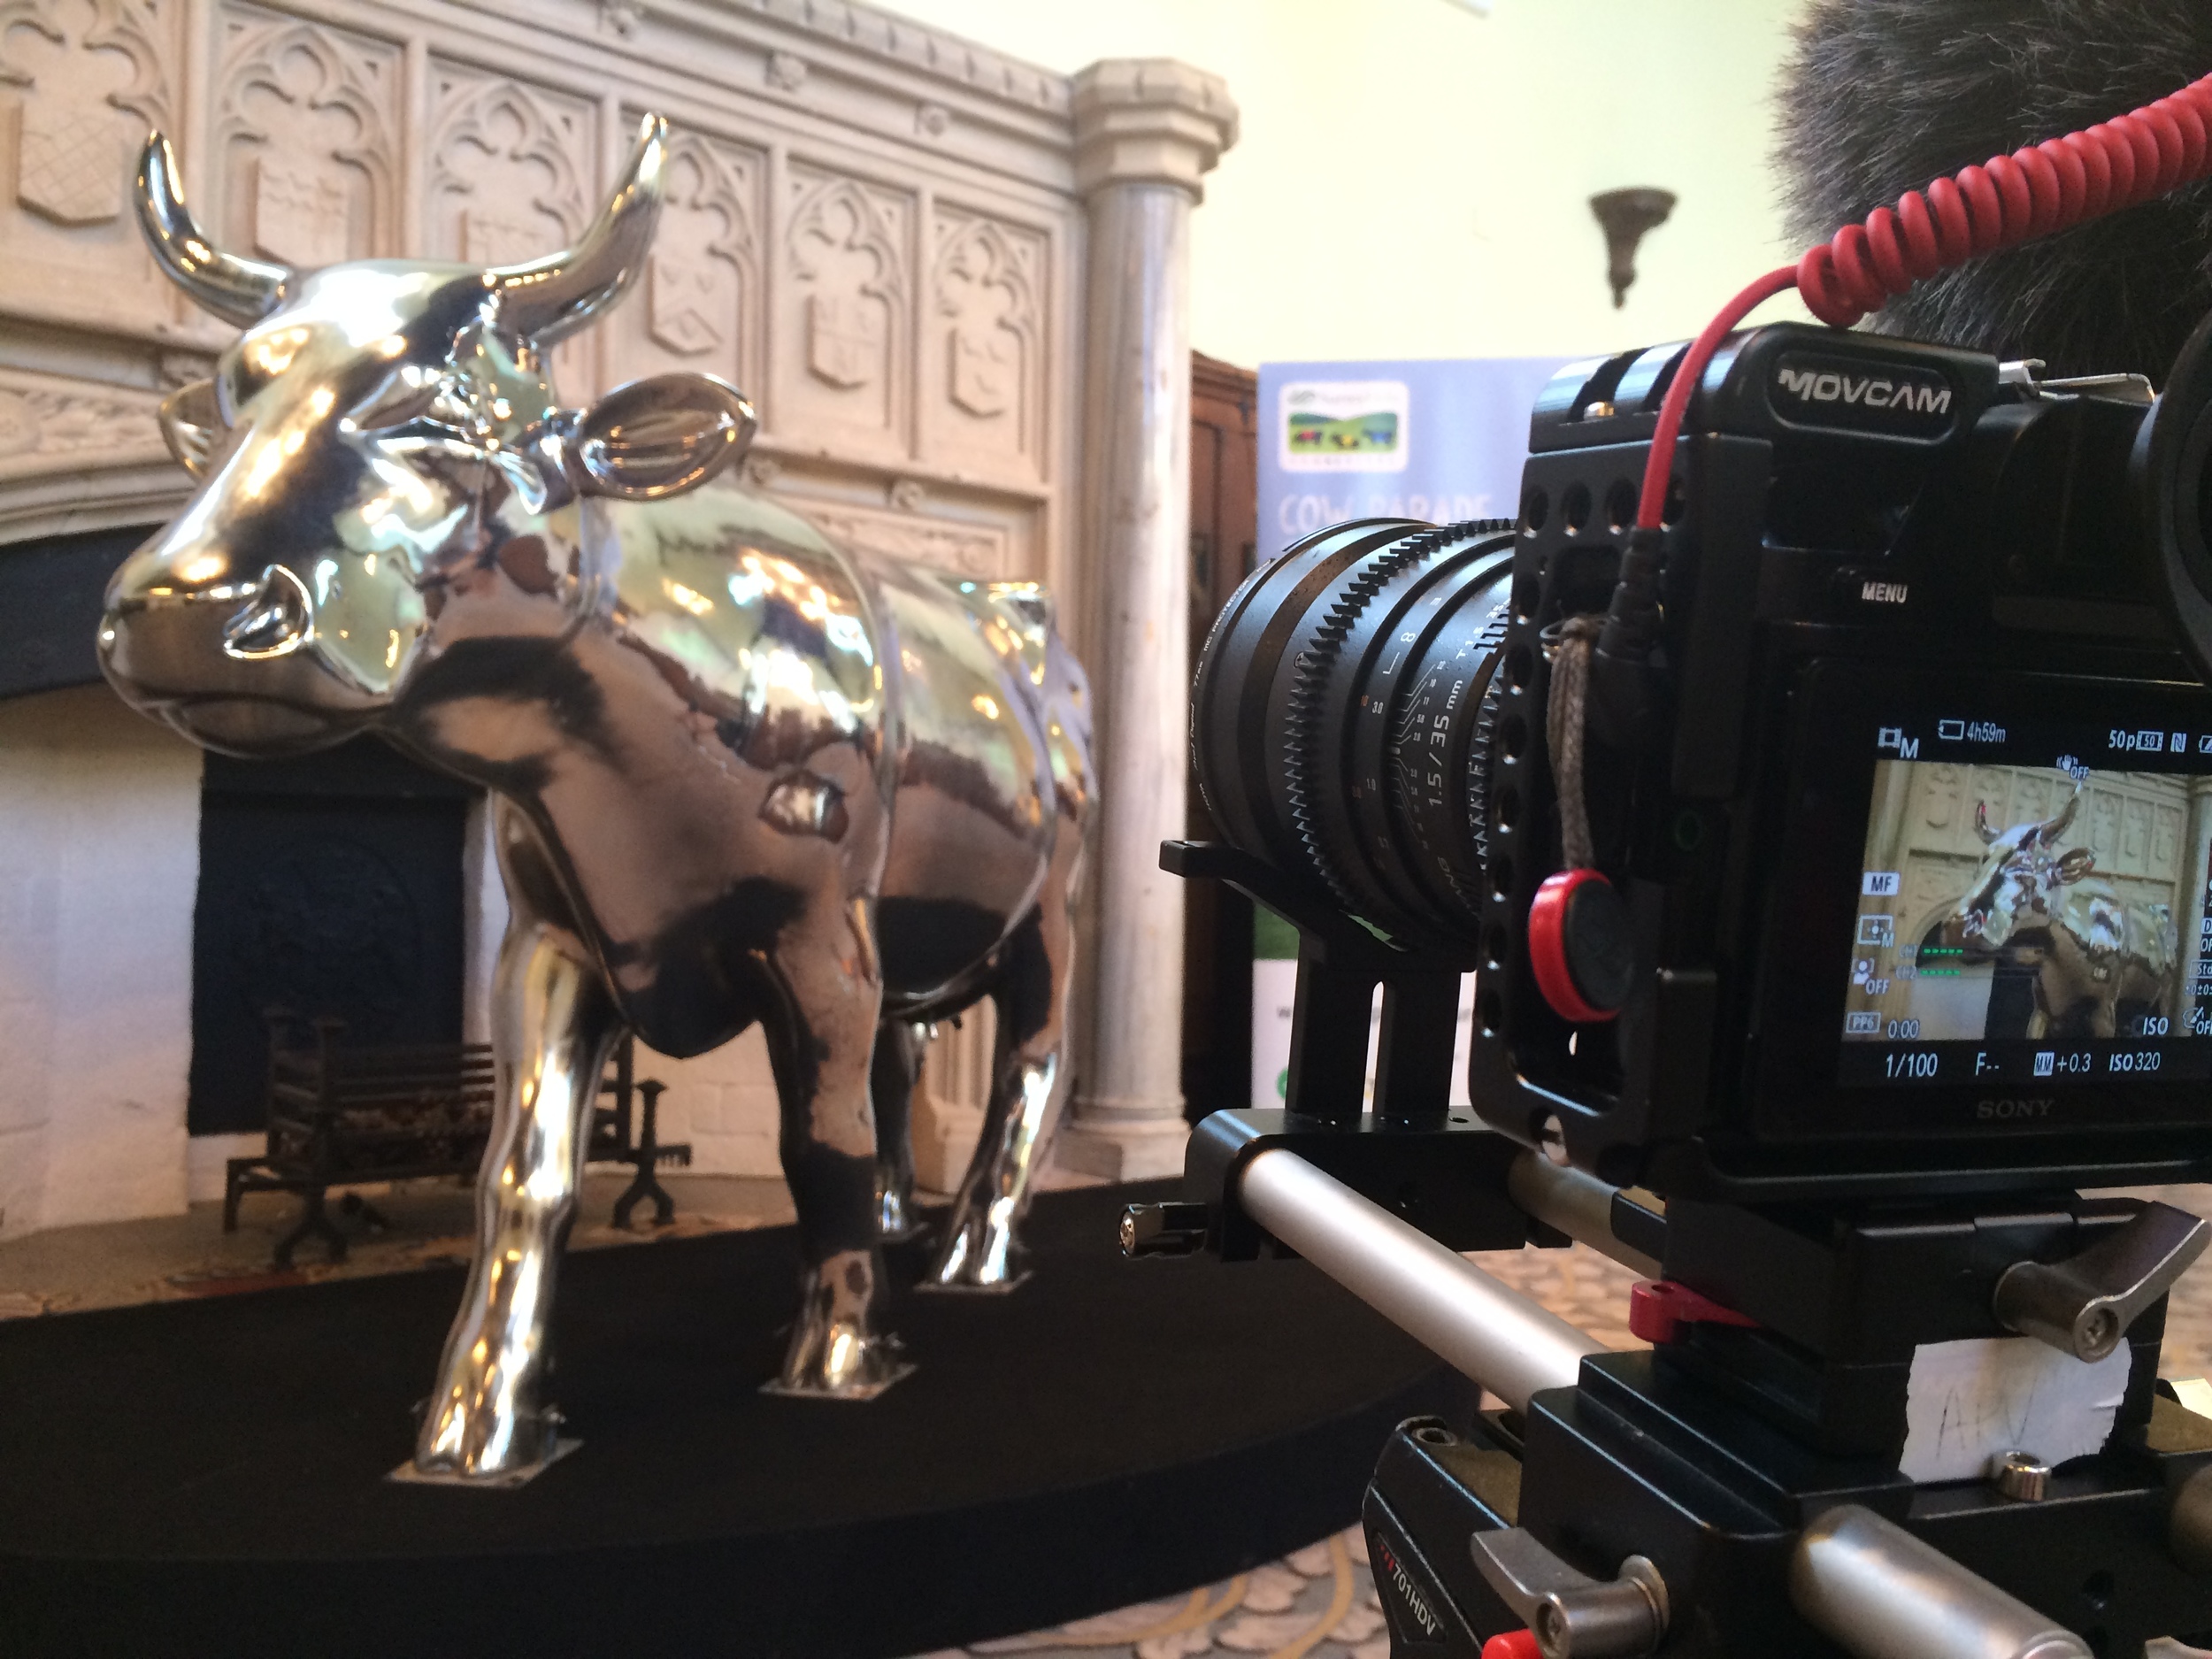
On Thursday, Horsley Towers played host to the Cow Parade Networking Event where many people gathered to find out more about the event. I took the camera along and filmed some interviews as well as the cows and stunning location too.

The Filming

The kit list for the shoot was simple and effective, keeping the setup footprint small.

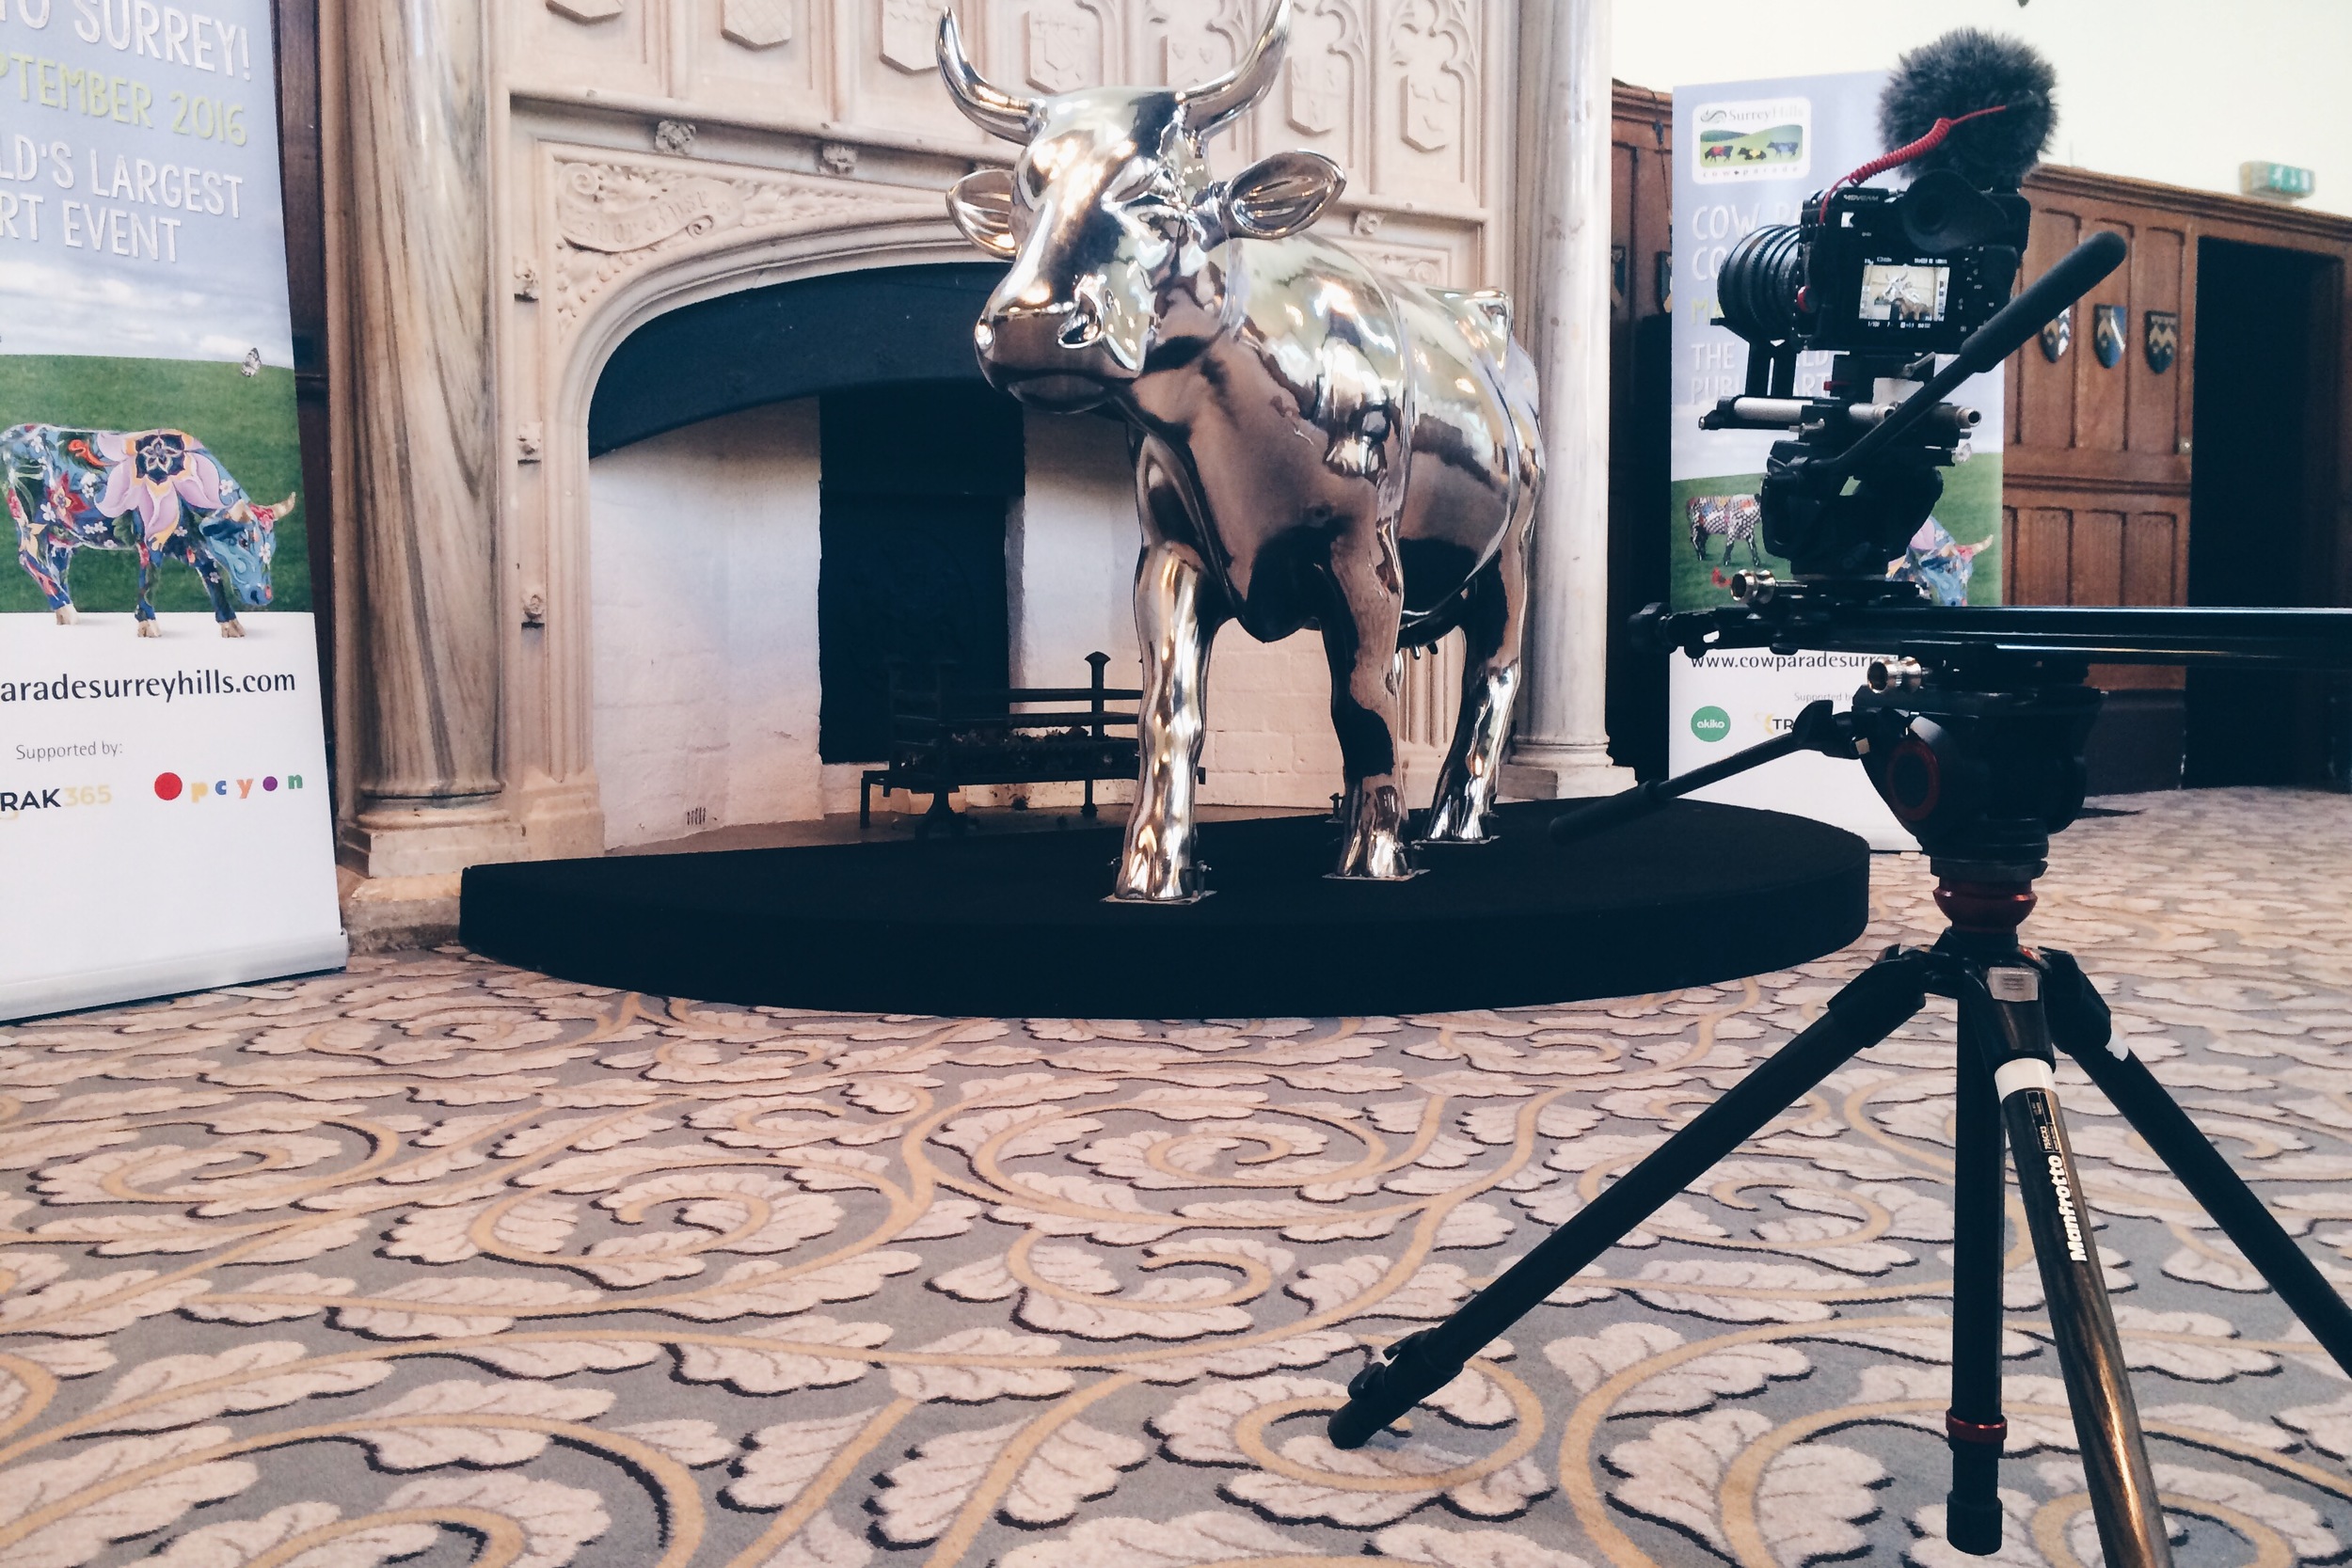
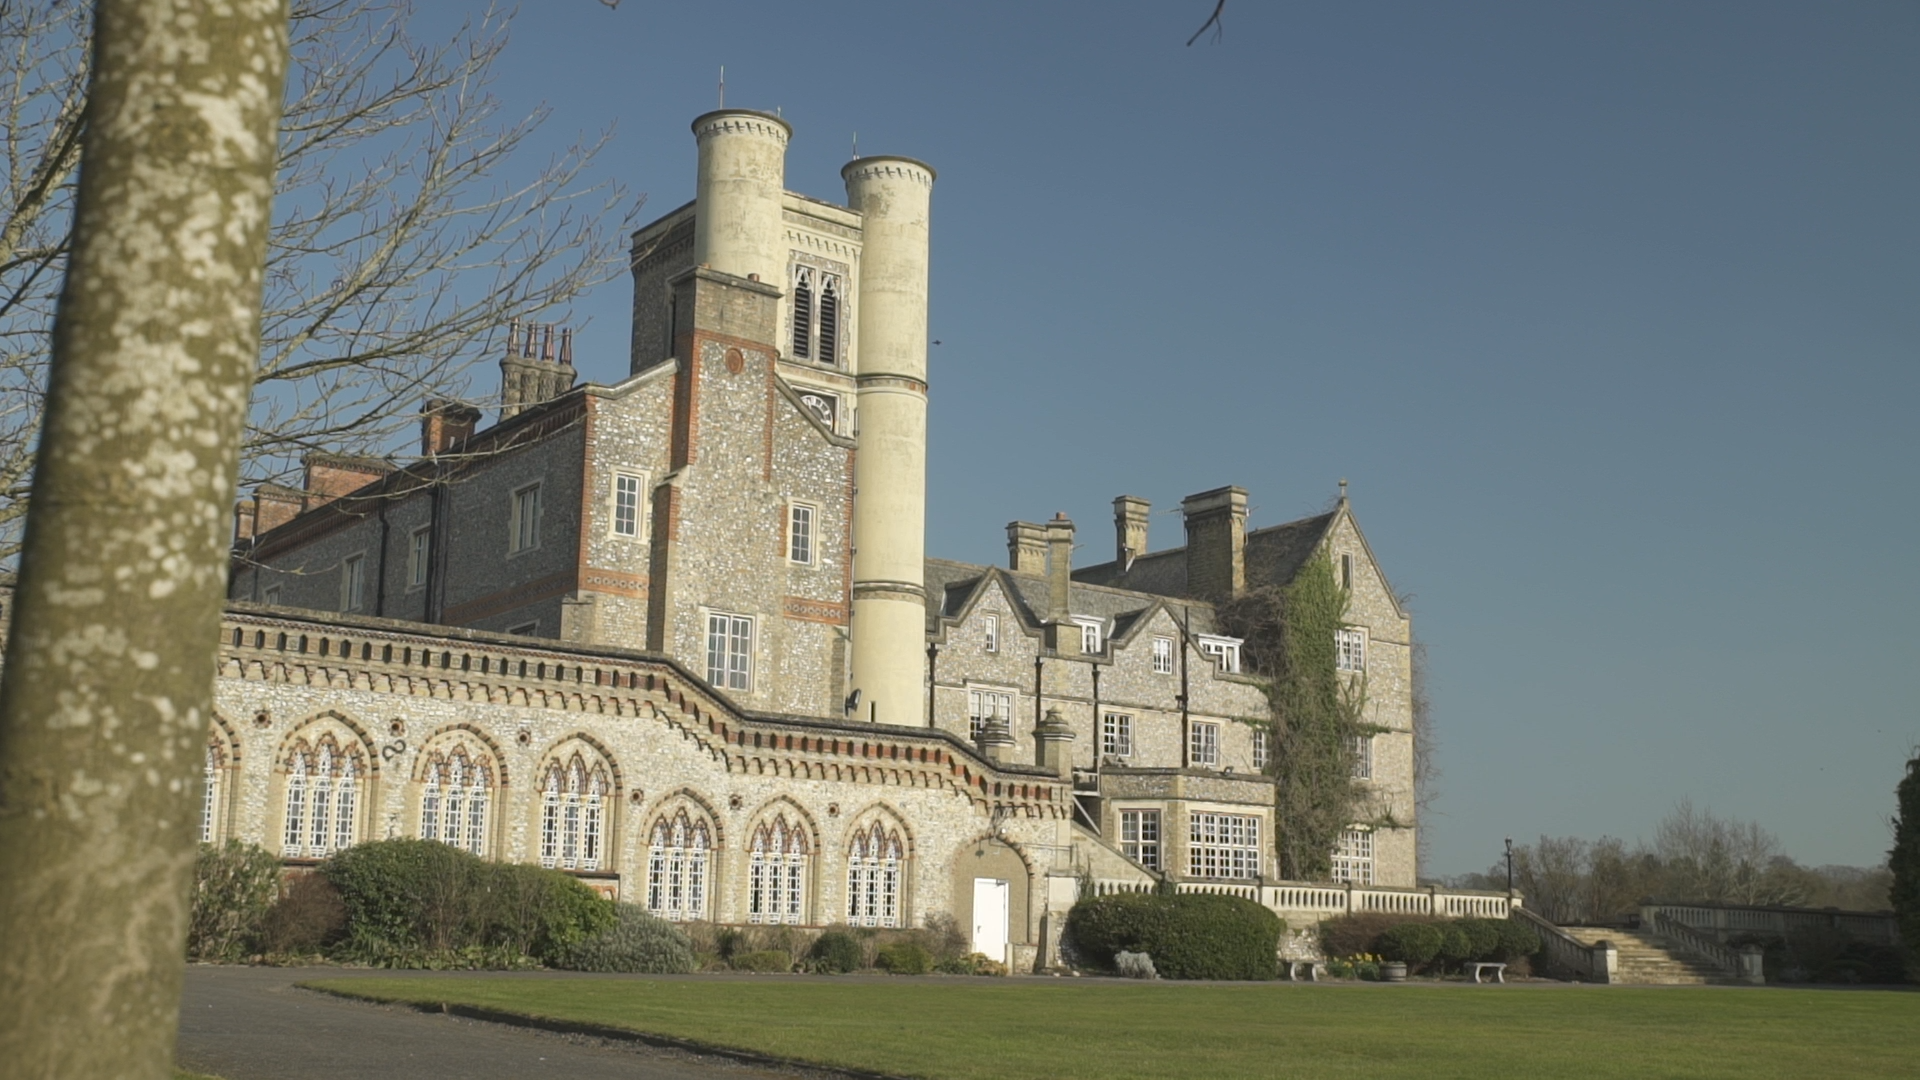
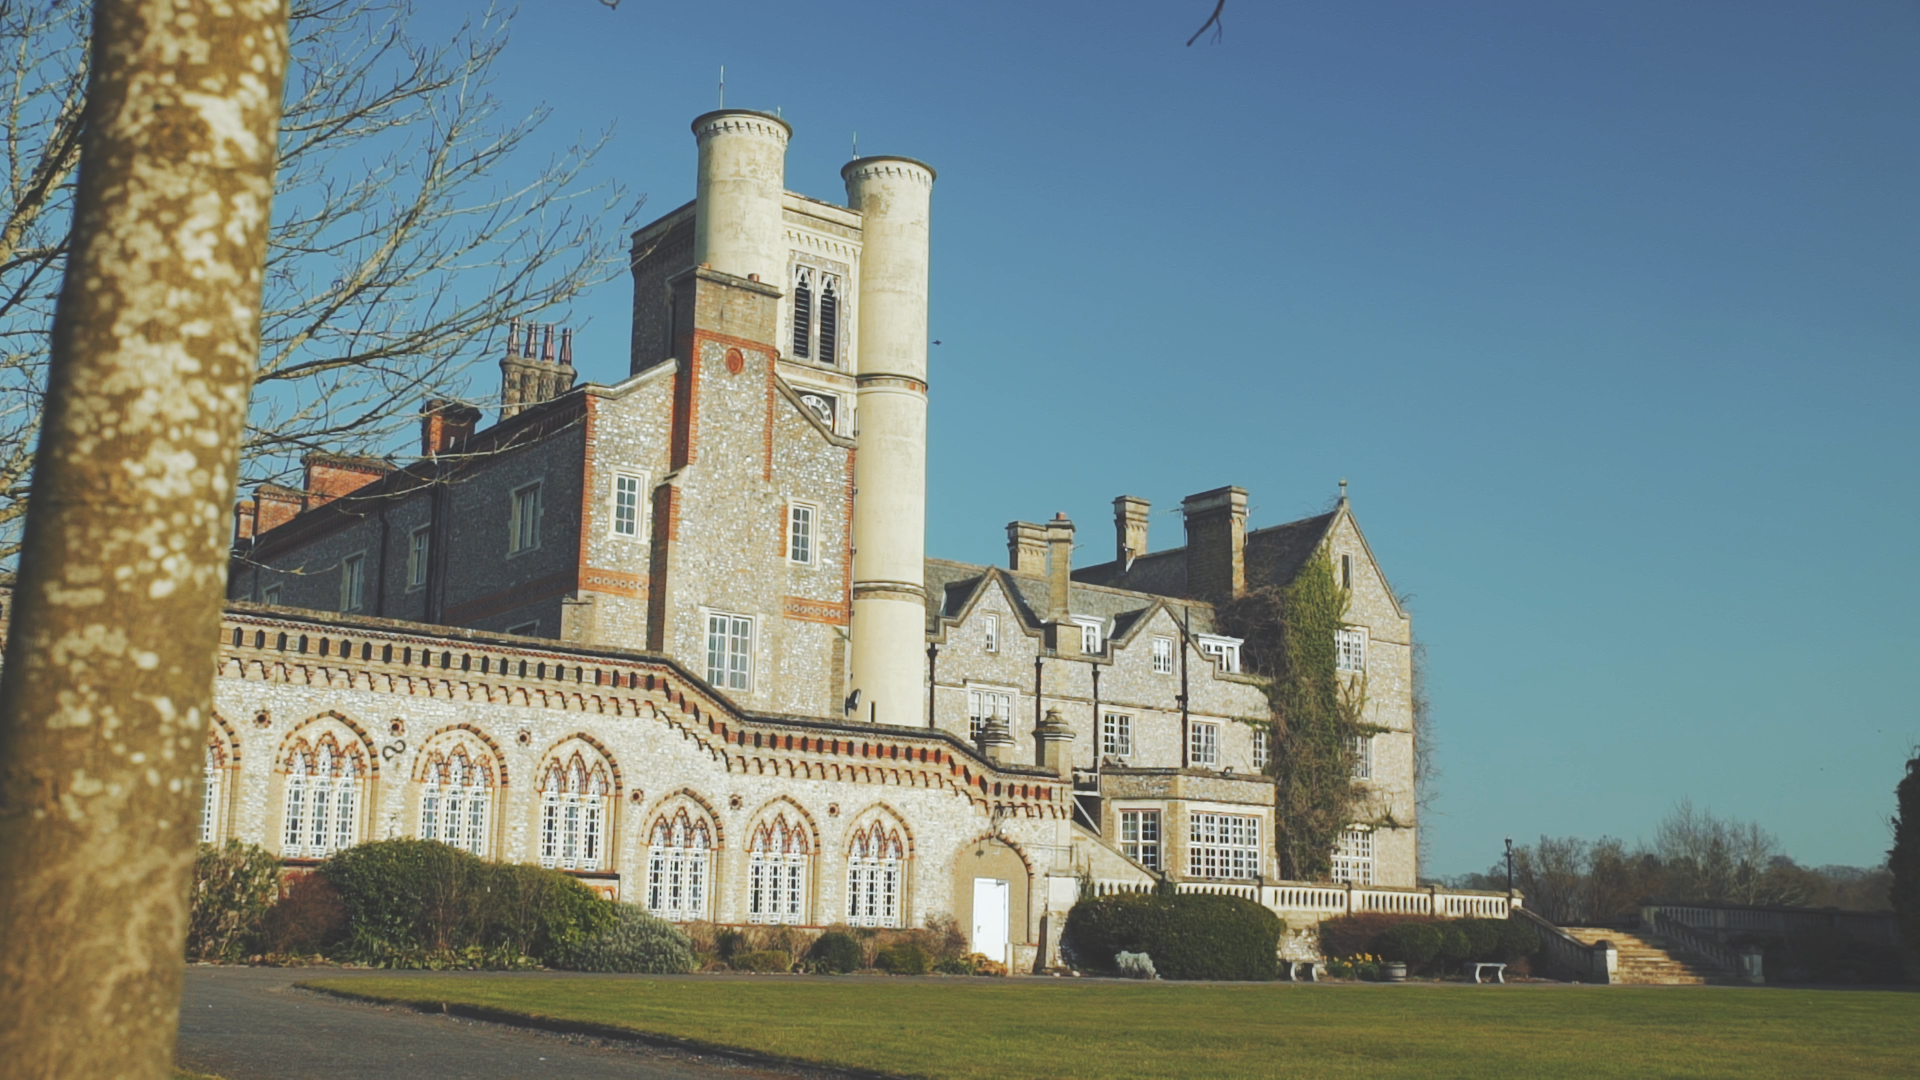
I arrived about an hour prior to the event starting to capture some location shots and the decorated cows before the attendees arrived. The sun was shining which complimented the Towers and surrounding greenery perfectly.

Horsley Towers, Tamron 24-70 with ND filter and Dual Arc Slider

Using the Samyang 35mm with an ND filter adds depth to the picture.

The arc side of the slider creates a paralax type effect where the background moves with the foreground, which looked great for moving shots of the cows. The majority was shot in 50p to give me the option to slow the footage down later on if needed, it also works well of you need to add the warp stabilizer to eliminate shakes.

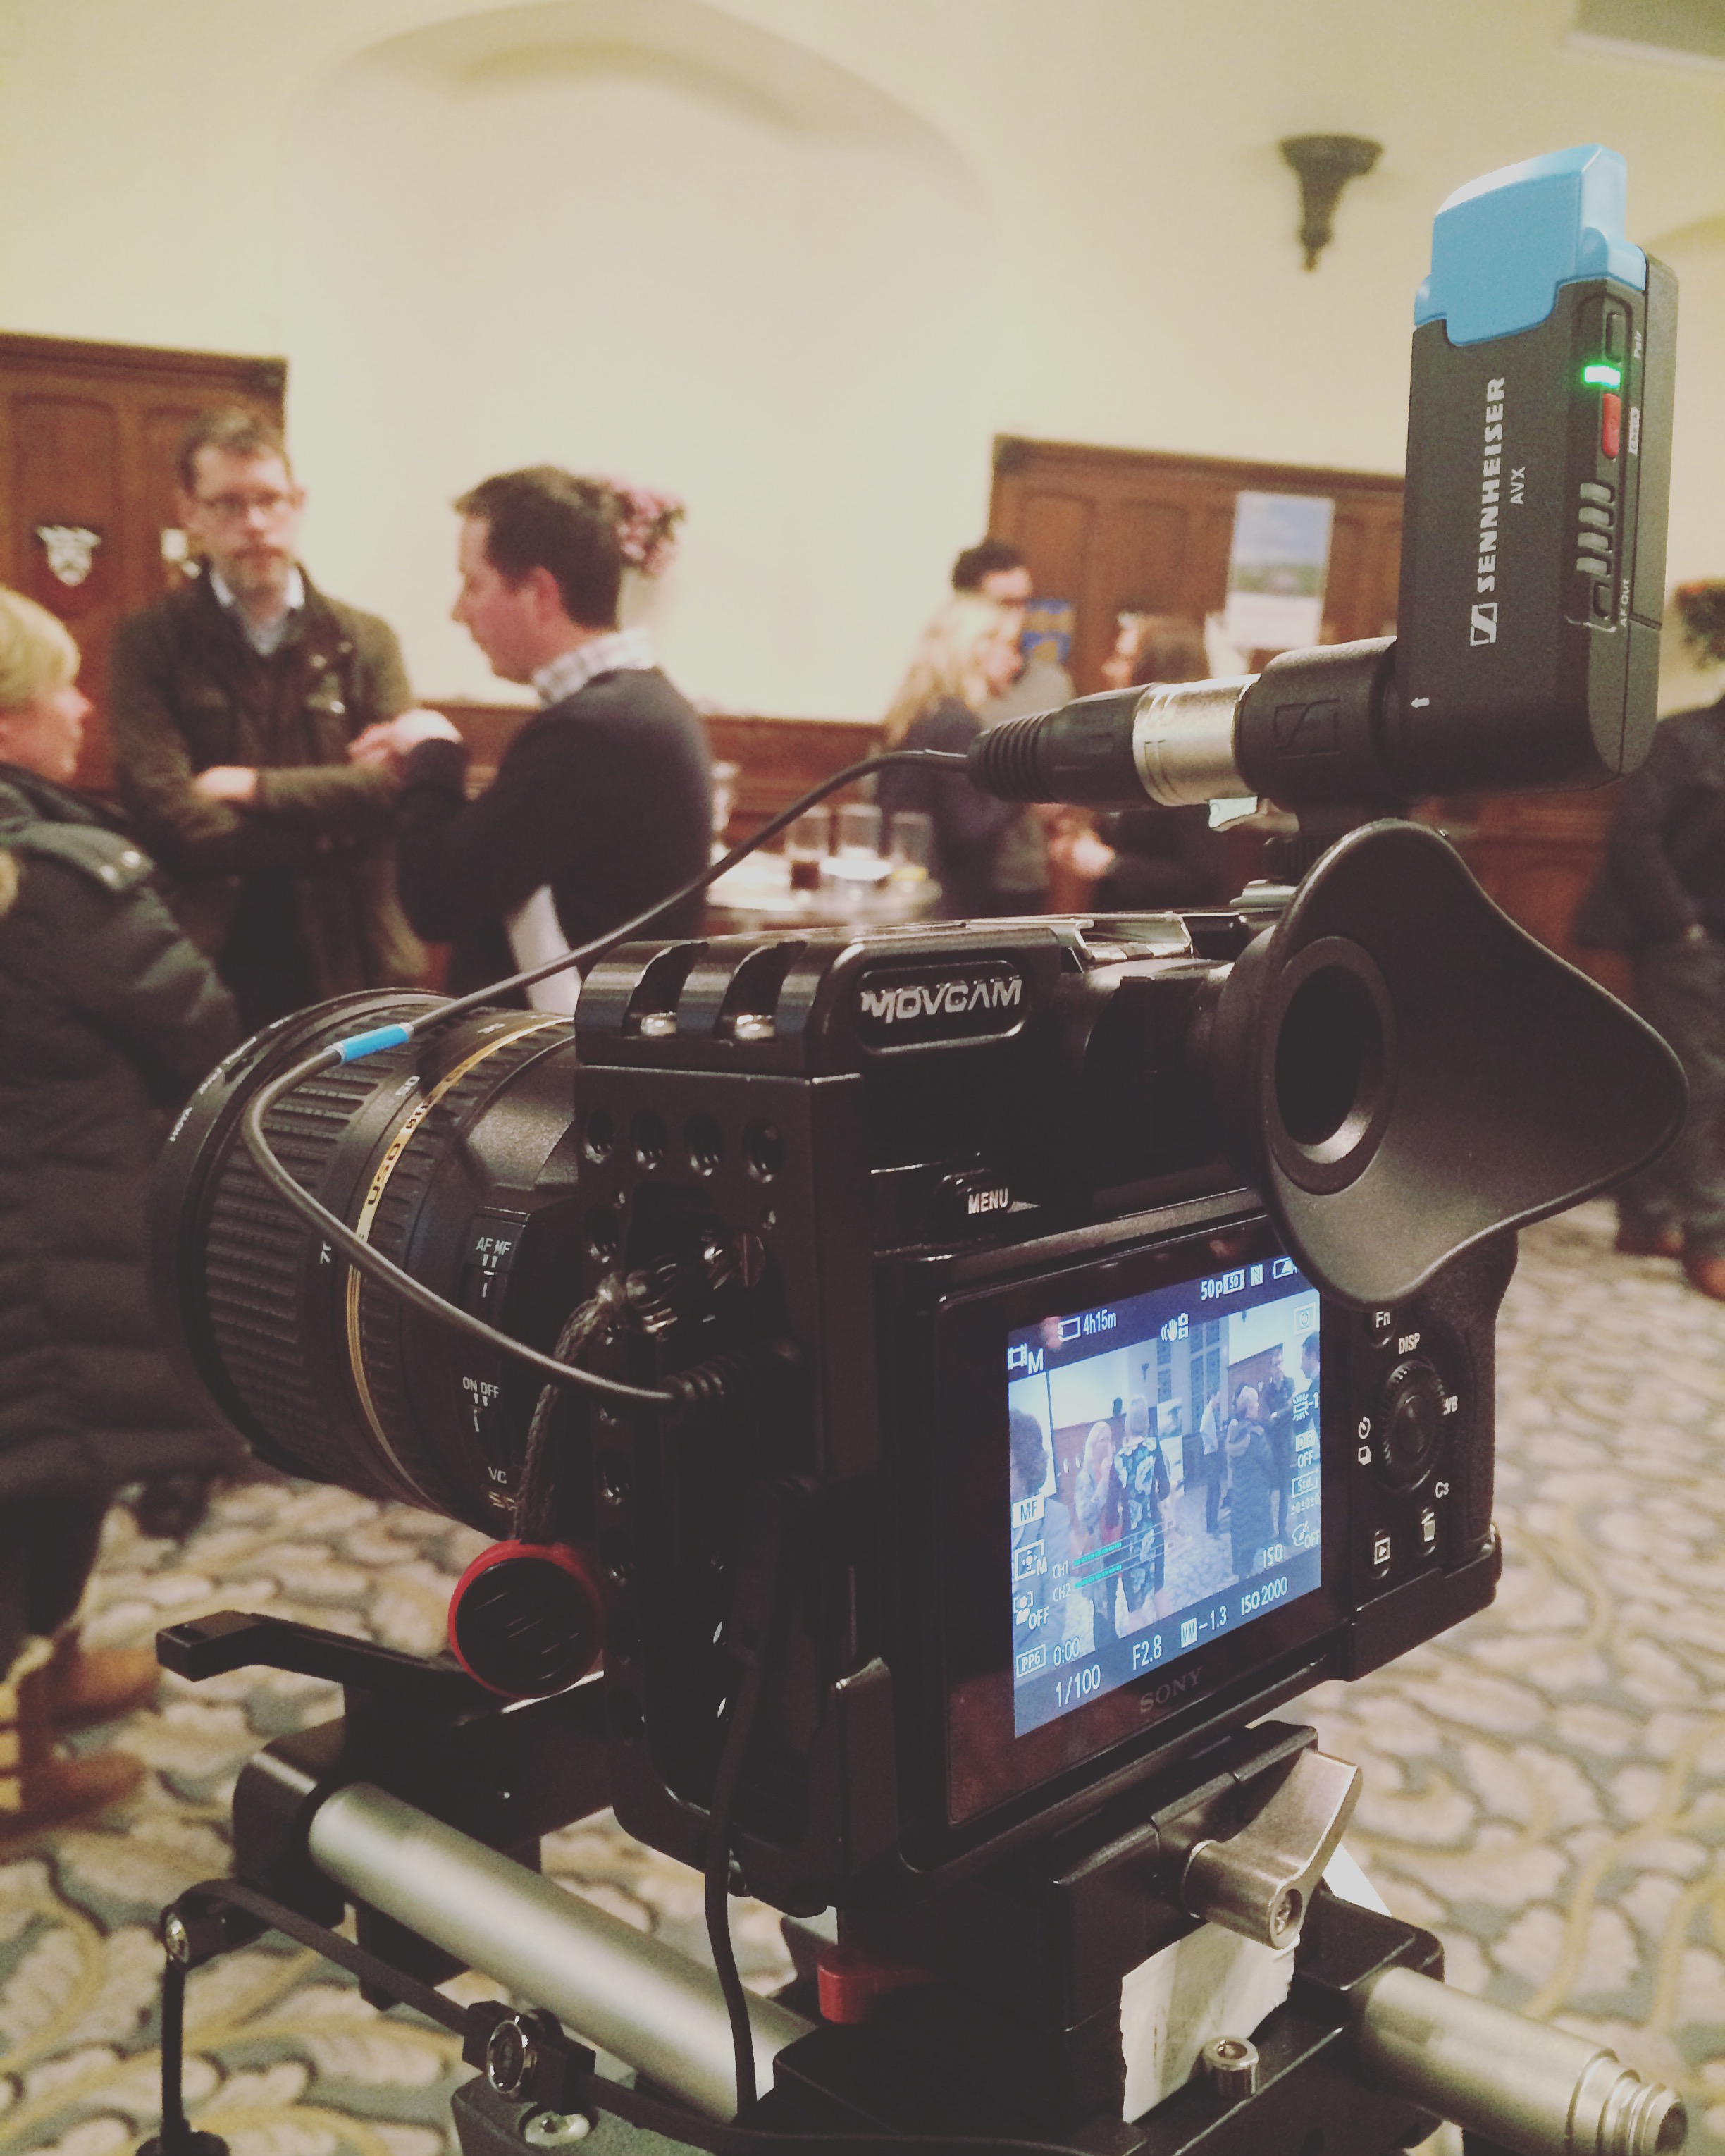
Once the main B-roll and detail shots were captured, I switched to using the Manfrotto MVM500A monopod and hooked up the Sennheiser AVX Pro MKE2 audio kit for the interviews.

The wireless mic receiver sits nicely on the cage, and is small and maneuverable enough for other kit to be mounted on the hot shoes too. The XLR to mini jack adapter cable is also ideal for one man band videographers as you don't need a separate audio recording setup; in the past I've used the Zoom H6 but now I don't! This also means no syncing in post is needed! My only comment about the audio setup is the microphone does pick up quite a lot of ambient sound as well as the voice of the interviewee, but not so much that the subject audio is inaudible.

As the interviewees weren't prepared to be talking to camera, I made sure to capture lots and lots of b-roll so that when editing the sequences together I can cut out 'ums' and 'arrs' and overlay b-roll to mask the cut.

The Editing

Putting the first video together was a relatively fast process as no audio syncing was needed, and Premiere Pro CC handles the video files very easily. After sorting the footage into bins and trimming the clips in's and out's, I added the establishing shots that can open the video.

The audio I used was sourced from Art List, a new music collection and licensing site that I'm beta testing. It has a good collection of original music from bands and artists for a variety of video genres, so after some searching I found a folky and country-esque piece to compliment the footage. Check Art List out here.

Checkout www.art-list.io

Checkout www.art-list.io

Once the main sequence was tied down, I moved on to colour the video in Lumetri and using James Miller DeLUT's. A big misconception with using LUT's is that you can just chuck it on and it will be fine. The reality is that simply putting one on to grade footage doesn't work and you should take time to adjust the intensity of the LUT and the other colour settings. This keeps the individual clips consistent in their colour throughout the video.

Another example of adding and adjusting a LUT >>

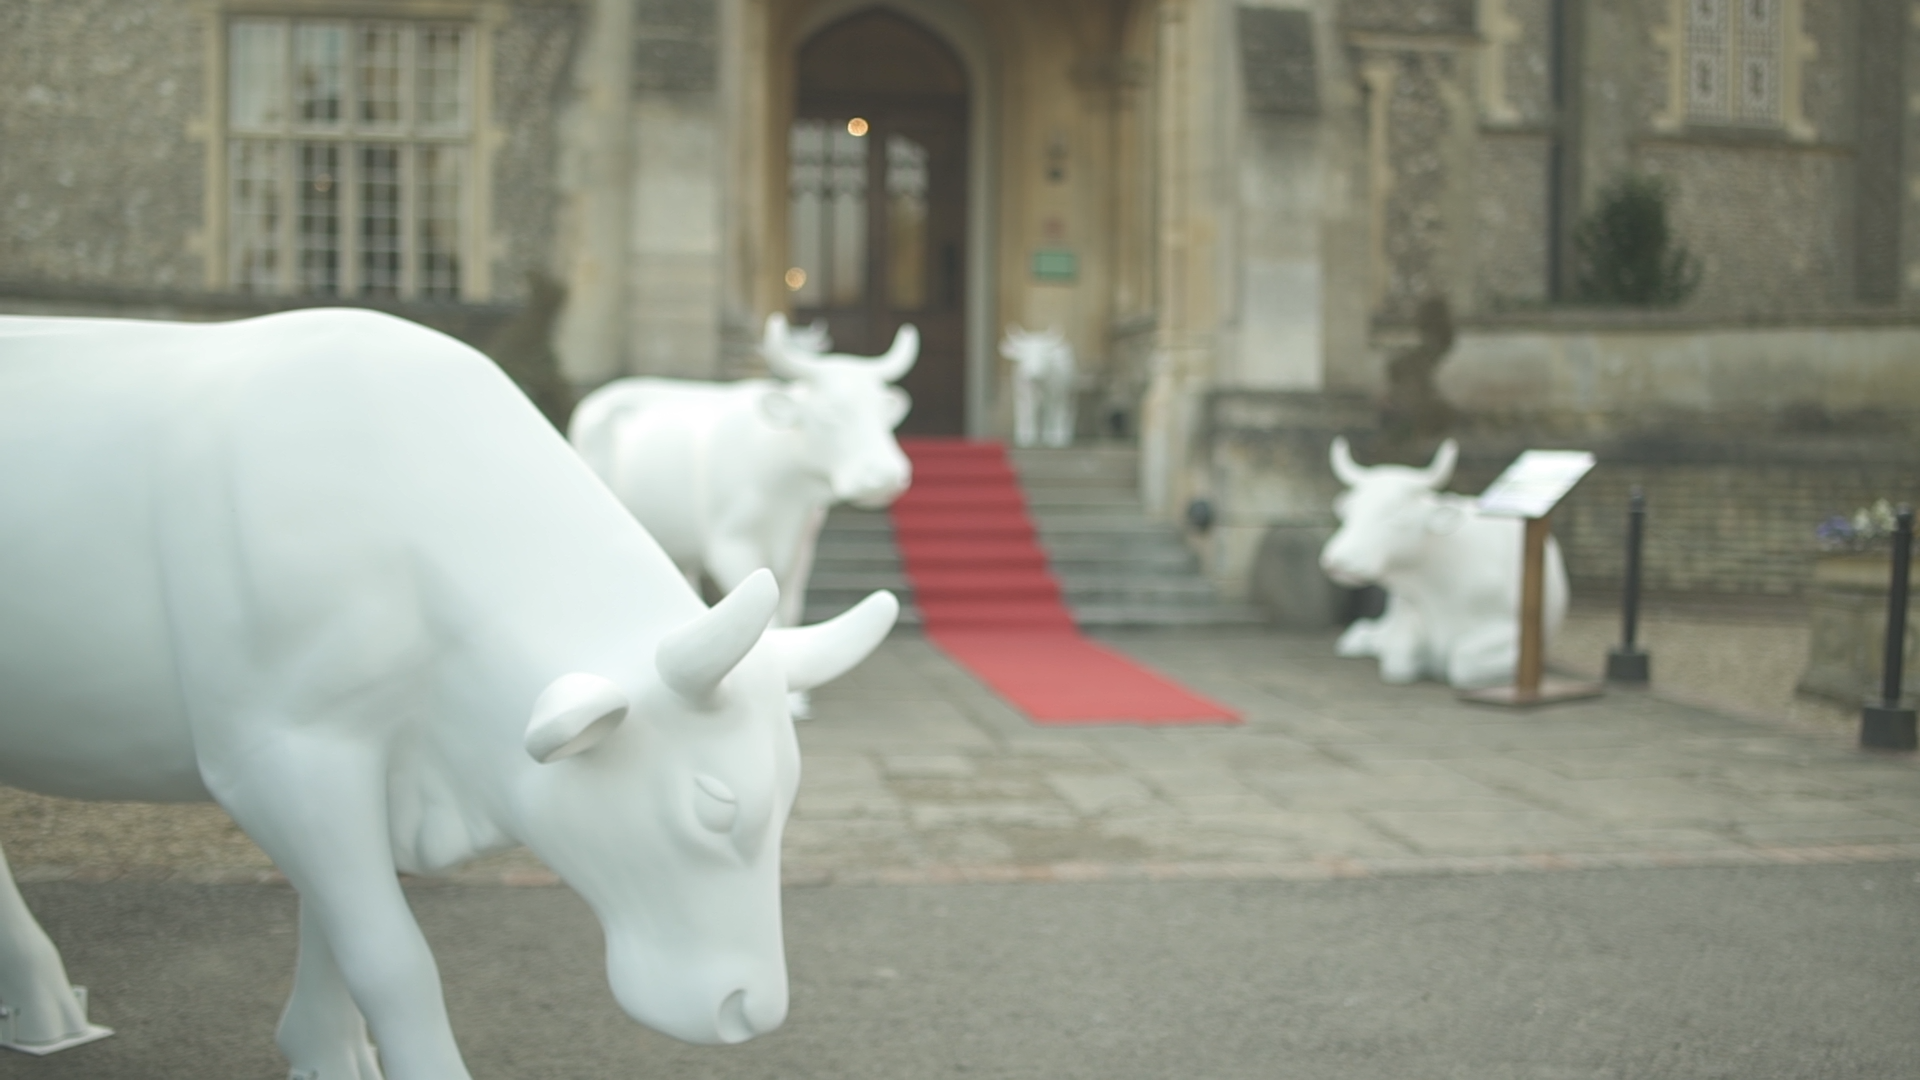
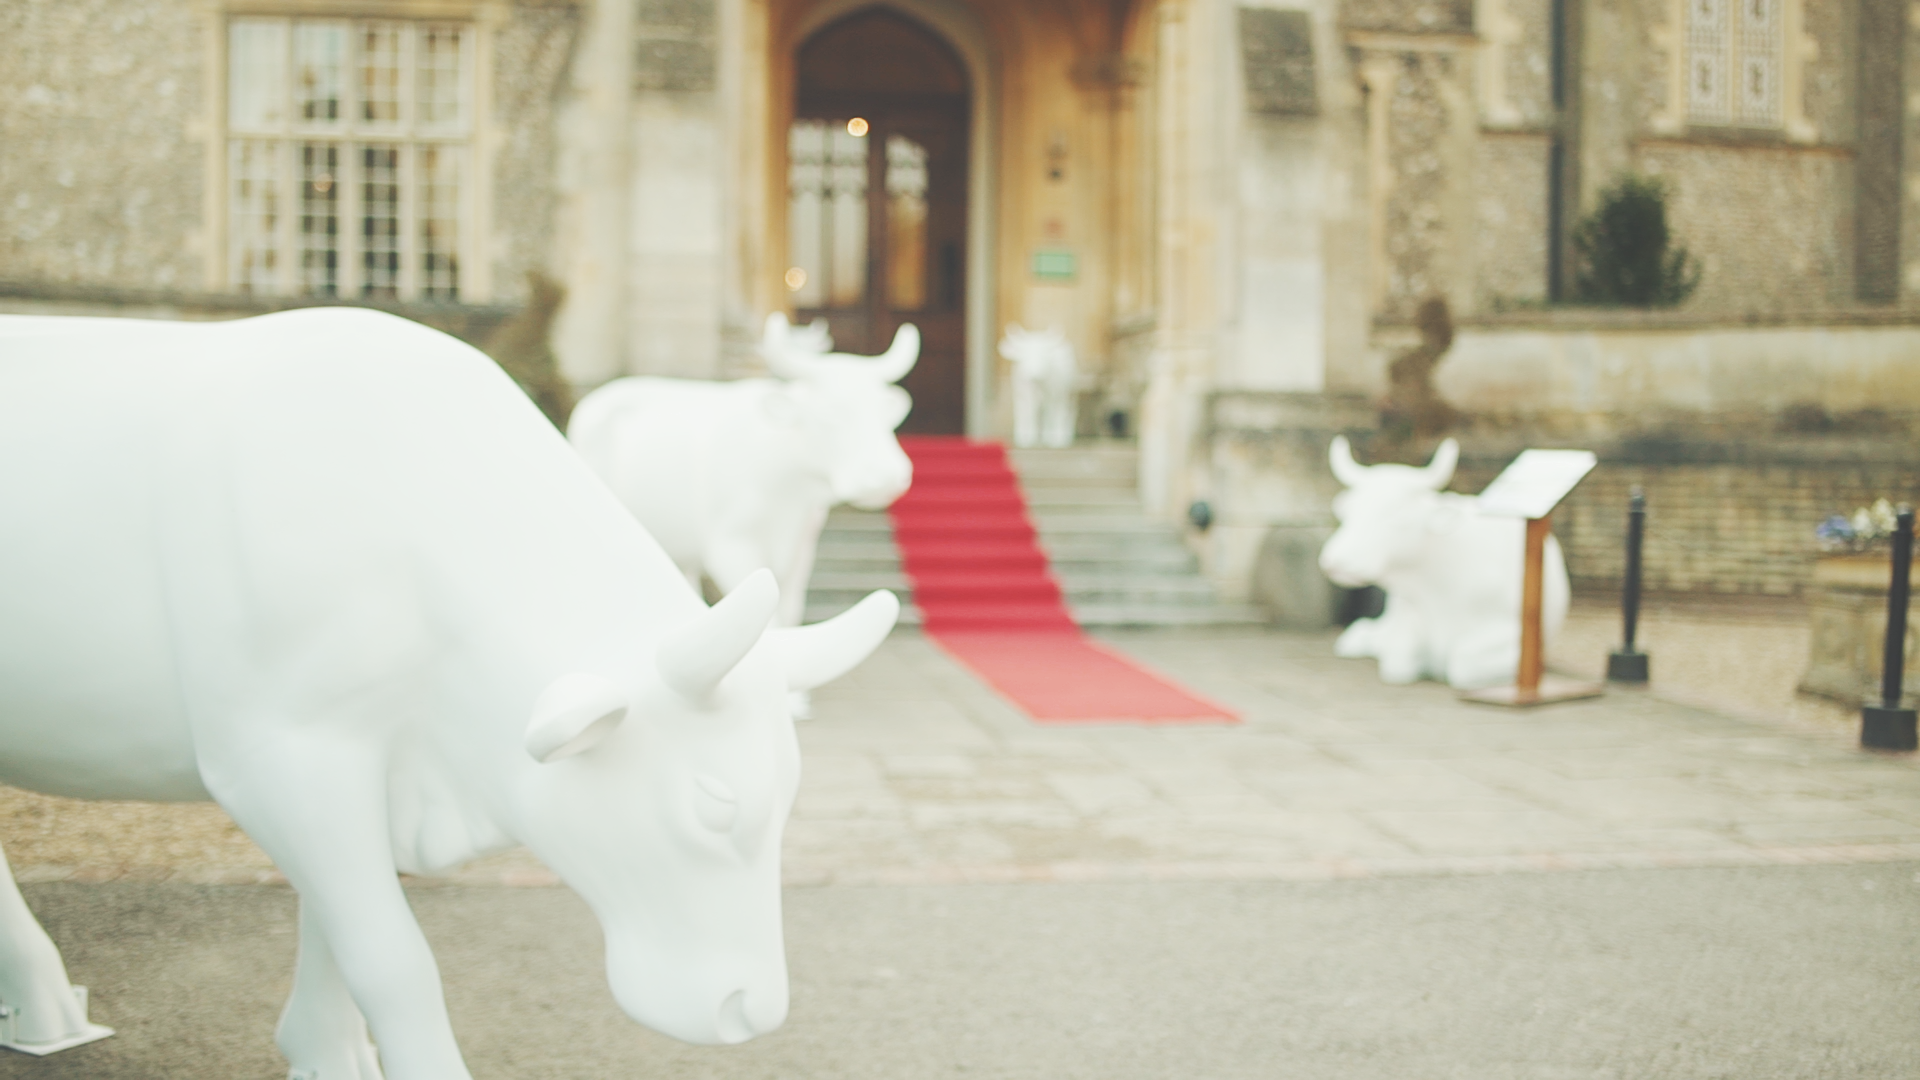
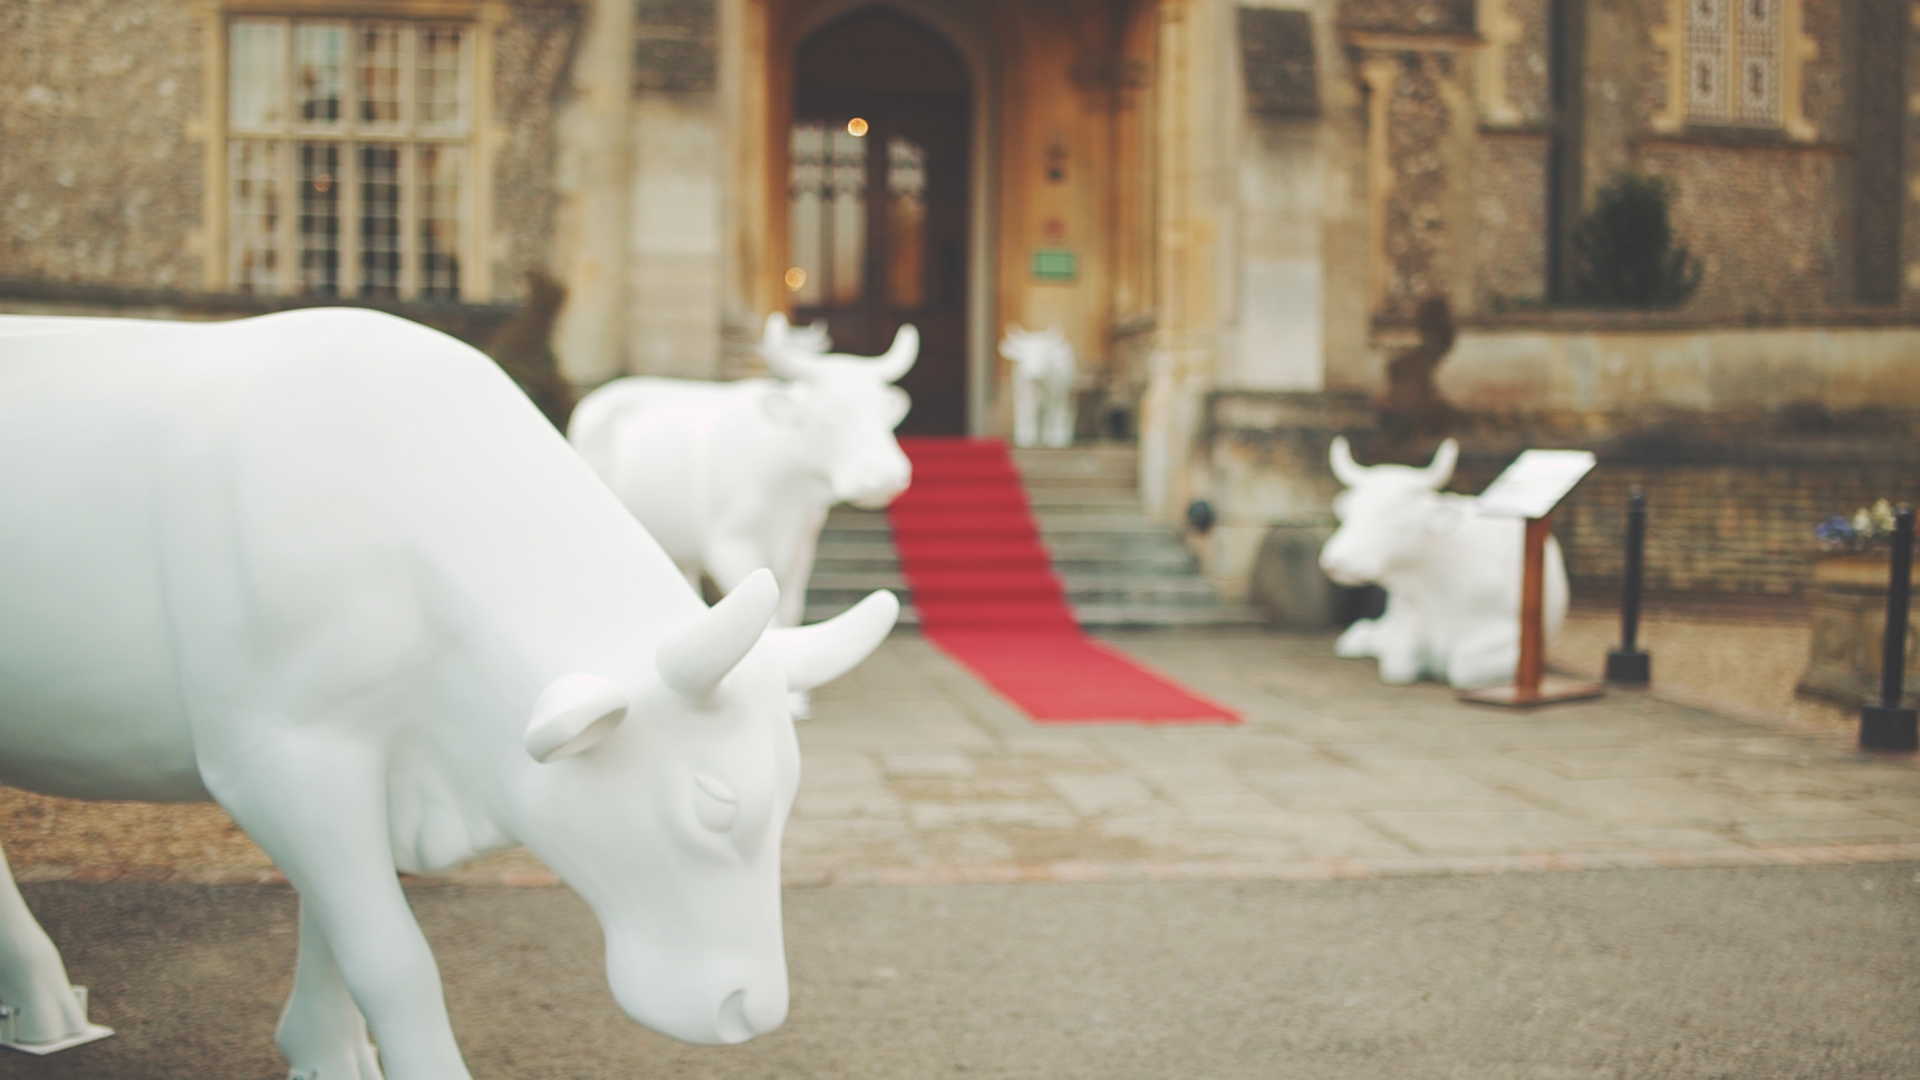
From these examples you can see where even if shots are well composted in camera, adding a LUT straight on (in this case) over exposed the shots and shifted the colours. It is simple to adjust the brightness, contrast, highlights and colour balance in Lumetri until the shot matches the others, and compliments the composition.

Here is the video!

Thanks to Manfrotto and Sennheiser, and good luck to the Cow Parade! APVideo will be following the journey of the parade throughout the summer so watch this space for more updates.

The Filmmaking Masterclass 2015.. Behind The Scenes Part 2

The Filmmaking Masterclass 2015.. Behind The Scenes Part 2

Part 2 of the filmmaking masterclass behind the scenes production!

The Filmmaking Masterclass 2015.. Behind The Scenes (Part 1)

Producing a video with storytelling (Part 1)

I jumped at the chance to film the BTS when I saw Philip Bloom and Nino Leitner's 'Filmmaking Masterclass' were coming to Surrey for their 2015 workshop. Having captured many events before, this was a chance for me to hone in on my videography skills and produce a great BTS film to show what the workshop is about and help promote it for future events. Of course, filming for Nino and Philip put more pressure onto producing something amazing.

As I'm a one man band producer, I roped in help from good friends of mine to help film other aspects of the workshop (which spanned over 3 days). Meticulous planning was required to make sure we captured everything we could, and that the equipment was ready for the next days shooting on location. Keeping in mind the"shoot 20% content and 80% b-roll" tip was definitely important for this production, so there was plenty of emphasis on attendee interviews at different stages of the workshop to capture progress, and filming them working as a crew producing a short film too. This together helped form the basis of the beginning, middle and end narrative; a structure that is familiar, but works to add progression and pace to a video.

Preparing the treatment

To keep the production tightly knit and not over shooting, I produced a treatment for each crew member so we knew exactly what was going on, where, with what kit. This helped us work to capturing something different each day and follow the narrative -

1.       Brief the crew with the aims and expectations of the overall production.

2.       Confirm the details of the location, including the best travel routes from their location (avoiding major motorways and roads during congesting).

3.       Choose the best equipment for the job. Never over pack the kit bag, go simple and strategic for the look and style of production.

4.       Prepare an equipment list to check off each day and familiarize crew of the production setup with camera techniques, settings and audio.

5.       List all key moments and shots to acquire throughout each filming day, which may include interviews, specific time lapses, and drone or gimbal shots for example.

On the day:

6.       When you are working in a crew, they are your family.

7.       Introduce the crew to the key people at the event; from the event organizers to the mentors, to ensure that they are all comfortable and acknowledged as part of the BTS crew.

8.       Film a couple of shots with the crew to demonstrate the style of production and tips for filming in that location/settings.

Adam and Ed

Adam and Ed

Ed and Mikey

Ed and Mikey

The Kit

The kit prep was a challenge as it's always tempting to take too much, which in some cases makes you less mobile. For the workshop, crews would be spread over a large location (indoors and outdoors) so being portable with a small footprint was the cornerstone of what kit was used.

Manfrotto Backpack 35-PL

Manfrotto Backpack 35-PL

Adam Plowden Video using Sony A7s and Atomos Shogun

A personal favourite of mine is using the 100mm macro lens for portraits or specific subjects or objects as it beautifully crushes the background into a lovely bokeh, as if it was taken on a much better lens and camera. That combined with the Shogun shooting in 4K gives so beautiful images. Also, as much of the first and last days shooting was indoors, I often ramped up the ISO to 6400 and happily shot away knowing that the resultant image would be pleasantly clean.

Adam Plowden Video using Sony A7s and Canon 100mm macro

Audio wise, I had the Rode VideoMicro hooked up to the A7S for the entire production, its an awesome little microphone which sits neatly on the cage. I’ve found previous on camera mics clunky and often require a 9V battery, but the little VideoMicro uses the camera power and packs a load of great audio quality into a tiny price tag. For the interviews, I hooked up the Rode NTG4+ into the H6 and handheld. No need for a clamp and magic arm in this case.

The Shoot

The night before the workshop got the attendees together to meet and chat, I took this opportunity to interview some of the attendees to get their expectations of the workshop (the beginning part of the narrative). The pre-event networking is a brilliant way to break the ice with people who'll become part of your crew, and become new friends. The interviews were shot on the Tamron 24-70, it was rather dark so I remember shooting quite shallow with a high ISO. For the audio, I used the NTG4+ but this still captured a fair bit of background noise.

Day 1 was based around working together as a crew and planning the shoot for the following day. Throwing the participants in the deep end, they were set the task of producing a short video using 'in camera editing', a challenging task for them that revealed how the crews communicate and work together. I captured plenty of the crews shooting their scenes, and grabbed some vox pops from the group mentors on the fly to add some narrative to filming. I simply shot this on a monopod using the VideoMicro for audio, as I was in close quarters with the mentors.

Adam Plowden Video at Filmmaking Masterclass

Throughout the day I shot more of the participants networking (one of the key reasons to come to events like this as, it's not what you know, it's who you know), and their presentations in the afternoon. For the presentations I shot mainly on the 755CX-3 tripod to get nice steady shots on a long lens, while using the 100mm macro got me wonderfully close for portrait style shots of the participants.

Sometimes I shot on the Manfrotto MVM500AH monopod, just to get into tighter spaces or be more maneuverable on my feet.

Adam Plowden Video at Filmmaking Masterclass

Come the end of the day I grabbed essential interviews with Philip, Nino and Johnnie in a couple of locations to add some variety. What the mentors say will act as an audio-narrative for the BTS films as the questions flowed from 'Why do you recommend coming on an intensive workshop like this?' I also grabbed some interviews with the attendees, getting their thoughts and experiences from the first day, that would then help me build up the storytelling narrative of progression for the BTS film.

Part 2 of this blog will look at the second workshop day where the attendees capture and edit their short films, as well as the post production process I used to edit the BTS film together!