

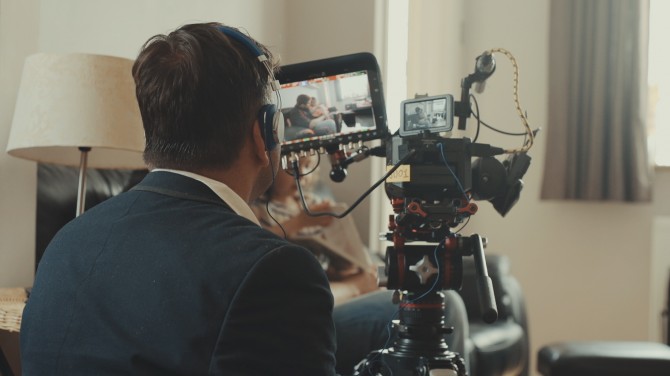
Manfrotto Ambassadors Jim Marks (Director and Photographer), and Adam Plowden (Videographer and Motion Graphics Artist) chat to Manfrotto about why they use the tripods, bags, grip and lights for their everyday work!
Thinking of making the jump to 4K?
You are in the same boat as me.. Having bought my 5D mkIII last December, there was no accessible 4K option until the Panasonic GH4 made its appearance in the Spring. I was devastated. Having invested heavily in Canon gear, any future move I make will need to fit with my current EF mount lenses, not to mention everything else such as batteries, memory cards and my overall production workflow.
http://www.eoshd.com/2014/04/panasonic-gh4-vs-sony-a7s-compared-wins-4k-battle-paper/
(EOS HD comparison between the cameras).
At the moment, there are two options on the table. Said to be like comparing apples and oranges, the Sony A7s and GH4 are the current competing professional cameras that offer 4K functionality, however for people that own the cameras and have been comparing the two have found it difficult. This is for a few reasons:
Sensor size: The A7s is full frame, the GH4 is MFT.
4K in camera: The GH4 can record 4K internally, the A7s requires an external recorder such as an Odyssey or Shogun.
Jeromy, CEO of Atomos talking to me and Sam from The IABM about new products and the IBC Show.
Now, many people will be arguing that what does the increased resolution allow you to do, that HD doesn't? The image produced from the 5D is great; good in low light, versatile, fits my style of filming... But it also has big downfalls for being a DSLR, and not a video camera.
Something that is unique about these two cameras is that their 'out of the box' functionality has been fine tuned for video applications, as well as high end photography. This is what Canon has left behind in their non Cinema line cameras, and Magic Lantern has struck gold on with their firmware hack enabling awesome video functions.
I have only recently installed ML on my 5D mkIII due to the current firmware on the camera. It was shipped with version 1.2.3, I was hesitant to downgrade the firmware and was patient in waiting for ML to develop a tested and working version for 1.2.3. Now having access to on screen aid such as waveform monitors and audio levels make such a difference, and restart movie for the longer filming durations is great. It turns your 'photography' camera into basically a video camera.
From: About DSLR (Youtube).
For my type of videography, the benefits of having not only 4K, but a wider range of options for recording will allow me to crop and downscale any 4K acquisition to HD and hold incredible picture detail, dynamic range and depth of field.
The recording bit rates are higher, meaning more data is stored for post production editing, compositing or grading.
Lastly, it should increase the production value of what I produce. Now, I am not stating that better equipment makes better videos. It does give you the opportunity to step up with what you can do in your work, and especially as it keeps you up to date in a world of ever changing and improving technology.
So, what is my investment cost?
This is dependent on your current shooting kit, and whether you can merge your current system with a new one. Perhaps you already shoot Sony or Panny, so you're in luck.
For me, all my lenses are Canon EF mount, some are electronic, others are manual, so an adapter would be needed in my case. The price of this is dependent on the glass you use, or are going to use.
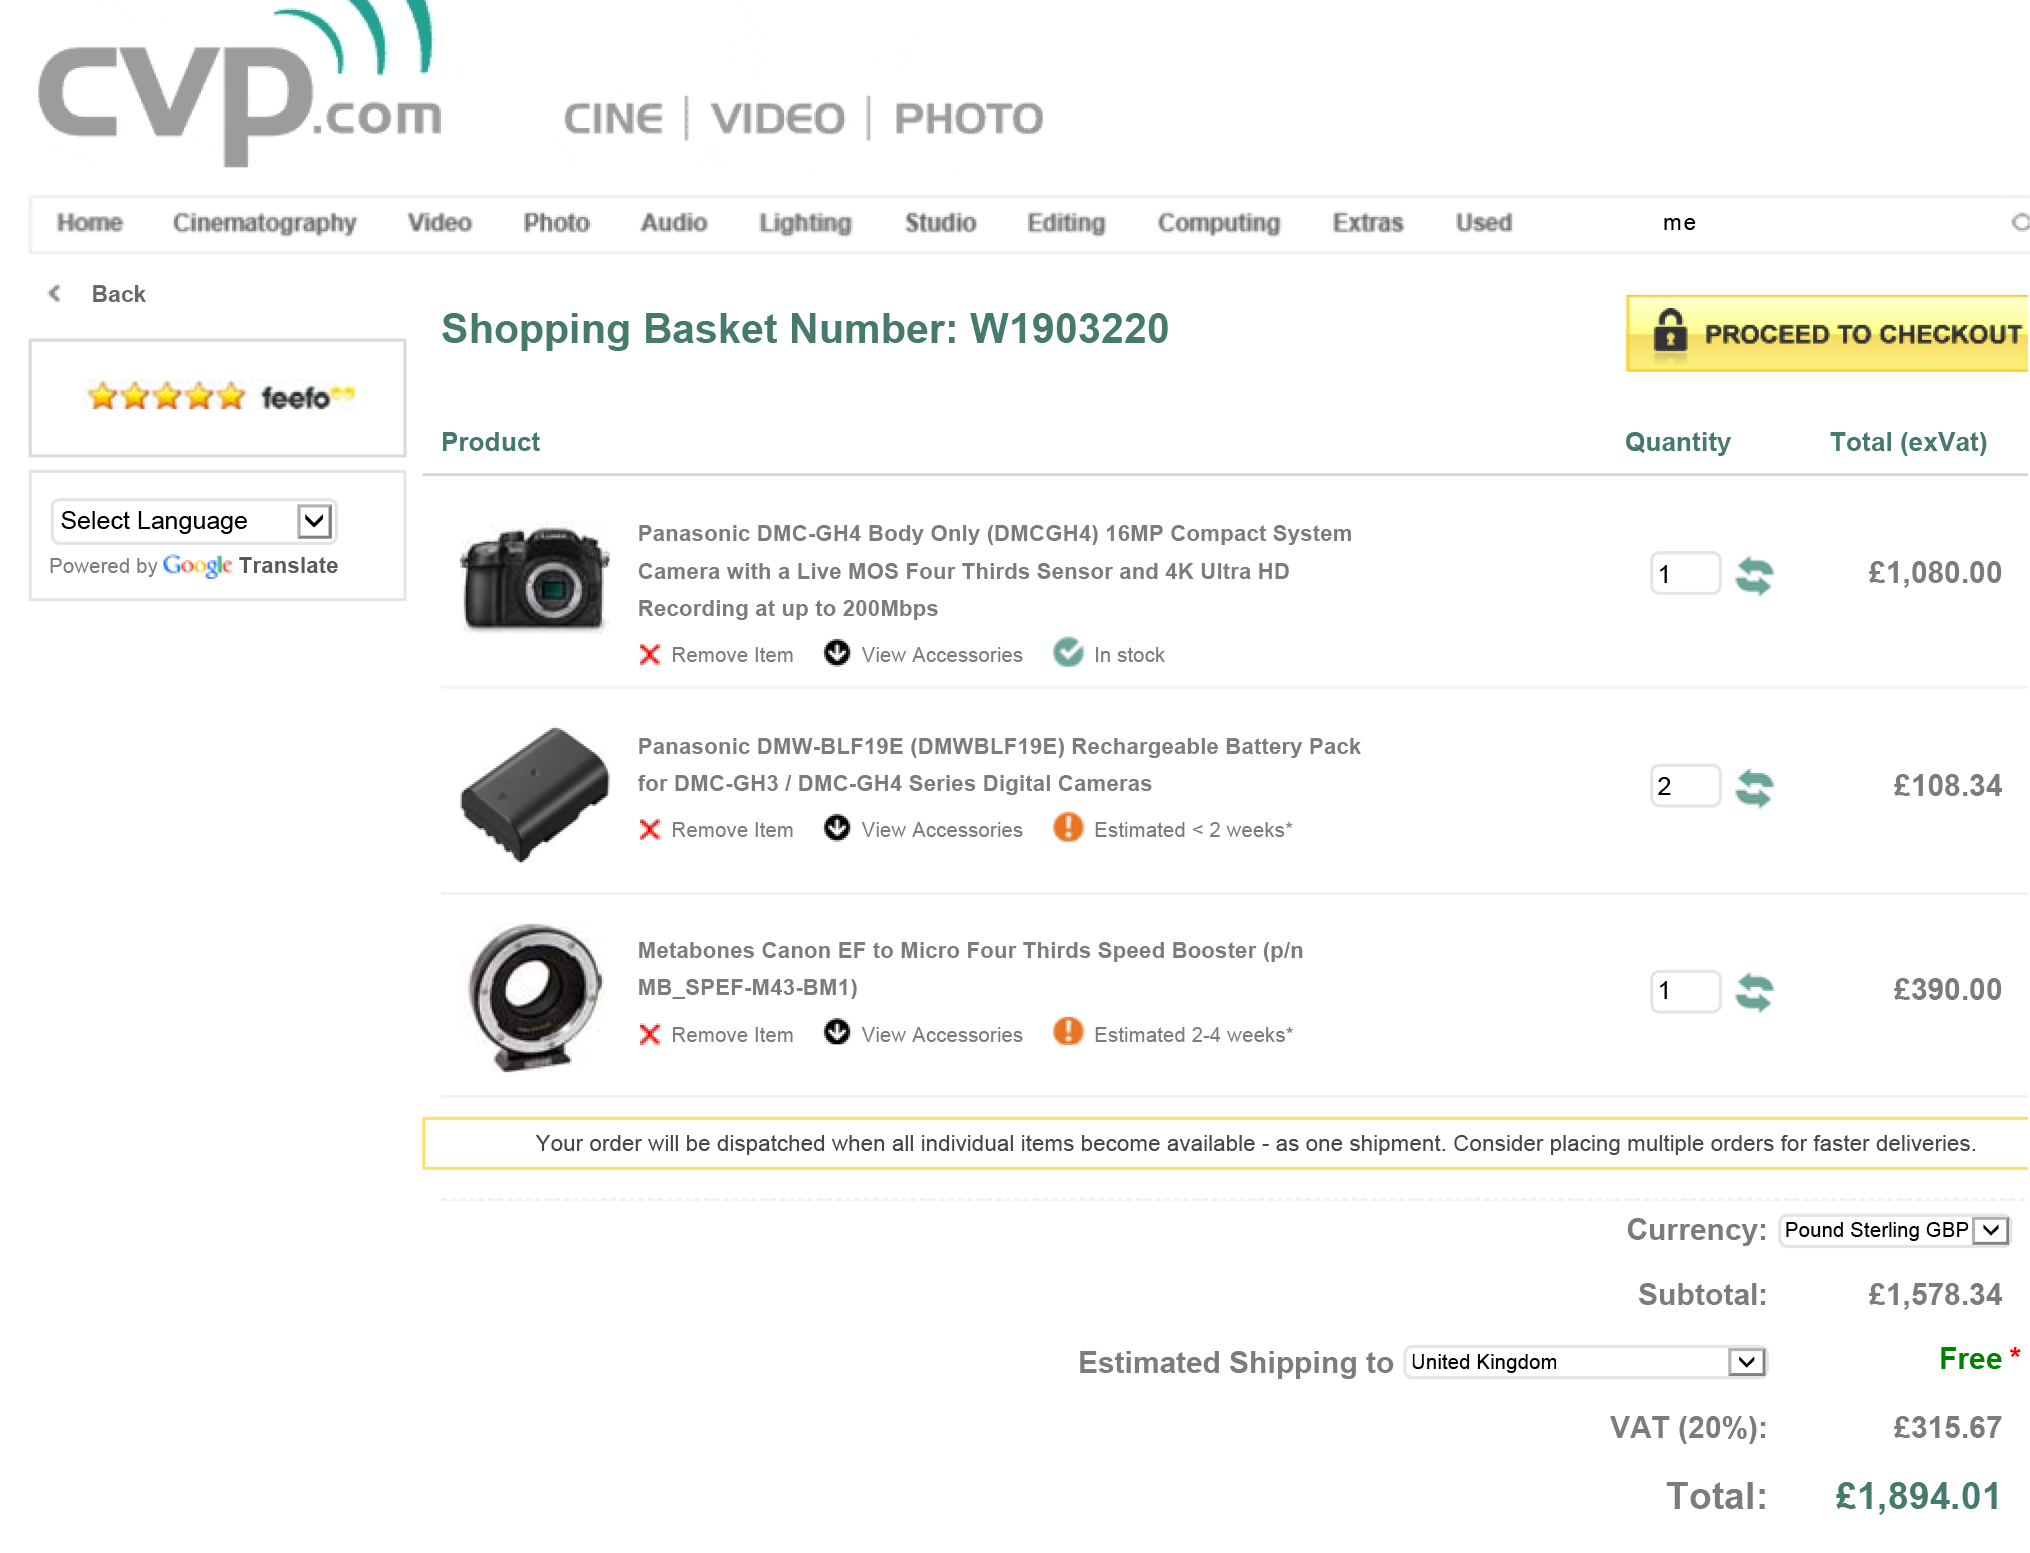
Let's look at the Panasonic GH4 to start with.
Panasonic GH4 (body only) - £1296.00
Metabones Speedbooster EF to MFT (smart with electronics) - £468.00
GH4 batteries x 2 -£130
Transcend 600x ultimate SD card x 2 (Amazon price) - £36
Now, as the GH4 is MFT, I might purchase a wide angle lens because my current ultra wide angle 14mm T/3.1 would be almost 28mm T/6 due to the sensor equivalence. So, my options would be either:
Panasonic 12 - 35mm F/2.8 - £829.00
I did have the Samyang 12mm T/2, realizing it does not come in MFT mount.. So the above would be my option. I have used it before, it has great OIS and has a decent depth of field for an F/5.6 equivalent lens.
Total GH4 investment inc extra lens - £2759.00 (excluding extra lens - £1930.00)
That £1930 was pretty much the same price I paid for the 5D mkIII body only.
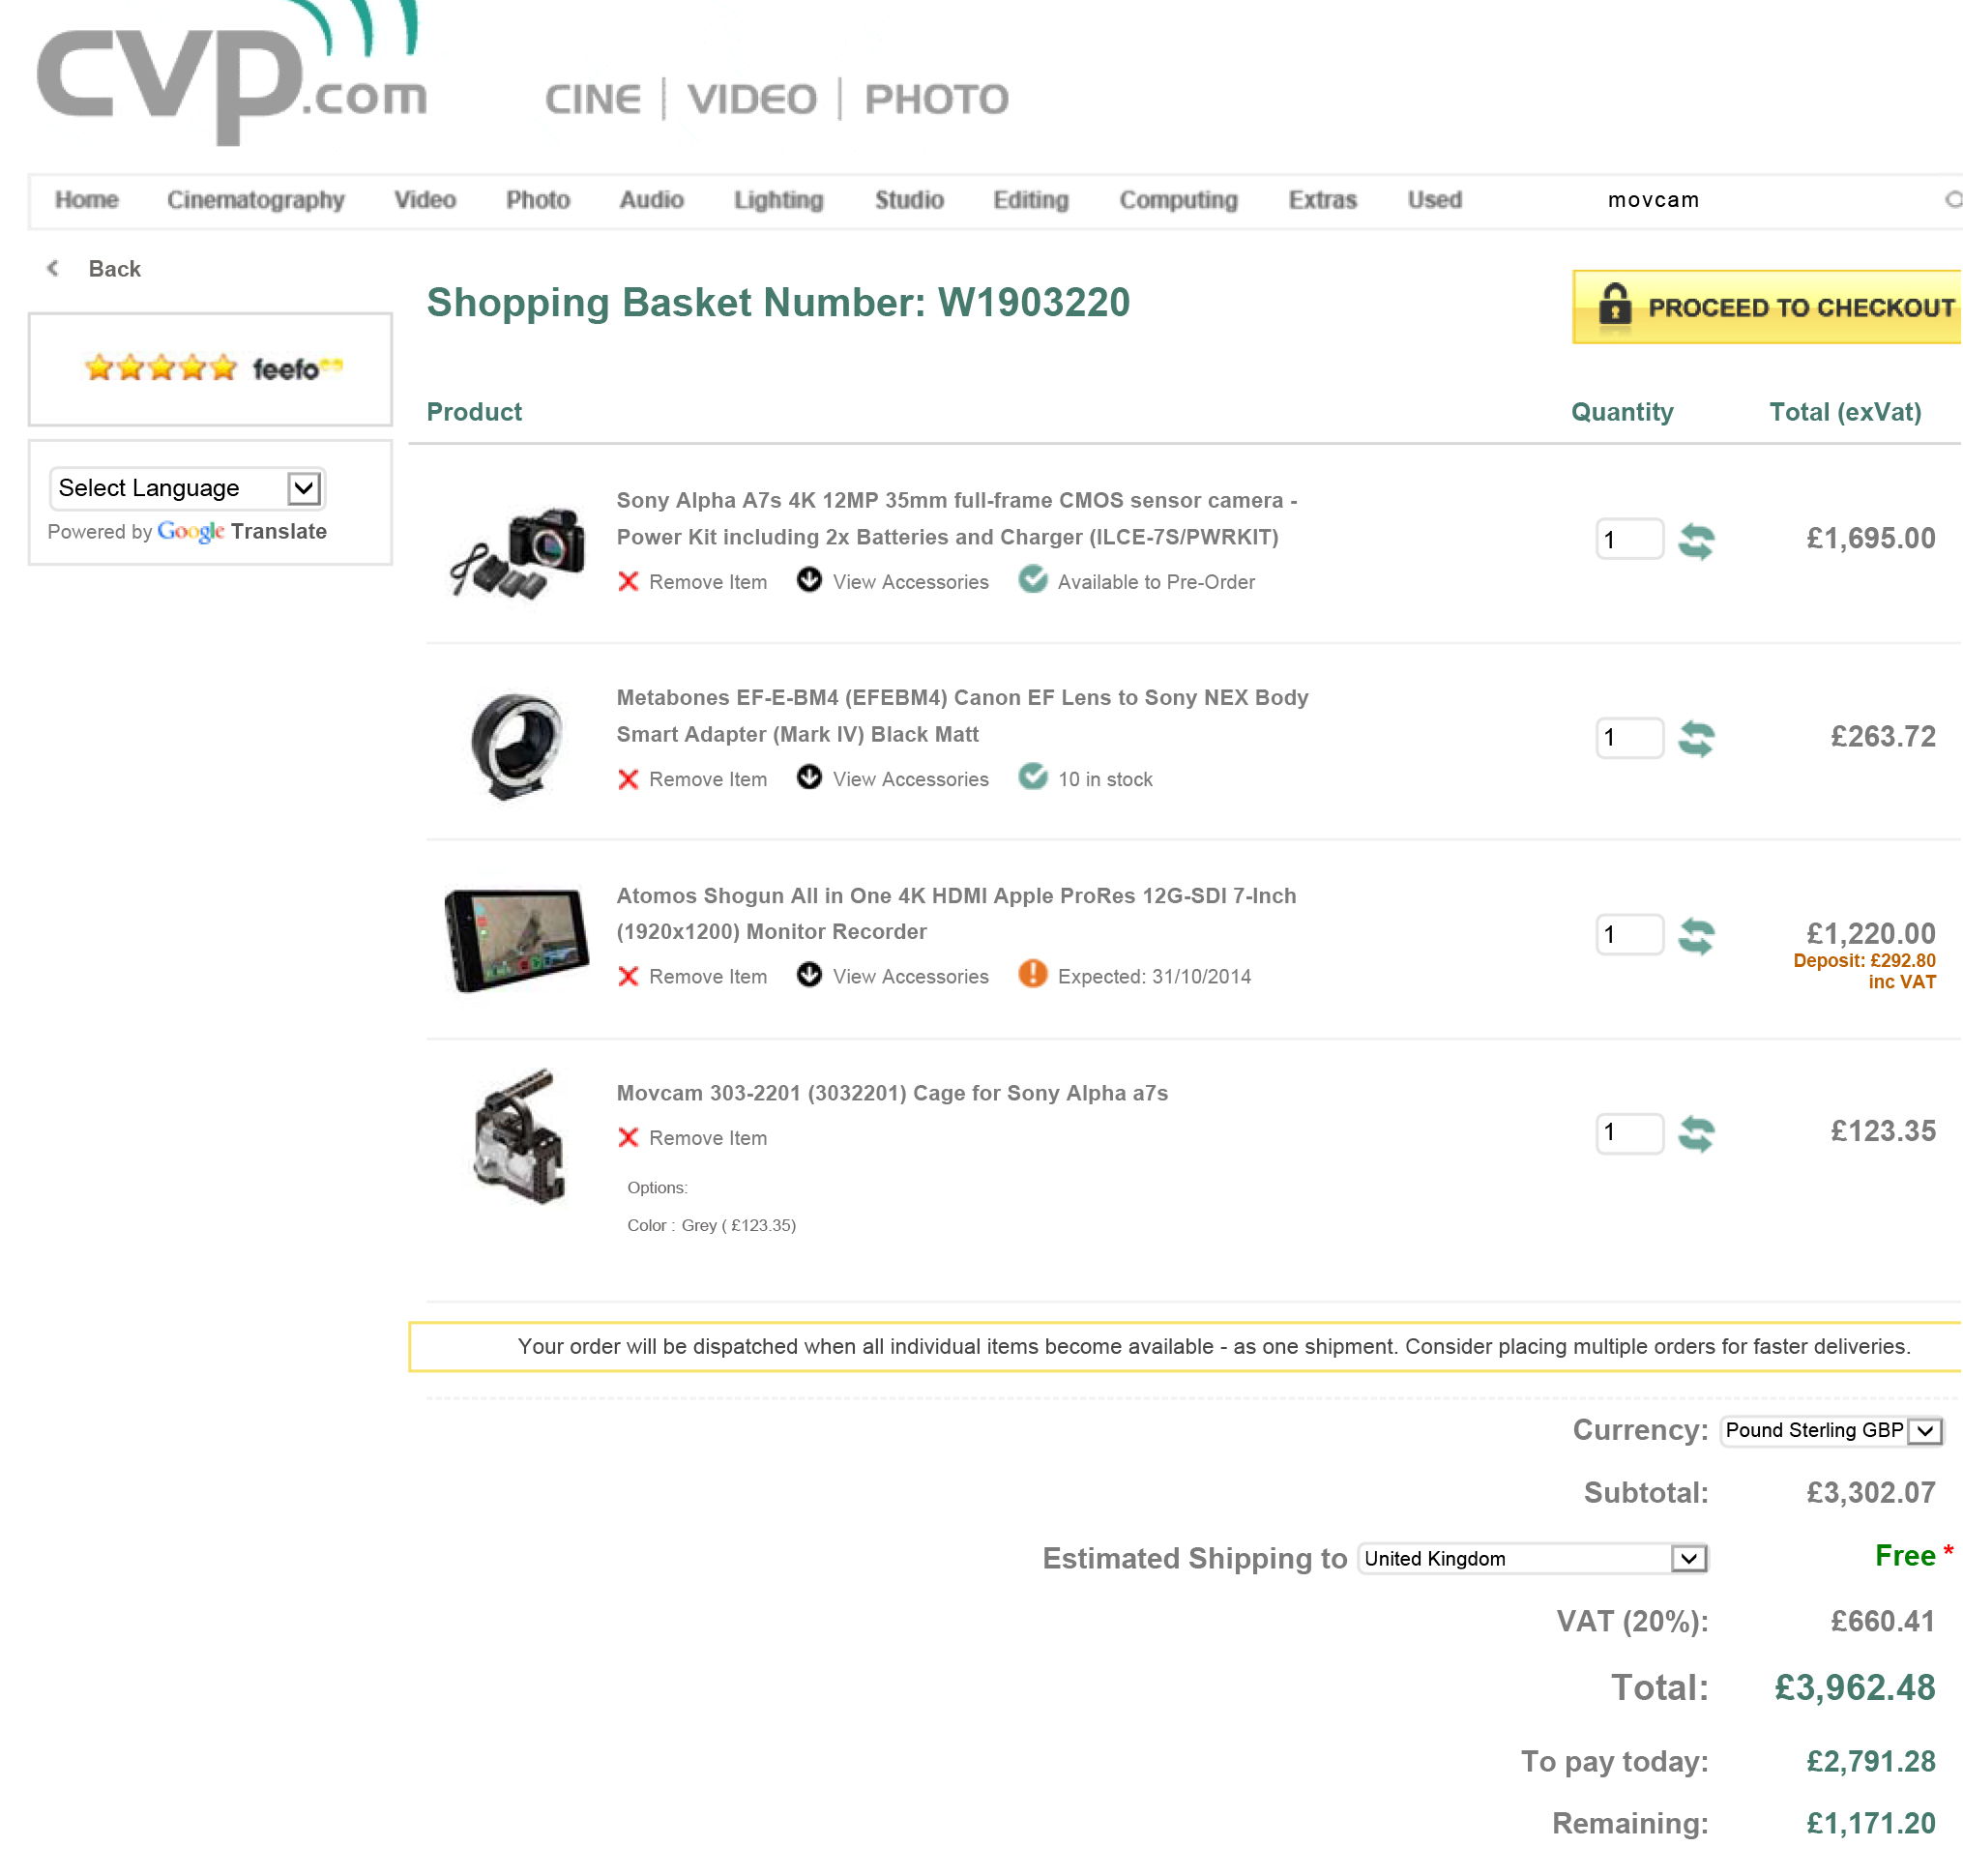
Now the Sony A7s.
Sony A7s (body and battery/PWR kit) - £2034.00
Metabones Speedbooster EF to E (smart with electronics) - £316.46
Transcend 600x ultimate SD card x 2 (Amazon price) - £36
The A7s does not record 4K internally, so I would need to purchase the Atomos Shogun recorder at - £1464.00
Also, as the A7s is compact in size, a cage is required to make it more accessible with the recorder and mics etc.
Movcam A7s cage - £148.02
Total A7s investment - £3998.48
(All prices are including VAT from CVP).
Now.. I've shot on the Panasonic GH4 and I like it. When I've talked to Panasonic reps about the product they all had the same comment that Panasonic listened to videographers, and you can tell. The available recording formats and codecs allow a range of uses for the camera, and the features it packs into its tiny form are perfect for those that already utilize DSLR for video.
(Look back to earlier this year to the Park Camera's Panasonic open day - https://ajp1991.wordpress.com/2014/03/16/meet-the-panasonic-gh4/)
Personally, and this is very subjective to the way I was filming when using the camera, the captured video looked like video. Some will understand what I mean, others won't, but for those that have been shooting on a full frame camera, the 'look' is there. Obviously the sensor plays a large part in that, but if I purchased a GH4 kit outright (disregarding my current EF mount lenses).. I would purchase the Voightlander 25mm and the trusted Samyang cine lenses which might just combat the 'look' issue I feel like I have. As well as high quality ND filters so my shutter can remain at 1/50th.
Really quick GH4 test:
Trying out the 4K, and again a basic test:
(Please if you have experience, tips, footage or photos that you would like to share, please do!)
What am I going to do then?
My dad taught me something really great; good things come to those who wait. In other words, have patience.
As others test out, review and produce videos using the GH4 and A7s (and other cameras that pop up here and there), I will be closer to making my decision. For now, I know to hold off. A good thing for me to do would be to road test both cameras, work it with all of it's video functions and produce a couple of vids that I can look back on. The folks at Park Camera's are great at in store demos, but I can also wait for BVE in Feb 2015.
So, I can frustratingly wait a little longer for my jump to the next innovation of video production and delivery.
In the mean time I can always look at Blackmagic Design's options that shoot 4K, as well as the Apertus AXIOM modular camera, and keep the new Arri Alexa 65 and RED Dragon for my dreams.
![axiom-modules-06[1]](http://ajp1991.files.wordpress.com/2014/09/axiom-modules-061.jpg)
From - https://www.apertus.org/
Summer Update!
It has been a very wild summer for me, lots of productions and shooting and plenty of editing! Going back to the end of July/beginning of August, I was deep into the wedding season with JHWF, filming weddings from Ashford, Kent to St Johns College Cambridge. I also got to fly the companies DJI Phantom II Drone with a GoPro Hero 3 and Zenmuse 2D gimball, it was incredible fun (for a first timer)!! [embed]https://vimeo.com/103891840[/embed]
Wedding at Eastwell Manor (Kent) via JHWF.
I also did the Ice Bucket Challenge;
[embed]https://vimeo.com/104416562[/embed]
I spent most weekends out filming weddings, where I got to try out my new Pro Media Gear Duo slider; it is simply a 2ft straight slider with a curved track on the reverse side. Honestly, it is so simple I don't know how companies didn't think of it before! It is extremely easy to use and is lightweight, my 5D and Sigma 70-200mm smoothly slides along the track. It sits on a removable carriage (so you can flip the slider over) with four plastic castors. 100% recommended, I purchased directly from them in the USA, it came within the delivery time (3 days) and is cost effective in comparison to similar track based sliders out there.
[embed]https://vimeo.com/103717010[/embed]
I mount the slider onto my Manfrotto 755Pro-B tripod (without a video head) using the clamp accessory which holds it firmly in place. This is on my IBC kit list!

I also helped out director HaZ Dulull on the production of his new short film 'SYNC', it took place in an underground car park in Southend with a bunch of SWAT guys, two massive SUV's, Blackmagic Cinema Cameras and a Production camera. It was a great day shooting, operating the camera and jib for some shots was awesome!

Crew pic!

Going back a couple of weeks, I was editing the Epsom and Ewell Borough Council Health and Wellbeing videos which involved writing up captions and mastering the audio levels as I'm quite near completion. I was offered the opportunity to get some more footage of the activities that the Wellbeing Centre offers for those that suffer with dementia including tennis and Japanese mind games. I took up the offer to get some more footage for future council projects.


It was a hot and bright couple of days, so I used variable ND filters on my lenses to bring down the exposure without reducing the 5D's electronic shutter; a great tip for keeping motion blur realistic. I shot mostly on the Sigma 70-200 F/2.8 OS as it does a wonderful job of isolating subjects from the background. A great lens choice if you don't have red ring fever!
I was also working on the graphics and animation for the EEBC Telecare video; I designed the graphics in Illustrator and Photoshop, then animated in After Effects in a hipstery style using shape layers, pastel tones and lots of easing!
[vimeo http://vimeo.com/105682233]
I got some fantastic news towards the end of August, The IABM decided to go for me as their event videographer for the IBC Show and annual conference! Leading up to IBC I have been preparing a number of videos and graphics to be used and shown throughout the show and at a variety of awards, such as The IABM Design & Innovation Award.
I can't show you much at the moment as everything is under wraps until the events at the conference, but I can show you the title sequence for the videos. It's made in AE using some of the pics I took around the expo last year and other general press images from IBC.
[embed]https://vimeo.com/105437241[/embed]
After being WOW'd by the Canon 100mm F/2.8L Macro lens at my Manfrotto Takeover day, the thought of owning one has been rattling around my head since.. I was hopeful with the Sigma 105mm, but the Canon provided the next step up in terms of stabilization, auto focusing, and personally I just preferred the feel of it. I will be using the lens throughout IBC so keep checking for dedicated pics, videos and more!

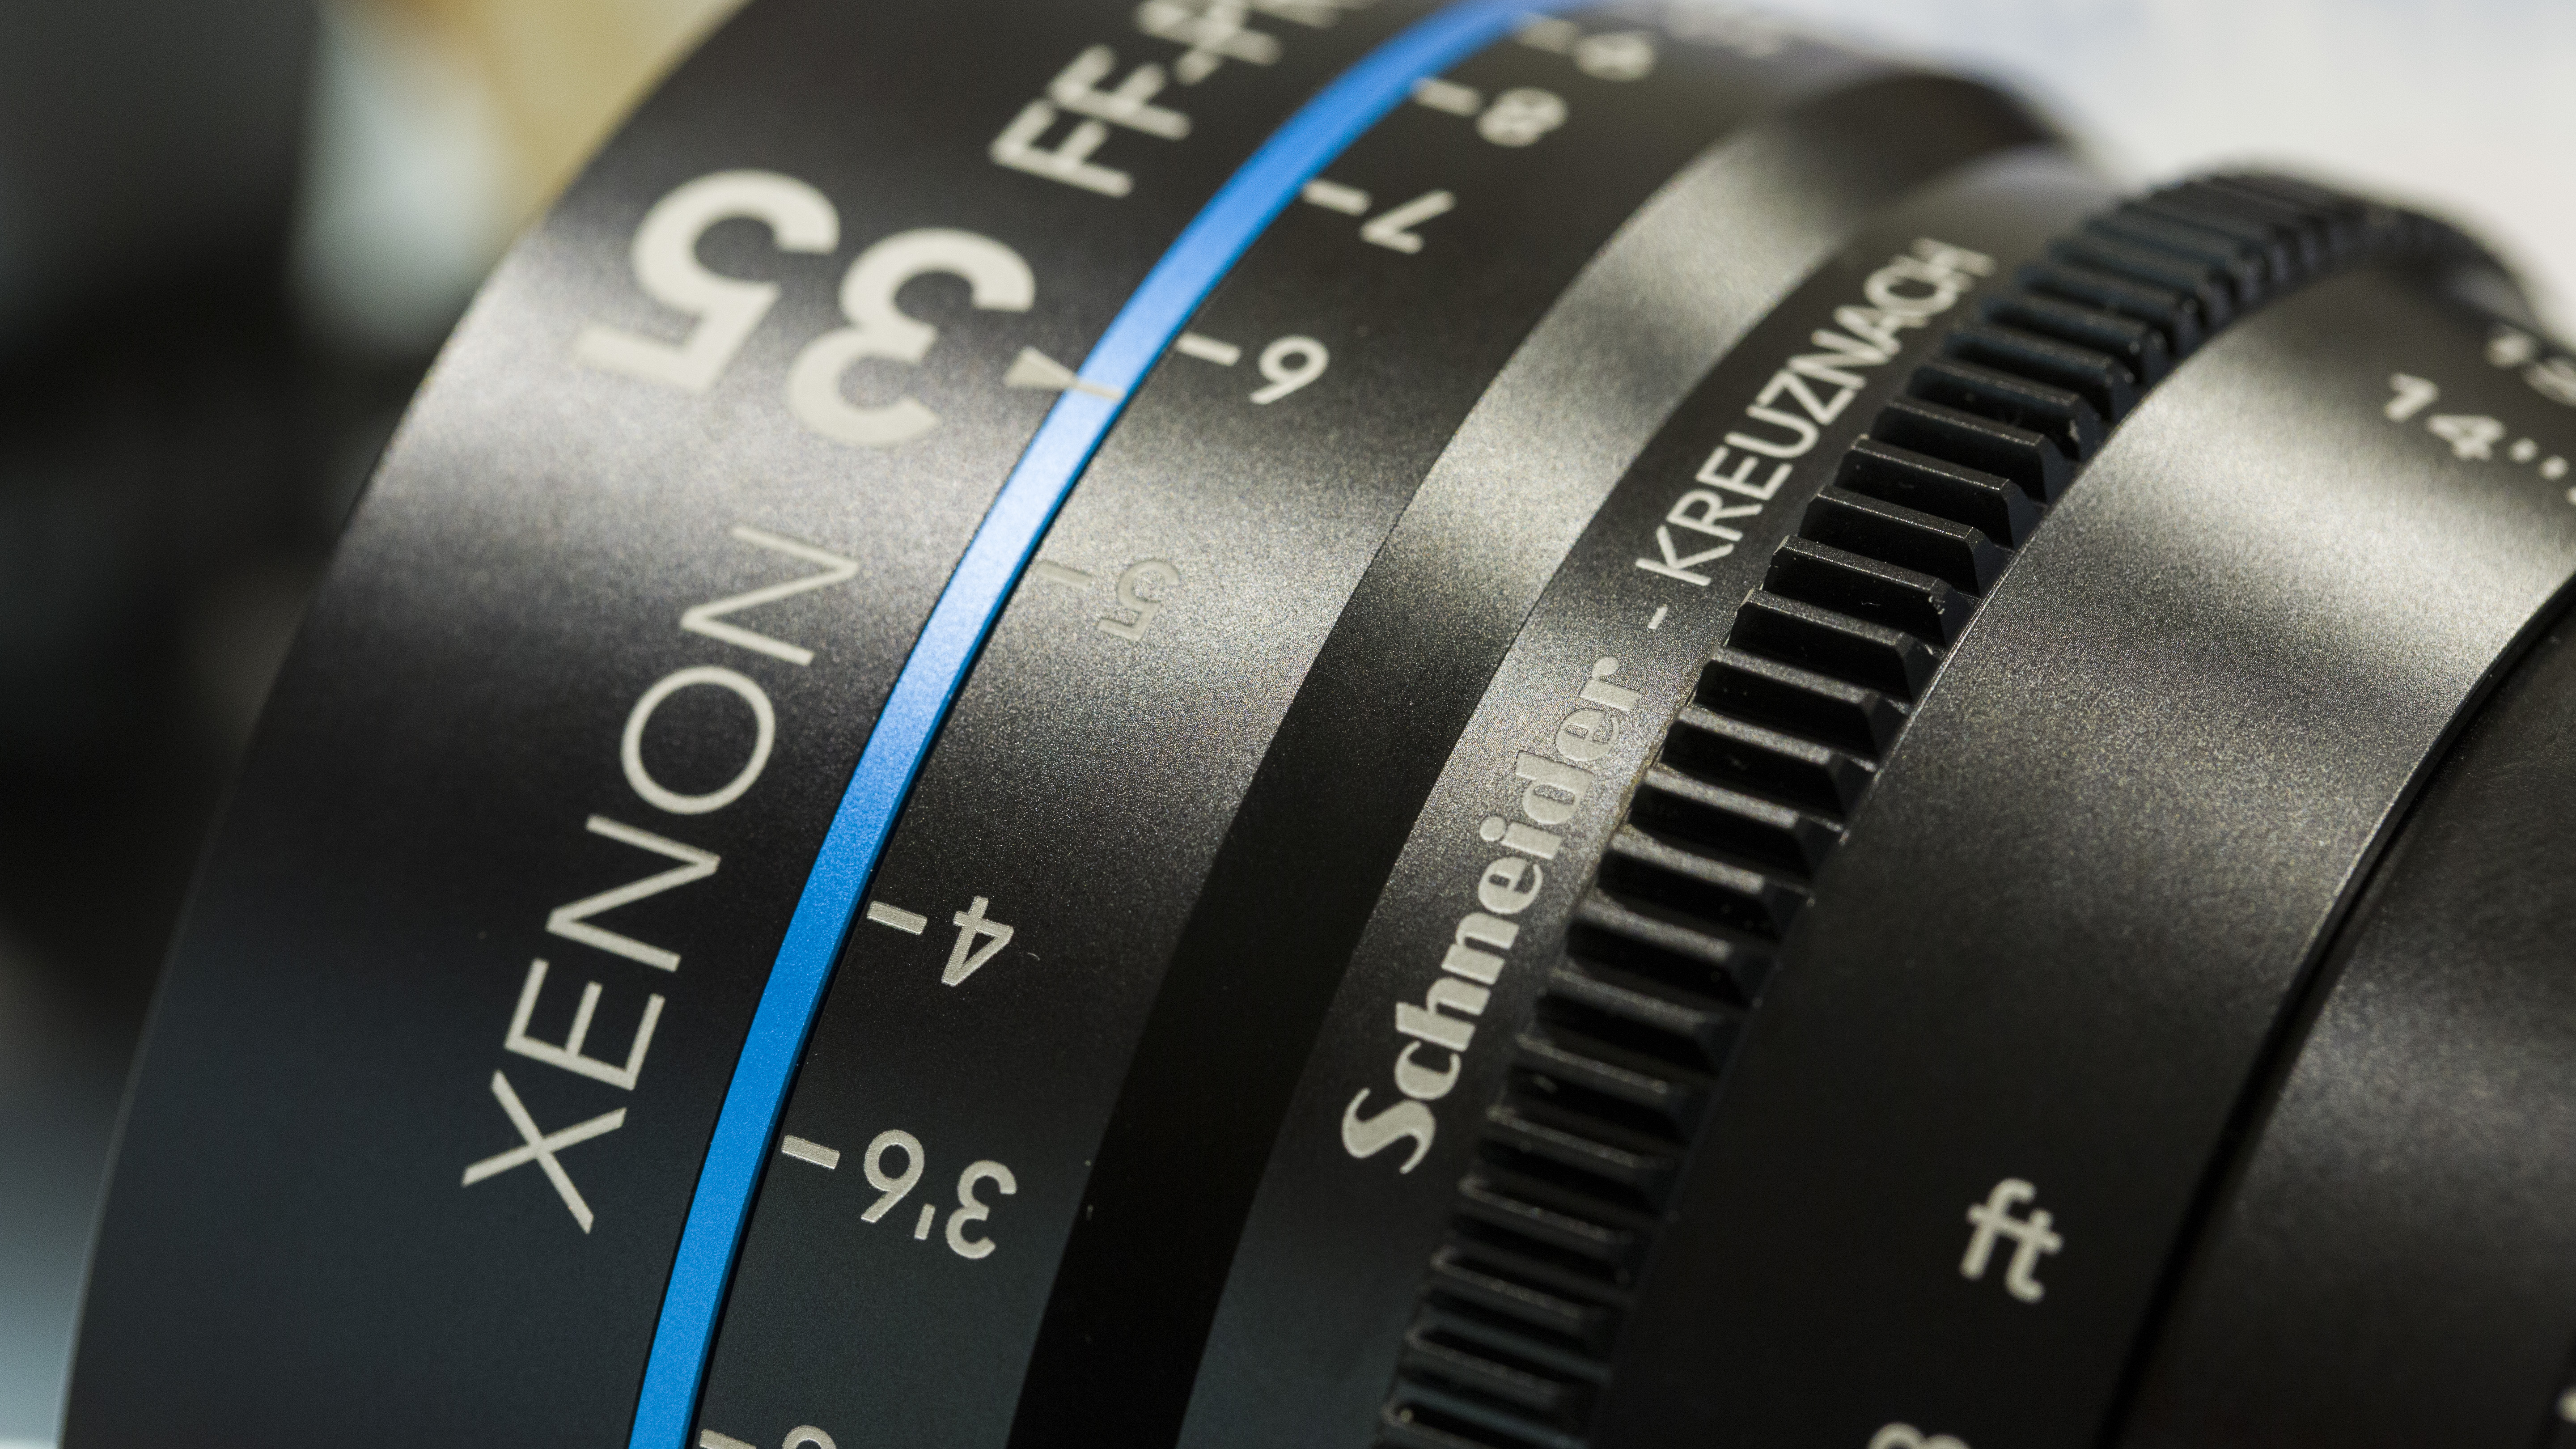
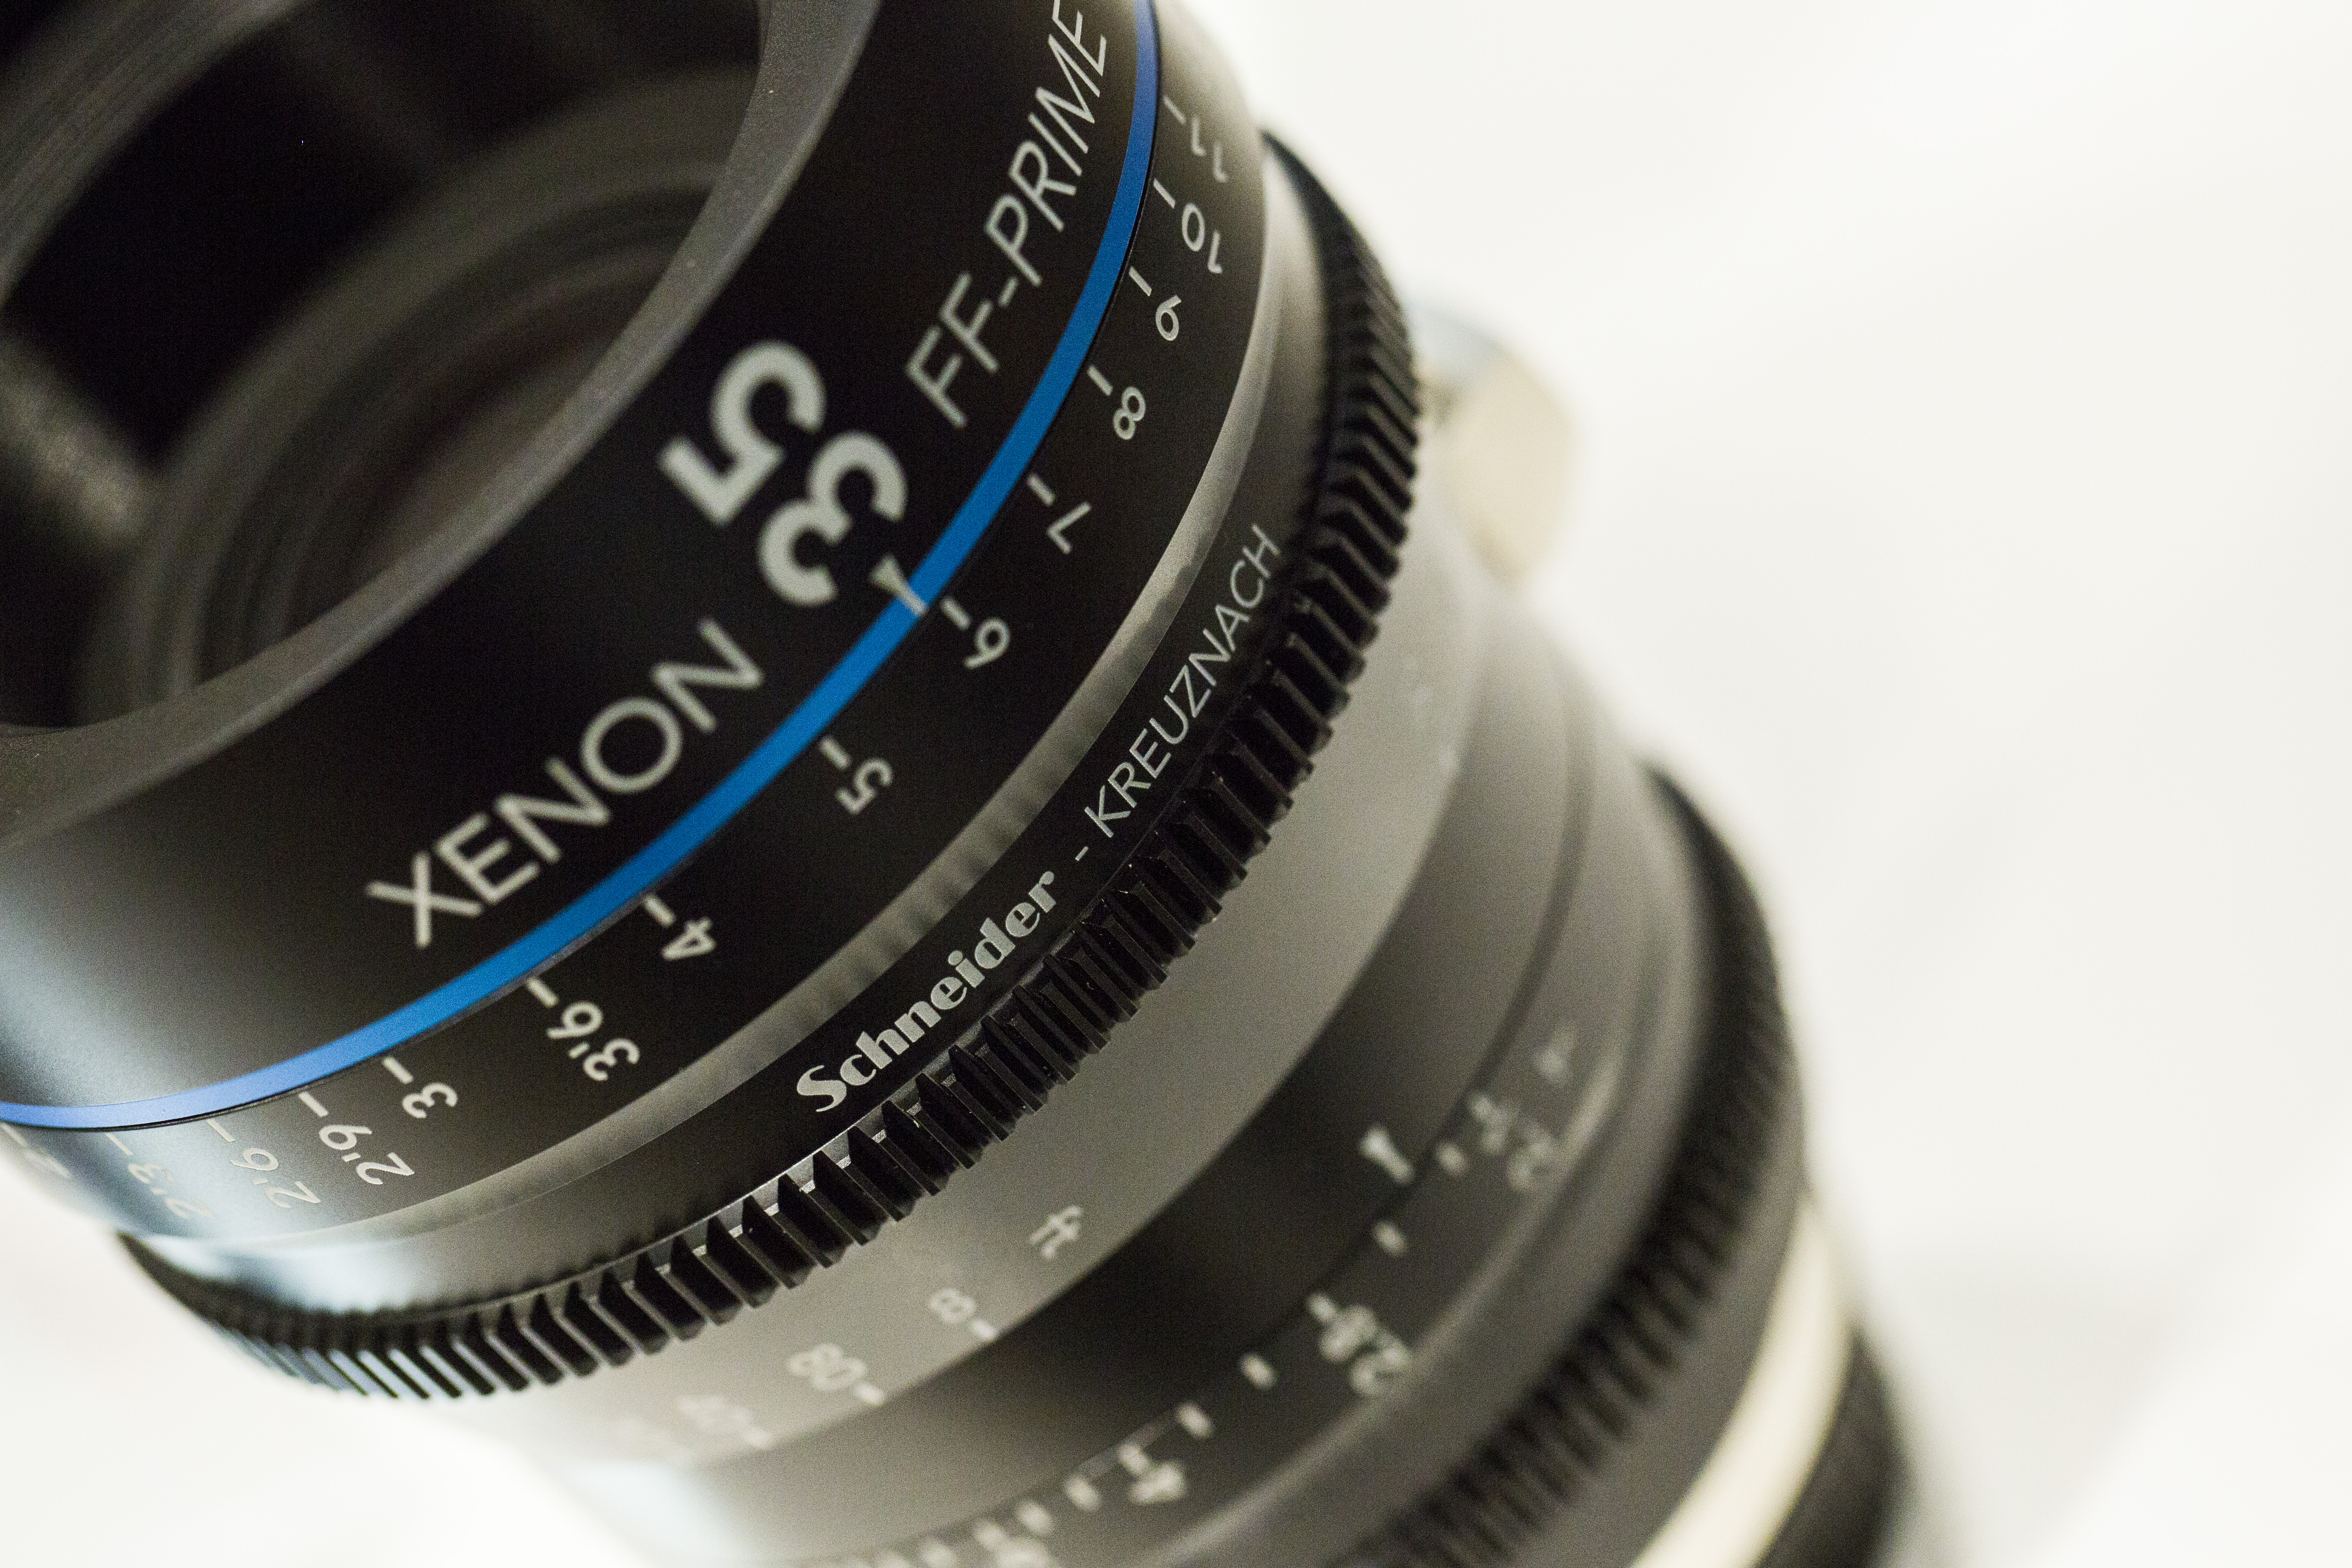
(The above photos of Schneider Kreuznach Xenon Cine Lenses taken on the Canon 100mm F/2.8L Macro by Adam Plowden).
I also booked my first wedding for January next year, so I met up with the couple 'Sarah and Matt' for a pre-shoot at their venue with Ash (who recommended me, thanks!!). I got some beautiful footage of them in the setting sun, here is a tiny teaser :)
[embed]https://vimeo.com/103859376[/embed]
One day to go until Glen and I leave for Amsterdam to film the IBC Show for The IABM, I did a quick vlog for you, an update on the kit, what we'll be covering. I will be releasing videos most days, blogging and tweeting lots to share the news from the conference, so remember the keep checking for updates! I'm hoping to catch up with PB and Nino Leitner too :)
[embed]https://vimeo.com/105643719[/embed]
Here's the low down on my kit list:
Canon 5D mkIII
2 x Canon 60D
Tamron 24-70mm F/2.8
Sigma 70-200mm F/2.8
Canon 100mm F/2.8L
Samyang 14mm T/3.1
Samyang 35mm T/1.5
Samyang 85mm T/1.5
Canon 50mm F/1.8
Nikkor 50mm F/1.4
Manfrotto SPECTRA Bi-colour 900FT
Manfrotto SPECTRA 500F
Zoom H6
Pro Media Gear Duo arc slider
Roto-mic
Sennheiser Wireless ENG-100 Rx-Tx

I'm picking up some tripods, heads and a magic arm-super clamp from the Vitec team tomorrow, they are doing me a huuuge favor so thank you Dave, Mark and Siobhann from Manfrotto/Vitec!!
Here is something I've been checking out; If you love motion graphics and After Effects, then definitely check out The School Of Motion '30 Days of AE' tutorials, a range of in depth tuts ranging from objects to typography; check it out to learn something! http://www.schoolofmotion.com/
Right, I'm up at 3am to fly at 6. You will be reading the waffle of a very tired Adam tomorrow! Keep on following for more;
Oh and I made this for a mate too:
[vimeo http://vimeo.com/105450445]
Floral Photography for Madeleine Pink
In an earlier post I mentioned that I am not a photographer, apart from the odd dabble in flowers. Last Saturday I was at Box Hill School for their summer Copacabana Ball, for Madeleine Pink florist Margaret Alldridge to take some photos of the displays for her portfolio and website, my goodness what a display it was! I prepped all of my photo kit that afternoon, taking with me the Canon 5D mkIII and a range of lenses, but I predominantly used the Samyang 35mm T/1.5 cine as its minimum focus distance is similar to that of a macro lens, the old Nikkor 50m F/1.4 and Saymang 85mm T/1.5. The Tamron 24-70mm is constantly attached to my camera as my main go to lens so that was with me too.
It was a beautiful afternoon, and very hot too! Here is a selection from the photos I took;
[gallery columns="2" ids="4229,4230,4231,4232,4233,4234,4235"]
I took the photos in RAW, then post processed in Photoshop for small adjustments like exposure and a kick of contrast. Most of the photos had to have the saturation reduced as the vibrant colours were so punchy! Photo's copyright Adam Plowden Videography 2014.
Got your to do list?
I have. It is quite long too, and all the things on the 'to do' list have to be done before I start the next video production... Daunting! Easter holiday weekend as a lovely one, with warm sunshine glowing over the Surrey countryside I ventured into the great outdoors to Leith Hill for a day of walking and geo-caching . Of course, the camera came with me to capture the happenings.

 (Photos copyright Adam Plowden 2014)
I am finalizing the details of the Recycling video for my council, on Friday I'm recording the voice over, the last component needed for me to complete the video! It has been a long project, but definitely worth the hard work animating. On Monday I went into Epsom with John from JHWF to film the ending shot from the DJI Phantom drone and the GoPro Hero 2. I decided to use an aerial shot as the last one, as this reinforces the community aspect of recycling to benefit our local area, as well as seeing all of the green land that surrounds Epsom.

Photo copyright Adam Plowden 2014.
I am getting a plan together for the new Manfrotto School of Excellence video series I'm going to produce, so please send over any questions on equipment, techniques, settings, videography or DSLR that I will answer in the video series on getting started with video.
Video Questions; Choosing the right camera, picture profiles and using ND filters!
Heyo all! Thanks for sending in your questions, I will try to answer as many as I can will practical, real world examples! If you have any more, please send them my way! Question from Chris via Facebook: "Can you recommend any camcorders for HD video and good low light performance?"
Answer: A DSLR for video is not the right choice everytime. Why do you think television broadcasters use camcorders and system cameras? For broadcasting, there are regulations and legal limits that must be followed for the final video to be shown live; there are many including the compression of the video signal, the black and white level (check out waveform monitors and video signal) to name a couple. DSLR's do not adhere to these regulations hence we don't see TV crews running around with 5D's in London.
Where DSLR's produce a great image due to the large CMOS sensor, they have big restrictions such as needing to change lenses, poor audio support (unless you invest in audio equipment), rolling shutting, aliasing, moire.. I could keep going.
So, taking camcorders in the equation; most have long zoom ranges (20x and more!) at wide apertures, with additional digital gain, in built ND filters, built in stereo microphone and audio in/out. The sensors are different too, some using CCD (which splits the 3 colour channels) for better colour rendition and less compression.
These days, manufacturers such as Sony, Canon, JVC produce ENG (electronic news gathering) camcorders with those above features, meaning no extra kit to carry, most are hand held or shoulder mount for ease of use. Therefore it is seemingly easier to video on a camcorder, until you require a large sensor camera for artistic video.
Product recommendations for camcorders - Sony AX and VG range, Canon Legria, XA and XF range, JVC produce great camcorders too and have stepped up their game over the last year with the GM-HY range including a 4K model too.
If you want to spend a little more, the Sony HXr-NX3 (recently reviewed by Den Lennie) looks incredible for what you get in one camera - http://www.sony.co.uk/pro/article/broadcast-products-get-close-up-hxr-nx3
Next question from SAHIB on Twitter: "Do you use a neutral picture style when shooting, and do you use neutral density filters?"
Answer: For those unaware of picture profiles on your camera, check them out in the 3rd section of the movie shooting (red) menu (for Canon users). There are a number of options listed, which alter the way the picture is recorded depending on your choice, you can also customize these profiles too using the INFO button.
Canon picture styles - Standard, Portrait, Landscape, Neutral, Faithful, Monochrome.
I will not be detailing the ins and outs of all the picture styles, more of a visual comparison.
What does a picture profile do? Much like LUTS, picture styles adjust the intensity level of the; Sharpness, Contrast, Saturation and Colour Tone in the image, so what picture profile you use can change the 'look' of the video you capture.
Check out this video I put together today showing the results of the cameras picture profiles, and others I have loaded onto the camera. You can see a clear change in the image, but it is subtle differences that will make your video work stand out.
I previously used the Neutral picture profile, customized to reduce the contrast, saturation and colour tone to produce a very grey and flat image. I was using this profile to achieve this look, as it is how RAW footage is captured to then be graded in post production. Neutral does replicate this 'flat' look, but after doing research into other profiles, Neutral reduces the data that is required in the picture (the contrast and saturation) that I would then put back in in post. This causes noise to be generated in the image, and can cause it to look unnatural and crushed, as the contrast and saturation that had been removed by the picture profile is being added back in later in the workflow.
That was long, but I hope it makes sense. If you compare the 'Standard' to 'Neutral' there is an evident drop in saturation and contrast, with a loss of detail in the top of the trees. If you compare 'Neutral' to 'VisionColor', there is an increase in saturation and contrast in the shadows and highlights.
The 'Neutral' picture style, similar to Technicolor CineStyle reduces the data the sensor captures, so I would not recommend using it if you plan to do colour correction and grading in your workflow. REMEMBER - whatever you capture when out filming will 'burn in' the detail, colours, sharpness and contrast into the image, making it harder to edit and remove unwanted errors. So, it would be better to use a profile that holds the data and detail so if wanted, you could work on grading the footage later.
From tests and experimenting, I favor the VisionColor profile; it is not as destructive as Neutral, holding colour and contrast without making the image flat. I definitely recommend checking them out here.
Next Question from SAHIB on Twitter: "Can ND filters change the style of video?"
Answer: This does depend on what and where your video shoot is. If you are working indoors, or with lighting that can be controlled by you then neutral density filters may not be required as you can alter the brightness of the scene by reducing the intensity of the lights. However, if you're out filming in a situation where you have little to no control over the lighting, then ND filters are key.
Personally I use variable ND filters, currently from Polaroid but much better filters are available from Hoya & Tiffen. The function of these filters is to reduce the light entering the lens, meaning camera settings can be kept the same. This allows you to follow the 180 degree shutter rule, which means keeping your electronic shutter speed at 1/50th to reproduce film-like and realistic motion blur.
So, with your shutter speed locked at 1/50, and your chosen aperture has been set, the only other exposure altering options you have is to ride the camera ISO to make the image brighter or darker.
PROBLEM!
With a fast aperture of F/2.8, and you are currently shooting in sunny daylight, your image is going to be very over exposed. Reducing the aperture to F/8 or F/11 may correctly expose the image but you have lost your depth of field! What to do!
Get some Variable ND Filters!
These ND filters rotate, allowing a variable ND amount to be set externally, without changing your cameras settings! This means that you can keep your cinematic depth of field and realistic motion blur without reducing the shutter speed to 1/250th or your aperture to F/11.
I recently shot this video using an ND filter on an 85mm T/1.5, which allowed me to shoot continually at T/1.5 for extreme shallow depth of field.
Making a quick edit: Variable ND filters are one of many options. ND Filters also come in stops; increasing by a factor of doubling so 2, 4, 8 etc. If you can stretch to separate stop ND filters they work just as well, and with the lower end (under £100 products) they will be better quality than one under £100.
In videography and cinematography, ND filters are applied in the matte box in front of the lens. So if you plan to use one, look in to matte boxes with the ability to add filters, but prepare to pay for it!
Well, that covers Video Questions for today! I hope to have answered and covered all bases, and remember they are from my personal knowledge and experience.
Got any more? Send them my way!
Capturing local beauty
Film making and videography isn't all about big budget productions with expensive kit. Its great to take time out to see what stories you can tell and images you can capture in your local area. Luckily for me, I live in Surrey which is full of green spaces. My chosen location for today's adventure was Epsom Common, I used to and hope to continue fishing at the lake. Since being a kid I remember it being a beautiful place in the winter, so despite the recent flooding I made my way down!

Accompanied by the awesome Manfrotto 055 Carbon Fiber tripod and 055AH video head; my grip was sorted in a lightweight solution. I took my whole kit bag in case I wanted to record some foley audio or shoot on a range of lenses. I tried to stick to the Samyang Cine lenses I have (14mm, 35mm, 85mm), so I can test them out on a range of shoots. I also came across a 72mm variable ND filter that fits onto the Samyang 85mm, which means I can achieve T/1.5 and a beautiful bokeh in broad daylight.

As you may have previously read, I also installed some new picture styles on my camera from VisionColor, today I used Cinelook to see what the footage looks like out of camera, without grading. So far, without adjustment the picture was punchy with a good colour tone present, not flat and neutral like I previously used. It certainly has given the footage a baked in 'look' while recording which will definitely speed up the post-production process.


It was great being in the outdoors, I often spend way too much time on the computer and neglect our very green, rural backyard, which deserves to be appreciated, remembered and captured in moving image.


I've processed all of the footage now, using most of what I shot. It is simply put to music, in this case the serene 1:1 by Brian Eno, which was very fitting for the scene. I have applied no colour correction, grading or effects to the clips whatsoever, to demonstrate the cinematography at hand.
I will post the link up later!

I hope you like it, and please share around!!
Fantastic Blog On Cinematic Techniques!
http://floobynooby.blogspot.com.au/2013/12/the-cinematography-of-incredibles-part-2.html
Video on the Canon 5DmkIII and Samyang Cine Lenses
Many of you intrepid videographers may have come across a unique range of VDSLR Cine lenses from Samyang (Rokinon/Walimex) depending on your region. Have you had thoughts to invest in one, or a whole range of them? Focusing on video, having electronic focusing and aperture is not essential for me, and in fact gives more control over the light entering the lens due to the de-clicked aperture. You can create smooth transitions between light and dark situations with ease by pulling the aperture.
As I've only just got the 5DmkIII and cine lenses, I thought it would be a good idea to test the kit out individually; producing a short video of the results.
I began on the Samyang 14mm T/3.1, an ultra-wide lens that does have barrel distortion if subjects or distinct lines move towards the sides of the frame. Operating the camera handheld on the MODA rig, I was not left much choice but to capture the video in 720p 50 frames per second, to eliminate obvious camera shake. This did work in my favor come later in the day when I was hanging out of a car boot filming!

To exaggerate the ultra-wide effect, getting close to the ground, walls or your subject will show how wide the image actually is, while offering exquisite sharpness throughout the depth of the image. Moving while operating an ultra-wide also gives a unique changing perspective to the viewer; one that is appealing due to it looking unnatural to our eyes - a great effect for establishing locations in film.
What I did notice was a very strong contrast, even when shooting in Neutral picture style (for a flatter image). This is causing issues in post due to burnt in detail in the highlights and shadows.. So I have adjusted the picture style to my needs by reducing all of the parameters to the lowest level.
Overall, I am ecstatic to finally get my hands on an ultra-wide as I had no way of achieving that perspective with my old kit.
My tips would be to keep the camera stable - use a tripod, shoulder rig or steadicam to operate the camera. This gives you better control and steady visuals that won't distract the viewer from the awesome visuals.
Judge your highlights and shadows correctly - this is a manual lens, so remember it is easy to stop down to F/6.5 or F/8.3 (uncommon electronic F stops) to expose the image perfectly. With this, always check your focus (use digital zoom!!). The worst thing ever would be to find an awesome flowing shot but it being slightly out of focus.
Experiment using the manual aperture, it will take some time to get used to!
Here is a draft edit that I chucked together from the test day -
http://www.youtube.com/watch?v=JN4tb8MJpEc
On to the Samyang 35mm T/1.5

This is a beautiful lens. I've only worked with a 35mm F/1.8 for my little Nikon D5000, so as far as experience with 35mm that goes out the window.
What can I say... The 35mm focal distance works so well with the 5D's full frame sensor, and even at T/5.6 the image was sharp and had a beautiful bokeh. To the other end of the spectrum; I also shot at T/22 to achieve a silhouette effect of Glen and the Houses of Parliament in the background. At this small aperture you would expect loss of detail and softness, but the Samyang 35mm excelled.
Another fantastic benefit of this lens is its minimum focus distance (the minimum distance from the lens to the subject for it to be in focus). It is very small at only 30cm allowing you to get very close to the subject and still achieve pinpoint sharpness and shallow depth of field.
I was filming up in London with my friend Glen, the light was hard when we arrived with strong sunlight beaming through the rain clouds, so to retain good exposure throughout the frame I found myself shooting between T/4 and T/8, varying the ISO depending on the location. For demo purpoes, I also filmed Glen constructing and using the new CamSmart MODA Rig, in innovative new video and photography product aimed at all level of users to achieve exceptional visuals in a cost effective solution.
For this close up, intricate video the 35mm lens was perfect for both wide and close up shots, I get more and more impressed as time passes!
My tips for using the Samyang 35mm T/1.5 cine lens - get yourself some ND filters, or even better variable ND filters as this will reduce the light entering the lens without changing the aperture, shutter or ISO. If you have a lens that is very fast, like this model at T/1.5, to retain a shallow depth of field in a multitude of locations and light levels ND filters are crucial and should be in your kit bag.
Here is the rough edit of the 35mm film! -
http://www.youtube.com/watch?v=g66CTm38SsA
Big shout out to Manfrotto for the 055CF tripod, video head and pro backpack, makes a world of difference to my old 055 aluminium model!
Good luck with your shooting, drop us a comment if you have any questions about using the lenses or kit, and be sure to like, follow and share!!
The 2nd edit of GLF video is on its way!
Apologies for the recent silence on here, I have been busy in the edit suite working on the GLF video, and I got a few extra shots yesterday to finish it off. It is looking extremely good, and I am happy how it is coming on. As I'm using Adobe Premiere Pro CS6, I have the very useful Mercury playback engine so working with HD video clips and graphics is not a problem until I get into the grade, which is to come later.
Here's a quick snap of where things are at, and I'll be working on the sound mix and grade later on today and tomorrow!

Samyang cine lenses getting my head in a tizz
Urgh.. I hate not being able to make up my mind about what equipment to get, as it is so hard to tell without good experience and field testing, getting to know the kit before you buy it. I'm having this problem with the Samyang Cine Lenses. They look fantastic, well constructed lenses, fully manual in a range of focal lengths and de-clicked apertures from T1.5. This however is the question; would it be better to buy the Samyang Cine Lens kit, or a 24-70, 70-200 f2.8 IS (with the samyang 14mm and 85mm)???
I'm predominantly a videographer, but I enjoy having the flexibility of zoom lenses, especially for ENG style work, live event filming etc, and the fixed aperture and stabilization is key for video. So, a couple of fast zooms seems sensible to keep in the kit bag for everyday use.
However, what about for those sharp, cinematic, shallow depth of field shots that can only be achieved with a cine lens..
Any advice, please share! Ooh and check out the link below for a similar situation if you are stuck like me!