http://vimeo.com/84790518
Capturing local beauty
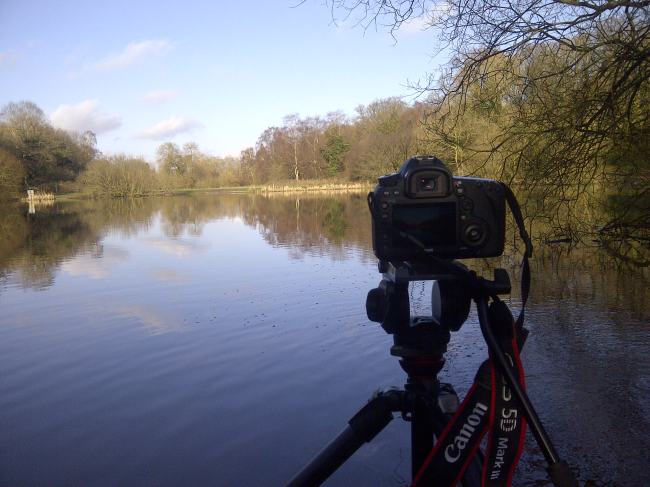
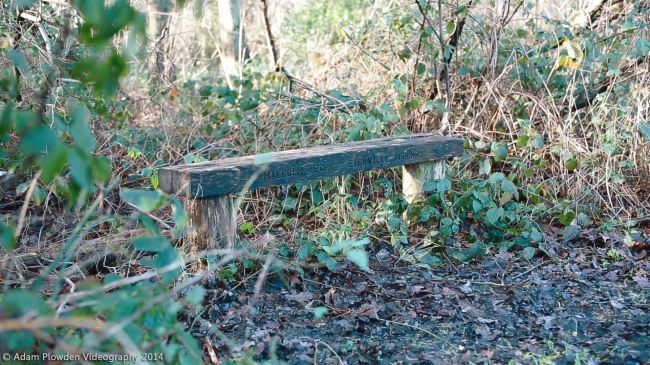
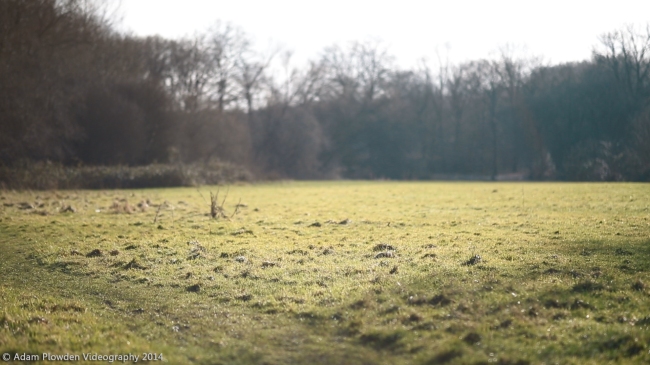
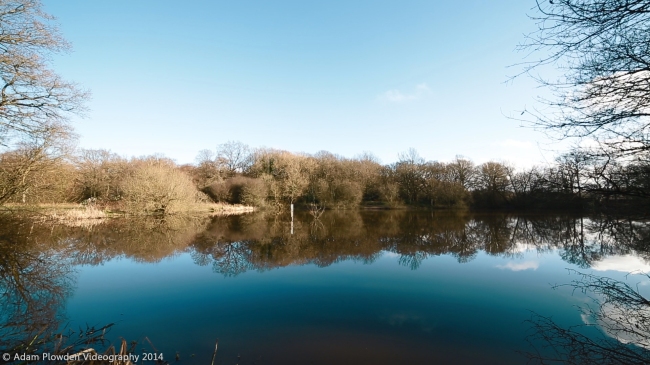
Film making and videography isn't all about big budget productions with expensive kit. Its great to take time out to see what stories you can tell and images you can capture in your local area. Luckily for me, I live in Surrey which is full of green spaces. My chosen location for today's adventure was Epsom Common, I used to and hope to continue fishing at the lake. Since being a kid I remember it being a beautiful place in the winter, so despite the recent flooding I made my way down!
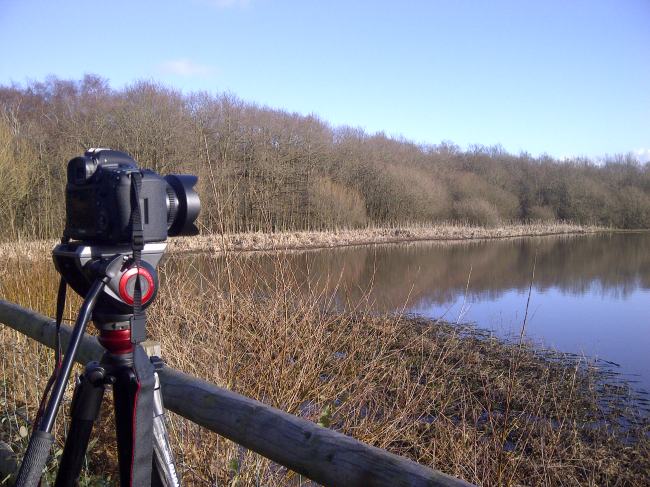
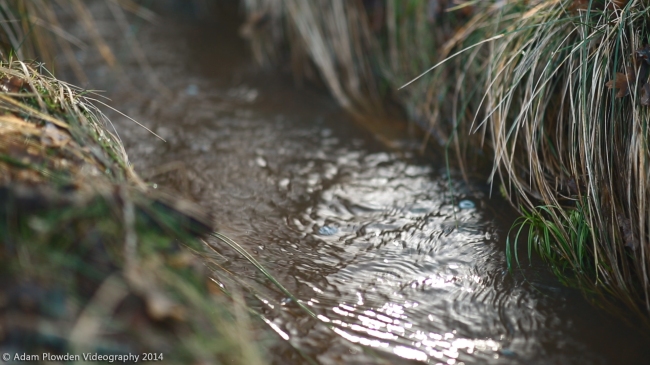
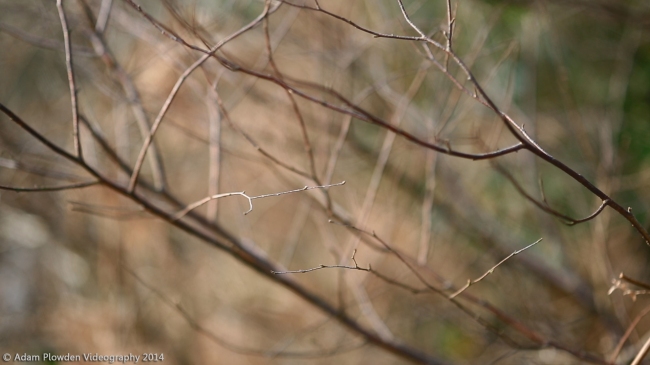
Accompanied by the awesome Manfrotto 055 Carbon Fiber tripod and 055AH video head; my grip was sorted in a lightweight solution. I took my whole kit bag in case I wanted to record some foley audio or shoot on a range of lenses. I tried to stick to the Samyang Cine lenses I have (14mm, 35mm, 85mm), so I can test them out on a range of shoots. I also came across a 72mm variable ND filter that fits onto the Samyang 85mm, which means I can achieve T/1.5 and a beautiful bokeh in broad daylight.
As you may have previously read, I also installed some new picture styles on my camera from VisionColor, today I used Cinelook to see what the footage looks like out of camera, without grading. So far, without adjustment the picture was punchy with a good colour tone present, not flat and neutral like I previously used. It certainly has given the footage a baked in 'look' while recording which will definitely speed up the post-production process.
It was great being in the outdoors, I often spend way too much time on the computer and neglect our very green, rural backyard, which deserves to be appreciated, remembered and captured in moving image.
I've processed all of the footage now, using most of what I shot. It is simply put to music, in this case the serene 1:1 by Brian Eno, which was very fitting for the scene. I have applied no colour correction, grading or effects to the clips whatsoever, to demonstrate the cinematography at hand.
I will post the link up later!
I hope you like it, and please share around!!
Strategic grading with 'burnt in' footage.. Canon/Manfrotto/Elinchrom Promo for SWPP Conference 2014
I continue to work on the promo videos for Canon/Manfrotto/Elinchom today. After shooting the material in a 'neutral' picture style, there was still a lot of contrast, sharpness and saturation in the image. This has caused a couple of problems with the adjustment of the levels and colours when grading. Burnt in footage is where detail is lost due to a crushed dynamic range, out of focus picture, or a mis-interpreted colour balance (and plenty more). This footage is notably harder to work with due to the loss of detail; and when you come to colour correct or grade the shots, life becomes more difficult as hues and light levels are burnt in to the image. Applying numerous filters and effects to remedy this can only add noise and grain, and degrade the footage so it is important to remember to flatten the image before shooting!
Even with a neutral picture style selected, the internal settings for contrast, saturation etc sometimes remain the same, so remember to go into the picture style settings and set them all to the lowest. This will achieve a flat picture which is much easier to work with in post. For those who don't wish to apply heavy corrections or grading to your shots, shooting in neutral will work fine too, just add contrast when editing to remove the gamma grey curve and punch out the sharpness!
I've had to resort to black and white images for some shots due to burning in detail in low light shooting situations.
Here are some example frames of what I have been working with, and how I have graded them.
These are the frames from the second video. I was in a studio conversion for the MUA part, and Bjorn's place for the shoot. White balance wise it was cool, and when shooting directly into the the window I got a lovely hazy light effect.
We shot the first part at Gylly beach in Falmouth with Carly who runs an extreme fitness group called BootyCamp. Going for a gritty, filmic look for the gym part I used negative bleach bypass. For the beach, I tried to add some drama to the already crashing sea, unluckily for us it was freezing cold so we weren't up for staying there for long.
Captured with the Canon 5D Mark III, Tamron 24-70 F/2.8 VC, Sigma 70-200 F/2.8 OS, Samyang 14mm T/3.1, 35mm and 85mm T/1.5. Post production in Adobe Premiere Pro CS6 and graded using the in built colour correction tools and Red Giant Magic Bullet Looks.
When all the components to my new editing system arrive I am going to be transferring the grading workflow to Adobe SpeedGrade instead of Magic Bullet due to its ease of use, features and tools for cinematic grading as well as having an accelerated 2GB GPU with CUDA graphics... :D
The videos will be released next week on Vimeo, so watch this space for updates! If you can't wait until then, get down to SWPP on Saturday where I will be showing the video with Bjorn and talking about working with video on DSLR!
This gives you a bit of an example of what I've done to work with footage that has some lacking detail, creating a visual style to convey the subject of the video.
Interested in more of what I do? Check out my website, follow me on twitter, watch my videos! Oh and please share my blog and website if you can :)
Got any questions? Send them my way!
[contact-form][contact-field label='Name' type='name' required='1'/][contact-field label='Email' type='email' required='1'/][contact-field label='Comment' type='textarea' required='1'/][/contact-form]
Stills Copyright Adam Plowden Videography 2014.
Fantastic Blog On Cinematic Techniques!
http://floobynooby.blogspot.com.au/2013/12/the-cinematography-of-incredibles-part-2.html
Manfrotto Backpack50 Video.. It's taken its time!
I've finally got around to working on the Manfrotto Backpack50 product video that I shot back in November with Glen and Sam. I made the most of the beautiful 'golden hour' to capture unique images of the product in use. The shoot location was our usual hotspot for kit testing; Epsom Downs.

The Backpack50 is an insanely good bag, dedicated to protecting your prized possessions and increasing your productivity when out on a photo or video shoot. Aimed at both professional videographers and photographers; the bag features plenty of space for multiple camera bodies, lenses and telephoto lenses. For the on-the-go editor, you can also carry a laptop and a tablet with you, as well as strapping on a tripod. Your complete equipment in one bag. One solution.
I'm editing the footage in Premiere Pro, to achieve that awesome bokeh I used a Nikor 50mm F/1.4 manual lens and shot handheld, so I will be applying some stabilization to those shots. Because of the strong sunlight, I worked with that light to determine the exposure of my subject, Glen. Essentially putting him in a silhouette, defining his and the backpacks shape. For the ambient settings I was working with, I believe this worked well, and is a good technique to try when shooting in the golden hour!
However, when working with low contrast ratios (number of stops between black and white) it is easy to over or under expose parts of the image, which not only burns in detail but can cause problems when encoding and playing back the video, so remember to check your reference monitors and keep to legal limits!
More to come later!
Video on the Canon 5DmkIII and Samyang Cine Lenses
Many of you intrepid videographers may have come across a unique range of VDSLR Cine lenses from Samyang (Rokinon/Walimex) depending on your region. Have you had thoughts to invest in one, or a whole range of them? Focusing on video, having electronic focusing and aperture is not essential for me, and in fact gives more control over the light entering the lens due to the de-clicked aperture. You can create smooth transitions between light and dark situations with ease by pulling the aperture.
As I've only just got the 5DmkIII and cine lenses, I thought it would be a good idea to test the kit out individually; producing a short video of the results.
I began on the Samyang 14mm T/3.1, an ultra-wide lens that does have barrel distortion if subjects or distinct lines move towards the sides of the frame. Operating the camera handheld on the MODA rig, I was not left much choice but to capture the video in 720p 50 frames per second, to eliminate obvious camera shake. This did work in my favor come later in the day when I was hanging out of a car boot filming!
To exaggerate the ultra-wide effect, getting close to the ground, walls or your subject will show how wide the image actually is, while offering exquisite sharpness throughout the depth of the image. Moving while operating an ultra-wide also gives a unique changing perspective to the viewer; one that is appealing due to it looking unnatural to our eyes - a great effect for establishing locations in film.
What I did notice was a very strong contrast, even when shooting in Neutral picture style (for a flatter image). This is causing issues in post due to burnt in detail in the highlights and shadows.. So I have adjusted the picture style to my needs by reducing all of the parameters to the lowest level.
Overall, I am ecstatic to finally get my hands on an ultra-wide as I had no way of achieving that perspective with my old kit.
My tips would be to keep the camera stable - use a tripod, shoulder rig or steadicam to operate the camera. This gives you better control and steady visuals that won't distract the viewer from the awesome visuals.
Judge your highlights and shadows correctly - this is a manual lens, so remember it is easy to stop down to F/6.5 or F/8.3 (uncommon electronic F stops) to expose the image perfectly. With this, always check your focus (use digital zoom!!). The worst thing ever would be to find an awesome flowing shot but it being slightly out of focus.
Experiment using the manual aperture, it will take some time to get used to!
Here is a draft edit that I chucked together from the test day -
http://www.youtube.com/watch?v=JN4tb8MJpEc
On to the Samyang 35mm T/1.5
This is a beautiful lens. I've only worked with a 35mm F/1.8 for my little Nikon D5000, so as far as experience with 35mm that goes out the window.
What can I say... The 35mm focal distance works so well with the 5D's full frame sensor, and even at T/5.6 the image was sharp and had a beautiful bokeh. To the other end of the spectrum; I also shot at T/22 to achieve a silhouette effect of Glen and the Houses of Parliament in the background. At this small aperture you would expect loss of detail and softness, but the Samyang 35mm excelled.
Another fantastic benefit of this lens is its minimum focus distance (the minimum distance from the lens to the subject for it to be in focus). It is very small at only 30cm allowing you to get very close to the subject and still achieve pinpoint sharpness and shallow depth of field.
I was filming up in London with my friend Glen, the light was hard when we arrived with strong sunlight beaming through the rain clouds, so to retain good exposure throughout the frame I found myself shooting between T/4 and T/8, varying the ISO depending on the location. For demo purpoes, I also filmed Glen constructing and using the new CamSmart MODA Rig, in innovative new video and photography product aimed at all level of users to achieve exceptional visuals in a cost effective solution.
For this close up, intricate video the 35mm lens was perfect for both wide and close up shots, I get more and more impressed as time passes!
My tips for using the Samyang 35mm T/1.5 cine lens - get yourself some ND filters, or even better variable ND filters as this will reduce the light entering the lens without changing the aperture, shutter or ISO. If you have a lens that is very fast, like this model at T/1.5, to retain a shallow depth of field in a multitude of locations and light levels ND filters are crucial and should be in your kit bag.
Here is the rough edit of the 35mm film! -
http://www.youtube.com/watch?v=g66CTm38SsA
Big shout out to Manfrotto for the 055CF tripod, video head and pro backpack, makes a world of difference to my old 055 aluminium model!
Good luck with your shooting, drop us a comment if you have any questions about using the lenses or kit, and be sure to like, follow and share!!
What I'm editing today - Booty Camp BTS for the Society of Wedding and Portrait Photographers!
I have the pleasure of working with the footage I shot down in Falmouth last weekend with Bjorn Thomassen we are both sponsored by Manfrotto so we took the opportunity to film new products and features, as well as how to shoot video on a DSLR! These videos will be available online, as well as on major suppliers websites. It will also be shown at The Society of Wedding and Portrait Photographers conference in Jan! I filmed the Behind The Scenes of the production, showing how photographic styles, techniques and equipment can be used to transist from photo into video with Canon cameras, Manfrotto grip gear and Elinchrom lights.
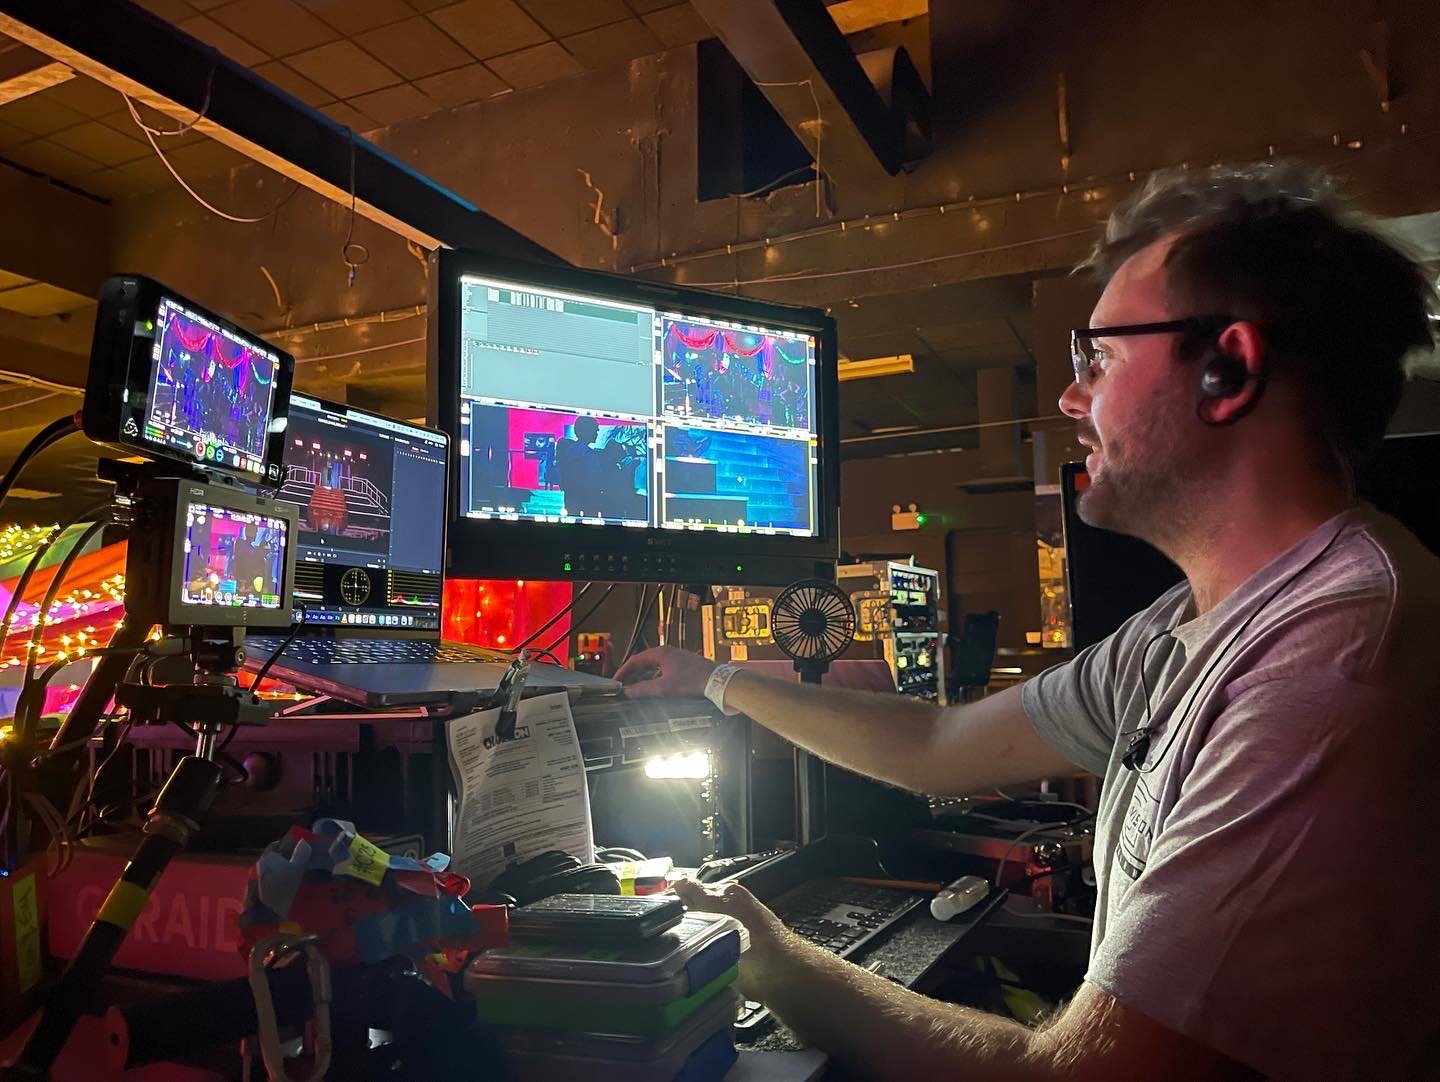
This is my view for the day, not bad aye :P I do love my job!
The results are incredible. After using my Canon 60D for the last two years, stepping up to the Canon 5DmkIII has dramatically improved the picture quality that I capture. Teamed up with Samyang (Rokinon) VDSLR cine lenses and you have an awesome camera setup for cinematic visuals. Yes, I captured the video in ALL-I compression (the lowest compression available), as Magic Lantern does not have a firmware upgrade for the new 5D 1.2.3 firmware :( I hope that comes out soon!
Busy!!
I've been busy over the last couple of days, working on both John Sinclair videos, as well as the arrival of the professional camera rig I designed. It is still a prototype so some changes will be made, but so far it is a great fabrication of my design I proposed 18 months ago!!


I've since been working on the John Sinclair documentary, which I've titled 'Behind The Smoke' in Adobe Premiere, which has been going very smoothly. I've also finished the title sequence using footage from the Amsterdam gig rehearsal, as well as using outstanding quotes from John, it is accompanied by the track Mohawk of his new album with Steve Fly.
I used the layers blending modes to merge the layers together, as well as distorting the text (in a bold font like the 70's John Sinclair posters) and animating them in a style that conveys the subject.
I will post the video up later!
Interview with John Sinclair and new Manfrotto gear!
Hello, yesterday was an awfully hectic day.. Just as I was due to leave for London to film and conduct an interview with John Sinclair, there was a massive knock on the door.. A delivery man with two big Manfrotto boxes, Christmas came early!! For the new year, and as I now have the financial backing to launch Adam Plowden Videography I needed to step up the grip gear I use, especially as I am a single shooter keeping light is key.
Kit list - Magnesium Q5 ball head, Hydro-static magic arm + clamp, 775CX3 legs, 500AH head - pictures soon!
After much research into the many models of fluid video heads, tripods, ball heads and more, the list came together and off it was sent. I had been wondering to myself when the bits would arrive, as I was due to be going down to Devon this weekend to film with Bjorn Thomassen for product promotion and films for a conference, so the timing was perfect.
I quickly unboxed the gear and checked it out, to quickly pack it away again into my kit bag and leave for London! Having a carbon fiber tripod makes so much difference to the carrying weight, and it almost feels nicer to use.. Probably because it is so new haha!
Filming the interview with John was fantastic. If you don't know who John Sinclair is (like I did a couple of months ago) then wikipedia gives a basic overview, but listening and talking to John during the interview opened up a whole new person than what was written.
Here's a still from the interview, that I will be editing over Christmas for a short documentary for Iron Man Records. Cheers Caleb for the use of your massive flat!
Anyways, I am now finishing off the John Sinclair Viper Madness gig video, and it should be up and viewable by the end of the weekend, so if you missed the show and want to check out John and his Vipers LIVE, then keep checking for the link!
Fractal Noise does EVERYTHING in After Effects!
After finishing up the multi-camera edit of the John Sinclair Viper Madness video the other day, I have moved on to creating the graphics; title card, lower 3rds and credits in After Effects. I've used After Effects for about 7 years now, since CS3 so I've got to see it develop and grow over the years, just as my knowledge in motion graphics has too. I always find, if you're trying to create some kind of animated texture, no matter what it is, Fractal Noise will always have a solution.
To animate the title card, I added the Fractal Noise effect to a solid layer and changed the parameters so the fractal resembled smoke, using expressions to control the evolution over time. The result is perfect, simple and easy!
Everything you need to know for videography and docu-film making! (Infographic)
Trials of editing audio
For those that who have ever been at a gig and lunged their phone or camera in the air to try and capture some of the performance will know that the only sound recorded by the terrible on board mic will be CCCCCCCCRRRRRRRRRRRRRRRGGGGGHHHHHHHHHHHHHHHHHHHHHHHHHHHHH, or just distorted noise. Luckily, I record with external microphones when I film performances, usually because there isn't another option. Bands these days can't afford to hire a PA system with a multi channel mixer w/EQ, especially for one off performances, so it is common to see, so always be prepared!
There will always, however be background noise and hissing that will need to be removed from the recorded audio, I'm using Adobe Audition at the moment to eradicate that from the John Sinclair performance, as its functions for calculating and removing frequencies from audio tracks is phenomenal.
Barriers to Entry
Definitely agree with Vox here, especially as I've done the research into hiring vs buying. Check out my post later today for my thoughts :)
Videomic Go!
RODE's new on-board microphone for small cameras!
Introducing the new VideoMic GO, on-camera microphone for clear, directional audio on the GO! http://t.co/AhTBLU4fZG pic.twitter.com/JpAmQVK4zF
— RØDE Microphones (@rodemics) November 18, 2013
What is GAMMA? Colour Correction Advice!
When out capturing footage, how many of you use the 'Standard' picture style in your camera? Do you shoot 'Neutral', 'Cinestyle' or ever RAW? It is always interesting to find out, as the workflow and manipulation of the footage is different depending on your input video signal.. Did you burn in your brightness and contrast, or did you give enough dynamic range to push and pull your shadows and highlights when colour correcting and grading in post production? As I capture my footage on a Canon 60D, it records in compressed .MOV format, which is not great due to the compressed signal. However, by making your image 'flatter' or what looks like hazy and grey, you are able to add or remove detail that may have been baked in during acquisition.
A little case study for you, take my footage that I am working on currently. Here is a screenshot of a clip before I took it into Premiere Pro -
I then colour corrected or 'graded' the clip using a couple of the video effects built into Premiere Pro, namely the 'Luma Corrector' and 'Three Way Colour Corrector' to perform the basic exposure and colour balance corrections.
Where using the 'Luma Corrector' has its advantages over using the 'Brightness & Contrast' or 'RGB Curves' effects is that the 'Luma Corrector' allows you to adjust the Gamma level of the image. Gamma being a extra luma curve that is added to the image after the sensor captures the data which allows the image to be constantly correctly exposed when played back on old school CRT displays. Now, these displays are not so common these days, but it is still a standard practice to apply a gamma curve to the processed video signal.
The advantage of increasing or reducing the gamma using the 'Luma Corrector' is that it removes the 'flattened' or neutral look to the image, while still retaining a constant contrast, resulting in a sharp and nicely graded shot. Here is another shot of the Luma Corrector and Three Way Colour Corrector being used on the same clip as above -
I hope this example demonstrates the advantage of capturing your footage a neutral setting to get the most out of your final product!



![1464738_10153571677610510_1940877368_n[1]](http://ajp1991.files.wordpress.com/2013/12/1464738_10153571677610510_1940877368_n1.jpg)


![pov-documentary-tools-survey-2013-results-500-v4[1]](http://ajp1991.files.wordpress.com/2013/12/pov-documentary-tools-survey-2013-results-500-v41.jpg)


