

With 14 Stops of Dynamic Range and The Ability To Output 5.7K RAW Video, Let’s Look At The Benefits of Filming In Such A High Resolution On The Panasonic EVA-1 Cinema Camera
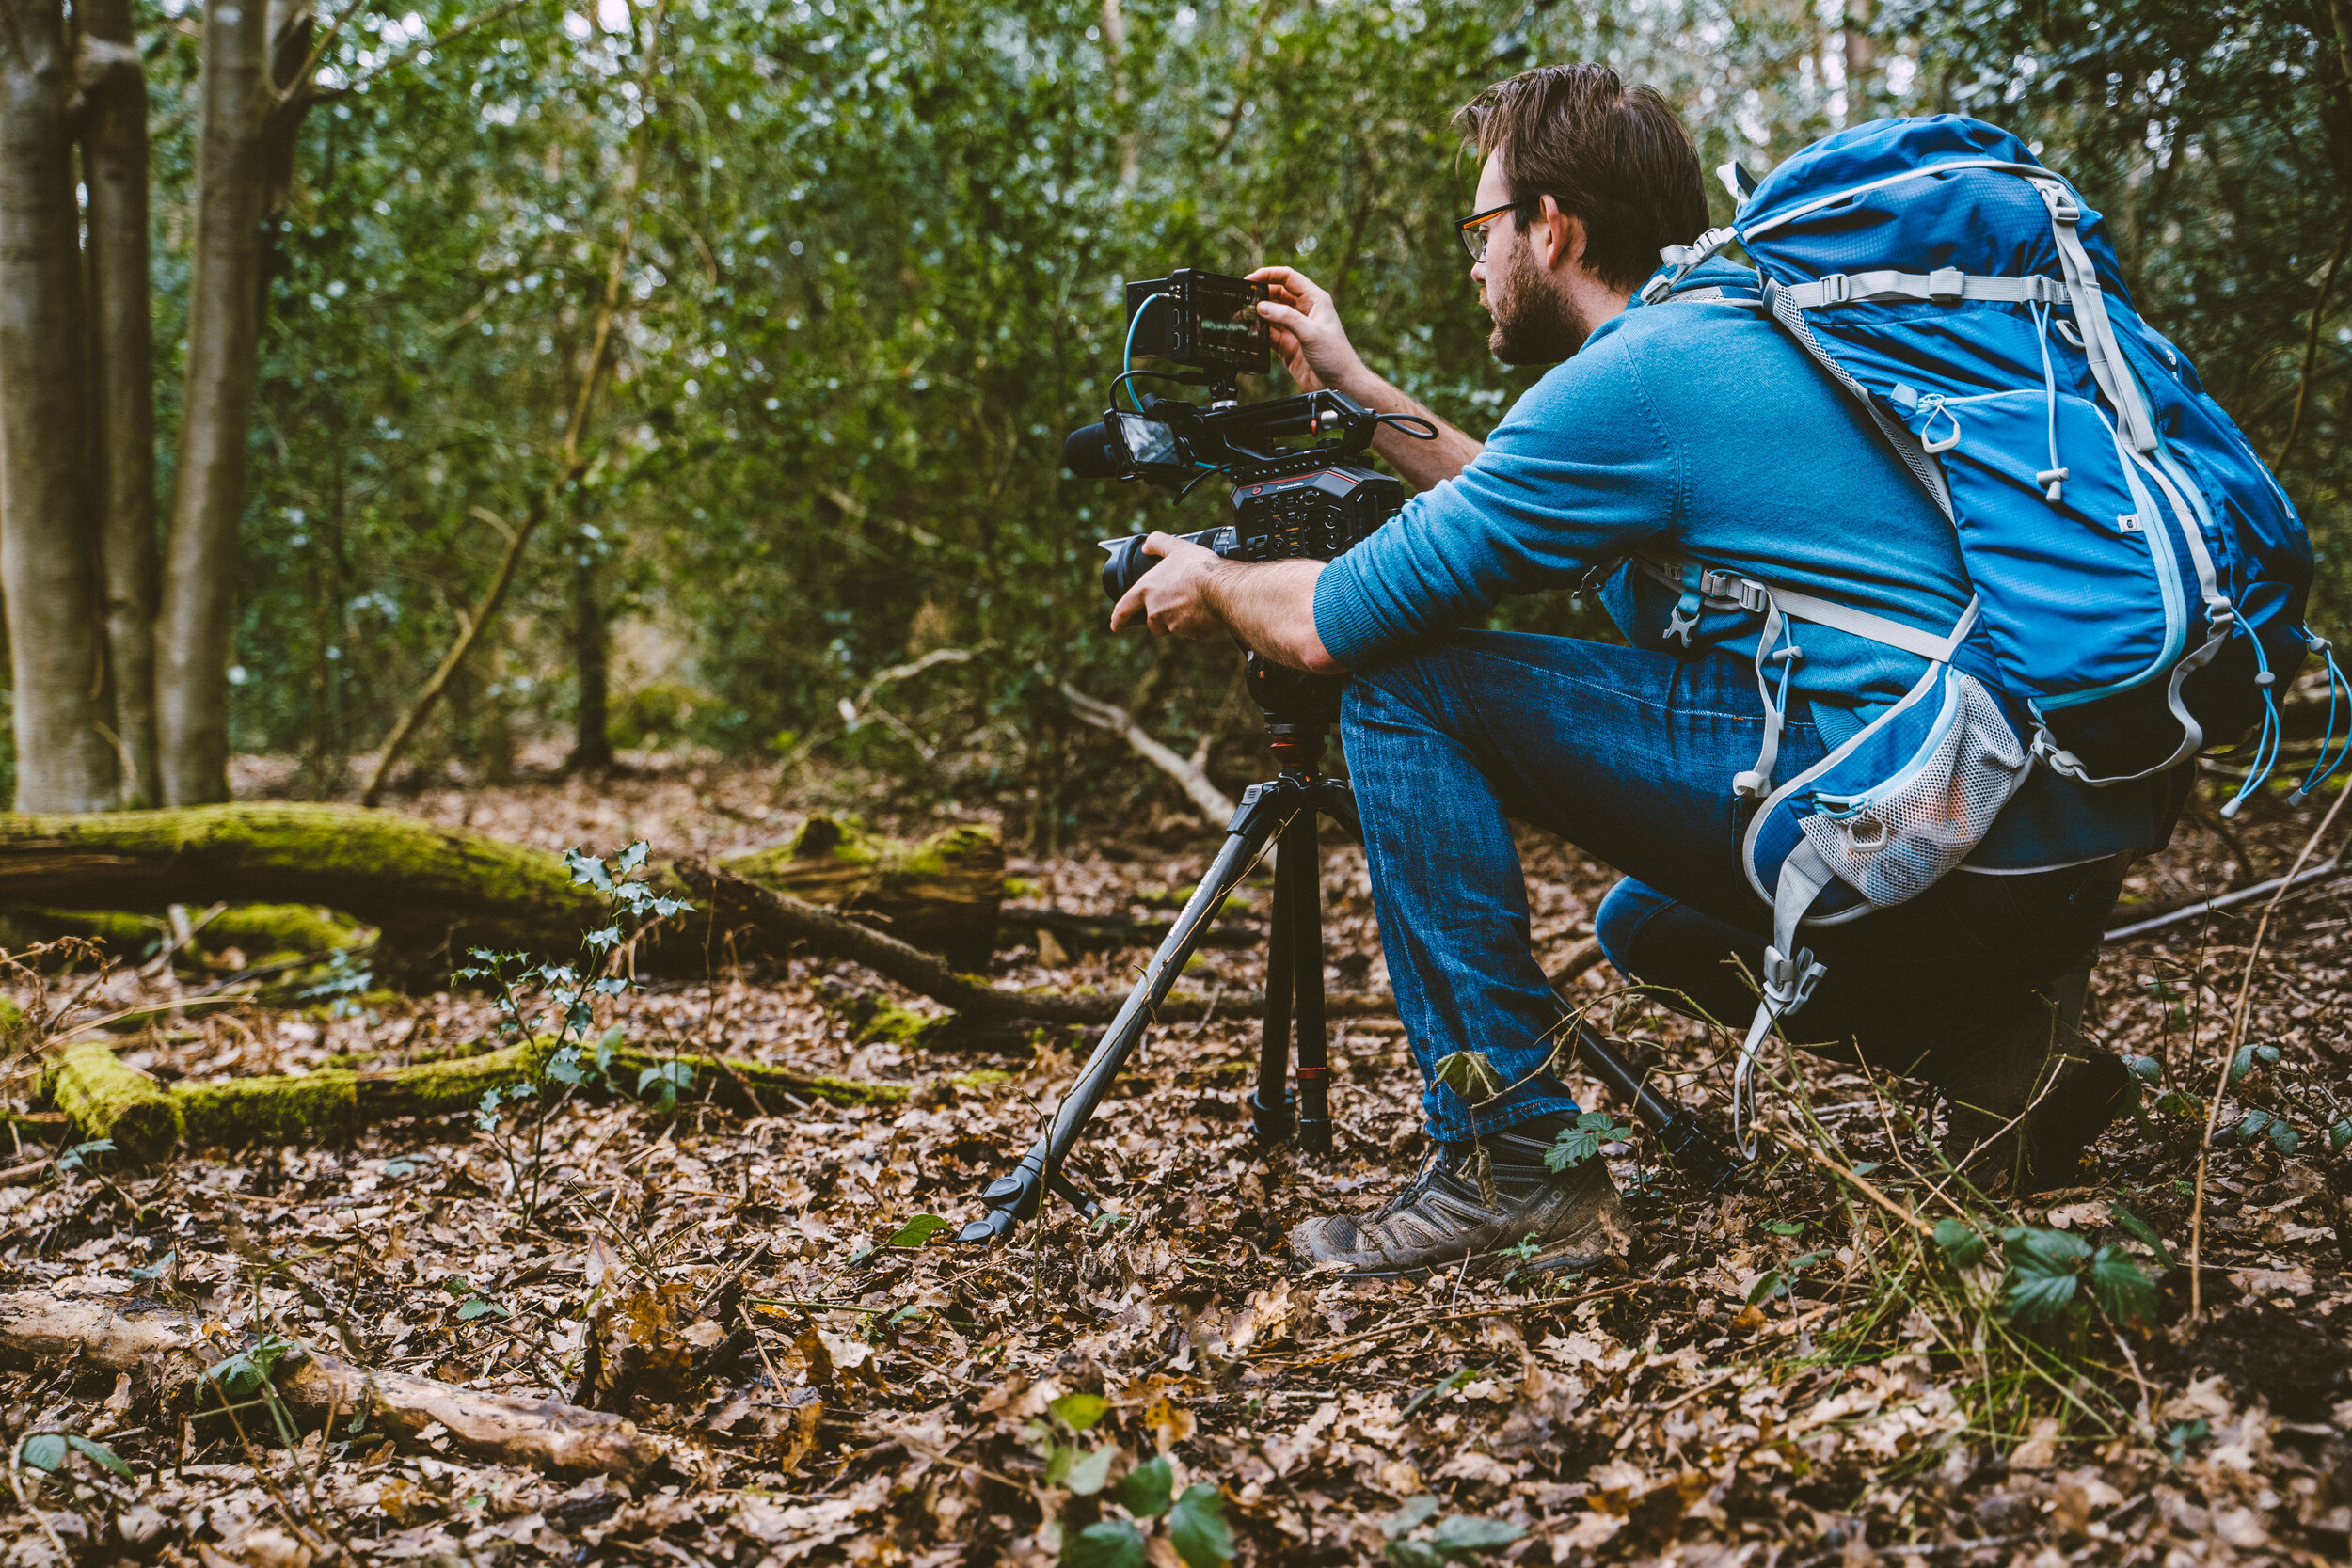
Behind the scenes photo by Lizzie Page
Looking back at one of my most popular blog posts dating back to 2015 ‘Out Filming With The Sony a7S and Atomos Shogun in 4K’, I thought that it was about time to put together a new review looking at a nifty high resolution setup, with the addition of Blackmagic RAW.
I have been filming with the Panasonic EVA-1 for a number of years. As an all-round cinema camera capable of internal 10-bit 4K, super slow motion and exceptional colour science. The additional feature of external RAW recording in 4K and up to 5.7K in BRAW was why I chose the camera over the Sony FS7, which is of course a fantastic camera in it’s own right. Please do keep reading, there is some essential information and links later in this article.
5.7K Blackmagic RAW Footage From The Panasonic EVA-1
Before we look deeper, let’s first check out some sample footage from the EVA-1 and VA 12G setup. When the camera sends the RAW signal to the VA, it is always in V-LOG.
For the best viewing experience, click the cog and watch in 4K.
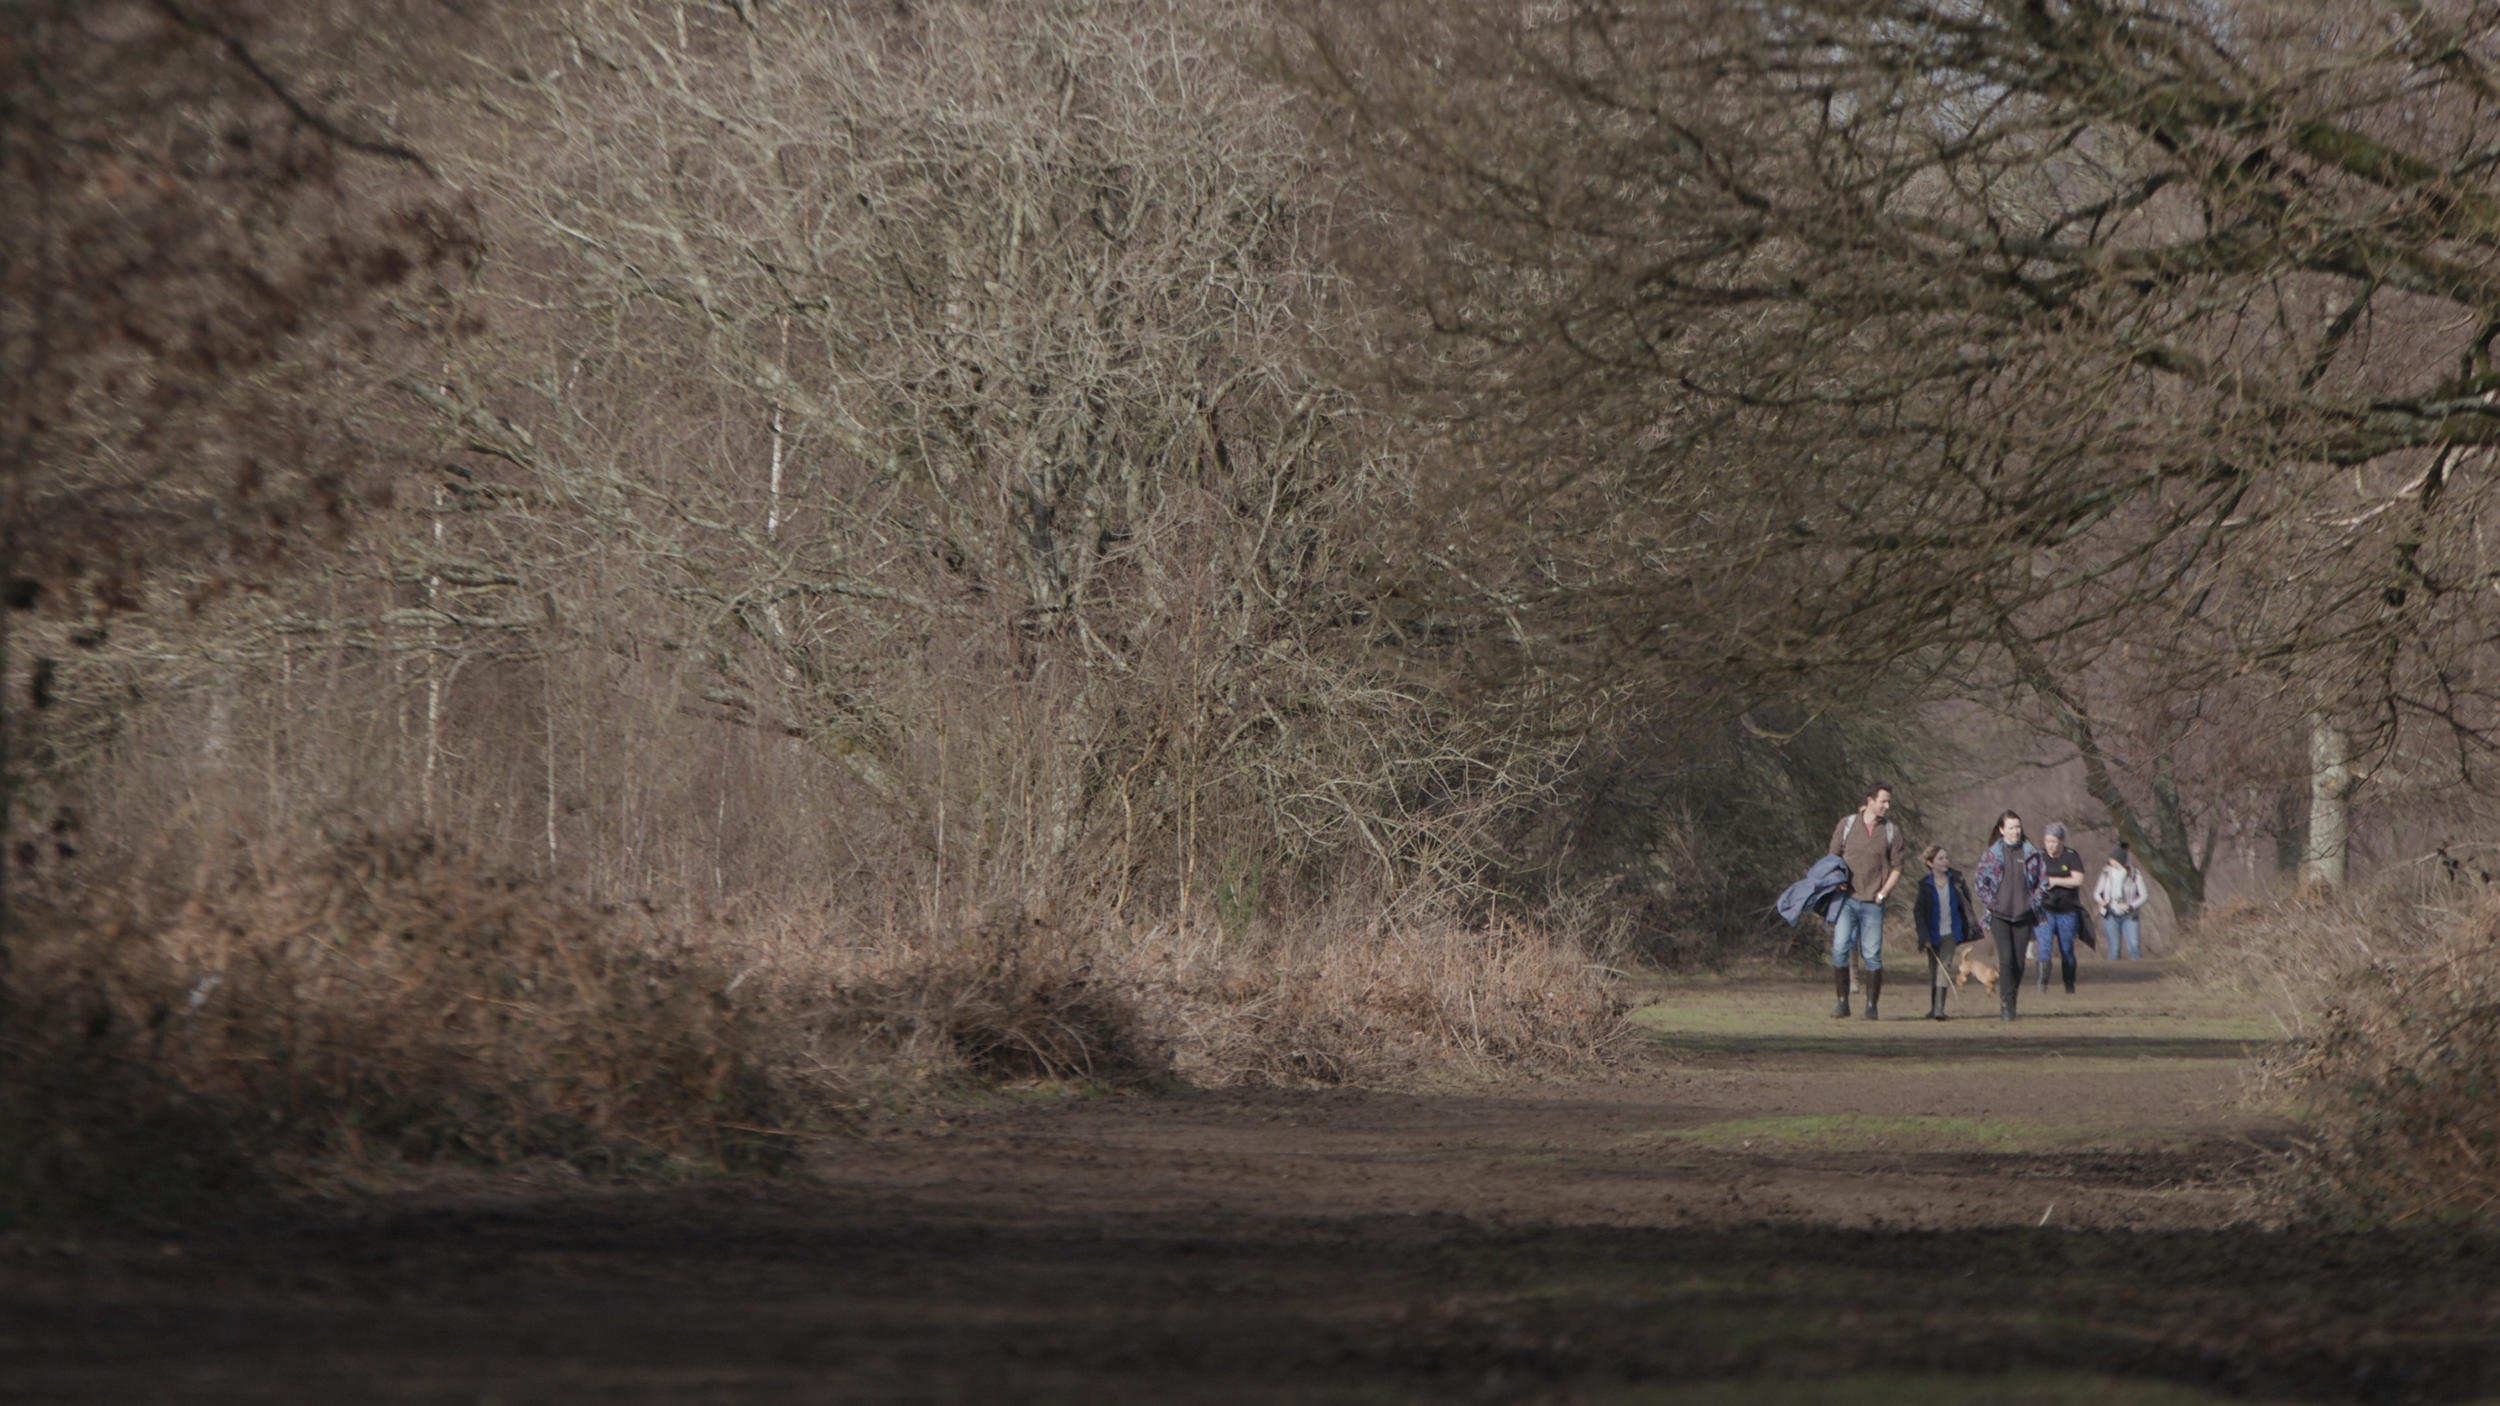
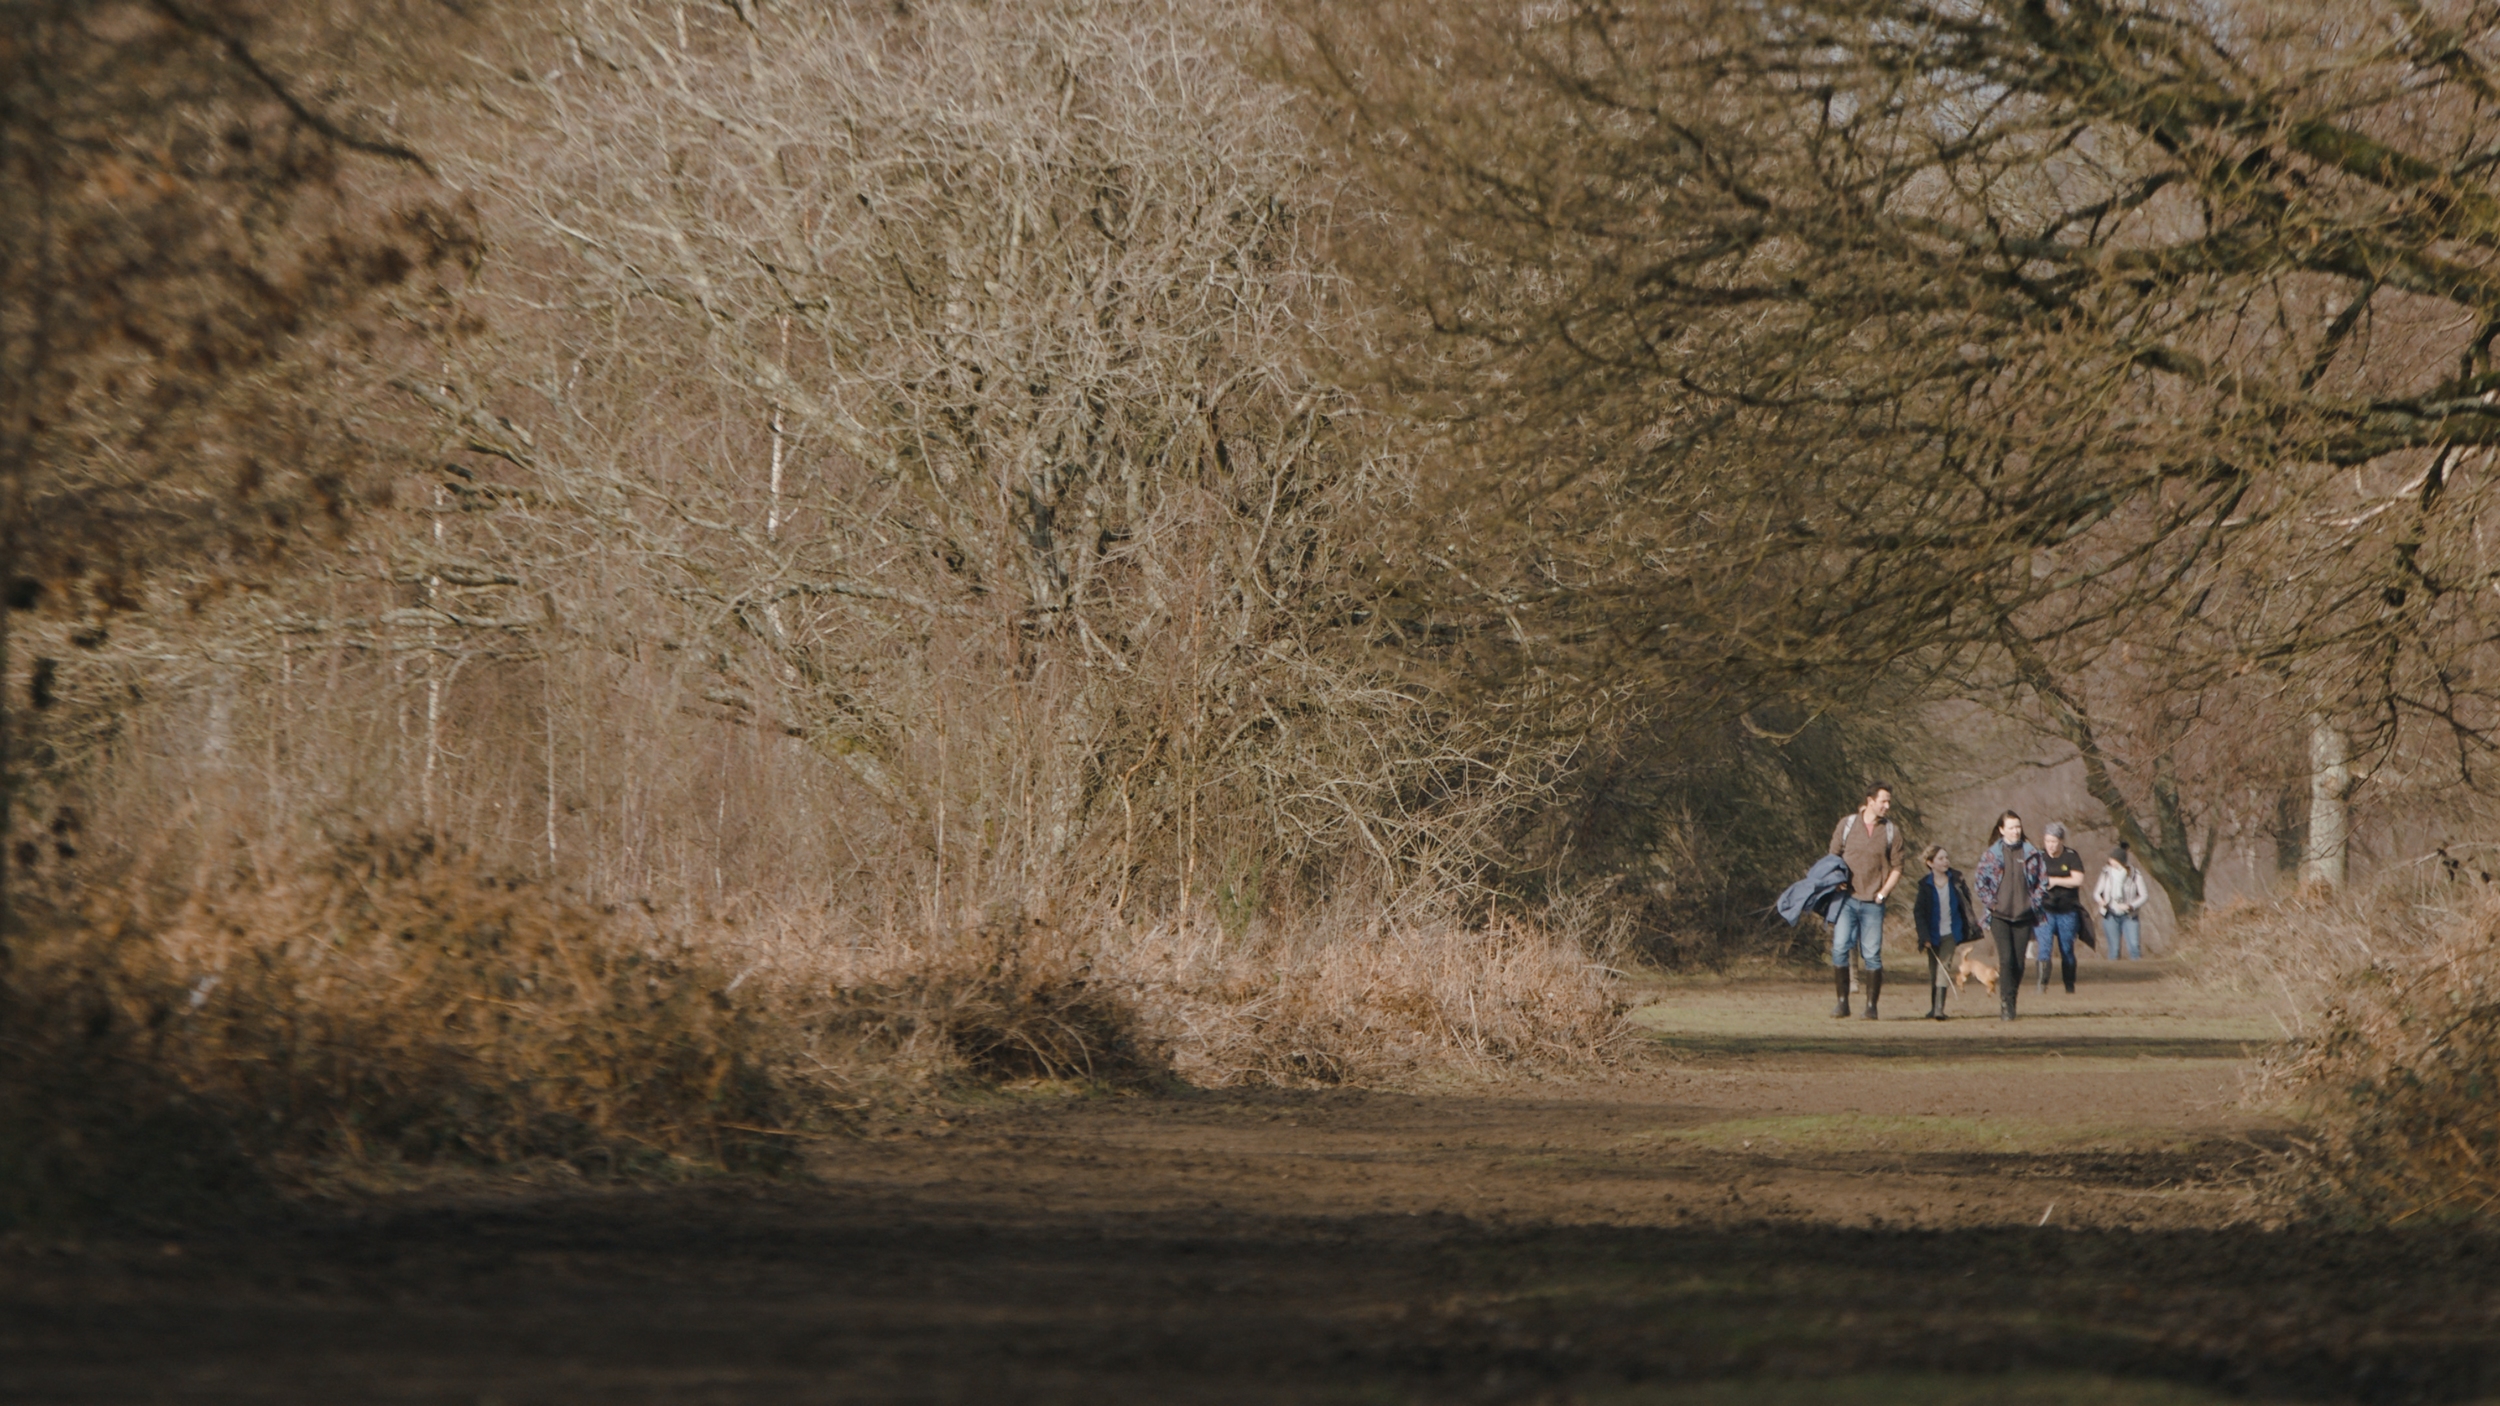
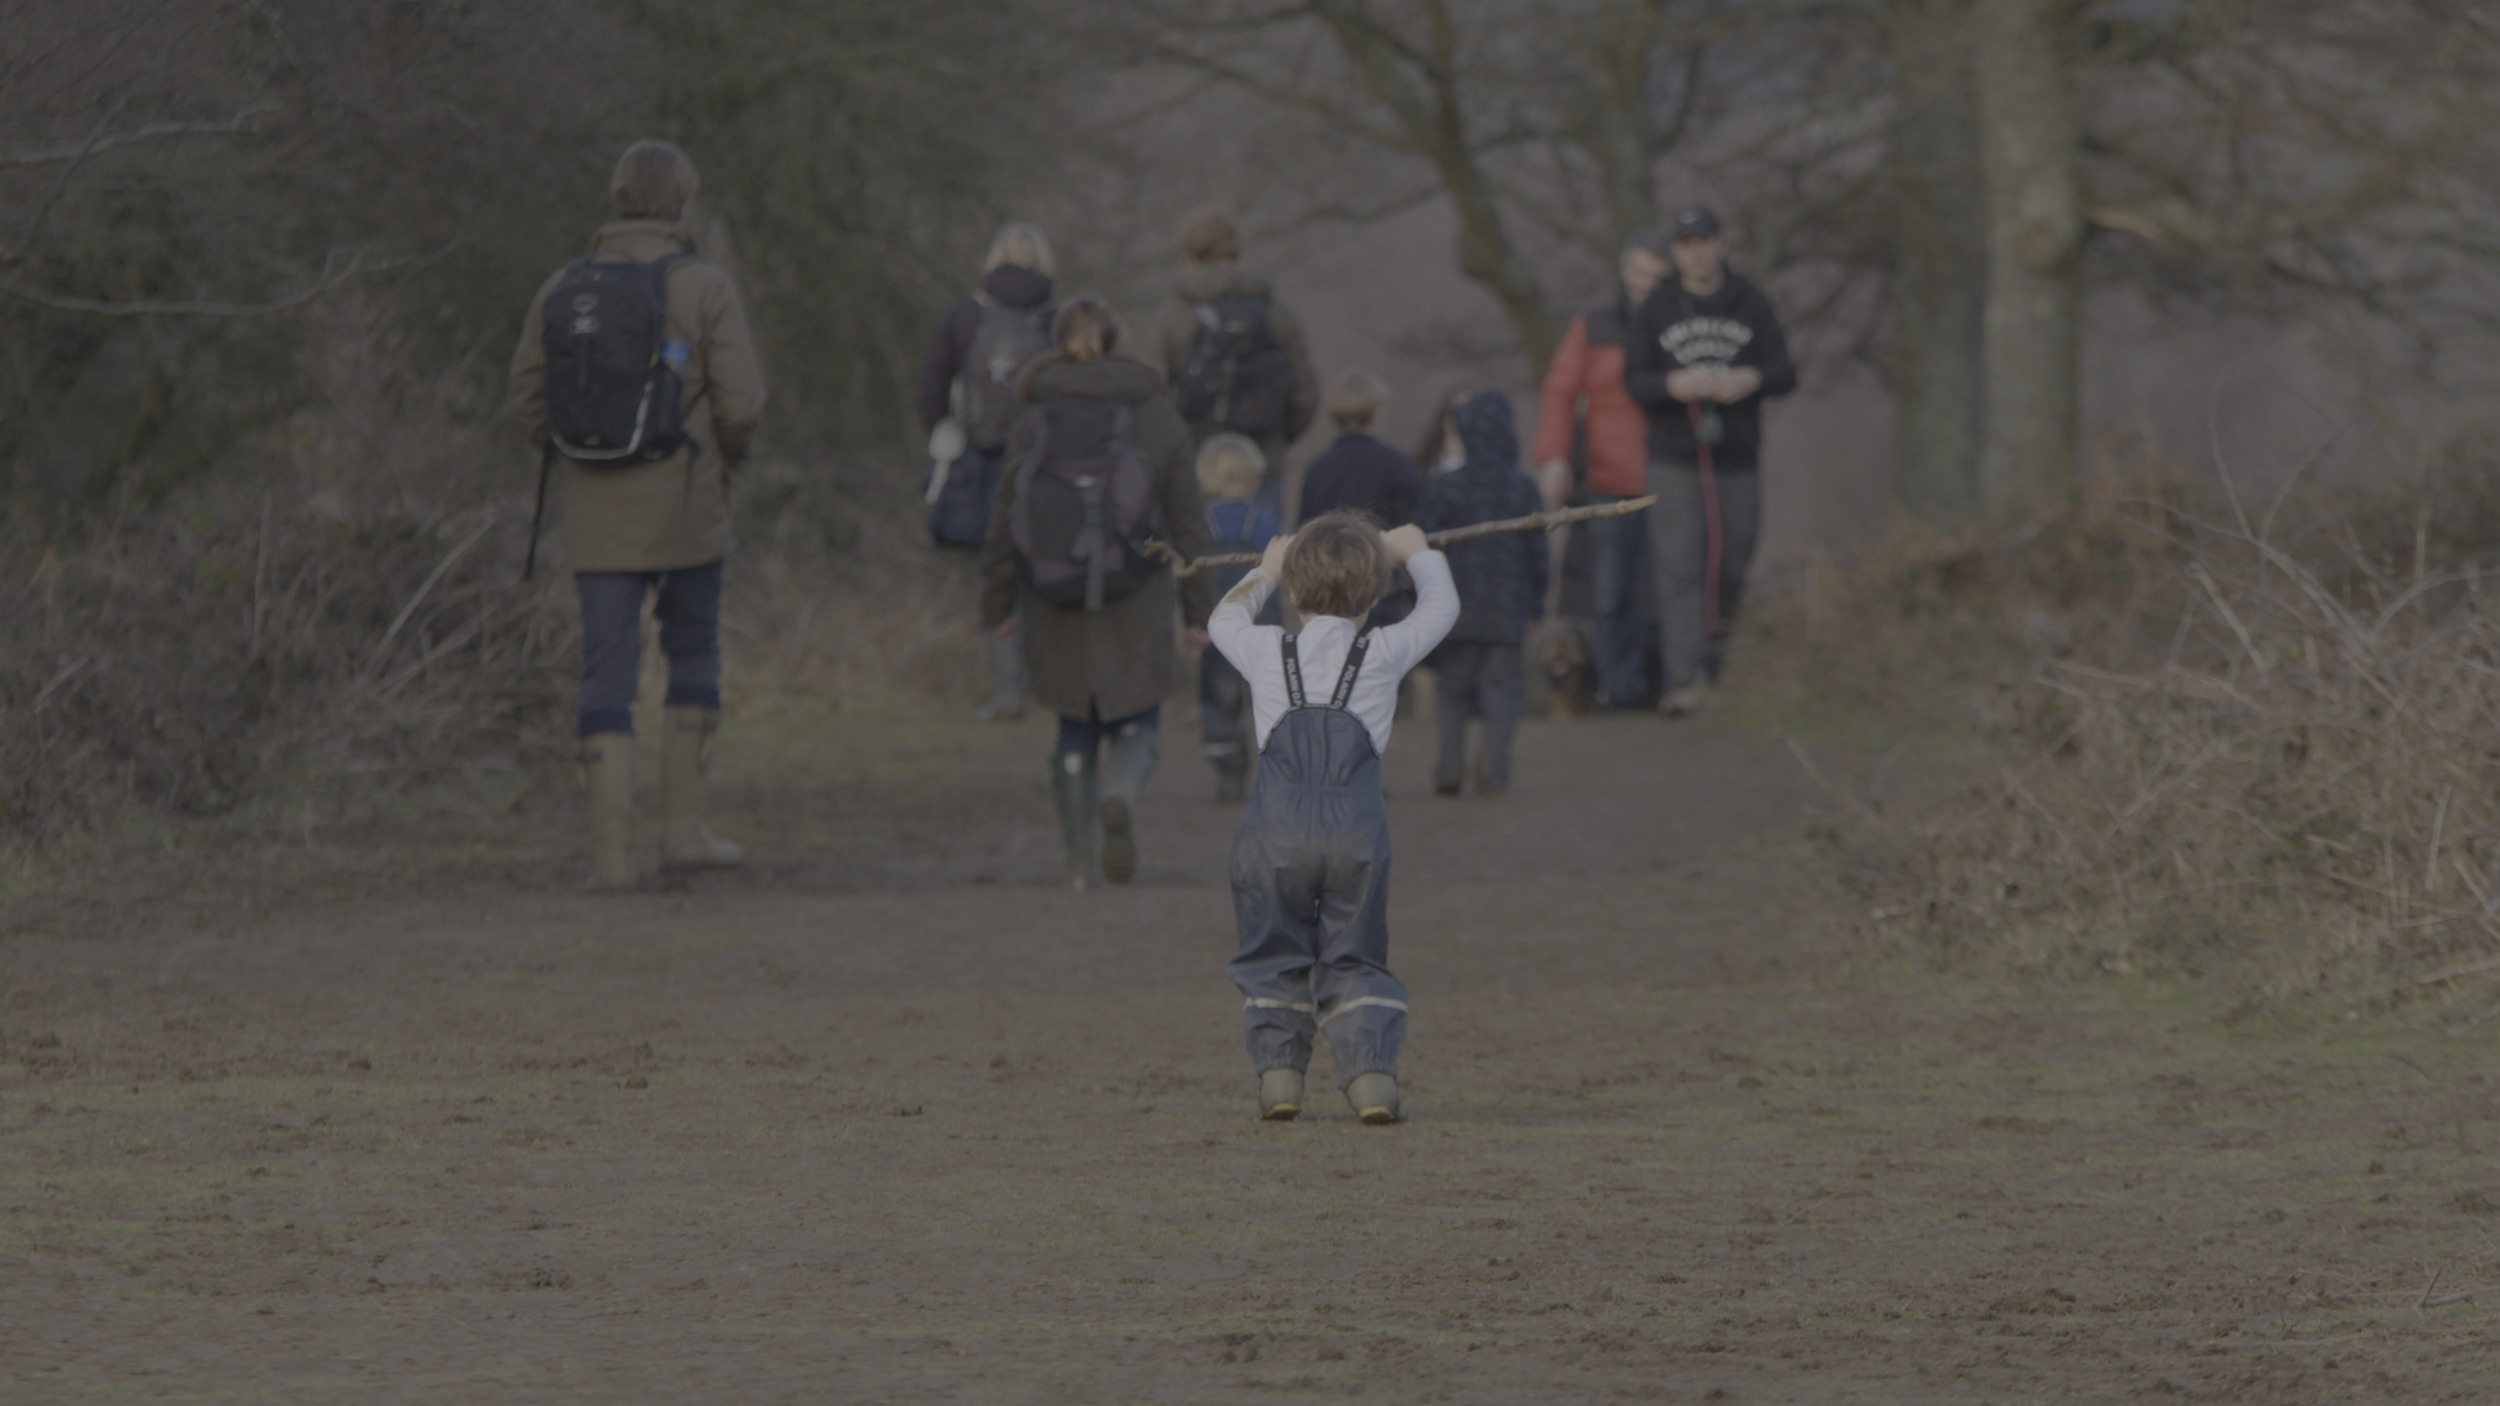
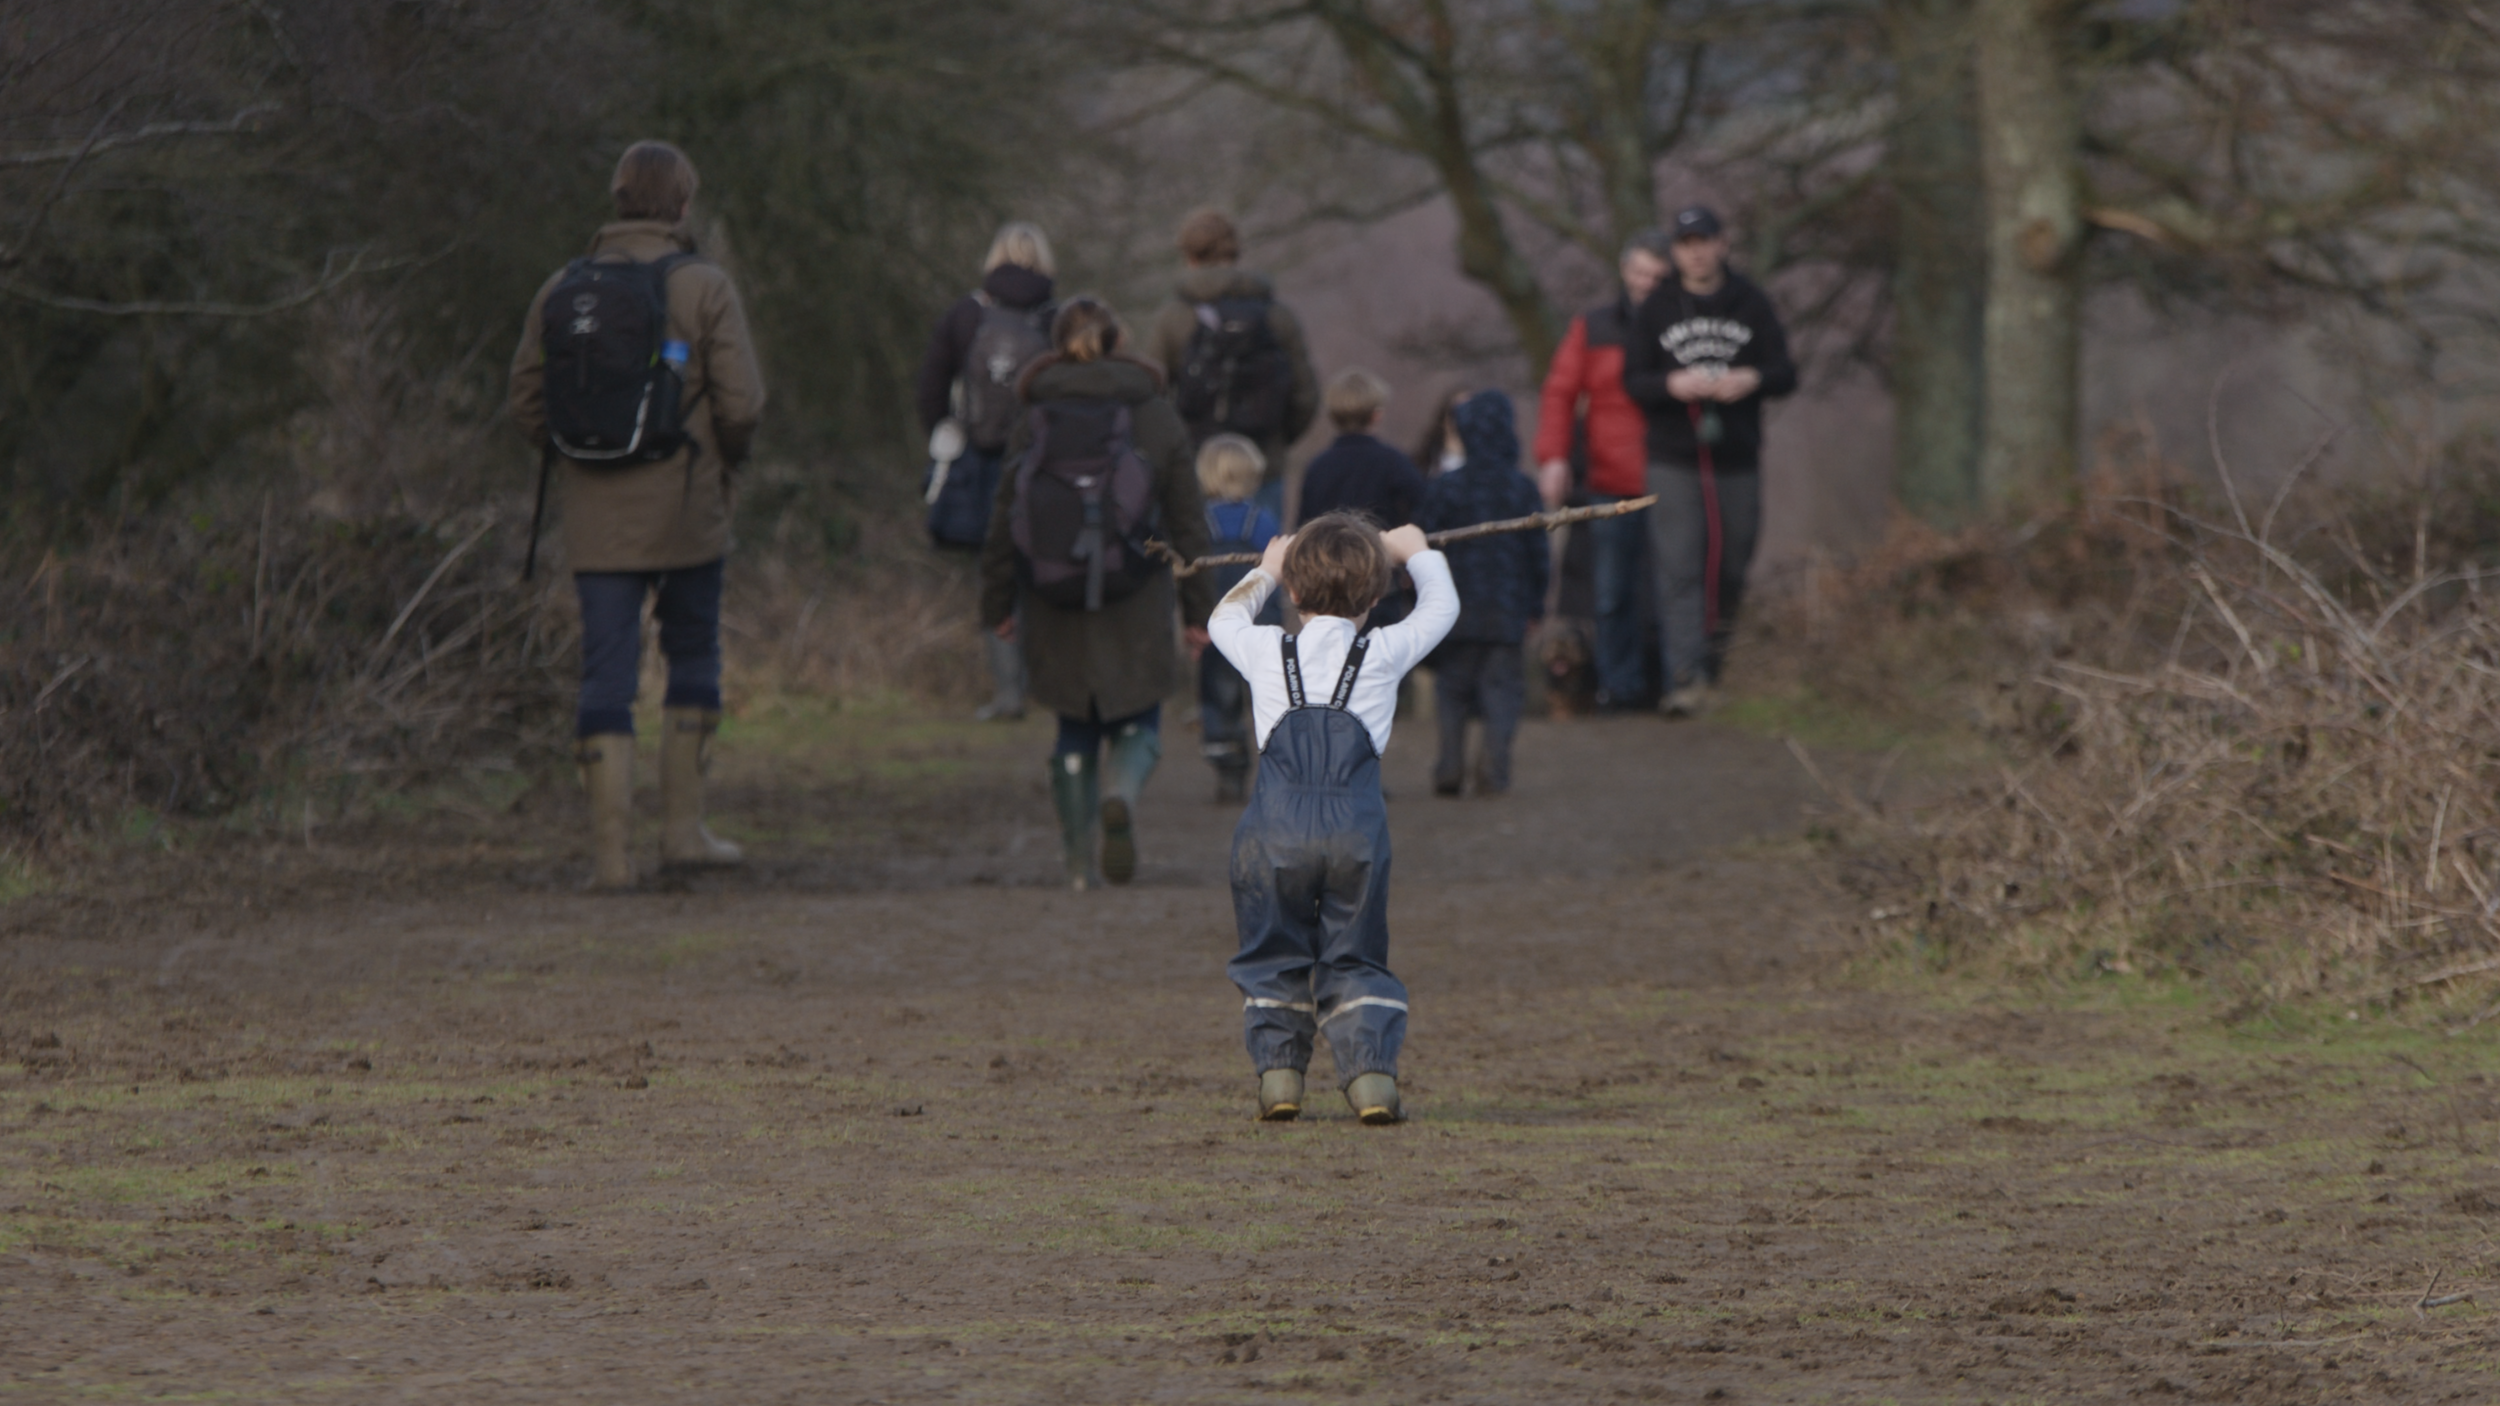
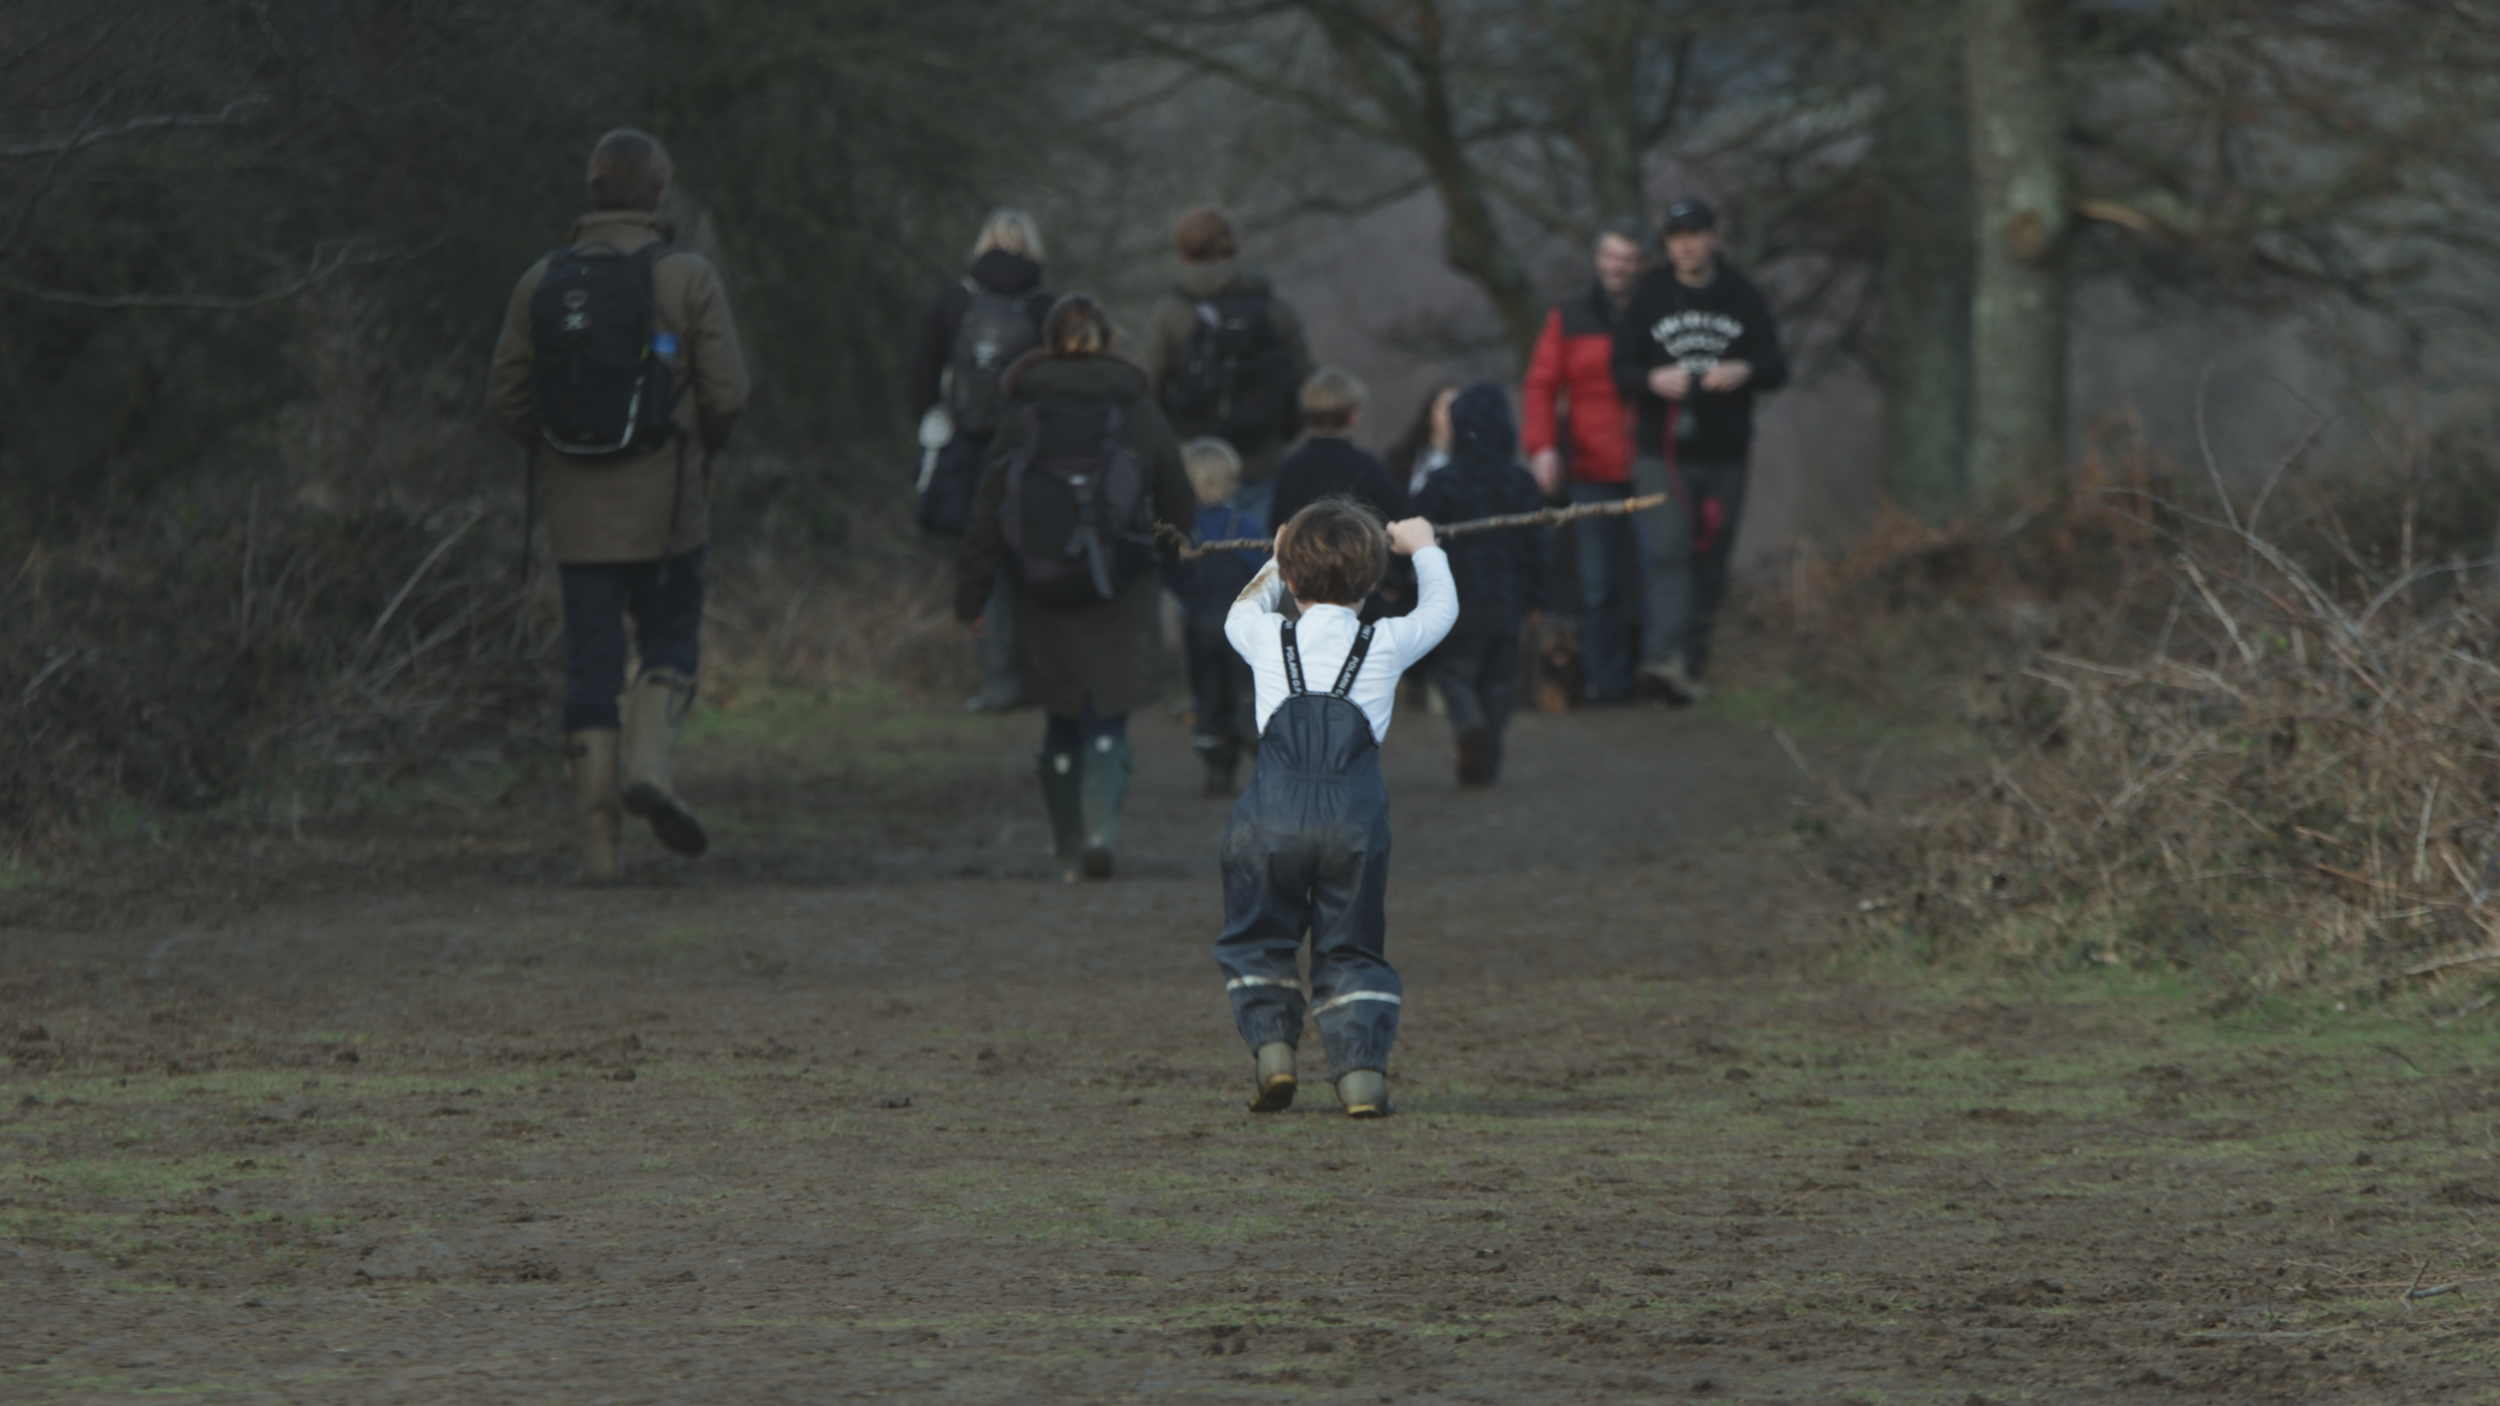
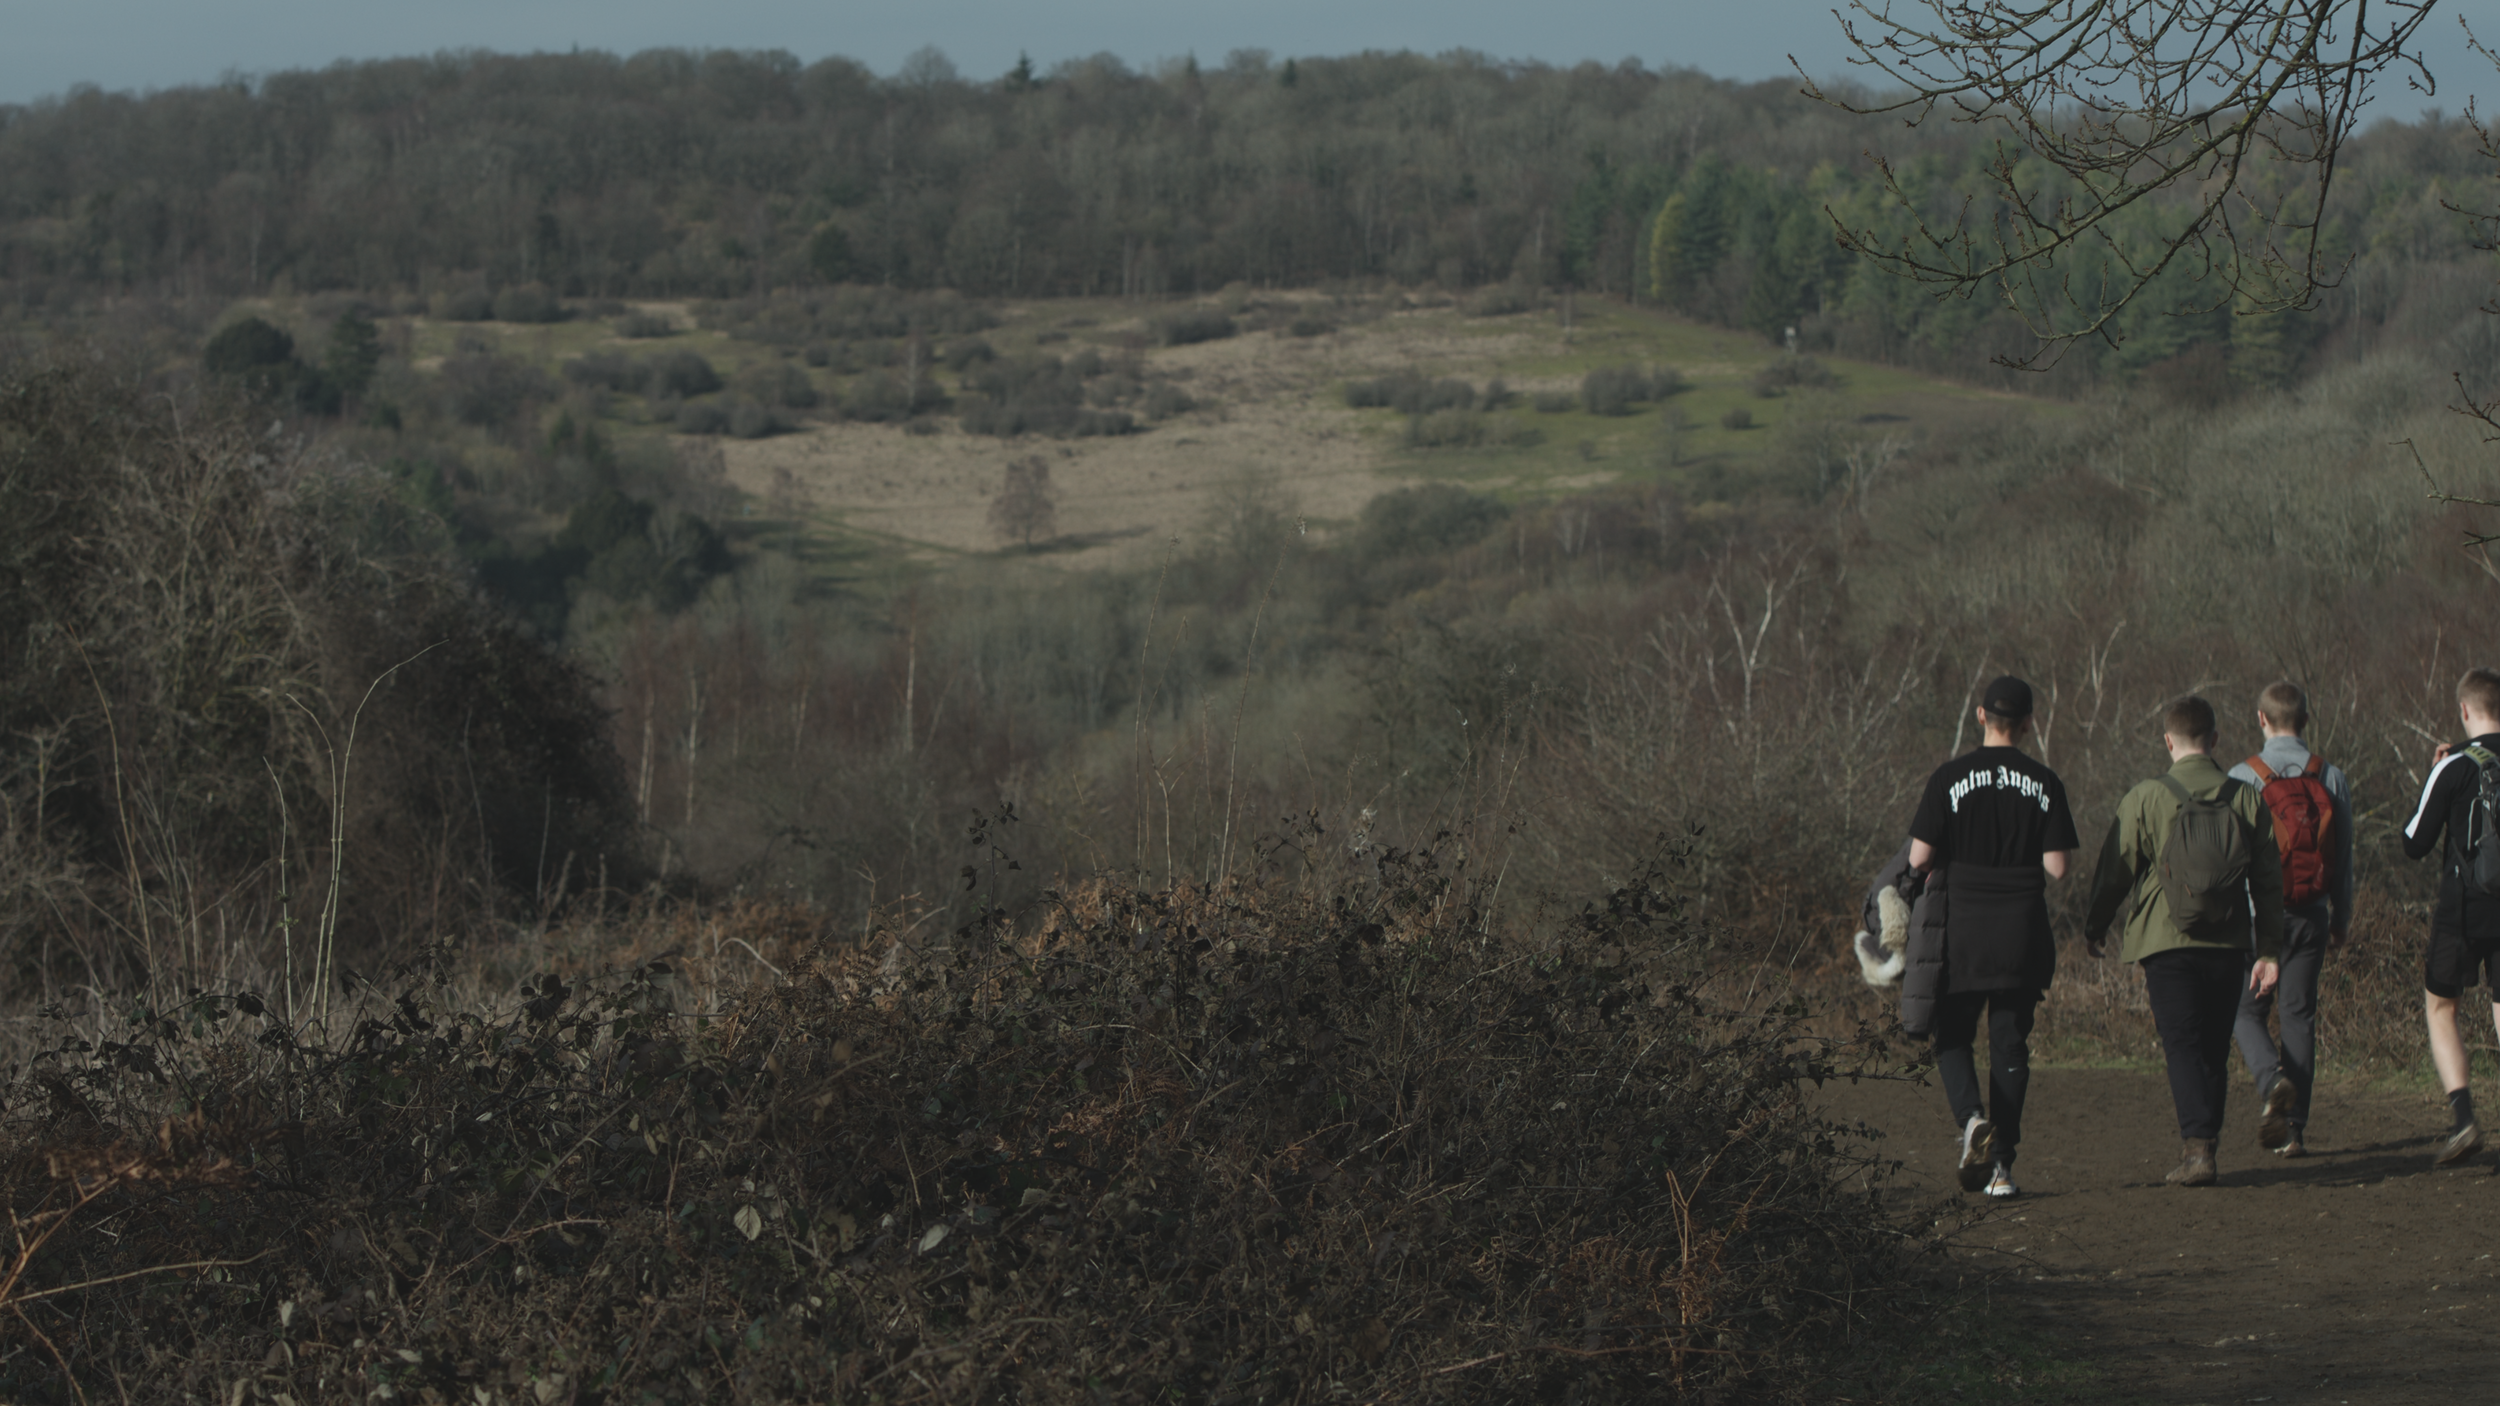
The Land Where The Belties Roam Free
The footage in the video above was shot in Constant Quality Q5 RAW compression with a mix of 5.7K, 4K DCI and 2K DCI (upscaled).
The VLOG linear correction LUT was first applied to bring back the contrast in the image. Minor corrections to the exposure, highlights, shadows and white balance were then made to aid in matching the contrast and colour. Lastly, a creative LUT was then applied to make the rich heathy colours or the bracken and evergreens pop.
There is some noticeable noise in the up-scaled 2K 200fps footage as you would expect, but I thought that it would be beneficial to include it in this example.
Why The Blackmagic Video Assist 12G Over The Atomos Shogun Recorders?
For ease of writing, I’ll be referring to the Blackmagic Design Video Assist 12G 5-inch (such a mouthful) when I mention the ‘video assist’ or VA 12G for the rest of this piece.

Behind the scenes photo by Lizzie Page
First off, I’m writing this just after the Atomos Ninja V Pro Kit update which enables up to 5.7K ProRes RAW recording via the SDI module. That overall package costs £990.00 (inc VAT) if you want the whole package. For existing Ninja V users, the Atomos SDI module is just over an additional £190.00. To compare, the VA is around £700.00 plus the cable.

Behind the scenes photo by Michael Westcott
Both the Video Assist and the Atomos Shogun 7 (now Ninja V Pro Kit) can record up to 5.7K from the EVA-1. I decided to use the Blackmagic VA 12G 5-inch model purely because of it’s size. I find 7-inch monitors too large and heavy on smaller cameras, and puts it off balance somewhat. The Video Assist 5-inch is a superb external monitor (considerably better than the EVA-1 viewfinder), with all of the regular features such as scopes, frame guides and LUT overlays. As you can see in the photos, rigging or handholding the EVA-1 and VA 12G 5-inch is a comfortable setup size in hand, and not as heavy as a 7-inch monitor would be.
The key differences between the VA and Atomos recorders are:
Recording format: BRAW/ProRes and DNx on the VA.
Recording format: ProRes RAW/ProRes and DNx on Atomos.
Recording media: SD card or external drive on the VA.
Recording media: On board, removable SSD on Atomos.
One NPF type battery on the Atomos Ninja V Pro.
Two NPS type batteries on the VA and Atomos Shogun 7.
Filming in RAW and in VLOG

To make it much easier to switch between system settings, I highly recommend setting up shortcuts that are stored on an SD card in the camera. This tip was given to me by Jonathan Warner. I set user button 3 to a settings memory which recalled the 7 common RAW/HDMI system settings saved. That way it is much easier and considerably faster to navigate between 5.7K, 4K, 2K 200fps etc while shooting.

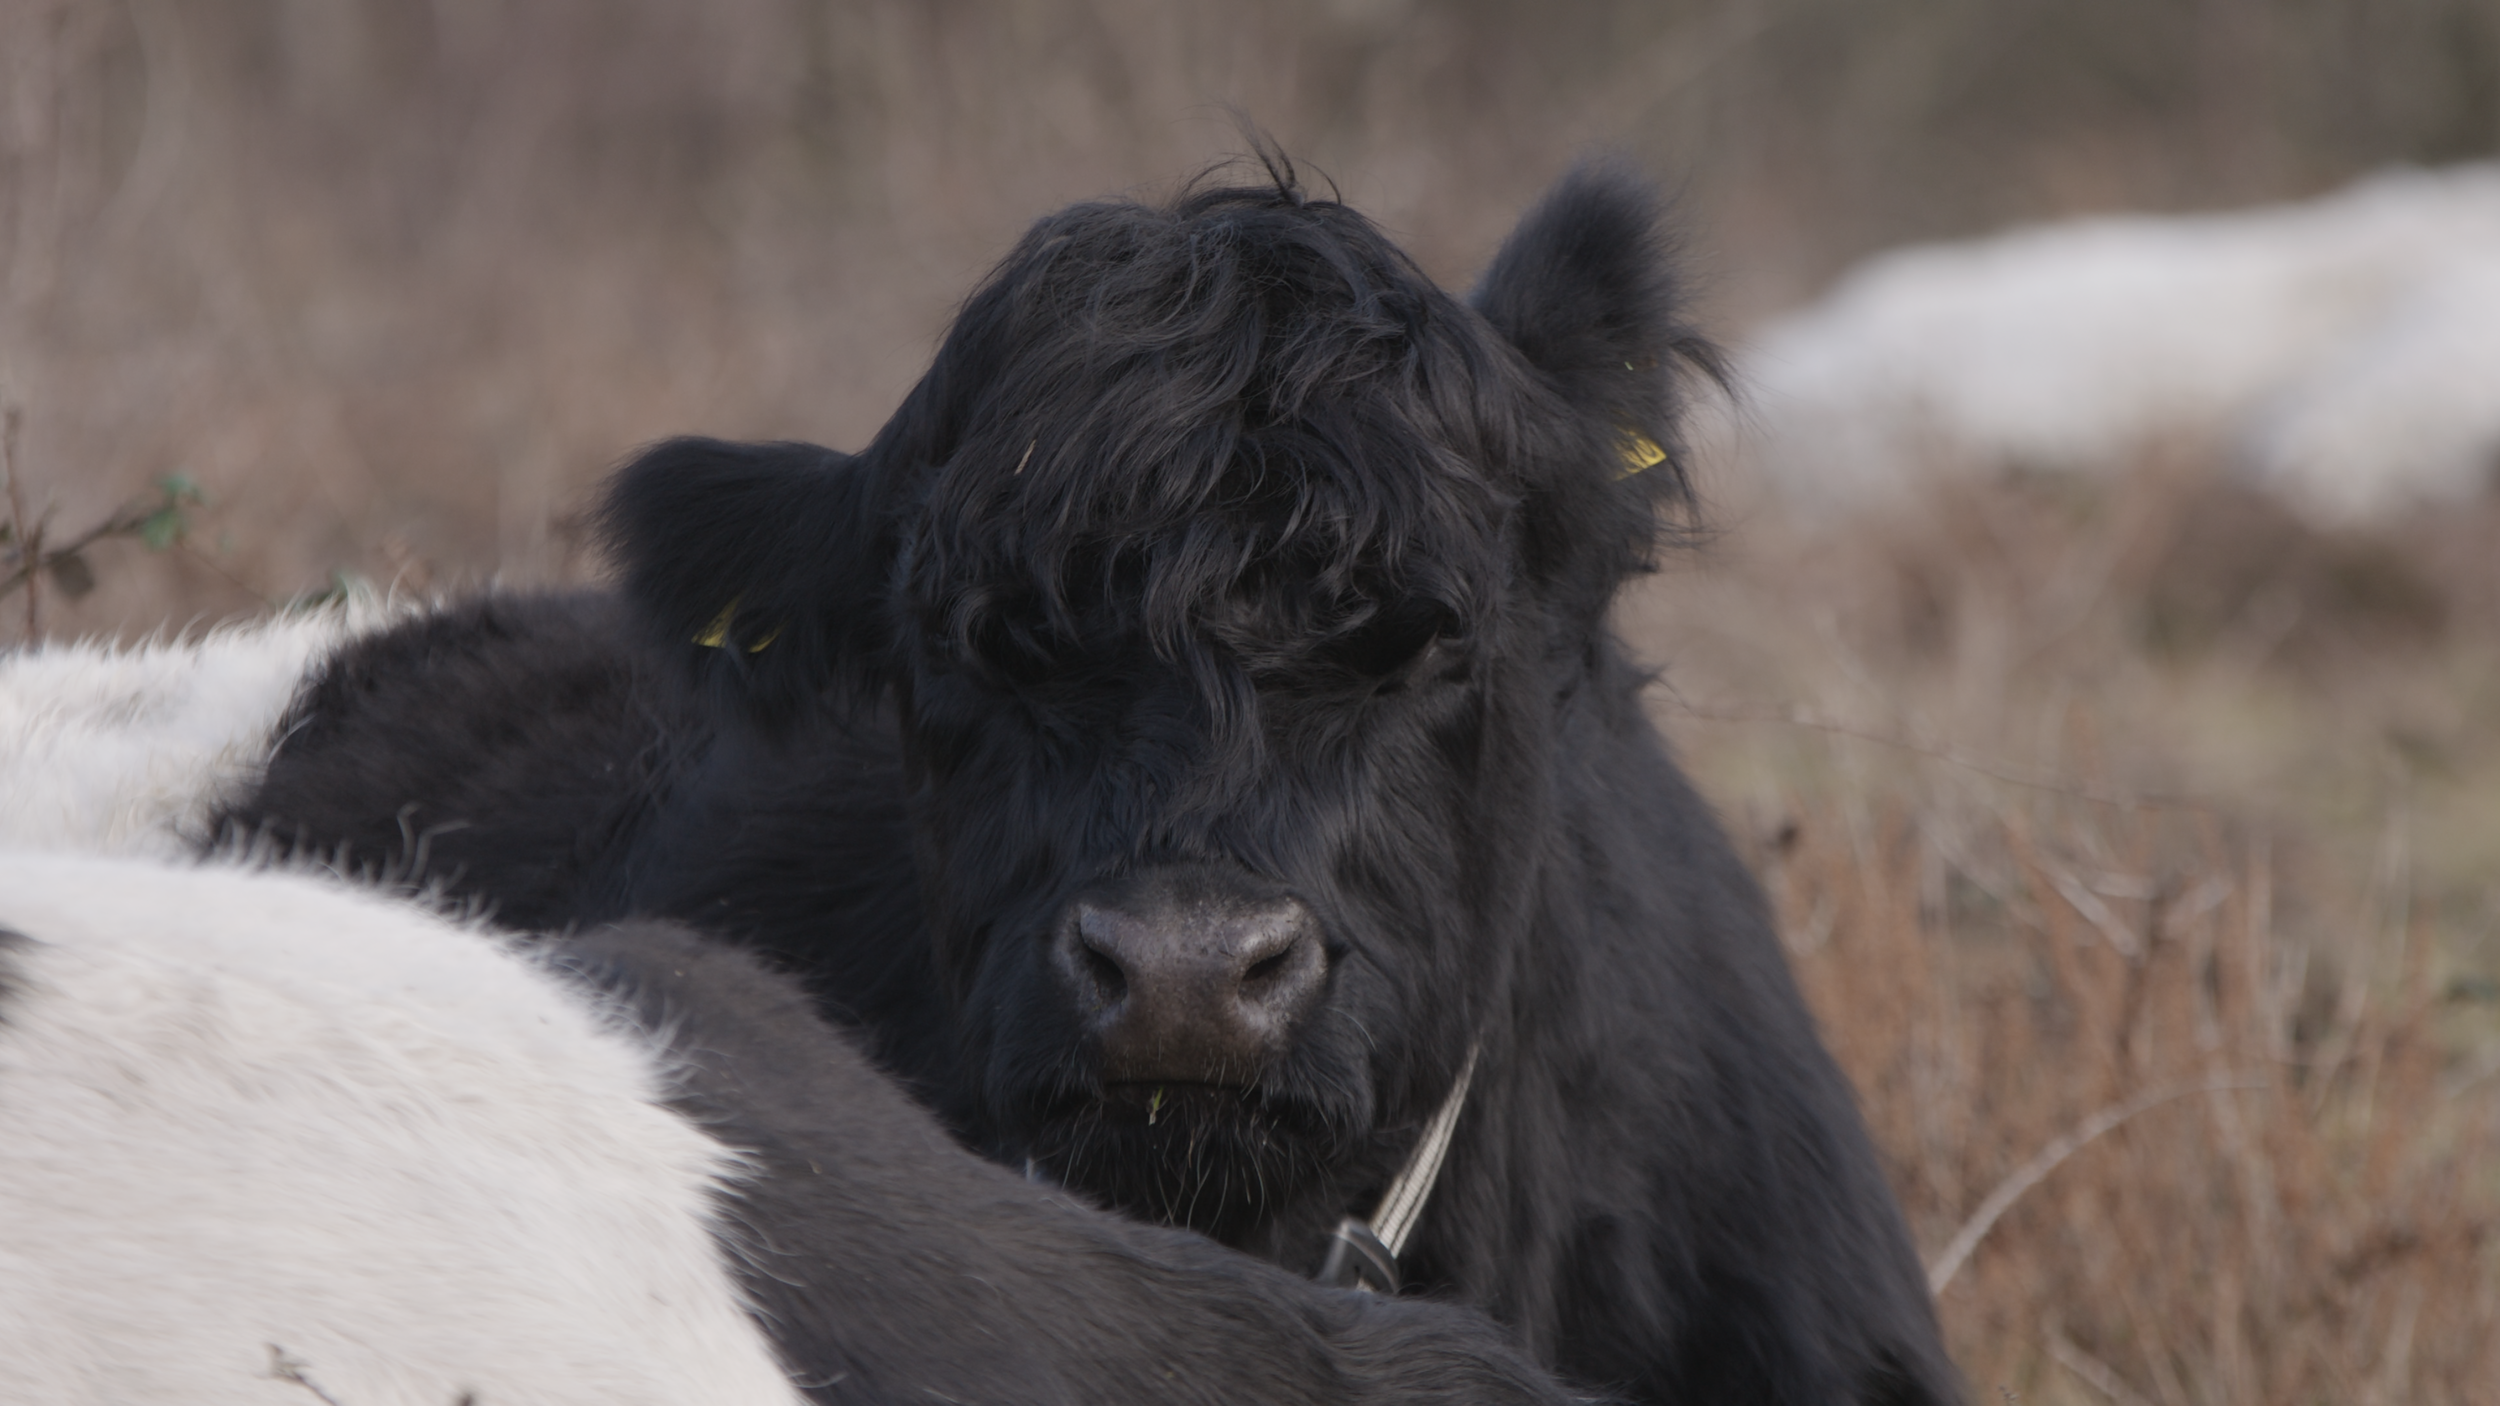
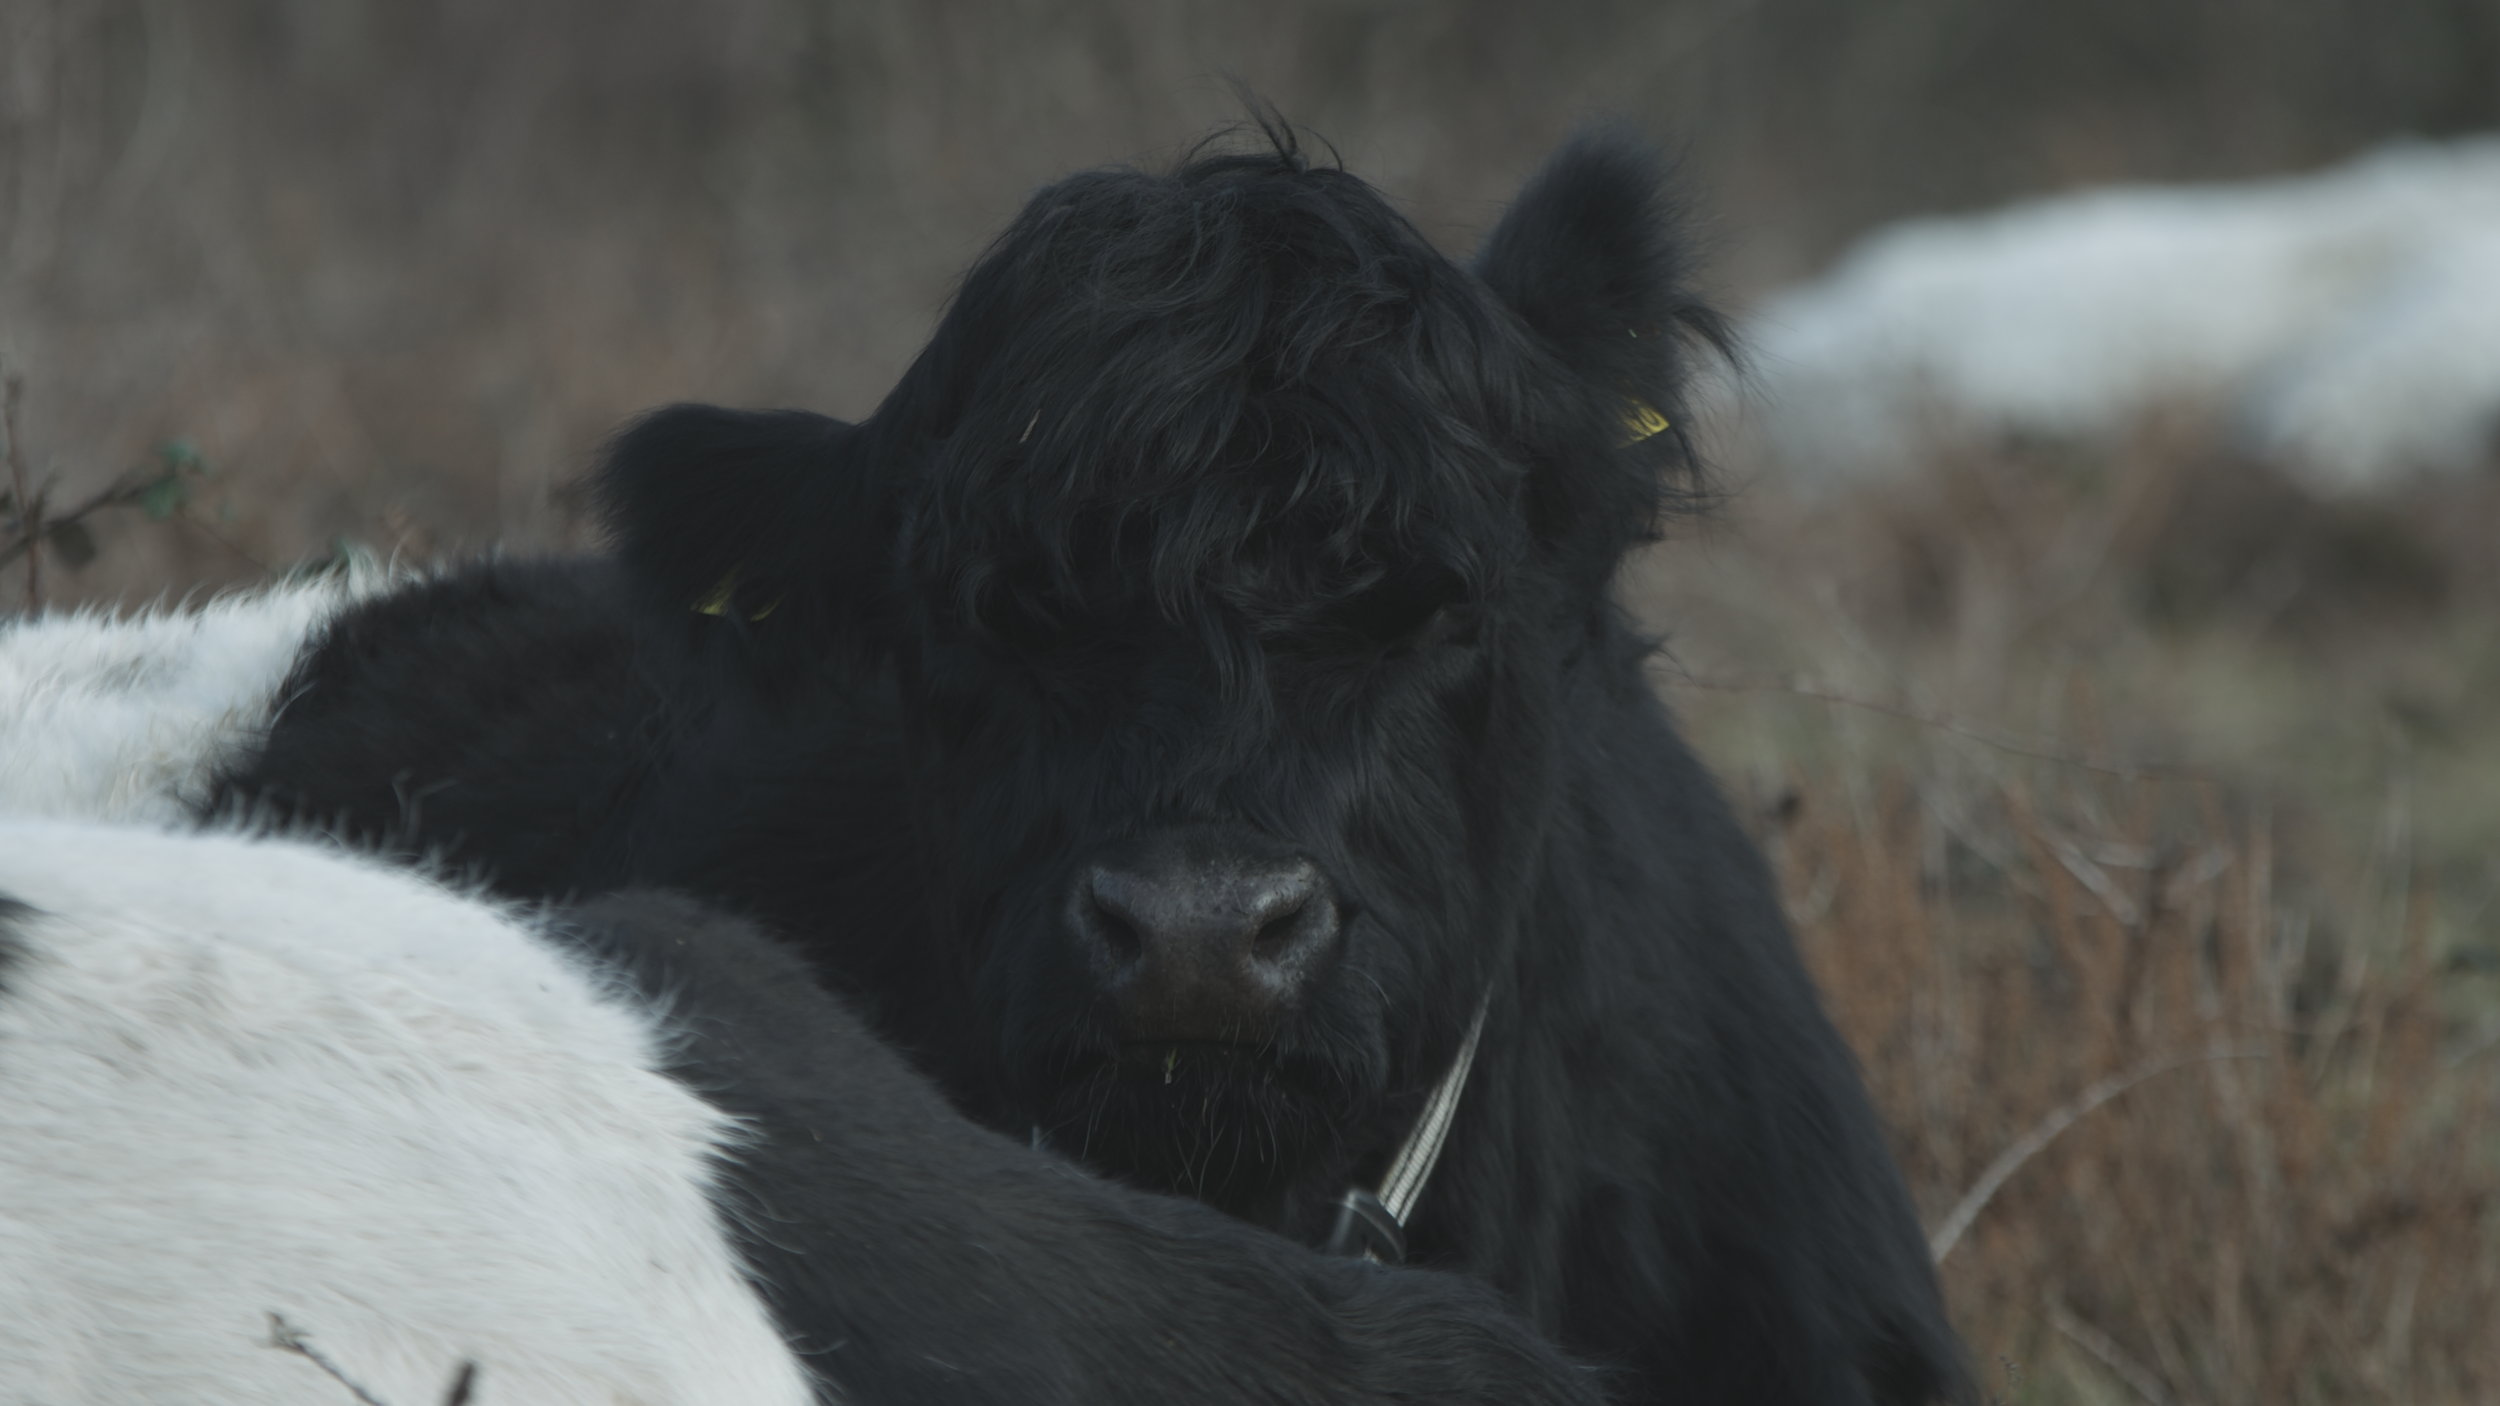
Two Stops Over for VLOG? Not Quite.
Unlike Slog which often requires the exposure to be raised two stops over 0 to increase detail in the shadows, VLOG is a bit more sensitive. When I have previously shot in VLOG I have made this mistake and often over exposed the highlights in the process. Depending on the composition, I used the full screen waveform monitor to set the highlights to between 50% and 70%. This retained detail in the highlights while providing enough information to increase detail in the shadows. As you can see from the images below, and the belted Galloway cattle with their white and black coats, this was a good example of retaining said detail.


I would of course recommend testing and trying it out for yourself, but of course be mindful of what you are filming. For scenarios with a wide dynamic range, yes use VLOG, but remember that RAW will only be recorded in VLOG externally; no internal proxies to a REC.709 colour profile.
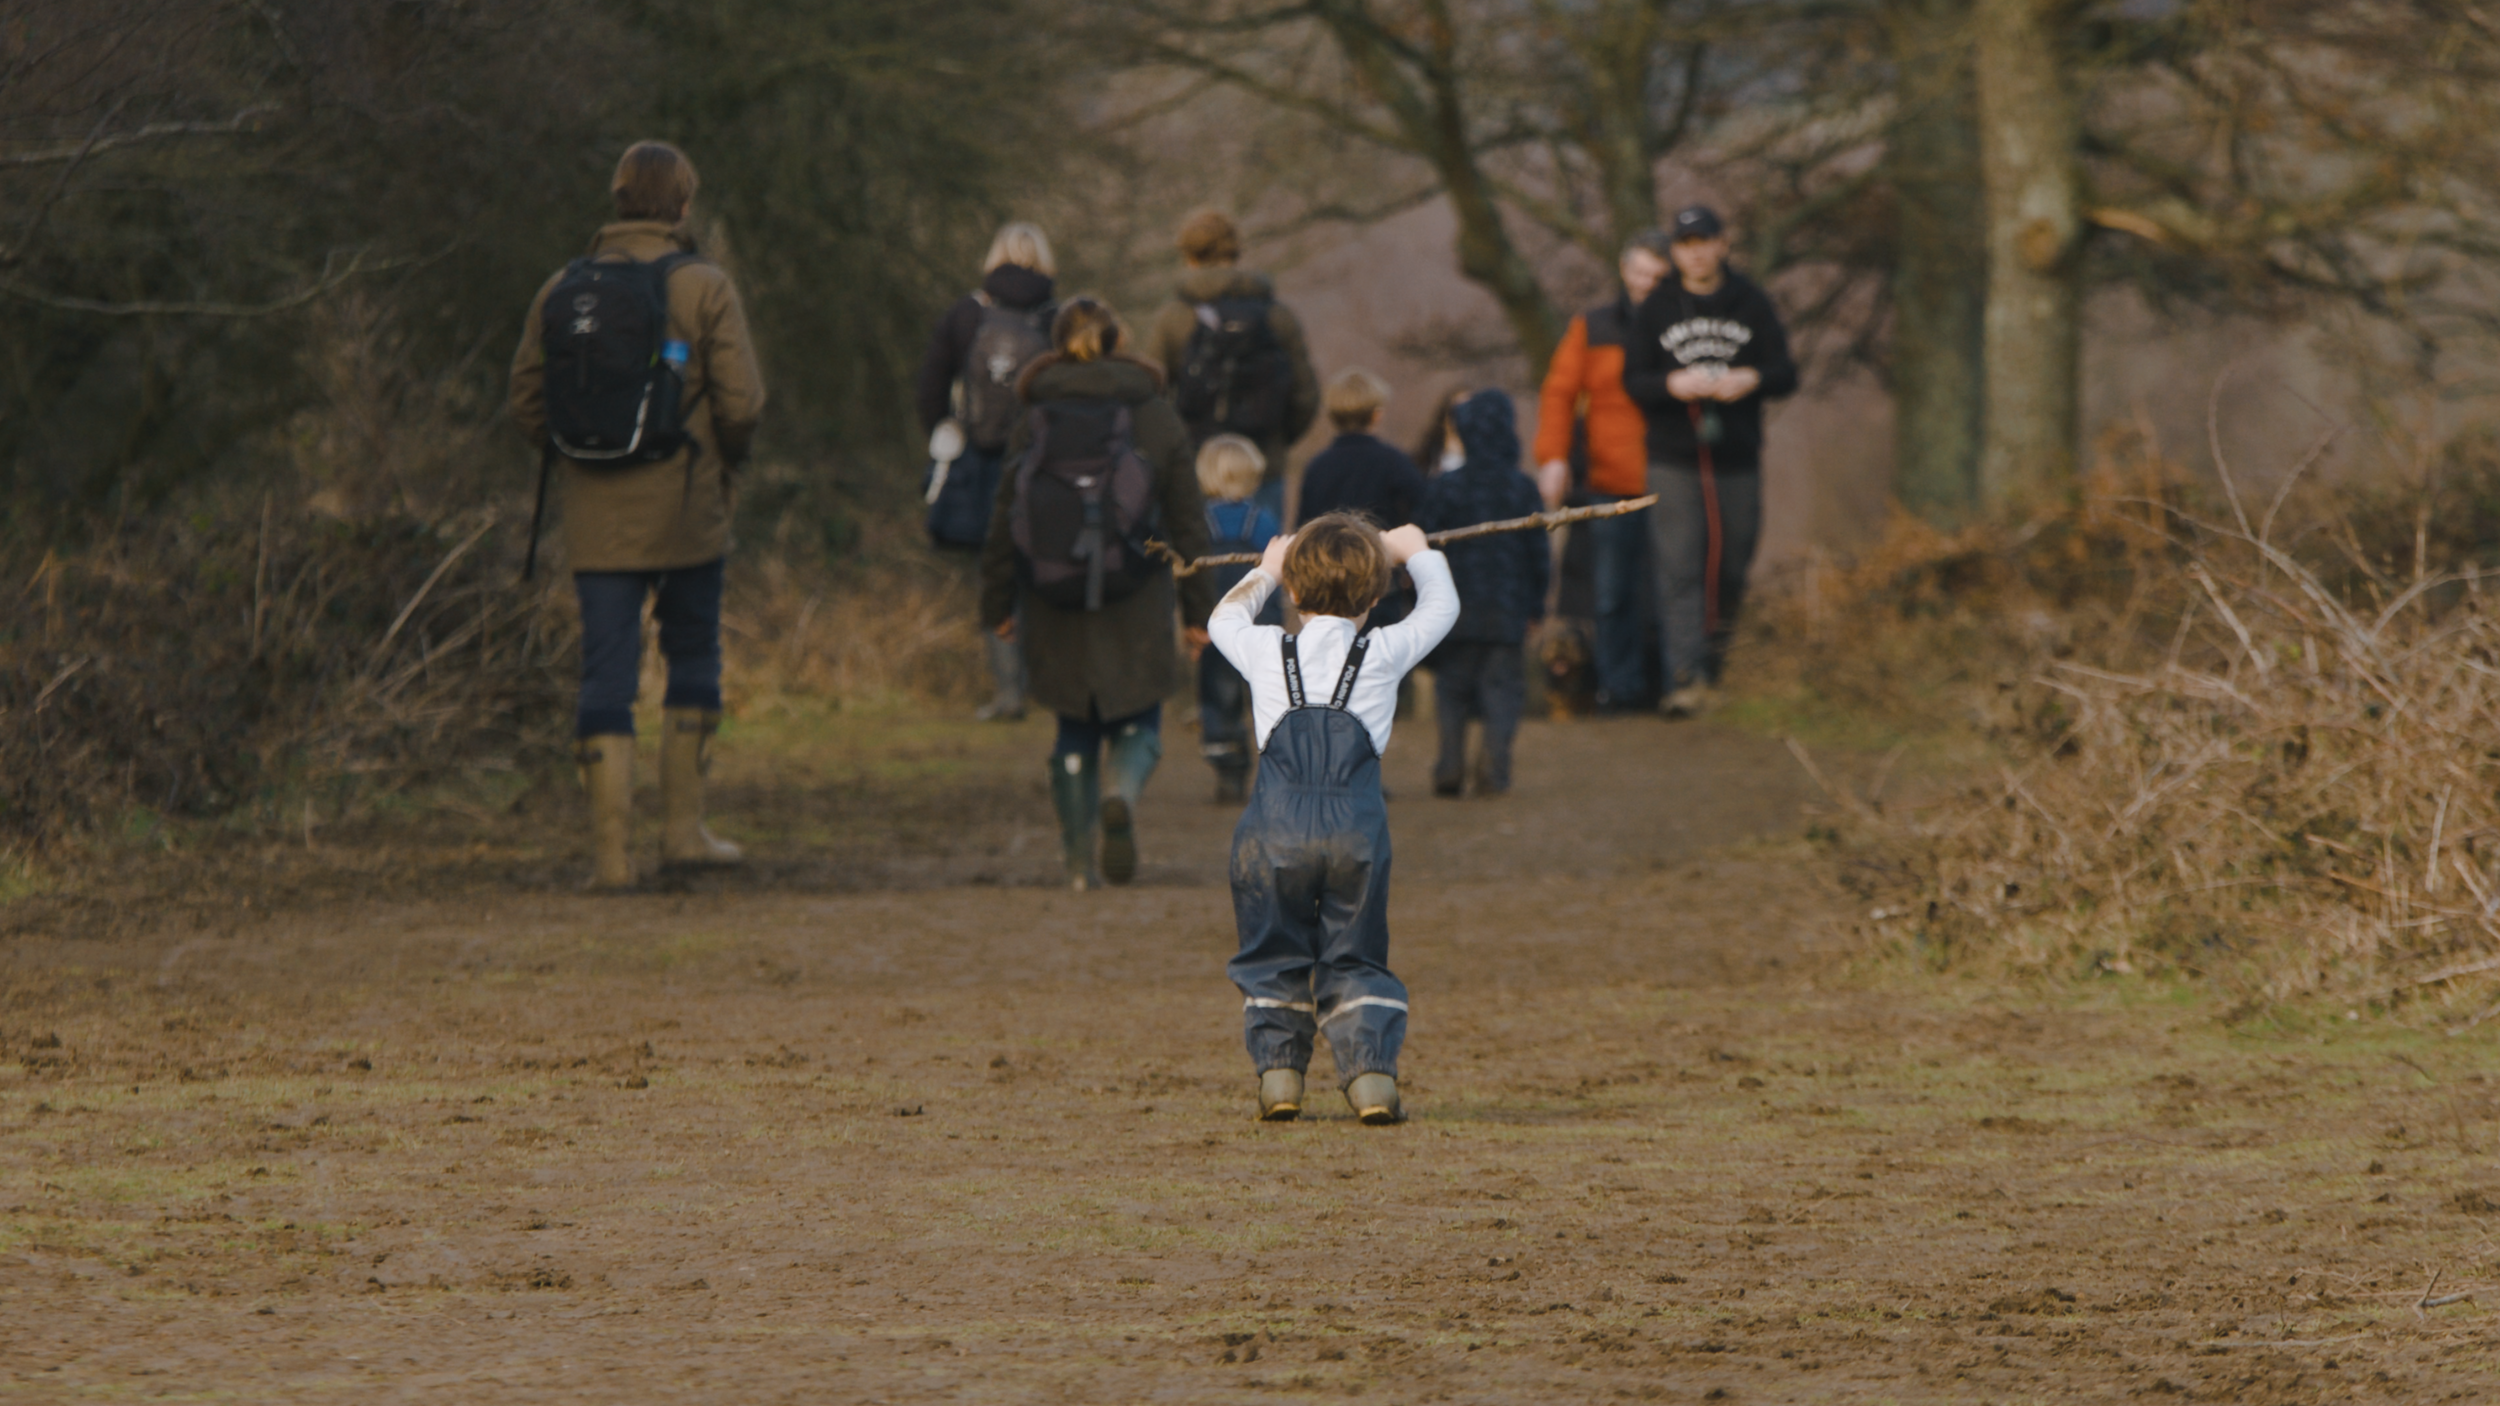
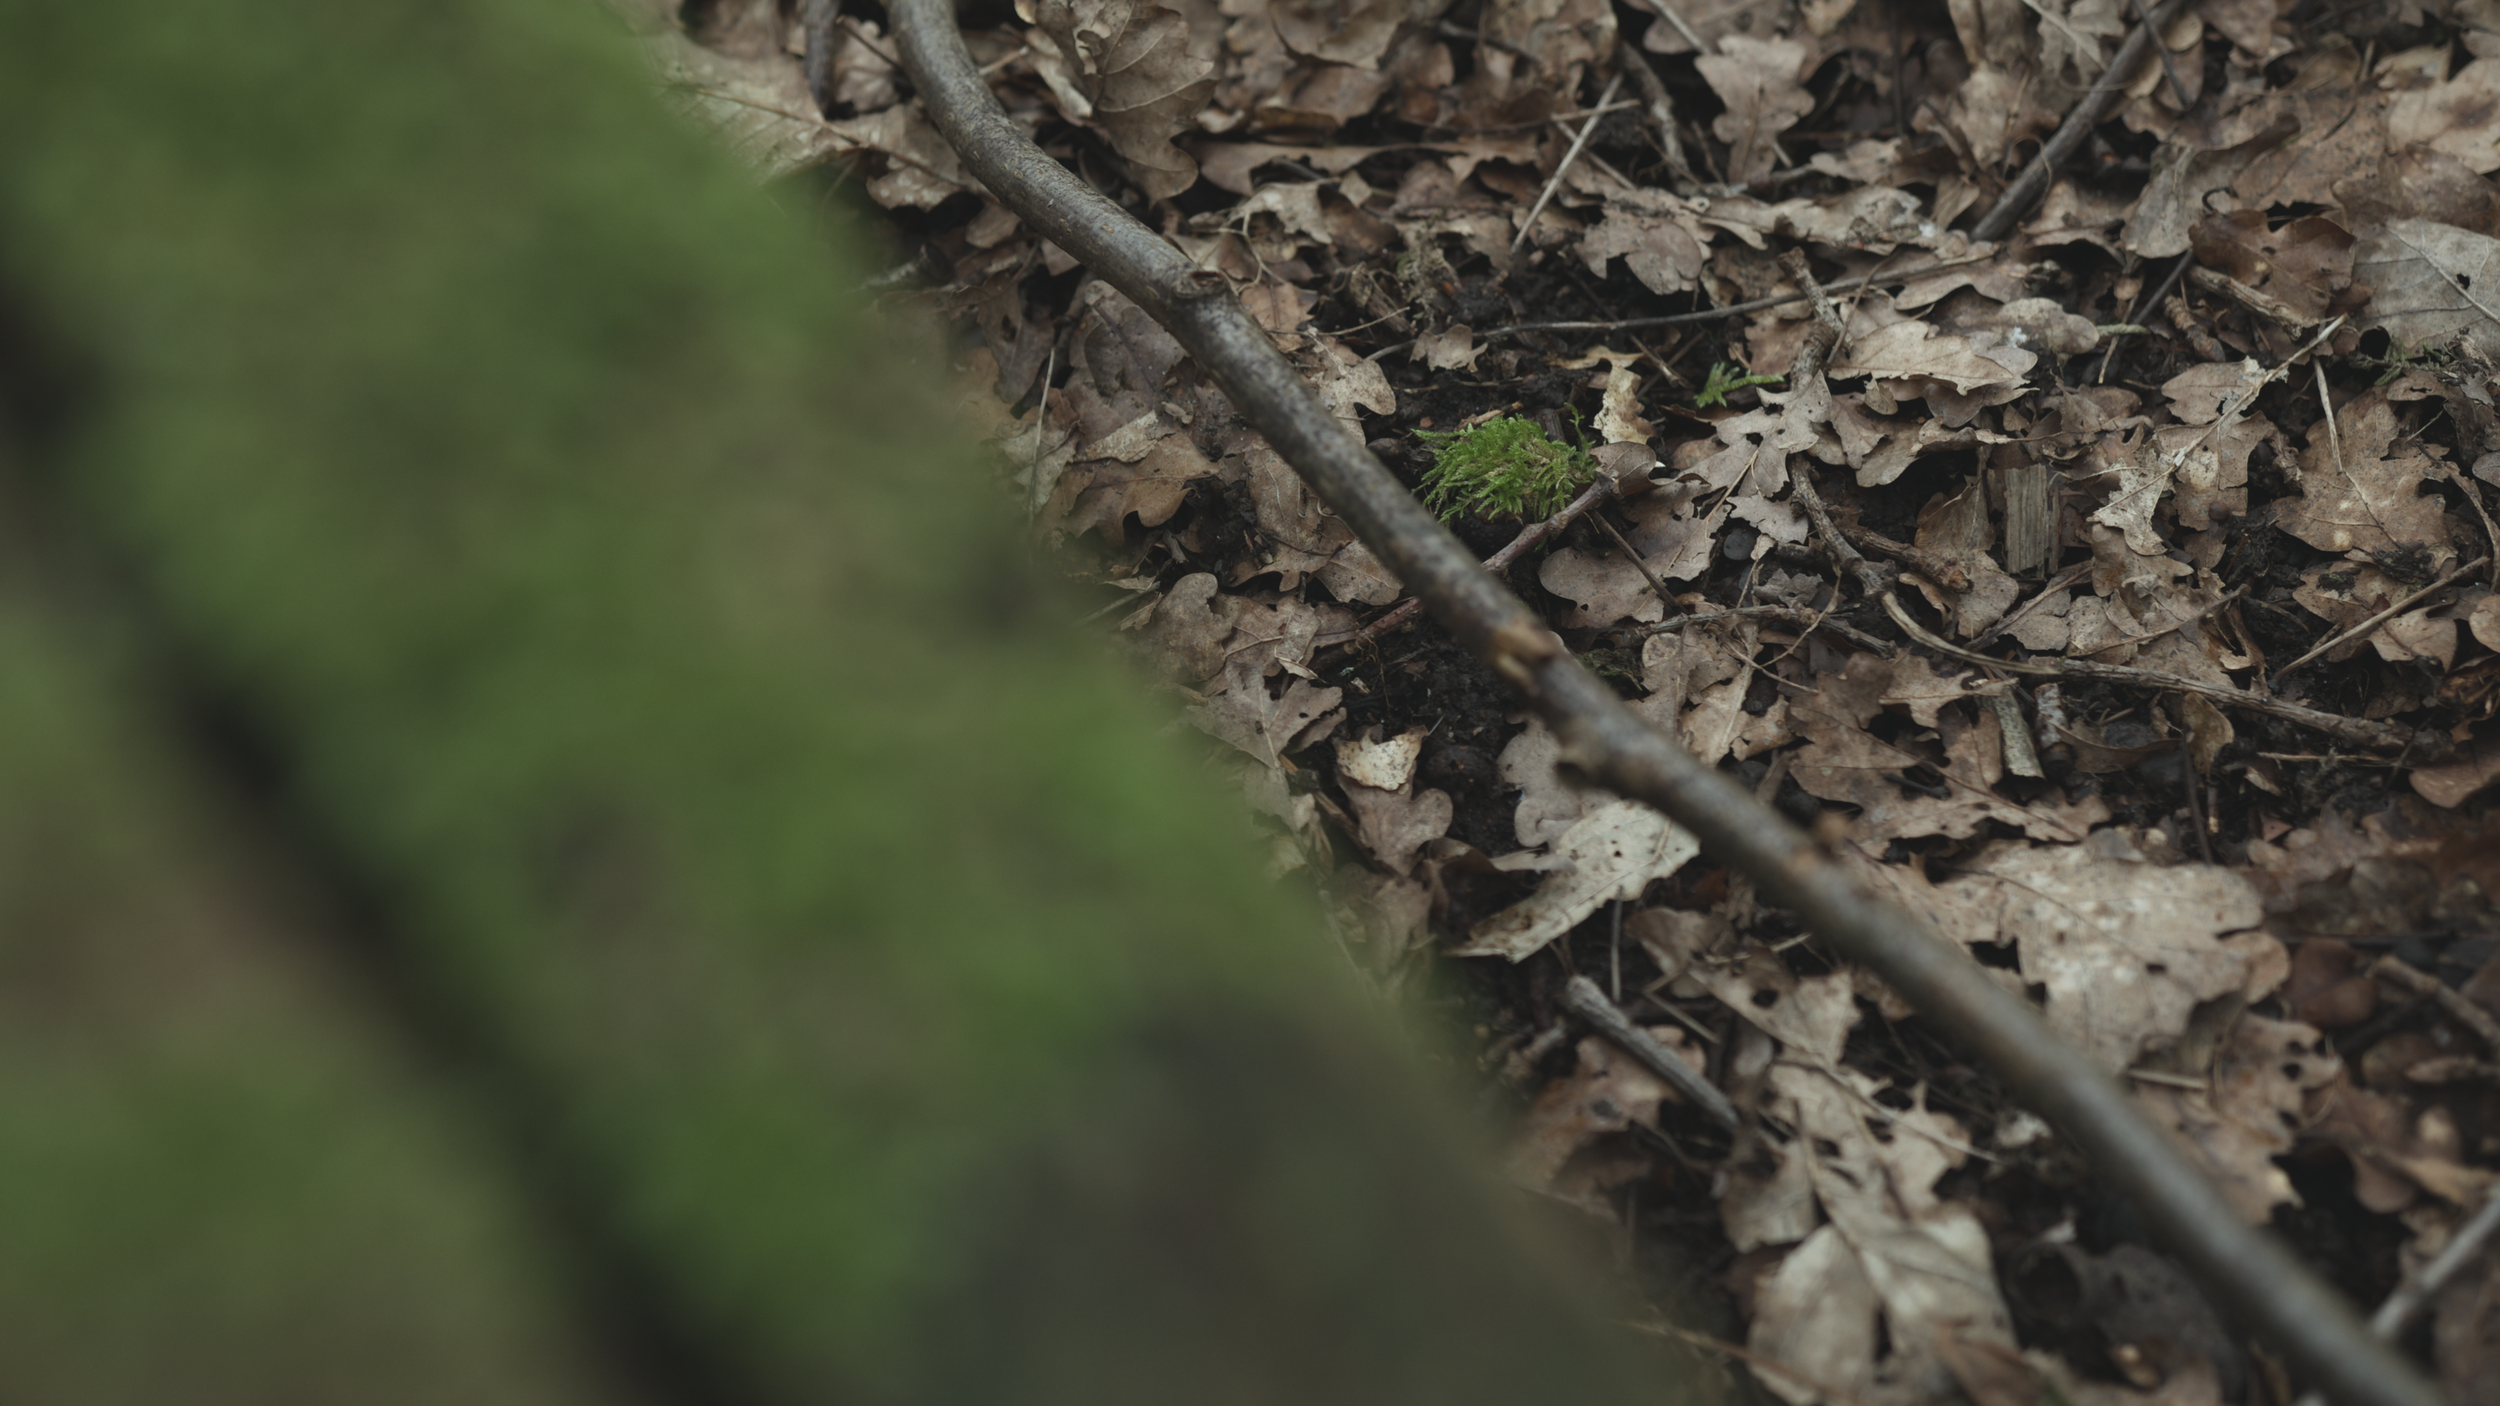
The footage is really nice to work with, and I did come up with a few alternative looks for the video that showed how flexible it is. The brown bracken and trees with no leaves lended itself to a warmer, autumnal feeling. It could also be a colder scene with a bleach bypass look. I would be curious to know what version you prefer.

Any Secrets?
I used two lenses for this; the Sigma 18-35 F/1.8 and 70-200 F/2.8. Despite the pleasing bokeh, I never shot wide open to retain better image sharpness and depth of field control. The wider shots on the 18-35 were mainly at F/2.8 and F/4, while the telephoto shots on the 70-200 were also at F/4 and F/8 for the shots with much more depth.

Behind the scenes photo by Lizzie Page
Aren’t RAW Data Rates Huge?
Yes, they can me huge, but even RAW is going through some kind of compression. The Video Assist has a number of Blackmagic RAW flavours to choose from in Constant Quality and Constant Bitrate settings. Both have varying levels of compression and therefore varying file sizes too. For this video I chose to use the Constant Quality Q5 setting to make the resulting file size manageable. I had no need for huge files, and truth be told I haven’t the storage for it either! Please check out the table below for a breakdown of common RAW formats and the resulting amount of footage that can be captured on a 128GB V90 SD card and a Samsung T5 1TB SSD drive.


Working With Blackmagic RAW Footage In Premiere Pro
First off make sure that you have the sidecar file installed, which allows Premiere Pro to work with the BRAW file format. They are not recorded as common ProRes files which can be opened in VLC or without converting.
When imported, the clips have a sub menu allowing the editor to adjust the Master file. Depending on camera metadata or clip setting selected, the white balance, colour spaces, exposure, colour temp and tint can be adjusted. Your primary adjustments can be made here.
In the Colour workspace and Lumetri, you can then apply the linear curve, further adjustments, creative looks and secondary corrections. This is particularly useful for matching clips.
When it comes to playback and rendering, it is comparatively faster than internal camera files which are encoded in .MOV or .MP4 formats (much more compressed). This did make the post process more enjoyable and less time consuming.
How Far Can You Push and Pull The Blackmagic RAW Footage?
First off this depends on whether you have sufficient information across the image; in the shadows, mid tones and highlights. If that information hasn’t been recorded due to incorrect exposure setting, it won’t be possible to ‘recover’ it. To give you an example of this, I have selected a clip which has sufficient detail across the image with no crushing or blowing out. It should give you an idea of noise in the image when the exposure is adjusted.
Again, make sure that you set to watch the video in HD.
IMPORTANT NOTE
You must choose the correct SDI to micro-SDI cable for the VA 12G 5-inch model, as it is DIFFERENT to the original 3G cable.
You will need THIS type of cable - Micro BNC to Male Full Size BNC. Not THIS type of cable - Male BNC for Blackmagic Video Assist. So be very careful that you purchase the correct one.

Size Comparison…
That is the ANDYCINE C7 (7-inch) 4K monitor on the EVA-1. It still takes 2 x NPF type batteries, but does not have an internal recording feature.

Compar-ed to the Video Assist
5” monitor (with 2 x NPF type batteries).

Formats and resolutions
There are quite a few…
What About Other Formats and Resolutions?
The different sensor readouts and whether you are outputting via SDI or HDMI will determine the range of formats the EVA-1 can send to the VA 12G to record. I have done my best to list them all below.
So, What Are The Benefits of Shooting in RAW and 5.7K?
As the title question poses, what are the benefits?
First and foremost is the full sensor readout in a higher resolution. Yes the camera can record a down-sampled 4K image internally but at a considerably lower data rate. You can take the full resolution of the EVA-1 and pair it with a manageable RAW file for post. That goes for the other resolutions available too, albeit a small crop in 4K DCI and 2K DCI.
There is also the 14 stops of dynamic range to make use of too, which if exposed correctly can be fully taken advantage of.
If you don’t really need RAW, you can always output HDMI from the EVA-1 to the VA and record in ProRes 4K/25, 4K/50 et al (no crop). That is a solution that I used I have employed in the past.
But I get 6K from the Blackmagic Pocket Cinema Camera 6K, with RAW internally?! Yes! But you also don’t have internal ND’s, professional audio and a form factor that suits multi-use filming scenarios.

Behind the scenes photo by Lizzie Page
Final Thoughts
I will be selective when choosing to shoot in BRAW. Extensive post workflow, yes. Wider dynamic range situations, yes. Productions that don’t necessarily warrant the storage or colour work, probably not. That being said, if you are being selective with your shots or are in a controlled environment, you will have more time to compose the lighting, movement and talent. That will result it a more efficient flow of image capture, where the amount of data handled can be reduced.
As I use BRAW more, I will make sure to update this post and our social channels. Keep up to date by giving us a like or follow. You can also ask any questions, or leave comments at the bottom of the article too.