vitec

APV Filming at Coronation Street, ITV and dock10 Studios for The IABM!

Way back in November, myself and Dick Hobbs began the pre-production of a new training video covering the behind the scenes of a television studio for the IABM. Unfortunately for me, it was difficult to pin down a location that close to Christmas and New Year with access to studios, galleries and other areas. Dick luckily got the go ahead for filming at the Corrie studios mid-way through BVE, so prep quickly began after.

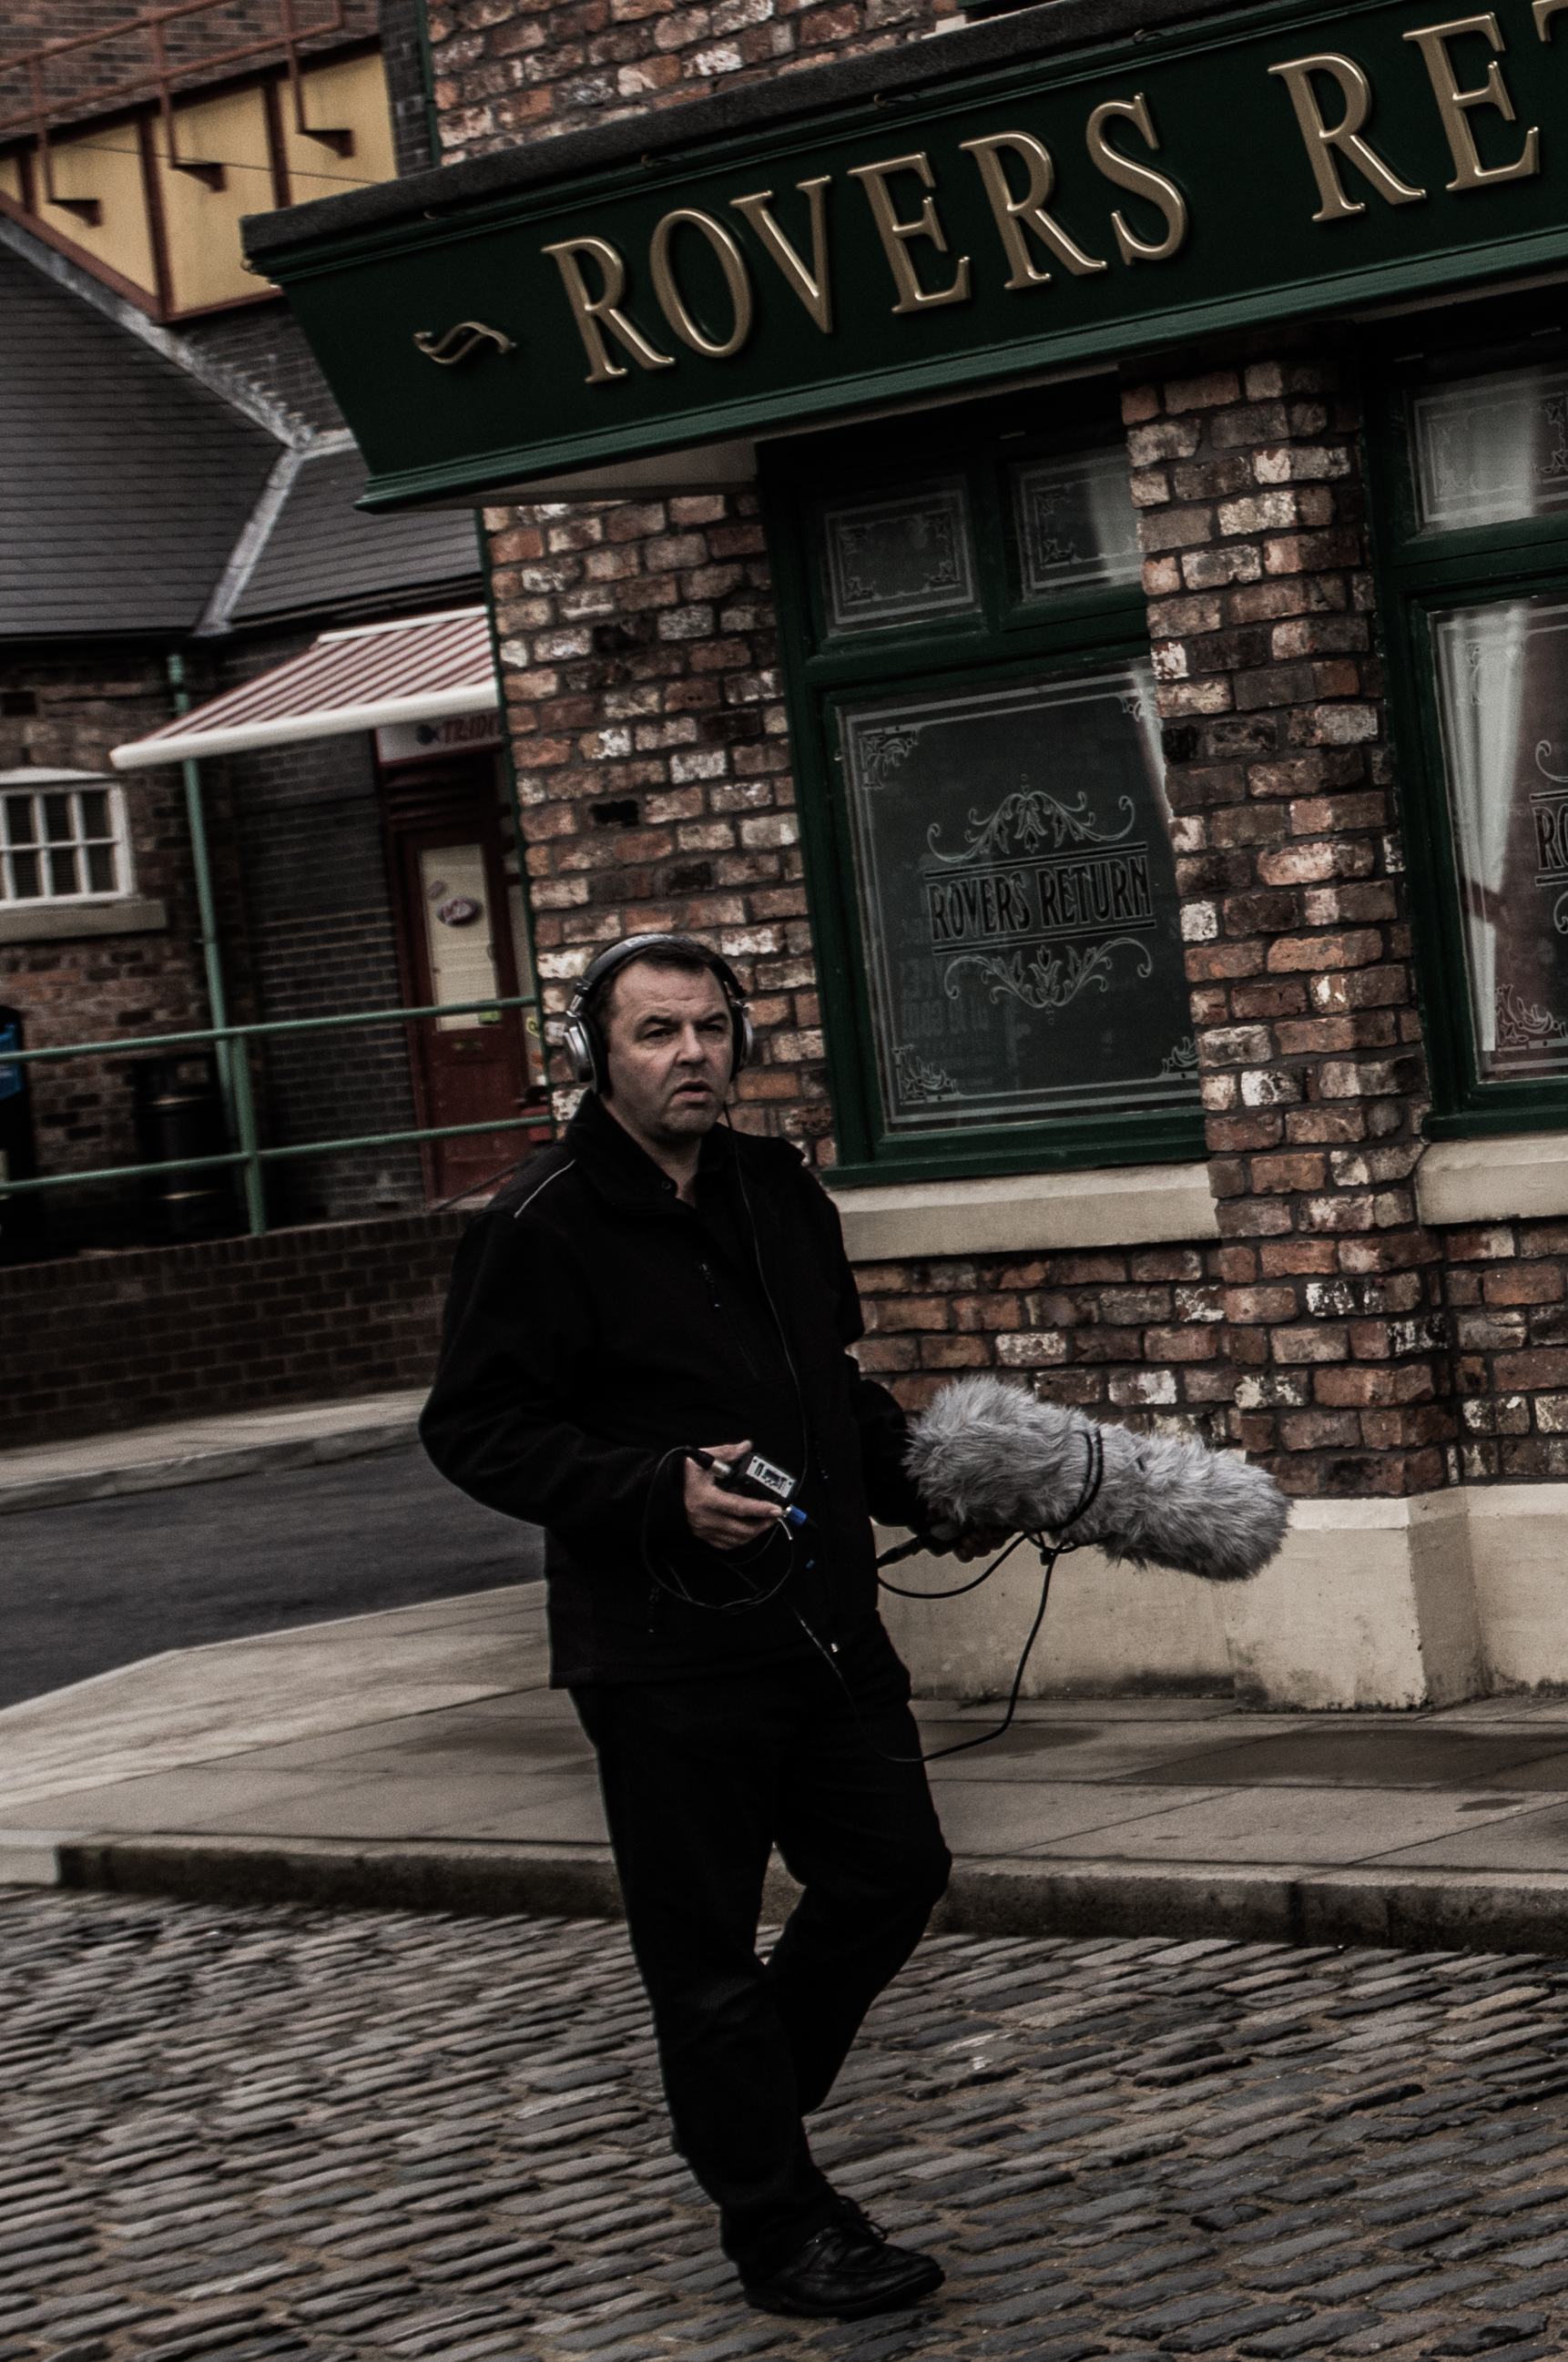
My trusty crew was Glen, who operated the AutoScript for our presenter Georgie, and John Harris on audio (from JHWF). Dick made sure we were all in check with the script while I lugged around the camera and prompter :)

As there were three of us travelling up to Manchester on the Monday night, I chose to drive from Surrey, which was pretty straightforward, just a heck of a long journey to make at the end of the day. We arrived after a couple of toilet and coffee stops at 9:30, dropped the gear and headed to the table Georgie and Dick had. Beer was served and all was well!

As Dick and myself had planned the shoot well, I selected just the right amount of equipment needed. We were on a restricted budget so I opted to stick with my camera and audio setup rather than hire in a camera. We also borrowed an AutoScript from Vitec, to relay the rather technically heavy (at some points) script to our brilliant presenter.

The equipment list (rather sparing for this shoot!):

Canon 5D mk III

Canon 60D

Sigma 70-200mm F/2.8 OS

Tamron 24-70mm F/2.8 VC

Tamron 17-50mm F/2.8 VC

Canon 50mm F/1.8

Manfrotto 536 Carbon Fibre tripod

Manfrotto 504 Video head

Manfrotto 755CX3 Carbon fibre tripod + MVH500 AH head

Manfrotto Spectra 900FT LED light

Manfrotto Master light stand

Zoom H6 audio recorder

Rode Lavalier microphone

Sennheiser ENG-G3 wireless RxTx for lav mic

AutoScript prompter

All of camera and audio kit fitted into the AWESOME Manfrotto Pro Light 35 Backpack: I use the top compartment for the audio gear and accessories, the main sections for camera storage, and the back compartment for my laptop. It's a very comfortable carry regardless of the weight, and if I was walking/traveling for a longer time I just strapped on the waist support to take the weight off my shoulders. The front pockets are especially handy for grabbing memory card wallets and batteries quickly, as that is the most common thing I go to my bag for! Glen wheeled the prompter station around on it's pelicase, there was no way all of that could have fitted in! I did check the other day for AutoScript on tablets, which would be a much more viable solution for me.

In the MF bag for the big tripod I also brought a set of rails (just in case we needed them for the prompter) and the hydrostatic arm with the super clamp attached. You never know when they will come in handy, and when we were there I spotted one on the set!

Holiday Inn MediaCity

For anyone working at MediaCity needing to spend the night somewhere, the Holiday Inn right in the center is perfect. From above the first floor is the dock10 studios, offices and editing HQ, but you would have no idea it was there when you reach the 8th - 15th floor for your room. Plushly furnished, executive desk/workspace and a wonderful bathroom. One of the best I've been in!!

Day 1

We had a talk about the shoot ahead, as it would be hit and miss on the locations we were aiming to film in due to working around the current productions at Corrie (4 different crews filming that day), we needed to make the most of our available time. After a short walk across the quay, opposite Old Trafford stands the new Coronation Street and ITV Studios.

Upon arrival, we were greeted with coffee, then a guided tour of the facility to get to grips with our new location for the next two days. It was quite nerve-racking for me being a tiny video producer in the shadow of ITV, but I was also in awe of the scale and technology that has been used to make Coronation Street such an iconic television program.

We began the filming in what I now know as the 'Windas' flat, capturing some GV and B-roll of the system cameras, microphone booms, lighting setups and the set itself, clips that would be used throughout the video.

Camera settings: Tungsten white balance to match set lights, sticking to 1/50 shutter, aperture of F/5.6 and ISO ranging from 400-1600.
Mostly shot on Tamron 24-70 F/2.8 and Sigma 70-200 F/2.8.
— Adam

I also shot some more material in the Rovers interior set, which has a new LED lighting rig, in comparison to the other tungsten lit sets. It was impressive being in there, and was much smaller in reality, but we pulled up a chair at one of the booths and started recording the voice overs as the prompter hadn't arrived for the shoot yet!

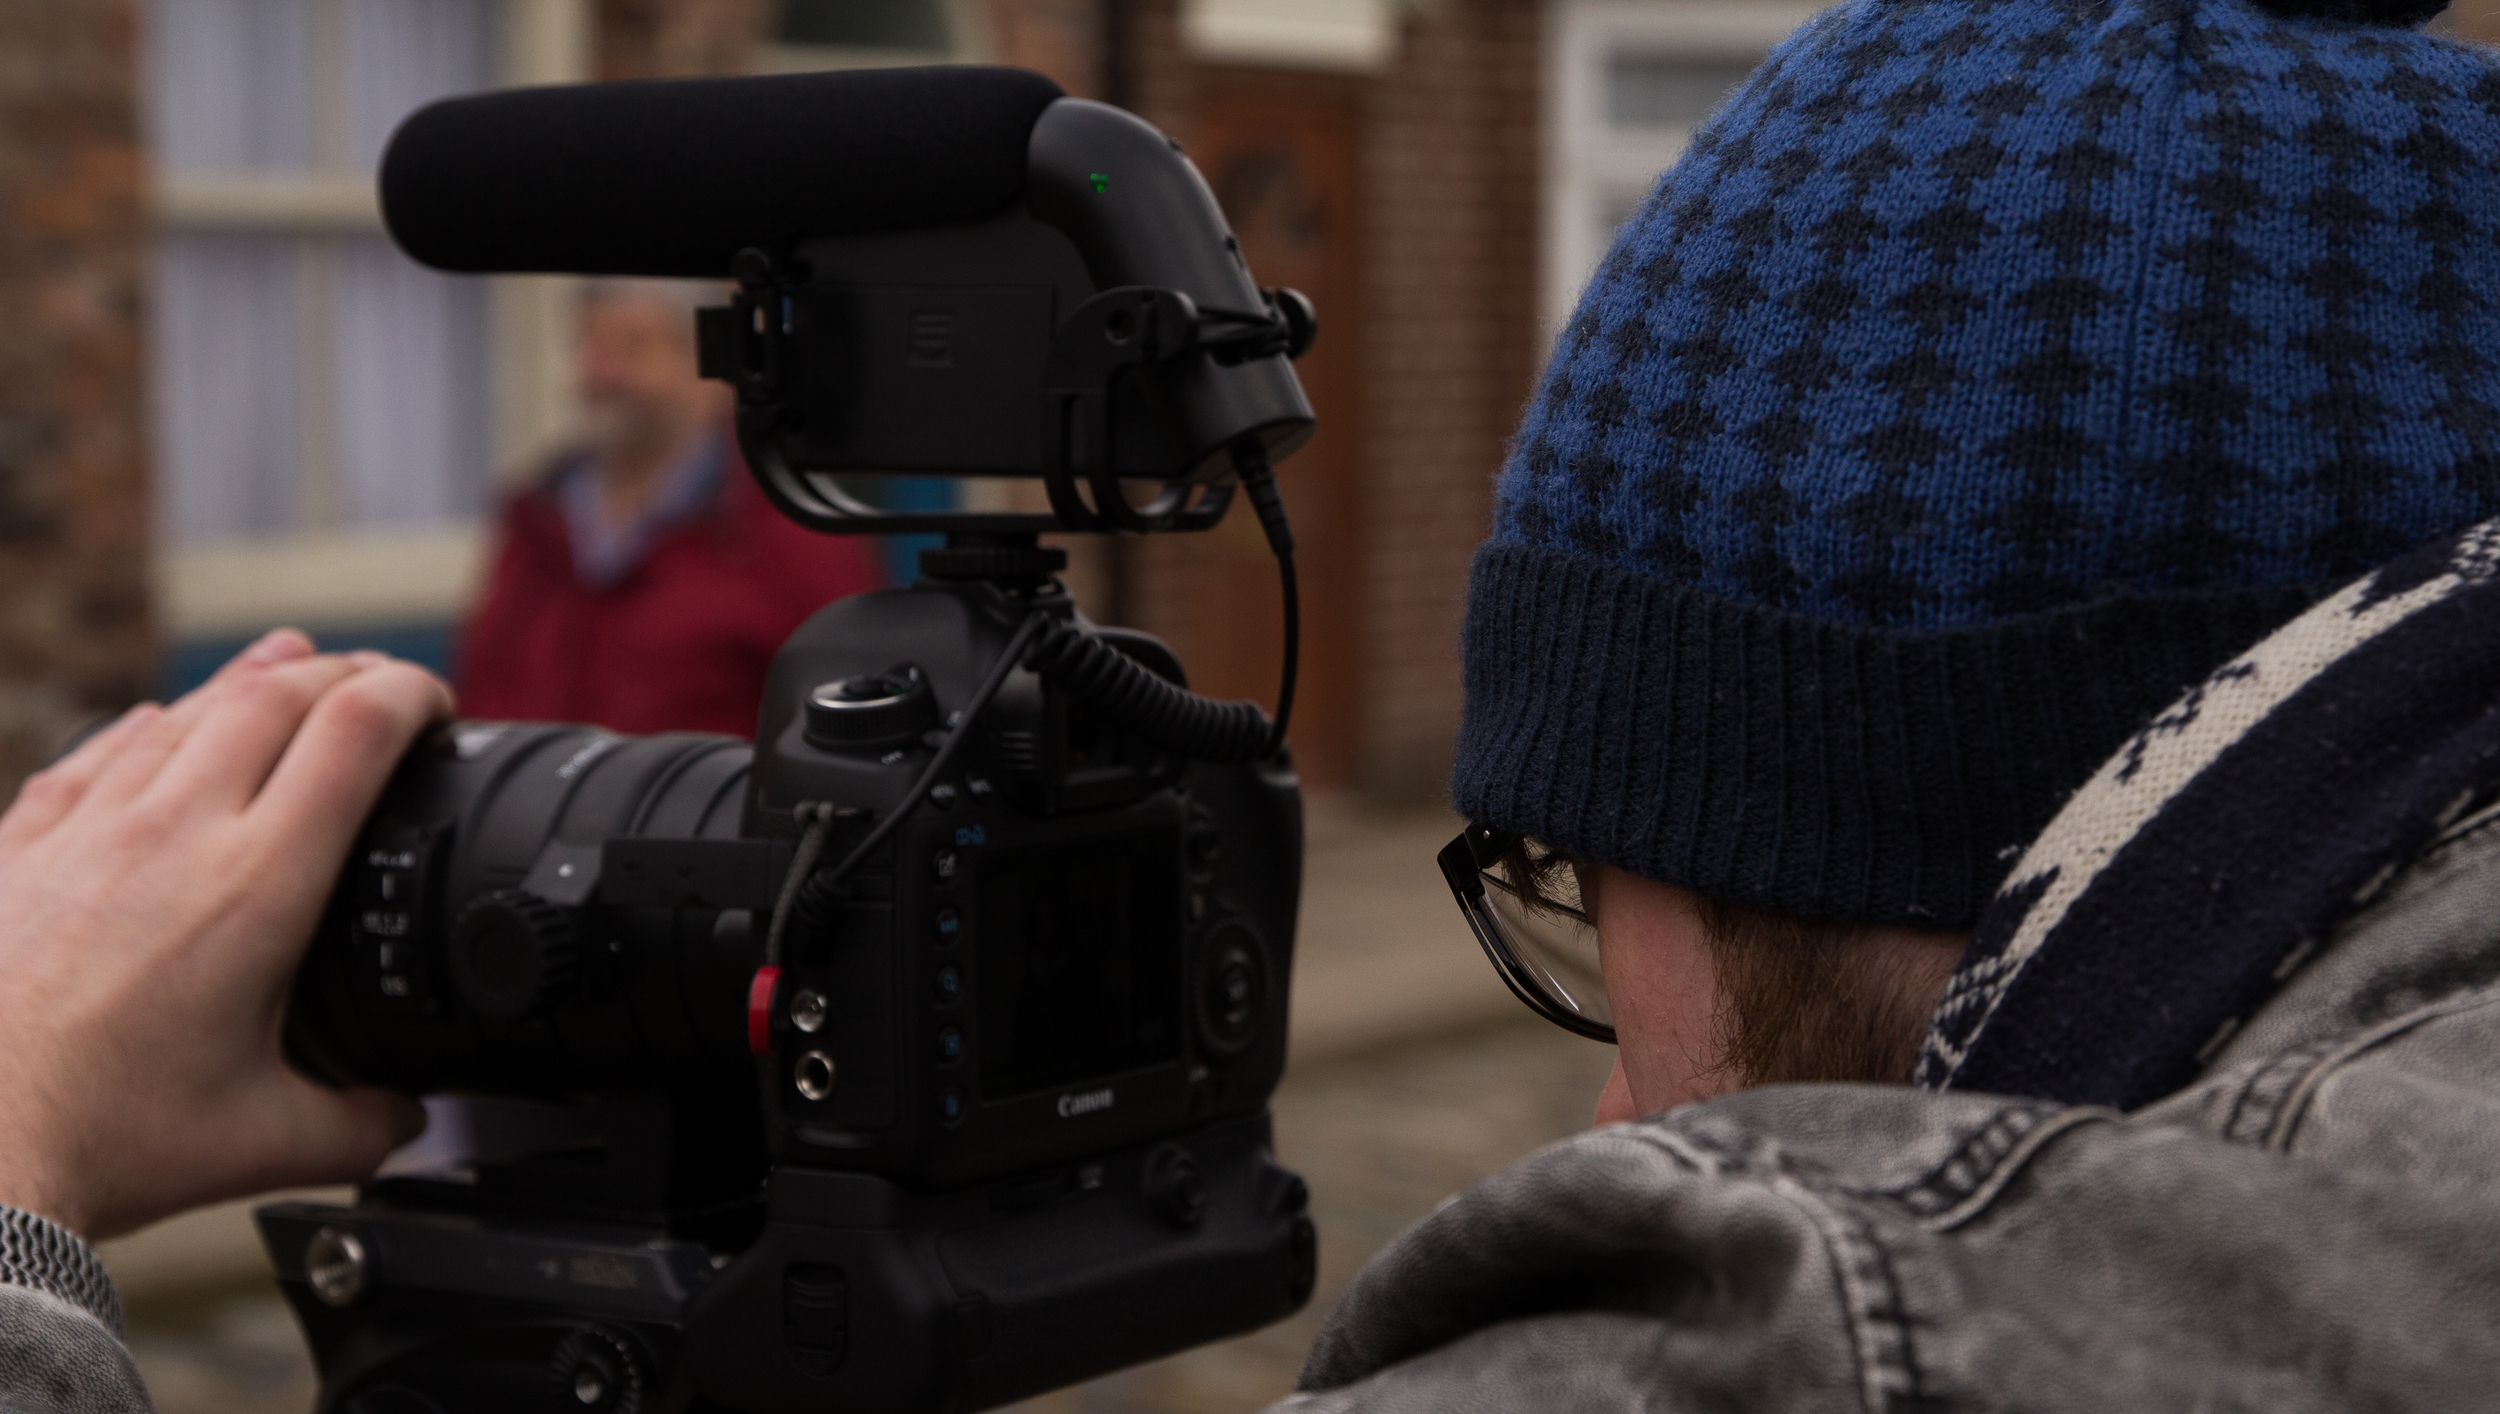
For lavalier microphones, remember to attach them upwards or downwards depending on your subjects speech to avoid pops and hisses. Try to always record a back up audio track too, just in case your plan fails. Here we have 3 separate tracks recording on the H6: lavalier on presenter, gun mic and the mid side mic attachment on the device.

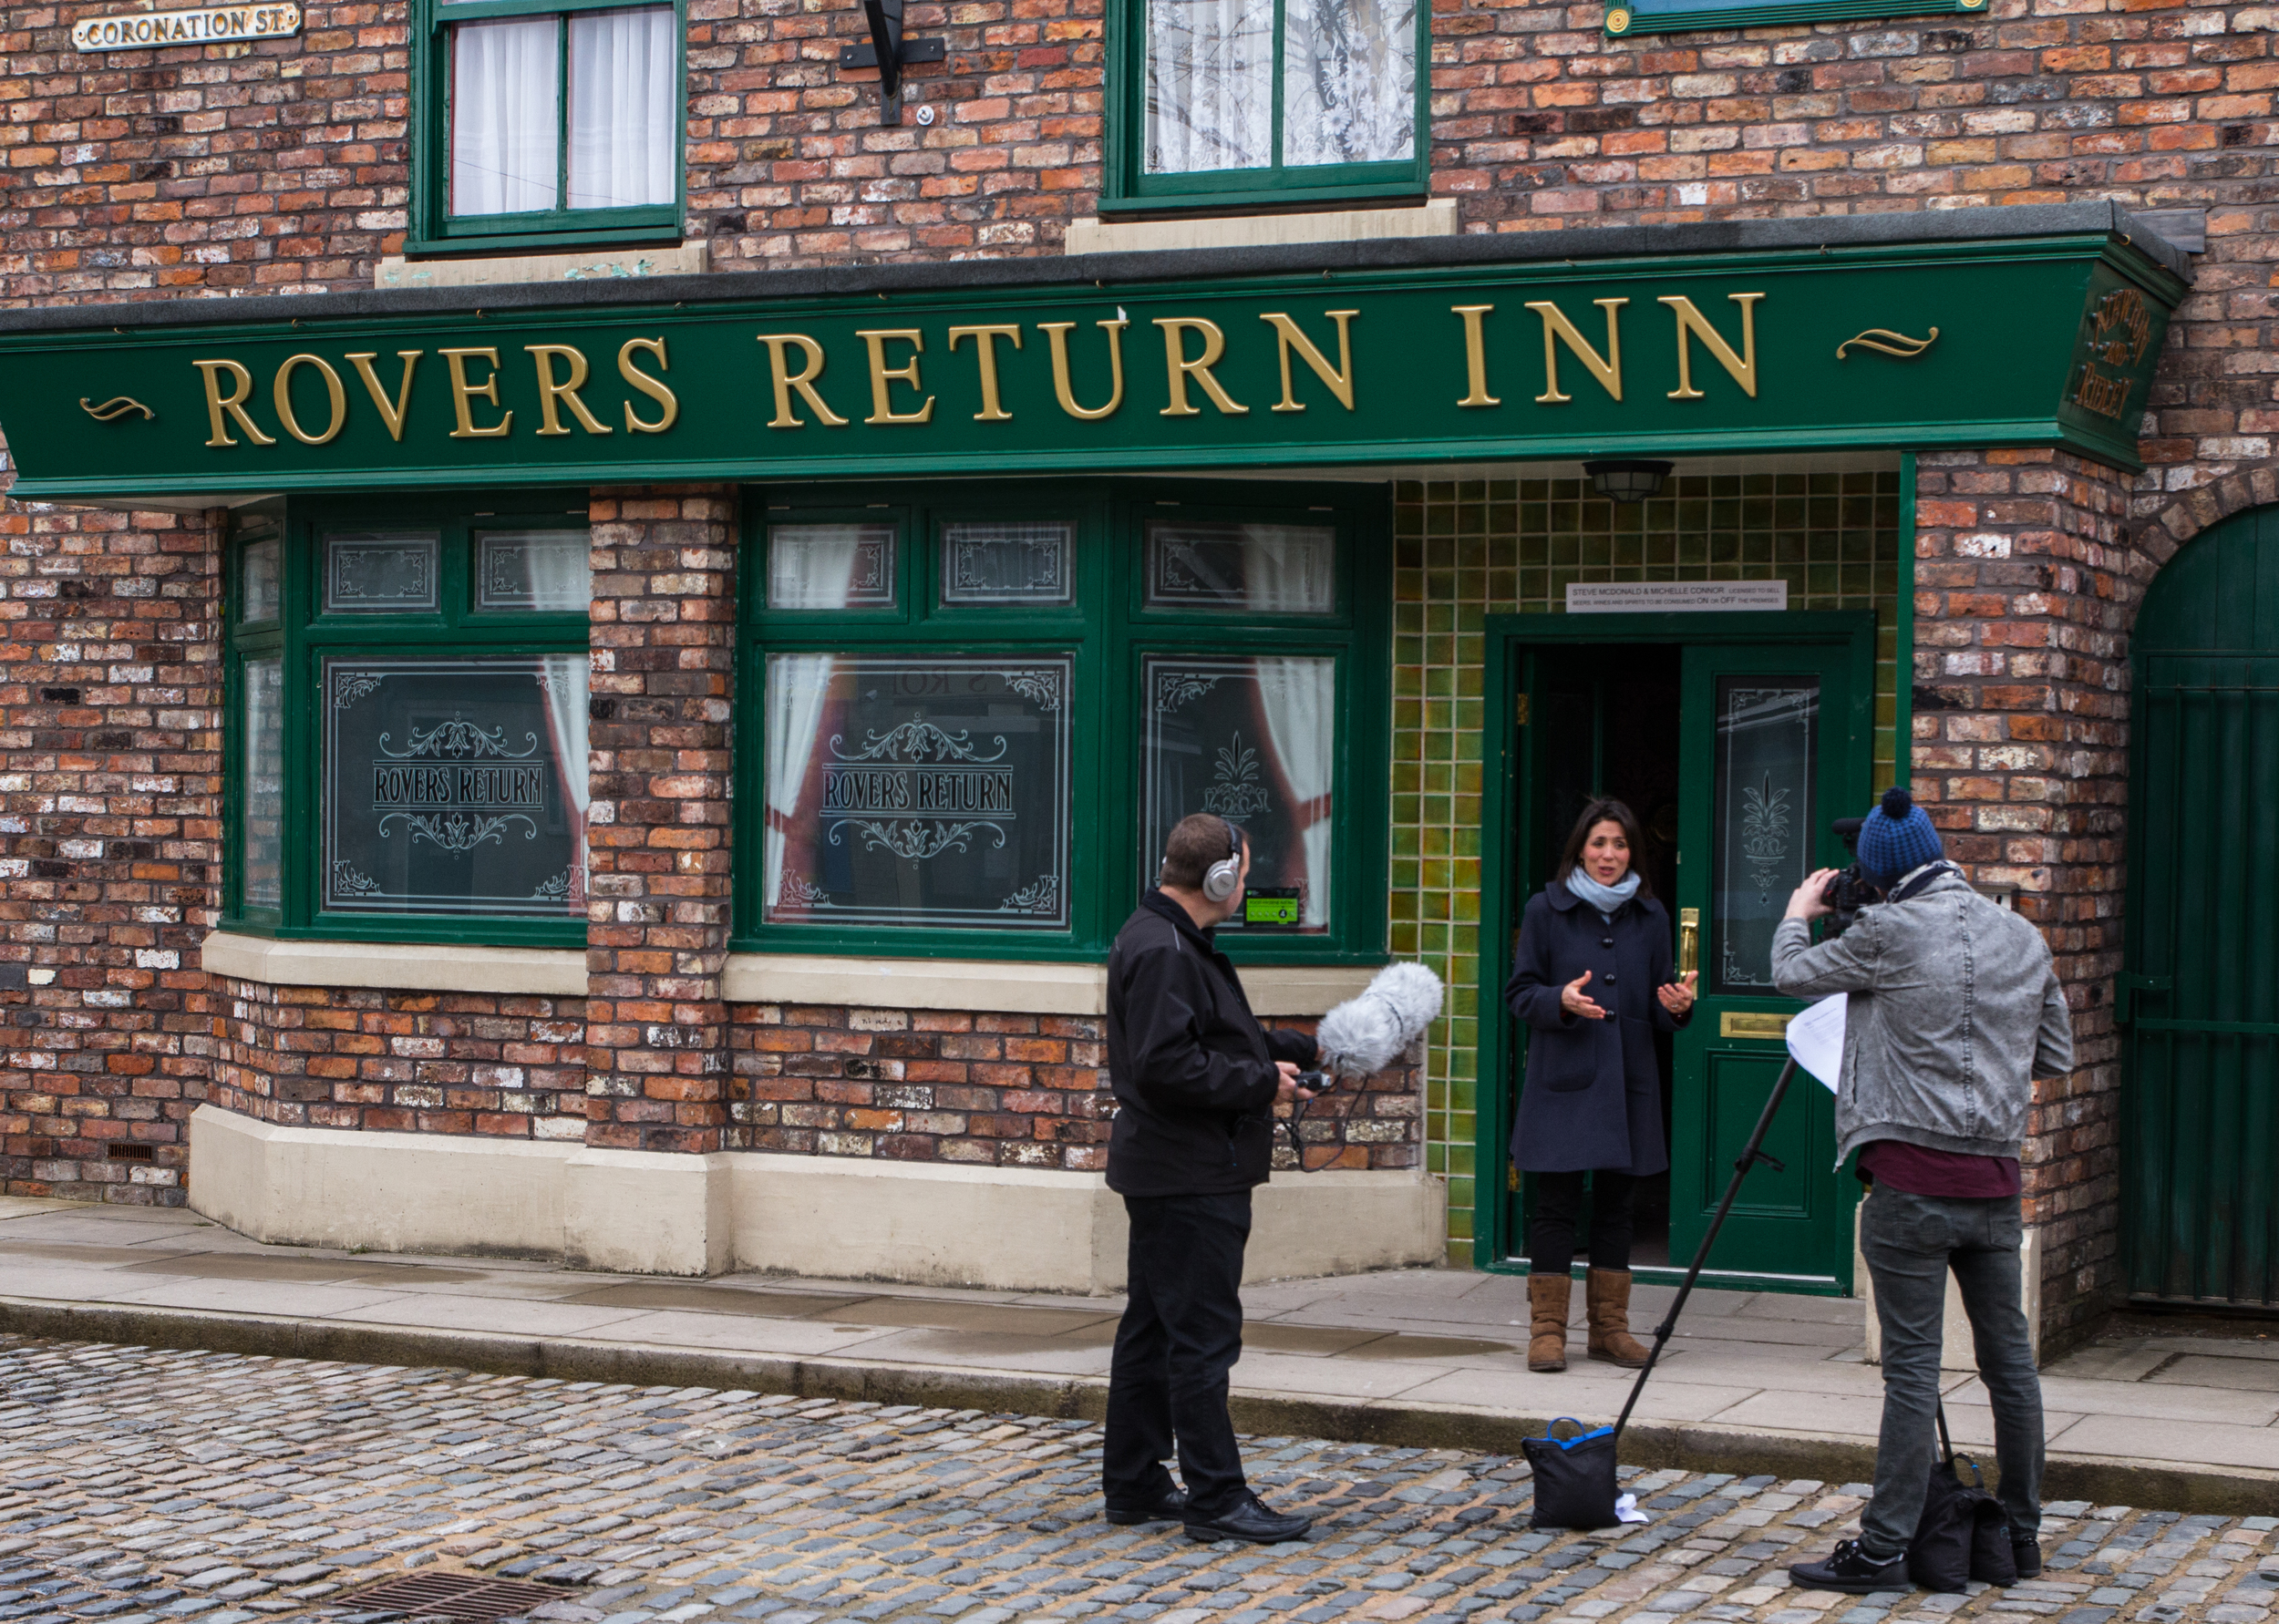
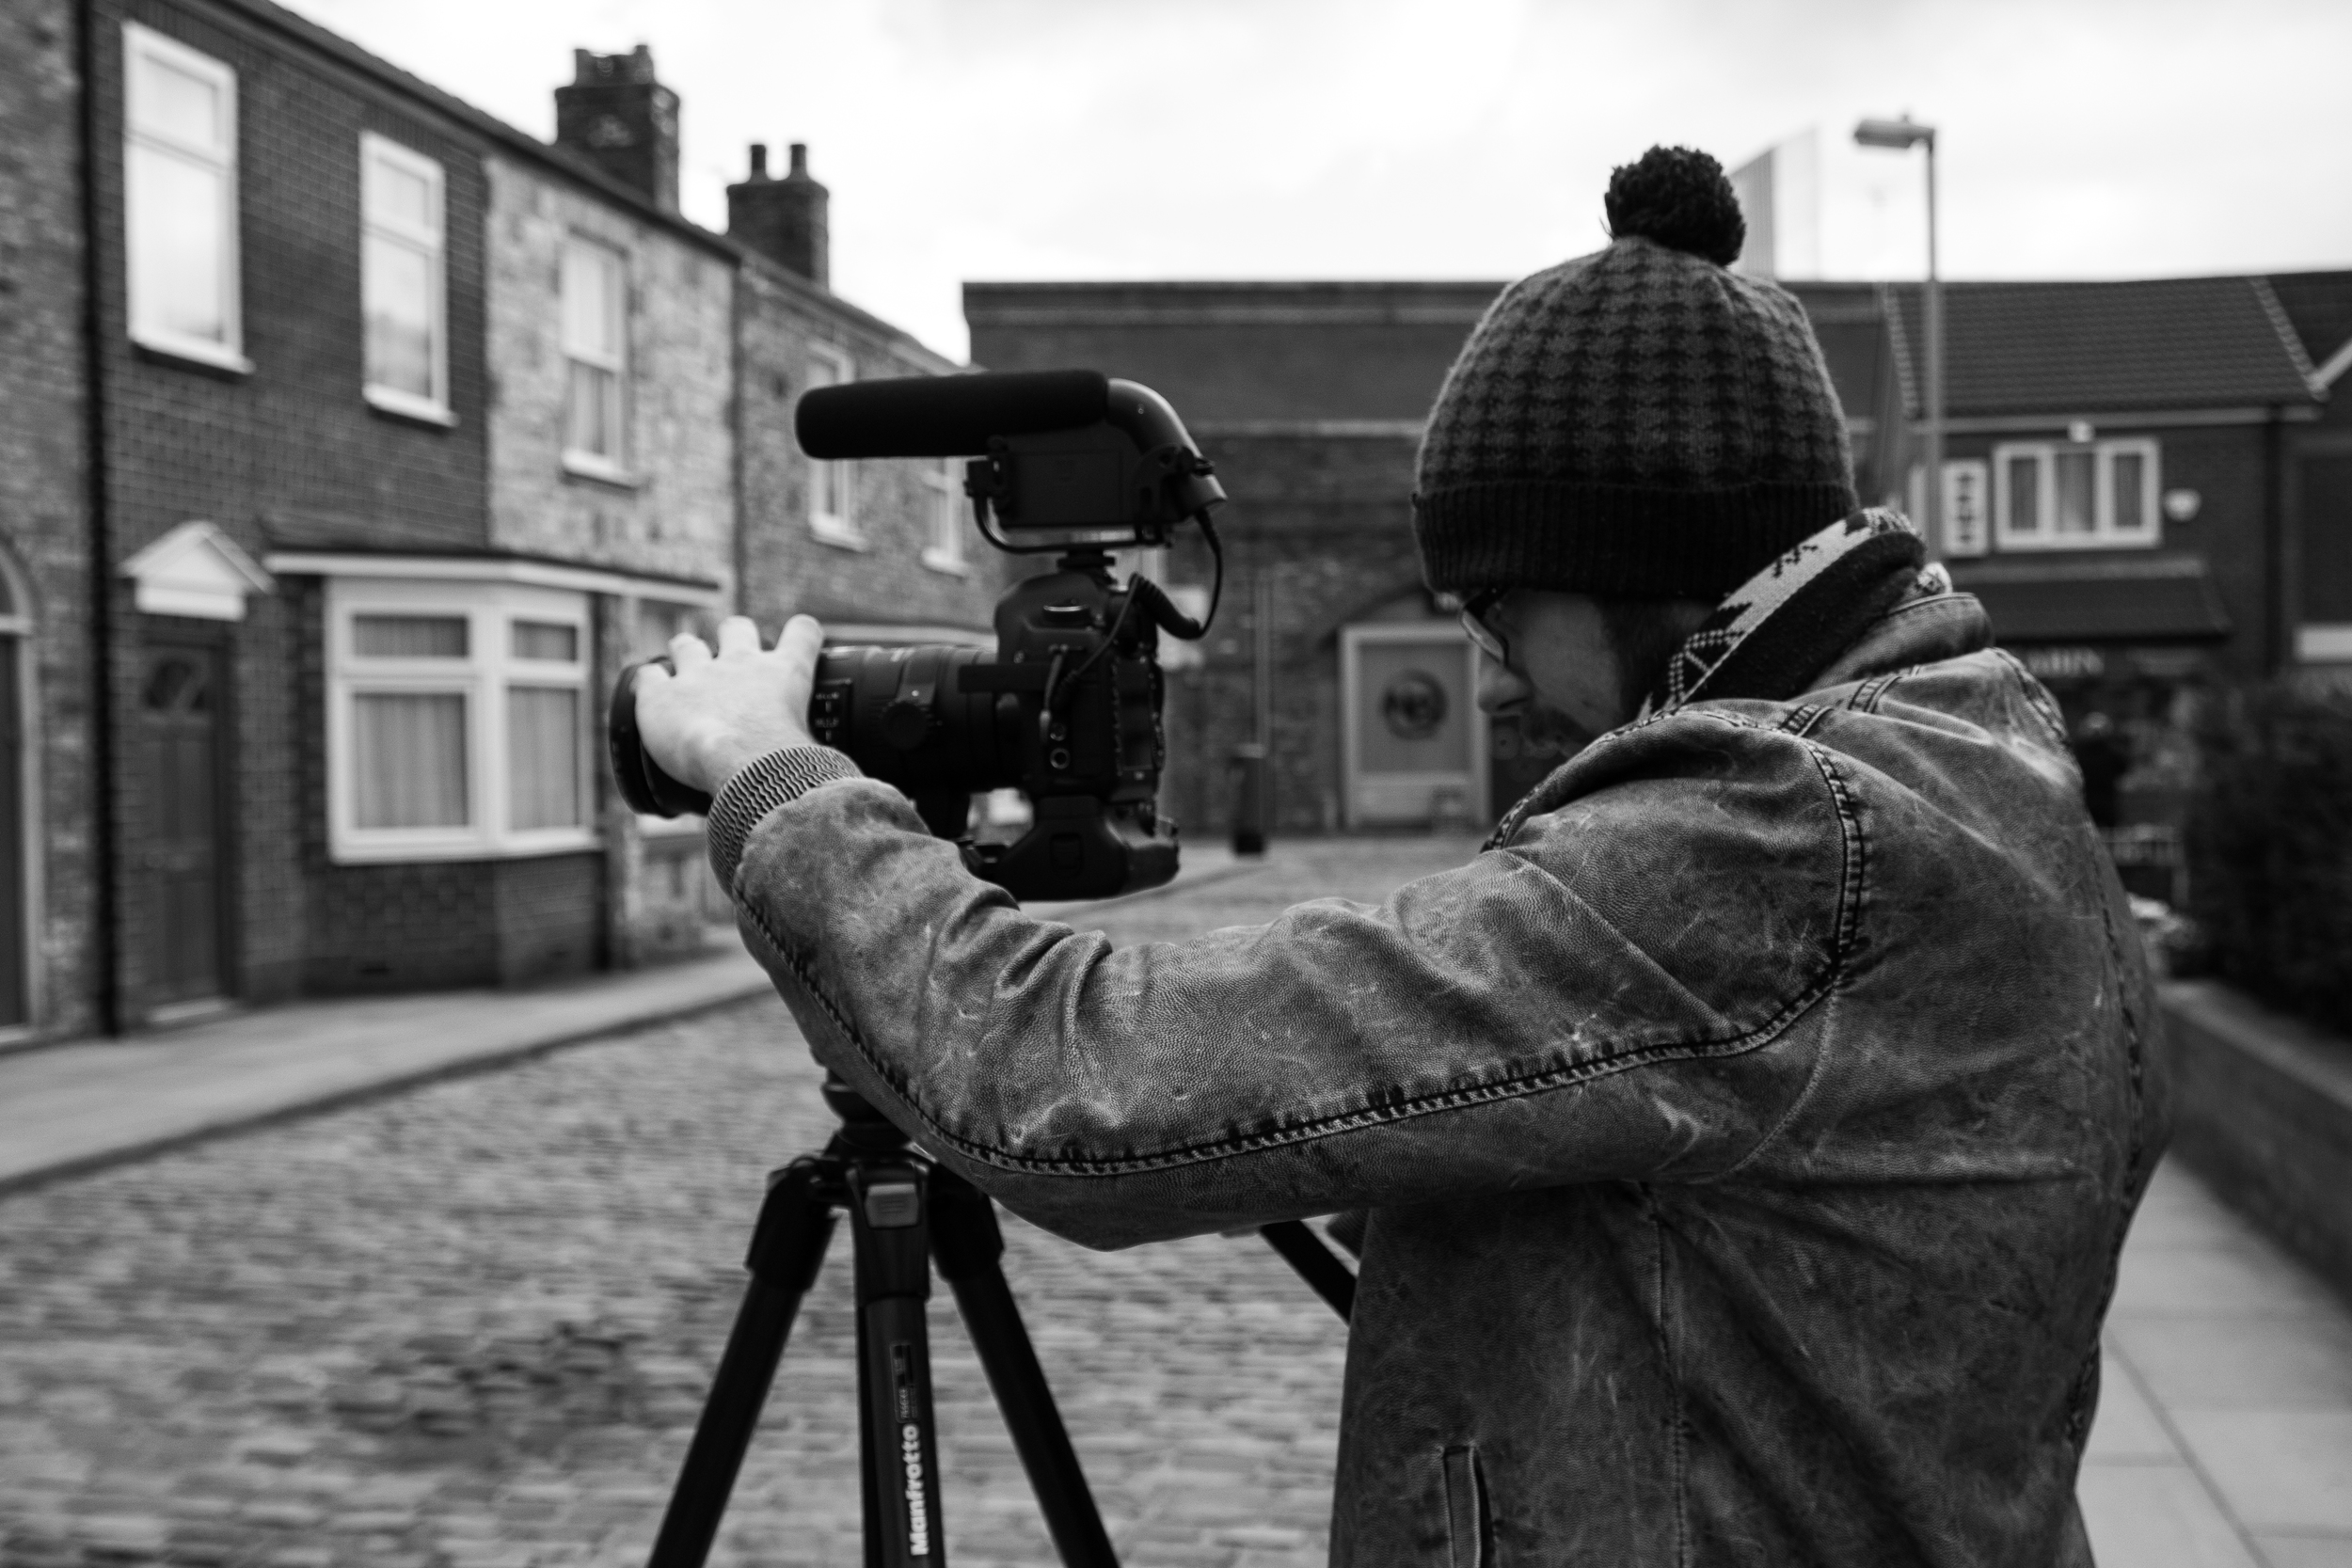
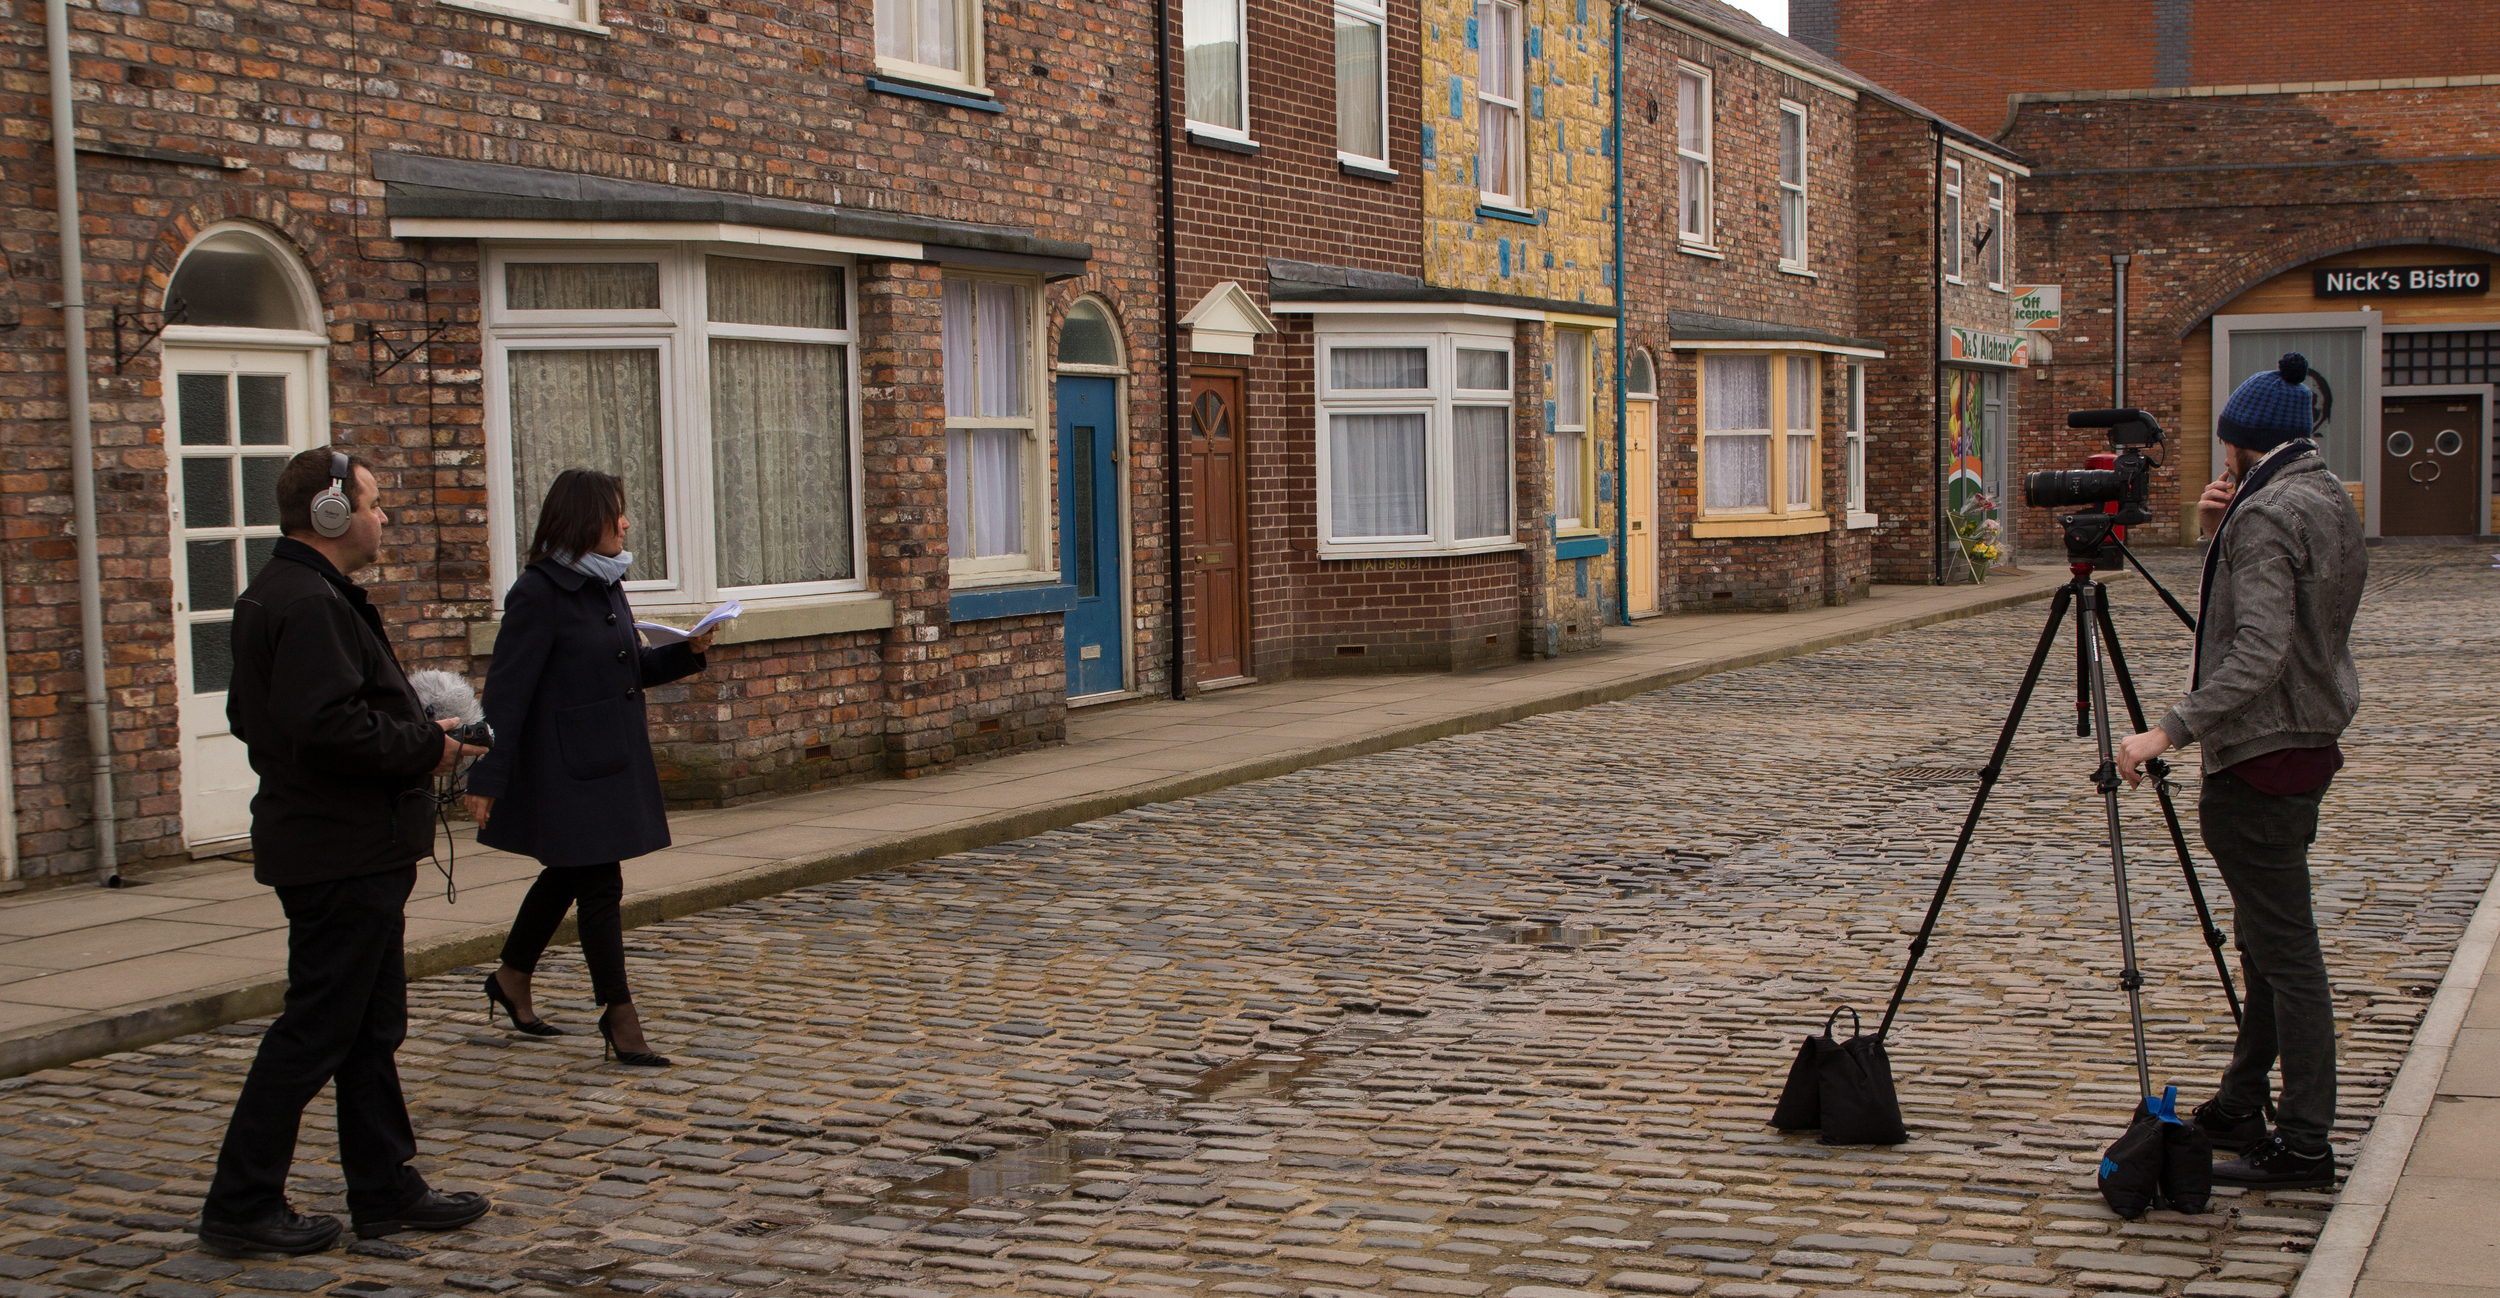
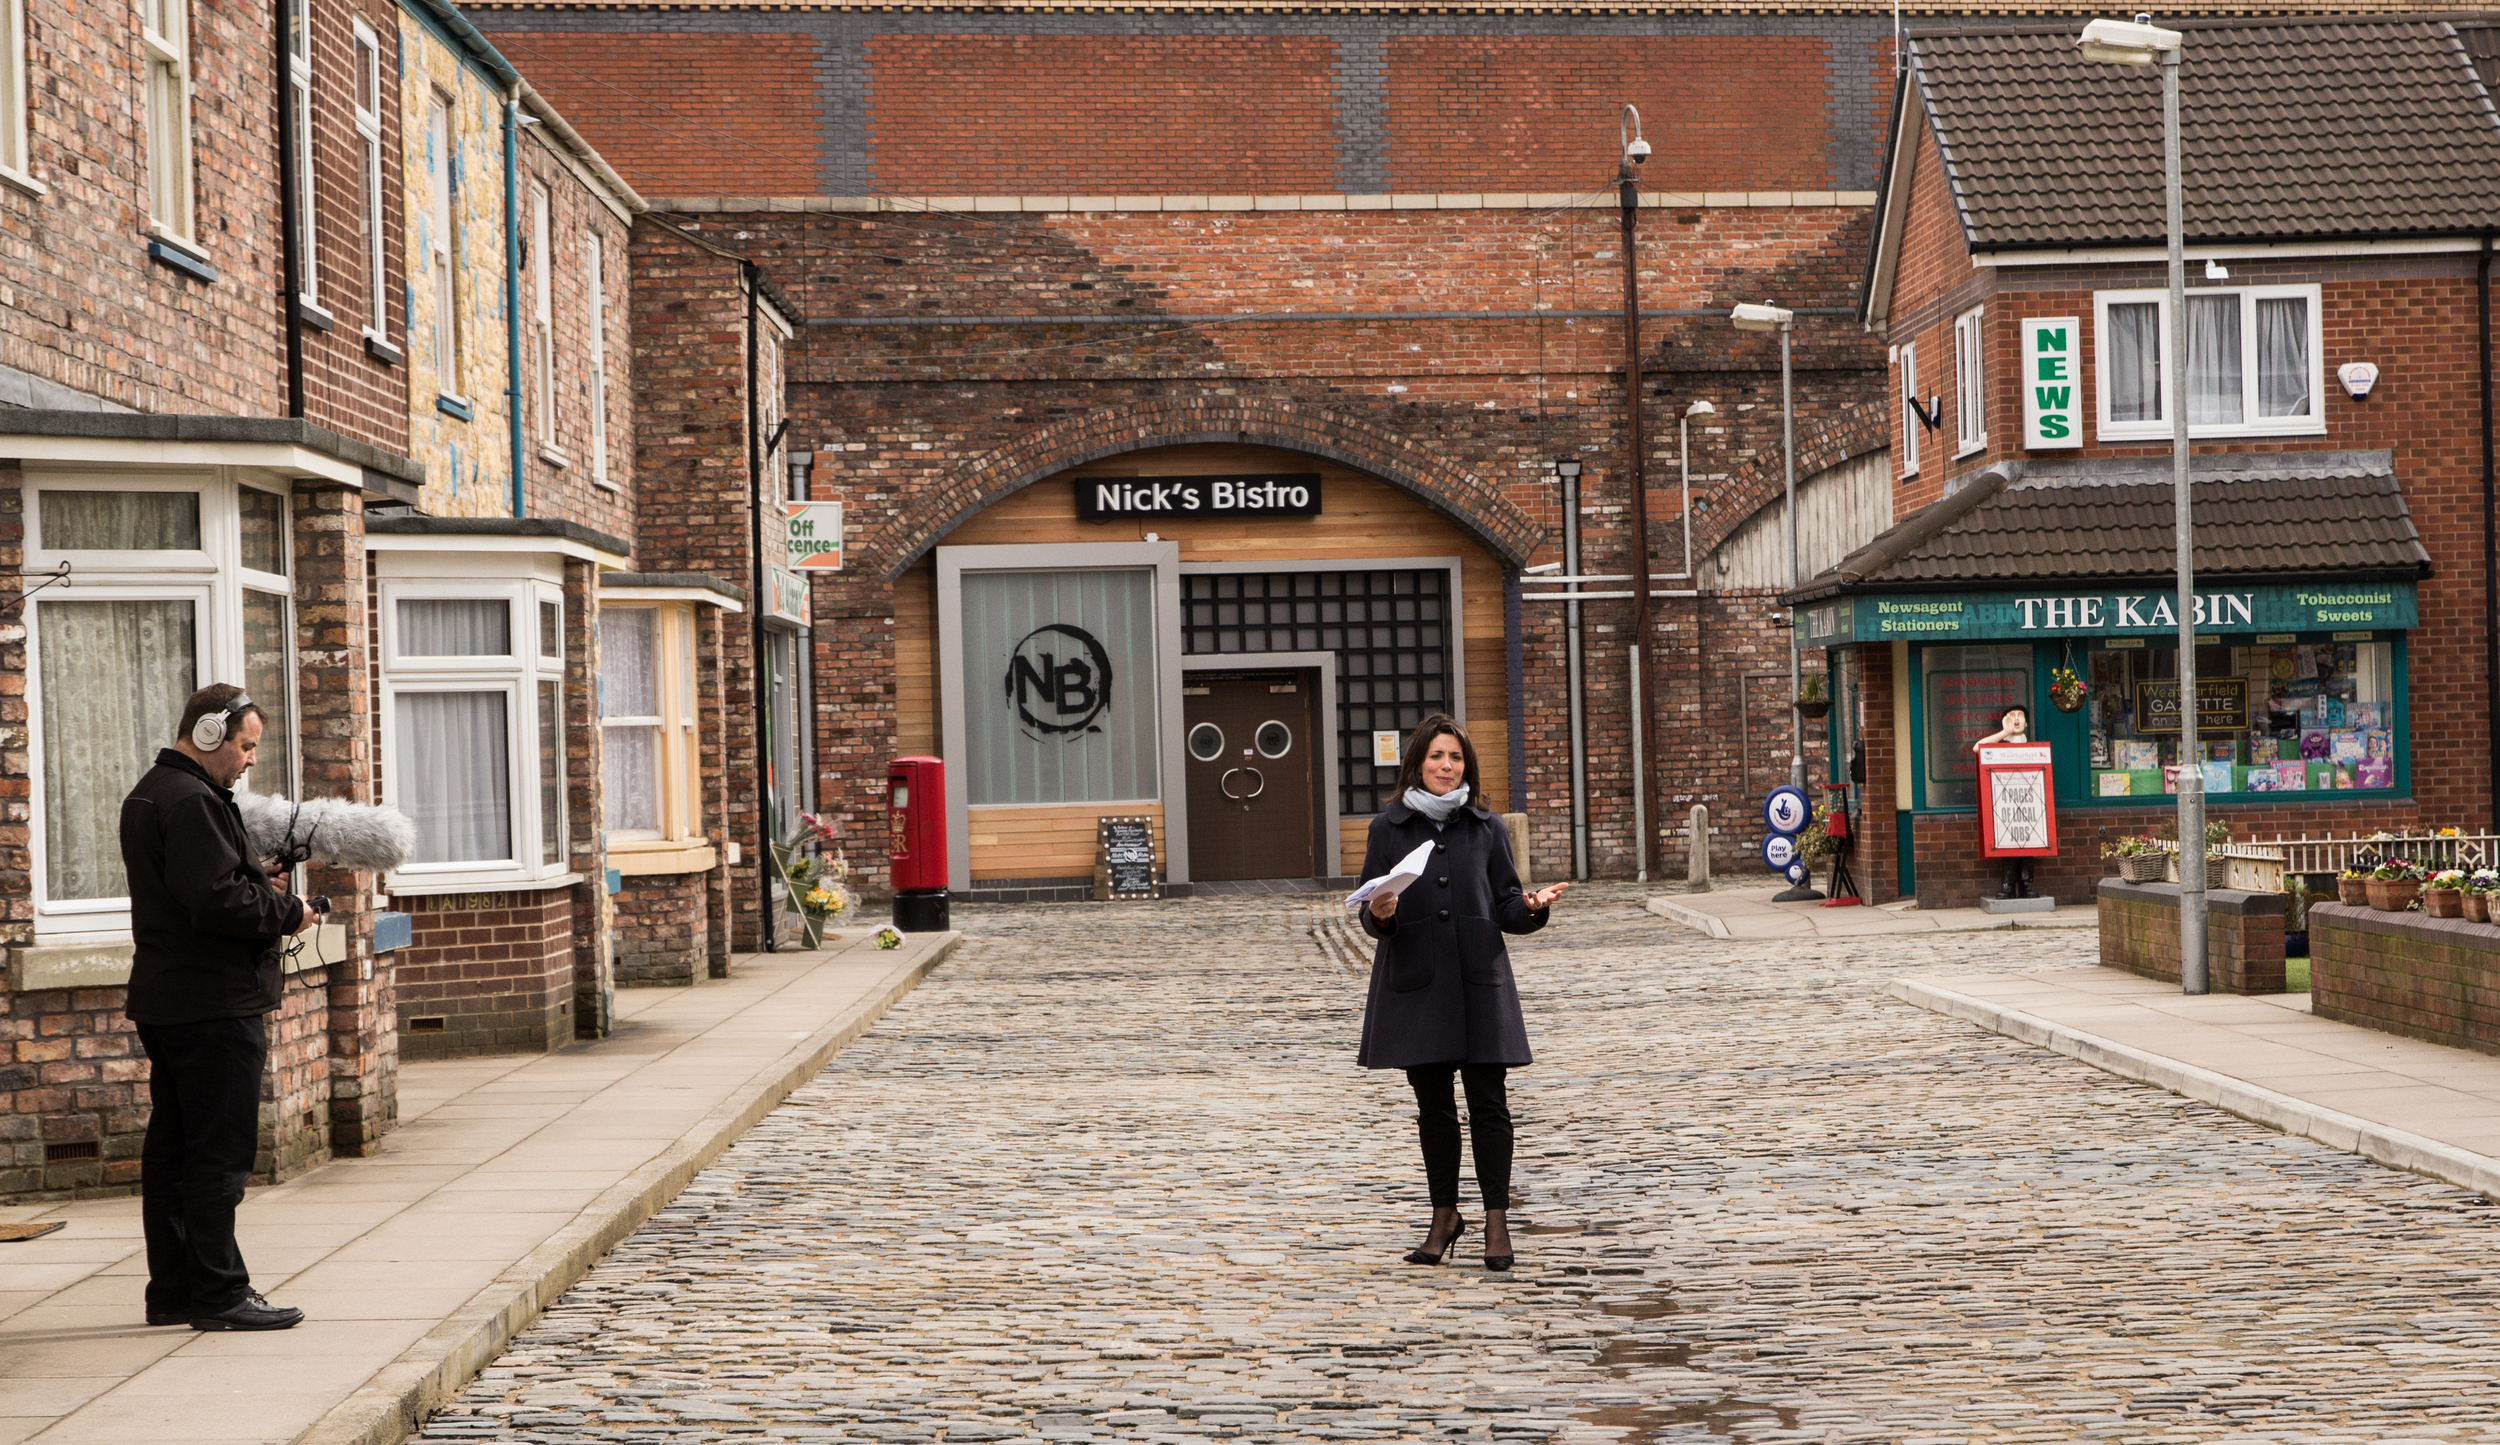
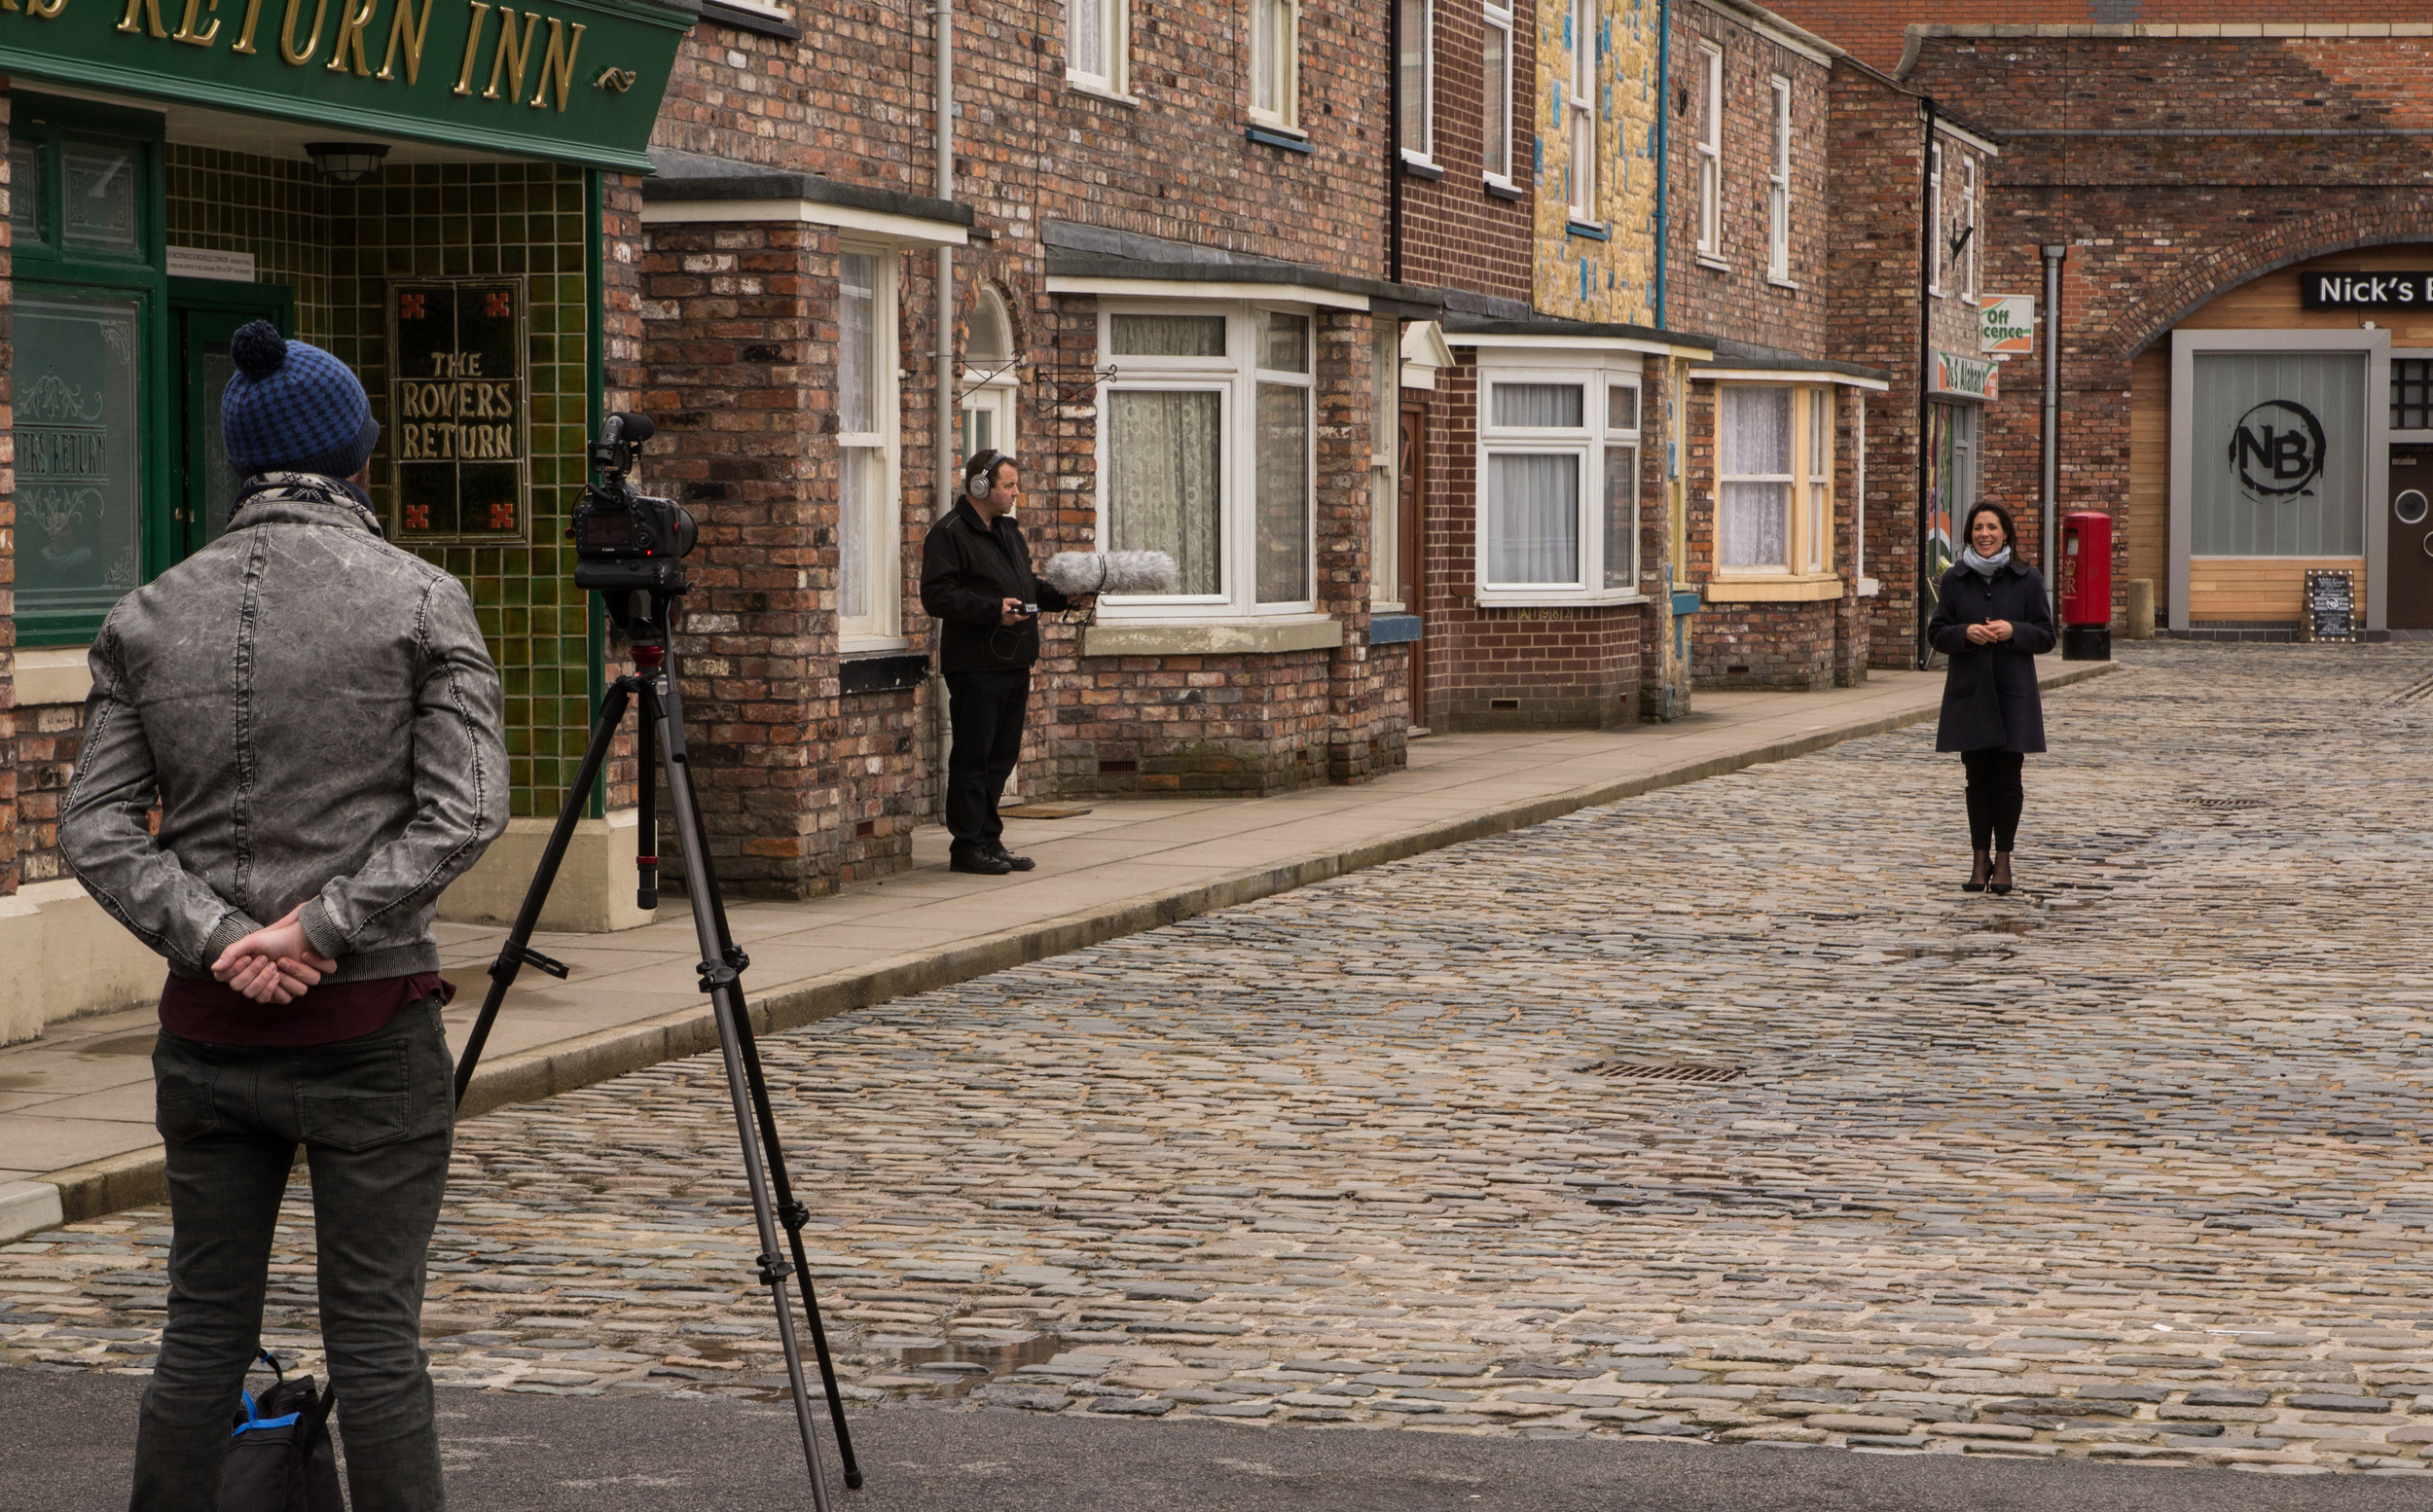
After recording all of the VO, we headed to the lot of the cobbled streets where a scene was being filmed as we overlooked and walked through! I shot some more cutaways of the street and crew in action on the 5D and 70-200. We had a fantastic guide who gave us many technical secrets into the new production facility, it was fantastic!!

IMG_2027.JPG

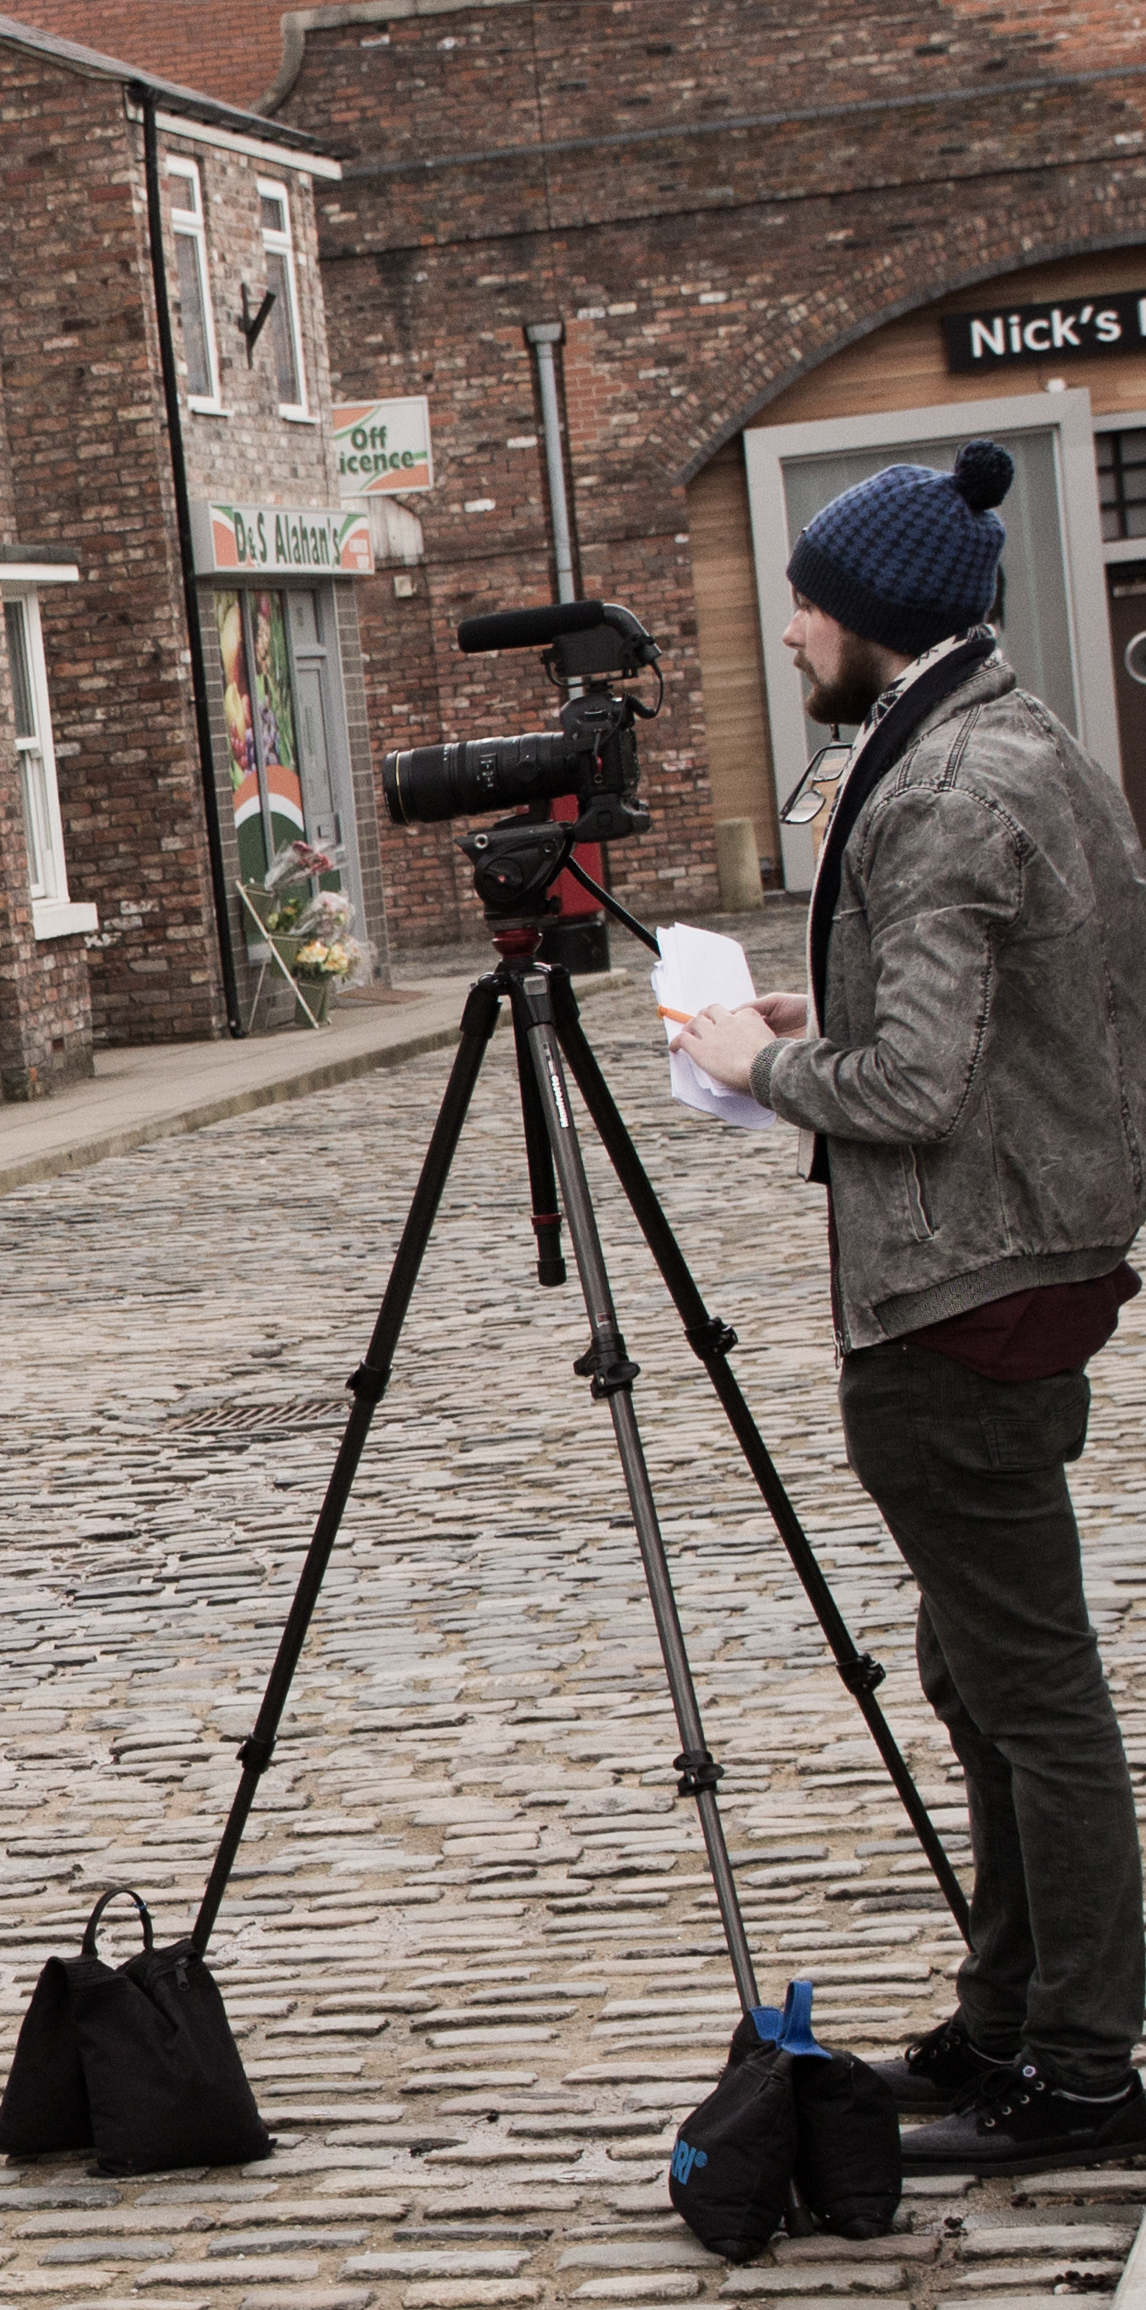
The AutoScript had arrived!!! We quickly got set to putting it together, however John, Glen and myself had no experience in putting one together, so to the internet it was! A few minutes later we had the prompter up and running, the camera set, working lights on, microphone levels set and were ready to roll.

As you can see, the normally small 5D and 70-200 filming combo goes out the window when using a prompter. Very front heavy!

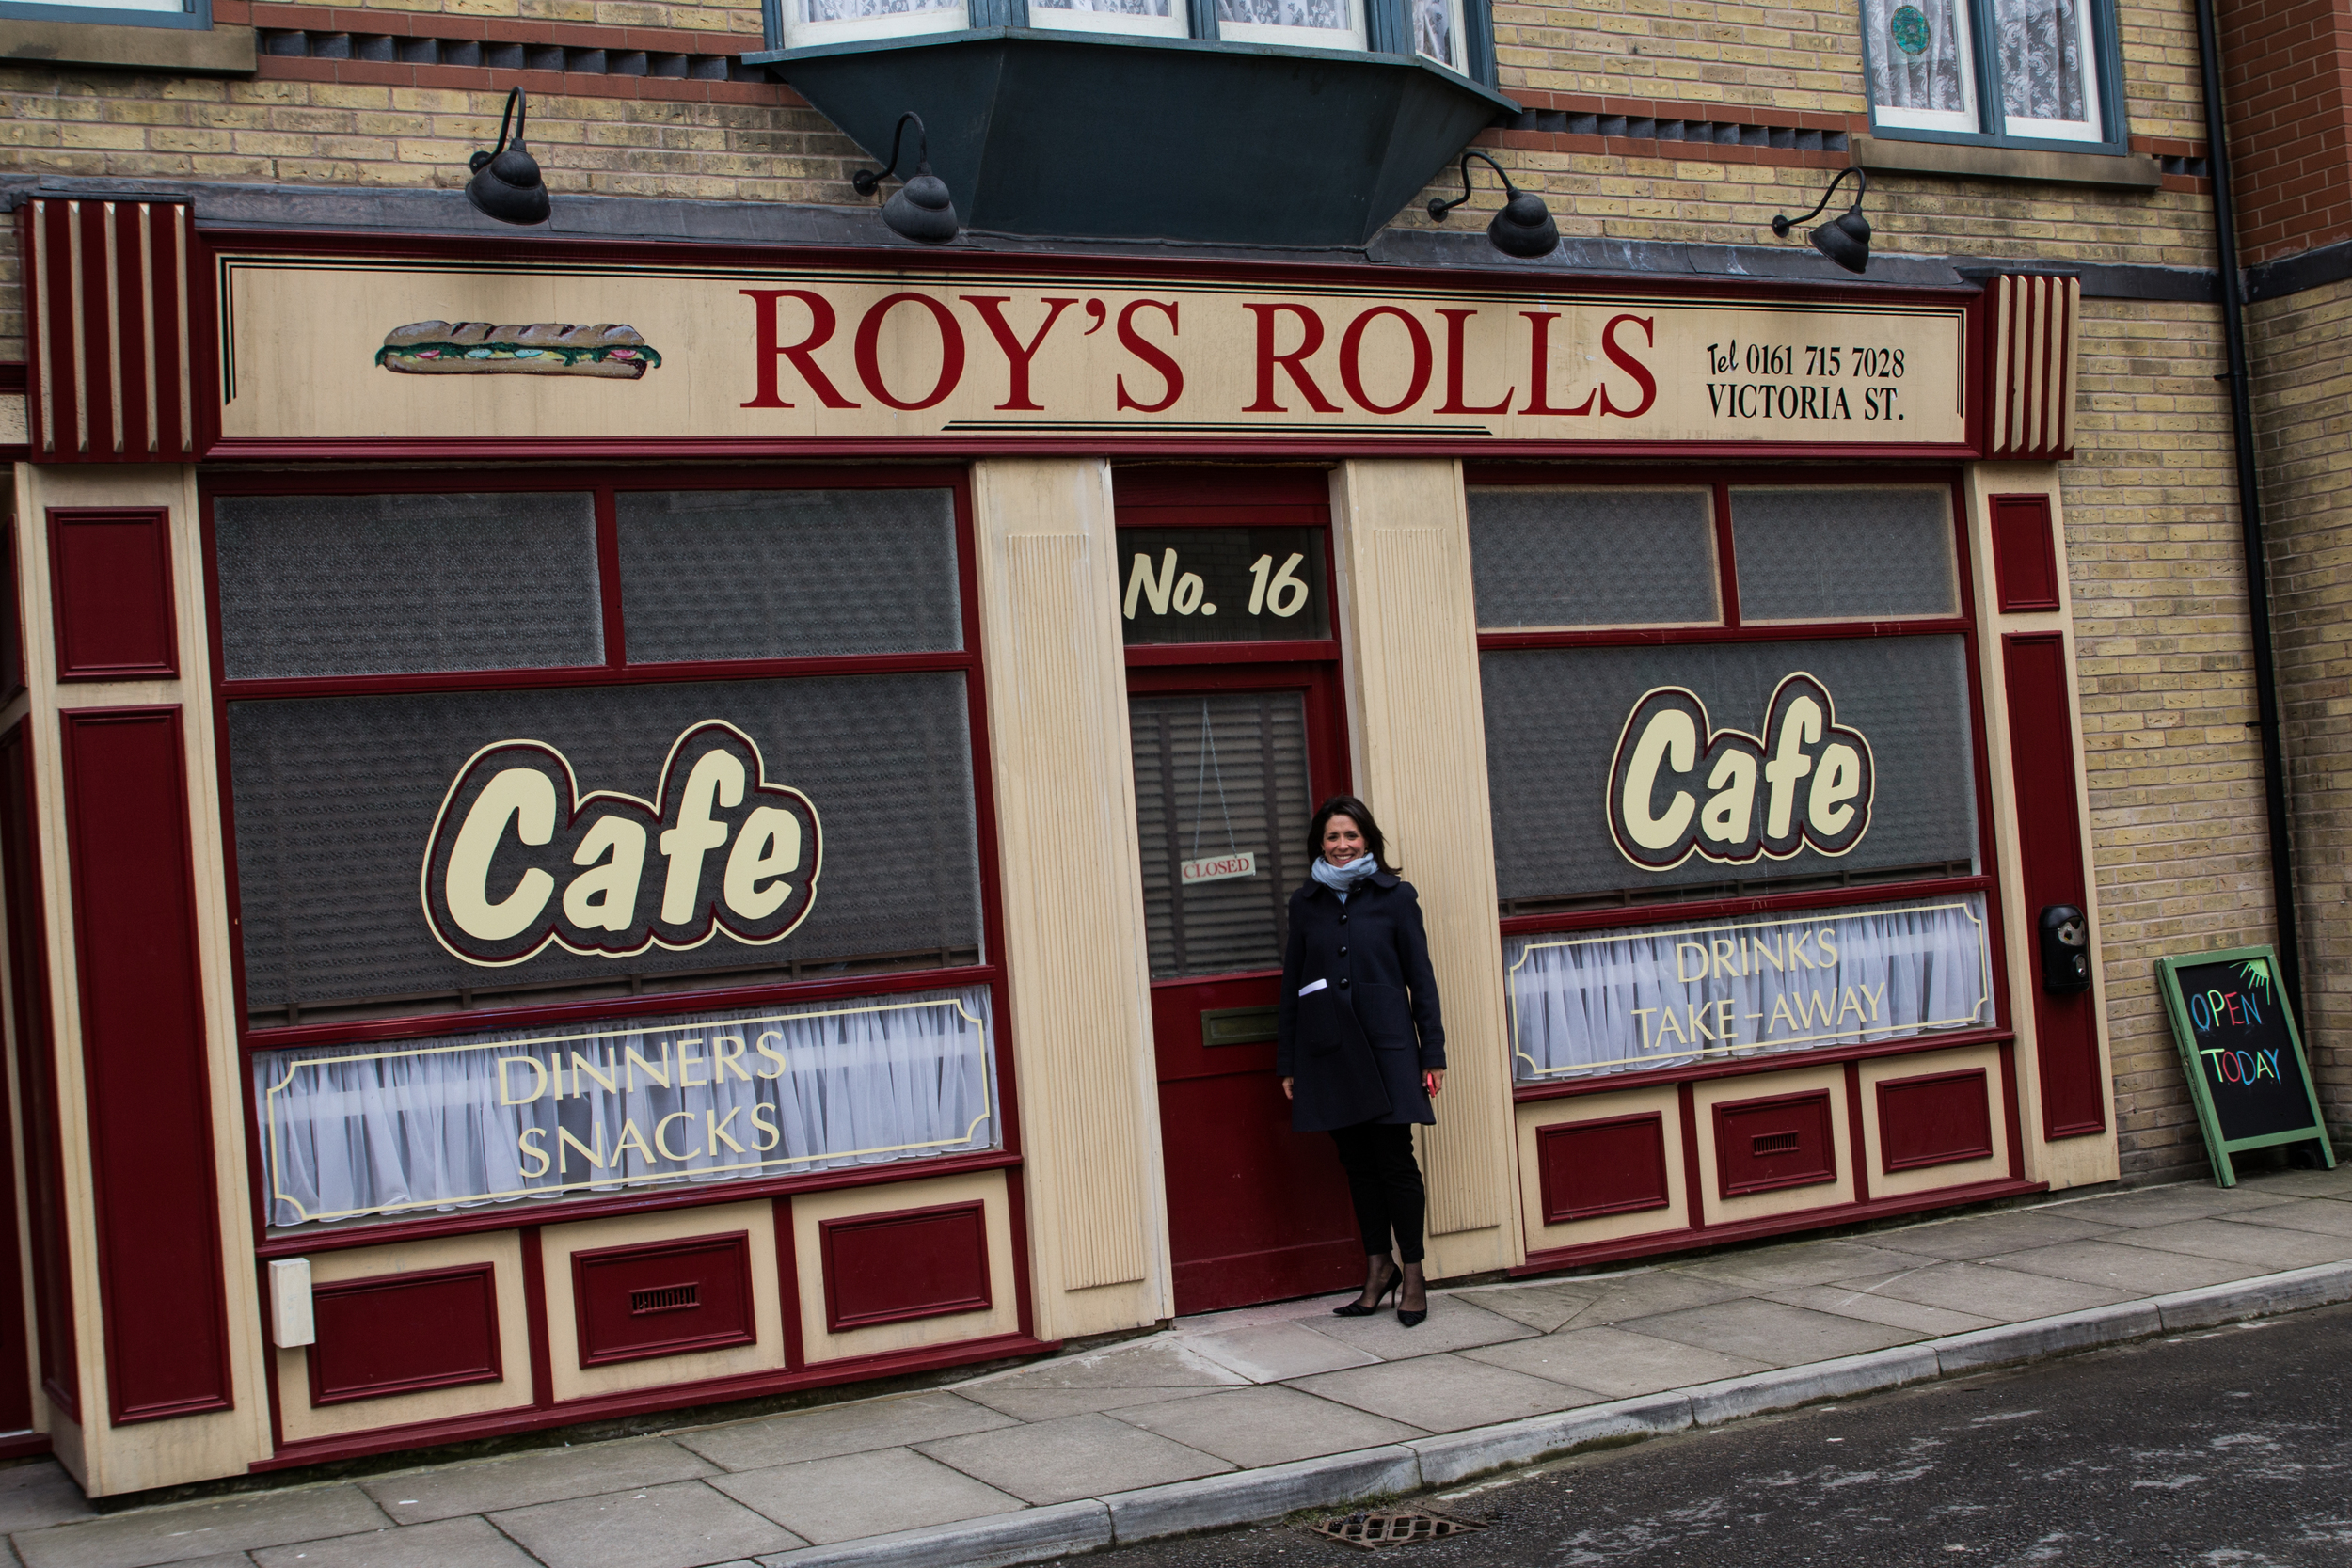
Our filming took us all around the studios including Roy's Rolls and the Rovers, showing how a drama program is produced. Our access also allowed us into the production galleries, editing and grading suites for more 'piece to camera' filming as well as capturing plenty of GV showing the equipment in action.

We wrapped up day 1 late that evening which allowed us to capture most of the content for the video: we shot scenes 1 through to 7, great progress and took the pressure off day 2 as we didn't know what access we would have.

When we got back to the hotel, the importing and backing up began. I like to play the 'guess the gigabyte' game, simply guessing the total file size of the captured material. Although we were working loads throughout the day, I think the day 1 total was around 60Gb all in all. I backed up onto 3 drives that night just in case.

Day 2

We started a little later to recover from the long day before, enjoyed a big breakfast, plenty of coffee and headed over to the studios with our suitcases as it was our last day. We had access to the edit and grading suites in the morning, where I shot plenty of B roll just in case, as it turned out we wouldn't get access to the finishing or dubbing suites so this came in handy.

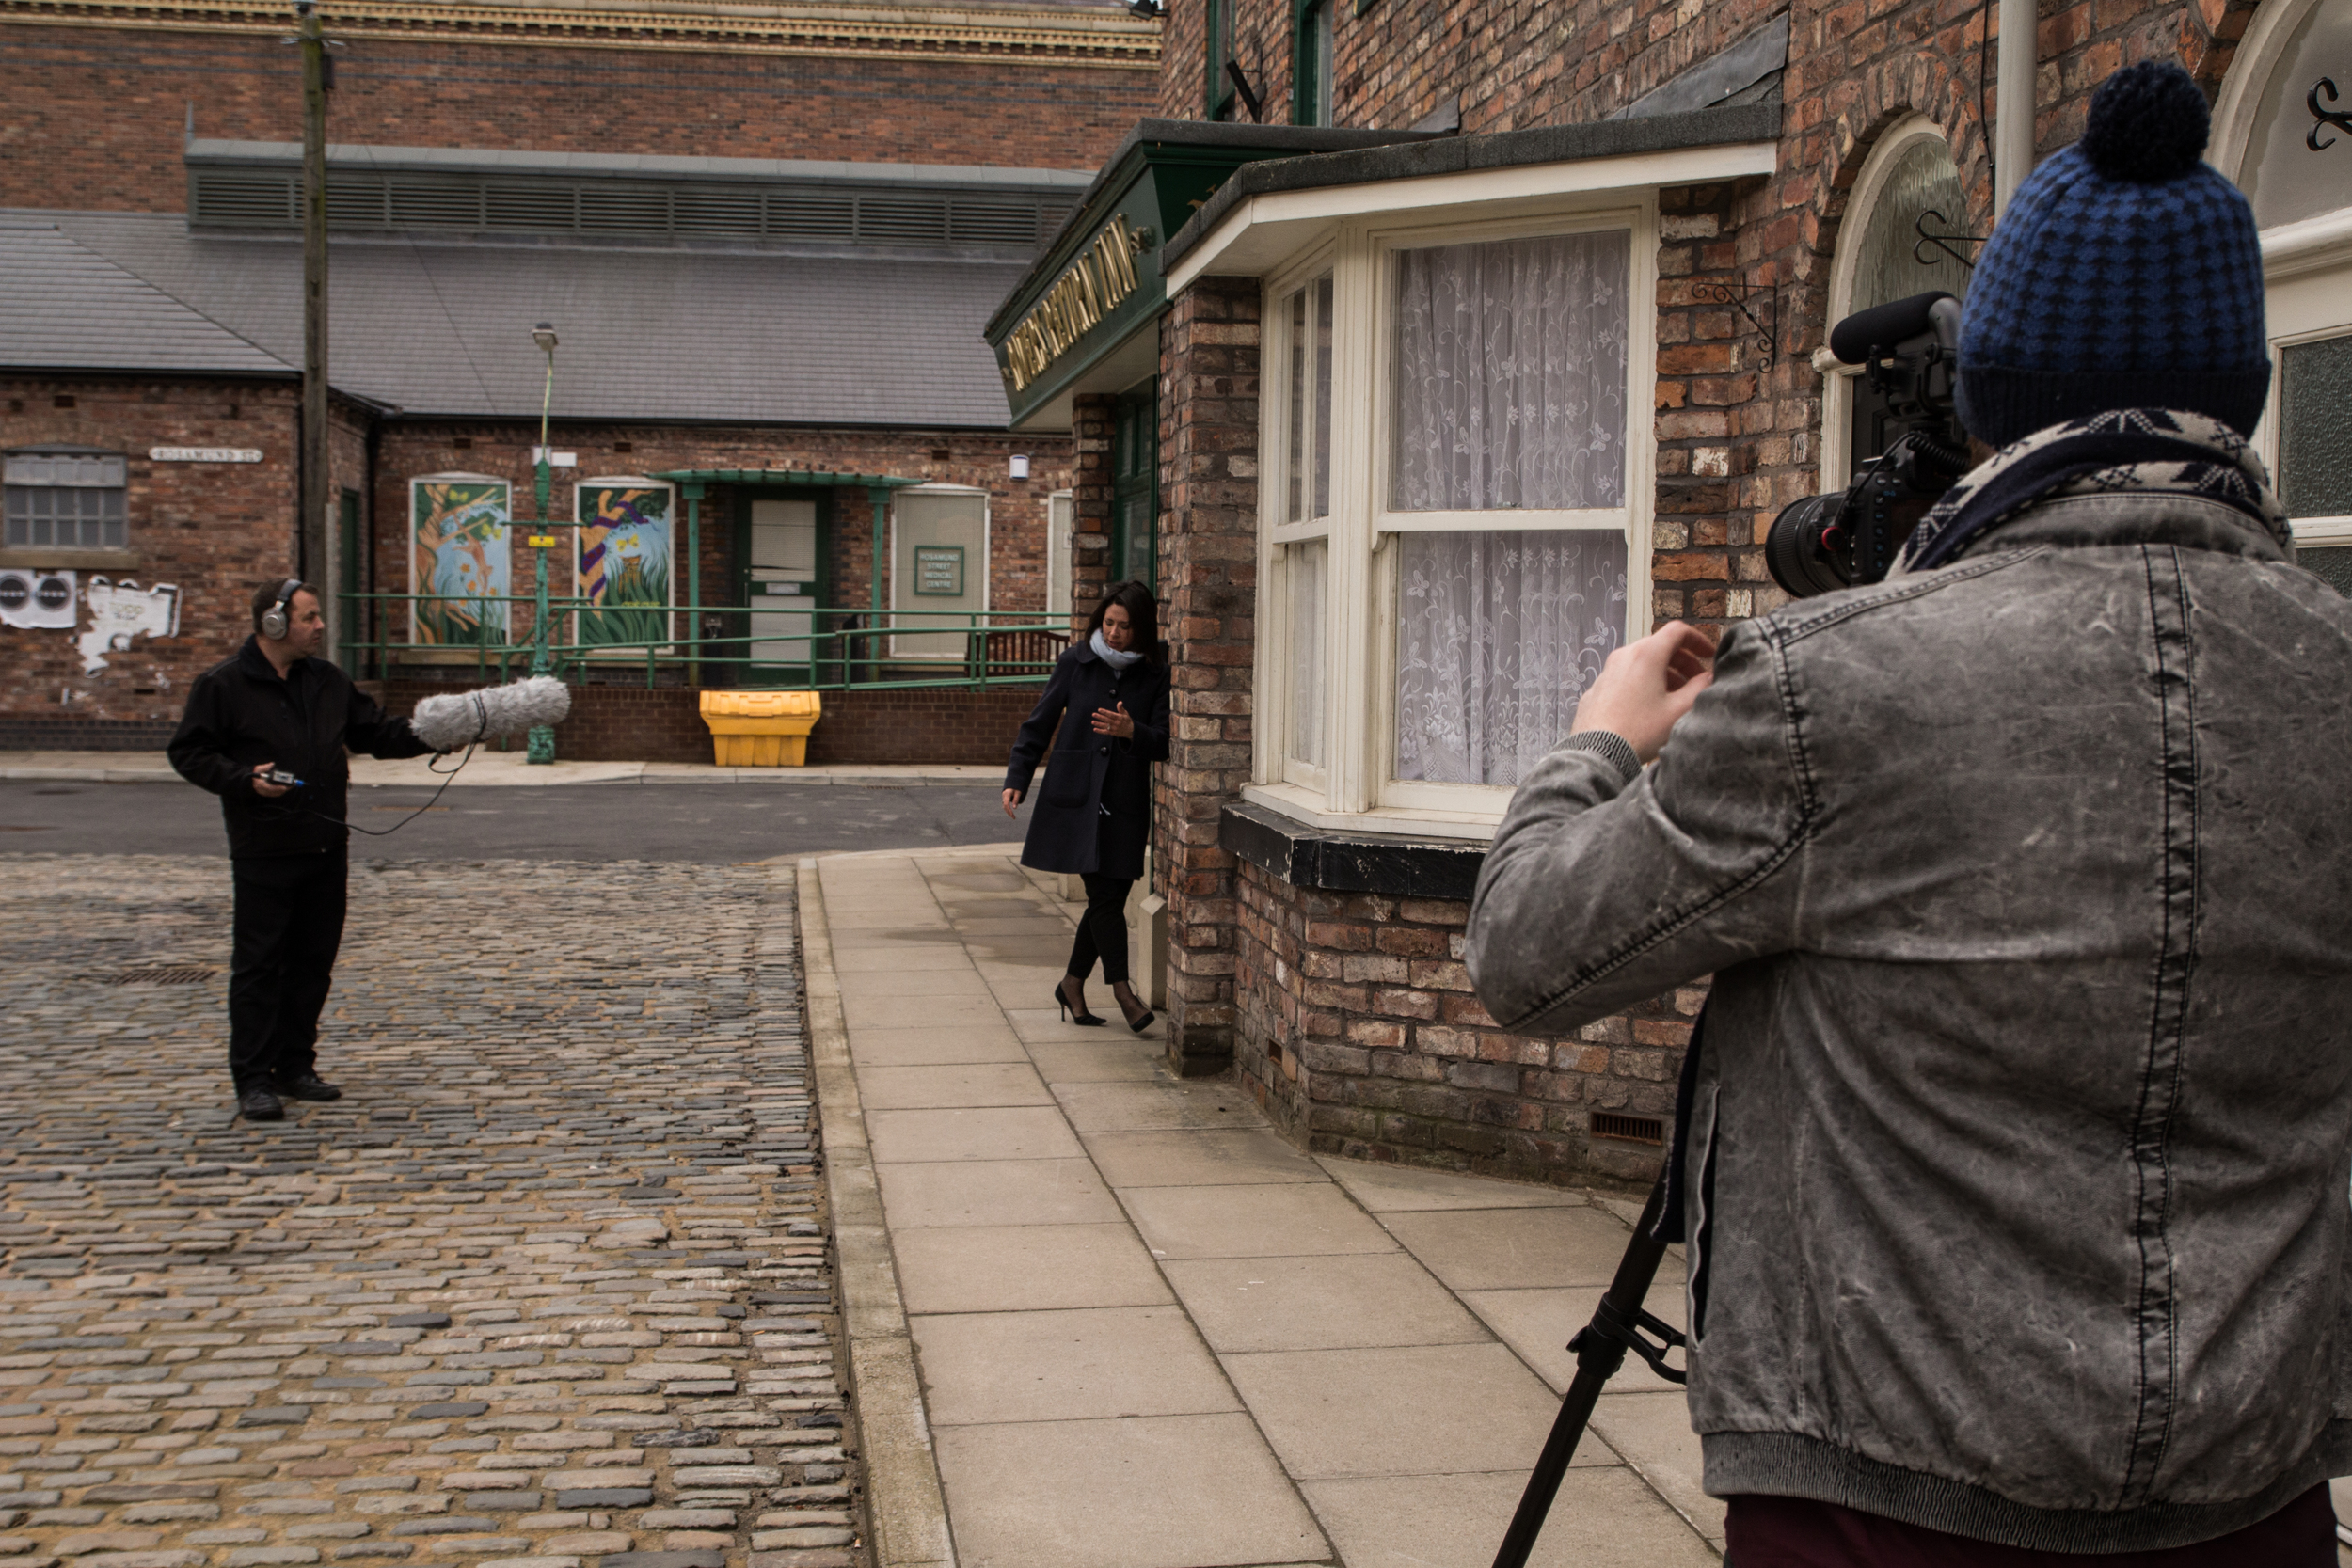
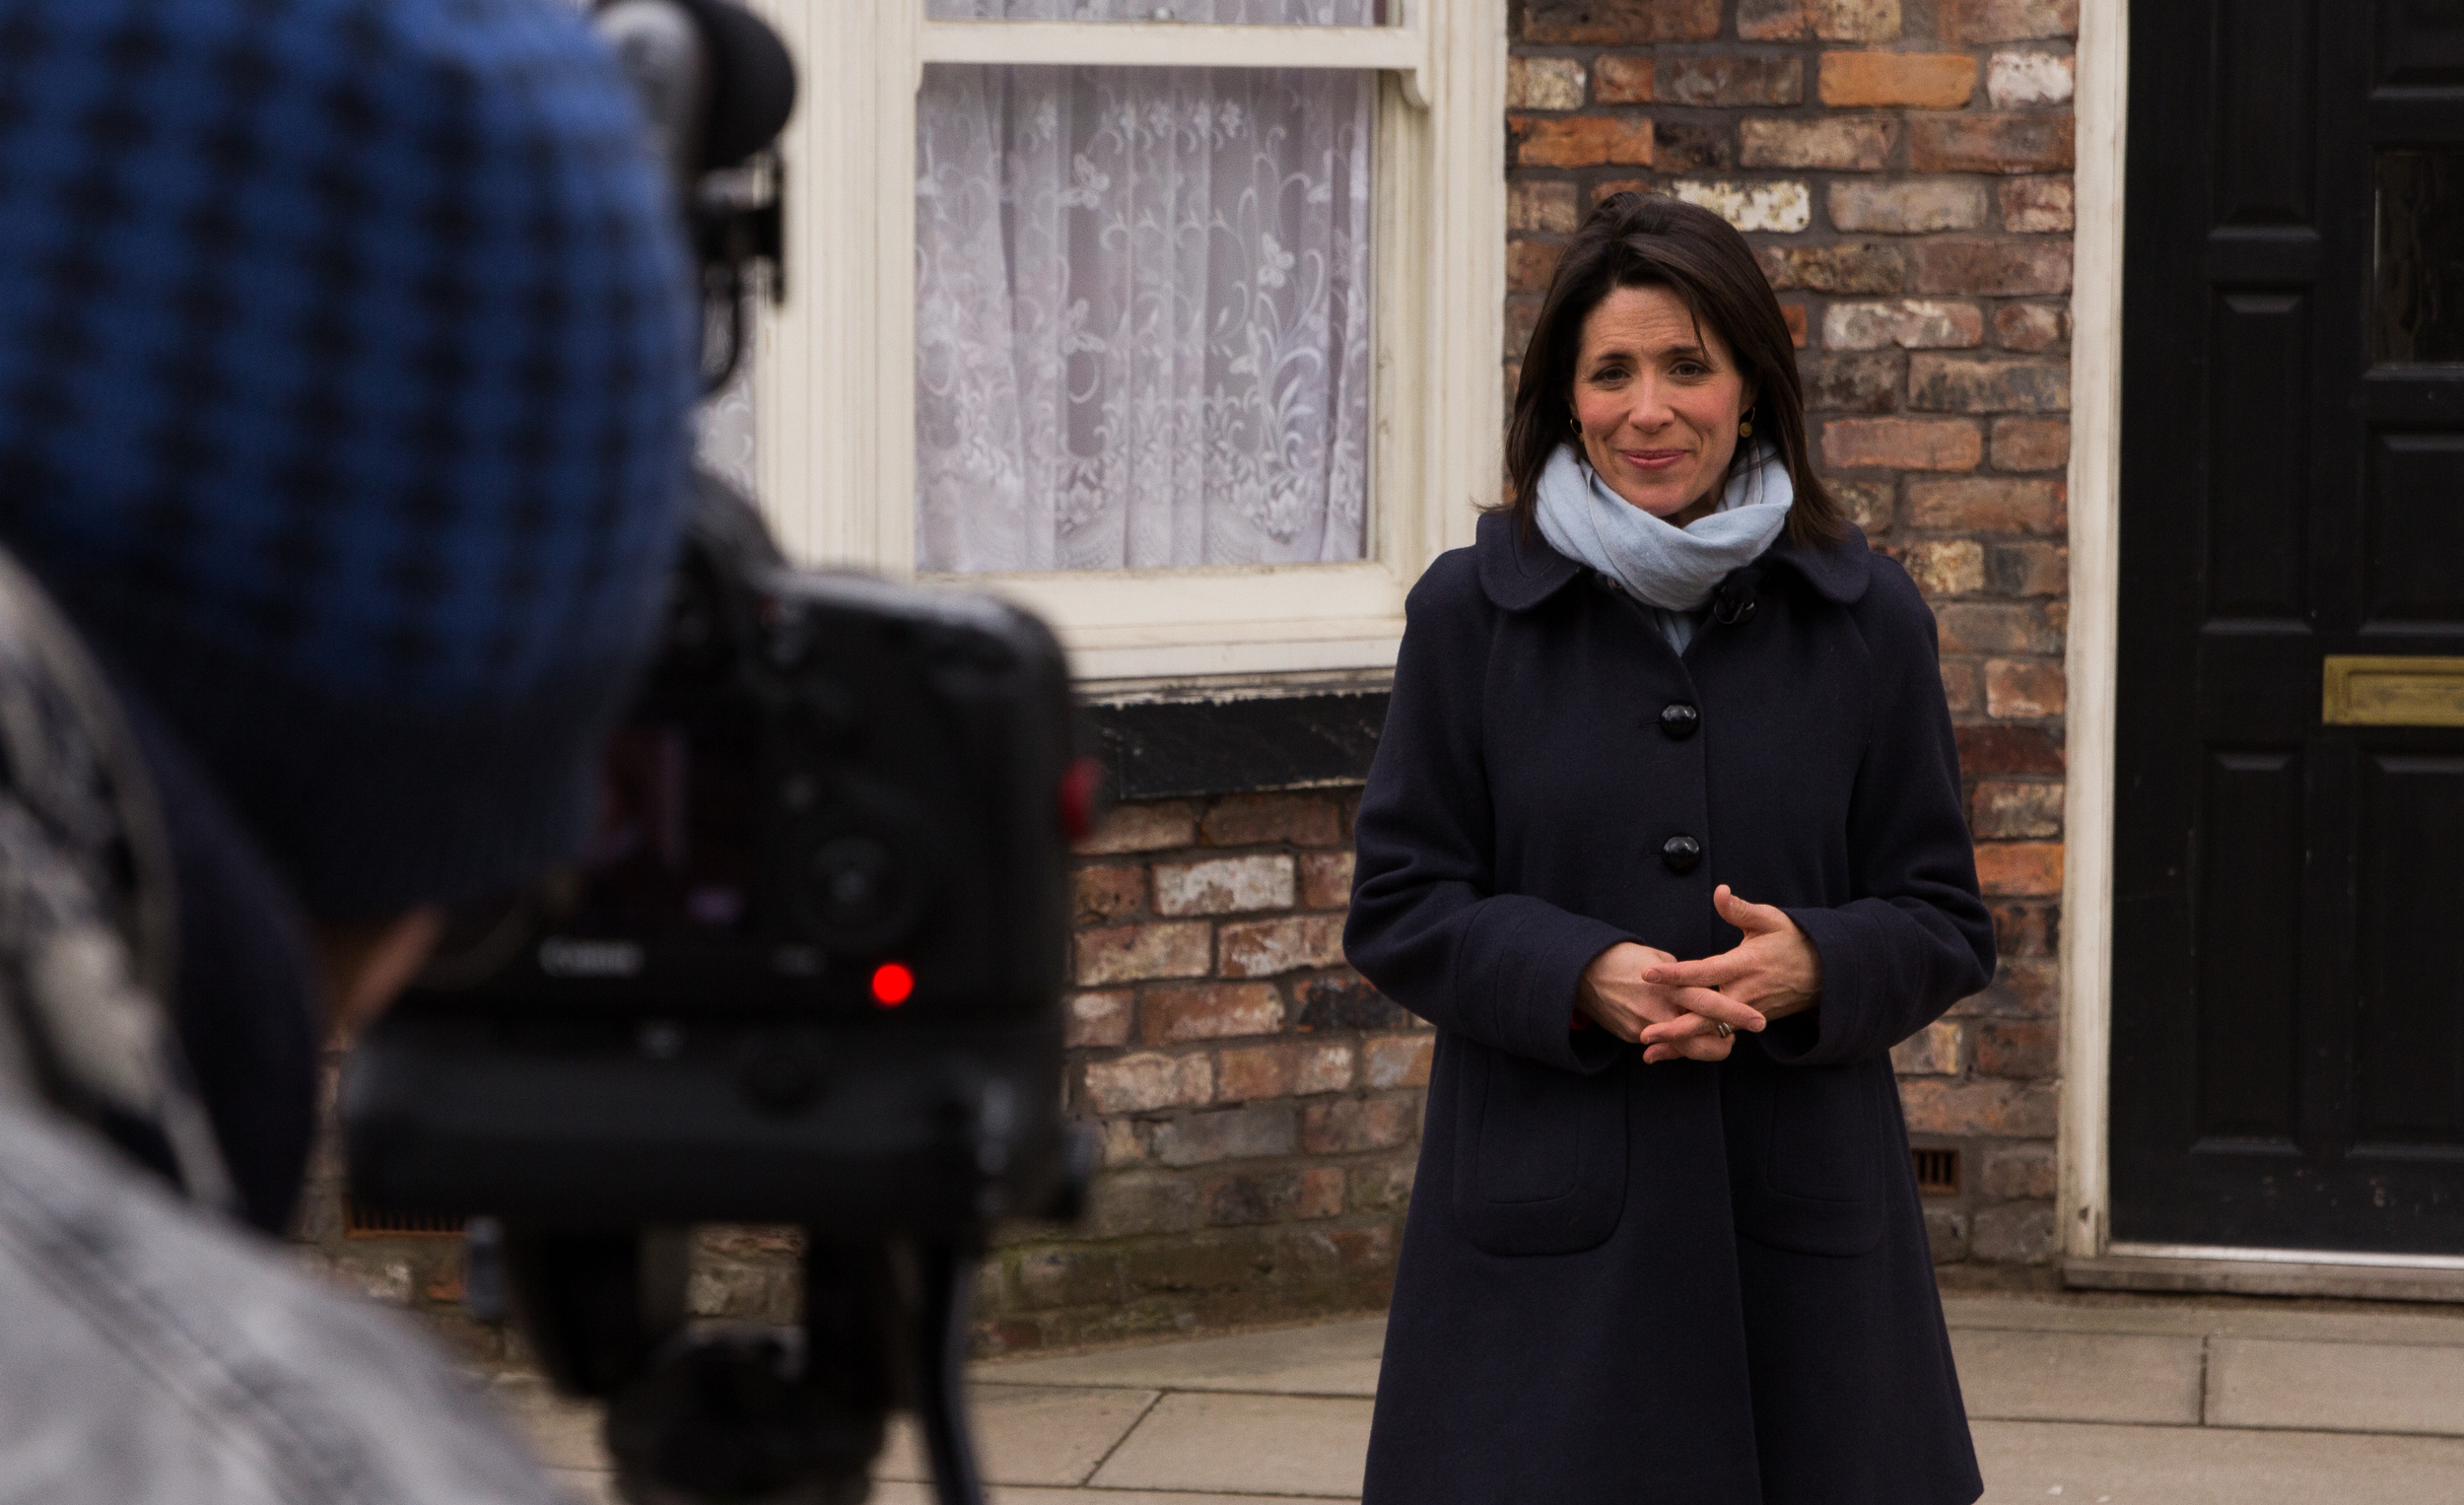
As Corrie filming had finished on the street, we quickly went out to shoot the final 'conclusion' scene of the training video outside the Rovers and on the cobbles. The prompter required a power supply, so we de-rigged it for this scene, I used the 5D and 70-200 only for these shots. Most of the time I shot at around F/11-16 as it was rather bright outside, but it also keeps some of the background visible instead of blowing it out with bokeh.

The machine room was a challenge due to the heavy air conditioning for the racks and racks of networking, storage and server equipment to keep it cool. Not particularly for the vision, but John did a great job of operating the H6 and monitoring the audio with so much background noise. The gun mic was out of the question, so we captured solely using the Rode Lavalier mic, which worked well for this environment.

As a back up I also captured plenty of B roll, and John captures a voice over from Georgie of the machine room scene just in case the native sound was too distracting. Luckilly, the Rode lavalier coped well!!

I had access to the working production galleries as scenes were being recorded under Tony Warren, Coronation Streets award winning director. It was amazing to watch him and his team work! I'm not allowed to talk about what I saw being captured though :)

That was the last filming stop at Corrie before we departed, saying a massive thank you to our guide and staff at the facility who were so welcoming and helpful. It was a breezy walk back to the Holiday Inn, as I thought I had lost my car keys, before the very long drive home!

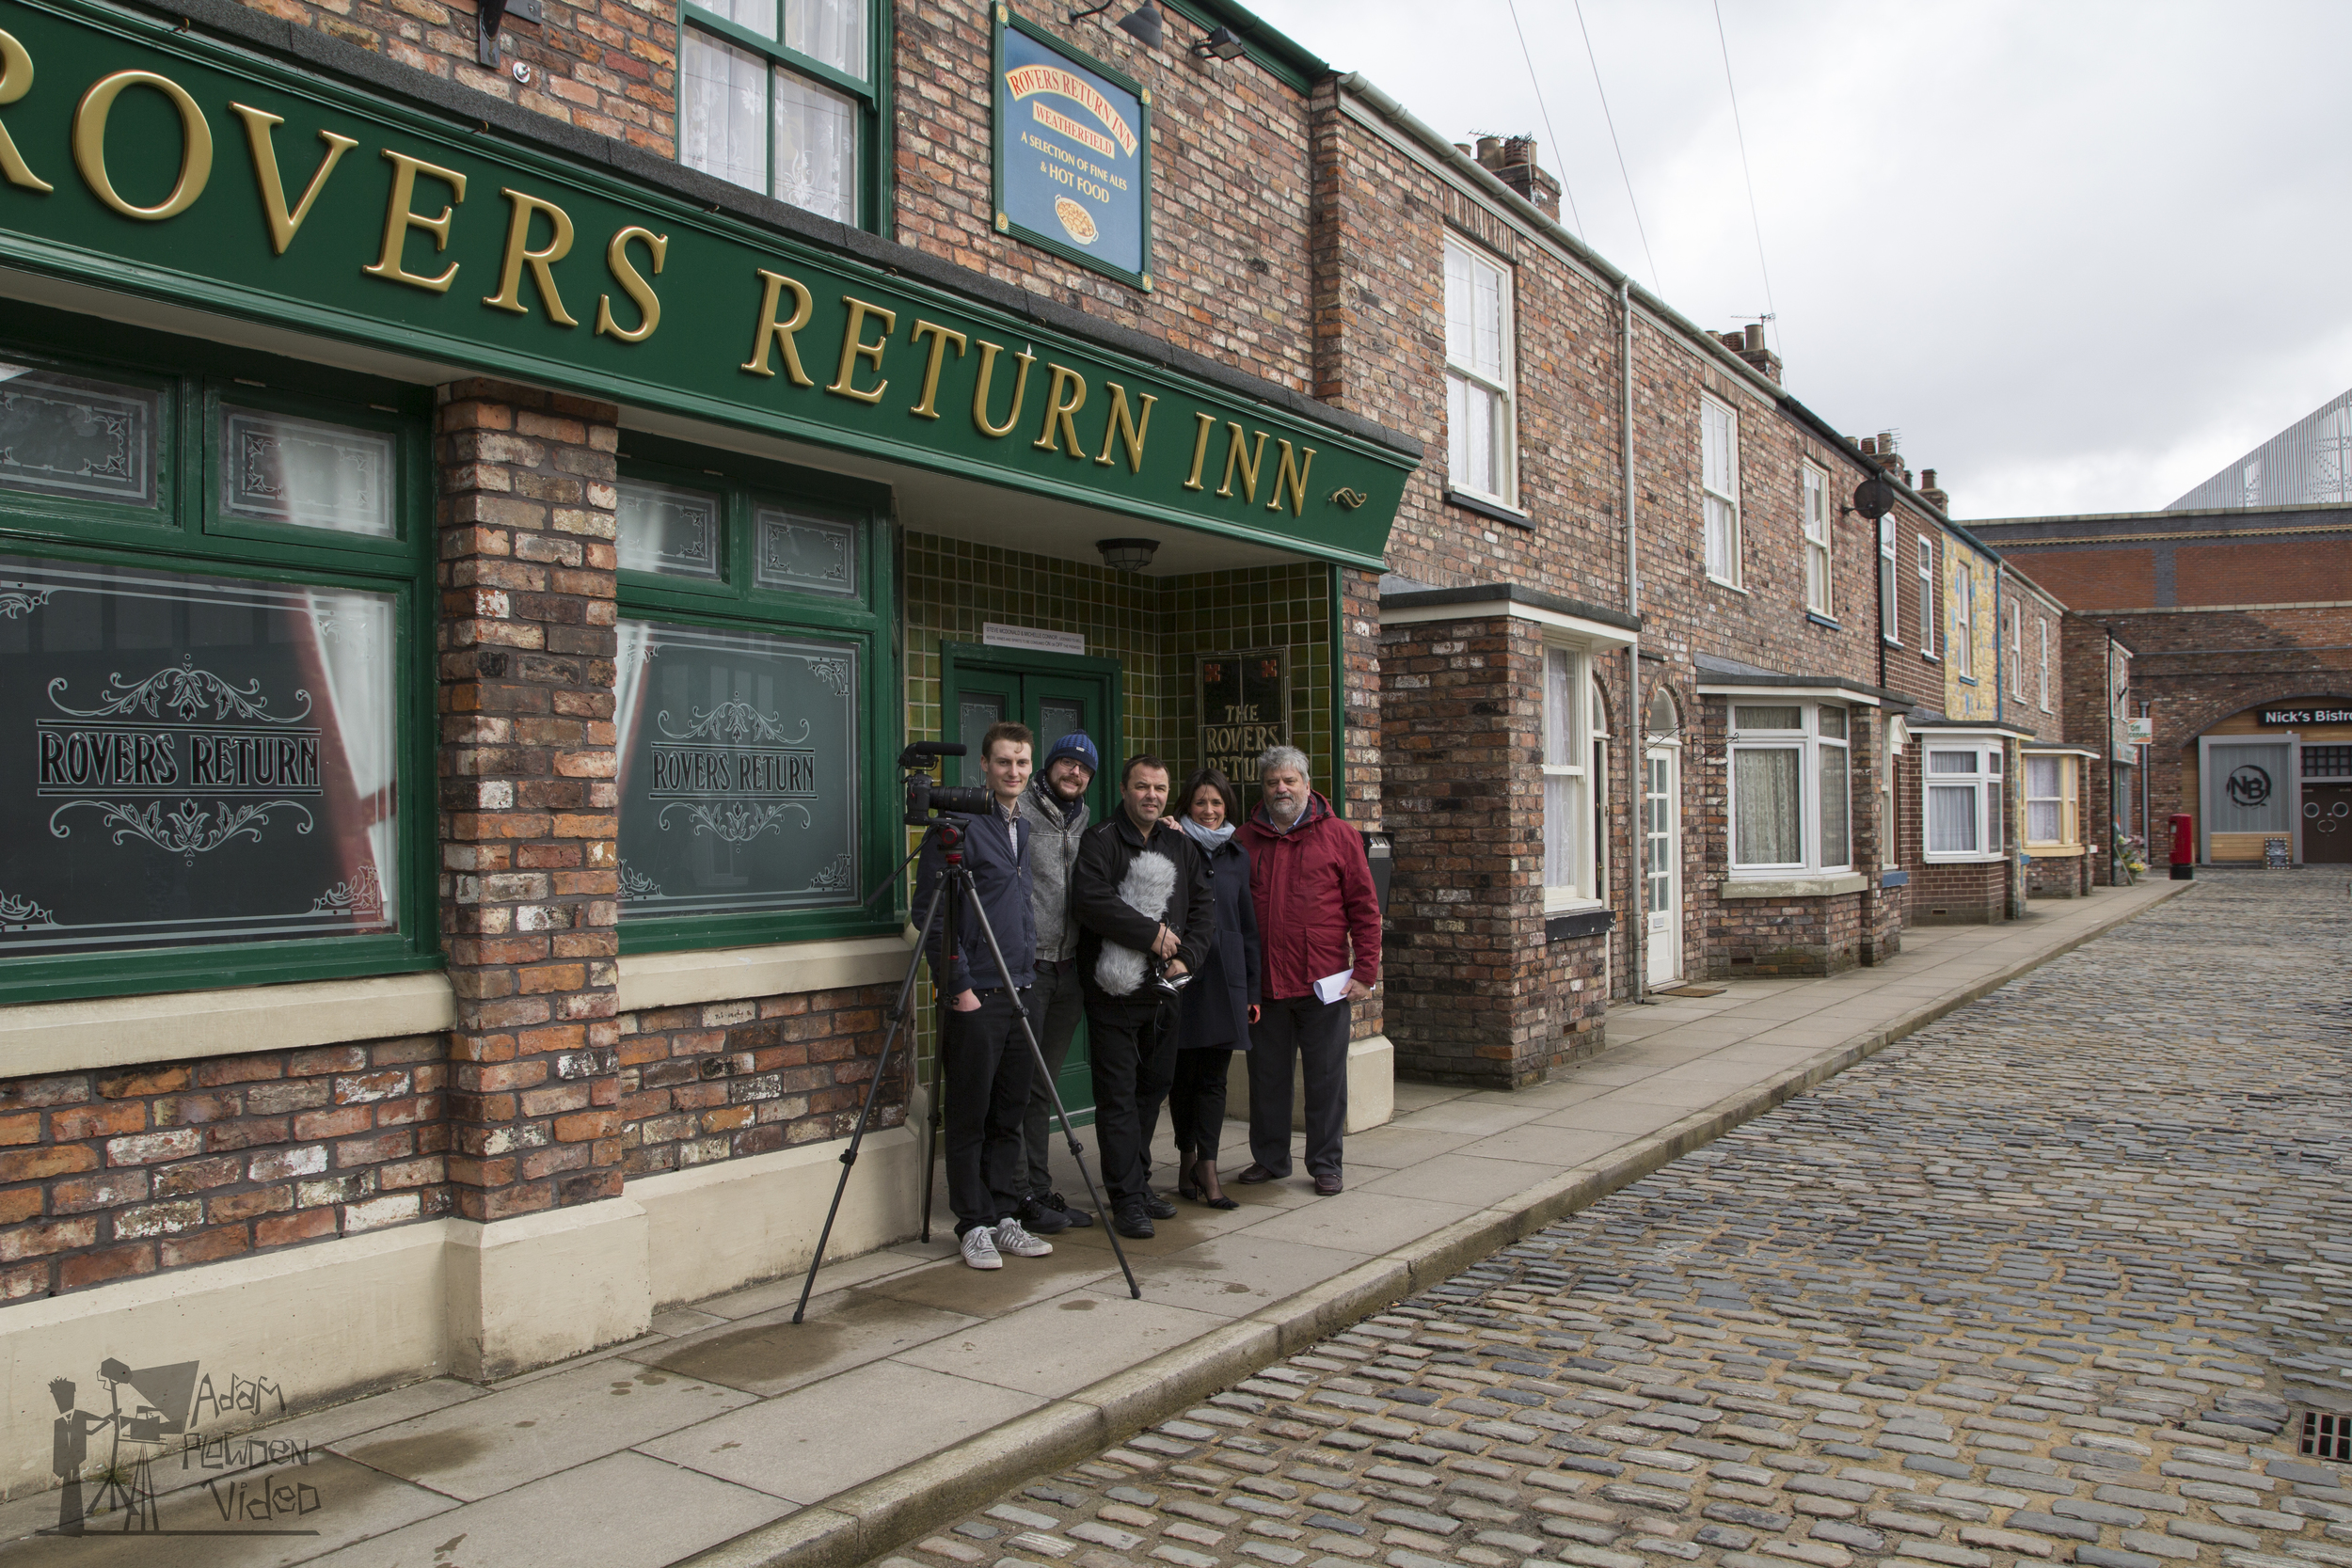
The team did a fantastic job over the intense two day shoot, it was Glen's first job operating a prompter and although it was a challenge putting it together he quickly picked up the operation. For me, it was awesome seeing the technology behind a drama serial that captures its programs like live television. Being a completely new facility, the studios had brand new vision mixers, racks, lighting and sound control which was fascinating to see and learn more about.

Highlights/reel of the Coronation Street video shoot coming soon!

#MadeWithManfrotto

Manfrotto Ambassadors at BVE 2015!

Manfrotto Ambassadors Jim Marks (Director and Photographer), and Adam Plowden (Videographer and Motion Graphics Artist) chat to Manfrotto about why they use the tripods, bags, grip and lights for their everyday work!

A romantic video experience with Manfrotto gear (How to choose the right tripod and head).

When you start working with a piece of equipment time and time again, you build up a relationship with it; understanding its ins and outs, the fastest or best way to set it up. For me, I have this affinity with Manfrotto products. Since starting out in video during university, I had invested in a sturdy Manfrotto 055Pro-B tripod and a fluid video head. 3 years on and to this day it proves to be a great piece of kit to have around; I use it for my custom built camera jib now so it lives in my boot with that!

manfrotto tripod video photo manfrotto tripod video photo ed2 1069411_10151479423471712_1309410177_n

Through various university and freelance projects I used my trusty MF 055Pro-B legs, strapped tightly to a Lowepro backpack.. Not the most comfortable or lightweight solutions. The aluminium legs begun to take their toll when more equipment was required too, and as a videographer I had a bag full of lenses, audio kit and a monopod too. I occasionally used a Glidetrack slider too, which worked very well on the legs, and did not have to be spread really far apart or use any weights.

Check out a couple of my video's featuring Manfrotto gear -

Manfrotto Backpack50 - http://vimeo.com/84398932

Manfrotto ML240 LED - http://vimeo.com/41688532

But, how do you choose the right Manfrotto tripod and video head for what you do?

Key points to consider - Budget is always something to keep in mind, it can get expensive!

- What cameras, lenses and accessories you will be using with it.

- Where/shooting situations; are you going to be traveling so need a lightweight option, or more corporate indoor, weddings, adventure.

- Are you working with video or photo, or both!

Budget - everyone should have a decent set of tripod legs and head that can be their go-to choice no matter what the client, production or location. This could be a heavy duty two-leg tripod with video fluid head for news/docu/TV footage acquisition - go for Manfrotto twin leg kit! But for photography you may consider a lighter option that can be grabbed and carried quickly - go for Manfrotto BeFree! Remember that a tripod/head kit should last you a lifetime so keep your budget in mind, and look for products and kits around £100-£150 for your first investment (no, I'm not suggesting you save up to spend £150, your budget is what ever you can work within so have a rough max figure that you would aim to spend - dependent of the following..).

Cameras, lenses and accessories - If you are a keen amateur, you may be working with small DSLR bodies and lenses; like the Canon 600D with an 18-135mm for example. This setup not weighing much tends to lean you towards a light, single leg tripod with a two way or ball head mount - 180X Pro B with 804RC2 head. However, for more professional setups; Canon 5D mark III and a 70-200 telephoto lens your looking at +3Kg of weight, so a more stable solution needs to be found - Lightweight Fluid System.

Shooting situation - If you are out and about all the time, a tripod with locking legs and extendable center column is a great feature to have; its great for getting very low angle shots while keeping the tripod steady, not to mention the ball leveling mount feature which levels the head without adjusting the legs. If you are the opposite, and work in studios and generally terrain free environment, a standard set of legs will be appropriate. Remember you can mount the tripod onto dolly wheels for easy motion and movement in a studio or indoors.

Video or photo? Generally video requires the use of moving or 'tracking' shots, where the camera focuses and follows a subject through a scene. Remember talking about ball and fluid heads? This is where they become important! A fluid video head uses liquid to smooth the panning and tilting movement when adjusting the head, creating smooth camera movements. This is not entirely possible using two-way or ball heads due to the lack of fluid in the head and a pan handle. It can be done, but be prepared to video a number of times to achieve steady movement! If you look further into video and movement, many equipment manufacturers have also created stabilizers that counter balance the camera's weight, creating flying and smooth flowing movement!

For photo, as you are taking still images, the focus on being able to move the camera while the shutter is open diminishes, and the need to find and focus on a subject quickly, from many angles becomes key. This is where a ball head or two way head works best, allowing quick movement between camera angles.

manfrotto tripod video photo carbon fiber fliud head ball head mount manfrotto tripod video photo carbon fiber fliud head ball head mount manfrotto tripod video photo carbon fiber fliud head ball head mount canon dslr manfrotto tripod video photo carbon fiber fliud head ball head mount canon dslr

If you mix between both, producing work like timelapse, hyperlapses, long exposures and night time shooting, you should consider the weight of the tripod and camera gear together; will you need to weigh down the tripod to keep it steady, will the camera be subject to movement when using a lighter tripod and head? These factors will affect your image or video if not considered!

A great example; myself and Ashleigh were filming a wedding at Horsley Towers for John Harris Wedding Films and we got the message to setup and run a timelapse for the evening. It was windy out, not great conditions for a TL, and with only a Canon 60D and 15mm fish eye lens the setup was not at all weighty. After about 15 minutes I went to check on the TL camera and it was nowhere to be seen.. The tripod and camera got blown over (not damaged) in the wind. No more timelapse that day!

Hope that helps in your choice of Manfrotto kit to use! It's always good to examine the details of your needs and what the product can do, to find the best solution. Remember if you start out with a single-leg, ball head setup and are looking to move into video in the future, you may need to invest again. Its not always possible, but try to future-proof your investment in case you have a change of heart in what you do.

The reason why choosing the Manfrotto 055ProB tripod and 701HDV worked so well for me is that I could use it on everything I worked on; from being my A camera support to supporting a camera jib and slider - an all round solution to my needs.

Back to the story.. After 3 years, it was time to move on. I had been researching equipment I would invest in, and sticking with the DSLR camera type my requirements for tripod legs and video head did not stray too far away from my original purchase. However, after experiencing carrying around all of the video equipment, and an extra bag for grip, it was about time I got a carbon fiber tripod to ease the weight issue. As I am a one man band videographer, I carry all the gear. So with a full camera bag, tripod, monopod, even a slider maybe, my options need to be lightweight but just as functional.

Manfrotto have gone above and beyond on the engineering of the 755CX3 and MVH500AH. Carbon fiber legs provide an ultra portable solution, able to hold loads up to 8Kg which is perfect for my Canon 5DmkIII, cine lenses, field monitor etc.

manfrotto tripod video photo carbon fiber manfrotto tripod video photo carbon fiber fliud head manfrotto tripod video photo carbon fiber fliud head

still from quiet sunshine by Adam Plowden Videography winter nature landscape stream water lake canon samyang

1464738_10153571677610510_1940877368_n[1]

The new plate mount on the video head is incredible too, and saves so much faffing around with the previously notorious screw to lock the plate in place. Now, the plate simply slides in from above, and a spring pings the clamp into place. A great innovation especially for use with camera rigs so you don't have to bend down, find the screw to start unlocking the plate and camera to the rig. So, for fast shooting situations, the new head is a must!

The sad thing about all of this is that after searching through my old photos and videos I don't have any; specifically featuring the Manfrotto gear! What I can say though, is for every single videoshoot I've worked on, my Manfrotto gear has been there, supporting me no matter of the situation. So I went out a shot some stills that I've included in the blog, and did indeed find pictures of the gear in action!

Camsmart MODA rig with canon 5Dmk iii

Lilliput monitor with the Canon 60D

If you want to see more of my work featuring Manfrotto equipment, check out my vimeo page - https://vimeo.com/apvideography

They say you should only by a set of legs once, make the right choice, make it Manfrotto! Like this post? Share it!

Awesome day at Warner Bro's Studios for BSC Expo!

It's been a great day at the BSC Expo; based at Warner Bro's Studios Leavesden the expo features the worlds newest and best cinematography technology and workflow solutions. The journey was easy, I flew by Wycombe to pick up Glen and we made our way to the studios, then walked to C stage. We could see the Harry Potter studio tours in J and K on the other side of the lot, but it was huge!

Image

We took a slow stroll around the stands, it was great to see Rotolight who produce LED lights for photo and video. Their 'Rotolight' product is incredible for a pocket beauty light; due to its circular design the light gives soft overall coverage of the subject, and for models its perfect for achieving a ring of light in their eyes. As well as that, they have developed their own on camera microphone too, giving photographers and videographers alike an entry package, I'm very happy to see this!

The RED stand had the RED DRAGON on display, demoing the 6K, wireless focus and zoom, touch-control monitor.. I can't wait til shoot with a RED package, think it will be be some time though!

BSC expo warner brothers studios cinematography expo RED camera dragon 6K BSC expo warner brothers studios cinematography expo RED camera dragon 6K

The Panavision motorized camera axis was a jaw dropper too, I was so interested due to planning on constructing my own as a DSLR gimbal solution. There is no way I could achieve the precision and accuracy of this device, but with some smooth stepper motors it is completely possible! (If you can't buy it, then try making your own; it worked for me with a camera jib and camera rig!).

BSC expo warner brothers studios cinematography expo panavision BSC expo warner brothers studios cinematography expo panavision

And no, we weren't at the Harry Potter Studio tour...

BSC expo warner brothers studios cinematography expo harry potter studio tour

As Bucks New Uni is on the way back to Surrey for me, we stopped by Wycombe for a drink in the SU, the last time I was there we were completely smashed.. "F****ng absinthe death" aye Glen!!

BSC expo warner brothers studios cinematography expo bucks new uni wycombe SU BSC expo warner brothers studios cinematography expo bucks new uni wycombe SU

Awesome day, so happy I got to see Glen too, thought I was going to have to wait until March!

For those interested in visiting BSC: GO, it is a great expo completely for cinematography so think cameras, lenses, grip (steadicam, jibs, cars etc), lighting (and plenty of great LED innovations from Digital Sputnik and Chroma Q) so definitely check it out!

Shooting with Manfrotto Gear

For those that are unfamiliar with my work, I'm a Manfrotto Ambassador for Videography! Look at this picture... ed2

Can you see the Manfrotto tripod and video head?

I do not know I would do without them, and without a doubt Manfrotto equipment provides photographers and videographers alike a quality, reliable and affordable priced equipment that can be used in more than a variety of situations.


I'm a videographer, and growing up with Vinten legs and heads made me realize the difference in useability and functionality that Manfrotto provides for me. I use the 055PROXB Tripod and Mini video fluid head, and for the package price of £150 it provides the perfect solution.

I've used the above kit for a couple of years now, and only now am I finding the need to change my legs to a lighter option; not even changing the type. I am going to buy exactly the same legs in a carbon fiber model. That's how good these legs are.

The functionality of a ball head is useful for every tripod without one, but the extension column provides a unique 90 degree angle view with is essential for tabletop animations for a versatile producer like myself.

ed1

Is that a superclamp I see? Ye it is! The Manfrotto superclamp is one of those pieces of kit that should never leave your bag. Need I say more? The superclamp can hold up to 17Kg and includes a winch screw for micro-adjustment, as well as a stand adapter socket if you are using a lighting stand or lighting adapter to add more fixtures to the clamp. I use it with a magic arm and Lilliput 7" HD LCD monitor with it, allowing multi angle viewing for many different camera angles.

I hope you have seen my adoration for Manfrotto gear, and I will be working with Bjorn Thomassen on more Manfrotto and Canon sponsored shoots, and I am looking forward to trying out new gear Mr Dave Beck!

My previous work with Manfrotto includes the production of the ML240 LED Light advert - http://vimeo.com/41688532


What I've Been Up To.. It's been a while!

Good afternoon! Its a blazing hot day here, I'm preparing my trip to IBC (checking flights and passes etc), and getting to know the other IBC Rising Stars at this years IBC in Amsterdam. I'm so excited! I've been busy with a variety of jobs since my last post, including photography and shooting. I helped out a make up artist friend of mine by doing a photoshoot with a model in Hampton Court and Bushy Park. Here are some of the best photos:

becky_2-1 DSC_0025 DSC_0079 IMG_0068 IMG_0075 IMG_0113 IMG_0120 IMG_0149 IMG_0292 IMG_0335 IMG_0404 IMG_0433

Leanne Cook is the Make Up Artist and has loads of experience in TV and special occasion make up. Here's a link to her site - http://www.leannecook-mua.com/

I've also been working on a couple of weddings with JHWF, here is one that I shot in The Orangery, Holland Park, Kensington.

[vimeo http://vimeo.com/72345141]

Other recent updates include the testing and shoot with the Camax LCD High Definition Field Monitor for videography, cinematography, broadcasting and photography. A full review of the field monitor will be uploaded soon, for now here are a couple of stills and my first thoughts about the monitor.

IMG_0544_edit1 IMG_0545_edit1 IMG_0555_edit1 IMG_0558_edit1

  • Very easy to use straight out the box (although lack of battery and longer cables held me back from using it immediately on location, which I had to purchase separately.)
  • Basic functionality for a low cost solution.
  • Lightweight; great for on location or light rig solutions.
  • Overall a good basic solution to a field monitor, however this product should be specified by its packaging and reflected in the quality in design of the packaging and the manual and firmware.
  • I was surprised to see a battery not included.

What else has been going on? Oh yes! I am now a Manfrotto Local Hero, and have my profile on their page! Many thanks to Dave Beck for your help, and I am extremely excited for our LED lighting field test shoot this Friday! I will be testing out the 5 new on-camera LED lights, as well as the new 1x1 flood panels (bi-colour and daylight/tungsten), got a music video and model shoot lined up so keep following for the updates!

Here is the link to my Manfrotto Local Heroes profile - http://www.manfrotto.us/Local+Heroes/Adam+Plowden/52400709

Apart from all that, IBC is coming up next week which I am so ecstatically excited for! If you are attending and want to meet up then get in touch!